
Leaderboard


Popular Content
Showing content with the highest reputation on 03/04/17 in all areas
-
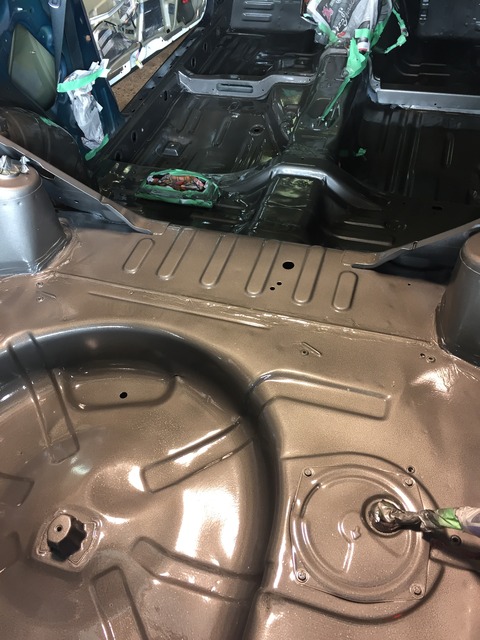
had a busy week and weekend, got the first couple coats of red on the car.did the bottom and the inside and dash area,pretty pleased with it, did one coat on saturday, missed a couple spots, worst thing that happened was sweat running out of my glove on the wet paint, bugger it! gave it a wipe with thinners and it came really nice on the second coat today. Got a few small runs but stoked with it. not bad for a rookie!13 points
-
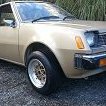
I have been looking around for a while for a new work truck, wanted to go old school and update it to modern running gear and some creature comforts. I didnt have much of an idea but liked the look of older Chev trucks, did some reading and looking and got to this point. Truck will be in the country mid April, it is currently running a 327 and manual gearbox, and pretty much stock apart from that. Plan is to get it complied with existing running gear then modernise a wee bit. I have an LS3 and 6L80 trans and all associated wires and mechanical stuff in my warehouse now (cart before horse) and maybe a front end suspension transplant from a later truck and a diff with a lower ratio. this one will be either a 4.11 or 4.56 ish I believe, so a bit on the highside. While the intention wasn't to start/have another project, Im quite fizzed up about it. Going to keep it stock looking, no fancy wheels or any of that crap. Will get some hand painted signage on it, I want it to look like it was always there.
 10 points
 -
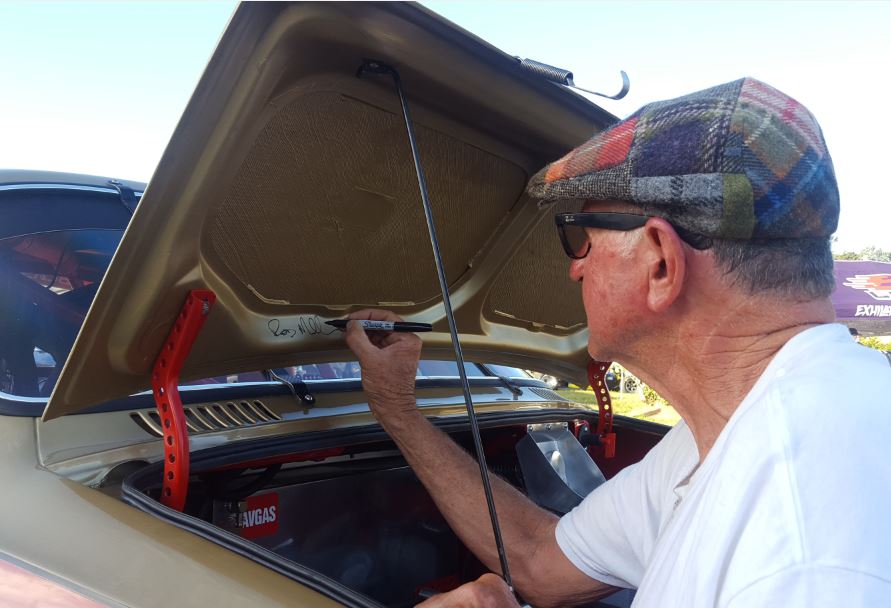
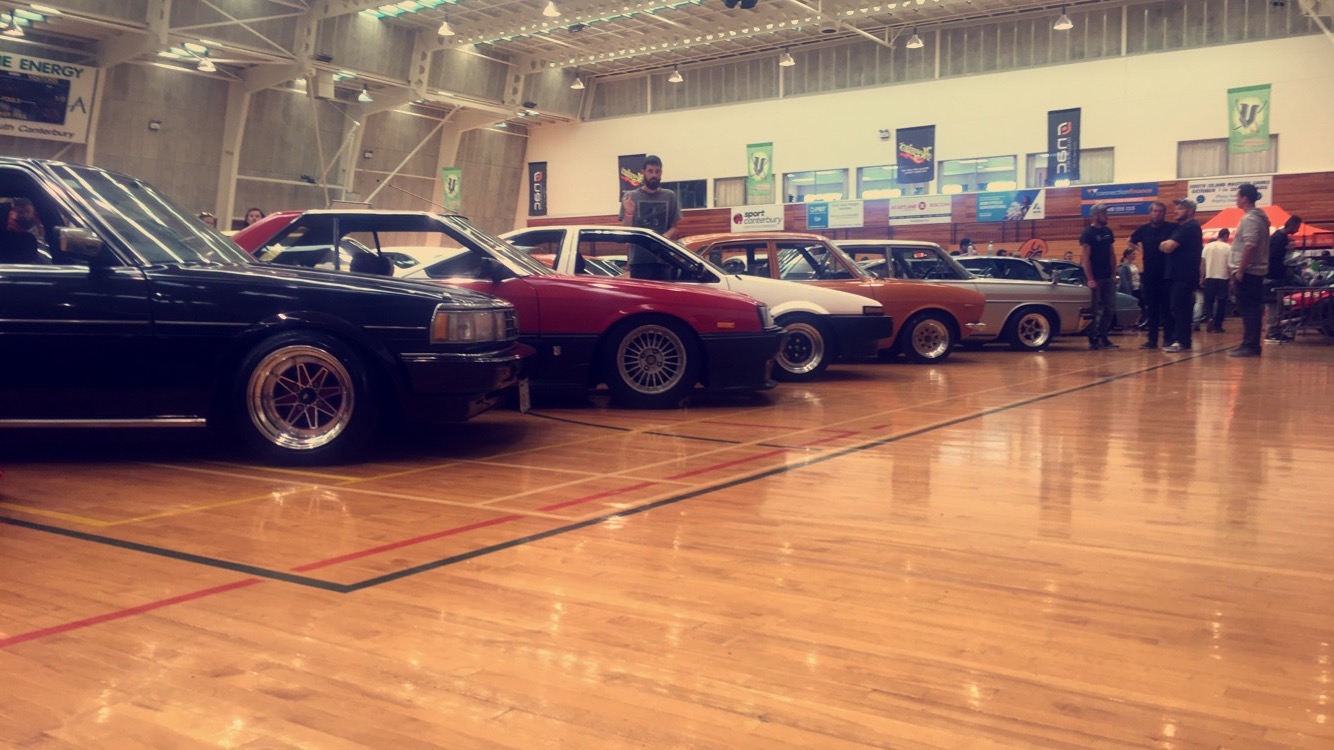
The road to toytafest! Here's a pic to prove i made it, will post how I got there in the coming days7 points
-
Perhaps that's more of a Shelbyville idea.6 points
-
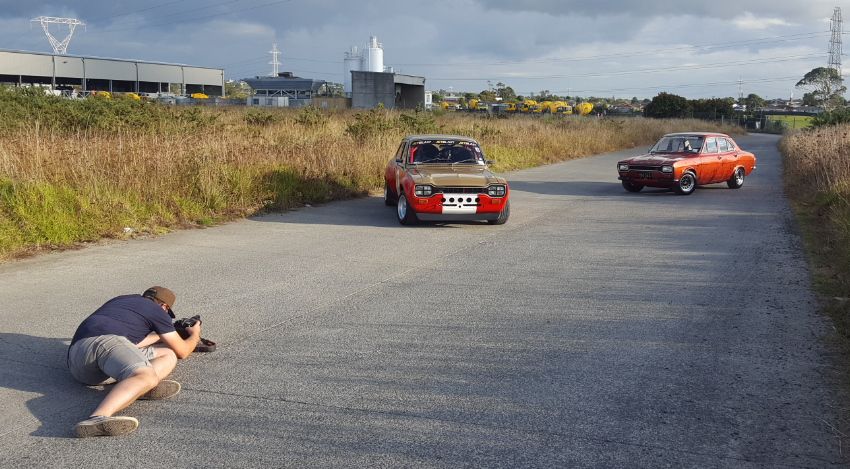
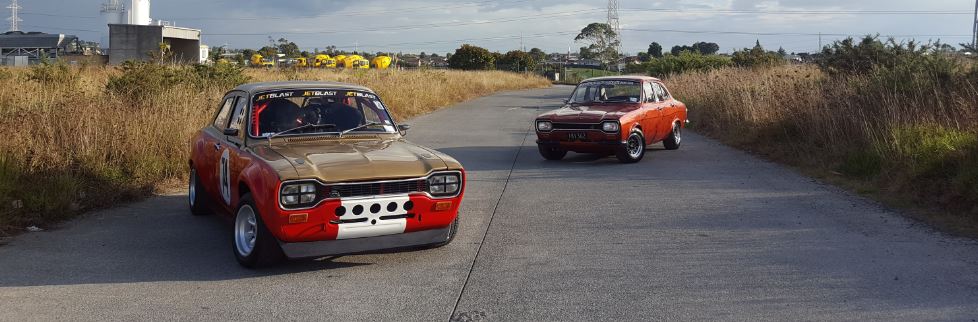
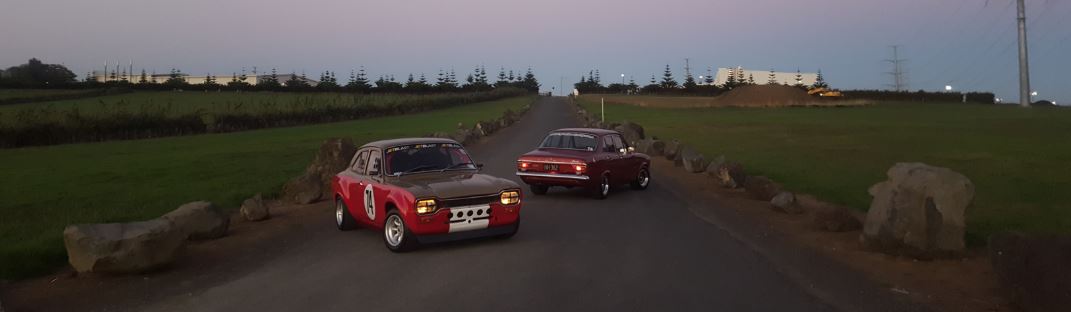
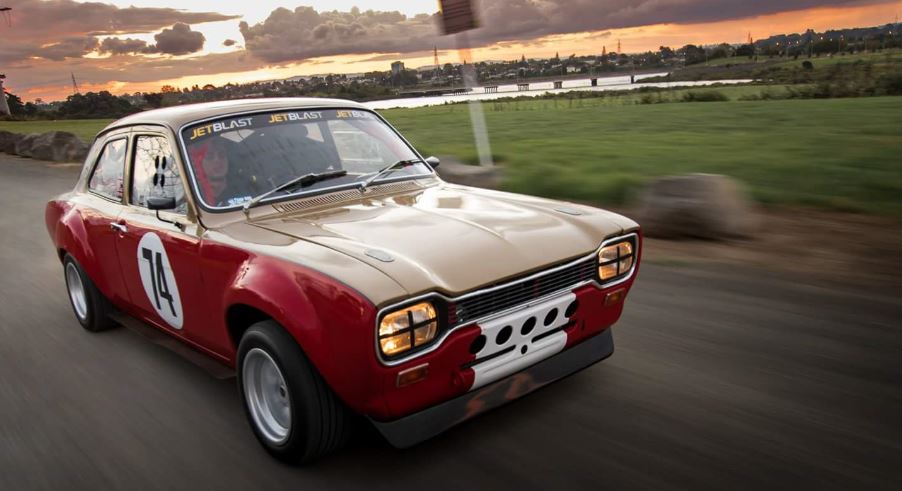
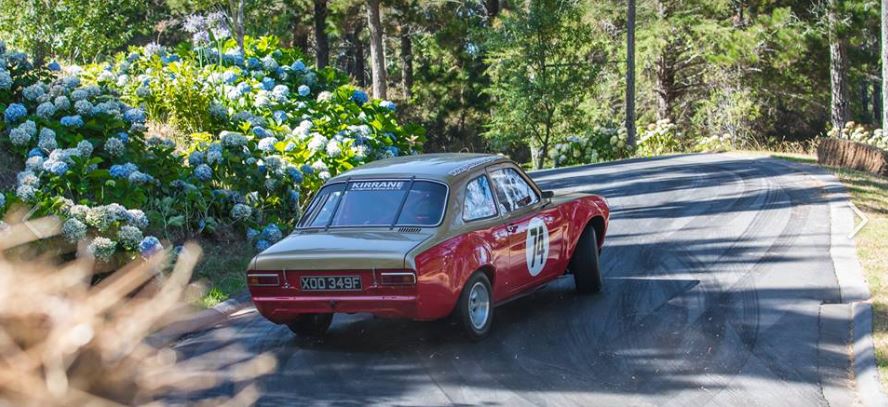
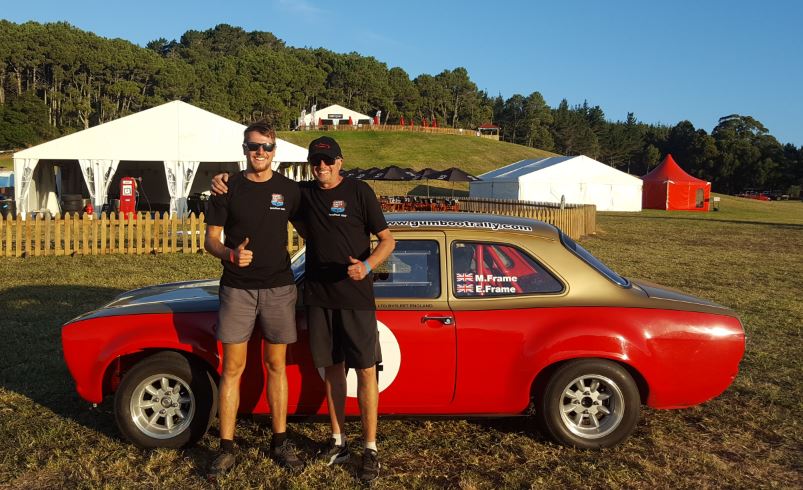
Snoozin hooking me up with a sweet photo shoot for NZ Autocar magazine on both my escorts Working his magic as the sun goes down Some rolling shots to finish the shoot Thanks Richie for the opportunity , great fun
5 points
-
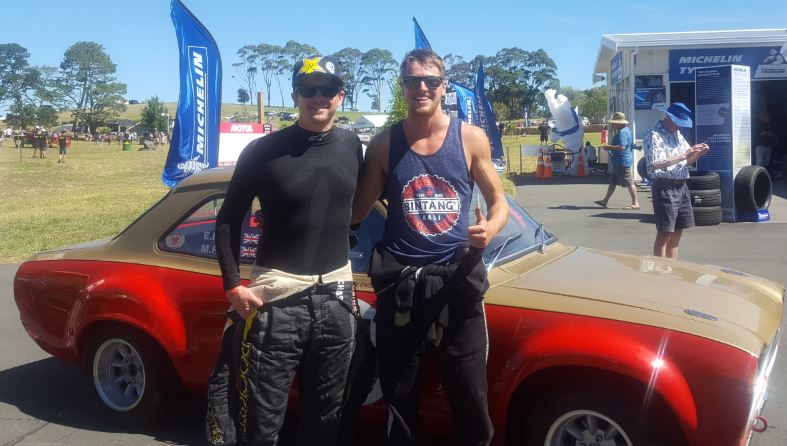
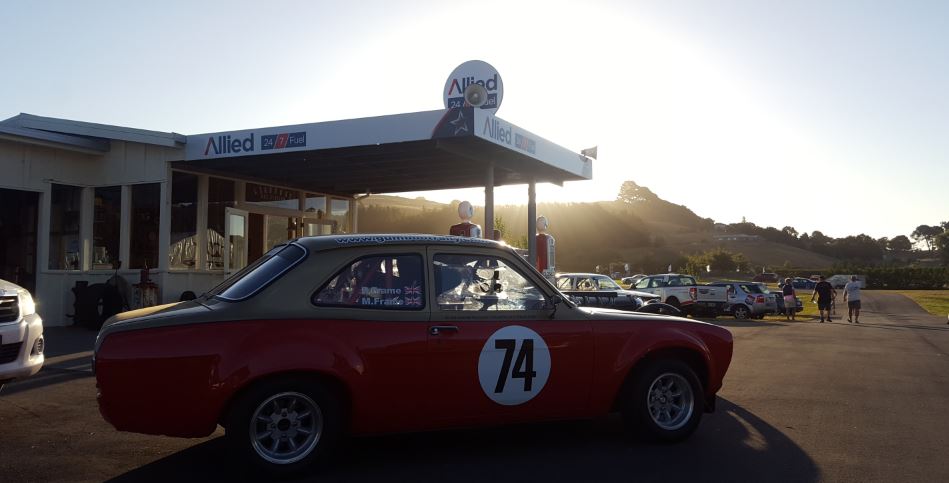
Leadfoot Time - Part 2 Sunday Sideways Here's Leadfoot from behind the wheel Caught up with Tanner in the pits who was super friendly just like everyone else I had talked to over the weekend. Top Bloke Times are in and here's mine for the weekend Prize Giving time Cheers Rod , Shelly and the Leadfoot crew for a very memorable weekend One very happy Father , Son Duo
5 points
-
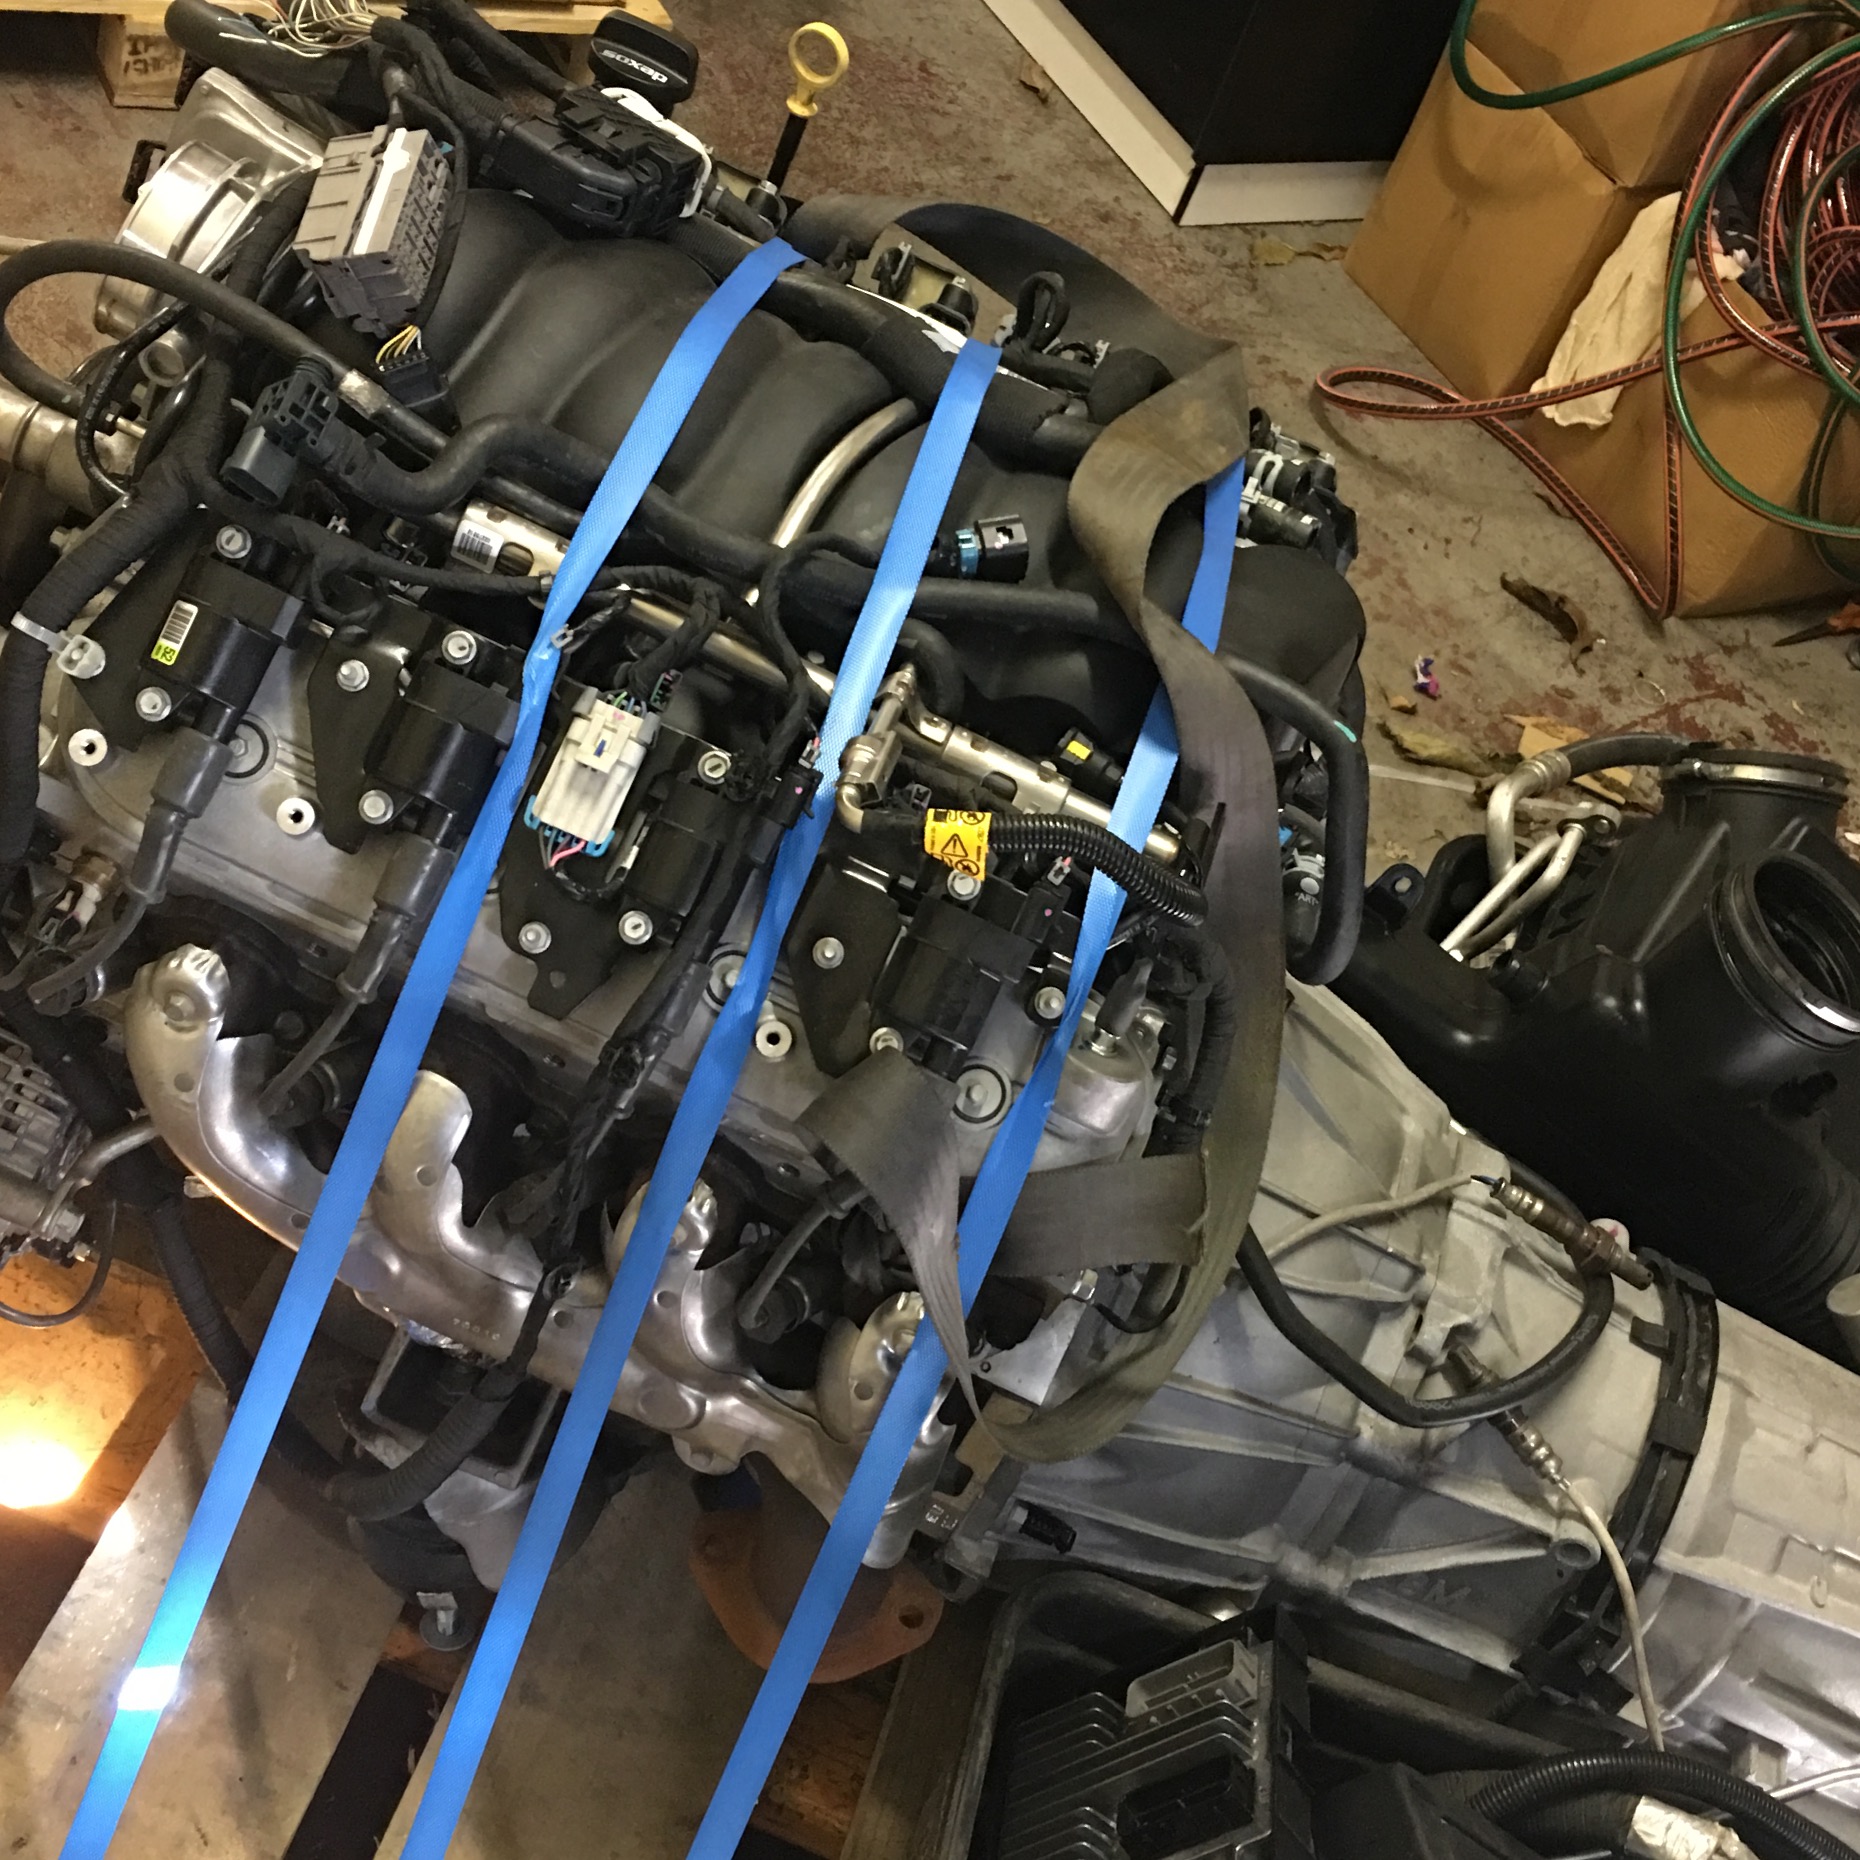
I've loved to piss and moan about how I think these are annoying and a stupid idea. But after having a driveshaft fail at 80ish kph on the weekend, Oh boy am I glad I had these loops fitted! My brake and fuel lines would have taken a hammering if not for these - They are a good idea, even in my case where all factory parts were used within factory power levels.4 points
-
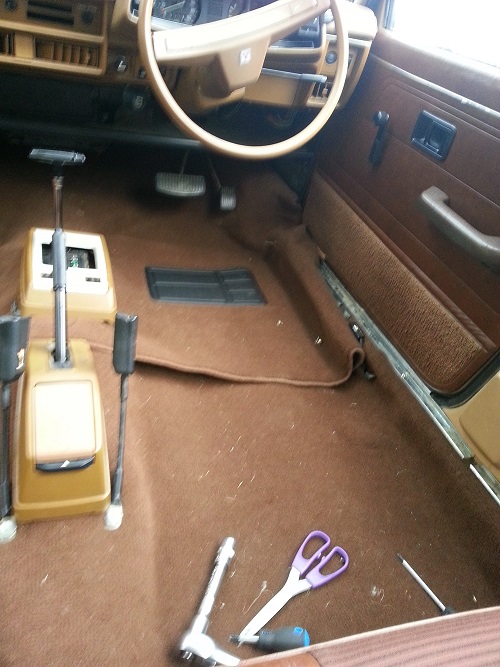
Only got a quarter into it before it started raining down here. Really happy with how it is coming along and fitting. Got to hate cutting holes in brand new carpet. It's sent out as a blank
3 points
-
3 points
-
Fuck yeah, everyone needs a monorail3 points
-
Good news, talked to the bossman at Laurie Forestry in Timaru and he knew exactly what I was after but it got lost somewhere between him and the yard and I ended up with decking.. thank fuck, I thought maybe I had only thought what I said and not said it. Anywhoo Allan's gonna sort of for me.. by god they're good to deal with I thoroughly recommended them if you need mac, quality product, quality service.. In other photographic news, plaster.. Freshly topcoated, and my it smells good.. Ready to sand, She's getting closer and closer.. booked the sparky to come back and do his fitout, gonna ring the floor sander tomorrow and hopefully start painting this week..2 points
-
I built my own triangulated 4-link for the Mercury. No tests needed, but I did use the specified sch 80 pipe (heavy car) and drilled inspection holes for the threaded ends. I did all the welding myself, including the adjustable ends. I do know the certifier through the Hot Rod club, so I guess he thought I could weld OK.2 points
-
Has a good cooler, xr6 coon one. the turbo should be fine, it was in great shape when I put in on and I've never given it heaps. just make sure the cam cover vent is unrestricted and the seals will be mint..maybe take the top off that wee appletons bottle it's jammed into and leave it dangling inside it instead? I'm pretty amped youve doubled the chooch, I was too scared of cooking the back cylinder. That's the downside to running the petrol turbo manifold. If you do kill it, there's a reeeeal honey motor in the garage you can negotiate purchase of from rovers 8-D2 points
-
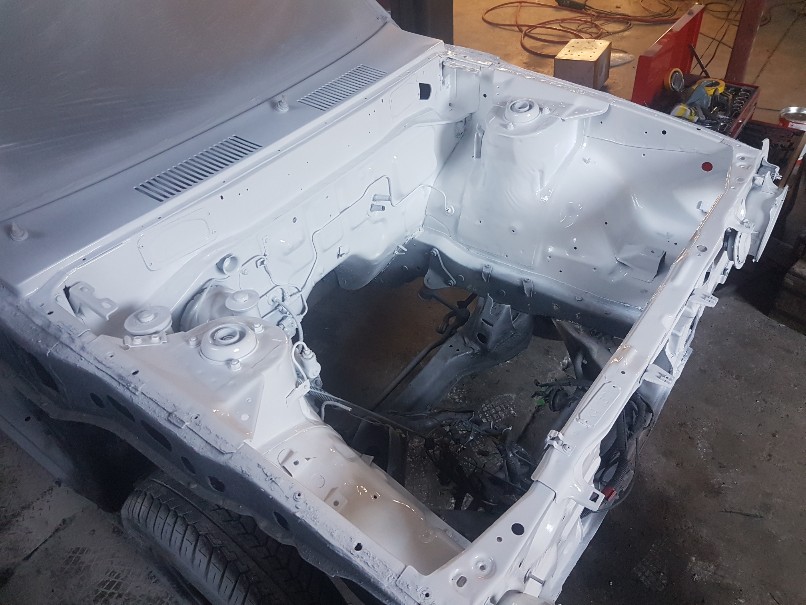
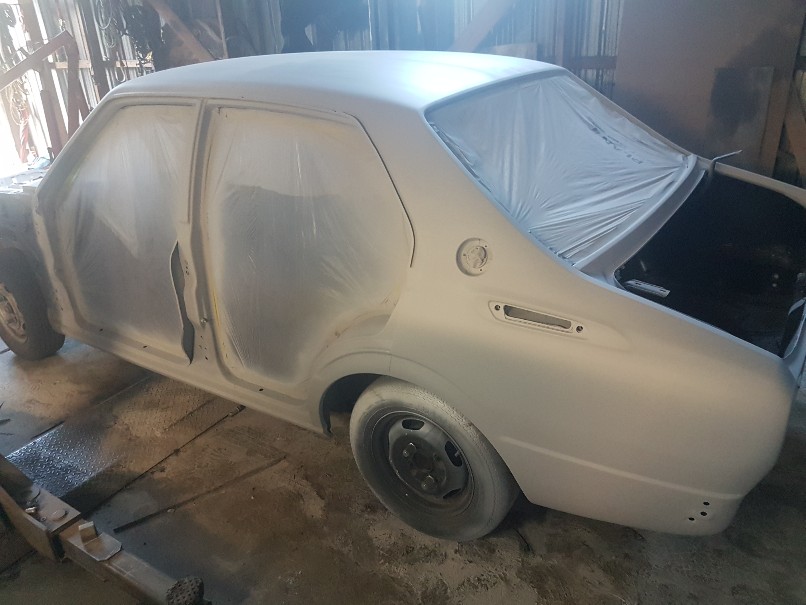
Got the engine bay cleaned up and painted. The body is all paneled and primed now. Just about ready to paint, just a few small imperfections to tidy up and then wait for a sunny day to paint it. All my painting is just done a a outside shed I rigged up made from corrugated iron roof and plastic sides. Not perfect but defanatly better then painting outside under no cover
2 points
-
Mounted the solar panels on the roof and more sound deadening today. I'm really glad the van came with this TracRac Van rack, it's really well made, all aluminum extrusion and stainless. I've worked in ski shops and bike shops a lot when i was younger and have mounted quite a few racks so was really impressed with this even compared to Thule, yakima etc. They are ungodly expensive ($550 for three bars and feet) for a van ladder rack so i don't think i would have bought it if it didn't come with the van. Just some 1.5in aluminum angle for the panels.2 points
-
2 points
-
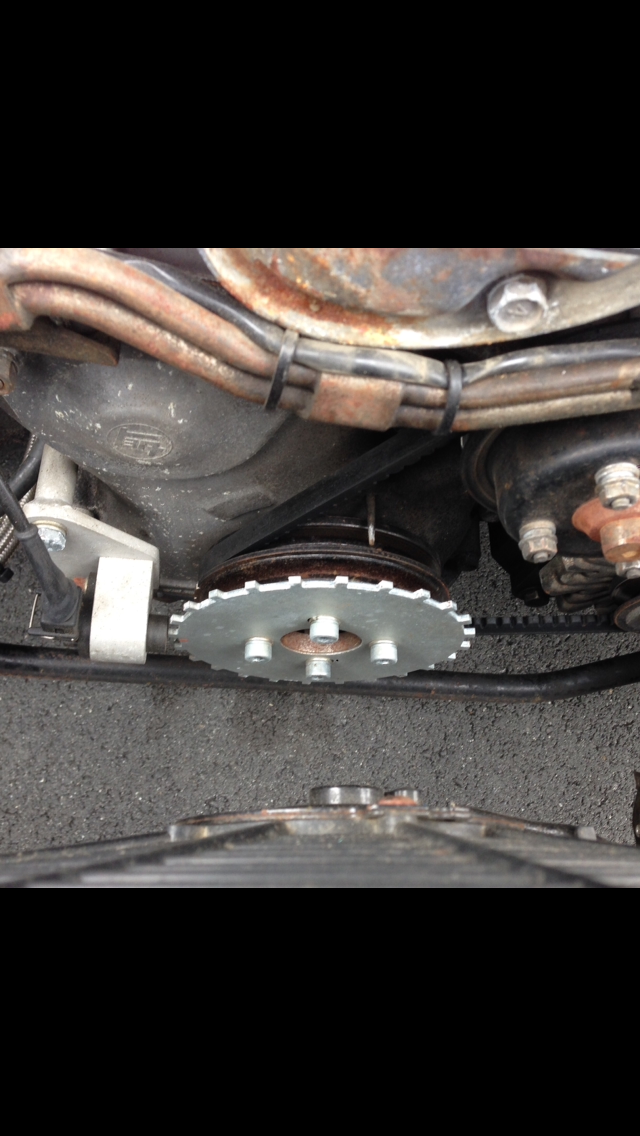
Chopped a bit more out the rear to get it sitting a bit flatter. picked up some 15" ssr meshies off a mate for peanuts sweet cause I can swap the centres over to my flashy 8.5" barrels too had a geez at yota fest at a couple trigger setups. photos from a 3tgte rina and look exactly like what I need. ill use the factory pulley as it's harm balanced etc etc. but for the spacer to sit flat I'll need to lathe the inside surface down and possibly tap the lip off. only needing water pump and alt I might be able to cut the front grooves off as well aaaand I was making coilovers but ended up finding some already made on AA60 stubs so should have those here I couple weeks too
2 points
-
The local gasket place in new Plymouth do them all the time. They use a cnc cutter thing that is usually used to cut regular industrial gaskets and they just chuck a piece if copper in and trace your supplied head gasket. I think they quoted me under $100 for a 6 pot one2 points
-
Manged to squeeze in a panhard rod today. may need a few tweaks, but should work. Will leave it half finished till get the coilovers mounted, to make sure everything works together bit hectic under there, yep.2 points
-
Not as epic as the kids table up there but I got epic satisfaction from this little project. We have a tiny home and it's important to free up pockets of space and remove clutter when possible (I'm not good at this) Greg popped in the other day and suggested I put TV on wall..It's been on the to-do list for ages. Measured wall and tv angles Had bracket laser cut Bend along dotted lines Draw corner of lounge and TV on table and use to get angles for steel (ends are not 45s) and weld Paint and screw onto wall Now just gotta add a power point and white cable so they exit walls higher. @flyingbrick Please rehost images on OS2 points
-
I dunno mate, I think you need to check the ackerman angles2 points
-
Well hot damn it worked Things i learnt theres enough adjustment in the gauge to shift the range +- 40 ohms for fine tuning to a sender (i.e E can be shifted from 40, down to 0 or up to 80, and same with the F) The heating wire is ovbiously bloody small, but it looks to be about 50 coils i unwound 10 of them, and spread out the remaining along the bimetallic strip. and it appears that i have now adjusted the gauge to a full sweep over 90 ohms at around 10v, which seems to be what the gauge will see i the cluster. The bench set up i used was a bit rigged because i have the minimum of electrical tools, but in any case it seems to be proof of concept. i will have to pull the sender out and test it though its full arc to see how accurate the gauge will be in the points between F and E. Will post up a full walkthrough of what i did, because i cant find anyone modifying a bimetallic gauge anywere (dipole types look to be possible with resistors on the full and empty sides). I did find a case of a guy modifying the sender some how, and various senders chopped up and put into other units. But this method would appear to be rather cheap and easy2 points
-
Hahaha. Yup that's a fail. You will have to grab a new master cylinder and start again.1 point
-
1 point
-
Welded won't pass full stop. There was a lot of discussion on this somewhere on oldschool a couple of years ago. Also, you can buy the manual sections individually now online.1 point
-
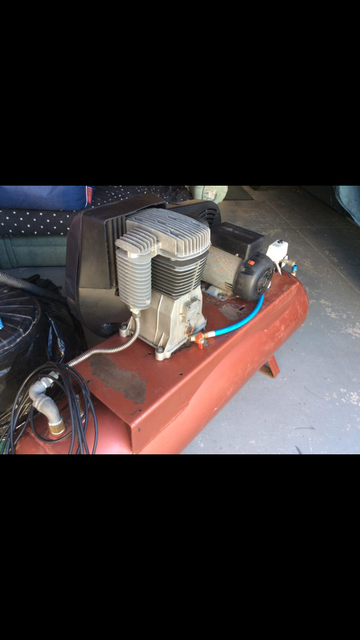
Another coat: That was with my cheapy 40L Blackridge 2.5hp compressor which can't keep up with the HVLP spray gun. So I bought this for when I do this outside (a couple of cars to do): Its 3hp, 15cfm, Ingersoll Rand pump on an old Hindin 270L tank. ALLL THE CAPACITY!
1 point
-
ON Nats 17 looks like this that's another 400mile's on the clock or 640 metric KM's Departed Thurs Night caught up with the Akl convoy at Ashhurst, gave @64vauxhall some cream for his special area then took them over the Saddle Road Credit to @Threeonthetreel for that image Friday went and watched them do this out in a paddock so I went for a jaunt down here (I won) Back to camp for din din's & the yummiest Meat soup and some refreshments Sat was Scavenger Hunt day, went & saw stuff and things then back to camp for Prizegiving & Rocker cover racing I placed 4th this yeah after a few tense knock out rounds 3rd to Trev oh yea dressups Sunday packup & group Photos then a hoon into Featherston to catchup / meet a mate then Long way home via a Lighthouse & some cool machines could Just see Max & Furiosa at the wheel of these Birds like it fin1 point
-
Yeah was a bit of a prick to jack up and align the holes, but these are sealed AGM batteries, so hopefully don't need much for awhile and can take a bit of crap. This location is actually the factory spot on Ford diesel vans. Space is a bit of a premium when building a camper so I'll deal with it. The pull out strength for a single 3/8-16 rivnut is 500lbs, which is like 2kN. I have five of them holding that tray. I'll keep an eye on them for the first few hundred miles though.1 point
-
Spent a couple of hours this afternoon on the second to last phase in the cladding saga.. YAY!! Good times, not a great fan of the cca treatment lines but they should fade.. I wonder if there's something you can spray on to make them fade a bit faster..1 point
-
A flying fox would prob be more realistic, bush fireman's pole..1 point
-
How far is it up the hill? Rig up a pulley/whinch system. Make a track kinda like a small monorail or even twin train track setup and winch it up the hill1 point
-
To be honest, I should have cut the springs in half from the get go. I cut the springs for no other reason that to make it more pleasant in the shed to look at until the coilovers go in. The right side of the car is a bit higher than the left, I will probably end up with a height similar to the higher side. Not long until the engine goes in!! I also installed my new valance courtesy of Yahoo Japan. The tape is holding the paint/rust on. I decided on a new one as the one I had previously wasn't the straightest and would require some more. Plus I didn't actually own it...1 point
-
This arrived yesterday, picked it up this morning, Started unpacking it, for merchant grade is really good, better than I expected. It's also bandsawn not rip sawn which was unexpected, Made a frame up of offcuts the other night for it to sit while is dries out, Filleted and stored, gonna buy some cheap tiedowns to clamp it a bit and stop it twisting.. All the dried stuff I just stuck on timber hung from the secondary bearers, my only gripe with the timber is for the facings which he recommended dry, fair enough I'll get that, they could mill it down I asked if it was rough sawn and could they mill one side, the answer was yes but then I get this, Not at all what I want and doesn't match a single thing, bit annoying really as I now have to deal with it.. *sigh, add it to the list. At least I can use it to make my bench/s, Dried storage, Also my in laws have done a fucken great job leveling and clearing/preparing the rear of the section, I'm stoked.. Just gotta get all my levels right and I can start cladding.. Yay!1 point
-
Nah it has a teeny single barrel thing on it It is quite good on gas round town1 point
-
I've always been one to have a project or two on the go. Then there's the ones still in the "planning stage" i.e. they only exist in your imagination. Well there's nothing like a deadline you cannot negotiate an extension on (Christmas), and kids would have to be the toughest of all the negotiators to deal with! So when I foolishly thought out loud 3 days before Christmas about an idea I had - that may or may not work??? ...well the pressure to deliver was all on! So: String line and inclinometer dusted off Holes dug, posts in, concrete mixed and poured. Guy wires, main cable tensioned and clamped (that sentence sounded flippant-ly easy... this was a challenge) I had three bits of wire rope. The longest was 50m, so this became the bit between the two posts. I then machined up a connecting rod for each side, that hooks up to the guy wires. Complicated solution...but it enabled me to get the longest span with the free wire rope I was given. Its designed to slip, so tension remains the same in all components. I used basic trigonometry to calculate the forces involved. But if my theory is true, then it should all be good. So I'd call it a success. Now 4 months old and still working well Kj1 point
-
Added this sticker: Drove about 300 miles in preparation for beach hop, car ran flawlessly, drove to beach hop, car ran great again, after being here for a day or so, the want for a V8 has increased substantially, so watch this space once the weather is consistently bad enough for me to justify taking the car off the road until next summer,1 point
-
In the weekend I fixed the divot in the roof. There was a high ridge in the back corner and at the time I decided it was more work than I wanted to do to fix it so left it. But something was crook and it got bigger after paint. so evened that out and sprayed it, also did under the bonnet, sides of bonnet and the inner guards and upper firewall. Could see the primer in the bonnet gap and it was bugging me. And GC nosco me his double sided tape so lobbed on the pillar badges. I toyed with the idea of centralising them and moving them up ala mazda, but went with the factory placement in the end. Im onto the final deluxe badge for the boot, will be a box of Woodstocks if it's right.1 point
-
Discuss here:1 point
-
Also her'es a few photos because I can1 point
-
So the above list was remedied..........mostly, I may have missed 2 of the outer seat belt bolts, when I re-positioned the brake line to stop it rubbing on the airbag it turn out that I had moved it right into the path of the bump stop, I thought i had created enough clearance between the Tyre and the lower shock mount (I had shortened it by around 20mm when i did the rework on the shock angles) but still wasn't quite enough it turned out, And while i had stopped the bags rubbing on the diff, there still wasn't enough clearance so needed to sort that, so I: put 2 new bolts in the outer seat belt lower mounts, made a new brake line that ran onto the rear of the diff, as the original line couldn't be manipulated any more with out risk of kinking the line, as per Clint's suggestion I flapped disc'd the remaining thread that was stuck out past the lower shock mount nut, and gave the lock stops a tweak, I flapped disc'd down the weld seam on the diff and created an angled shim to sit between the top rear bag mount to roll it forward, not only did this create the clearance I needed it actually means that the bag is on a better angle when its aired out, that resulted in this: which resulted in a compliance pass, which lead to: Which mean we could get this: Pretty happy made my goal of getting the car legal for beach hop with 6 days to spare (must be an oldschool record haha), going to rack up a few miles this weekend before we drive it to Whangamata, pretty F#cking stoked to be honest, it drives great, nice and smooth, feels less boat like than it used to with the springs in it so I'm calling it a win!!1 point
-
Cert not required if the OE gearbox cross-member has not been heated, cut, or welded; and the OE gearbox cross-member mounting to the OE body or chassis members is unchanged; and no replacement gearbox cross-member is used; and the OE drive-shaft(s) remain and is un-modified; and no substantial modifications have occurred to the floor or gearbox tunnel area, other than provision for gear-shift mechanism; and the braking system is not modified or changed, including the brake pedal Also, Cletus said " the trap is, if you put a manual spec brake pedal, pedal box, or mod the brake pedal, then it needs cert "1 point
-
Its started, hours of grinding. Lower links. the tube adapters were for some usa spec "dom" tubing. machined them down a few mm to fit sch40 1 1/2 pipe. Have cut all the existing mounts off the diff and tacked the lower link mounts in place for test fit. will do the same with the top link before finishing and welding them. Lower link chassis mount, will be trimmed and braced more, as they will likely get a bit of a hiding Its kinda working. lower links look like they will be ok. still trying to find some more up travel. easy way would be to run the truck at a higher ride height, but want to make it work at stock height, to keep it stable as possible. current things spoiling the fun are: sump, alternator, engine mount and the floor..1 point
-
Sigh* again, not as much as I wanted.. because Old mate from down the road brought his 1964 international round and did a bit of leveling.. in the rain for a bottle of bubbles for his missus. Not a bad job really, little high in some spots and a little low in others but I'm not complaining.. bit of rake work and she'll be all gravy. He bought it from vegas and drove it back to chch, took 5 1/2 hours..1 point
-
Gone all Roman dave science with the link setup. plugged the numbers into a calculator Tricky to get all the numbers in the acceptable range while working around the chassis, engine and wheels that need to turn. main compromise is chassis mounts on the lower links will hang below the chassis rails a bit. but still will be a touch above the transfer case x member, so shouldn't be too much drama. had to do this to get enough up travel without the links hitting the chassis rails, and also to get the roll steer numbers down. The rear is pretty text book since there wasn't really anything to work around after cutting and modifying the chassis. Done it without using a calculator, just following a guide some geezer wrote. putting the numbers in the calc, looks like got lucky and nailed it. can dial the anti squat up to 100% with the adjustment holes. but this is how it's setup currently got some springs for the coil overs 175lb top 300lb bottom. both 14'" long. shocks should be at 50% travel with the weight of the truck on them.1 point
-
Thanks for my sore neck..1 point
-
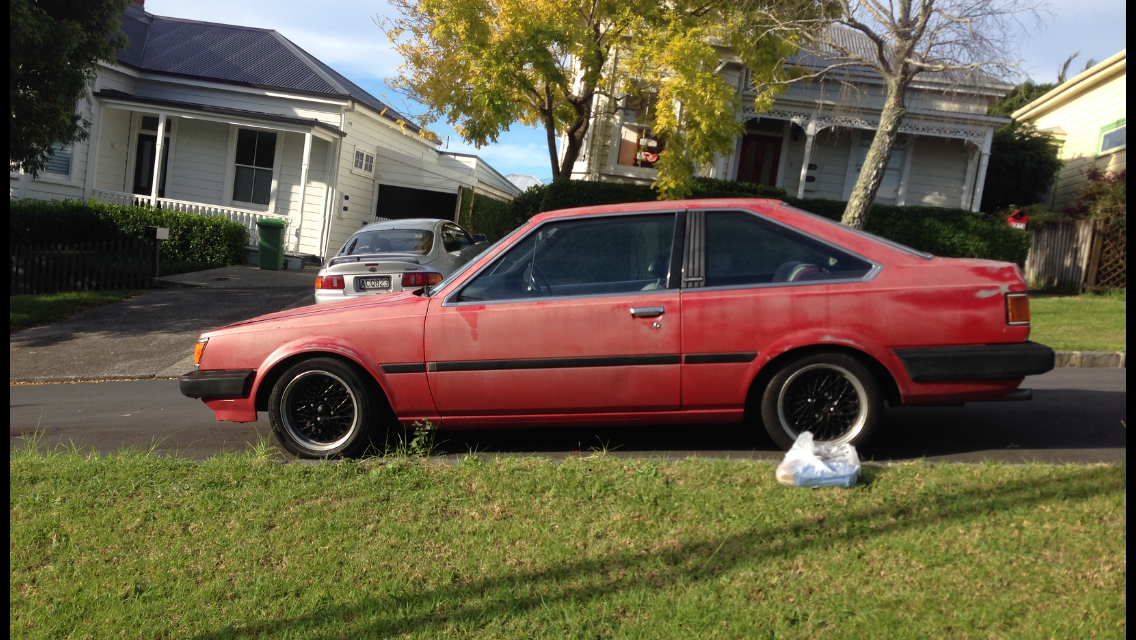
I took some quick shots this morning before work just in case anyone crashed into it1 point
-
Job done..1 point
-
So, I took this for a drive on the weekend. Still need to put a bunch of interior trim in, and go for a cert. It's dropped a cylinder somewhere in the last 5 months, hopefully that wont be a hard fix.1 point


This leaderboard is set to Auckland/GMT+12:00