
Leaderboard


Popular Content
Showing content with the highest reputation on 01/07/16 in all areas
-
2016-01-07_01-15-28 by sheepers, on Flickr 2016-01-07_01-15-19 by sheepers, on Flickr29 points
-
wait a minute, theres also this. 2016-01-07_03-46-33 by sheepers, on Flickr 2016-01-07_03-44-36 by sheepers, on Flickr 2016-01-07_03-44-27 by sheepers, on Flickr 2016-01-07_03-44-14 by sheepers, on Flickr 2016-01-07_03-44-03 by sheepers, on Flickr so yea. pretty happy with that. it needs to come down about 75mm and its currently got 0 camber so i think there will be some coil overs in this cars future. now I'm going to take a well deserved break. and work on my blue car for a few days before i go back to work.24 points
-
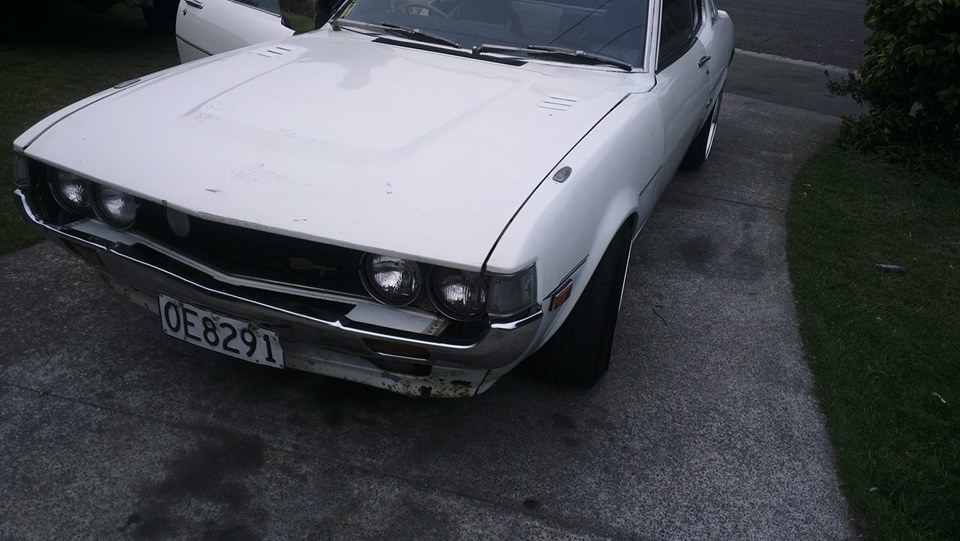
Hey guys I'm new to this forum and just wanted to share my project that I'm trying to restore
 10 points
 -
Hey guys, Used to have a build thread for this car, seems to have been lost so I've started a new one up. Bought this car back in 2011 as a bare shell, which at the time was caged and set up for a Weber airbox. I'll get around at some stage to go through my old photos of the build, but at the moment here are a few up to date ones of the car. Hoping to have it complete mid this year. Project discussion here://oldschool.co.nz/index.php?/topic/51400-minimads-supercharged-mk1-mini/ What I started with Where the car is up to now8 points
-
Screw you guys i'm going to the moon8 points
-
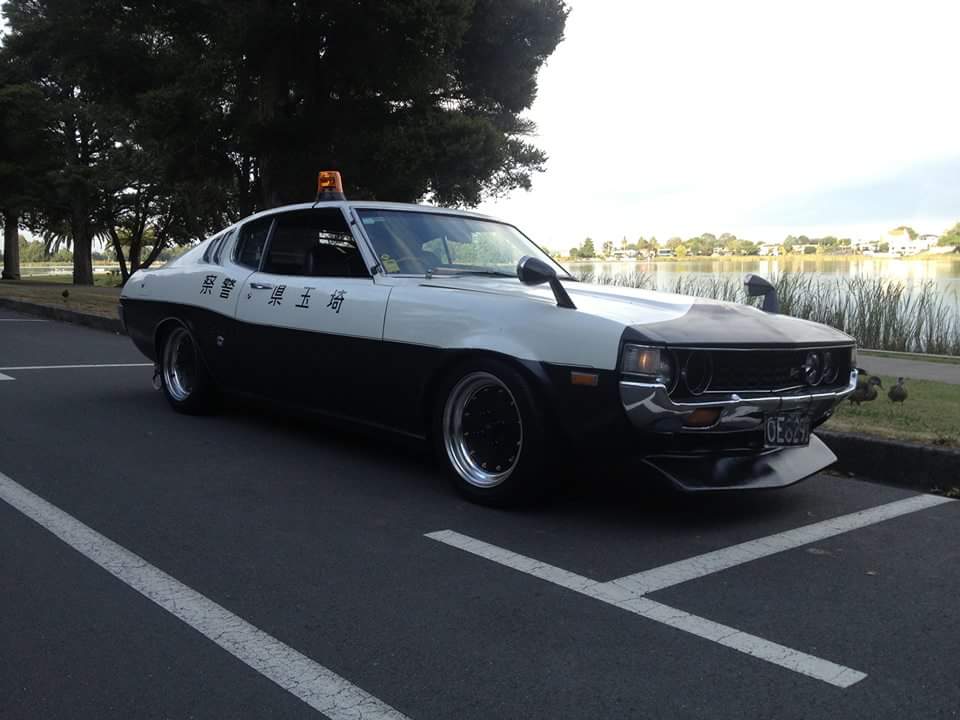
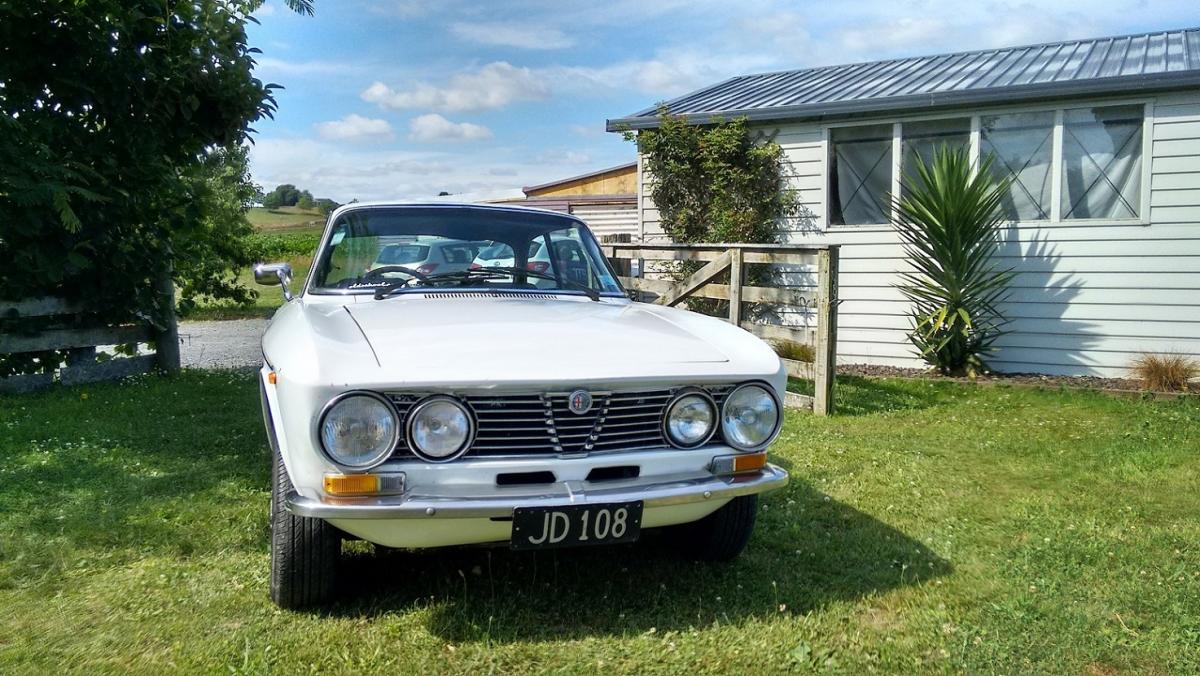
LEGALITY! Today I booked the z in for a vin at Nostalgia Motors in Hamilton expecting to come back and find two or three non-compliances (not that I could find any, but they can be super picky) I got a call at half past three saying she's all good to go and she "flew through" the vin! I buzzed her over to VINZ to get rego and plates confirmed and we're legit. $140 odd for a year's rego sounds alright to me. Looking at carjam, the last time she had rego was August 1990! Obligatory sticker photo: That's 8 months from buy to fly. Only two months over schedule but the critical deadline was the Kumeu show so no problemo. Special thanks to OS'ers Cressy (Nick), Evan (Evan), 64valiant (Greg) and Miniman76 (Hayden) for their input. Pumped!8 points
-
much excitement4 points
-
Heaps of progress on this thing, will update photos tonight. Iv got less than 3 weeks to have it driveable.4 points
-
On new years day I picked up this donor and proceeded to spend the following few days practicing my drifting in the rain: A manual 535i with LSD. Before anyone gets upset, the car is far from as good as it looks in the photos. It has quite a few rough edges, paint is flaking everywhere and is generally not that great cosmetically. But mechanically it runs and drives so nice and has done around 170,000 kms. It is my favorite car to drive of all the cars I have at the moment, but let's be honest, the running gear will be far cooler in my e28. So that's the plan. I've also made some small changes to the e28 including e36 illuminated window switches and a gear knob emblem that I made by grinding down and polishing an old steering wheel badge.4 points
-
and now its at the paint booth. Greg is going to paint it tomorrow arvo/night and ill bring it back thursday morning. thats the plan anyway. so, the next time you see it it will be red. 2016-01-05_03-19-59 by sheepers, on Flickr4 points
-
A week ago I got the keys handed over from Colin, the dad of the previous owner of this Simca. Me and my son have checked the Simca, and we found out that some parts underneath are pretty rotted. On one side the sill is a large black hole with a view to the inside of the car (interesting though) Our goal at the moment is to get it back on the road. The second goal is doing the cosmetic upgrade. It looks like the car has been resprayed somewhere in the seventies. The original color is maroon. I haven't decided if I revert it back yet. Front side: The bumbers have been sprayed, but underneath the paint they are fairly rotten. The doors need a bit of welding The rear bumpers are rotten too. Under the bonnet: A engine with a name:3 points
-
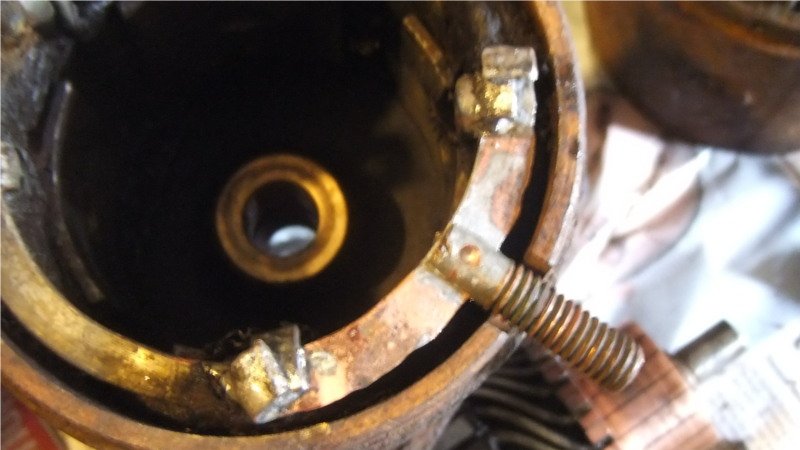
Removing the brakes: The brakes looked pretty neat, but I had to press the cylinders out with a grease gun. Totally jammed. In the meantime I am testing derusting objects with electrolysis. Derusting objects with electrolysis works above expectations must I say3 points
-
New tank arrived from AliExpress. Actually really surprised at how well this thing is made. Not bad for less than $200 landed. Will have to swap the petcock's side so my fuel lines don't run next to my scrambler pipes, but other than that, it looks pretty damn good!3 points
-
my other half was in dorkland and picked up the gearboxes for me so il inspect them/look at them and decide which one to put in. will more or less work like eeny, meeny, miny, moe and bam done that one is going in. my mate brought his car to get seats done and we got talking. he has a big variable speed grinder so tick got that just gotta get me some disks also another mate was like oooooo this will be perfect for what you need for your gutters so now i need some garnet/sand stuff and shit we are going to have our selfs a stripping party. but i need to colour match the paint before i get two excited or shit i may have some ugly ass white on my roof. or i could ditch the husslers find me some 13 inch wire wheels and paint my roof like this hahahahaha maybe on my wagon3 points
-
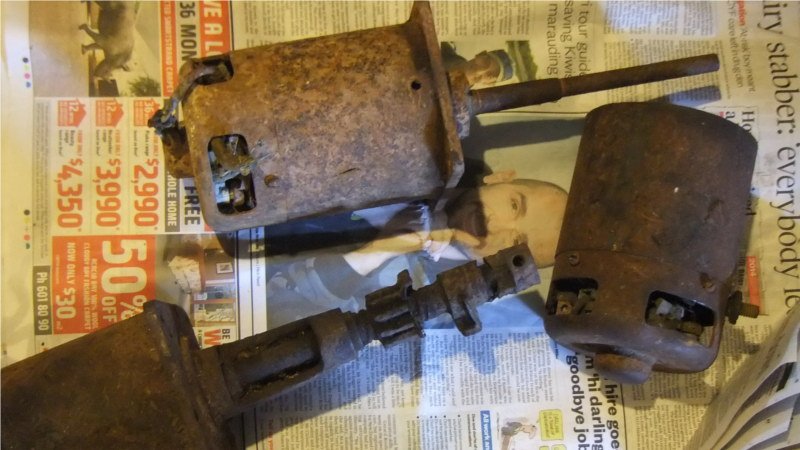
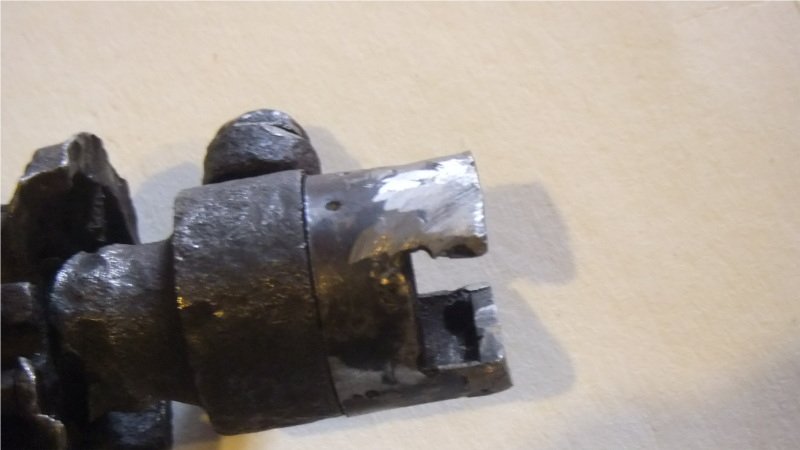
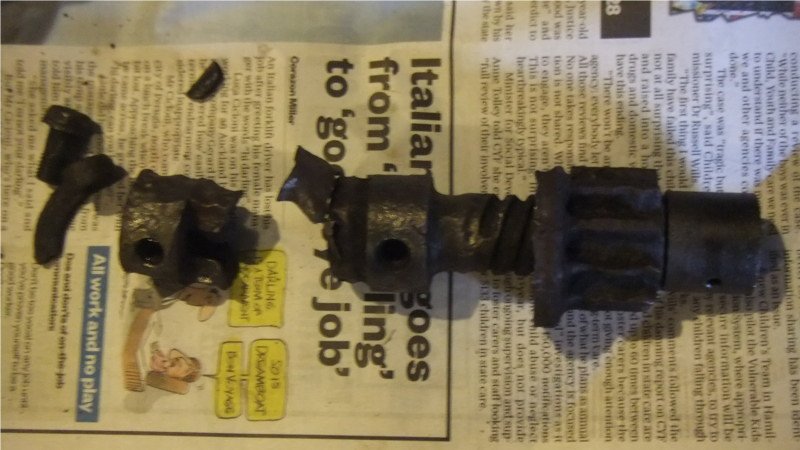
Found pieces of 3 90 year old starters. Enough to make nearly one, would be enough for two but someone cut the bearing nose casting off one of them. Made new spinny parts from bits of tube and offcuts. Slightly better than rusted away to nothing parts. Old contact thing had copper bolt riveted to it, sheared off from over tightening. Old timers would have thought that 6 volt electrics were so bad after tightening things and they get worse. Made new one and soldered in a copper nail through the hole in the old bolt. Most of the brushes are still good. Can't be bothered uploading more pictures but this thing too ages to fix, like 5 days worth of work. Had to repour the front bearing after i accidentally melted it out while trying to free up the rusted parts. And made new insulation from shoe laces, which is what the old insulation looked like, with cord wrapped around it with beeswax to seal it.
3 points
-
Was really hoping the tank would fit onto the existing mounts - or the front ones at least. Definitely pushing my luck. Doesn't line up with anything & is significantly longer than the original tank. Nothing too major though, will need to move the front mounts back about 60mm and everything else will work out from there. Rough mock up of how the tank will look. Not really sitting straight, but gives a good idea. Really like the shape of this tank on the small frame.2 points
-
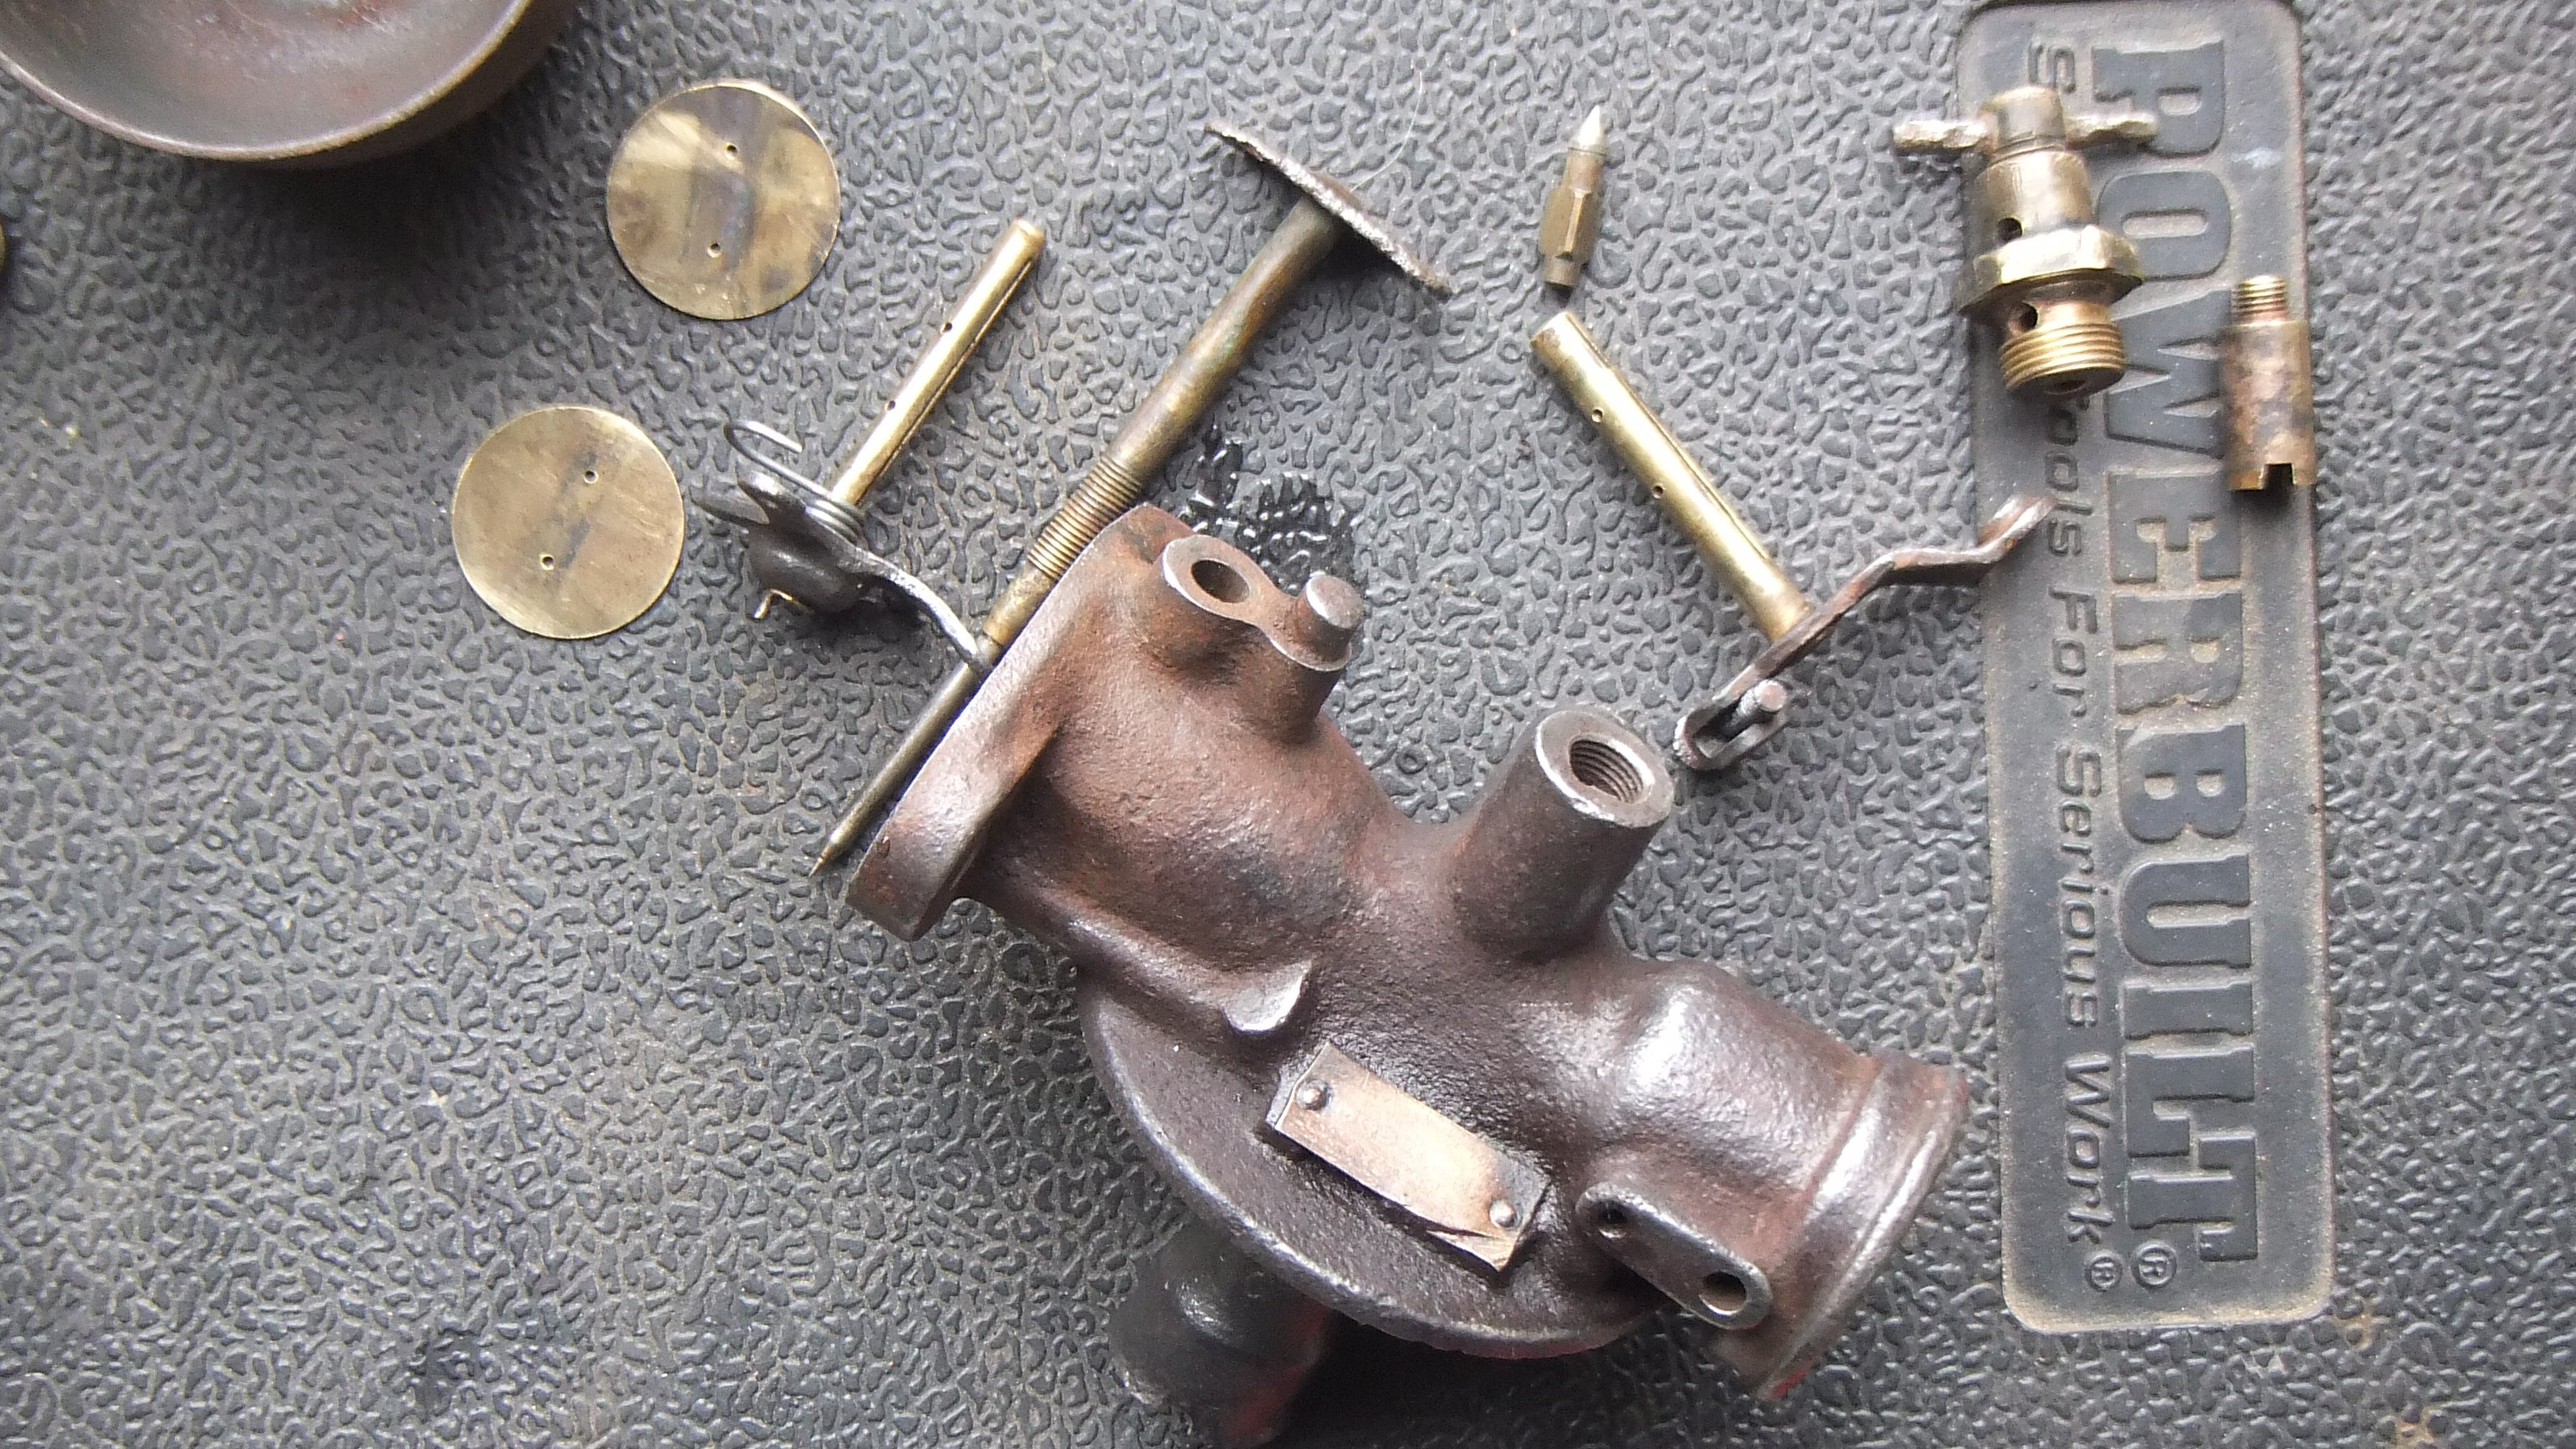
Only runs at above half throttle. Single jet carb, not sure what's wrong with it.2 points
-
interest expressed. dadams you can fill your wa.. van full of house stuff and camp on the way to your new house2 points
-
Pics when I first bought it I thought I was so cool
2 points
-
Change of plans. ..... This is happening2 points
-
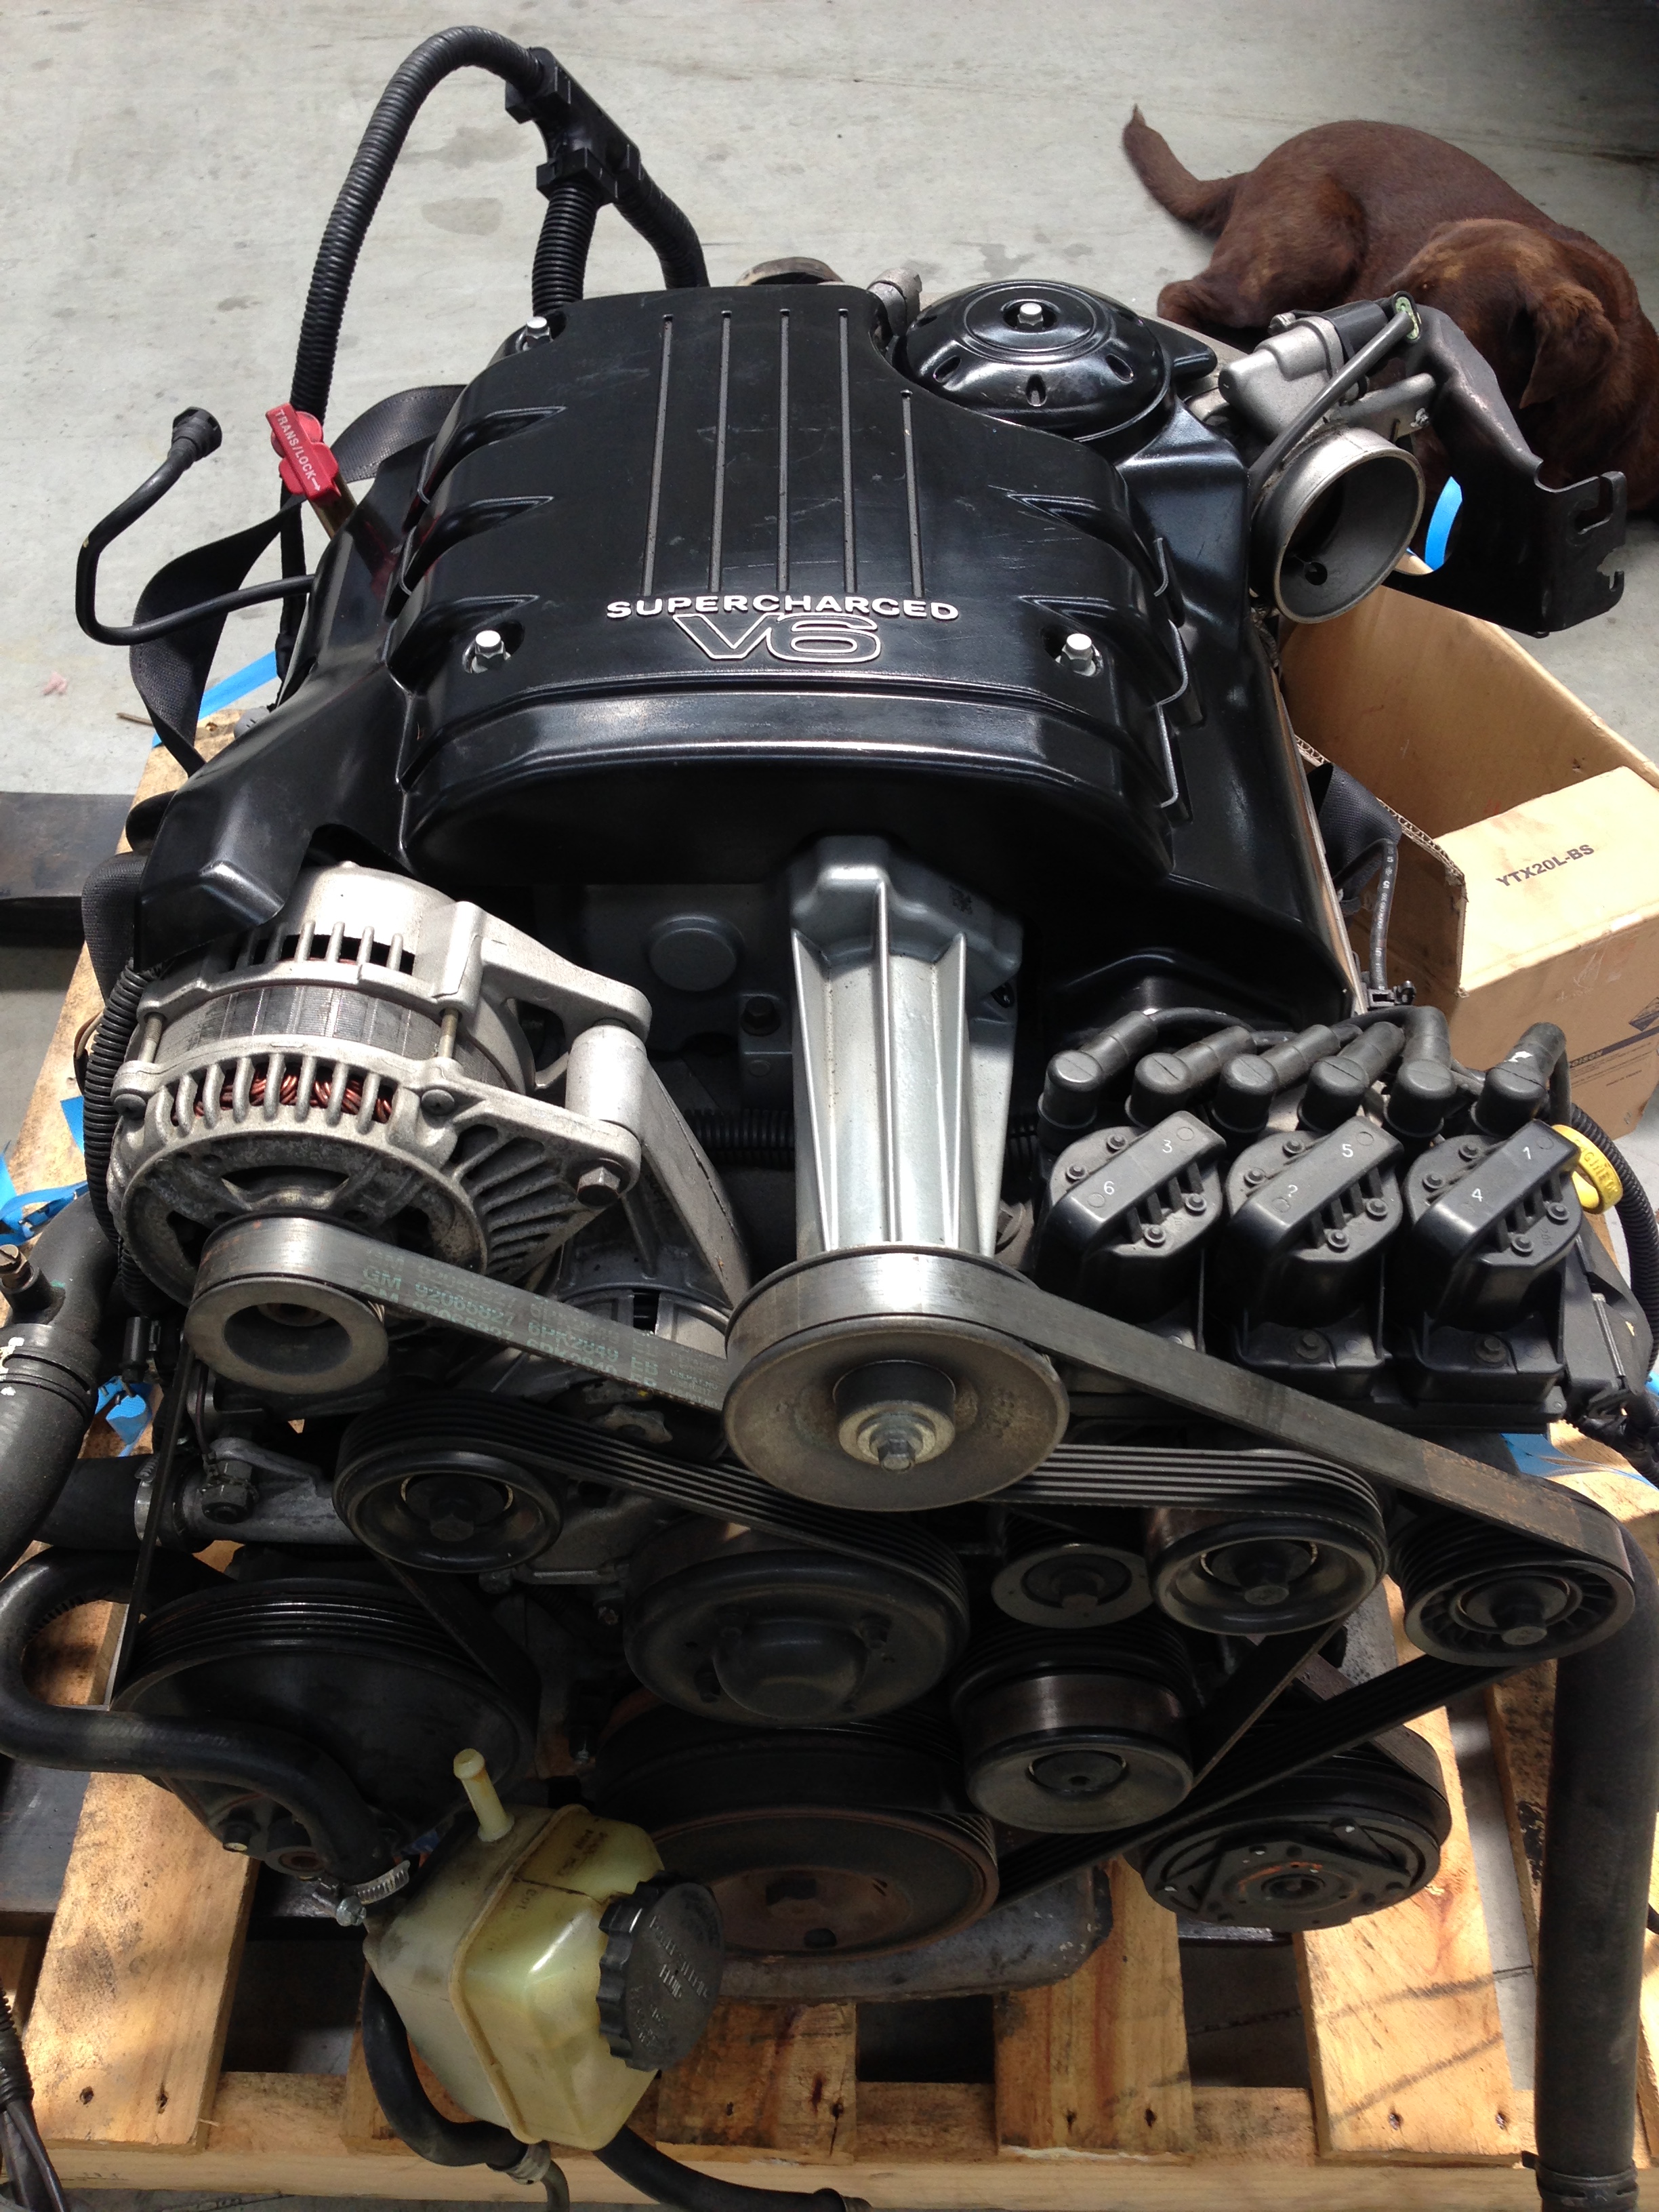
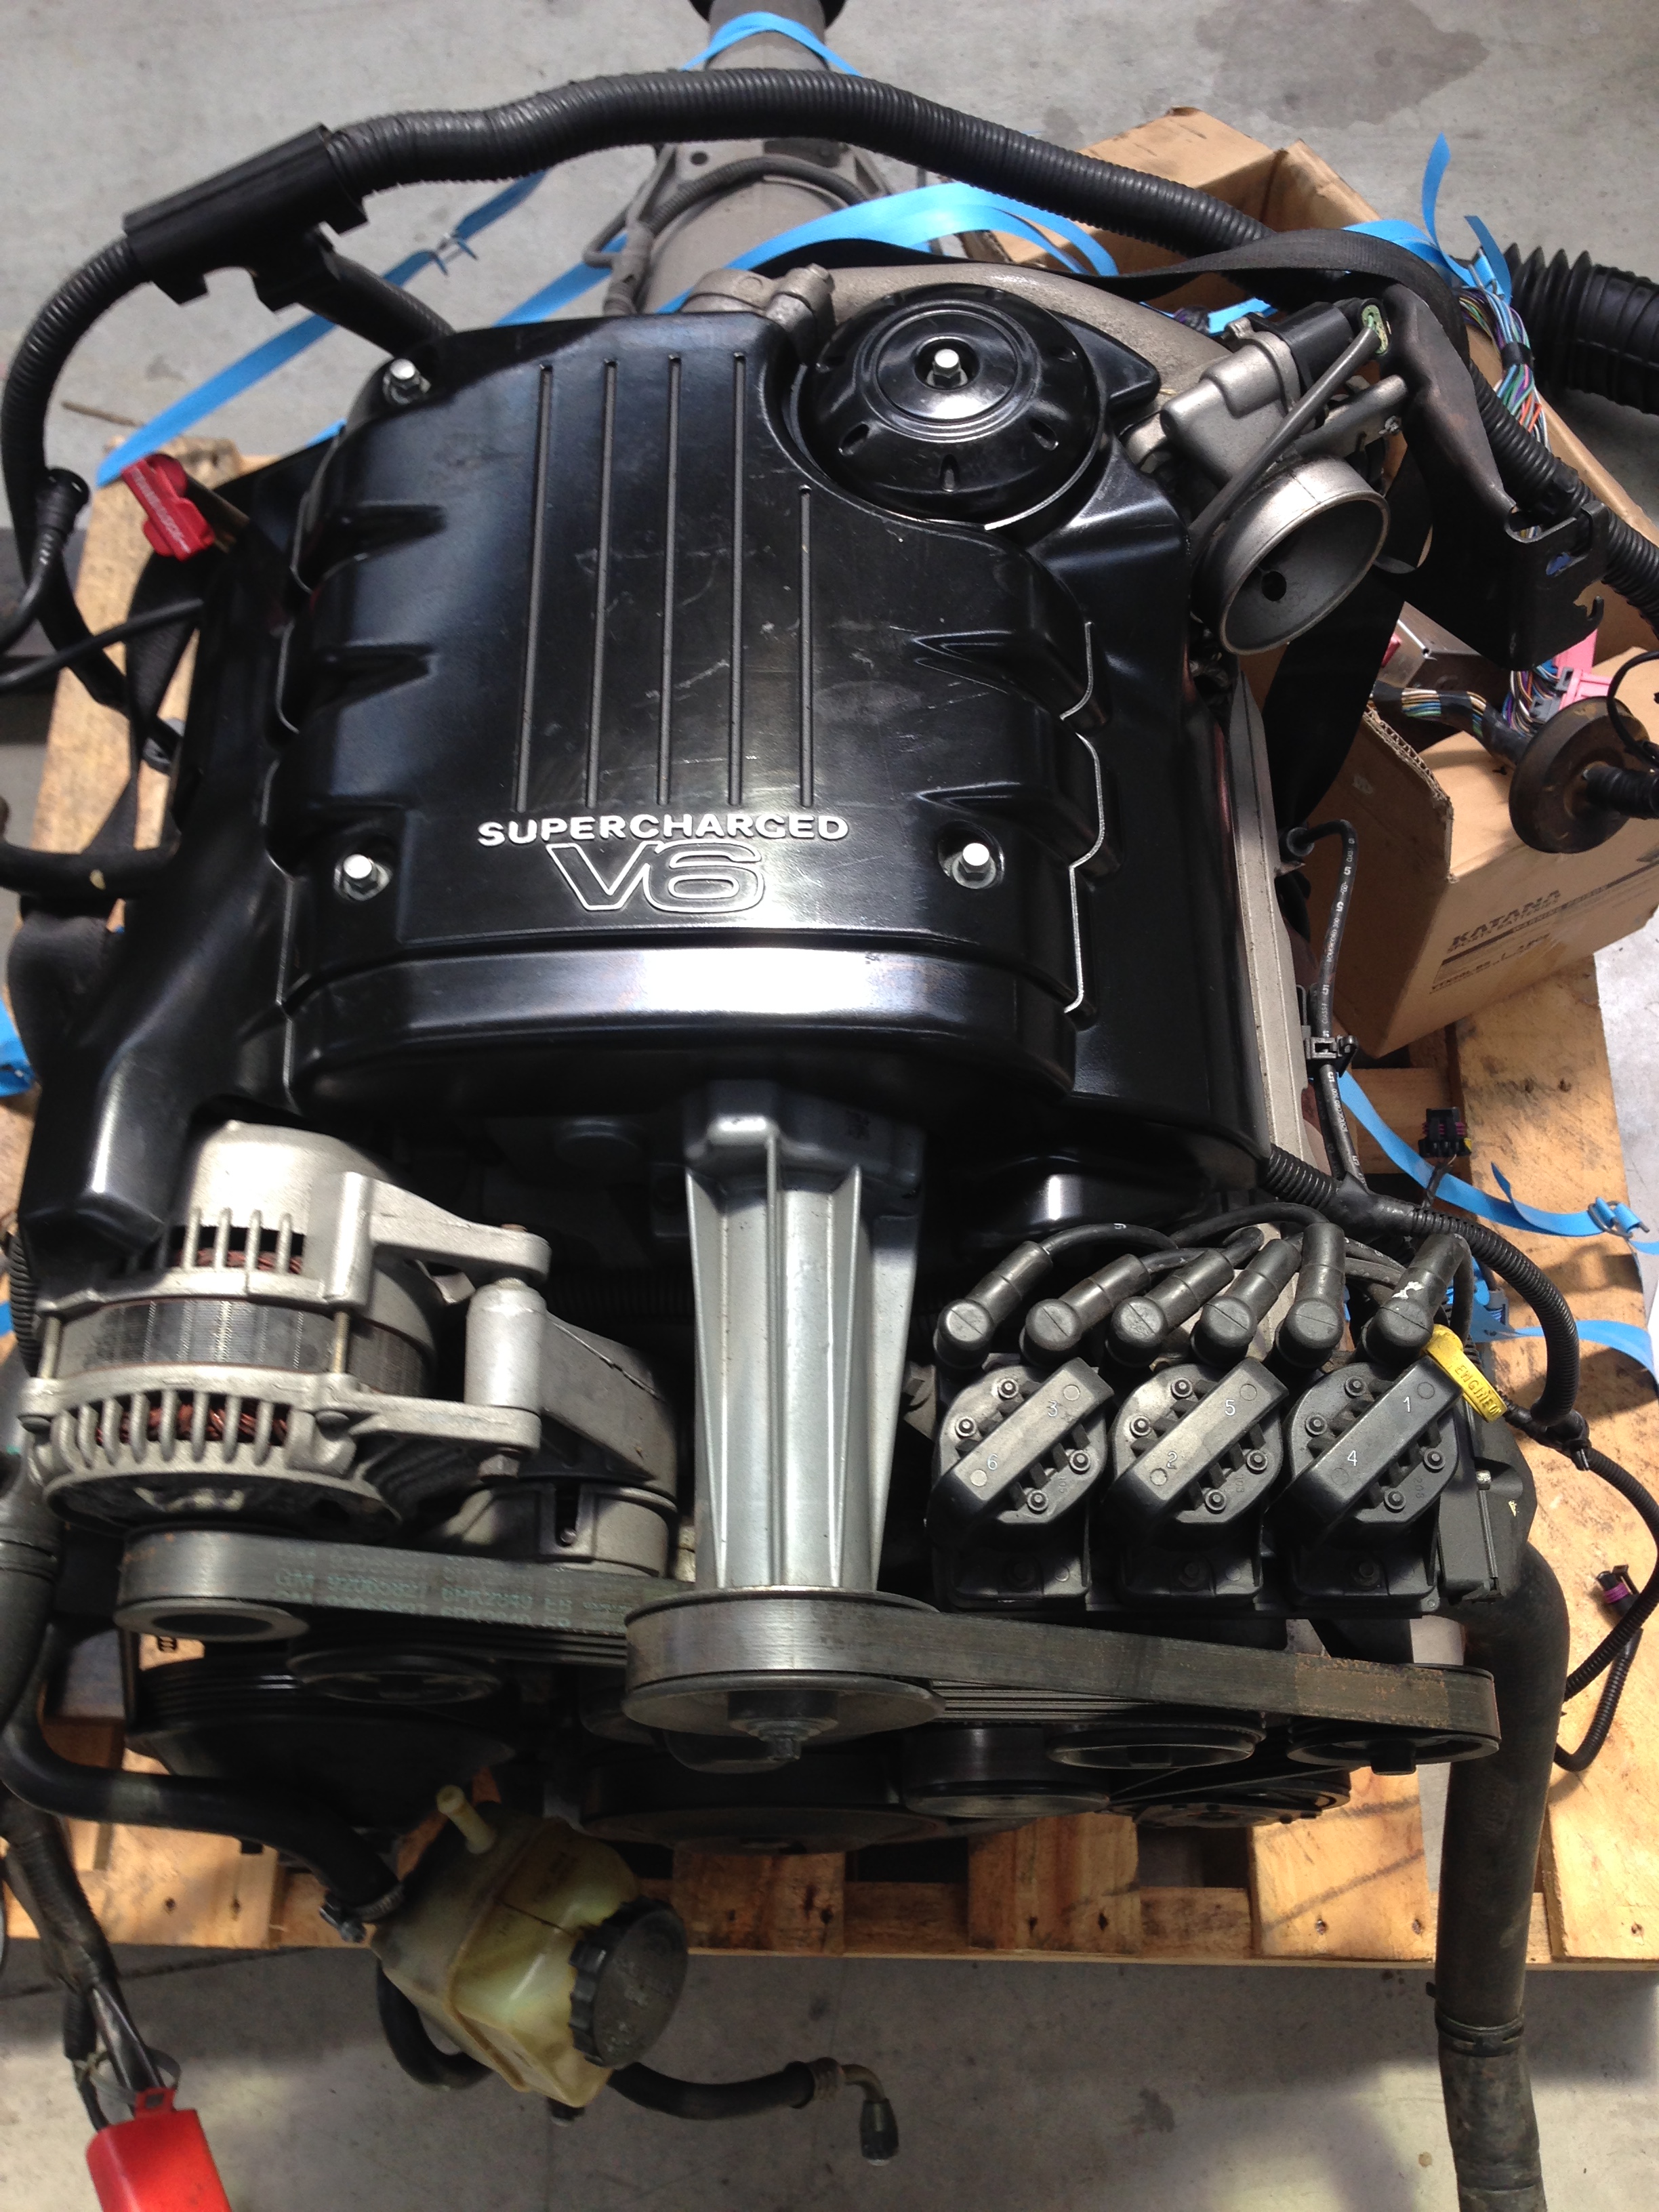
christmas pressie arrived today on a pallet, looks really good That will make the old girl boogie!
2 points
-
she's pretty close now. I've just spot primed a few bits and tomorrow ill give them a sand and its ready for paint. i could fuck around with it for another few days and quite frankly you'd never see any difference, but I'm at the "imagining you've seen a deviation in the panel" stage now which means its about as good as I'm going to get it. ill go and have a yarn to Greg first thing and see what his thoughts are. hopefully we'll paint it this week. i should know tomorrow. 2016-01-04_03-45-41 by sheepers, on Flickr2 points
-
things went well and now its beer o'clock. 2015-12-29_03-58-30 by sheepers, on Flickr 2015-12-29_03-58-40 by sheepers, on Flickr 2015-12-29_03-58-52 by sheepers, on Flickr 2015-12-29_04-13-24 by sheepers, on Flickr 2015-12-29_04-13-39 by sheepers, on Flickr2 points
-
Whats the skinny on Wideband sensors? Cant seem to find anything I could justify buying, whats the skinny on the $300 ones? Are there any cheaper ones? I am just going to use it to tune my afr.1 point
-
Project discussion for my MK1 Mini project - running a SC12 supercharged 1275 //oldschool.co.nz/index.php?/topic/51399-minimads-supercharged-mk1-mini/1 point
-
Old tyres, really hard, more smoke faster eh?1 point
-
waddaya mean? those tires are ligit as fuck! na they're just to see if things would clear and whatnot, we'll see if we can't spring for some better tires for less death. i will have a fang in the rain though just to see what fun can be had.1 point
-
^ Il drive mine. waglyfe- tailgate up1 point
-
Did a bit of research on the 'Gadabout' and it turns out to be a semi rare 'NZ only' one. Now these things were sold worldwide in large numbers BUT NZ was the only country to have front and rear shocks, everywhere else got a rigid frame.1 point
-
Mayte Around, you do not fuck1 point
-
Its also worth while to spend a bit extra and get something that can data-log against RPM and a couple other things. Much easier than watching a gauge and guessing.1 point
-
There are two types of Bosch sensors commonly used in most of the wideband kits (LC2 etc) there's the 4.2 and 4.9 The earlier one (4.2) is prone to shitting itself after not too long (mine lasted... 6 months? 9 months?) where as the 4.9 is actually used in a lot of OEM cars now because they figured out how to make them last long enough to do so. After my 4.2 shit itself I upgraded so now it'll hopefully last a lot longer. But just any FYI / the poor man pays twice / etc Not worth saving $30 or something and ending up with a sensor that doesnt last too long.1 point
-
Damn that's a sweet score !! Gonna look hot on your bike1 point
-
Ive used tech edge ones for years - economy model here - http://wbo2.com/2j/default.htm - They are really accurate and reliable in my experience.1 point
-
Put the reco motor in anyway after lunch and fired it up without the exhaust manifold.. good times. started first pop, although was missing alot, changed the plugs from the other motor and bobs.. timed it and all good. Revs much better than the old one, guess thats the advantage of a balance. One thing I forgot was the oil return line from the turbo in the sump.. couldn't figure out where all the oil was coming from haha.. While it was out I took the oportunity to change the throw out bearing, couldn't for the life of me find the new one I bought a year ago so had to buy another, also discovered the tensioner bearing for the p/s was pretty noisy too.. should run a bit quieter now. Spot the difference1 point
-
k so i managed to get the hatch to clear, by using the bigger hammer method. used the rubber end of my bacho rachet as a dolly and smacked the panel till it cleared. it put a few bows / bends in the roof line as seen here below, but i didnt give a fuck at this stage / its only a rally car. so hatch is hung now, and its all ready to go to my mates booth for top coat. Now that the body is out of the way i got to a few other little jobs, made an alloy mount for the batter isolator switch now that my battery is going in the back. this will go just behind the handbrake. also made new seat mounts. the old ones were mish mash fucking ugly / unsafe things that came with the car that have the worst birdshit welding i have ever seen, are made of so many different pieces and some of them are panel steel!! the rules are the must be made of 3mm steel at least, i made them at my cousins workshop and the smallest flatbar he had was 5mm, so they are overkill but meh they will be safe and are a bit more simple than the last ones. now for the exciting bit. Father in law just sent me this photo of the diff assembly he has built for the car, so stoked. Its an escort diff with a 4.4:1 CWP and Quaife ATB LSD, he made a jig for the starlet mounts and swapped everything over. He has re drilled the stud to 4x114.3 and lowered the bottom arm brackets by an inch to help with squat / traction / i dont know but he does. cant wait to get the locked 3.7 out of the car and get this bad boy in!!1 point
-
So Imageshack is no longer free and has dumped all my photos out of this thread. Sorry. (Will sort this sometime) Anyway just letting the world know I do in fact still own this old girl...
1 point
-
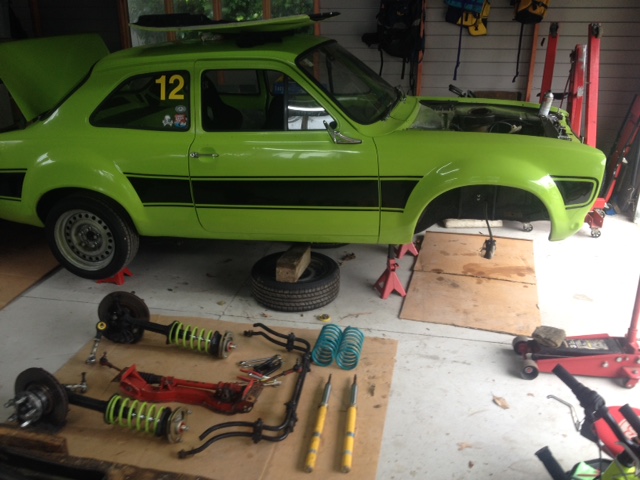
Pulled all the font out as the easy way to get the engine and gearbox back in, And while the suspension seemed pretty good for the track and hill climbs, lowering springs + Big Bilsteins = Better
1 point
-
Took the Skyline around the block to make sure all still working as it should be, rides a bit nicer on the new tyres compared to the cracked other ones so that's cool. Also did an Instagram walk around as hadn't done that yet. Got several puzzled looks in my short around the block journey haha, people can't work out what it is. https://www.instagram.com/p/BAEEuXSGbEx/?taken-by=mlracing_alex When I parked it up to open the garage it was in the right spot.. Squad.. with myself? haha I had a really good time just driving it around the block, it's made me excited for this year! Also the new woodgrain Nardi is so much nicer to use, perfect for the car.1 point
-
Someone finally got a video from the outside when I was drifting on the rally tyres and makings dort noises.1 point
-
today i started final sanding the outside of the car ready for colour. I've never dry sanded a car for the final prep before so i spent the morning trying different things and in the end it became apparent that i could use the 150mm DA for the big flat bits. so I've been using the DA with 400 to knock the tops off then going back and finishing it with 600. this has worked a treat on the big flat surfaces and is about two billion precent faster than doing it by hand with water. I've finished the boot lid, the roof and the bonnet. early in the day i was still trying to see if i was fucking up the lines using the DA so I've been wiping the panels with prepsol quite a lot and everything looks good. so i started on the rear quarter and thats about 80% finished. once again I've been using prepsol heaps to see how the lines look and so far so good. dunno if ill get anything done tomorrow. it was cripplingly hot today and for a while i was long boarding it by hand which nearly killed me. i might take a day off tomorrow.1 point
-
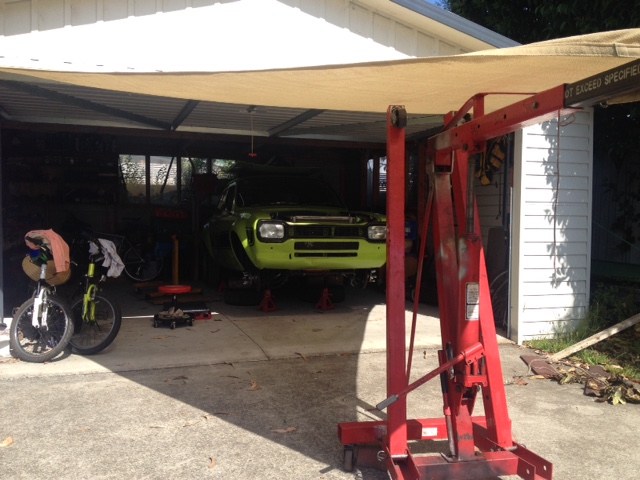
Hmmm, been a while so thought I had better prove I turned a spanner on the car... Approved summer use of engine crane
1 point
-
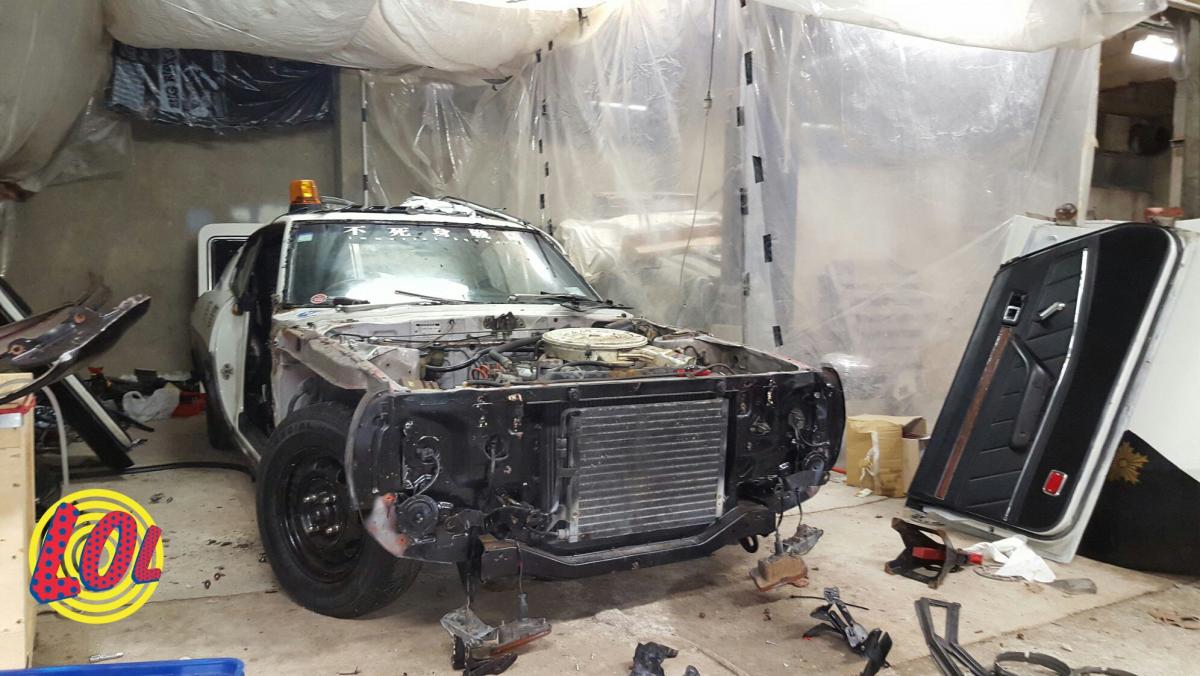
today i took the motor out and in traditional OS tradition here is a picture of me playing actual guitar in the hole. you probably can't tell but I'm playing a fine rendition of the sound of silence. 2015-12-24_04-25-34 by sheepers, on Flickr 2015-12-24_04-08-58 by sheepers, on Flickr so, onward. whats wrongs with this picture?? 2015-12-24_02-54-59 by sheepers, on Flickr thats right keen eyed reader! the pipey bits should line up with the slots in the fire wall, but they don't. id been intrigued by this oddity for some time and today after i got the motor out i decided it was time to investigate. i have no fucking clue how this was assembled in this way, i could not get it out without breaking the housing. its the wrong heater core but i suppose that much was obvious. there just was no way of getting it out without breaking it. so i broke it. 2015-12-24_03-02-46 by sheepers, on Flickr whatchaaaa gonna do now? well, tomorrow is Christmas day so ill probably take tomorrow off. boxing day however is prep engine bay day.1 point
-
Set up the roof rack, looks pretty good but I might need to chop it more to make it a bit lower. Shifter is now higher than the roof courtesey of some free reo bar from work1 point
-
Been meaning to sodablast & paint the engine but the weather has been rubbish lately. Started tearing down the bike some more instead and am going to chip away at all the small jobs. Stripped the front forks today, mainly to just see what sort of condition they were in & to paint the lowers. They were mint inside. Seals were good & fork oil was clean. I swear by this stuff.1 point
-
It's like working on a lawnmower carb' but bigger and no plastic anywhere. Not sure if you can read that but the name plate reads "Holley carburetor Detroit Mich" The whole car is like a mechano set.
1 point
-
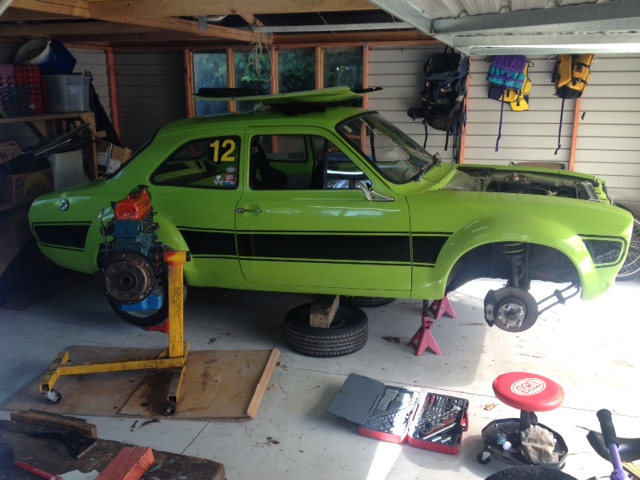
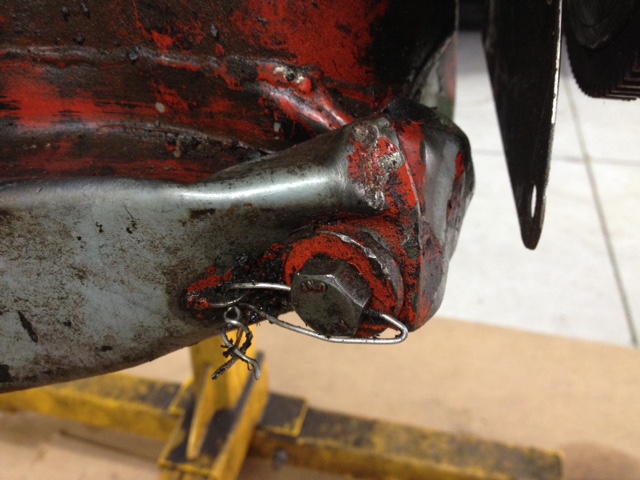
So for a short while my garage looked like this. Temptation was there for an engine transplant. Not overpowering though as I have just broken up with my overpowered turbo Geisha girl and really it was a short term dalliance with Cossie and a nice new home was found for her so I can finally get back to my long term flame Felicity. Closer investigations on the mystery package angry(?) pinto revealed some nice touches. Clearing out some of the scenery from the dent in the sump showed a nice wire tie on the sump bung Breathers have a guard in the rocker covers, cam does not seem to have a marking but lobes seem to be of decent size. Hmmmmmm Edging slowly closer to first test start up.
1 point
-
Almost forgot the most important feature:1 point
-
Decided the low life wasn't for me, would rather drive my car hard. So I raised it and got some decent sized tyres. Found an Mtech 1 steering wheel and got offered a full set of Mtech vinyl seats and door cards at a price I couldn't refuse, so got those and put them in. Now it's like this: Plans for now are to just drive it. Using it at the moment while I do yet another engine swap on my mk2 Golf (with make a thread shortly). Eventually I want to do either an m30 or m50 turbo with manual gearbox of course, but that will be long term. If I'm fortunate enough I might be able to do an S motor or M88, we'll see what life has in store. Right now I need to fix the fact that it's using way too much fuel, around 15-16 liters per 100km. I've checked everything and reset the throttle cable, tps, idle mixture screw etc as someone had messed with all that but it hasn't improved it. Need to see what's going on there. But it's been going reliably for the 2 years I've owned it and for how much I paid for it, it's far outlived it's cost so I hope I can do something cool with it.1 point
-
Fixed it up and got it road legal, then sold the wheels as they weren't my style and bought some 16x8 BBS Style 5s. I polished the lips and painted the centers antrachite grey: Put them on, lowered the car a lot and drove around like this for a while:1 point


This leaderboard is set to Auckland/GMT+12:00