
Leaderboard


Popular Content
Showing content with the highest reputation on 10/31/15 in all areas
-
wow... been a while! Used the car as my daily for 6 months earlier in the year and went fine. Now it's time to actually EFI it though... before drag day (i hope). So i figured, the best way to do that is the hardest way, and thats by designing my own ECU... All i have to design is the hardware, i'll be using FreeEMS to actually run it all, but their current hardware leaves a lot to be desired in my eyes. so let me introduce MicroEMS! a play on words between MicroSquirt and FreeEMS because i made it use the same connector and pinout as the microsquirt, so that if FreeEMS software or my hardware all turns to custard, i can just buy a microsquirt and plug it in a 3D render from the board design program; So i have actually just ordered 10 boards, and am trying to get my digikey account un-frozen so i can order the components for it as well and start building it in a week and a bits time I've been wanting to design an ECU for a LONG time and never really pushed through, but over the last few weeks i've put a lot of hours into designing something and going to finally give it a go. I shall keep you all updated17 points
-
FUCK YES!!!!!!!!!!!!!!! got up early and went up to peters shop this morning to fold up some new drip rails. this went very well indeed and by about 10am i had two drip rails and two new roofy side bits. peter then instructed me on how to fit it all up without fucking it up so i went on my merry way. i followed what he told me and now one side of the roof is fixed and back to factory. its rust free, has heaps of primer in between the layers and its fairly straight. all these things make me very happy indeed. new drip rail. new drip rail, roof side thing and the trim that goes onto it. 2015-10-31_03-04-54 by sheepers, on Flickr checking the fit with the A pillar trim. 2015-10-31_03-04-14 by sheepers, on Flickr 2015-10-31_03-04-06 by sheepers, on Flickr then plug weld it on. 2015-10-31_03-04-22 by sheepers, on Flickr and this is the inner all welded in and primed ready for the outer to go over it. 2015-10-31_03-03-41 by sheepers, on Flickr next fit the outer 2015-10-31_03-03-59 by sheepers, on Flickr 2015-10-31_03-03-50 by sheepers, on Flickr tack in place and fuck around for ages getting it sitting right then weld. 2015-10-31_03-03-25 by sheepers, on Flickr 2015-10-31_03-03-17 by sheepers, on Flickr 2015-10-31_03-02-59 by sheepers, on Flickr 2015-10-31_03-07-52 by sheepers, on Flickr 2015-10-31_03-32-22 by sheepers, on Flickr 2015-10-31_03-32-30 by sheepers, on Flickr so i still have to finish the front and rear parts but thats minor. I'm super stoked that the roof now has drip rails and its all factory and right. you know when you worry about how your going to fix something for ages and it becomes bigger in your head than the actual? well anywho i had stressed about the roof for ages but its all coming together nicely. ill do the other side tomorrow an then I've just got a couple of patches in the corner and the sun roof and were done!!!!!!!! fuck and yes.12 points
-
It isn't too difficult, you will need Constant B+ Switched B+ Good Earth Antena (if you are using one) And a + and - to each speaker you will have. From my experience the constant B+ is either blue or yellow, Switched B+ is red, Earth is black. The speaker wires will be pairs, green and green with a white stripe, Purple and purple with a white stripe etc The constant B+ is the main power to keep the memory going it will need an inline fuse (sometimes the head unit will have a built in fuse), the switched B+ will need to be hooked into the ignition switch to tell the head unit when to turn on and doesn't need a fuse, the earth can just be a screw that connects the wire to the chassis. Then it is just a matter of hooking up all of the wires. You should definitely splash out on some crimps and heat shrink so the your stereo doesn't cut out when you go over bumps in the road and stuff, there should definitely be a youtube video on how to crimp and use heat shrink properly. Other than that you will need wire strippers, and a volt meter so that you can find you switched B+. Go forth young grass hopper and let us know you you get on.7 points
-
Forgot to fill washer bottle... Pretty sweet for sitting in a shed for 7 years haha Will get new seat belt on sunday arvo, new park light bulb and fill the washer bottle too Monday will get new brake pads fitted and either lose the rear muffler which is the bit touching the driveshaft or bend it in a few mm... Then will have a wof and can book it in for respray!! Discuss: http://oldschool.co....g/#entry15827744 points
-
Do not ever twist n tape. If you do I will know, and I will hunt you down and kick you in the balls. If you need somewhere to mount the thing you can get bolt up generic headunit mounting blocks that stick up under the dash, or just make your own, or mount in the glove box, or hack up your dash and put it there. Whatevs.3 points
-
So kind of spent way too much on an original Japan market brochure for my car.... 32 pages of glorious early 80's awesome!3 points
-
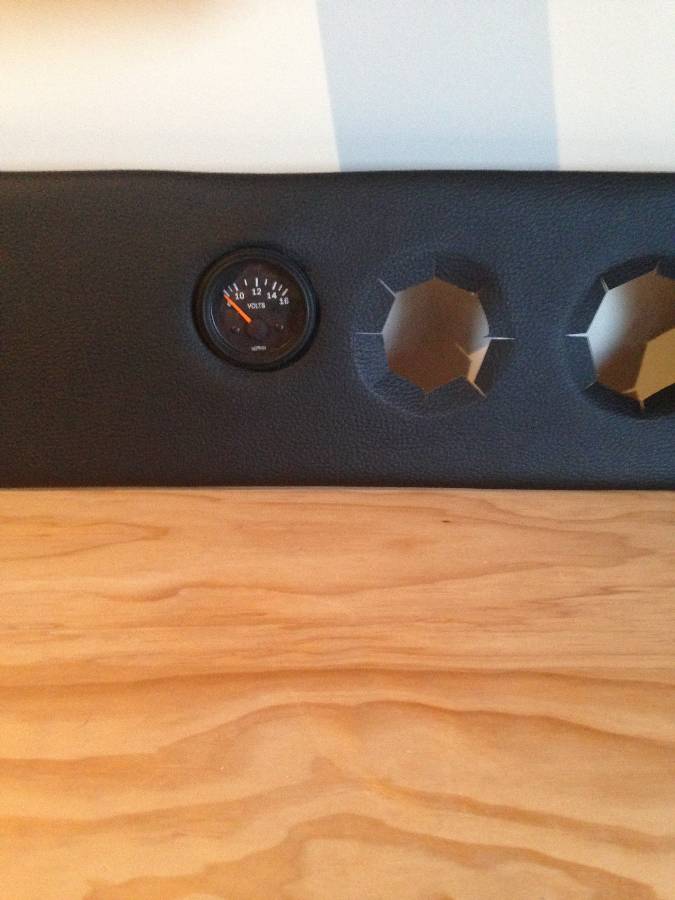
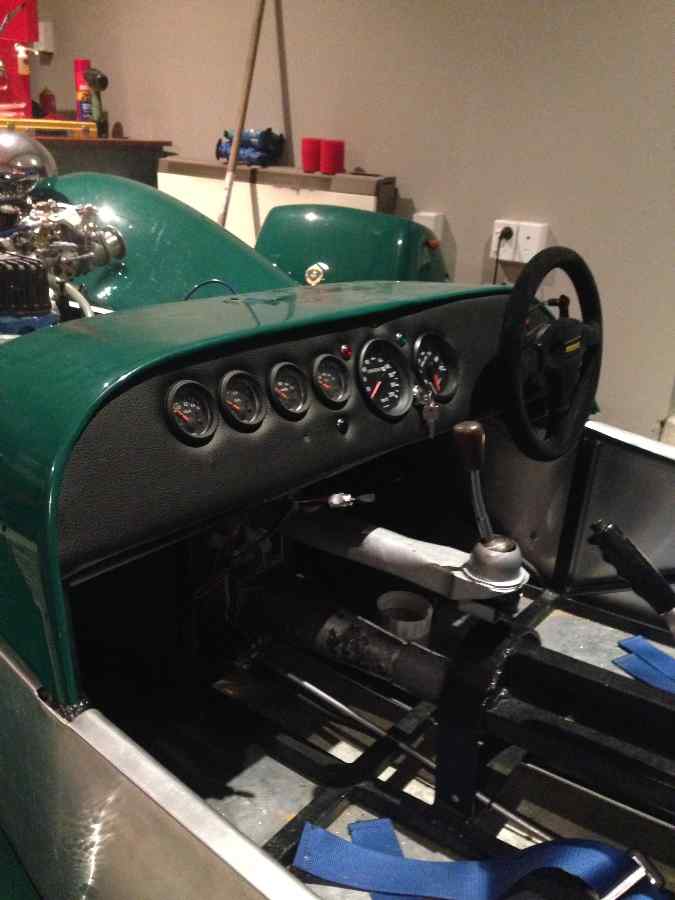
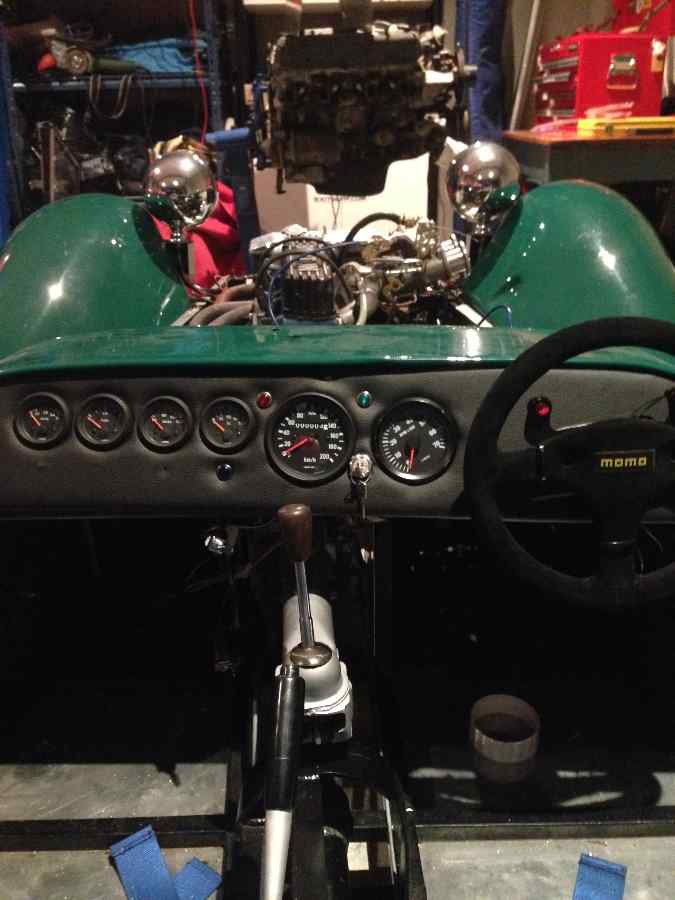
Evening, Decided to do some more to this today being that the other alternative was more study... Went and bought myself some foam, vinyl and contact adhesive and upholstered the dash... Cut the holes out Test fit Apologies for the less than shite pictures. Pretty happy with how it turned out though Discussion if you wish //oldschool.co.nz/index.php?/topic/46798-hkm400s-1969-lotus-7-series-3/page-4
 3 points
 -
She's here! I was able to drive it from the port to storage which was sweet! Smelly, rusty, hot, no power steering, no power windows, average brakes, overall very awesome. Makes all the right noises, especially driving it through the city. She's a big job so I won't be starting repair until next year when I'm back from overseas in February, for now, stoked! Oh, and bonus the front under lip turned out to be carbon, thought it was just FRP! Chat: //oldschool.co.nz/index.php?/topic/49704-mlracings-hakosuka/3 points
-
Electric fan is all done. After trimming down the Volvo shroud I just had to make a couple brackets then wire it up. Initial tests showed I wasn't going to be able to use the dual speed unit as I originally intended, the ranges of the switches I had didn't match the Cedric cooling system which was always likely. The first switch opened low and high at 80 and 88 respectively and the second switch opened at 91 and 99. The second switch wasn't usable, got too hot on the gauge for my liking, even on the low side. First switch was better but the low side triggered at 80 whereas the thermostat opens at 82 so the fan was constantly switching on and off. The high switch (88c) was spot on and would keep the gauge steady in the centre so I ended up wiring both through that and added a switch to select between the high speed and low speed fan, for summer and winter I guess haha. Testing the switches Switch is on the left on top of the control unit Pretty happy with it now. I still have 1 80-88 switch and 2 91-99 switches if anyone wants them, I also have a spare M14x1.5 tap for modding the switch housing. I have this to make up one evening now2 points
-
Have pretty much done nothing on this since I got it, BUT, just got my advans from japan this evening. Huuuuuge thank you to Jordon and EURON8 for organising and getting them down to wellington for me, wheels are far better condition than I expected too, stoked!2 points
-
Tune in next week for your next lesson on Amplifiers and subwoofers2 points
-
Wow! Kudos to you! That is some next level electronic wizardry right there!2 points
-
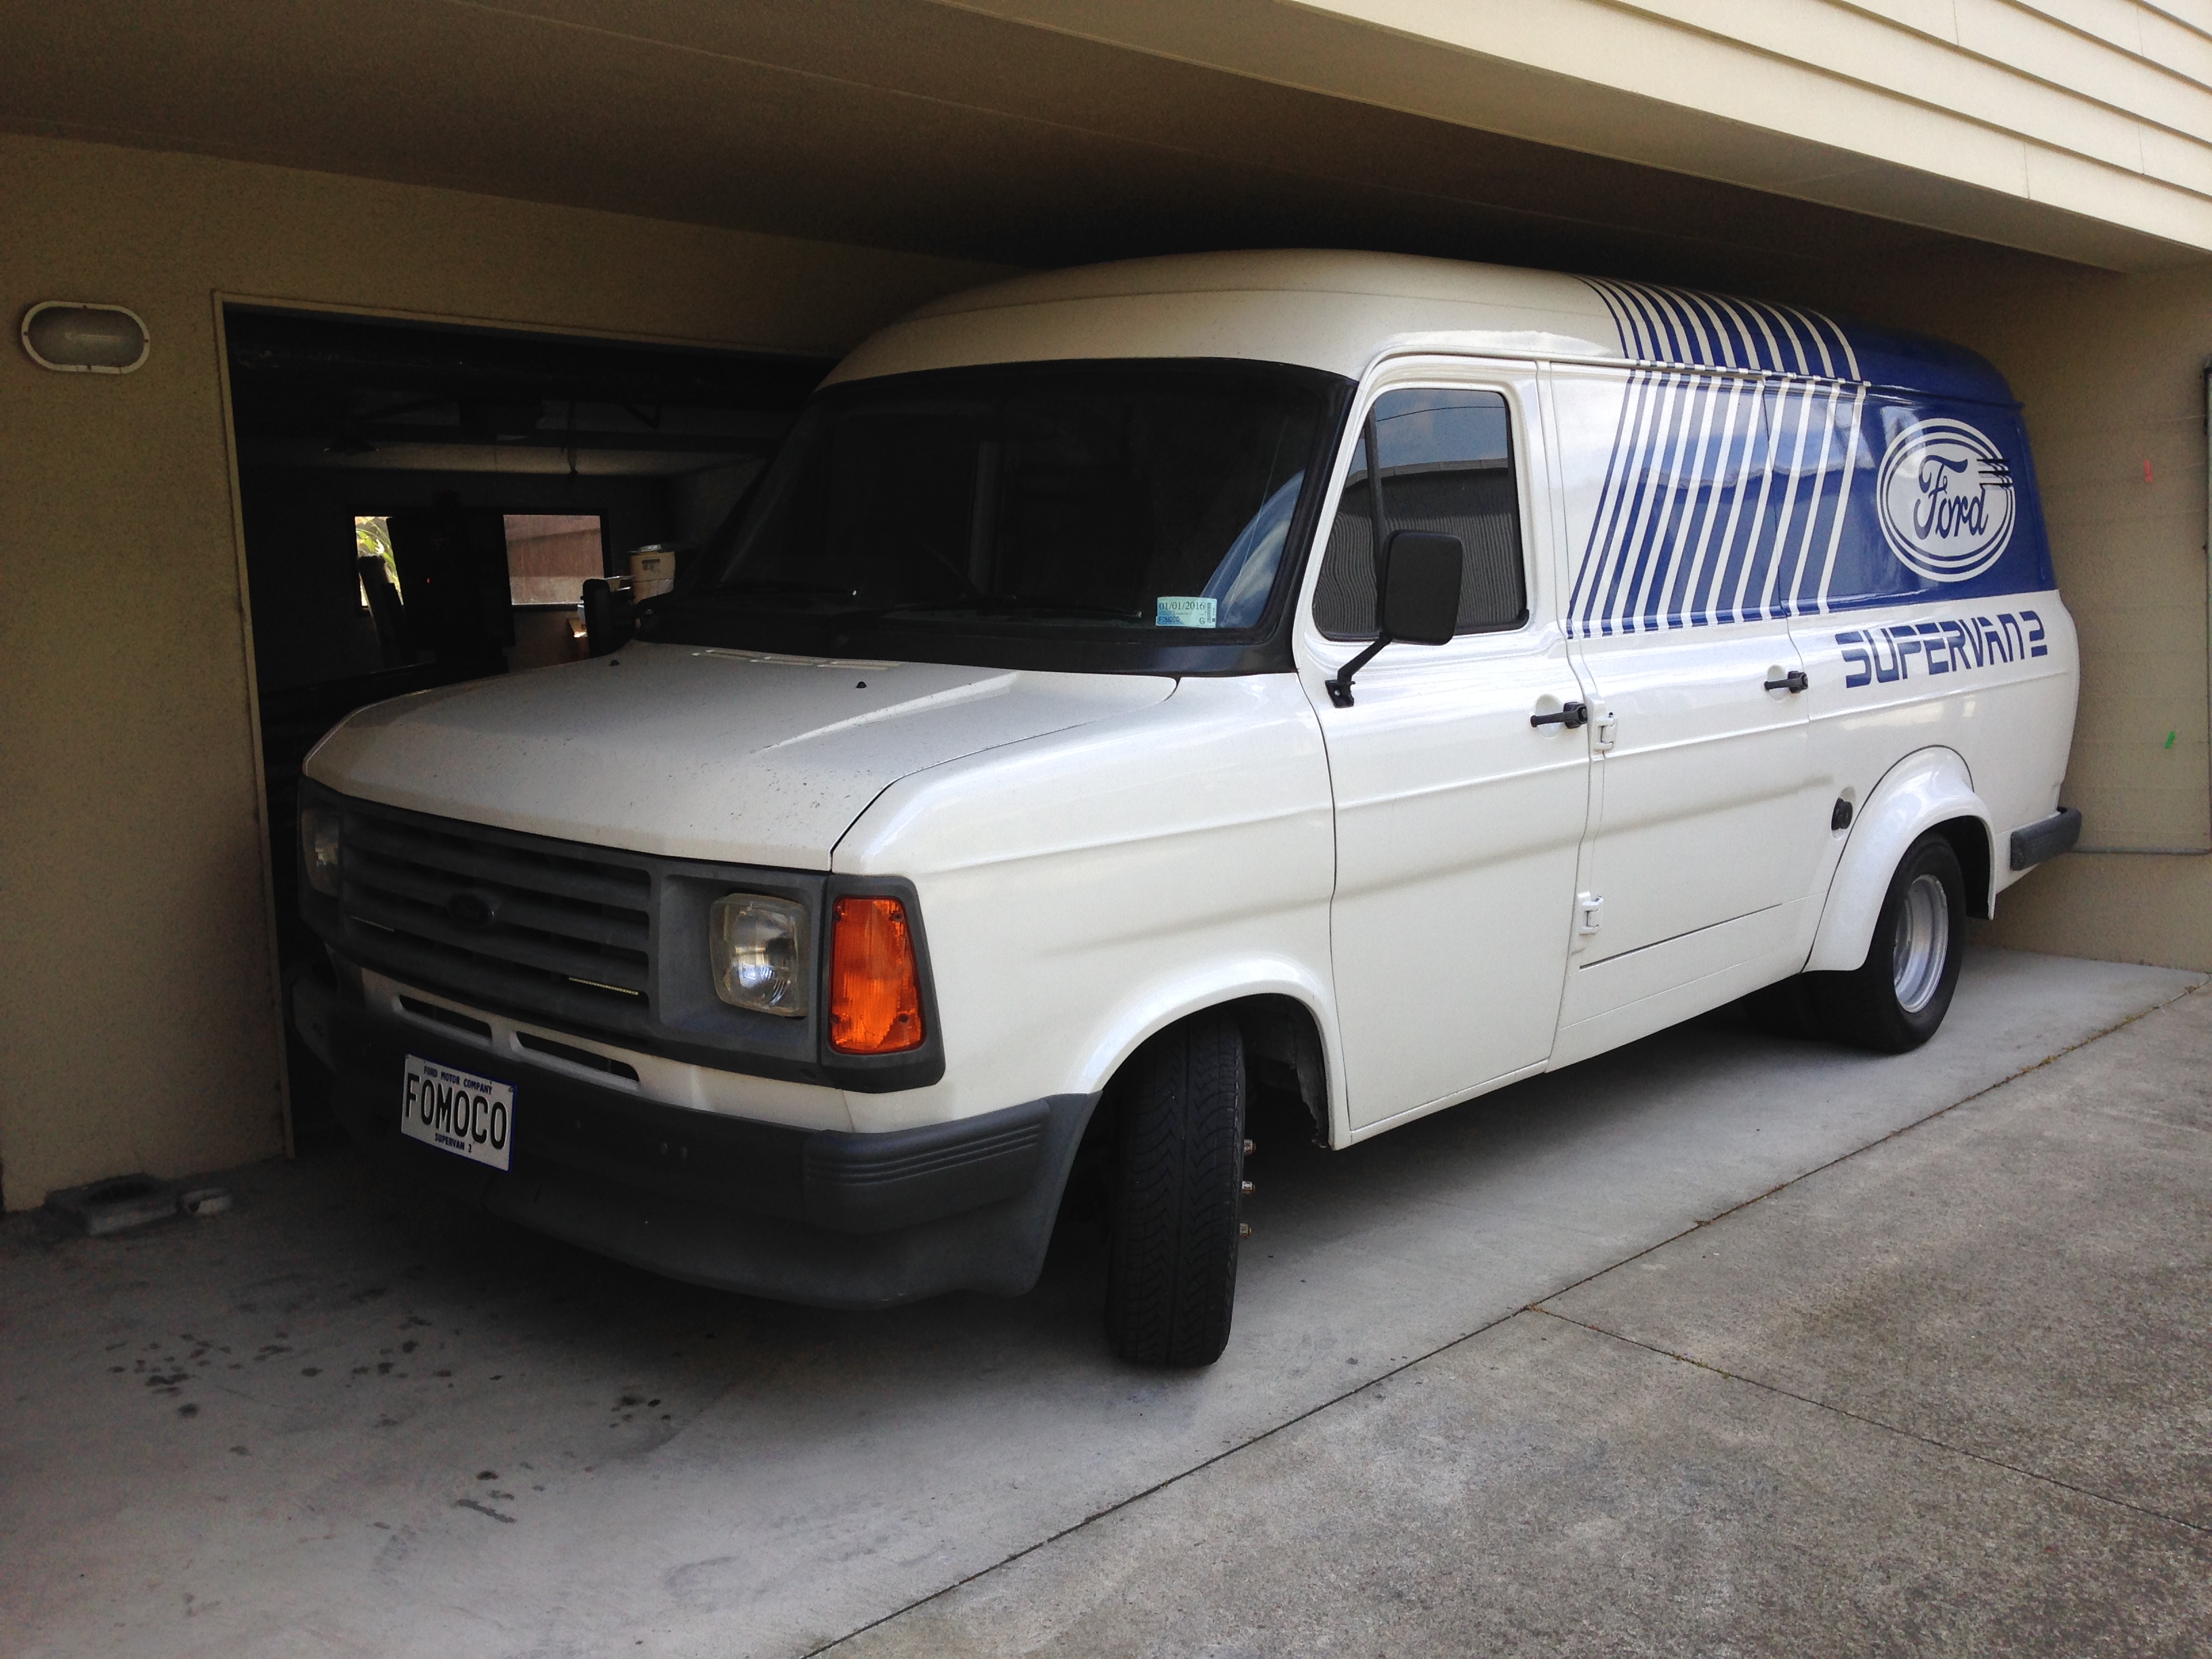
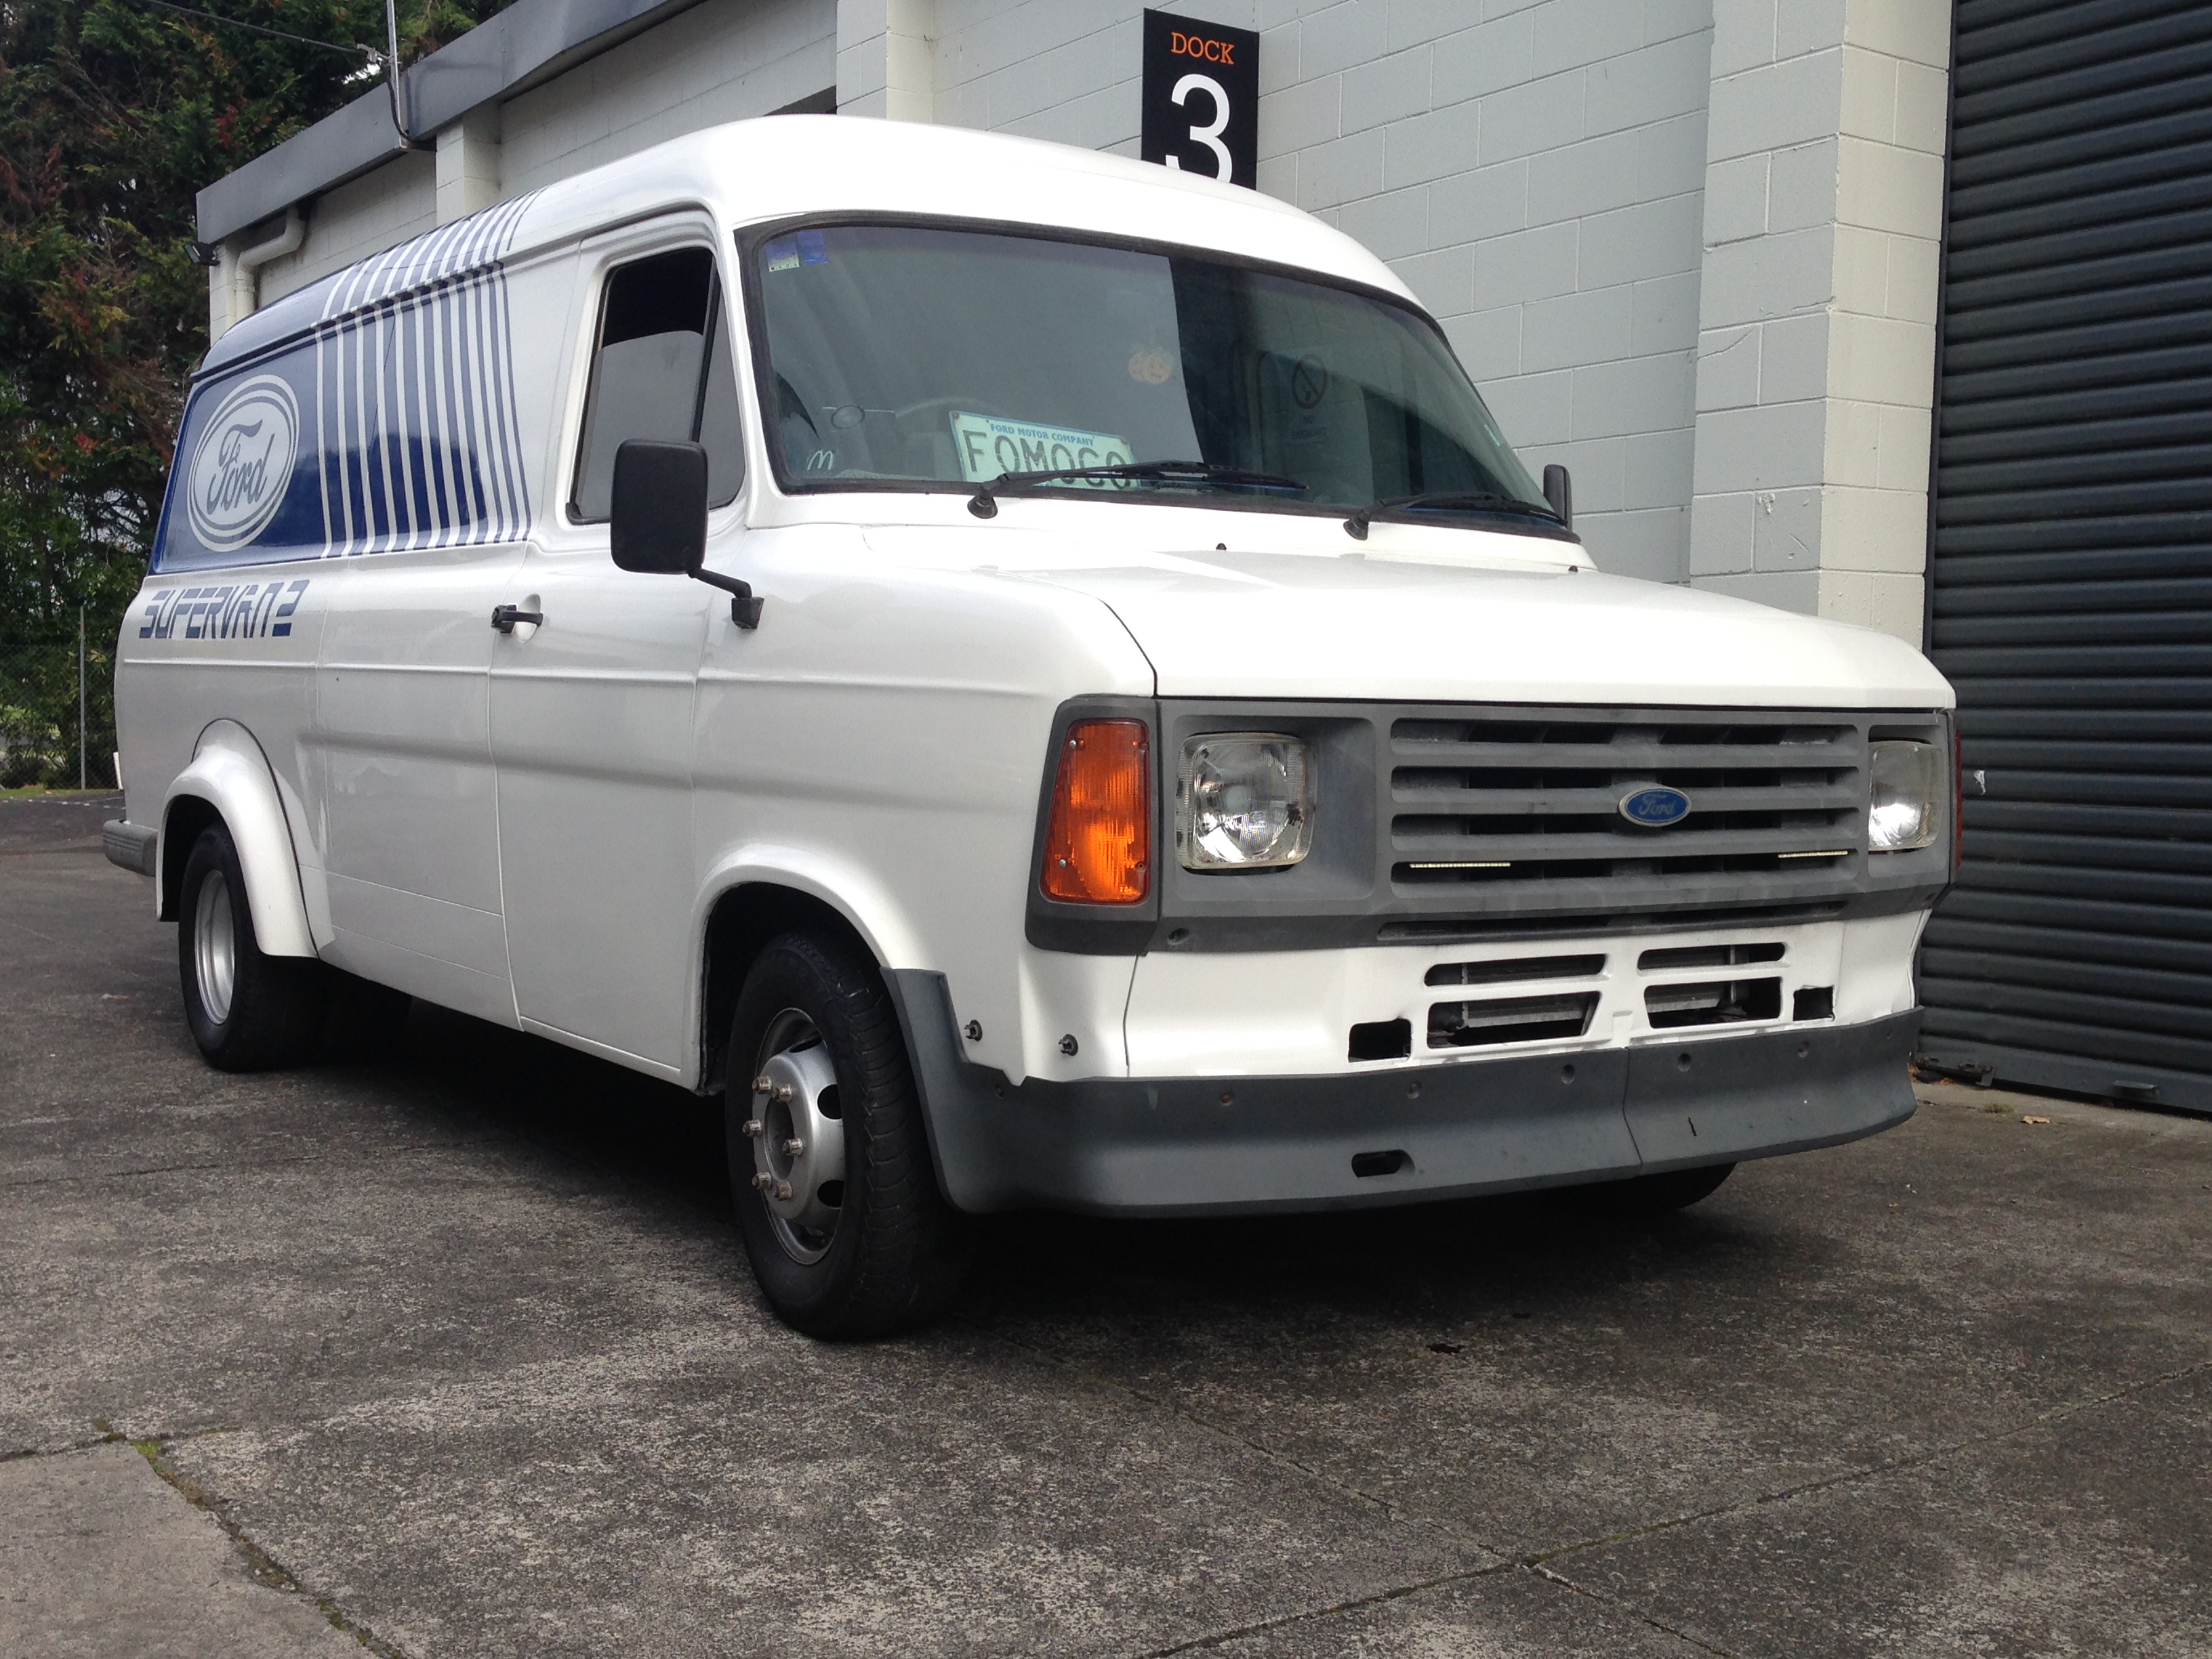
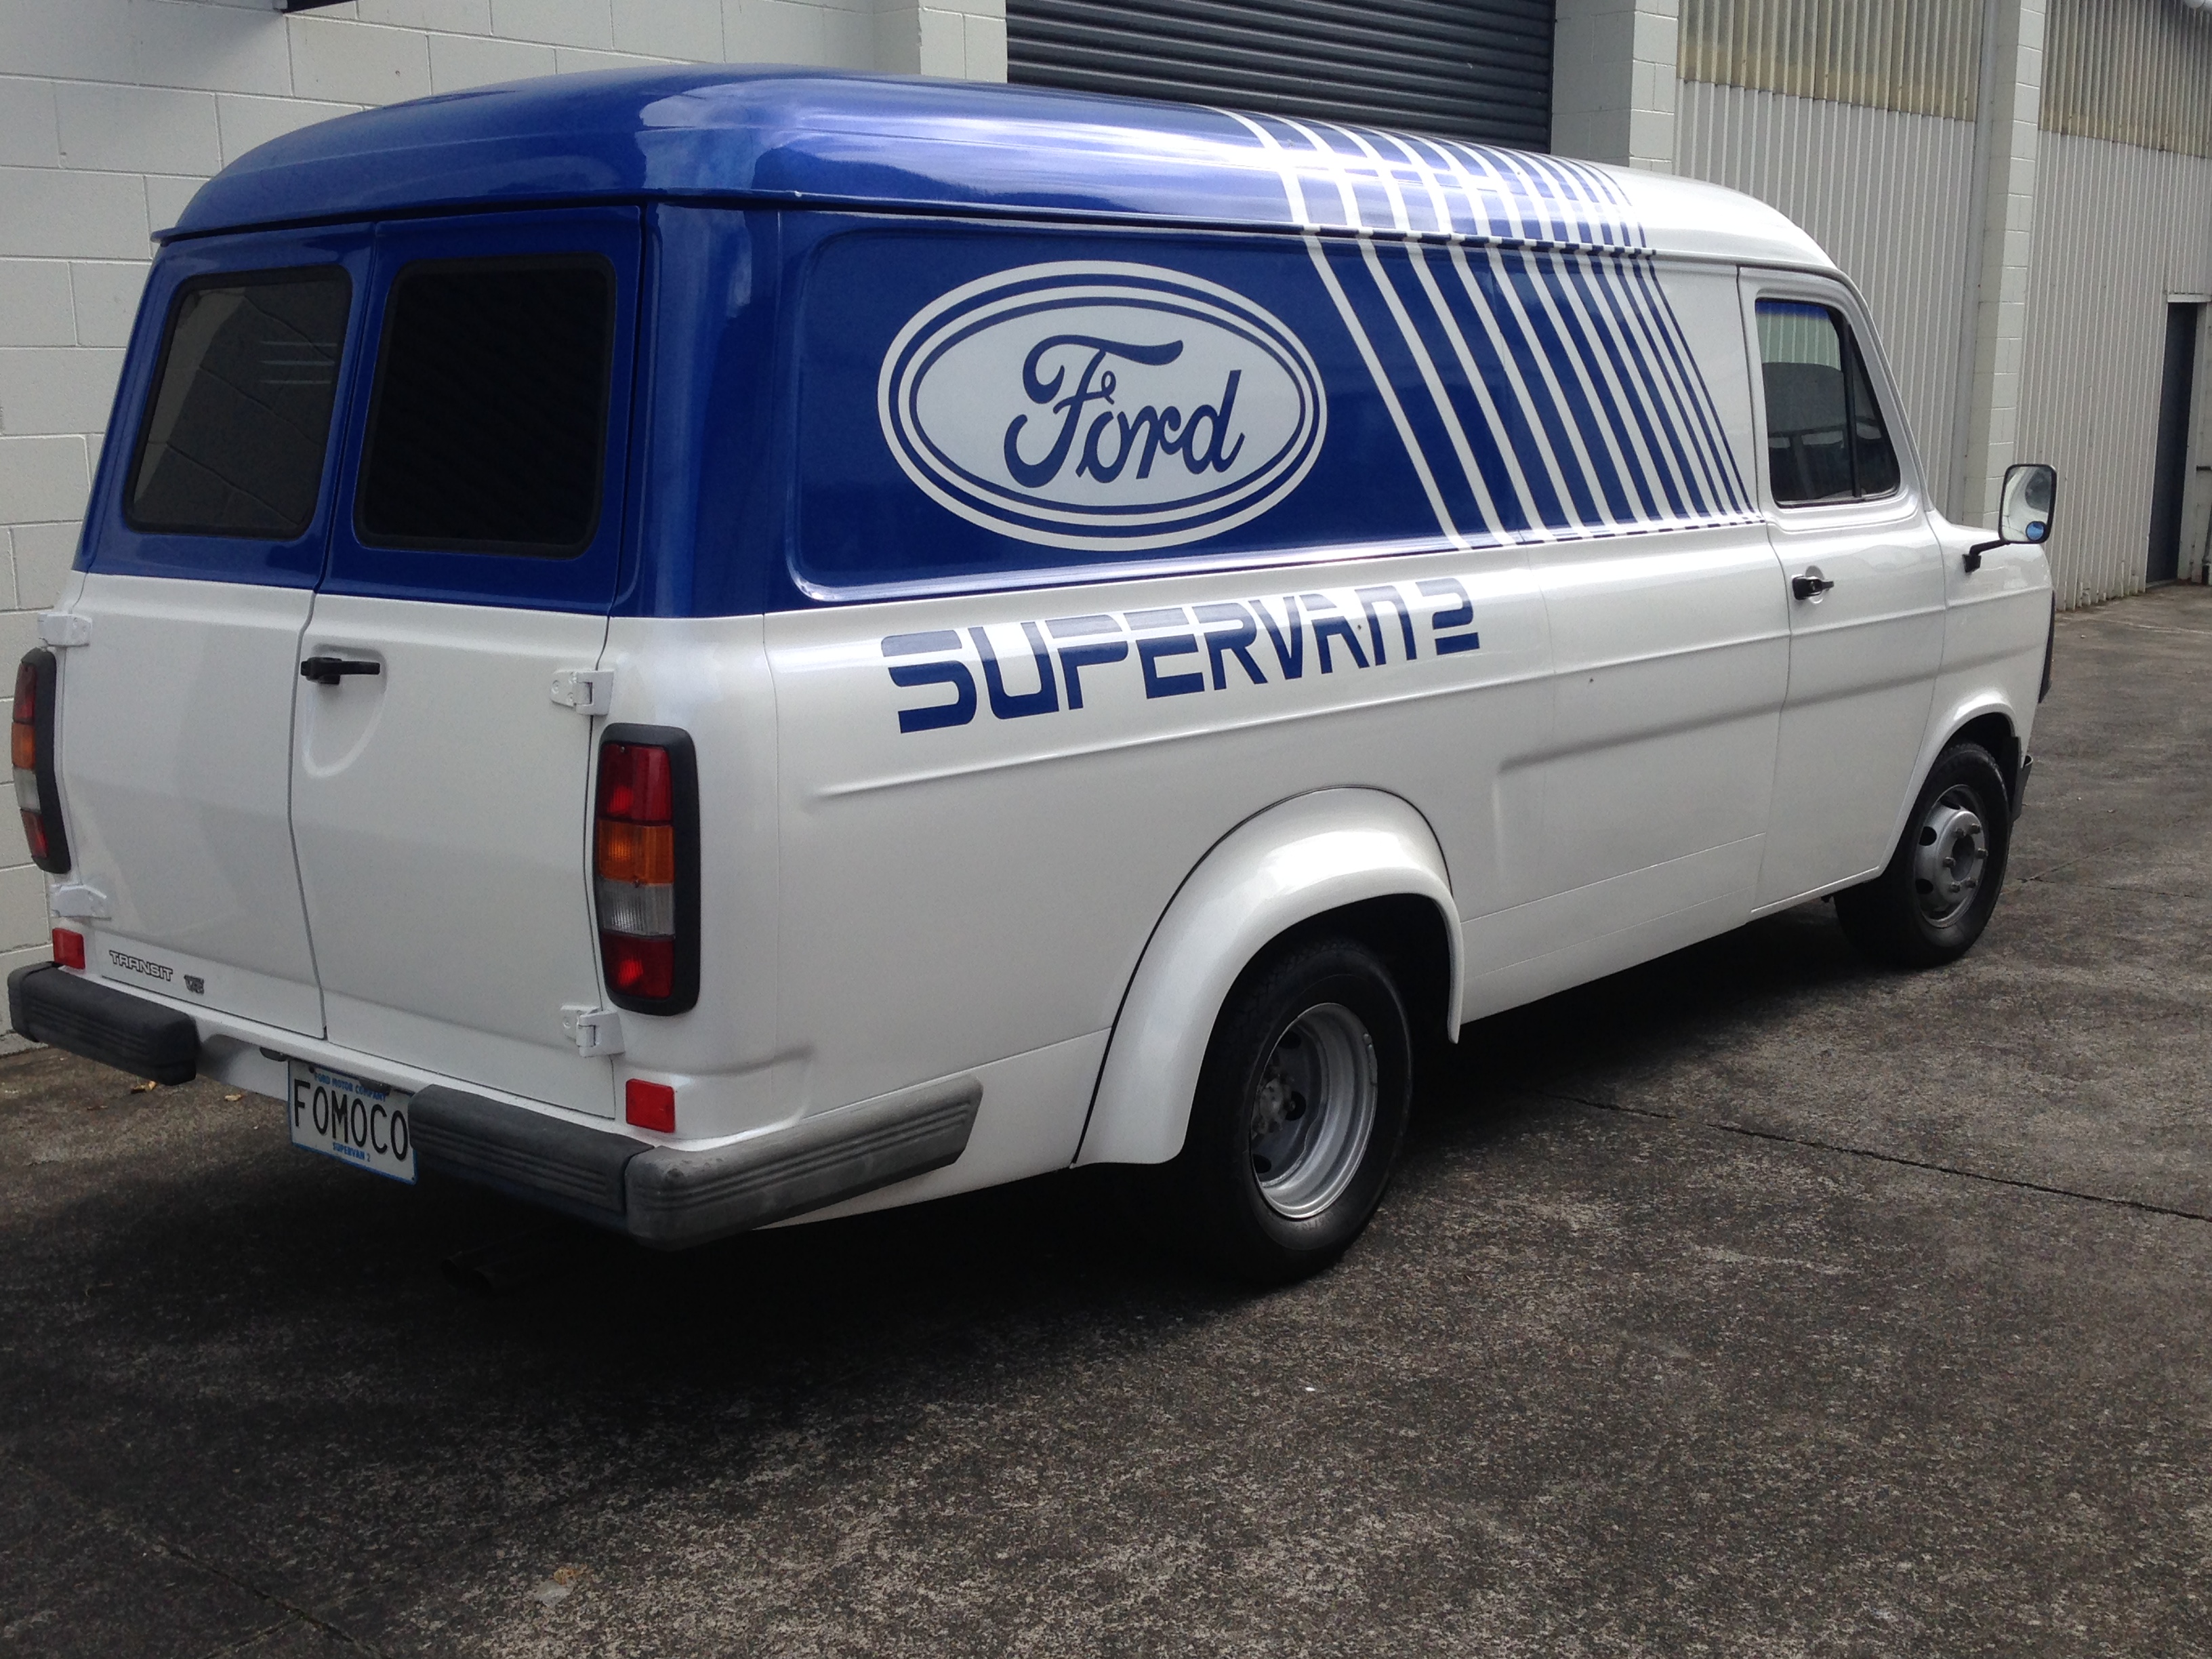
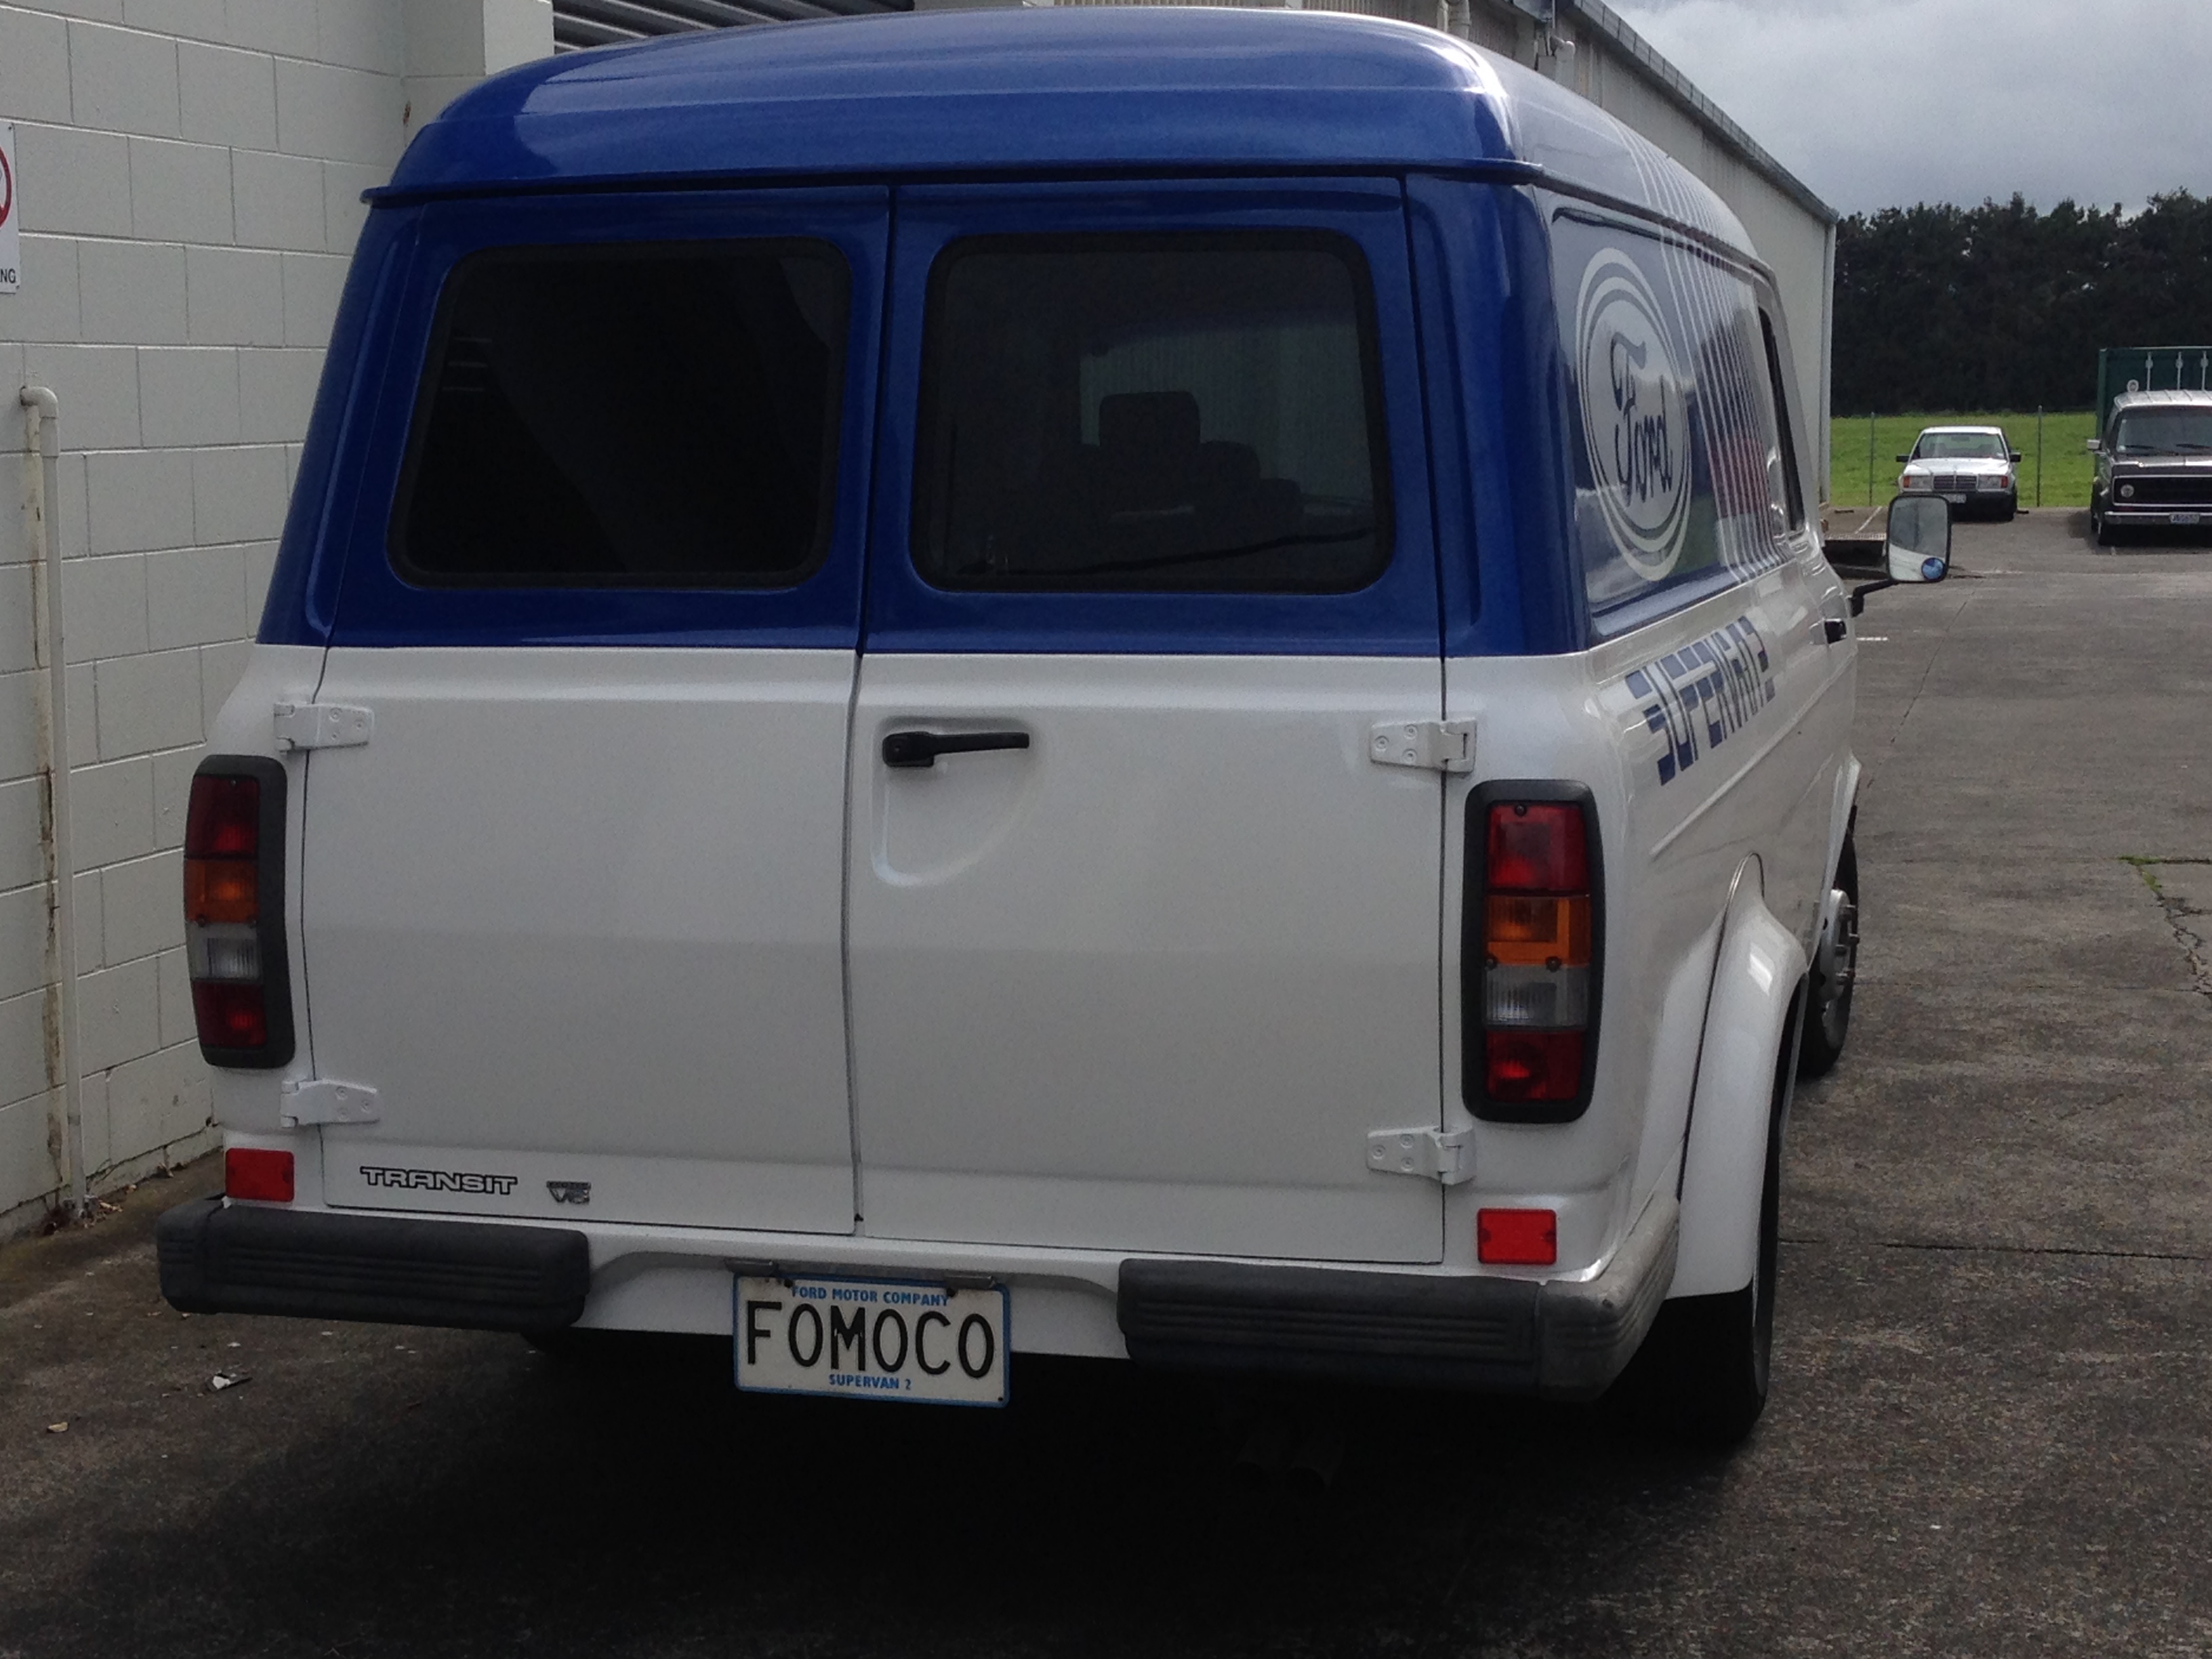
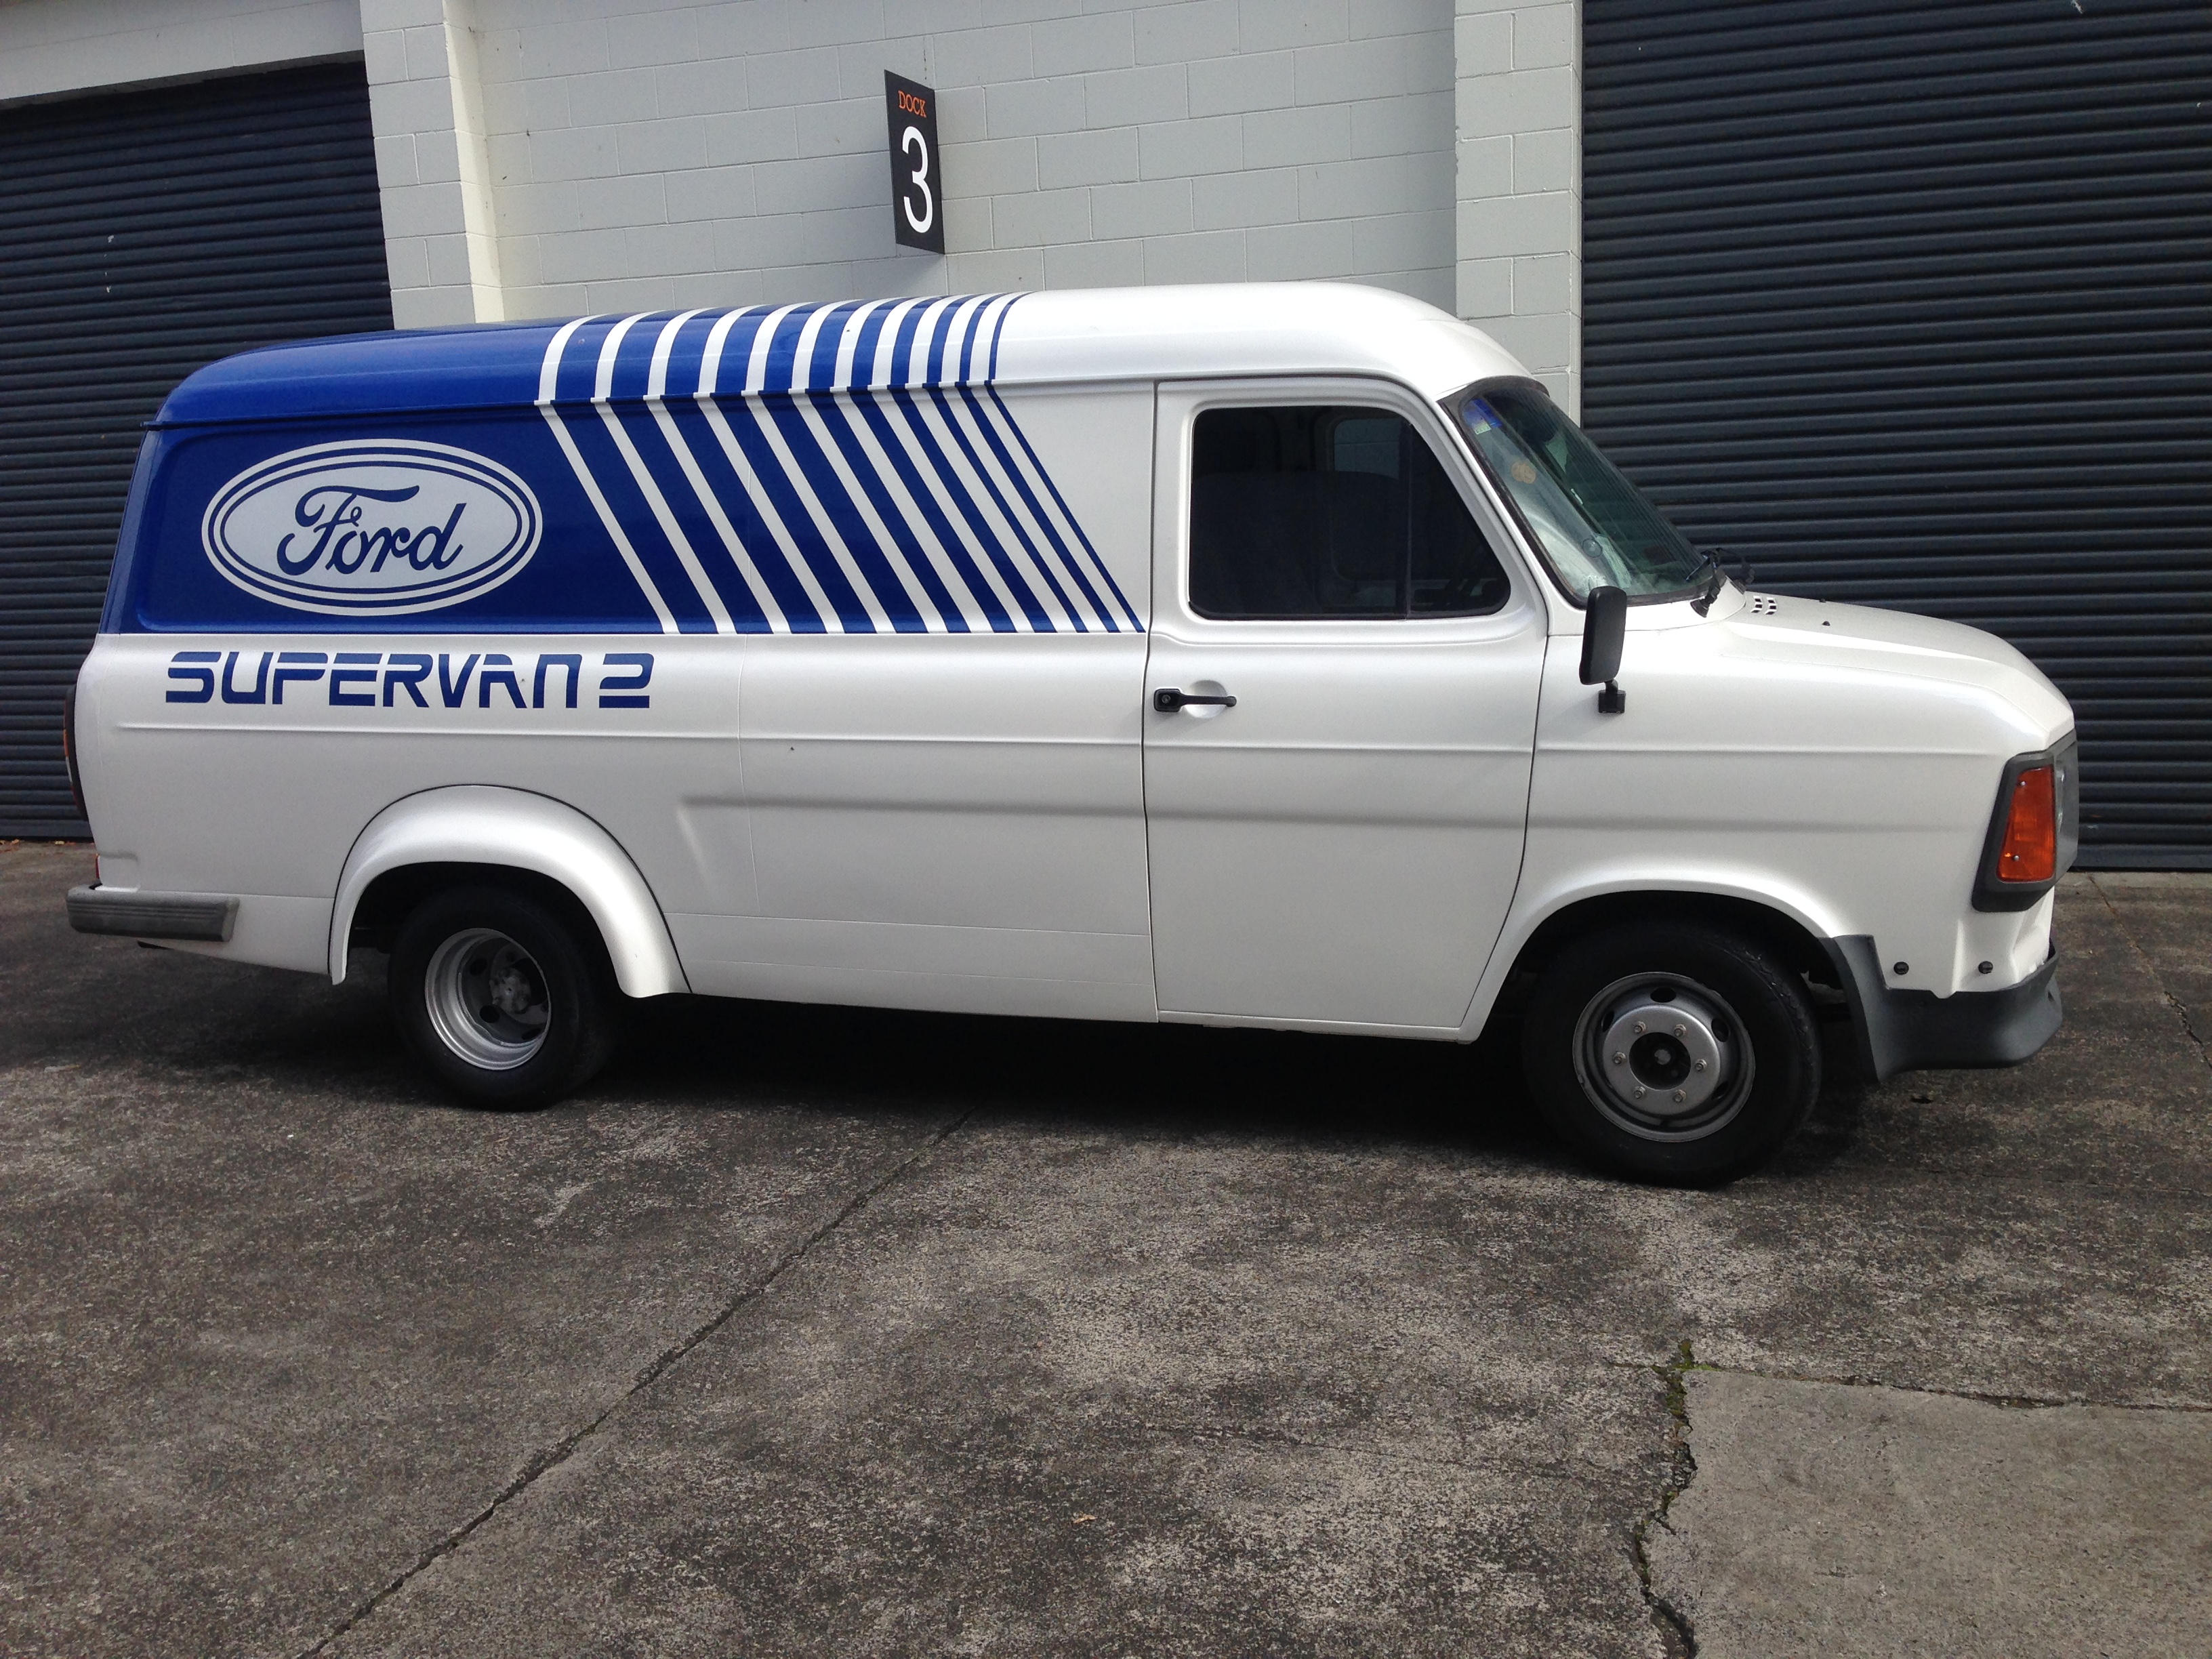
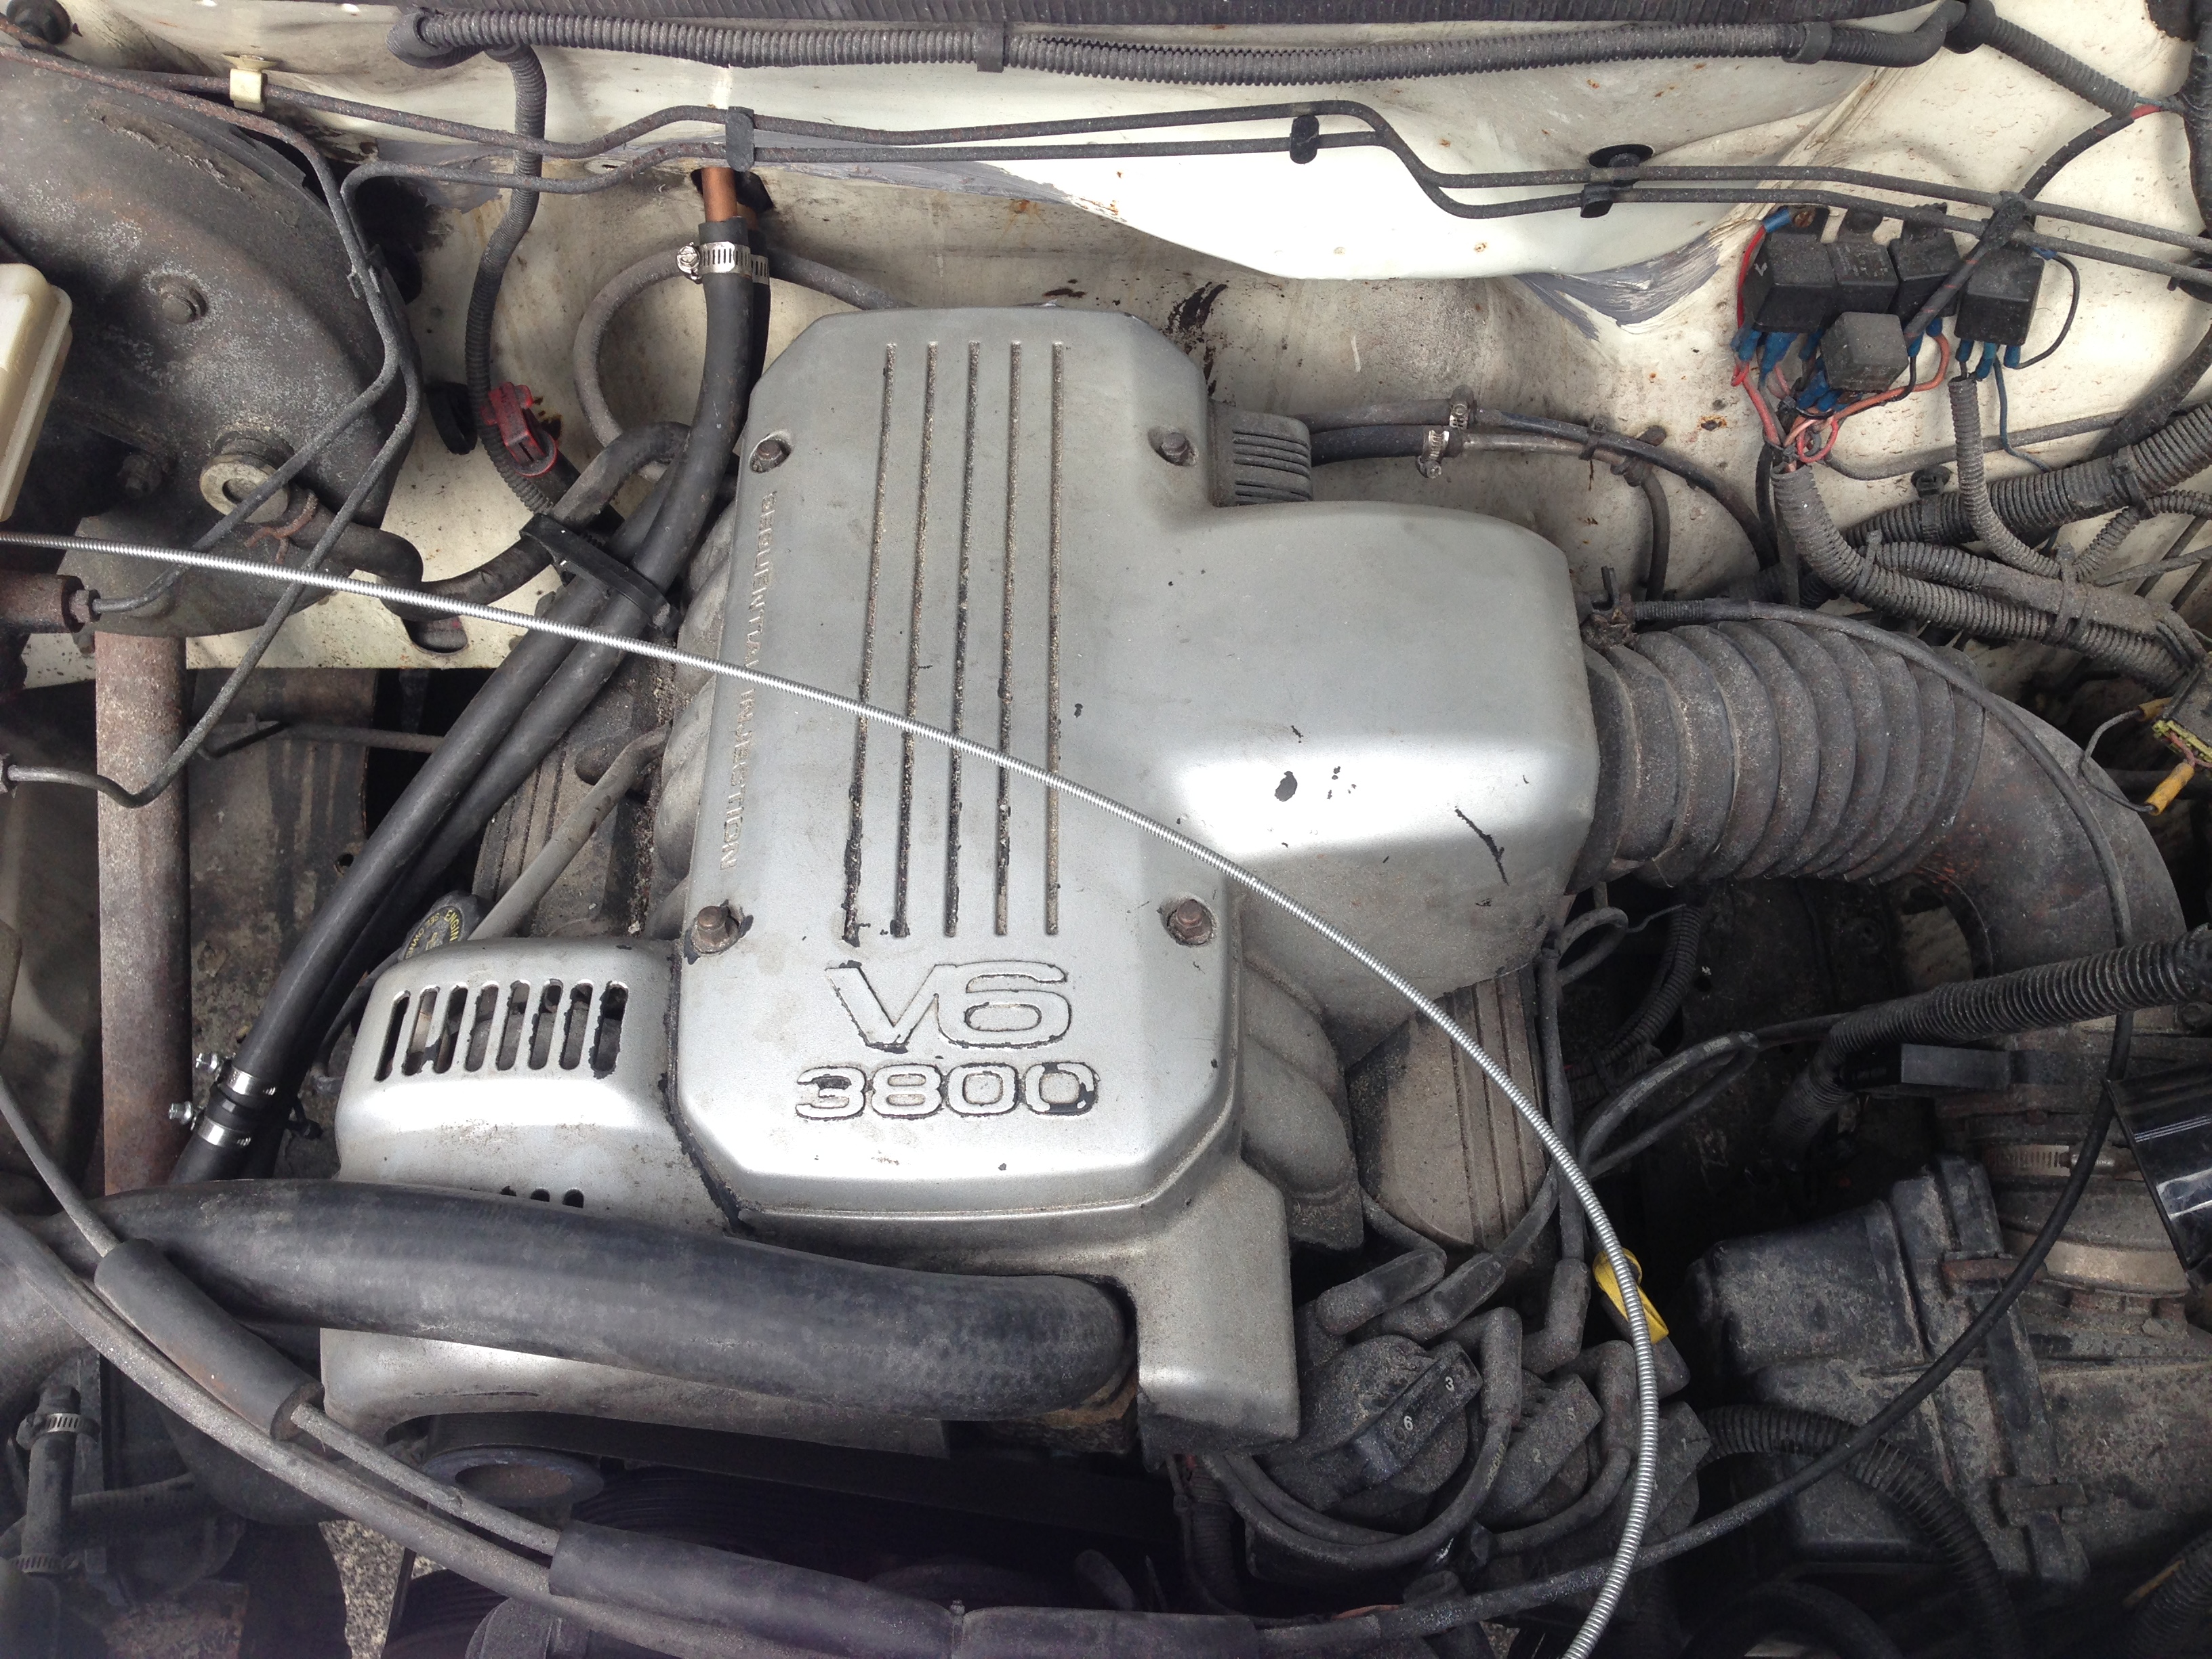
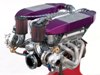
I spotted this van about 10-15 years ago, driving down the motorway, and thought "ooohh, I am going to own that one day!" I tracked down the owner, and gave him a visit about 3-4 years ago, and have been in touch since. I told him if he ever wants to sell it, to let me know. Anyway, he spent the last 2-3 years getting it panelled and painted, and fitting lots of new parts on. He brought it over about 3-4 months ago to show me it, and said he would probably sell it next year. Anyway, he texted me last weekend saying he was ready to sell it, and to come over if I was interested. After another test drive, and some negotiation, a deal was agreed on. I have just paid a deposit to hold, and will probably pay for it end of November and collect it. Pretty stoked about it, unlike my other vans this one is not a project, I can use it straight away:) It has a 3.8 Holden/Buick V6 with 4 stage auto fitted. It is quite a harsh noisy engine, but my god does it go! It would give my Mk1 V8 a good run for its money I think. And being injected should be better on fuel too. Otherwise, it is fairly standard, not really any other mods done. discussion: //oldschool.co.nz/index.php?/topic/50625-browndogs-supervan-2-yet-another-one/
1 point
-
So I am up again late next month. I am bringing up some bike bits for kempy some Fa50 bits for Shakotom I may have room for some little bits and pieces need them brought up. (If it is clean and fits in the cardboard box I am using as luggage it is fine)1 point
-
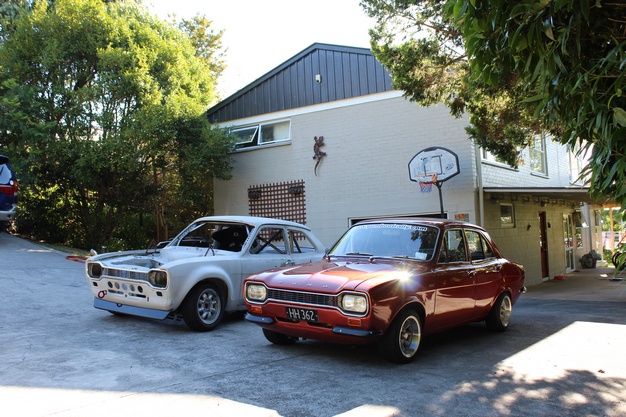
She's been wof'd for about a month now, sorry about the lack of updates but i'm crap with that, the missus takes all the pictures anyway. finished it the wed night, wof thurs, straight through, up to kaikoura for the hop on friday. close! since then i've serviced it thoroughly and have been fitting finishing touches took it to marlbrough last weekend for labour weekend and she flew. 100k all the way, only minor issue was she split a rad hose and was weeping coolant because i disturbed it to flush the rad i reckon.but it was close to the end and i just cut it and reattached to get me home with a slight kink. happy days. . Its still not done but its close. can't get the chrome trim on the new windscreen seal so i think i'll have to glue it on. the painter has gone radio silent on the visor and i got a heart stopping quote for some new minilite wheels, so i'm gonna look elsewhere for now. few pics. feedback appreciated on the finish, colour scheme etc, good or bad. its been dividing opinions for 3 weeks now. love it or hate it lol. Joe.1 point
-
^^Awesome! I've been mucking around a bit with fuel stuff, equations are a pain in the balls because there's a lot of unit conversions required, and I need to apply them to log files. So I tried using a table for a spare PWM output, where one axis is Effective Pulse width and the other is speed. Then I fill out the values in the table, which is a number which does nothing but is the exact number for litres per 100km First problem with this, is that the PWM values can only go to 100 so half the table was maxxed out. Bugger. Second problem is that datalogging doesnt show me the actual PWM % value anywhere, so I couldnt setup a gauge or whatever to show me the realtime number. Bugger. So went down a different avenue, I remembered that I can have a "traditional" fuel model or a "modelled" fuel model. Modelled takes into account engine size, injector size, fuel pressure etc to calculate fuel. The advantage of this is that it can now output a value in CC per min that it can show me in realtime. Which still isnt quite what I want, but a lot easier than any other options. Easy calc from there to get L per 100km, but a pity I cant see it in realtime. If I setup the CAN/BUS I can output to an OBD2 port, and then use the program Torque on Android to calculate all of the other values that I want. Buuuuuutttt stink thing is that if I have can/bus connected, I lose the ability to datalog to the laptop. As the internal circuitry can run one or the other, at once. Bugger!1 point
-
Loving the new acquisition. Not loving the choice of engine so much, but Chev into Ford hotrod is acceptable so meh. Am seriously digging the Supervan paint work. Now you've got one thats a runner, hurry up and finish the silver one1 point
-
Couple of goodies that arrived last week Conversion components W series to 6 bolt windsor bell housing. And a Power Plus Typhoon Polish intake manifold.1 point
-
It's awesome to see something 80's jap spec as clean, well maintained and obviously loved as much as this. Makes me wish I had the spare space for one as a nice cruiser, but I've already got to many cruisers Cheers Matt1 point
-
I must get myself along to another meet. Not going to Ruapuna tomorrow as it's a run day at Steam Scene (model railway at McLean's Island), but should come out of hiding for future meets - need to get more social haha.1 point
-
I really suggest getting a multimeter. Learn/watch some videos on how to use it and what things mean and it will serve you well in the future. With older cars and the old wireing it is a great skill to have. Learning to put in a head unit is propably one of the best ways to start. There isnt much you can stuff up.1 point
-
Will look lols on standard wheels because it has been lifted like 6 inches1 point
-
Yes!!!! This... http://ecomodder.com/wiki/index.php/MPGuino1 point
-
Will enquirer Monday, but probably not, is a dedicated bush-basher. Sadly just a few months ago it was a tidy original...1 point
-
Anyone going out to the racing at ruapuna this weekend?1 point
-
Practicality is overrated.1 point
-
In other news, I adjusted my timing at cruise conditions of 30 degrees advance up to 40. Car seemed to run quieter as well and the exhaust note changed, unless I was imagining it. No knocking and I went from 10.something litres per 100km down to 7.4 notbad.jpg Tried advaning it 10% more but economy worsened. Will keep splitting the difference to find the best numbers.1 point
-
Going to smash this out as soon as i can. My bell-housing arrived this afternoon from conversion components in hamilton. Scored a low kilometre 289 windsor out of a ford ranchero that a mate just imported from usa. 66thousand miles on the clock. Will give it a little freshen up, a nice cam, lectric dizzy, 4 barrel mani with a matching carby. Need to make up some custom headers. Hope to have it mounted up later next week.1 point
-
Discussion thread for pointing & laughing out loud. //oldschool.co.nz/index.php?/topic/50619-bellicoses-86-hilux-of-thin-air/ Got this a few years ago in a deal. Drove it for a while until i got sick of getting wet feet due to water running onto them from up under the dash. So decided to investigate, and yes......................it got outa hand....pfffft...... As traded...... Had the wrong model deck, so bought a good rust free 4X4 one.......or maybe it's a new spa pool............ Nah, it's a deck. Also bought some very good rust free rear doors. Stripped and primed them for safe storage. Floor issues. Why my feet were getting a little wet. (up under dash) And the other side of those interior shots. Top of centre pillars (double cab) Cab was removed from chassis and stripped bare, turned on it's side to stare in wonder at the skill it took to do this.....pffffft..... And the "worst" B pillar rust after all the 'Metaltech' and bog was removed. How it sits now, although the cab mount plates have been welded back into sills.1 point
-
Haha oh damn. You call out an electronics designer and look what happens. Nice work man1 point
-
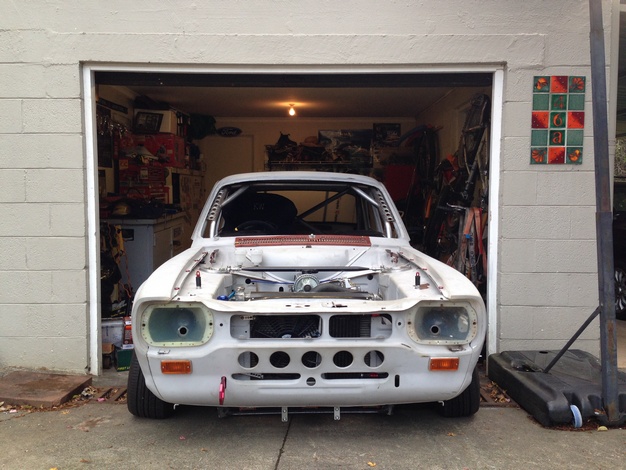
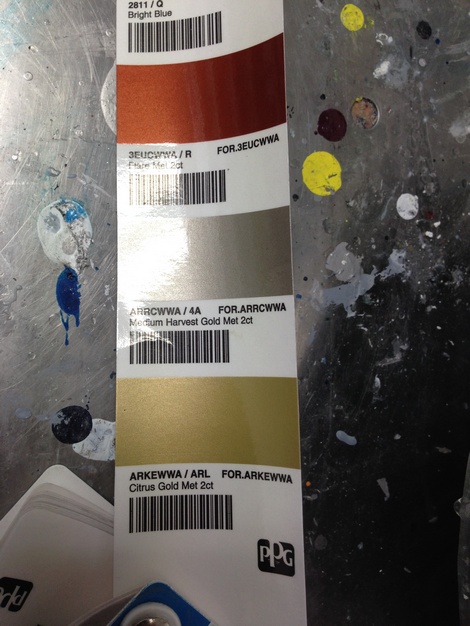
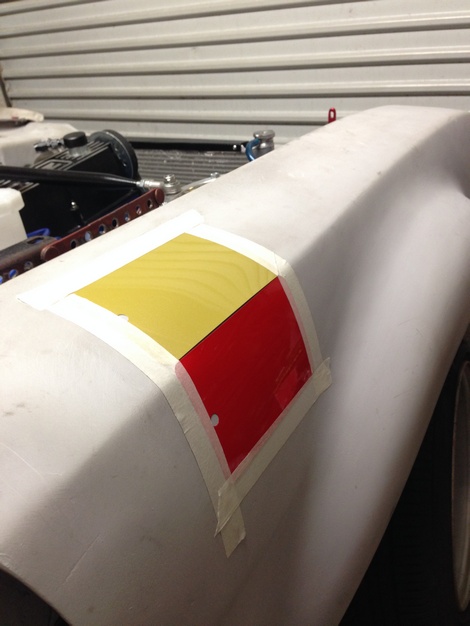
A few photos before it goes back into the garage playing with Some test colours for the alan mann paint scheme
1 point
-
So tiny update, new baby came along, haven't been out much, but did make it to Toyota Festival, pics from parade lap below. Getting a bit excited now, only a month or two till the exemption expires, and we get near summer, time to start looking at a bit of servicing and get her wof'd and reg'd!1 point
-
I went in there with a brake hose off my bmw and he told me what it was off before I said anything. Everyone else laughed at me. +1 for ABC. /ling1 point
-
1 point
-
Aaron's one in chch1 point
-
Not been updating this much but its all pretty standard stuff. cleaning parts, polishing parts, replacing parts, sourcing better replacements etc. Got the dash retrimmed a while back and fitted it today. not 100% happy with it. it has a heat shrink mark in the d/s corner and glue overspray on the other side. not a massive issue but fuck you pay retail for something you want a nice job done. i could've done it myself better but lesson learned. it looks better than before though. got a carpet kit ordered this week so i'll be stoked to get that in and get the floor covered. it'll give a huge moral boost i reckon. me and the missus want to do the Kaikoura hop on 20th sept. 7 weeks from now minus a week for a holiday we've got. eep. Give me some love and a kick up the arse to " Git 'er dun" please. Joe. Discussion. //oldschool.co.nz/index.php?/topic/46071-mighty-joes-english-duo-cortina-67-triumph-74/1 point
-
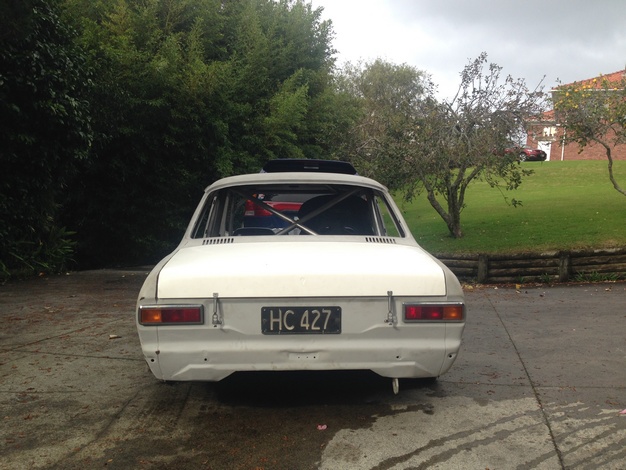
Fuck. Watch your retinas. She's bright alright haha. No missing it anyway. Love the colours, the sills were left blue at the request of my girlfriend who'll be driving it mostly, and the stripe is thicker than it should've / could've been. That was down to the painter. he tried a few and reckoned cos it's a wide flat car the thin one looked stupid. Love it. looks just comical having a triumph saloon in full racecar colours lol. anyways now the fun part begins..... Trusty old Hilux. Never even broke a sweat. Can't f**king wait to get some trim back on it. Discussion / questions / ridicule.. . //oldschool.co.nz/index.php?/topic/46071-mighty-joes-english-duo-cortina-67-triumph-74/1 point
-
Lola's painted. Should be ready for collection at the weekend hopefully, and he said build it up and he'll have it back in a month to buff it. This is straight out of the gun! she's looking SO GOOD can't wait to bolt some chrome back on and see how its gonna "pop" in the sun.1 point
-
Been a bit useless with updates.... Hpc'd stuff is on, but I'll have to get some pics of the engine bay.... Made it to the OS Leadfoot trip, which was awesome! But a bit hot, especially with non-operational AC, so now I have tints! And also got a car seat, so when new baby comes along I can take my 18 month old out in it!1 point
-
So got some pics yesterday evening. Pretty happy really. Just little detail stuff done, cowl, mouldings, mirrors, wiper arms. And not a sign if the damage I had done to the bonnet! And my little dude had a great time when I chucked him in the back! New play pen! So I plan to head to the monthly meet next week, then caffeine and classics at the end of the month. Then after that I'll get started with the stereo. Haven't figured out speakers yet, but I think I've found an option for a head unit from one of our suppliers at work, it's nice and ordinary looking so won't look too out of place, and has Bluetooth and USB etc. Bluetooth audio streaming too possibly. Also, I want to try to get the spoiler looking a bit better. It's that squishy black rubber, and in pretty good shape, just a tiny perished at the peak of the foil. I've heard of using peanut oil or peanut butter.... Anyone had any experience with that or got any other recommendations?1 point
-
So time for an update on the bike carbs.... For starters, they still aren't on. I tried to get them on before Nats and even stayed back in Auckland a couple extra days to try get them running but was a no-go for now. Anyway, The bike carbs i got (GSX1100's apparently) are 34mm carbs, and the ports on my 7K are MUCH smaller so needed do do a reduction of some kind between carb and motor. I chose to do the reduction as far back to the head as possible, and used the 12mm plate for the manifold to do the taper. With the carb being 34mm, i decided that using a 1.5" pipe with 1.4mm wall thickness would be good, as that gives me an ID of ~35mm to go with the 34mm carbs. So i got slacker.cam to draw me up a manifold with the required taper; and then got sentra_dave to machine it out on his giant machine The manifold actually ended up being wrong, as both me and cam didnt spot the error so got it remade. The taper is wrong. The one on the left is what we drew up, without thinking too hard, and did it wrong because we needed it to be like the picture on the right, so sentra_dave made the required changes and we cut another one. The block sits on a 20deg angle, and the carbs sit on a further 10deg angle, hence the pipe coming off at 30deg angle from the flange. so this is the new flange; The carbs have a different spacing, so needed to make it all match up I used 180deg bends from AutoBend and the good thing is that because i made it to the pipe connects at a 30 deg angle, to match the motor and the carb, the runners could be straight and only had to bend to bend to change the carb spacing. Yes, i probably could have gone straight and used silicone joiners and probably get away with it, but i wanted to try match it up nice and snug. Here is the "final result" to give you an idea of what i did before i start explaining how i did it and a mid way shot So to make the runners match up, you need to obviously figure out the spacing on the motor ports and the carbs, so figure that out, and then figure out the difference between centre lines. These are make believe values, as i didnt document this part So next is measuring and cutting time of the 180deg bends. Now i feel like i should explain something first. This might be blindingly obvious to some, but might not be to others so i'm adding this anyway (as it's my thread and i can do as i want ) turning a 180deg bend into a straight pipe with an offset is as simple as cutting it in 1/2 and turning 1 end over. And if you want to narrow the offset, you just cut some out of the middle of the pipe. And the part i wanted to explain, was that it doesnt matter what angle you cut the pipe at, as long as both sides are the same, and it will match up perfectly. So, to change the offset, just chop a bit out the middle and the angle doesnt matter at all, as shown below; as long as the angles are the same! (exaggeration below) So i setup a drop saw with a 30deg angle (as i needed 30 deg for the ends to match up with the flange anyway) and then started measuring and cutting. First, i would rub the bend on my bench to lightly mark the highest part of the bend Here you can (somewhat) see the marks it made and then marked that up with a vivid Then i grabbed a bit of scrap 50x50 to use as a straight bit to put the straight part of the bend against to mark where to cut it. So going by that measurement drawing above, the spacing between 2 of the ports is 20mm, so the offset between the straight bits needs to be 20mm, which is 20/2=10mm a side. The pipe is 38.1mm so 38.1/2+10=29.05mm. So set your straight edge dude to 29.05+50mm (from the 50x50) = 79.05mm and put it against the far edge of the 50x50. Now where the end of the straight edge crosses with your earlier mark, is where you want to cut it, so mark that. You will need to cut your bend roughly in 1/2 to get it to fit in the drop saw, but after that, put it in the drop saw and cut off where the mark is. Again, any angle is fine as long as you dont change it. Then when you've both, debur them (i used a knife as it's only ally) and they will fit together like a glove and be perfectly straight repeat for all 4 runners Now line it all up so you know whats what and make sure you have all the runners. I numbered them, which was probably a good idea. After that i cut the ends at 30deg to match the flange and cleaned up the edges with a knife. Now chop the other end to length as well, nice and straight. And then you're ready to give them to the man to glue them together! Dont have any more pics sorry, but here are the carbs all mounted Just a random note. We put that bar in between the 2 sides of the manifold to hold everything together at the right spacing etc. It can get cut off now if i want, but i'm leaving it there for now. It's handy having a handle to take everything of in one go and it's not in the way of anything so there is no harm in keeping it. Carb tuning didnt go well, so i wont go into that until i sort it out Thanks for reading! not that i expect you really did read all of this haha1 point


This leaderboard is set to Auckland/GMT+12:00