
Leaderboard


Popular Content
Showing content with the highest reputation on 07/14/14 in all areas
-
4 points
-
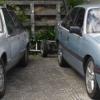
So about a year ago I went crazy and bought a brand new dirtbike which meant I had to sell my 65 Coon wagon, sad days.... however I've missed having an old cruiser to play with and go cruising in, so I've recently bought myself another toy, not quite as old as the last one, and somewhat much more bogan, its a 1987 VL commodore Royale with a dirty rb30e and auto, previous owners have put a Calais front on it, a Group A front bumper, bonnet scoop and rear spoiler, 18's, lowered it and fitted an adjustable panhard rod Sorry for crappy Iphone pics, so my mates have been putting the pressure on the slap a turbo on and do skids, however the bogan inside has been saying it needs a V8, so still got a bit of a decision in that dept, if i go V8 I want to go for an injected 304 and t5 manual, I Currently have been getting the parts required to convert to manual, so far I have pedal box, d/shaft, clutch fork, shifter, manual x-member, have a gearbox lined up as my mate is currently going to an RB25det box in his VL, so I'm gonna get his old 30e manual box, progress isn't going to be the fastest as wifey is somewhat pregnant, so baby stuff is main priority at the moment, and before I worry about making it faster i want to look at upgrading a few other things, anyone who had driven a VL will know how awesome the brakes aren't, so plans are for some 290mm front rotors, and FC RX7 4 pots, rears at this point in time will just get some new shoes and cylinders. I also want to upgrade the suspension bushes as there is a fair amount of slop in the rear end (you can feel the arse end steer with the throttle) Any way thanks for reading this novel, feel free to give any input/criticism/ideas etc Cheers Ben3 points
-
3 points
-
Pistons jeah Cylinders were whack, one measured up as 65mm and the other was 64.5mm widening to 64.75, pistons were stock 64mm size so definitely jumbled together from other bikes. New pistons are 65.5 so an extra 18.9cc's wowee, will drop cylinders off this week to be bored. Ordered a full set of gaskets and seals, just waiting for the last ones to arrive now before opening up the crankcase3 points
-
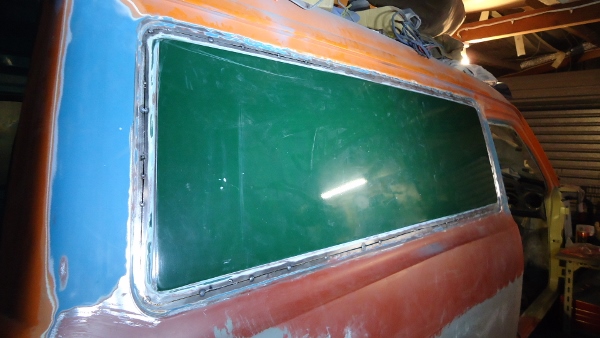
Good News Everyone I decided to give windscreen installation a try and it went in... without a problem. and just a few minutes ago... I booked the Trabant in for Entry certification this week. YAY!!! Its actually a little sooner than I expected, but I need to get it rego'd asap as my VW is stuck in the shop with a massive water pump failure and a shitty gearbox. Edit: me no write good english.3 points
-
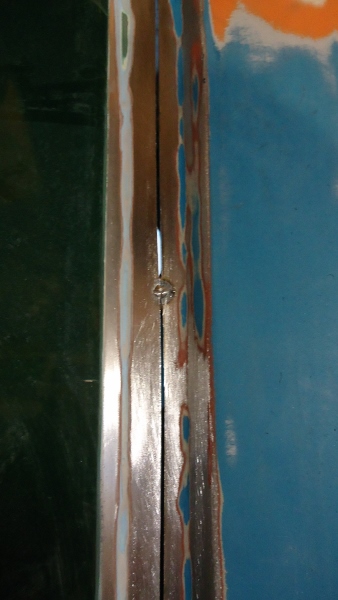
All tacked in place. Still have lots of shaping and sanding to get done on the flare This is where the old piece was cut and the new one tacked in. No warping as of yet
 3 points
 -
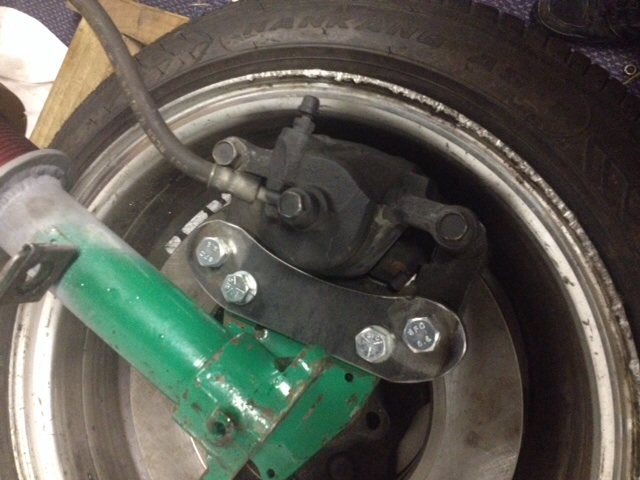
A weekend of progress! IMG_9539 by Richard Opie, on Flickr Diff fit tested, all the links fit up without drama and it moves freely throughout the full range of movement. IMG_9510 by Richard Opie, on Flickr I between times, I acquired some platforms and springs for the rear. Springs are typical 65mm ID coils, length of 180mm and 200lb/in spring rate. IMG_9550 by Richard Opie, on Flickr The axles returned from the engineers with fresh new splines cut and have also been induction hardened to hopefully negate any chance of munching up splines due to the mighty torque produced by a 4AGE. IMG_9578 by Richard Opie, on Flickr With help again from the masterful sheepers and his magical machine that glues metal together, the next task was to create somewhere for the spring platforms to live on top of the diff housing. This shot shows the rough platform tacked in place so we could work out the right angle to mount it on the diff, due to the movement of the diff being in an arc as opposed to simply up and down. If the platform is angled too far forwards or backwards you run the risk of the threaded section clashing with the coil. IMG_9604 by Richard Opie, on Flickr After much trial and error (which is boring and not worth taking photos of), the mount location was finalised and the mounts welded into position for good. Side bracing ensures they're solid as hell and up to certifier satisfaction. I will point out here I couldn't have done this without the help of sheepers, being able to chop pieces up with an angle grinder isn't conducive to finishing a project within a project like this and without the welding and lateral thinking skills of the man with many Toyota's I'd still be sitting around talking about doing this. IMG_9588 by Richard Opie, on Flickr IMG_9586 by Richard Opie, on Flickr Final couple of shots show roughly the final ride height, the diff is resting on the jack with the weight of the car on it, with the wheel centers in line with the ends of the diff. Not super low, but I'm happy. Easily able to go lower with a simple spring change. Next up - reconditioning the brake calipers, acid dip and painting of diff housing and setting up the LSD in the carrier again for final assembly!3 points
-
Couple more pics outside. Can't wait!3 points
-
Time to dig this thread up from the dead, nothings been happening.. still sorting the wheels etc. Found a bit of motivation today.. cut out the spare tyre well to make way for the drop tank and make it easier to fabricate the new rear towers. Got it cut out.. IMG_1169 by postlematt, on Flickr but wouldnt it wouldnt drop. IMG_1175 by postlematt, on Flickr because of these suckers, this was welded to the front, the panhard rod mount bracing IMG_1172 by postlematt, on Flickr and this little bastard mount at the back behind the rear numberplate valance.. IMG_1180 by postlematt, on Flickr Couldnt get a grinder in there IMG_1181 by postlematt, on Flickr Finally got it out IMG_1183 by postlematt, on Flickr Oh harro hilux diff.. i also found a 4.1 ratio diff head.. finally.. IMG_1196 by postlematt, on Flickr Started working out the clearnces for the rear shocks. between the calipers, diff mounting brackets and chassis rails theres farrrk all room.. IMG_1192 by postlematt, on Flickr IMG_1194 by postlematt, on Flickr IMG_1195 by postlematt, on Flickr2 points
-
I liked the bit were your misses tried to get in the carib with Sparky out of habit...2 points
-
Discussion1 point
-
So for those who dont know me im Scott. I've had my Sunny for about 3 years now, got it completely standard since then ive done the following A15 - lightened flywheel, electronic dizzy, electronic fuel pump, extractors and 2 inch exhaust Rebuild 5 speed dogleg gear box with exedy heavy duty clutch Front suspension - Cut king springs with shortened shocks, front strut brace, larger ajustable sway bar, ajustable caster arms, steering box brace, Rear suspension - 2 inch blocks and reset leaves with Suzuki Escudo rear shocks, and nolathane bushes all round. Other changes have been Honeycomb Grille with Japanese grile badge, Factory rev counter with dash cluster, Factory sunny electric guard mirrors still to be wired up, Nardi steering wheel, full orange bumper indicators There will be more I have forgotten any way here is one of the only recent pictures i have, Will get better ones up soon1 point
-
Fred here ://oldschool.co.nz/index.php?/topic/44168-berjs-mad-yellow-dort-machine-of-kp/ 13s and skids?1 point
-
The F100 hoses were perfect. All back together and bled. One side still a bit hard to spin so will check the stub nut. Have tidied up and painted below rear windows and some other wee scabs. Fiddled with the handbrake and got some more adjustment out of it but not really good enough, So have new drums coming tomorrow and new shoes just put in. This should help a lot. The other cylinder I hadn't replaced, was just replaced... Rusted solid. How the fuck this thing stopped I do not know. Broke an E-clip putting back together so bit shame it isn't finished but it's a 30 second fix when I get one from work 2moro. I also got a roll of duct tape and taped up the holes in the seat then bombed them with paint a similar blue as the seat, a blind man would be impressed!1 point
-
most people cruise up on friday.1 point
-
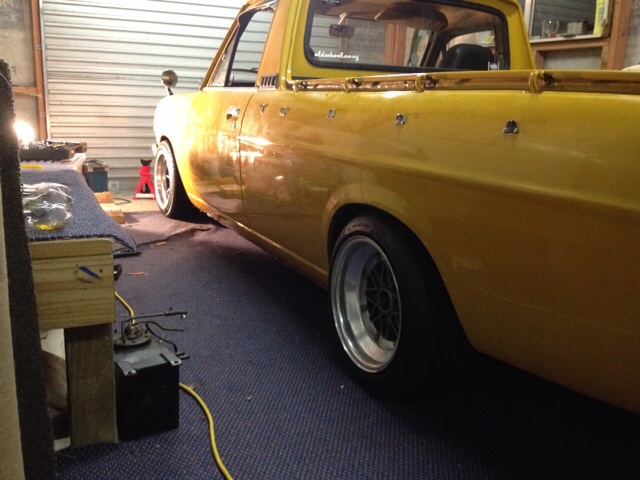
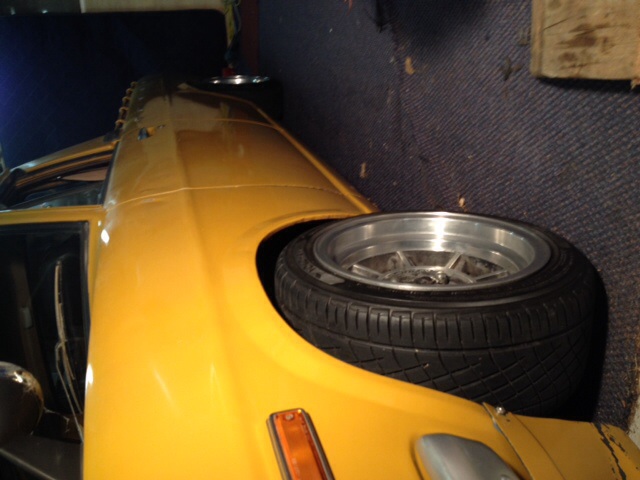
Back down on the ground for the first time in a long time. Also first time at raised height.
1 point
-
so replaced all front brake cylinders and adjusted + bled them. The mrs (Annika) found a good rug for the seats, suits it really well Removed and flushed water lines and radiator,replaced hoses as they were rock solid and cracking. The radiator was full of lime stone and crap, stained all the concrete at work, oops. all good now and got all the bits for engine service. need to find a thermostat housing or make one as the one on there is stuffed. oh also cut some under lay up and got Annika to sew it on the weekend.1 point
-
Hopefully I'll pick up an AW this week and will see you guys down there. Might head down Friday night and back mid afternoon cause I've got a party to attend.1 point
-
Hand print in concrete too? Where is the wardrobe in this house..1 point
-
Oh hi, just stopping in to congratulate you on your Brougham acquisition. I'm stoked for you! These things fucking rule.1 point
-
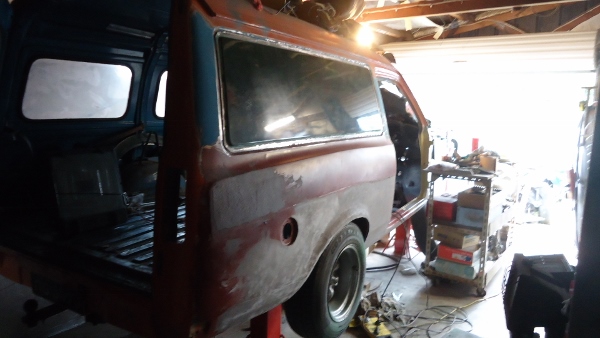
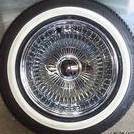
Cheers man, trying to get into it most days to get stuff moving. Im hoping to use the rostyles,if not then my hotwires. The only problem being the hotwires have near zero offset which works but the rostyles have an offset of +4 or there abouts so stick out a little more. Flares help with that problem. Will muck around with tyre and suspension combos later when its rolling as i have few options. Did your van never have windows put in?1 point
-
Yea the axle and hub will be 1 piece. Take to an engineer to be redrilled 4 stud1 point
-
I hope to be there again, just need to get my mits on some good oil.1 point
-
yay roof!1 point
-
I'm off to take a closer look at this Brougham today. I think I'll give it an oil change, replace most of the ignition system, give her some fresh fuel and see if a new battery will get her up and running.1 point
-
Clocked up a casual 200kms this arvo after giving it new engine and trans oil. Set the tappets too, these things are so awesomely simple to work on. Took the exhaust shields off as they were a bit rattley and theres already too much chrome. Keen for some forward controls and maybe some bigger cams next1 point
-
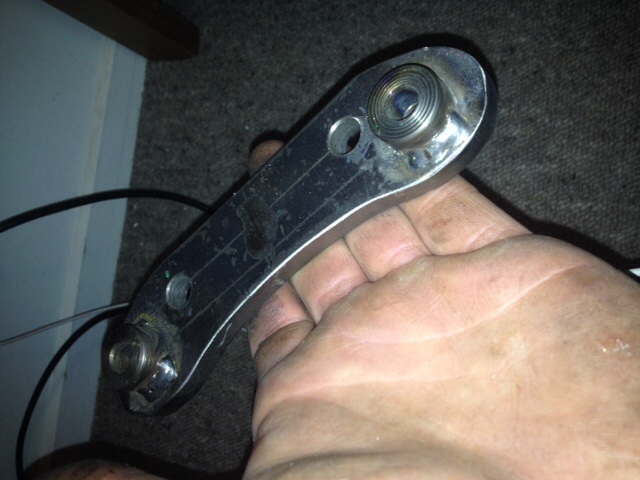
Got my adapter plates back today. Looks mint. Changed design a little and went for a thicker plate. Away for the weekend so might give it a nudge on Sunday night?
1 point
-
Karl pig will be $1/ lb I asked him for an 80 -100lber that will give 40-50lb of meat thats enuff??1 point
-
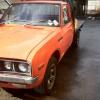
Then I found the brakes were shit so decided to do that before warrant. New disc, hoses, pistons, bendix pads,caliper kits, hard lines and fittings. Also had to cut the shocks out to get the springs out to cut a bit off as it was really high. Still locking up wildly when applying minimal brake pressure. Fuuuuuck! After much pissing around and bleeding and shit, decided to do the brake master cylinder. Broke the remaining hard lines so replaced them too. Same shit. But isolated the lockup to the right rear. Thought it might be because it was a diesel so wasn't getting vaccum for the booster? Turns out it has a vaccum pump so that wasn't it.. I know next to nothing about diesels and since this was a conversion didn't know what was supposed to be there and what wasn't. So it was to pull the drum apart. Couldn't get it apart because it was wildly grooved. Stole a puller from work and popped it off. Oh! Replaced the cylinder and bled it up again. Found that the spring clip on the front had failed and the hose had been turning and chewed off the flare on the line so dumped half a litre of fluid on the drive. Sourced a flaring tool and hit that, bled it up again. BRAKES! In between doing this I had a good sunny day so decided to scrape the old underseal outta the boot and hammerite it. Poked holes all through the floor aye. Zinc'd it in and out, hammerite on it too. My huge sub box fits in the area under the boot floor!! I also attached the boot garnish that's broken in 3 but it looks boss as even though the tailgate is rough as fuck but don't care. Replaced a bonnet hinge that wouldn't sit down and managed to get it sitting better but need aligned better. This is how it looks at the moment, ready to go for a wof check. I'll adjust the height later on. Lots left to do but i need it as a daily ASAP It's taken 2 months to get to this point working outside in a carport with a headlamp on between 6-9pm and Saturday after work and all Sunday!1 point
-
Extracted all the bits out through the rear doors and found that someone had done a mint job on the guards, blasted, repaired, etched, bogged and primed. Pine! Found all I was missing was the splash guards under headlights, the outer surrounds and the filler panels between the bumper and grille. Pulled out the rottingue carpet And cracked underseal, cleaned and reattached shit. I replaced the rear shocks but found the top mounts broken on one side so welded up and did the tailpipe at the same time. Took it to work one day and on the way split the rear brake line. So I made all new lines and fittings. Then I hit that rust: Doused everything in black zinc then the weather turned to shot so I couldn't prime and bog it up nice for a week or more. While it was shit I got the tailgate motor working and put a new switch in. Was a cunt and took ages. Wasn't as rusty in there as it could have been but still needs replaced. Wire wheeled and hammerites the floor once they had dried out. It was ready for a warrant check but the front was just too rugged. It was rusty and a whole operation just to open the bonnet so It had to go. I had been cleaning, painting and polishing all the bits up as I had time or waiting on parts/ weather. The rusty shit hadn't been protected from the start so I pulled and broke most of it off by hand. Soaked all the bolts and clips in CRC so I could clean and re-use them. Shit started to come together! The spare radiator support was much better so used that one. I sandblasted the bonnet and sealed it up mint, knocked the worst of the bog off and threw it on. Fuck it's heavy! Got some stainless bumper bolts real cheap.1 point
-
Cha Ching week, got the dry sump system plumbed up, pretty much every inlet/ outlet is on the wrong side, so it's done but may change stuff. Pedals, still to be plumbed. Plumbing water and fuel this weekend. Big thanks to The Hose shop in Manukau for wasting 5 hours with me making hoses.1 point
-
ooh! felt guilty writing my name in it while the concrete guys were still smoothing it out, hopefully get a chance after work haha1 point
-
Out of habit my ass, she just wanted some wagon time with Sparky.1 point
-
ill just leave this here...1 point
-
Today I achieved something pretty amazing. For the first time ever I fired up the CA18, so happy. I'm pretty much speechless so I'll just let the 180B say it for me Oh and yes there is oil in the engine just forgot to remove the label due to all the excitement1 point
-
Got some super sweet shots from Richy on the weekend. rest here... http://www.flickr.com/photos/snoozinrichy/sets/72157633413882414/with/8705655705/ dizcus; //oldschool.co.nz/index.php?/topic/29495-sparkles-bmw-of-supermega-happy-hell-yes/1 point


.thumb.jpeg.384ff72c8d2b0ee0d34a7bdedb55bdcf.jpeg)


.thumb.png.46e518f714cdc319554c389f990e75a4.png)

This leaderboard is set to Auckland/GMT+12:00