
Leaderboard


Popular Content
Showing content with the highest reputation on 03/14/24 in all areas
-
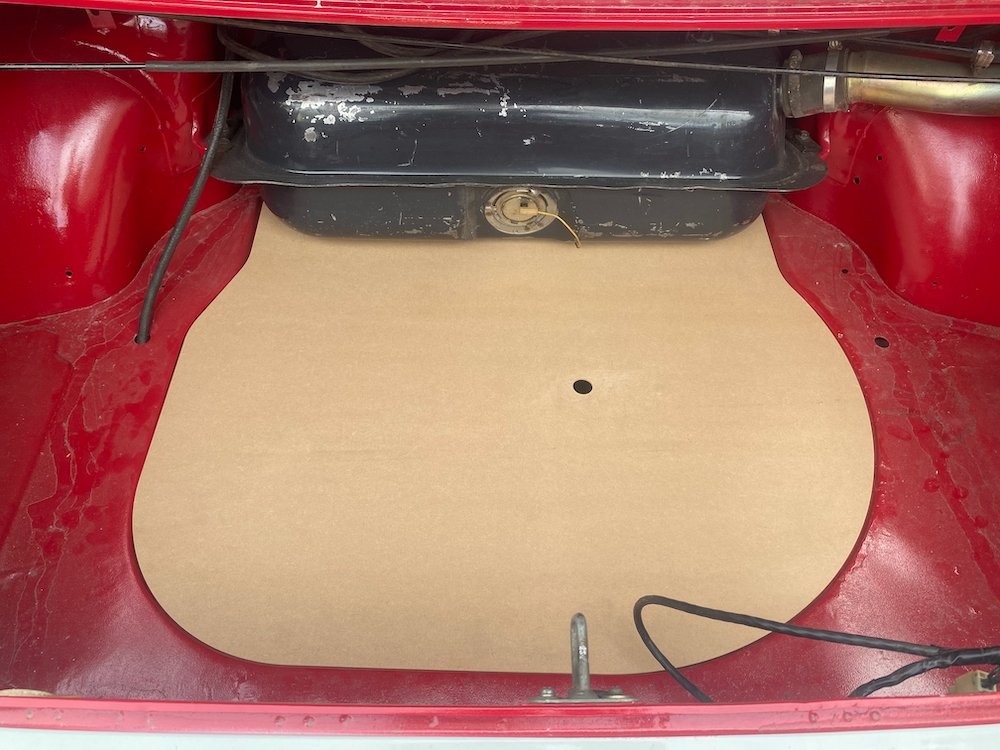
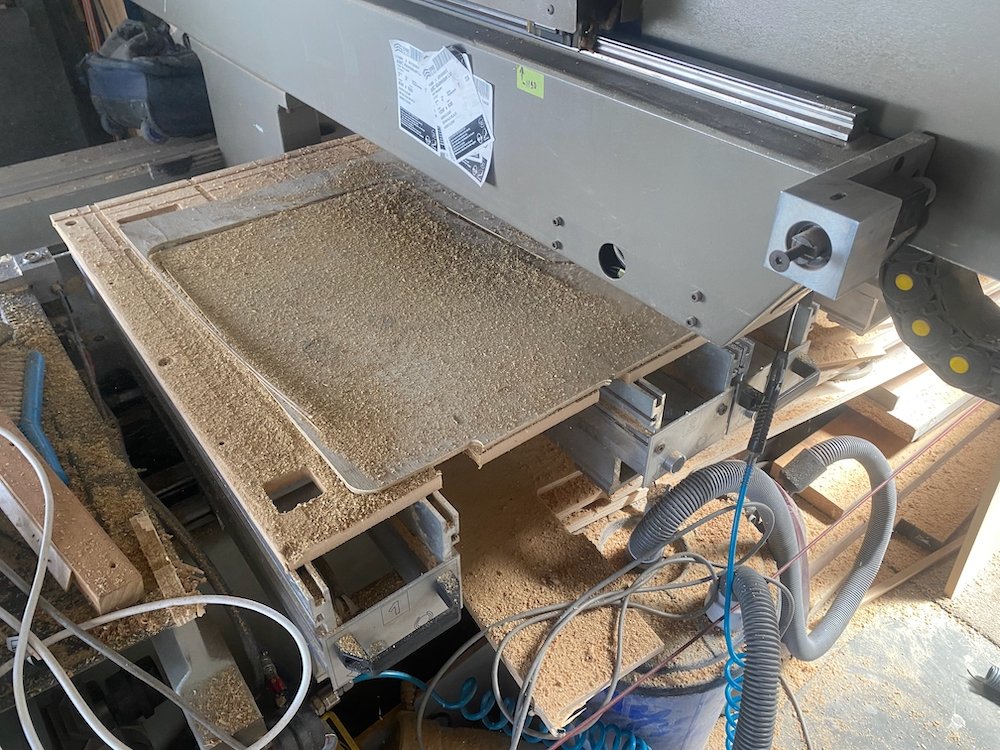
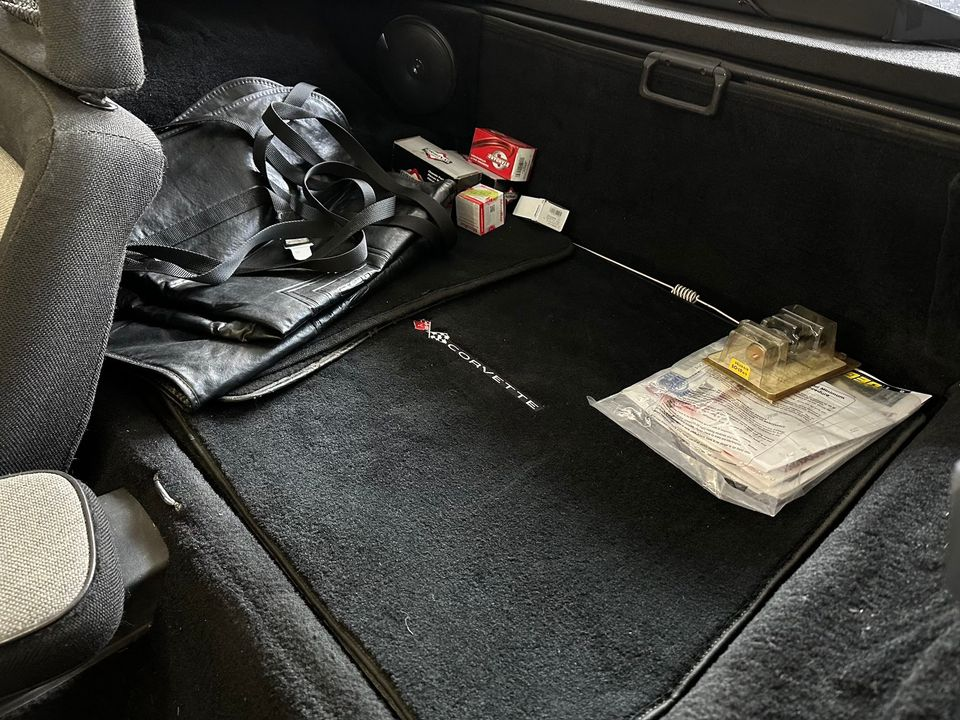
Was out in the shed again today so had a quick measure up and fed the cnc some mdf Quite happy with how much nicer the boot looks with the spare covered, motivates me a bit more to suss some carpet etc. From factory there were a few more trim panels in the boot, hopefully have a set on the way to copy, its something i've never seen before so looking forward to it!
 16 points
 -
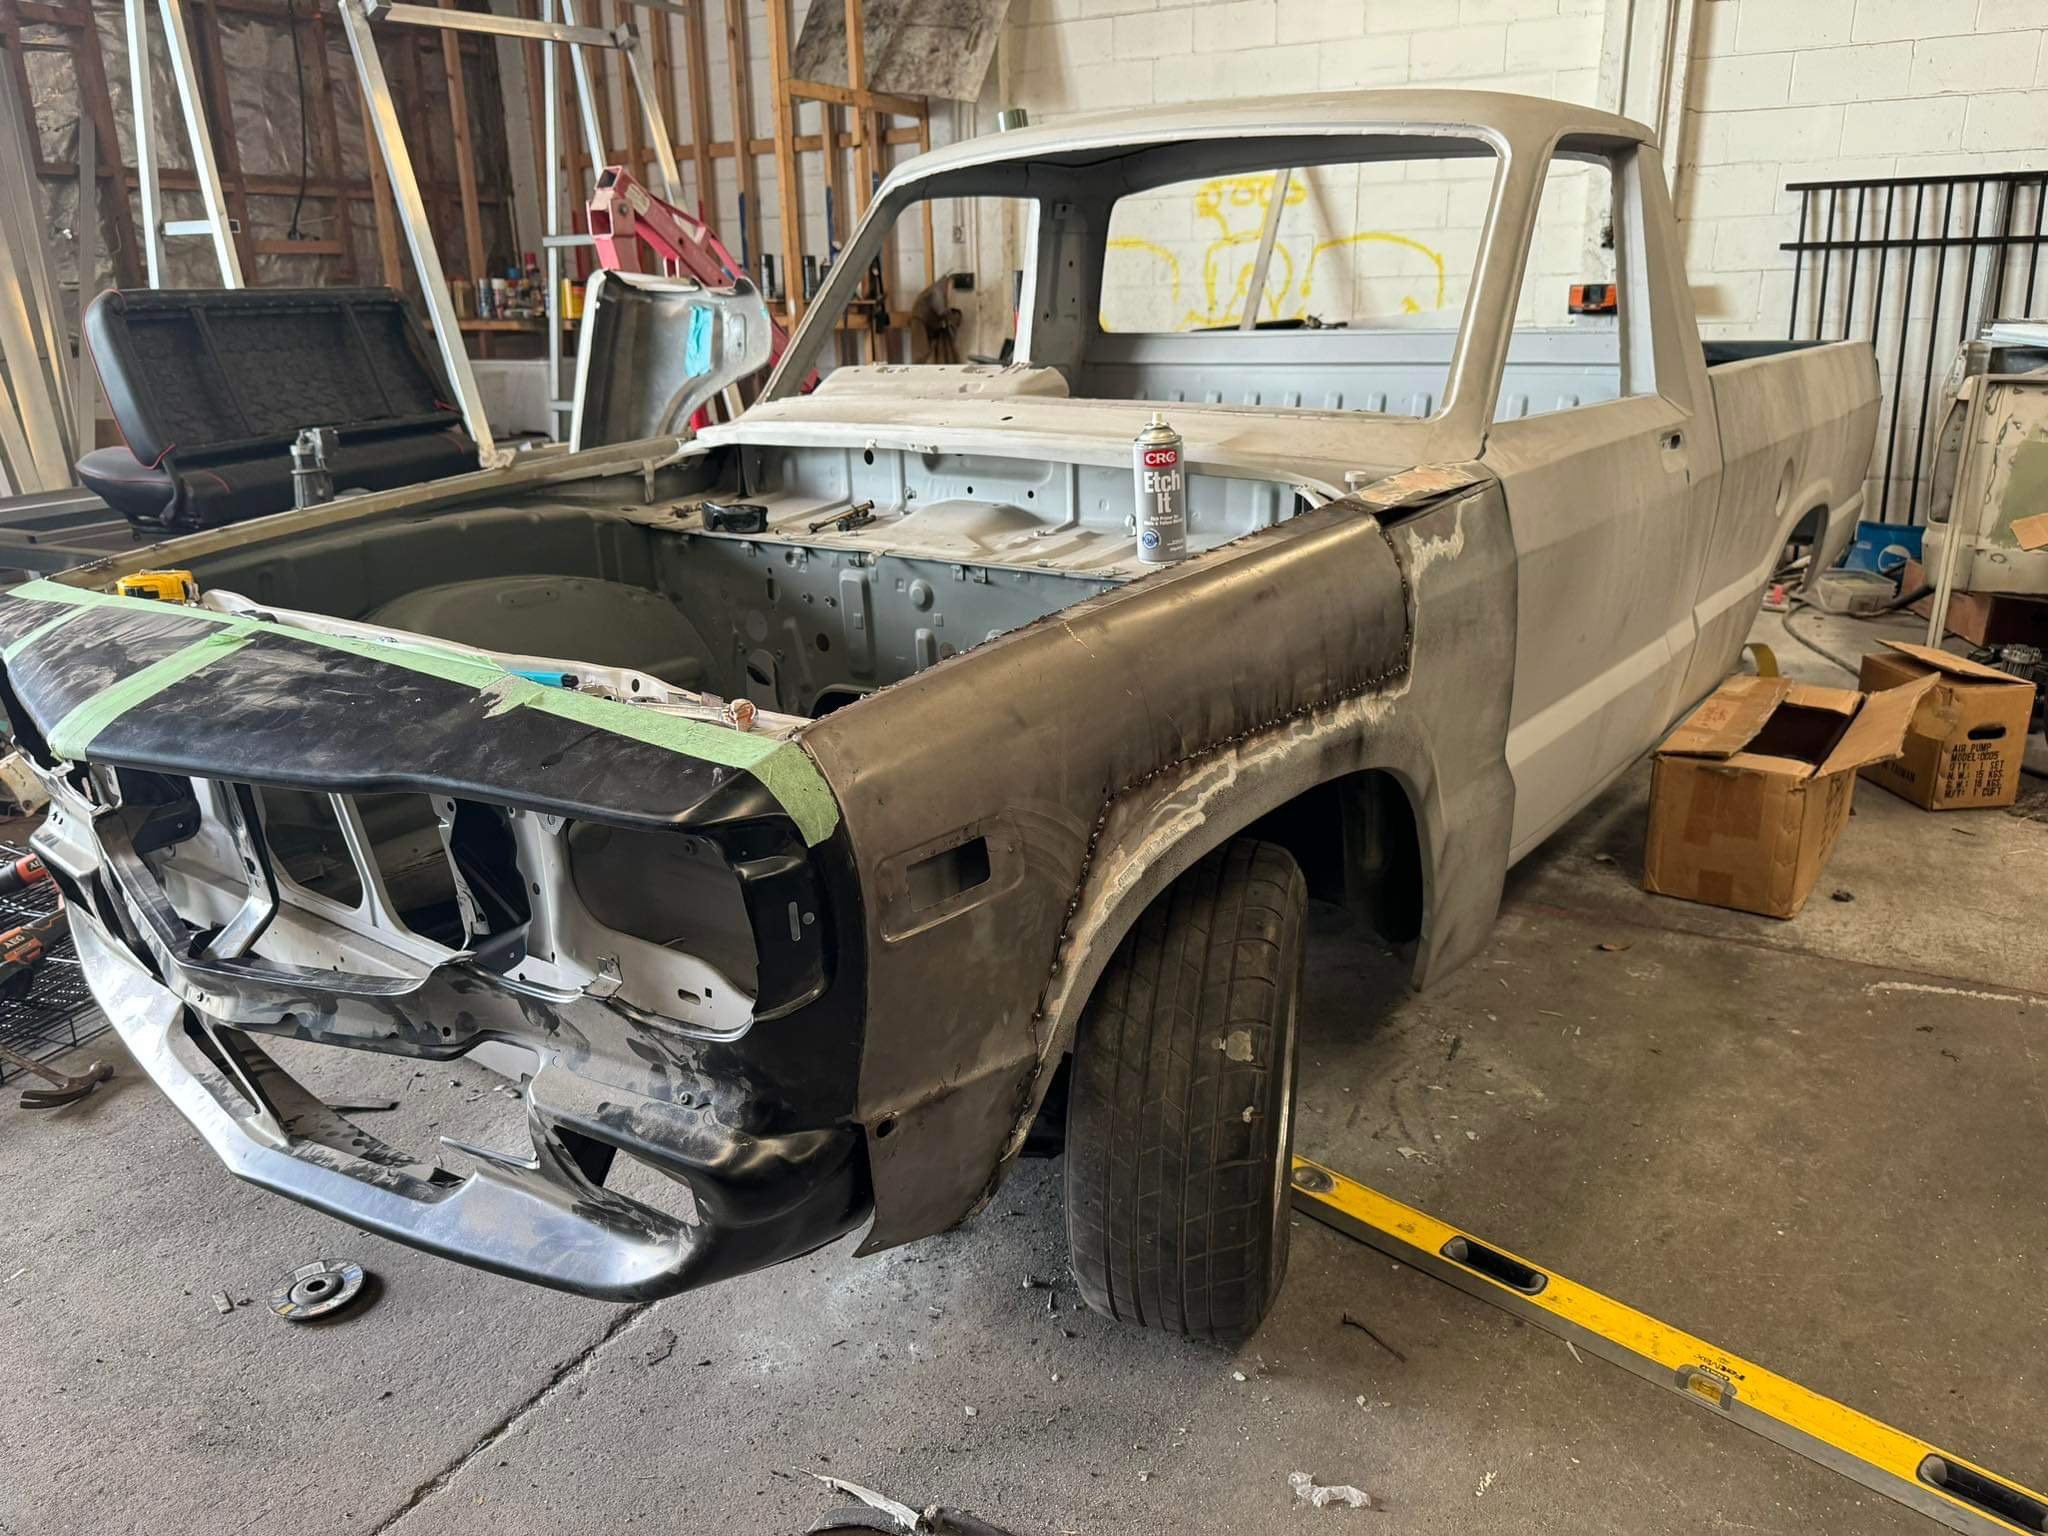
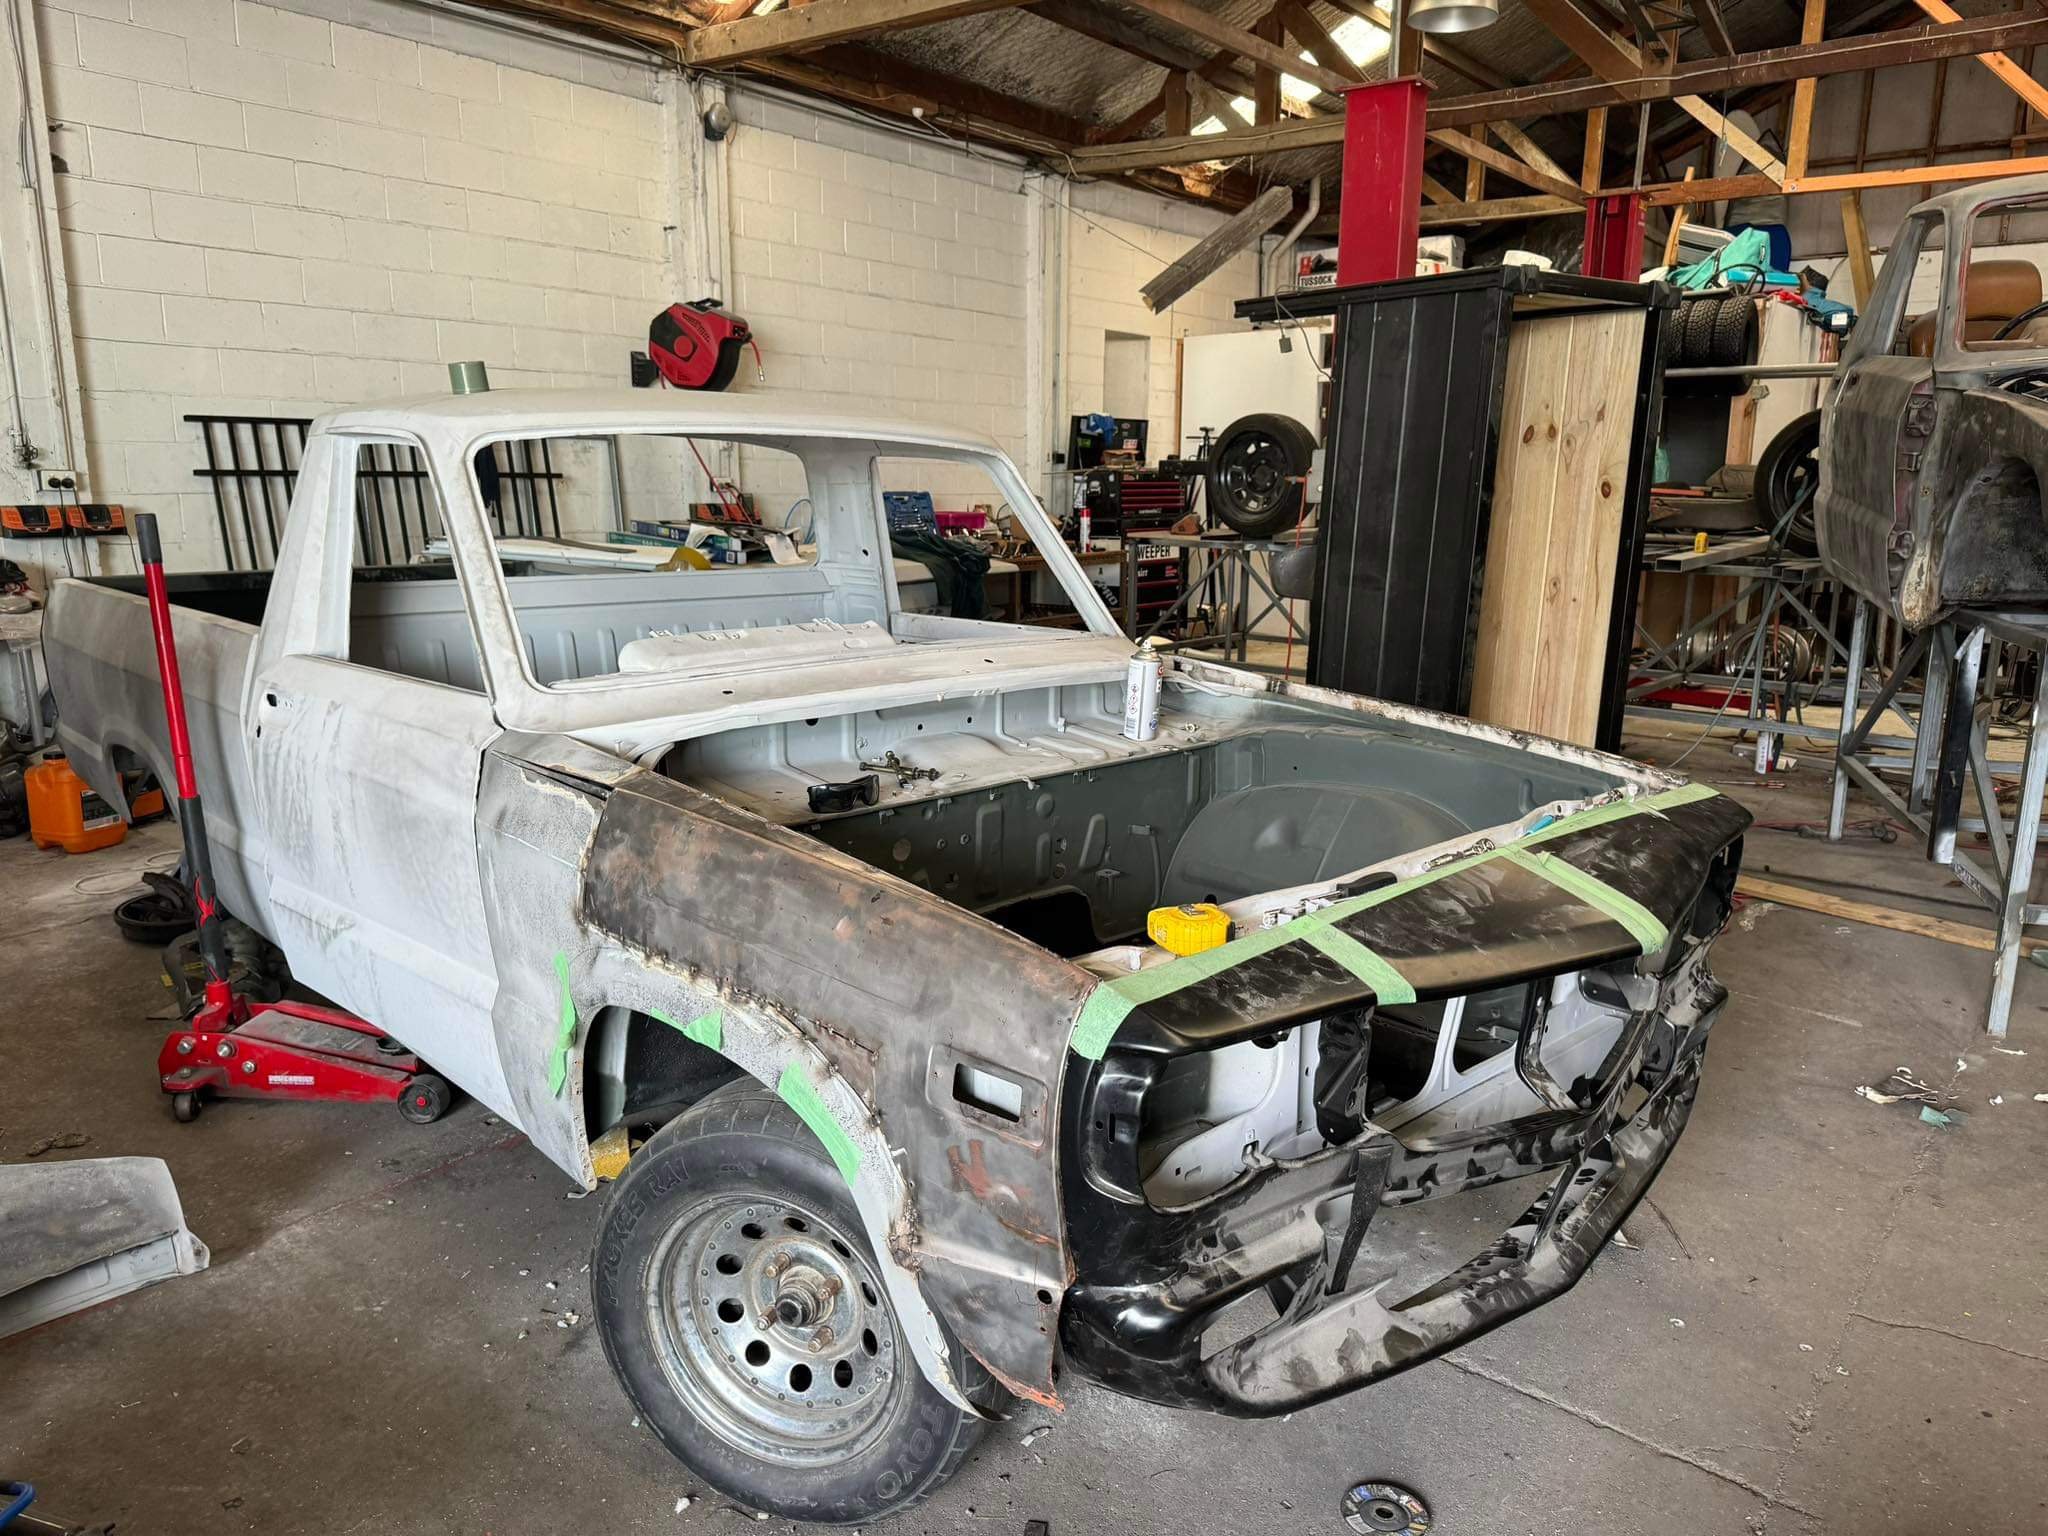
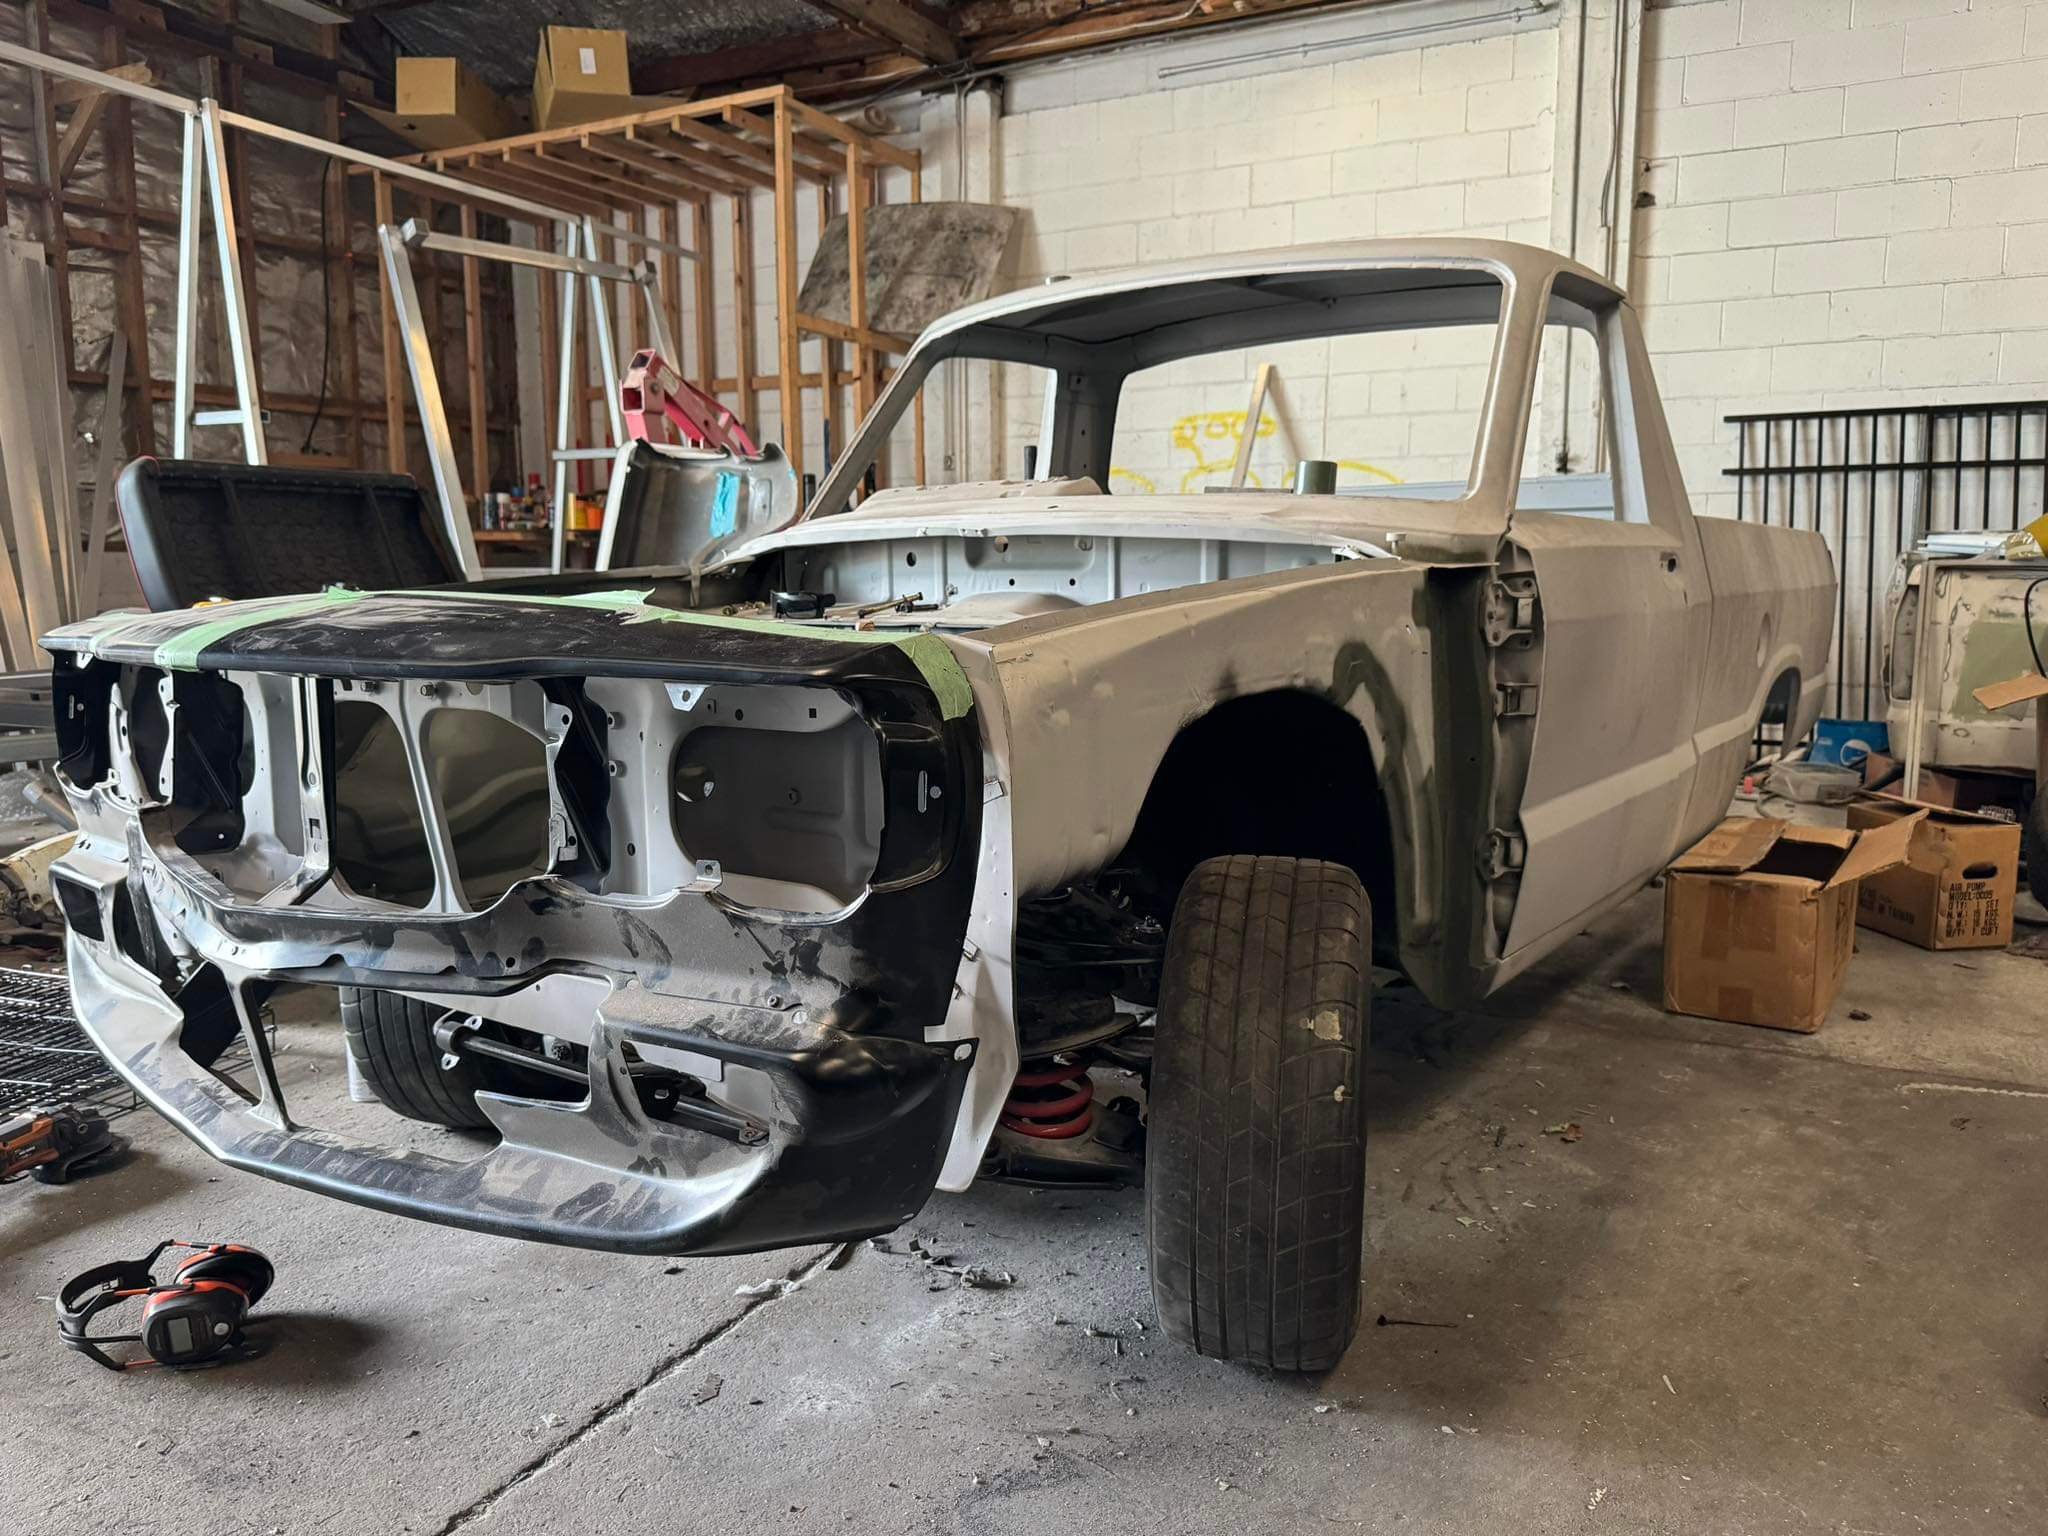
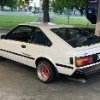
Nosecone is fully mounted, rough guards are on for mock up. this ute seems to be longer than the other ute. Probably built in a different factory as they are 4 years apart from memory.. im glad I chose to use this ute for RX3UTE, it is the same model and spec now.
15 points
-
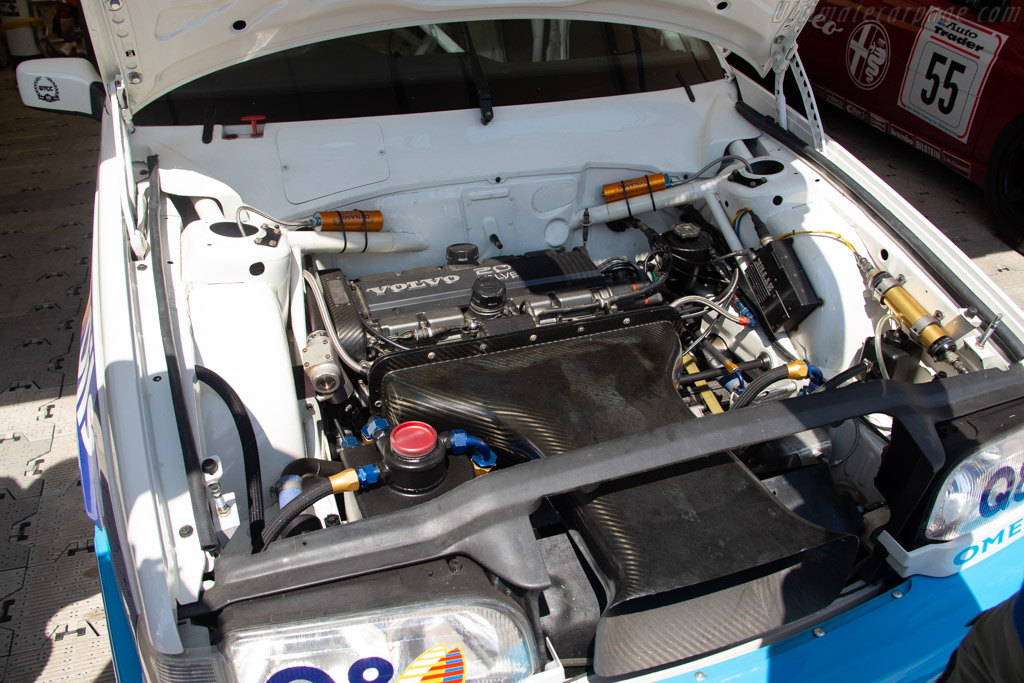
Yeah true. Apart from existing options not fitting, it's also that eventually I want to be able to have an intake something like this. Both because it looks cool, and works to hide a lot of other sins in my engine bay haha.
10 points
-
It takes a special kind of idiot to take a perfectly good, freshly panelled car, and chop it to bits. boy I need help Cut all the things!!!!!
7 points
-
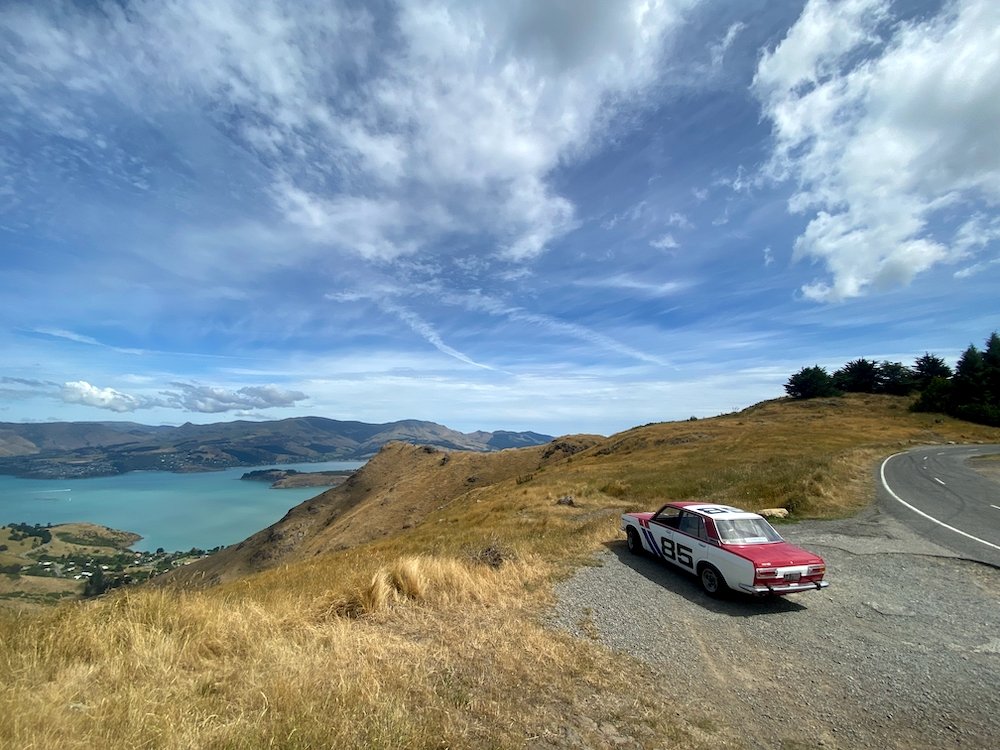
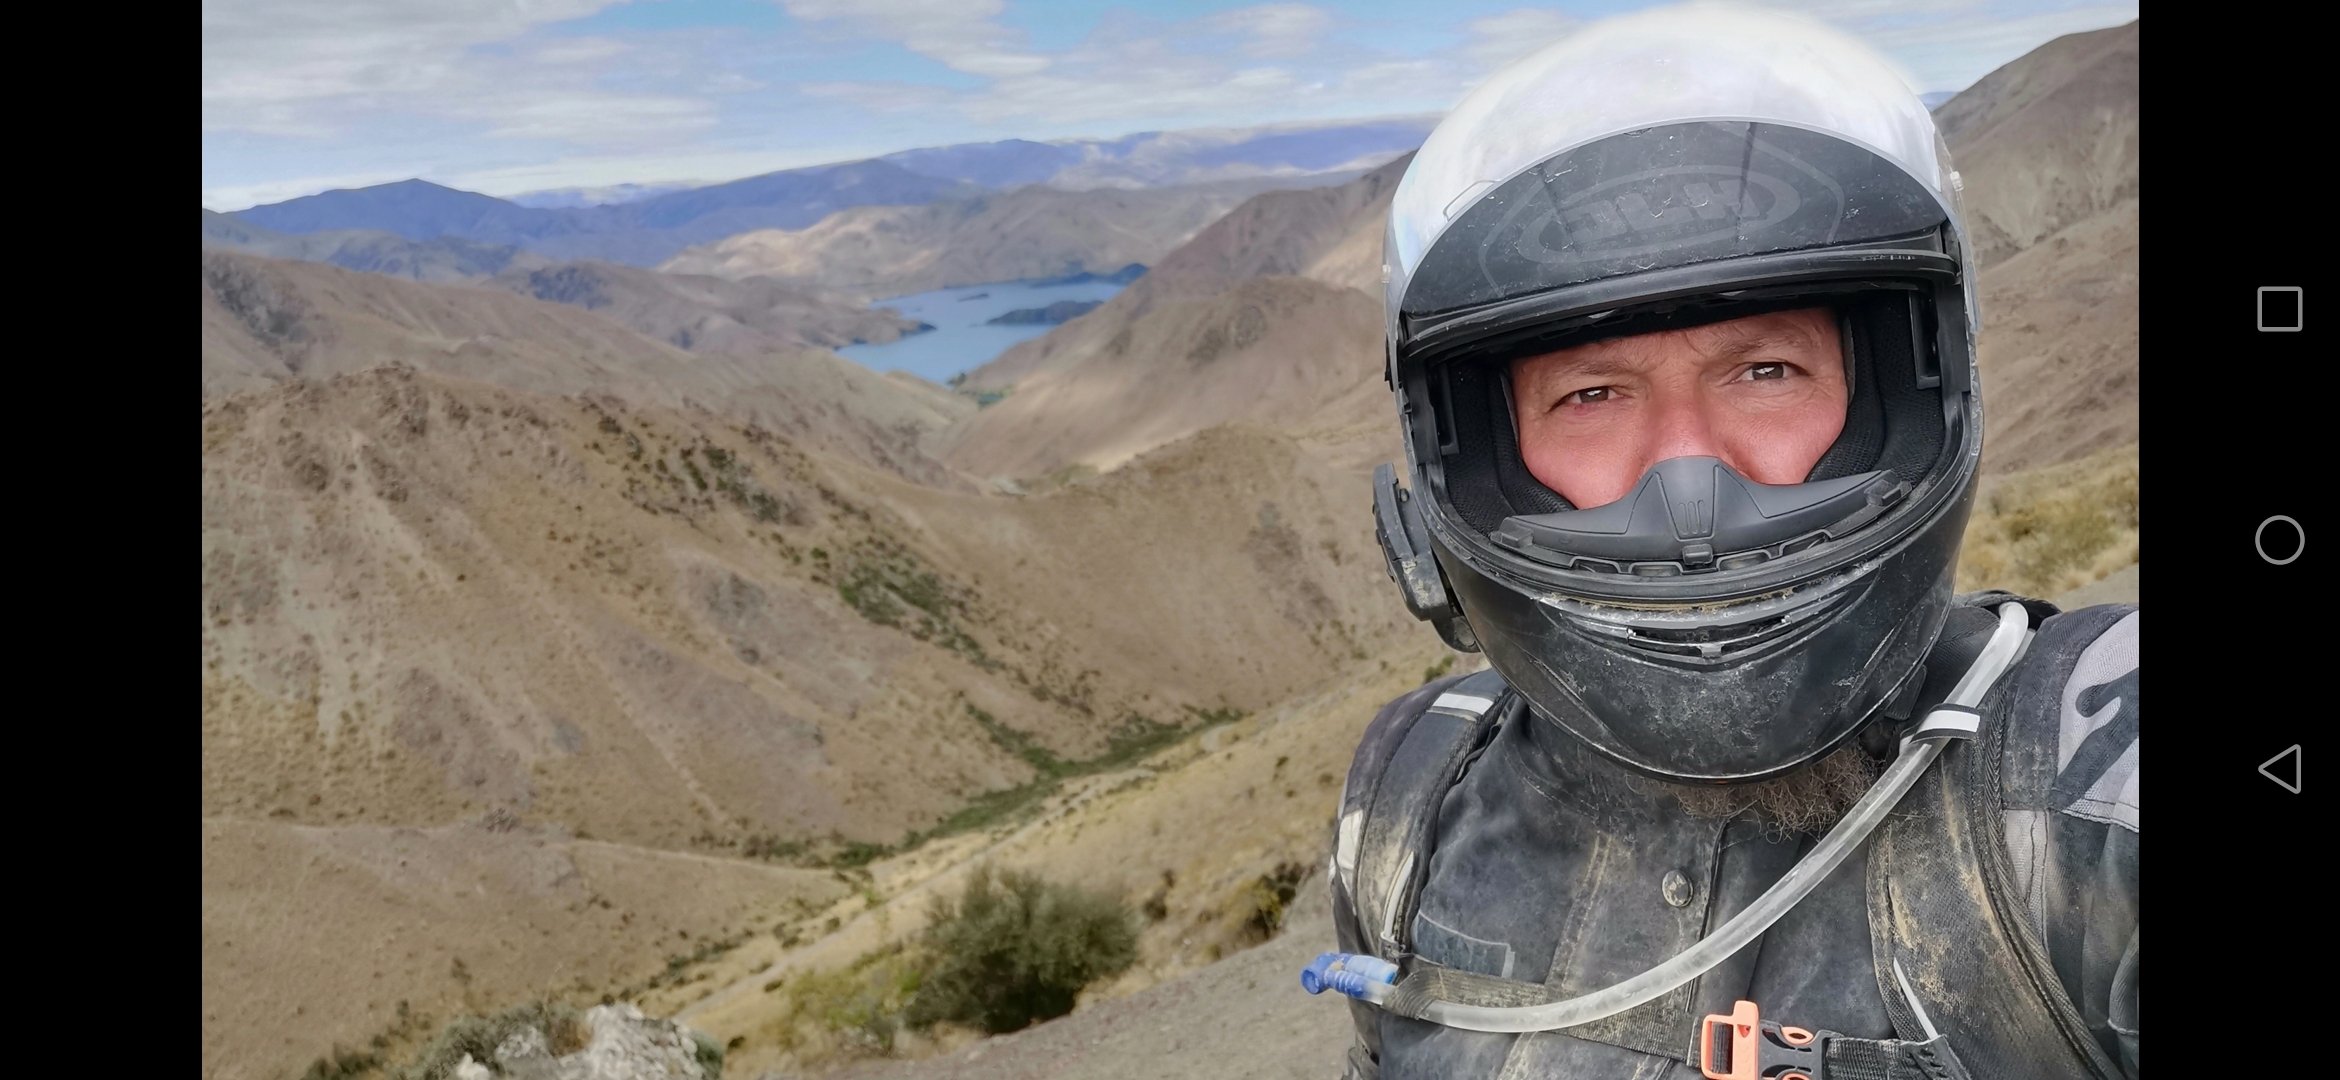
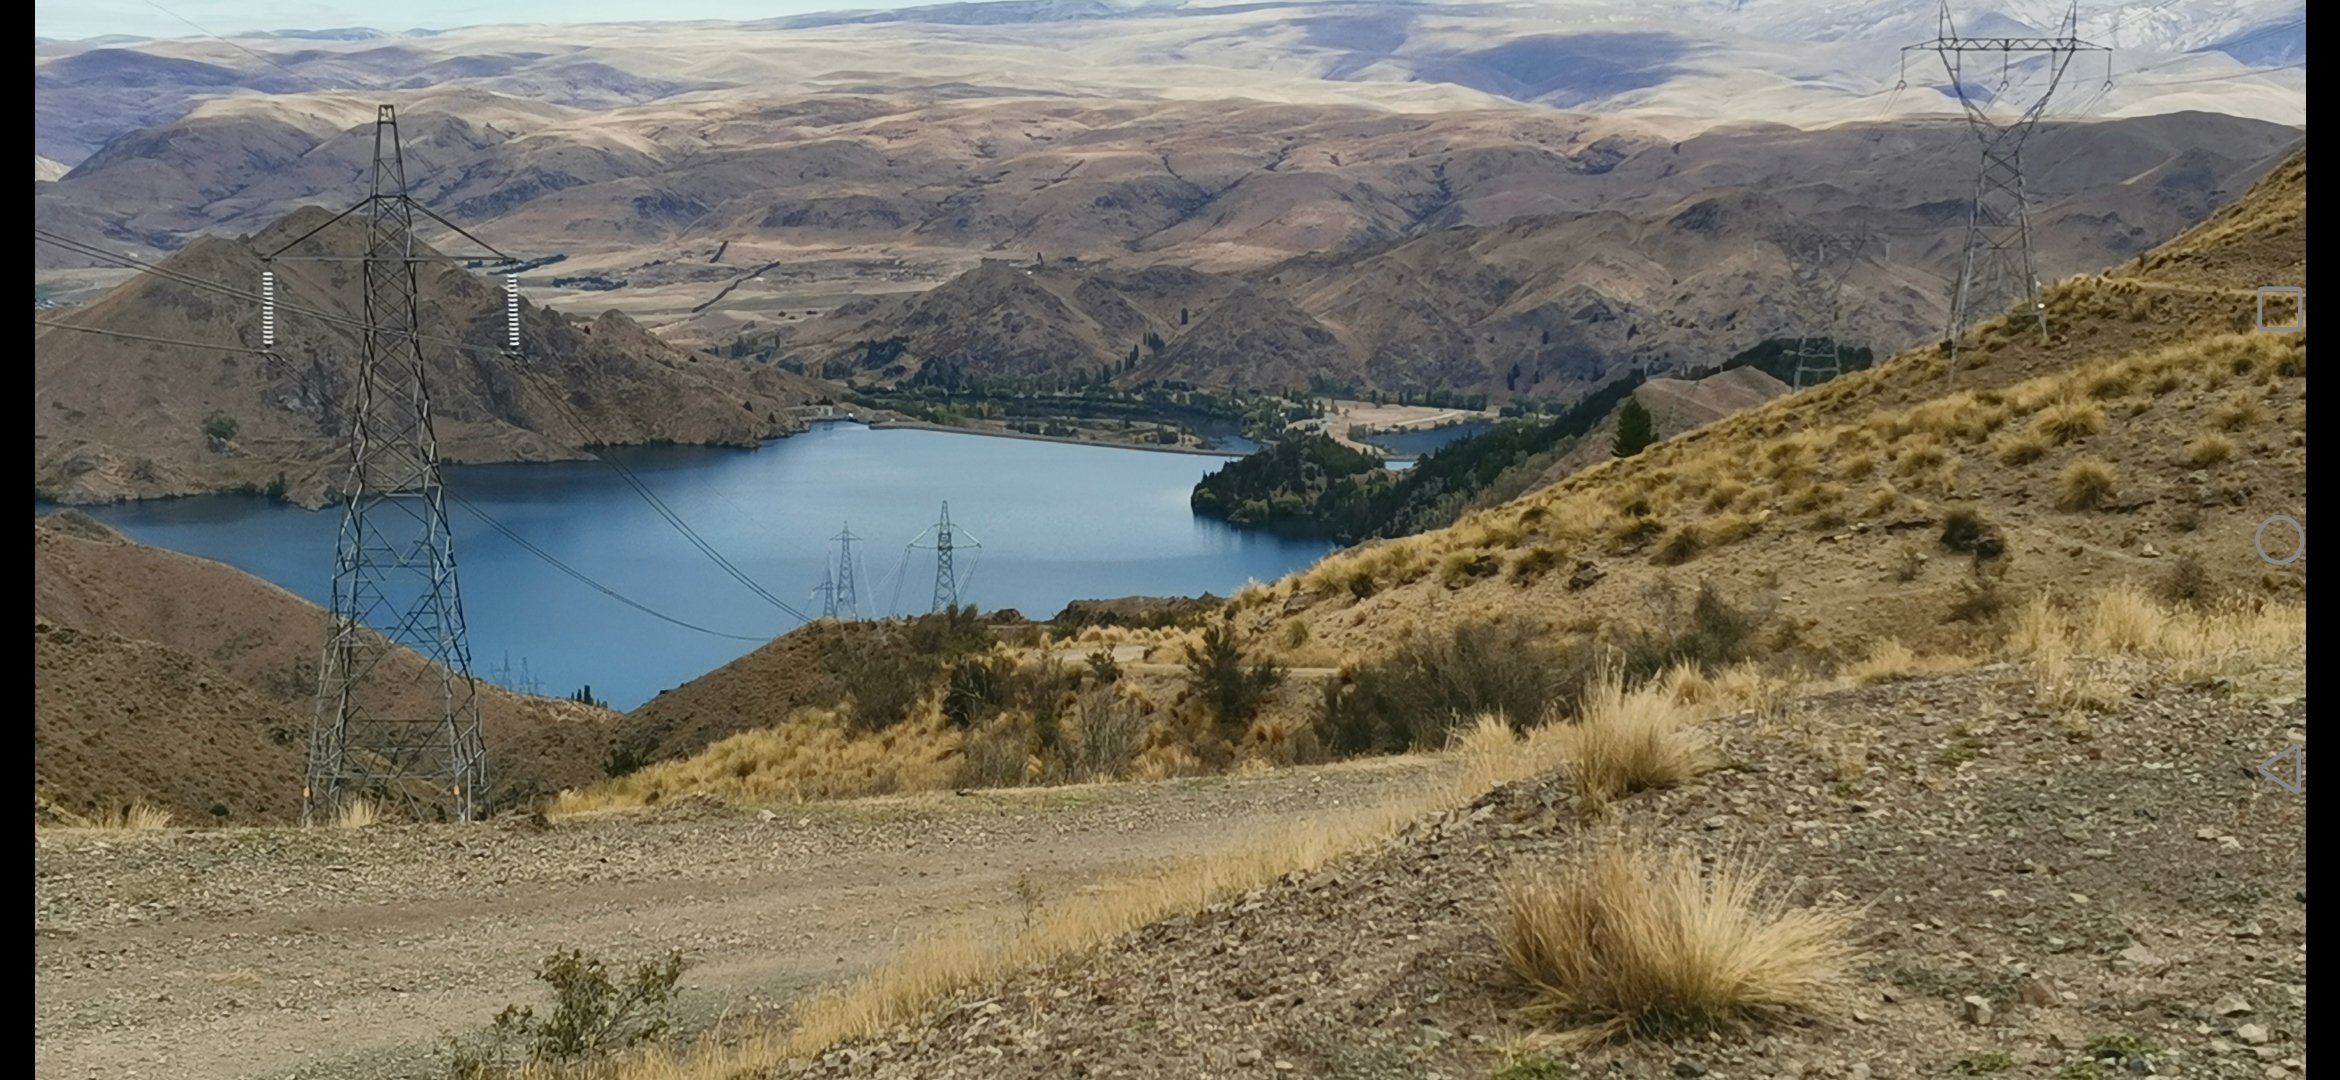
This thread needs a decent pic of the car right? Really want to go get some sunrise/sunset pics, but that will need to wait til daylight savings pulls the sun back to more gentlemanly times, for now, a not so potato pic
5 points
-
If you feel like going back to pleb-spec with a brush, a lot of Japanese armour was painted with brooms... That way you be historically accurate and it hides a lot of sins.4 points
-
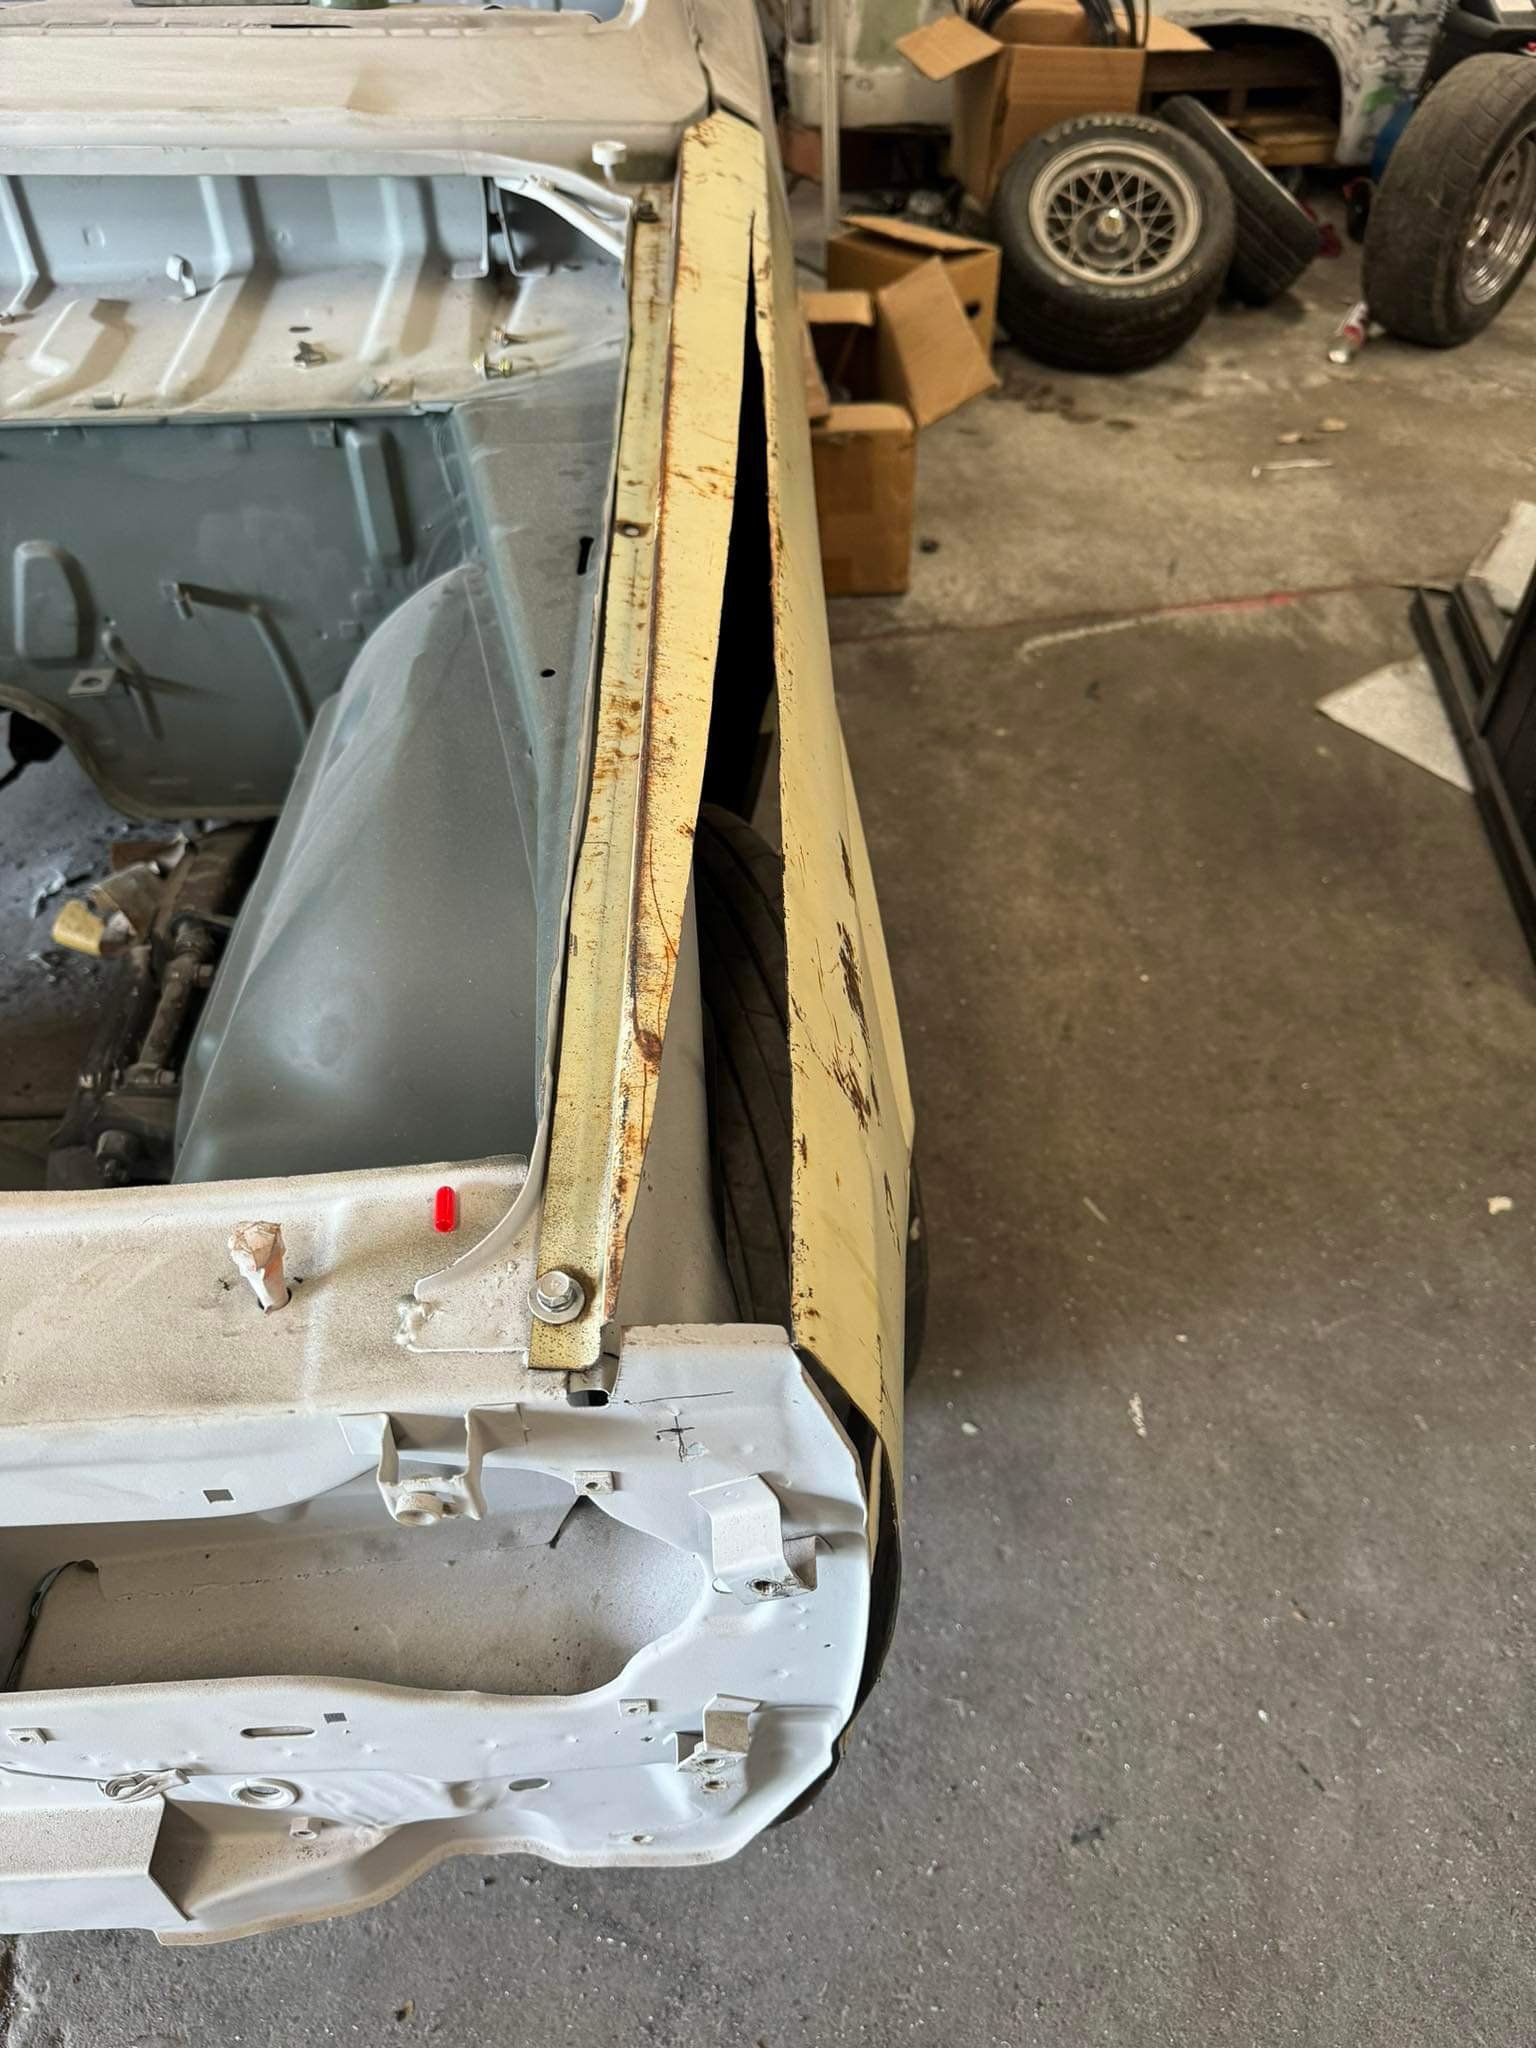
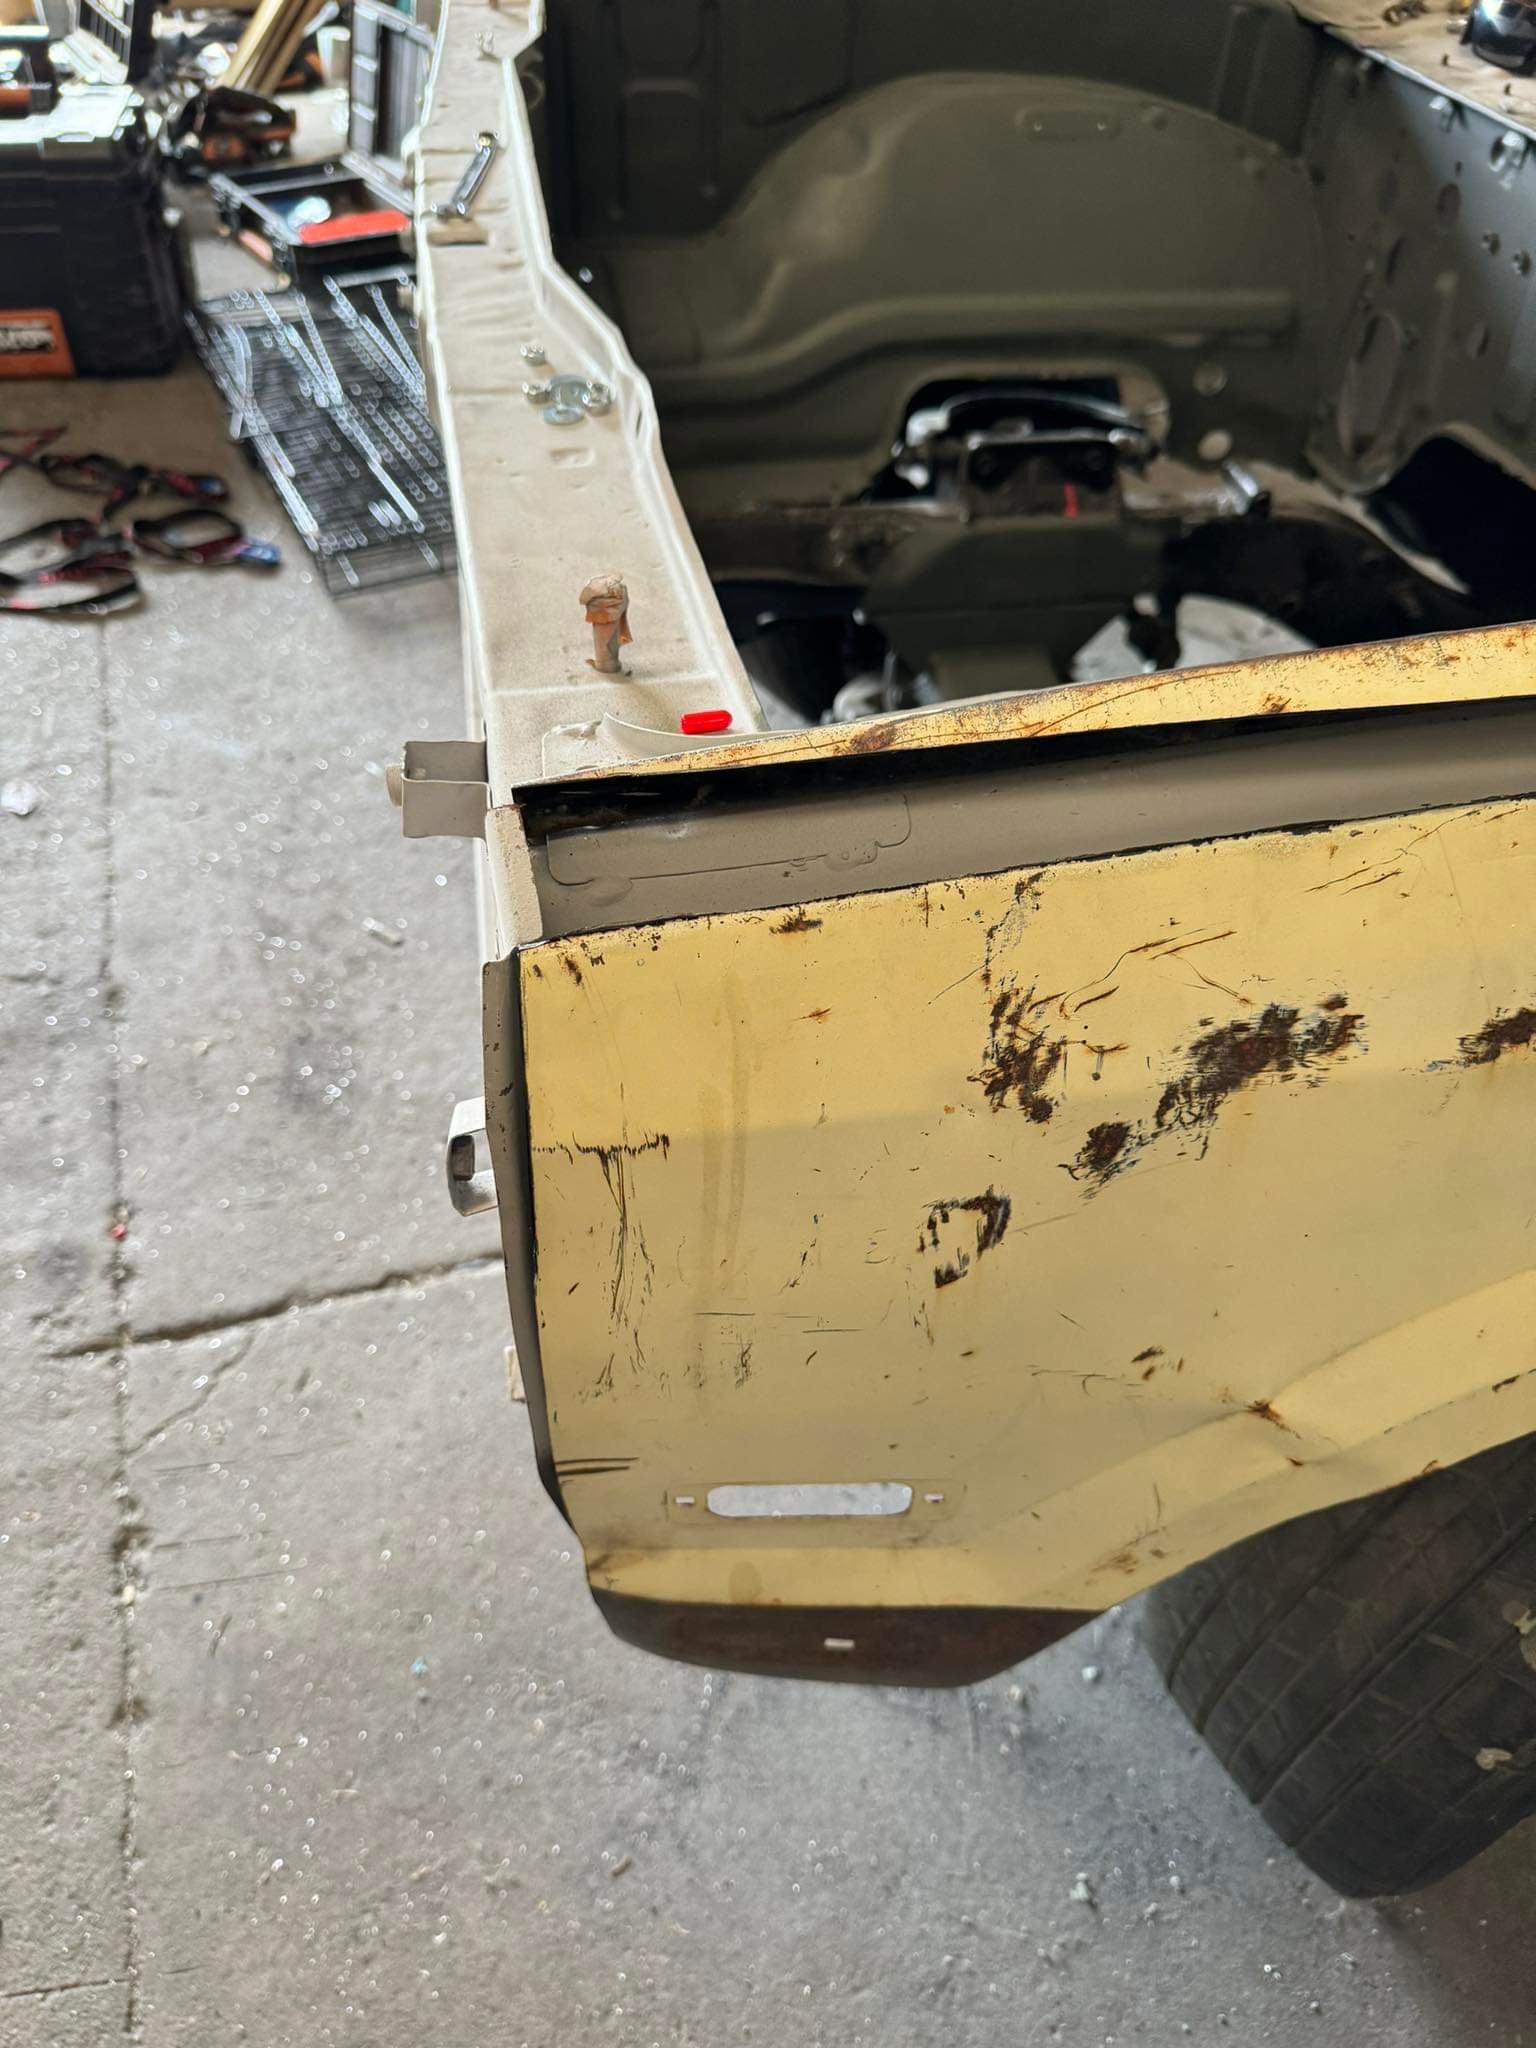
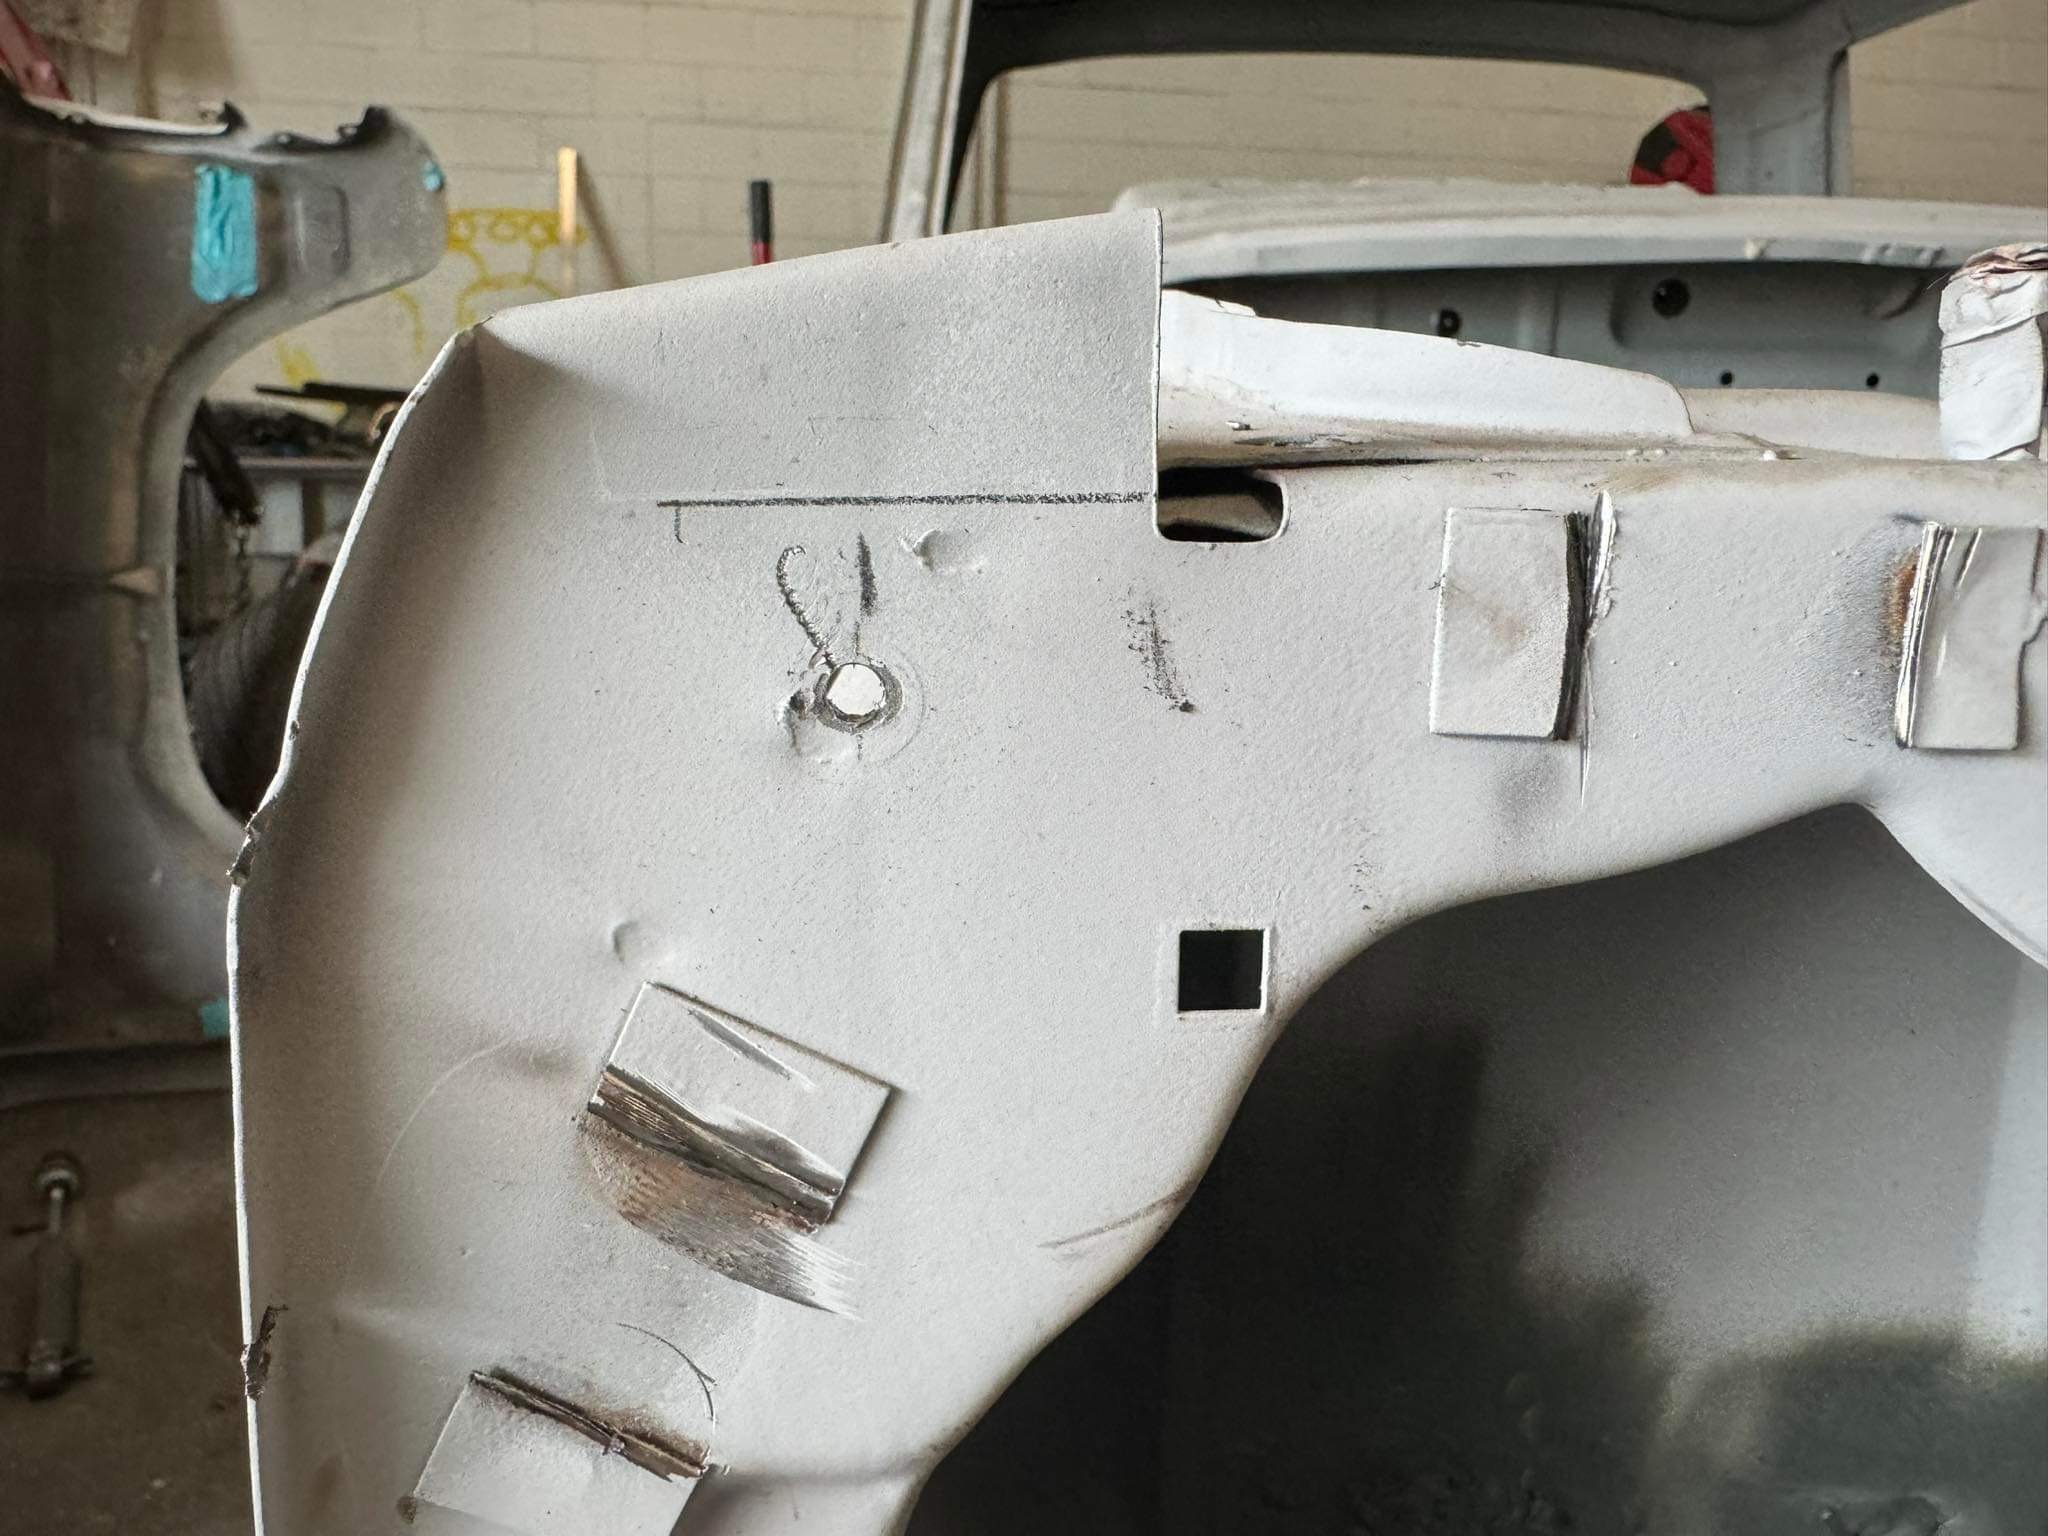
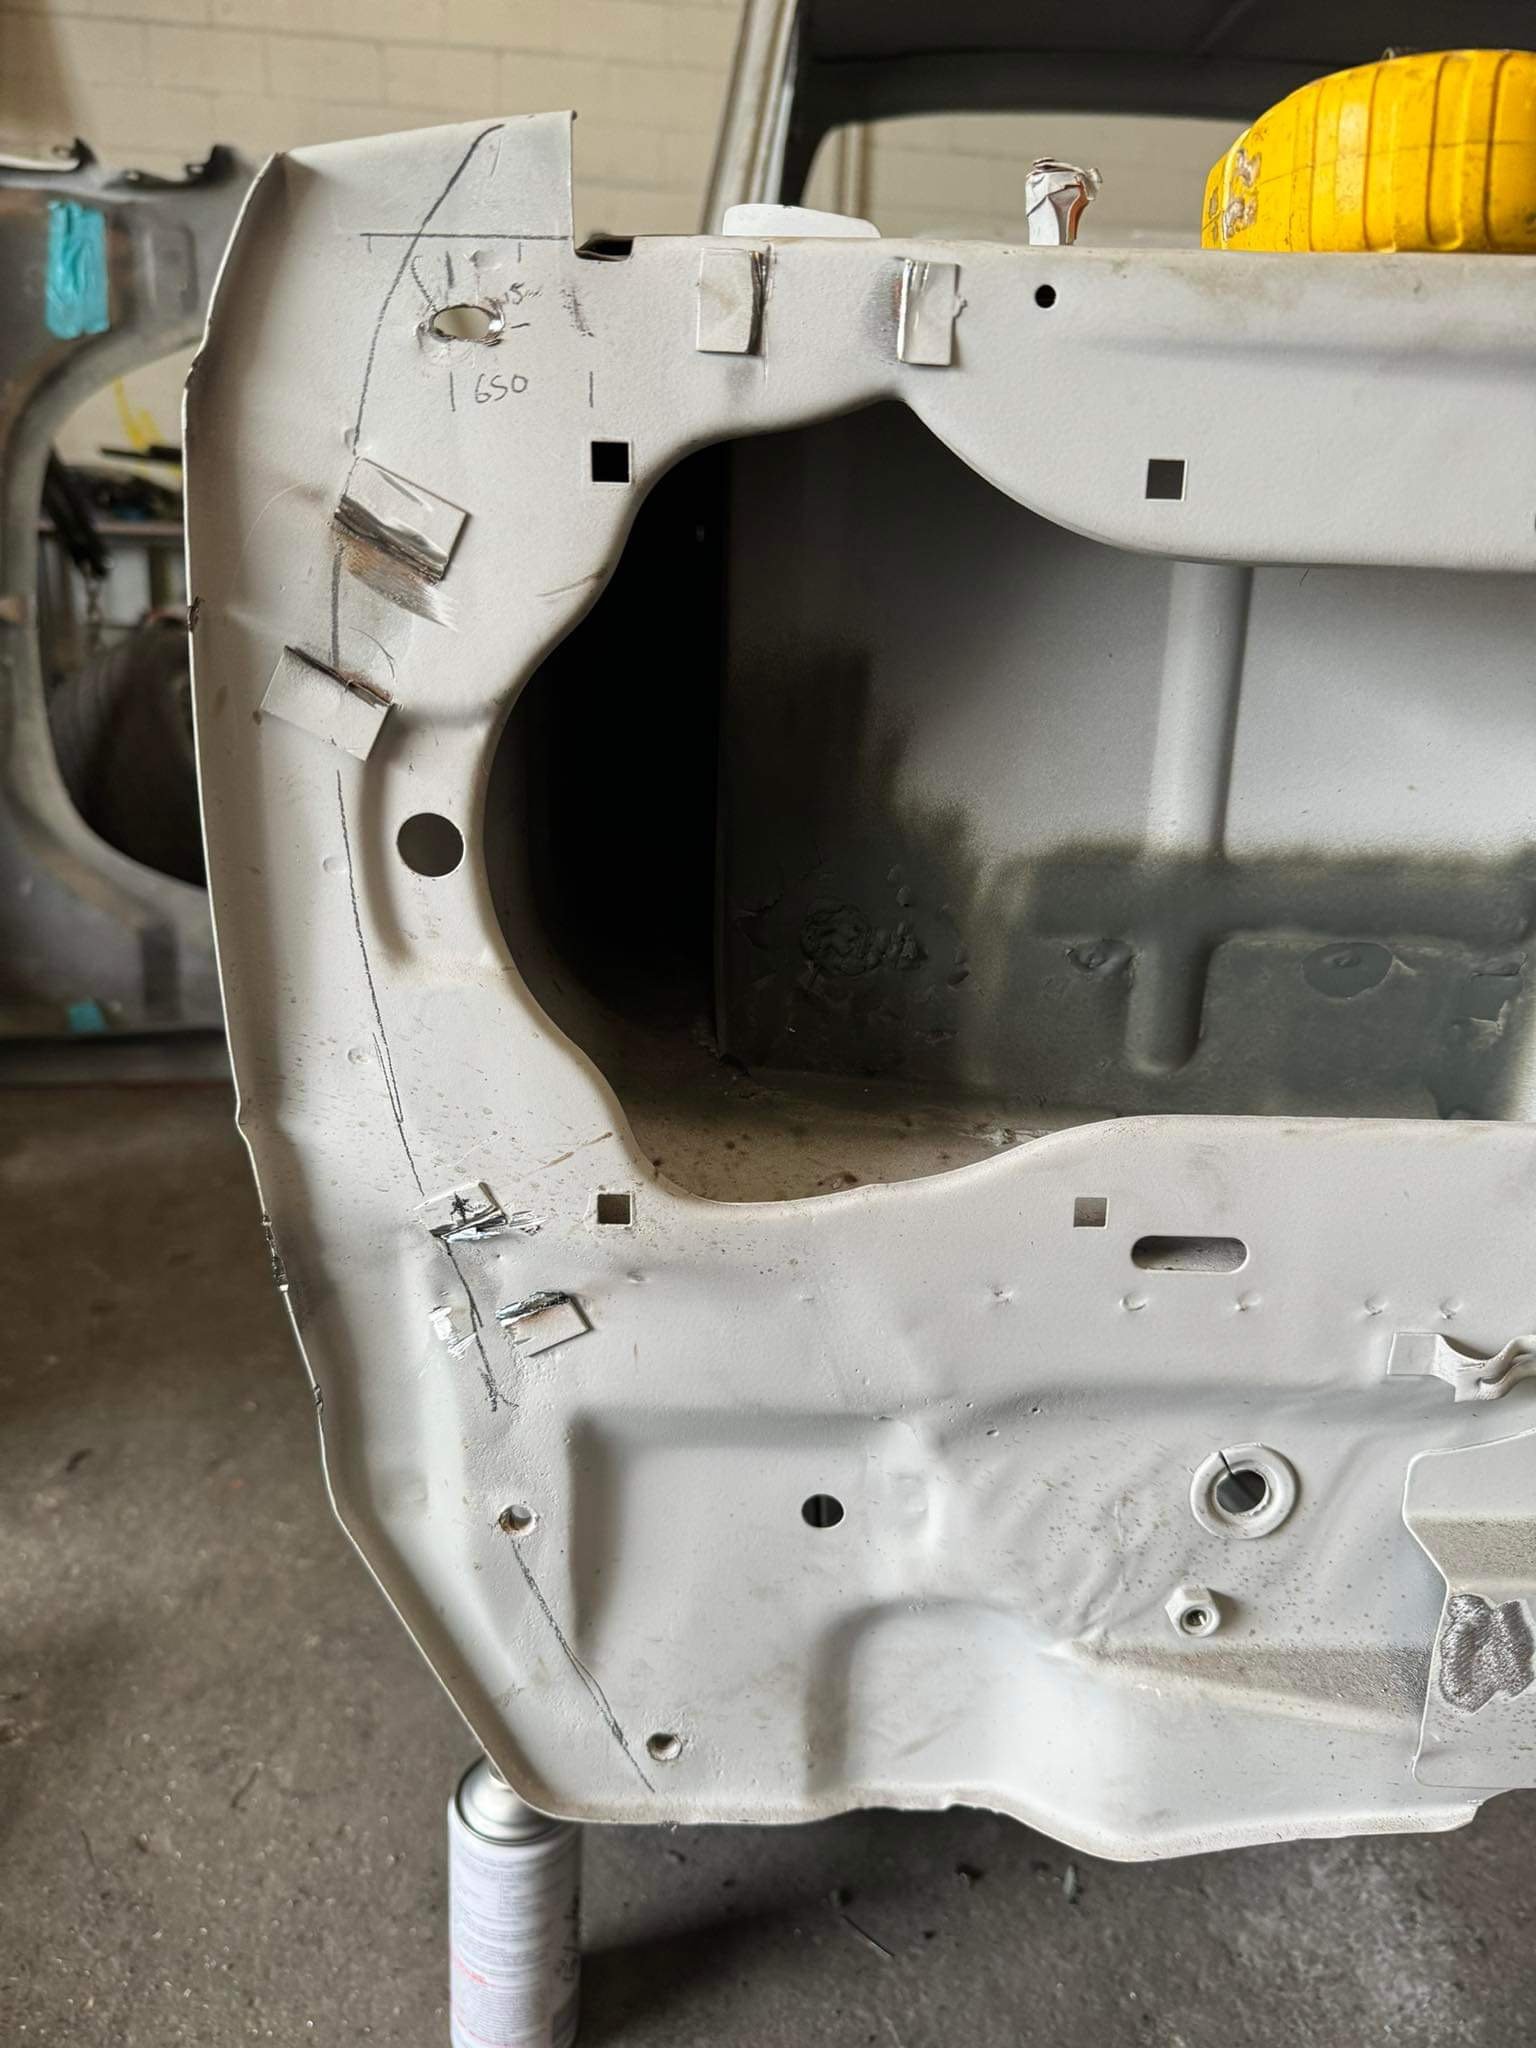
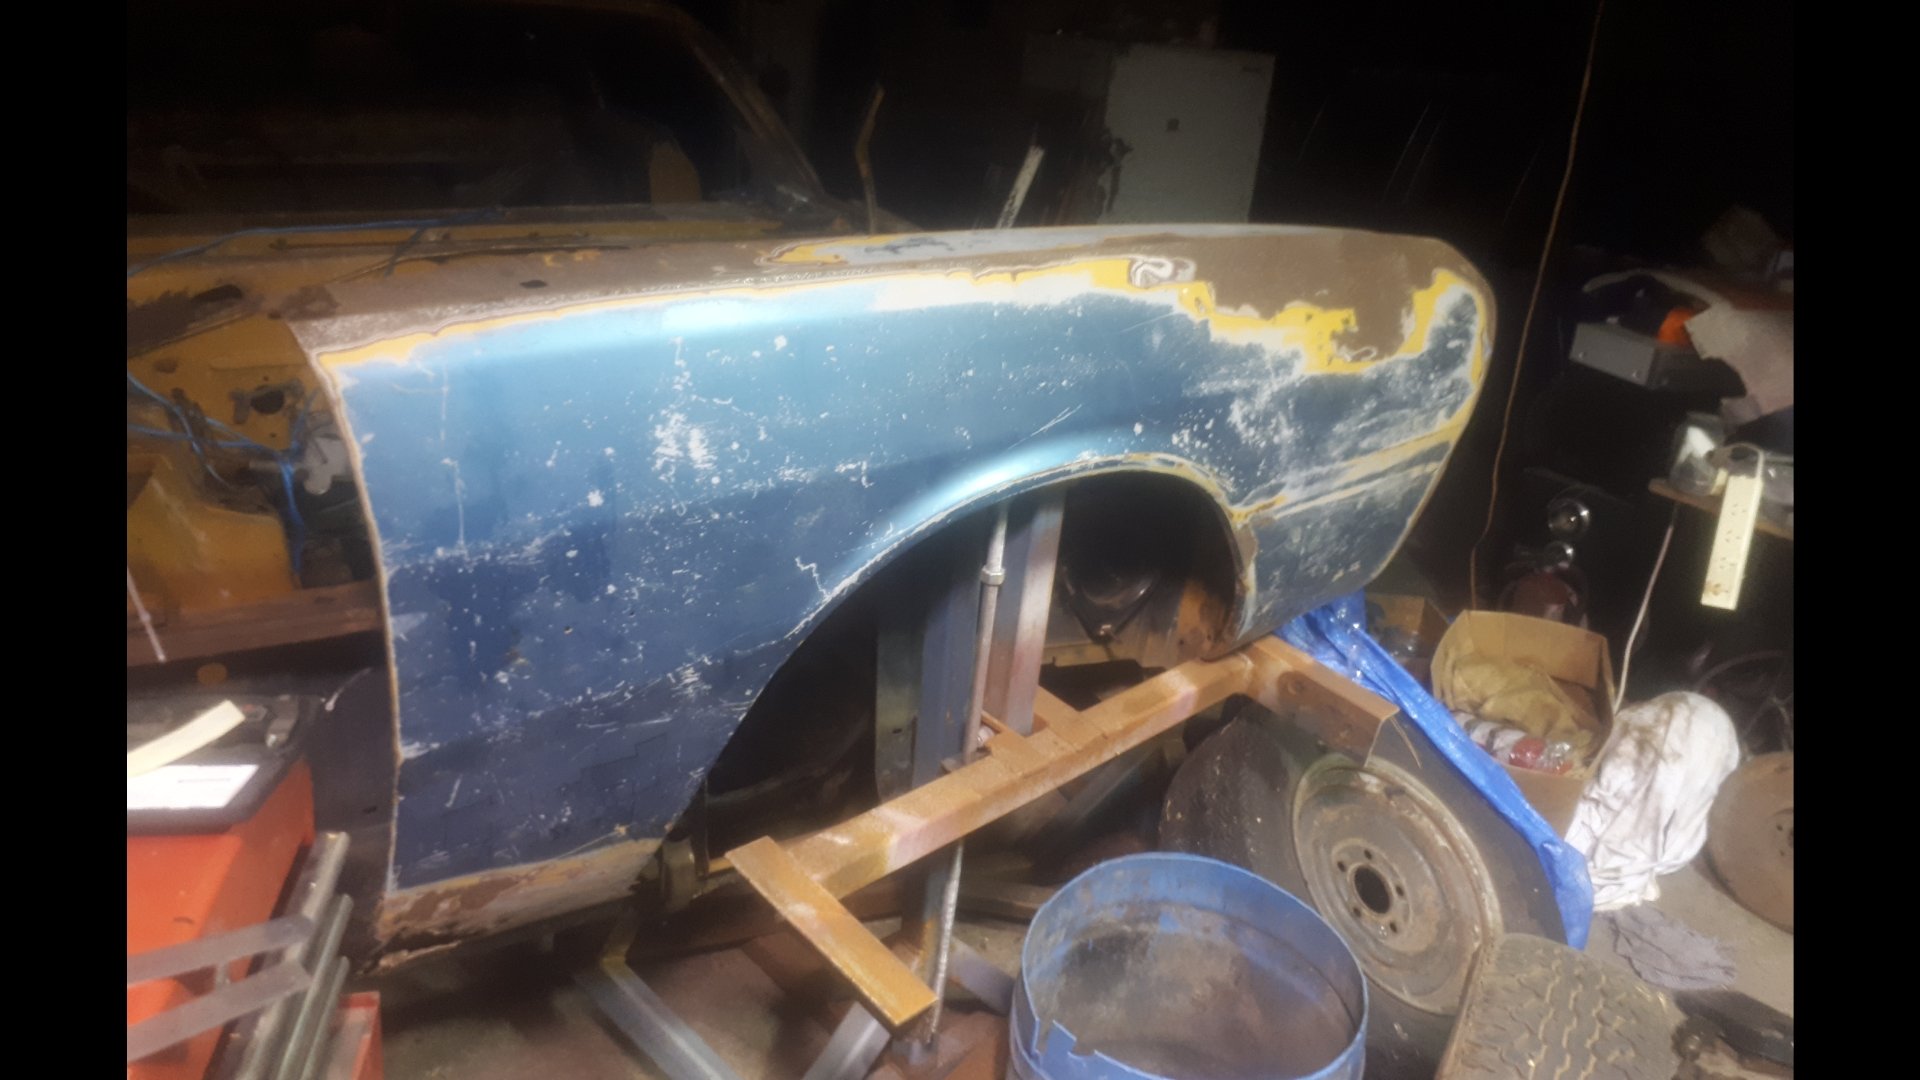
Im still thinking about this once in a while. Tracked down a less fucked right front guard. It was up welles ways. @Goat kindly let me use his house as a freight forward depot. The seller dropped it off, and a mate who was passing by collected it the next day. Picked it up tonight. Defo needs a wee bit of work. But i can buy the inner and outer bottoms off the shelf from Automotive Panel Craft in Oz. Thanks to @Classicdat for lugging it south for me too!
4 points
-
Come on now, start with a full size one and whittle it down...3 points
-
Would I use a full size broom or a 1/35th scale one ?3 points
-
Crazy idea here.... Run what you have, and see what happens. Don't waste energy theorising on what might happen, and over-complicating things. This was the Echo's charm, cheap, cheerful and iterative. I also know that your name is David and you're incapable of not over-thinking the whole process3 points
-
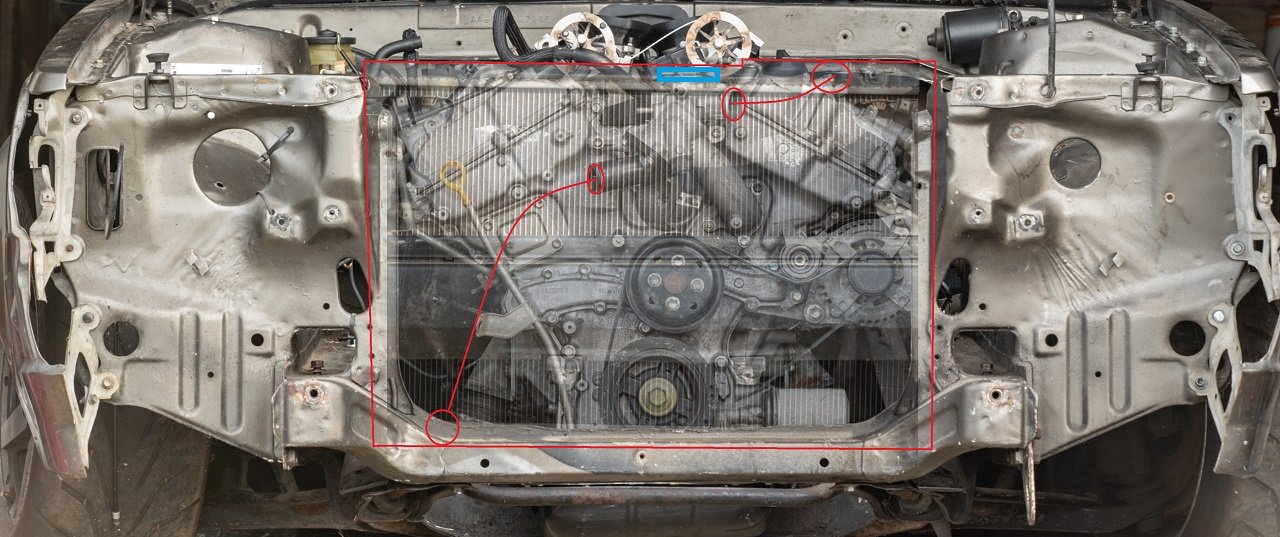
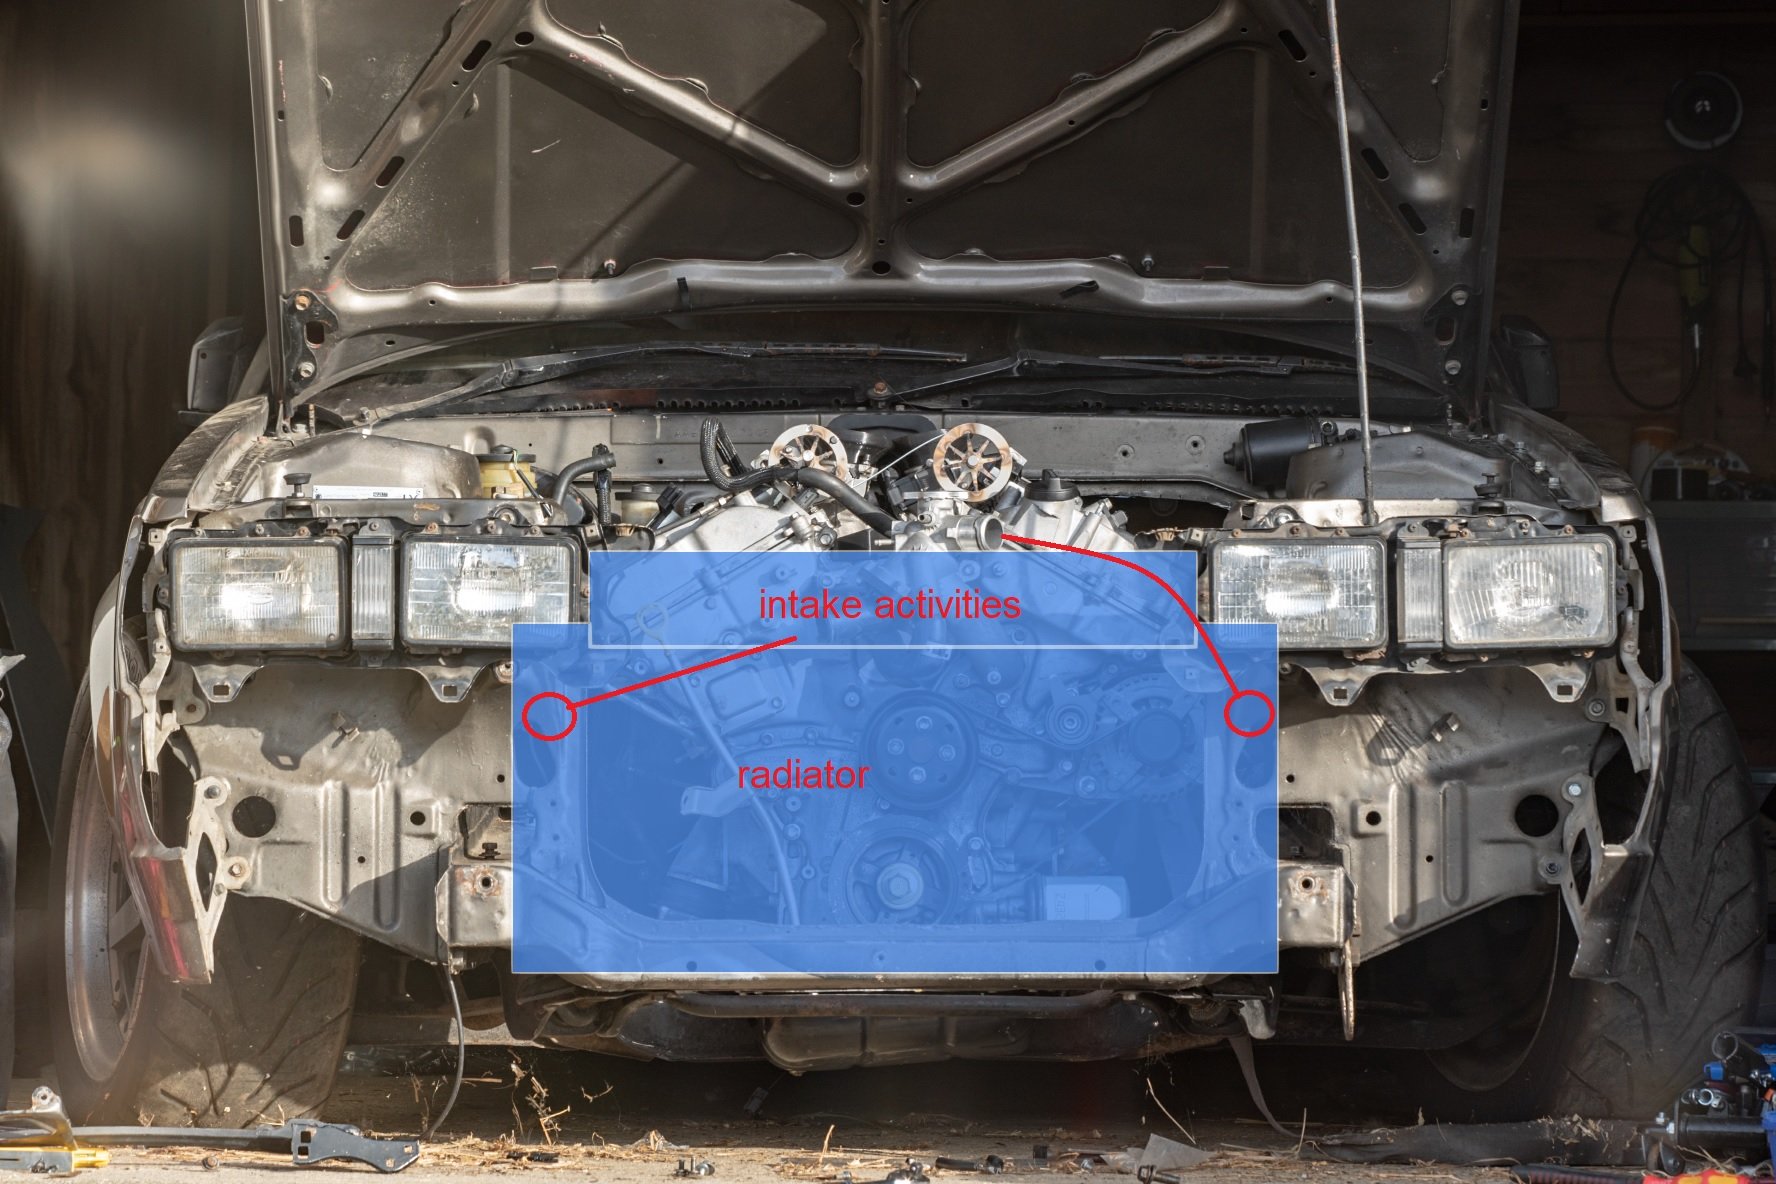
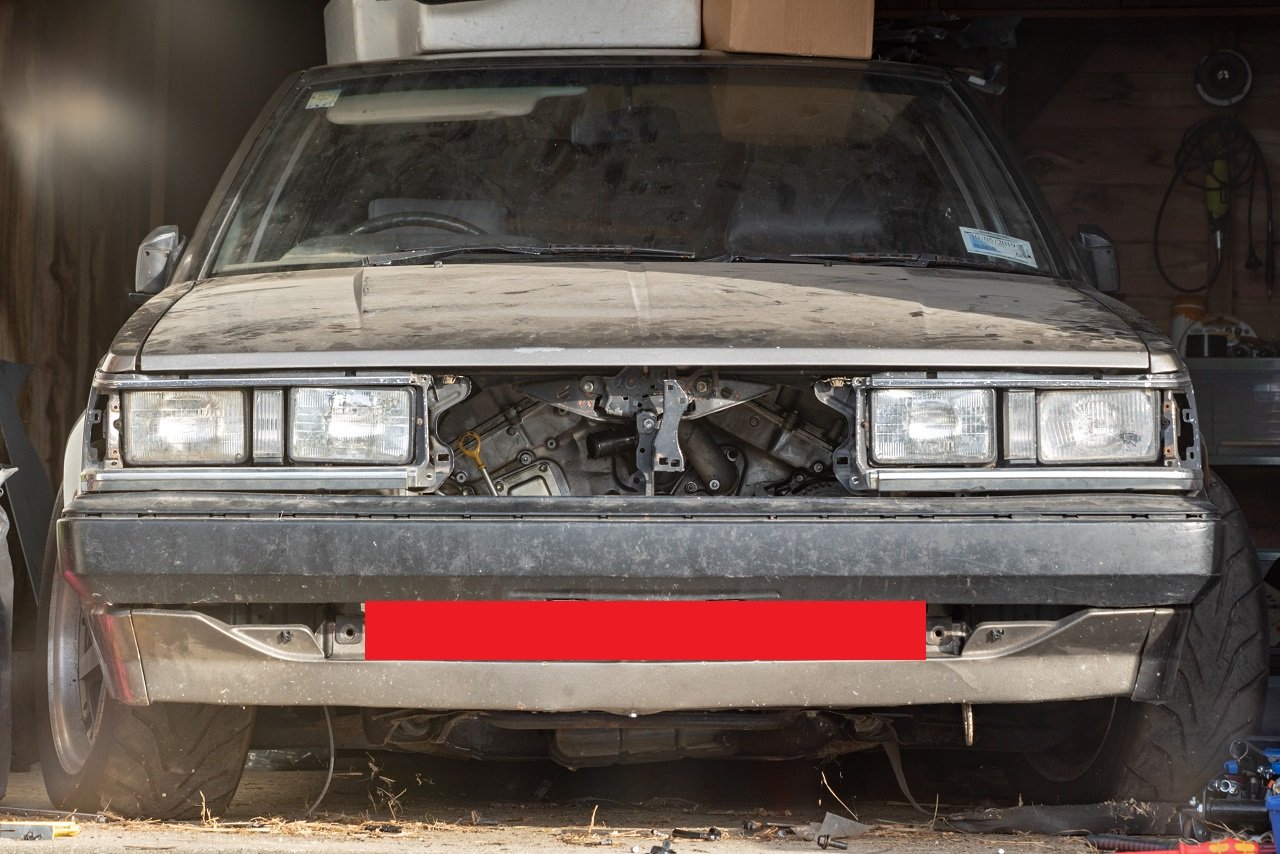
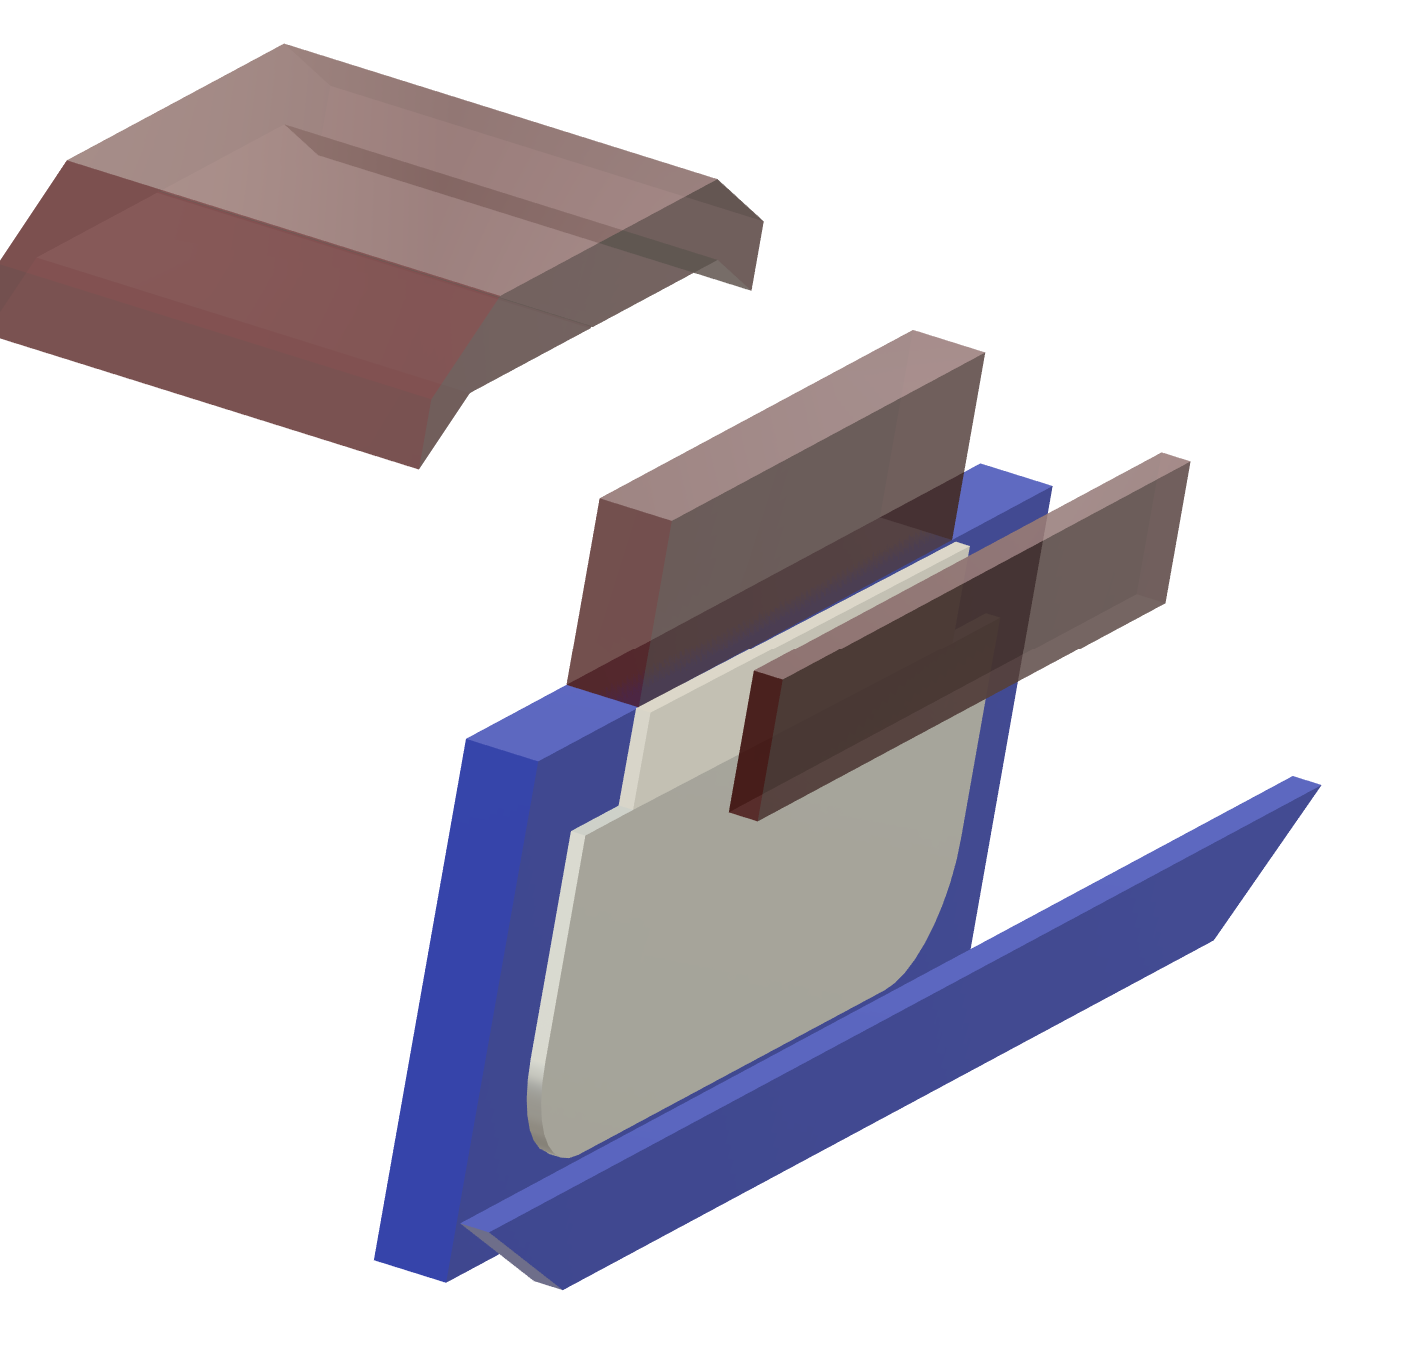
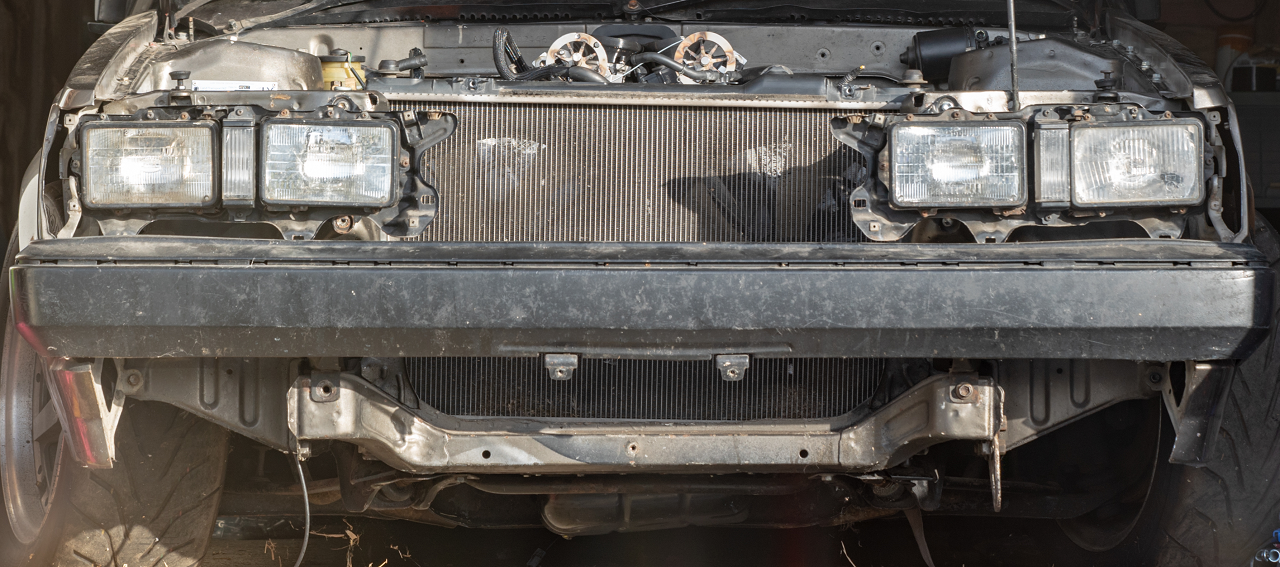
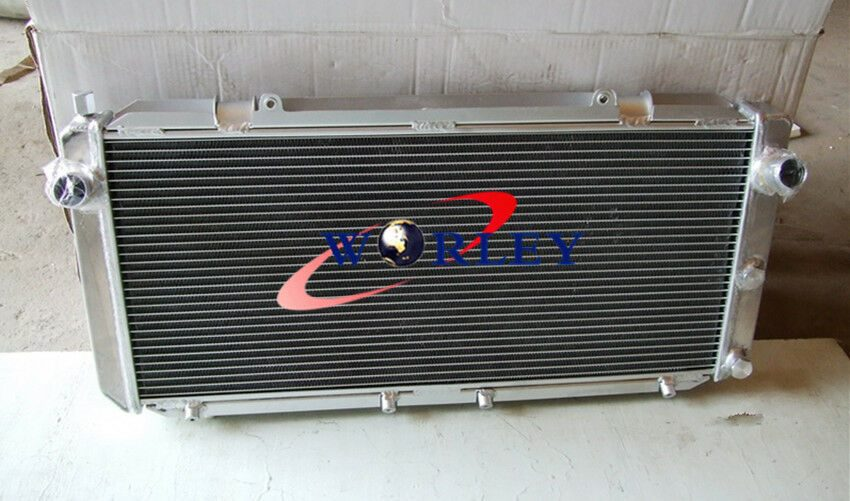
Radiator situation I've got the Mark X radiator in there currently, and although it made everything nice in a lot of ways in the back of my brain I know it's just not going to work quite right. As the top pipe sits too high. You can see it sits a little higher than the top crossmember too, and this isnt on any mounts yet. Just sitting hard against the bottom. The motor's radiator cap (in blue) sits a little lower than the radiator, and the top hose to the radiator flows uphill towards the radiator. All bad news for ever trying to bleed the air out of this thing. Another issue is that I'd love to have a front facing intake airbox that goes through to the front grill, like a lot of the BTCC type cars have. The best option I've found for a low, wide, twin core radiator that doesnt have a radiator cap (and does have an air bleed) is from an SW20 MR2. Being so much shorter, I can dedicate all of the front grill area for the intake. And they're a common upgrade item for MR2s, so cheap and plentiful. The radiator is 5mm wider than my chassis rails, but the end tanks are alloy and on the sides. So will just need a little slice and reweld to fit at the bottom. If I dedicate the top grill to doort noises, then I dont have a huge amount of frontal area for the radiator coming in from just underneath the bumper. Possibly need to remove the bonnet catch as well, but I'd prefer to keep it over having bonnet pins or whatever. This is a rough approximation of how much space I've got for each thing Red is intake stuff, blue radiator stuff, white is the open area that the radiator can get air through. So a lot of the radiator area will be fairly useless if hard mounted against the front of the car, as it wont get any air flow. so I'll try mount it as far back as I can towards the engine. All of this stuff is a bit off topic to my path towards getting the engine fired up, but I've been working on that too. Last night cut the fuel rails a bit shorter, so there's more room at the back. for the fuel dampers without hitting the body. Then also had the underside of the rails milled down so the throttle linkages dont hit the rail anymore. So that's just about all finished once I've retapped the ends and remade the AN lines to suit.
3 points
-
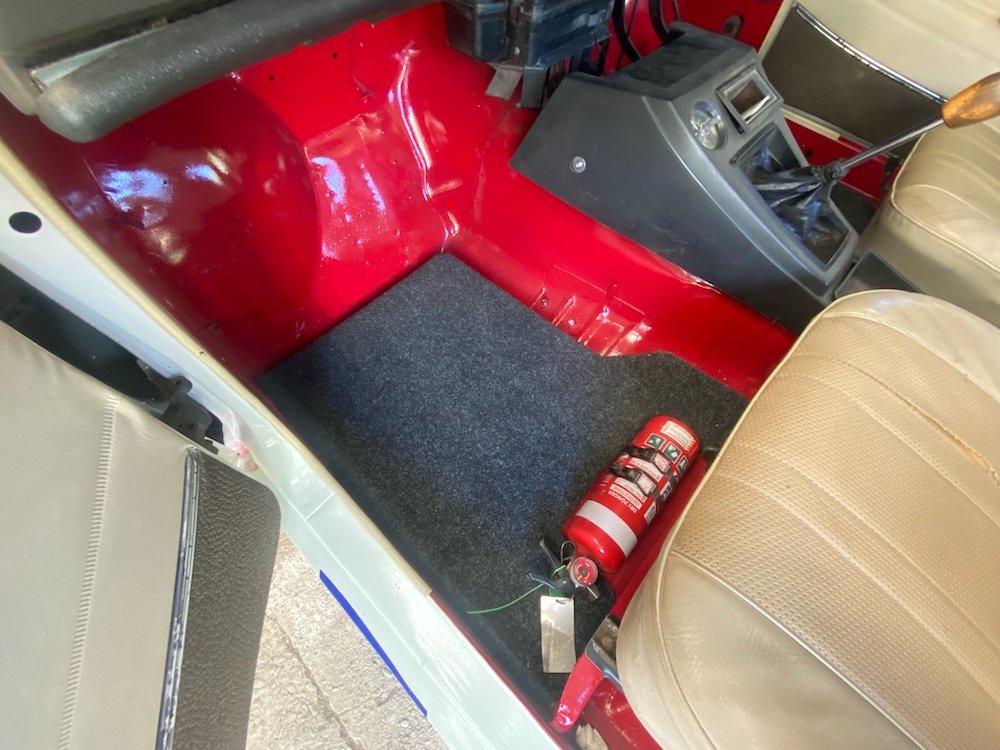
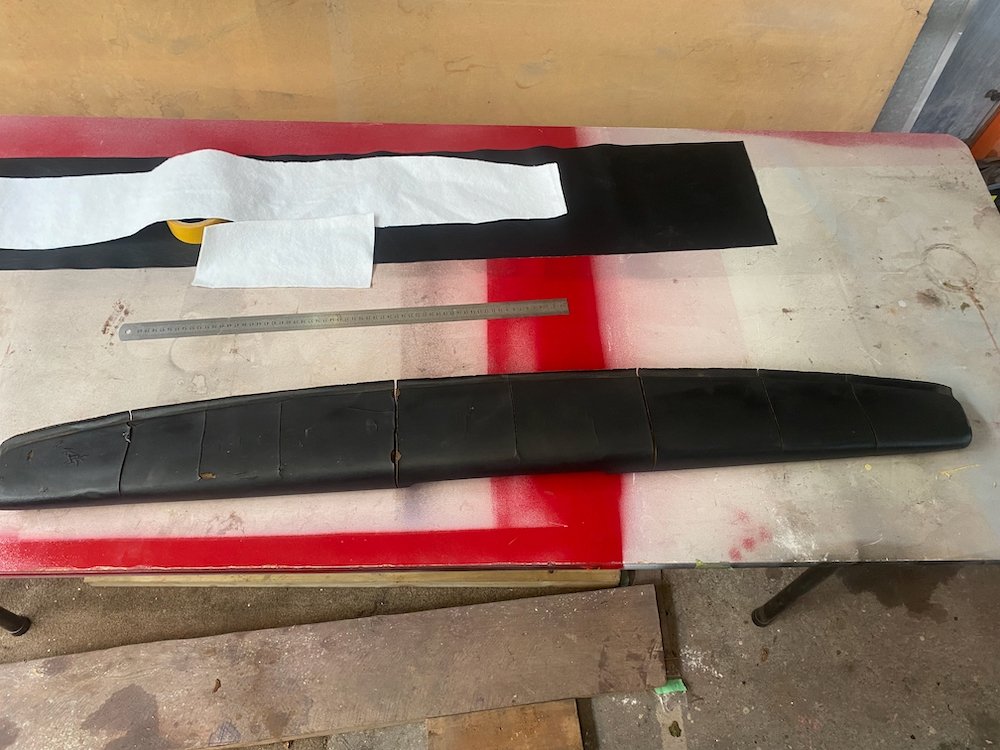
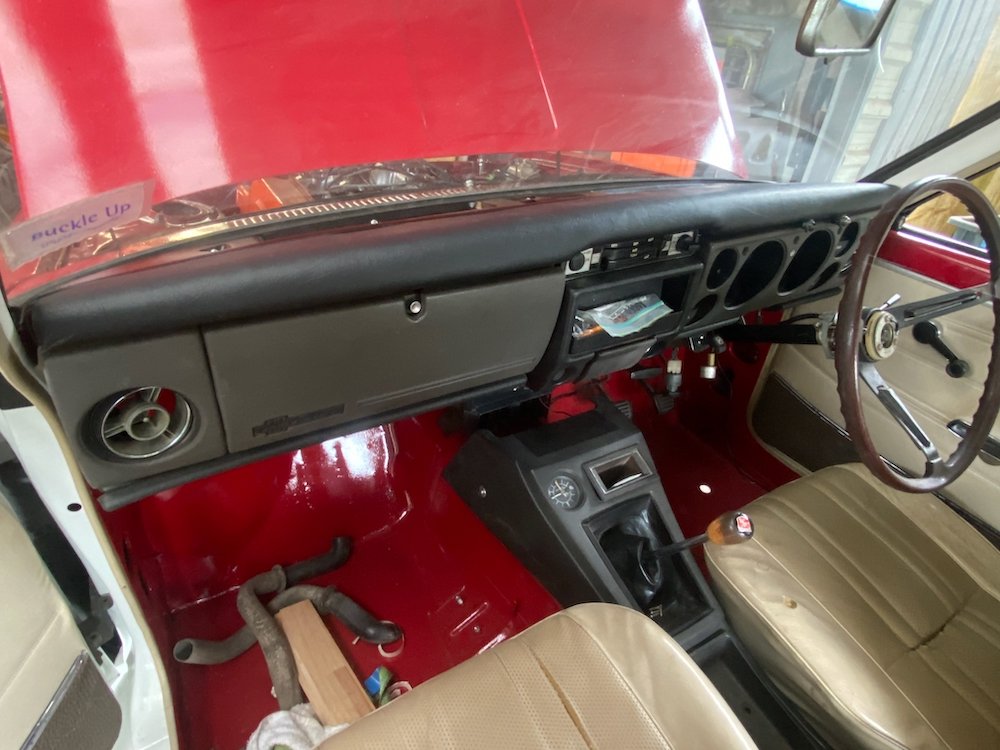
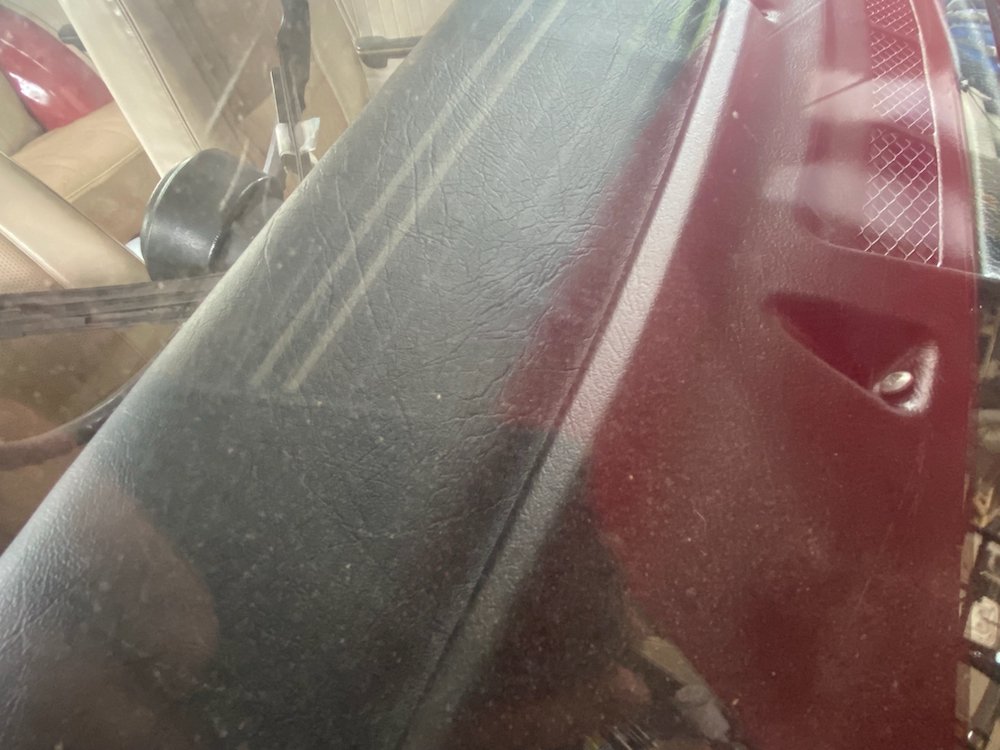
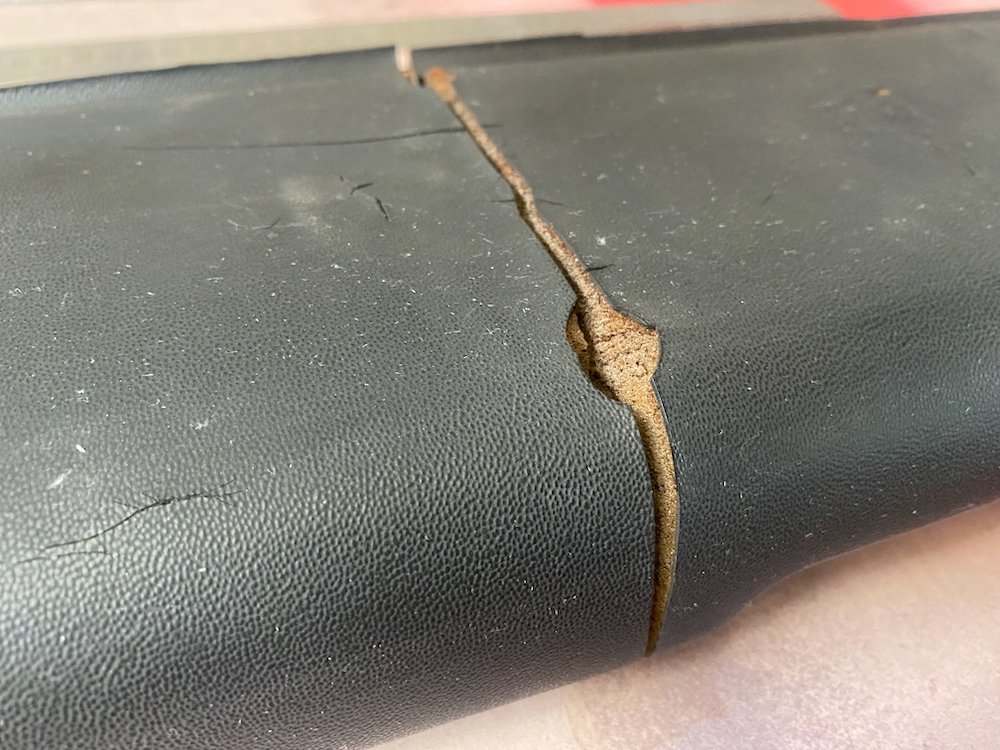
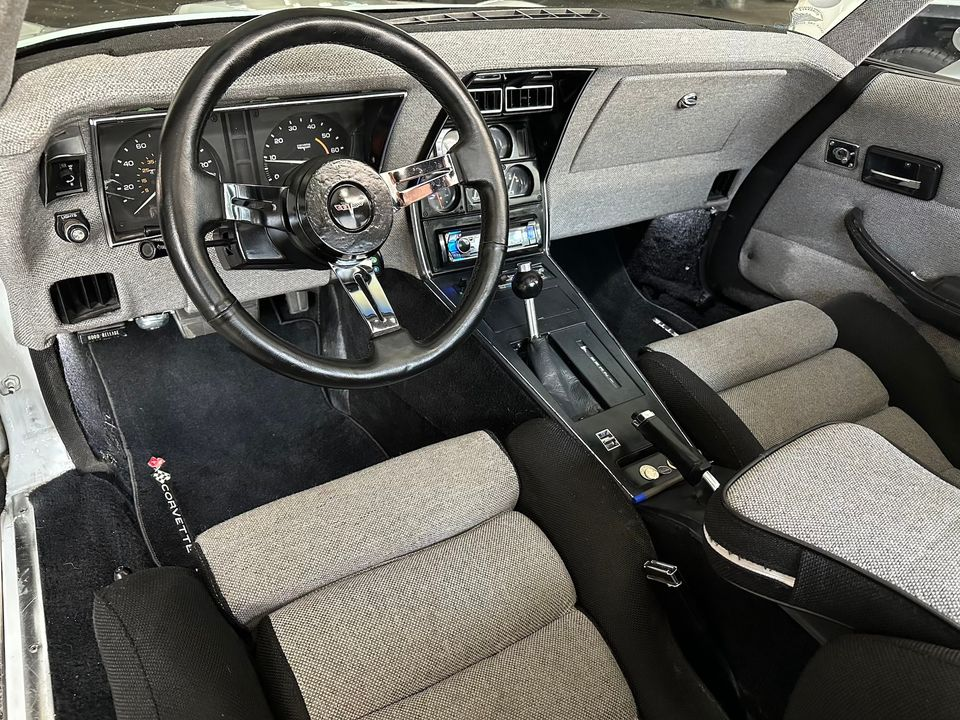
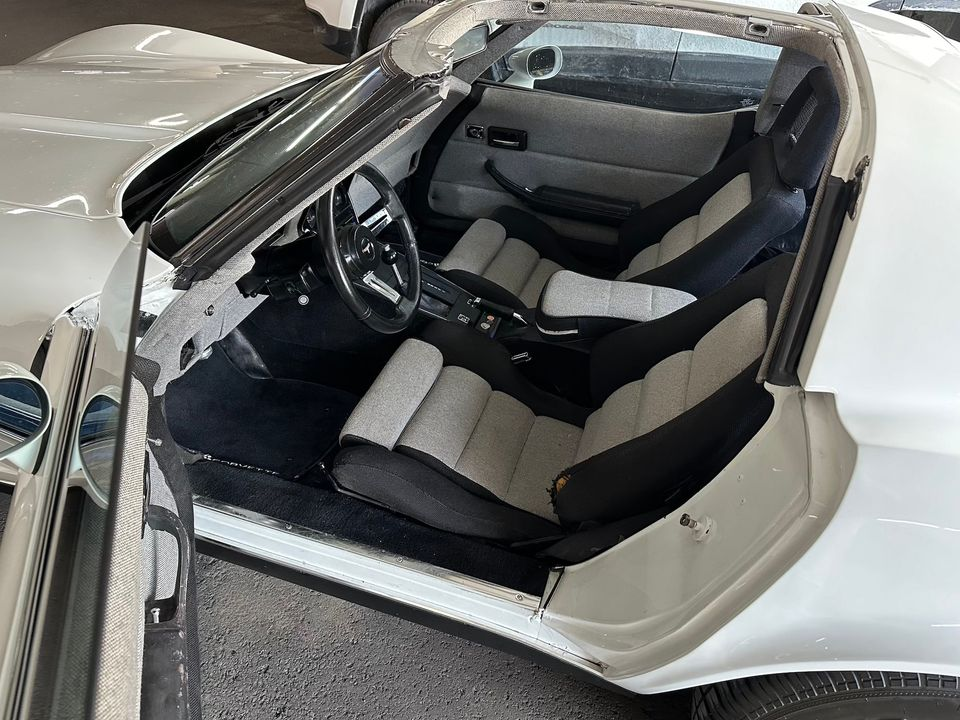
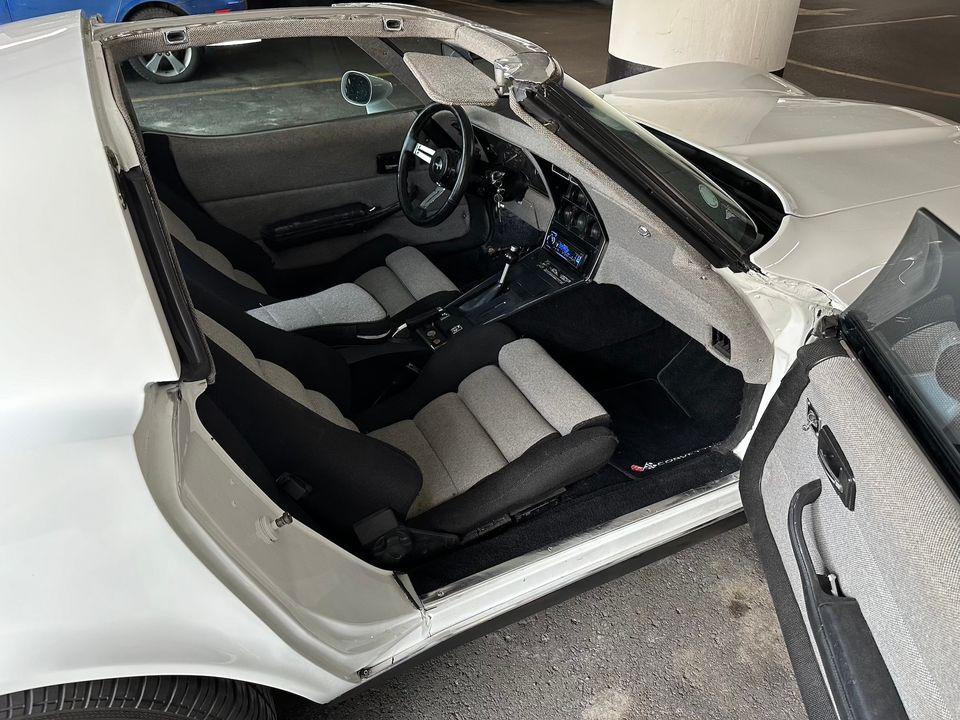
Interior polishing: Like most 50yo cars, the dashpad had cracked up pretty bad, long term i'd like to throw the check book at it, but in a budget friendly manner I called on my lovely GF and her knowledge of spotlight. We trimmed off the worst highpoints and double sided taped a layer of tablecloth liner to the pad, the idea here was the padding would hide the worst of the cracking once the vinyl leather was stretched over This was put on with the bare minimum of contact adhesive to keep the dashpad in close to original shape if needed for proper restoration further down the track. Finish result blends in well, of course the corners are a bit messy, but far nicer to look at than the old pad. Haven't been able to make a firm decision on the carpets but had an idea Chomp out some 7mm marine ply on the cnc, wrap in carpet offcuts from the 4wd.... Floormats that don't shuffle around.
3 points
-
Big step forward. Rest of the stuff can be drip fed, as and when I feel like doing it.
2 points
-
It looks like they are asking you to check if the play is within manufacturer specs Ie they don't want to make a decision themselves2 points
-
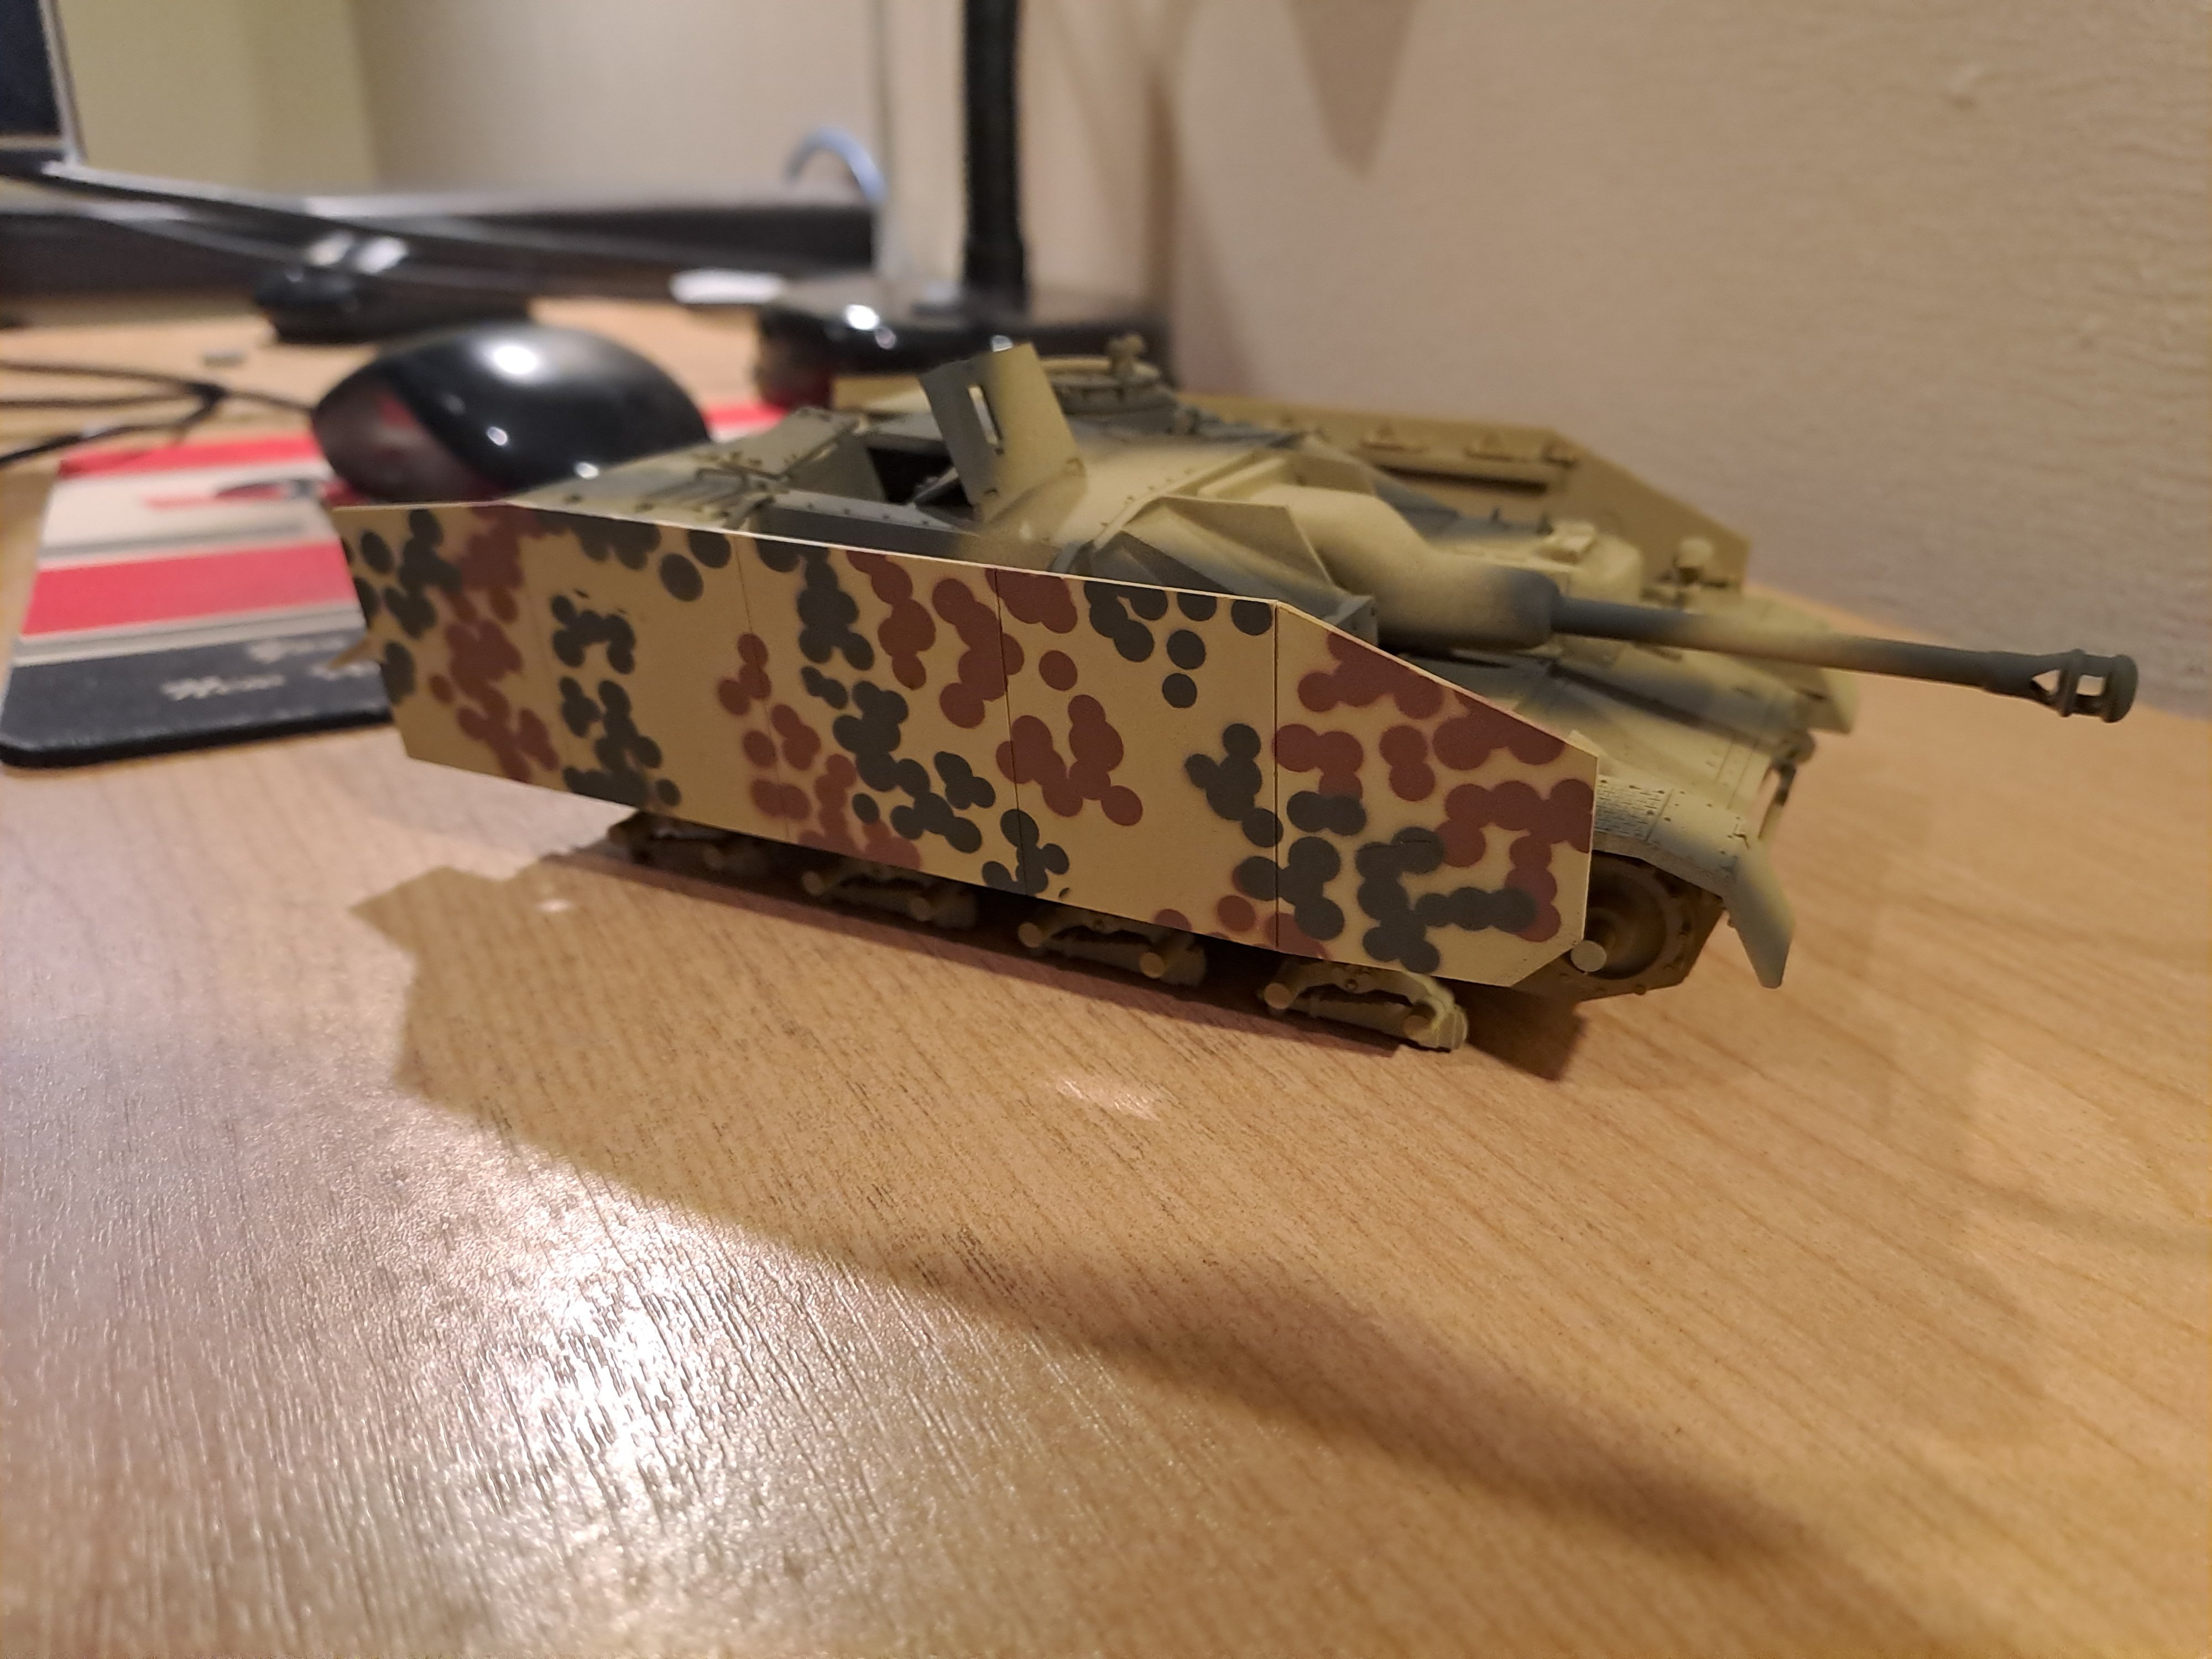
Cheers, having a bit of a play, donno how historically accurate it all is etc, but learning some lessons as I'm getting back into the groove of modelling. The airbrush is proving a good investment, glad i got it.2 points
-
I can fully get amongst this new direction/distraction. I went around in a similar circle trying to find one the right size. BRZ/86 is another option that's close in dimensions. I've got a Fenix core left over if you need to make one? 600mm wide and maybe 750-800 high. almost perfect size. Your configuration inlet/outlet ports could probably work well for dual pass as well? So excited about intake over the radiator. It's the way of the future.2 points
-
Yeah I hear you, and I am focused on getting this from current its current state to a running motor/car ASAP with no fucking around on non essentials. (Can do that iteratively once it's going, like echo. thats the fun part) As I want to know how well my engine scheme is going to pan out! So the seemingly easiest way would have been to keep the Altezza radiator that I already had - but the pipe sizes are wrong, and the pipe locations dont really work either. I was hoping the Mark X setup would just tick off all of these boxes, just have to remake some top and bottom mounts. But it's actually only as thin as the Altezza radiator (16mm) and the hoses didnt really fit too well since the radiator and engine heights dont match relative positions to factory. Bottom mounts will be easy, but the top ones tricky because it's tall. But once mounted it's going to be even taller, and I suspect it will hit the bonnet. So my thinking here is actually to NOT waste my time, rather than to dilly dally with unimportant stuff. So I'm cutting my losses and ironically going to SW20 parts haha. To get the motor running I dont need an air intake at all, and I dont need any radiator ducting. So I'll bang the radiator in there, work out the mounts, work out the pipes, then fill the damn thing up. This new radiator is 40m thick core as well, so hopefully zero cooling issues if I can get some air to it. This SW20 radiator was $220 delivered so meets the cheap and cheerful criteria!2 points
-
So chipping away I've found that having the options to sand blast the nooks n crannys works well and reduces the amount of dust and sand everywhere. On surfaces with underseal the petrol and rag method seems to be most effective. Followed by wire wheel or strip disk. I've started to tackle drivers real wheel well in this episode.
2 points
-
I modelled and printed some door card clips which as always gives me the deepest pleasure. These worked pretty well after some tweaks. These are not exact copies and are designed so they are easier to print, but functionally they are sweet. The drivers side window winder mech was deeply wrong, the wire tension adjustment was maxed out, hacked and the maxed out again, but the wire was still as loose as fuck and while it kindof worked it made horrible grindy noises. This came from the barrel where the wire was straddling grooves cos it was so loose. It was all down in a difficult to reach place, and those mechanisms are notoriously cunty to pull out and put back. Amazing that I got a bollock into that shot as well. The passenger side was sweet and the wire connection looks like this; After a bit of thought and dicking around trying to take slack out of the wire a genius idea came to me; I routed the wire like that through both lift points, which took up enough slack that I could tension the mech properly. Another 1/4 hr of contortion with a torch, phone and screwdriver and I had the wire slipped back into its rightful track. It works perfectly again, yay!2 points
-
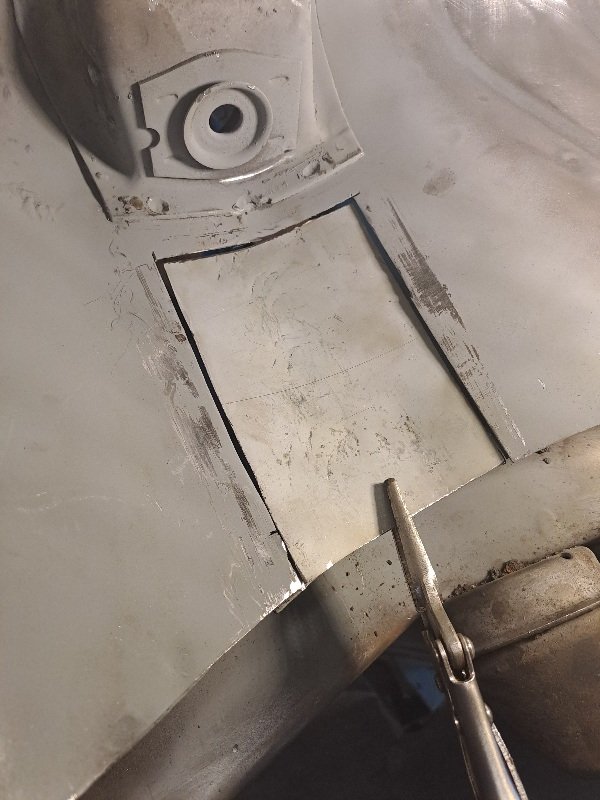
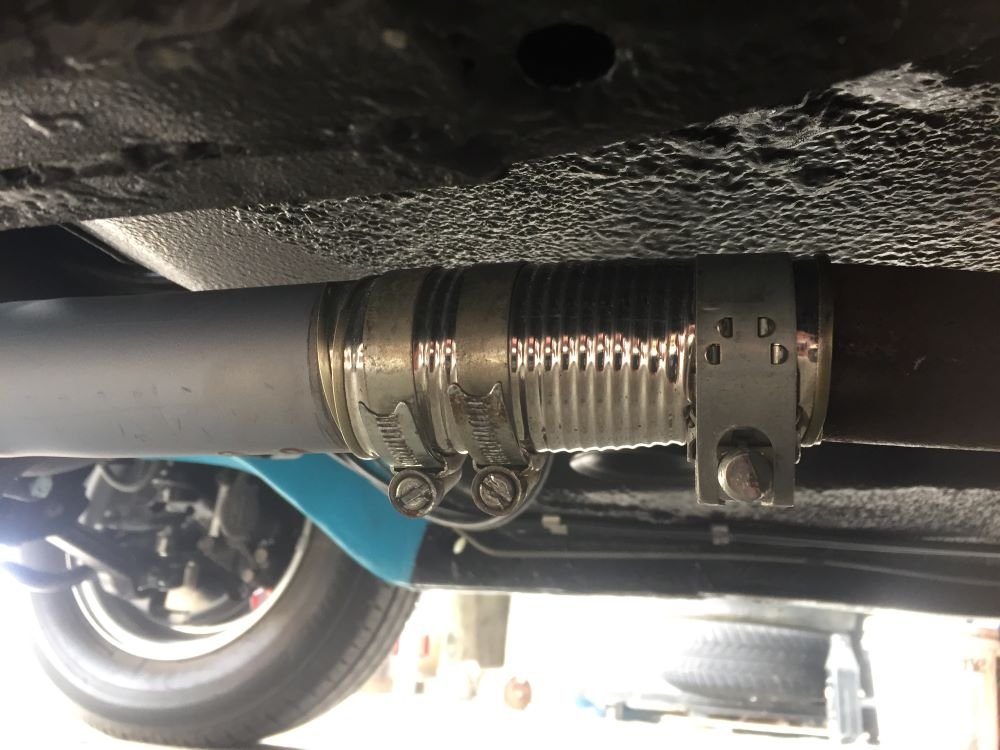
Nearly ready for first startup. Just a couple of jobs to do, one being to attach old exhaust to new headers until i'm able to get a proper system made. Don't laugh but I cut both ends out of a baked bean can, slit it down the side and with the help of some hose clamps, made a sleeve and clamped over both pipes. Should be ok for a while. Checked all fluid levels and filled radiator with hot water as mechanic suggested as been sitting for a while since build. Removed plugs and cranked motor until oil pressure light went out. Replaced plugs and turned key. Motor started straight up and sounded really good. Ran it up to temp and checked for leaks of which there were none. Time for a trip around town. Goes well but needs a tune. Brakes are good and everything else works except fuel gauge. If anyone has a suggestion of where I could get my 32/32 weber carb tuned around Christchurch could they leave a message on Project Discussion page. Cheers Project Discussion https://oldschool.co.nz/index.php?/topic/84912-petes-mk2-escort-1600-sports/page/3/#comment-2618039
2 points
-
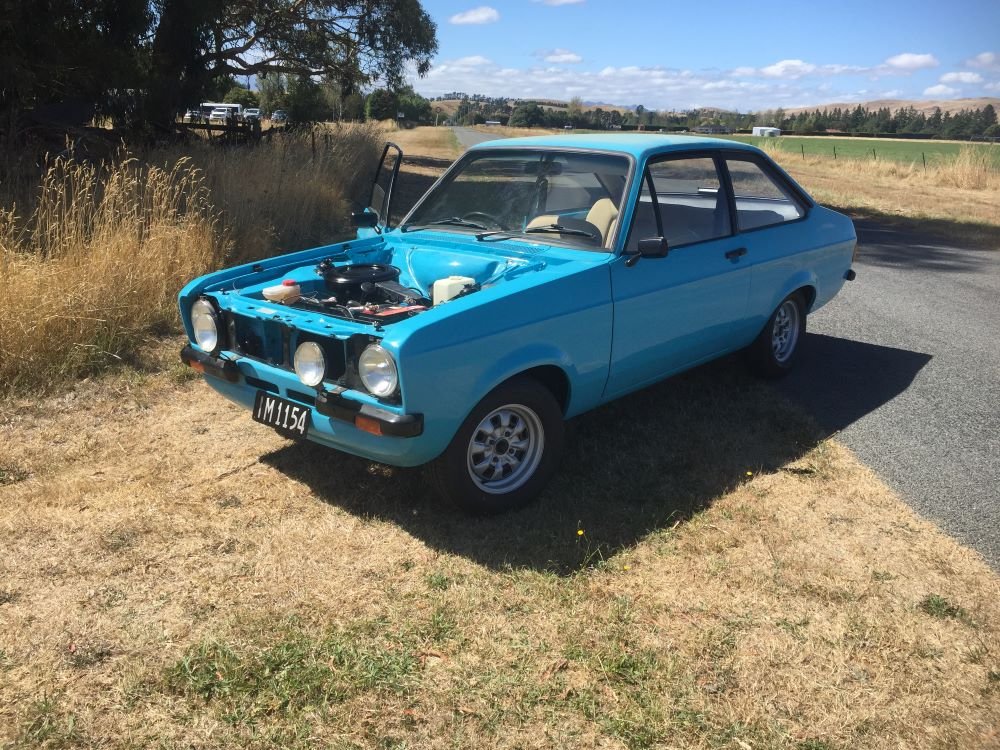
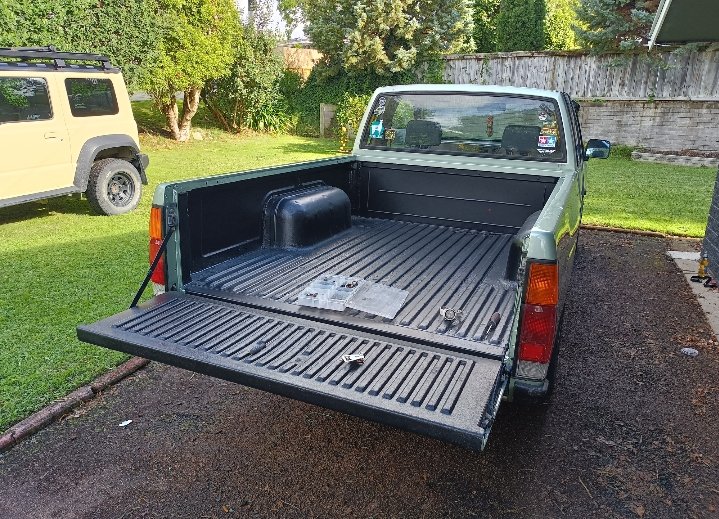
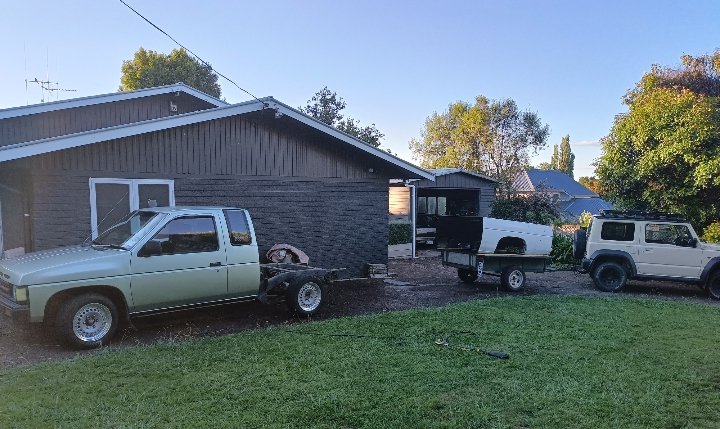
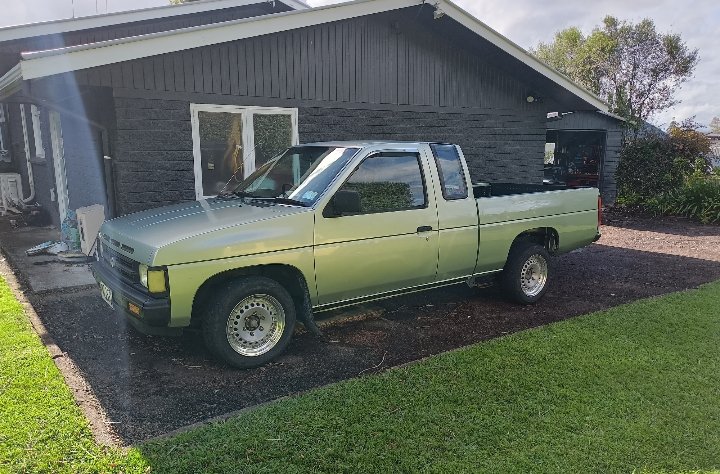
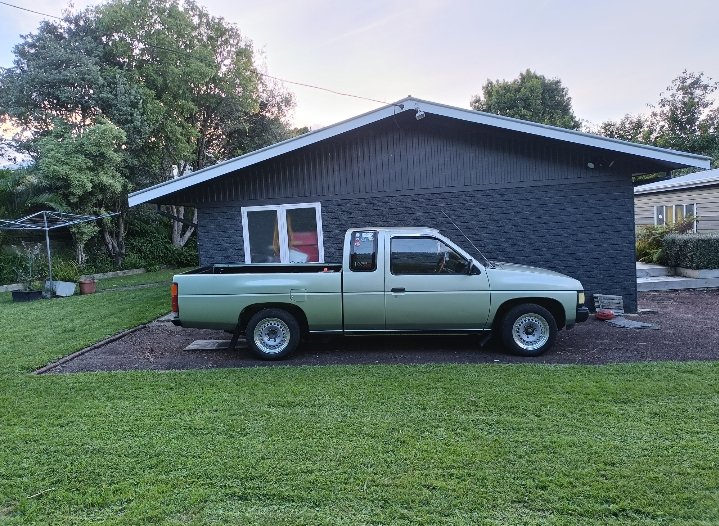
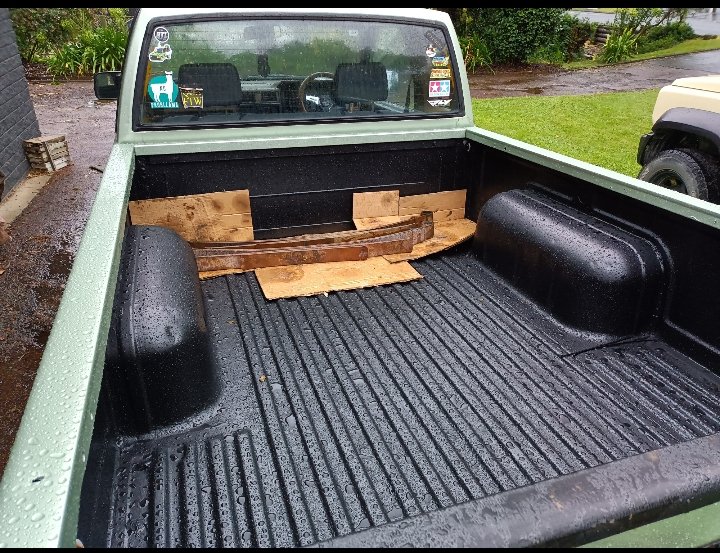
Chuffed how it came out. It's not a show car paint job by any means but it's what I wanted. Still has some dents and dings as I wasn't paying for a full panel job haha. Needs lowering ASAP, have a spare set of leaves I need to do reset.
2 points
-
Some stuff happened
2 points
-
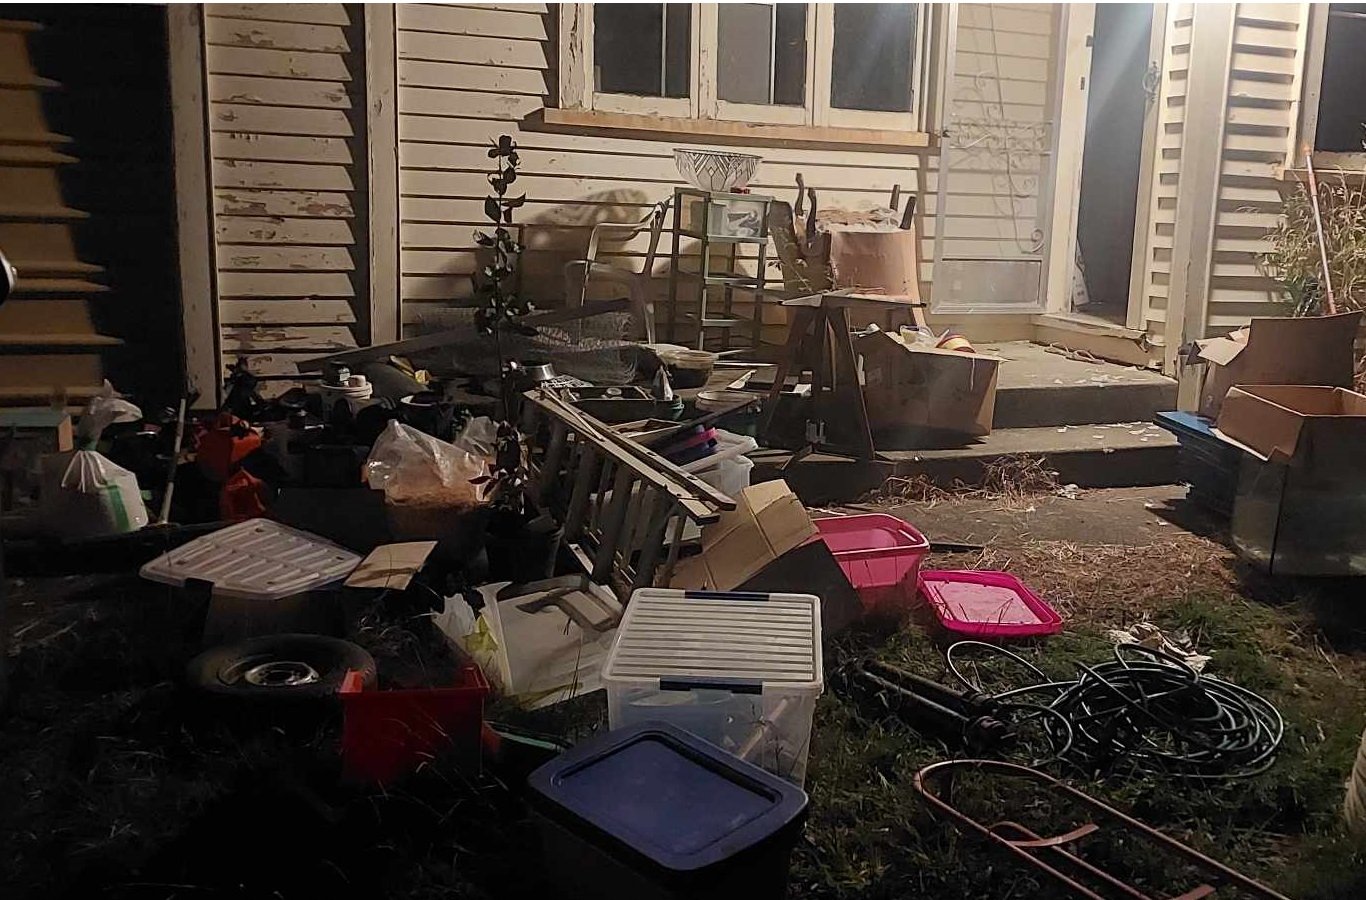
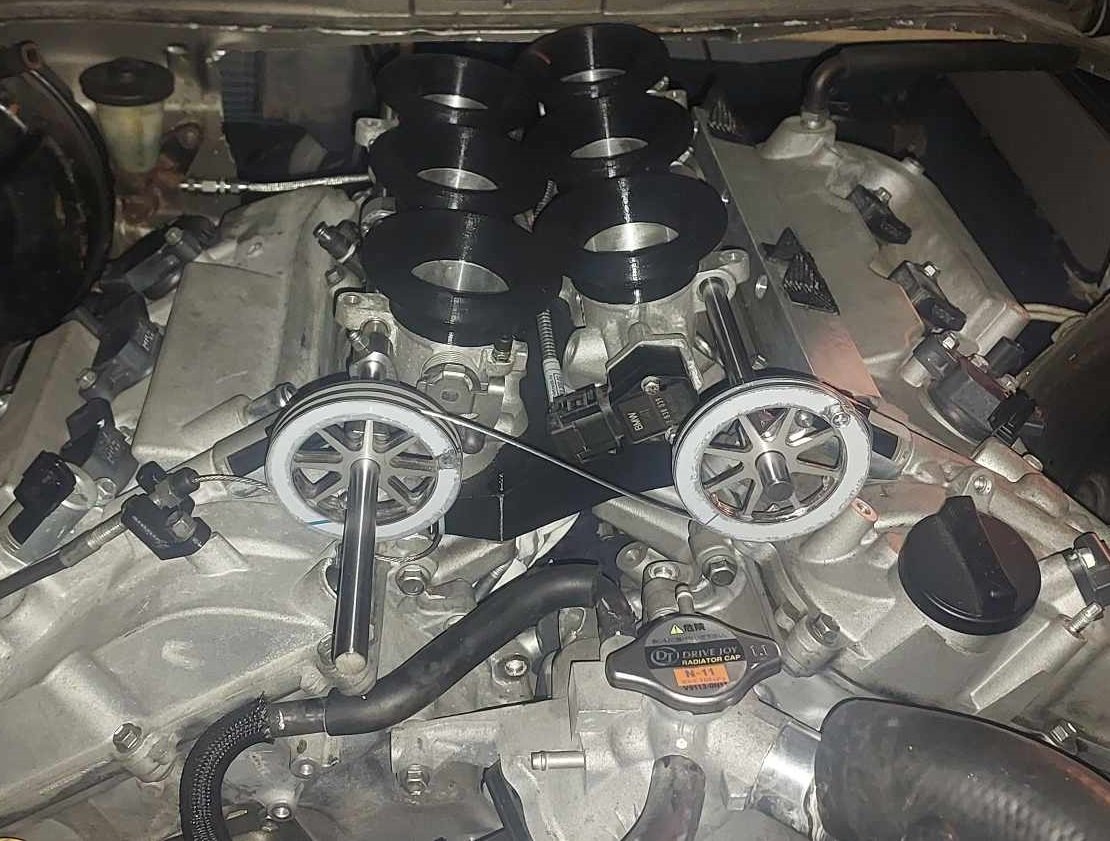
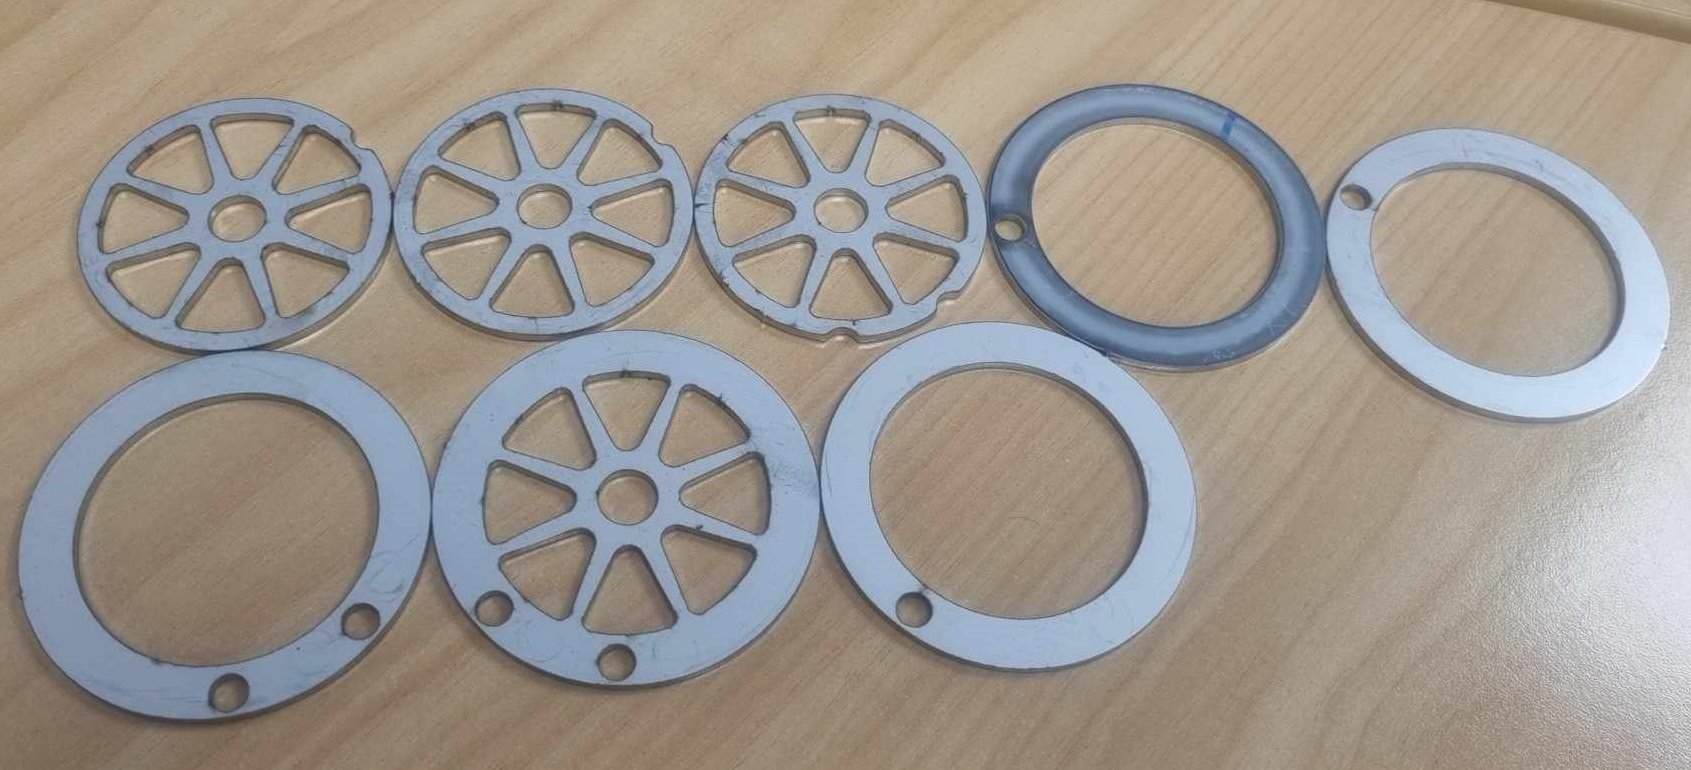
Alright so as of yesterday I'm finally out of mortgage prison! I finished moving house with heaps of time to spare, I definitely wasnt biffing trailer loads of stuff onto the lawn the night before settlement. I got some throttle pulleys cut from stainless. I'll put a radius on the inside of the pulley edges and deburr a few spots, but on the whole they came out really nicely. Quite heavy though, probably could have made some parts thinner. (Everything 2mm stainless) It's looking like it'll be fiddlier than expected to balance the cable length and pulley positions to get the banks even. One thing that I didnt take into account is that there is no tolerance for having a cable that is "overlength" as you physically cant slide the protruding end of the cable into the pulley. However I could probably chop out the relevant section of the pulley to allow this without any issues, as these are still significantly beefier than they need to be. I need to make some end stops of some sort to stop the throttle rails moving forward or backwards so everything stays aligned correctly. You may notice that in this photo I've got the linking cable on the wrong way up. It looks dumb having these on the front of the motor, but down the back is getting very crowded and I've got ants in my pants to get this damn thing fired up. I got the throttle rails drilled, took about 3 hours to drill 6 holes! We had to grind flats onto the rod to get through the hardening. Otherwise carbide bits didnt even make a dent. Next jobs are to print a final iteration of the manifold from Nylon, get fuel lines connected up, and keep working on the exhaust. Then I'm preeeeety close to firing it up!
2 points
-
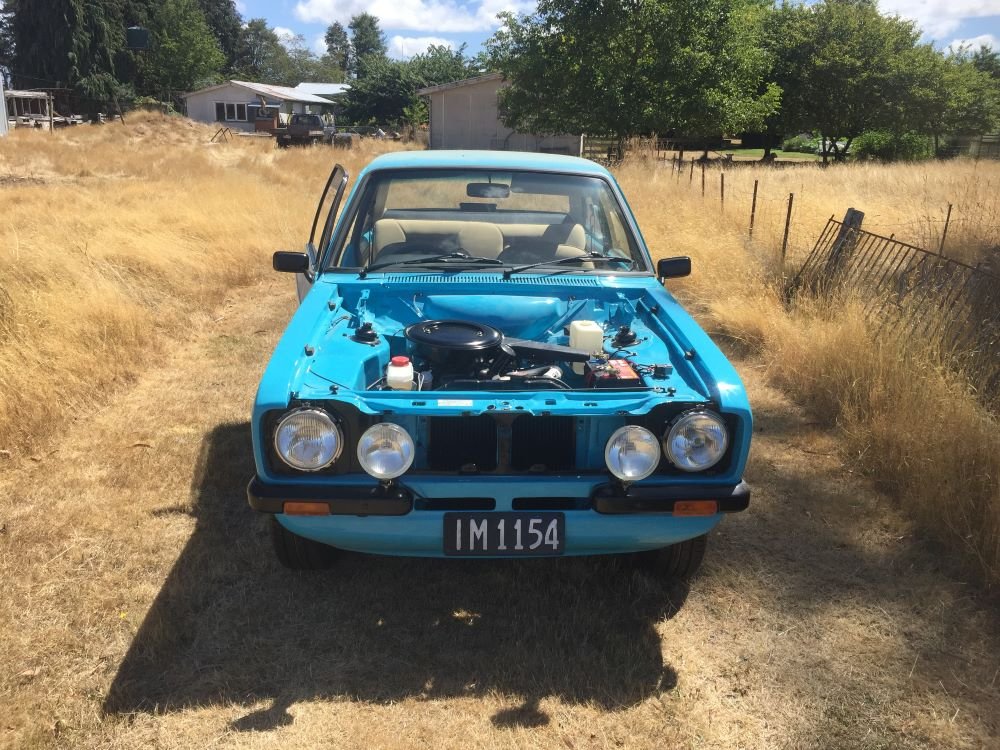
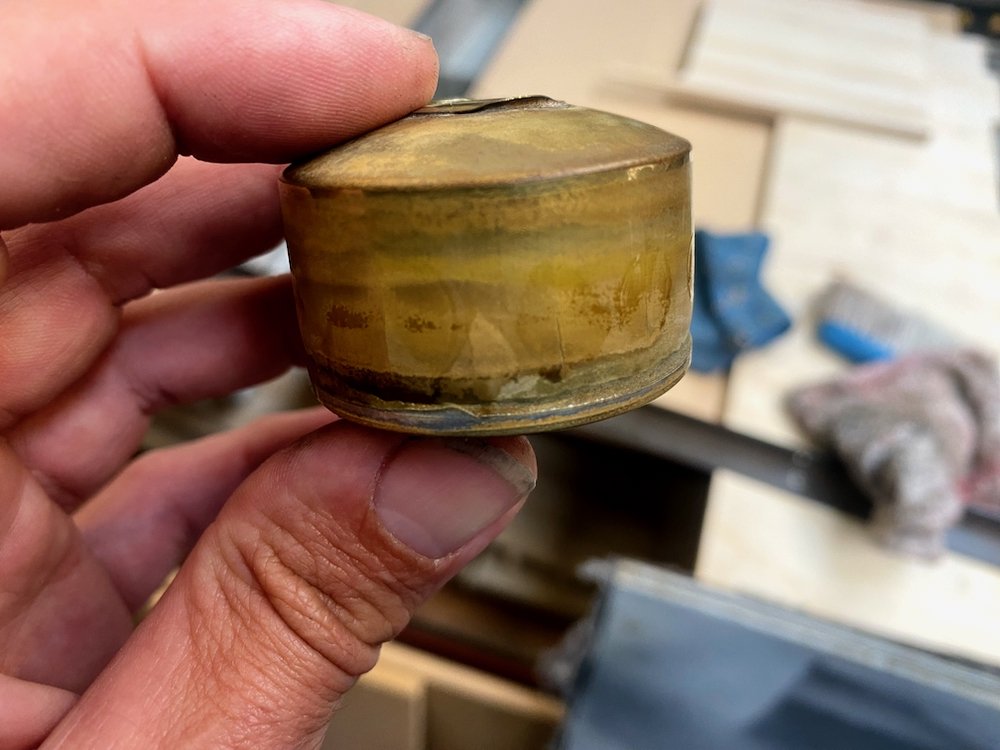
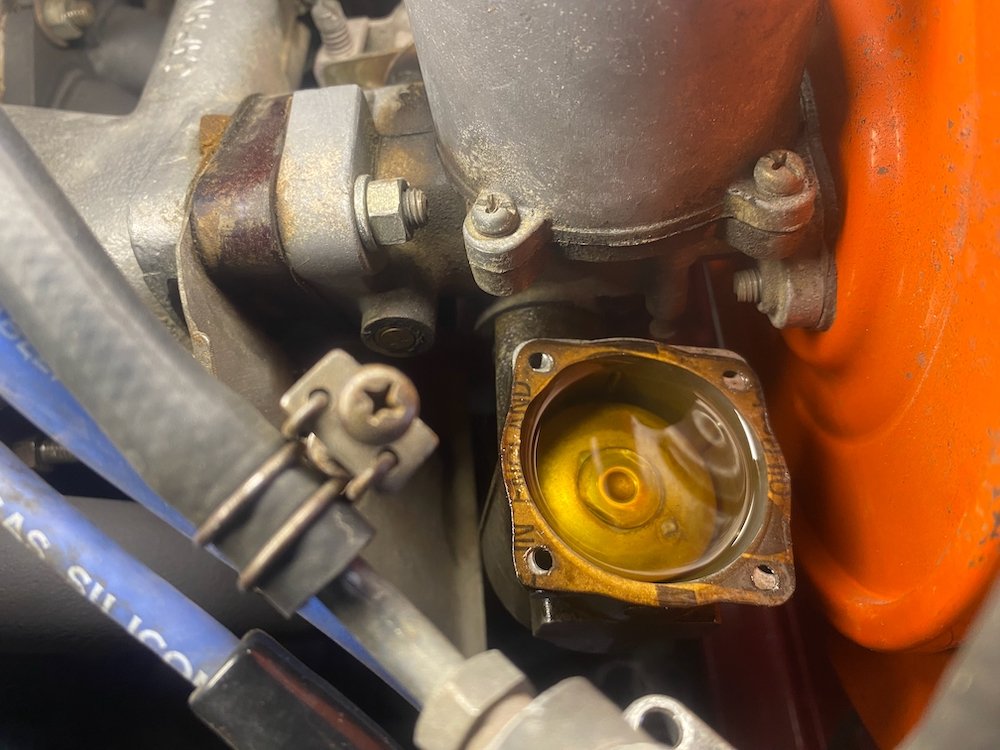
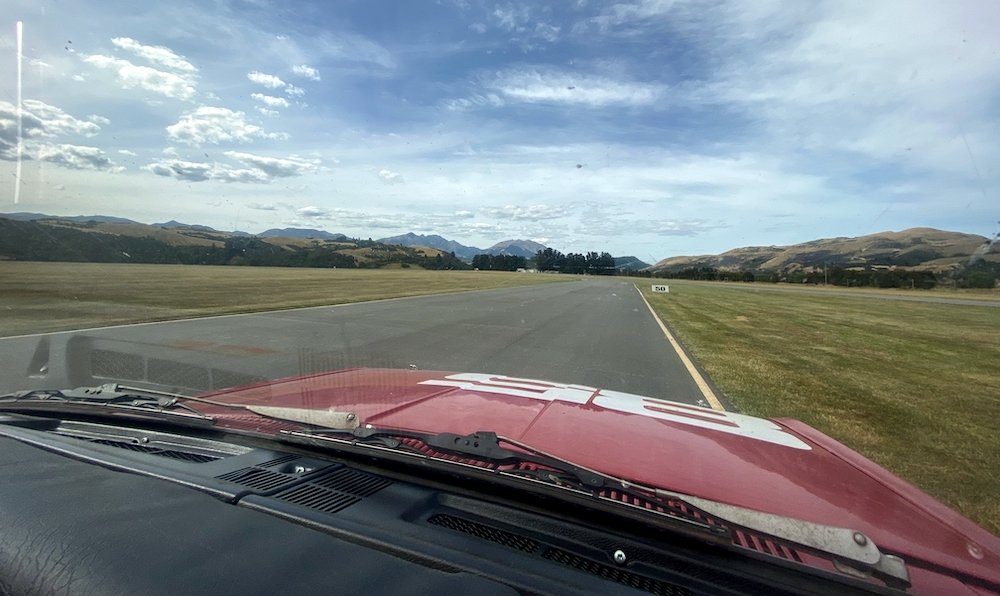
All running and driving, or so I thought Had a the plugs occasionally foul on start up and the engine now and then would start running super rough, running through the options didn't find much until after one drive I could definitely smell fuel, queue a case of the o shits etc. Leak was from the forward carb overflow, popping the lid off the float chamber was evident Seems we have a slight case of the oceangates.... Brass float had cracks all the way around. When I brought the car I also received a pretty good spares package so picked out the best looking float and threw it in. WOF man then failed the inspection on a number of minor issues, brake balance wasn't up to his expectation, small exhaust leak at a joint and rear brakes grabbing, managed to solve all in quick succession after work and sticker status returned! I haven't worked out the number of days but approx 3 years after taking the car off the road I can now legally drive again, while no where near finished in my mind, it is a giant relief to not have a pile of parts in the way! Still to go is interior re-trim, carpets, door seals, paint detailing, polishing, wheel refurb etc, mainly tidying up the cosmetics. But for now, lets go for a hoon around the neighbourhood
2 points
-
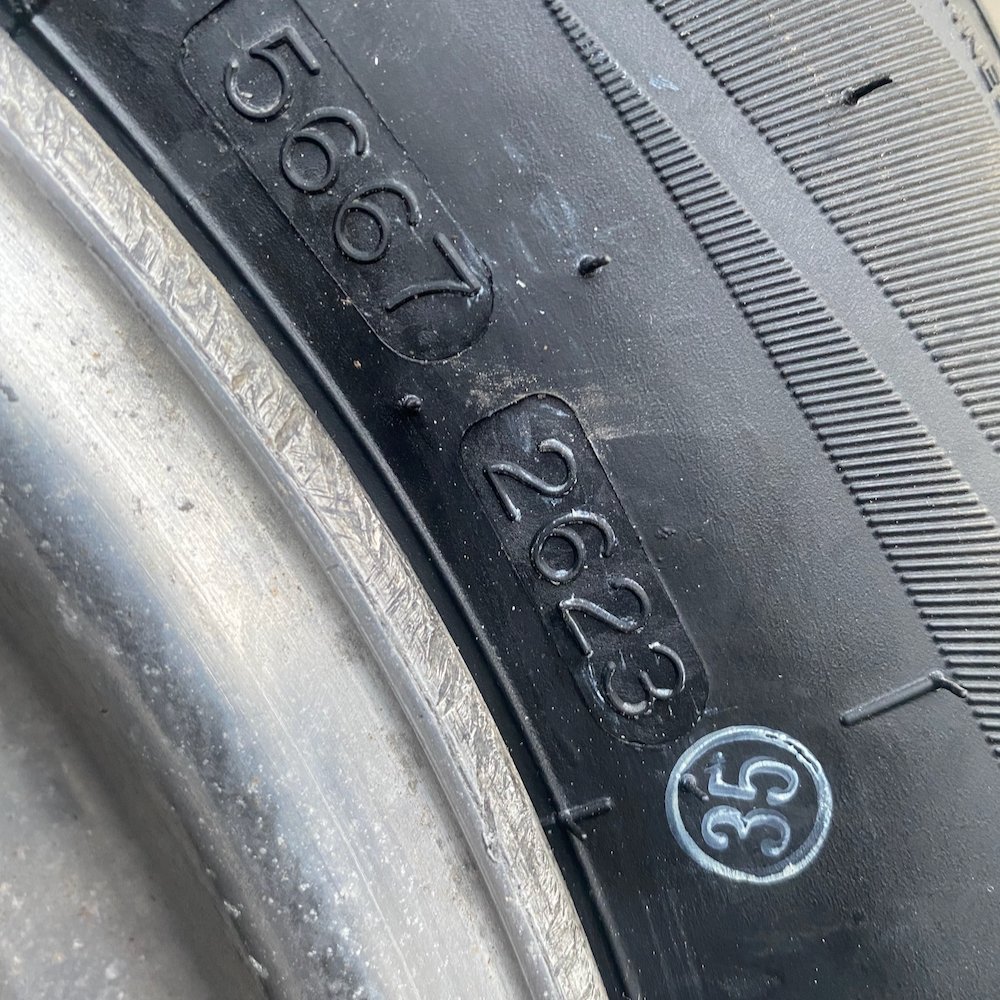
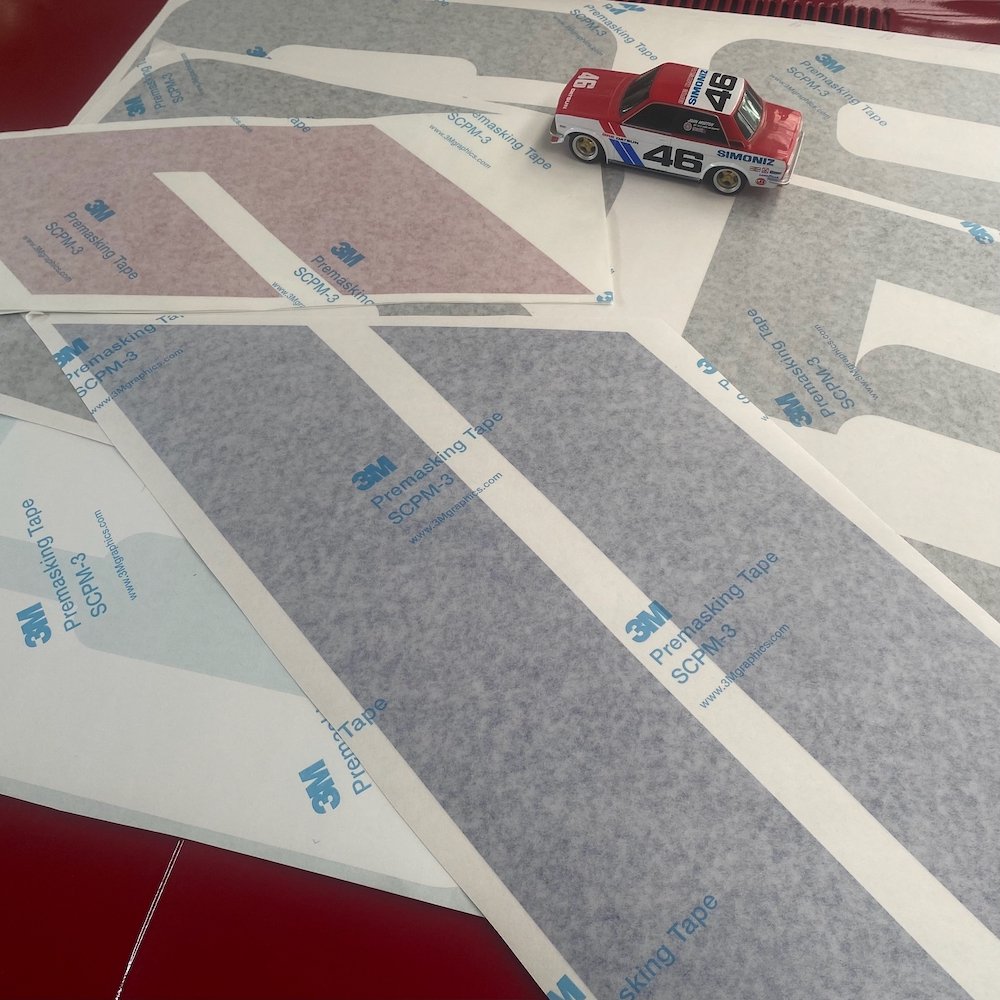
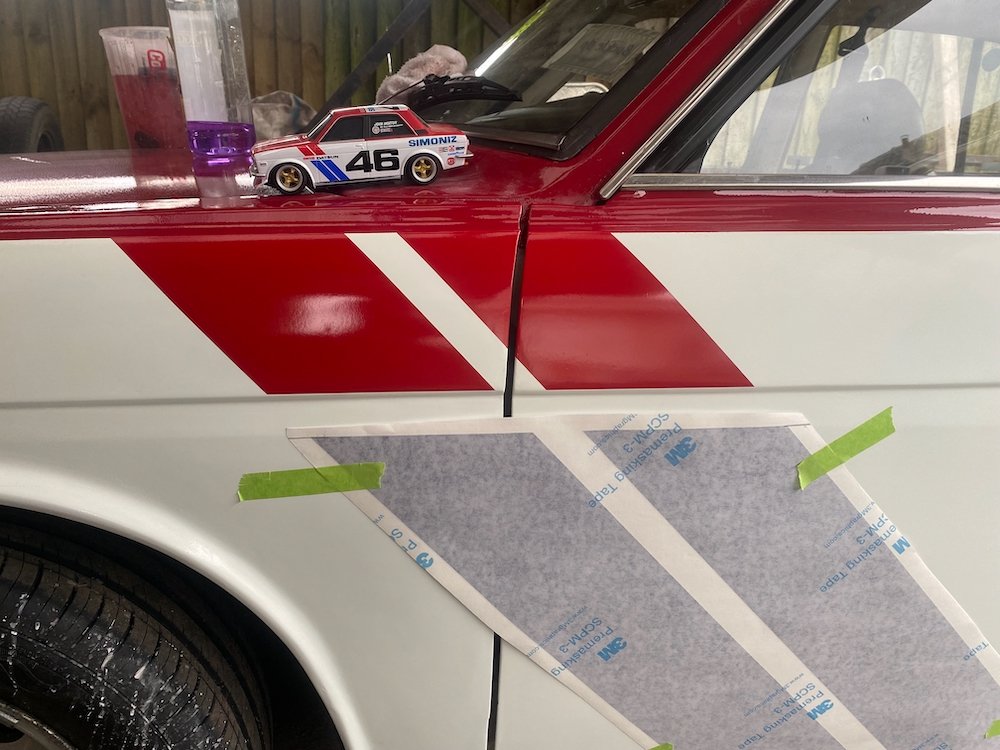
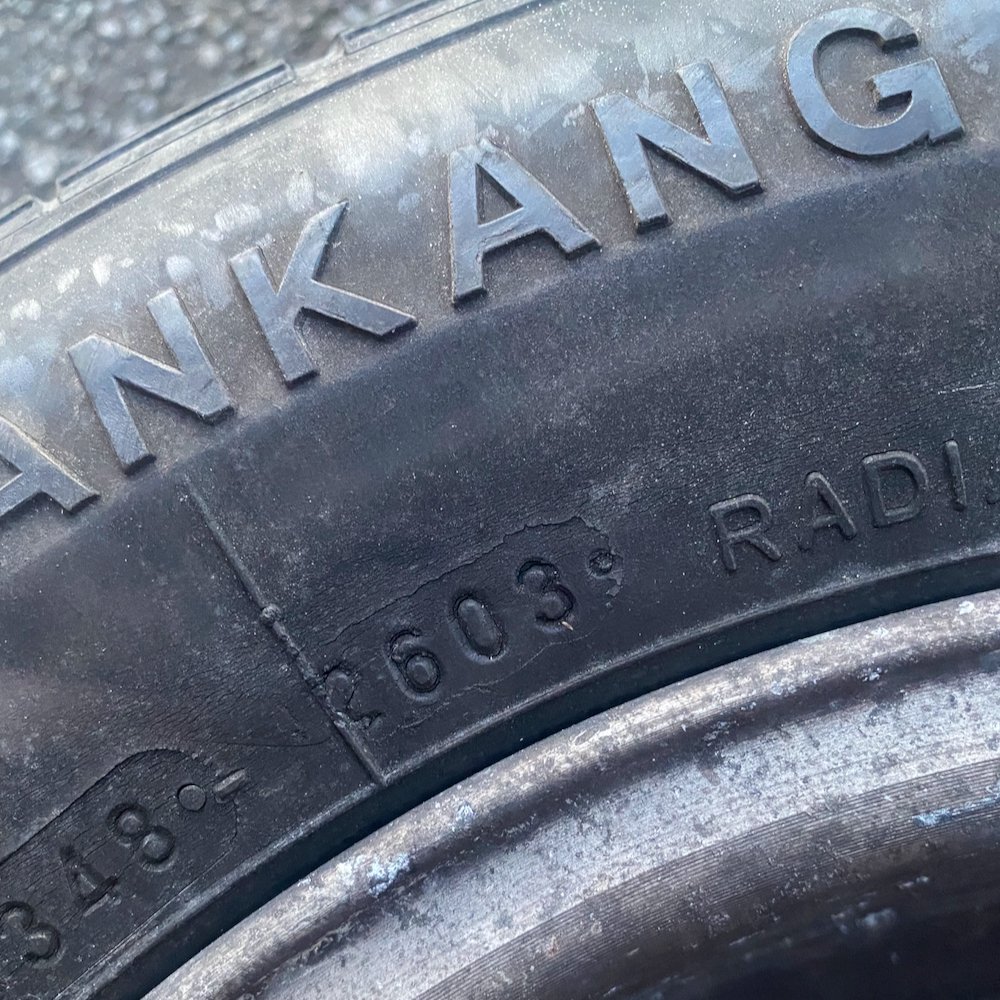
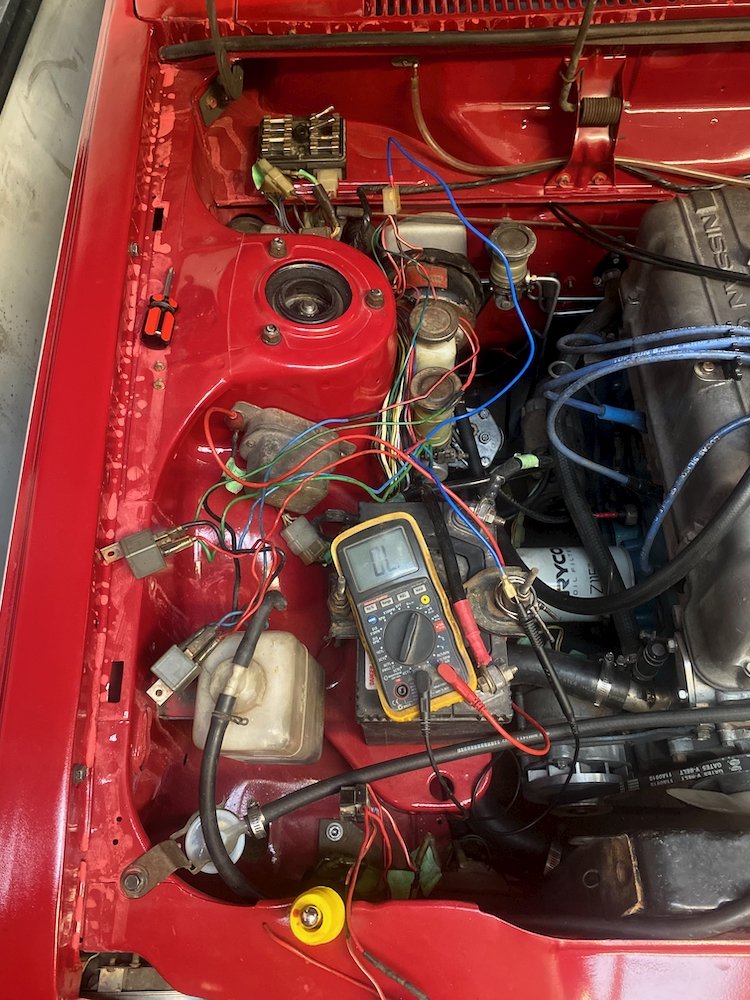
Yeah/nah the wof man aint gunna like that so the 20 year anniversary of these tyres will be their last Much nicer although they do feel softer...... Postie was feeling generous and delivered a roll of fun, had to dig out an old toy to approve the design Approval gained after a thorough wet sand to hide the painter I am not, quite an enjoyable task with the current temperature reaching for 30 odd. During a test run I found the hi beams not quite up to task, this lead to unwrapping the loom to trace the aftermarket relays, somehow a few of the connections had been messed up and along with the ever present dodgy fusebox had left me chasing the wrong issue. After a few pages in the 1B5 to figure out the circuit, its all back together and selecting the correct beam. For added bonus the high beam relay is no longer a parasitic load, hooray!
2 points
-
1 point
-
Posting for project update support1 point
-
That's looking good. Well, what I can see of it, obvs. Camo looks ace.1 point
-
Hey buddy - my frame number is A7-421115. Very close to yours! From a bunch of internet searching apparently Yamaha imported a few containers of these bikes to NZ in the mid 80s from India/Taiwan and sold them as 'retro' bikes. Hence when looking up on the NZTA database the YB125s mostly appear as 86-87 models - the year they were first registered.1 point
-
I had no issues with my 14point7 spartan. Easy to use, compact and reliable. A+ still have it to use again later. Also bought a Glowshift gauge unit to use as a portable wideband setup. Also works well, but was pretty spenny new.1 point
-
I bought this one off AliX a while ago, it is now installed in the Fiat. I came with what appears to be a genuine Bosch 4.9 sensor. The reviews both in AliX and in the wider world are positive. I can let you know in a week or three how well it goes.. https://www.aliexpress.com/item/1005006080021720.html1 point
-
So massive then1 point
-
1 point
-
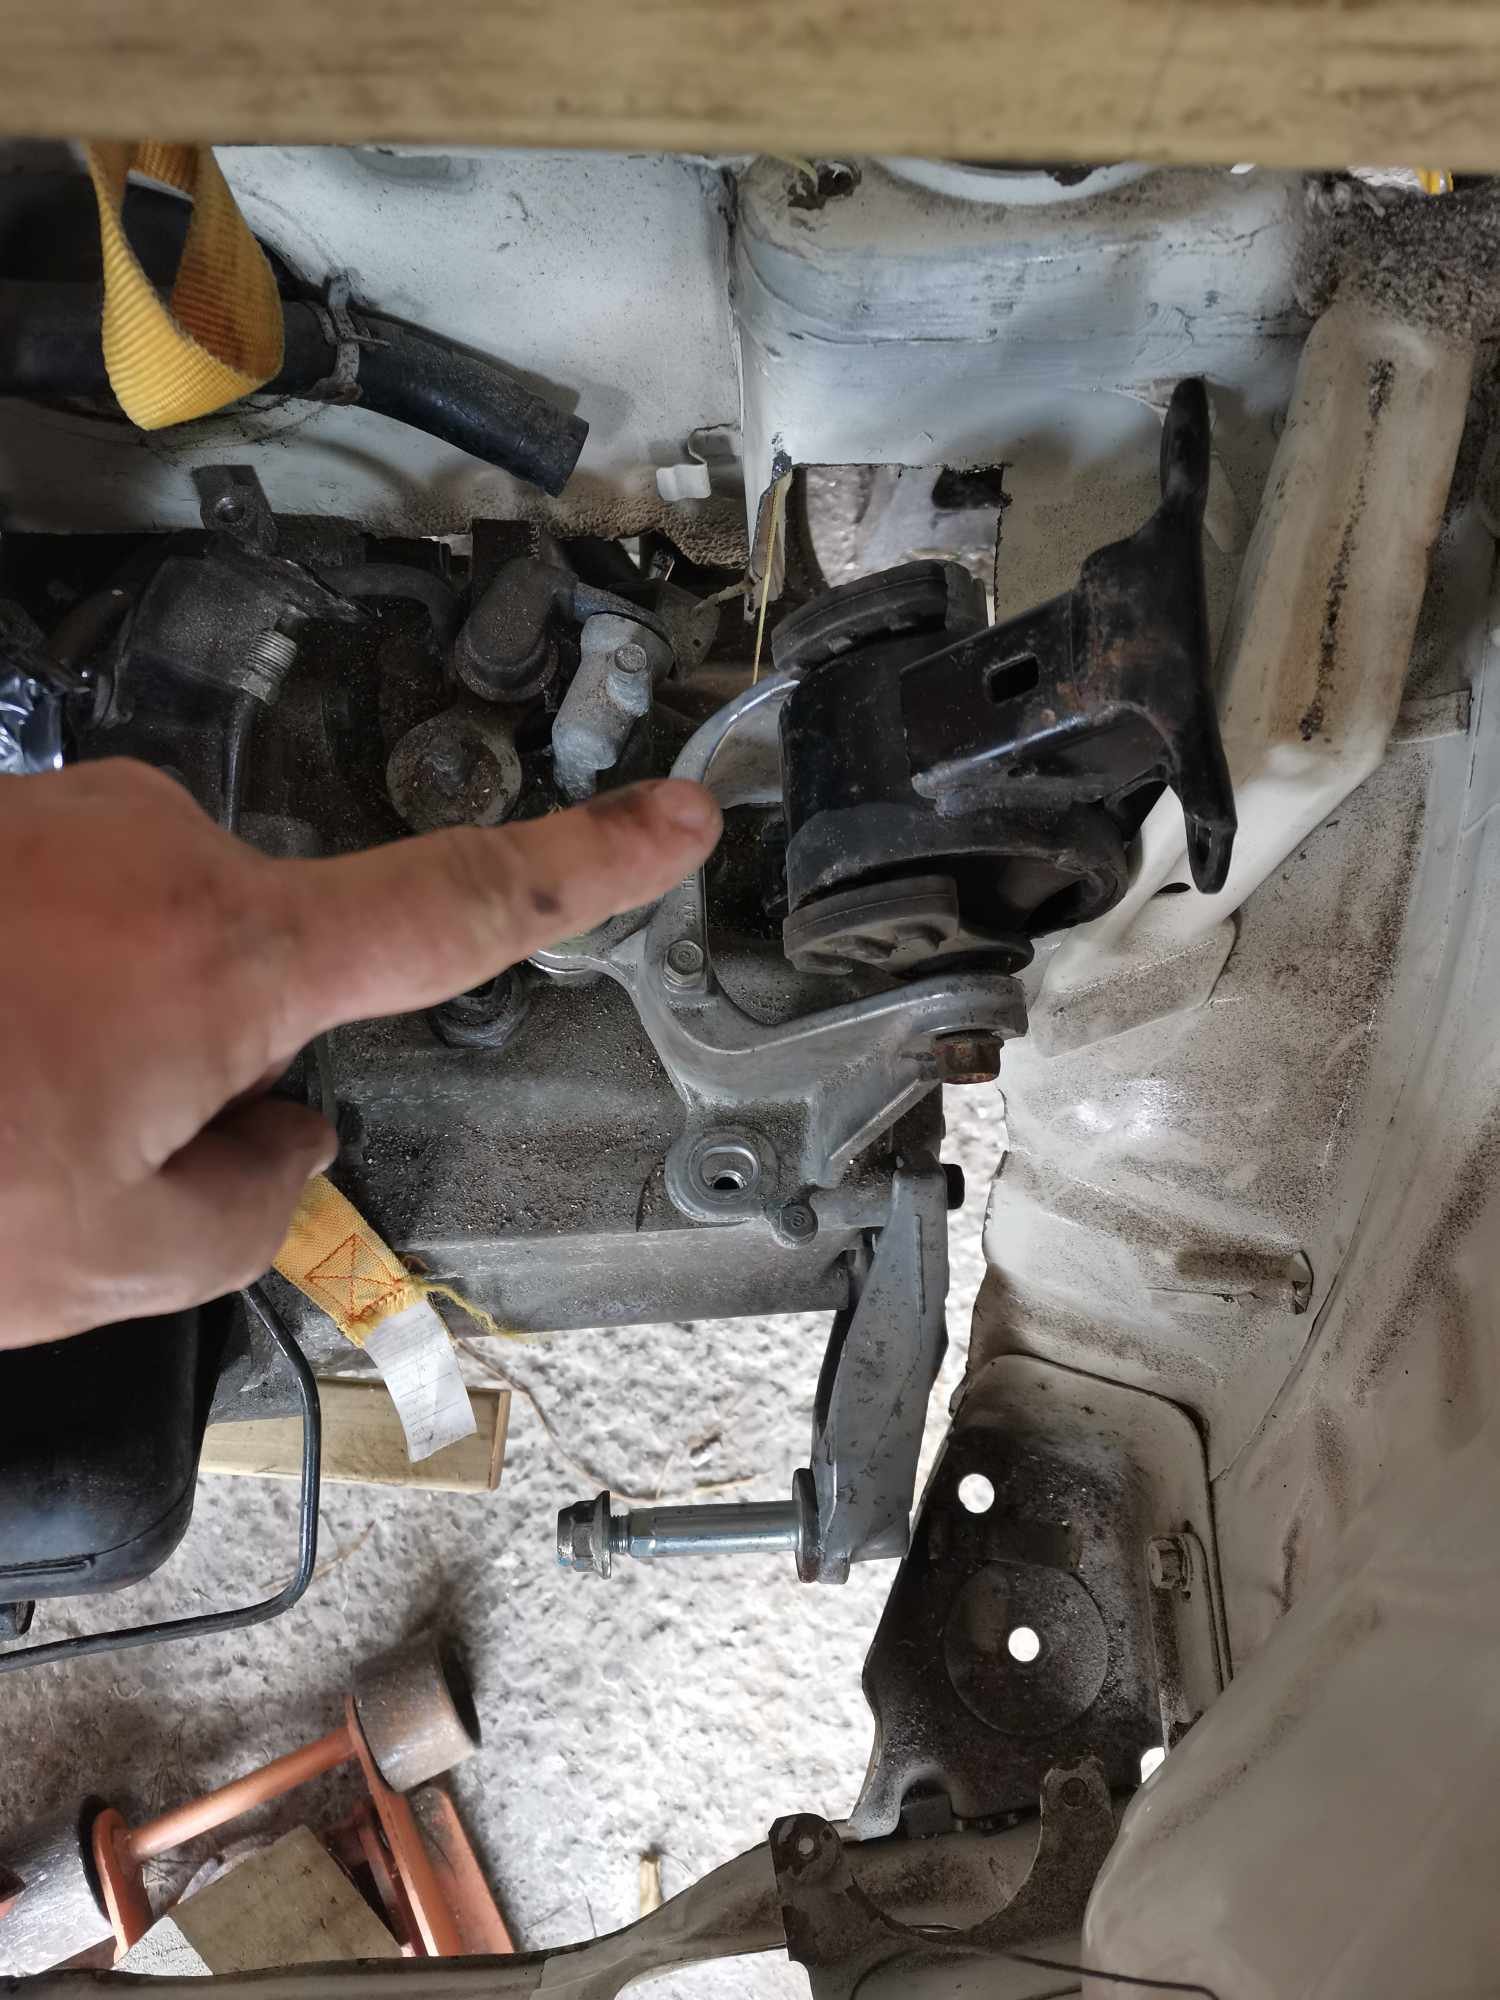
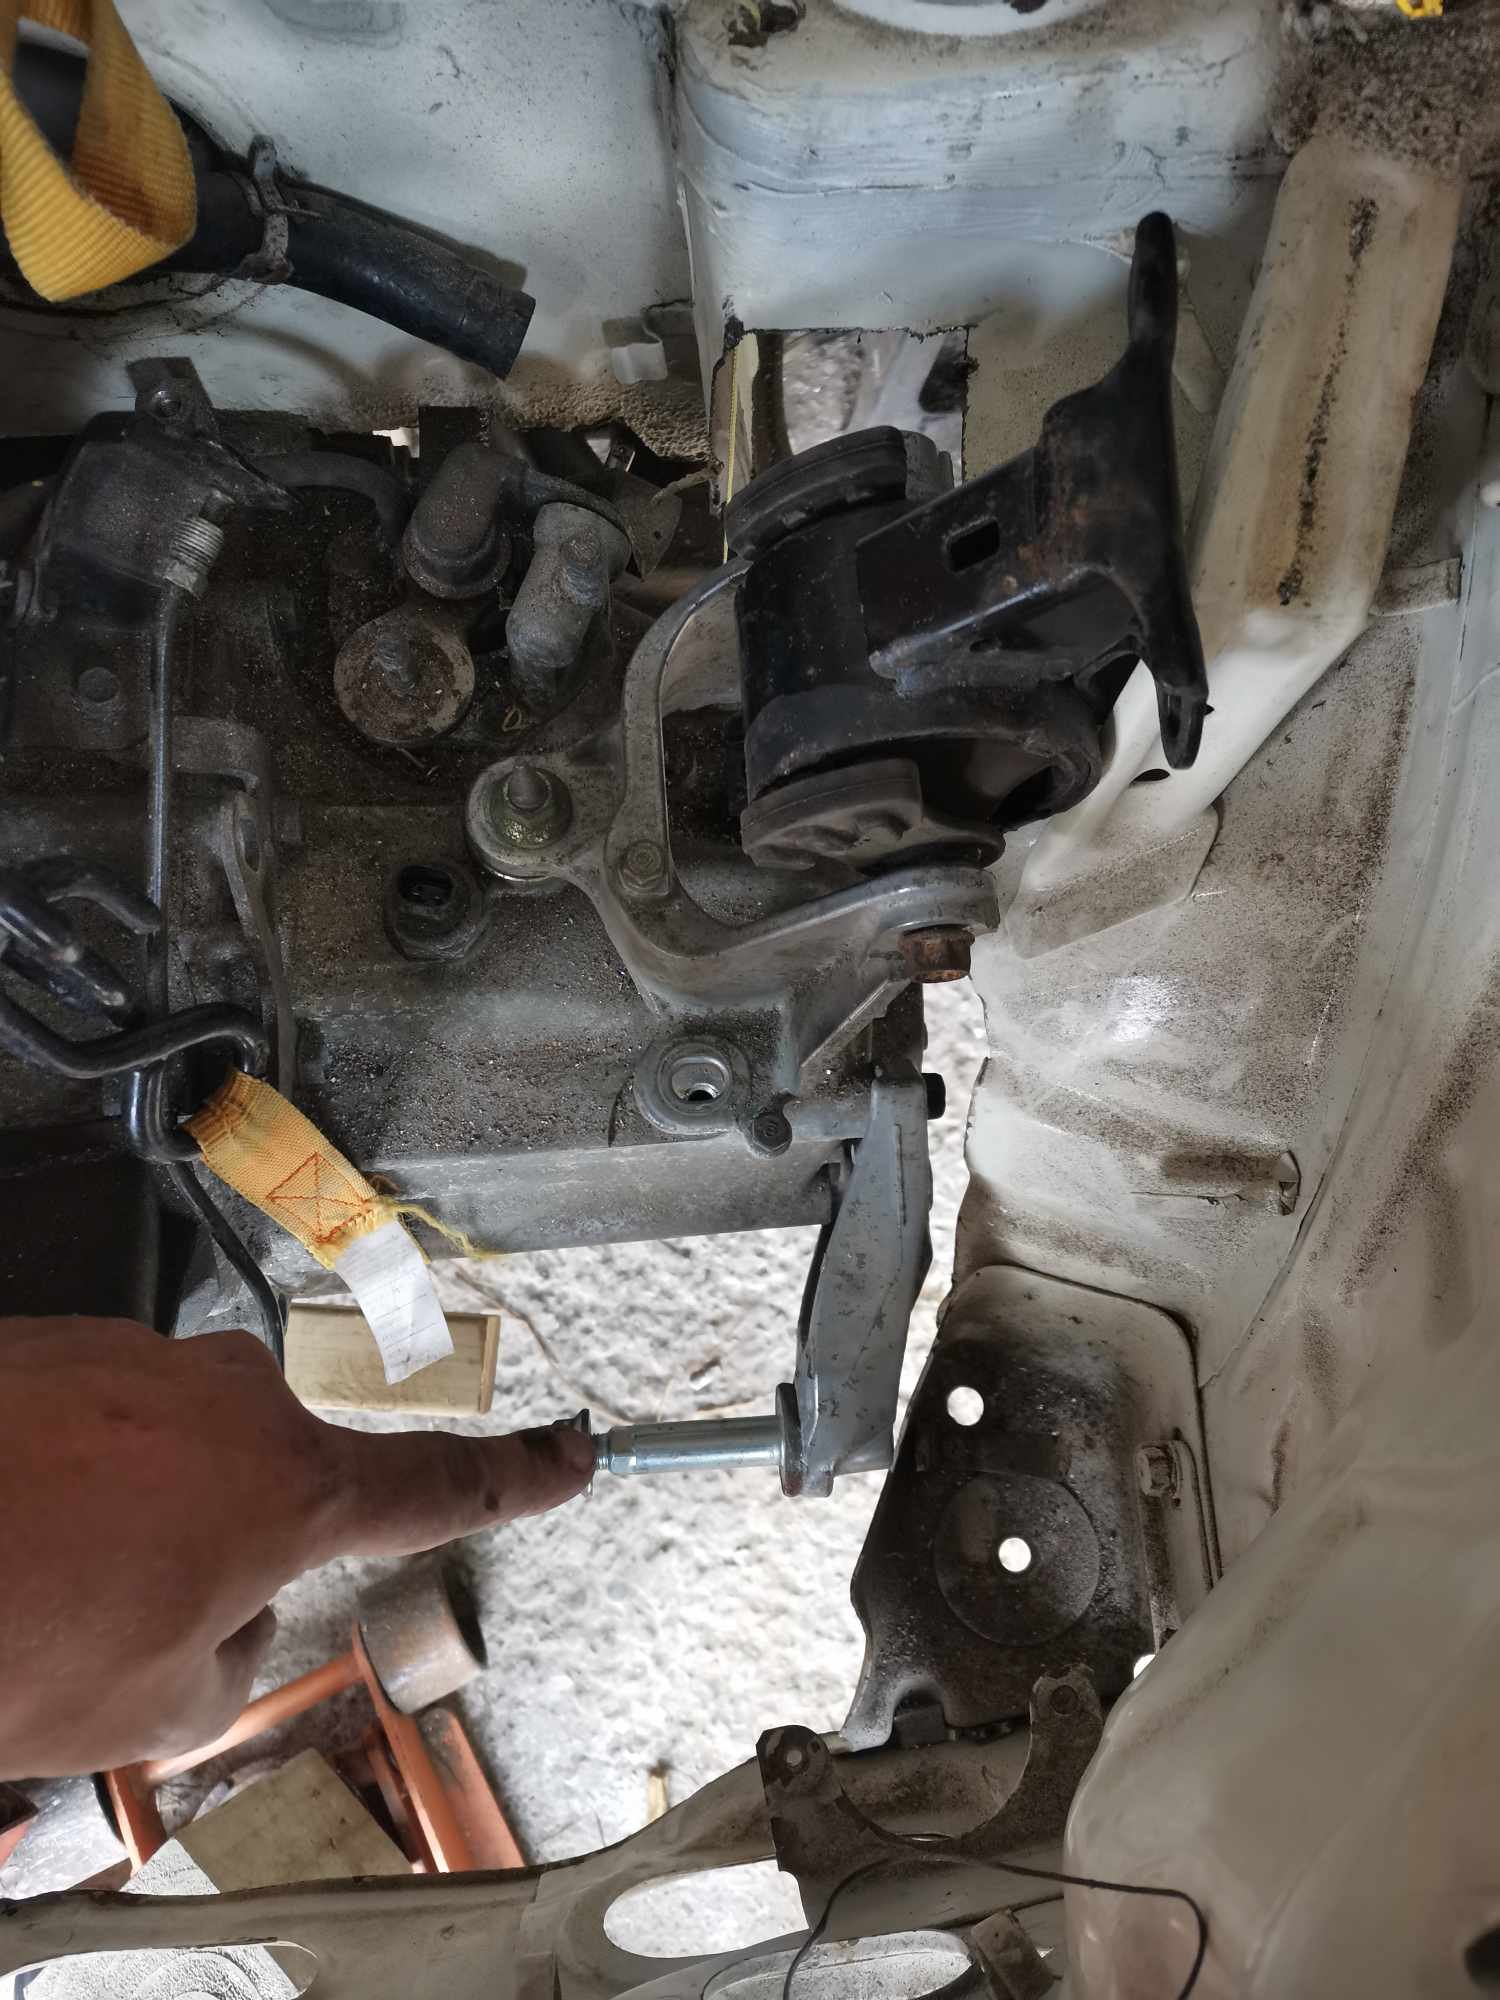
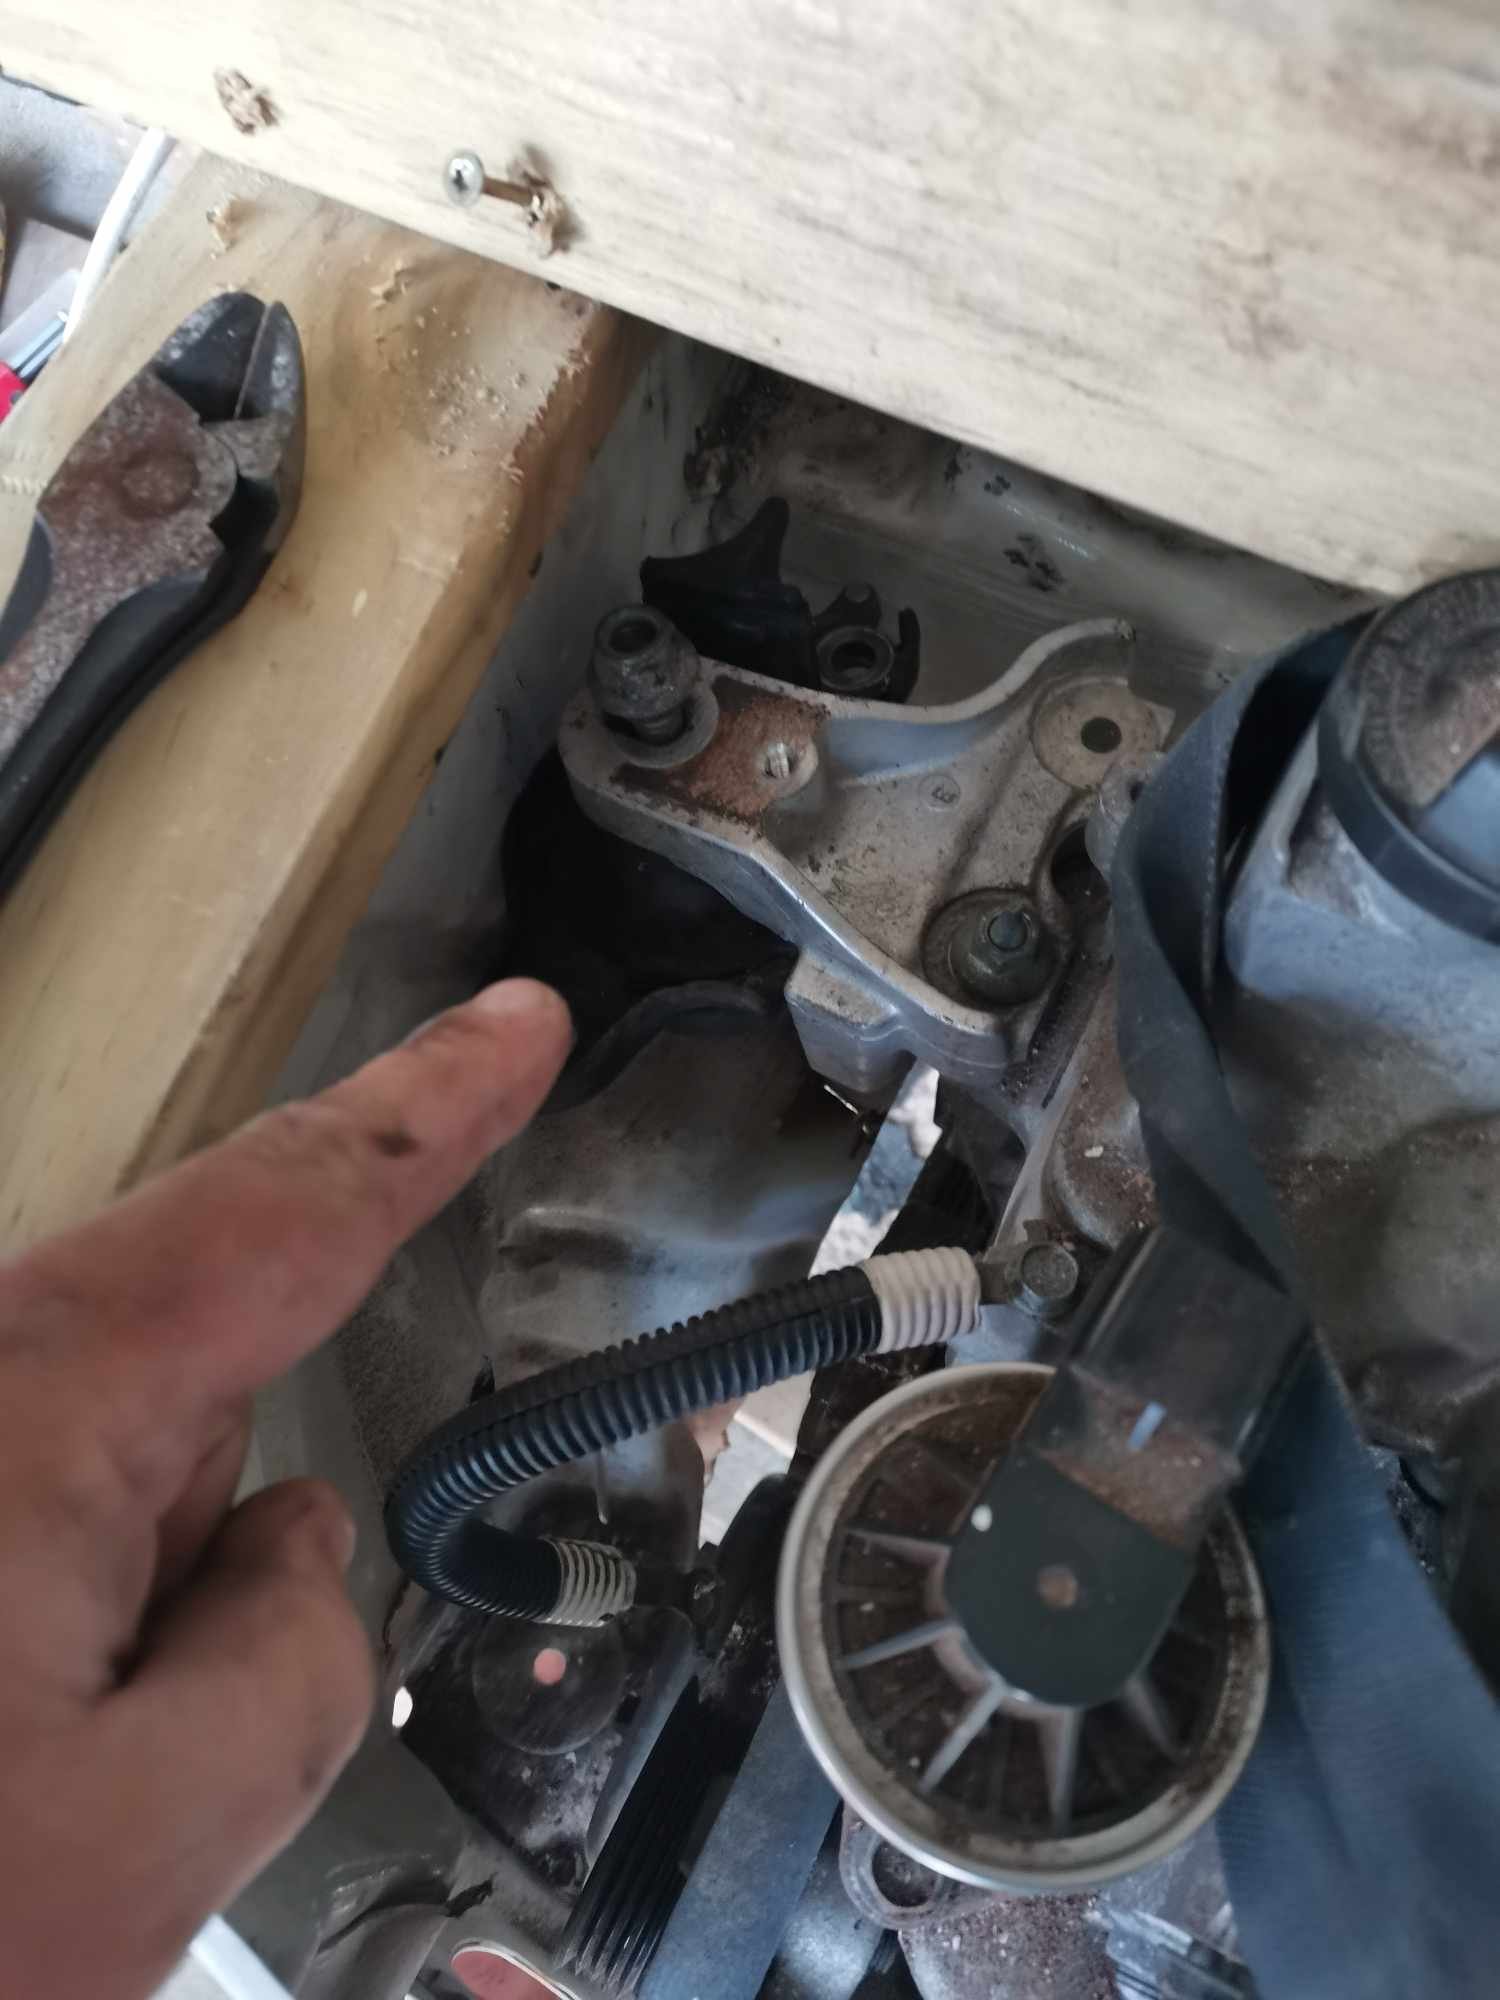
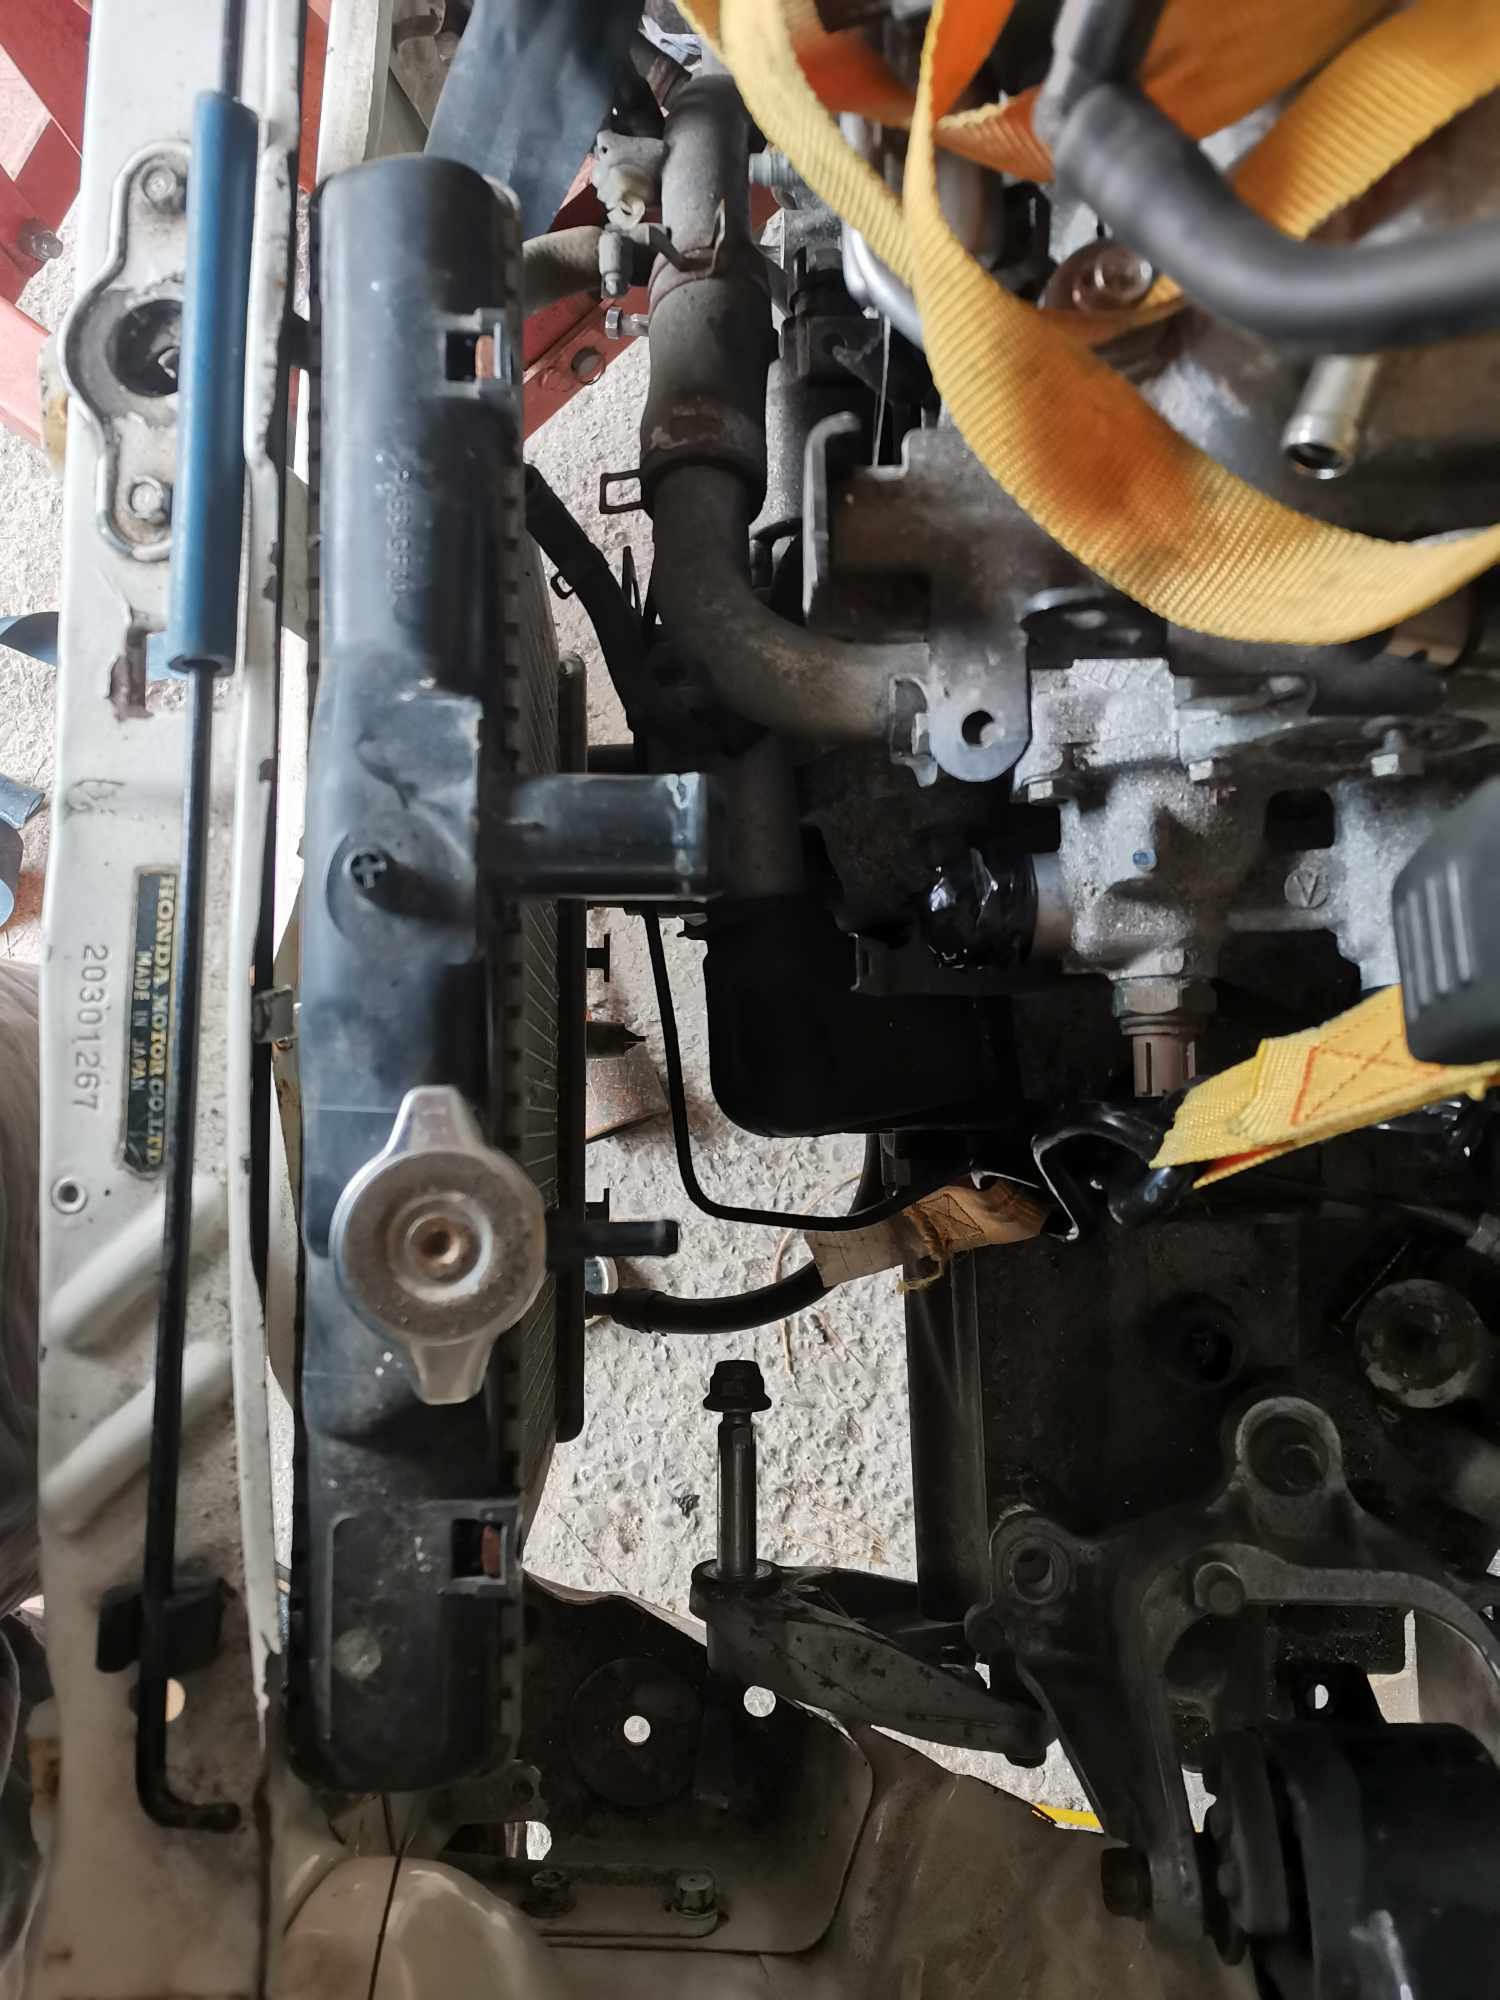
Fitting on factory mounts to see where they kinda land. Gearbox mount mostly fits. The mounting to the box bracket needs to be spaced up 20mm at least. Lots left on threads This bracket is reversed 180, used to point outwards, but this solution looks promising for a front mount Engine side looks half OK, needs a little clearancing with Mr hammer, might look for other options though. EG civic half size seems to fit vertically. Outlets ideally need flipping. Top needs to be to the bottom of the picture and bottom needs to be in the middle. Wondering if I can flip an alloy radiator and swap the fill neck... Hole in strut tower temp drilled so I can line up the evuk 7 shock on passenger side. Next up is steering rack, passenger knuckle and maybe drive shafts? Still keen if someone wants to come have a nosey in Wellington, I'm quite over my head here but continuing on regardless Discust below, https://oldschool.co.nz/index.php?/topic/49007-sirges-1972-honda-n360/
1 point
-
Try adding some adblue to your fuel tank And then when insurance writes the car off, get something not french1 point
-
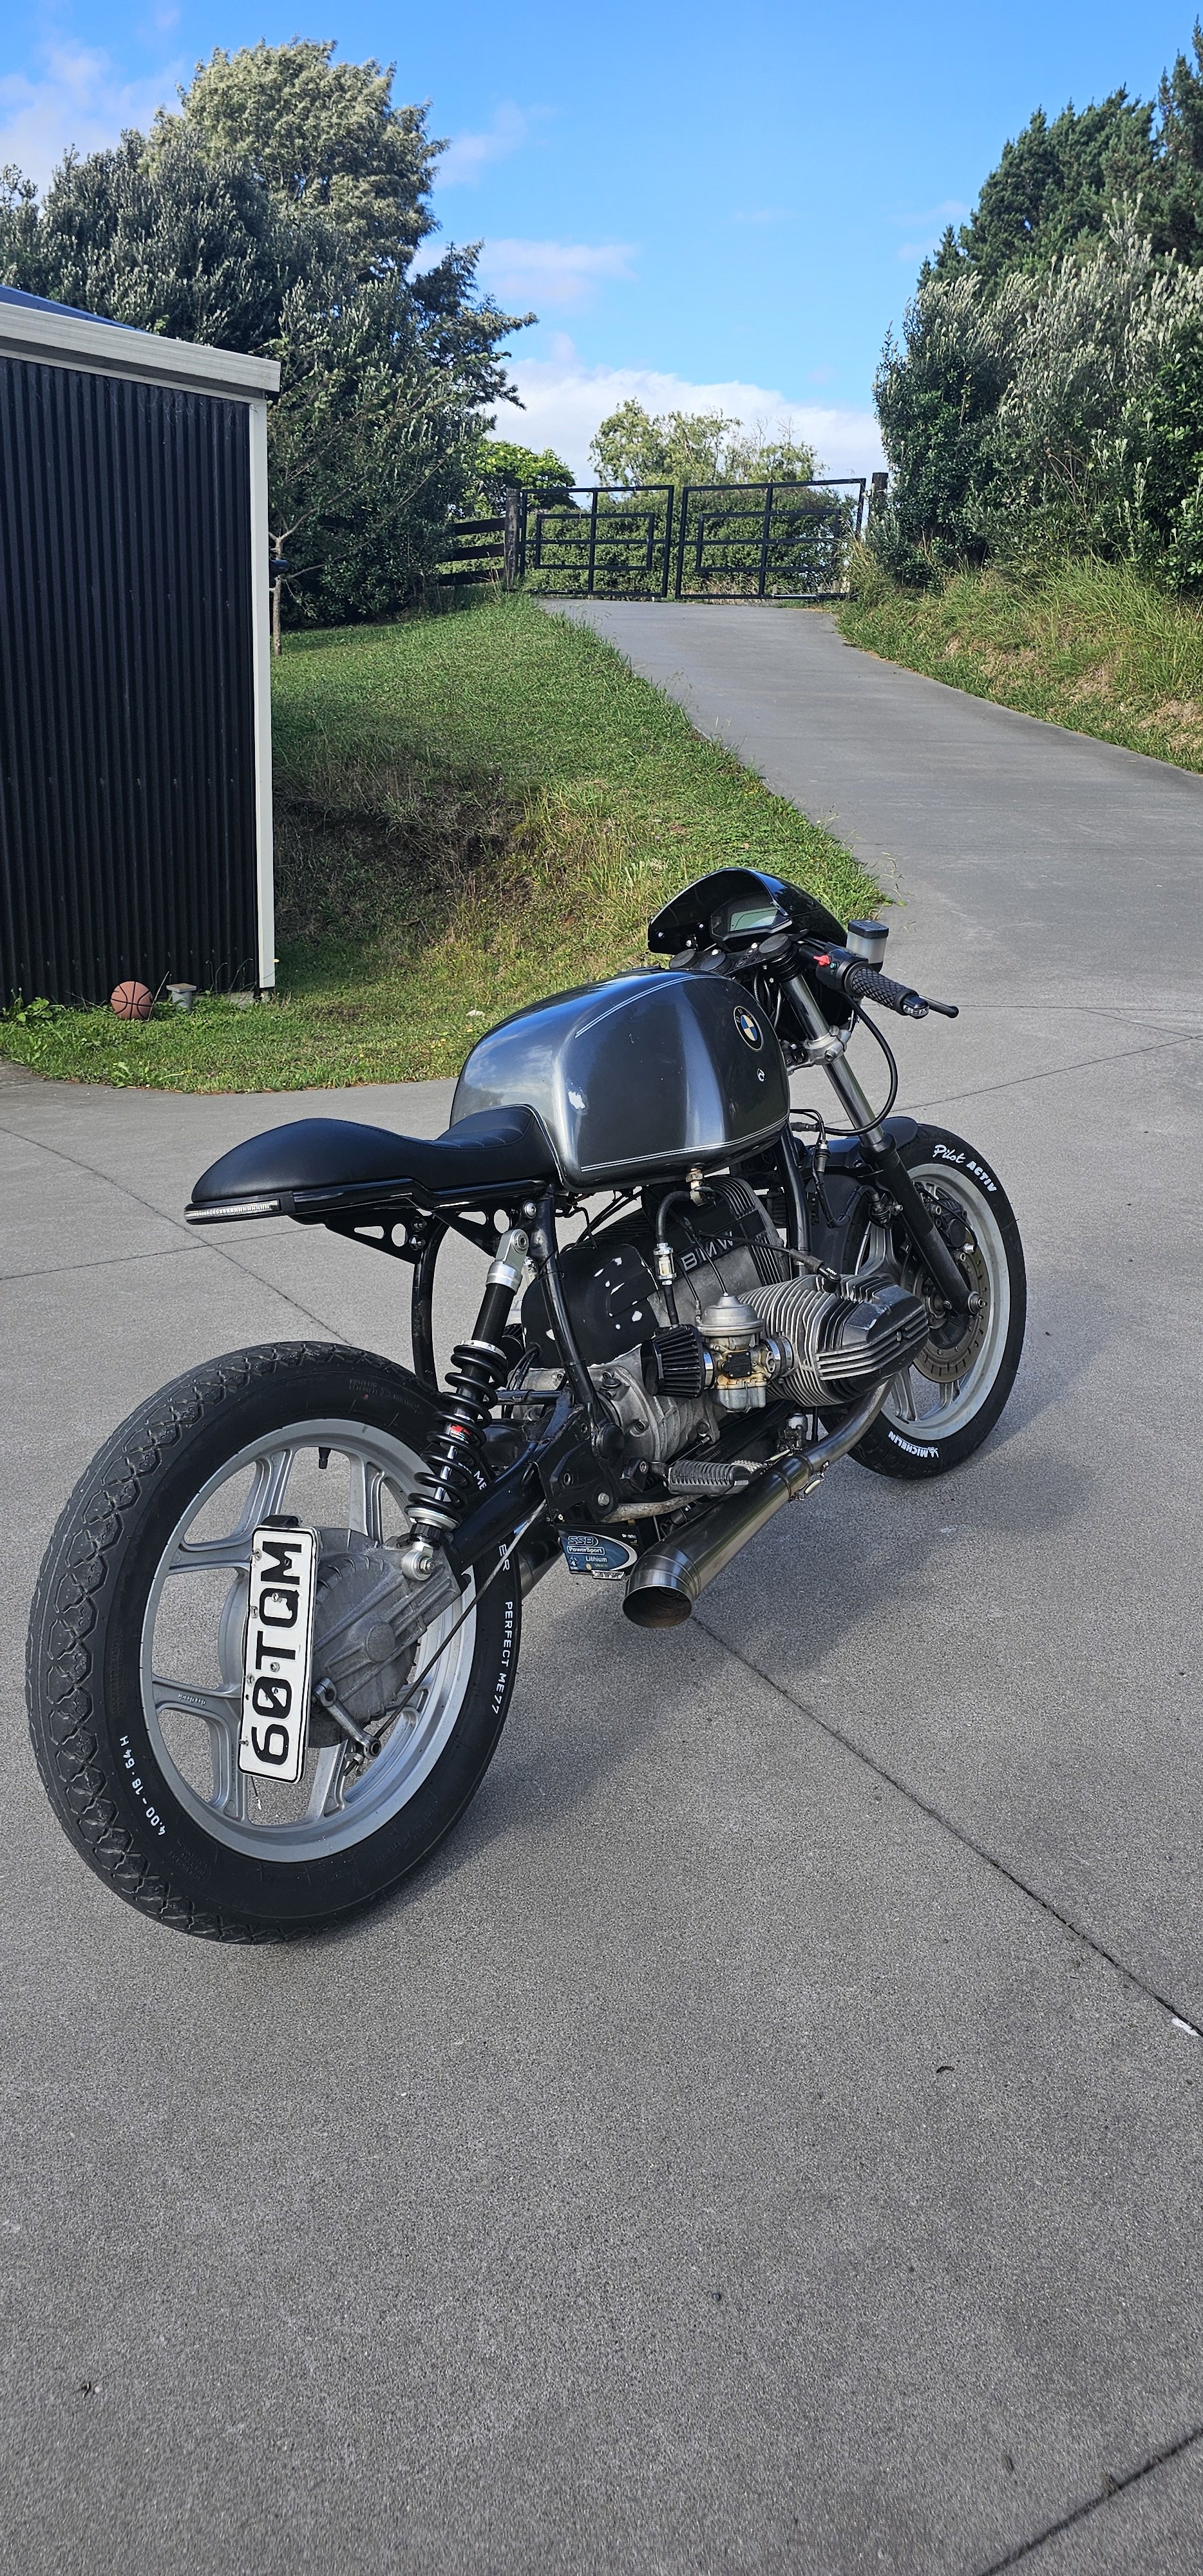
Have done a few very short rides on this bad boy, and its running pretty damn good. Its quite nice to ride also, which is a bonus. At nats I did a 75km trip from nats HQ to a museum in Cambridge, and just to be safe, I decided to re-fill it before departing for nats HQ on the return trip. It went onto reserve in the middle of the road in front of the service station, which was a bit of a surprise, as I was told it would do 200km on a tank (6L) but had only managed 75ish. That's around 8L/100km, which isn't great. J5's bike which is very similar, and was pulling the same speeds, and is only 15cc smaller in capacity, used just over half as much from memory, so somethings not quite right. Its defiantly running rich, and often smells a bit gasey, but I cant find gas leaking out anywhere. Will dropping the needle make a noticeable difference? Cant really think of anything else to check/change? I did manage to hit the metric ton in a two lane flat express way race with J5 though, so that's a new PB. Also also, a person on TM who confirmed they had both racks I need, then ghosted me super hard when I tried to buy them. BUT I mentioned to a customer that I yarn to about shit old bikes, what I was after, said his best mate apparently has at least 6x CT200's laying around, so he is actively trying to source the racks for me, excite. Pic4fred: Regards, VG.1 point
-
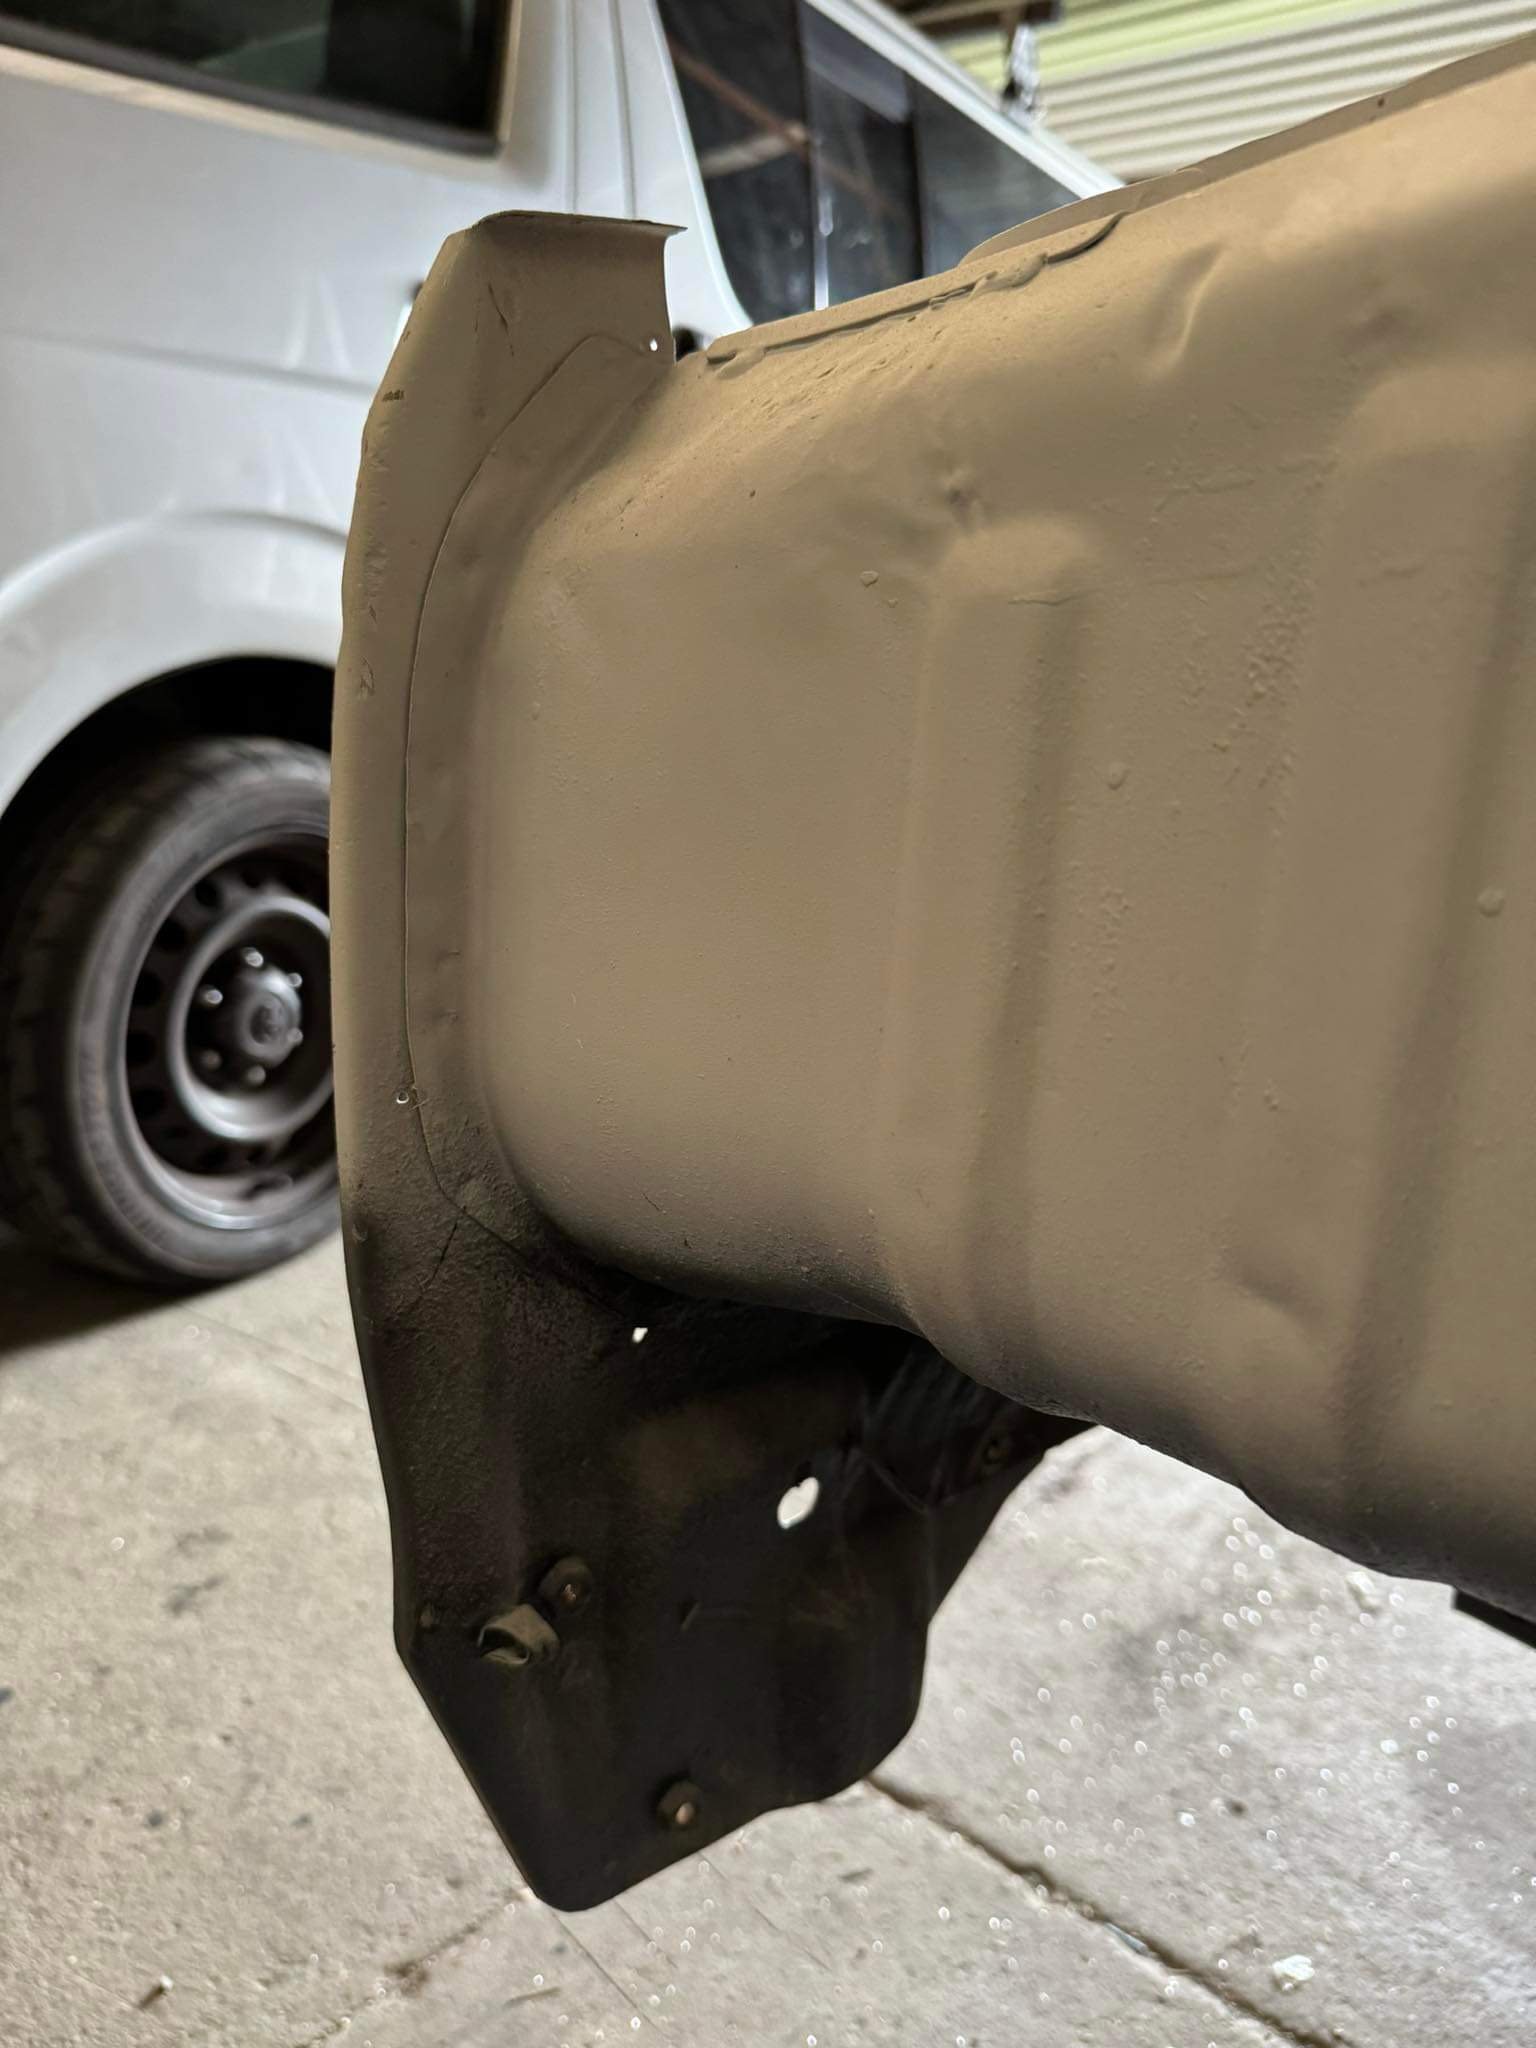
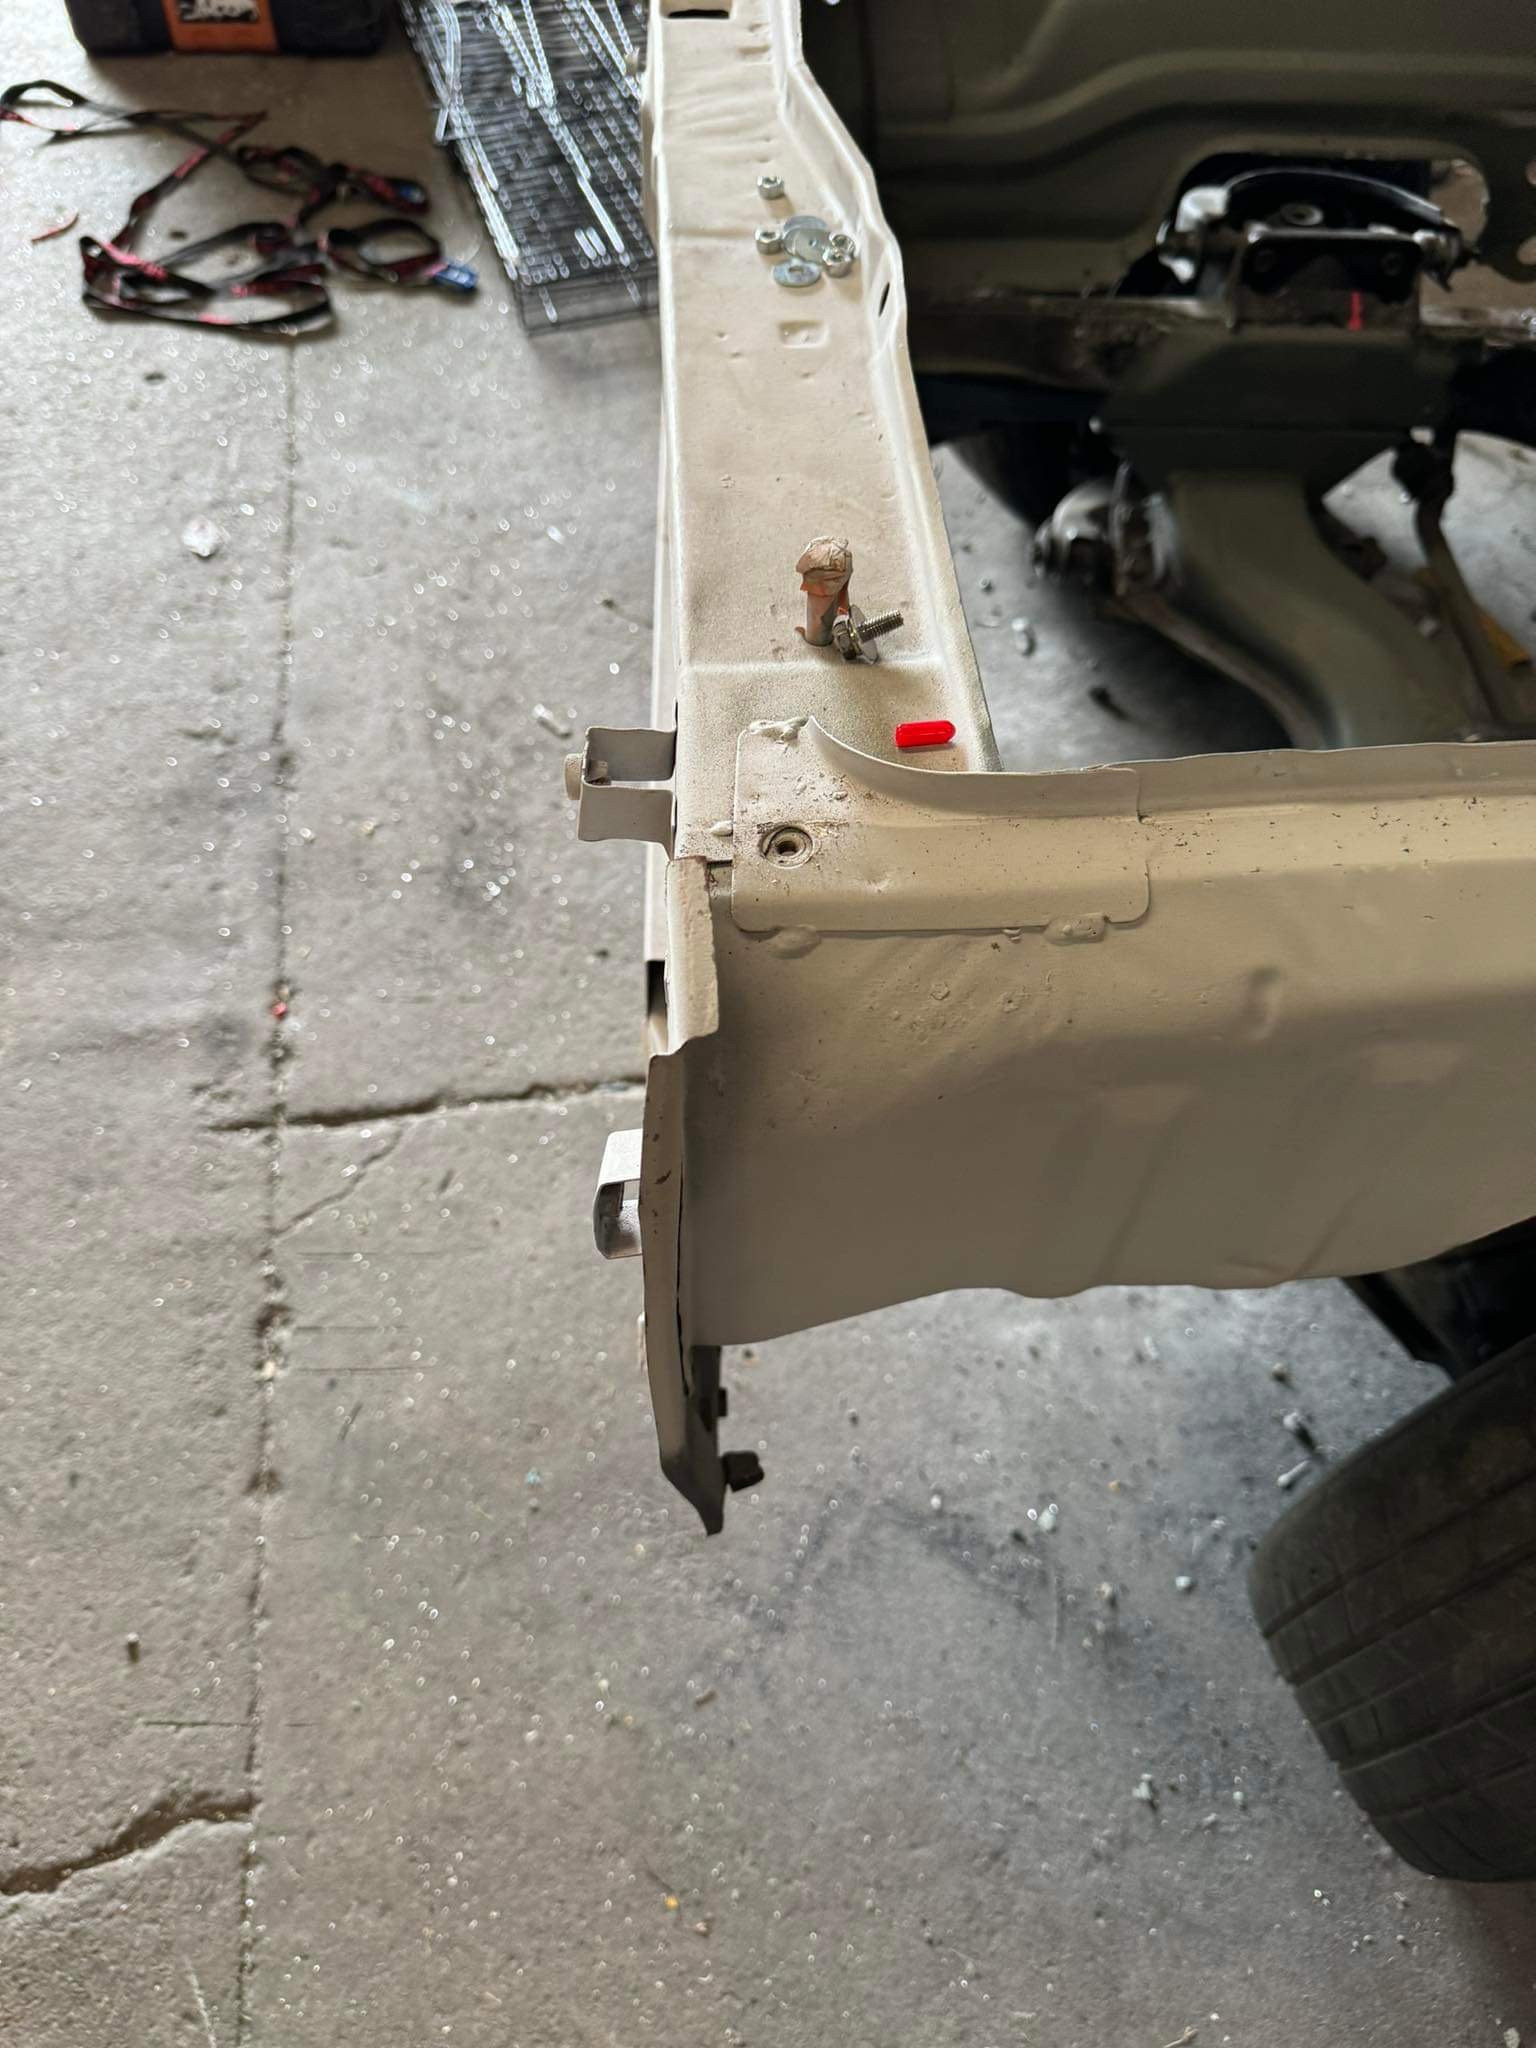
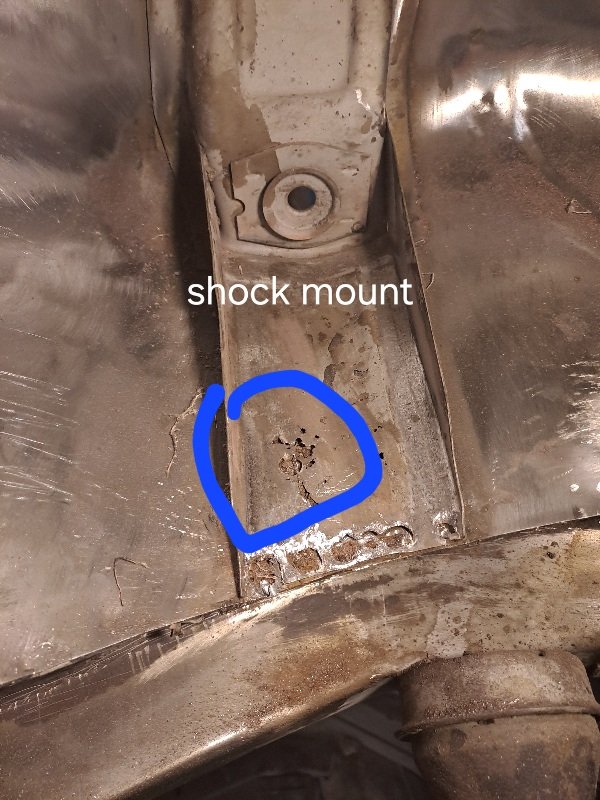
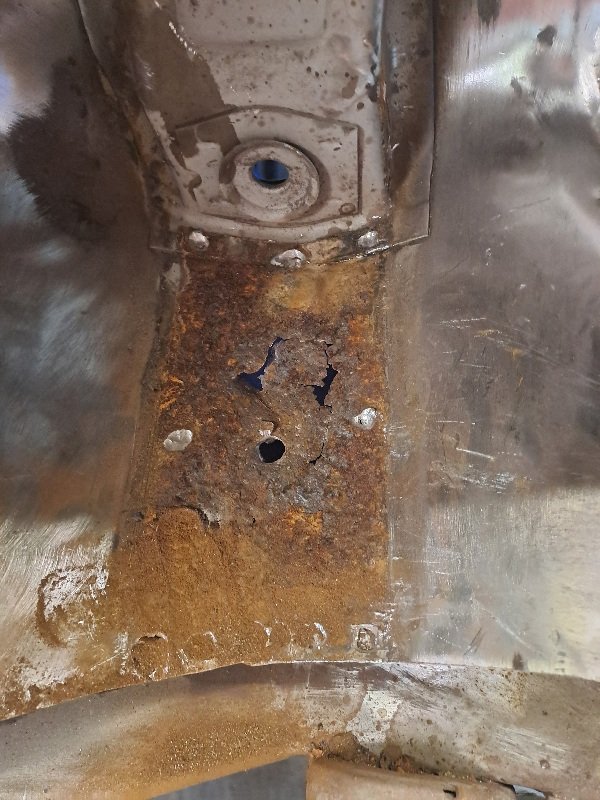
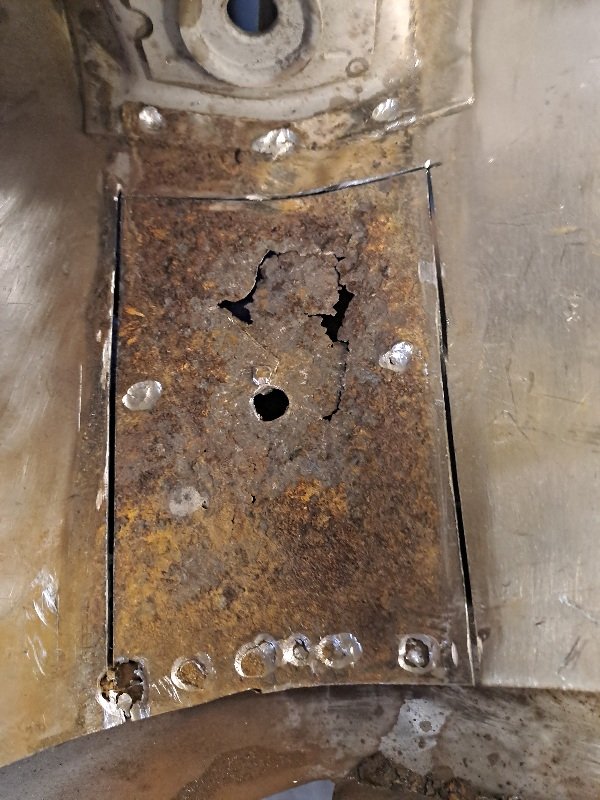
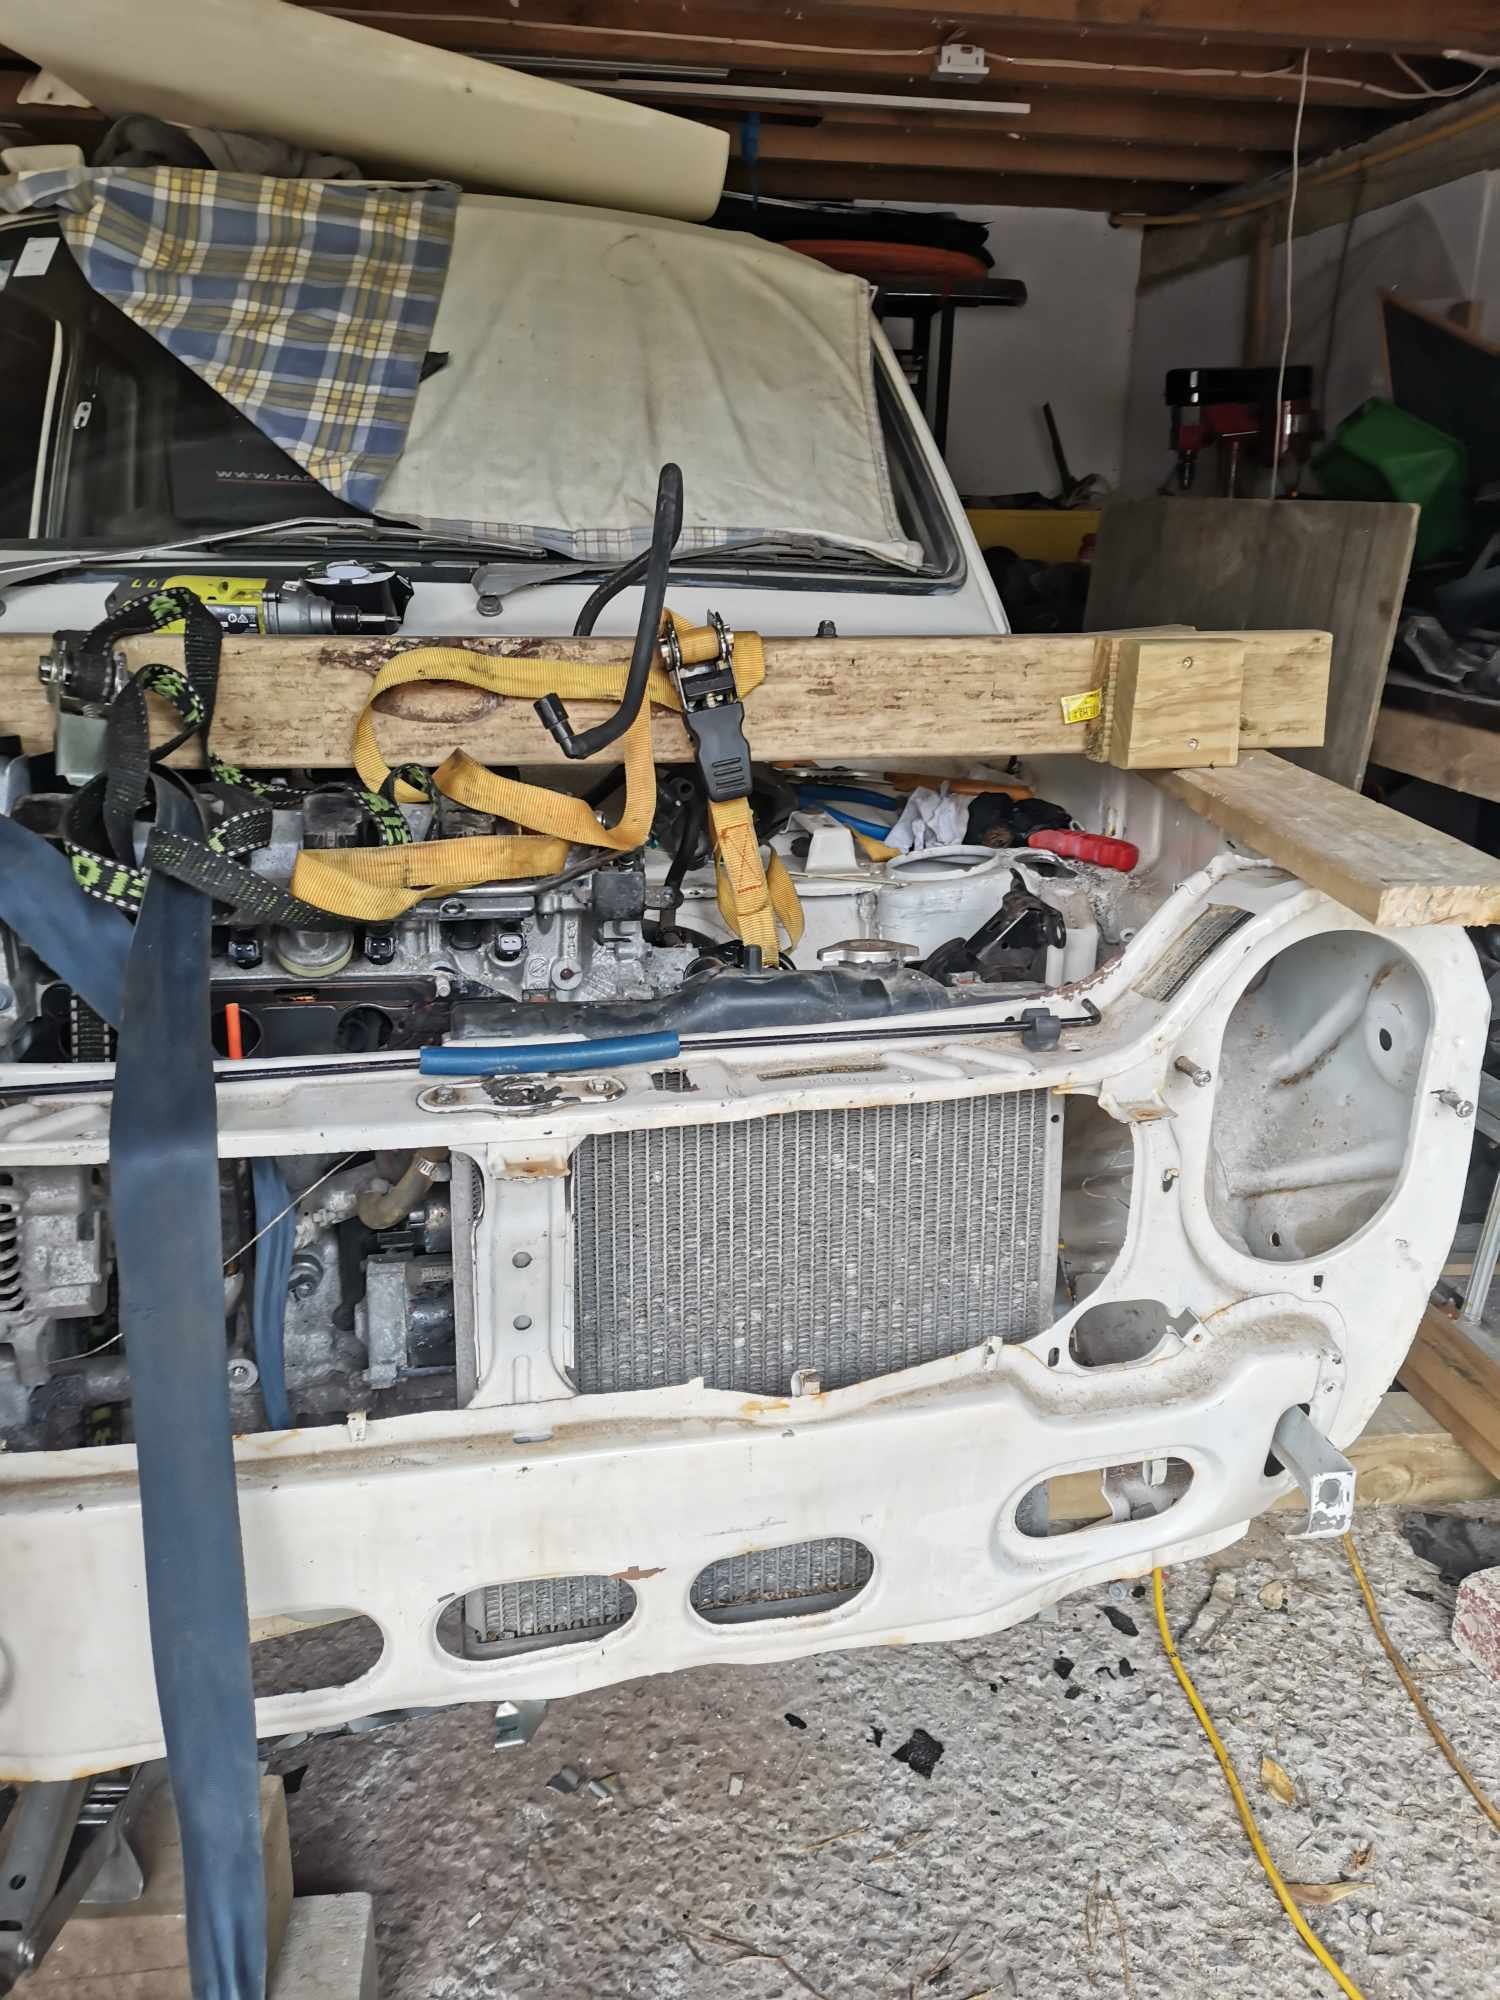
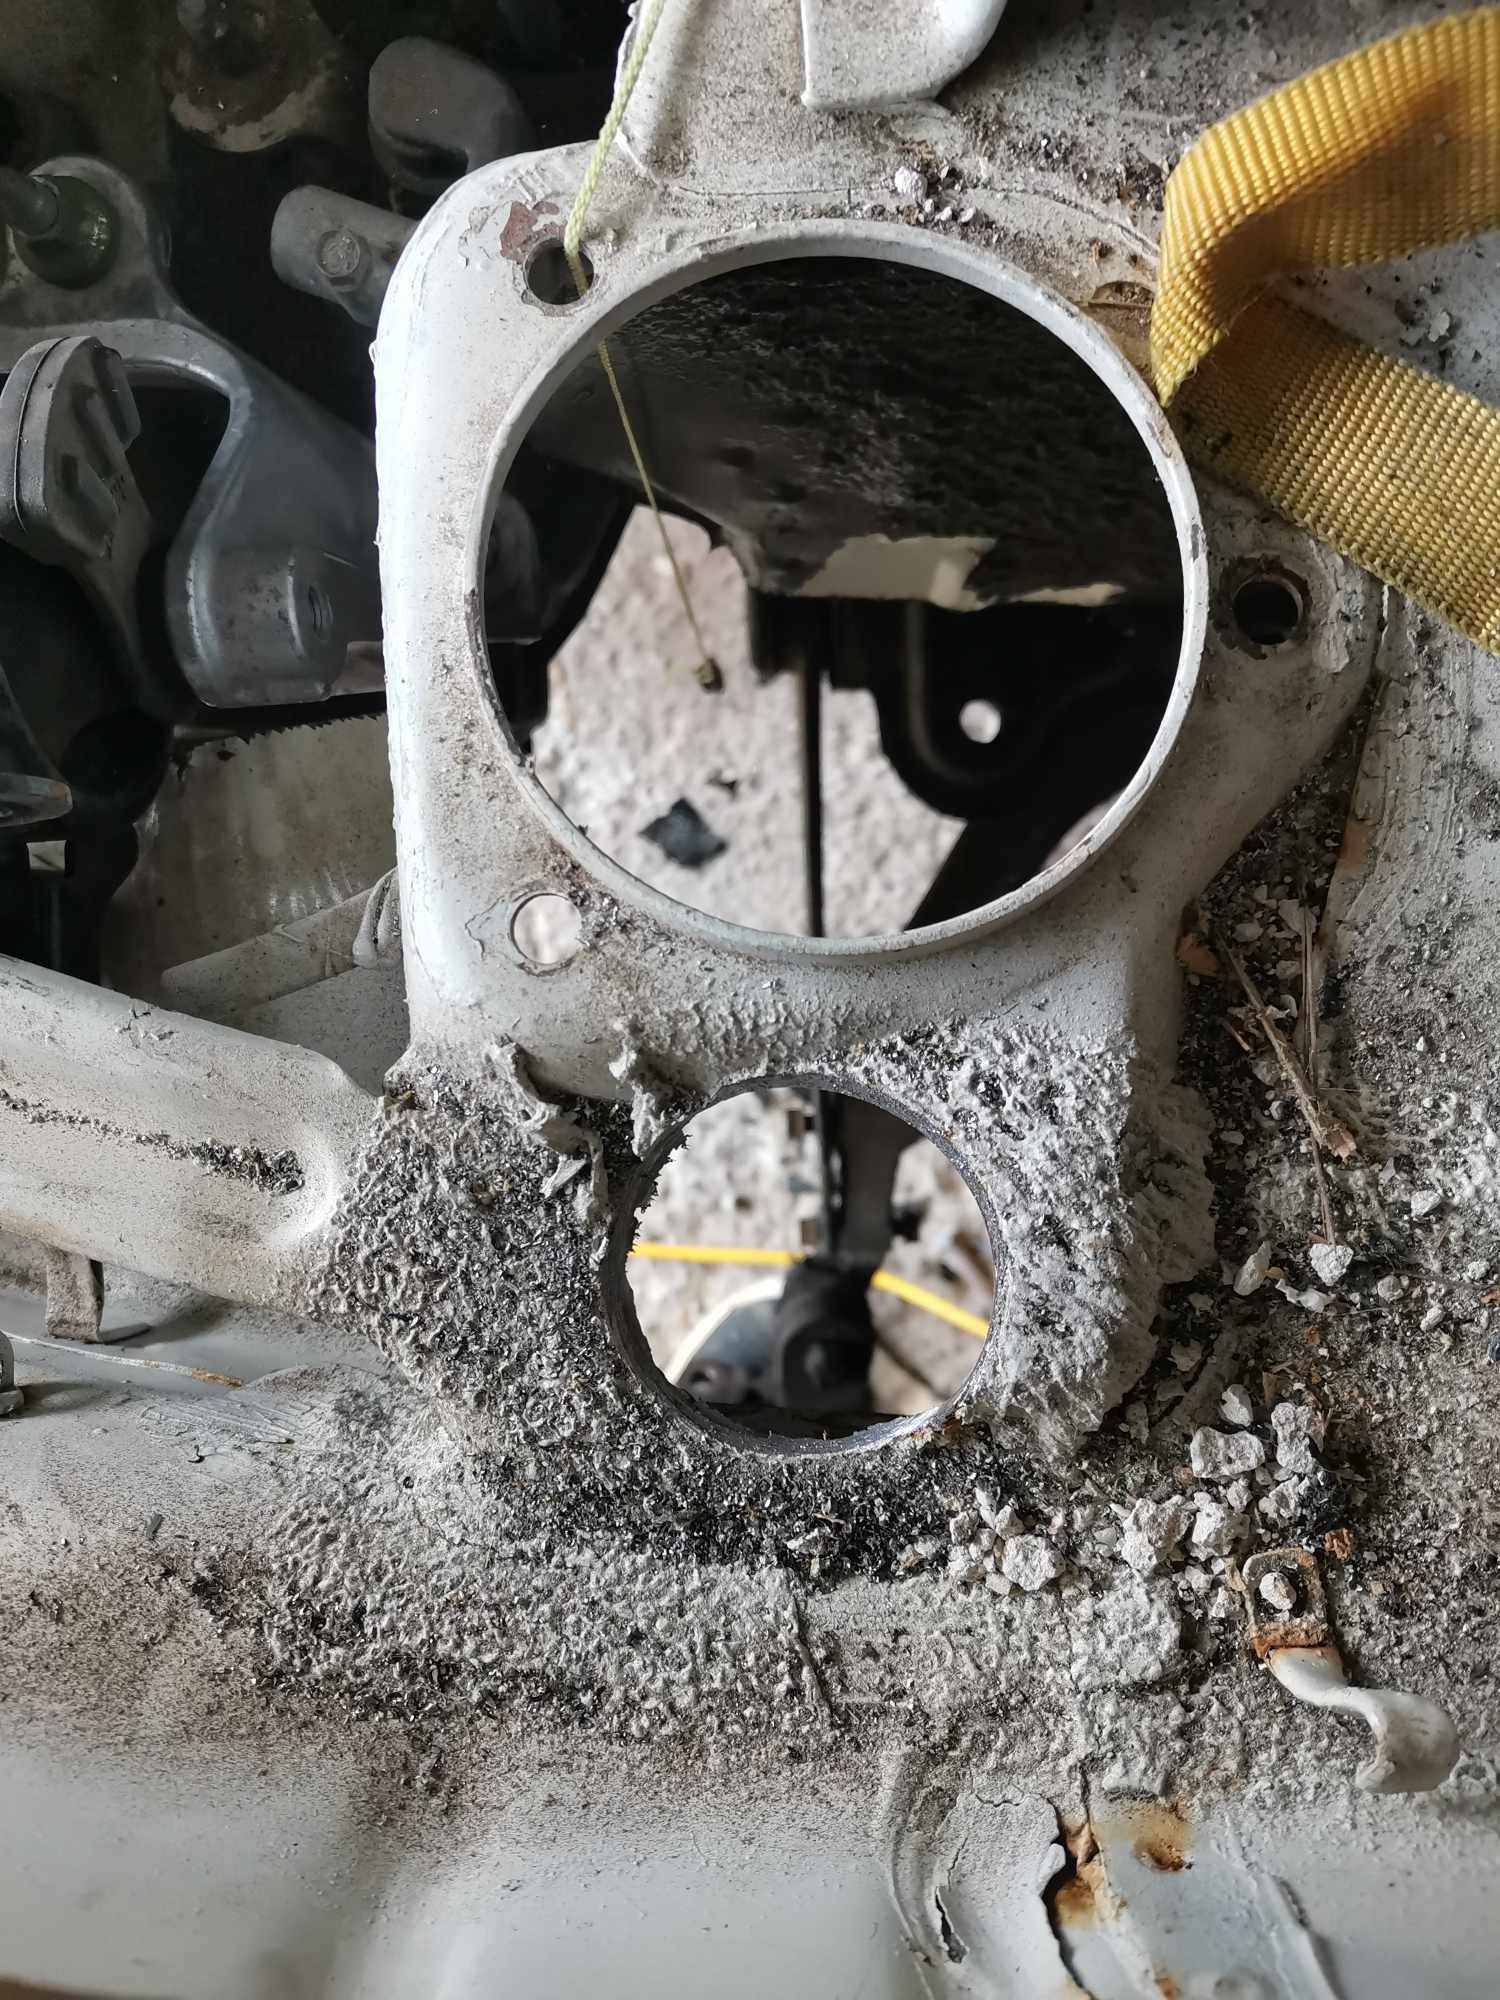
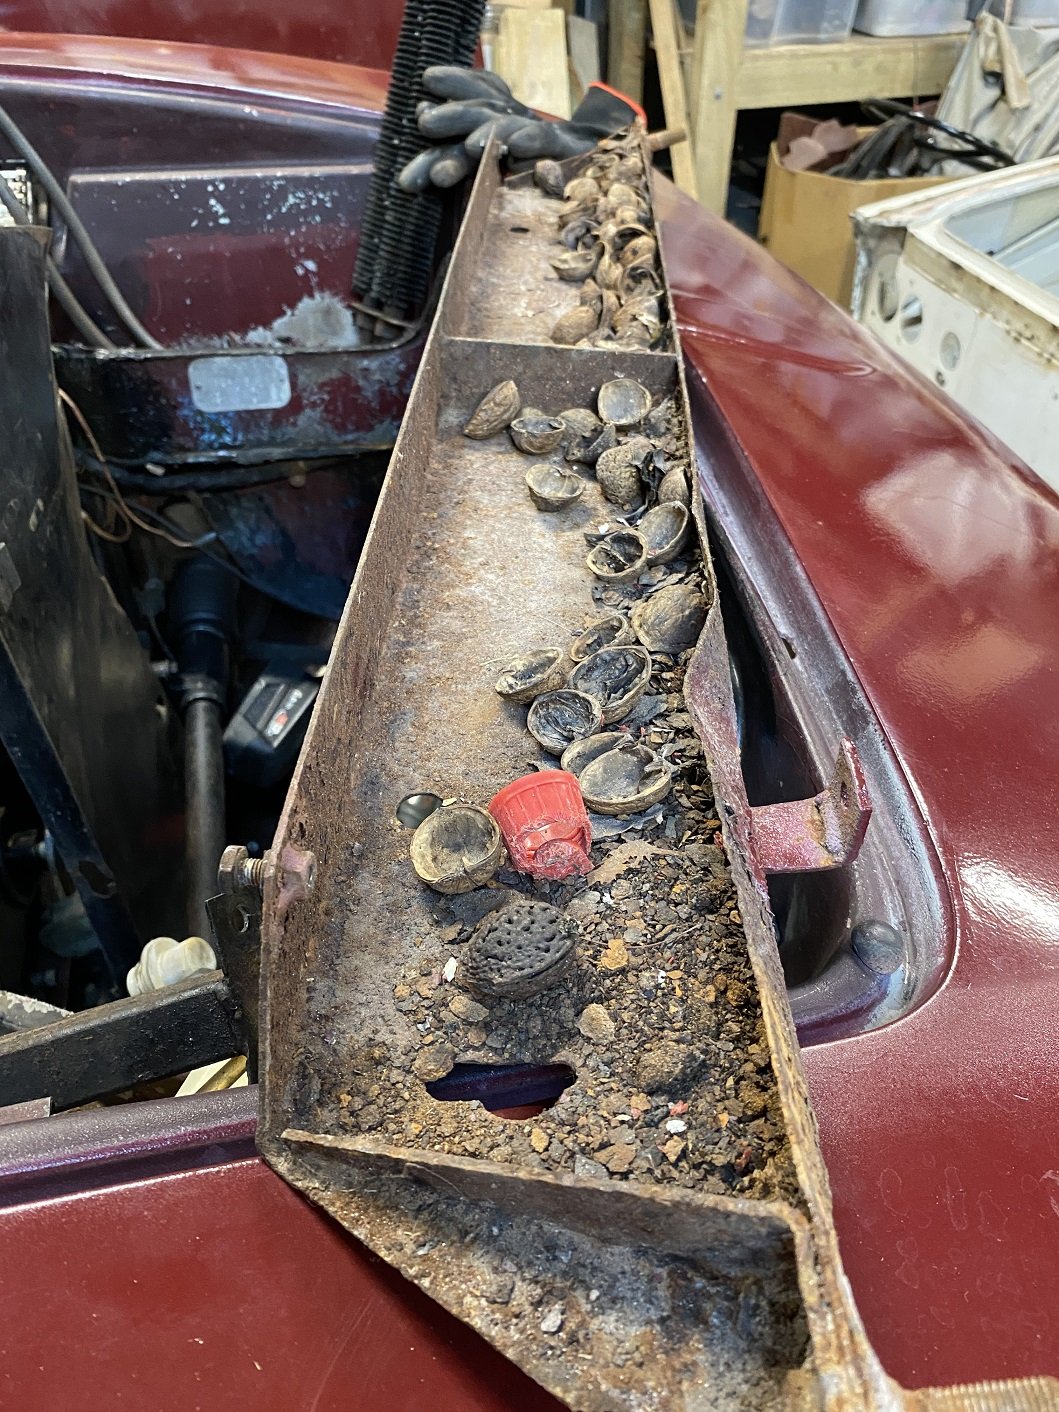
There is a bolt together structure forward of the chassis rails to support the 'nose' of the body and provide mounting points for the bumper. It had some damage from a front end impact. I dunno if that predates @dmulally 's ownership. Some of the structure was bent and rusty. The loom was also earthed on part of it, but that part didn't seem to be bolted to anything and just floating. I decided to take it out. WELL... I guess some rats were using this as a dining room for a while... Some of the fibreglass was also damaged and sorry if it was you Damo, but OMG it was not patched together very well and is failing. Who ever laid the glass mat probably also scrunches toilet paper rather than folding. There's delamination and big flappy bits of mat sticking up all over the show. I assume it was done by feel, upside down, because of poor access. I think I'll cut/grind/sand it out and have a go myself.
1 point
-
Elite wheels sell barrels. I beleive TWL might have trailer spec ones too? (I know @Valiant procured some 15" ones off them)1 point
-
Join the Moped Melee 2025! The places you'll see, the people you'll meet. You'd be a fool to miss it.
1 point
-
Bolted more shit on. I thought I had better reassemble the doors and check their function before chucking them on, and shortly I noticed that this little tit on the door latch had broken off, which would mean I would have to unlock the passenger side and reach over to unlock the drivers. See that tit on the diecast part? This actuates the lock from the door key; Commence bodging And it worked! I was quietly pleased with that as those latches are pretty much unobtainium these days Then I realised that I was trying to use the passenger latch in the drivers side, so that was all a waste of time. Except that the boot and engine cover latch levers are in the shut off of the passenger door. So actually it will be pretty useful to be able unlock the passenger side to get to those. I seem to recall this not working previously. So fuck all left to do really; Windscreen Box on and engine in Final wiring connections in the engine bay once the engine is in Passenger door Boot and engine cover Carb tune I am assuming the brakes will probably need rebuilding, we will just have to see. And whatever other fuckery arises.1 point
-
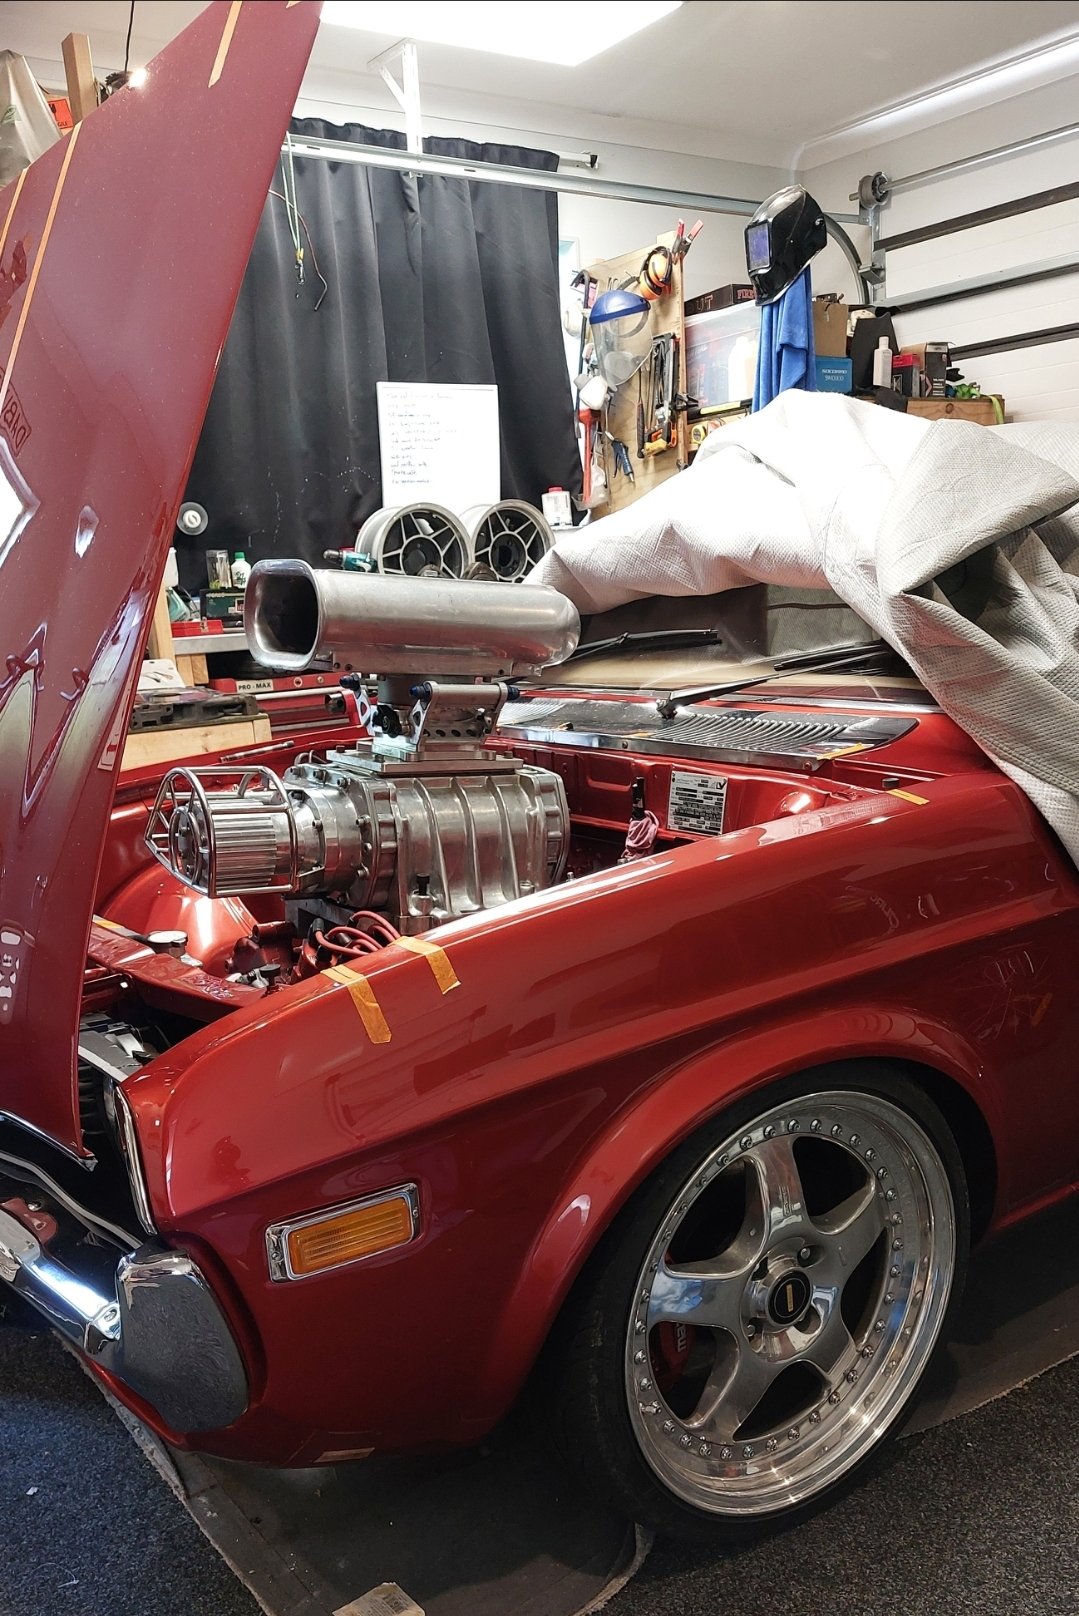
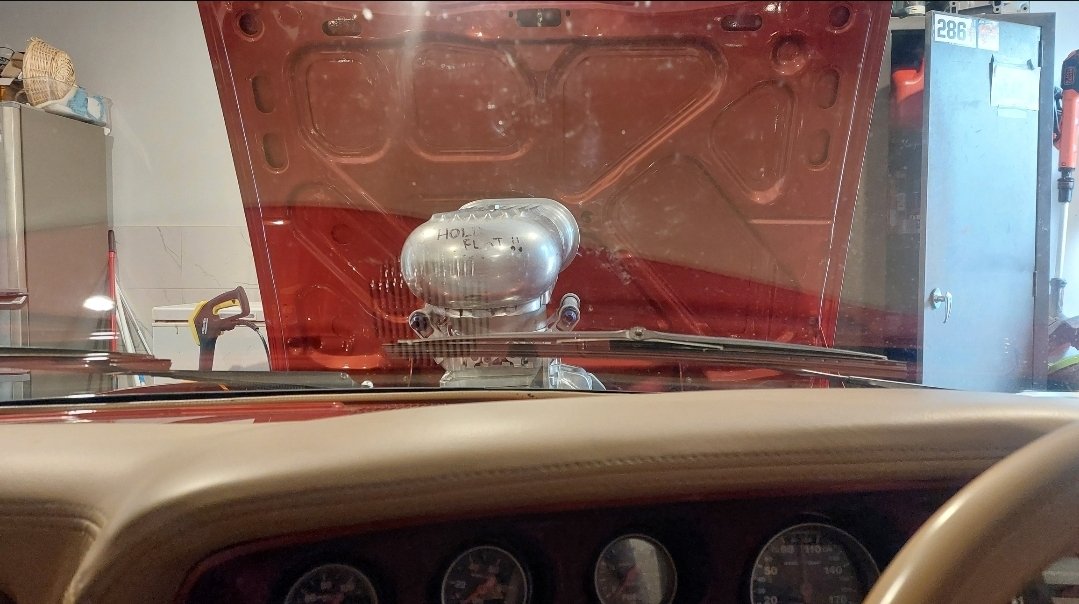
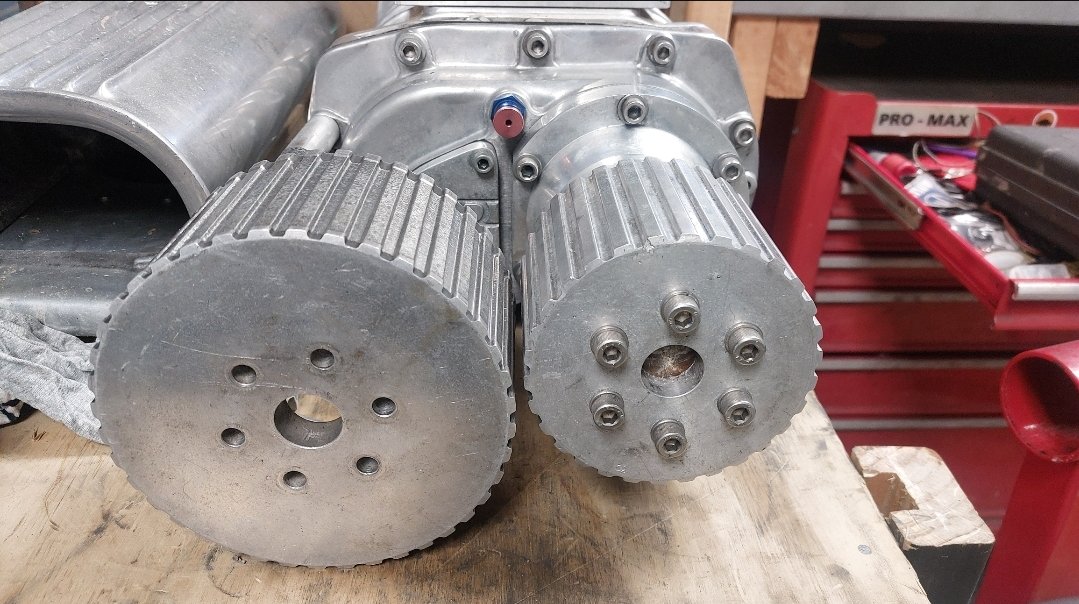
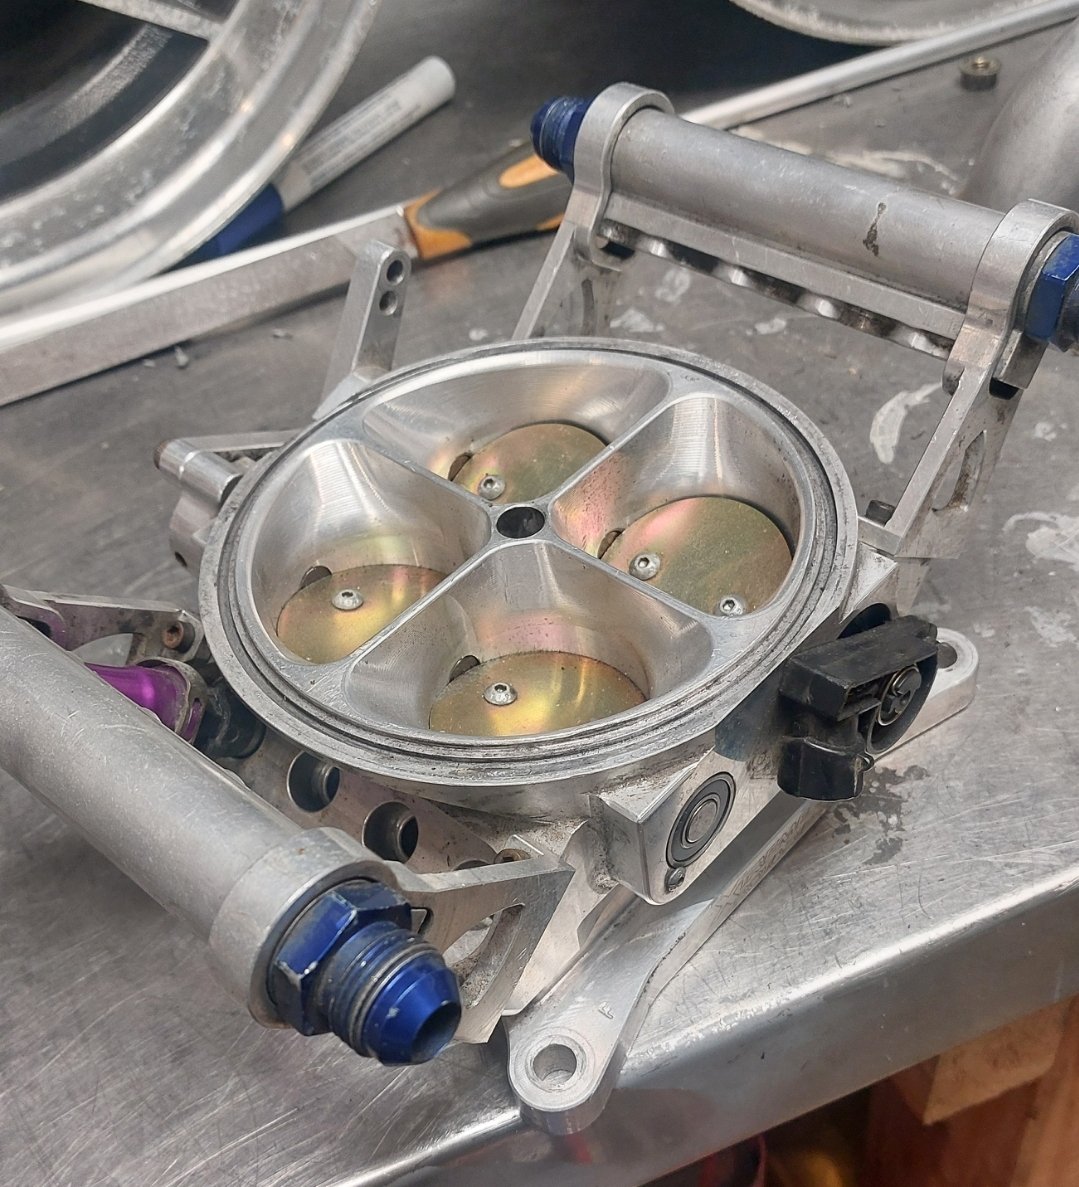
Sold the ROTECH BP, but before I whip it out, have dummy mounted the blower to check cut lines for the bonnet, so I can put a massive hole in it. 40 vs 30 tooth (1to 1) pulley, Unfortunately I'll have to run the under driven pulley to get it through cert which is only 7-8 psi. The small pulley will be double that, but intake temps will skyrocket, and I won't have enough money to get car legal as well as work on cooling. Water meth will be on the cards, as is maybe Water to air intercooler. I'll just focus on redesigning the intake, building a fresh new block, setting up EFI and a host of other items before I worry about decent power. Also that scoop won't pass, so I need to find a low profile solution for air filtration into the Xtreme rotaries 1200cfm 8 injector throttle body., I'll only need to run 4x 1000cc injectors for what I'm doing
1 point
-
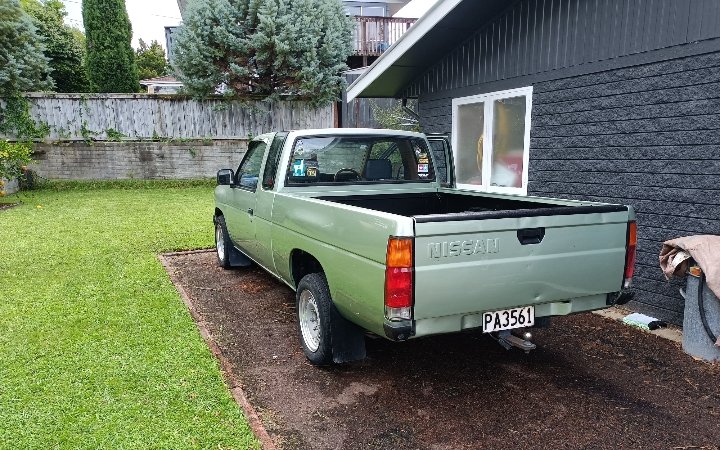
Reset springs in. It's not actually low but it sites level now now and looks a lot better. New shocks are on the list, these don't have any shock left in them.
1 point
-
I have to control its xspower somehow1 point
-
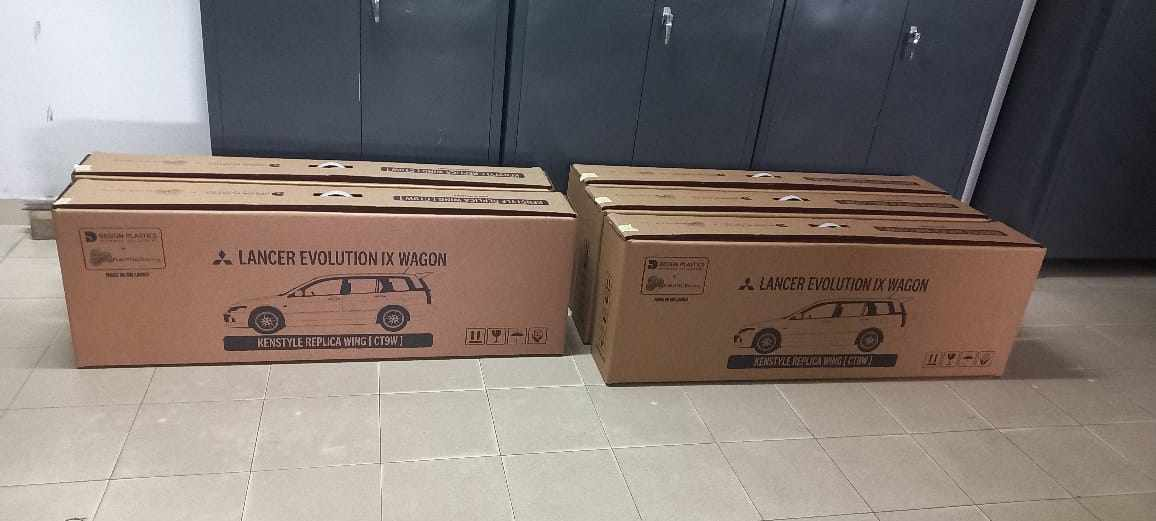
also teaser of what is meant to be arriving soon
1 point
-
Added LED lamps to the interior and put in some new floor mats to help tidy up a bit of the roughness: Disco fred here -
1 point
-
Springs off to the shop. Can't scratch the new paint just yet..
1 point
-
Thought I had a pic!
1 point
-
New wheels (13x5 from CA Accord)
1 point
-
Yes, it's owners manual procedure for old allis chalmers tractors1 point
-
So I'm out in the desert this morning, about 20 nautical kilometers south of wambadingding (Aires rock to you non-Abbos), chasin this black African two toed viper for me reptile collection, I go arm deep into its hole... Feel something metallic... Stewth I say, and out pops this: Crikey! Its an old chromolly Bauer MTB. So I drag it back to my shed and decide I might build it into a long bike/ cargo bike/ baby carrier. Will be mostly using it as a baby carrier ( I've tried lots of things, like cat food... But babies seem to work best for dingo bait). Stay tuned, might post up some of me snakes too.1 point


.jpeg.dc79046ad09d73b9fdc8de9e6e6d9c09.jpeg)


.thumb.jpeg.384ff72c8d2b0ee0d34a7bdedb55bdcf.jpeg)


This leaderboard is set to Auckland/GMT+12:00