
Leaderboard


Popular Content
Showing content with the highest reputation on 02/05/24 in all areas
-
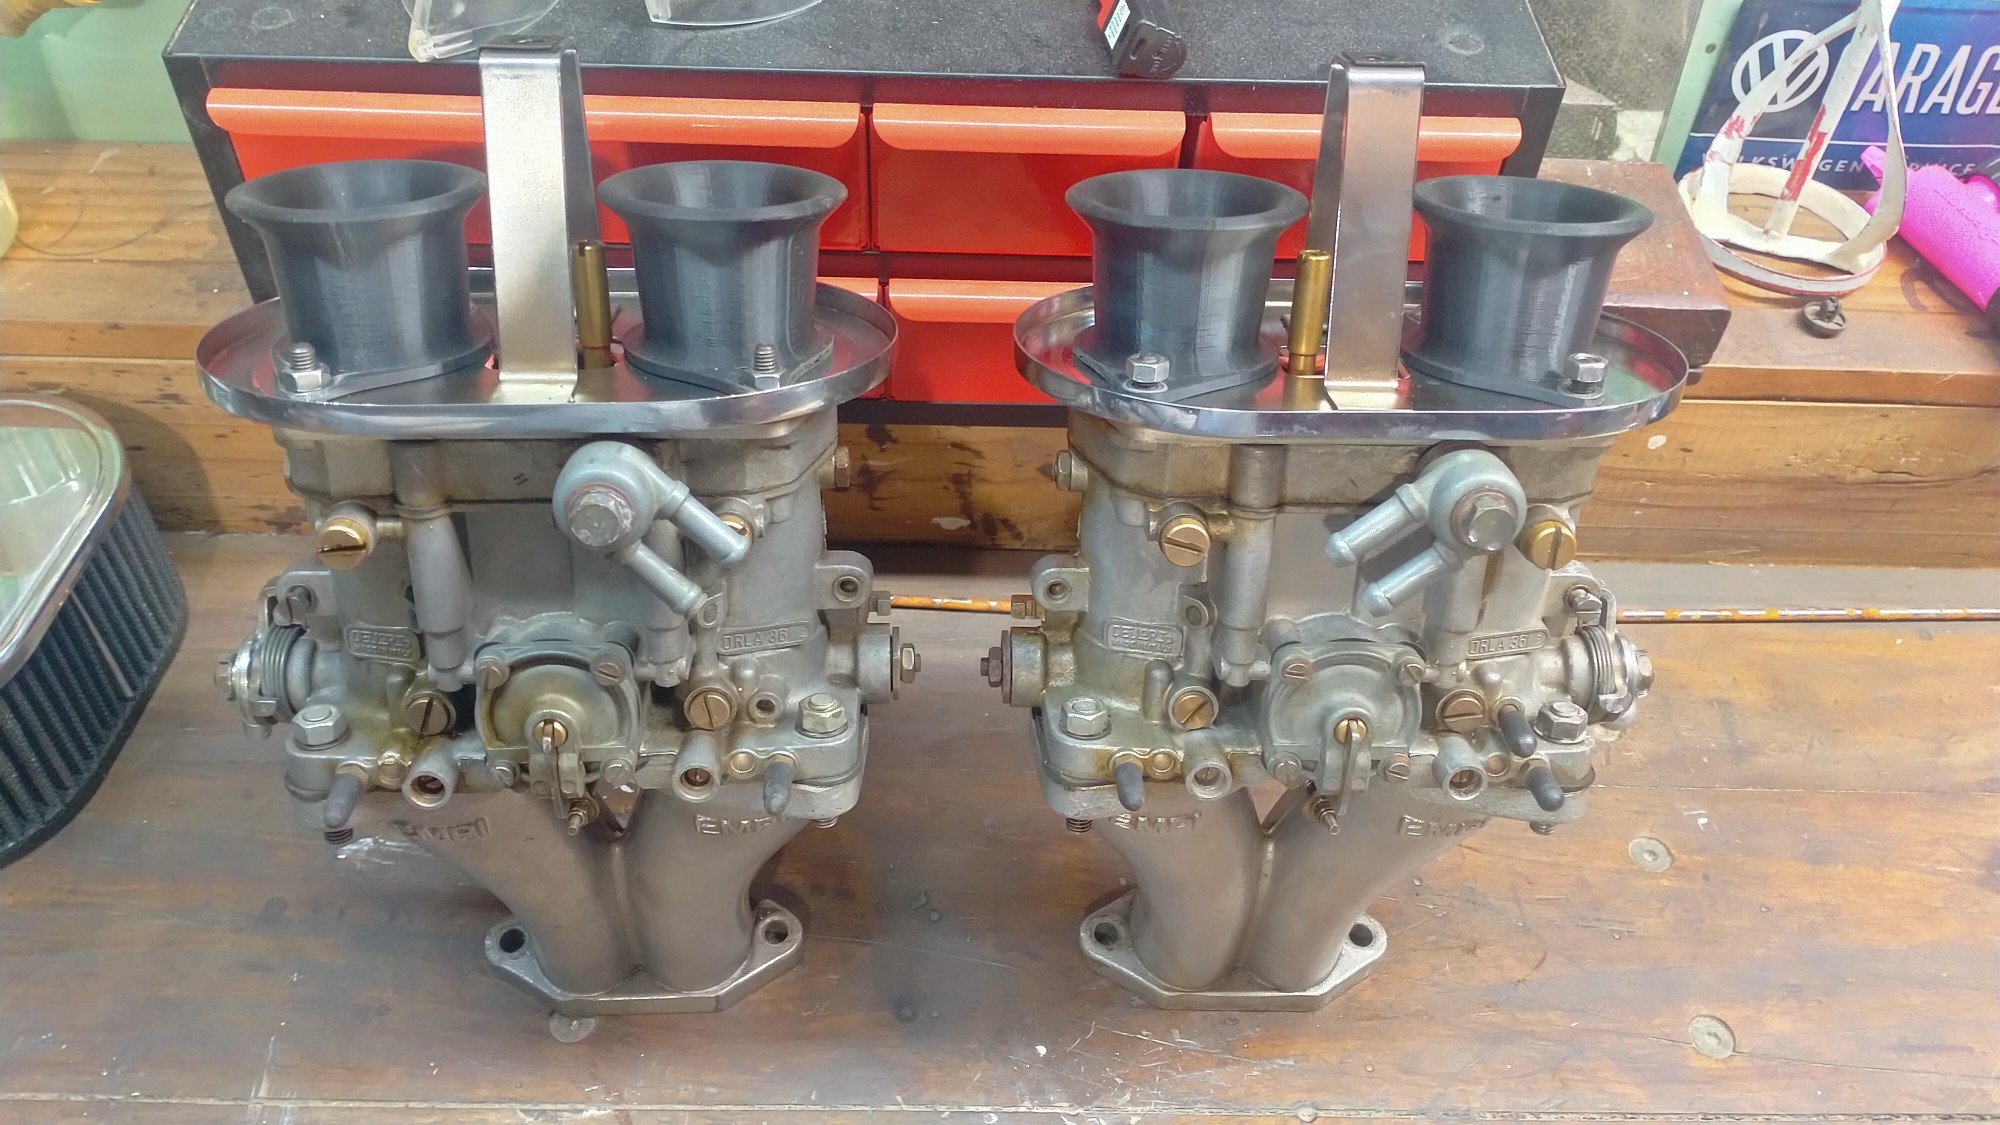
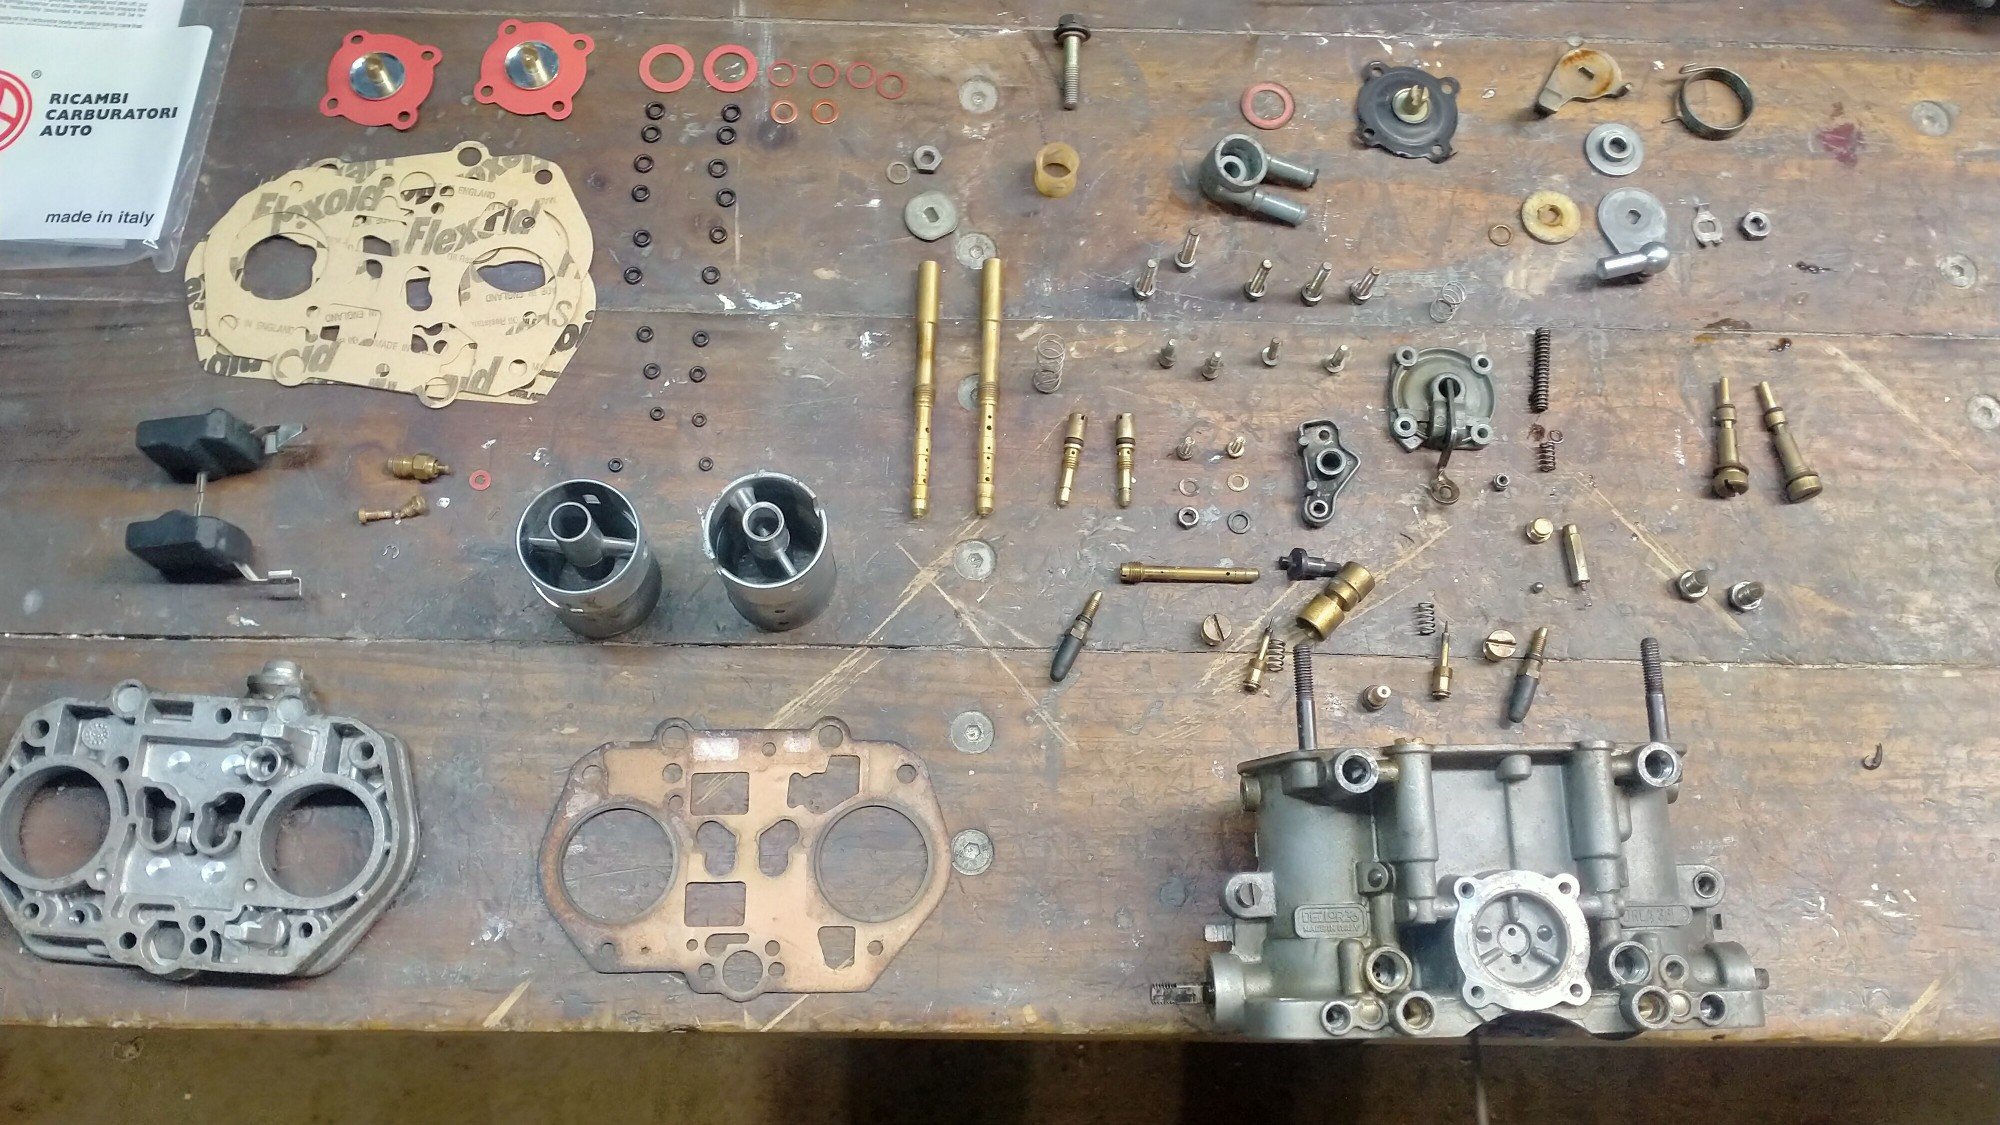
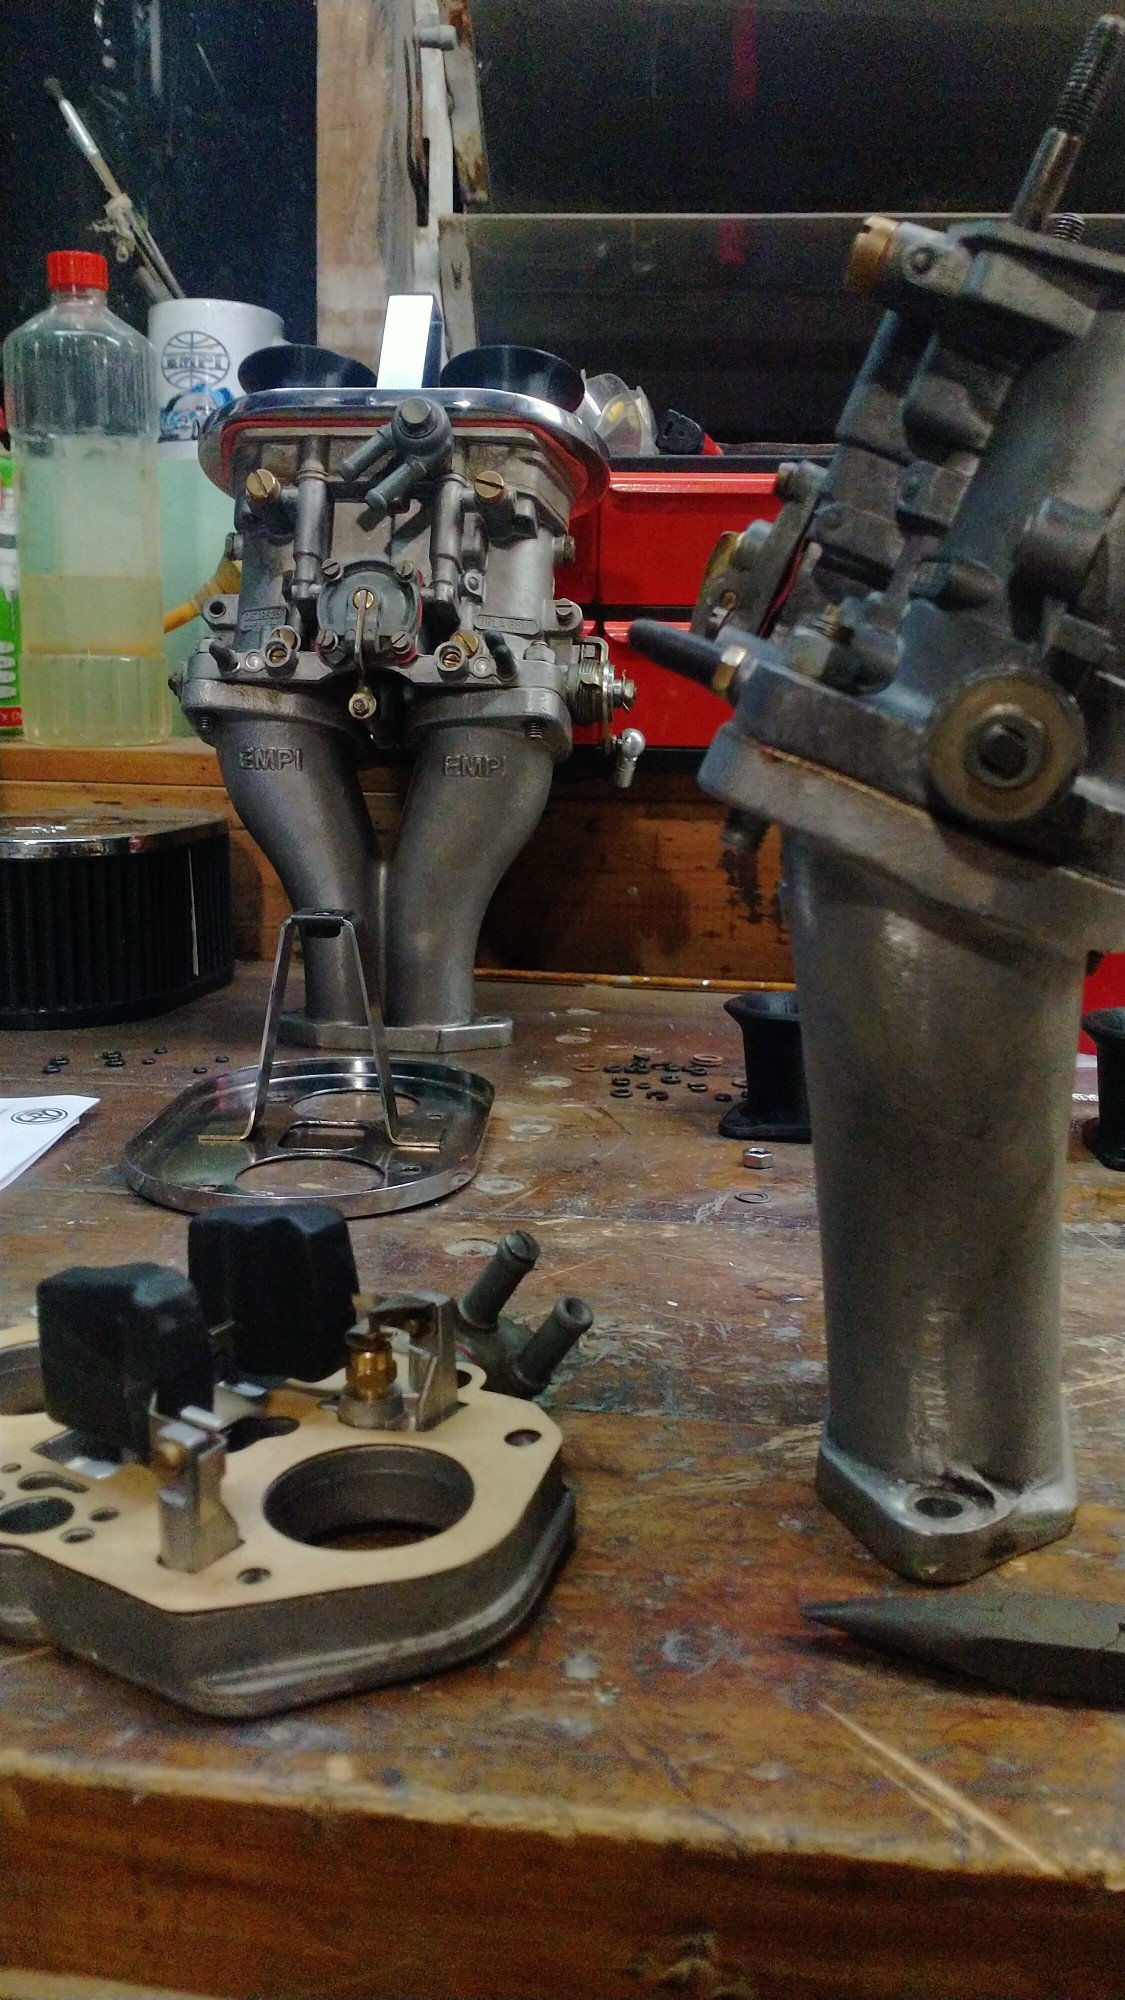
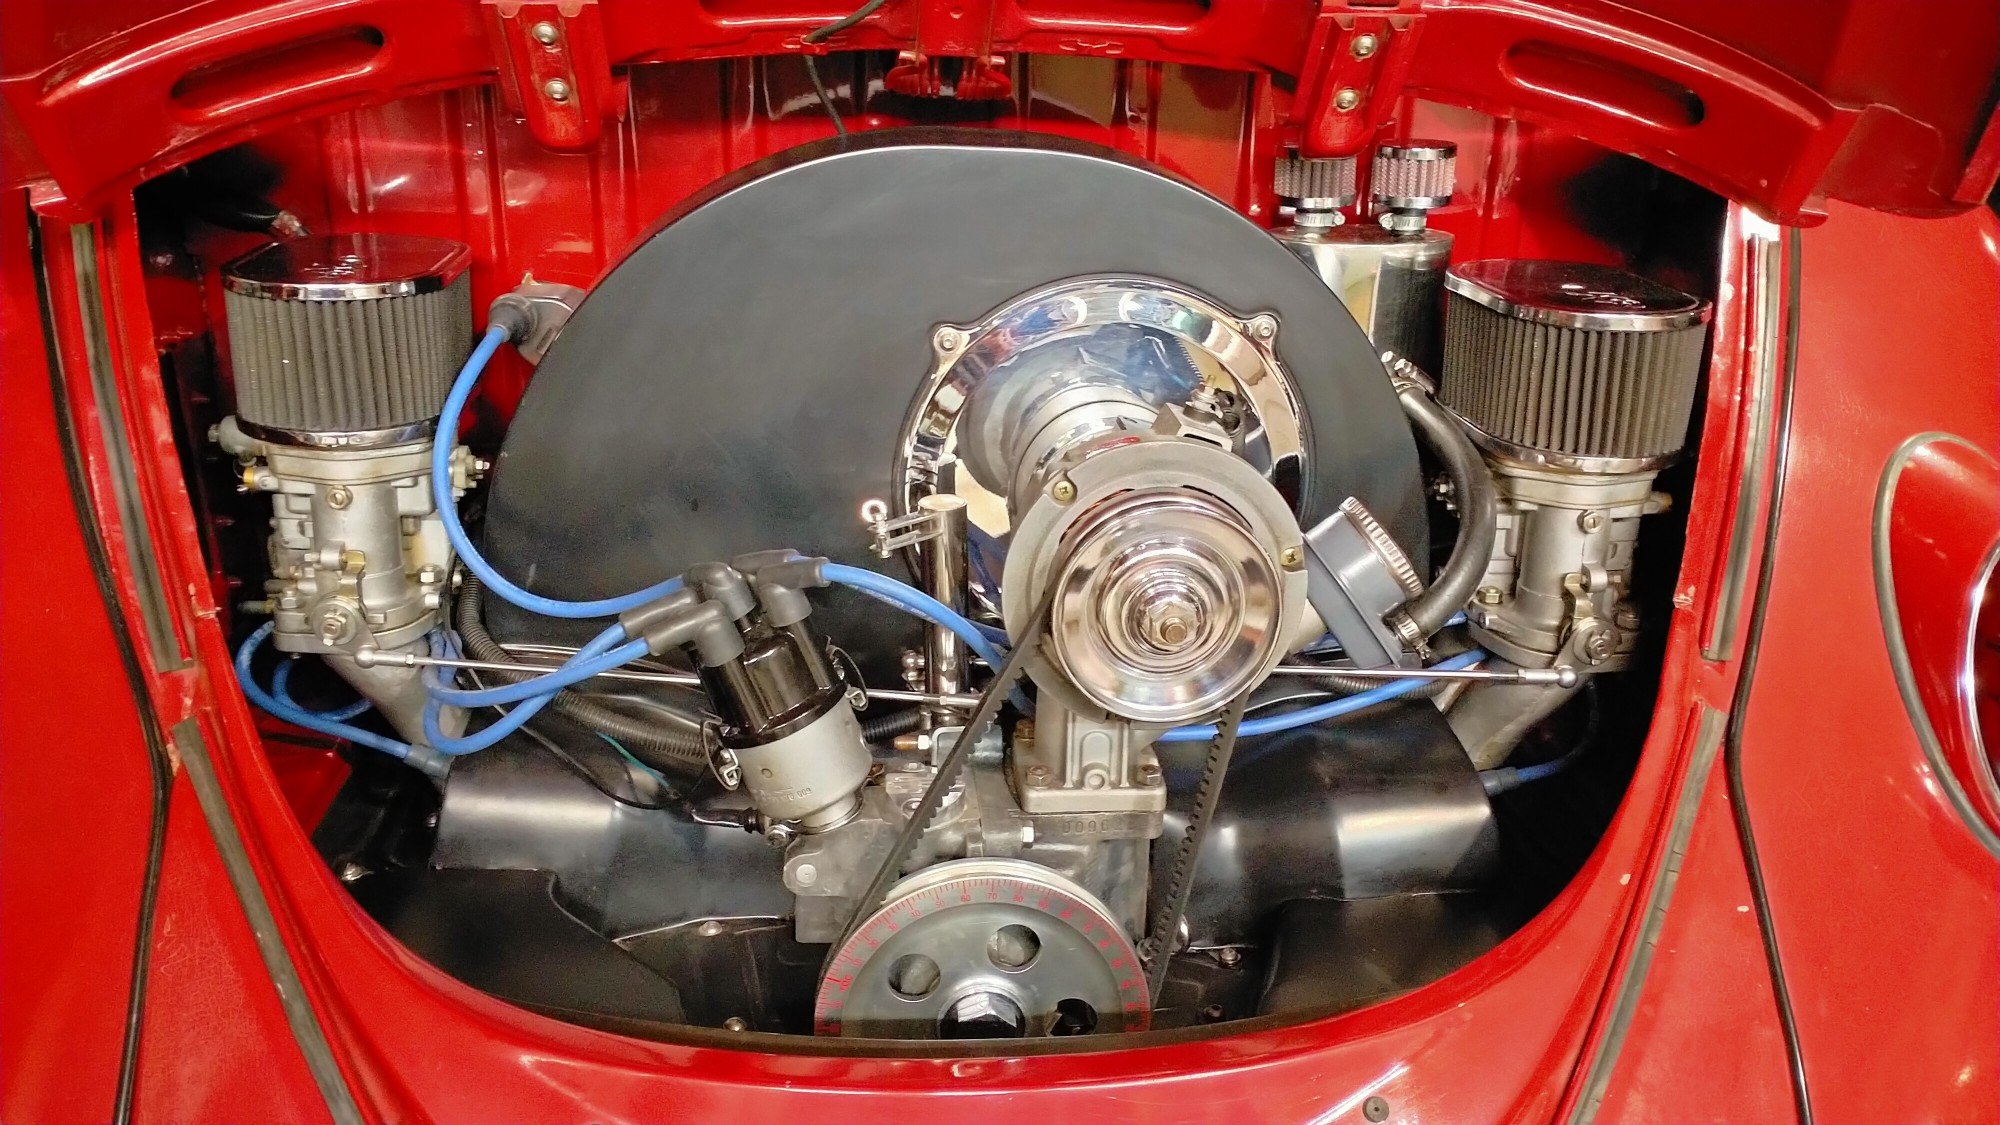
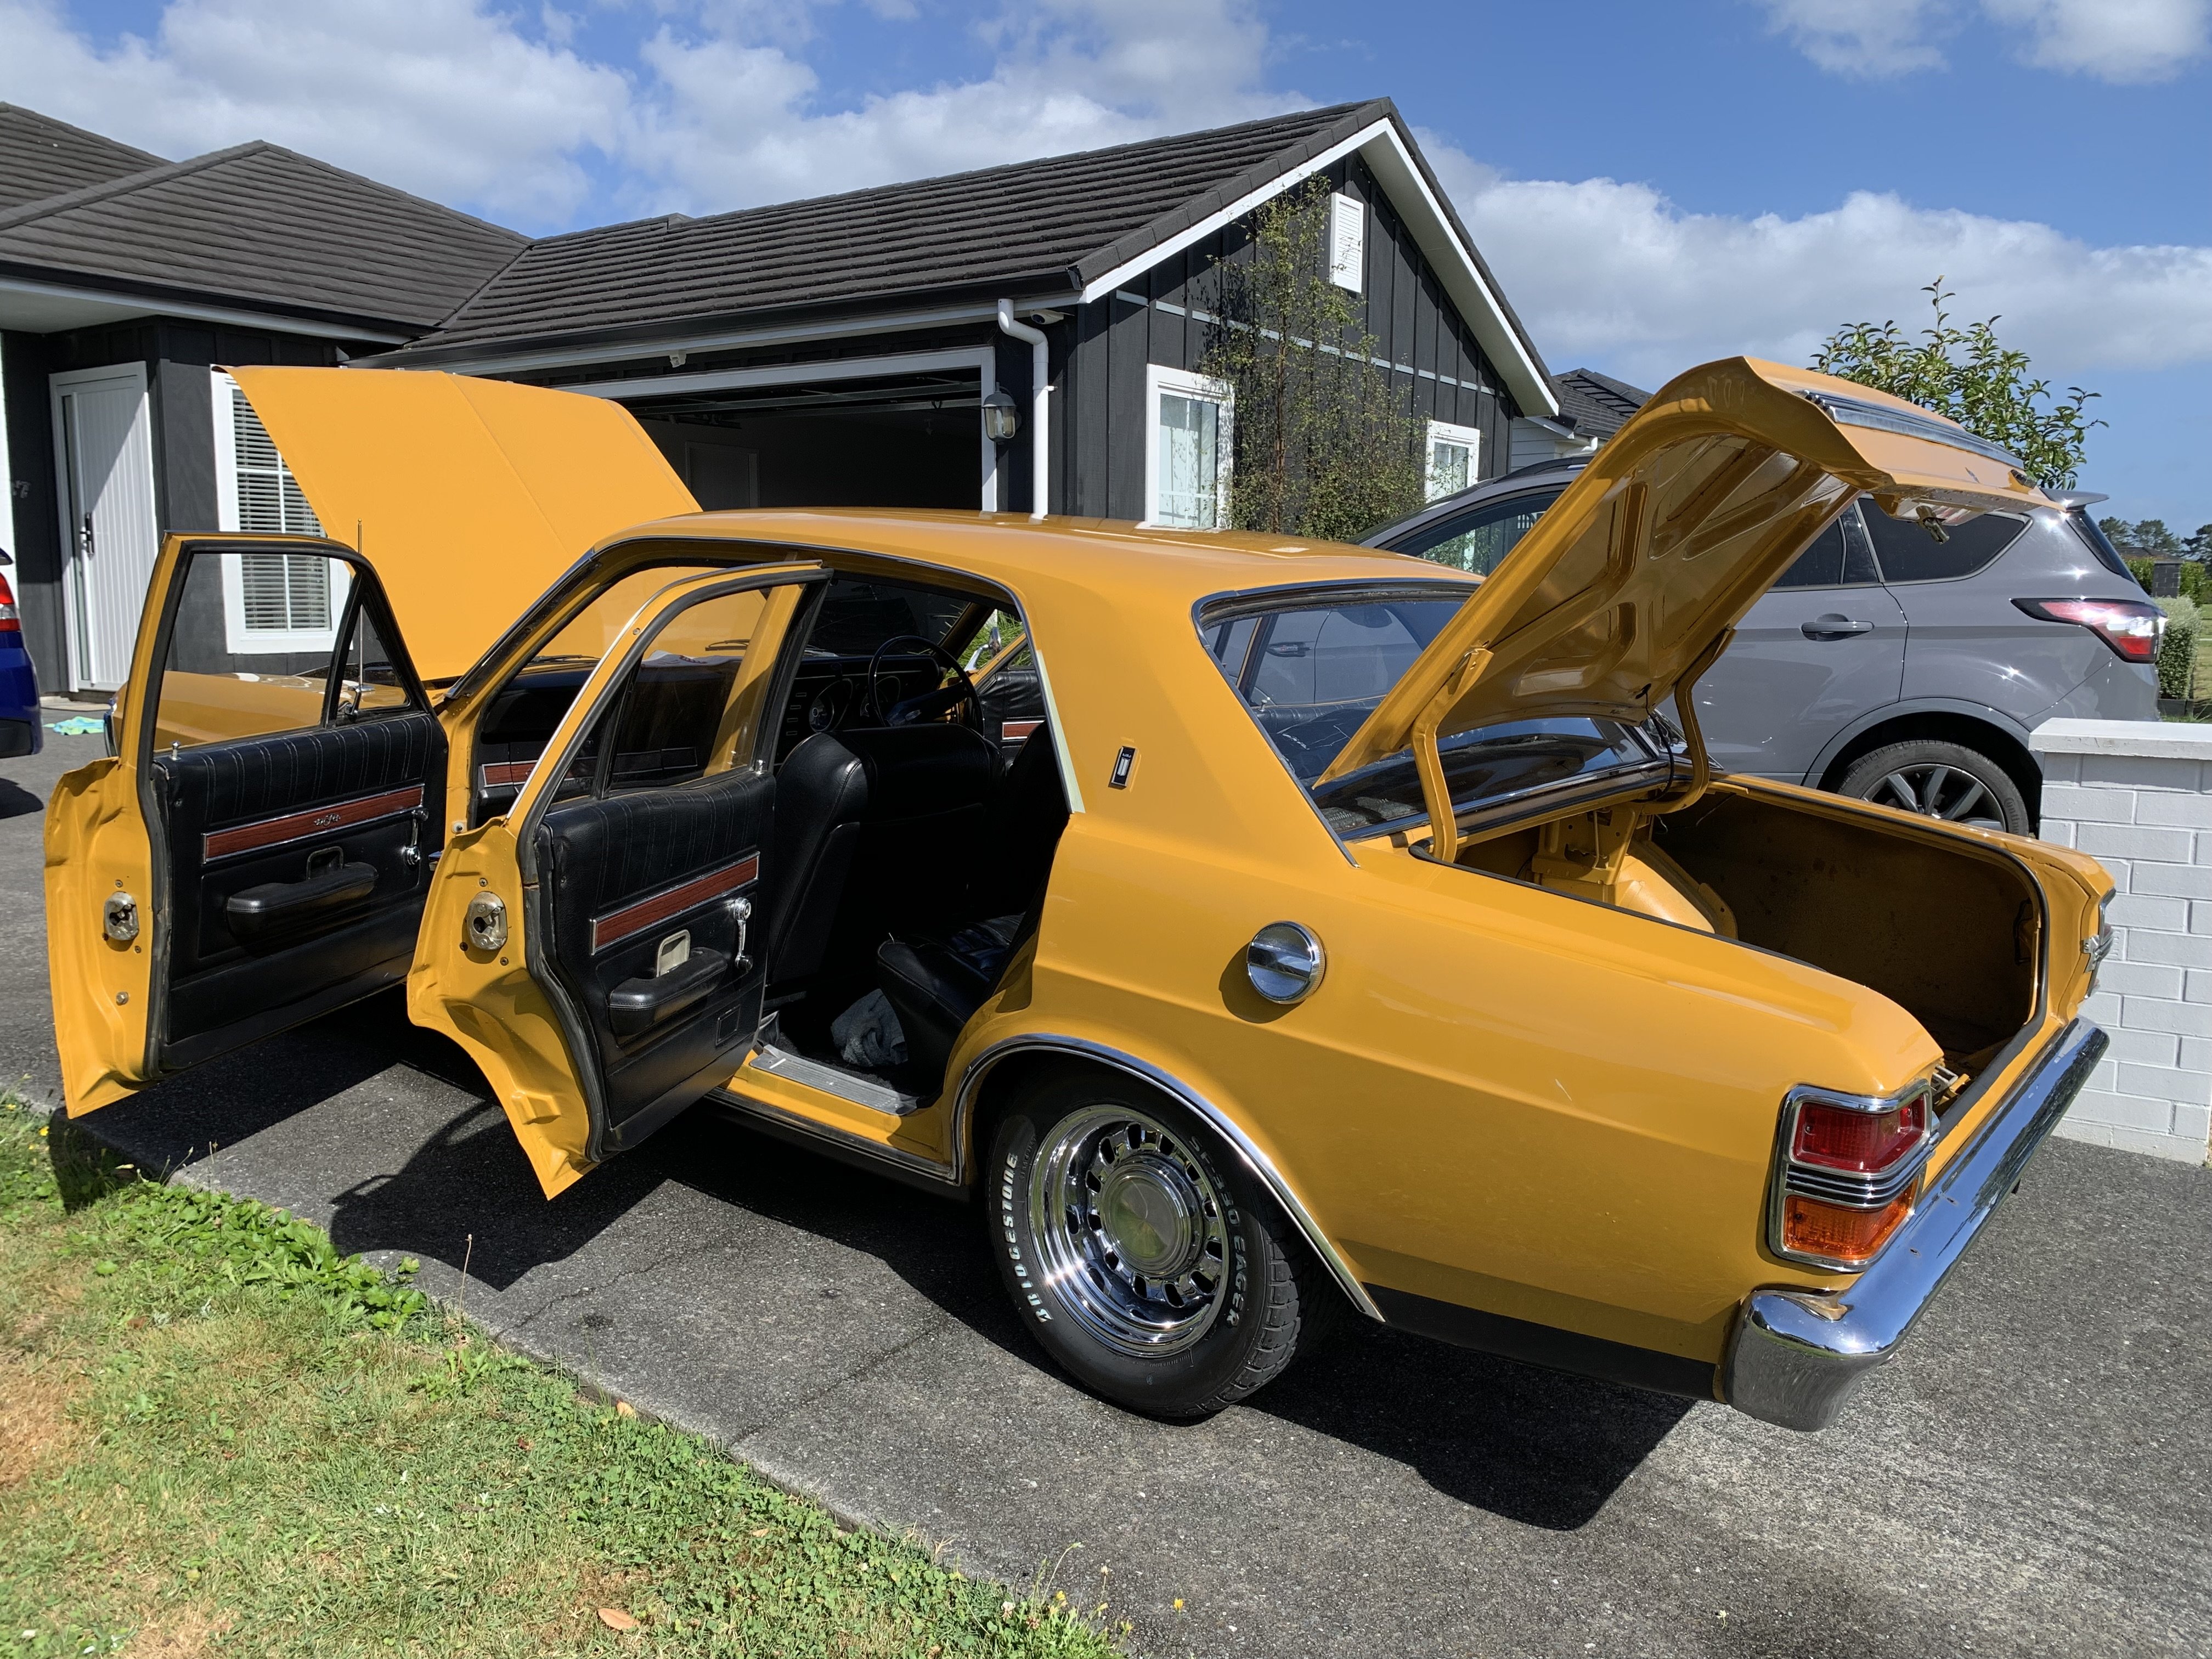
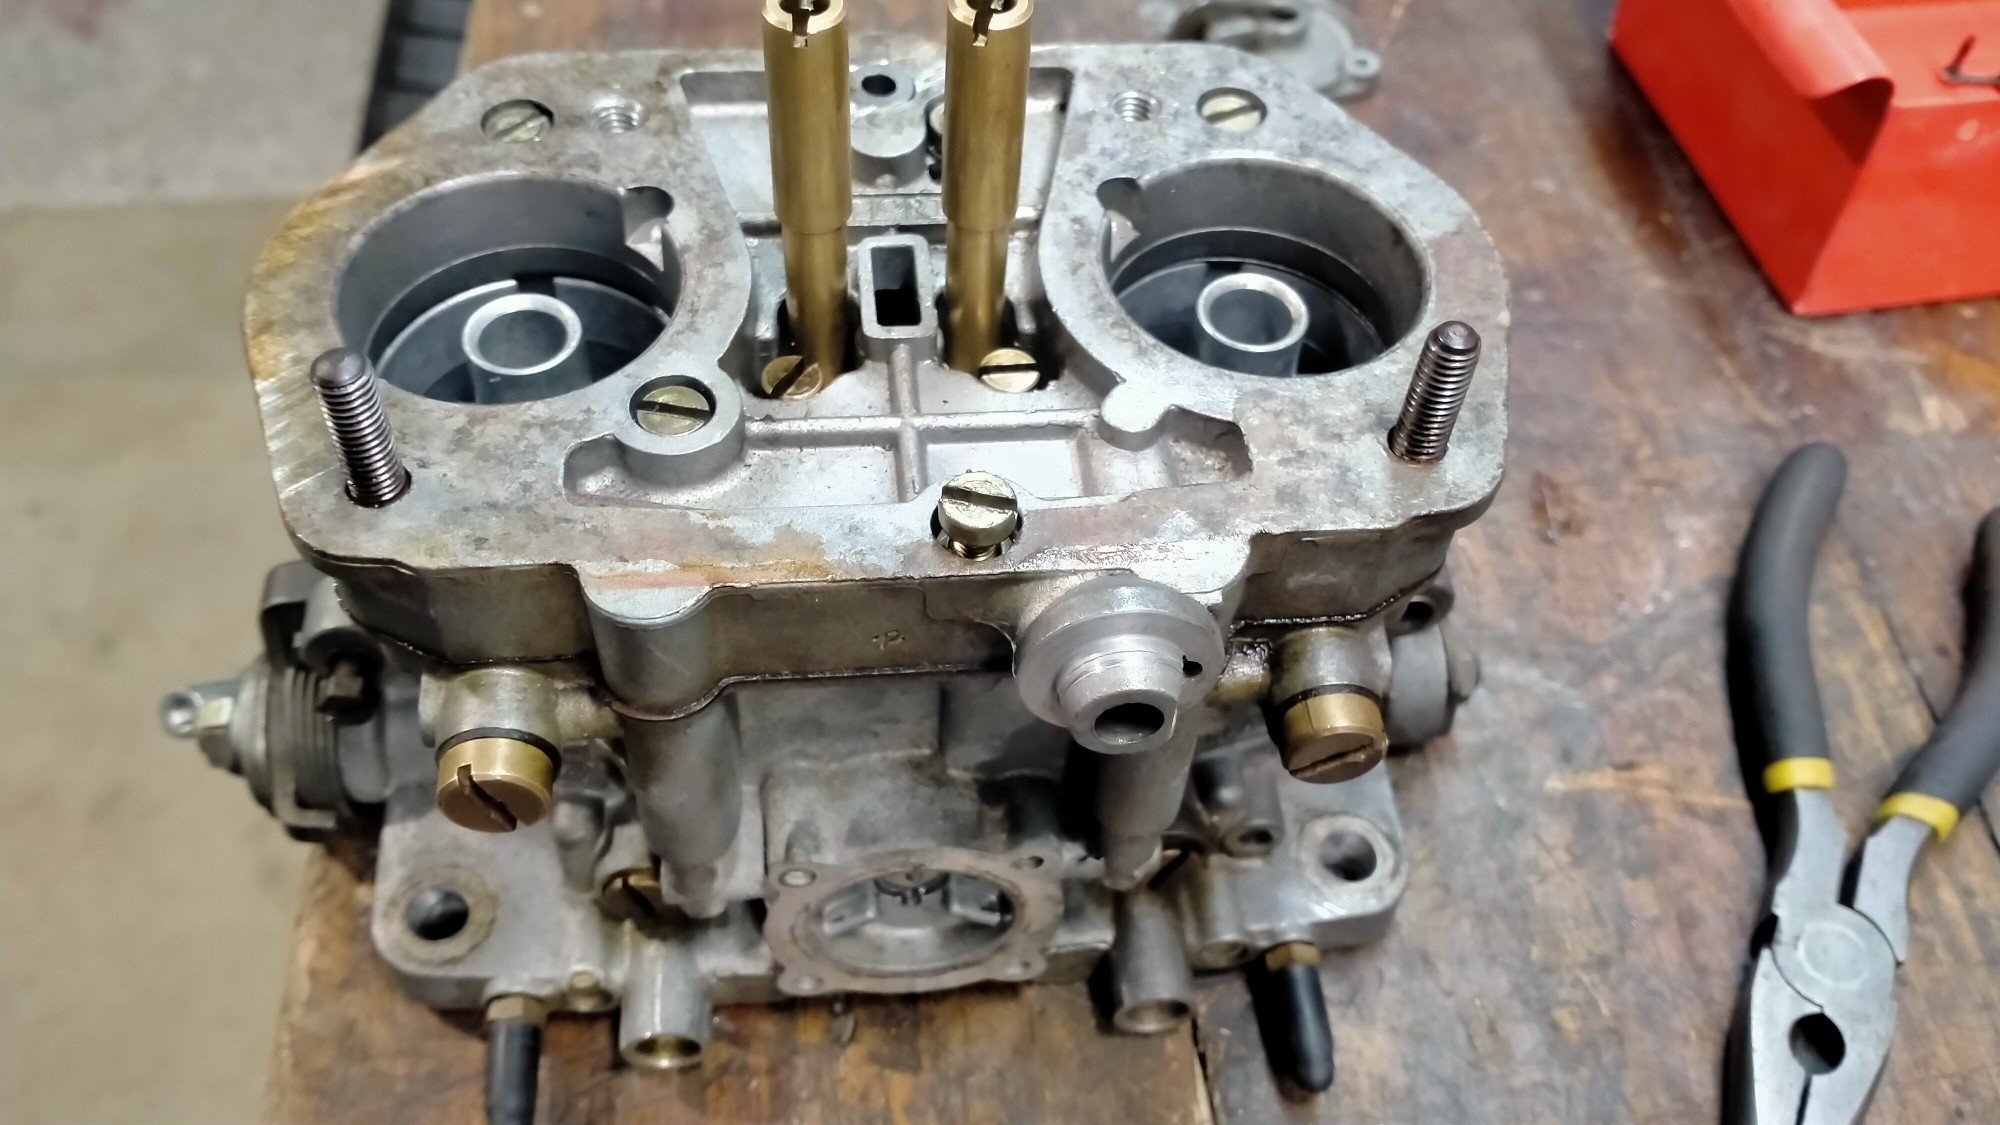
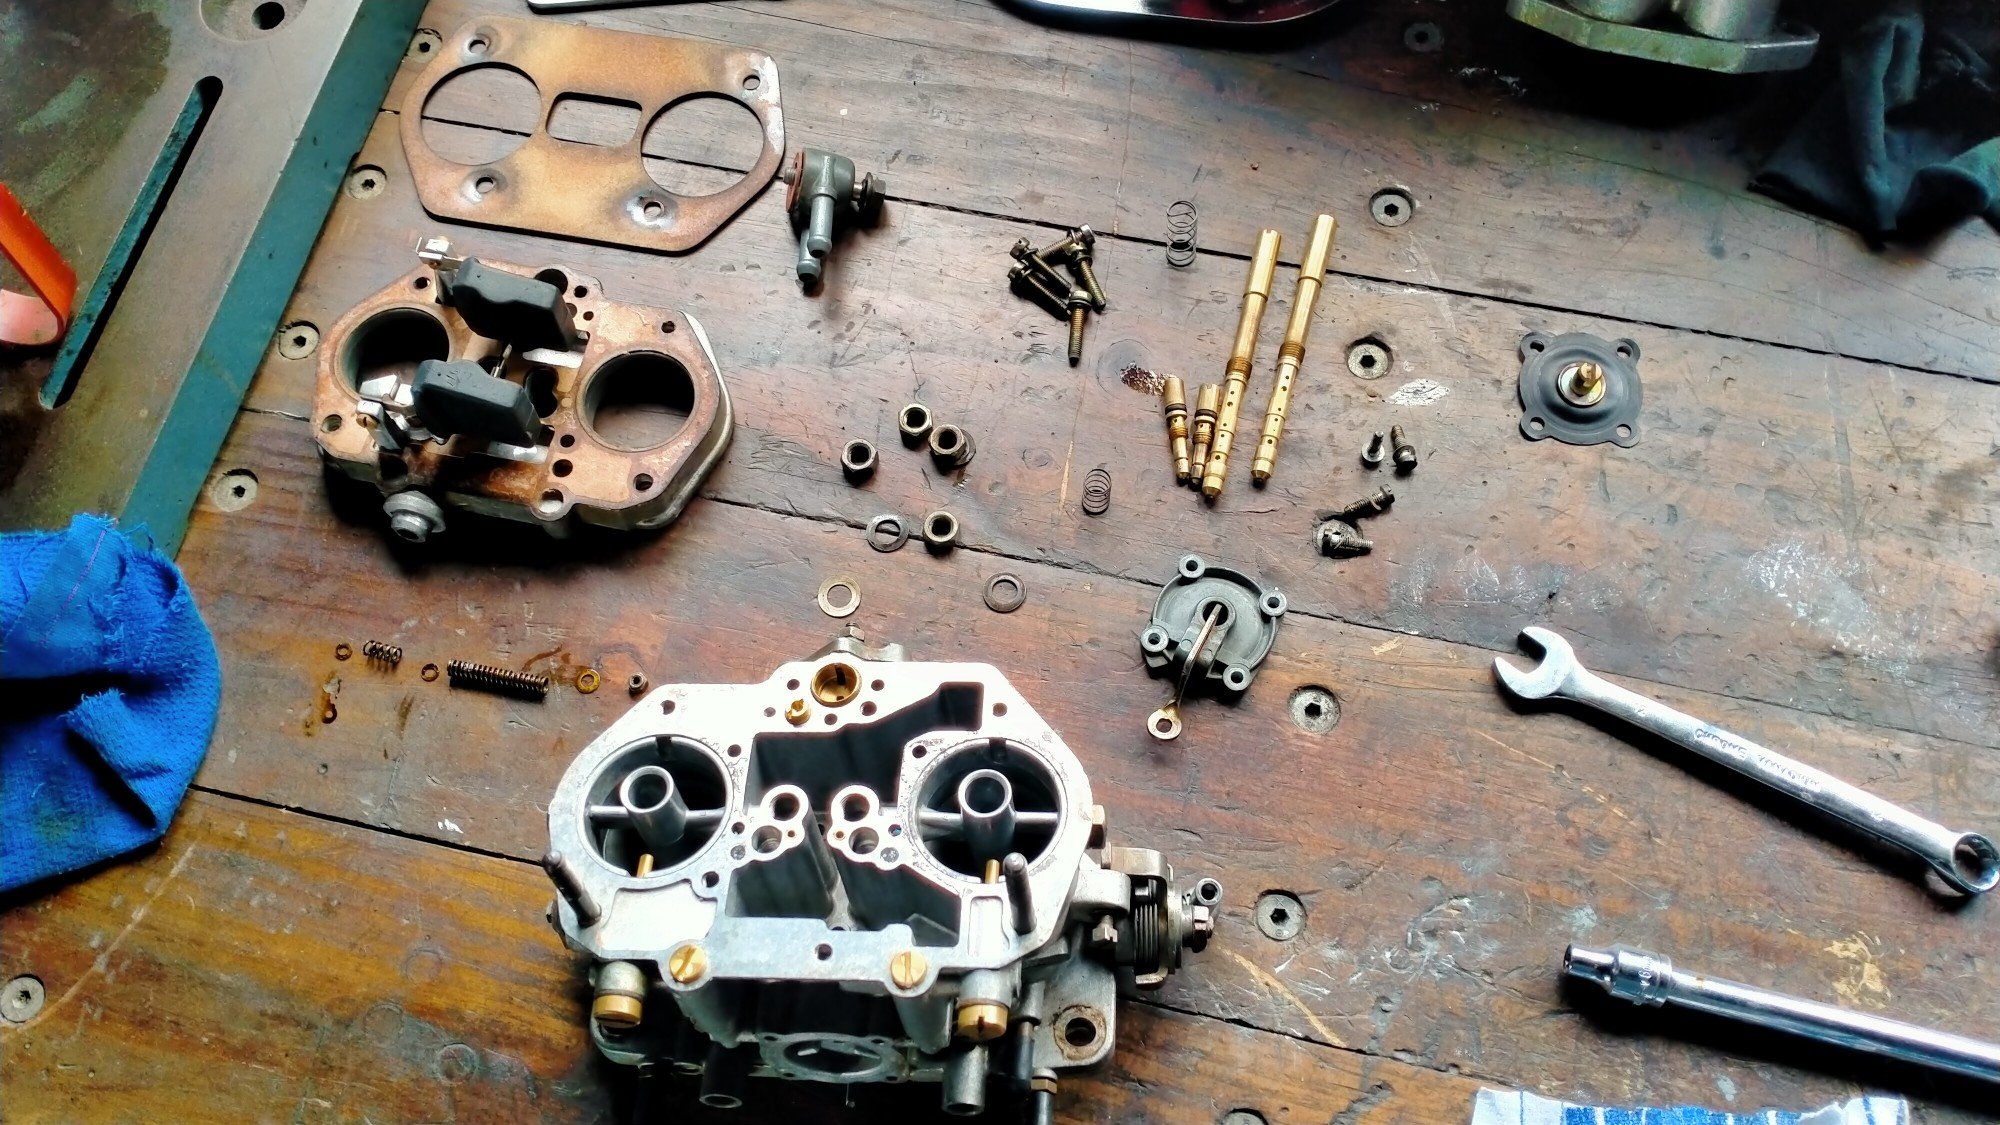
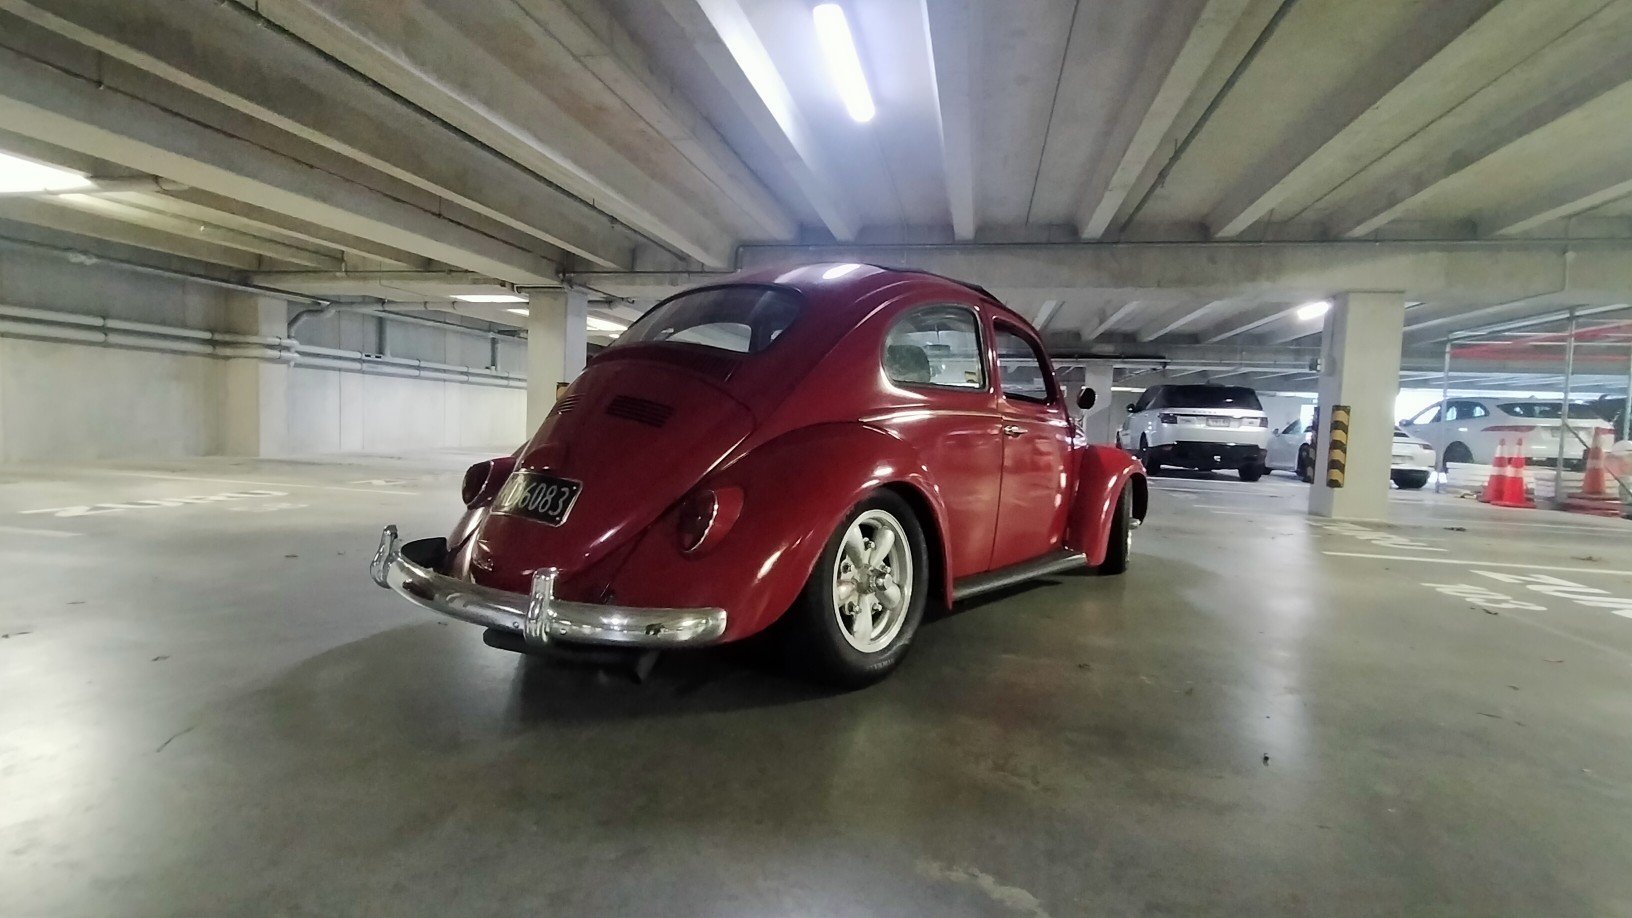
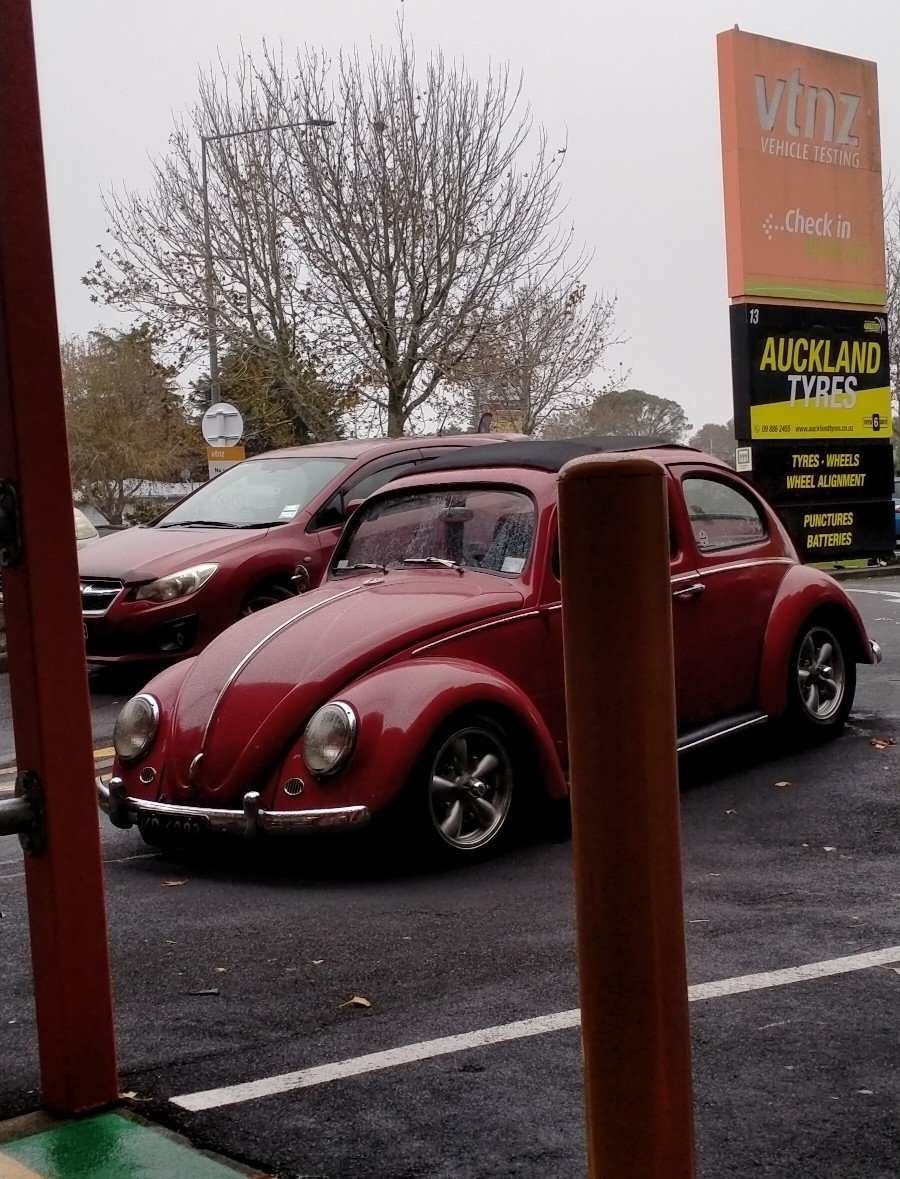
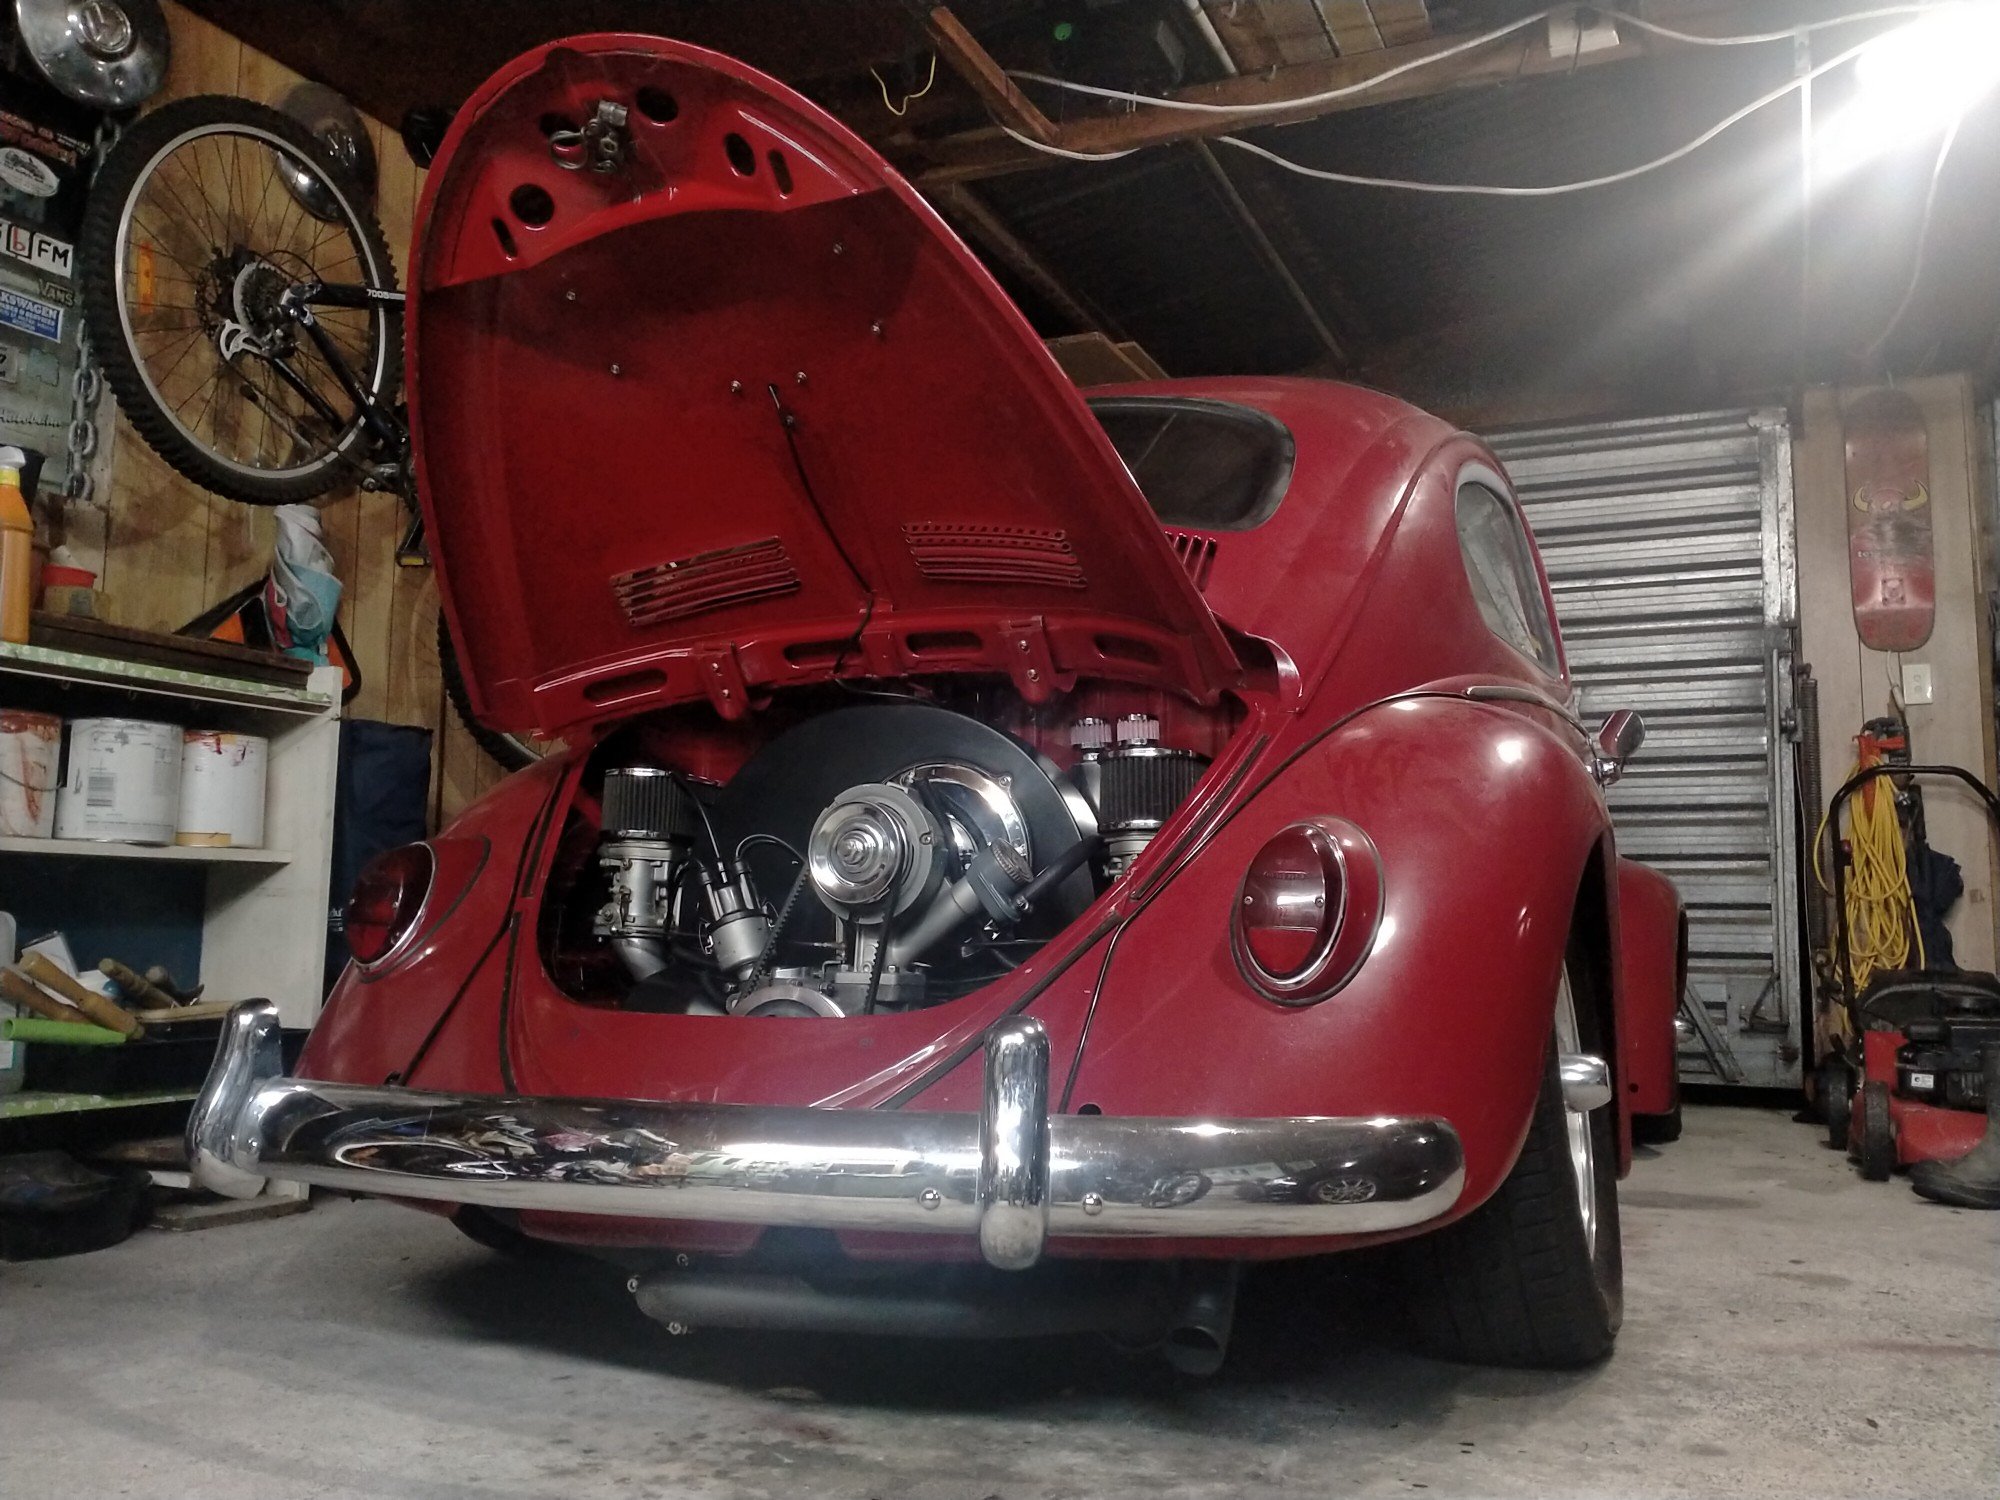
Gentlemen, after a good six months of neglect, general wear and tear I finally had time to service the VW. Living outside had not been kind to some of the so called stainless steel. Was to embarrassed to pop the hoop open at Kumeu. It been driving okay, it runs hard but it's that traffic speed, just puttering along off idle, it just didn't sound right, but fine when accelerating, something was a miss. One of the projects at work is up Silverdale so popped in the see the carb Barrys at Weber specialist, got a complete rebuild kit for the Dells. Alfa Romeo, very fancy, much racing cars. Having been through everything else the carbs are the last thing needing sorted, I don't think sitting for nearly two years on a shelf whilst I built the motor and various other life admin got in the way, helped. Borrowed the ultrasonic cleaner from work and cracked into it about 8:30, Friday night. Fuck there are a lot of very small parts in a 36mm DRLA Dellorto, and I've got two. many hours later and into the early morning I was nearly finished, didn't want to stop half way and forget where something went or lose a tiny jet. Had to stop drinking so I could concentrate! In a very rare occurrence I got to spend nearly all weekend just working on the car and not the house or the yard or visit relatives or anyone. After forgetting to tighten half the screws on the right hand carb, it started and ran pretty good. So took the time to sand back all the rust and polished it all back to a mirror finish, cleaned and wiped everything. No excuse for a ugly engine bay. Carried on adjusting the brakes, always amazes me how much a badly adjusted handbrake affects the overall performance of the old drums, seems to take up a lot of slack in the system. Popped the valve covers and set the rockers and checked the headstuds were tight still. Just need to grease and adjust the front end and actually change the engine oil and the maintenance will be up to date. Continued playing with the carbs, the access windows I put in the rear wheel wells make this easy and actually possible. I'm pretty happy with how's it's running now, so much nicer to drive, smoother, quieter better performance, more responsive. Maybe the tiniest flat spot just off idle, but nothing like the spluttering bullshit I've been driving around. Much nicer at motorway speed, just cruises.
 16 points
 -
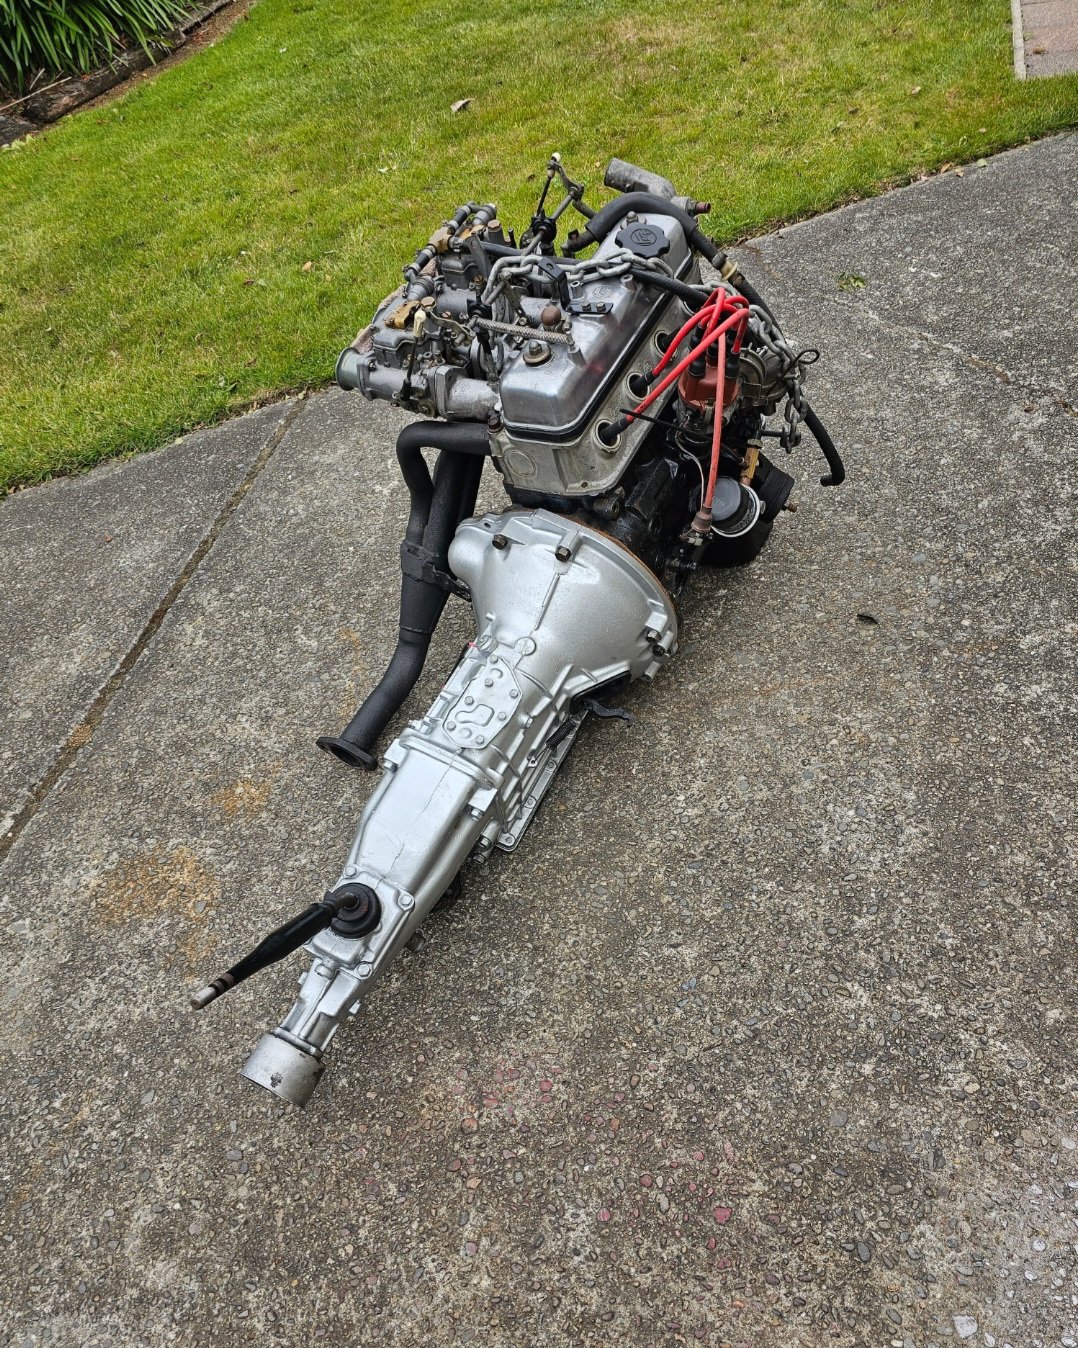
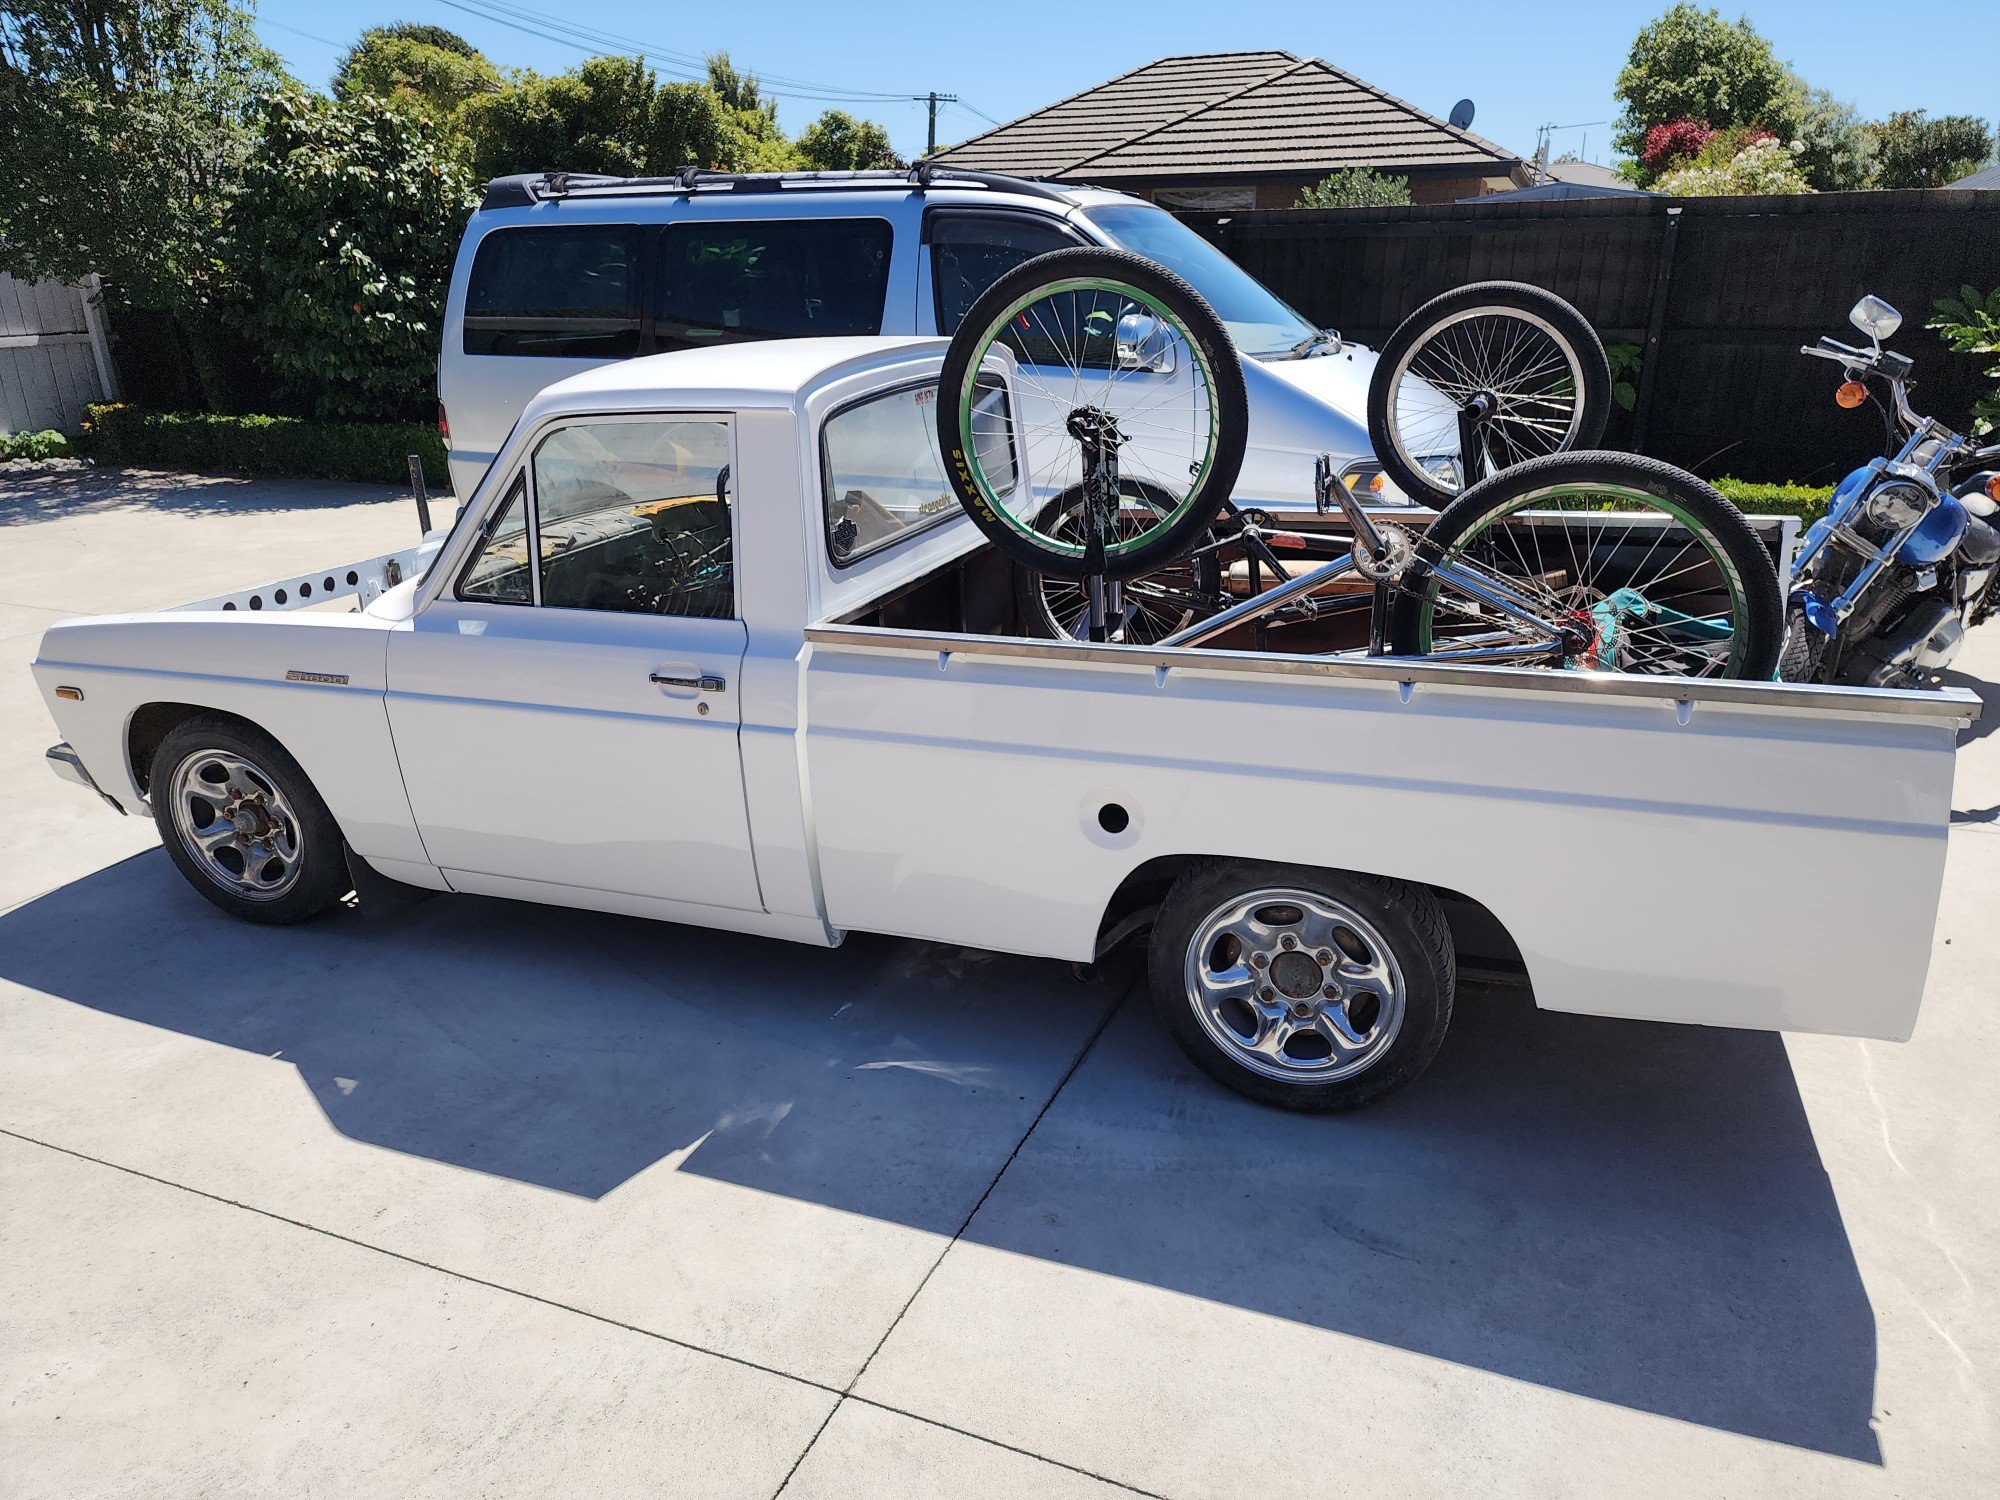
4k siting in the hole upright
9 points
-
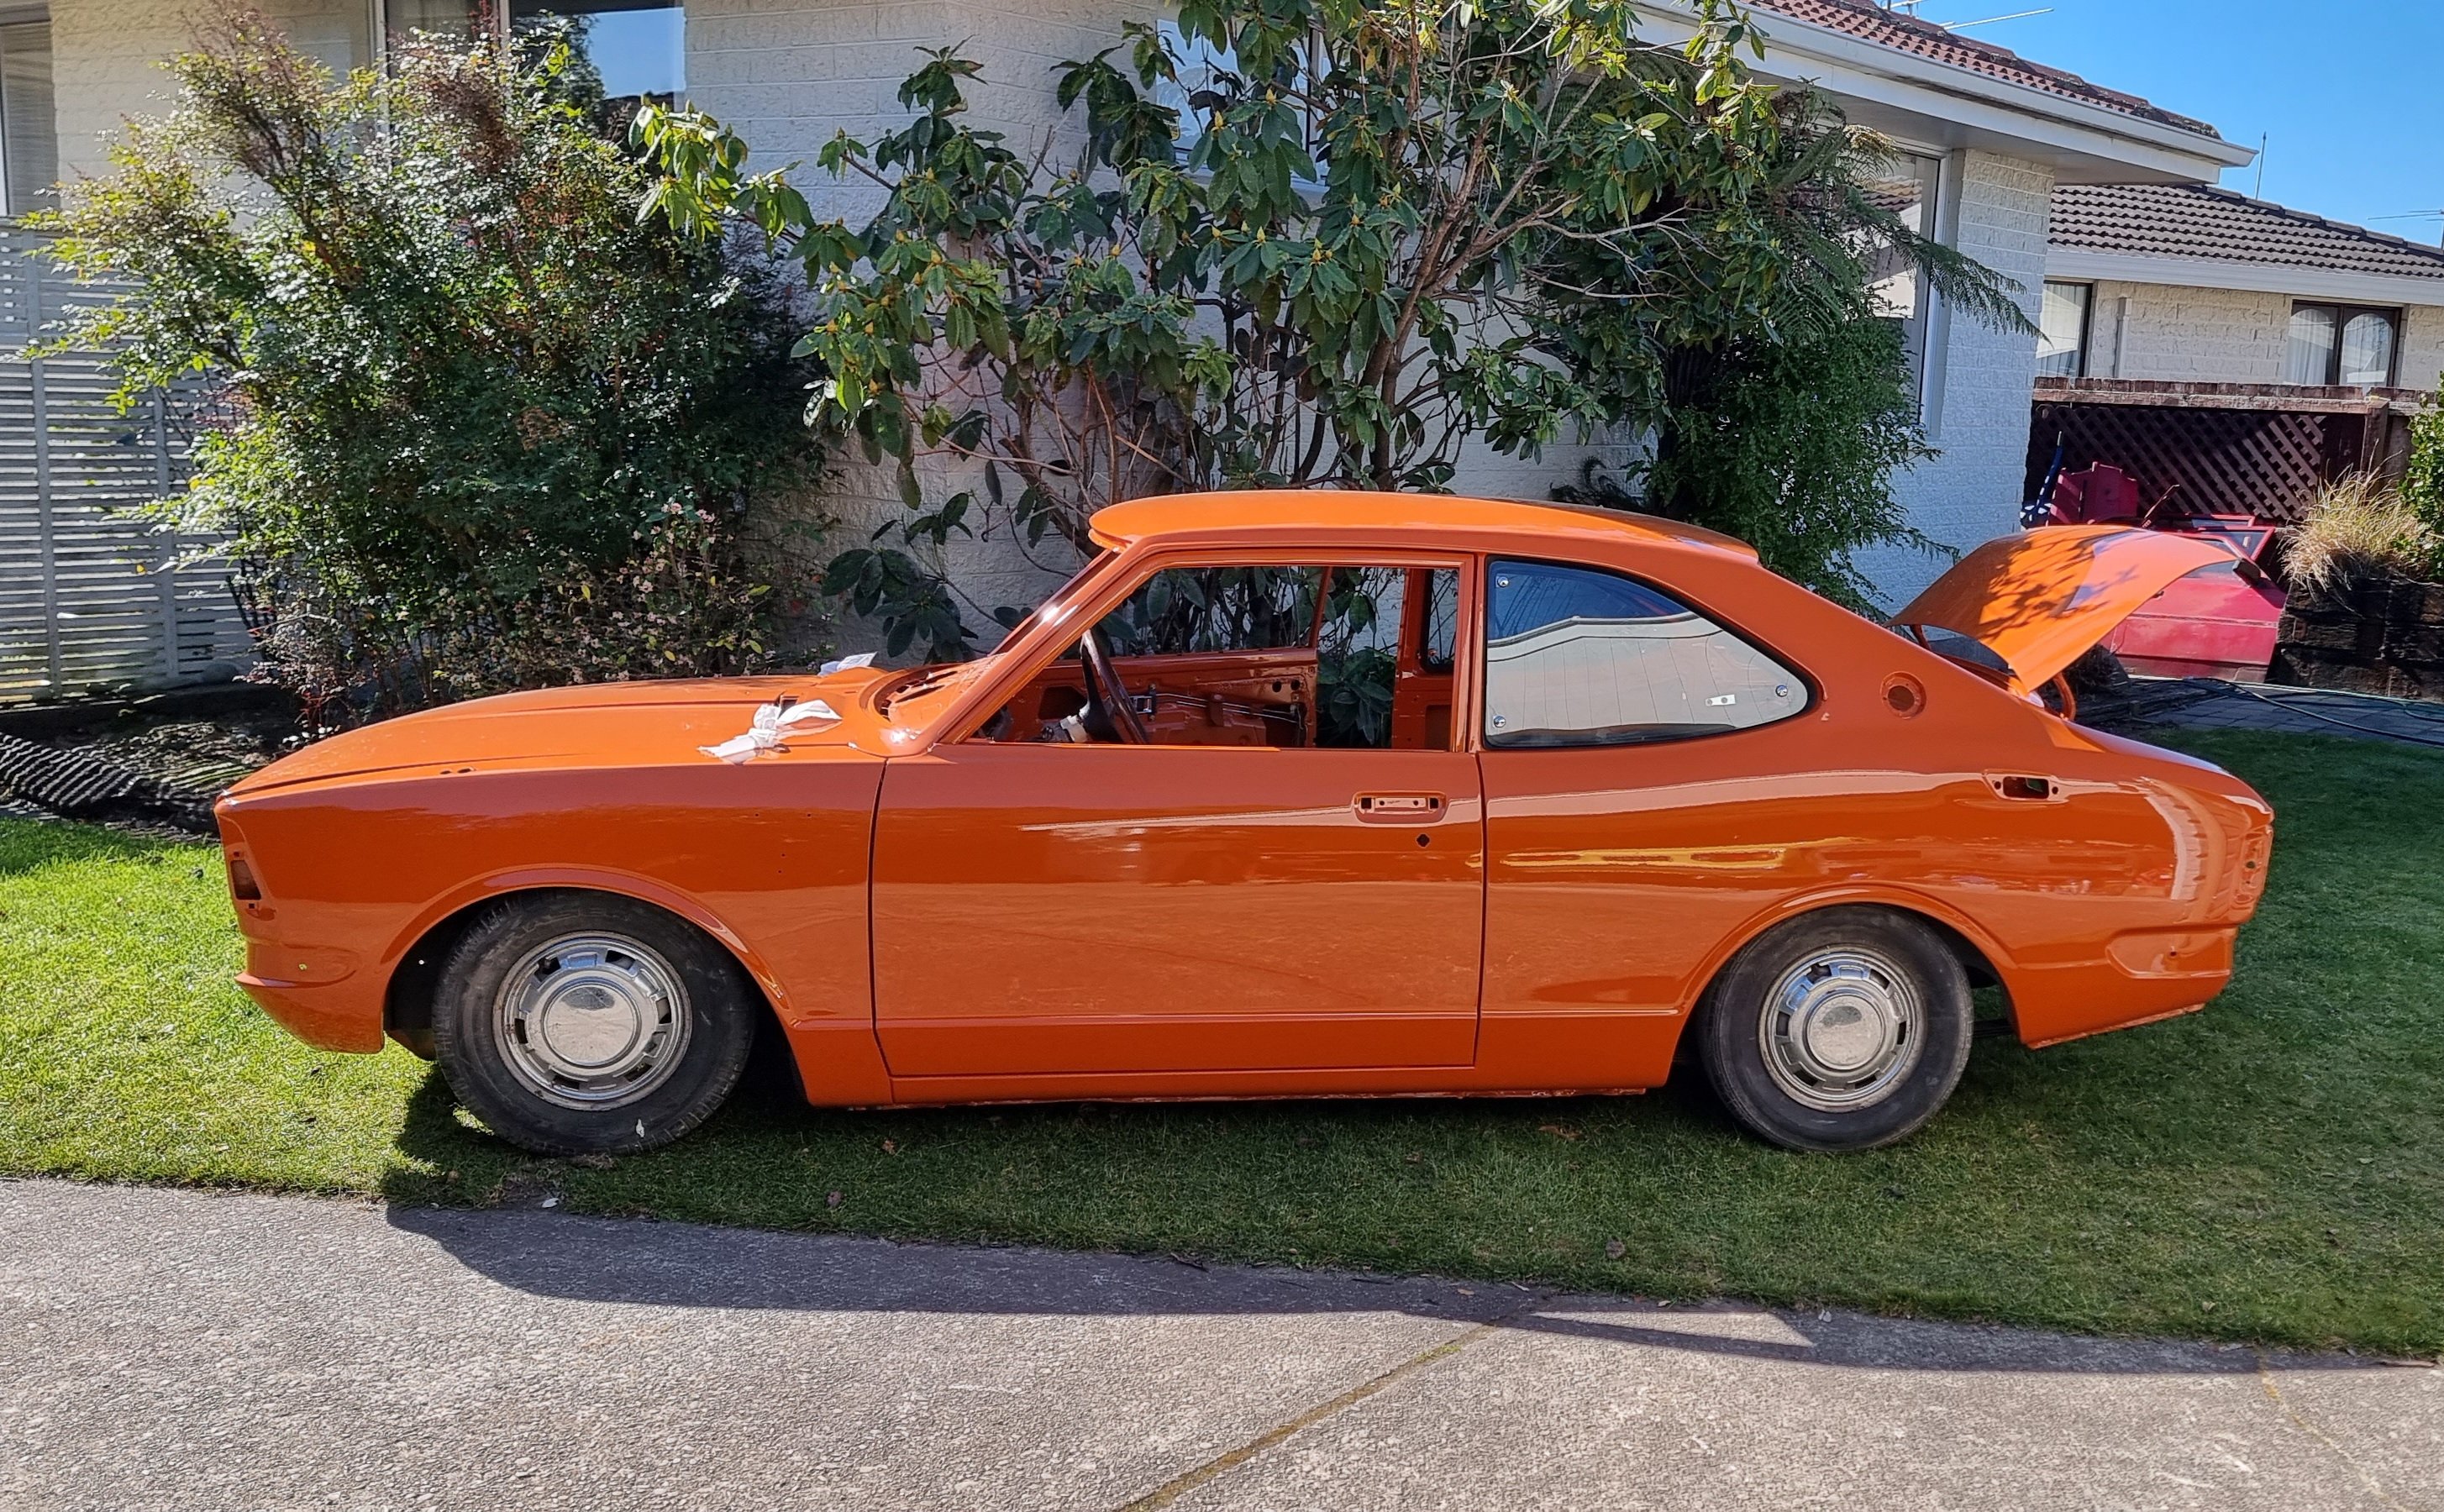
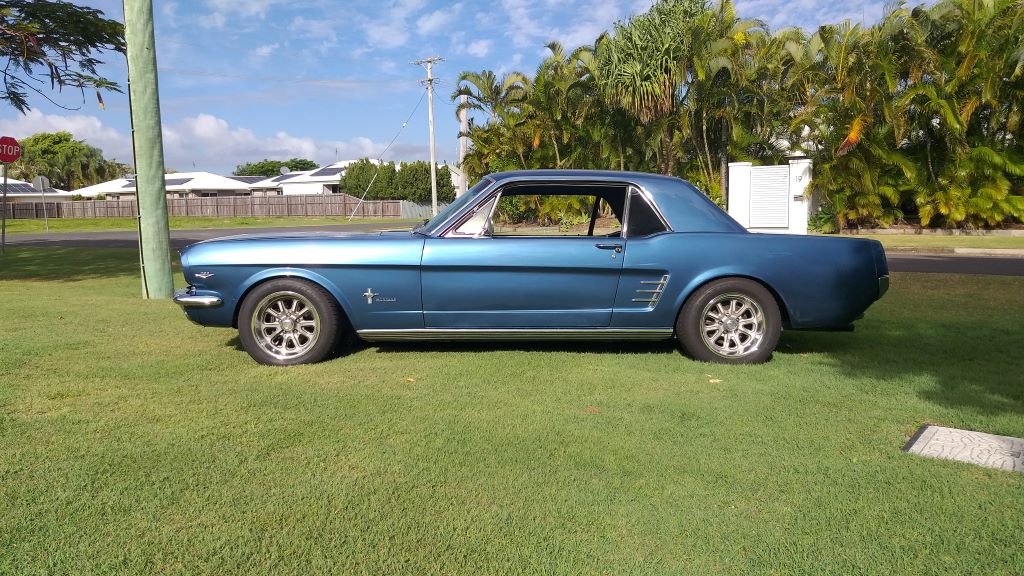
Thank you so much to everybody that came. It was great to see some progress and just really nice seeing everybody have a good time. I really appreciate it. I will get a new battery this week, was there anything else that needs to be done? I will try and source the corner Cover things for the rear window. Once again thank you everyone8 points
-
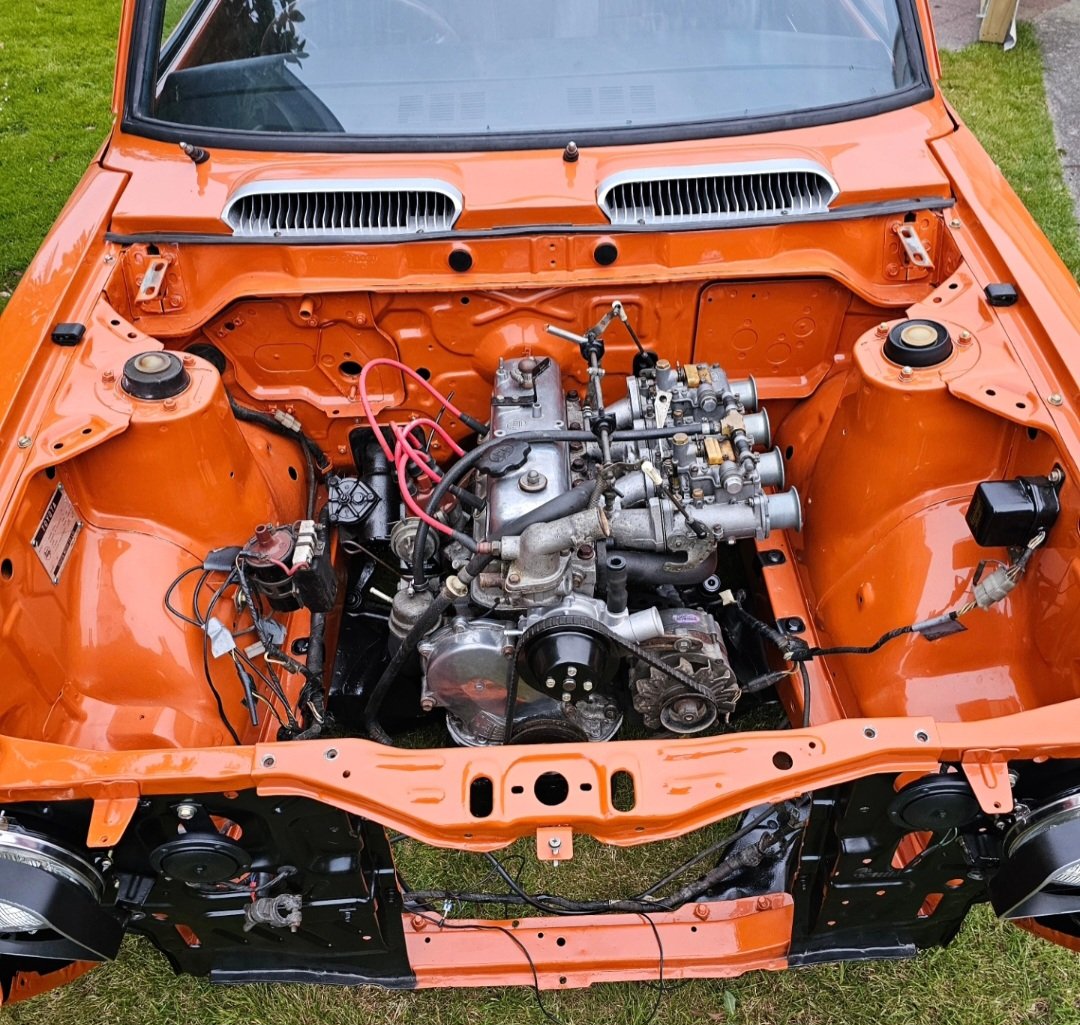
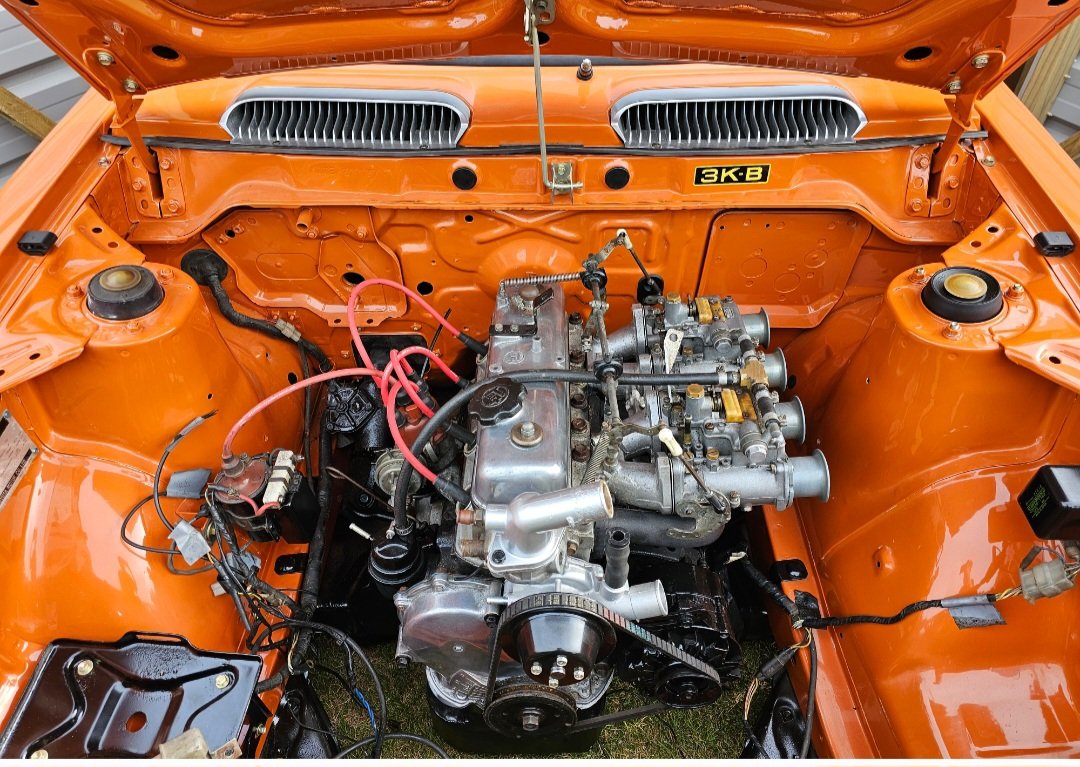
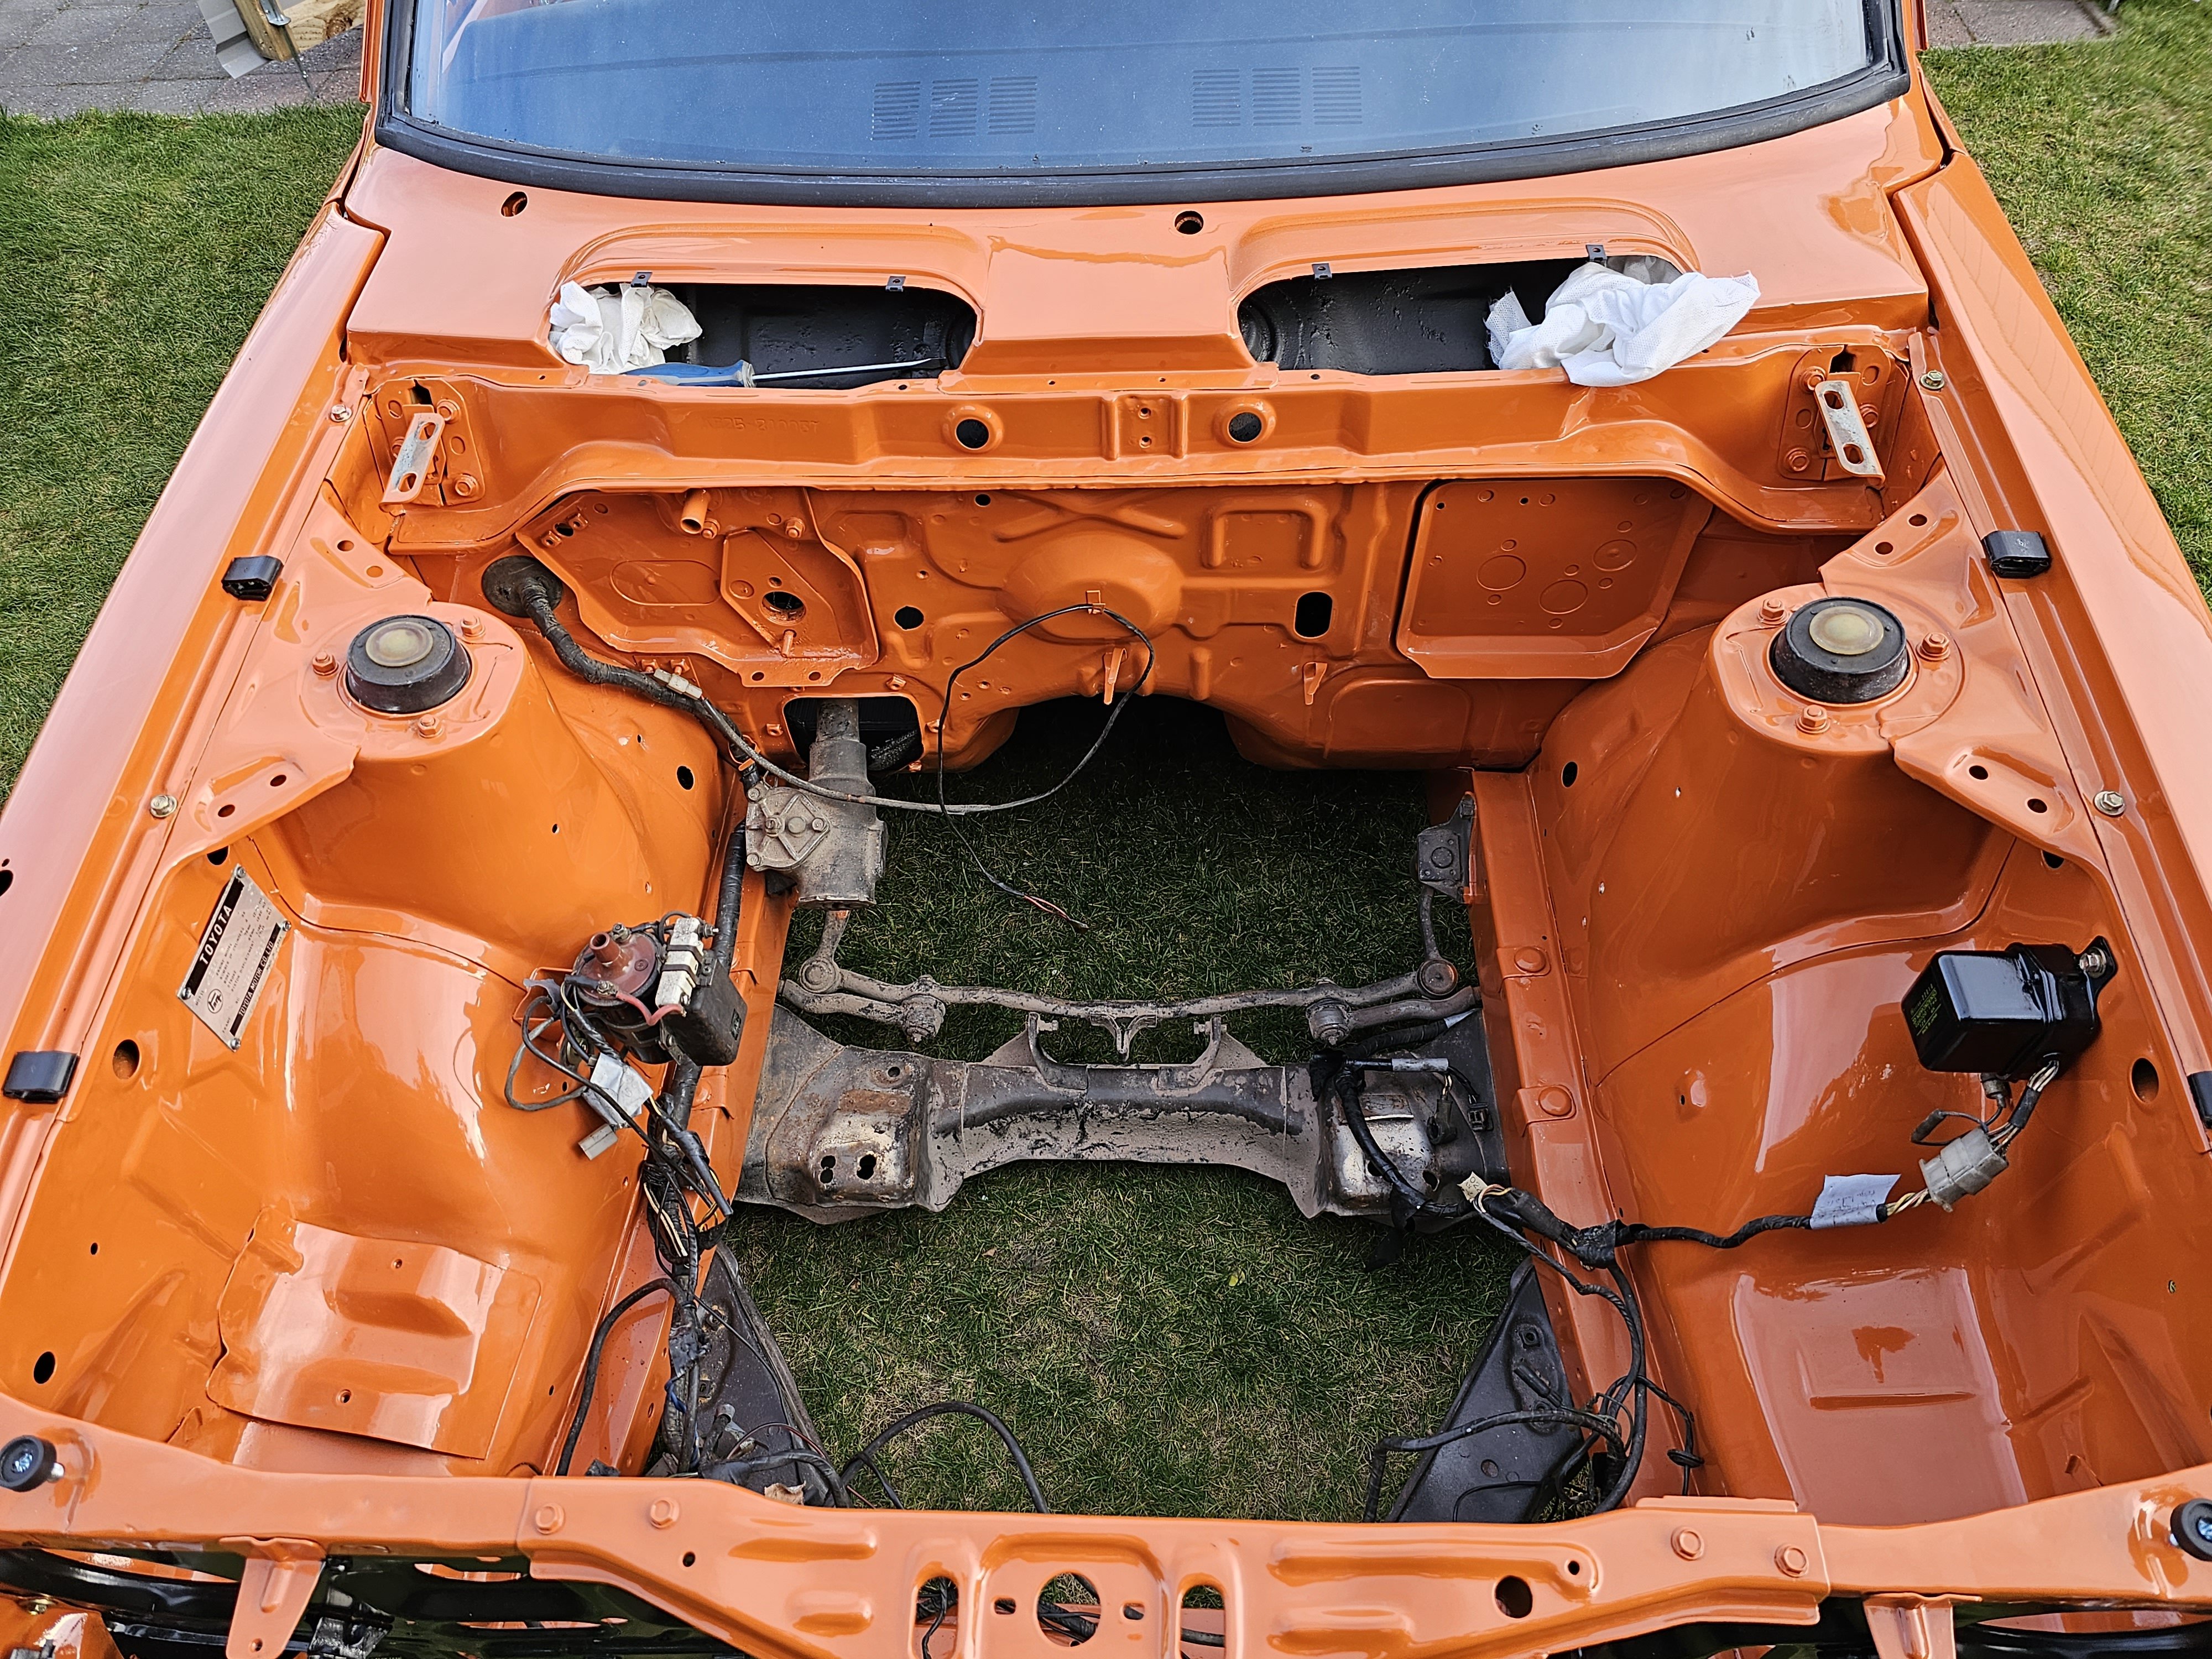
Front end painted and re assembled
6 points
-
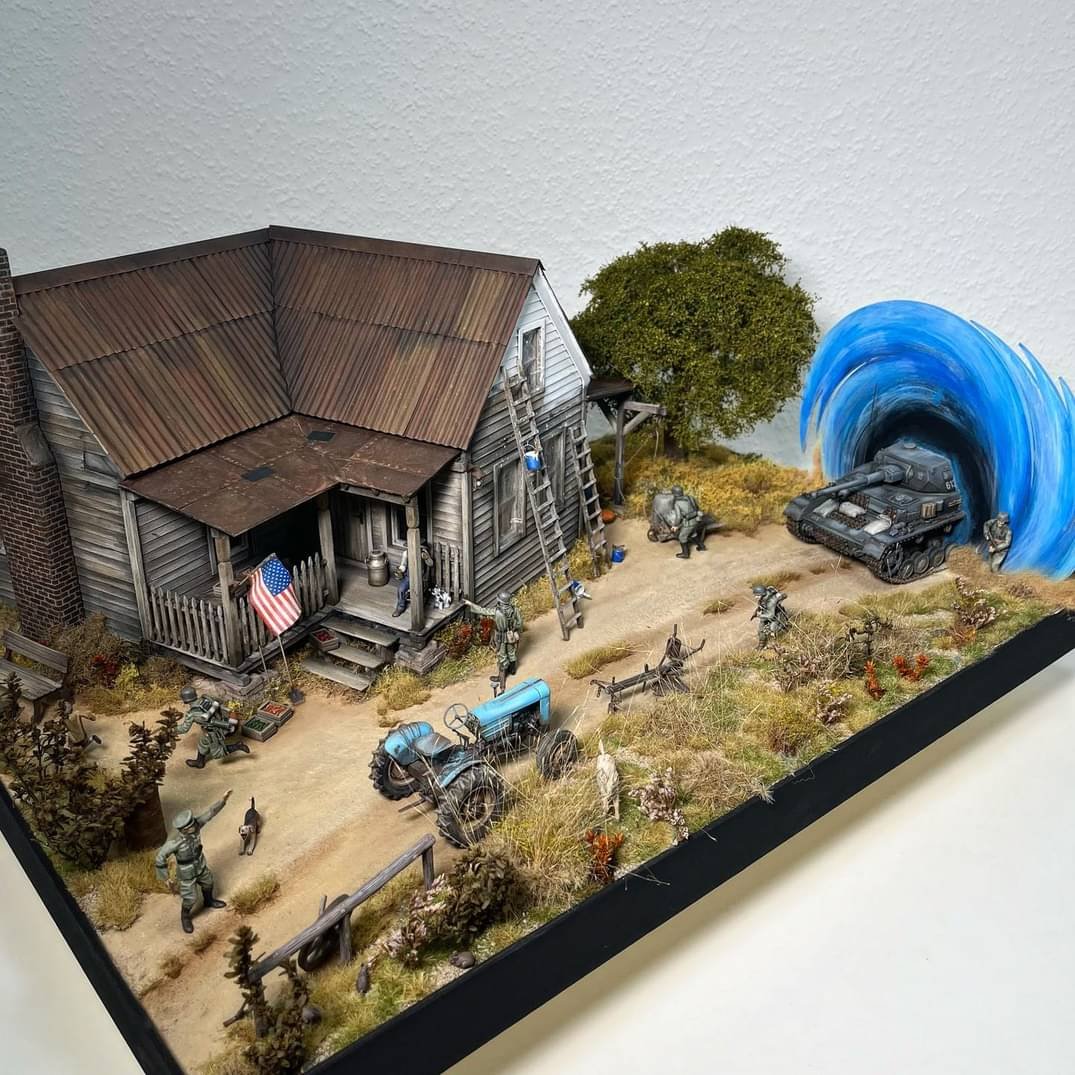
Nearly there, trying to avoid my usual war torn patina levels. Just got to weather the upper hull, nail it all together and fill it with crap. All this will get hidden but whatever...6 points
-
5 points
-
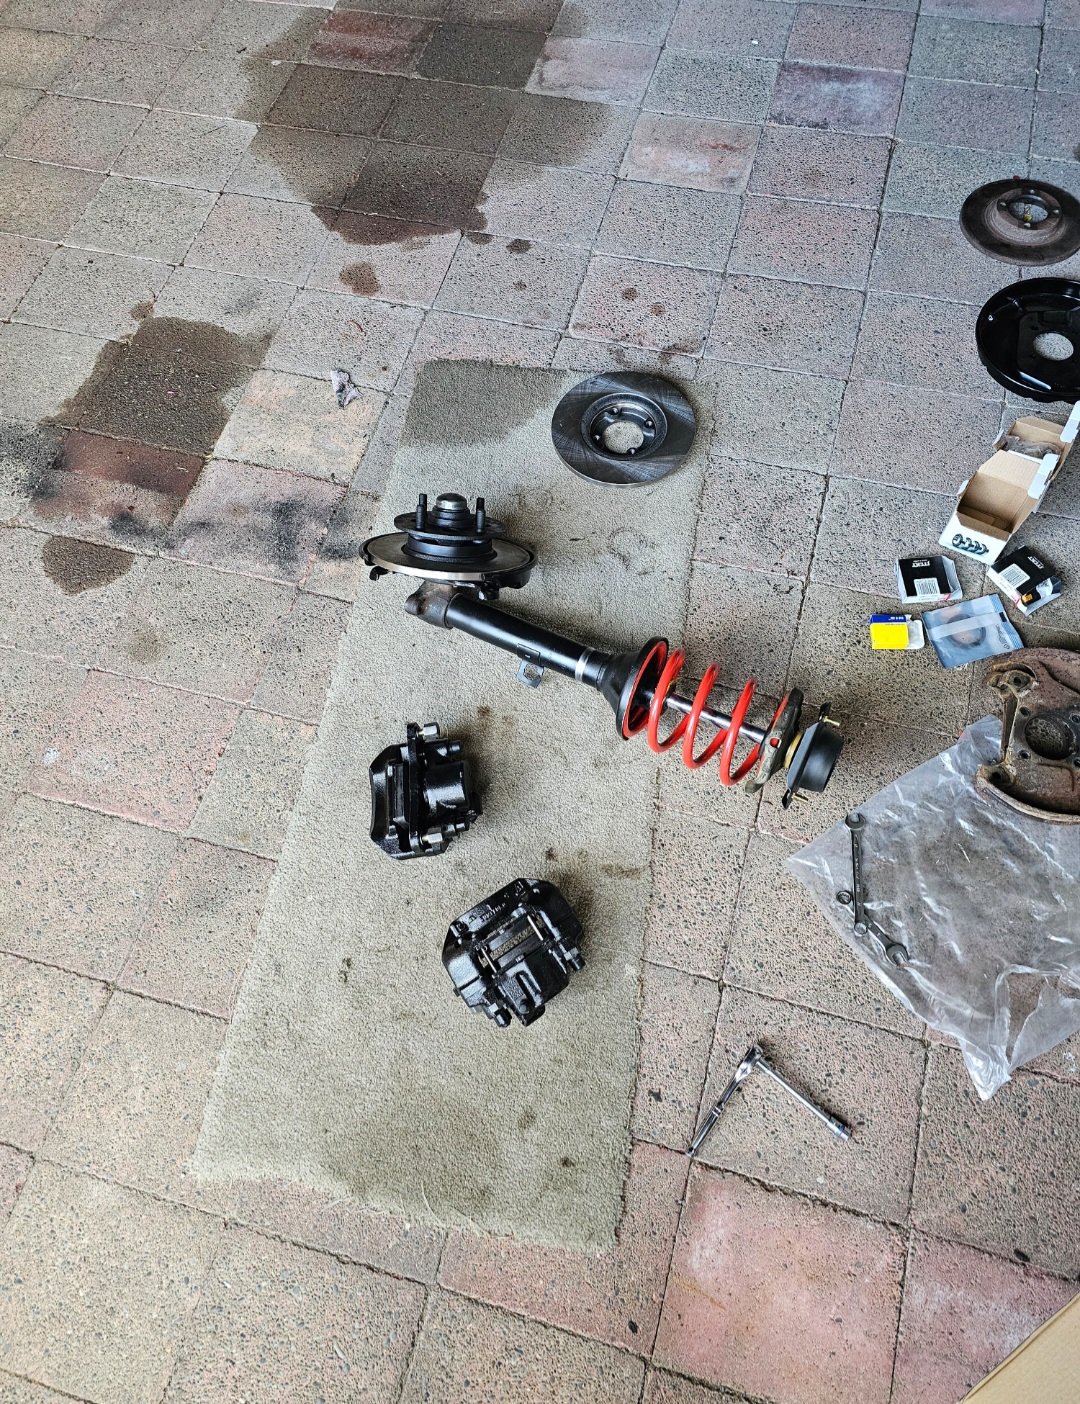
Bit of working out todo ke30 calipers on ke20 mounts but ke30 disc are to big so need them machined down to suit
4 points
-
Exhaust done 2inch
4 points
-
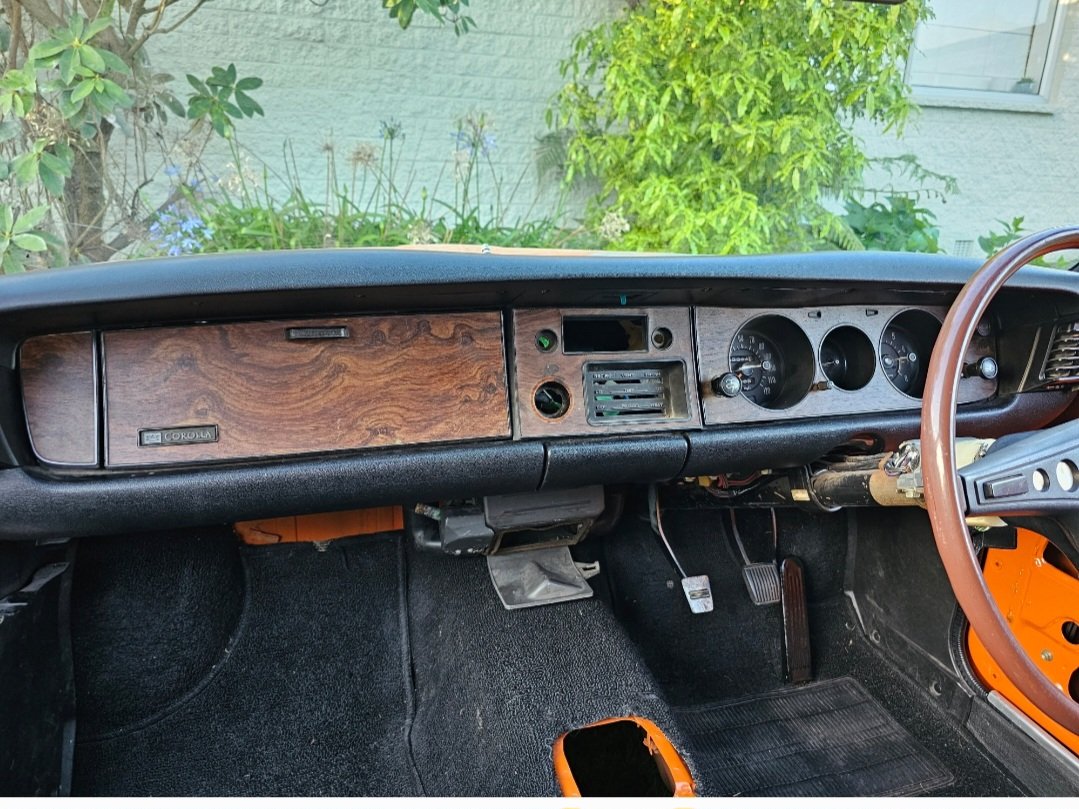
Rev counter and early wood grain dash panels found to replace the non rev counter and black dash panels
4 points
-
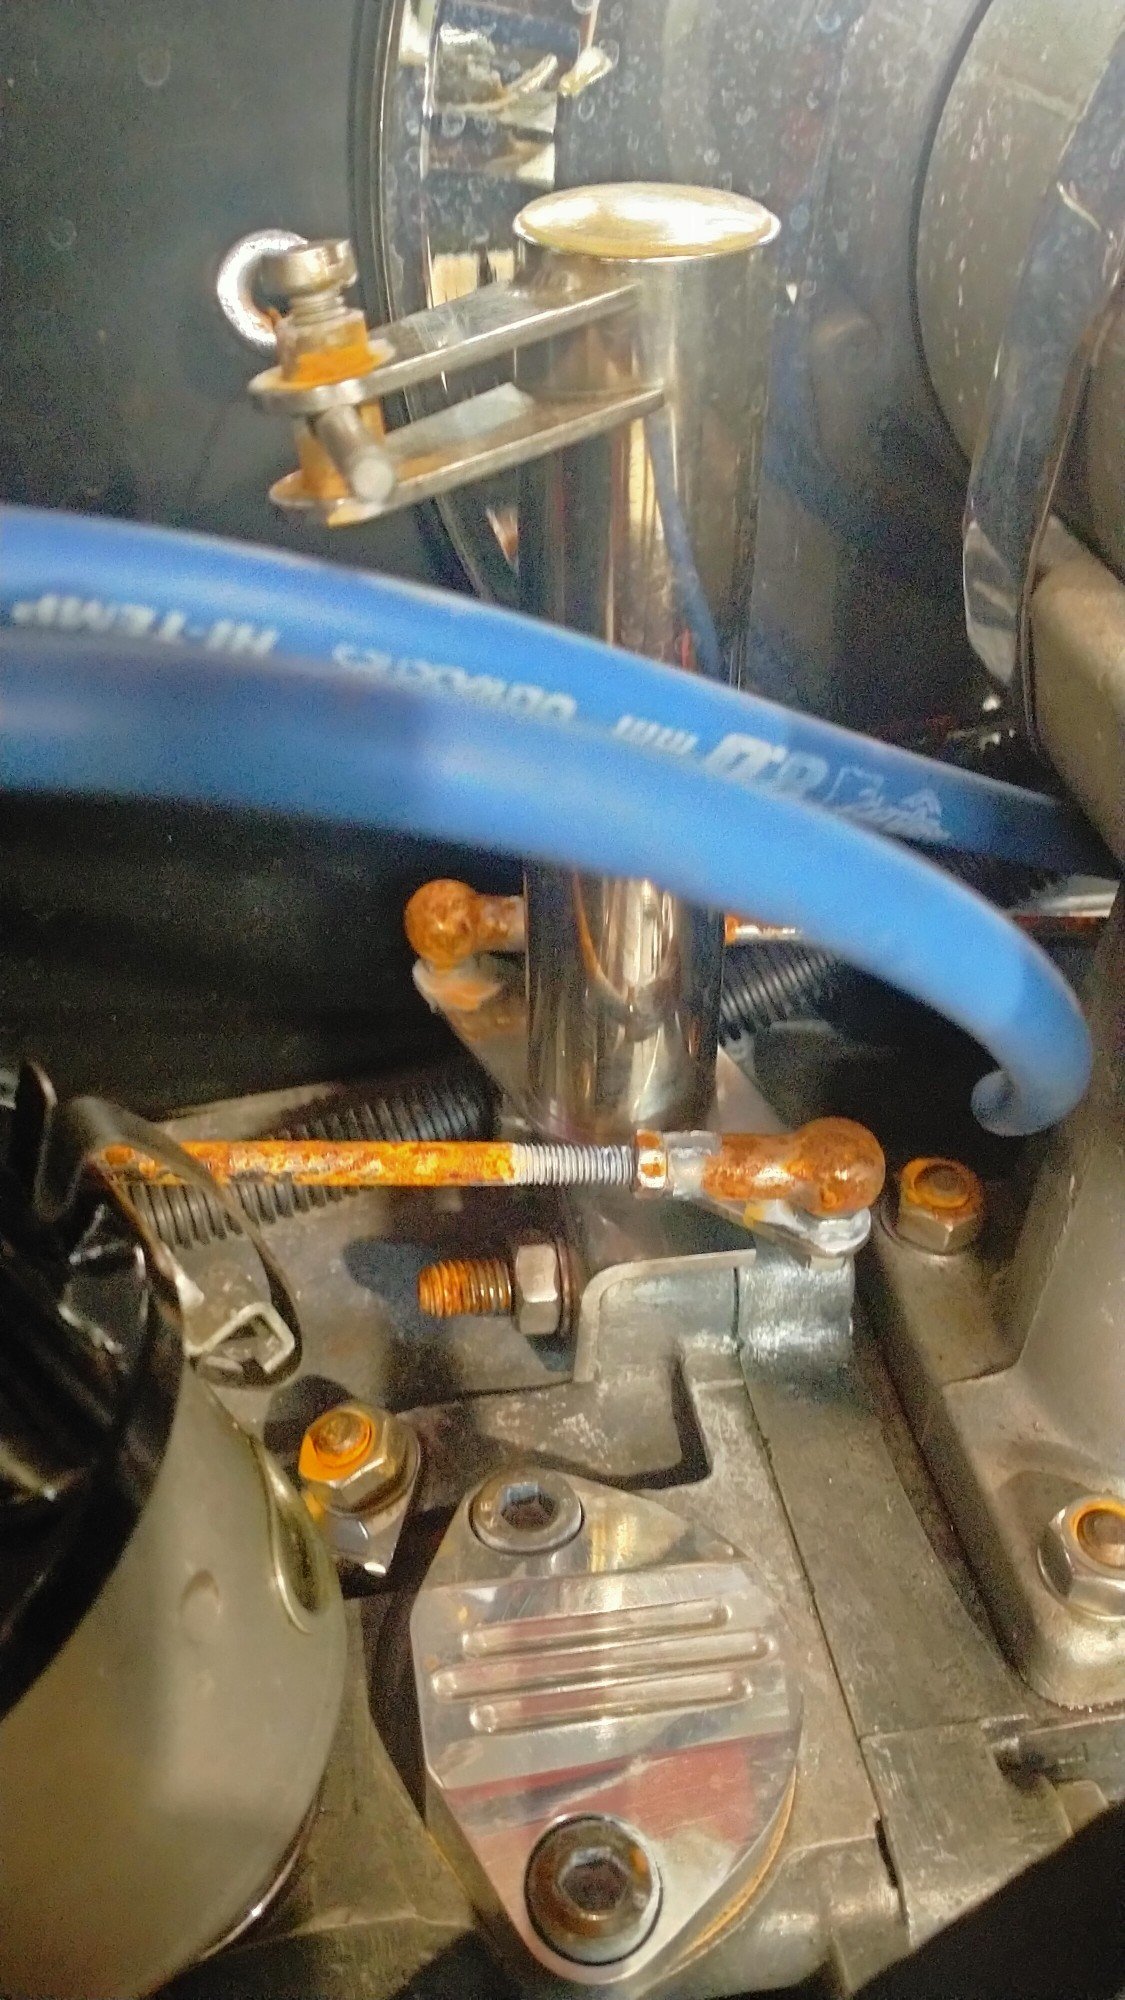
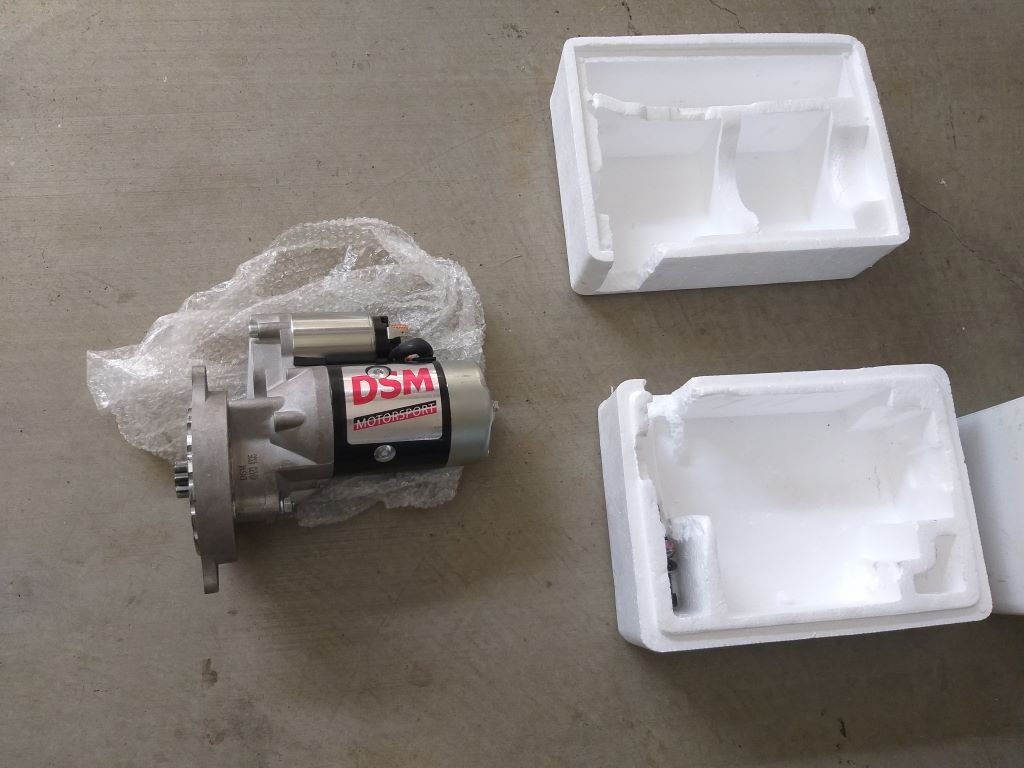
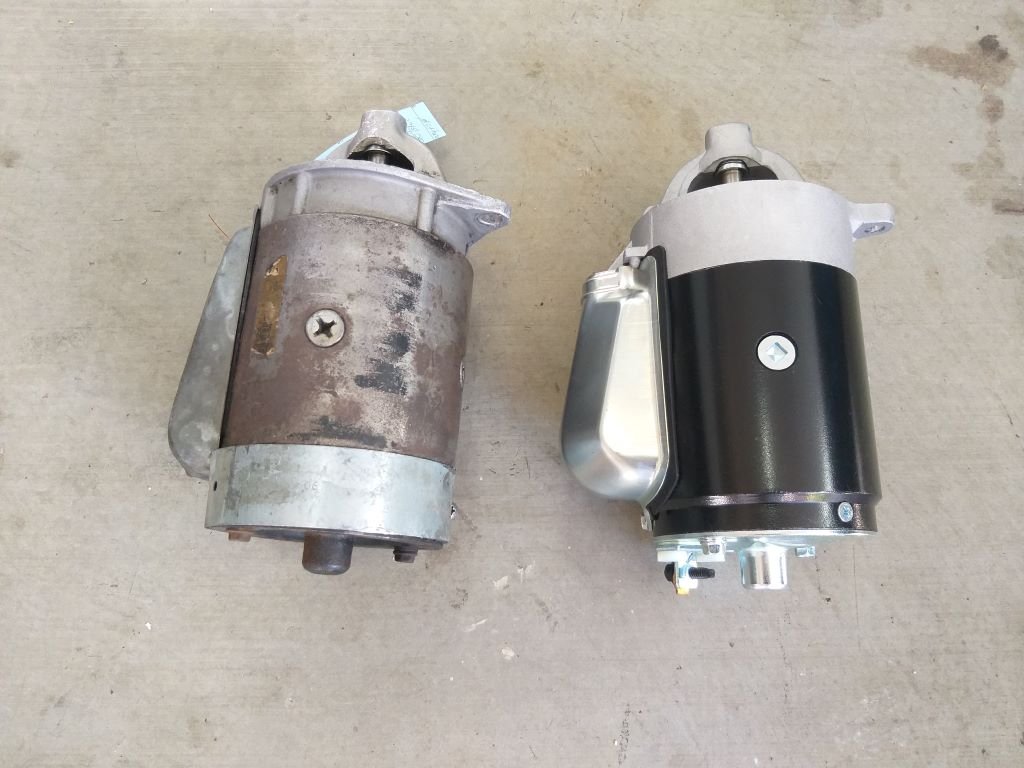
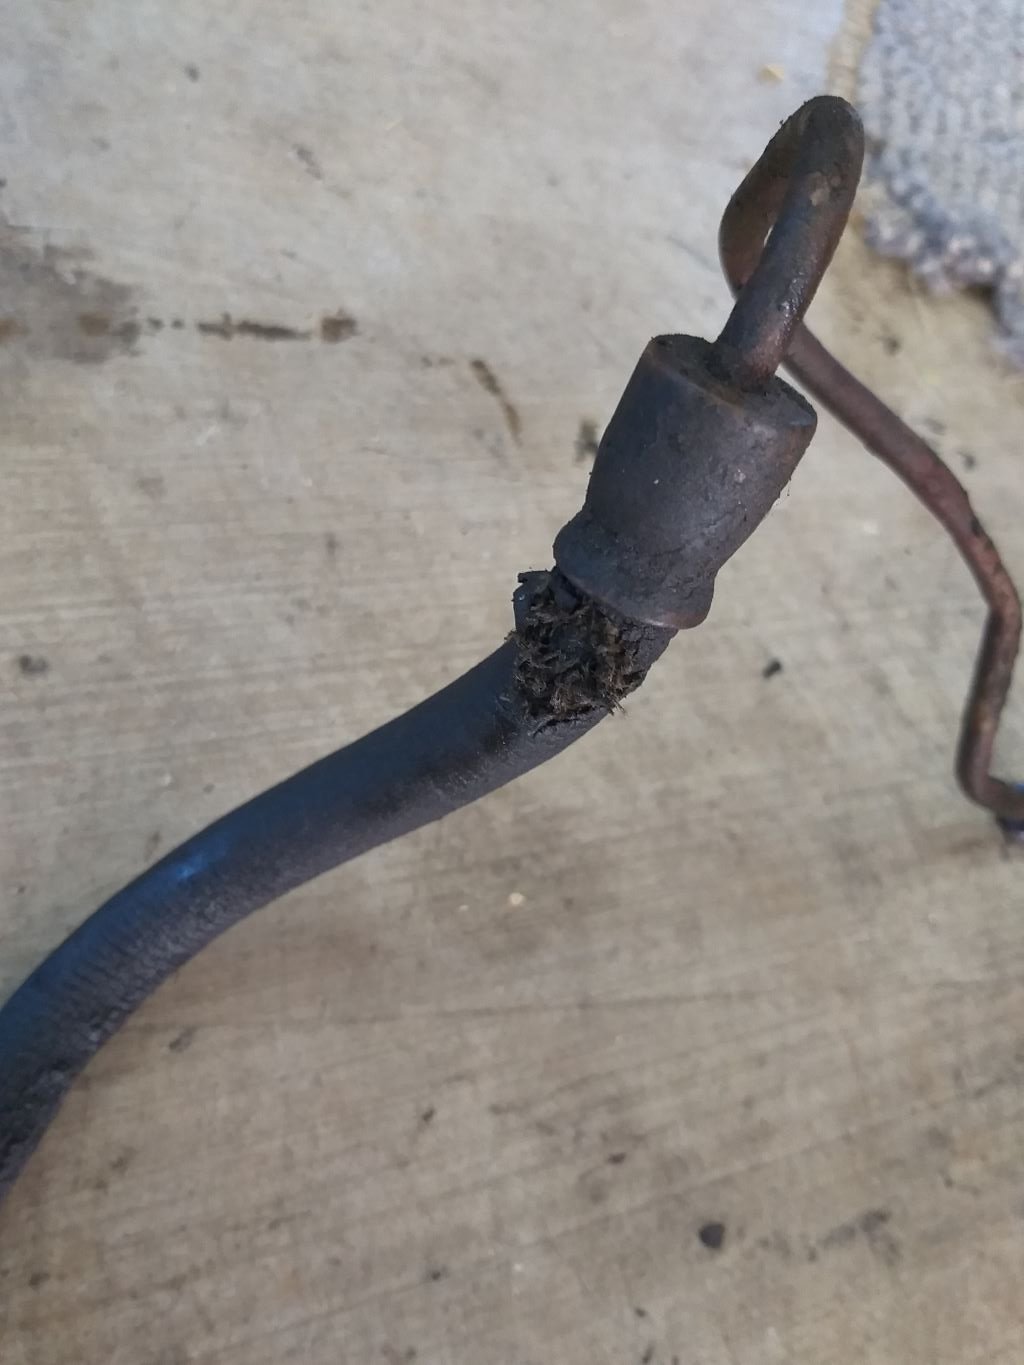
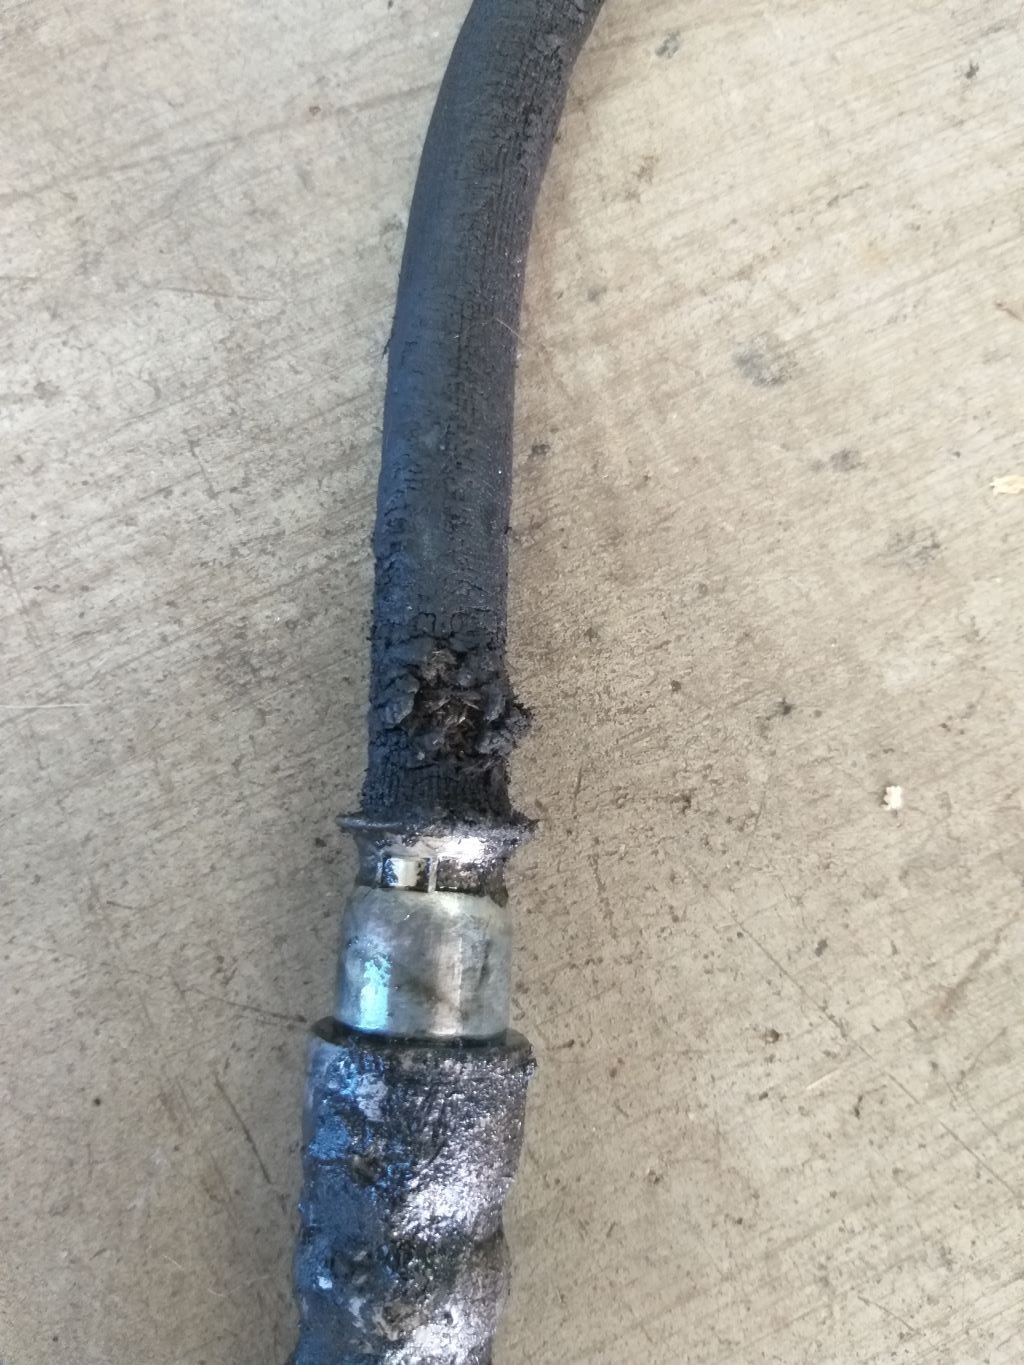
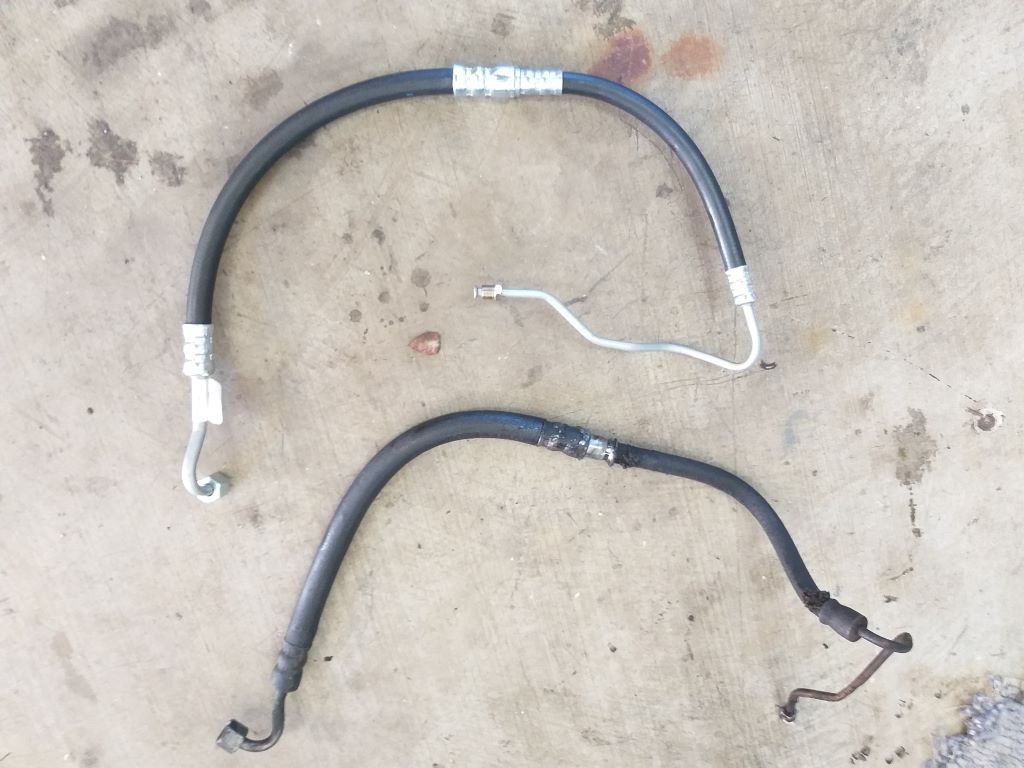
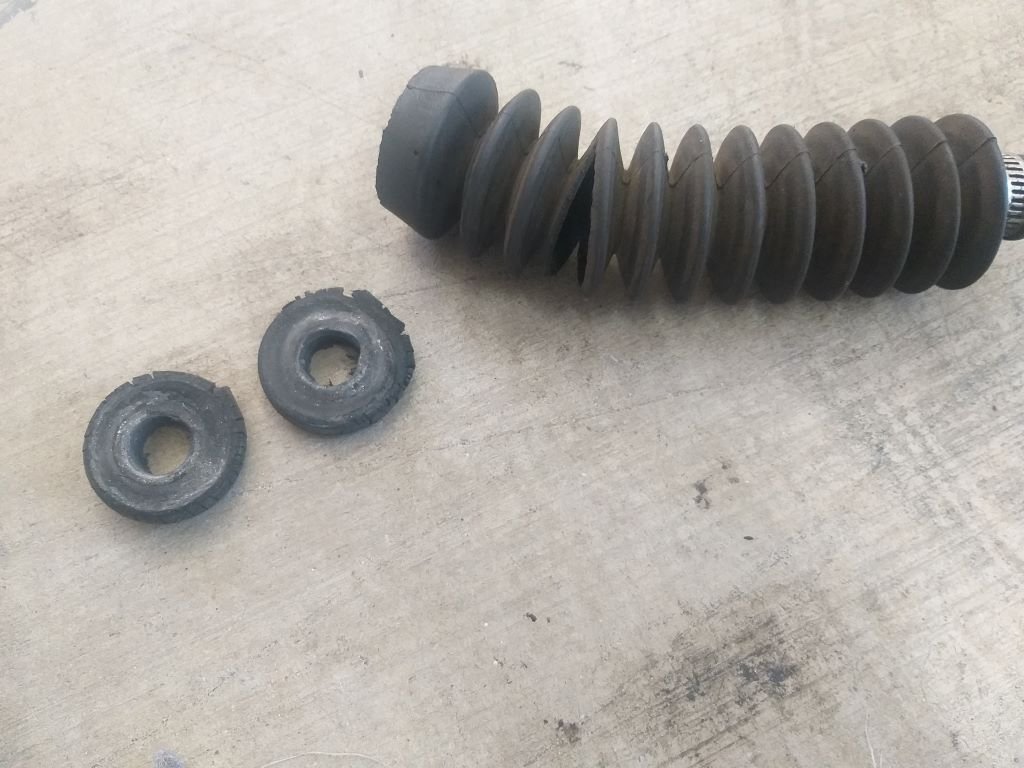
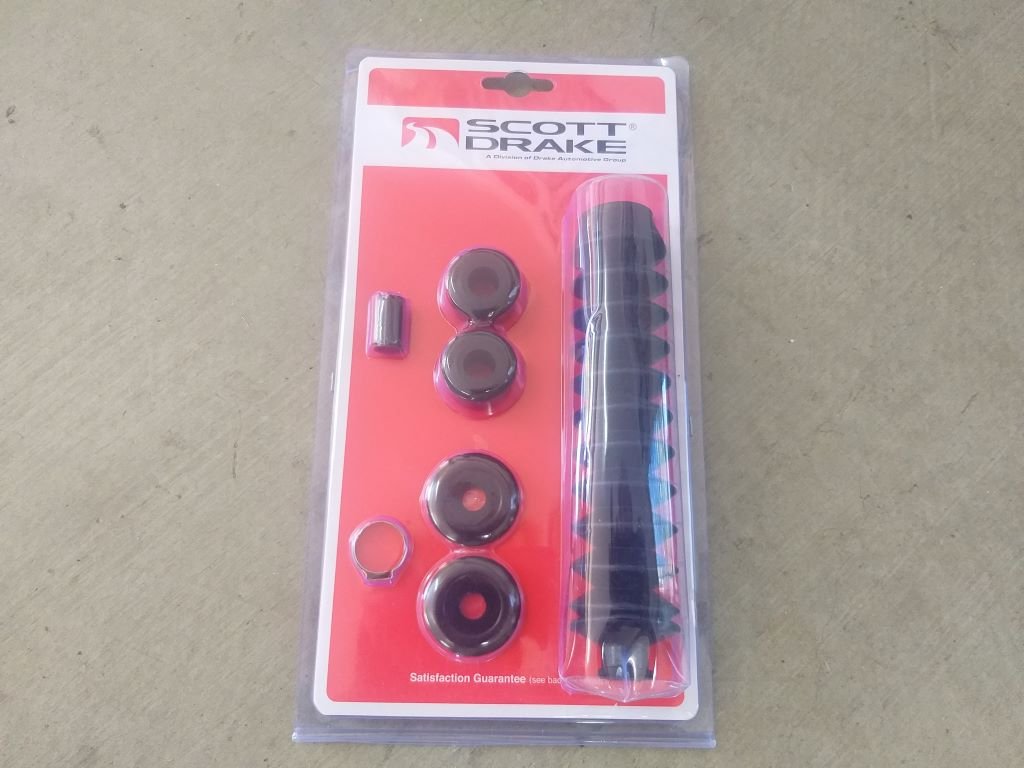
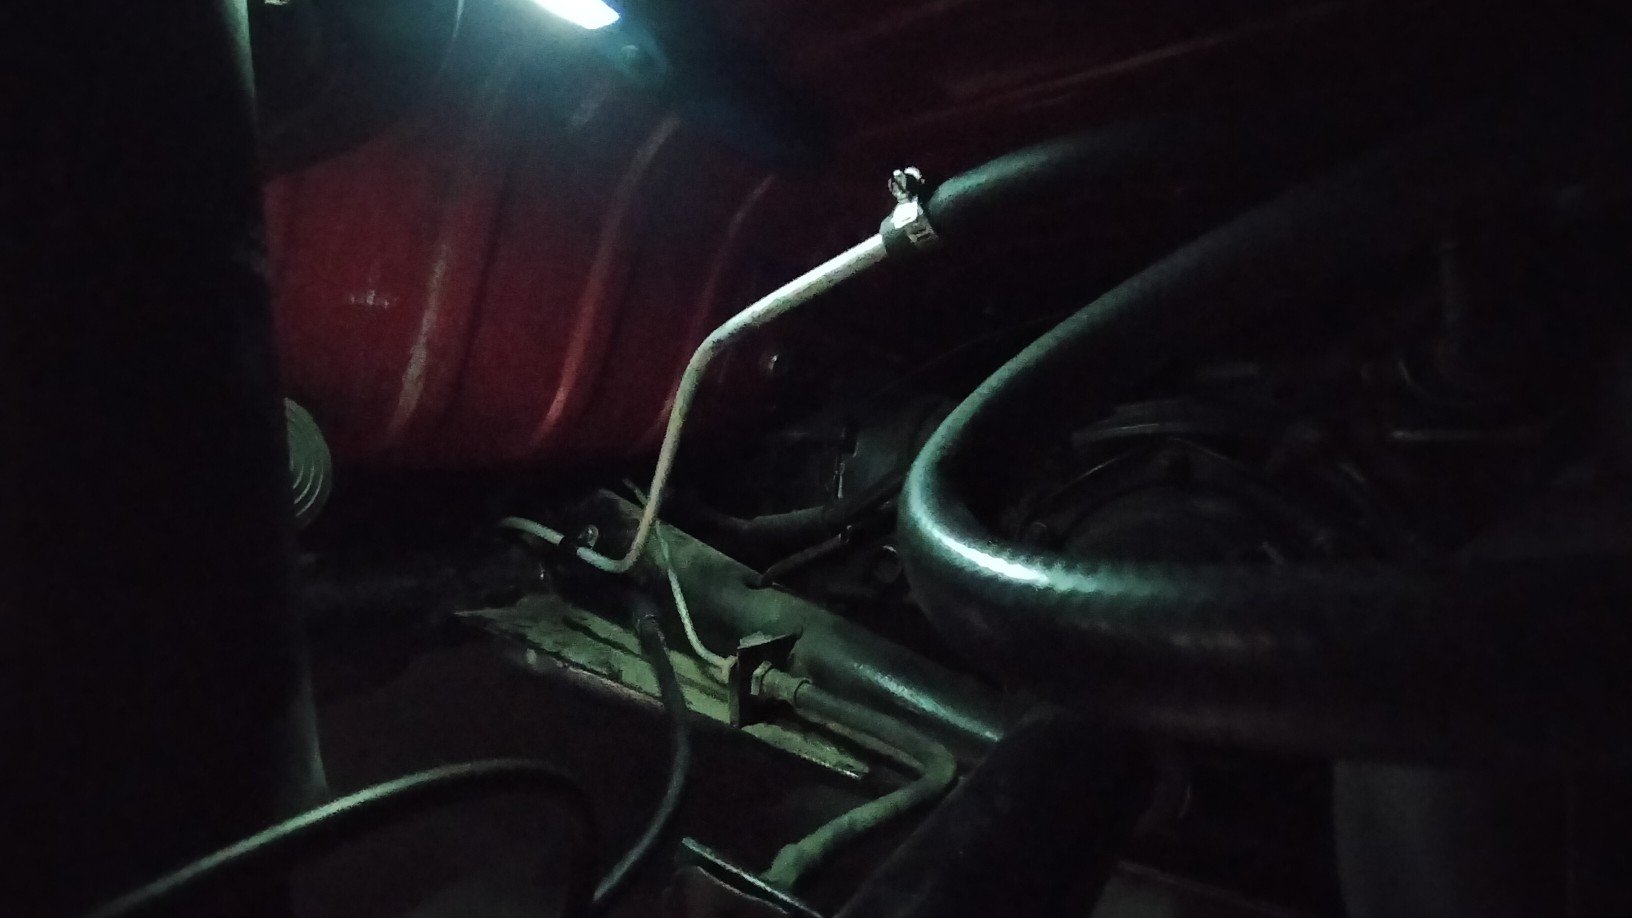
In terms of ongoing maintenance, the poor old Mustang has been taking a back seat to our Thames van for quite a while now, but the recent failure of its starter motor has finally pushed it to the front of the queue. The old clapper style starter that these are blessed with has been slowly getting lazier and lazier, especially during hot starts. The main reason for this is the fact that it sits so close to the RHS exhaust header that it slowly gets cooked. A good 18 months back I bought one of those mini high torque jobbies as a replacement. These are supposed to be fully adjustable to provide extra header clearance but in this instance it actually ended up making things worse to the point where the header would no longer fit. So, I ended up wrapping the original in one of those thermal blankets and putting it back. Unfortunately, the damage had already been done and she didn't last too much longer. I toyed with the idea of buying another high torque example marketed by Aeroflow, but after seeking advice from our local auto electrician I ended up going for another clapper style unit. New and old together: The newer unit is a slightly improved design with the main terminal located at the rear of the unit rather than on the side closest to the header. I tweaked the header slightly with a BFH and ended up wrapping it in some of that thermal bandage. There is a good 15mm of clearance now so hopefully this will give the new starter a fighting chance. While I was grovelling around under the old girl I noticed that the power steering pressure hose was looking a bit tatty. Here: And here: The hose moves back and forth as its attached to the main ram which in turn forms part of the steering centre link so it ends up with this kind of wear at both flex points. Replacements are cheap as chips, so I added a fresh unit sourced from Rob at Sydney Mustang. Another thing that looked well flogged was the dust boot and end rubbers on the power steering ram. Ended up getting a fresh kit in the same parcel with the hose, so I chucked that in too. I'll give the Mustang a bath sometime next week and hopefully then all will be forgiven. Thanks for looking.
4 points
-
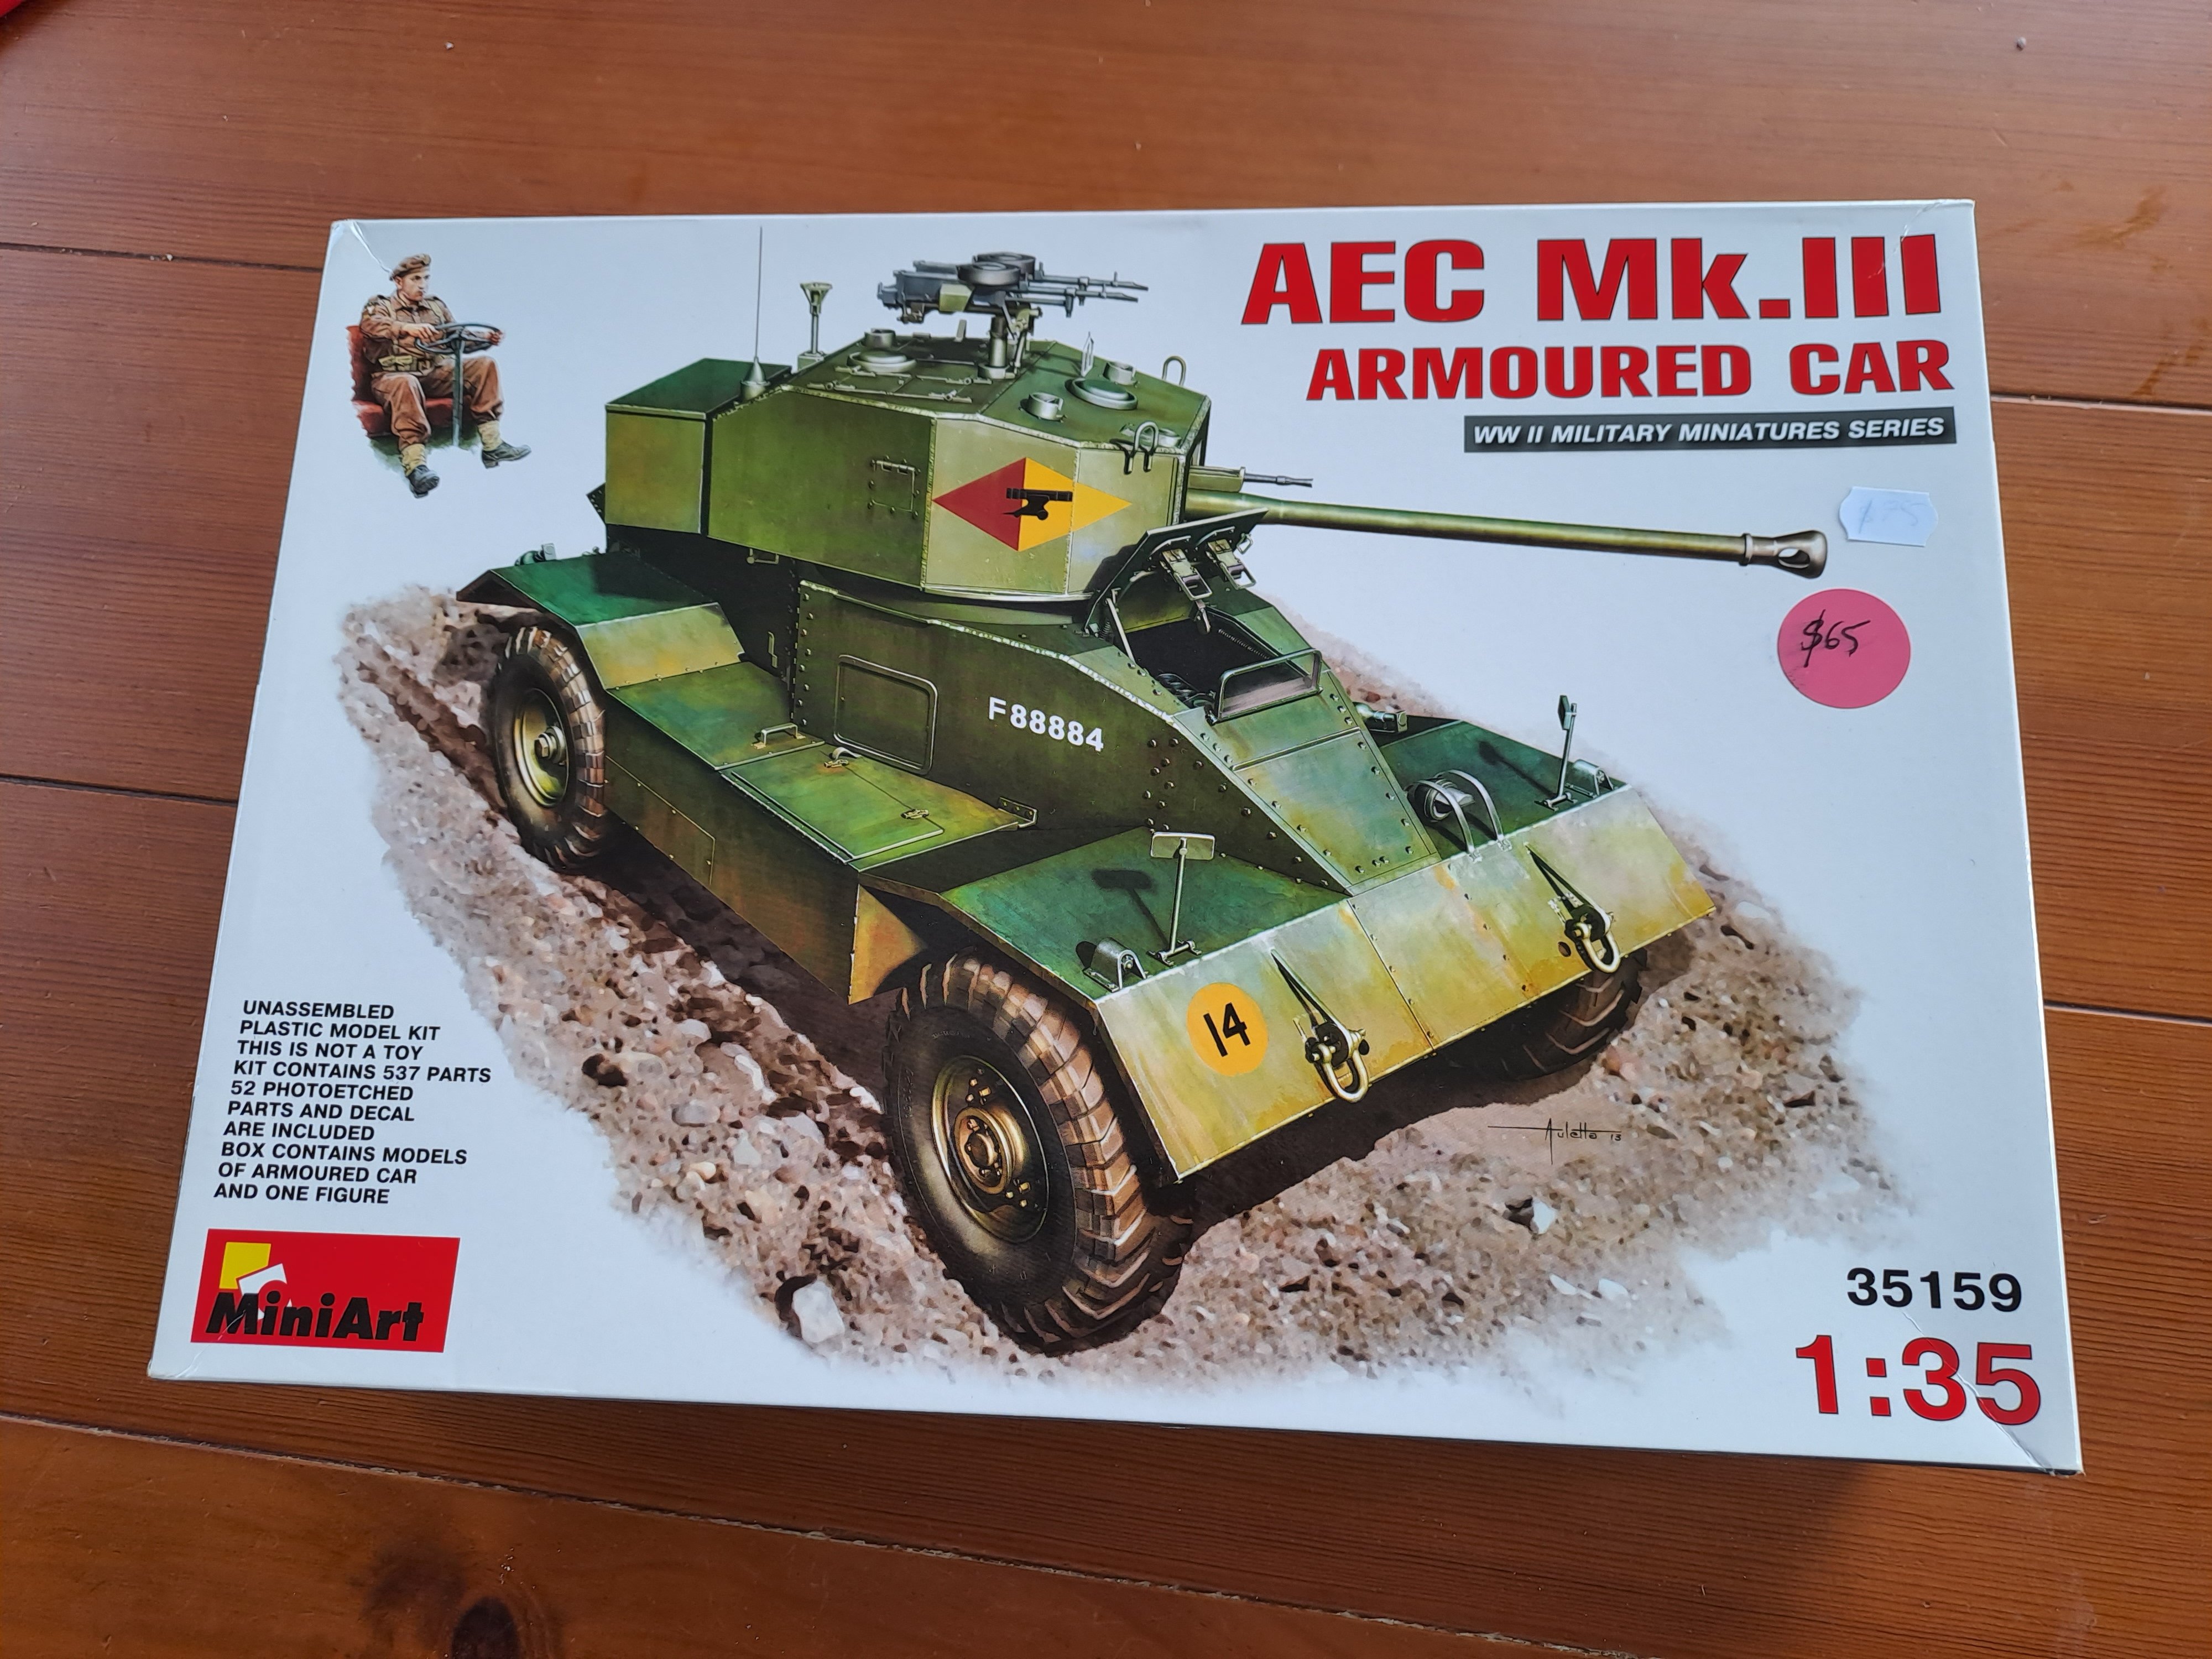
I've got about 8 waiting, but I'm sure there's 2 more I'll get soon. Or maybe 3. Probably going to give tanks a miss though (except for 1 more, or maybe 2) as they're mostly air in the middle. I know Takom do some full interior tanks, including a Bergepanther. So maybe 3 then. Sigh.3 points
-
I'll see if i can get some photos of the parts tray soon. Yeah i have a 1/35th bren gun carrier i got a couple years ago from acorn models (just grabbed it because i was pinning for a model but wasn't going to actually build it at the time), thinking of doing it north Africa spec, similar to what my grandfather would've driven (i believe he was stationed in Palestine in 1945/46). Mate of mine who is a huge modeller told me the number of kits a man owns is 'n + 1' lol.3 points
-
This insane thing has a full interior... Dude at the shop asked me to make an offer, so it's not really my fault.
3 points
-
Ambush camo stencils on order, let's see what China has to offer. Also went to the shop to get some more paint for the Bren gun carrier.....and this happened.
3 points
-
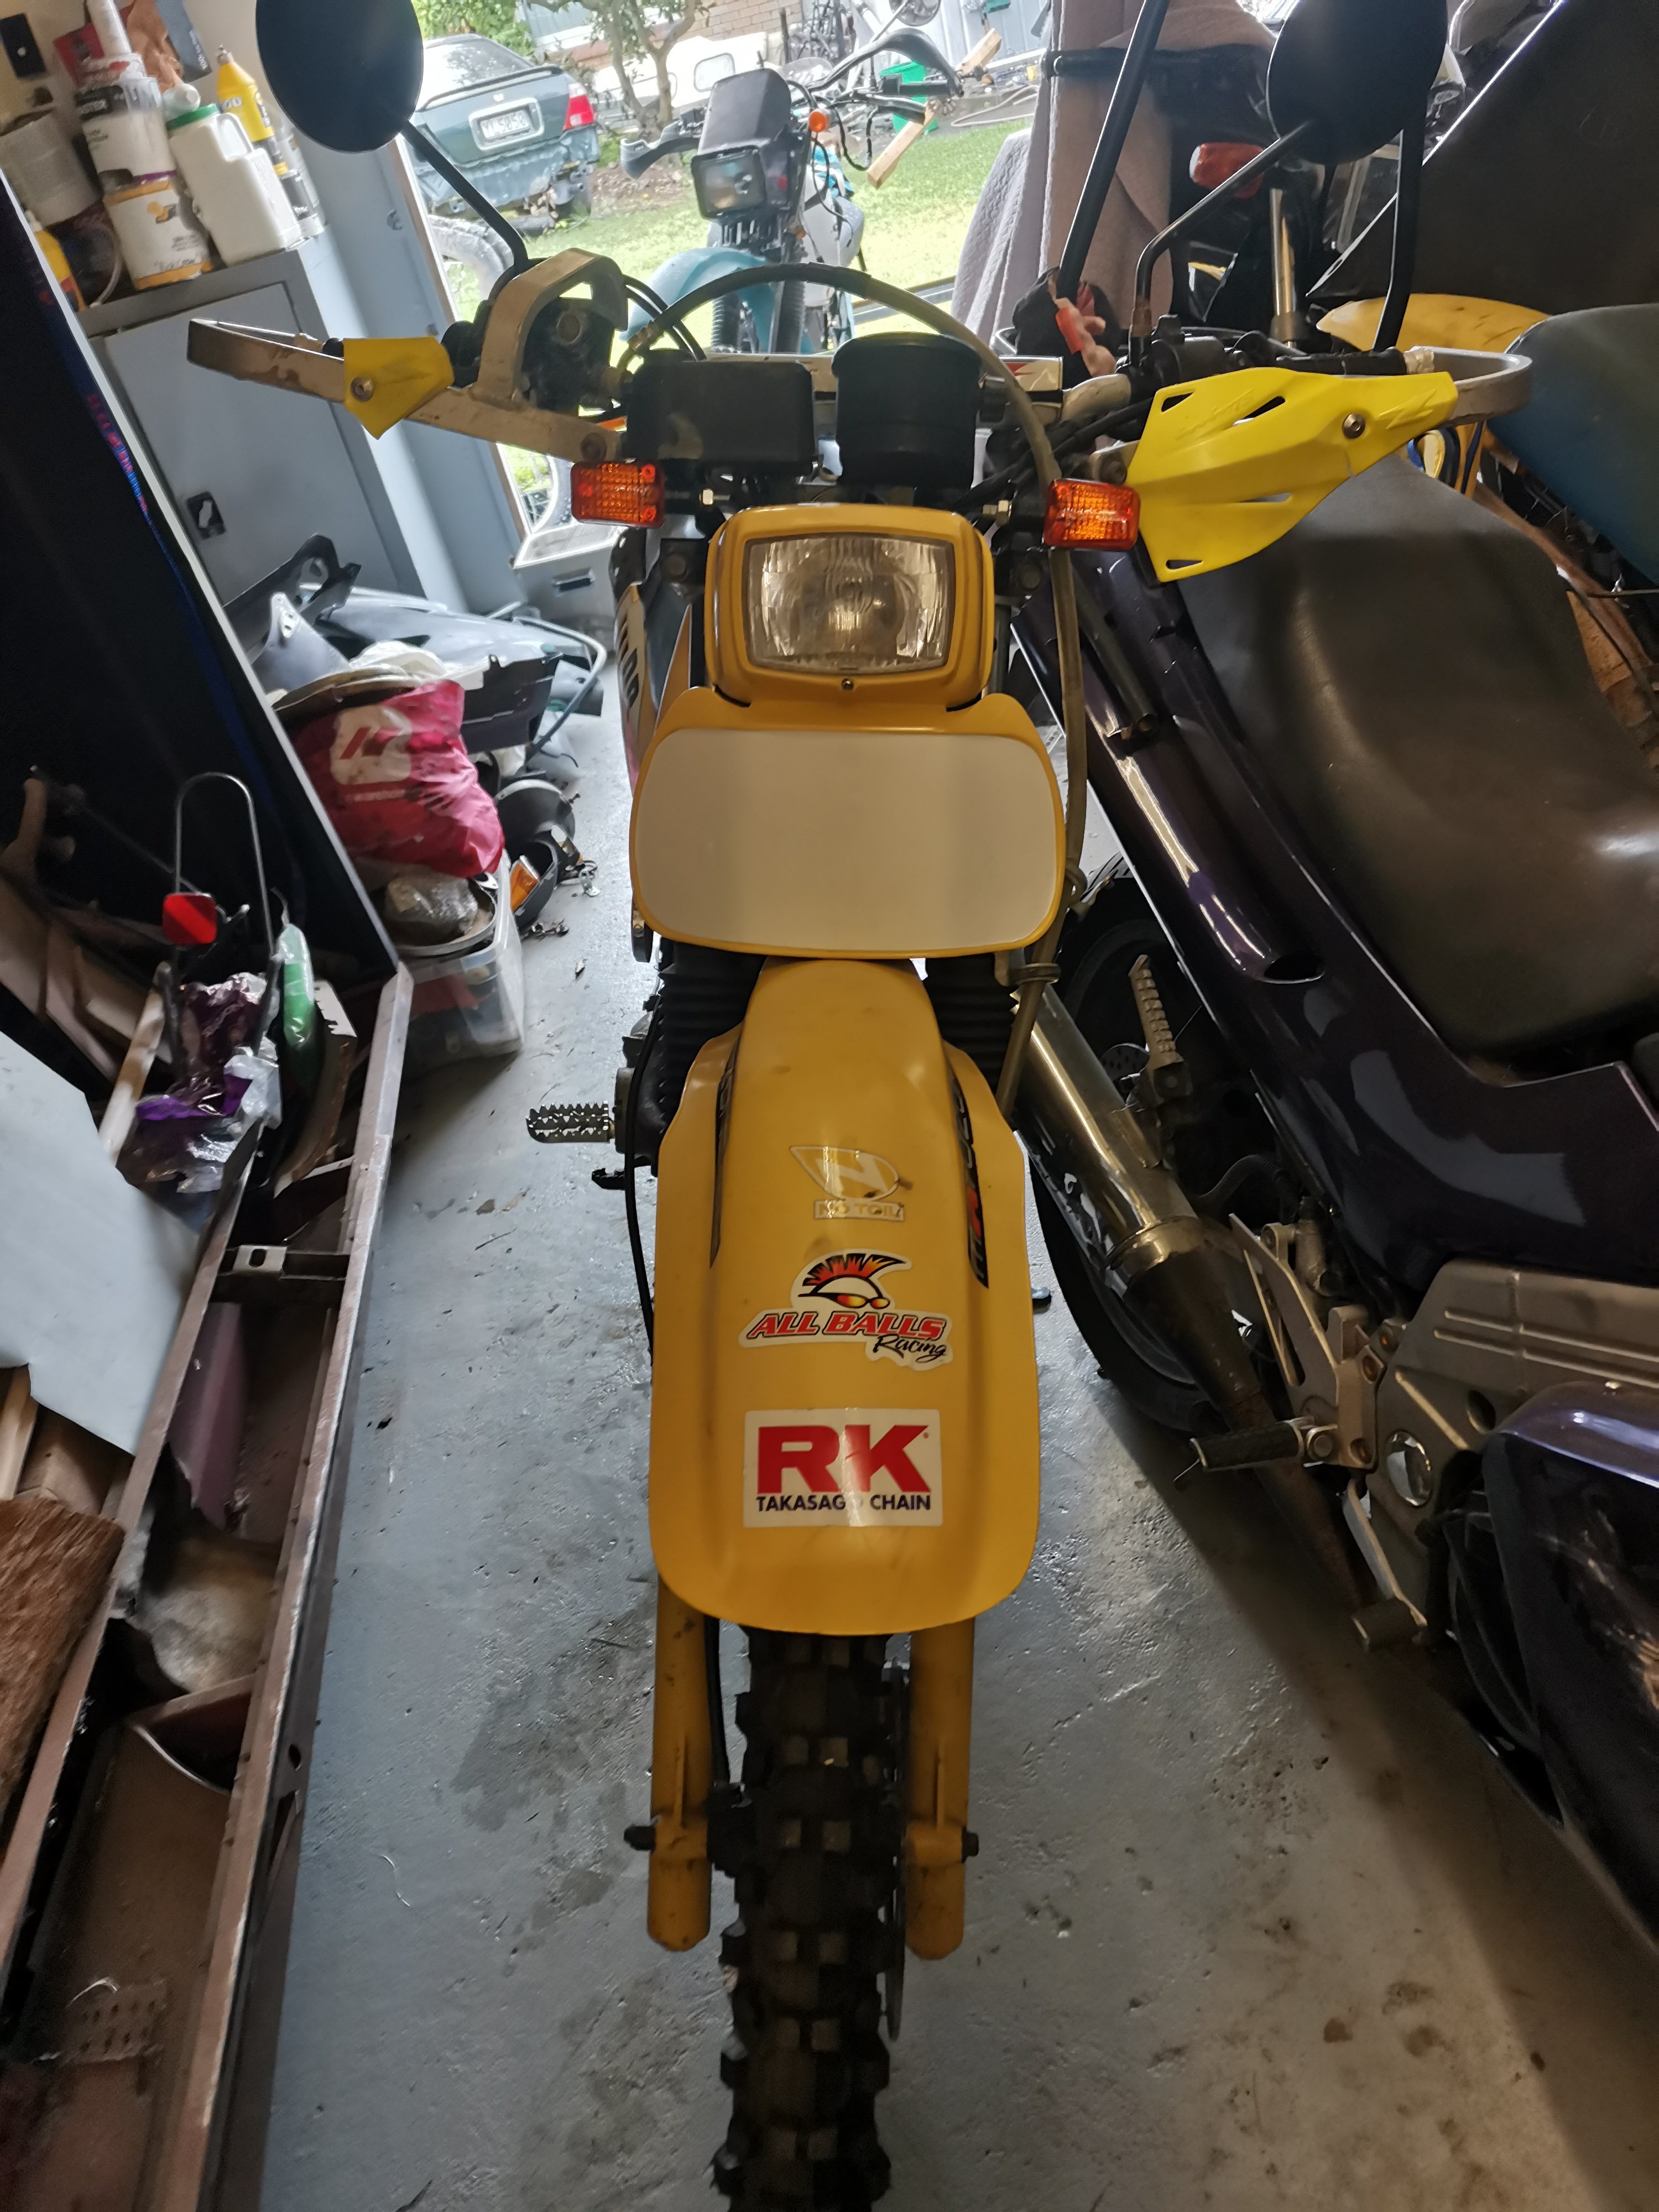
So went around the local bike shops looking for a jet, no one had anything, but one place could get it in, and at half the price of the only ones I could find on the net, so ordered that. While waiting for the jet to show up I knocked some jobs off. Had a rummage through my parts (not a euphemism) and found a set of springy foot pegs, a mirror and mirror mount, and cut the back part of the rocker shifter off as I can't use them (I'm too long in the legs) Taped up and covered the exposed wiring, Went to change the foot pegs, found the old ones were welded on, so cut them off, I then cut the stand, rotated it around to the correct position, and added some length. Also adjusted the shape of the shifter and put some new rubber (hose, lols) on it. Gave those items a paint, and wham, I ran out of jobs, so had a go at making the front mudguard less grot. Tried the heat gun method, then a bit of plastic polish. It got rid of the white, bit is now shiney pink, lols. My jet showed up today, so slapped it all back together, hope to test it out tonight. Oh, also slapped the new tyres on, removed the rear brake hand lever, and moved all the combo switches over so my std thumbs can reach the buttons. How she be currently. I have a lead on the front and rear racks, once I get them I'll get new indicators. Also the front brake lever doesn't have a brake light switch facility, so hope to find a cable spec, right handed lever, with a mirror mount and brake light switch in it. Probably not common. Regards, VG.3 points
-
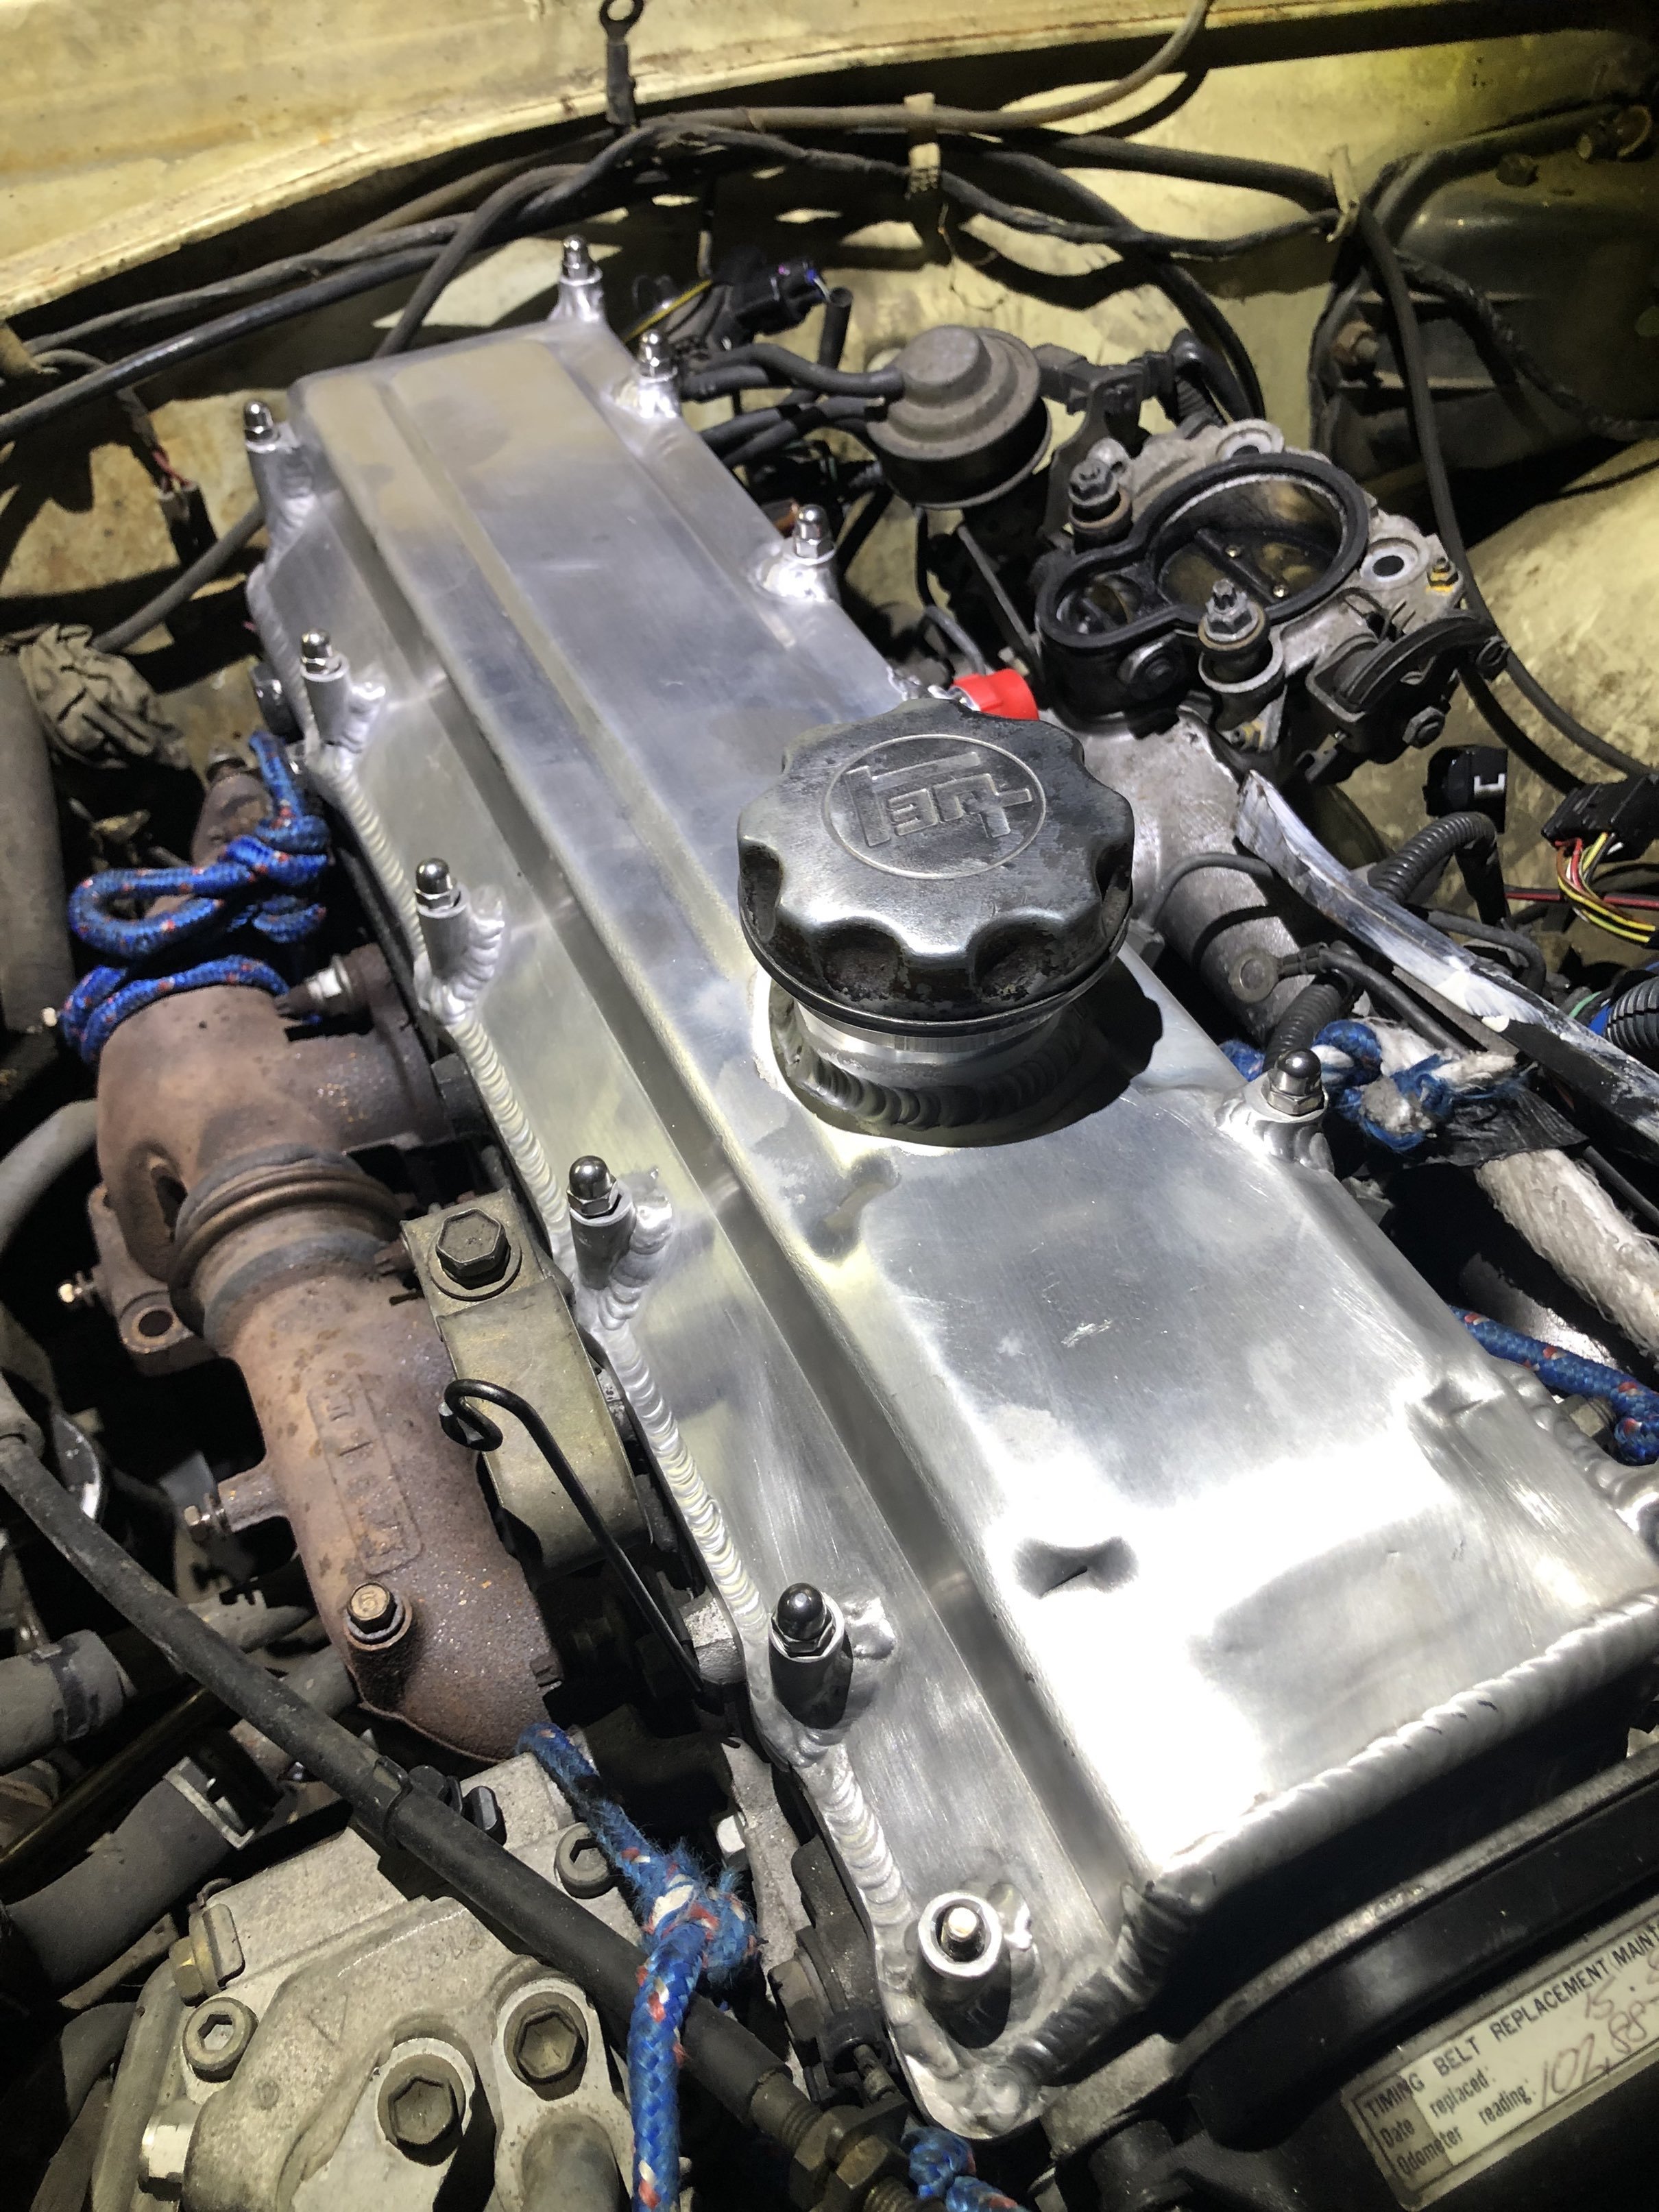
Did cap, rotor coil and leads on the orthia today. Sent it through a couple of puddles and got water into one of the ht leads dried it out as best I can but I suspect there was a bit of carbon tracking and it has a occasional miss. Seems to be fixed now. Had a quick pick a part mission looking for ac stuff for the shuttle today. Took a gamble that the ef sedan stuff is the same behind the dash. The ef sedan compressor was r12 and felt fucked when I spun it. I had a look at some other newer Honda and there was a d series hrv which had a smaller r134 compressor and a allow mounting bracket not the heavy cast iron one the shuttle originally came with. Took it off and it bolted up to the earler block which was a win. The original ef ac condenser is a full size unit which won't work as my turbo and intercooler want to live in that space. Had a walk around and found a daihatsu condenser thats half size and should fit with a bit of butchery. Bonus is it has a integrated dessicant/receiver drier in the condenser so saves some space3 points
-
4k and k50 ready to drop in
3 points
-
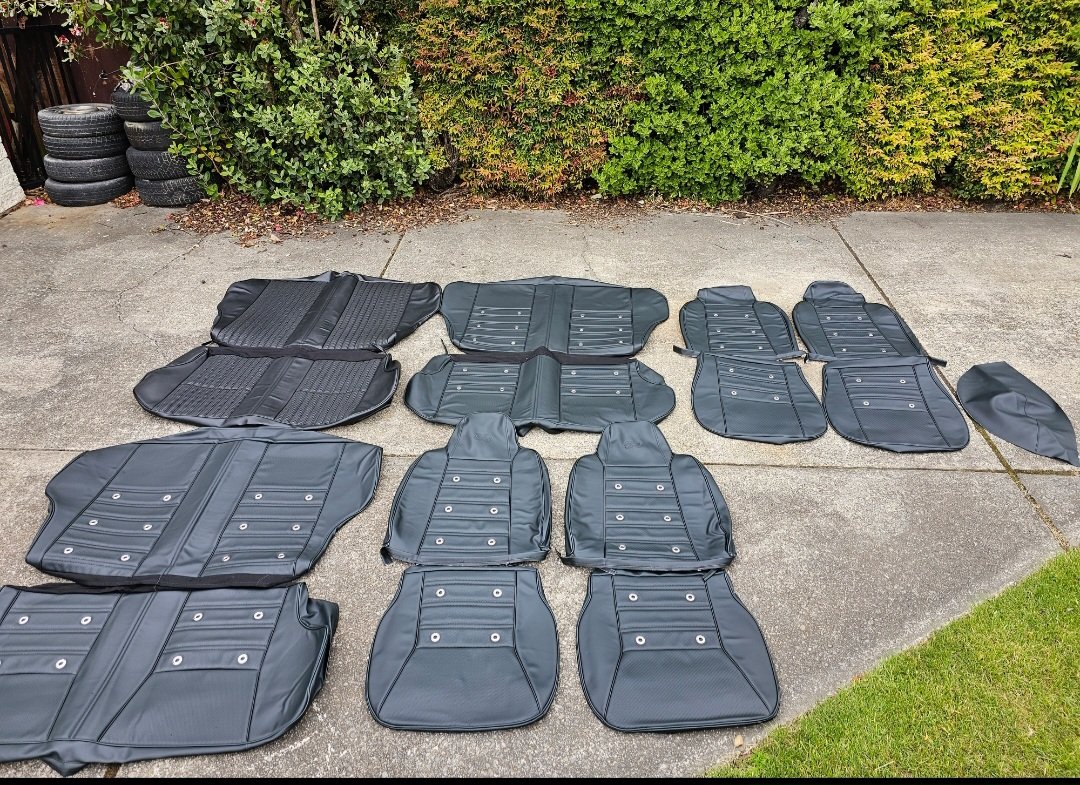
Te27 style seat covers for later use and seat covers for a freind Andy's ke25 and ke20
3 points
-
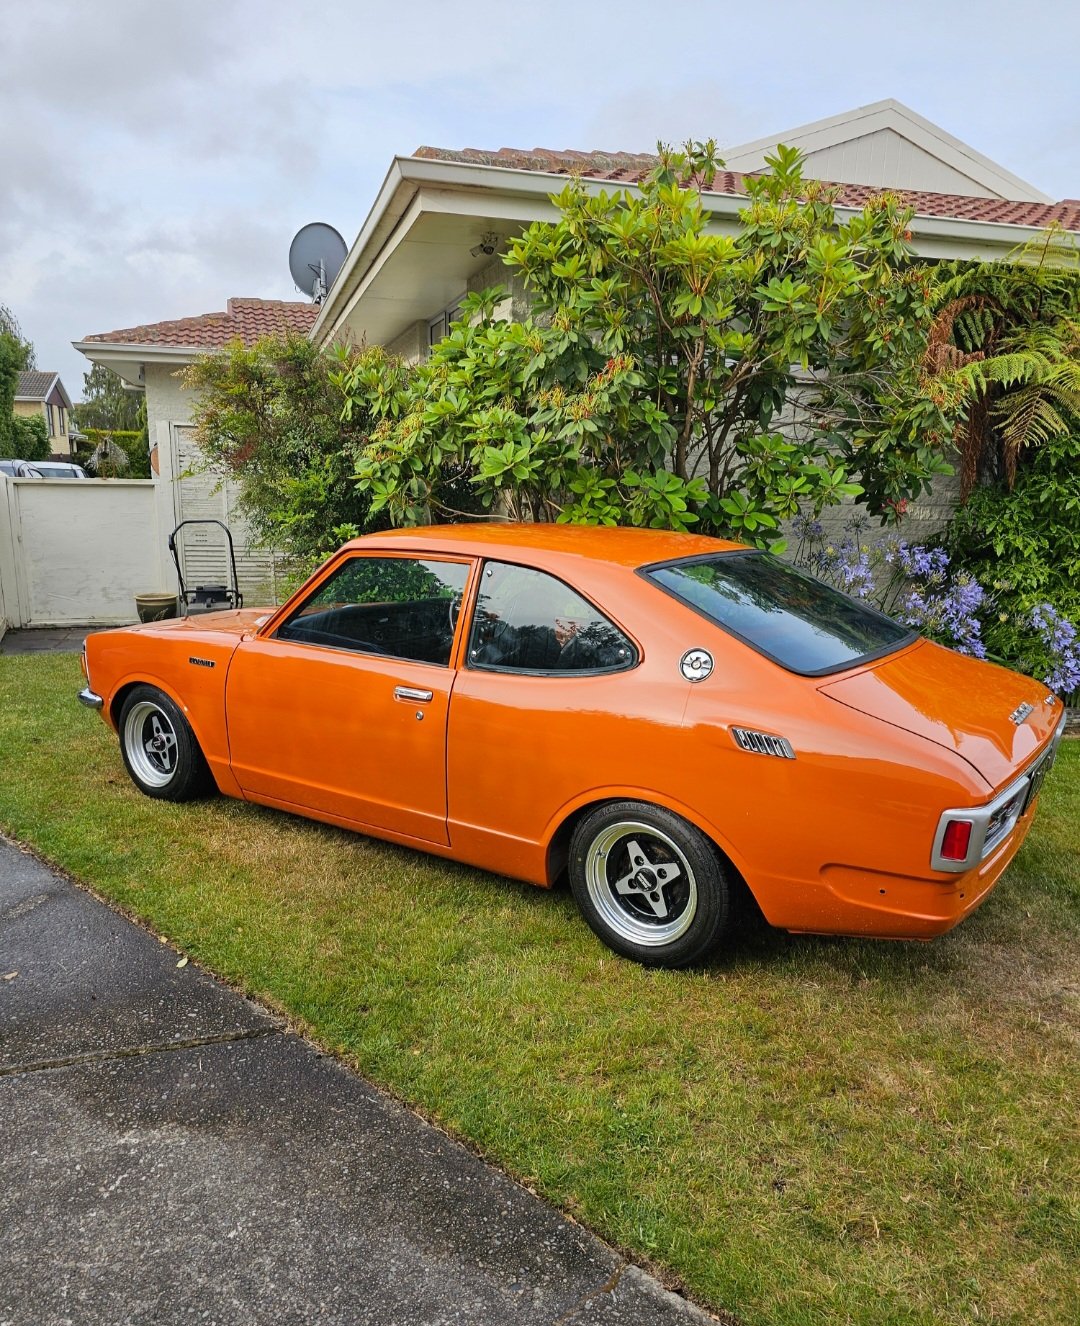
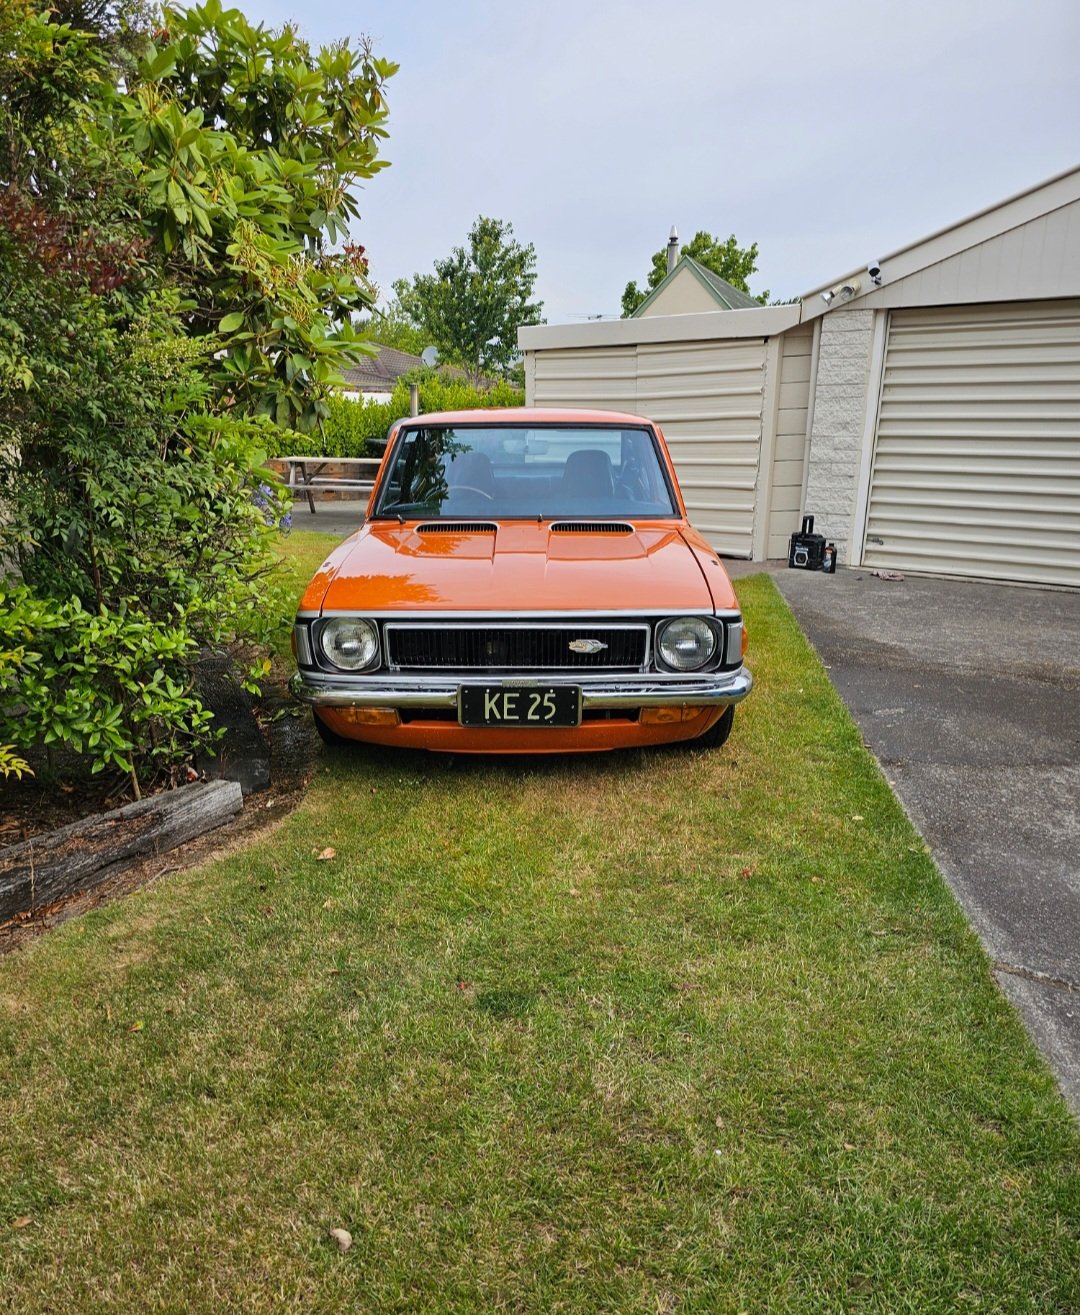
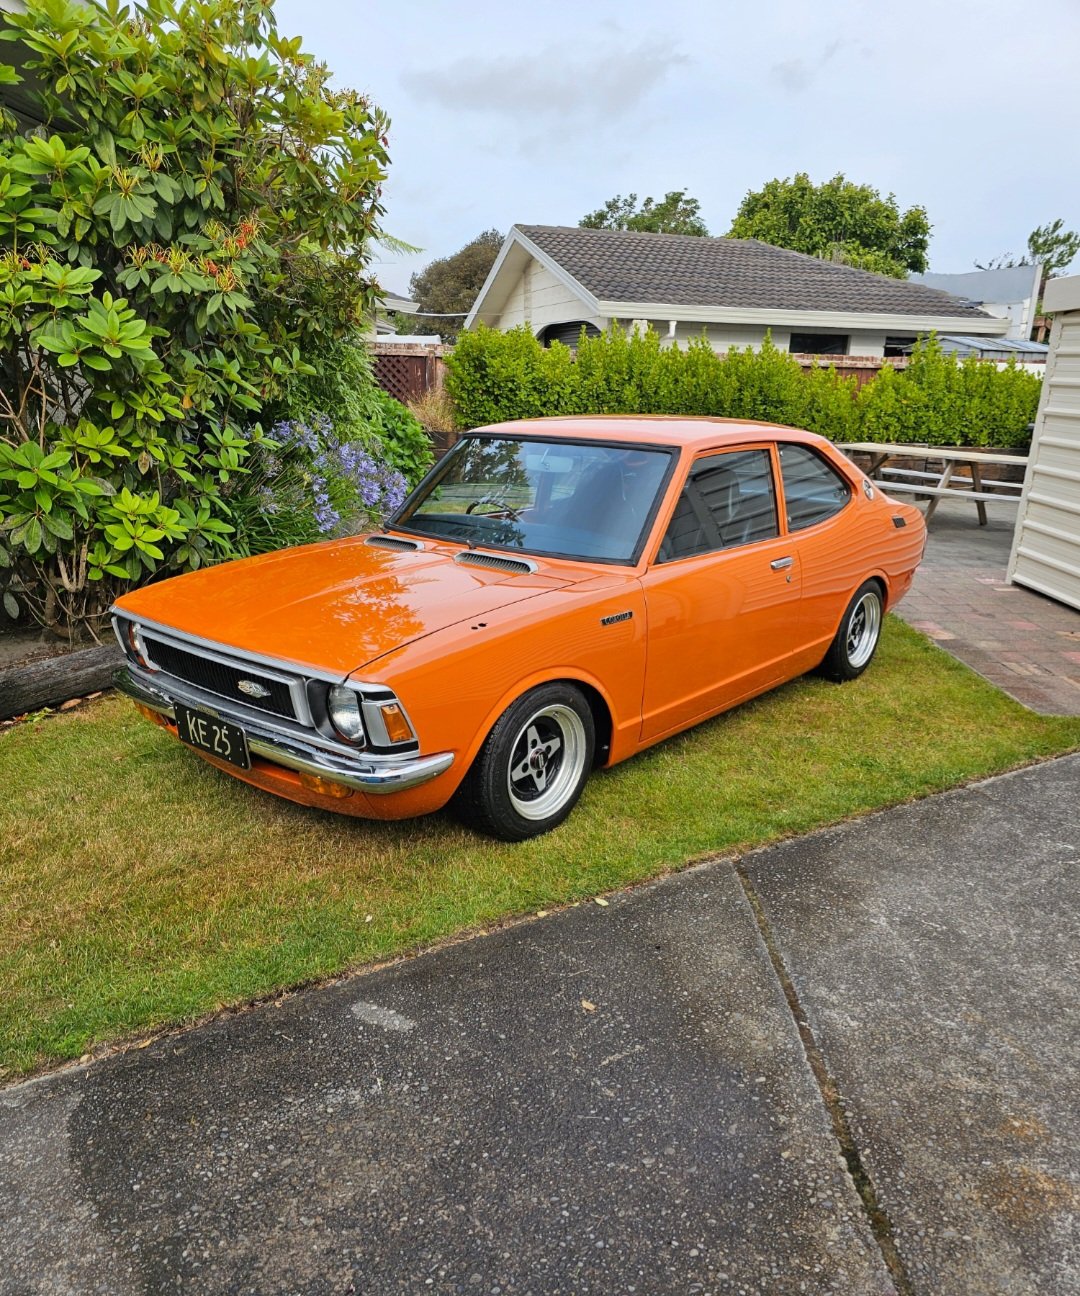
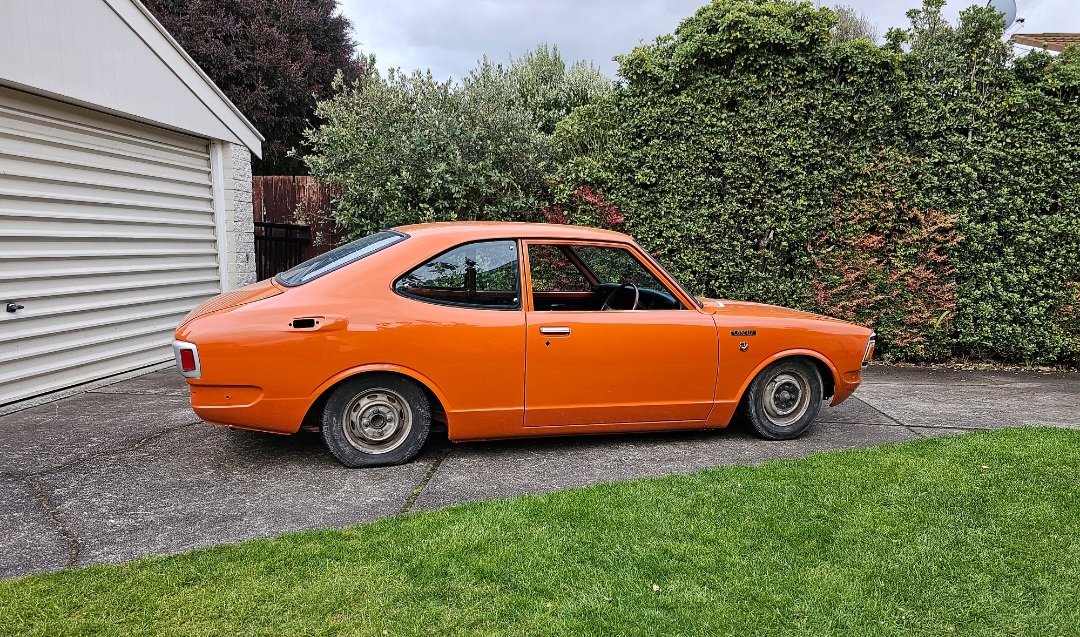
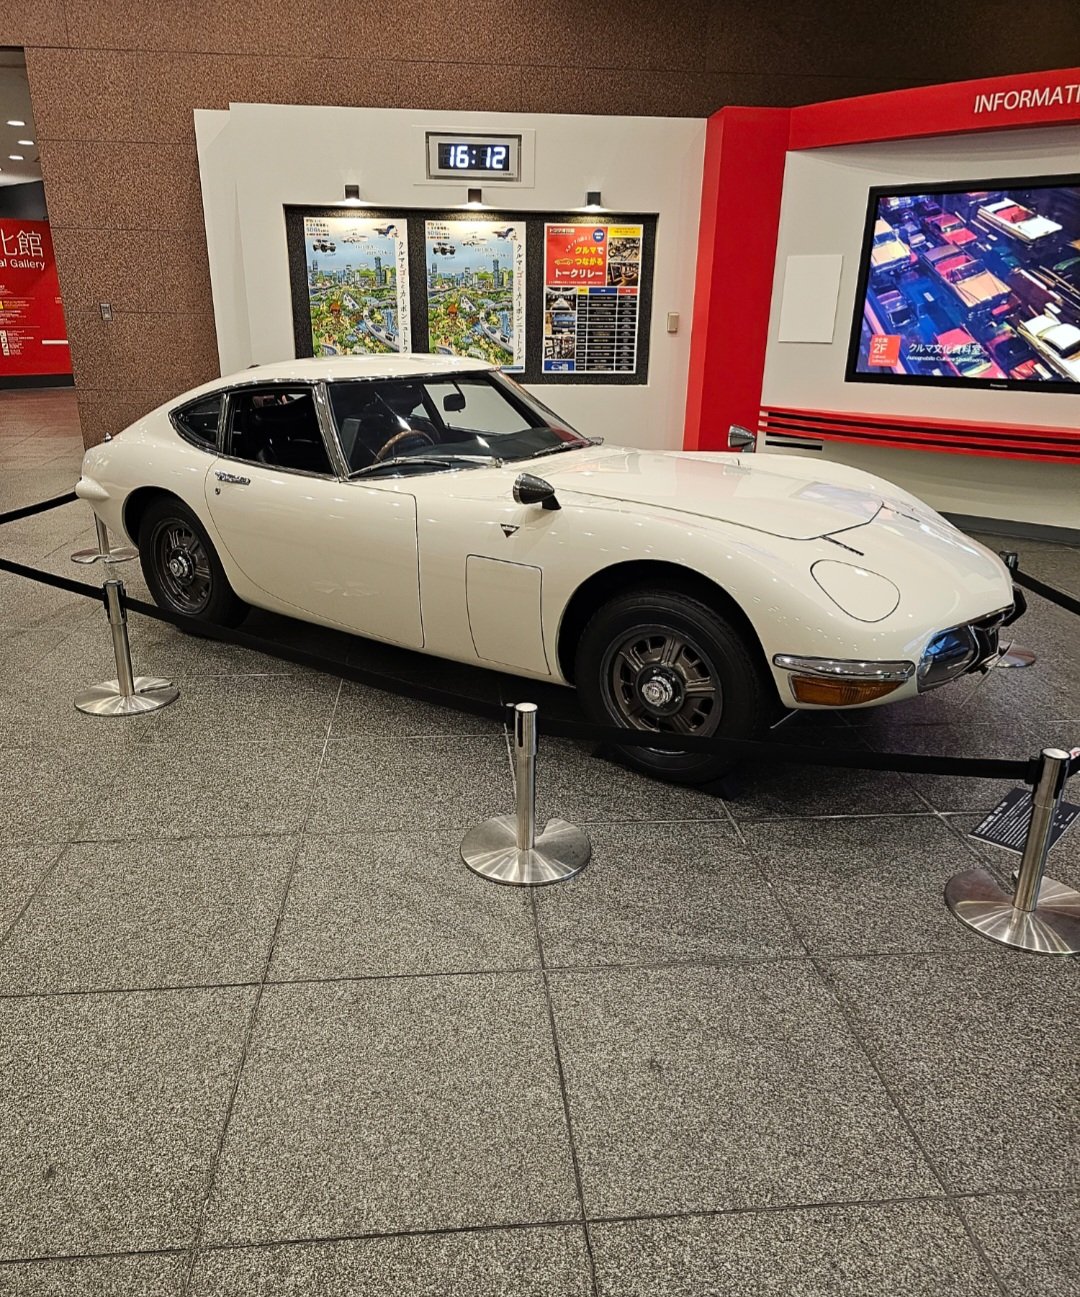
Random snap of the 2000gt in the toyota museum in Japan when I had a few weeks off building the ke25
3 points
-
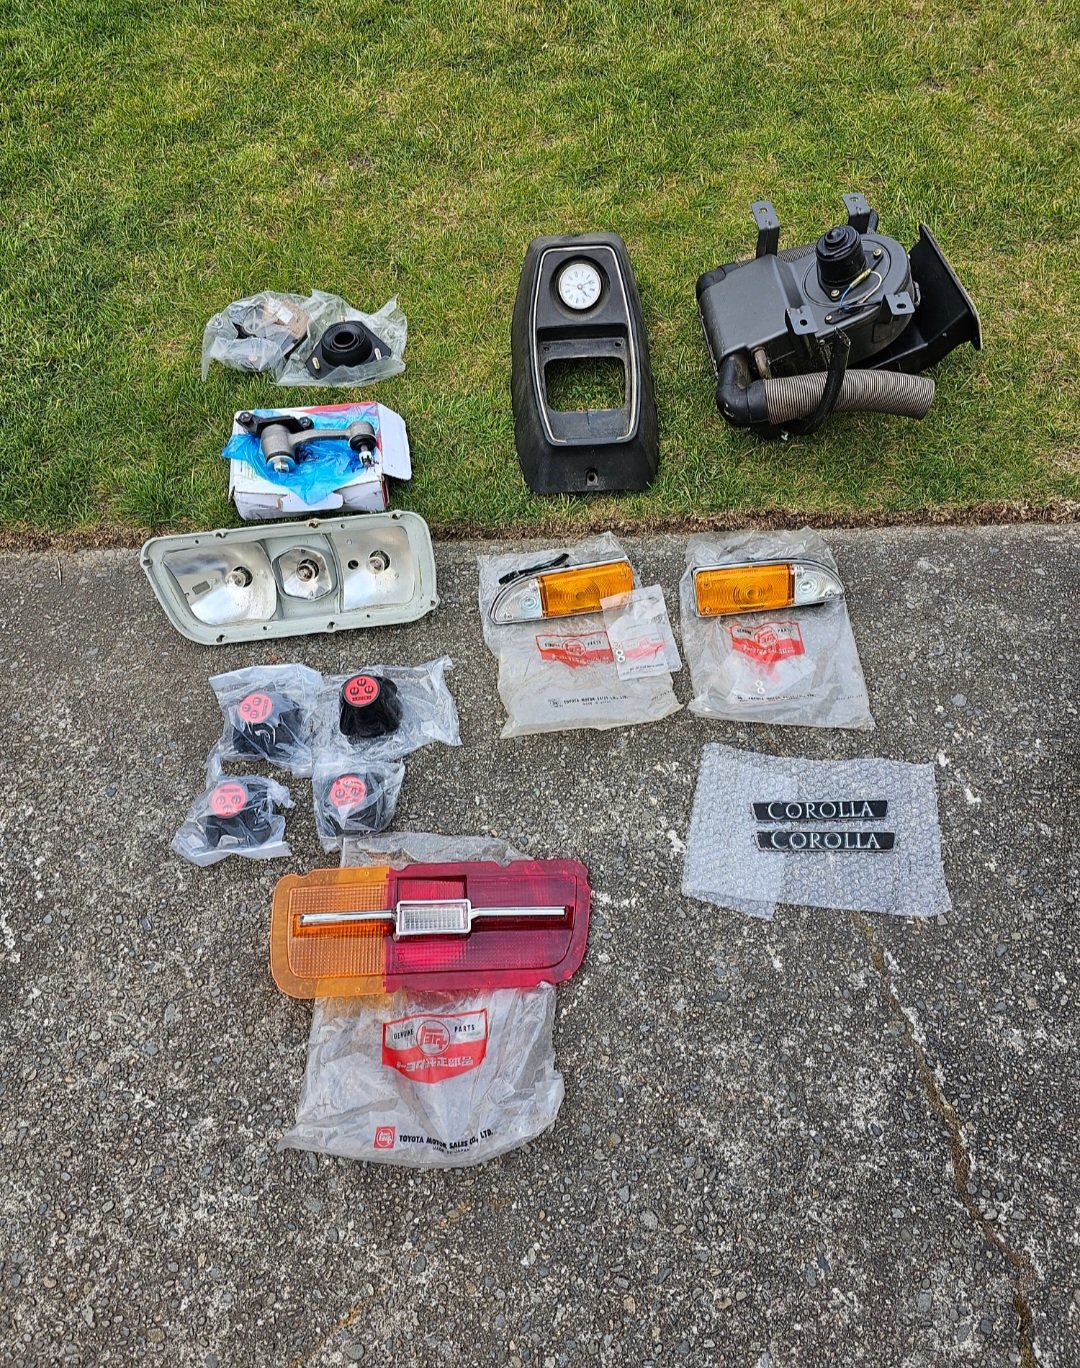
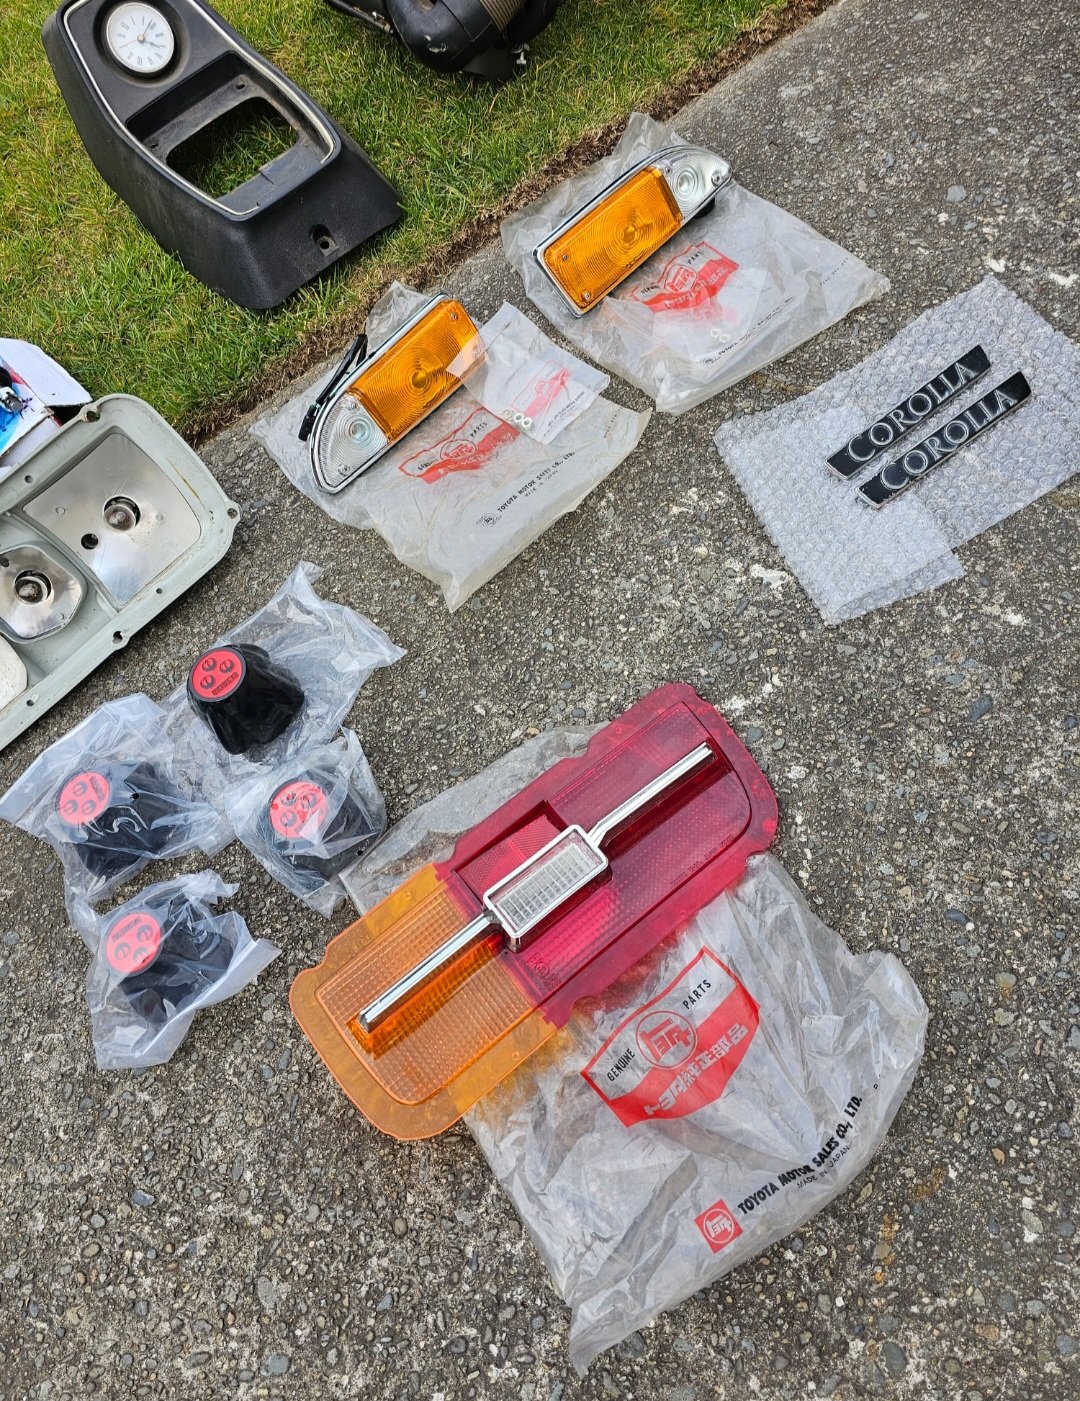
Got offered some nos ke25 parts couldnf say no to those even though it was the day before leaving to go to Japan
3 points
-
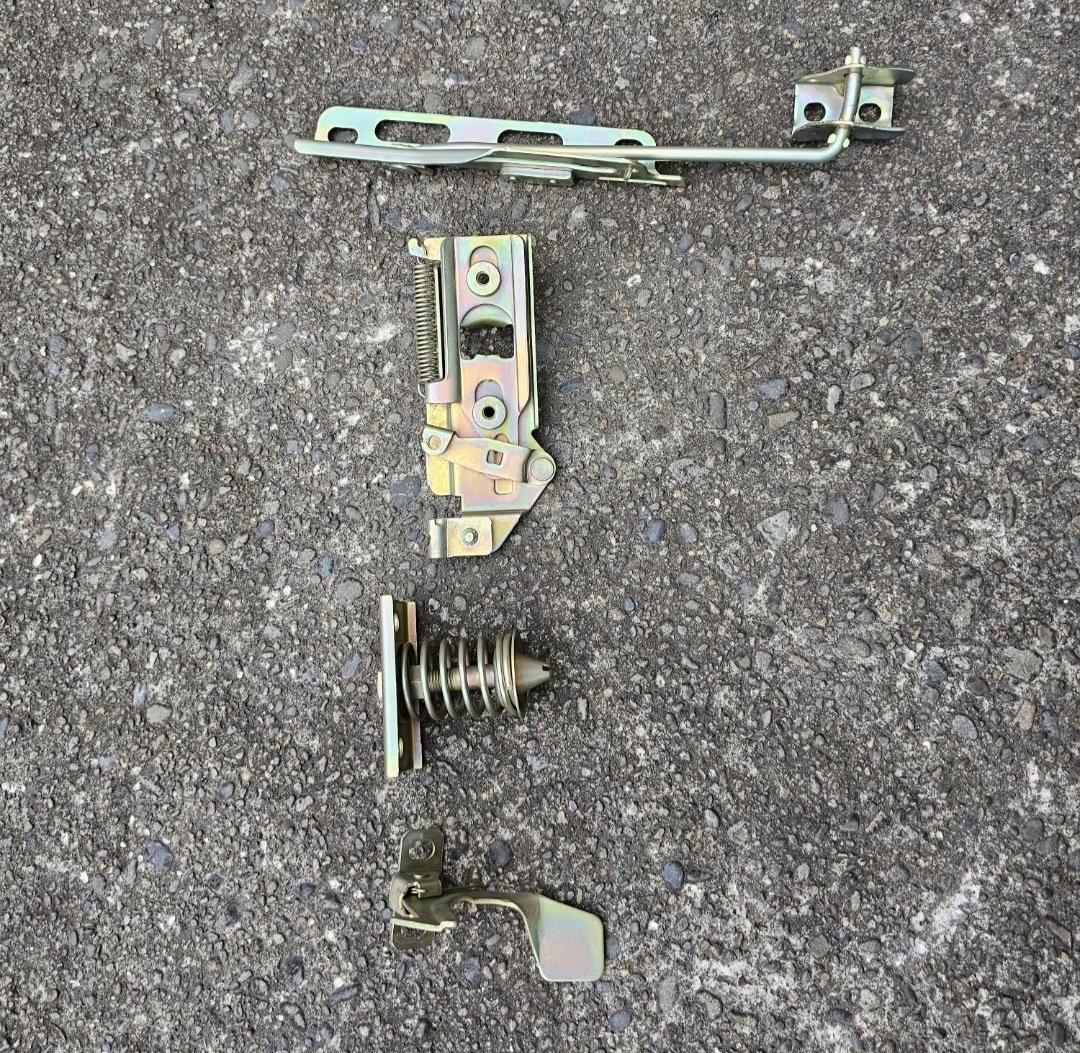
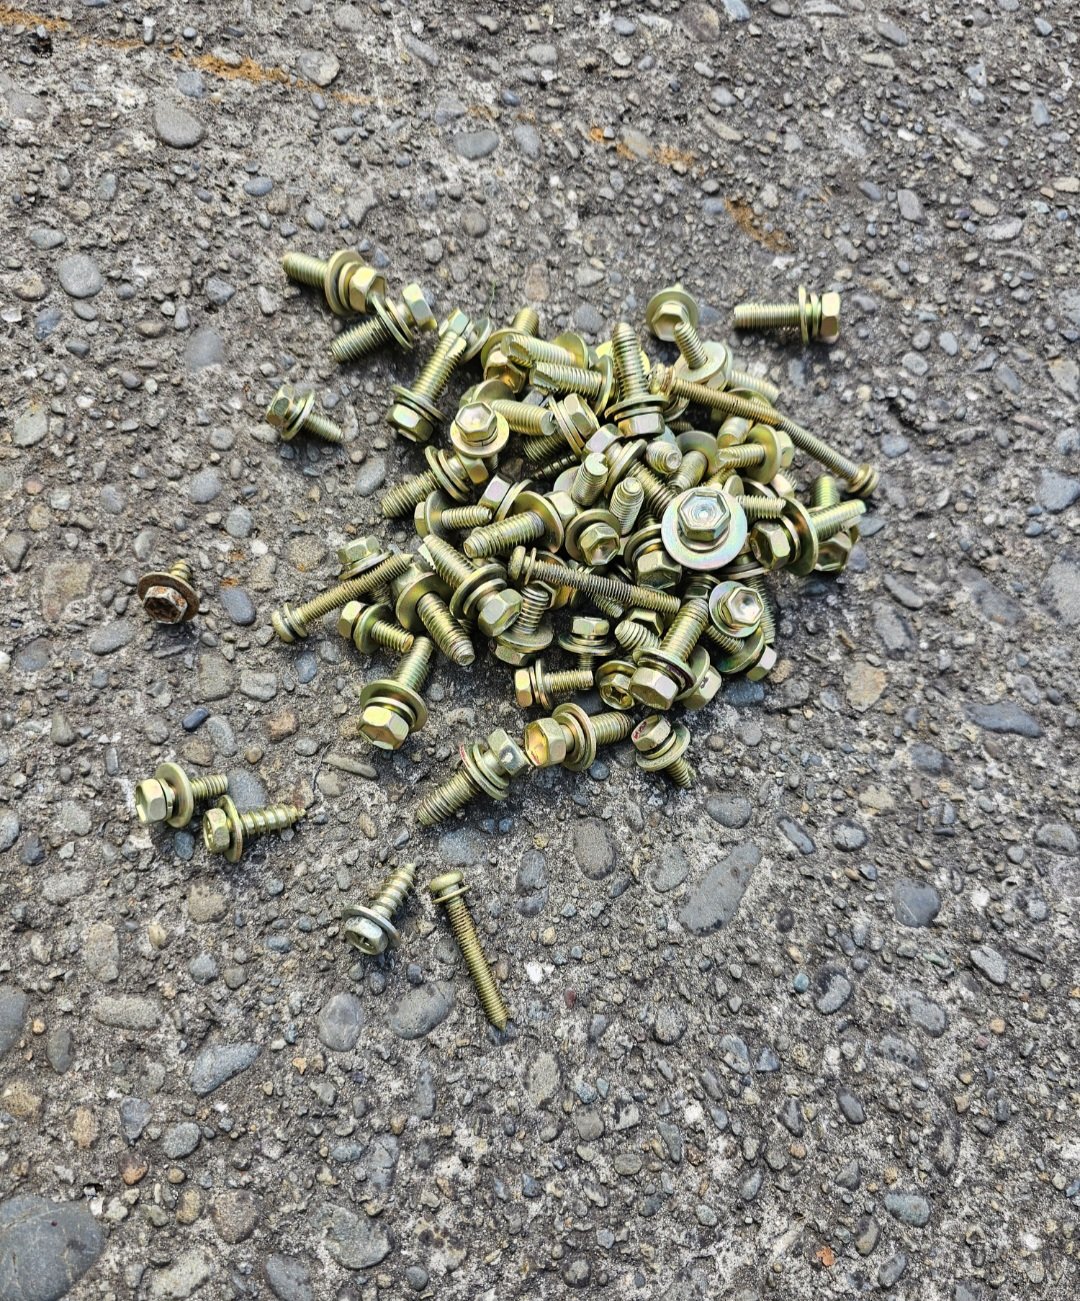
Bolts and lacthes re zinc Plated
3 points
-
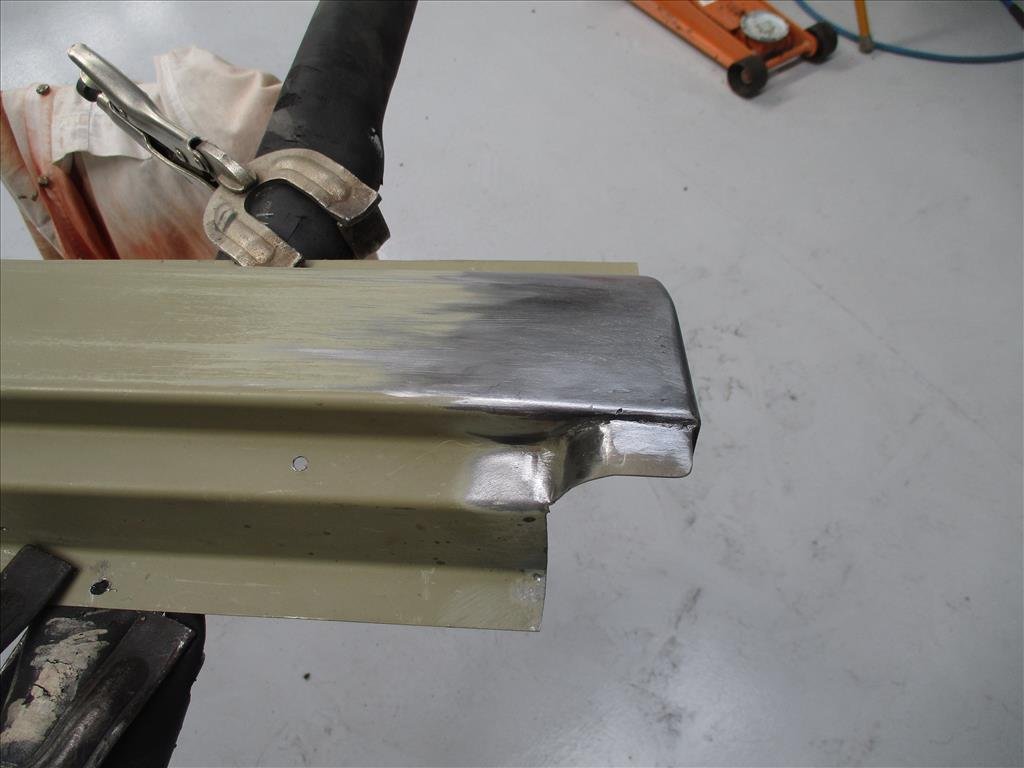
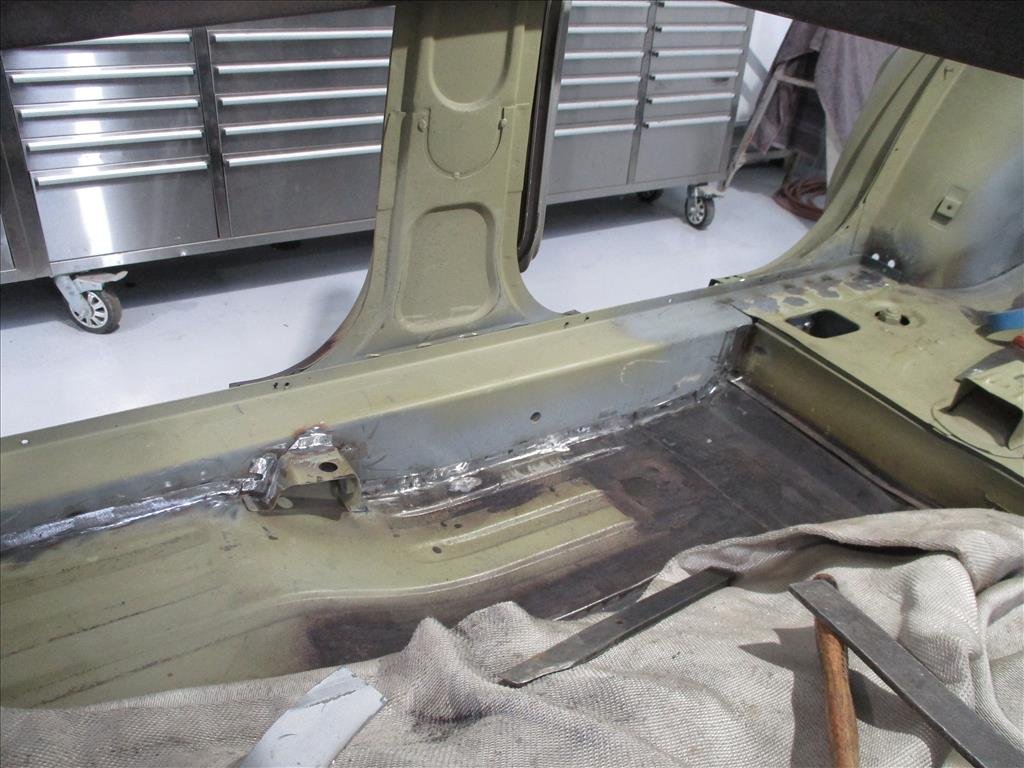
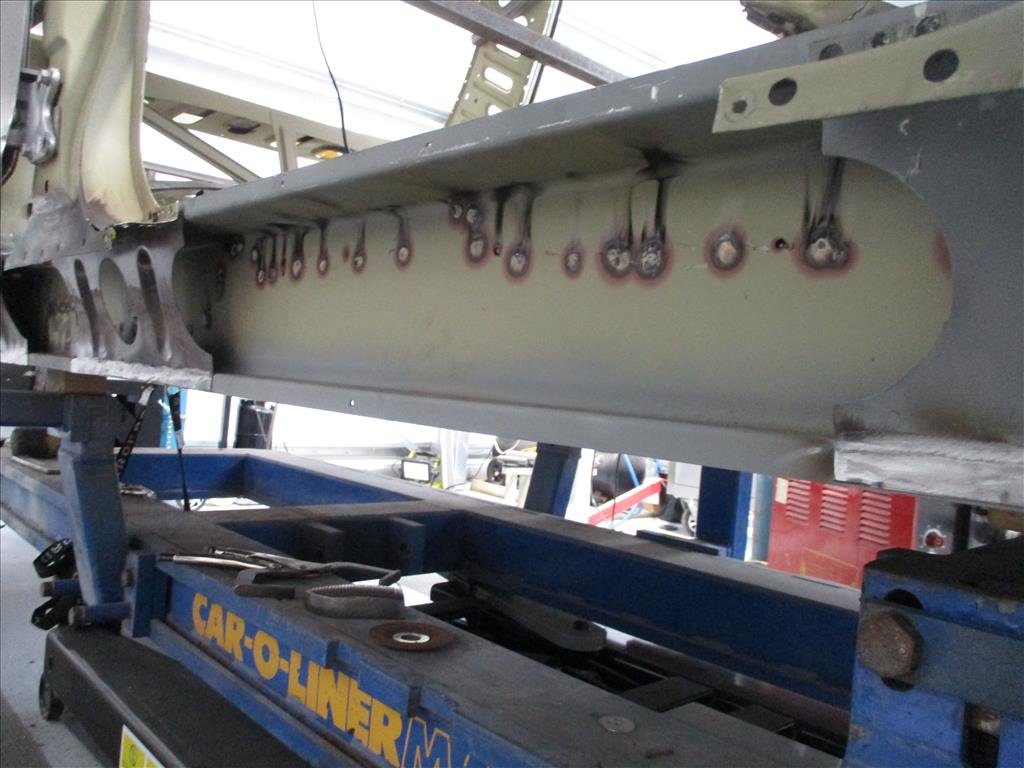
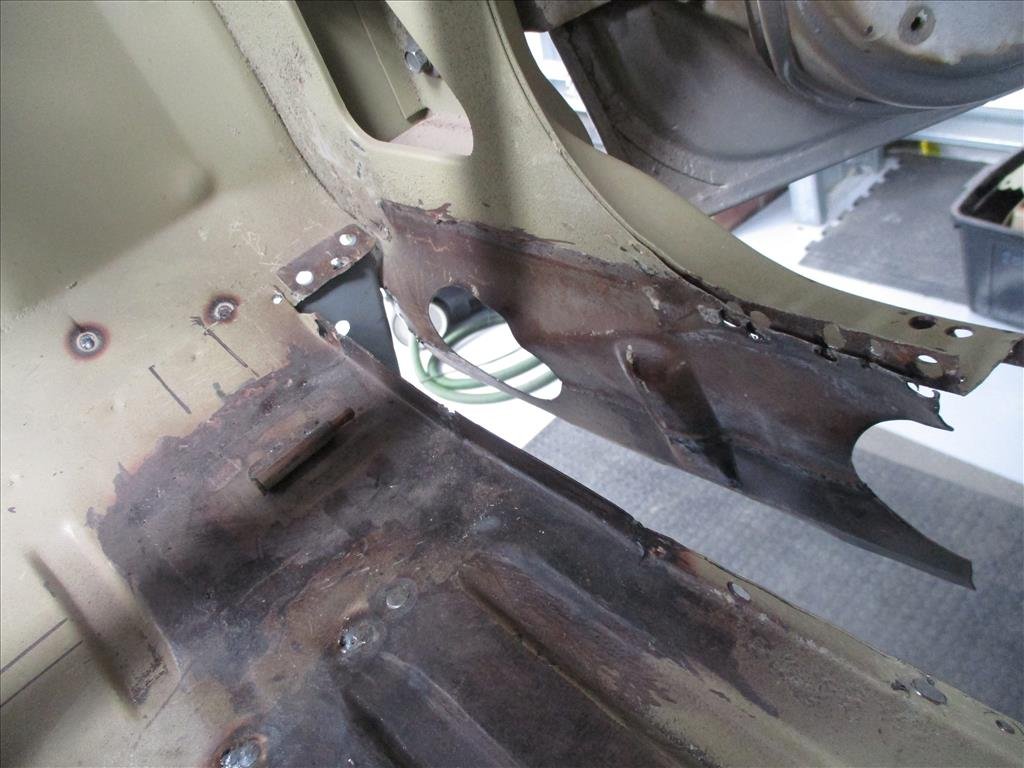
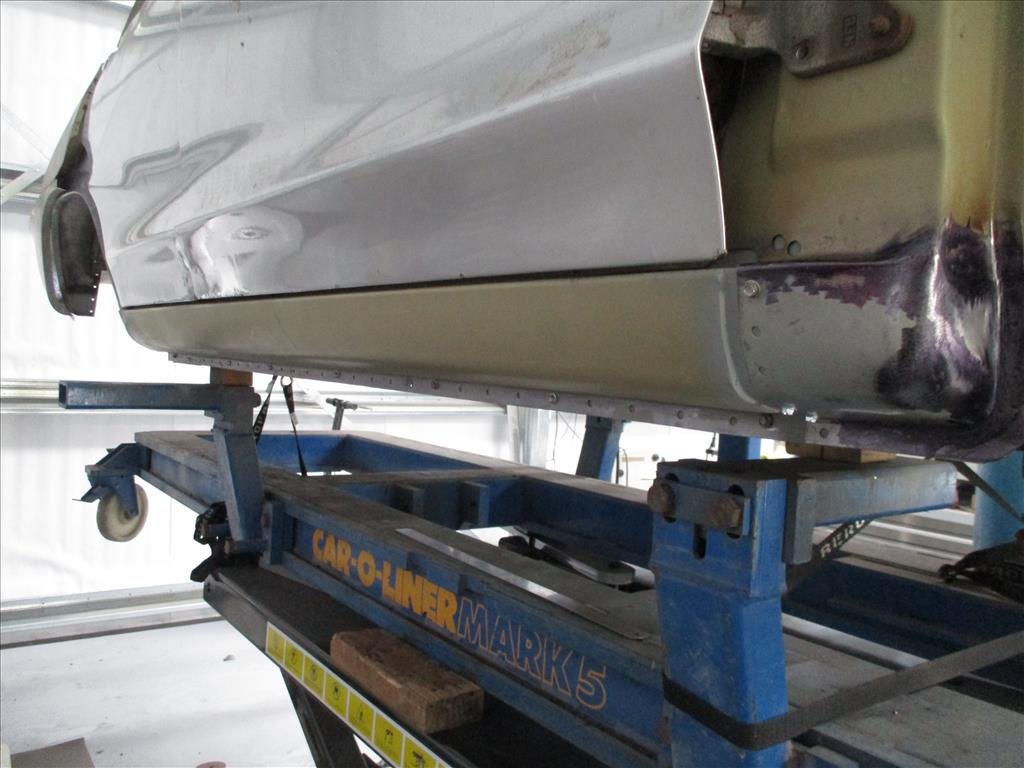
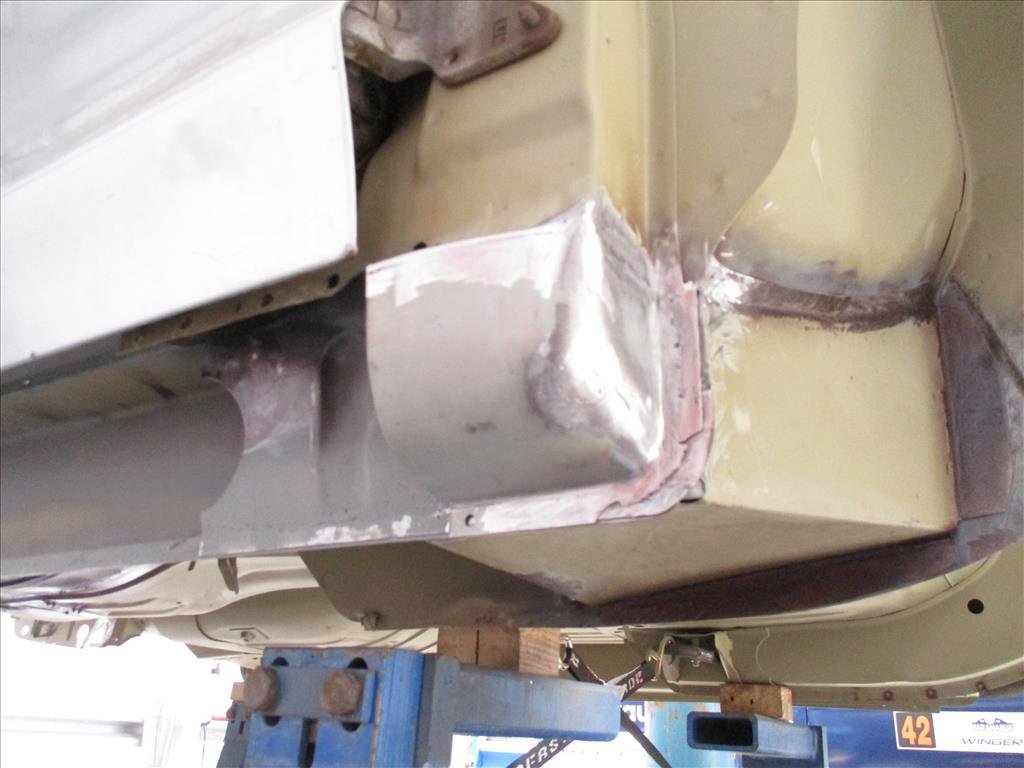
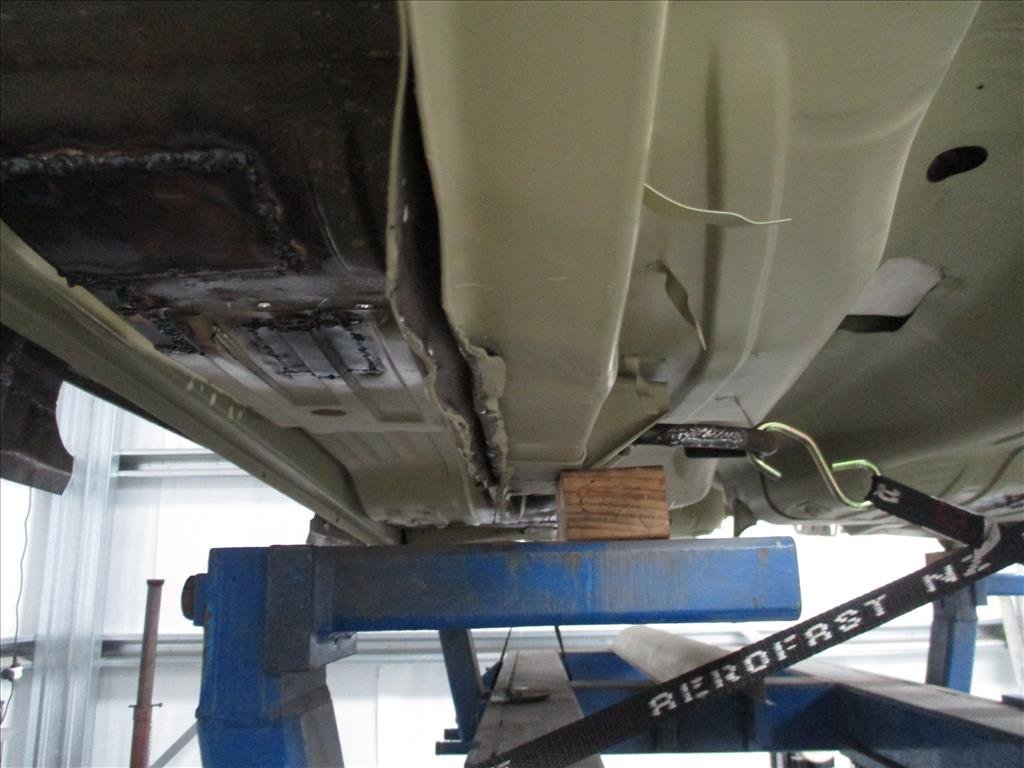
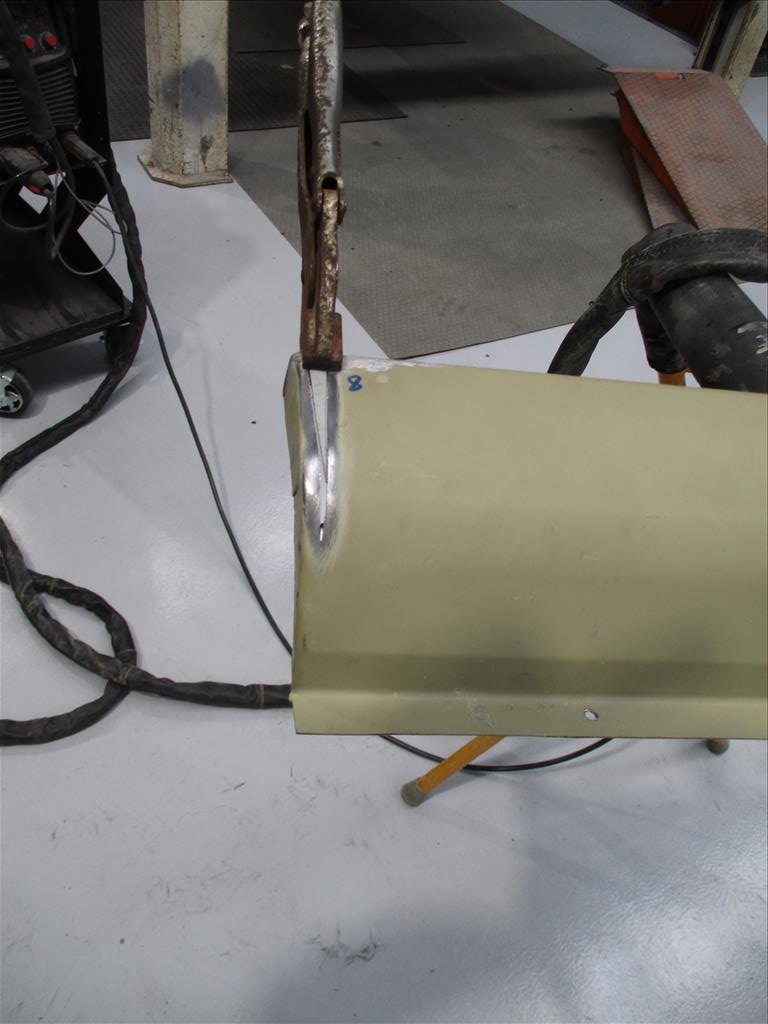
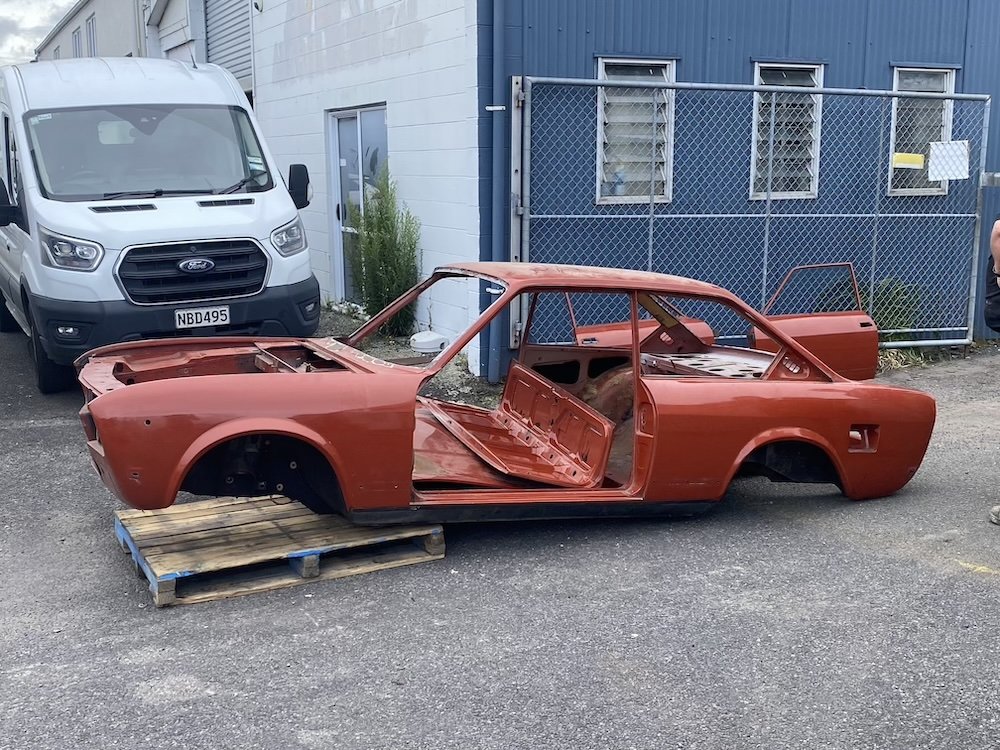
I might've jumped the gun on a previous post saying the car was quite straight, turns out there was a bit more to do.. Chassis rails were mulched from forklifts as mentioned earlier and once the car was pulled straight it was apparent more things were not in great shape. The side sills on driver side had to come off and be modified as well as the chassis rail torque boxes. Some more rust was found underneath (to the surprise of nobody) so they were recreated. I was a little worried about this part of the b-pillar as it was pretty pitted originally especially where it connected down with the inner sill but that's looking much better now. Door gaps looking mint. So yeah these are the kinds of jobs which take ages but aren't really exciting to look at but needed to be done to ensure it can survive another 50 cycles around the sun.
3 points
-
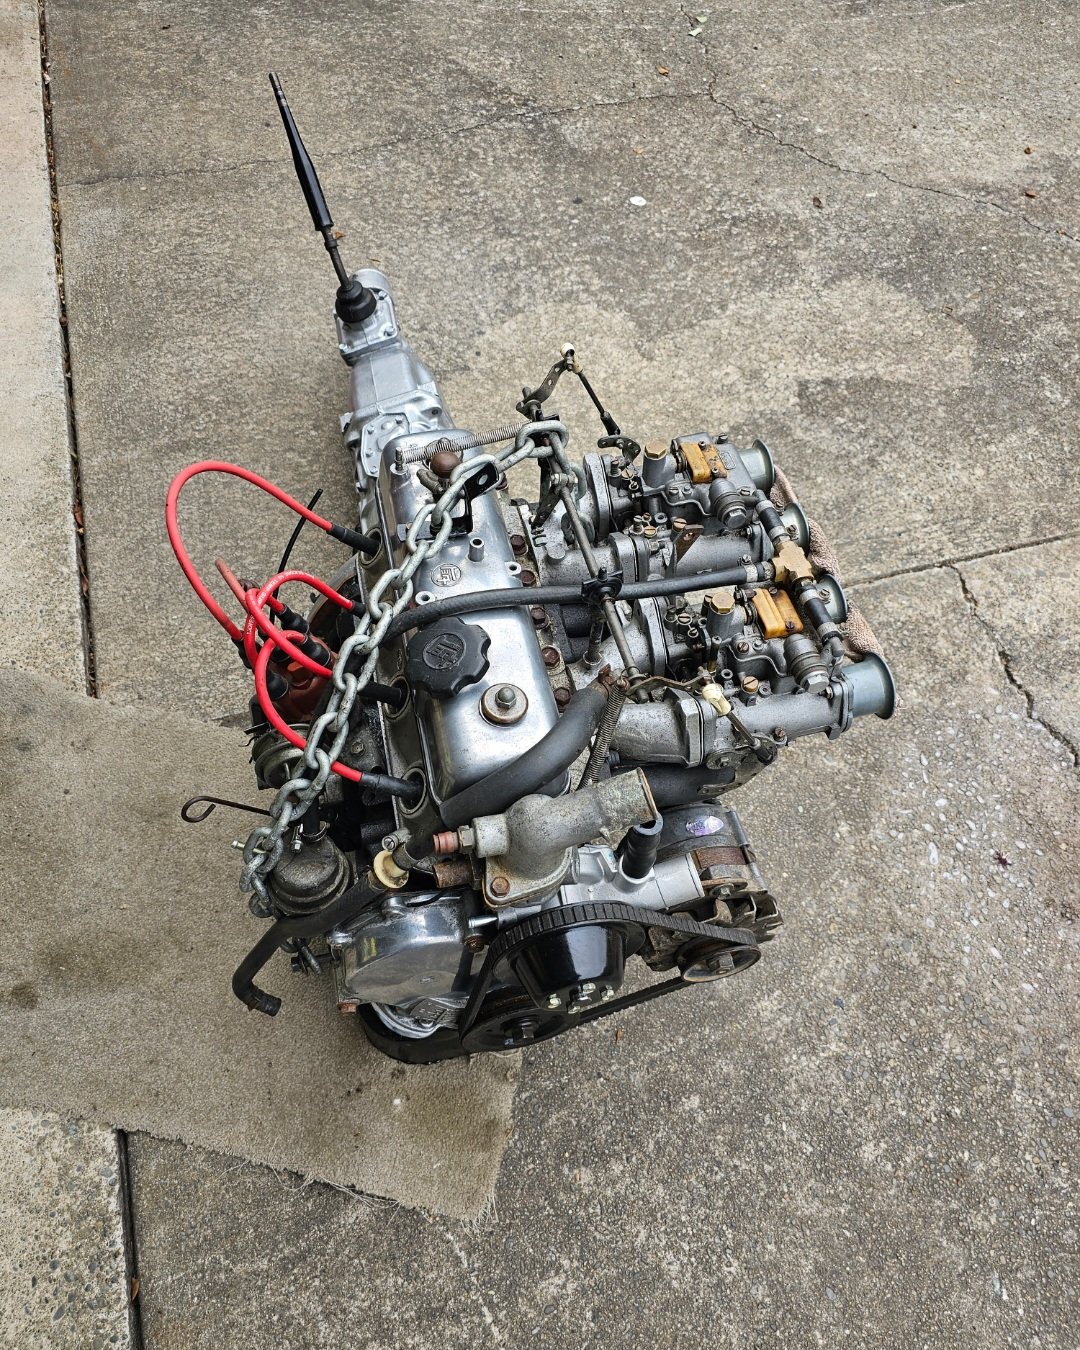
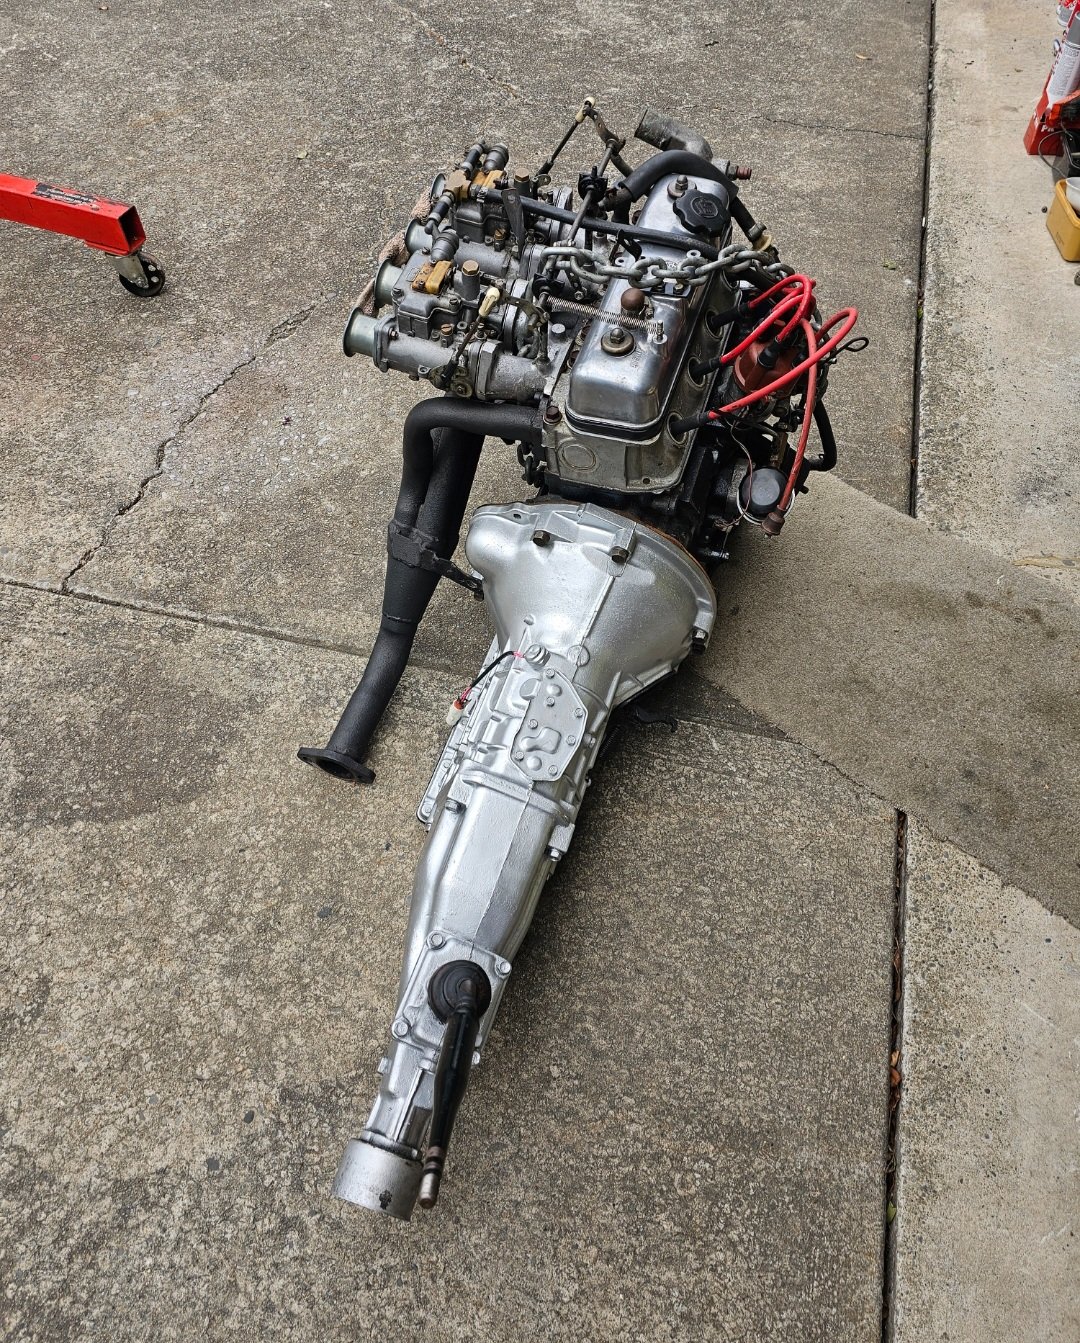
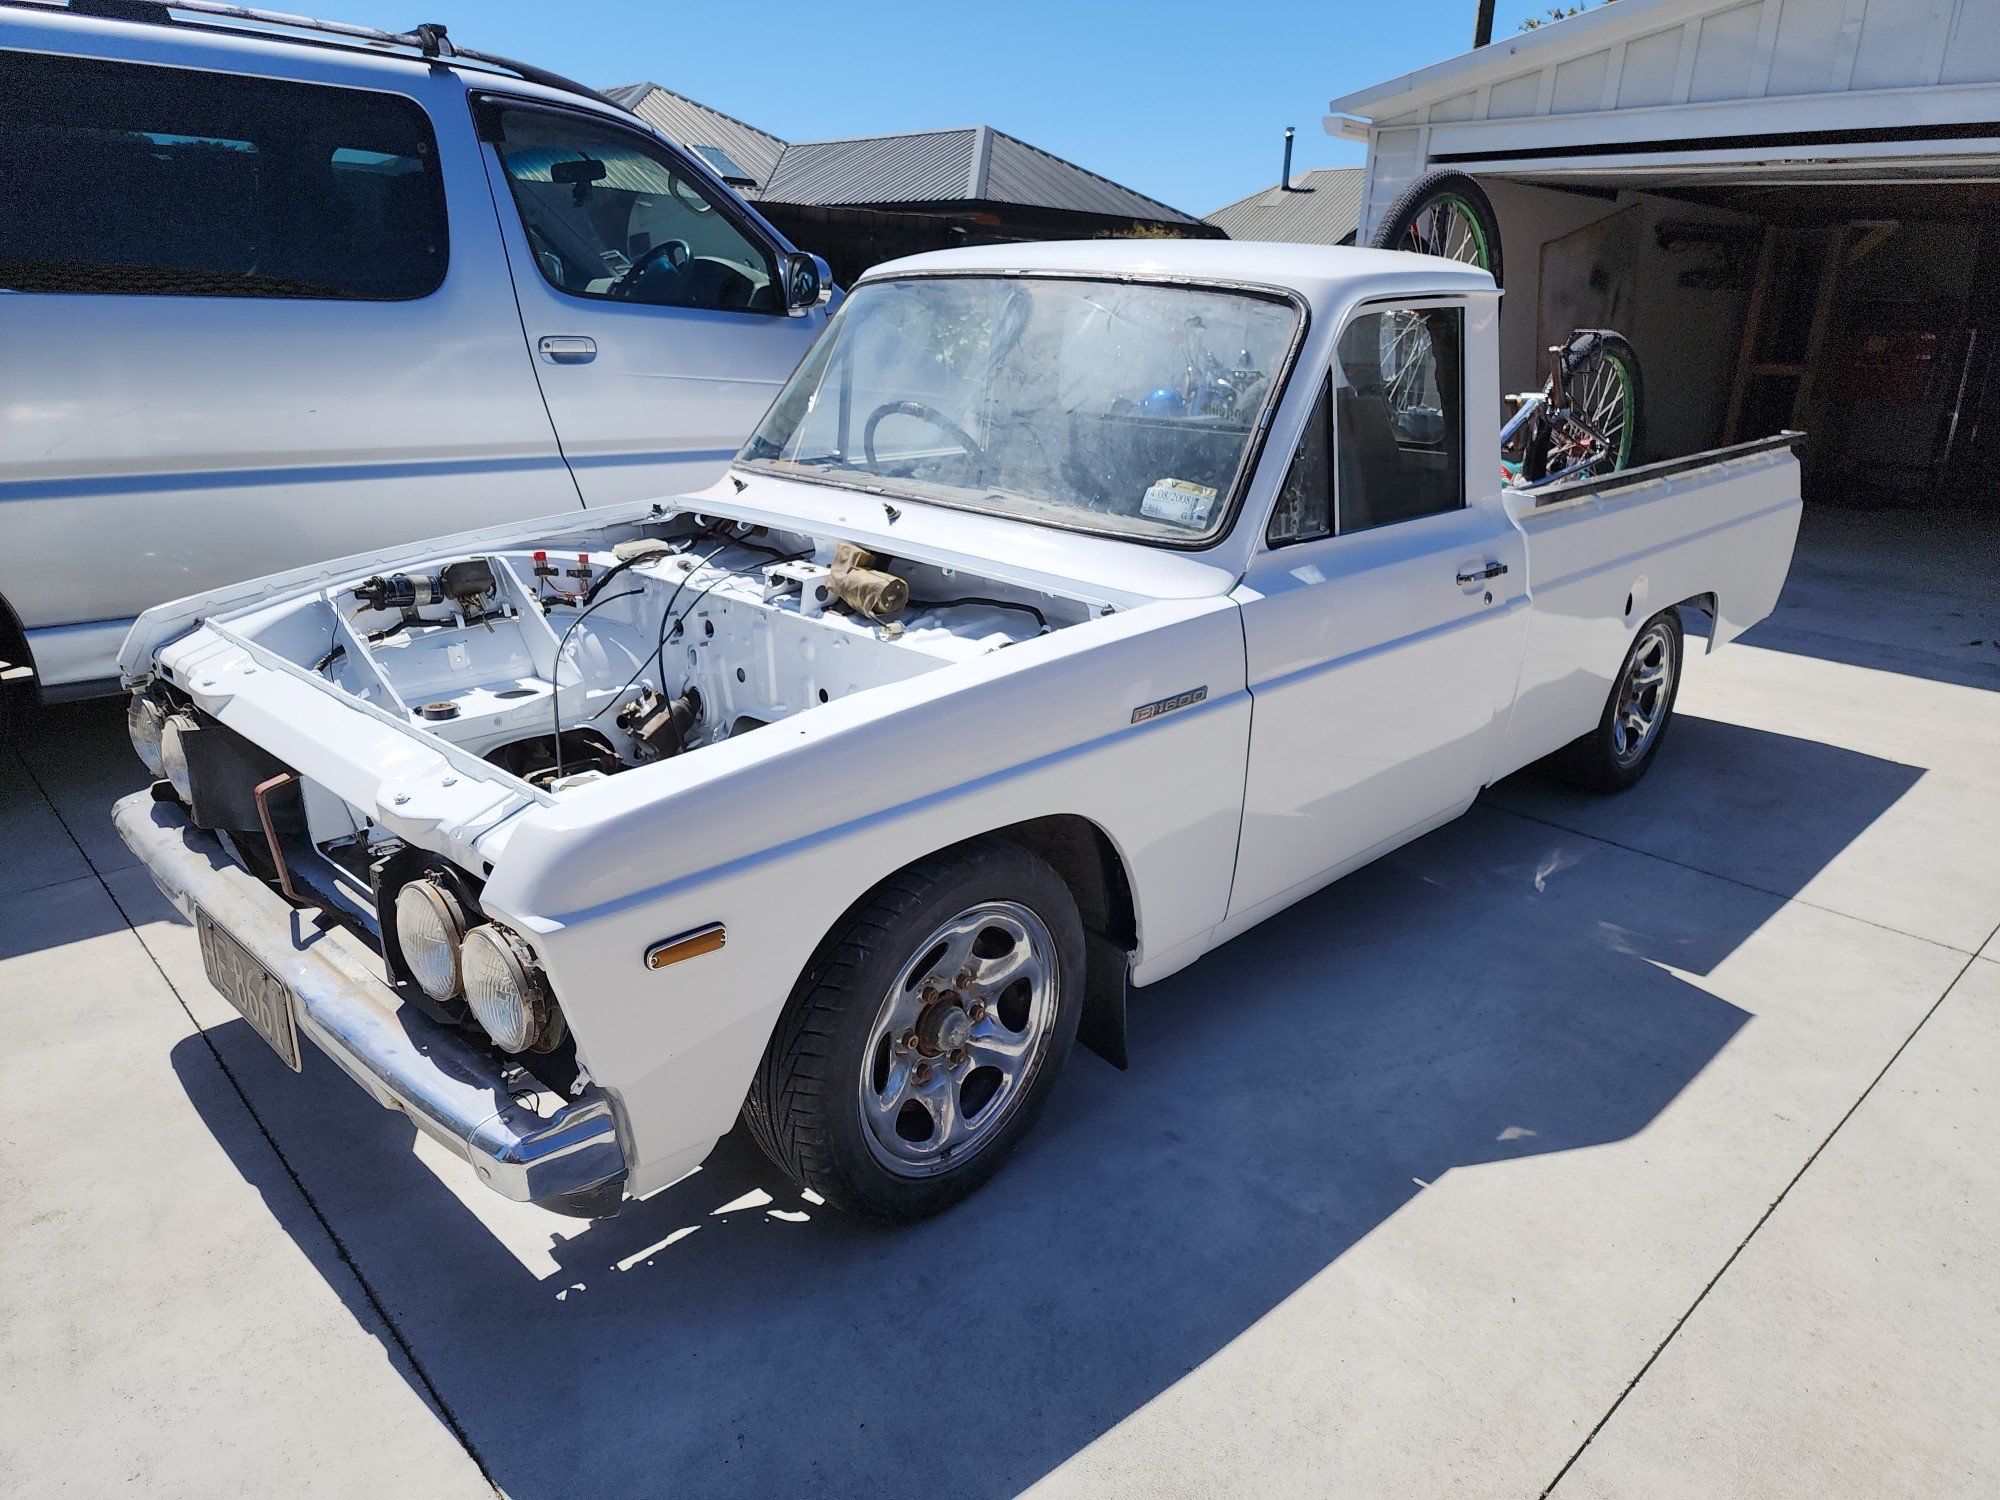
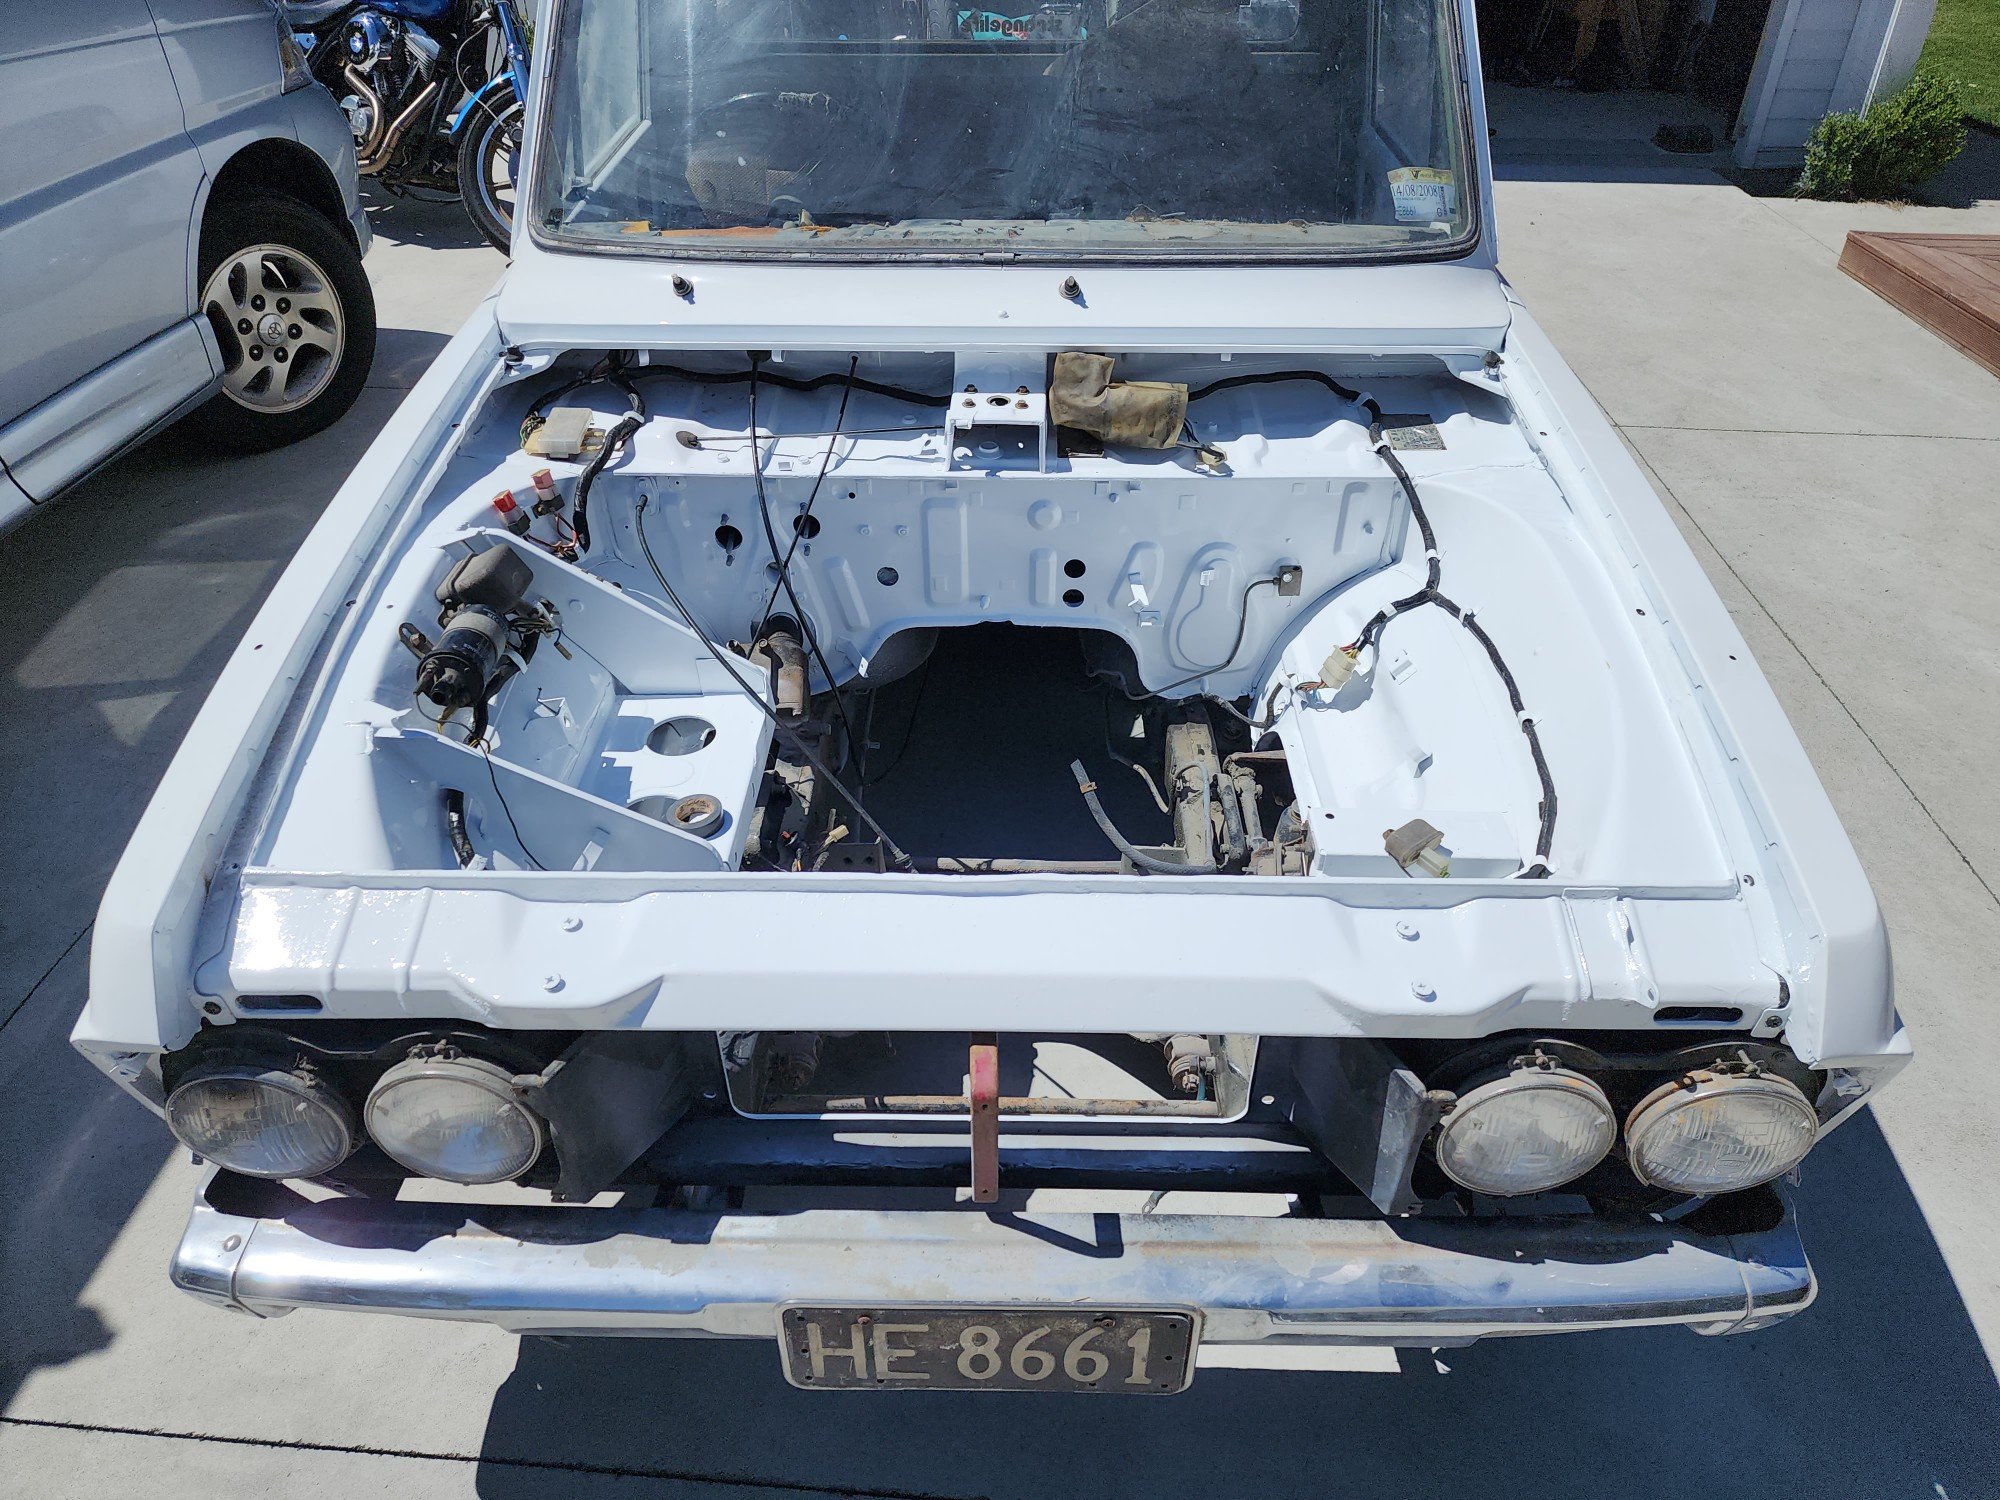
Engine bay is all painted. Have re installed loom. I've manage to get the motor unstuck so hopefully it'll be a runner. Will let the paint harden for another week or so before I try and chuck that back In there. Finally some light at the end of the tunnel. Still so much to do though. Whole brake system needs going over. Will have to try source a brake and clutch master
3 points
-
Things to look out for in a 2000's (or actually pretty much any)Falcon Rust, diff whine, slipping trans, rust, shuddery brakes,fading paint, leaks, falling apart interior, rust etc..2 points
-
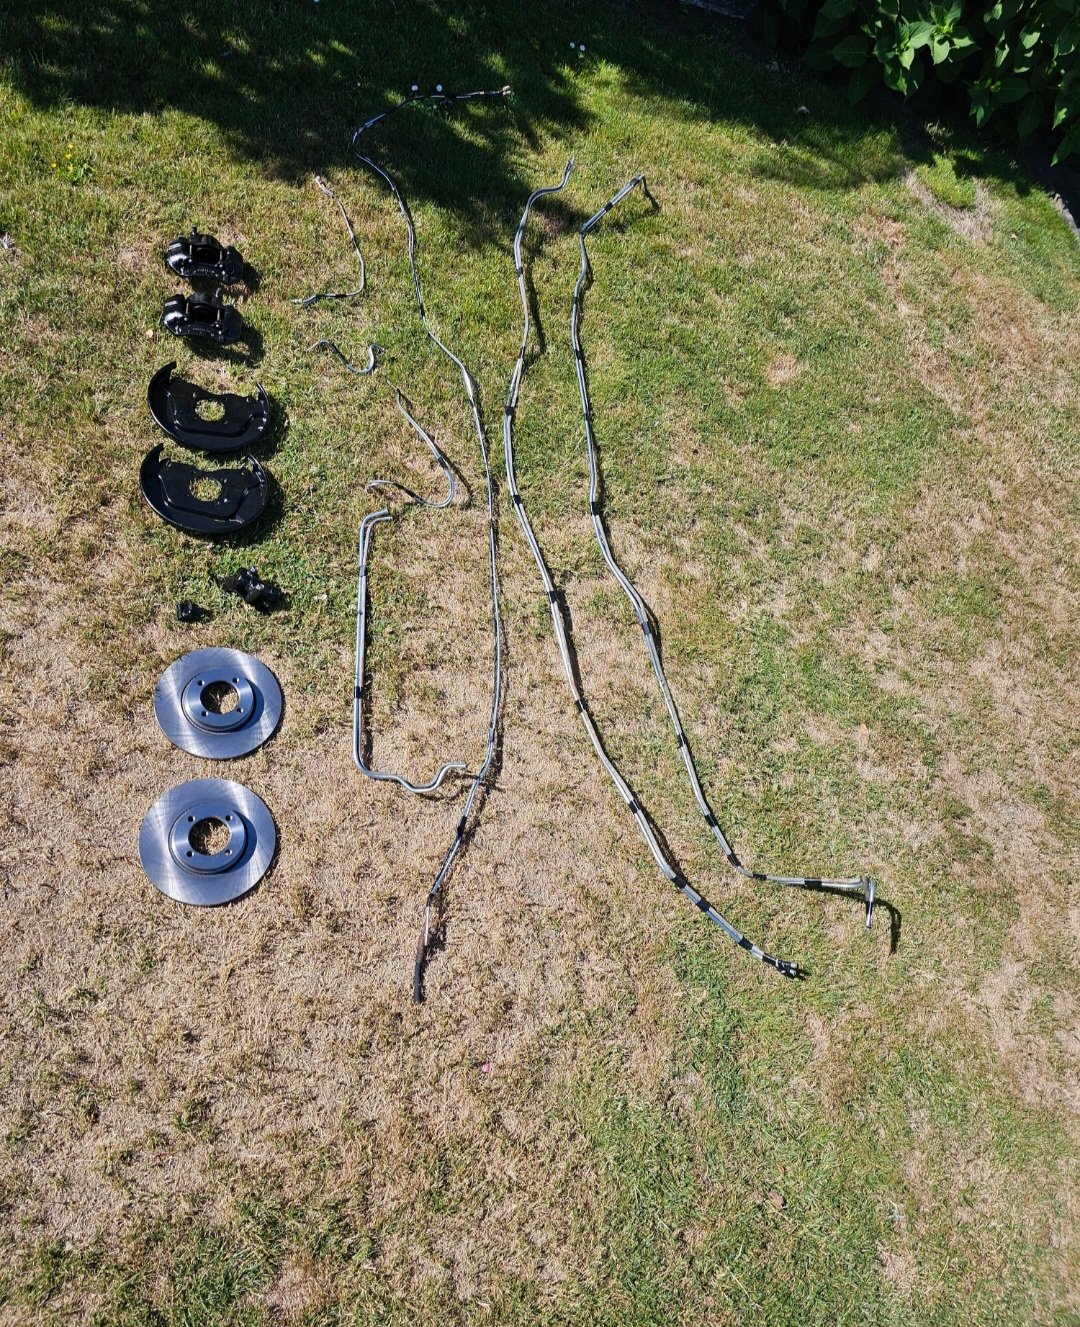
Old owner had removed all brake and fuel hardlines got some 2nd hand ones for samples and got them remade. New rear brake cylinders and machined drums and shoes, rebuilt master and front calipers New front shoes and discs
2 points
-
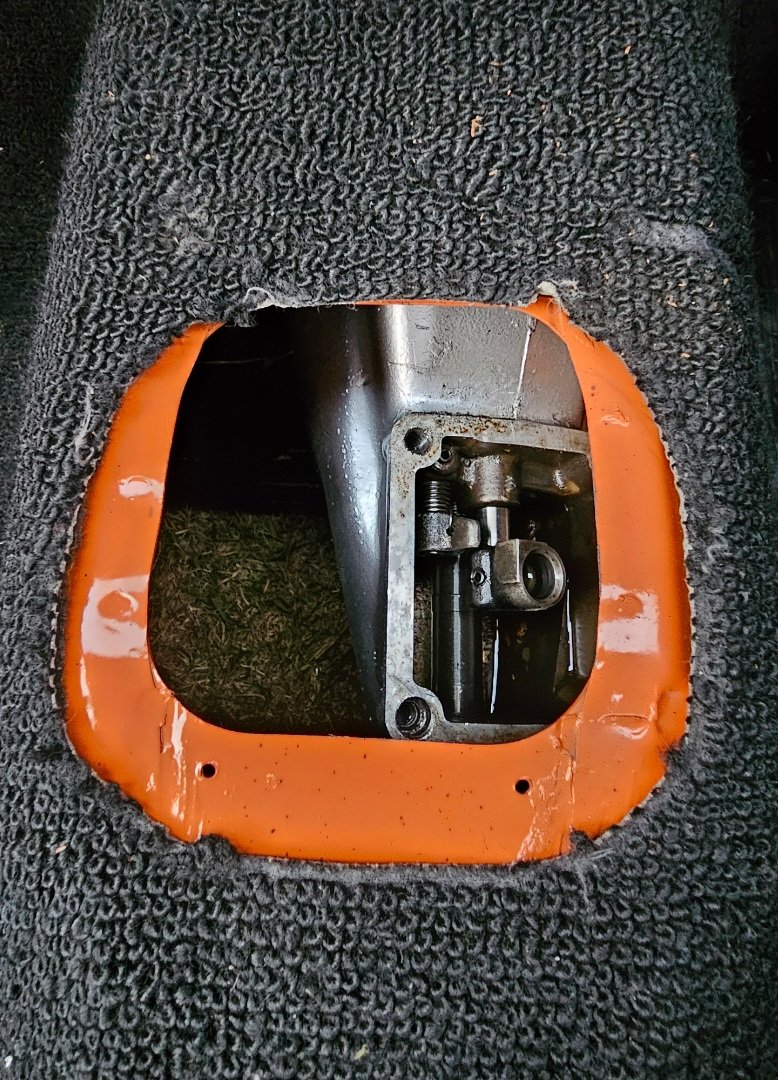
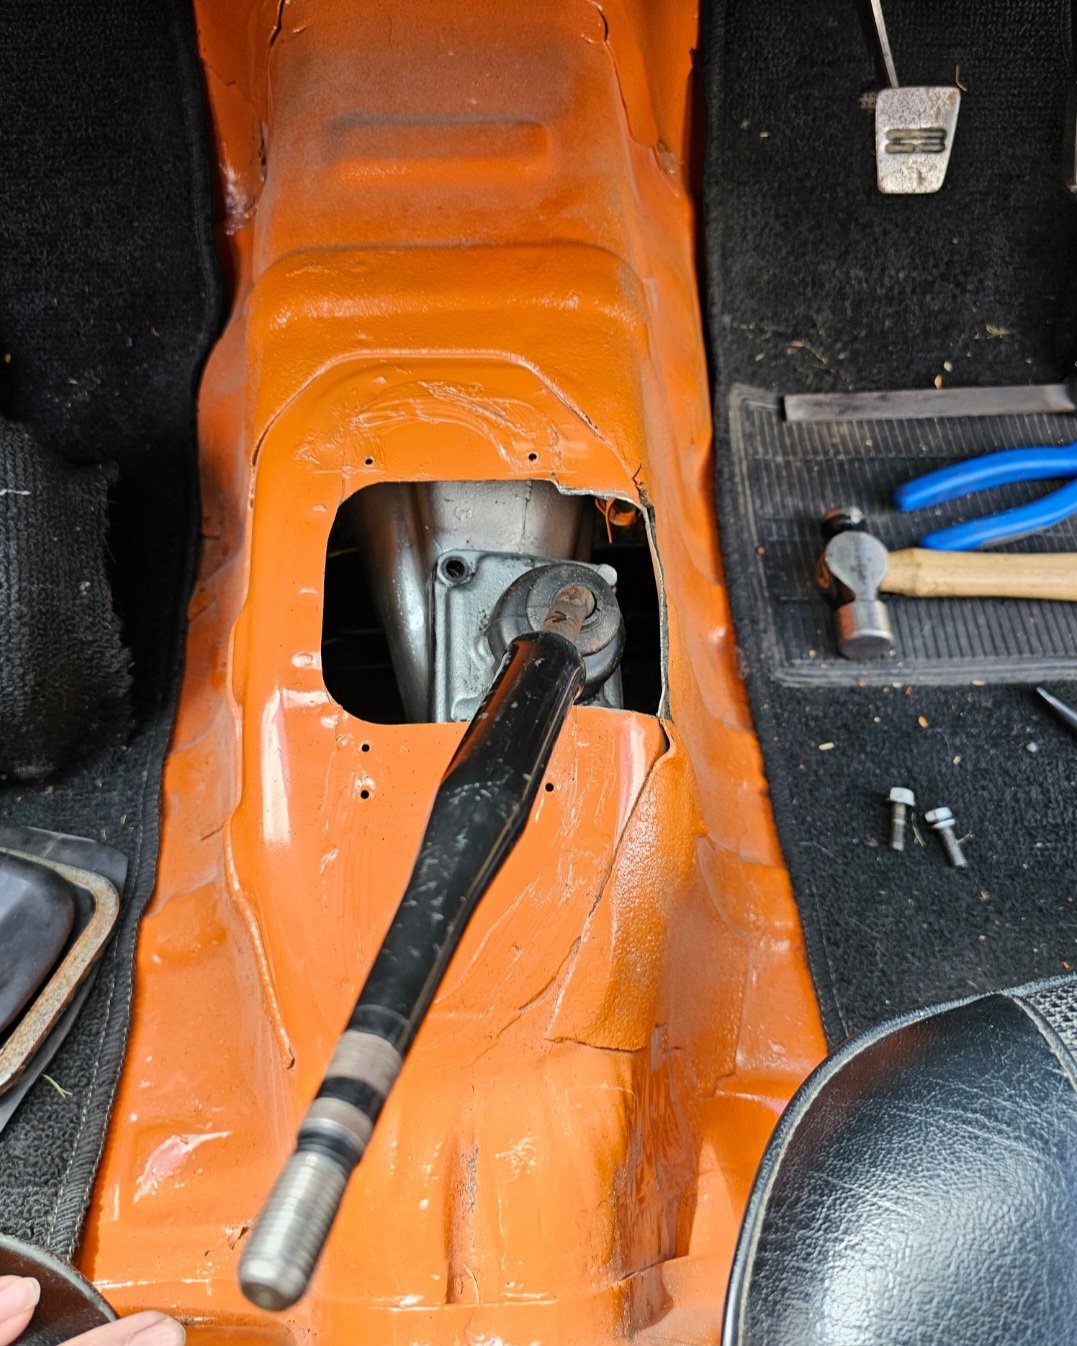
We bit of cutting if the floor and a bit of heating for the gear leaver
2 points
-
Factory seats and interior back in
2 points
-
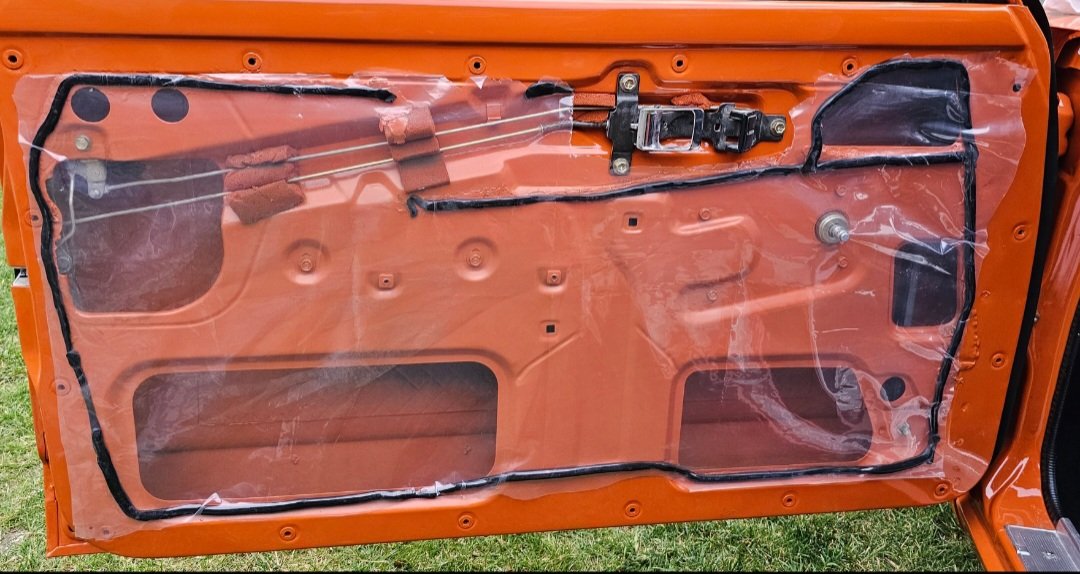
New plastic liner added to protect factory door cards
2 points
-
Well done - I like that you have reverted it back to original, big job and great effort.2 points
-
2 points
-
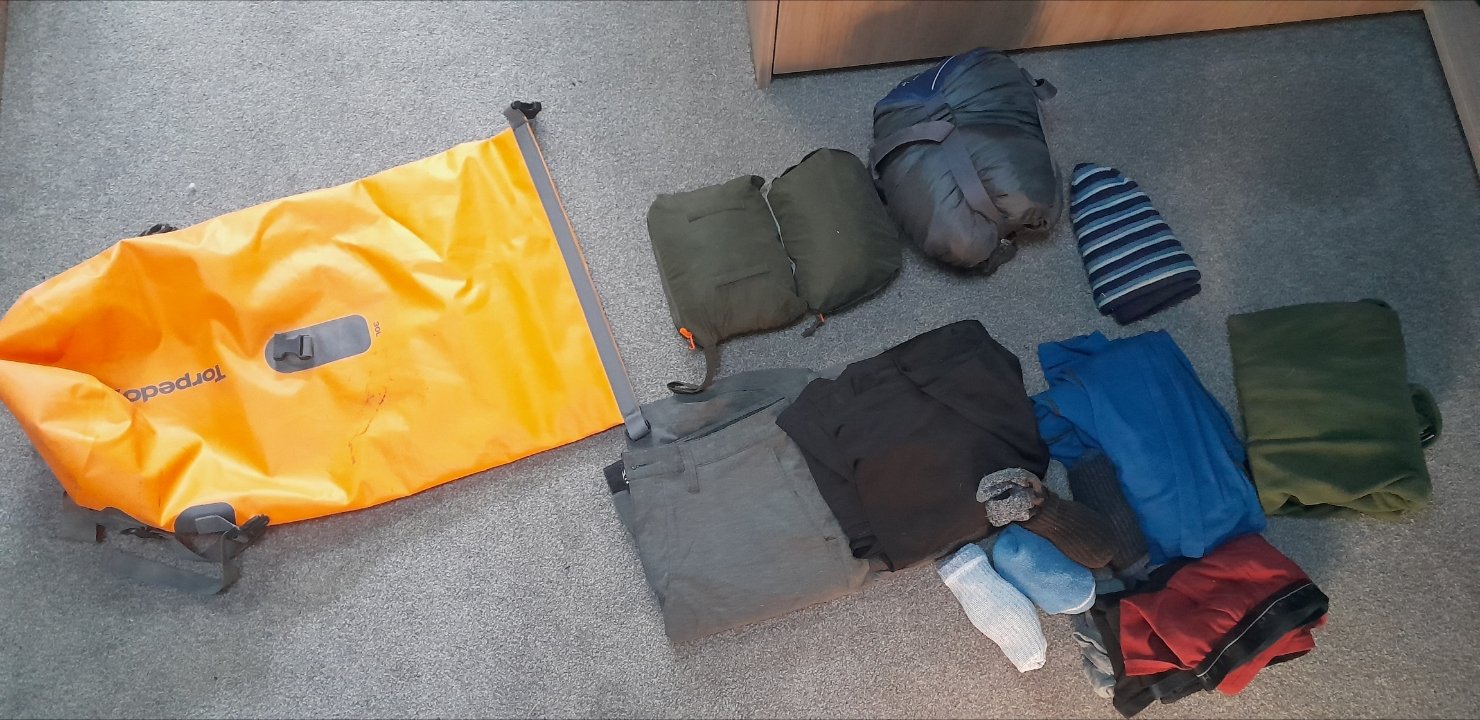
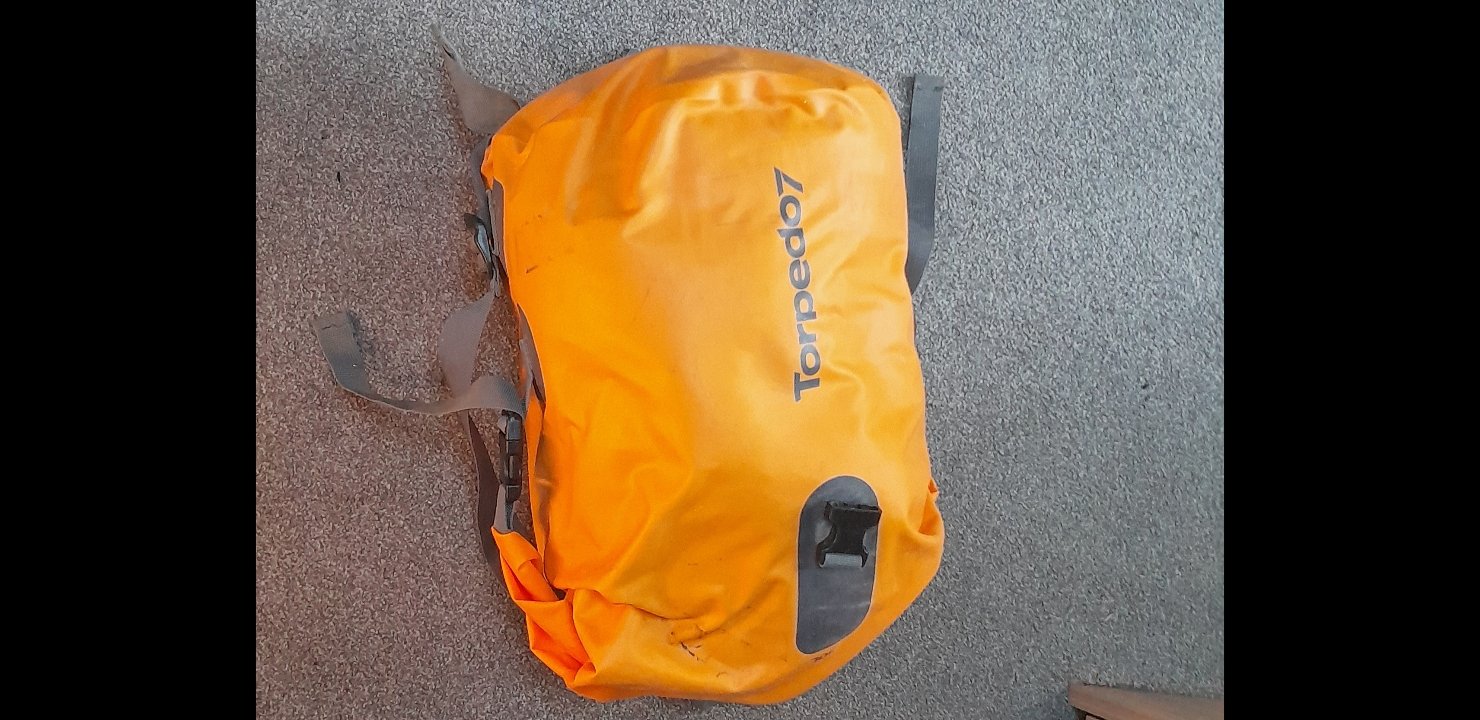
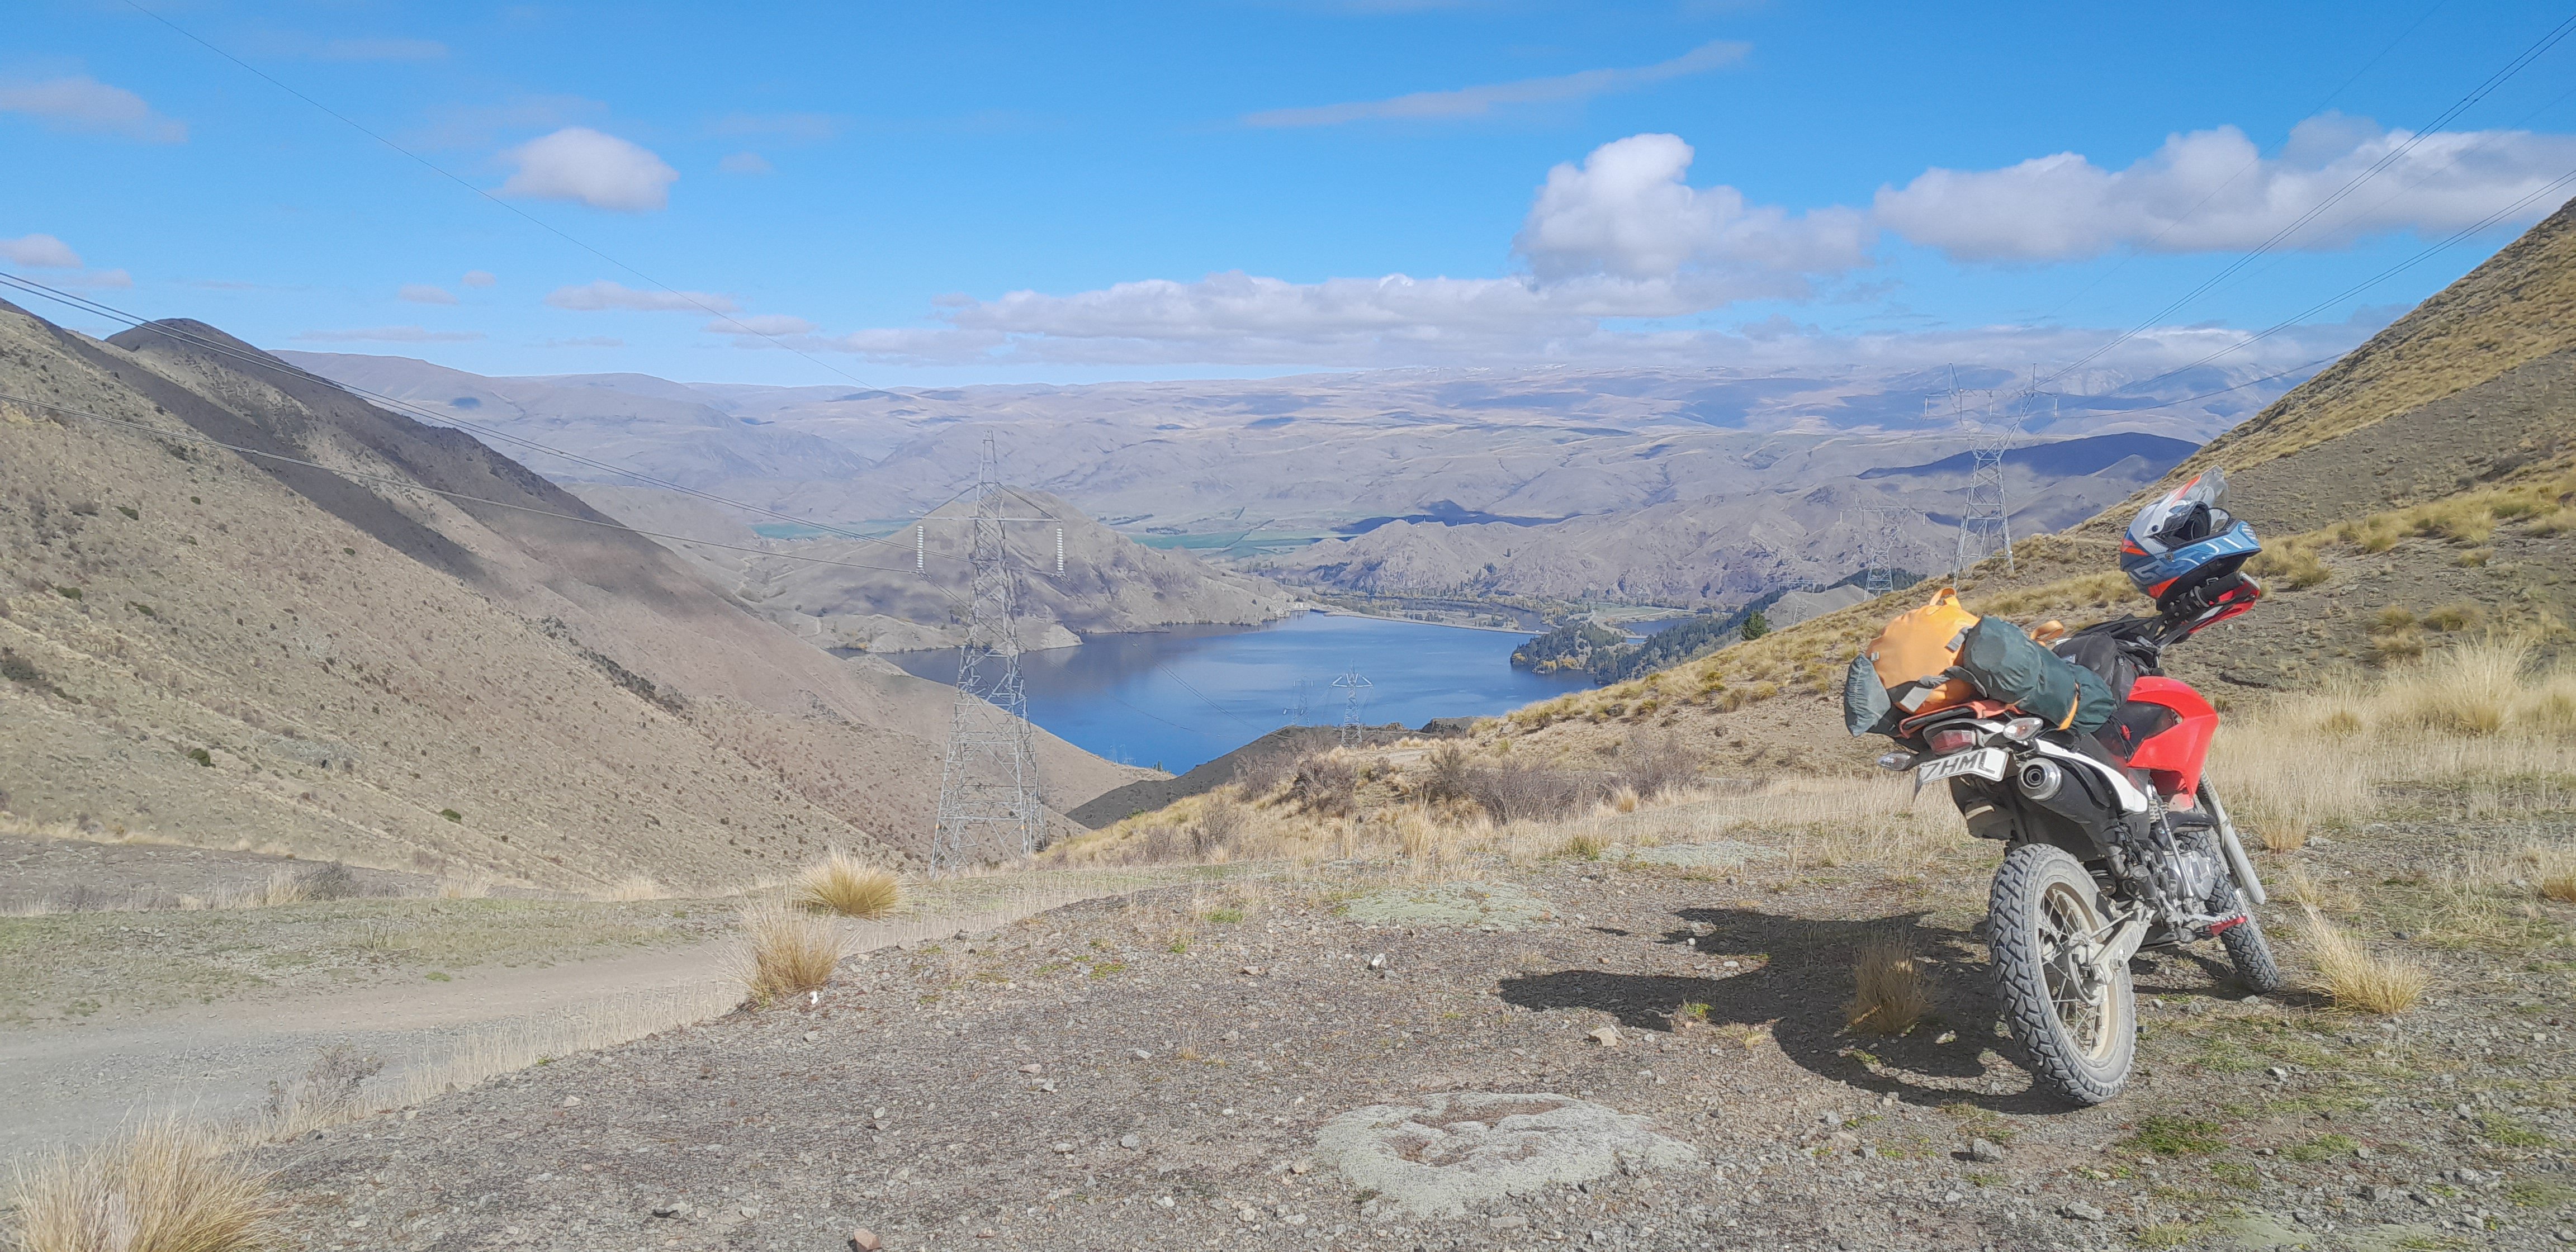
This year guys can we try and be more self sufficient, carry all your own gear. Last year we ended up with so much gear in the support vehicles they were stacked to the roof! This year we just can't be doing that, they're going to need to travel light just to try and keep up with us. Plus I reckon it's more of an adventure if you can do it on your own. The support vehicles are there for breakdowns and bbqs, and imo we're very grateful to have them. Just to give you an idea, if you're not sure, this is the gear I took on the recce in April. That's 3 pairs undies, 4 pairs socks, thermal top and leggings, 2x long sleeve sports type shirts, 2x sports type t-shirts (one has some merino in it), Polar fleece jersey, jacket and pants rain gear, and a beanie. (Toothbrush not pictured)(also towel, I just remembered) And that all fits in a 30l dry bag easy (Last year I also had small cooker, gas canister, small pot, and freeze dry meals in there too) I'm obviously not including motorbike jacket and pants because I'll be wearing them, and some of those clothes ^ So that and 2 person tent and bedroll looks like this Backpack has camelback and snacks. I did have a tank bag but that was mostly tools, phone charger, and lunch but you won't be needing that. It can be warm in the valleys and cold up top on the ridges. I ended up wearing the thermals, long and short shirts, Polar fleece under bike gear, and rain pants over bike pants. (The bike pants I took were a cotton Kevlar cargo pants so not warm to begin with. And it was April, I don't know if that made a difference) I try avoid cotton t-shirts, they soak up sweat and will make you cold.
2 points
-
Spit and polish today - almost time to rip the 6 out and begin the 351c journey.
2 points
-
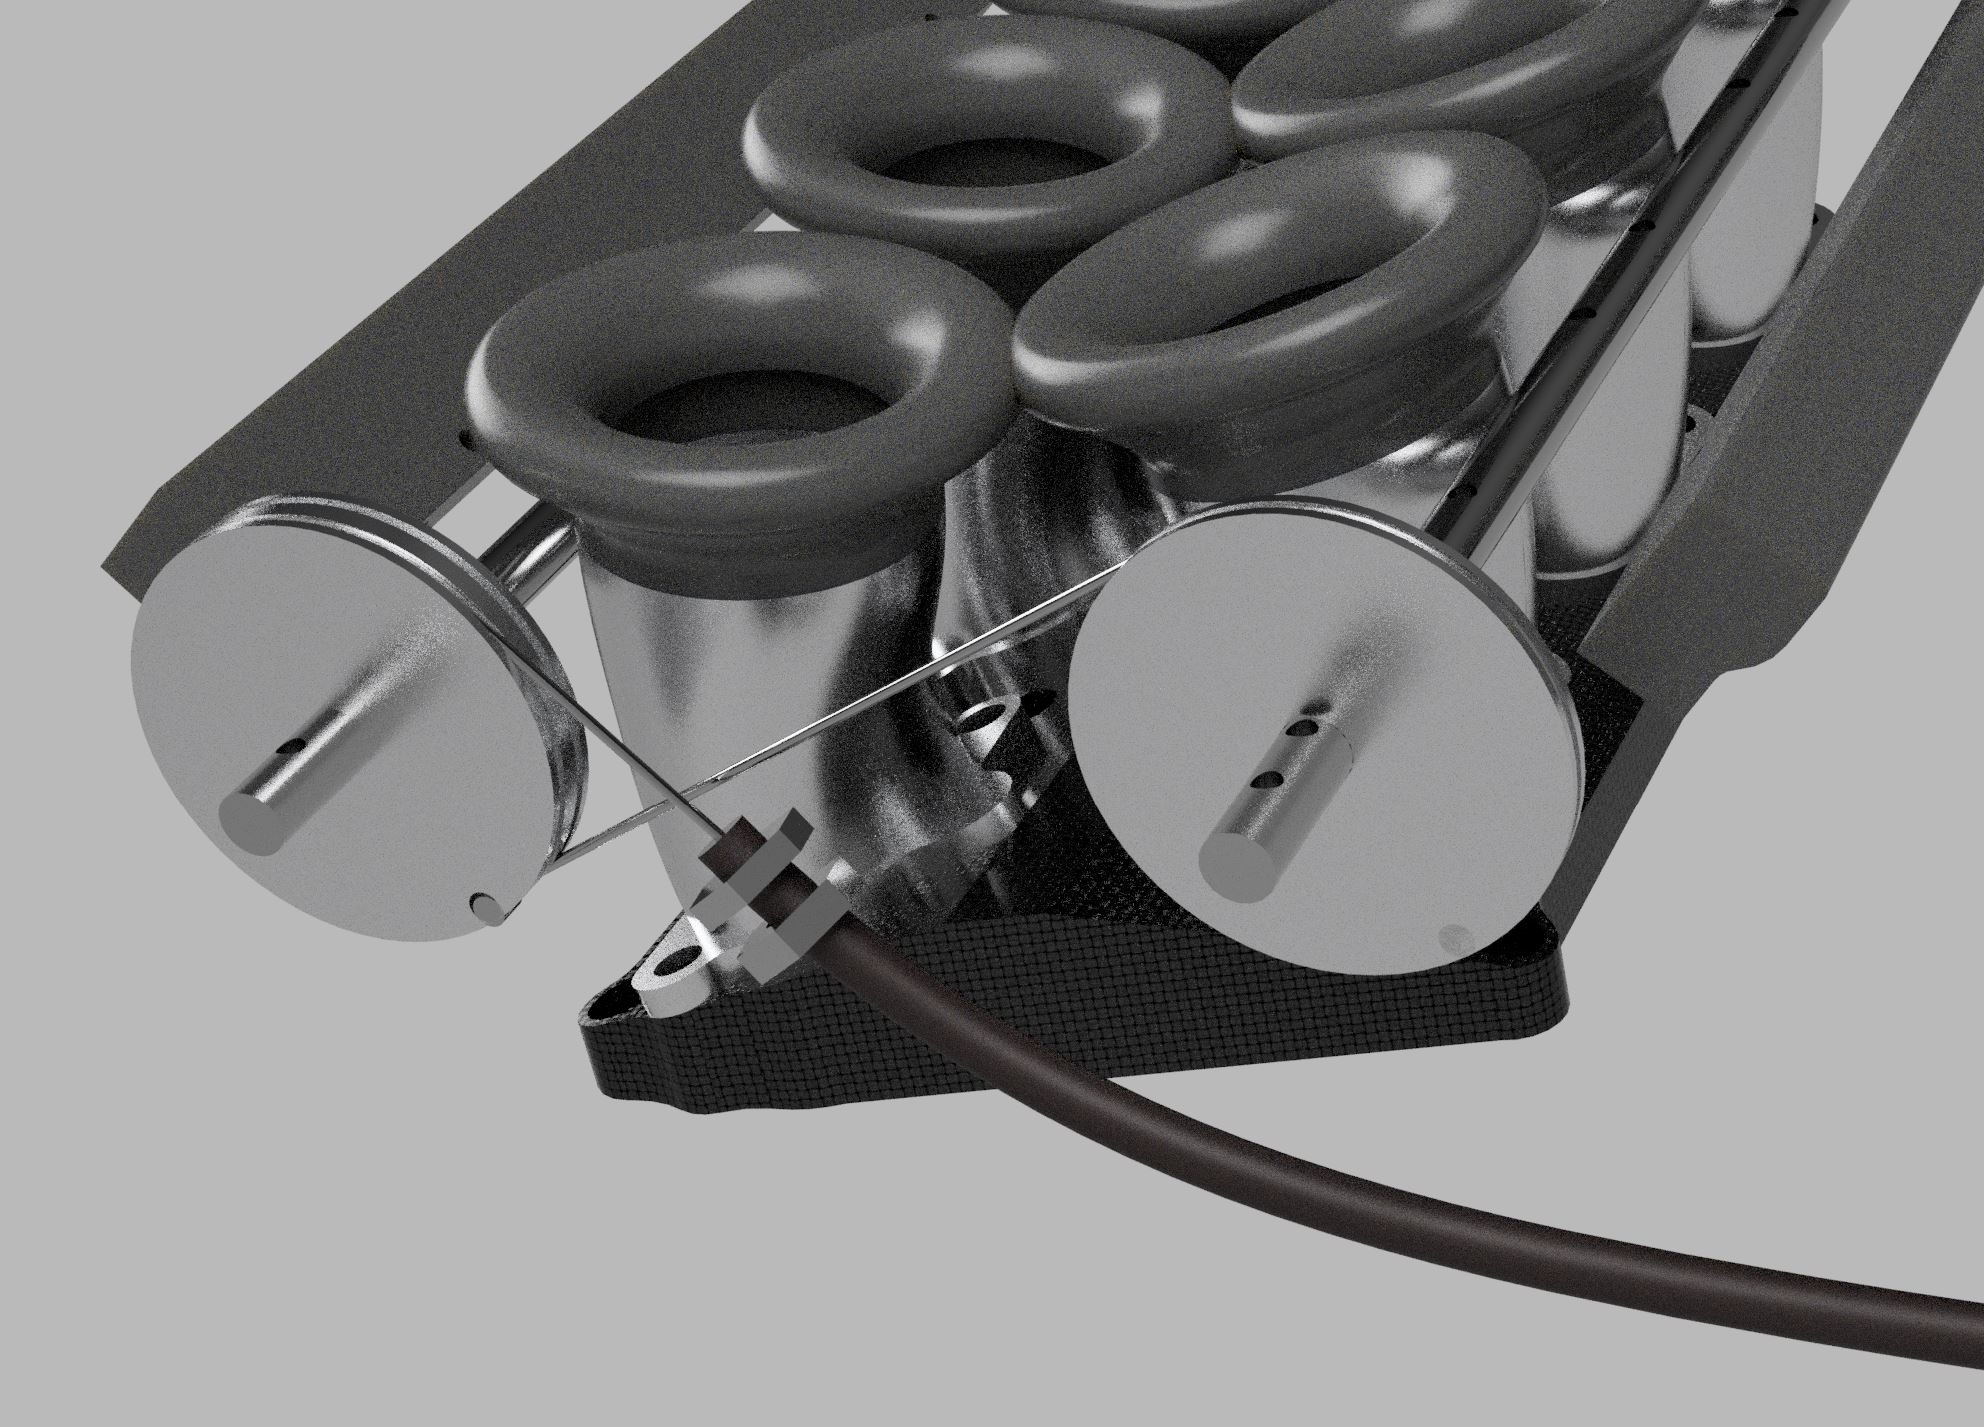
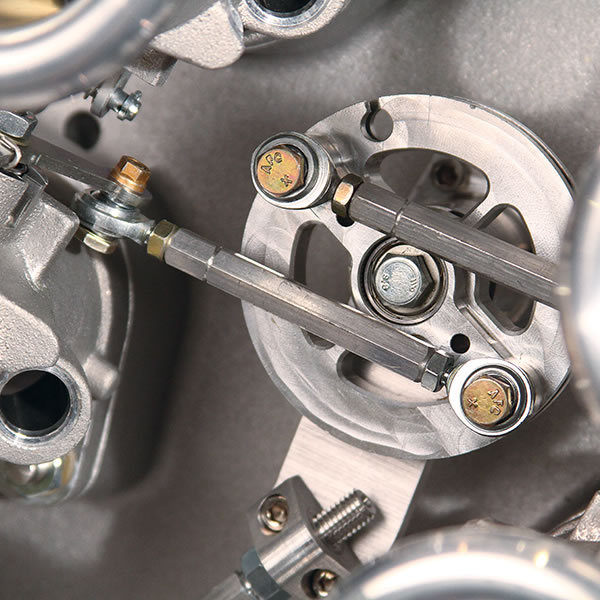
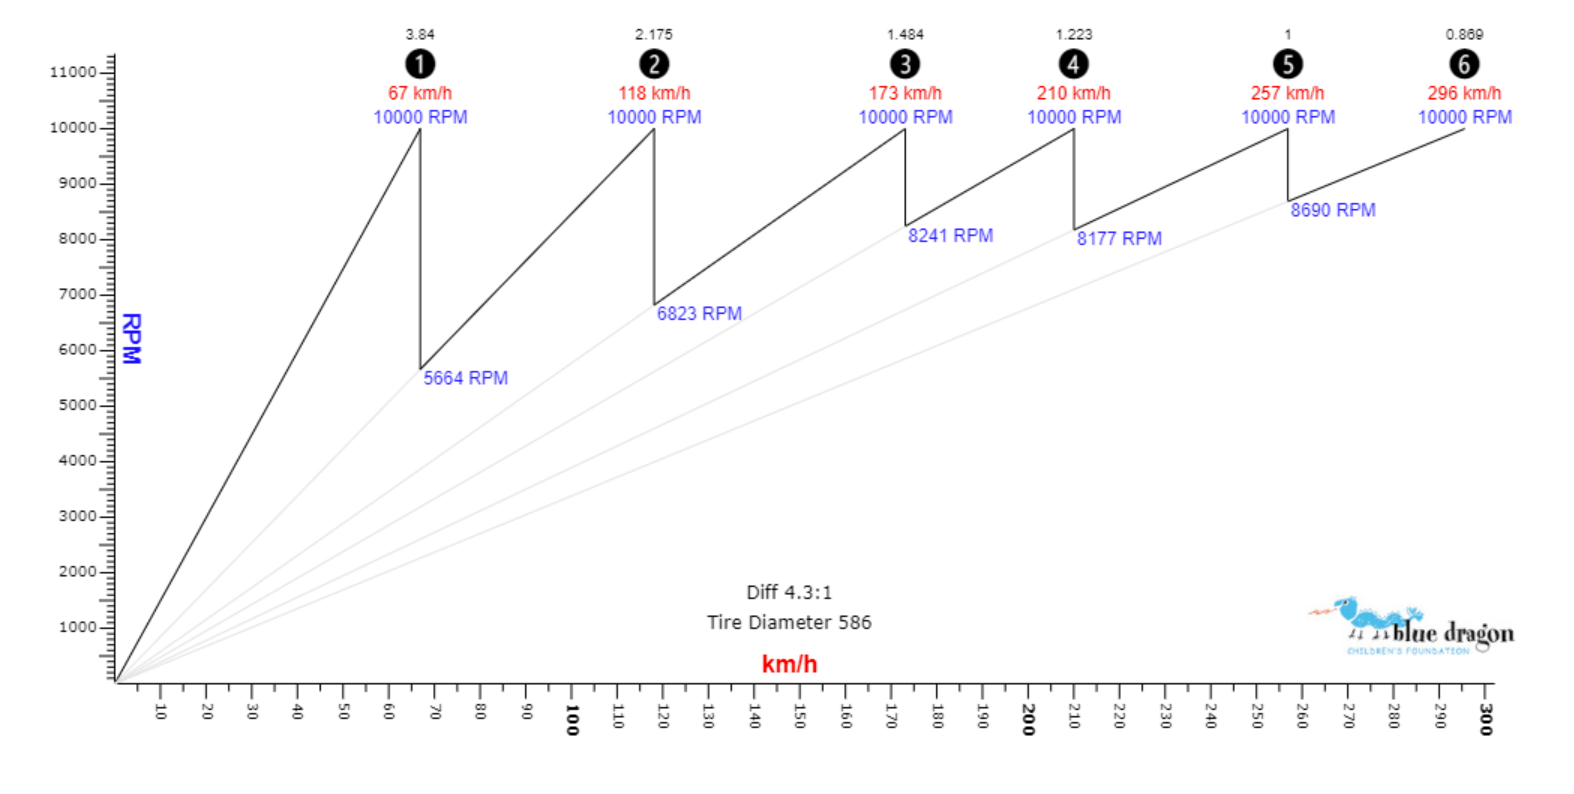
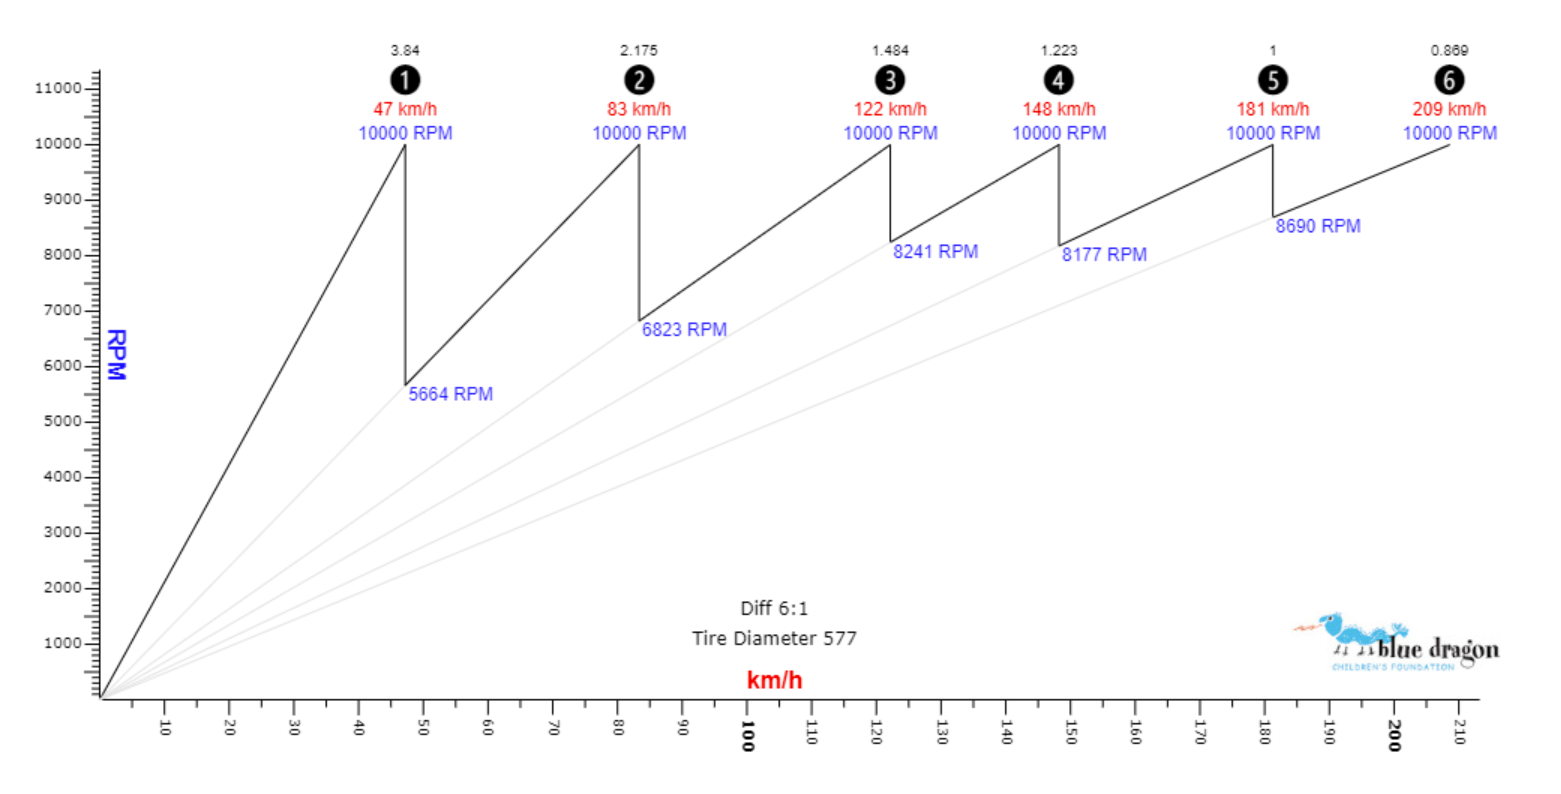
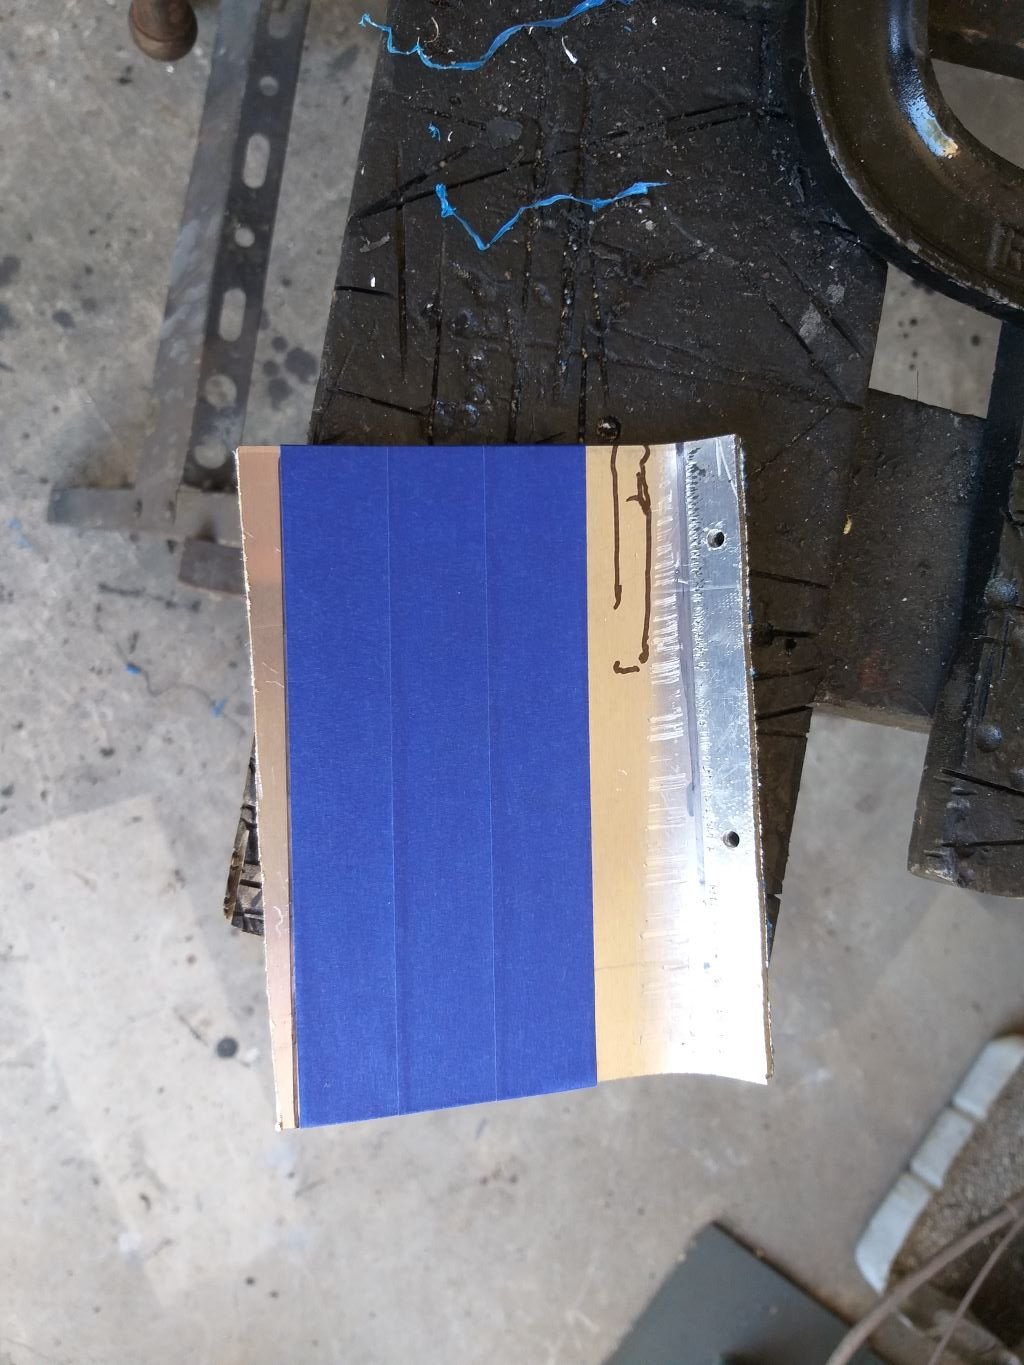
Throttle bank balancing I've had covid this week, which has sucked. But while my brain juice has been boiling like a stuck kettle, I had a major revelation for how to balance the two banks of throttles together. Most setups that I see use a pair of push/pull rods, mounted on a round disc (like my previous setup) However the problem with this, is you get a non linear angle vs distance pulled. Not necessarily in a good way either, like you could have a random patch of acceleration at half way throttle or where ever. Depending on how it's setup. This in itself isnt the problem, it's that if any of your geometry is slightly out, even if you match them at 10% throttle or 1% or 100% the rest of the range wont match. However, I saw a picture where someone used a cable to link the banks, and thought "The hell would you do that for" Then realized it's a brilliant solution. Because you end up with an angle vs pull amount that is 100% linear through the whole range. So the only thing that is really important is to get the tension of the cable set correctly, so both sides are open the same amount. Can do this by having an adjustable tensioner wheel pushing against the cable half way between, will be able to fine tune it really easily. It seems like a minor detail to have solved but this is actually a huge problem if you cant get the banks to balance nicely. Stoked about that! So I've ordered a cable repair kit for a motorbike (or something) that comes with one cable end premade, and the other is a screw together end for making it a custom length. I also had the fuel rails drilled on the CNC machine, which was fun to watch! I need to get some fittings welded onto the end of the rails, I'm glad I didnt do that before having the "aha" moment about using the cables. Because my fuel rails would have bonked into this space that I need to make this work at the back of the motor. Gearbox stuff I've realized I've got a bit of an issue that might be annoying, if this motor actually revs out as well as I hope. It's fairly well known that the closely stacked gears on a J160 box are 3,4,5,6. So you want to have your powerband/ speed band operating in this range. However, if you are doing 30% more RPM then all of your gears get 30% taller. With a 4.3 ratio, I've effectively only got only a 3 speed gearbox for most activities... and using all of the wrong gears! Look at the RPM drop from first to 2nd... 10,000rpm right down to 5600. That is NOT going to be a quick gear shift when needing to drop by that much. Gross. It's not too bad from 2nd to third, but you can see how nice the 3-4-5-6 is by comparison. Now if I change to a 4.77 final drive (I've got a 4.77 ready to go in) and swap to a 195/50/15 for a smaller rolling diameter. Then things are a bit better. At least managing to use 4th gear now under 200kph. But 5th or 6th gear are still in fairly unusable territory for full throttle in a car made out of bean cans. To make the 3-4-5-6 gear stack as useful as I'd hope it would be, I need to have something around a 6:1 final drive ratio. Yikes! So another option is to disregard the idea of trying to use the 3-4-5-6 stack and try improve the early gears. TRD made a gear kit that changed the ratios of 1-2-3 so they are more evenly spaced. However it's discontinued, and cost a fortune as well. So one improvement could be to fit the S15 Silvia first gear, change it from 3.874 to 3.626. However this means instead of dropping to ~5600rpm you drop to 6000rpm. Hardly a life changing difference. If I could find the NISMO 1st gear for the S15 box then it would only drop to 7500rpm which would actually be awesome. However, I suspect these are also NLA or hideously expensive. Maybe one day need to spent 10x my cars value on a sequential box...
2 points
-
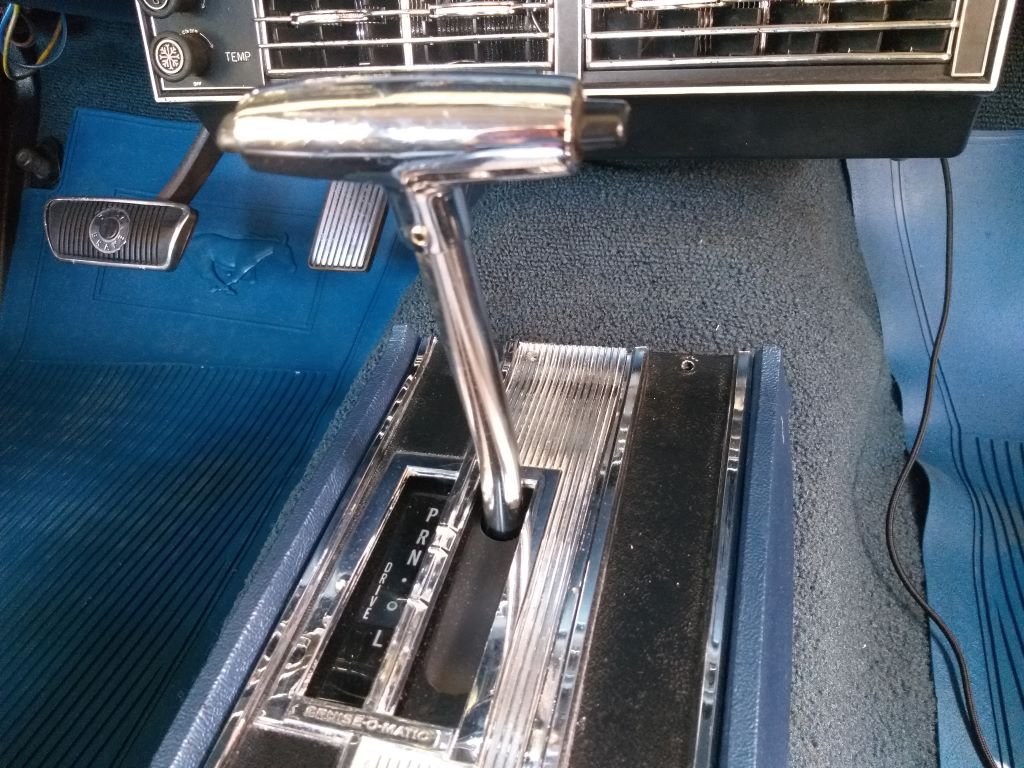
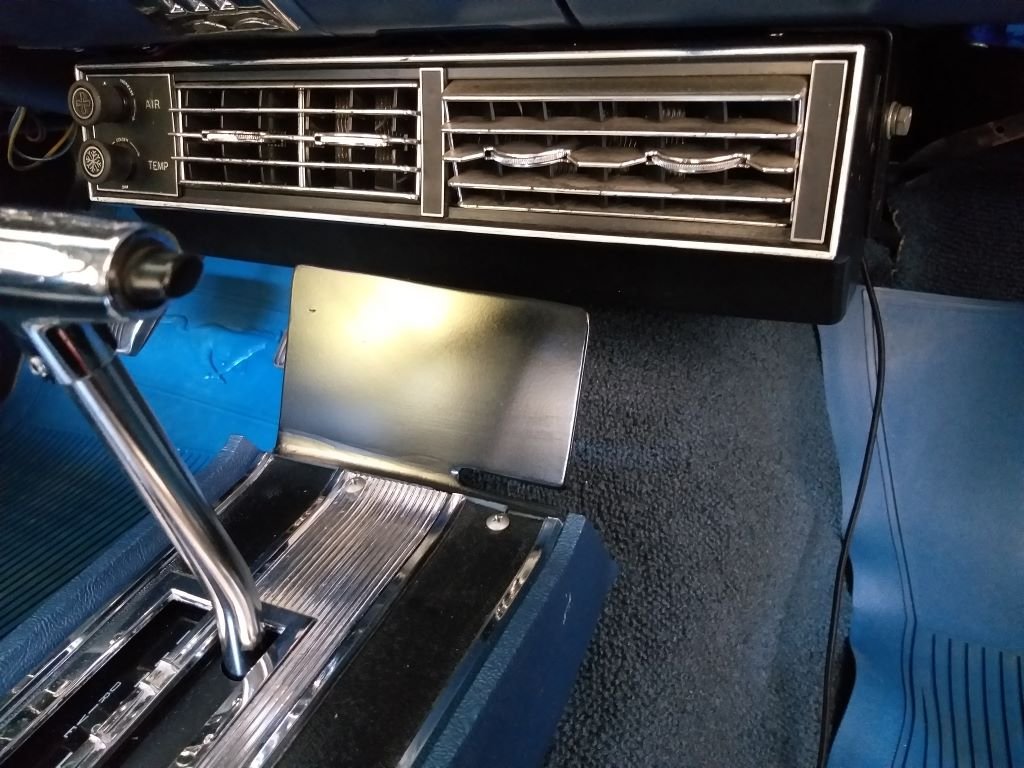
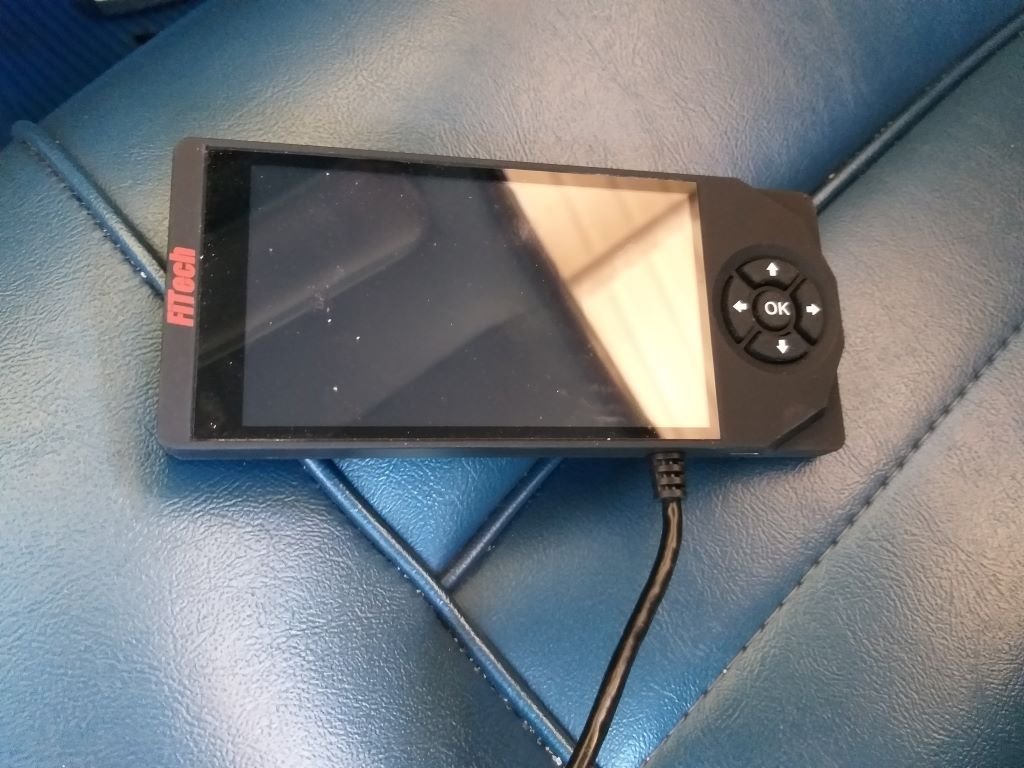
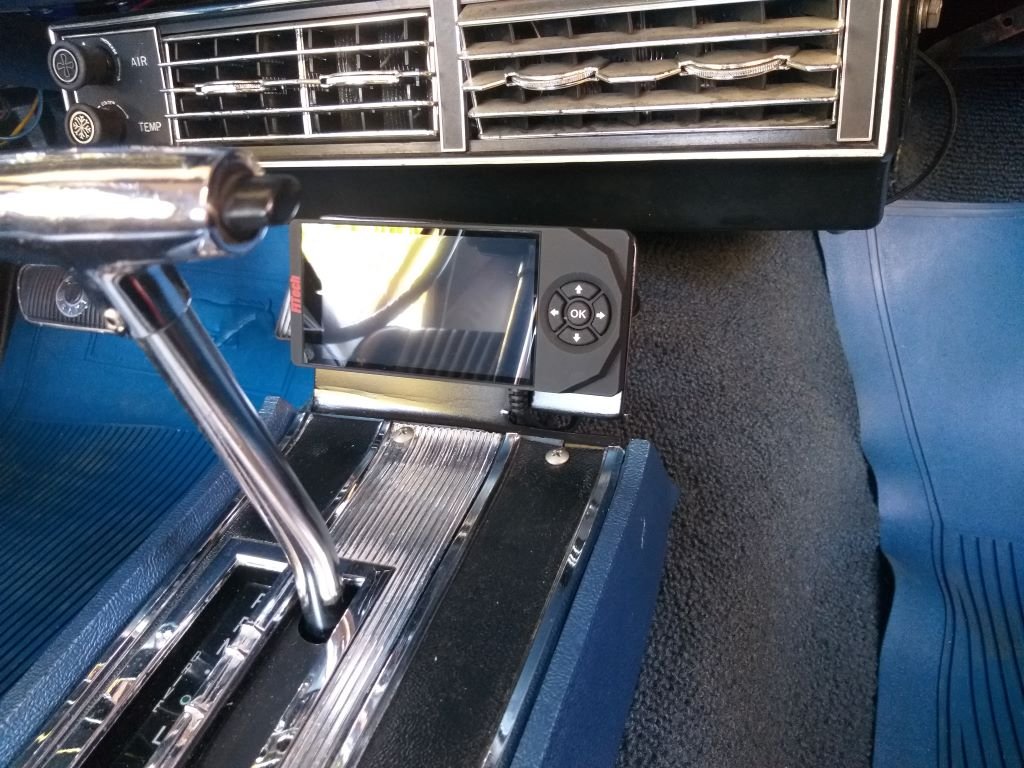
Apart from the occasional bath, the poor old Mustang hasn't seen much loving since late Feb. We still use it heaps and every now and then I play around with some of the EFI settings mainly to see if I can improve things from an exhaust fumes perspective. Just before winter I disabled the settings that add extra fuel on startup and cold running and this has solved the excess fumes that we were experiencing on startup. It did result in some extra cranking needed on really cold mornings, but I reckon that is a small price to pay. When the engine is warm we are still experiencing excess fumes at idle, so I thought I'd play around with the idle air controller. But before tackling that I thought I'd sort out some kind of mounting bracket for the little hand held controller. The system is supplied with one of those long flexible holders with a suction cap for windscreen mounting, but it looked cheap and nasty and way out of place in the old Muzzy so I binned that a while ago. Since then the touch screen has been floating around the cabin and just generally making a nuisance of itself, so I eventually banished it to the glove box. After giving it some thought I figured I would mount the LCD to the front of the centre console which is missing its end plate anyway. So first up I grabbed an aluminium plate offcut, gave it a little bend and trimmed it to size. Cut a little slot to hold the cable, cleaned up the edges, spritzed it with some satin black and then test mounted it. Chucked a bit of velcro on the mounting plate and the back of the handheld and it is now nice and secure. Doesn't look too out of place. Celebrated by giving it a quick bath.
2 points
-
Hey there, i could do for you. i'm in rotokauri. Where is the 'workshop' ? what details of the ute do you have to pass on and is there anything specifically you are looking for? flick me message for a faster respose than on here. 020 4082 8383 Shane.1 point
-
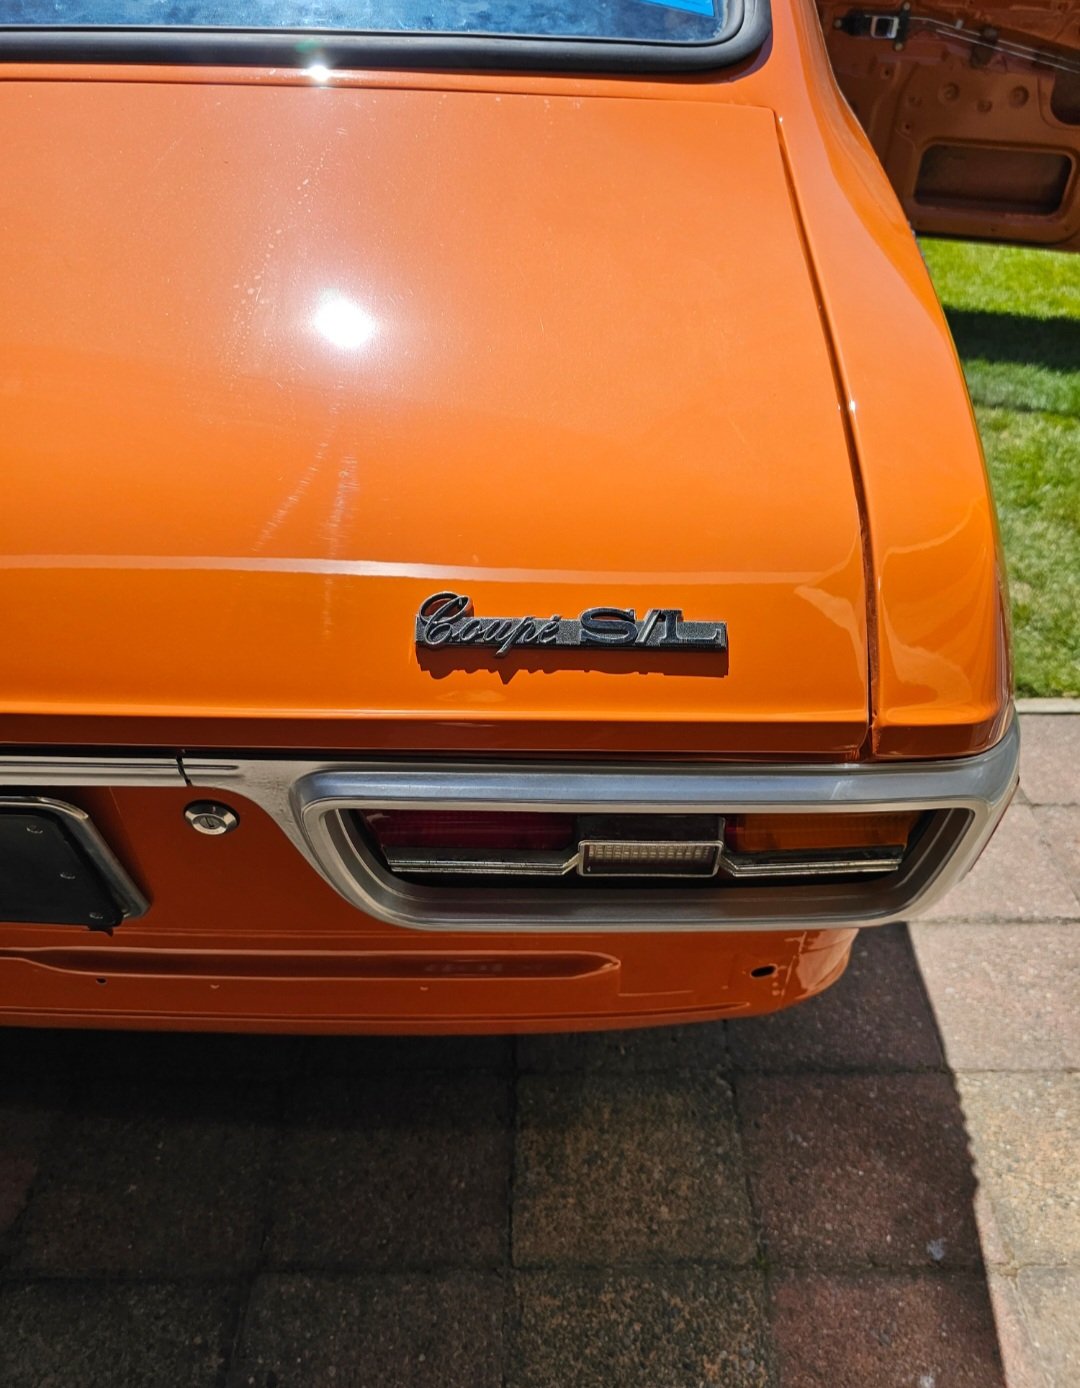
1971 style sl coupe boot badge
1 point
-
Wanted to tidy up the plastics a bit. Got some white and blue vinyl ages ago but got time today
1 point
-
Removed the tow hook the other day and fitted the blanking panel. The towhook will remain in the boot once I have the insert to store it. It tidies the front up a bit, but i do kinda miss how it looked. On a side note, now that the auction results have dropped off the system, the rusty 4WD Alto I bought in Japan has resurfaced at a dealer in Japan for a shade over a million Yen (more than I paid). Looks like they gave the underside another coating of underseal, and fitted the white "summer" wheels, which were missing from the car when it was inspected after I bought it...1 point
-
Haha yeah, iterative improvements once the car is running, (by which I obviously mean graphs) is the fun part. Just gotta get it over that finish line first! It's getting close. In some spectacularly good news in terms of project progress, have got a signed up deal to sell my house. So hopefully come early March I can get back into things decently.1 point
-
I guess I need to see if it actually makes any power before getting too carried away...1 point
-
And he's done part two:
1 point
-
Then shipped off to have the paint removed...
1 point
-
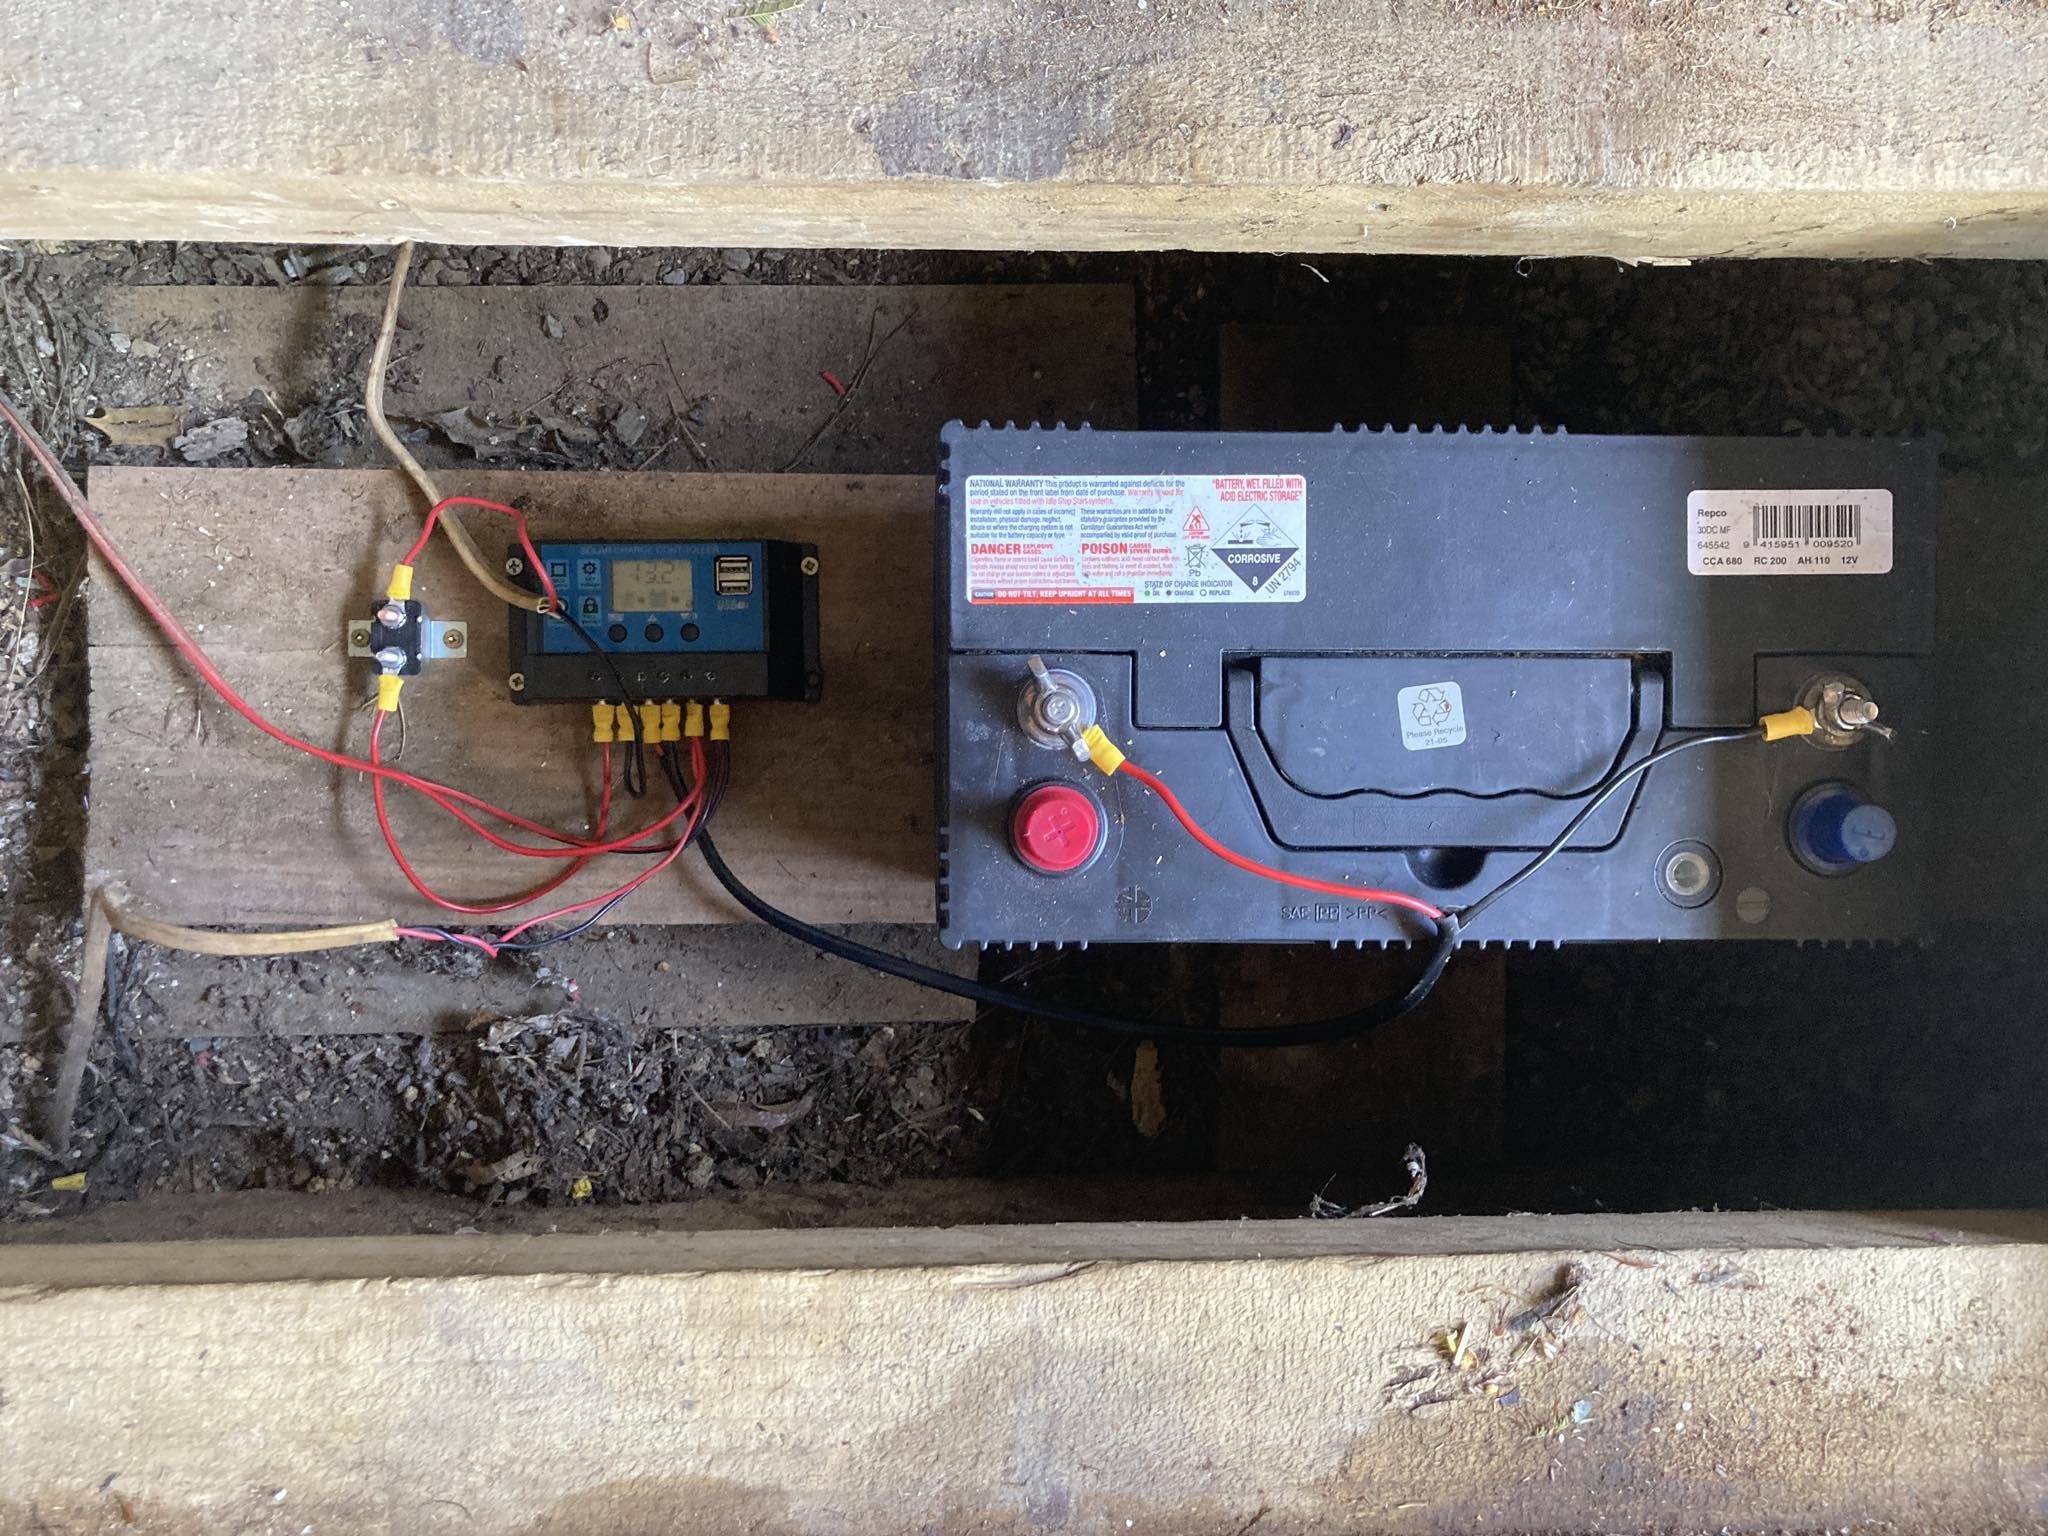
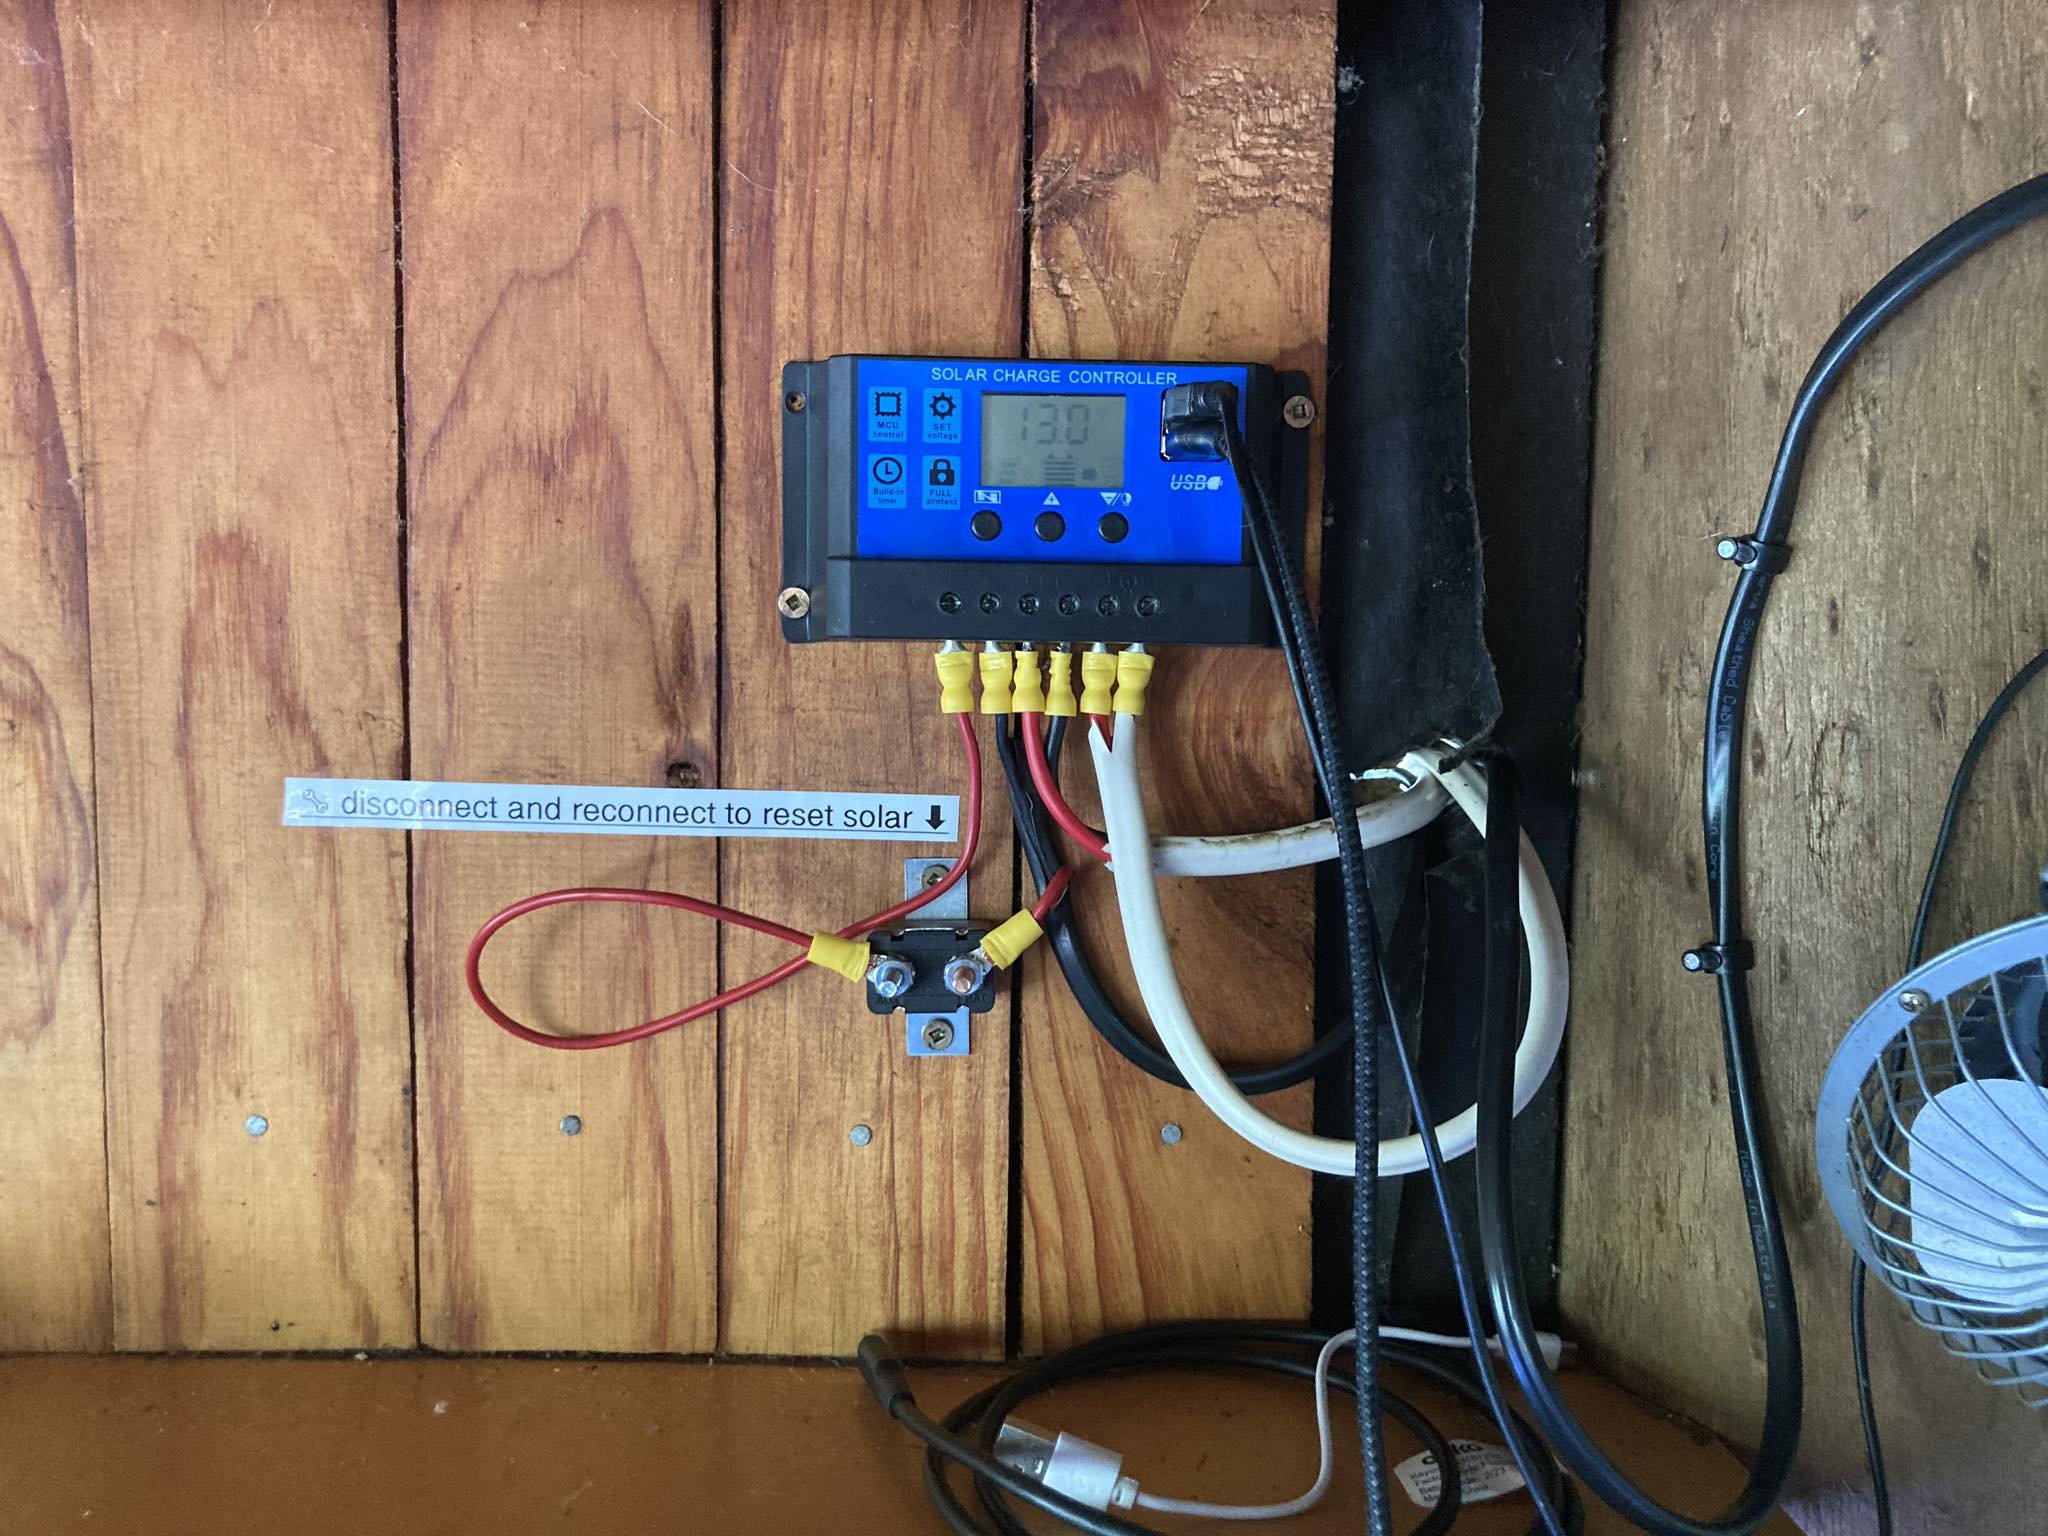
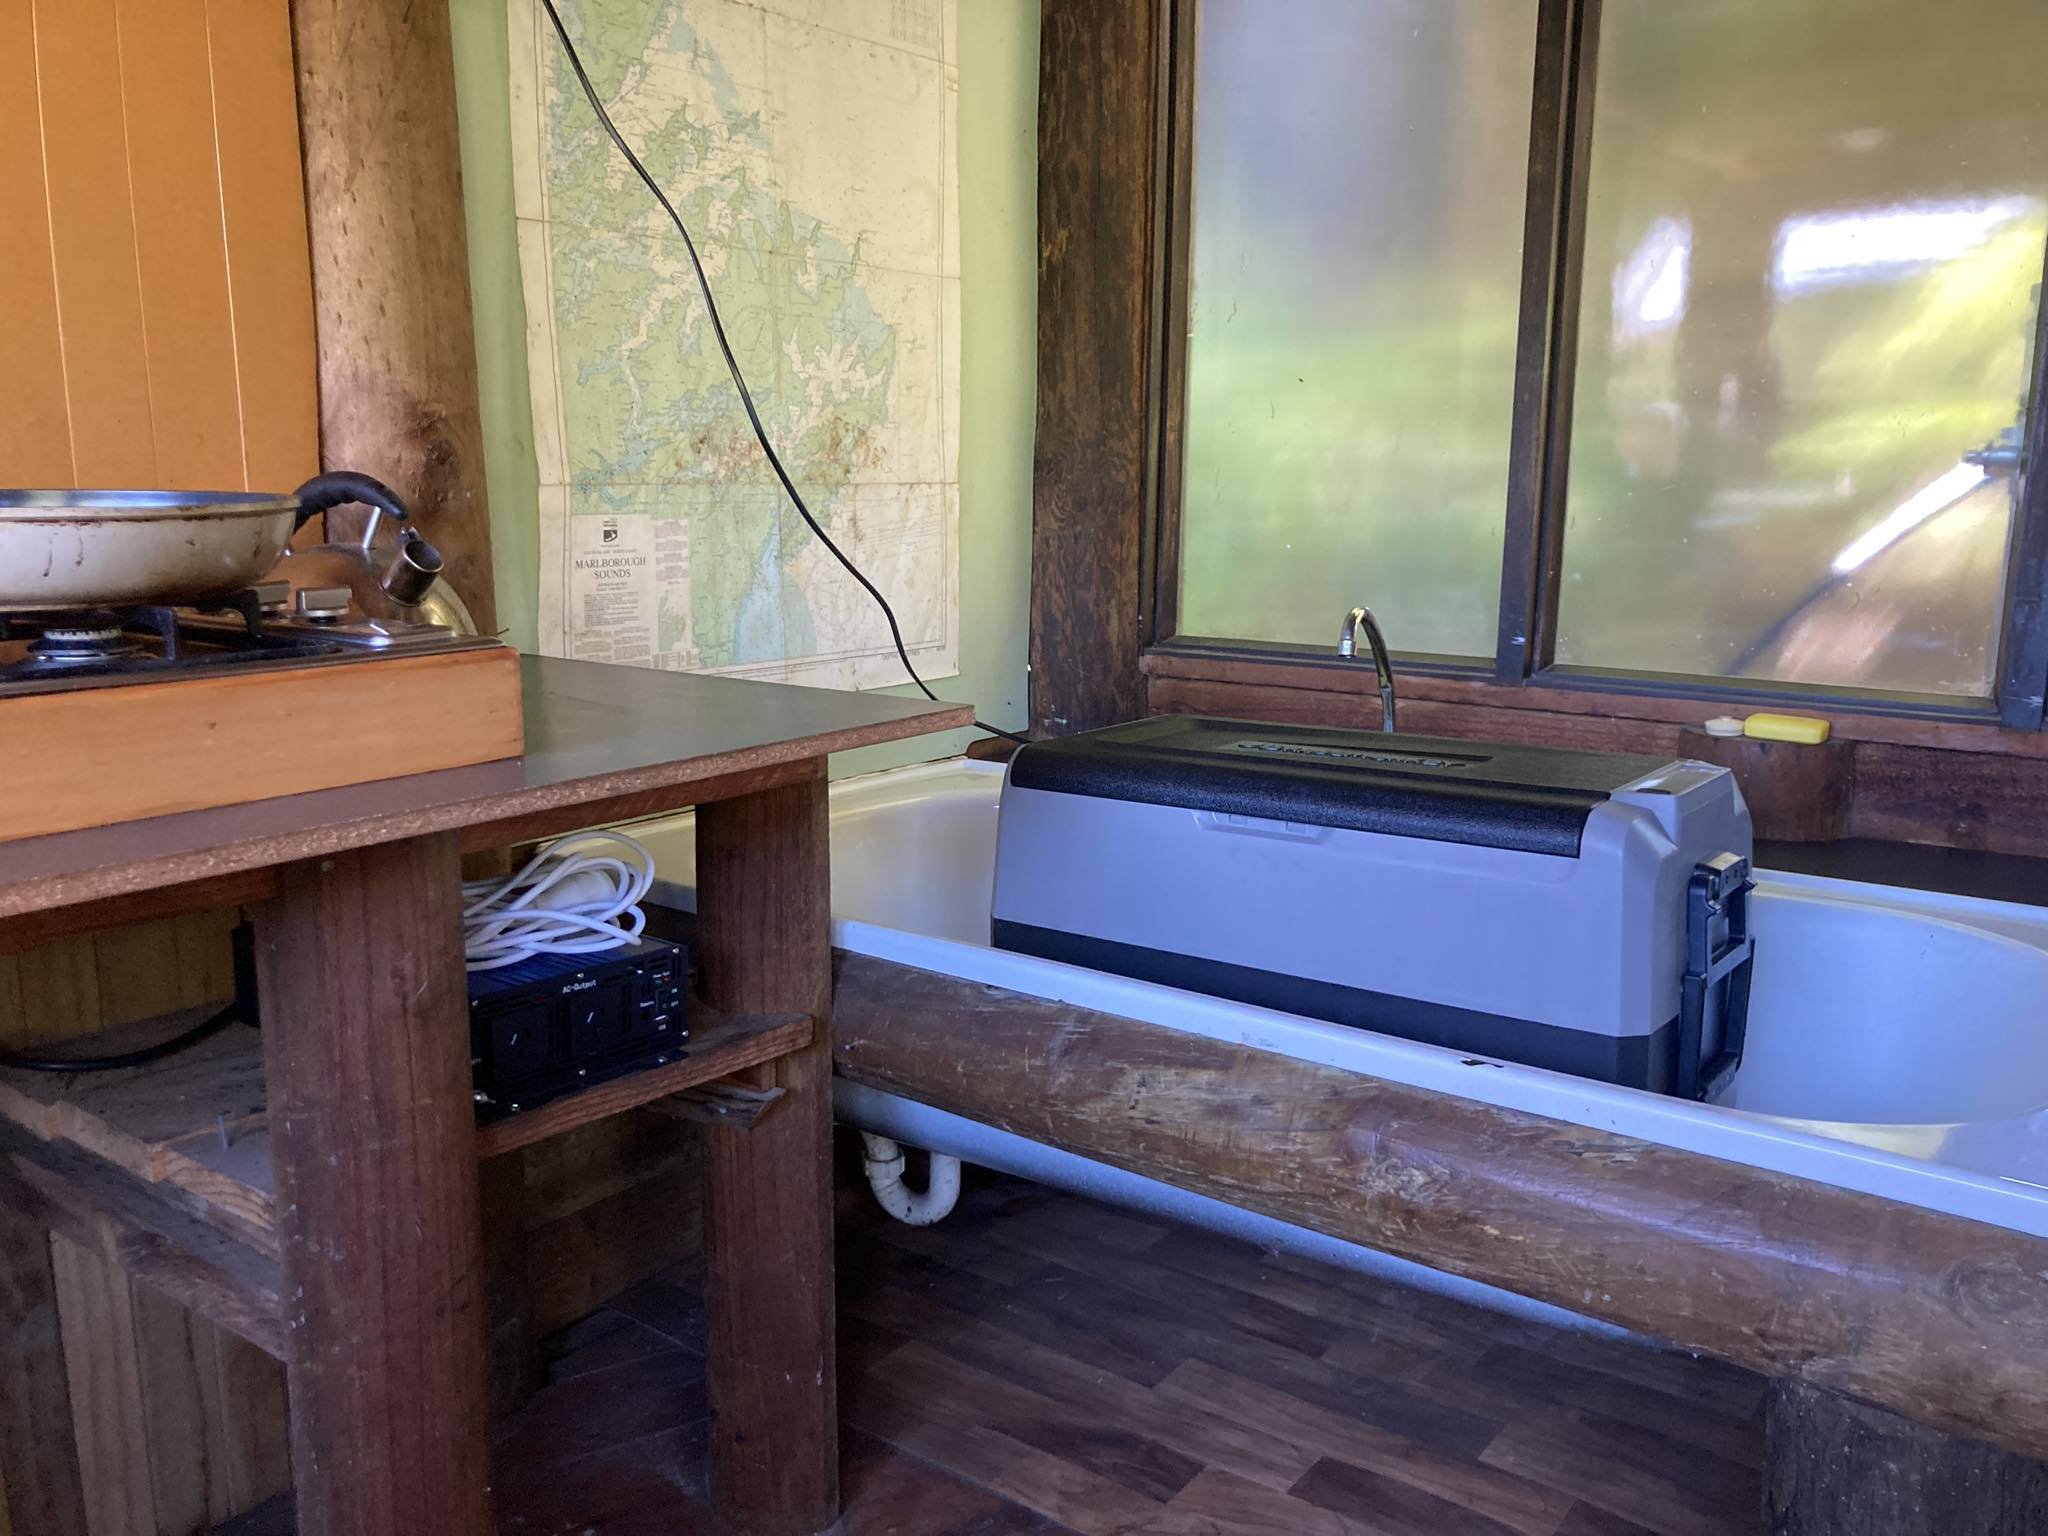
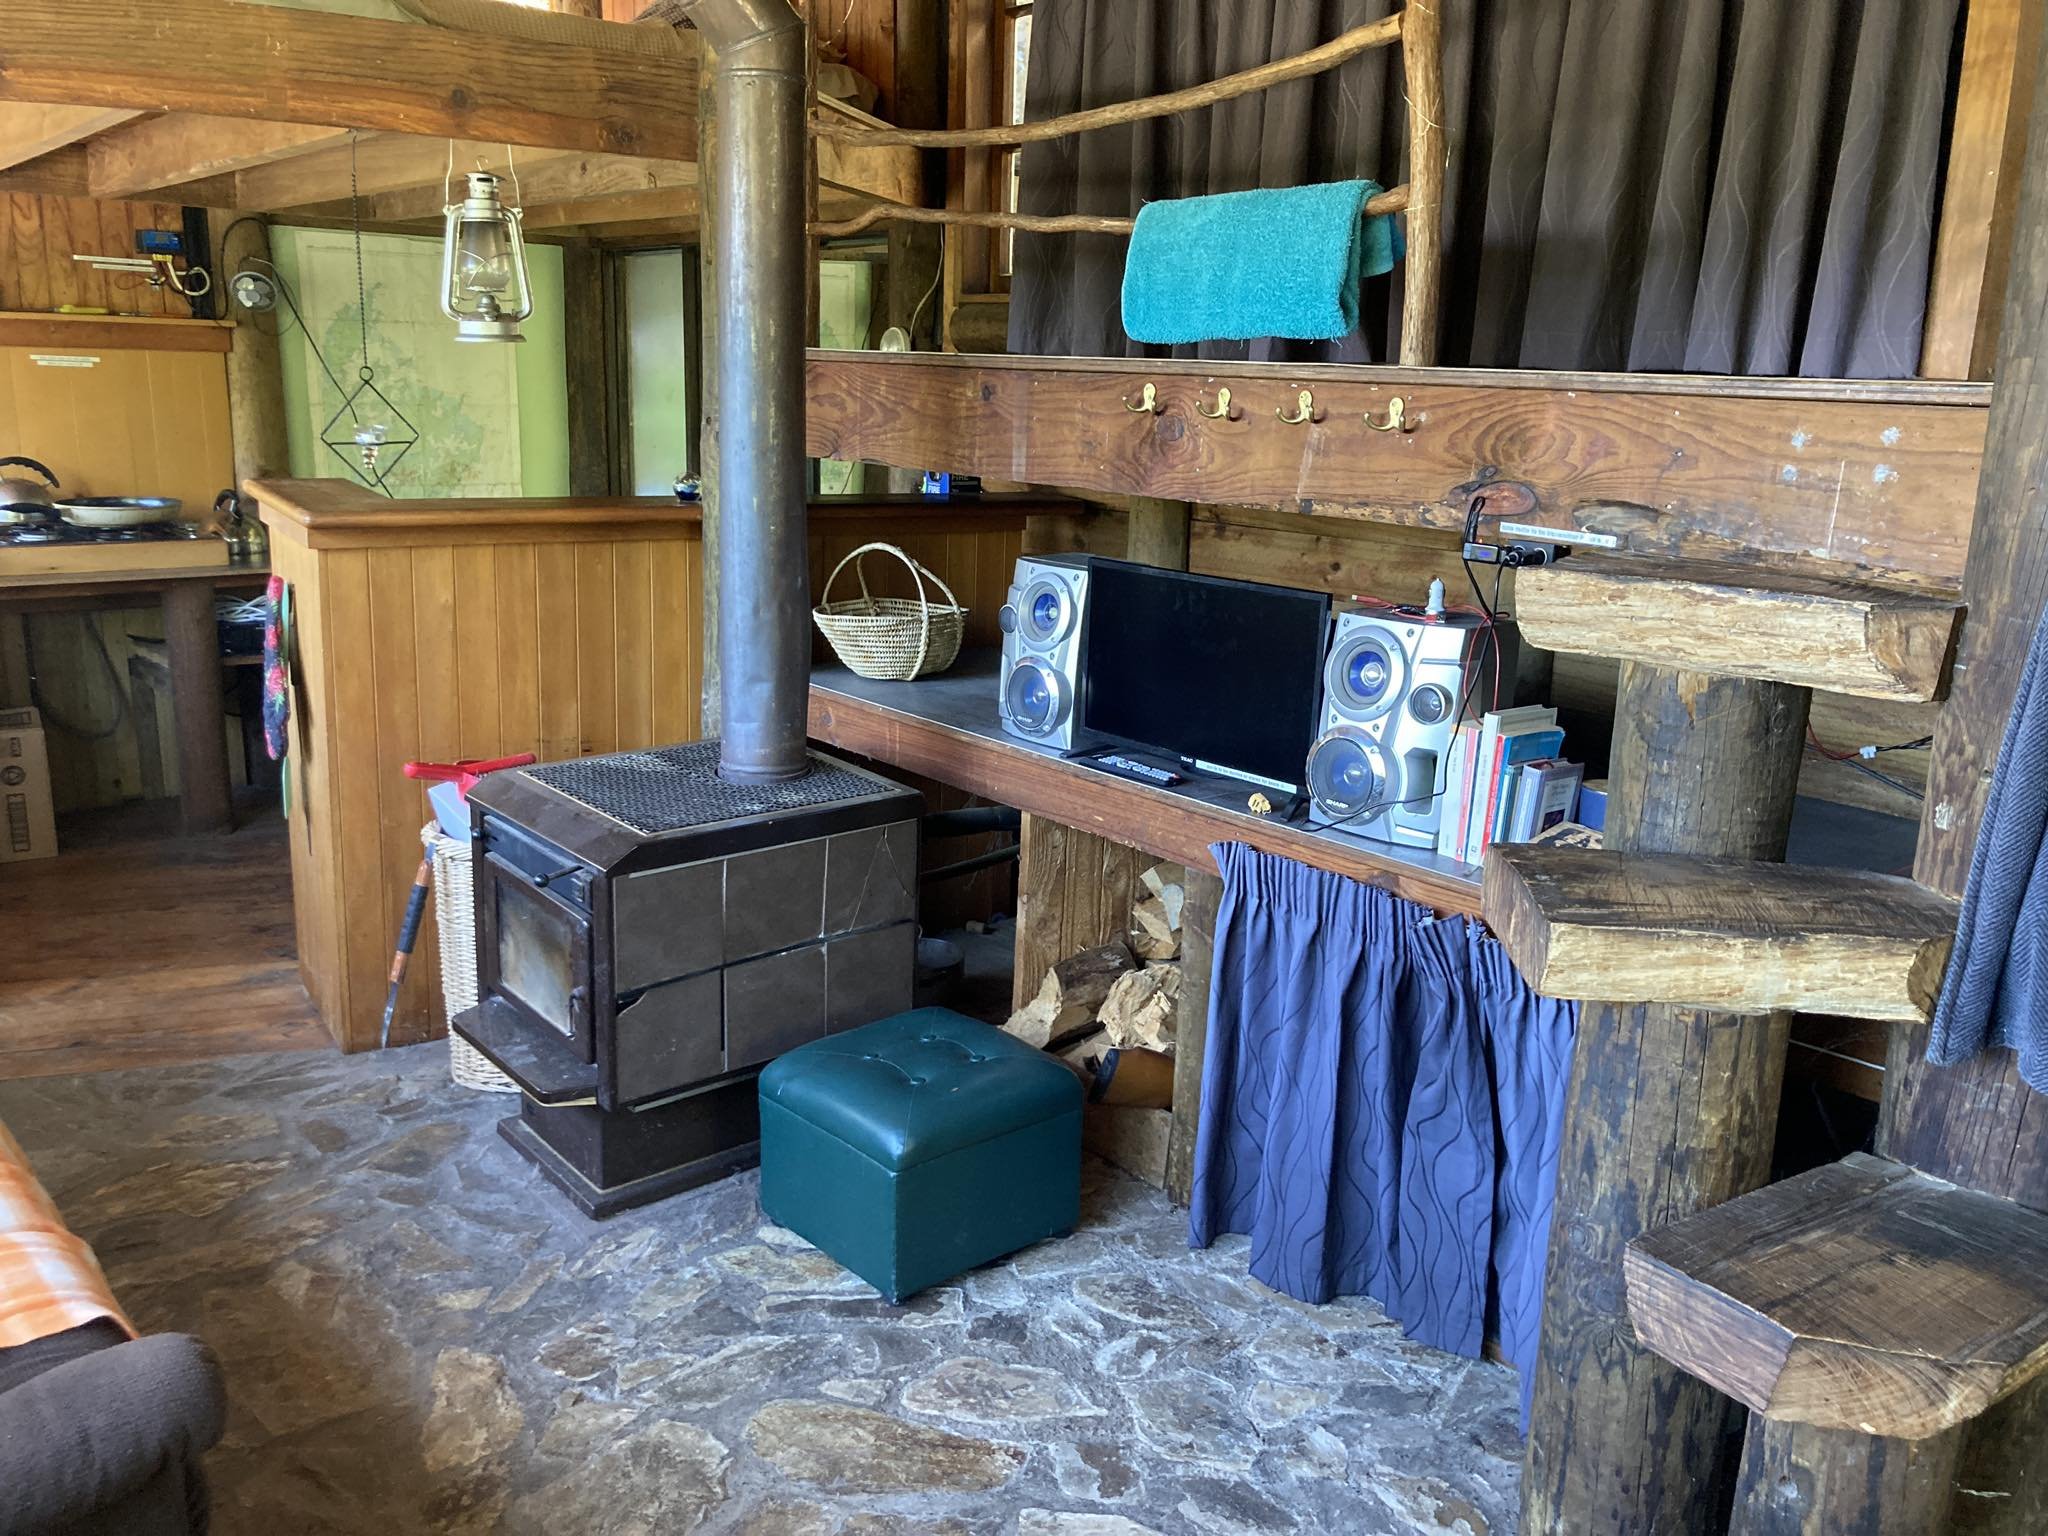
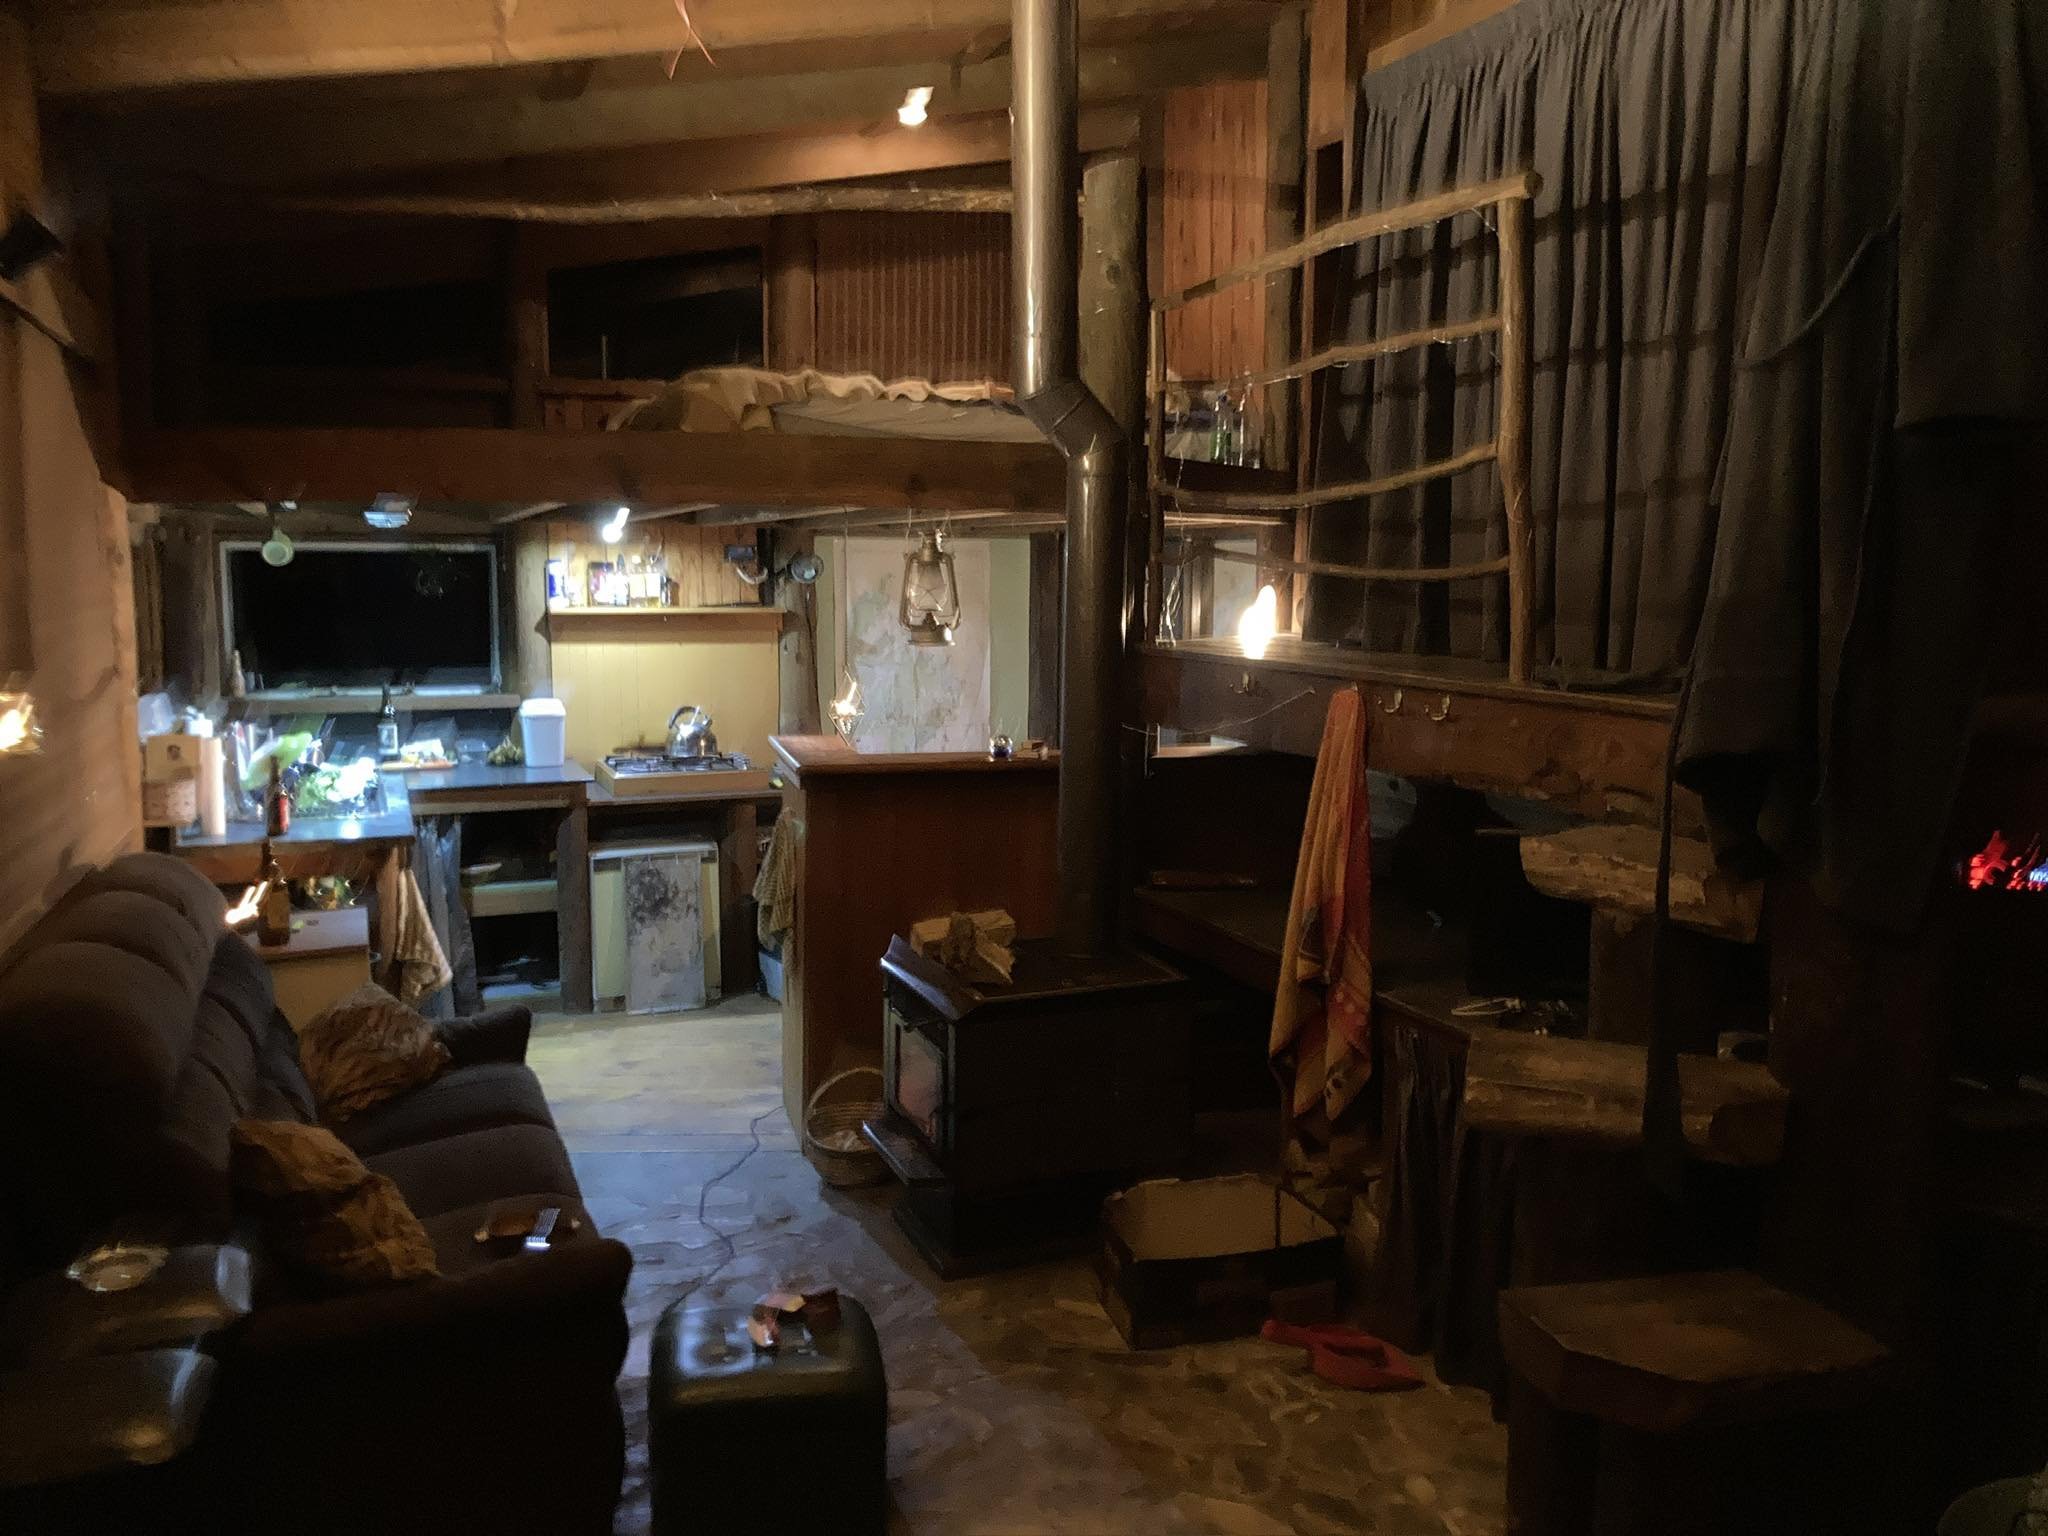
Trips down since then have seen a full rewire of the 12v system with new deep cycle lead acid batteries, a total overhaul of all the lighting, lighting installed in the toilet and shower areas, new stereo with bluetooth, 12v low power fridge, 12v TV for watching Cars 2 on a rainy night. Just a tidy up and rewire of the existing 12v solar setup. Better controllers (these are as shit as they come) would improve it vastly but i think im going to go to LiFePo4 and fancy hybrid inverter straight away instead of bothering to spend more on these campervan systems. But eventually they will be installed on other satellite buildings so worth keeping em nice(toilets showers etc) Putting the fridge in the bath is actually awesome cause these 12v fridges build up quite a bit on condensation and this makes it easy to drain. Plus theres a good shower on a gas califont a short walk from the cabin so the bath mostly goes unused. These hilarious Sharp mini system speakers are a nice impedance to run out of a car stereo and sounds surprisingly punchy actually. The 12v tv i got for $50 from noel lemmings clearance center cause the dvd player dont work (they sell for $500 at burnsco). Most of my lighting is "pond lighting" i bought online, they come in nice aluminium housings and are really low power consumption.
1 point
-
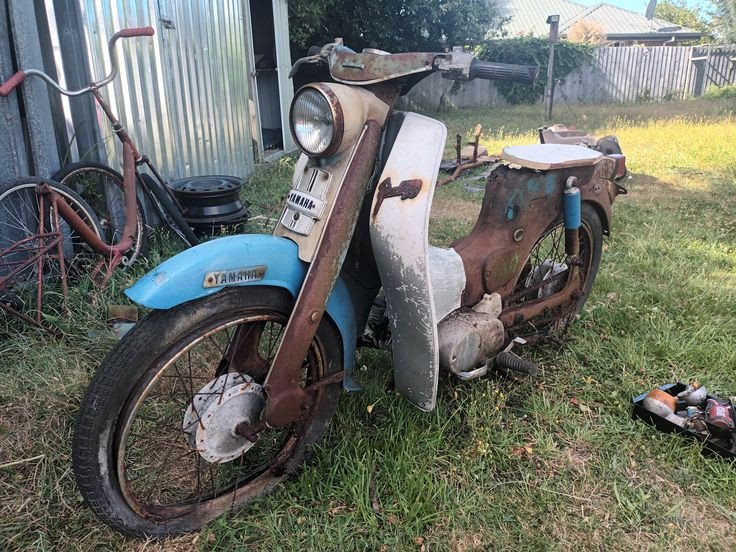
De-clutterised some of this turd Actually looks a lot better already Lots of crispy bits still falling off it Cut up a fence paling for my seat base Need some baleing wire to patch up the leg sheild
1 point
-
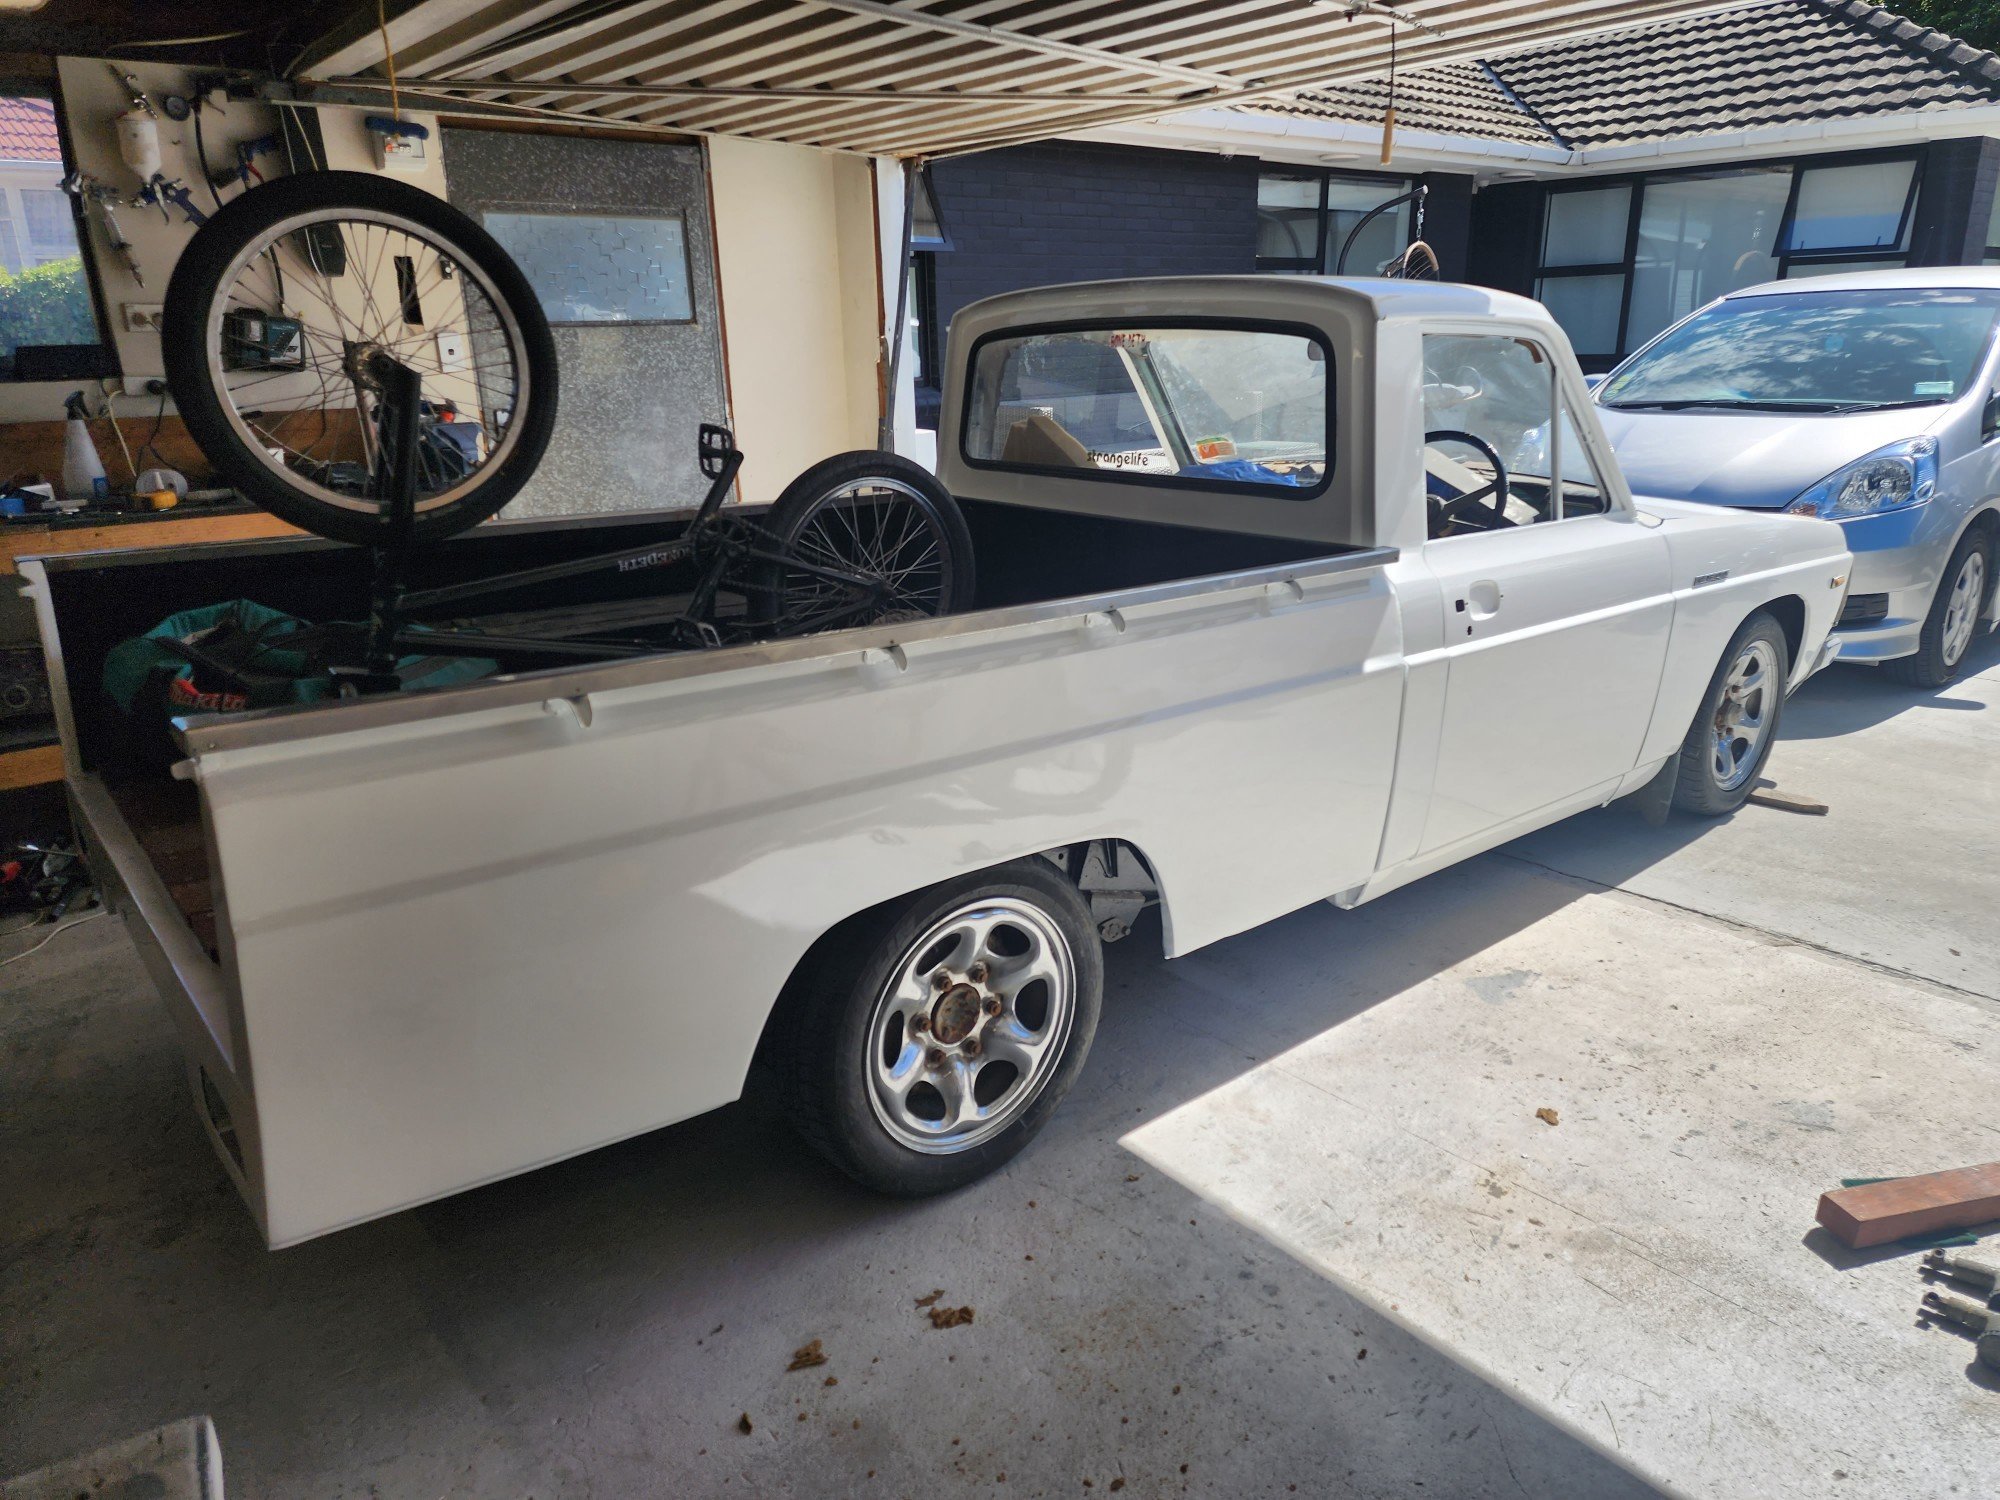
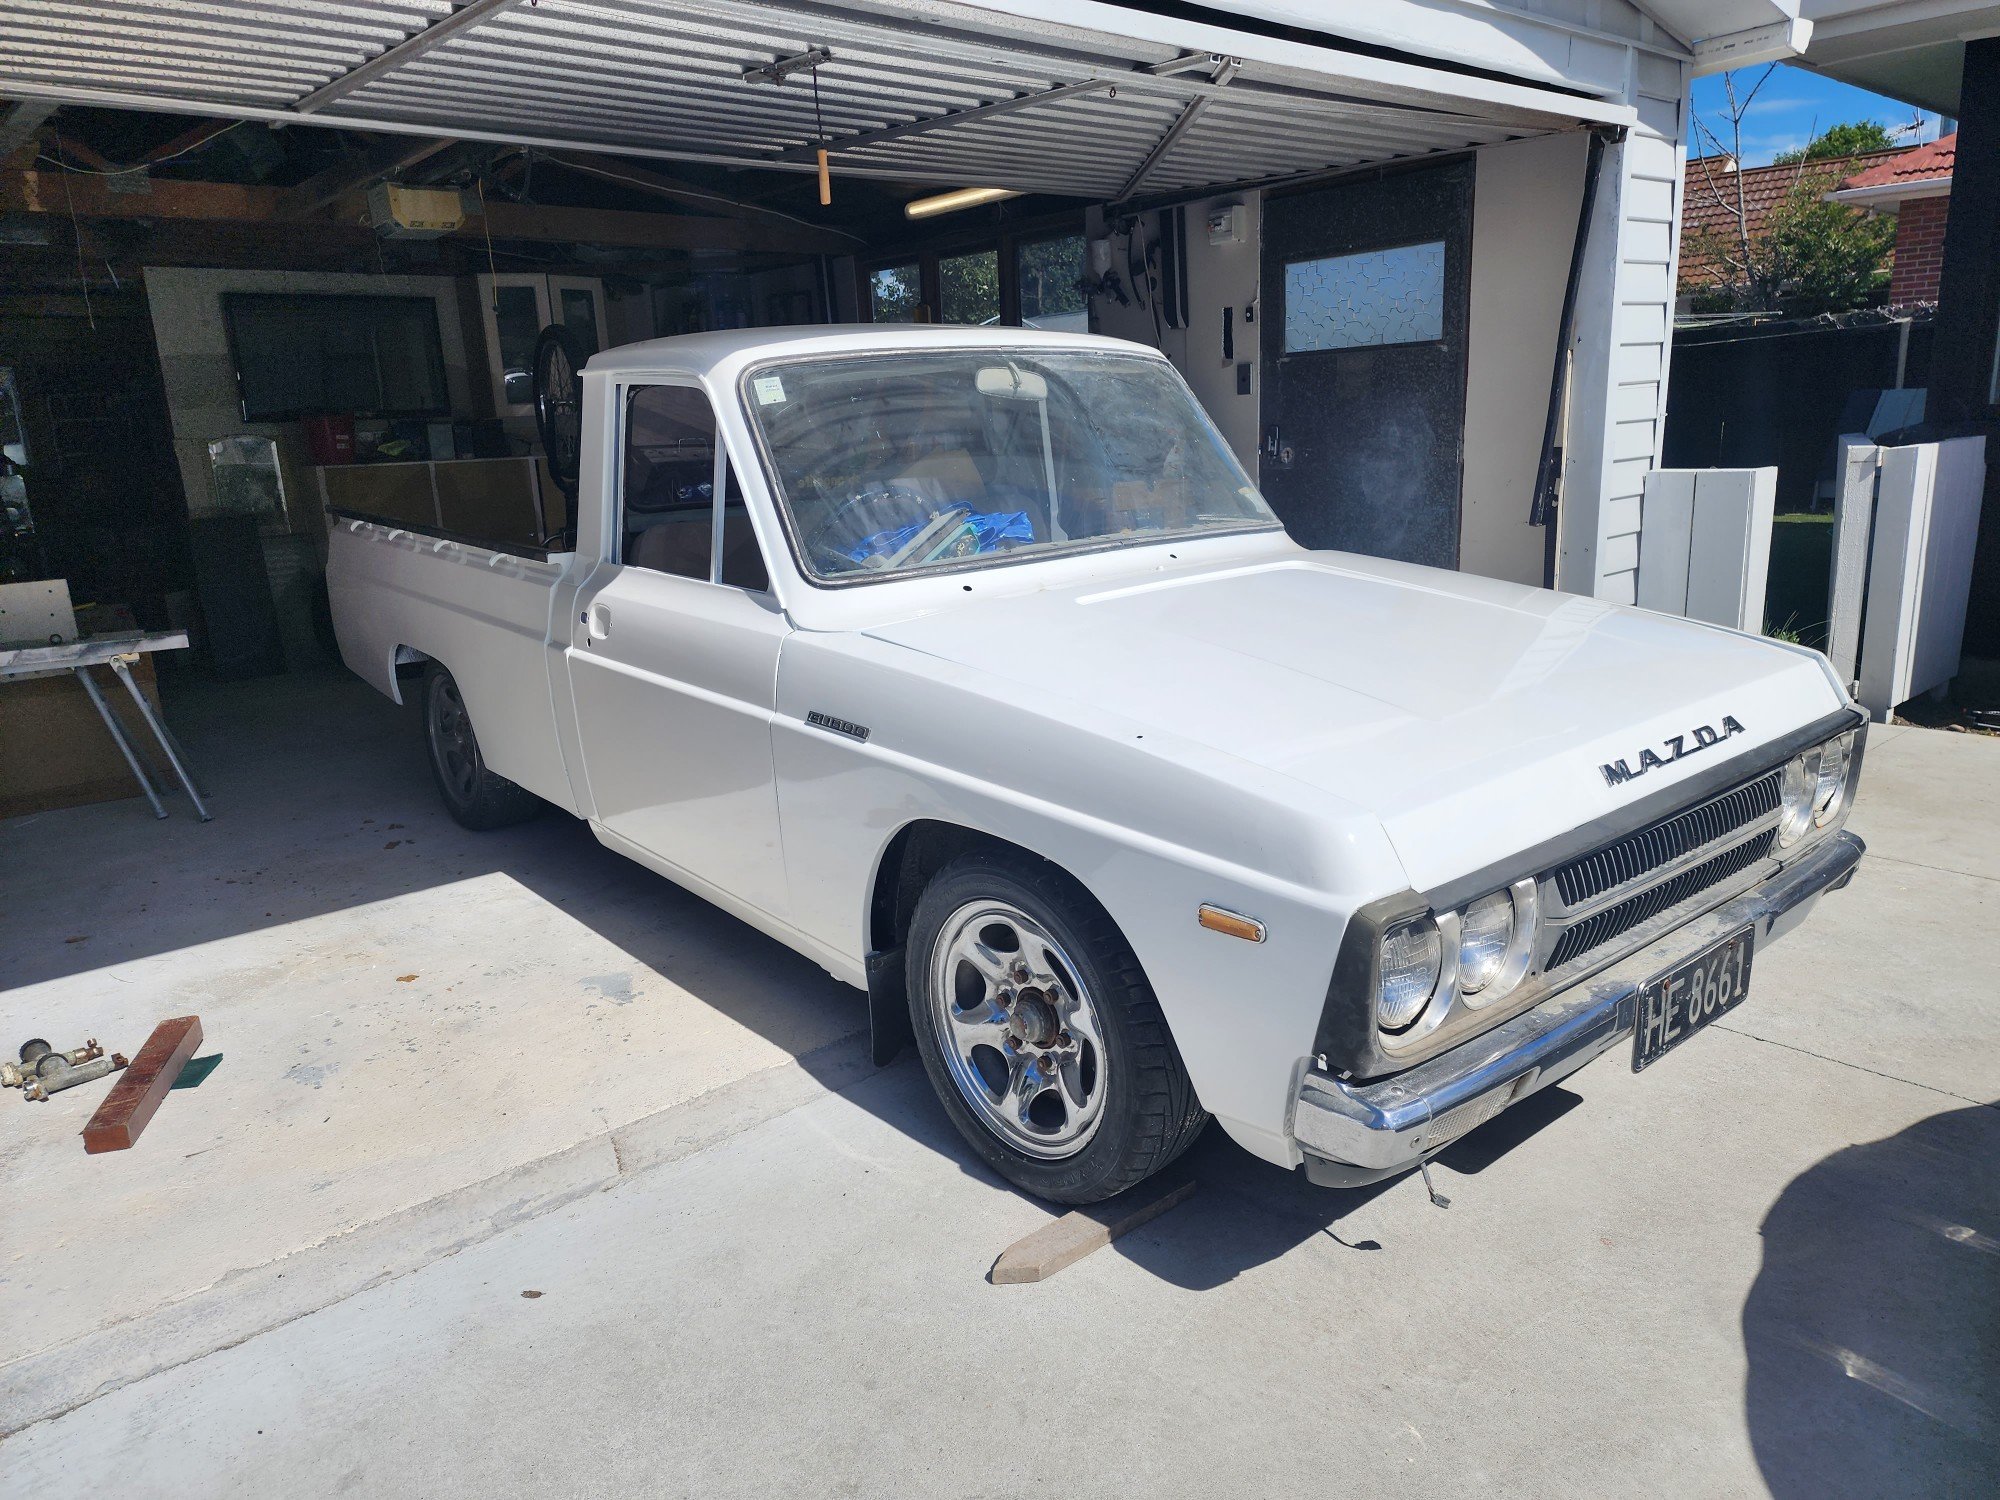
Bit more progress. Got doors and bonnet painted. Have slapped it together for some inspiration. Most panels need to come back off. Have started prep on engine bay and hope to have that painted in the coming weeks Damn it feels good to be making some progress after it sitting in the way for so long. If anyone has any leads on a 2l MA motor flick me a message
1 point
-
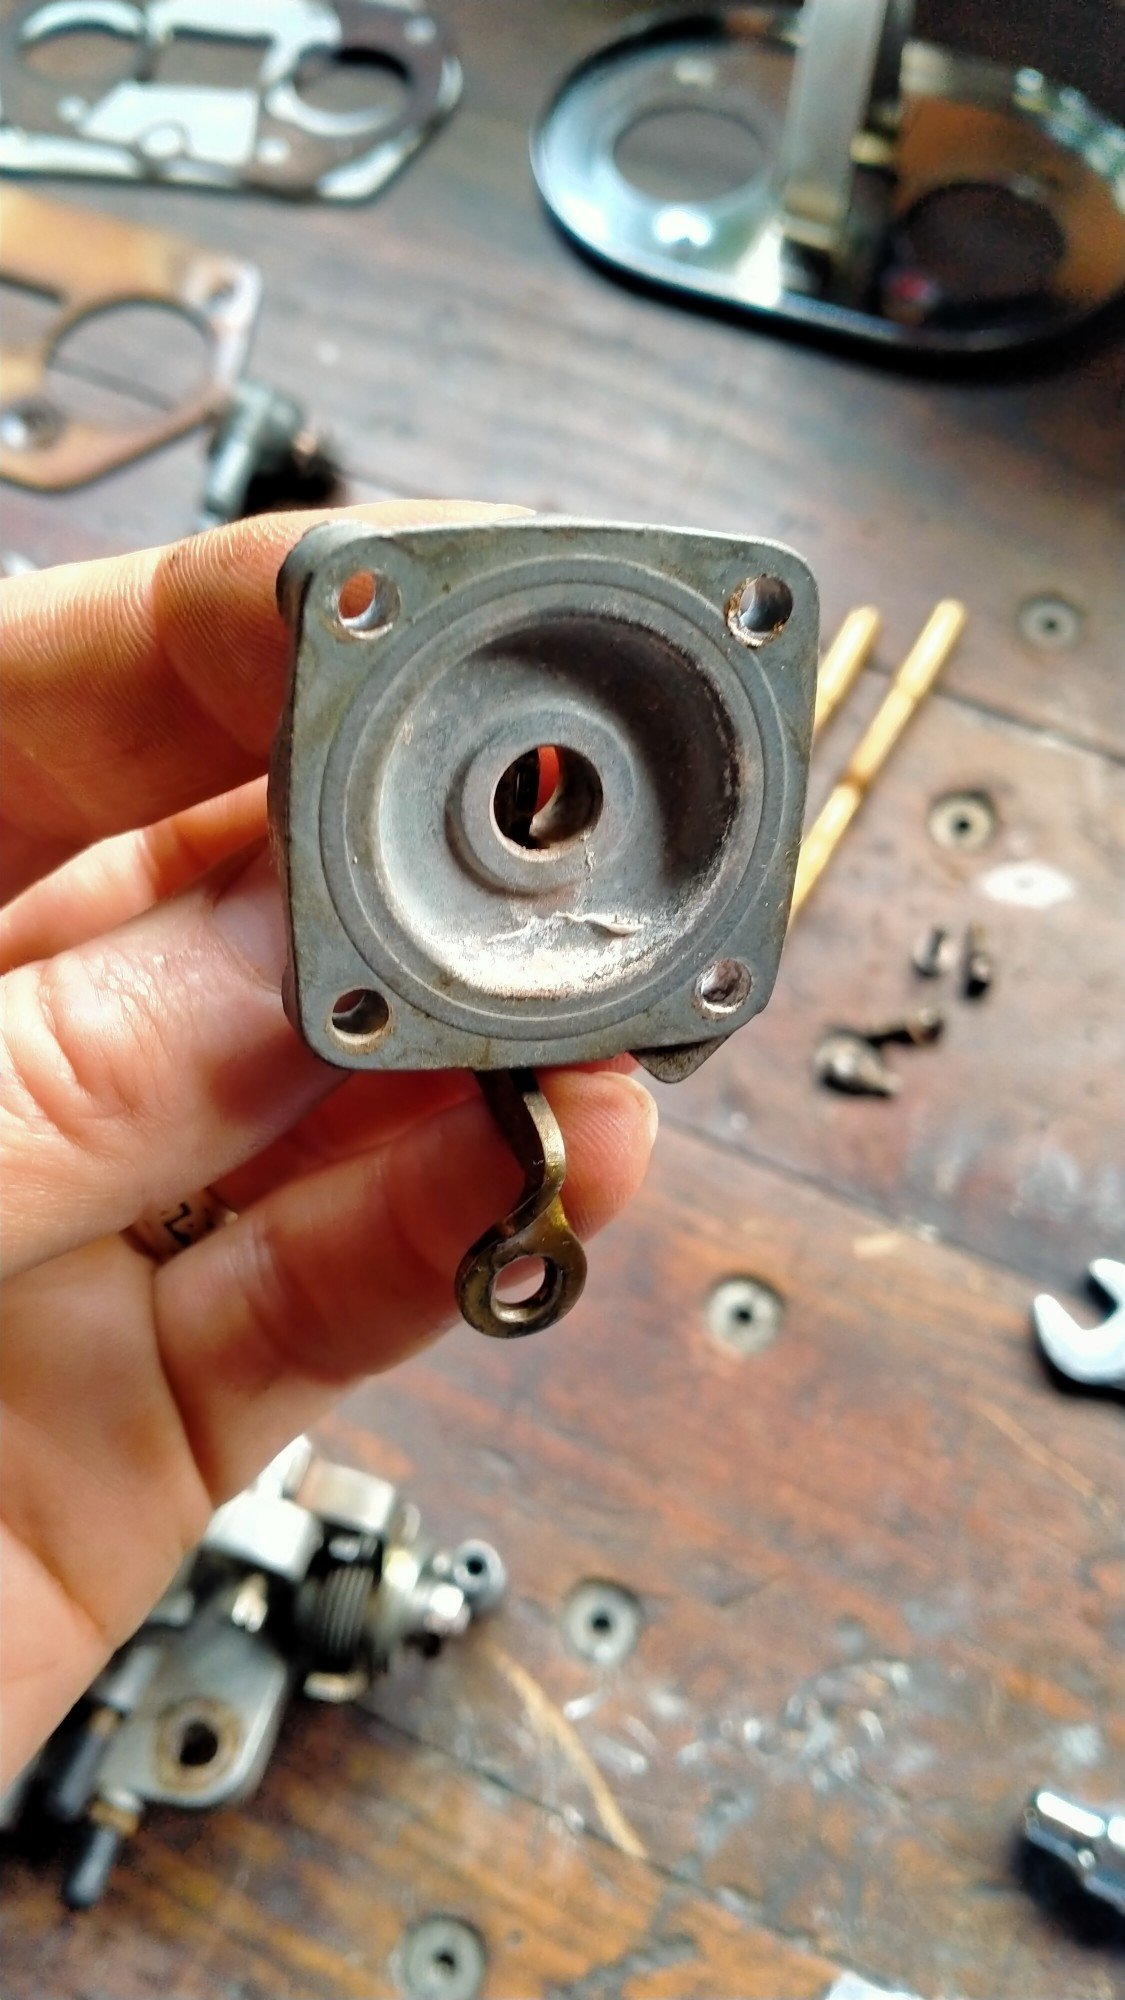
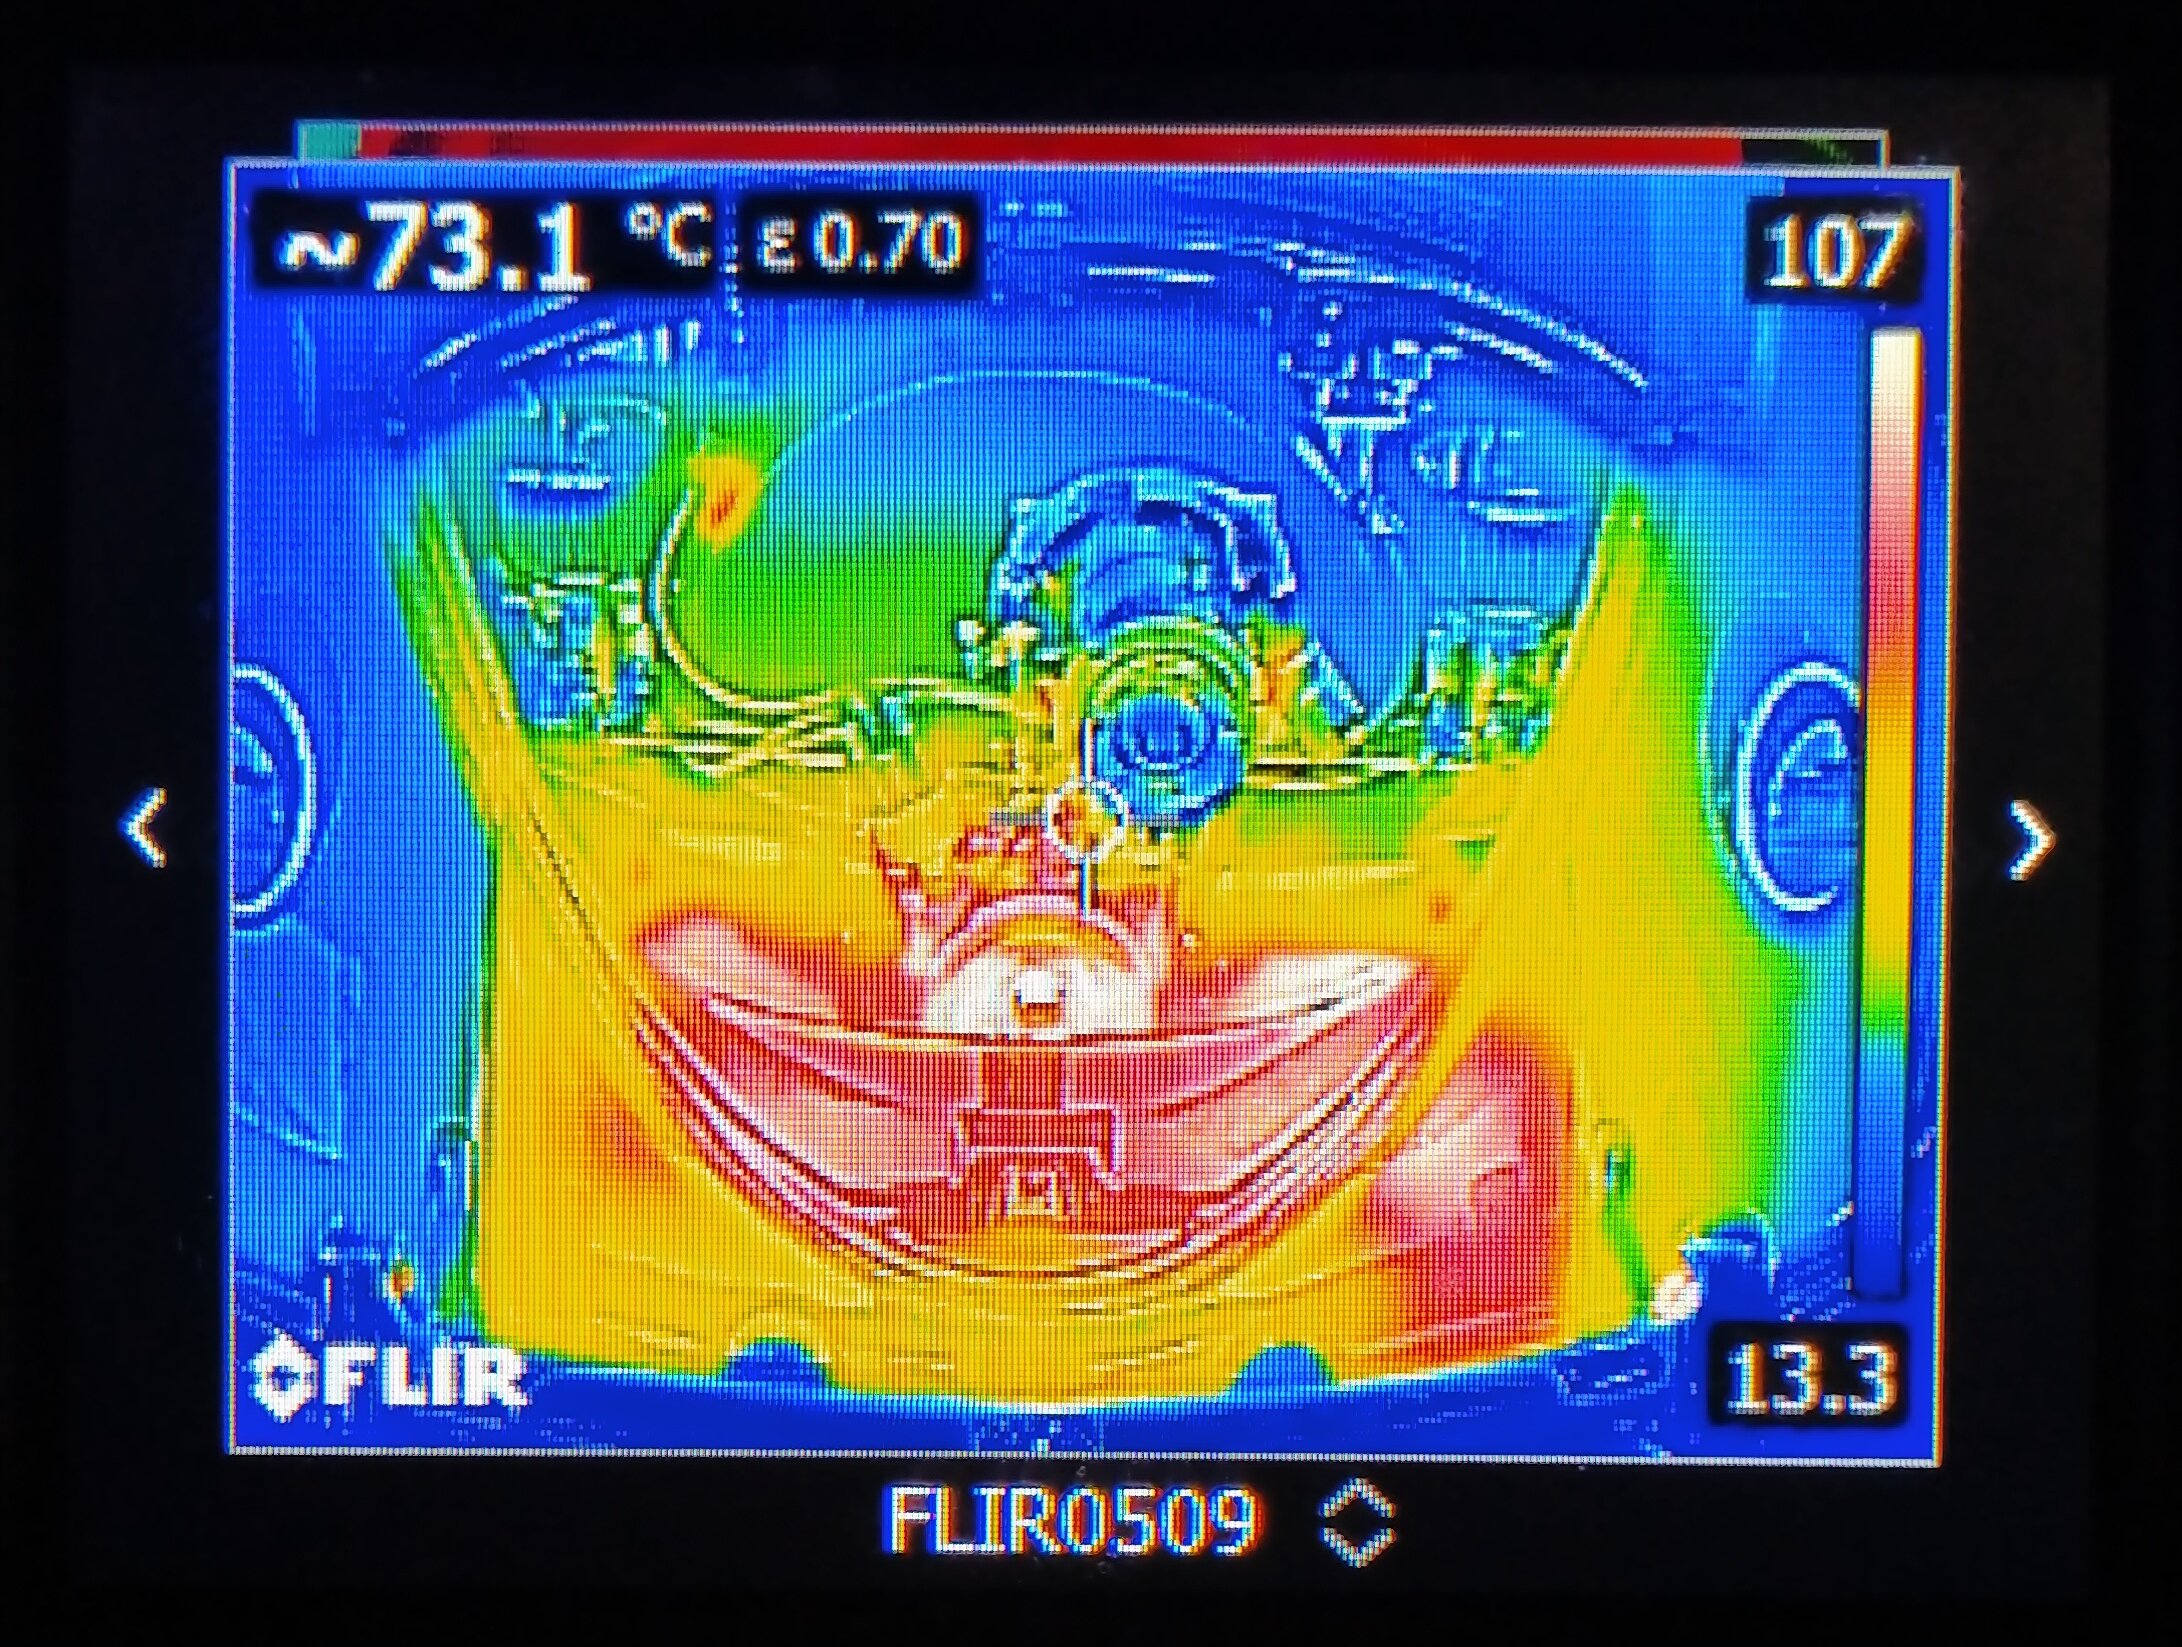
Have been chipping away at the Dells, turns out several things were a miss. There isn't a lot of adjustment on the DRLAs. I don't have any other jets so it is what it is. One thing I can adjust is the wee nut on the accelerator pump that, this is why is been popping, have wound it and it loads up the little spring and has nearly completely stopped the carbs farts. The other issue was the stumble. It was better but still randomly there, usually after giving it beans. I thought it might have been a kink in the fuel line restricting flow, as above. Picked up some 8mm pipe and wouldn't you know it the tank was full! Better but still fucking about. Spent most of today trying to tune the bastard things, then it would start running like a bag of shit, this is a bit of corrosion behind the acc pump cover. Then I realized what I'd done, the fricking choke was randomly coming on! Once it was behaving itself, I had a go at adjusting the air correction valves, I think they are called, spend ages going back and forwards, using the temperature gun from work it I got the exhausts without 20⁰ of each other. And balancing the left and right carbs. It's idling so nicely now I can hear the camgears and tappets all rattling around. Which has completely transformed it's road manners, it so much smoother and doesn't pop and fart about, hopefully that's all the gremlins sorted, wife says it needs a exorcism!
1 point
-
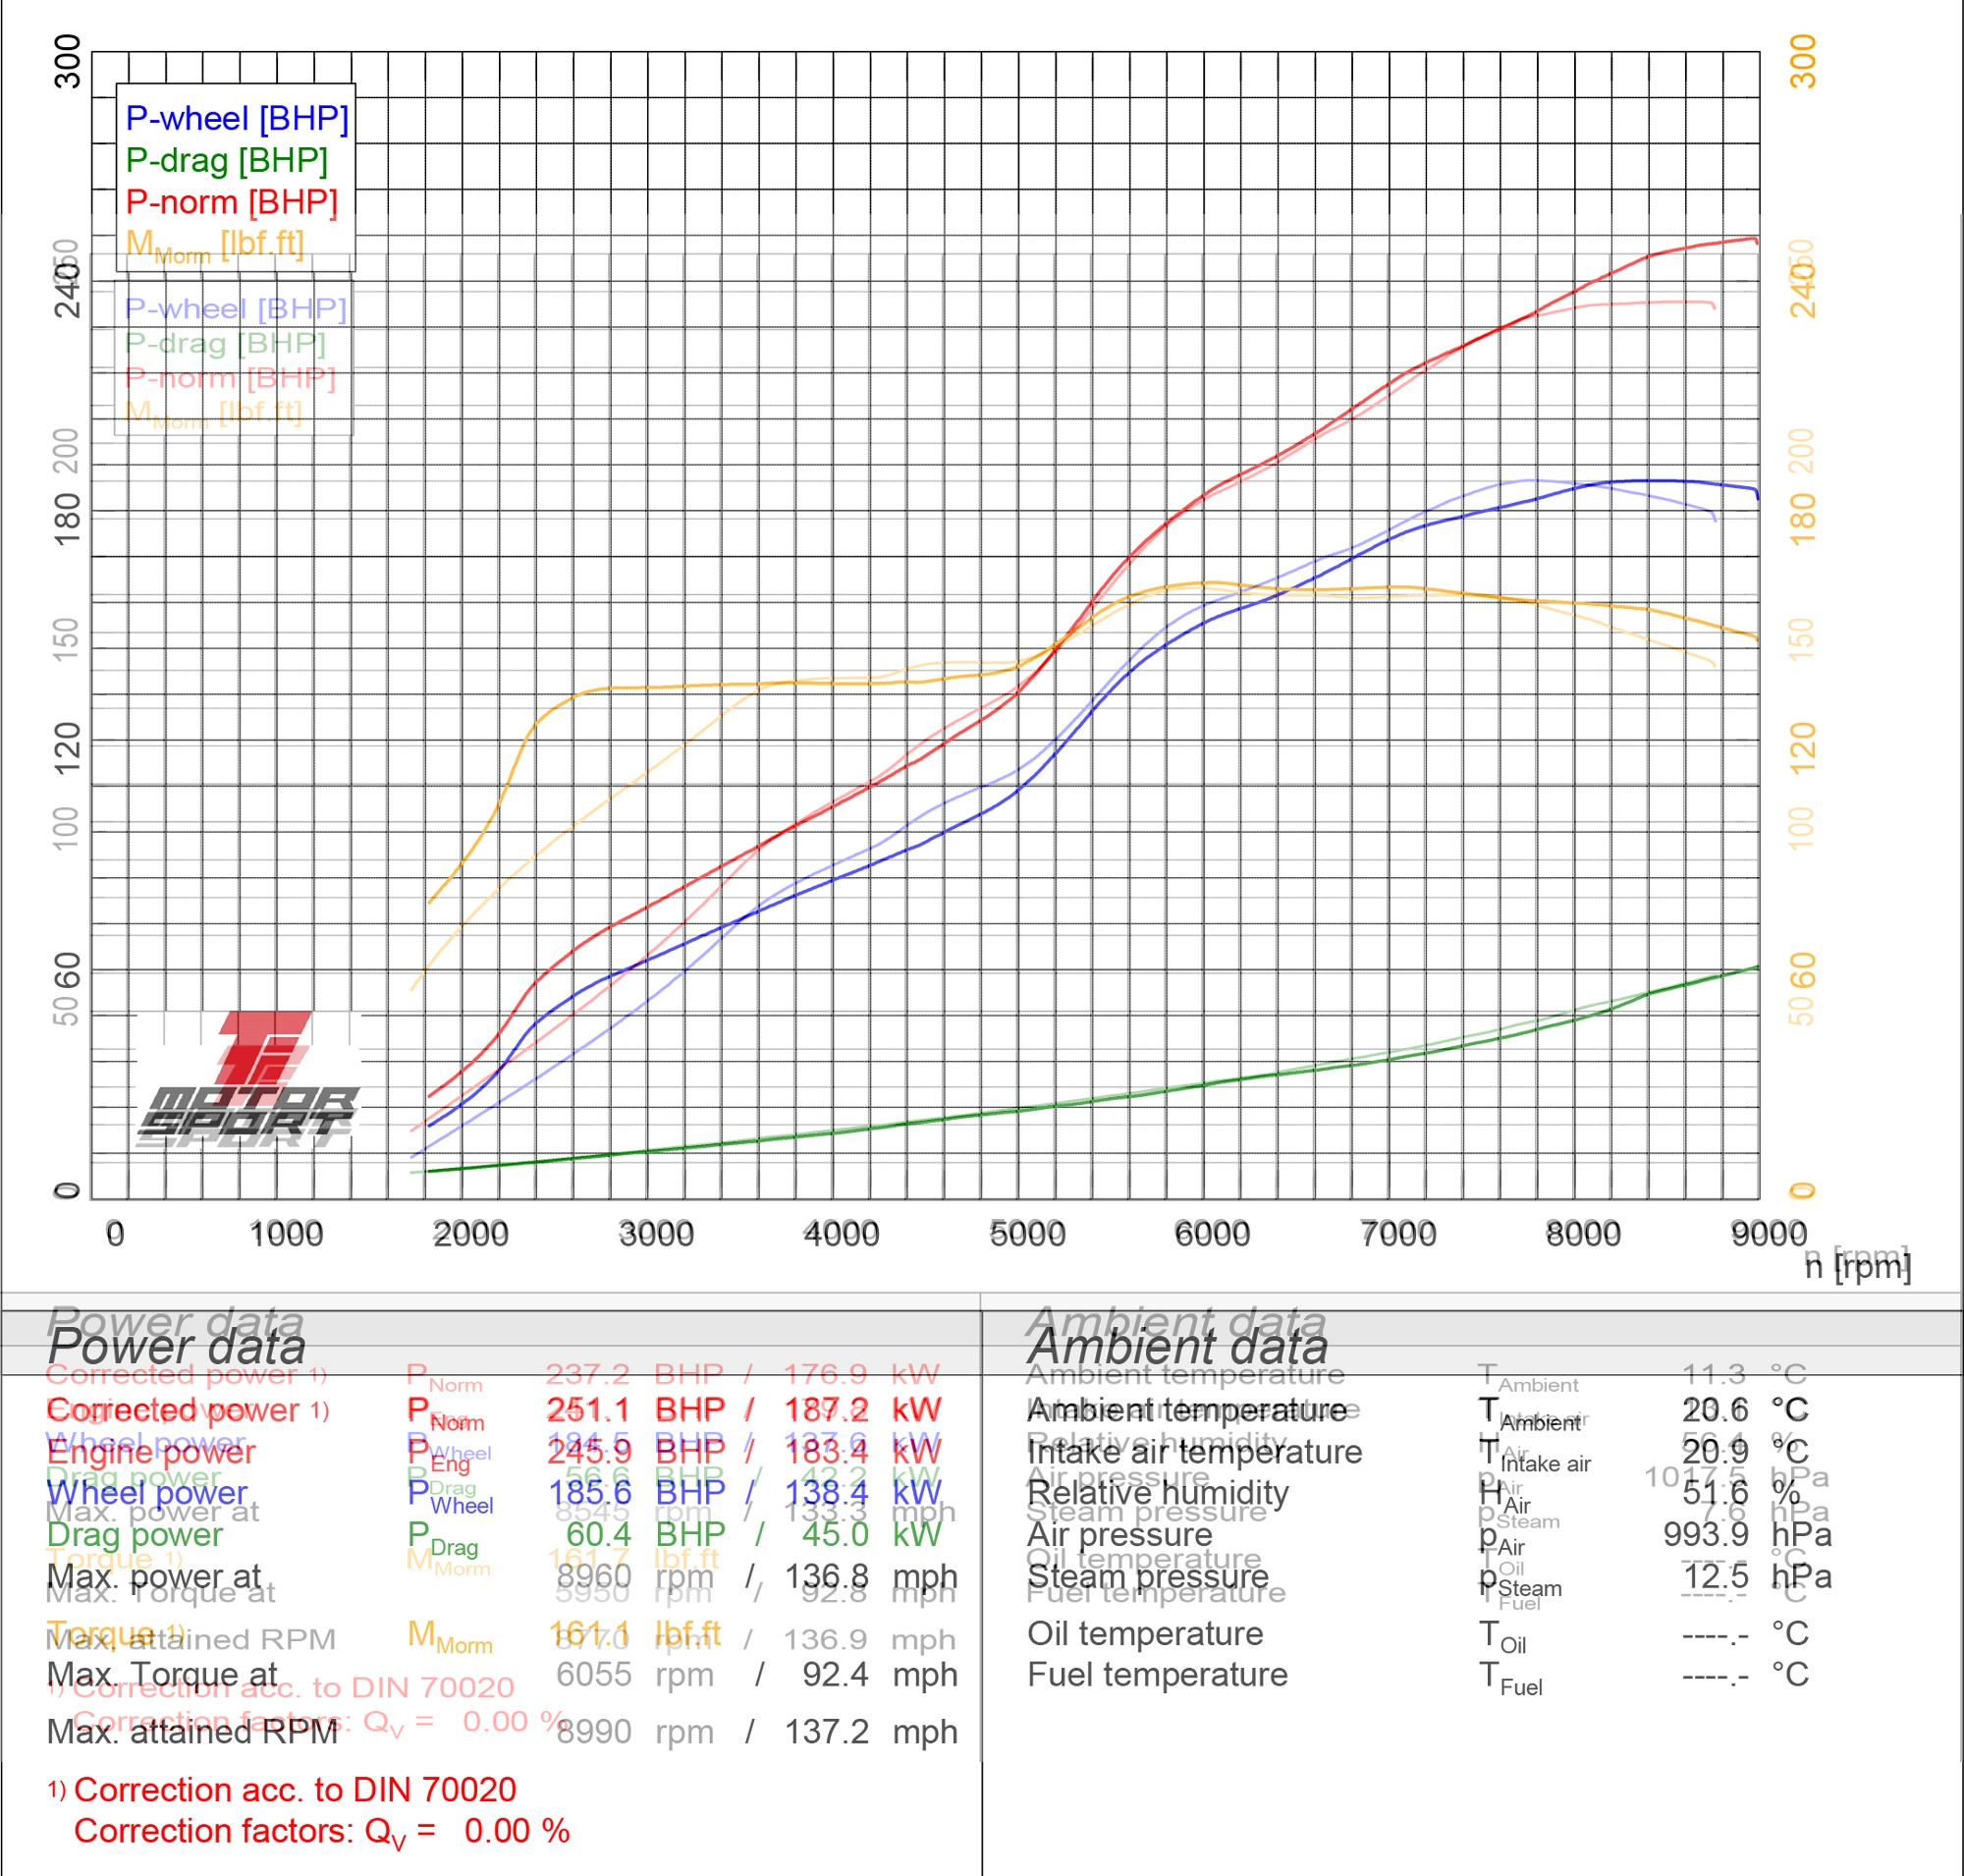
As above, I have been looking at some of the stuff they post. as been playing with a k24. They quote all these different gains in bhp, but the wheel hp on the same graph says something different. also mega driveline losses. Ive roughly overlaid the graphs blue is the wheel hp. red "engine" power. light lines stock intake, dark itb. Looking at the wheel power. the stock intake manifold would be a quicker car. unless you could run between 8000 & 9000 rpm the whole time. even then wouldnt be anything in it. Why, The itb's will probably flow more. but the runners are way to short to make any jam over the whole rev range. stock inlet will be running out of flow and or slightly too long to make power at 9k ITB's only work good if you dial in the runner length and have the flow to go with it. Seems to be super common with K series stuff. even the factory inlets. They are too short with big runners. or long with small runners. I think those itb's you have will be a touch on the small side. possibly ok. but can get away with over sizing the intake a bit. not so much under sizing it. if make the runners small enough to gain in the bottom end (talking rpm you will never use in circuit car) will lose top end. if a bit too big, not much happens. not trying to lecture you, just wouldn't be fun to have to do it twice if you didn't have to. This is the intake i just made for k24. Big long runners. gains everywhere over RBC honda inlet. which is spose to make more peak power that the stock ep3 one they compared the itbs too.
1 point
-
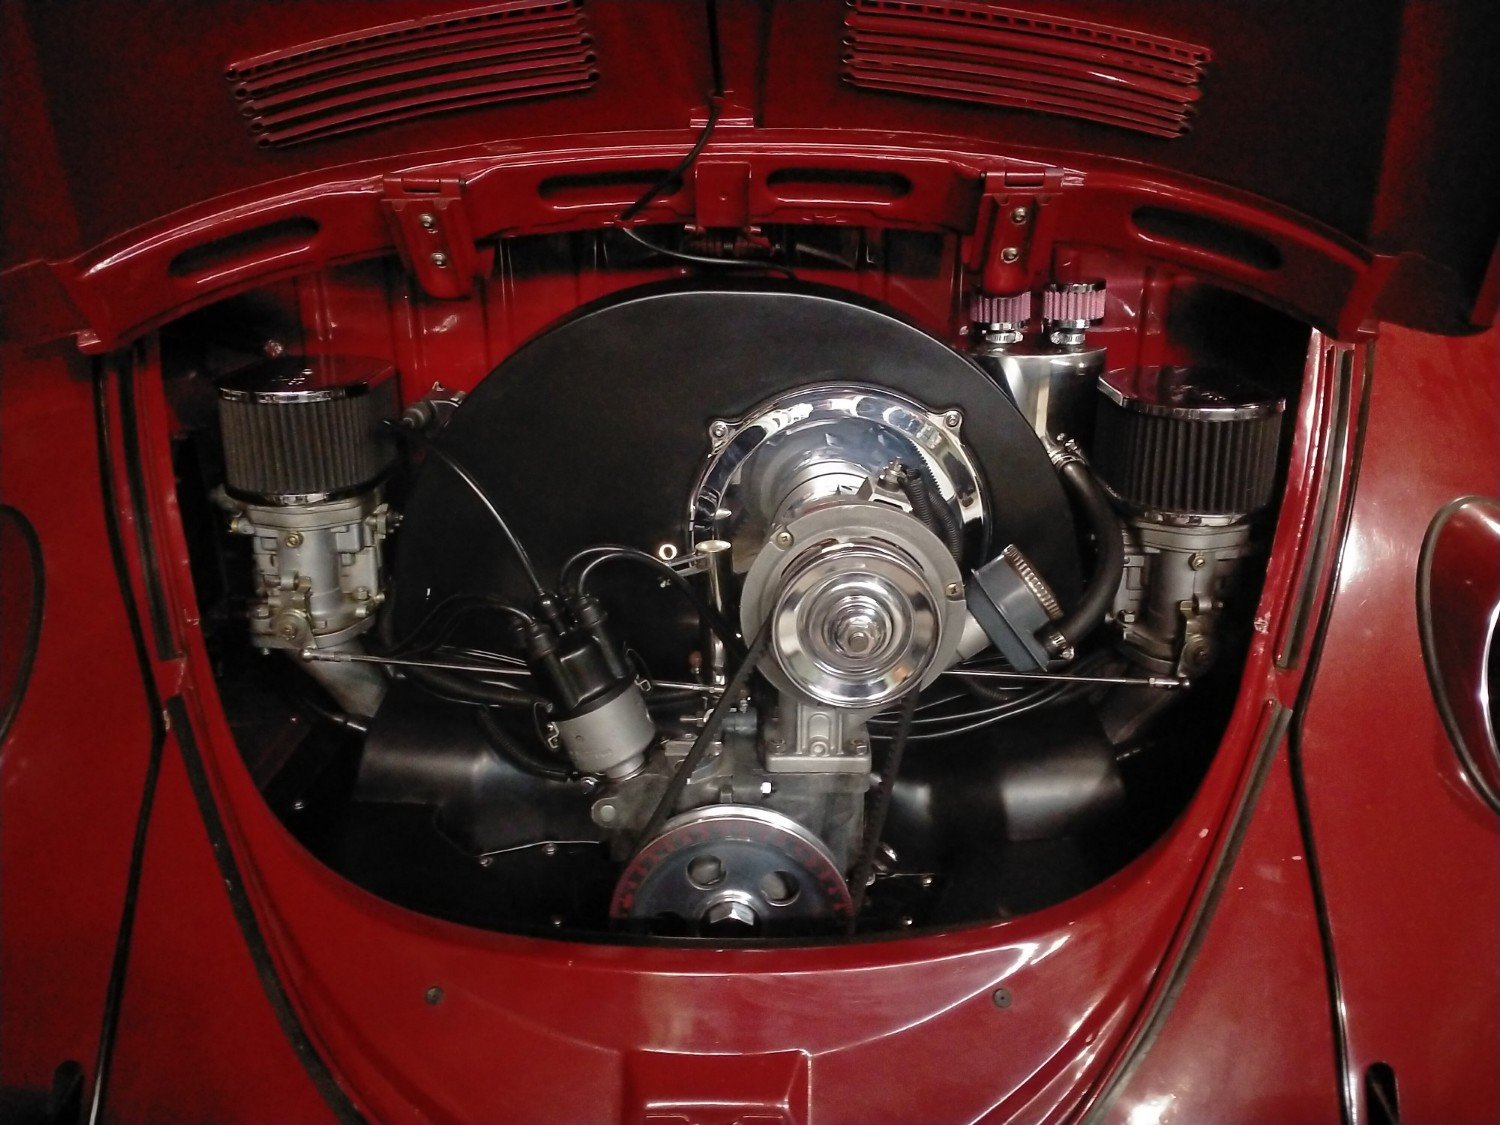
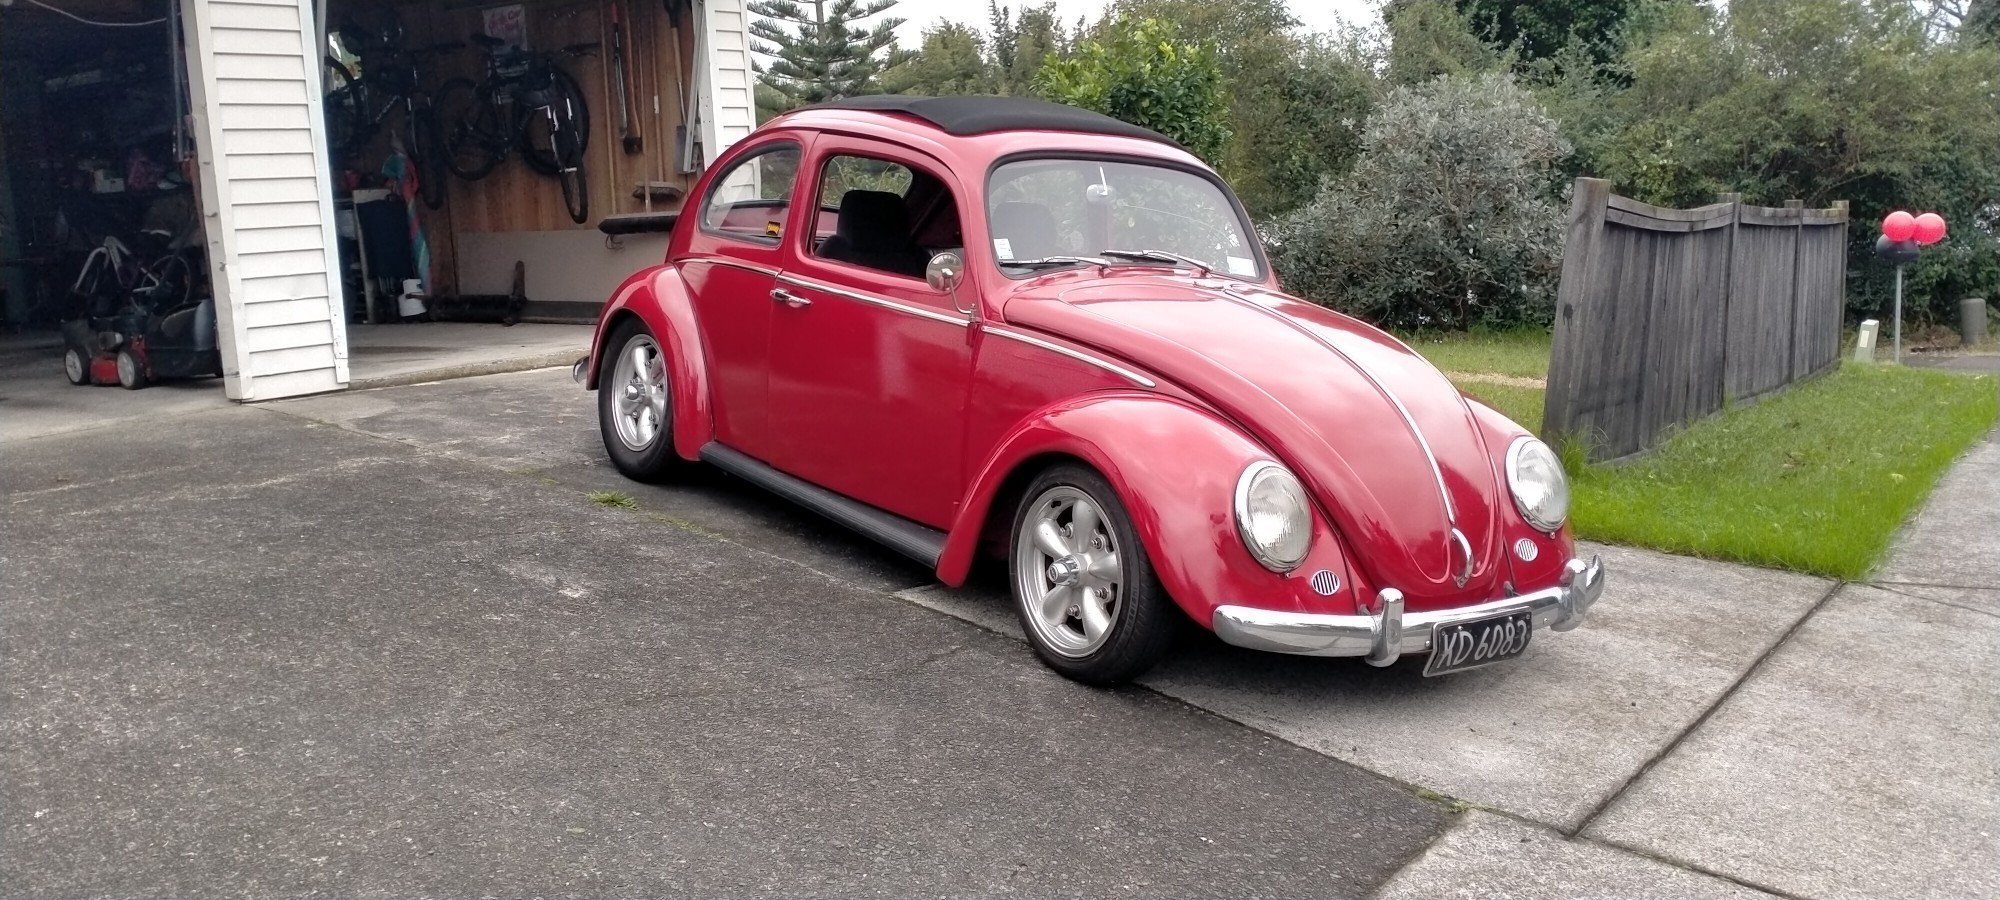
So up with slightly blurry eyes this morning, after a evening of sometimes literally blowing the cobwebs out. Clean sheet baby! Spent the rest of the day cleaning and polishing. Celebrated with a drive to Bunnings and had a sausage In bread. Couple details to finish up in here, idle is a touch low but starts sweet.
1 point
-
Rocker cover finally finished and turned the granvia rear sump and pick up to a midsump setup. oil pickup is as high up as i can get it ,4mm off the conrod
1 point


.thumb.jpeg.384ff72c8d2b0ee0d34a7bdedb55bdcf.jpeg)


This leaderboard is set to Auckland/GMT+12:00