
Leaderboard


Popular Content
Showing content with the highest reputation on 07/22/22 in all areas
-
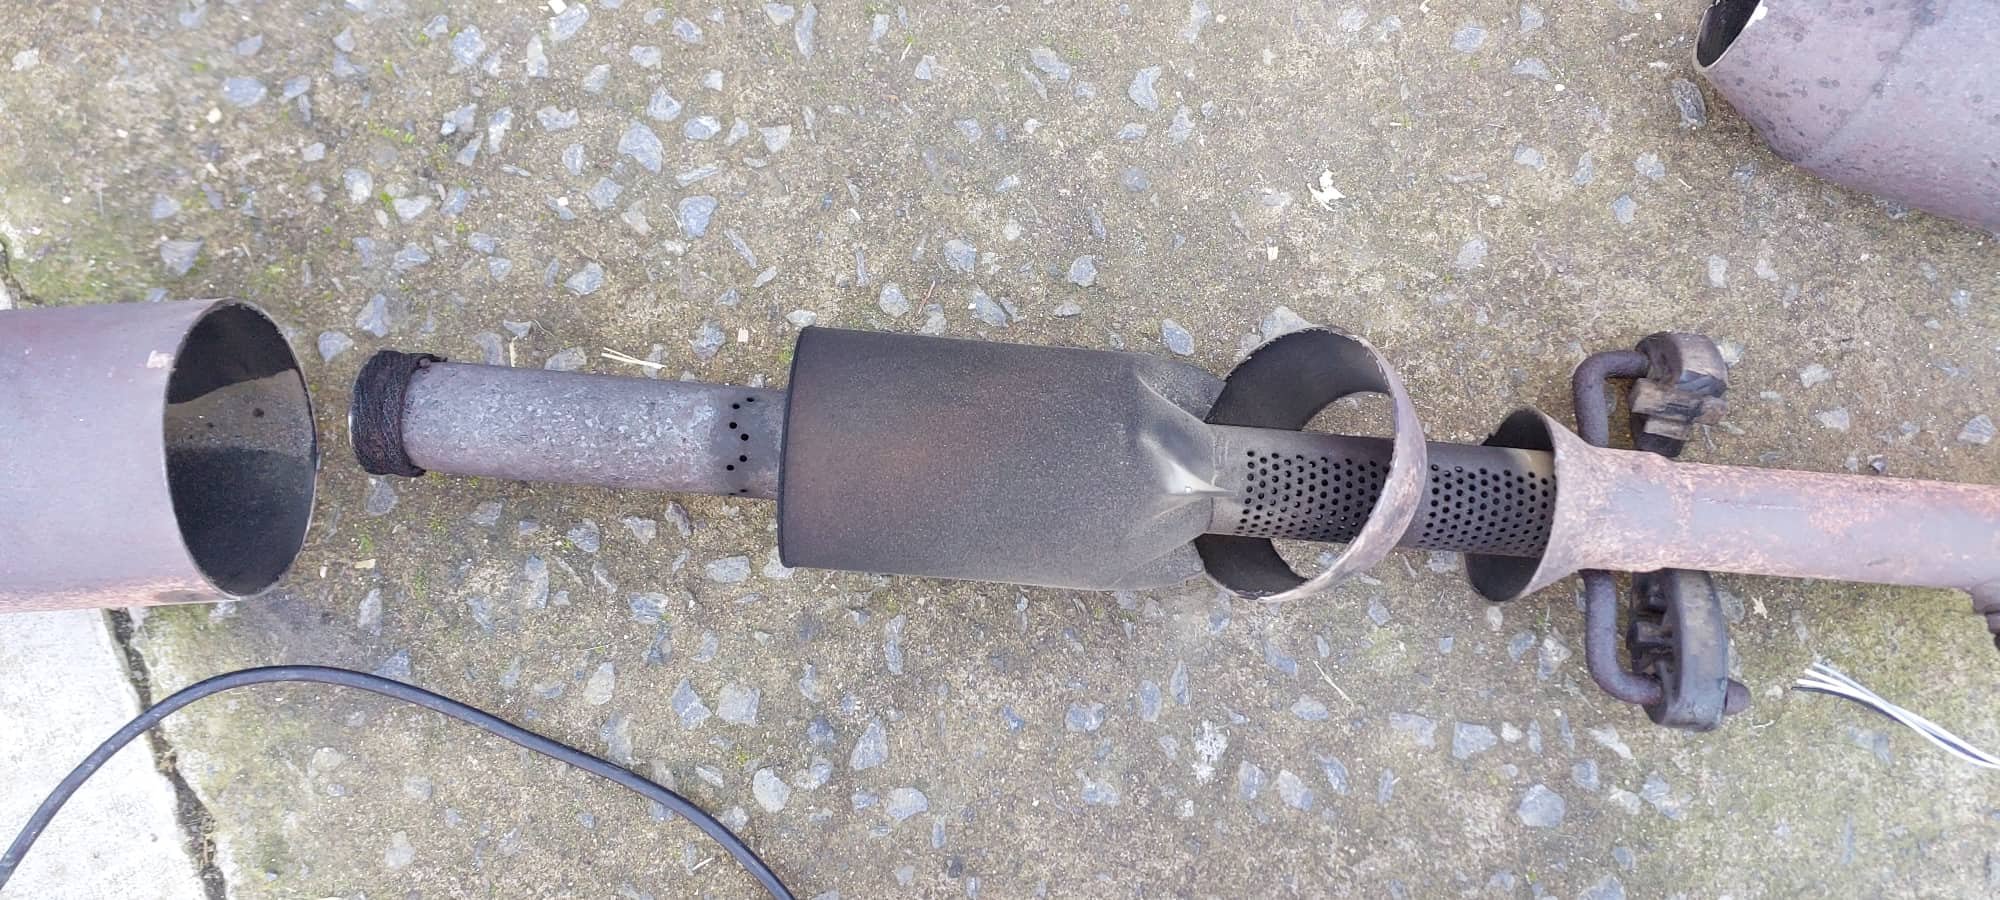
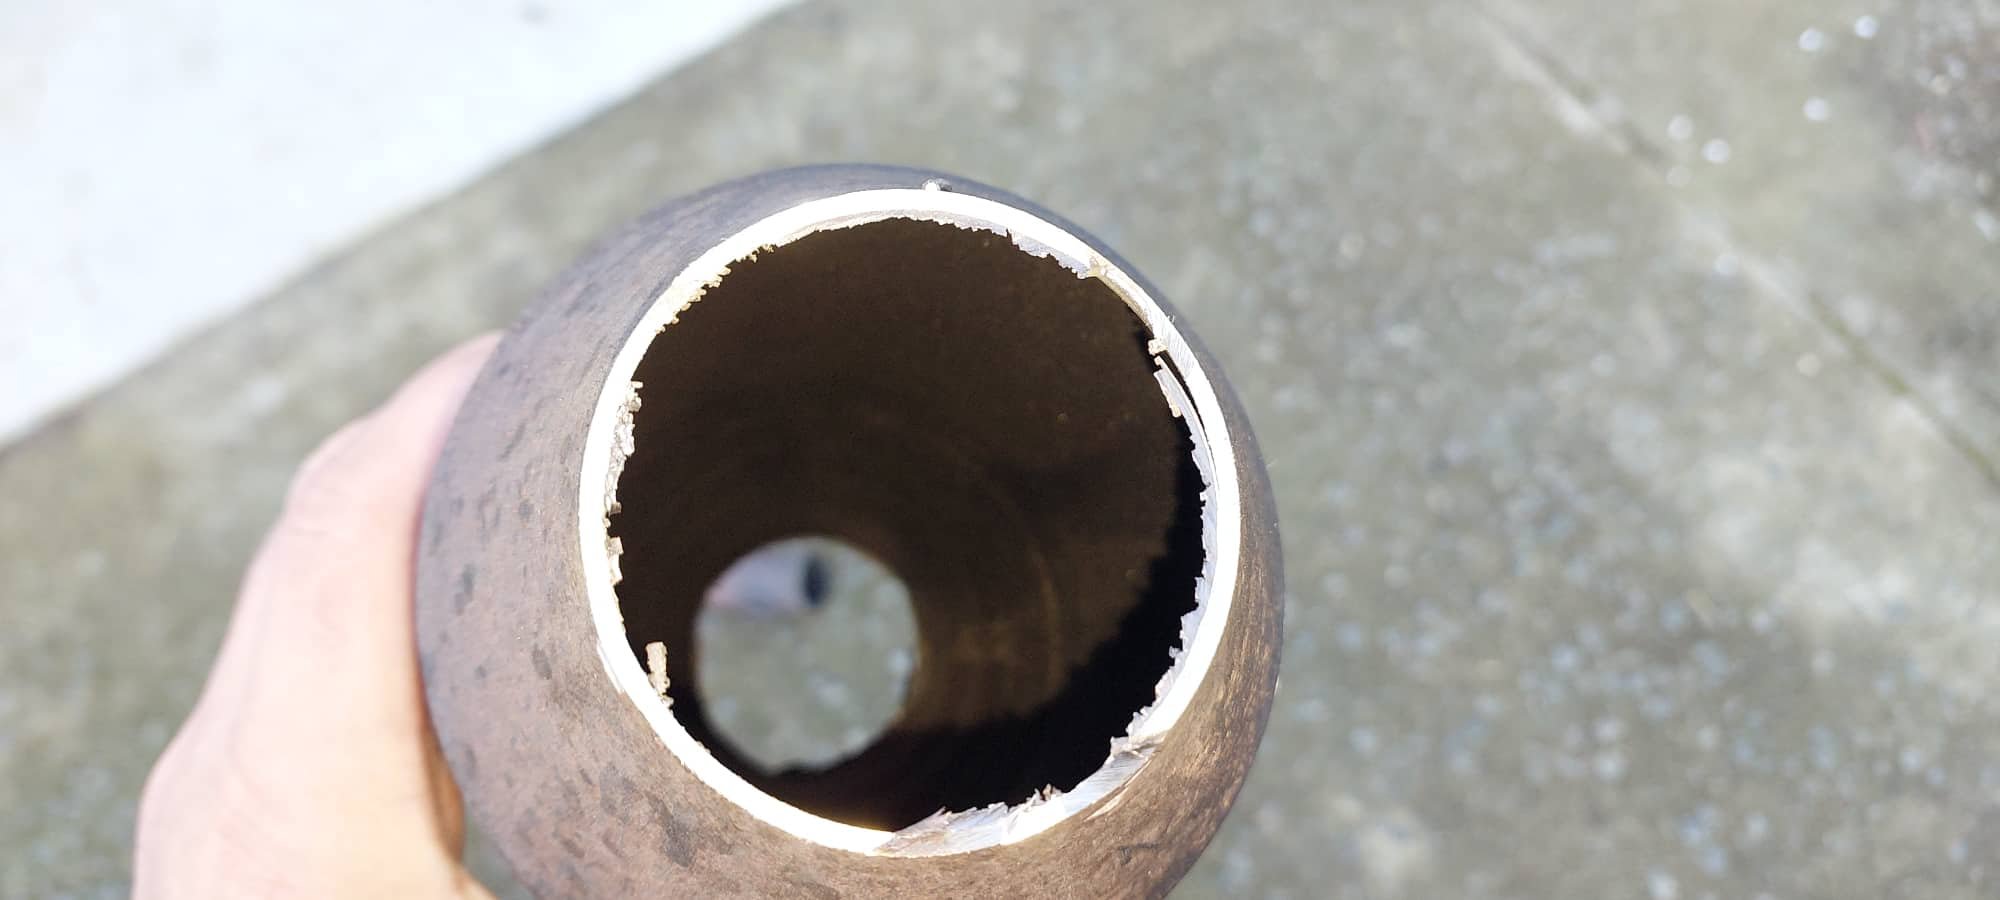
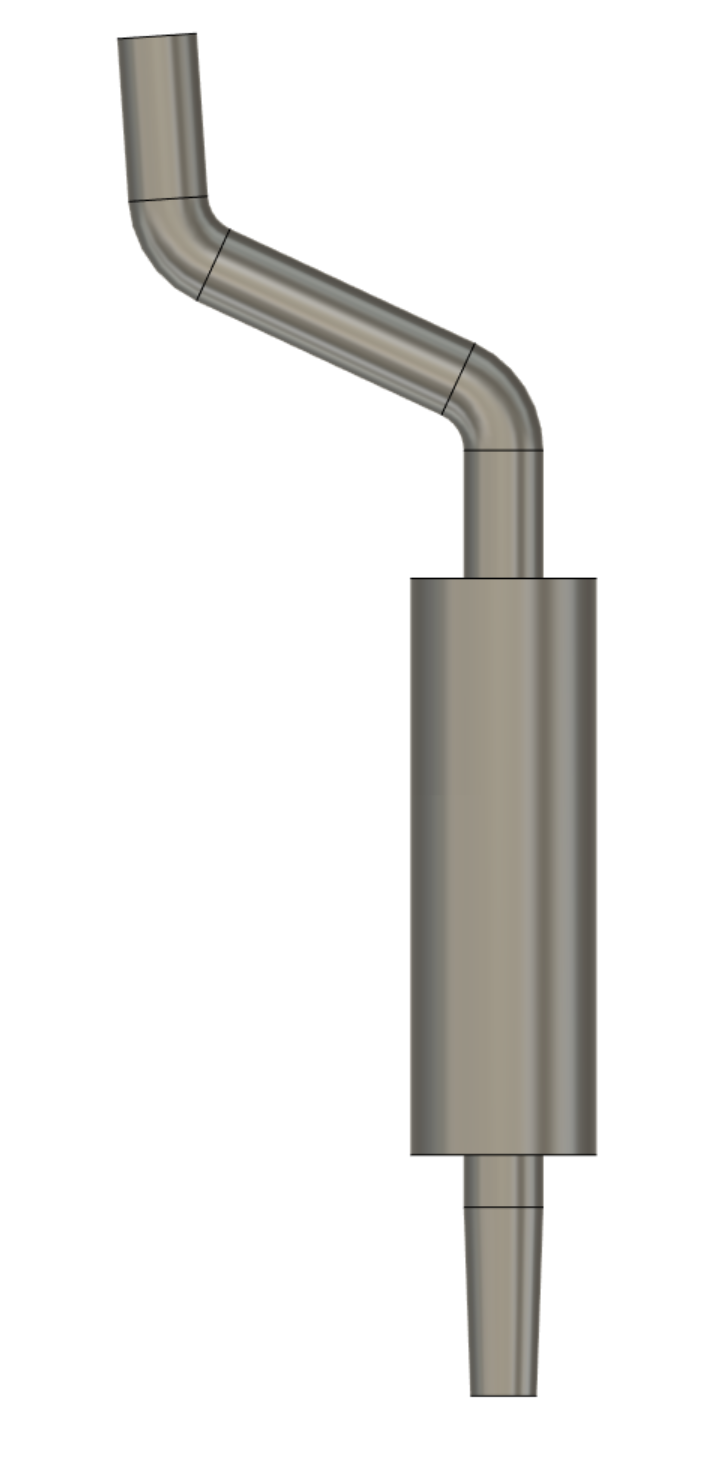
I ordered a 550mm x 6" diameter barrel muffler from Adrenalin R earlier in the week. It turned up today, and I'm glad I didnt try stuff a 7" one in there! It should be pretty good and tuck up nicely, but I need to trim the heat shields a bit where they taper in around the factory muffler. So I'm gonna take this over to @Geophy tomorrow to get welded onto the flange and front piece of pipe. Then during the week next week @Stu has said I can borrow his spare tig setup, so I can tack together the rest from there. However I dont think I'll try fully weld it myself. At the moment with the muffler just stuffed onto the front pipe, so not sealing at all, it sounds remarkably like a VW beetle or something haha. I'll double check the cam timing over the weekend on this 1300 motor, something is seriously wrong with it. It can barely rev out. Hopefully it's the cam timing and not a damaged valve guide or something. Would still like to use that head if it's alright, and would be interesting to see how the 1300 motor goes. Currently it's a bit too loud still, but defnitely a lot better than without it. Also amusing was chopping up the factory pipe to see what's inside - weird stuff, and no packing. Had I just blown all of the packing out of it perhaps? Speaking of such things, this is what the cat converter looked like... Not even any trace of it left haha.
 17 points
 -
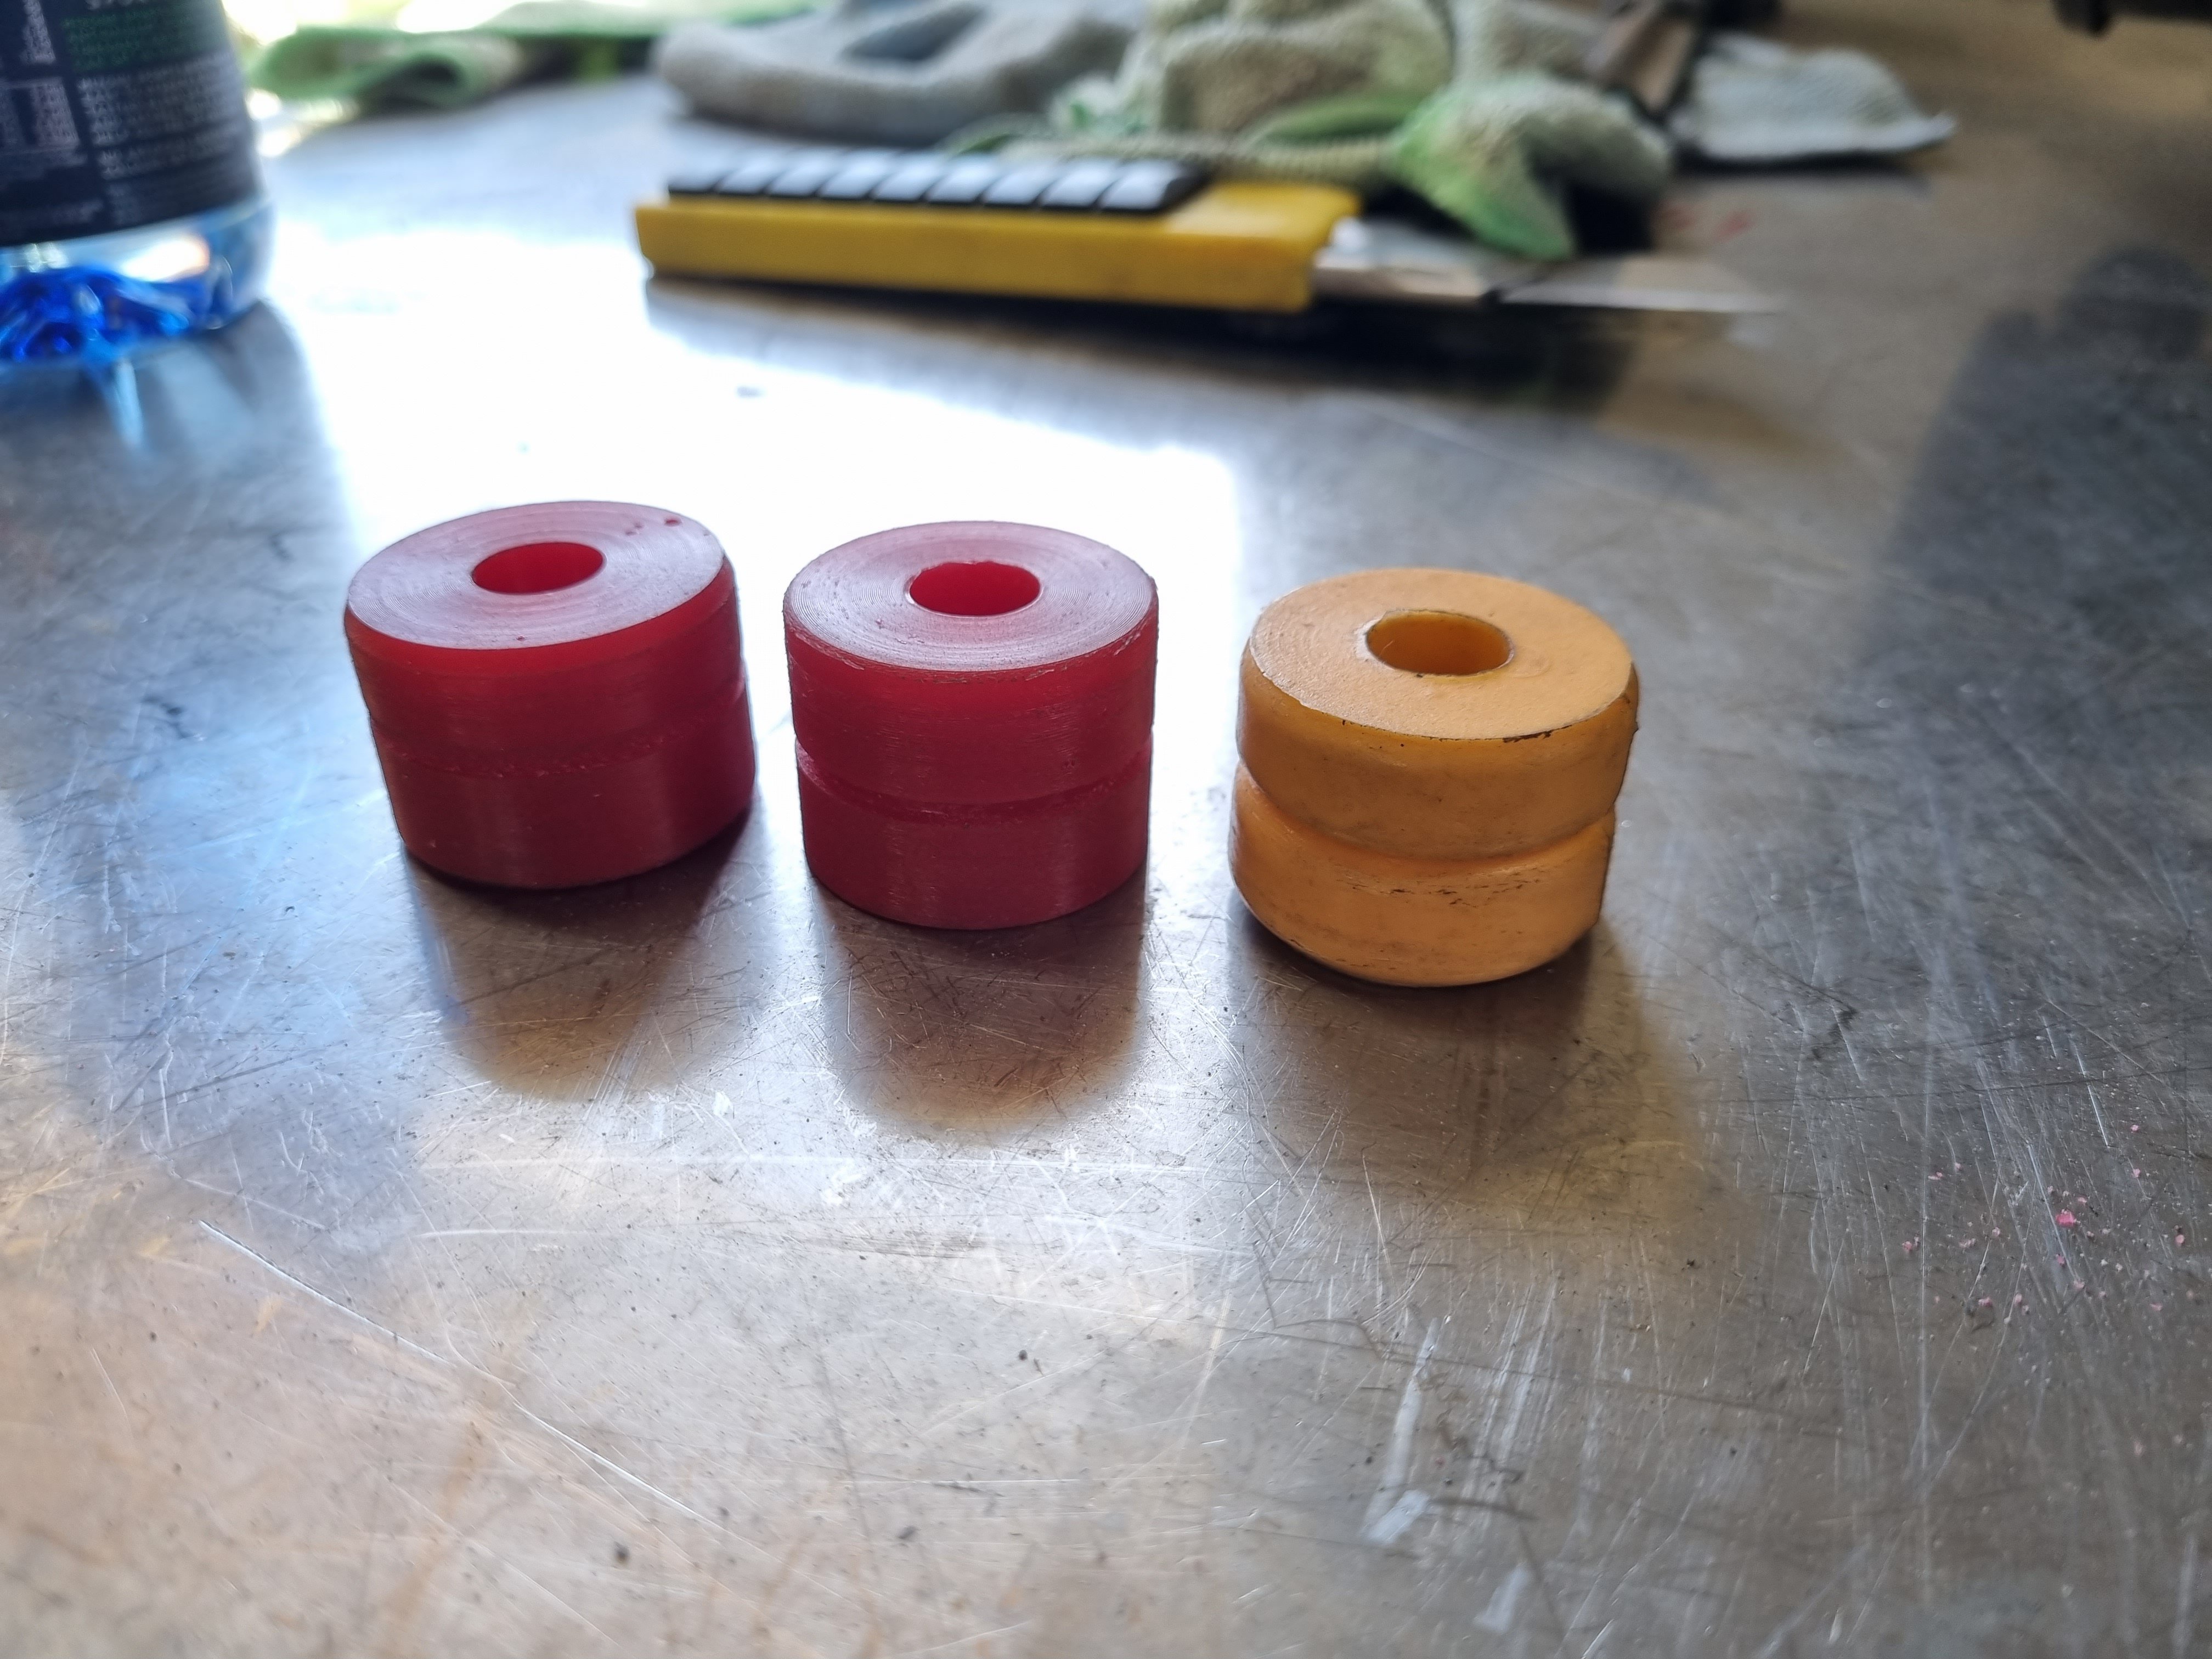
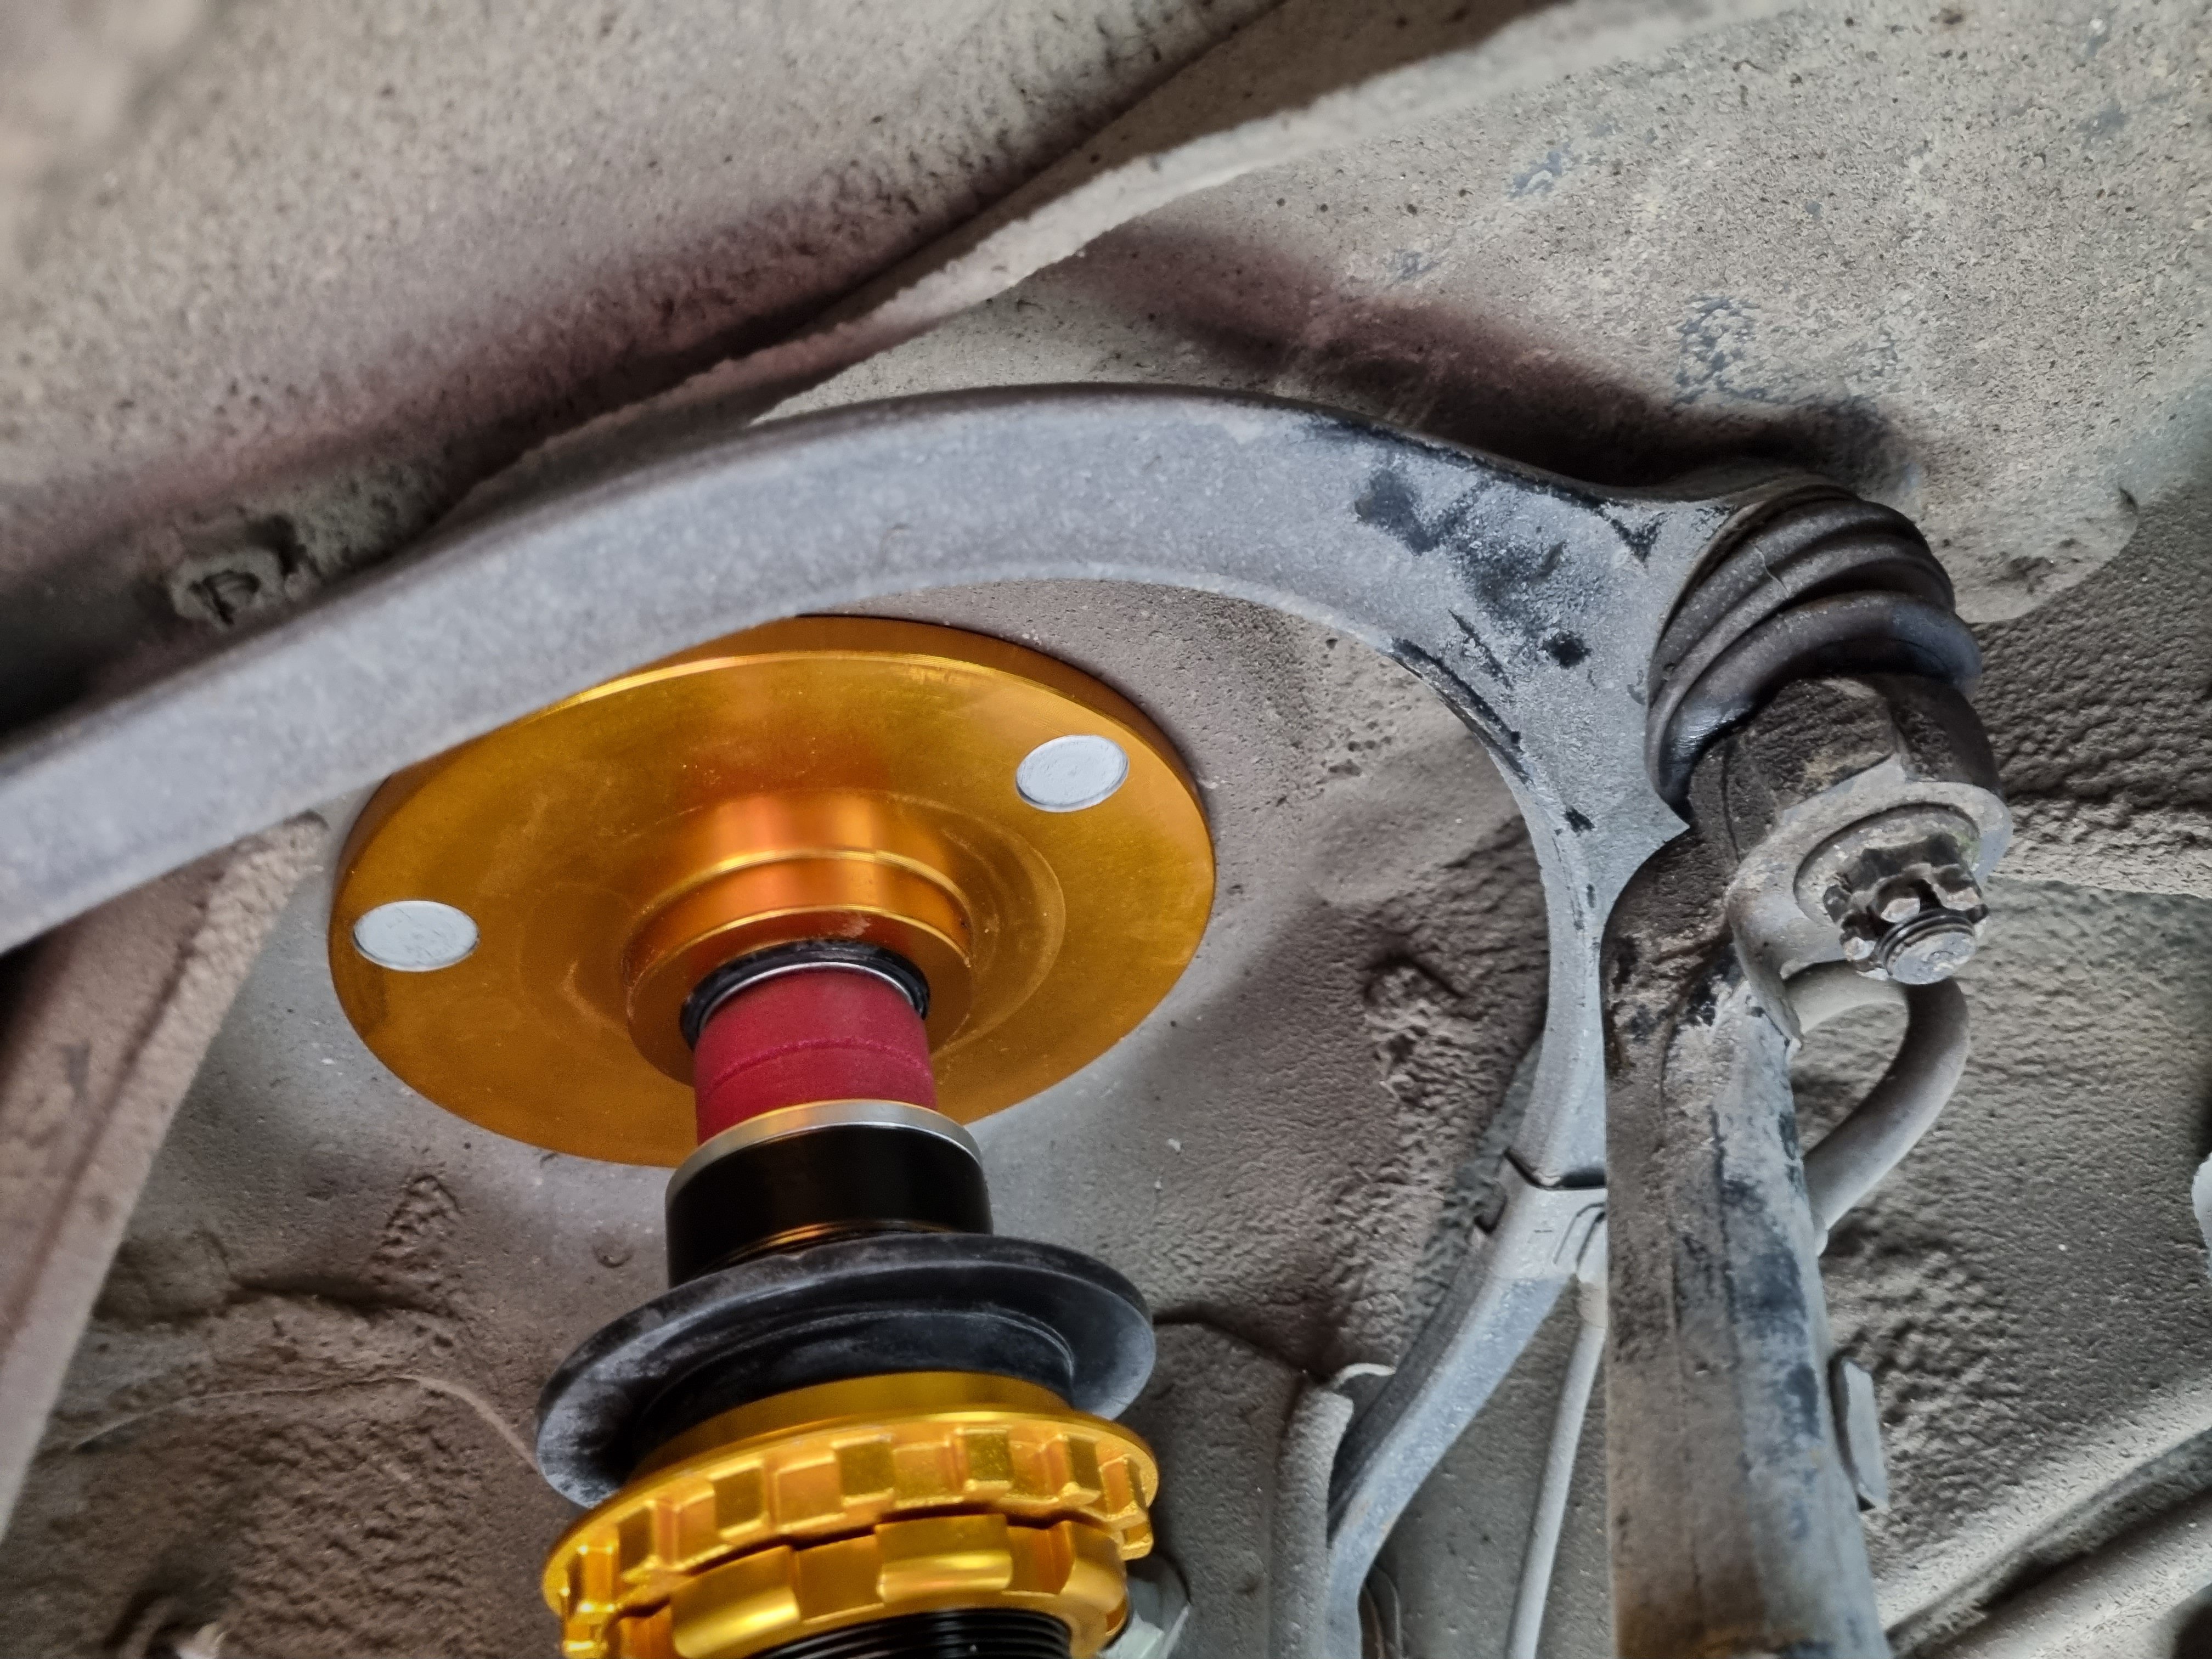
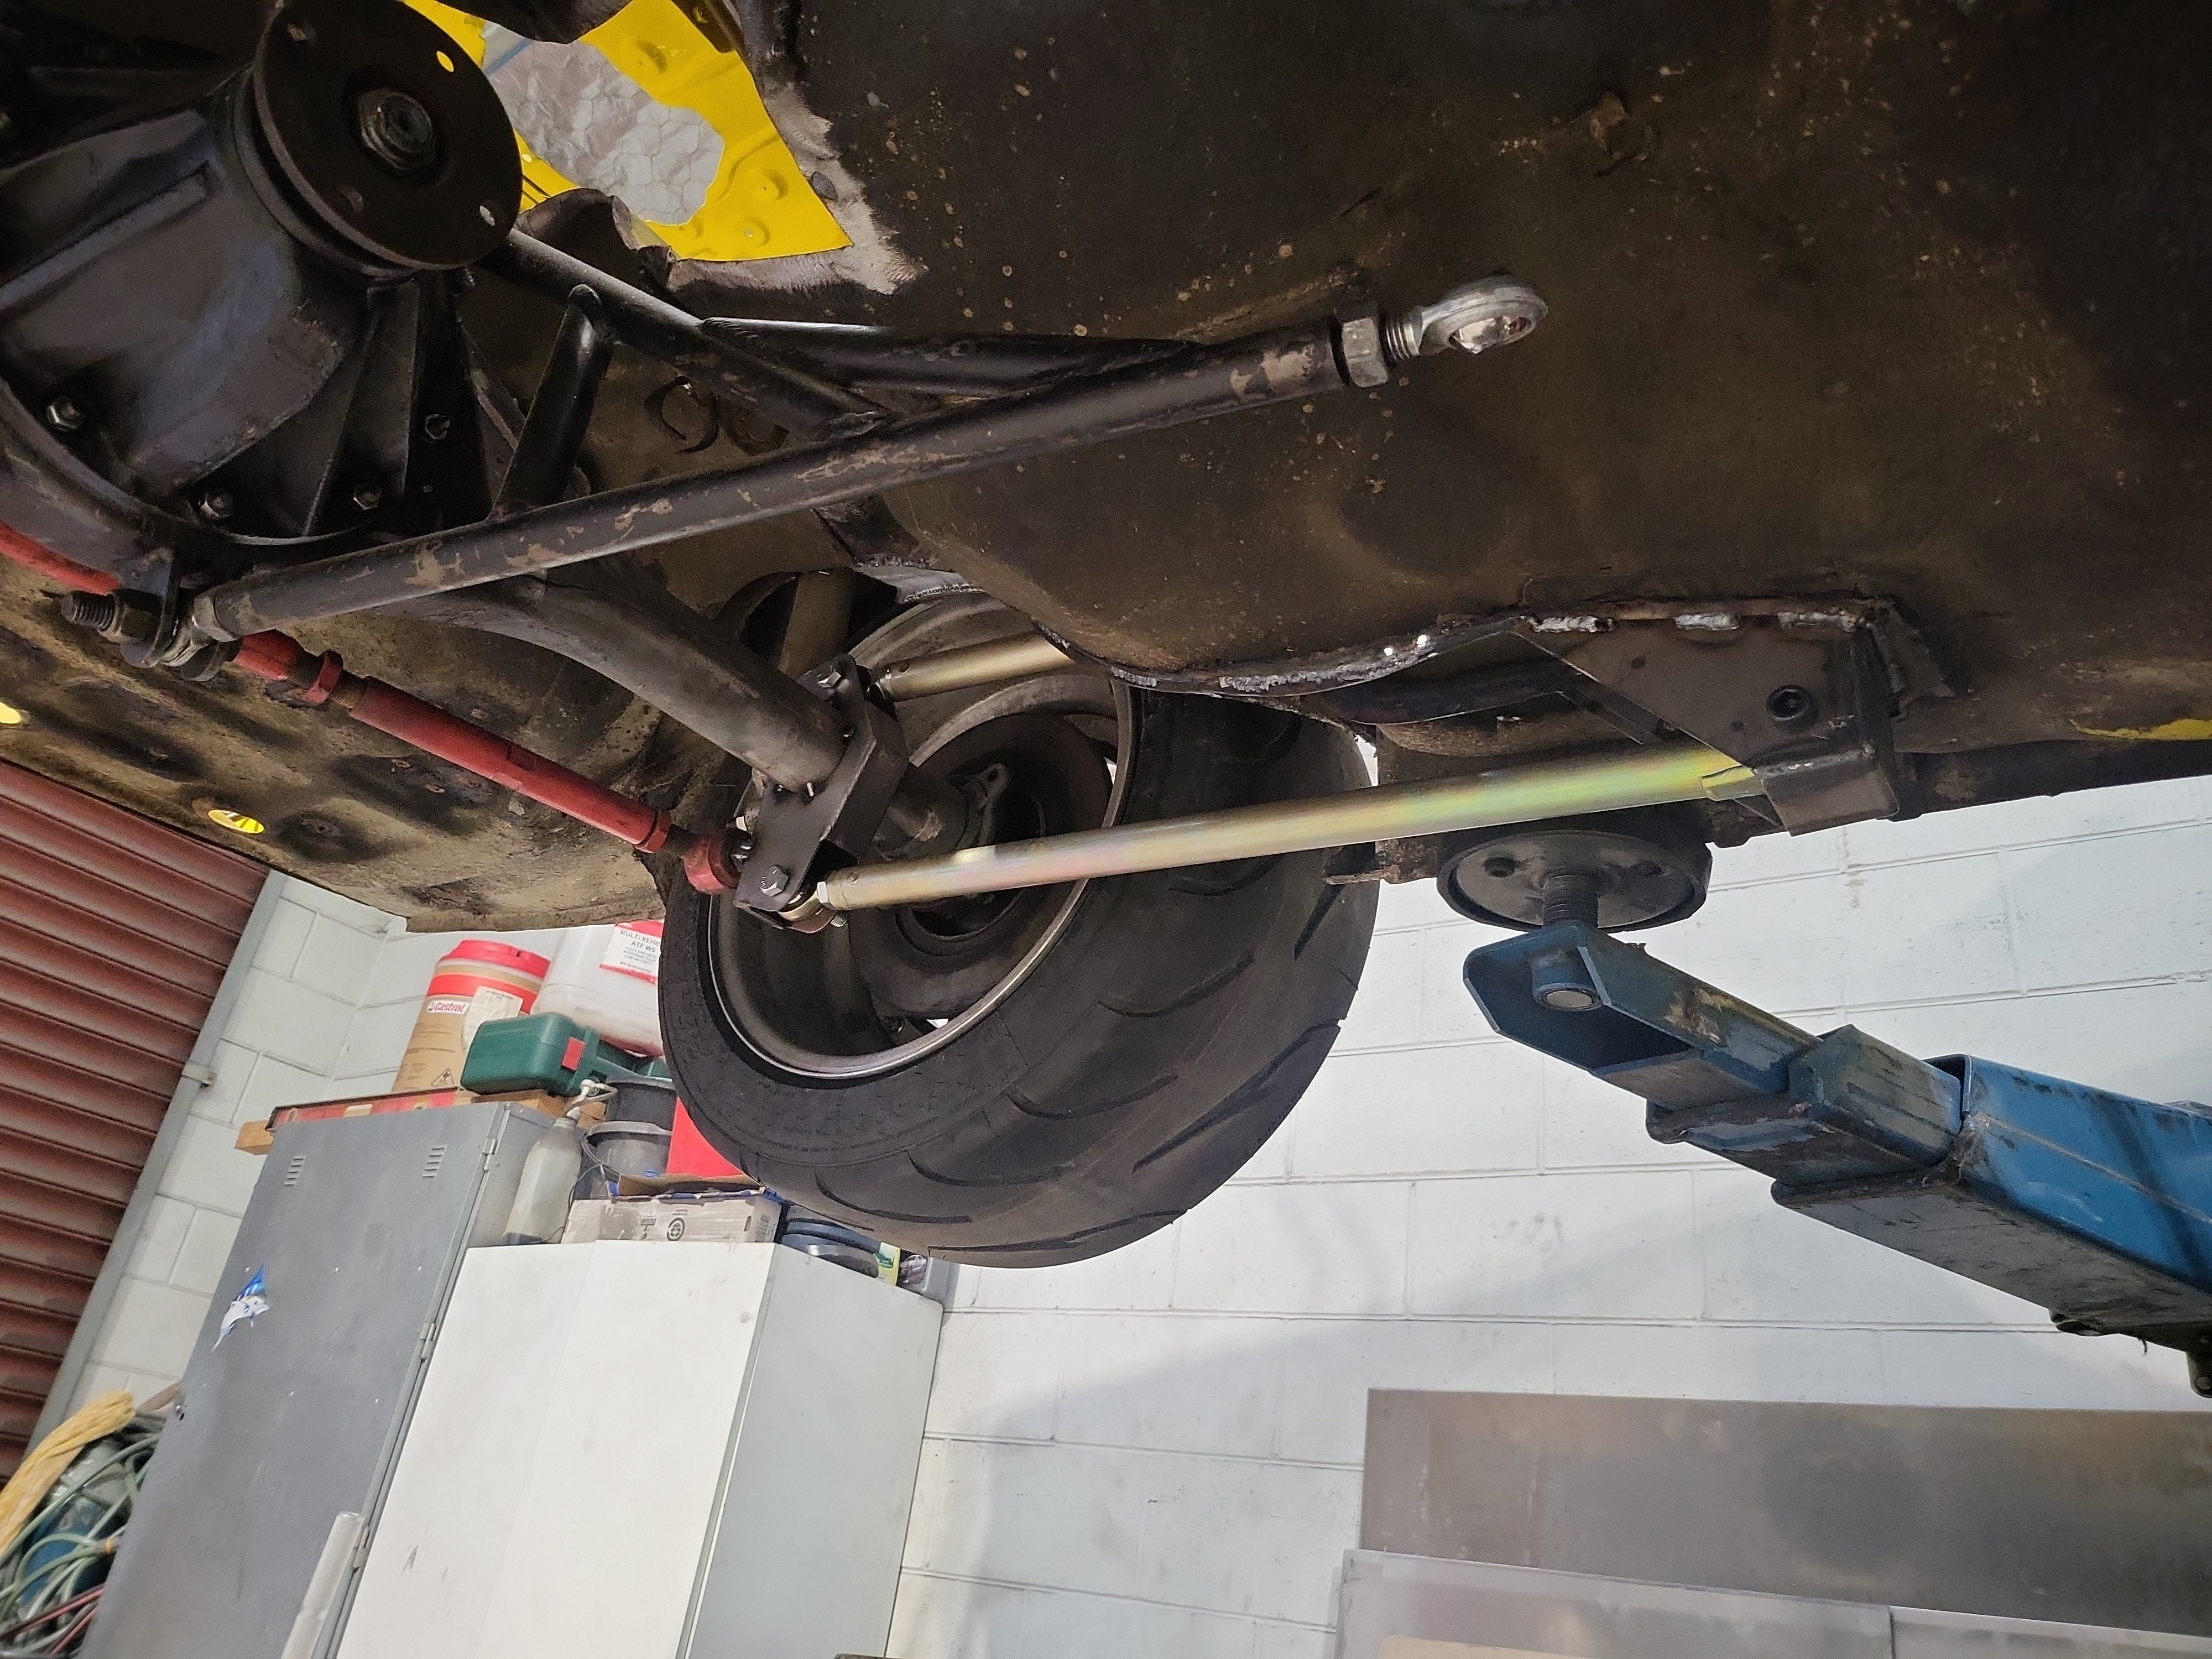
I dunno what the fuck goes on at scarles and I'm sure they don't either but for wherever reason my coilovers turned up. So I put them in. I made new bump stops because @cletus told me the yellow speed ones would be garbage, and they were, so I made some new ones. I am ecstatic with the result. The ride is still comfortable and smooth and the lowness is perfect. Tomorrow I've got to fine tune the Bump stops in the front to get everything happy and that's it. Super premo.
12 points
-
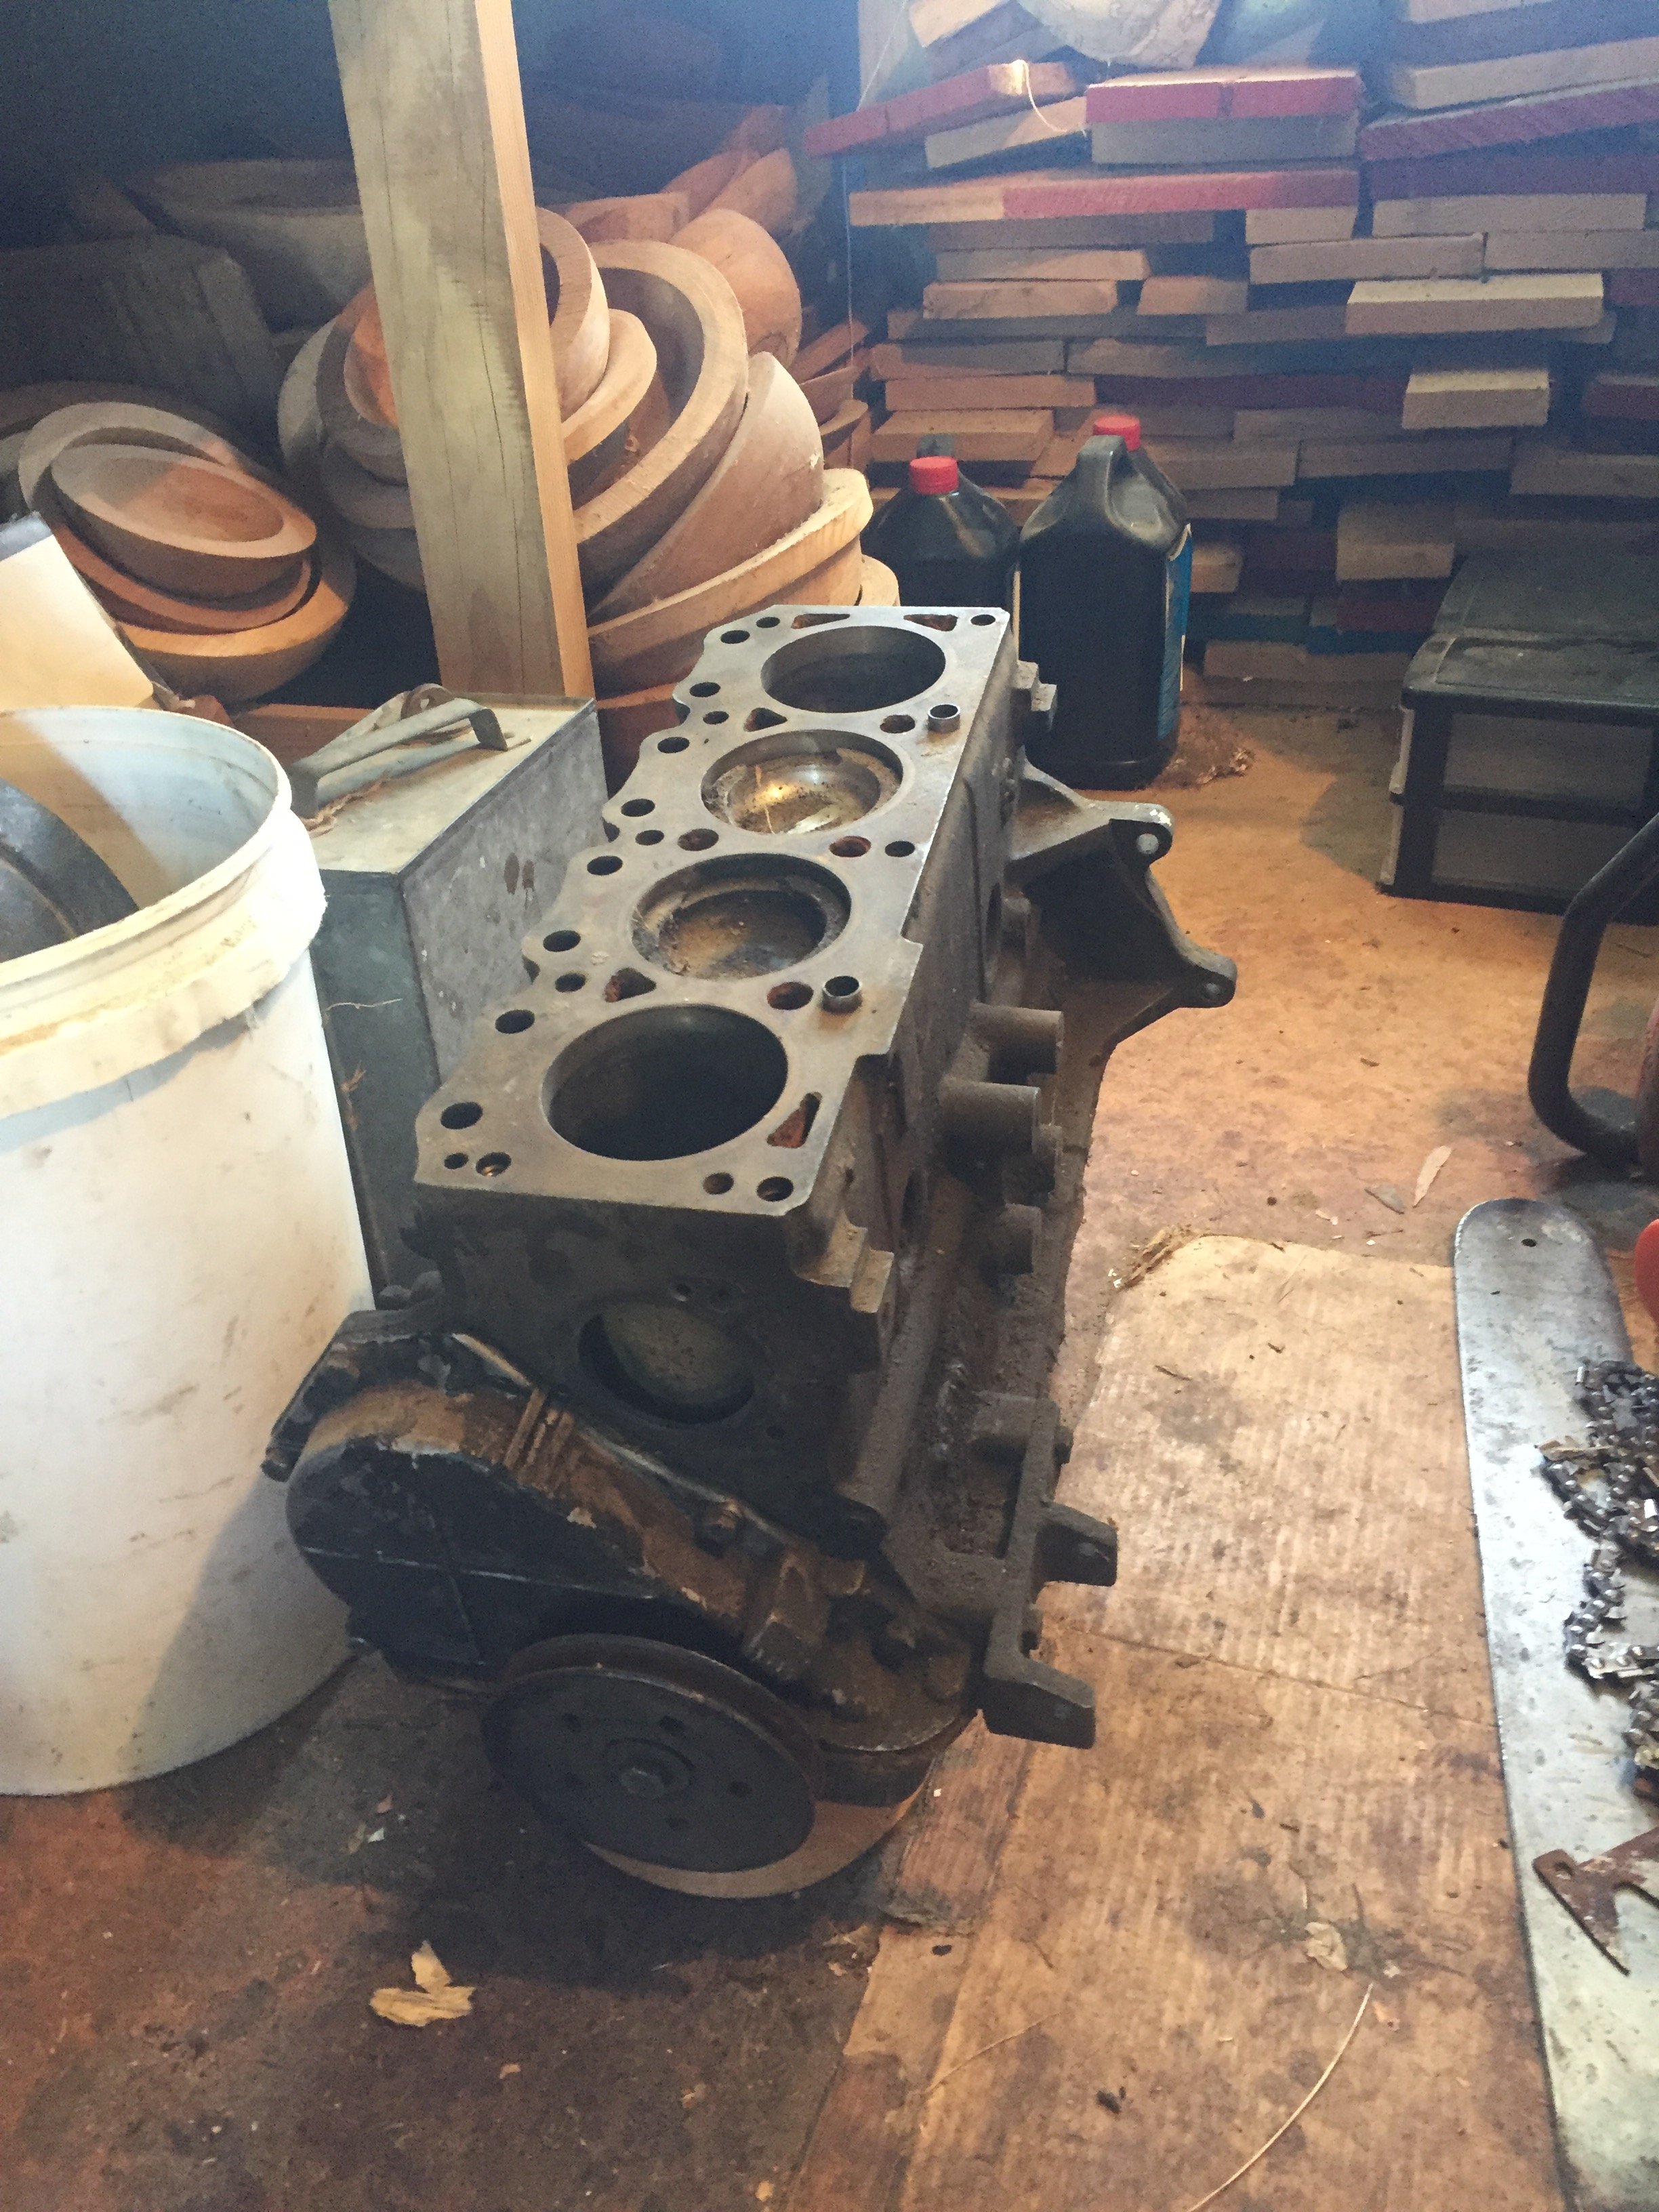
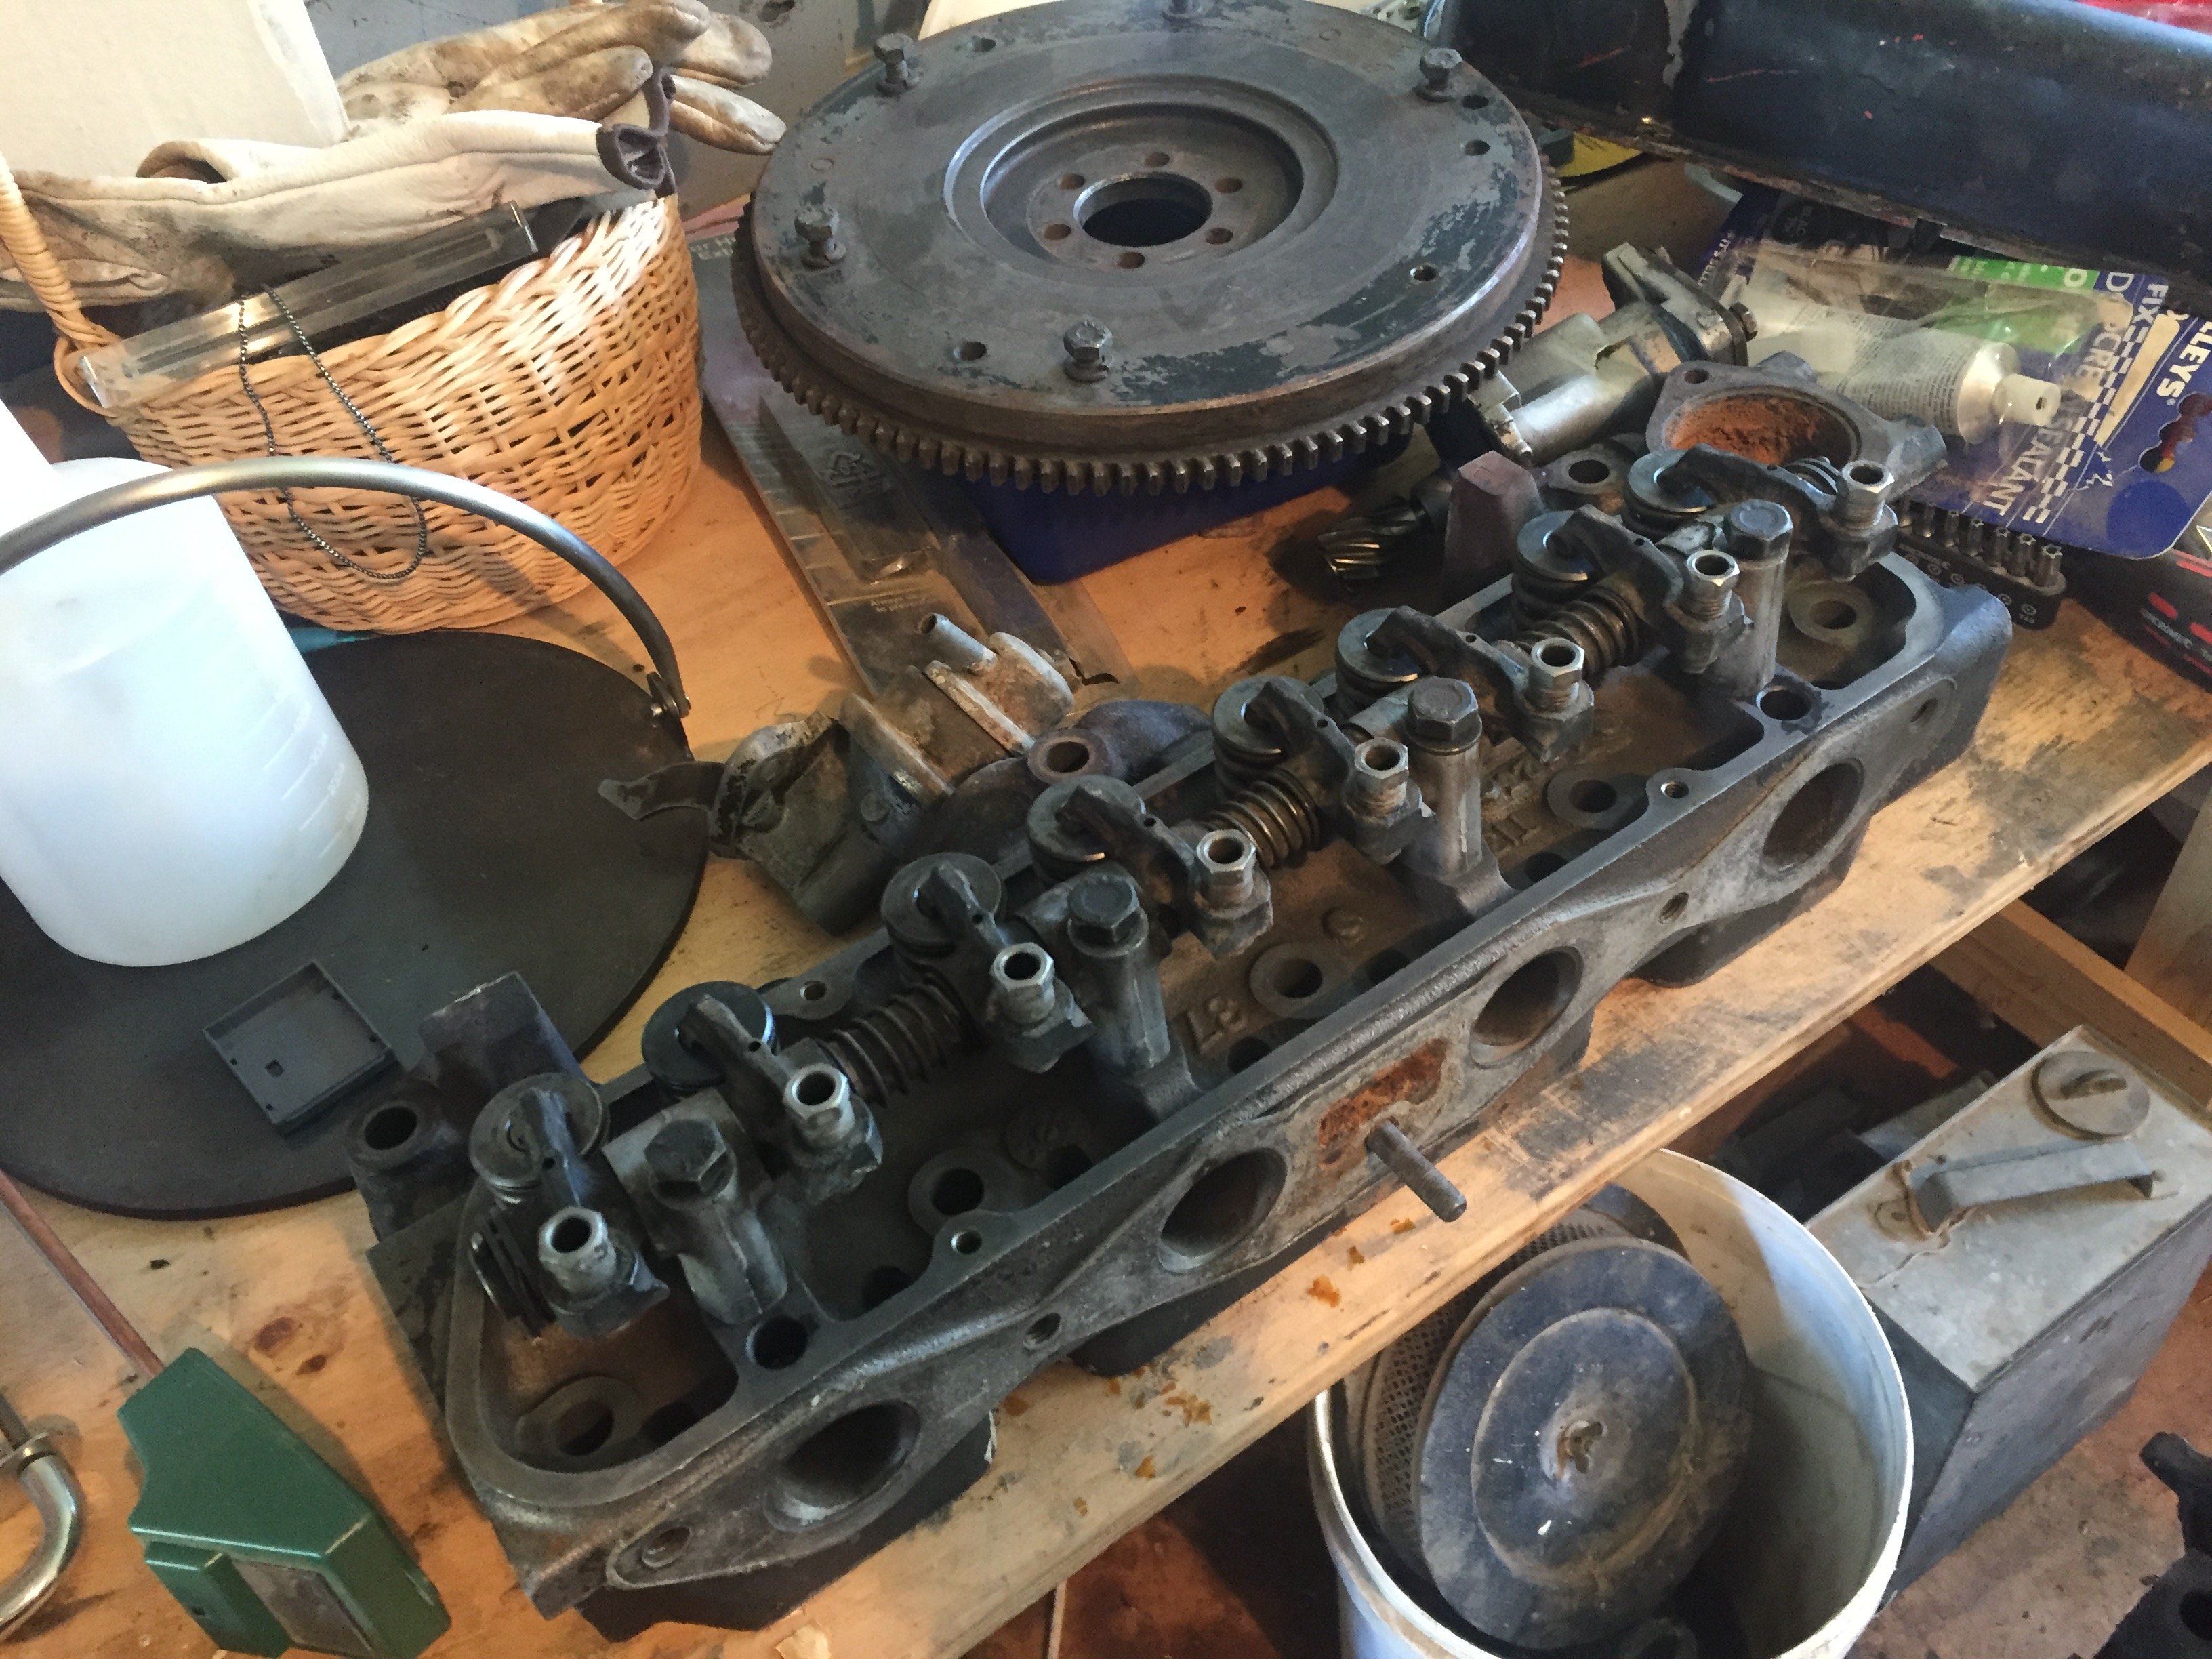
Have decided to start work on the original motor. A Friend of a friend works for a motor reconditioner and has kindly offered to help. So packed up all the bits and pieces and off to his place to access what is needed to be done. After pulling apart and cleaning we have a list of things to do and parts to buy. Block looks good but needs to be bored out, Crank just needs a polish. Had two old pistons and two new ones in it so don't know what was going on. To buy, set of pistons,rings, oil pump,water pump, clutch kit, timing chain and a few other bits and pieces. Fly wheel is going to be lightened. Cam is getting reground to a mild sport profile. Head is in a bit of a sorry state with all exhaust valves badly burnt so four new valves and hardened seats put in. Also going to port head for some extra power.Time to start spending some money.
9 points
-
If quoting people out of context in your signature was still the trend here, this quote would totally be going in mine.8 points
-
It does sound like it's misfiring/not running on all cylinders when it's cranking does it sound like compressions are even? Ie does it go kerururururururu brmmmm Or kerururirurururiruru blub blub blub8 points
-
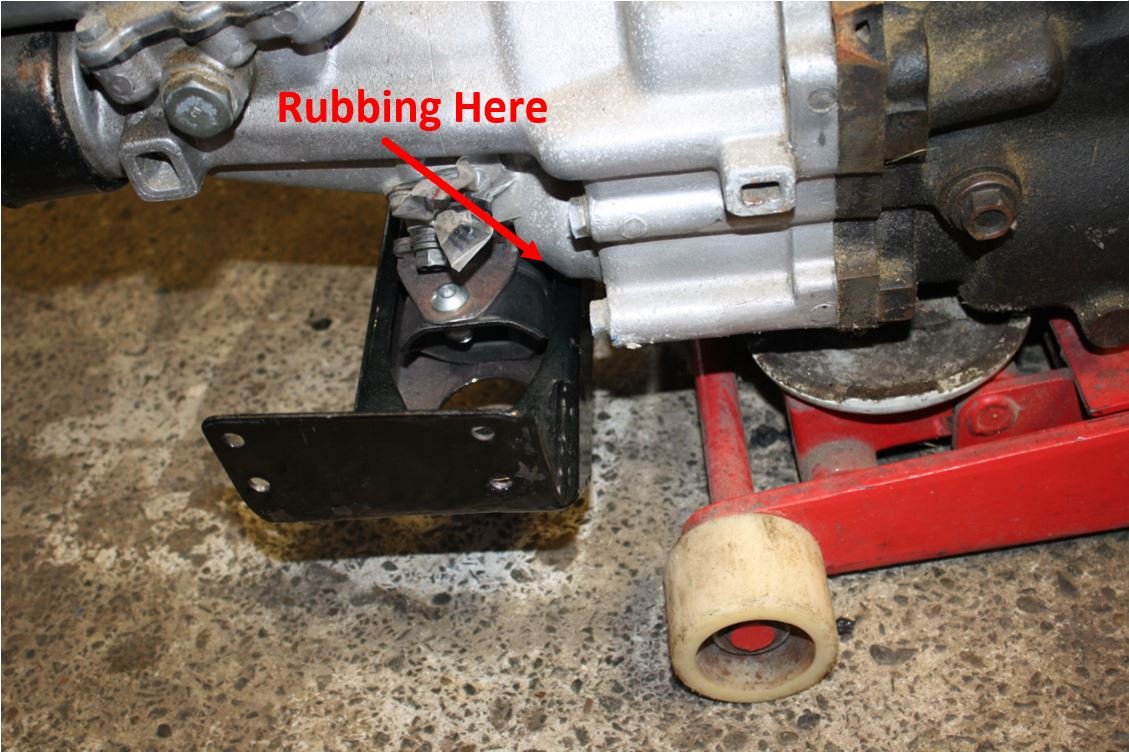
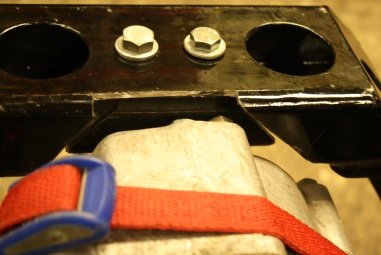
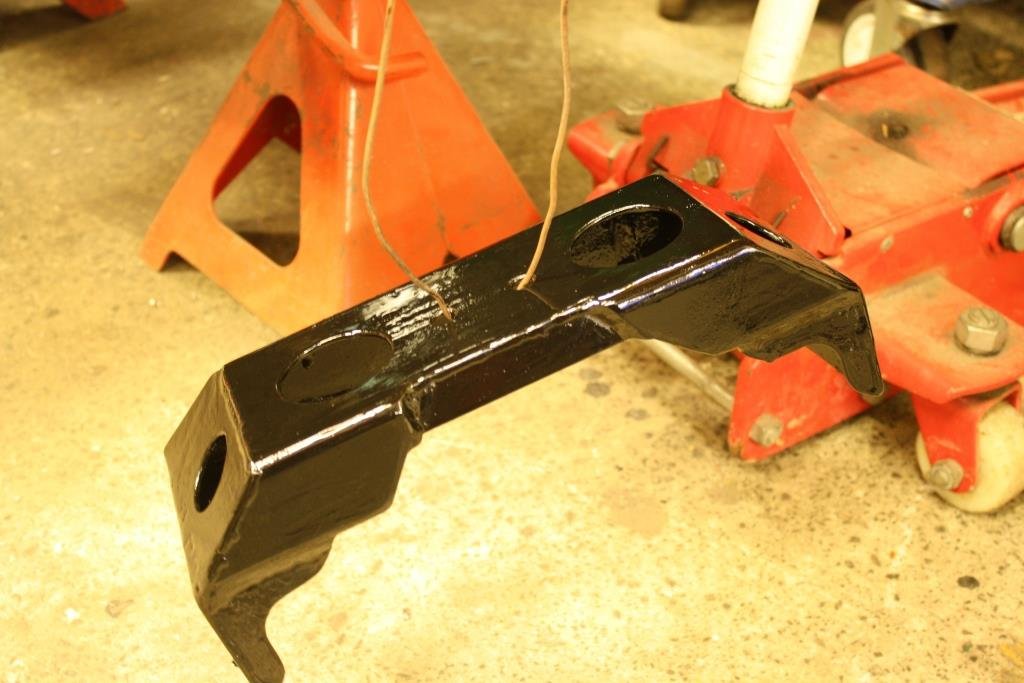
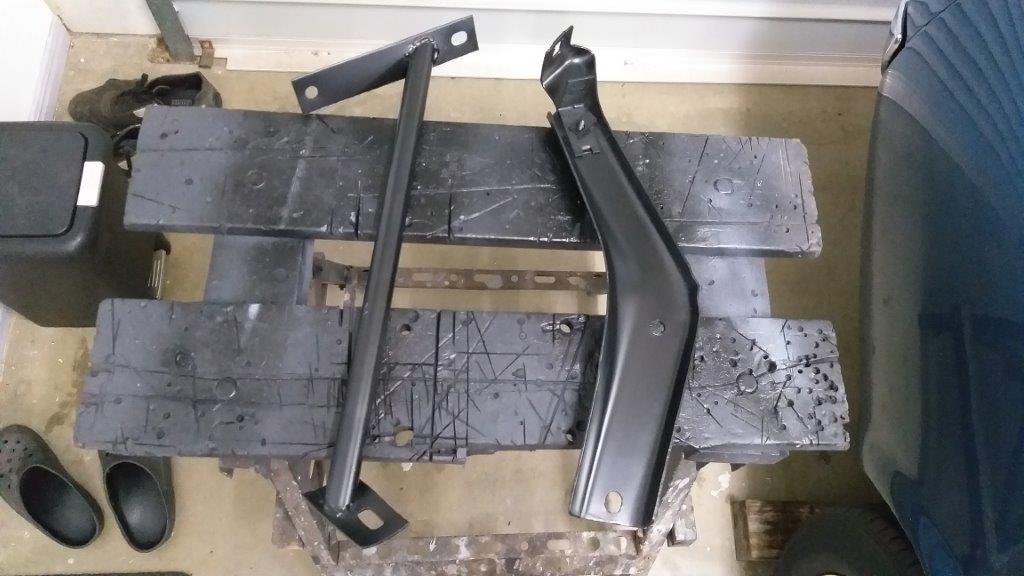
Thought I’d revisit the gearbox mount for a change of scenery. Big thanks to Oldschool member ‘Big Harry’ for pointing out there was a difference in the Toyota cross members used with W40 and W50 boxes, the collective depth of information in this forum rocks! Problem is my dummy engine block/trans used a W40 and I was planning on running a W50…bugger! After considerable measuring, head scratching and a few Wild Turkeys I figured out there was only 10 mm difference but the extra gear in the W50 meant the cross member I’d made would not clear the gearbox. As much as I hate hacking into something I thought was finished you sometimes need to grit your teeth and fire up the angle grinder to make it work. Added some gussets and repainted – sorry I didn’t take more photos.
7 points
-
Bought this car 15 years ago after helping my son restore a 1971 Escort XL. Was being used as a farm run about. Got it home and used until Rego expired, then parked it up in shed and put rego on hold. Previous owner had replaced engine with 1600 Cortina motor which was a good runner. The old motor came with car so hope to put back in once reconditioned. Over the last 15yrs, have had numerous people call in wanting to buy after seeing parked in shed. First job was to see if we can get motor running. Fuel tank out, drained and cleaned. Tank put back in, plugs out and spanner on pulley but couldn't turn motor over. After applying more pressure got some movement and finally turning over. Put in new battery, replaced spark plugs and hit key. Oil light went out and fuel made it to carb but no spark. Another hour and decide that we need to replace the condenser. Another try and she starts up straight away. Sounds pretty good considering she has been sitting for so long. Time to make some space in shed and start the big job of restoration back to how it was new.
6 points
-
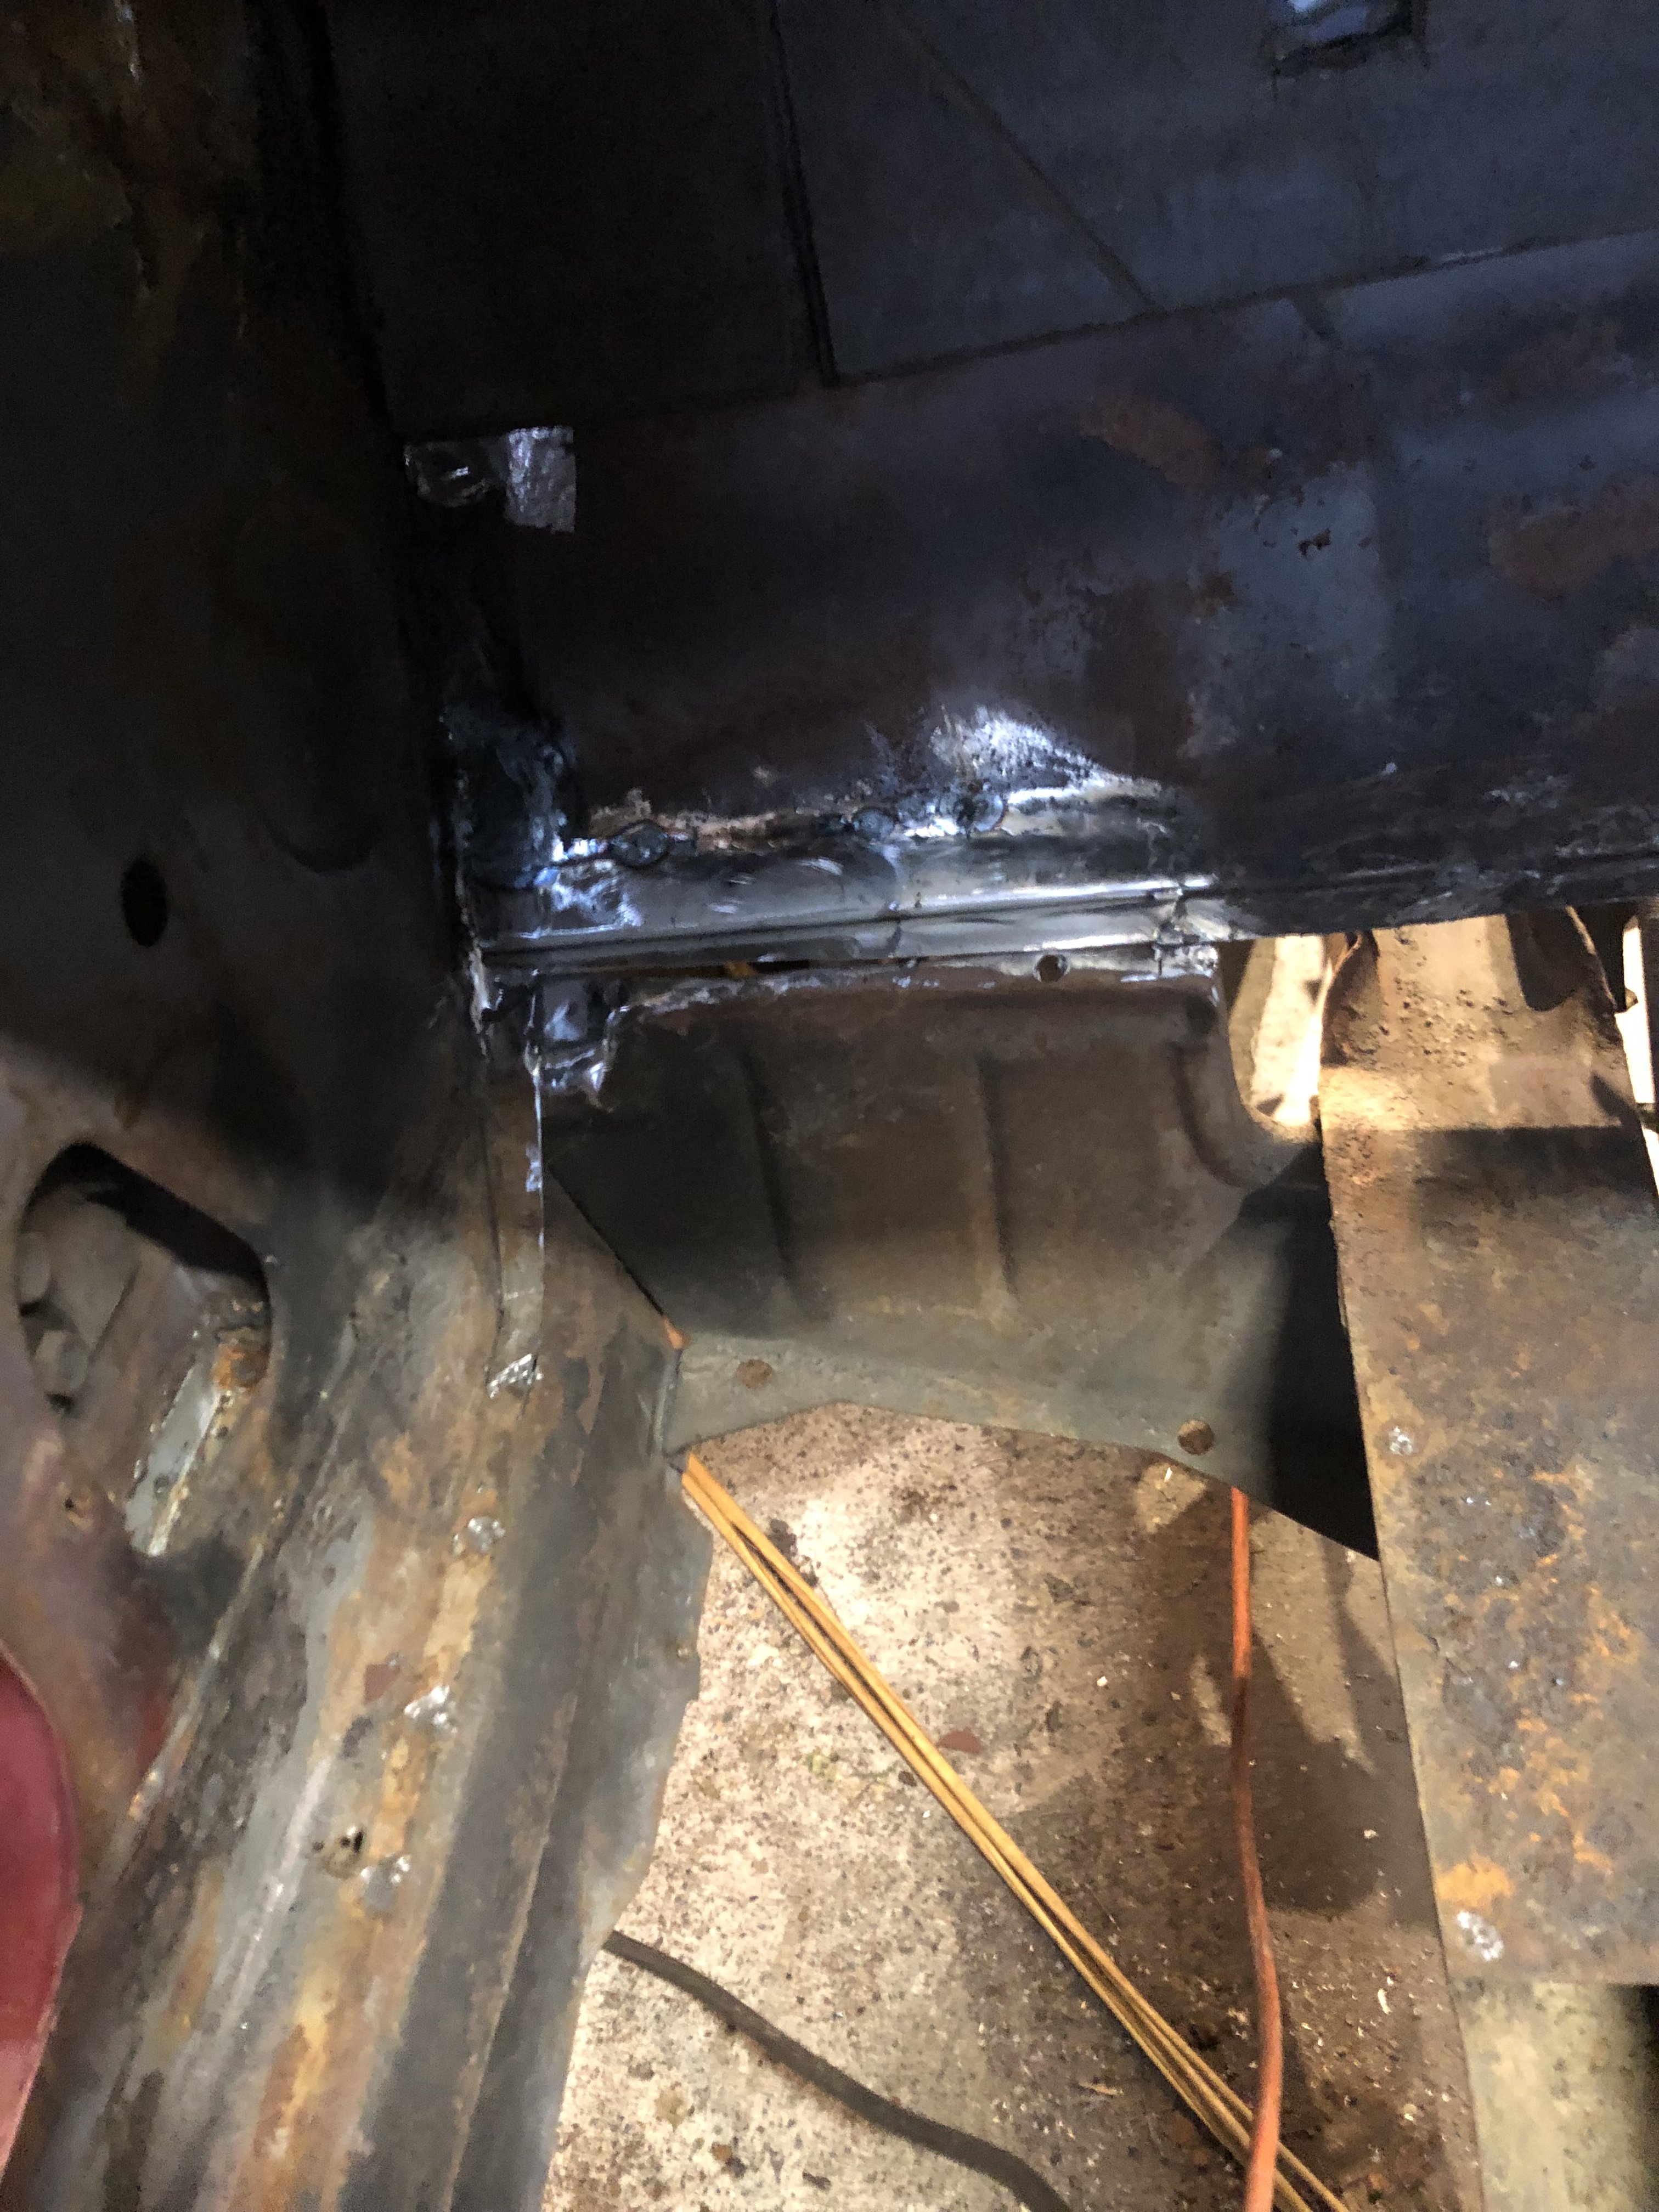
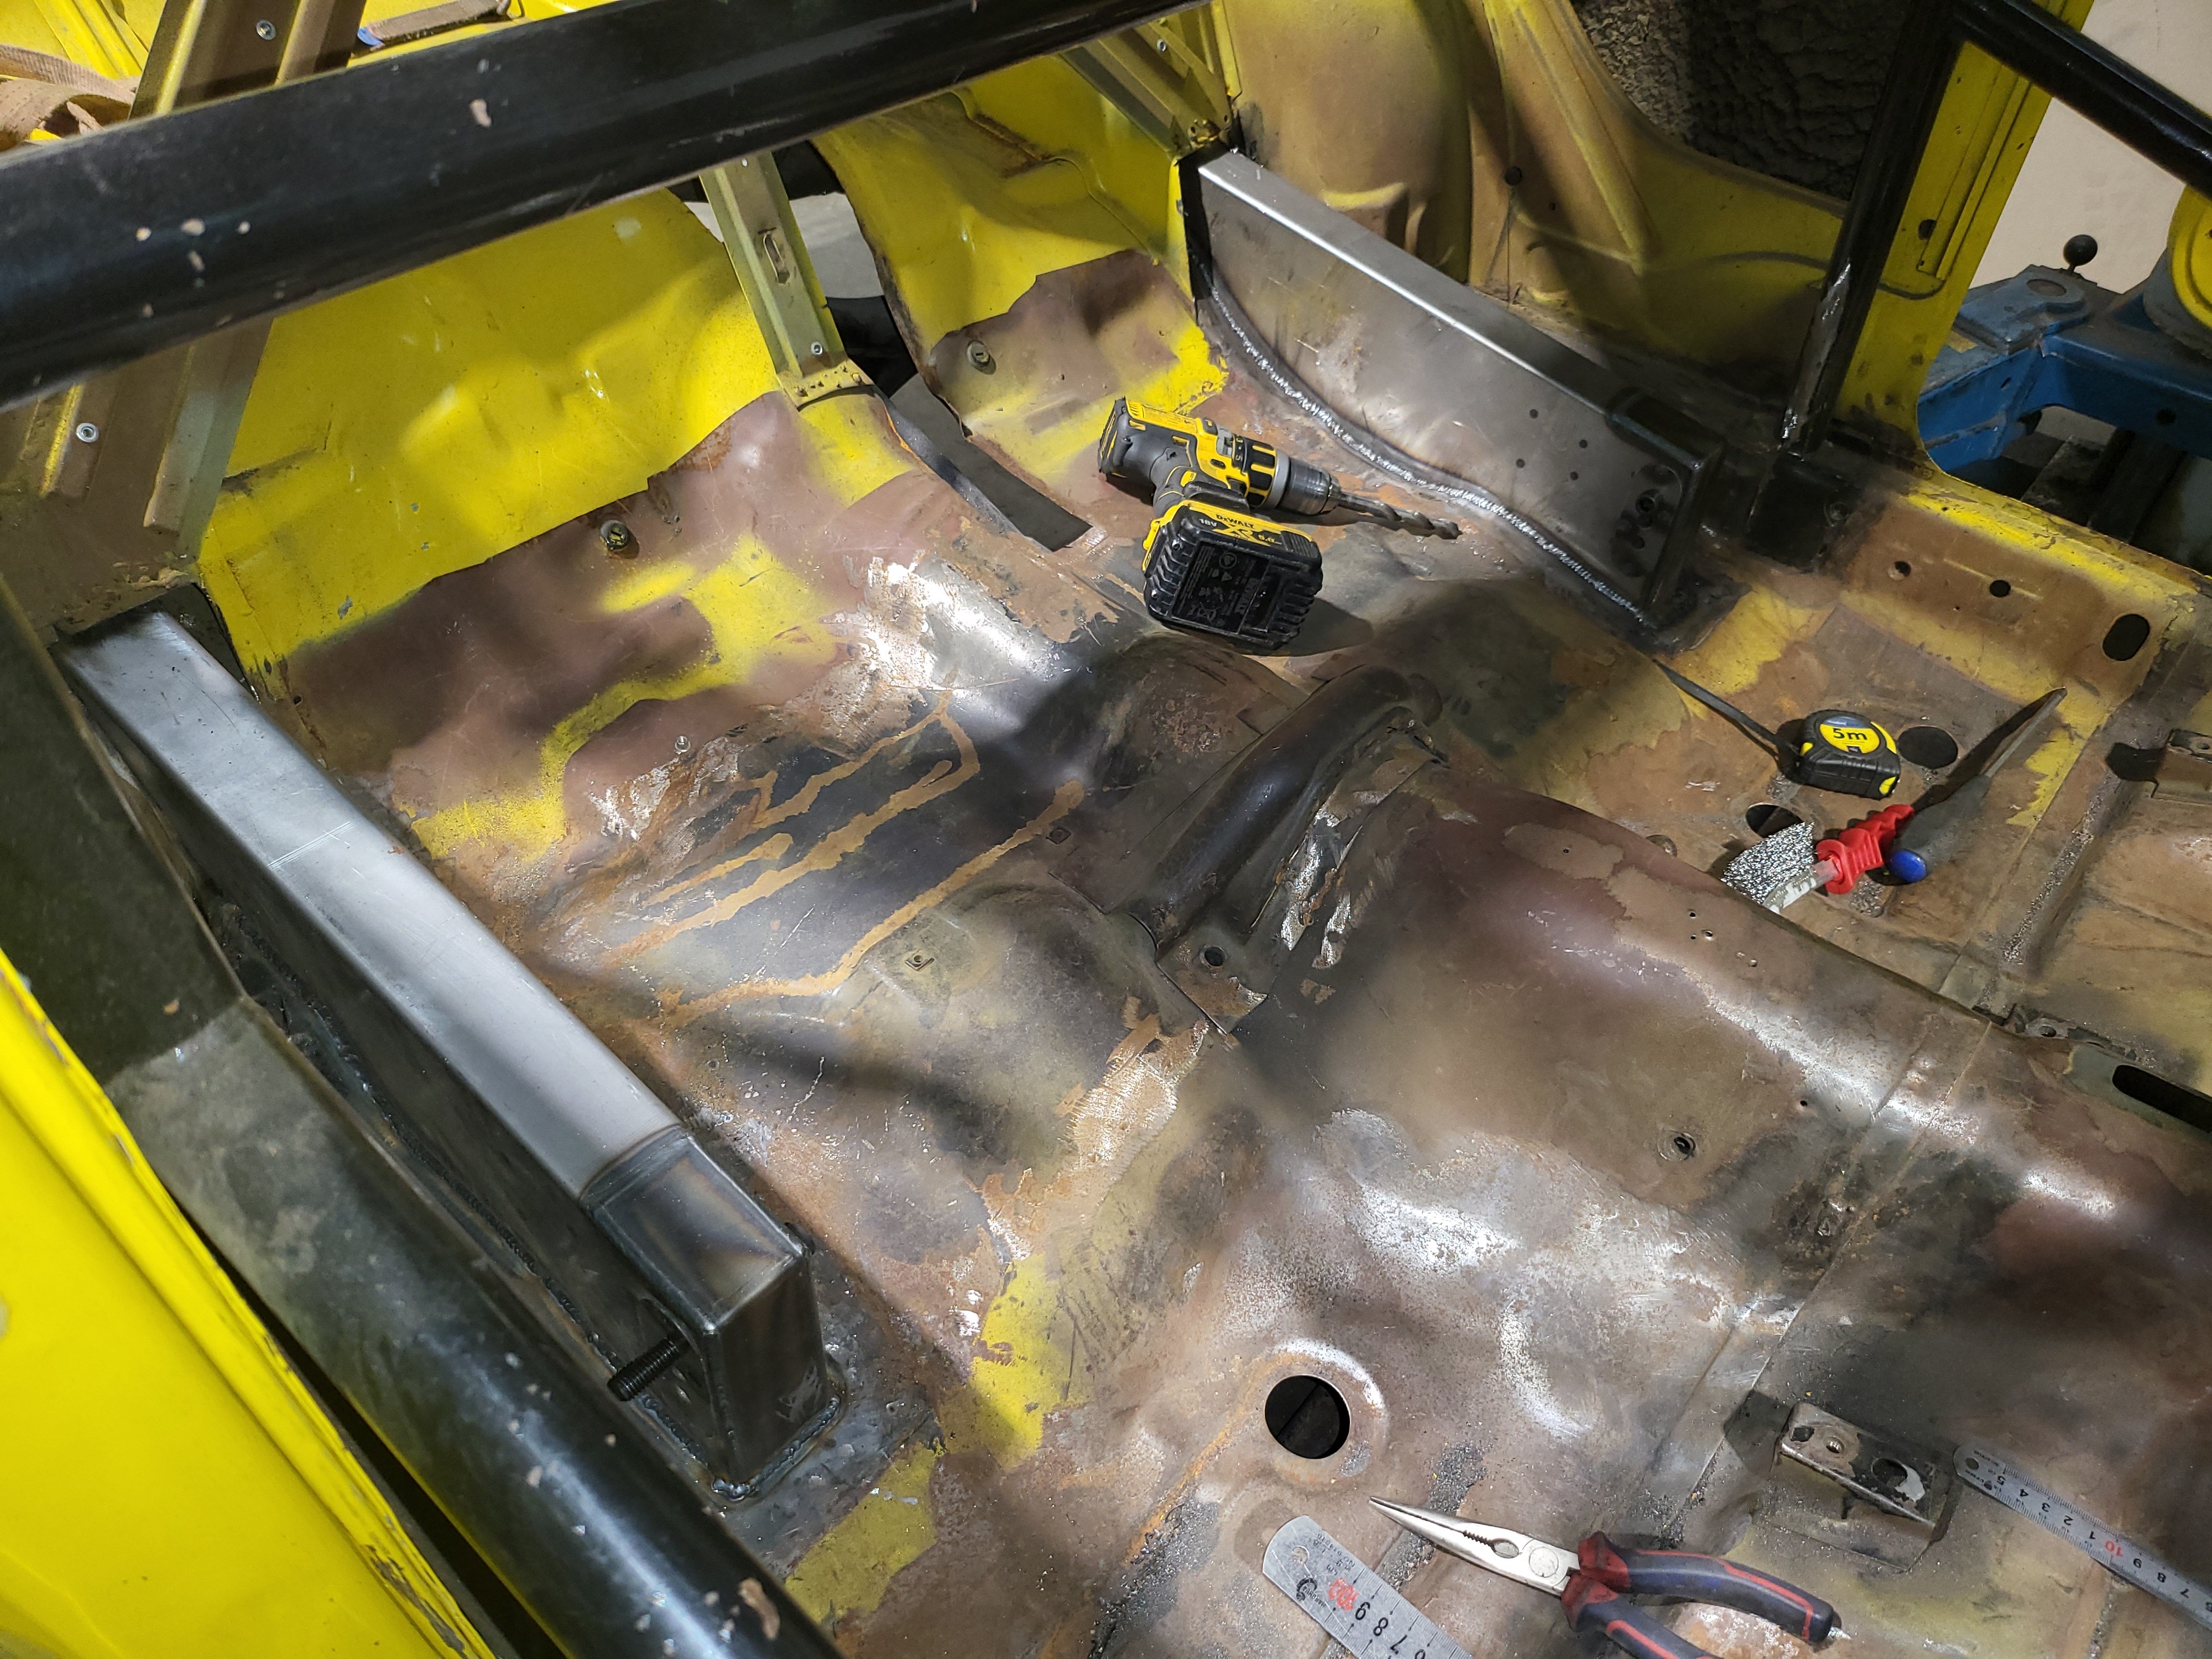
Have the floors cut out , less rusty this side so could use a little more of the original/ make it easier to make the front pan … got the floor/firewall fold cut out made and back in and made front pan just needs couple hours of final fitment and weld in . Still have to do left A piller inner, and right a pillar outer too but all going ok .. can’t wait till I’m painting the floor and engine bay !
6 points
-
Managed to get a couple hours out in the shed this week and do some more test fitting of wheels and bits. Got the guards back from the panelbeaters to test fit everything before they go into spritz. They had cut and radius the front edge to clear 17s turning (they dont clear factory) Test fit the 17x7.5 ZS and it fits perfectly with a spacer to clear strut etc. Can fit a legal 195/40 R17 on it which is ideal. The BBS not so great. Its a 15x8 , test fit with the 195/50 Semi slick and it was way to big, Thought i would chuck a normal road tyre back on with a 195/45 and hope that fits, Turns out it kind of does with maximum camber but its not ideal probably got a bit too much poke still Not sure what im going to do about this one, could possibly get new lips with half an inch less dish, this may fix it? Need to ponder it a bit more cause i really want them to work, and they fit perfect on the back with either tyre. Then managed to pick up the billet adaptor to fit the Wilwood Master cylinder so test fit that and the Wilwood Clutch Master, Pretty happy how they look, will get the adaptor anodized black before final fitment. All going to plan ill get some brake hard lines made this week to tick those off. Off to blaster tomorrow to get the engine bay and boot floor blasted and epoxied.
6 points
-
Checked the loom, no visual damage at all checked everything for continuity/shorts and all good there, clock spring had continuity and no shorts so I'm guessing ecu shit the bed Grabbed a couple of bulbs from pap while I was there and fixed the cluster/not being able to see the speed needles at night Chucked some coolant in it as it didn't leak any of the water or make milkshakes Crimped/sorted the amp power wiring and made a new earth cable while I had the crimpers out5 points
-
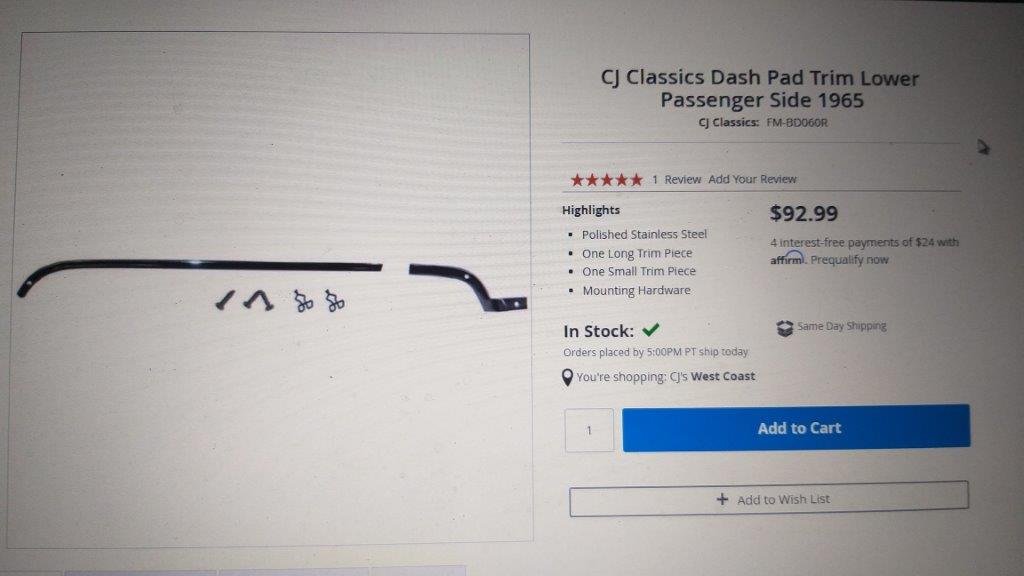
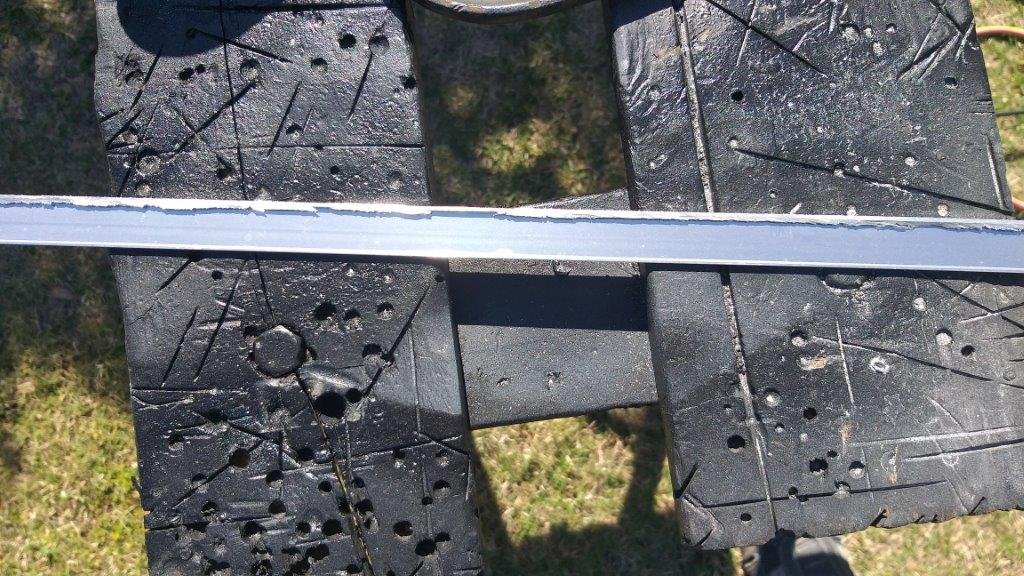
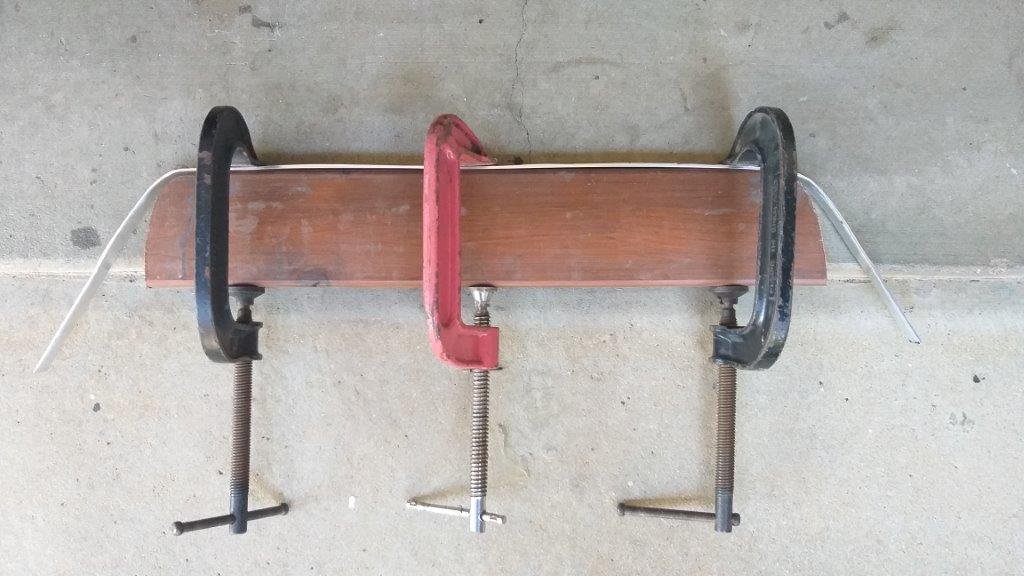
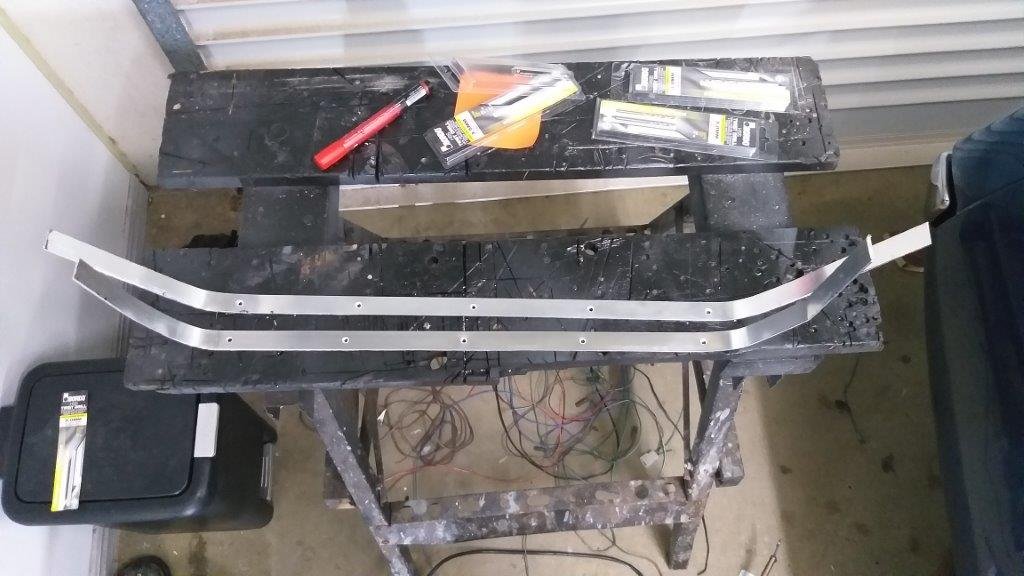
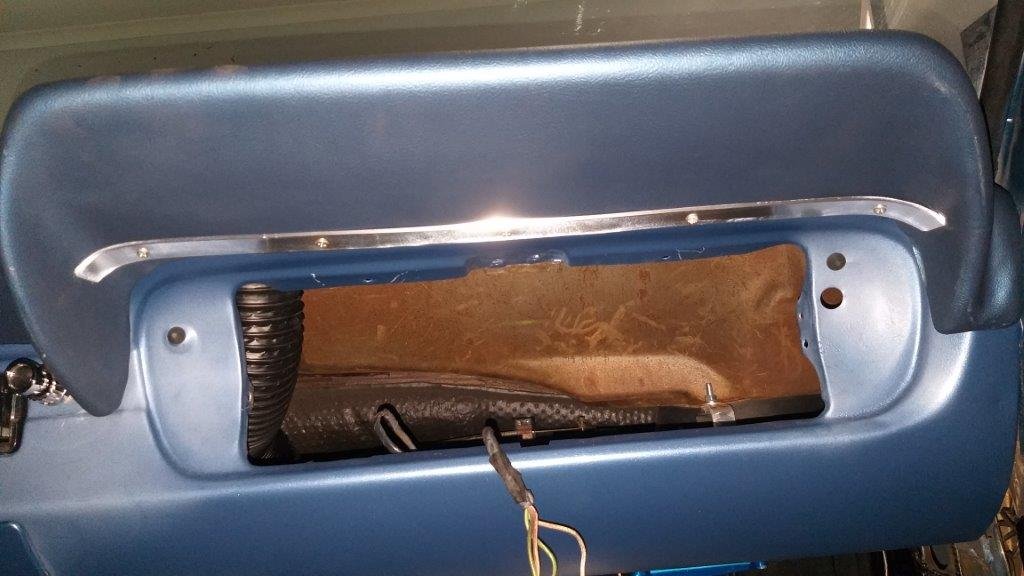
A while back I mentioned that I wanted to replace the missing stainless steel dash trims as the dash looked pretty tatty without them. I couldn't find anyone in Straya with stock and my Scottish ancestry prevented me from splashing out a cool $92.99 American dollars per side plus international shipping on top of that. So I ended up making my own out of some aluminium U channel leftover from our house reno. First step was to make a cardboard template of the shape which I then replicated in a piece of scrap timber. Sliced the U channel up, a bit of shaping with the help of a few G clamps, a bit of trimming and finally a few holes poked through for good measure. I'm pretty happy with the results.
5 points
-
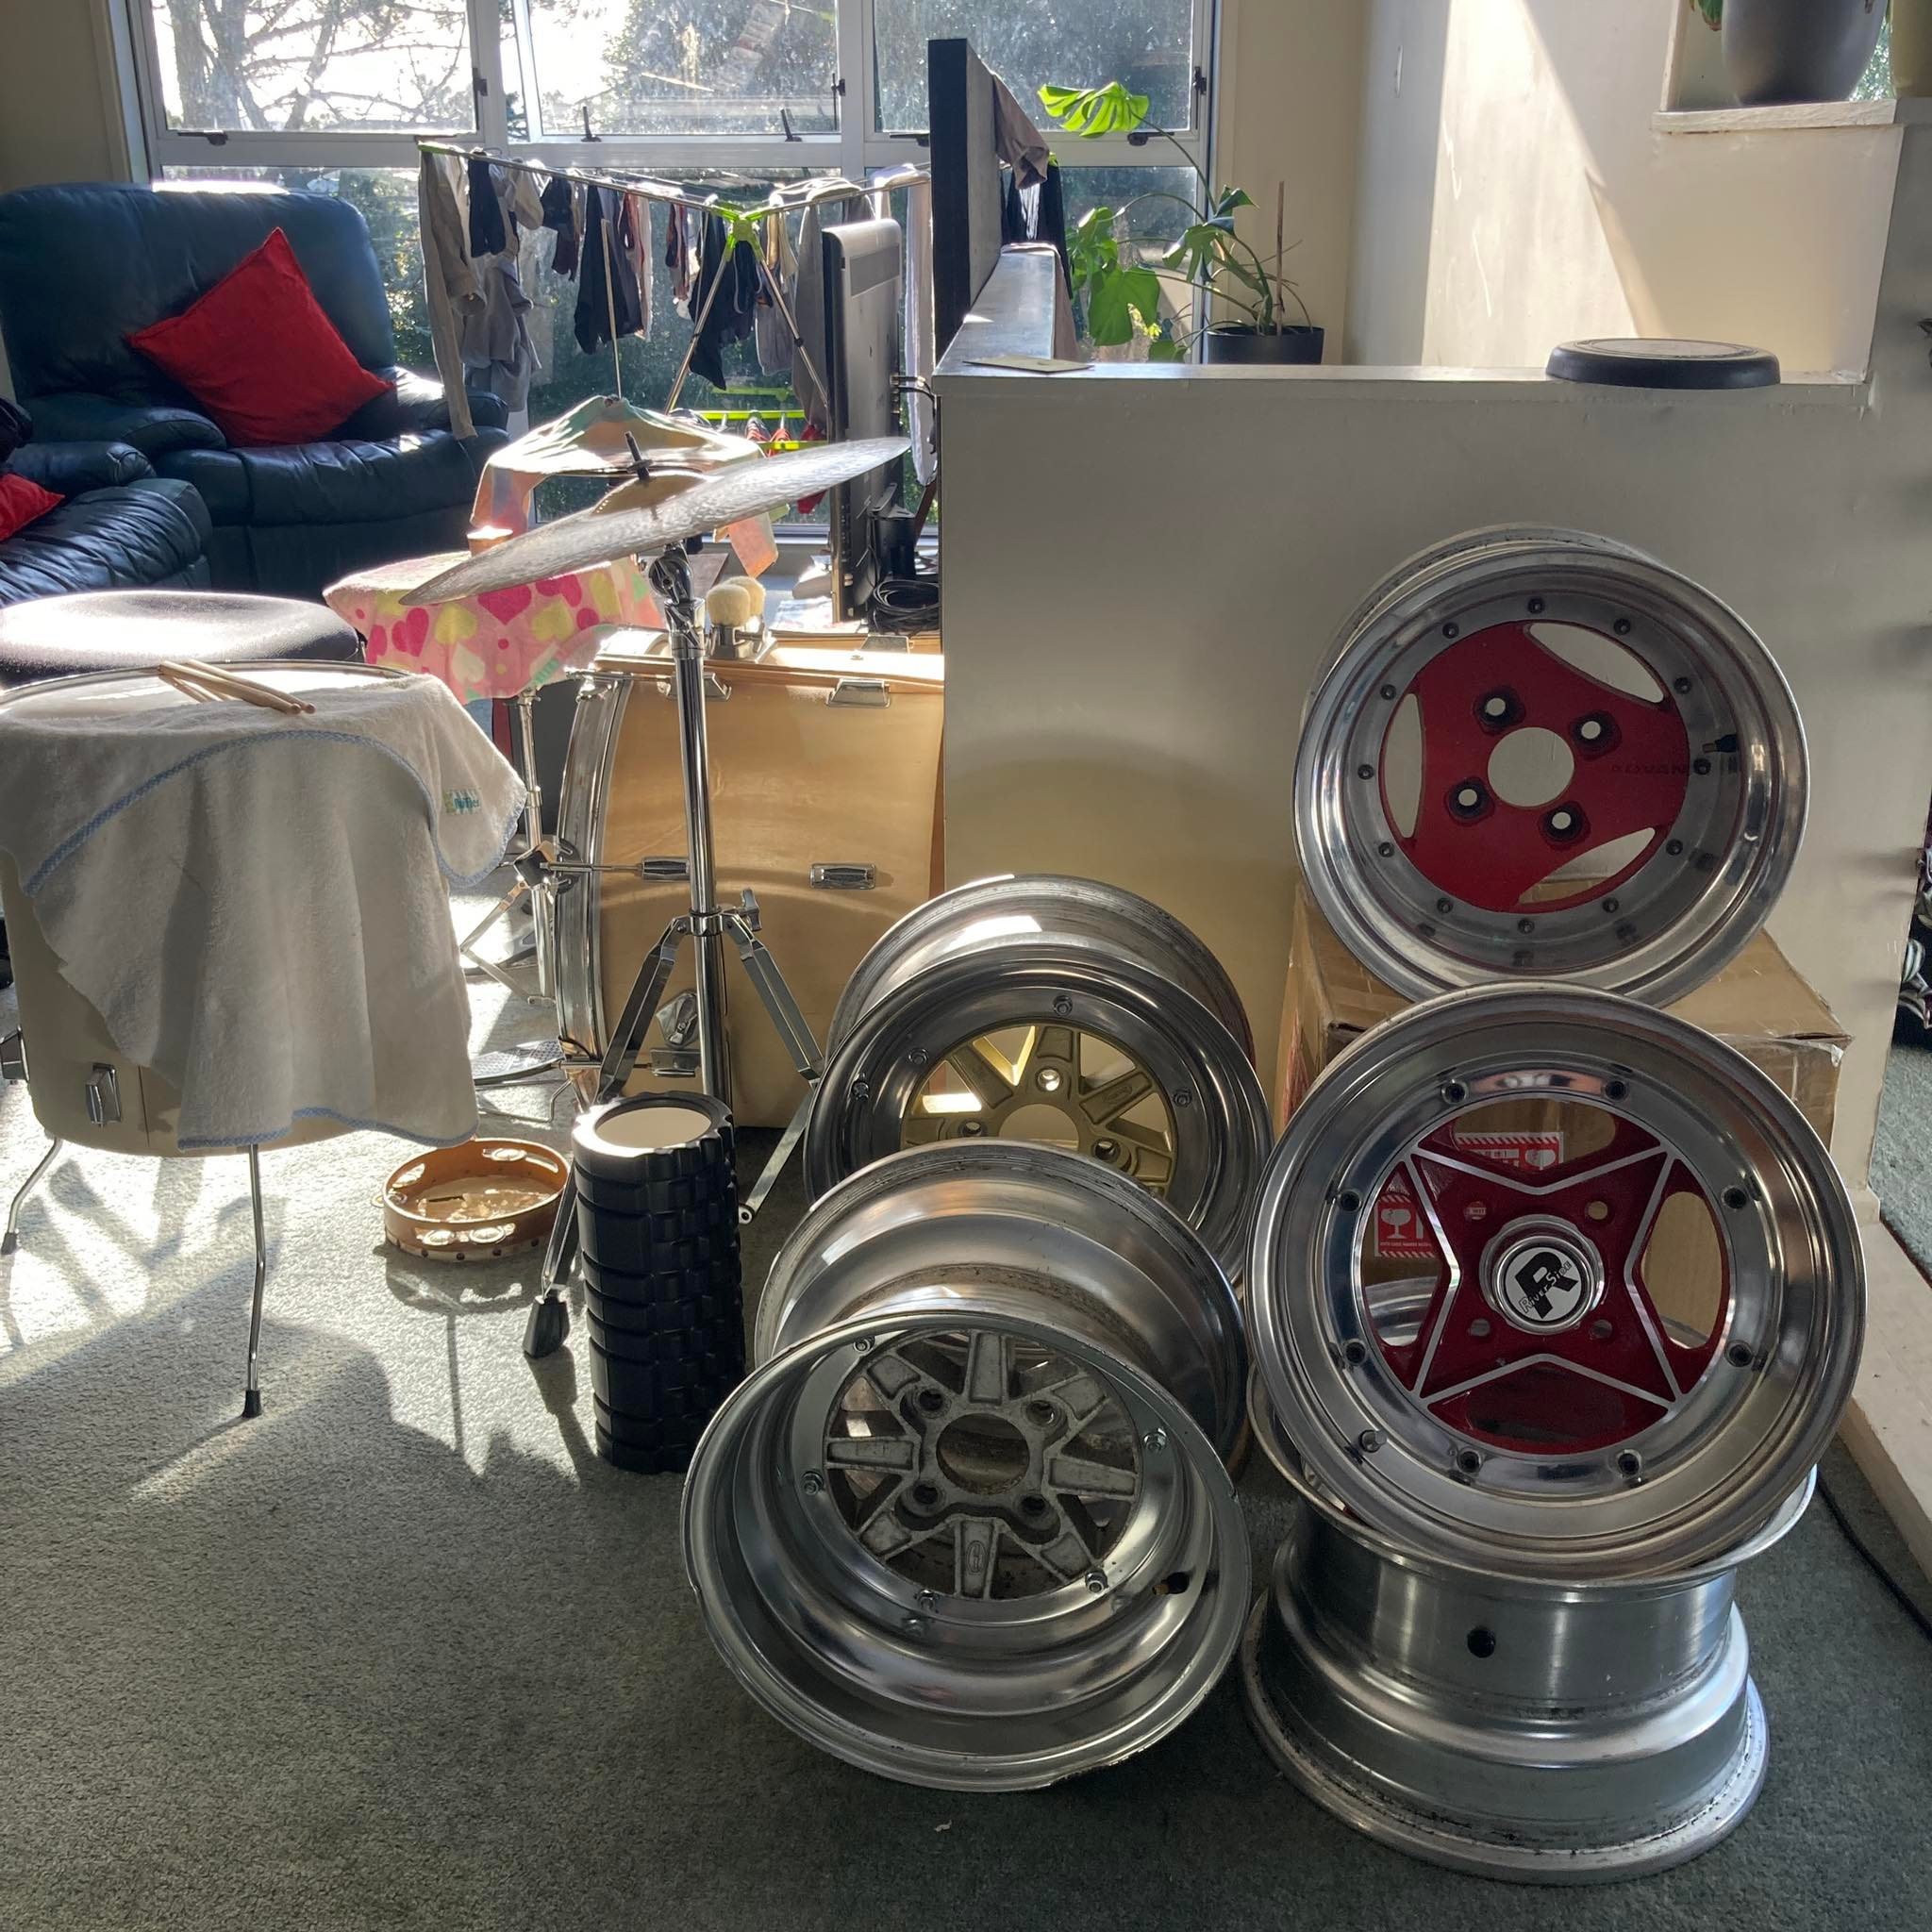
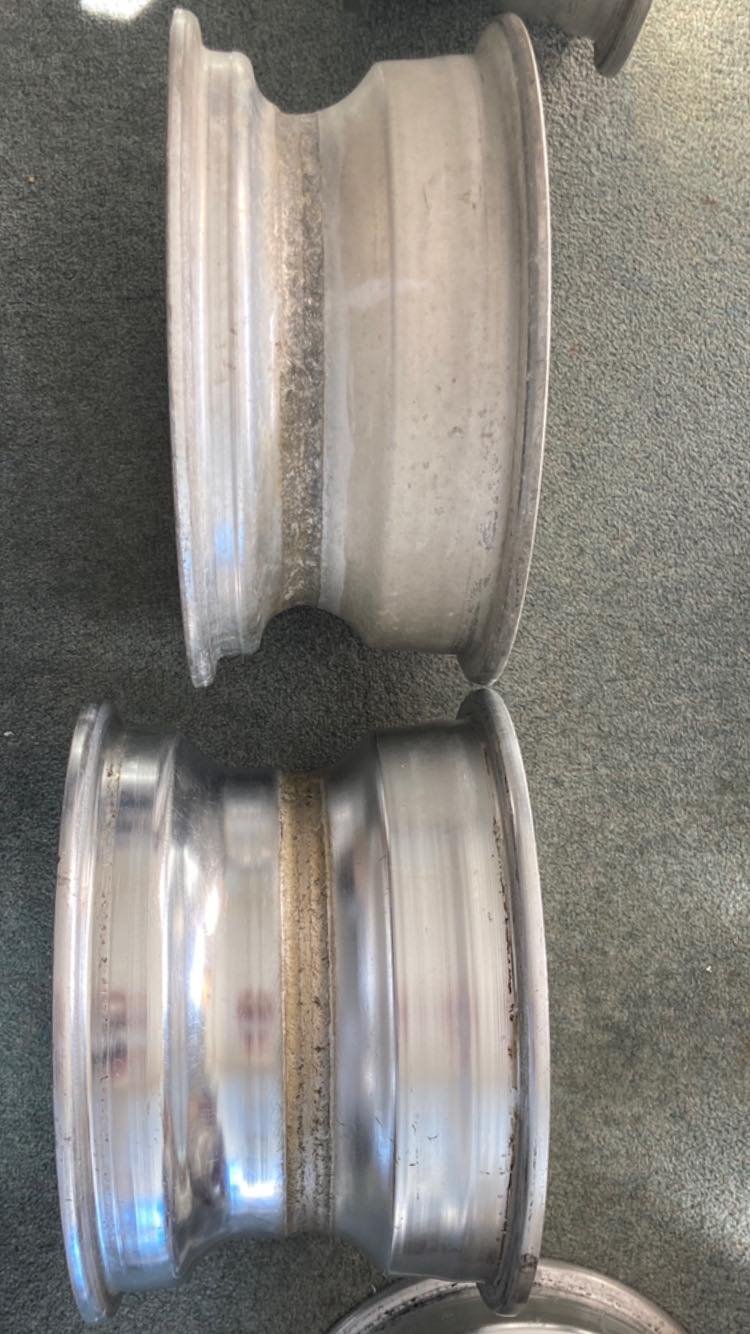
Yay another arrival today, and got my 14x9" A3A's back from a friend who was borrowing them. so i only got one of the 14x9 -25 (a type) MKIII, but i have another 14x6.5 a type so as i suspected its just a case of ordering a single outer barrel to make a matched pair. woohoo!
5 points
-
I'm immensely satisfied you got the right number of ruru between the ri4 points
-
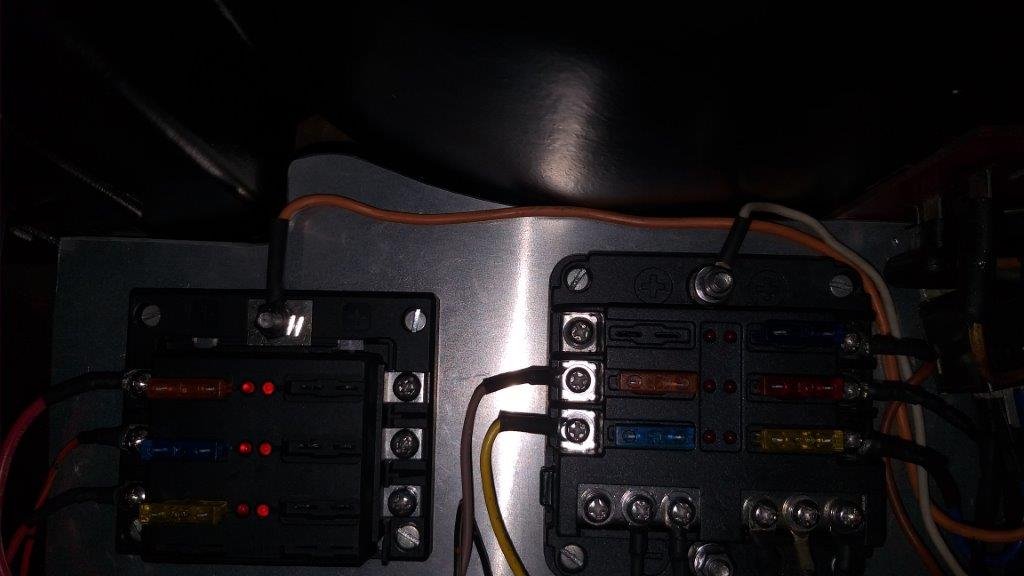
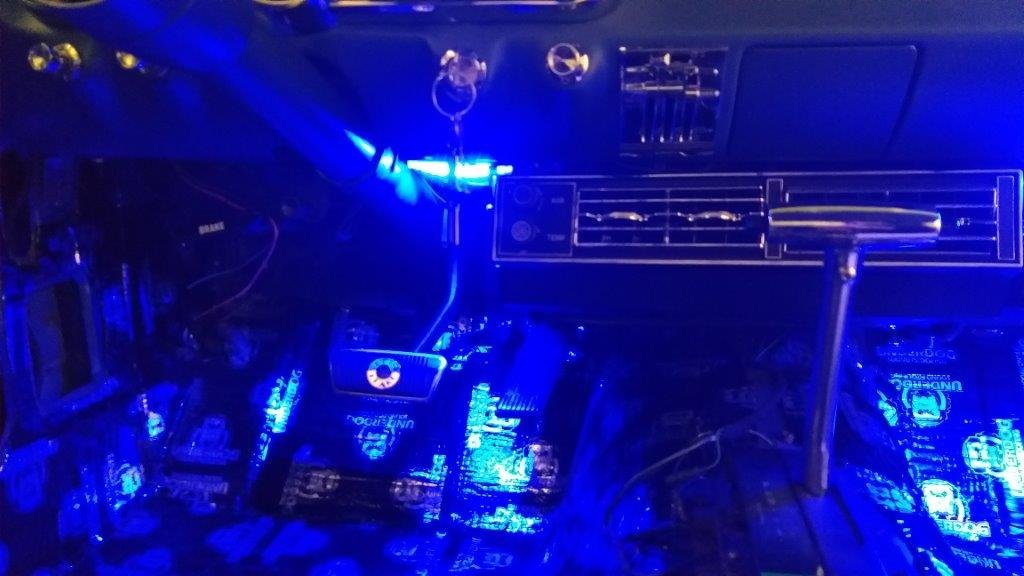
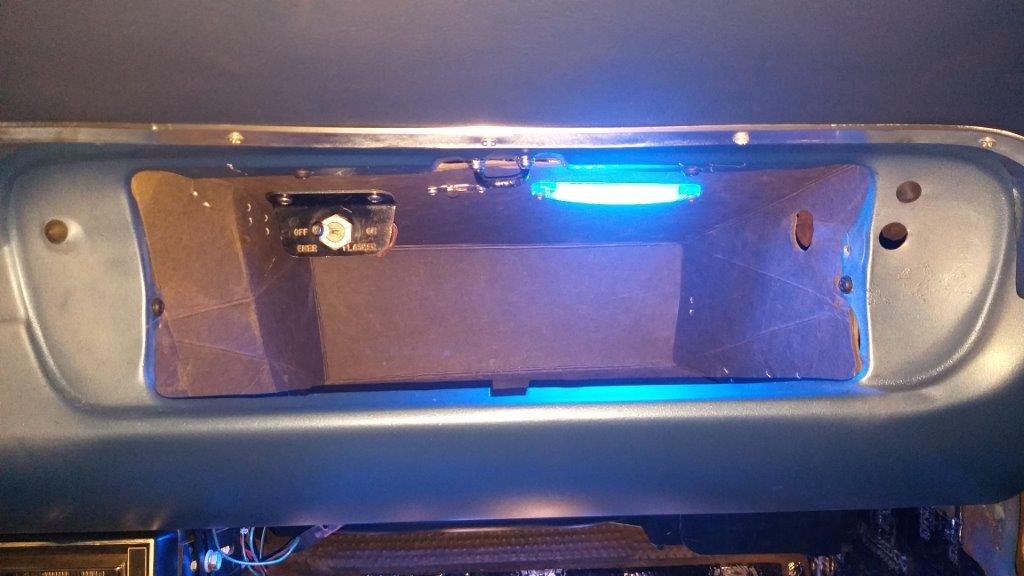
My poor old back has taken a bit of strain with all of the hours that I have spent under the dashboard, but despite this I've been steadily plugging away at the new wiring loom and fuse boxes that feed all of the non factory items. Finally put the finishing touches to it today, so was able to do a basic electrical test. The ugly looking hazard light switch is now tucked away inside the glove box and after installing a replacement flasher unit and a new feed from the new battery fuse panel, these are now working for the first time in many years I suspect. My sound system and the new USB socket for my blue tooth dongle are also working as planned and are now fed through the new ignition fed fuse box hidden under the glove box. My pre owned 6 x 9 rear parcel shelf speakers work really well and I'm happy with the sound. In contrast the original kick panel speakers no longer sound that flash so I'm thinking of disconnnecting them and reinstalling the mid dash sterio speaker that I removed earlier in the piece. I'll try that tomorrow and will report back. One issue that I do have is that the gauge cluster lights are no longer working. I suspect a loose connection on the light switch so I'll need to look at that tomorrow. Lastly, I've rewired my door switches and included a switch that allows me to switch off the interior lights if I so choose, something that wasn't standard from factory. I've also replaced the dodgy old under dash light with modern LED strips. It was a bugger crawling under the dashboard to get a photo of the new fuse boxes and it was pretty dark under there, so apologies for the crappy quality photo.
4 points
-
Discussion thread here - This is like 6 months worth of progress shots, but I figured after doing a few hours today and making a couple of big steps in progress, then an update was due. All the hard parts of the sound deadening are laid. (never again) In fact,while procrastinating finishing the sound deadening on the firewall I rebuilt the heater fan, heater box, pedal box and column, then after I finished the firewall, I slipped them into place along with the ducting. (yes I spent an hour with hot soapy water and a scrubbing brush to clean all the dust and crap out of the concertinas in the ducting. DON'T JUDGE ME) Engine is now mostly assembled, needs pushrods and the inlet manifold whacked on and then it should be good to slot in the hole. The astute members of the audience will notice the gauges on top of the engine, those aren't meant to be there... The gauges took the best part of a year to finally arrive after fretting over the design, getting them made and a long wait on the freight from the USA. I pulled the trigger on a classic 80's looking design with 270 degree sweep faces. If I could change anything I would ditch the chrome bezels, but apart from that, they are perfect. Slipped them into a 3D printed dash insert that replaces the factory Commy insert and look pretty damn sweet. They have a full compliment of idiot lights, indicators etc behind the face of the speedo and tacho. They are a pretty freakin neat trick if you ask me. Gauges Video4 points
-
Like a 3L powered manual hiace that's done 470,000km? BrrrmmmMMM OONNNGG brrrrmmMMM OONNGGG3 points
-
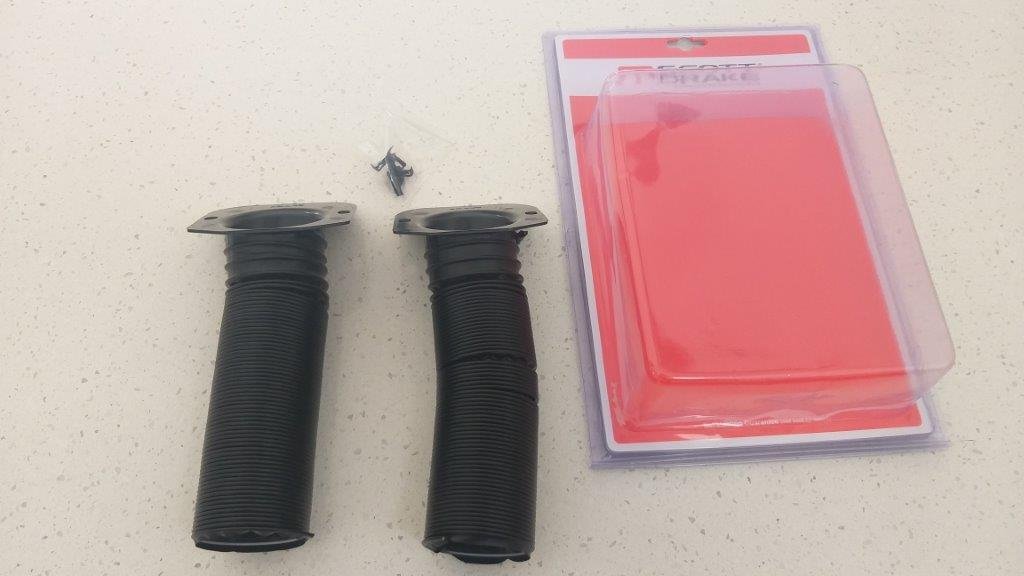
First order of business today was to replace the "tinny" sounding kick panel speakers with the better quality centre dash speaker. Gave the tunes a quick test and I'm much happier with the sound quality now, While I was at it I installed the new demister duct kit that lives under the centre speaker grill. And that's one more item ticked off the list.
2 points
-
Yeah it cranks over fairly evenly, doesnt seem to be an issue. I might test these injectors as well, maybe one is a bit blocked or something. But what makes me think its cam timing is that when I took it for a drive with standard exhaust on, you go over 50% throttle and it just goes absolutely nowhere and makes this horrid sounding induction noise. On the timing chain for the 1.5 litre motor, its got bright yellow links on the chain to show you which ones to line up to the crank and pulleys. On the old motor they were only slightly different colour to start with, and then after 200,000km they were indistinguishable. So I might have it wrong. However I've since found a picture of a brand new timing chain and counted the number of teeth that the crank is away from the intake pulley. So easy to check2 points
-
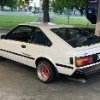
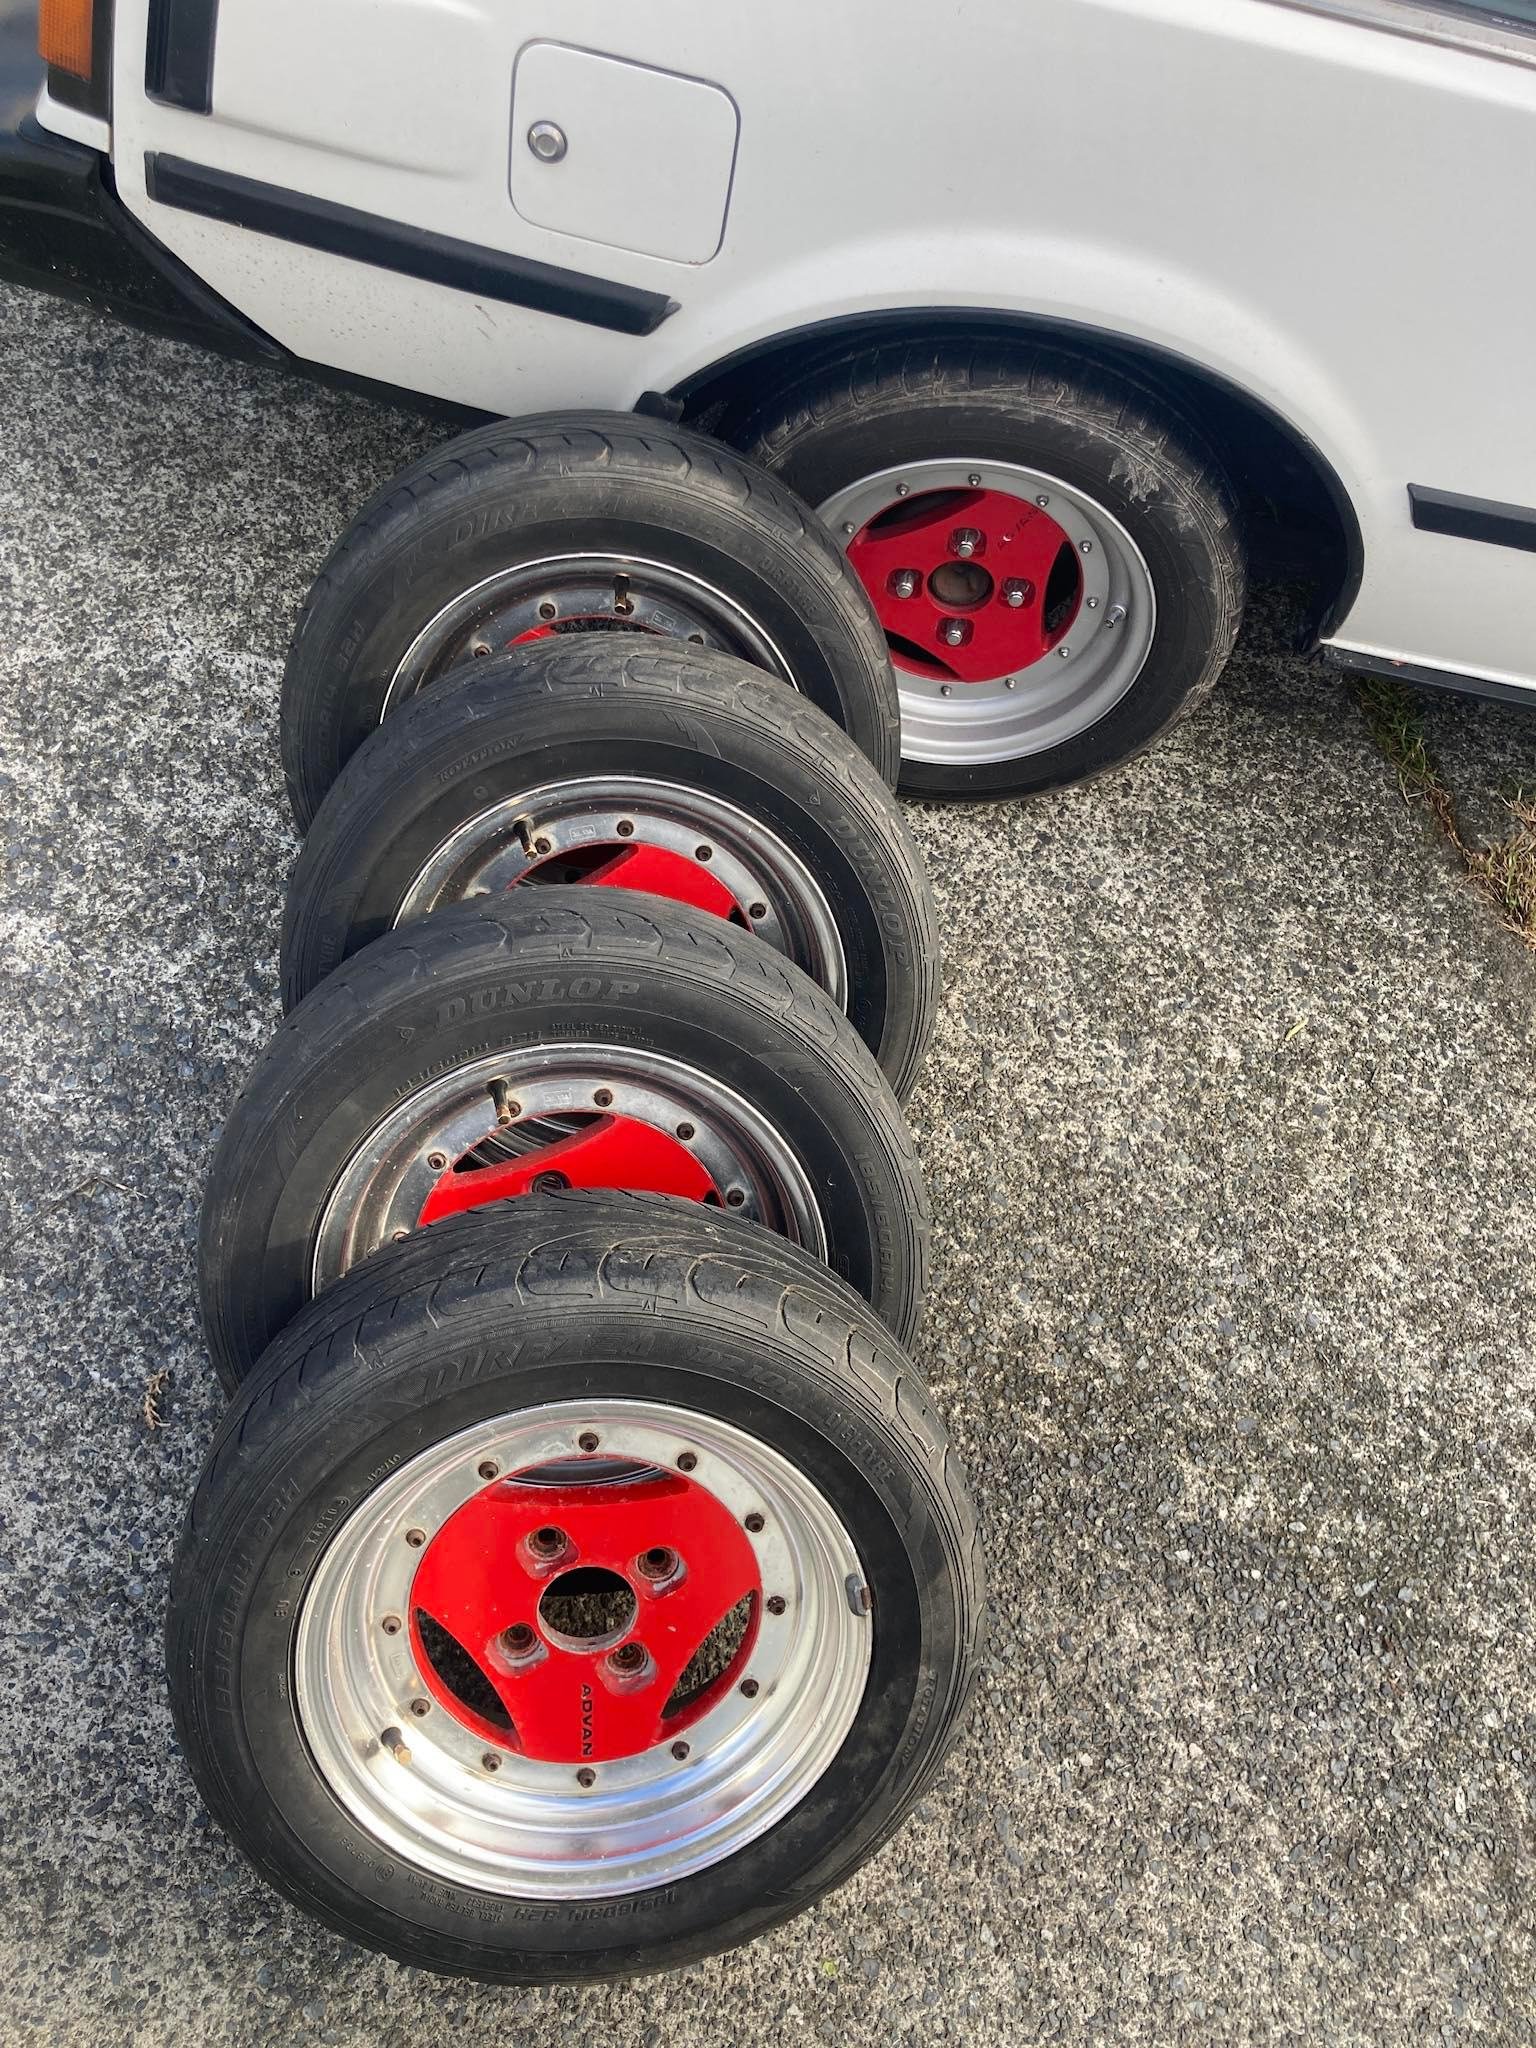
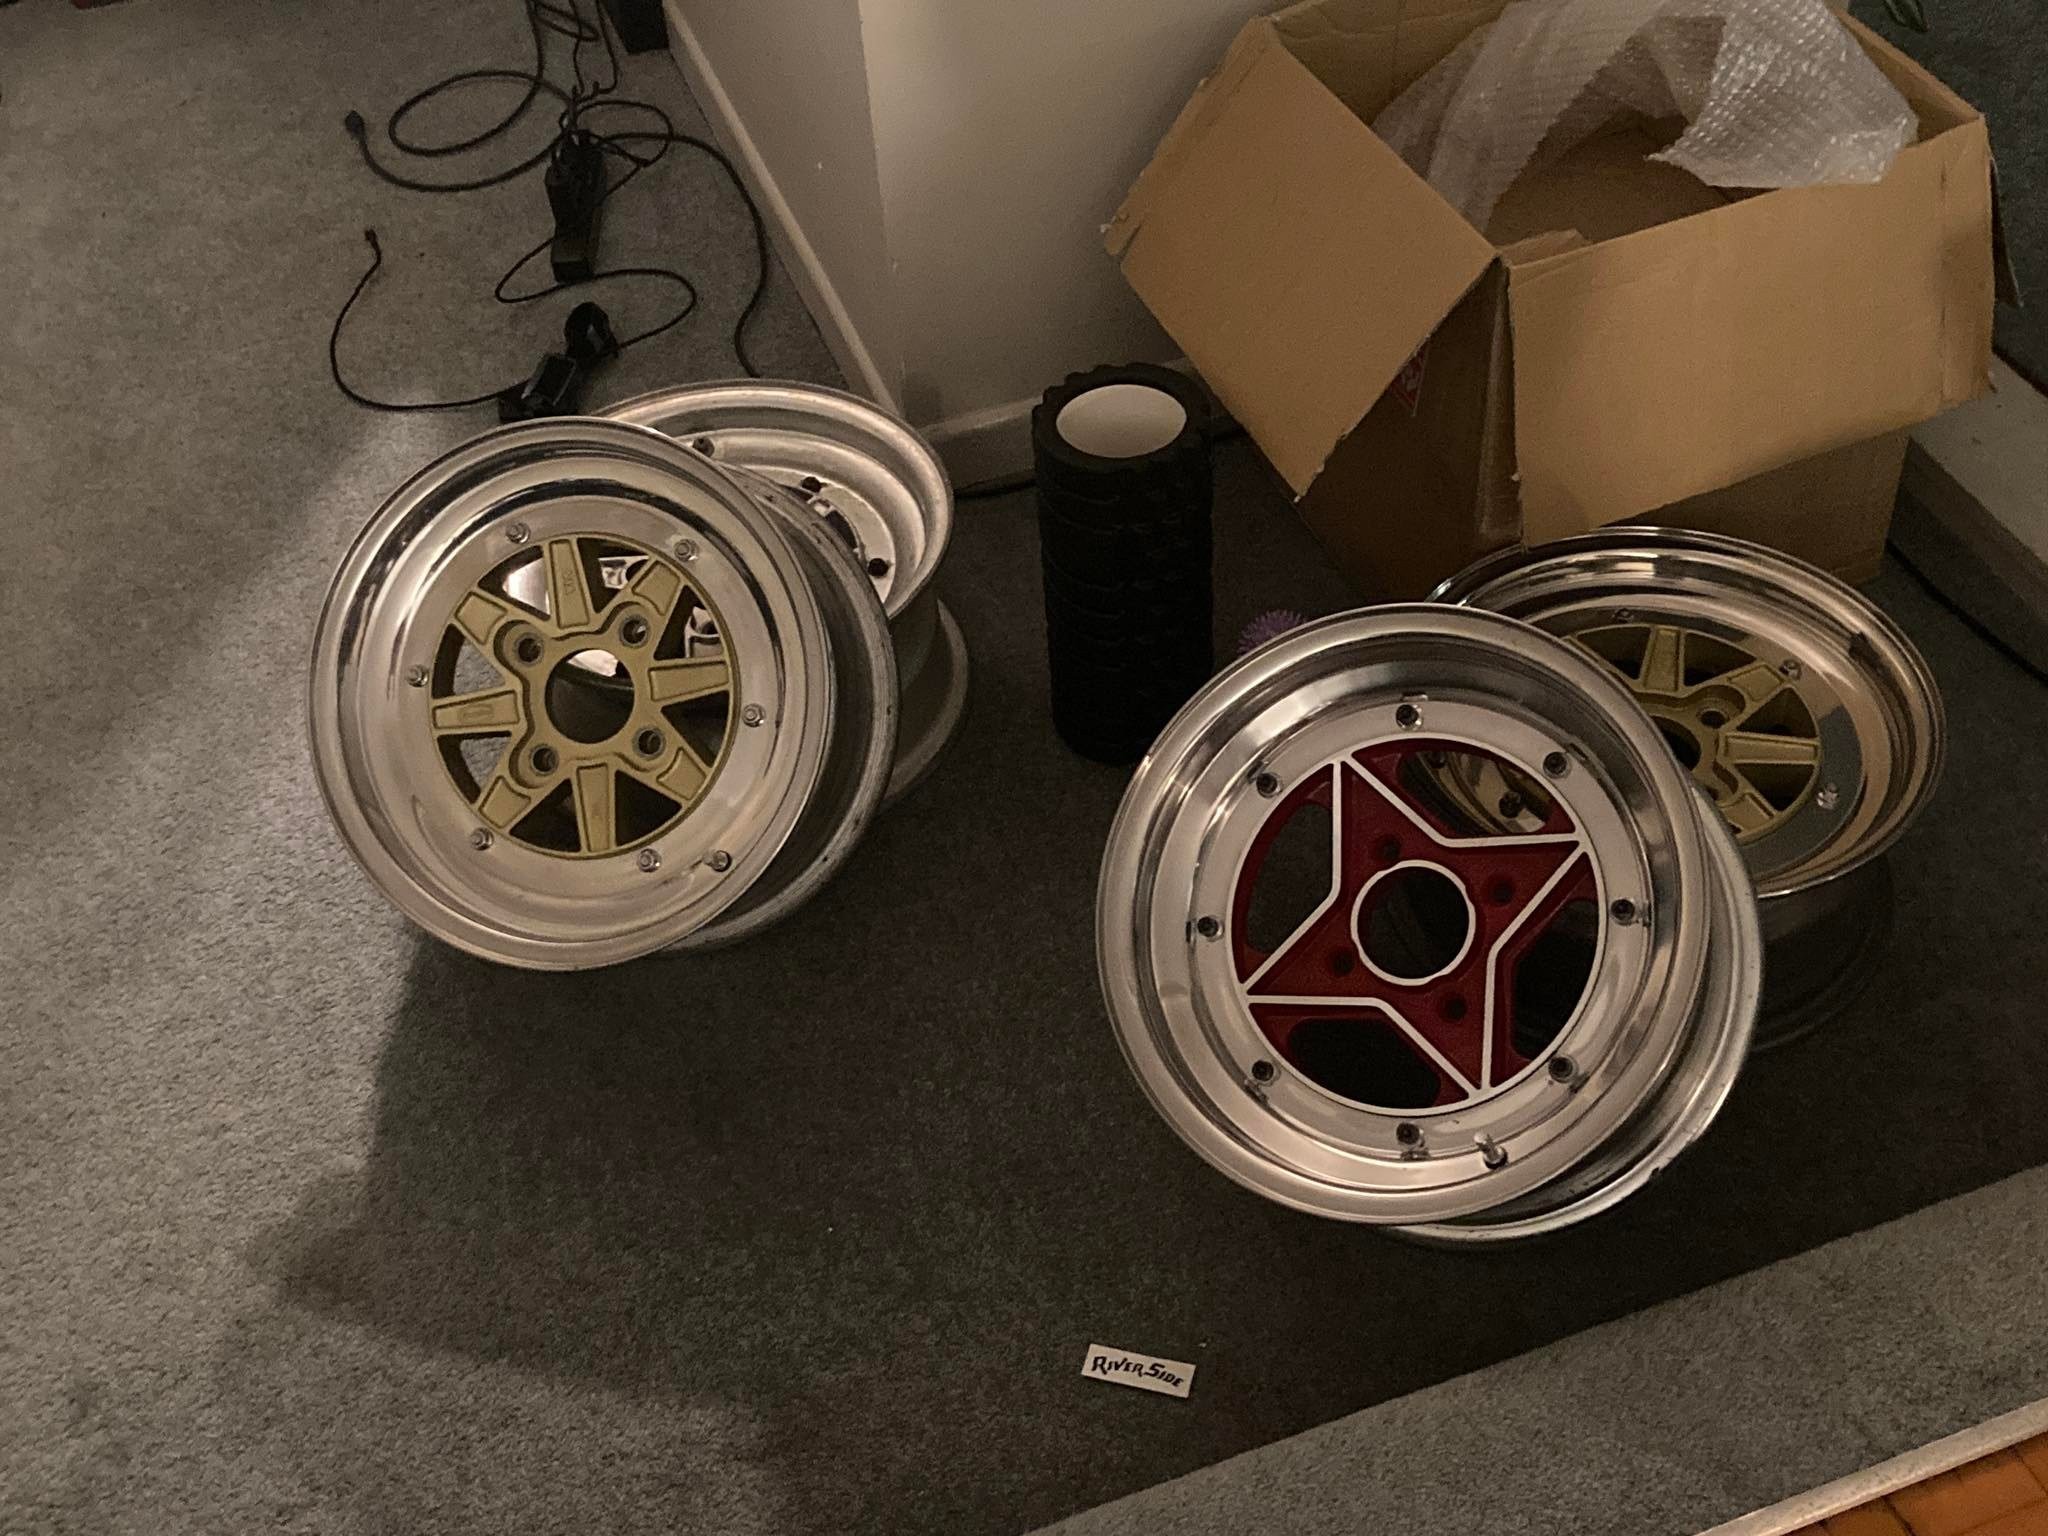
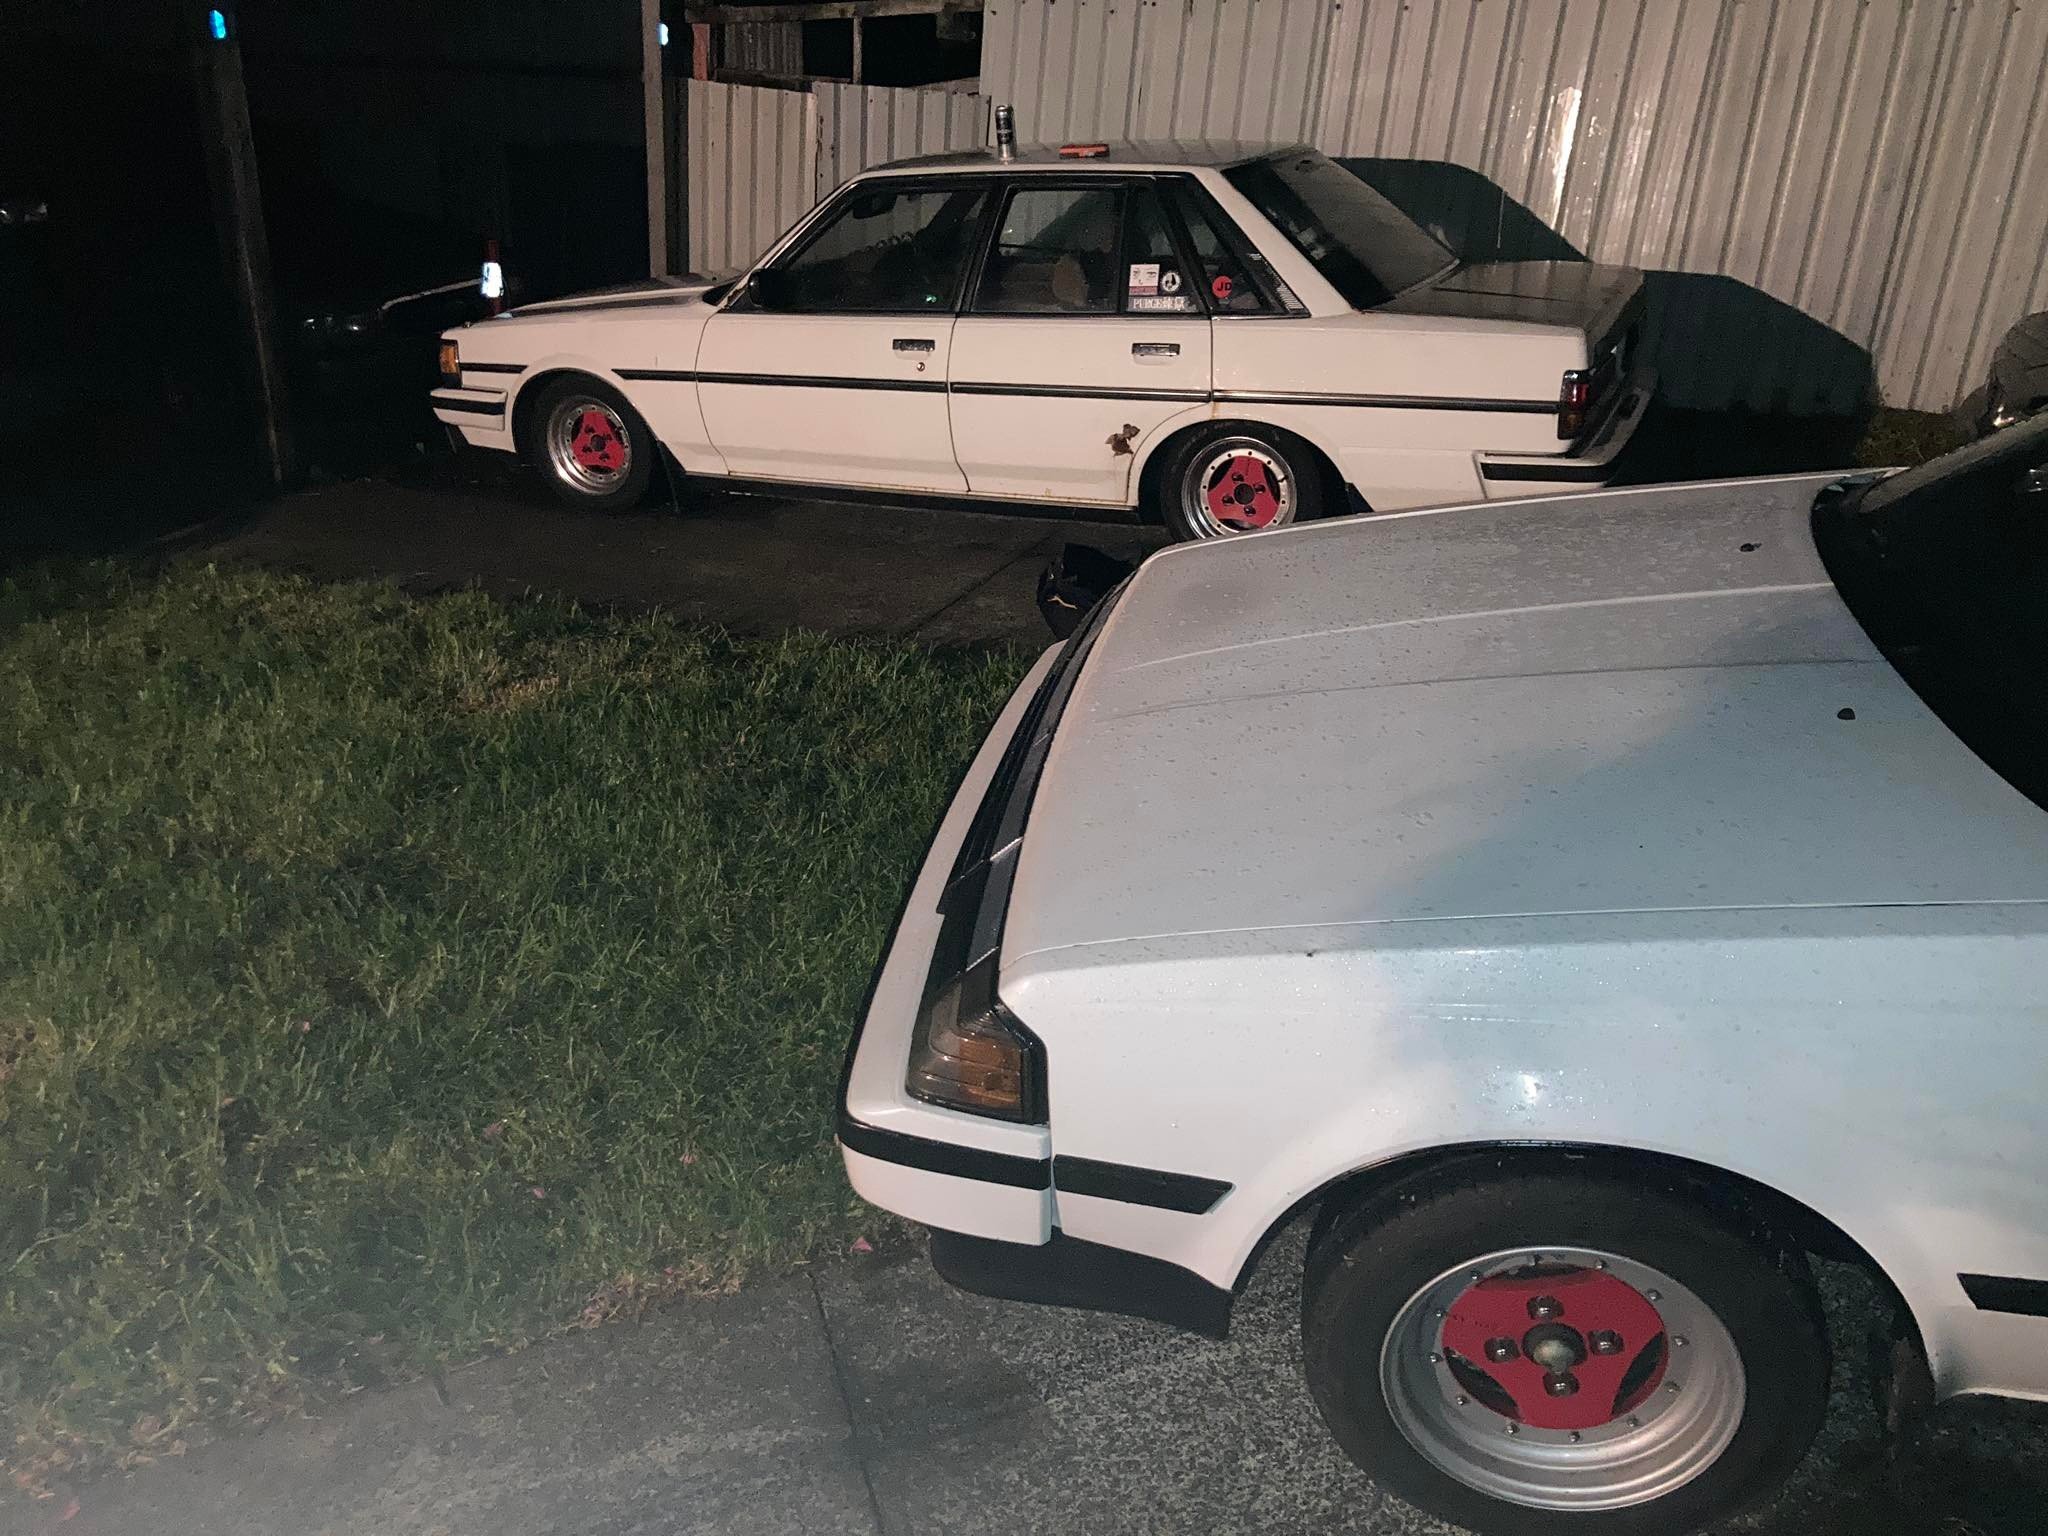
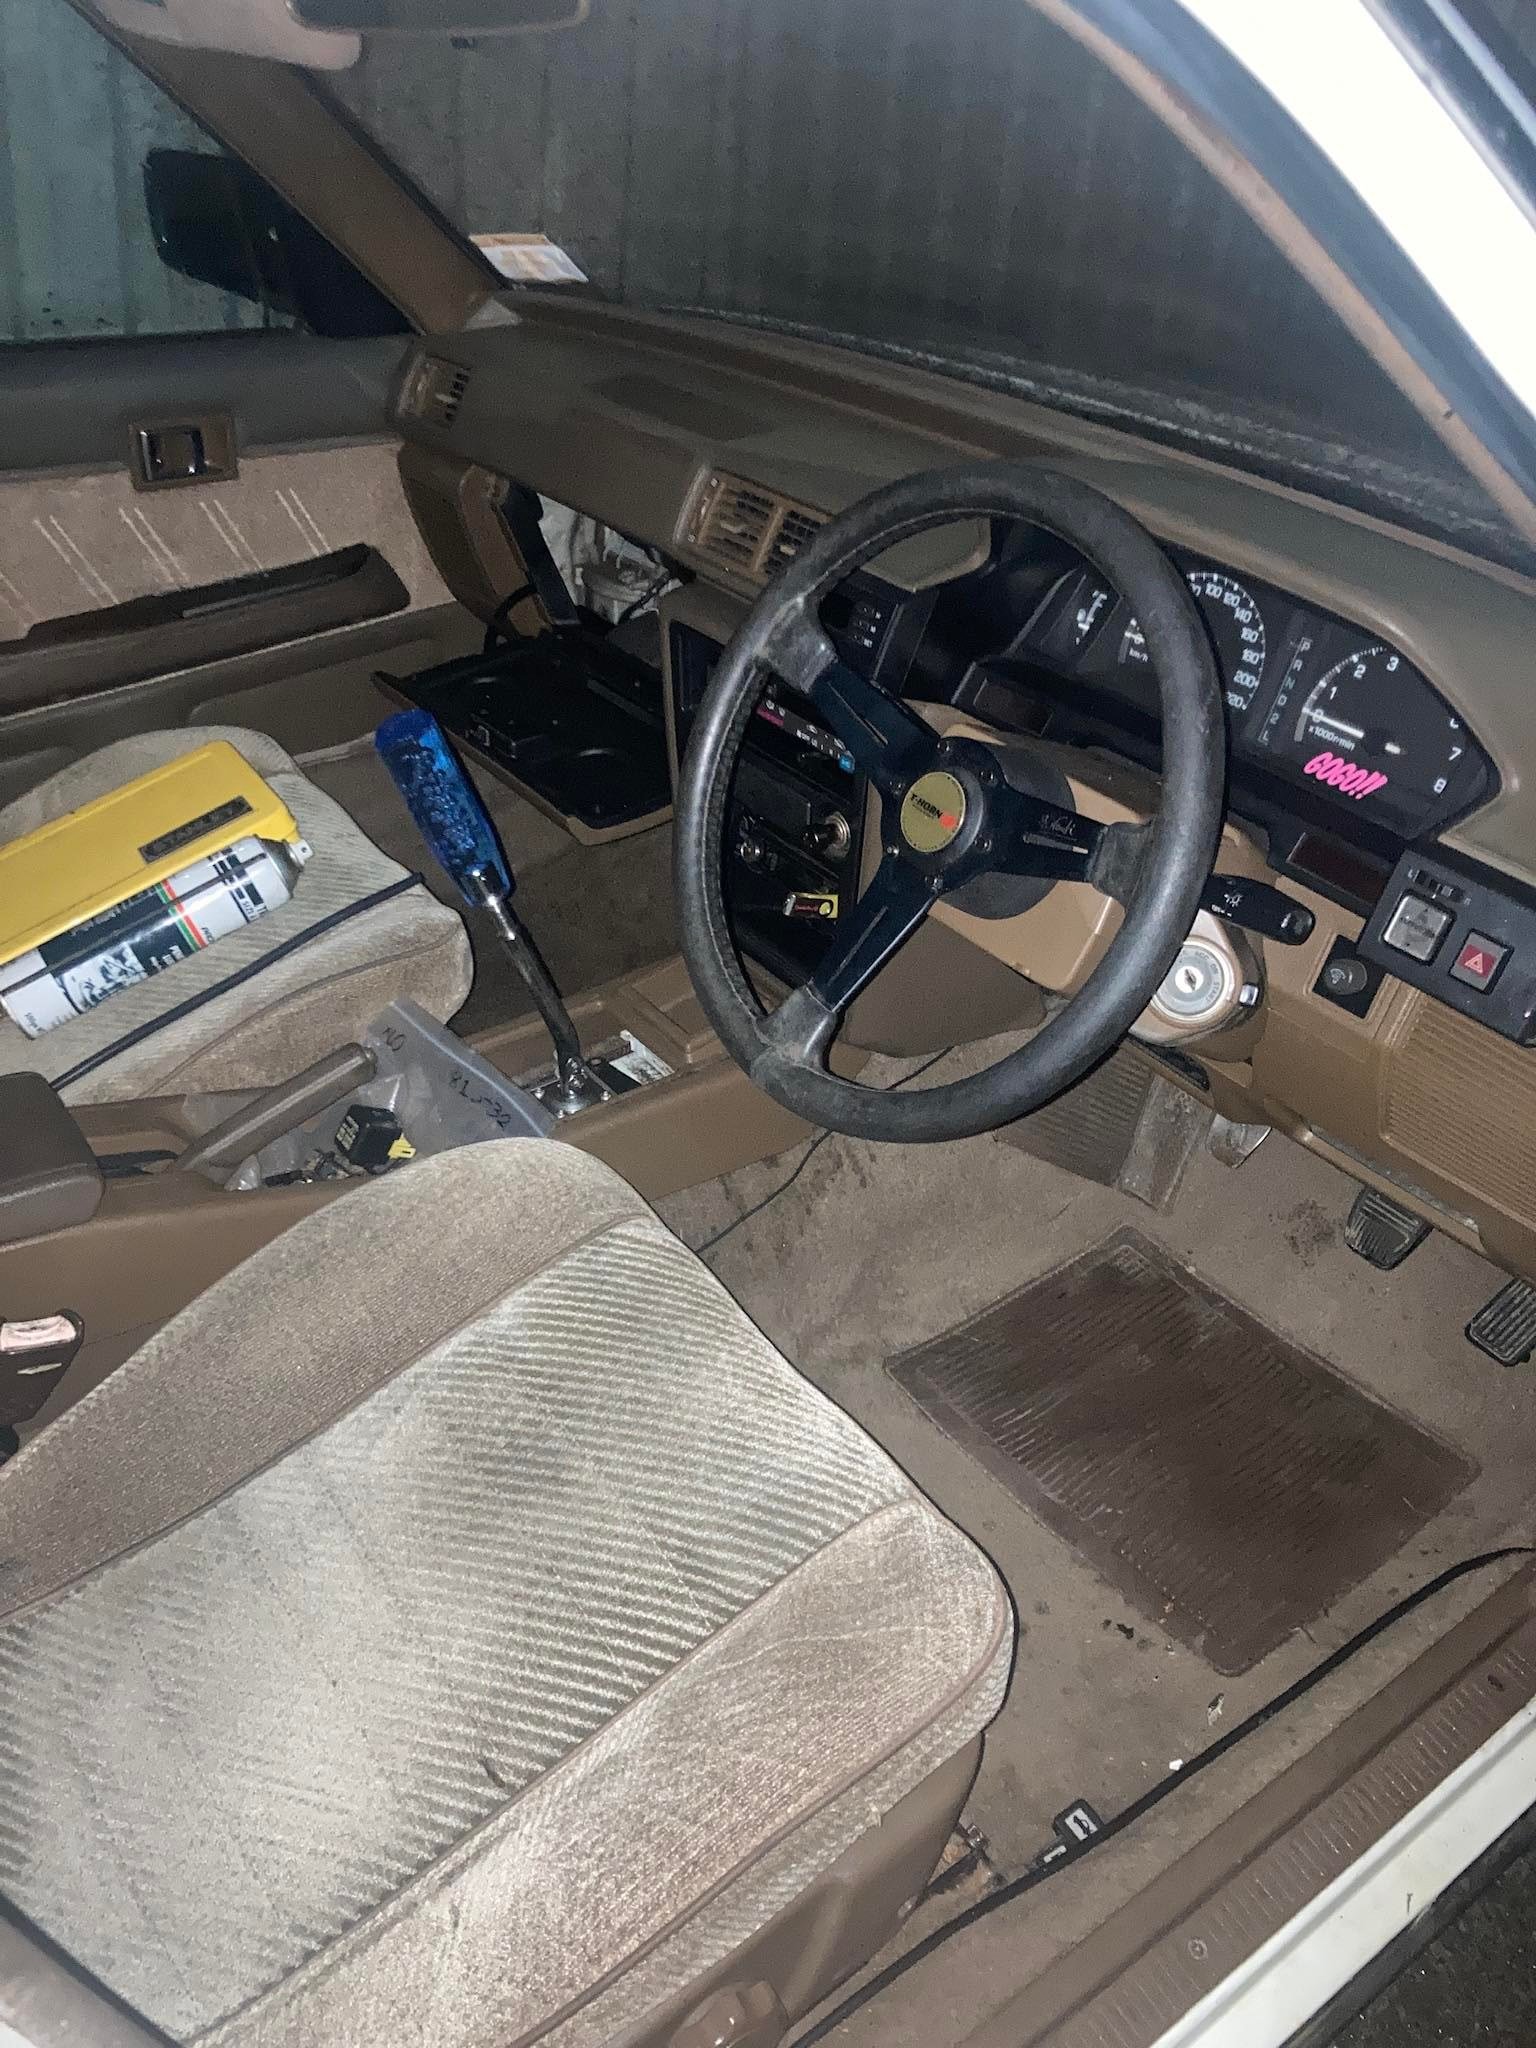
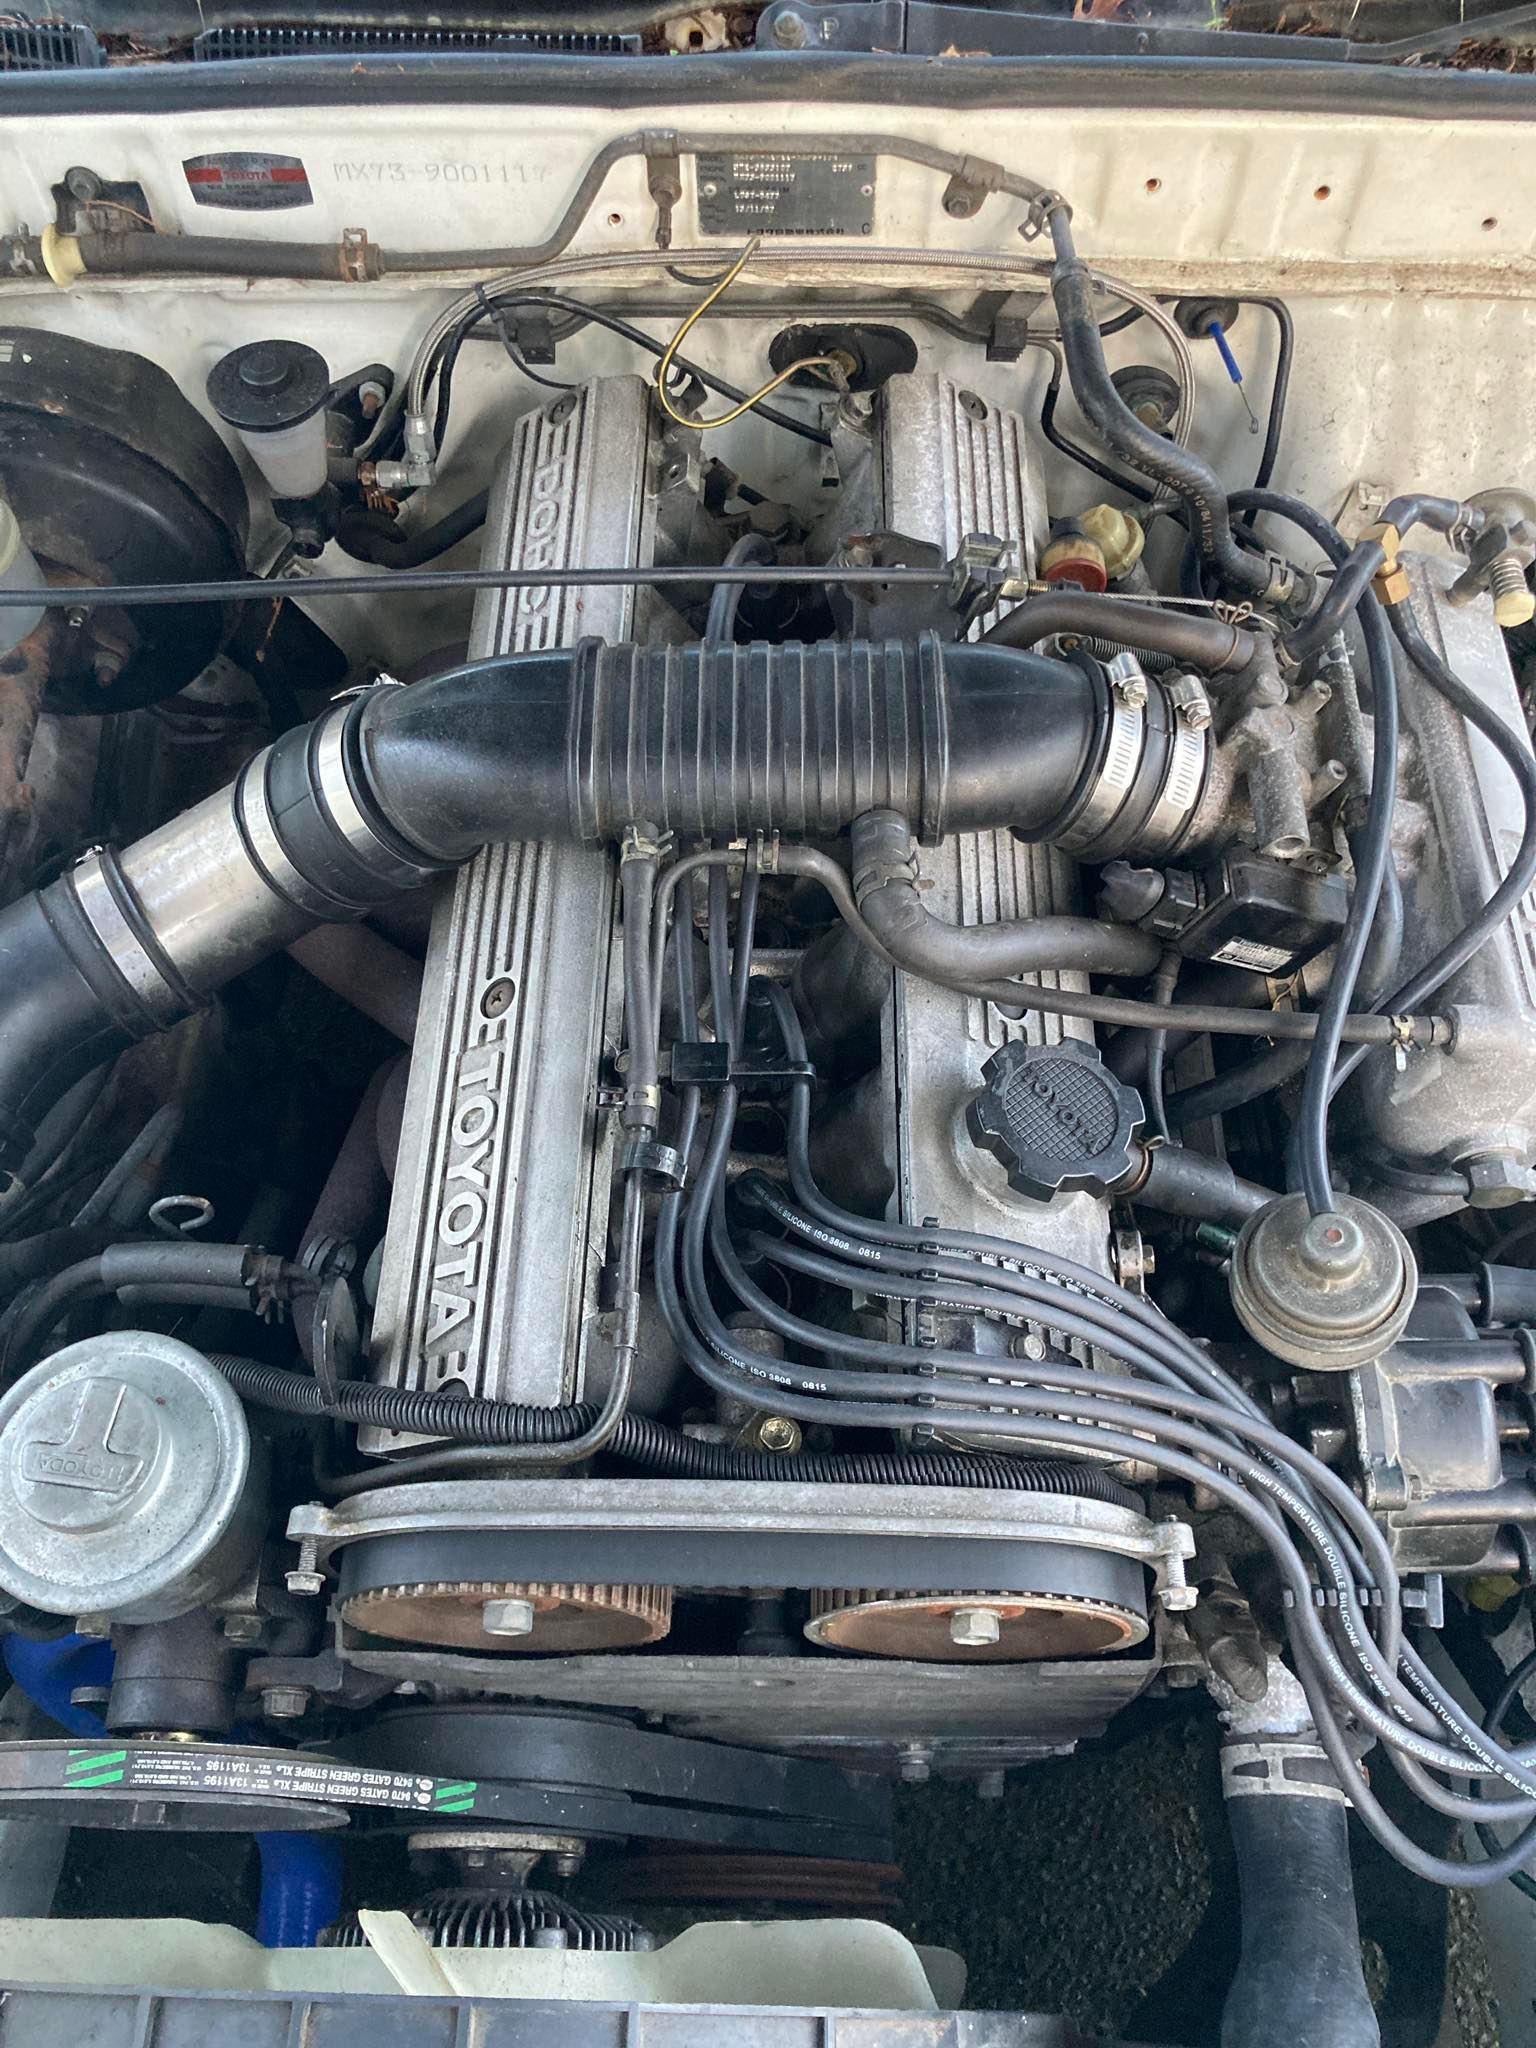
Wheel collection has grown. SSR MKIII 14x6.5 +22 B type, Riverside R101 14x7 +11, Advan A3A 14x6.5 +6 and you can see one more MKIII 14x6.5 +9 A type hiding in the back there. and there are 3 more mkIII's in the post, 2x 14x7 a type and 1x 14x9 -25 a type. am on the hunt for a some barrels to make a second 9" -25 mkIII to match one i have on the way. more bonus picks of a cressida i couldnt help but buy. plan is to use it to dabble in some sideways action as the shell is very very rusty. Once its too far gone ill pinch the manual conversion and w57 and part it out. First port of call was fitting the worn through nardi 350mm and the big ol cock shifter to provide a bit of leverage for the cube short shift kits. delicious 5mge straight pipe noises await. Just needs a plethora of wiring issues fixed. half the reason i bought this car actually was because it included an unfitted set of x7/a6 coilovers. These will of course be destined for the celica in the coming weeks.
2 points
-
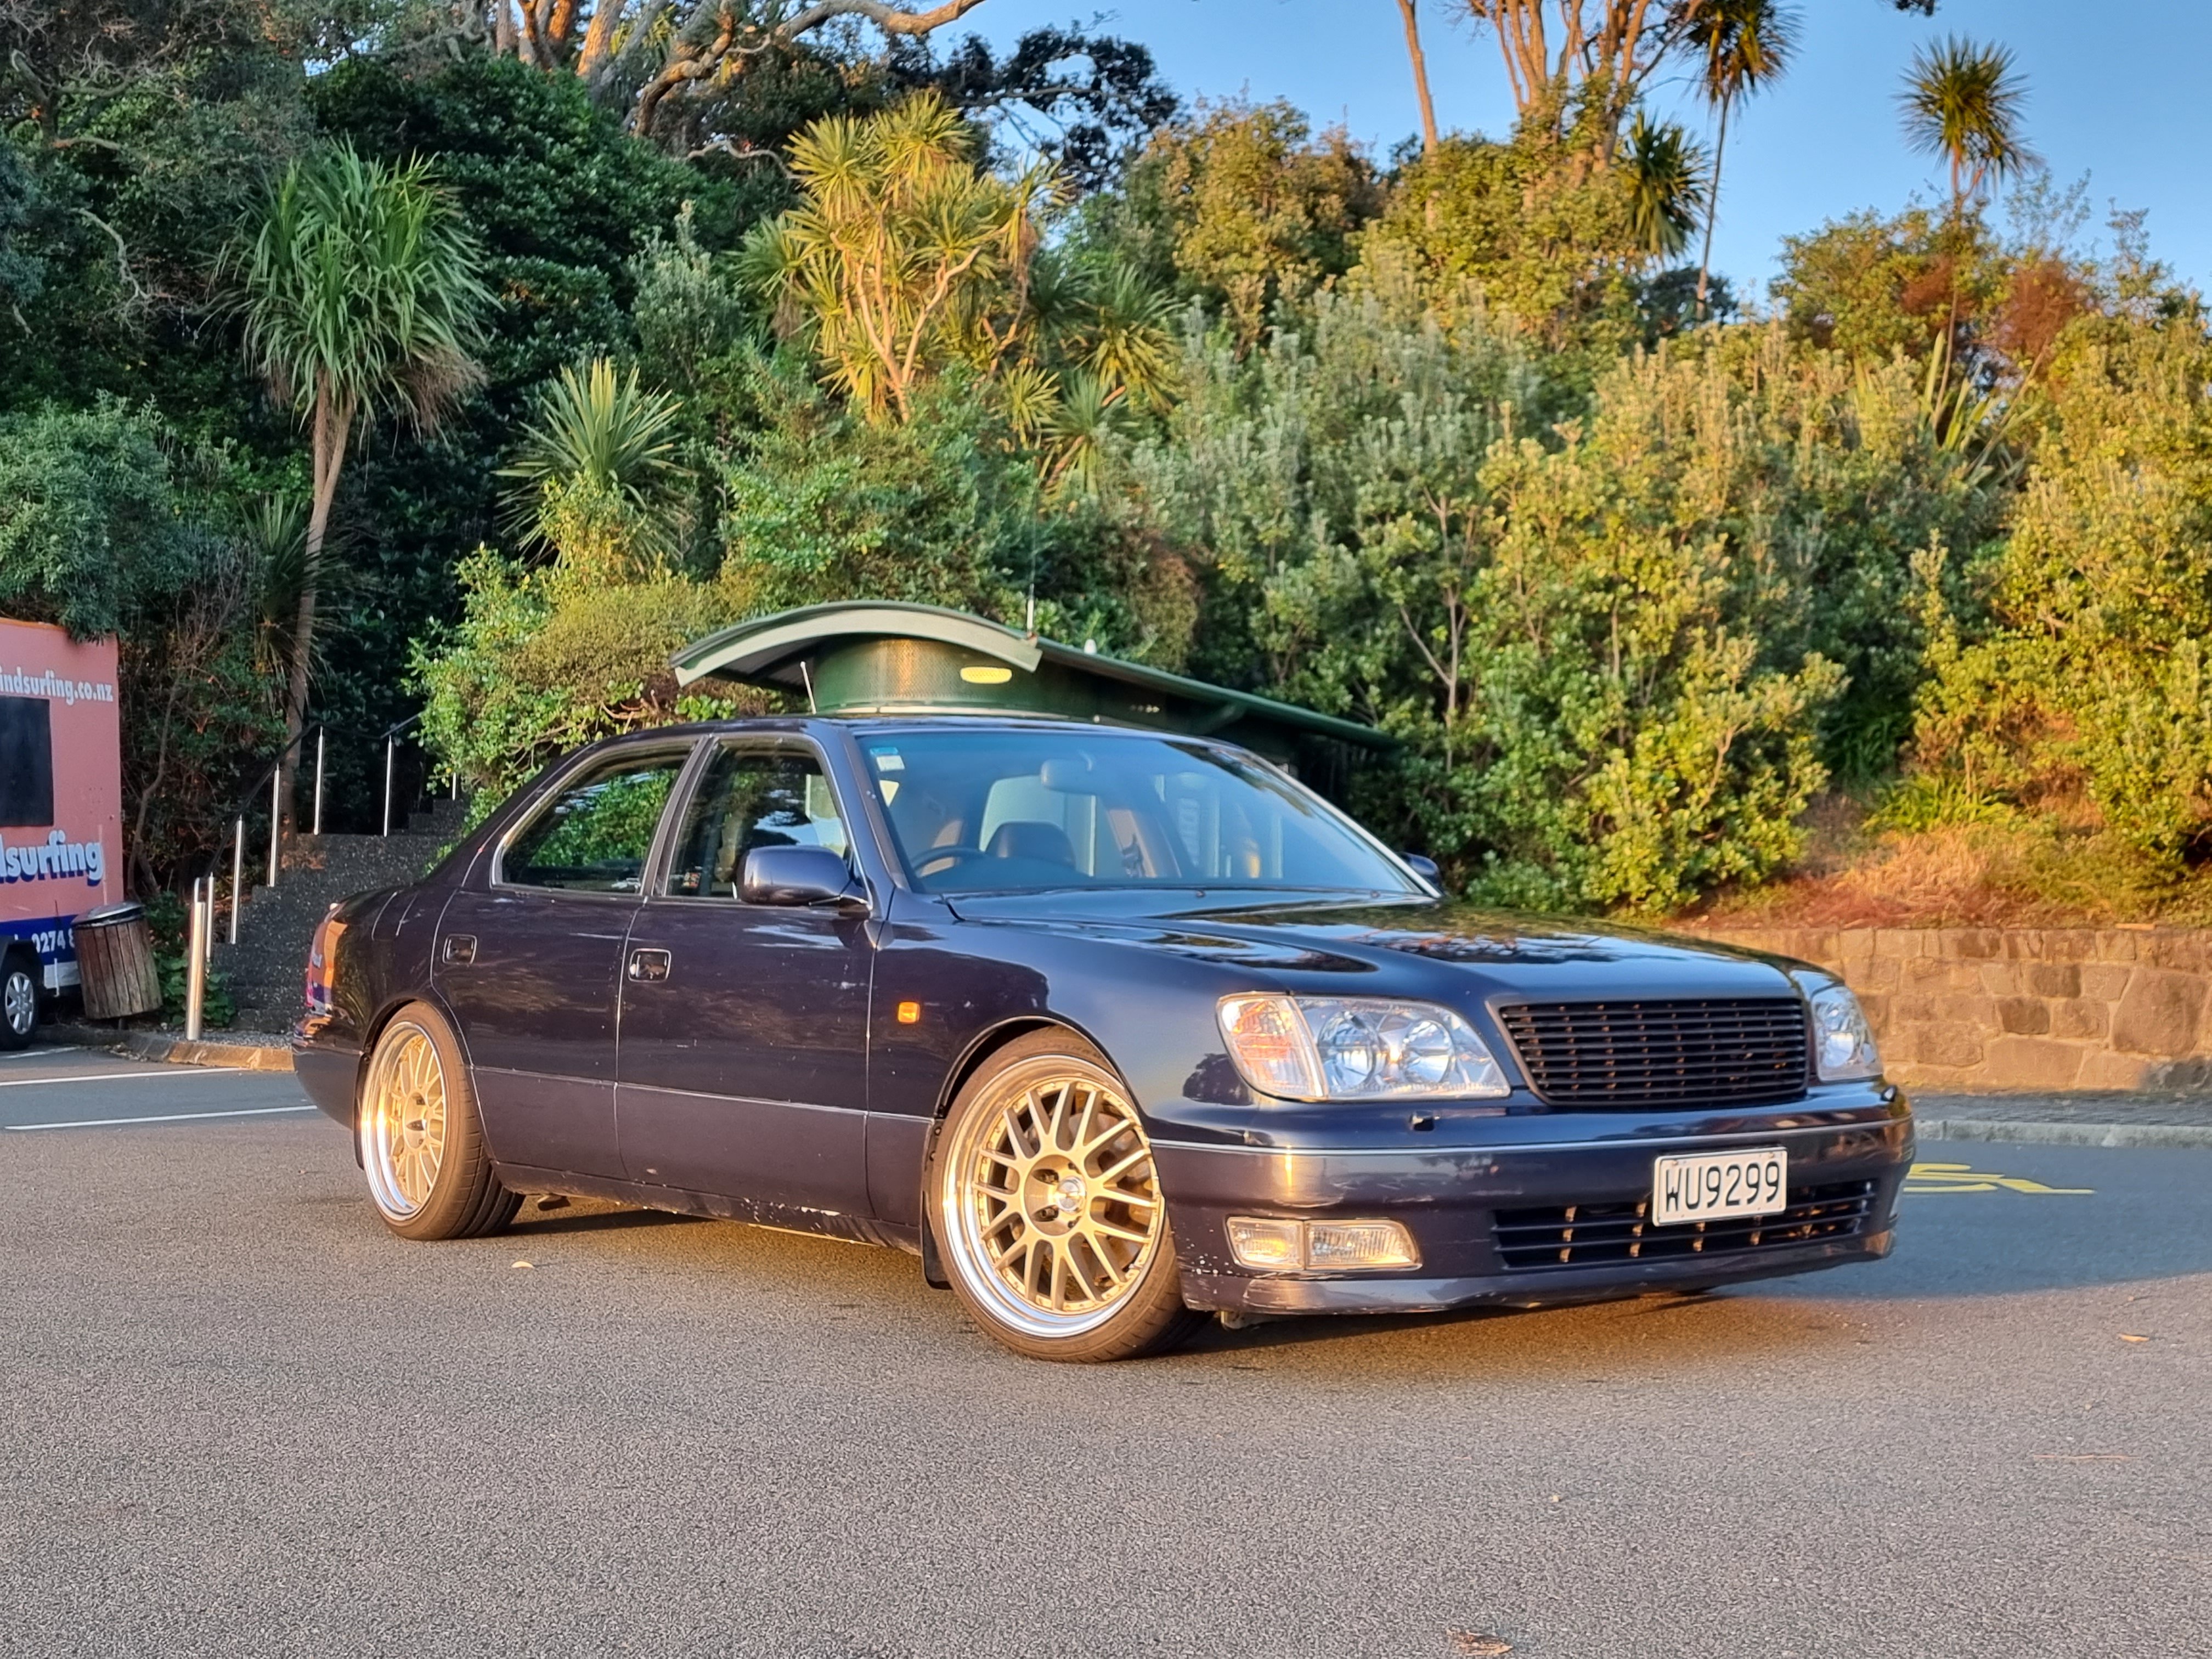
So is all installed and is fucking perfect. Nice v8 burble at idle, makes awesome V8 noises when you give it the jandles but silent when just cruzing. Stoked.
2 points
-
V8 noises and plush suspension, living the dream.1 point
-
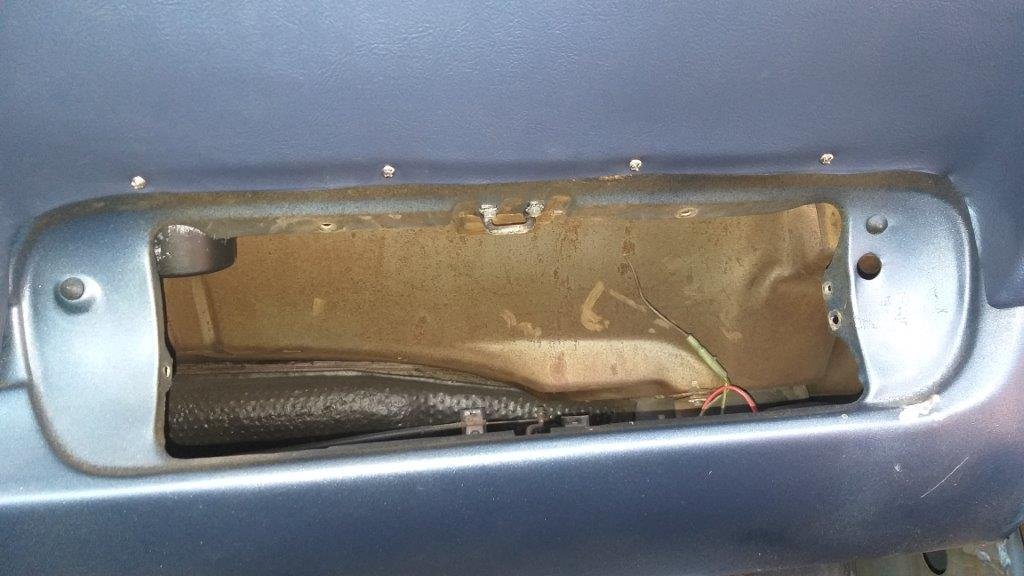
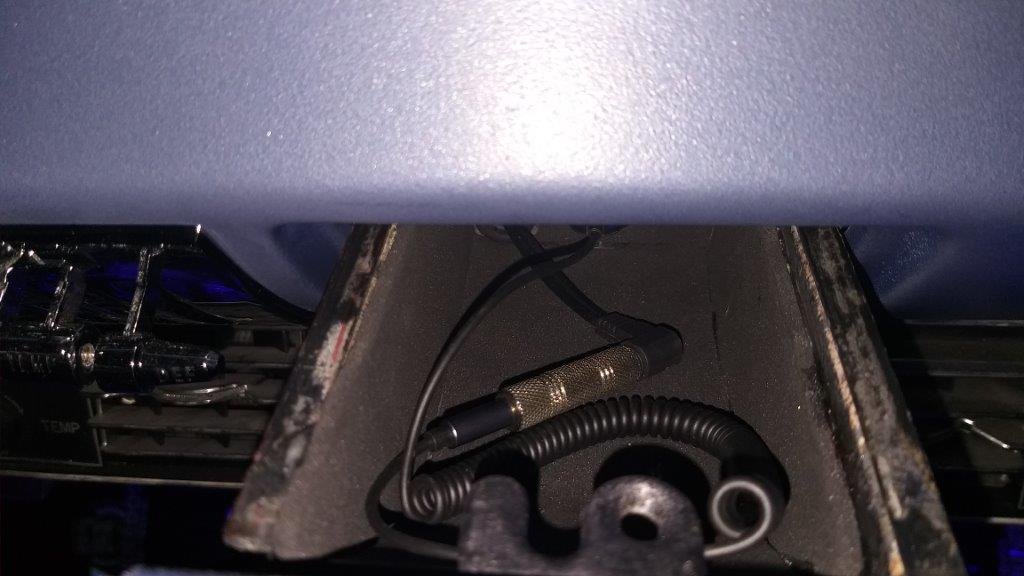
As previously mentioned I've tucked away a USB power socket and the bluetooth dongle in the factory ashtray which I lined with some high density foam to stop things from rattling around in there. Sneaky peek inside with the ashtray open.
1 point
-
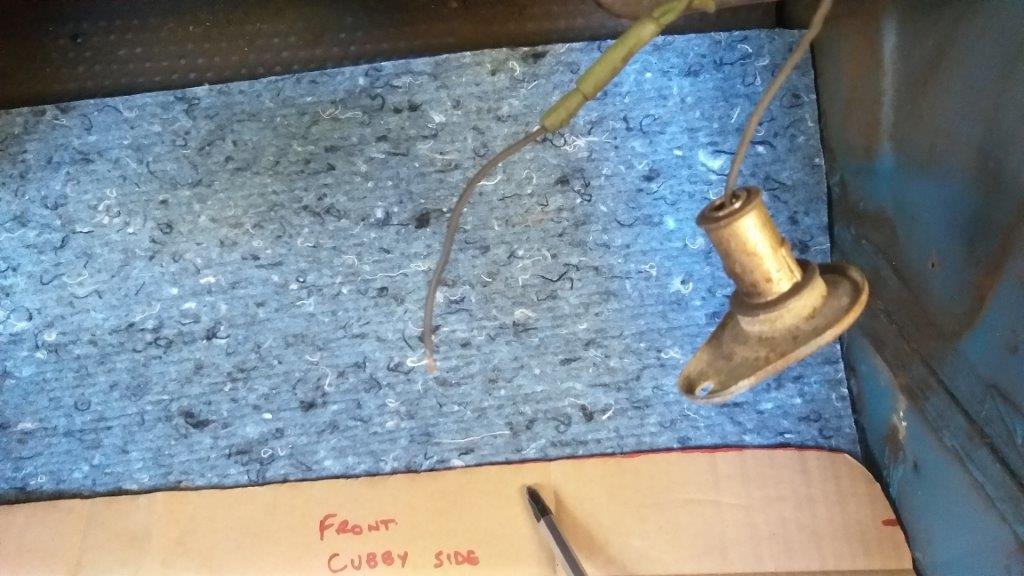
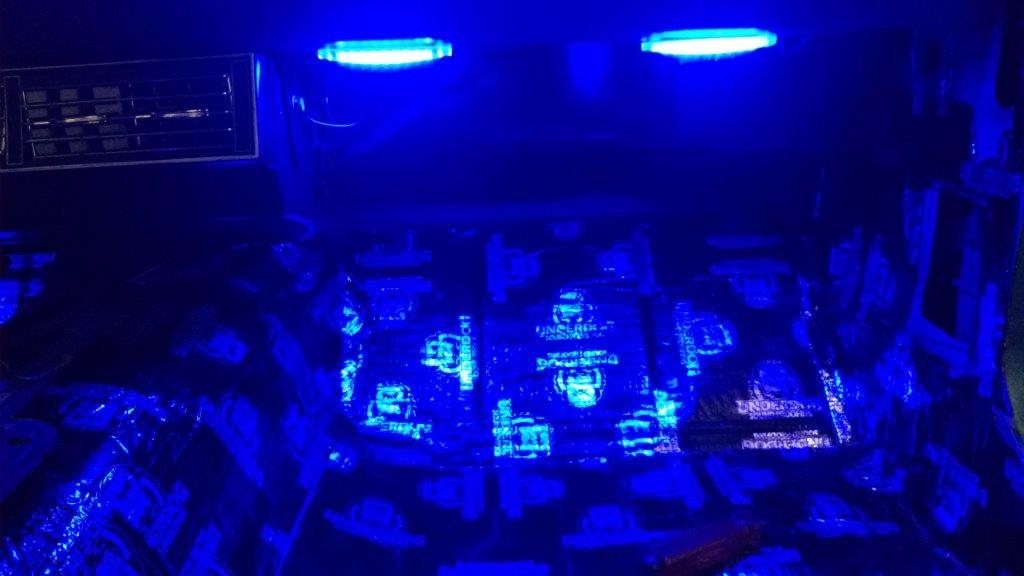
A photo of the factory original under dash light socket and a few photos of the new LED underdash lights. I quite like the blue "mood" lighting which will set off the blue carpet and upholstery once that is all fitted. I also installed a light in the glove box and in the same photo you can see the new location for the emergency flasher light switch.
1 point
-
Those noises play out in my head perfectly1 point
-
Will be there next week, busy day.1 point
-
1 point
-
1 point
-
Hemi2doz: The PG edition1 point
-
Things taking a little longer than I had hoped, but yesterday I got some good news. The 4-link boxes are in and I'll go and have look on Friday and figure out what the next steps are. I also heard from Skeleton Welding that my core has arrived, so should be getting that sorted to soon too! Pretty happy with the progress.
1 point
-
I sold a bunch of adrenalinr to the Honda people at my last job, after chatting with adrenalinr a few times the recommendation was nearly always the adr019 louvre baffle https://adrenalinr.com/shop/louvre-baffle/ Bigger body is better for quiet of course. If you just want something livable on the street and not after max powah for street setup then a turbo flow/triple pass rear muffler will do the job. I've for a fairly small cheapie on the orthia and it's perfect as a daily. Edit: I've also fitted a adr019 to the tonner with a cheaper m&h flow master copy muffler and its pretty quiet/sounds good as well (only 2.25" tubing and 2.5" reso)1 point
-
Sounds like your actually looking for a supertrapp?1 point
-
I've got a rear variable muffler/s off a clubsport or something if you want one to cut up or otherwise muck around with @Roman They have a vacuum operated flap in one of the tailpipes, my interpretation of the rules is as long as it's not controllable from inside the car its OK, I was going to make a muffler that was straight thru under boost but went through a quiet bit under vacuum but I cbf and bought a normal muffler instead1 point
-
In the time I was doing exhaust certs, I only ever had 2 ported rotaries pass with a fully legit exhaust (ie no silencer bung things or restrictor plates) and one of them was all adrenalin r mufflers , 4 resonators and a big one at the back I've got one on my green car and it seems to work really well for a single 3.5"1 point
-
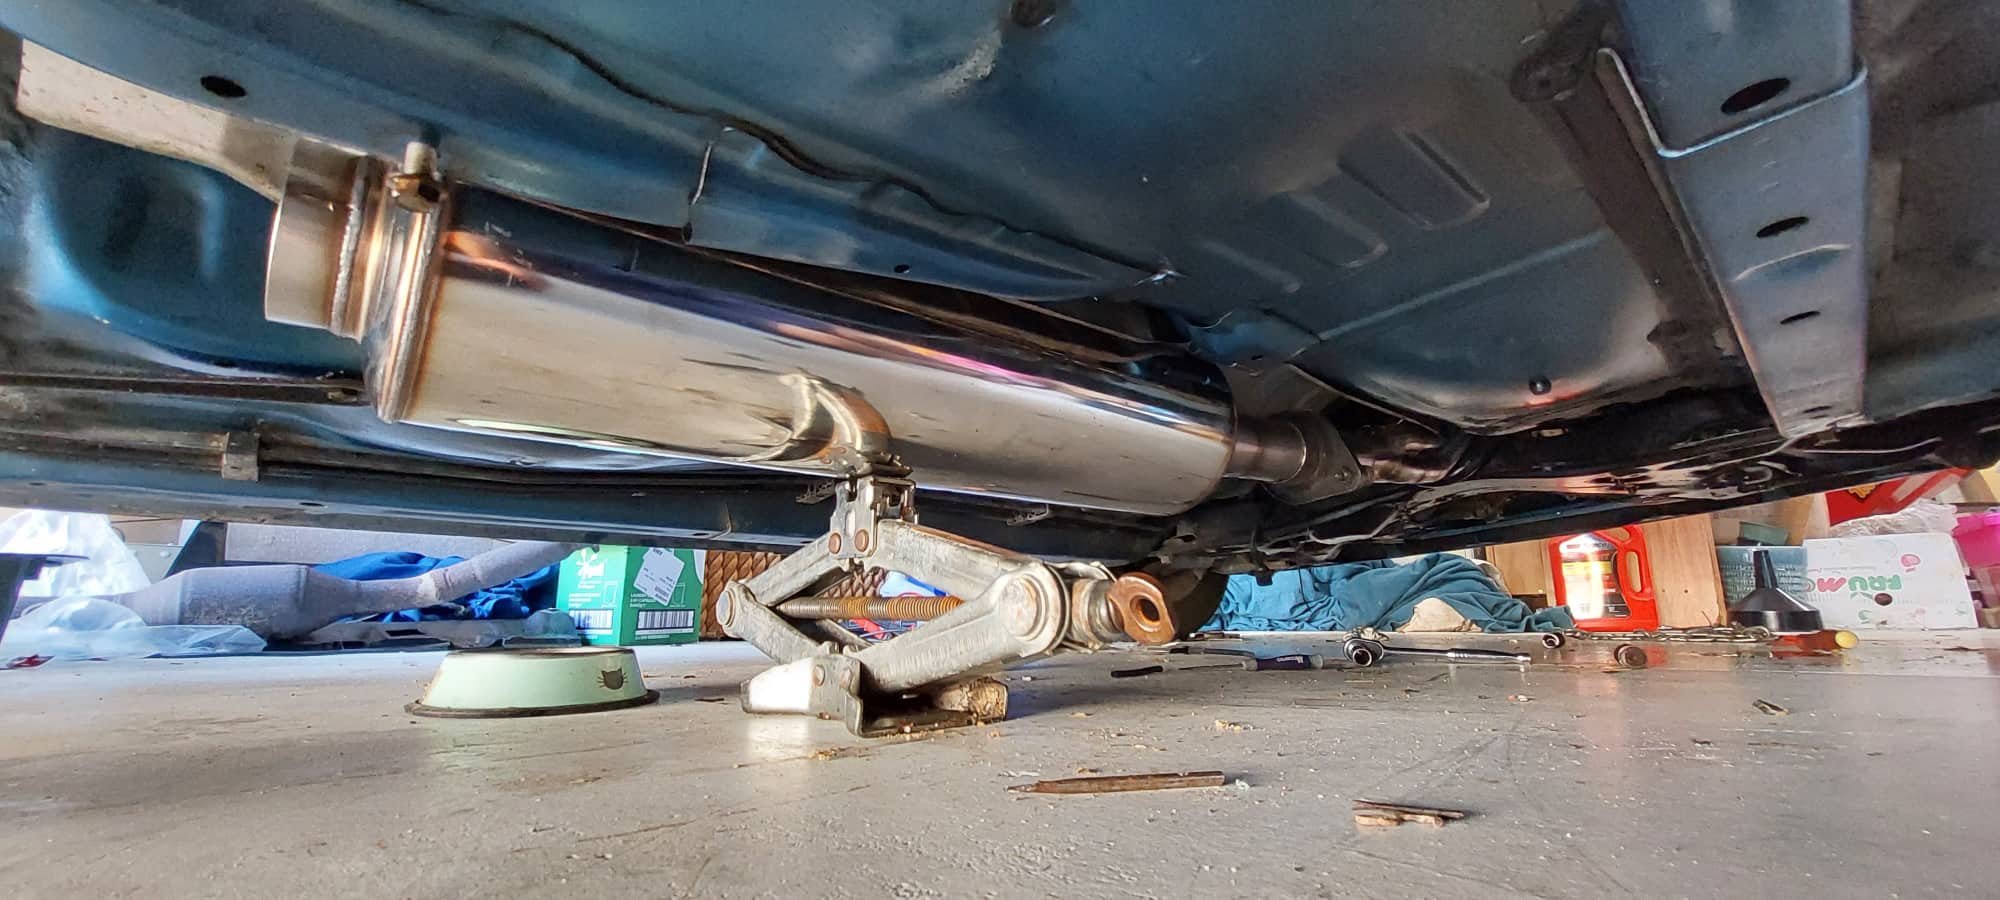
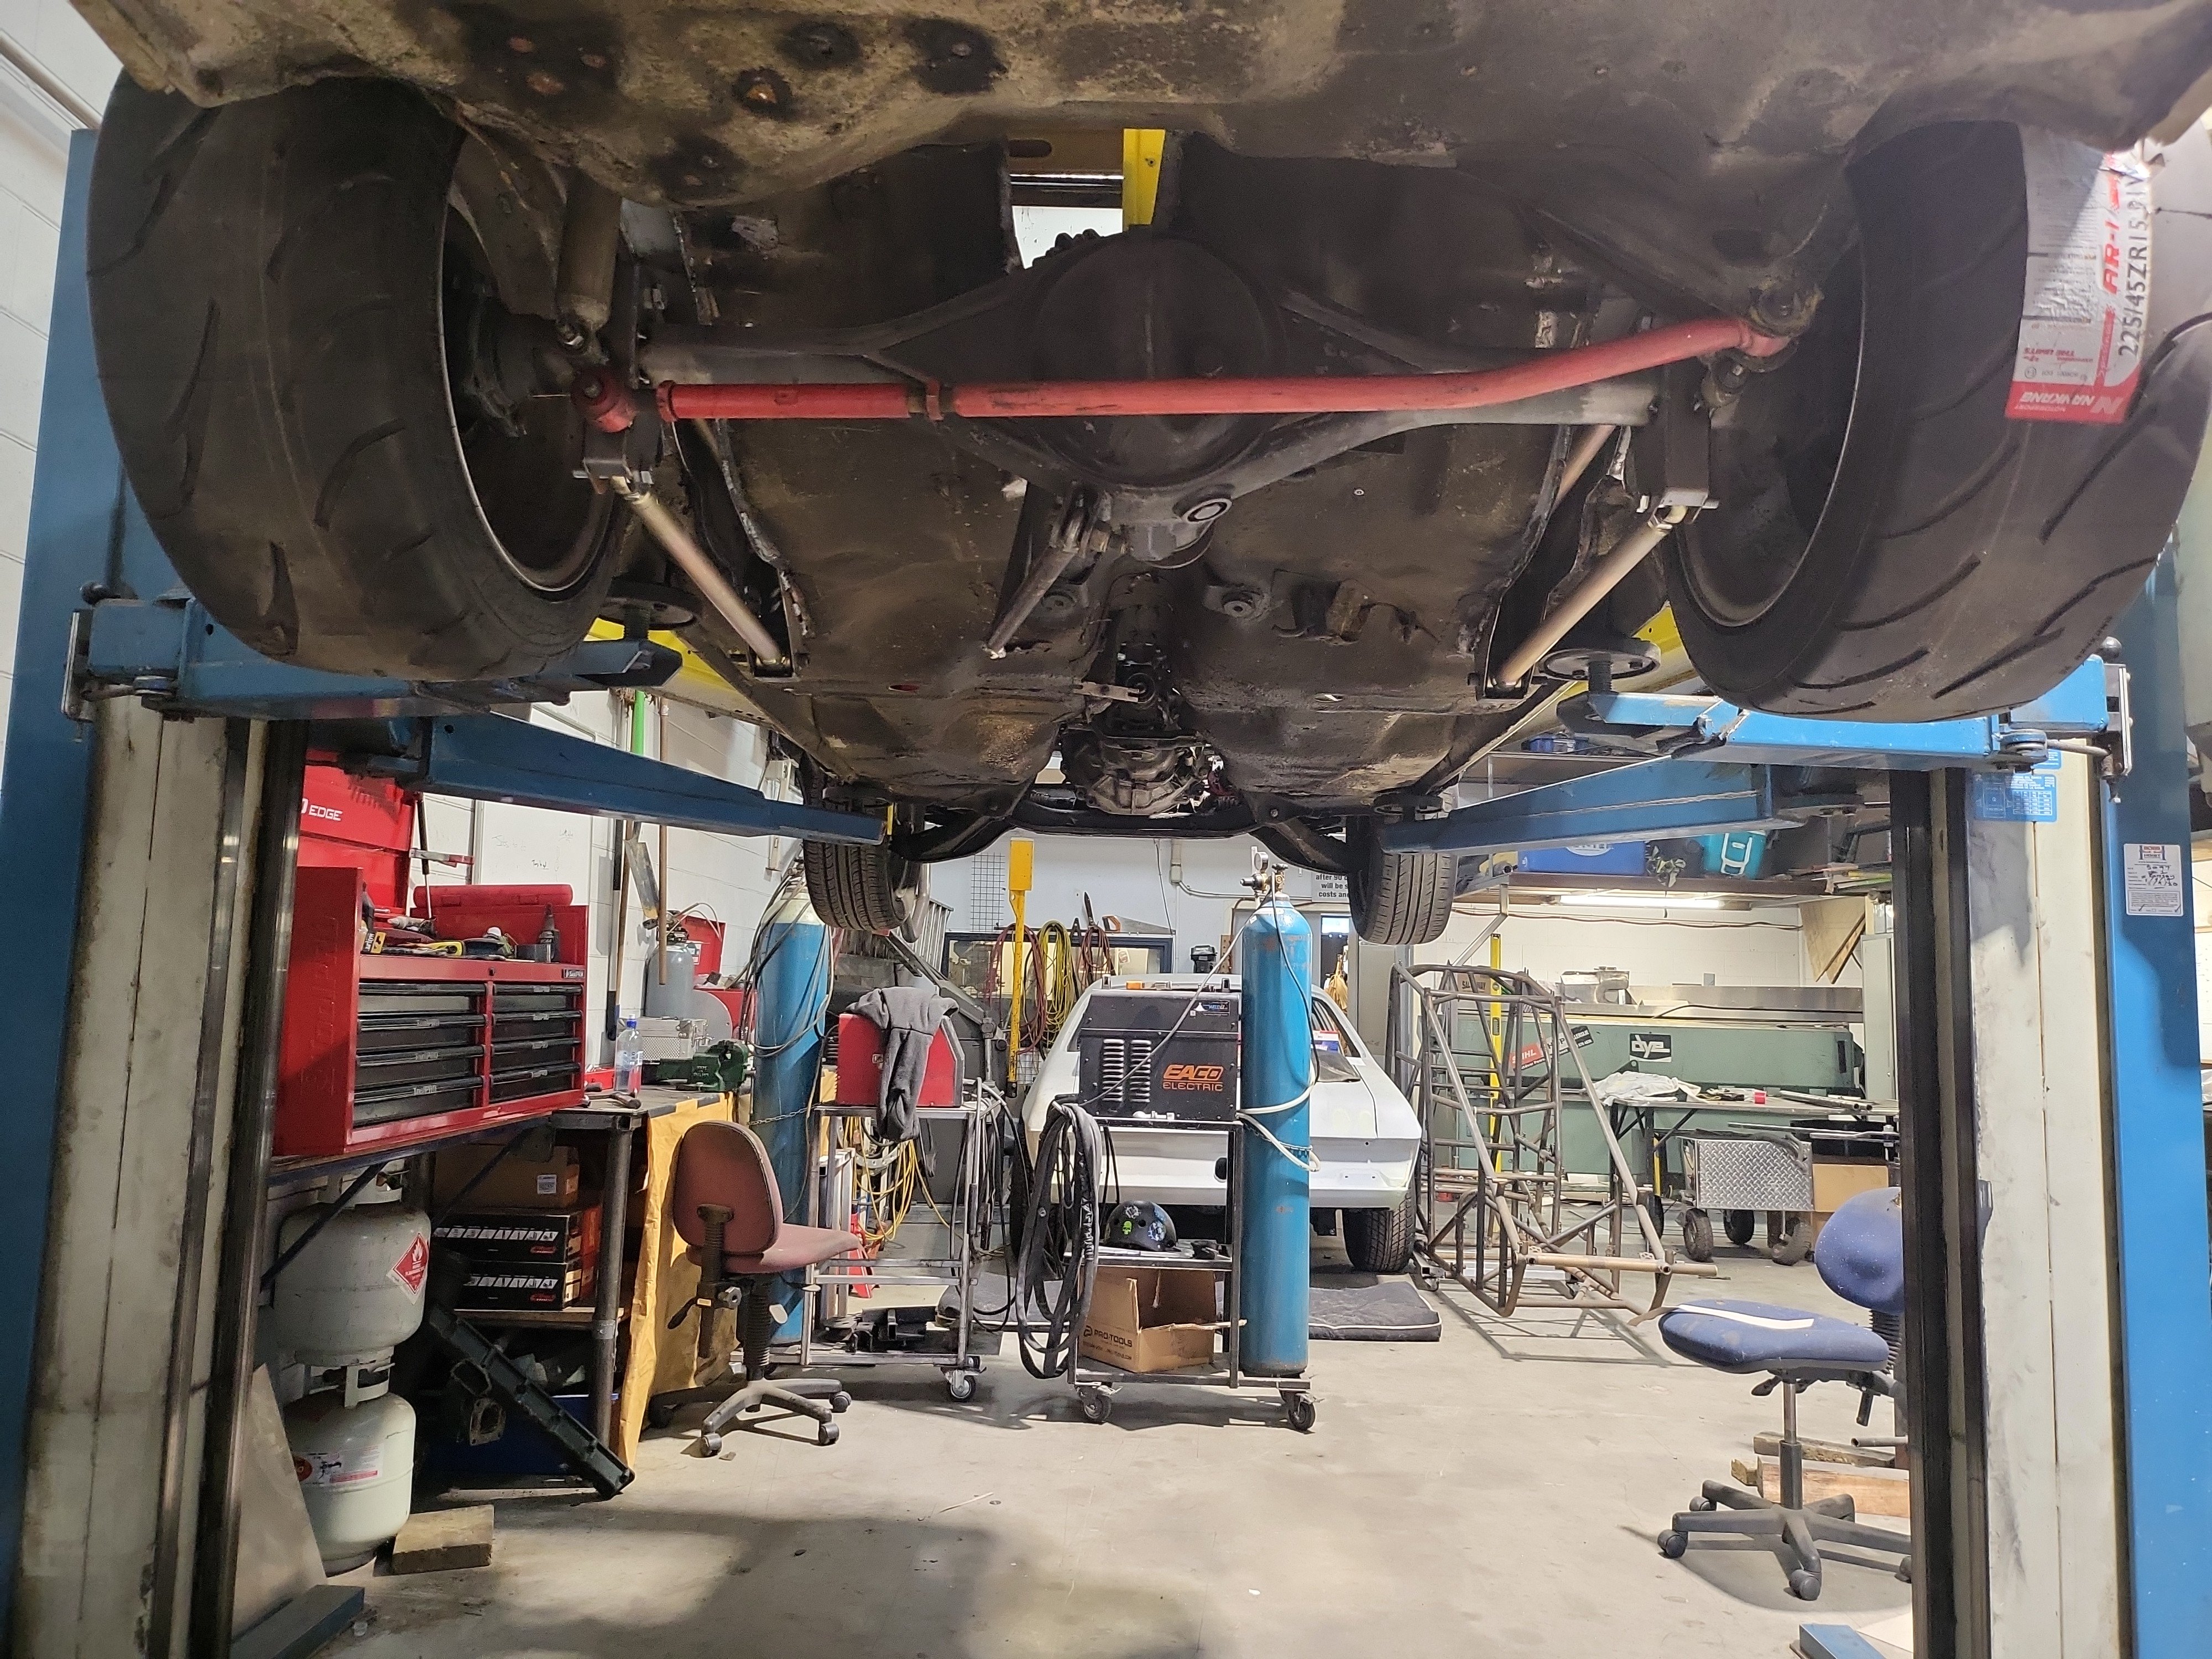
Exhaust investigation. I think this really is one of those scenarios where, if you want a big exhaust that flows good and doesnt make your ears bleed. There's just no way around it. You have to spend the money. I've been tempted to bitch out and just put a 2.5" exhaust on it, or smaller. As smaller pipe is a bit cheaper and it will help keep it quieter. But I think this would be a real disservice to the amazing work KPR has done on the manifold, and others who've contributed to see this project progress! I'd also always be wondering "what if" and I'd hate to save a tiny bit of money and then potentially leave some power on the table. Even if it's not much. Also, this car has an absolutely gigantic amount of room and a super easy exhaust path. So if any of my cars will ever be capable of it, this is it. haha. So, first things first I had a Toyota flexible flange ball joint thingy welded to the 2.5" part of the end of the manifold. All fits up great. (Thanks Rhys) The other half of the flange that I need to weld to the remaining section of the manifold. This was still on the exhaust on the Carina. So I yanked that out, and figured I may as well jam the whole thing on and see how loud it is with a long pipe and a single resonator on it. Answer: still way too loud, haha. I wont be getting invited to any Christmas parties at this rate. This is a fairly flogged out Chase muffler that I've repacked once because all of the innards flew out. So not exactly the pinnacle of muffler performance. However it's also worth noting that it basically sounds the same, but quieter. If it can end up quieter but still sound like this, it's gonna be cool as! So I think the only way I'll manage to get away with anything decent will be to use good mufflers. Adrenalin R seems the option of choice for everyone that ever has trouble keeping the noise down. They are expensive, but so is buying cheaper stuff then having to redo it. So my current plan is to buy the longest straight through muffler, and mount it not far after the extractors. Then see how obnoxious it is. If it's awful, then I can still put another muffler on the back. Even if it's a cheap/shitty/restrictive twin loop one or something. However this leaves the option of being able to easily fit a side pipe for drags and so on, if I put a second flange in a good place. I measured how much space I've got after the extractors, and thankfully I'll easily fit a 550mm long muffler in there. I'll double check that a 7" diameter barrel will fit though, once I've got the taller engine block back in. 8" or 6" diameter barrels are also optional sizes . It would be good if I could fit 8", I'm guessing it would keep the noise down a bit better. The next steps are to get the second half of the flange mounted to the expansion cone, then weld some amount of 3" pipe onto the back of that. Then order a muffler, and get that welded in place. Then work on the next section. Might take a while this way, but will get there. I'm not quite sure what radius the 3" bends will be, but it looks like there's still plenty of allowance anyway. I quickly sketched up the dimensions of everything. Should be sweet. I might actually be able to sneak a second short muffler in that intermediate bend part too, depending on radius of the bends.
1 point
-
Clutch friction plate mass. My old evo freshly built box simply would not shift at high rpm,it had the "big" evo 9 clutch and flywheel. (junk) The less work the synchro has to do (by changing speed of clutch friction plate between gears) the quicker you will be able to rip a gear.. The other thing that helps is closer ratios - same deal, synchro is going less wok as the rpm change between gears is less.. So many people overlook the ability to rip gears at high rpm in thier race cars.. It's critical in my opinion. I run dual cone carbon synchros in my Honda box, coupled with a lightweight friction plate and close gearset, and it's at the point where people ask if it's running a sequential box, it's just so fast. Someone like ATS will a carbon clutch, which is basically a carrier hub, then a sheet of carbon with a spline inside it as the friction plate. Ultimate lightweight..1 point
-
i missed contributing to engine, can i send some dimes for your dimes @kpr A+ for doing this man, feels like such a pet/vicarious project with how Romandayf shares everything lol1 point
-
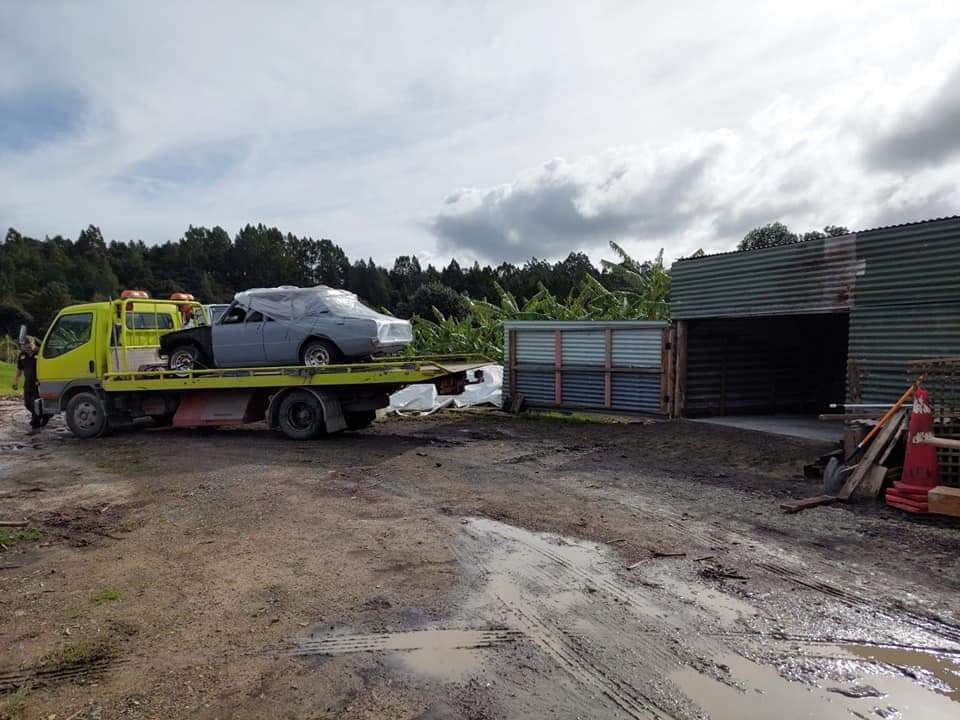
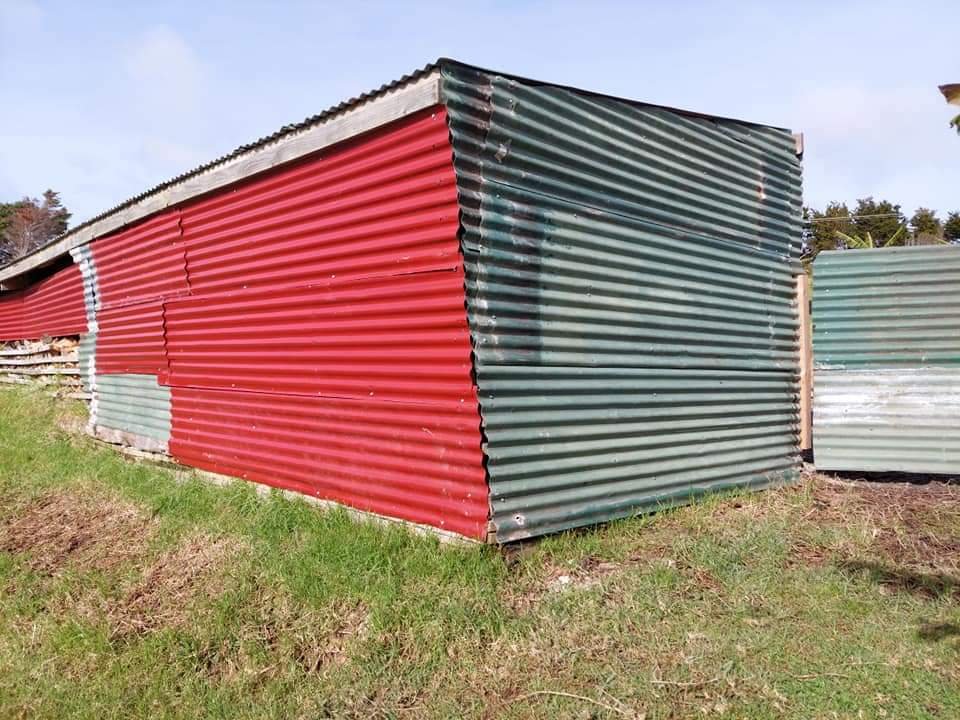
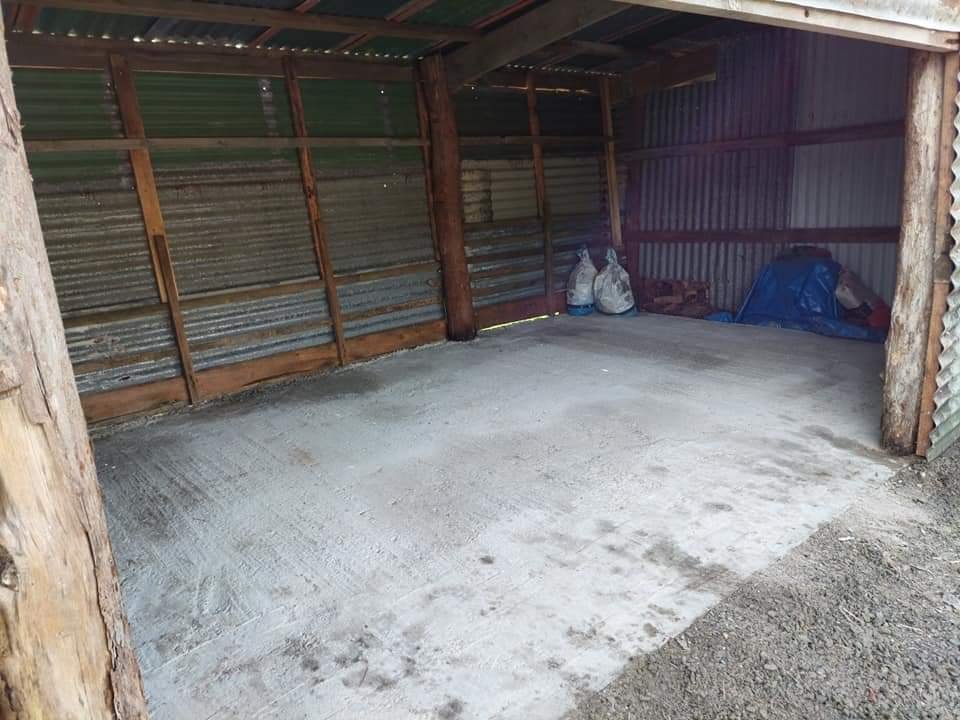
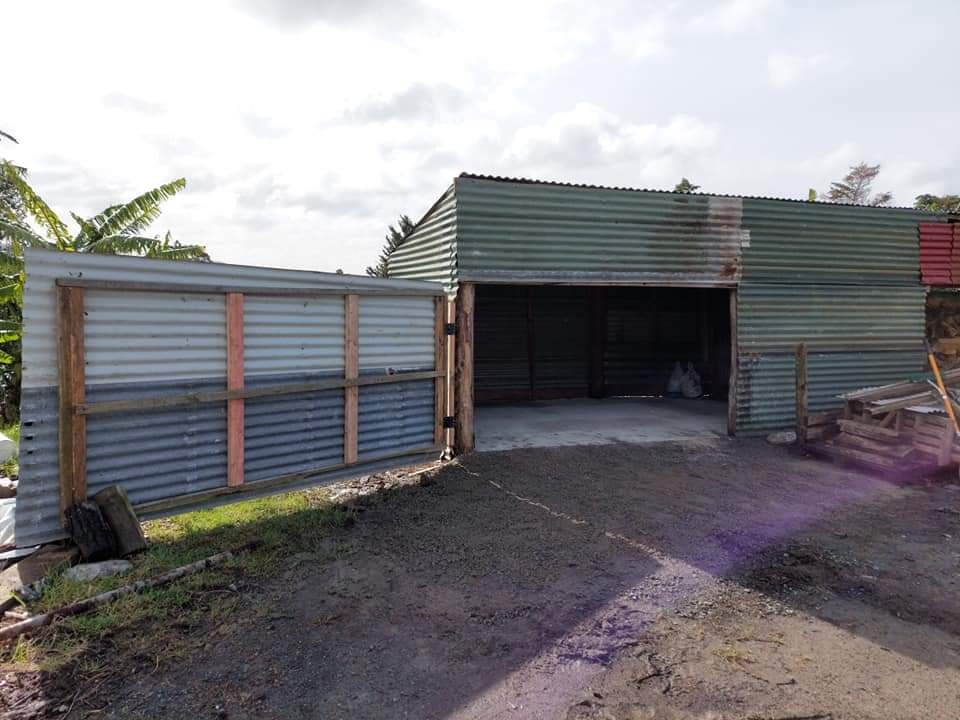
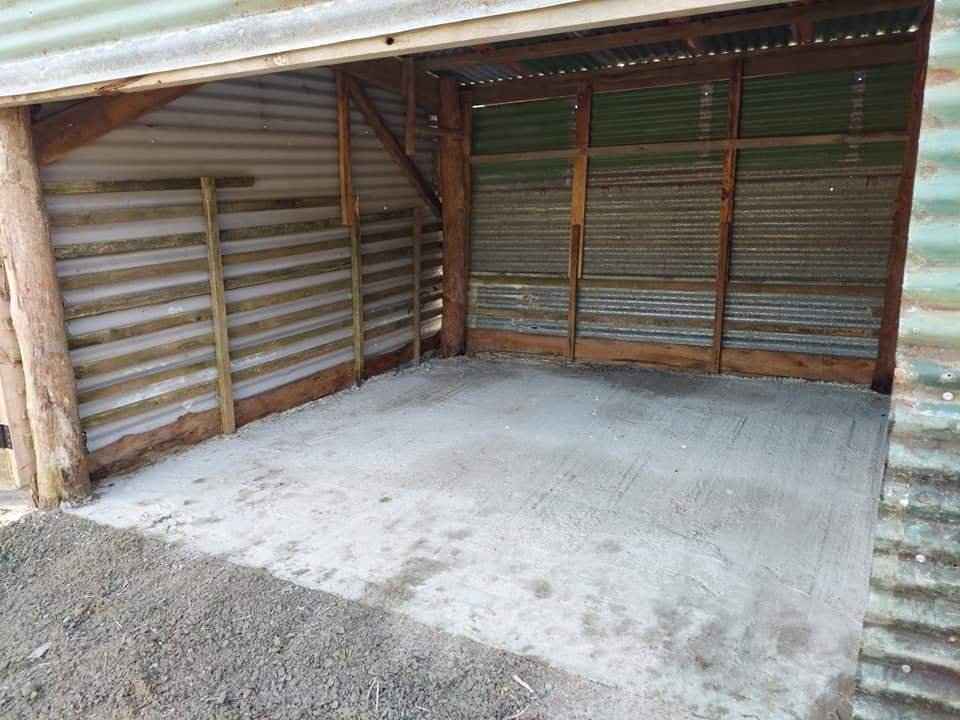
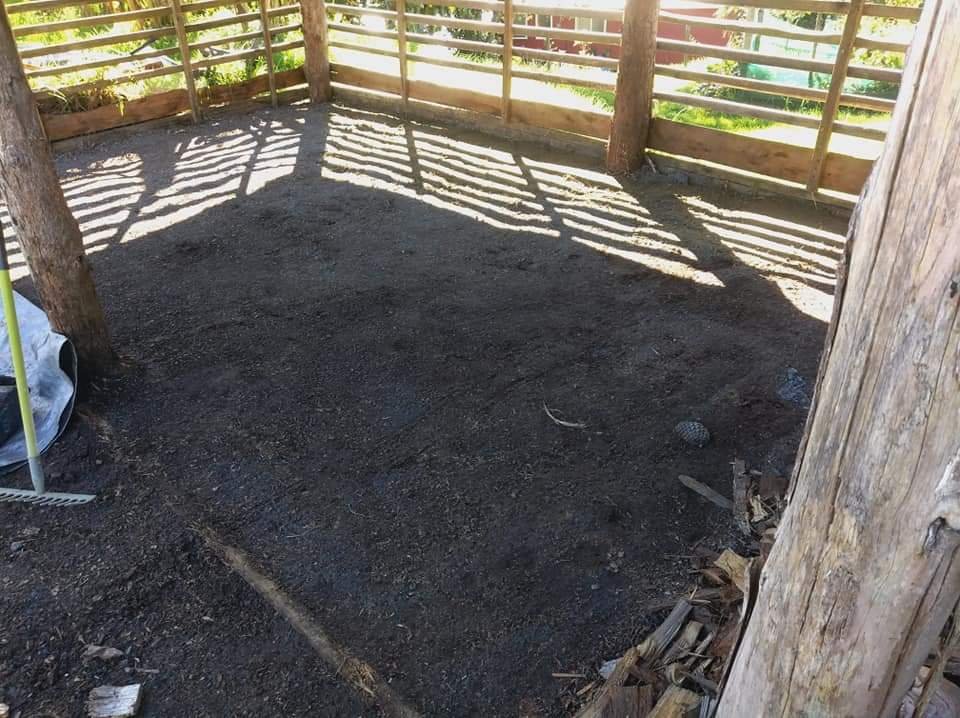
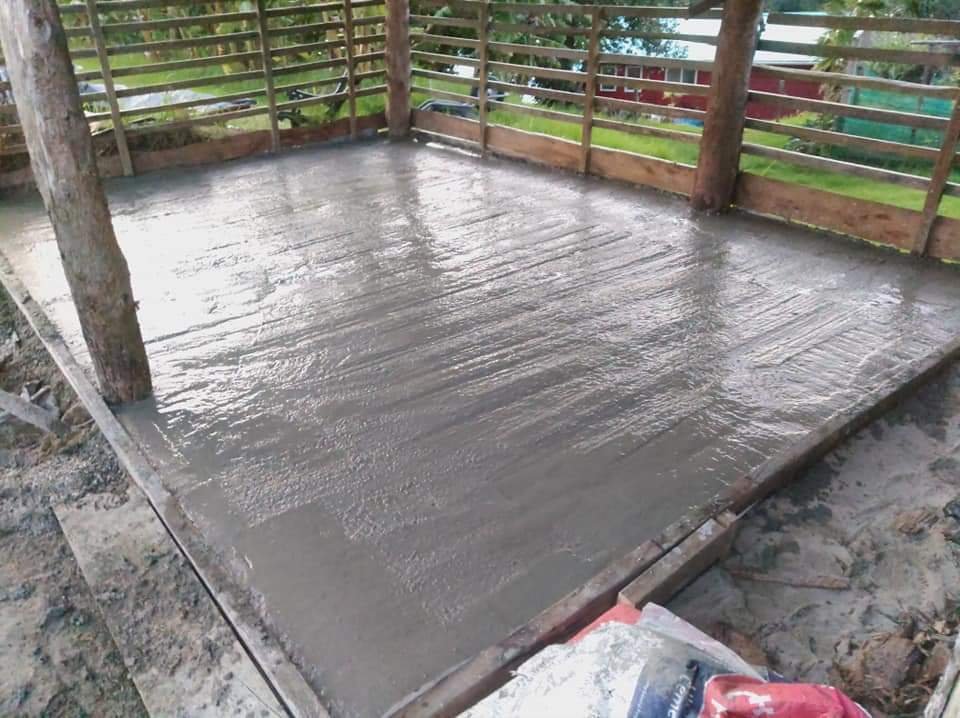
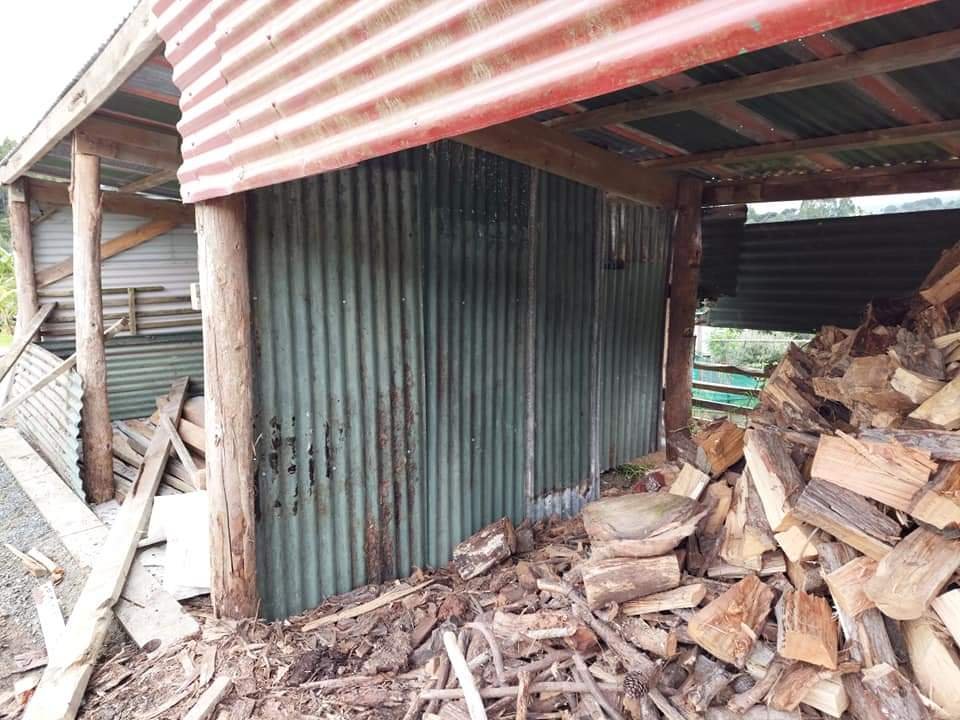
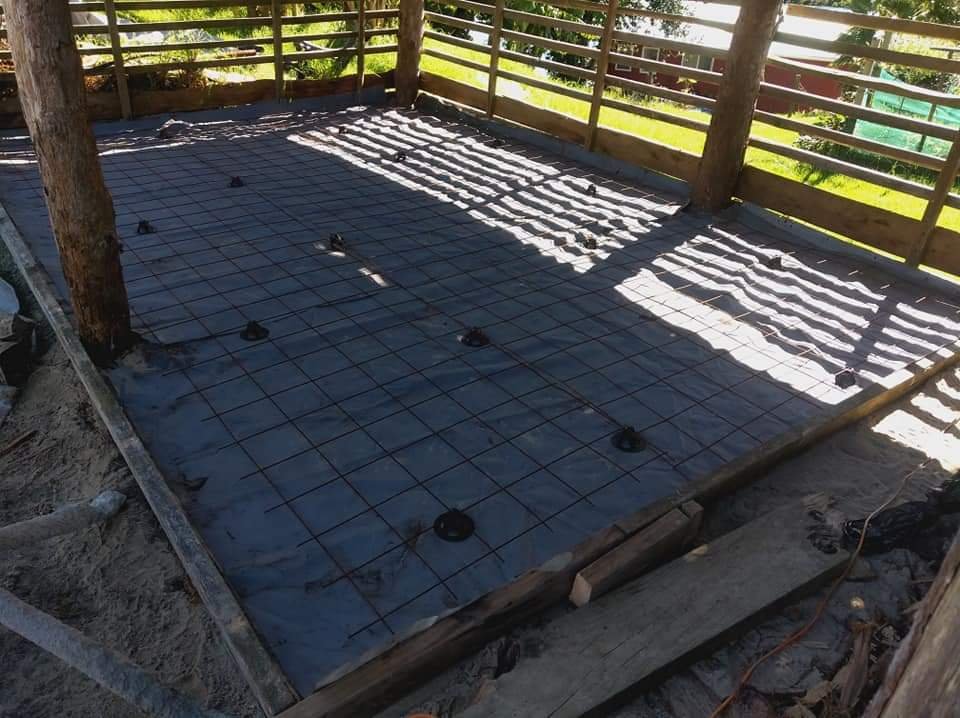
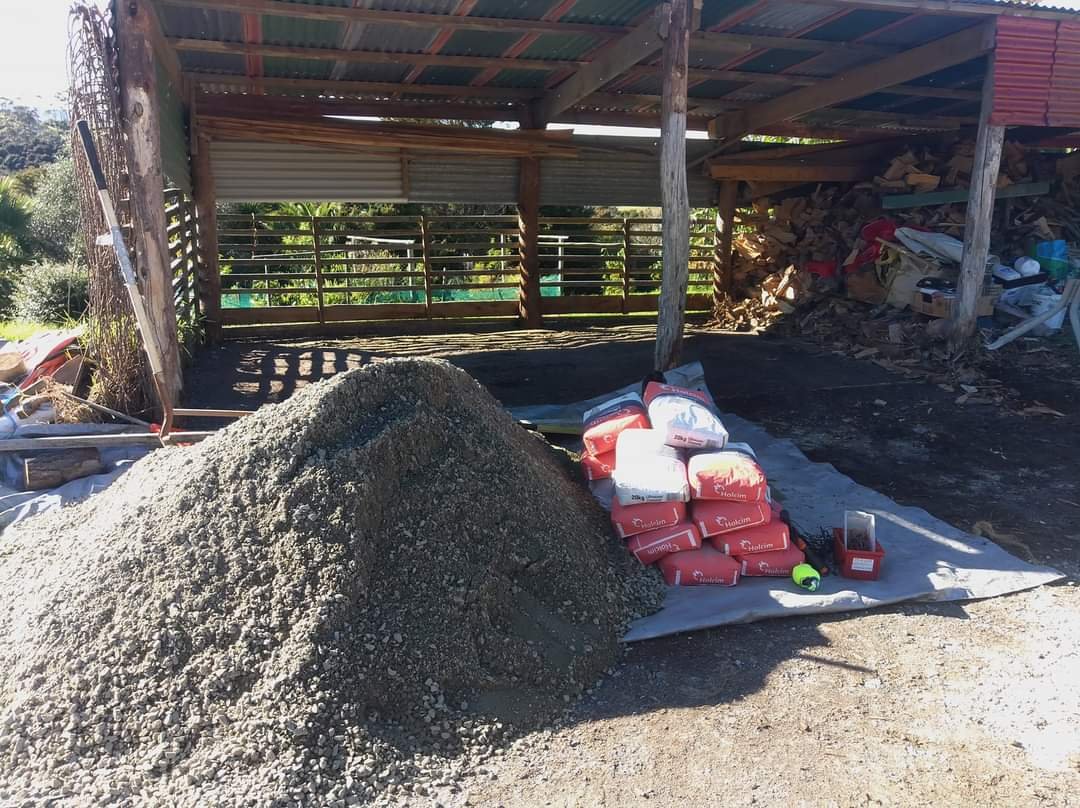
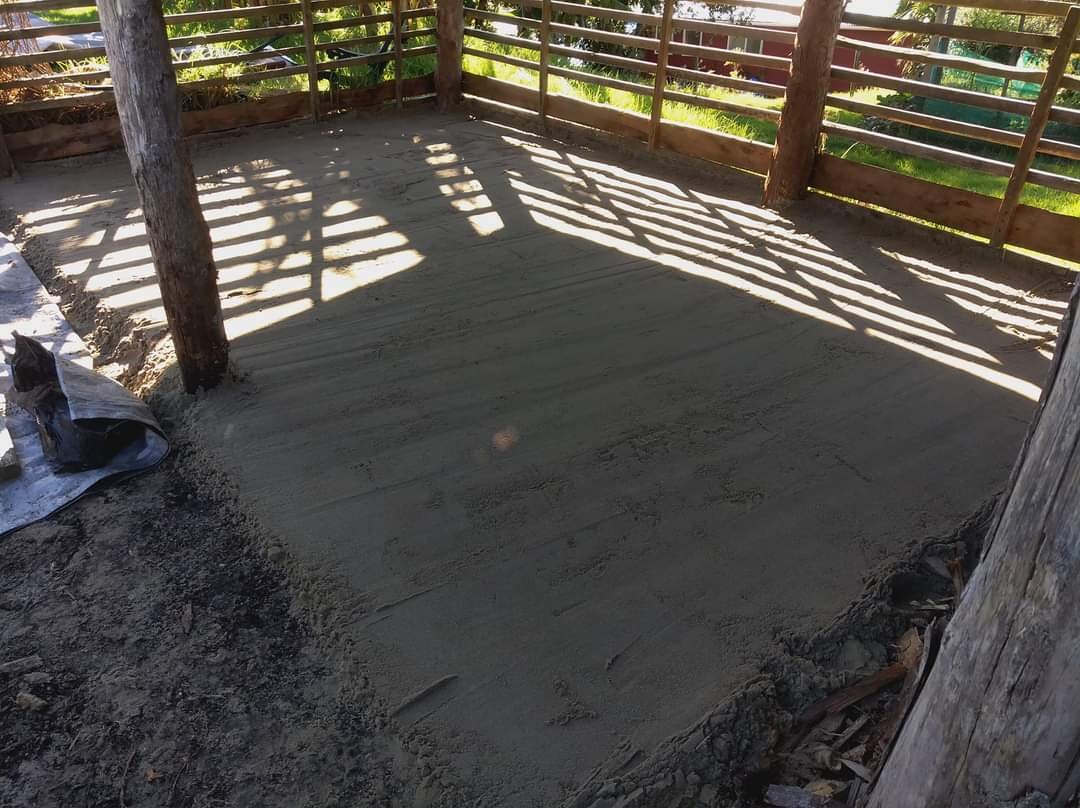
Long time, no update.. 2 years later... Had a quick steering box heat deflector hammered up then got the car back home in the garage. Sold the recaro seats as they were still a little too wide and had fouling issues when trying to slide and had next to no clearance with the recliner adjuster. Picked up a pair of Daihatsu Mira TRXX seats which were a bit narrower and pretty supportive and some awesome chaps off OS helped me out getting them up from down south. This brings us to early 2021, had to move out of our flat and relocated to a small unit around the corner that had no garage so this went into storage at a family friend's shed up north to hibernate. Next we decided to have a kid so the car had been put on hold a bit longer as priorities changed up. We also were in the process of building a house so funneled our money into the drafting then after wasting thousands of dollars and a decent year the banks no longer wanted to lend us money to build which was lame, so also no spare coin for the car. Now on with early 2022. Due to the above we decided to plan to move back to Aus so we can buy a house and get on the big money to try get ahead. I decided to try sell this even though I knew I'd regret it, had a few people dead keen but no one ended up following through due to various reasons. In hindsight I'm glad it didn't sell even though I won't be around it for a long time. The family friend who had been storing could no longer keep it at theirs so I managed to convince the olds to let me convert part of their firewood shed to secure dry storage for this thing to slumber in. I'm no chippy, nor am I a concreter but gave it a crack. I used only reclaimed timber from around the property, a few lengths of timber that the old boy had milled years ago, old tin roofing iron that was left on the property and left over bits and pieces from odd jobs. Really only needed to buy some nails, screws, and materials for the concreting (which was all mixed in a mixer). None of the shed posts were square and I was truly limited with what I had haha so don't be too harsh on my shed bodge. We had a digger scrape out the bark and dirt and built up shit to reveal the compacted metal that was laid about 10years ago (awesome that it saved me a tonne of work). Filled in the holes with sand and metal to get it semi level. Boxed it up, and prepped it for pouring. Used a bowed piece of timber to try and screed it hahaha rough as guts. Next I build an inner wall to section it off from the wood storage. Rebuilt and added to the rear and side, framed up the front then screwed some iron to it. Made a door frame on some cheap hinges and hung a door that barely had enough clearance for the tiny mazda. Then earlier today we picked up the 50 year old mazda and threw it into its new home. This was all done across the last 1-2 months. It's locked away for the foreseeable future. I'm off to Perth on Tuesday and it looks like I'll probably accept a job in the mines and be starting in a few weeks. Fingers crossed when I'm back in NZ next April I'll be able to drop it off at a shop to continue with the build. We'll see how things go anyway. Thanks for looking. Tai
1 point
-
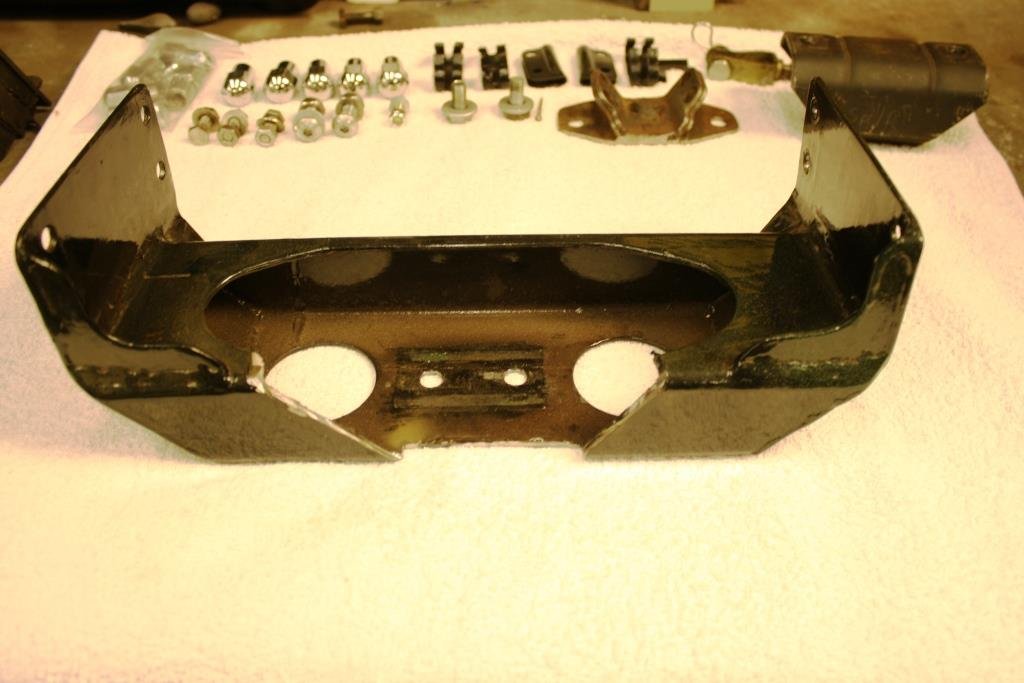
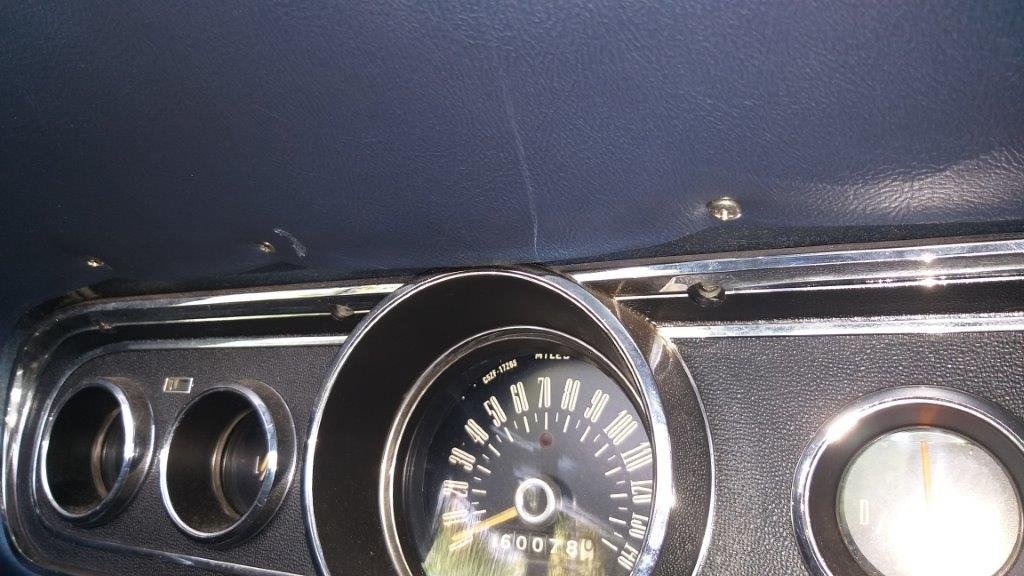
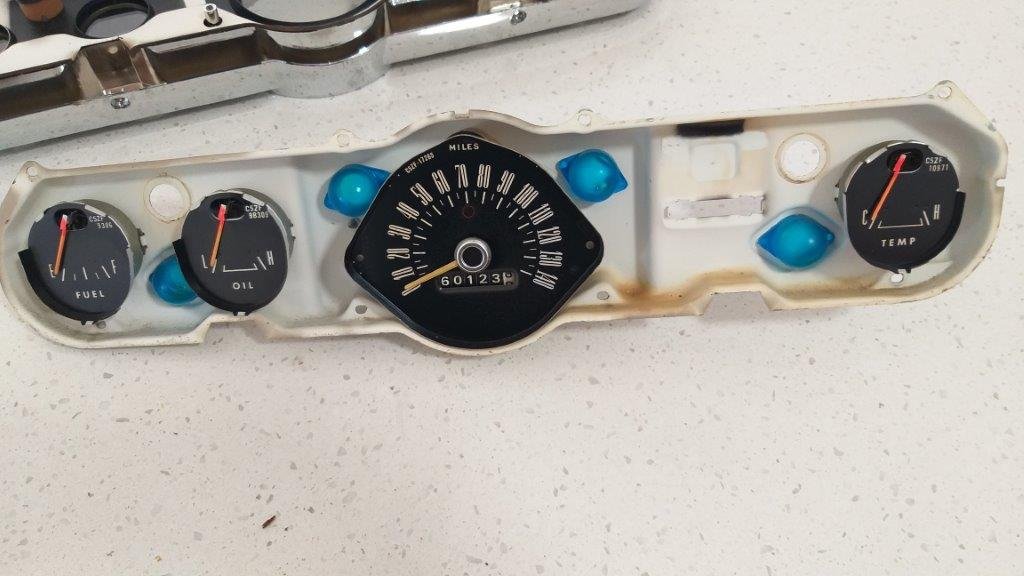
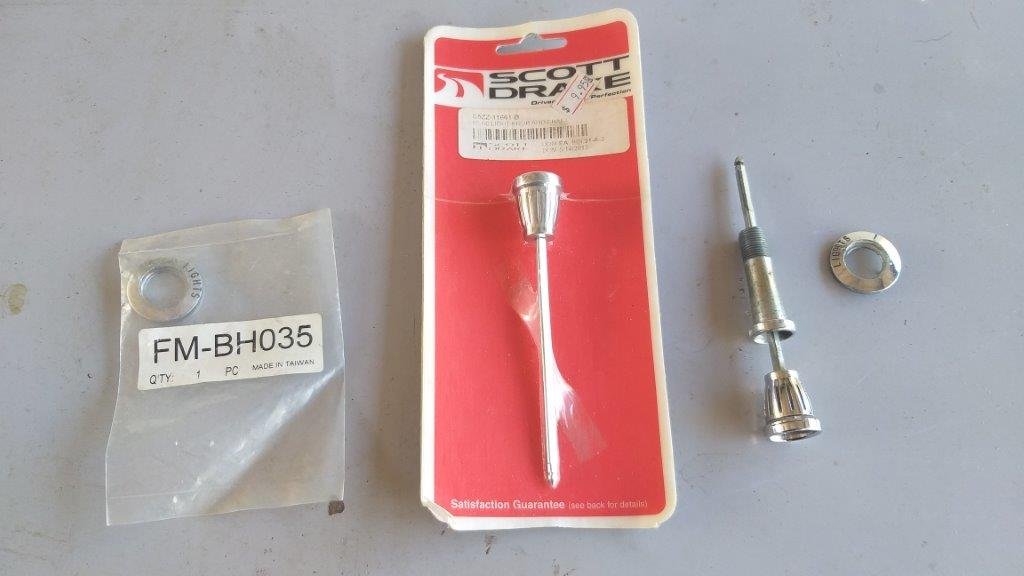
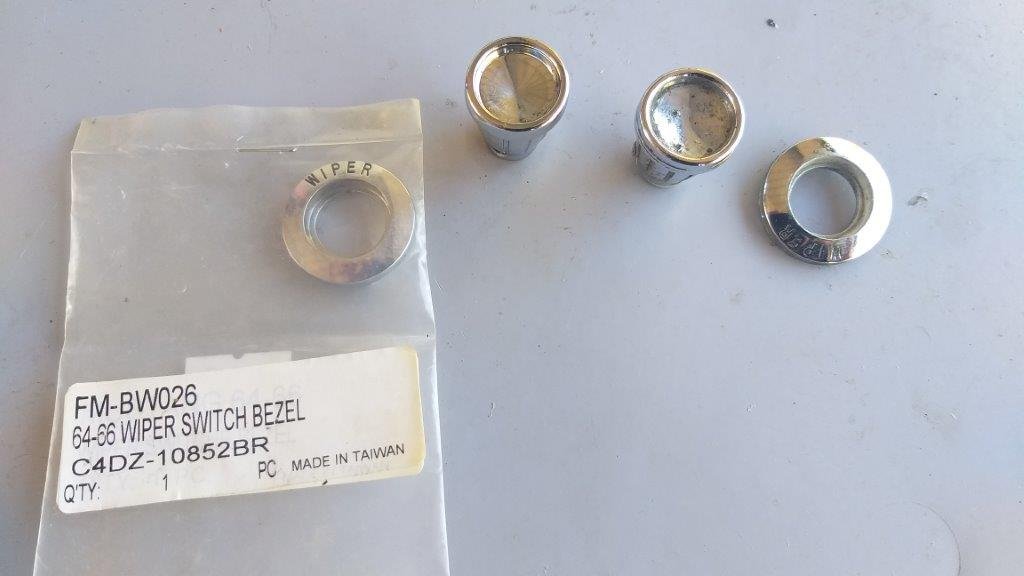
Only got an hour in the shed today so tickled up a few more dash related items. First up I gave the instrument cluster a bit of loving. Removed the gauge bezels and lenses to clean 50 year's worth of dust from the gauge faces. Pulled the ammeter out and gave it a blast of compressed air and it's now working so I can only assume something was gumming up the works as it didn't work before. Got that all cleaned up and assembled ready to go back in. Replaced the pitted knobs and surrounds on the light and wiper switches with new Scott Drake replicas that two owner's back purchased in 2013 and never bothered to fit. In between I chucked a bit of primer and some satin black on the right hand front bumper irons in prep for refitting the front bumper. Small, but necessary steps.
1 point
-
Started on the other side
1 point
-
Manifolds on and cam seals done I didn't get many pics of the rest of today's progress was in get shit done mode. Had to do another trip to pap to grab a bunch of manifold nuts. Fought the inner timing belt cover as it hit the block a bit. Quickly slapped a battery and the wiring together. Didn't hear fuel prime and had a o shit moment, plugged the fuel relay in and had fuel and no leaks. Figured there was enough assembly lube in it so went for a test fire Plugged tps in and check light went out. Will bleed coolant /check for leaks and Button the last stuff up tomorrow1 point
.jpg.697f054f02d9346ade8c17faa8b8d2b8.jpg)


This leaderboard is set to Auckland/GMT+12:00