
Leaderboard


Popular Content
Showing content with the highest reputation on 14/05/22 in all areas
-
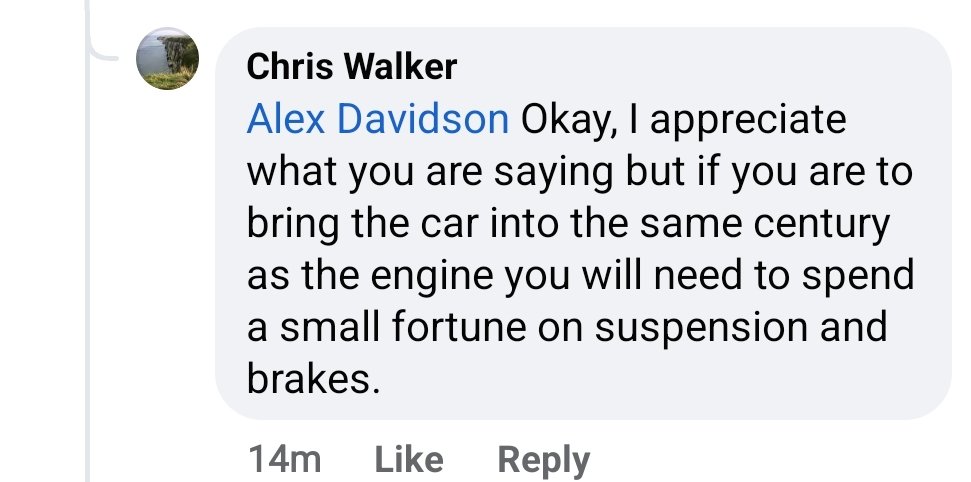
He is clearly of the "throw money at it until it works" rather than "throw scrap and talent at it until it works" school of thought. Does he not know that the calipers will be sourced from some shitbox, the rotors from another unrelated shitbox, the master cylinder from a tractor and that it only needs those $45 worth of parts and 47 hours and you will have a brembo equivalent? Fucking amateur.15 points
-
Martha is now in fine fettle and about to go up for sale. But before I do a listing I thought i'd do an update here. She went up on the hoist and I removed all the front bumper/lights/guards etc. The rust that she had failed her last wof on was all along the bottom of the radiator support - probably the most typical place for NZ k11s to rot. Cut it all out and let in new steel. Pics explain it easier.. Phew. Done. Gave it a good coating of paint. Then while the guards were off I cut out the rotten corner on one and let in new steel.. While up on the hoist I gave the underside a clean, check over and quick tart up with some of the ever magical CRC Black Zinc 'new car in a can'... Then the surface rust around the windscreen. It looks like it had been flagged for rust, the previous owner then started cutting away the sealing trim around the screen and gave up. I cleaned it right out, wire brushed it back, painted a POR 15 type inhibiting paint around the full perimeter. More pics.. Then masked the car up and gave it some sparkle with a can of colour paint. It came up fine. Nothing flash but far better than what it was like when we got it plus now solid. There was a dent on the drivers guard, 'fixed' with poorly applied filler. I did my best to tidy it up, feather it in and paint it with the small amount of patience I could muster up and its improved but certainly something that needs more love. Then this stupid bloody sticker... Heating it up, very carefully, allowed me to peel the 'JDM scene' off without leaving a trace. Hannah spent some time tending to the usual little surface rust spots k11s get under the rear boot seal and add some aluminium tape over the holes that we've learned through experience can allow water in.. Se also replaced the brake pads for some almost new items we scored from the wreckers...12 points
-
My response was..
 12 points
 -
We had fitted the spare wheels from Molly but one was worn so a good tyre was sourced and fitted. Then we took her for a wof and she flew through with flying colours. There was a chip in the screen that was noted and we already knew about however it was not in a zone that mattered. Still, just to be sure, we had our friendly glass man squirt some of his magic goo into the crack while Hannah watched with keen interest... While he was there he also tended to a tiny chip on Minkys screen. The wof pass was about a month ago. We've been driving her about and watching for any issues and the only one that I noted was how slow she was to heat up. I suspected a removed thermostat and had mild alarm bells ring however she never used water nor heated up beyond normal. I pulled the thermostat cover off (noting that there was still factory grey sealant present) and happily discovered that there was still one in there, stuck open and looked to be the original Nissan item..albeit very stuffed.. I swapped in a spare we had kept from Molly and it heats up properly now. She drives really well. Very peppy, seems to be as thrifty on fuel as they should be too. Handles well but very stiff on what seem to be even stiffer springs then whats fitted to Minky. Really fun on the right roads but a little tiring if you're just wanting to cruise A to B. We've taken the squeal free wheels that we'd swapped on, fitted them to Minky and Martha now wears Supercats on the front for maximum squealing delight So that is that. Took some nice photos of her the other week. We will now list Martha up for sale tonight on Trademe (because its free car listings tonight) and see what sort of interest there is. I'll pop an advert up on here too. With luck the next rather special K11 that we have been told might be heading our way will actually come to be. Quite excited about it but I wont say anything more in case it doesn't happen. If it doesn't then at least I might get more done on the Imp..9 points
-
And then this...
9 points
-
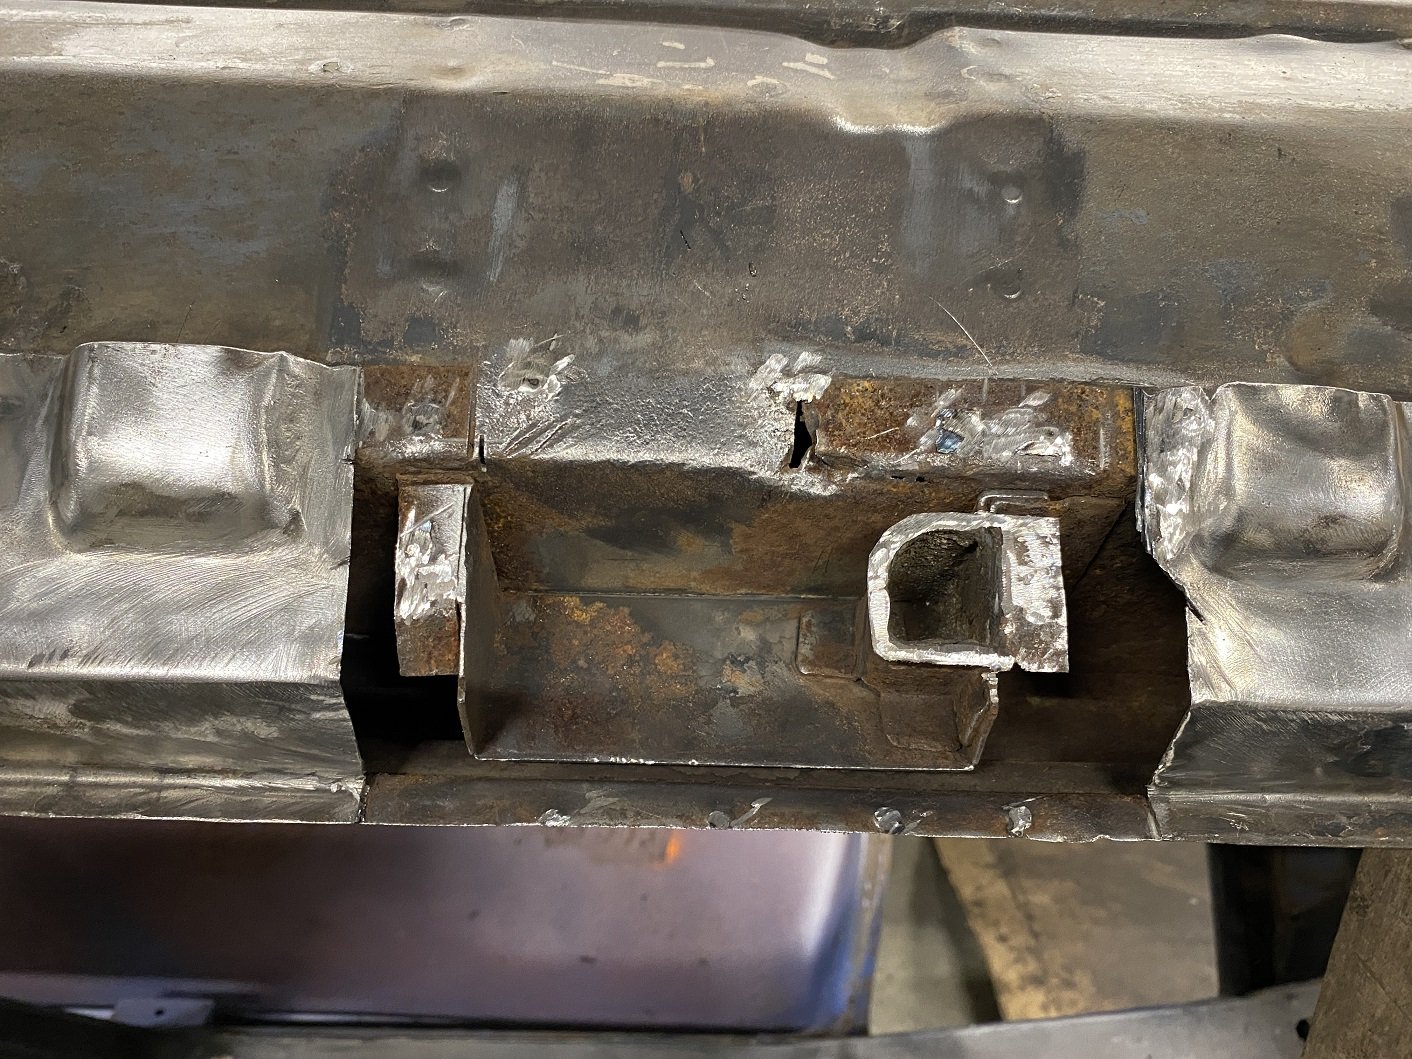
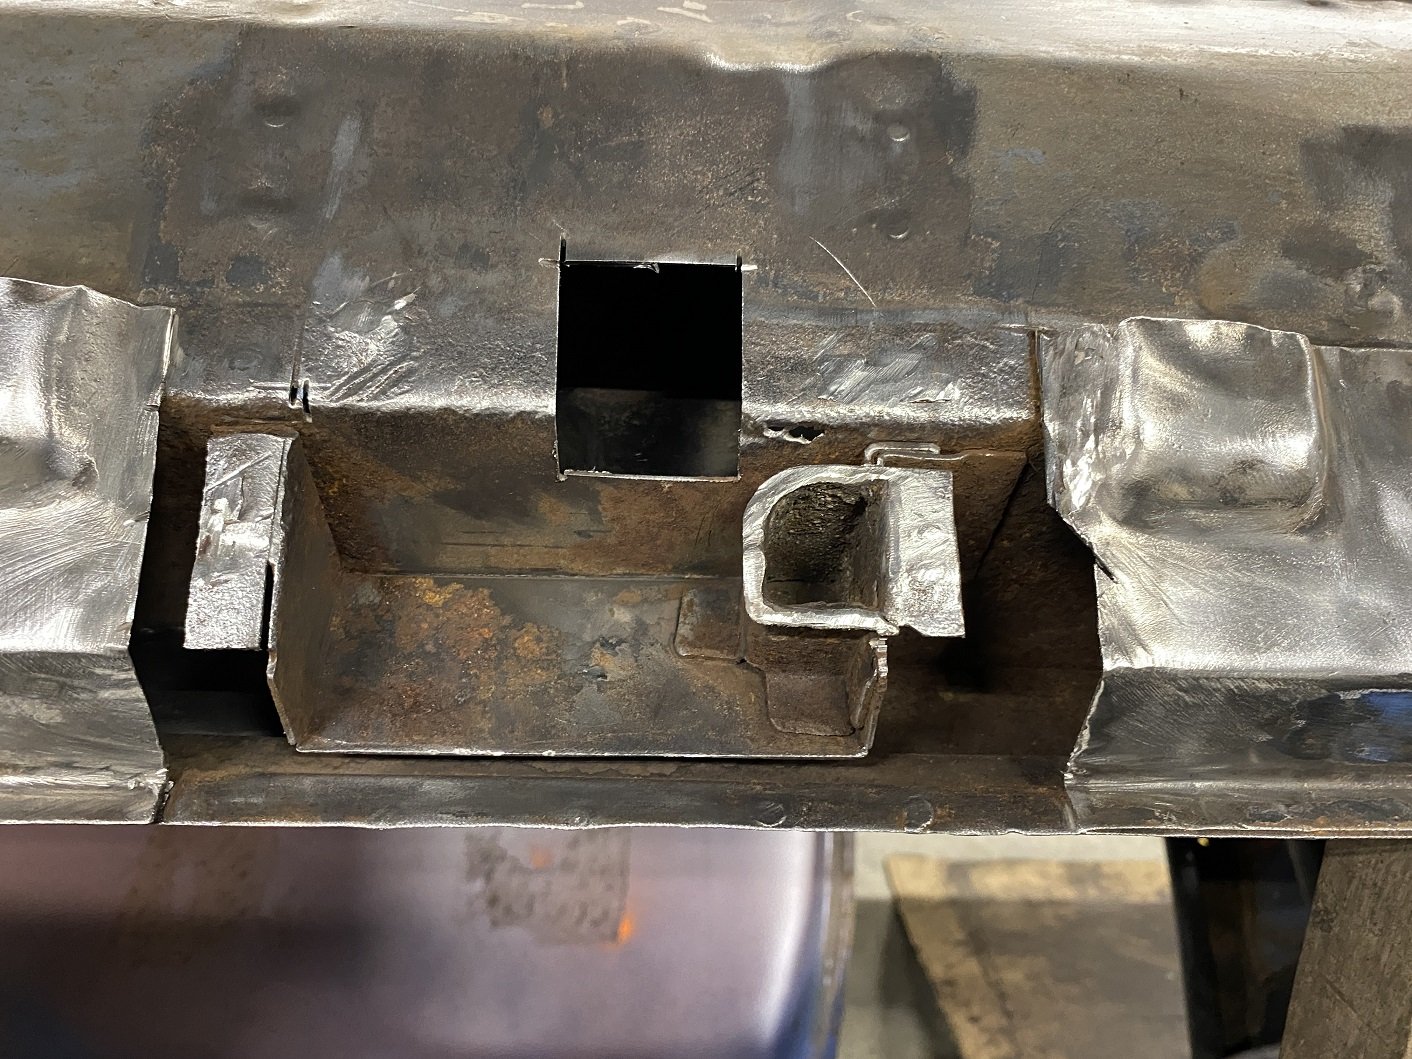
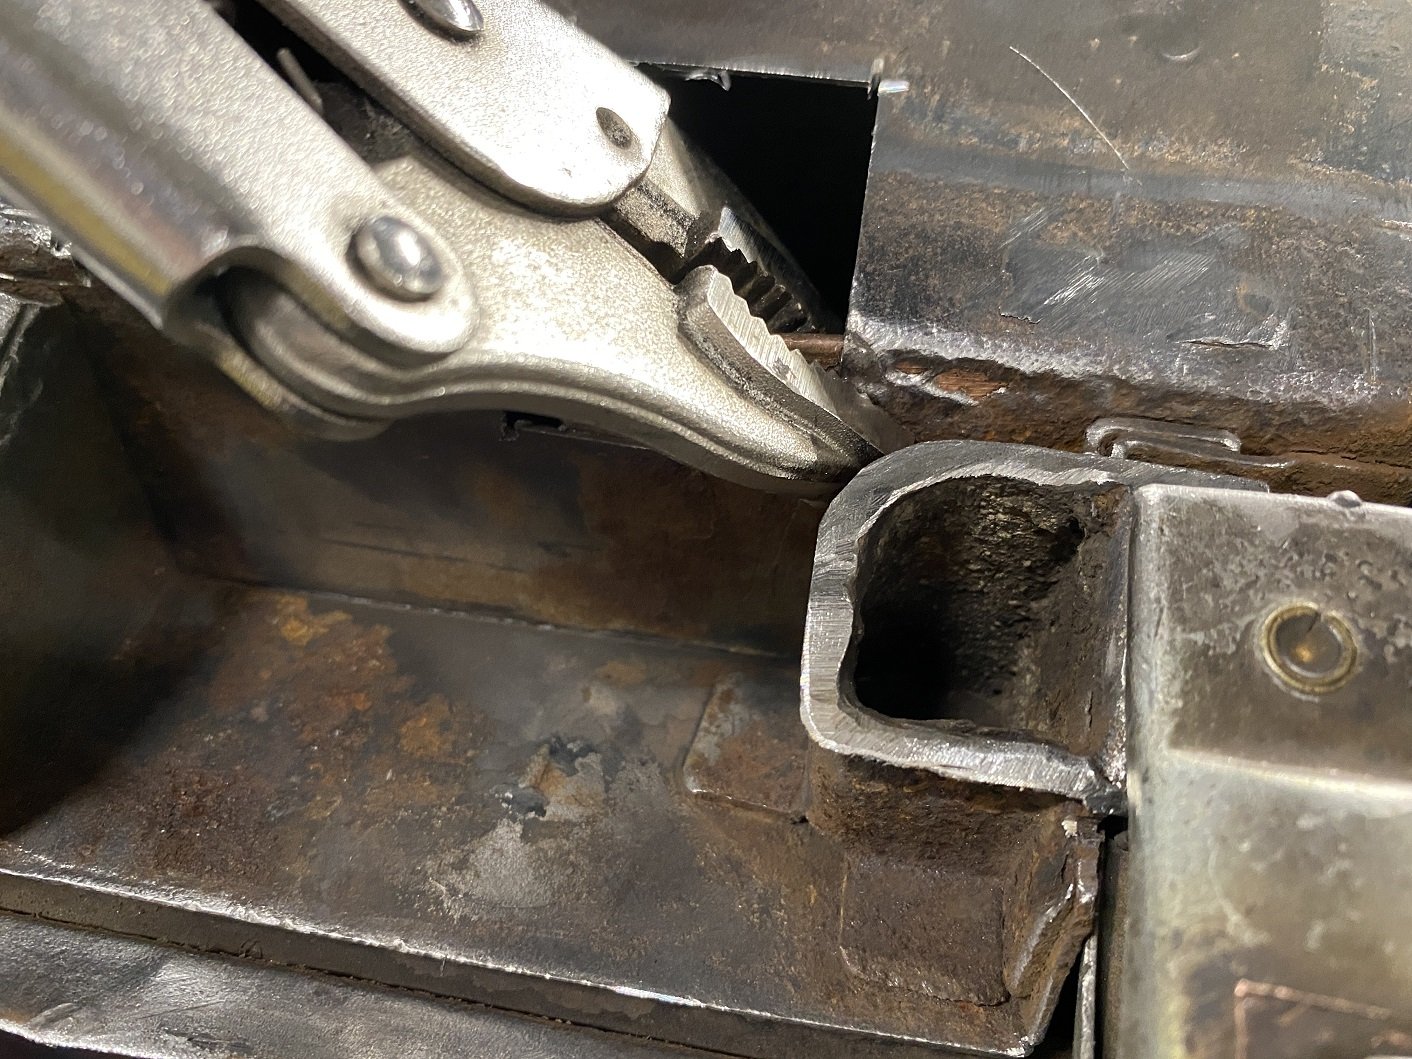
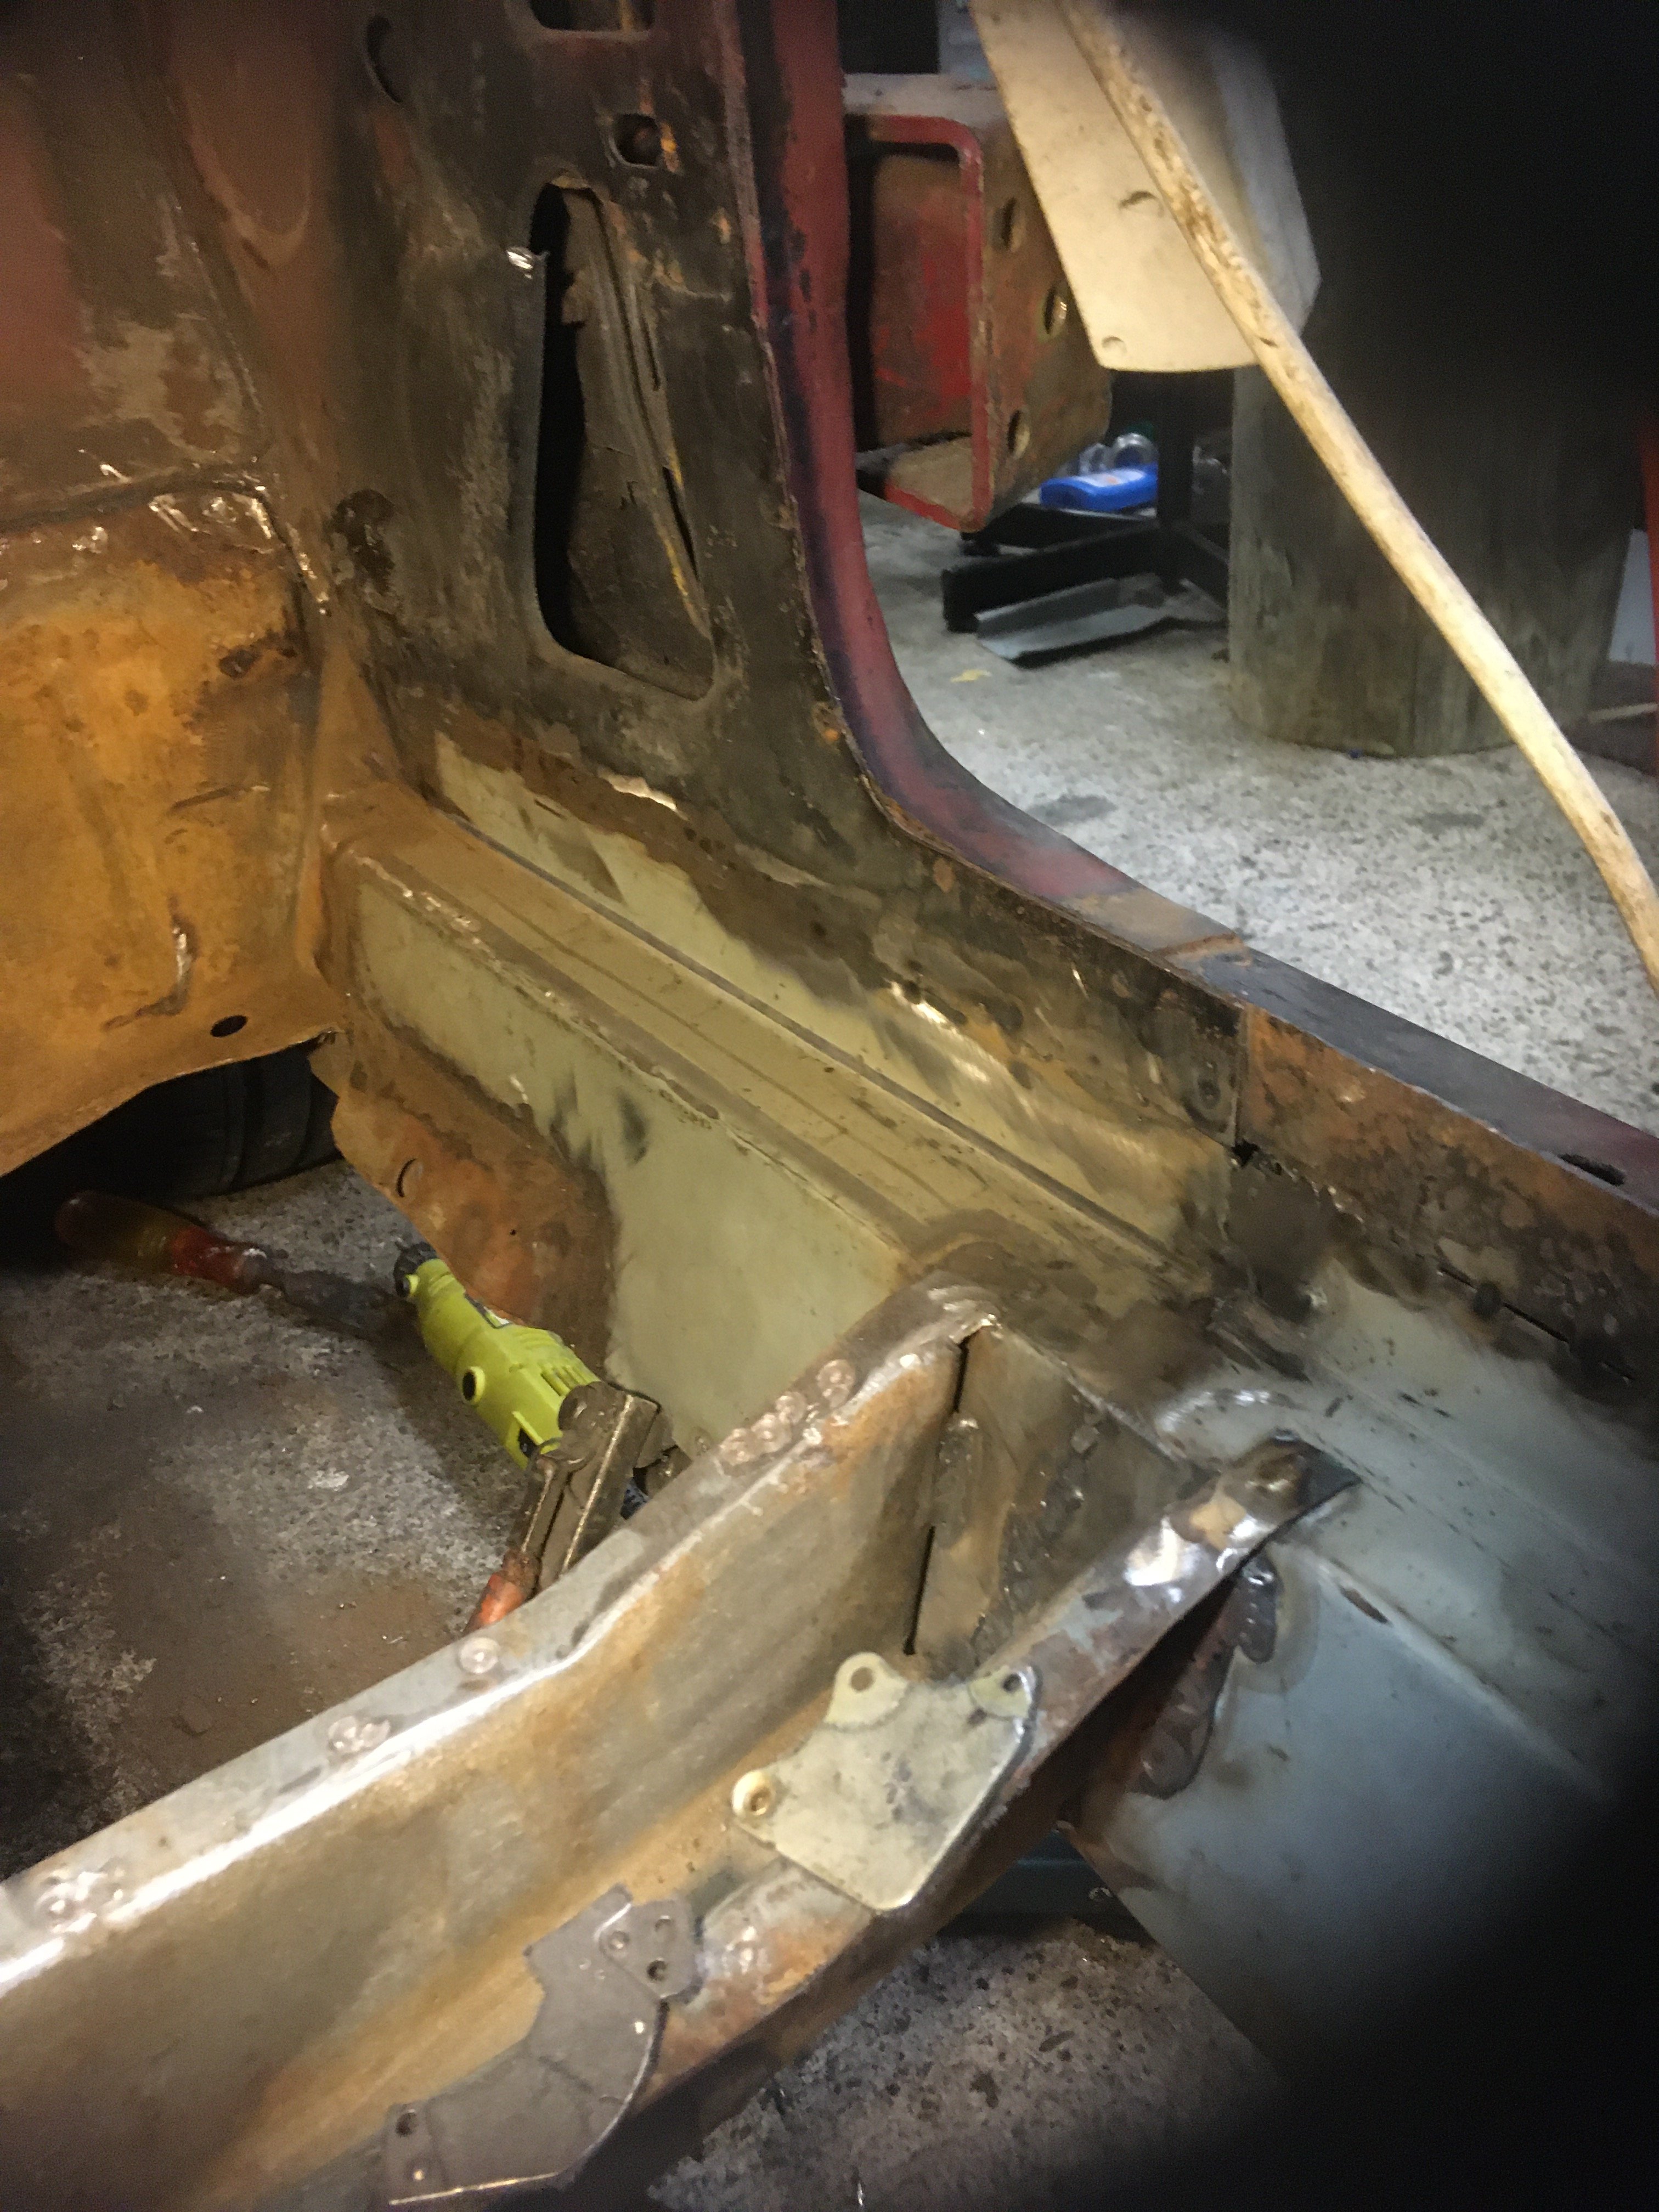
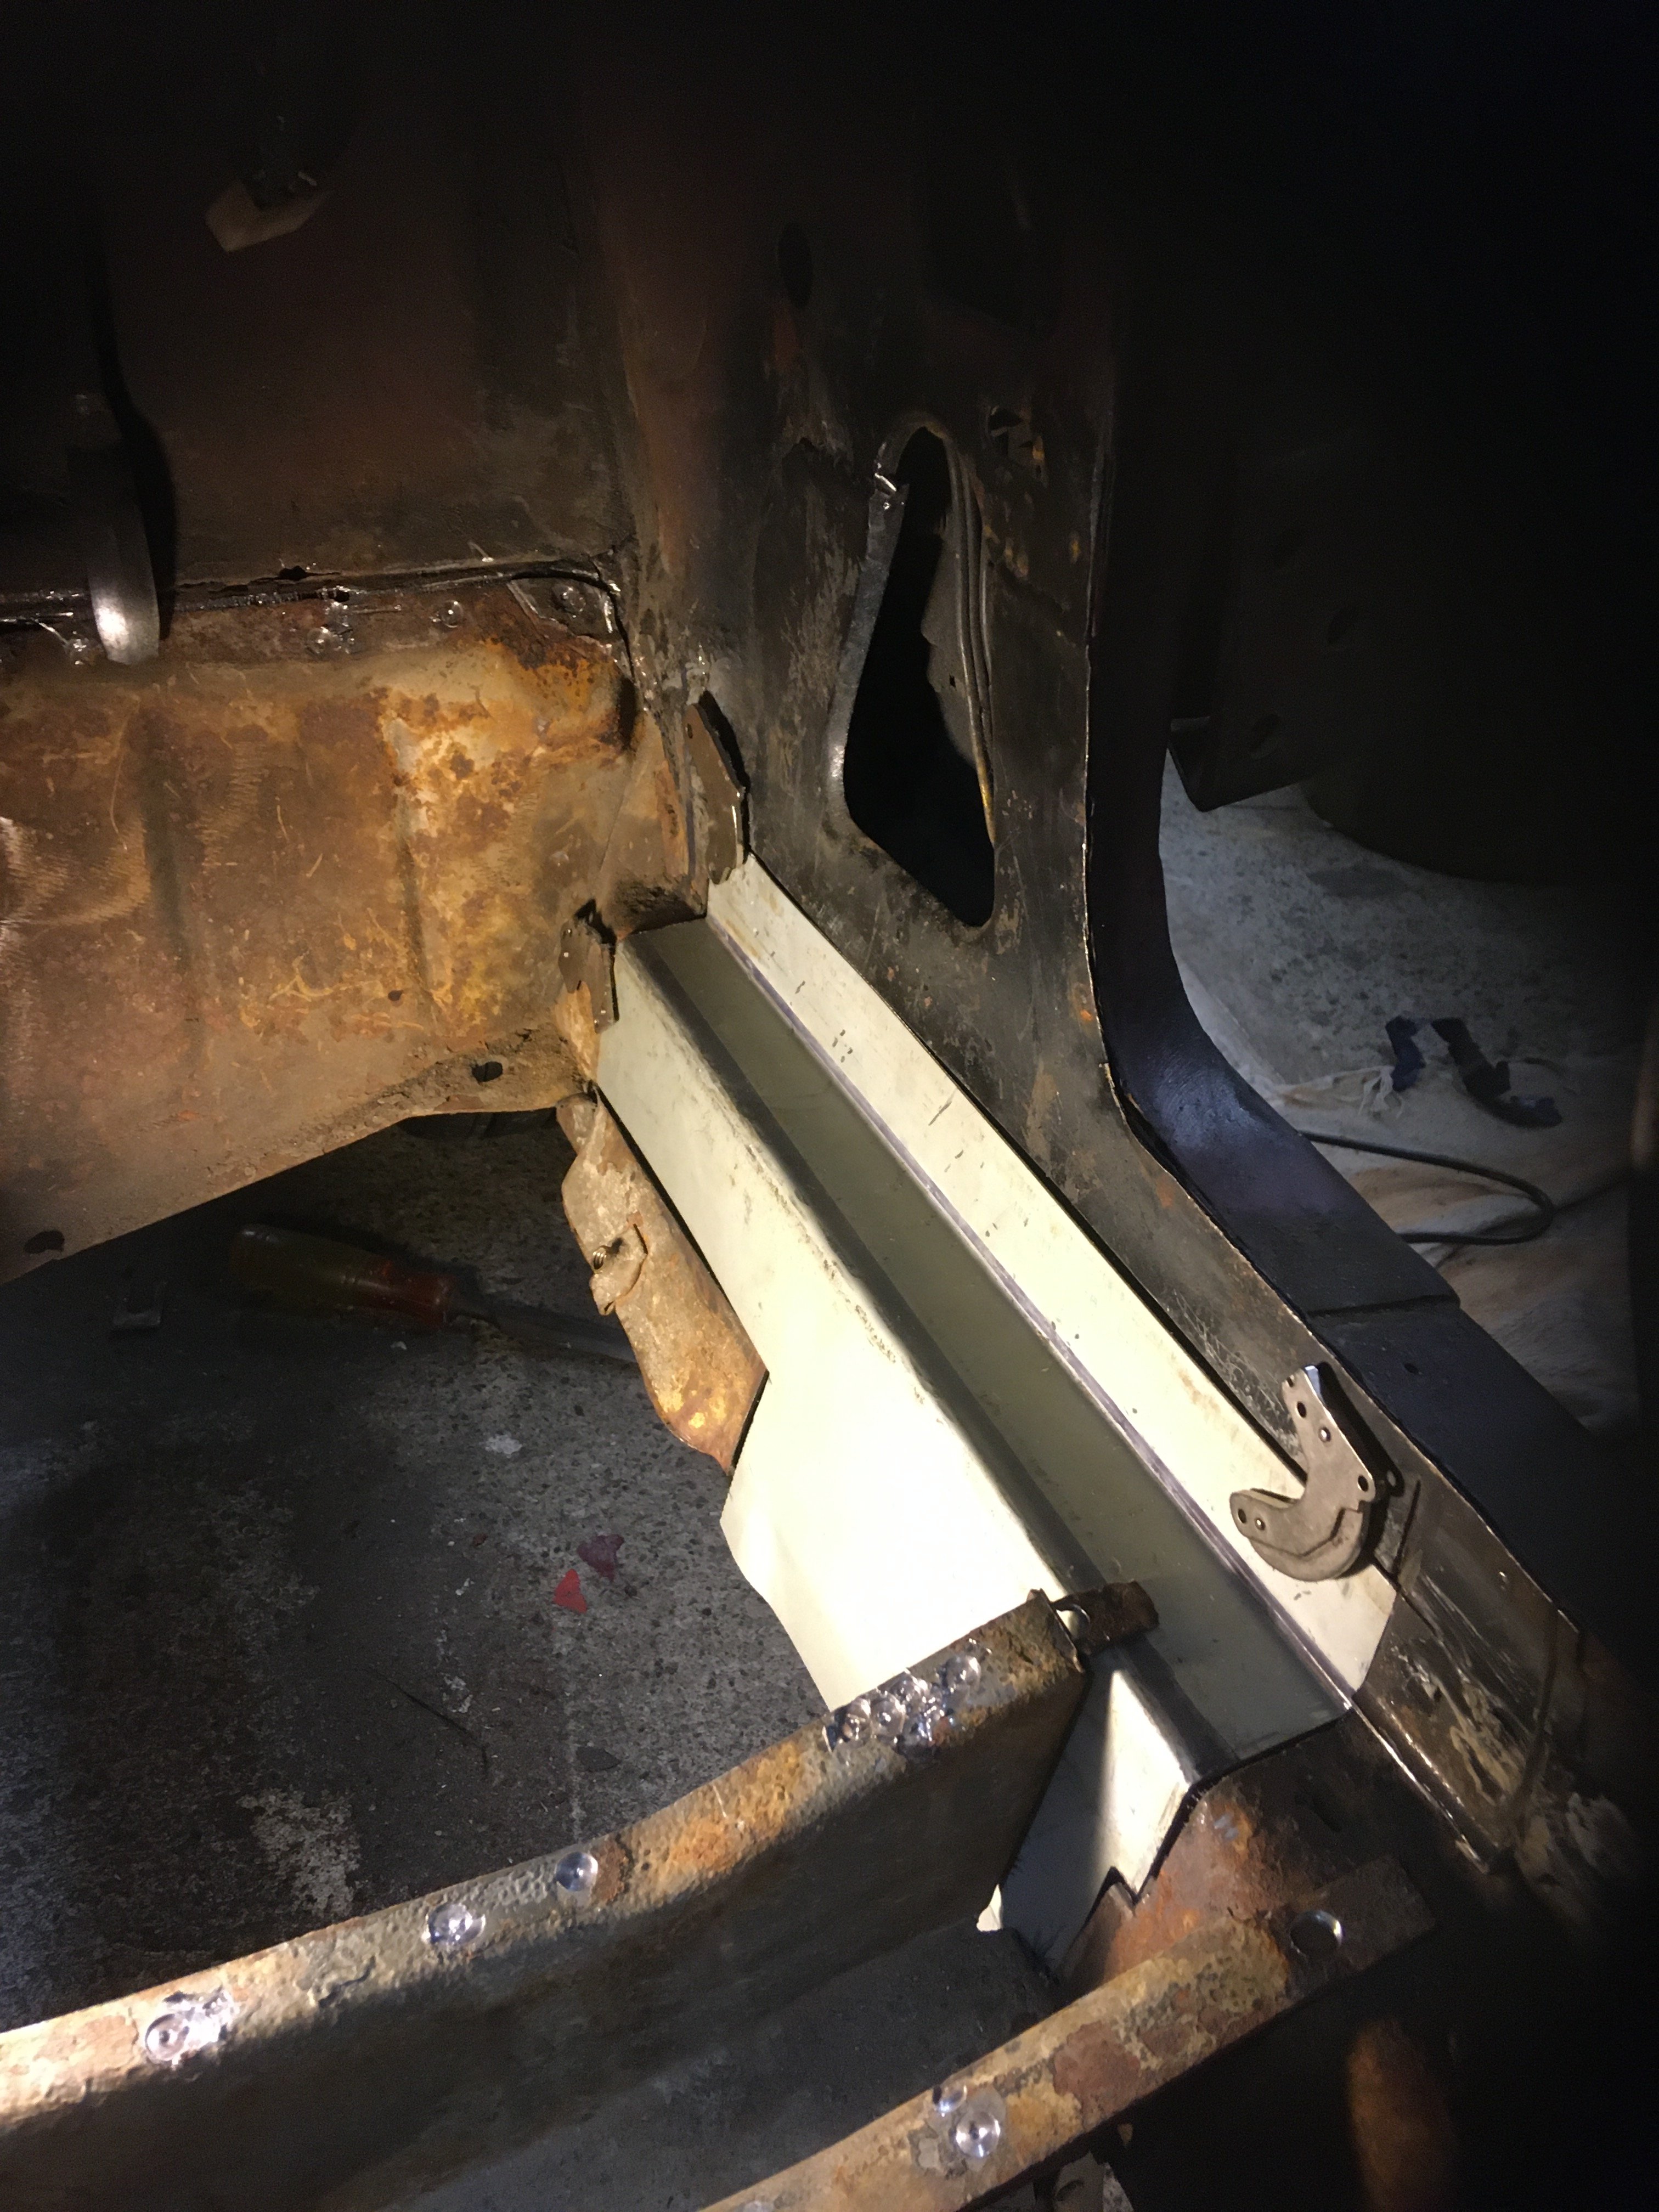
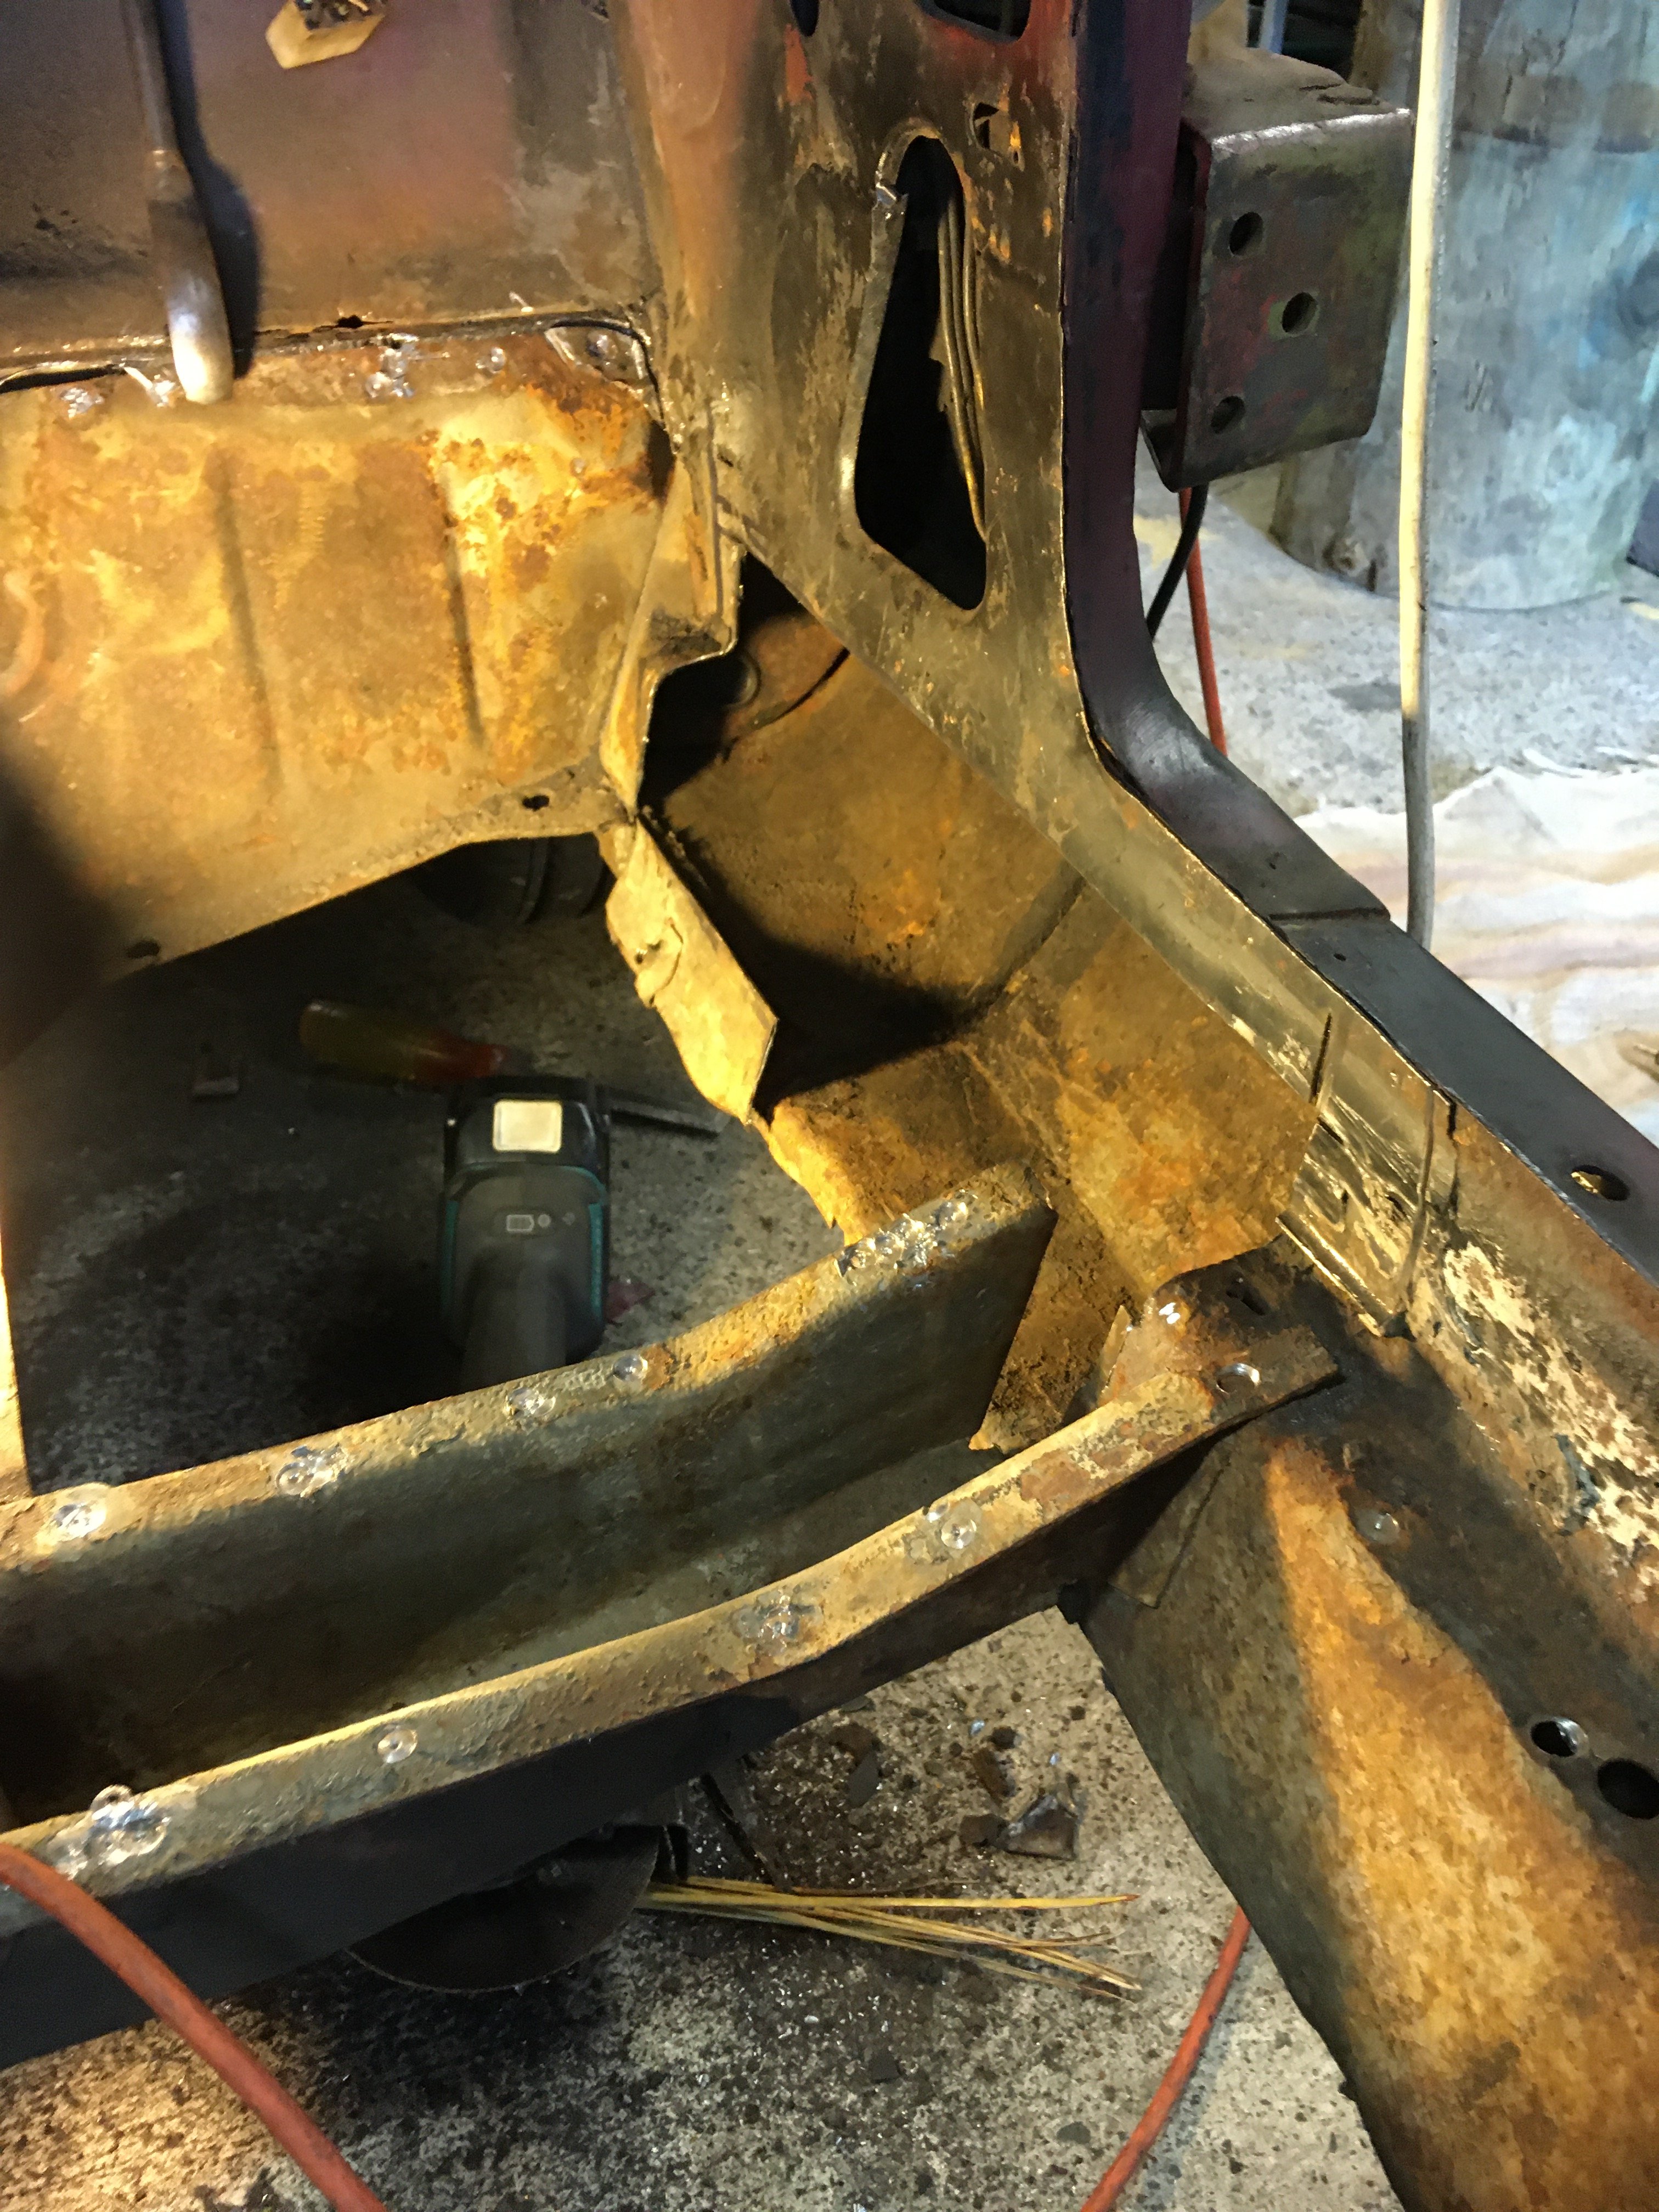
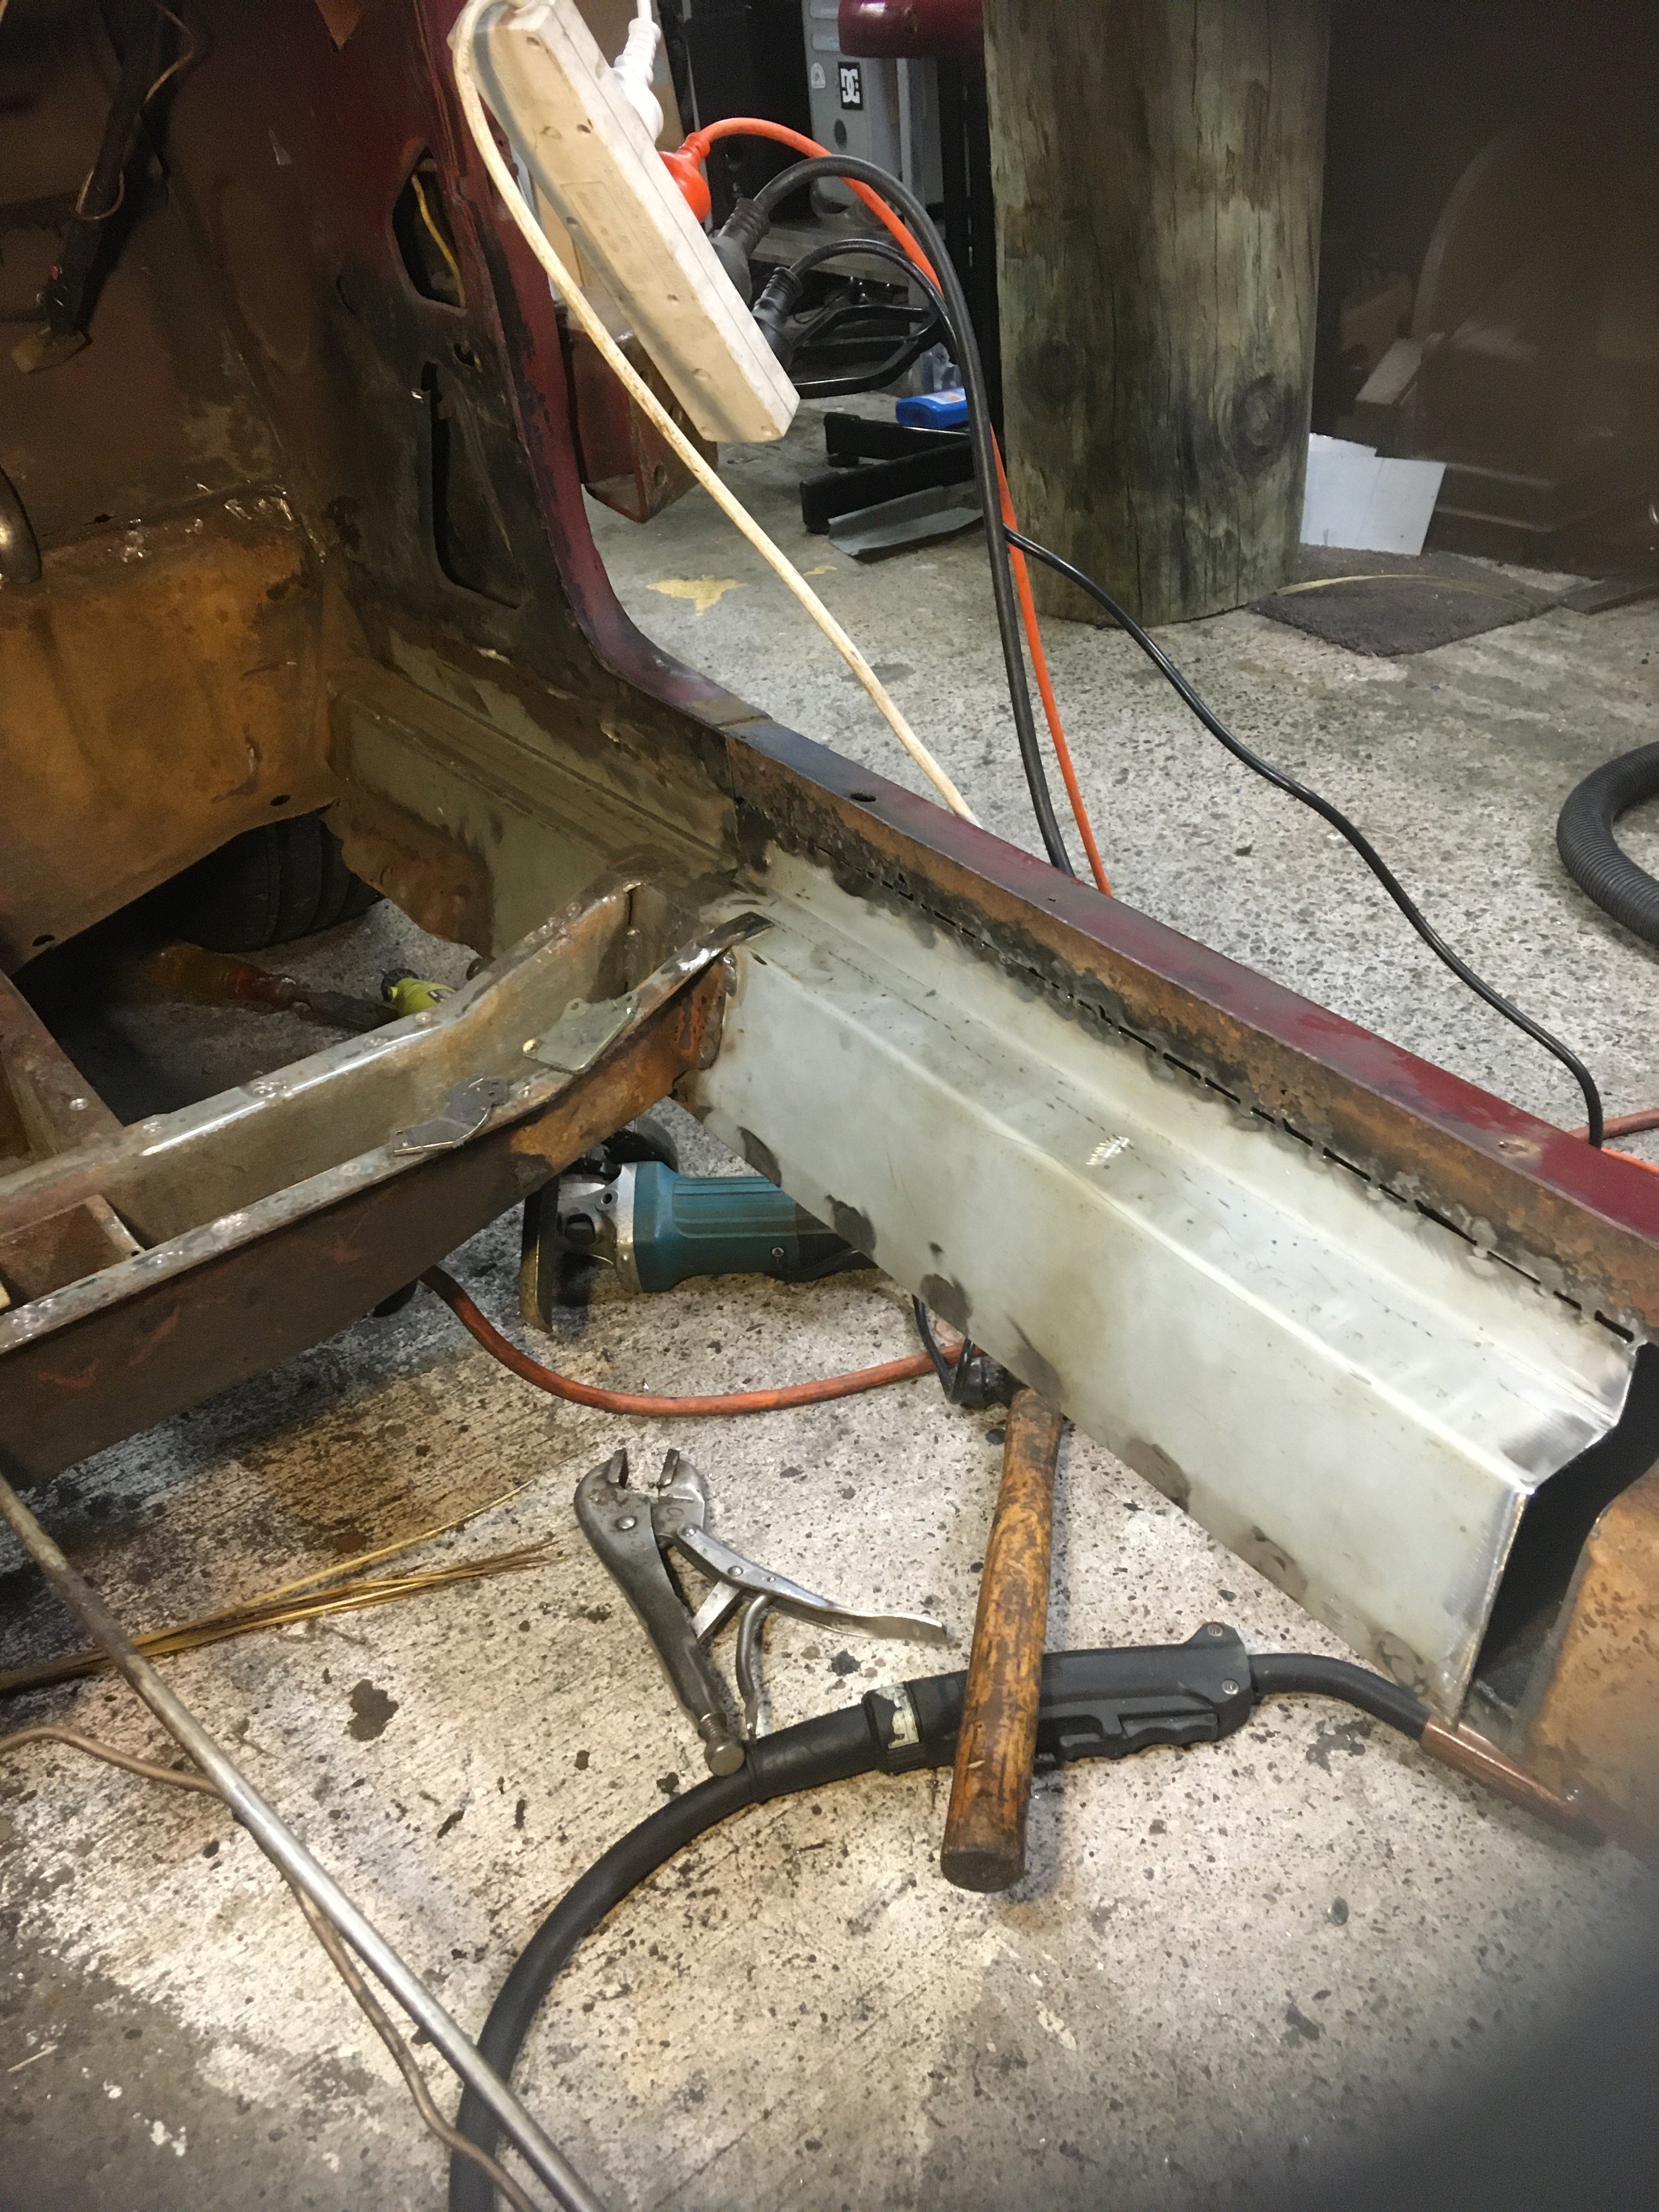
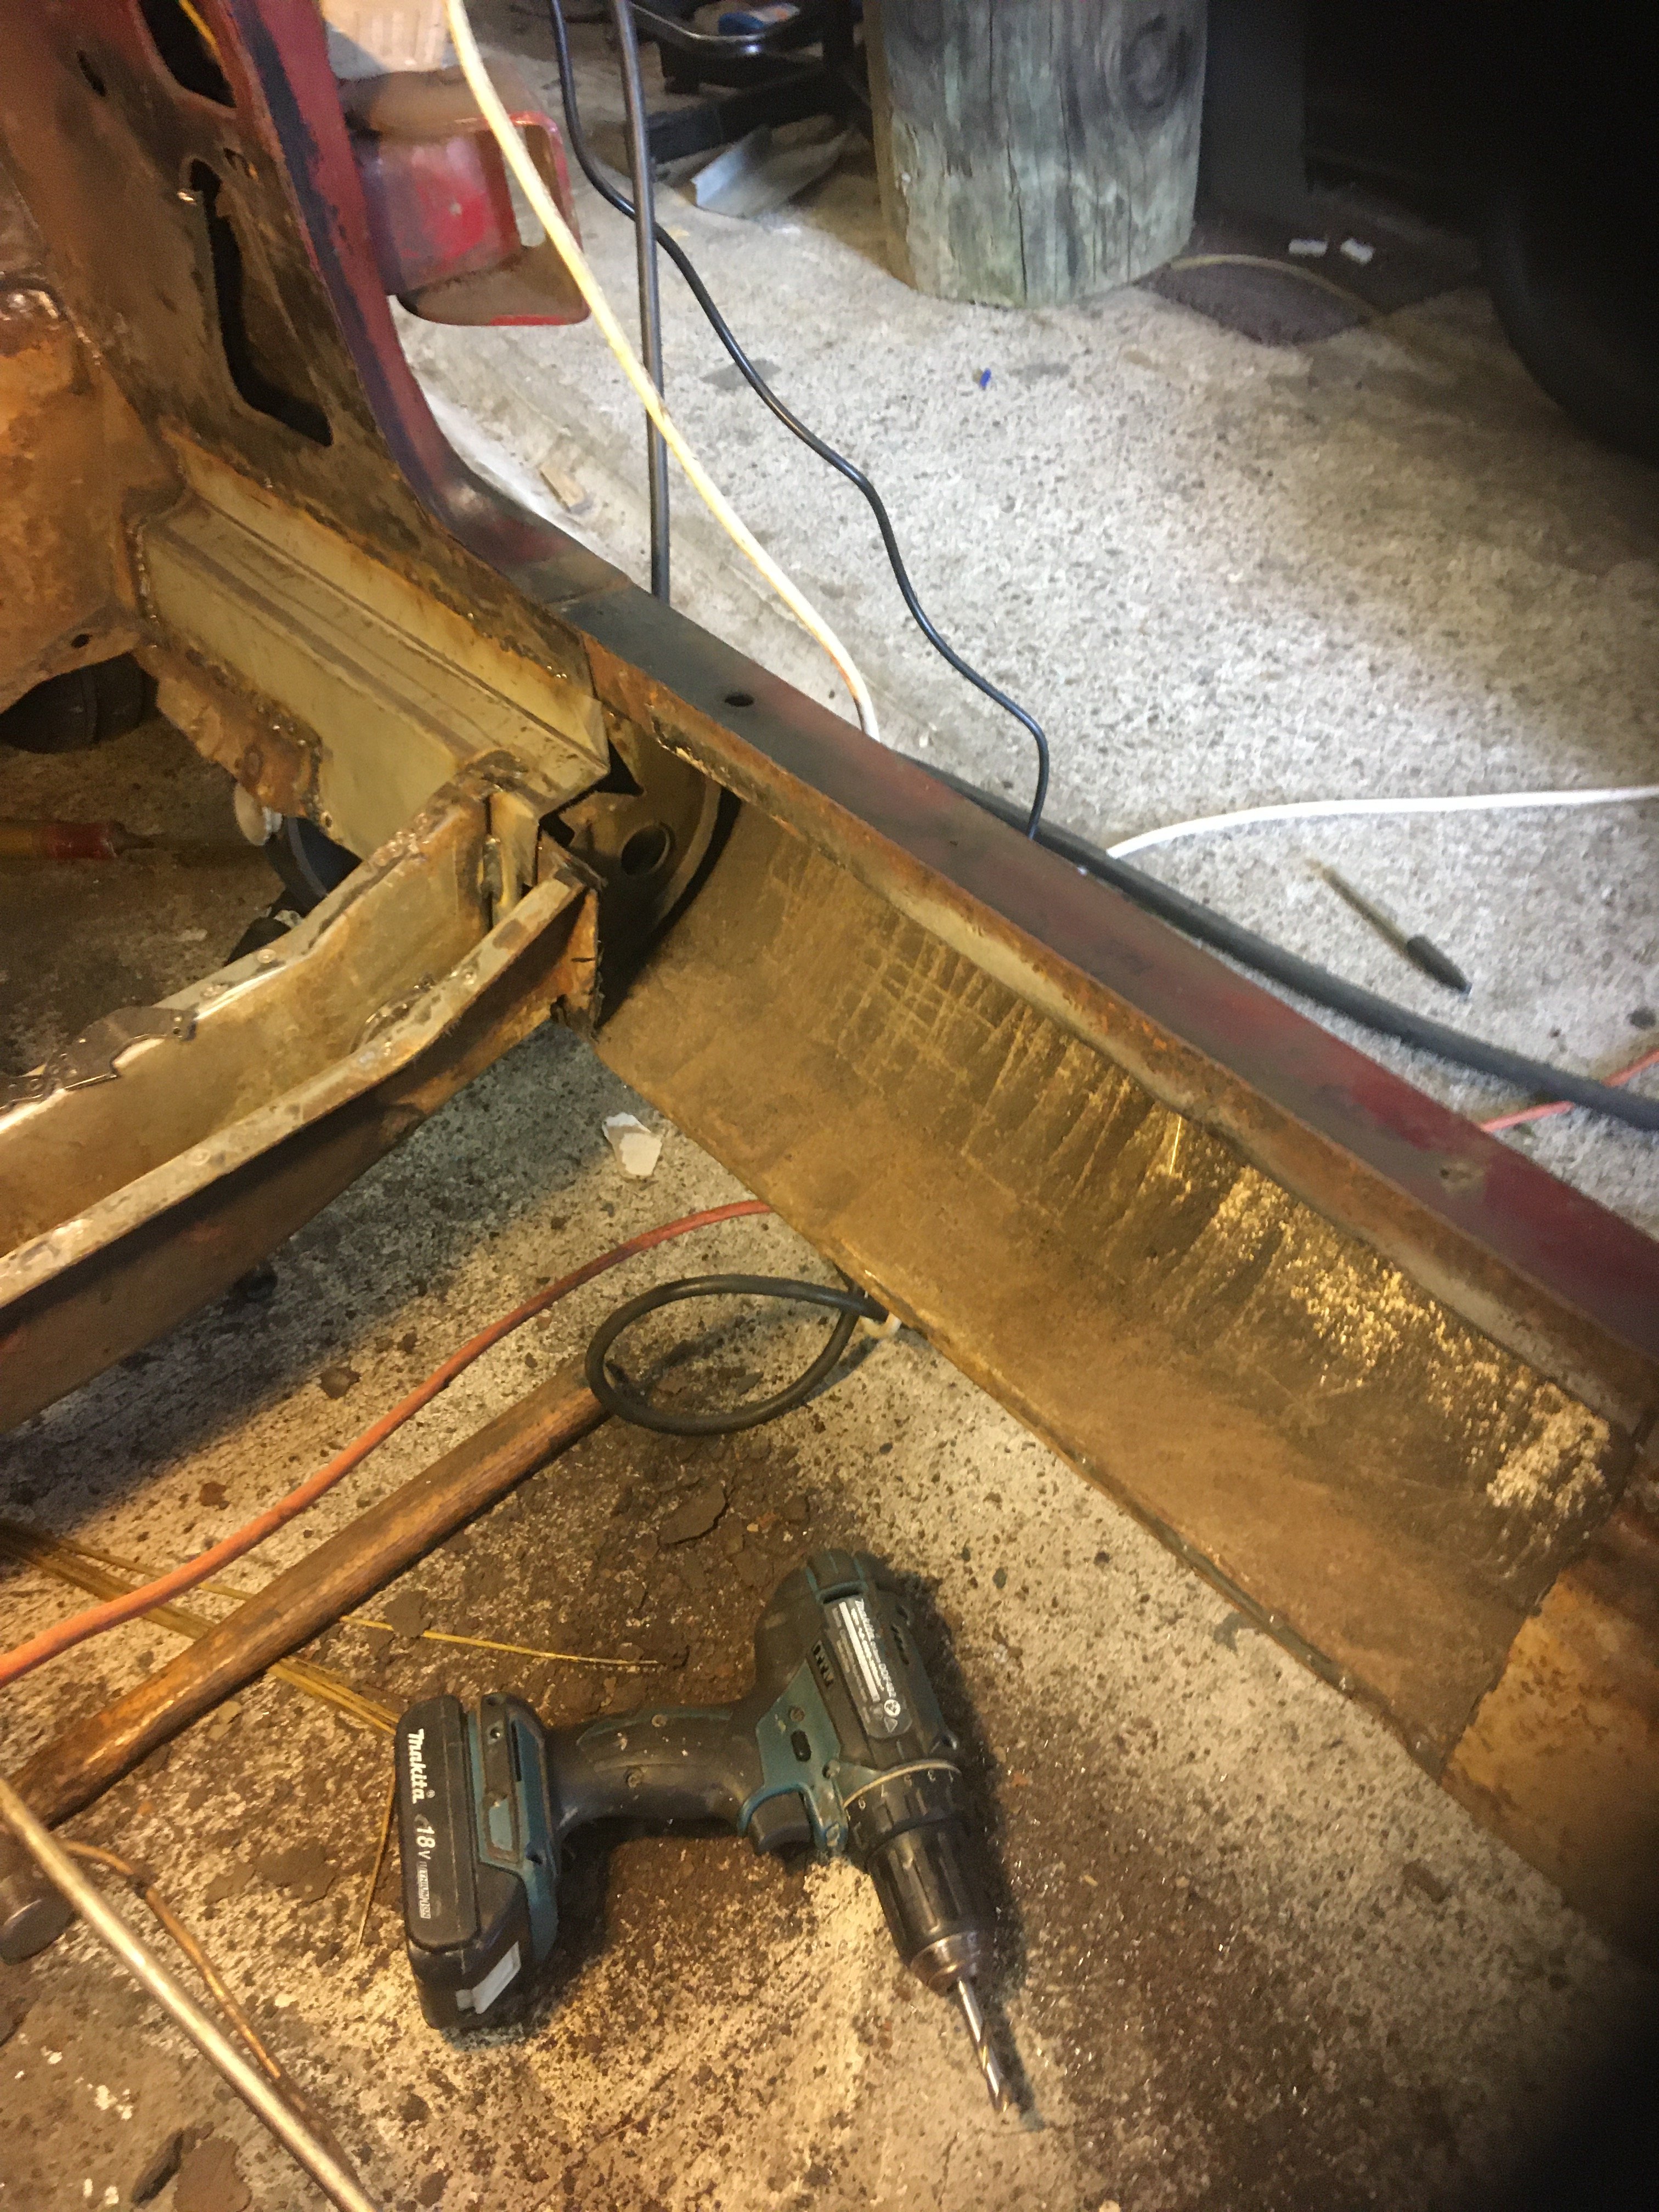
Other side. And same double plating over rusty metal. I think the sill has been replaced before. That hole at the top looks like it was caused by a chisel. And the flange on the left has been partially cut off. Clamping a bit of copper behind the holes so I can weld them without making bigger holes. And fixed all the cuts and nicks. I also used the vacuum and compressed air to clean out the sill and the inside of the crossmember that goes across the car.
8 points
-
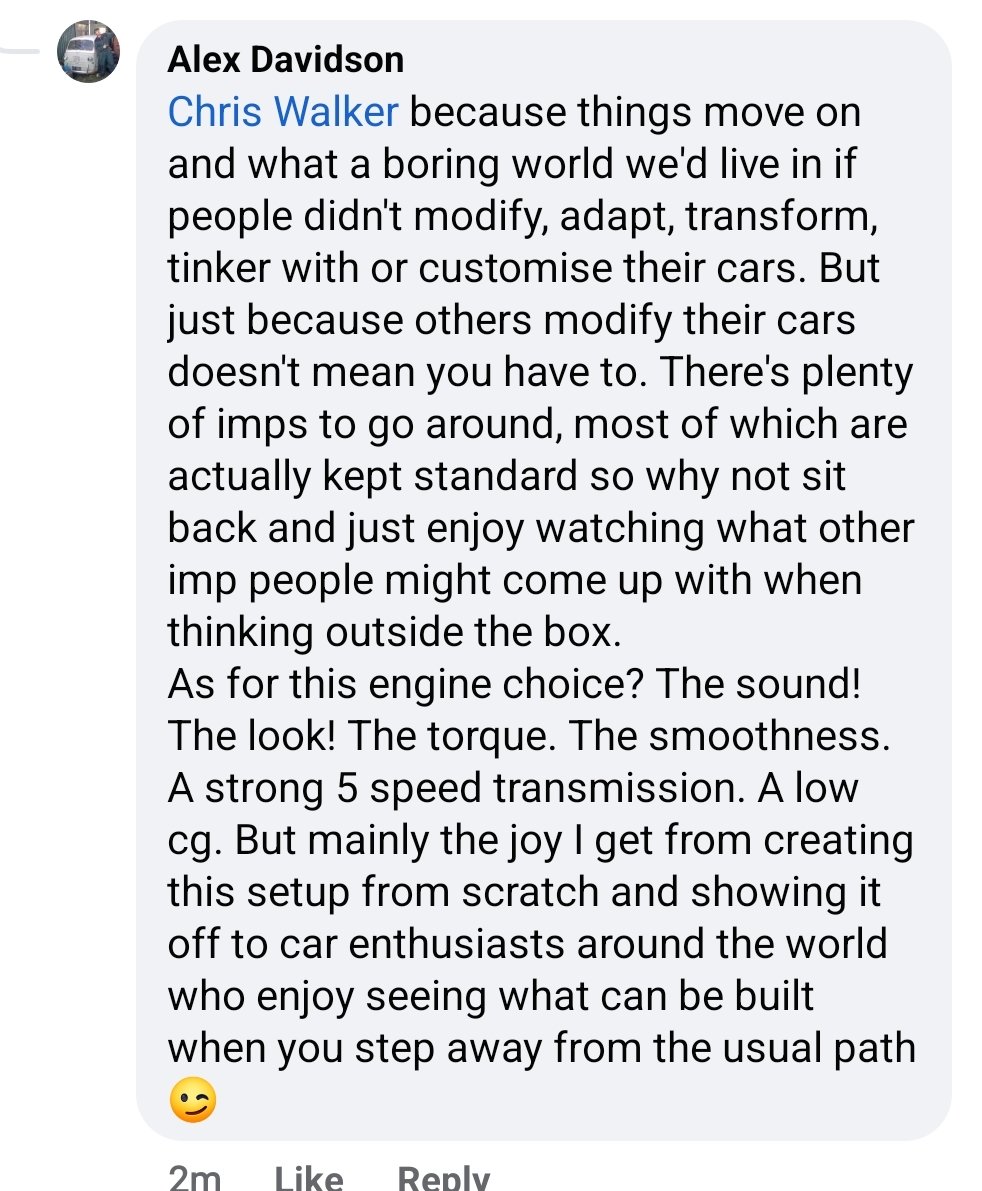
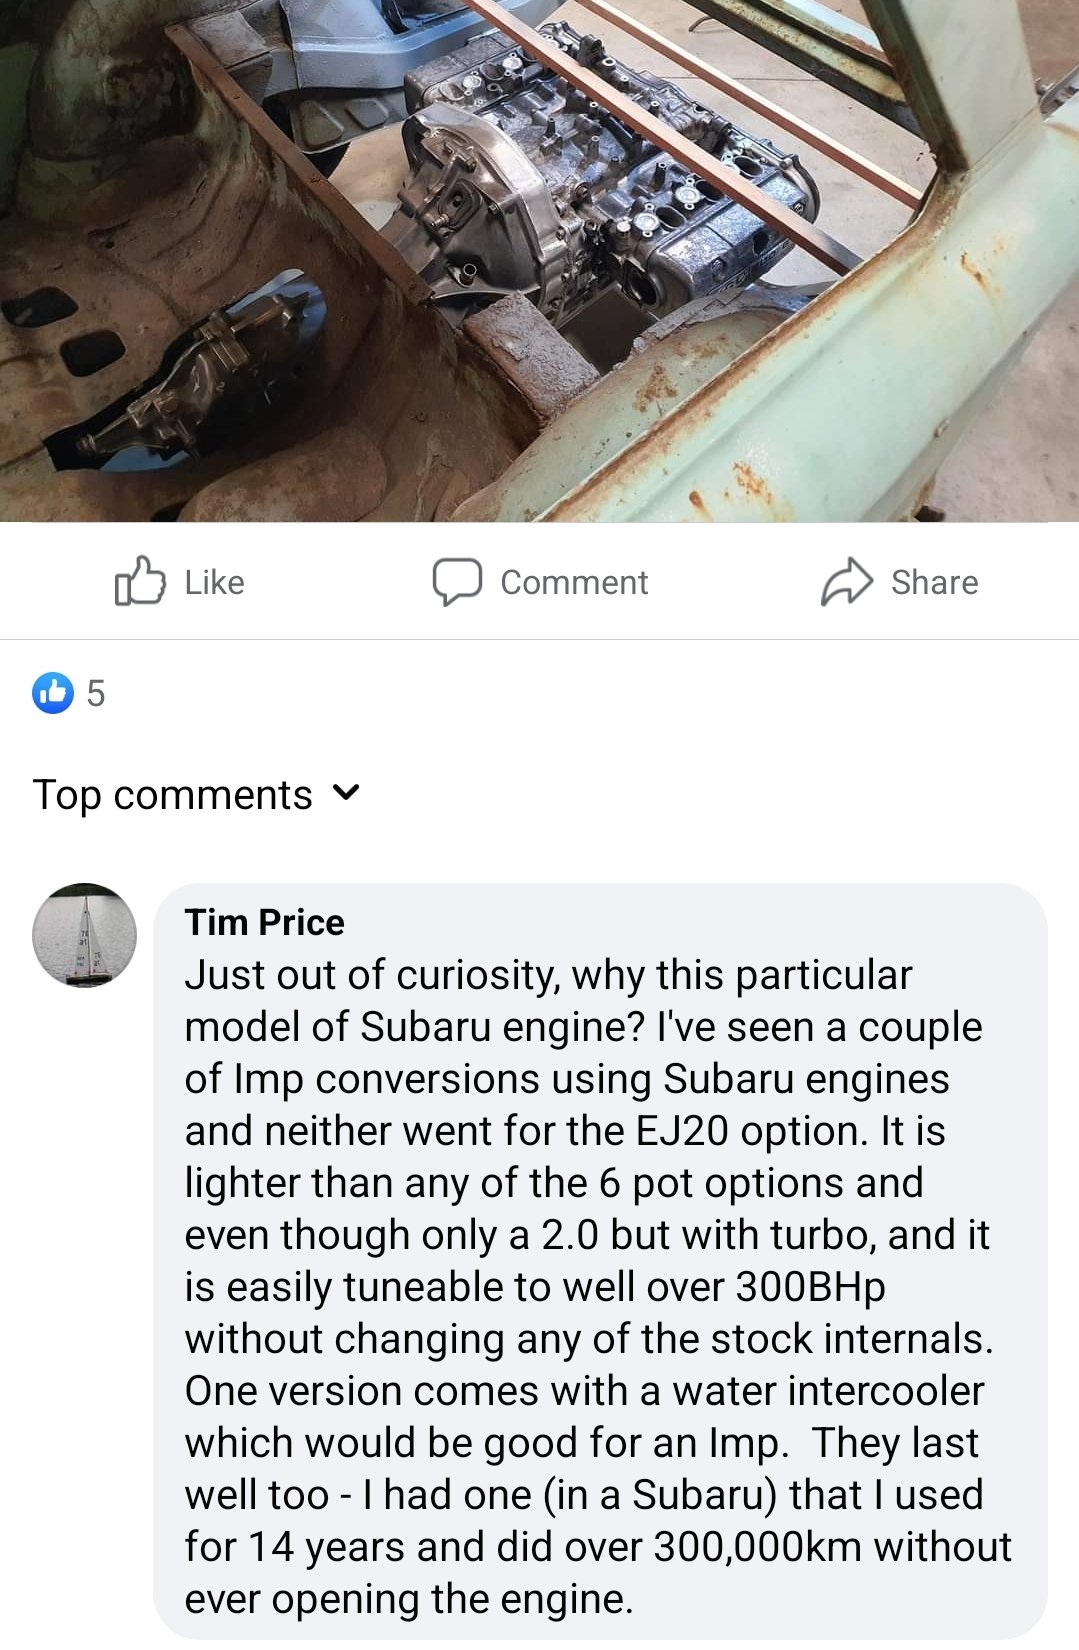
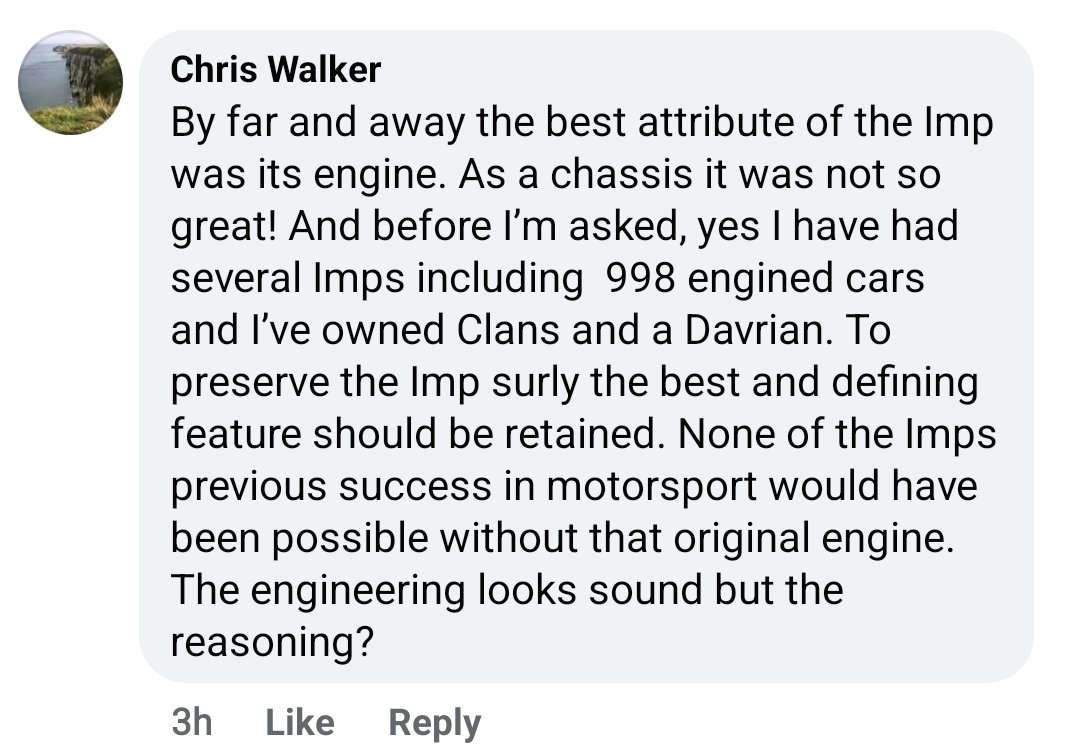
I recently popped up some recent photos of the flat six on the Hillman Imp Facebook group. Lots of enthusiasm for it but I was waiting for a Barry to quip in...
7 points
-
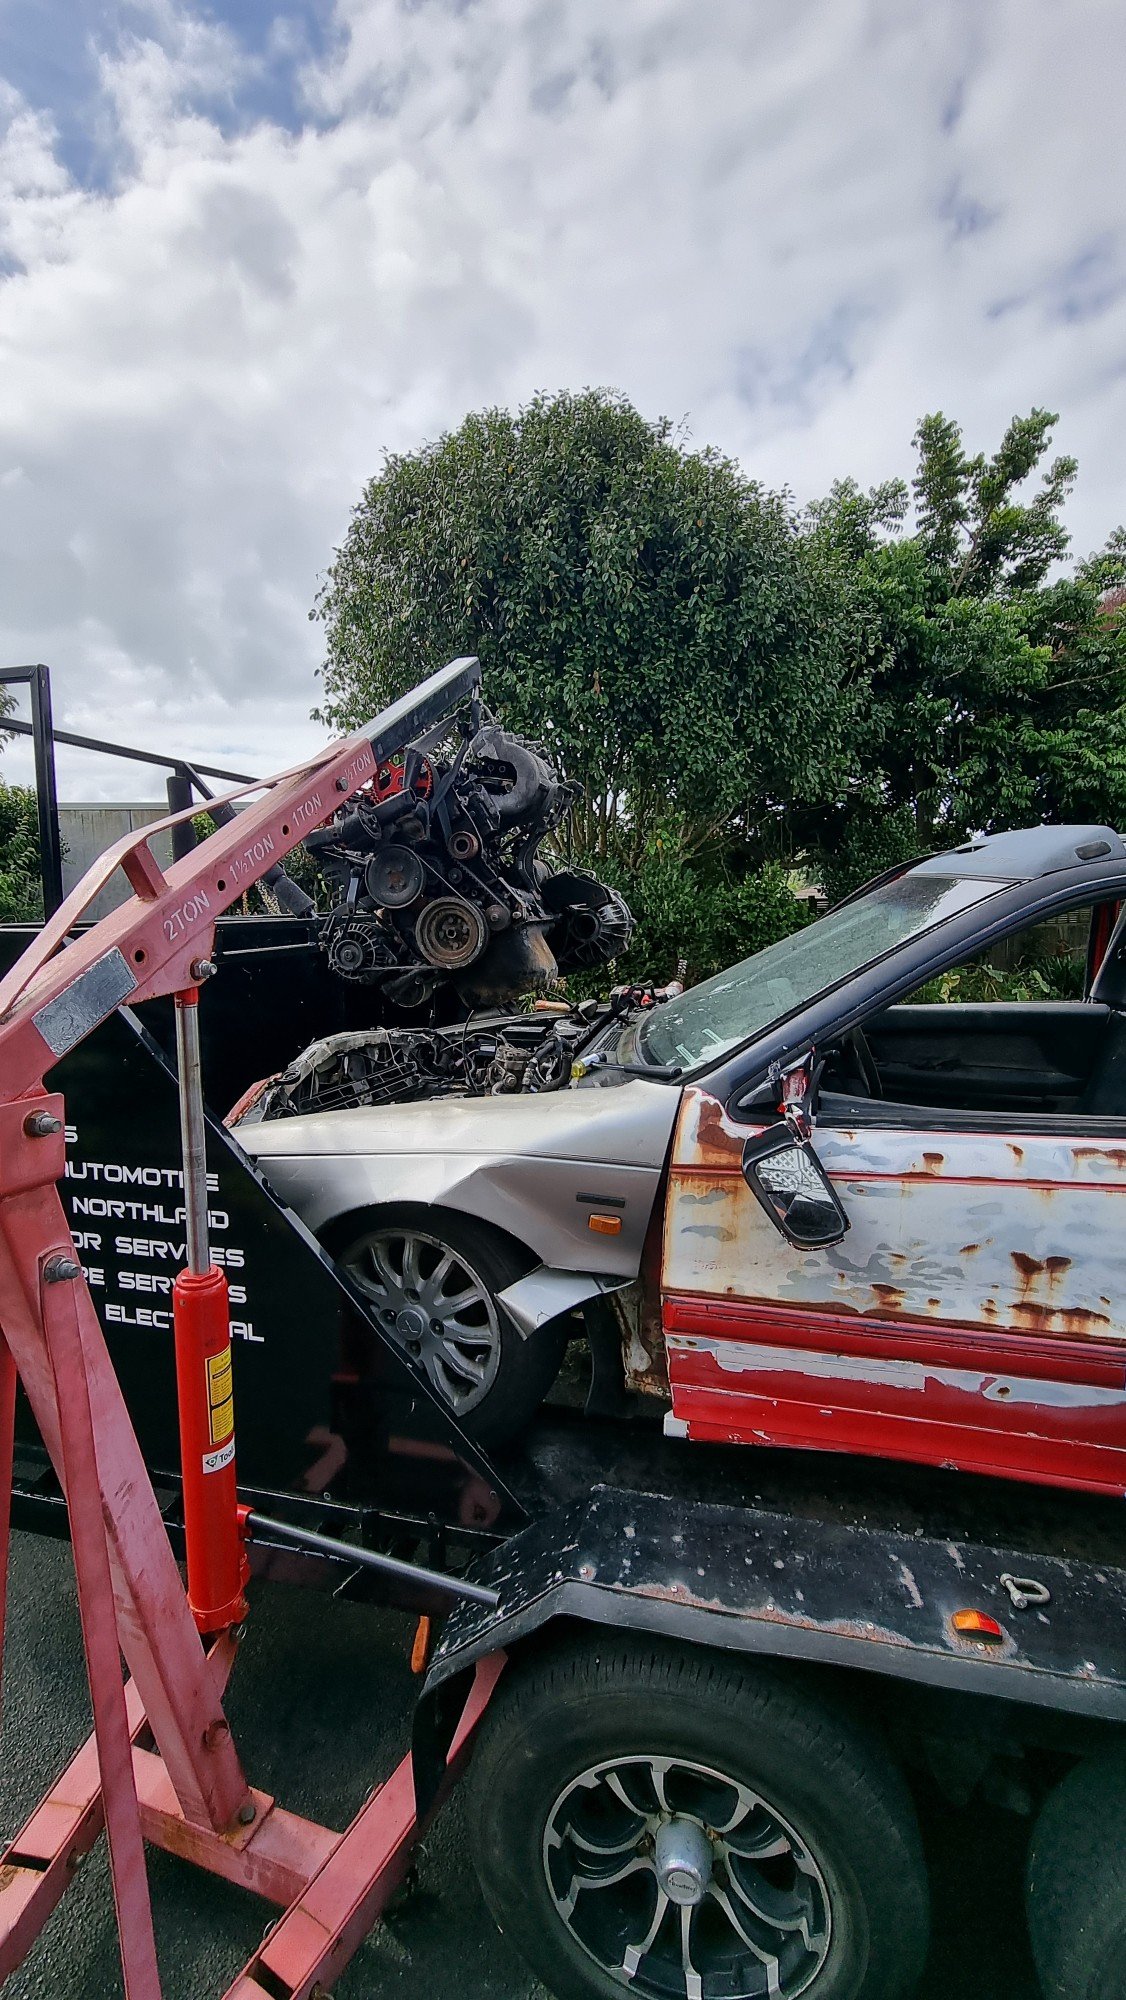
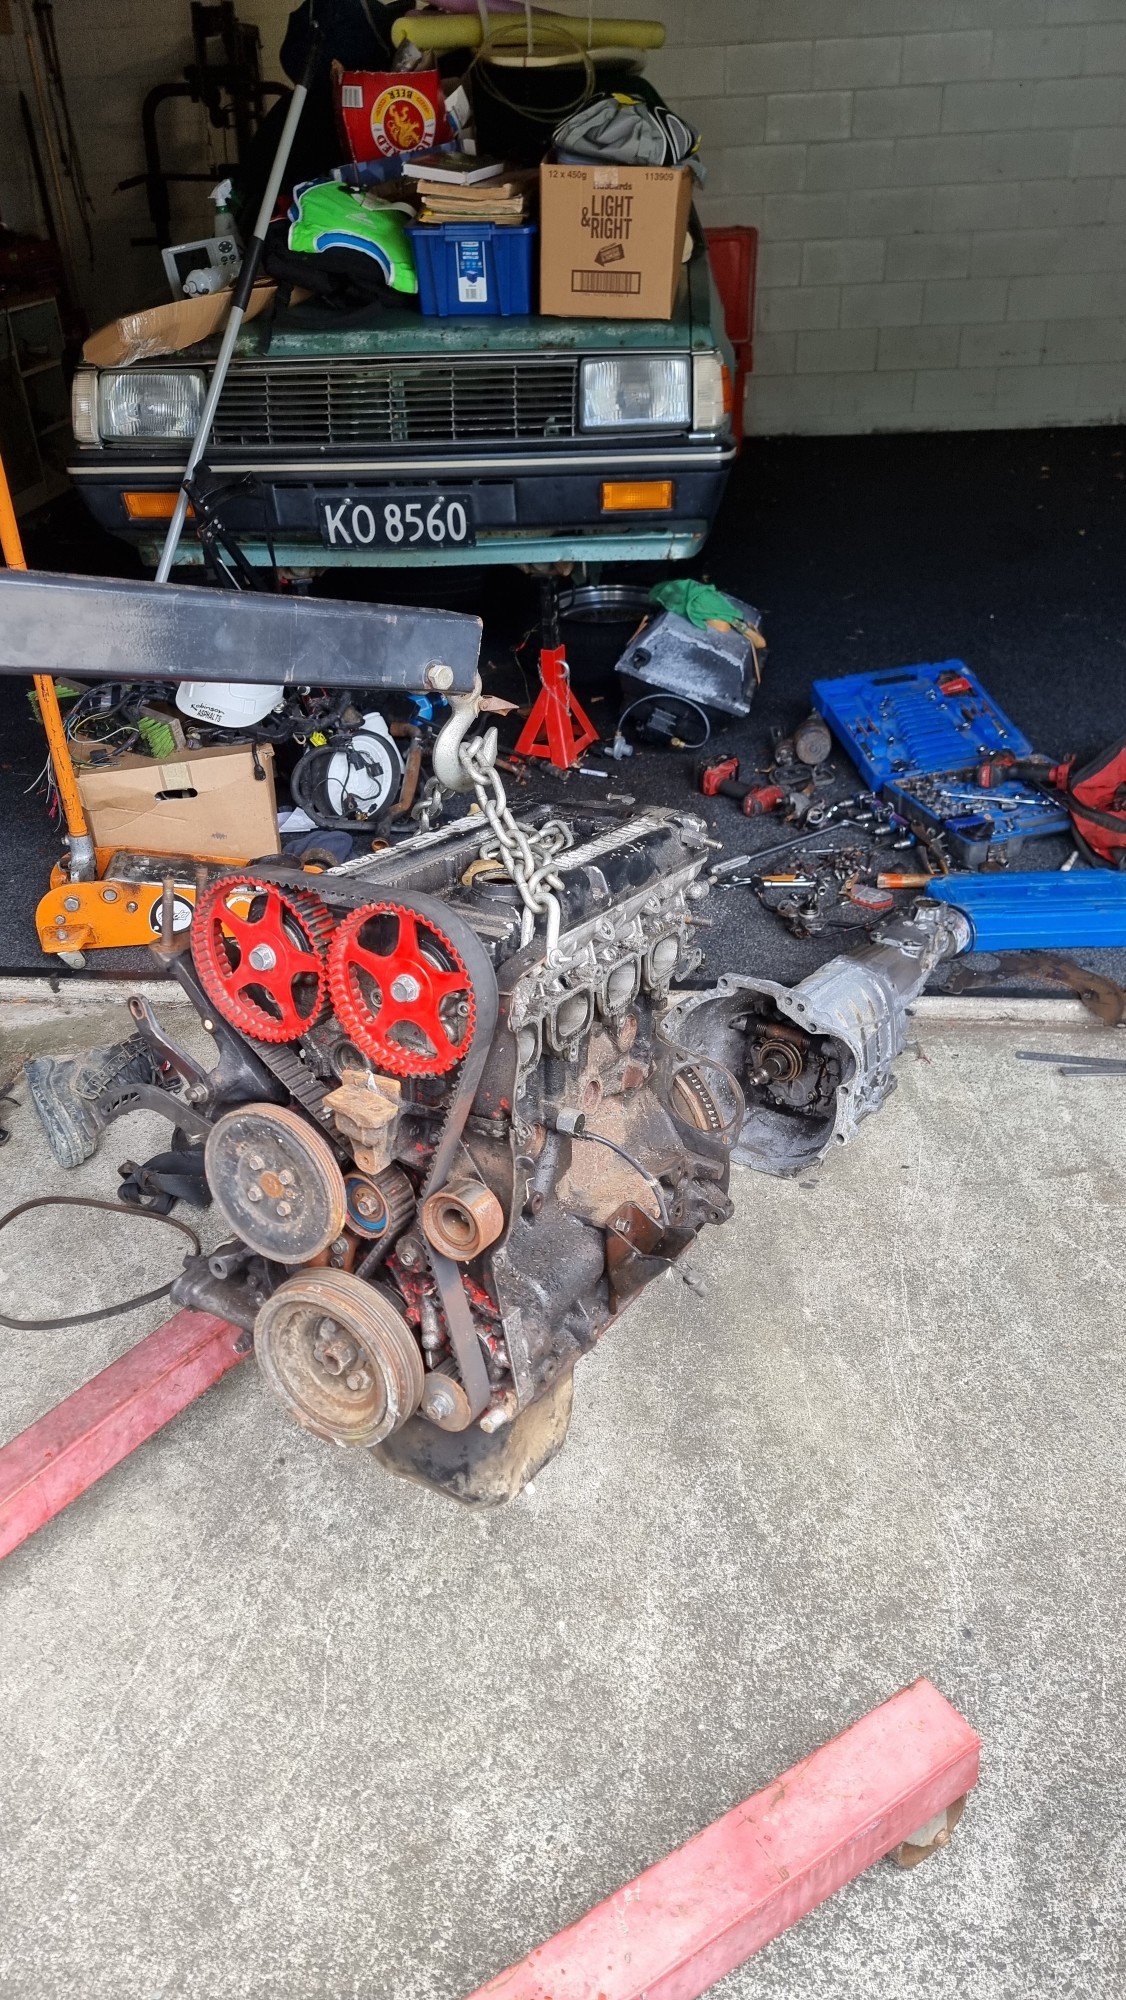
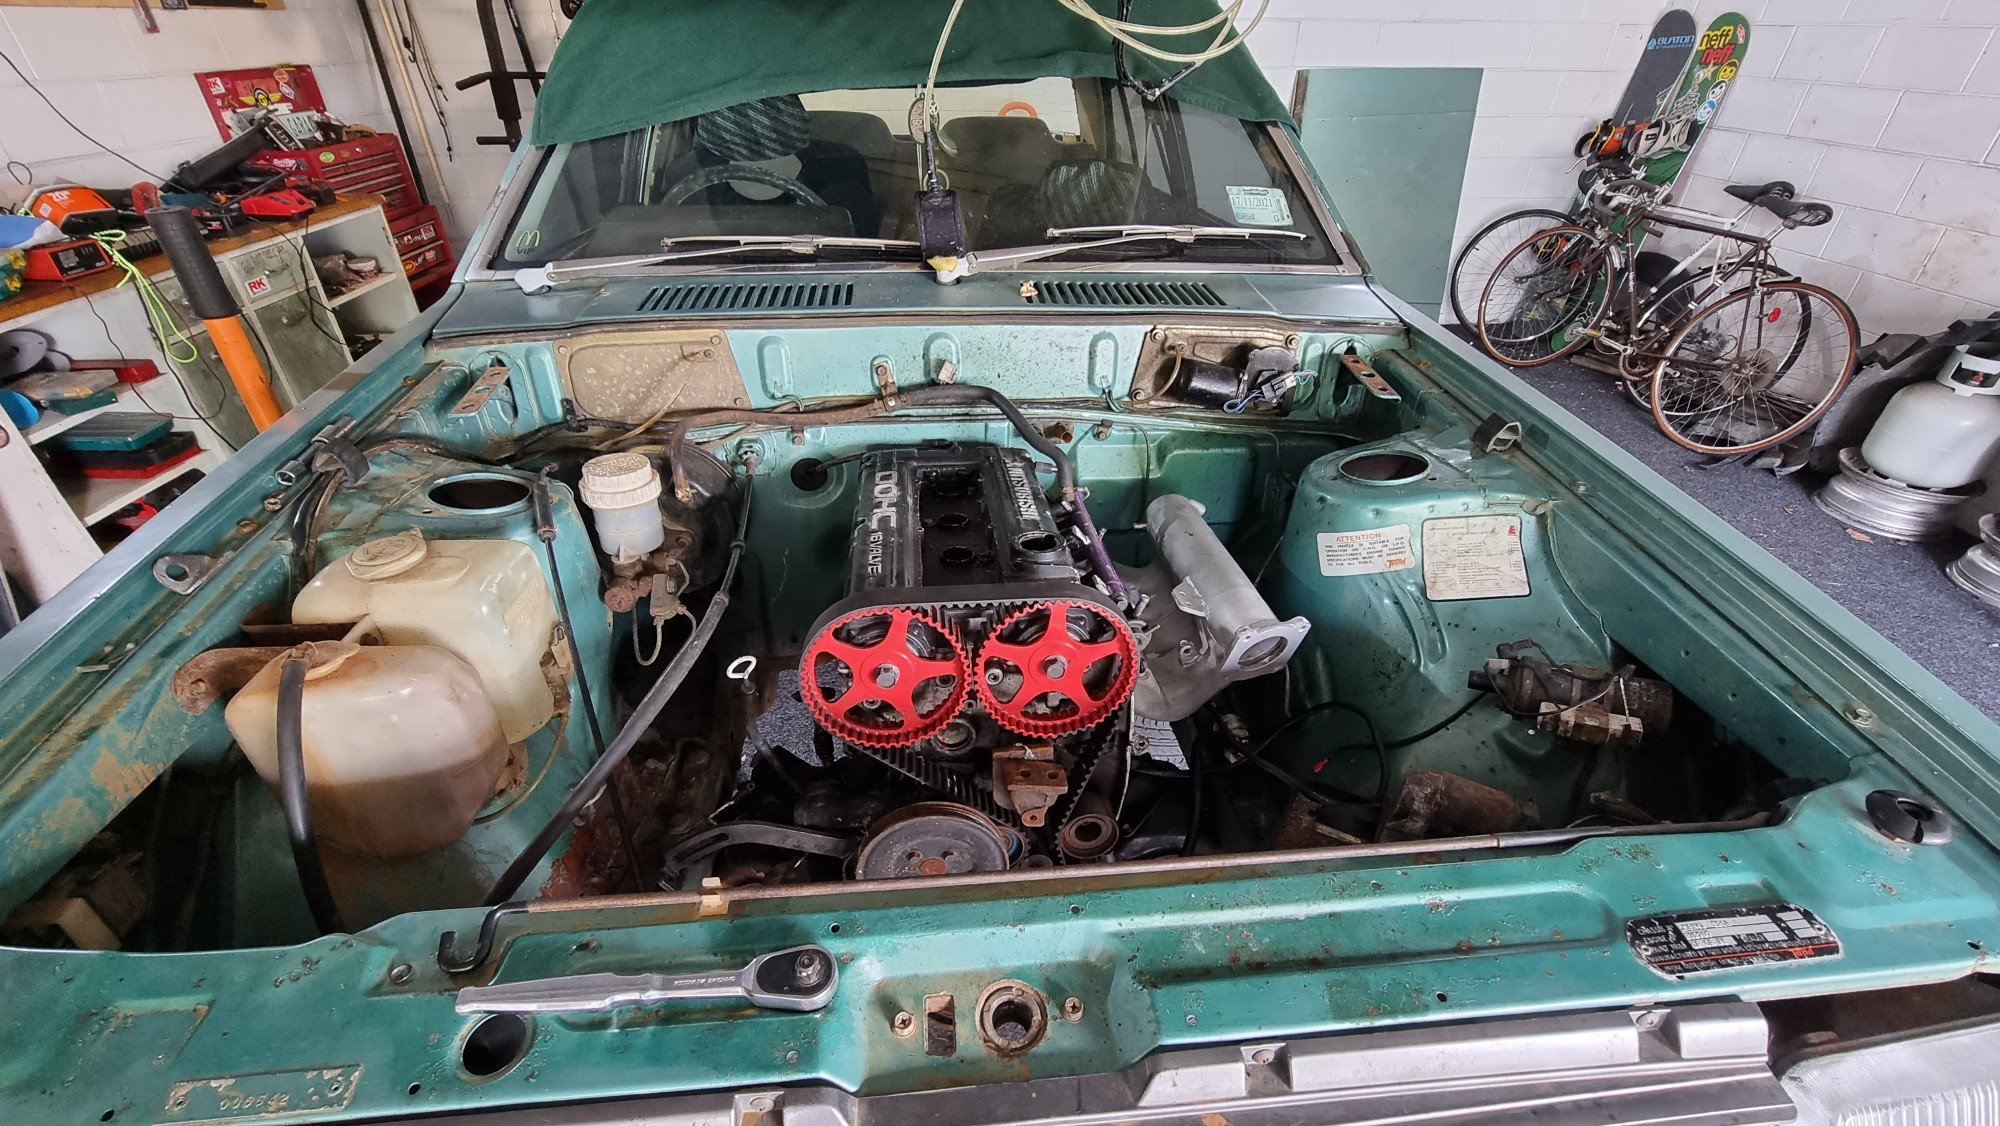
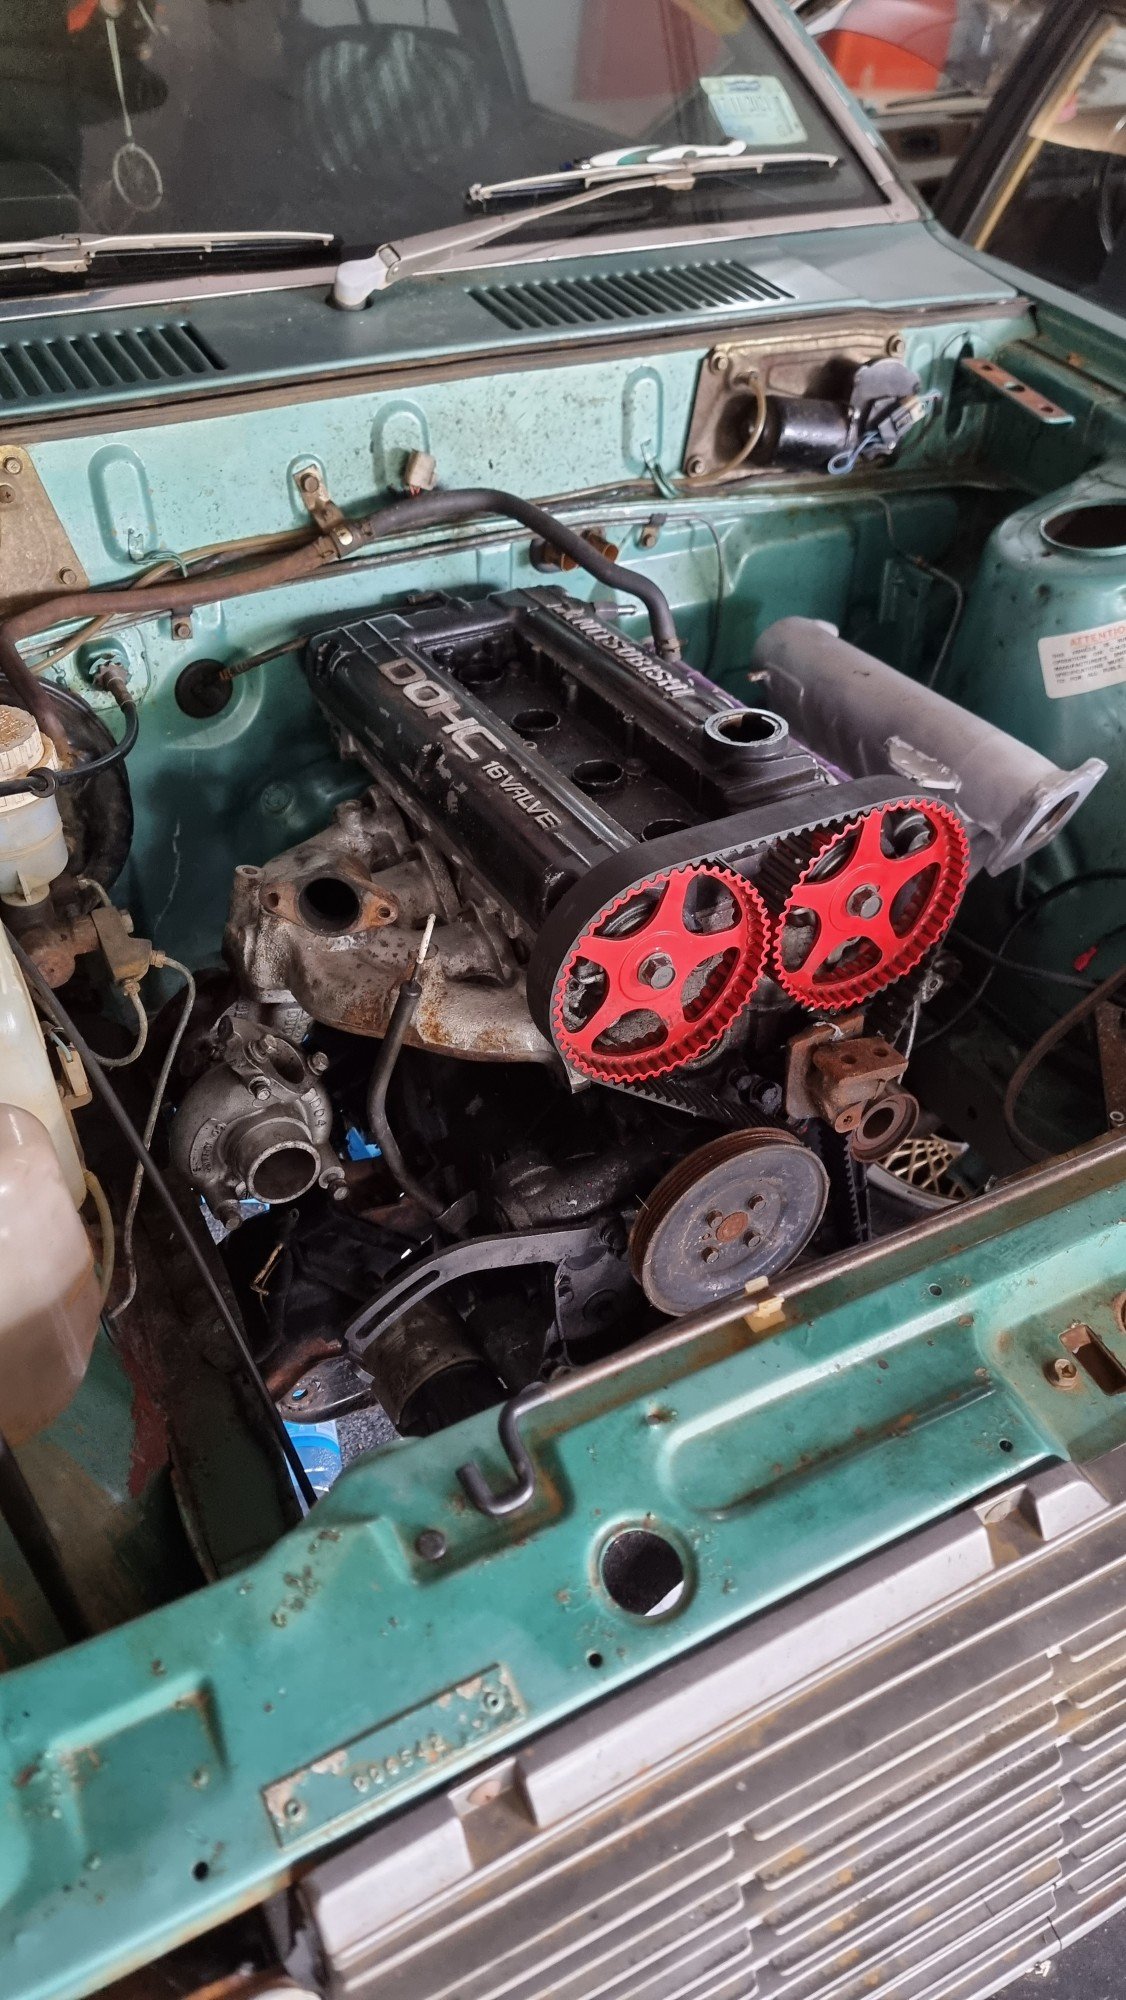
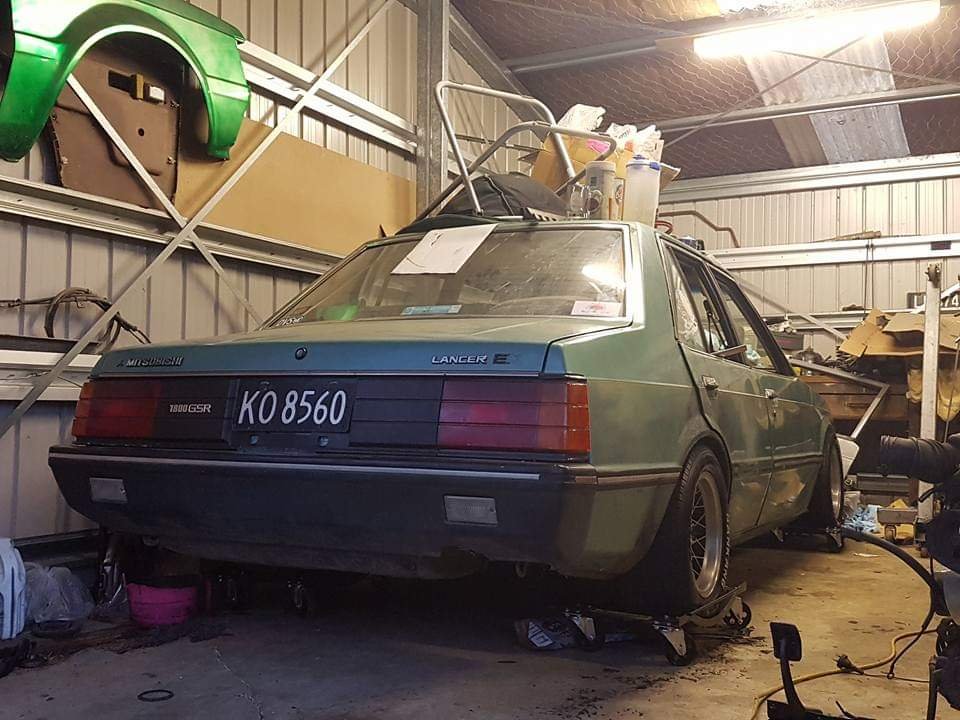
As always been neglecting this car but I did do something to it by chance. Found a cyborg in my mates paddock so purchased it to strip for parts. Wasn't much worth saving but the motor will be of good use. 1600 dohc turbo 4g61t. Decided to mate it to my sigma gearbox using a sigma flywheel and cluch and drop it in the hole. Flipped the td04 on the stock manifold for a laugh, it won't work as it's touching steering box but kept me entertained. And purchased a modified rwd intake manifold off Bigfoot
7 points
-
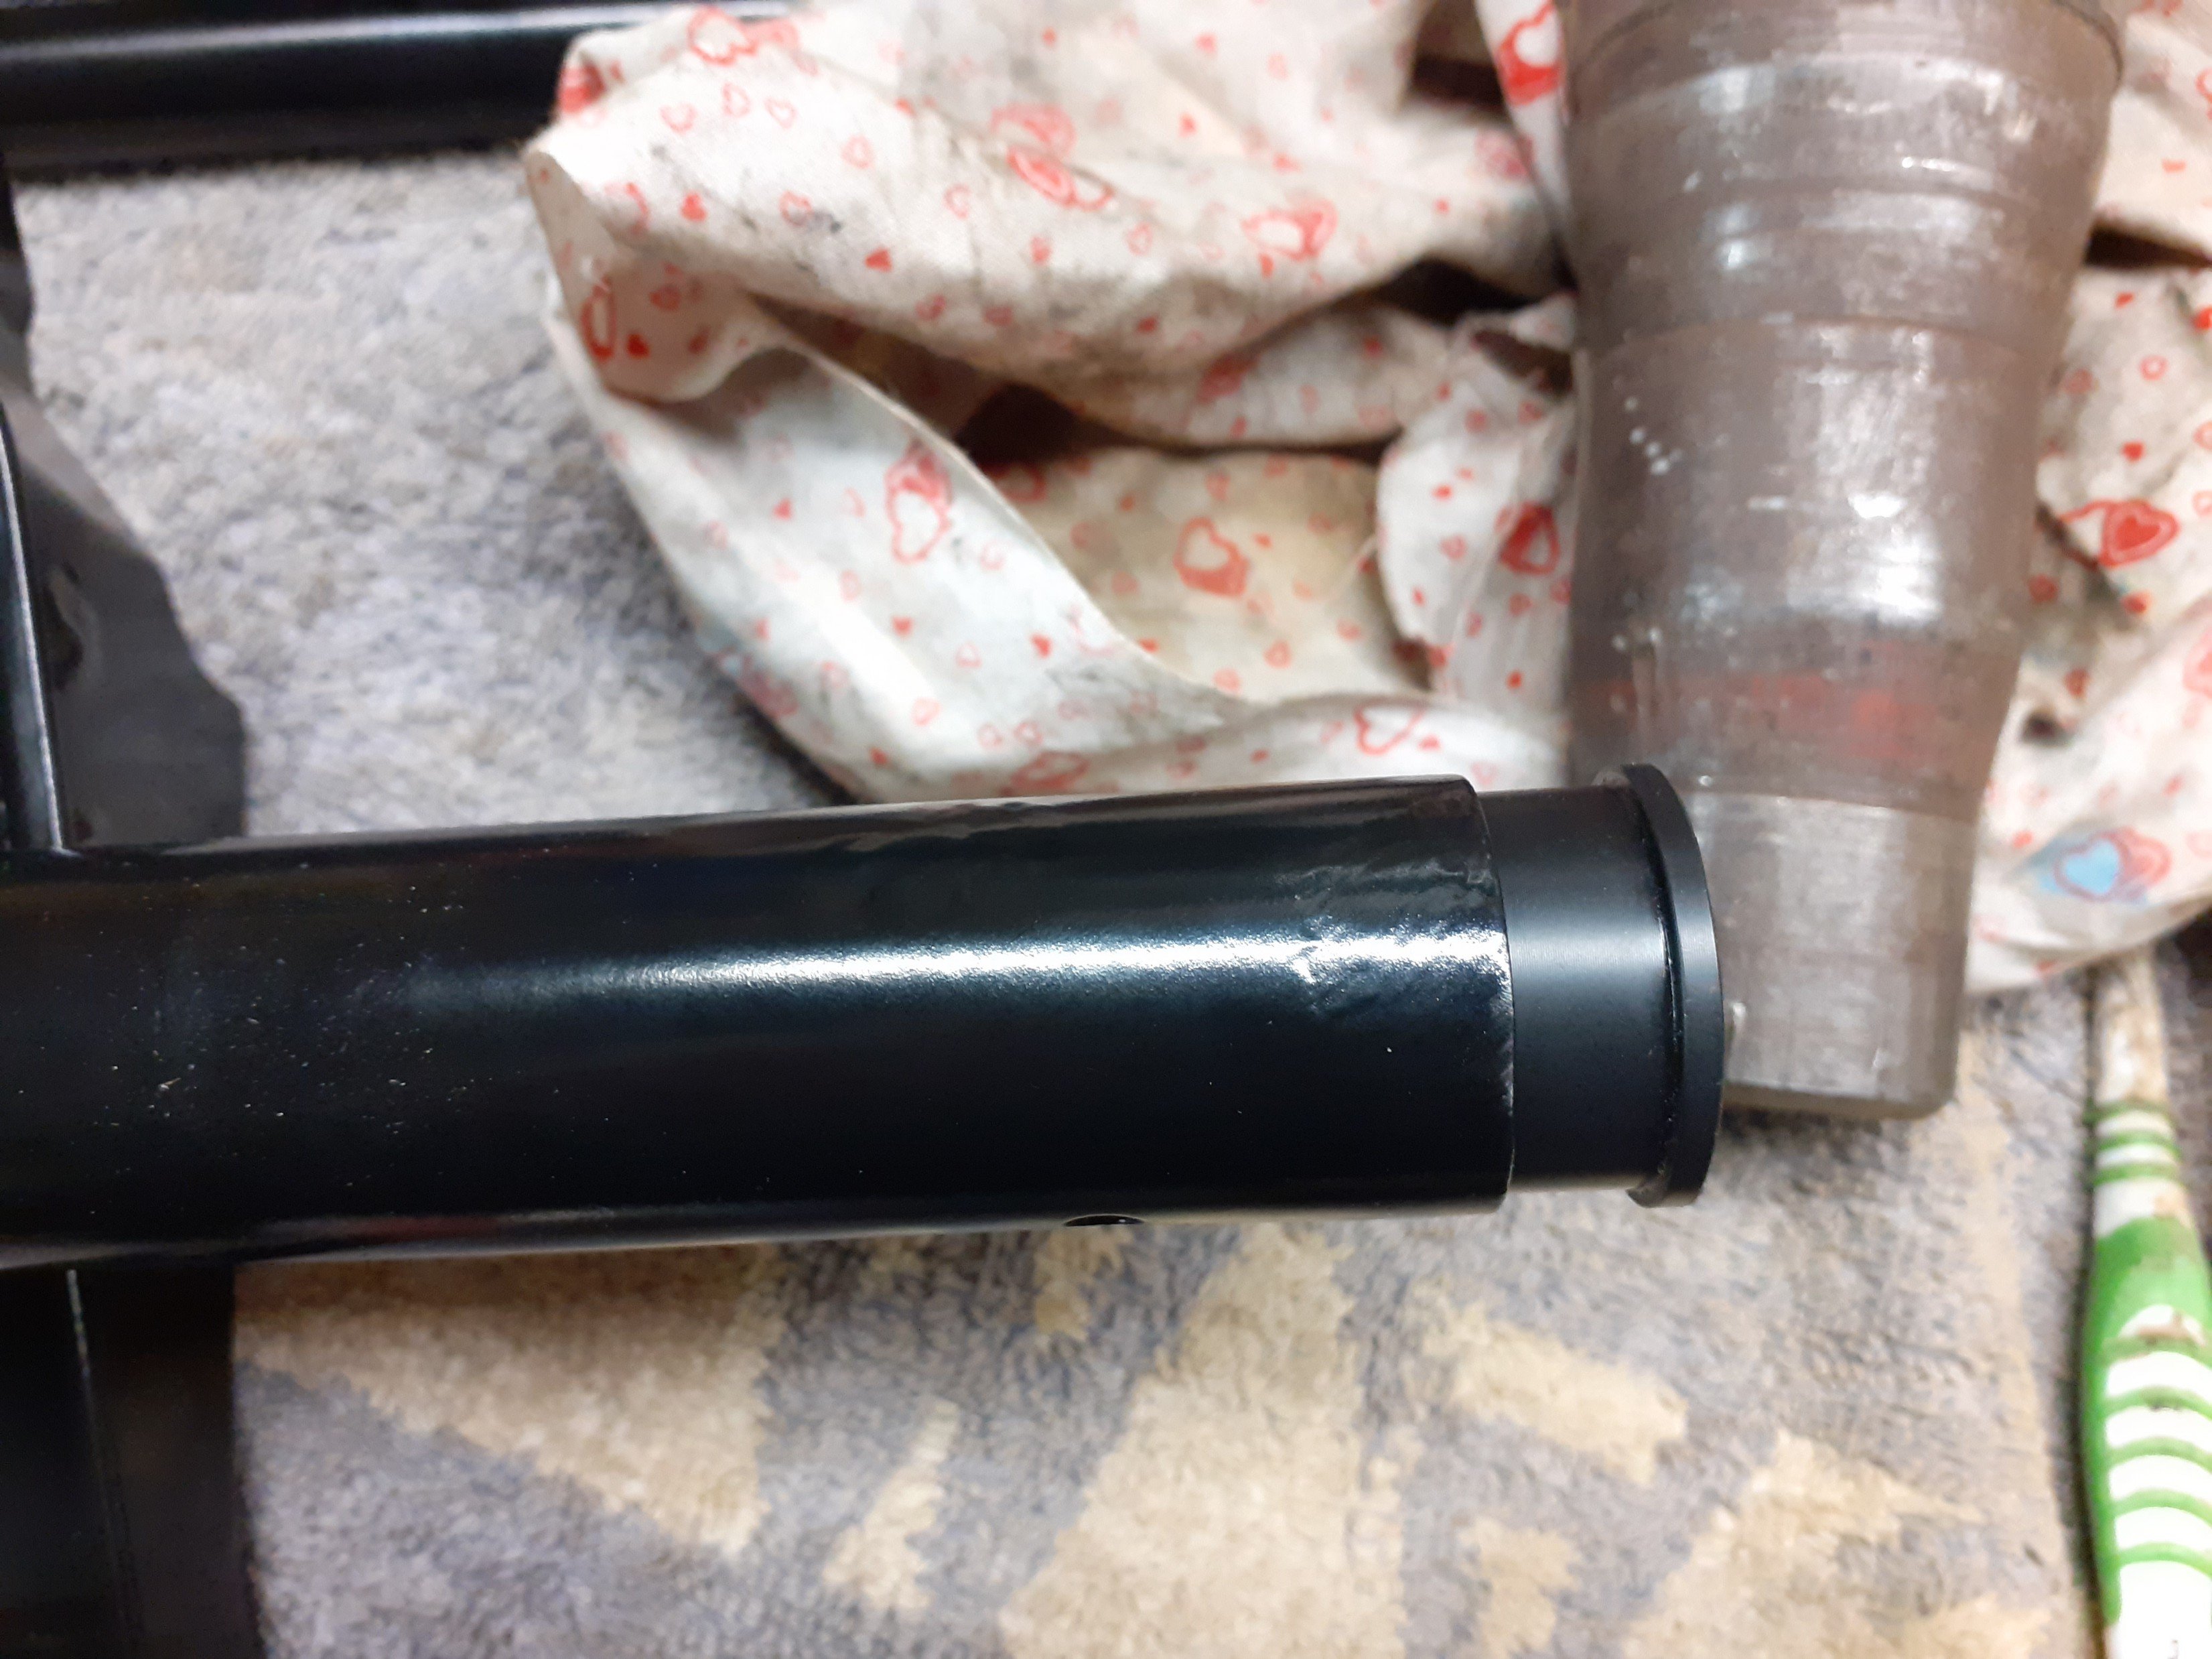
I don't have a lathe so I carefully cleaned up the shaft using using die grinder and a flap wheel, checking it as I went. I had removed enough material that the bush would snuggly fit over the shaft and move. Success. Then I couldnt work out why it was such as effort to fit into the steering colum. It would only go half way down. It's hard to see but the end of the shaft is slightly tappered. 39mm tappered down to 38.5mm. Out came the die grinder and flap wheel again. I enlarged the internal shaft to accept the new bush and we were away laughing. Until... ...I installed it all in the van and the ends of the steering shafts don't line up. Faaaaark. I will need to enlarge the hole on the firewall and move the shaft up. I thought the assembly was supposed to be the easy part.
6 points
-
Have scored these missing bits so far: seats door cards arm rests rear screen front 1/4 window valence Will have a bit of a working bee on it this weekend and get some more photos6 points
-
5 points
-
5 points
-
Inner sill almost done will be replacing the top part of the inner door sill amd inner a and b piller after I get the floor in so I can cut out some old repairs .
5 points
-
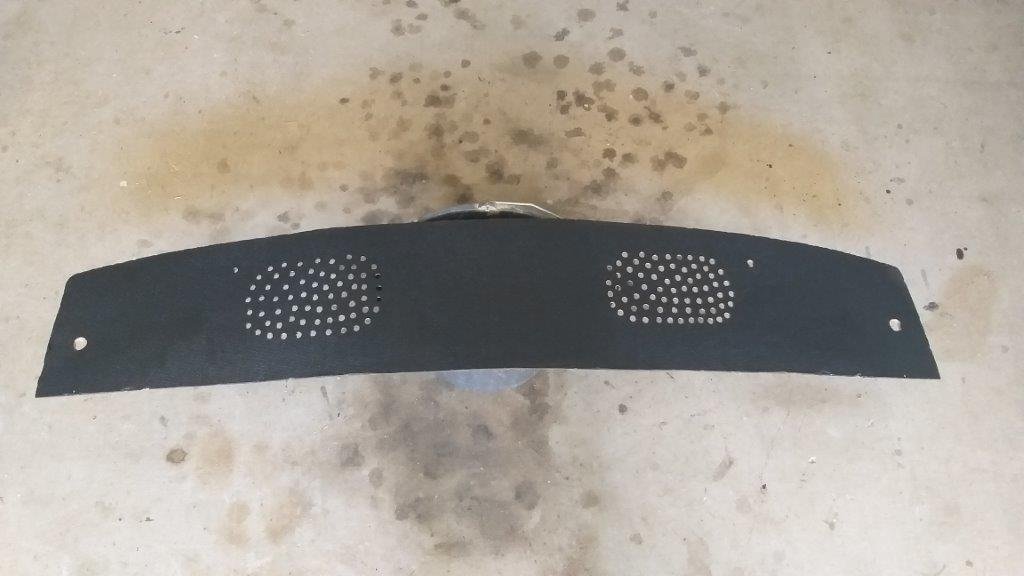
Bolted the speakers onto the ply using bolts with countersunk heads then used similar bolts to attach the ply underneath the metal shelf. The raised speakers now sit well below the parcel shelf.
4 points
-
Ah yeah.. I offered to buy that, had a 265 hemi in it.. But his brother who was on his death bed in hospital was still gonna do something with it..4 points
-
Missing the points! Why would you get rid of a perfectly reliable ignition system. You better carry it in the frunk for rapid change over then the transistors burn out leaving you stranded4 points
-
Hopes and dreams are cheap and don’t take up much space.. But there’s no fun in that! With a 289 and C4 in stock, and a couple of grand burning a hole in her pocket; it didn’t take much thought when this popped up local and a deal was done The kicker for me was how straight it was and how much was still there. Came with a few spares and 3 more 13x8 wide rims! The plan is a gasser axle under the front, Valiant or falcon diff in the back and use up all our spare shit while having something fun for dirt days/car shows/kids can play in it and I don’t have to stress about them breaking interior shit! I spent a few hours hanging the doors better and assembling the dash again but the main priority is to source some windows and keep the rain out (came with a full set but they must be zodiac)3 points
-
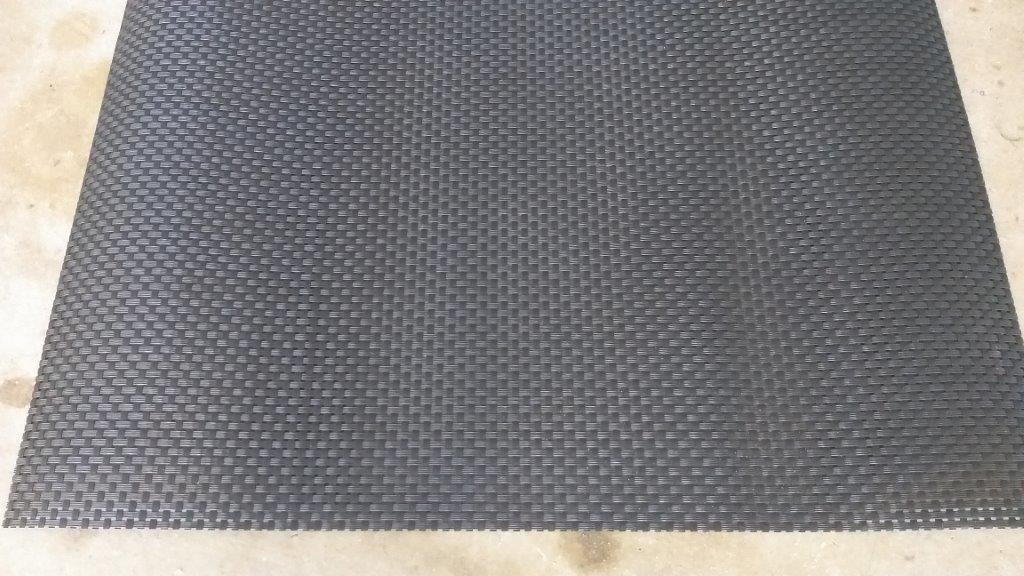
Took to the particle board shelf with a 10mm drill bit to allow the sounds to leak through. Then slapped a bit more paint about the place. I've ordered some of that textured kitchen drawer liner stuff as per my sample to cover the panel. Should hide the holes and mounting bolts nicely. Hopefully that will arrive sometime soon. I'm not going to win any audio awards with this setup but at least it will look pretty subtle and the sound should be an improvement over my existing single dashboard speaker. Thanks for looking.
3 points
-
That’d be ace. Do a bit of a drive somewhere perhaps.3 points
-
Next step was to carve up a piece of plywood and chuck a bit of paint on it. Clamped it in place underneath the metal shelf and marked out the fixing positions based on the factory speaker mounting holes already punched into the metal shelf. I can also make use of the holes that were previously used for the baby seat anchors as I no longer need those.
2 points
-
2 points
-
2 points
-
Barry's back...
2 points
-
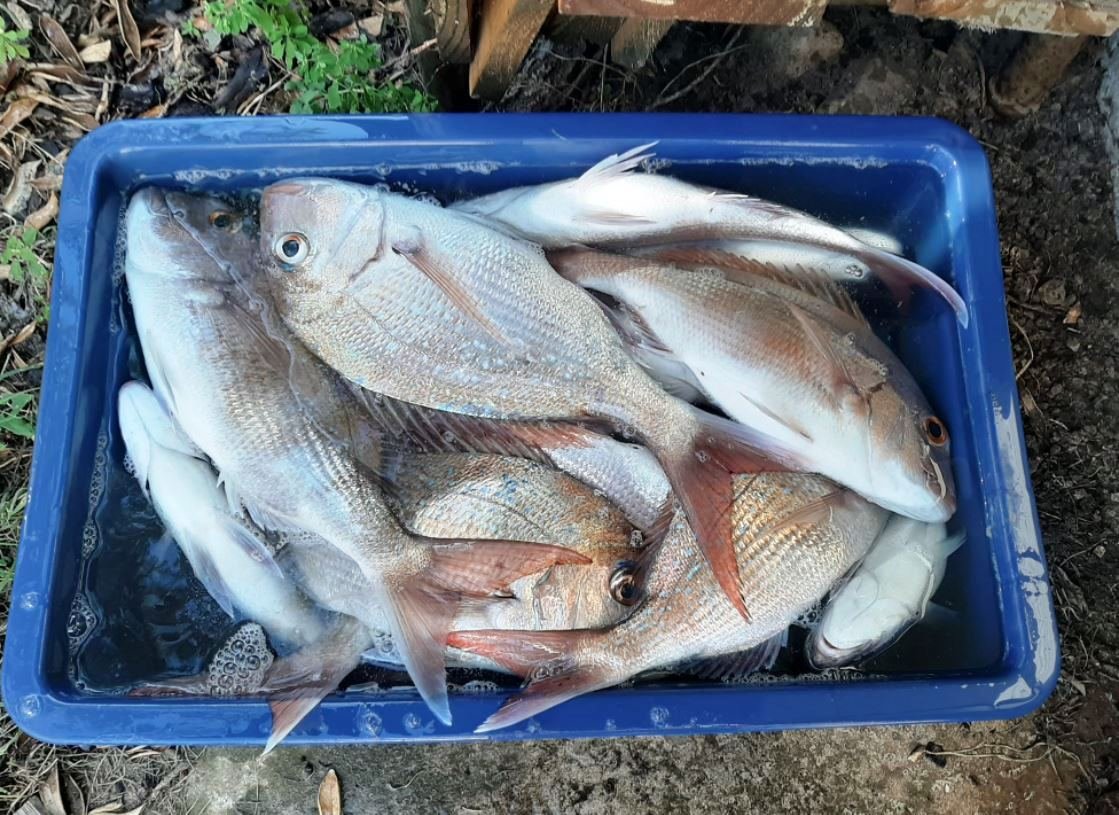
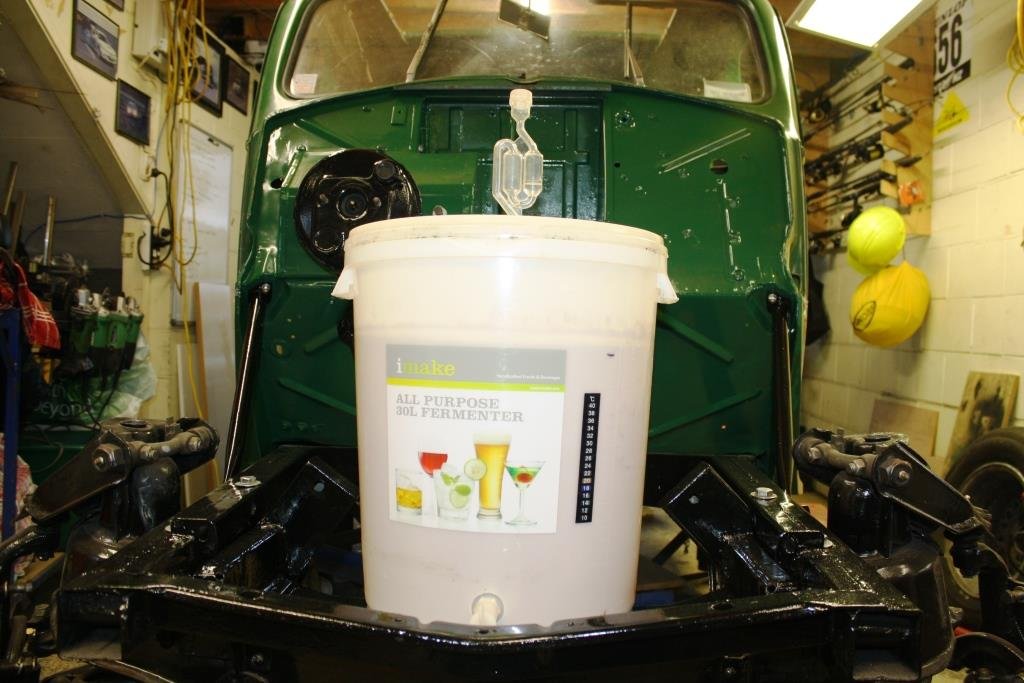
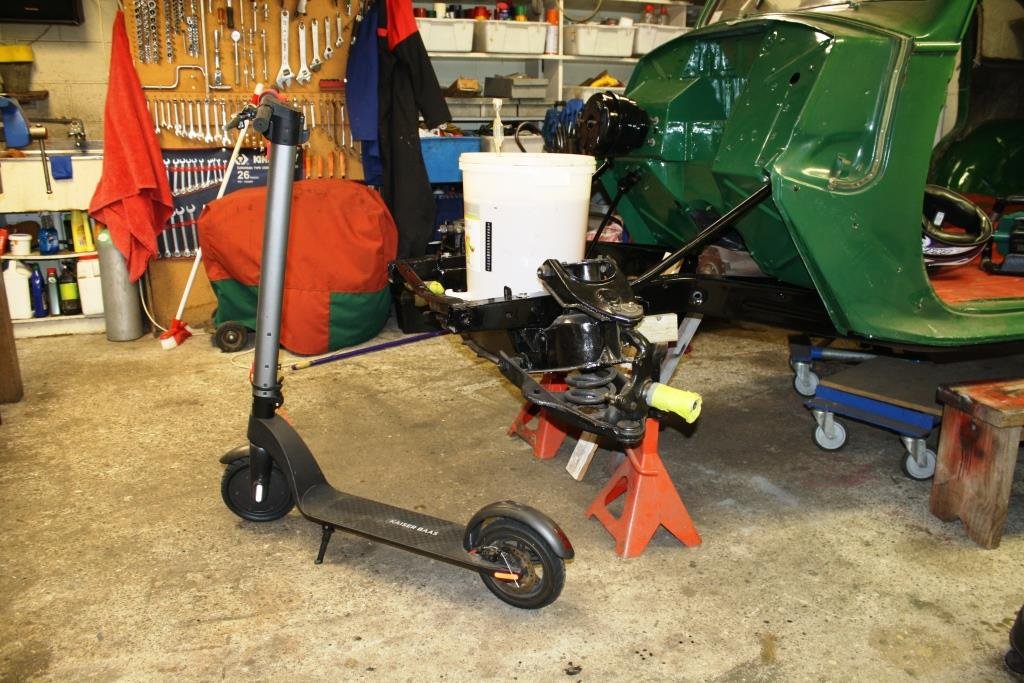
The “ever lovely Mrs sr2” and I headed up North to the batch for the recent long weekend, the fishing was an improvement on the New Year. (It would be bloody hard to be worse; see the Jan 18, 22 post). On my return I was shocked to see that in my absence Rigamortice had been blatantly and deliberately emitting the nasty horrible dangerous carbon laden CO2 gas, (that our dear leader the "PC goddess of fertility and cultural sensitivity" has been repetitively warning us about).......... to the atmosphere! Still showing total faith in our “transparent” government (in these turbulent times) I was overwhelmed and riddled with guilt as to the long term effect Rigamortice’s senseless selfish act would have on climate change, (it used to be called global warming – but it didn’t get hot!). In desperation to restore our lost carbon credits and head off an imminent climate emergency I decided to “give it the Greta” and acquired an E-Vehicle. Being Oldschool (i.e. 75 oldschool years old) Rigamortice insisted that I hand in my man-card immediately………..begin the public humiliation….! Thankfully after a few medicinal Wild Turkeys, Rigamortice and I devised a cunning and fiendishly clever way of containing the evil fermenting concoction, preventing any further release of the nasty horrible climate changing CO2 gas…..What could possibly go wrong!
2 points
-
Car is officially warranted and registered after 6 years of shed life. The feeling is amazing! Next step is to improve the tuning on carb and timing so it pulls good as ild like to attend the oldschool drags in December
2 points
-
I told my brothers about this Facebook expert and my brother said this..
1 point
-
Oh man, imaging having to open the engine internals, walk in the park after this level of clever custom fabrication work1 point
-
Hey @HighLUX @GuyWithAviators maybe do a weekend one when I'm up some time? Keen to meet TGA locals.1 point
-
The engine only feels so smooth due to the precise routing of the throttle cable1 point
-
Yeah! Pity it was never finished. Guess it was around the time where the arse fell out of the (4&rotor style) nz drag racing scene.1 point
-
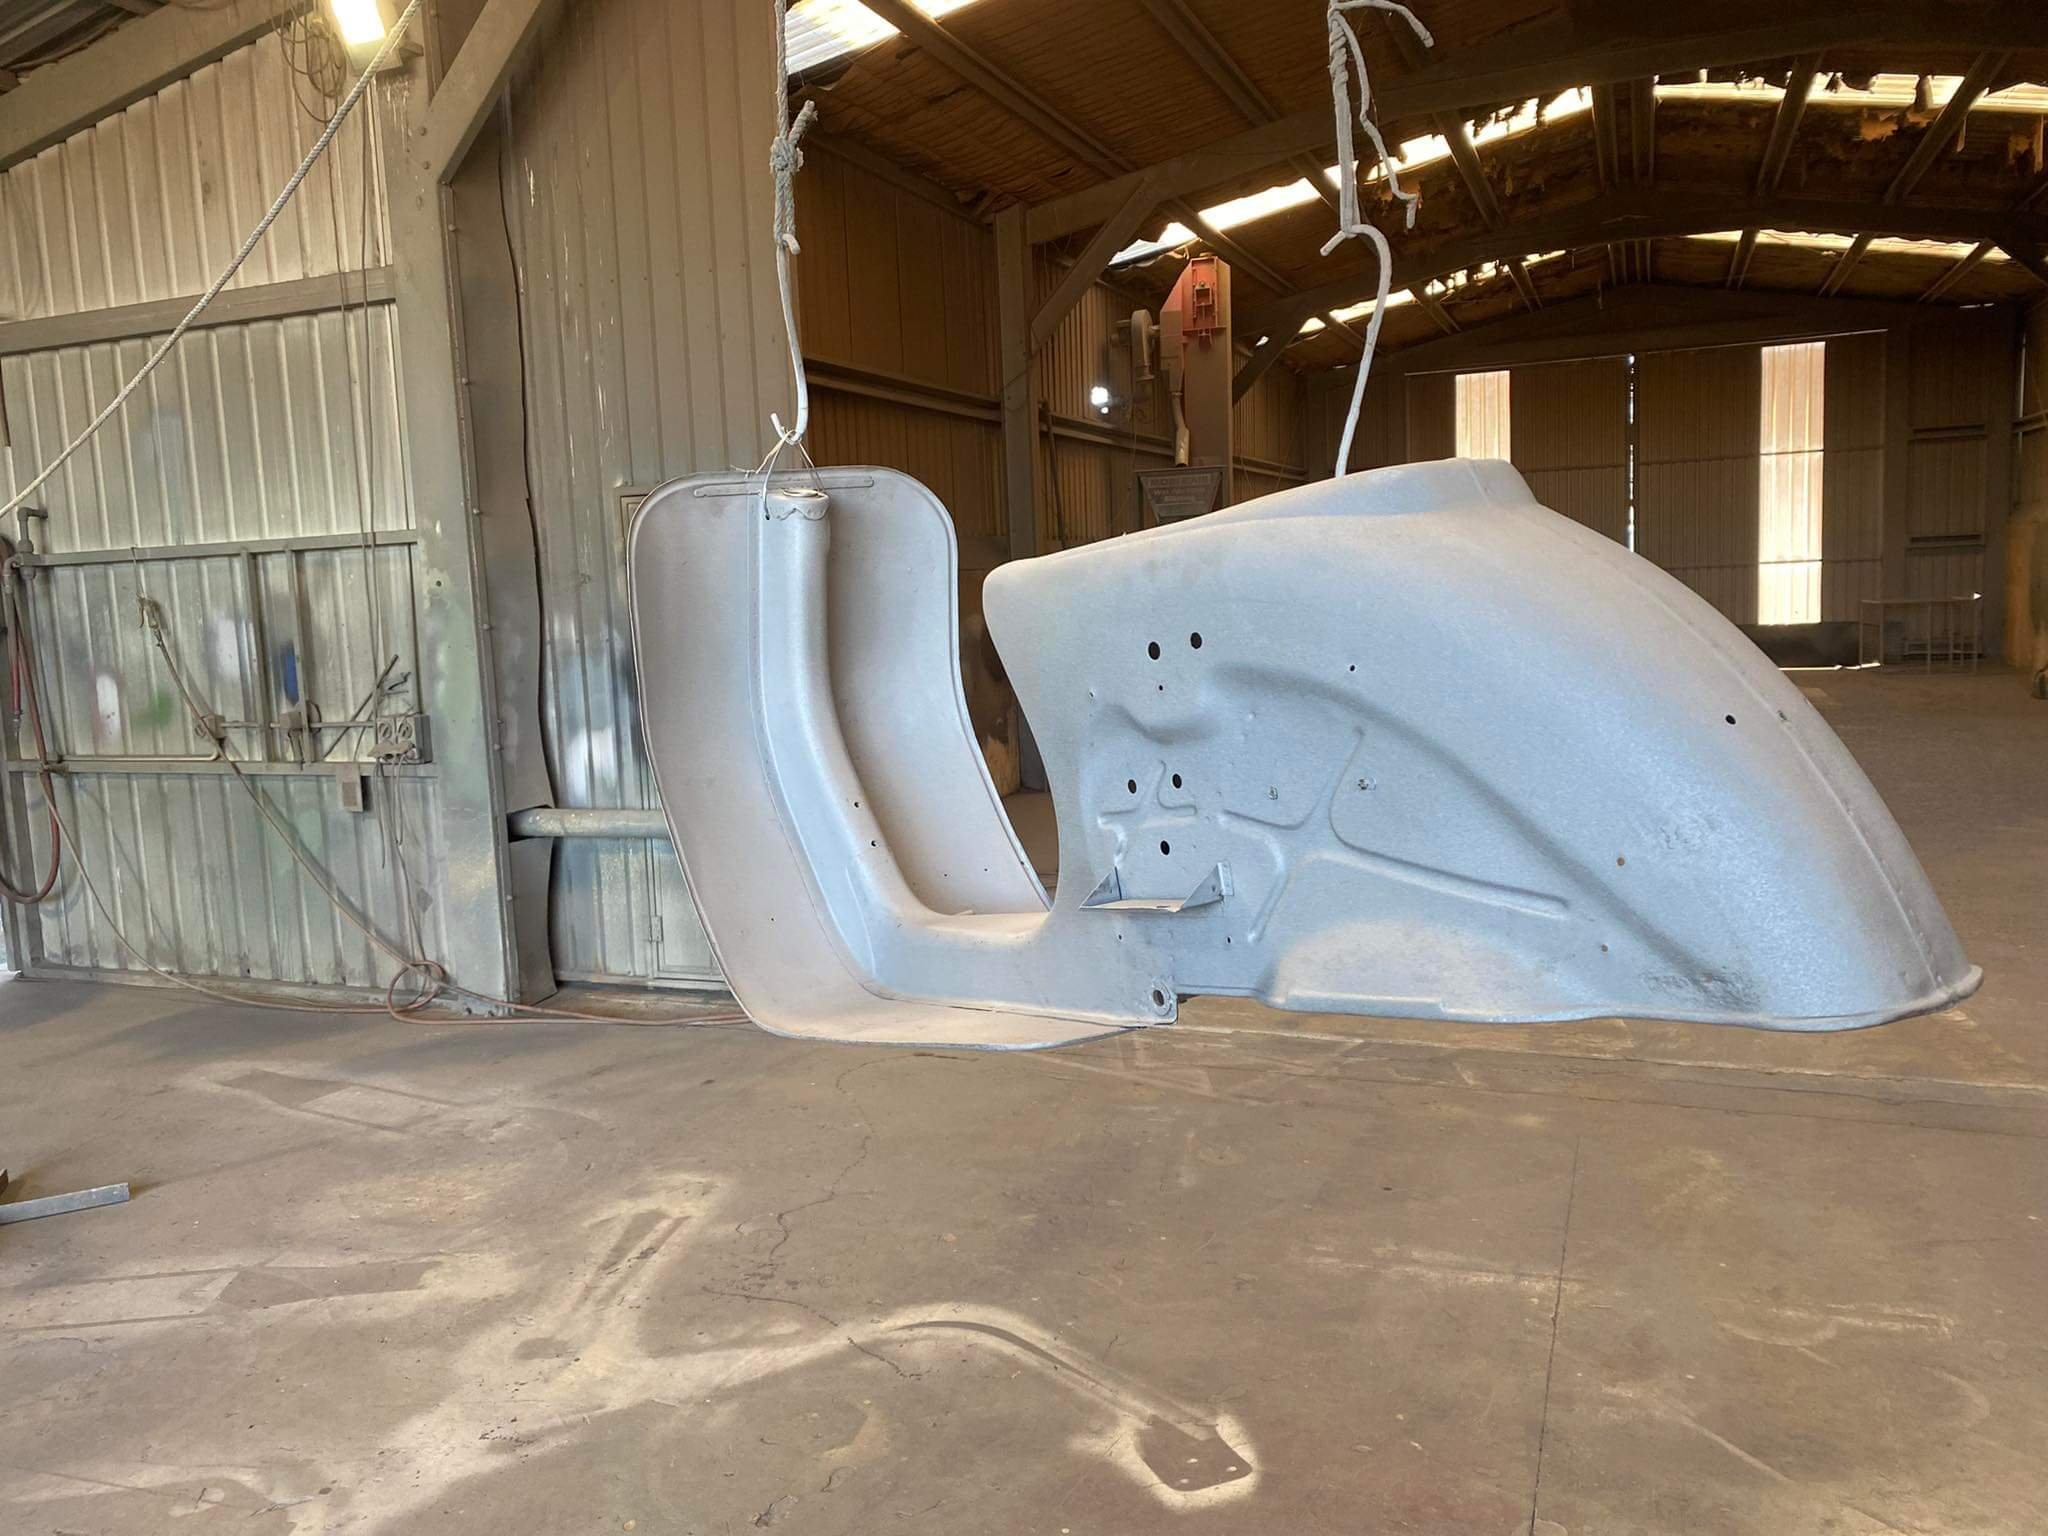
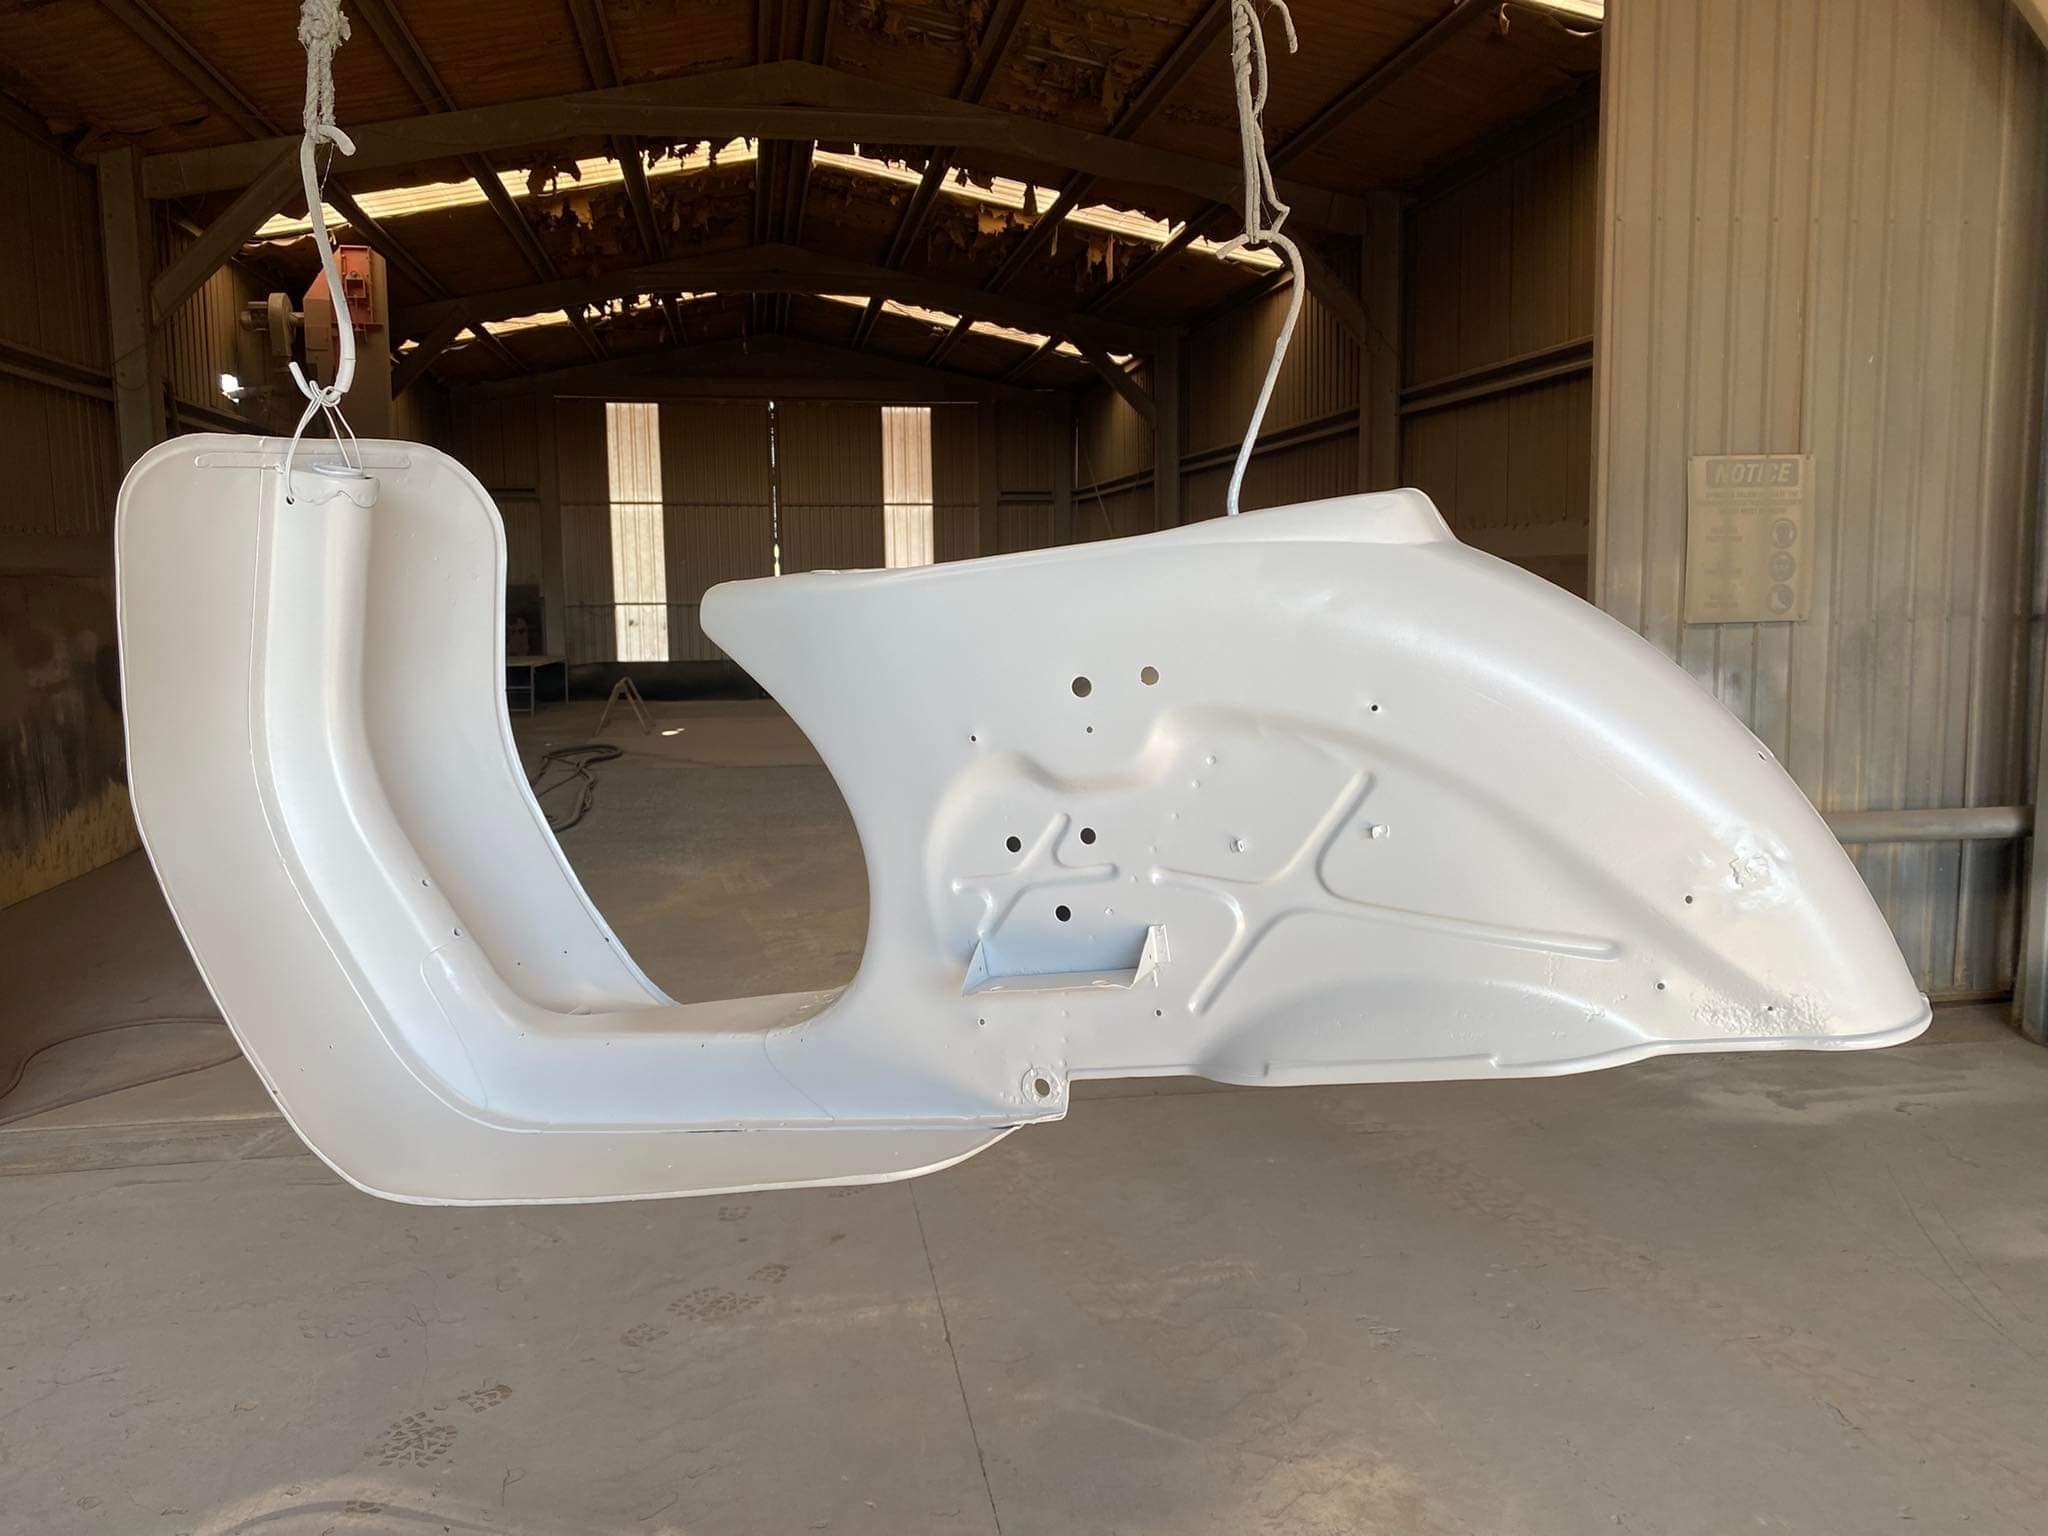
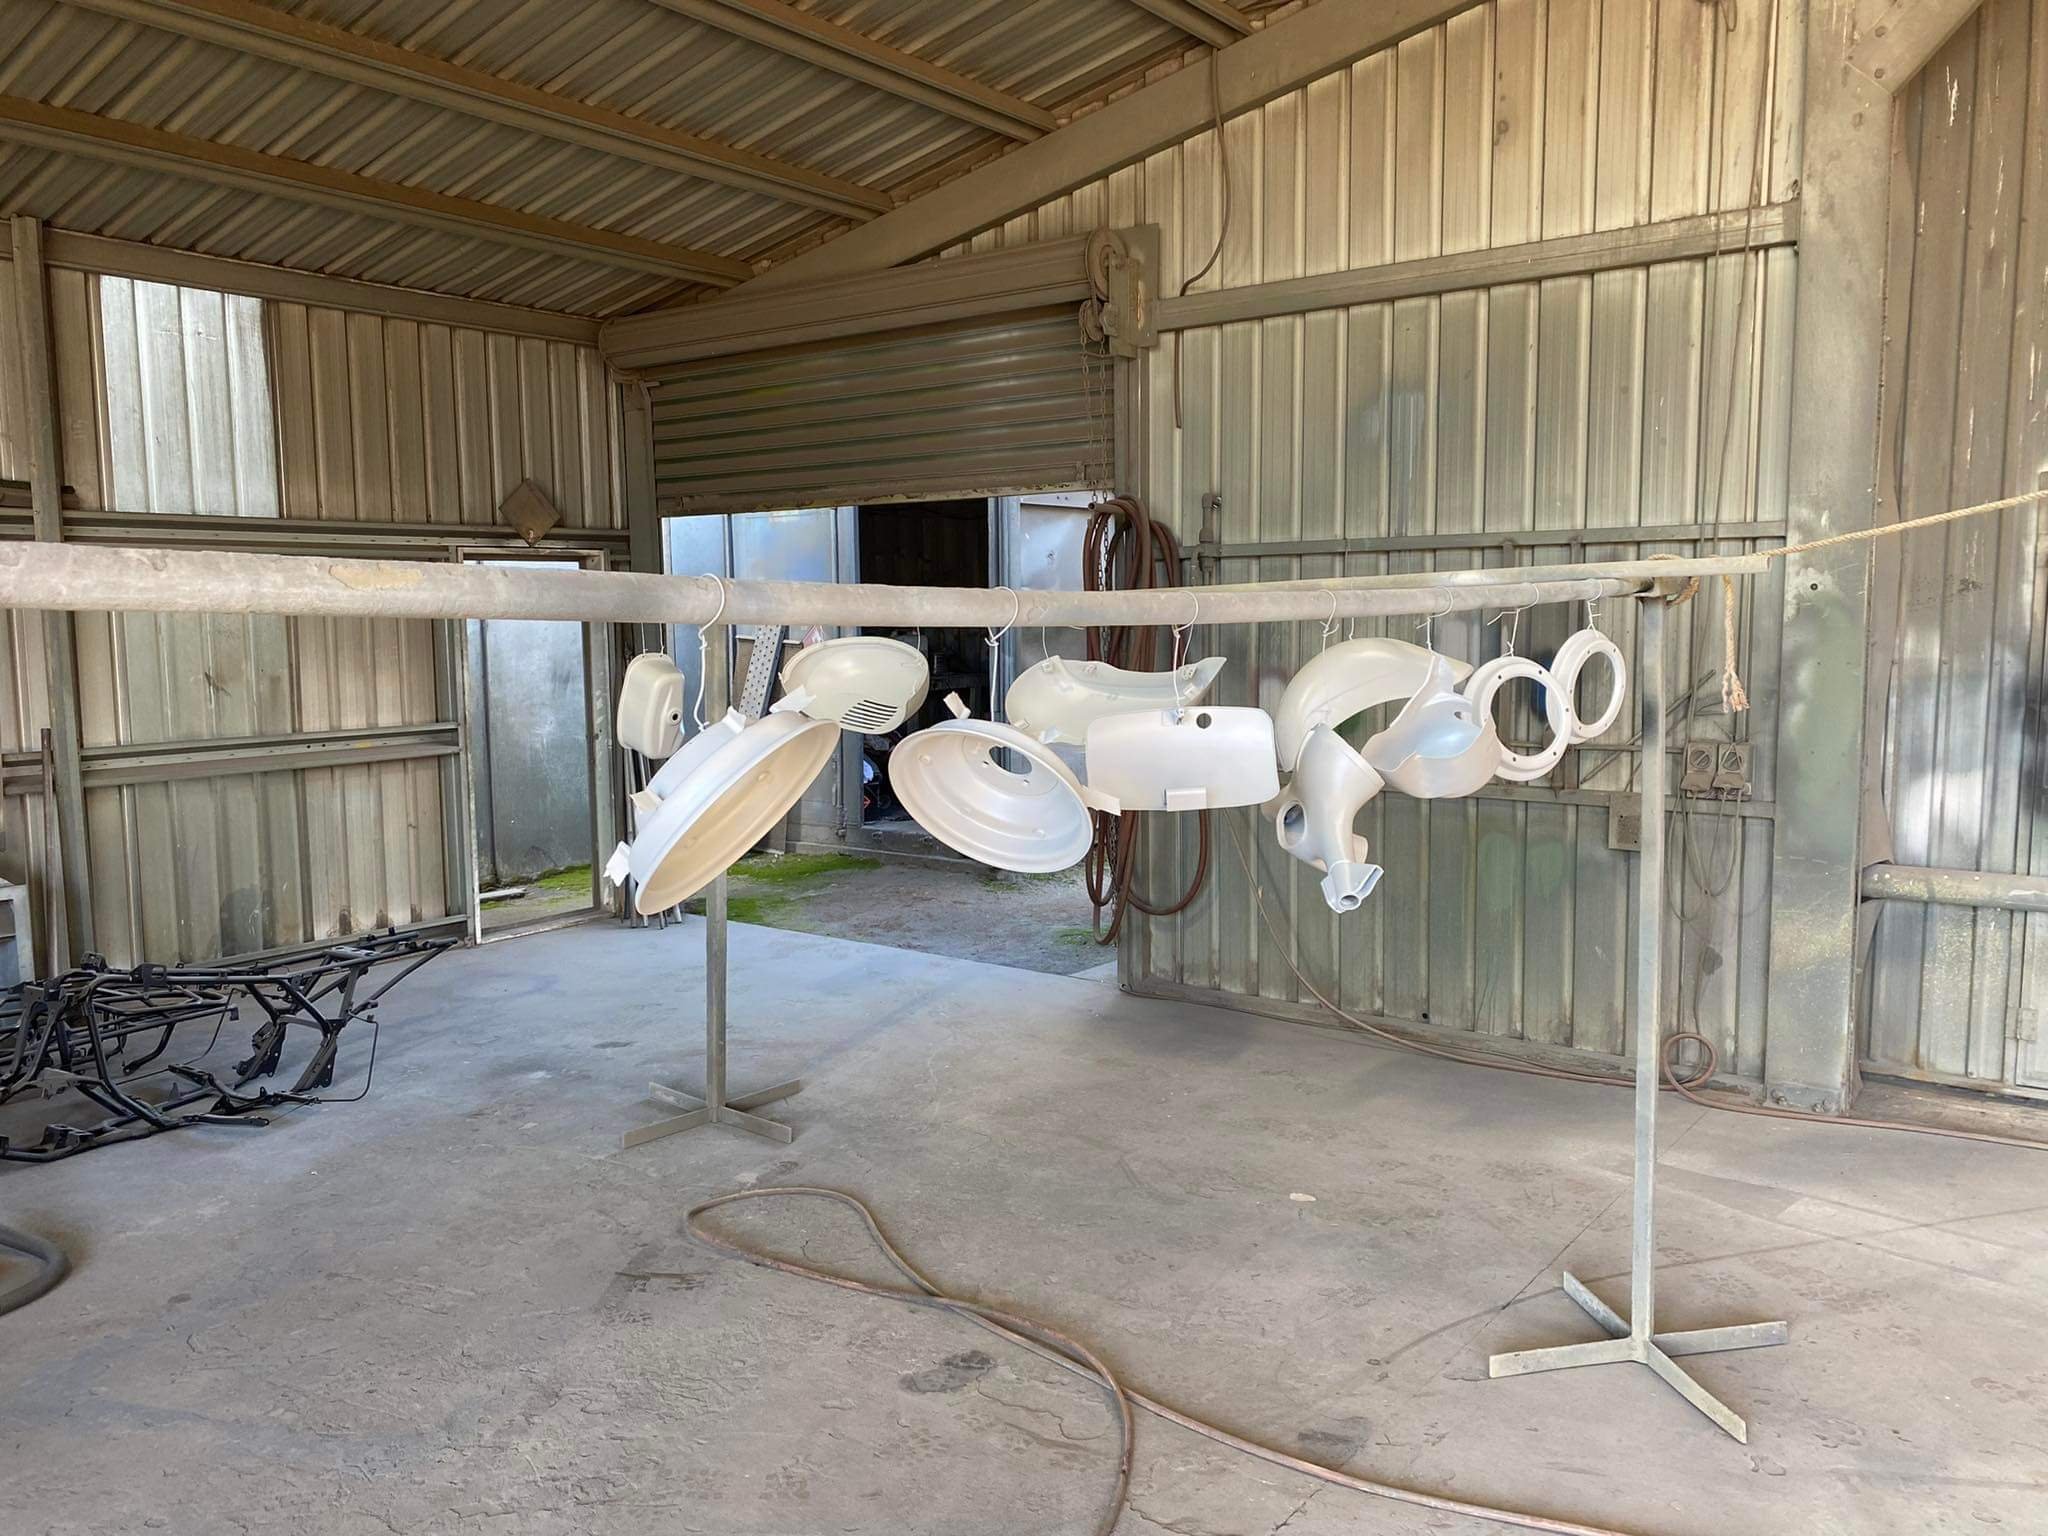
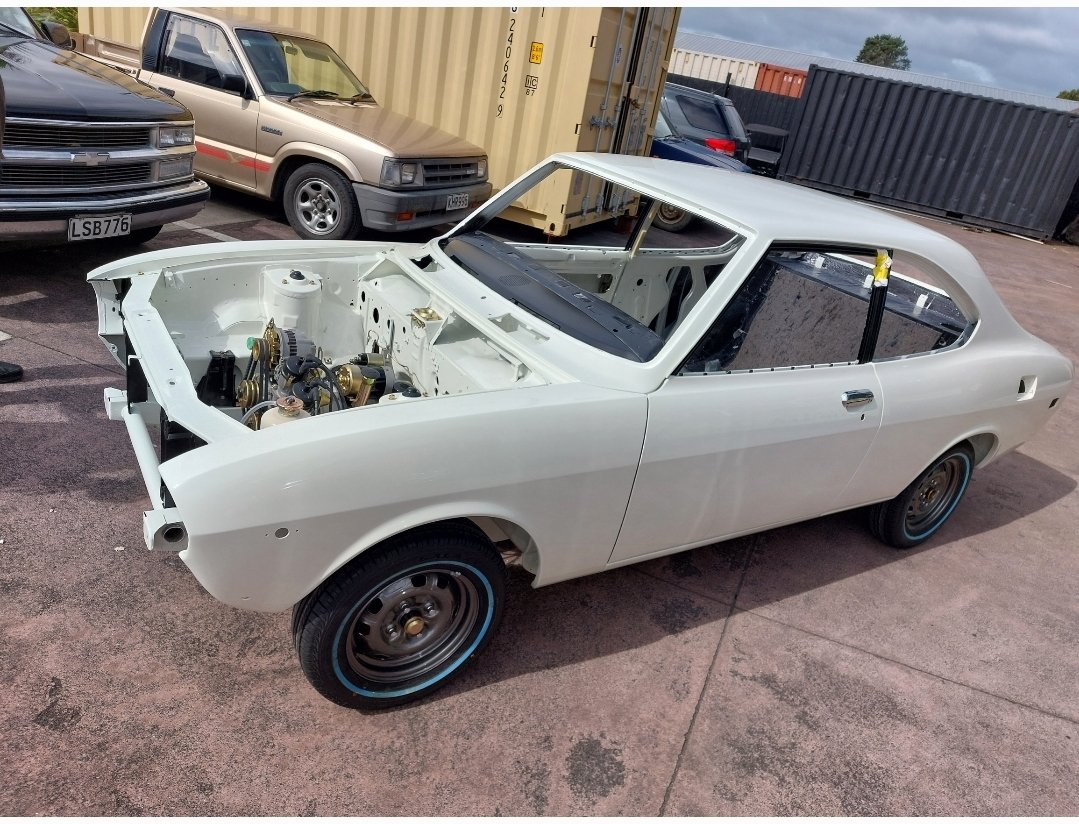
Pictures say it all. Blasted and epoxy primed...fuck yeah!! Super happy, such a mint body on this for 63 years old.
1 point
-
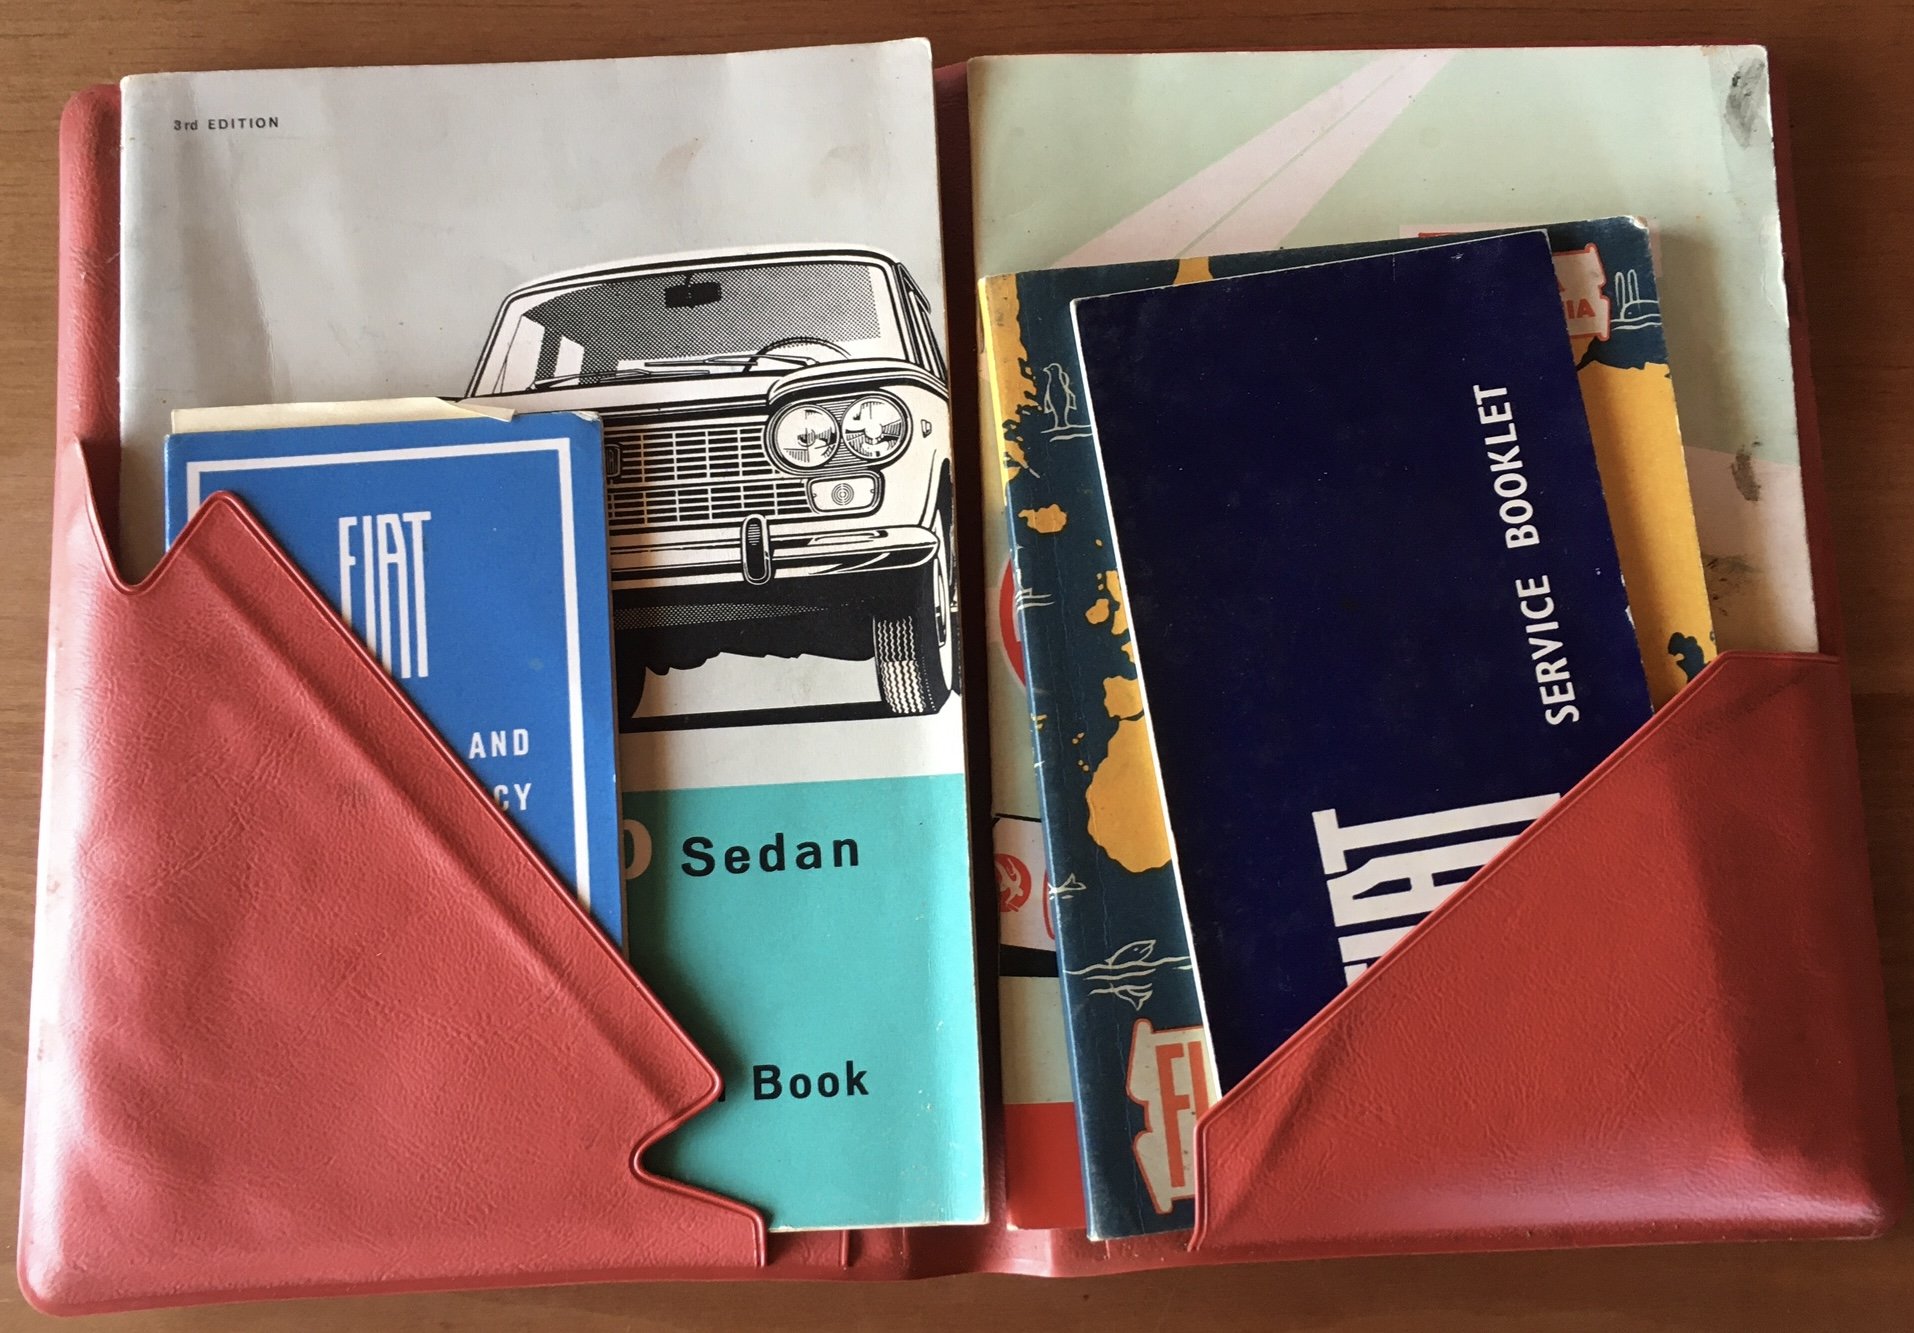
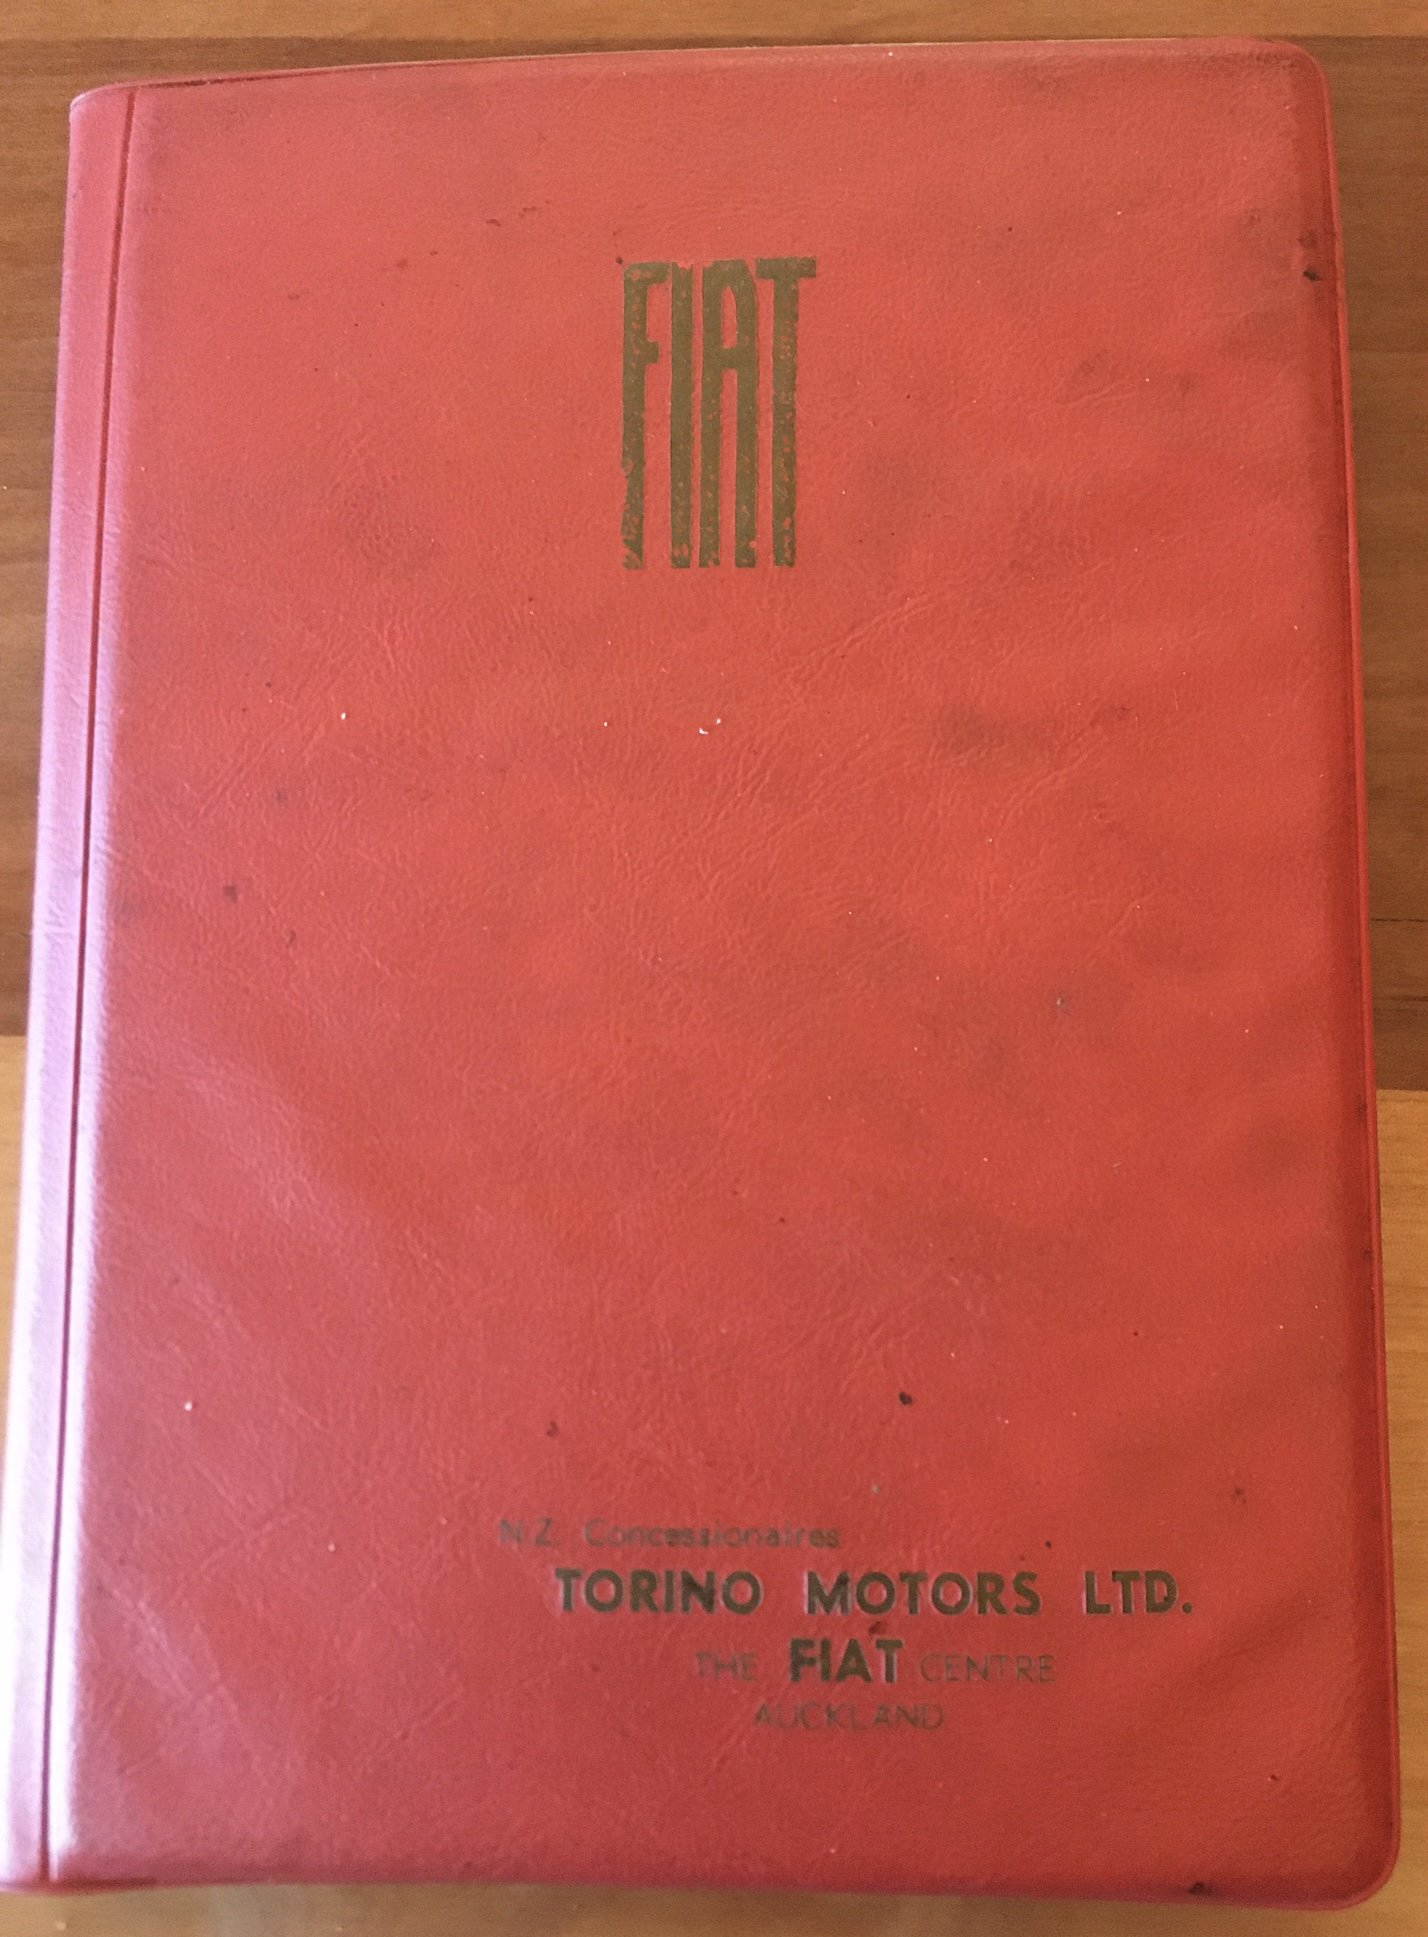
I do enjoy getting wads of paperwork with a car. The last owner before it was de registered was a receipt hoarder. My favourite bit though is this. The most comprehensive original document wallet ever. Containing a mint owners manual, Safe Motoring Hints book, original warranty booklet, worldwide service centre directory, and service coupon booklet (only filled out to 12,000 miles)
1 point
-
It is pretty tall yeah, but being aluminium it doesn't feel all that heavy, well compared to others I can remember. There is a quite a bit of empty space too. The 4g93 1.8 block is a taller block than the 1.6 so it will definitely be taller than a 4g93t like in a GSR. The hybrid 1.8 with this head has been done before so I'm sure it won't be too bad... maybe some bonnet ribs need removing... I guess I'll see!1 point
-
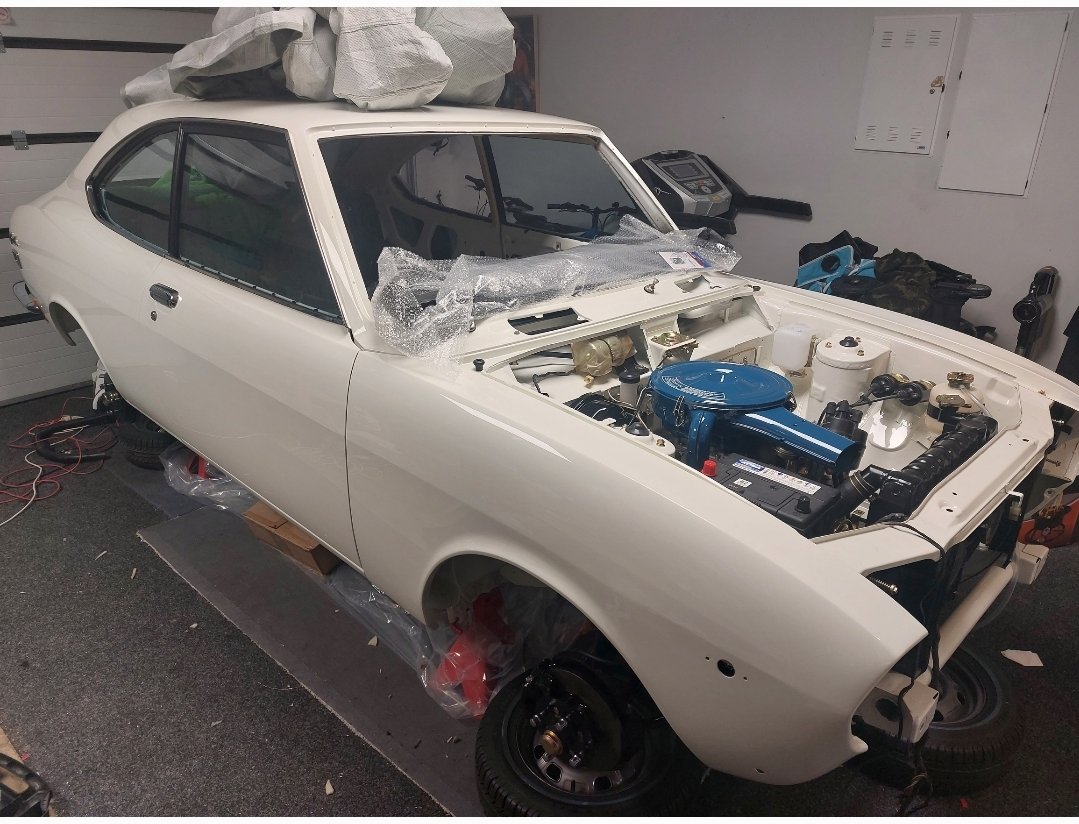
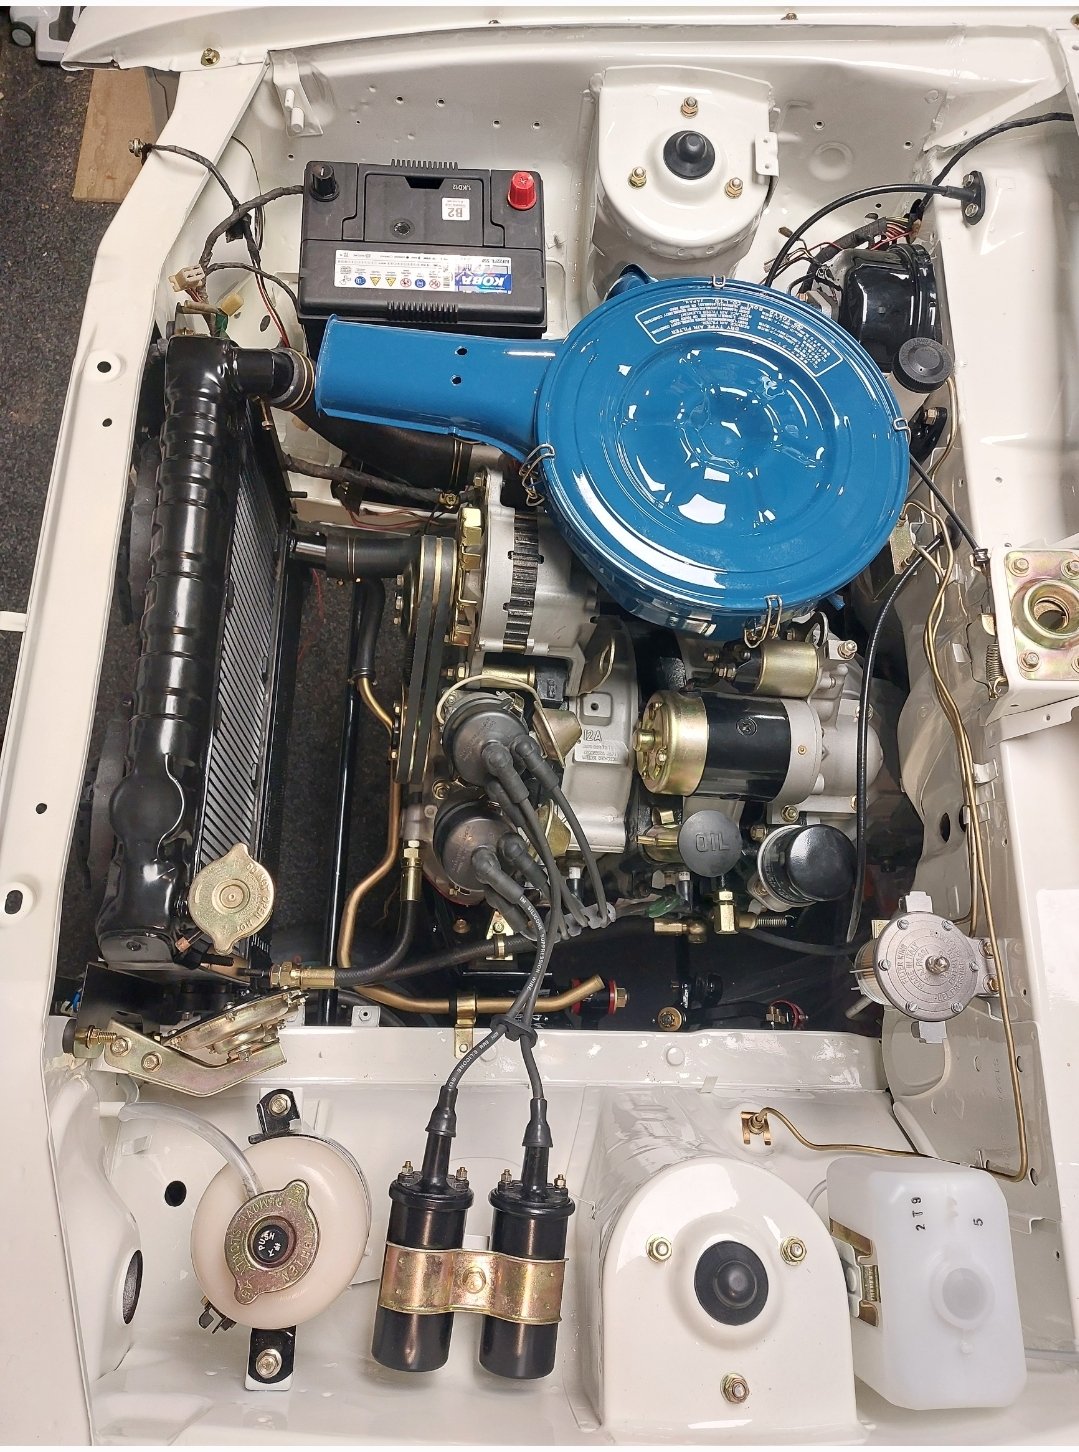
Engine bay well underway A few badges lights windows, chrome etc fitted too
1 point
-
So far, this has been going pretty well. Aside from some problems with cracking on the headers, the car has run pretty well. There's a few tune-based things to tidy up but nothing that really affects the drivability. All the Pioneer stereo gear is now functional. I use a Bluetooth cassette adaptor off Aliexpress to enable me to retain total tape functionality and play tunes from Spotify. It works much better than expected. I also went to town on my cert-spec wheels, as I figured it best look pretty good when I do have to take it for a WOF! Results as below. KP61 Night 21-04-16-Edit by Richard Opie, on Flickr KP61 Night 21-04-37-Edit by Richard Opie, on Flickr KP61 Night 21-04-44-Edit by Richard Opie, on Flickr KP61 Night 21-04-49-Edit by Richard Opie, on Flickr1 point
-
Ive been continuing to pick away at the 7M motor. @Roman dave made me some prototype pistons to try out some things. with my big cams and increased lift there is still a million rooms between the valves and the pistons. im never going to keep this a non interference engine if im aiming for 11 to 1 so i might as well re-think the whole piston dome situation. all those years building stupid two stroke engines might just pay off after all........ upshot is that i can run bigger valves without any clearance issues - only thing limiting this really is the 5M head's fondness for cracking between the valves and the spark plug hole. the other thing ive done is to sort out the cambelt/front pulley drive on the front of the crank. 5Ms have a stepped crank at the front and the cam pulley has a larger internal diameter than the crank pulley, 7Ms do not, the 7M crank pulley is larger internal bore than the 5M. so i machined the front of the crank and cut a new keyway in the crank so i can run the 5M pulleys on the 7M crank. i did spend 2 hours machining the crank only to find that it was bent and the middle journal was running out by half a millimeter. i had a spare crank so i just used that in the end. 2022-04-10_04-22-50 by sheepers, on Flickr 2022-04-10_04-23-10 by sheepers, on Flickr 2022-04-10_04-22-58 by sheepers, on Flickr 2022-04-10_04-22-44 by sheepers, on Flickr 2022-04-10_04-22-30 by sheepers, on Flickr 2022-04-10_04-22-37 by sheepers, on Flickr 2022-04-10_04-22-22 by sheepers, on Flickr 2022-04-10_04-22-14 by sheepers, on Flickr1 point
-
So... Diff flange was all fitted up and the driveshaft was fitted and then checked against the instructions from The Driveshaft Shop, and it was too short... It was extended as far as it could go so could not thrust out if required. To say I was disappointed would be an understatement. I had even double checked the measurements on the quote via email before ordering and asked if it took into account the thrusting and they said yes... When building a driveshaft it's a fundamental measurement, to fuck that up time and time again as I had been pre warned shows that they don't have the process and checks and balances in place to ensure the consistent quality of their products. I contacted the original salesman and he was very responsive, he got me to take measurements with driveshaft in place and quickly had a spacer for the rear diff made and shipped out to me at their cost. (luckily the driveshaft was short, if it was to long that would be an interesting discussion...) Once I had the spacer I made up the heat shielding for the front of the driveshaft, the carbon shaft has warnings on how hot it is allowed to get, and also I want to protect the CV joint from getting exposed to to much heat to prolong it's life. I have a new speed sensor on the way as my one is behaving really weird (cutting off the signal at 5000hz), hoping that solves the problem. Next step is get the car out on track again for a shakedown to see if I've improved the way the cooling works and fingers crossed the driveshaft solves the vibration issues.1 point
-
Well well well, it has been months of no updates on here. So i've got it painted came out alright. i've redone the ignition with an electronic points system which has made a massive difference with starting. i've played around with timing etc seems to be pretty spot on but one of the diaphragms in the carb has a small hole... so no big trips for her yet. low and behold more issues have popped up. Started getting air in the clutch line, rekitted the slave cylinder, replaced the line, kitted the master cylinder. STILL manages to get air in it which leads me to think I'm looking for a new slave cylinder or i've done such a good job and put it back together wrong Joined the local car club over here because who wants to pay $1000 a year in rego for a car just sitting in their shed when it could be $75 I've also made the mistake of purchasing two more vehicles because I didnt think my shed had enough junk in it. i'll no doubt make a quick build and discussion thread for these. 1971 Toyota Landcruiser FJ40 1974 Nissan Patrol G60 both in pretty decent shape more so the fj40 has a bit of here and there where as the patrol is still in transit from over east but has mostly been completed already unless i start prodding and poking...
1 point
-
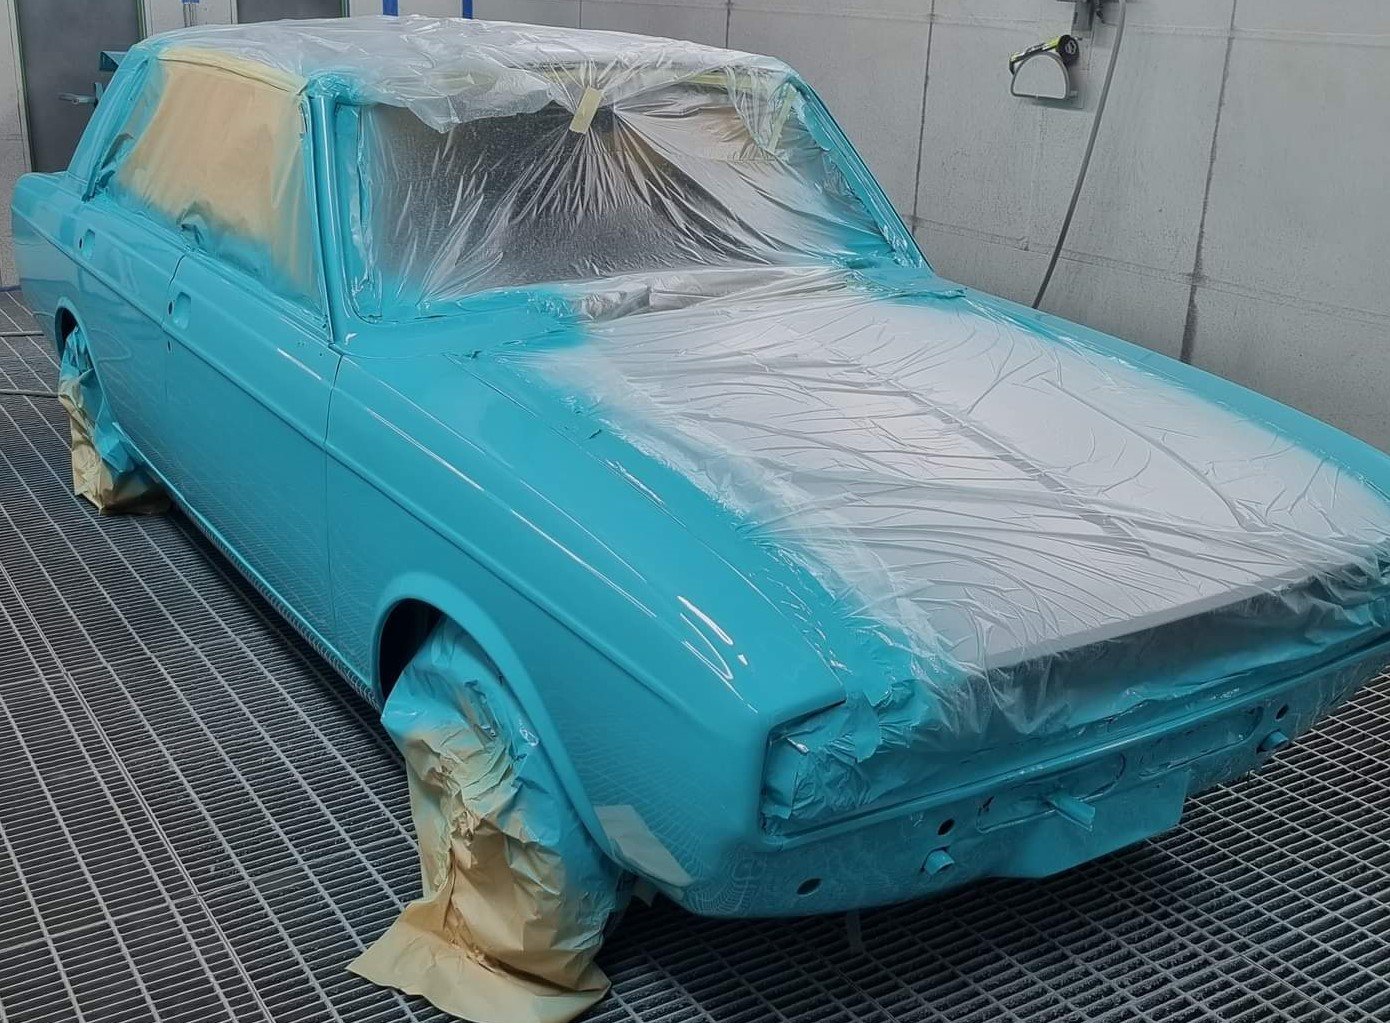
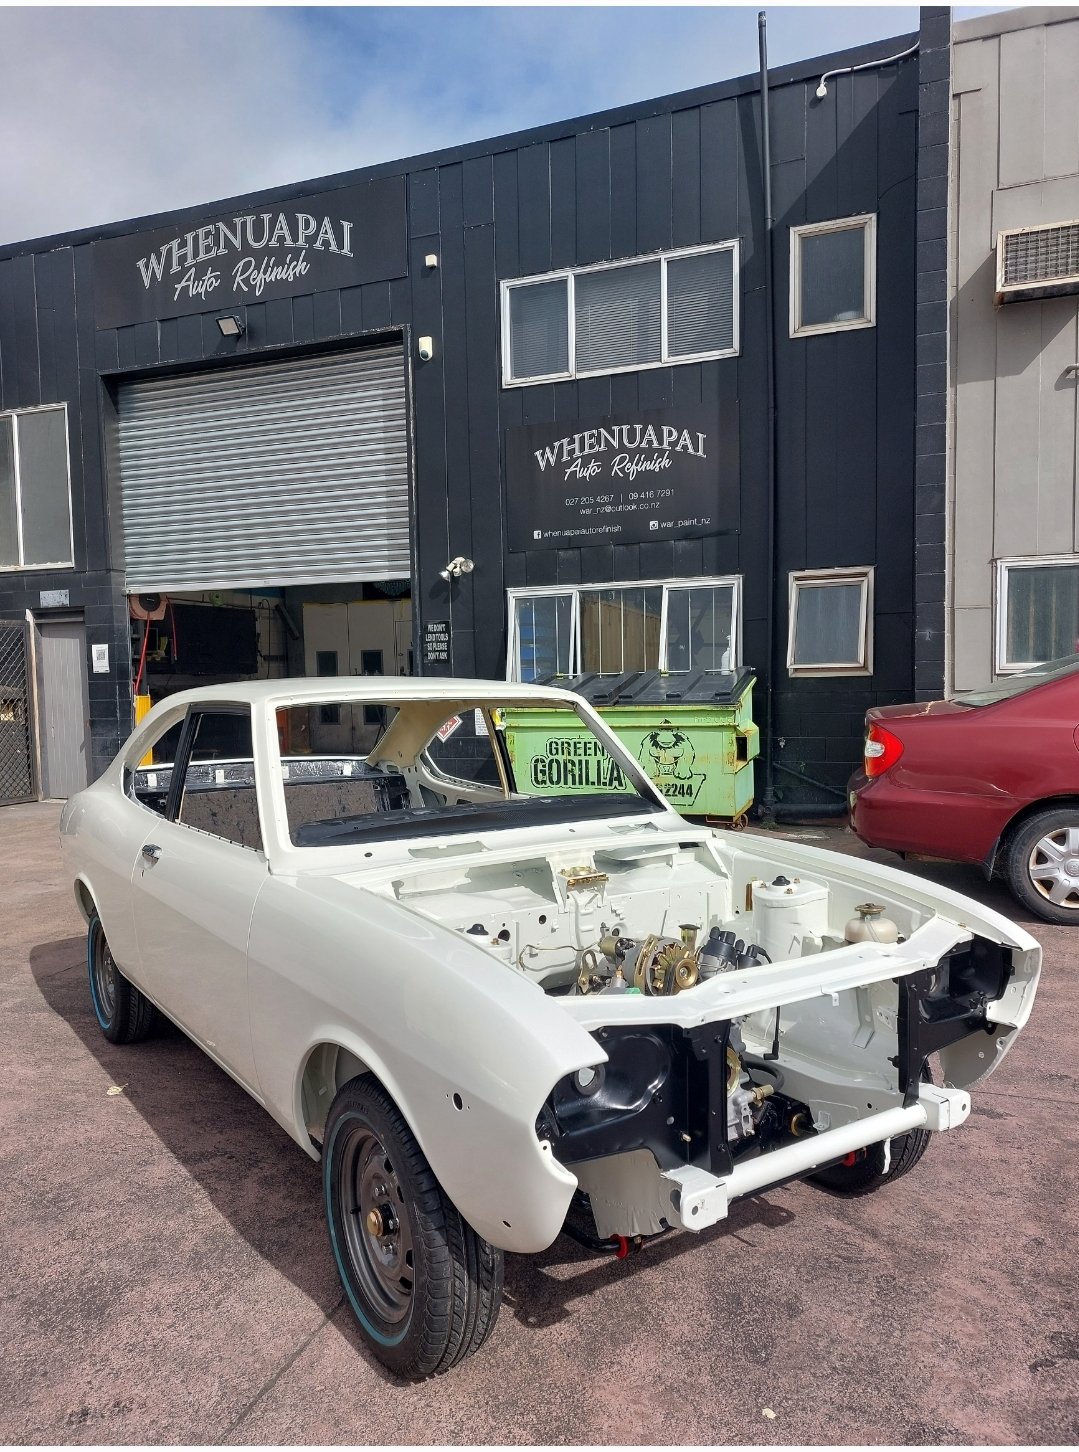
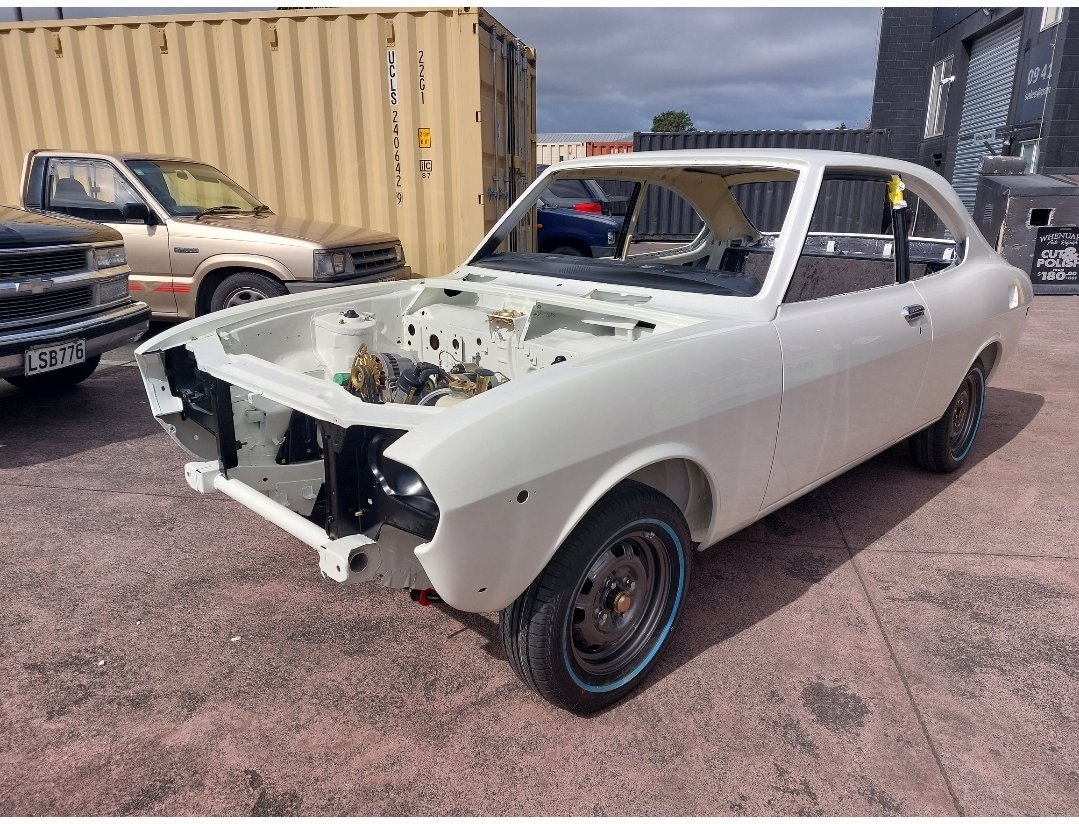
Panel fit up today, last big day at the paint shop, can't thank Whenuapai Auto Refinish enough for their attention to detail and quality work.
1 point
-
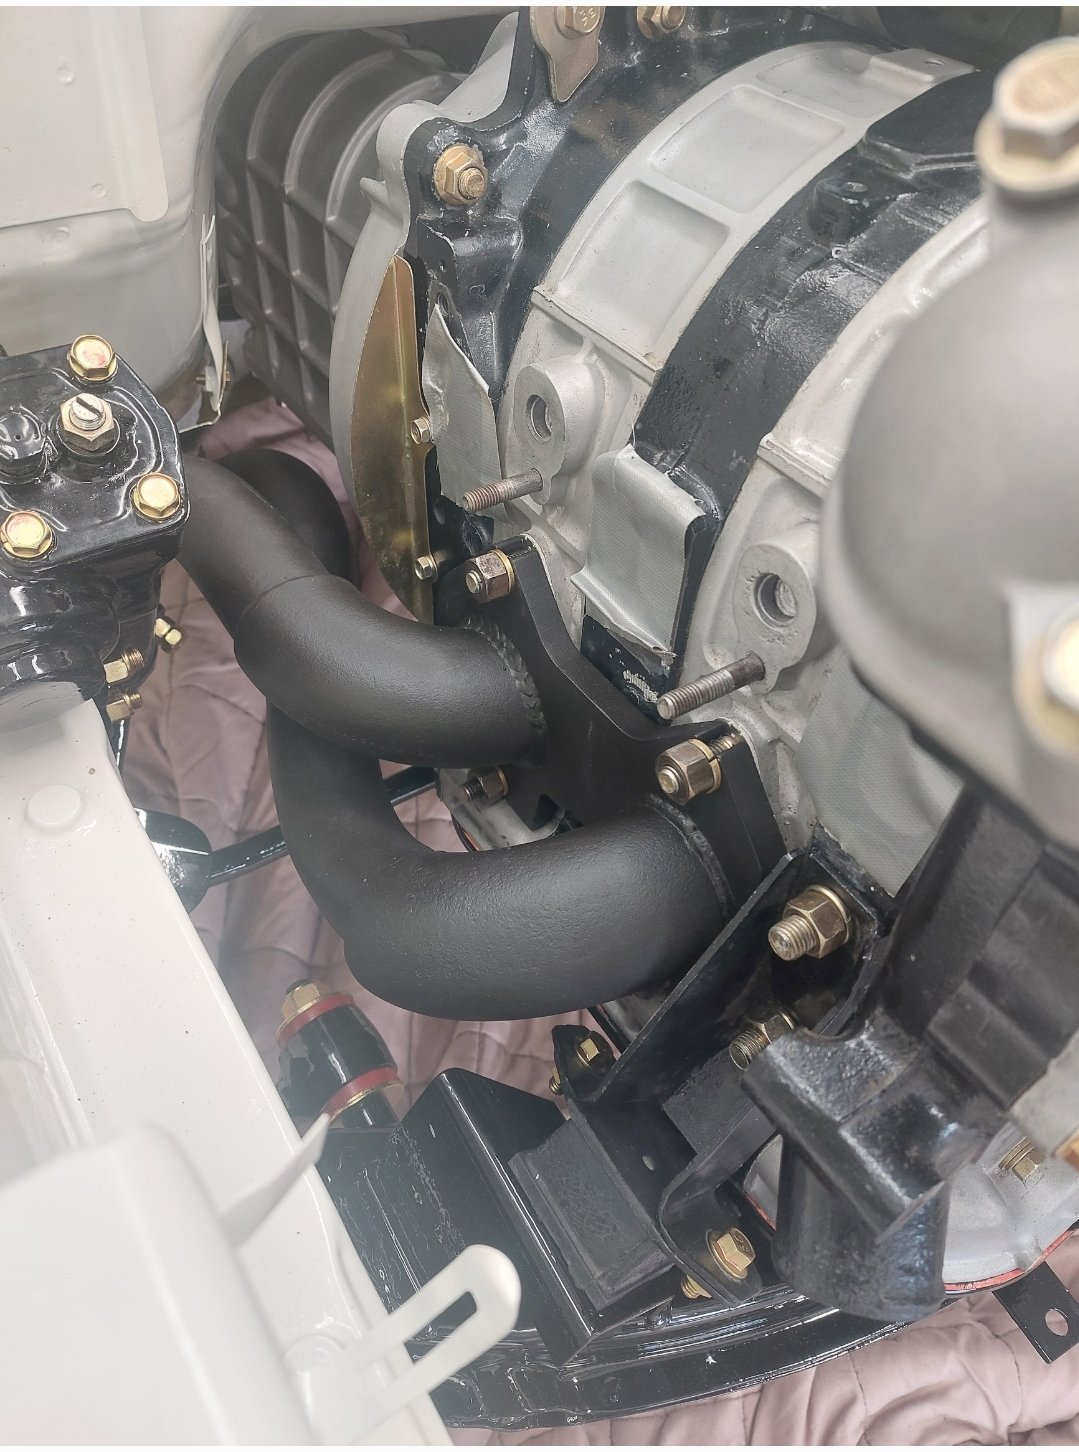
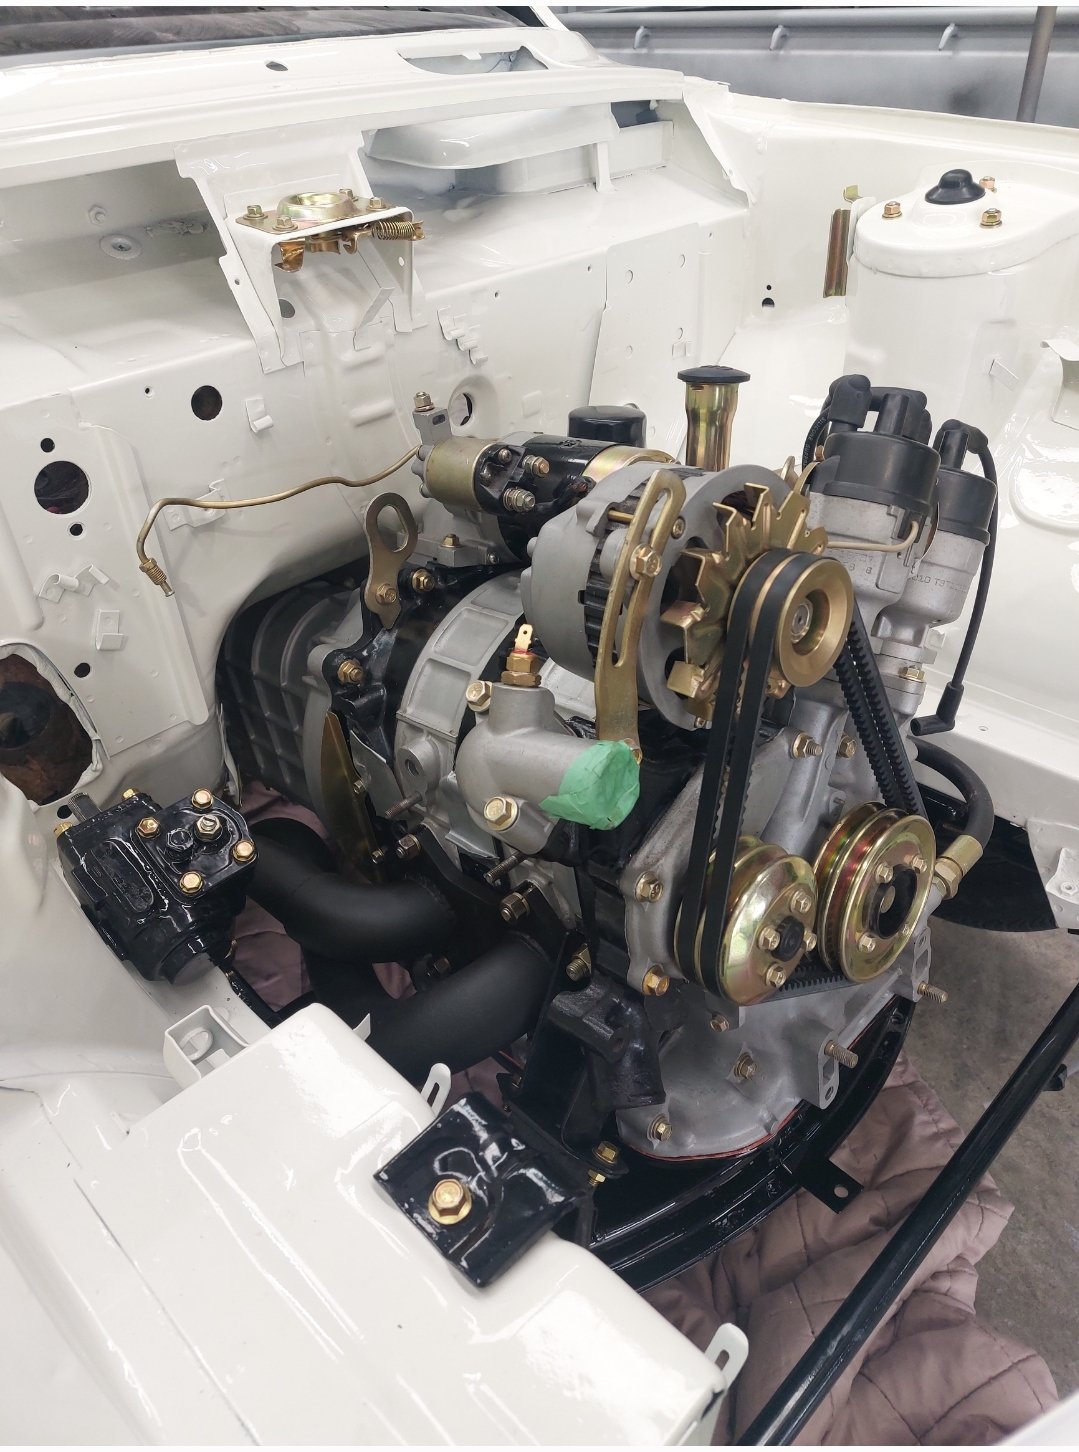
Motor and box in for good now, plus a number of other parts, including the new HPCd extractors
1 point
-
Some progress has been made. Driveshaft was sent up north to be balanced at a higher speed and the UJ's were tightened. And so had it out for another shakedown at a local sprint day. First race just took it easy checking things over (pretty boring video, best to skip). Second race, gave it full beans off the line against an EG civic with K24 and 300hp at the wheels, he got a bad start... Third race on slicks and it started drizzling, but overtook a Porsche and a Lotus... The driveshaft was a lot better, enough for me to push it a lot harder in those videos. But there was still a vibration there that won't be good for components, best guess is it's the angle of the engine/gearbox in the car, front of engine angled to left to clear headers and for weight distribution which means the UJ's are not in sync. Those videos also have me mucking around a lot with the brake bias as that's been all reset, along with suspension changes affecting rear of the car during braking so still getting it dialed in (sprint day you don't get many laps). Other thoughts, is the S2000 Gearbox throw is as short as the J160 with a short shift kit, if not shorter, it's a great feeling box. Also you may have noticed in my older videos I didn't heel and toe, originally that was because it was impossible to with the stock pedal setup and my seating position, but since I have the new pedal box and seat I really needed to learn, so with the minimal seat time I've been trying to get used to it, still a work in progress as you can see in the videos. So the shake down highlighted a few issues. Driveline Vibration still there What we believe is heat soak of the oil temp sensor as it hit 123 degrees, and there should be no way the oil hits that when it struggled to get over 80 on dyno (with some of my bonnet ducting removed which allowed a breeze over the sensor). Getting car up to temp with the EWP is a pain, it's not quite right at the moment. Was setup on dyno perfectly, but the real world has a lot more airflow over radiator. So before Christmas I shopped around for a driveshaft with a CV on the front, basically came down to only one place who were prepared/could make it to handle 9500rpm. Hence a new Carbon fibre driveshaft arrived last week from the Drive Shaft Shop out of the US, i'll be honest I was very hesitant in ordering from them as I had been forewarned by a couple of people about their quality and after sales support. But I had no other options. I can say their pre sales service was good with prompt communication and fast building of it and shipping. It still needs to be fitted into the car, we are just making up a flange that goes over the existing AE86 Diff flange (from the diff side) to better spread the load from the new driveshafts rear Hilux UJ which has a bigger bolt pattern. Here's the difference between Hilux and AE86 diff flanges. Heat soak of the oil temp sensor should hopefully be solved by some new shield i created. The EWP control is a bit if a pain, the duty cycle is controlled by RPM vs ECT. Which is great but i feel it misses another key input which is the speed of the car which affects the car's ability to get rid of heat. So it feels like half the solution to the problem. You can see the duty cycle all over the place here and the pump is barely breaking a sweat (and that's with half my radiator ducting closed off). For the EWP I made up (by hand, no lathe...) a reducer to drop the coolant pipe size down from 30mm to 18mm to slow the water, it goes into the return feed on the radiator after the water goes through the engine. I'm hoping that means I can use more duty cycle in the pump, so give a wider duty cycle range to play with. I've then tweaked the table handling the ewp to try and get it to be more flexible in it's ramp up/down by letting the ECU interpolate in between the cells more, feel free to let me know if this is a stupid idea... Old: New: So once diff flange is done, will aim to get it back out for another shakedown to see if we have finally solved the vibration and see how we are going with ECT. Discussion here:1 point
-
I've summarised your post into the questions and will do my best to answer as accurately as I can. This is entirely unofficial advice as there is no documented answers I can fall back on, so this can only be considered a subjective opinion at best. 1) A scratch built vehicle can be made up of any parts, as long as they are automotive parts that meet the relevant requirements. 2) The process for a car made from a pile of parts is that they are nearly always deemed to be scratch-built. It is unlikely that a car made from a collection of parts could be called a modified production vehicle. (also refer to my point about rebirthing stolen vehicles in my previous post) 3) This is a tricky one - it should replicate an existing vehicle but if they were all effectively a unique appearing vehicle, then I think there may be grounds to consider a replica vehicle built using similar construction methods and materials, however it must replicate in appearance and performance to what you would expect from a vehicle at the time. (ie: you can't make a space ship shaped body running a smallblock Chevy on a 1927 Rolls Royce chassis and say it is a Historical Replica because 1927 Rolls Royces were all unique coach built to order) 4) It's easier to explain this one with some scenarios for vehicles with identity - Replacing the body on a vehicle with like for like is a repair and is considered OE production vehicle, (example - fitting an unfucked Hilux body onto a Hilux chassis that has had the body rolled over and squashed) - Modifying the body on a vehicle is a modification that requires certification, and is considered a modified production vehicle, (example - cutting a Corolla station wagon into a ute body) - Fitting a full custom body on a vehicle makes the vehicle a scratch-built vehicle (example - fitting a fibreglass beach buggy body onto a VW beetle floorpan) Almost all vehicles without identity will fall into a scratch-built category unless they successfully apply Alt Docs and the vehicle gains an identity through that process. 5) Suitable information would be a description of the vehicle that your replica is replicating, it should include information covering the full running gear, chassis, construction methods etc alongside with as many images of the vehicle as is possible, pair the same information for your vehicle and we can make a comparison. It does not have to be a rivet for rivet identical, but if we can compare them, see a comparable silhouette, find substantially similar running gear and construction, then there is a possibility it could be accepted as a Historic Replica. Again - this is not official advice, but the best I can provide having sat in on these meetings before where these determinations have been made.1 point
-
Gidday Simon, it was me you talked to on the phone yesterday at LVVTA. Reading your recount, I think I did not fully explain a part which might help clear up a couple of the issues you are having. An important part to understand is a critical element missing for your vehicle, which does not allow it to proceed as a Modified Production Vehicle, is a lack of an identity in Landata (a record) and I suspect the vehicles that have been certified previously, were built from vehicles that had an existing identity in Landata. The Alt Docs (CA03) is a way for a vehicle without an identity in Landata (that would have previously had one but has been lost to time) to gain an identity. However if you have built the car out of a bunch of spare parts lying around and/or purchased from swap meets and/or parts made from scratch, then it is not likely to get Alt Docs approved. This is to prevent duplication of identities, for example: say there are 3 vehicle owners with 1932 Fords, all making upgrades to their vehicles and after their upgrades, one will have a spare chassis, the second has a spare engine and the third has a spare cowl and fenders. Someone cannot combine those parts with a bunch of custom made parts and/or parts from a parts catalogue and then simply register it as a 1932 Ford, as this would mean there are now 4 x 1932 Fords, where there were once 3 x 1932 Fords. Unfortunately, without an identity it will be a scratch-built vehicle and needs to meet all the requirements for a 2021 scratchbuilt vehicle, however Historic Replicas do have a few relaxations for some of the requirements. For it to be considered an Historic Replica it must be an authentic replica (not readily distinguishable from the original) of a historically existing vehicle from a period of motoring history before 1960. All other scratch-builts are Reproductions or Custom/Unique. If you feel there is sufficient justification to classify it as a Historic Replica, work with a certifier to provide the information required to Head Office and we will discuss it at our tech working group with NZTA to hopefully achieve a desirable outcome. Not necessarily relevant in your case, but it is worth noting for anyone else reading this post, is that some vehicles don't fit the box of a scratch built OR modified production vehicle, for example: you cannot build a vehicle entirely from a pile of original parts and simply declare it is a scratch-built vehicle. As this process could be abused and end up rebirthing stolen vehicles, to prevent this, there are quite a few hoops to jump through and the process is not an easy ride. Hopefully I have filled in a couple of the gaps, it's always hard to fill in all the information in a single phone call. Cheers KK (Chris)1 point
-
Sounds like a top bloke.1 point
-
No news on mine. I submitted it on the 26th of September. I've chased it up with 2 calls (3 weeks and 5 weeks after submission, which I think isn't being pushy) and then an email 2 weeks after that. Both calls said "its still being reviewed" and no reply from email (sent Thursday before last, 14 days ago, and got a confirmation saying there is a 10 business day turnaround) So fuck knows what's happening. Zero communication/visibility. I'm just gonna put an old plate on the Ironhead and ride. The $400 fine of getting rolled is actually cheaper and less painfull then trying to do things legally.... Have to play nice too, as it ultimately falls in their hands if you can register it or not. Waiting for the ok before I tell them how appalling their service is... Though have another application for a different bike to submit straight after, so maybe should wait for that one too. If I was that slow and poor at communication and non performant in my job, I'd be fired, not to mention how bad I'd feel for all these people waiting for "the go-ahead" for their pride and joys.1 point
-
So what everyone has actually being waiting for, the final comparison between Toyota Altezza RS200 3SGE BEAMS and a Honda Accord Euro R K20a engine in the same chassis Still trying to get my hands on a single dyno sheet with the 2 different engines on it. So this will have to do. Modifications/Setup Toyota Altezza RS200 3SGE: 120,000 k's SQ Engineering Quad Throttle adapter plate 4AGE Blacktop throttles 70mm trumpets Combined Piper Cross Filter Stock Injectors SQ Engineering Slim line alternator (smaller Echo alternator) No Power Steering pump or AC Custom header (TRD Copy) to side exit exhaust 2.5" Adrenaline R muffler Link G4+ Storm (Blue) Engine internally stock Lightened flywheel HD Exedy Clutch J160 Gearbox 3" Driveshaft with sliding yoke into gearbox Oil: Castrol 5w40 Rev Limit: 8000rpm Dynoed in 5th gear 1:1. Honda Accord Euro R K20a: 108,000 k's Skunk 2 Ultra Street Intake Manifold 770cc FIC injectors Skunk 2 74mm Throttle Body. 3" intake pipe from pod filter. Custom header to side exit exhaust 2.5" Adrenaline R muffler Stock water pump replaced with EWP Alternator replaced with smaller Honda D15 one. No Power Steering pump or AC Stock Oil Pump and Balance Shafts replaced with ported Type S oil pump. New Timing chain Lightened flywheel HD Exedy Clutch Link G4X XtremeX Honda S2000 AP1 Gearbox 3" Driveshaft with sliding yoke built into shaft as gearbox has flange VTEC 4500rpm Oil: Castrol 5w40 Rev Limit: 9000rpm Dynoed in 5th Gear 1: 0.94076 Same: Tires 54cm Michelin Slicks at 21 PSI, on same Rims Same AE86 Diff (Brakes were changed from stock to AP with knock back) 4.5555 Crown wheel and Pinion. Same Dyno Different: Dyno retarders have changed from 110v to 220v. Results 3SGE : 201hp @7250rpm 173.6 lbft @5150rpm K20a: 206HP @8250rpm 167.9lbft @5300rpm Thoughts I'm a little bit disappointed in final figure, but I think my expectations were to high. You have to take all the HP figures that everyone posts with a grain of salt. Especially anything from the UK who like to give made up flywheel figures when they dyno there cars on a rolling road... Changing from a front wheel drive to rear wheel drive setup definitely has more drivetrain loss, from what I've read a factory stock S2000 AP1 with 240/250hp at the flywheel dynos 200hp at the wheels. Also a lot of people show "stock internals" figures which include changing cams etc. So the power figure is in the right ballpark really for the modifications (stock K20a has 220ps at flywheel) as rear wheel drive. Looking at some of the NZ figures I have seen, the engine would probably get quite a gain (20 to 30hp) from a set of drop in cams (no other valve train changes) But if you ignore the single figure and look at the dyno sheet it pretty much makes 200hp from 6700 rpm all the way to 8700 rpm which is a very significant power band. So overall, it's a good improvement. Shakedown So I then got it out to the track and managed 4 laps before the gearbox lost most of it's oil when a bolt came loose. Luckily I was going fairly slowly so no internal damage done hopefully. However a bigger issue is a massive driveline vibration. Plan A: Driveshaft is getting balanced at 5000 rpm (it does 9500 rpm in 6th) Plan B: CV Front joint on the same shaft, or a replacement driveshaft. Driveshaft is to short to go 2 piece and we think the angle of the engine and gearbox is impacting the universal joints. However aftermarket CV joints for these are supposedly not very good. So currently looking at options. Car definitely felt like it was pulling really hard, but with so few laps, and me just making sure everything was working, not a good indication of final result. Videos: First 2 Laps: Second 2 Laps (where it dropped the oil): Flyby (Potato Cam):1 point
-
Well then, I've been tinkering away. The car was booked in for a WOF check on 19/08, and cert inspection on 27/08. As we all know, everything got fucked up again cos of the Cov, so none of that even happened. What I did do prior, was get the engine bay in a state ready to cert. Basically, LVVTA rules require the crankcase vent to be routed back into the intake, and my catch can setup/open trumpets was not going to work I'd always intended to run my big ITG filter over top of the trumpets, and the cert man confirmed it was OK to run a cam cover vent straight into the filter backing plate. I have spare cam covers to allow for this, and the net result was as below. Unfortunately, some bad measuring on my part meant the filter won't fit around the trumpets in situ - meaning I either need to put 50mm trumpets in, or just run without. For the cert purpose I chose to just run without. 20210918_105417-Edit by Richard Opie, on Flickr Anyway, I never got a cert, or a check, or fucking anything because diseases and shit. I'm still at home, not working, not earning, not happy. But I went and got the car anyway, and made some changes with a view to heading out and finally taking some proper photos with my real camera instead of the phone. First thing I did was install the Pioneer tape deck with the mounting kit. This thing is wonderful, it's hands down the rarest, weirdest most interesting 'off the shelf' part this car has on it, in my view. Everything fit perfectly, clipped and bolted in to where it needed to. 20210918_131215-Edit by Richard Opie, on Flickr For the most aesthetic photos, I figured it was best with the blue cam covers, open trumpets and catch can lines reinstated. I'd ordered some TecArts trumpets way back in March, these finally arrived in June from Japan and I took the opportunity to fit them up. 20210918_164209-Edit by Richard Opie, on Flickr 20210918_165815-Edit by Richard Opie, on Flickr 20210918_165822-Edit by Richard Opie, on Flickr These are 100mm long vs the 75mm we tuned on, have that great looking 'merged' bellmouth look to them. I'm smitten. It's also louder. Gave the interior a bit of a spruce up. Painted the kick panels and some other plastic trim, using an SEM product specifically designed for refinishing plastics. Custom matched by Carcolors on the shore. It's epic stuff! Overall the interior has come up well, it's a really nice light, airy place to be, kind of the vibe I wanted it to have. Black interiors are dime a dozen - it's nice to choose something different and actually have it come together. 20210918_170929-Edit by Richard Opie, on Flickr 20210918_170940 by Richard Opie, on Flickr 20210918_171300-Edit by Richard Opie, on Flickr Final wipe down, and it was ready to tuck under its cover for the night. Nice to just have a cold drink and stare at it for a bit. 20210918_175516-Edit by Richard Opie, on Flickr1 point
-
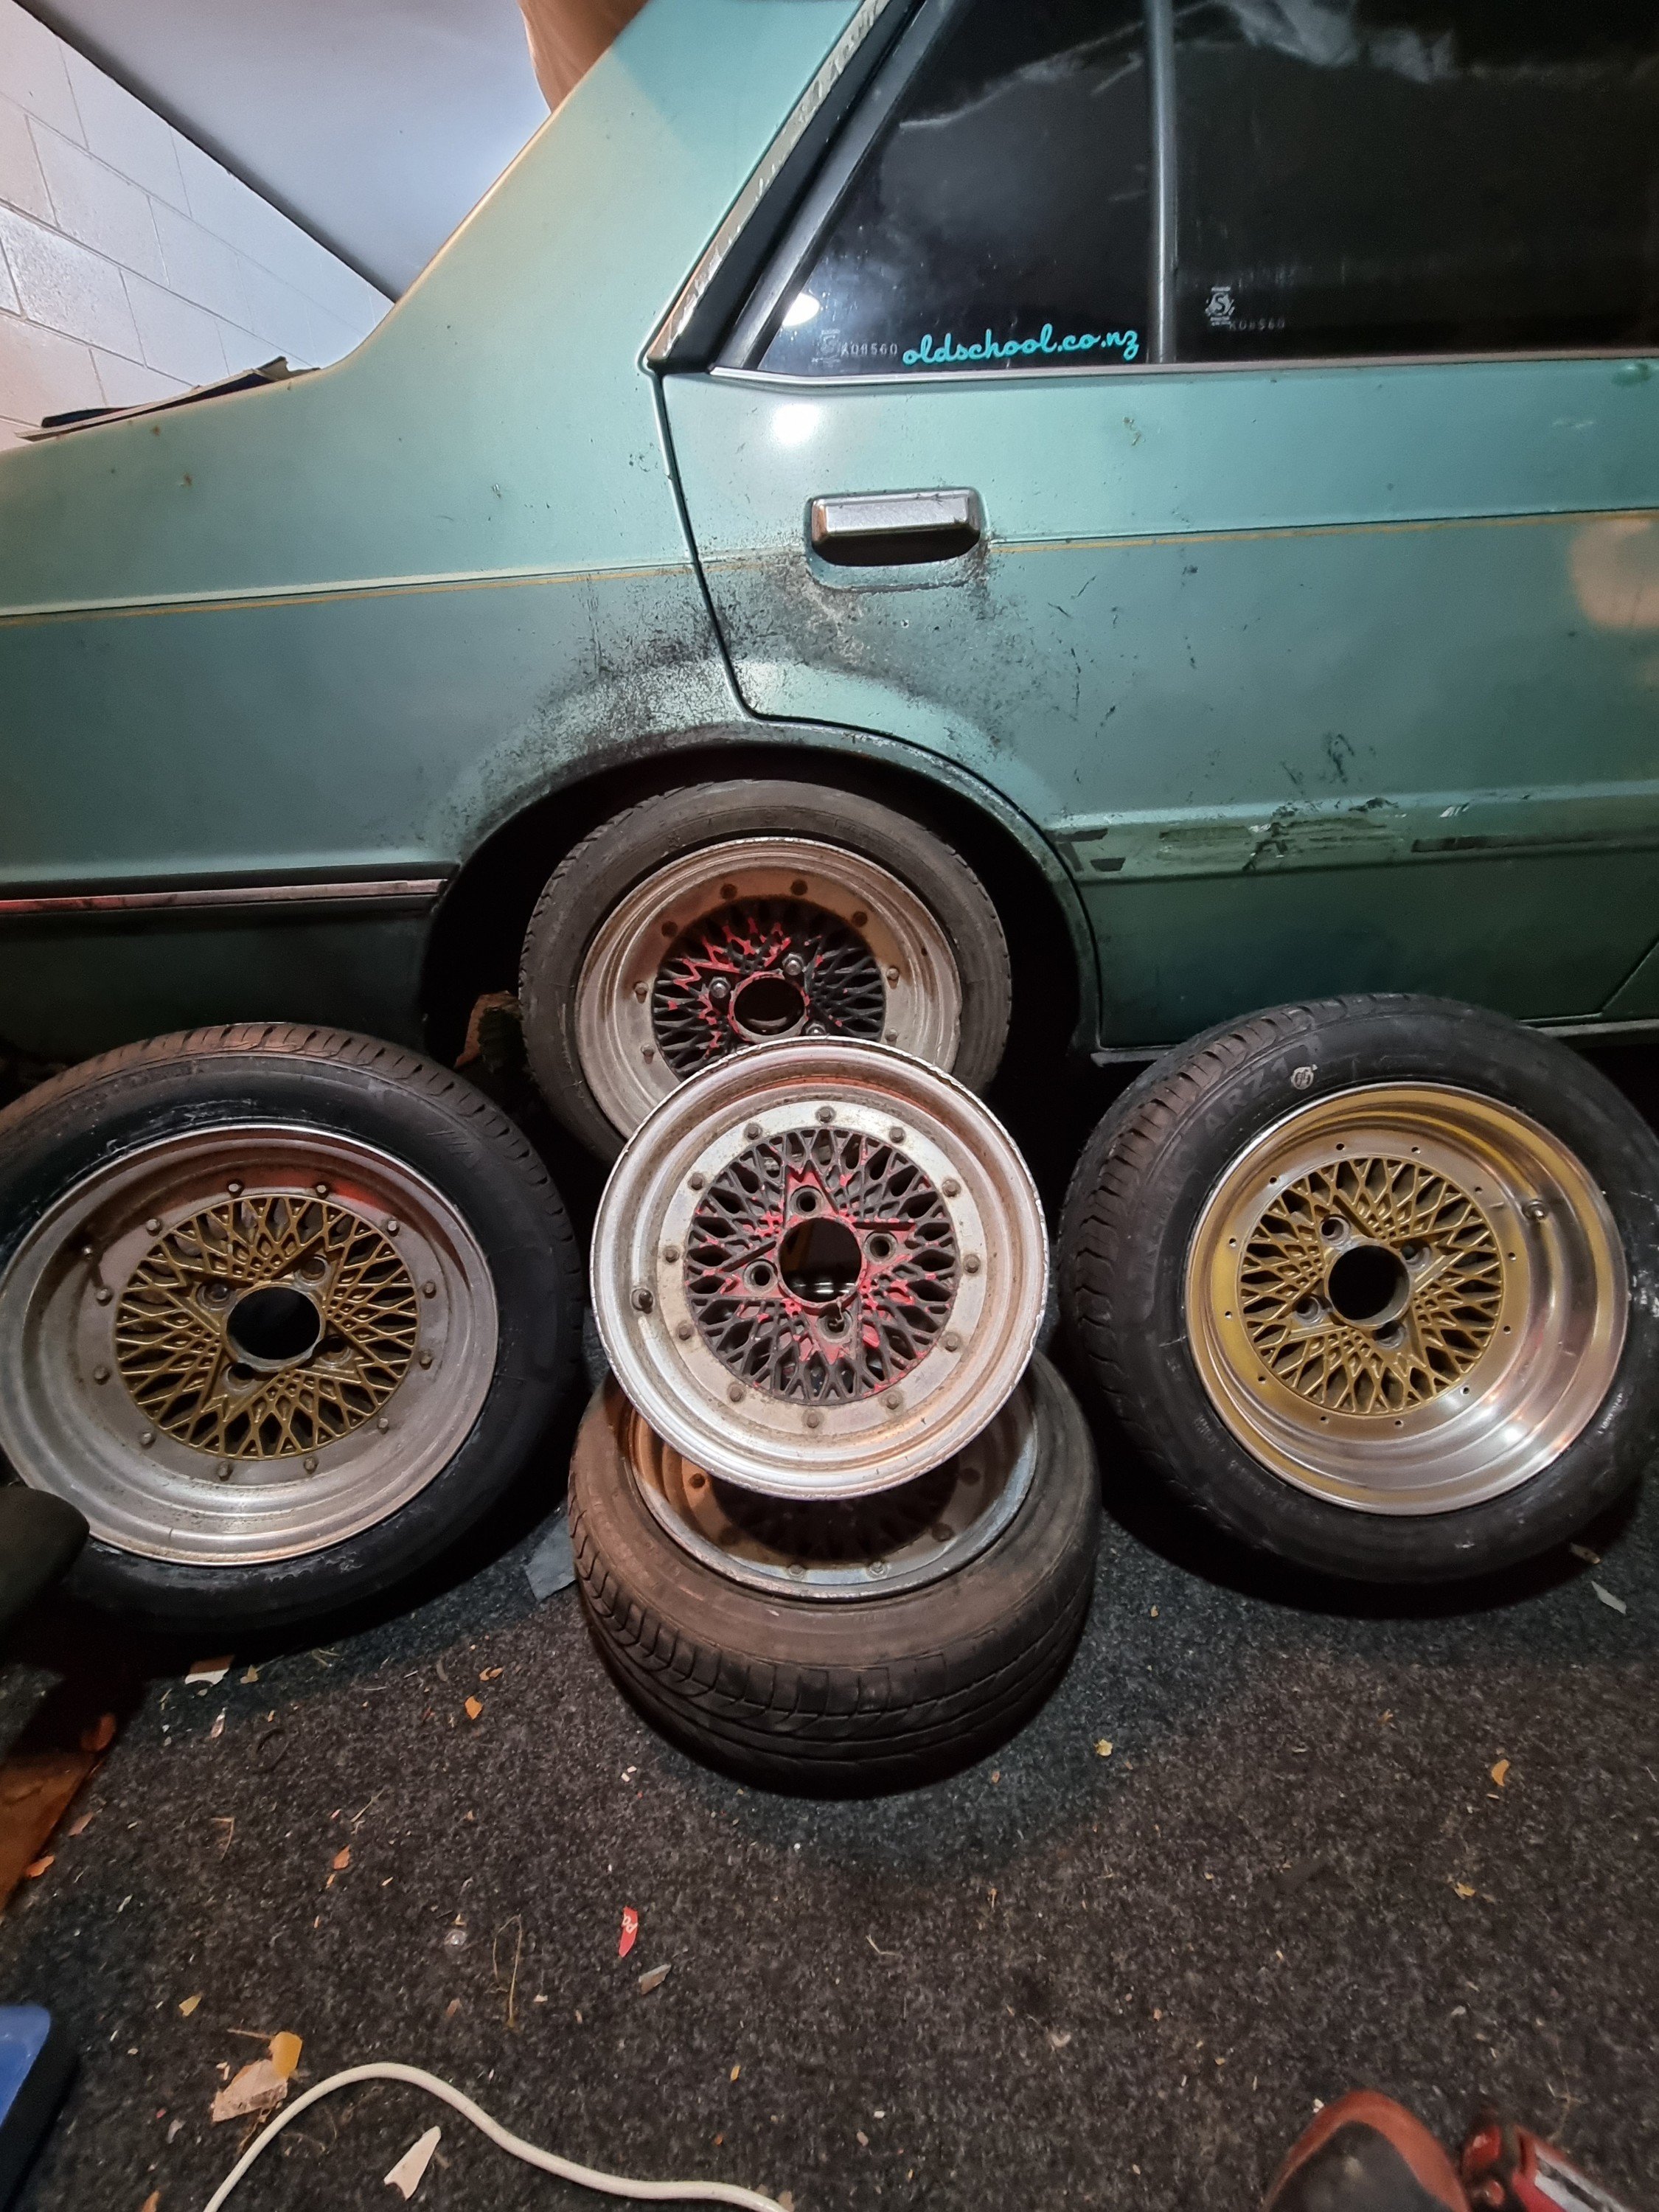
Bought 3 more wheels to match the pair i had. Cheers to dave for those. They need a good clean up, some wider lips would be ideal once funds allow. And having 5 wheels so the spare matches too will be epic
1 point
-
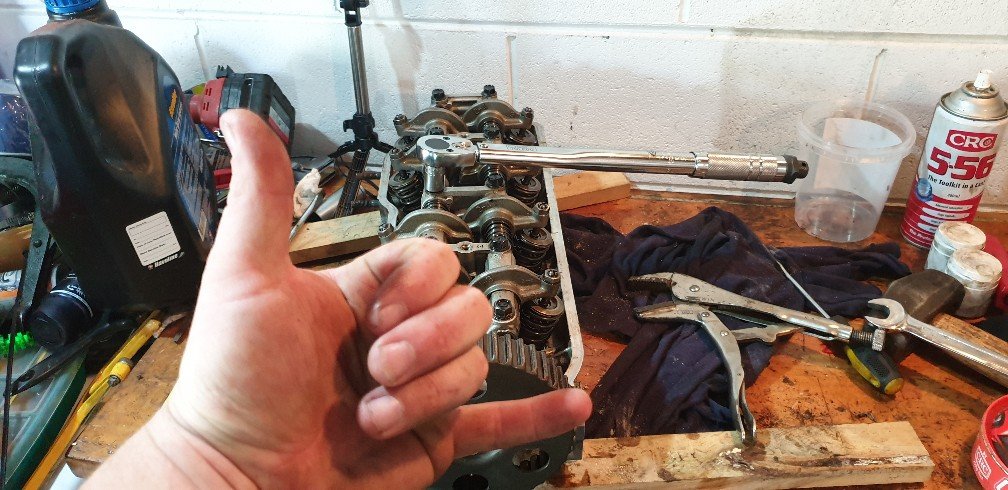
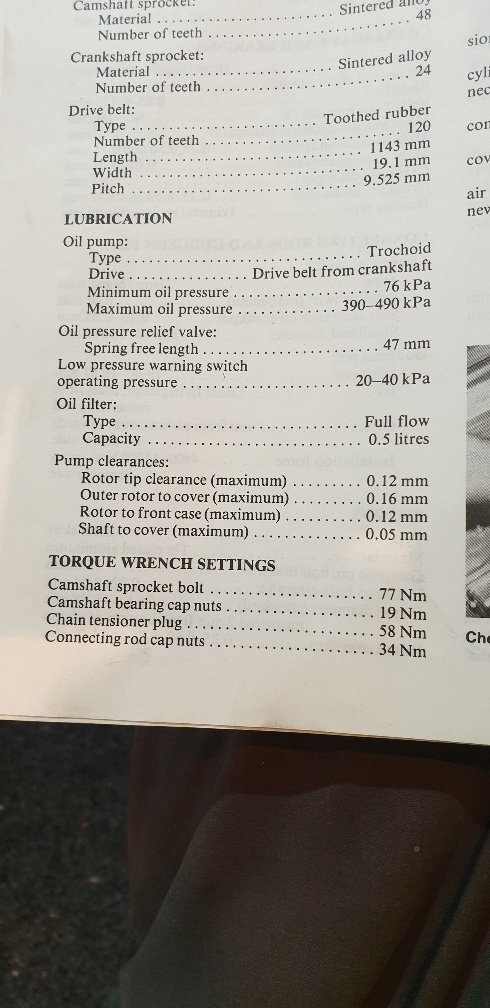
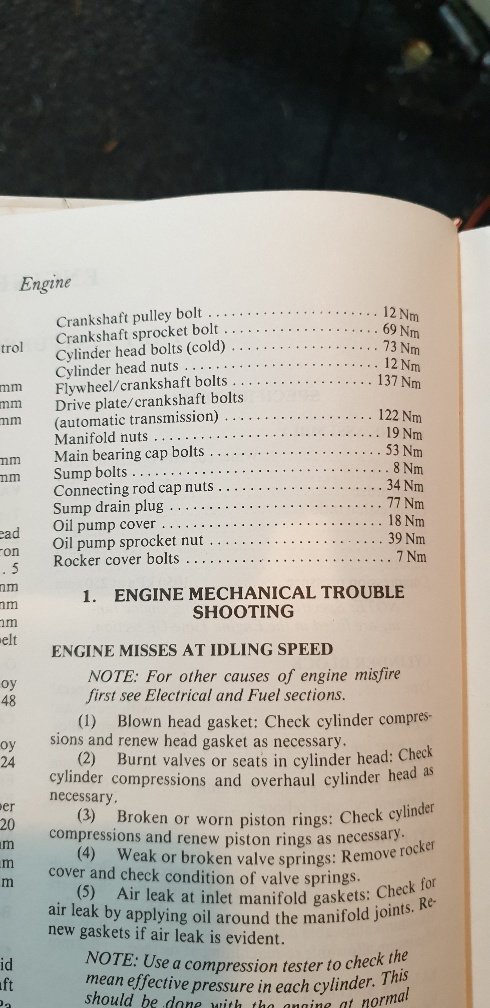
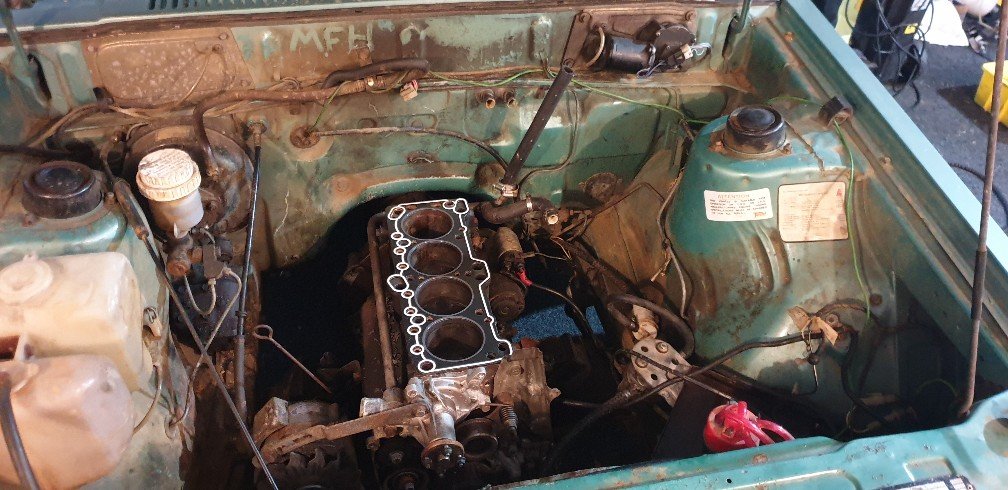
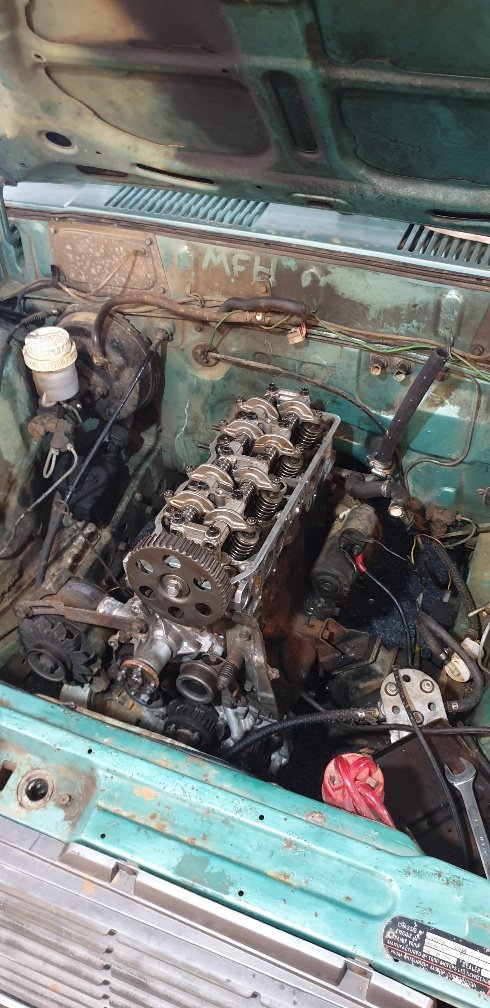
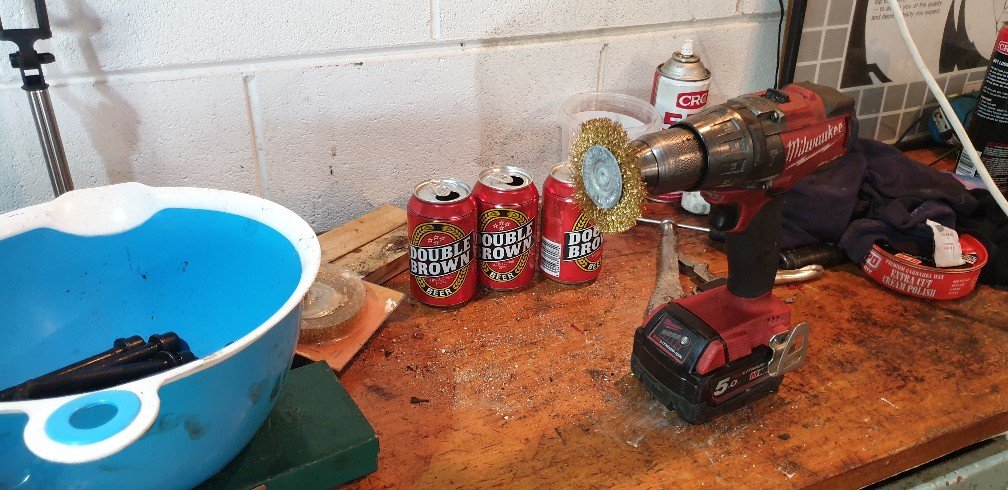
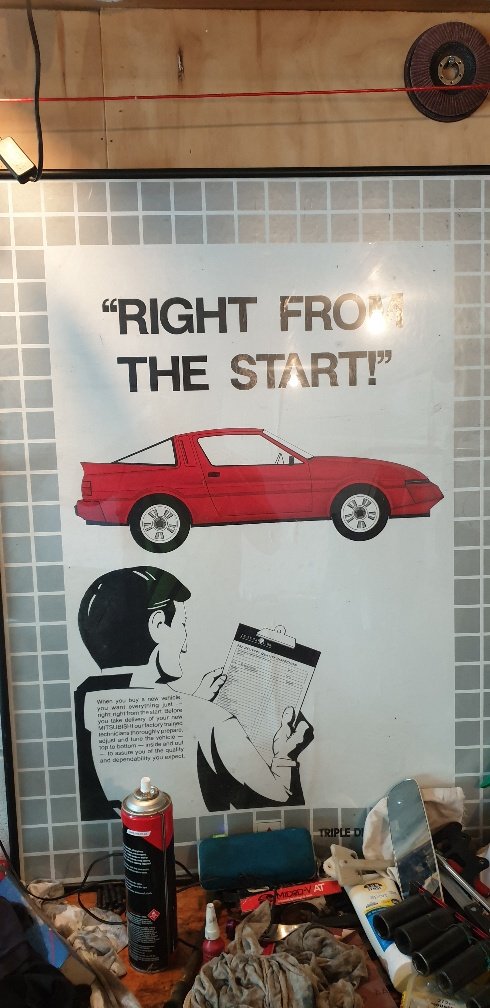
Went to work and grabbed the 3/8 and 1/2 tourqe wrenches, had trouble finding cam cap specs online so resorted to the oldschool method of looking through my stack of mitsi books with great success!!!! Feels good to see some progress on this old girl, also added inspirainspirational mitsi poster I have framed in my shed because how cool! And when you dont have a bench grinder at home you improvise to clean bolts, I present the Milwaukee portable bench grinder
1 point
-
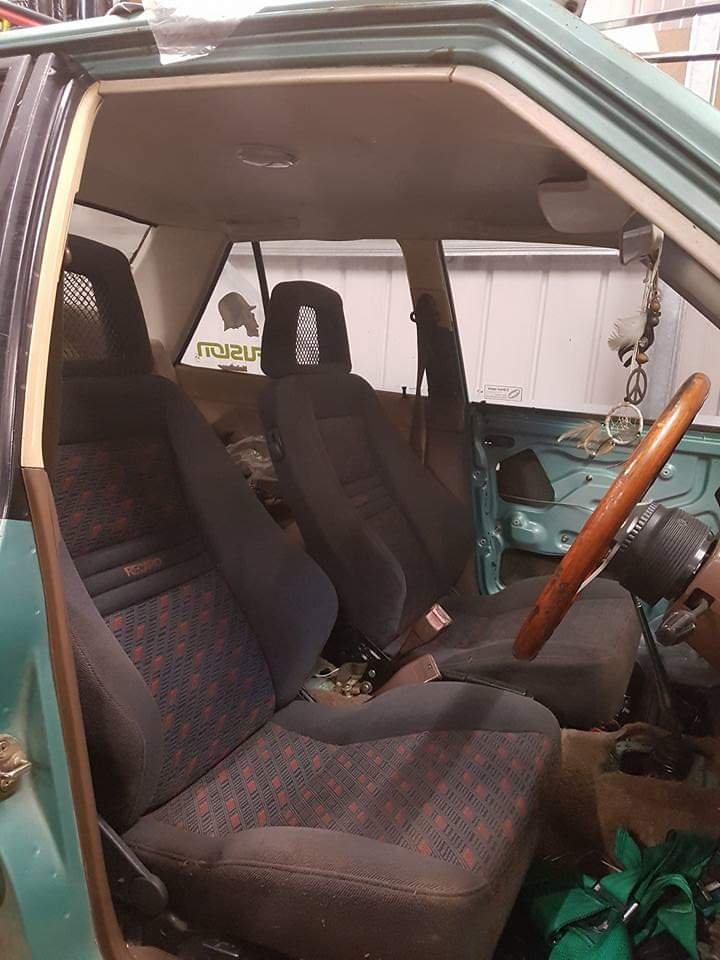
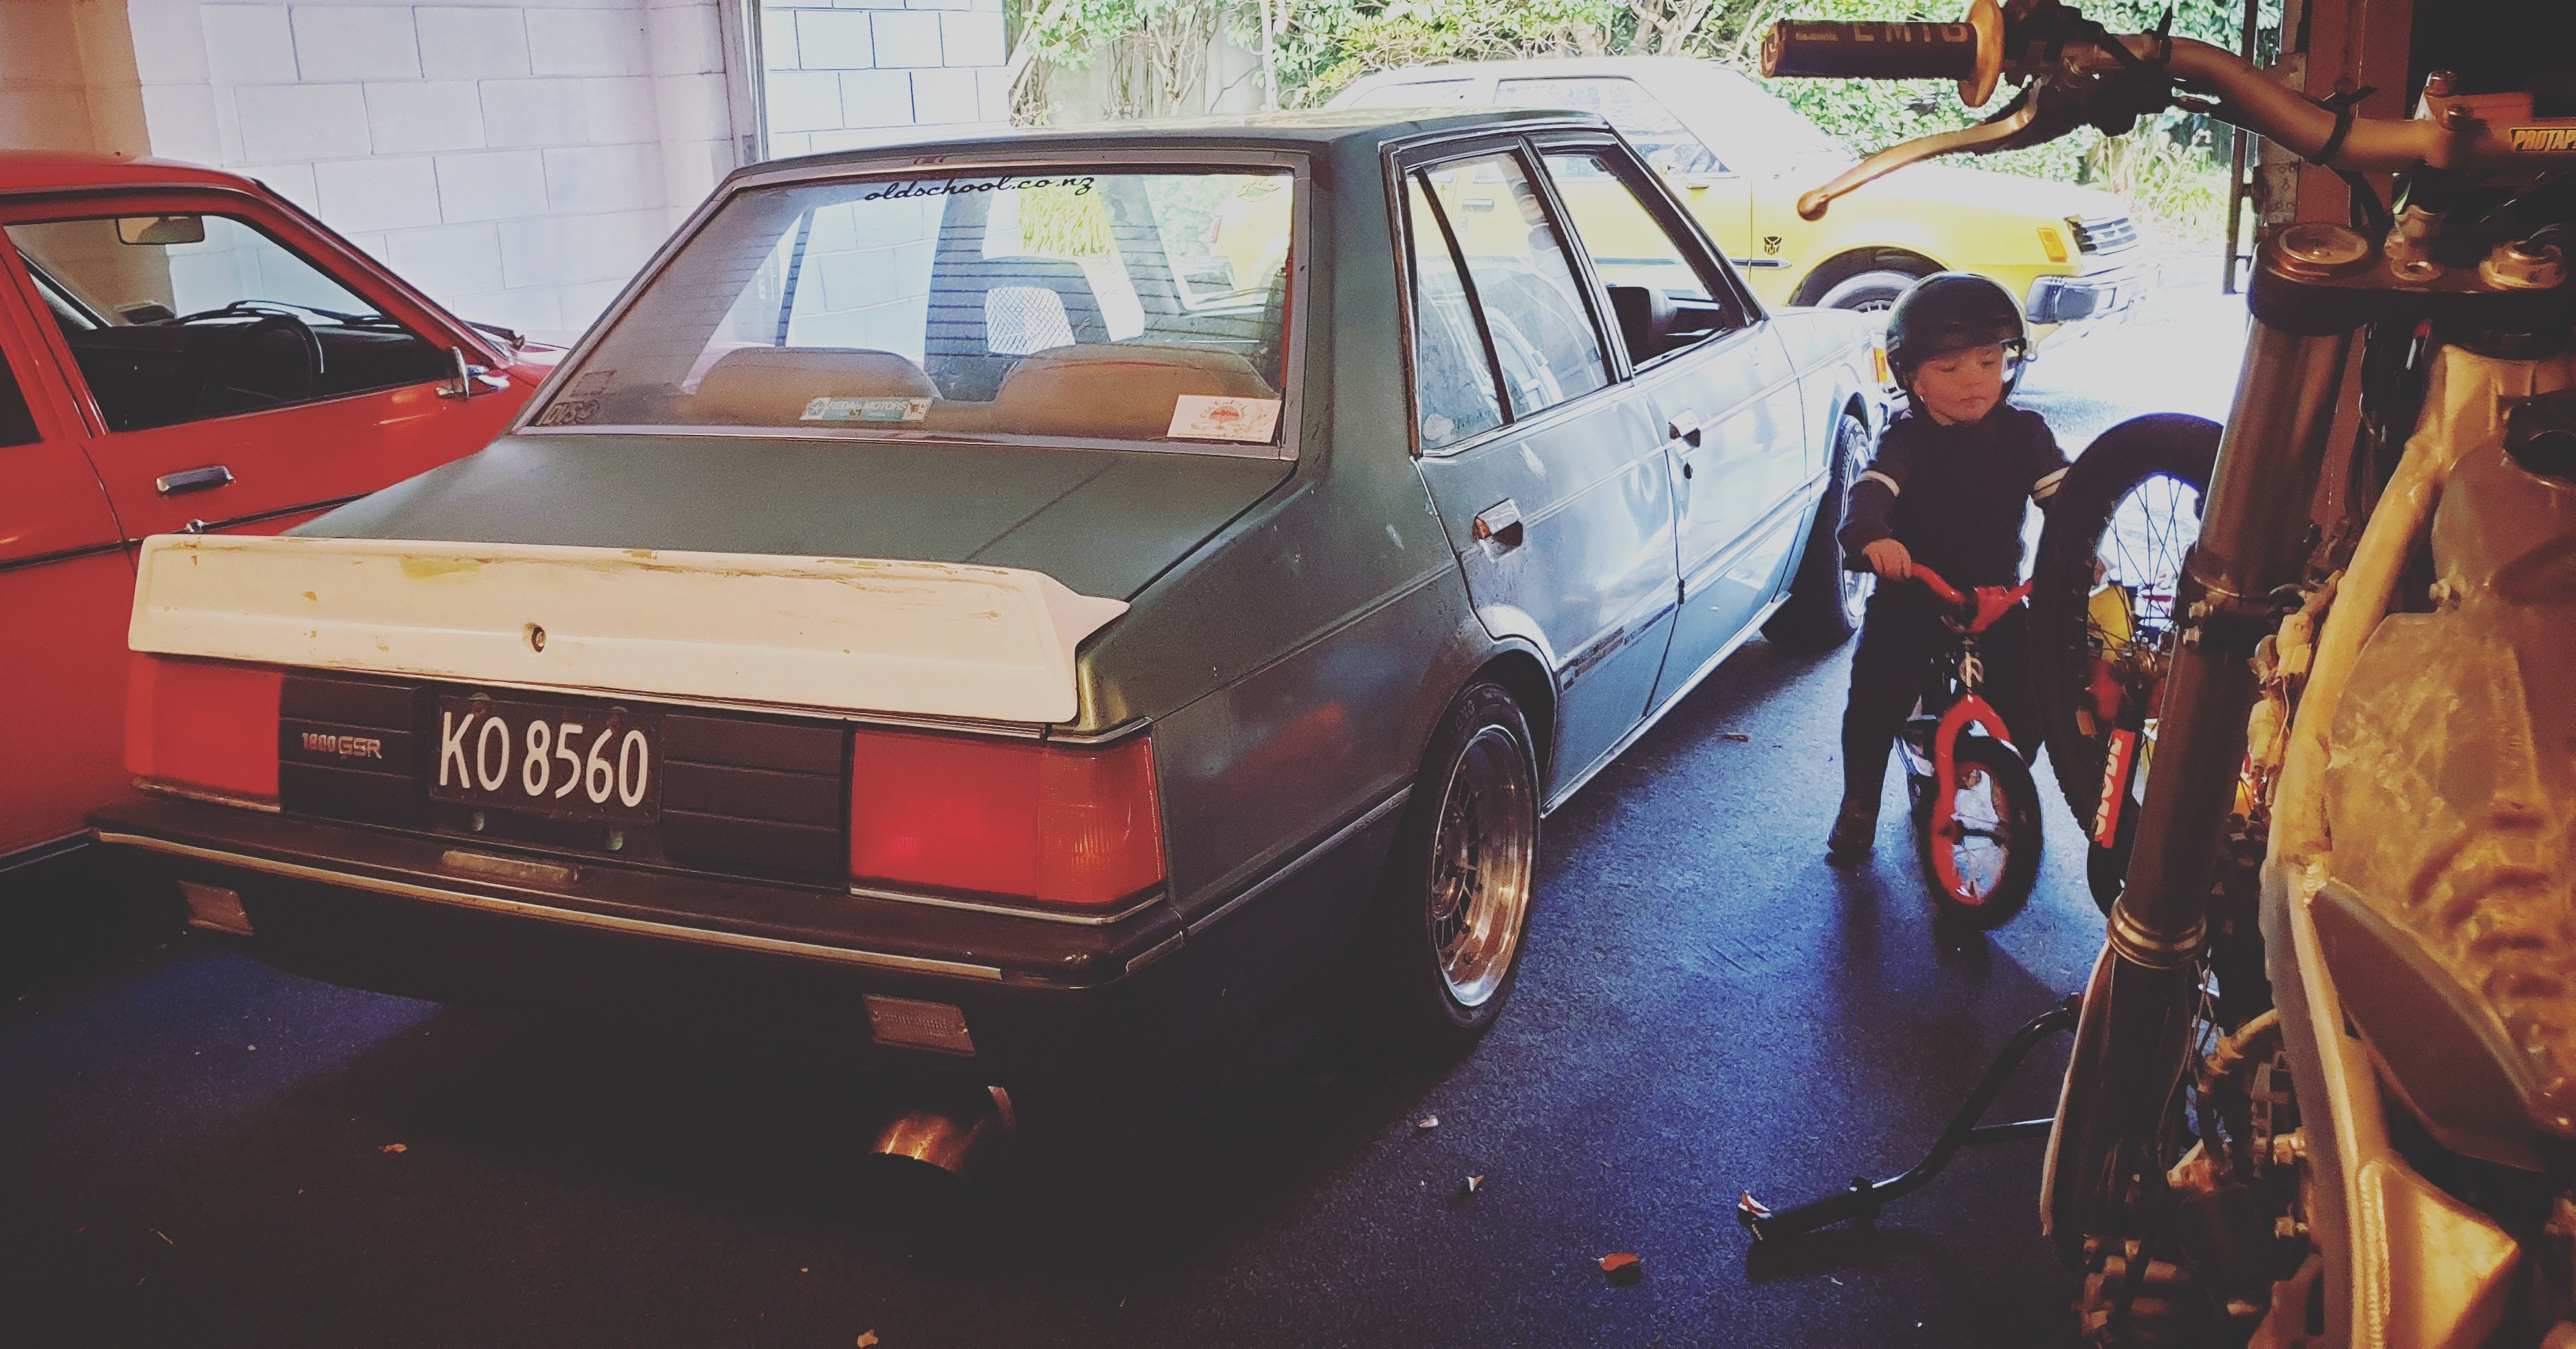
Over the years this had blown a few diff heads and axles from excessive skids but I managed to acquire a factory turbo 10bolt, disk brake lsd from a parts car I bought for $150 !! Bloody good score as some people pay $1500 for these diffs. A set of factory turbo tail lights and center garnish had popped up for $200 so I snatched them up also Although the interior was extremely tidying wanted some recaro fishnet seats so got these from a bighorn The dream catcher and hippie shit hanging from the mirror has been there since day one and will stay there too Have purchased a fiberglass wing/spoiler/duckbill whatever you wanna call it, have never fitted it just sat it there I'm still in two minds about it
1 point


.jpeg.569fd2a937868804e0eed55087e5625a.jpeg)


This leaderboard is set to Auckland/GMT+12:00