
Leaderboard


Popular Content
Showing content with the highest reputation on 30/05/20 in all areas
-
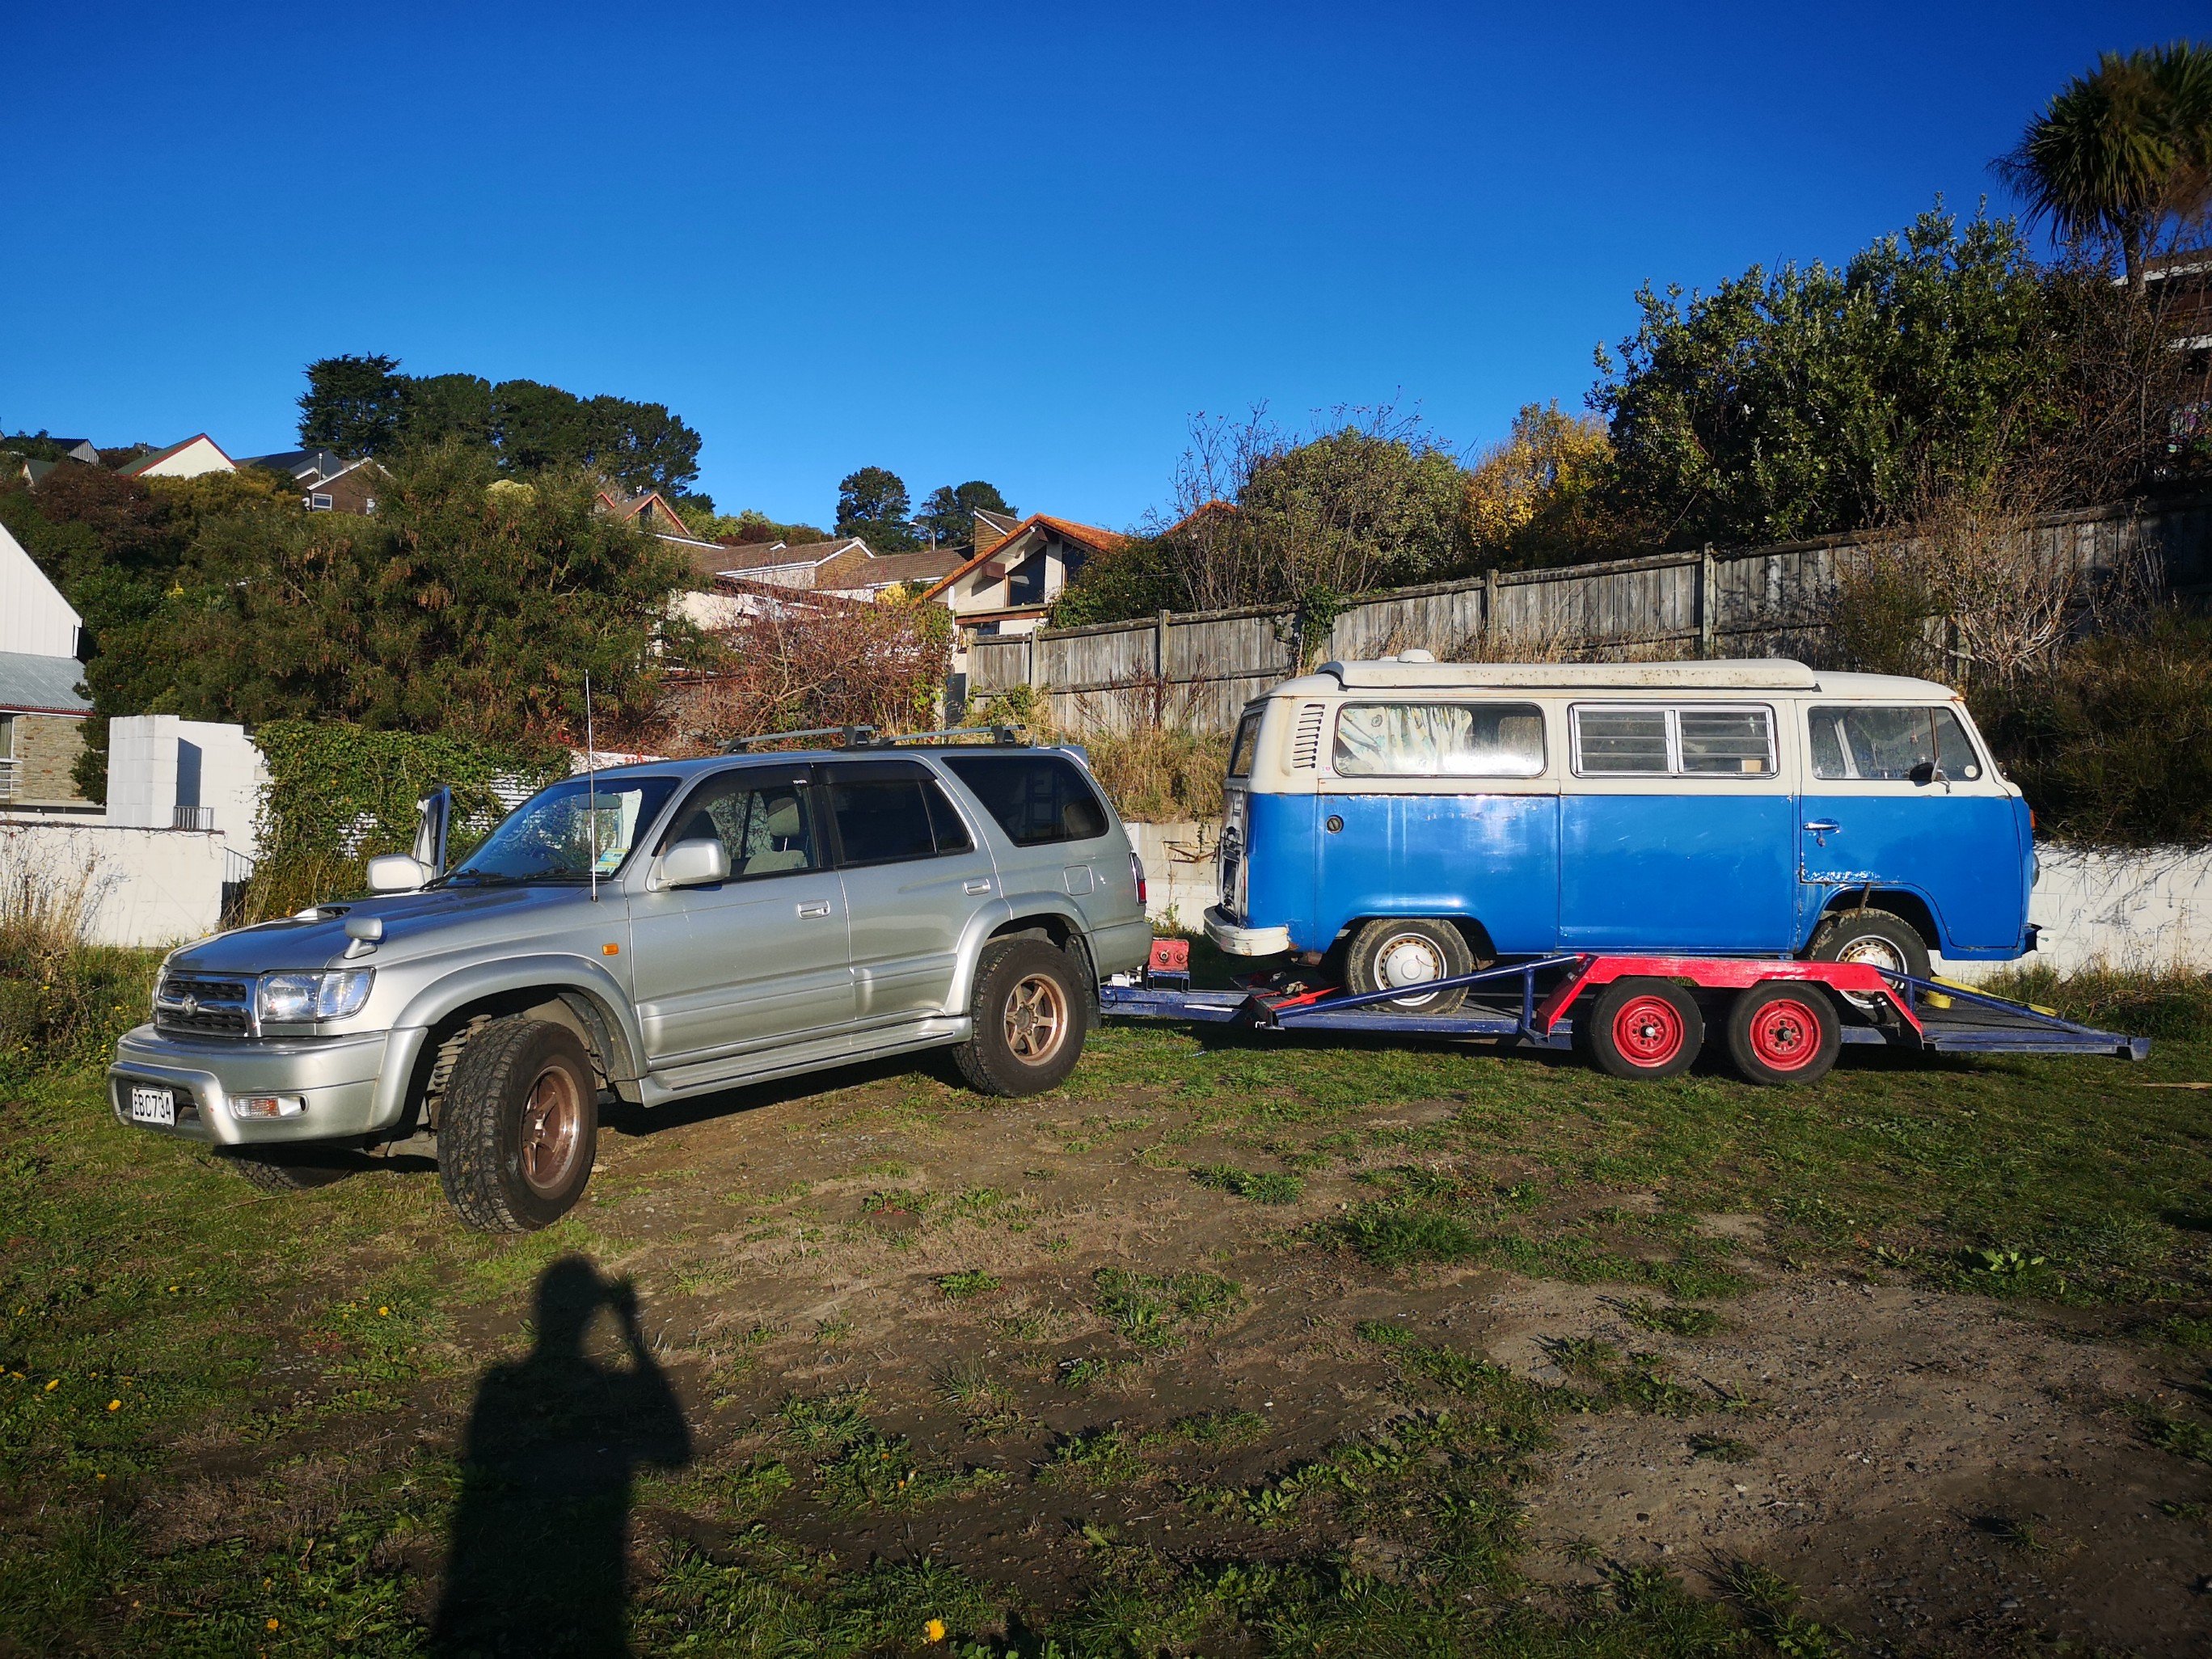
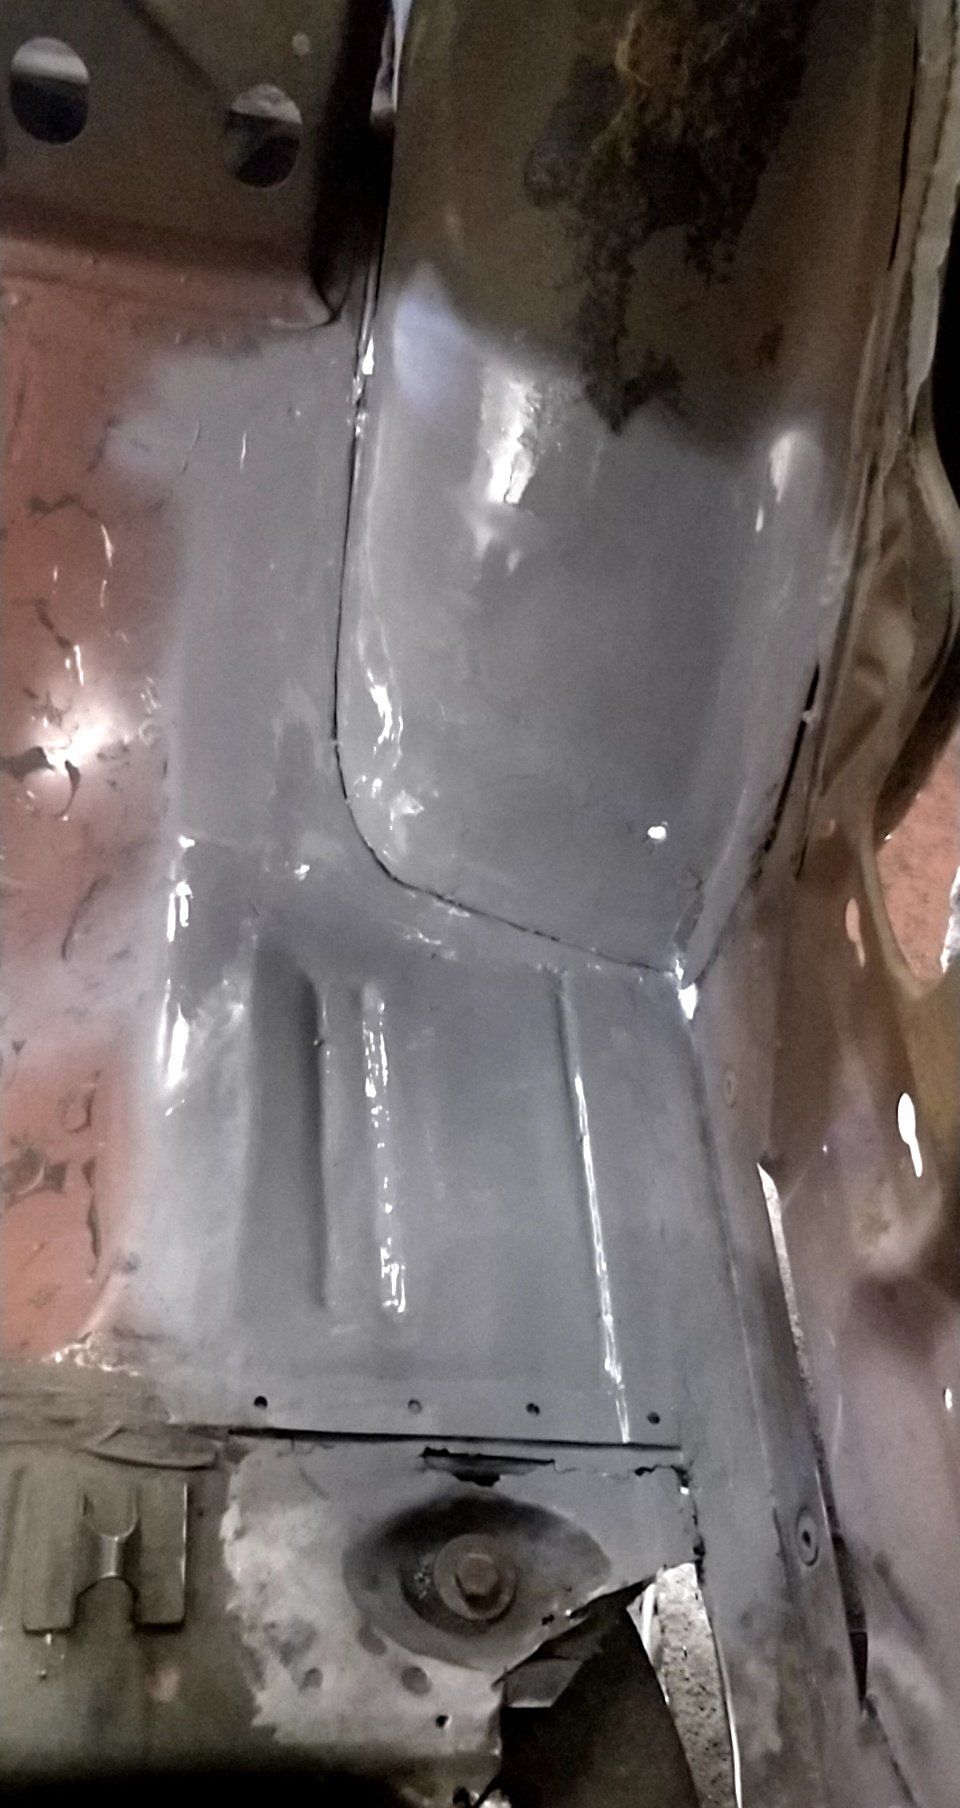
Moved the kombi today.. All went pretty smoothly, started and drove it on with a flat tyre. Pumped the tyres up at a gassy on the way and drove it off at the other end. Starts amazingly easy for something that's sat for the last 8 years, straight off the the key. Where it'll spend the next few months having the rust cut out.. Good times..
 6 points
 -
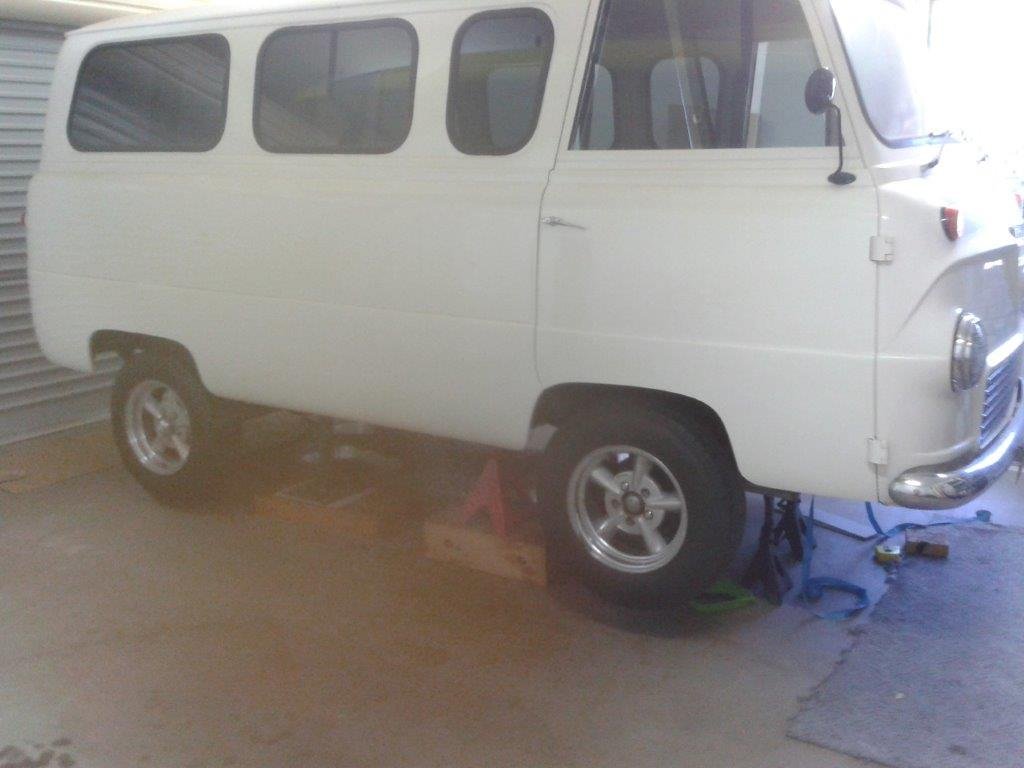
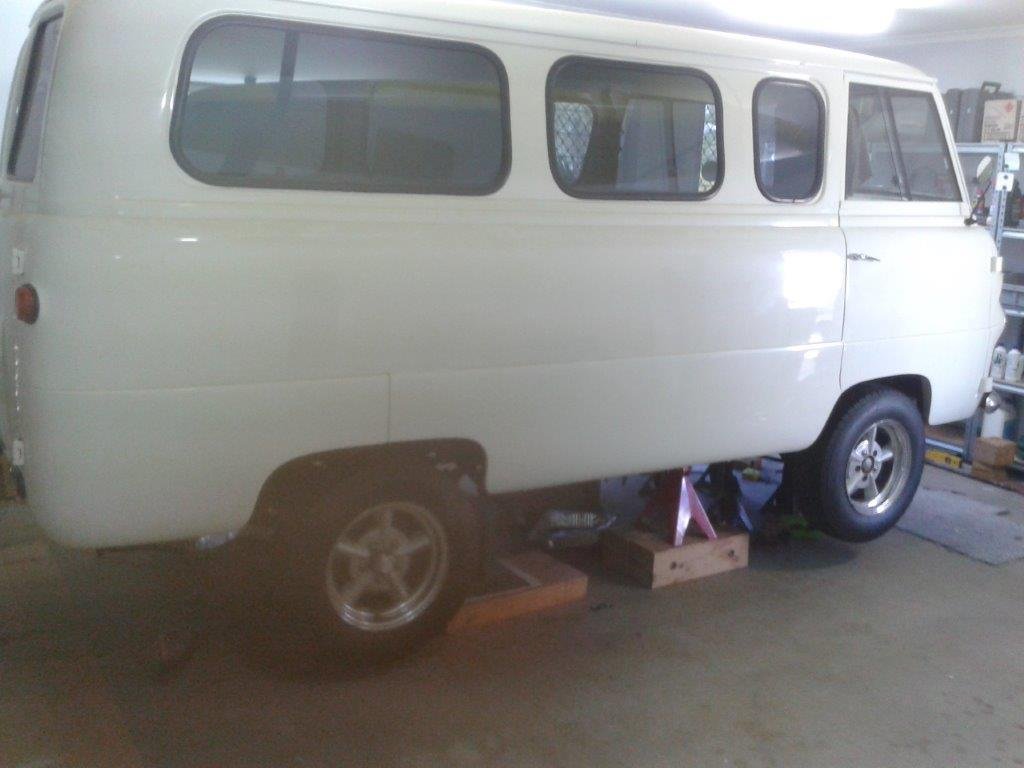
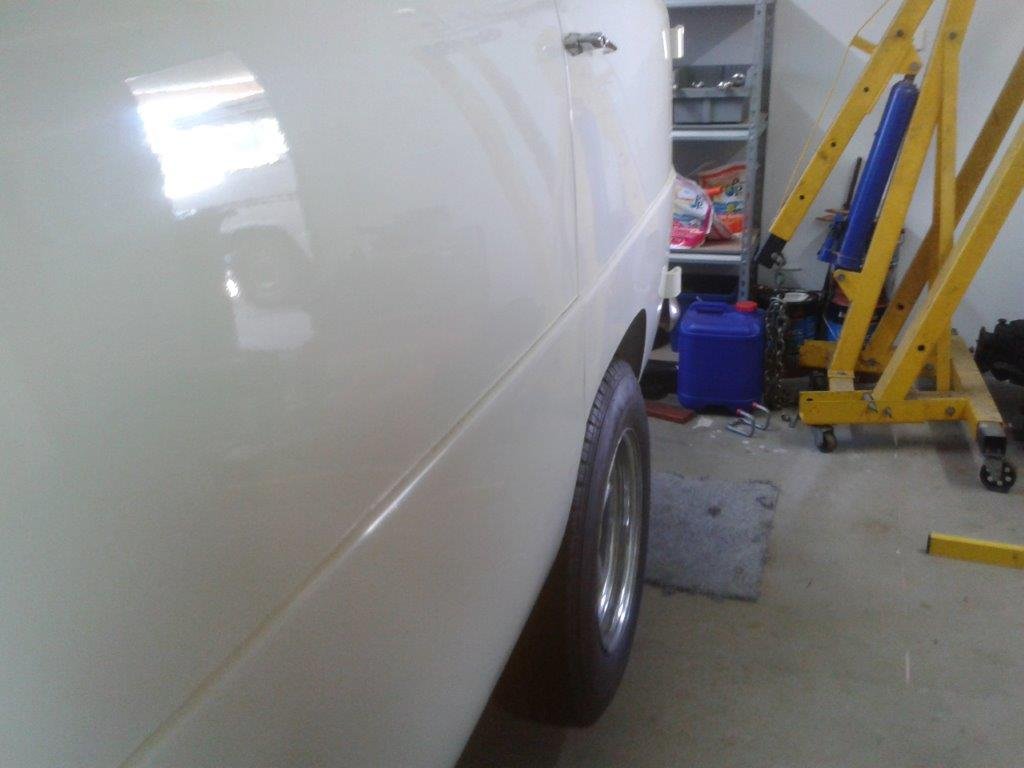
So with the beam now temporarily fixed in place I stepped back to check how things were looking. Chucked my Dragways on with some new metric nuts that I picked up from supercrap during our last town run (I only bought one set as I wasn't 100% sure of the sizes so have only got two nuts on each wheel. I'll get some more when we are next in town). With the L300 beam being wider than the original Thames unit the 6J Dragways fill the front arched really nicely. I did a quick alignment test using the old string and axle stands method and she is sweet as. I've also managed to improve the position of the front wheels within the arches and they are now centred compared to the original Thames setup. I'm relatively happy with the result. Again apologies for the quality of the pics.
6 points
-
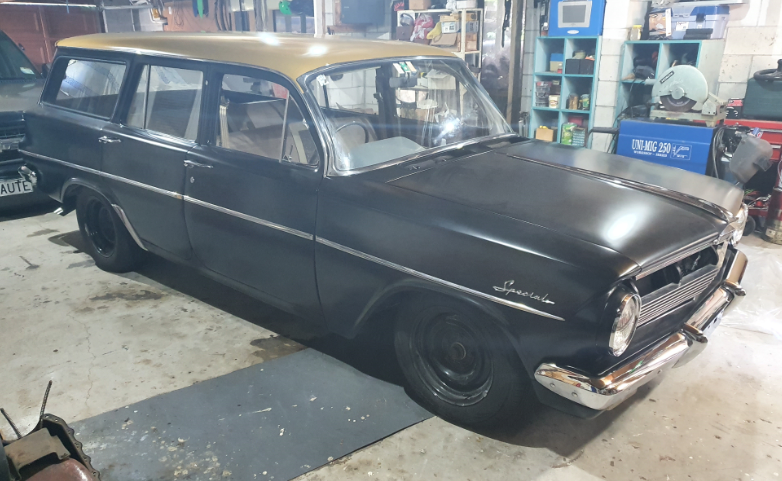
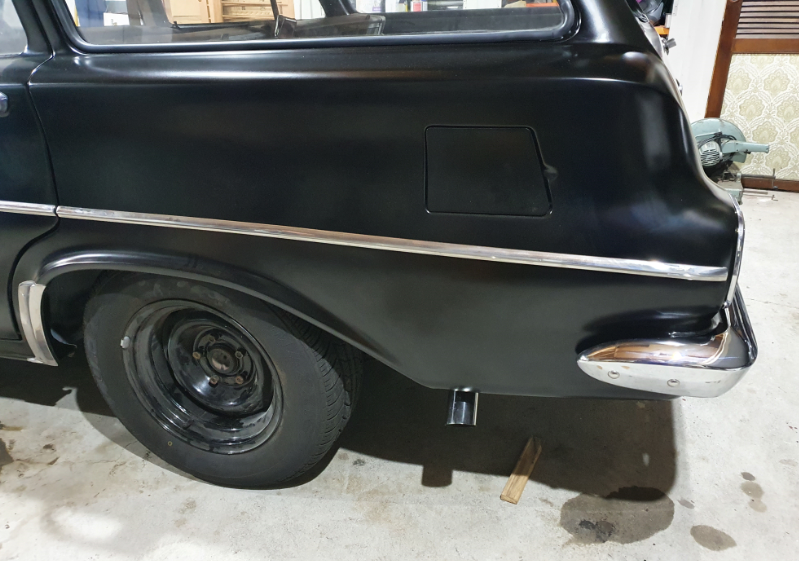
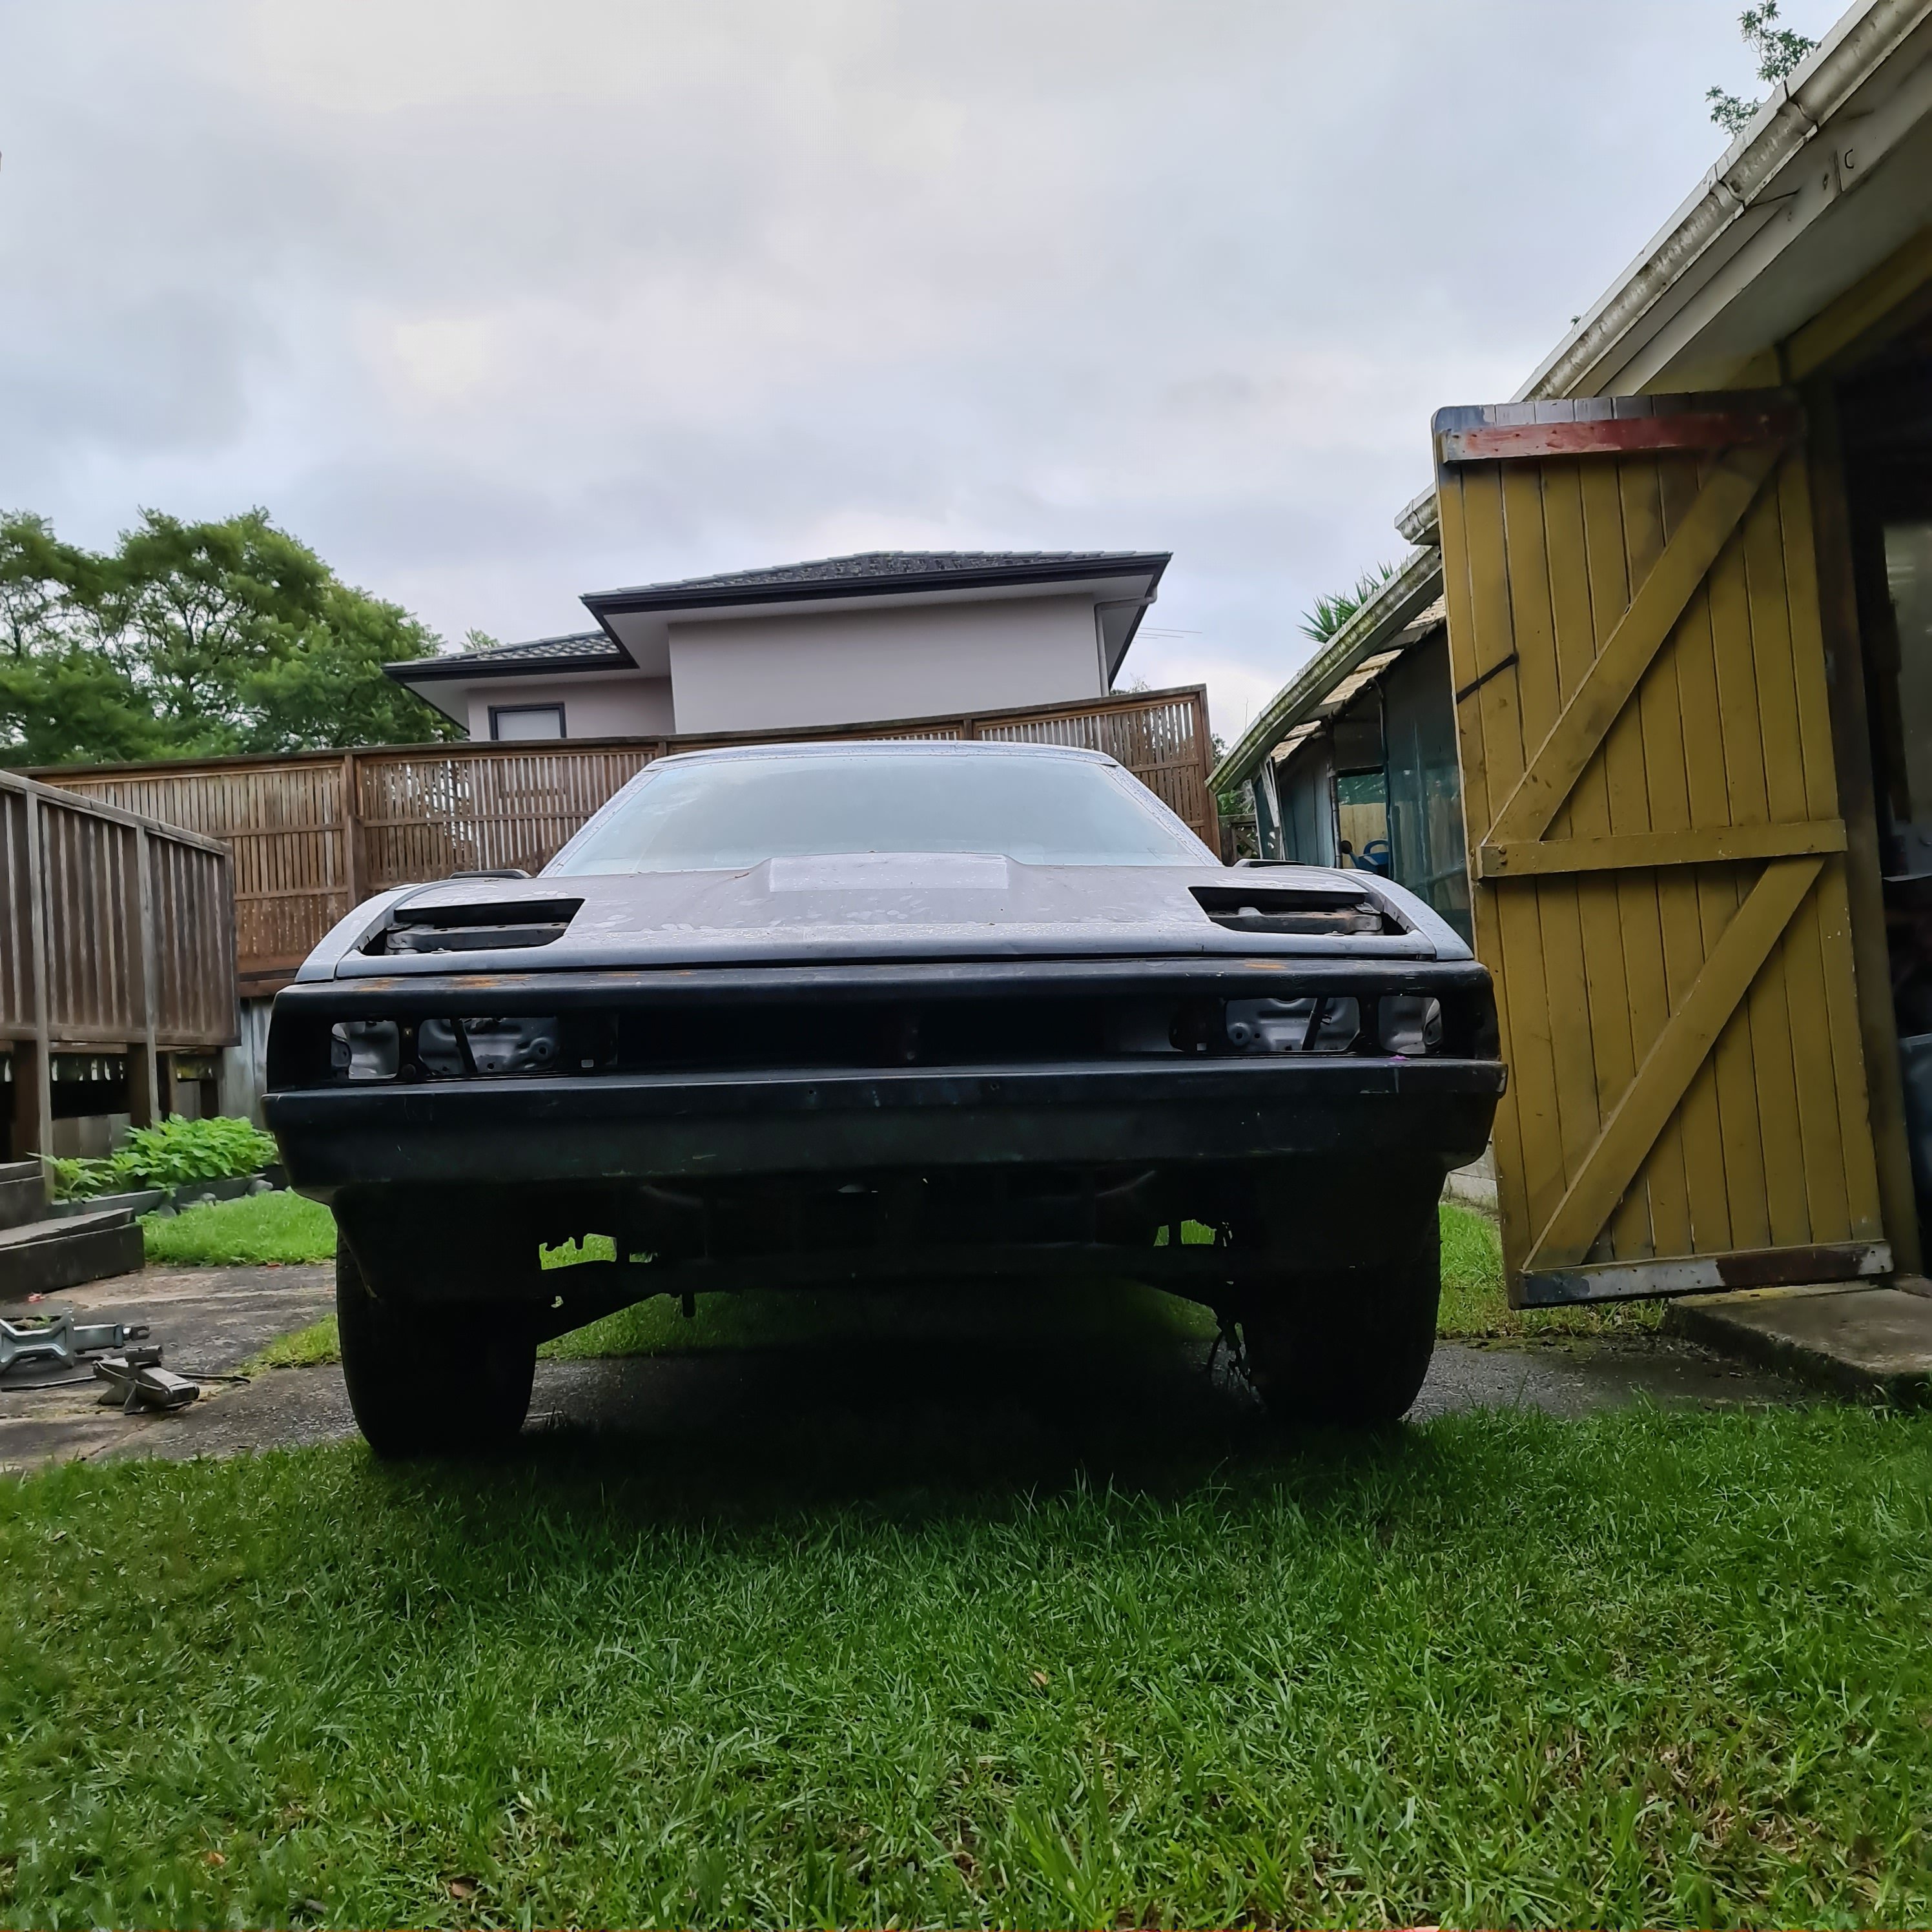
Had some real progress this week. Front and rear windscreens in and exhaust built. It is really looking like a car. I had Jeremy from Bespoke Auto Glass come and do the windows, Back one went in piece of cake, front is a real prick because of the trim. The trim goes into the rubber then the whole lot goes into the car. Very glad I got the expert for this job. The Drivers side tail pipe can be seen poking out behind the rear wheel. And the other side I also played around with the height of the from of the car. Ground clearance at the lowest point, under the sway bar mounts and the transmission is only 75mm. I left a jack under the cross member and set it for 125mm clearance. Tyre is still under the guard. I have ordered proper LH Torana V8 lowered King Springs. They should get me the extra height. If not enough I can put higher profile tires on, there is plenty of clearance with the car raised up. My son was helping me the other night He has grown a bit since the last photo
6 points
-
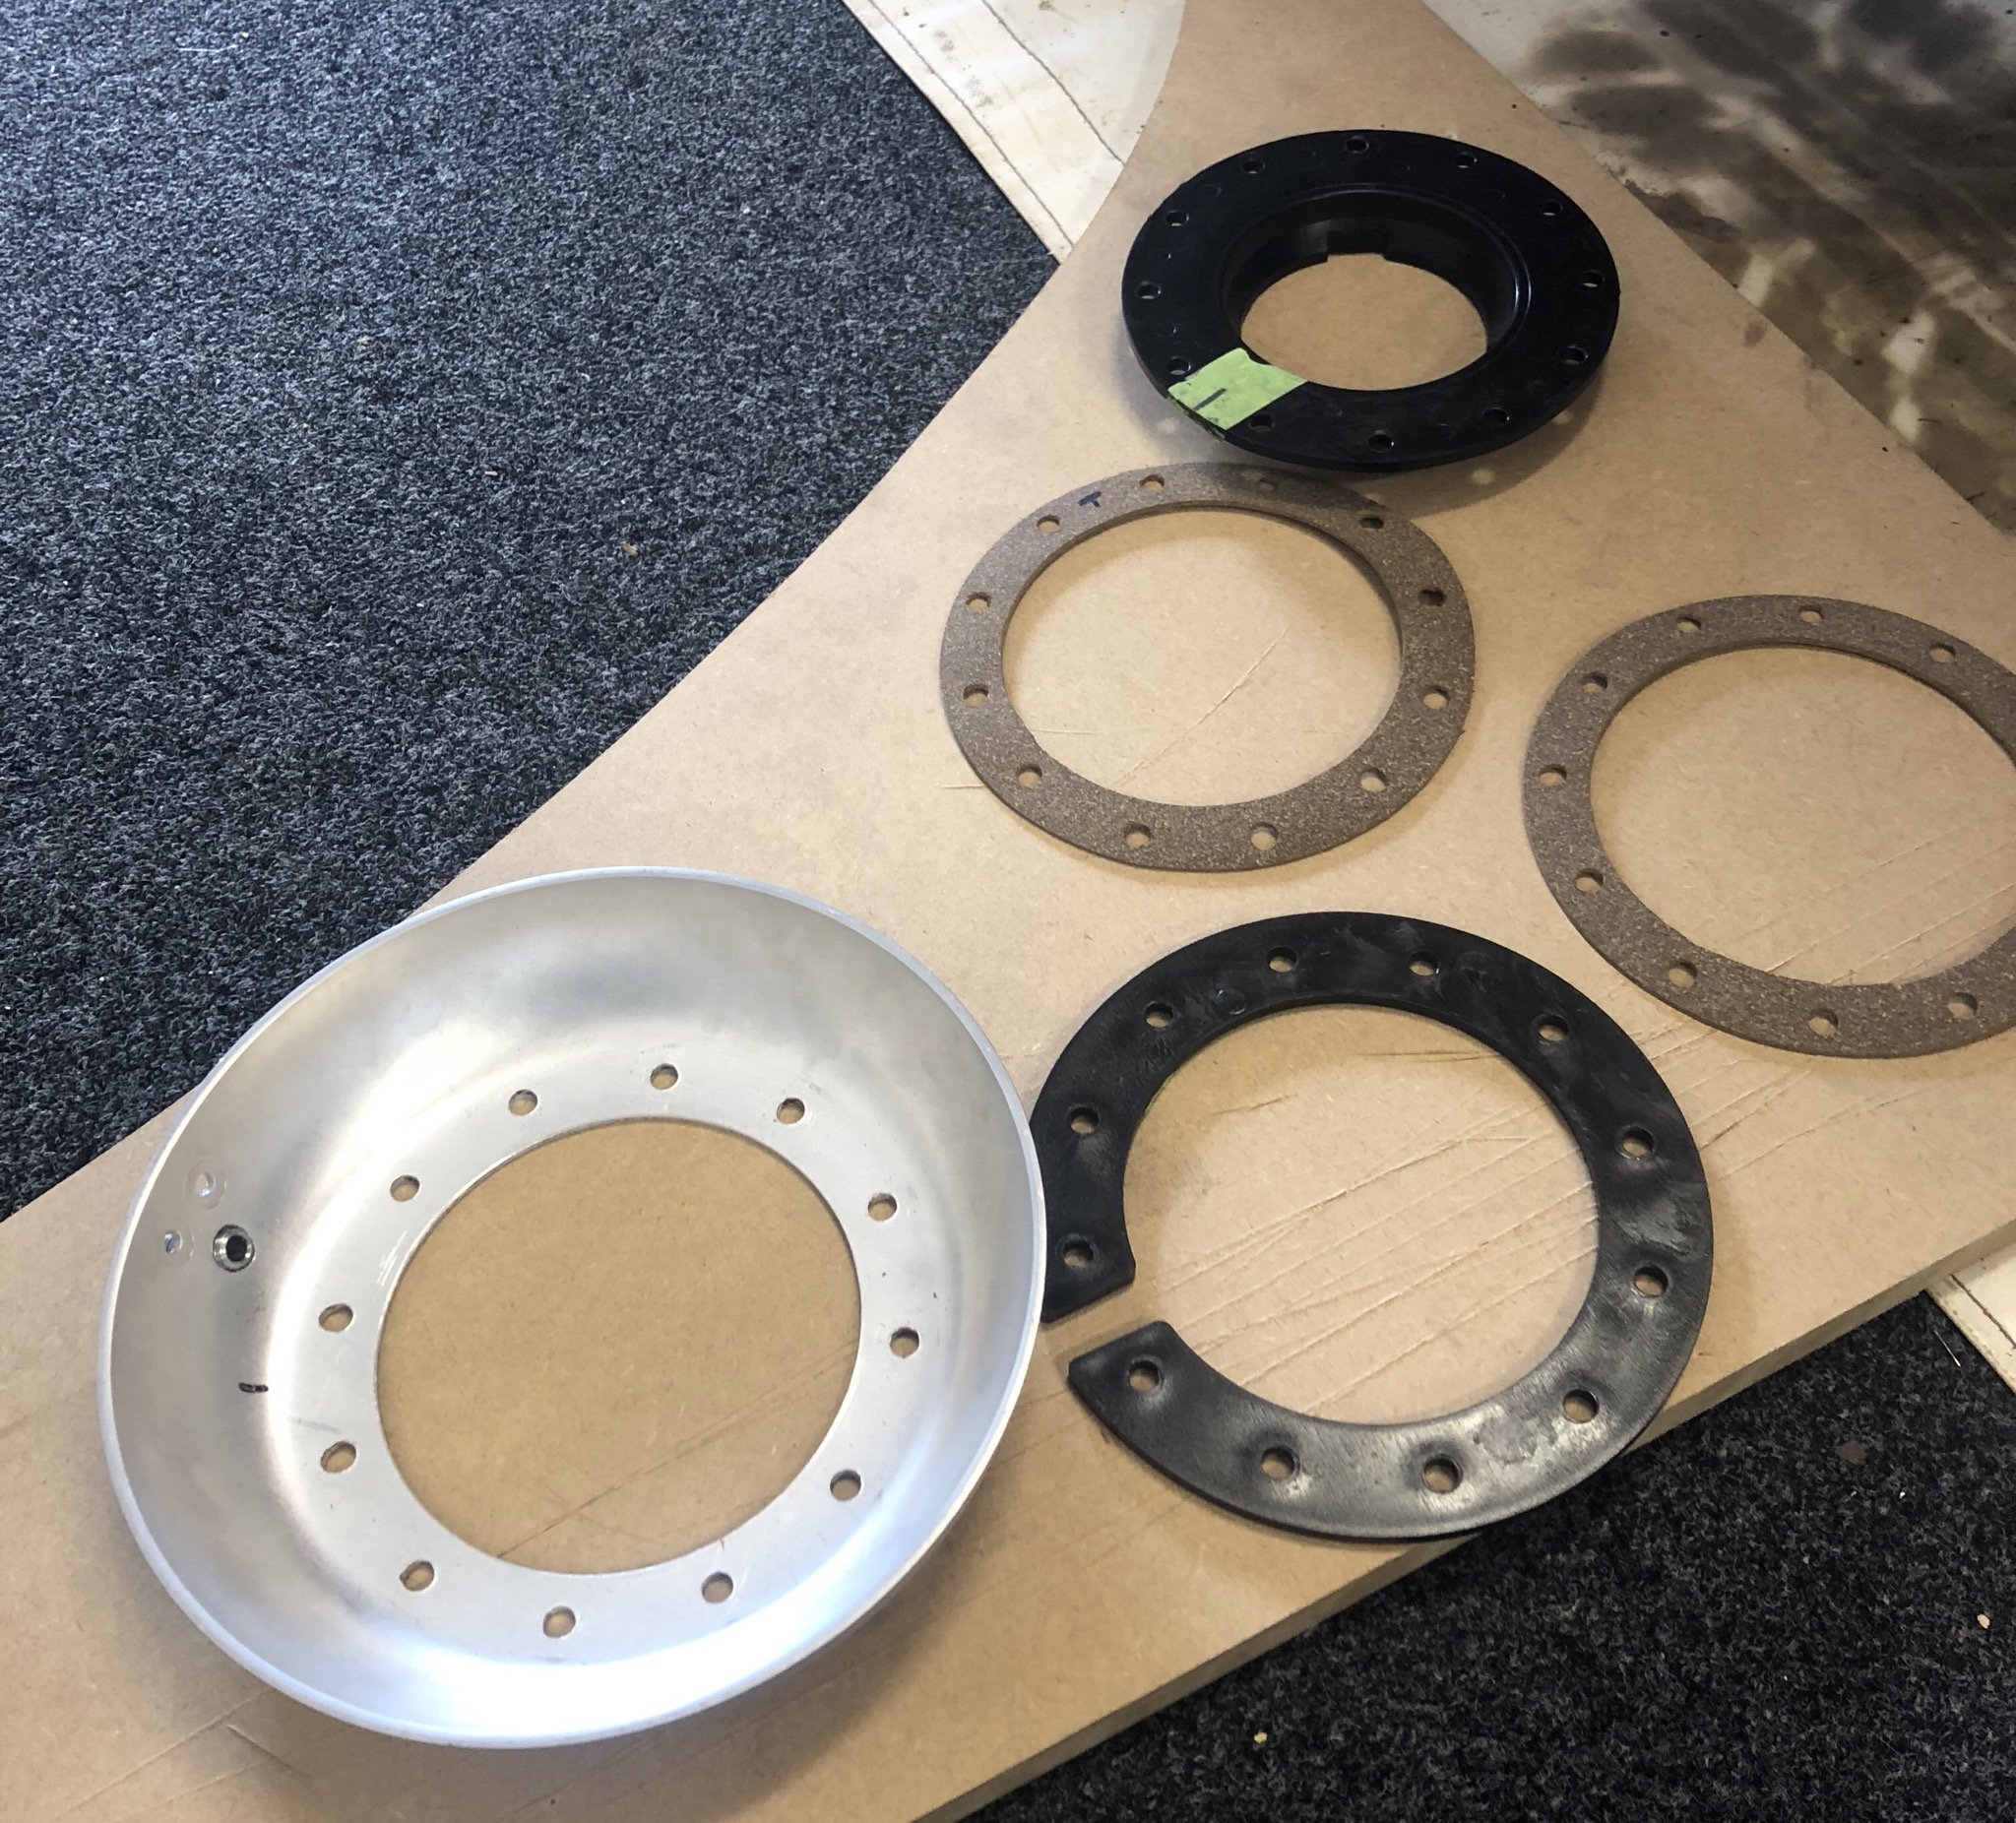
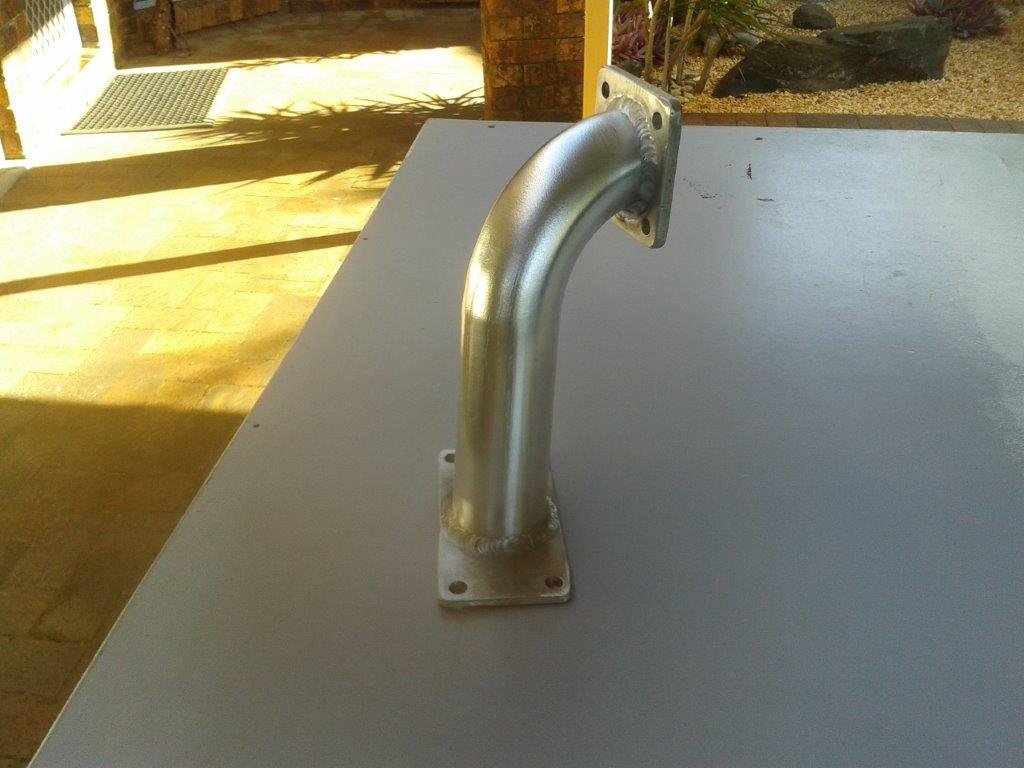
All ready to go..made up a couple of gaskets also
5 points
-
Because the front beam runs at an angle where it needs to be fixed to the chassis mounting plates, only the outer edge is currently making contact, so the next step is to cut little infills out of some steel to fill this gap and I can then tack everything together. (the mounting hole shown in the pic is the one that I have had to sacrifice). Thanks for reading.
4 points
-
Think I’ve found it’s sweet spot, needle 2 turns down the carb slide. Seems to make the most power. Raised the motor too which I think helped running but is slides down the stem as you steer. All was going well until it got some rope caught in the prop as it was going along bringing the prop to sudden halt with the motor still running full steam. Made a huge grinding sound followed by a bang. Thought it lunched the gearbox initially but on closer inspection the prop spring driving it had done its job and snapped protecting the prop.
3 points
-
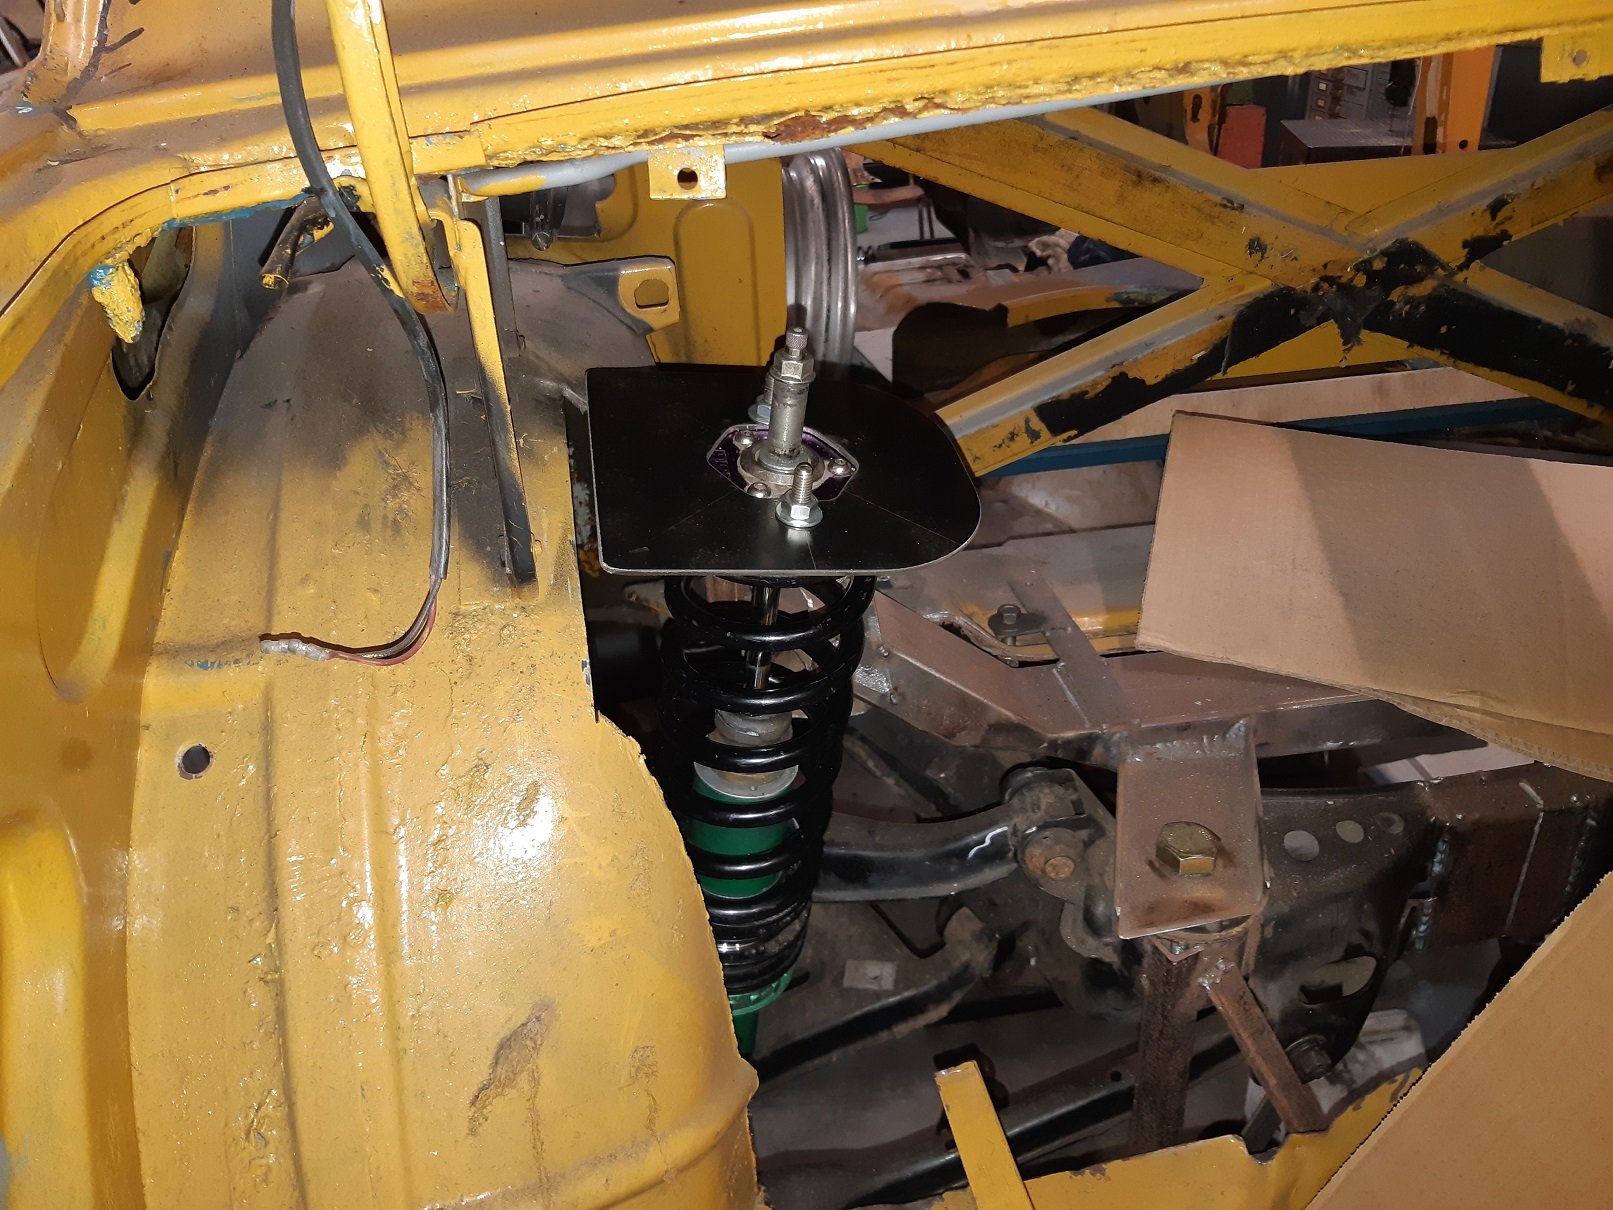
Made a top plate to mock up the coil over top mount. I somehow managed to mess up drilling the stud holes, so I guess this is just for testing. This is pretty much where it will sit. Ride height will be in the middle of the stroke.
3 points
-
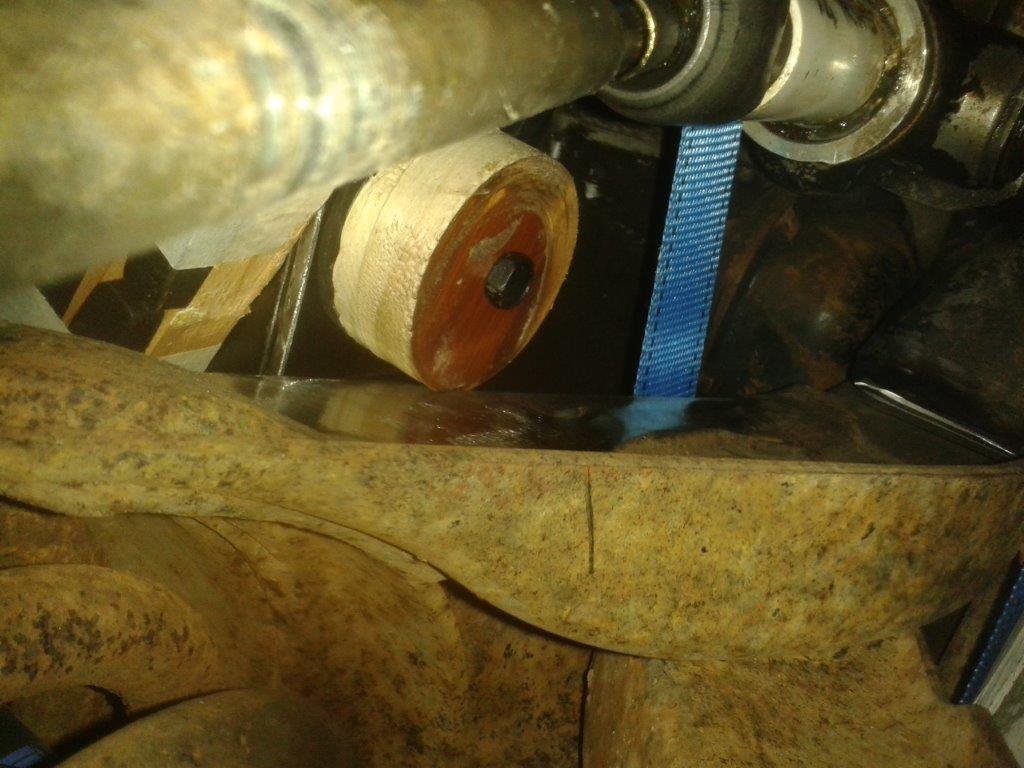
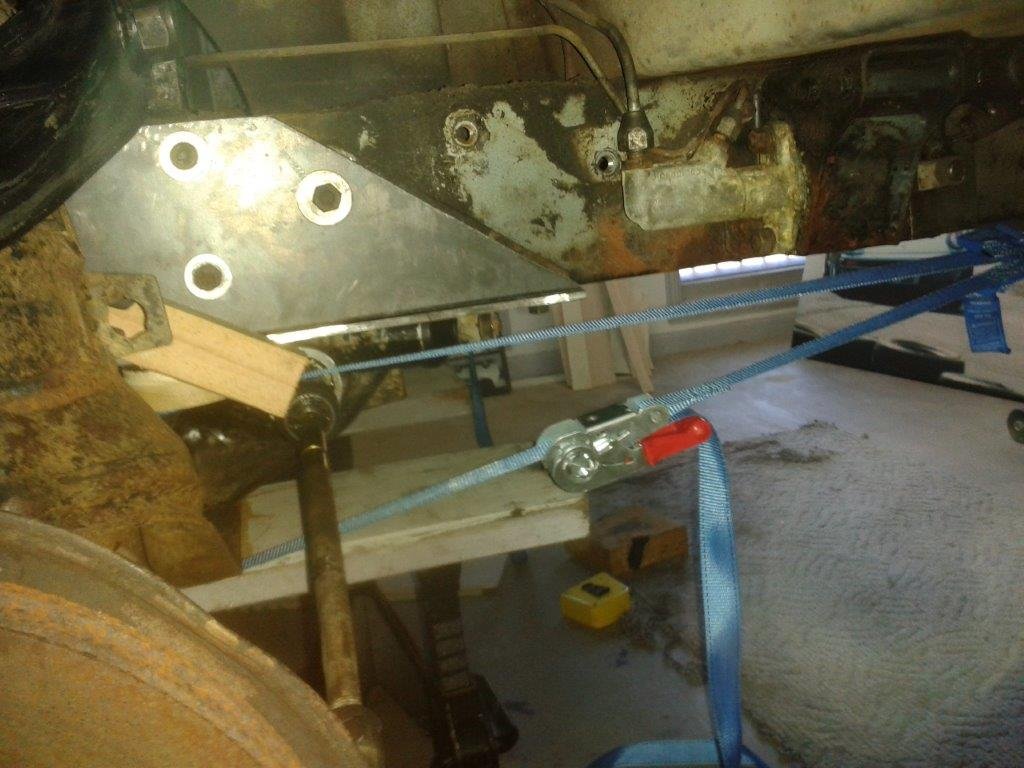
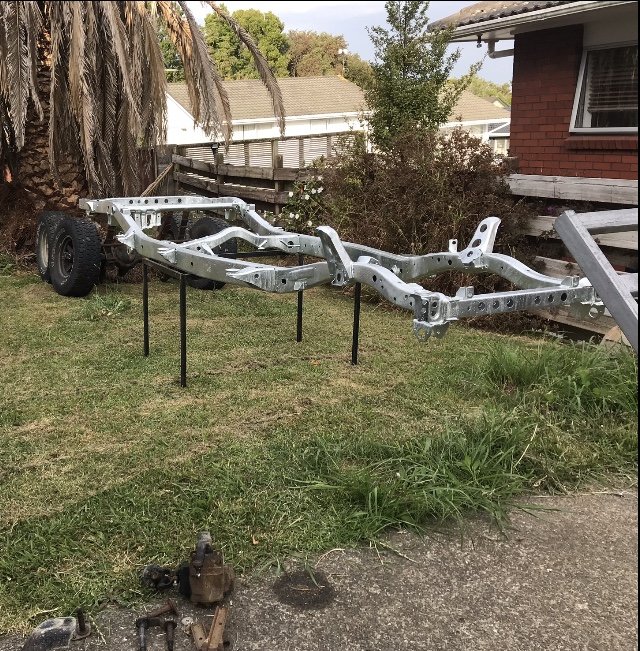
Grabbed some longer bolts and bolted the wooden discs to the new chassis plates already fixed to the chassis legs by the other fixings. I then turned my attention to centering the suspension beam. I followed a similar methodology by digging through my off-cuts of timber until I found two matching pieces that fitted snuggly between each L300 suspension tower and the outside of each plated chassis leg. Tapped the timber spacers into place and then lifted the L300 beam the last few millimetres until it was sitting snuggly against the chassis plates. Fitted a tie down strap to the front of each chassis leg and took up the tension to make sure the beam was firmly fixed in place. Sorry for the poor pics, but the light in my shed plays havoc with my cheap and cheerful camera.
3 points
-
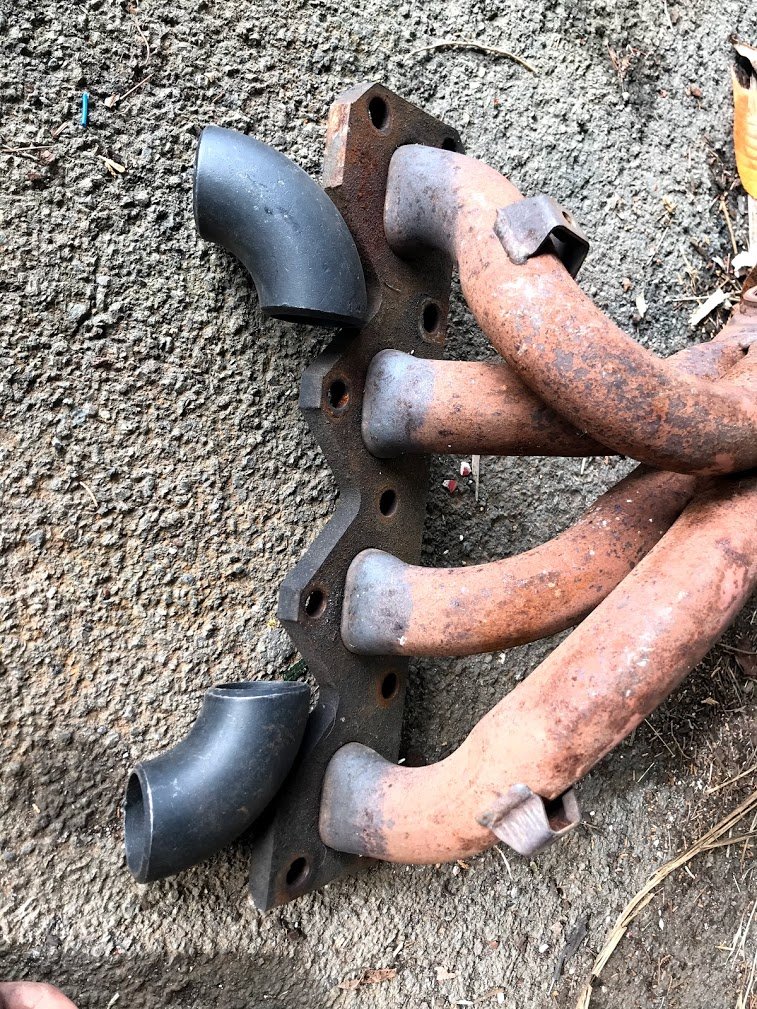
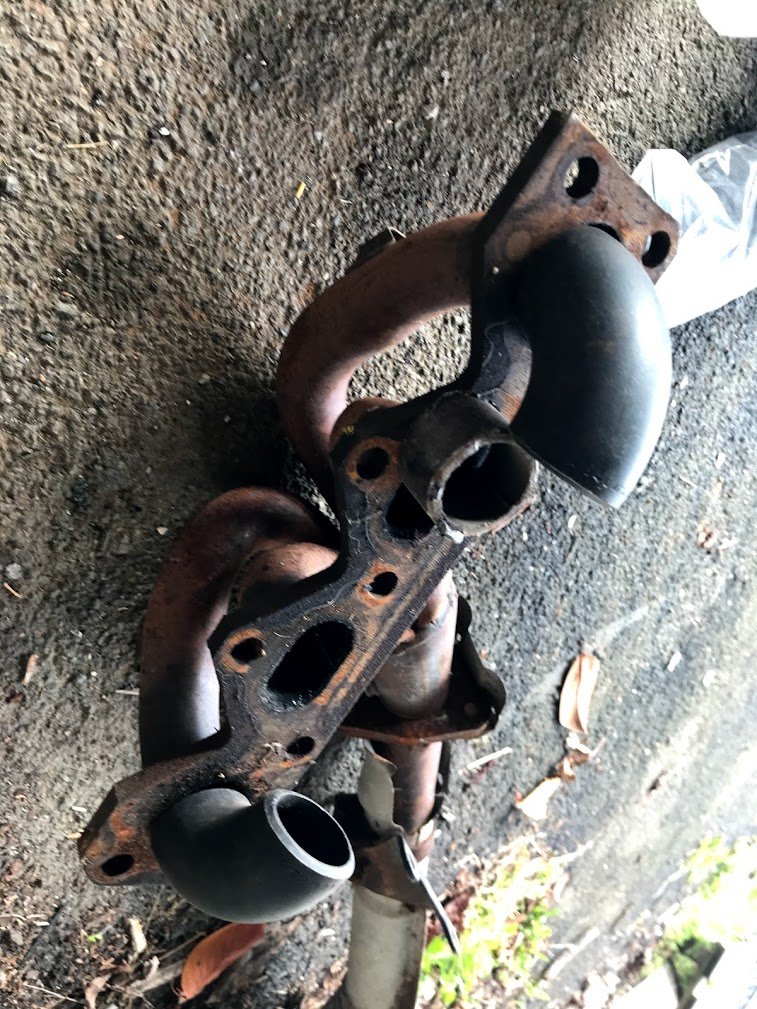
Grabbed a factory manifold for beer money. Hmmmmm.... log?
3 points
-
picked up my gasket kit for the motor last night, hooned that in and gave the motor a few coats of black, didn't come out as good as I wanted but its done now. Then today I started assembly of the bike for the last time, got the wiring loom in, motor and gearbox and seat and tank. really hanging out for my peanut valve covers to arrive too as I can't stand the standard ones. got my tires ahwhile back, after heaps of back and forwards I decided on some TKC80's for maximum trendiness and got them mounted up, was super chuffed with how they were looking and then tonight I went to put the front wheel on and well.. the front doesn't fit, it fouls on the lower for brace so going to have to think up of a solution to that, wither start chopping or go with a smaller front tire which its a 3.5" and currently have 4". Cant wait to get it outside as cameras don't love my workshop lights. Just waiting on swingarm and headset bearings to arrive early next week hopefully and then the wheels can go on and I can see what it really is going to look like.2 points
-
I dropped a 2.5mm screw.
2 points
-
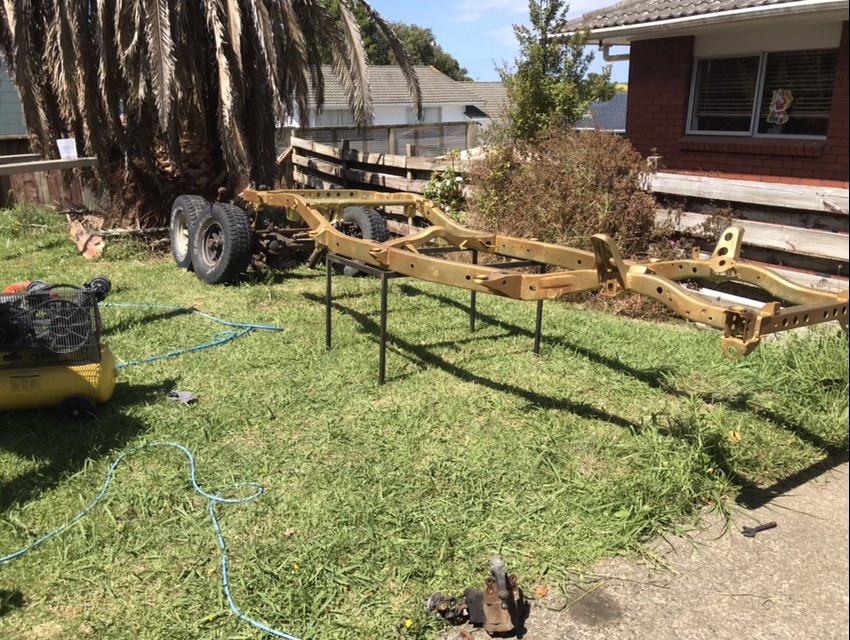
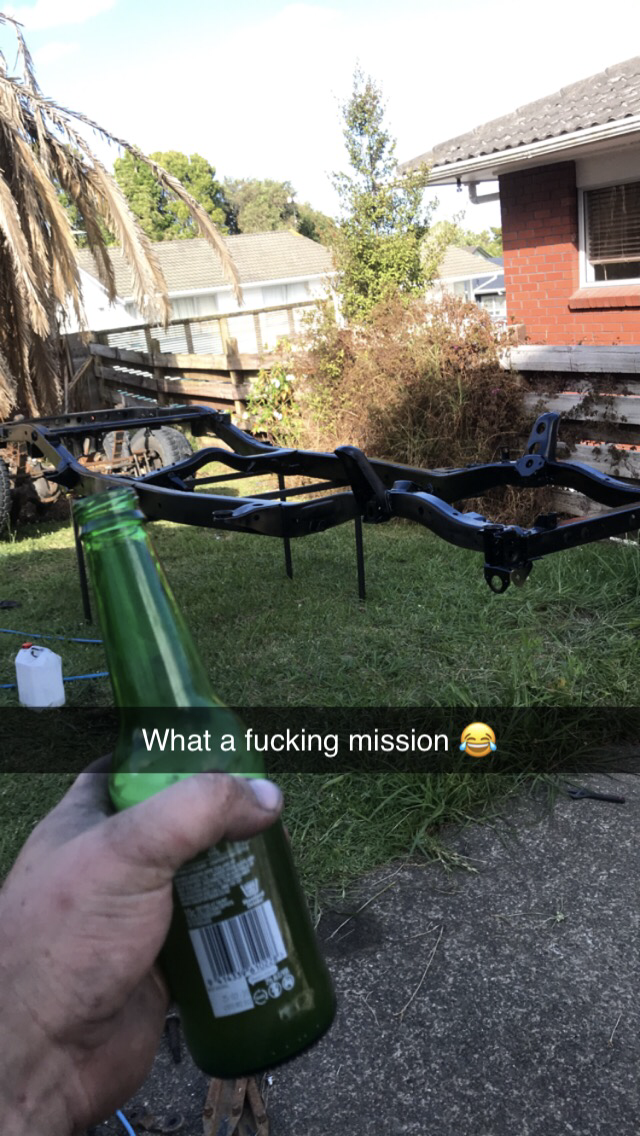
Also. acid dipping ended up being 250 cash as it was 150mm to long for the tank so had to sit for some days then swap ends for a couple more. hot galv was 316.25 all up inc gst so $566.25 all up for the full treatment. That’s with me removing everything my self. not bad considering most coatings places wanted around 2K and that’s just a sand blast and spray 2K under seal. Where the sand blaster can’t reach they just spray cav wax, not actually removing and rust that’s formed. in saying that, it’s a lot of work to fully strip a chassis, but for a 4WD that gets driven through salt water it’s justified. Galv has formed well inside the chassis rails so I’m pretty happy with it2 points
-
Slowly slowly getting there2 points
-
Tumblr isn't performing so well, but you get the idea. I made some progress.2 points
-
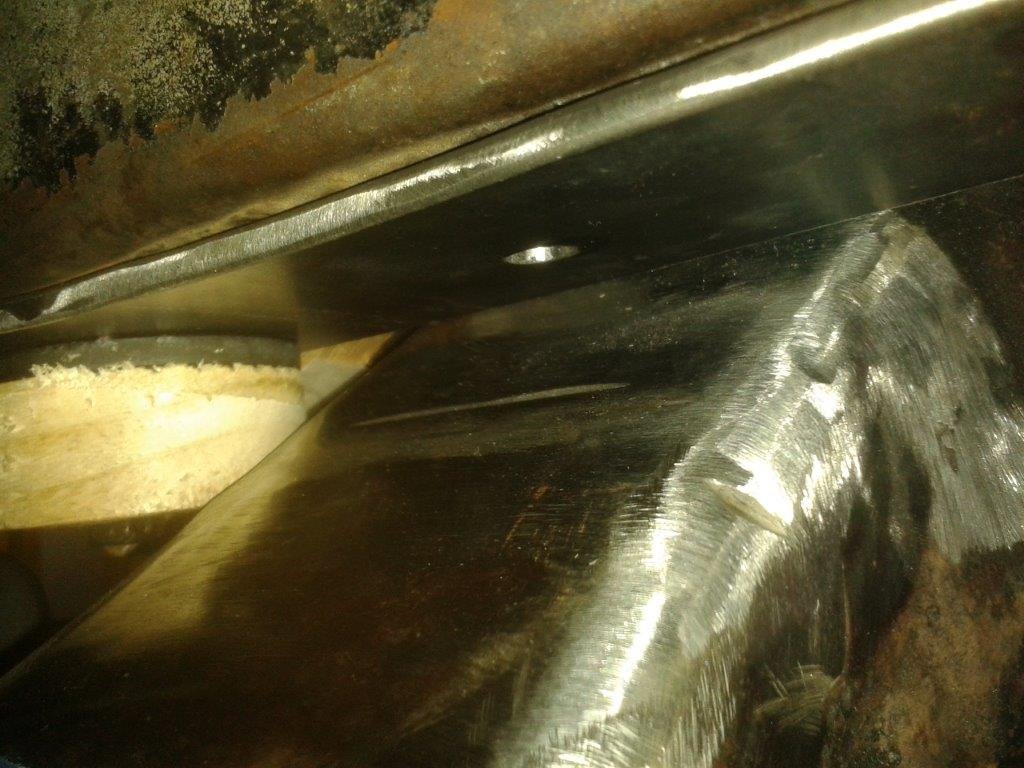
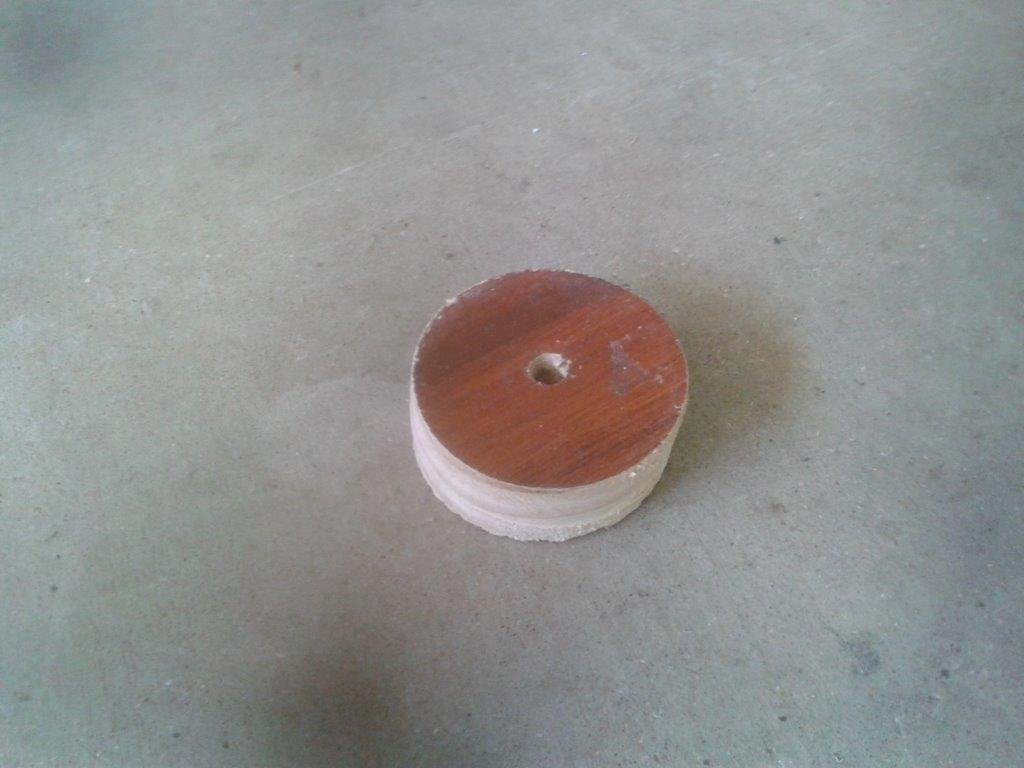
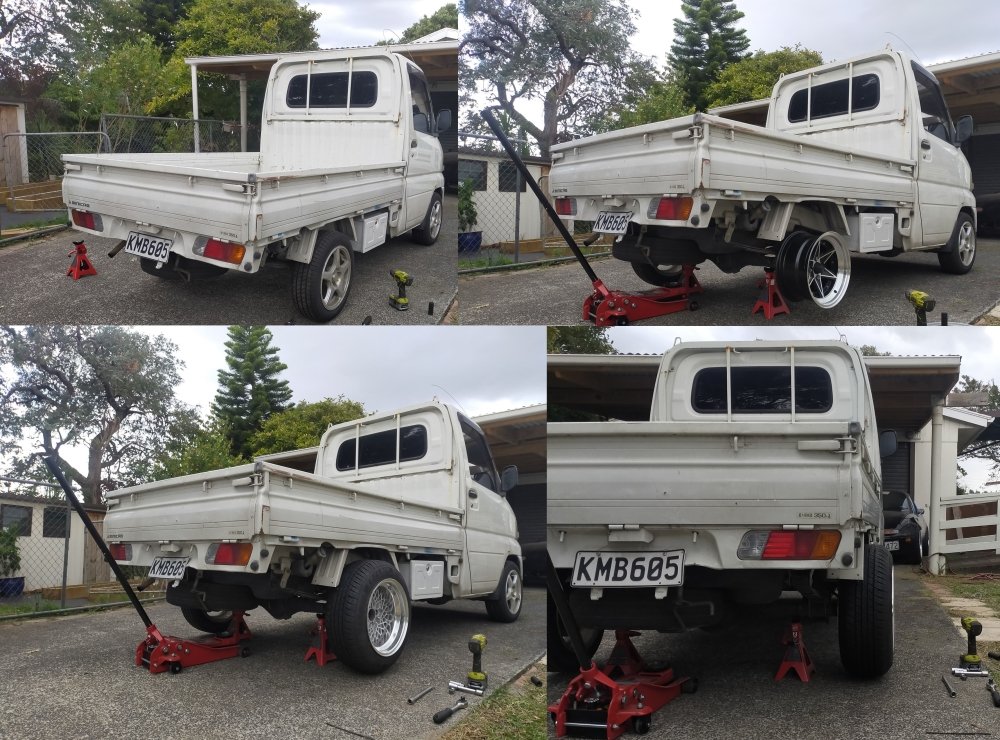
Another fruitful few days here at "Rough and Ready Restorations" in sunny Queensland. Never having tackled anything like this before I'll give you a quick run through of the rather rustic method that I used to determine the final position for the new L300 front beam. Kids, please don't try this at home. With the front up on axle stands the Thames was sitting on the piss, so I figured a decent first step would be to level the van up by lifting the rear onto jack stands. It took a bit of fine tuning but I was finally able to confirm that the old Thames is now sitting perfectly level from front to back on both sides as well as from side to side at both the front and the rear. With the van all squared up I then lifted the L300 front beam until it was a couple of millimetres shy of the chassis legs and then braced it in place resting across two short length, equal thickness hardwood planks that are running from front to back, each plank supported by an axle stand at each end (luckily I have a good few axle stands in my collection). Again I leveled this all up and called it good. With the front beam now "hovering" a few mills shy of the chassis legs I inched the beam along the planks until I had it roughly where I wanted it. At this point I was able to confirm that the L300 beam does cover one of the mounting holes for the new chassis plates, so it was a good thing that I thought of this earlier and lengthened each plate to pick up additional mounting points. Next step was to figure a way to keep the beam correctly centered as well as correctly aligned front to back. Following my usual "rough and ready" approach I proceeded as follows: For the front to back aspect I figured I could use the plate bolt ahead of the beam on each chassis leg as a good anchor point for some kind of spacer that I could replicate for both sides. Searched through my collection of hole saws and found one that had a radius measurement that was exactly what I needed. so proceeded to cut two wooden discs that look like so:
1 point
-
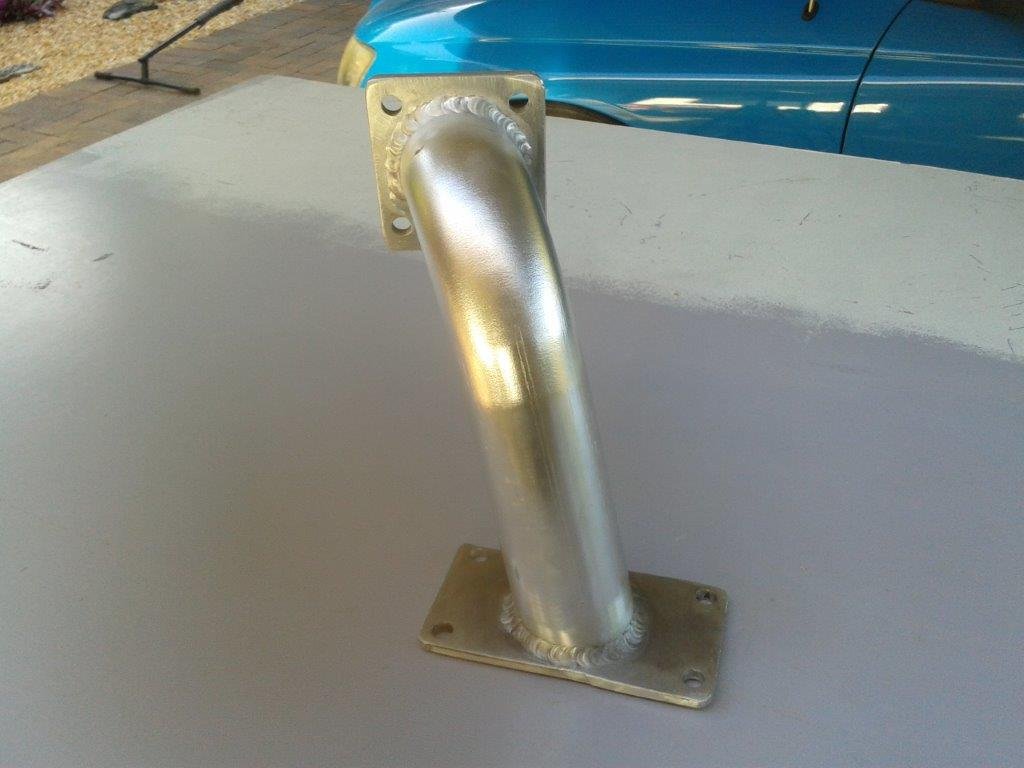
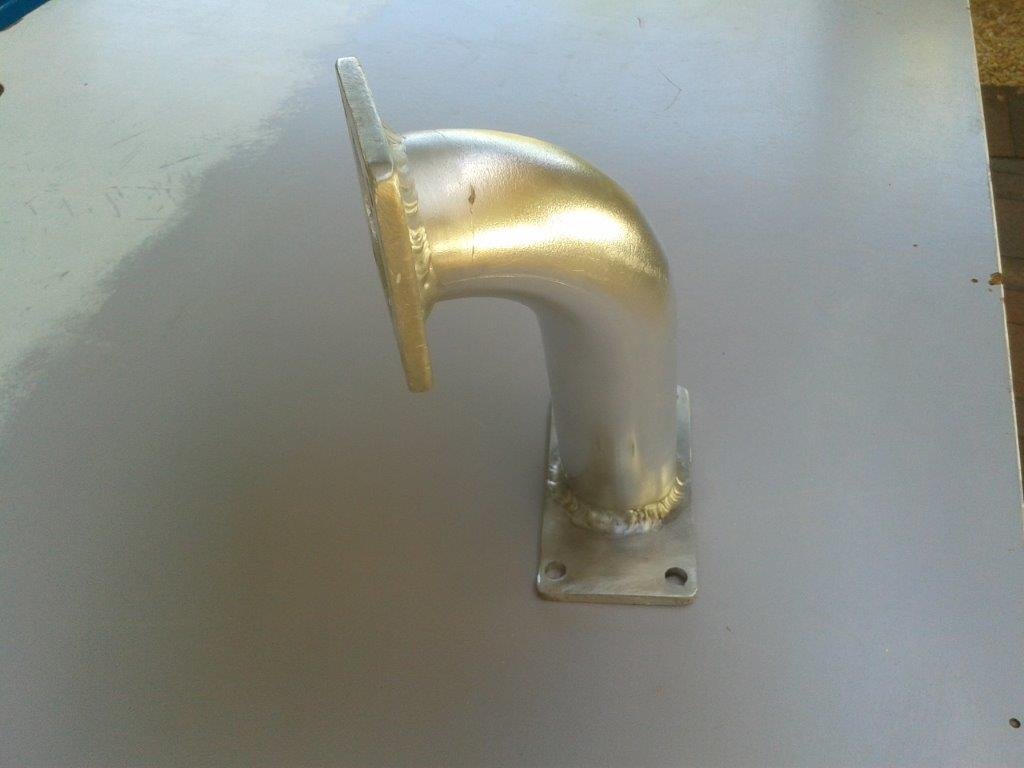
Just got to weld the tube in and fill up the two holes
1 point
-
Get some semi sealed and some plus 50 bulbs https://www.narva.com.au/products/72040 these still have the old look but better with H4 bulbs. I wouldn’t recommend led bulbs in your dash. It can make it too bright.1 point
-
Our boot lock is butchered from accidentally locking the key in the boot once... now it’s jut a vague hole that you can turn with a screwdriver etc. The rear springs look factory to me. If you decide to upgrade, try to find something stiff with a linear rate (not progressive).1 point
-
I have this lever/cable assembly if you wanted to upgrade, I do you bes' priiii1 point
-
If the stars align I’d be down on this.1 point
-
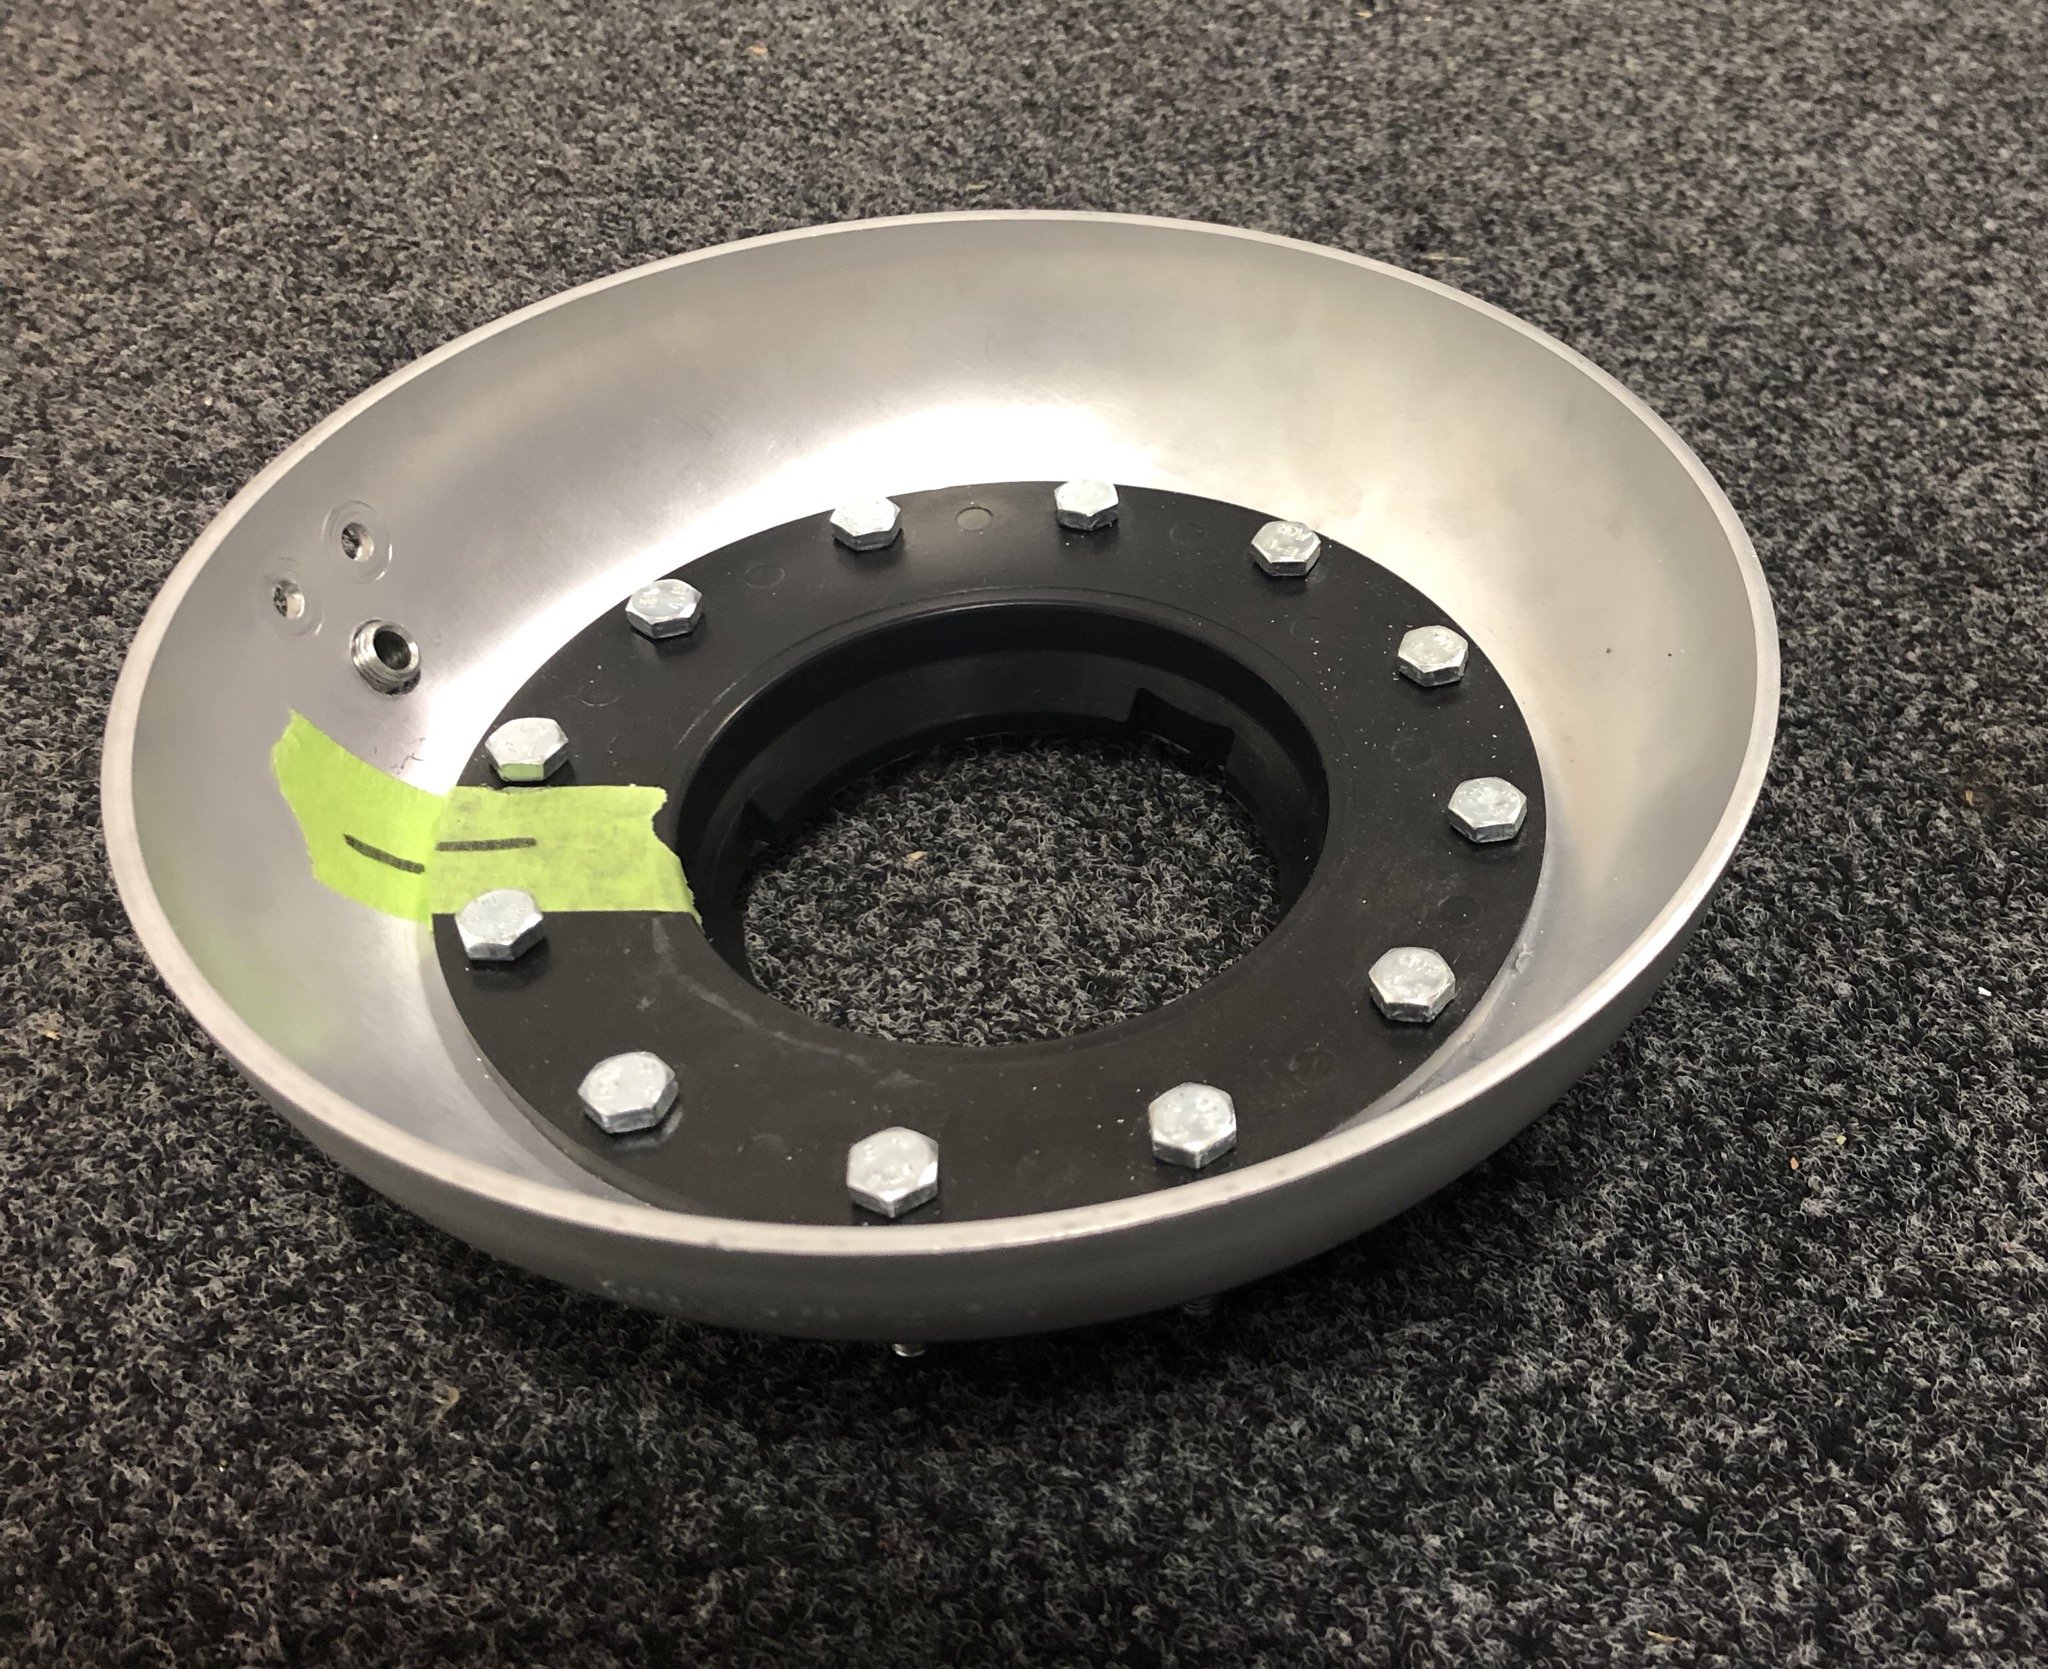
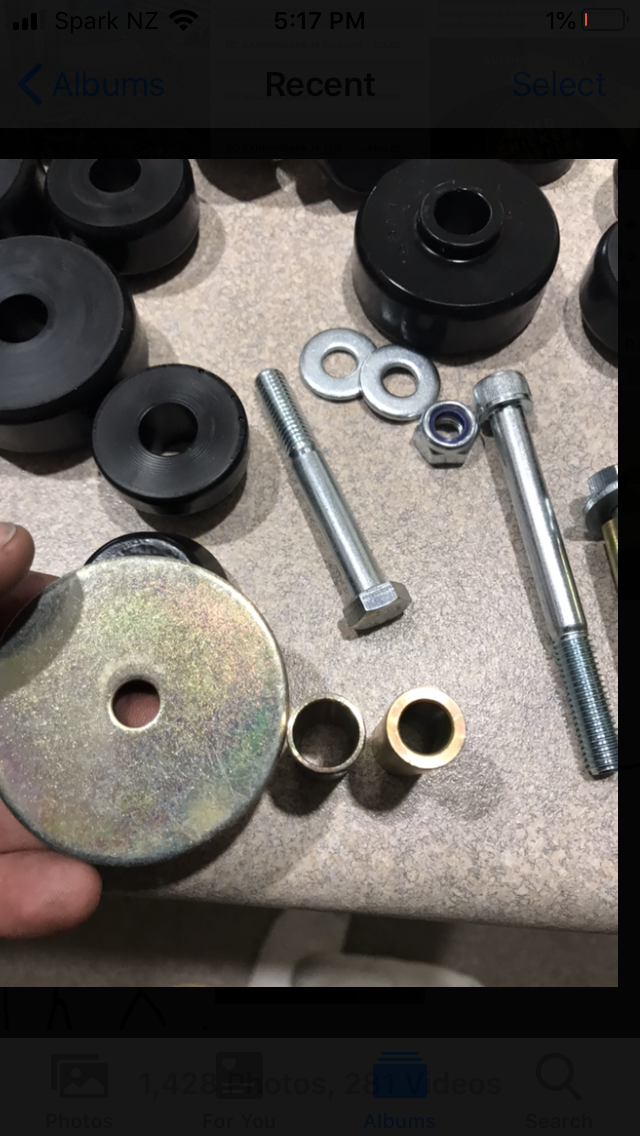
Need to get the cab back on before winter kicks in. Picked up a new bush kit. Had my query’s as the crush tube is thin and the big washers only aloe for from an M8 witch I though was a bit on the small side. The thinner crush tubes allow for an M12 witch was better but after talking to one of the engineers at work he said the crush tubes to thin for the torque setting of an M12. So I found some thicker crush tubes laying around work and got some longer M10 cap screws witch I think will work better. Cap screws being tensile too Also made some spacers out of 100m UHMWPE off cuts too witch should help with gearbox and bellhousing clearance
1 point
-
Rolling burnouts on sue on the hard sand would be so lol1 point
-
It's definitely not very fast, he said he kept it standard for reliability. There is a lot to be said for that, so many times I've missed out on track time due to an issue of some sort. Also, man its been a LONG time since I've done any kind of event. In the short drive to and from the wof place is actually goes better than I thought it would. Haven't had it in a 100kph area yet, I'm guess it'll be pretty obvious then.1 point
-
A lovely mod moved this over from the tech thread, I figured it might be interested for some peeps to see the progress/fail. Anyway, look at this poos. It took a wee while to get to this situation, as I was looking at the pins on the breakout board like a mech eng, I assumed the line of inputs would start at 1, but naturally it started at 2, so all my control wires were in the wrong holes. This was an easy fix. There were other issues though, one of the built in tools with LinuxCNC is something to check the latency of the pc. This was showing a latency of 309000ns, which was about 6x outside the possible input range of the setup program. It ran but the control prog was throwing errors. So tonight I installed LinuxCNC on another wee pc I had, this had a much better figure of around 29000ns, everything runs pretty smooth now. LinuxCNC is pretty sweet, the install and setup is really straightforward once you get your head around. The actual build should start in the next week or so...1 point
-
Hmmm seems like there is a bunch of sediment in the tank that keeps blocking the main pilot jet as it steadily ran worst and worst in rough conditions and eventually broke down lol. Rowed back to shore and drained the tank. Ran out of light so I’ll clean the carb tomorrow. Also noticed it has the worst possible spark plug cap so Ill pick up a rubber one from the auto shop down the road.
1 point
-
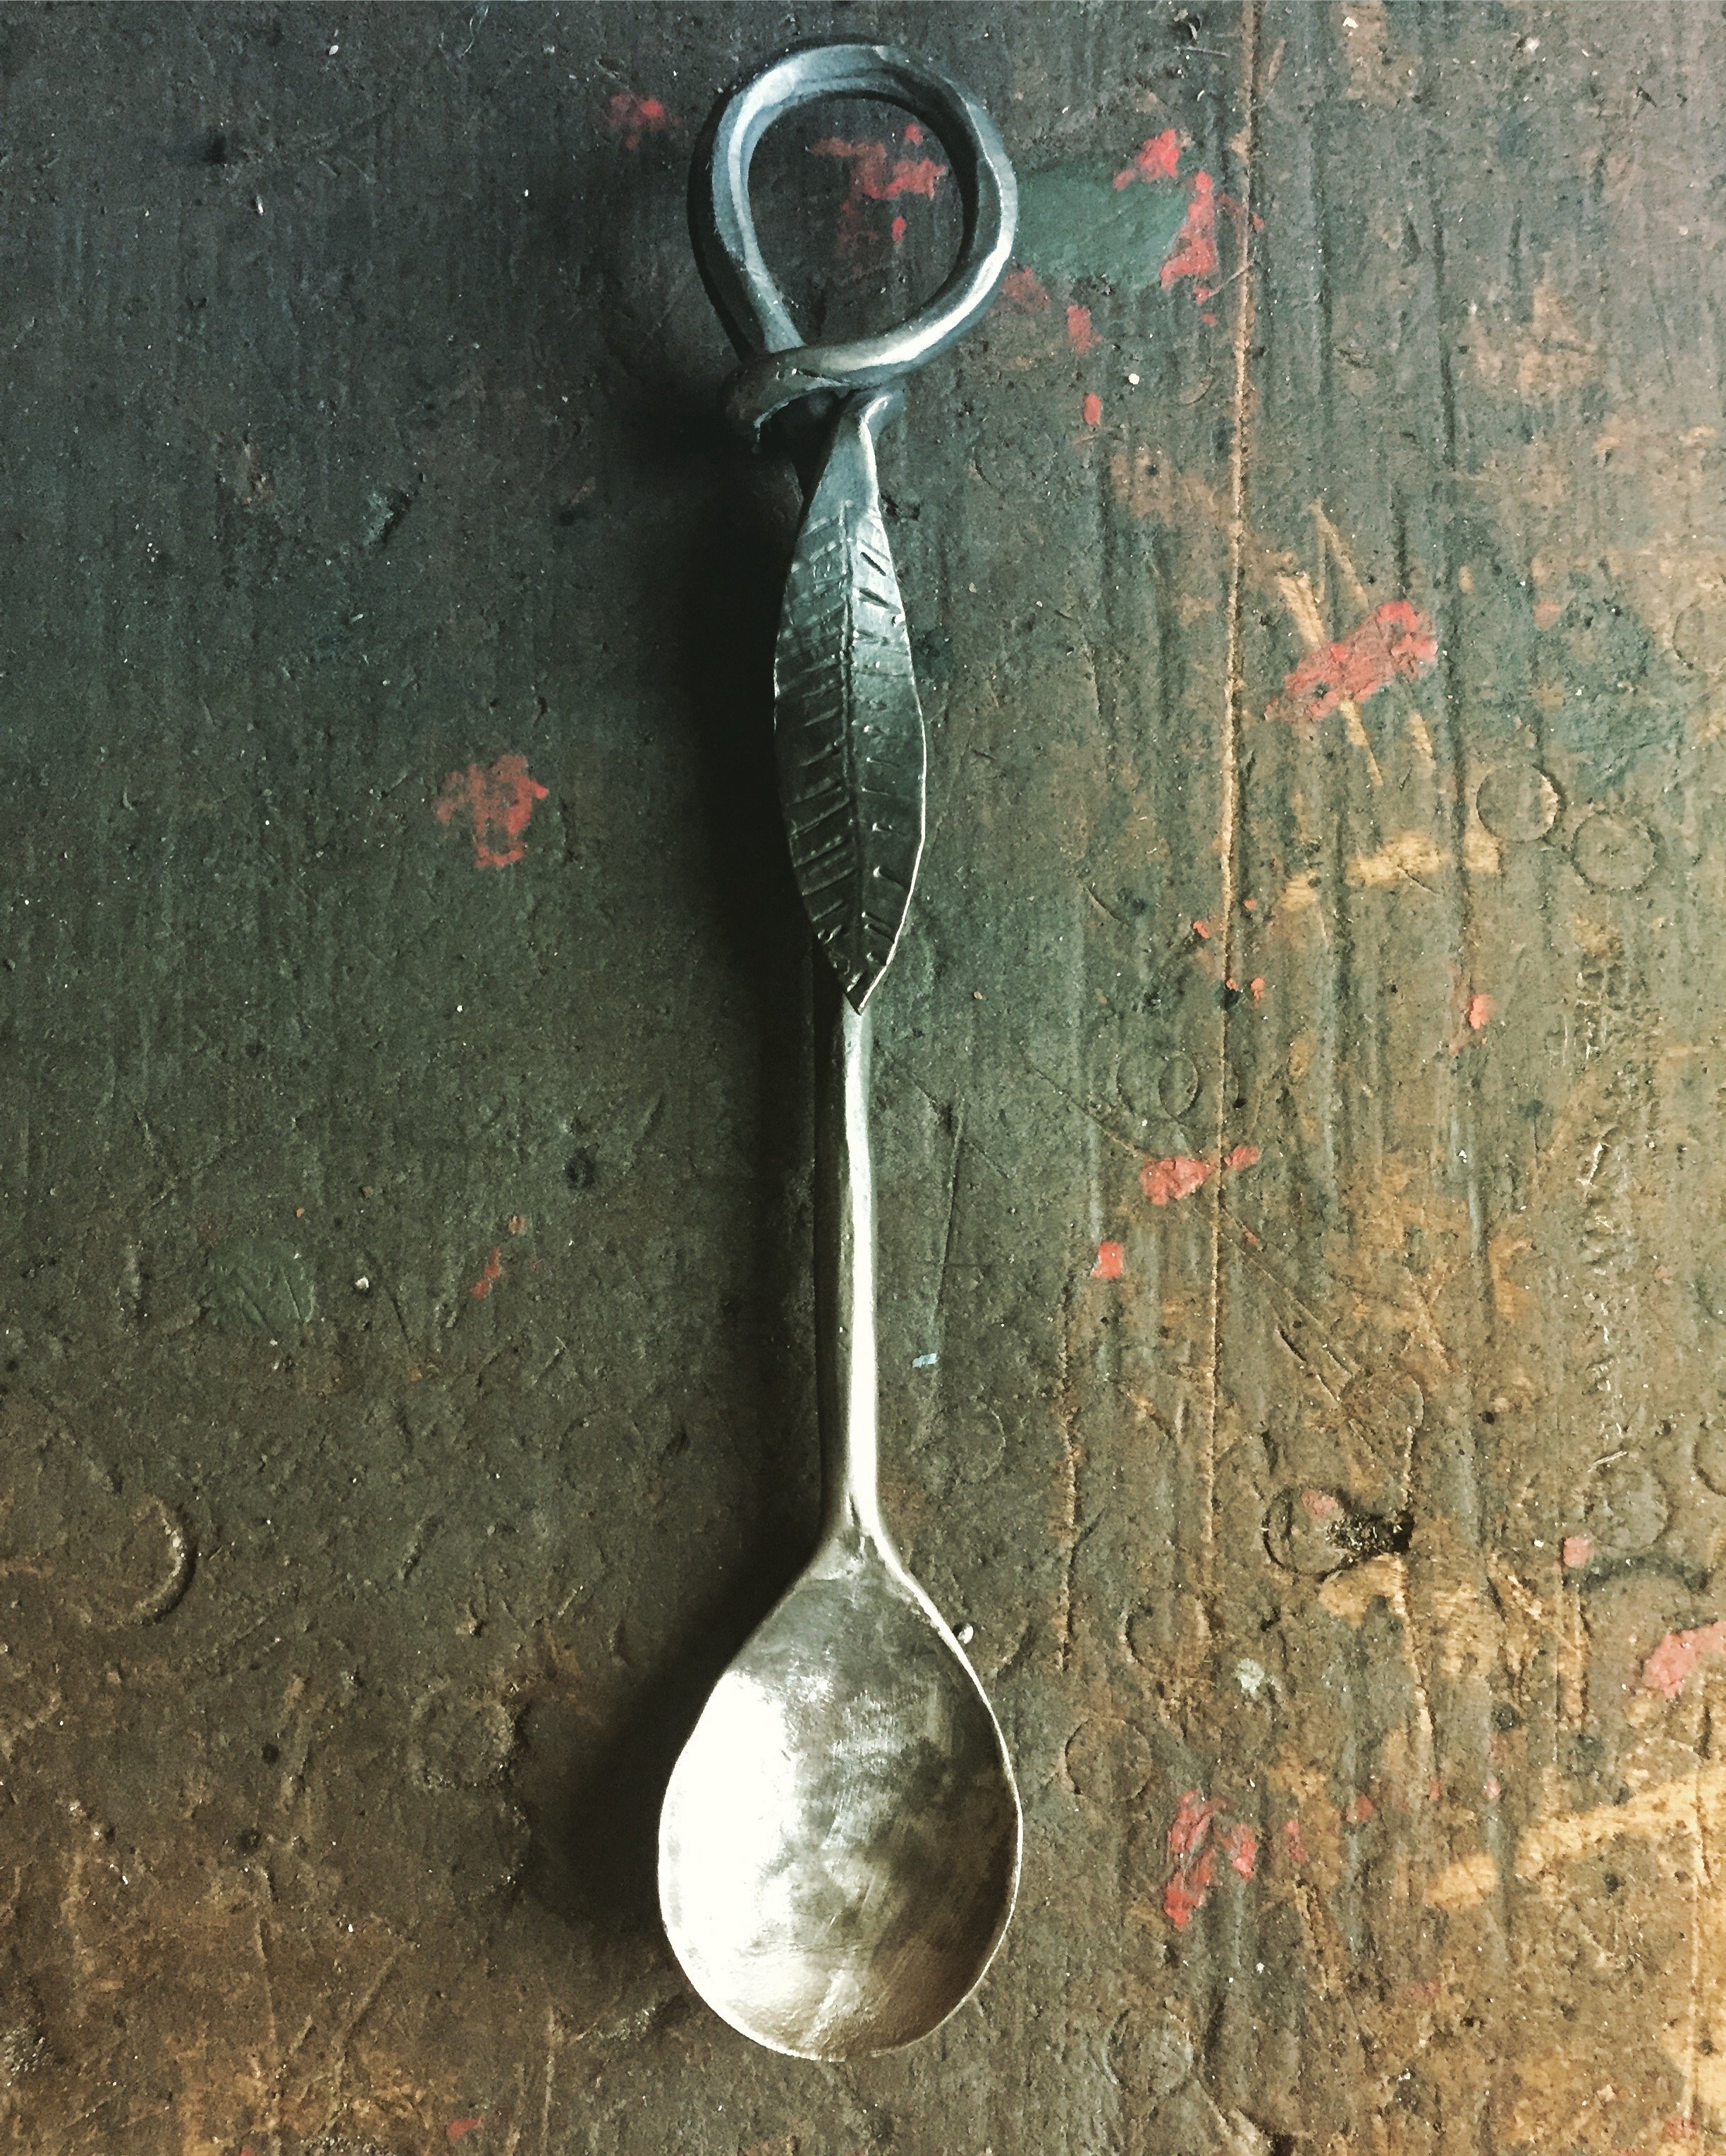
I made a spoon from a scrap of stainless steel I found on the road
1 point
-
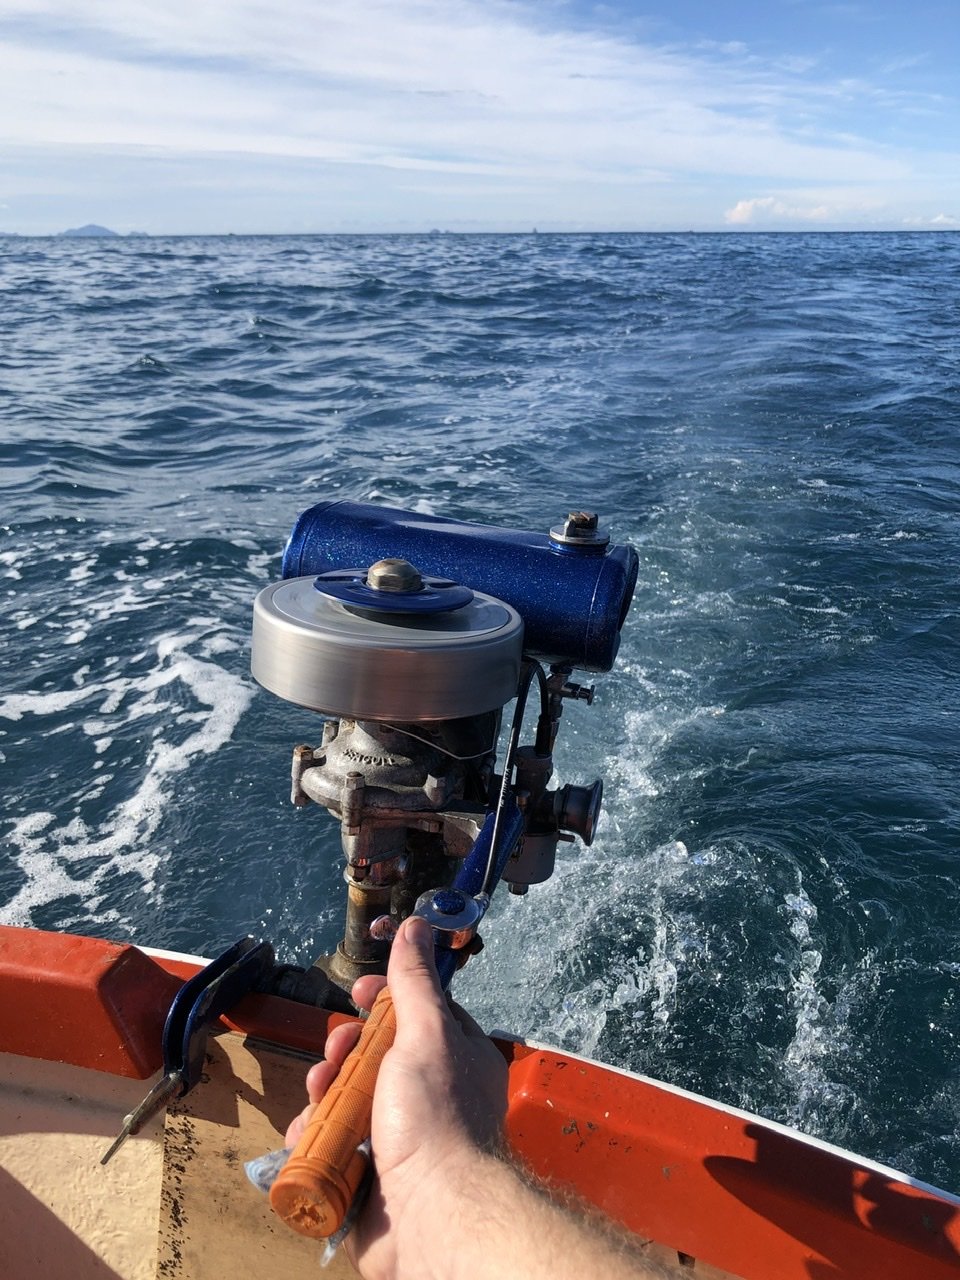
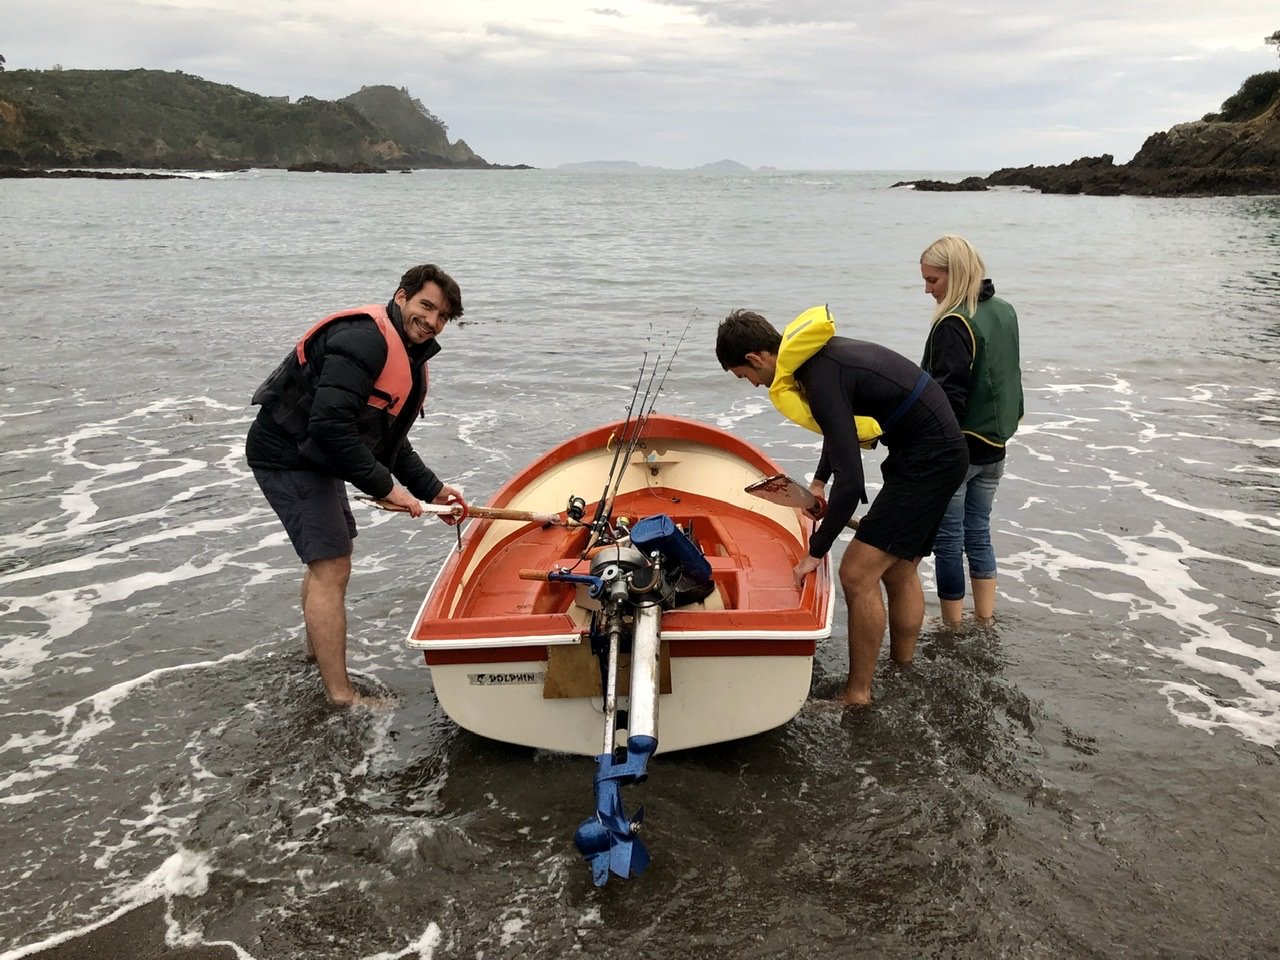
Finally got Sparkels out on the water to test the new carb. Super easy to start now, first pull and she’s away. It’s running a mix of 1:20 ish, probably closer to 1:15 as I poured slightly more oil in. Anyways out on the water it ran great at 3/4 throttle. Full throttle it bogged down a bit and seemed like it was running out of fuel. Adjusted the needle height a couple times out at sea to try let in more fuel which slight fixed it not fully. Want to adjust the height of the prop as it sits low in the water and apparently fills the exhaust tube with water making it smaller and less effective with the 2 stroke pulses. Sea trials will continue tomorrow.....
1 point
-
It begins...1 point
-
ooh yip... The courier driver was really pissy (because he was too scared to drive down the driveway and thought he wouldn't be able to turn around) and chose to walk his sorry ass down the drive with a couple of pairs of headers. he lobbed them on the deck and scratched the deck in the process Feel the 202 powah!!!one. The headers look okay, pretty sure they were advertised as 2.25" outlet but the short bit of pipe is actually 2". I'll just chop it off and weld a bit of 2.25 on the collector and call it good I'll barry up a adapter for the weber to the holley pattern. I'm not paying $90 for something I can do shittily in 4 hours might get stuck into this on the long weekend1 point
-
The bellcrank to actuate the second arm had a lot of wear where it slides on the main control shaft. I put it in the lathe and turned the worn section down and made a brass sleeve to press on. Also the mounting bolt at the pivot is a bit of a dumb design with the threaded portion running directly on the pivot race so there is heaps of slop. I put a layer of heat shrink on that section of thread and that took the slop out. Shifter feels like magic now, gears are easy to find and slot right in with no vagueness
1 point
-
Sorted out the leveling issues with another pair of front struts from @VRTDamn its high... Have a whole lot of other parts coming Friday: -Replacement front and rear half of centre console in red -red carpet set -side moldings -headlights -window trims. Need to pick a color for exterior fairly quickly, want to get it in paint and sealed up before the thick of winter as the gx takes garage priority.
1 point
-
I'm not sure its ready for my level of sarcasm.1 point
-
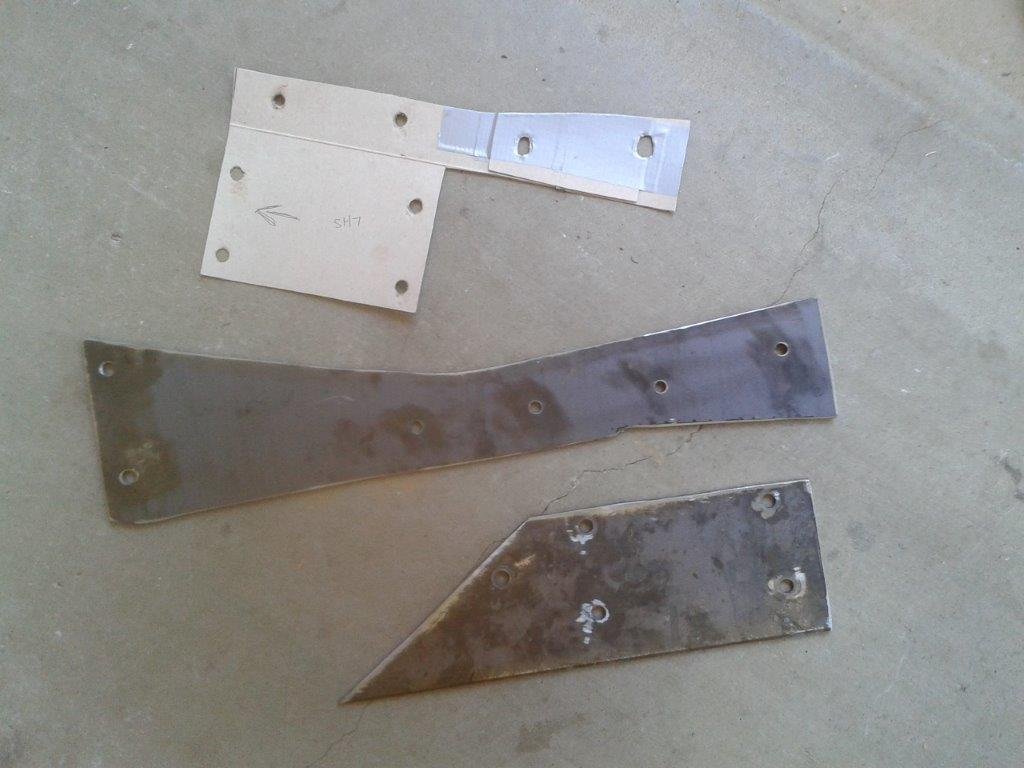
I picked up some 4 mm steel plate from my friendly re-cycler when we were in town last week and proceeded to cut the mounting plates for the front end. The photo below shows the left hand side mounting plates, but I made up a set for the right hand side too. You would have thought that the holes would line up on either side but their are slight differences betwen the spacing. Not much, probably in the region of about one to two mills out. I guess they weren't that accurate back in the day. You will also notice that I made both plates longer than my original templates as shown in the picture below. Reason being that I realised I was going to lose one or two of the bottom fixings that are likely to be sitting directly under the L300 front beam. By lengthening the bottom plates I managed to pick up two extra fixings towards the front and one extra fixing towards the back. Each of the vertical plates got lengthened towards the front to pick up an additional fixing. Probably a bit over engineered but I'm happy with the result. All of the extra holes were already threaded so makes mounting pretty easy. I just needed to clean up the threads with a 5/16 UNF tap as they were pretty crusty.
1 point
-
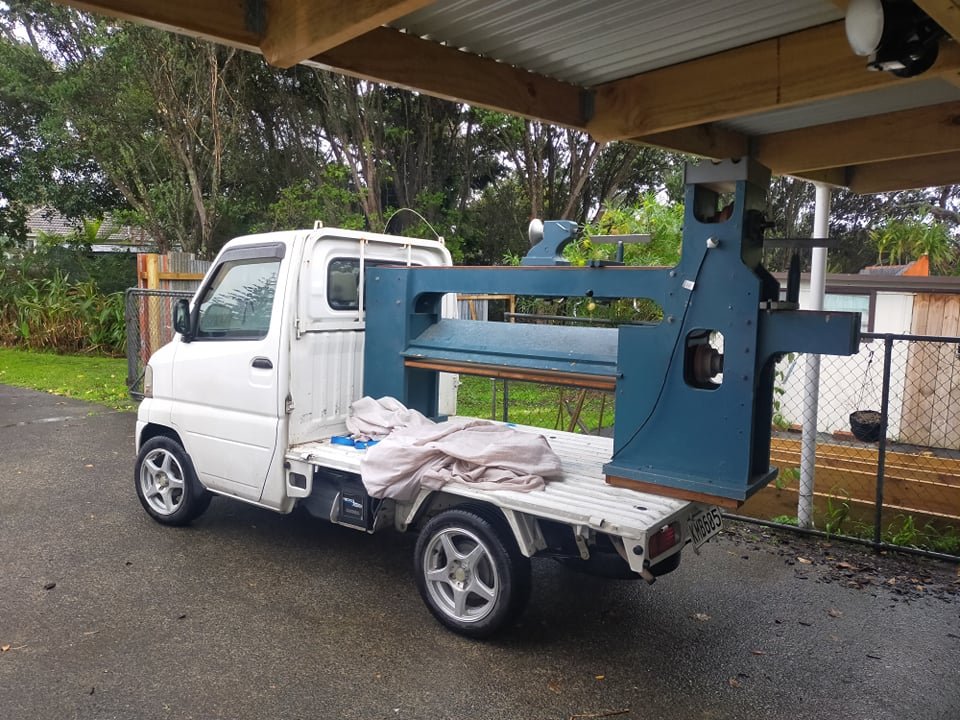
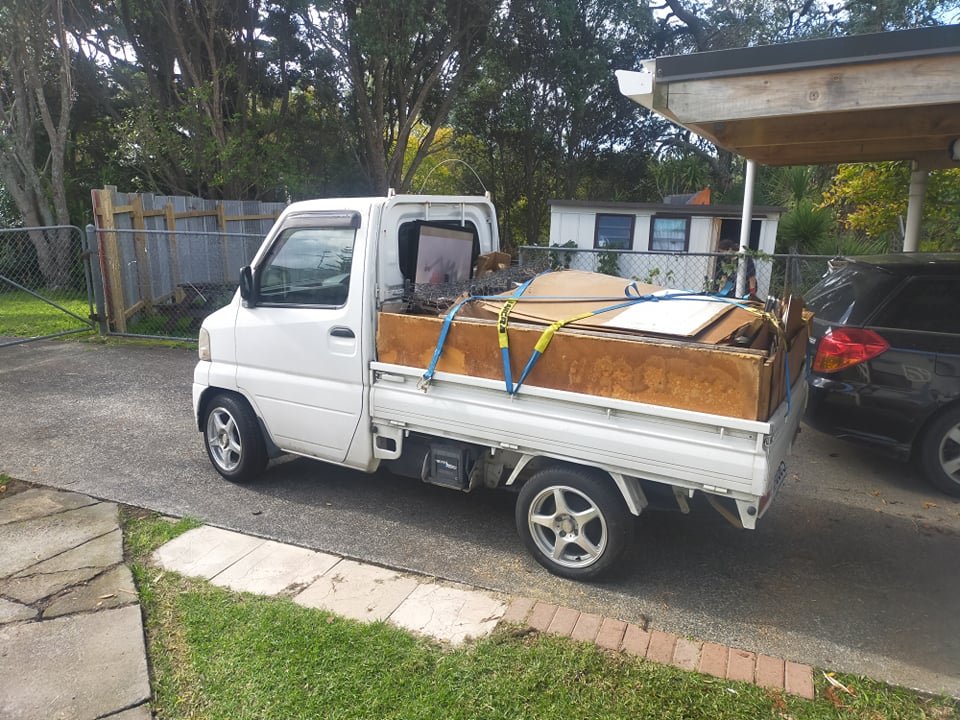
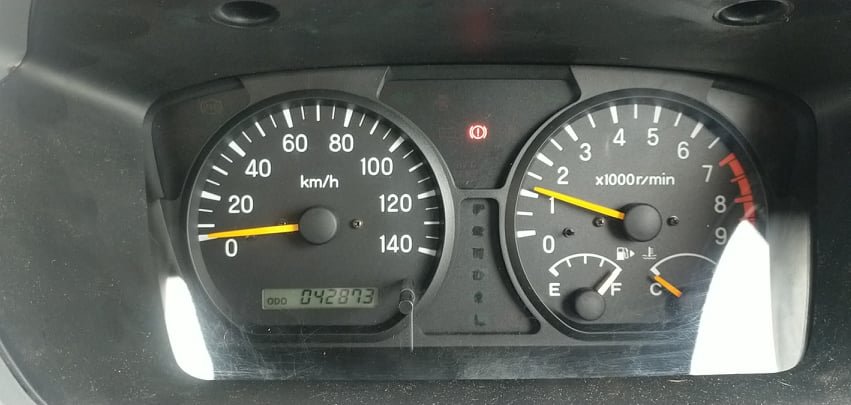
Did a little clear out of the garage during lockdown and found my wheel collection so decided to test fit them and see what size flares i need to make. Need at least 60mm for the 6 black wheels and 90mm for the formula mesh. Fitted a Momo Prototipo i forgot i had bought. Picked up a wood lathe and did a couple of near 500kg dump runs. And worked out how to get a stock looking tachometer into it. Discovered on a Japanese forum that the Mitsubishi Townbox dash cluster has identical wiring, just need to run 1 wire from the ecu to the cluster for the tach signal. Works perfect, has a dual trip meter and now know that the limiter is at 7500rpm.
1 point
-
Job done, well happy with how this has turned out.
1 point
-
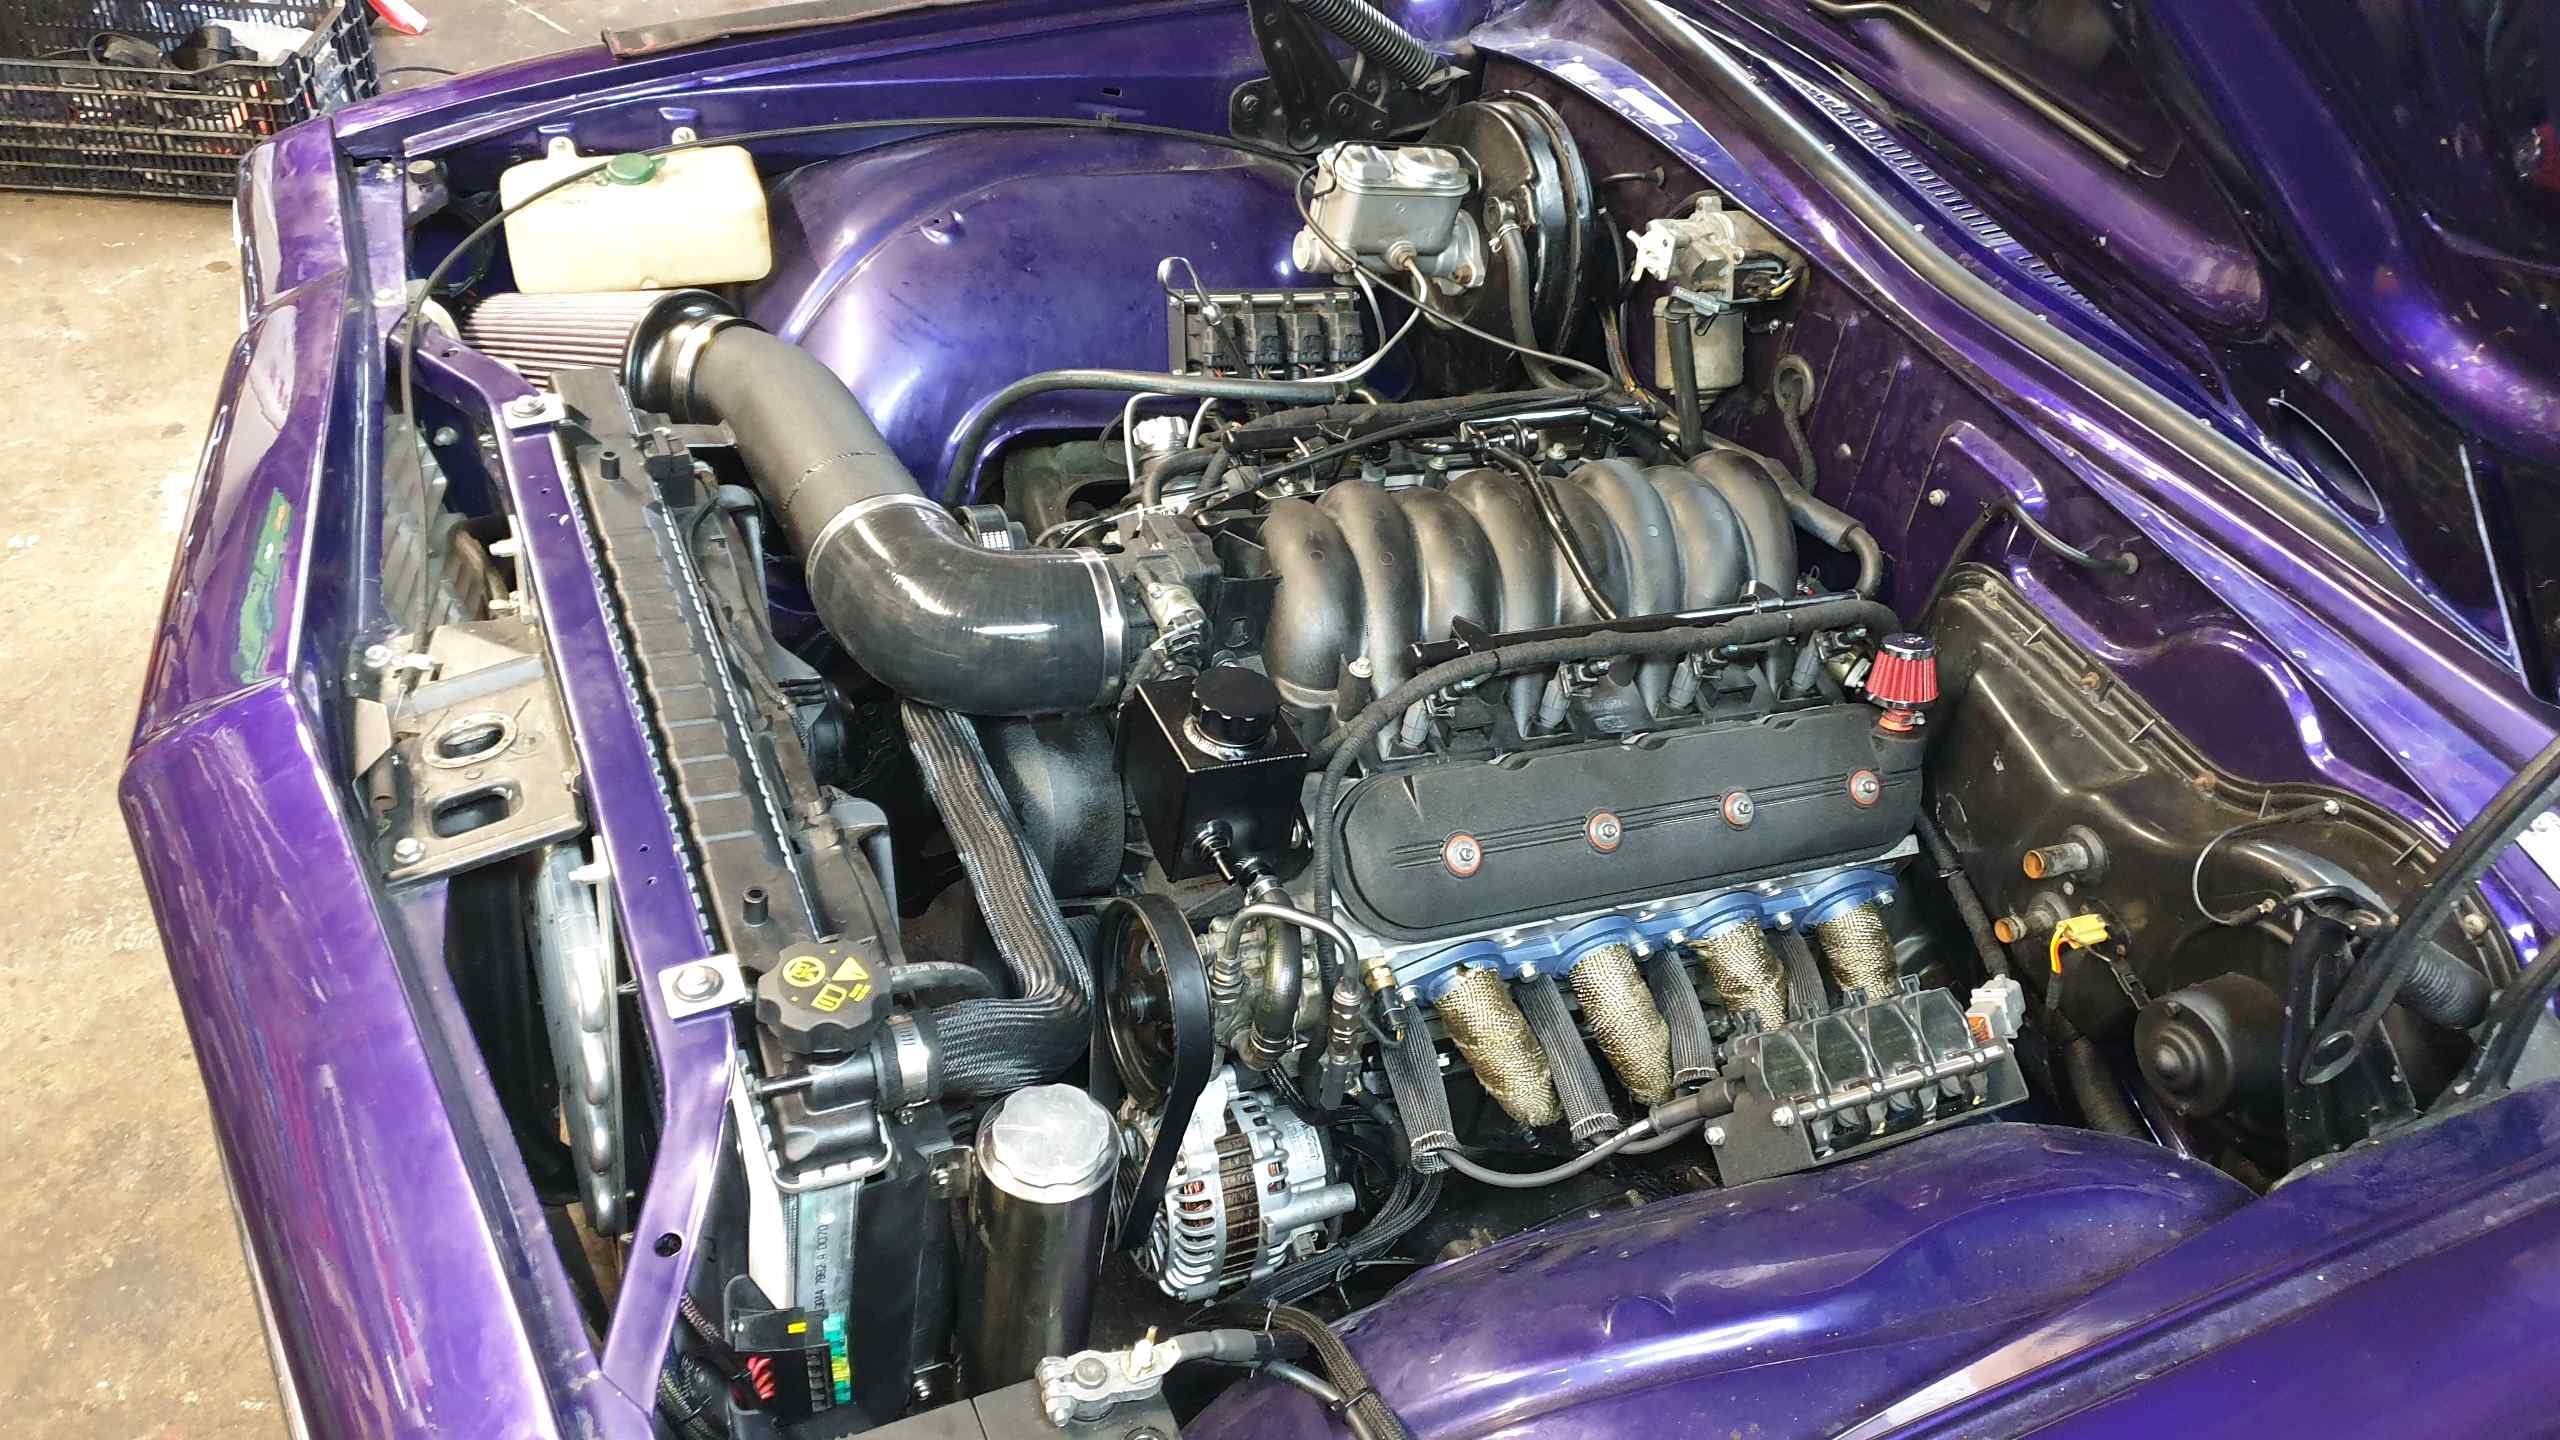
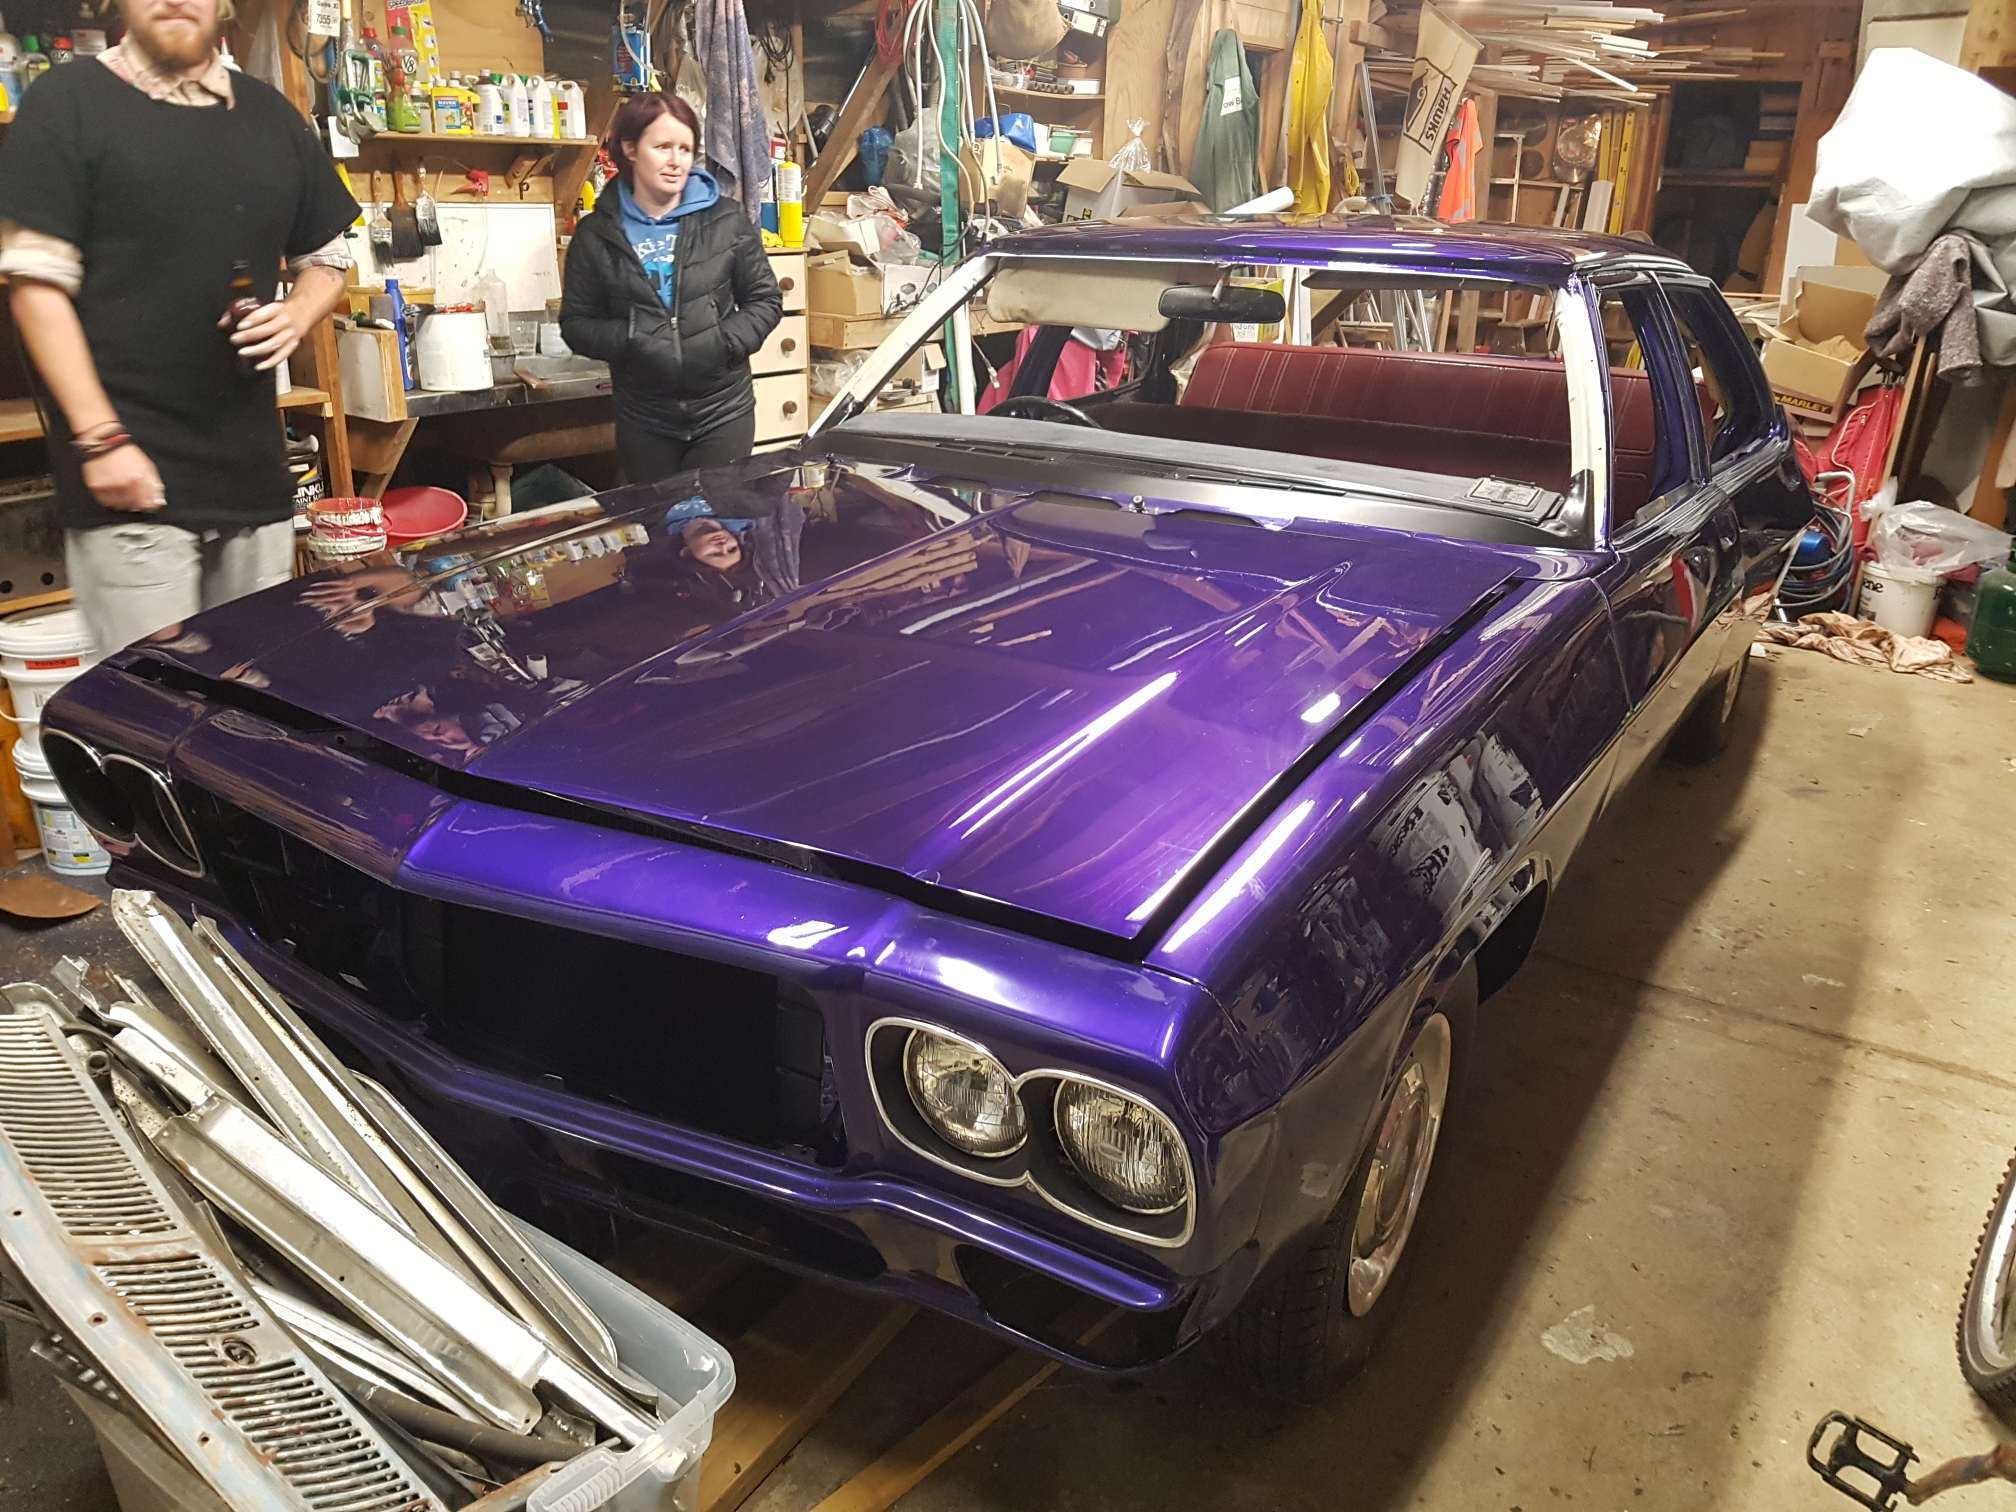
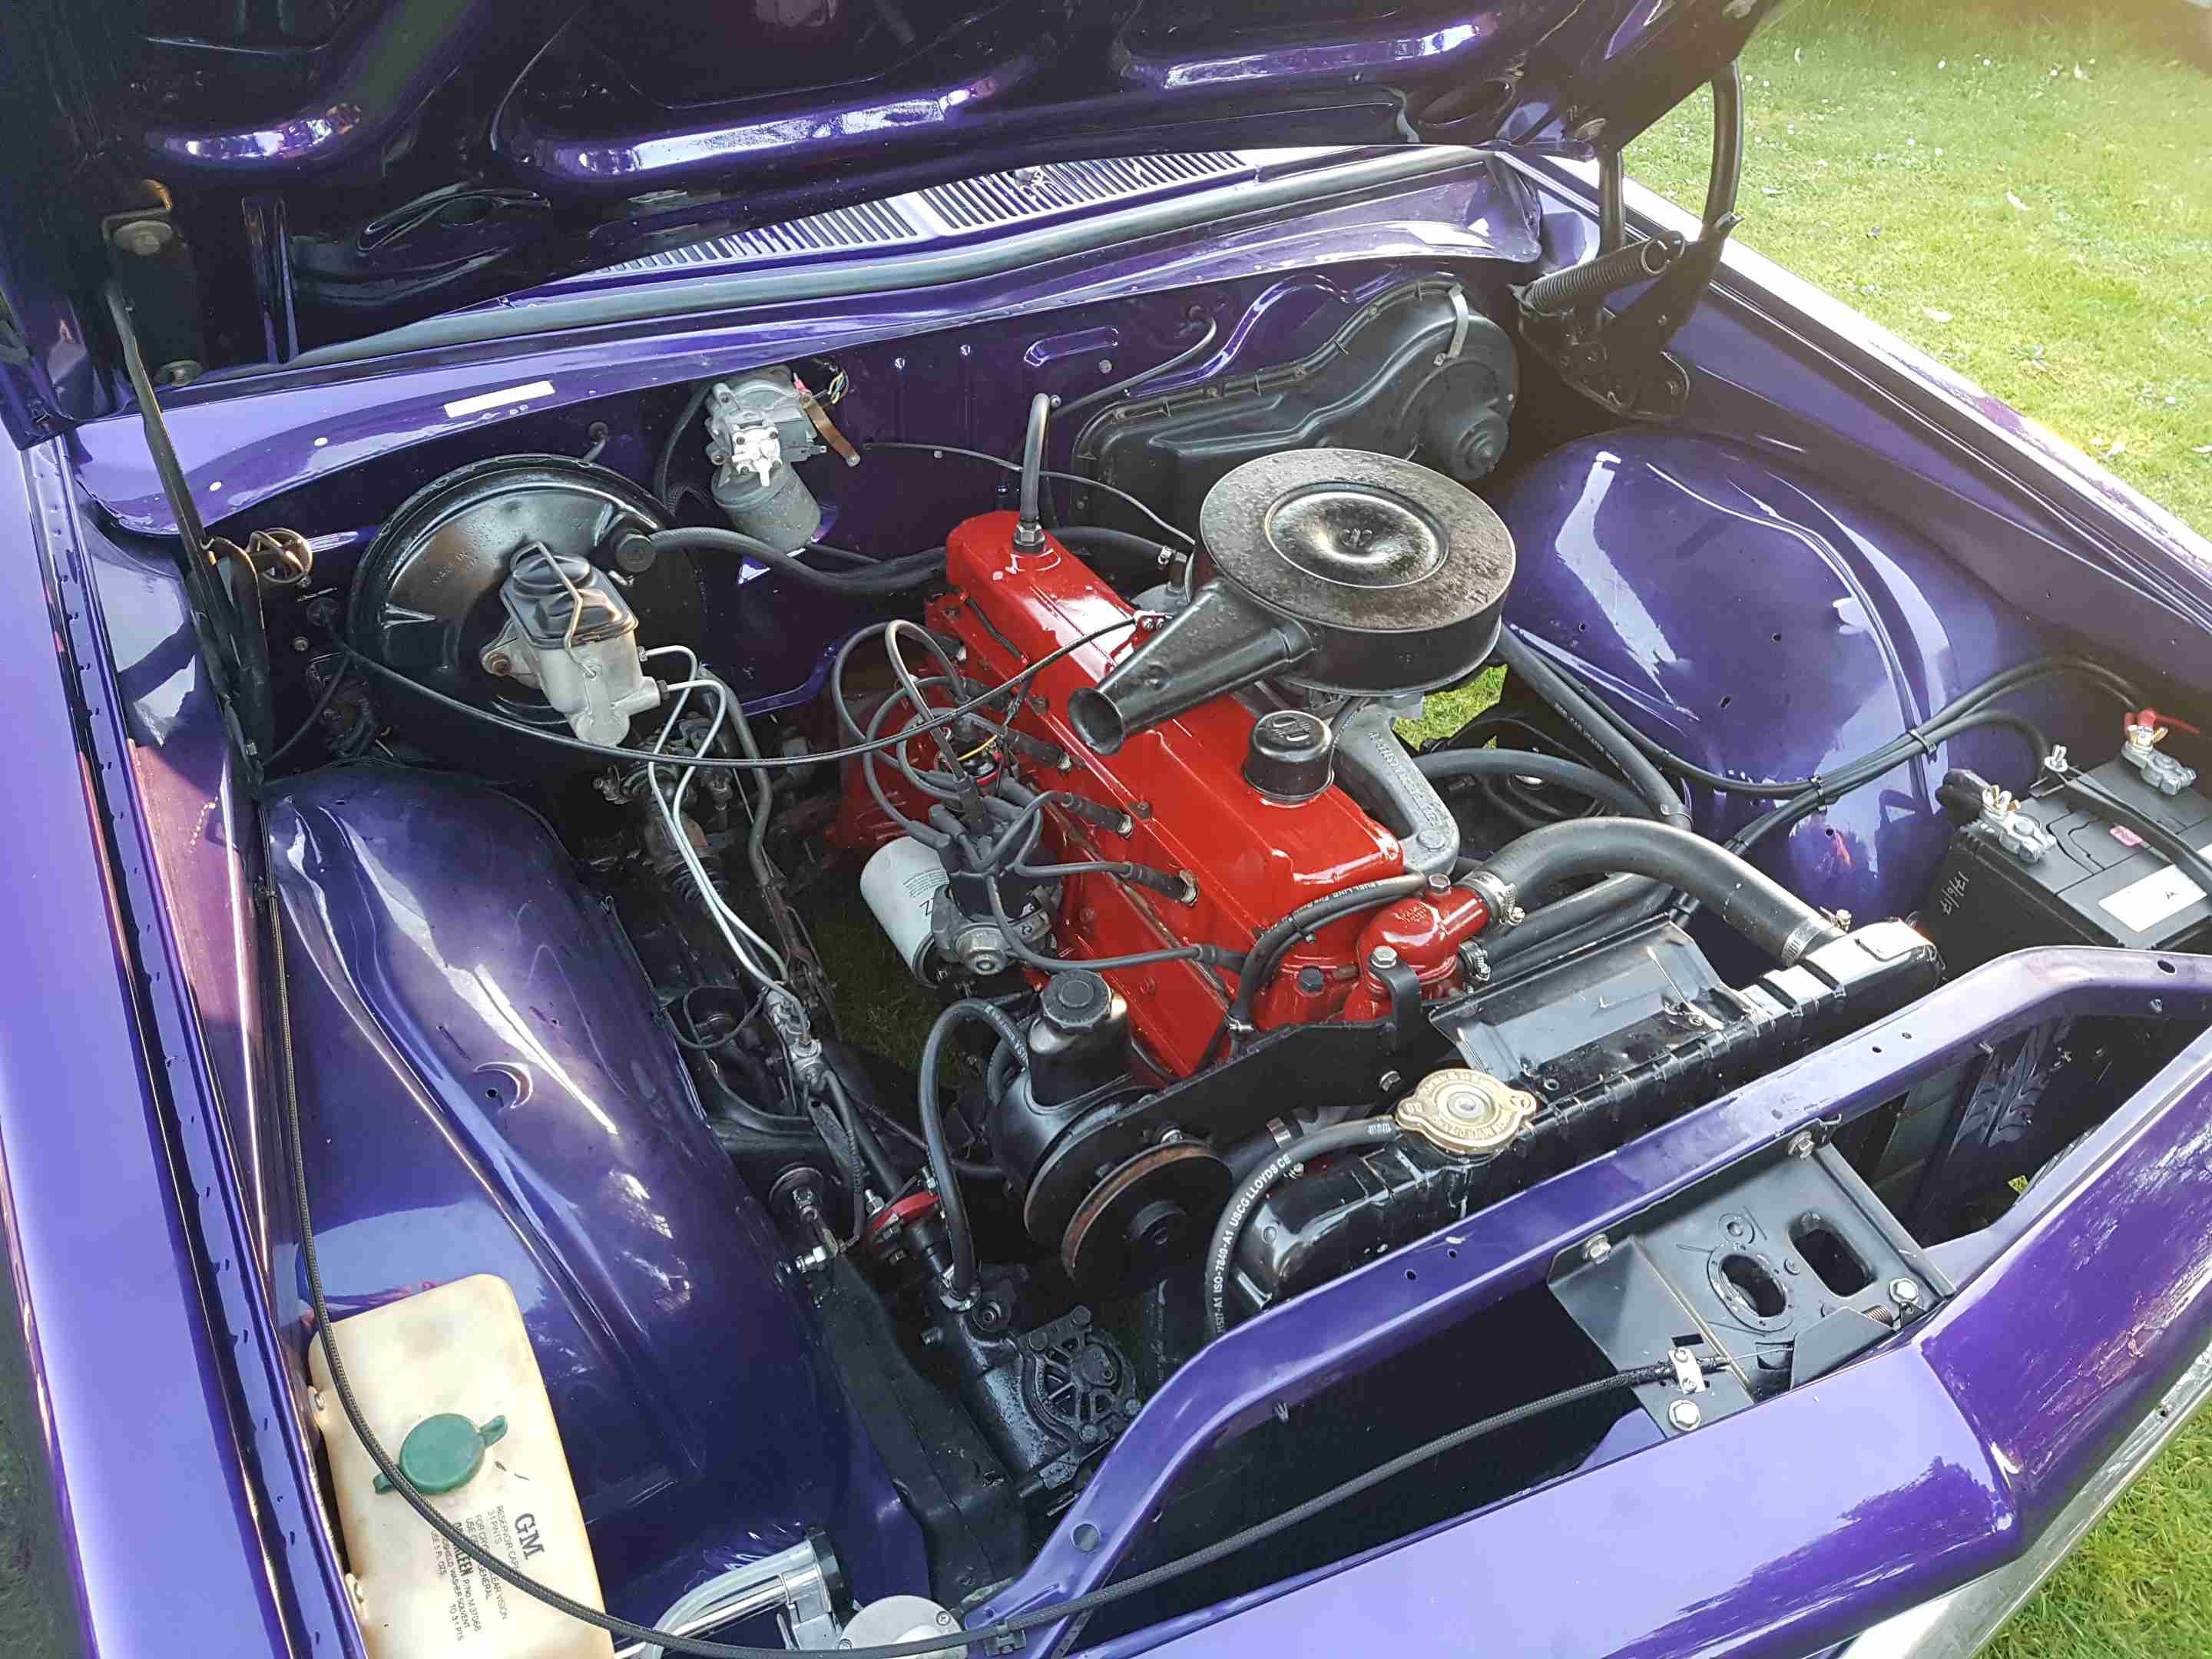
Bout time I put up a post for the on going evolution of this build, a few years ago discussed with the mrs what car she wanted to build and she wanted an hq, we put it on the 5 year plan... 3 months later im working out on site at one of contacts powerstations and got talking cars, got wind of an un finished project a mate of the site fitter had sitting in a shed, que a few calls and some $$ changing hands it came home with us, its been evolving ever since, initially we spent 8 weeks and plenty of $$ getting it back to roadworthy with the 202 and 3 on the tree, since then its had my 327 chev and a fully built th700 fitted, then i picked up a vz ss ls1 cheap so makes sense to ls swap it since i run CWS specialising in wiring them, so out came the 327 and in went the ls1 mid lockdown 4 weeks later iv just fired it up, will endeavour to post up more pics of the project build but heres a few of various stages from when we 1st brought it in pieces to how it is now with the LS1
1 point
-
Some things have arrived...1 point
-
It would be for building some more aluminum boats, standard size sheet. I've done a lot of profile cutting work and I currently work servicing cnc plasmas and lasers so have a fair idea of what's needed, just haven't had much to do with routers1 point
-
Monday was a public holiday here in Aus, but yesterday my good mate Cameron took my manifold adapter in to work and glued it together for me. Dropped this off at my place last night. I owe him big time.
1 point
-
Picked up some acid etch. $58 for a 2L kit. Sprays super thin. was hot today so just started with light coat from front to rear, then straight back to front again and kept doing that till it was all used up. Left it looking pretty blinging! started on the 2K black where the gun packed up. Only spraying like an air brush it took hours to get one coat. Then the needle seal gave out and started spraying paint out the top of the trigger covering me. Continued on as I was already to far gone. Had about 80% done where it then decided to work properly, did a couple strokes and let off the trigger and it stayed on full tit so I just kept going and did a whole pot in one go without the trigger coming unstuck. What a fucking disaster! Least it’s had a full coat. And my mate that’s an actual car painter said he’ll head over and sort it for me haha fuck my life
1 point
-
Time to get the taps out.. picked up my air comp from a mate so I’ll hopefully spray it at some point over the next week
1 point
-
Rented a compressor. It packed up halfway thru my first side. Supercheap backup to the rescue. Then the gun clogged up. But, got a coat of primer on. Tomorrow i unfuck all the fuck ups a bit and hopefully get it almost primed. I know tigerstripes e'rywhere, and the tailgate is as warped as a warped thing. Thanks.1 point


_sedan_(23230030334)(1).thumb.jpg.34d765361d66c78db614bae6ea2c156a.jpg)

This leaderboard is set to Auckland/GMT+12:00