
Leaderboard


Popular Content
Showing content with the highest reputation on 01/09/19 in all areas
-
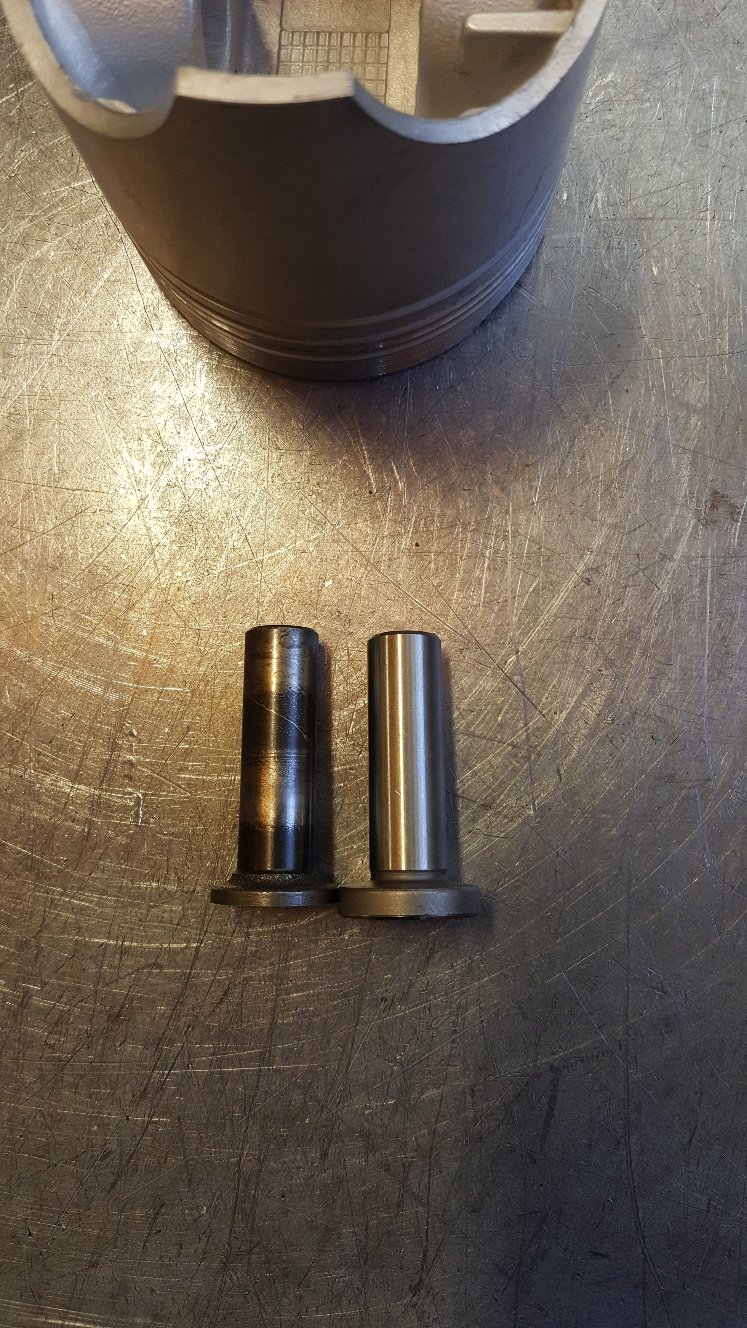
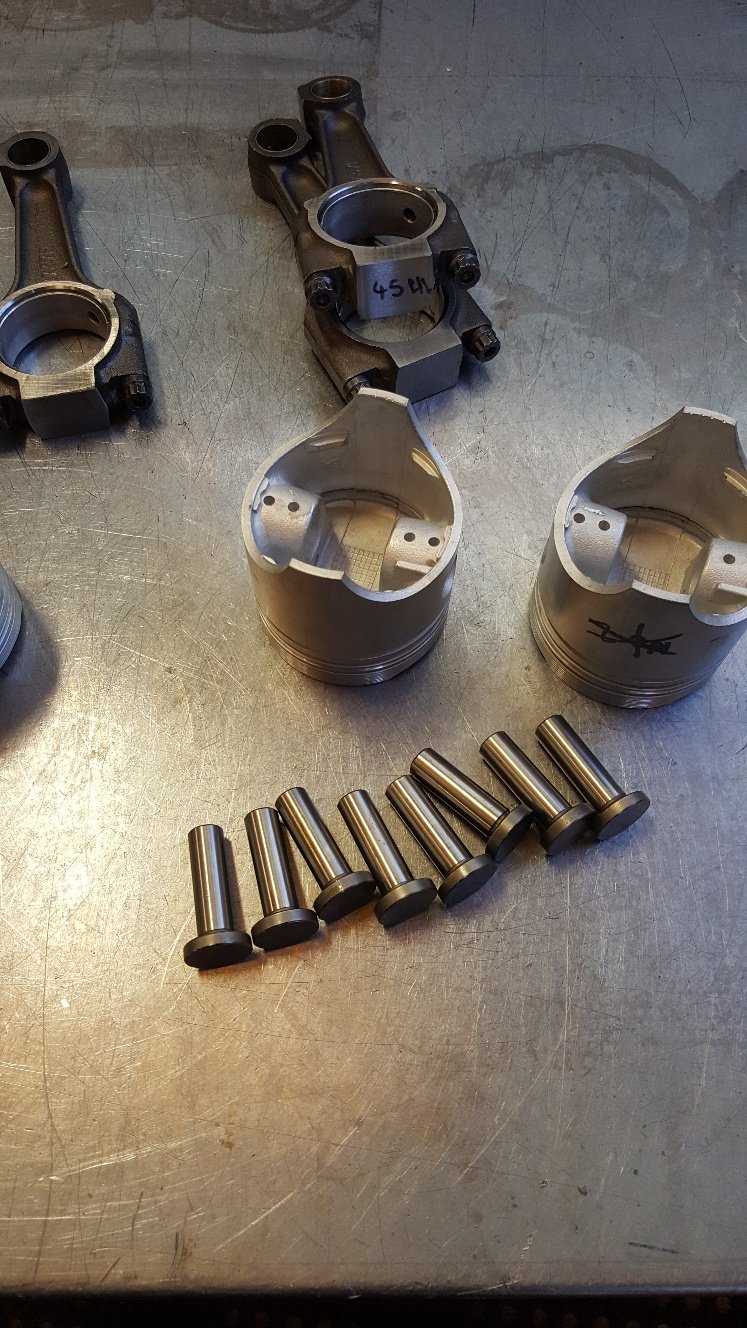
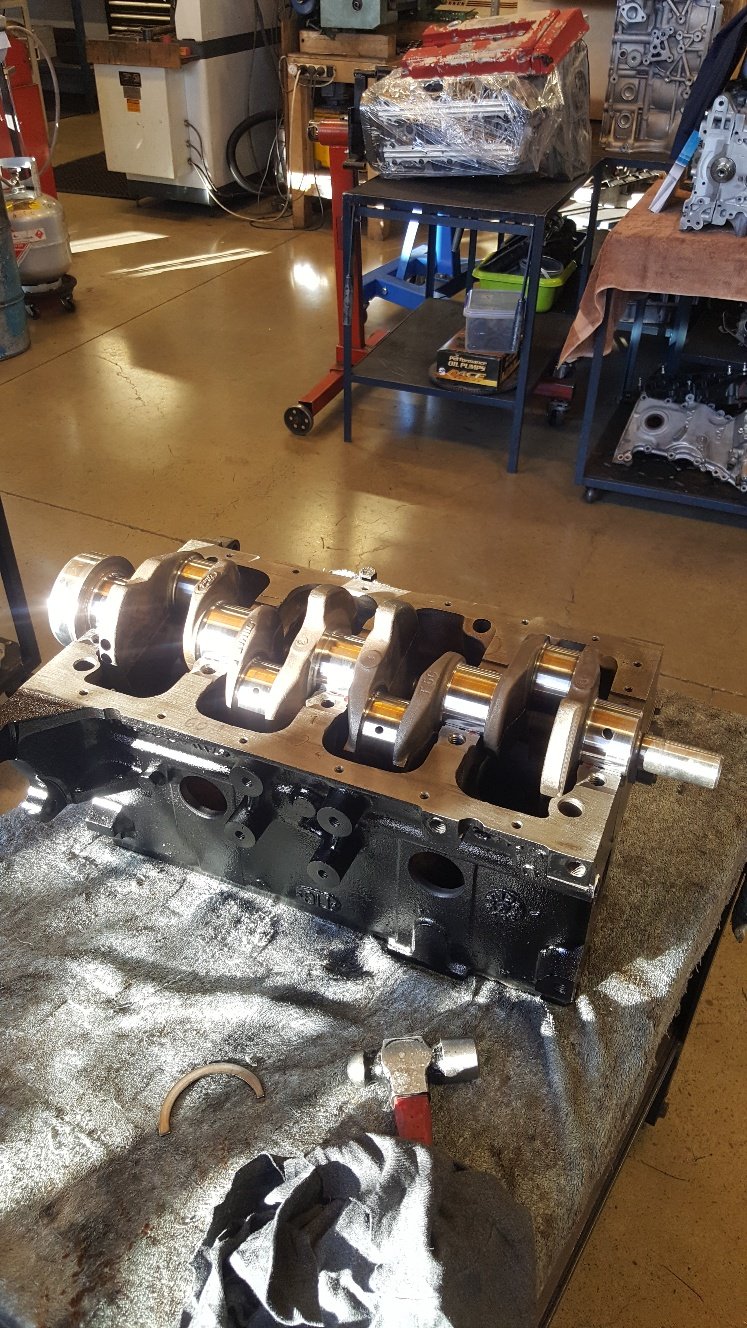
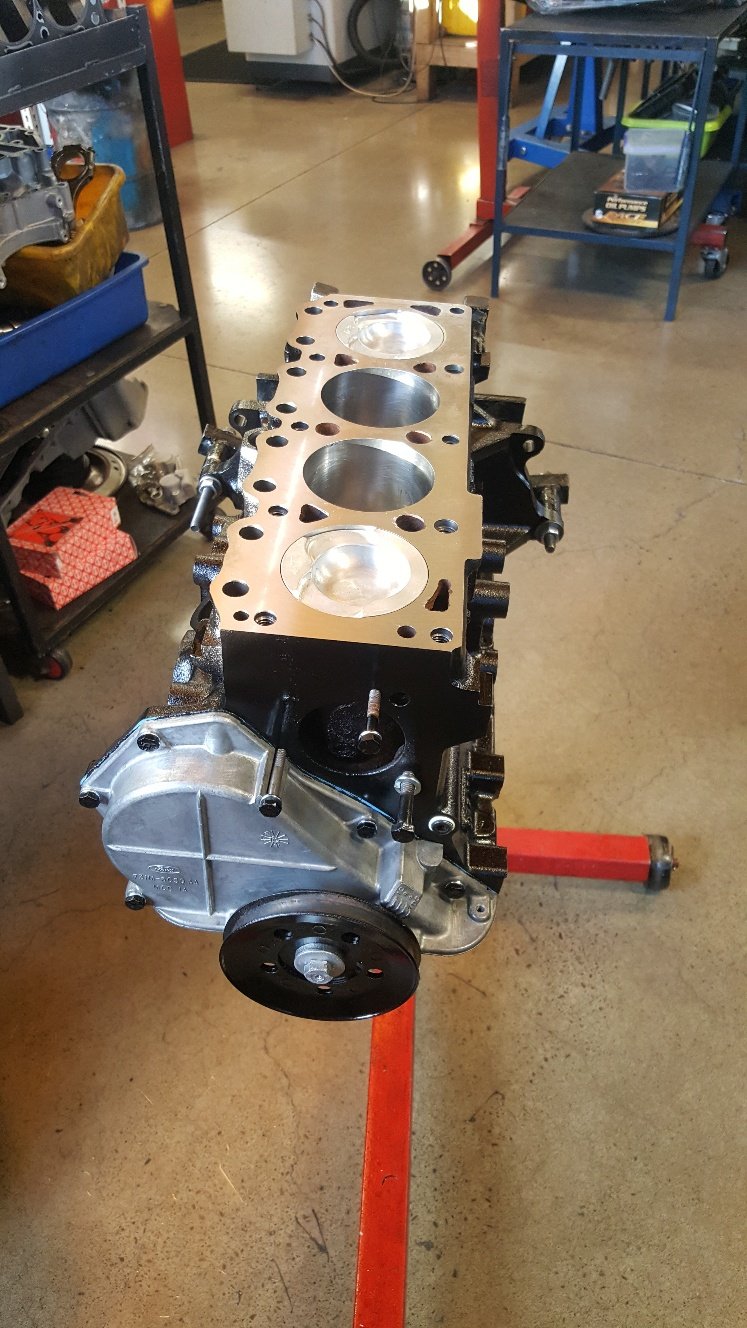
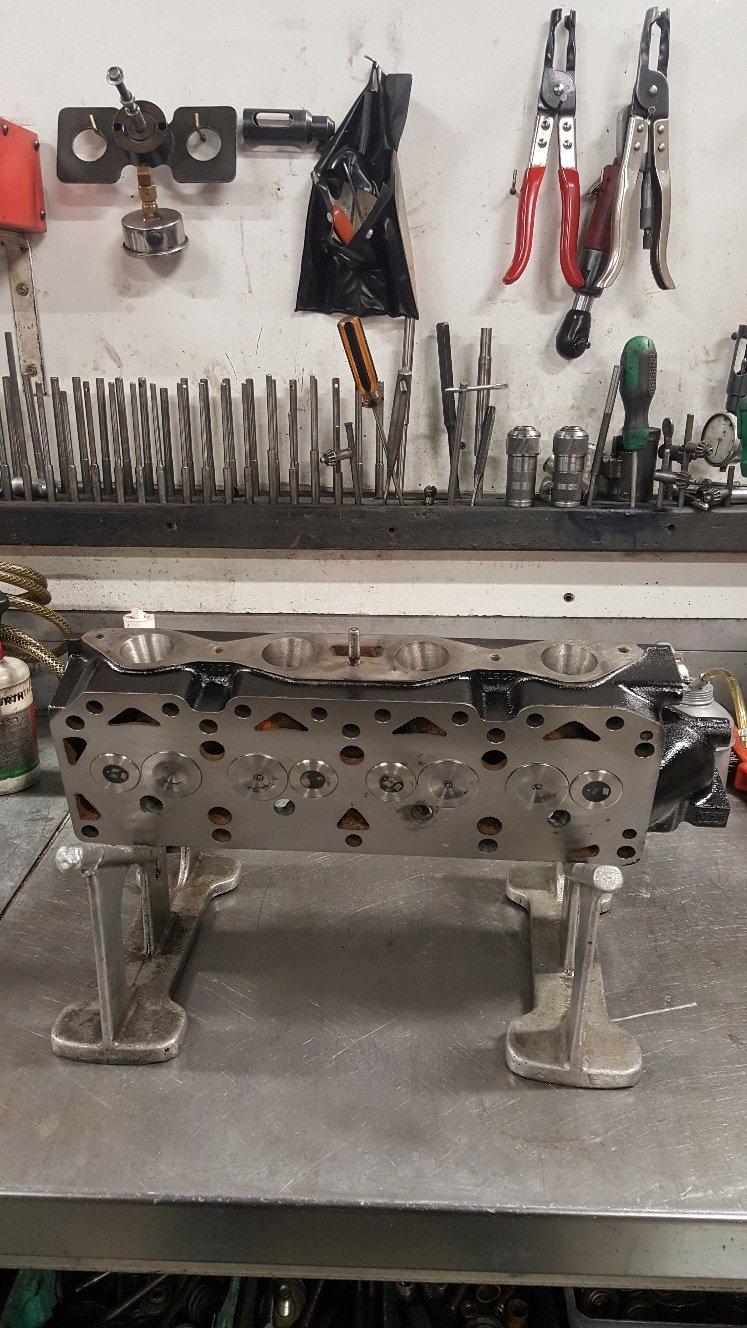
Time for final assembly. I bought a new set of cam followers as the old ones look a bit thin in the head. And I have had one break in another engine. Put the crank in. Short blocked. Checked the front pulley for tdc. It's the best time to check it. Not a common problem with solid front pulleys. But definitely common for old harmonic balancers to move and cause a headache when timing your engine. Assembled the head.
 6 points
 -
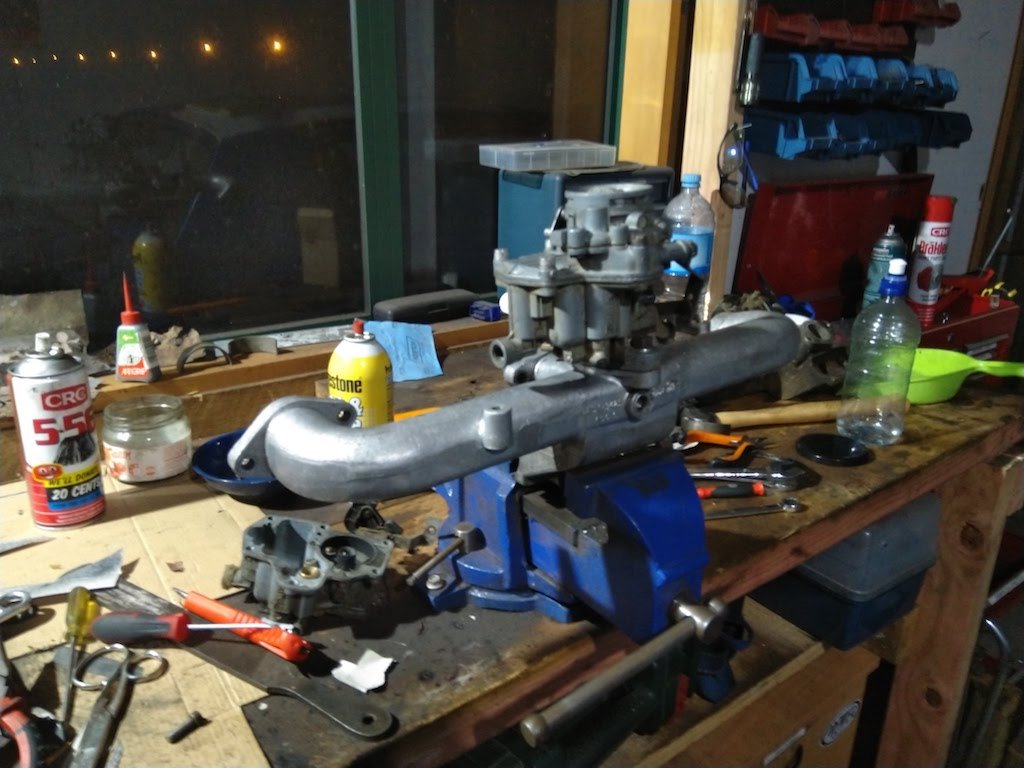
Tested plenum on kp, looses power with side panel on. after cutting stuff up, seems taper tubes or slot aren't a restriction, as does the same with them removed. have come to conclusion kp engine doesn't like a plenum, or at least one this size. possibly the bellmouths need more space to the roof of plenum. either way cant do much about it. so going to weld it up and see what it does on hilux got bit more done on throttles, bosses welded on vac rail. Throttle plates etc modified and back in. linkage rail re-drilled. pretty much everything needs modifying / butchering to get the throttles close enough together. Found a plug on aliepress that vaguely sounded like the right one for the tps. after a few dollars and the usual wait it actually fits Dug out this smaller 55amp alternator, fits on current lower bracket, will fit up close to block once have added more adjustment to top bracket. Was pretty toasted, so chucked some new parts at it. Never really attempted to rebuild an alternator before, was pretty easy Even found a sightly bigger pulley in my pile of junk alternators,6 points
-
Just my opinion but the speed at which it cuts out speaks to me of electrical issues. If it were fuel, I doubt it would come back on song so easily. It just smells like something in the high tension side breaking down under load.5 points
-
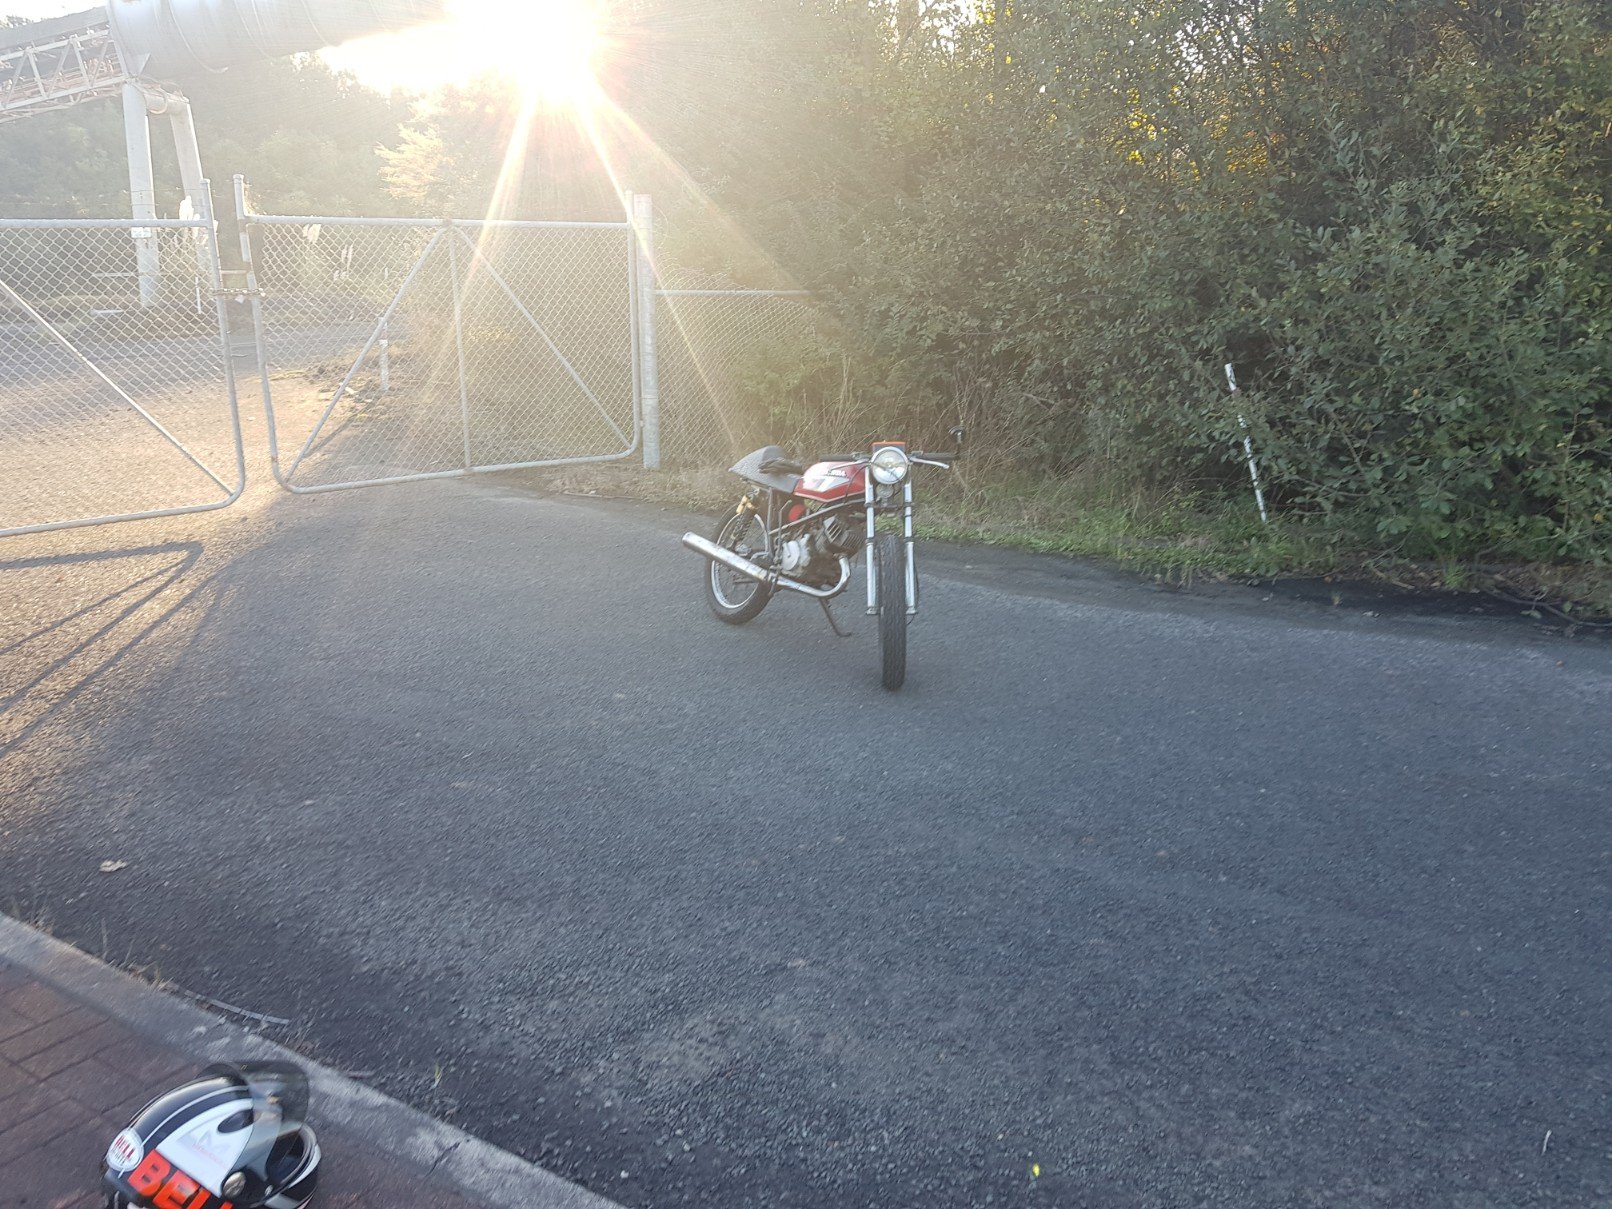
Carried on setting the motor up today. Kept the points instead of a CDI as there is something oldschool mechanical that I like about them. Tensioned the timing chain at 90 degrees after tdc. Then set up the points timing and tested the coils, got good spark so she’s getting very close to starting now! Fitted the headers and noticed there isn’t much room between them and the rearsets. Might have to make some out of 35mm ID pipe to get the clearances.
5 points
-
BEST DAY EVER. I got new leads, fitted the new plugs that came with it, and headed for the hills/forest. First off it ran like absolute shit, I was cursing the new leads/plugs, but with @keltik 's help we determined I was a dingus, and had put two leads around the wrong way. Correcting this made things much better, but it wouldn't pull past around 5.5k rpm. We removed the restrictor plate, which made things bettererer, but still couldn't get past about 8k rpms. I then half covered the intake pipe with duct tape, and BINGO, spot on. It will pull happily into the late 10k rpms, which is about what this old donkey is meant to do. Fucking stoked to get it running well so quickly. And shit me, 75ish hp seems like a lot in this thing, it's quite scary. Thrashed around in it for a few hours with pretty much no issues, apart from grub screws in the drive sprocket coming loose. There's a few small improvements to be made, but pretty minor. I took a couple shitty vids which I'll slap up in a min. Pretty stoked it didn't disappoint me after all these years!4 points
-
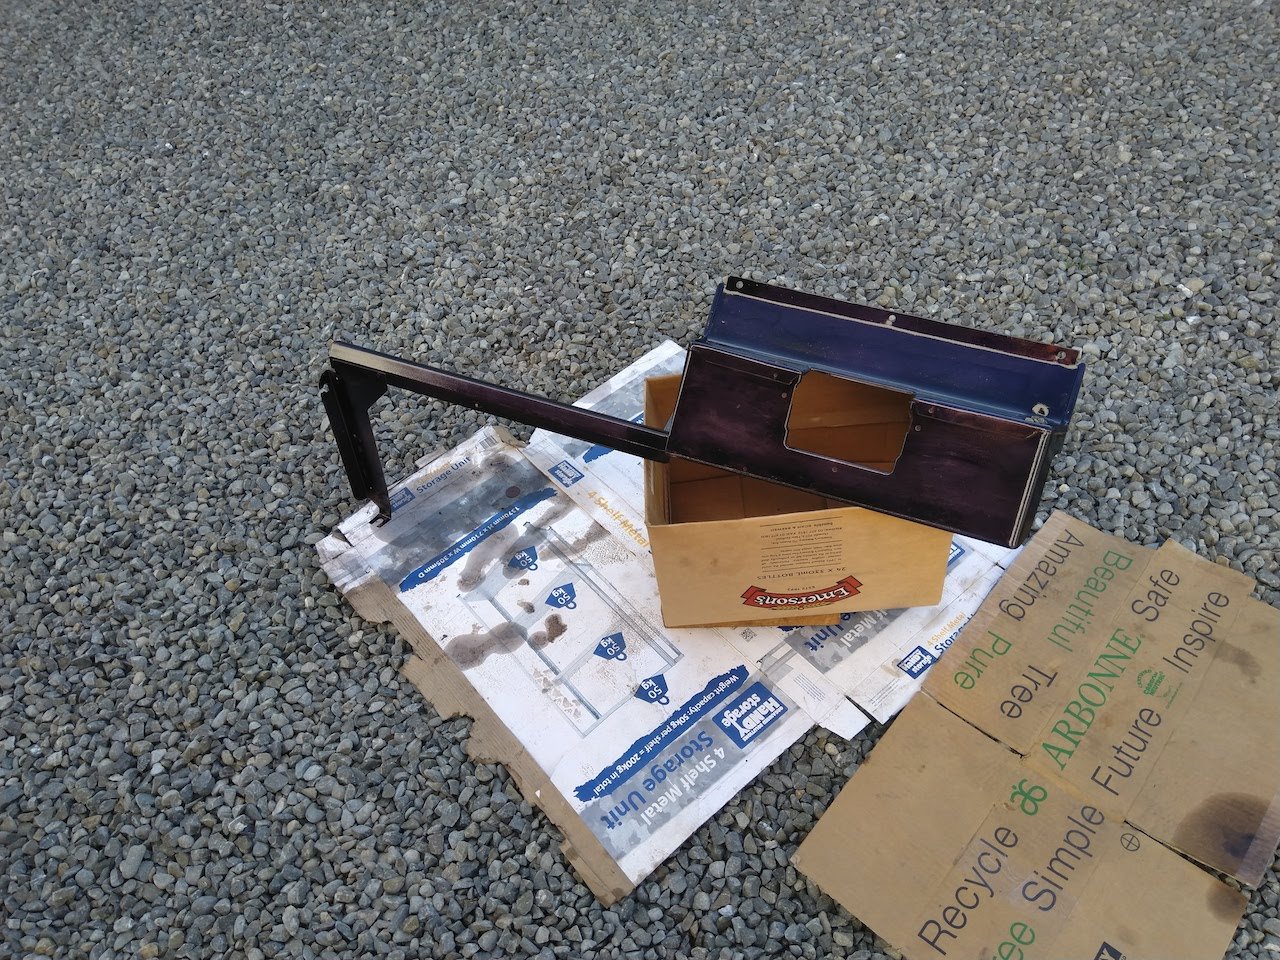
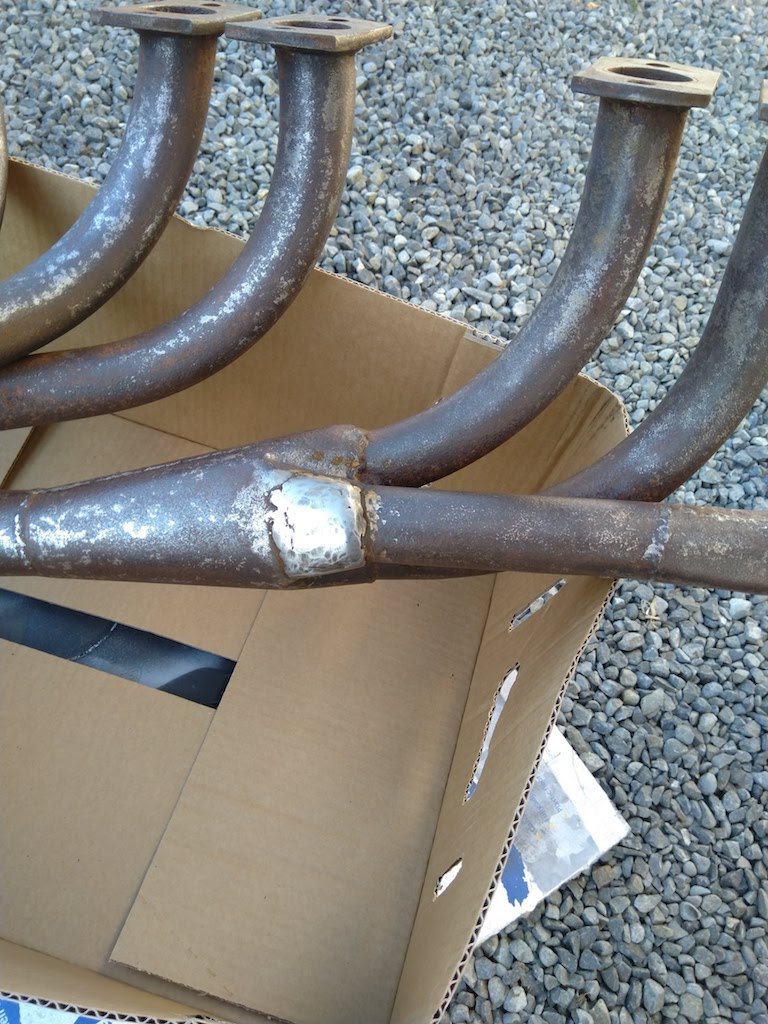
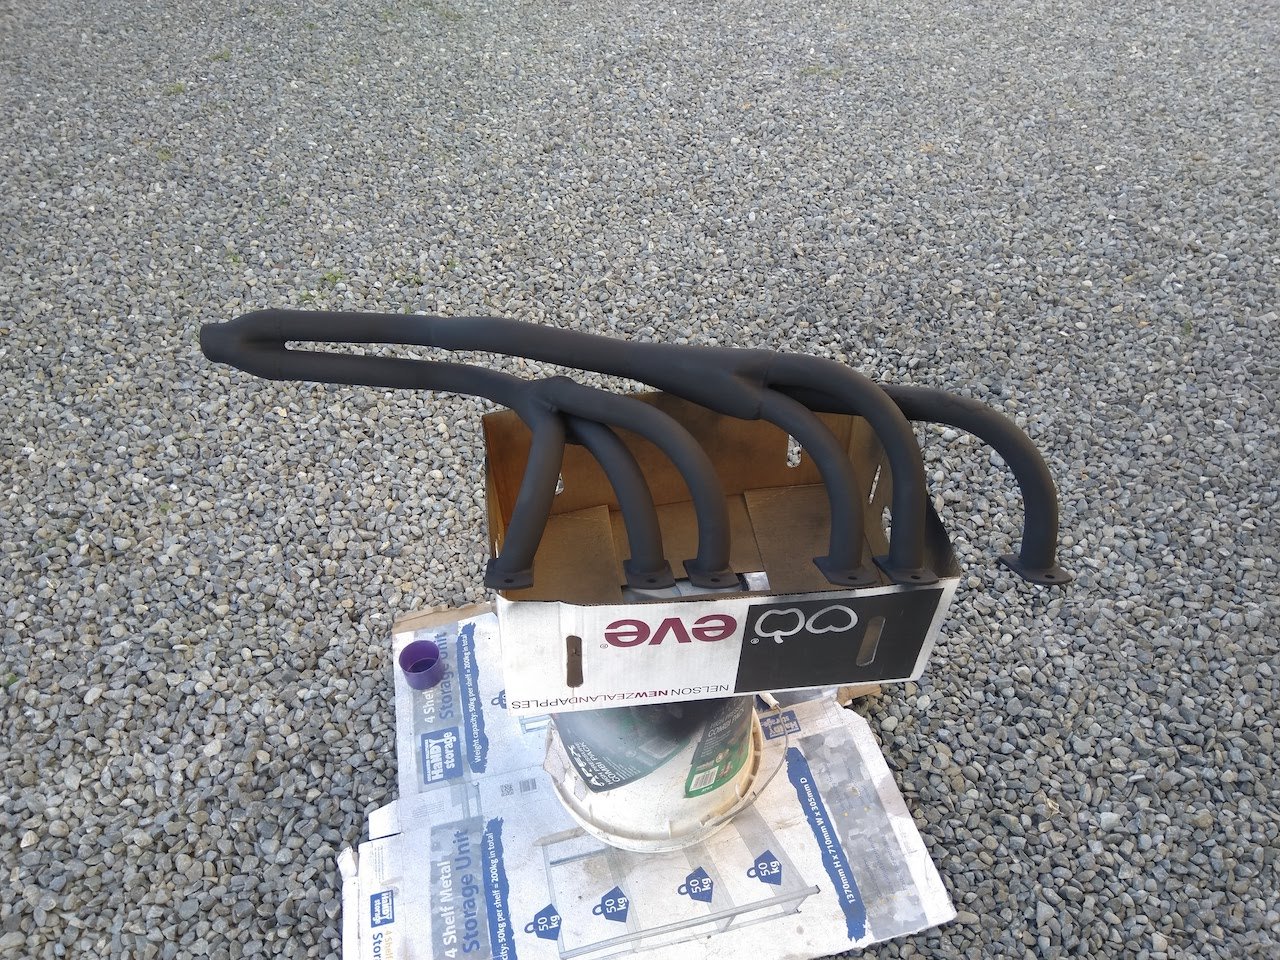
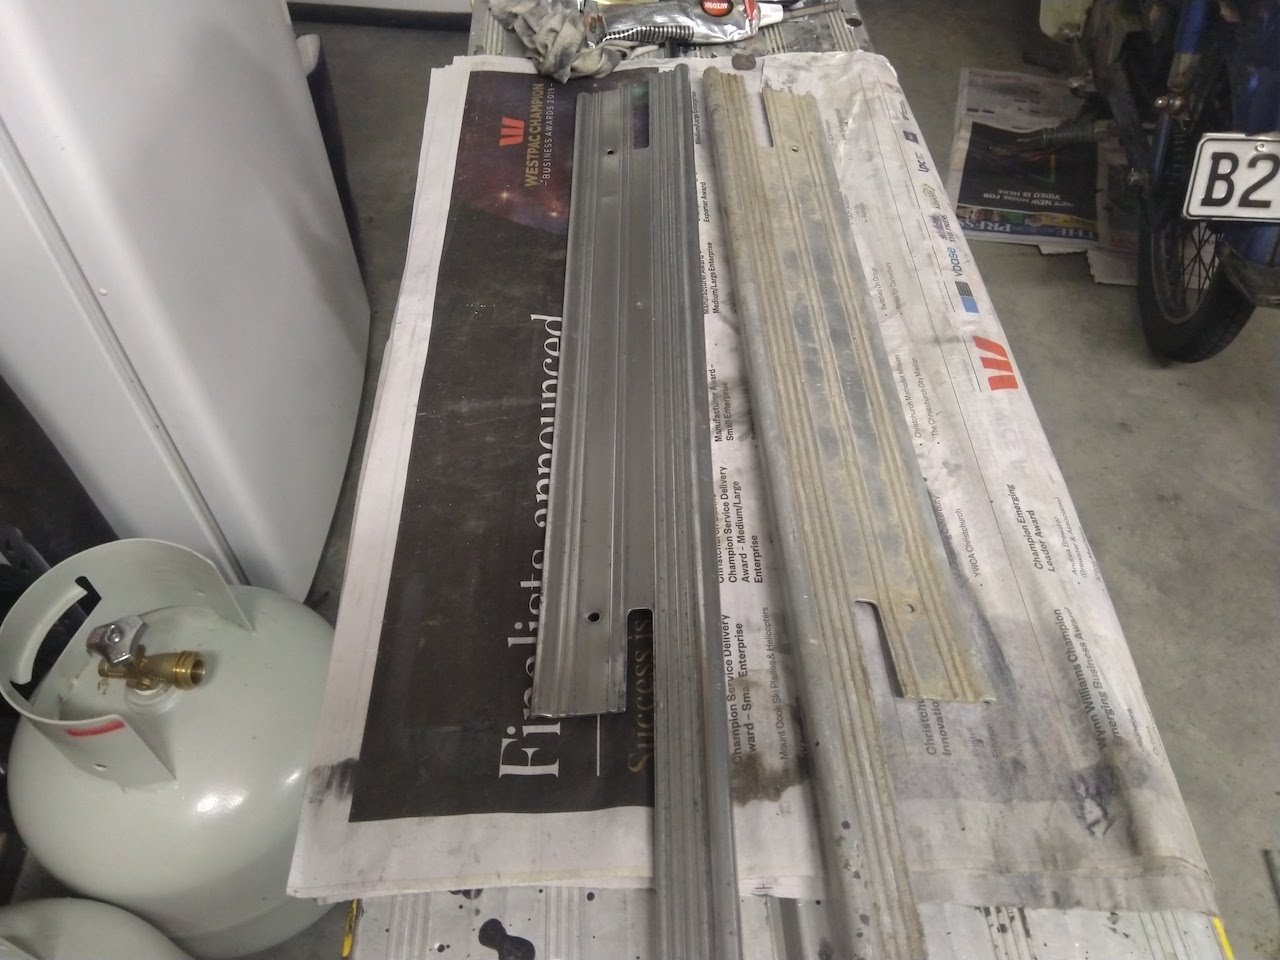
Stil haven't got much major progress on this, ticking away on the little things. I've been slowly working on cleaning and polishing the trims by hand with some autosol, most of them are coming up nicely. The original dash had been hacked up to take a head unit. The car came with a replacement, but it had some rust. Cleaned that up, painted with some Brunox and got a colour match can and some matte clear. Also made a new tray, will cover with some vinyl. Came with a set of extractors that had a couple of rust holes. Welded up the holes, cleaned off the surface rust and painted with some hi-temp paint. Doubt it will last long, but will hopefully keep the surface rust at bay until I get the car up and running.
4 points
-
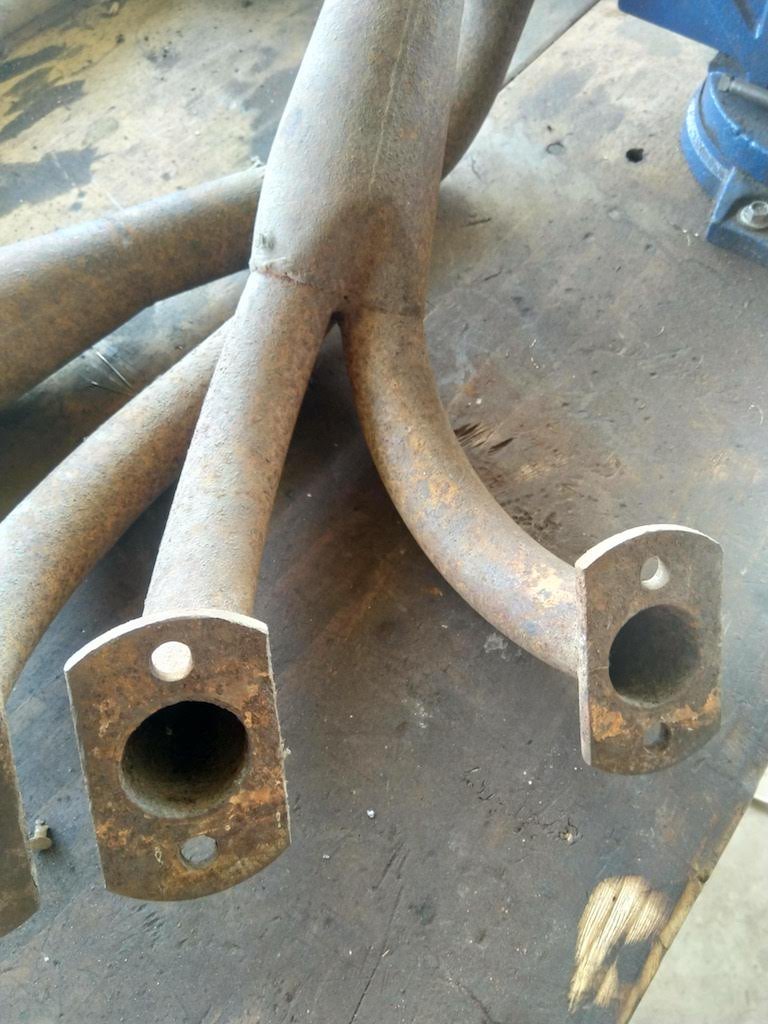
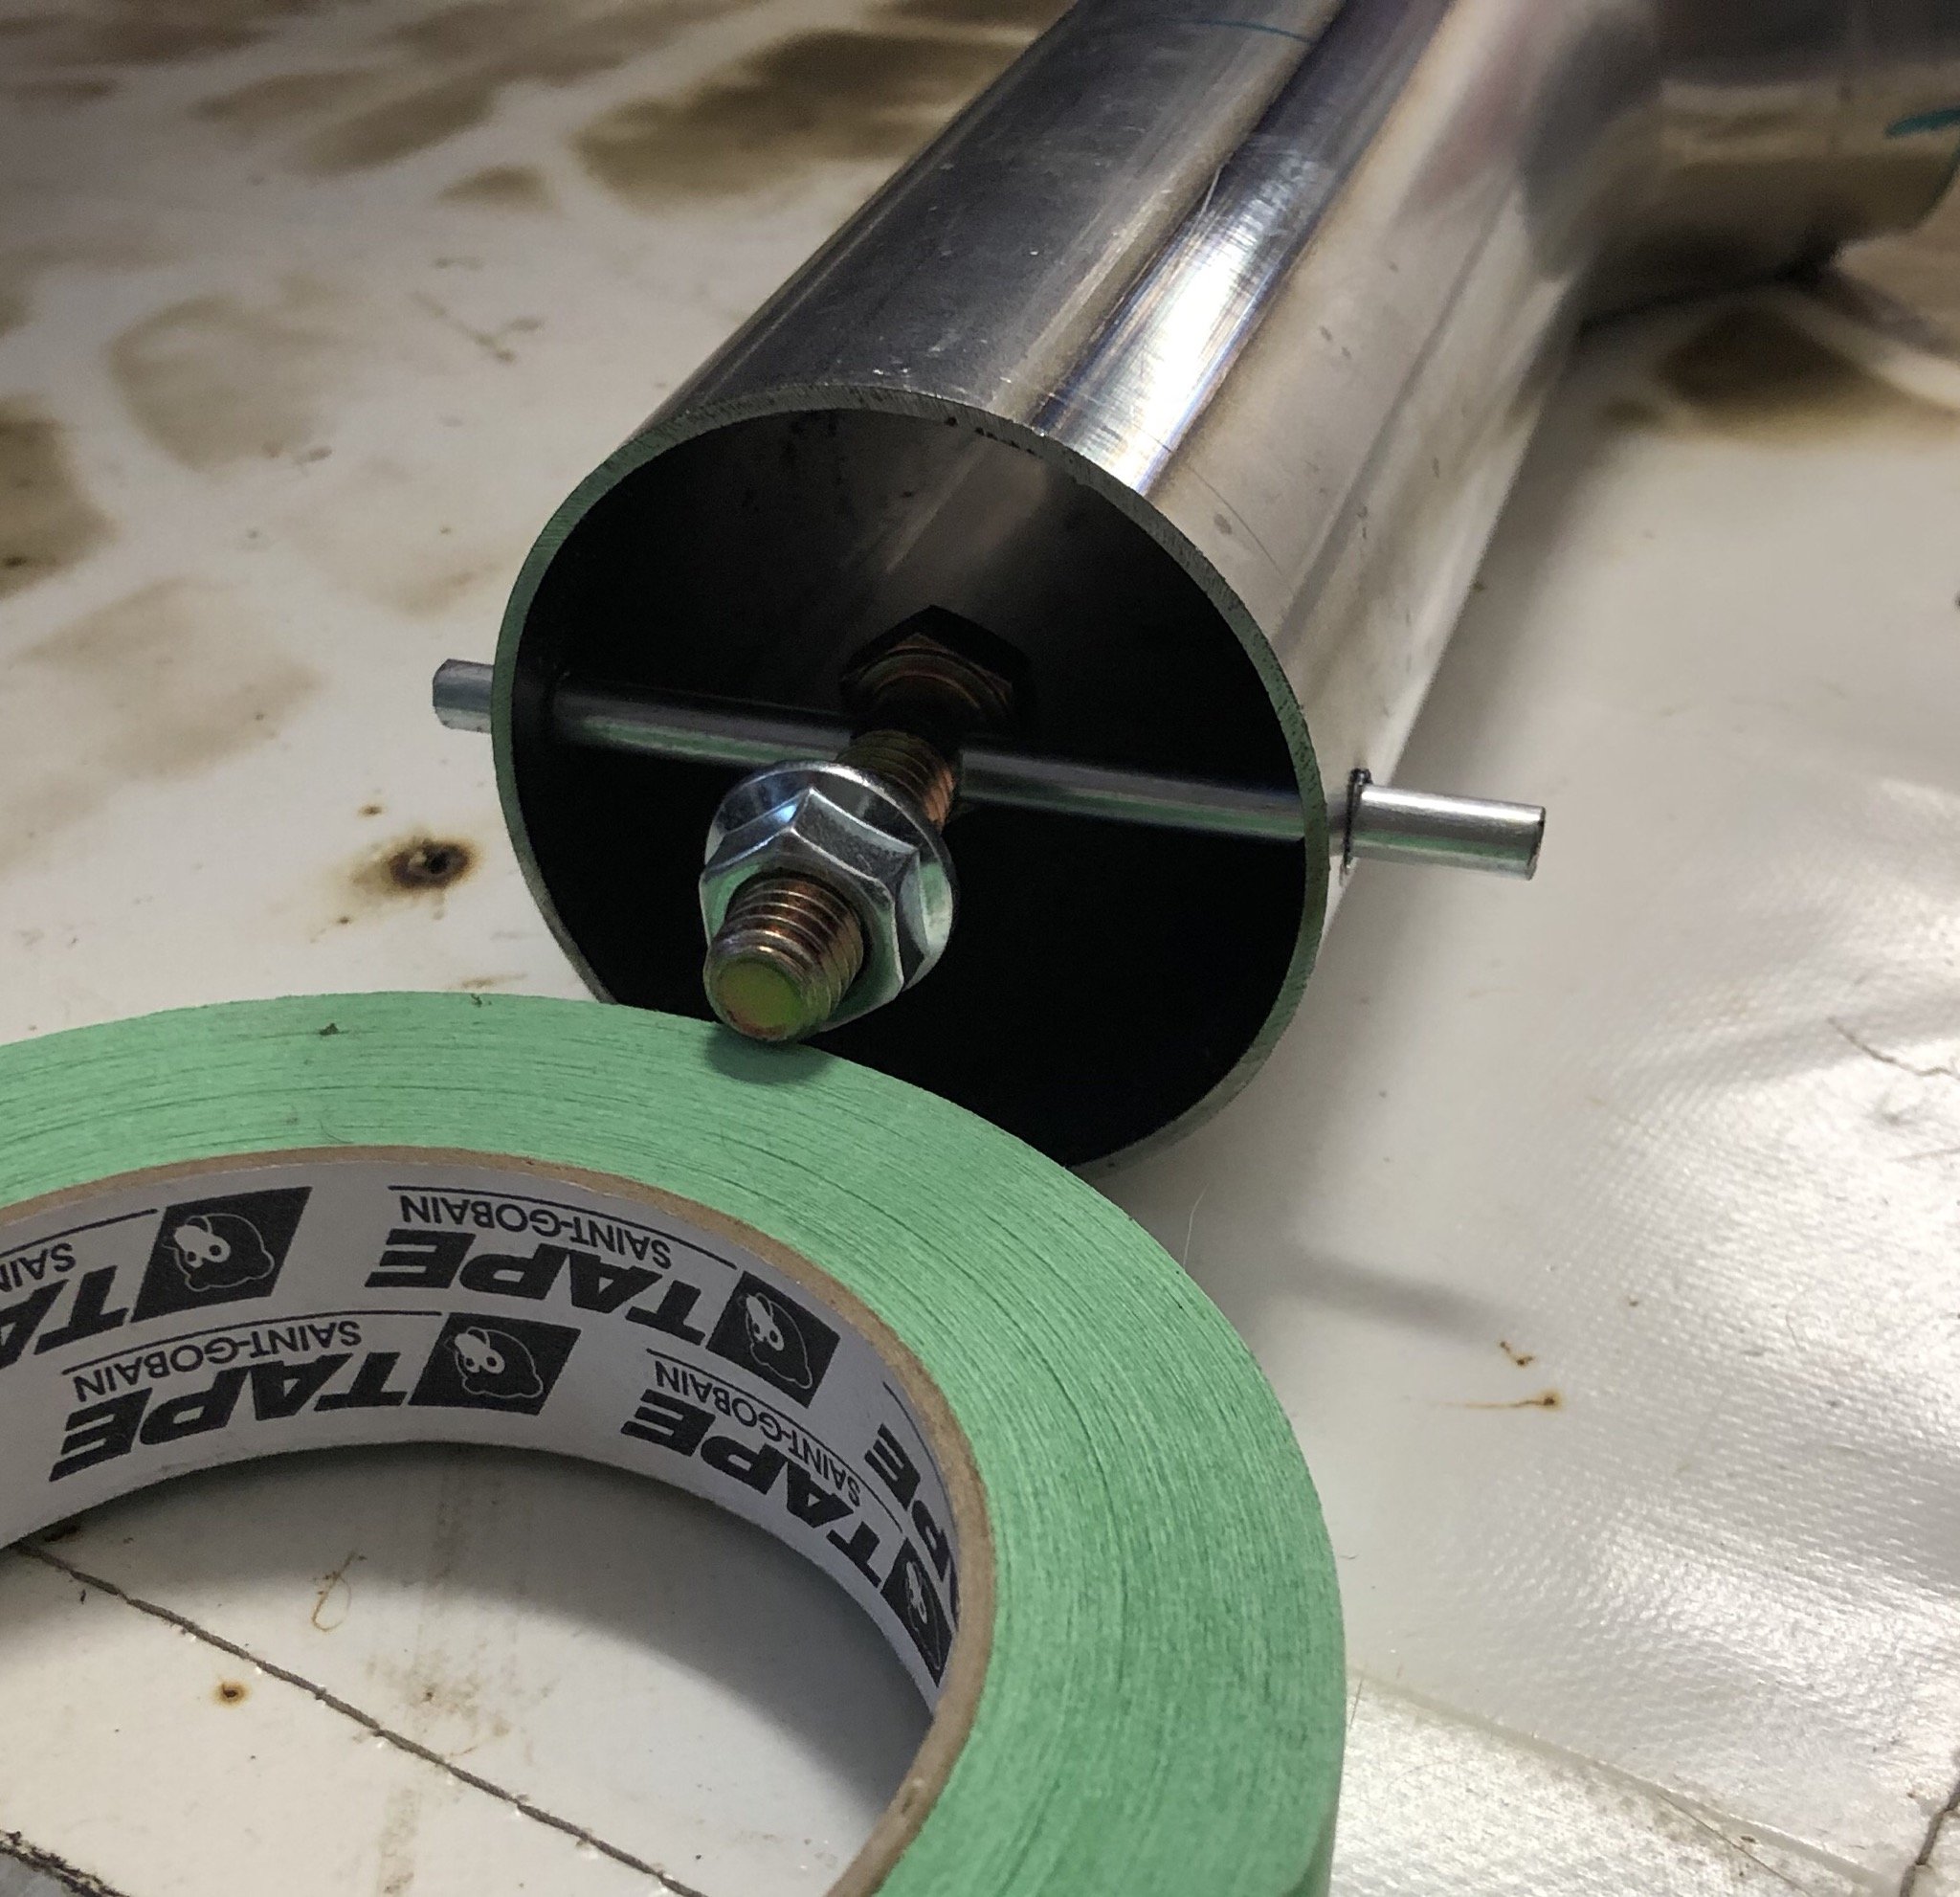
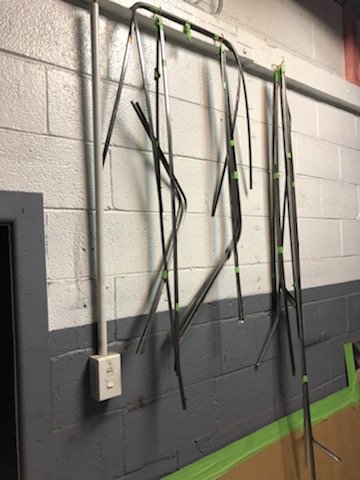
Here is my cheap version of header cut offs. old school idea..weld the bolt to the rod and weld the end of the rods..cut off excess. make up 5 mill thick circle blank off with bolt hole. undo one nut and it’s full noise.
4 points
-
Also, it tops out at 120kmh, but that feels plenty fast enough at the moment.3 points
-
spent the last month getting this together and ready to paint. I flippin hate sanding Made the door return real purdy and the front bit Got a new paint gun for the top coat to replace my old one that has started spitting. $18 delivered. Flash as. Tried it out on the shuts So i could put the door on for the first time in a long time So i could notice this, and spend a few more evening sorting that till this weekend BOOM Love the contrast Most of it turned out as good as ive ever done, or could expect for doing it in a dusty garage with the cheapest tools but, i had a new issue ive not had (well, nowhere near as bad) , i got a fair few fisheyes, but all in section that followed one of my passes. Maybe my compressor coughed up a lugie, or maybe the wax and grease hadn't dried right off? . Either way Ill have the repaint that bit for sure, bums. Suggestions to prevent reoccurance?3 points
-
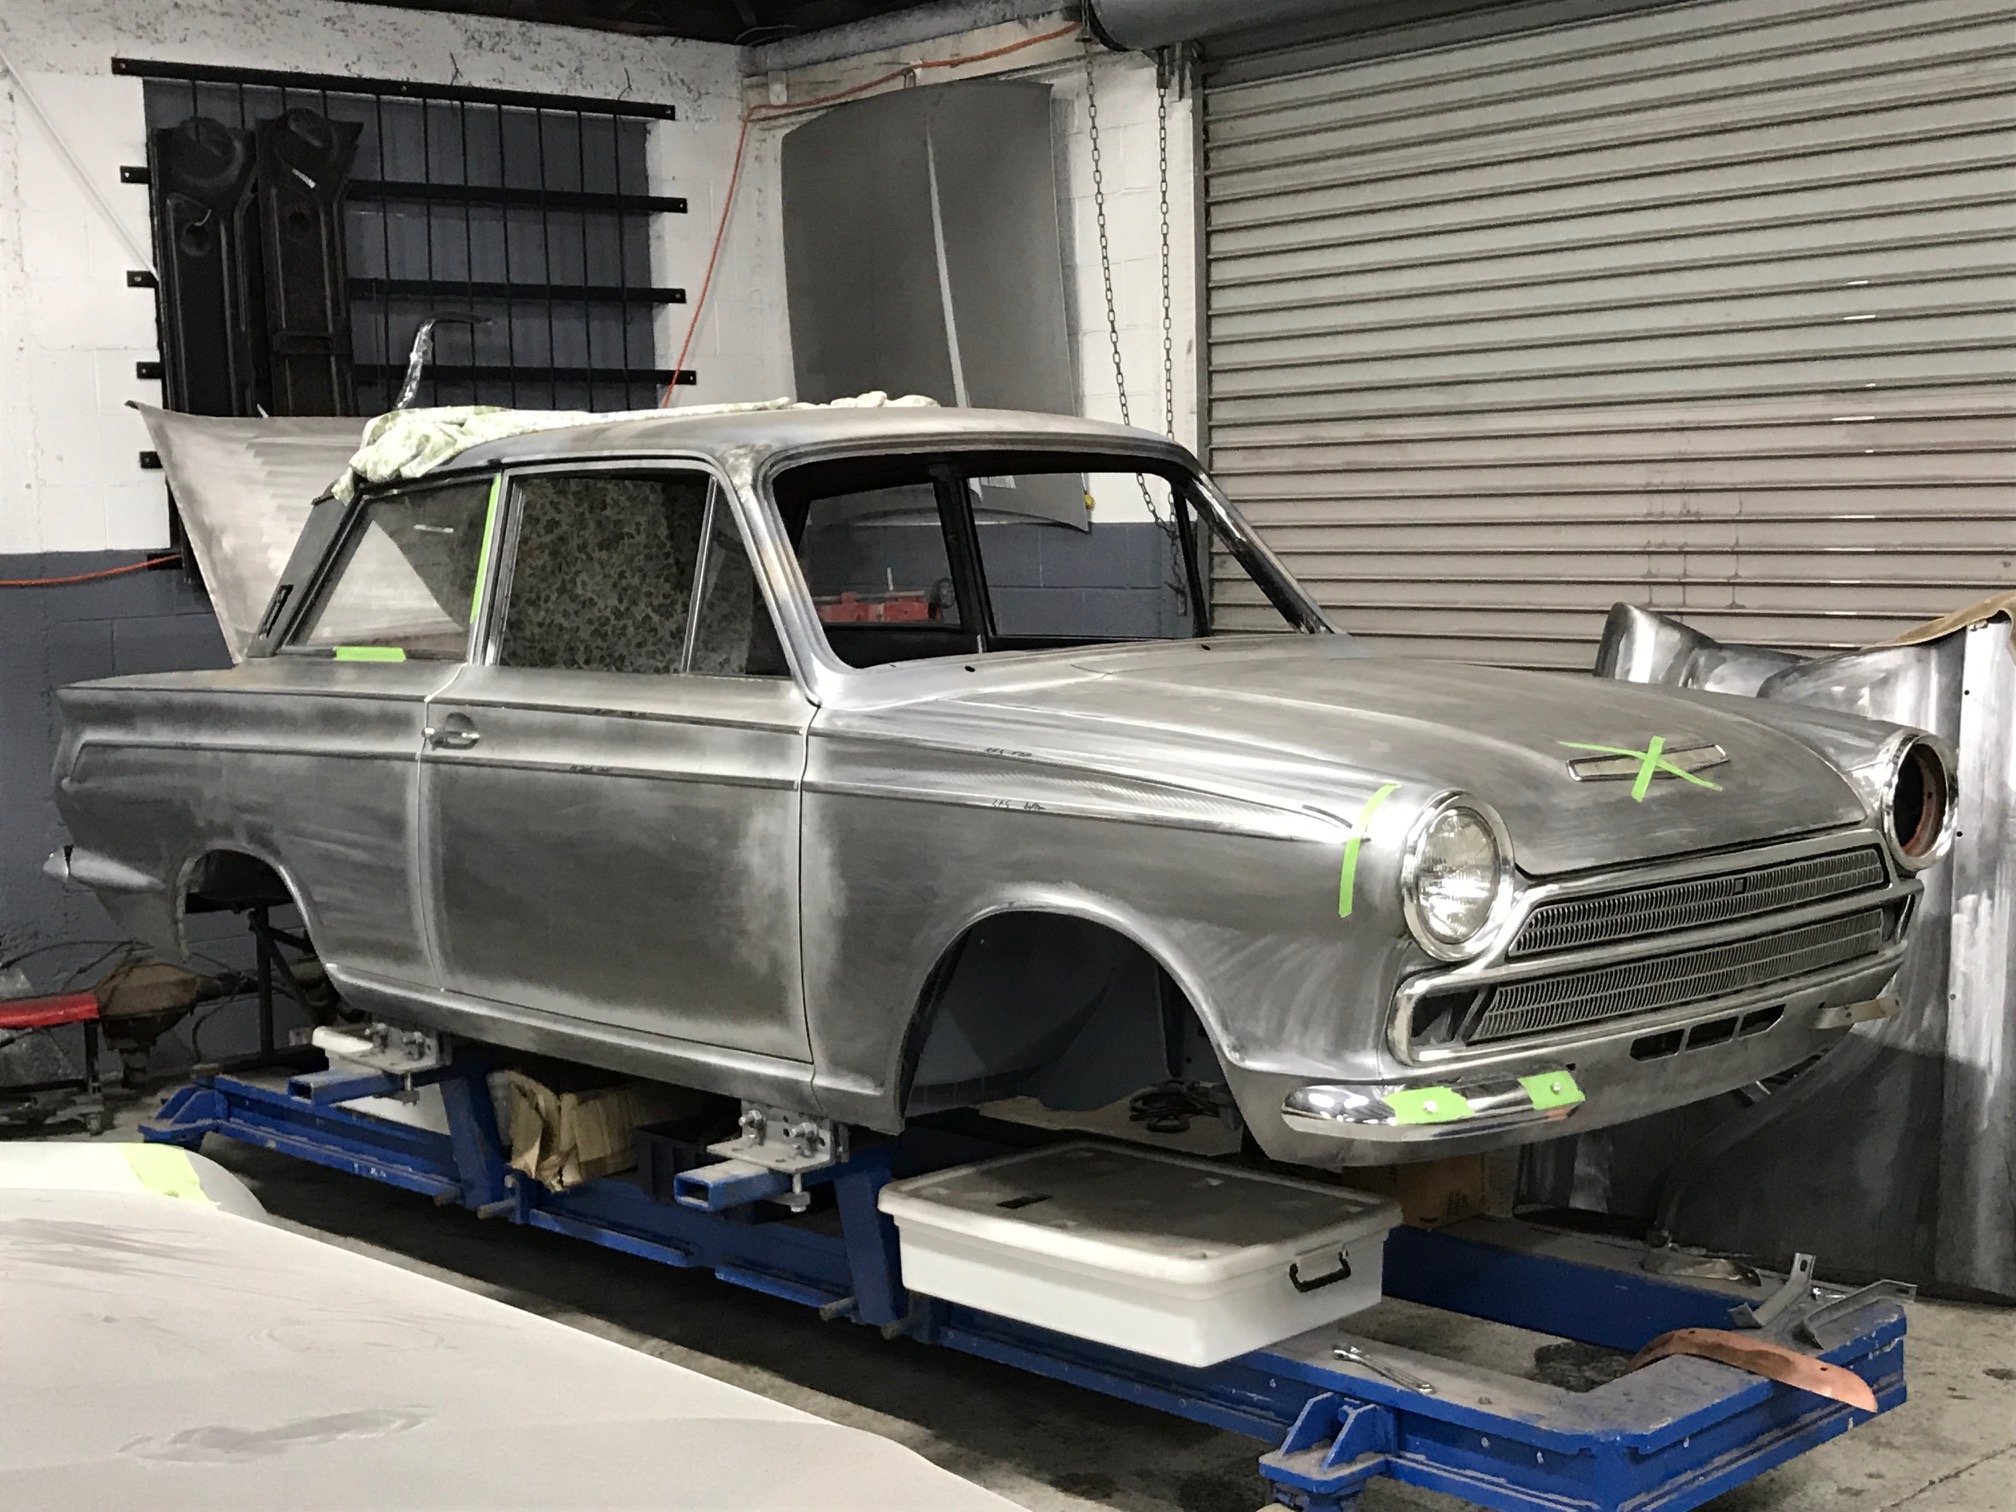
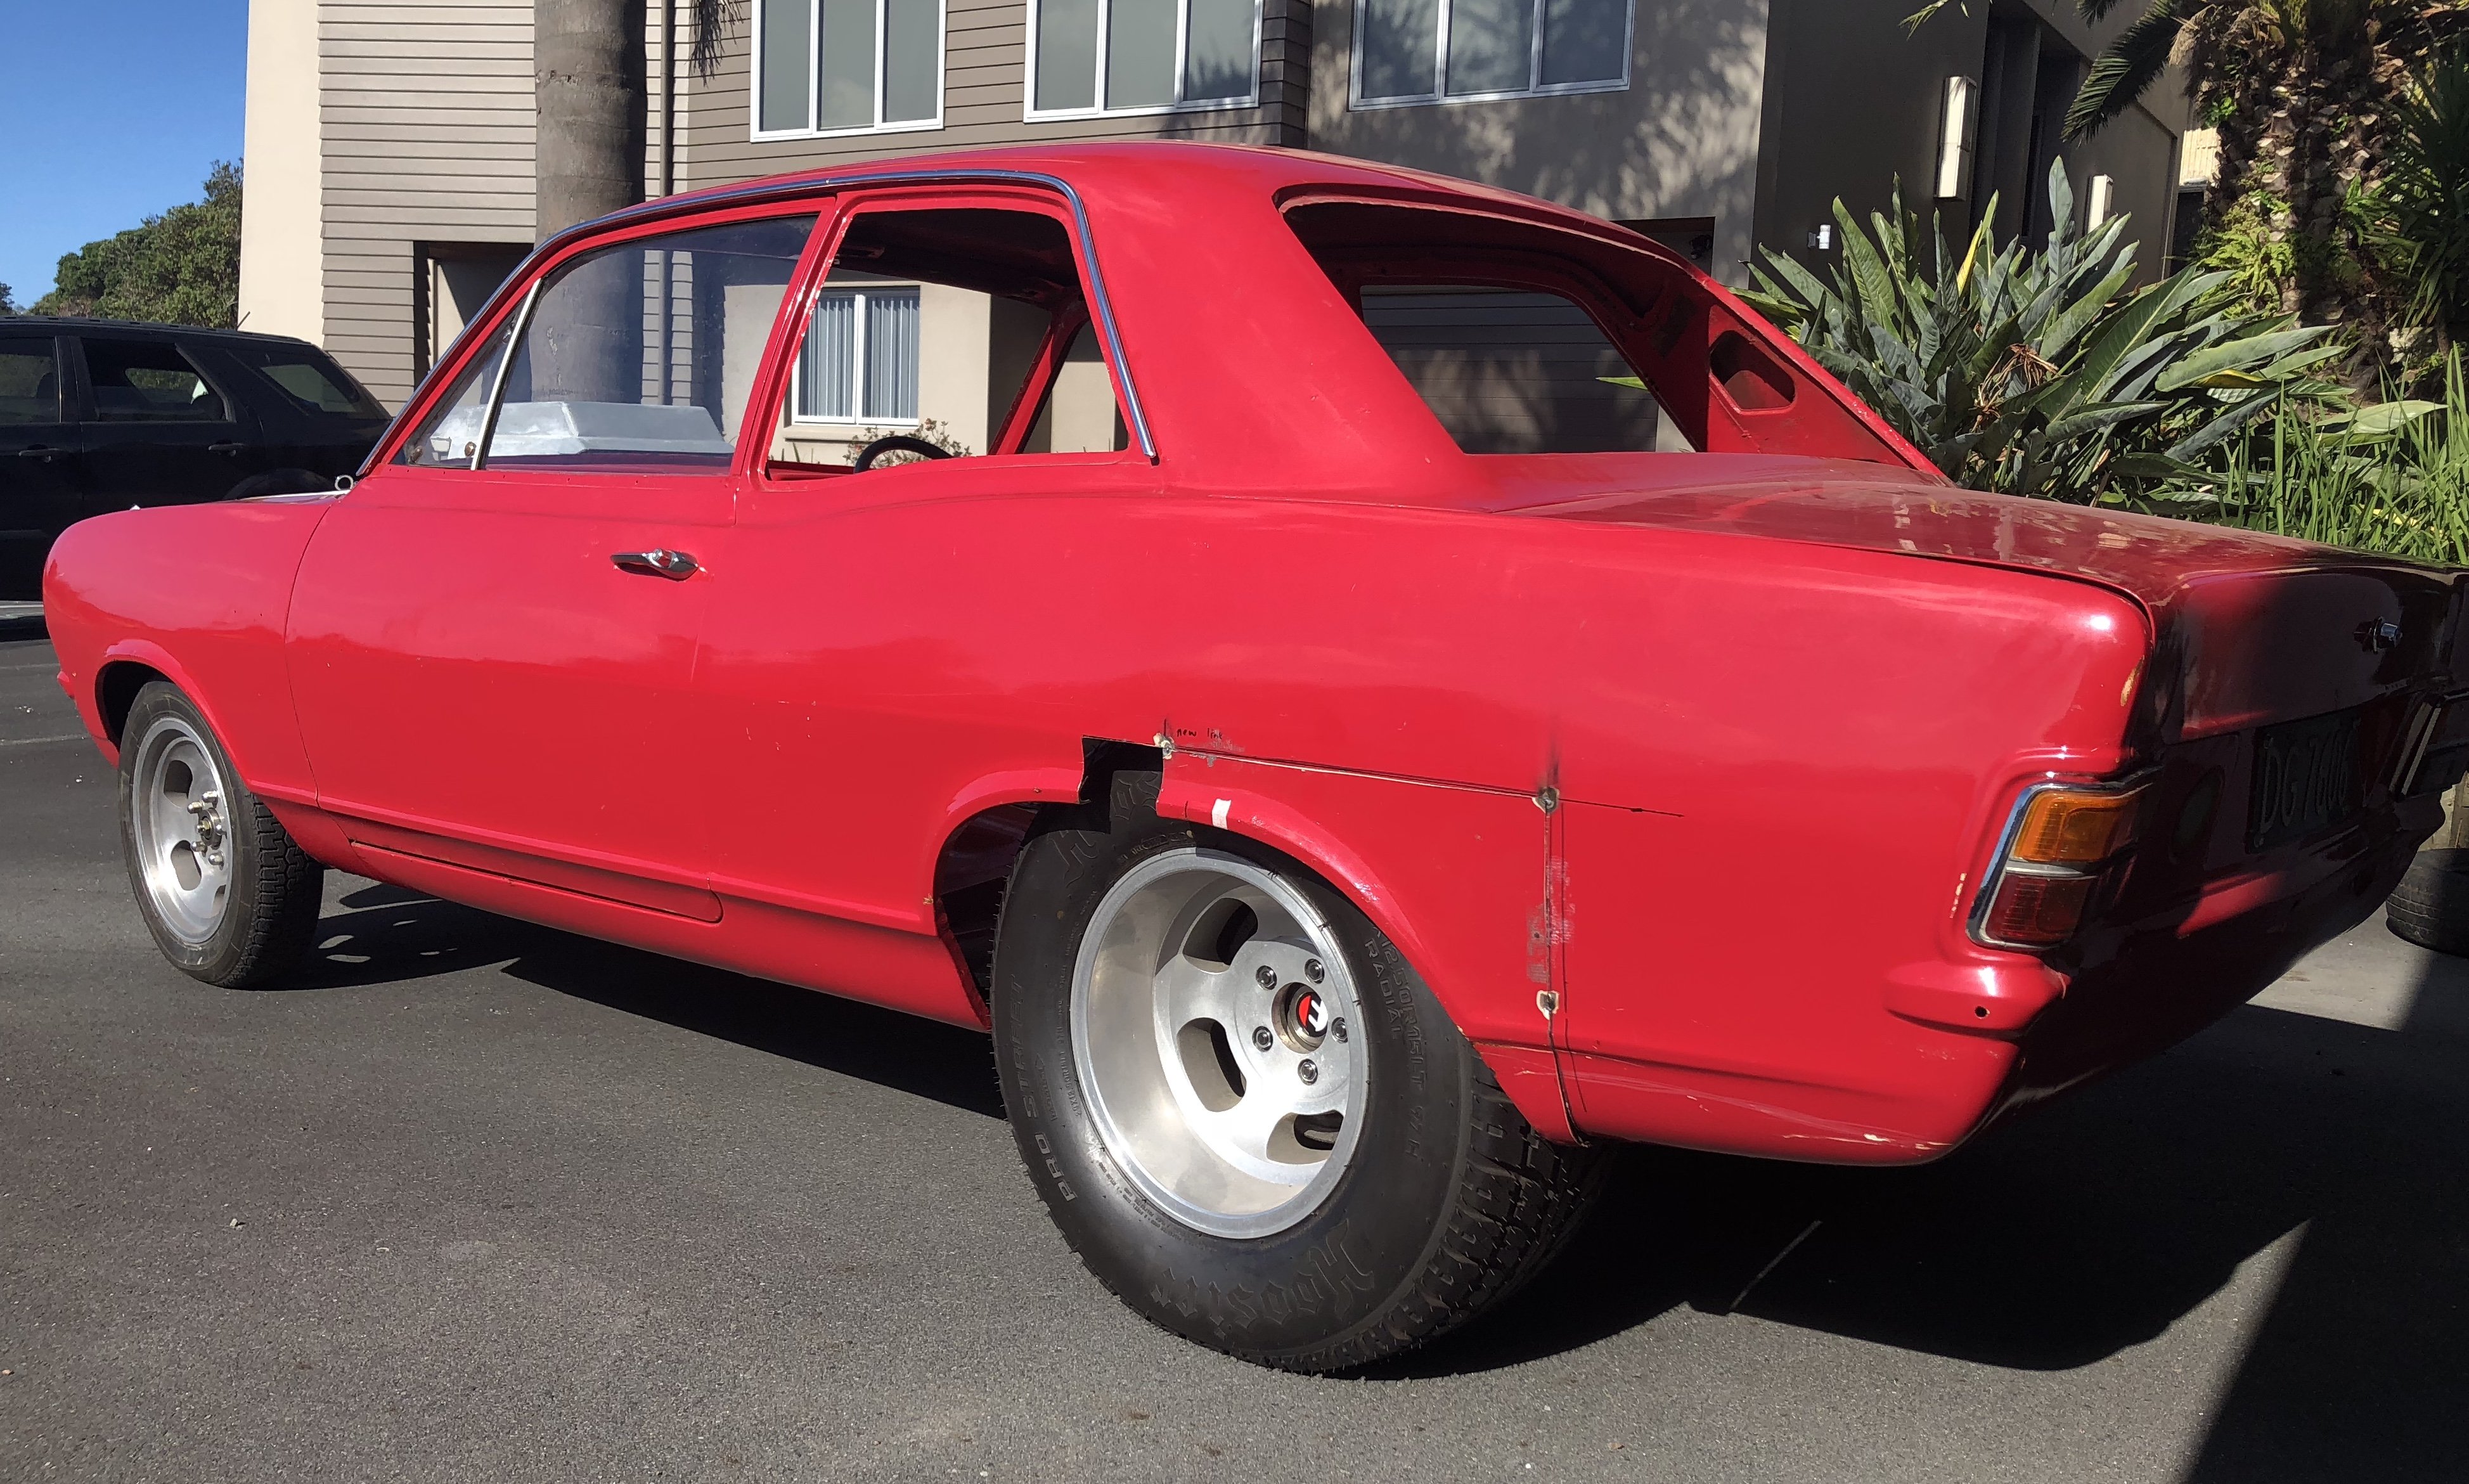
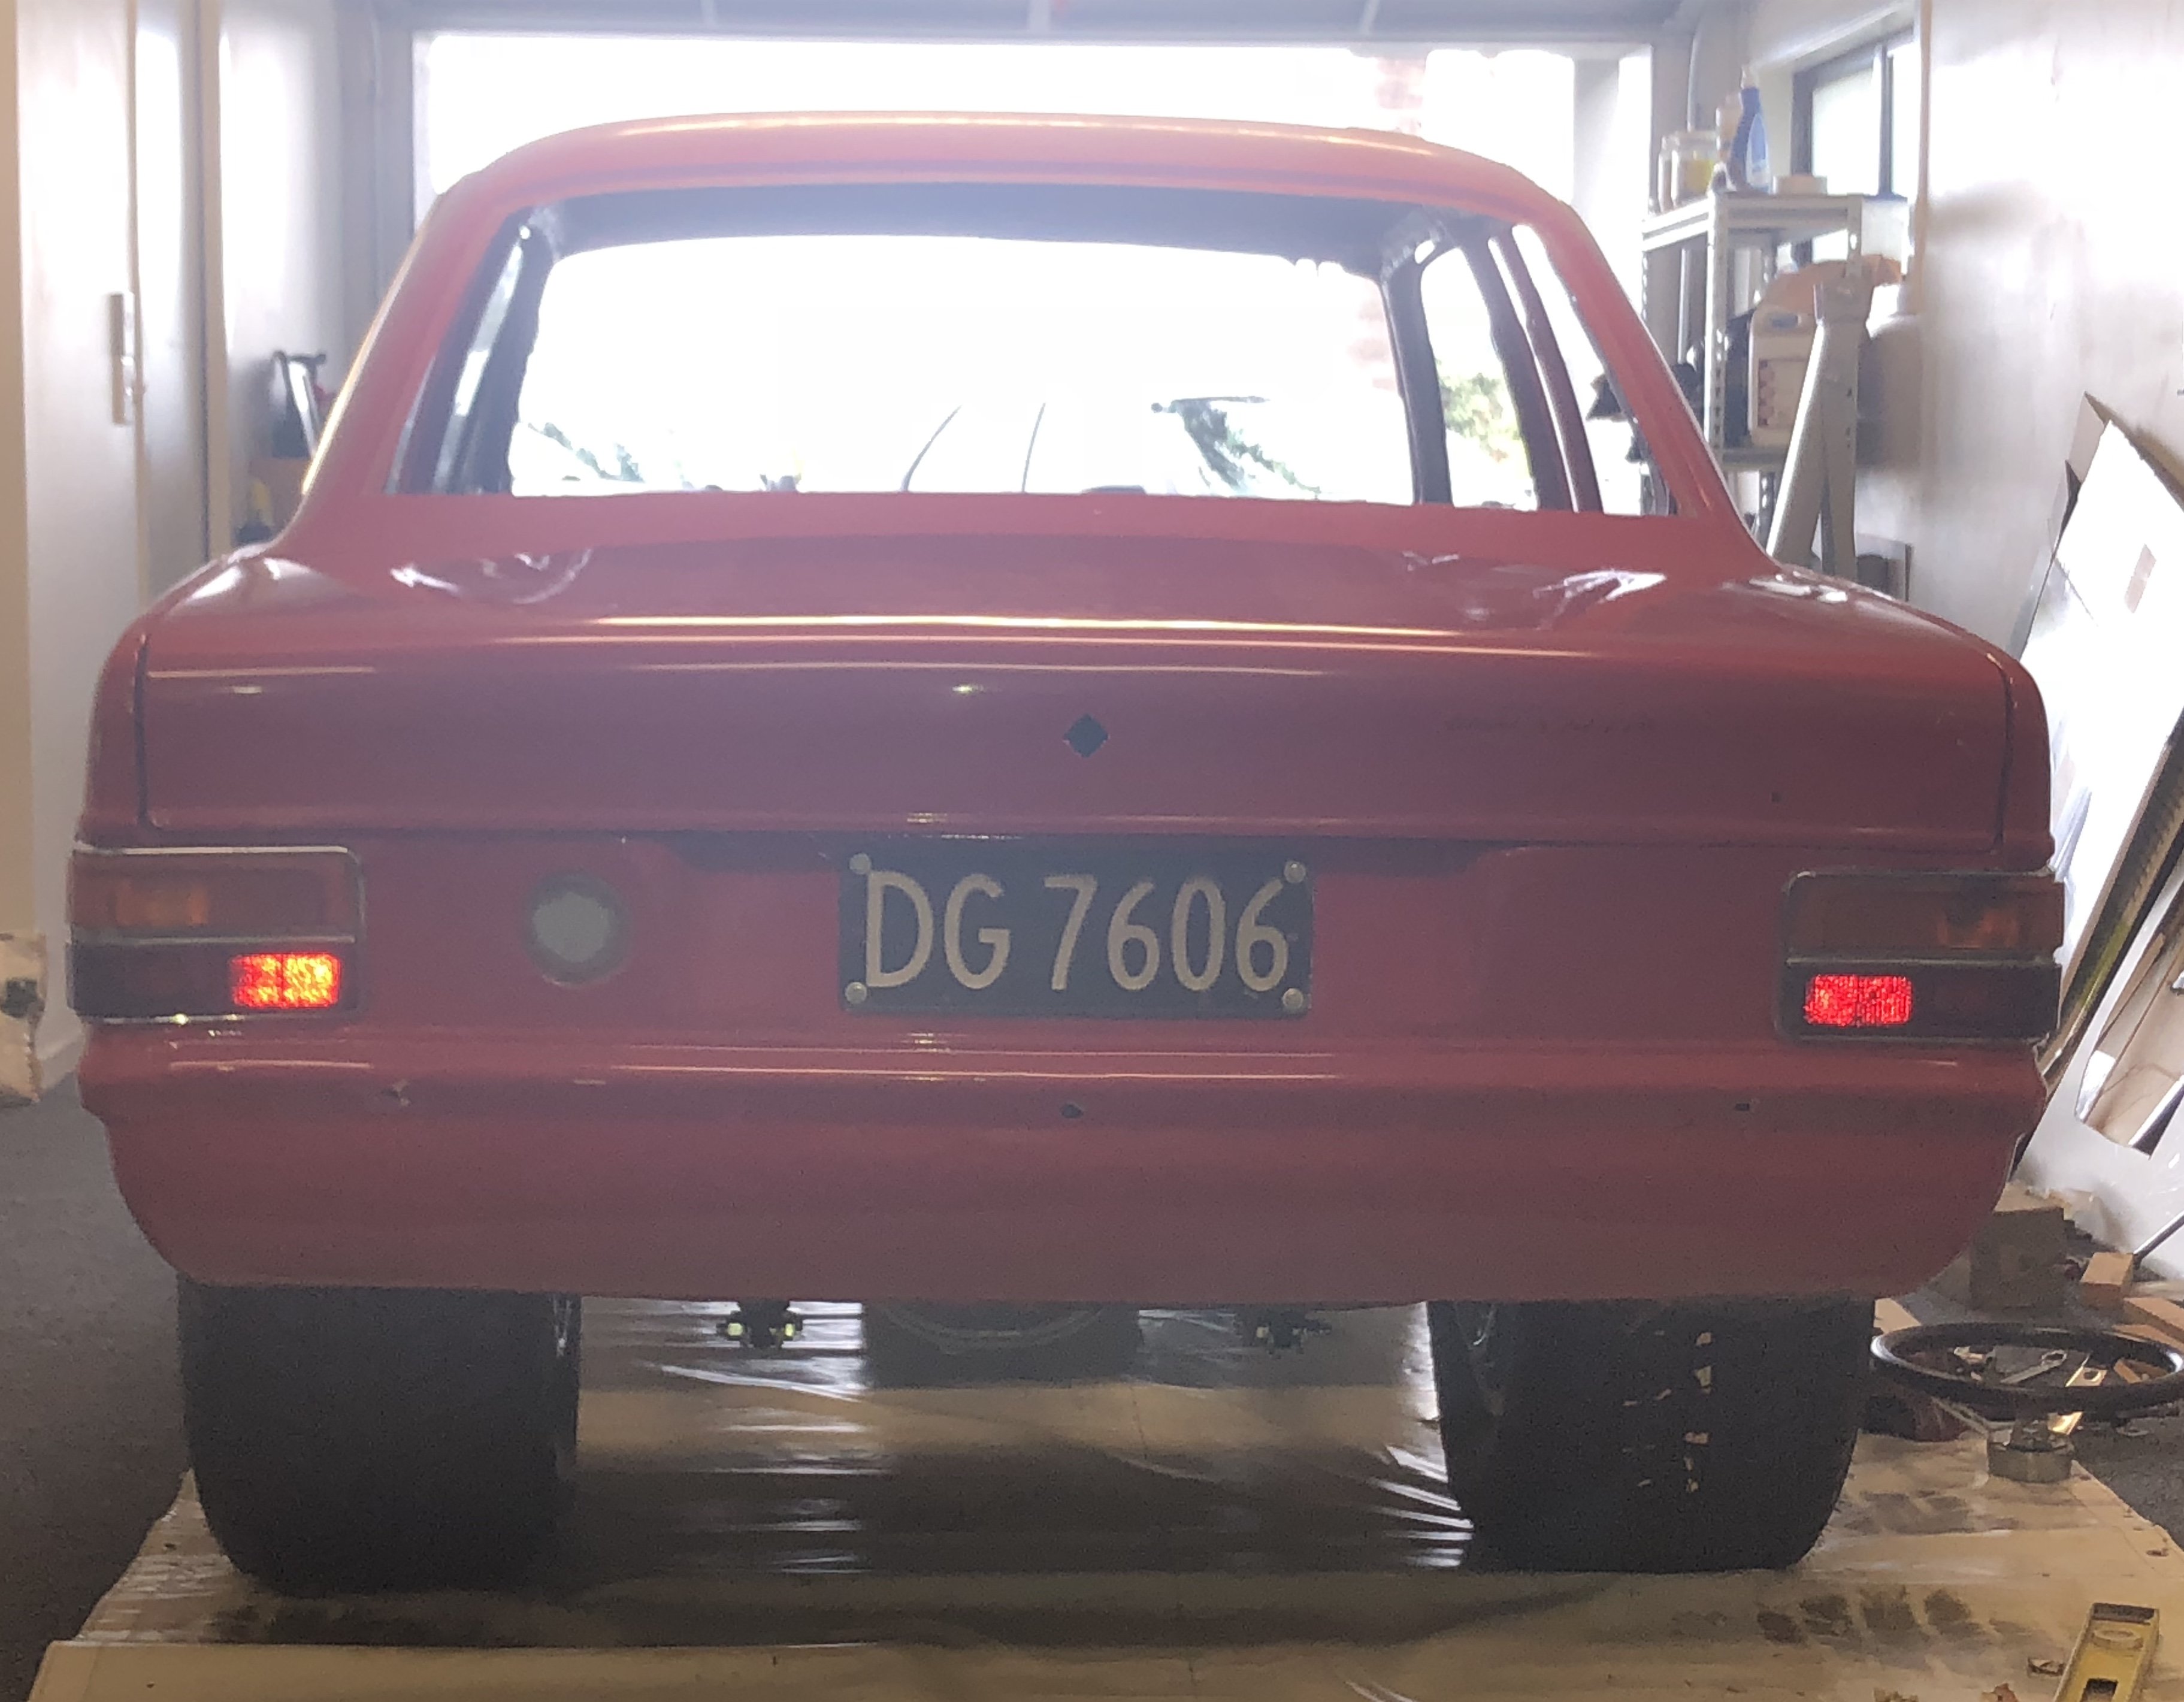
With the engine blowing on the corona bringing the plan to certify that and daily it while i build the crown to a grinding halt. i came to terms with the fact that i was probably going to have to buy a fourth car to daily while i build the crown asap because i was worried there may be rust hiding that would deteriorate the longer i waited. so with a new cheap cheap boring daily acquired. this weekend i set to stripping the crown down, initially for rust and body work, and then for paint! Big pile of parts removed and stashed untill the mythical day of reassembly? Surprisingly i found very minimal rust. found some where i didnt think there was any (under the rear windscreen) and found next to none where i thought was quite bad (around the tops of the screens) ive yet to remove the front and rear glass so this could change but it looks solid. some minor rust at the base of a couple of doors. but only on the inner skins and the lip that the boot seat presses on is quite bad. none of this will really be my problem anyway, ill just have to pay the money. If your the cunt who bogged over the rust under the rear window. im going to punch you in the dick. some people just shouldn't be allowed out of their cage.3 points
-
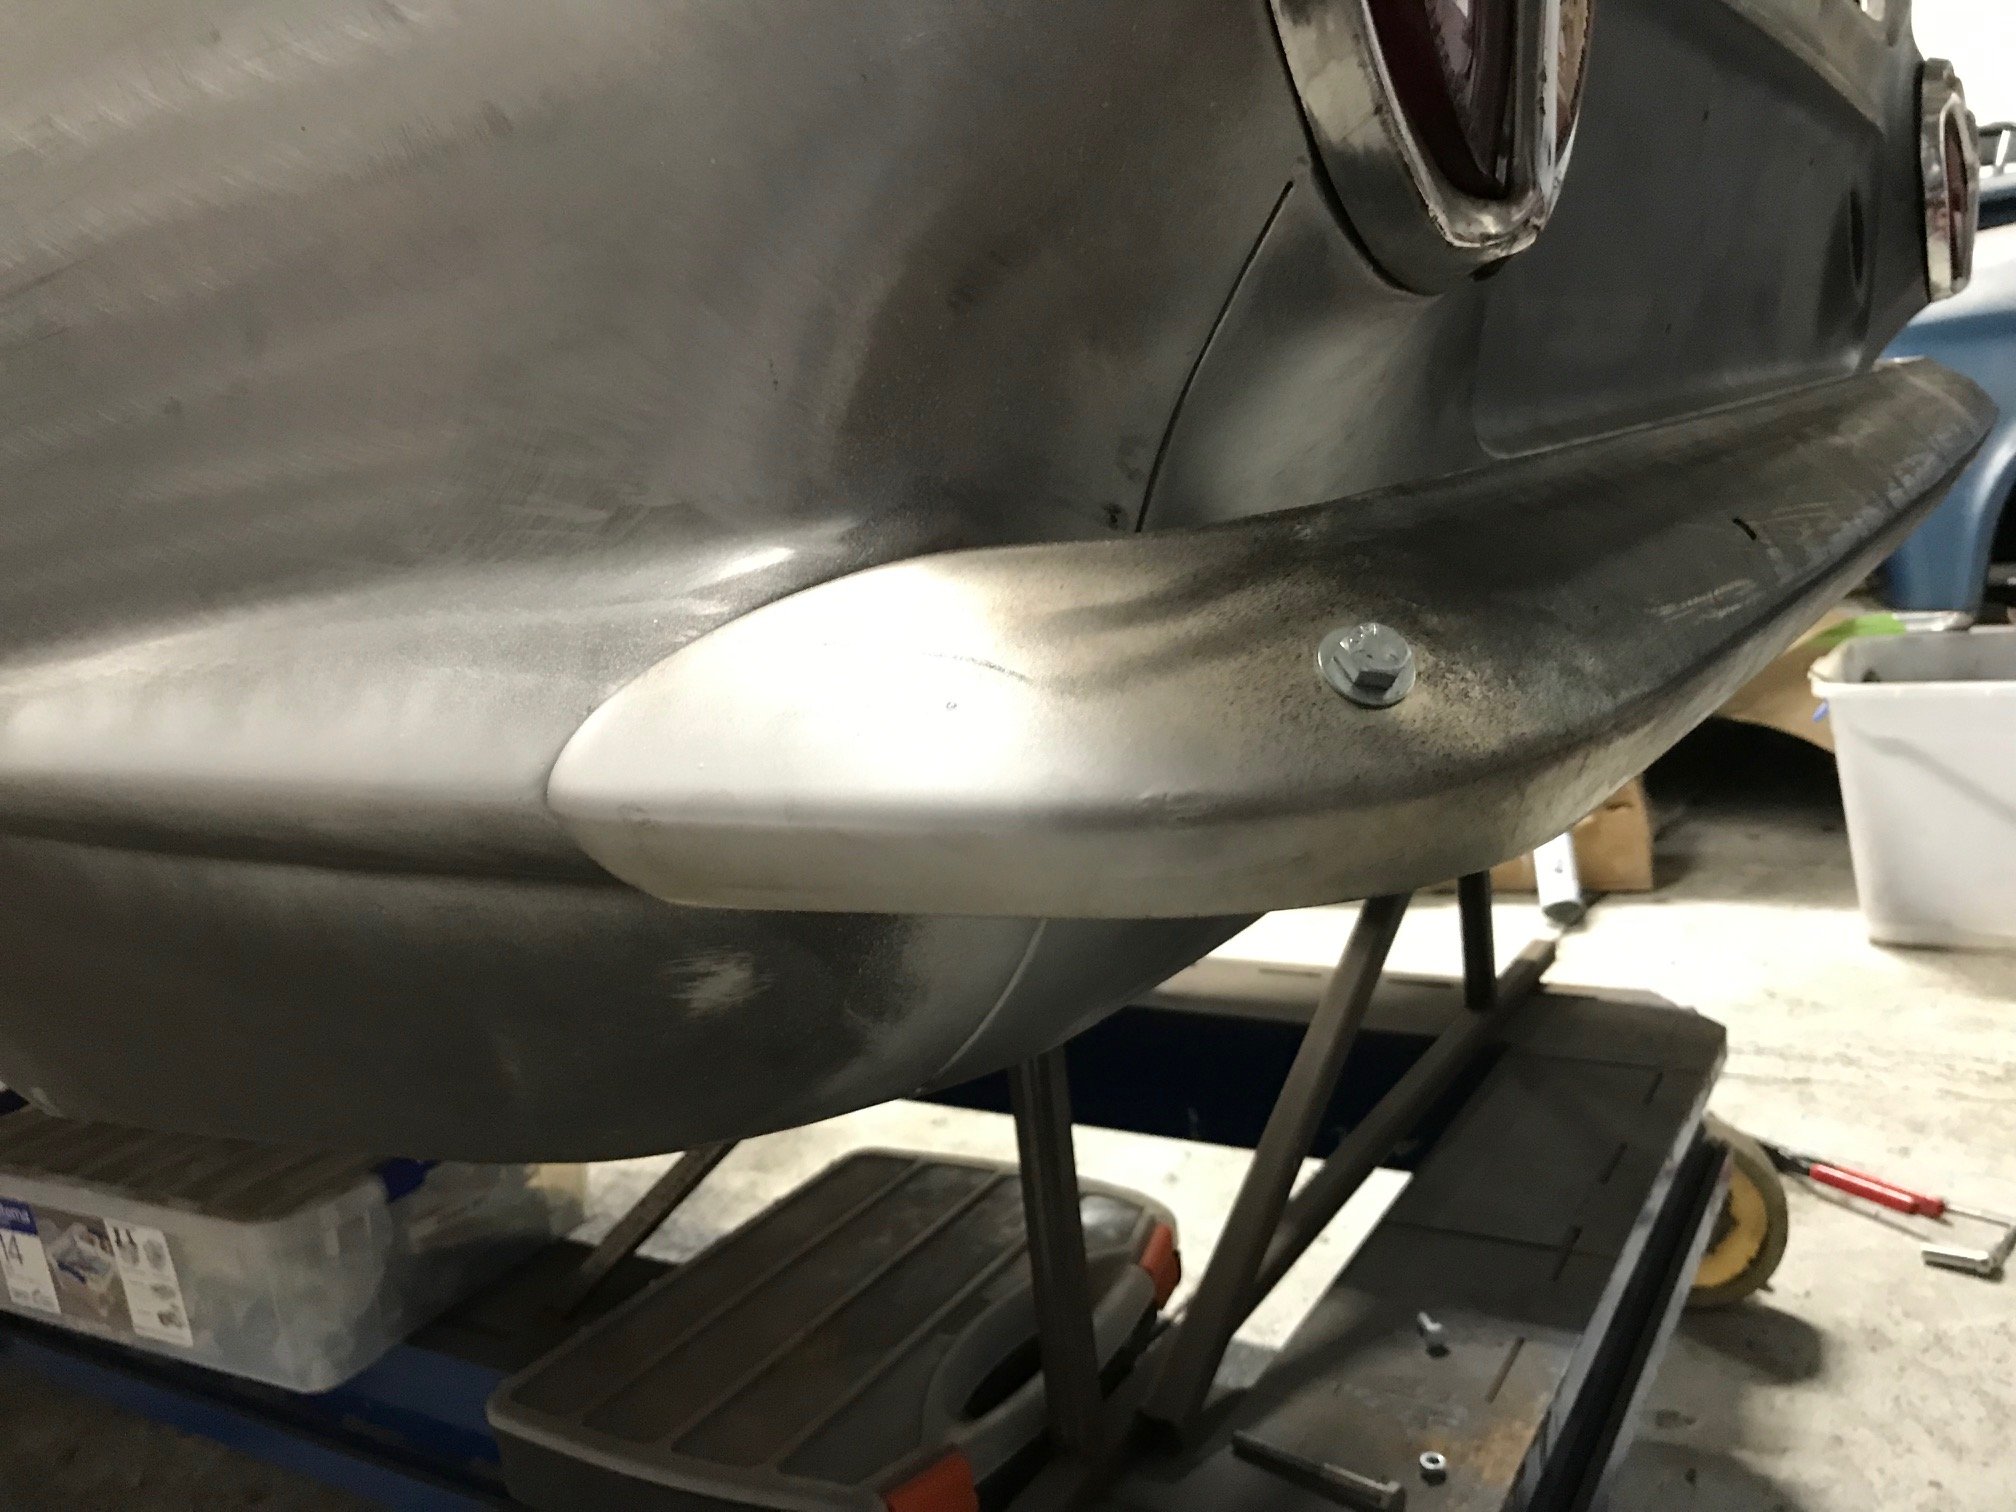
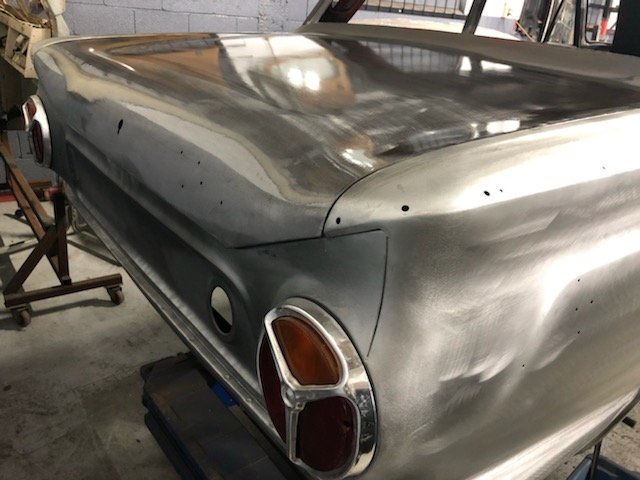
Rear bumper has been straightened up and trial fitted. Looking mint. Just needs a file up and off to the chrome players again. Down to the last few small jobs and off for the final blast.
3 points
-
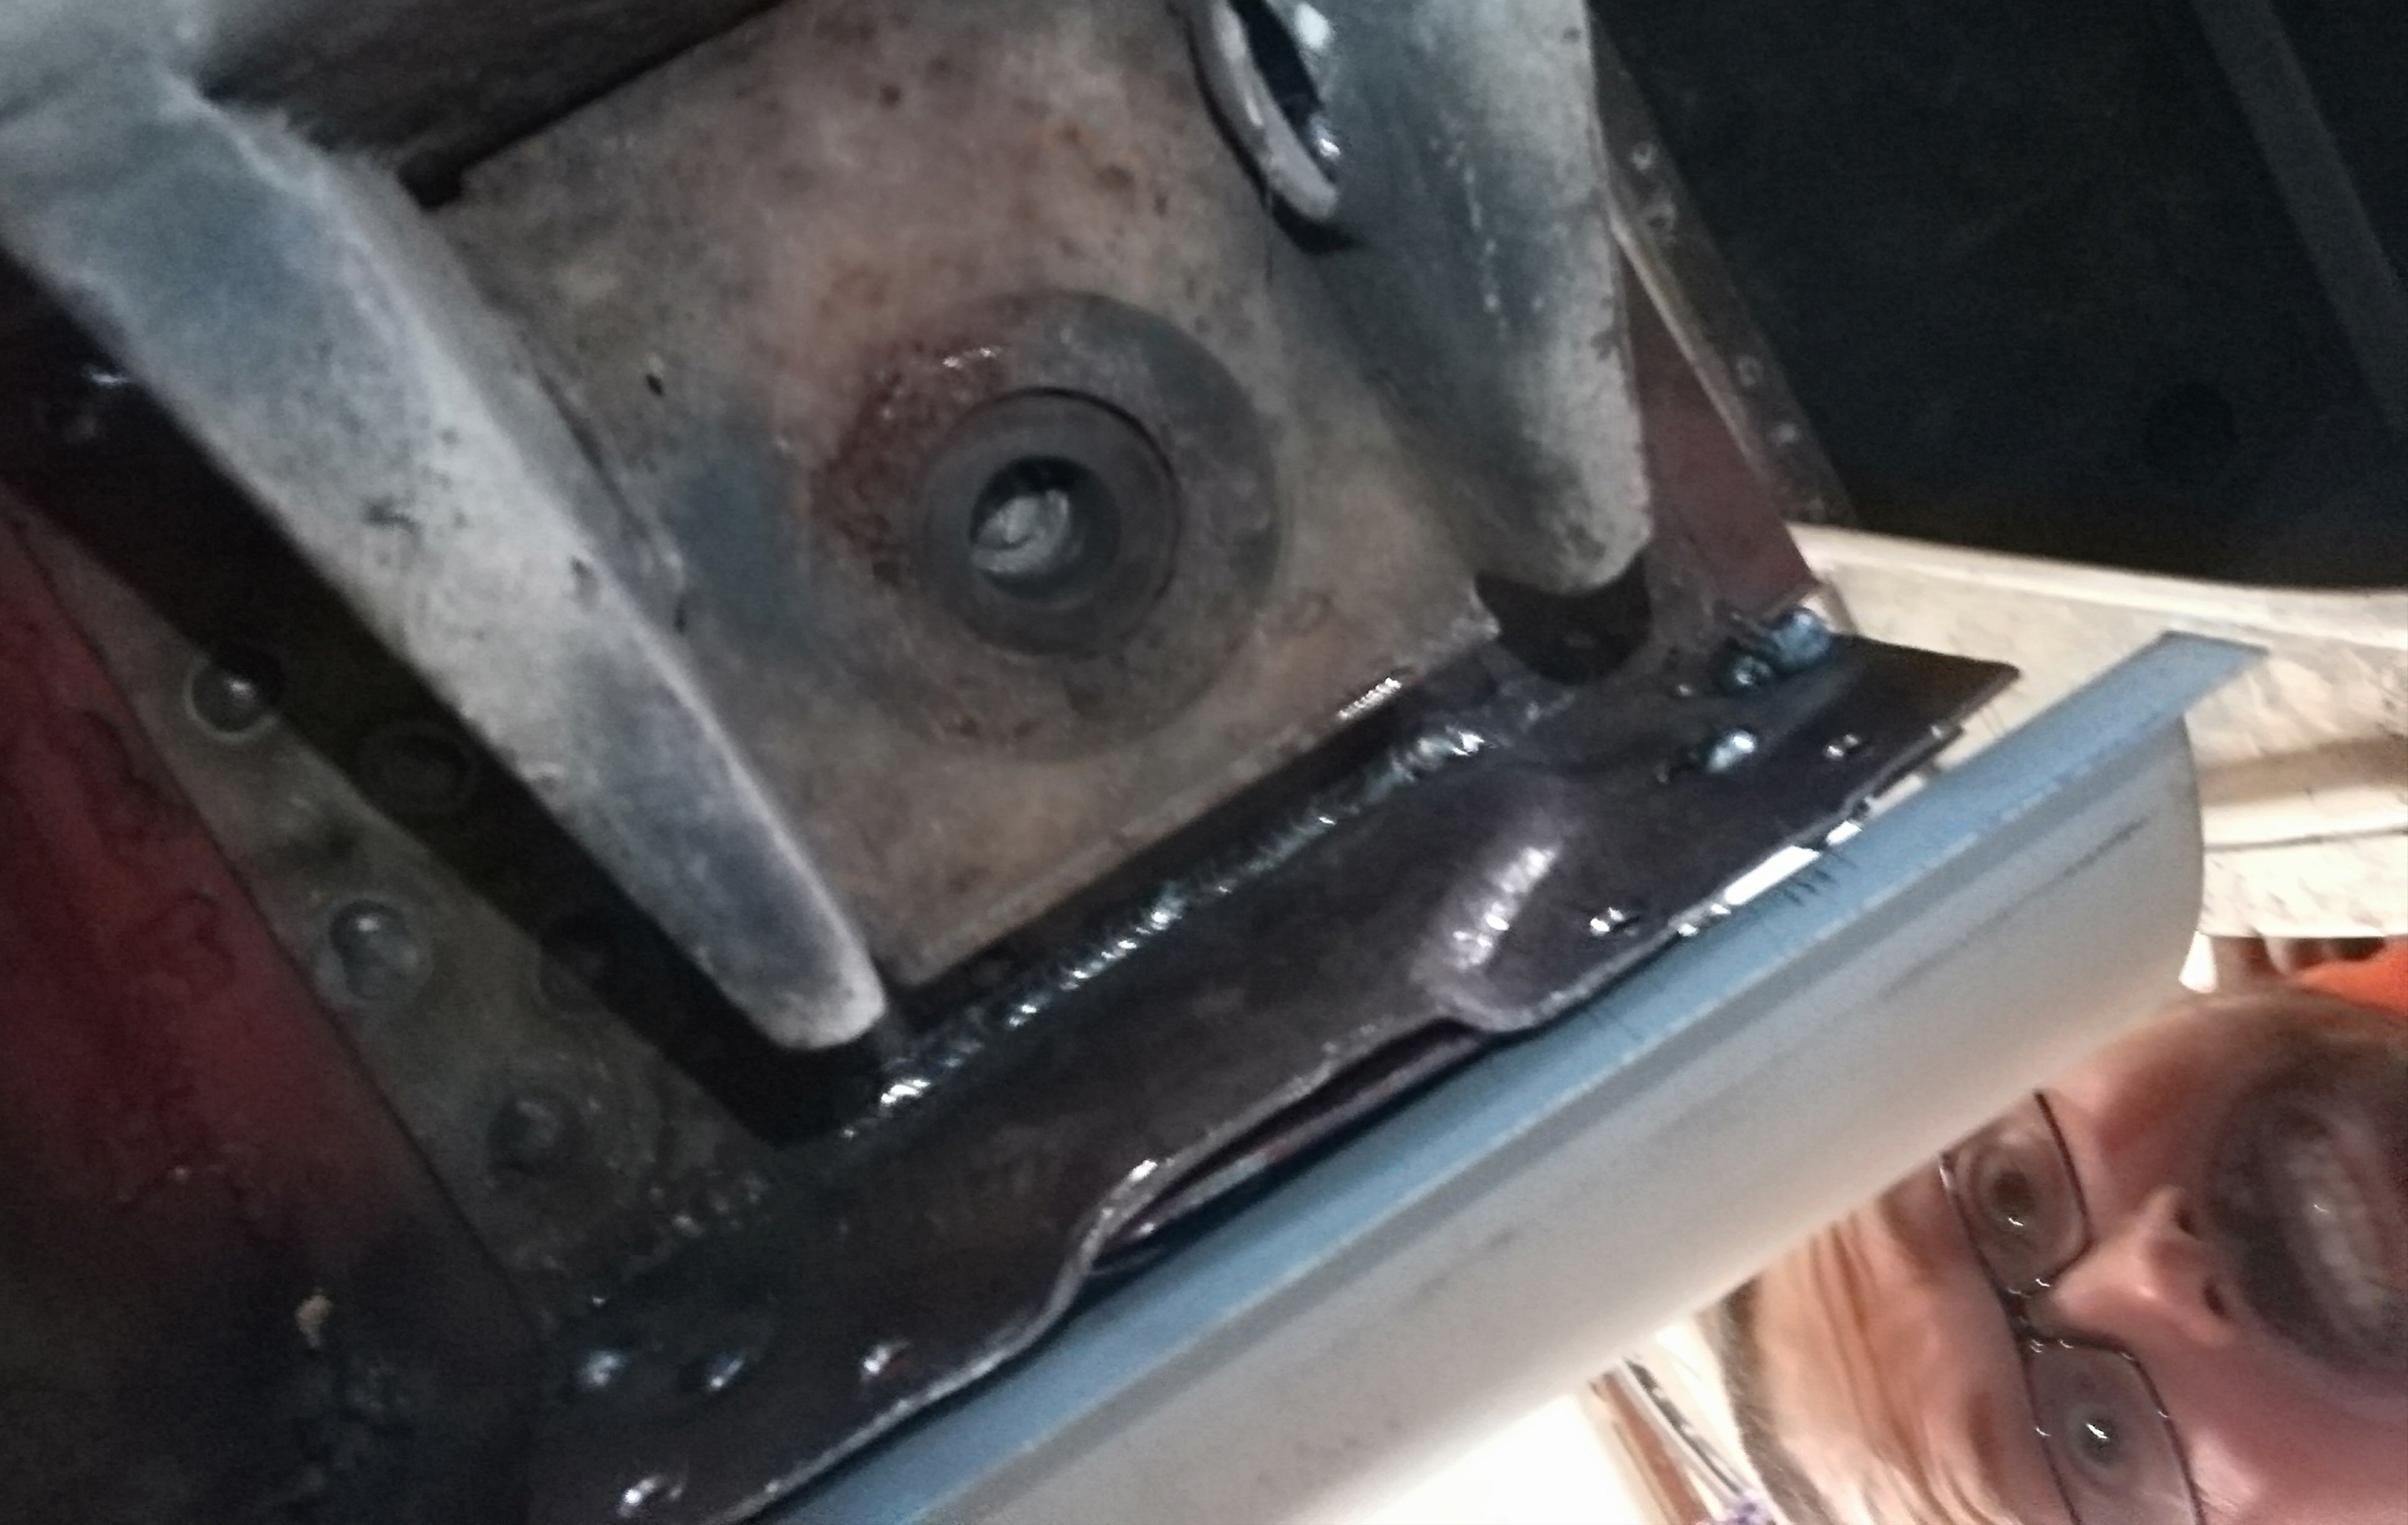
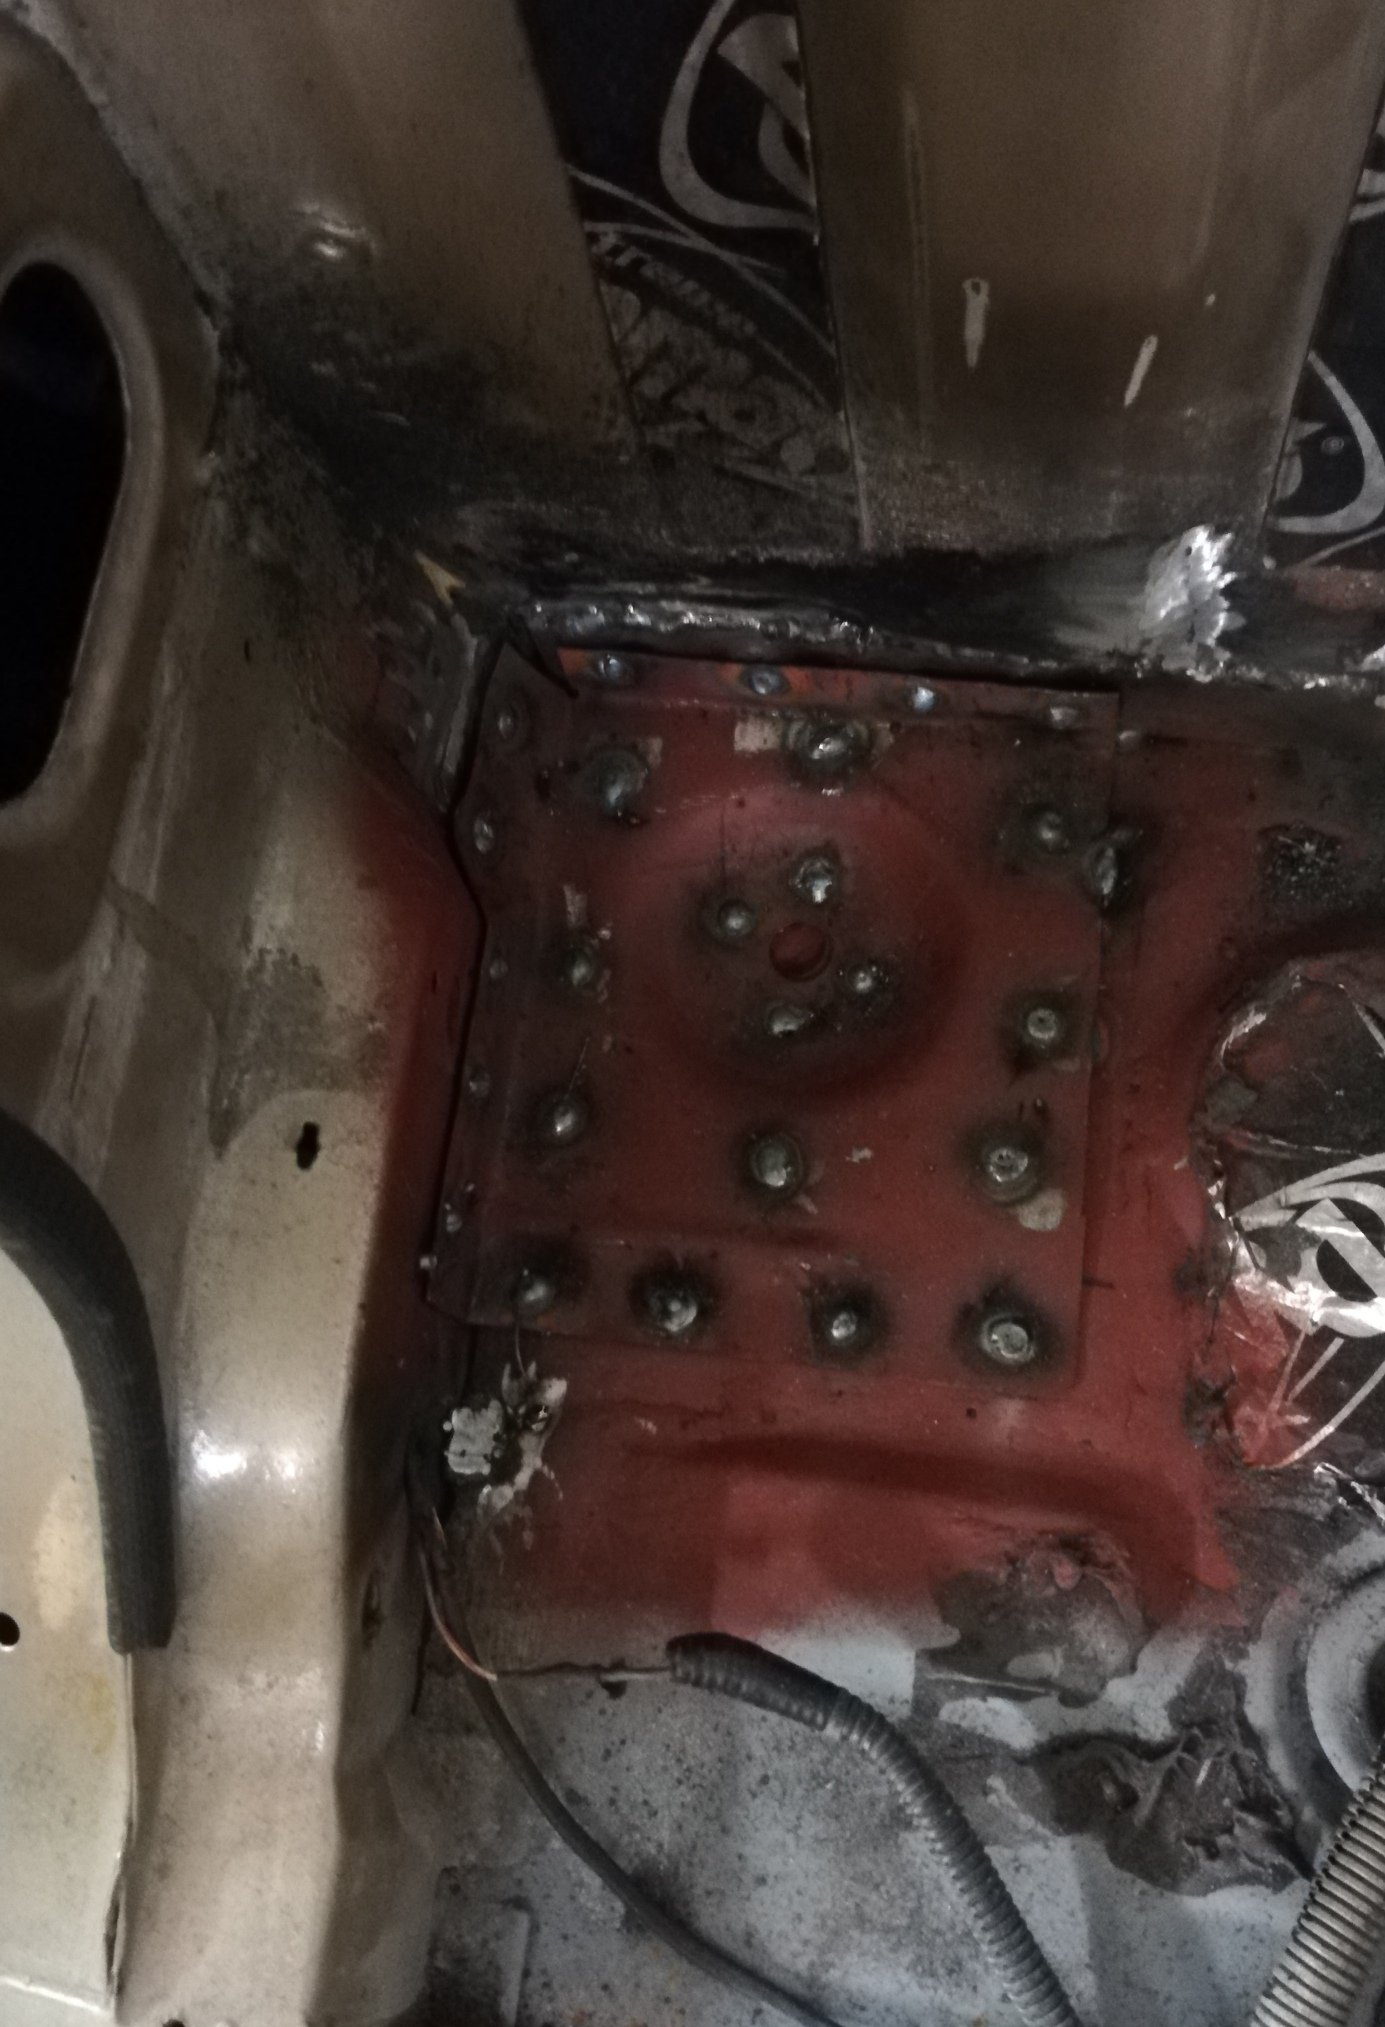
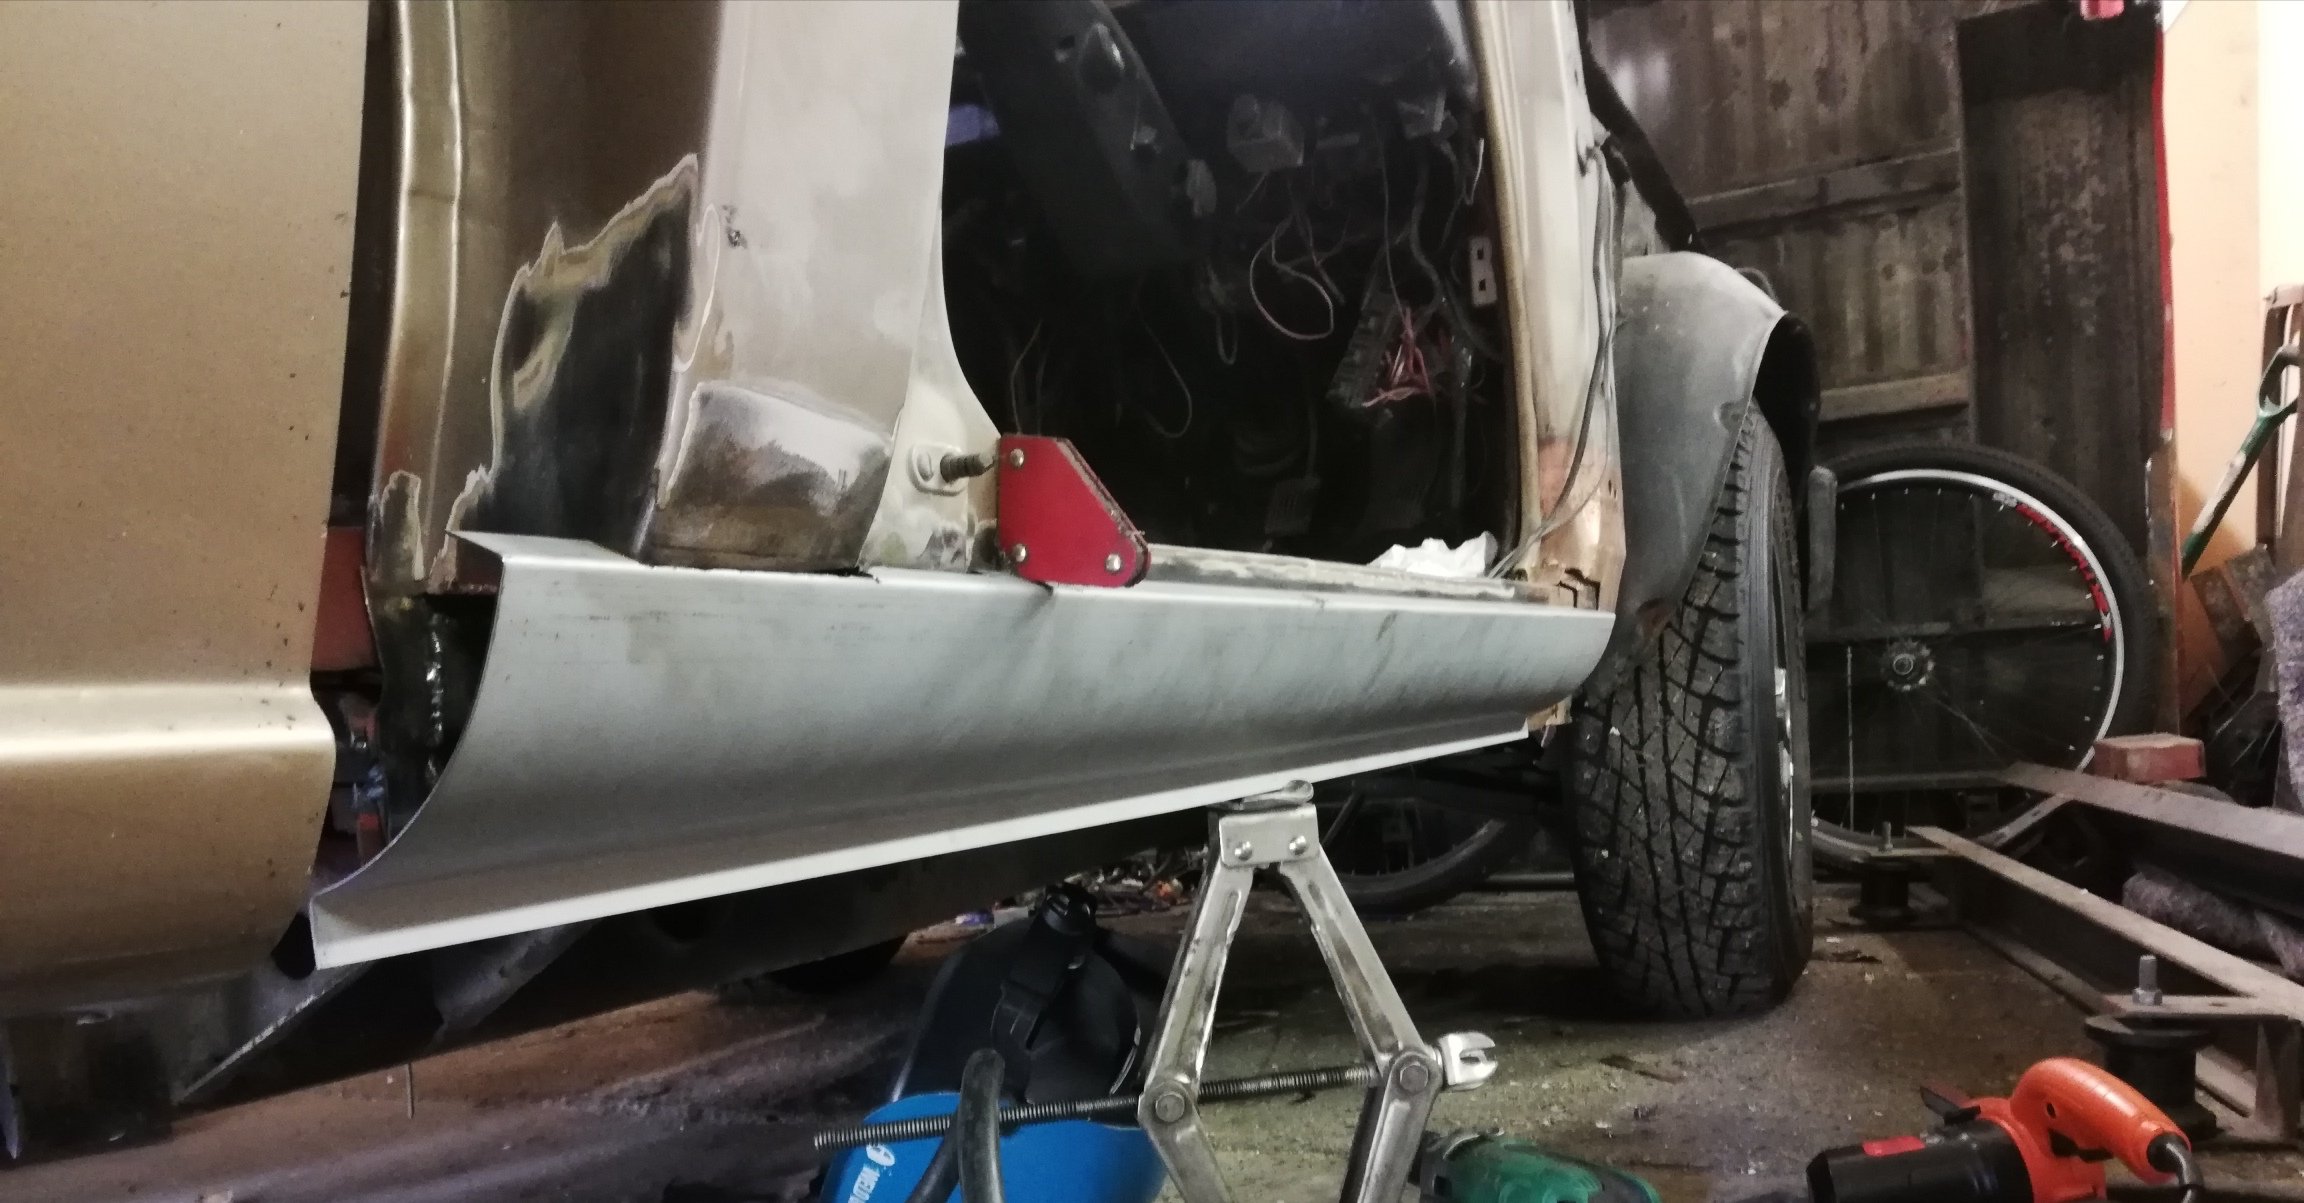
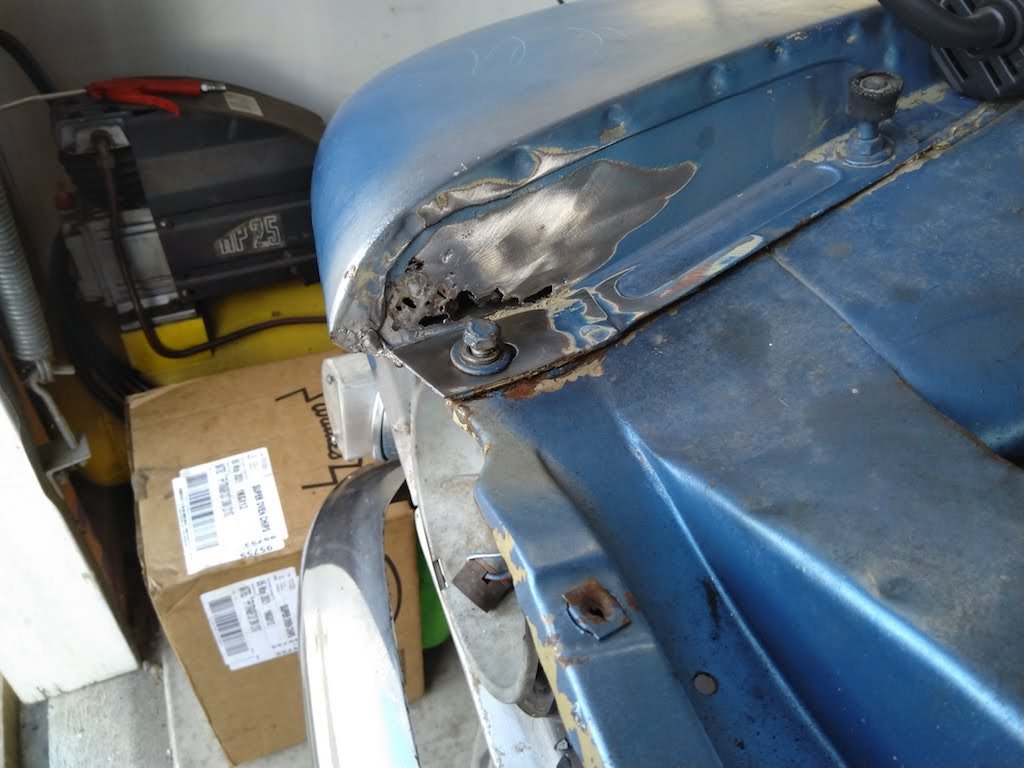
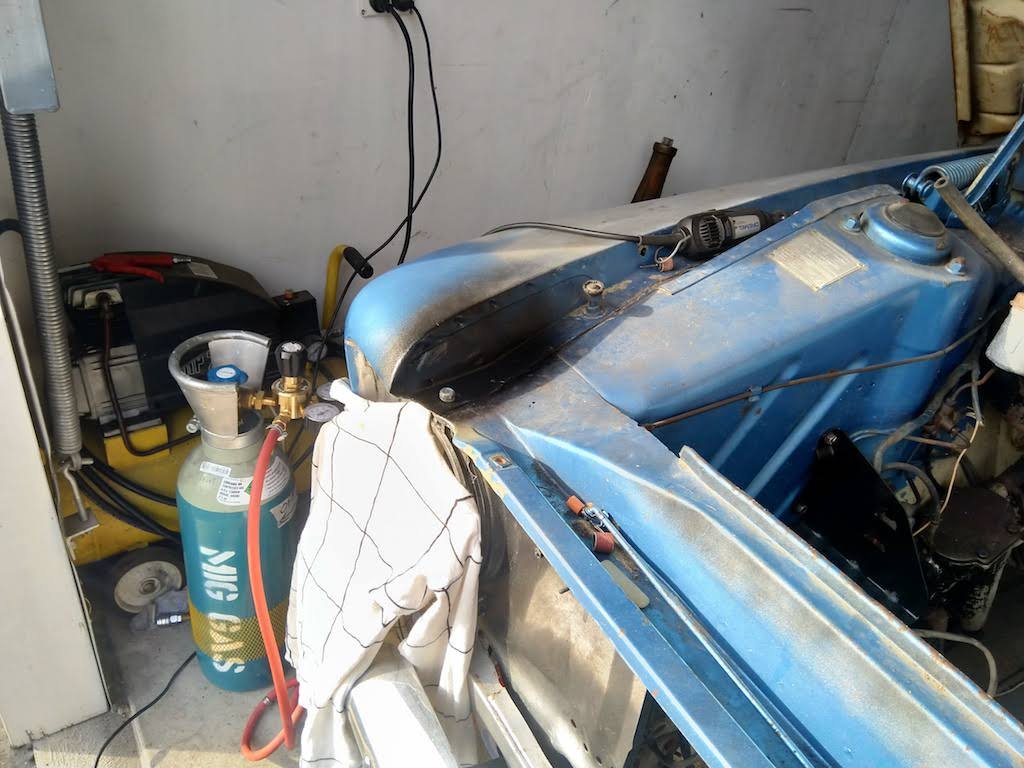
Ok ok What a balls of a job Floor is in Inner sill is in Cab back patch is in Inner cab mount plate is in Outer cab mount is in New sill getting trimmed to fit Not sure if I need an inside sill bracket like what was shown gas axed above, doesn't exist in my parts book.
3 points
-
Its still held together with G clamps and cable ties, so we weren't going too crazy, but you get the idea.2 points
-
Hello , I read this with great interest , because I have a 1958 Goliath ,and doing a bit of restoration . If this thread is still alive , I will share some photos . Best wishes , Michael2 points
-
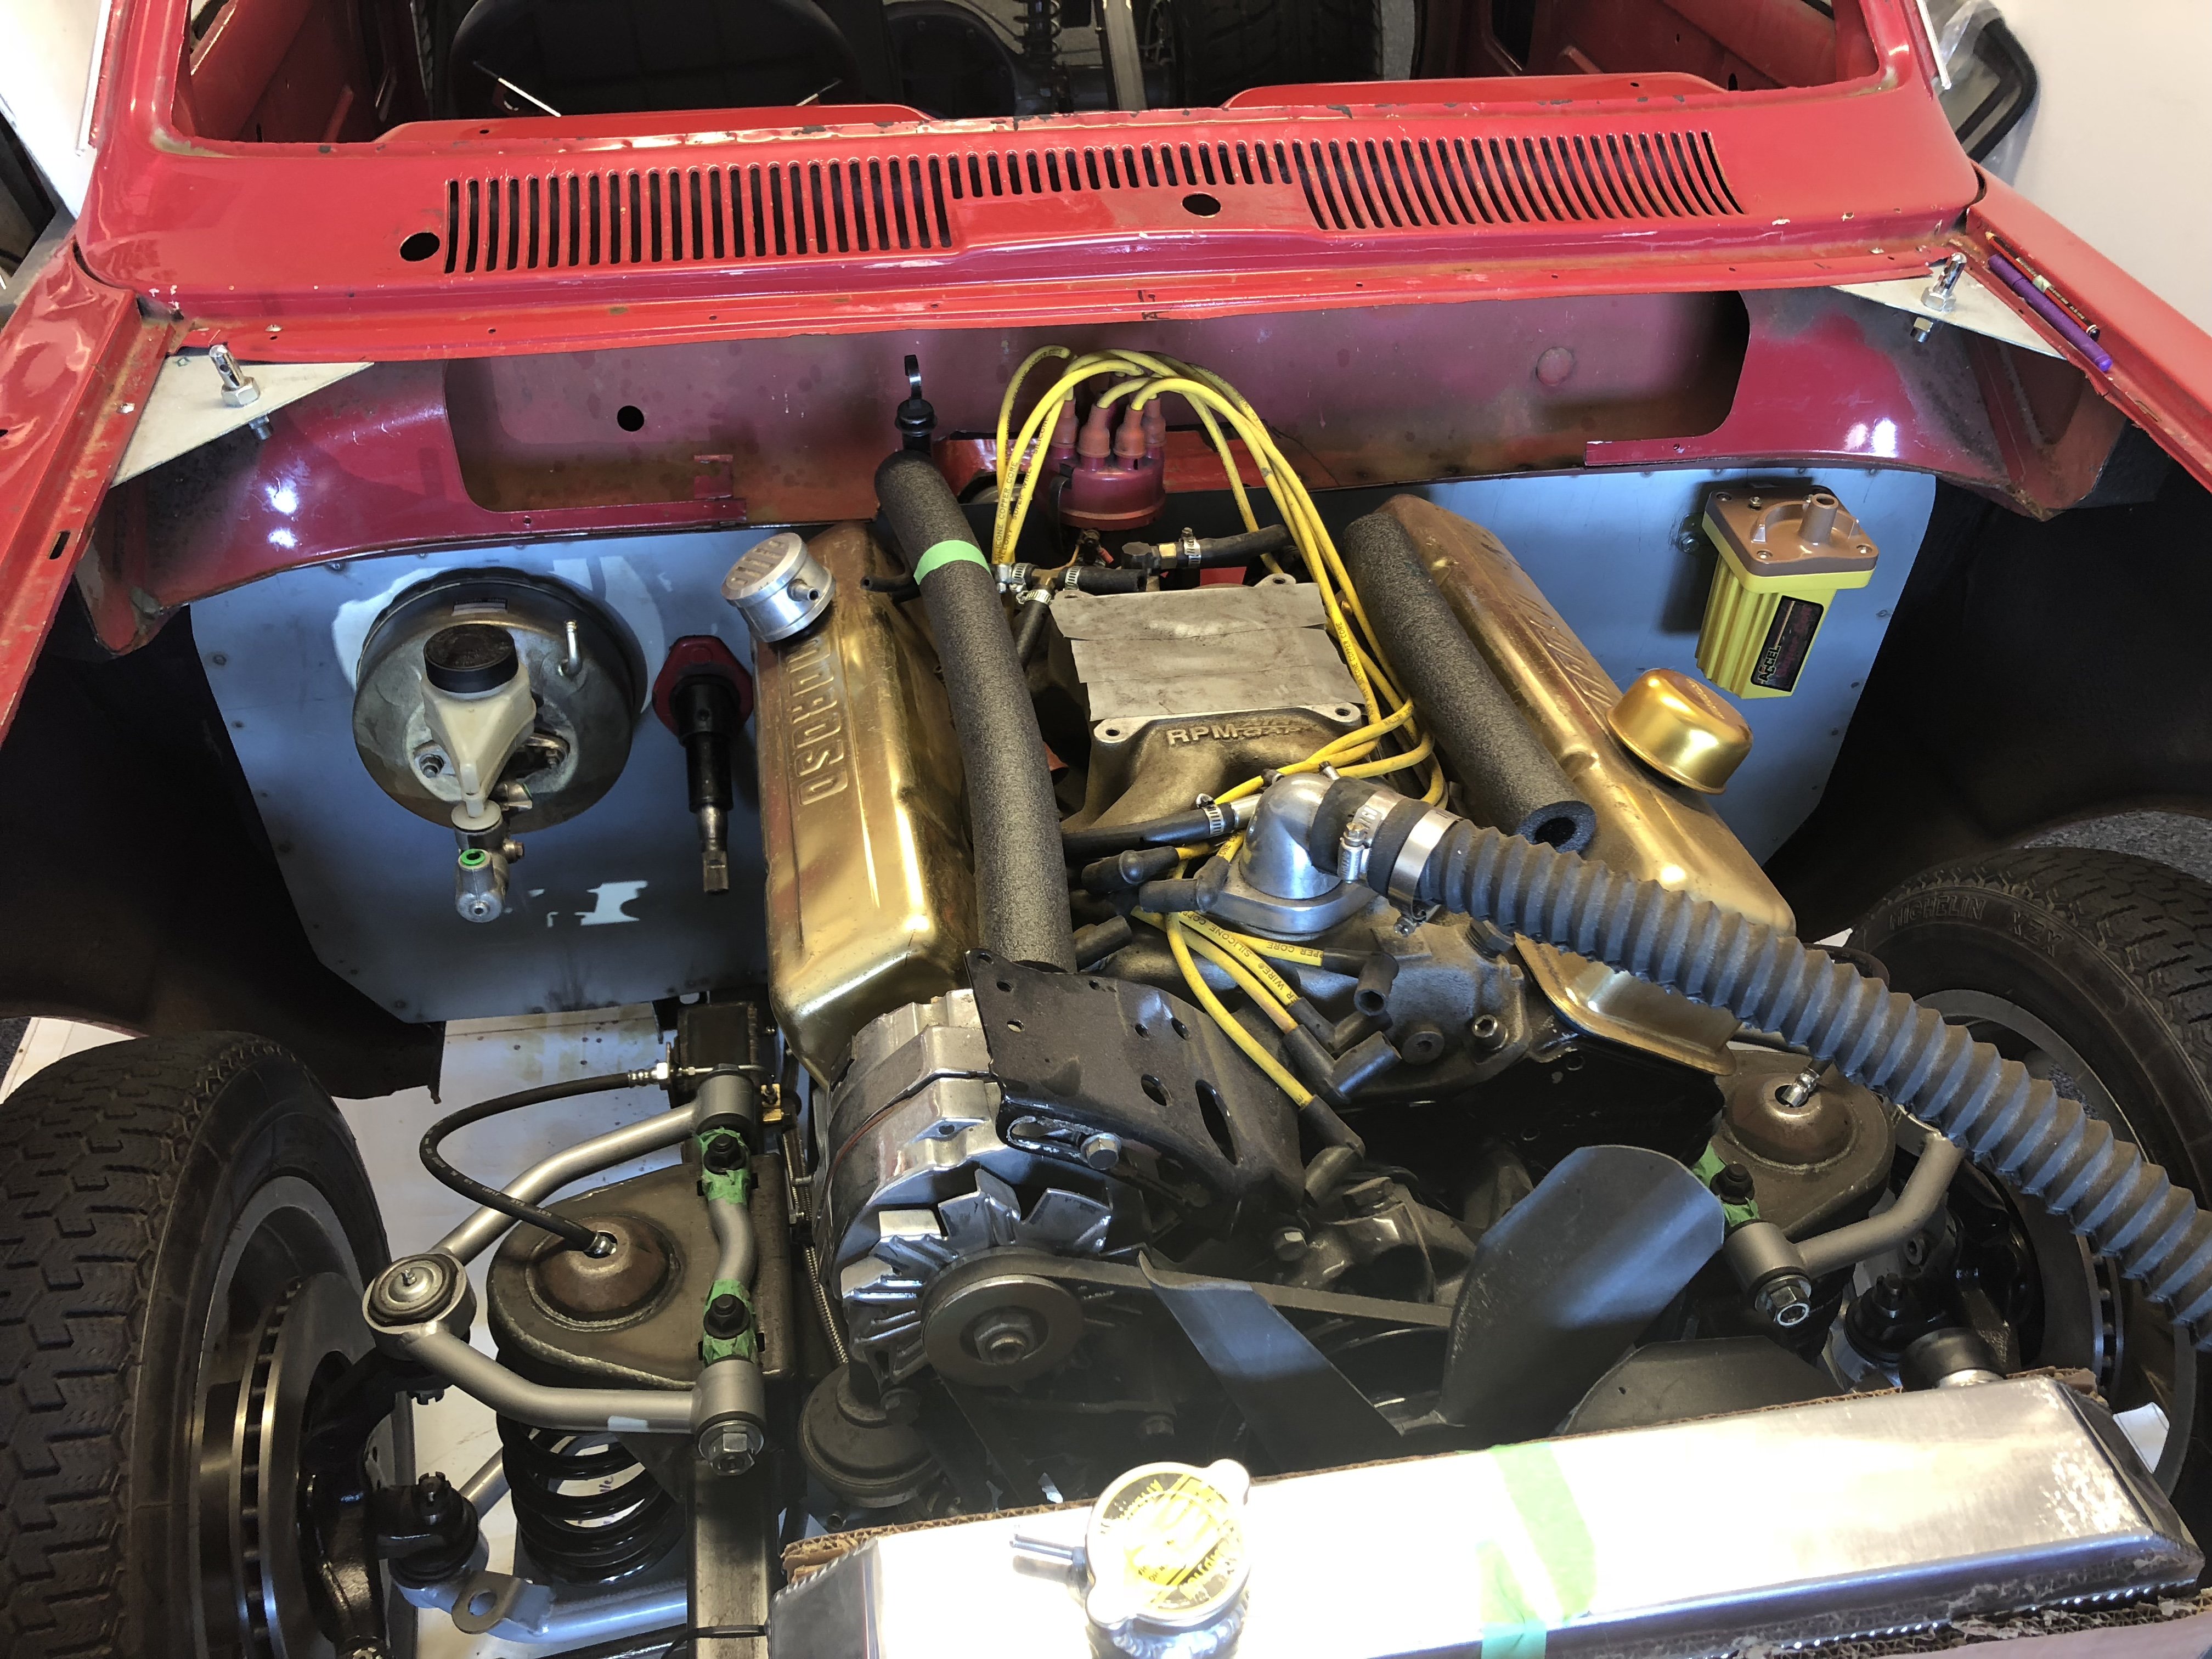
Injectors and rail in clutch back on welded a nut to some plate to check the clutch is disengaging and it’s all working mint! So stoked with that need to change one of a heater hard lines. Then spend some time doing the loom and changing injection plugs
2 points
-
Used the Scotts auto rubber part number, asked Basis after checking profile, arrived as overnight delivery, south island, 4m $90 including shipping. Has metal tracks in it so it pushed on and holds very well Part number 322.030 is a x 4m cut length of 322.006, which they had on a roll Used maybe 3.5m2 points
-
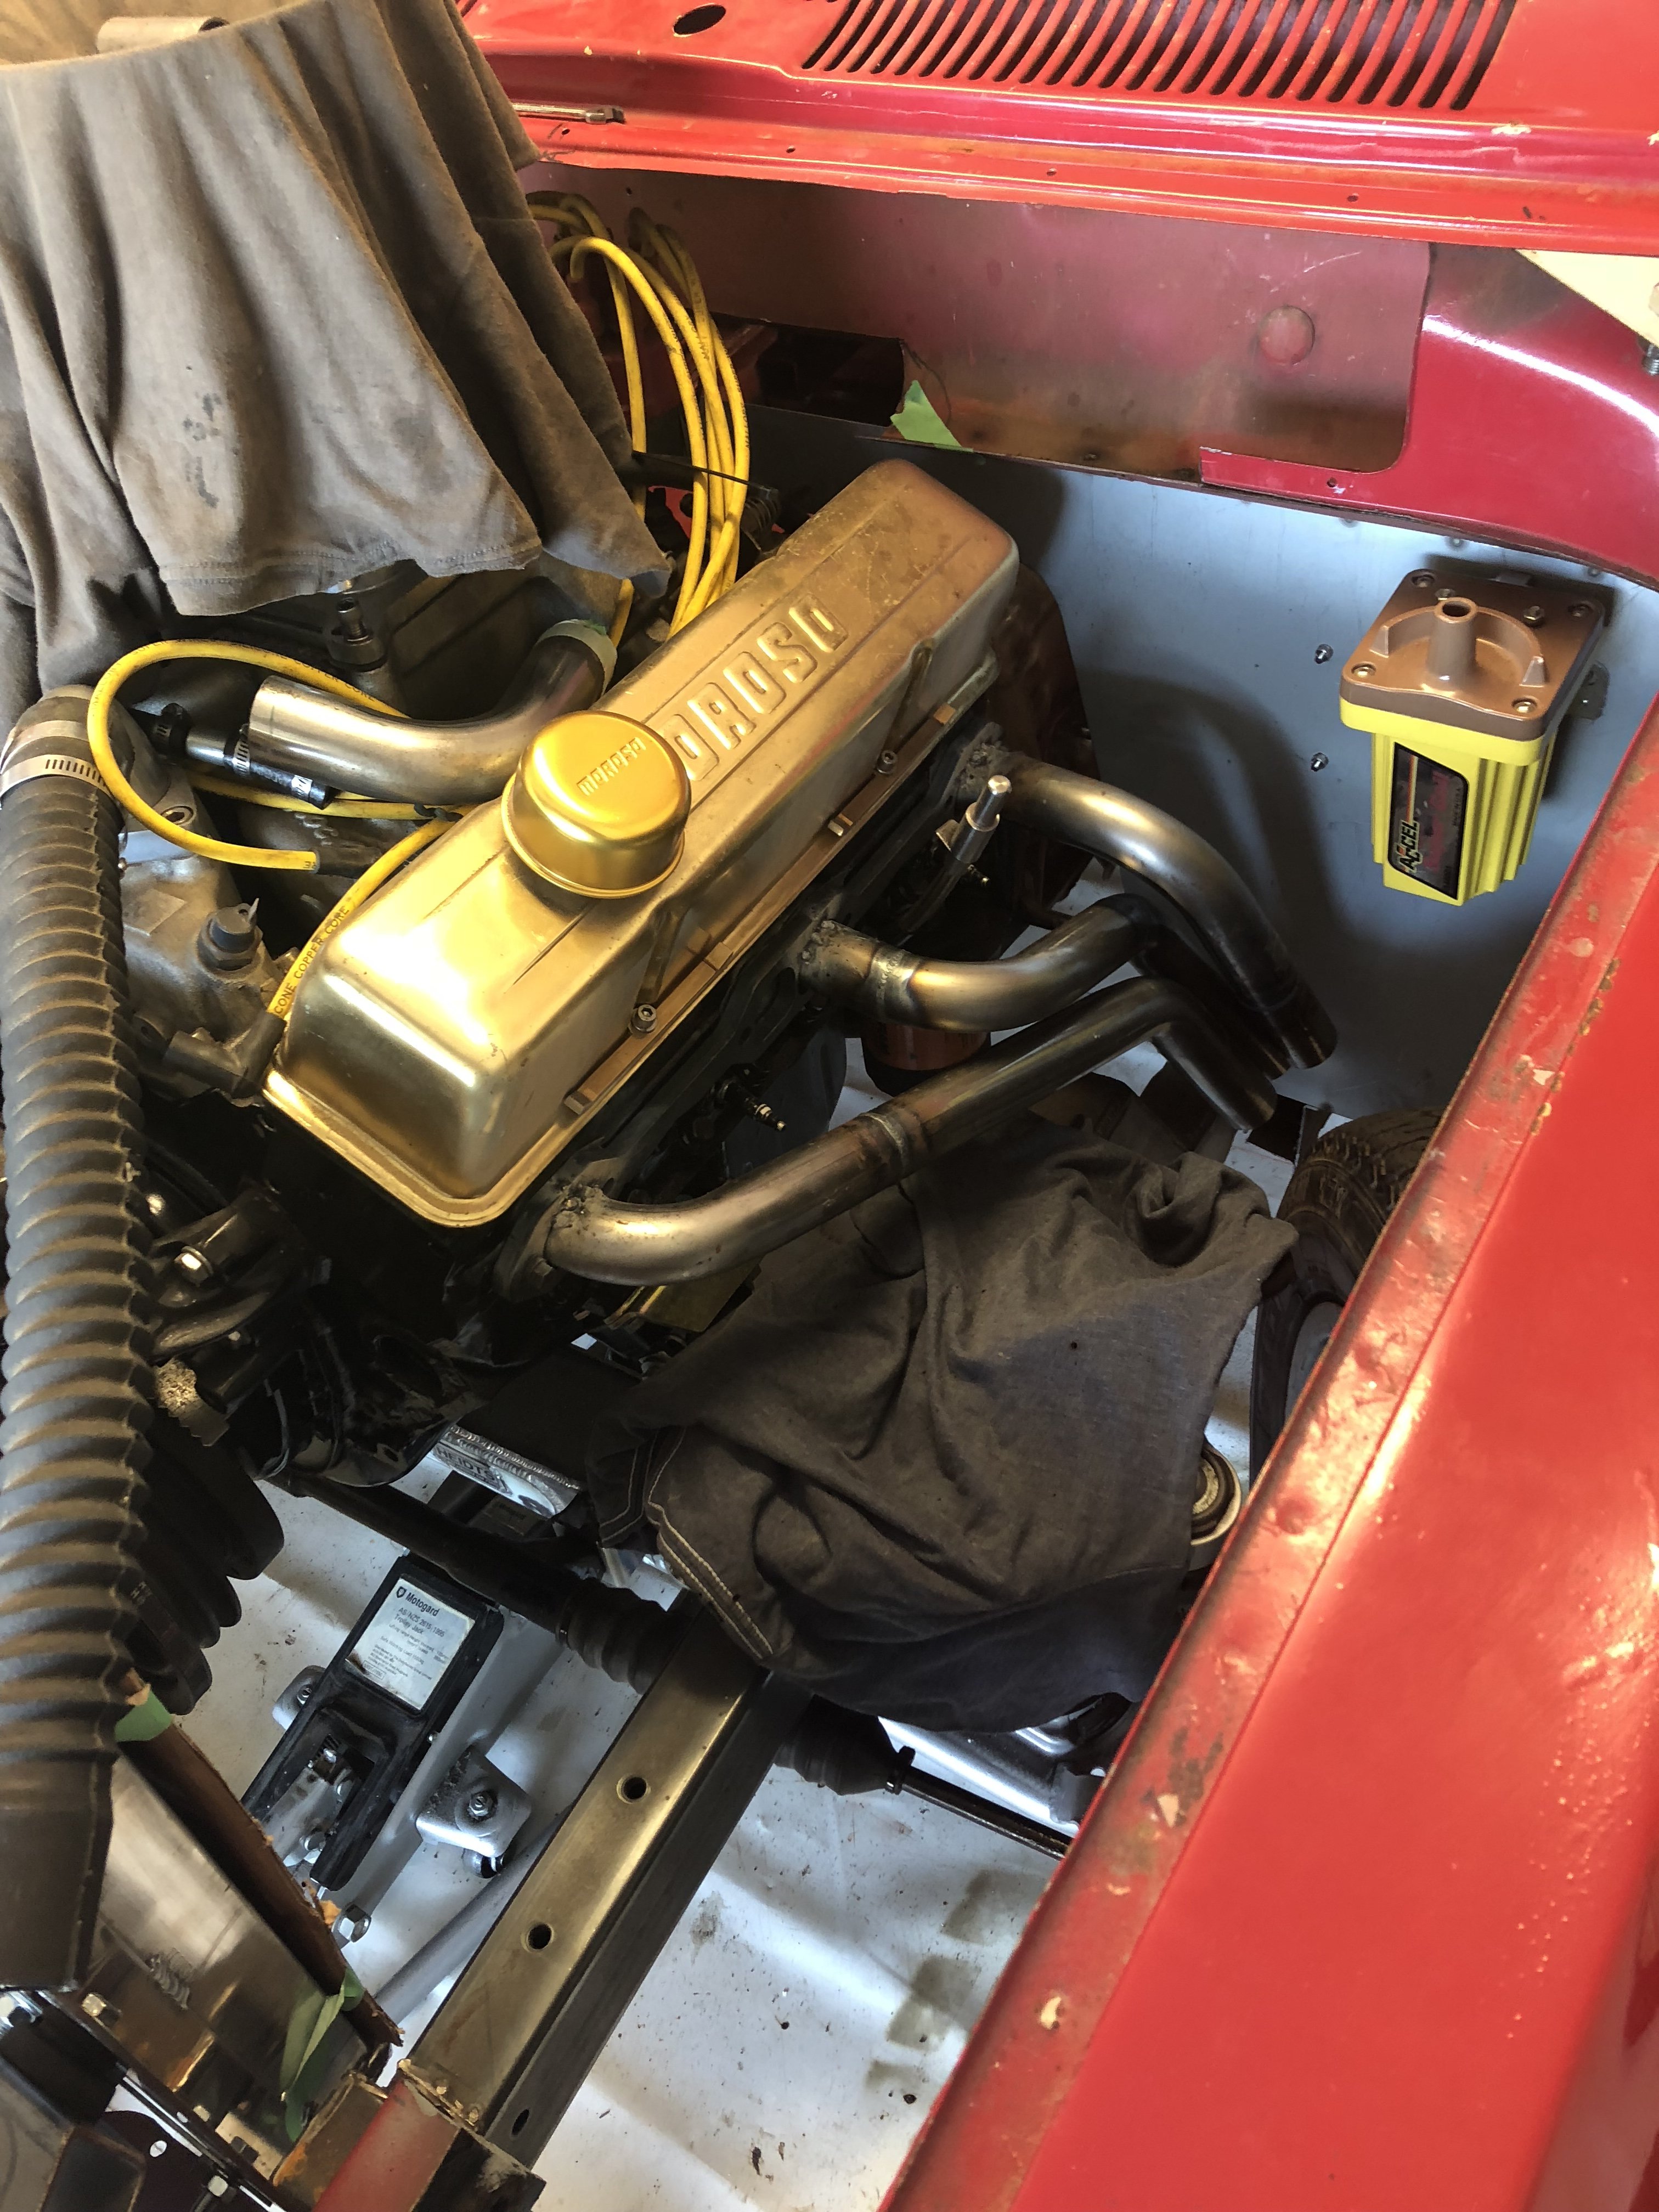
Finally got the bulk of the headers done down to the collectors. Just need to add a bend at the bottom to make them easy to blank off and flange further in. all brake lines also done.
2 points
-
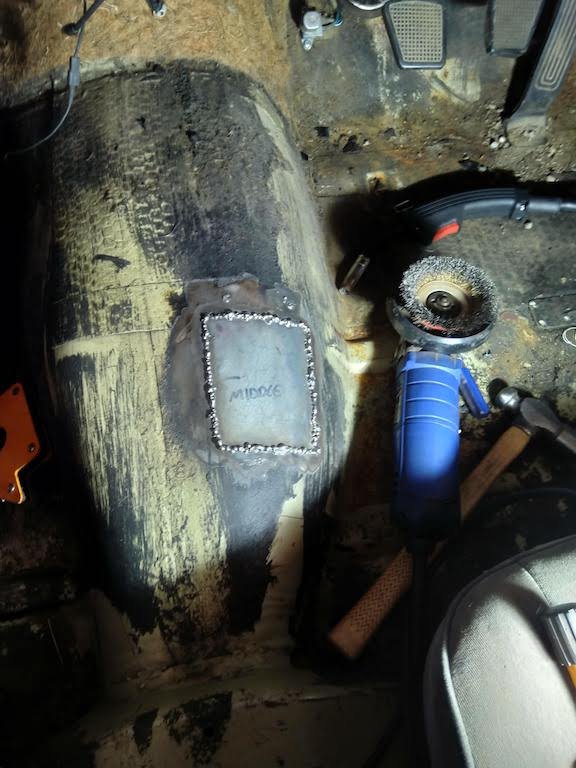
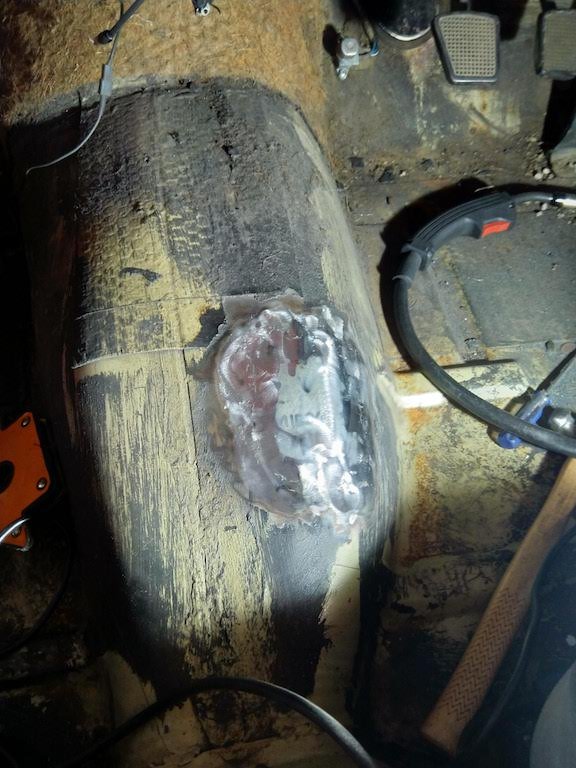
Skip to the front, same gig: Pick the scab: excise the cancer construct new bits glue bits in remove 90% of glue. Tidied up the bits i could reach inside and painted them, + gobs of seam sealer squished though from the wheel side to hopefully reduce the amount of mud and water that this area collects2 points
-
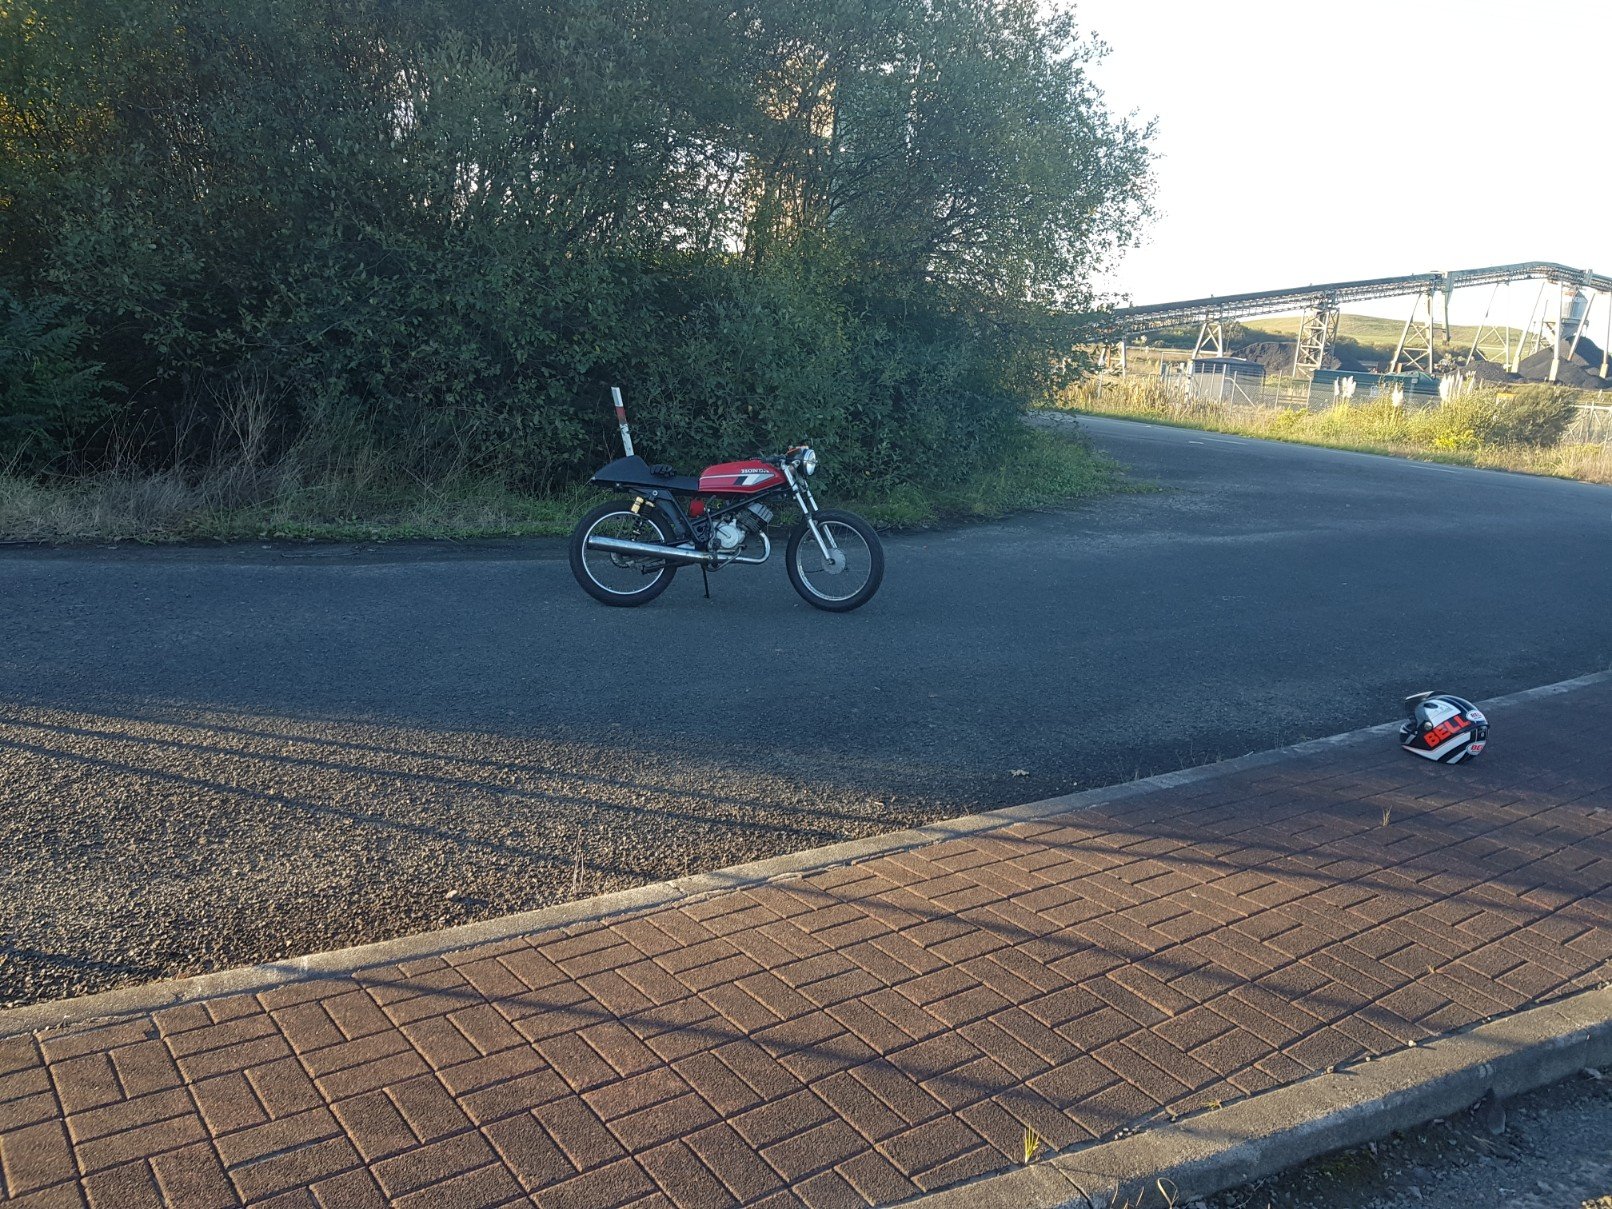
Finally kicked this thing into life this arvo. Started easy as and sat there idleing like a champ. Stoked the motor is working as it should have. One step closer to the DGR ride! Still have so much to go, mainly wiring as the indicators don’t blink, starter motor is dead, rear set linkages etc.....
1 point
-
Do not pull apart the warm up regulator or fuel distributor. Guaranteed to have some dribble dick injectors but that usually only affects hot starts. But you should be replacing the injector o-rings anyway1 point
-
I removed the accumulator because it was stuffed, but that wouldnt cause running issues (maybe hot starting issues, but it starts fine). The lines seemed pretty clean and not much came out of the old filter when i drained it. I have bypassed the emergency cutoff, so the fuel pump runs when the key is on. I have noticed lately when the engine cuts out, if im not rolling it will take a few cranks to get it to fire up again.1 point
-
Got too busy again, tried them the other night but the castors don't really turn fast enough, could push the back around ok but the heavy front end didn't want to go anywhere.. In saying that I didn't sweep the floor, will see if that makes any difference and report back.1 point
-
Just use solid 0.6 wire. lots of tacks, move around a heap, short welds to link tacks, lots of gentle hammering as the welds cool. What are you going to do about the fuel flap? I reckon that could look pretty cool. Good on ya.1 point
-
So the previous owner fitted a Bosch GT40 coil.... a 12v coil. When I checked the voltage across the terminals with the ignition on, i get about 7v. Guessing the ballast resistor is still fitted. What would the negatives of running the coil at 7v? Obviously I wont continue to run it like that, but I cant seem to find anything saying that the effects of under volting a coil is. E: so it also turns out it is widely known that you should not run a GT40 coil on an electronic ignition, as it can cause spark breakdown at higher rpm. Guess what im doing tomorrow.1 point
-
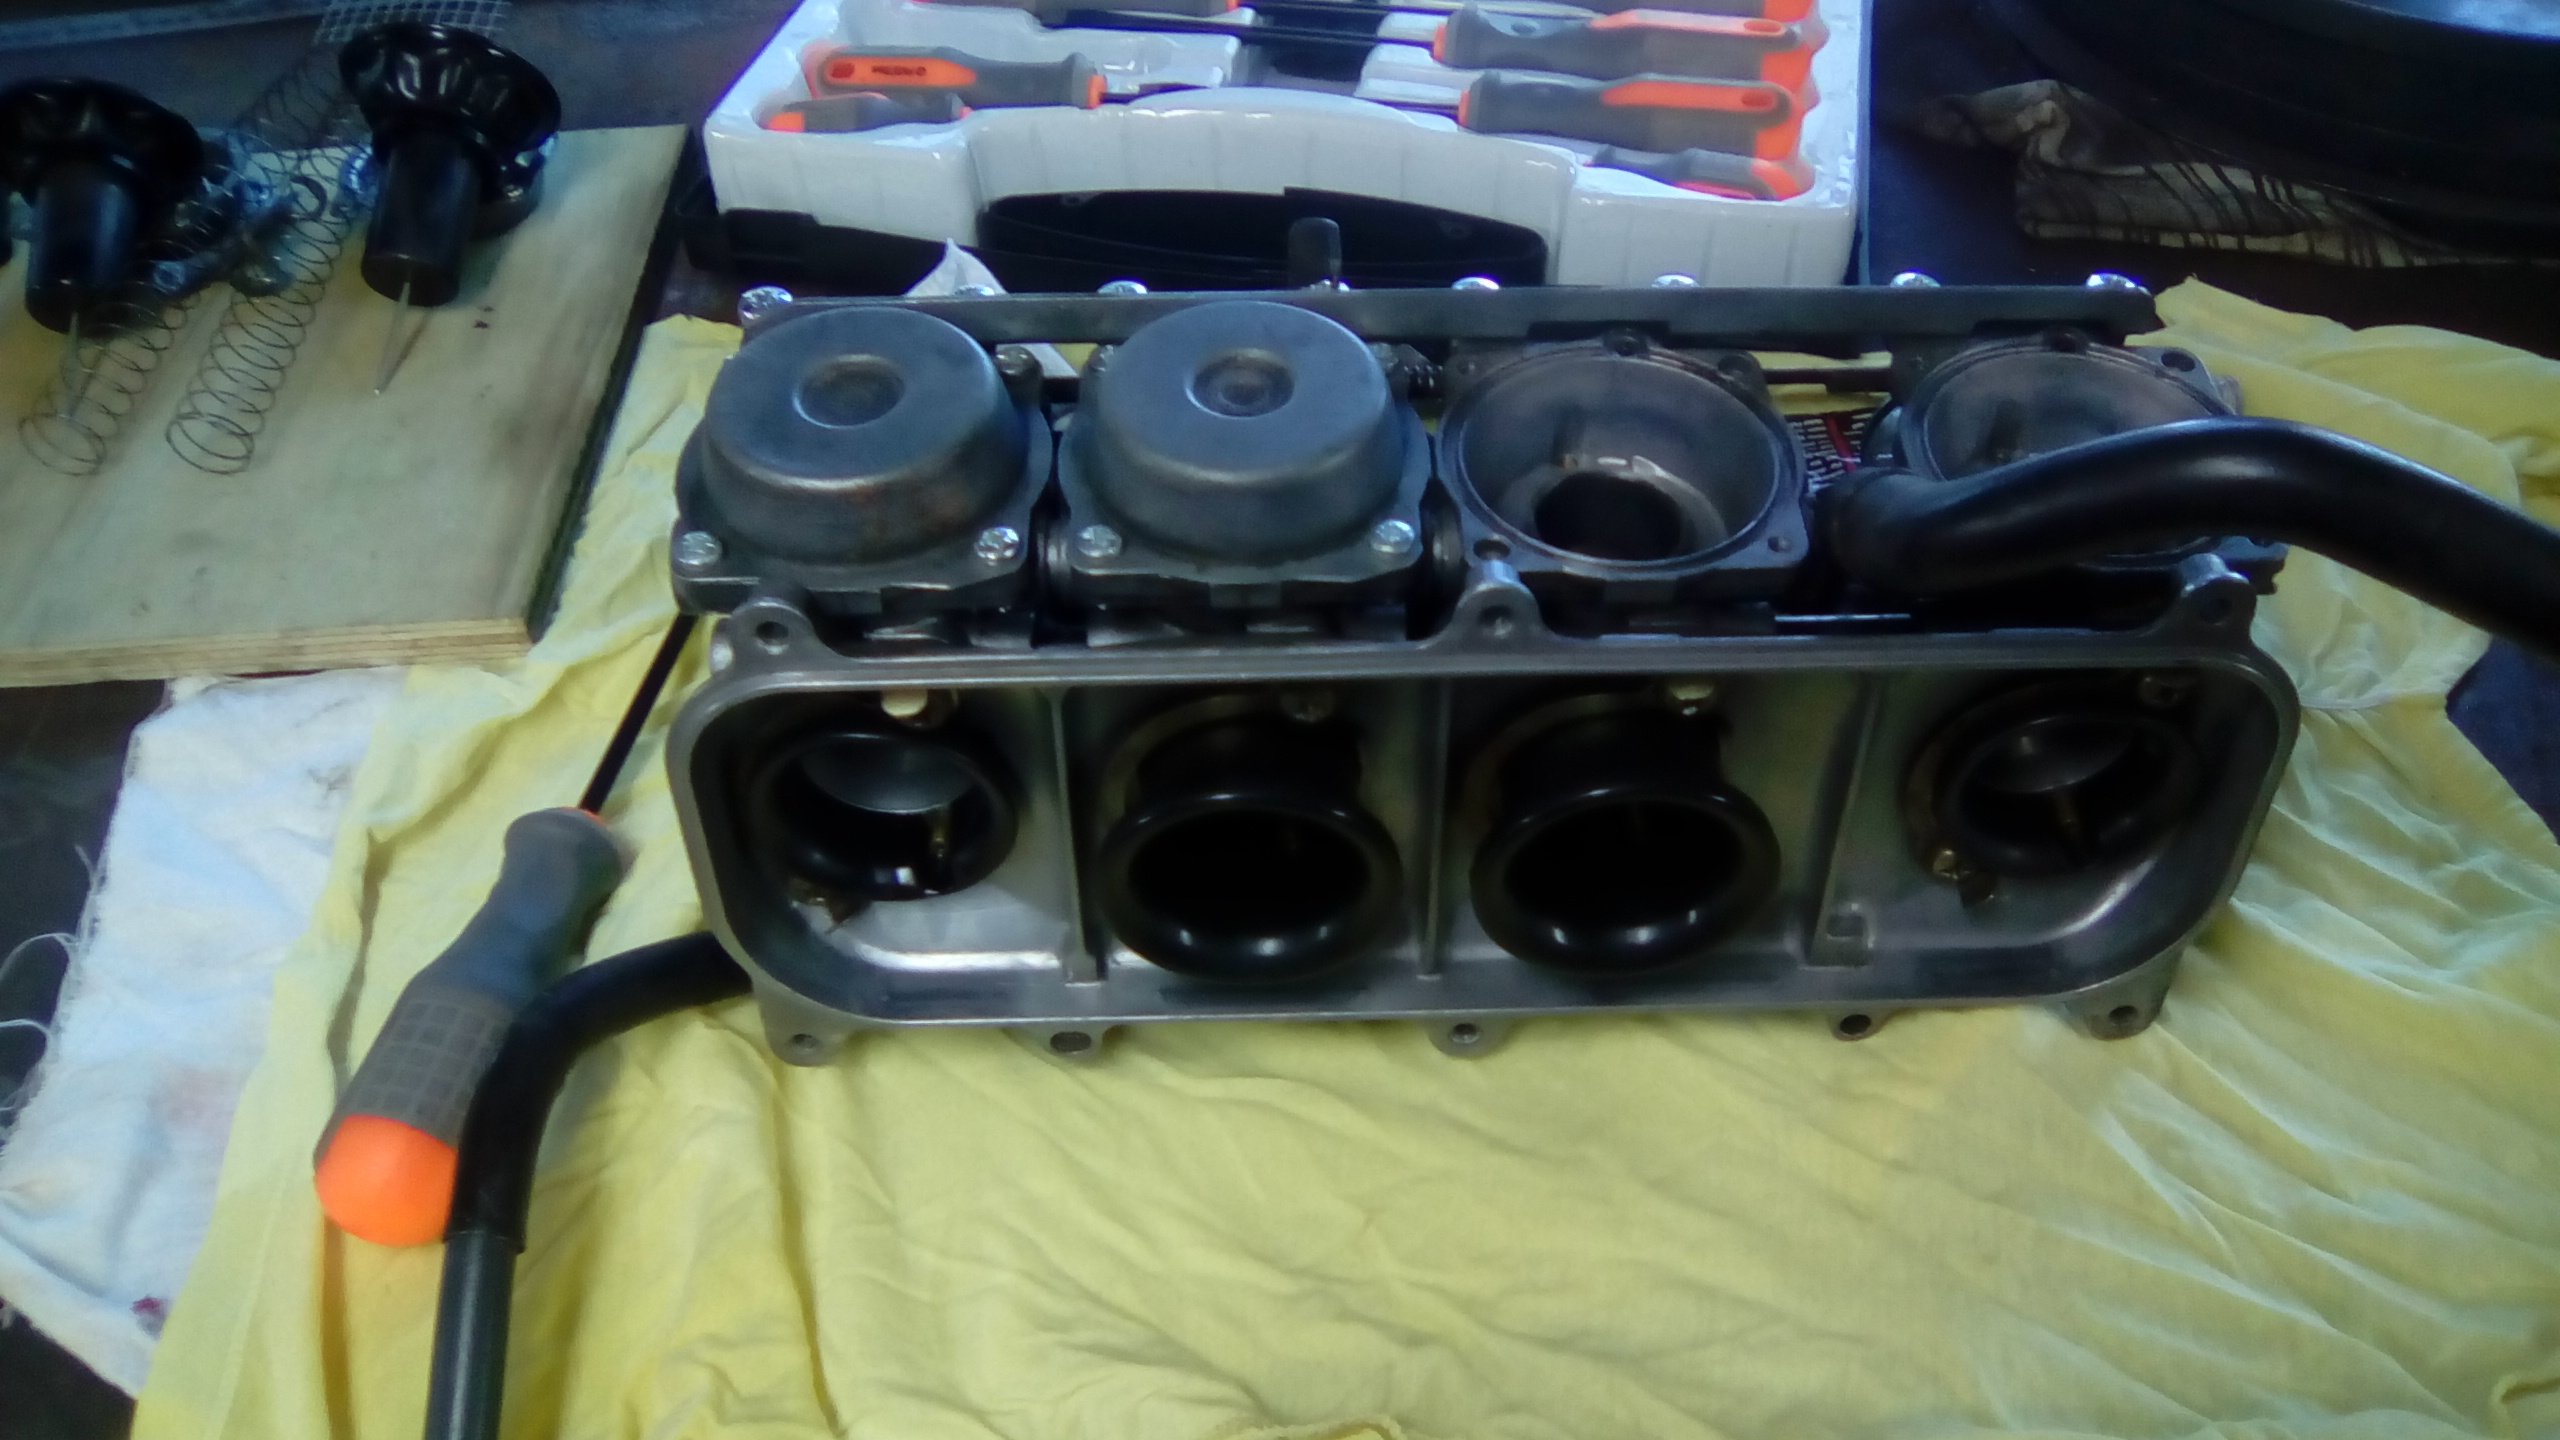
Feels like I've been here before. Starting with the diaphragm side just in case fuel was making its way up there. It wasn't luckily. The needles on numbers 1 and 2 were a bit green but it polished off with some autosol easily. Will hopefully drop the floats out tomorrow then take it to work and give it all a good blow out.
1 point
-
My 2105 used to do that cos of a flogged out distributor shaft fucking with the spark timing at high revs1 point
-
After you told me about this thread when we met in Blighty 2 weeks ago, I've finally sat down and read it. I wish I'd found it earlier. So cool. Top work on the sympathetic rebuild. It looks great. Also-So neat that Dennis went along to leadfoot with you. I could picture him having a great old time. Presuming he's still able to drive it is there any plan to find a location where he can do so? Fuck I love small cars, especially sports cars that handle well. This car is all that. Thanks for sharing.1 point
-
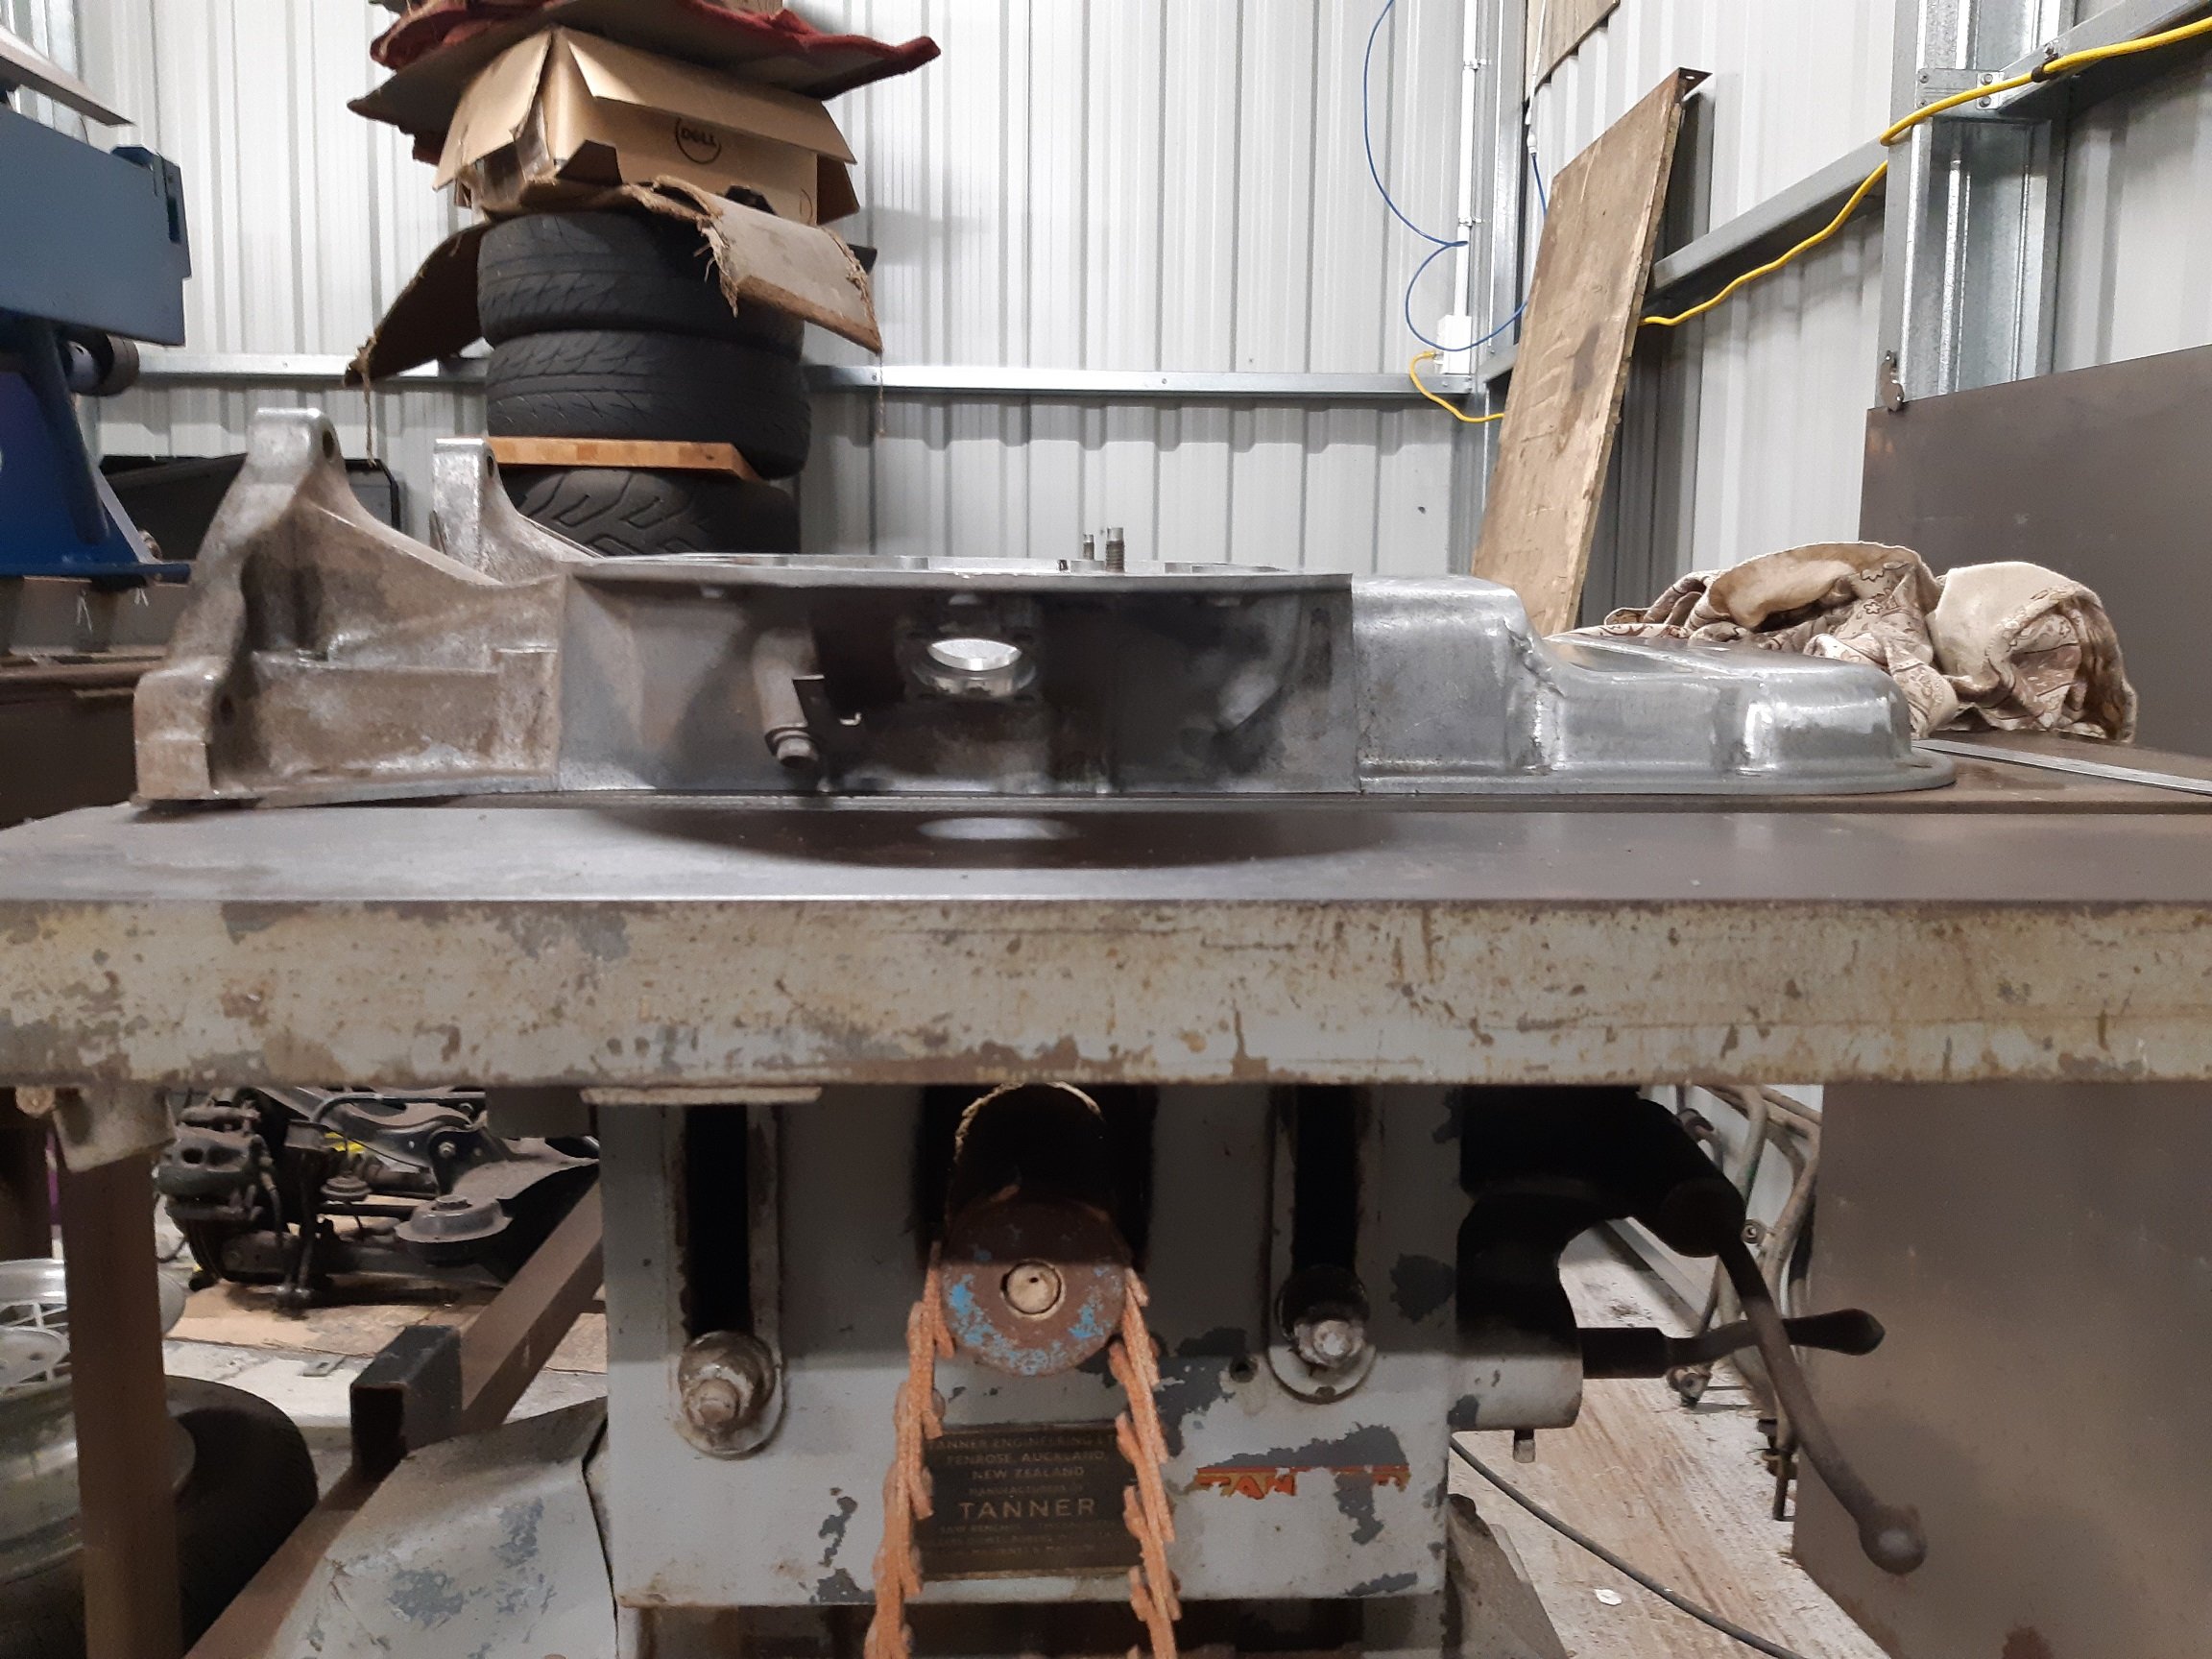
So I found a local place that could anneal my sump which would allow me to pull it flat. Dymo Manufacturing in Wingate. They put it in their kiln with it bolted to the jig. It was heated up to.... hot, then allowed to cool down slowly over many hours. ~10 I think. $70. The heat seems to have baked out any oils and cooked the sealer that was still in the grooves on the mounting face. The sealer just crumbles and turns to powder when I scrape at it. Only down side was it caused some of the small M6 bolts to seize in the jig which I wasn't expecting, so I broke one and stripped at least two more. So I'll have to find some suitable bolts to bolt it back to the engine. Oops. But it's more or less flat already. So I am happy to bolt it back to the engine, the sealer will sort out any tiny gaps. Cast iron table saw top is the flattest thing I have. I did try move it around a bit, just in case the table saw top was bent. It's the same which ever way I put it. There is still a tiny gap at the front of the sump, but it's no bigger than 0.5mm and if I put some weight on it, it closes up. Yay.
1 point
-
so it begun with @mark105 saying he was keen to maybe ride some dirt bikes a bit more after doing farm bike champs. I have always missed doing trail rides in the country side with my dad and friends and i haven't owned a dirt bike since i was around 21, previous to that i had never not owned a dirt bike, there are photos of me at 2 weeks old with my dad on a dirt bike. But now that time has rolled around i had always kept eyes out for dirt bikes and the right time and also waited till closer mates had bikes as well. Even when i sold my safari i the deal was i would be able to buy a dirt bike again. but that never happened. So i give you my 1964 vespa dirt edition it started with some knobbly tyres as you see above well then i wanted to change my seat due to it always been a bit shit and hey im an upholstererrrrrr as you see the seat is rather out of shape so with some cutting here and there we kinda had a platform i could weld to trimmed the metal off the edge and we have a base to build up from building up the foam yeah i built it up a little to high sadly but hey i was able to cut it down and shape it up. happy with the shape i wrapped it in a 3mm layer of foam then proceeded to make a cool cover for it of course it had to be based of a modern style gripper motorx style seat cover cause i need more things for people to laugh at me when im doing a trail ride on this thing. the trail ride we are going to this weekend requires a fire extinguisher so i drilled some holes and put some riv nuts in and bolted this bad boy up and that's me for now. again ill report back on Sunday or Monday. such a lol i have the chiropractor on Monday i have been seeing for a while, he will ask me oh hey man how was your weekend. then ill tell him what i did which he will have a heart attack over and yeah haha.1 point
-
So it took longer than expected to sort the wiring, which still isn't finished, as I need to make a dash plate and get some new switches n shiz, before I can finish the wiring off. I've been having problems with my trailtech dash giving weird rpm values, and I was darned if I could figure out why. Turns out Dave, being the Barry he is, installed solid copper leads on the motor, so I get an rpm signal even when the wirings not connected to the trailtech, so much zap, lewlz. I might have to put standard leads on it, as I kinda need the rpms to read correctly. Anyways, this evening I halfassedly finished the wiring and put cable ties all over the place, and decided it was a good idea to take it for a quick test drive. In the dark. With no lights. Up my residential street. It was quite exciting. All the controls work well, which is nice, but the motor is not running correctly. I think it's leaning out up in the revs, not that I know how many revs it's doing, so I will have to play with the tune. The gearing seems good, it's definitely not over geared now. After a couple of rips around the neighborhood, I had a quick look over it, and noticed one of the rear sprocket grub screws had stripped out, so I had to pull the rear end to bits so I can drill the 8mm grubs out, and upgrade to 10mm. I'll loctite the piss out of them too. I'll try sort a few issues out, and hopefully take it somewhere this weekend for a second test drive, to see if things are better. But yeh, not too bad, but still lots to do. At least it's now moved under its own power for the first time in nearly two decades, so that's a win. Regards, VG. xoxox1 point
-
Agreed, love all the engine work pics, fascinating and shows what a relative bargain engine machine shops are. Only complaint is that it really highlights how little i know about enginey bits! Carry on!1 point
-
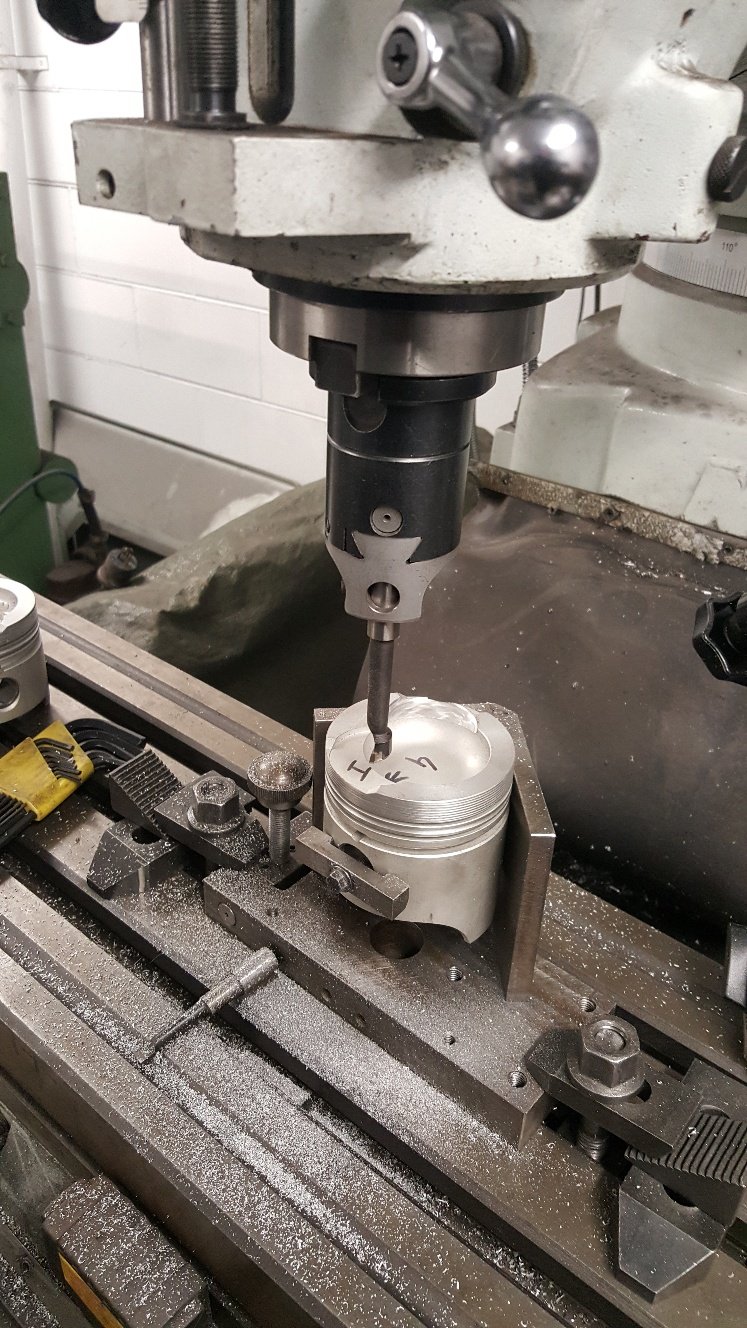
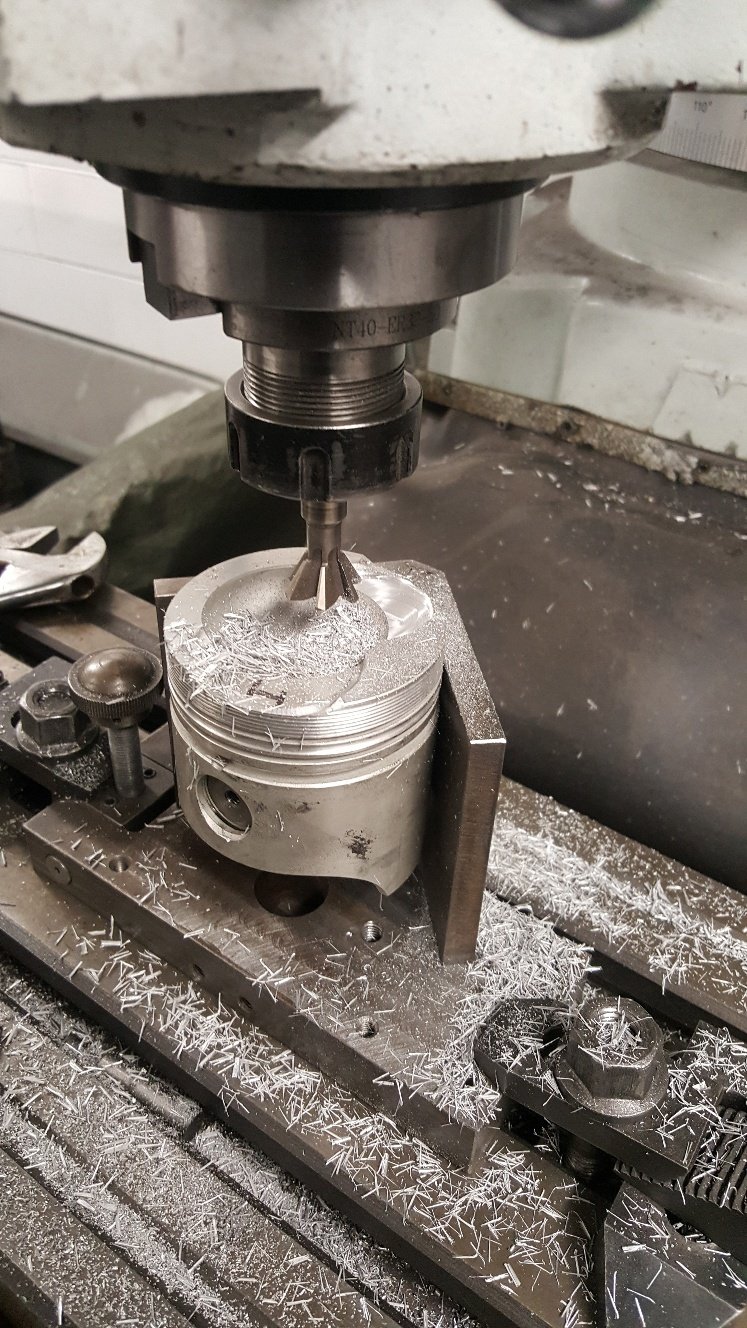
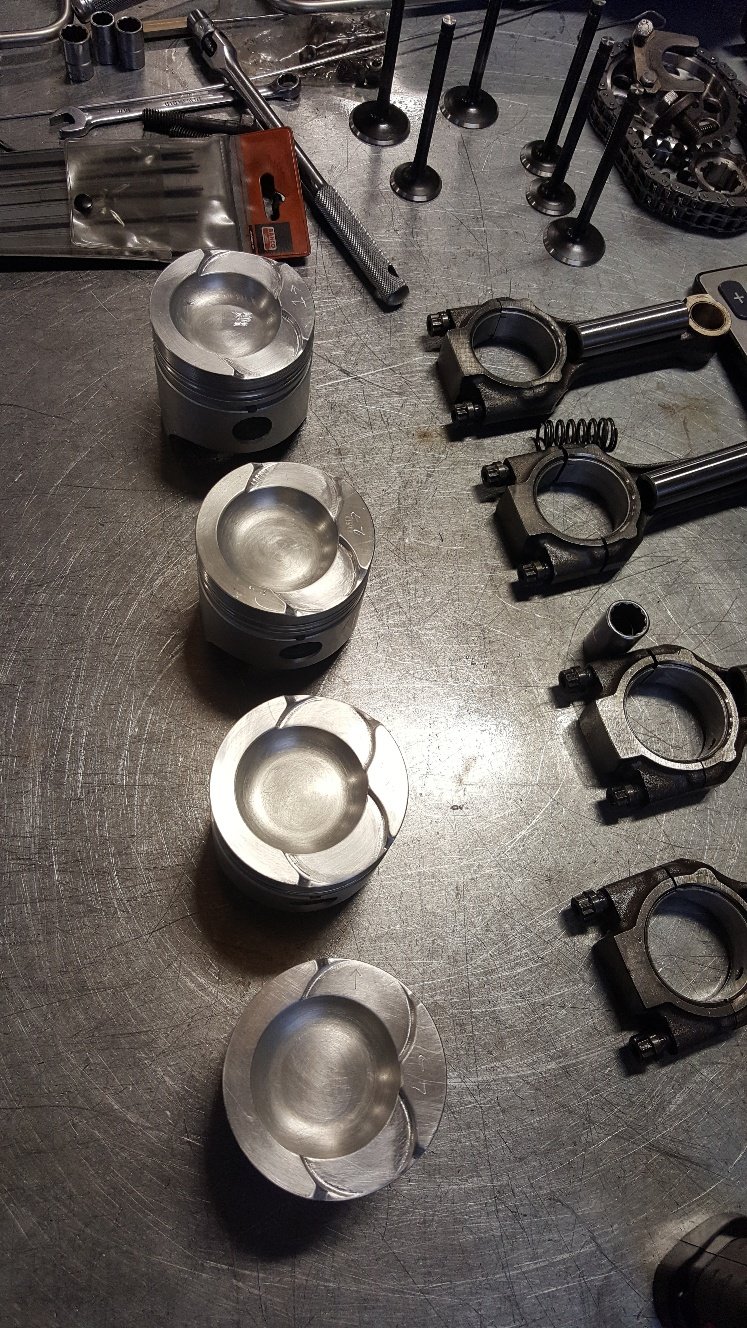
So now I know I definitely need to make the intake valve pockets bigger OD wise by 2mm. Which was no surprise as I've increased the valve size a good amount. I also found I need to deepen the exhaust pocket by 1mm. So I used a the mill to machine the pistons. We normally use a guy to do our valve pockets as we don't really have the gear to do a really nice job of it. But I'm doing this on a budget so I had a crack. This the tooling I used to take the OD out. Above And this for deepening. They came out ok. But we would normally out work this job. I gave them a tidy up with wet and dry and a small file. Tried to take the sharp edges off the top of the piston. Here's a pic of a few parts. I wasn't going spend $250 on the double row cam chain gear kit. But it had to happen.
1 point
-
1 point
-
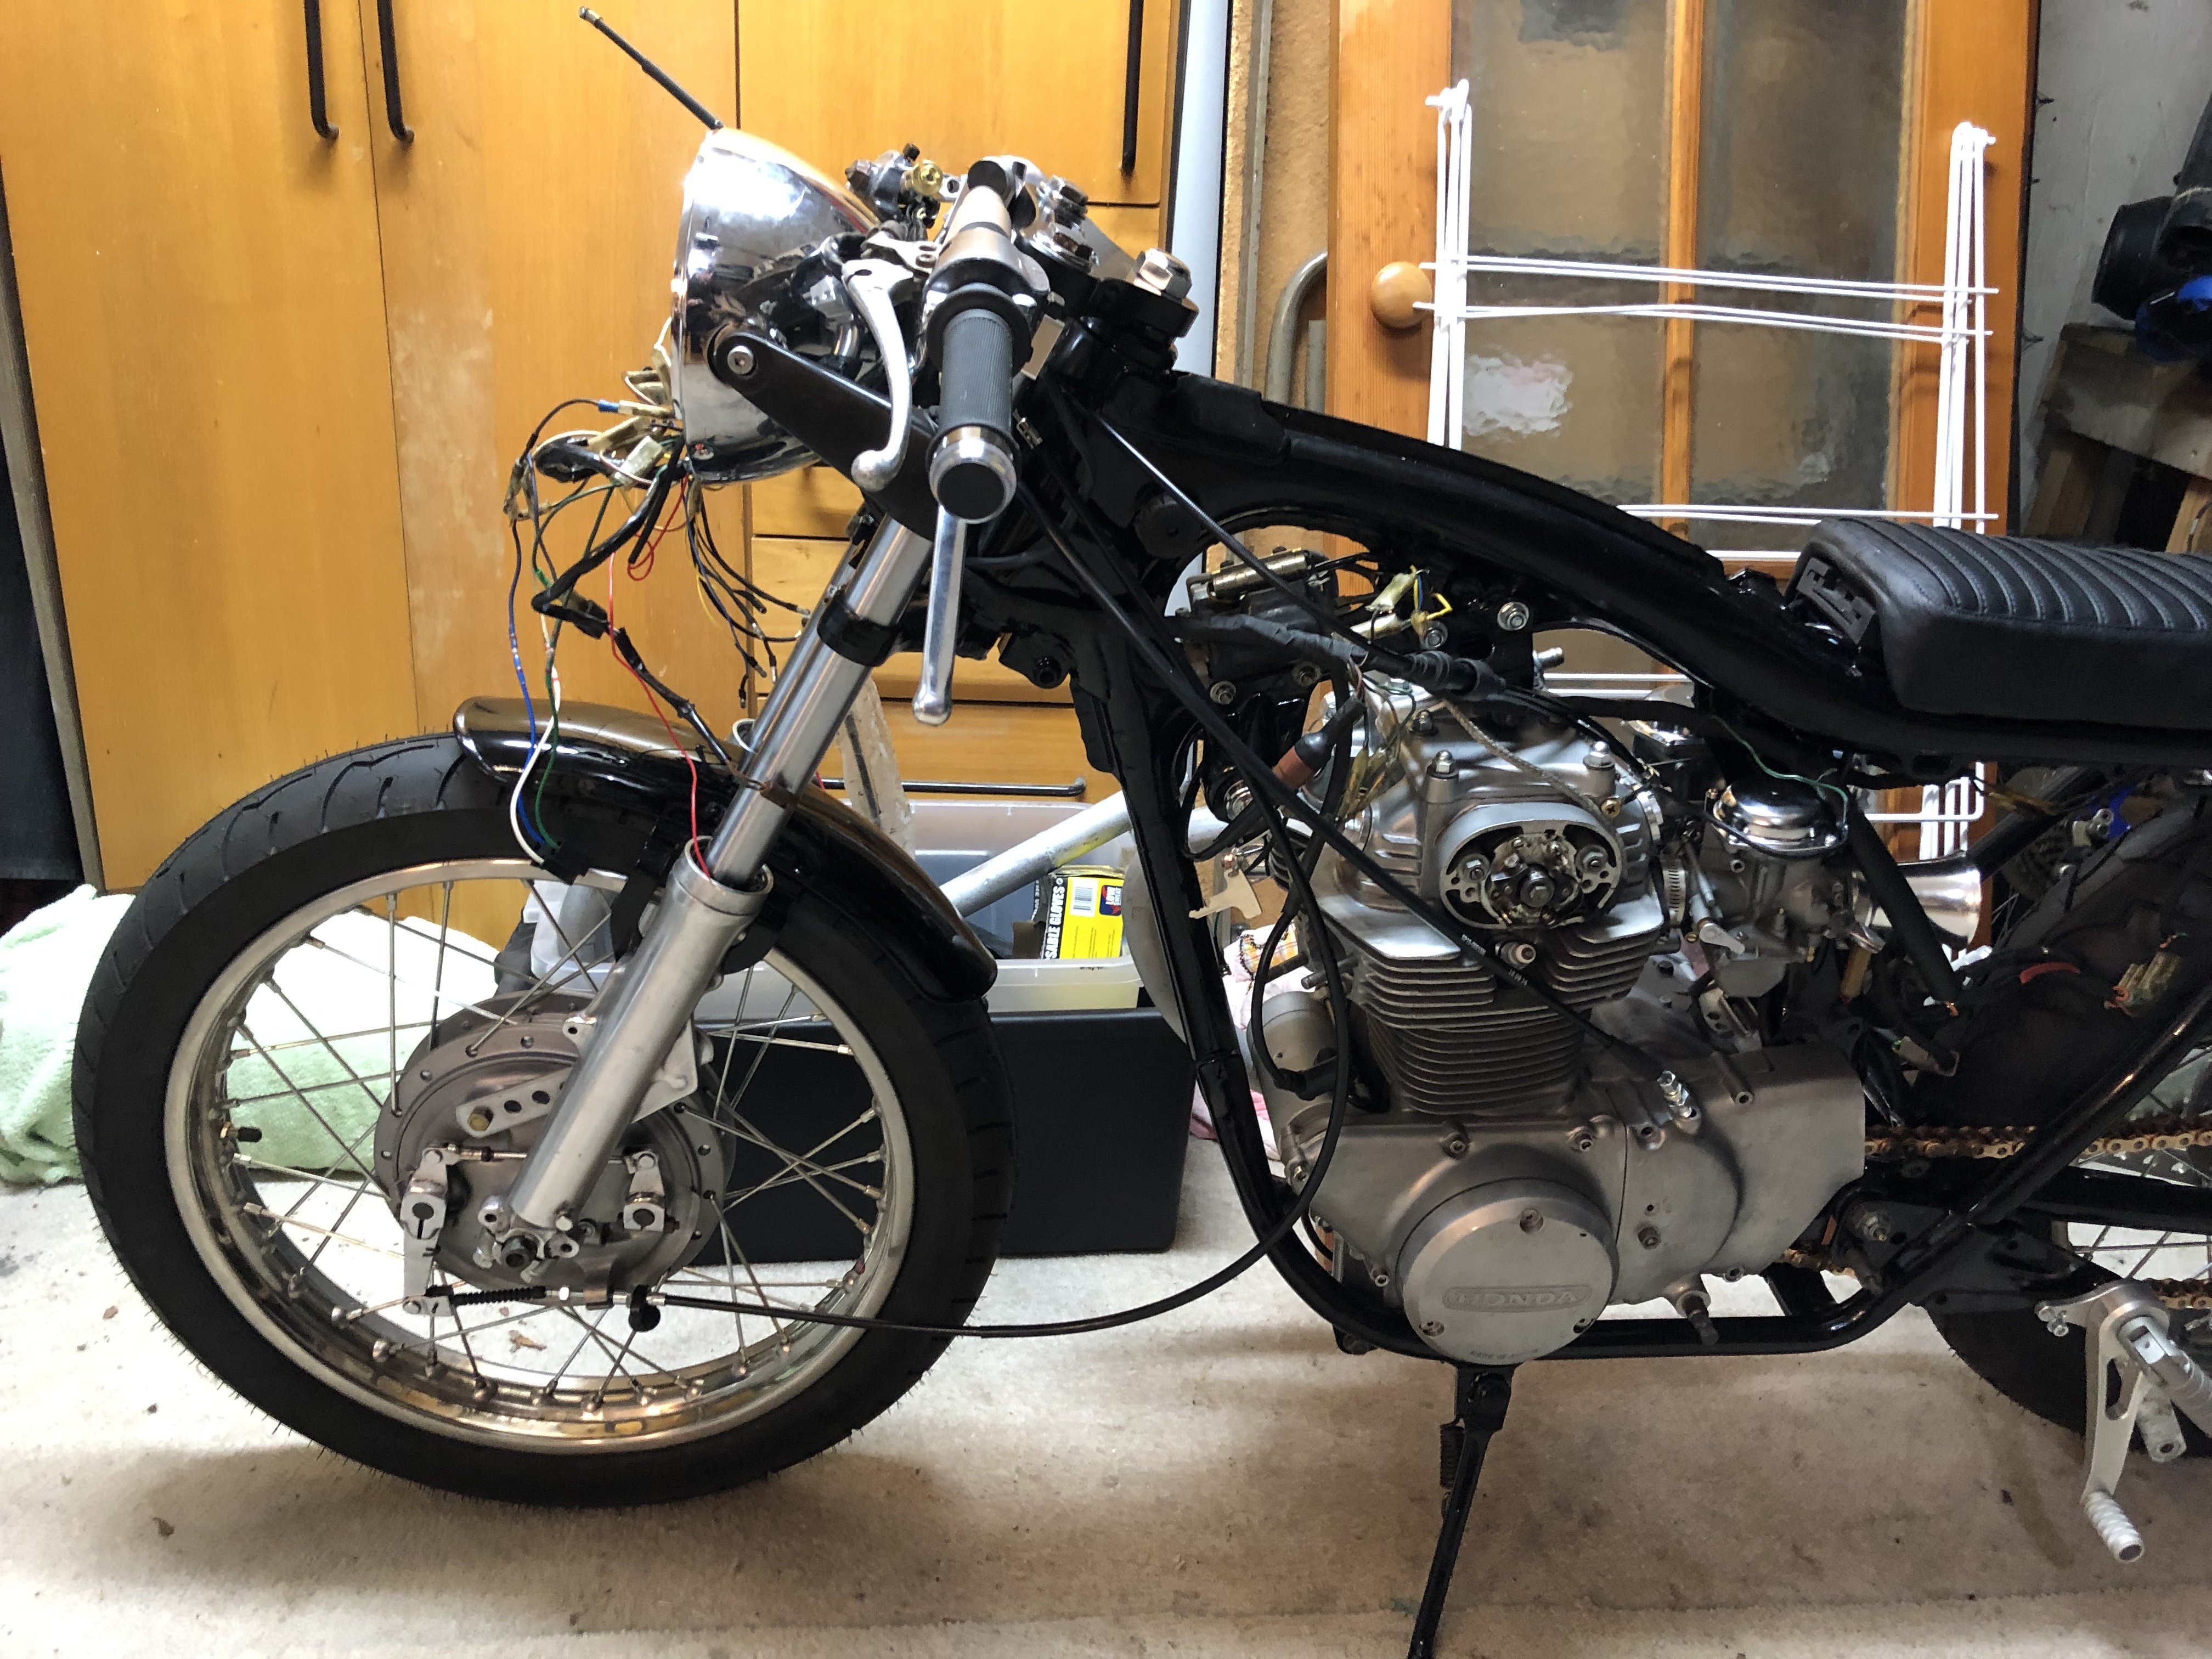
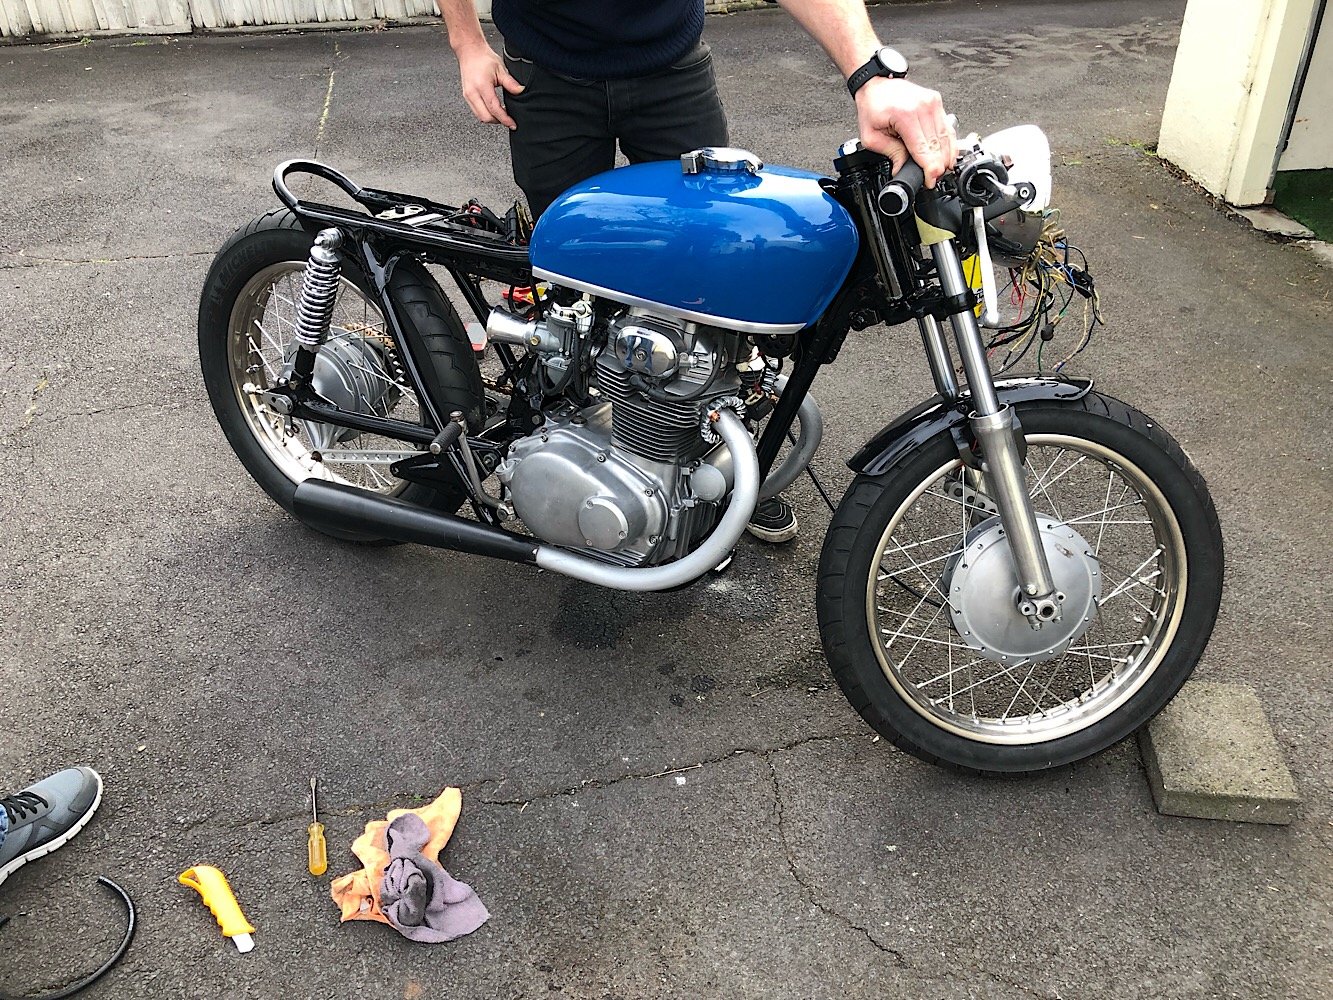
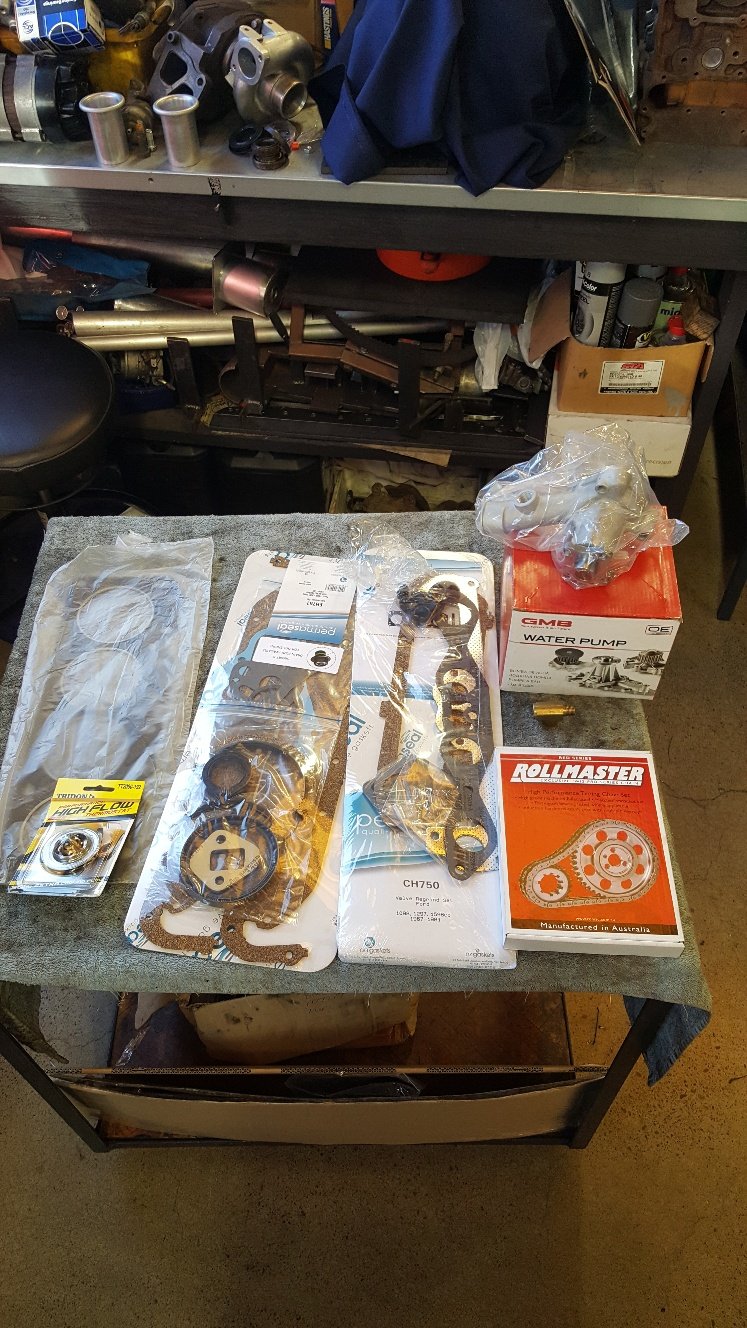
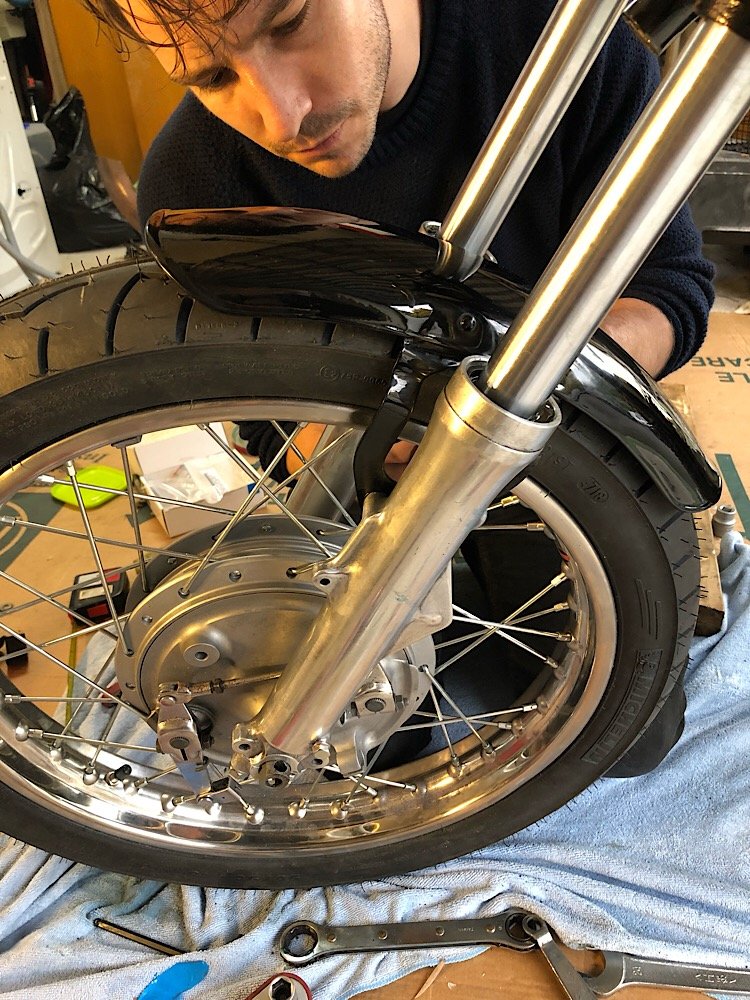
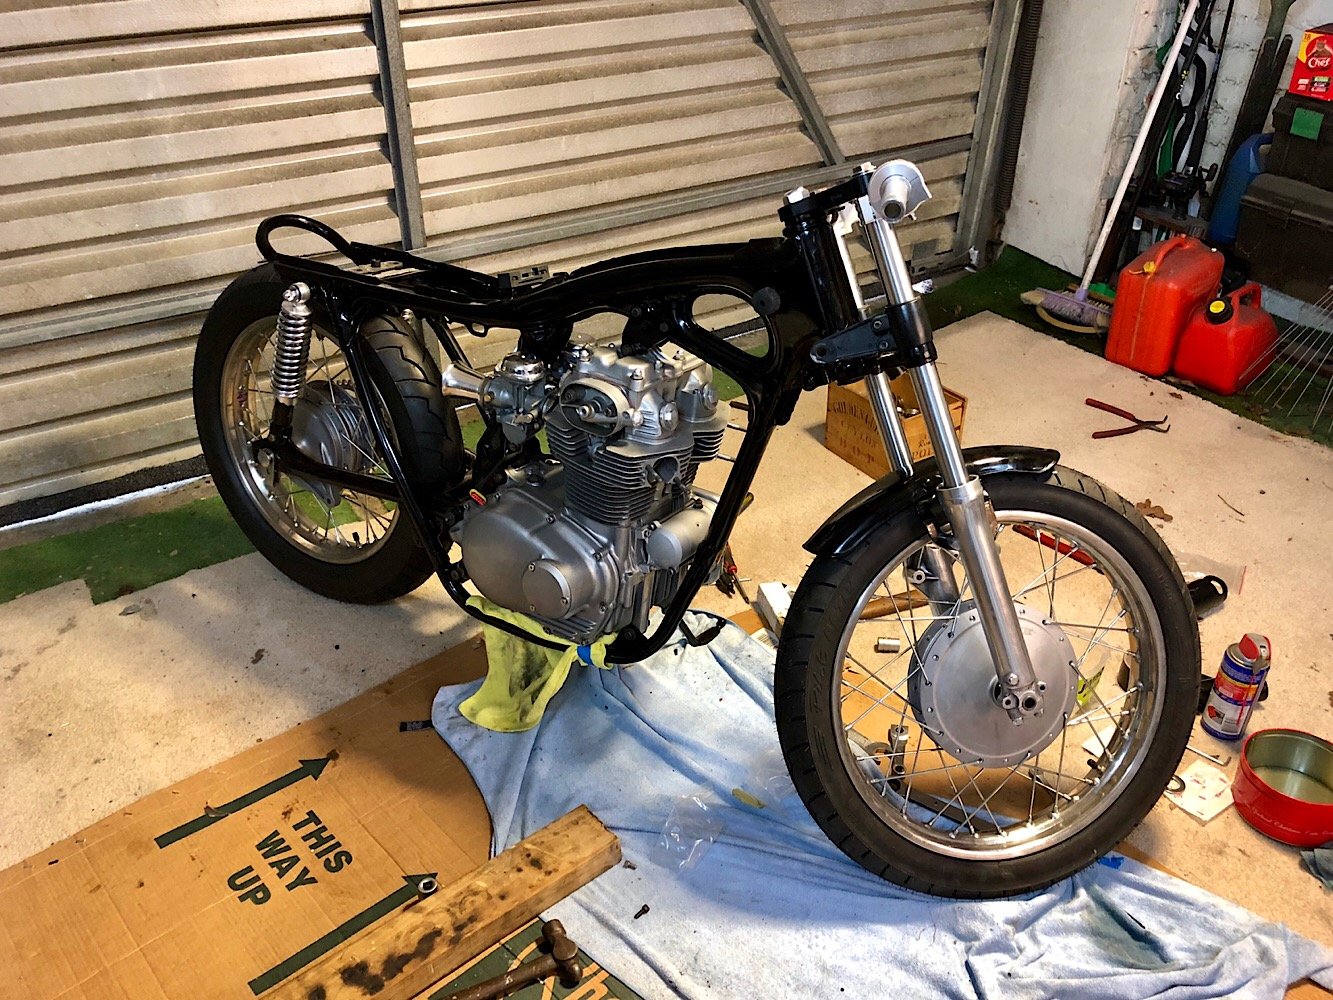
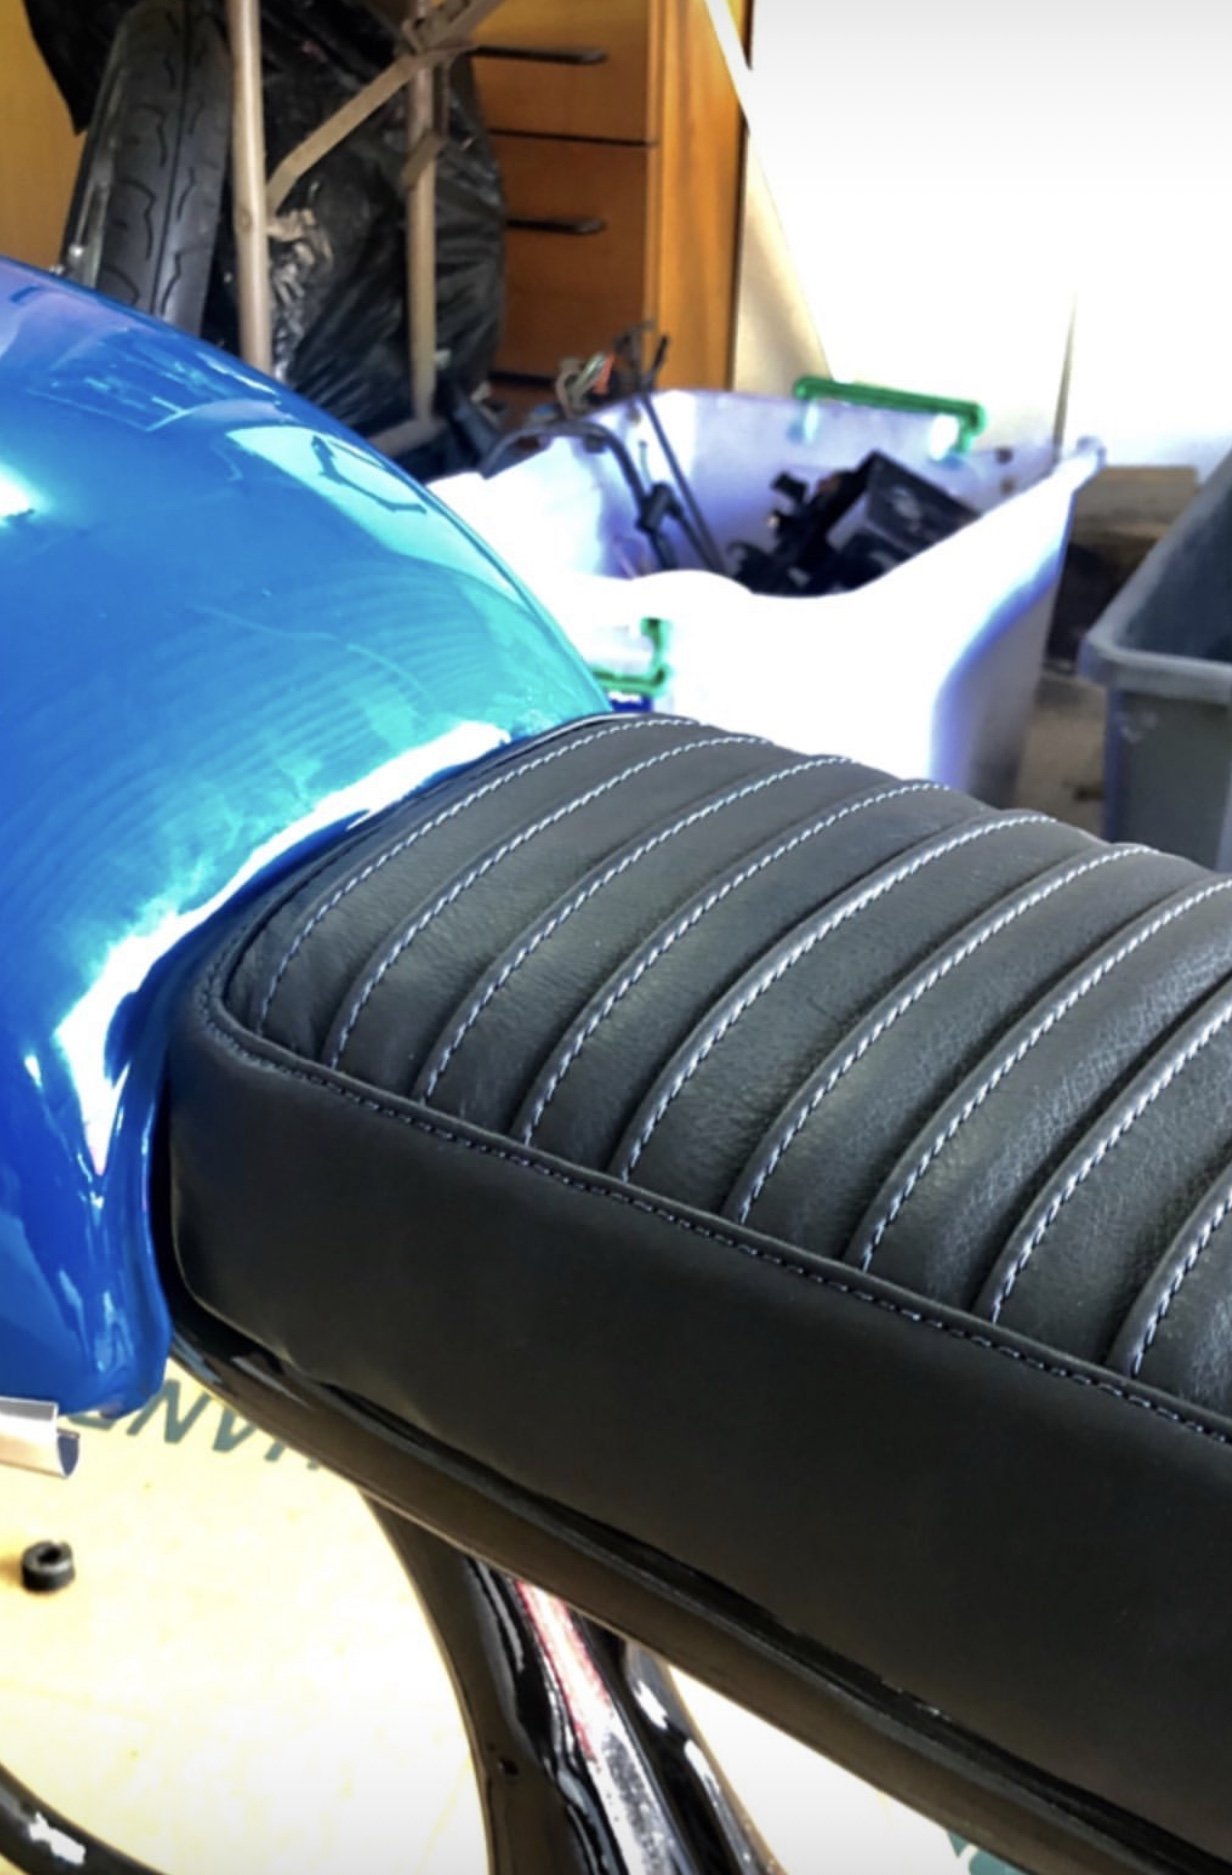
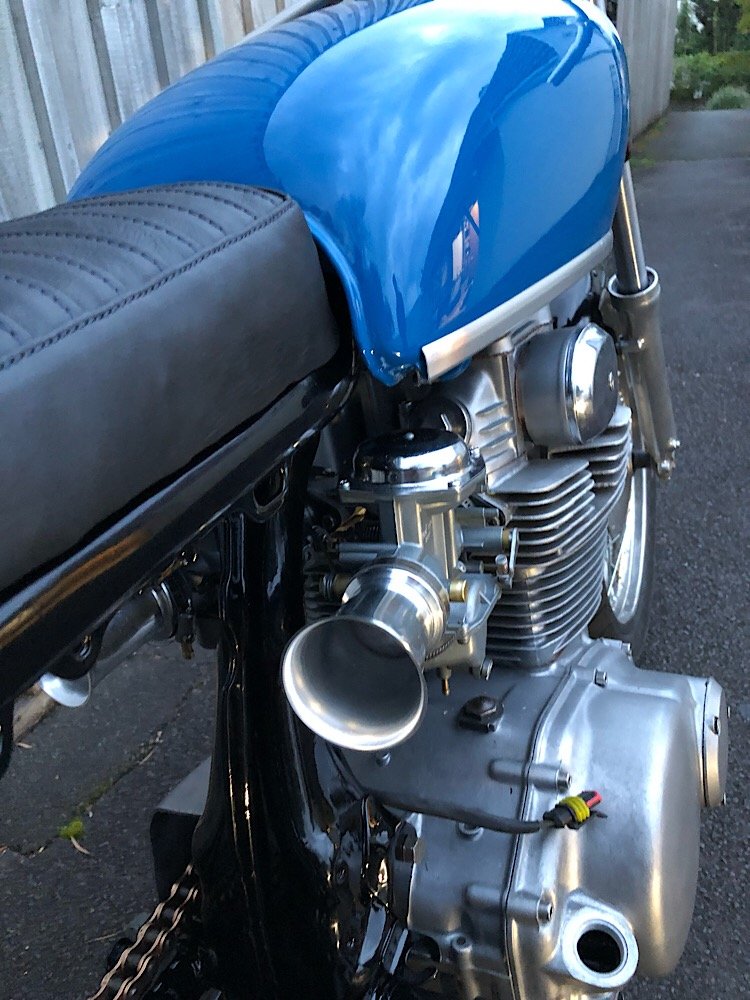
Painted the frame and got the motor back in the frame today. Lots of figuring out where all the bolts went as most of them were sitting in a bucket before buying. Front guard turned out perfect, so many hours spent to keep the rolled steel edge on the front. Stoked with how it turned out. On its feet for the first time! Placed all the pieces to see how it looks all together.. Big shout out to Eliav for doing the upholstery, leather with the dark blue stitching looks mint!
1 point
-
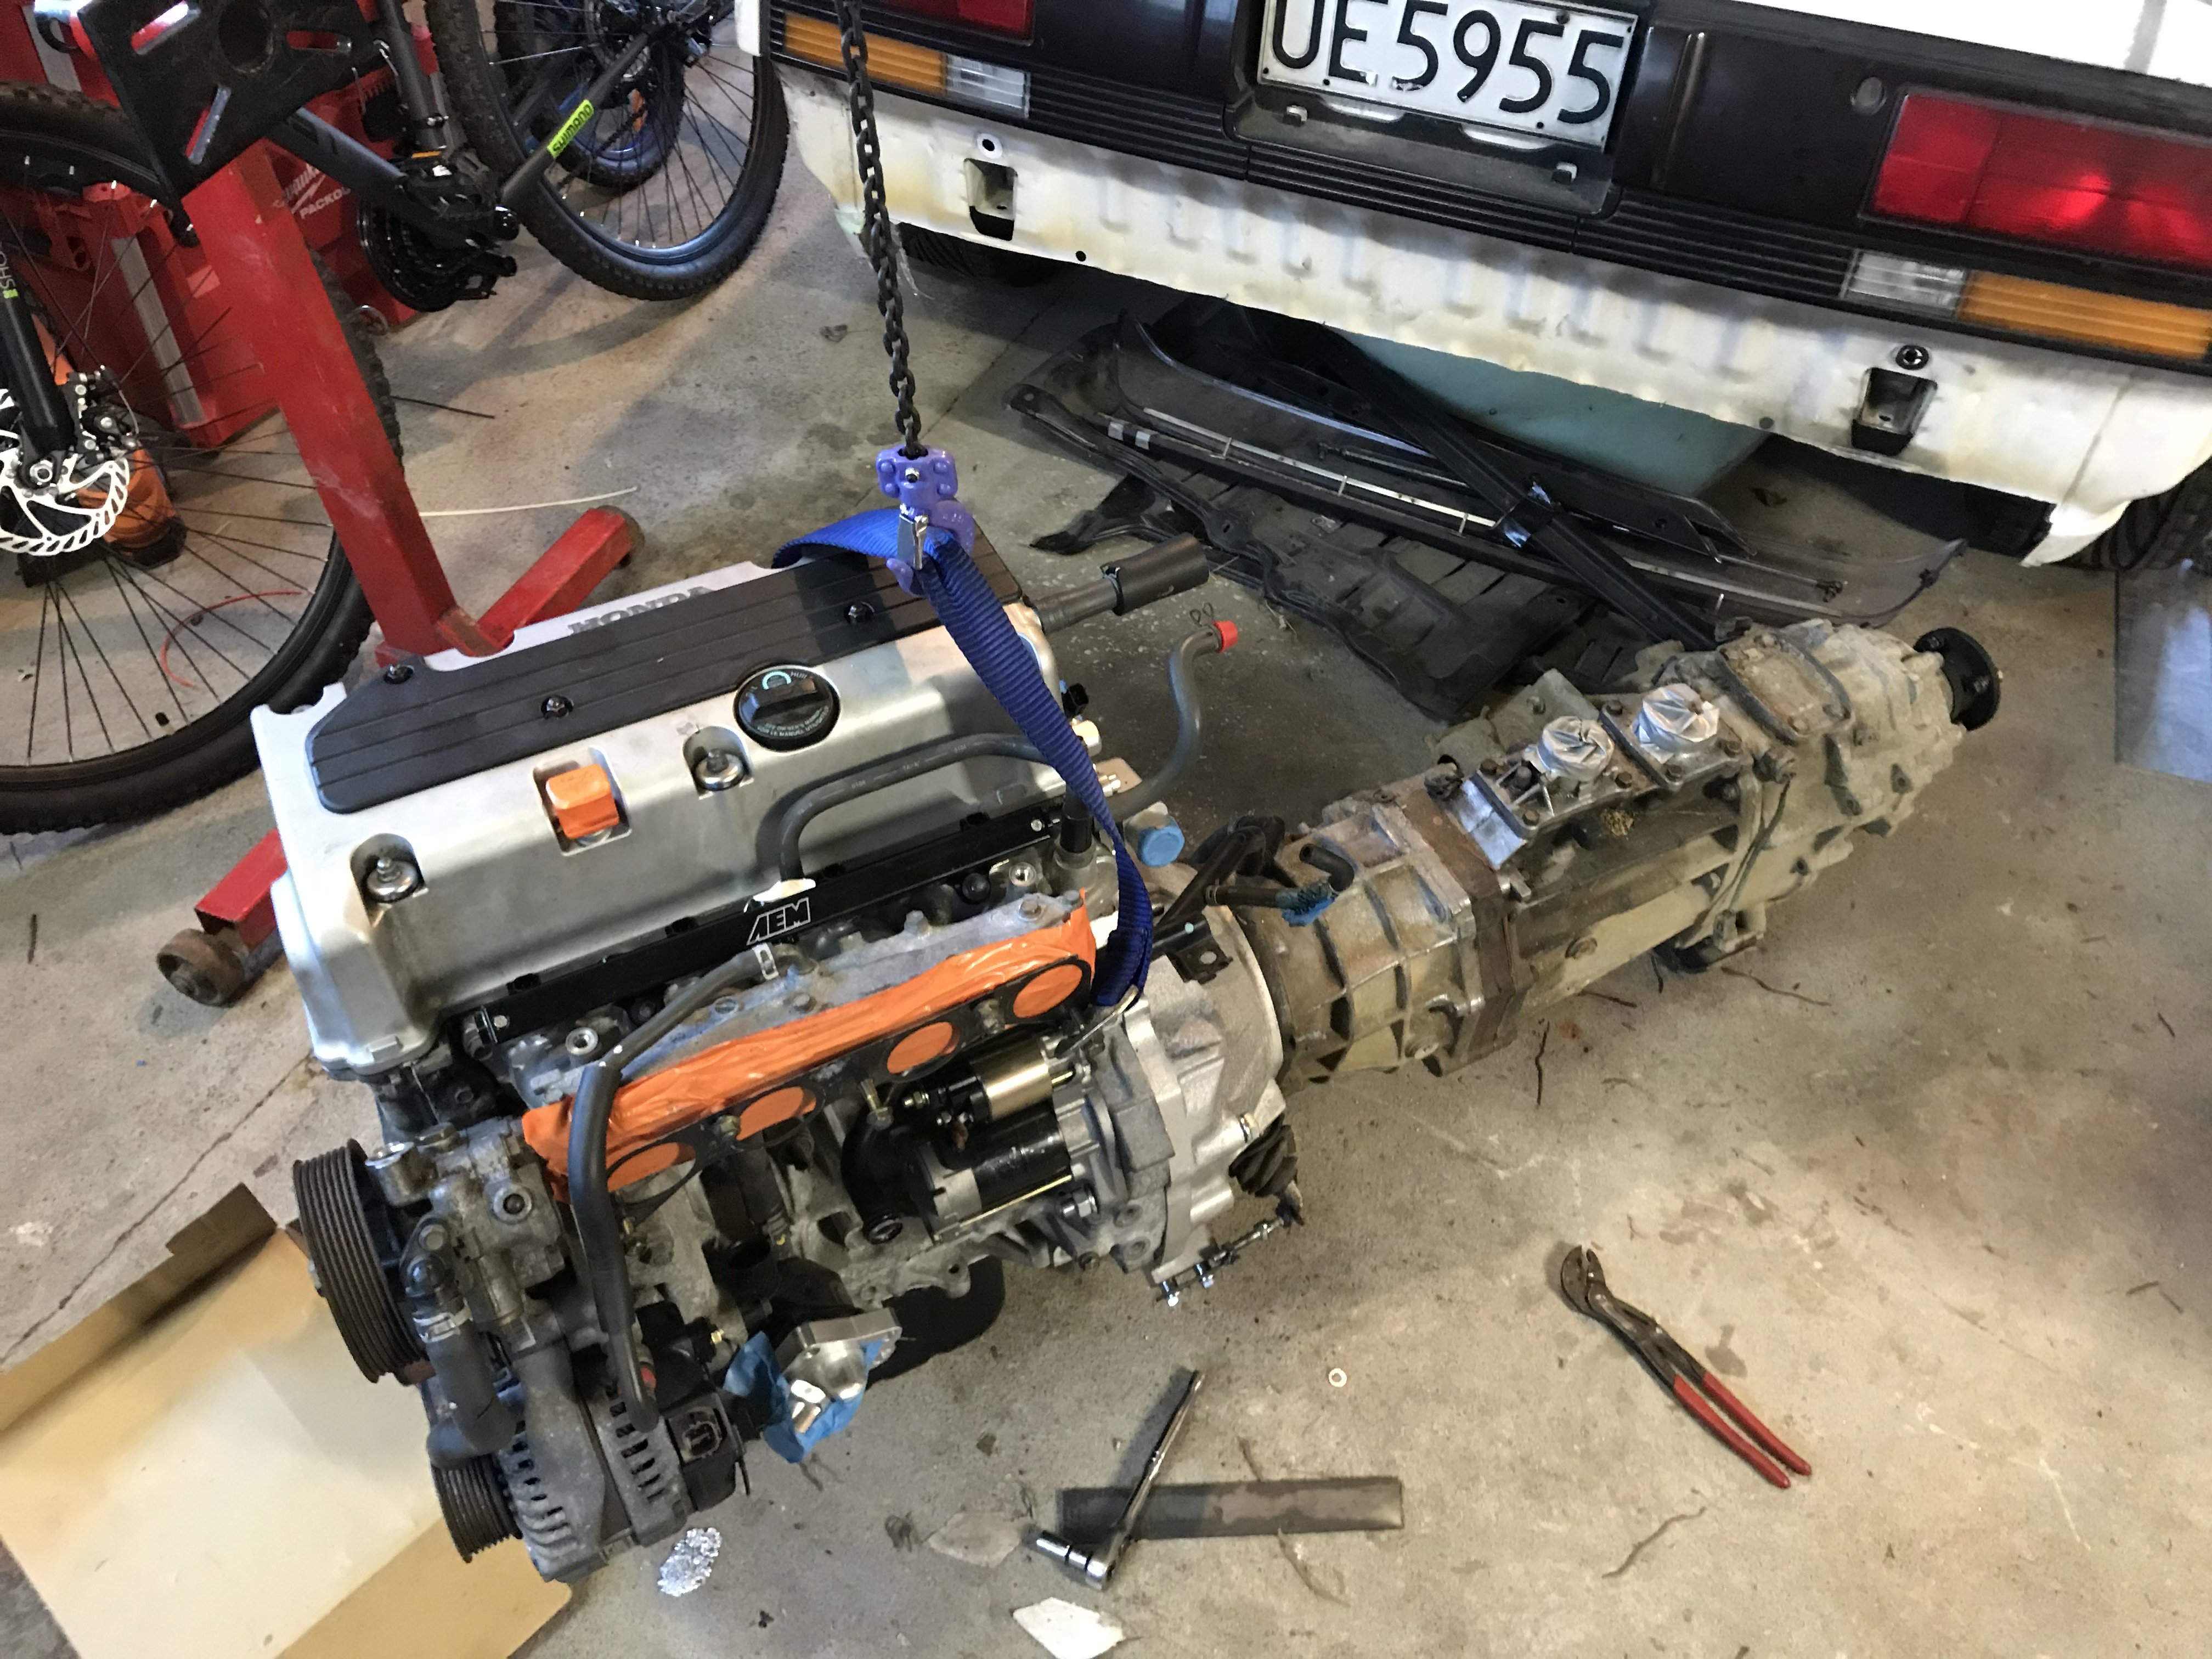
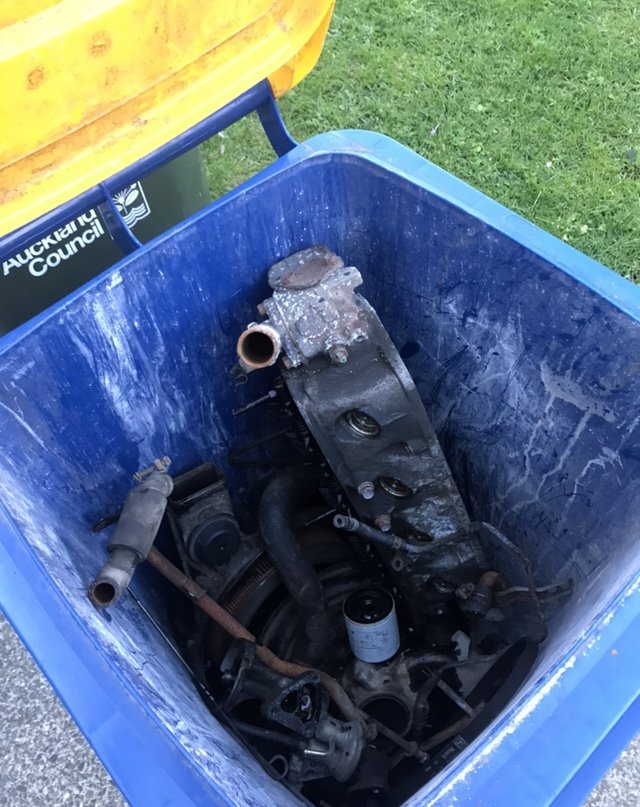
Tried another carb. No luck, given up and moving forward with motor swap. mate 4 doors down had a Crain so walked it up the rd with beers in hand this evening. 34 years and multiple beach missions the motor had pretty much welded it self to the gearbox. Couple screw drivers and a dog bar later she’s out. I’ll need to wait till next week to get rid of the block as the head and bolts ons have already filled the bin. plan.. bolt motor to box on garage floor to test clutch release before putting it in. finish engine loom and change body wiring to suit, then take it from there, hopefully get some better weather so I can deal to the frame and under body
1 point
-
Actually needed to take more off then I marked up. got everything loosely in place and put the cover and sump back on for the night. hopefully find my torque wrench then set timing and final tighten up this weekend... if I can find time to my self..
1 point
-
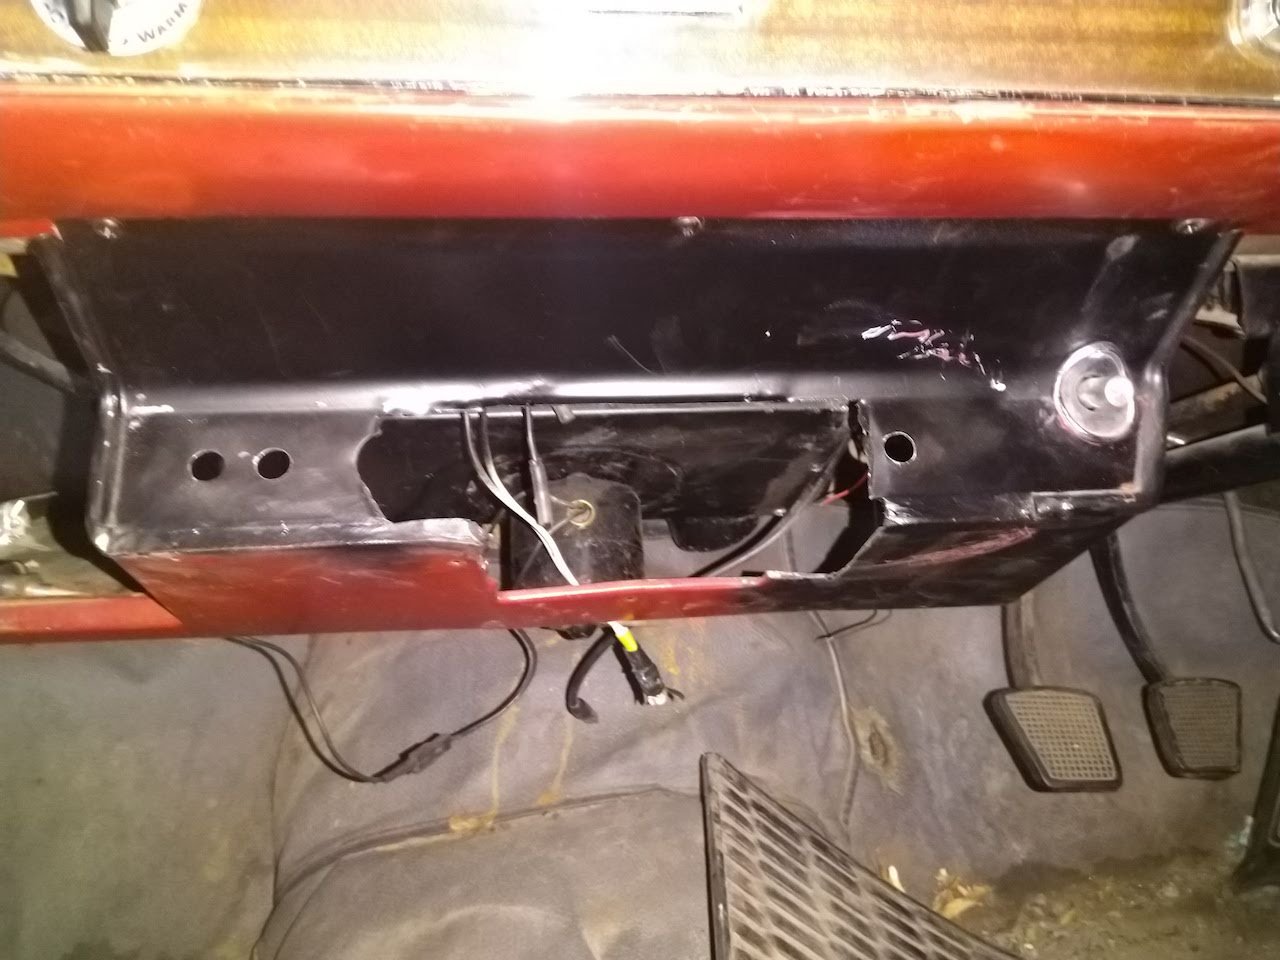
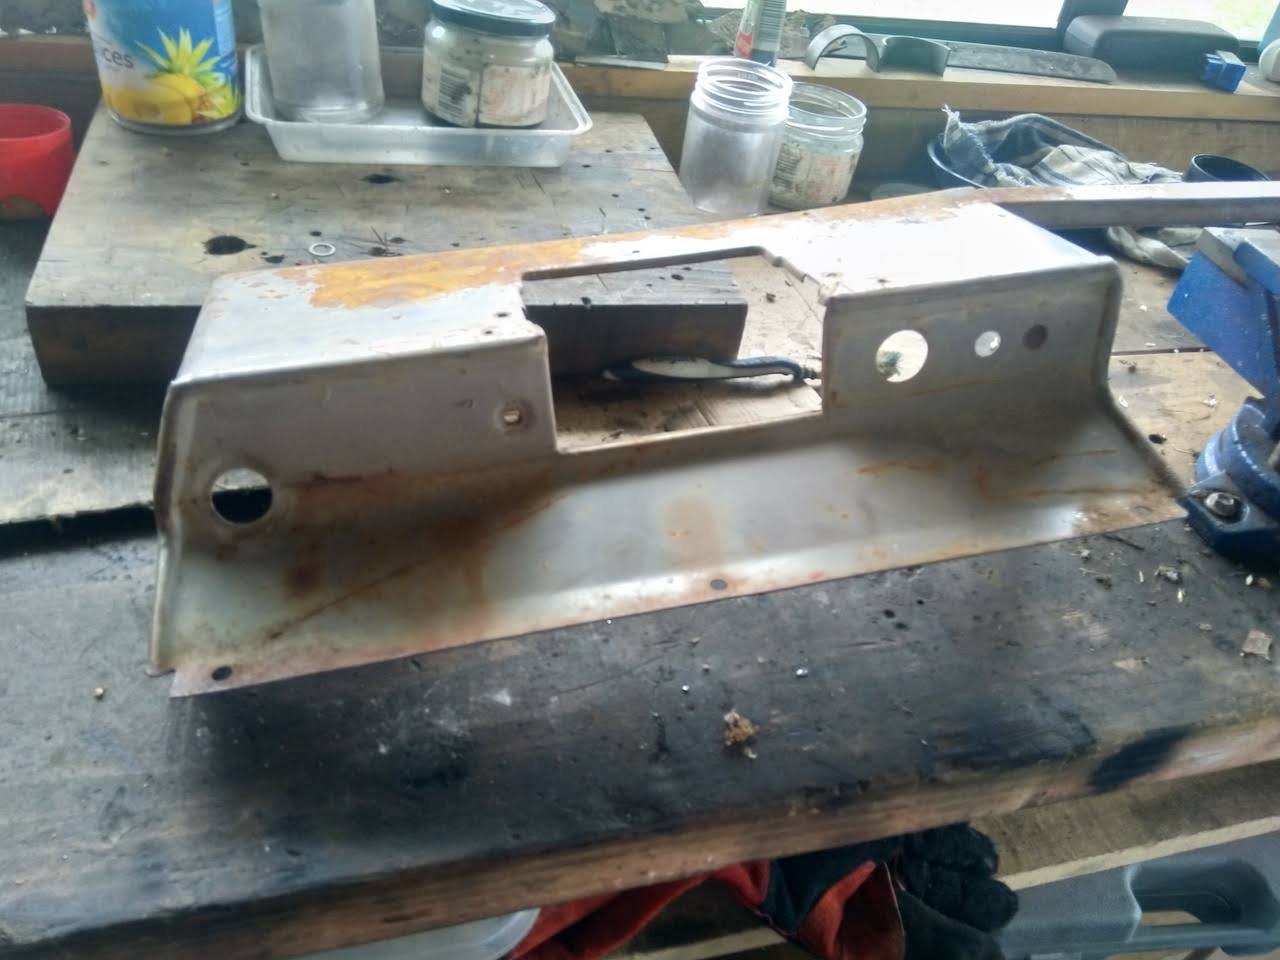
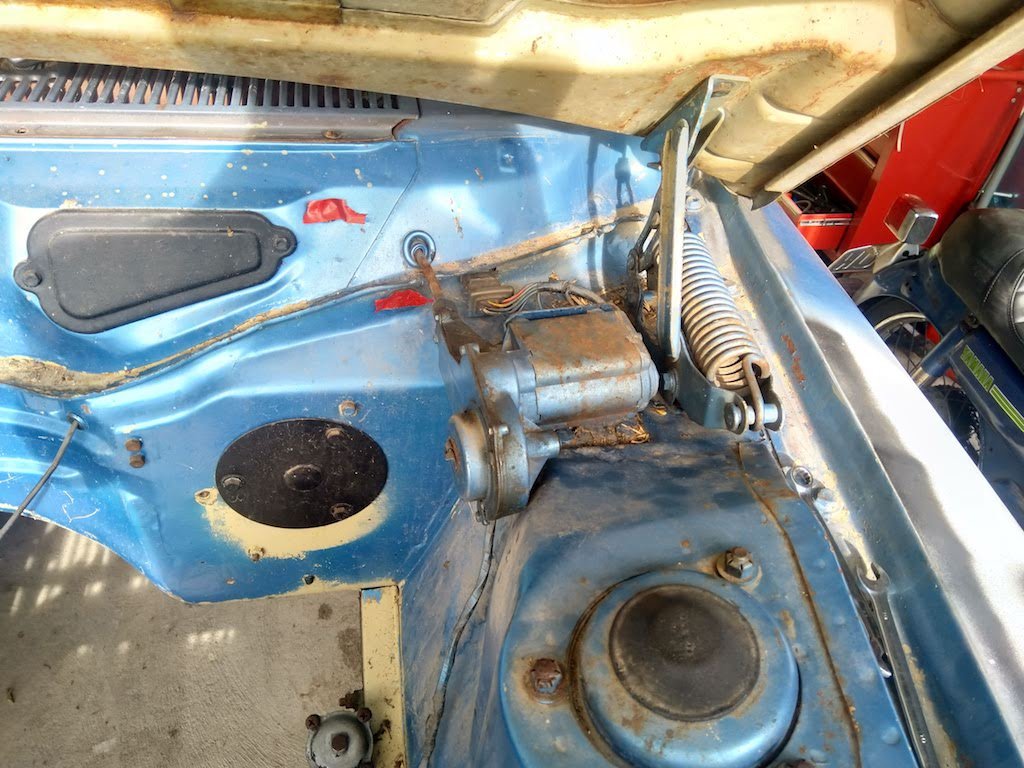
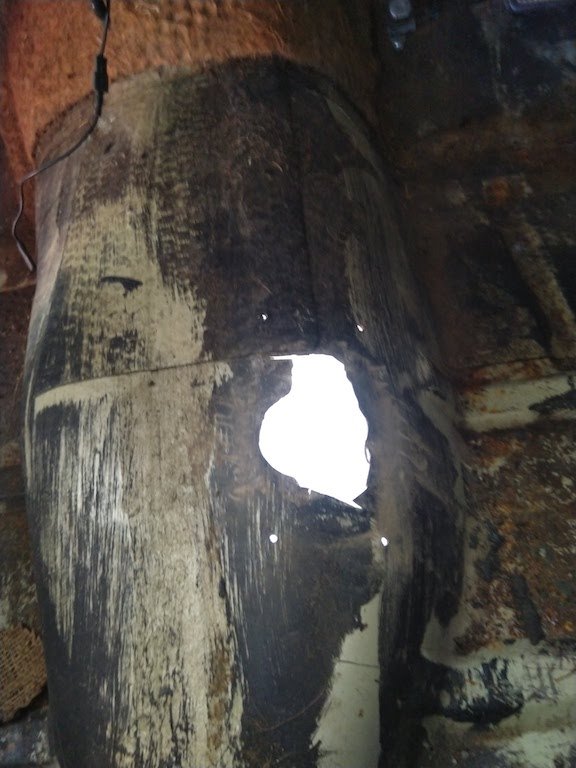
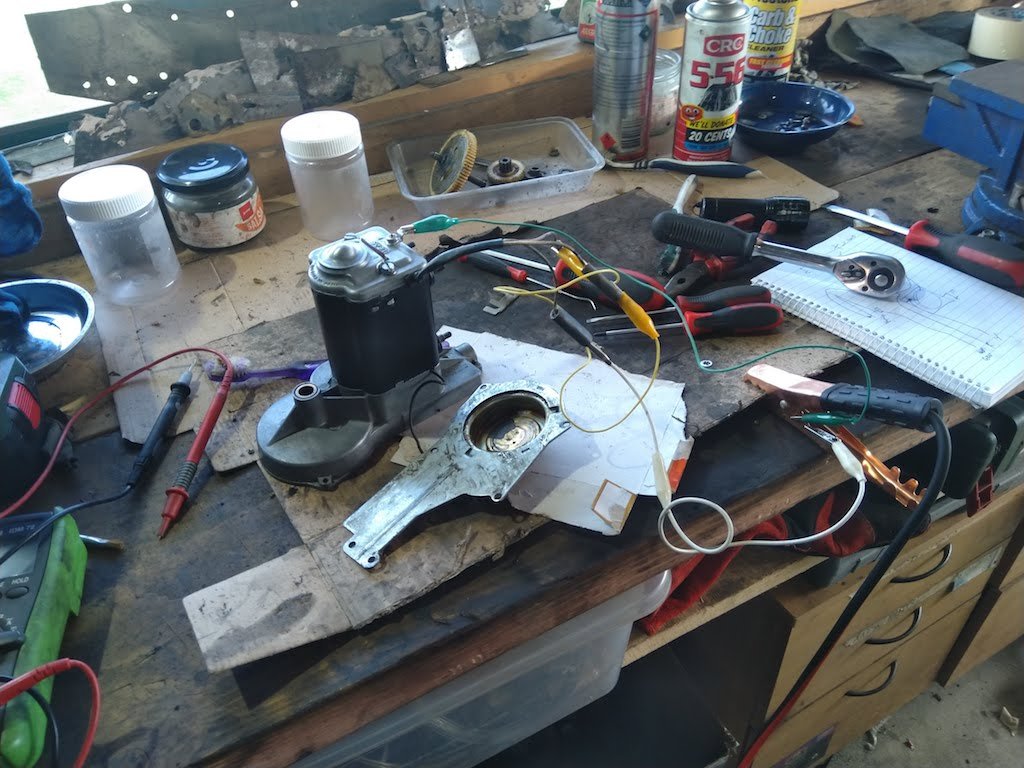
Just been doing little things on this. So far I've rebuild the starter motor, windscreen wiper motor and a carb with the best bits from several. Found a wee bit of rust on the guard, fixed that. Fixed the transmission tunnel, someone had cut it out for a floor shifter with what seemed to be an axe
1 point
-
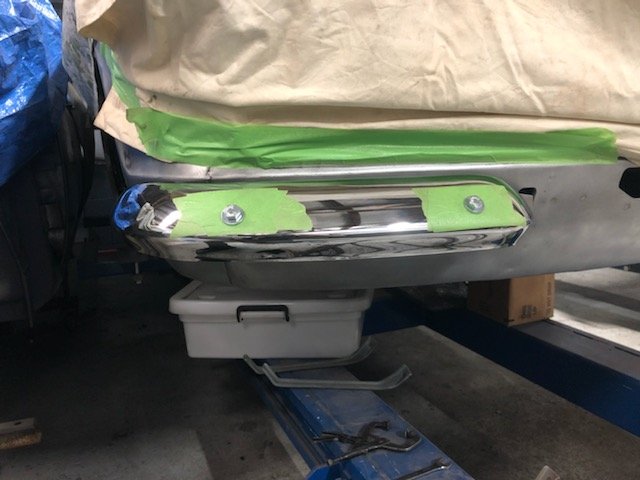
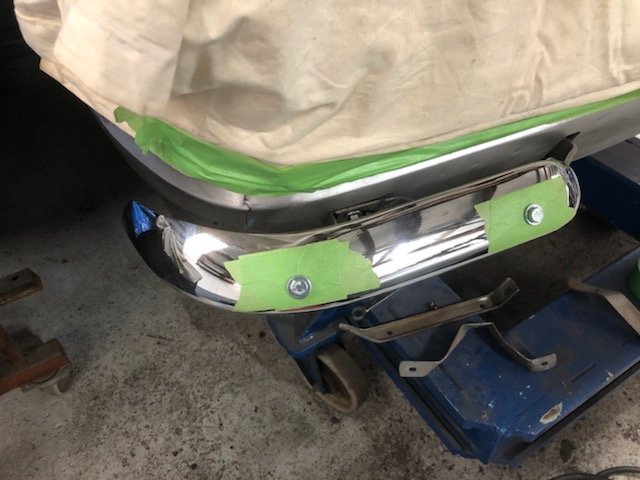
Been away lots lately so no progress on the rubbers. Back in NZ next week so need to get them sorted. Fitted off the front quarter bumpers and had to do a few adjustments to the brackets to get them sitting right. Unfortunately the left front one has had a crappy repair before caroming so it’s off to the strippers for that and the rear bumper and Greg will get them mint before getting chrome plated again.
1 point
-
Made a start on the plenum I tested the trumpets on the starlet. red line is straight pipe the same length as the bellmouths (blue). Pretty much no difference till airflow demand is high. after that the bellmouths win. Down on power about 10kw to what starlet makes due to runner length. Some goose put a massive suspension tower in the way, so stuck with this length on the hilux1 point
-
@KKtrips Do this?1 point
-
Firstly thanks for removing the rogue @dave from my thread. ban that guy Couldn't be bothered getting off the couch the other day so made a video. Kinda looks like a 12 year olds school project and if you've been following this thread, would have seen most of it before. should be slightly amusing none the less1 point
-
Boot lid finished which pretty well completes the panel. It’s going to be a shame to paint it! Stainless trim already to go to the polishers.
1 point
-
So yeah, took this to the beach. About to go out to the shed and watch it dissolve into a pile of rust. but for now a video: Gearing isn't the best for sand. but other than that and melting the clutch once, it went real well1 point
-
Back in the late eighties I built a ford pop which I sold to a guy in Aussie. He contacted me the other day and sent a couple of photos through of it all painted. I had it finished in black primer so all he had to do was tear it down to paint an upholster. I had it roof chopped 3 inches and we channeled the body over the frame 3 inches also. ran a 302 Cleveland c4 and 9 inch. Came out pretty good I thought.
1 point
-
1 point
-
This thing is still going, done 250km on it since doing wiring and stuff- everything still works! Nearly sold it- wife didn't want me to because i love riding it so much but I wanted the money for beetle etc etc. Glad i didnt!!!
1 point
-
1 point
-
1 point
-
1 point
-
1 point


_sedan_(23230030334)(1).thumb.jpg.34d765361d66c78db614bae6ea2c156a.jpg)


This leaderboard is set to Auckland/GMT+12:00