
Leaderboard


Popular Content
Showing content with the highest reputation on 07/15/19 in all areas
-
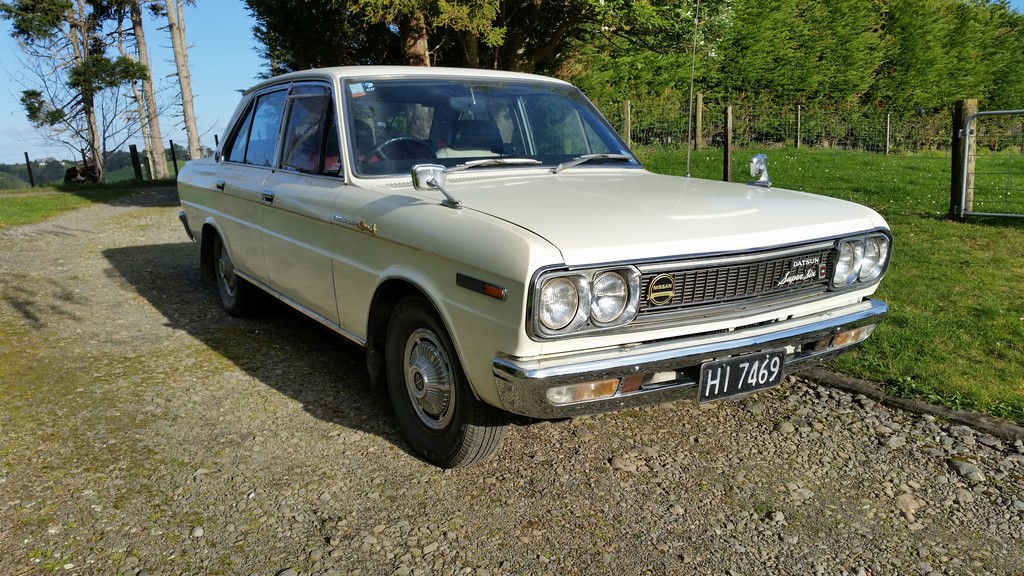
I also got a new friend for the wagon! just need a coupe now right? Its the best starting L series i have ever seen, low kays, been in a shed 15 years, immaculate interior. Undecided if i will keep it. might start a build thread9 points
-
6 points
-
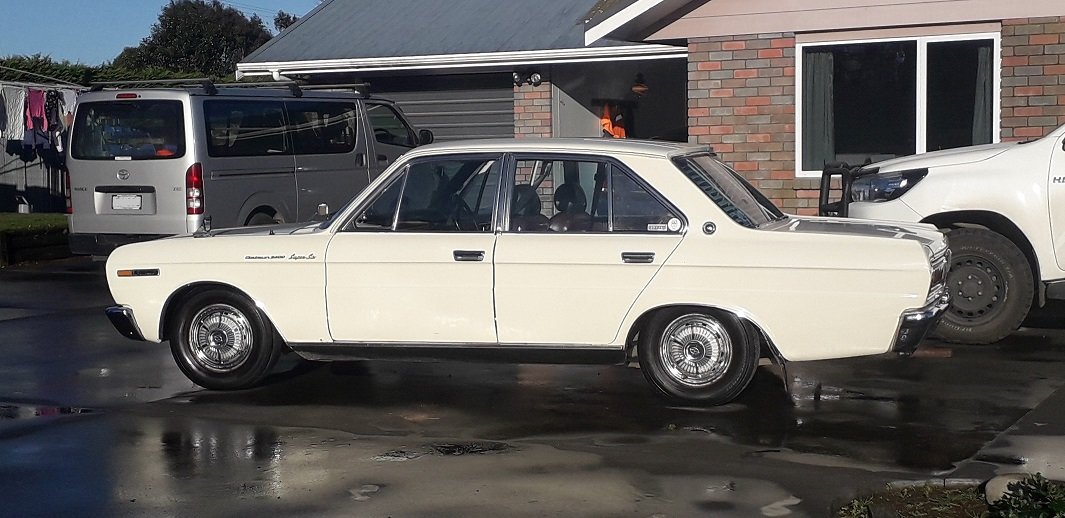
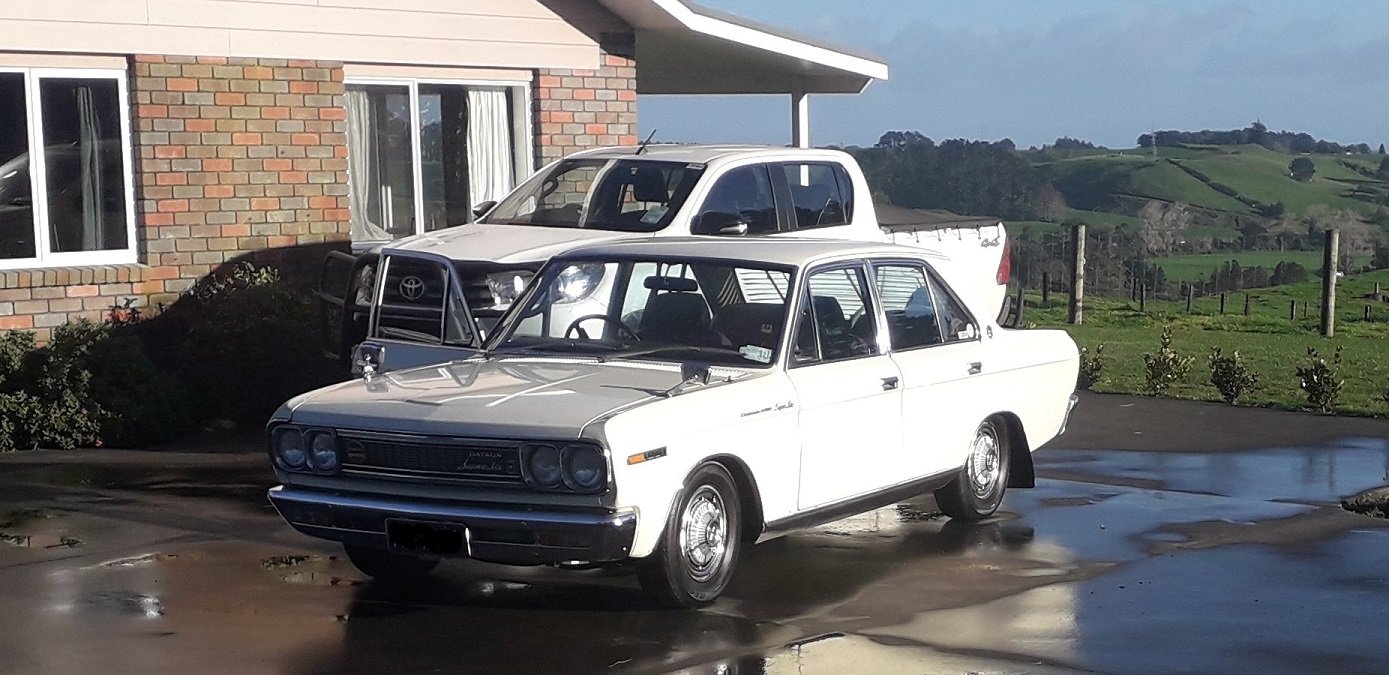
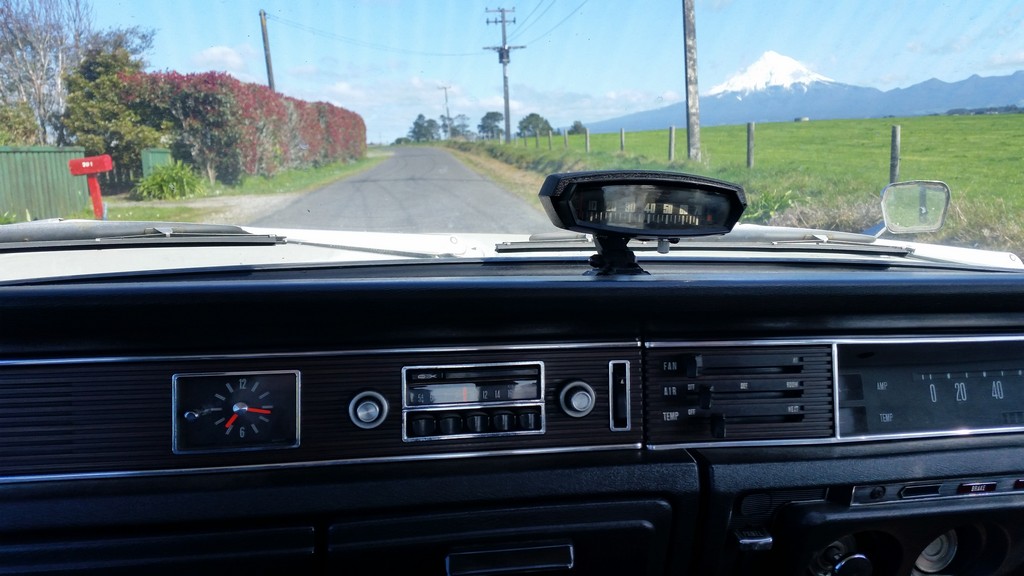
Gave it a wash and drove up to auckland a few weeks back. Came up pretty shiny. Fitted some new shocks to go with the reduced suspension travel and its lush again. Had a few funny issues at first and stopped and gave all the spade terminals on the coil/ballast resistor and away she went. Sat on 70mph the whole way, even passed a car up the mahoenui hill at more than 70 Also, gotta catch em all!
 6 points
 -
Use their own shipping. No need for third parties. Try and keep all your items from the one warehouse and you'll save money too. You can't always of course but it does help.5 points
-
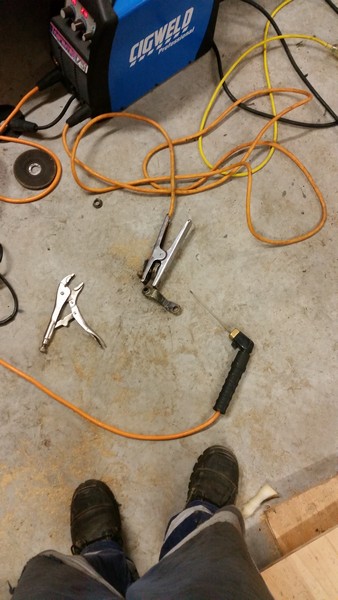
Proof that I am now an auto sparky and fuck anyone who says otherwise; Should have cleaned the smeg off my lens for that last one. Then on to the engine cover, but first I had to build a bit of the intake to make sure I could get it all to clear. There is a sweet spot just behind the cab that will fit a 600x 300 intercooler, I am hoping I can get to that area without modifying my gear linkage too much. Made a rim for the cut sheet metal so the floor was stiffer and the cover had something to bolt to. The intake had to be low otherwise the folding rear seats would hit it. Welded and cleaned up. Looks kinda cool. Then some time honoured 'frame it up in solid round then smash sheet metal onto it' fabrication. It's tight. There was a wee bracket thing that hit the cover when the seat was down so I whipped it off with the grinder only to immediately realise it was the hook to keep the seats up. So now I need to replicate it. Like a cunt. I initially used some real thin galv sheet I had but it was clear I was never going to be able to fully weld it without chasing holes all over the place, plus it already sounded clangy and tinny, so I found some 1.5mm mild steel in the rack and used the thin shit as a template. This meant I could get a nice fold where I needed it using the finger bender. Still yet to do the other side and fill in those gaps, but good progress. Front driveshaft assembly is in getting shortened and balanced at considerable expense. Still yet to hear from engine man. I might have to spend that money on coating the chassis etc and hope I can find some more later on. Or find some more shit to sell. As you were.5 points
-
parcel shelf time yay. as you can see it looks like some has put the mighty dof dof 6x9s in with what can only be presumed an axe and fucking big hammer. lucky for me there was a car being wreaked last year and i cut the shelf out of that. and one out one in
4 points
-
To get thinner but still warped rotors?4 points
-
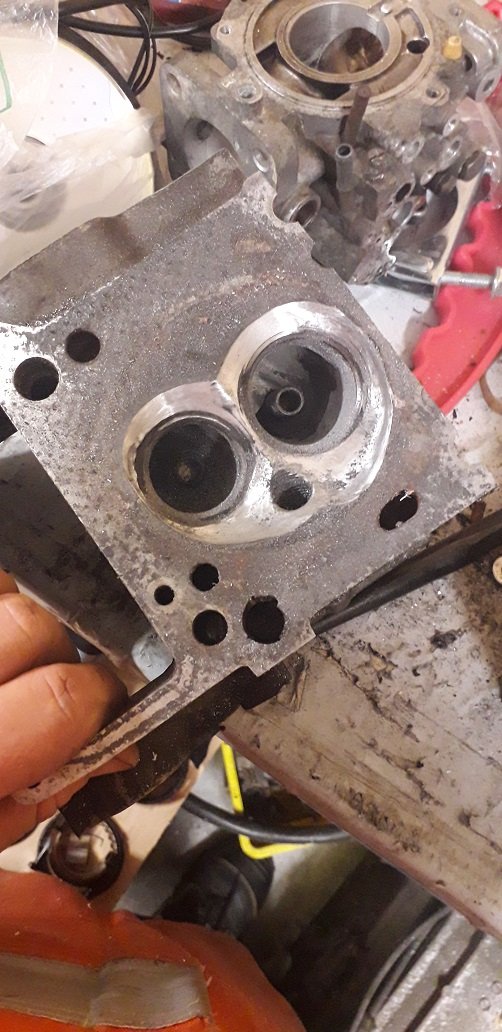
next step is the head. i have been gathering up parts for a while. some manifolds and carbs etc here chose a manifold to run and started matching up the ports and chambers Got a couple sets of carbs and rebuild kits, but decided that efi was the way to go, so gutted a pair of them, pressed in some aluminum and bored the centre out. Have fitted some injectors but havent taken pics yet. hope to finish the head in the next week, and get it to the shop for a skim. I got to get my act together, the family is coming with me to chch for nzdatsun nats in october!4 points
-
- made up an exhaust support from the gear box to the bit before the flexis, similar to how the 125 is set up - put a blob of weld on one holey weld (one! ) - took it for a hoon. Sounds great from inside, very quiet on cruise but a bark on the throttle and right at 2000 rpm and 4000rpm - rear pipe was touching the tow bar so adjusted the donut joint. - You can see the Y joiner at the rear seat, thought i may have needed a muffler in this section but it will hopefully be fine Only one sunny day this weekend, so did a few other little jobs, - after coil and resistance chat earlier in the week i checked the voltage at mine, it was about 10v. Based on googling its number to find out its specs, i think its a Ferrari or 6 cylinder Alfa ? came in a job lot so iunno) its quite a big larger diameter than usual anyway. Didnt even get warm on full 14V checked it after a exhaust sound test run . Si used the power from the fuel pump relay (already triggered by the factory coil feed) to power the coil and it seems a bit less missy when cold. Which reminds me I need to get a new Magnetti Marelli dizzy cap - there are cheaper versions out there but they are not very good. - also adjusted the idle mix on the carb a smidge richer, and i could slowed the idle speed a little more too. Engine now ticks away lovely, with a nice burble that you can only hear from the end of the exhaust, i think that the old one had quite a few more holes i didnt spot. - gave the headlining a scrub, and pulled out carpets, removed rubbish etc. - Put in a pretty subtle magnetic phone holder. - Gave it another wash, and then a wipe with an old polishy towel. Needs some more protection. I reckon its ready for a run to the WoF man one day soon.4 points
-
Made a start on the plenum I tested the trumpets on the starlet. red line is straight pipe the same length as the bellmouths (blue). Pretty much no difference till airflow demand is high. after that the bellmouths win. Down on power about 10kw to what starlet makes due to runner length. Some goose put a massive suspension tower in the way, so stuck with this length on the hilux3 points
-
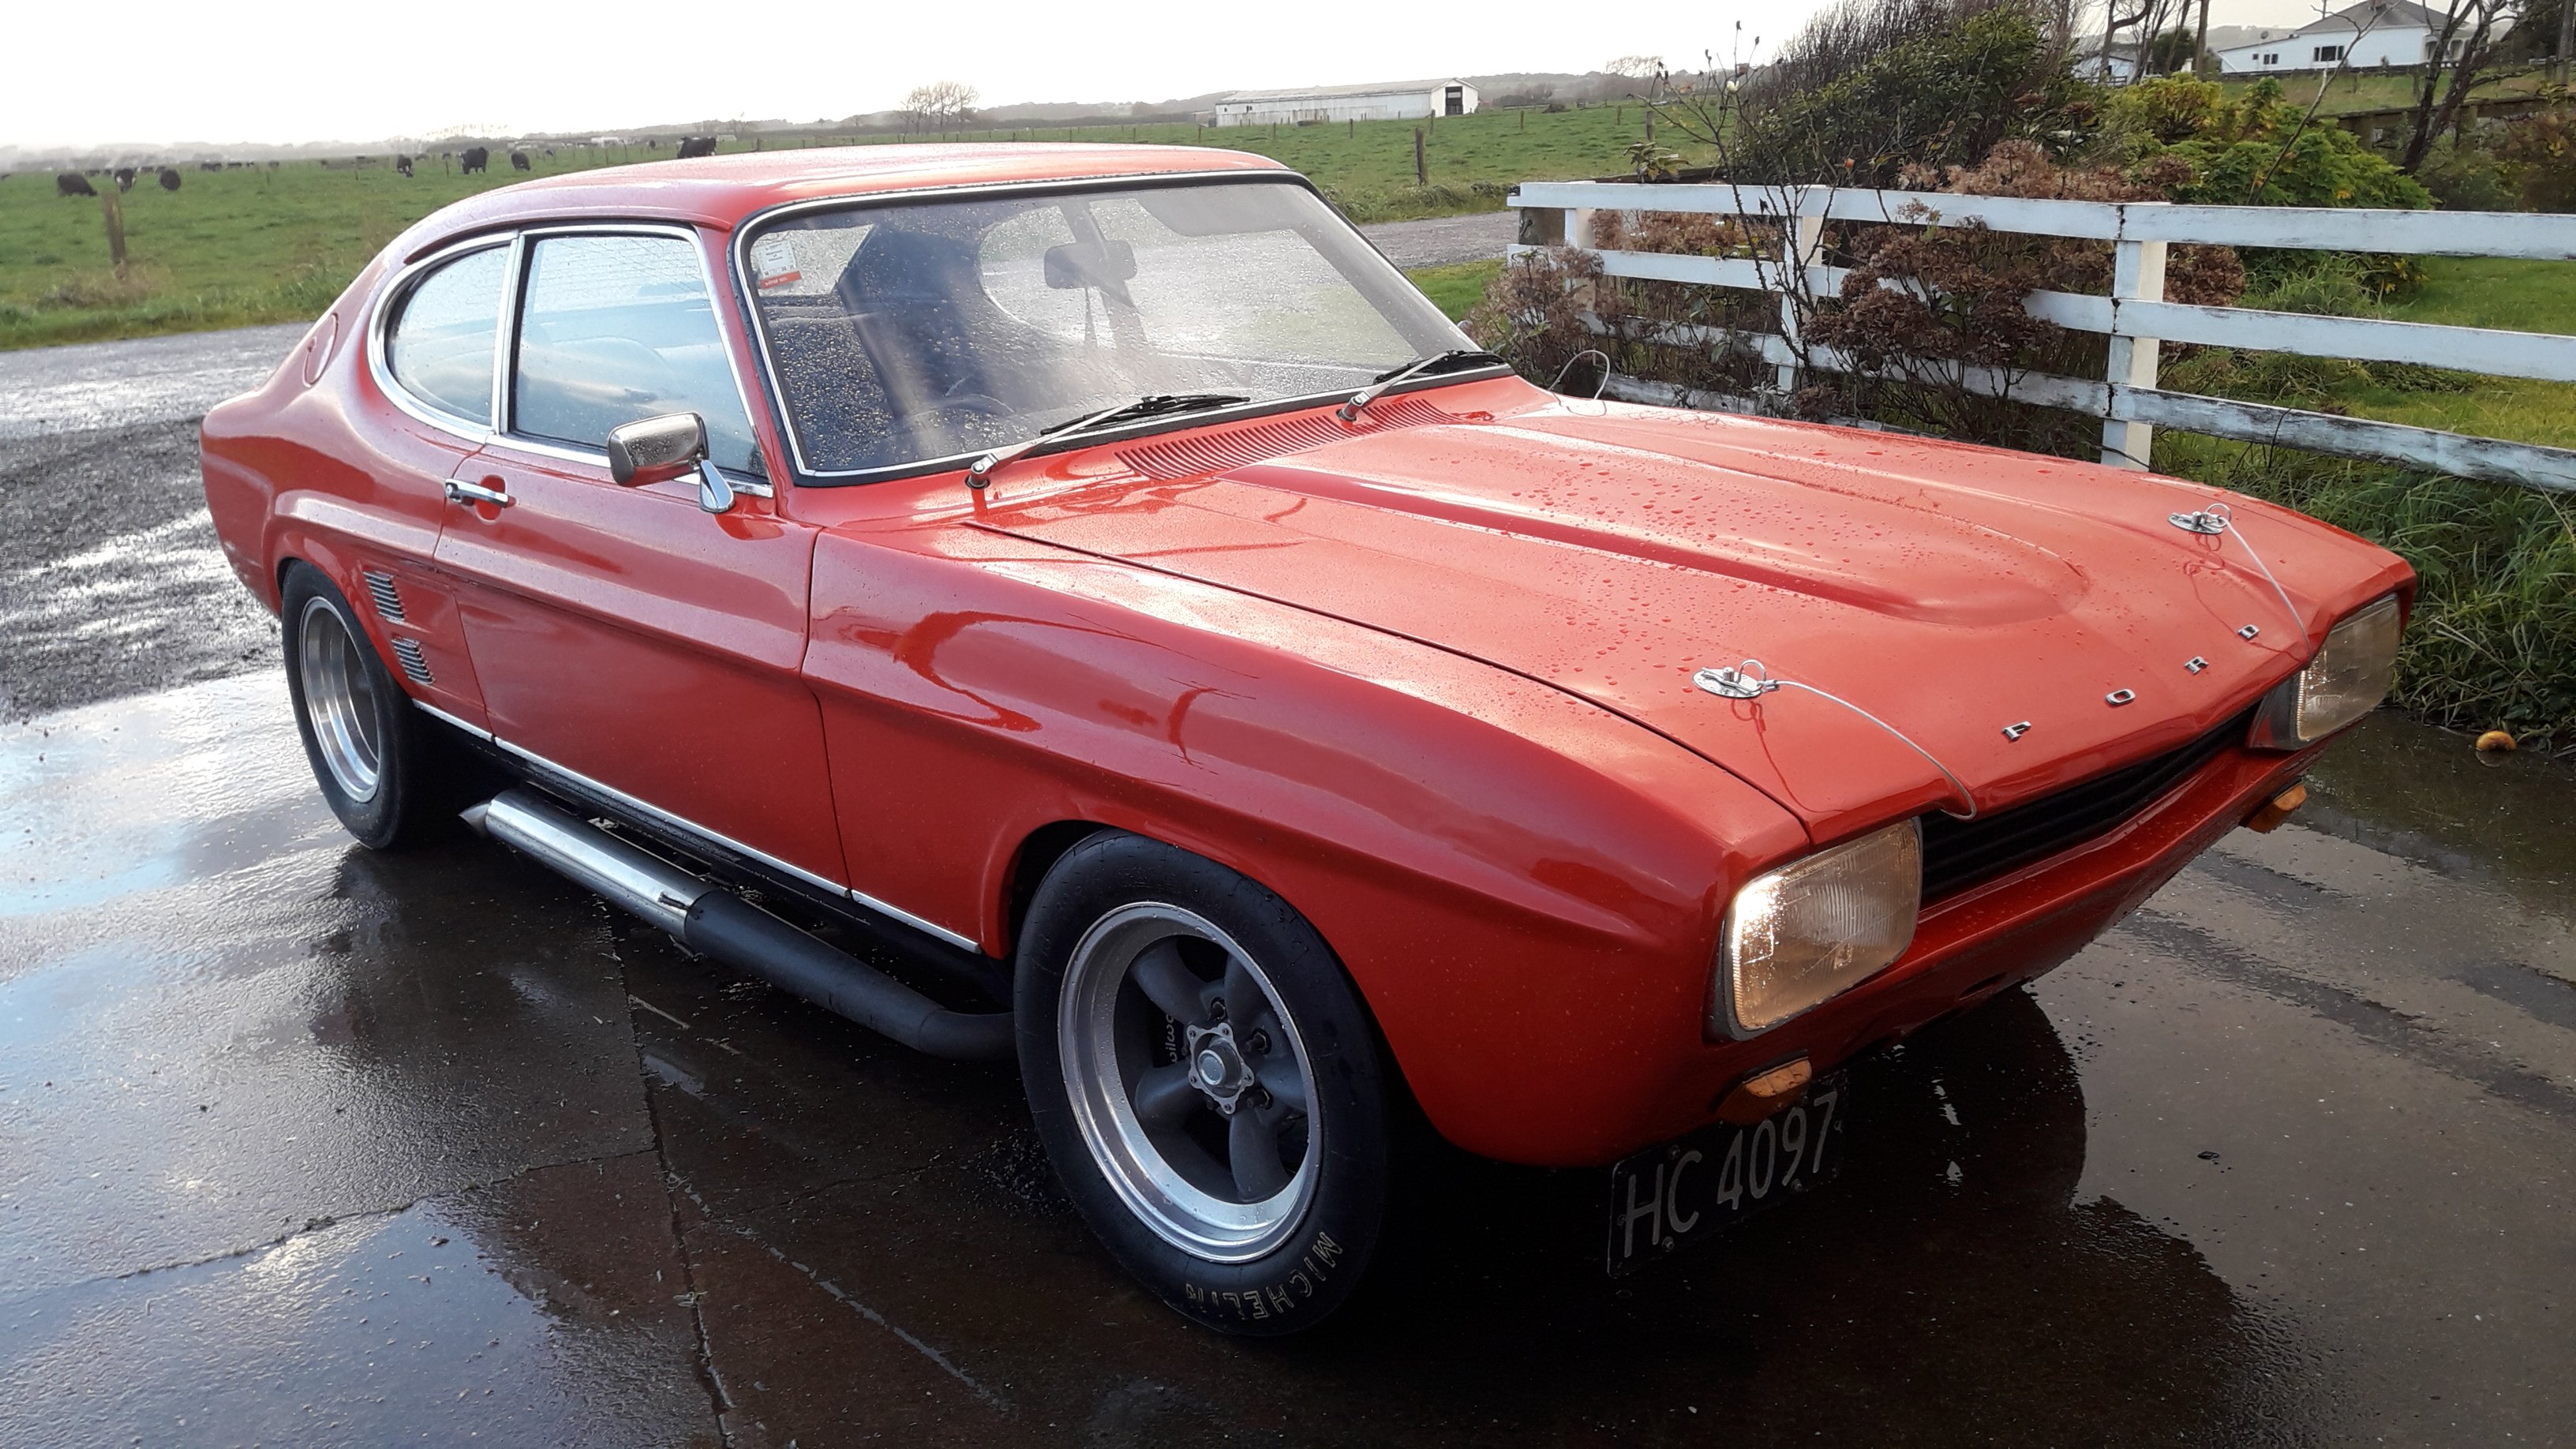
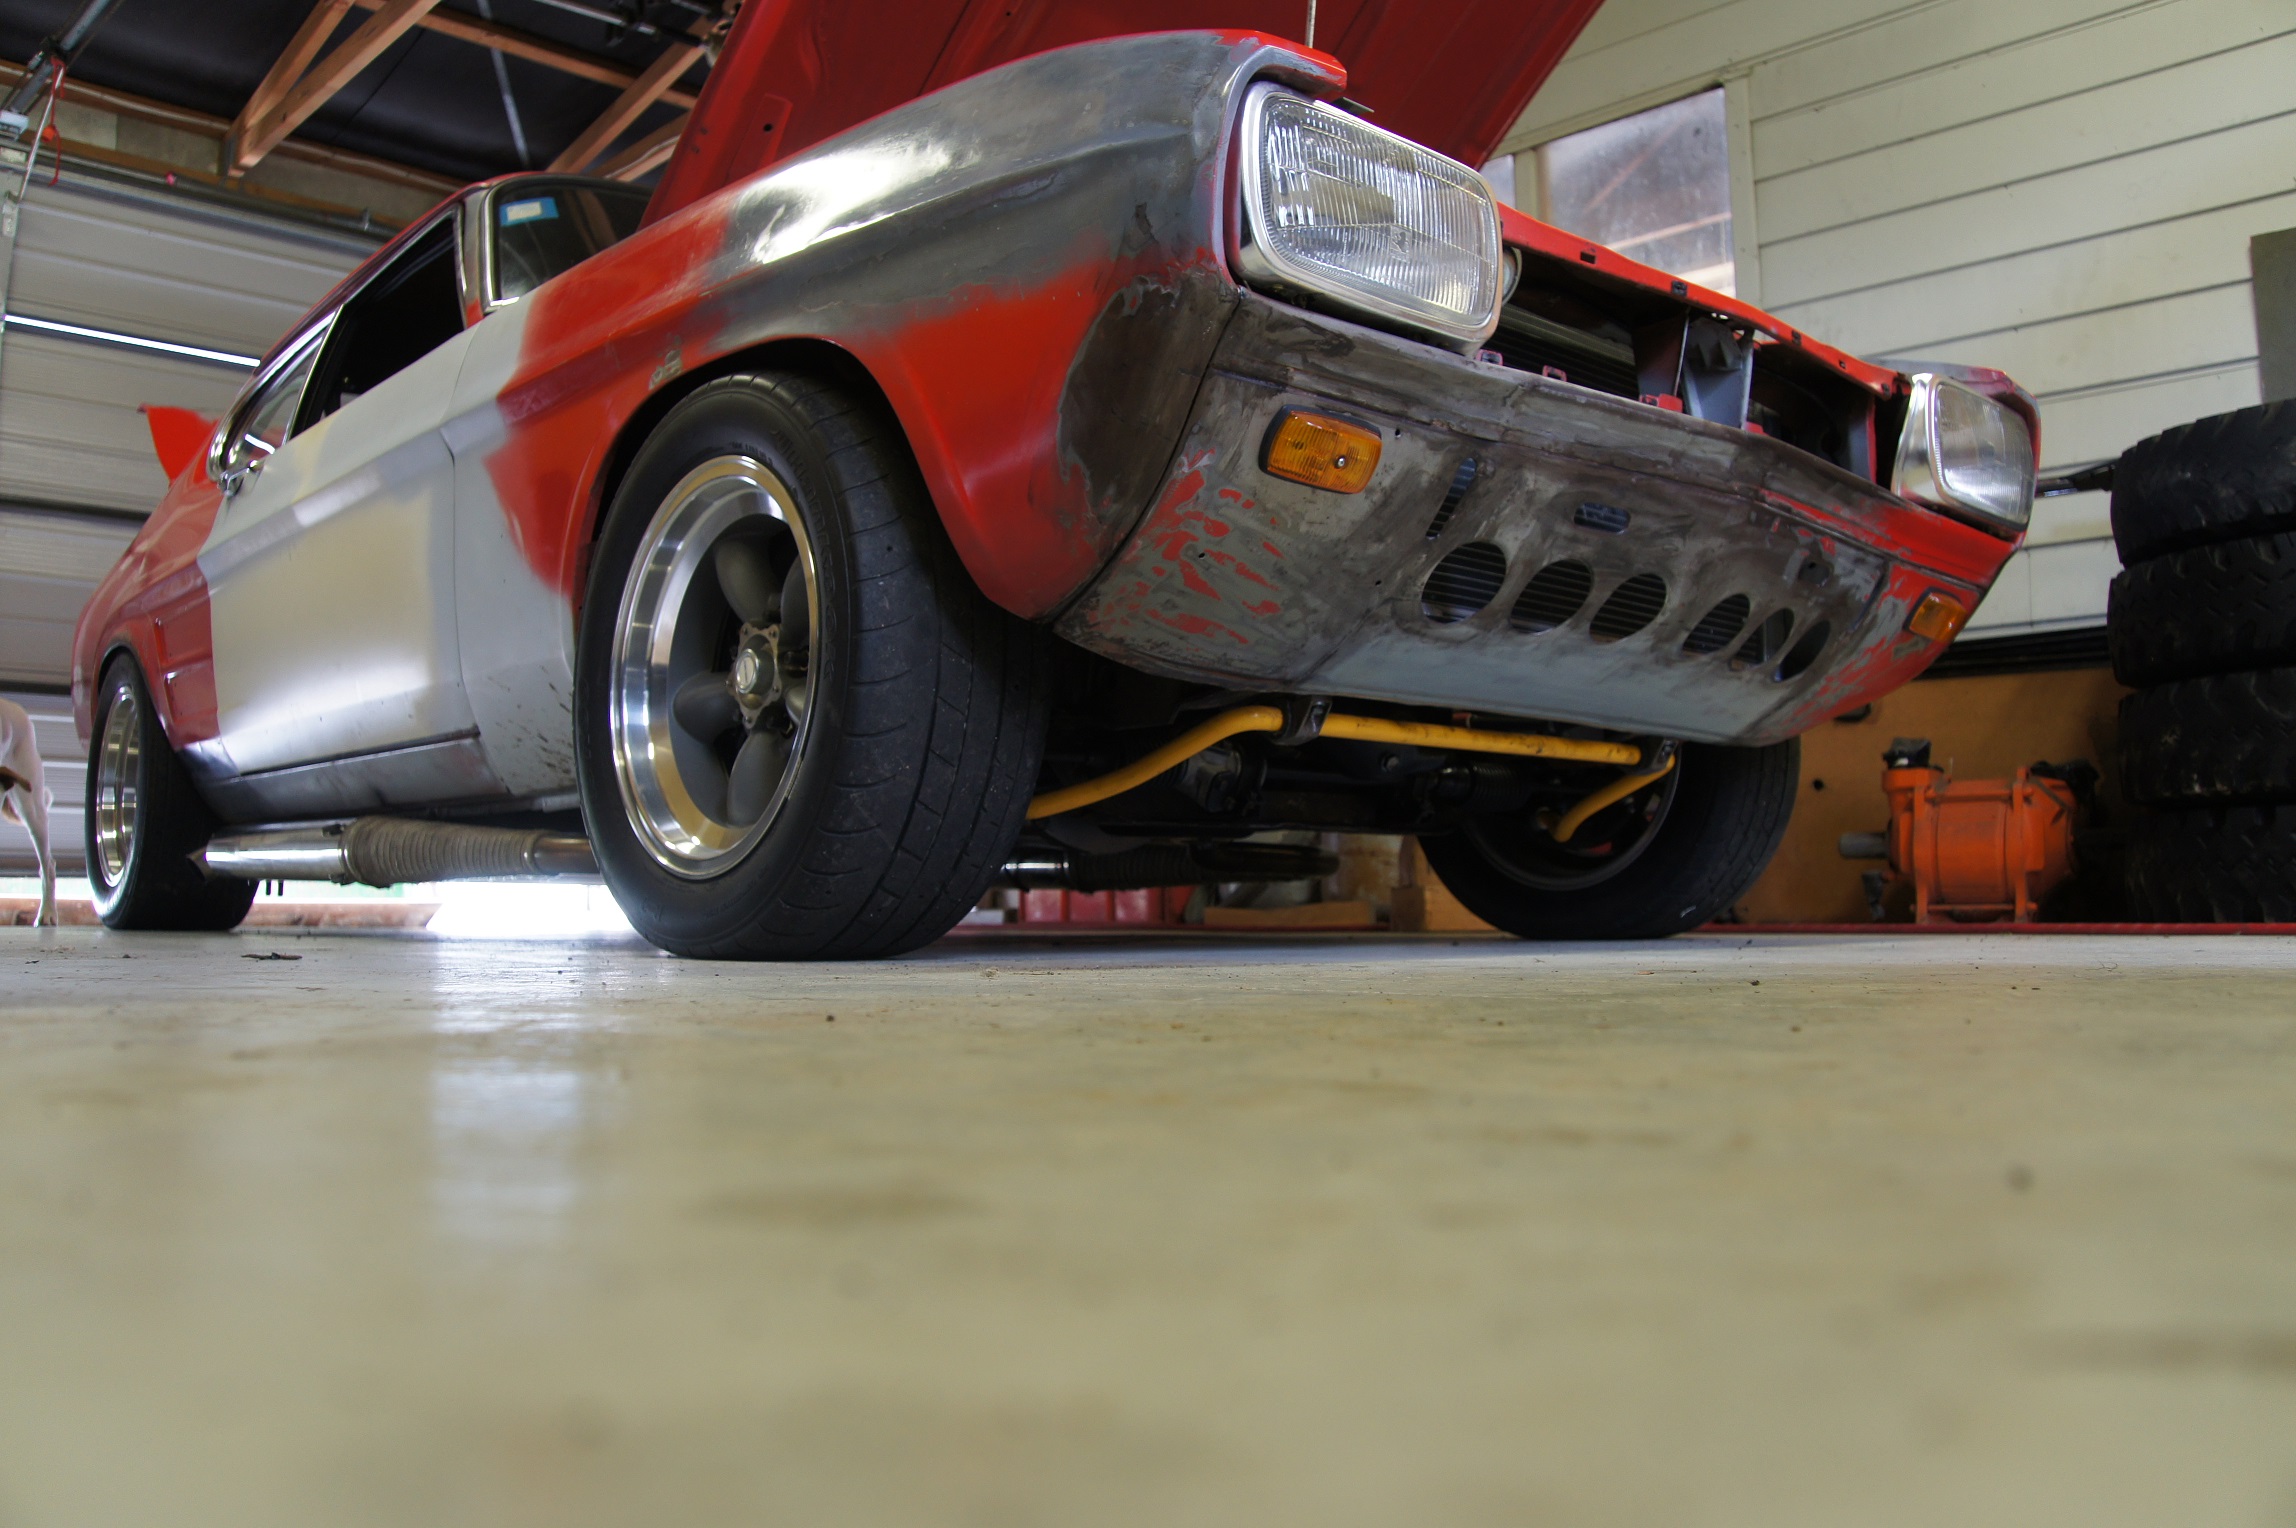
She's all up and running with the new paint job and brand new engine now. All certified and legal. The engine that was in it had a cracked deck and was bored 60 thou over so was replaced with a brand new Ford racing 345 hp 302.
3 points
-
Video of first start. Is a credit to Al Marsh. 8 year old build, he never had a worry, I was stressing, but oil, water, fuel, and spark, and he was just like "go for it" he never doubted his build. https://www.youtube.com/watch?v=Kxpfsu5Z9ns3 points
-
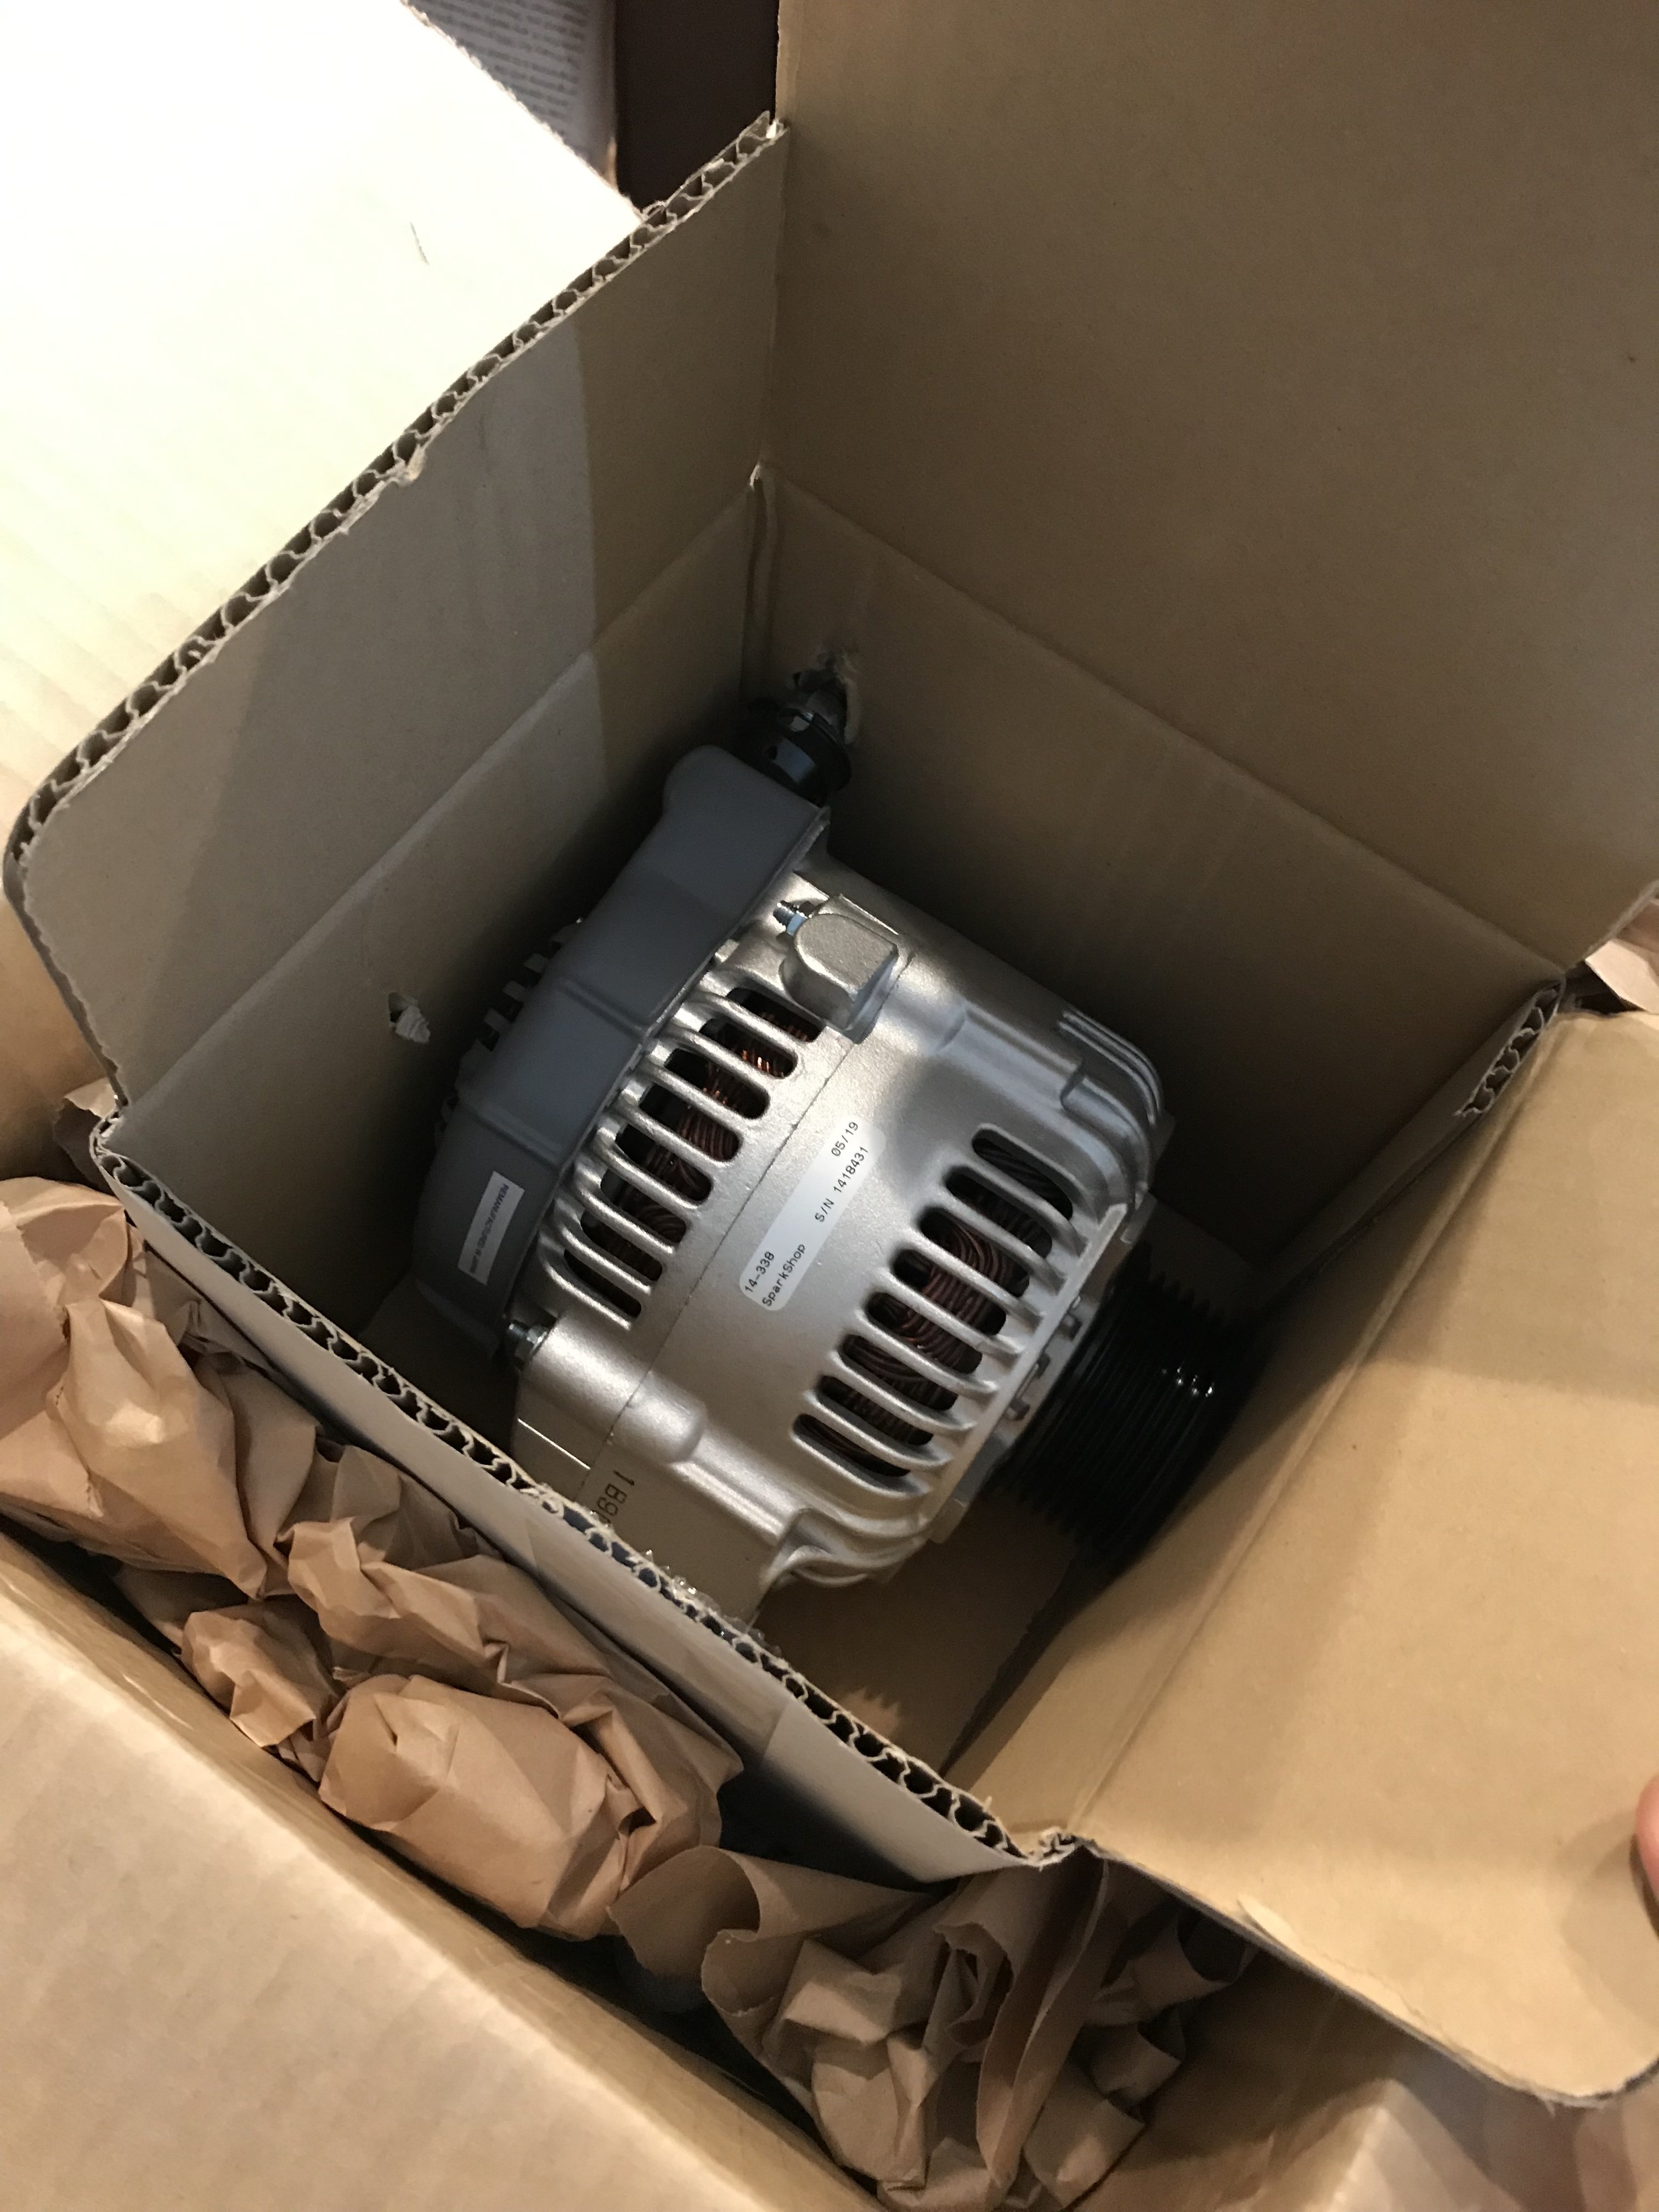
Seems im overdue for another update. Best remedy that I guess and spew forth more pics.To keep all the electricals ticking im using a Powermaster 150amp 1 or 3 wire alternator. As i stated above I wanted all the brackets as low as possible. unfortunitly cooling hoses got in the way in the middle positions and the powerstearing rack when it was really low. So its had to go up higher but is still low as we could get it. Still its not to bad I guess.Also mounted up the radiators overflow seen above.On the other side of the rad we mounted up the PS/hydroboost reservoir. Three port jobbie.Under the car a fly wheel cover was fabbed up. Stock would not work due to the trans adapter. Bit of split pipe was used for the notches to clear the torque converters covers ridges.Car is off the jack stands and front panels are bolted on. not all the bots etc are in but enough to keep it together until I get new bolts for it all and get it done right. Old Nailhead sits in there nicely.Steering wheel thrown on just so we can roll it about easier. GT Performance 9 bolt hub, 15.5" wheel and horn. Really wanted a wheel with a horn ring cus I love those things but ones that suit smaller wheels are bleeping expensive so it can wait.Car is sitting pretty darn low. Like the lowest part is the brace that joins/strengthens the front sub side to side much like the original Hudson setup. I haven't measured it but I guess we have 30-40mm clearance to the road. As you can see with the good old beer bottle next to the car... it low.keep in mind we still have to add side pipes - its that big ol hole you may of spotted in the above pic. You will see also that we will have a heap of room for them under the rockers. They also have a bit of a curve whats a bonus as it will (with luck) keep them out of ankle range whilst keeping them nicely tucked up so we dont rip em off.and moving right along... side shot just cus I like it. yes I know the car is dirty but so is my mind and I like it that way.Now talking about burning ankles on side pipes a subject by gal has mentioned most times I bring up lake pipes. My answer generally goes along the lines of "wear heels" below pic proves it. Ankle out of burn range.. toes on the other hand she has never mentioned.But seriously - like the back tire viewed air out side on.Enough farting around talking about air out this and that. Throw a battery in and test that shiz. Yip yours truly testing it out. We left it air up for a few days and I was pleasantly surprised to find it stayed there with only a few psi drop from what I left it at uniformly across each wheel. I will mark that to atmosphere and not any slow leak due to it being across all four wheels not just one.yeah i know the front could be bolted on a bit better but ahh stuff it it will be off again anyway.And just cus im feeling all gangsta...i know it aint hydraulics but it will do me. When air up we must be around 150mm at that one low point in the middle just behind the wheels. Ass end that has larger bags naturally goes much higher.3 points
-
2 points
-
I dropped a bunch of coin there last night and didn't know about that. I used to get rotors skimmed for $20 a pair. So that was my go to. But now that ship has sailed, and a mechanic at work said yeah, thinner discs have less thermal mass and will tend to want to go wobbley again. And new rotors are so cost effective I just say fuck it now and go new. I got stung $90 to skim two last time. So that's a big game over cobber for the skimming guy from me.2 points
-
You throw stuff in your cart and then it'll have little truck icons with letters or numbers on them to indicate whether they are from the same source warehouse when you're browsing for more stuff. Pretty neat little feature.2 points
-
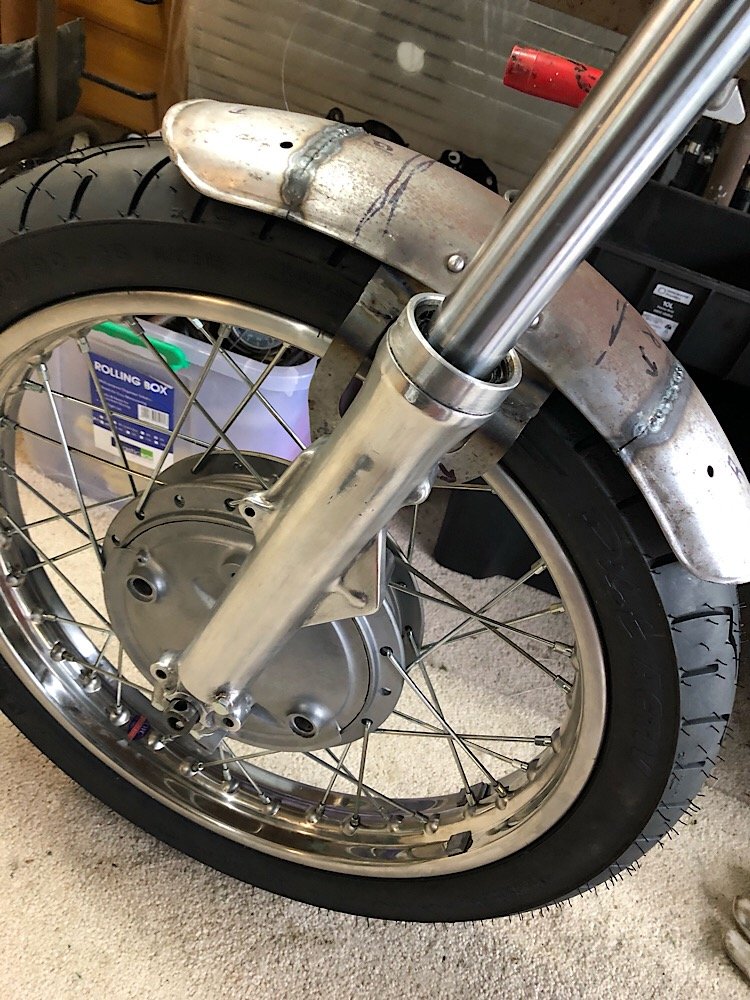
I had a yarn with a @GuyWithAviators, @Geophy @EURON8 @Chickity @bathcollector And @73crownwagon spent $20 and aqquired a great/yuck Batwing billet style steering wheel -inner chip foose pine, some old yellow lensed fog lights and a rx125 manual for Nick Ritchie. Chips with speedway sauce and an average coffee topped the event off. Would trade again. Had a monkey bike in the boot of my car, so was v.limited with space. Saw some lush Harley bits, couple of old bikes, lots of rusty bits and many ol barrys there for ‘a damn good look around mate’2 points
-
Thanks guys, appreciate your advice. Crazy how cheap some places are selling new replacement parts. Found an aussie website selling 2x new front rotors for $85 including new brake pads, or $60 excluding pads. And they ship to nz! So I think that's what I'll do, as I can wait a few weeks.2 points
-
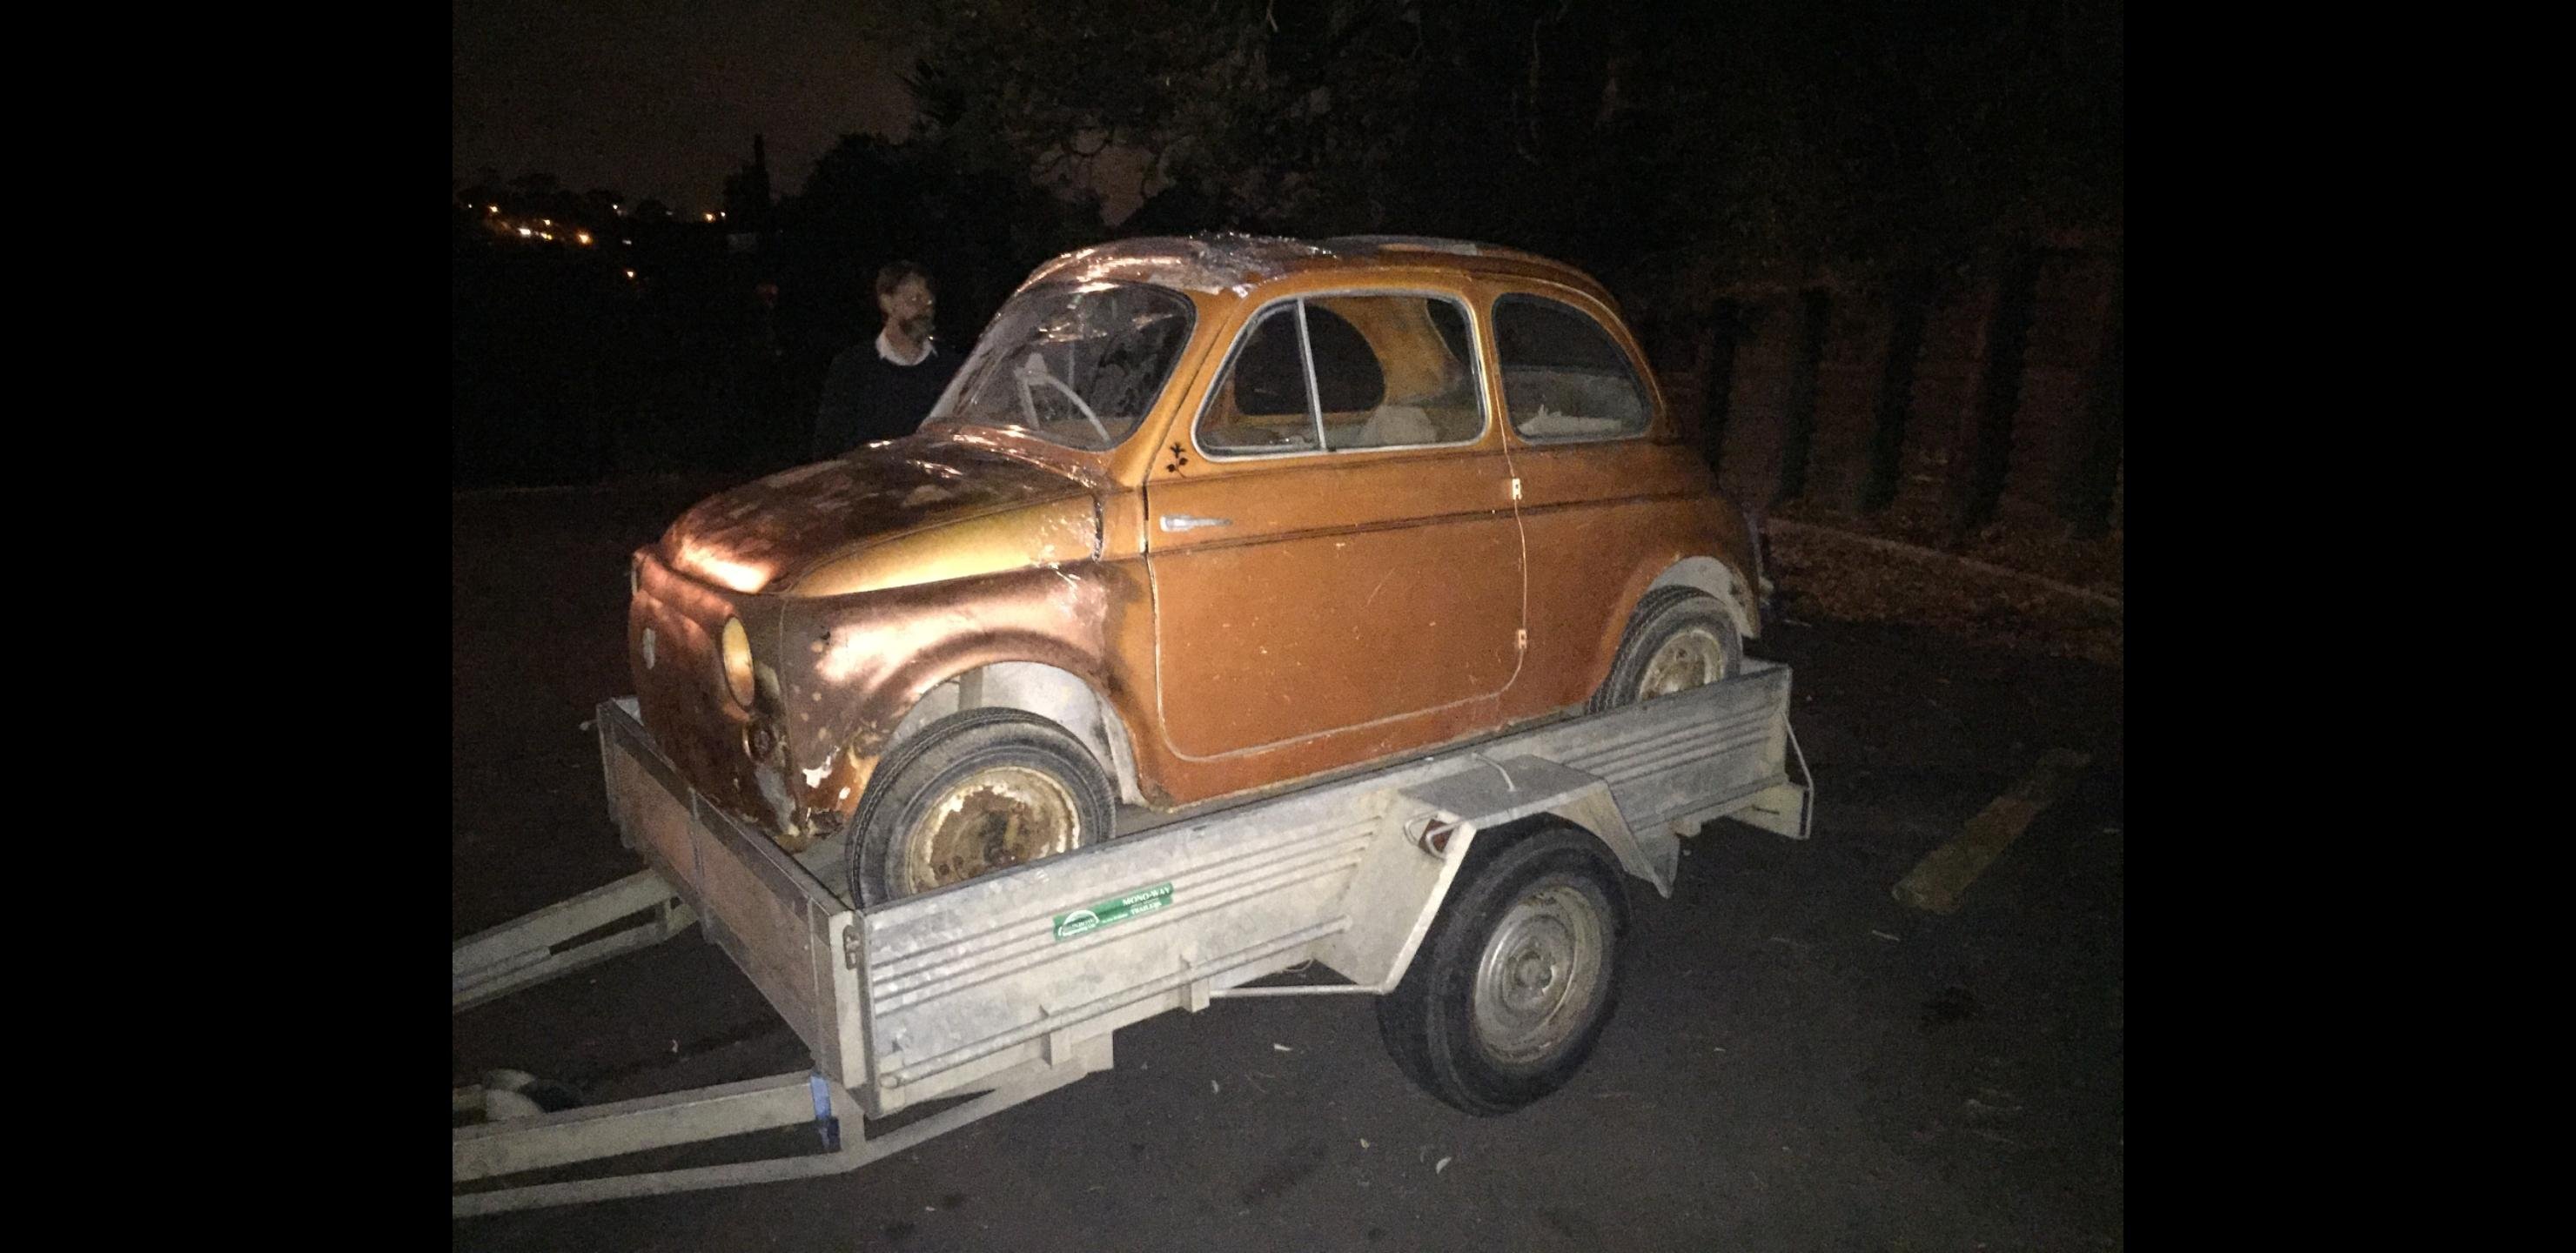
A few photos were taken and then onto the trailer and off to the workshop. Yes it fits on a fairly standard size trailer!
2 points
-
gotta say. over the fucking moon to drive it again, after so long.2 points
-
and ended up with me getting to do this. https://www.youtube.com/watch?v=ddwY1EinaO82 points
-
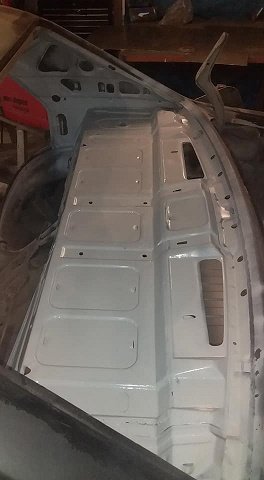
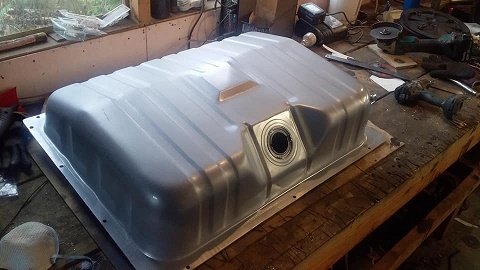
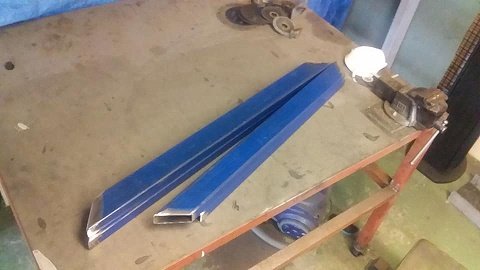
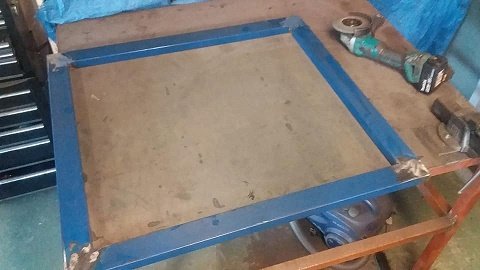
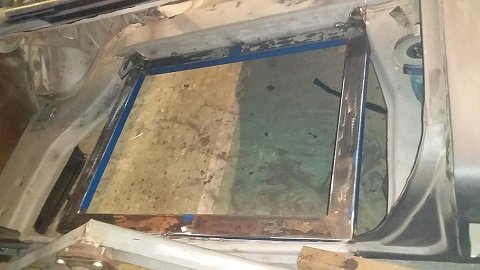
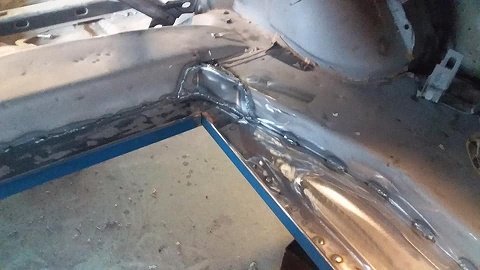
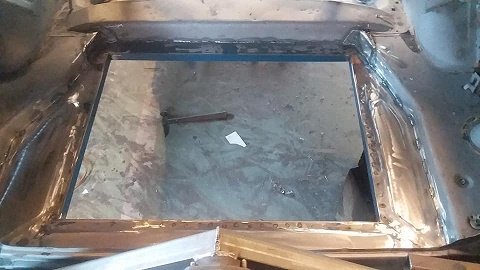
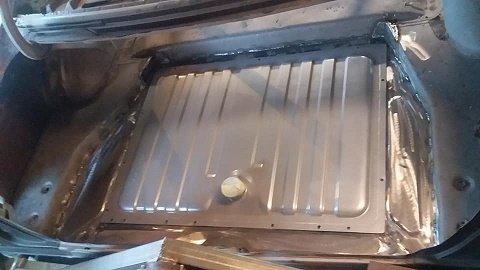
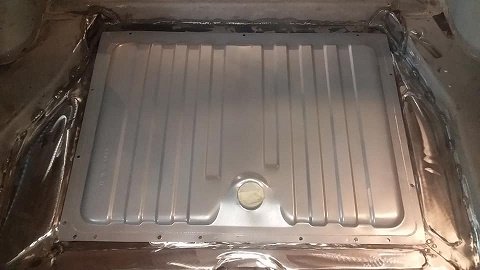
fuel tank boot floor time.... i wanted to change the tank as the cortina one was stuffed so i looked around and decide on a 68 mustang brand new was $210 landed..and that meant losing the boot floor wheel well (didn't like that anyway) it was in good condition and got blasted with the shell so i advertised it and donated it to another build. so i started with a massive hole in the boot and decided to use some box section and the main brace after i welded it up i measured again and found out i stuffed it up hahaha.....measure 6 million times kids and cut once..so after i cut 100mm out of it i welded it back up again so after getting it right i tried it in the hole...apart from having to cut a 45* off the back corners for the chassis rail it fitted. and i welded as much of it in as i could. then it was time to make new floor parts....starting with the rear part. then the passenger side then the drivers side. then made the 2 caps for the back corners from where i had to trim it for the chassis rails. then a quick clean up throw the tank in to see if it fits
2 points
-
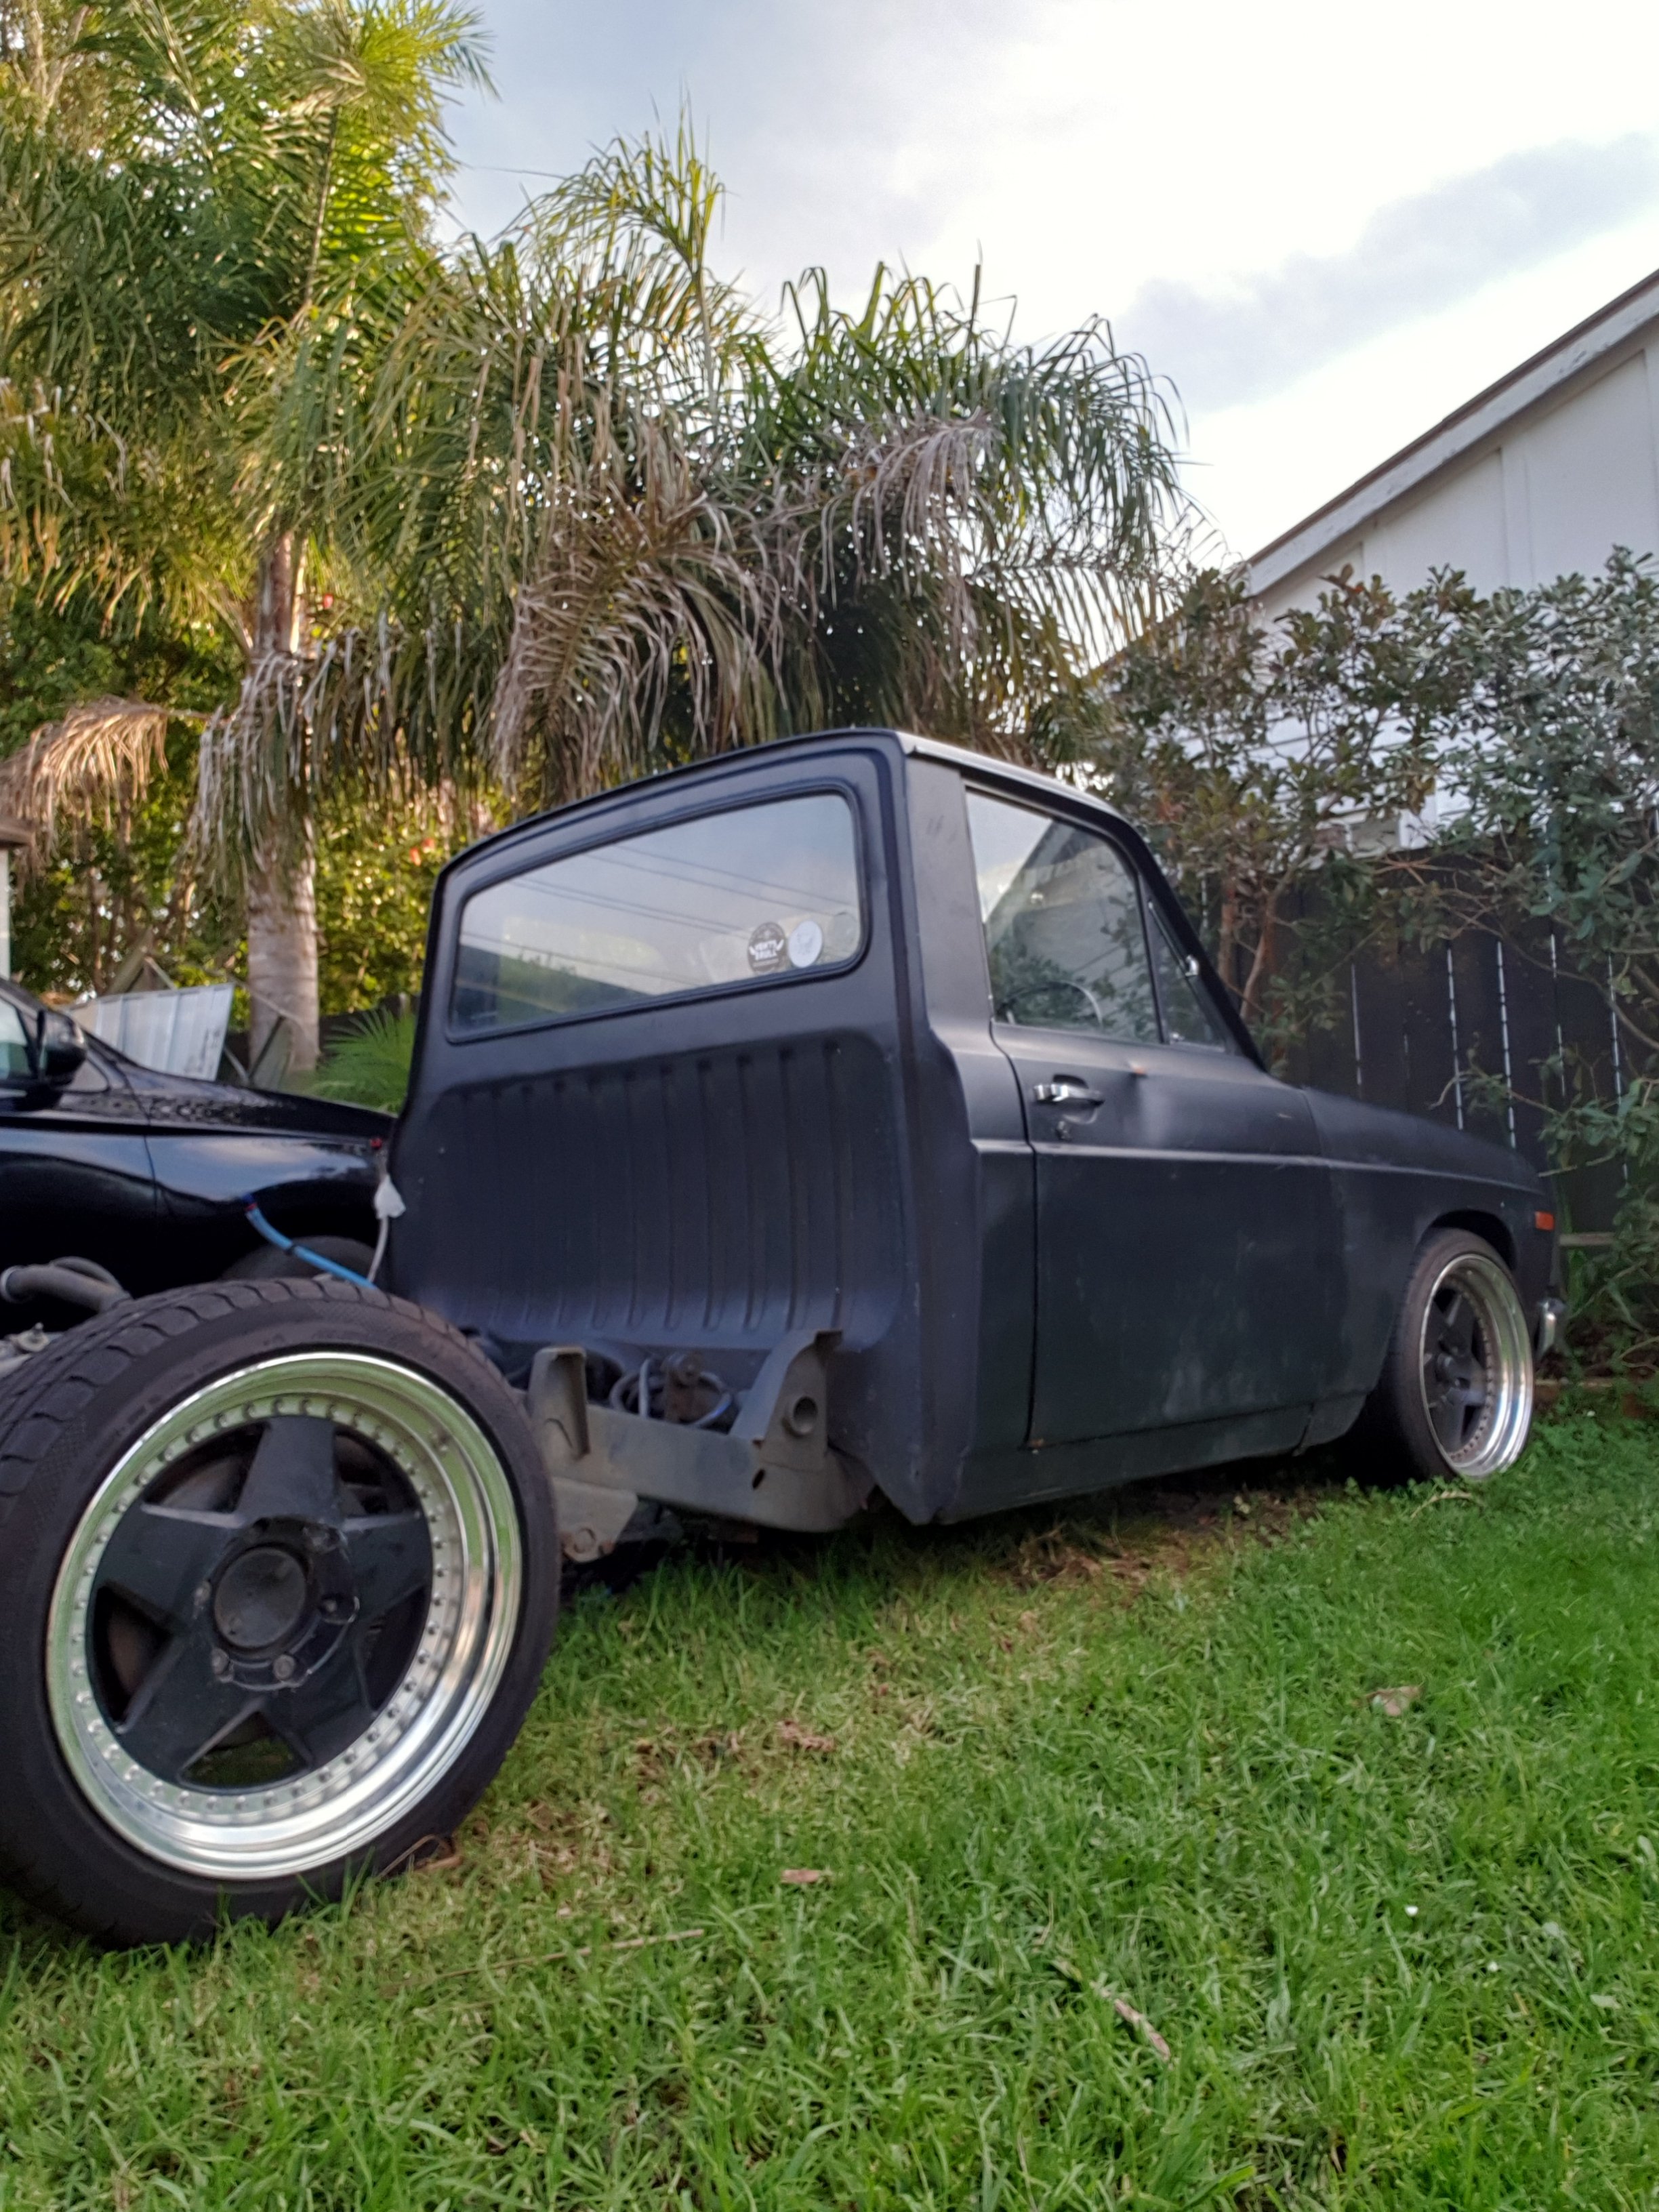
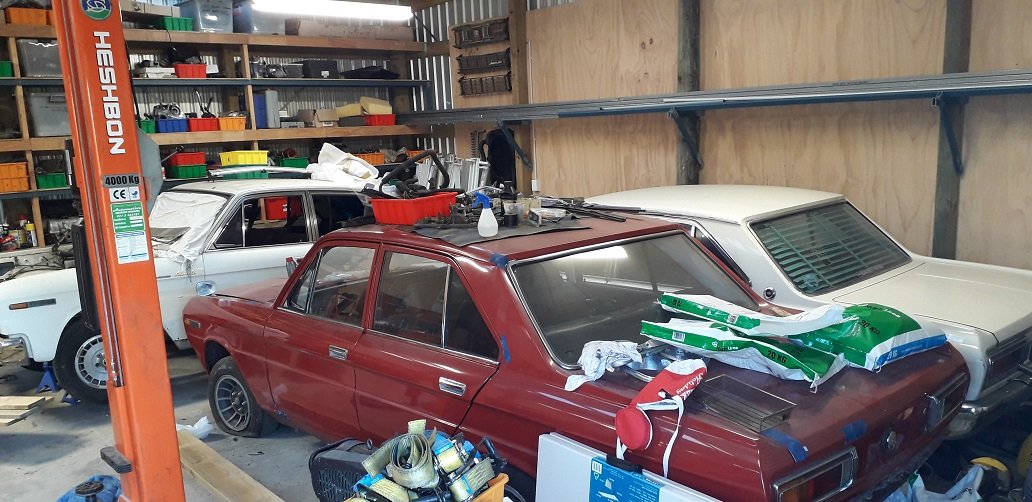
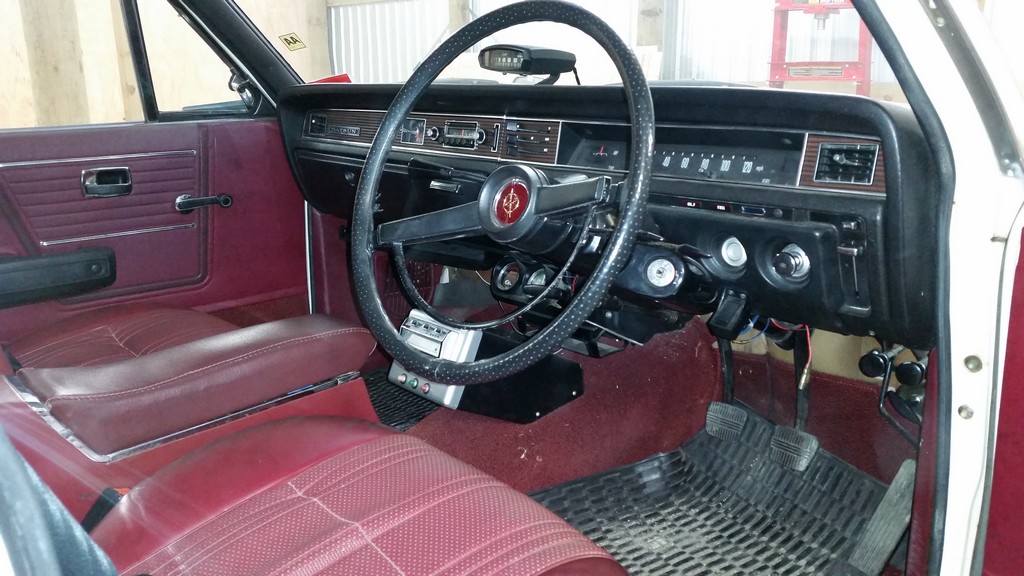
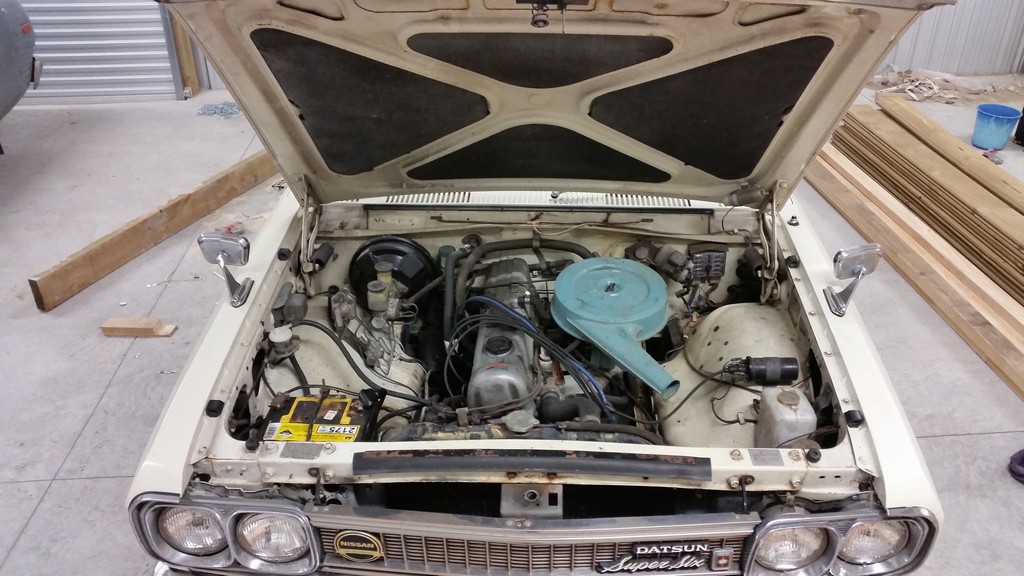
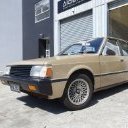
Finally got this sorted so i thought i better put some photos up. Some history first, I saw some photos on face book somebody took of random cars at kumeu hotrod show. One of them was of this car. I got hold of my bro Ray (ja1lb8) as his family is always at the show. His old man was there and had already spotted the car and put an offer on it on our behalf knowing one of us would have it. It belonged to an old lady who was going into a home and her family was selling off all her old shit to pay for it. The car was bought new by her husband in 1970 in OZ, and they bought it here in 74 when they moved to nz. The husband died a few years later and she kept driving it to the shops in west auckland once a week ever since. It also came with a folder of invoices for the last 40 years of ownership. Lets just say she was taken for a bit of a ride by a certain west auckland nissan dearler with servicing costs and repairs for wof's. Could have bought a few of them for what she has spent over the years. A month ago i finally picked it up from Ray as it took me a while to obtain permission from the boss, (insiders would argue that i never actually got permission, but it was too late...). When i went to change the ownership, it came up as stolen. The brother of the old lady wanted it and had reported it stolen to try and get it back. The next week as i tried to get to the bottom of the story i stripped it in case i had to give it back. The cops cancelled the stolen car notice as it was just sour grapes. Then on the weekend i went to get a wof and it had no vin number in the system. Here we go again, turns out it has never been in the system, and only now its fully computerised, they could not issue me a wof. Thanks to the GC's at VTNZ new plymouth it was sorted monday and now its legit! tl;dr photos L24, 3 speed column change. Drums all round. Has had a respray at some stage. Will put some photos up of the interior in a few days. Also came with an 8 track and some sweet old tapes Discussion //oldschool.co.nz/index.php?/topic/50036-fletchs-1970-datsun-cedric-super-six/
1 point
-
Out of interest, what the cost getting your brake discs machined? I could approach this a number of ways? ○ take discs off car, take them in for machining? ○ just drop car in and get them to do it all? ○ just buy new discs for $150 a pair? ○ or I could do it myself at home on my lathe, but I'd prefer not to as I'd have to make up a fixture for the lathe to hold the disc...more trouble than worth if new discs are only $150. Any clues what the going rate is for machining? Cheers1 point
-
Cheers to absolute legend @crustywhip for sorting me a whole box of interior trim, door rubbers, windows, regulators, and most importantly two mint front guards, one of which has already found it's way on the car. Cheers to @The Bronze for hauling the bits up the country for me. Now that the front is together, only minor things left for a warrant. Need to stop annoying exhaust rattle, put my new front calipers on, and get the headlights working again. Front guard will be painted at some stage but for now it's not too much bother. goes so hard. I get many "when is it getting a turbo" comments, but for what it is it definitely doesn't need one. till next time1 point
-
Have brought the cheap ones from China and have had 0 issues https://www.ebay.com.au/itm/MAC-ECU-3-Port-Electronic-Boost-Control-Solenoid-Valve-35A-AAA-DDAA-1BA-PWM/123364195550?ssPageName=STRK%3AMEBIDX%3AIT&_trksid=p2057872.m2749.l2649 https://www.ebay.com.au/itm/DC12V-5-4W-35A-ACA-DDBA-1BA-3-Port-Electronic-Boost-Control-Solenoid-Valve-AU/123621678198?_trkparms=aid%3D555018%26algo%3DPL.SIM%26ao%3D1%26asc%3D57927%26meid%3D71f8dc7732dd4be88cba68a3e5b22914%26pid%3D100005%26rk%3D3%26rkt%3D12%26sd%3D123364195550%26itm%3D123621678198%26pg%3D2047675&_trksid=p2047675.c100005.m1851 Could not tell the difference between it and ones from other sources1 point
-
I've wondered has anyone tried the "spin the disk while running a grinder with sanding pad against the disk' method. It's shit but for a crap daily might be ok?1 point
-
Silicon spray from mitre 10 Bunnings has it $0.06 cheaper so they will knock off 10% https://www.mitre10.co.nz/shop/selleys-watershield-water-repellent-200g-clear-colourless/p/3248131 point
-
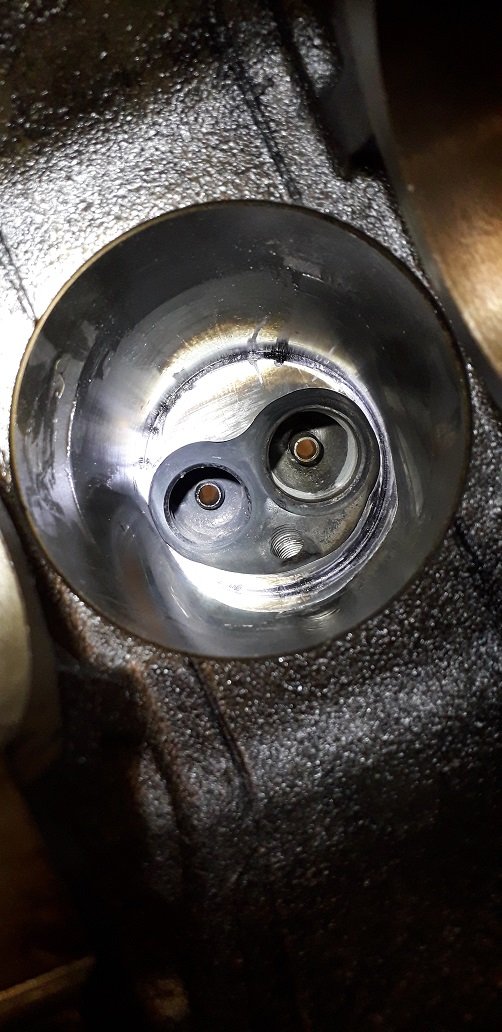
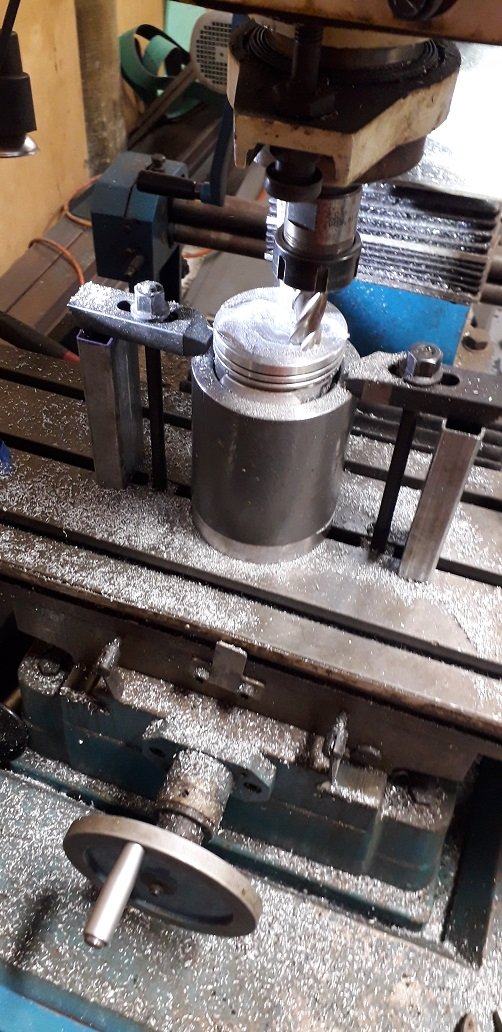
whoa, a year later... so i got the bottom end together But to get to this point took a few steps back and forward. I opened up the combustion chamber a bit and it turned out i would be around 12.5:1 comp which is not daily driver material. The bore spacing of the head chambers to the bores is lol so i had to mark each one to the head. The head gasket is also terrible spacing, but some guy in the us is getting cometic to make him a custom one to his design so ill try and buy one of them Gave the piston a bit of dish to drop the comp a little. Not sure if we did it the right way, but it worked out sweet
1 point
-
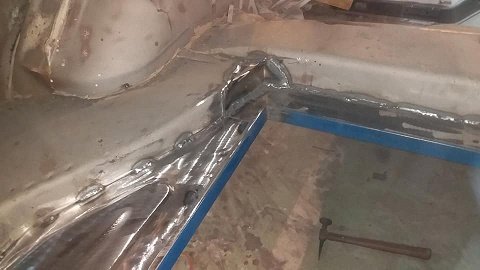
Spent the arvo shaping the mudguard after cutting it. Spot welded the ends back on and filled in the holes from the guard supports. Then cut 15mm out of the mounts to get the guard sitting closer to the tyre. Had to pre heat the metal before welding to get the MIGs weld to fully penetrate into the steel. Happy with how it’s all sitting now
1 point
-
Thought it was pretty good. Got there early and was pretty funny watching Barrys vulturing over peoples lots before they had setup up
1 point
-
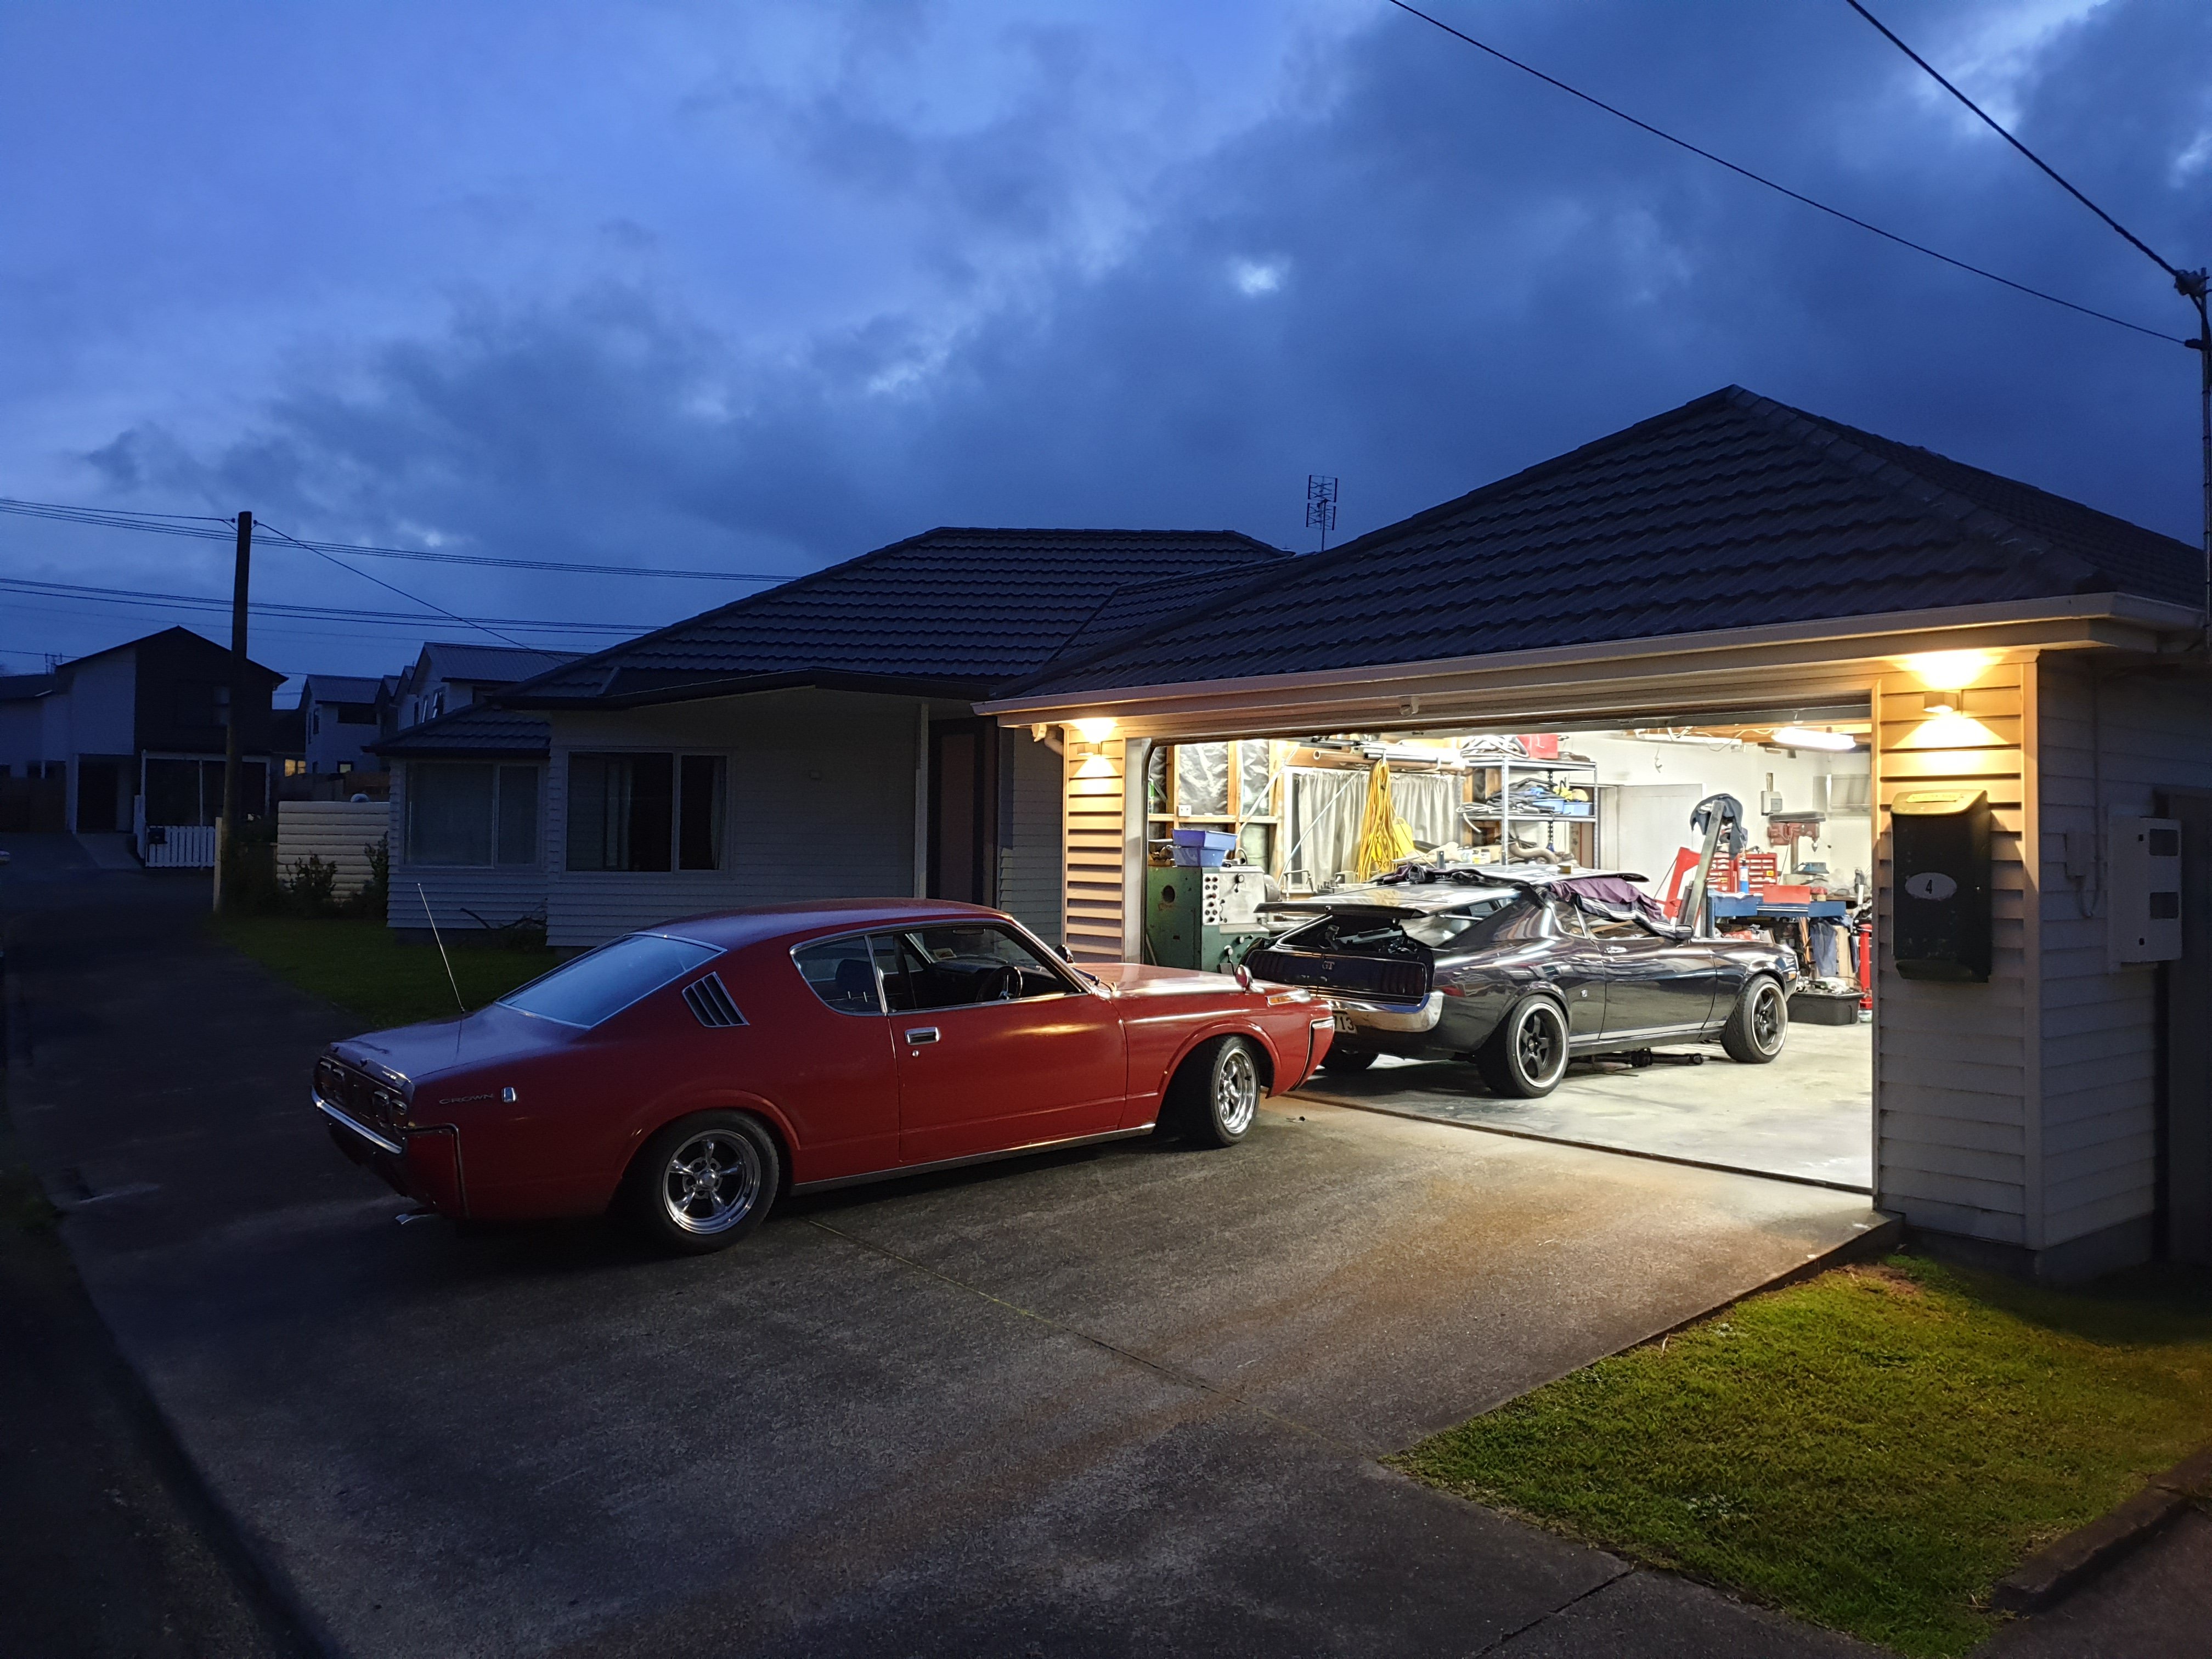
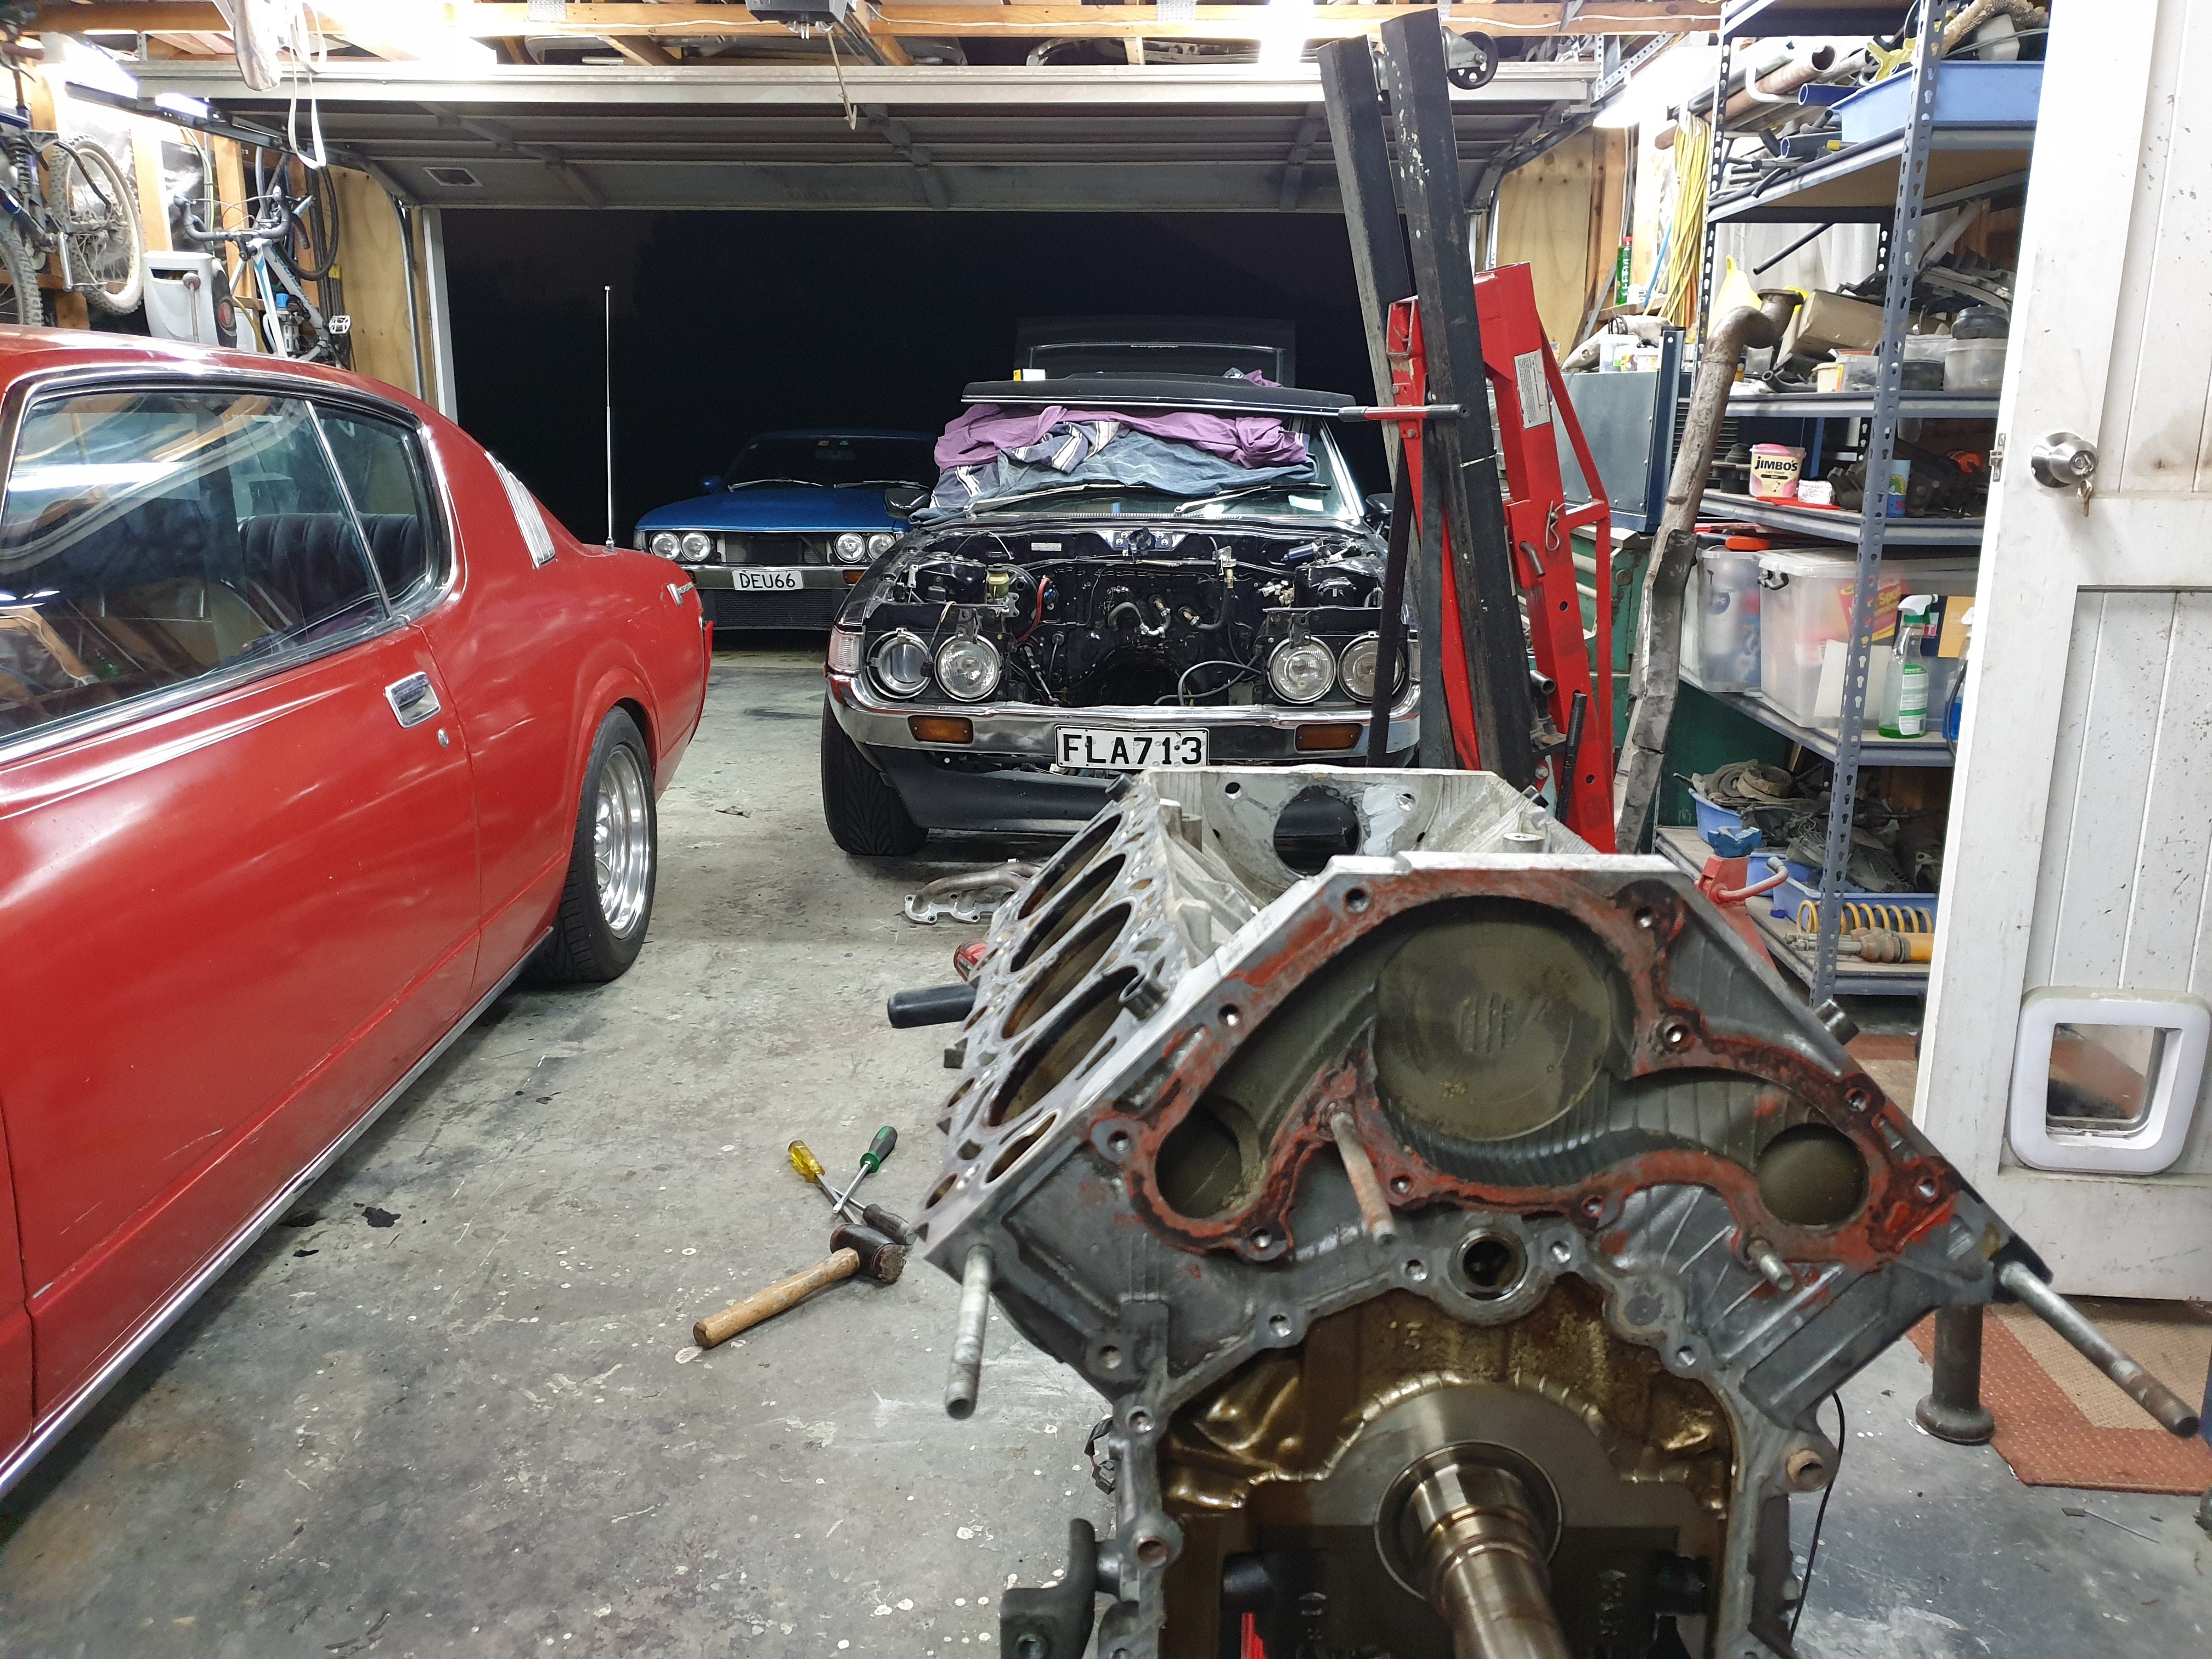
This is my 1974 MK1 Capri that I cam currently converting to V8. It's running a 302 with a Tremec TR-3650 5 speed and Hilux rear diff. Cert check next week. Will upload more pictures later on.
1 point
-
I need a bigger garage.1 point
-
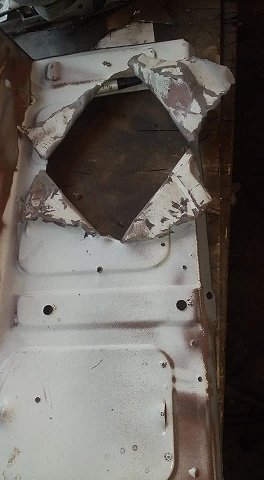
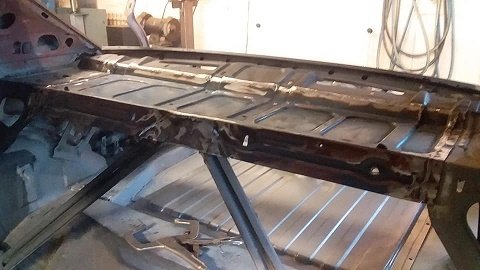
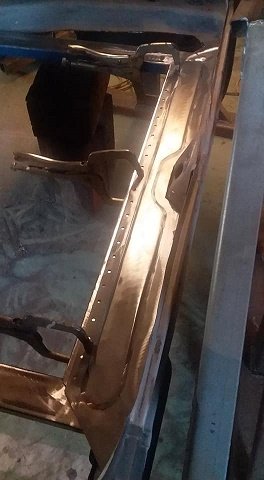
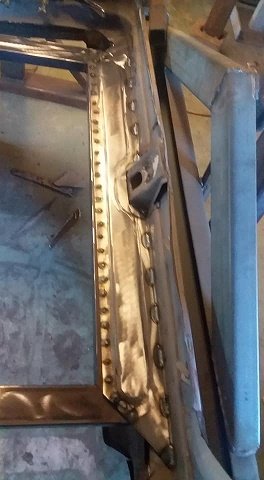
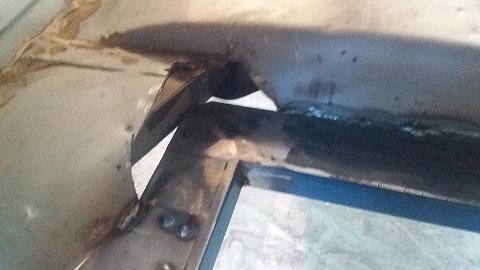
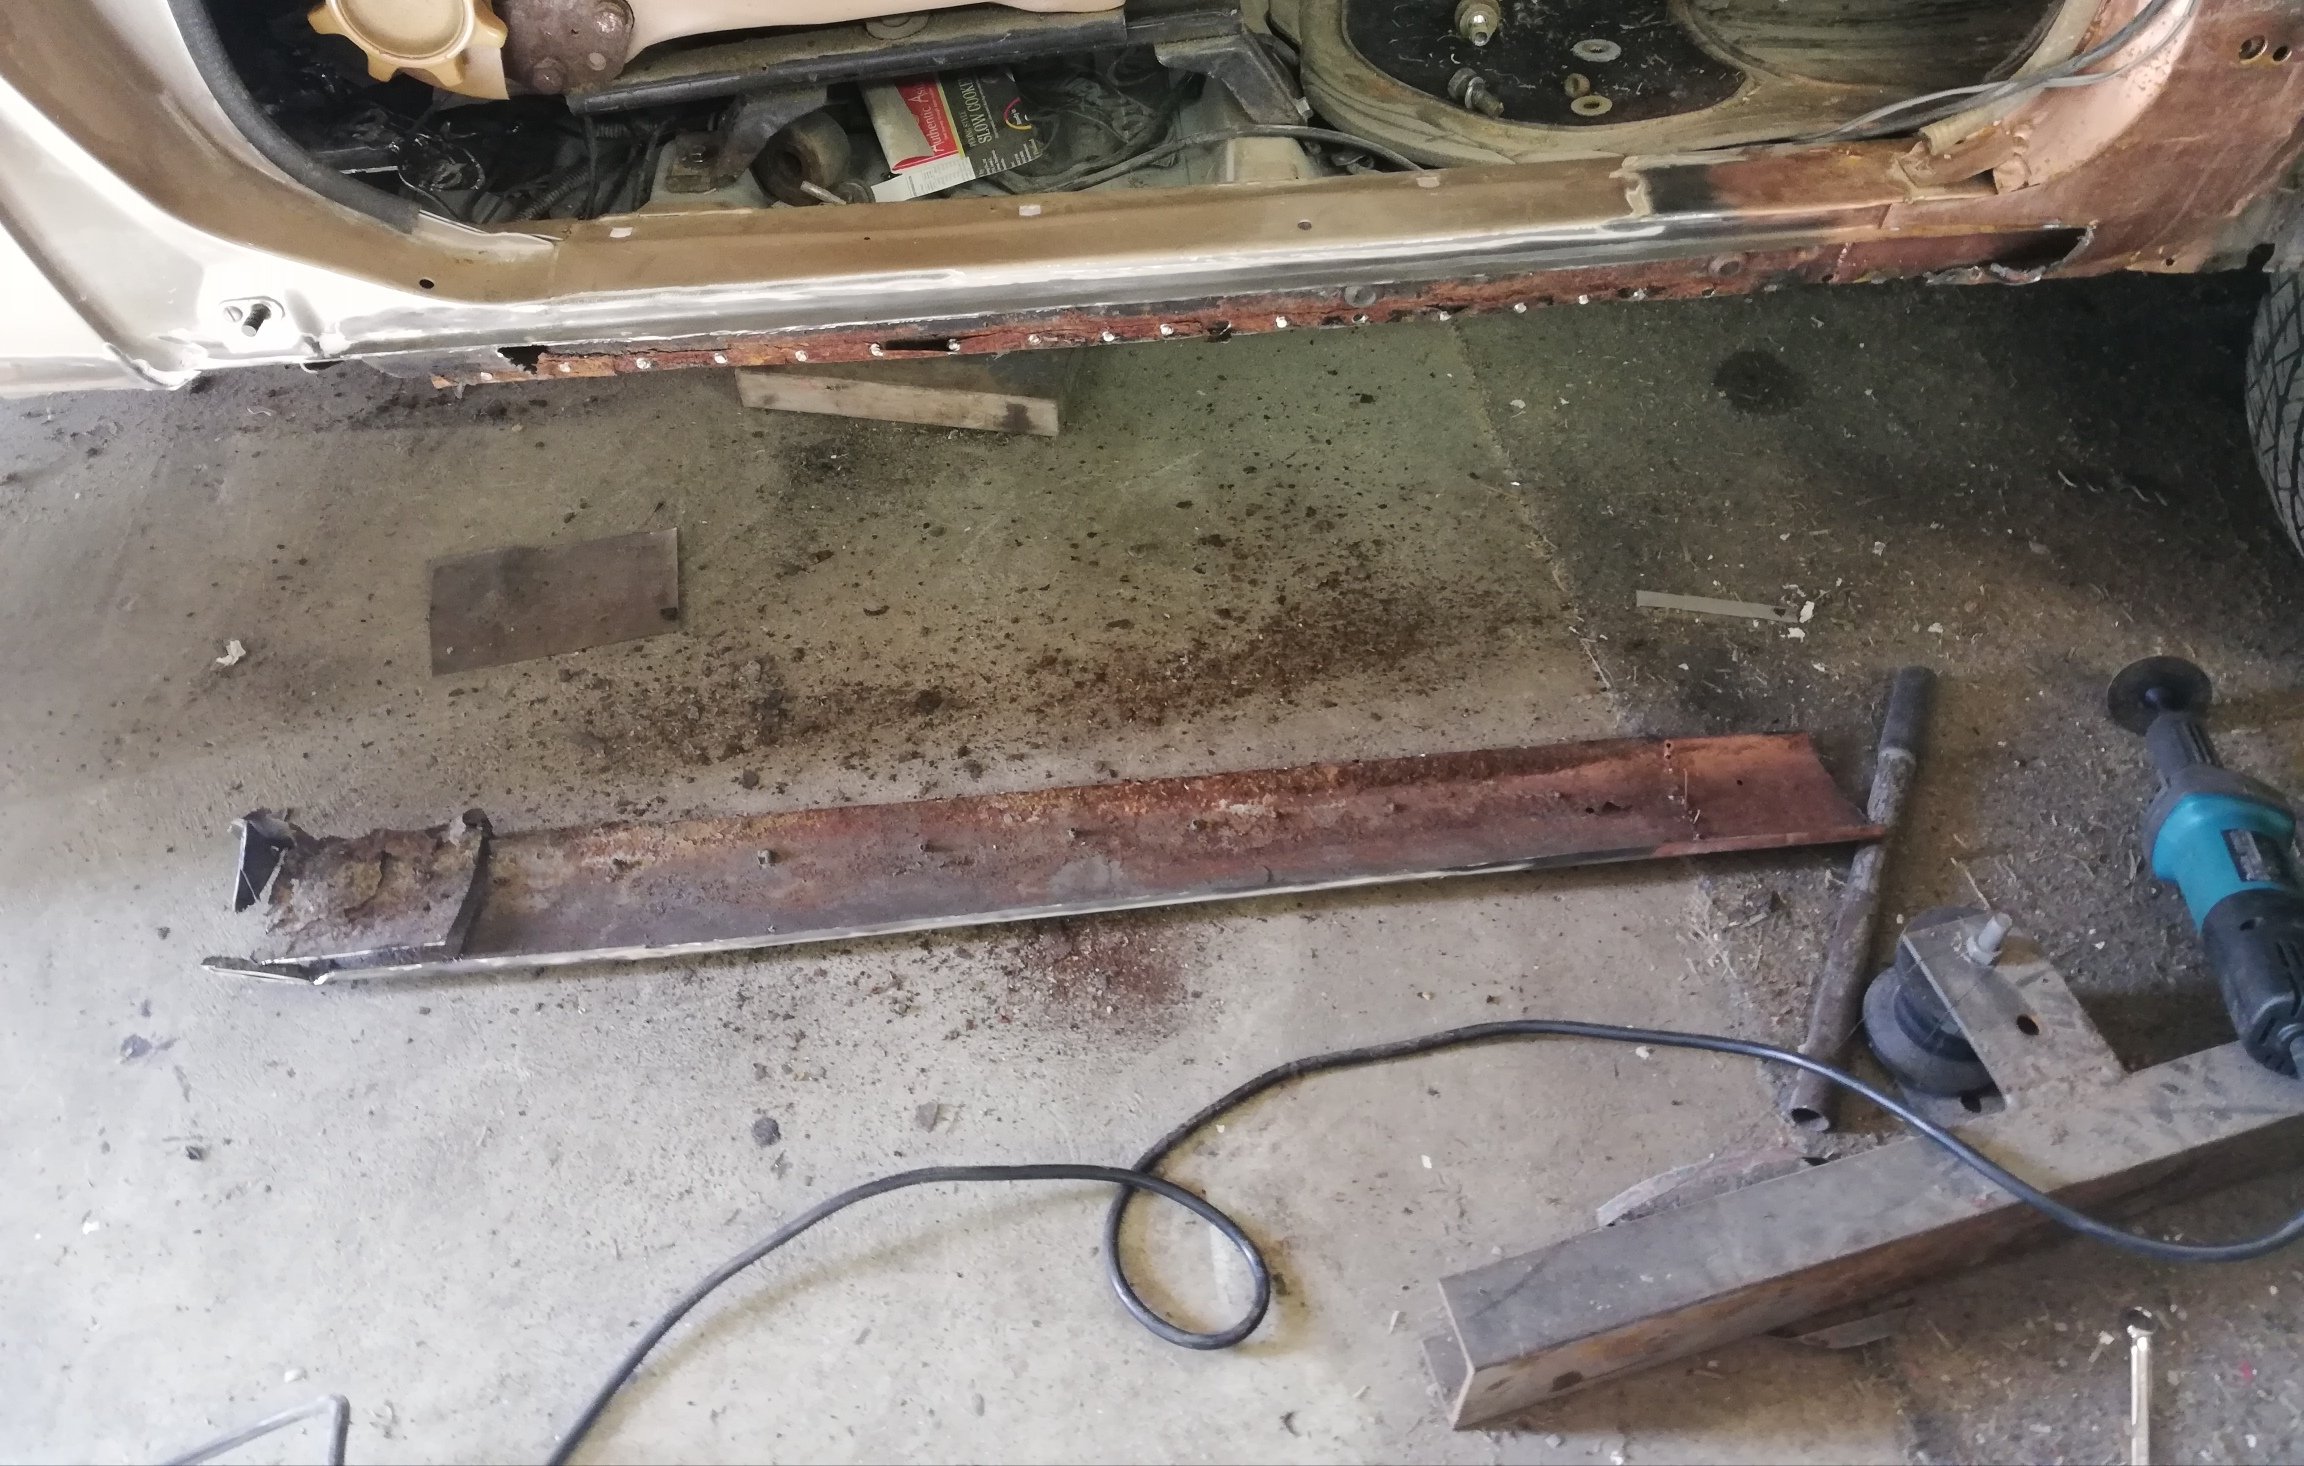
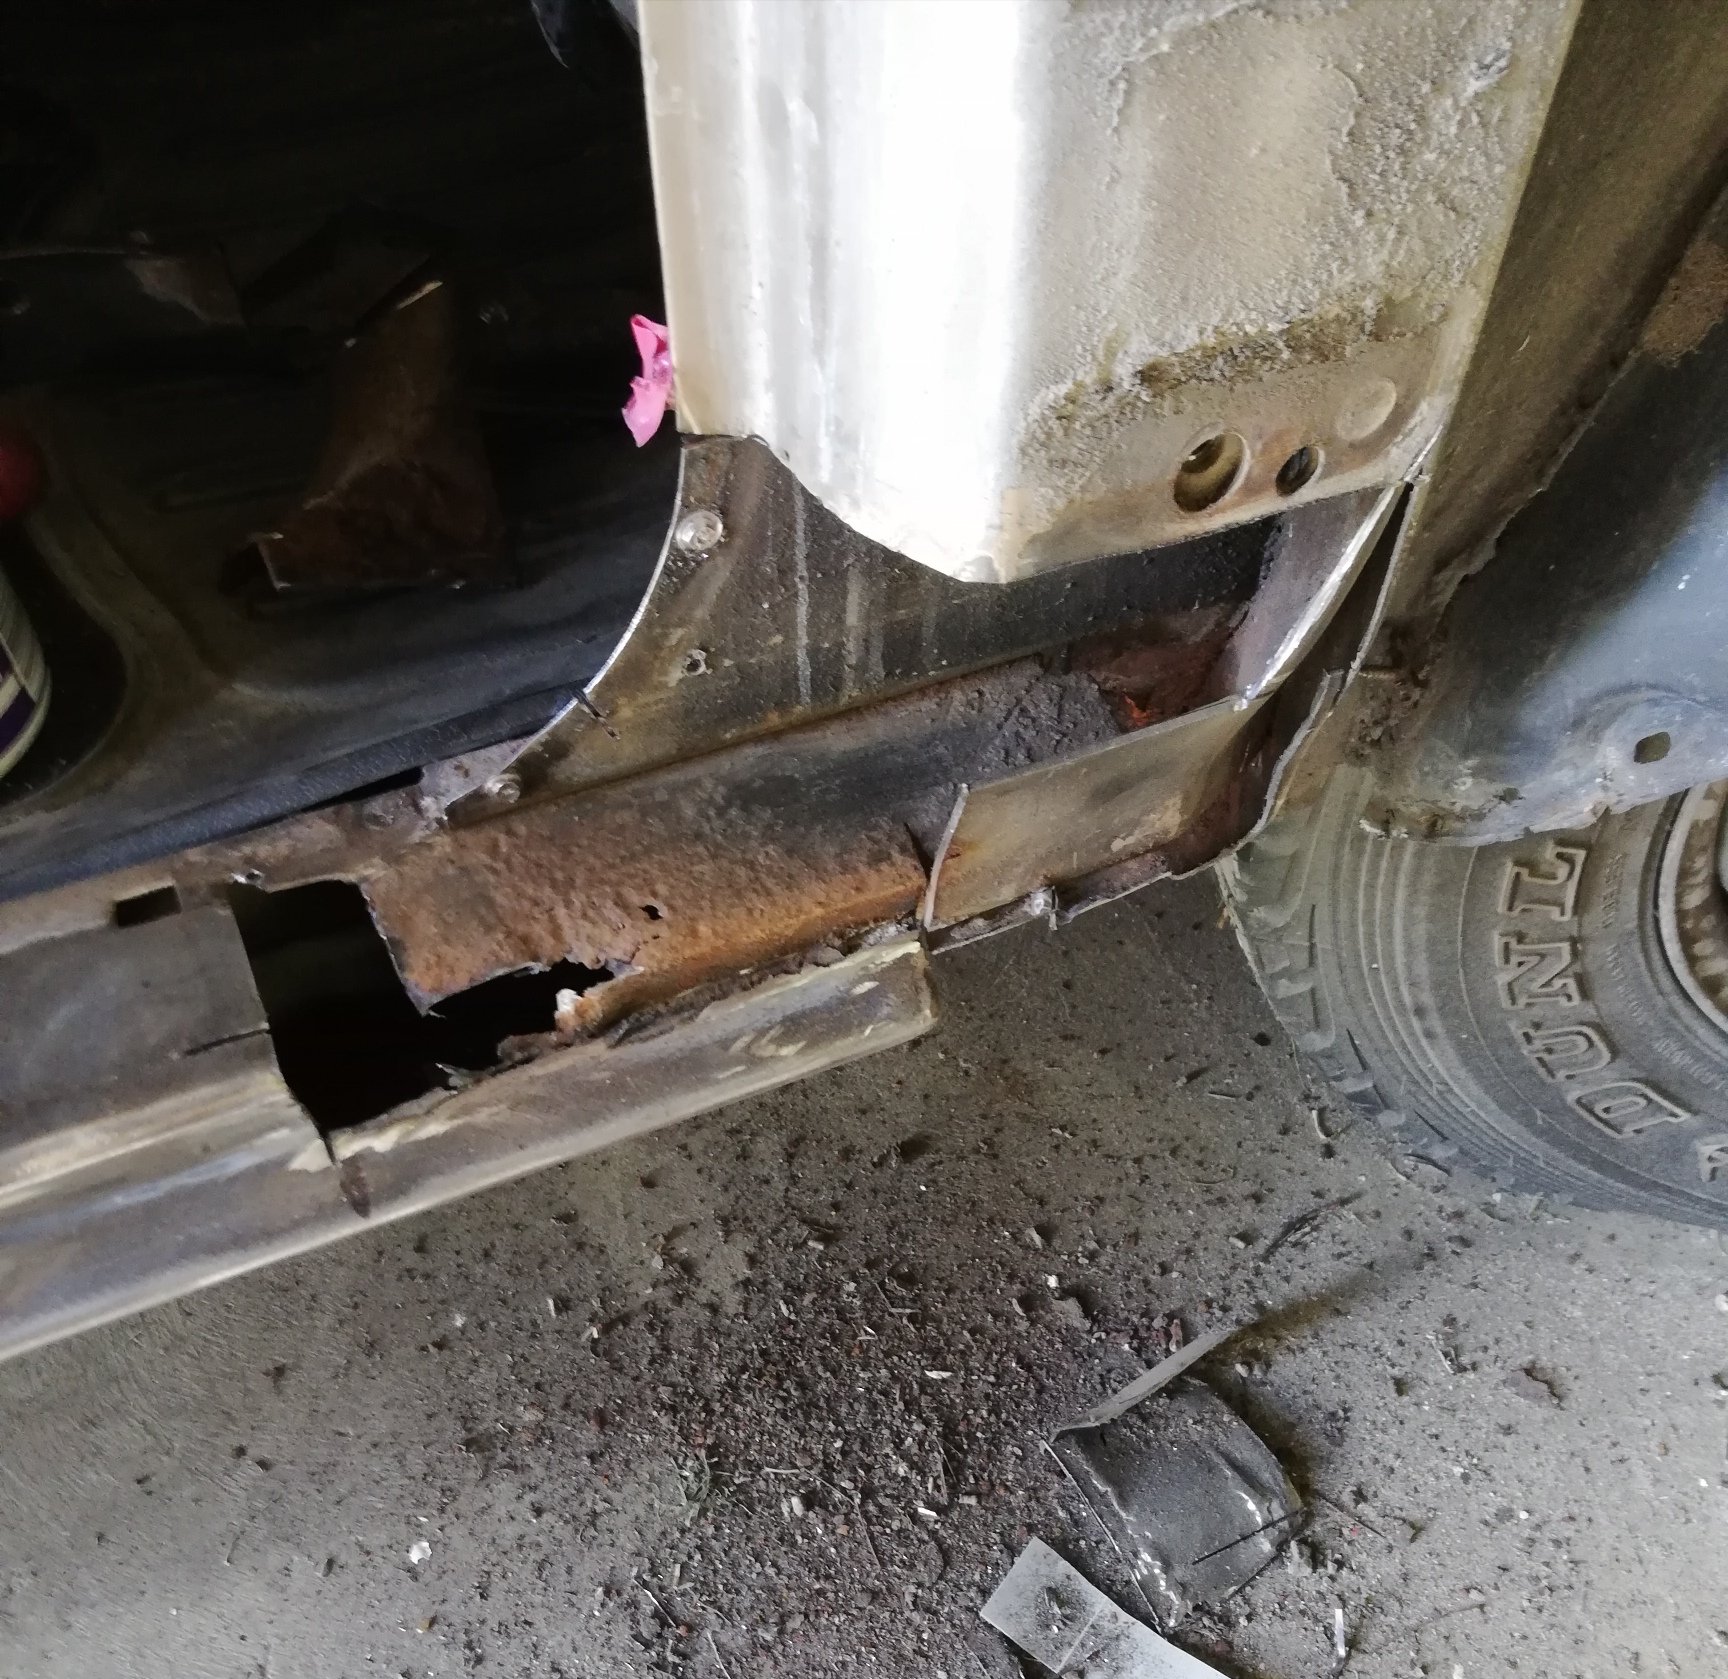
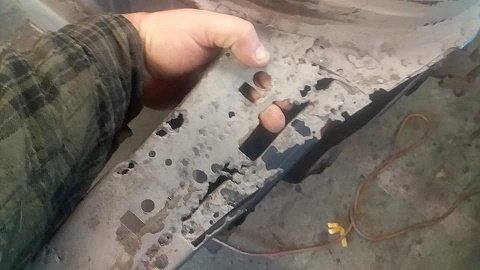
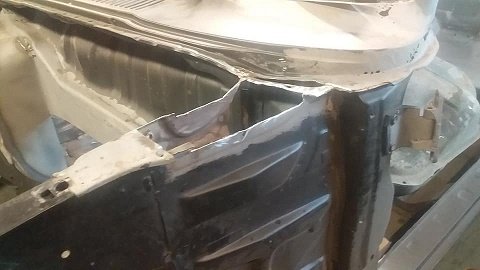
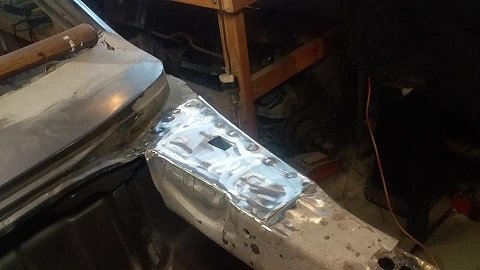
Yeah not sure what's going on here apprentice was let loose with the gas axe in here somehow. Guessing the sills were replaced at some stage. I think that strip of steel at the bottom is the remains of the original sill. For some reason the new one has a line of rivets. New every thing I guess Already done the front a while ago
1 point
-
Just hanging out, being cool.
1 point
-
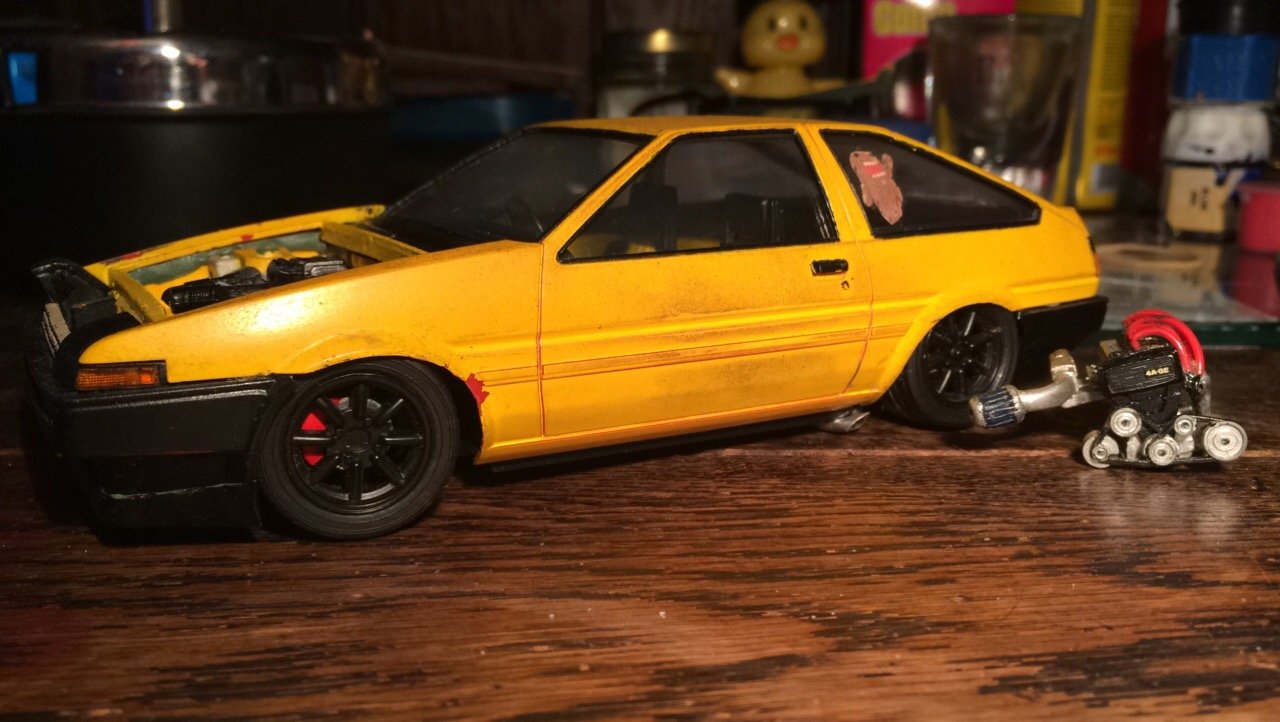
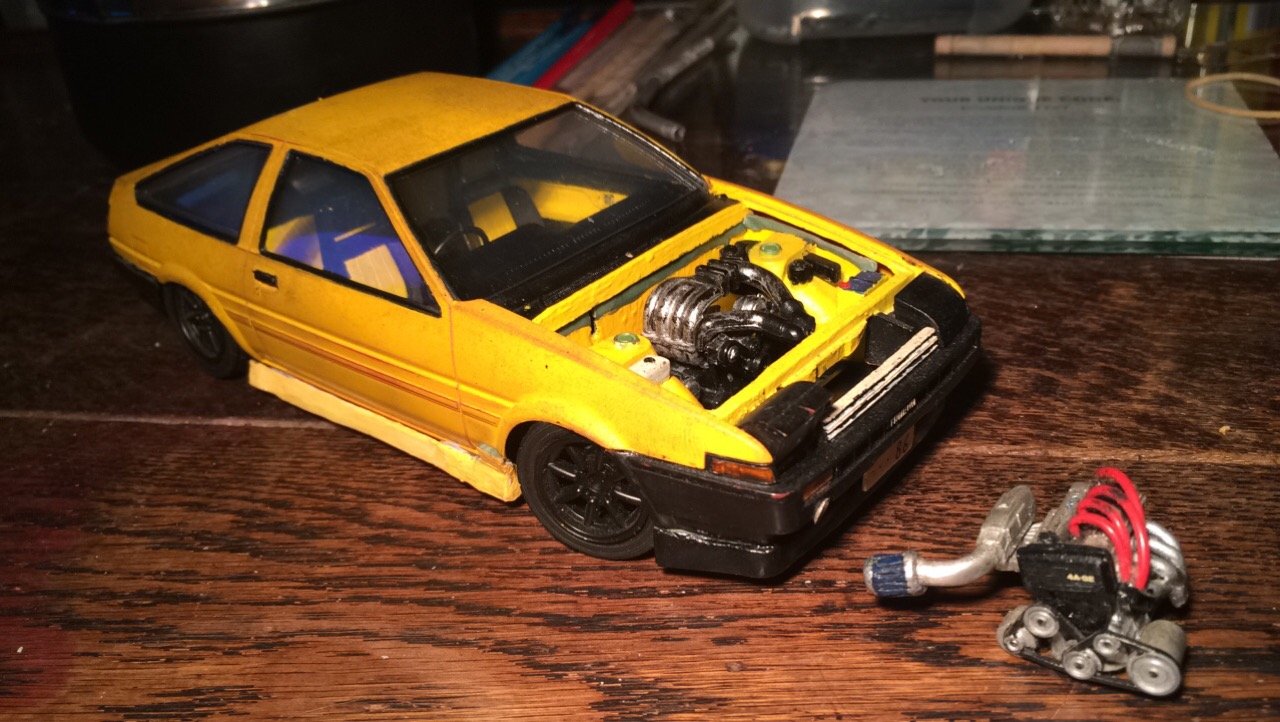
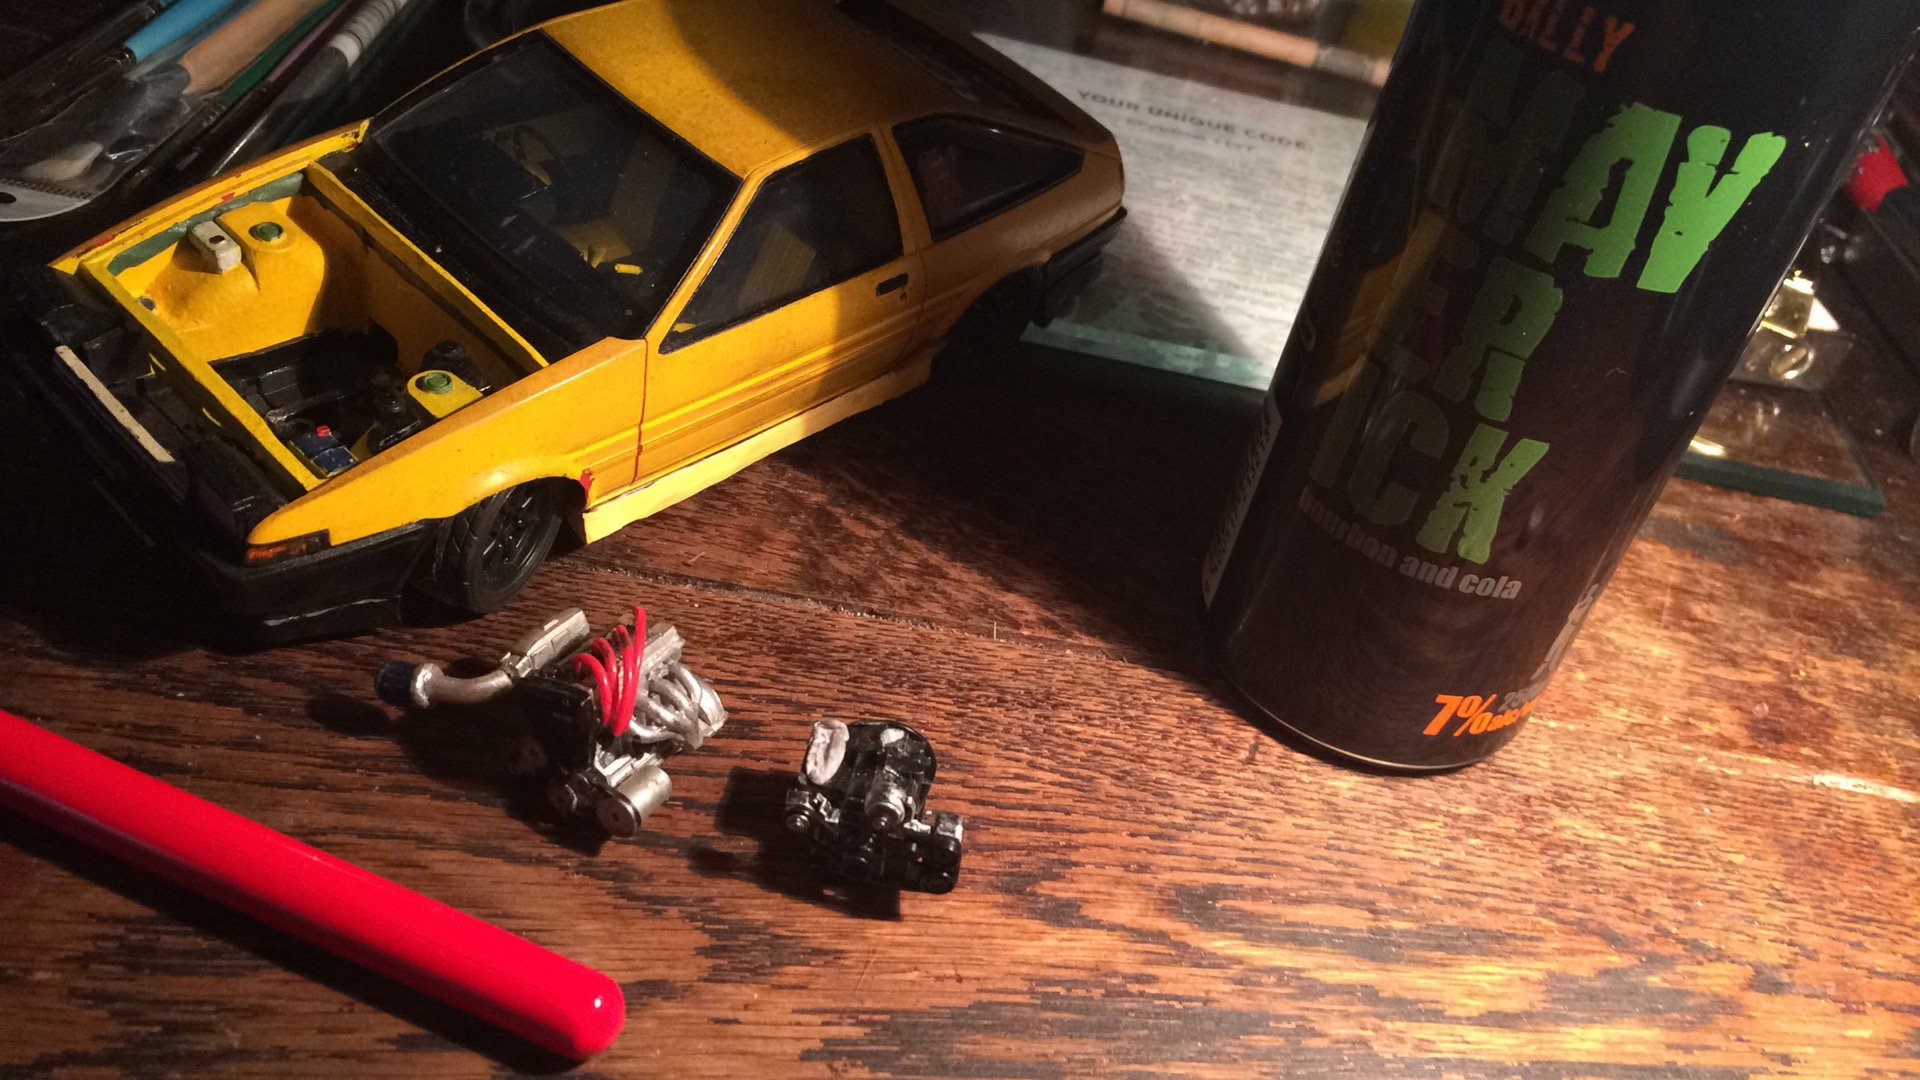
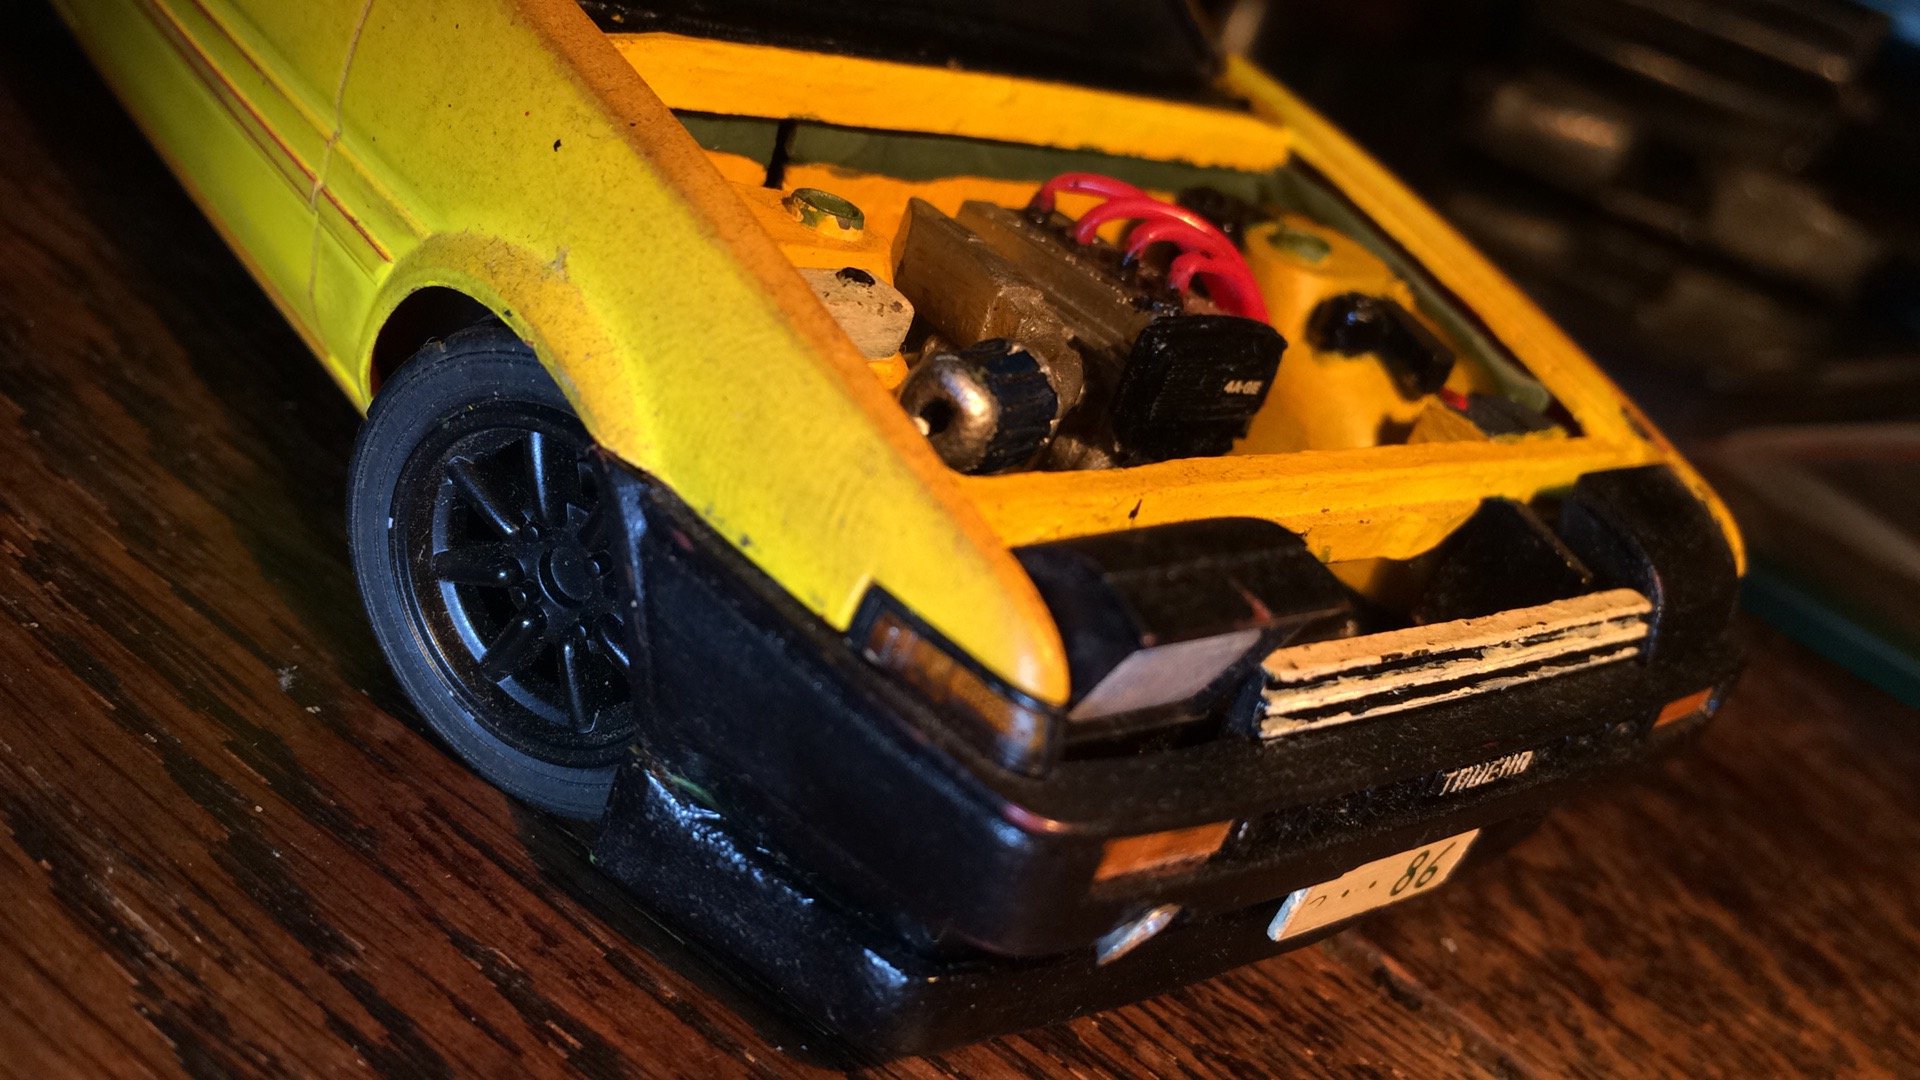
Found a couple more pics on my phone... pretty terrible pics sorry.. but yeah Aoshima 1/24 Trueno it came with engine detail and also had a spring suspension setup (basically just normal plastic struts but with teeny tiny real springs like from inside a pen) took springs out Lowered the body shell itself on to the bottom plate as well as chopped the back out a bit to allow the diff to really slam right down had to cut down the firewall and sides of engine bay to allow body to go down further but massively misjudged and so had to build it back up again with modeling clay custom exhaust with side exit made from alloy tubing had a stab at making front lip and sideskirts from modelling clay cold air induction pipe from front bumper found some tiny rubber tubing somewhere to make into sparkplug leads custom intake pipe and filter made from alloy and clay its been bashed up a bit from moving house and neglect, ill try get some photos of the underside as thats where most of the work was done trying to get it sitting right while still roll freely (thats a thing for me, its gotta still be able to roll even if its not perfectly smooth, not a fan of just gluing wheels in place etc) had an RX7 kit i never really finished that I robbed the 13b out of as well and can exchange that for the 4age if wanted
1 point
-
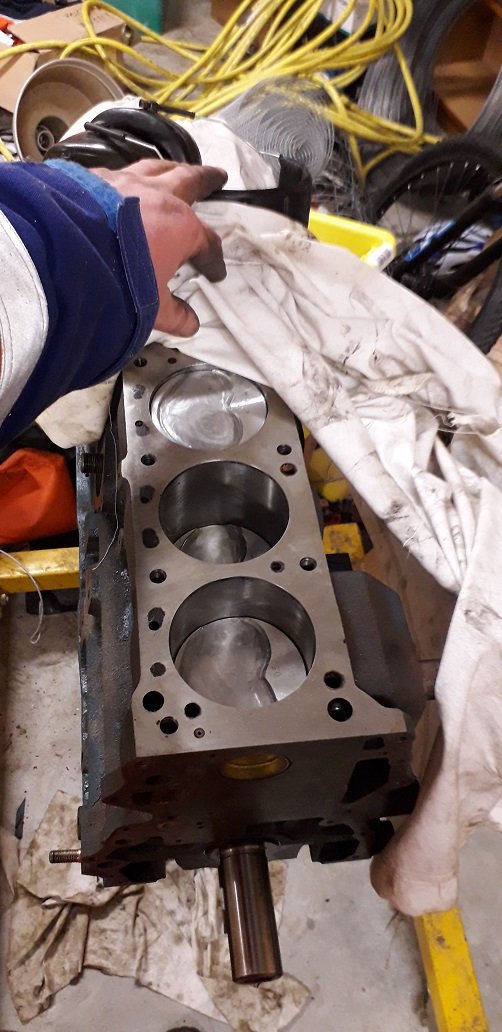
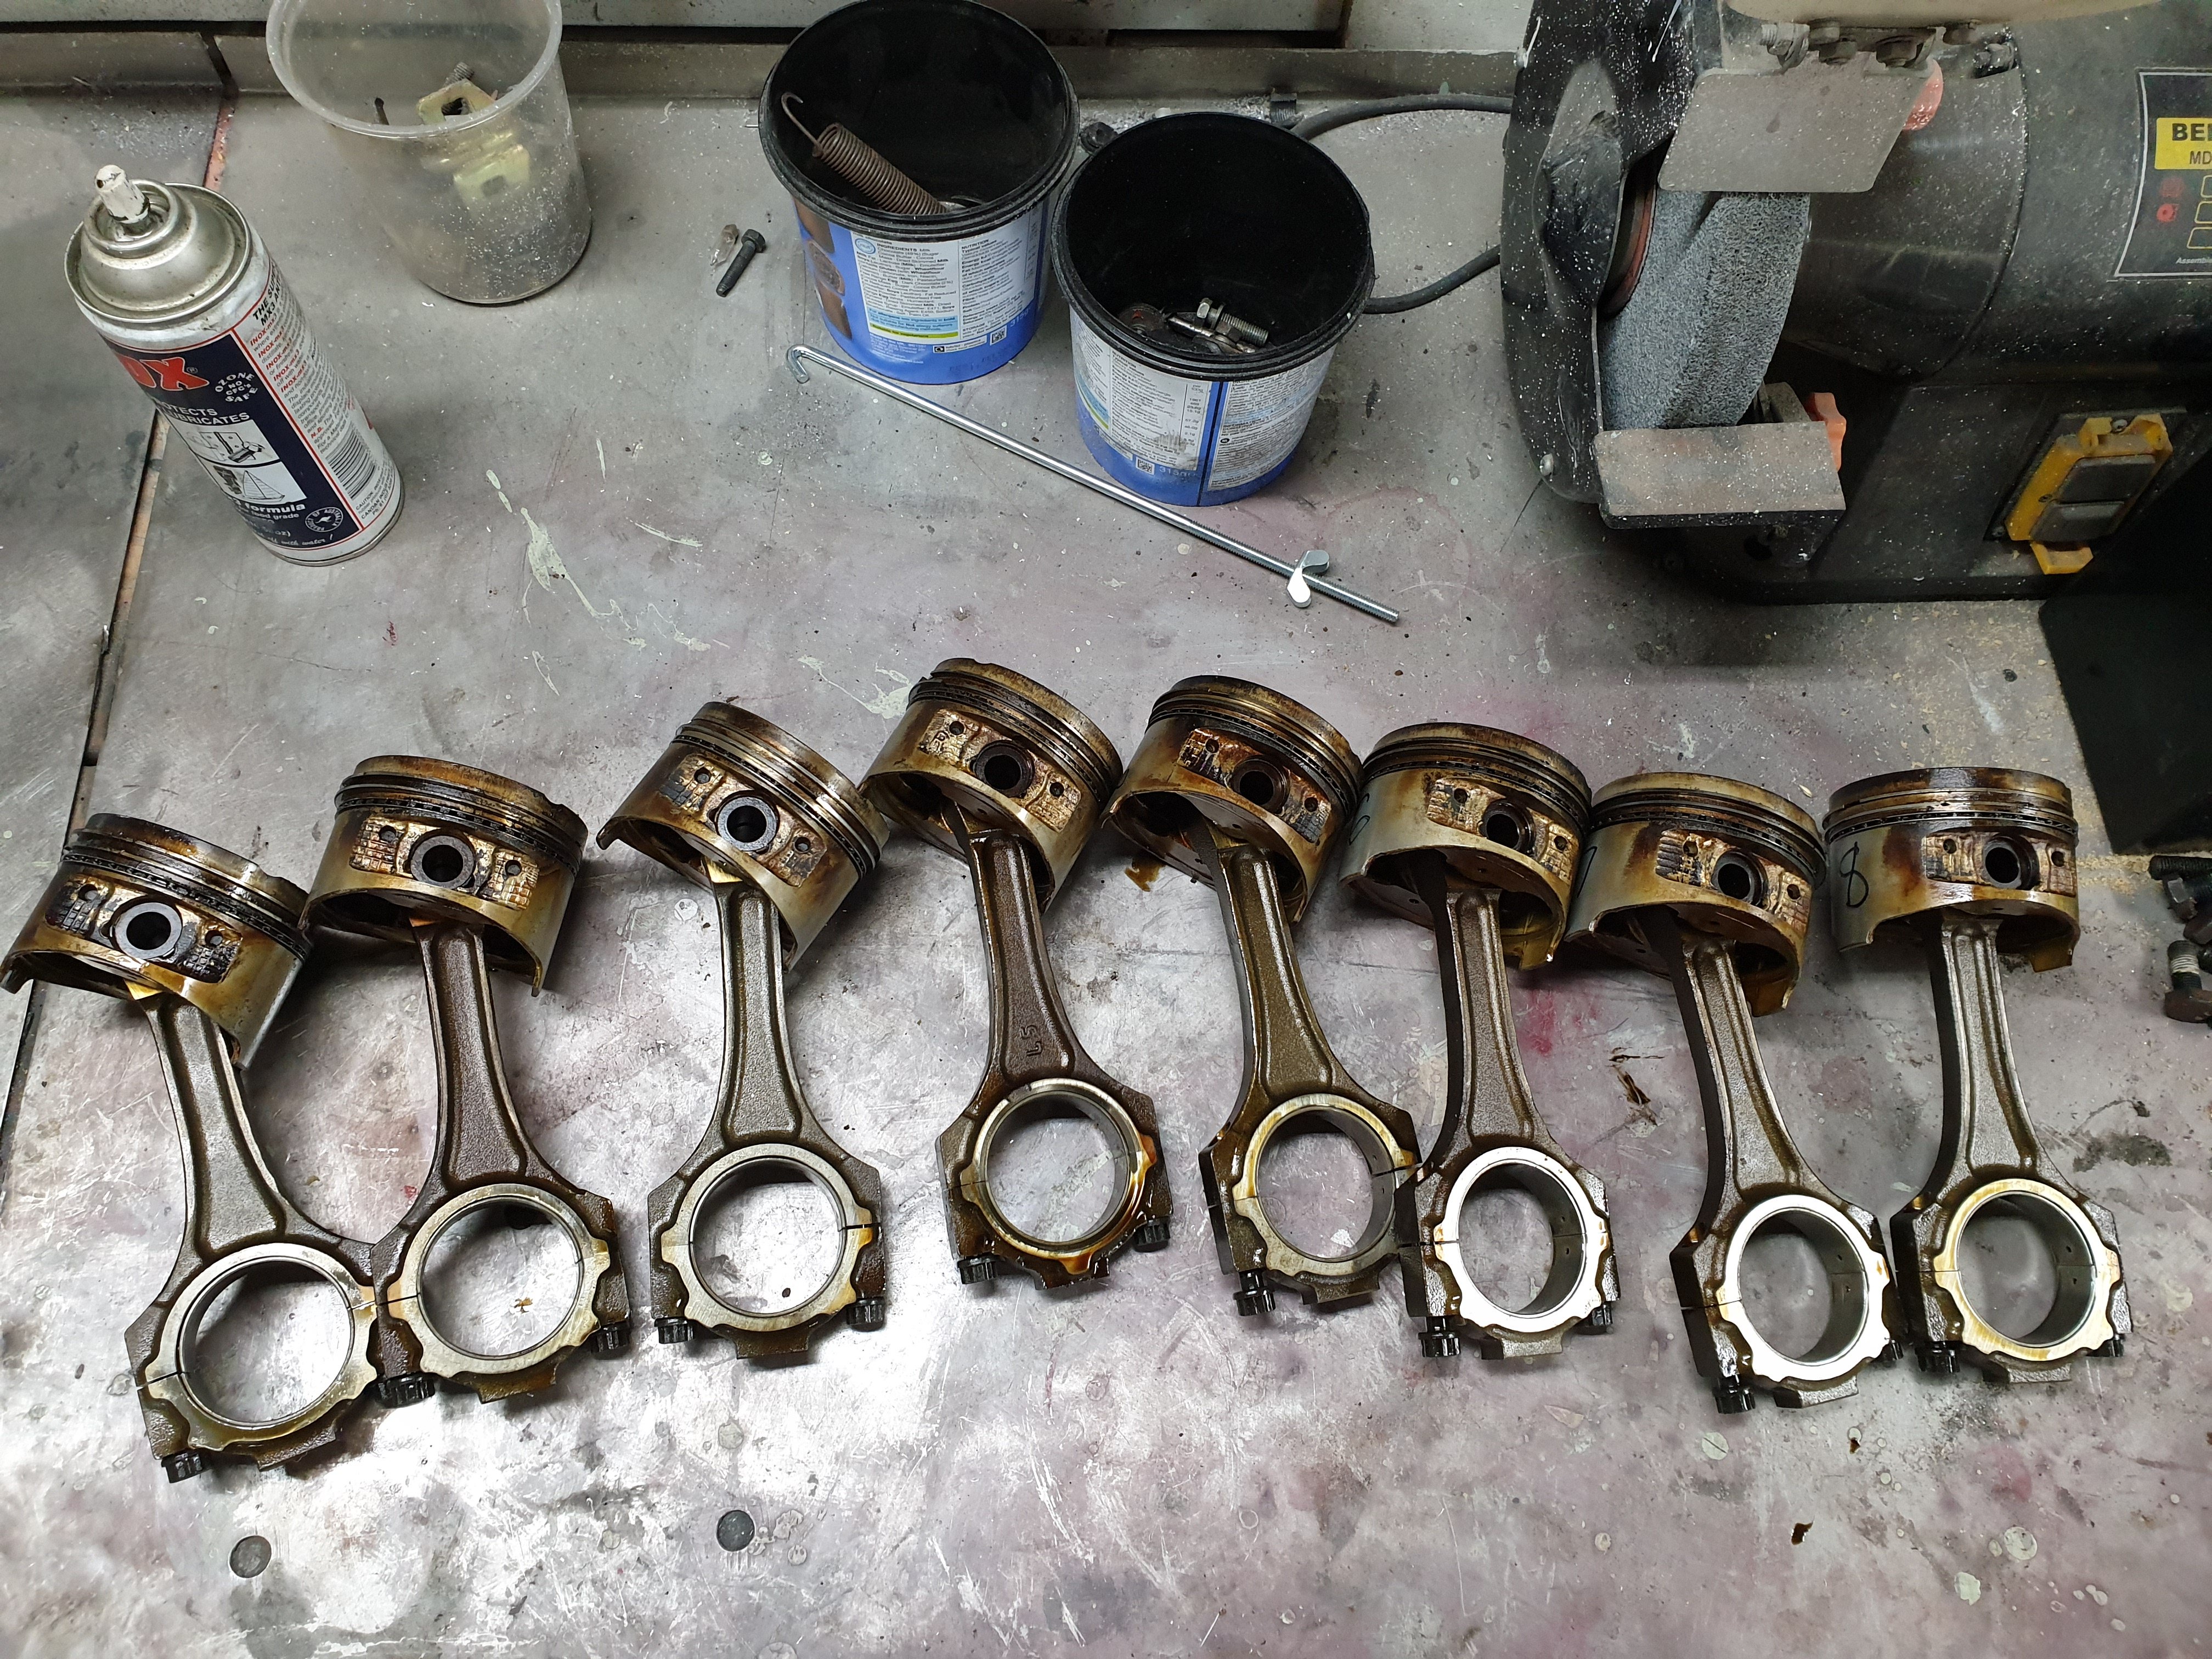
Pistons out of the block. Bores should clean up with a hone but we'll see and the crank looks like it just needs a polish. New eagle rods and Ross pistons to go back in.
1 point
-
just using short silicone hose on my na setup, works fine. will do the same on this missing the hose clamps in this pic1 point
-
So plan is - twin 45mm (or 1 3/4") for most of the length, which matches the existing twin pipe from the manifold to the Y that is a muffler shop replacement that i will keep a very small part of, - into a single 57mm (or 2 1/4") pipe to match the existing rear muffler, that i cribbed from bits from the Croma Turbo i wrecked This was way more expensive than i thought, especially as a bought a nice new welder to do it with. Even my man-math was struggling. After watching some youtube and doing some actual math i started with making the new Y section from which everything else will be built from. and went forwards from there. The Y is right at the back of the floor pan and actually has a kick up towards the diff. Shiny stuff to the ex croma over the diff section And painted with some BBQ paint Pretty flash for a driveway job! Ended up using only the first 50cm or so of the old secondaries but turned out nice in the end. Shit is tight getting in and out. This is the new front section against the old part, the new Y joint ends adjacent to the white bit on old pipe so ive extended the primaries by like 2 meters. Unfortunately didnt take any photos of the whole thing as the rear half was installed so i could ensure the front half lined up Buttoned it all up just before dark and its surprisingly quiet, probably because i was used to the old blowing exhaust, but has a proper FIat rasp at around 2000 rpm or stabbing the throttle and seems to free rev a wee bit better. Tightening it all up properly means it now has no leaks, but it rattles on the cross member, i want to put a support off the gear box and I remembered that i forgot to weld in a O2 sensor bug so another couple evenings tweaking and upside down welding before a road test and butt dyno.1 point
-
finally adjusted the clutch pedal properly relative to the master cylinder, the various adjusting nuts are very high under the dash and not made for human hands. Yay. However in doing so i broke the light switch out of the column, with my head. This is the third? time ive done this, the car cam with no end of hacks to get around the broken one it had, i got this off another 2300 nut as his spare, and it broke in the box on the way home, you can see the lump of JB weld on the front indicator To be fair they are pretty weak design relative to the spring and ball bearing they act against, and with the plastic being so old they just bust out. ITs also a special snowflake* because it spaces the column change ball and the outer steering column, so we must make do. (* for Eg found this NoS one http://www.epocacar.com/shop/en/internal/8933-devio-luci-fiat-2300-s-13-fili-nos.html for 213EUROs and its not even the one in my ca, its the one in the book ) Good ol JB Weld, (other epoxies are available), tricky to get them 'moulded' without slopping it down into the guts as well, but the old tape dams and several thin layers did the trick The 'ear' had also fallen off the indicator switch end, my boy donated one of his 20 sided dice to the fix Took the opportunity to clean and grease all the mechanisms including the gear lever control centre operational1 point
-
Last few weeks ive been fiddling with this between rain showers. Starting my using my special tool Ap. 5030/7 for ignition timing inspection: The photo above is after adjusting it back form about 14deg (not a bad eyeball!) rather than 12deg, using the adjusting wheel on the dizzy However all in advance is significantly more than the 36deg max shown on the tool, so might have to look at limiting that in the dizzy. Gave it a quick wash, needs a proper polish and wax and some cavity and underbody wax . Assumed the position When i picked it up from storage i had to clean out the carb of fine brown grit. This was the fuel filter, pretty sure its rust from the lines or tank, but it was not new and could have been from itself? Either way, well over due. Chucked one of these electric fuel pumps in, same as the ute, mainly to to save cranking for ages when its been sitting while the mechanical diaphragm pump sucks gas up from the tank This is the cheap fuel filter after about 10 minutes (you can see the e-pump above it) . However its not got any worse than that after a lot more idling etc, so I might put the nice new K&N replaceable filter glass one in soon.1 point
-
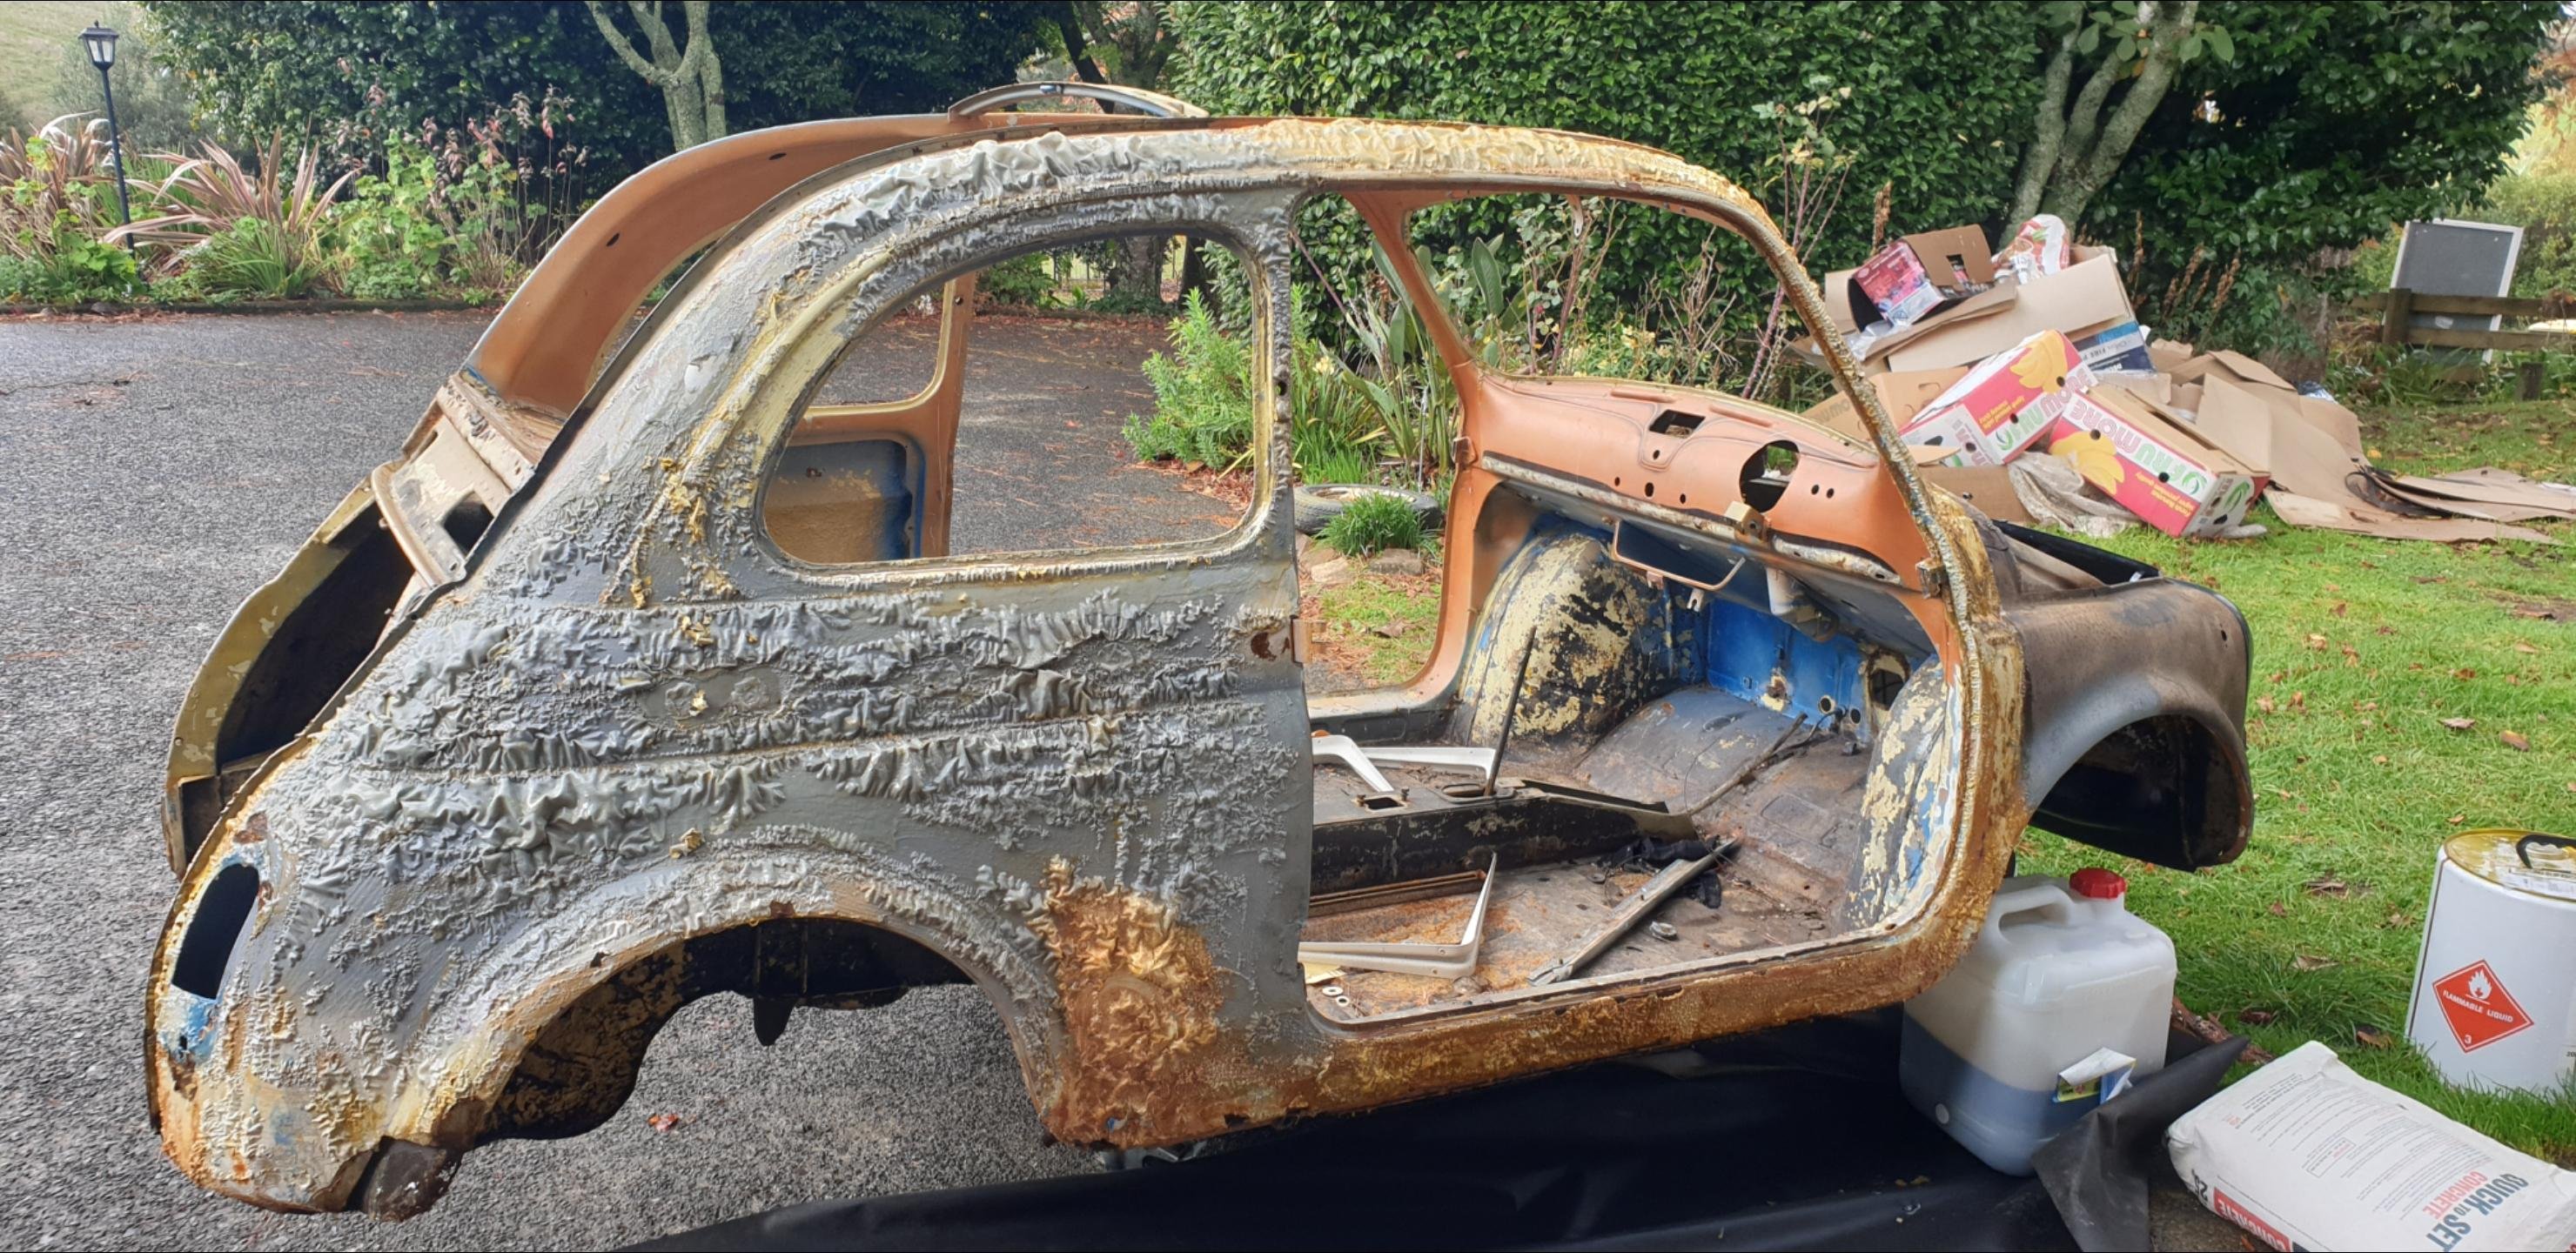
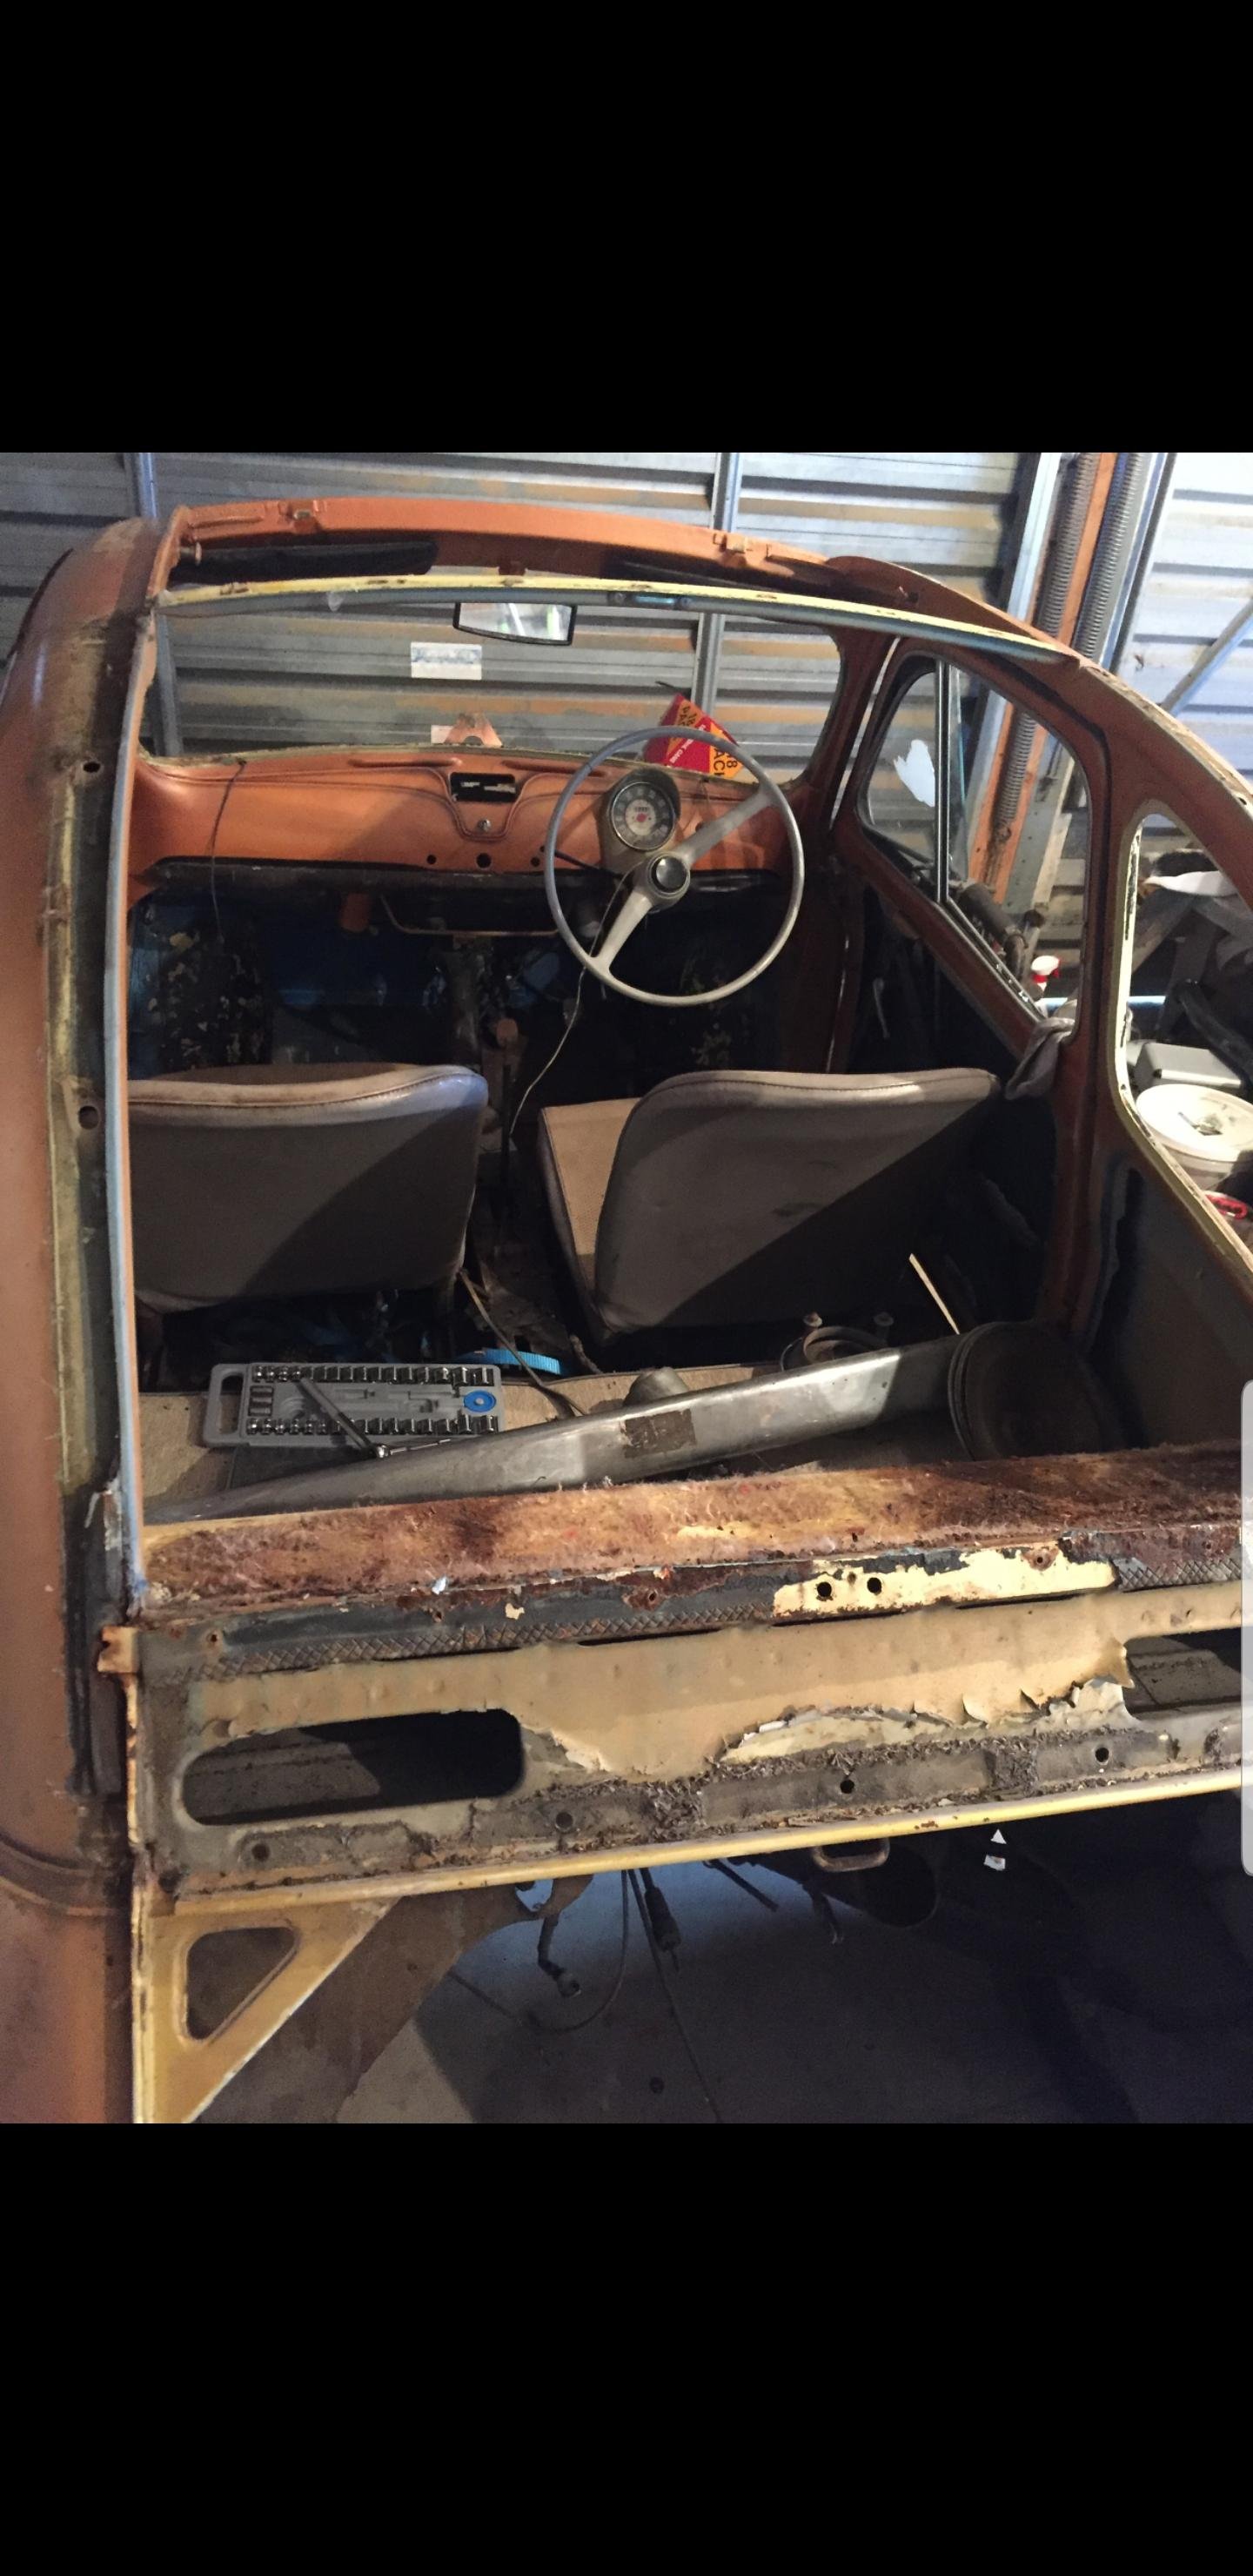
Bought a Fiat 500D a couple years ago for the Mrs. Was supposed to be a quick panel and paint, re reg and enjoy. Had beers with angle grinder out. Discovered many cancers. Got depressed. Moved overseas and forgot about it. Moved back to NZ and it hasn't turned itself in to dust so I decided to get it done. Hopefully making a thread will motivate me to finish it.
1 point
-
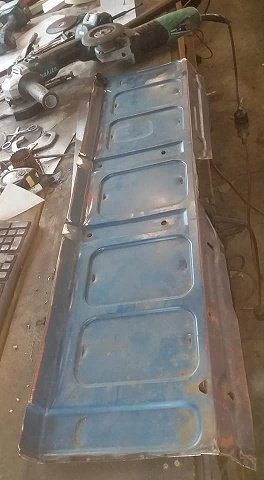
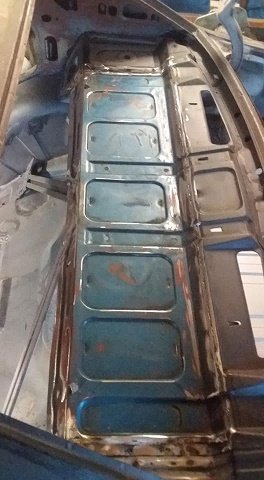
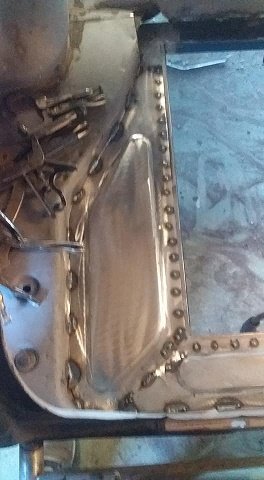
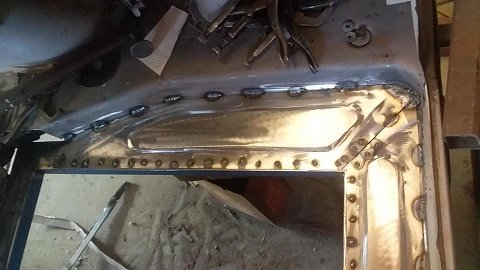
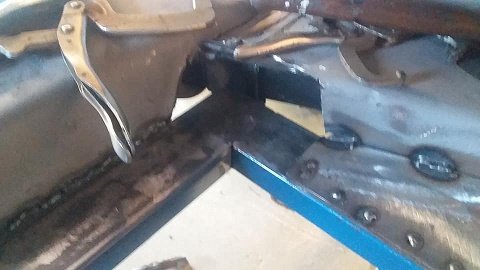
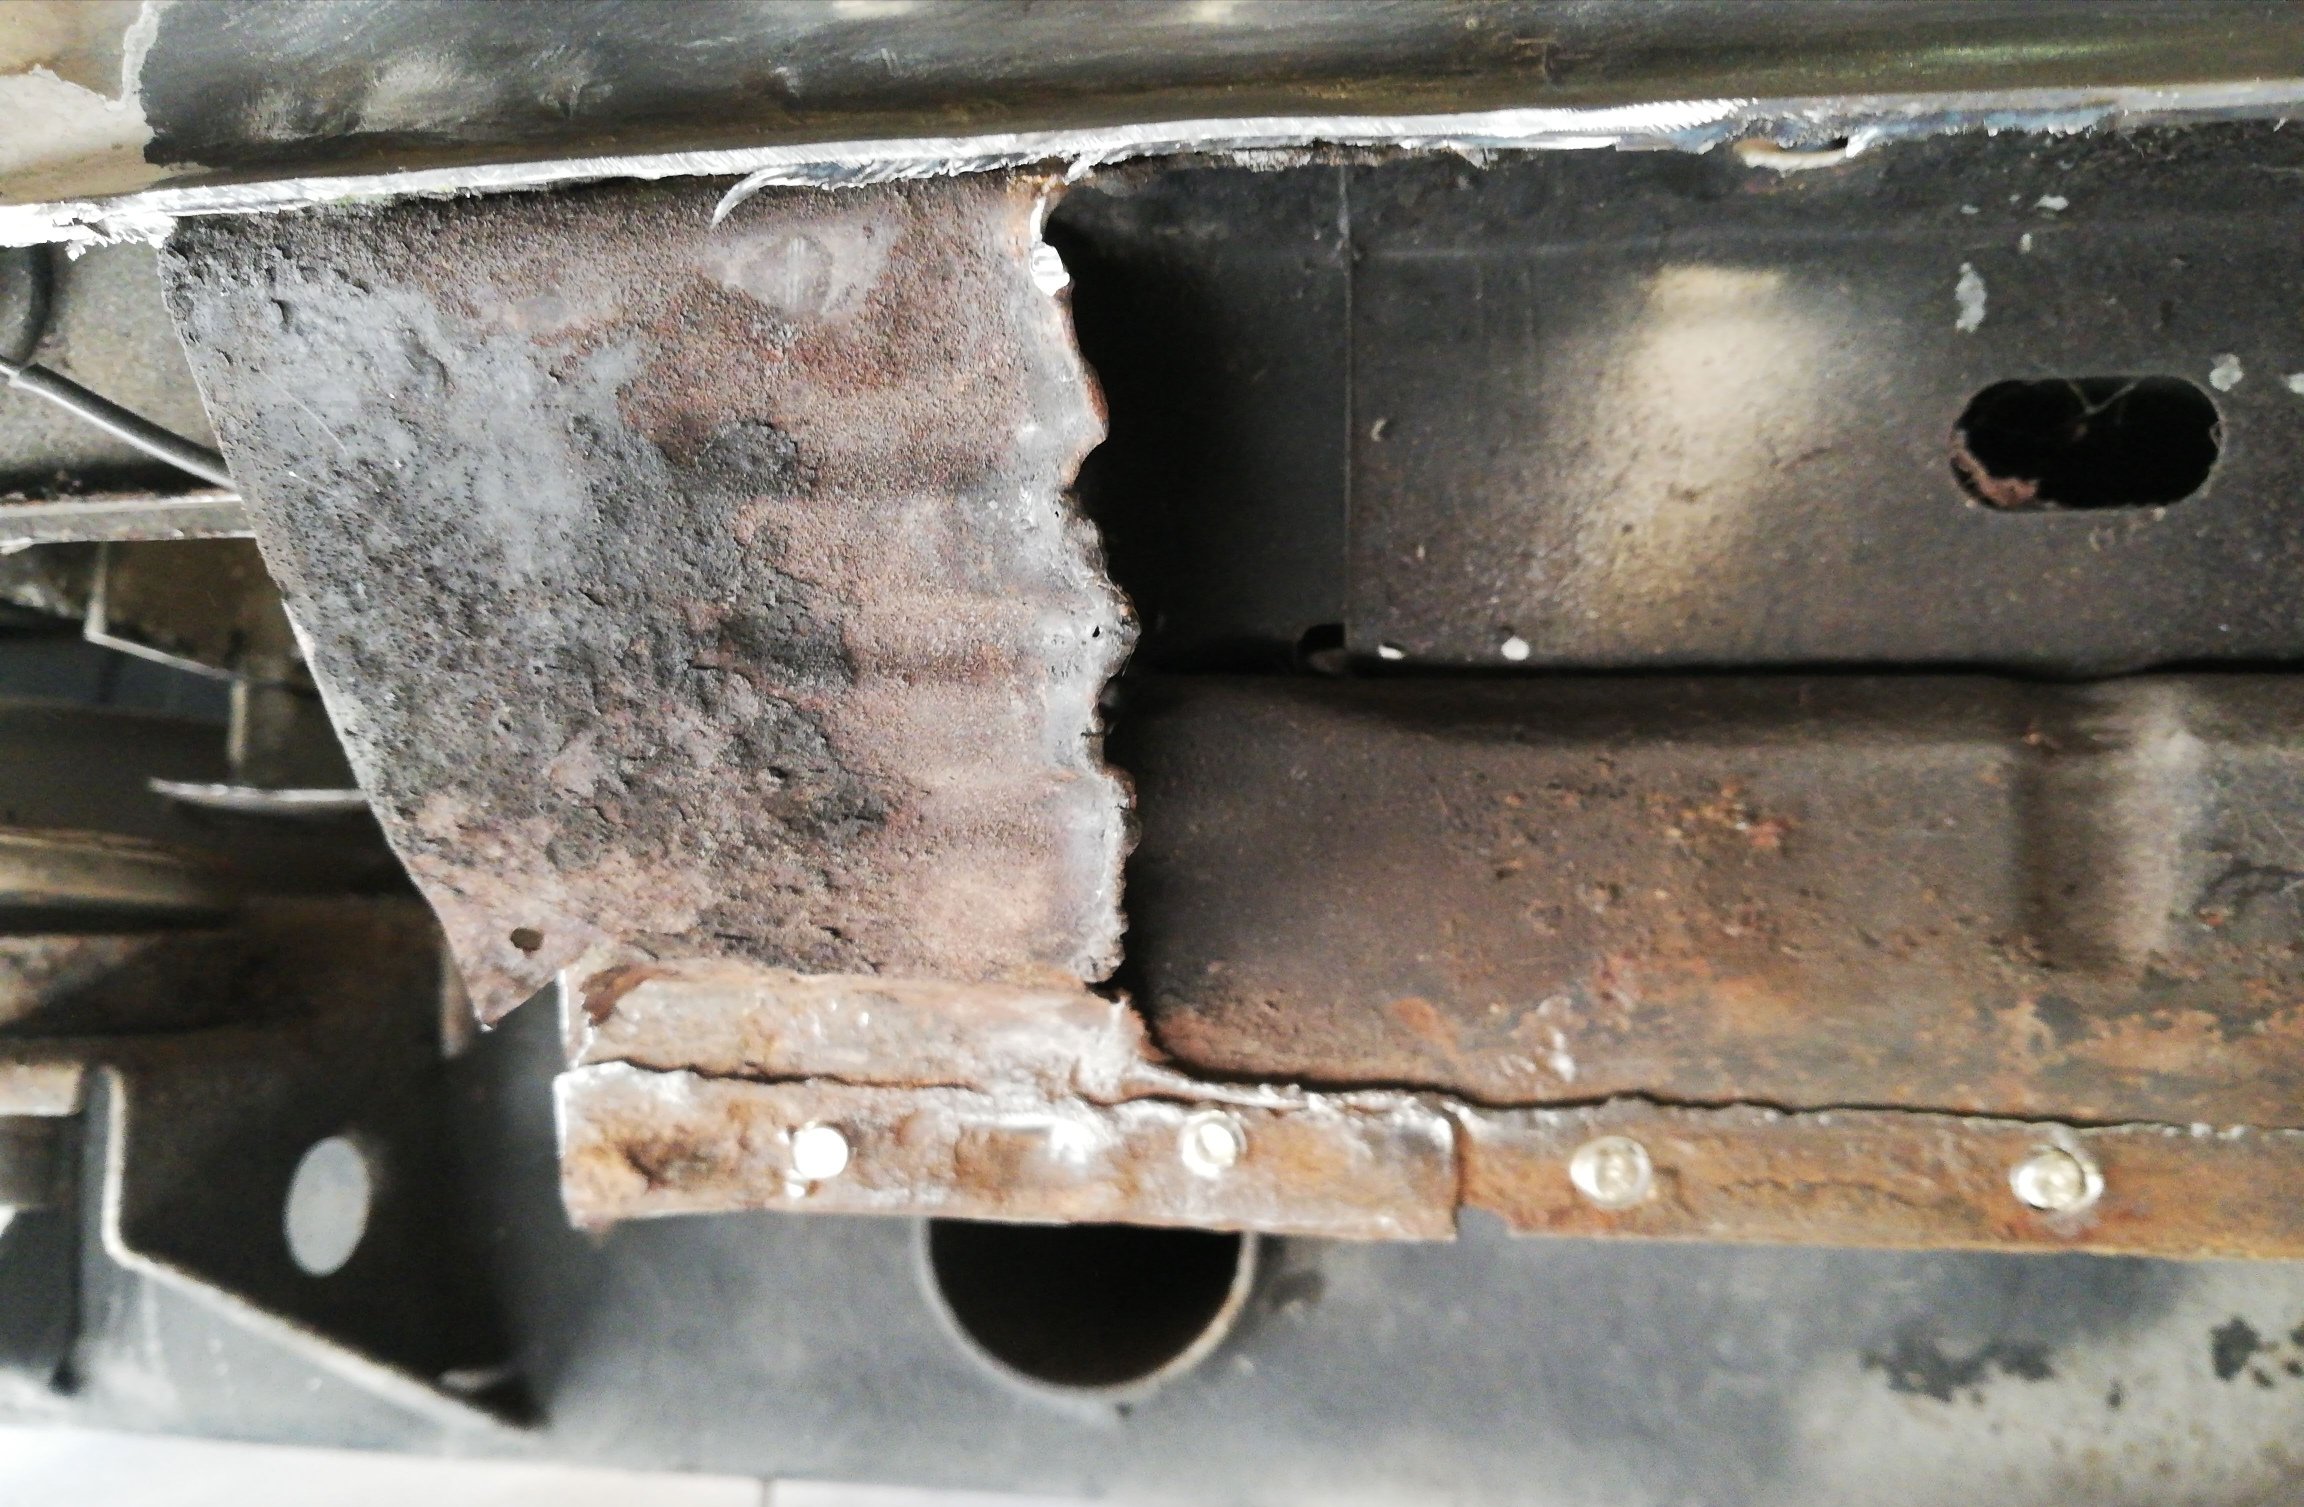
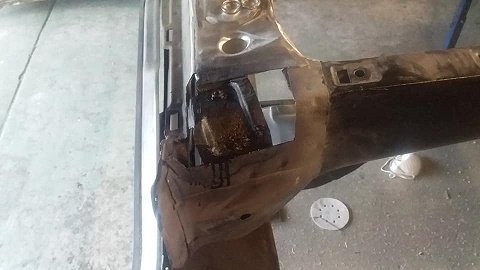
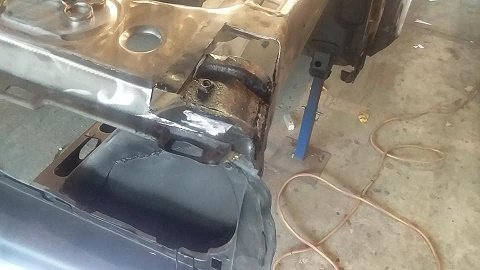
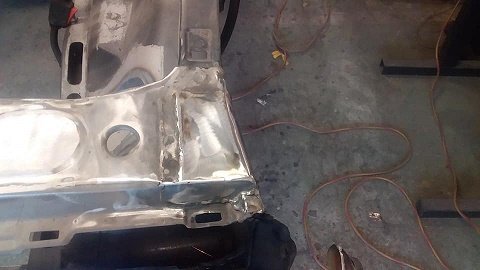
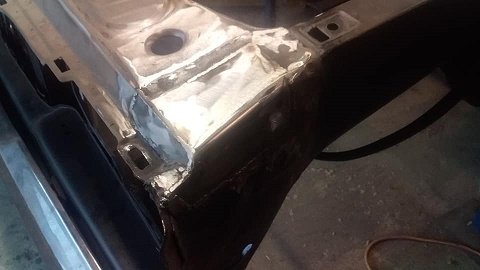
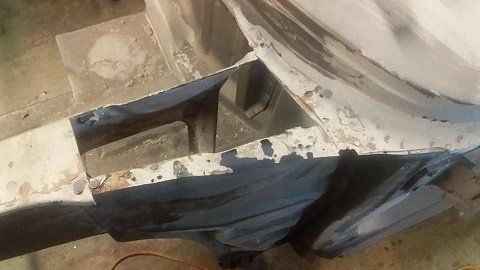
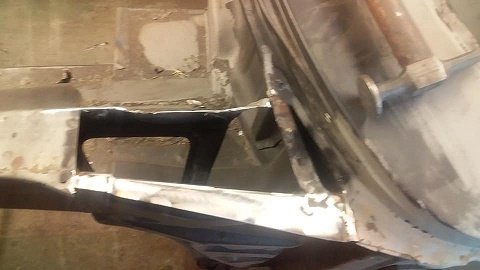
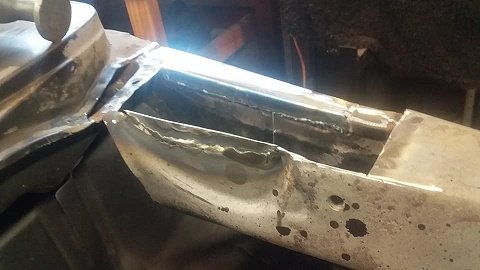
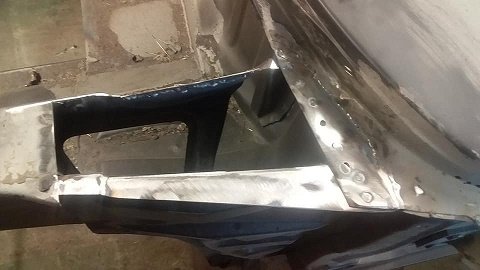
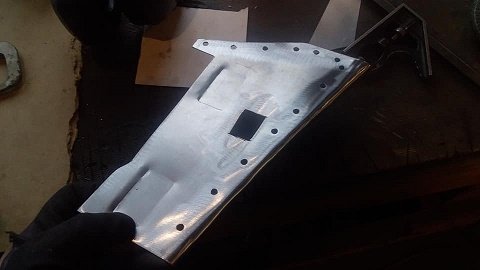
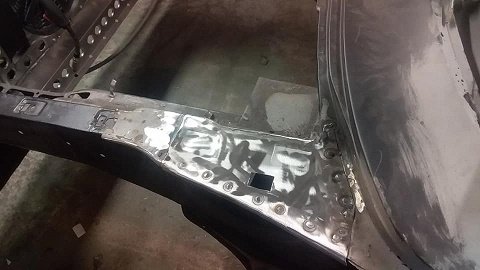
Gotta make sure those rust traps are in the right spot Now to figure out what to do about the cab back. Normally the floor and cab back extend a little past the back of the cab. The entire corner where the two meet has been replaced, however they chose to weld an L section facing inside the cab (leaving the rusty seam in place and bogging to taste). Tempted to cut it all out and do it as per factory, but don't want to take the tray off etc. So might just go to the next bend in the floor and blend it somehow. Now that I have cut out the front and rear of the sill, I'm thinking I my as well cut the middle out too and replace with a single section. Oh yeah, I checked the passenger side mount. I took my glasses off andd turned out the light. Looks fine
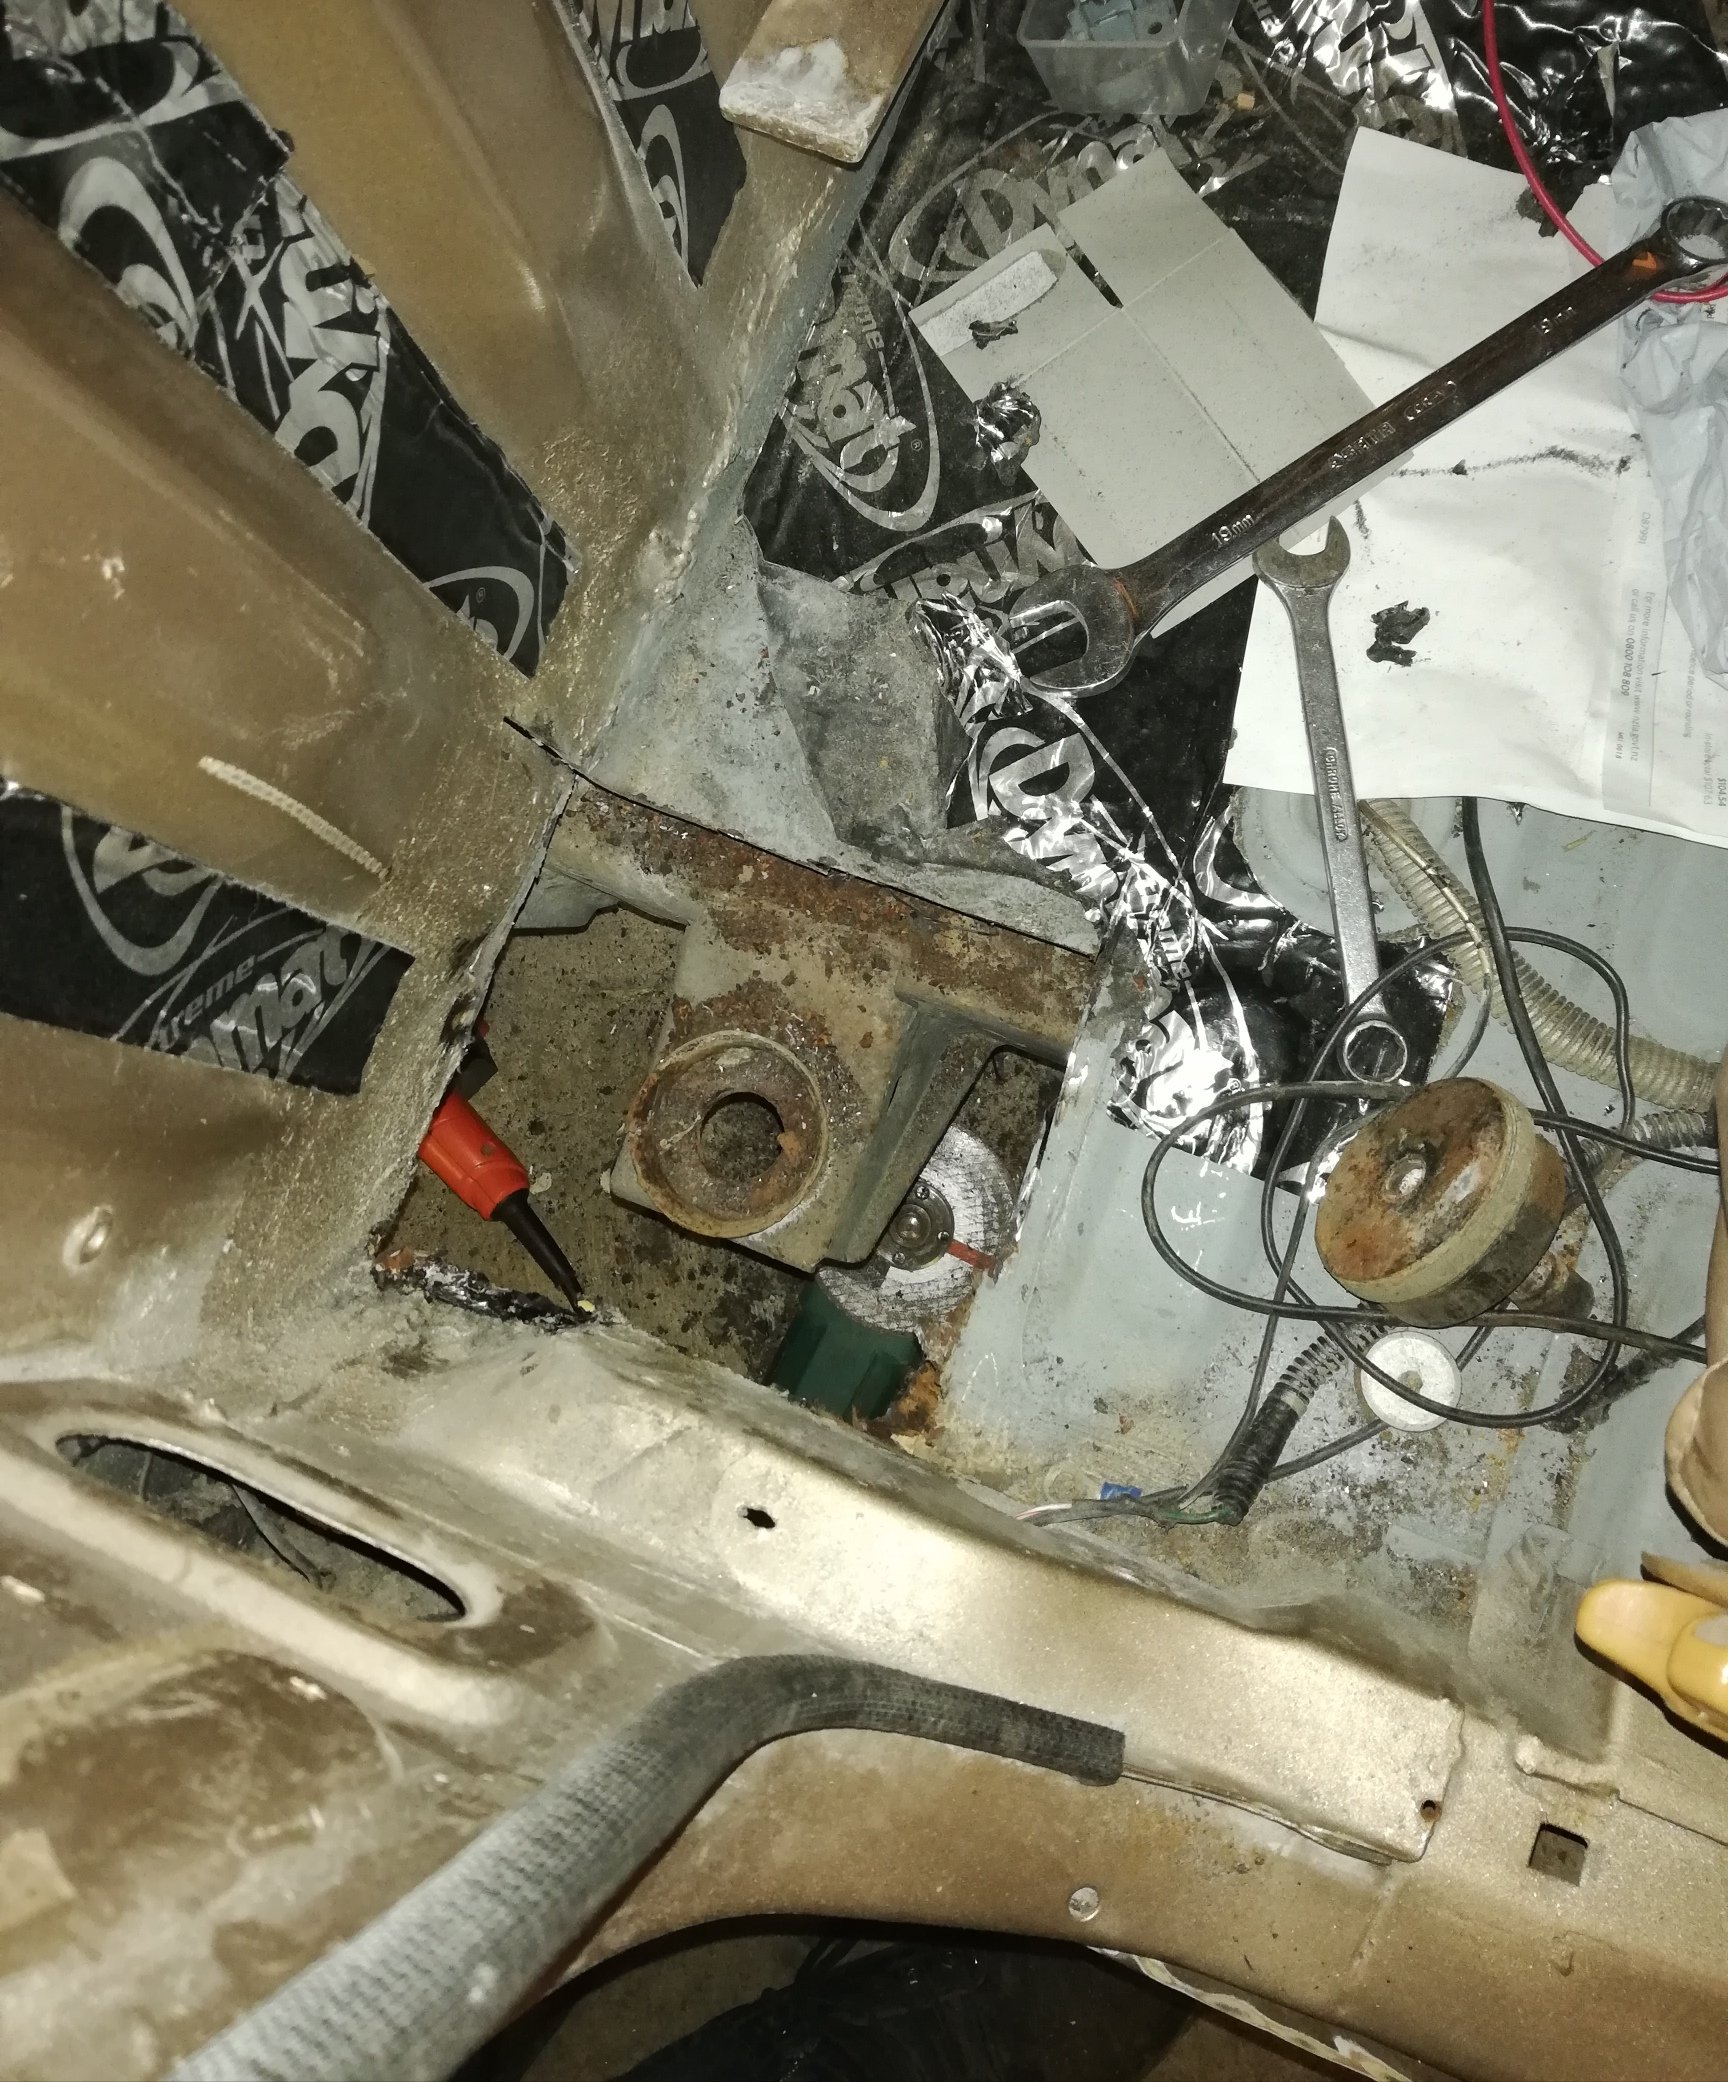
1 point
-
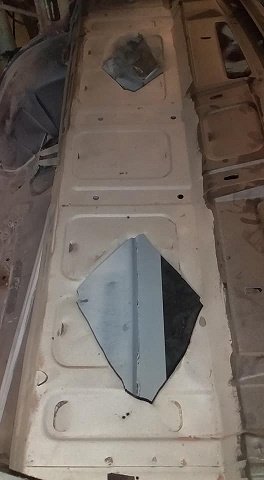
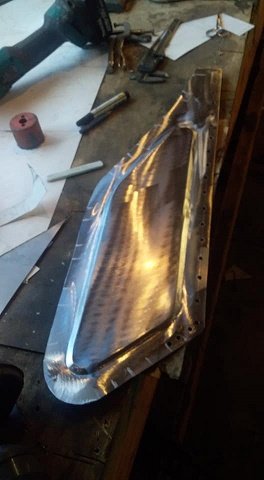
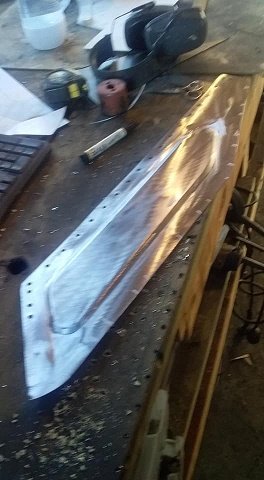
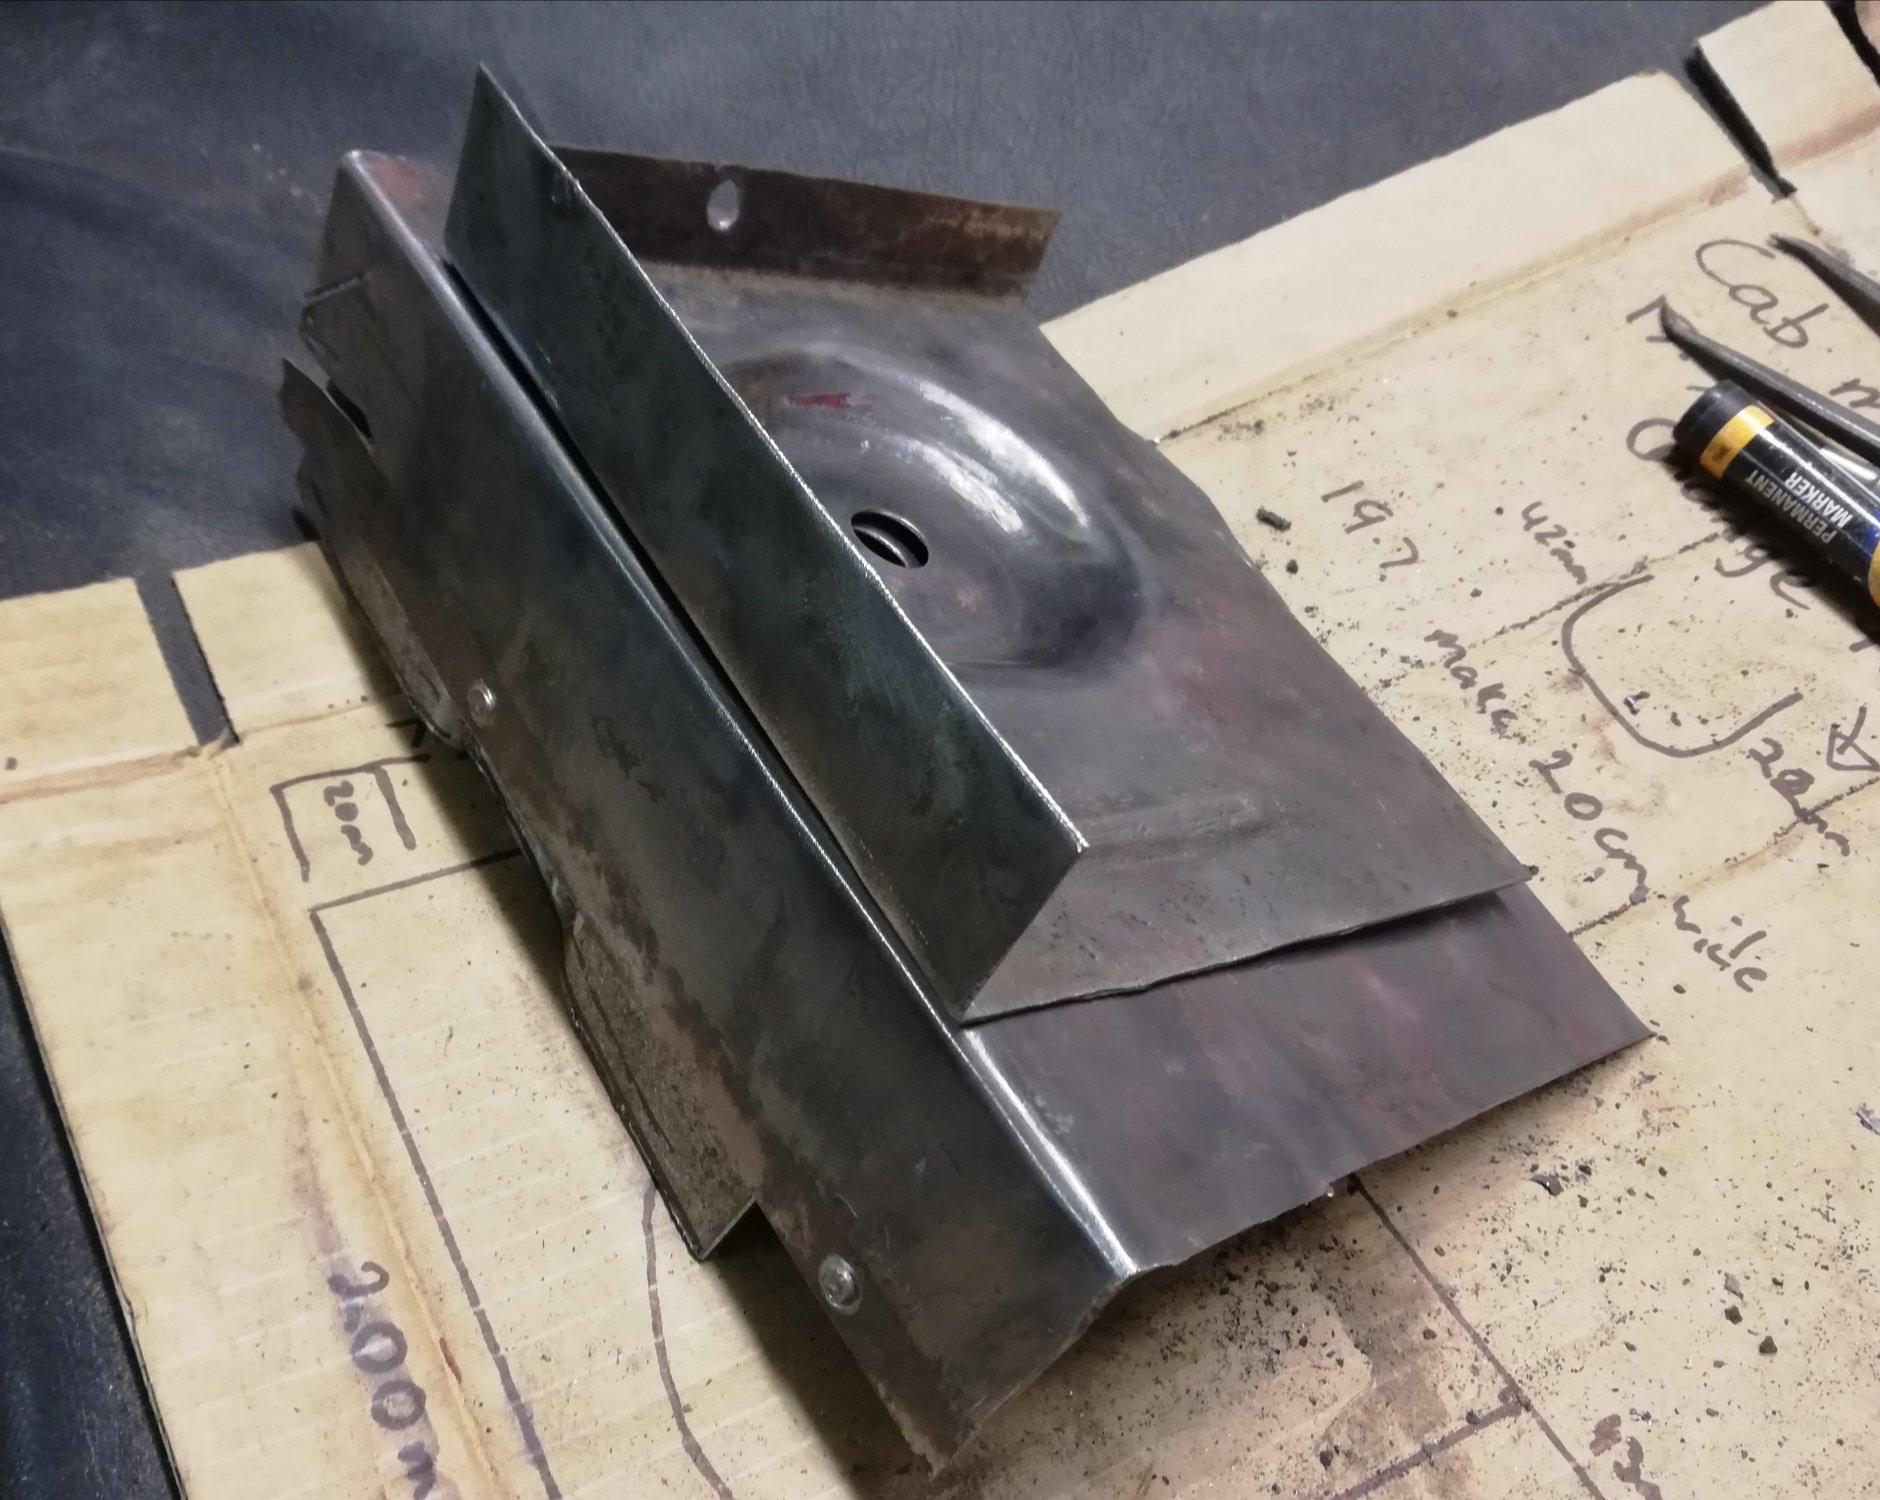
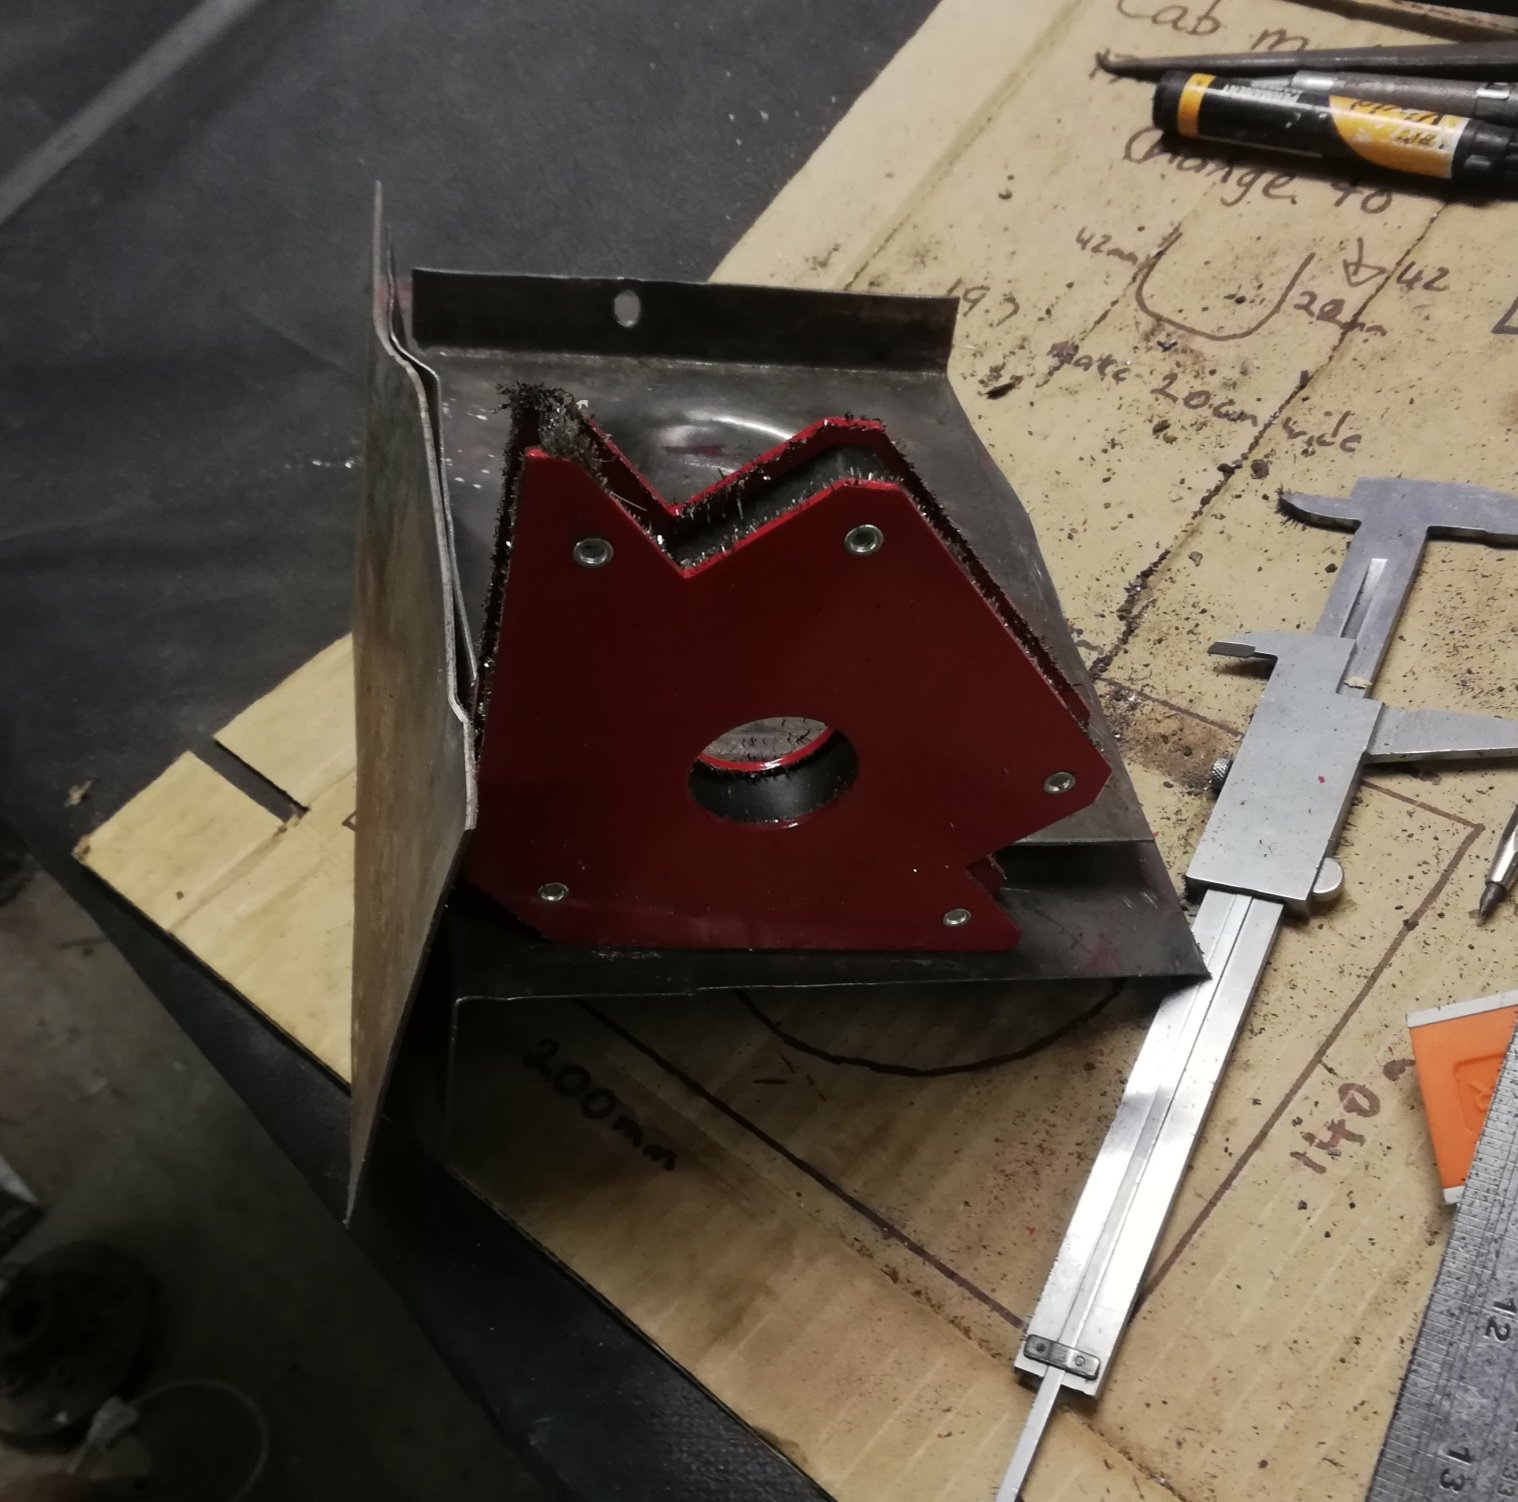
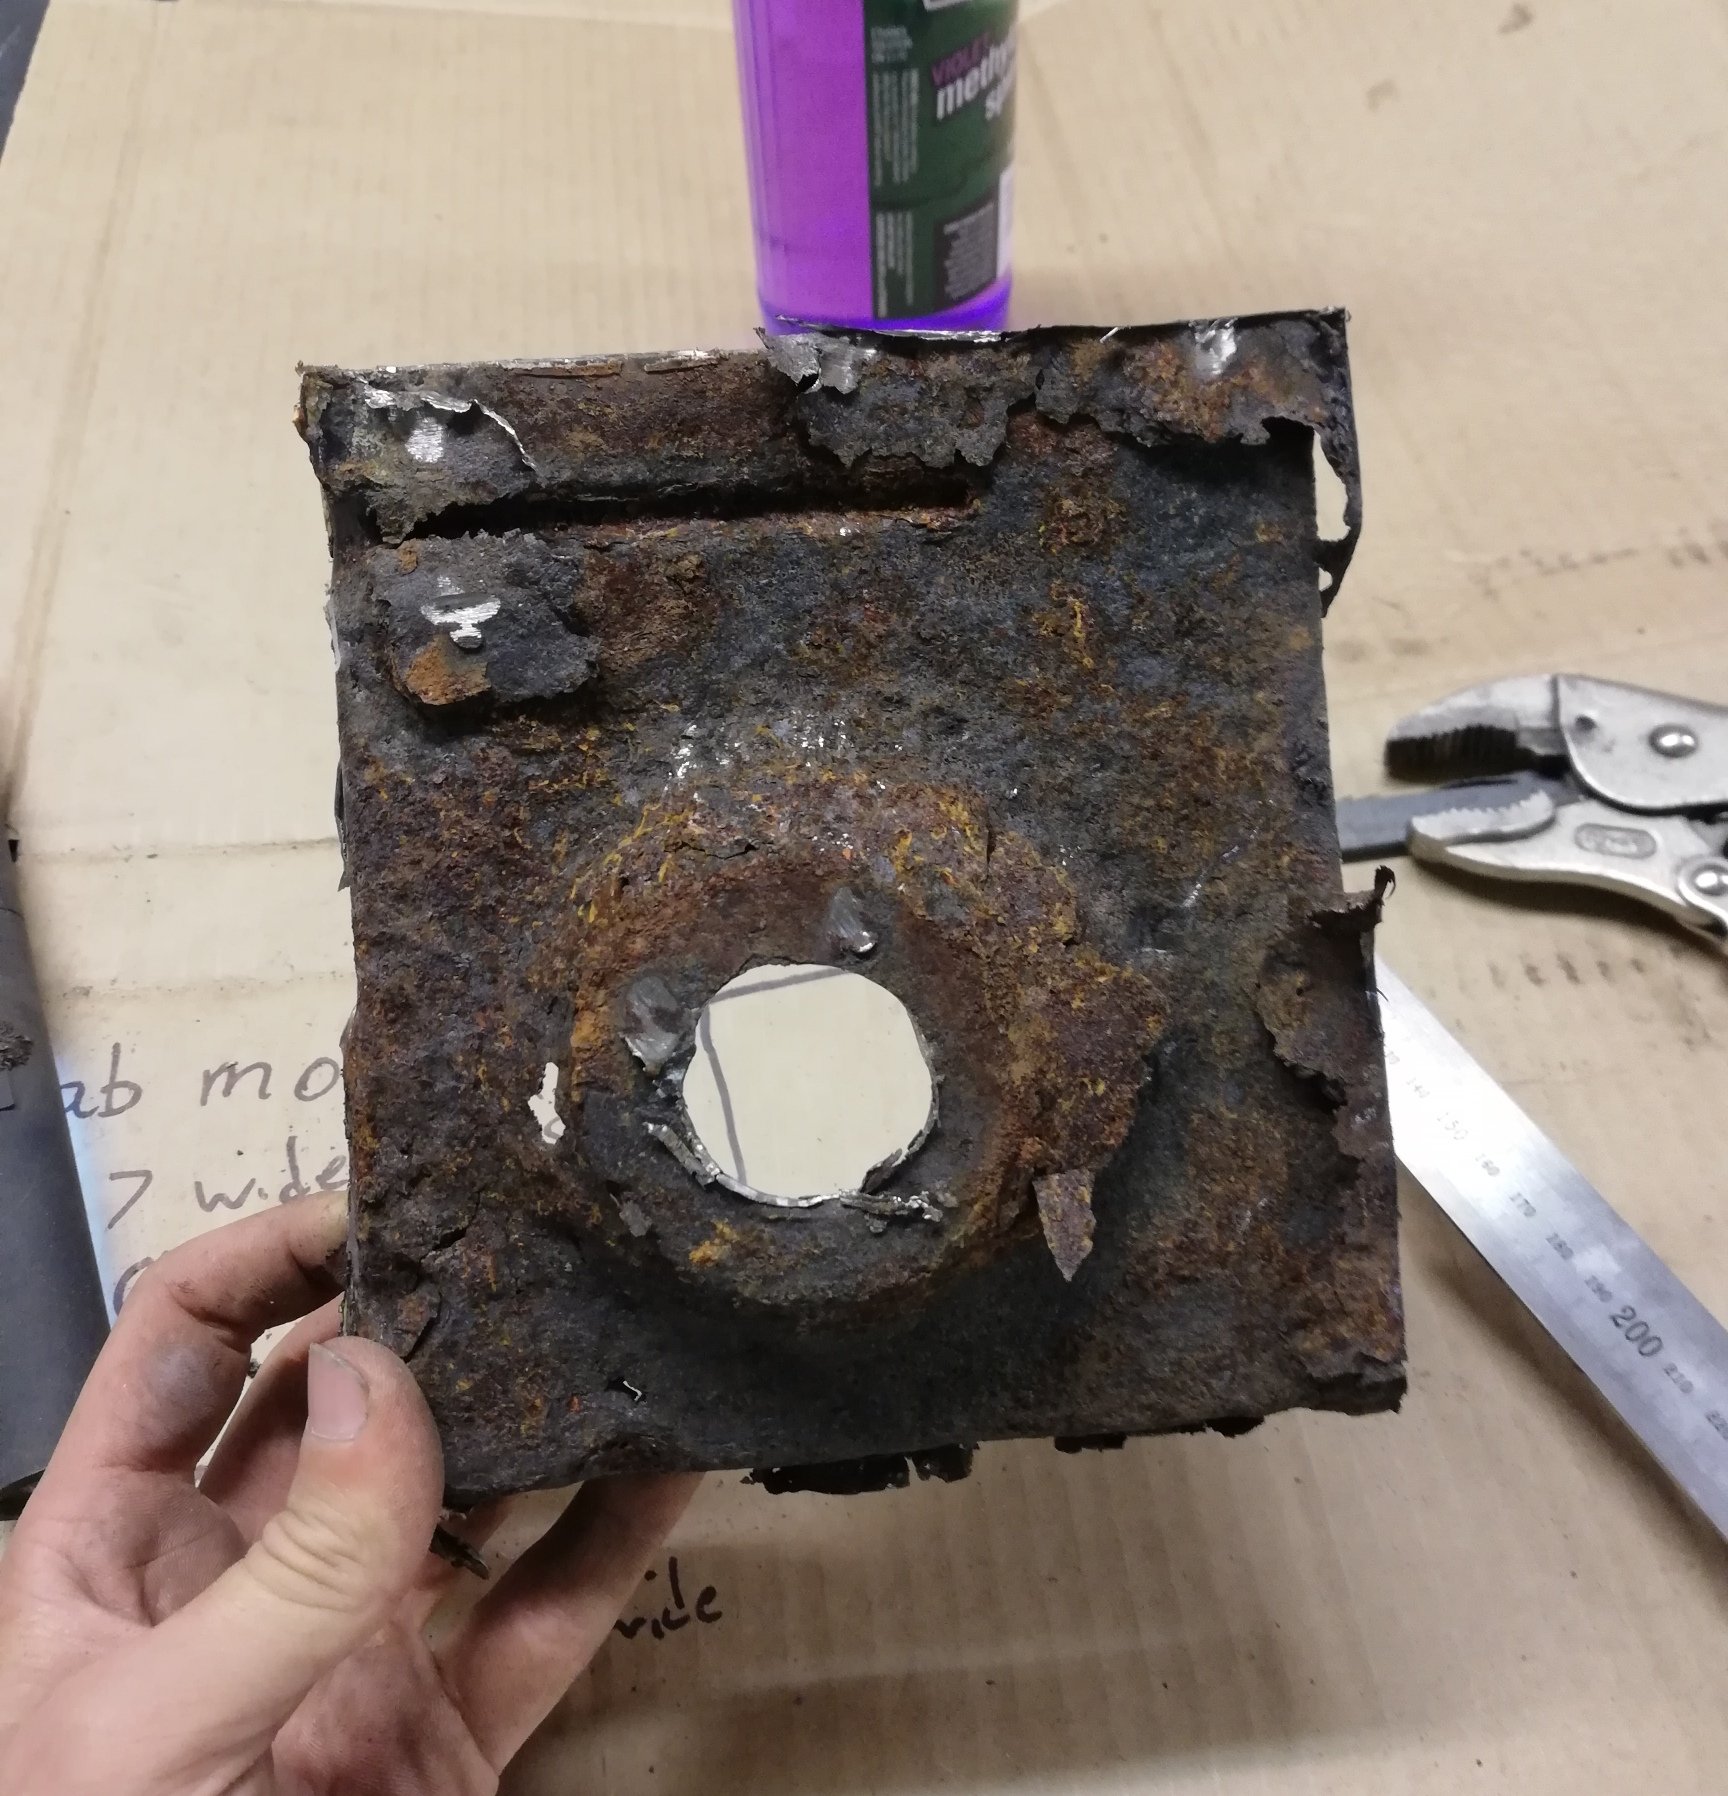
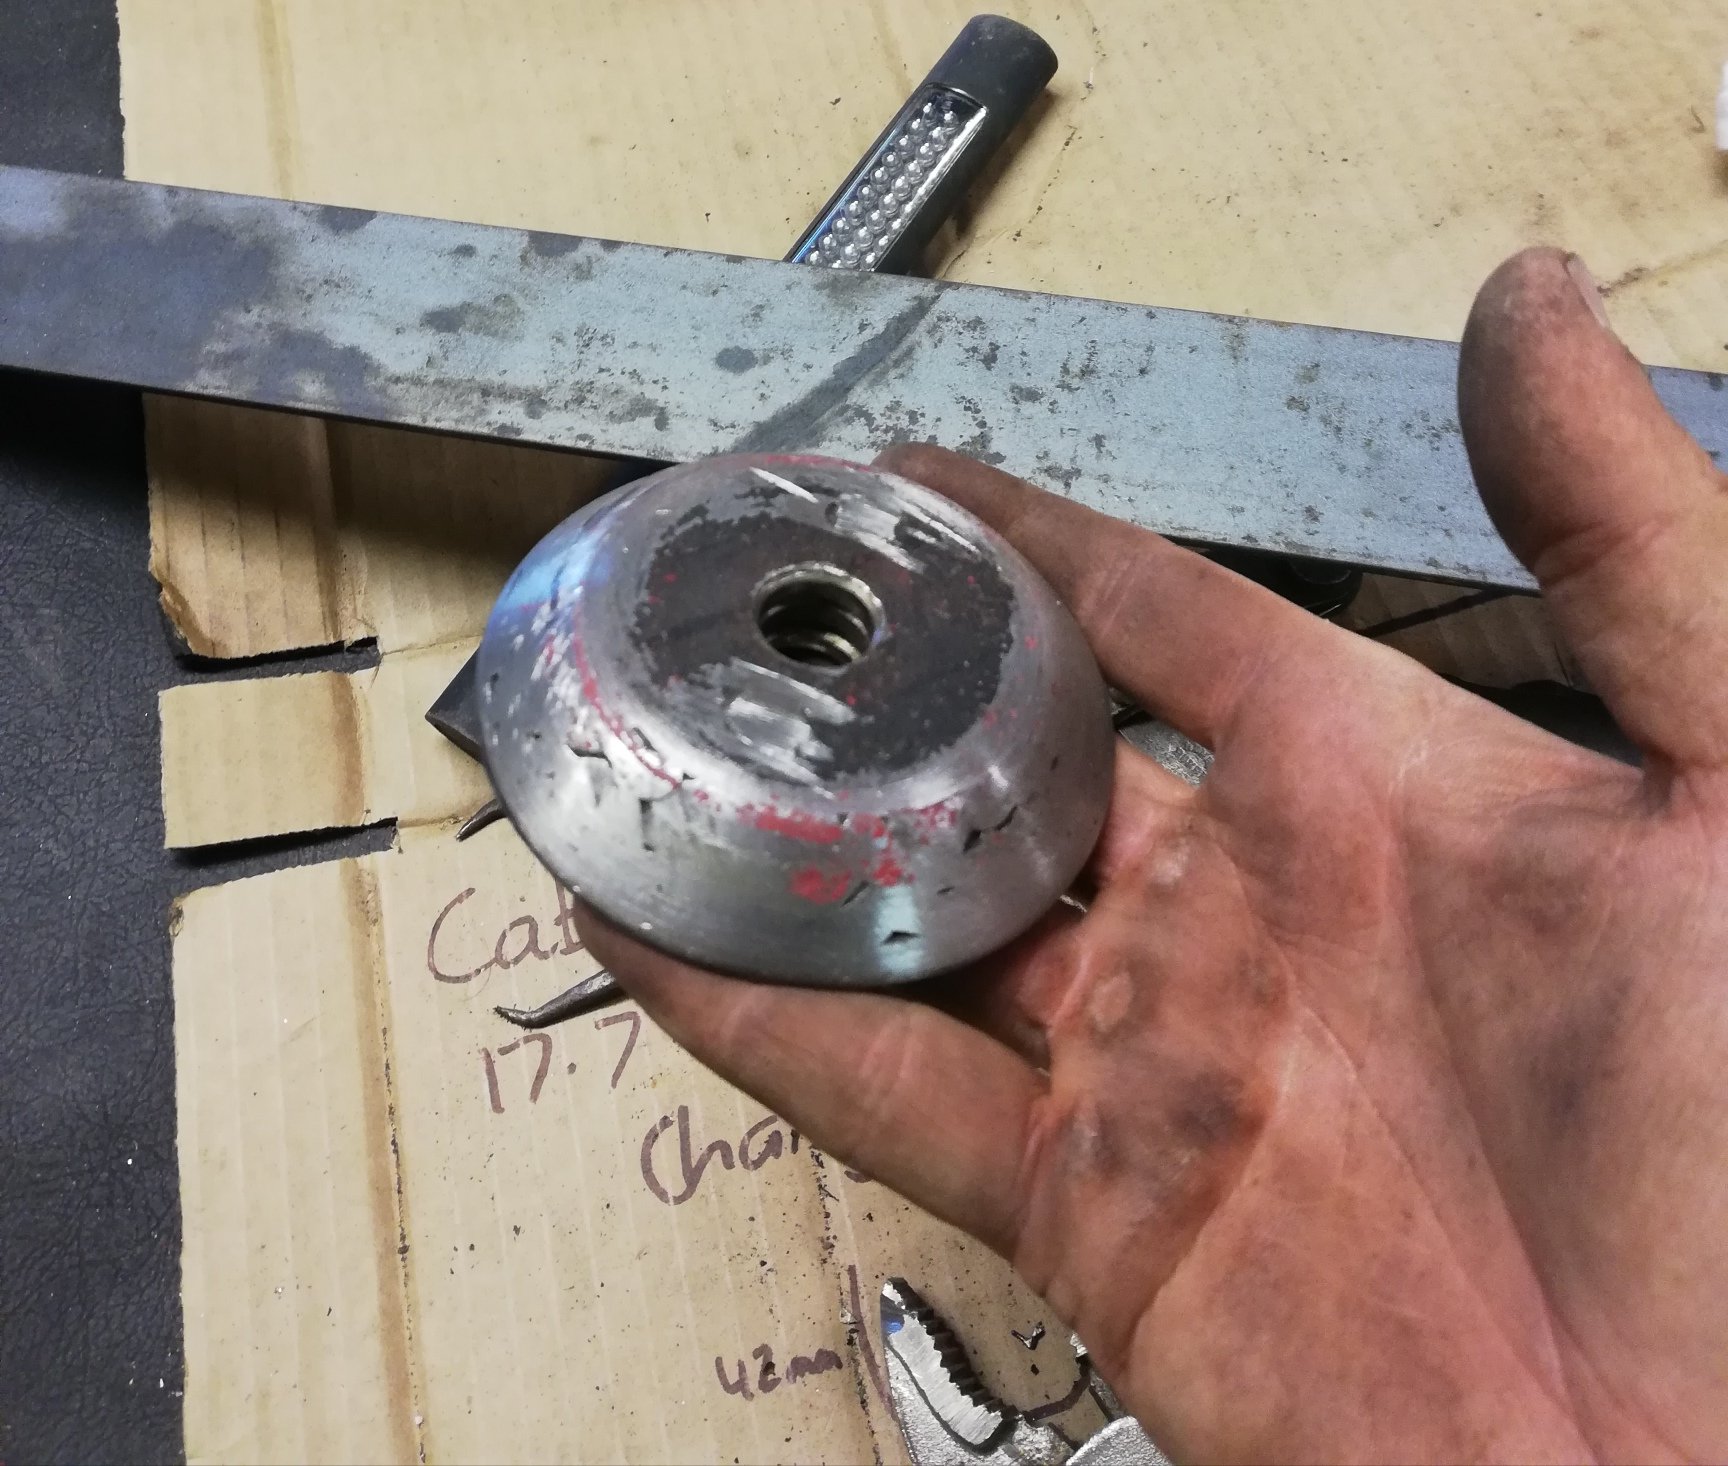
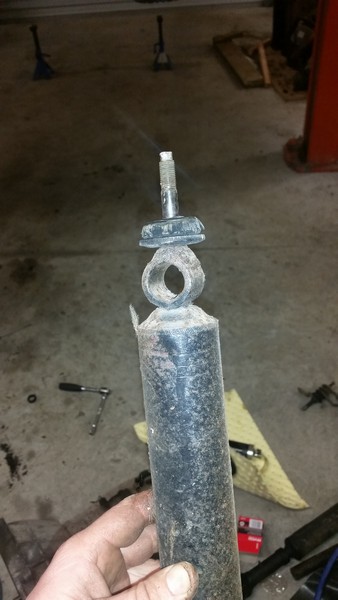
So small problem This is not the floor This is the cab mount doubler plate/floor strengthening plate from inside the cab. The floor here is totally rusted away There was 2 tiny spot welds and some tar holding this corner of the truck to the chassis More and more fell out of it as I handled it. So going to need a new one Made a dimple die I don't have a lathe. I also needed about 15mm of steel. I have some 5mm flat bar and a welder. I did unspeakable things to my drill press and bench grinder to make this. Some 17mm ply backed with flat bar made the female side, but ply by itself was fine tbh. Used some of the 5mm bar scrap as a dolly with my bench vice to add that ridge and my new old kick press to bend the edges. Will trim to fit later on
1 point
-
got into some more rust on the passenger side front...got the front edge done and the area around the bonnet hinge mount. (the drivers side was mint so i made a template of that)
1 point
-
Firstly thanks for removing the rogue @dave from my thread. ban that guy Couldn't be bothered getting off the couch the other day so made a video. Kinda looks like a 12 year olds school project and if you've been following this thread, would have seen most of it before. should be slightly amusing none the less1 point
-
Friggan lol
1 point
-
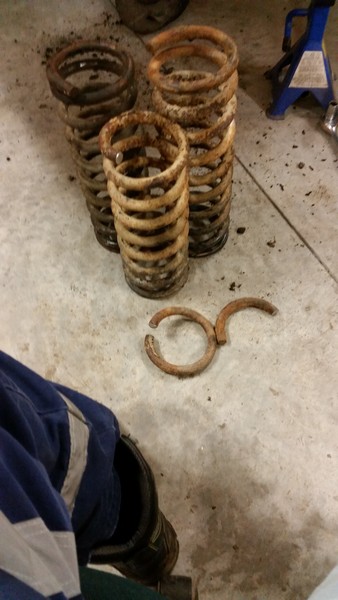
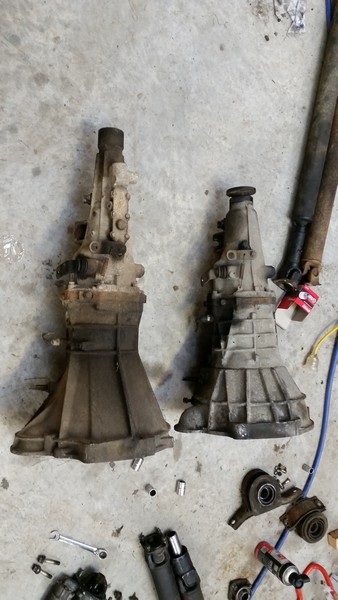
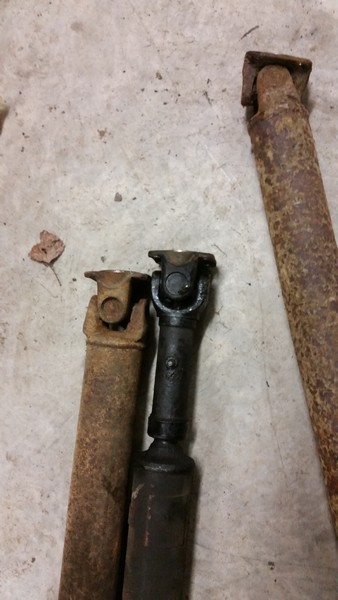
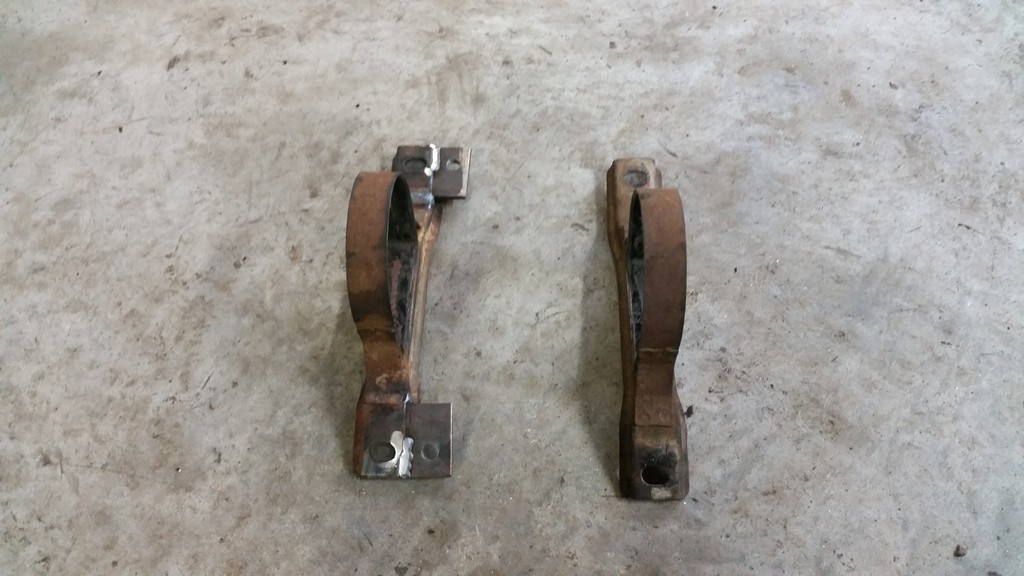
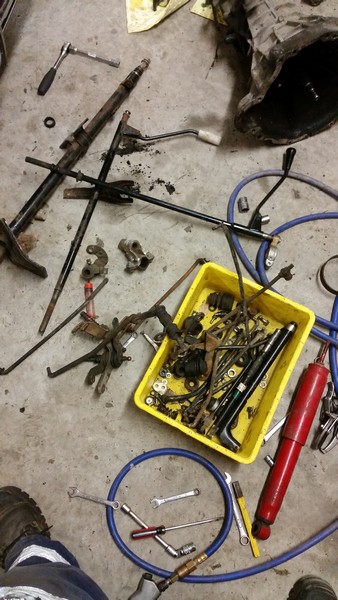
update got a 330 diff, got a 3.9 head out of a r31, threw it together with some bearings and seals and thought i would just chuck it in bro. well, it would appear that the 130 cedric, being the first if the nissan/datsun combo, has metric motor and box, imperial everything else. so now i have a 330 diff, with 130 brake cylinders. and 12mm studs on the back wheels, 1/2 inch on the front. I was going to run the 330 slave cylinders, with an imperial to metric hose, but they were only 3/4 cylinders vs the 1 inch of the 130 and since nobody has ever said, 'you know what?, i think i need less brakes on my datsun' so i had to swap the cylinders and lines. This was made harder by the fact that some old vice grip wielding barry has previously attempted to pull the fitting out of the cylinders and now they are round.... Next up, springs and blocks. easy. Except i fucked up bit and ordered the wrong rear shocks so i had to run these impressive specimens i found in a box of parts. they will do for now... I then decided that i had 3 weeks until my chch/hanmer roadtrip, so i would chuck in a 4 speed column change box to go with the 3.9 diff. How hard could it be right? Well the sneaky fuckers changed the style of gearboxes after the 130. the driveshaft was flanged at both ends. and it was longer.. no problem, @- i5oogt - found me one that he had been aging in a paddock for a while. except the rear half was too short so it wouldn't fit the hanger and the hanger was way different. no problem, i can fix that The box being longer hit the roof of the tunnel so i made that fit too, but i didn't take any pics as you dont need to see that The the fucking linkage didnt have enough travel as it was only for a 3 speed. Lucky i have some spare parts I had to mod one of the levers to make it have more throw. I found a welding rod in a puddle and dried it out a bit and it did the trick. Photo taken in potato mode so you cant see the quality bonus pic of custom racing shocks
1 point
-
Oh hai did a bit of painting yesterday, also moved mirror from fender for use as a peep mirror1 point


This leaderboard is set to Auckland/GMT+12:00