
Leaderboard


Popular Content
Showing content with the highest reputation on 07/18/16 in all areas
-
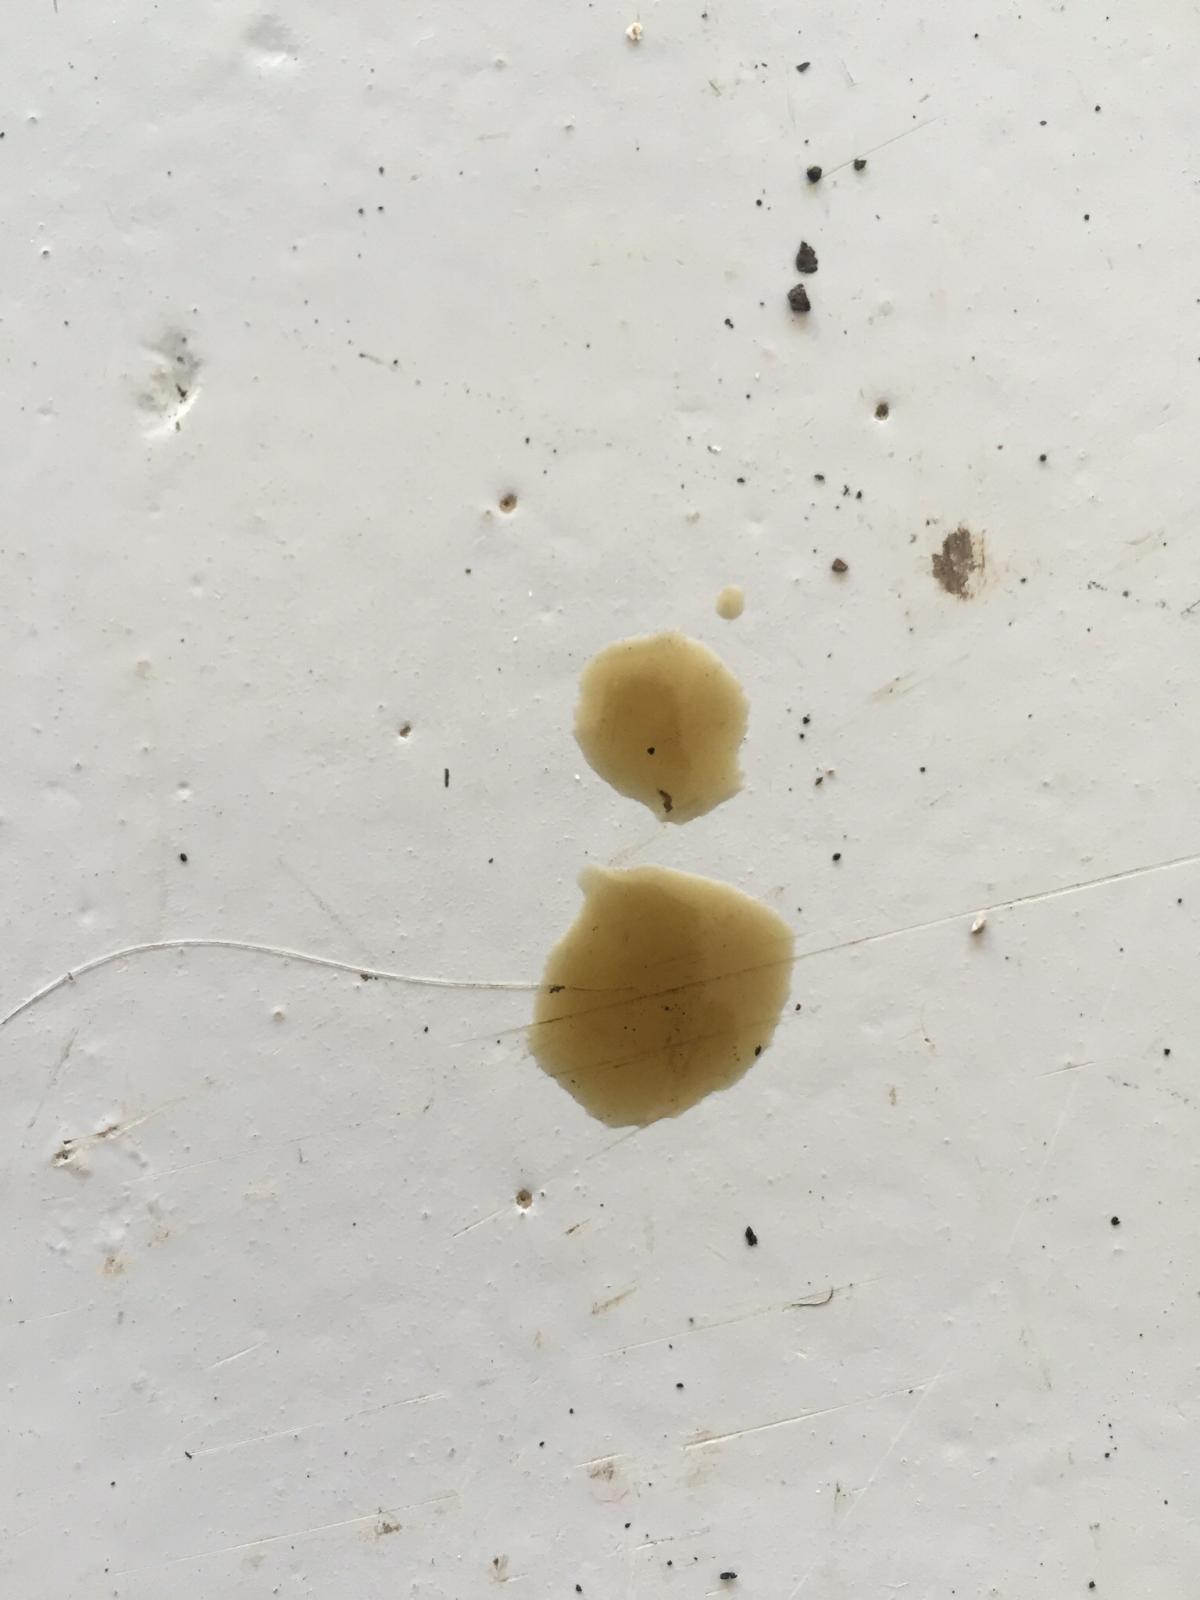
Time to recap what's been going on. So the next step of the process was to get the fuel system pretty much finished. Step one of this was to modify the factory 4AGE fuel rail, as in OEM configuration the inlet, regulator and outlet were all mounted on the top face of the rail extrusion, with each end capped off where it was cut from factory. As I was intending to run an aftermarket fuel pressure regulator (FPR), the plan called to lop off all of the attachments on the OEM rail, drill out the plugs from each end and weld on -6 AN fittings at either end. IMG_7025 by Richard Opie, on Flickr Which Sheepers completed for me. It's top rail in the photo above. Which was a spare with the box of gear that came with the 4AGE. Unbeknownst to me, this was a bluetop bigport rail, not a smallport rail which has different injector spacing, as the above image illustrates - after the fact of course. So we had to start all over again. Well, Sheepers did. I drank beers and offered unhelpful advice mainly. IMG_7043 by Richard Opie, on Flickr This is where the inlet and damper/regulator thing originally attached. They'll need to be filled. IMG_7078 by Richard Opie, on Flickr Since I super love taking welding pictures, here's Sheepers welding it all up. IMG_7104 by Richard Opie, on Flickr And this is what you're left with following stage one of the process. This rail welded heeeeaps nicer than the previous one, perhaps it had less contamination in the metal, or we got it to a more satisfactory temperature before welding. IMG_7039 by Richard Opie, on Flickr IMG_7128 by Richard Opie, on Flickr Fairly self explanatory here. With the plugs drilled out from either end and both end faces ensured true, Sheepers welded on $14.00 worth of Speedflow -6 AN weld on male fittings. Nice. IMG_7179 by Richard Opie, on Flickr A portion of the finished product. Obviously the weld which filled the holes was ground flat leaving the rail in a state ready to polish in the future. 0P4A7732 by Richard Opie, on Flickr The next step involved finishing off the rest of the fuel system. Brendan Duncker of Convert Ltd (who built my headers for me) was kind enough to agree to make fuel hardlines for under the car - I had a reasonably specific brief following some discussion with Clint about securing fuel lines, in that the lines needed to follow the factory path so I could pick up all of the factory clip points. This was done, there are now quite beautiful 5/16" hardlines under the car, with black -6 Speedflow fittings throughout, including a filter unit near the firewall. Pics later when it's not wet I guess. 0P4A7743 by Richard Opie, on Flickr Pretty self explanatory with the layout - inlet to the modified fuel rail, 180 degree fitting out, back along the top (may need to clip yet) in braided line to the Aeromotive FPR then back under the car. The remaining port of the FPR will be used for a fuel pressure sensor. 0P4A7734 by Richard Opie, on Flickr 0P4A7752 by Richard Opie, on Flickr Brendan was also able to mount my radiator for me. The Fenix AE86 units seemed to get a solid enough review from most 4AG people I know so I plonked down a moderate amount of folding for one of those. Yeah I know it's a China radiator, but the finish is good enough for the car. With some bolt in bottom brackets and OEM AE86 top brackets it's a perfect fit in the nose of the KP, with enough room for a slim 12" fan and using shortened AE86 radiator hoses. 0P4A7742 by Richard Opie, on Flickr 0P4A7736 by Richard Opie, on Flickr This sort of leads on to how the engine bay looks right now - this is really close to the final product as far as the aesthetic side goes, with really only the wiring plus some hoses for overflow and breather to go in and complete the picture. So yeah. We draw a little bit closer, money is a little low right now with purchase of a new camera gear so to progress I need to allow the bank account to rally a little and then it's time to hit the wiring with the assistance of Stu. Thanks must go to Sheepers, Brendan, Stu and Reuben from Fenix for helping me out with this stage of the build. Discuss the right way to go about chequebook building a car here - //oldschool.co.nz/index.php?/topic/18803-snoozins-1981-kpiz-starlet/15 points
-
Getting a few small jobs done over winter. Wanted to build a new front diff mount as the Datsun factory setup is a pretty crap design that allows the diff nose to lift under load. I had hacked a factory mount up and doweled it (essentially making it sold mount) but that was not overly ideal so had another crack at it. Thanks to Mike for the idea on this style. Cut up the factory mount and built a jig to keep diff aligned. Welded in steel tube that fits a poly bush I had floating around. All mounted up. Holds the diff nice and solid with no lifting issues and also makes diff easier to remove as just slide out the main bolt. Next job was the exhaust. The car came with a nasty old press bent 2" system that I have always wanted to get rid of. It hung way low and looked shit. Decided to go with a 2.5 inch system which is way overkill for my engine but what the hell. Hoist makes this job 1 billion times easier than trying to do under the car. I wanted it tucked up as to the body as possible. The system that came with the car only had 2 hanging points and was one piece so wobbled like crazy and was a mission to get on and off. New system is to have multiple hanging points and be 3 piece to make removal easier. The headers I stole from Craig had a reducer taking the outlet pipe from 2.5 to 2 inch so I simply cut off the reducer and added a 2.5 inch flange to match the rest of the system. Started with a small straight through stainless rear muffler and added a angled tip that looked OK. The rear muffler has 3 mounting points so it is nice and solid. Then worked my way forward, trying to keep the piping as close to the body as possible Went with a basic straight through resonator mid system. Once happy with the layout I added flanges so that I can take out the middle section of exhaust to gain access to diff etc. Then cleaned up and painted, knowing it will burn off 30 seconds after starting the car. Came out OK and sounds better than the old one so I am calling it a win12 points
-
Then the cross member. The factory part is crazily complicated becasue in the 'De luxe' version its a rear passenger foot warmer. My car is not deluxe, but has the heater and the vents just missing the section over the tunnel between them. Managed to reuse the factory 'airbox' parts It does make the part signiicantly stronger if nothing else. The factory contruction is 4 rectangular holse with 2 on the rear and 3 on the front covered by a plate spotted over them. WHy? I dont know, so i didnt do that. IT FITS! Then the tunnell strengthening plate. I dont have a bead roller but i do have hammers and a vice and a bit of rod to make the ribs. Flattened out and then bent the other way, plus drill a lot of holse in it. I made this a bit bigger than factory to pick up on the cross members instead of the middle of the floor. BAM! - and the rust is gone I did reuse the remains of the cover plate. Just the drivers headlight area to go and thats all the rust! I have yet to chop any sections off the parts car, other than the exhaust which I faffed around with this evening and is going on next.4 points
-
paint. 2016-07-17_12-43-57 by sheepers, on Flickr 2016-07-17_03-59-46 by sheepers, on Flickr 2016-07-17_04-02-05 by sheepers, on Flickr4 points
-
Bit more progress Last few bits back from electroplaters so could finally put the carbs back together and bolt them back on. Radiator mounted for the last time hopefully and water hard lines done. Because of my new home made strut brace I had an issue with my old fuel line setup not clearing. So had to get all crazy with AN fittings to make it work, yep its totally ridiculous but only way I could make it clear brace and throttle linkage gear. Shes pretty tight.. Catch tank mounted and plumbed Coil up front As it sits now, pretty much all the mechanical stuff now done Wiring nightmare now begins...4 points
-
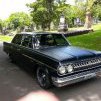
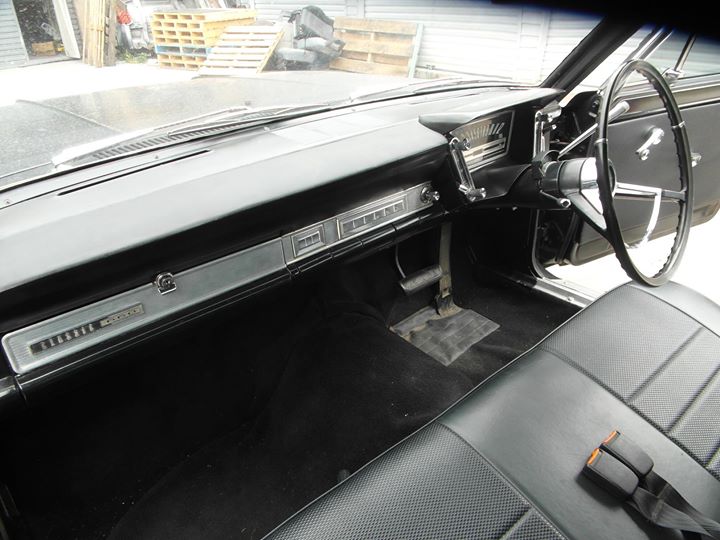
Discussion Thread hi all after an epic trip to auckland i picked up a 1965 rambler classic verry tidy inside and out running the std 6 and auto lowered on charger rims just a mint tidy cruiser will upload more pics soon
 3 points
 -
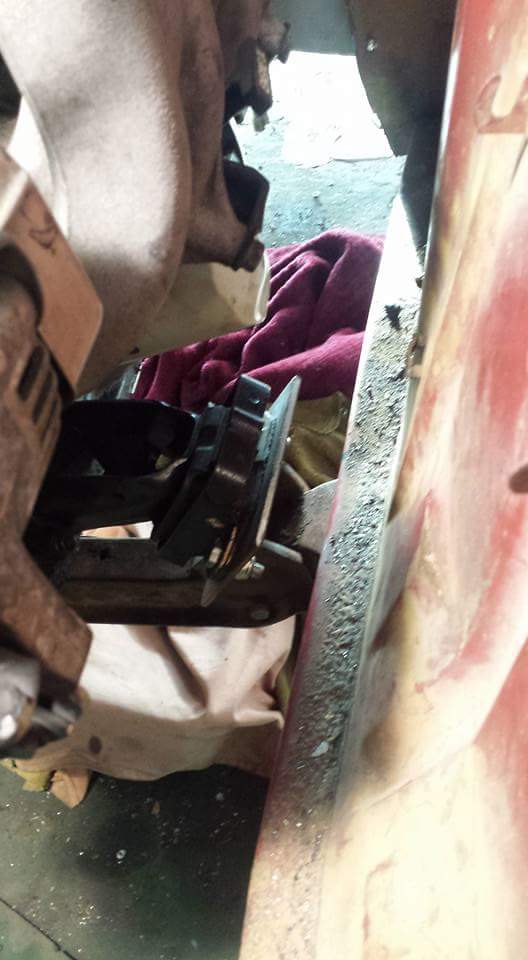
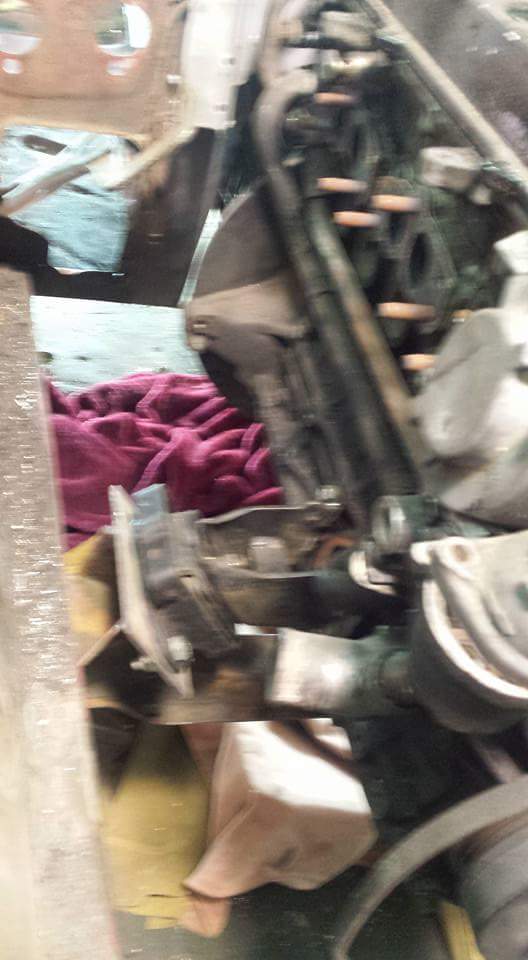
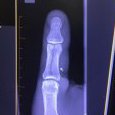
Bit of a shit day rallying. Ran a bit wide into a tight blind left hander from top of 3rd gear. Turns out there was already another car in the same spot. Bounced into gutter which tipped us on the drivers side and slid into the back of their car. Rear tail light came through windscreen. Next step is to figure out how far we need to go to fix it. Will be getting a new cage but not sure how much of pillars etc is usable. First crash. Definitely a learning experience. Fun times. Will upload some videos later in the week of some of the good bits.3 points
-
Spent half the day following up from yesterday with the help of my mrs and Alan from MotorElite. Continued stripping back the transmission and cleaning up/scuffing back the engine and intake manifold. And an action shot of the man himself. And here's where we're at.. Crap lighting and phone pic but we've left the lettering on the side of the housings with a brushed finish and yet to throw some wrinkle paint on the housings but damn it's looking good! Cheers, Tai3 points
-
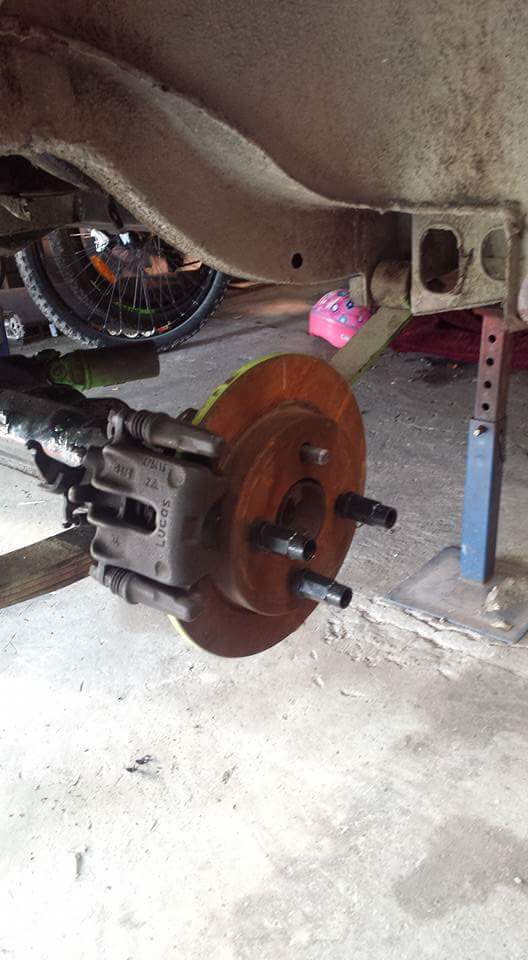
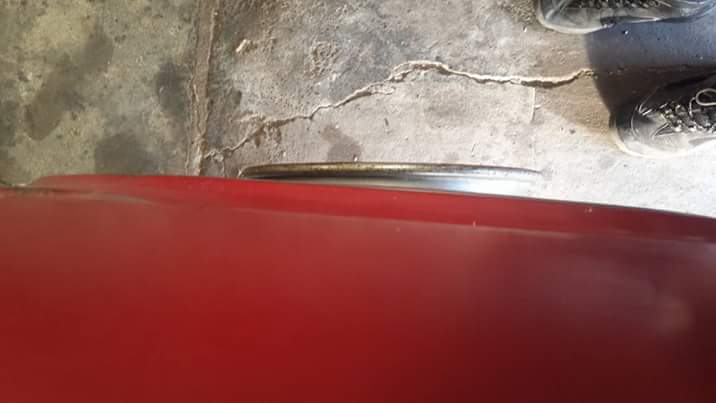
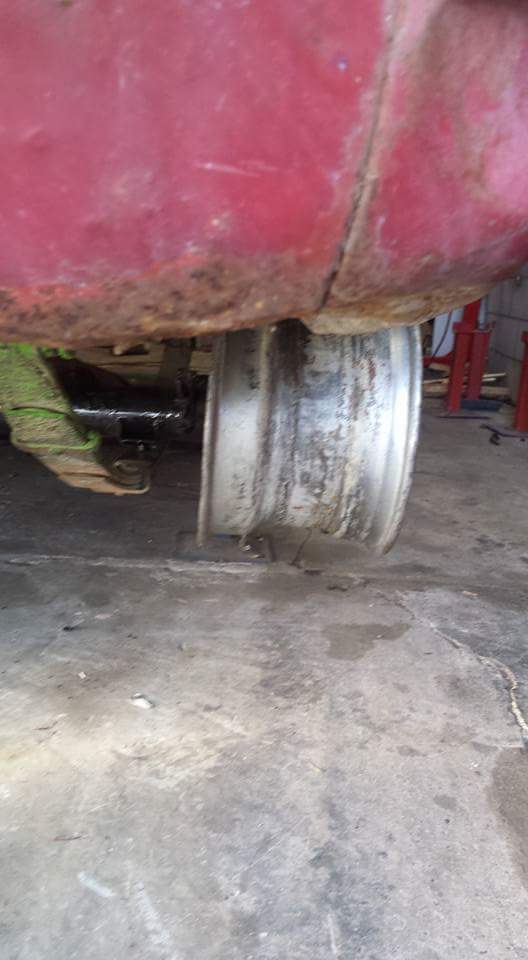
What's up old schoolers. I almost biffed the 618/616 gearbox X member - glad I didn't as it actually can easily be made to fit s4/5 rx7 gear boxes. The RX2 gear box X member is a short son bitch and the RX2 mounts come very close if a s4/5 box is fitted. I blasted it up yesterday ready to mod and paint. It's good to use as it has mounts already there attached to the chassis rails (616 not RX2) Next - header fab time. My mate knocked me up these headers - soooo stoked. I will be ordering the Adrenalin R resonators x4 and a dumpy soon. Watch this space. My mate has a jig for making a hilux diff suit RX2 - flanges have been laser cut and are now on the diff. Next step is to cut diff and mock up with wheels axles and brakes under my car to make sure it fits. It's going to be close. Next - making my RX2 struts fit the random Honda Odyssey fully adjustable units. My mate lathed them apart and interference fit them together = press fit. Tidy job and I owe him some bourbon!!! Top fella This is the original rx2 strut next to the new adjusties Hilux 6 stud axles are now turned down to fit the FC rx7 brake discs. Not the old holes haven't been filled....I was told that heating the hubs is not a great idea. There is loads of meat for re drilling 4x110 and this will get done when I get the axles cur and resplined. I want to have an extension added to the centre of the hub so that the rim can locate...how? Do I need one? And finally....I bought two of these off eBay as they are old from the 80s unused and cheap3 points
-
So a problem that some people have with triple Mikunis is a slight lean spot or 'stutter' when you stab on the gas. My car has always had this same issue so wanted to try and get rid of it if possible. It is more noticeable when the car is hot and has been idling in traffic for a while. After doing some reading it sounds like it is caused by fuel in the accelerator pumps boiling and thus not providing enough fuel when you initially hit the gas. Lots of people fit heat shields under the carbs to keep them a bit cooler so I thought Id give it a go too. Made up an alloy shield which while hopefully helping with keeping heat off the carbs will also have the added bonus of stopping any fuel leaks from dripping onto the hot extractors. My 44s also came with additional cooling blocks attached to the accelerator pumps (Thanks to Mike for pointing out what these things actually were). Apparently they were used in racing applications back in the day? I figure if I have them might as well use them right. I took a fuel feed from the in and out of the fuel rail and plumed in the cooling blocks. Yes there is way too much AN fitting action going on, I think I might make a proper fuel rail up to get rid of some of it... Here you can see the fuel line under each carb linking the circuit together. Everything back together with heat shield added. Happy to say it looks to have completely resolved the lean spot on initial throttle stab. If anything now the wide-band is showing things are a bit rich but that's something I can possibly tune out with some jet changes. Car no longer stumbles when you first hit the gas so I am claiming a win...3 points
-
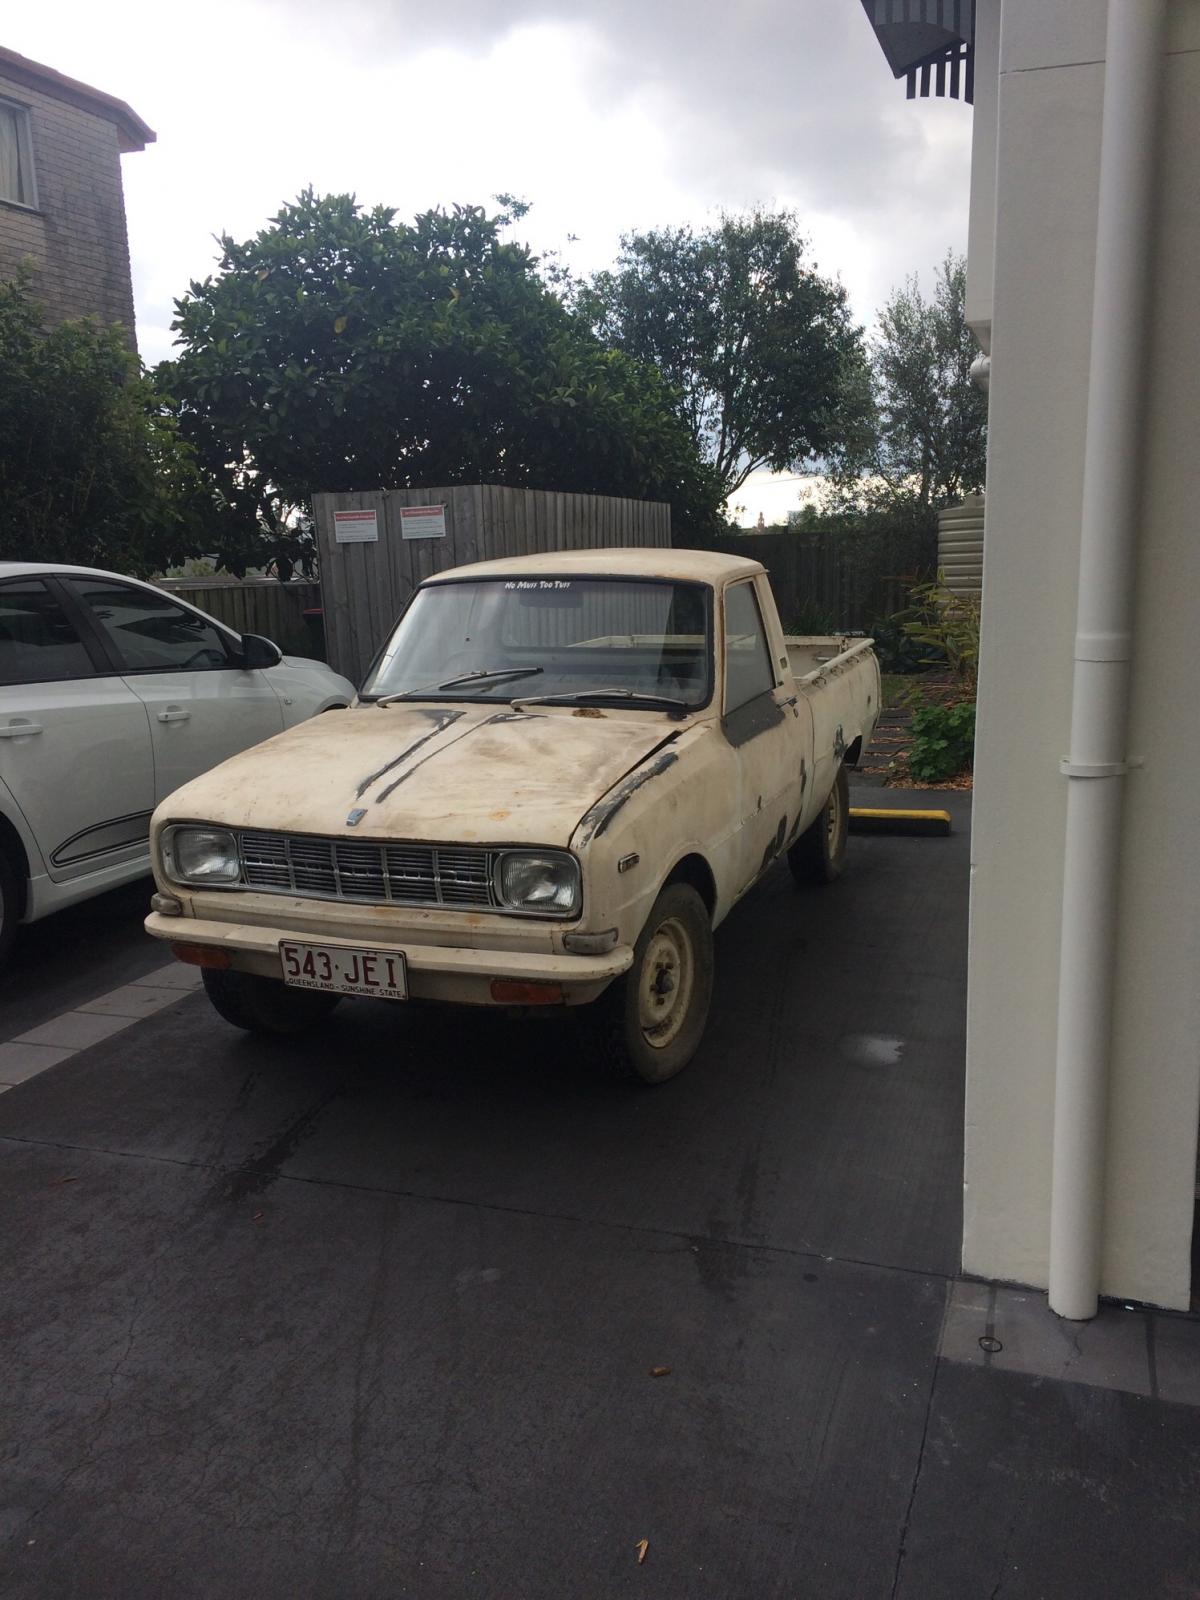
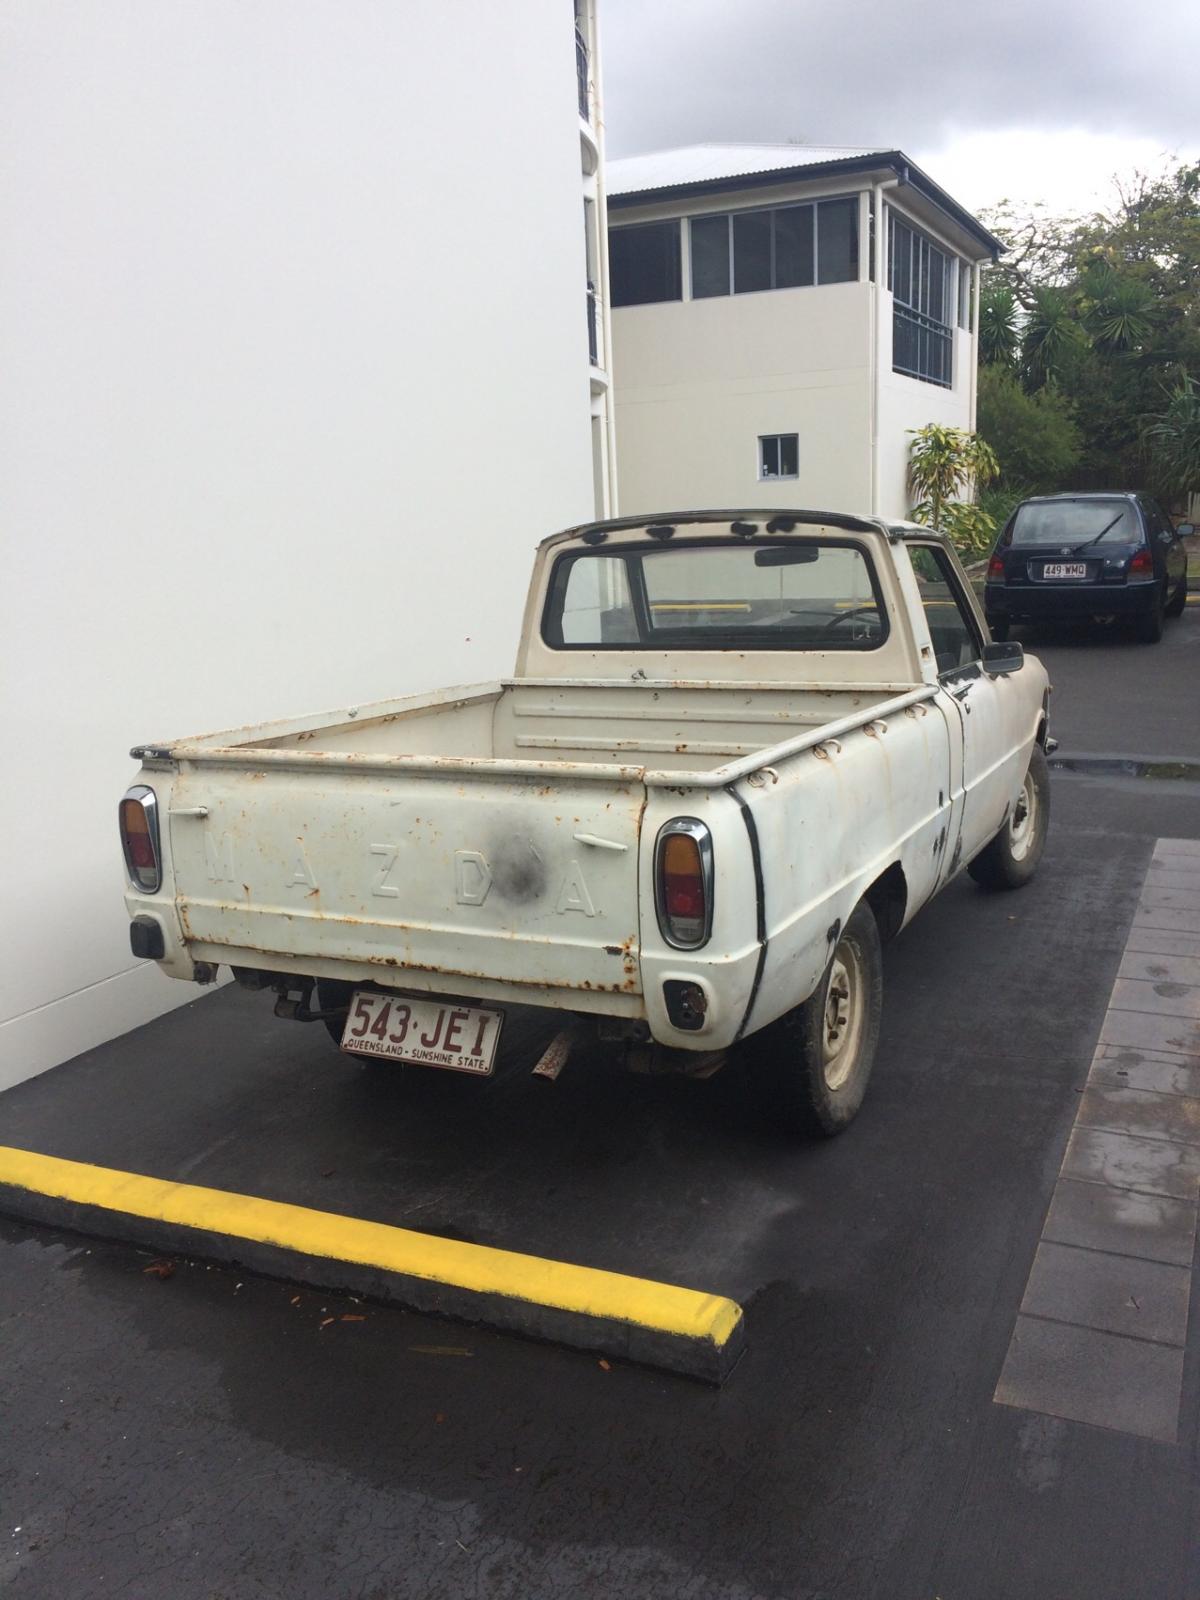
So got bored and needed something to tinker round on. I was after an old Datsun ute (1200 or 521) but this popped up and was complete. After a few texts to the owner and him not wanting to budge on price, his Mrs had finally had enough of it sitting round, so he gave in. Plans at this stage are getting it running sweet, sort the brakes, lower and probably widen the steelies at this stage. The stud pattern is 5x110, same as volvos and some saabs apparently. Holden torana wheels fit as well (5x10⁸) Anyway pictures.
2 points
-
Movie Night! Thursday 18th August 7pm We have booked out the Time Cinema in Lyall Bay again for our inaugural movie night. For those that have'tt been there, its wicked. A heap of old movie memorbilia and old Wellington photos etc etc which is worth a look before/after the movie as well. If you are going to attend, please vote using the poll to pick which movie you would prefer (Niki and I have handpicked these form the list they have). If you vote I will take this to mean you are coming. I will confirm numbers closer to the time so you can always remove your vote later if things change. Cost will be about $15, will depend on how many people come (40 max). Total cost is $250. Any questions, fire away.2 points
-
Definitely needs cert, needs bump steer check for cert if it changes geometry in any way, need to prove the joint is of good quality for cert, often they are cheap china rubbish, they dont last as long as a normal tie rod end cause theres no boot to keep shit out, and they often bind at a shallower angle than the factory tie rod end.2 points
-
Have finished off my custom rocker cover. changed my design slightly once i was made aware i was not going to be able to cnc router my original design easily. still more than stoked with the outcome. this more or less concludes the amount of tidying up in the engine bay im going to do. bar some little thinks like paint strip and polish the oil cap, and try do something about the choke cable cutting across the engine now it has the nice cover. ill probably re tape the loom once its gone through cert and i dont need quick access to anything. wouldn't mine getting rid of the blue on the head at some point, but ill leave that for another day. the adapter for my new bosch coolant sensor arrived today, so i can fit that and actually have the ECU read a usable coolant value. not really much else to do i think before i roll it down for cert. link to discussion - //oldschool.co.nz/index.php?/topic/30375-flibois-1971-toyota-corona/page-72 points
-
So have been busy getting through the cert list and nearly ready to go for a final check and hopefully a cert plate! Did a before and after comparison of the engine bay from when i bought to now: Massive thanks to Toby at BOP Polishers for the polishing, Mikey for the painting, Spun by Hutty for the trumpets, Eze Auto Electrics for the wiring job as well as Lakes Automotive in TGA for the hours at night helping me get shit sorted! Also Greg aka 64Valiant aka Midnight Upholstery was working for every hour possible before beach hop to get my car done amongst others, But wouldnt let me leave the shop till he gave the boot a quick trim. This is only temporary as have made a panel to go around the airbag tank and will trim this and the side panels to match the seats, Have bent up some 3/8 alloy hardlines for all lines going into the valve box to tidy that up and theyll be off to Toby for some polishing also. Should be sharp in theory! Talk among yourselfs http://oldschool.co....westpala/page-92 points
-
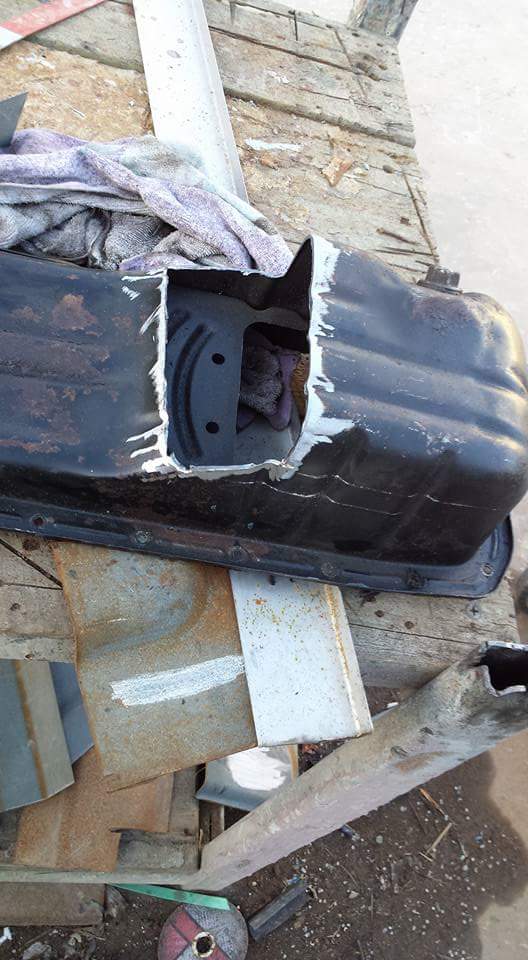
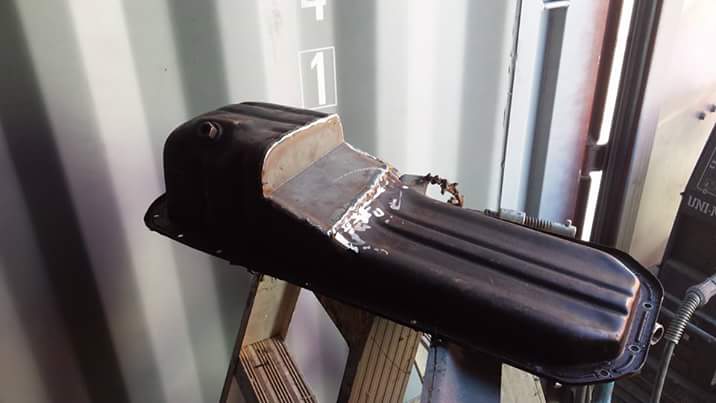
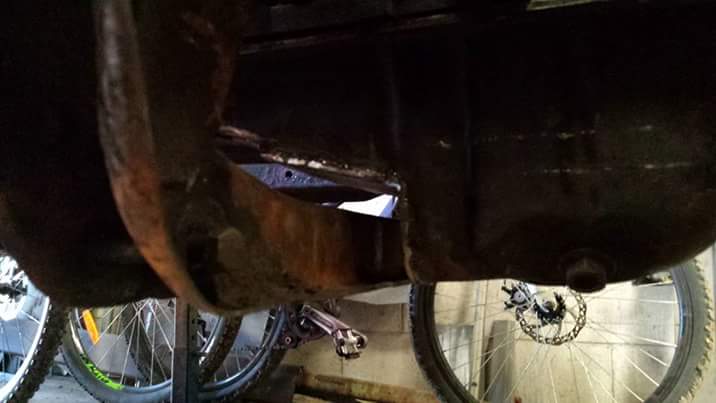
Sump cut and welded. Shit photos but clears nicely. Will just have to move the oil pick up over a wee bit with a hammer
2 points
-
Well thought I'd have been cruising by now, esp as wife and kids have been on holiday, and I had visions of living in the shed for a week. Cunningly, however, wifey had made other plans, so while they were shopping on the Gold Coast, I was getting home from work and plastering and painting the kids bedrooms. I don't enjoy that sort of work... Anyways, saturday sports, buying more projects I don't need, repairing my compressor and shitty weather have slowed things down, but I did get under the car on the weekend to tidy a few things up. Tightened trans cooler pipes, fitted vacuum line, filler tube and speedo drive, with all new o-rings, vacuum rubber etc. Just conscious it's a lot easier to sort this stuff out before the headers go in. Thought I'd take the chance to made up some new linkage bushings on the old Myford... One was actually missing, so should take some of the slop out of the gear selection... And installed the new washer bottle/pump. There was a tab on the pump motor that was energised when the key was on, and another spade terminal that earths when the wiper switch is pushed, so simple bit of soldering/wiring, and hopefully I'll have a much better squirt mechanism. Just plumbed in new hose and tied new wires along the hose and loom to tidy things up... The vacuum line clip on top of the trans got snapped off while dropping the engine in, so thought I'd have a bash at repairing it... Don't know anything about metallurgy, but as this is spring steel, zapped it up and cooled in oil, as I didn't want to lose the spring, really just having a play... Seemed to work, and I congratulated myself on being a clever chappie. Then it snapped when I fitted the vacuum line. Funnily enough it broke next to the weld, so the heat did some weird black-magic thing to the metal and made it brittle. Was worth a crack, but just made up a new clip out of an old Harley fender, should do the trick... Next on the list is new main leads and finding the trans cooling clips etc...2 points
-
Or VW Beetles parked end to end, bibles stacked on top of each other and the distance to the moon and back.2 points
-
So the last few days have been spent sorting out the brakes, funnily enough with the master cylinders switched over it now stops like a champ so pretty happy about that. Drove the neighbors crazy running the car up and down the street slamming on the brakes but it had to be done. I also got the new shorter springs and threw them in and there is no heaps of clearance on the tyre so that will be all good now. So it is already for it's retest now. I had some time today so I sorted out something that has been bugging me for a while, there is a small cover at the top of the bonnet that I took off a while back to get some paint colour matched and then I left it out as the engine generates a bit more heat than the old crossflow and I thought it would be a good idea to let it escape, anyway it is a reasonable sized hole and it looked a bit messy with nothing on it so I did this. First holesaw some holes Then swage them with the tool I made a while back And fit to car and here is the car now that I have raised the back up by 25mm I can now get out of the drive without scraping but it still looks good I reckon. Fingers crossed that the next post will be to say that I have cert2 points
-
Tank I scored a Suzuki T500 tank off tardme for $50. Wasn't in bad shape but full of rusty scale so I bodged together a death trap tumbler to shake around a load of square brass nuts to clean it up. This worked really well, surprisingly, for something made up of junk I had lying round - just had the tank wrapped in towels and cardboard and taped to the centre post... It was all exposed belts, noise, sharp edges and dubious build quality, so I kept an eye on my apprentices as it rumbled away. Seemed to work ok, tipped piles of rusty scale out and internal surface looked pretty good... I cut out and brazed a cap over the old petcock hole, think I used a brass frost plug... and relocated the petcock, brazed in a new bung from lowbrow customs... and fitted a monza-style filler cap. Think this was designed for cars, just brazed the brass threaded section onto the filler neck after I had beaten it slightly thinner to fit on... After all brazing done, I washed it out and coated in POR15 tank sealer... Painting in progess (had this done for me, my painting skills are pretty average)... And the tank mount I made for the frame. I wanted to use the original tank mounting tabs so just made this unit up that holds suzuki tank rubbers, took a couple of goes to get the postions right... and how she came out in the end. These tanks look similar to the old Norton Atlas in shape (always thought the Atlas was under-rated as a classic)...2 points
-
SSRs...2 points
-
So this happened... SSR Formula Mesh, 16 x 9 -14 and 16 x 9.5 -16 Wasn't looking for wheels but opportunity came up. They will get a bit of a tidy and centres will be painted gun metal. Have to sort tyres for them now.2 points
-
2 points
-
I wasn't that happy with the old fuel line on the carbs. One of the fittings on the back carb was the wrong type and didn't fit correctly so decided to start new. Probably completely over kill but anyway. Will look to get all the fittings anodized black in the new year. Carb lines Fuel pump side Completed loop Made up new mounting bracket for the fuel filter. it was previously cabled tied in place which wasn't ideal Also gave the wiring a tidy up and moved fuseable link wiring onto a new bracket. Surprisingly started first time with no leaks which was a bonus!2 points
-
I meant to log this build while it was happening, but life sort of got in the way. Still, it’s a work in progress, so all is not lost… I bought an old ironhead sporty a couple of years ago, just because it was local, the numbers matched and it had live plates. No real attraction for the things, more a case of buy it, patch it up and see how it goes. If it was as horrible as they say, I’d just flick it on… Then I thought of Café’ing it, for a laugh, as it seemed the most unsuitable bike as a base, so I chiselled off all the eagles, dropped the front end 8” and fabricated a few bits and pieces while sorting out decades of neglect. A year or two later and I’ve fallen for the oily old thing, and now she’s 40 and rego is a realistic cost I’m using her more often, so some more work is on the cards… As I got her, mercifully there were no tassels… Front end drop… Tank mock-up… Seat and tail piece trial… Mechanical/wiring work… Getting there… And pretty much in current form…1 point
-
no, they are not. http://lvvta.org.nz/documents/standards/LVVTA_STD_Exhaust_Noise_Emissions.pdf 2.1 (3)1 point
-
You probably don't want to fit 5x10⁸ wheels to your 5x110mm hubs (unless you use wobble nuts I guess).1 point
-
pretty sure we watched the og gone in sixty the first time btw1 point
-
there's also this later on1 point
-
I'll be keen, just not enough time to bake up some kids thankfully1 point
-
Havnt updated for a while but havnt been doing nothing. sigh. nothing or it but to keep cutting till its clean steel. Cut it all out Floor panel pattern. Pretty sure this is the first panel installed on the chassis, it is under all the other panels and was a pain to get out and install spotted in and primered1 point
-
Didn't catch you fellas this morning in the pits and didn't really think the arvo was a good time to talk racecars. Tuff day on the gravel1 point
-
You don't need to have hub-centric wheel location. It's hard to see how you could make centering rings to fit anyway, except maybe by cutting down the centre part of the axle.1 point
-
Progress is far slower than it should be, but hopefully a lot more happening on it soon.1 point
-
The brace I made to hold the motor in 1 place worked very well And the new cross member works well and uses all of the shelf Toyota mounts. Also a plus to see everything else fits back on. I bolted a set of leave spring back in and mounted the difg and it 2 fits....just need some long u blots now so I can make the blocks once its all back together. Slapped a 10" wide steelie on but it wouldnd clear the calipers but I think with the right size offset I will be able to get a 10" under the rear gaudes.
1 point
-
This thing needs to be in my garage, getting a rollcage, with a future of gravel chucking1 point
-
Take off road to remote camp ground and shit in the bush. Just next to the car park.1 point
-
Less than a week to go now. So since I've publicised the event on facebook I've received a fair bit of criticism. I don't mind as it's good to get the opinions of regular attendees. For those who don't remember, we publicised the event via facebook quite a while ago (last year, maybe the year before? I forget). Quite a few more people turned up and they were generally pretty good, adhered to the rules and made an effort to talk to others. However there was a very small minority of approximately three cars and about the same number of people who ended up causing a bit of trouble. With this in mind and the increasing numbers of potential members who know of us through facebook, I decided to mention the upcoming meet on our Oldschool.co.nz facebook page. I have deliberately chosen this month's meet to try this out on for a couple of reasons: - It's the middle of winter. So anybody who makes a conscious decision to attend will be battling the cold and possibly the elements. Essentially, it's easier to turn up to an event on a good day/night but much harder to do so when it's cold, dark and possibly raining. If anything the weather and season will be a deterrent for many, but if new members still show up despite this then it's an indication that they are probably genuinely keen to be a part of things. - Being a winter meet, we generally have a lower turnout for the Monthly Meets. As such, there will be more parking space for potential new members and extra cars. The same cannot be said for the summer months. Essentially I am expecting a few newbies to show up, having heard about the meet solely through facebook. Some of these people I know, some of them other members may know and the rest may be complete strangers. I have briefed a few members who will be attending to help me to both make the new members feel welcome and to help me re-iterate the rules and culture of our casual meets. Rest assured, this will not be a bunch of cunts turning up to spoil or in any way ruin the easy going nature of the meets. Rather it is an opportunity to extend a welcome to new members who may share our interests but not have a particular group that they can turn to for advice etc. All I ask is that if new members do show up, just make an effort to at least say hello to them. I'll be doing my best to hover around and talk to as many people as I can but some help would be greatly appreciated. And if you see anybody doing something that they shouldn't, please remind them of the rules. Again, I'll be doing this as well but it can't hurt to ask for help if and when required. So it's basically going to be a standard Monthly Meet but with a few potentially new faces and cars. As per usual I will be there and will have Oldschool stickers on me if anybody requires some, $5 each. Hope to see you all there.1 point
-
Im pretty slack at this updating business but ill try fill in the gaps from the last update. After the VIN it passed it WOF, as soon as dad could after that he lowered it. Gotta lower it a bit more in the front still. We made it to Hawkes Boes 2014 however had a few issues whilst out and about and ended up having to leave it at dads not even half way through the weekend. On the cruise out to Lake Tutira she over heated and started smoking. Had to drive her gently up the hill to dads, stopping a lot along the way, thank god dads house is on the way to Lake Tutira. With some investigation we found out that the smoke coming into the car was luckily just oil dripping out the breather straight onto the headers. We left it at that for the weekend and once dad had a spare few weeks they took the head off and got that planed and put on a new head gasket hoping this would help fix its issues. They also did other various things however i now cant remember what they were but I also ended up getting the radiator re-cored as it was all blocked up and creating the over heating issues. Hawkes Boes 2015 comes around so i tried again. Get her down to Lees no issues. Then as we get out to the old camp ground (still hadn't fixed the smoking issue) we thought we would give her a check over. Lucky we did this as it turns out she had chewed through all the oil, filled her up again thanks to Lauren and Bizzo. We made the call that she would be all good to continue to use just filling up the oil as we went as it was just overflowing out the breather. On the way to the Mohaka river cruise we ran into some issues. I was driving up the hill, slowly getting hotter however not enough to worry about it at this stage, when all of a sudden I couldn't accelerate up the hill, just lost all power to continue steadily up. Managed to coax her up the hill and have a look, at this stage we had used so much oil its not funny and she had over heated again. The call was made to let her cool down and turn around and take her home to dads, and continue on with the weekend in a reliable car (again). After Hawkes Boes 2015 we tested the compression which came at low in a couple of cylinders. We found out the oil issue was related to the crank case pressurizing and ejecting all its oil. Dad pulled the head off again and after inspection we made the call to rebuild the motor. Queens birthday just been we went up to dads to help take the motor out. Motor successfully removed, has now been acid dipped and is awaiting parts. //oldschool.co.nz/index.php?/topic/39707-baby-ks-1957-ford-prefect/page-21 point
-
right turns out these spot welders are a quite a nack to learn. had plenty of practice this week! photodump, but I'm kinda stoked the shell is done.1 point
-
Oh and I forgot to mention. Since the tune, it shoots flames.1 point
-
This is what ive been looking for! Im in the same boat. .I inherited my pc vauxhall viscount approximately 10 years ago from my late uncle,iv done nothing to it since iv owned it,it's all original no rust been in dry storage since 85, it's sat in my garage since I got it, has running motor and box but no drive shaft.its a kind of car im not familiar with, i have no paper for it and no one to ask for some, car was last registered in 1985 but nothing is coming up in the system, it still has old black plates fitted, nothing comes up from body tags or plate number when I've called LTSA..finding this post has given me some hope now as i was thinking my only option was turning it into a skid car..this is my first post on oldschool.co.nz and don't access internet much and when I do its usually only Trade me..thanks1 point
-
Must have restored it perfectly! Fuck it!!
1 point
-
This afternoon, after ferrying the sheepers down to Hamilton I set about modifying the dash cluster to accomodate my new instruments - yes that's right, I did a thing on this myself. IMG_4941 by Richard Opie, on Flickr Starting point was this factory flat front KP61 tacho dash cluster - I wanted to cut up one of these rare, hard to find examples because it meant I could install the tacho I wanted and still retain the OEM fuel gauge and temp (temp not so much of an issue but anyway) which you'll note are included in a combination gauge on the non-tacho cluster that my car came with. IMG_4961 by Richard Opie, on Flickr On the speed side, I wanted to install this Stack ST3801 speedo - it reads an optimistic 260km/h so I'm sure further developments will be needed to ensure I can take this car off the clock. IMG_4963 by Richard Opie, on Flickr For keeping an eye on revs, I have always wanted to pop a Stack tacho into a car - these remind me of watching the start-up montages of Bathurst years past, you know the one... the grand marshal instructs 'drivers start your engines,' then you get a montage of Larry, Brocky, Tricky Dicky et al. pressing the go buttons and more than one Stack tacho leaping into life as the engine fired. Anyway, I wanted that. You'll note the instruments don't match. Weird yes, I dunno. But I have a stack (lol) of other auxiliary gauges I am using which match the speedo in terms of bezel design, but the tach is the odd one out in the Stack range. Anyway I digress.... IMG_4988 by Richard Opie, on Flickr When you try to fit the gauges into the cluster, this happens. The speedo is slightly too large in both bezel and body diameter, and both of them foul on mouldings behind them. IMG_4959 by Richard Opie, on Flickr This is why. There's all sorts of annoying bits of plastic and shit going on behind the instruments. Suffice to say, it needed to GTFO so I went and invested in a variable speed Dremel and some tool bits for it. IMG_4997 by Richard Opie, on Flickr And then I started mangling. IMG_5006 by Richard Opie, on Flickr Until eventually, I had carefully hacked the back of each side out and they were roughly (literally!) ready to accept their new instrument overlords. IMG_5026 by Richard Opie, on Flickr The tacho fit into the fascia perfectly as it was - you'll note in this shot, there is a flat on the bottom of the aperture for the speedo. That needed to be ground out circular to accept the main body of the gauge, but the bezel itself was still too large to fit in the supplied space. IMG_5055 by Richard Opie, on Flickr So I did what any sane person would do, and employed my newly acquired Dremel skills of precision destruction to chop the bottom off the speedo. Which ended up being more than just the bezel. But it worked a treat - this is just after the initial cut, and some sanding with a fine sanding drum at a low speed finished it off nicely, but I think it might be prudent to fill it with urethane or something similar just to stop any dust getting in. IMG_5050 by Richard Opie, on Flickr Went over the edges of the gaping chasms I'd created with a burr to tidy them all up, radius the corners and remove any sharp edges. IMG_5066 by Richard Opie, on Flickr Then secured each of the instruments into it's new home! I won't be able to reinstate the clear plastic cover over over these two - they sit proud of the mating surface for that cover, but also the fact the instruments have lenses of their own means it results in some weird/annoying reflections. I only need to cover the temp and fuel gauges, so will sort out some kind of clear plastic to glue over the top of them and it should nestle nicely in the factory location. Thanks for looking! Discussion in signature if you want to yarn about it.1 point
-
Bit of a saga with the headers, Any coating (incl ceramic) requires curing, and doing it on the vehicle doesn't work in with the running conditions to bed in a new cam. I debated leaving them as-is and doing a proper job later (priced ceramic coating with Elite in Ch'ch) but I can't really be arsed pulling them off again and didn't want to stick rusty old pipes on my shiny engine, so decided just to rattle can VHT on them to see how it goes... So a couple of weeks ago I dropped into the largest sandblasting place in Invers (a place I put a bit of work through incidentally) to ask about blasting them clean. 2 weeks later, despite me going in there twice plus leaving my details, hadn't heard a bloody thing. This disappoints me as I treat every job as a trial for bigger ones, and not being contacted pissed me off more than a little, this will be remembered when larger contracts come about... Anyways, did a google search for sandblasting Invergumboot, and Sievwright blasting/panel/paint popped up. Never knew anything about them but called past on the off chance to see what they could do. The GC there said sure, no probs, they boys had a window and as they were in the car I could get them done right then, and pick them up in an hr. Done... Crap pic but shit this saved some work, I'm over sanding stuff down and would happily pay for this service again. The bloke asked me how I found them as they don't advertise, and laughed when I said I had the arse with the normal outfit (Southern Industrial Coatings) and went looking... And I knocked off early and degreased, warmed and chucked a few coats of VHT black on 'em... These look pretty good now but I'm under no illusions it'll last, so I looked into curing them prior to bolting them up. I need to bake at: 120 degs for 30 mins cool 30 mins 204 degs for 30 mins cool 30 mins 315 degs for 30mins After my last shed cleanup I discovered I had 3 hot air guns (no idea how) so toying with the idea of using these plus an IR thermometer to give it a go. I know I can get the pipes to over 100 degs with one gun, so will be interesting to see what I can do, can always plumb in an lpg torch for bit of extra oomph. Worst case is I'll waste a bit of time trying it out, best case is it works and I have fun trying...1 point
-
Old School Nats last weekend in National Park and visited a friend at Horopito while i was down there: Ol' mate Colin was very surprised to have someone interested in it Ol Barry: "Do you have one of these?!" Not so old Barry: "Yes, two, + 2 more tail gates making 4", lewl. Got all four monsoon sheilds and the dizzy, shields were cheap, but the dizzy was not (check out the drive!), but happy on average Cap is 'new' and my one is missing one of the cap clips, and spare parts are nice to have. Apart from those bits the car is pretty rooted. Still has its back brakes (I should have grabbed the hand brake pads!) but i doubt i would have been able to jack it out of its hole or get the wheels off.1 point
-
Time to solve my fueling issues once and for all (hopefully) So my experiments with the Fuel Flow pumps was an epic fail, even rocking two of them wouldn't do the trick. Did what I should have done from the start and got another tried and true Carter pump. Ordered the black "competition" version as it is meant to flow the most. To my surprise it is actually not that loud which is a bonus. Swapped out the dead head style regulator I was using as I wanted to switch to a return line setup as I think I was getting some vapor lock issues also. Here you can see the return line off the last carb. Also hooked up a fuel pressure gauge so I can see what is happening while driving. So far things are looking good, getting rock solid pressure throughout the rev range now so fingers crossed problem is solved..1 point
-
Been doing a few small things Made up a rear strut brace out of an old R33 one. Car had been struggling to stay cool when in slow moving traffic this summer with the alloy radiator I had fitted so upgraded to a bigger one and added double fans. Seems to have done the trick. I have been using a Carter fuel pump I scored from my parts sponsor Craig but it has been dying a noisey painful death. Not only did it scream when operating but it was struggling to make the required pressure. Looked at different options and decided to give a kiwi company Fuel Flow a go. Their pump seemed to match the specs I need, is well priced and is made in NZ so worth a shot. The pump runs nice and quiet and is easy to mount. Good bunch to deal with too... Here it is compared to the old Carter Mounted to pump bracket Will do some driving tomorrow to see how it goes...1 point
-
1 point
-
Started giving the SSRs a tidy up.They had a bit of curbing on the lips and the clear coat had pitting in places. Should have sent them off to a polisher but thought i would have a crack at doing it myself. Split the centers and barrels Stripped off the old clear coat with rubber stripping disc. Then jacked up the back of the datsun and used as a poor mans polishing wheel. Bolt on wheel, throw in 3rd at idle and work your way through sandpaper grades. Stripped back the flaking paint of the centers and resprayed gunmetal. Also repainted all the cap screws black. All done and bolted back together Came out Ok for a rangi home job. Tyres going on this week fingers crossed.1 point


This leaderboard is set to Auckland/GMT+12:00