
Leaderboard


Popular Content
Showing content with the highest reputation on 09/12/24 in all areas
-
Gave the Thames his weekly bath today and while he was clean I added some bling. Before: After:
 9 points
 -
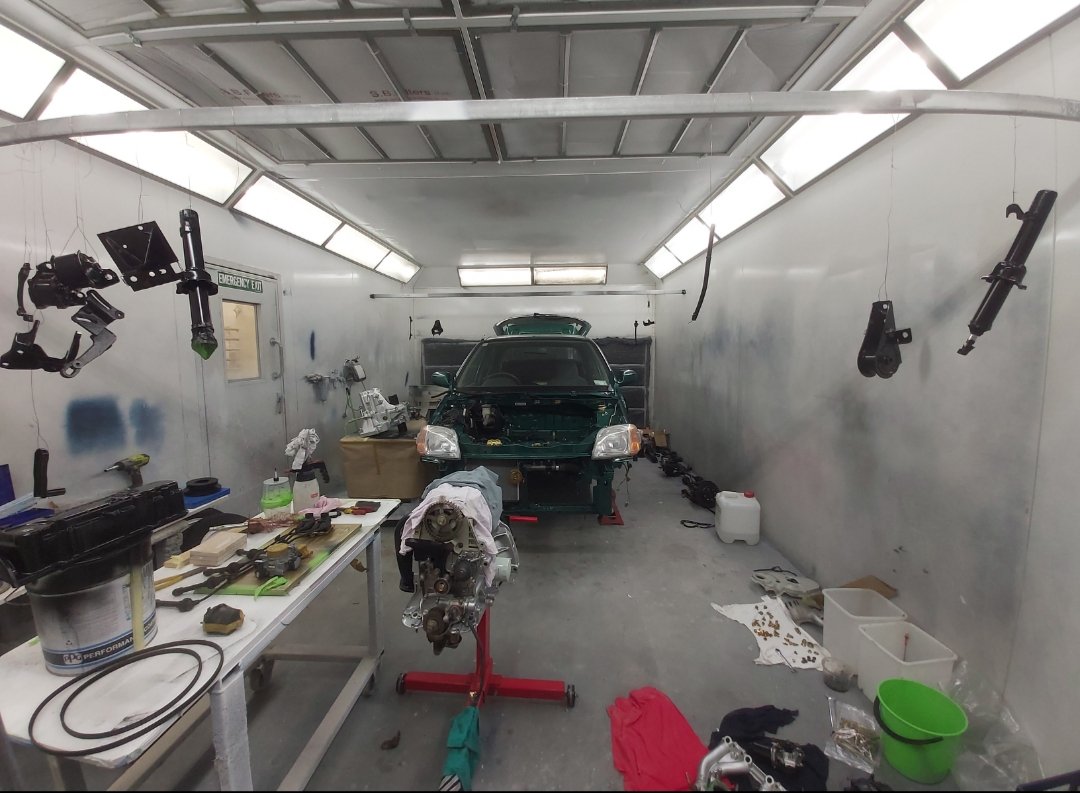
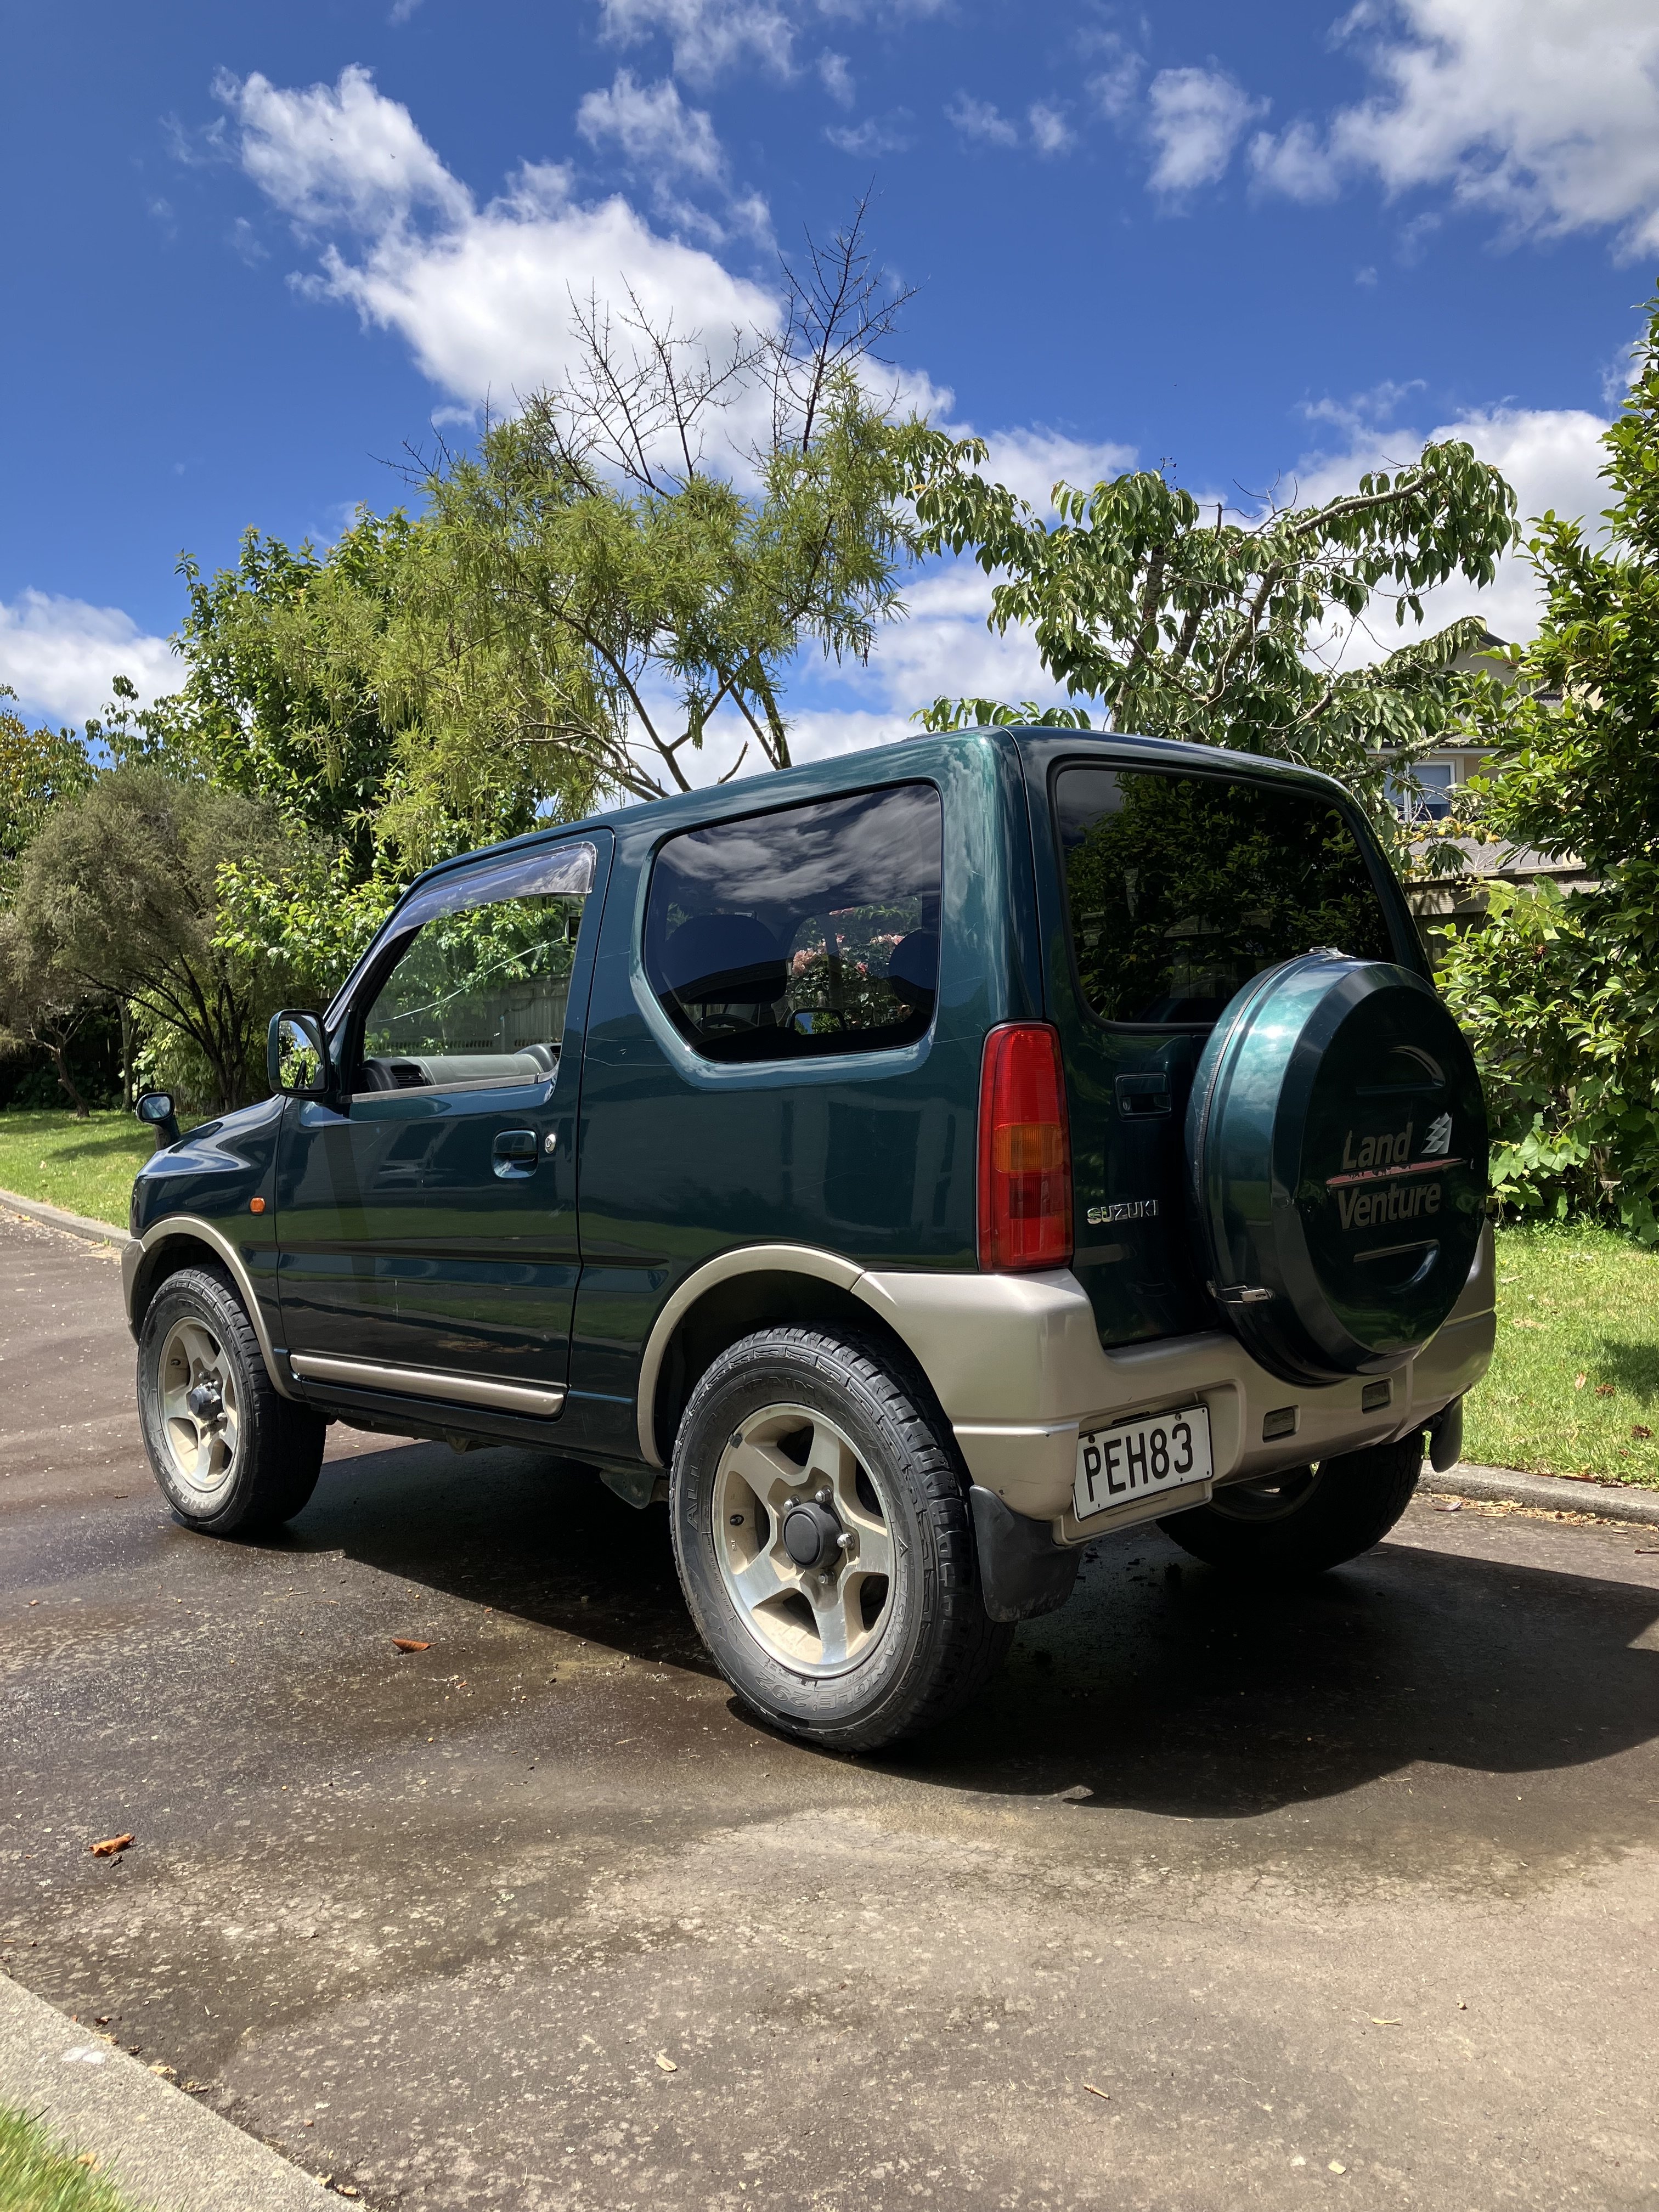
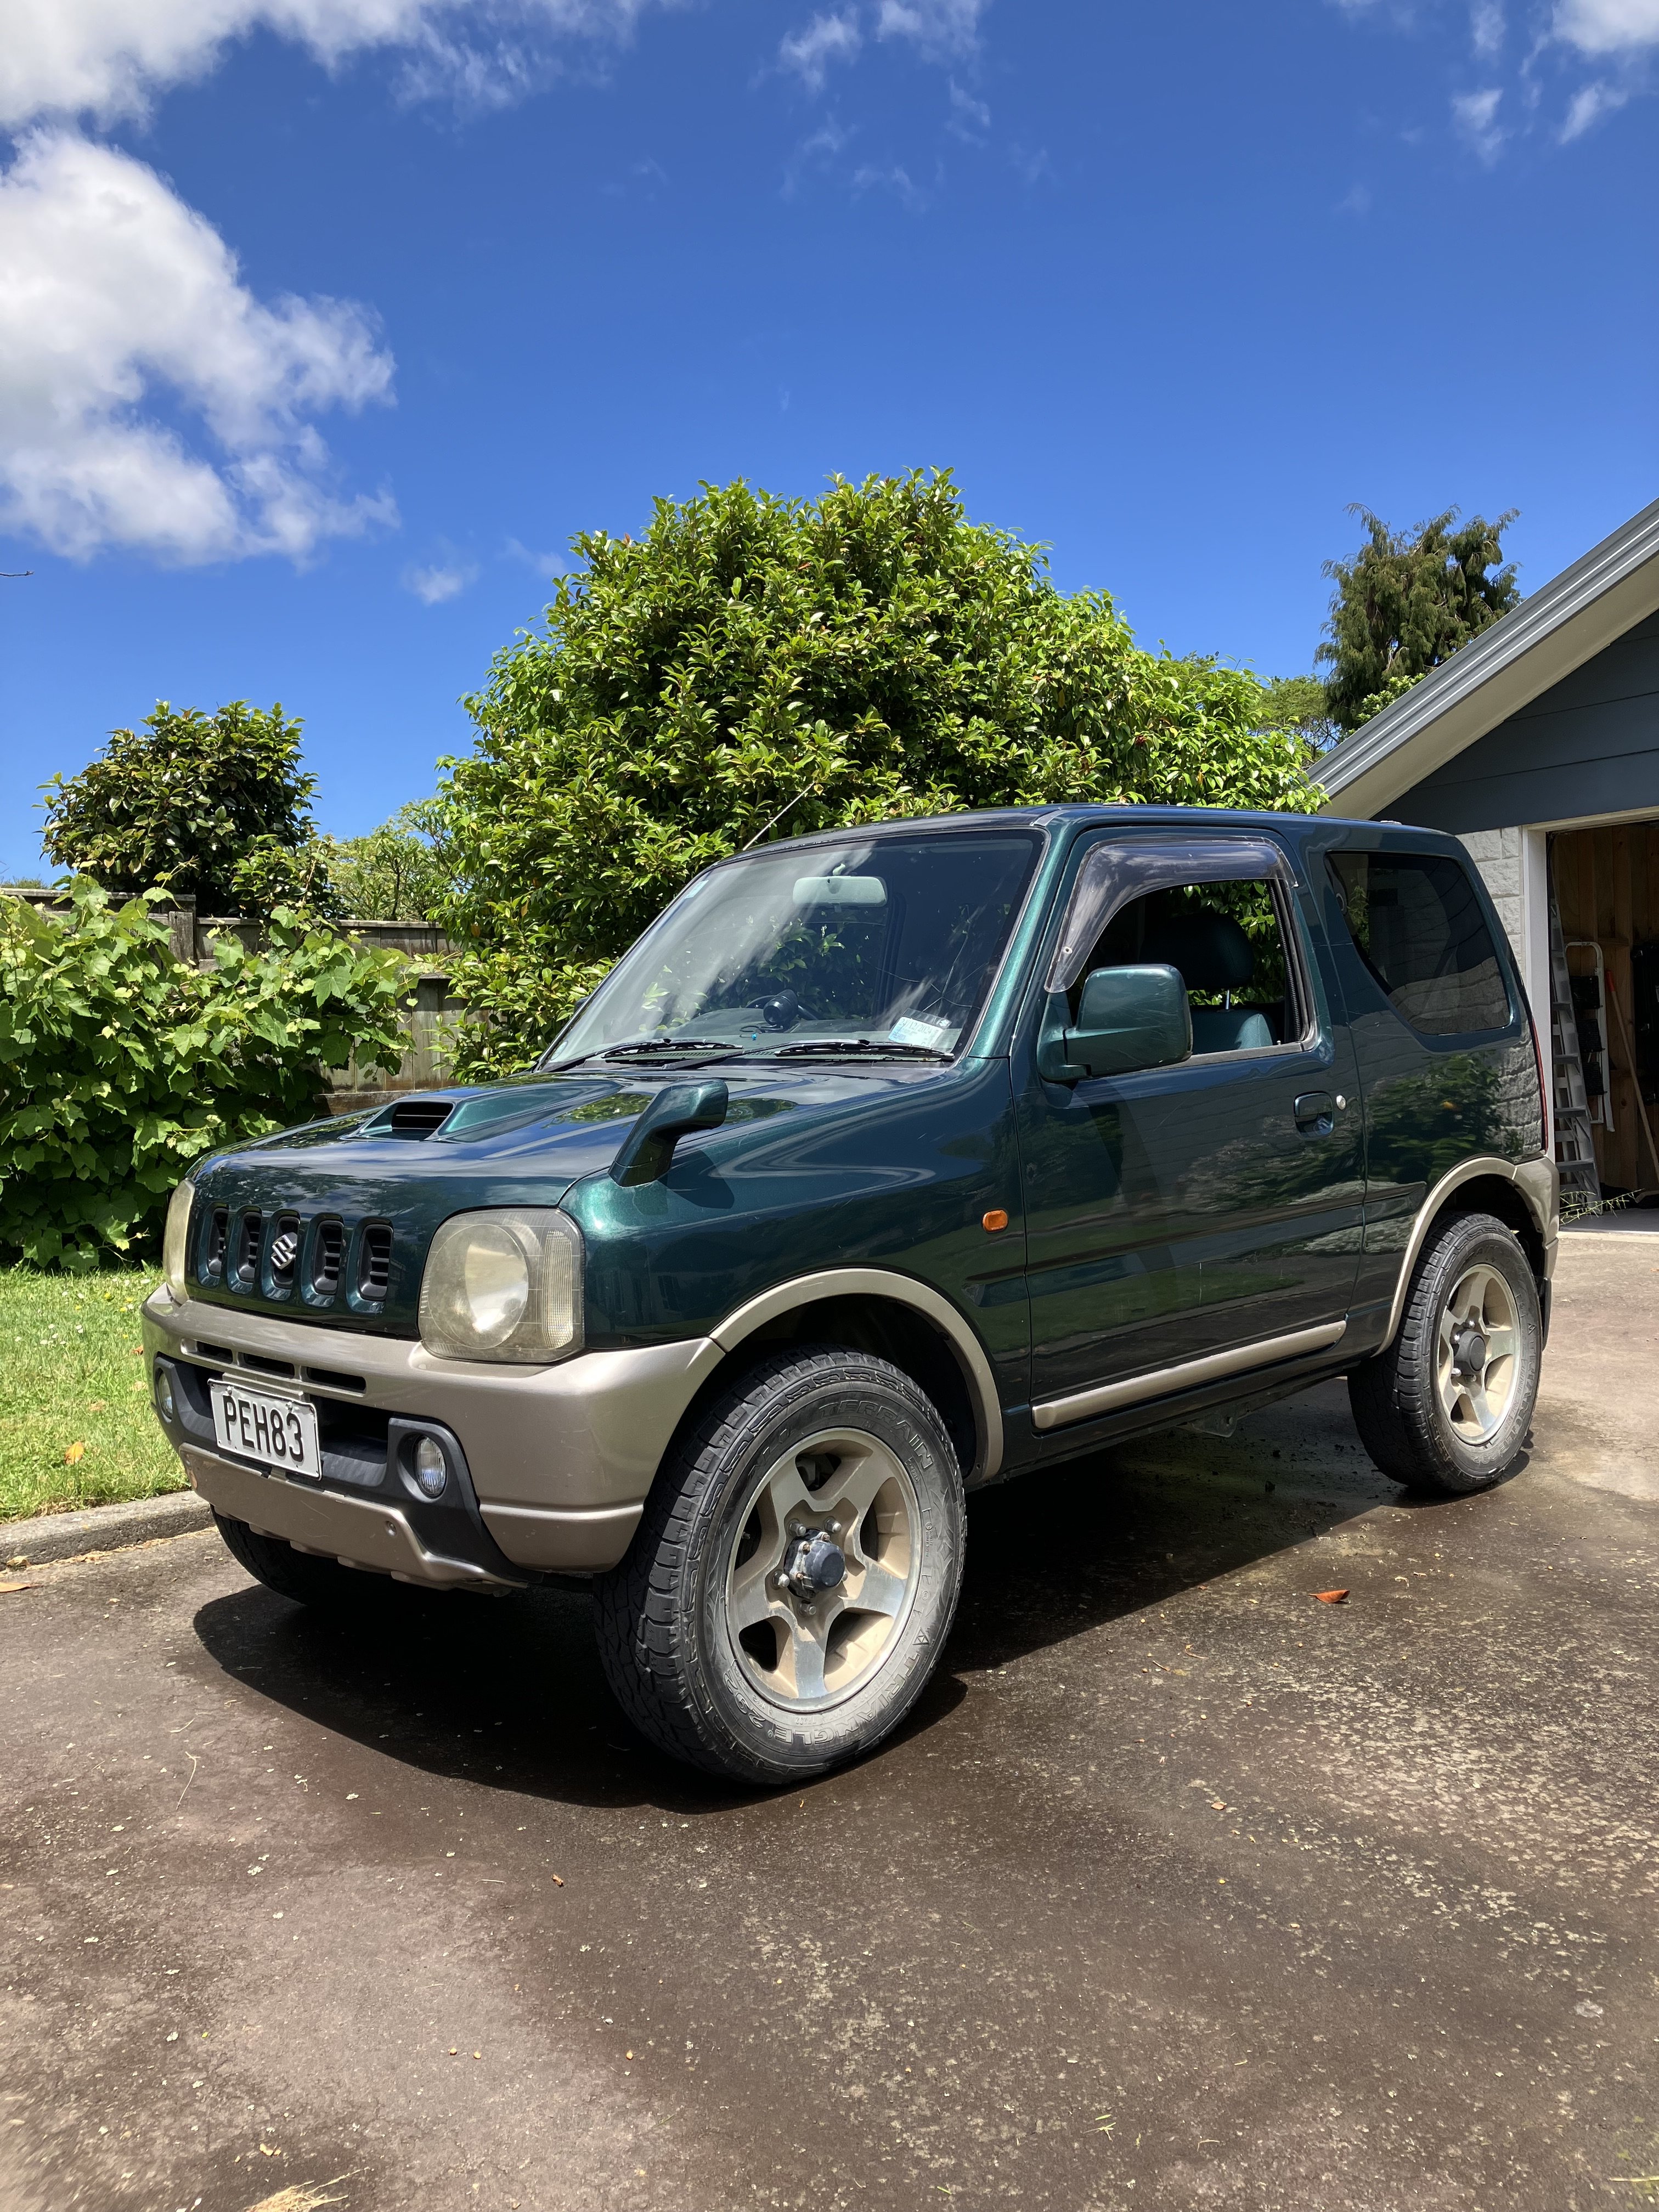
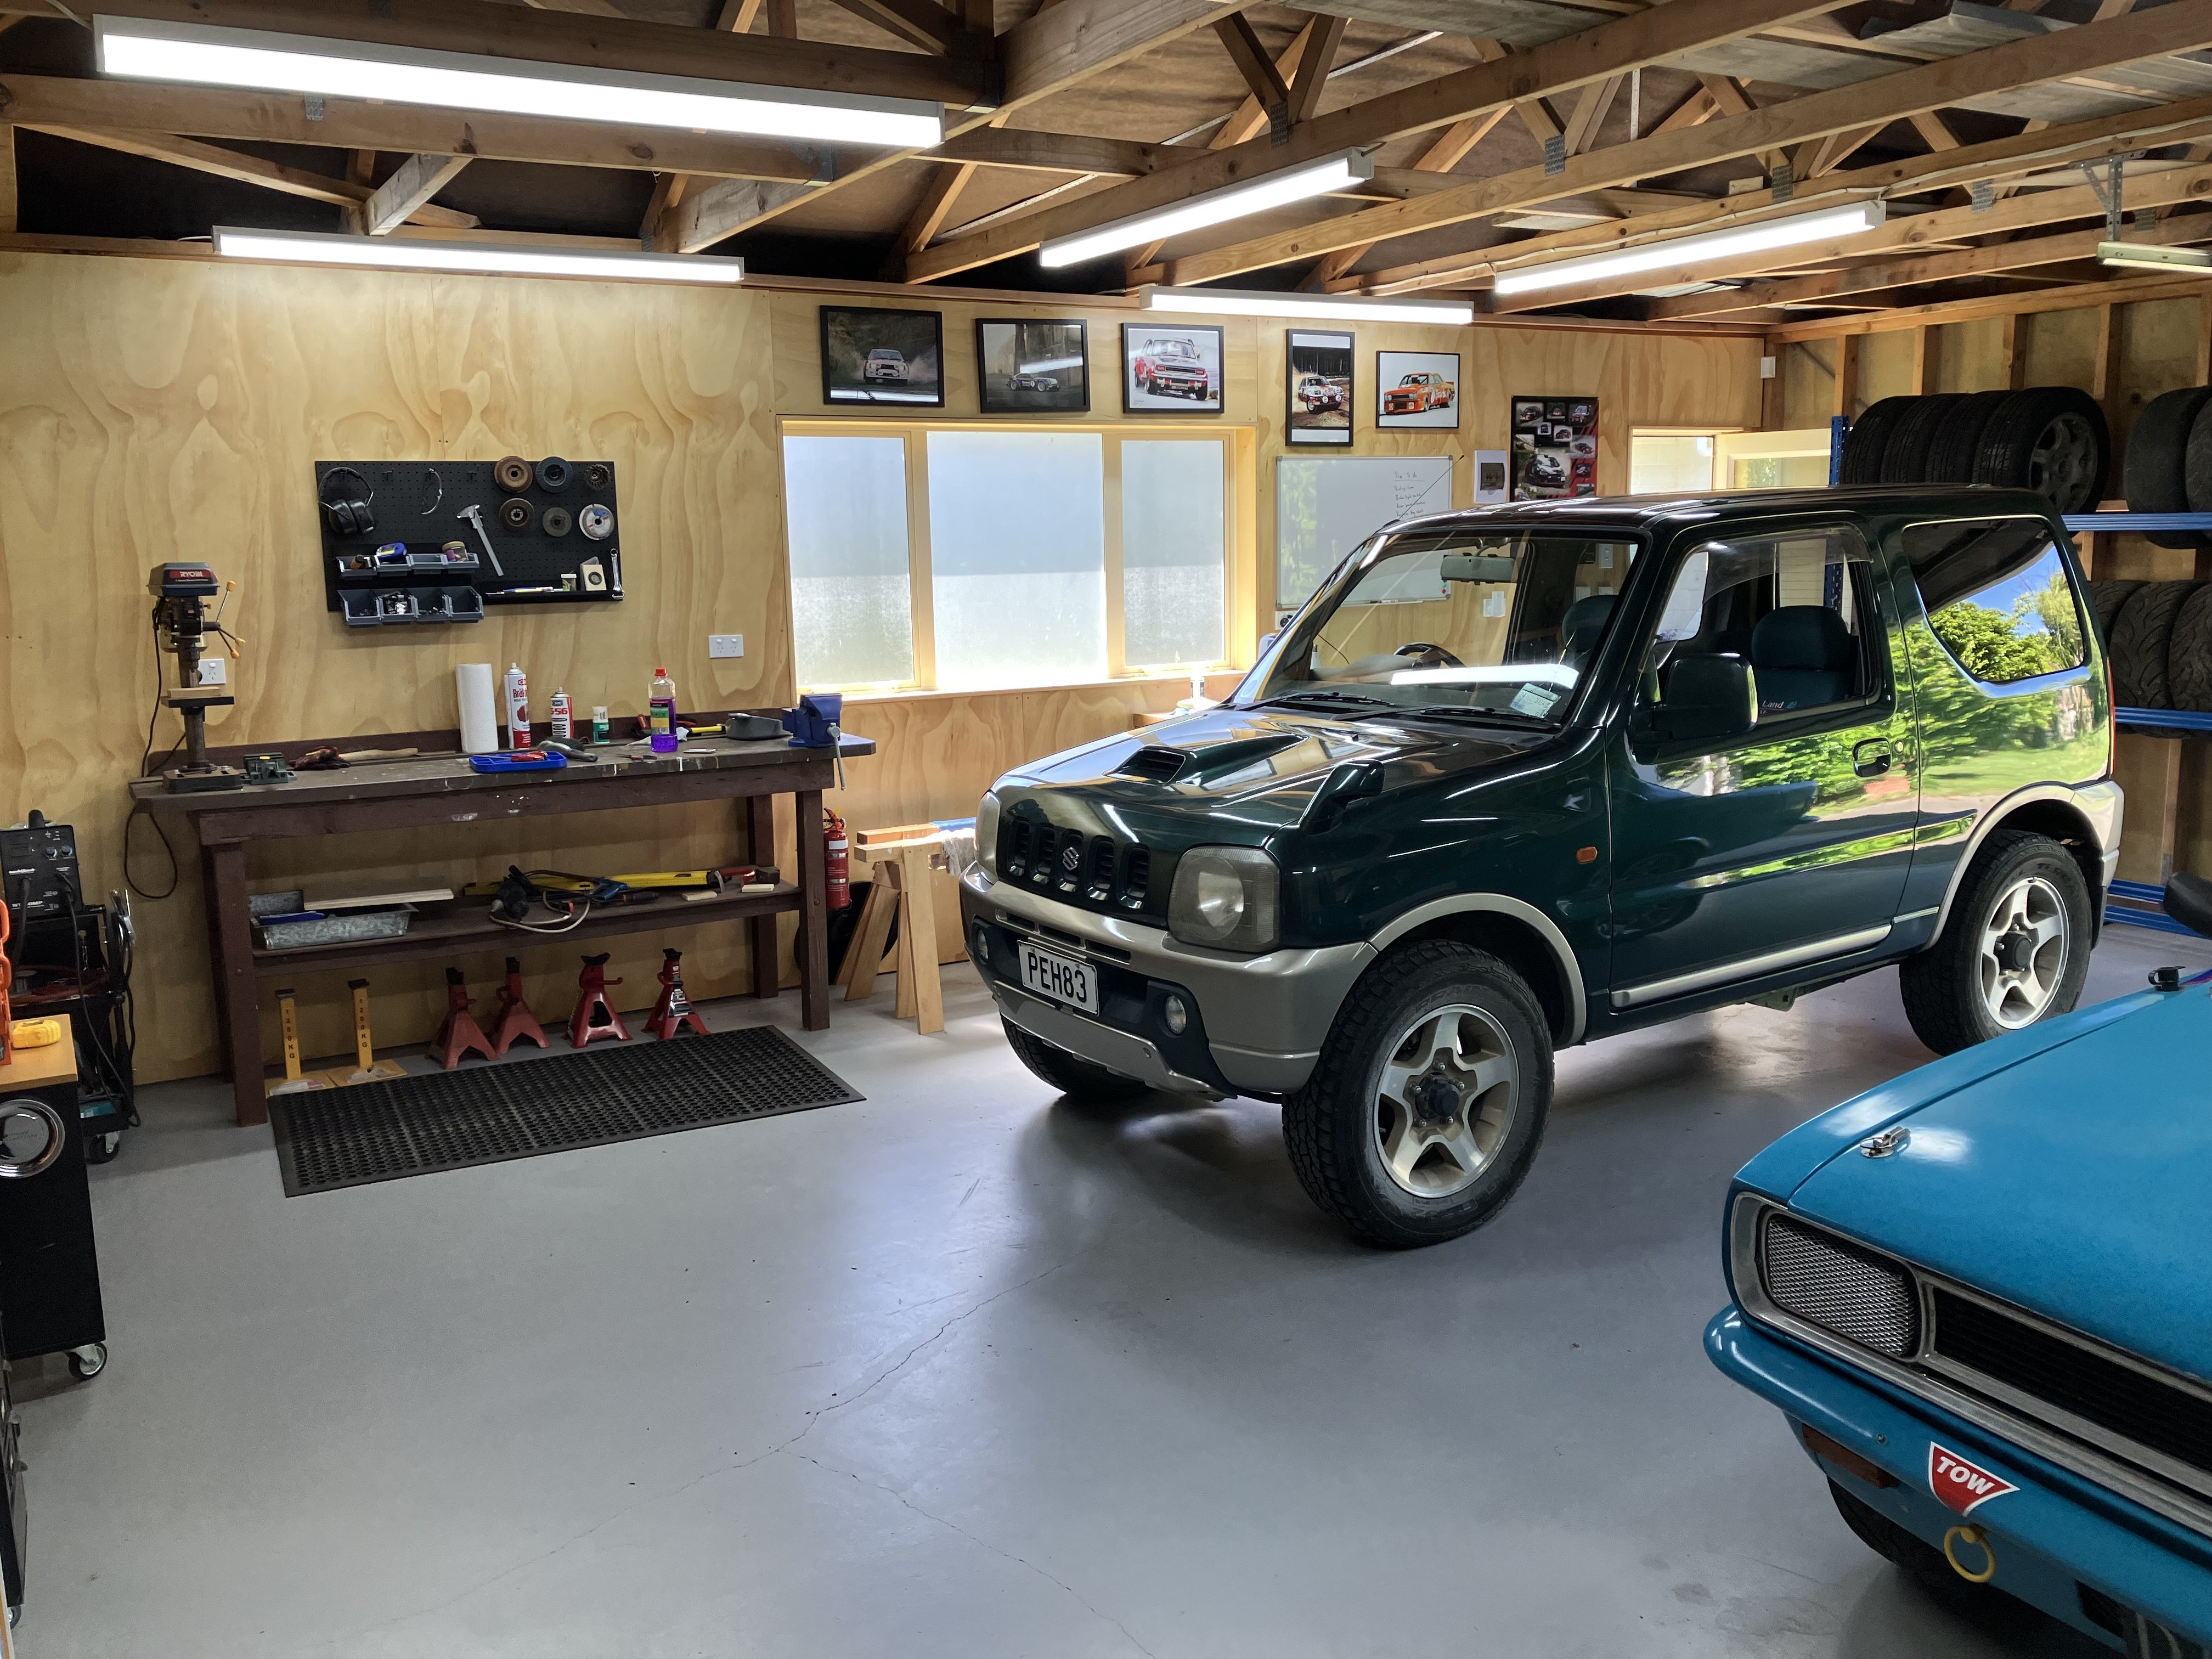
She's alive! 100kms into bedding in the new rings and she is driving super nice. There's no tinny rattle coming from the loose turbo heat shield and there's even a rattle, that I thought was coming from the front suspension, that's gone so that's a win. WOF and Rego'd, aircon regassed and ready to cruise - but I do feel like a bit of a plonker having to rev it at intersections and not let it flat idle (engine rebuilders recommendation) but oh well. I should be able to get a good drive in this week and chew through some kms. Then when the oil and filter get done I'll put on a new crank pulley (squeaky and delaminating) and a few viscous fan clutch. The rest of the 'to tinker with' list is: Wheel alignment Cut and polish New radiator pipe bracket Fish oil rad support and refit front mudflaps and new bolts/clips for lower fender and inner fender liners Repair drivers seat Repair shrunken vinyl on T-Top trim and in back seat New clock Repair centre console lid Fix rattle from windows Tighten up door latch's - not perfectly flush Repair cracked boot plastic Secure sub When $$ Allows: New Wheels Closed door respray - fitting new windscreen, mouldings, quarter glass and door glass trim and Targa seals.8 points
-
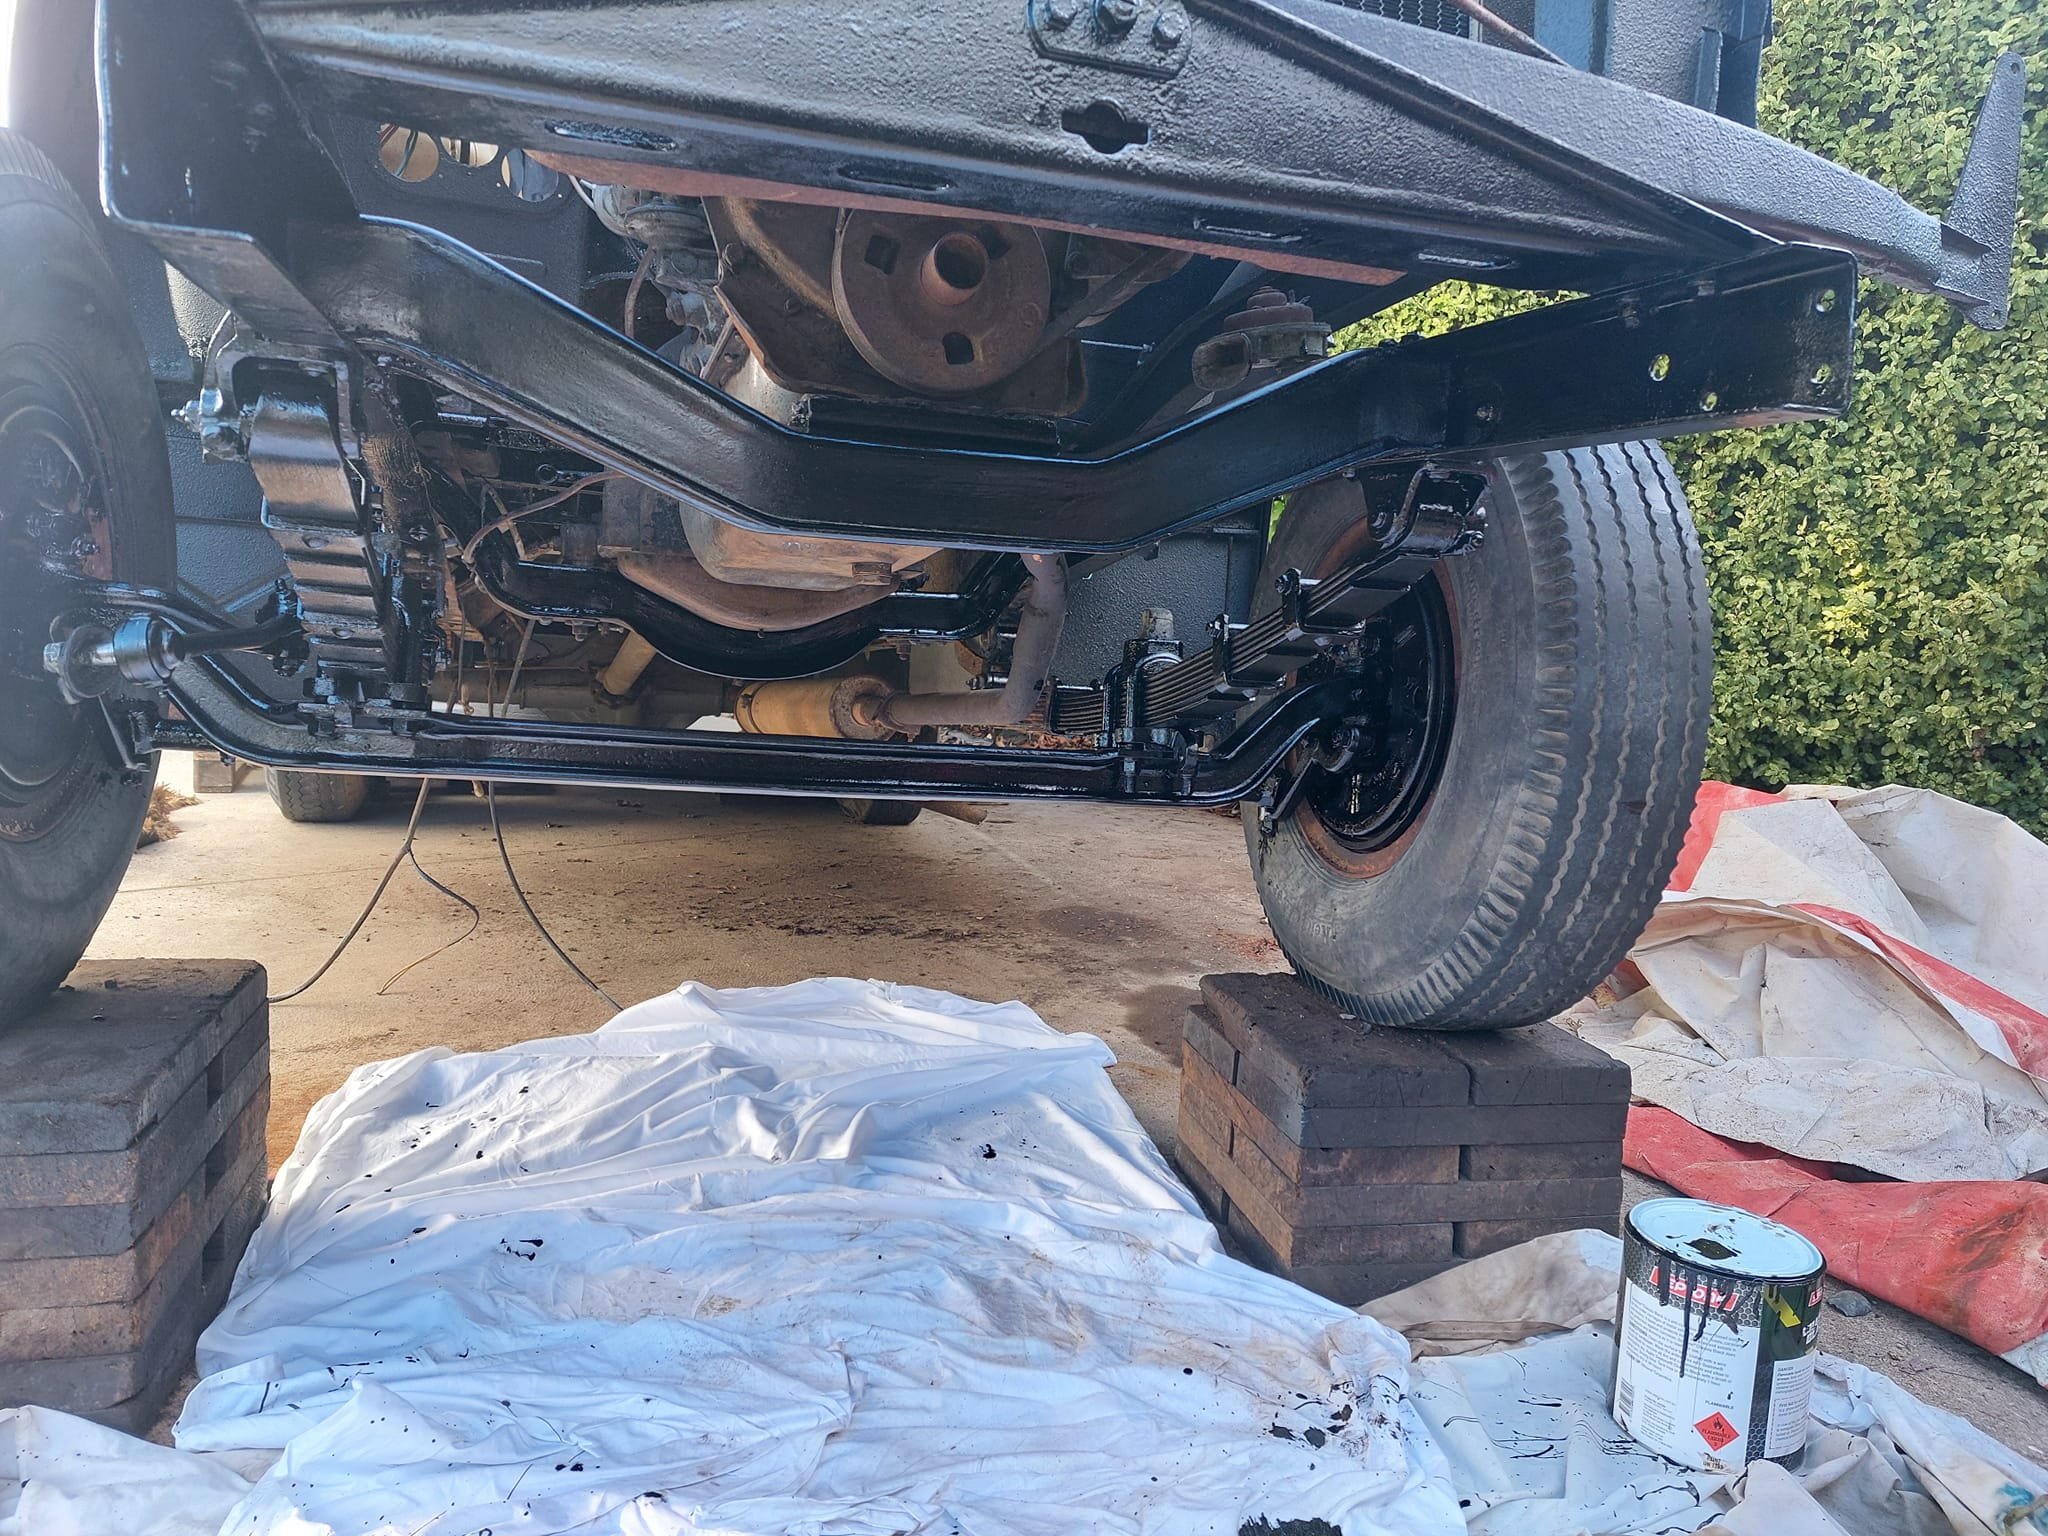
Brakes bled on my lunch break, with some bottles of random DOT4. Both rear banjo bolts were only finger tight. And one of the lines at the rear t-piece needed tightening and loosening a few times before it stopped leaking under pressure. After bleeding, I held down the pedal hard as I could for about 30 seconds, still dry at all the joins. NFI what the brake balance is like. Handbrake works. Guess the next thing is to put the wheels on and take it off the tip-over jig. Then enquire at my local garage if I can put it on their wheel alignment machine to see if the subframe is anywhere near straight. It's Julian Cheers old place, he said there is an alignment machine.8 points
-
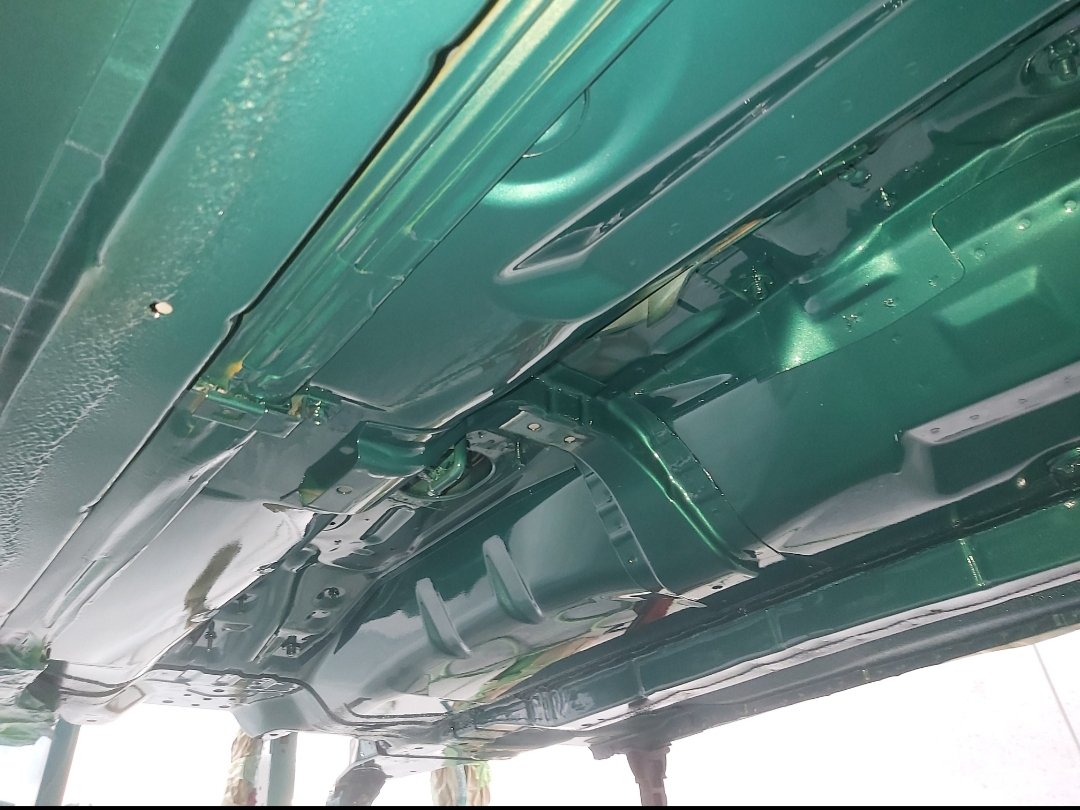
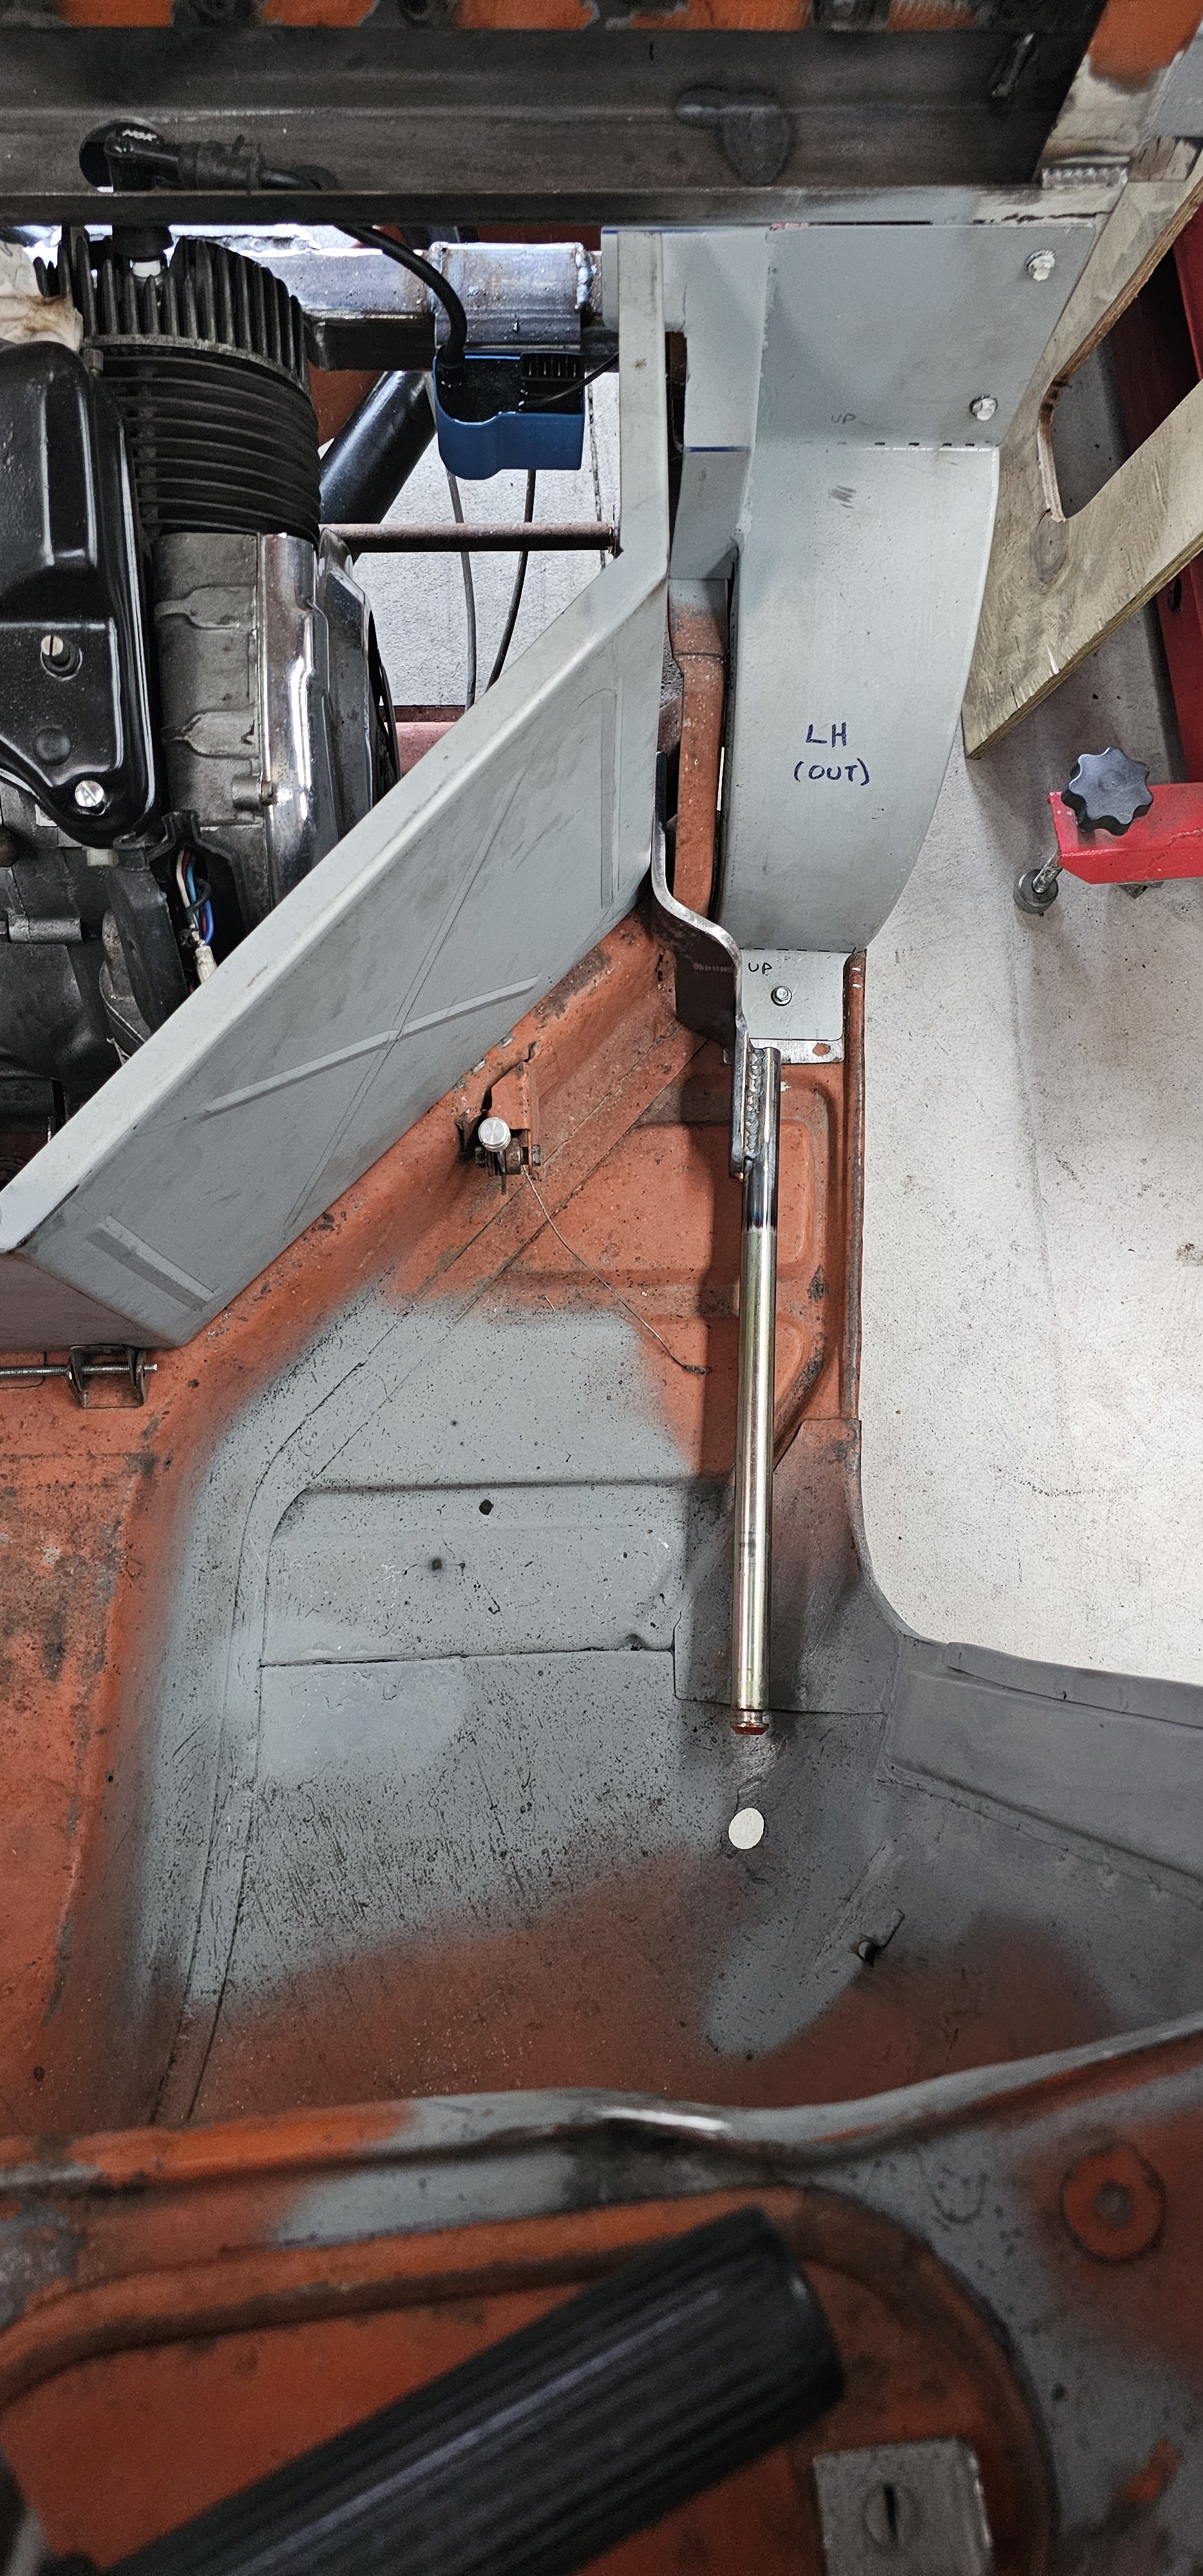
Reinstalled the underbits and put it back down. Now I can test the lines for the rear brakes. And need to make mounts for the passenger seat. It could then go on a wheel alignment machine to see if the subframe is mounted straight. Then put it back up. Take everything back off. Weld the subframe mounting studs so they can't move. Finish the welding on the underside of the passenger seat mount. Seam seal. Then some kind of top coat. Put all the bits back on. Put it back down. etc... etc..
8 points
-
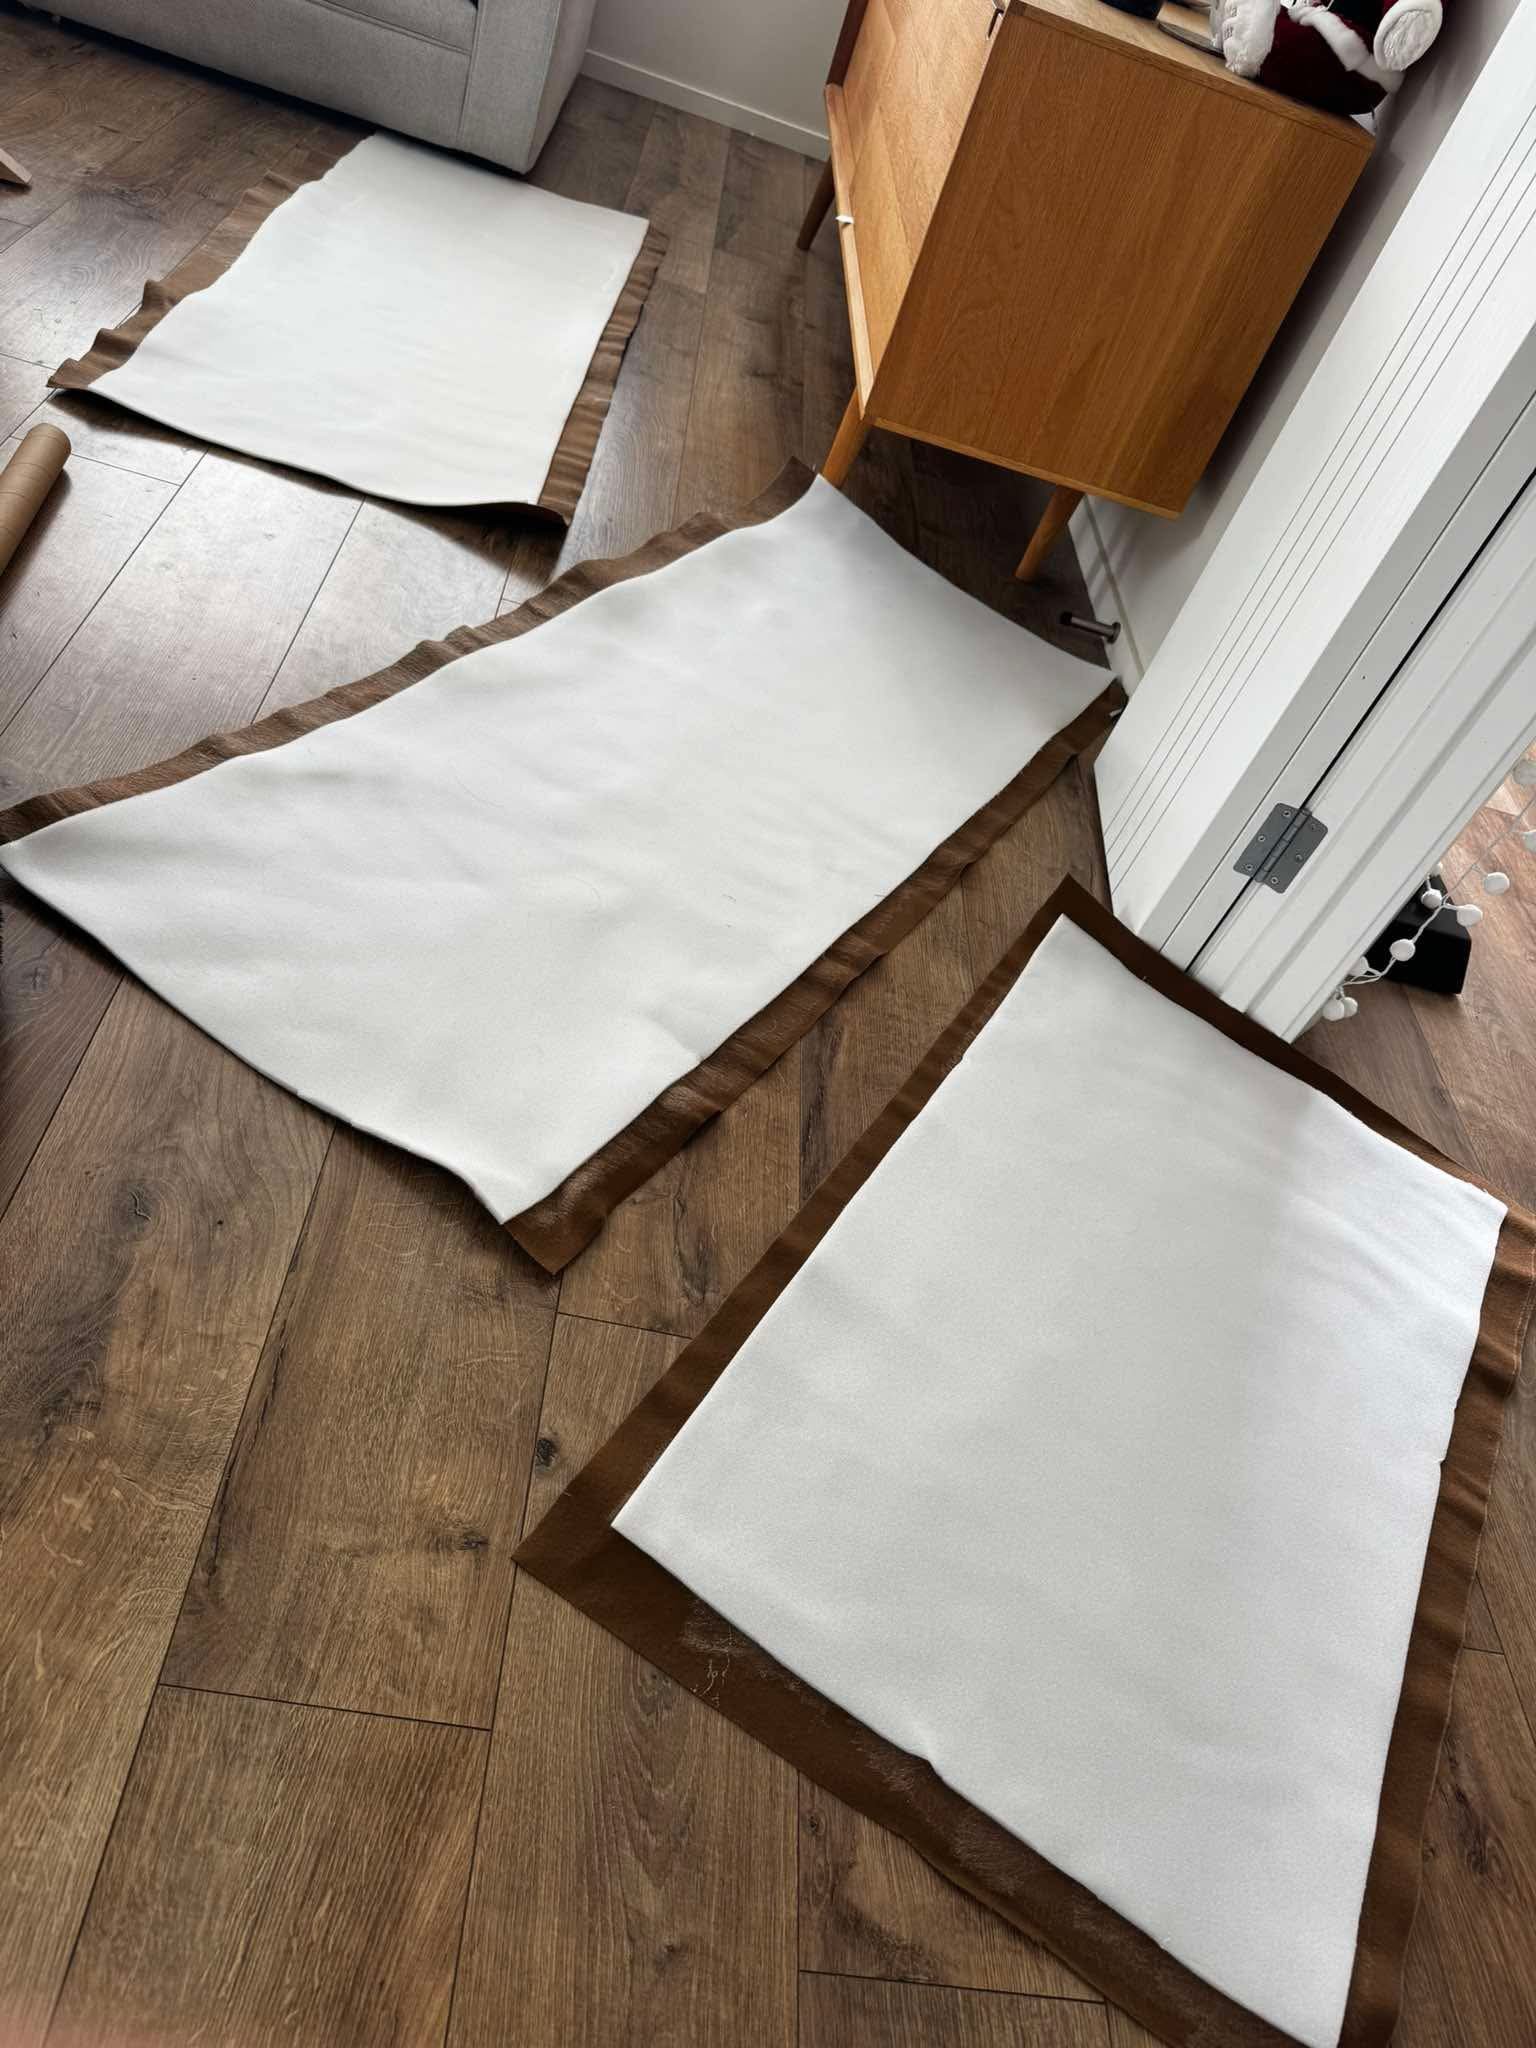
Well it’s no at the painters place so no more progress until it’s back. however the Mrs and I have made both door panels and kick panels. I only have the roof panel and rear panel to cover now. get carpet and underlay and the interior is done. I hope the wiring doesn’t fight me too much once the ute is back. ideally I’d like to find someone who can help with a full wiring diagram to make things easier. mainly the power in/out of the combination switches-relays/flashers etc then out to each control.5 points
-
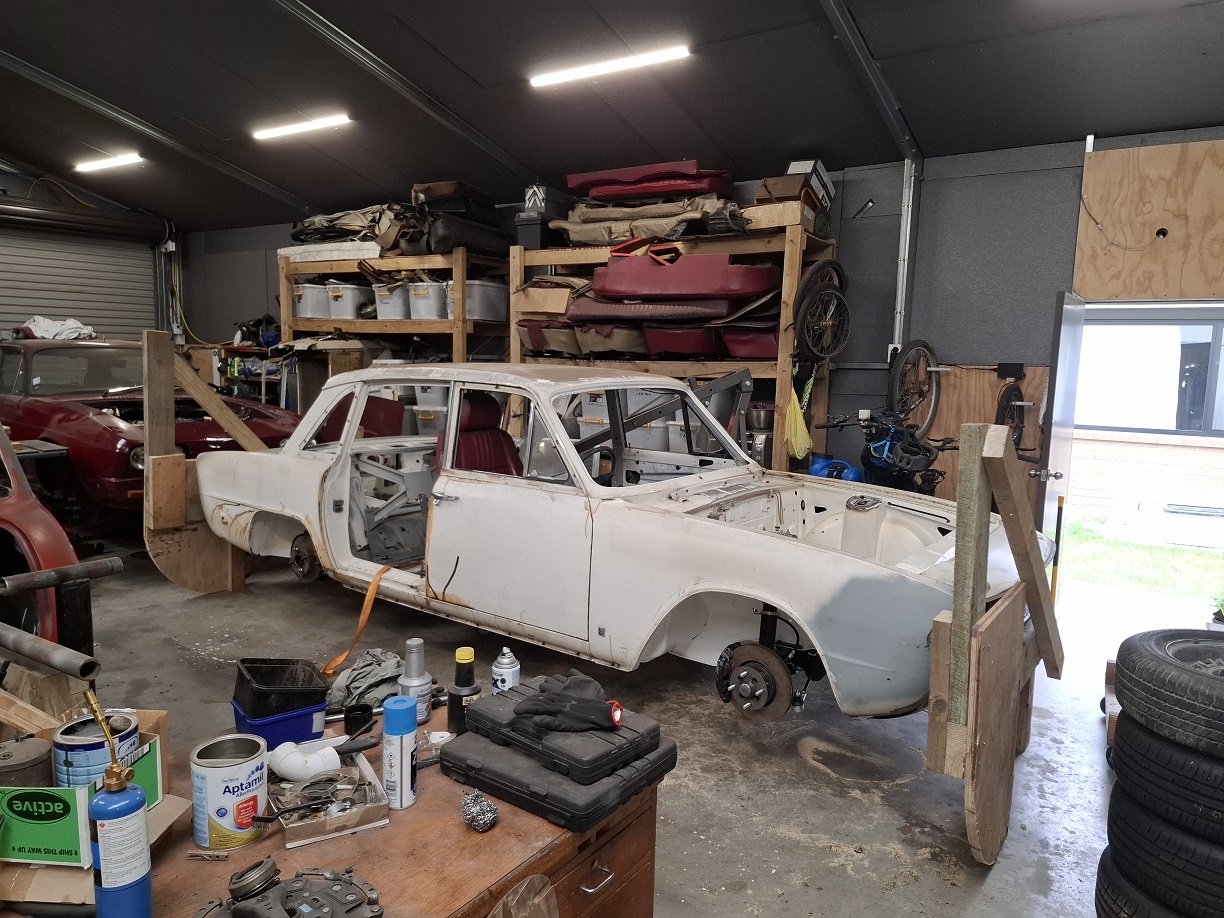
Well she’s ready to go off to paint tomorrow (I hope). its going either way. i guess i need to find some shims for the axles cos when they’re bolted up tight it isn’t free moving, loosen them off and it moves. Joys of putting things together that someone else pulled apart. so apart from the last minute body work i have started on the interior work. this build has really been an in house deal, aided by useless trades giving me the run around. thats ok, i get to upskill and try my own ideas. Im not scared of it turning out crap, I’ll just redo it and learn more along the way. so I cut out the door cards, kick panels and roof panel a while ago. went and purchased some upholstery this morning. went with a plush interior vinyl and 6mm foam backing. have it glued together ready for the patterning phase. Then will get the Mrs to help with stitching. once the ute is back I can do carpets and final fit out. while it’s away I’ll continue with the dash panel and procurement of brake parts (hard line, fittings, hoses, pads etc). I’ve also finalised the deck panels and have some more finishing to do with fit and finish. I added in the roll panel over the diff. This is prep for any future notch/4 link set up. i will complete the floor once the fuel cell is in
5 points
-
I am now thinking it is just ring drag, it was easier to turn at tdc. I have put the bottom end back together now and had a good look at everything while I was doing it and found nothing untoward.4 points
-
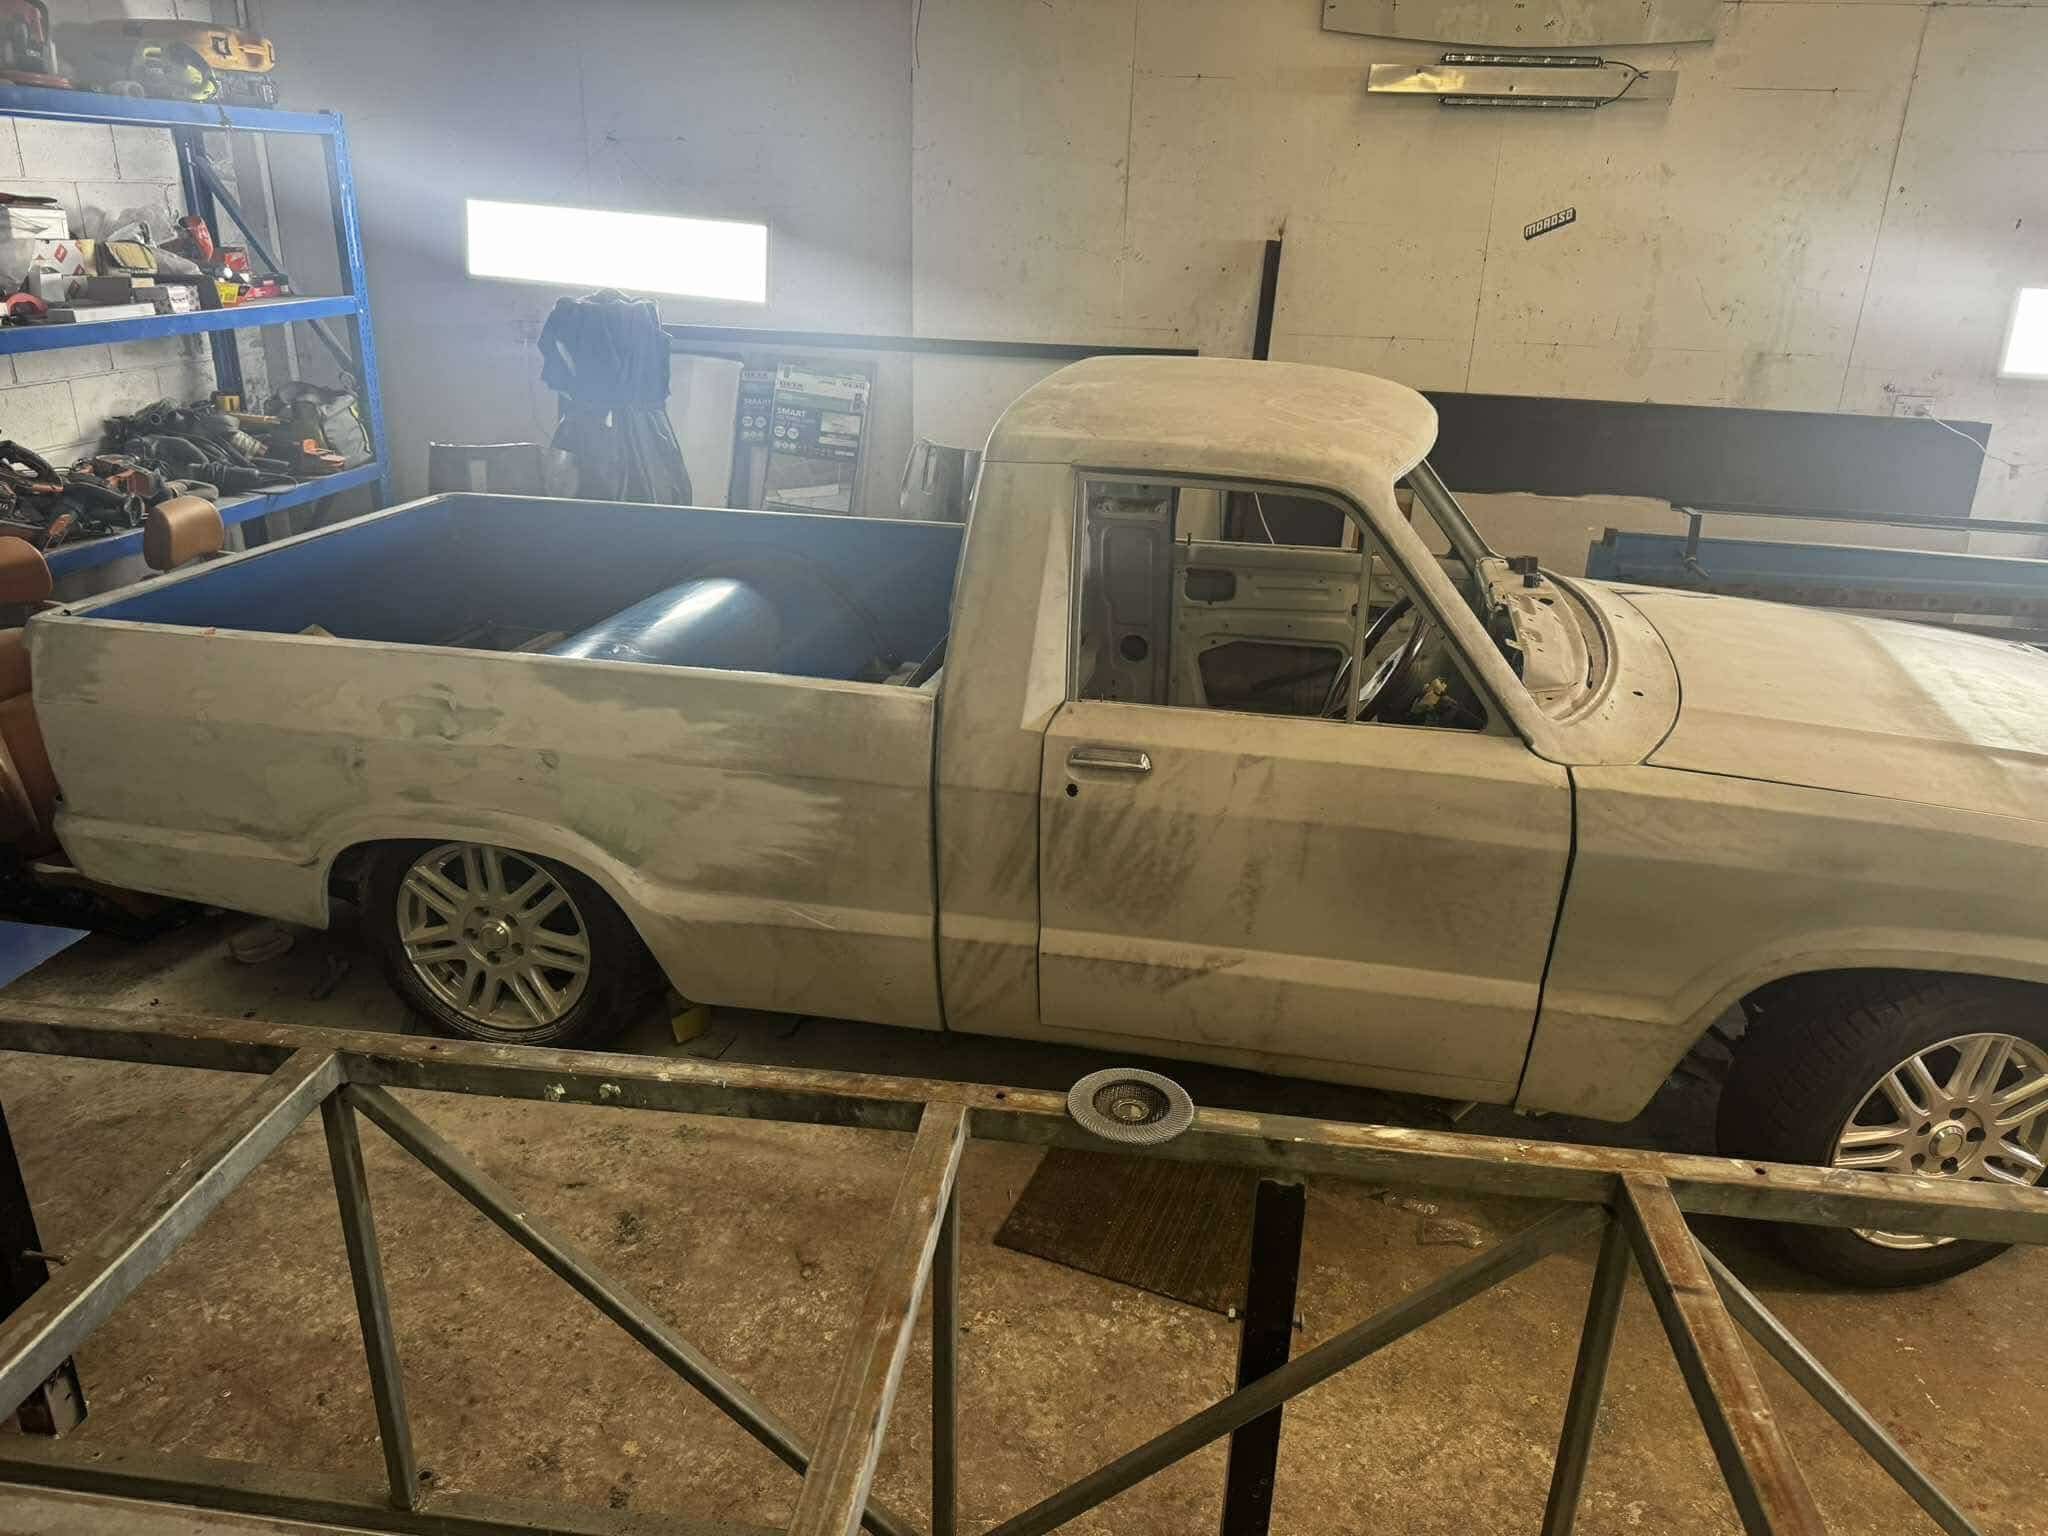
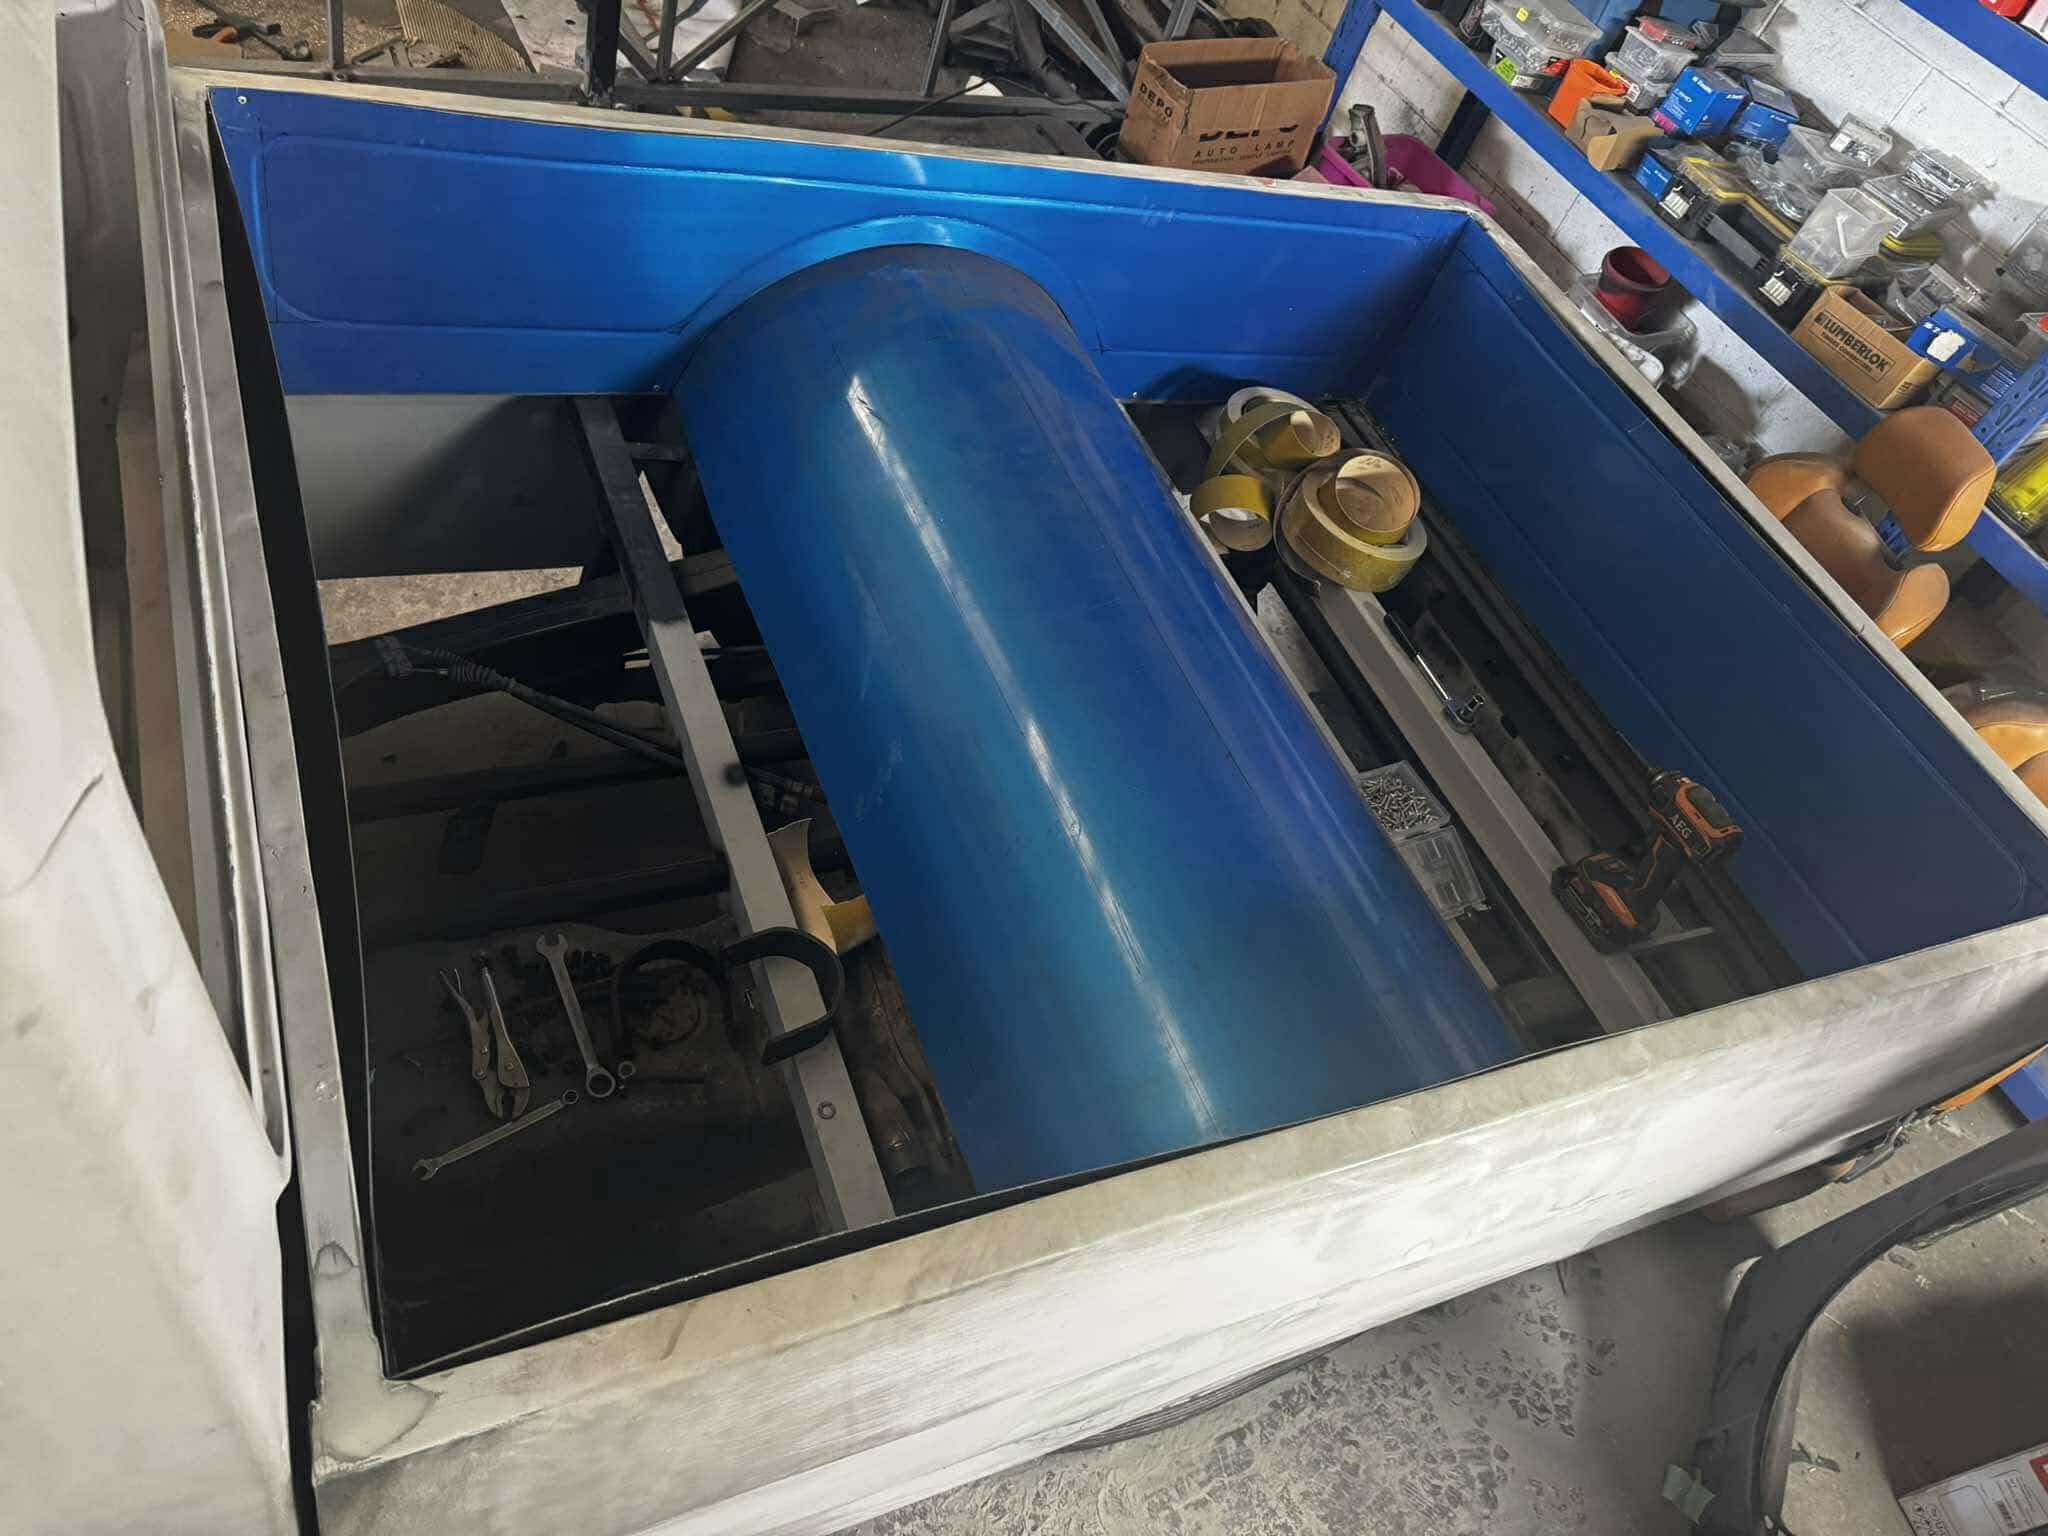
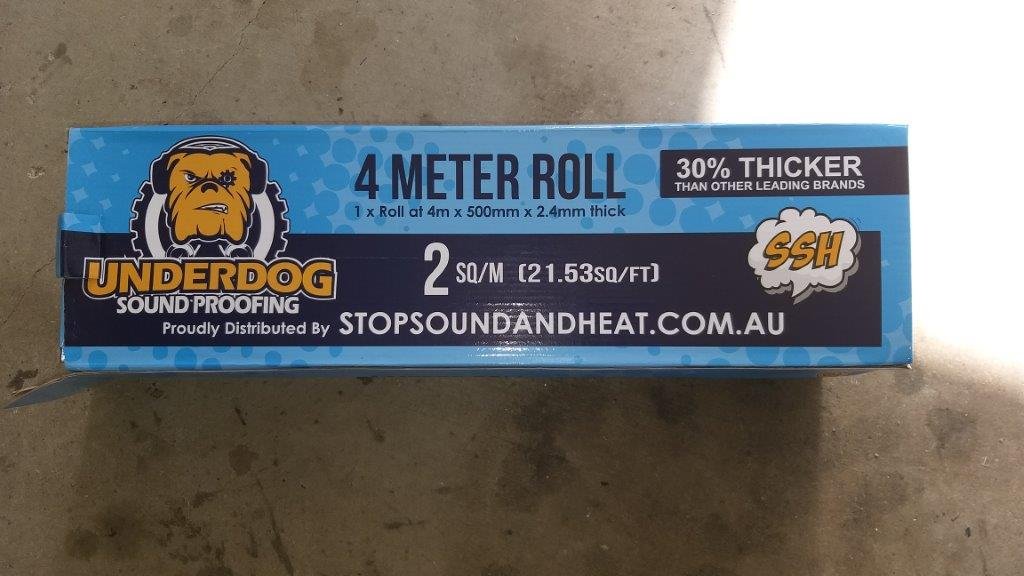
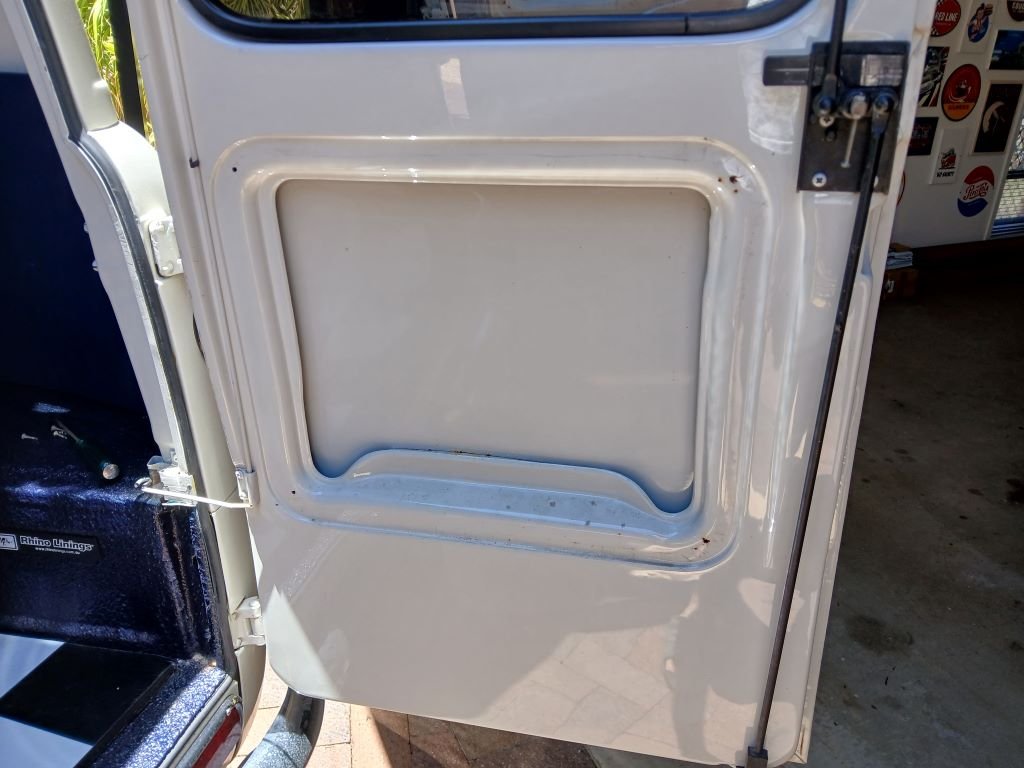
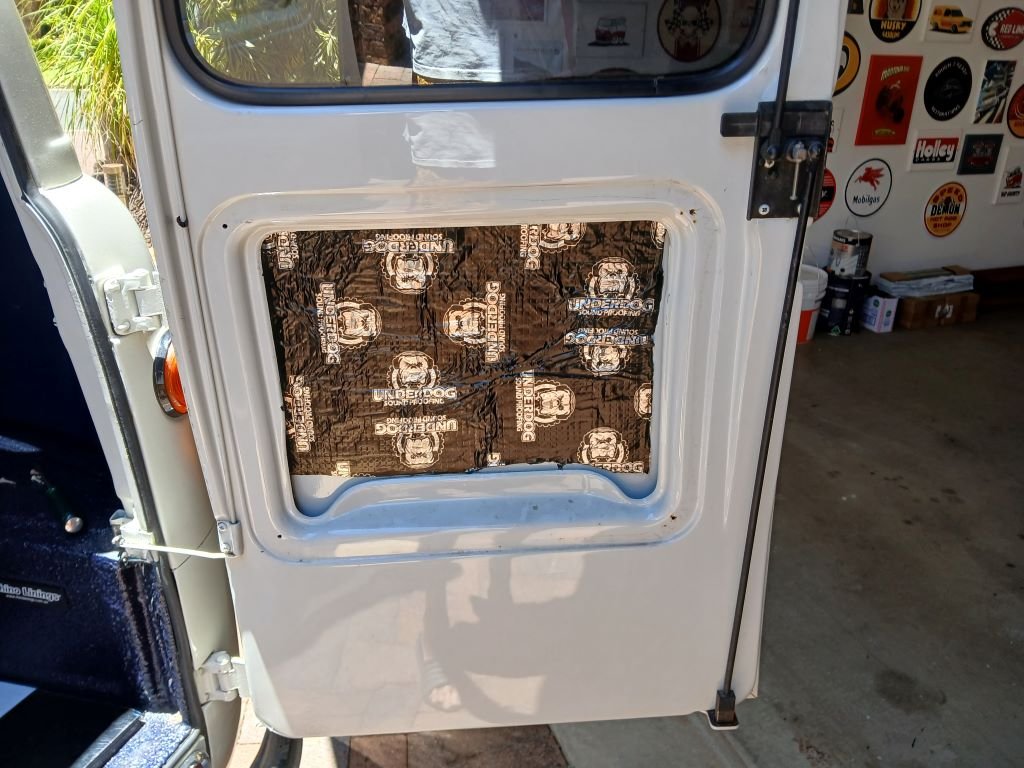
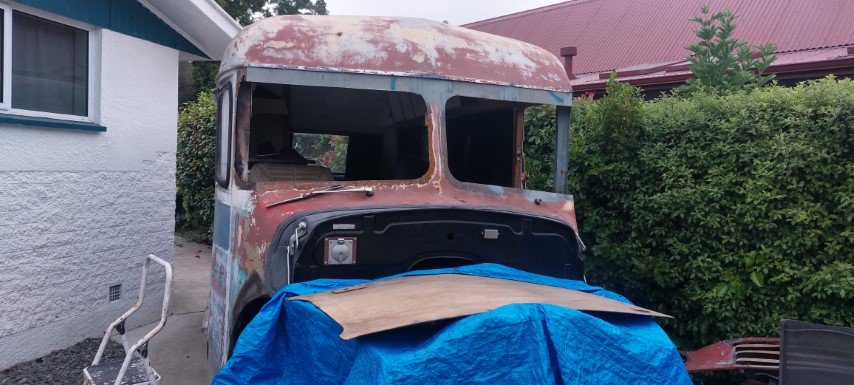
A few weeks ago I ordered a roll of sound deadening so that I can make a start on lining the old Thames. I'm hoping that it will make the van feel less "tinny". Anyway I had good success when I used this stuff to line the Mustang, so I figured I'd give it a go: Made a start today by doing both back doors. Pulled the door cards off to reveal loads of nothing: Slapped on a bit like so: While I had the panels off I gave the rest of the cavities a liberal dose of fish oil to keep old man rust at bay. Each side has 3 separate panels. I pulled the first one off for a look see and discovered that someone has been here before, but with some really cheap and nasty stuff: I'm thinking I'm going to have to remove that before replacing it with the quality stuff, but I'm just not sure how I'm going to deal with the old adhesive, so I'm going to give that some more thought before I proceed, but at least I've made a start. Thanks for looking.
4 points
-
so with the new air seperator cap on, the cooling system has finally been able to build to operating pressure. which of course means all of the leaks have now become apparent. Including the water lines that somebody secured with zip ties, wonderful I ditched the plastic AST at the advice of everyone and fitted an aluminum one as the original one is apparently a hand grenade Then it developed a misfire, and then I got too cute moving the thing around the workshop in small trips and inevitably flooded it, lesson learned. So. Changed the plugs (very wet and very worn), dribbled some ATF into the chambers, and it fired back into life with a hiss and a roar, or rather, a miss and a roar and a LOT of smoke. Decided to pull the leads off and check them. #2 leading was having none of it yeah that'll be the misfire Mazda had the forethought to put the coils in the dumbest fucking place on earth, so I had to pull lots of bits off to get to them. My wife walked past at one stage, saw the mess and said "I guess that's the end of that then isn't it" One silver lining is that I was able to take the throttle body off and get a real good look at the fast idle adjustment (which is on the back side of the throttle body because it was designed by the same guy who mounted the coils). found a wear notch in the idle stop cam which probably caused some of the weird surging idle, dressed it out. I'm conscious that with the age of the car, anything still original on it is probably getting towards the end of it's first life. I don't really want to just clean out that coil and use it as-is. I definitely don't want to put them back in that location. The stock coils are apparently good enough, but they're pretty pricey new from mazda. And the engine bay is cluttered, there's no really obvious candidate for relocation. So again I'm staring down the barrel of spending lots of money modifying a car that I never really intended to go crazy with, because the alternative is spending lots of money building stock problems back into it I'd add more (not particularly interesting) photos but I'm not savvy enough to resize them.
4 points
-
I sold my RGV the day before SYDS but because I am a Boomer have now got a 1980 bike to do this on.3 points
-
"this will allow for maximum nangs in any carbureted rotary engine"3 points
-
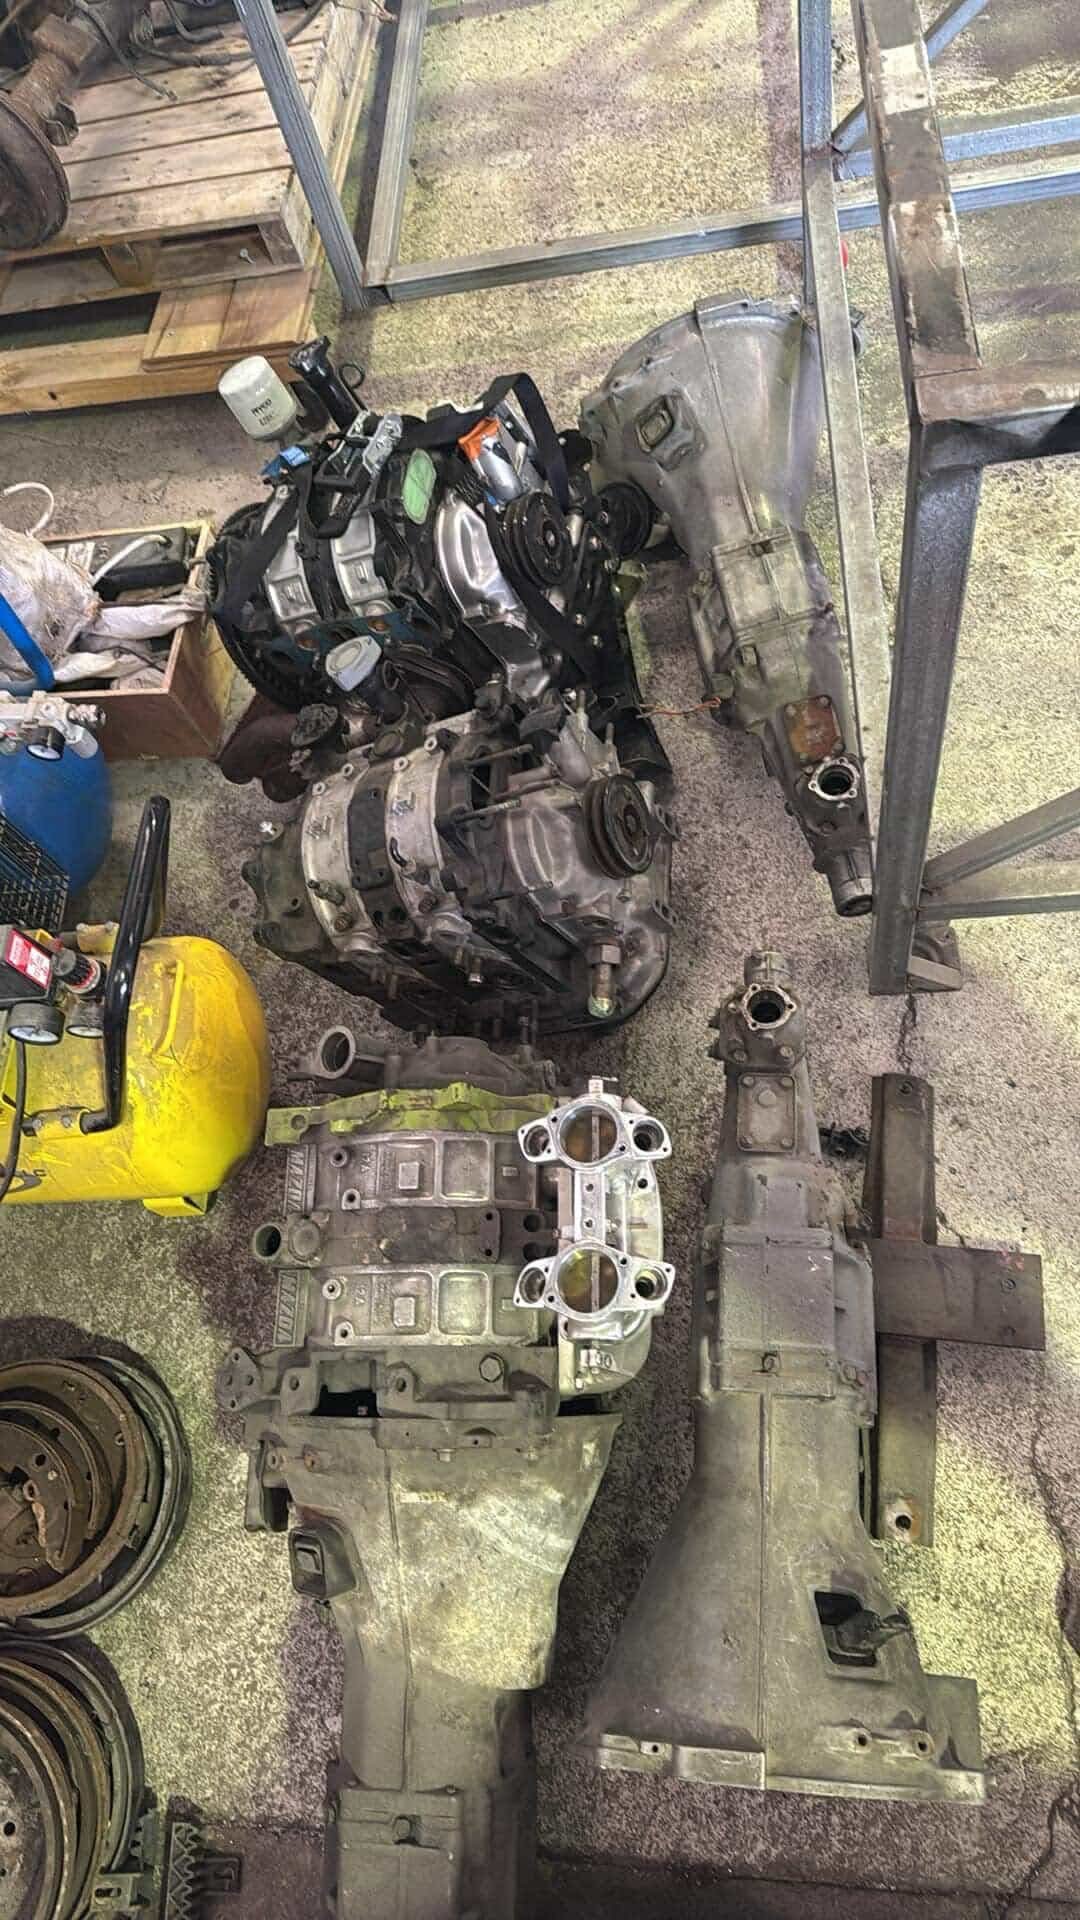
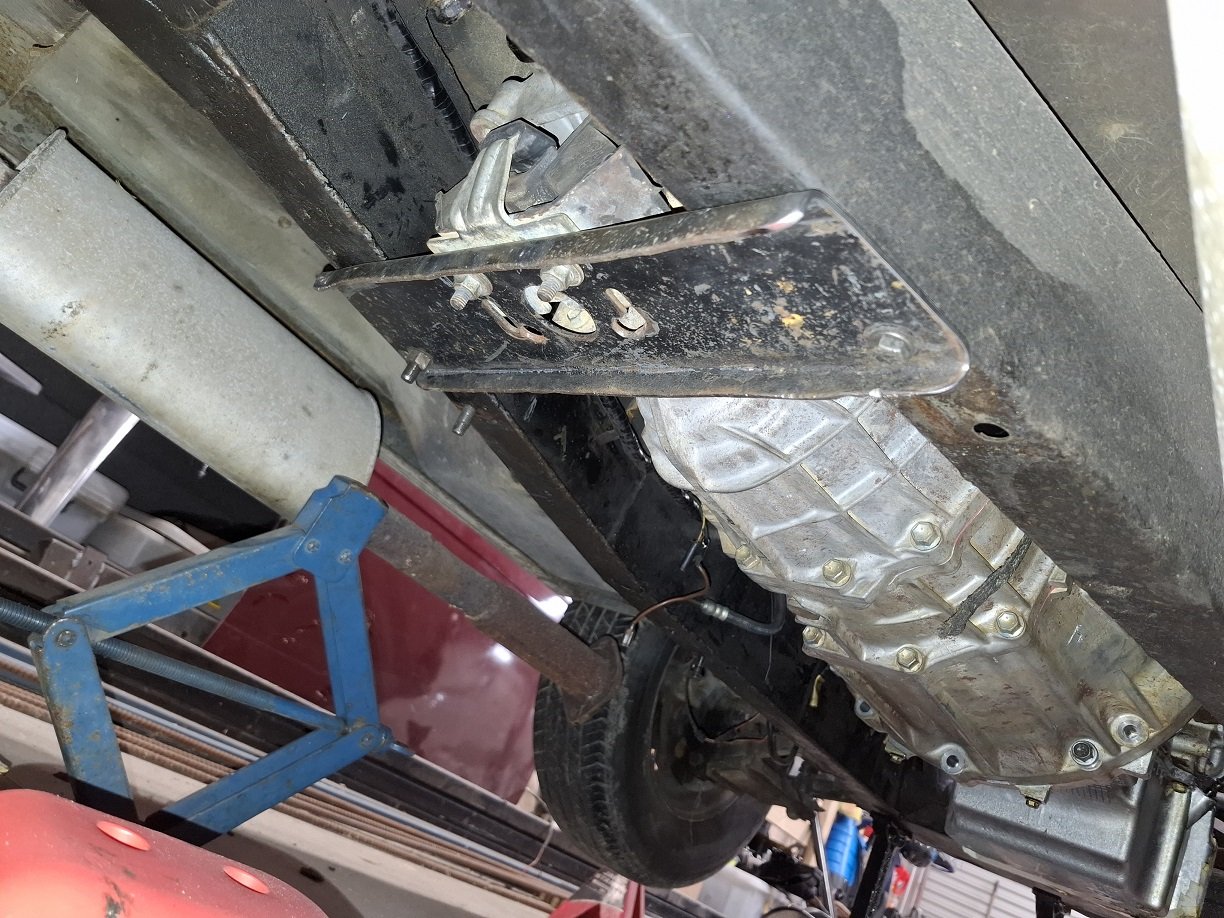
Spent some time getting the engine where it needed to be. Back corner of one head wanted to be in the same place as the footwell/bulkhead. The small amount of intrusion. Flipped the gearbox xmember backwards and it got close enough to work with a couple extra holes. I'll modify it a bit more to lift the box a little. As well as needing extra captive nuts in the chassis. Gear linkage didn't come with the box, they sell it separately, it also sits way too far back, so I need to make one. Or maybe adapt one from a K11 for the lolz
3 points
-
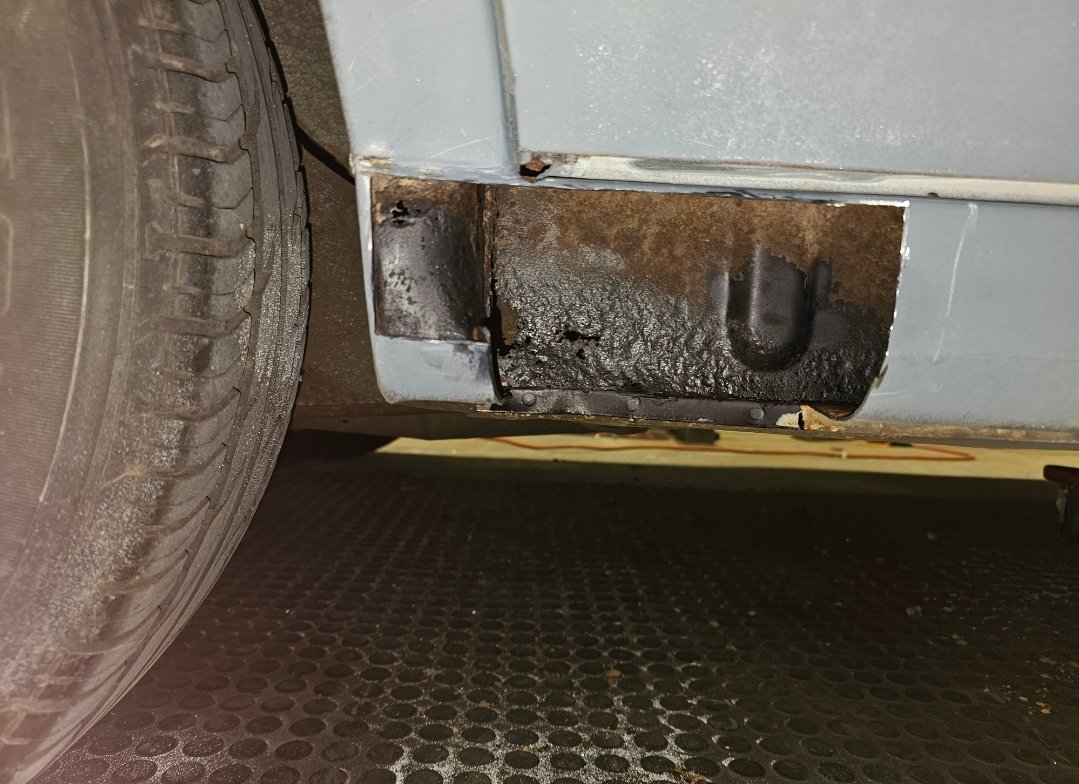
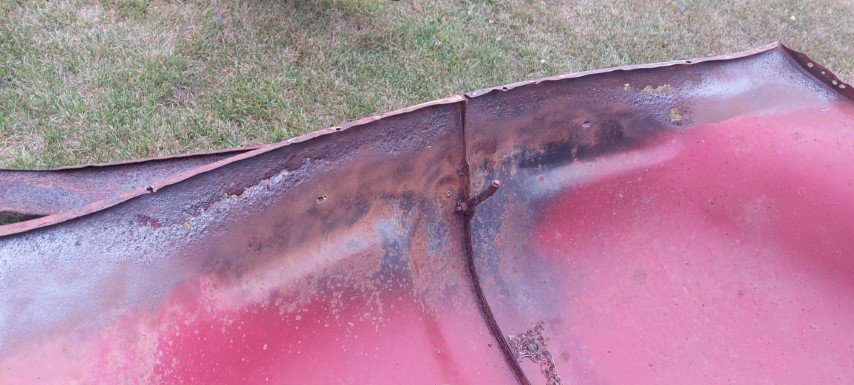
Cutting into the lower sill reveals some more rust, but not as bad as I thought it might be. Will have to spray some rust convertor down through the whole lower sills and make sure the drain holes are cleared as there was a big blob of bog covering the rear one where this rust was. Going to be doing the bottom sills on both sides where rust holes have appeared just to make sure that I can check the whole inner structure.
3 points
-
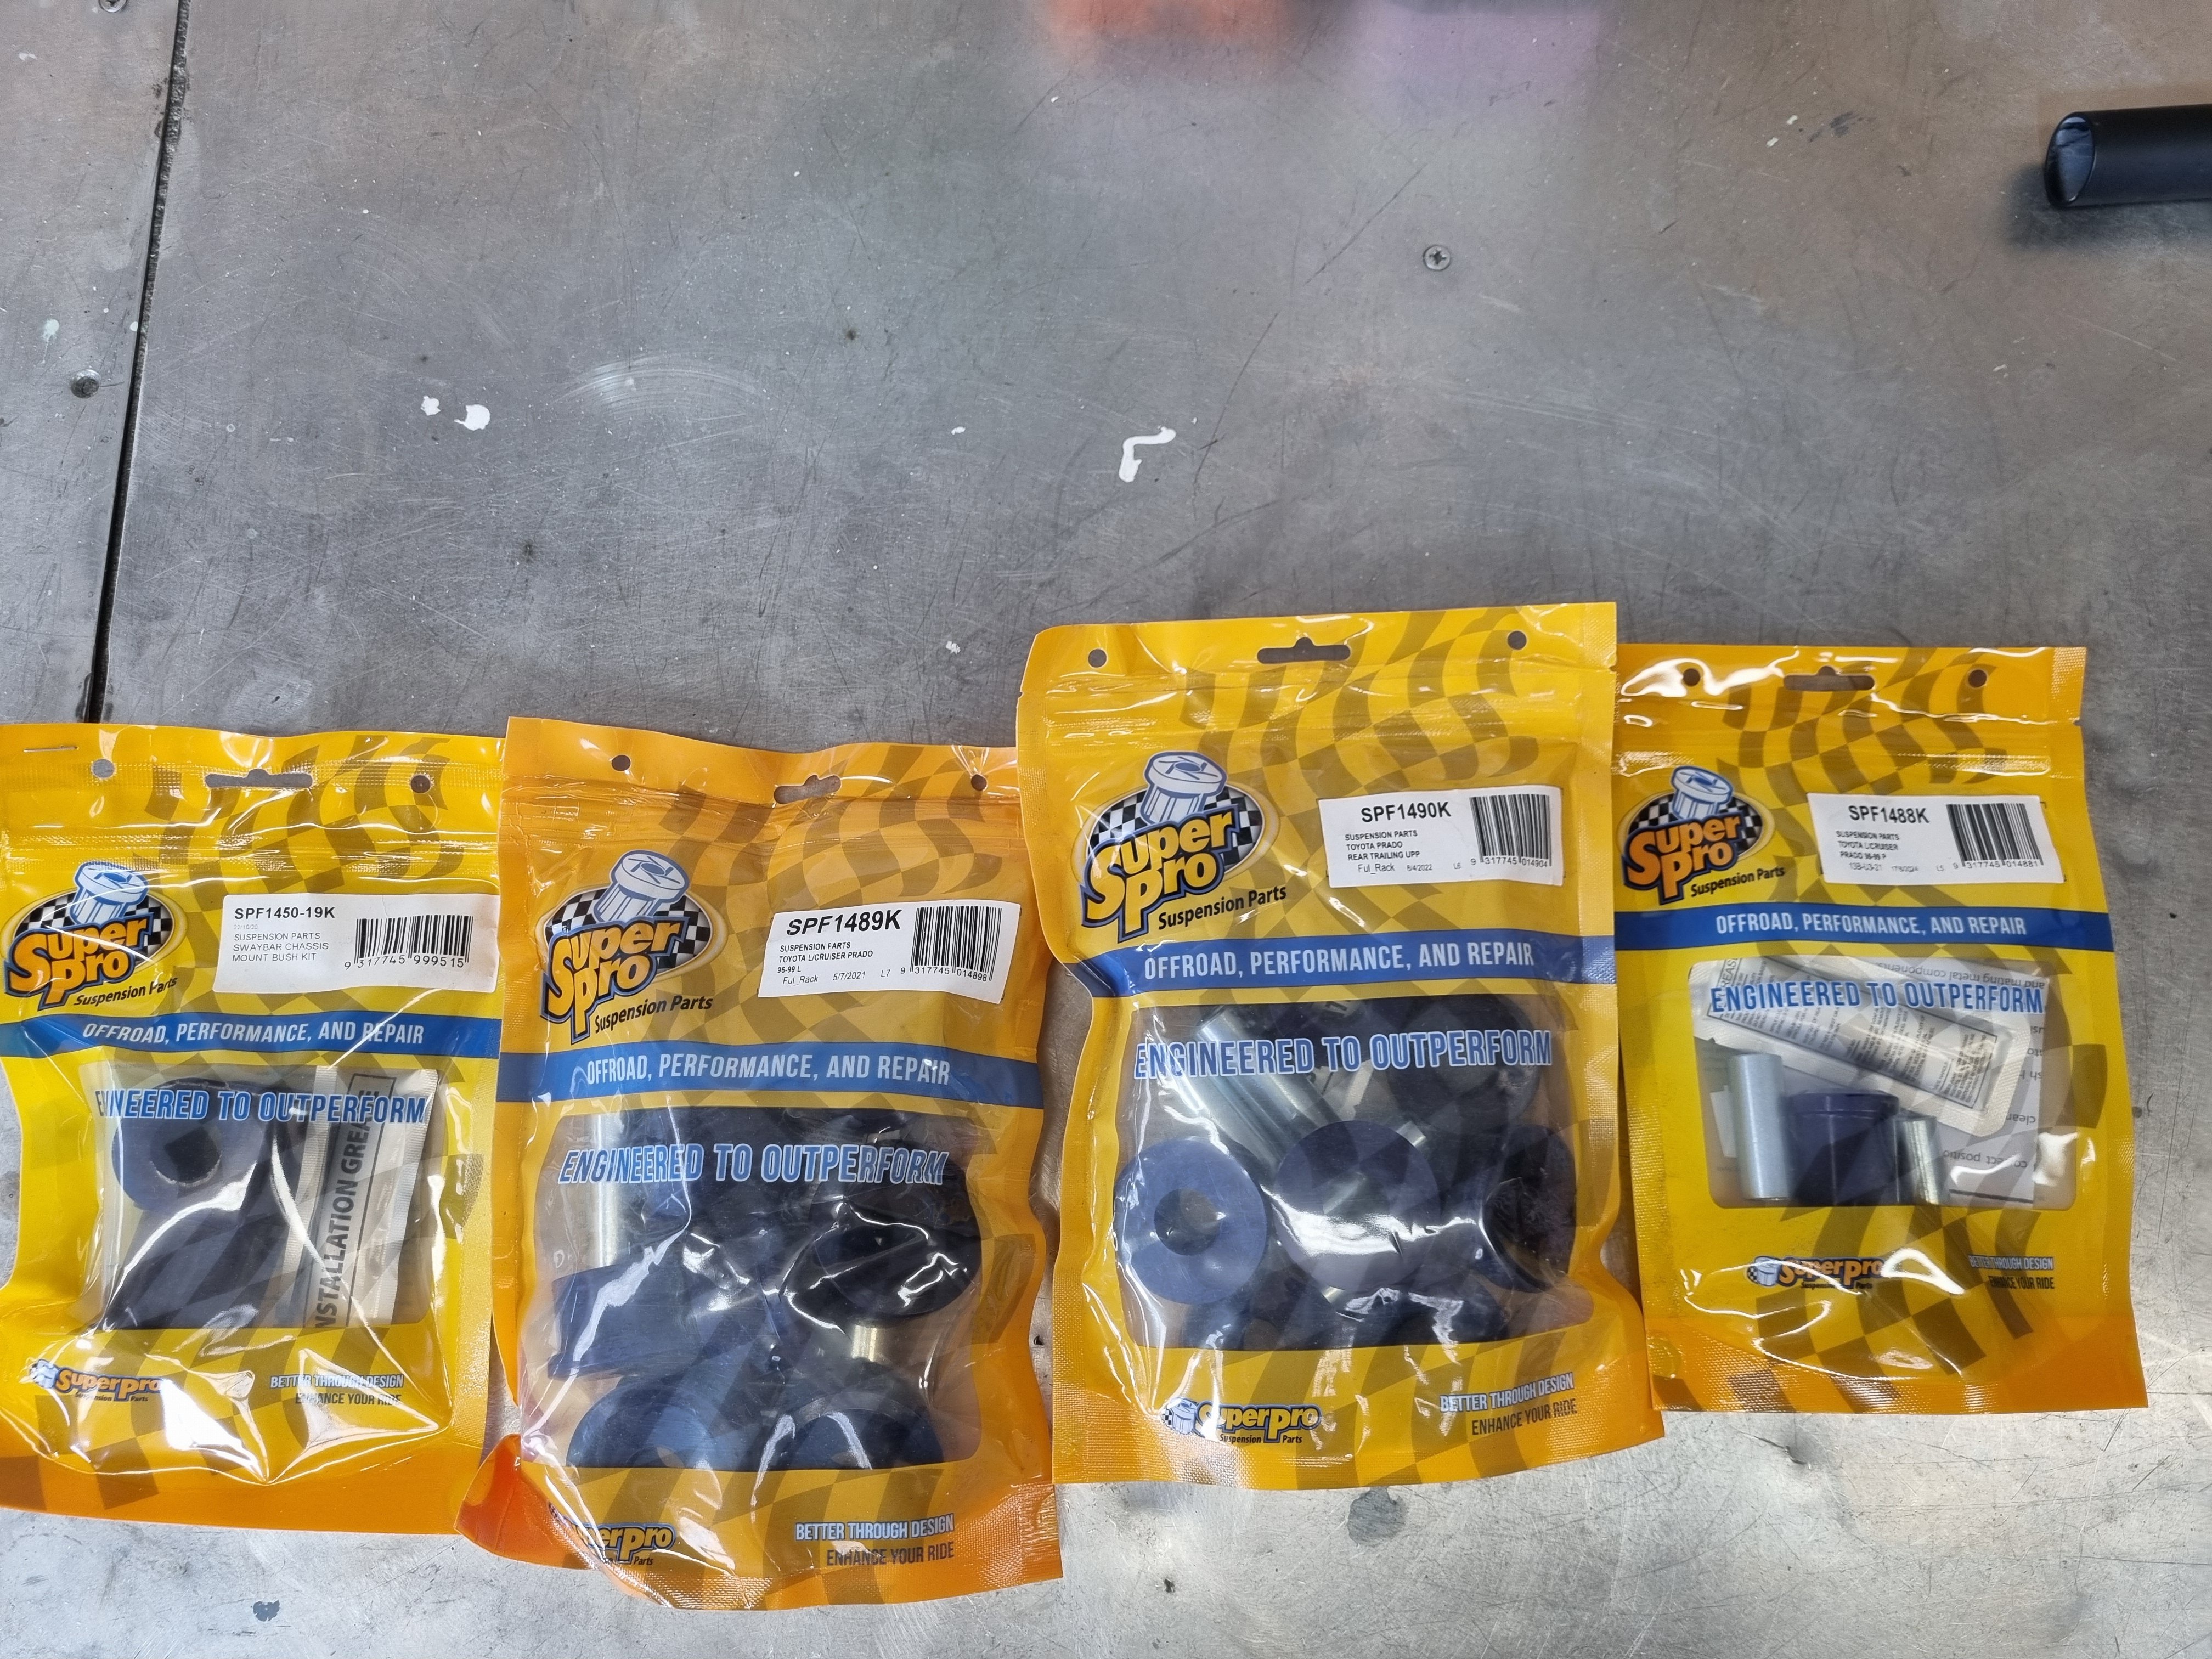
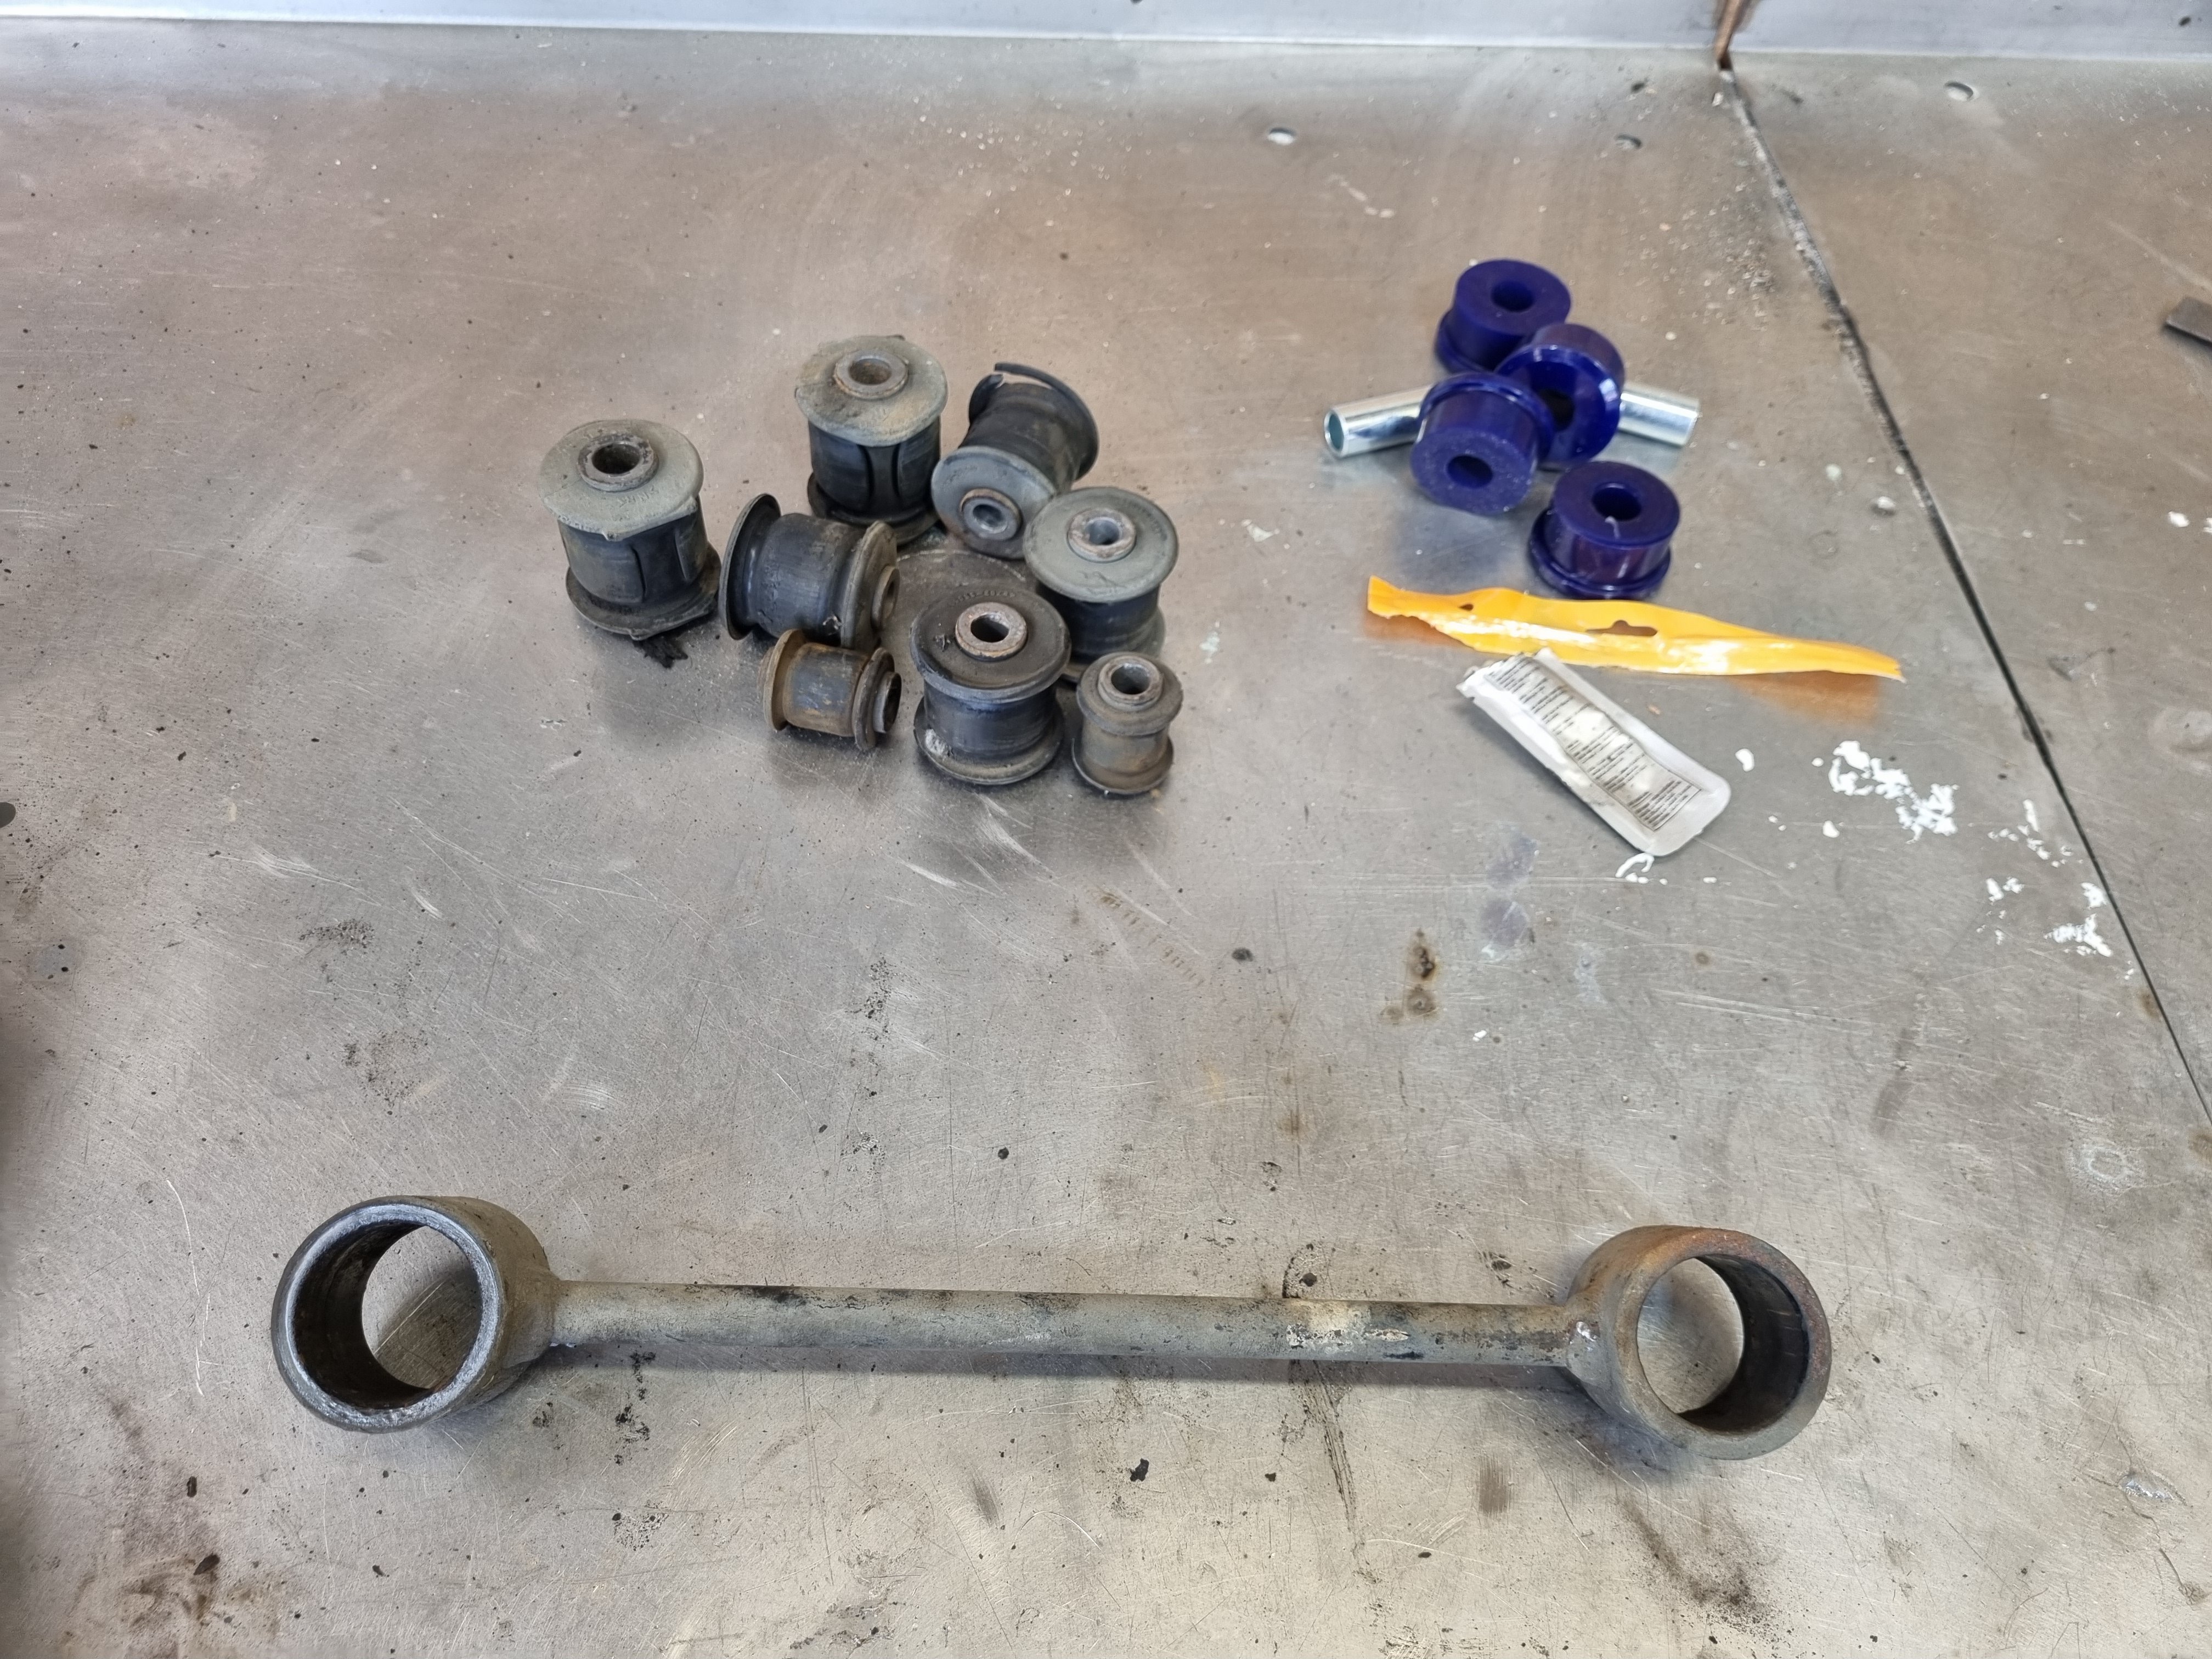
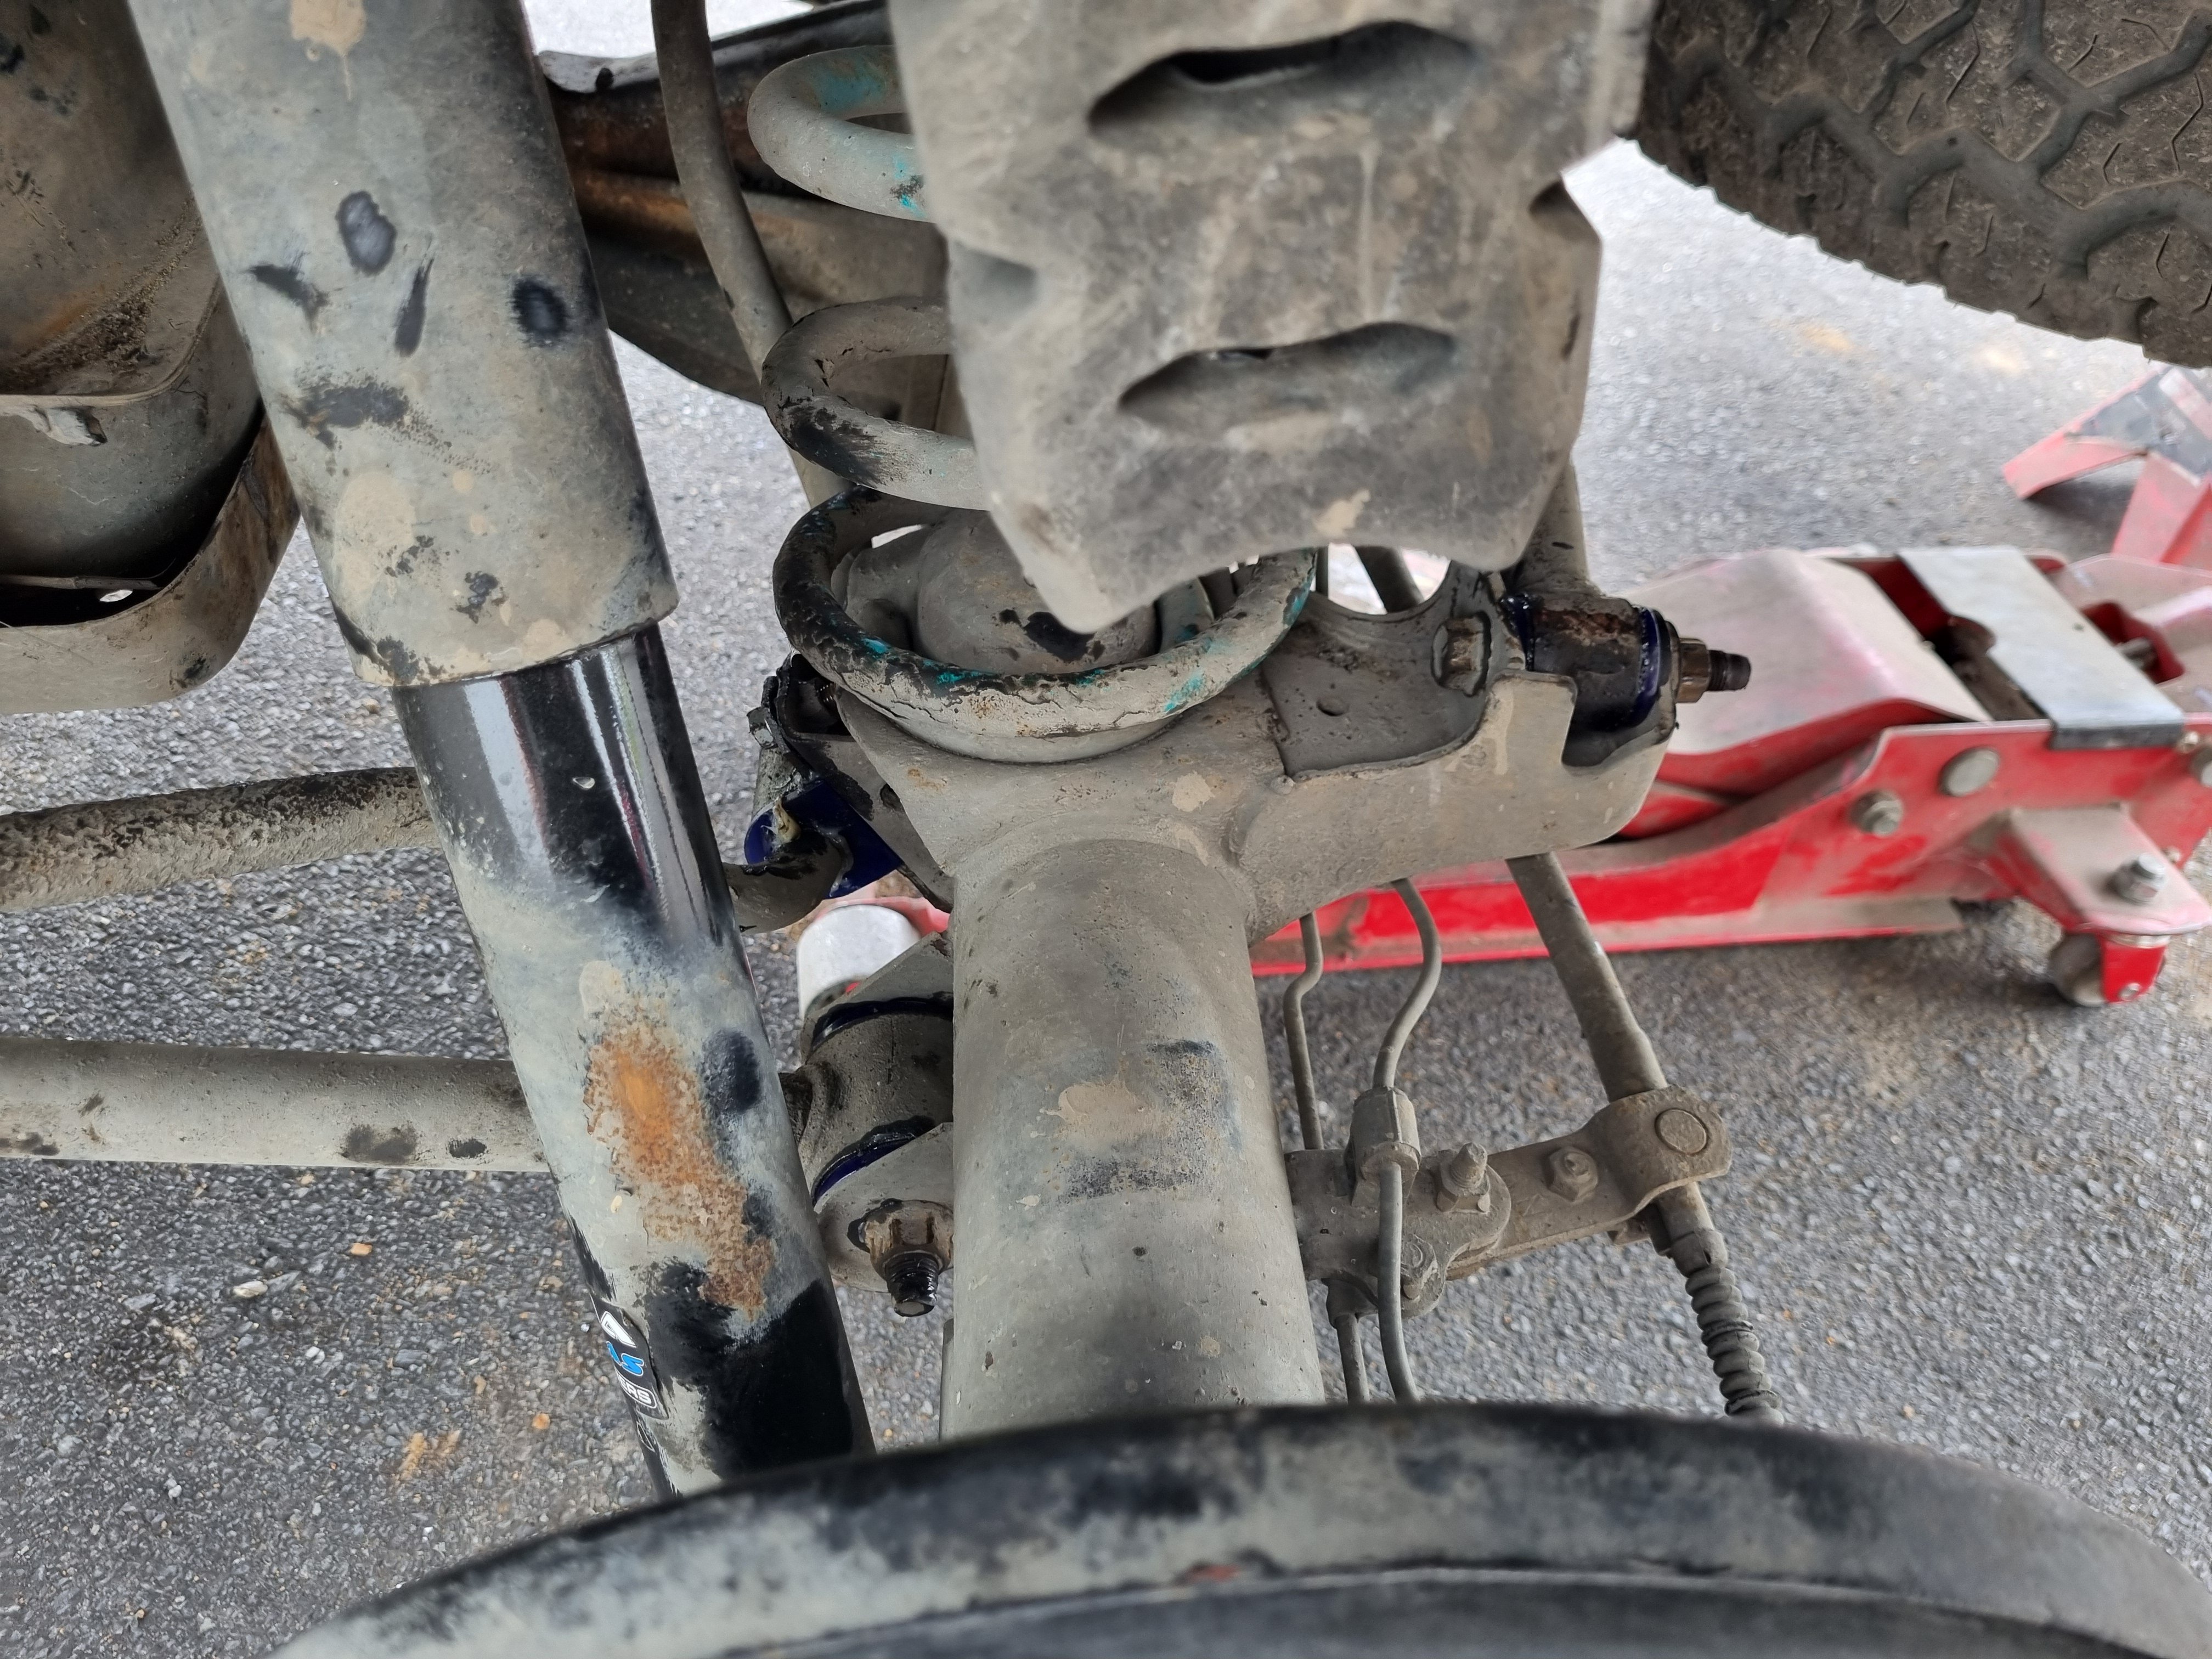
Put all new bushes in the rear. Trailing arms, panhard and swaybar. I think it's already been done once before, the rubber bushes came out fairly easily and they had no outer steel sleeve I had to fight with so I'm assuming not factory. Anywho they were a bit fucked and I changed them. Does feel better in the bum now.
3 points
-
3 points
-
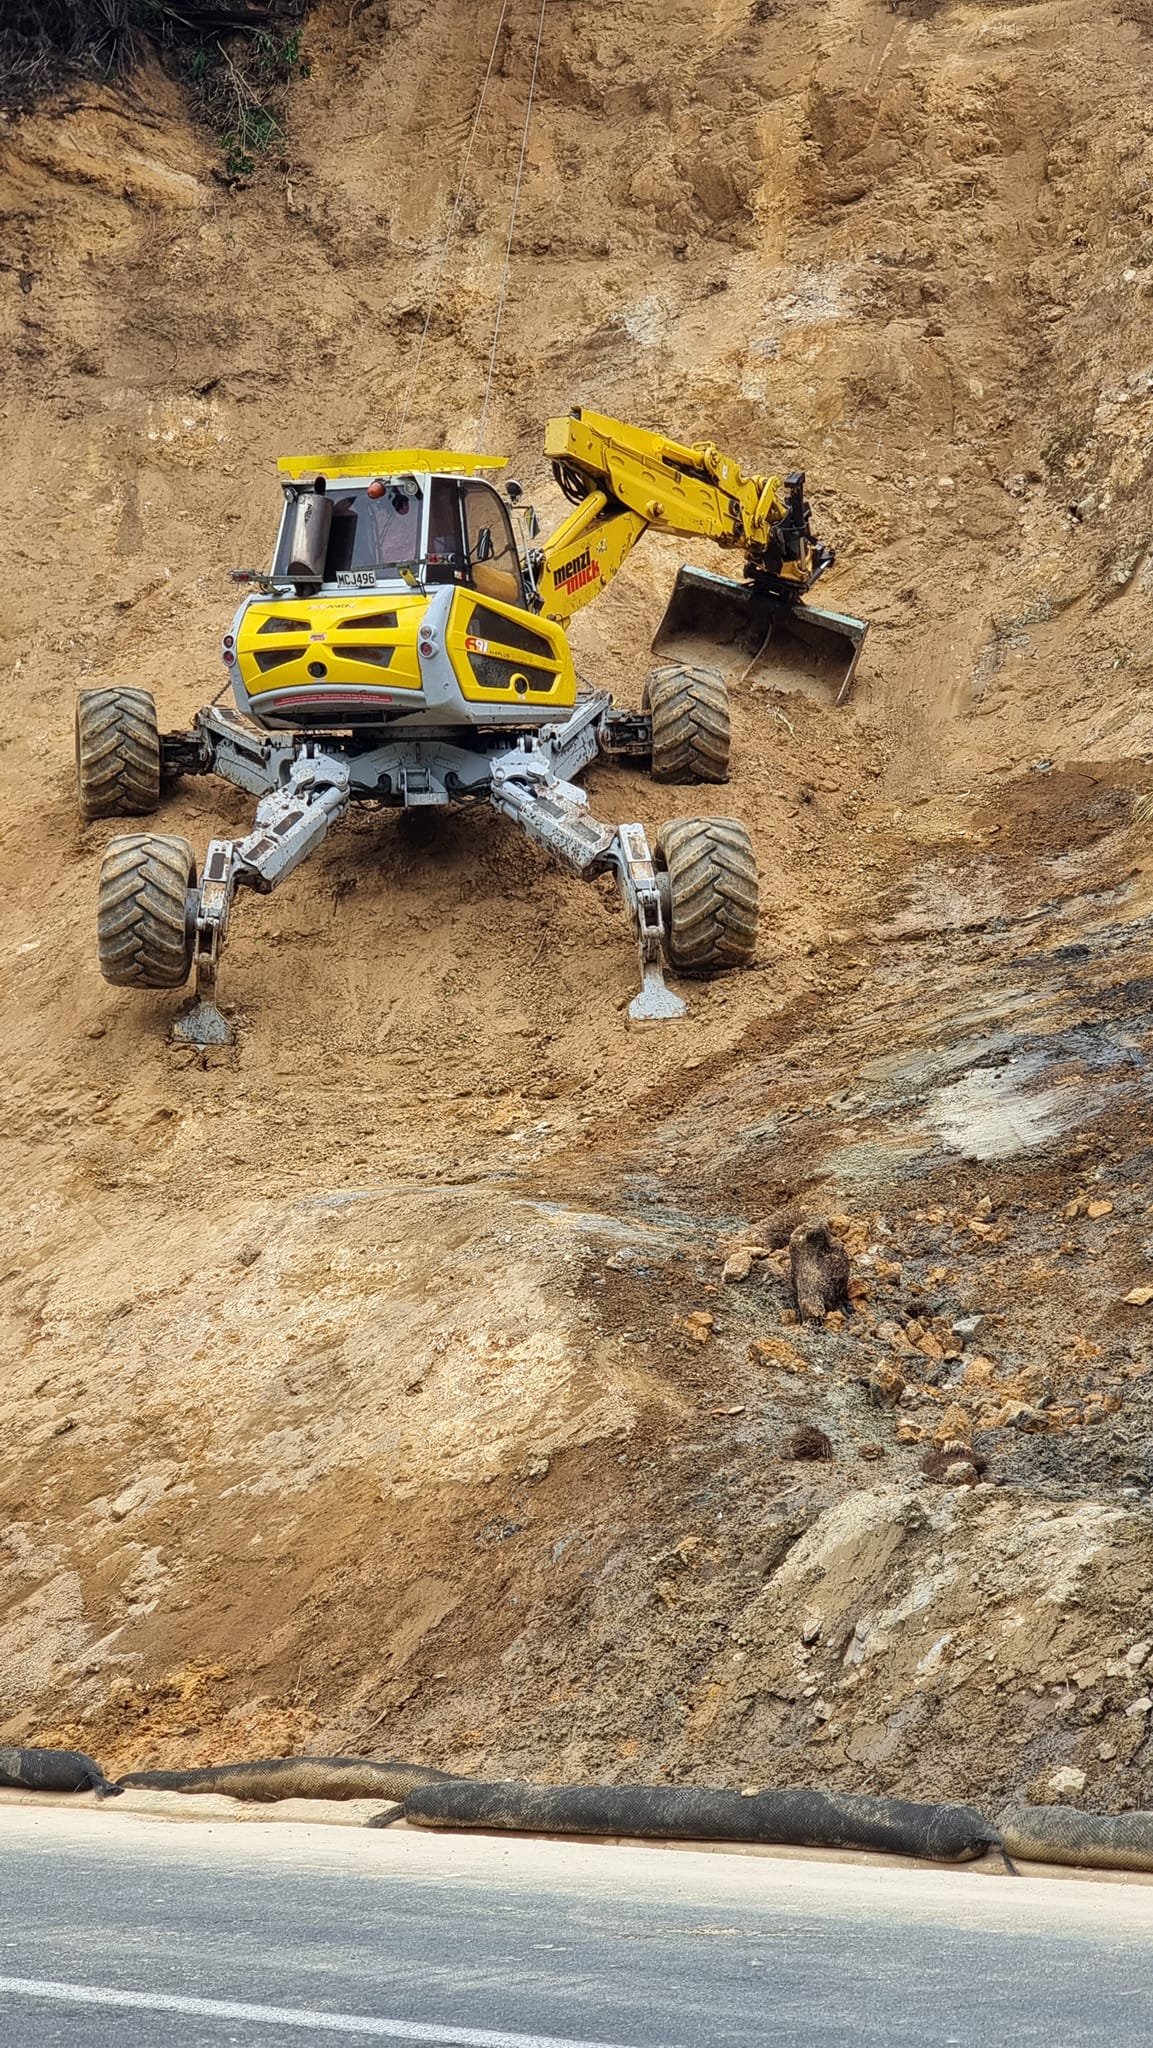
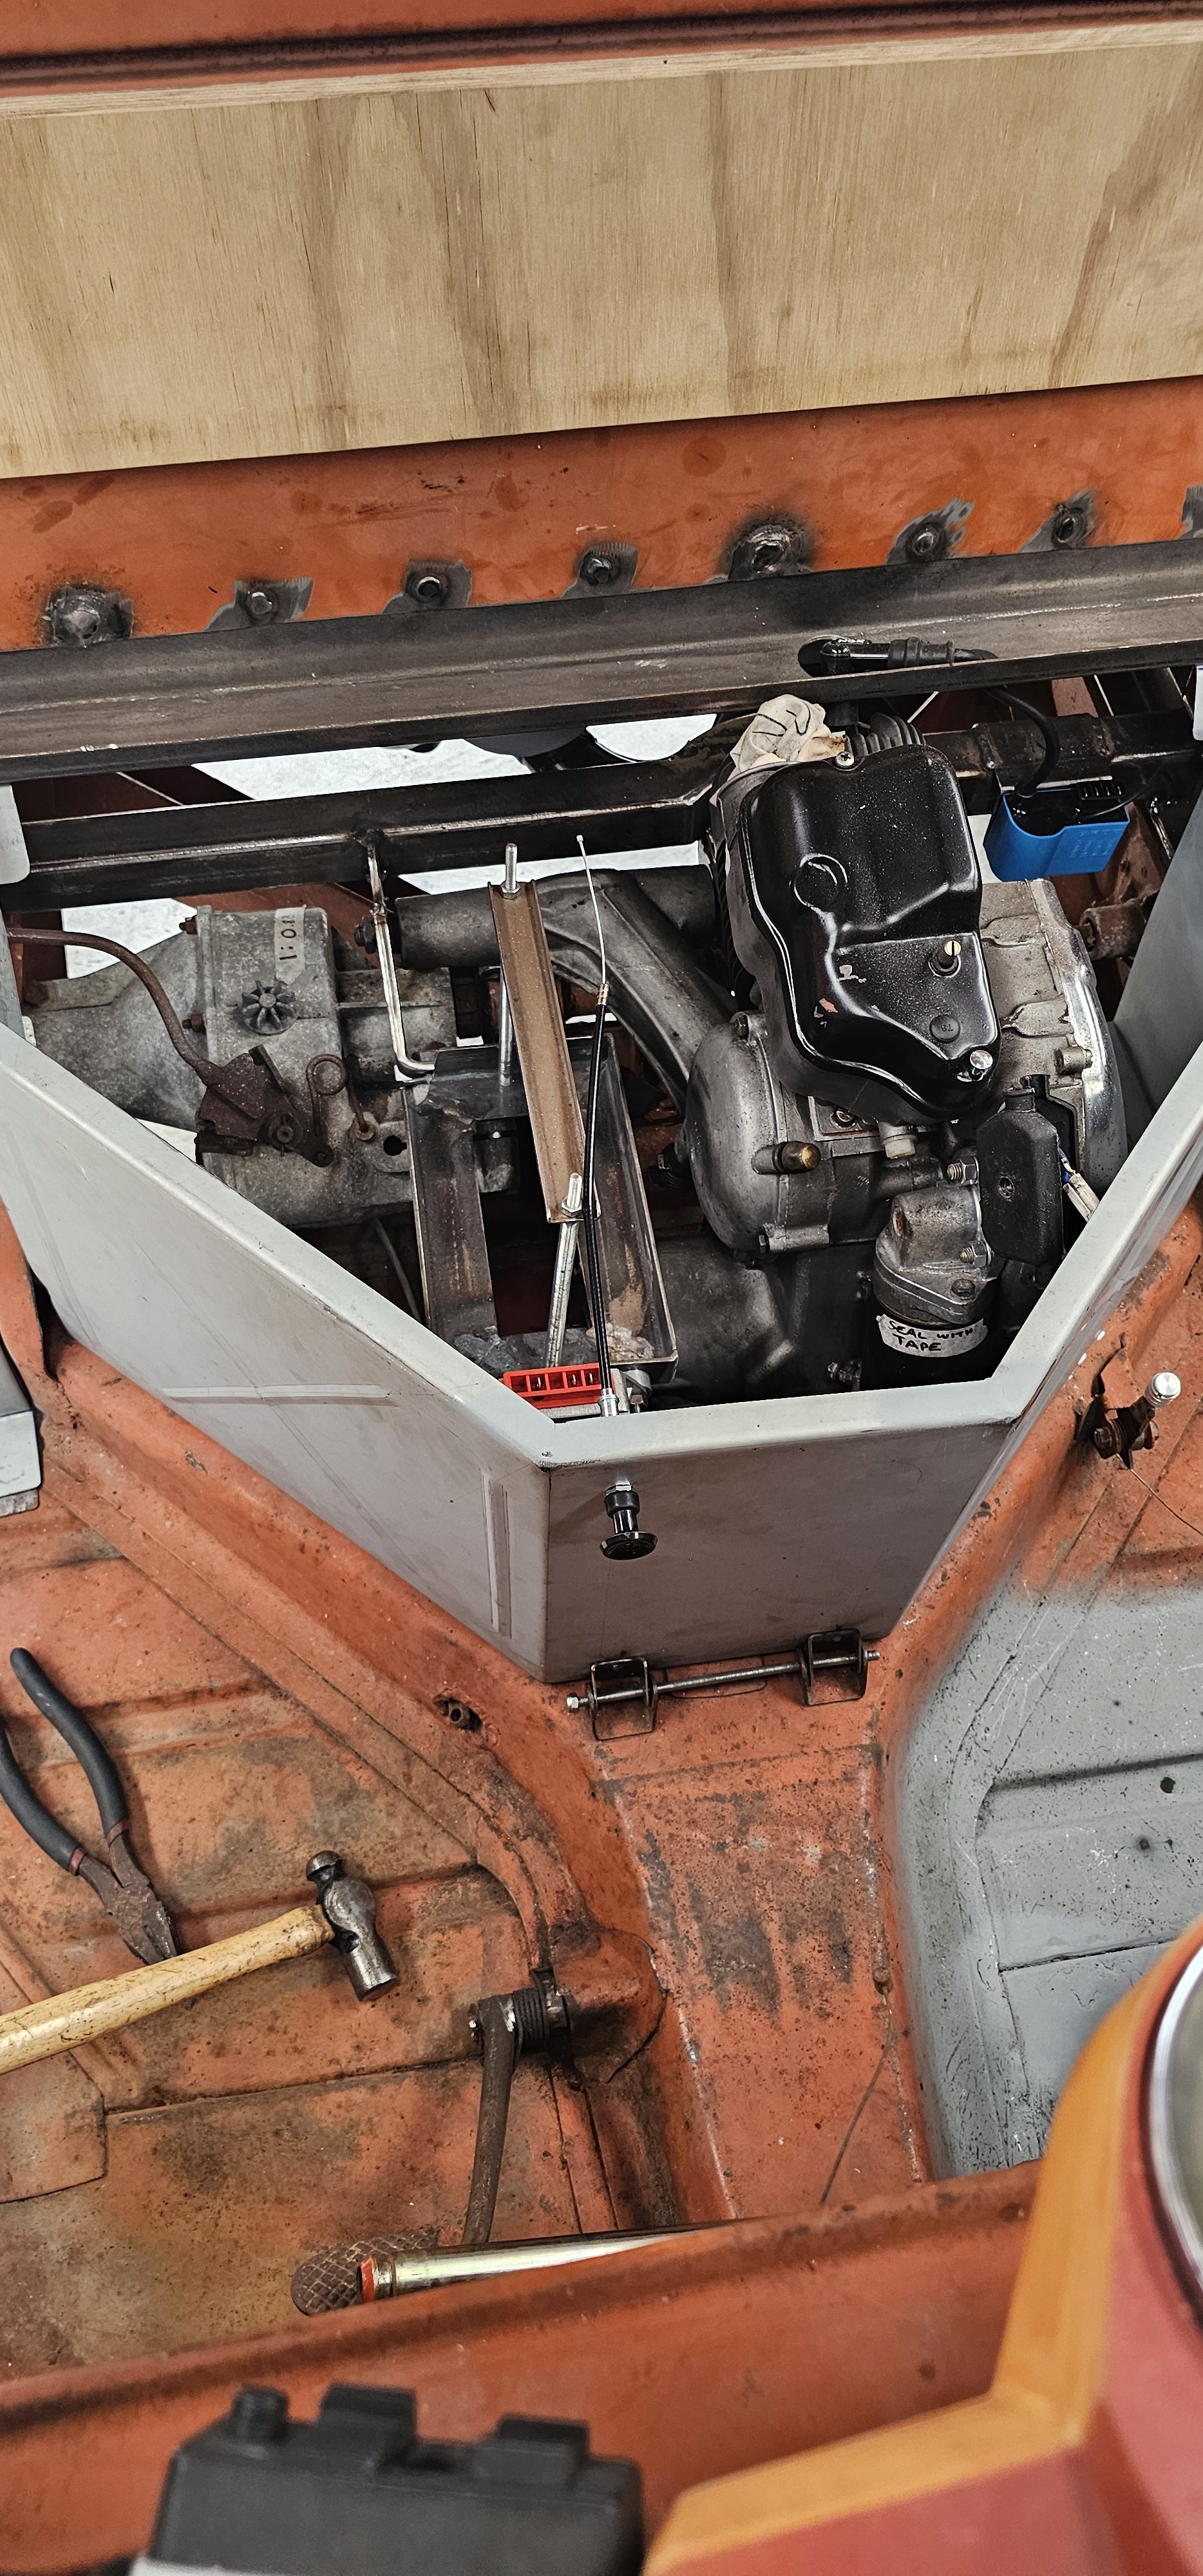
Still waiting for an update, this thing has been working in the Karangahake gorge, this is how they park it.
2 points
-
Yeah like raizer said. It's for other small vac things. Heater controls etc. Since the diesel makes no vaccume itself the alternator vaccume pump is where that comes from. Often the idle up for air conditioning is a vaccume solenoid etc2 points
-
If your alternator vac pump is making boost you're doing something really wrong lol Will be for vacuum for maybe a vac solenoid or something, my 1kz has a small fitting that ran the EGR dashpot etc.2 points
-
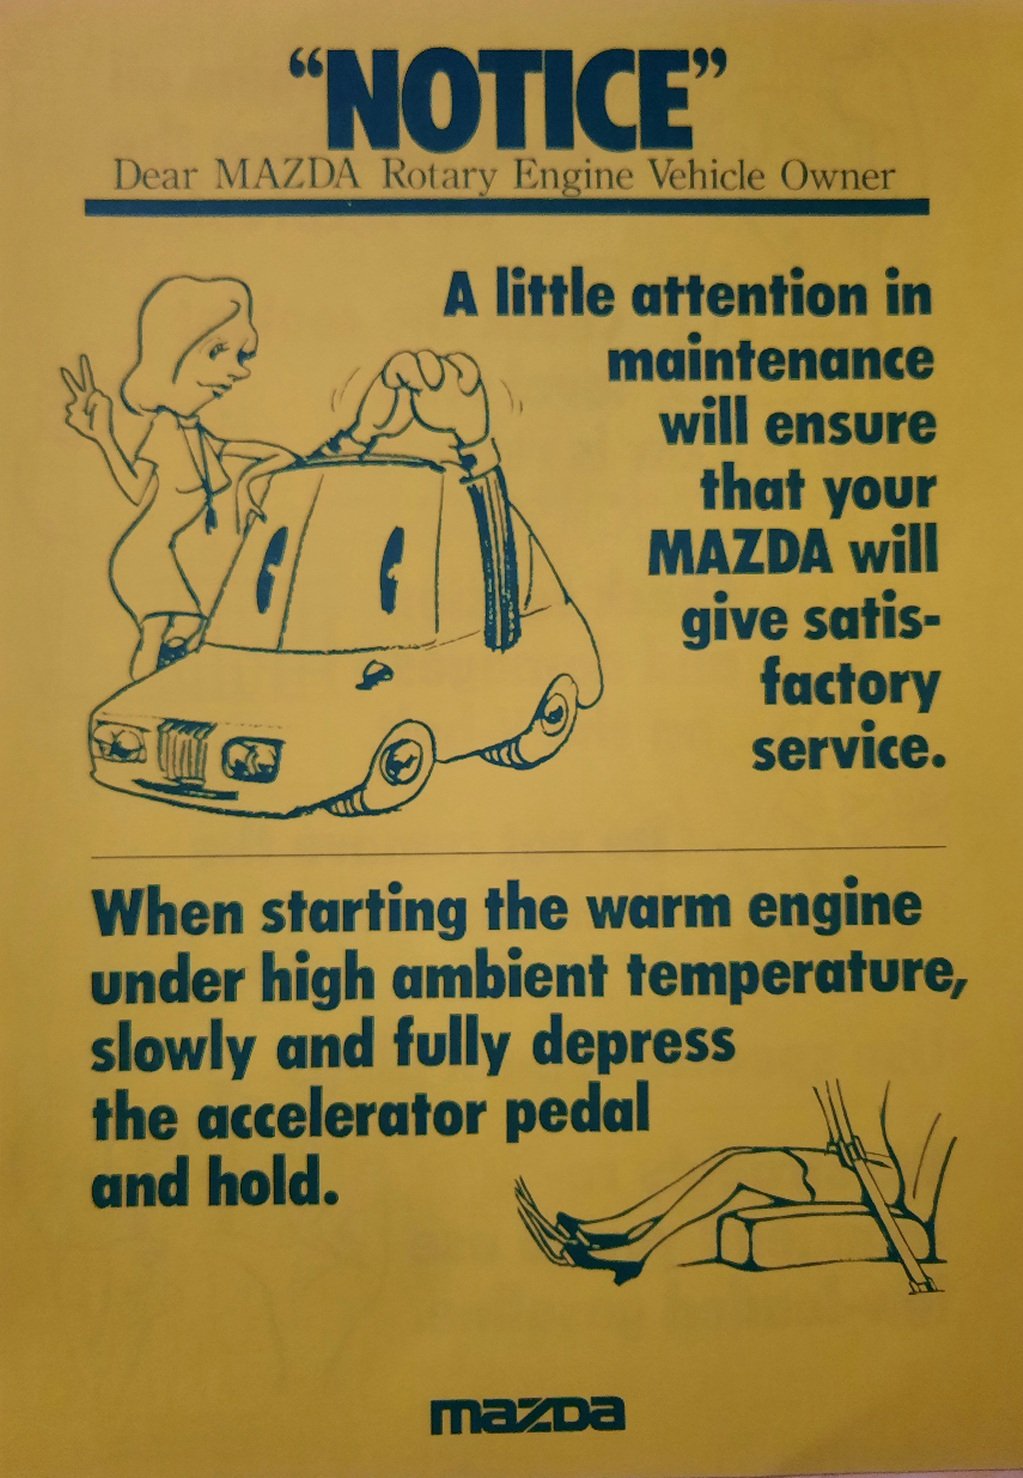
Factory suggestion since ages ago...
2 points
-
it really is a bit of an endless rabbit hole right now. $700 for NZEFI coils, but will a powerFC run them? the dwell is different and from 30 seconds of googling it looks like power FC can't adjust dwell. But that's OK, because you can reflash the FC so it can ($$$), oh but the program to allow it only does it through a datalogit ($$$). much easier to just leave it in bits and do something else... The price is right, I was just hoping to have a set and forget solution rather than hoarding parts of unknown parentage but I'm starting to think it's not worth it, the FD coils ARE good. I've asked him, let's let him decide what I do As mentioned maybe I will just put my effort into relocating the coils so at least if they crap out and I'm forced to swap and change between old parts of unknown quality, it's a two minute job The typical thing is that you go and spend all this time and money on all these tried-and-true upgrades to get weak links out of the system increase reliability and quality of life, only for a potential buyer to come along one day, kick the tyres and moan that it's barely worth buying because it's been "messed with"2 points
-
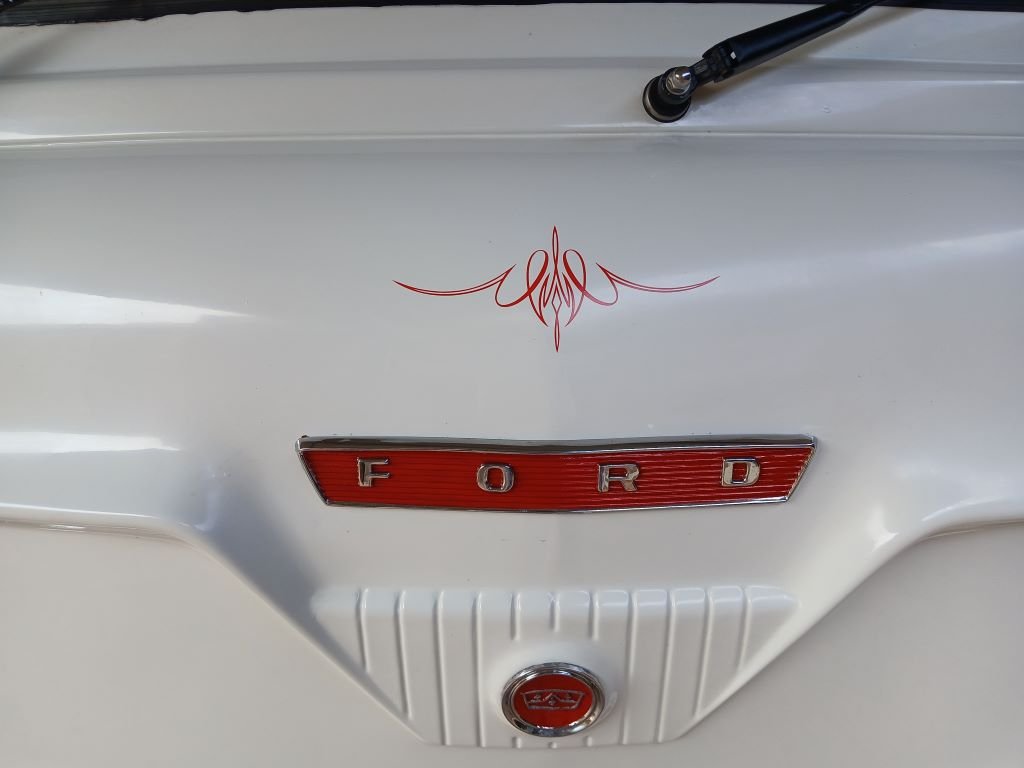
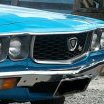
Hopefully everyone was thinking I was engine swapping the logo. If you have seen anything that I've worked on in the past you will know my skill set is make something pretty before actually working. Then worry about the driving/functioning later. The logo has fallen somewhere in the middle. (Currently) at this stage we are on track for the drags next weekend. Here are some photos from the past few weeks Thanks for looking
2 points
-
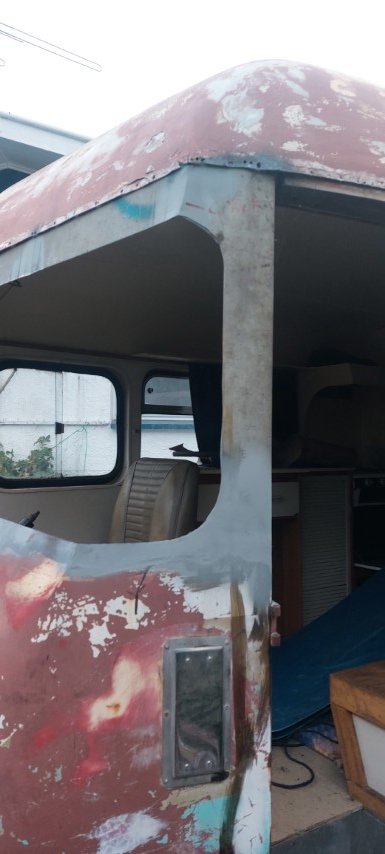
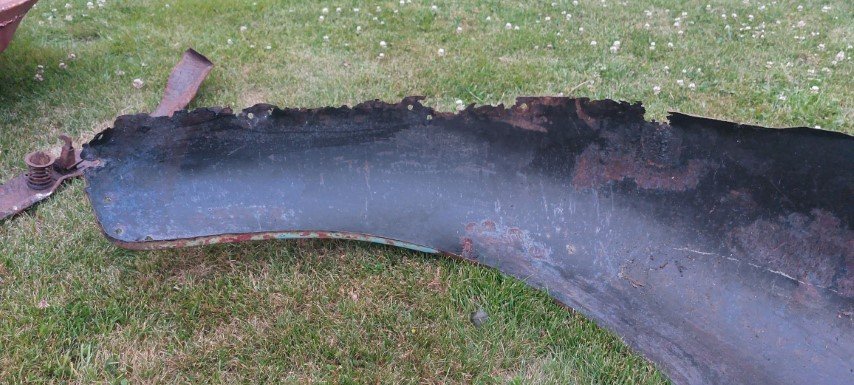
Almost finished the rust around the front windows the last of it in the body yay!, bonnet is going to be a pita to fix as don't really have the gear to shape it nicely, just need to replace the edge's on guards and then they are finished too!
2 points
-
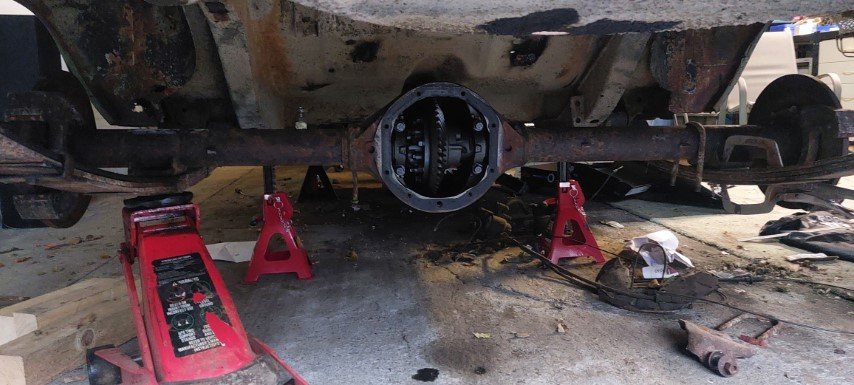
So have my falcon diff sitting in the rear, tempted to put a triangulated 4 link into the rear, just need to find someone who sells the right pipe/end fittings around christchurch any suggestions?, front floors are patched just need to do a few more in the rear....
2 points
-
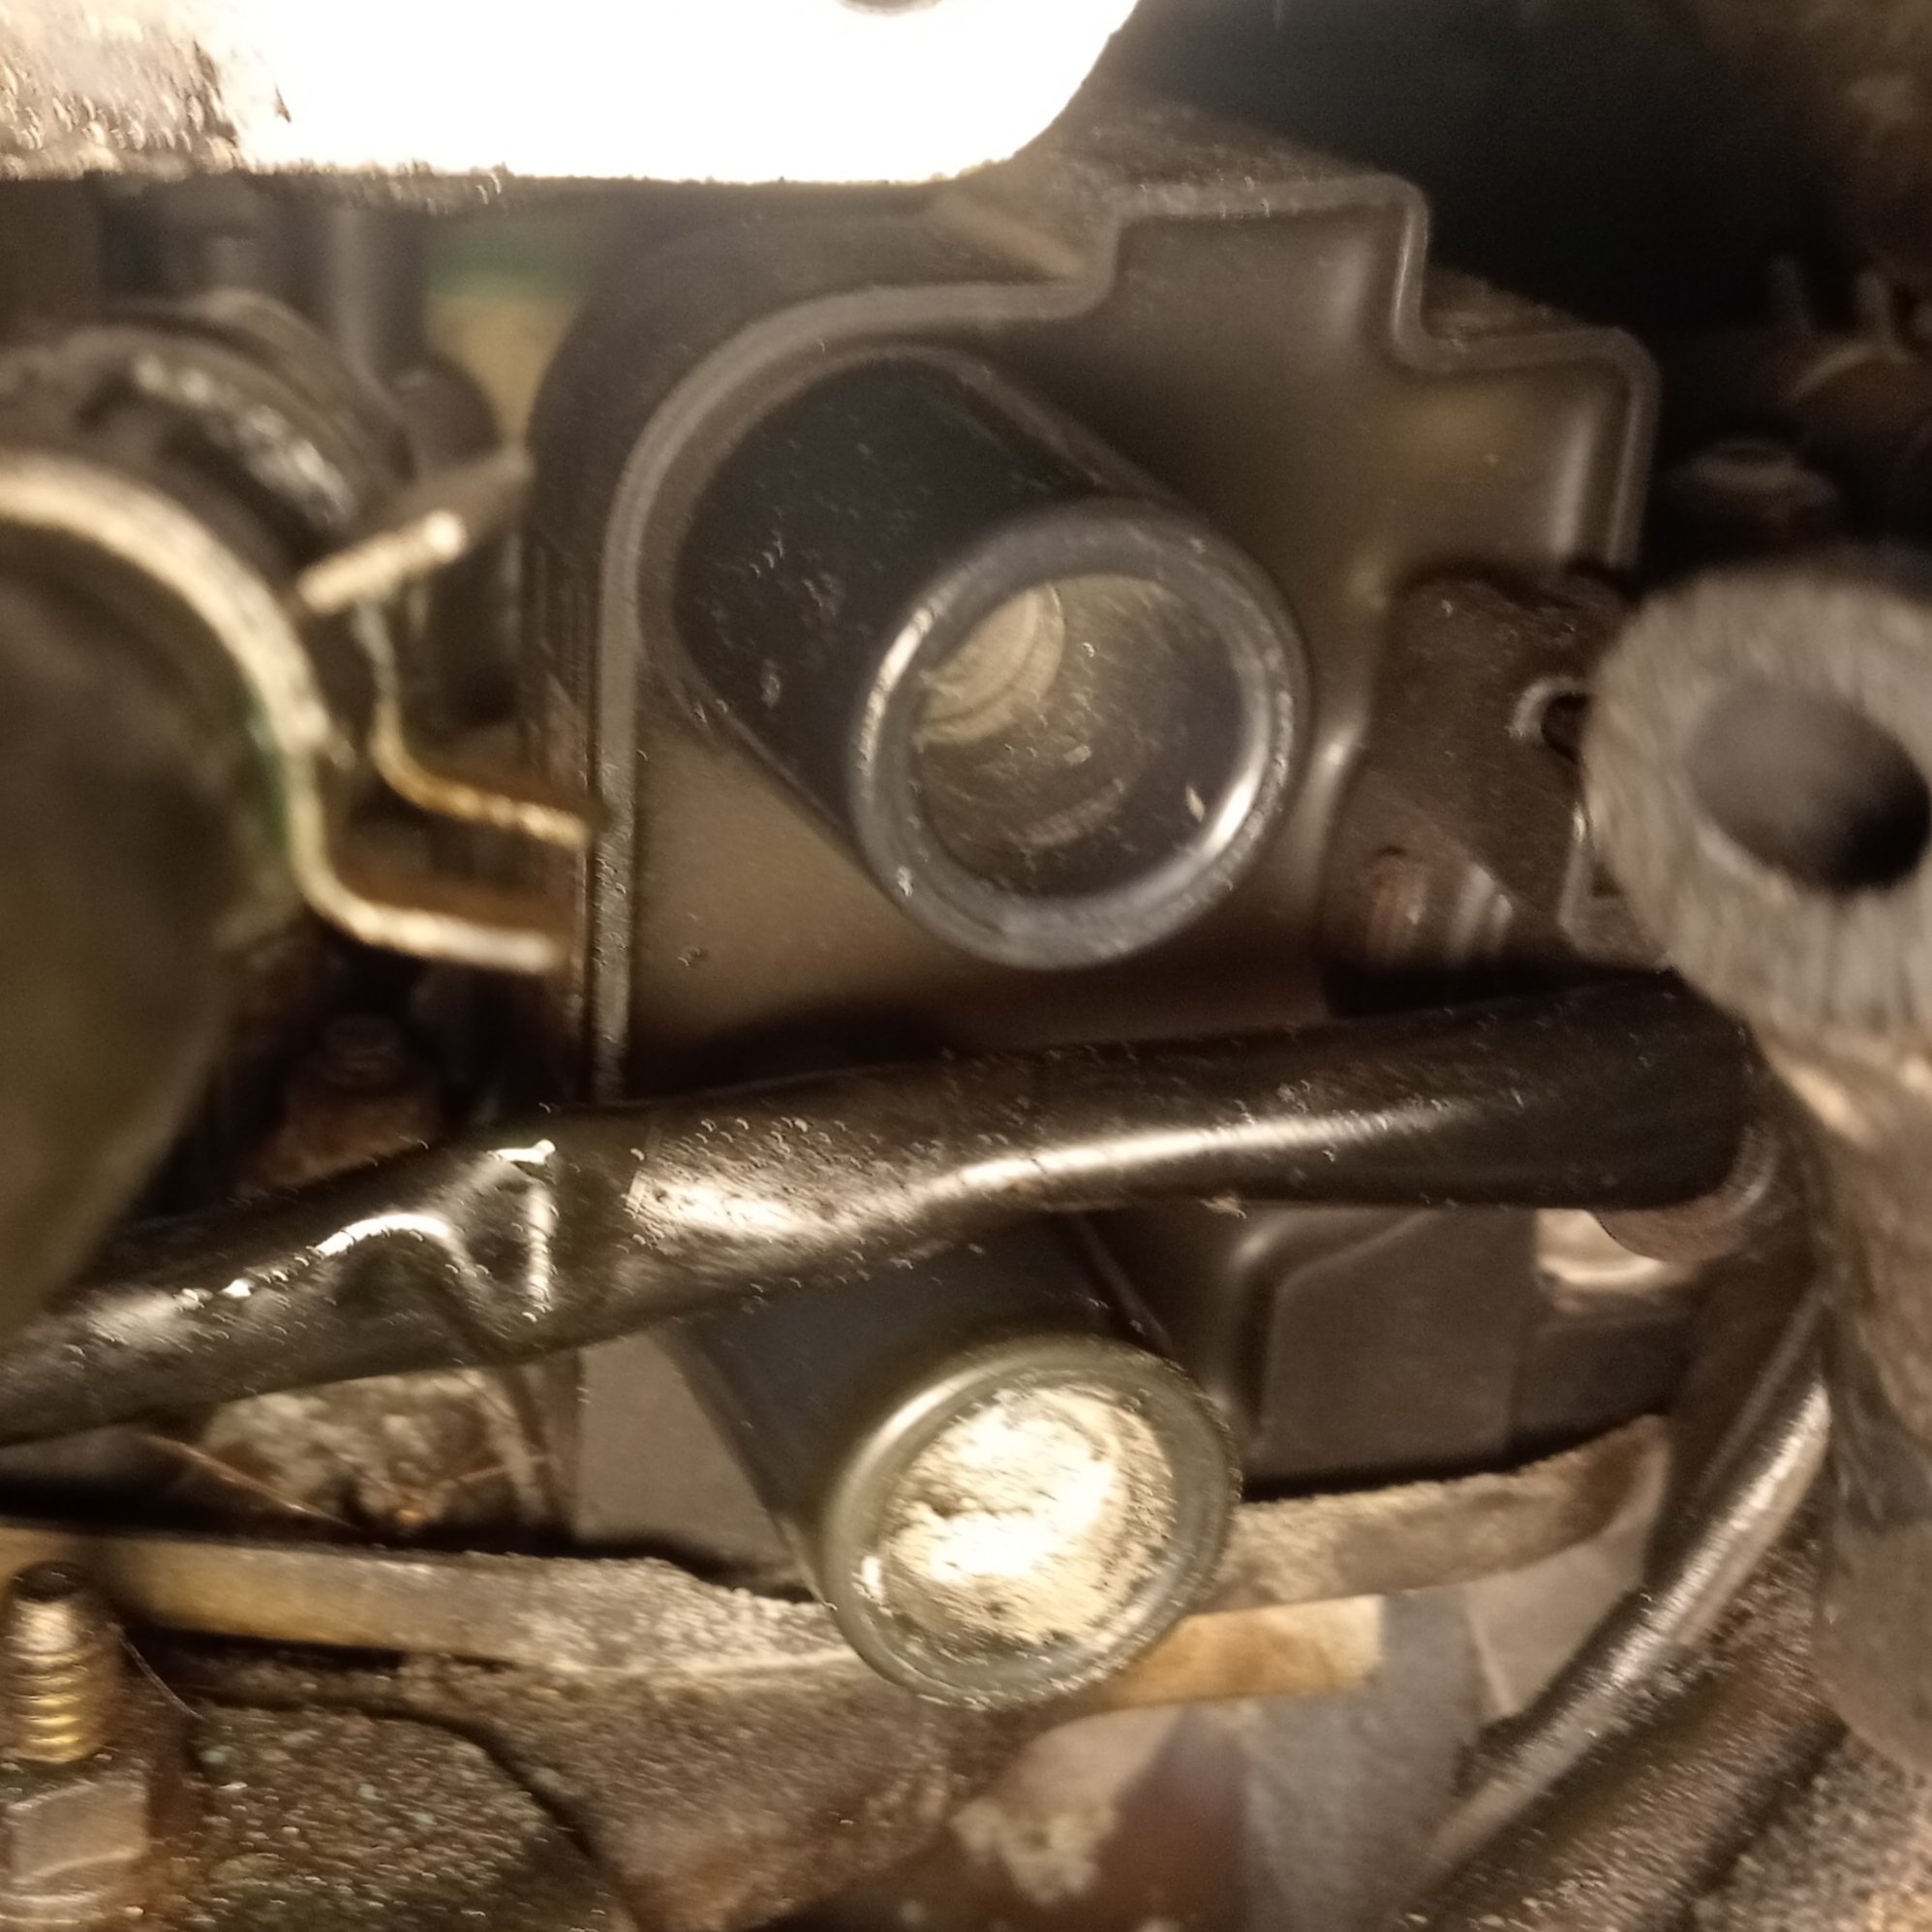
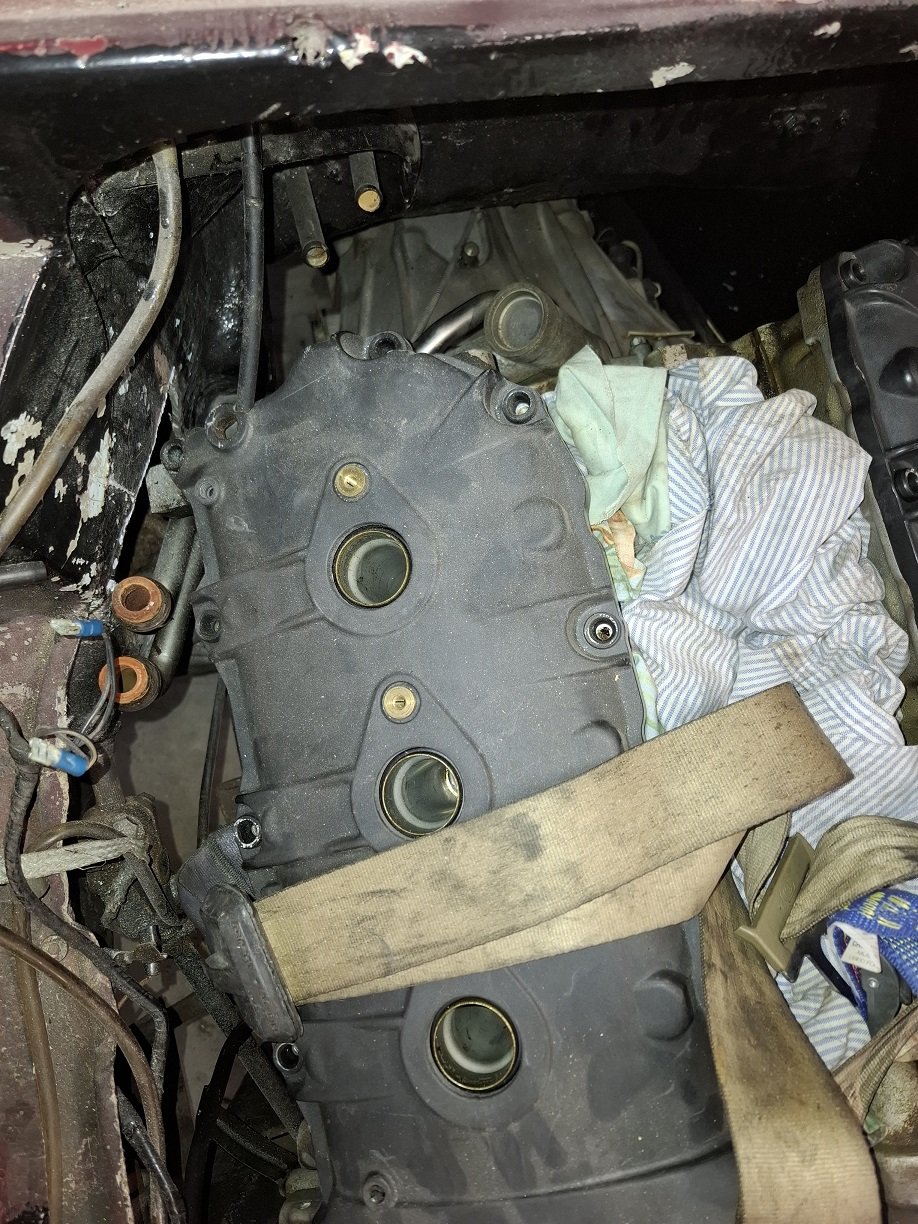
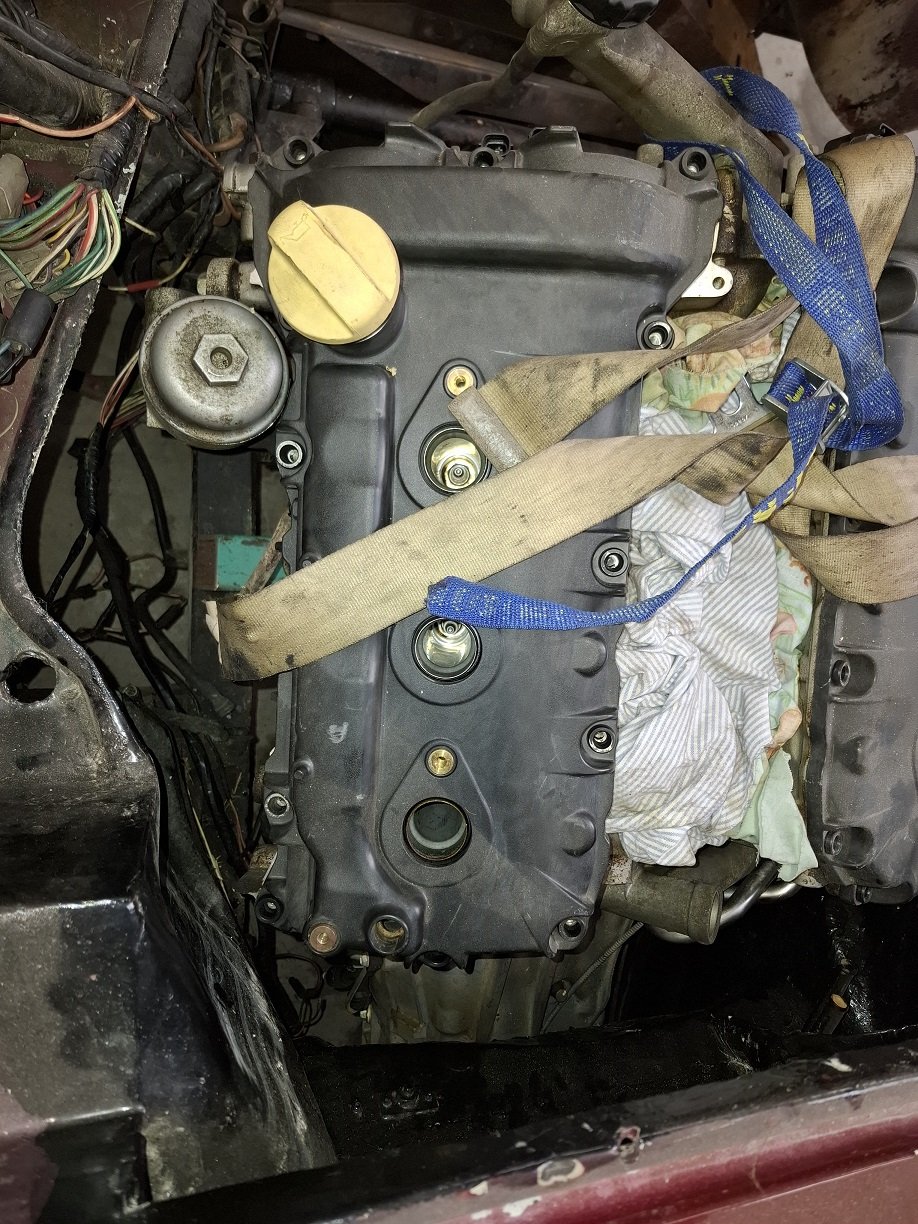
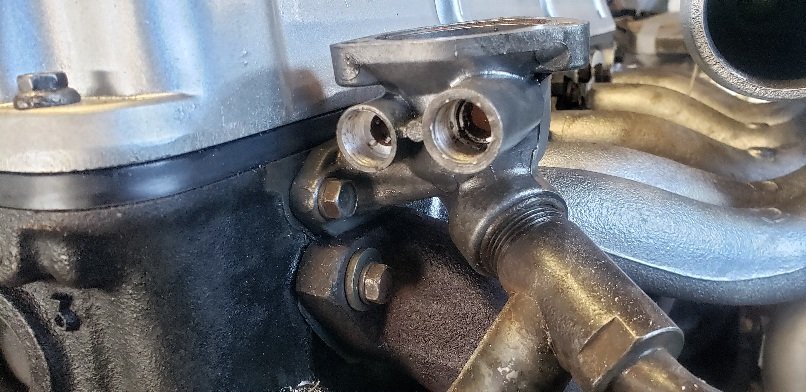
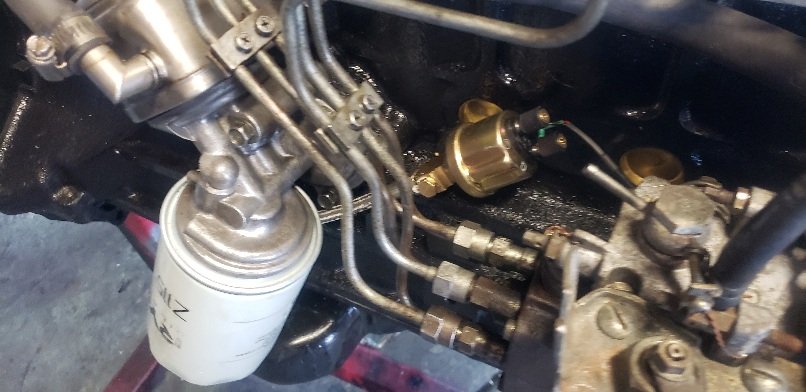
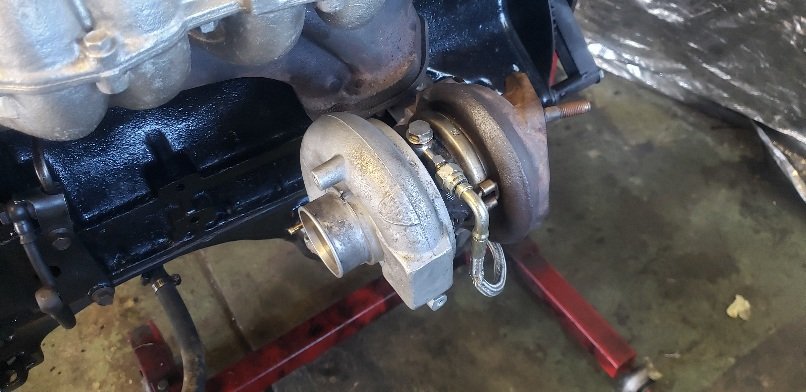
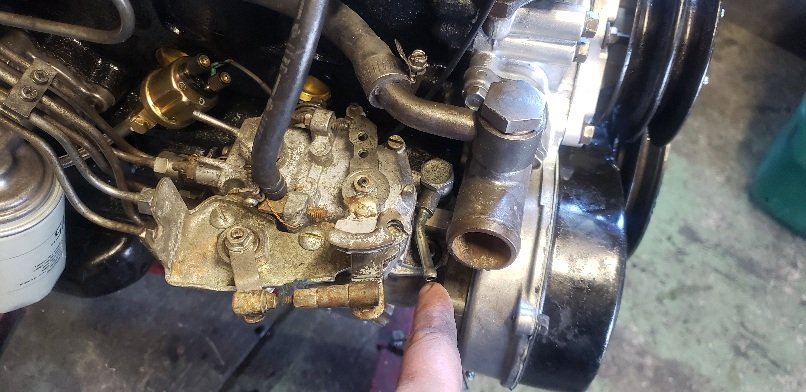
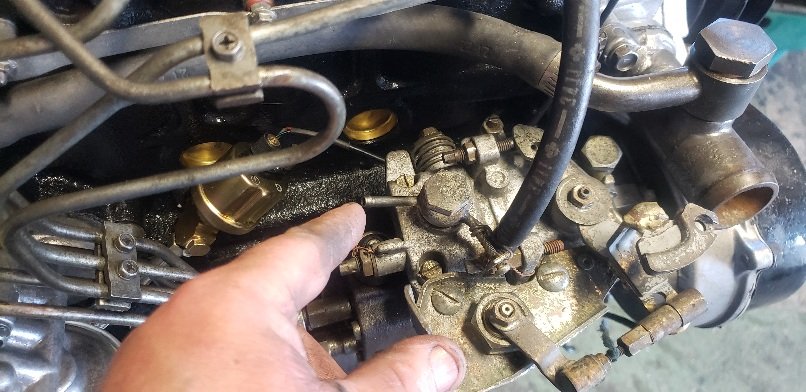
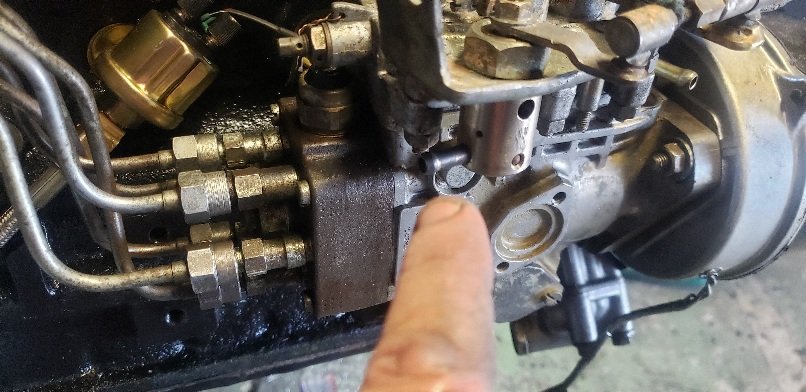
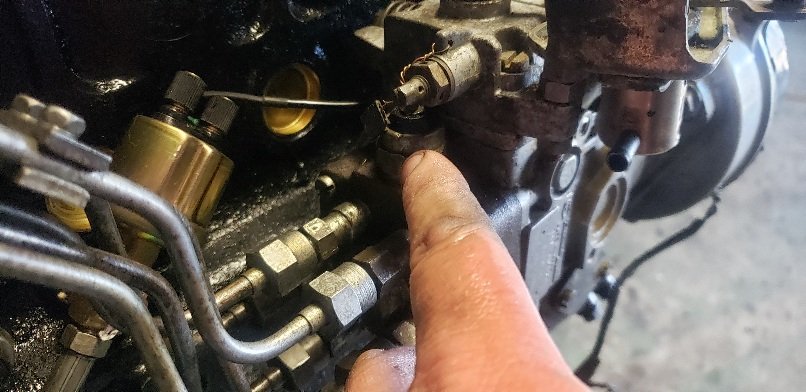
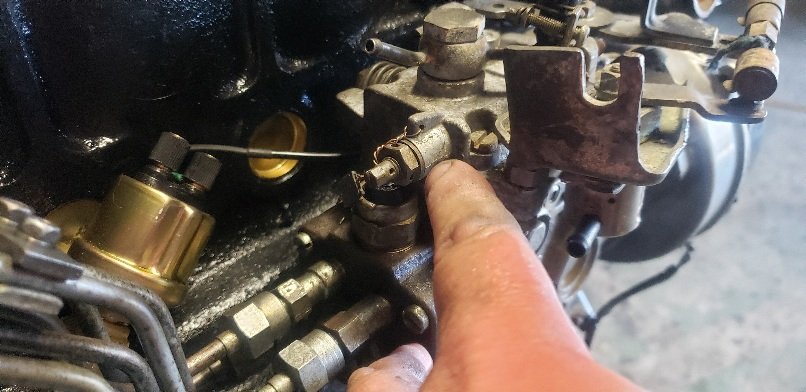
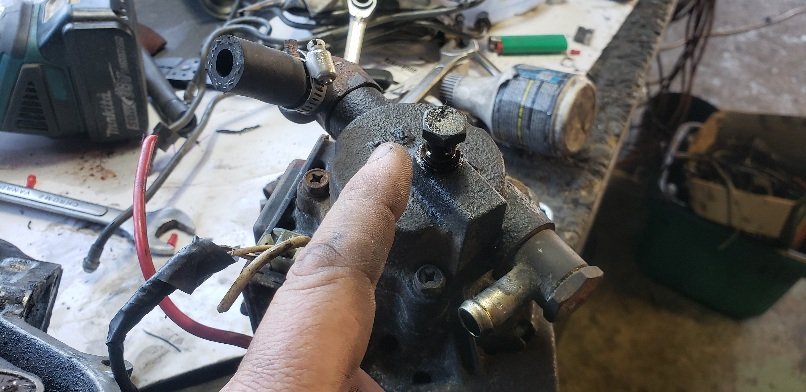
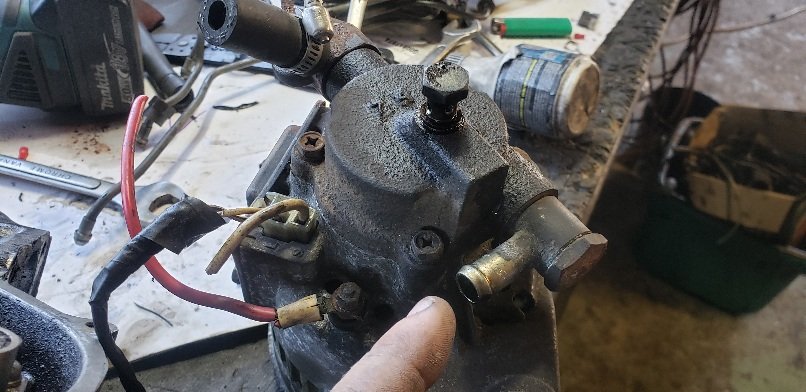
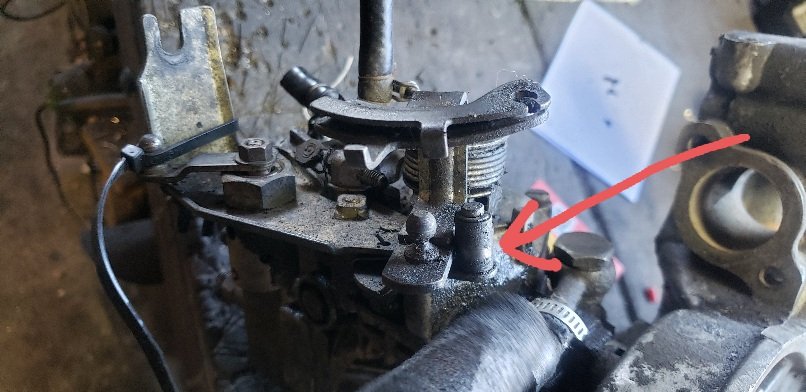
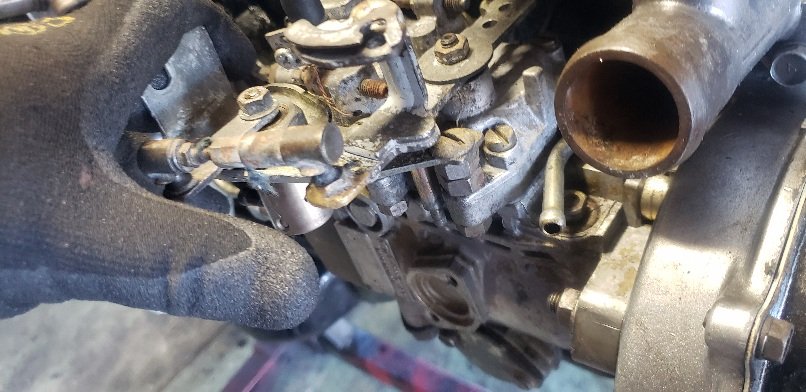
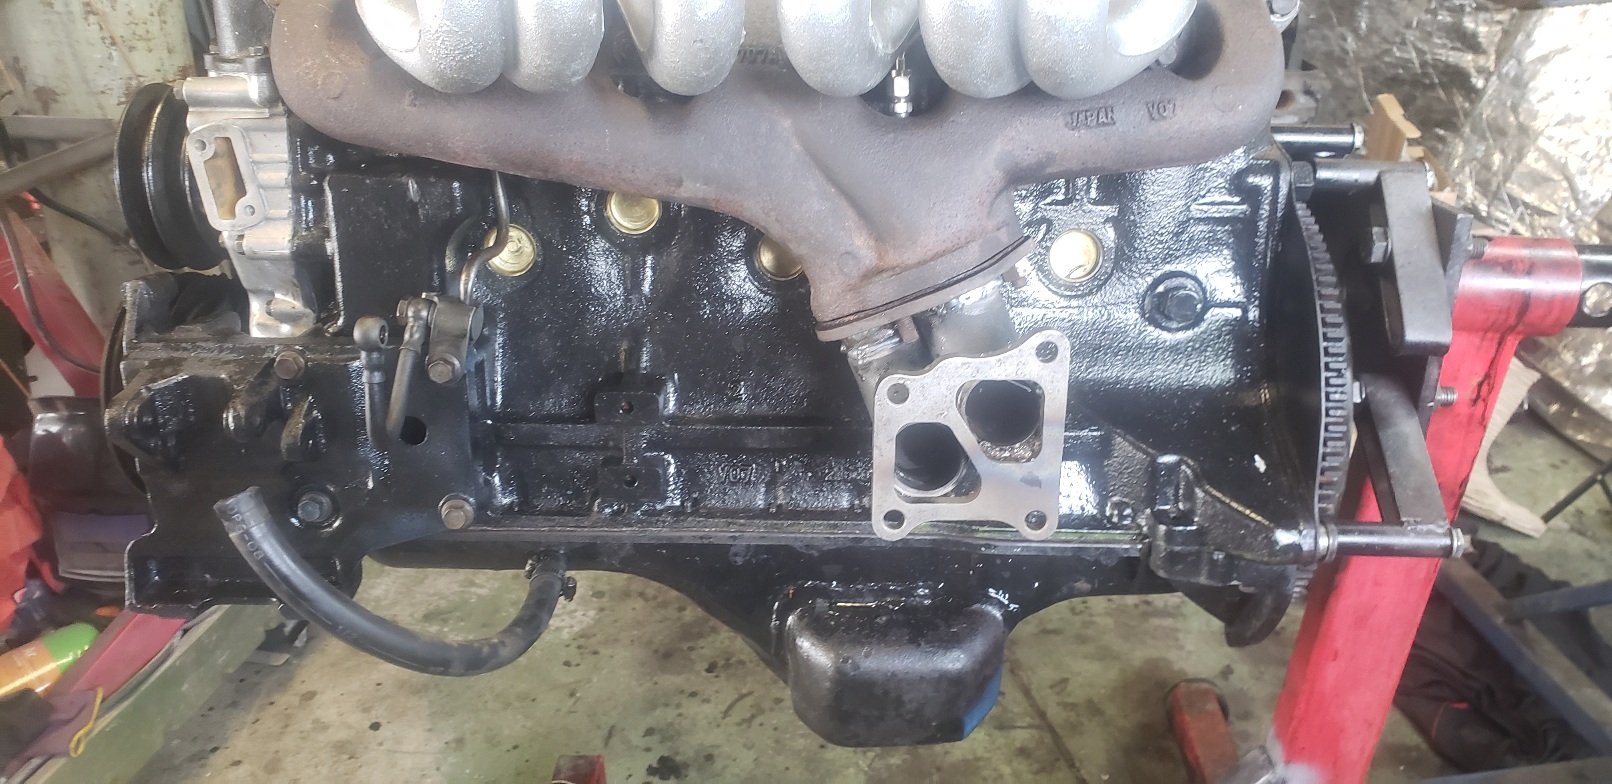
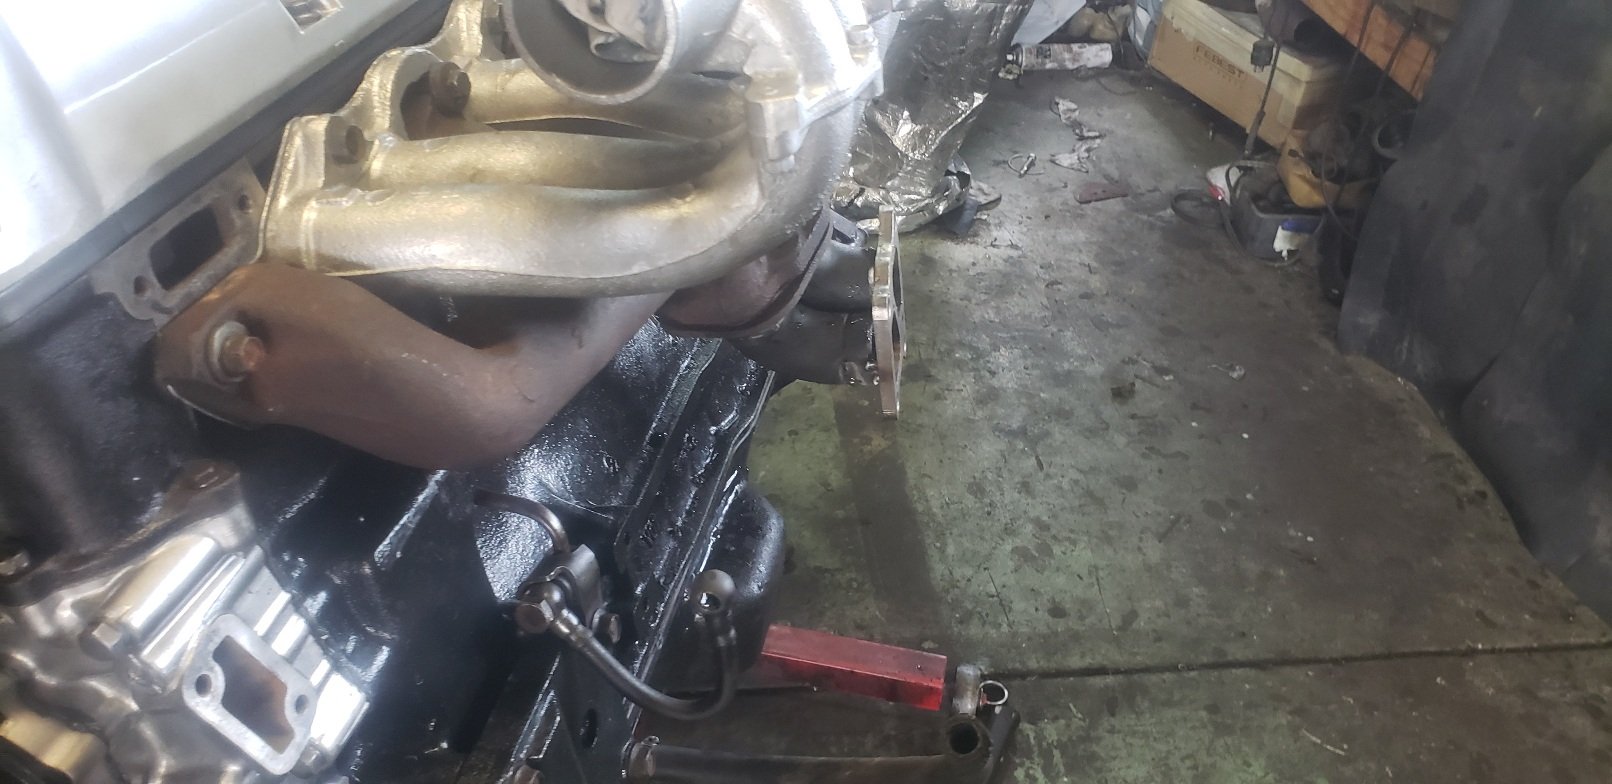
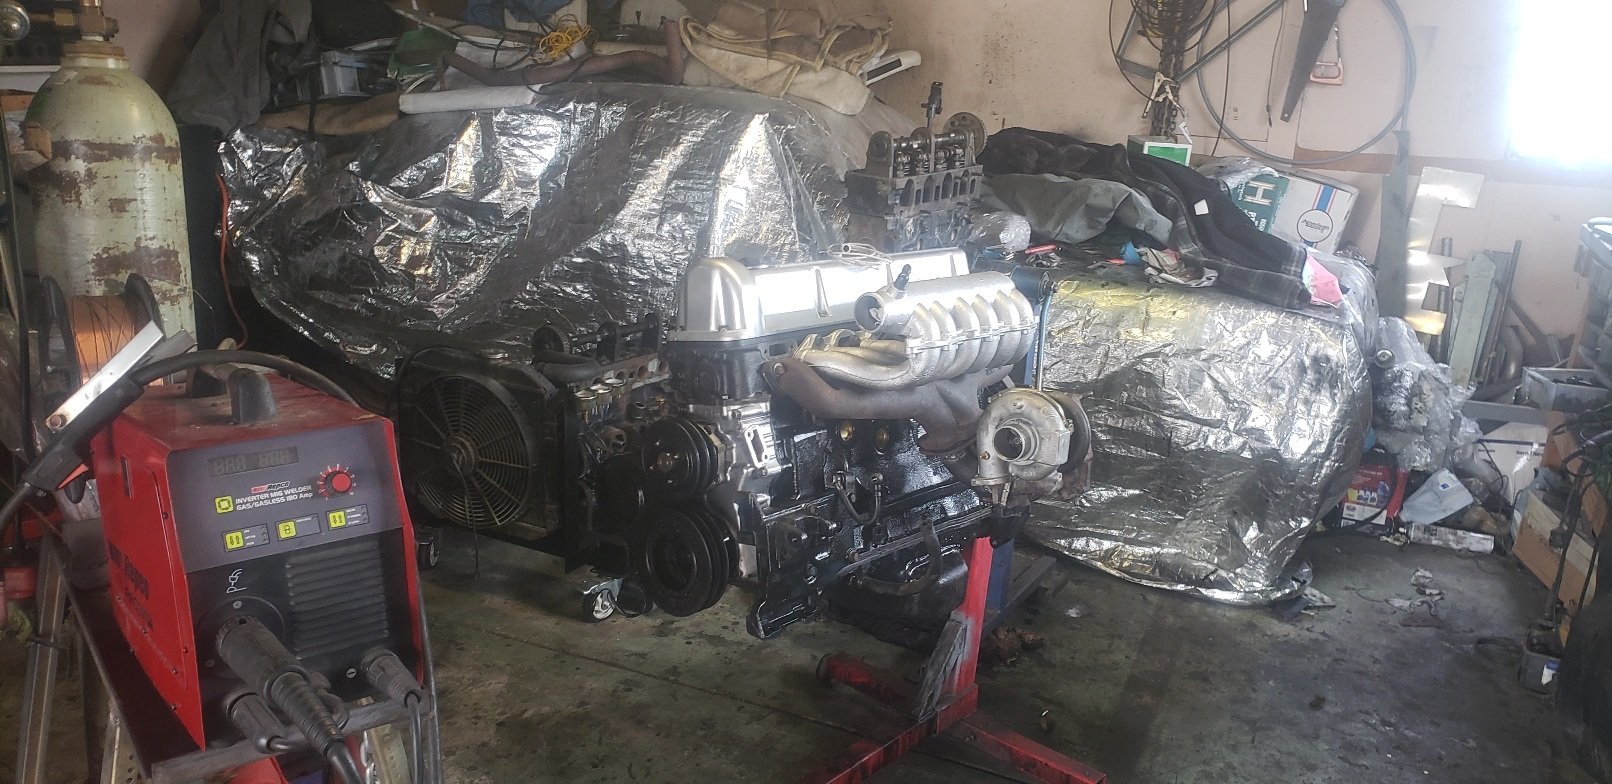
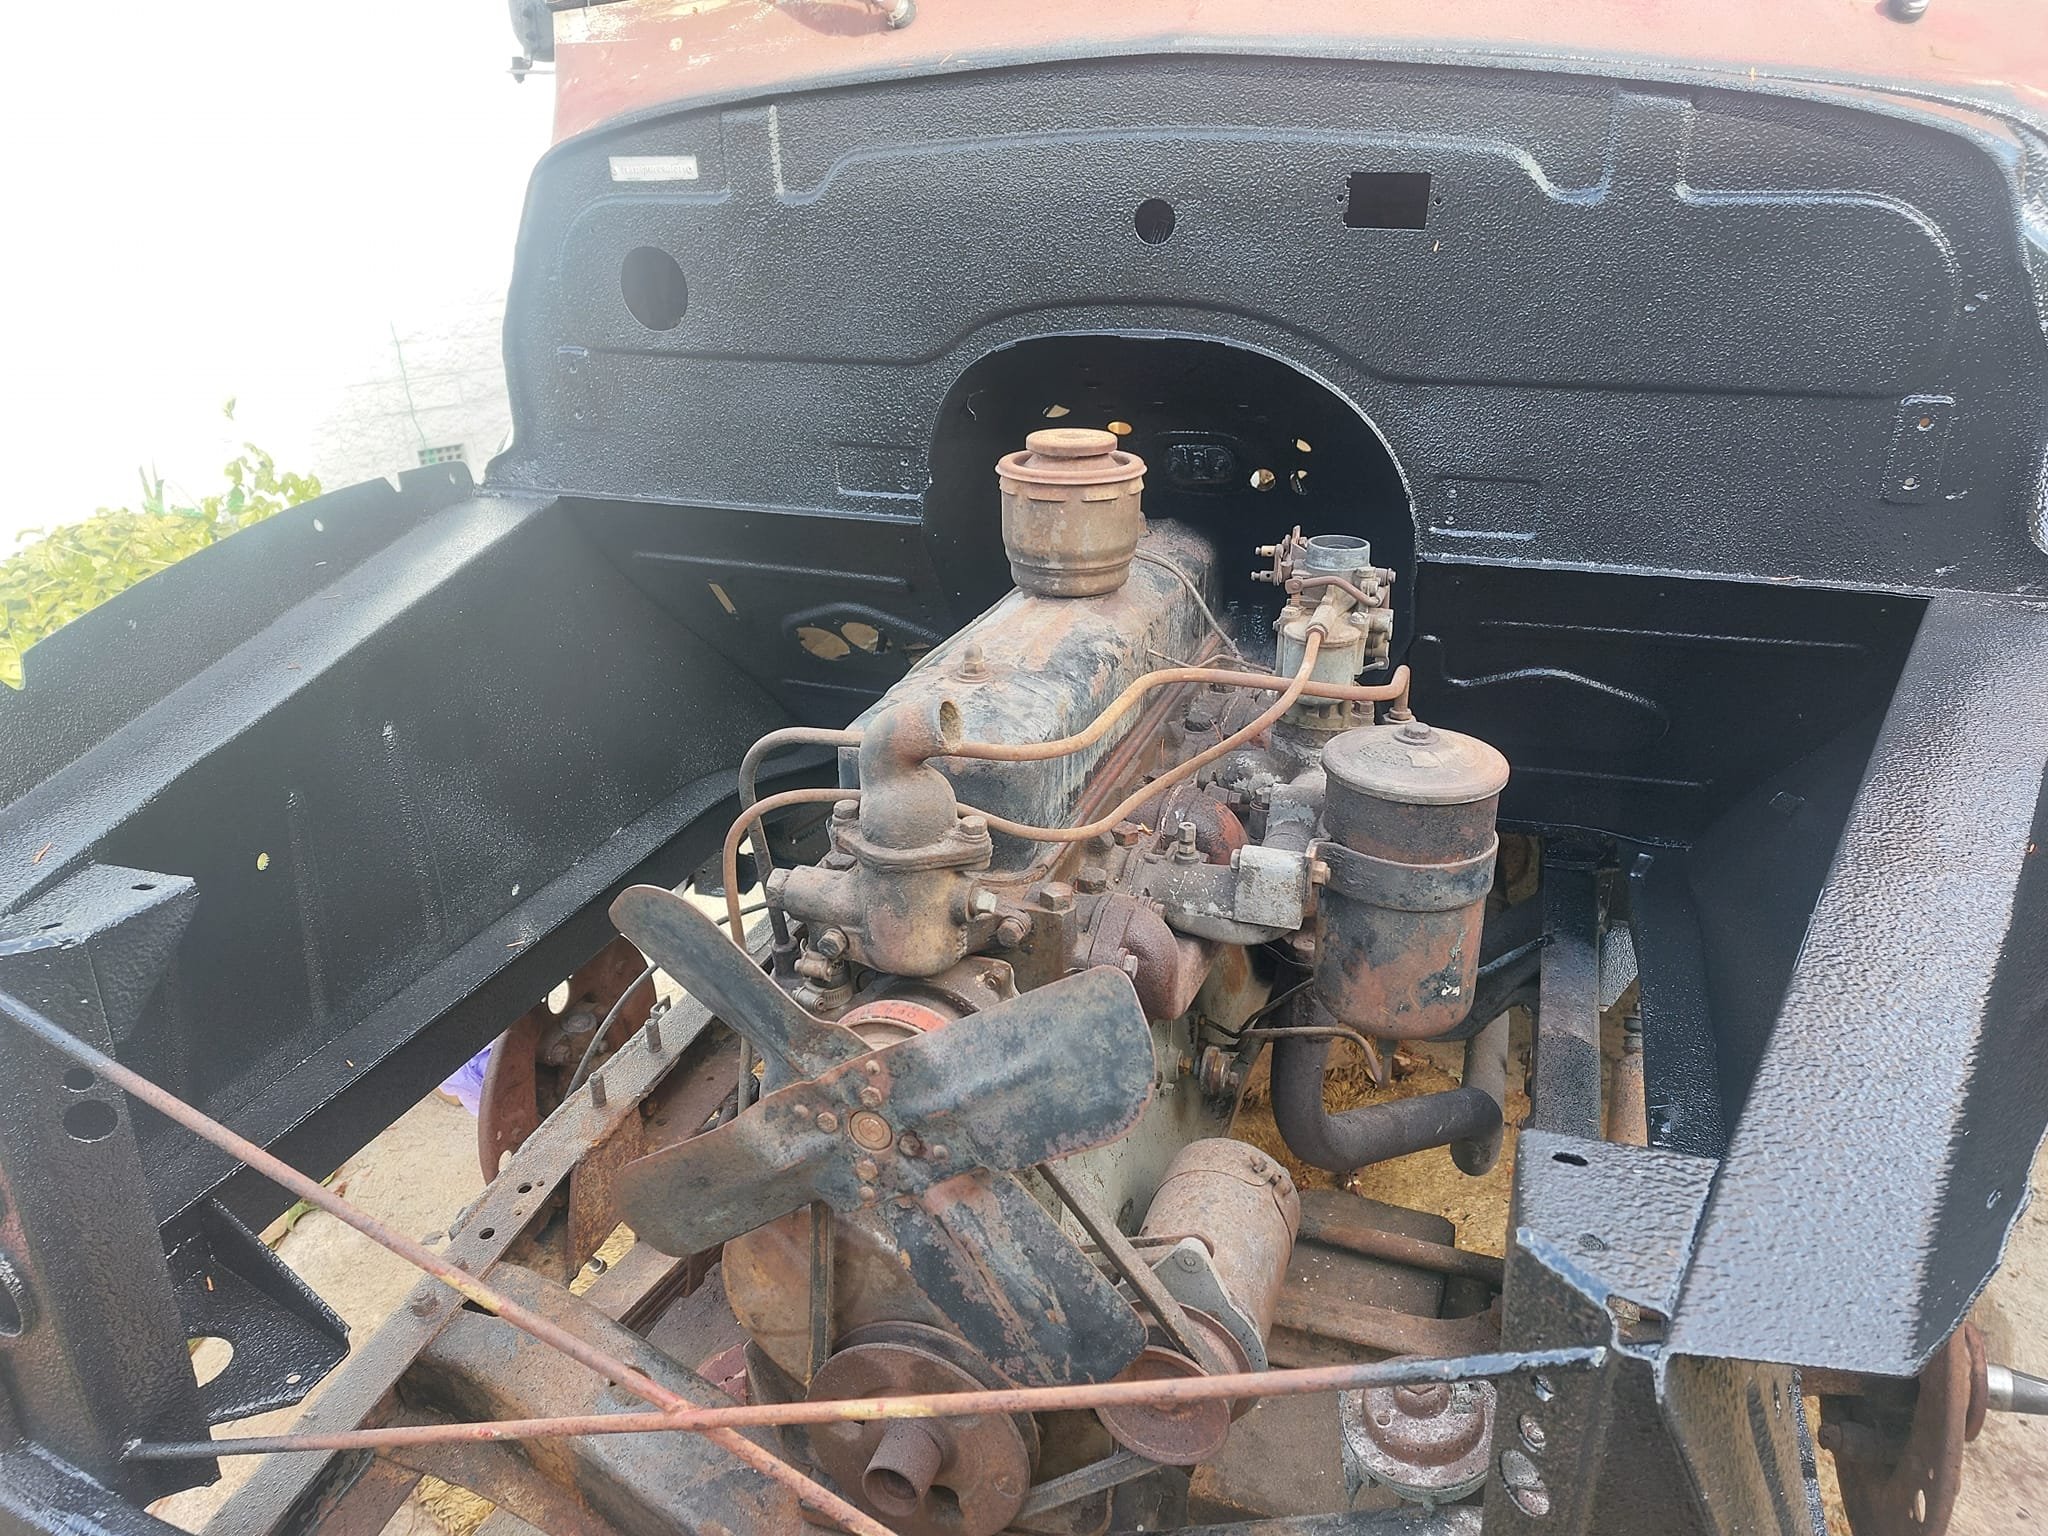
Got a few things done on the old LD28. *thermostat housing on .. drilled out And tapped for *temp gauge and them sensor to turn on and off Fan Oil gallery T in (small one) so I could get the new oil pressure sensor in and turbo oil feed git the oil filter and housing on with new water lines and clamps Starting to come together.... now I took a bunch of photos of things when i.pelled the motor out of the rover and lost of them.. soooooo.... let play *WHAT THE FUCK IS THIS *OR WHERE THE FUCK DOES THIS GO 1.i take it this is the main fuel in 2. Where does this go 3. Where does this go and what is it 4. What is this......and what do I do with it... (pretty sure Harry told me..I forgot though) 5.is this where I adjust the amount of fuel 7. This is oil in right 8. And this is drain back to the block 9.where the fuck does this go and I'm pressuring its water? 10. Does ut go here?.. if not ..where the fuck does this go.⁸ 11. Now where does this go 12. now what does this do. And the motor out of the rover didn't have one Thanks for any help... To late to mention i know nothing about these motors.
2 points
-
And another small job off the list, choke fitted to seat. I've made another much longer cable, so seat can still pivot forward. This is just a dry fit to get it done.
2 points
-
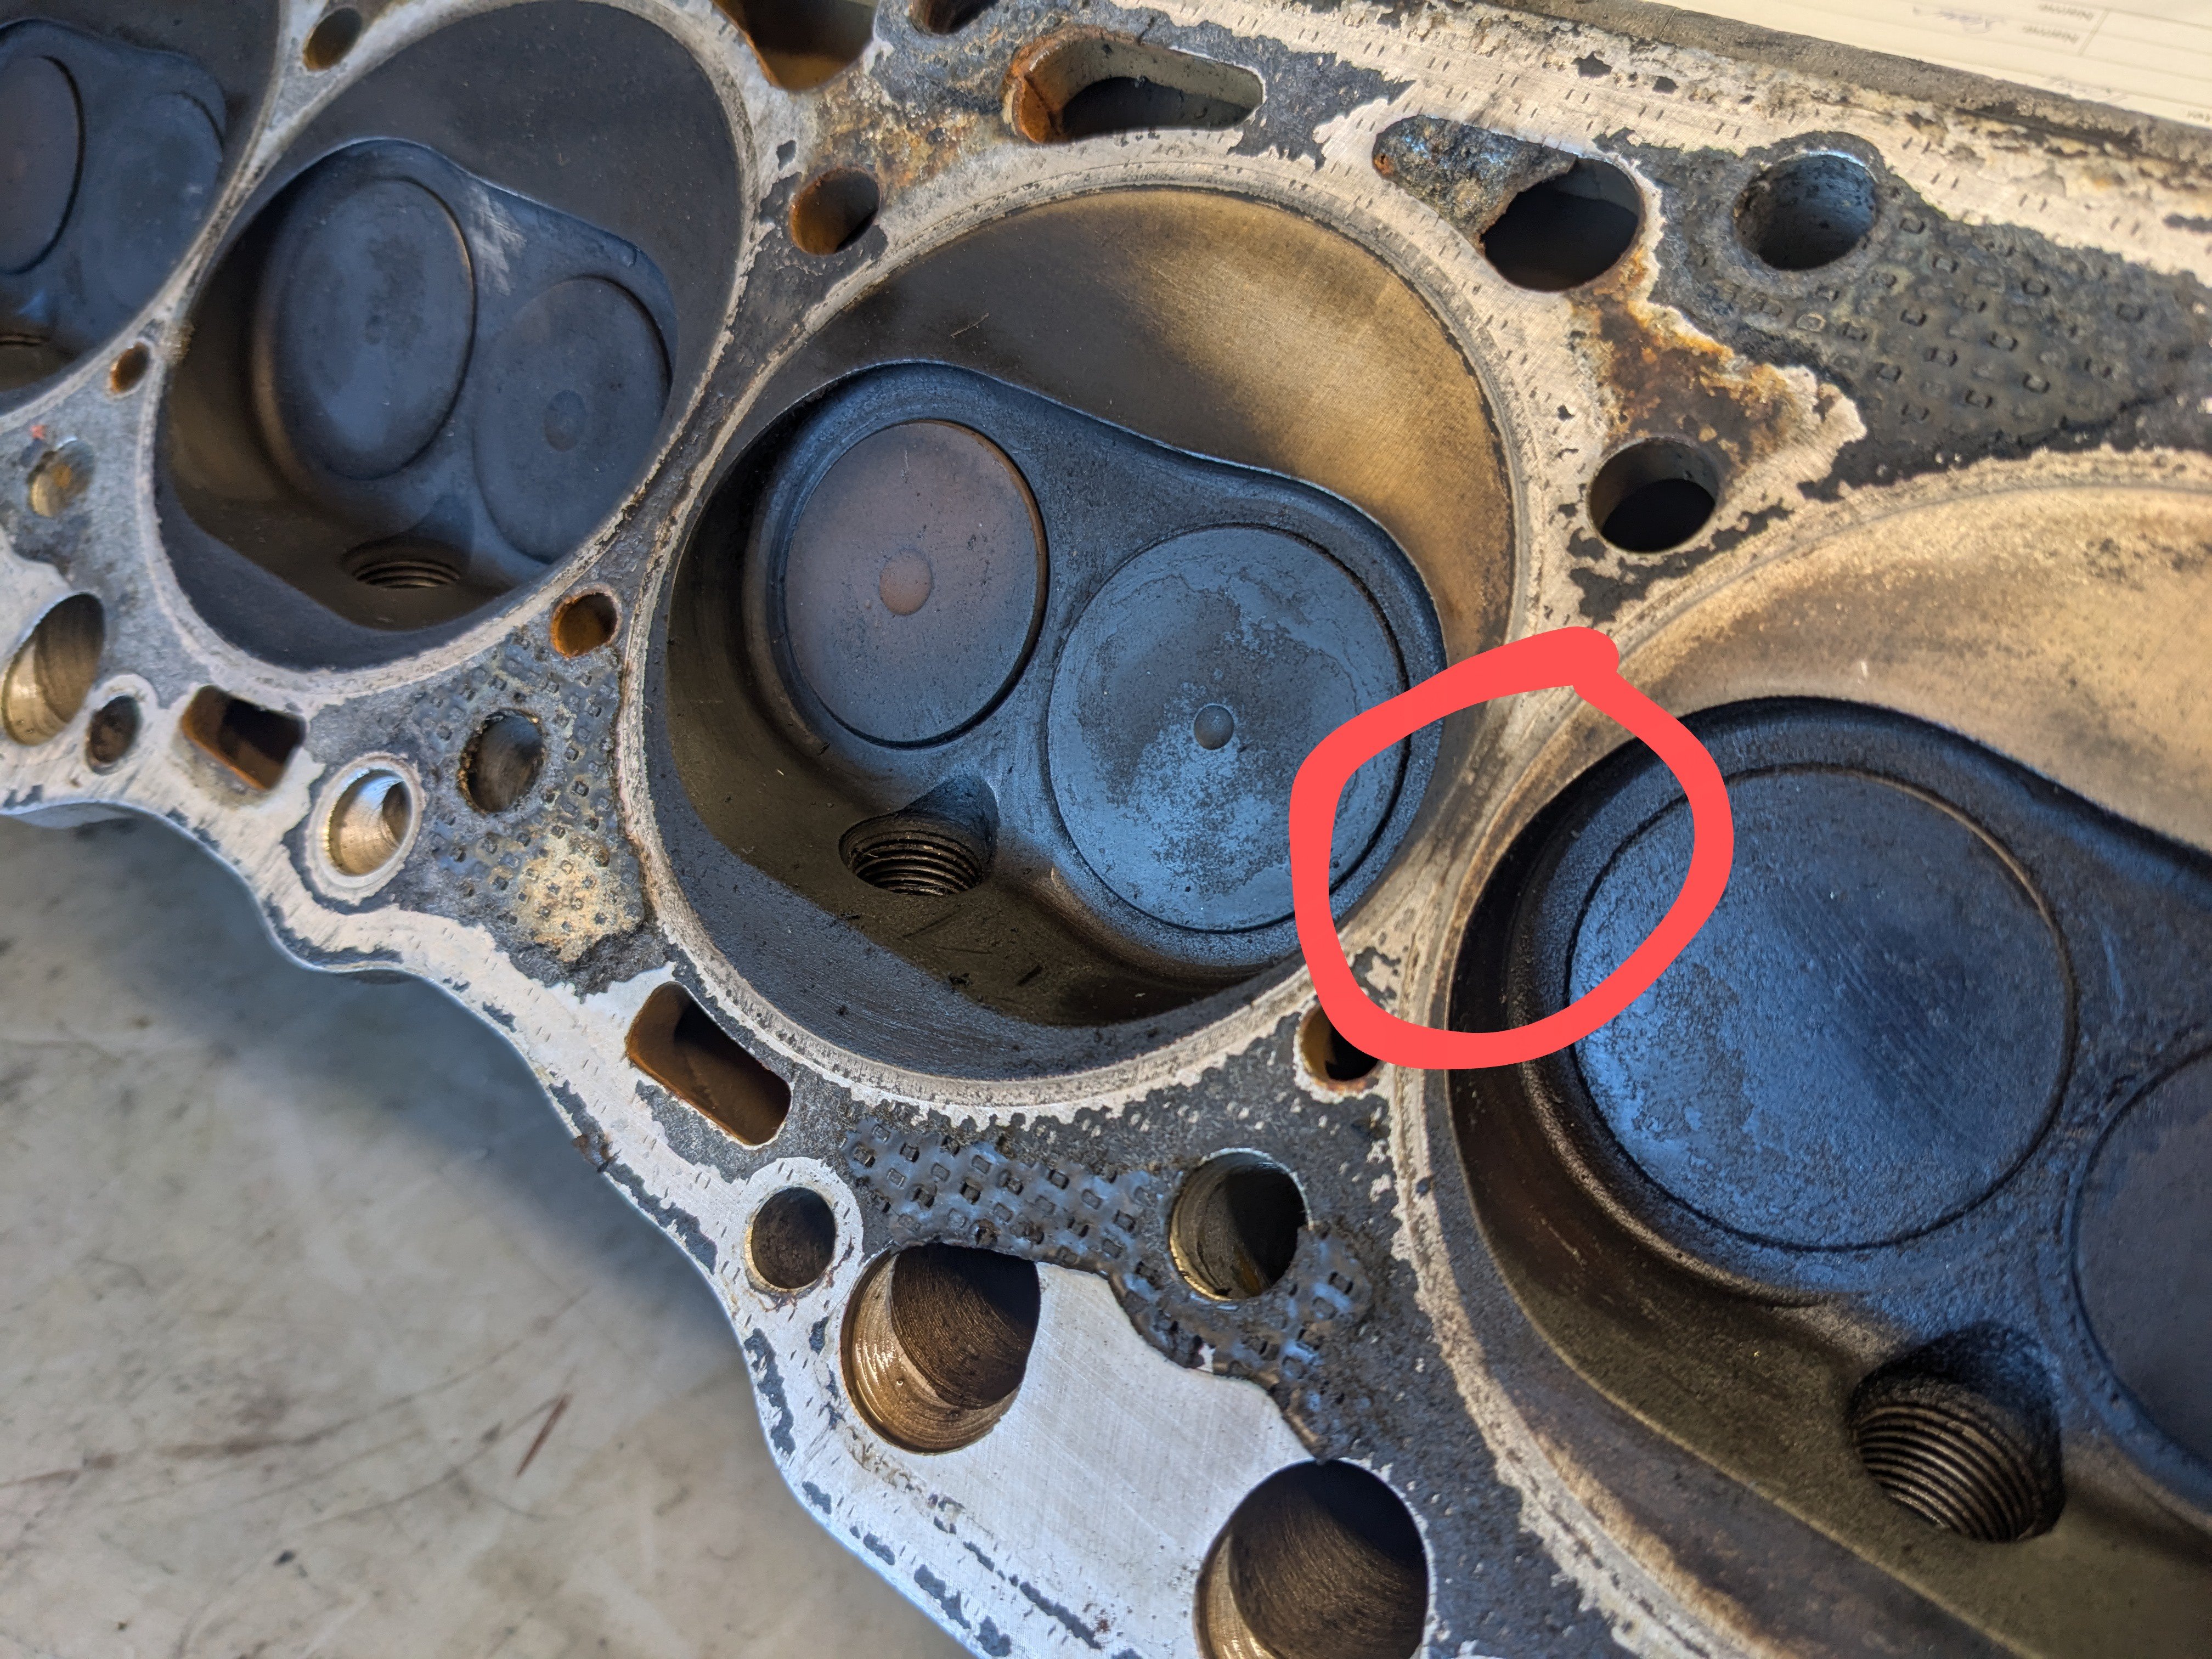
Engine shop mans keen eye pointed this out On the lighter coloured cylinder too, so could well just be the head gasket. They are going to check it and give it a skim. There is a certain amount of scum that forms in the header tank, not much so I thought it was just clag from its long park up getting blown out, but maybe not..
2 points
-
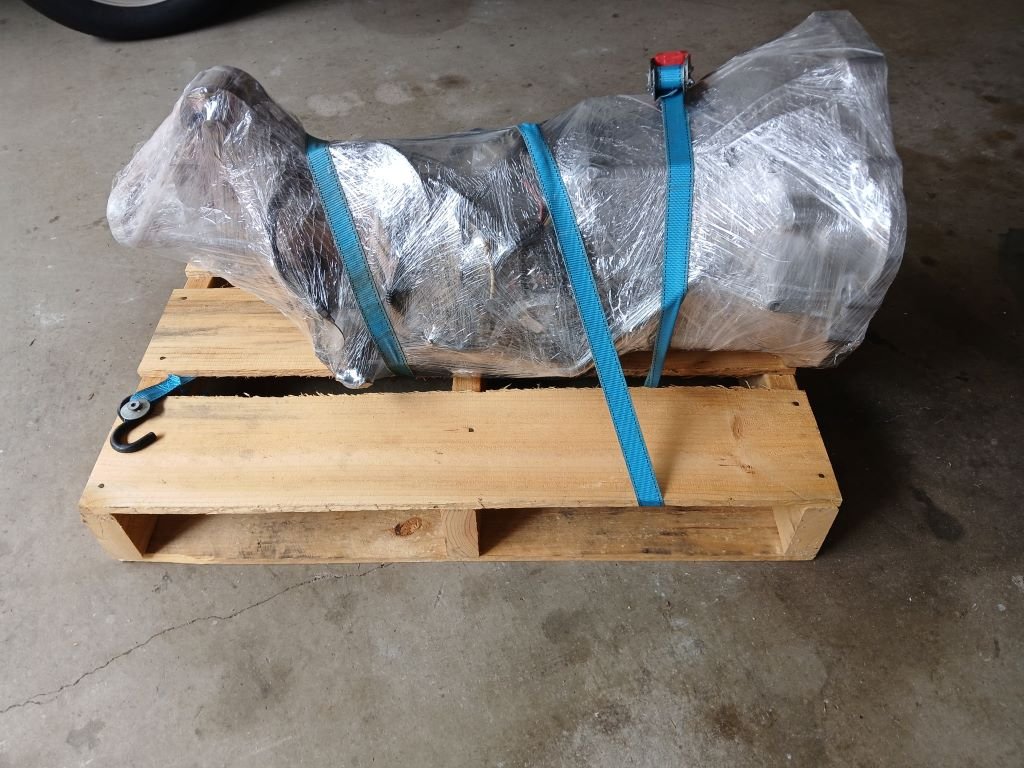
In my last update I mentioned that I was battling with my a/c belts which seem to stretch to the point where I run out of adjustment. I popped one of my usual "advice needed" posts under general car chat and @440bbm suggested that I replace the notched belts that I have been using with a solid belt. I've got one on order which will hopefully pitch up sometime over the next few days. Hopefully that will solve my issue. In other news I've just sold the last of my HiAce automatic gearboxes to a guy in Tassie. Gave it a clean before I wrapped and strapped it and I'll be dropping it off at my local courier depot tomorrow morning. I originally had two autos in stock in case I wanted to go down that path, but I'm happy with my 5 speed manual and these were just taking up valuable storage space. The last one went to Western Australia, so looks like these boxes are sought after items.
2 points
-
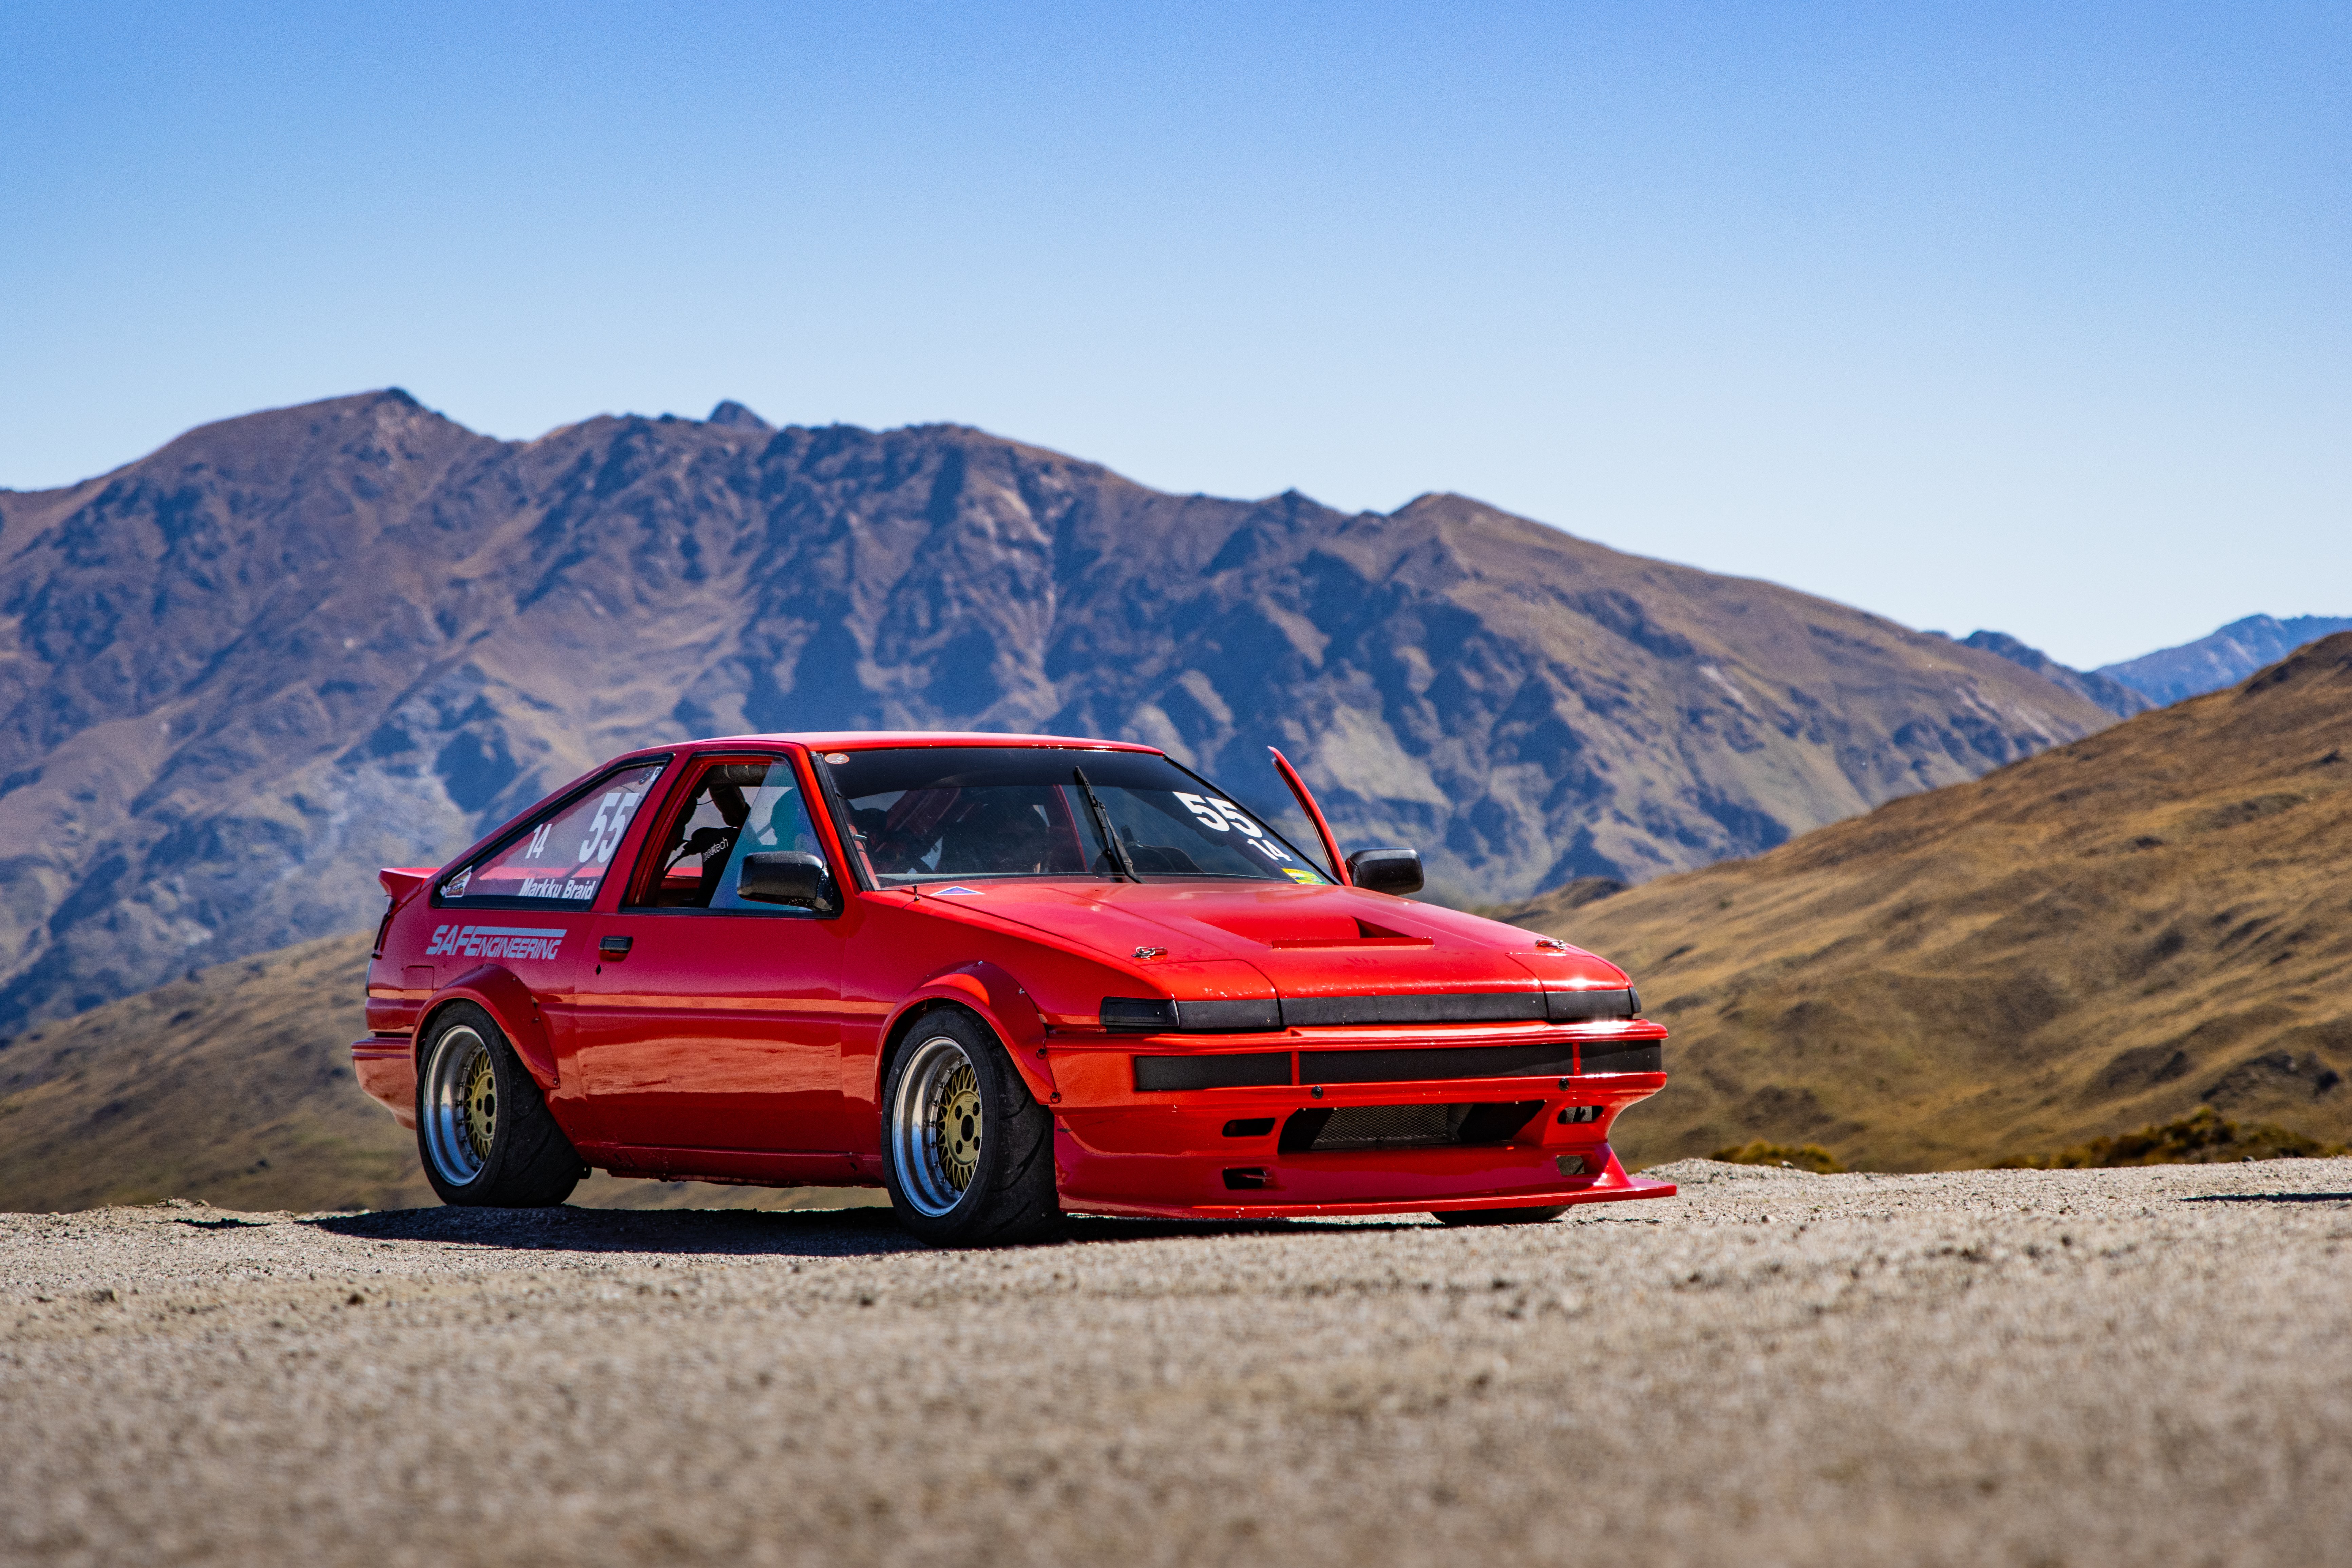
Entered a hillclimb in the weekend. I'll come back to tell the story soon... for now, here's some eye candy.
2 points
-
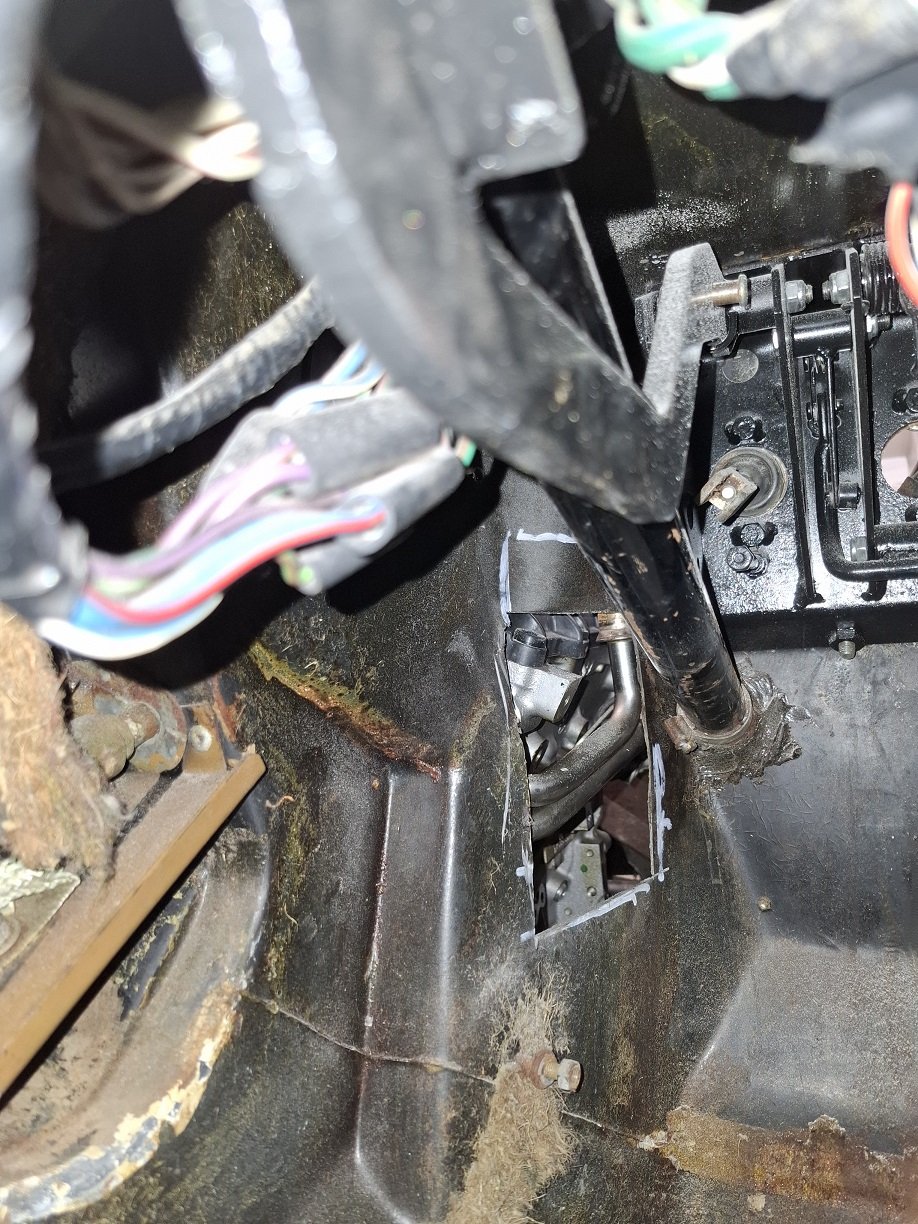
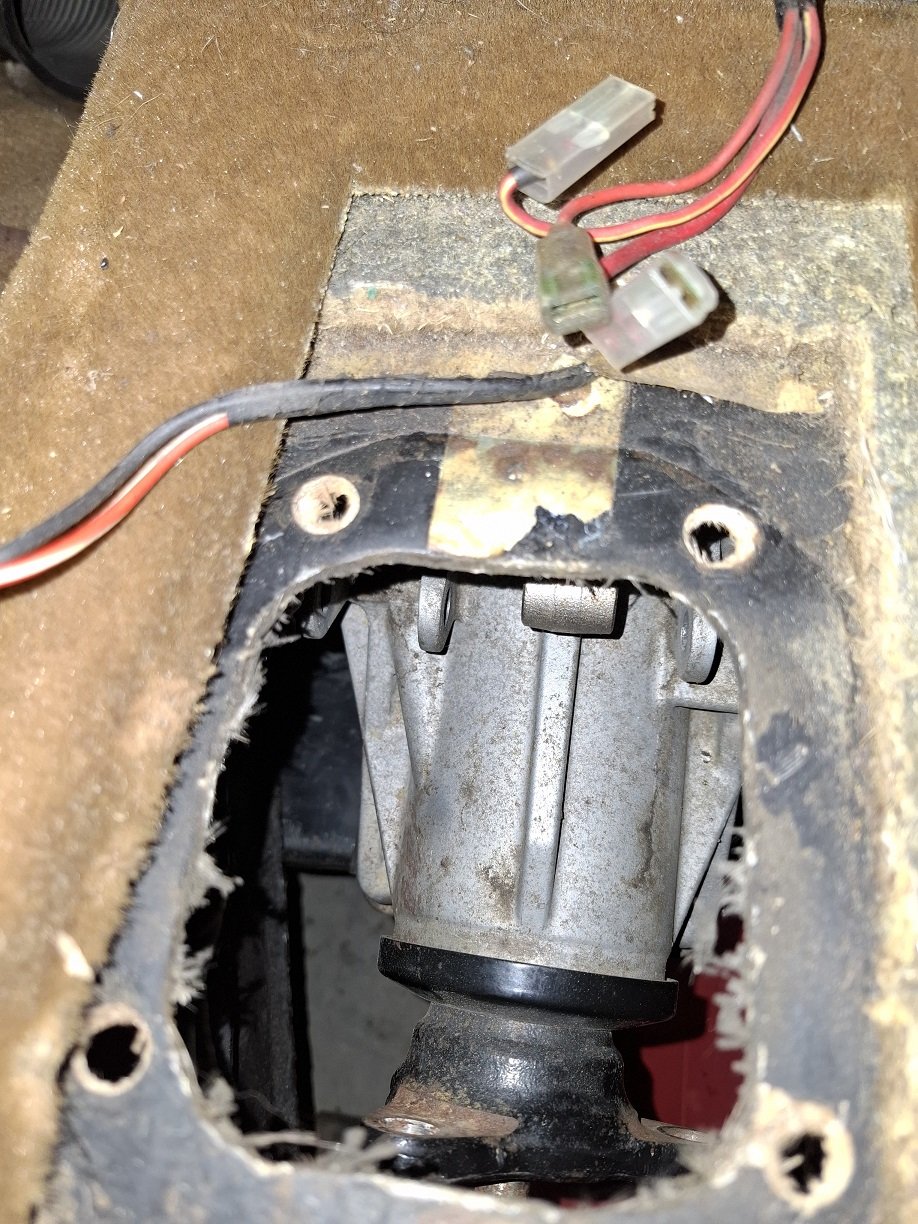
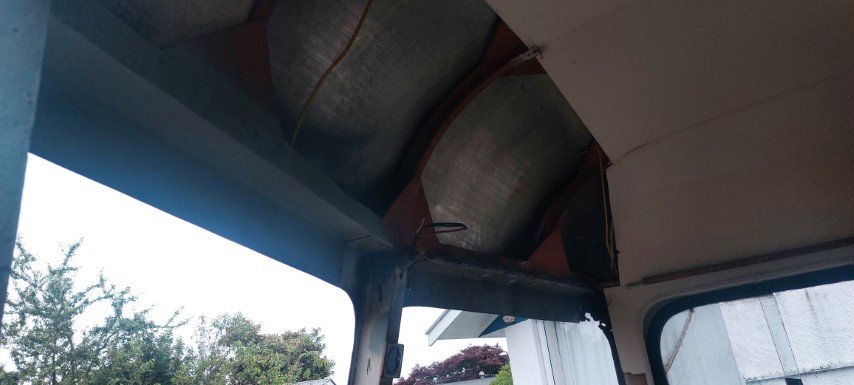
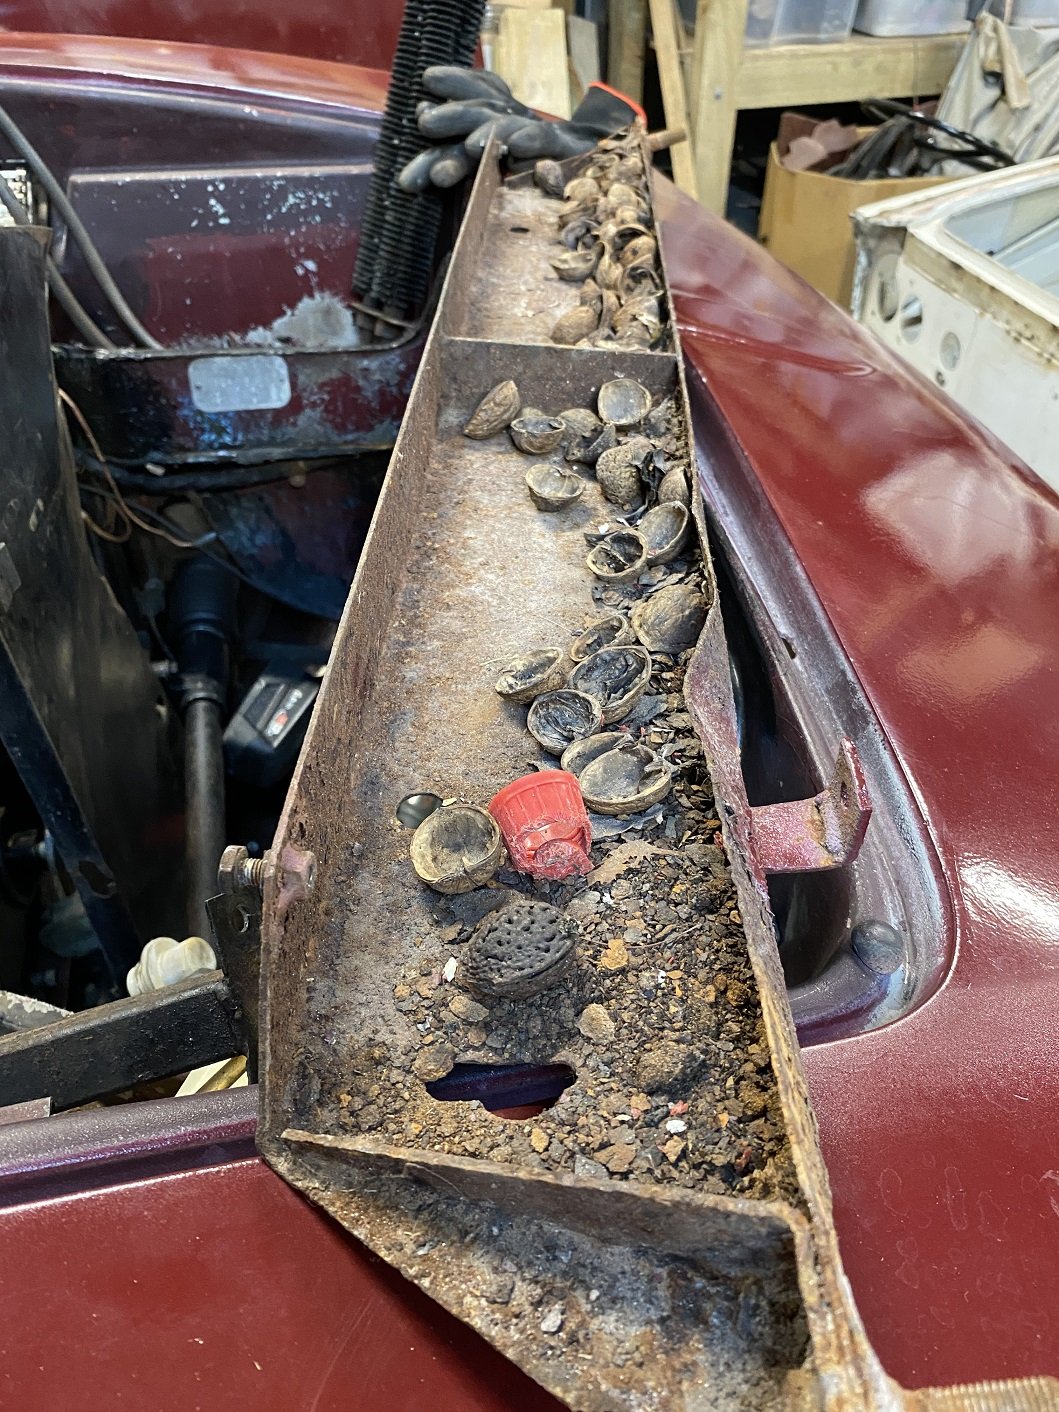
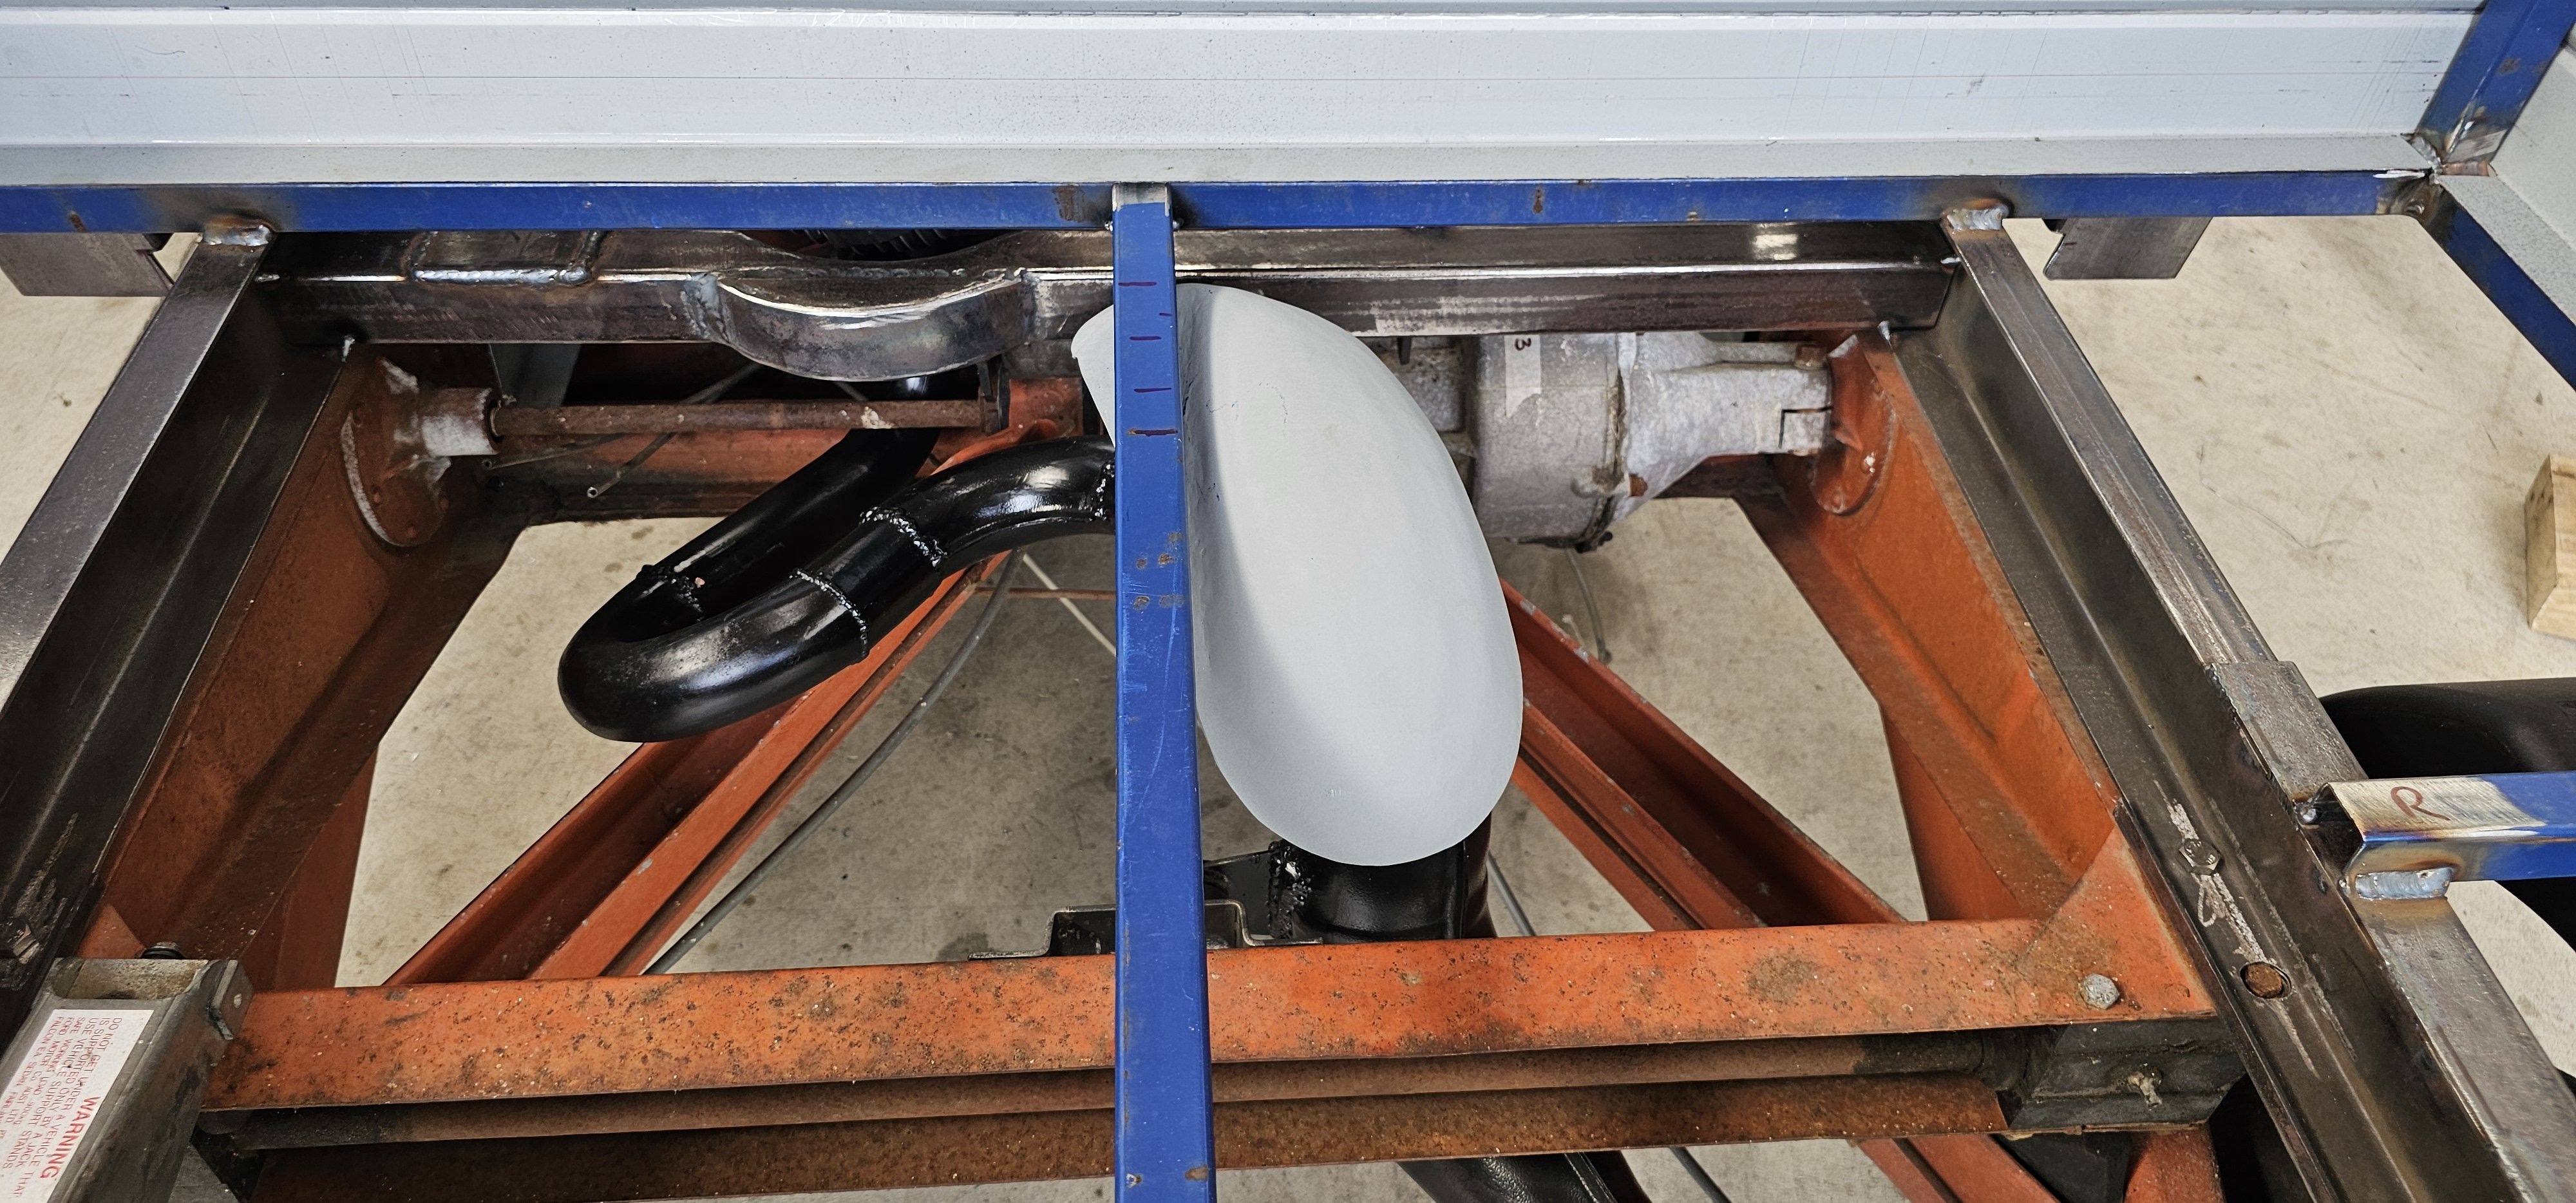
There is a bolt together structure forward of the chassis rails to support the 'nose' of the body and provide mounting points for the bumper. It had some damage from a front end impact. I dunno if that predates @dmulally 's ownership. Some of the structure was bent and rusty. The loom was also earthed on part of it, but that part didn't seem to be bolted to anything and just floating. I decided to take it out. WELL... I guess some rats were using this as a dining room for a while... Some of the fibreglass was also damaged and sorry if it was you Damo, but OMG it was not patched together very well and is failing. Who ever laid the glass mat probably also scrunches toilet paper rather than folding. There's delamination and big flappy bits of mat sticking up all over the show. I assume it was done by feel, upside down, because of poor access. I think I'll cut/grind/sand it out and have a go myself.
2 points
-
Also how long has the trans been sitting? Could be worth stripping down and throwing a set of clutches and steels in it1 point
-
Be cool to come to a meet but il have to bring something crappy and modern as nothing else runs haha1 point
-
Template for polycarbonate window made. Just need to source some 3mm polycarbonate sheet.
1 point
-
There is also the added difficulty that I am a MechEng so inherently unable to understand coding. The sketch is mint tho. Plus I ordered spares of all the wee boards for when the magic smoke comes out.1 point
-
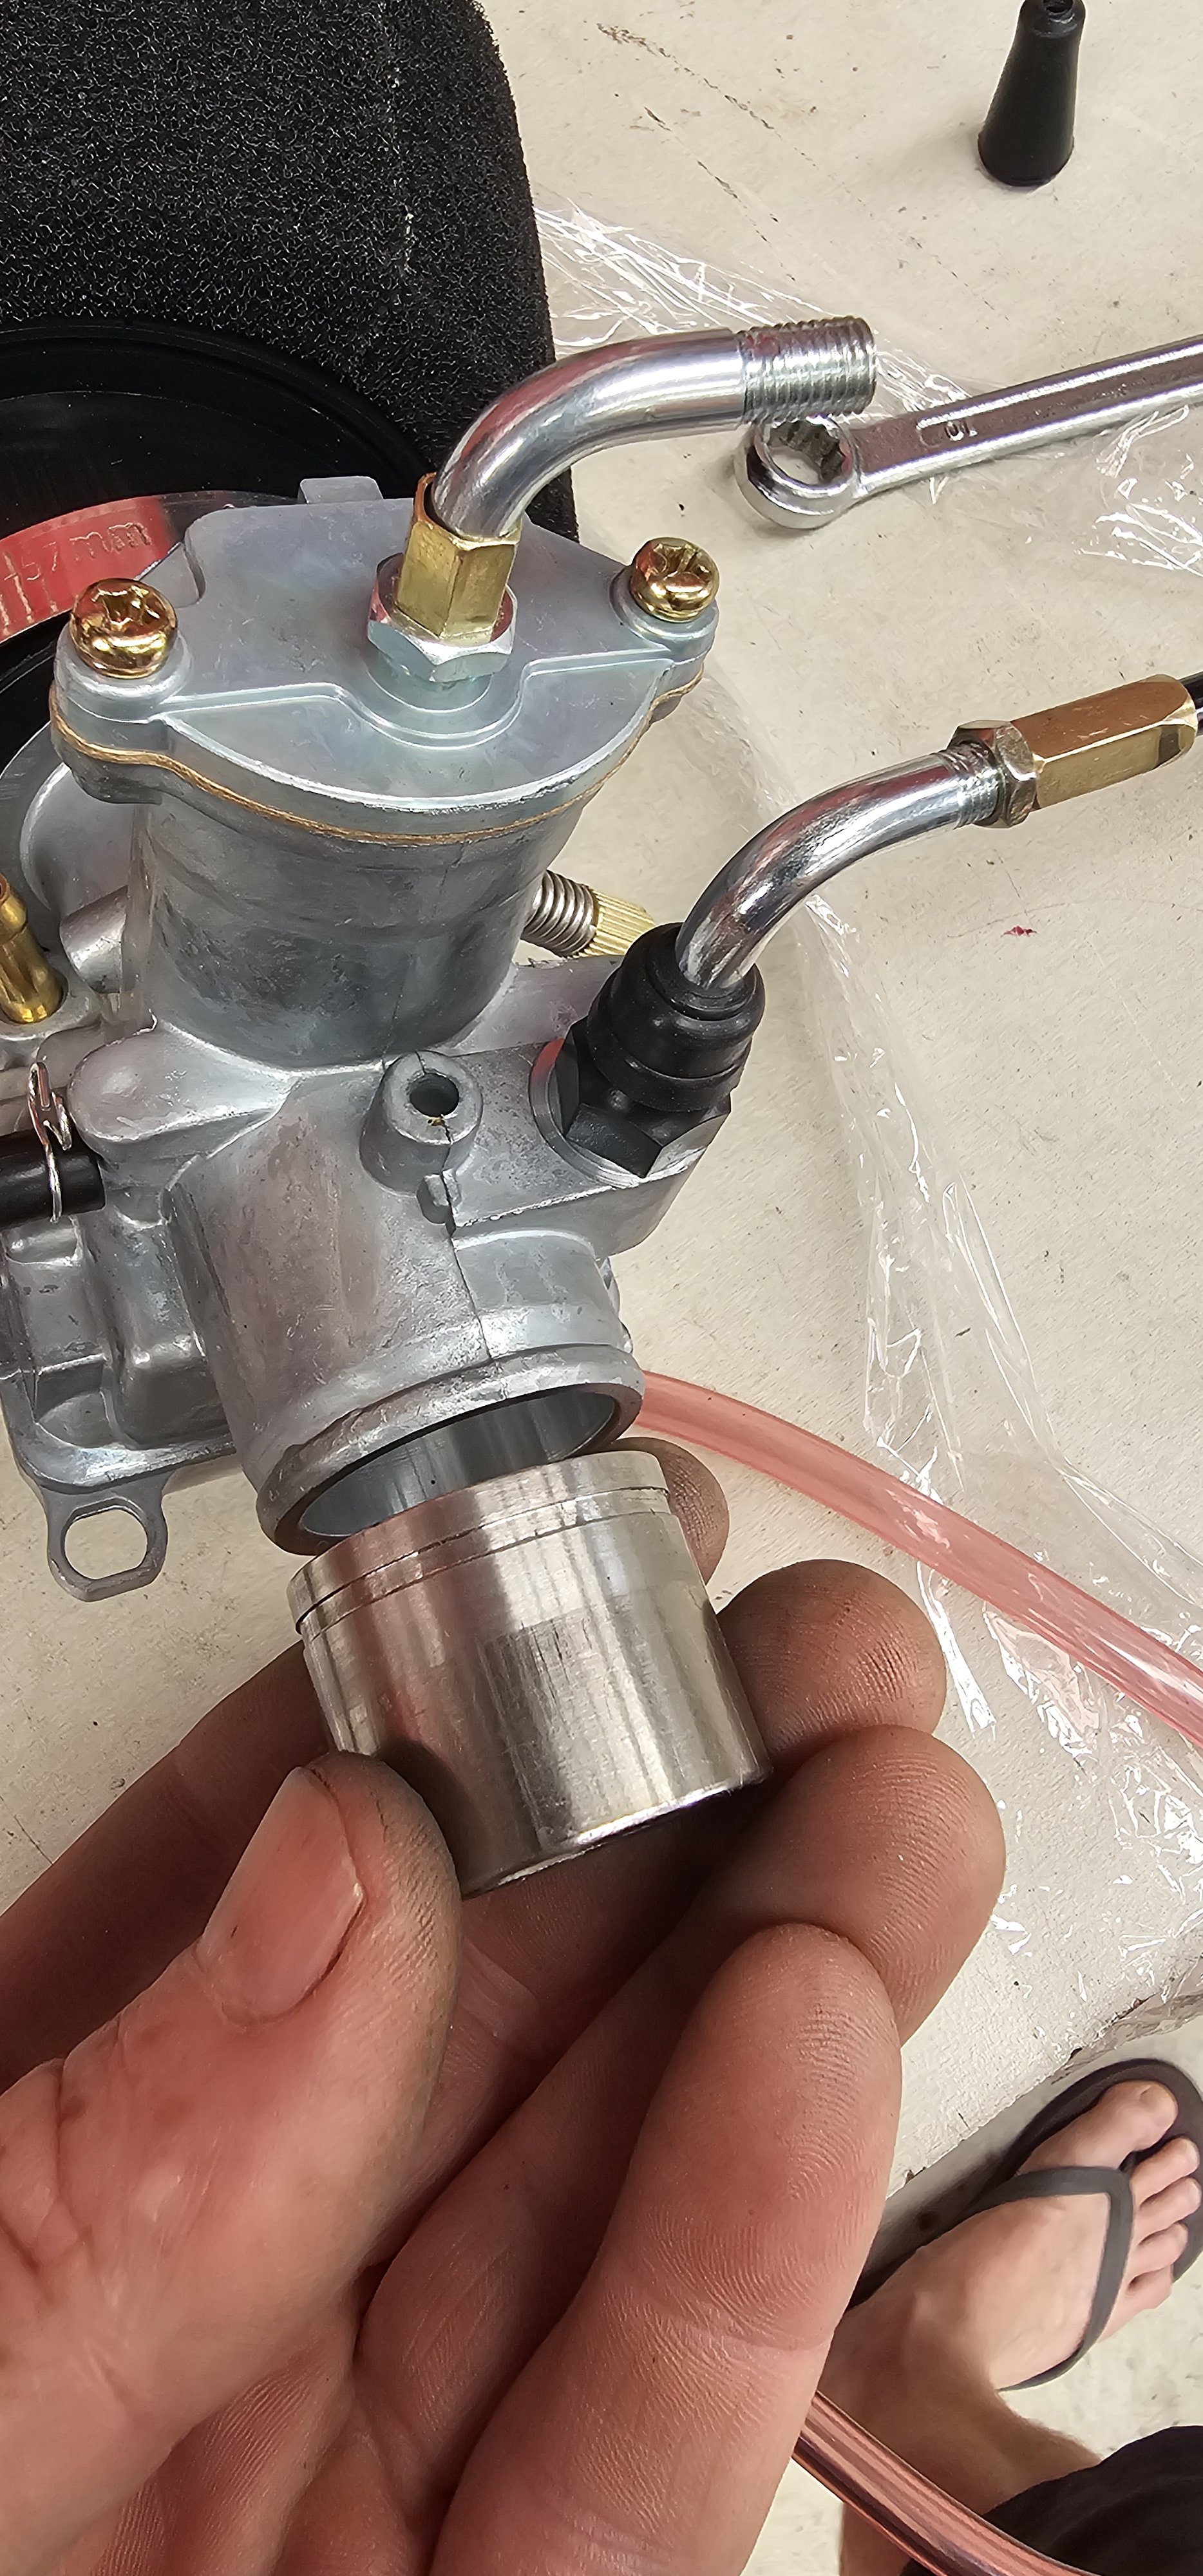
I turned up this thick stainless adapter. Part of the intake puzzle. I'm waiting on Aliexpress mandrel bends for the rest. I also made some custom cables for choke, and made a 90° adapter for the throttle cable, to keep the height down.
1 point
-
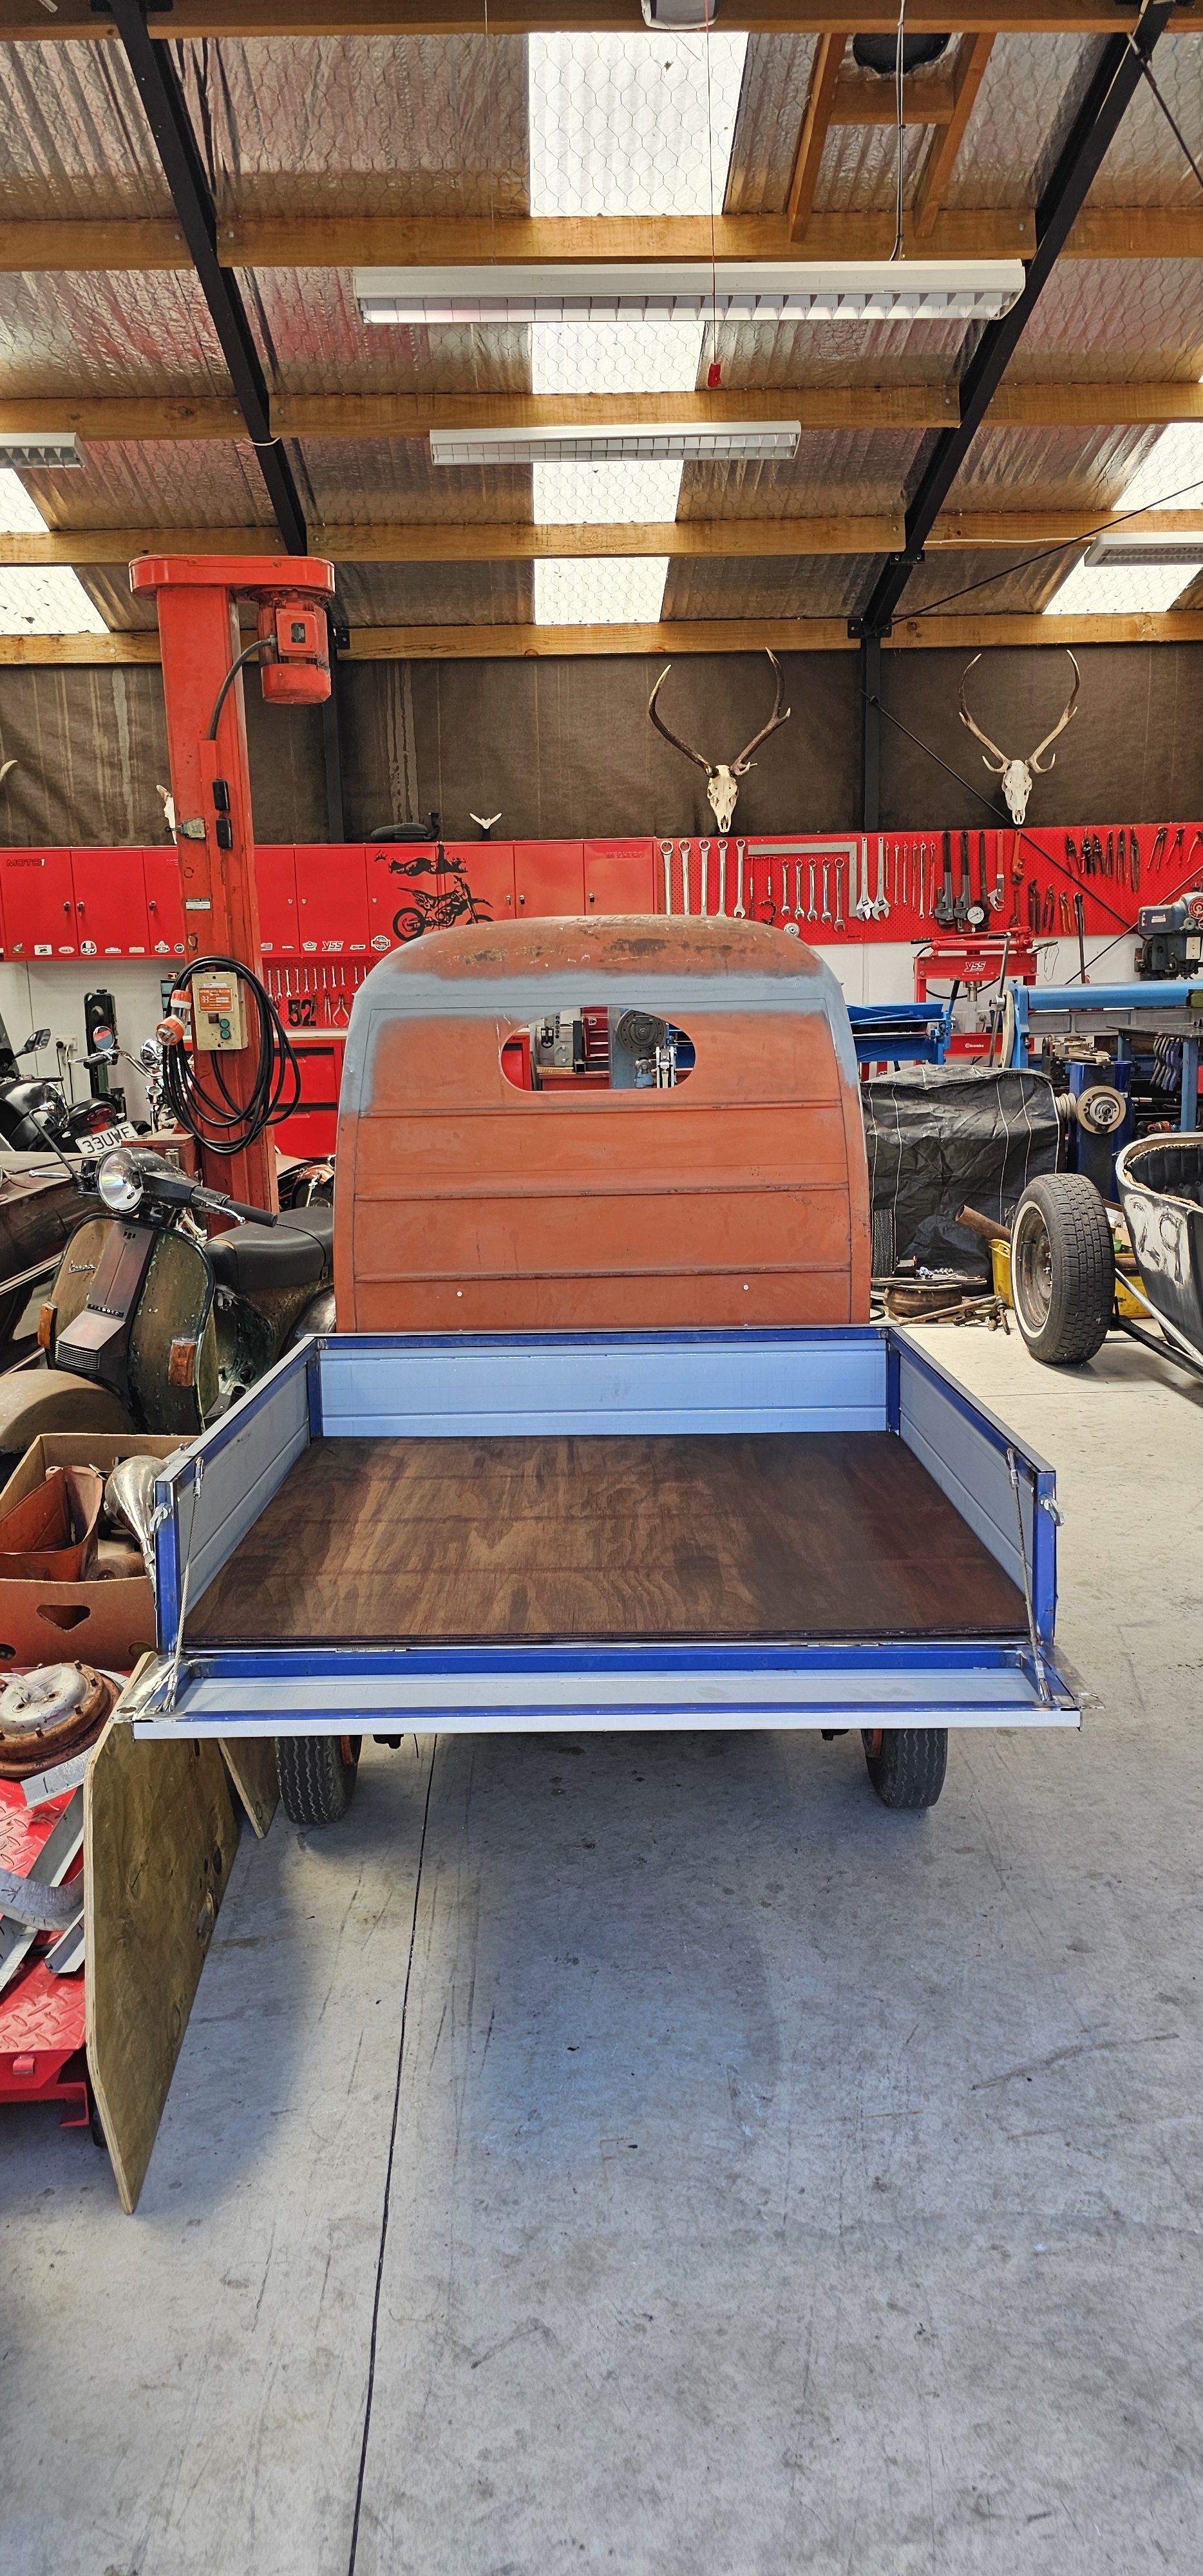
Deck sorted. Once painted, I'll use self tappers to hold it down. I added crimped wire straps to the tailgate. Small steps in the right direction...
1 point
-
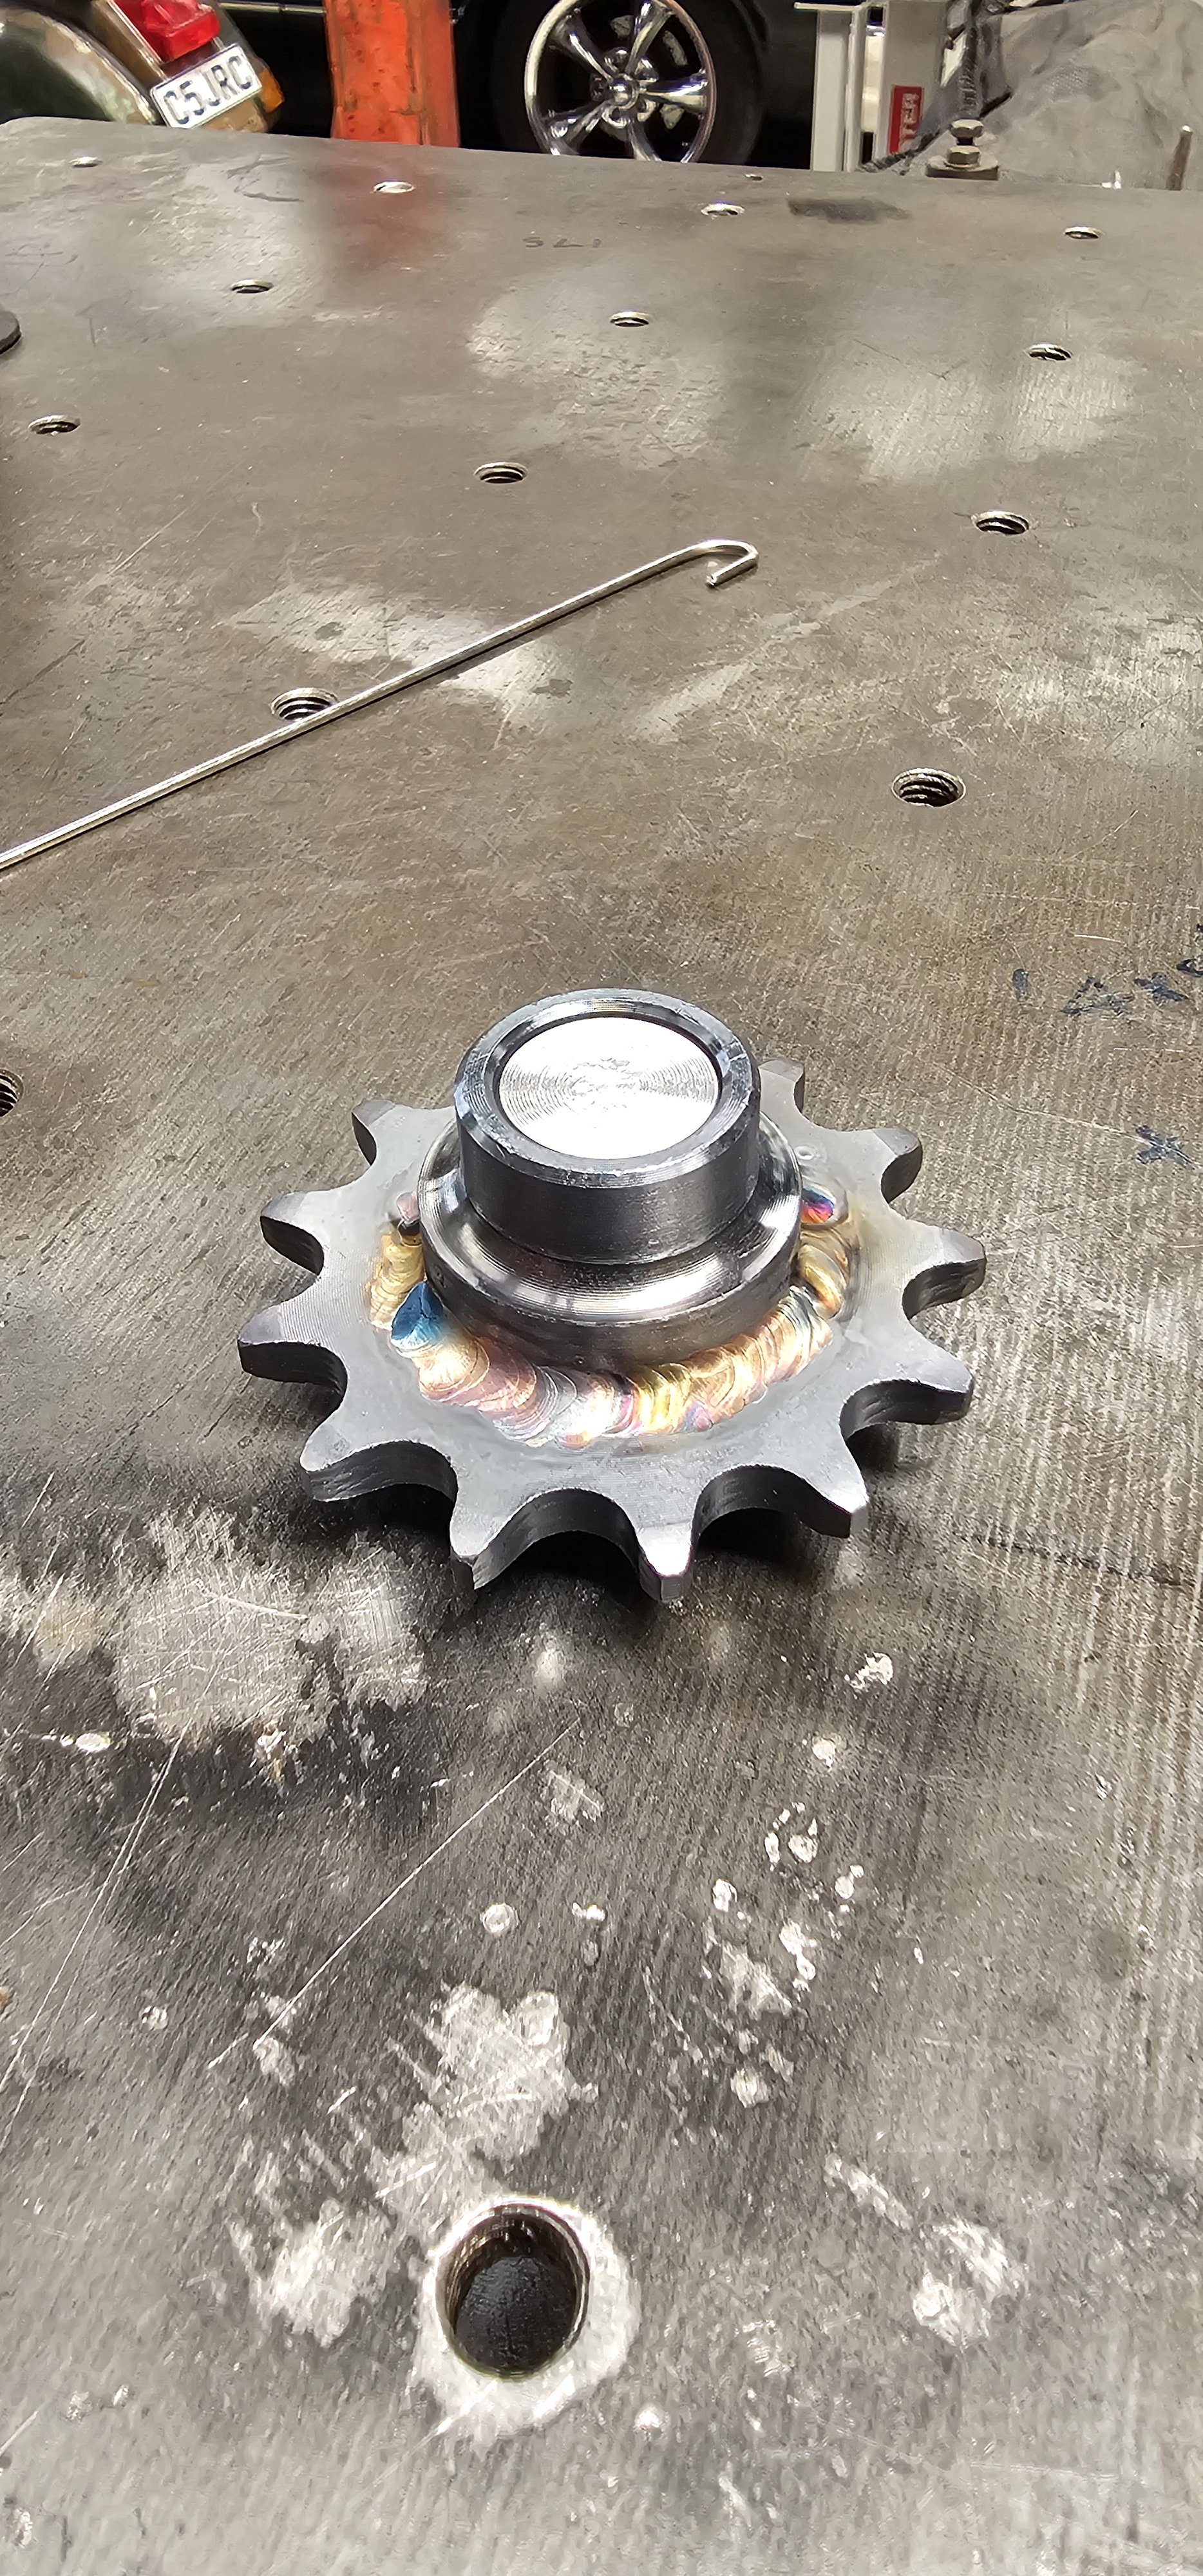
Choppy choppy tig welded the sprocket to the vespa rear hub. This is the motor side sorted. I machined an aluminum plug to hold everything concentric for welding.
1 point
-
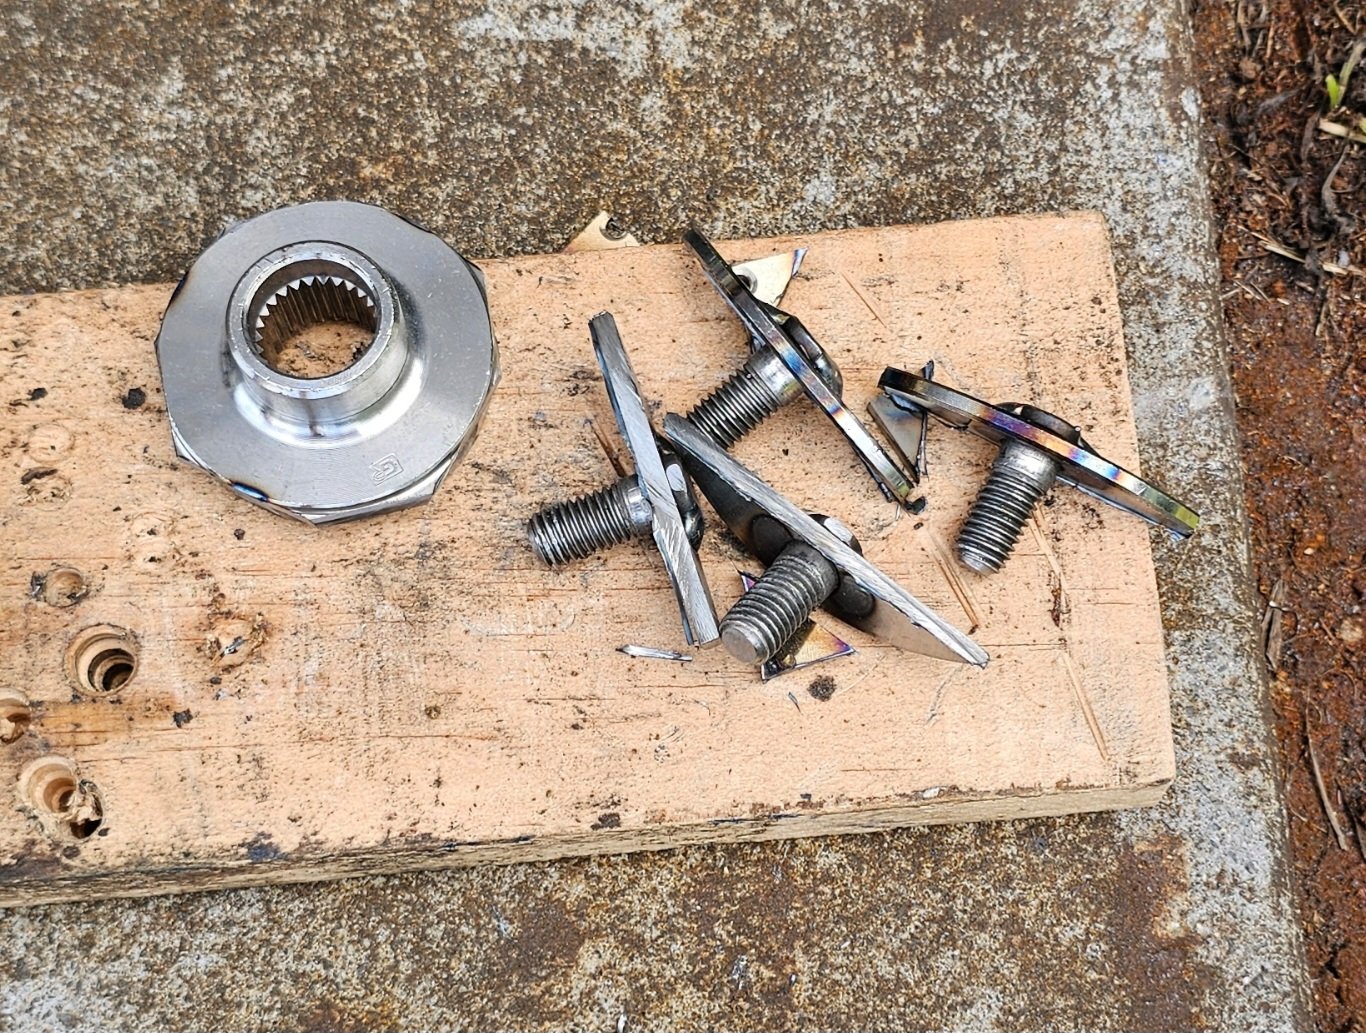
Pull start mechanism underway. Over engineering 101. Much like the original ones. However because I'm using a vespa motor (not an Ape motor) it has e start. So the pull start is just a backup.
1 point
-
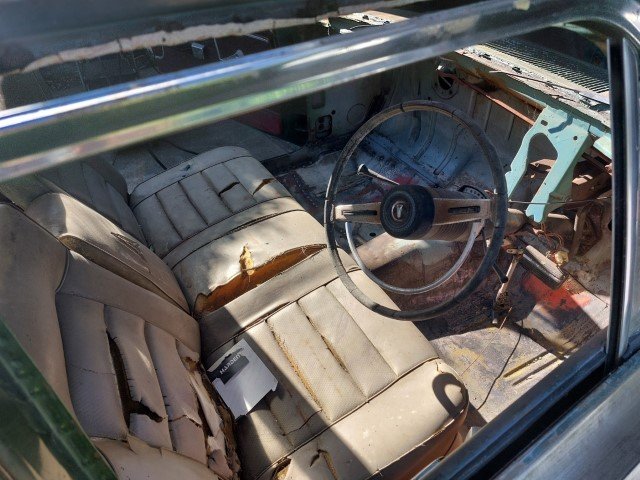
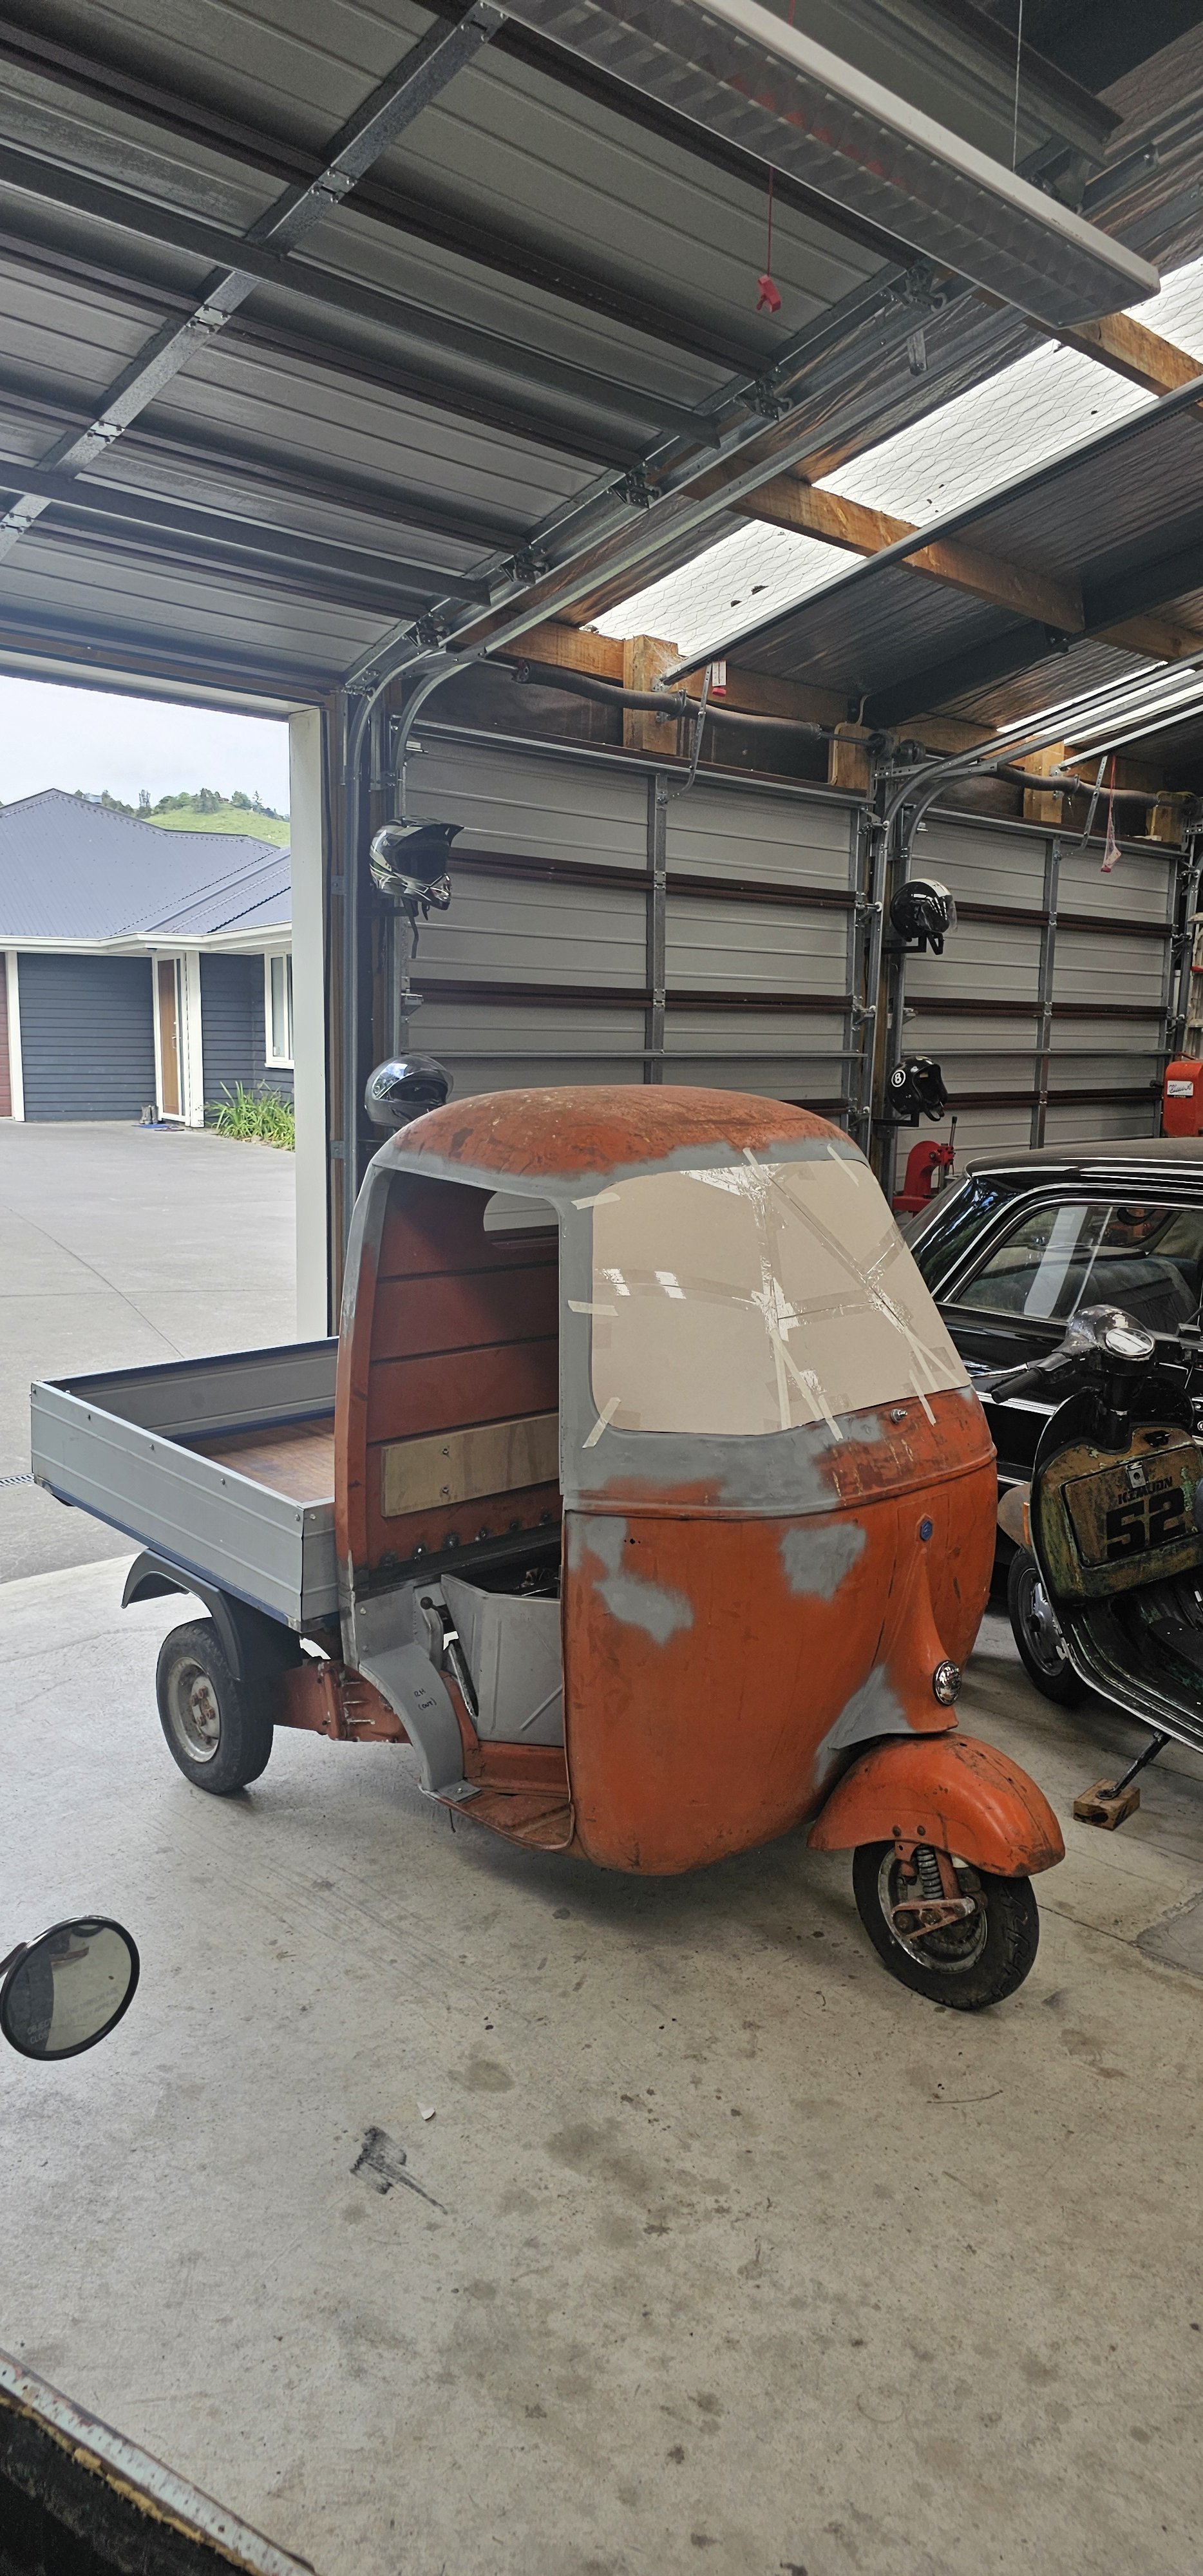
I spent the whole afternoon cleaning it. Started by waterblasting and scrubbing the outside, removed all the stickers and other shit from the glass. It actually looked pretty good when it was clean. The inside needed a decent vacuum and scrub of all the plastics. The door cards had spilled drinks, one side had something resembling dried tomato sauce which had dripped down it, the centre consoles, dash and glovebox were also filthy and all got a scrub inside or outside of the car. I really want to pull the seats and carpets out and give it a deep clean, but I'll leave that until it is running again. We pushed it into the shed so I could look into why it wasn't starting. Putting it inside next to my other 'small' car made me realise just how small these really are. If you are space constrained, buy a kei car instead. After all, that's why they exist.
1 point
-
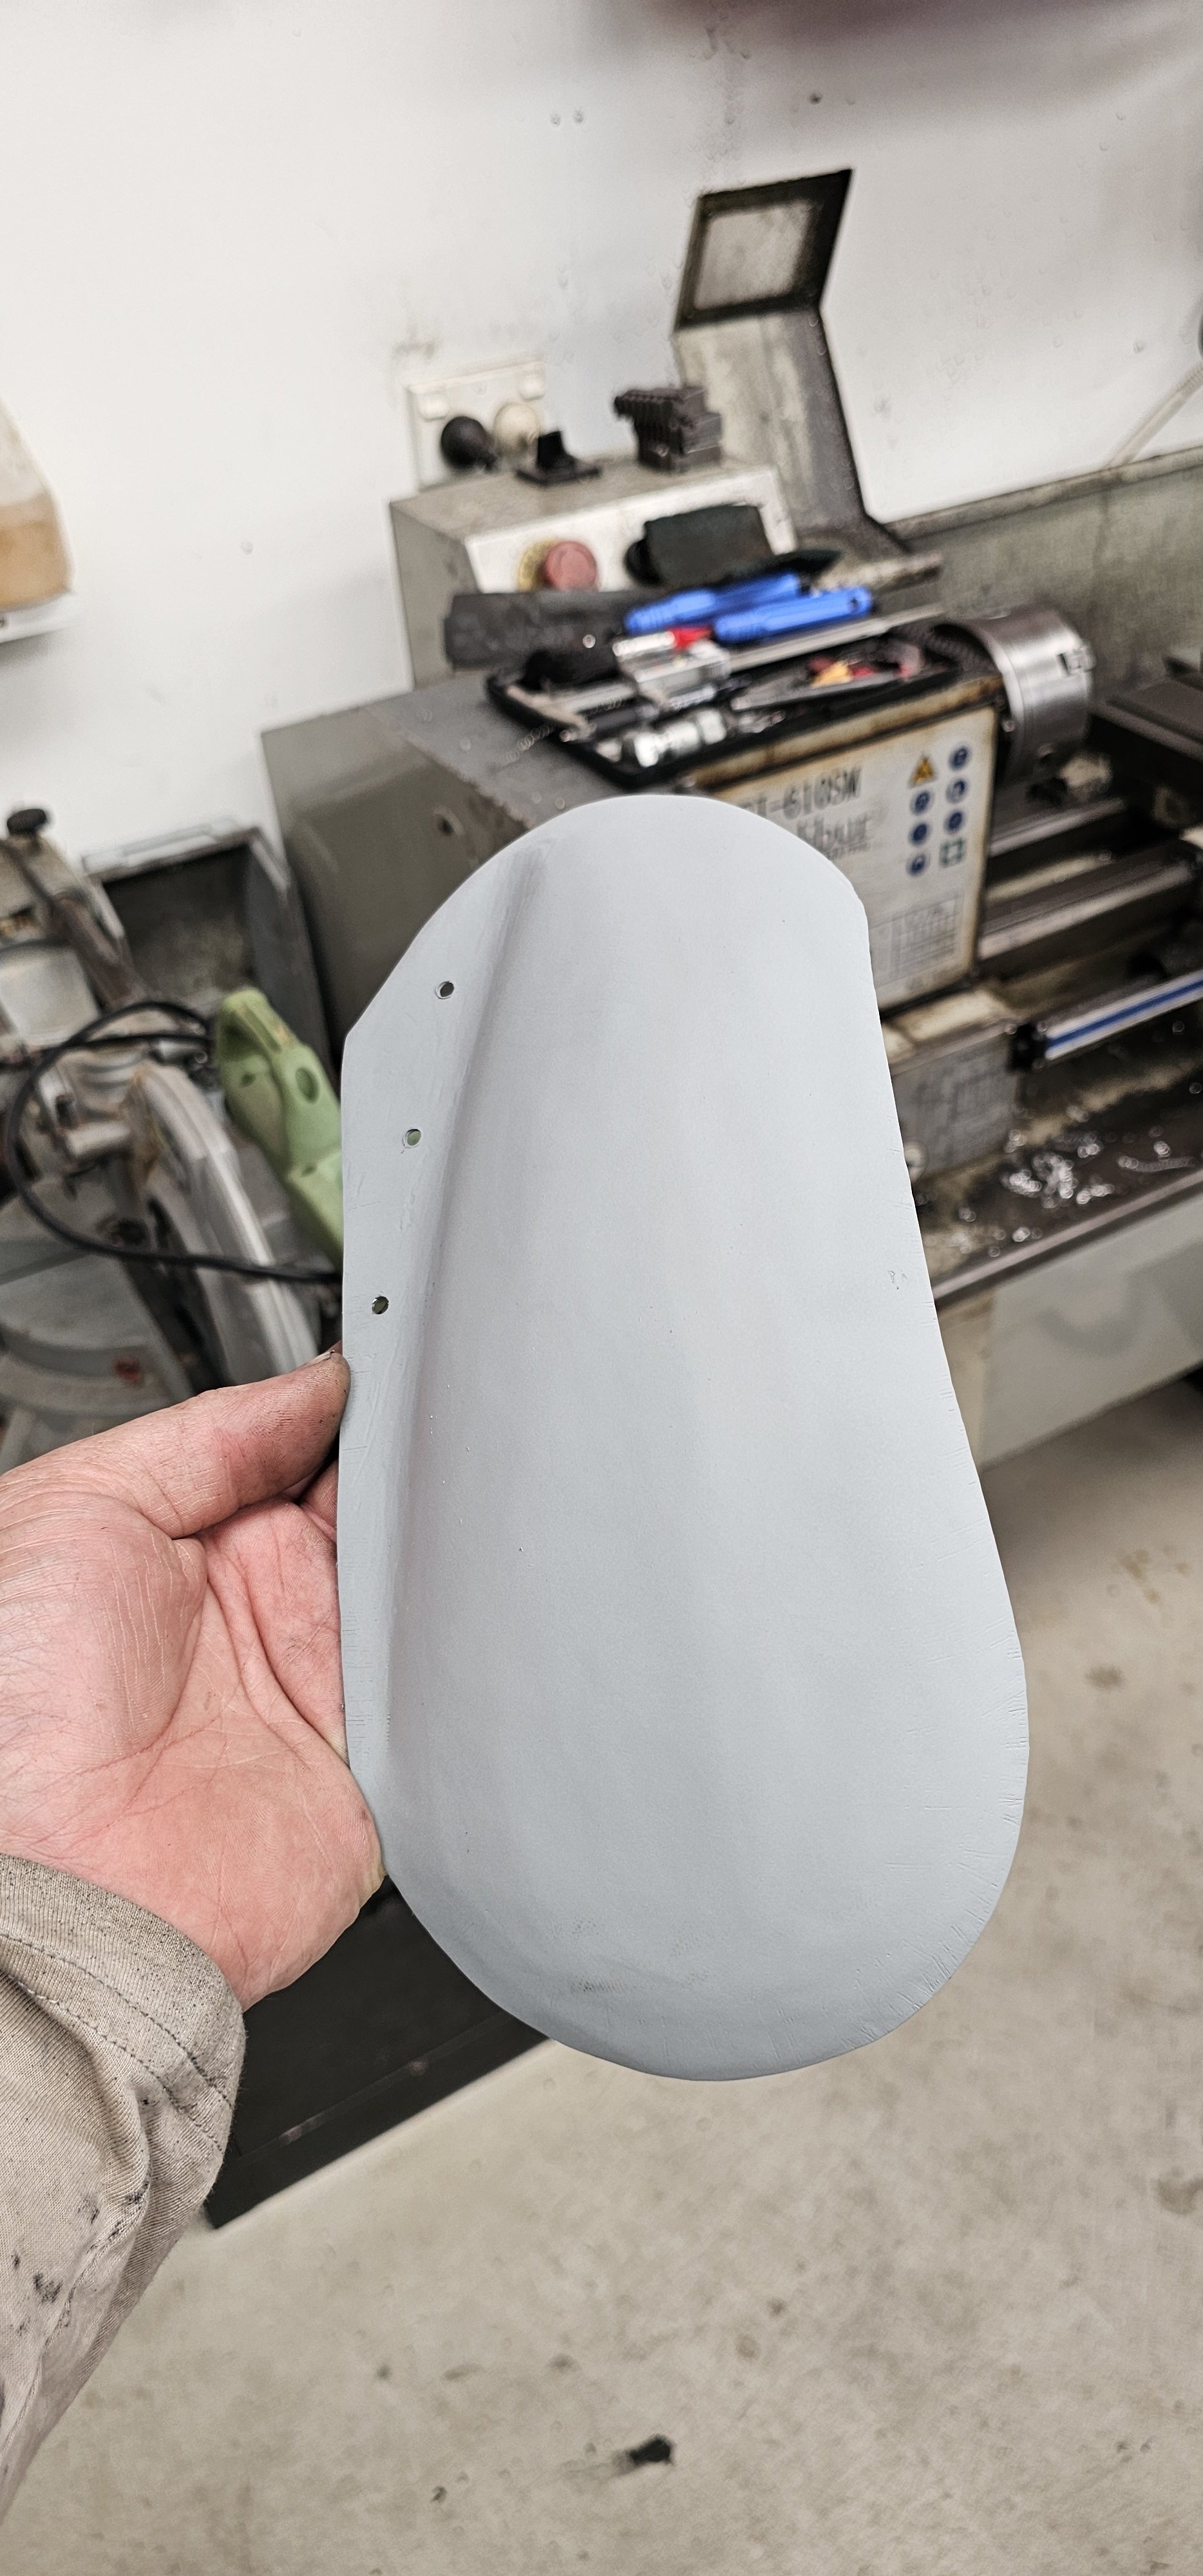
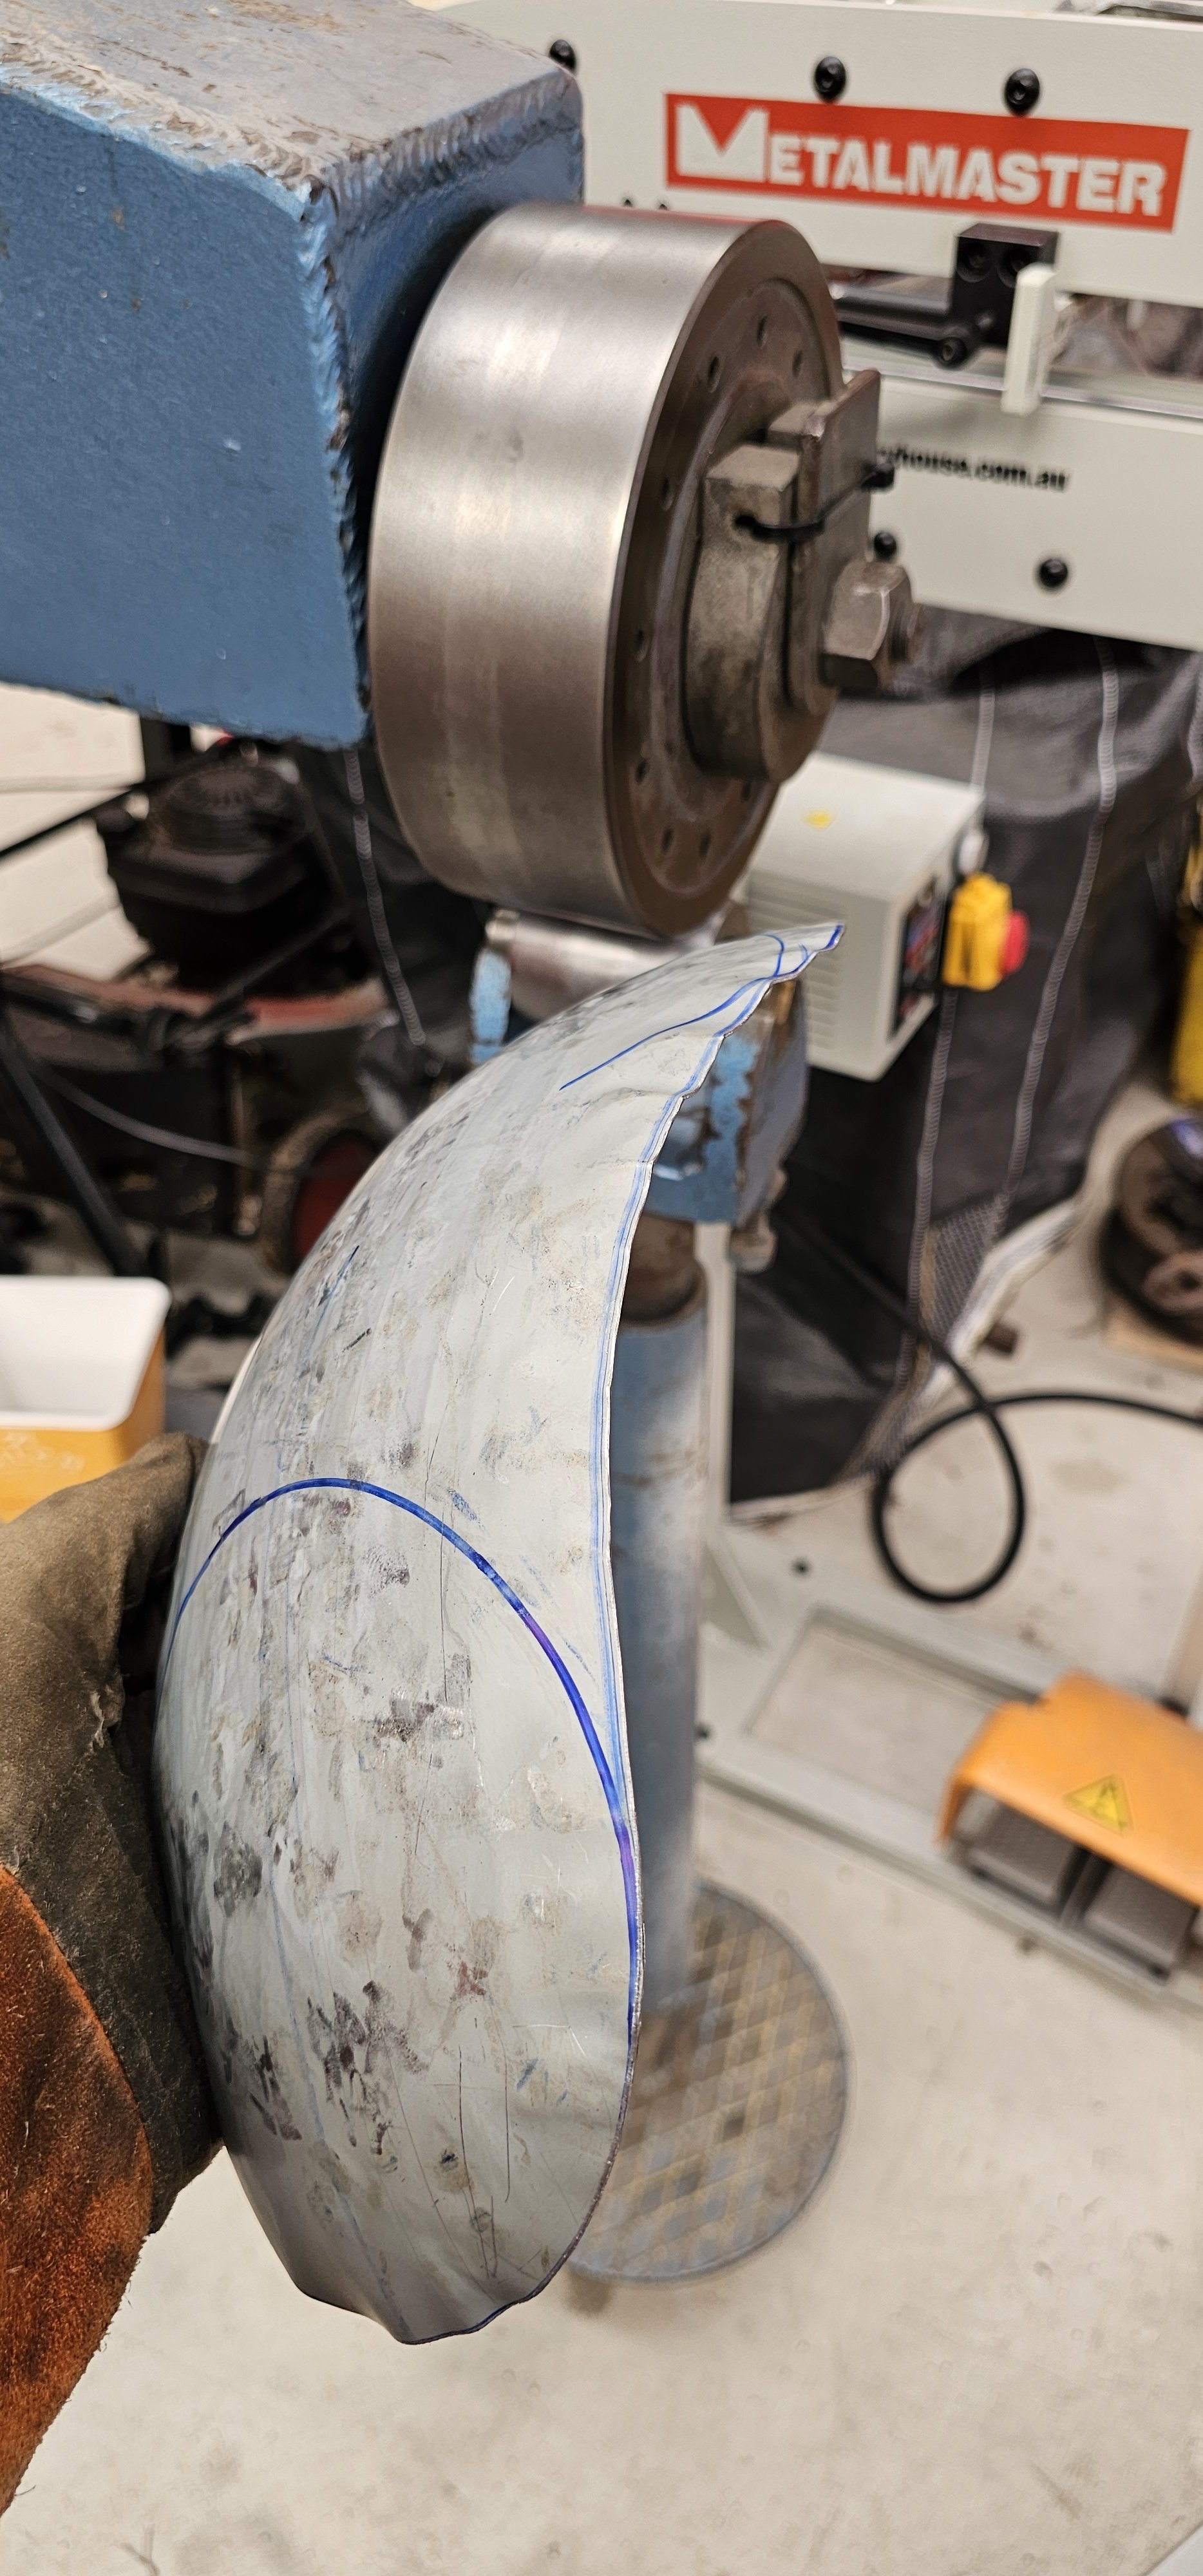
Done! goes unseen, so im not going to spend too much time planishing it. Thats rough enough...
1 point
-
Bit of paint...just like a bought one!
1 point
-
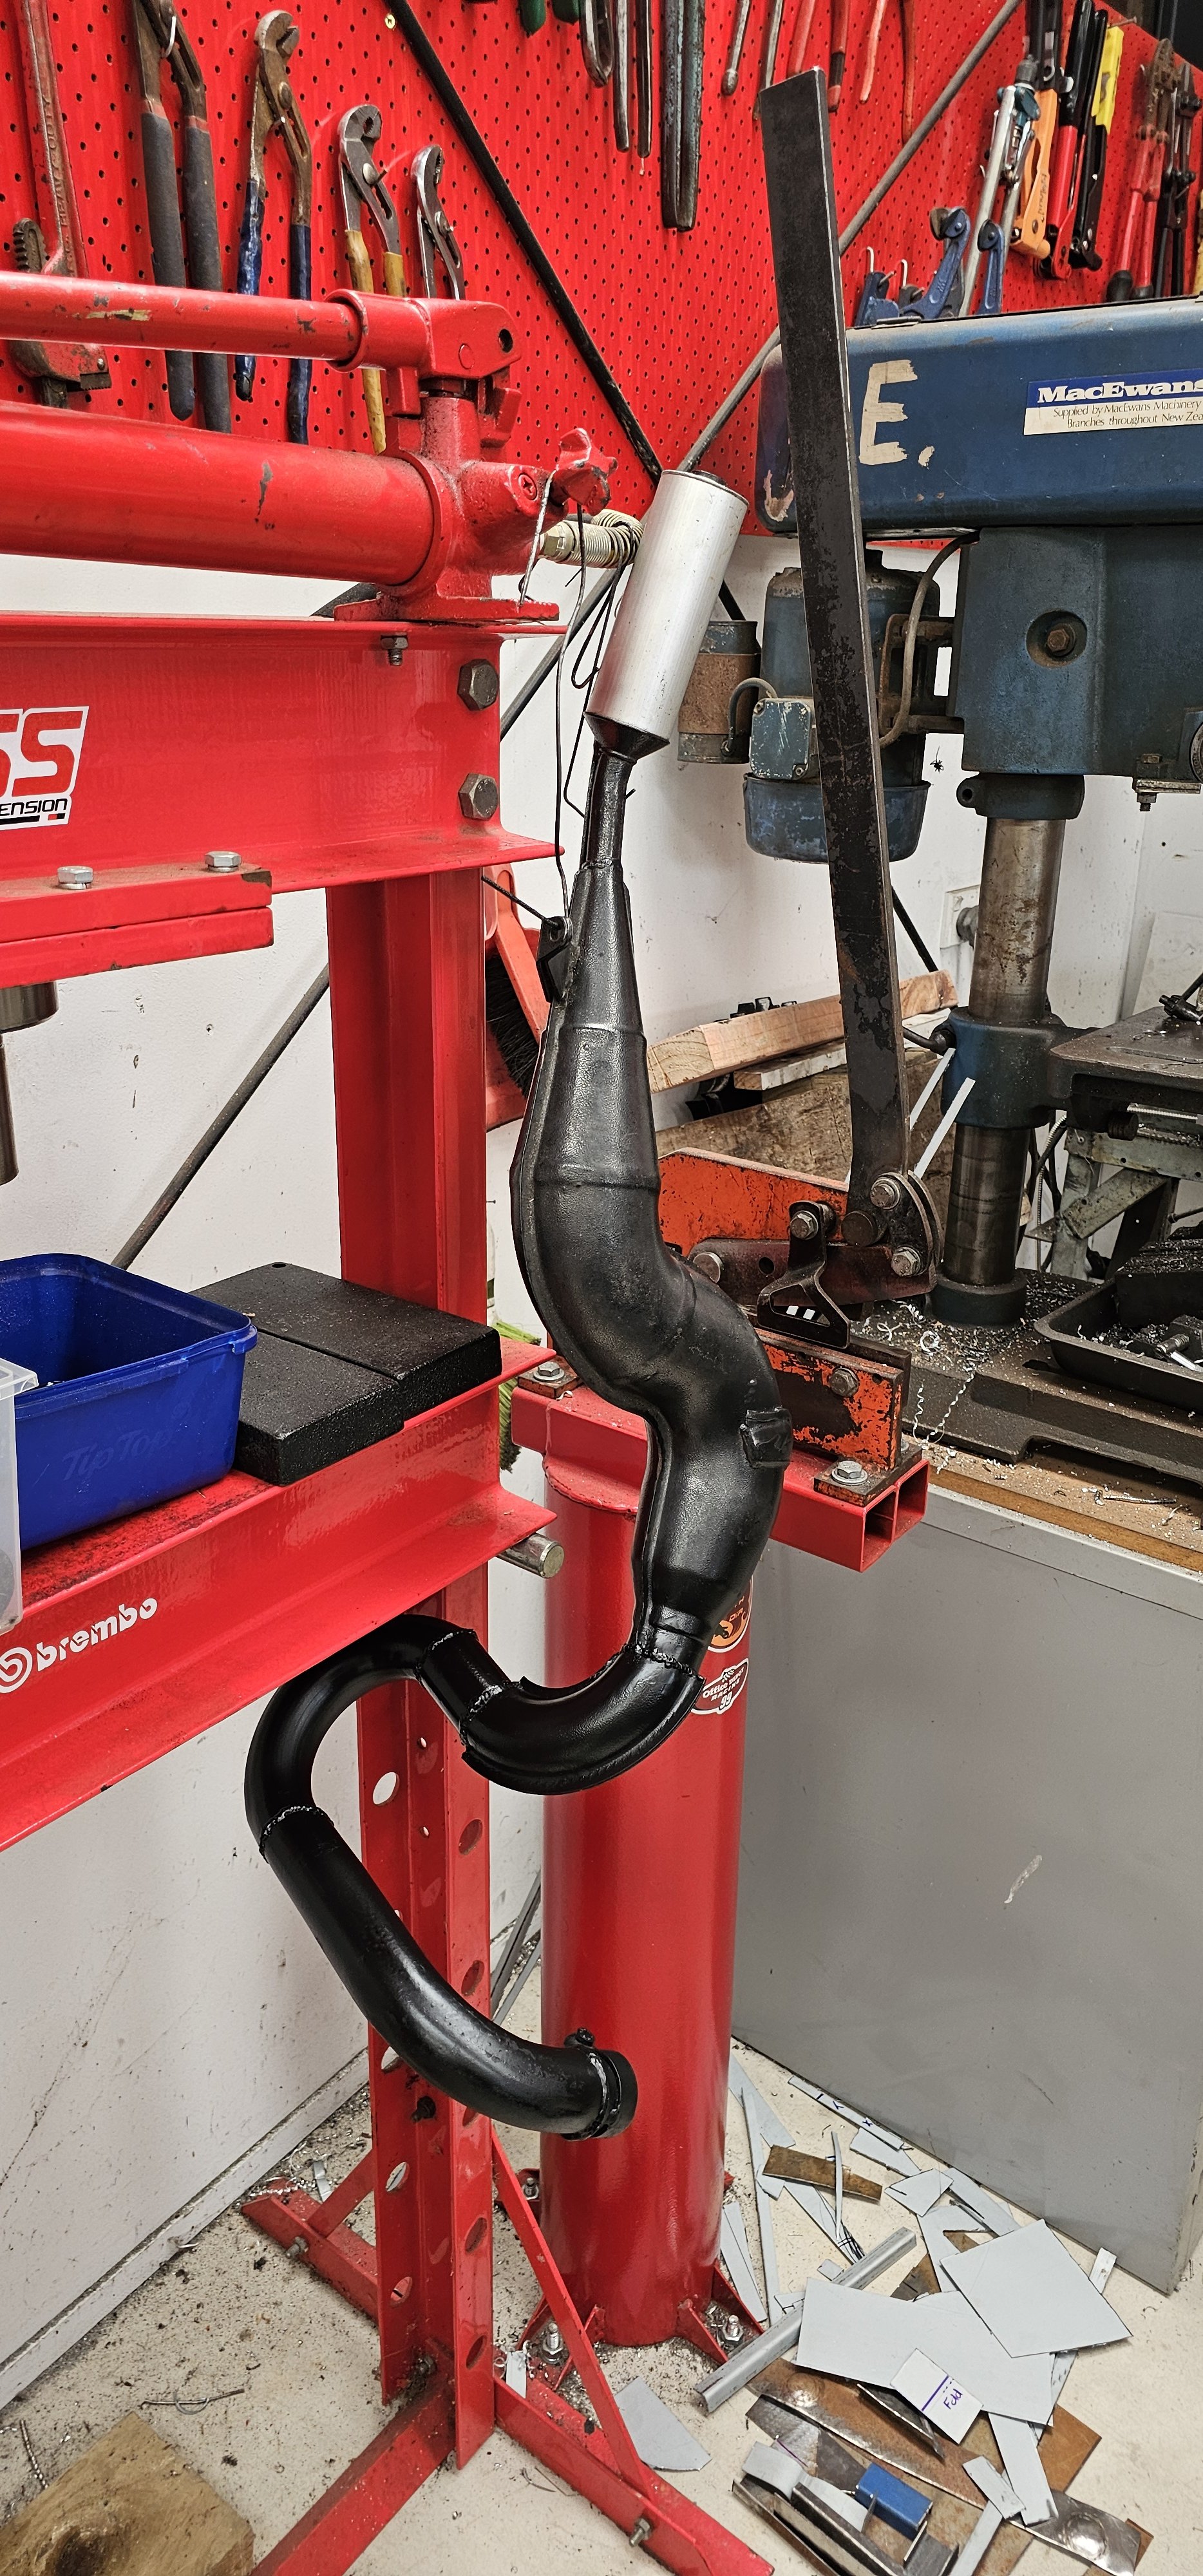
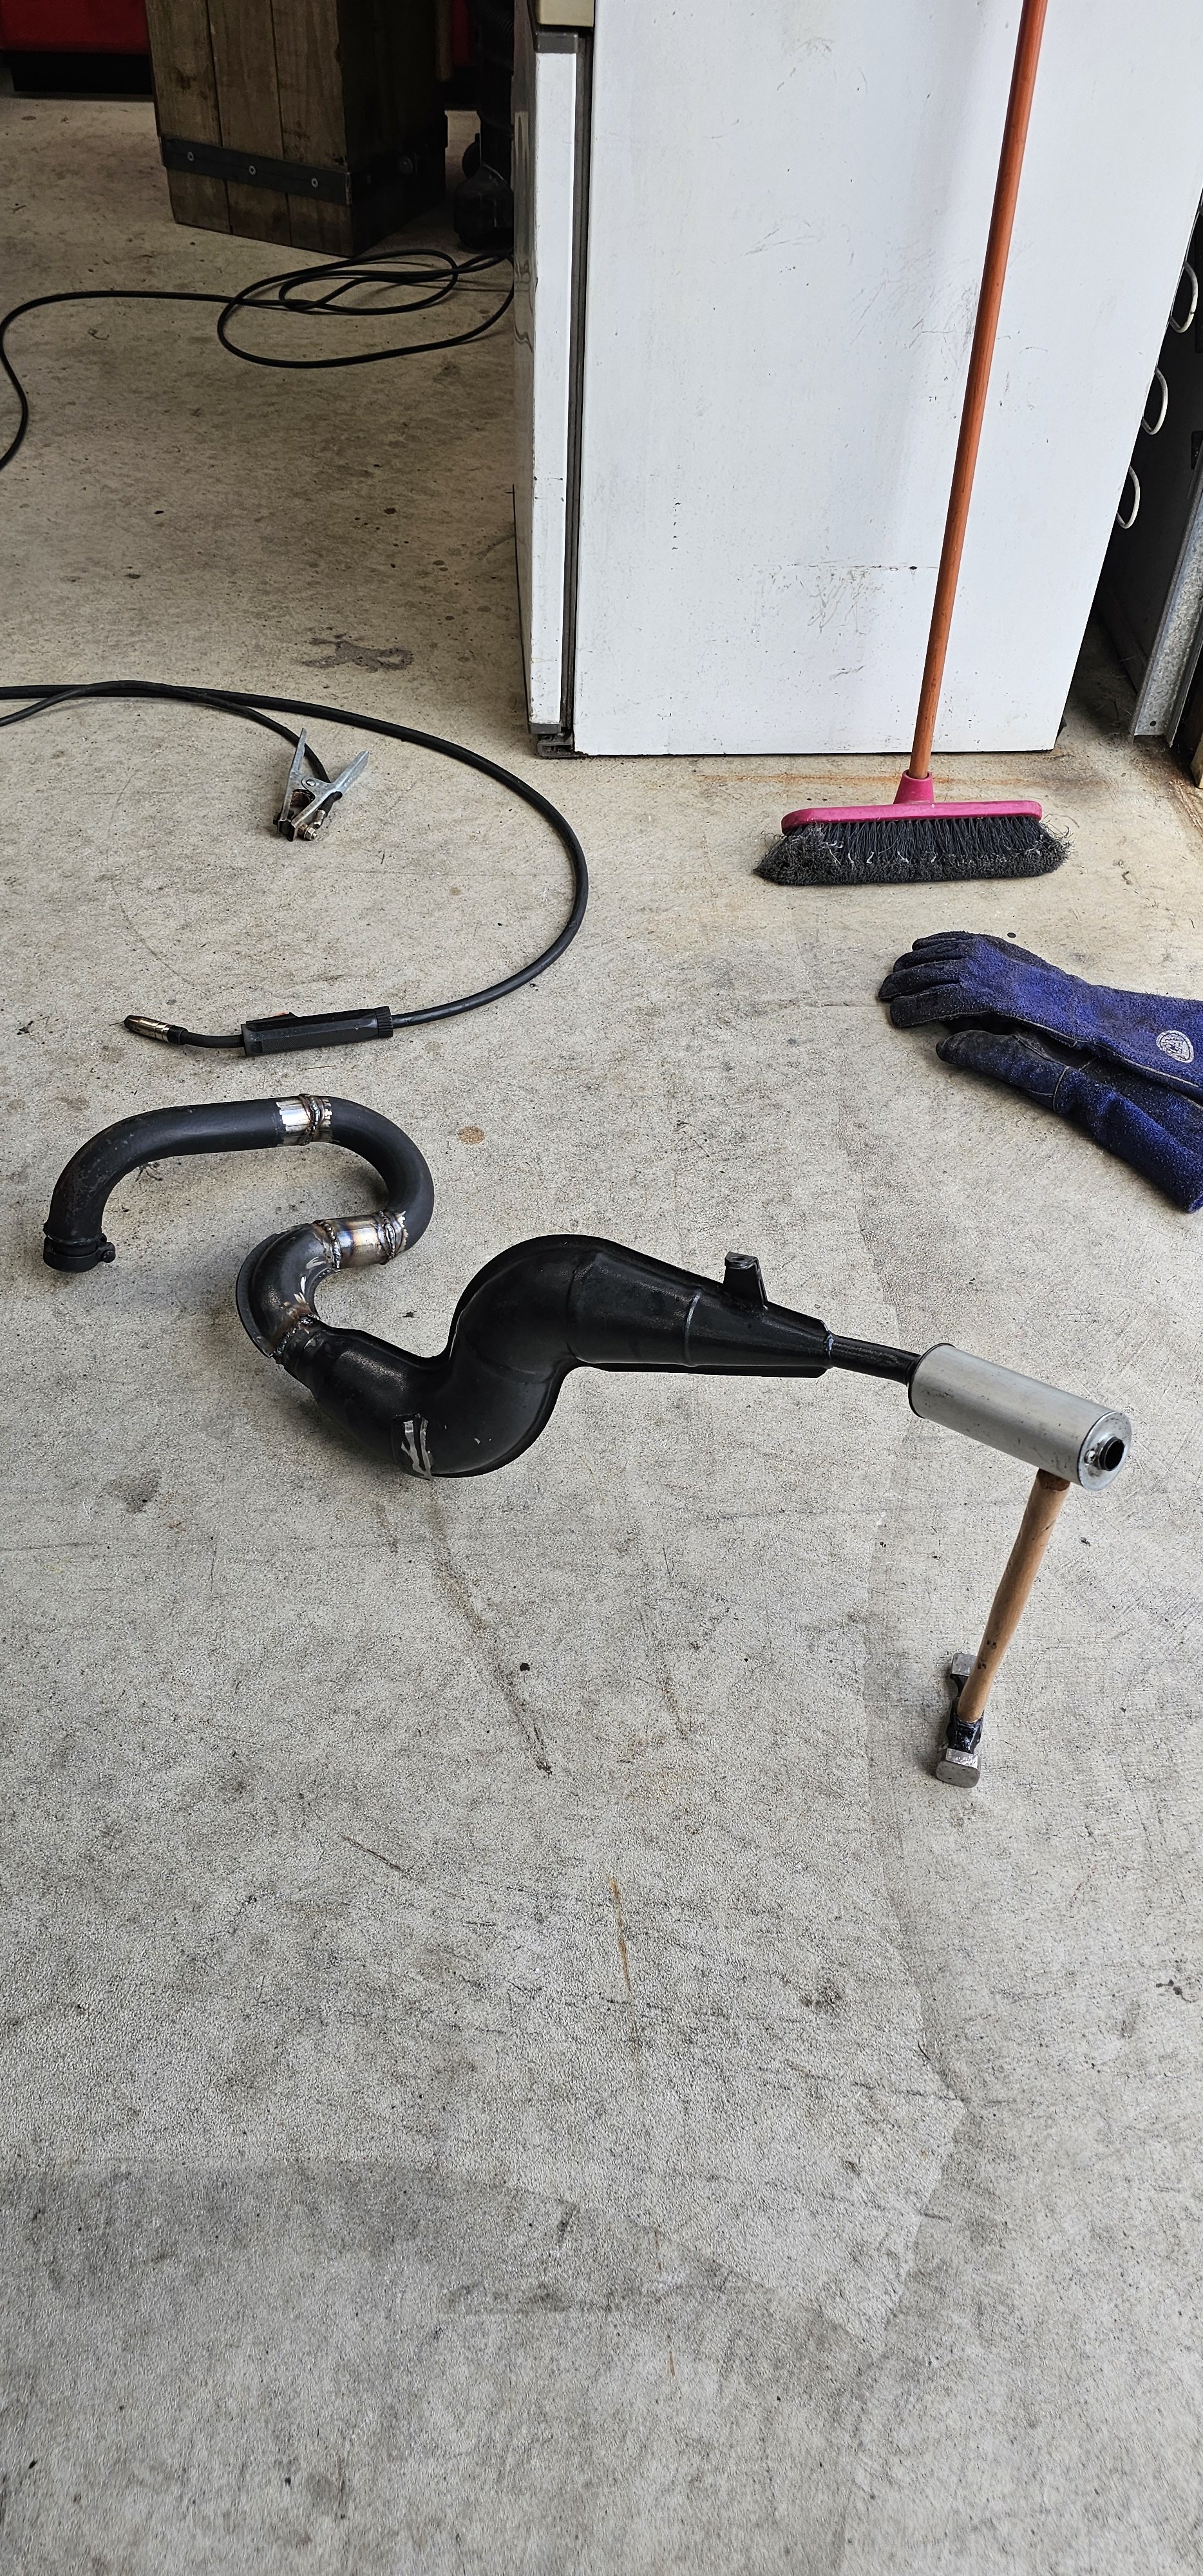
I basically unraveled it. Keeping overall length more or less the same, and same volumes. It's just uncoiled and put back together differently to fit the route of the Ape.
1 point
-
You'll really want to run the transmission through a seperate cooler first then through the cooler in the bottom of the radiator. It's to regulate the temperature. The trans wants to run at the same temperature as the motor so the sepedate cooler will take the heat out of the oil the the radiator can regulate it back to operating temp. Running the trans cold is as bad as running it hot1 point
-
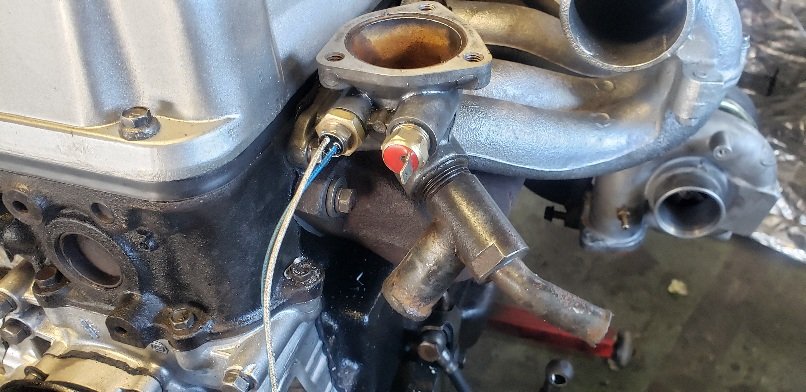
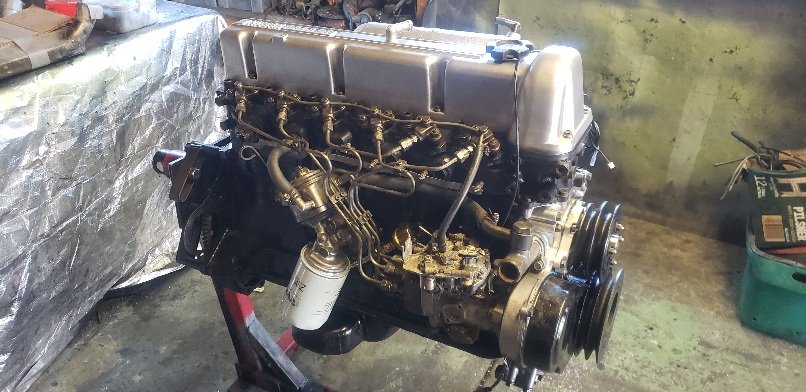
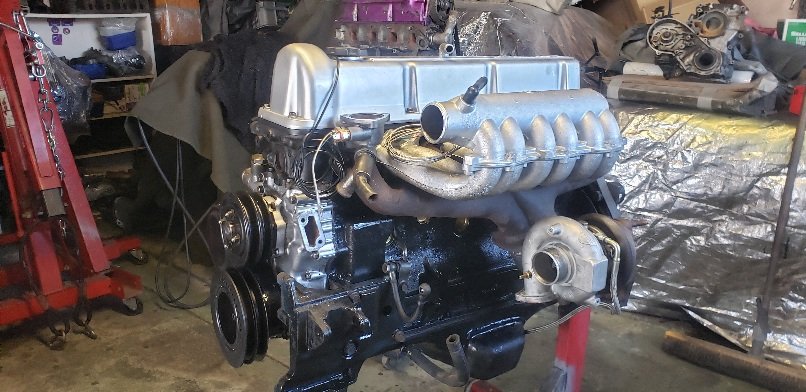
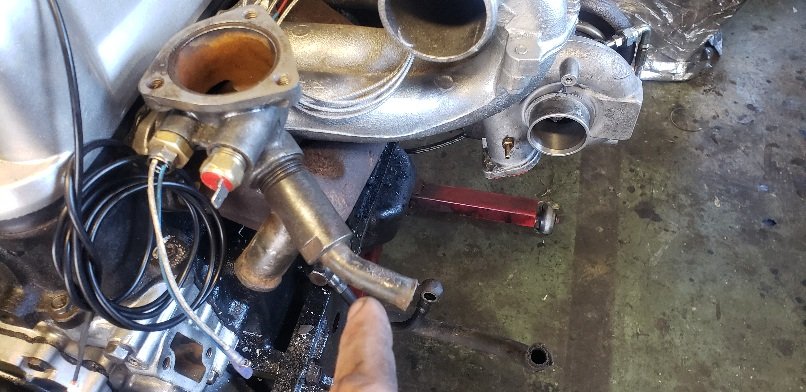
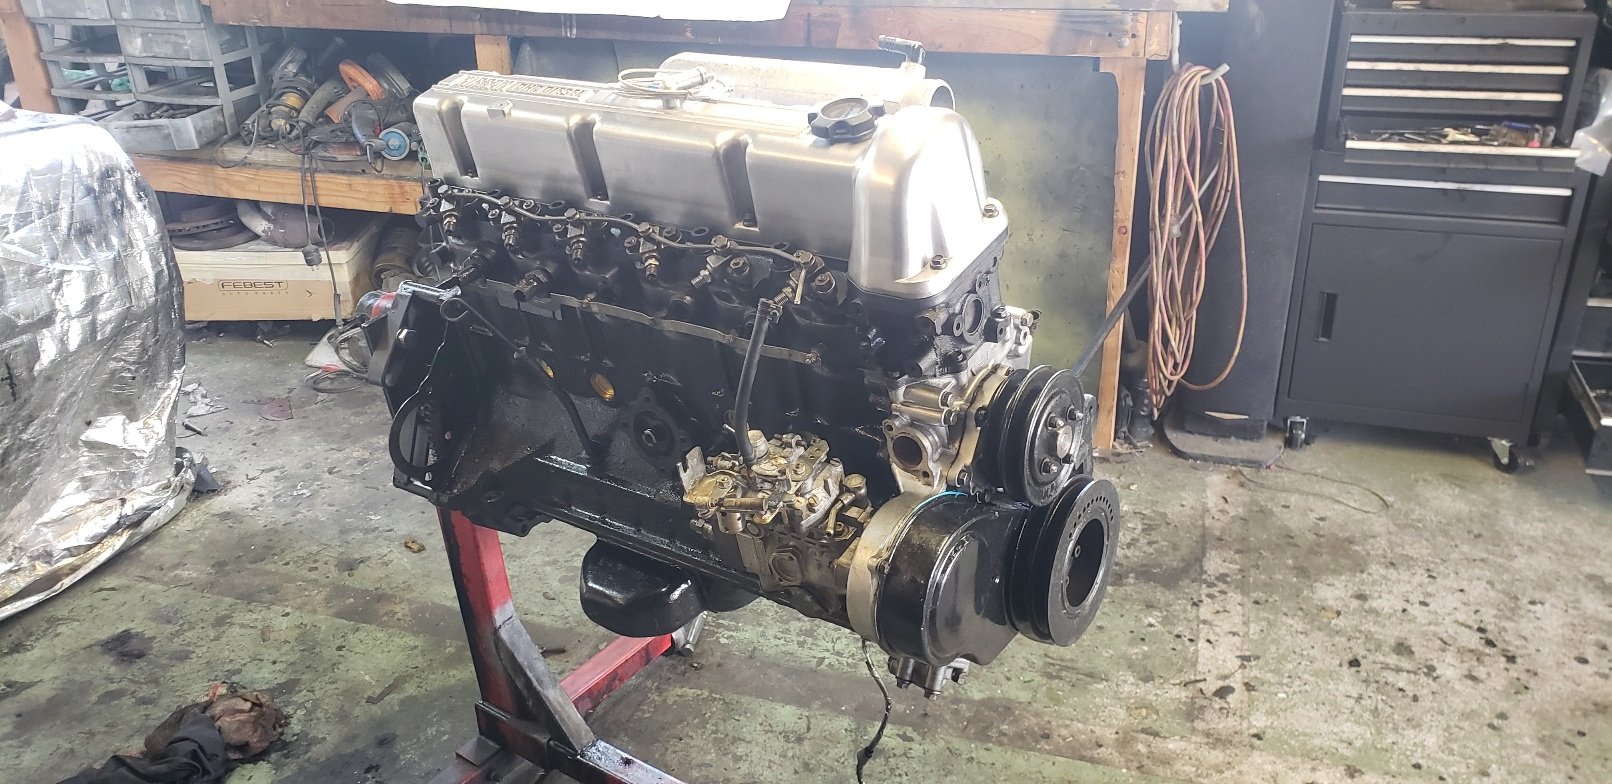
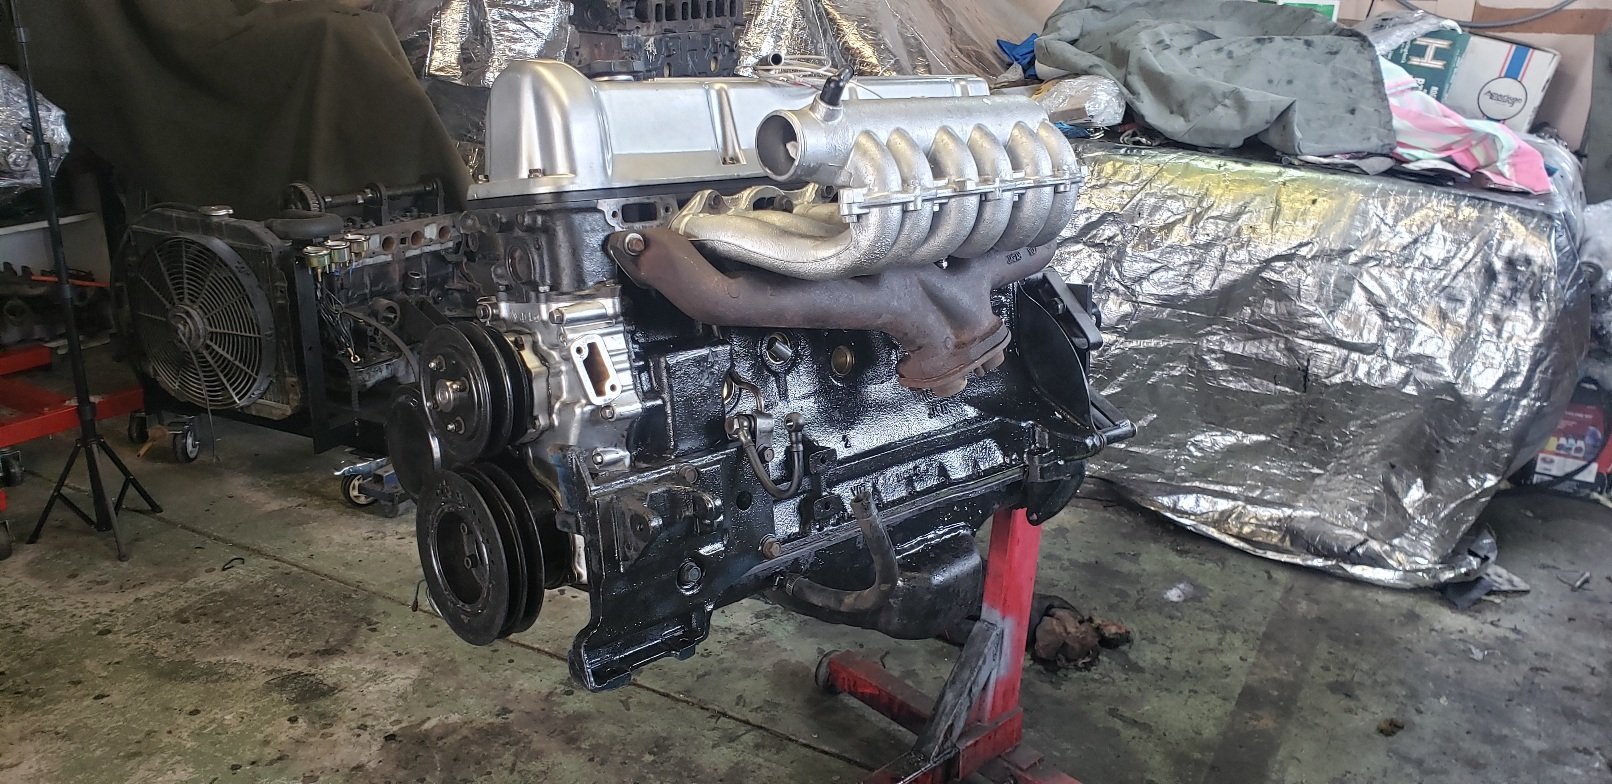
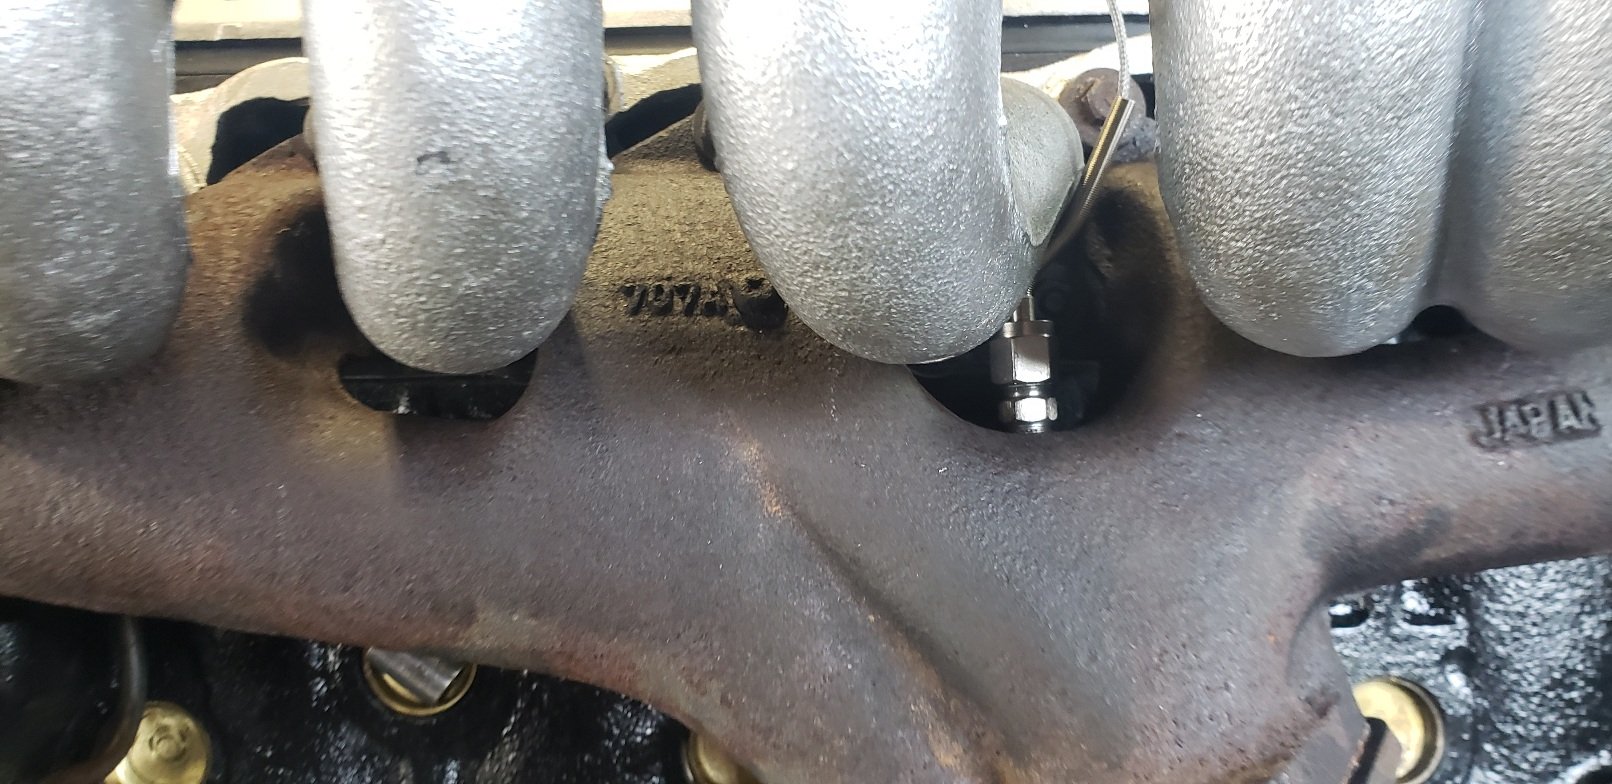
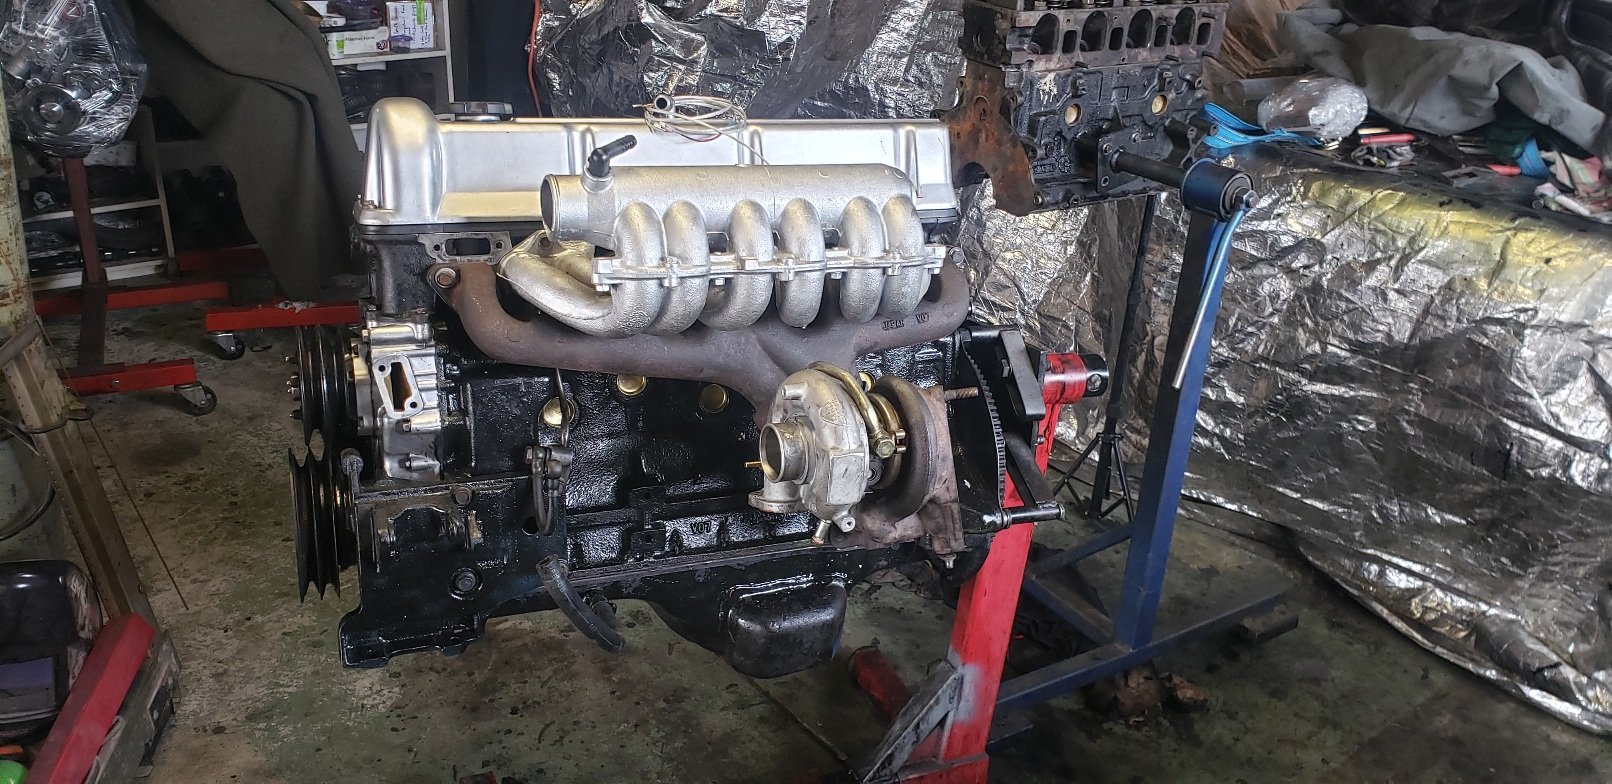
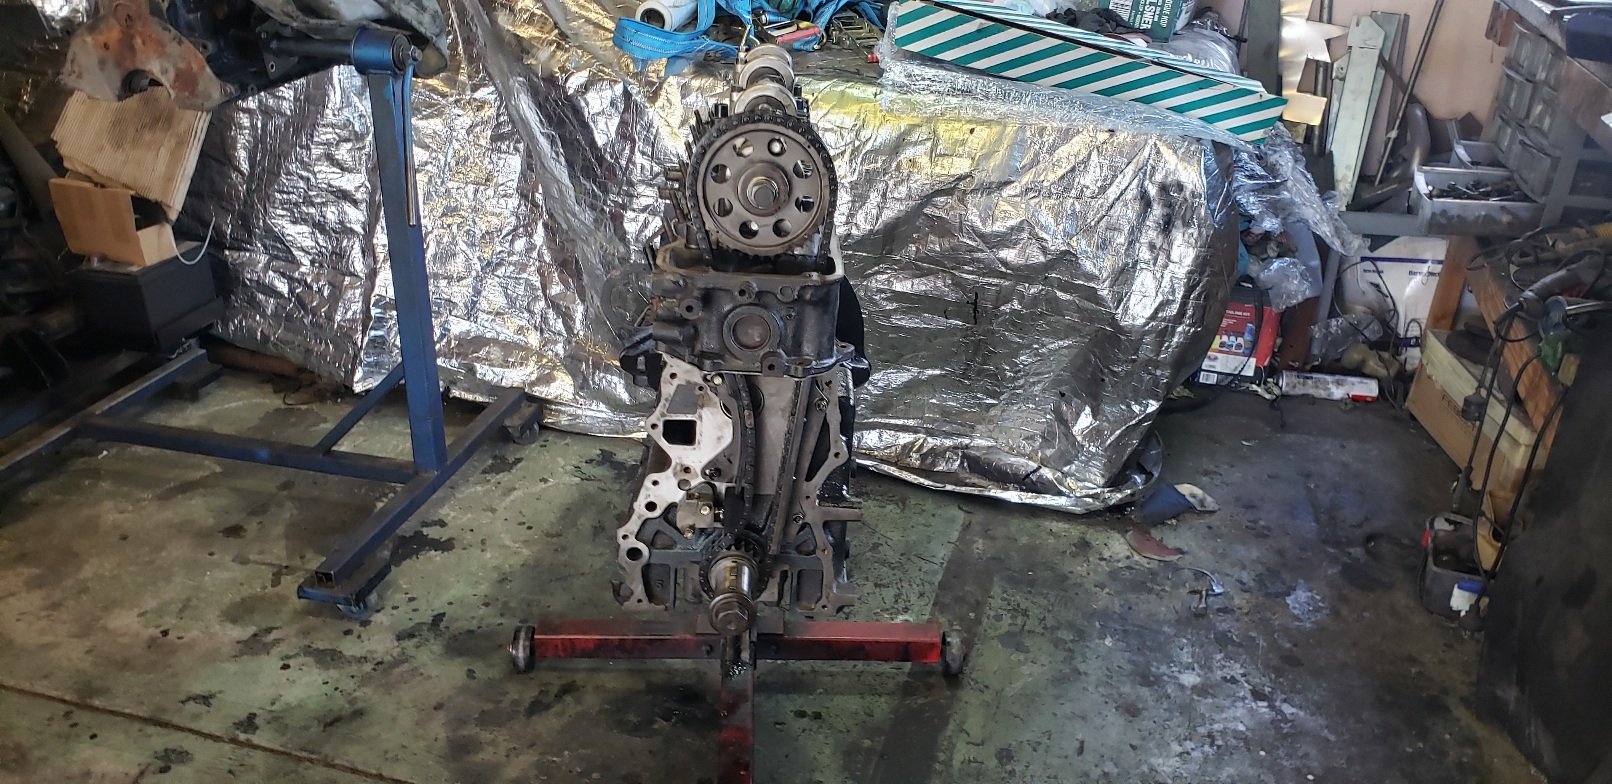
Got some work done on the LD28. *engine all timed *oil pick up on *sump on *injection pump on *injection pump fully timing motor *cam cover on *Water pump on *injectors in *glow plugs in *Front cover on *water pump and crank pulleys on *exhaust manifold on *EGT sensor tapped and mounted in exhaust manifold *inlet manifold on. *and started messing with turbo setup. I wasn't going to a LD turbo manifold and the factory none turbo manifold is divided pulse and seeing as i was going to use EVO turbo of the mk3 (thats getting an upgrade). That is also divided pulse so I ordered abflange and a couple of 90°steam pipe bends and made a little J pipe.. (think i can cut about 25mm off it and move it closer to the manifold.
1 point
-
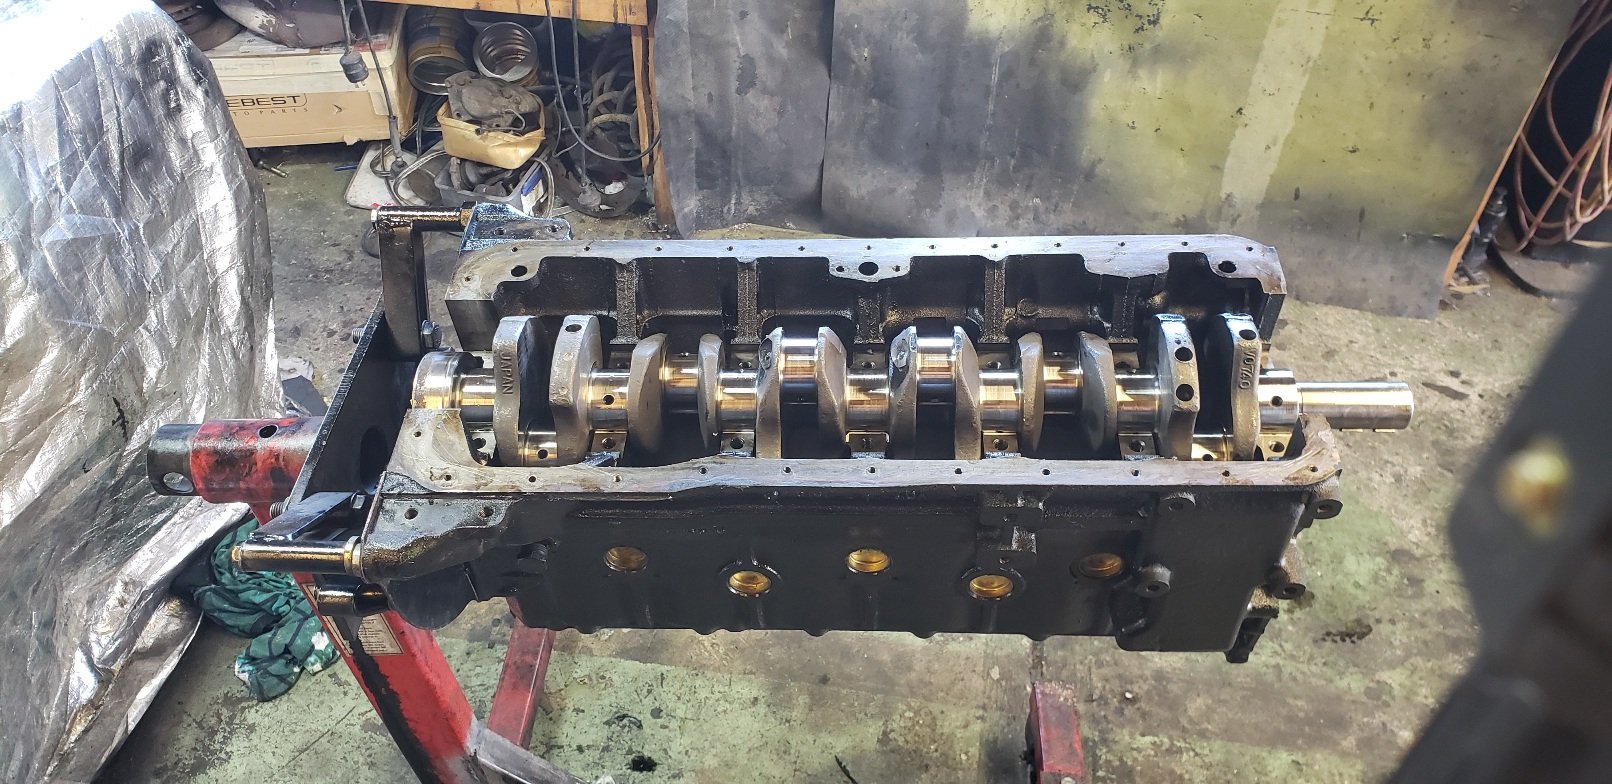
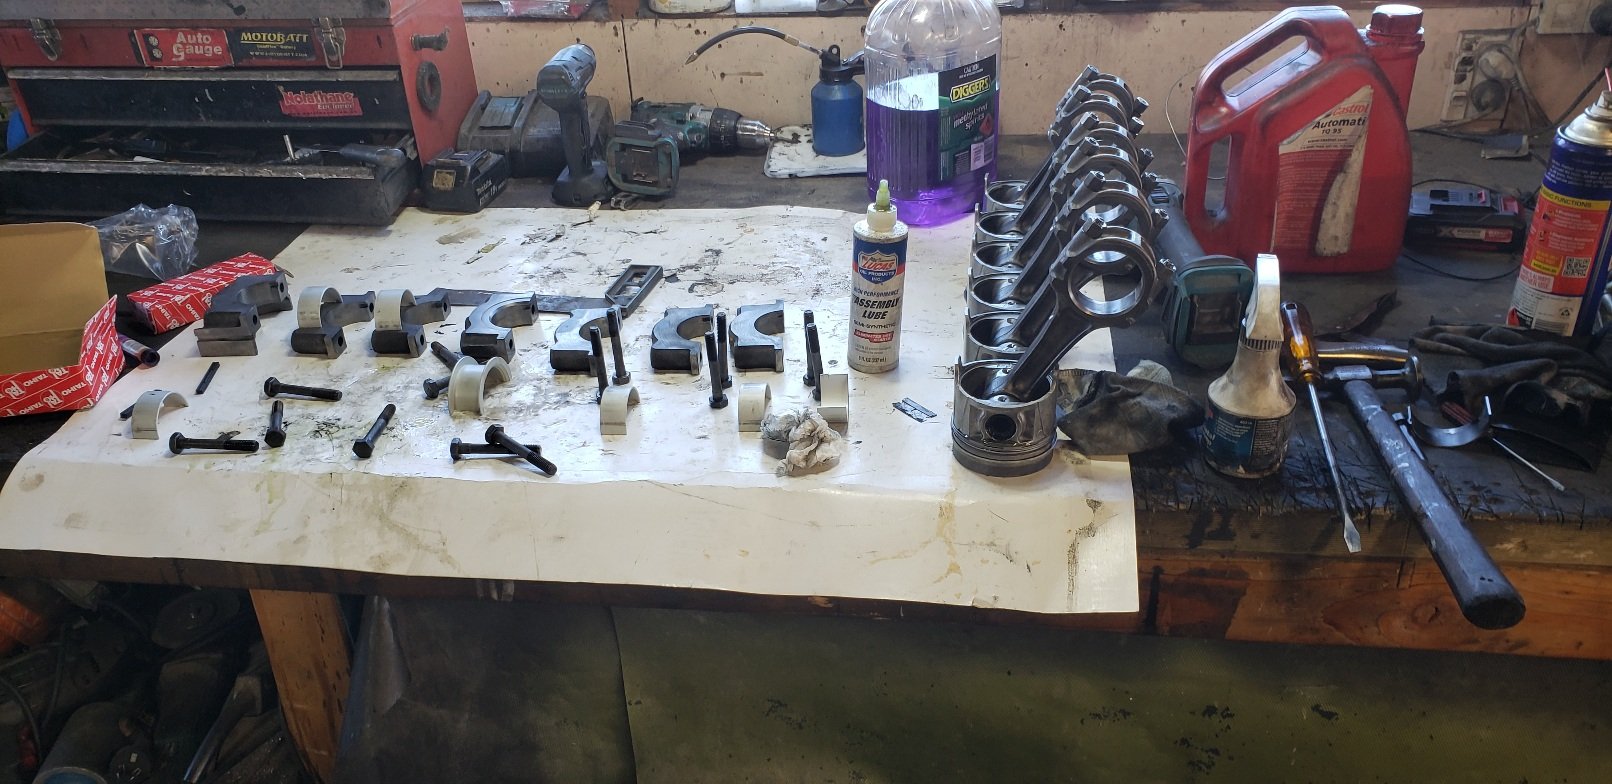
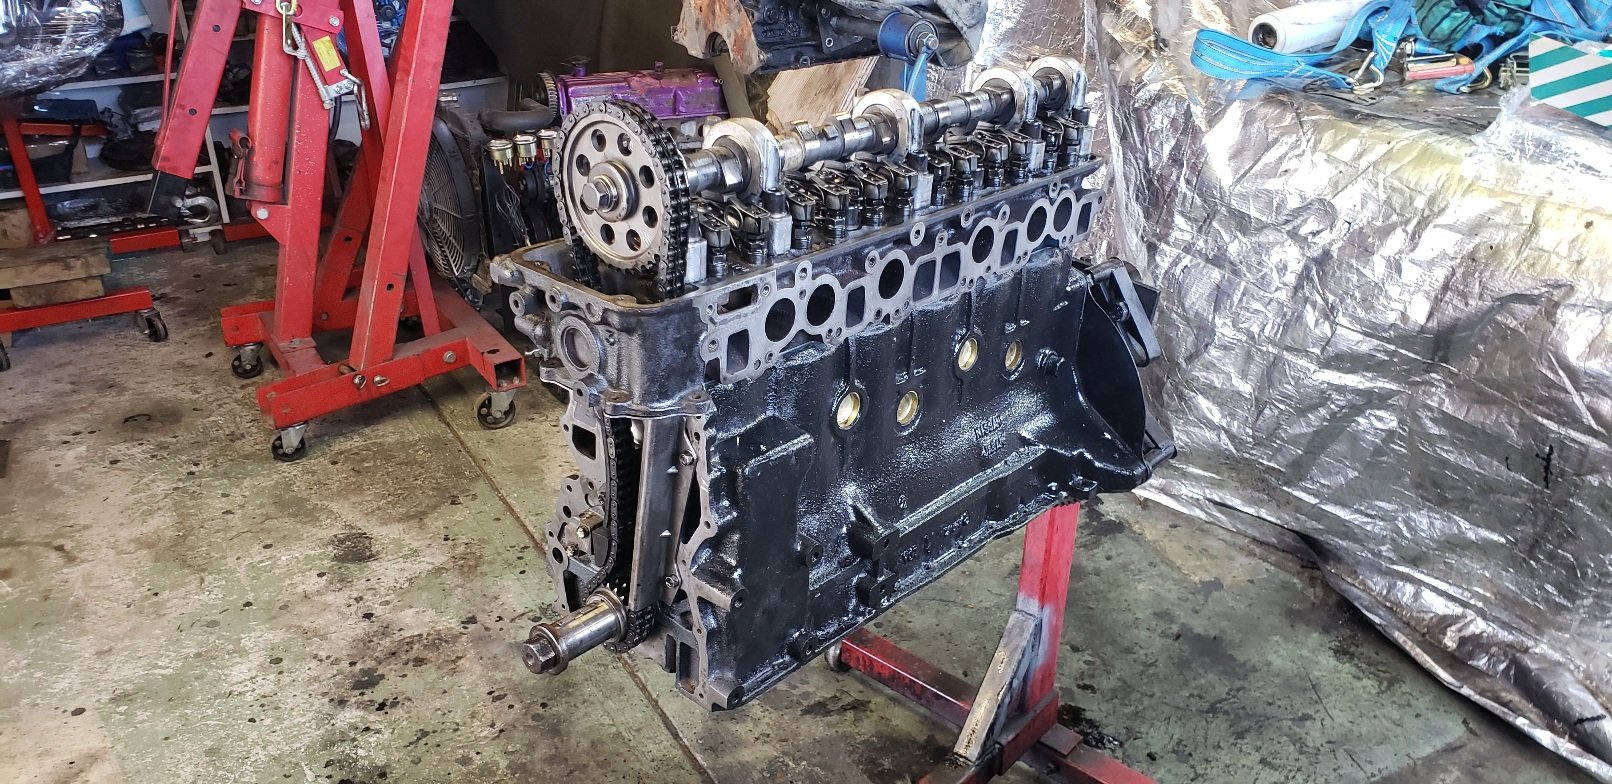
Piston rings ,main and big end bearings where sitting on my door step ready for me when I got home yesterday...(love that). So today . I *surfaced the block face. *honed the block (some marks around the top of the bores ..but not a lip..so not worried) *cleaned the block for rebuild *slapped the frost plugs in *slapped the crank out of the 1st motor in *put the rods and pistons back together *pit the rings on the pistons *slapped the pistons in the holes and all bolted down. *slapped the head on..bolted that down And got it all timed up.
1 point
-
Good thing it was picked up now and not after it was in the car causing issues1 point
-
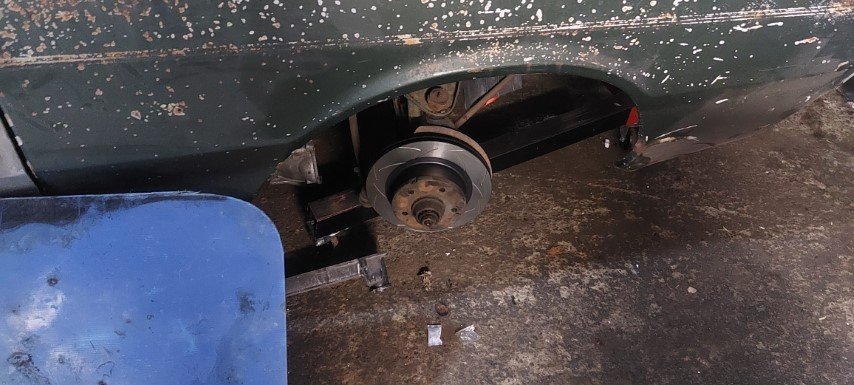
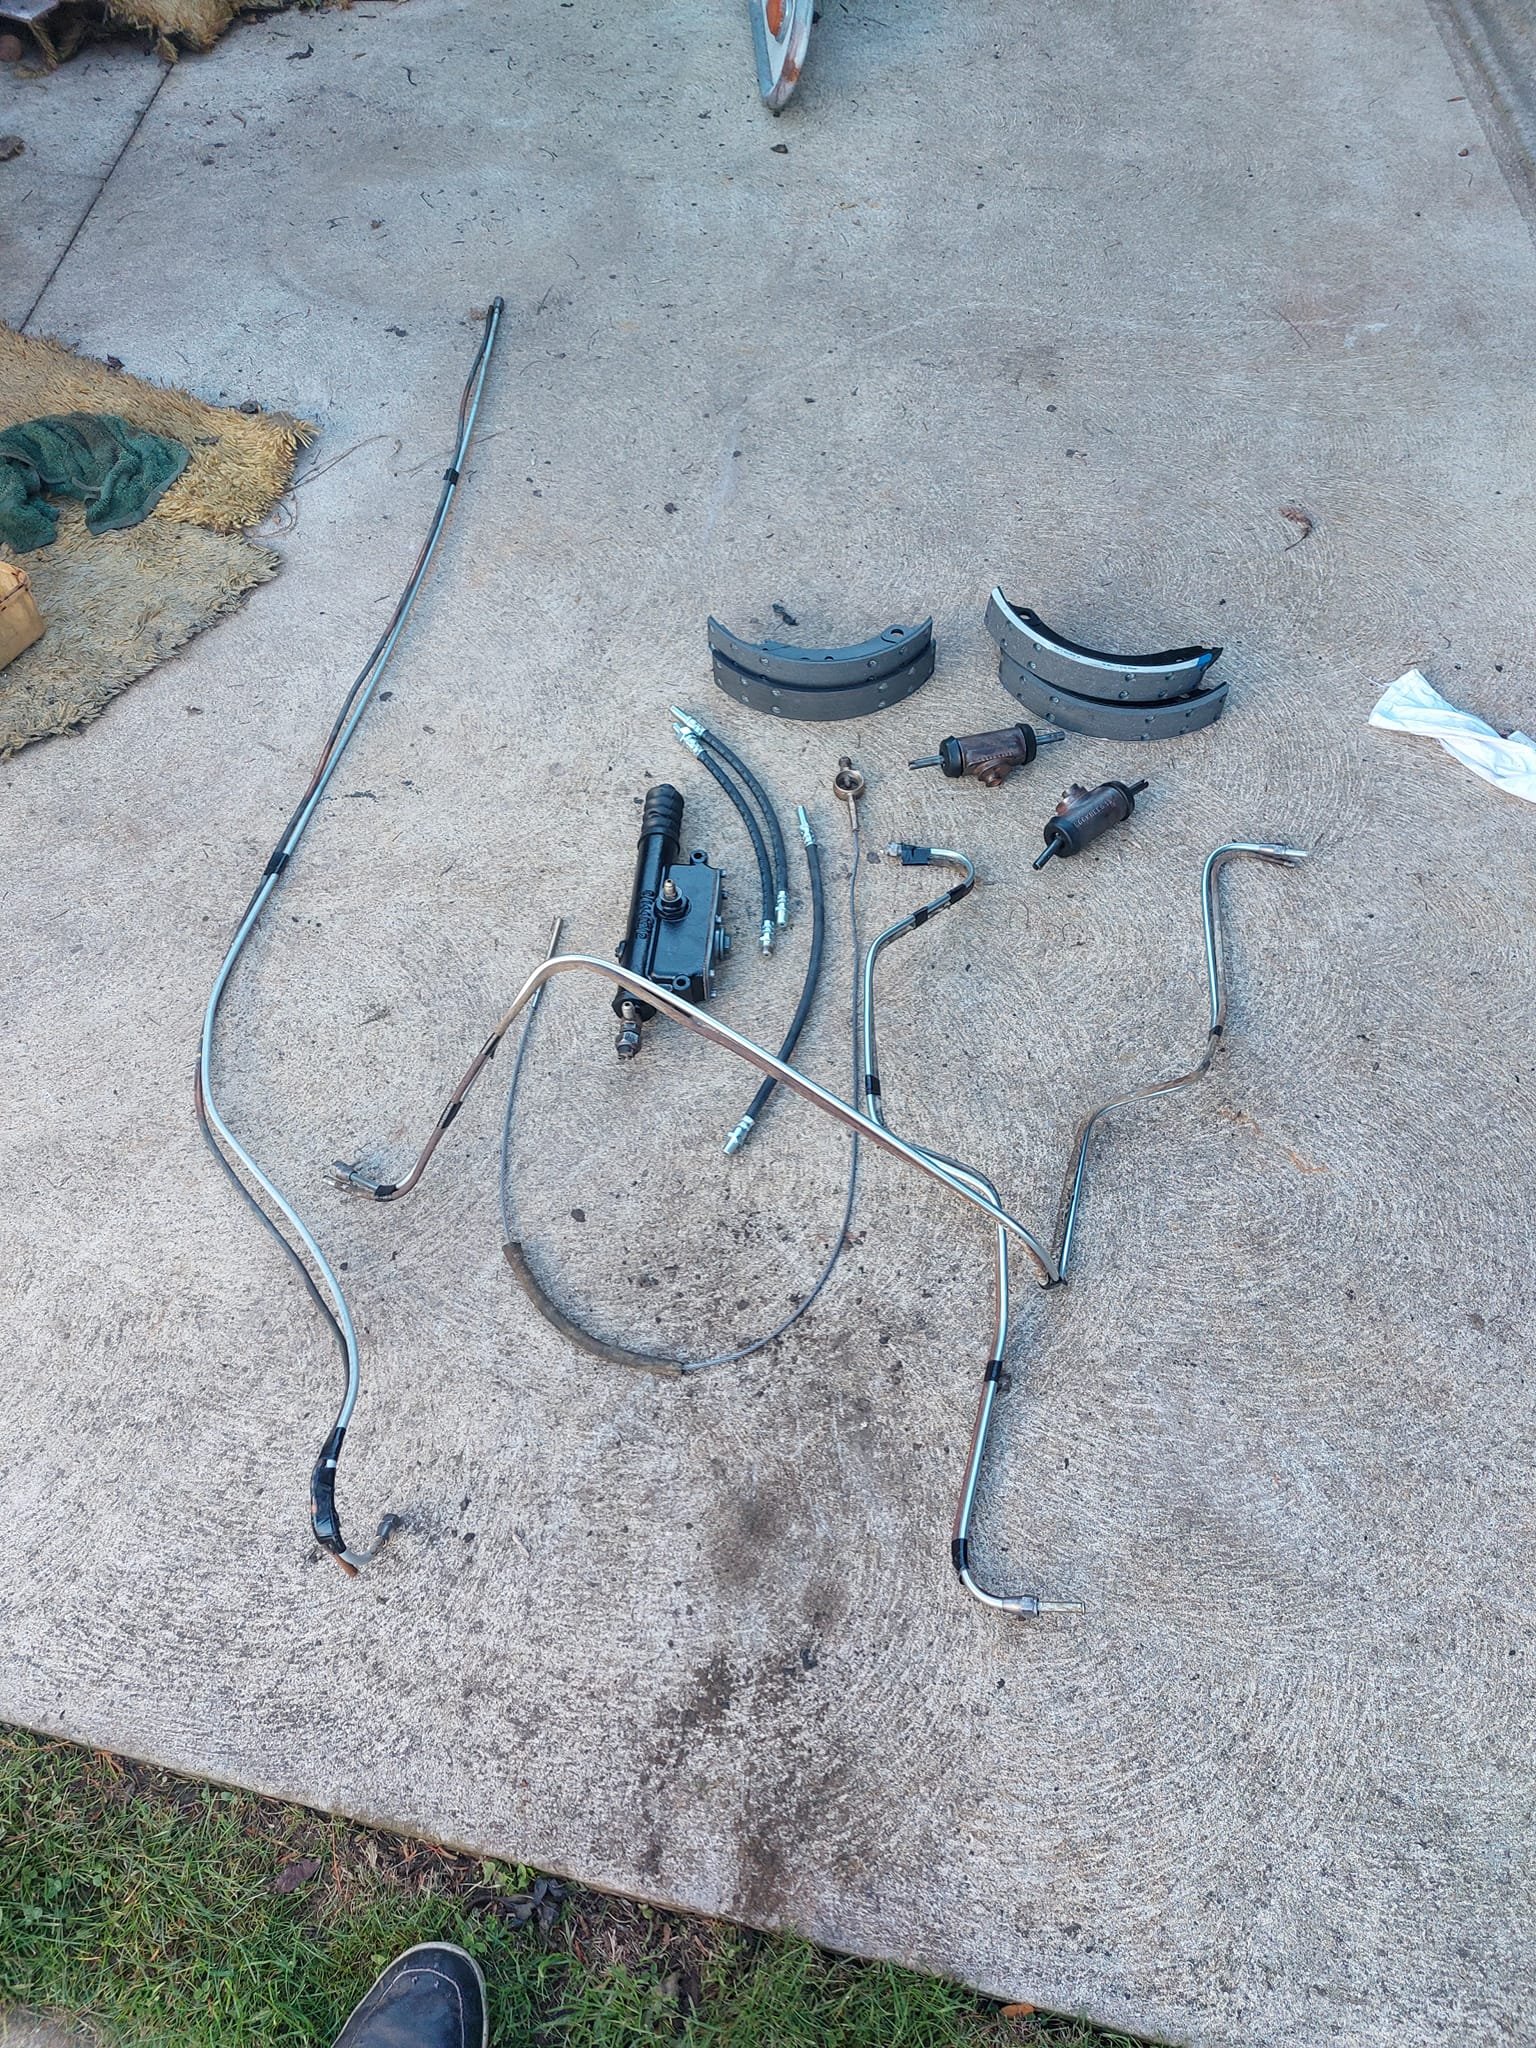
Almost all the brakes have been rebuilt just need to get it off the blocks to jack up rear to get them done, Wish I NEVER used bloody supercheap chassis paint looks horrible....
1 point


.thumb.jpeg.e0a4bff61111e0c8c7396950fcc94da1.jpeg)


This leaderboard is set to Auckland/GMT+12:00