
Leaderboard


Popular Content
Showing content with the highest reputation on 03/25/24 in all areas
-
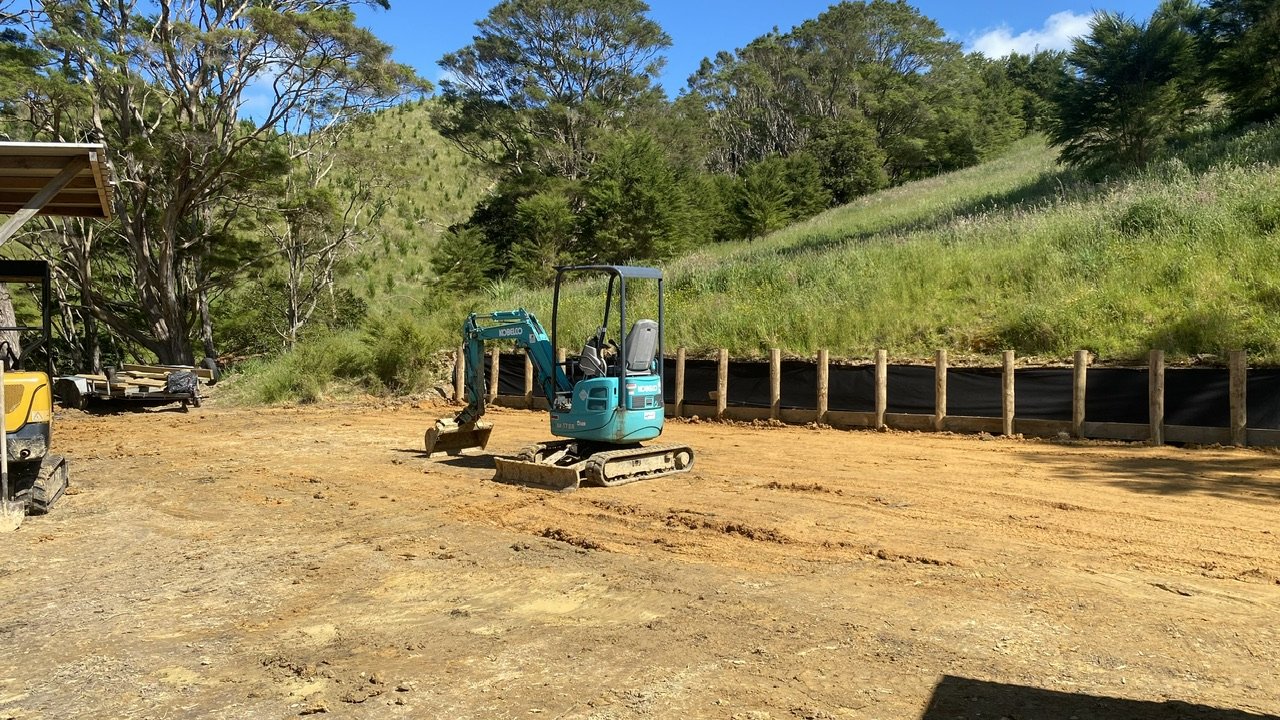
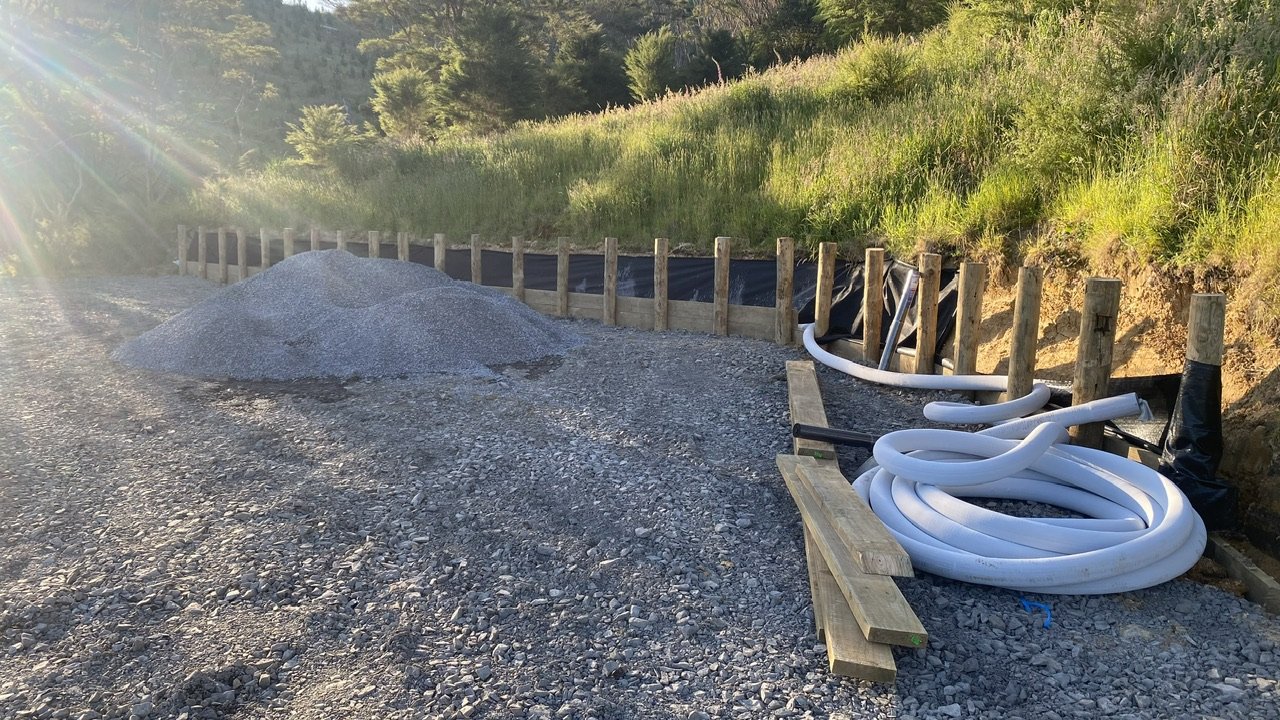
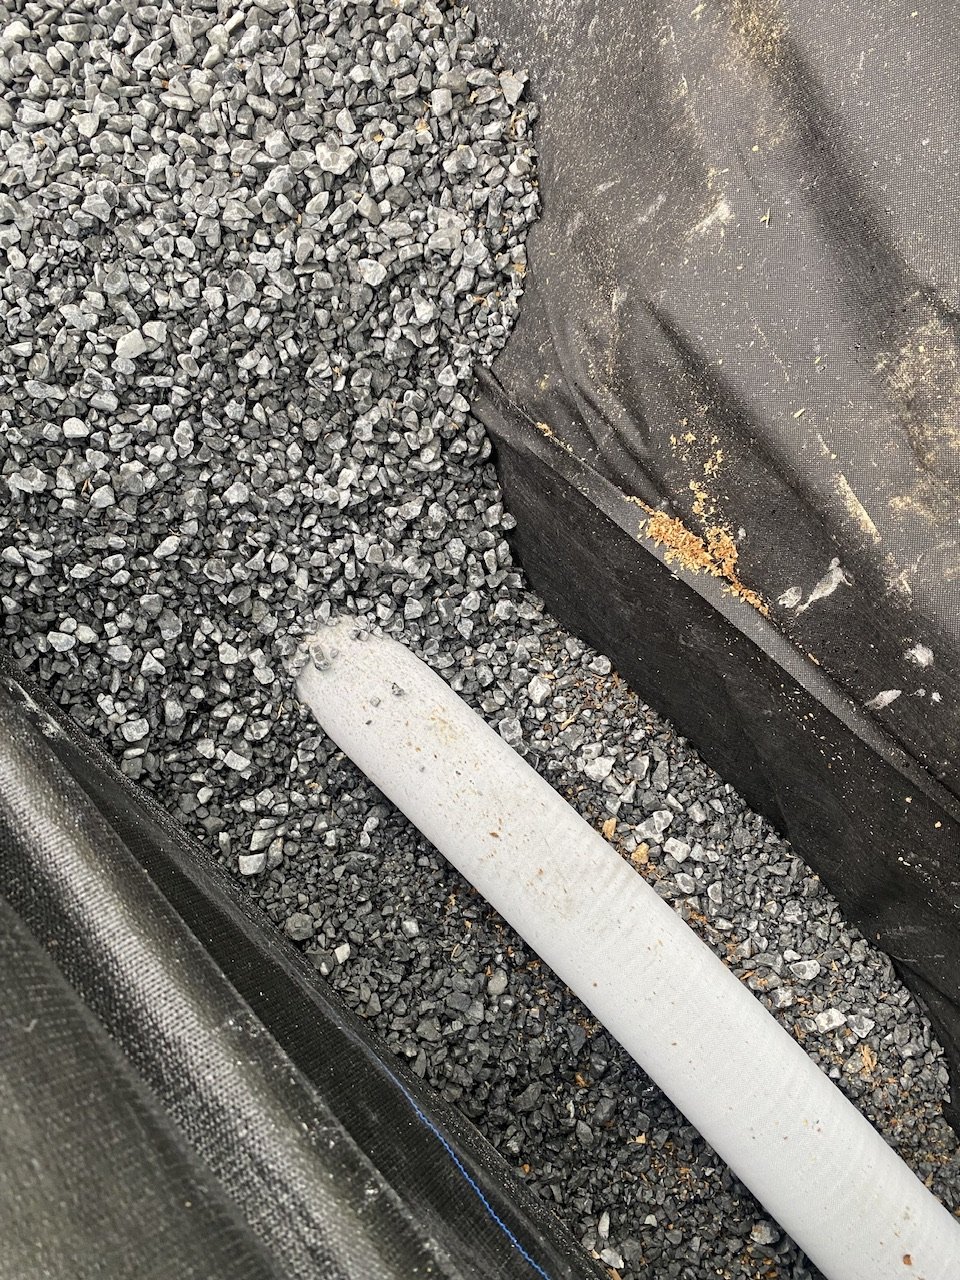
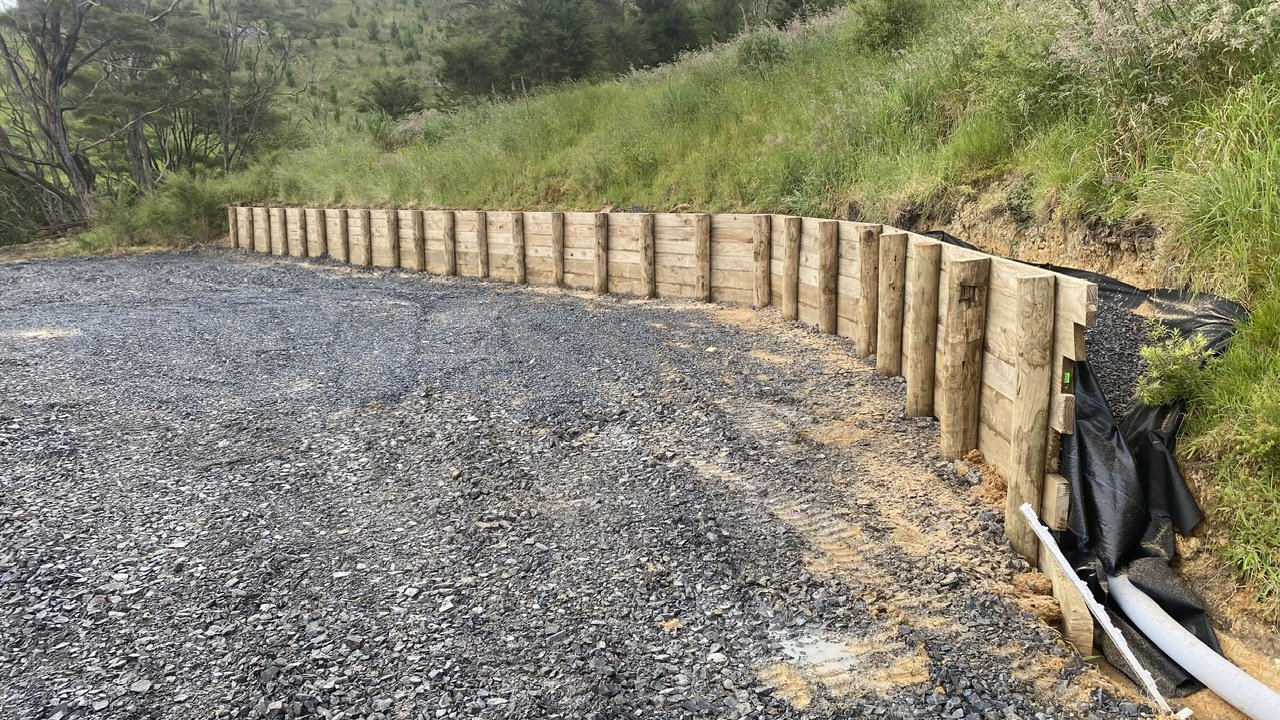
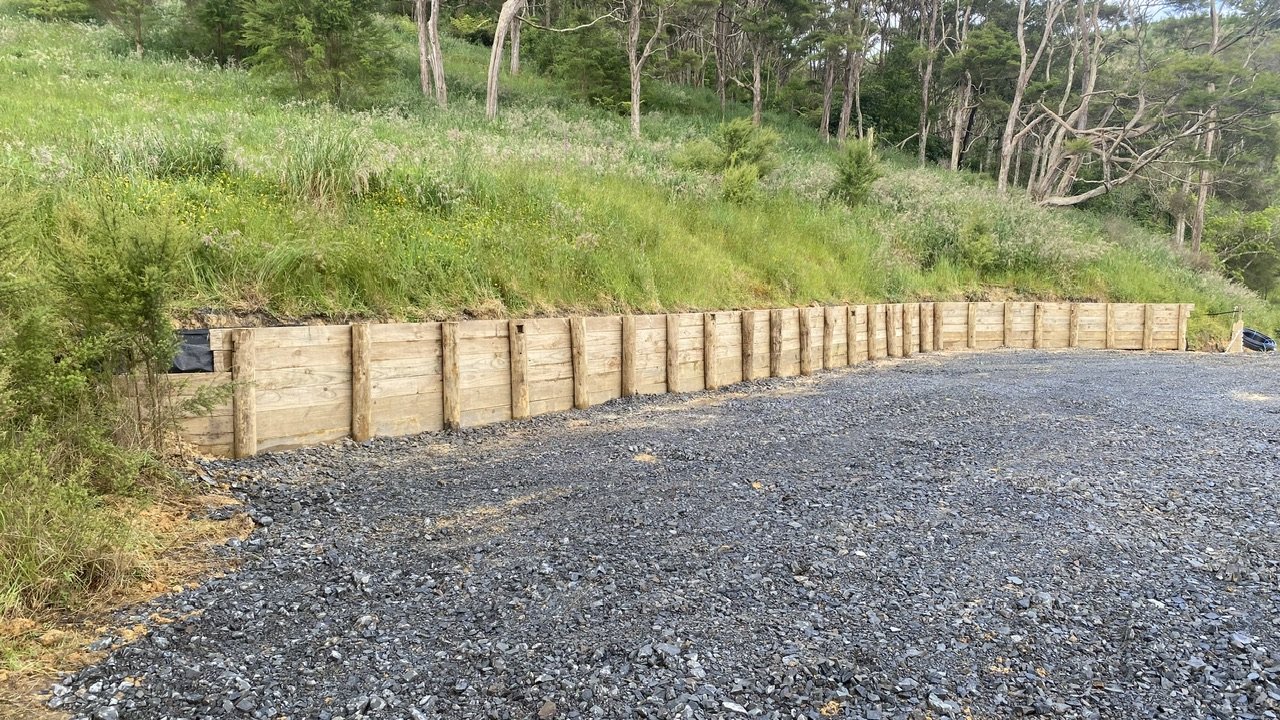
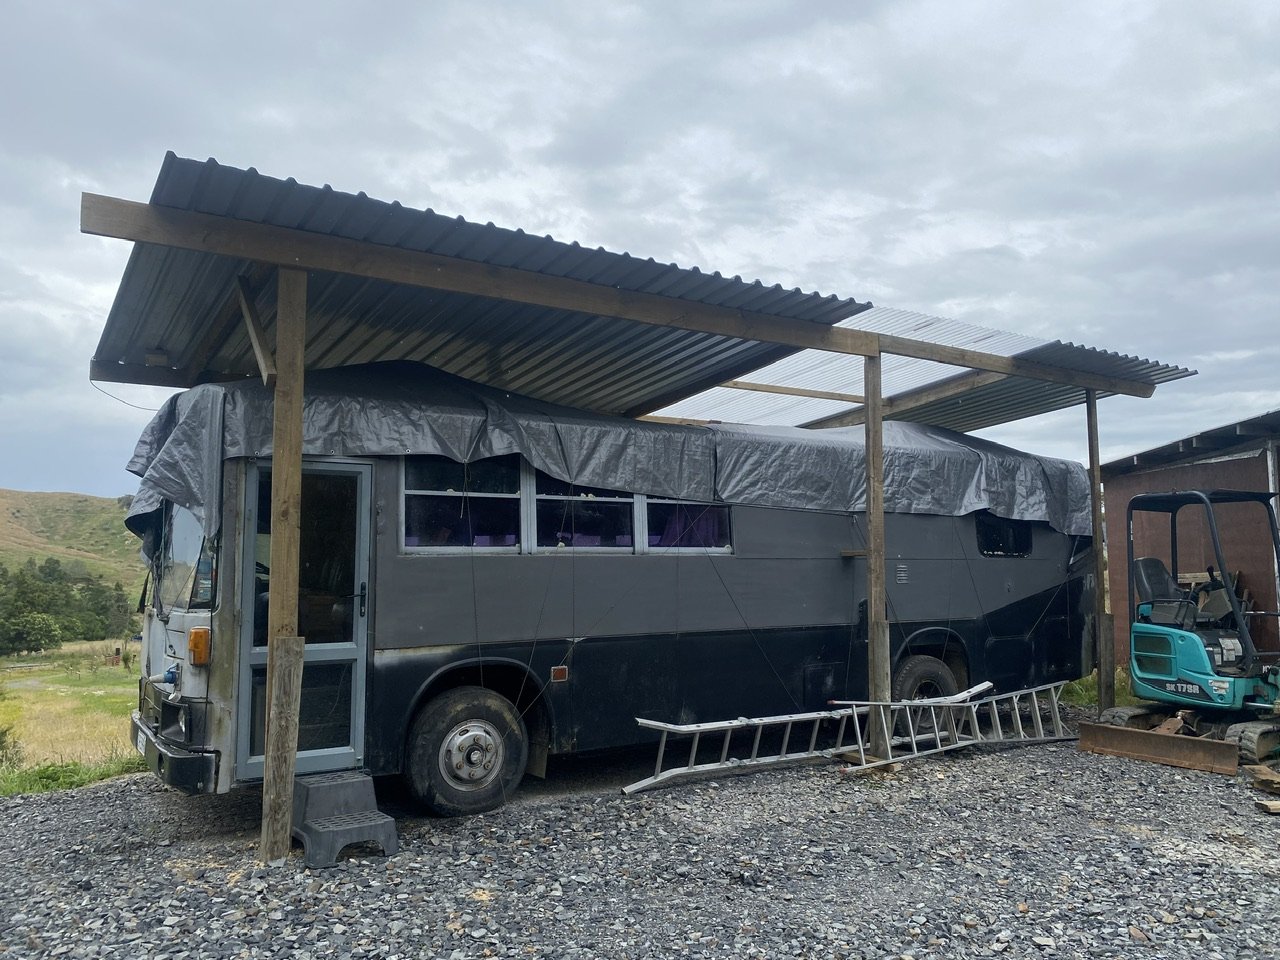
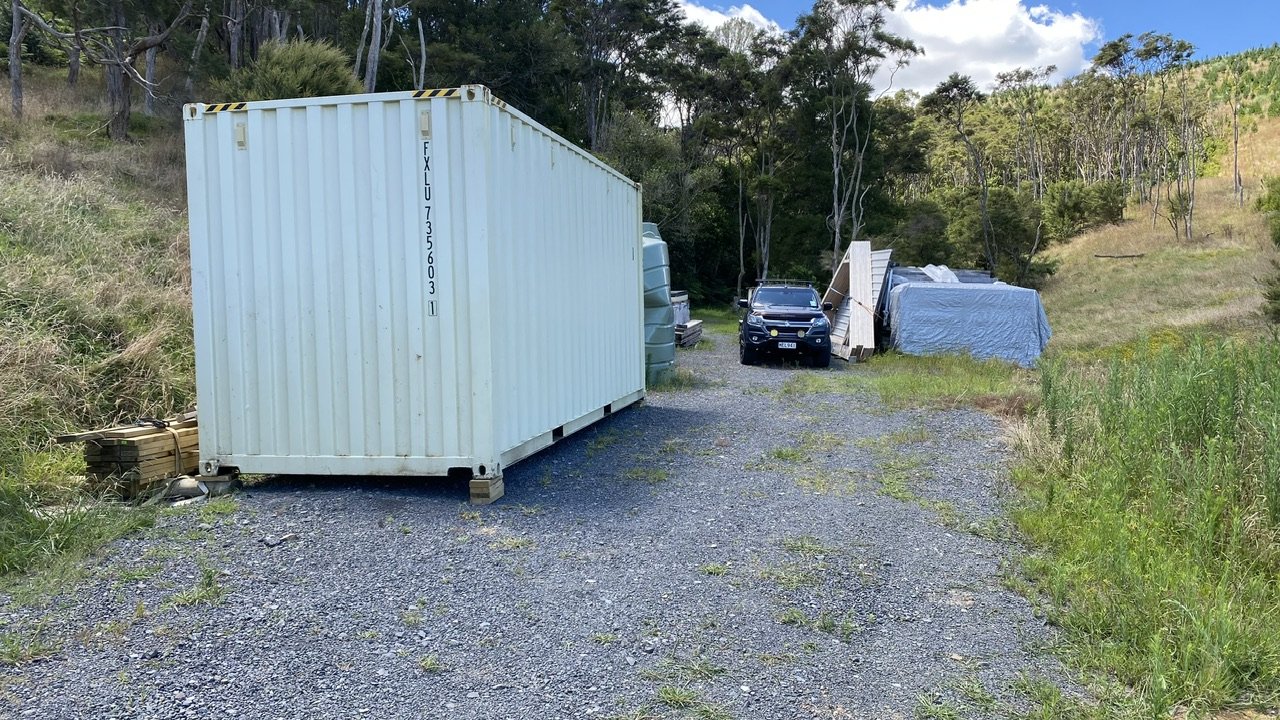
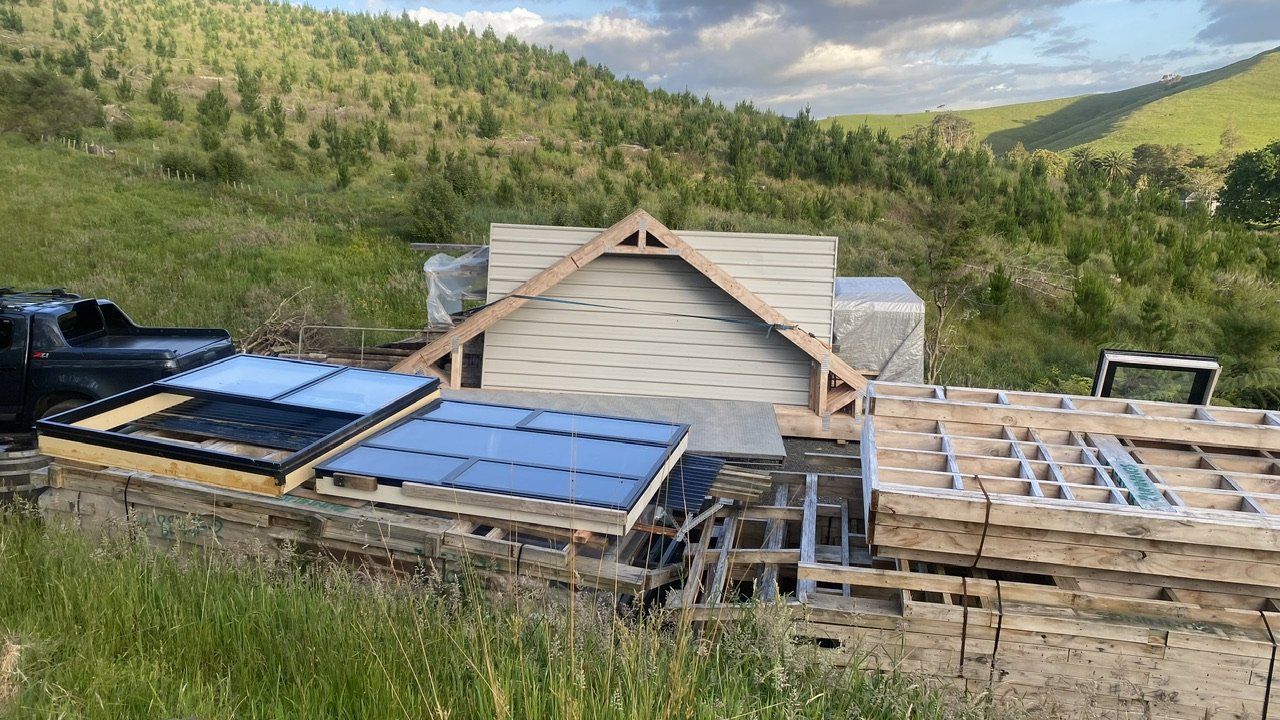
Been a minute or two.. had shoulder surgery late last year which slowed me down a bit. Just prior to that I got dad to come up and help me build a retaining wall. Still got the ends to finish off but it turned out pretty neat for a first timer. Moved the bus up to the building platform and built a sketchy roof over it so it could dry out better. I’ve since removed the tarp. I’ve also got my container down there now and the place is looking more like a builders storage yard.
 15 points
 -
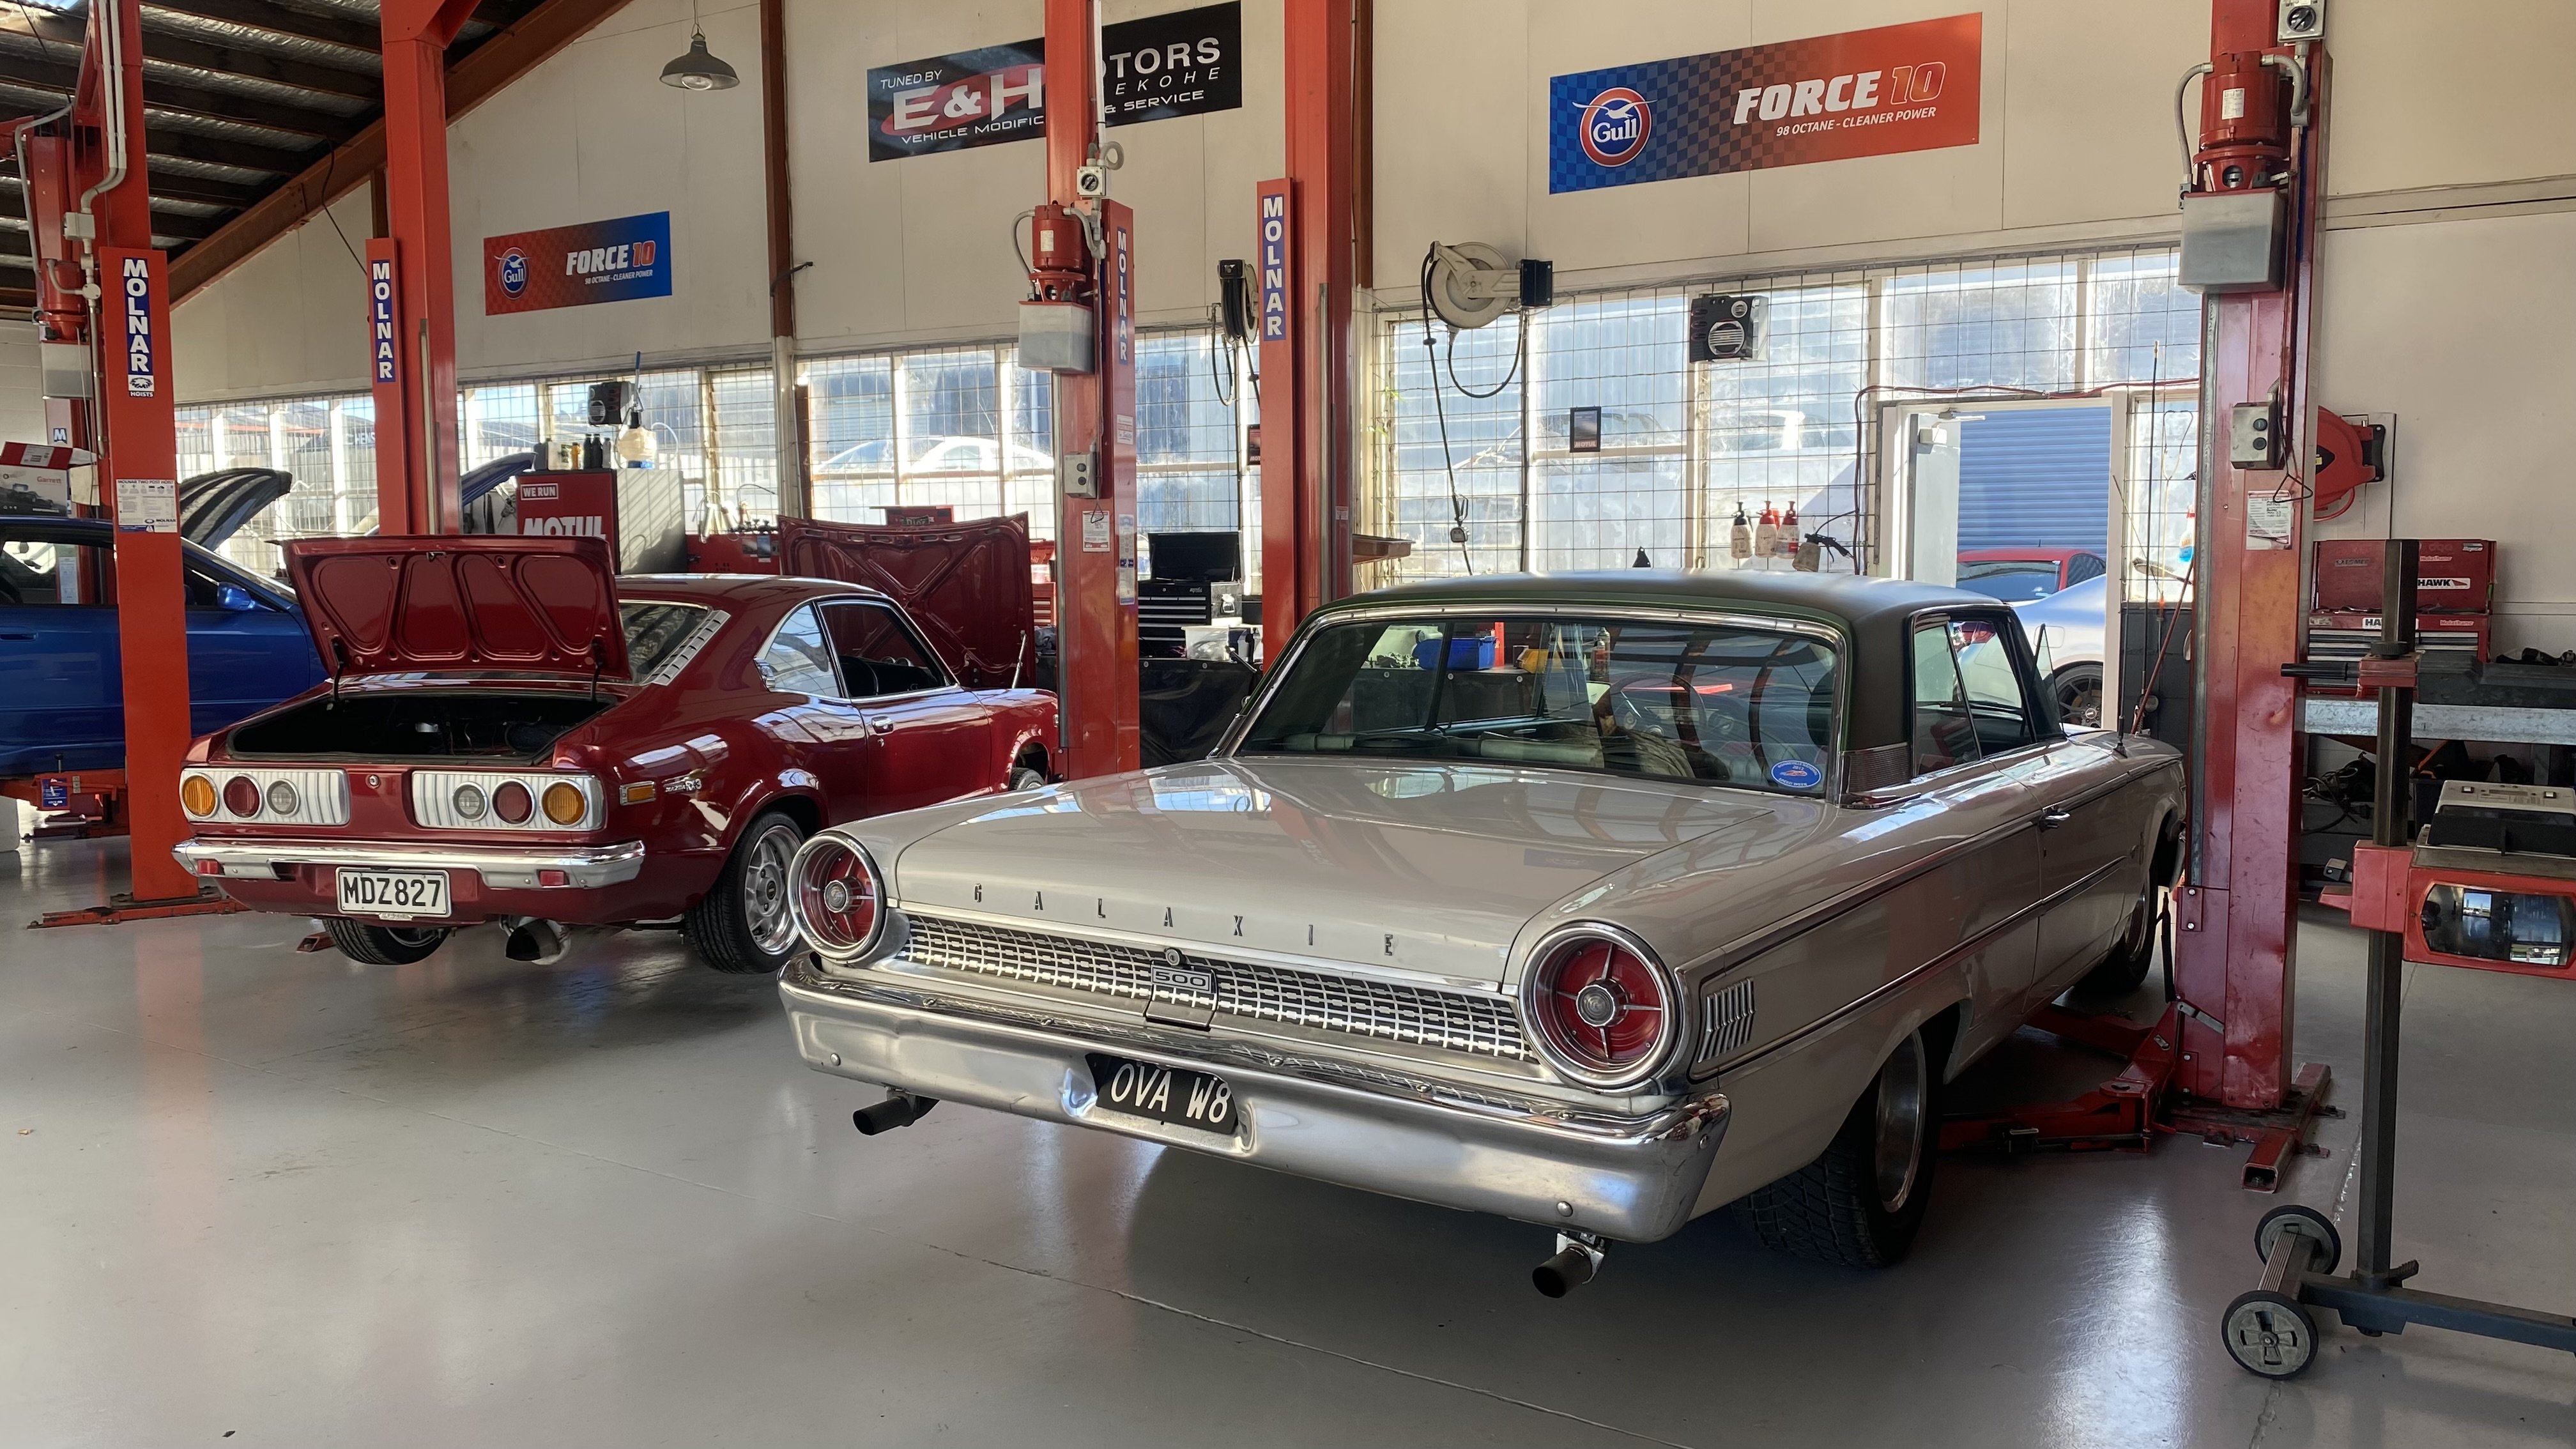
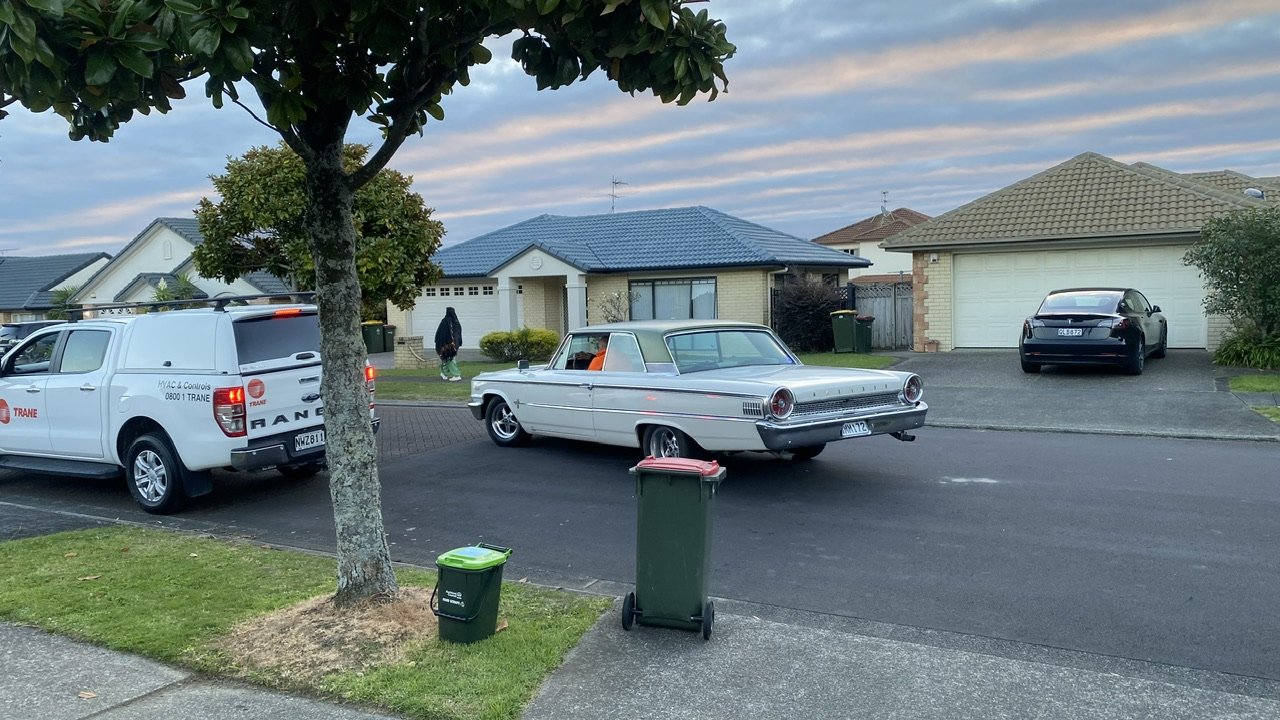
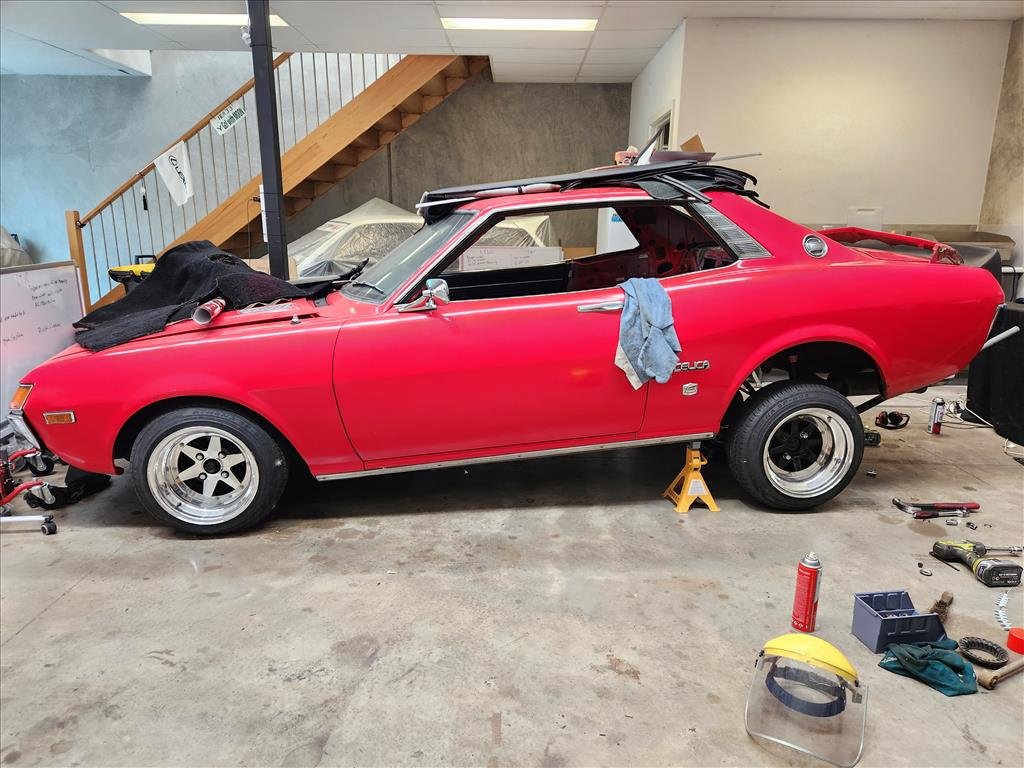
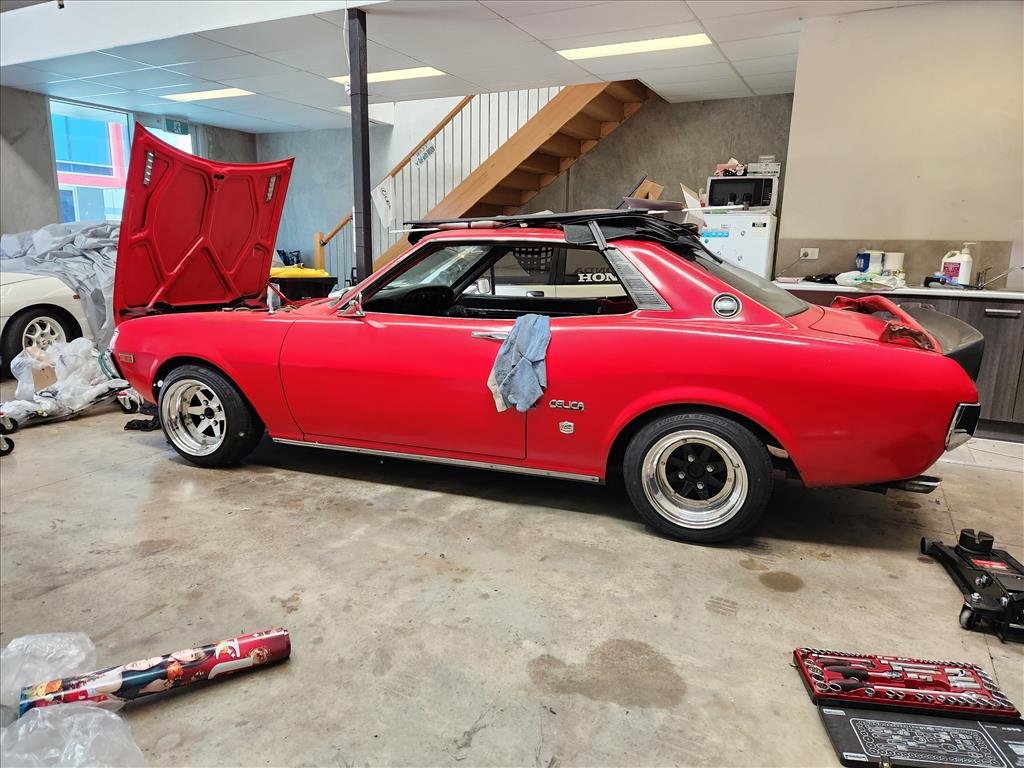
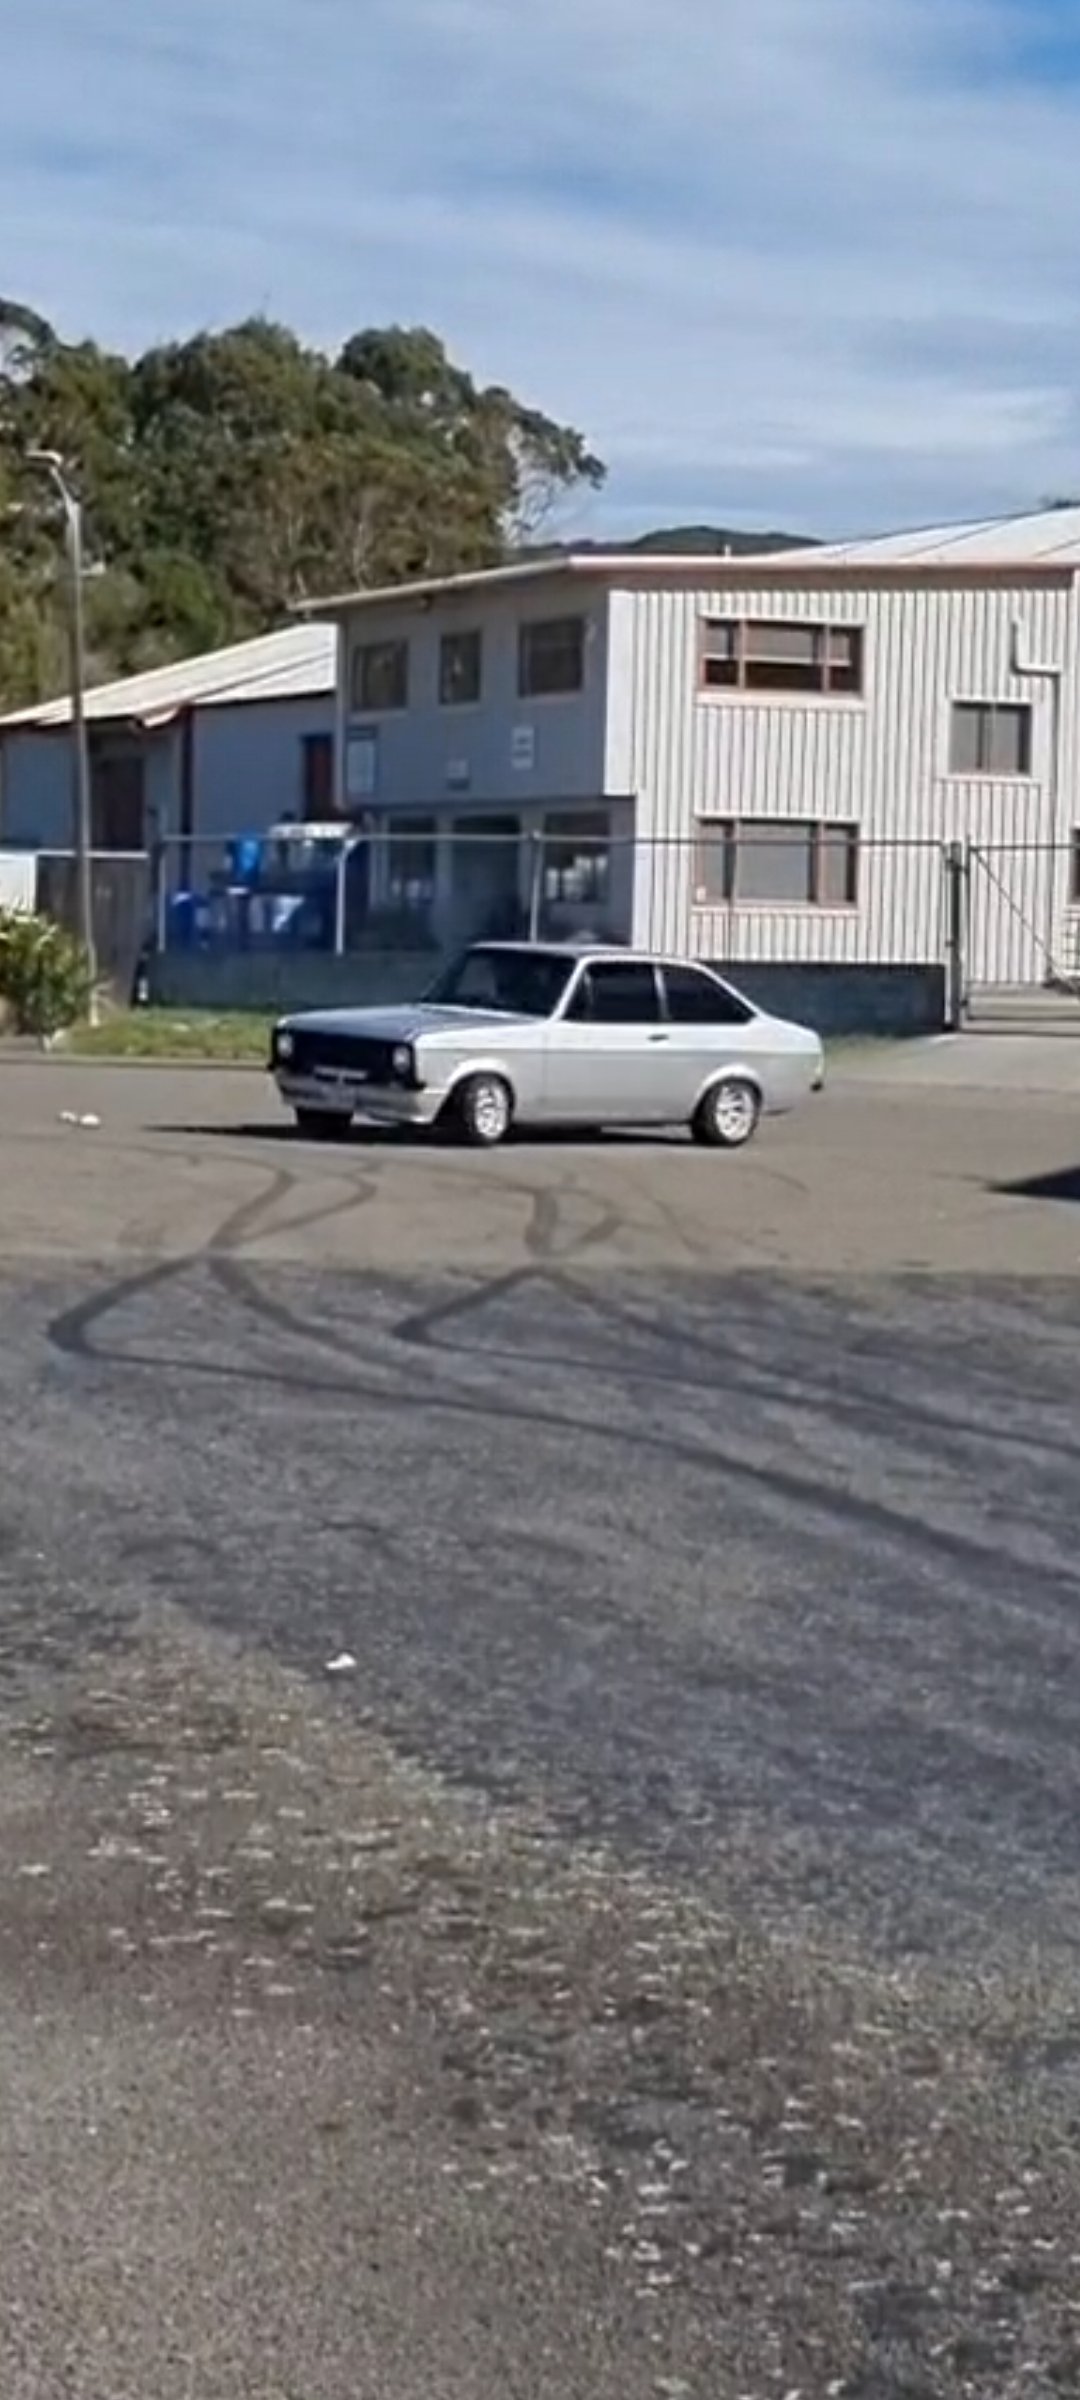
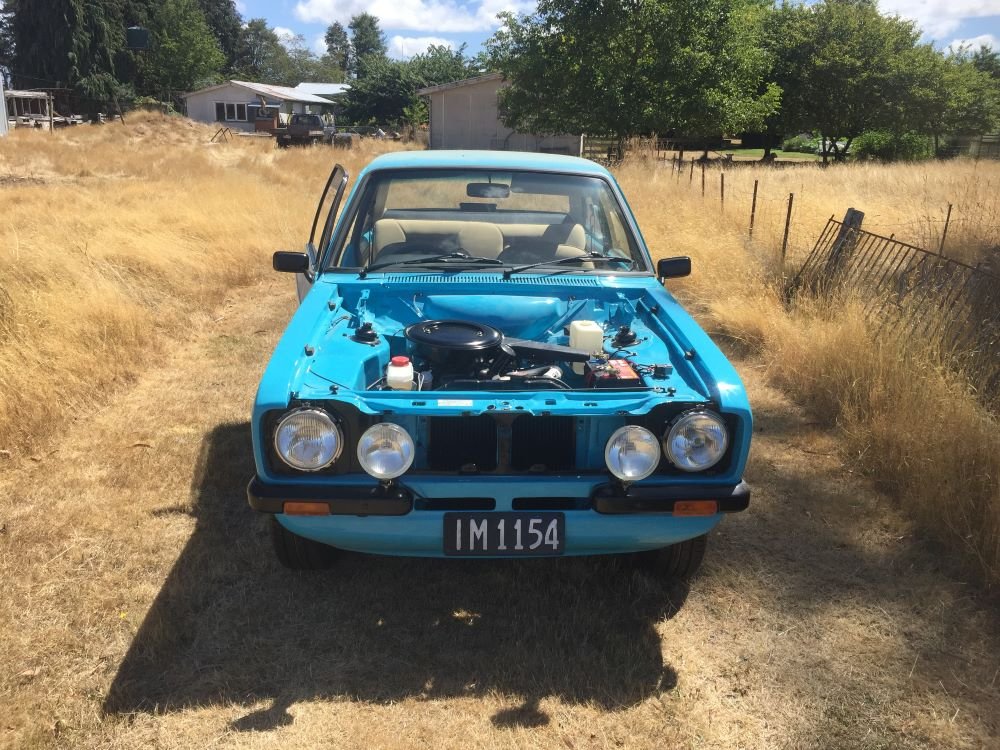
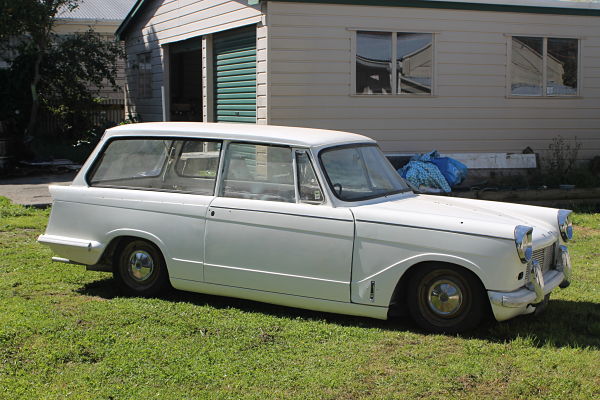
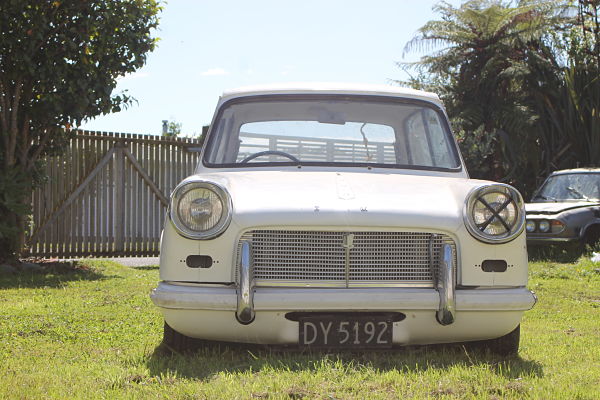
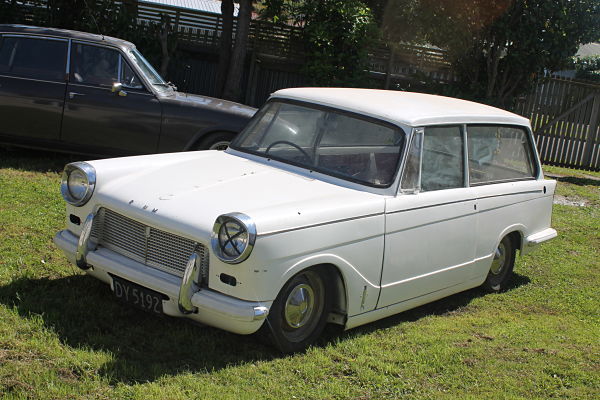
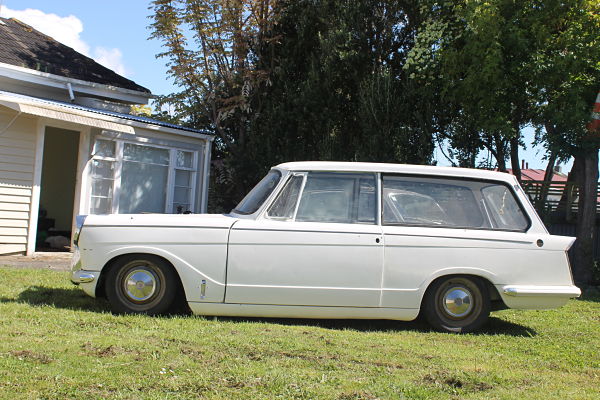
Took it in for a WOF, needed to replace an axle seal, front left brake line and repair a tear in the sill that looked like it’d been there for the last 20 years. Giving a rap to Tuakau Panelbeaters for doing the job on such short notice. Car is sold, I’m happy/sad.. time to focus on building my shed now.
10 points
-
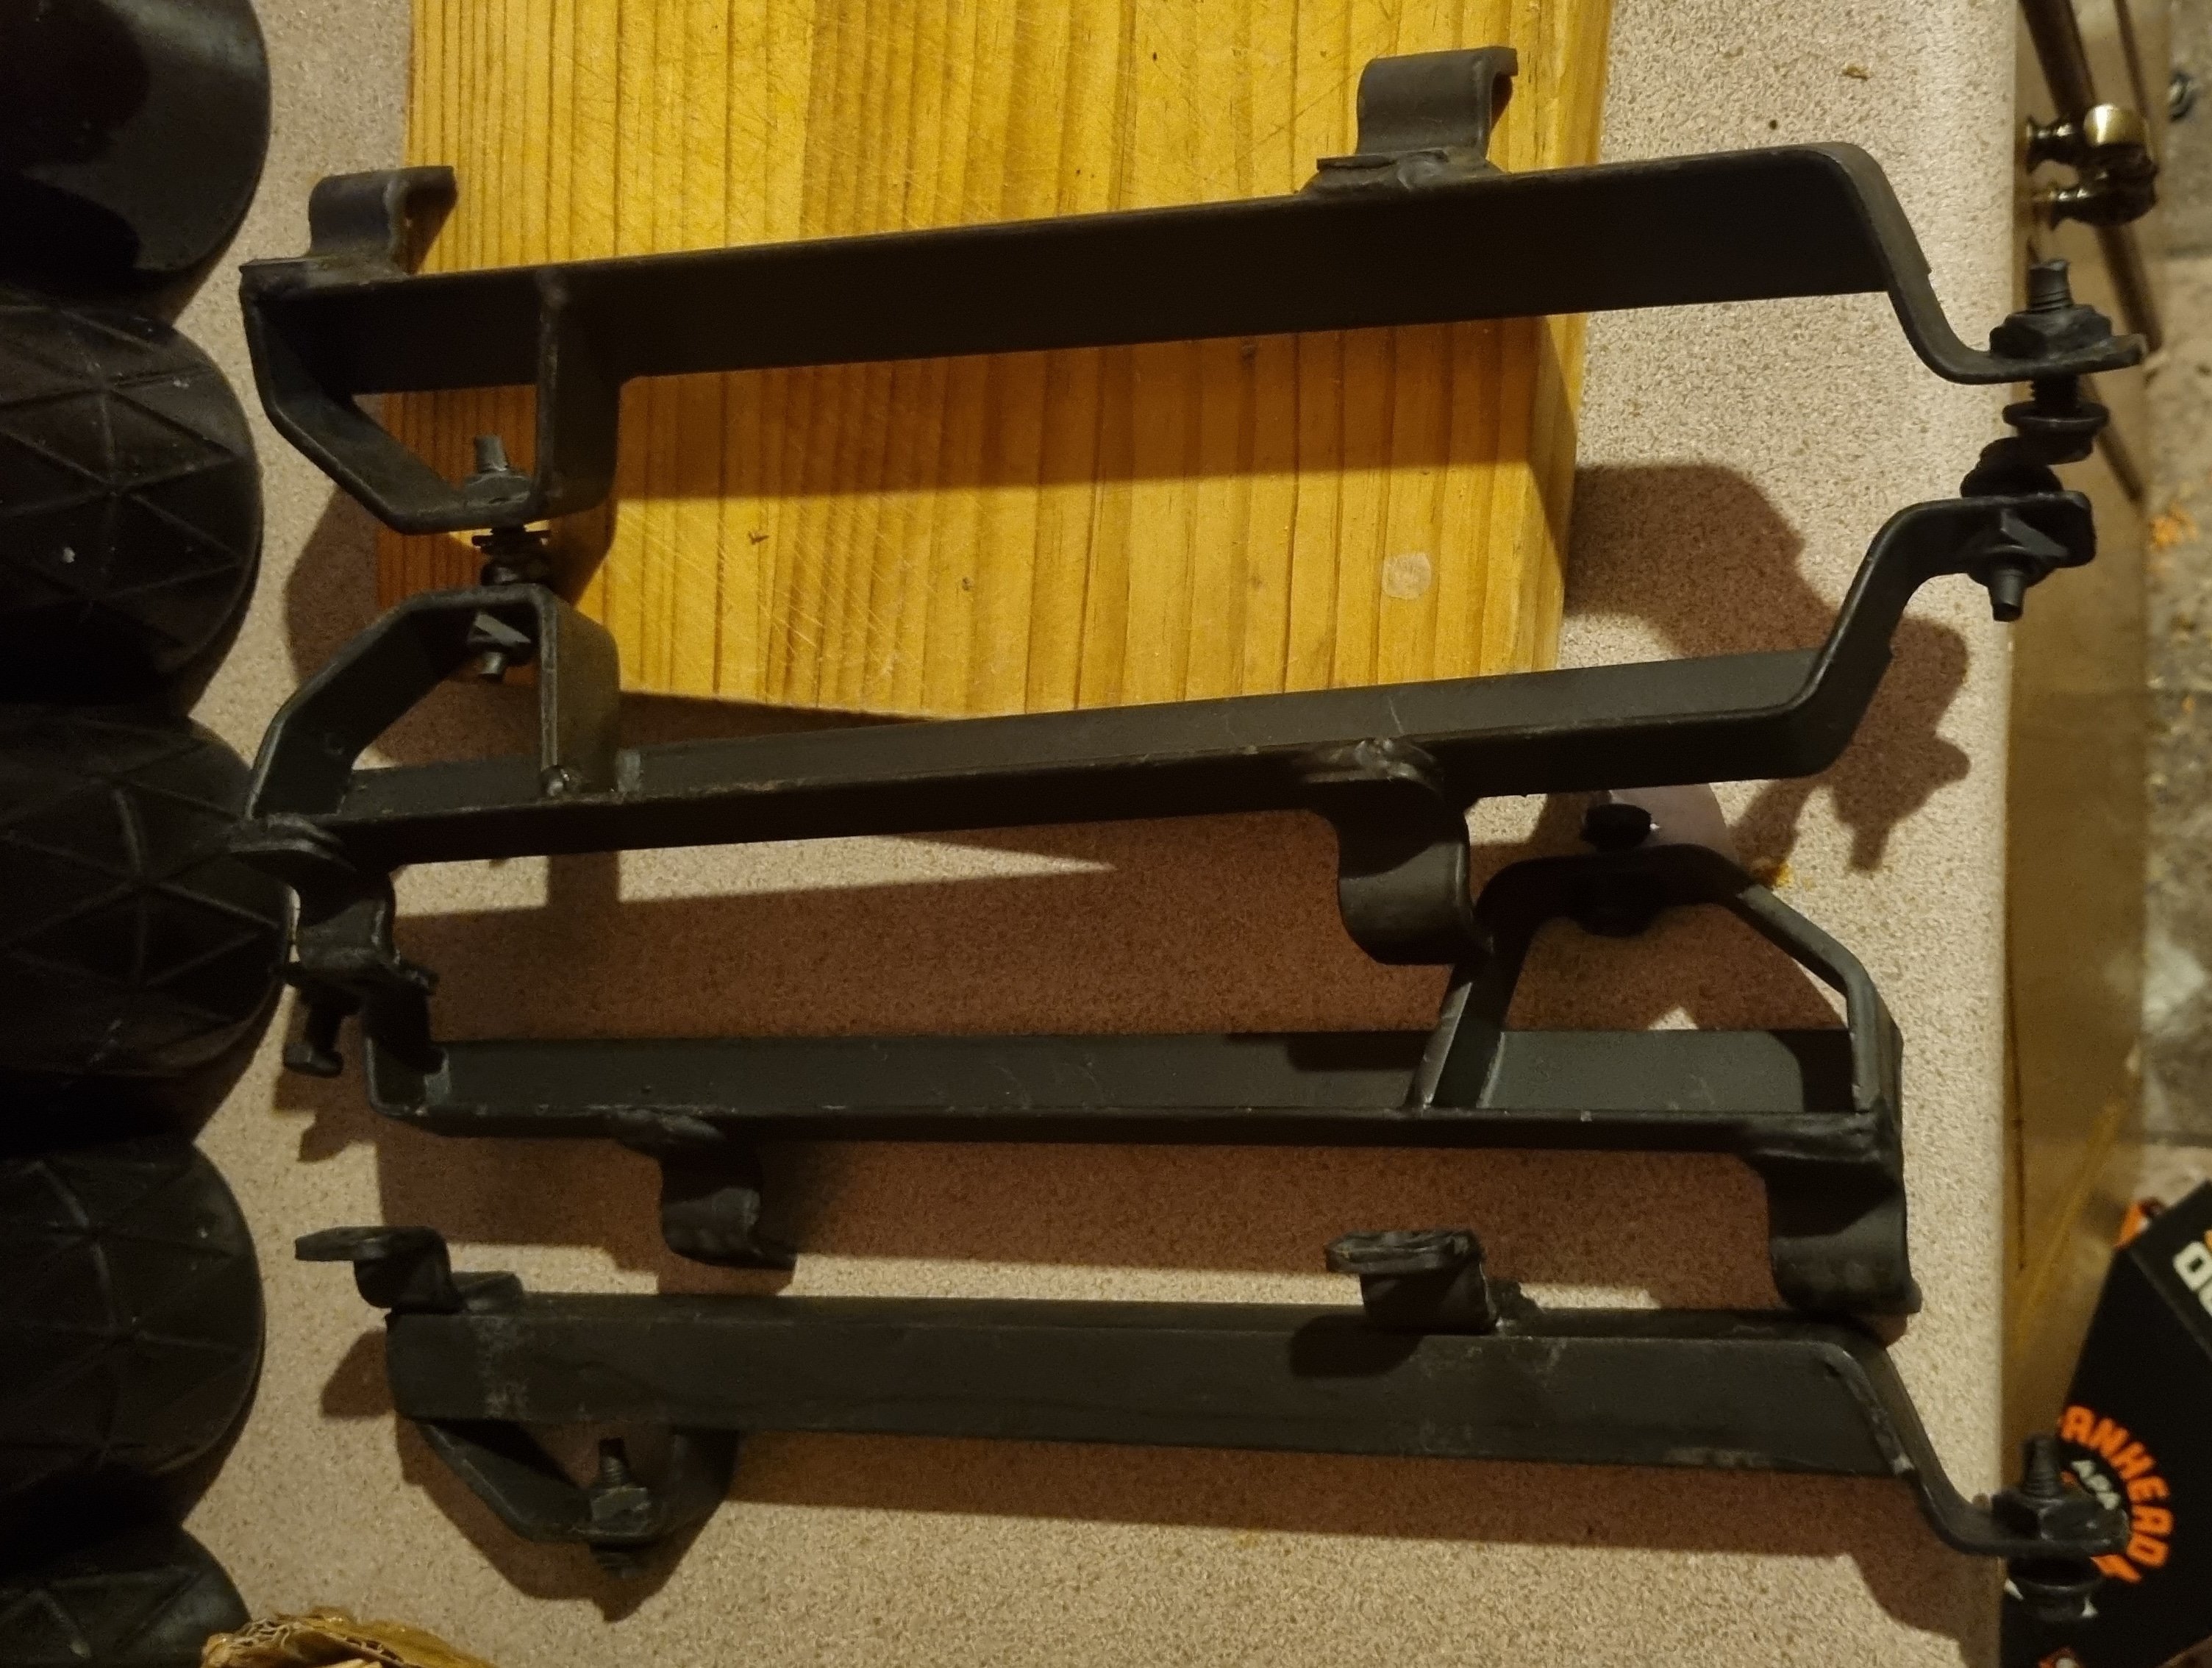
I've been thinking about these for a while, even before I got an Alto, as they are a common mod in Japan. I finally bit the bullet and lowered the front seats. One of the biggest criticisms of the Alto in reviews is that instead of sitting IN the Alto, you sit ON the Alto. The two front seats, despite being nice fancy Recaros, are not height adjustable (lower spec Altos, including the RS Turbo, are) and you sit very high in the car. For example, I'm not particularly tall and my shoulder in the standard seats, is about halfway up the window The other issue was that on the track I had to slightly slouch in the seat for my helmet to clear the headlining. Not ideal. Knowing I want to track the car more, and that slouching in the seat wasn't safe, I convinced myself it was a safety upgrade to lower the seats and gain more headroom. Yes. Safety. So I went on Yahoo Japan and bought a pair of TakeOff Low-Posi Kun seat spacers. These emulate the standard spacers by being one piece with a crossbar between the two legs There are other brands, some of which offer adjustable spacers so you can change the height or the tilt of the seat to suit you, but the TakeOff ones are the only spacers to have the crossbar. I've seen what can happen to Recaro seats when the two rails aren't braced together, and the seat tries to splay them apart. I'm not a small or light person, certainly not the build of person the Alto was designed for, so strength is important. The TakeOff spacers have also been strength tested in Japan and each set comes with an individually serialised certificate of strength testing. It won't mean much in NZ, but it gives me some confidence that the product is good. The TakeOff spacer lowers the seats by 50mm. It doesn't sound like much, but when you put the two spacers side by side it's huge. The top one is the standard spacer, and the black one is the lowered spacer. When put side by side, it's noticeable, as the example photos from the site show Standard Lowered A wad of money, and a few days later, I had a pair of spacers in my hands They're a nicely made piece of kit. Very solid. The included strength certificate It comes with all the fittings needed, if they aren't the standard fittings (it reuses all standard fittings) The thick brass washers are optional spacers to raise the seat slightly. It also makes the rails smoother to adjust. I'm not bothered either way and wanted to go as low as possible, so I left them out I had seen a few different ways to fit the spacers. The most common is to just remove the seats from the car completely, but I didn't want to remove the seats from the car and get them dirty in the garage, so I opted to tip the seats back up onto the folded-down back seat and work on them there The seats are bolted to the car with 4x T40 bolts. You can see the large fabric covered stock spacer here, between the rail and seat. Don't forget to unplug the connector under the seat. These seats don't have side airbags, so I didn't bother disconnecting the battery. This is just the seatbelt and passenger occupancy connector. I unbolted the seat and carefully tipped it back onto the back seat. I turned it so I could work from the back door opening Disconnect the plug and unhook the wiring from the spacer and rail The spacer is then bolted to the seat with 4 bolts (orange arrows) and 7 studs with nuts from the rails below them (green arrows, one side of the rail has an extra stud; 3 on one side and 4 on the other). All are 12mm. I loosened all nuts and bolts before removing any of them. Don't forget to undo the large 14mm securing the seatbelt buckle on the side too. The rail comes off as one piece Leaving the spacer Remove the four bolts holding that on and you have a bare seat. You will need to unhook the fabric from each end of the spacer, I used a trim tool to lever it towards the middle of the seat and unhook it from the metal lip. I then affixed the TakeOff spacer to the standard rails, using supplied washers and the original nuts. Protip, don't mount the buckle yet, it has to go through the fabric on the seat first, so wait until the rail is mounted. Then it was a case of mounting the rails to the seats. The holes are slotted, so I put two bolts on one side of the seat and slid the rail onto those to support it while I put the other two in. There is enough space to slip the seatbelt wiring between the spacer and the seat base. I tightened all the nuts and bolts down and fit the buckle on the side. Once the wiring was clipped and tied in place, the seat was then lowered back down onto the floor, using the locating studs to place it. The bolts were then tightened down. The visual difference was immediate It's significantly lower than the stock driver's seat. I couldn't help myself so jumped in and sat on the newly lowered passenger seat, which made me even more keen to get the driver's side done next. I followed the same procedure, which went quicker this time now that I knew what I was doing, and had the driver's seat installed in no time. Tons of head space now. No chance of helmet issues next time I take it to the track. The little fabric flap now just hangs aimlessly down covering everything. It's not attached anymore, but I'm sure if it bothered you you could glue or velcro it to the spacer to hold it in place. I've seen people cut the fabric or jam it between the spacer and seat base, but I'm happy with it as it is. I've only taken it for a short drive so far, I'm planning on taking it to work tomorrow anyway, but already the differences are pretty big. Obviously, I've had to adjust all my mirrors and steering wheel down (speaking of, the steering wheel is now at its lowest position, so I can see why column spacers exist), but the biggest thing for me is that now I'm looking through the middle of the windscreen, not the top half, and the interior mirror no longer blocks a chunk of my left-hand vision. In terms of driving, the seats feel more comfortable, maybe due to my leg position now, and the car feels a bit more confident in corners. I guess lowering a significant percentage of the cars weight (me) will help that by lowering the center of gravity. It really does feel like you're IN the car now. The only downsides so far are that it's harder to do the old arm-out-the-window when driving, as my shoulder is now just above the waist line of the door, and I've hit my elbow on the armrest on the door when turning once or twice since I'm not used to there being something there. I'm looking forward to my drive to work tomorrow and seeing how it goes around the twisty roads.9 points
-
8 points
-
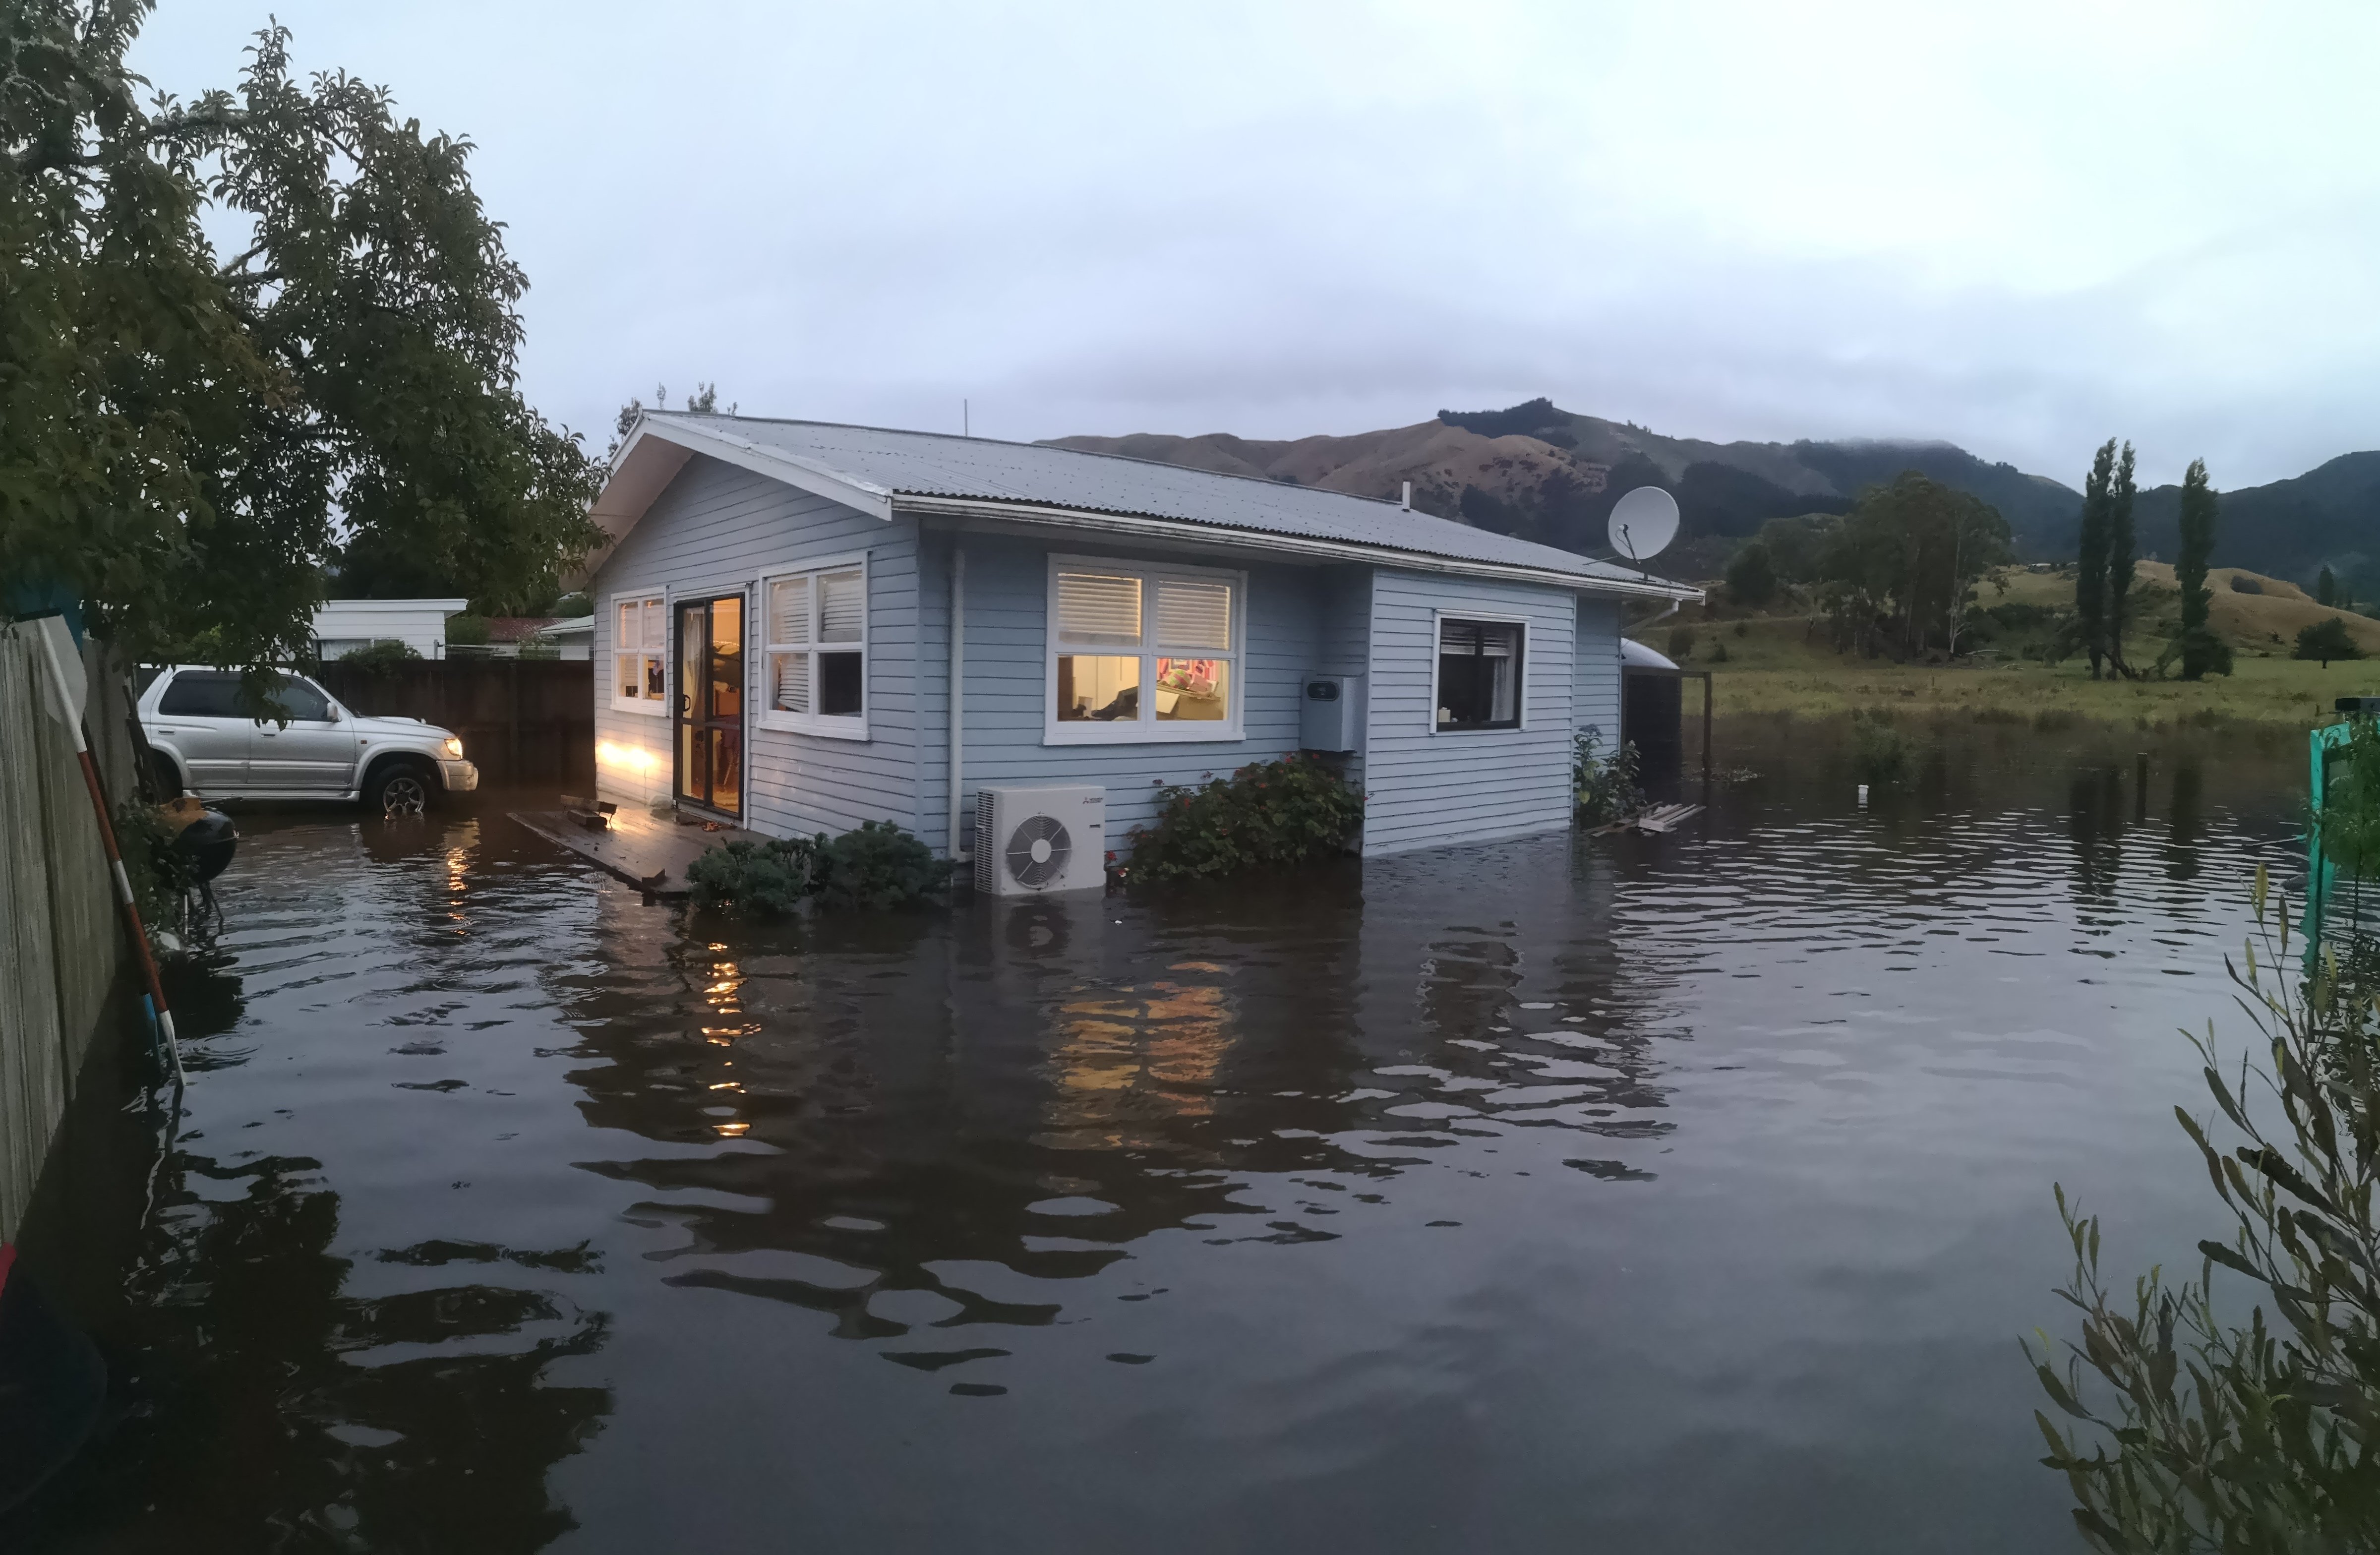
Two years in the making and on Monday we finally take possession of the next house project, well, actually two houses.. You may have seen a couple of pics from when we first shifted in about two years ago, namely this one.. Looked pretty bad but it never made it inside the house, we partially evacuated but we're back in two days later after the water went down somewhat but it was a particularly wet winter/year in general and we spent the better part of 6 months with water continually at the back of the section and under the shed at the back. After it did it again in the big August rains we pulled out of what was to be this house subdivided from the front house and offered a price to buy the whole place. But after being out again at the beginning of last year we pulled out again. After looking at multiple other options that for some reason fell through we negotiated a reduced price on this and decided to take it, it is actually in a nice area with a great outlook.. A bit small for 6, 4 wheeled projects but meh, we'll see what happens.... Updates and more in depth analysis to follow.
7 points
-
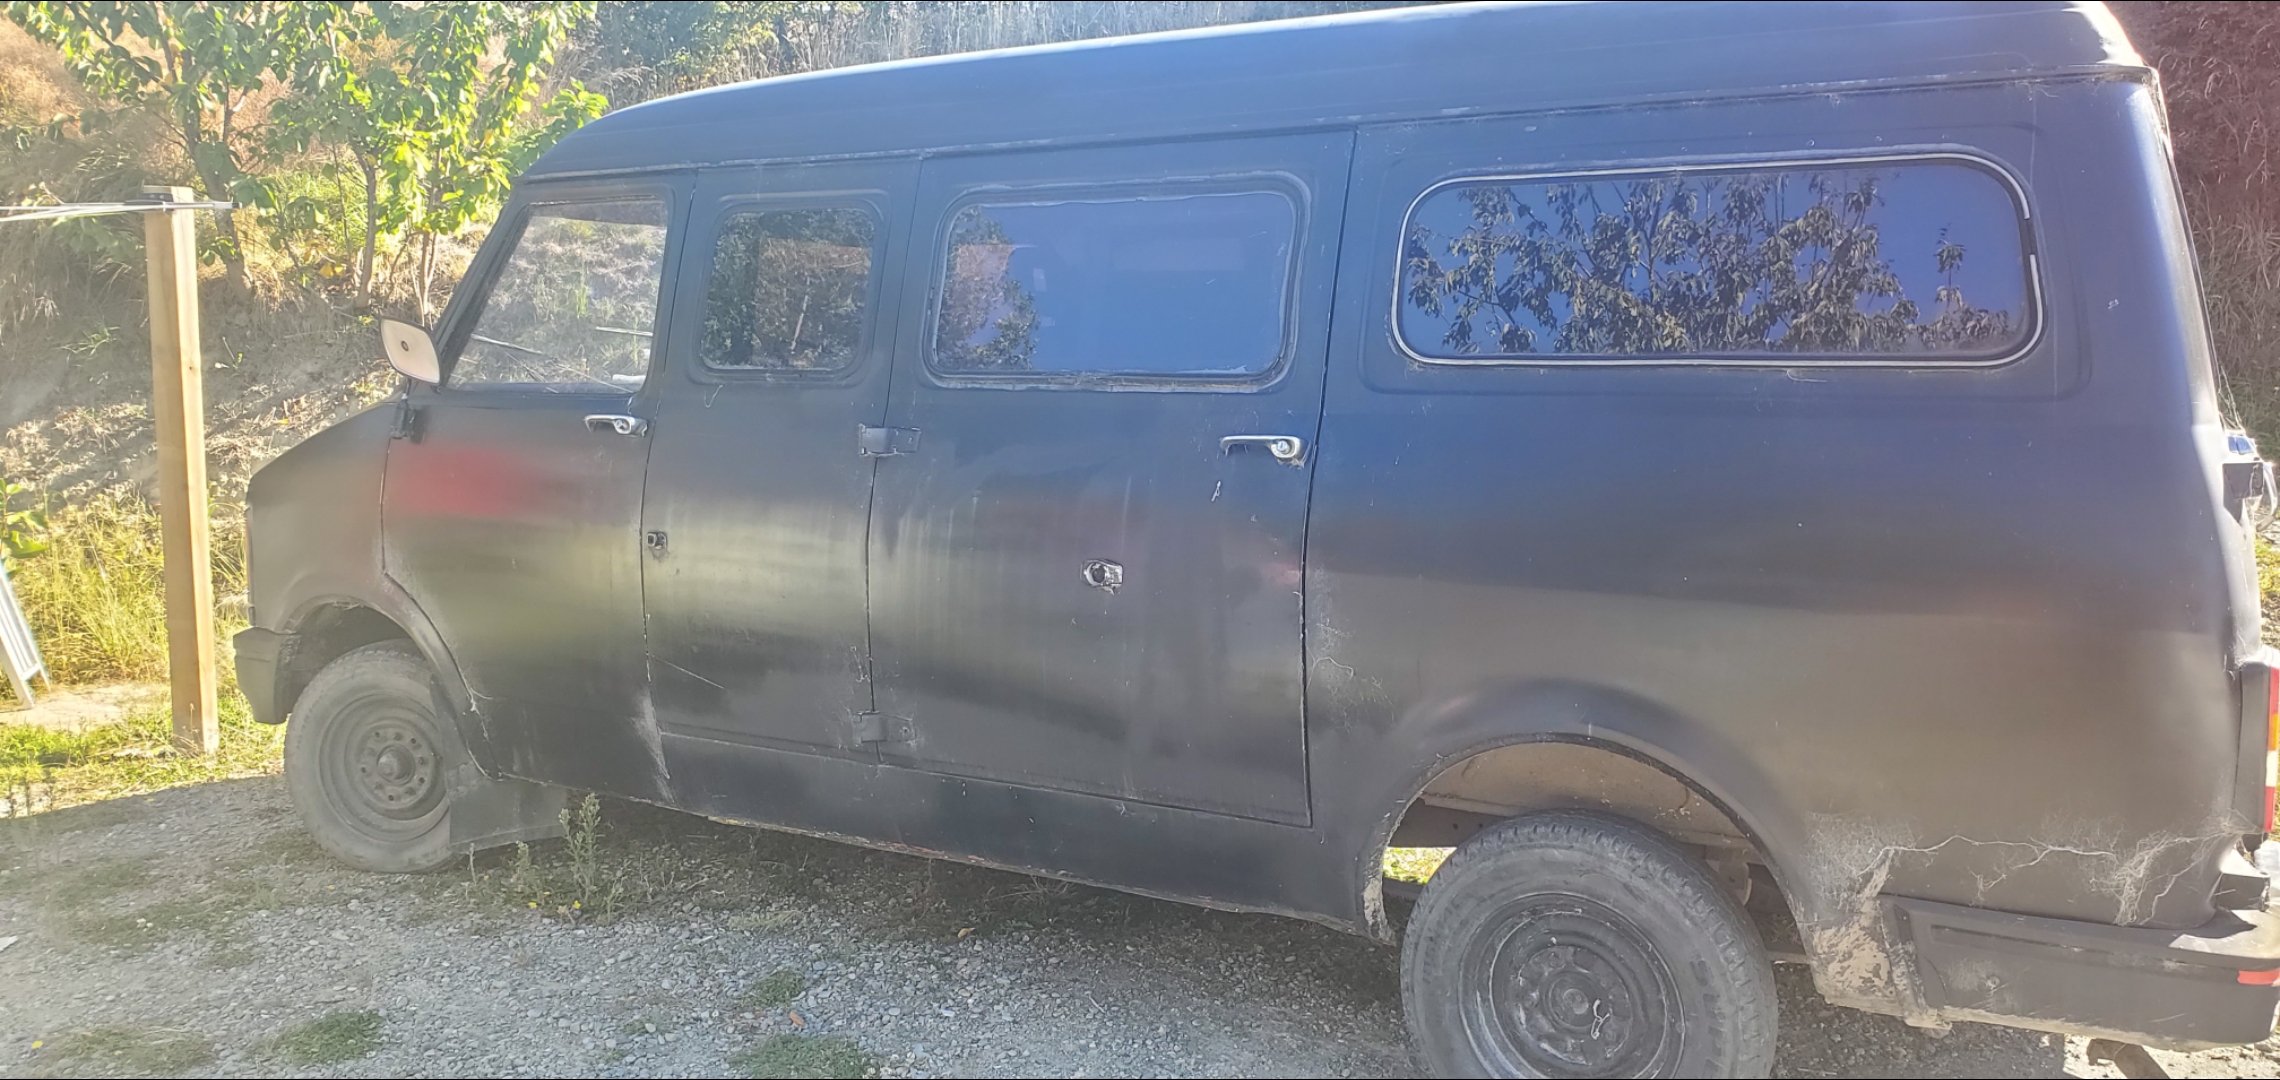
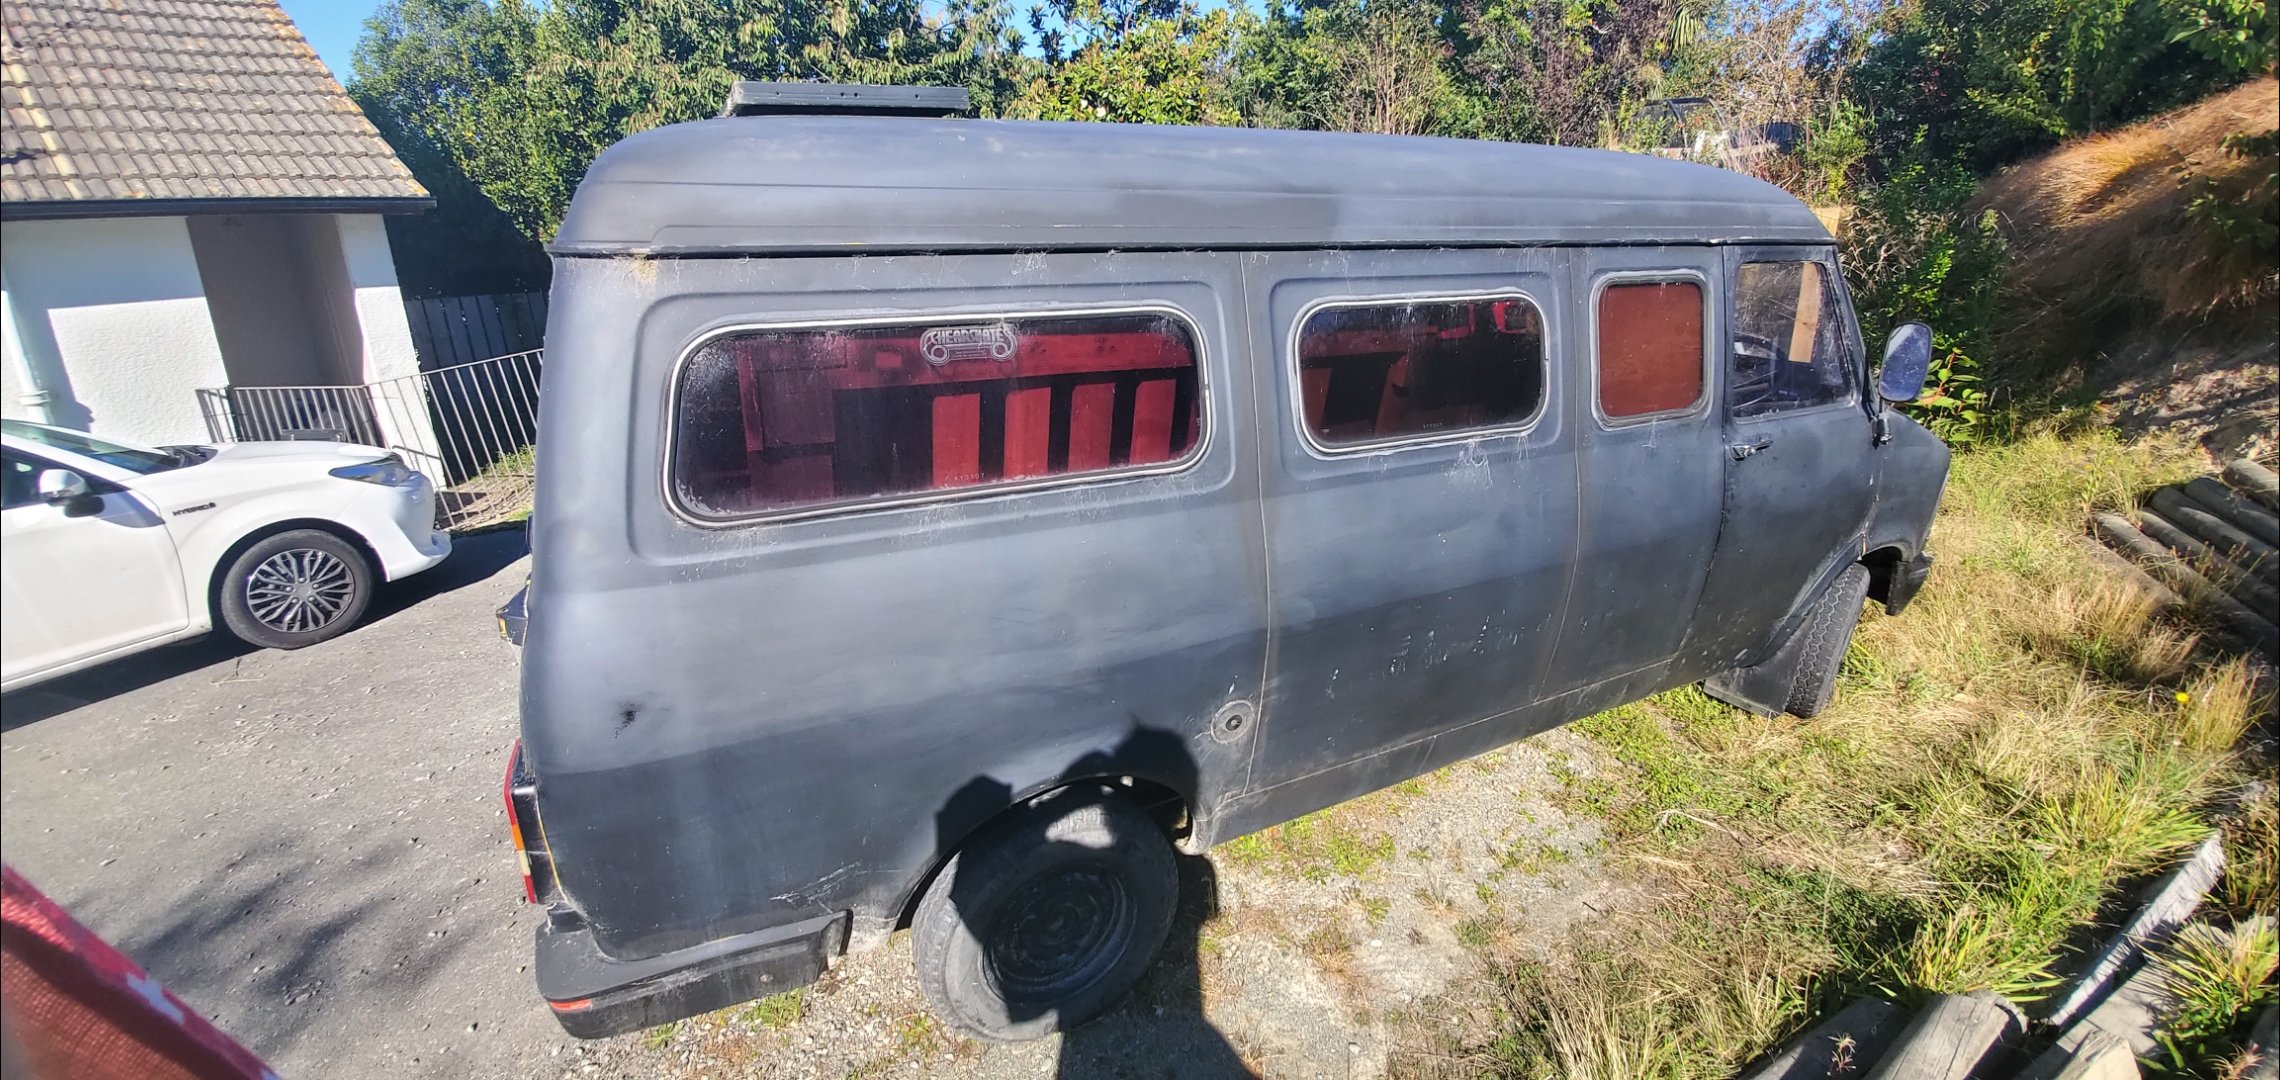
Got my hands on her finally. Went onto the trailer first pop and came off just as easily, then she made easy work of getting up the hill to where she's storing. Fun times ahead Didn't do too much today just pulled some interior crap but definitely got a running to do list already
7 points
-
Well I did sortof ease it in there, the header wrap had obviously never been run and started smoking like anything when I first got it running, then the idle kept creeping up when it got warm so I did a rough carb balance. Then I did a gentle(ish) run to see how it felt. Then I thought fuck it, I cant see why it wouldn't take it like it always had.... and it did.6 points
-
Yea it has that hard coming on cam sound that is pretty great irl. Gagging to get it legal and find some twisties....4 points
-
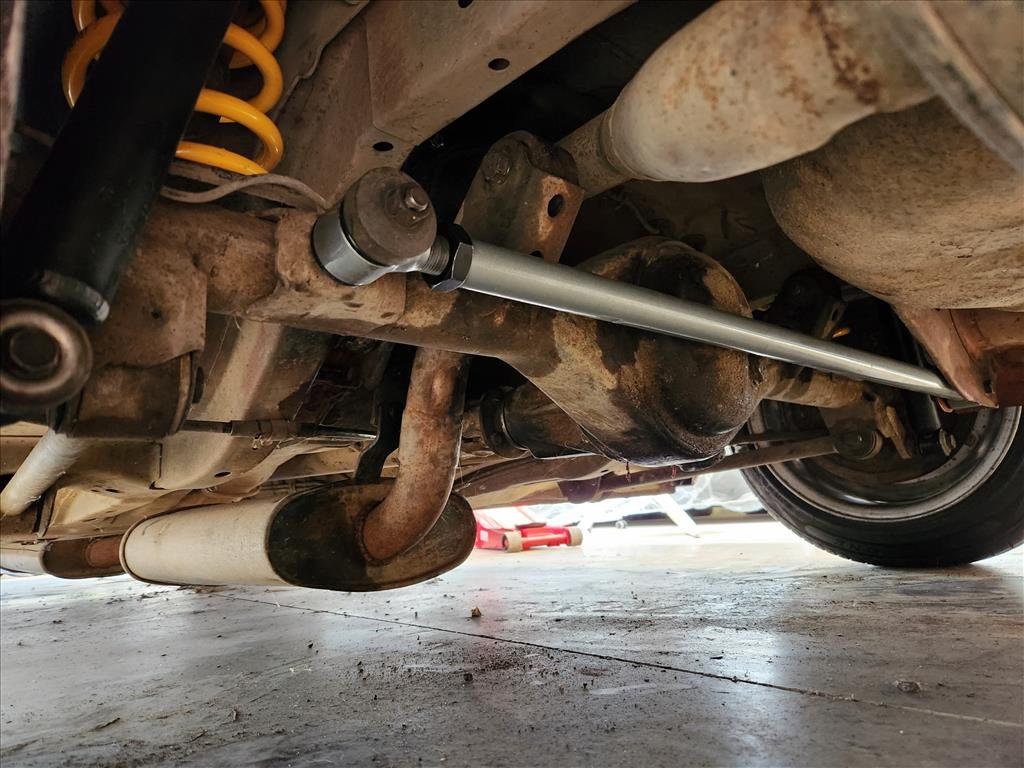
Trust me to turn a one hour job into two days. Ever since I had the SSR MK3s built there was some fender scraping on one side in the rear (which is why I decided to switch it up briefly and have one side swapped around front to back). This is partially because the rear arches are probably uneven and filled with bog and partially because I had the wheels built without measuring anything. Seeing as I was doing a Whiteline stock order I added one of their adjustable panhard rods and try to square up the rear diff. First issue was one of the nuts stripped threads so I had to cut that off and made a hash of it, then I was trying to do this job without unbolting the 4 control arms which meant the diff was super hard to move around so I gave up and went home to sleep off my hangover. Day 2 I straight away unbolted the four control arms and life was considerably easier. I need to get another castle nut to replace the one I cut off but otherwise it's on now. Also a little bonus is the control arm bushes appear to have been replaced so they're still nice. Seems like I was also adjusting it the wrong way so rectified that and I think it's about even on both sides now. Keeping in mind the guards are filled with bog so also not really even. I was thinking about doing a slight one way height adjust on the rear but might leave it for now until car is back to driving and see how the clearance is. Long term plan is not to use those wheels anyway.
4 points
-
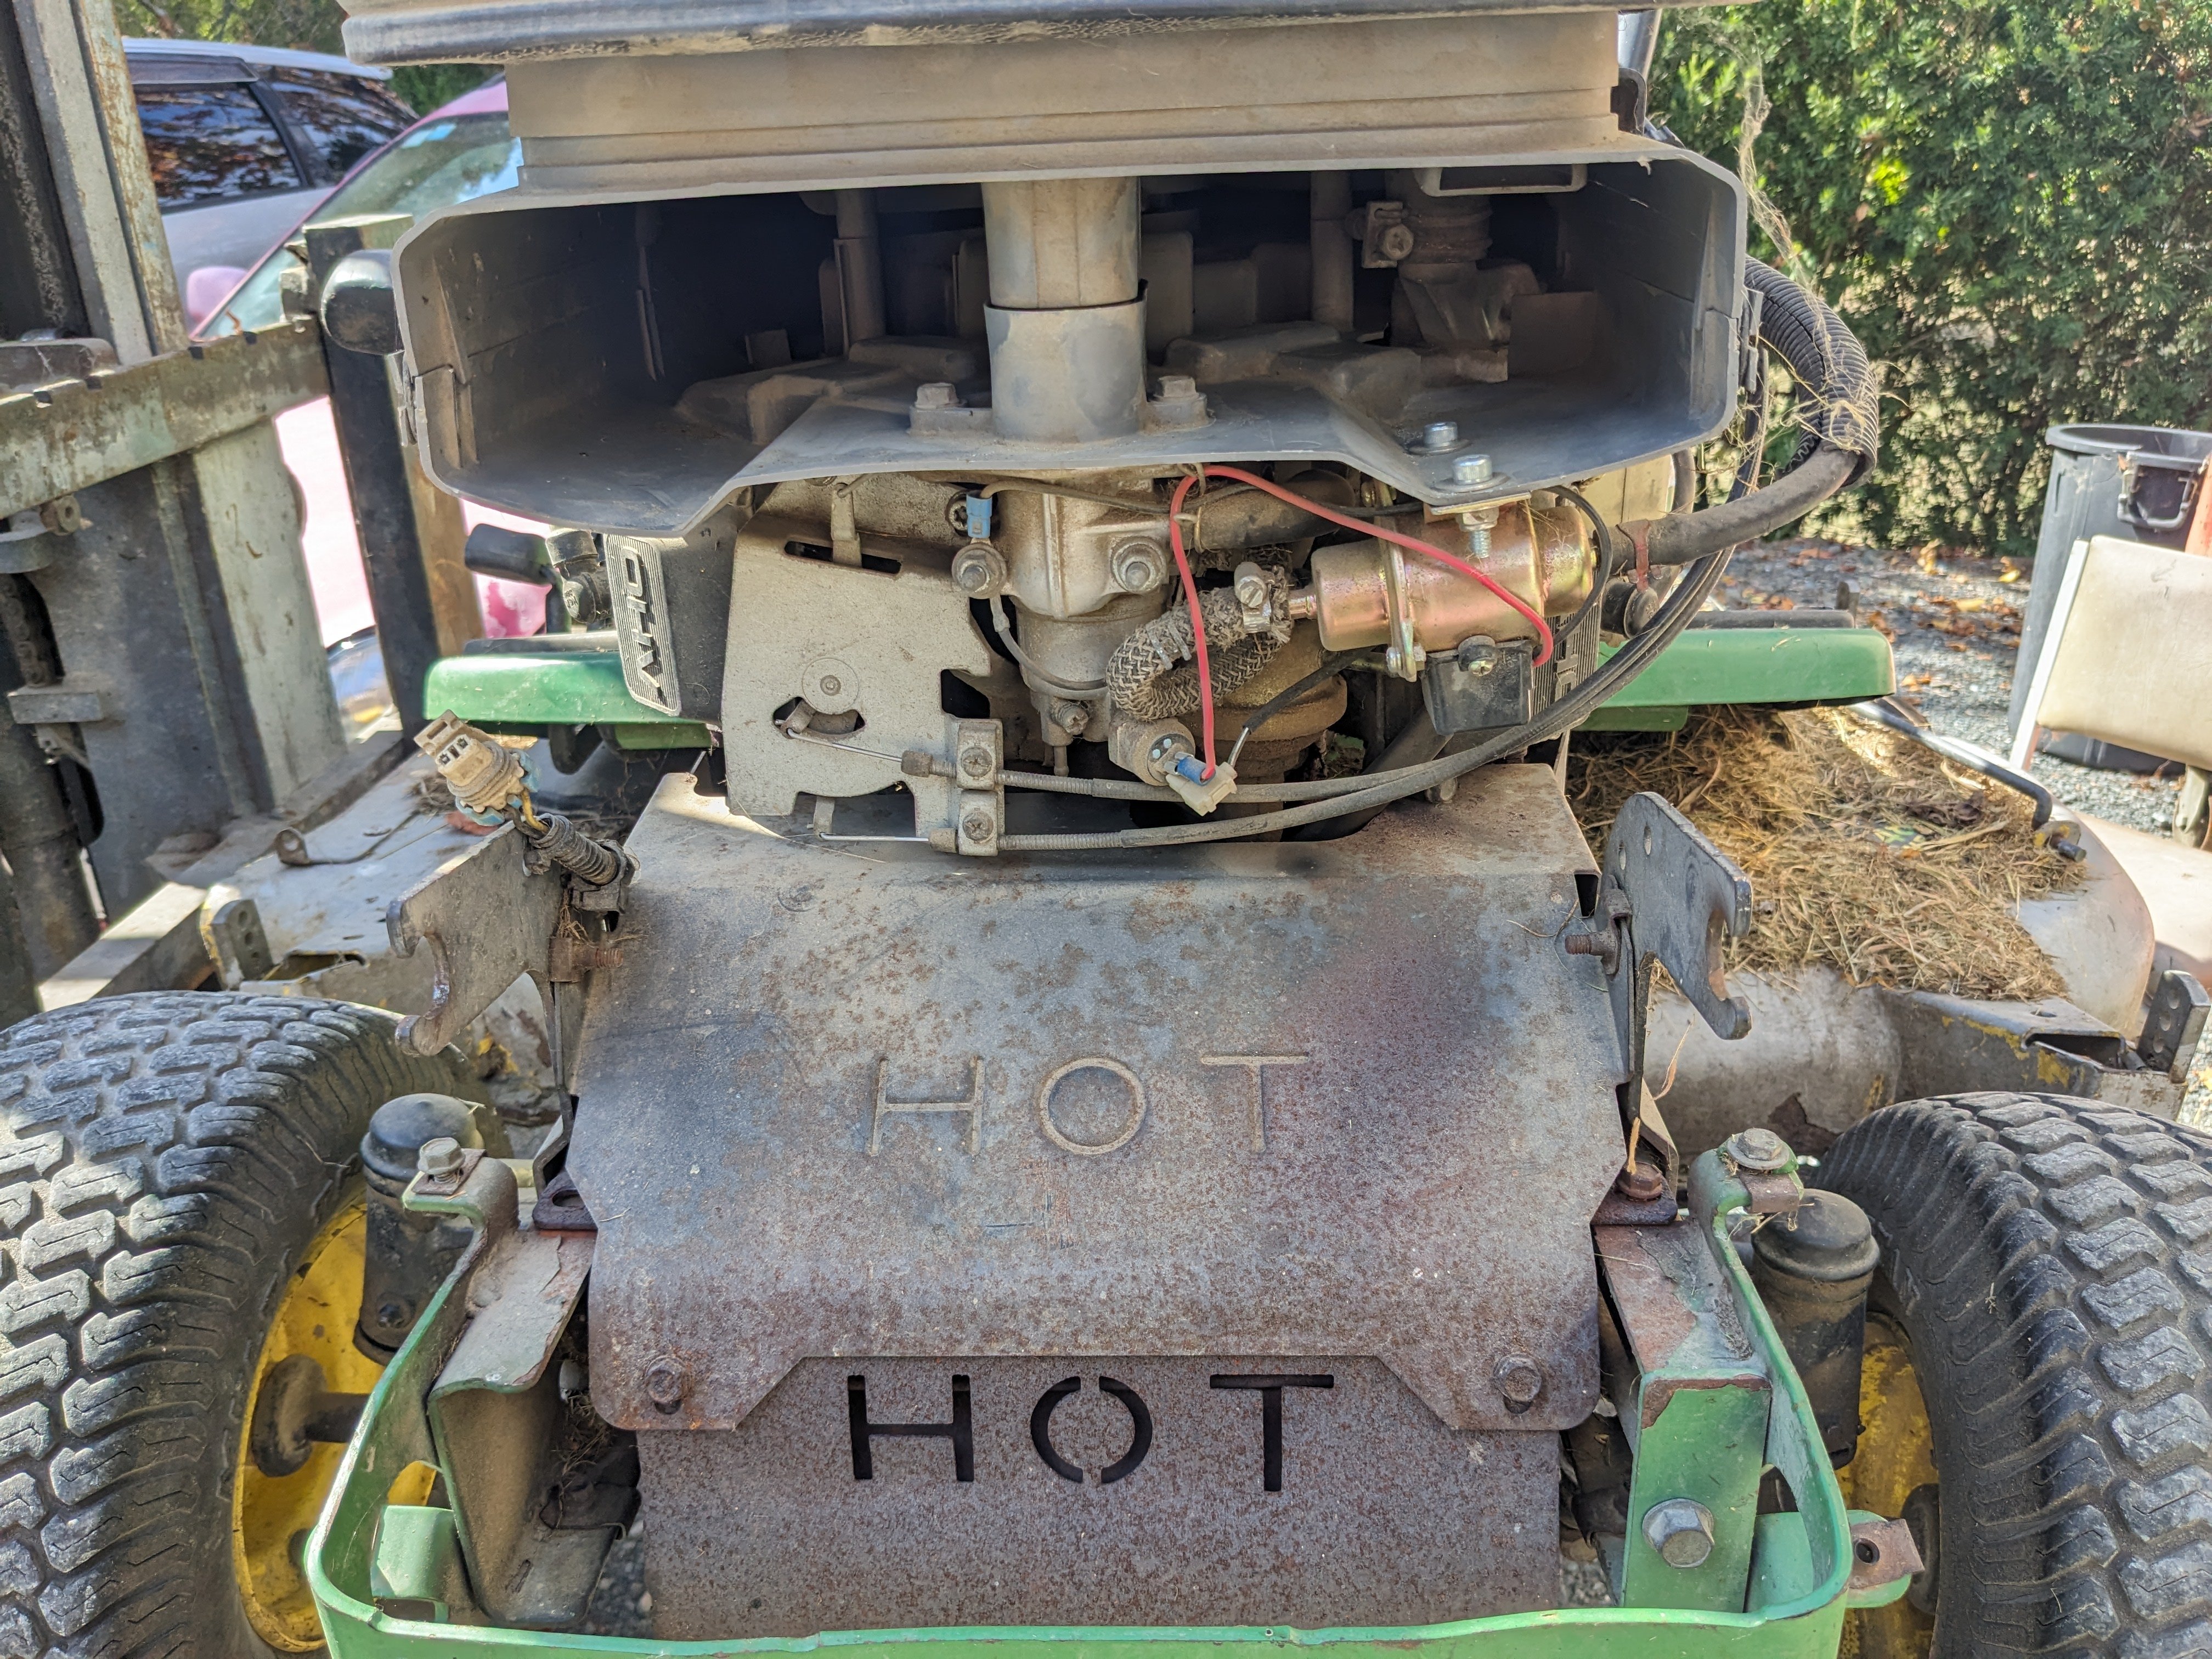
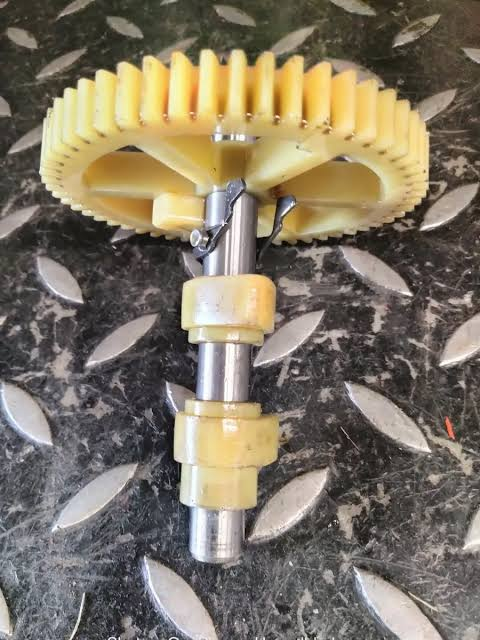
Then I remembered the shitty fuel pump that I hacked into my ride-on a couple of years ago cos it was way too much money to buy OEM; Then naturally this; Dunno what the crackly business is, nevertheless it sounds glorious.
4 points
-
Sounds like only Italian cars can, well done!3 points
-
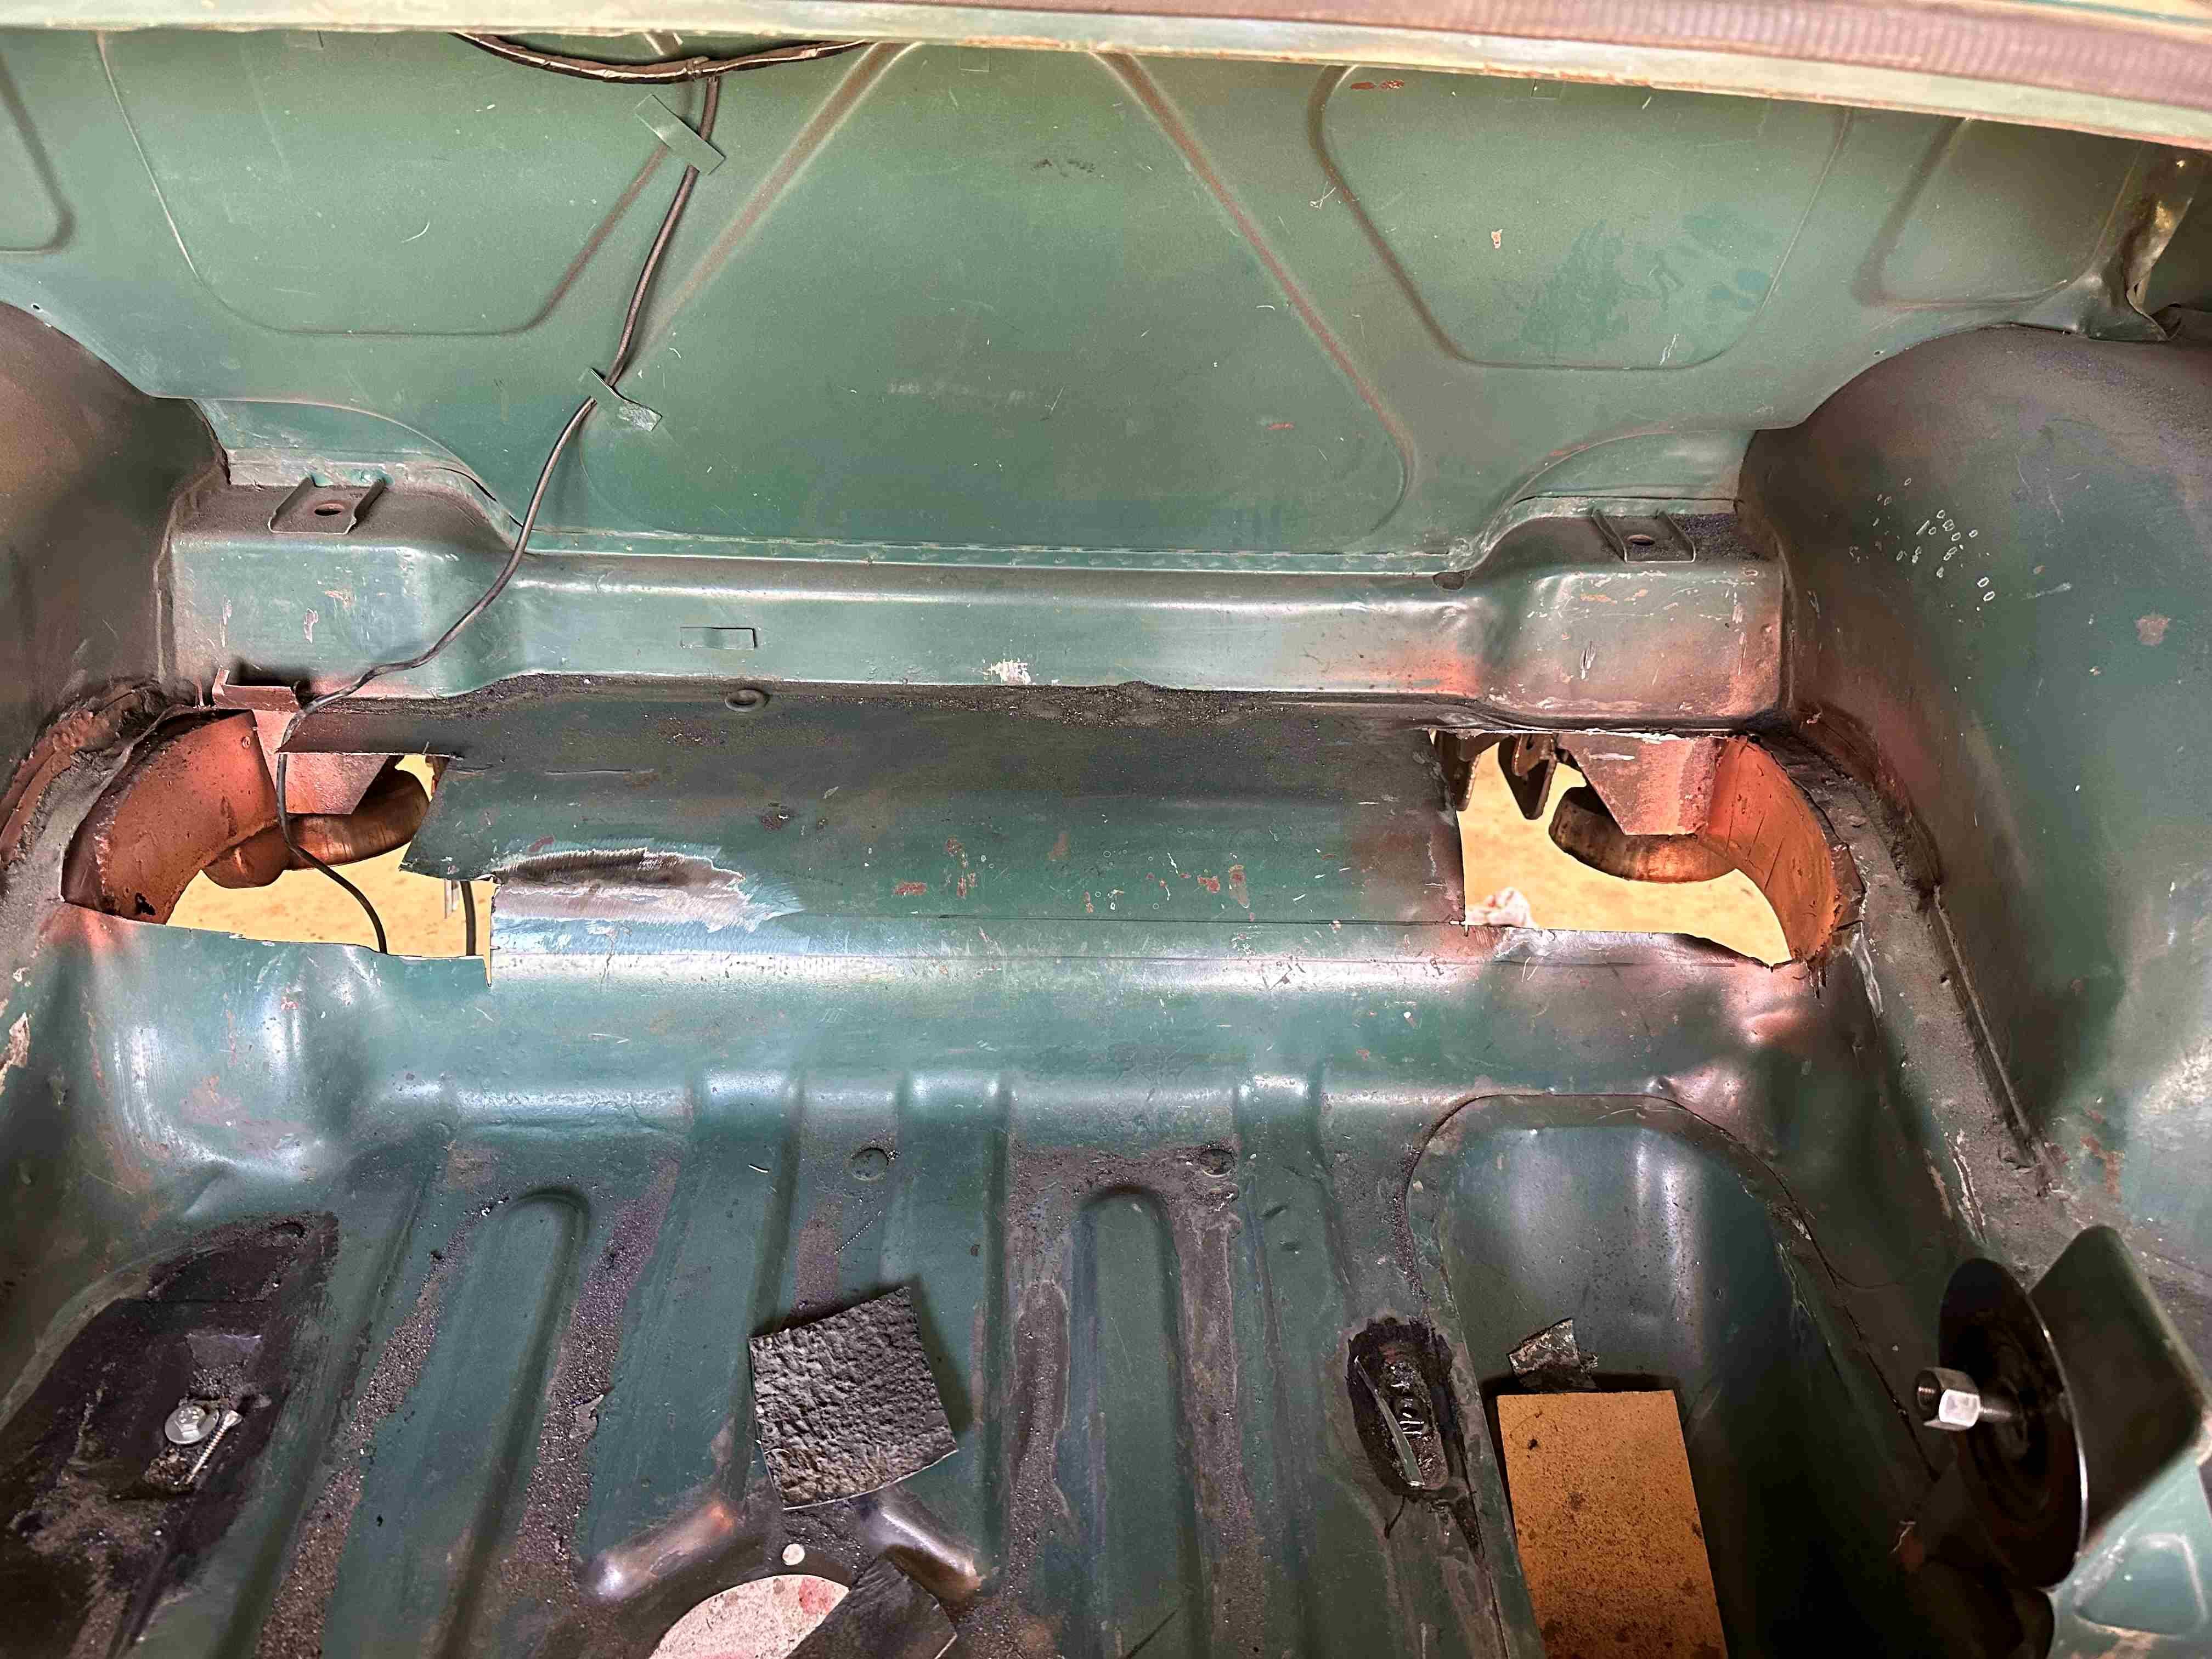
Latest patch panel
3 points
-
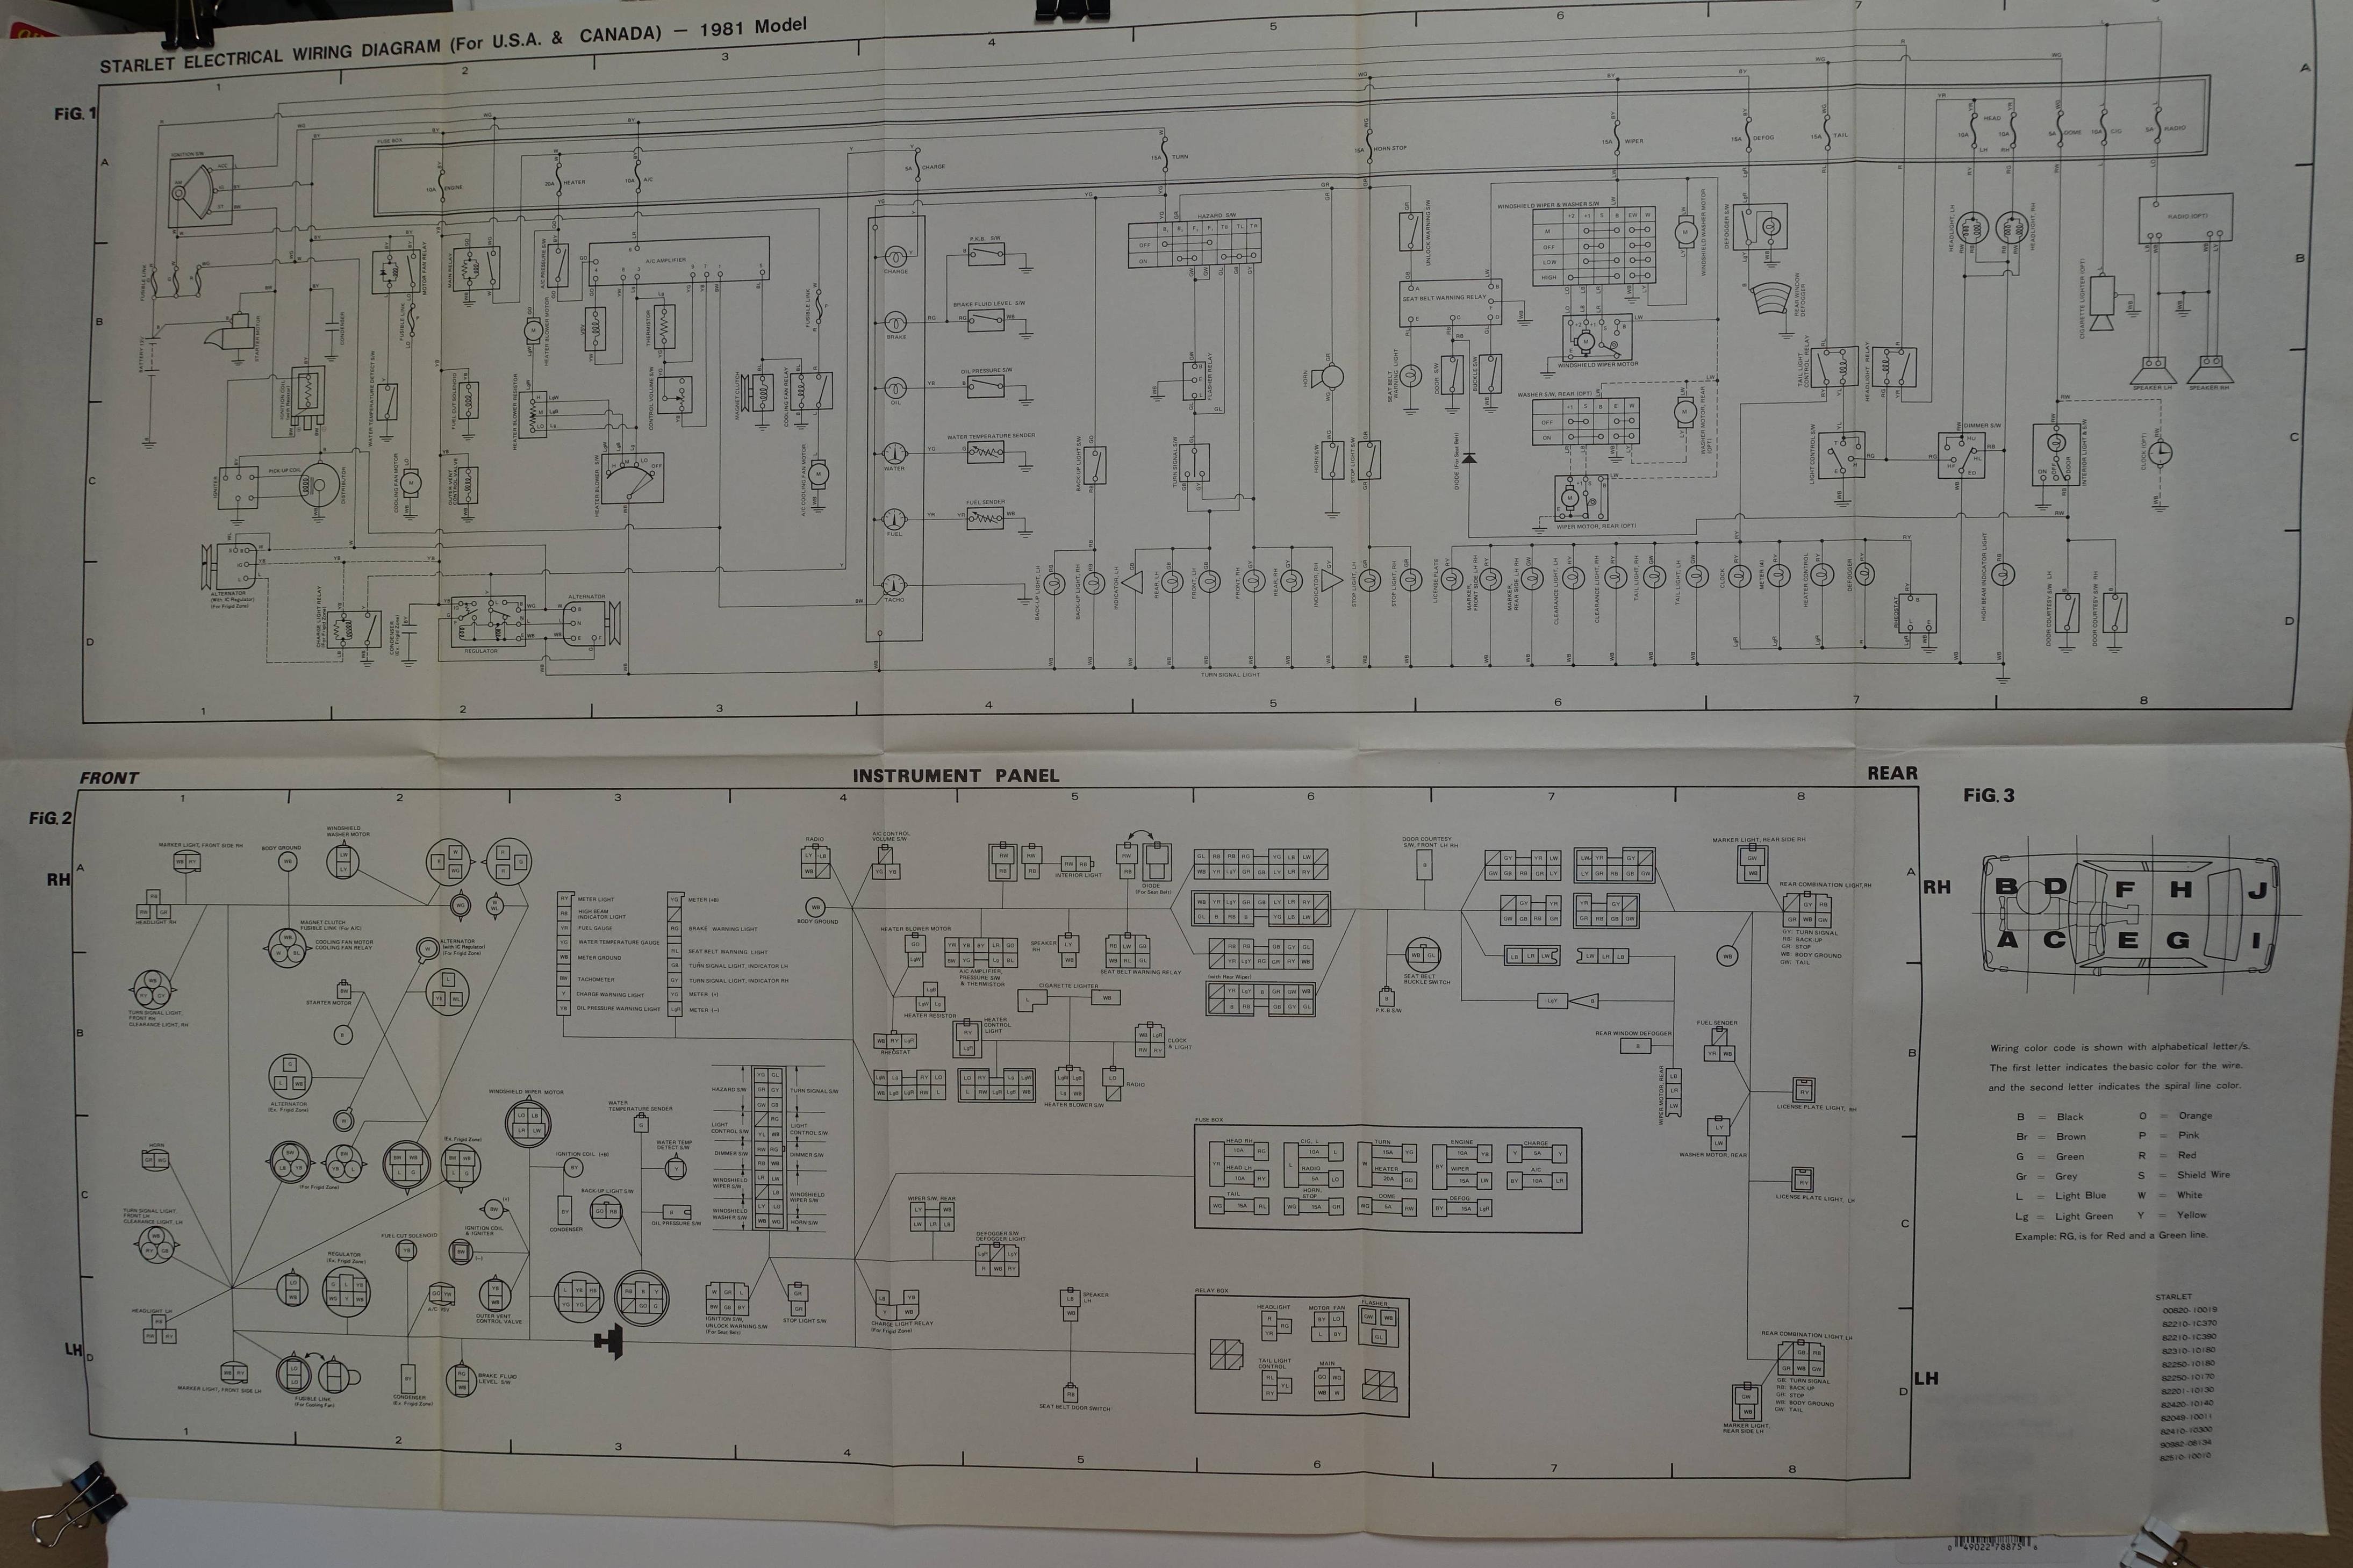
For anyone looking for a KP Starlet wiring diagram that seems to be correct. No idea where on my travels I found this.
3 points
-
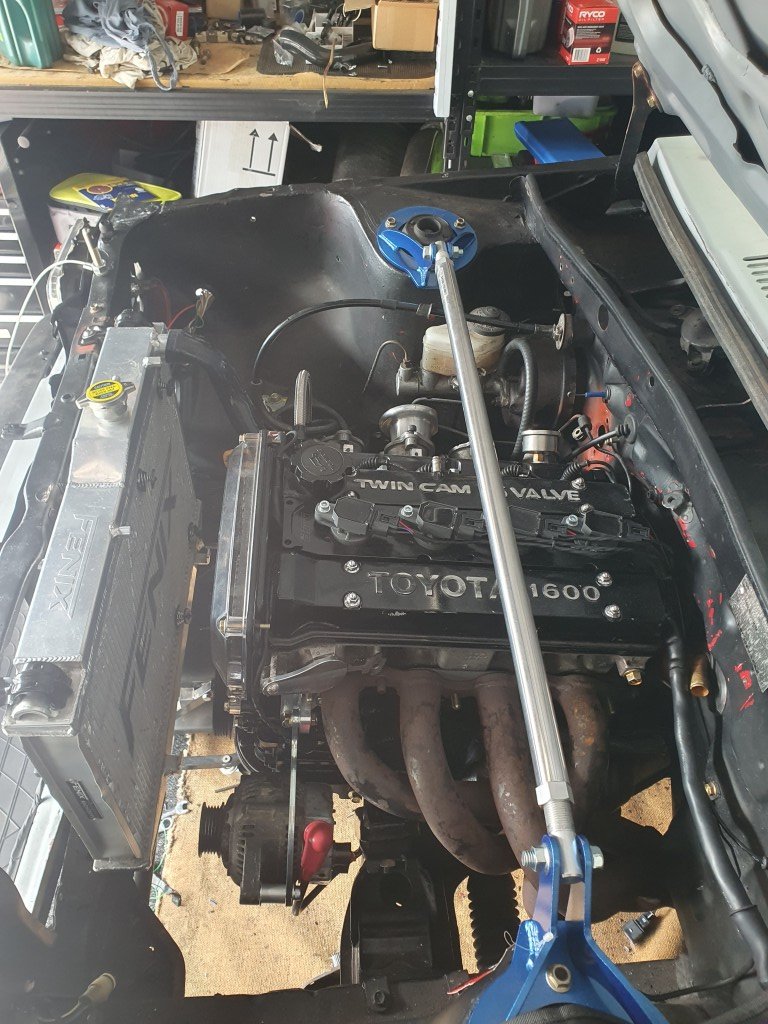
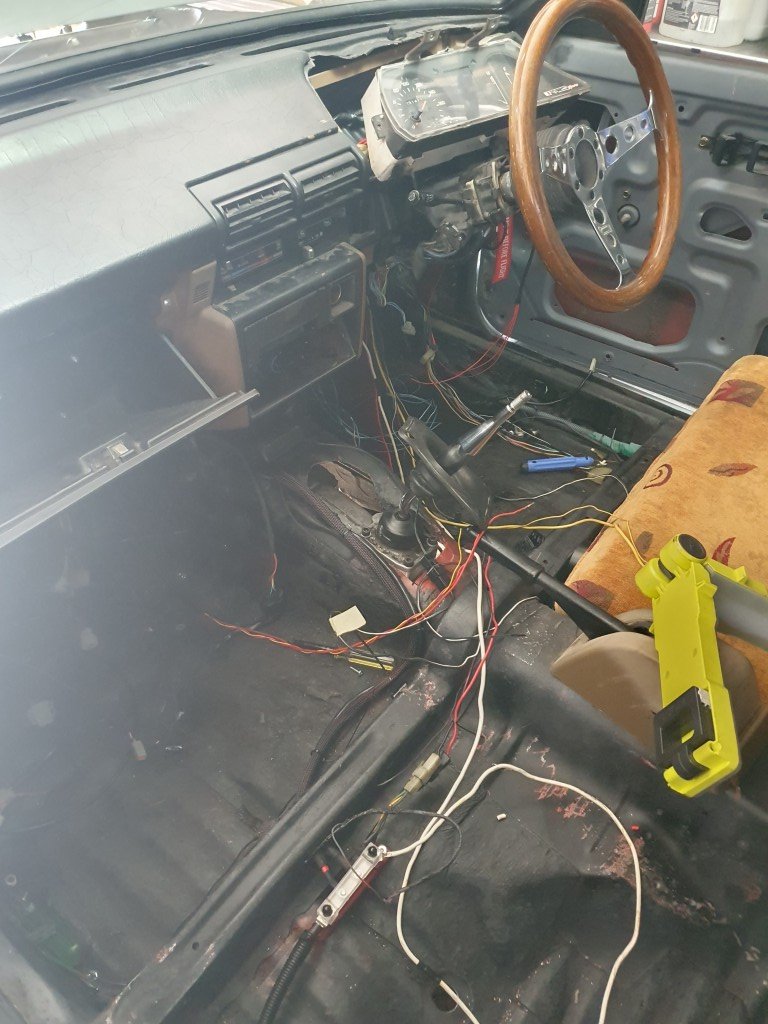
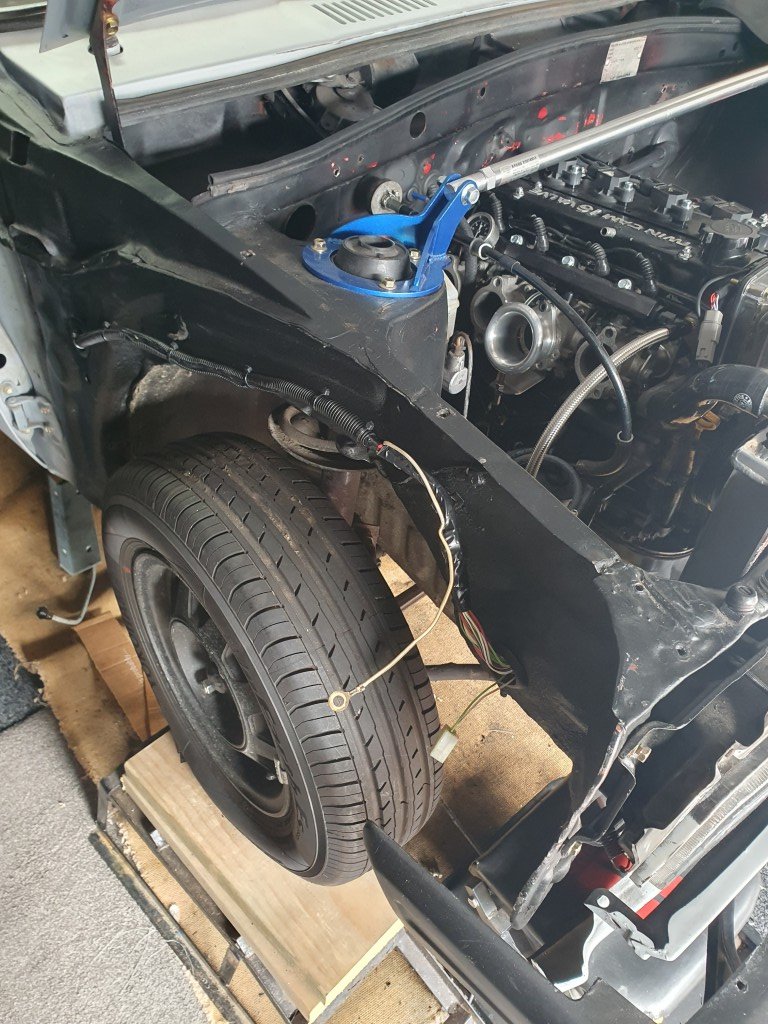
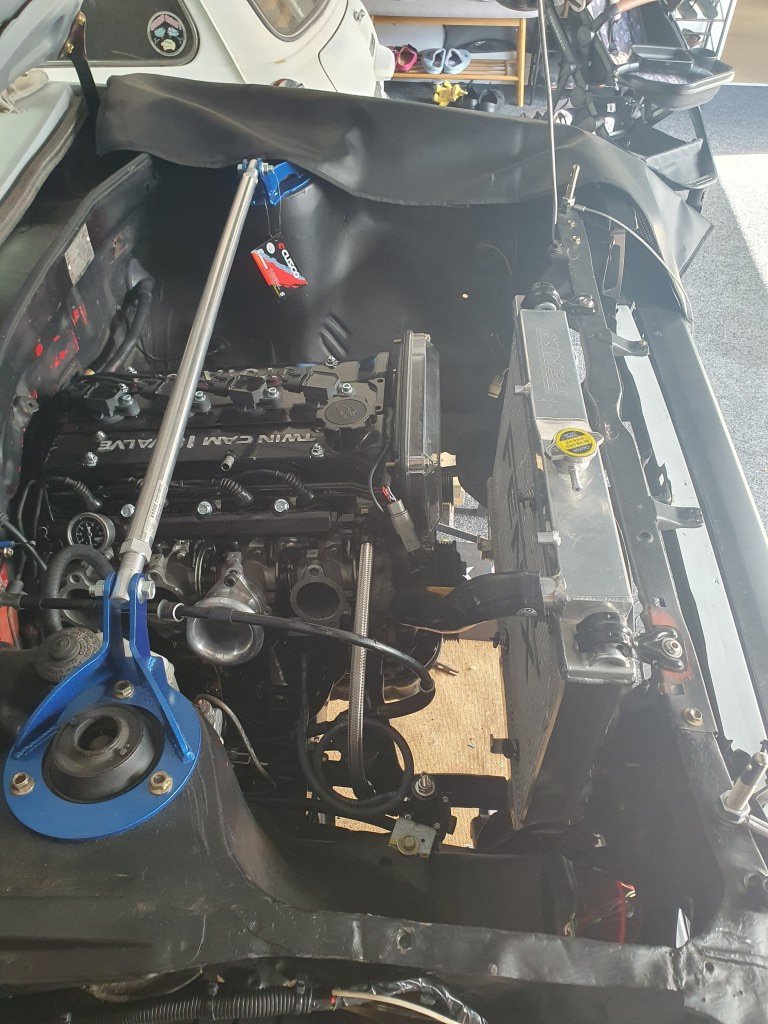
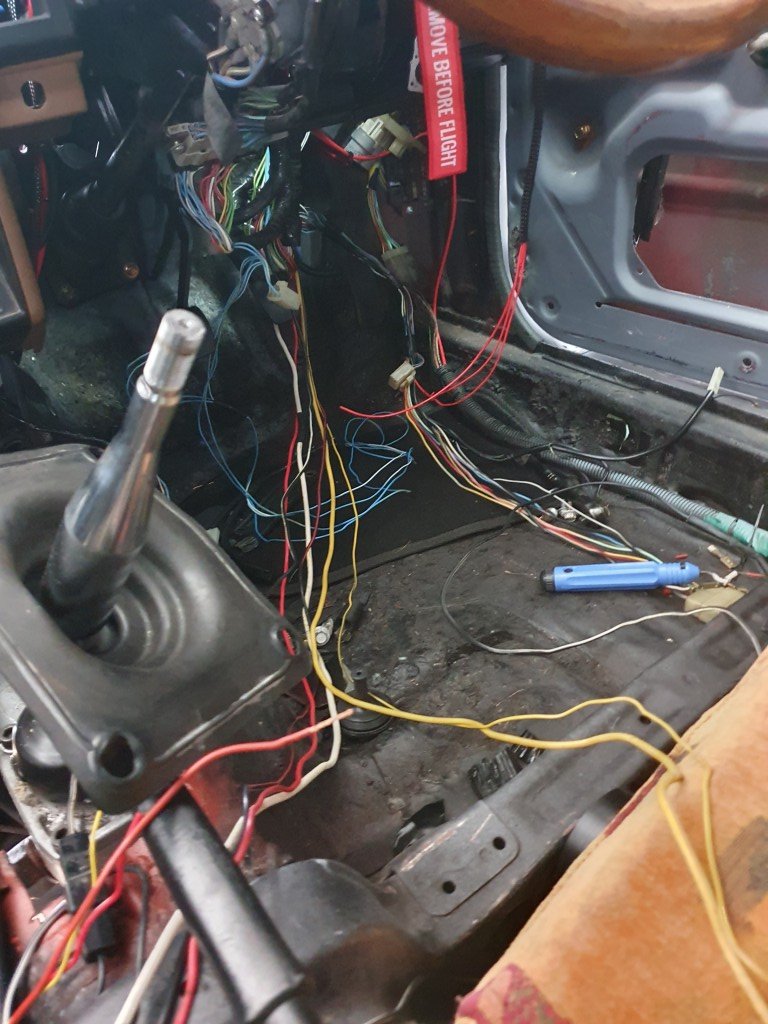
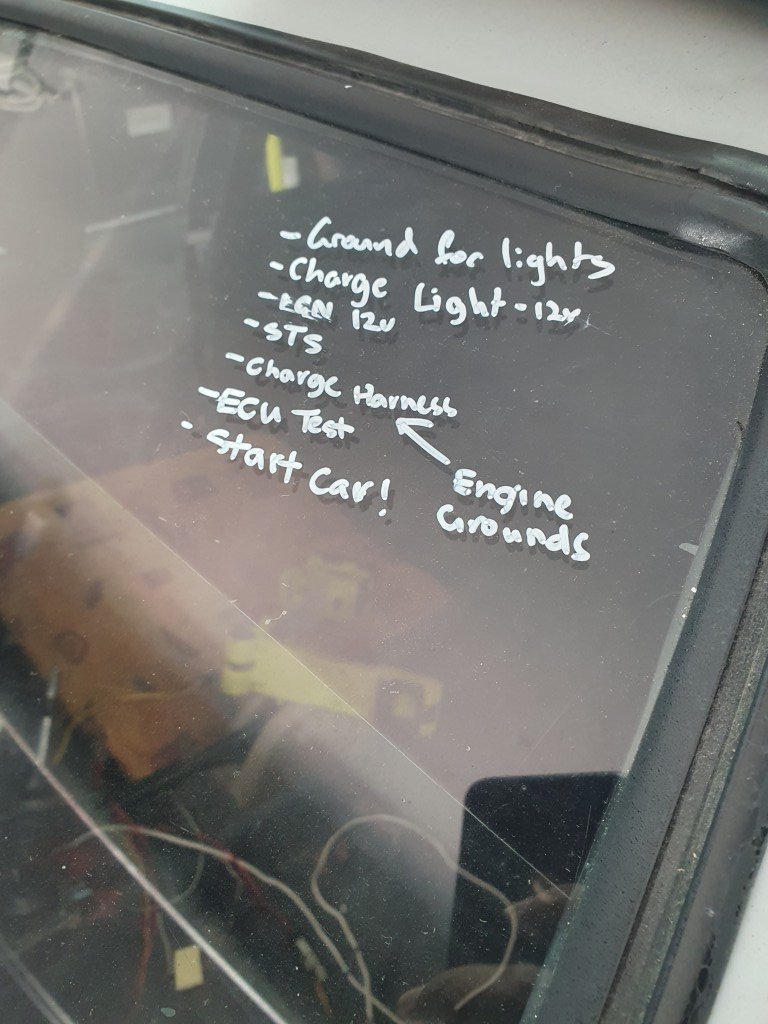
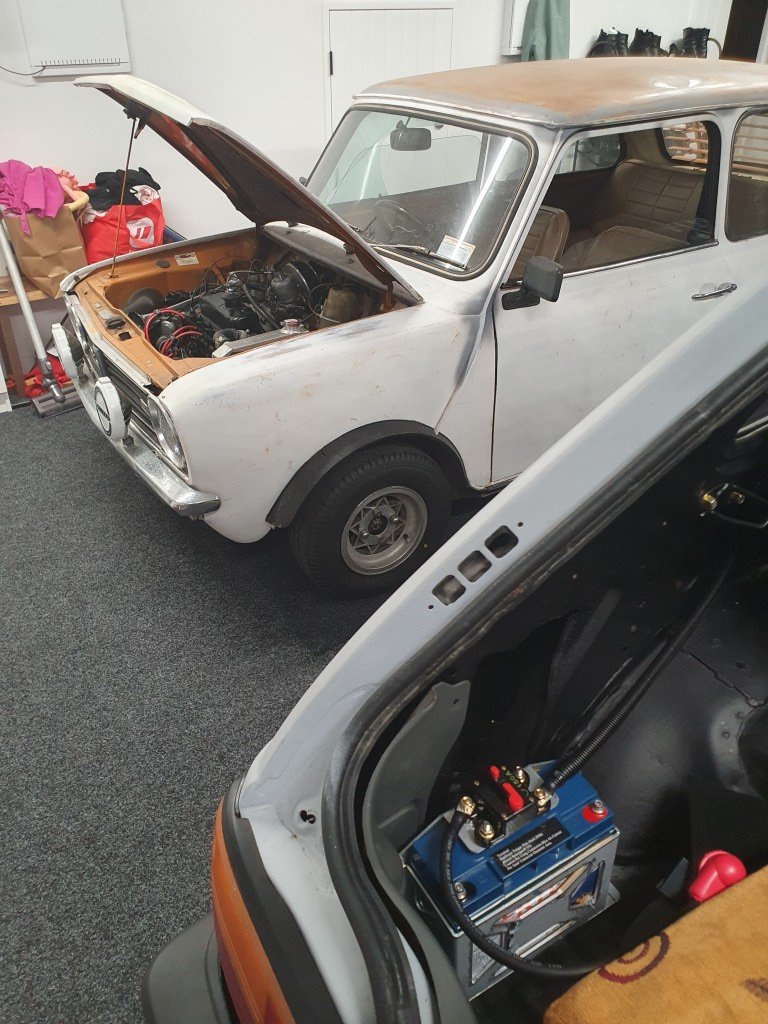
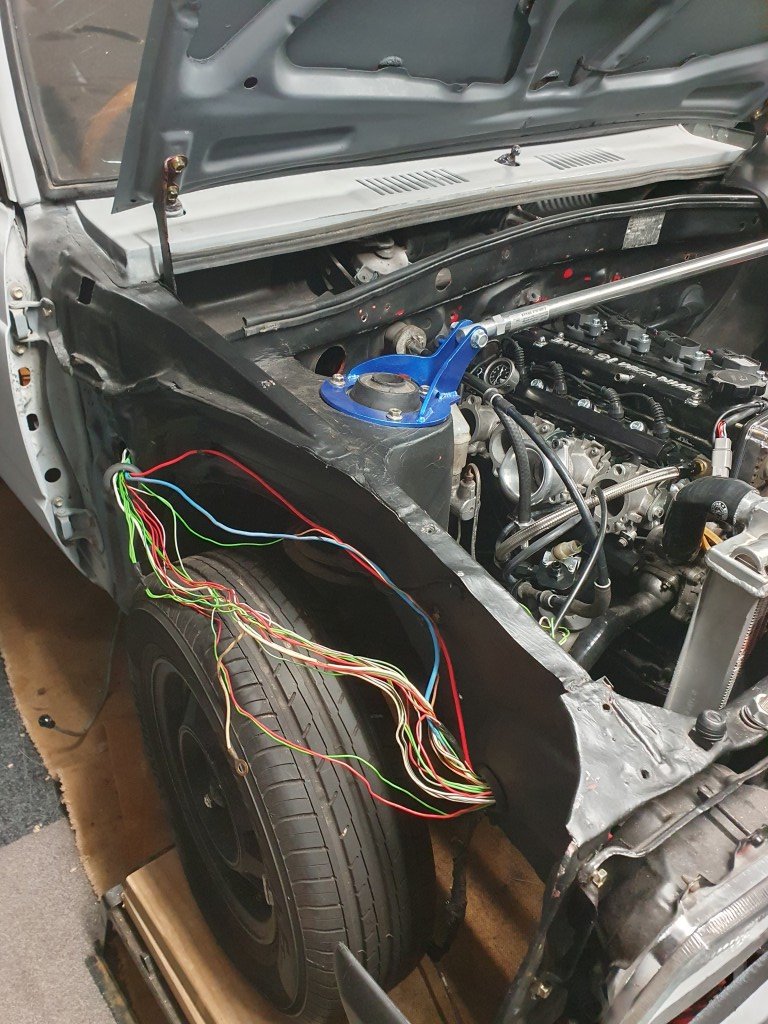
Decent update: ECU basically all wired in, just the wideband to go and a few bits to go. We've turned the car over which is huge! Will go for a start shortly. Semi wire tuck has gone well, just a few bits to tidy up. I've learned a thing or two for next time. Theres not many good wiring diagrams out there for KPs. I thought being around as long as they have been with numerous 4AGE swaps that there would be more accessible information out there. Before and after: Just some small amount of body loom that will be showing in the engine bay. Itll be hidden by the coolant tank anyways. The Mini is back in the garage, after a once over and some new tyres she runs mint! @mk2marty and I had a good night hoon. Really need to get onto paint prep, but time is scarce.
3 points
-
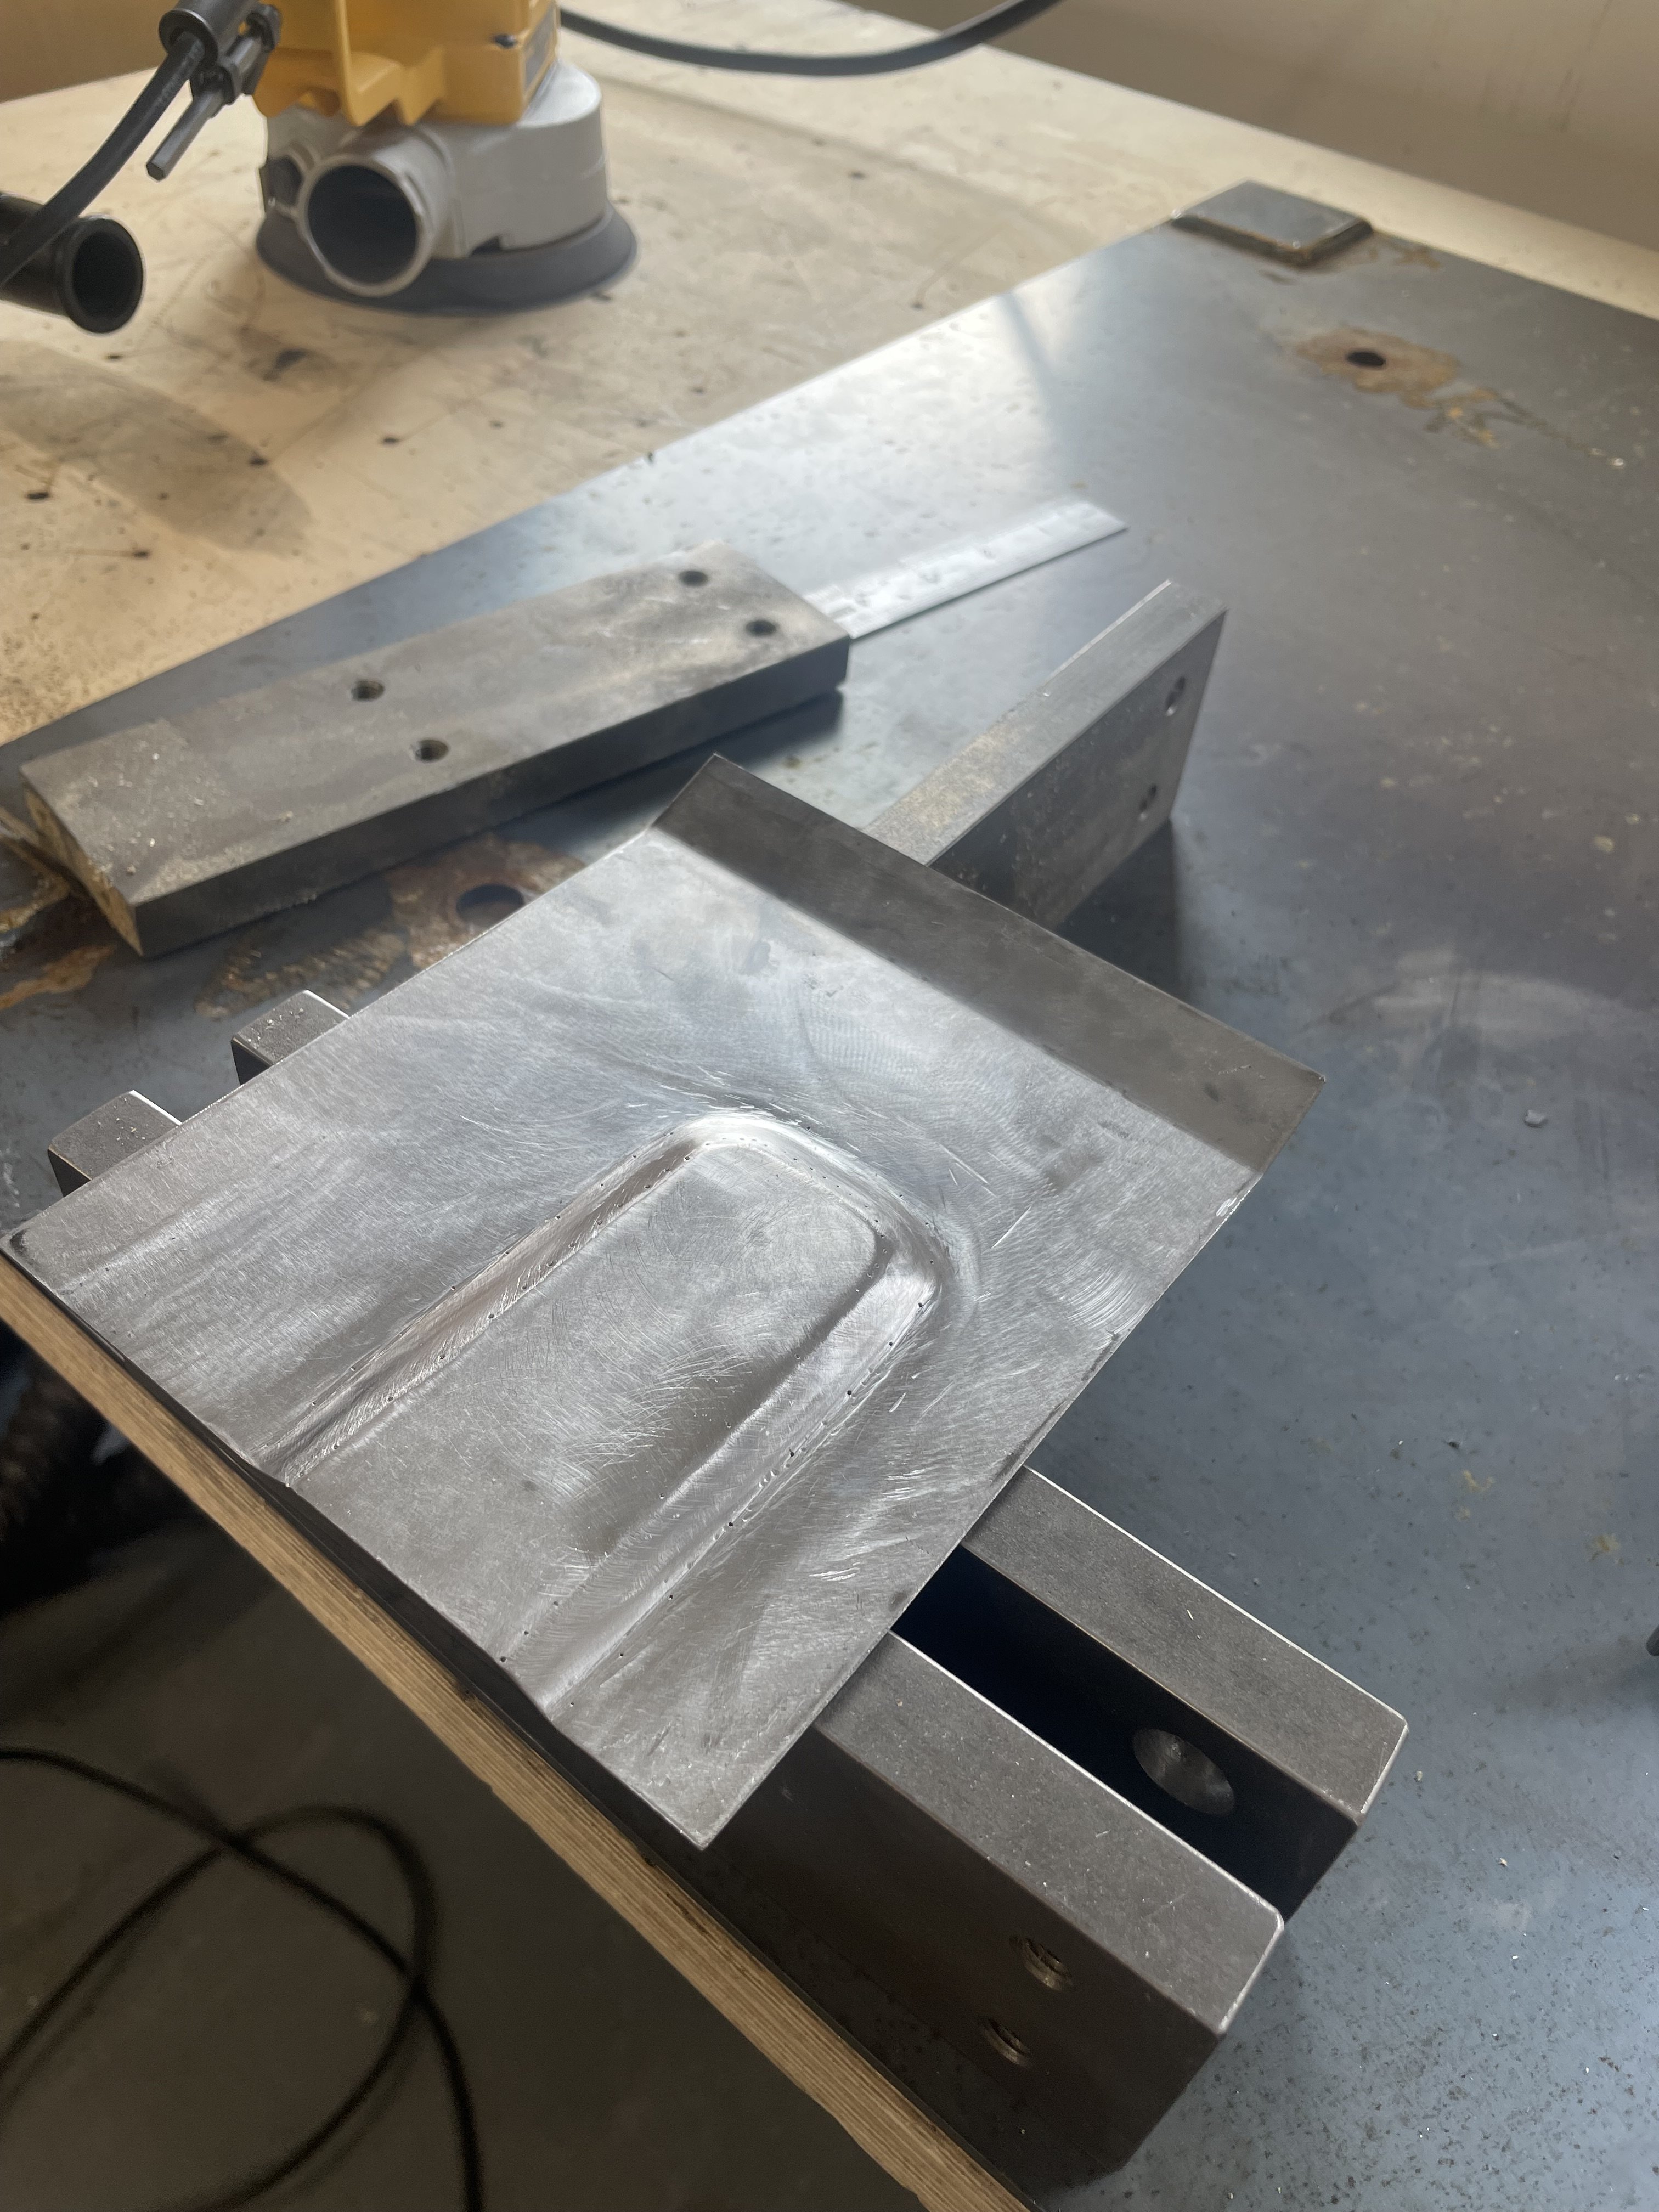
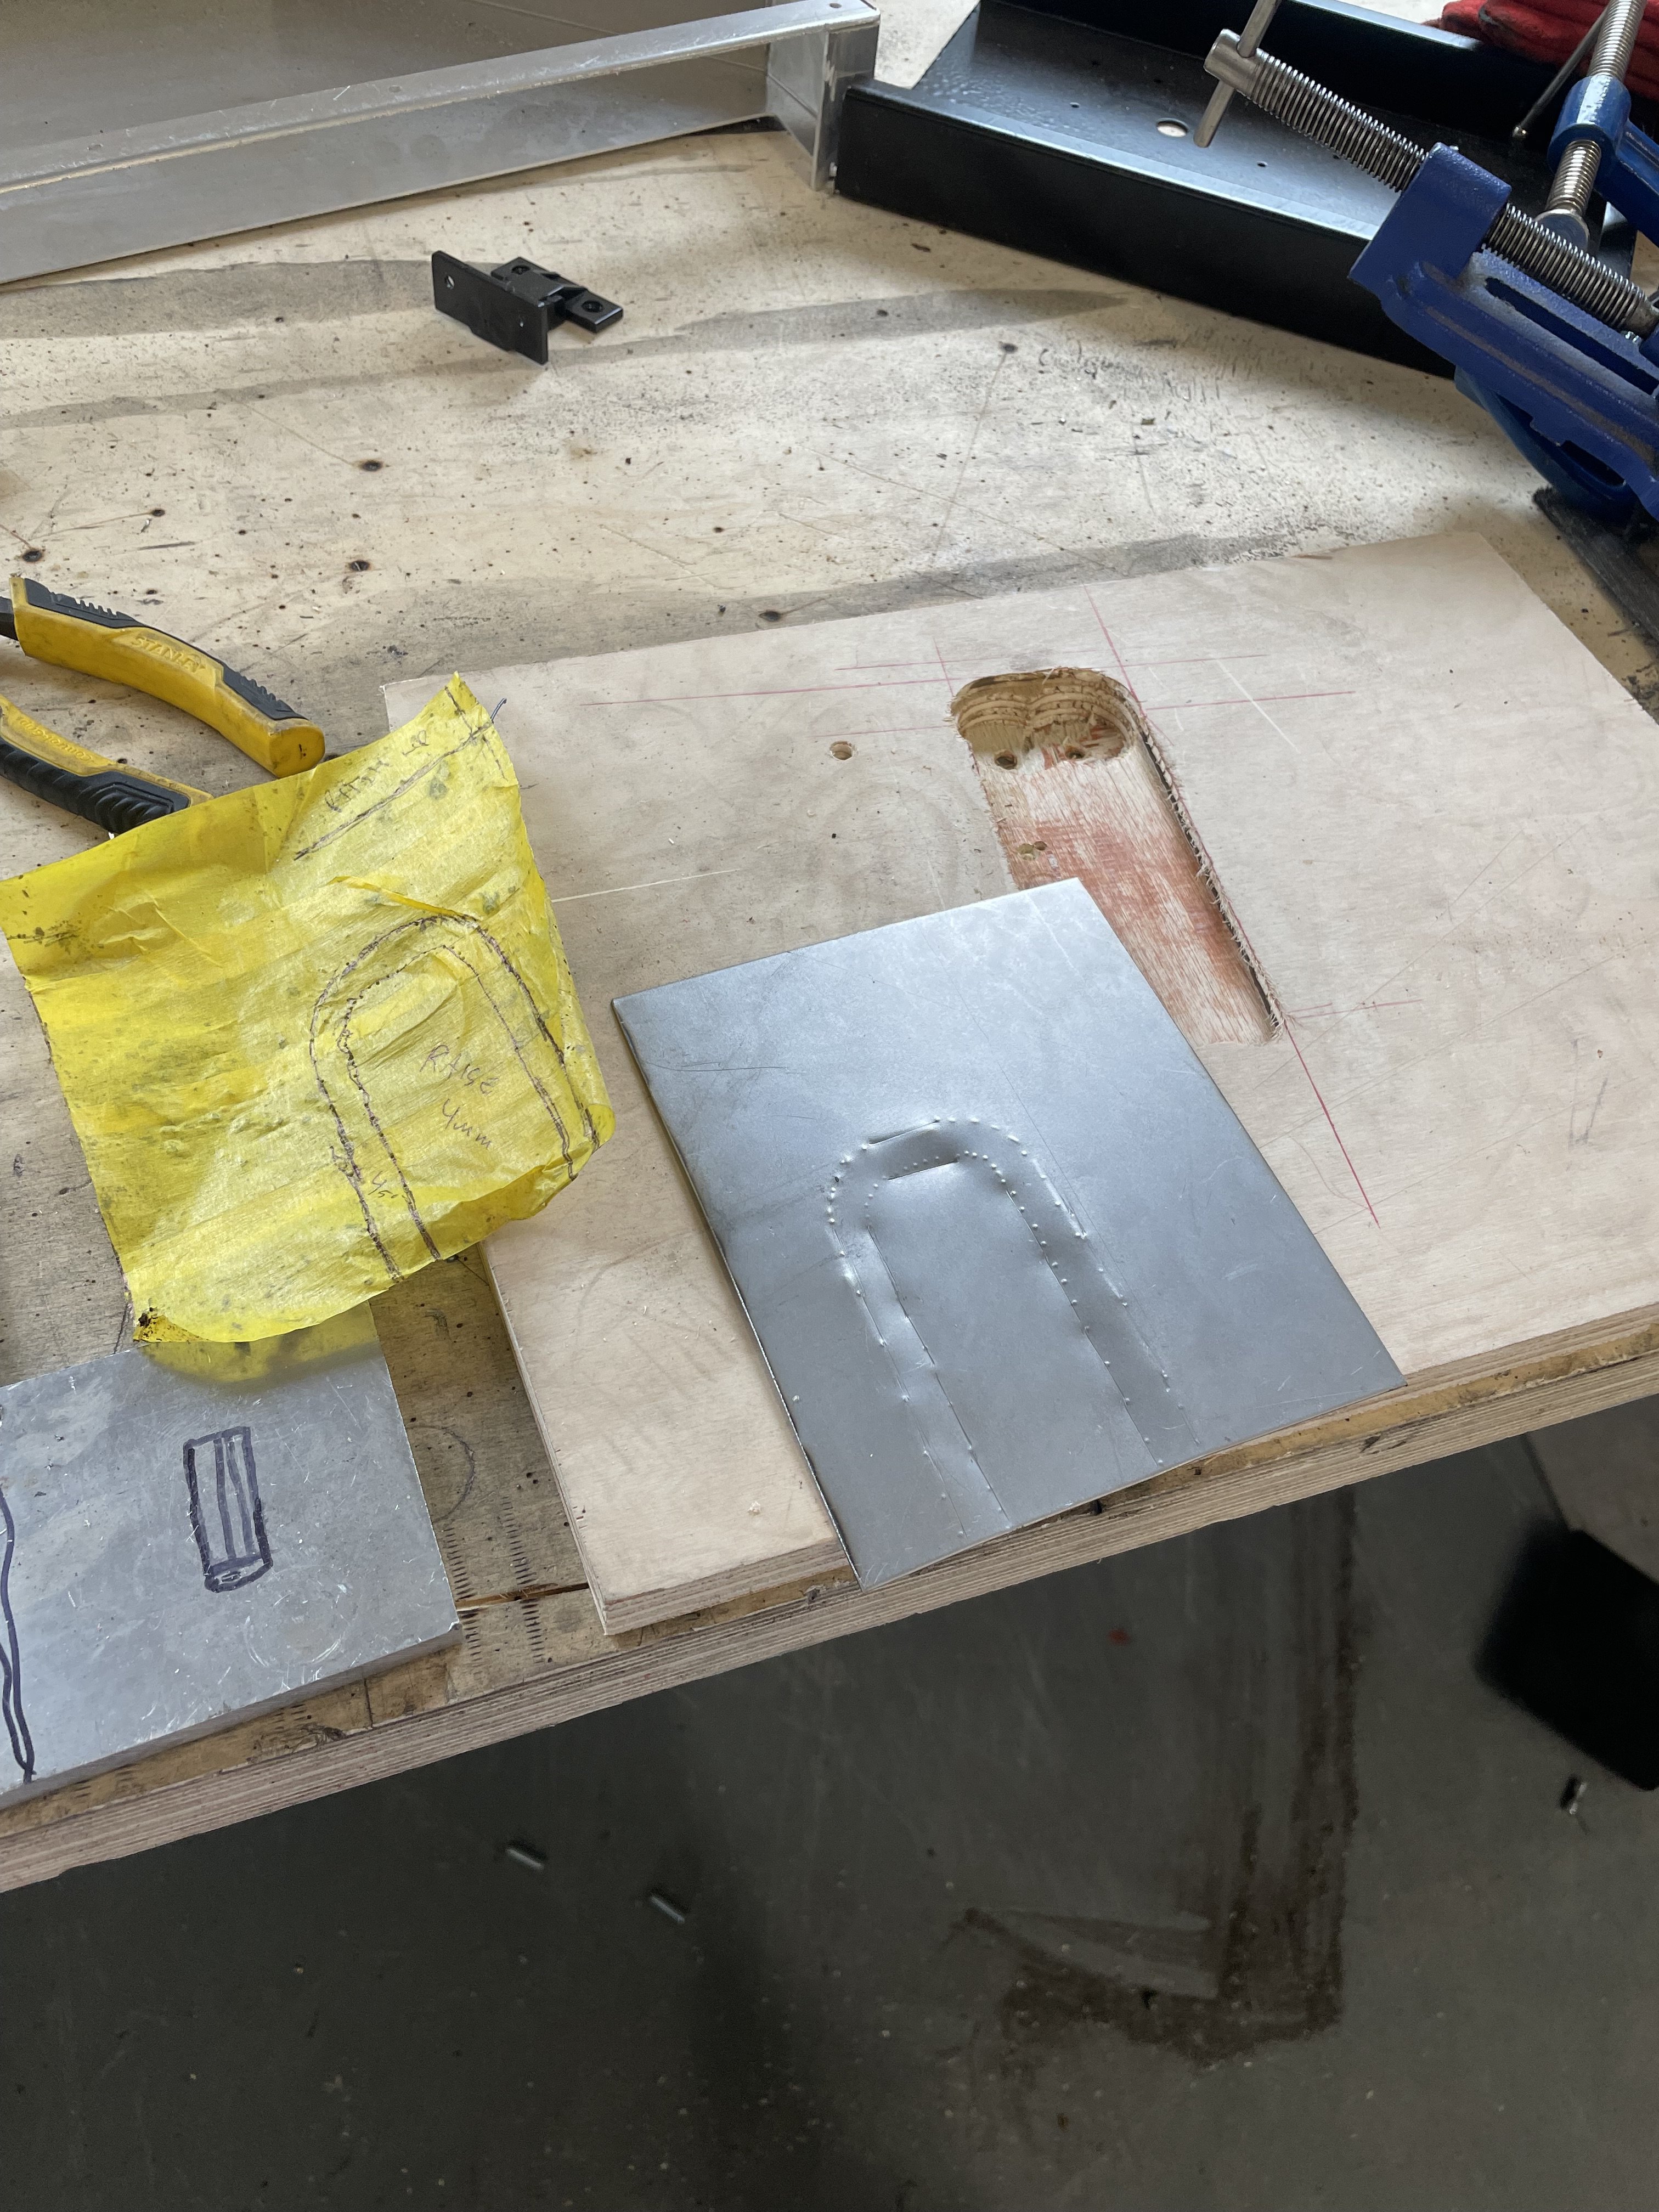
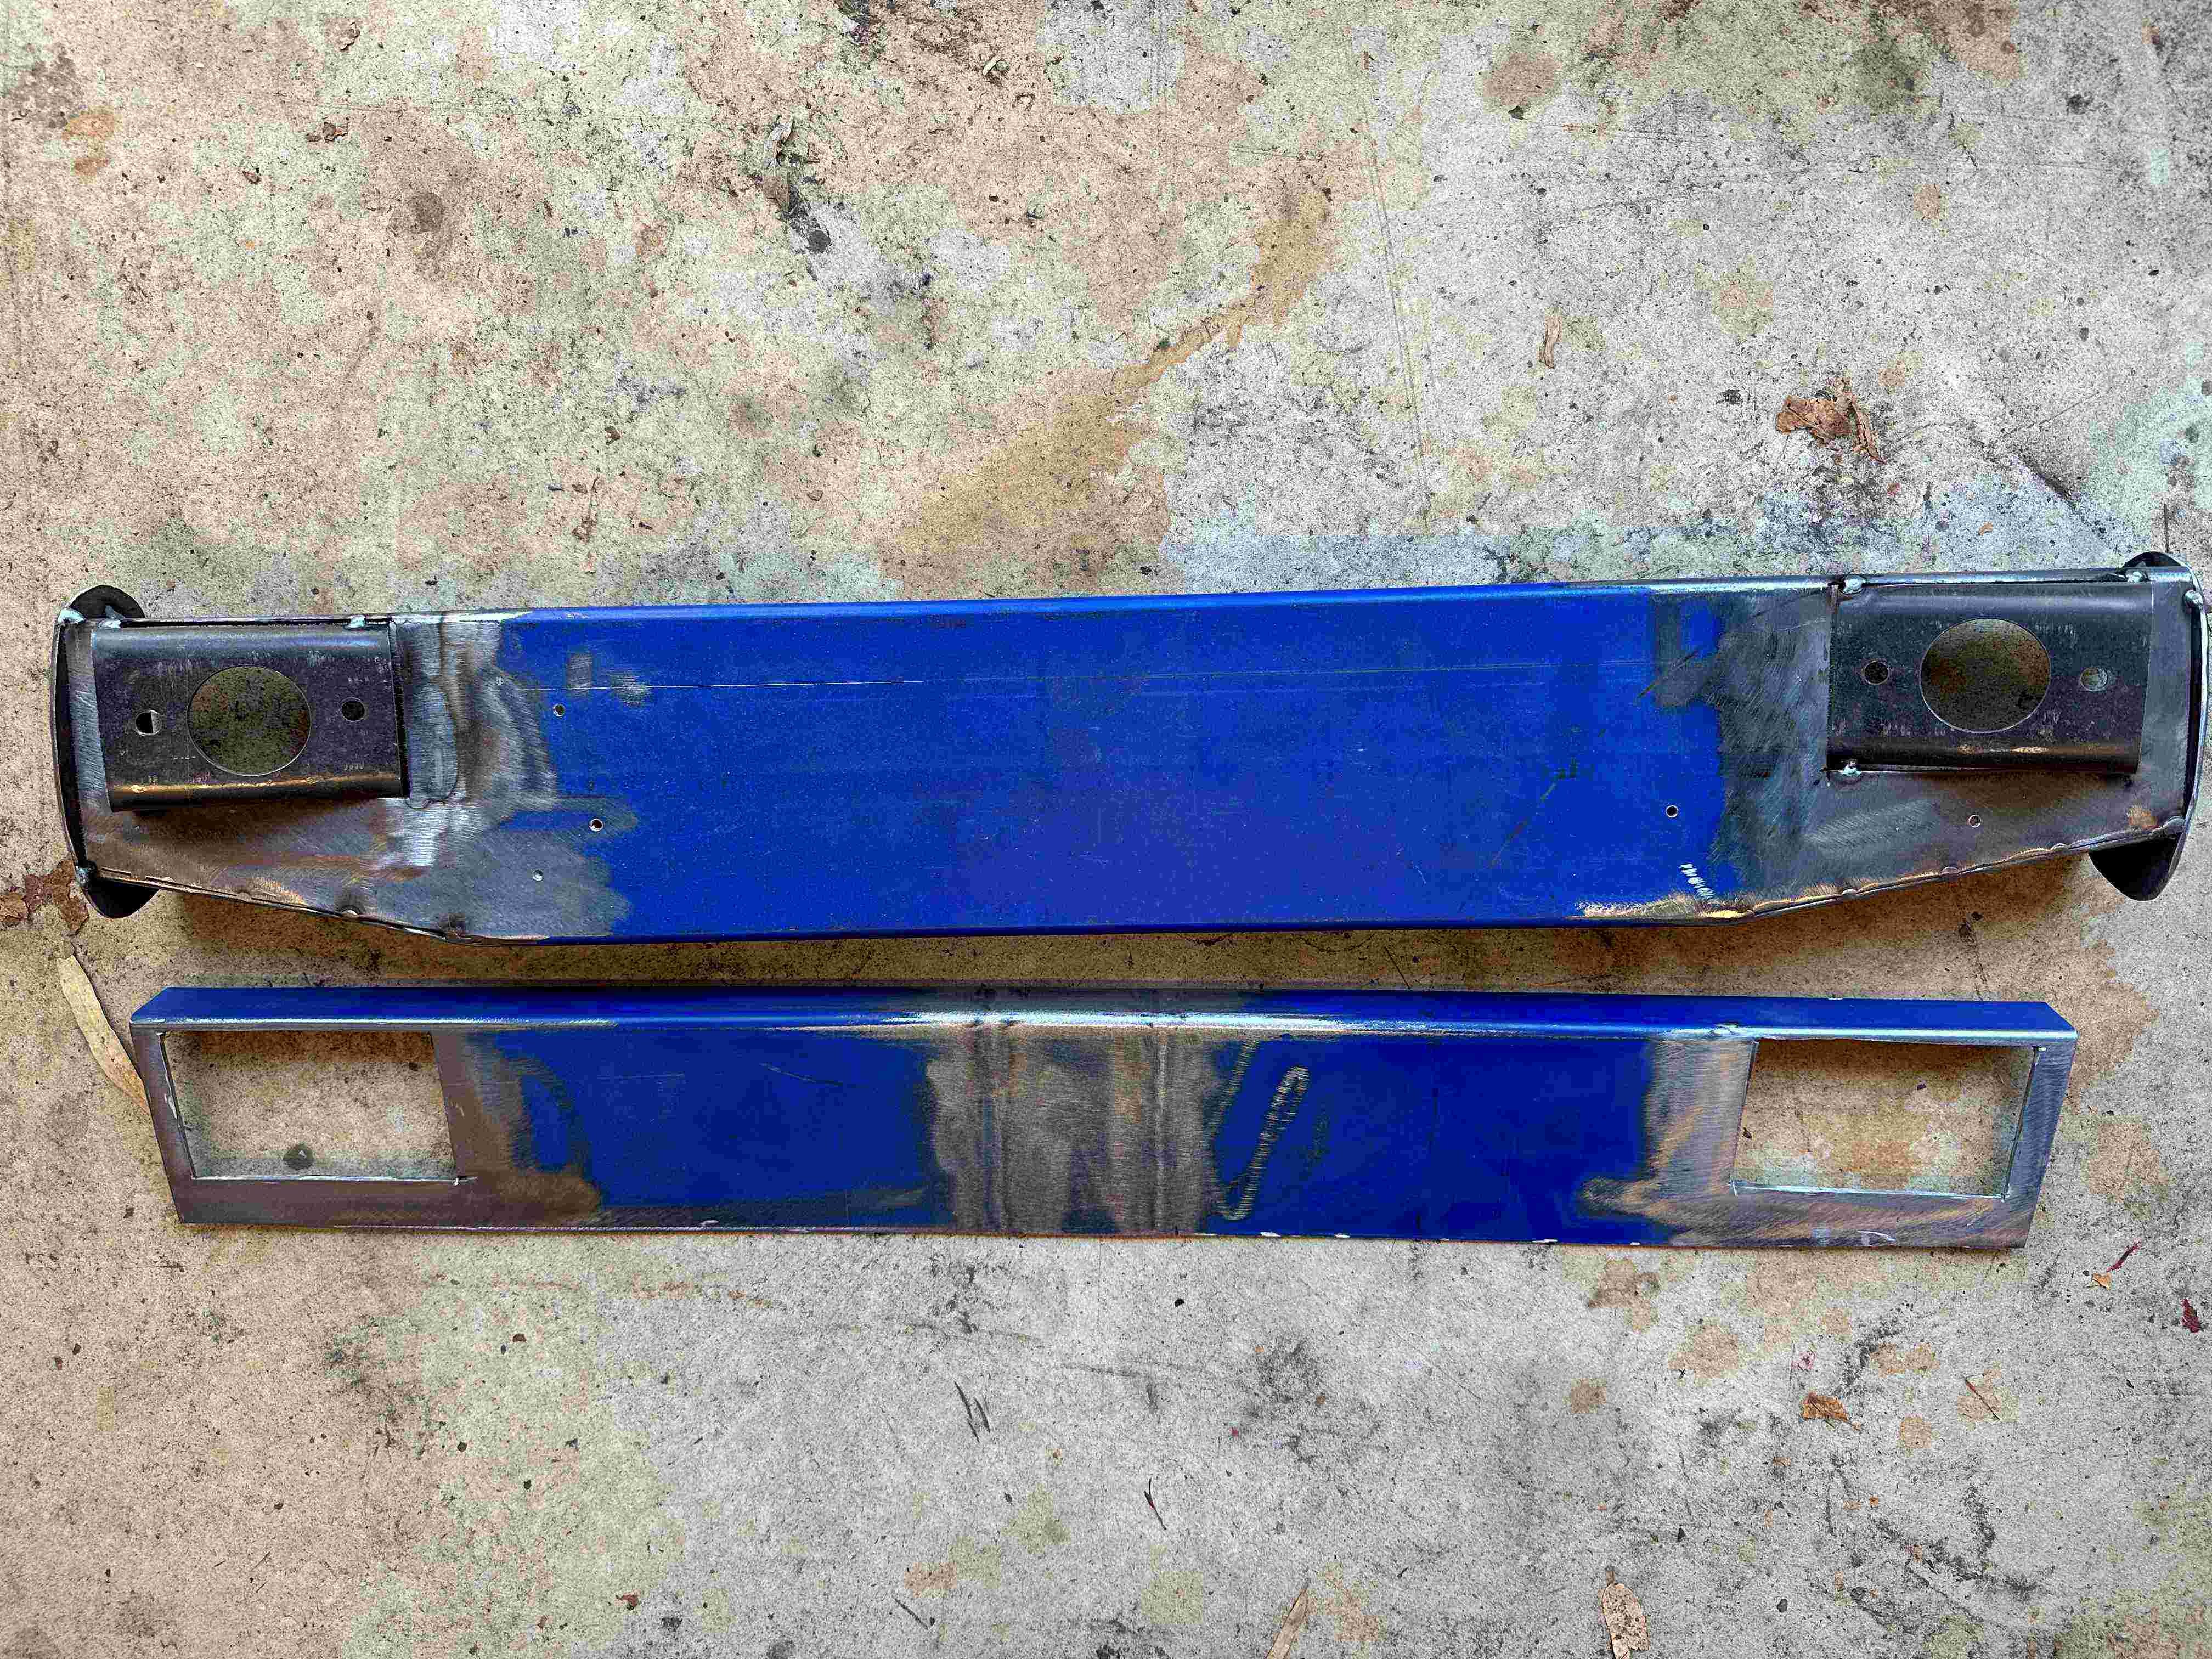
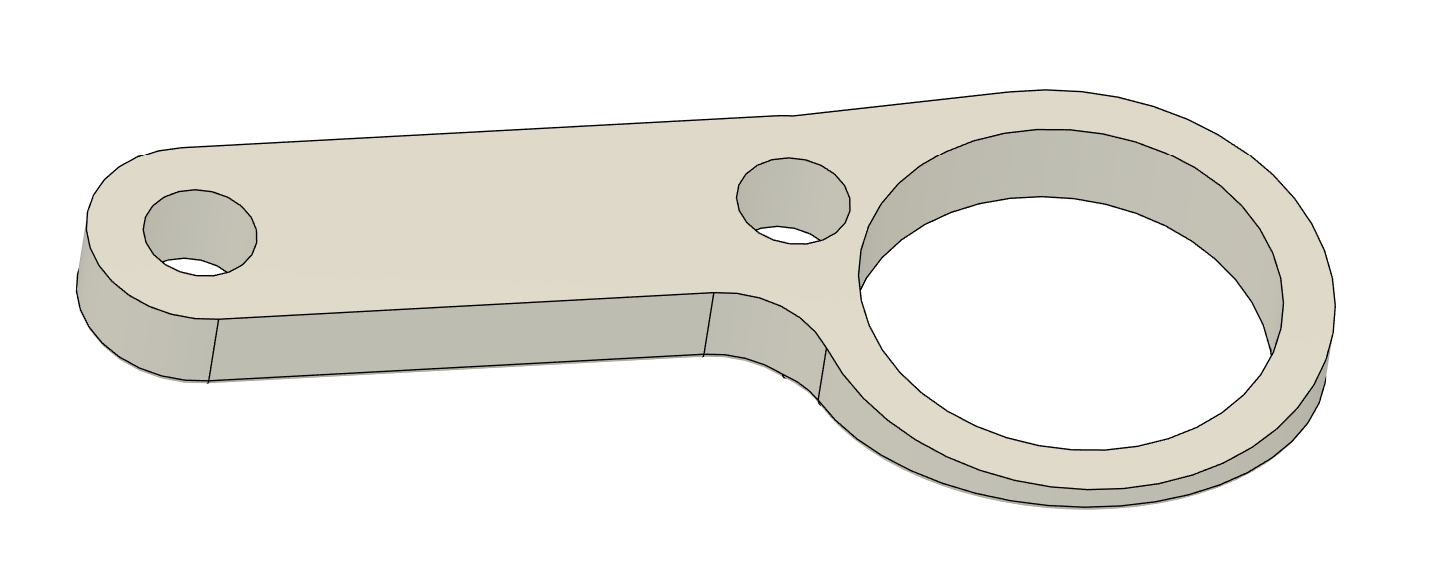
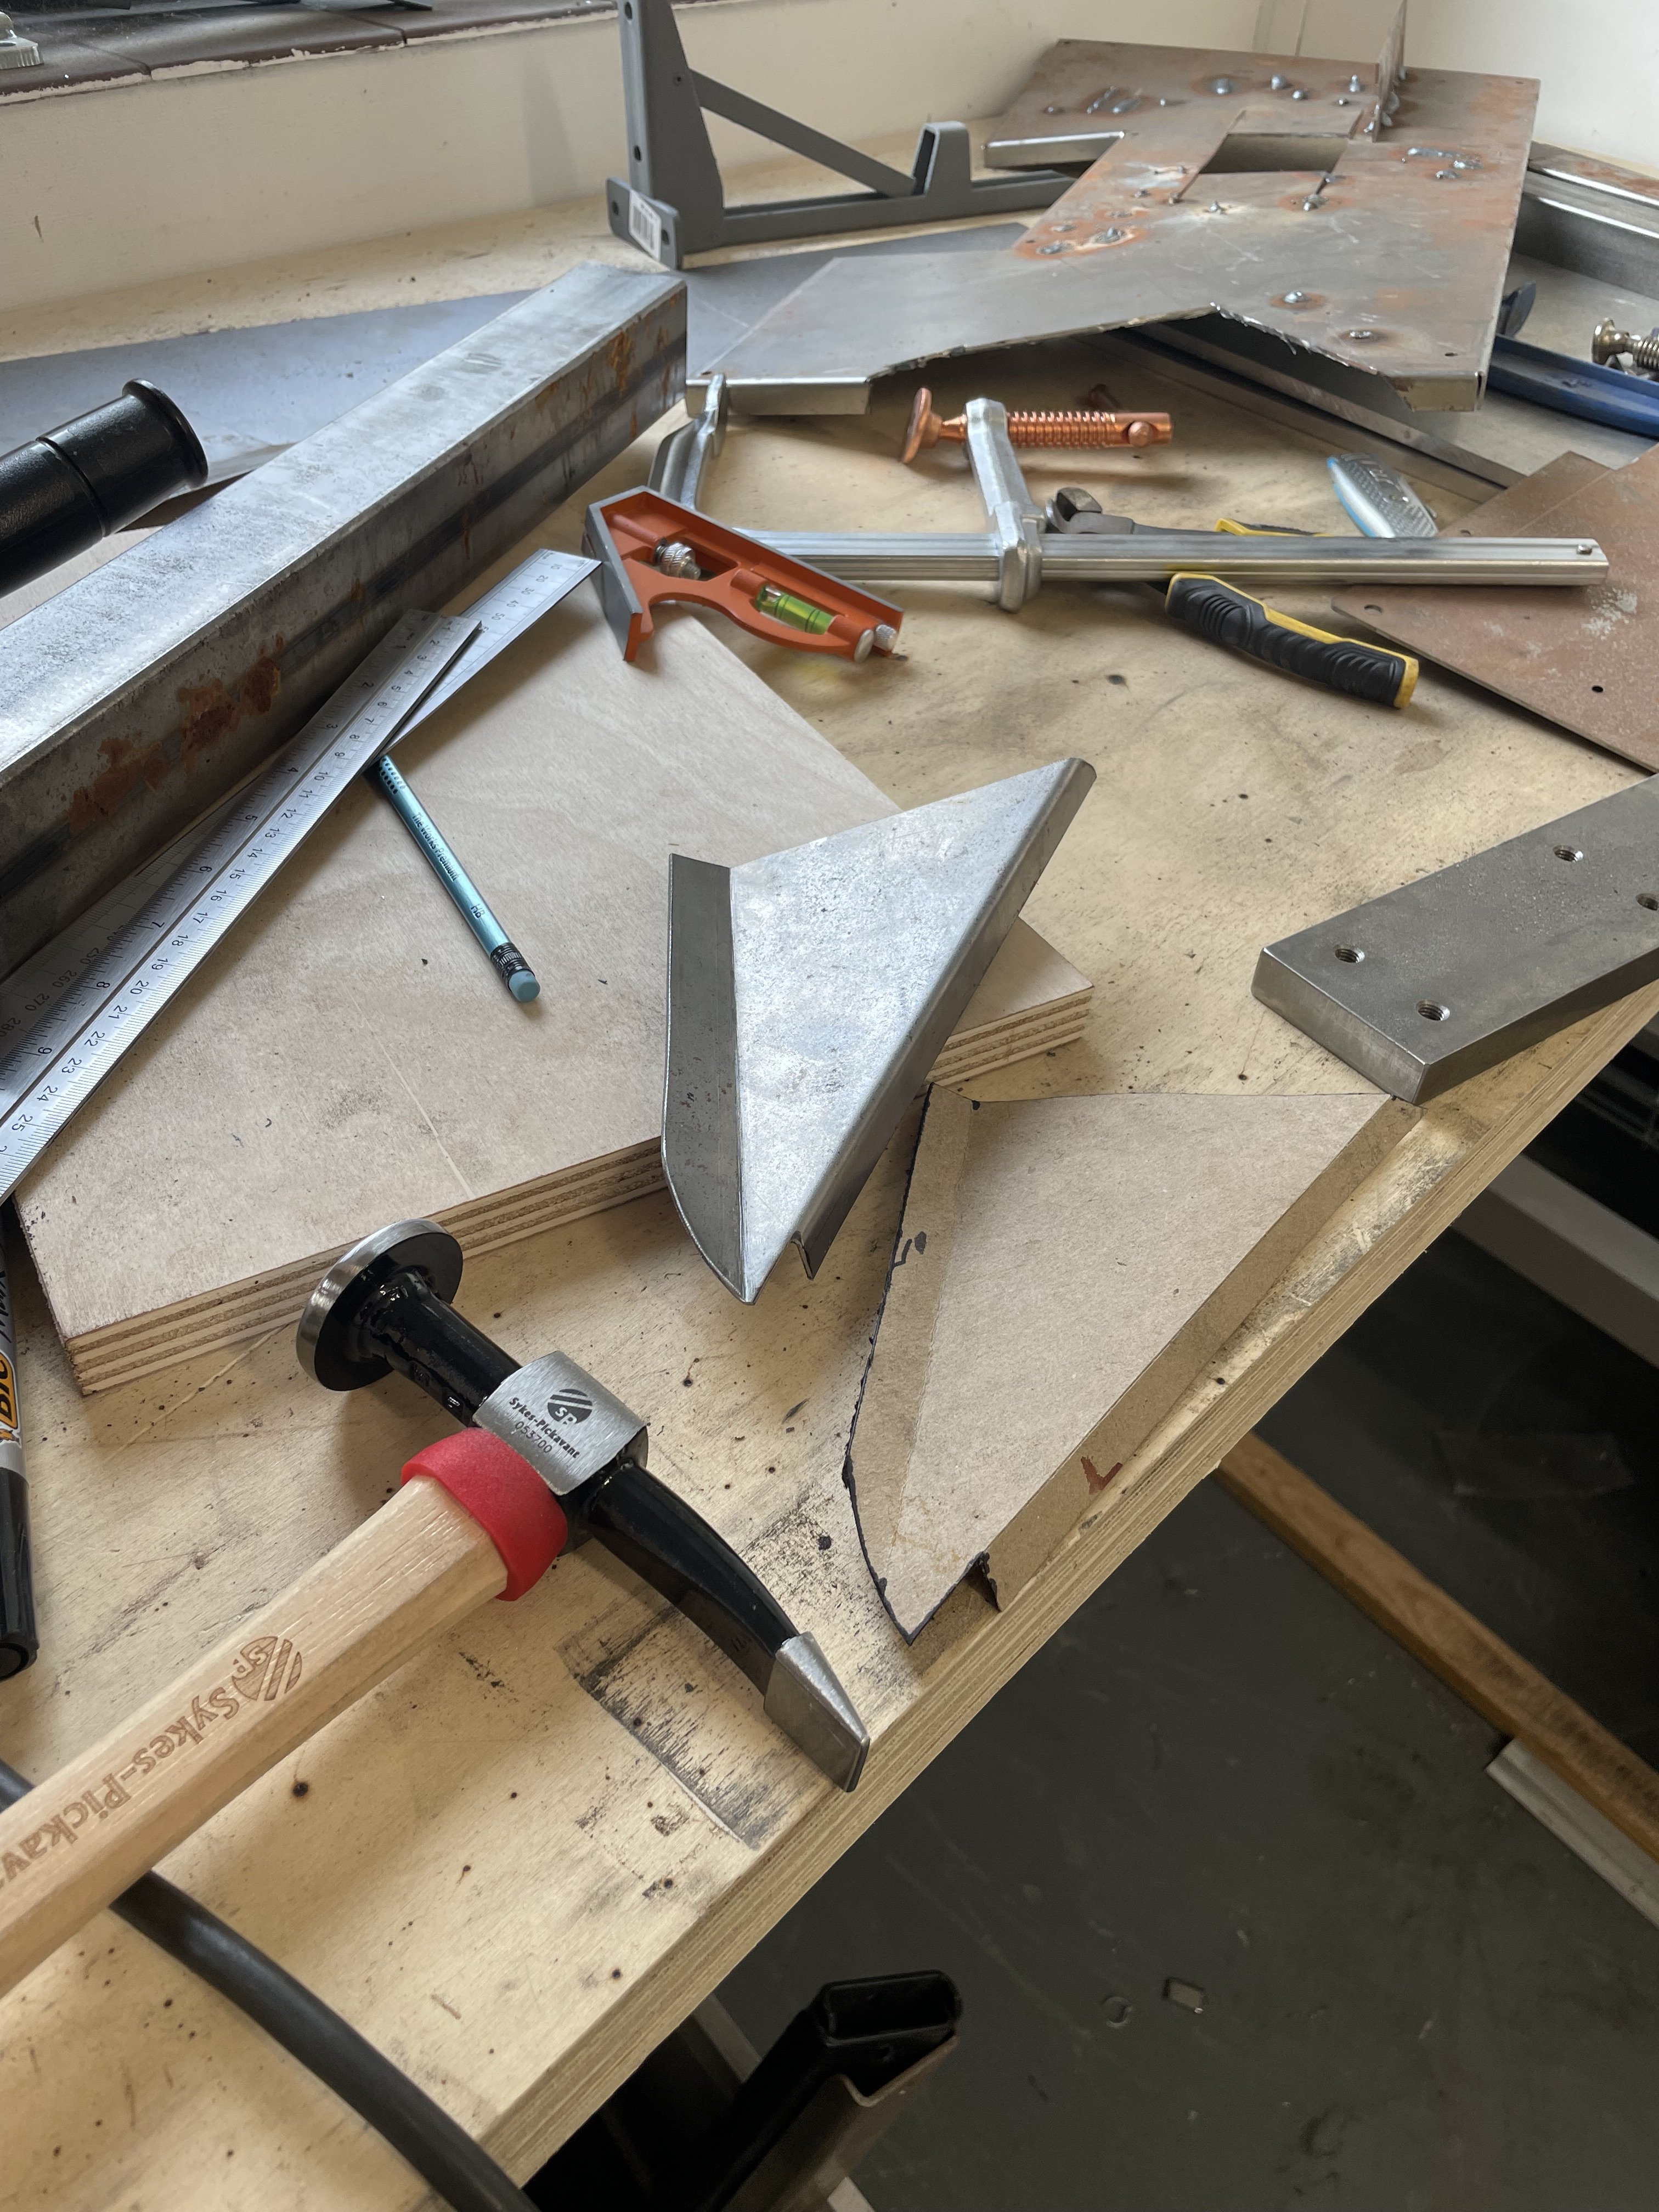
So I decided to make it one piece which I should have done the first time. It makes it much easier to get both sides the same. Pretty much the same design apart from that, with the boots sheet metal sandwiched between the two pieces. All just being tacked together for now until I am sure it is right. Shouldn't need an additional brace between the two sides now.
3 points
-
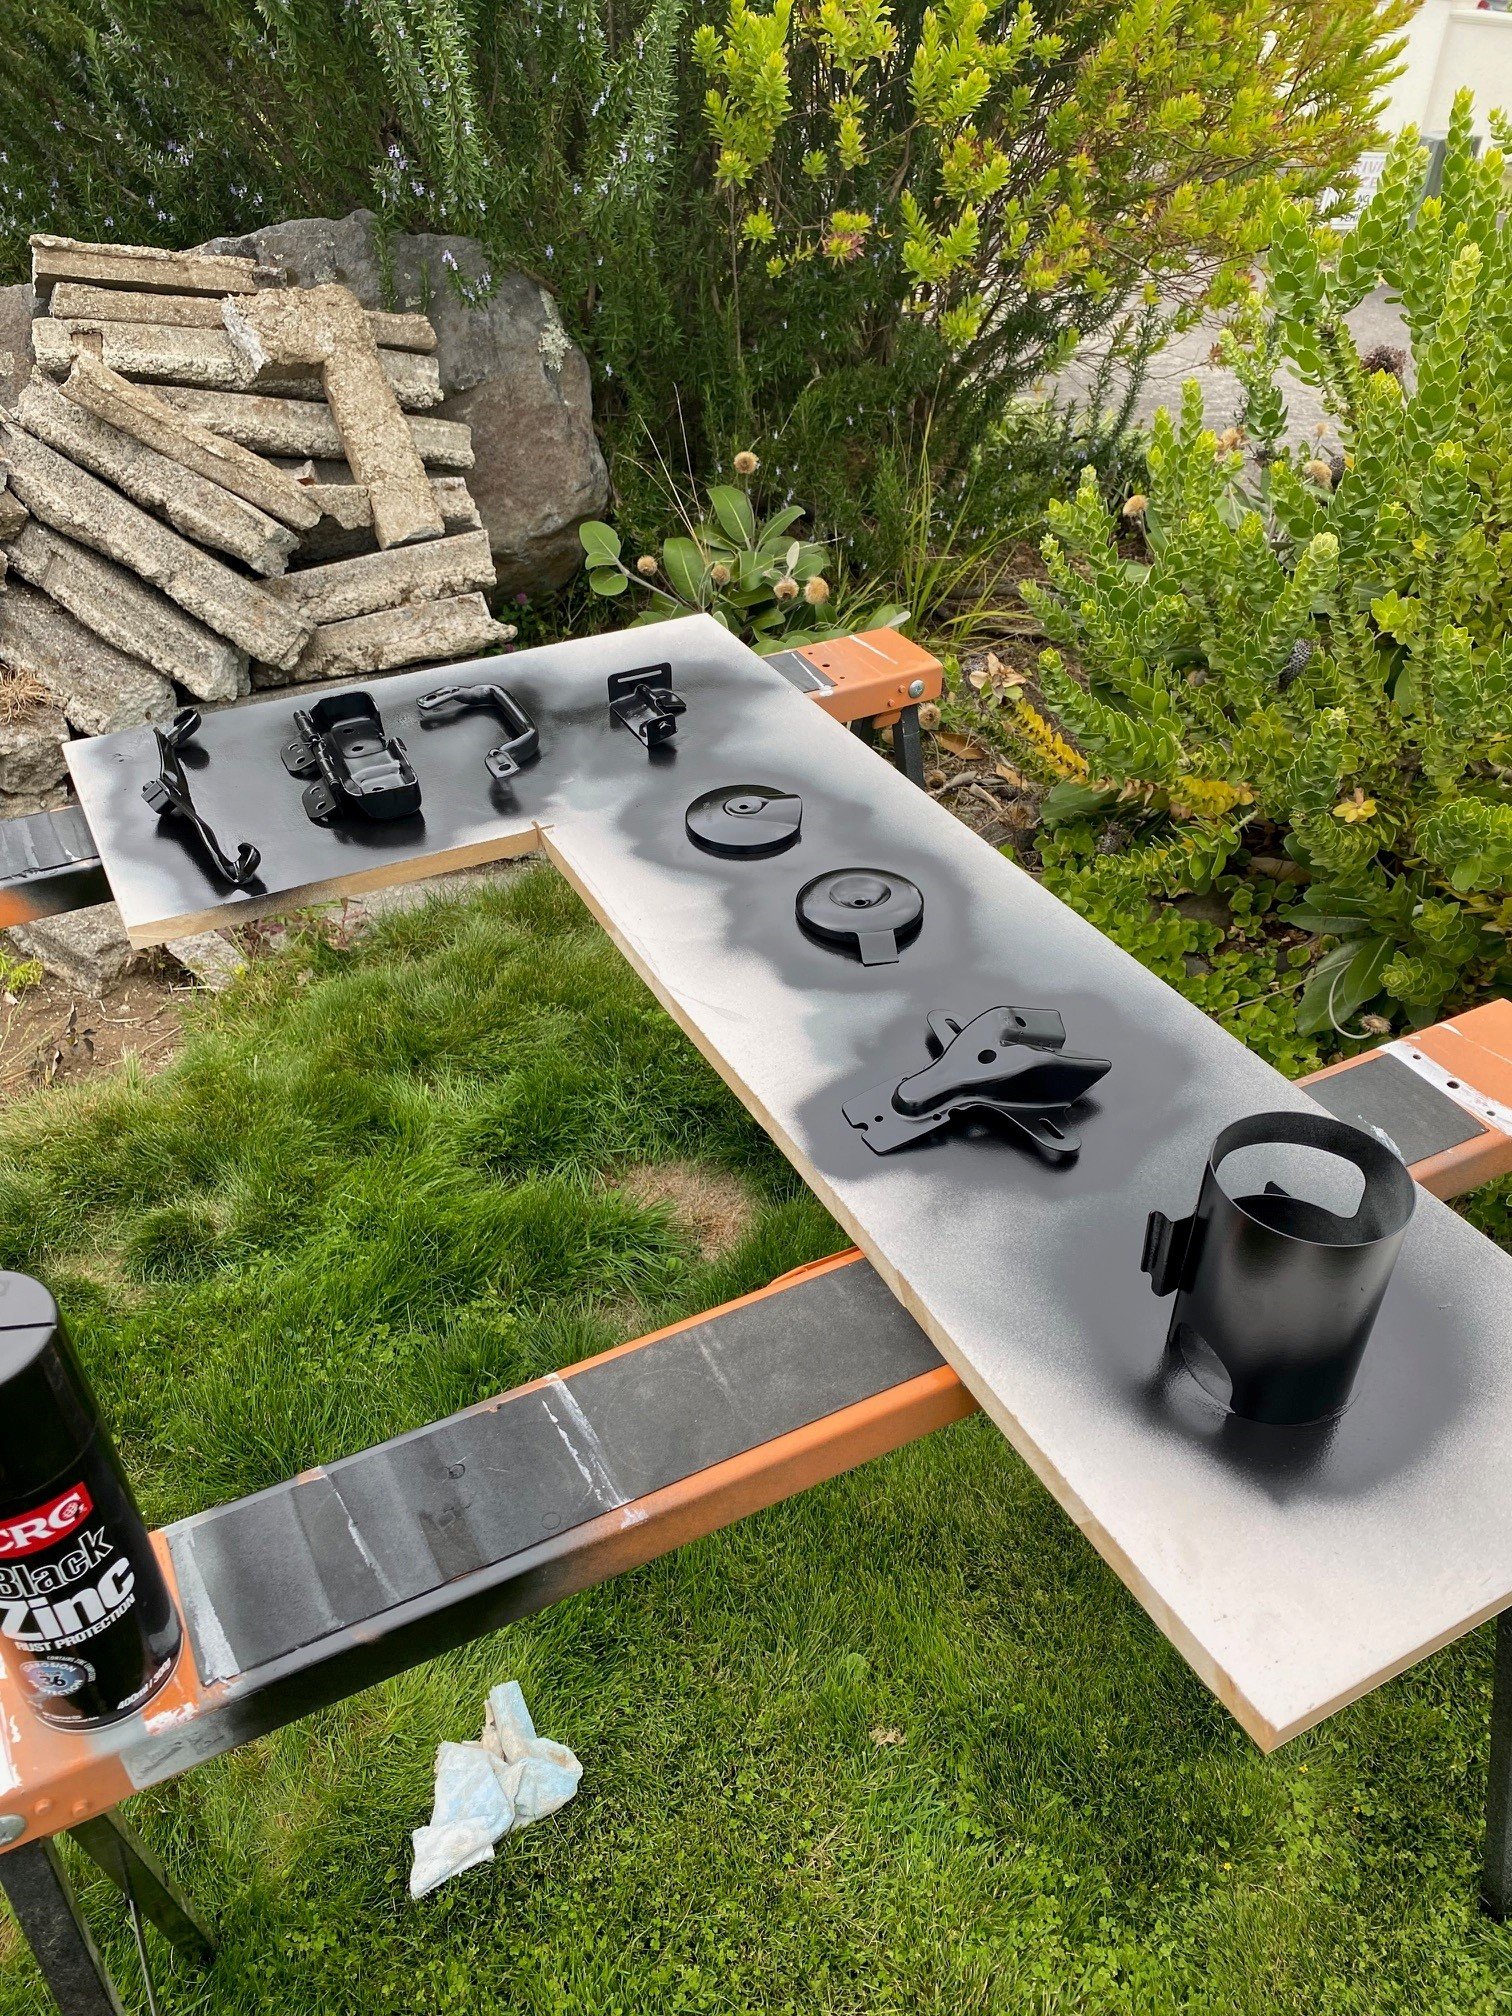
Spent a few minutes at smoko with the premier coating system. Then, of course it rained... hopefully it managed to get dry enough first.
2 points
-
I'd be very careful if looking at that Carina, someone that openly talks about doing plates and tags on a car on TradeMe might not be the best person to deal with and as @Dudley pointed out there was a stolen warning on it2 points
-
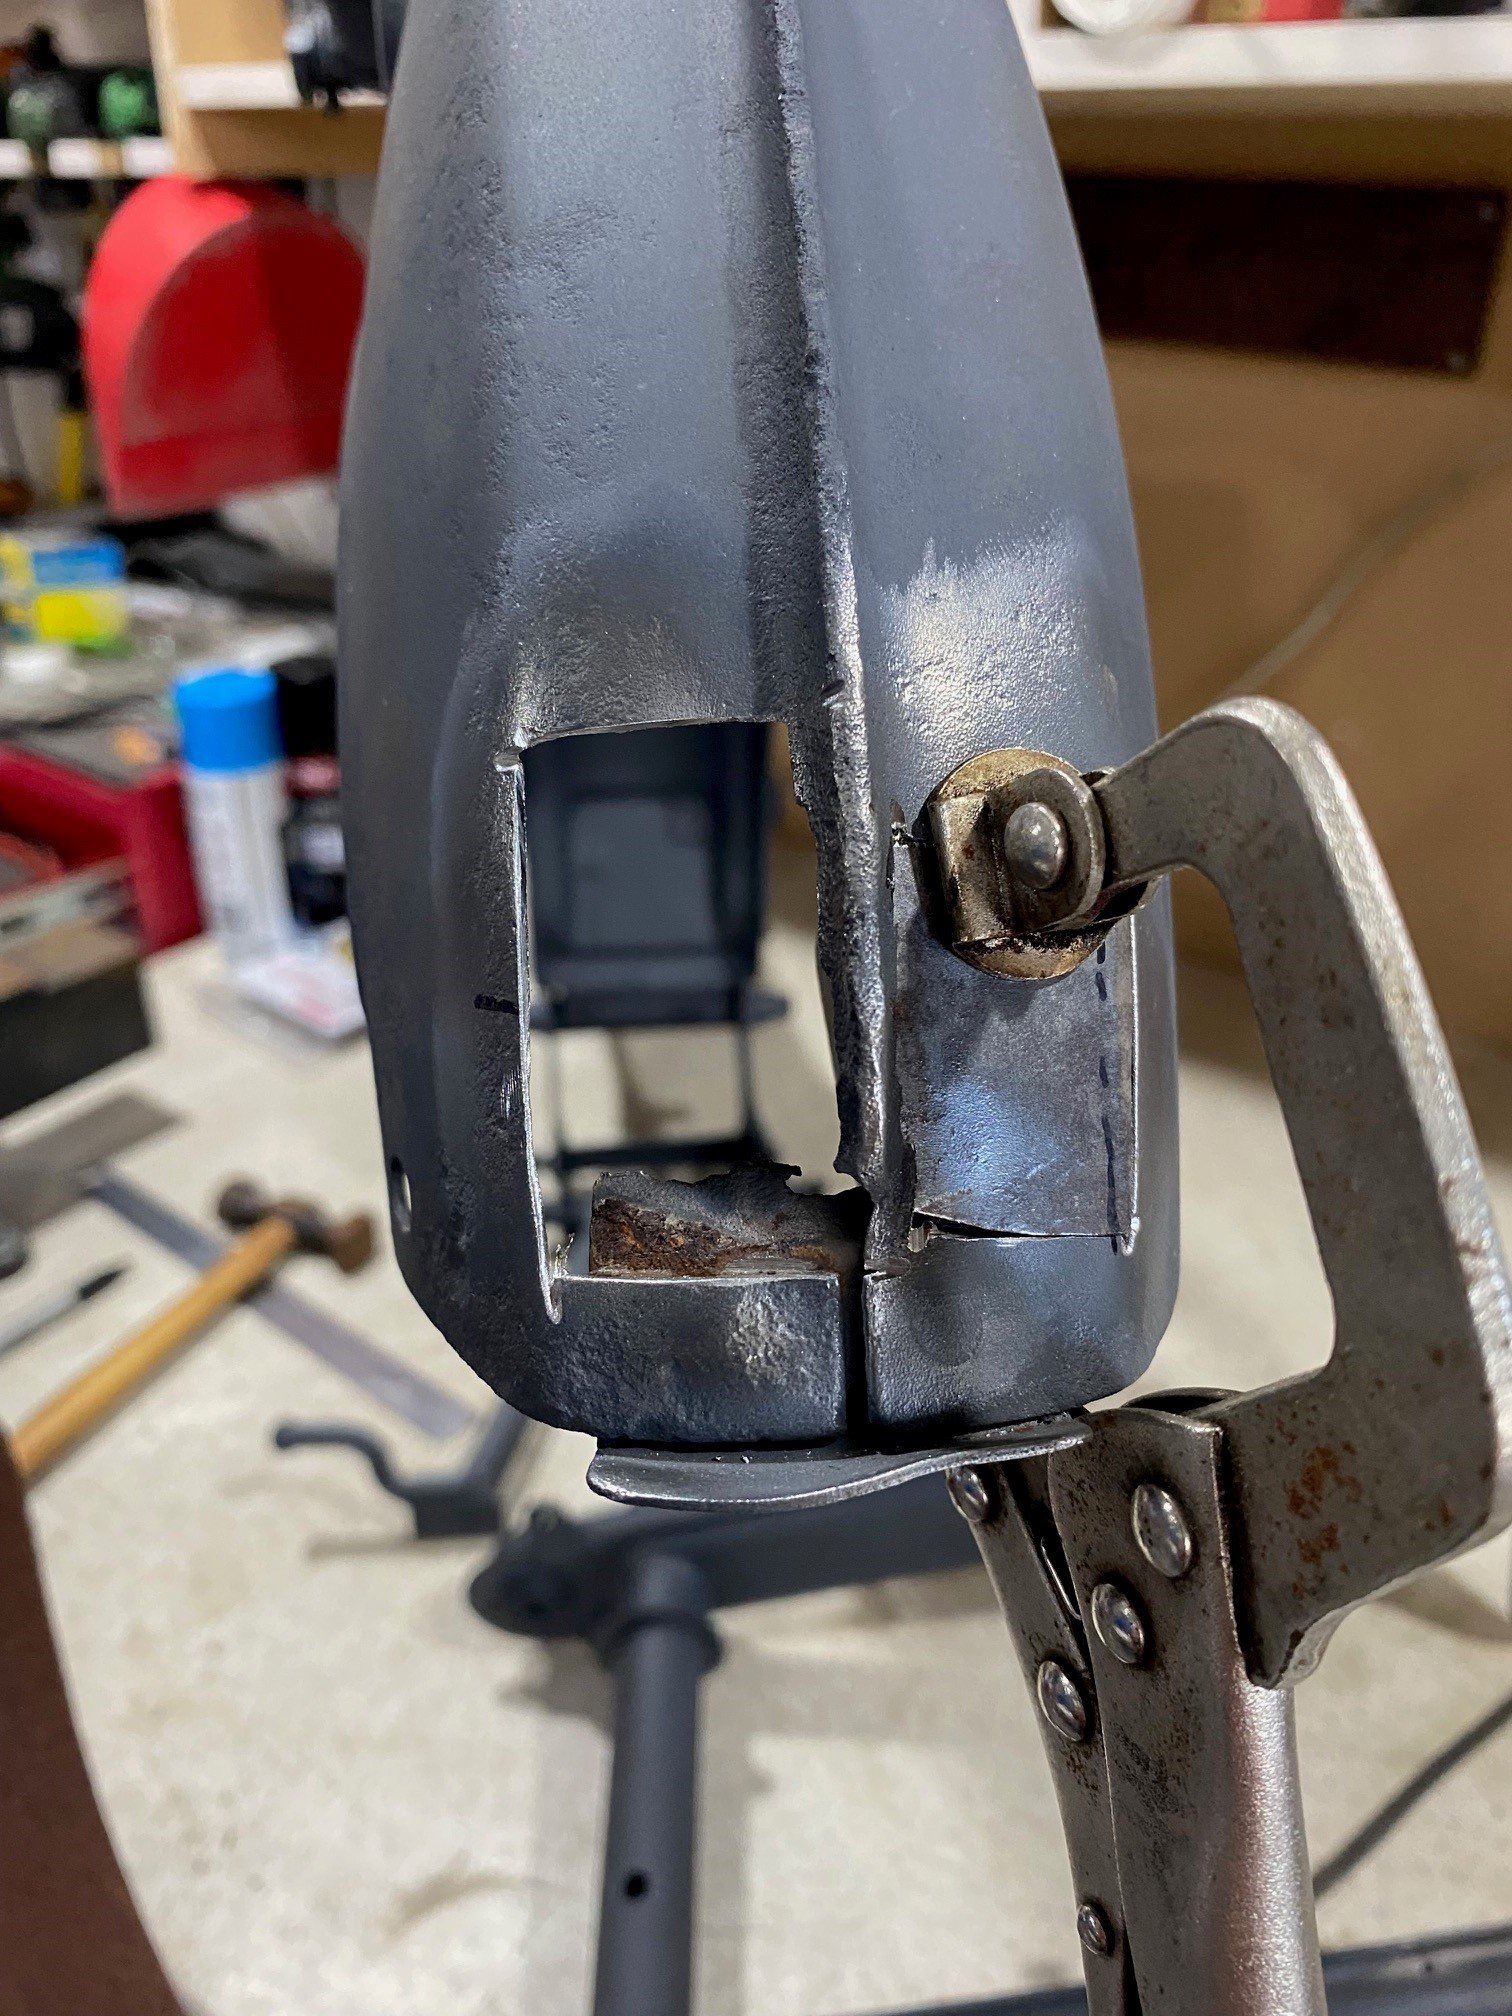
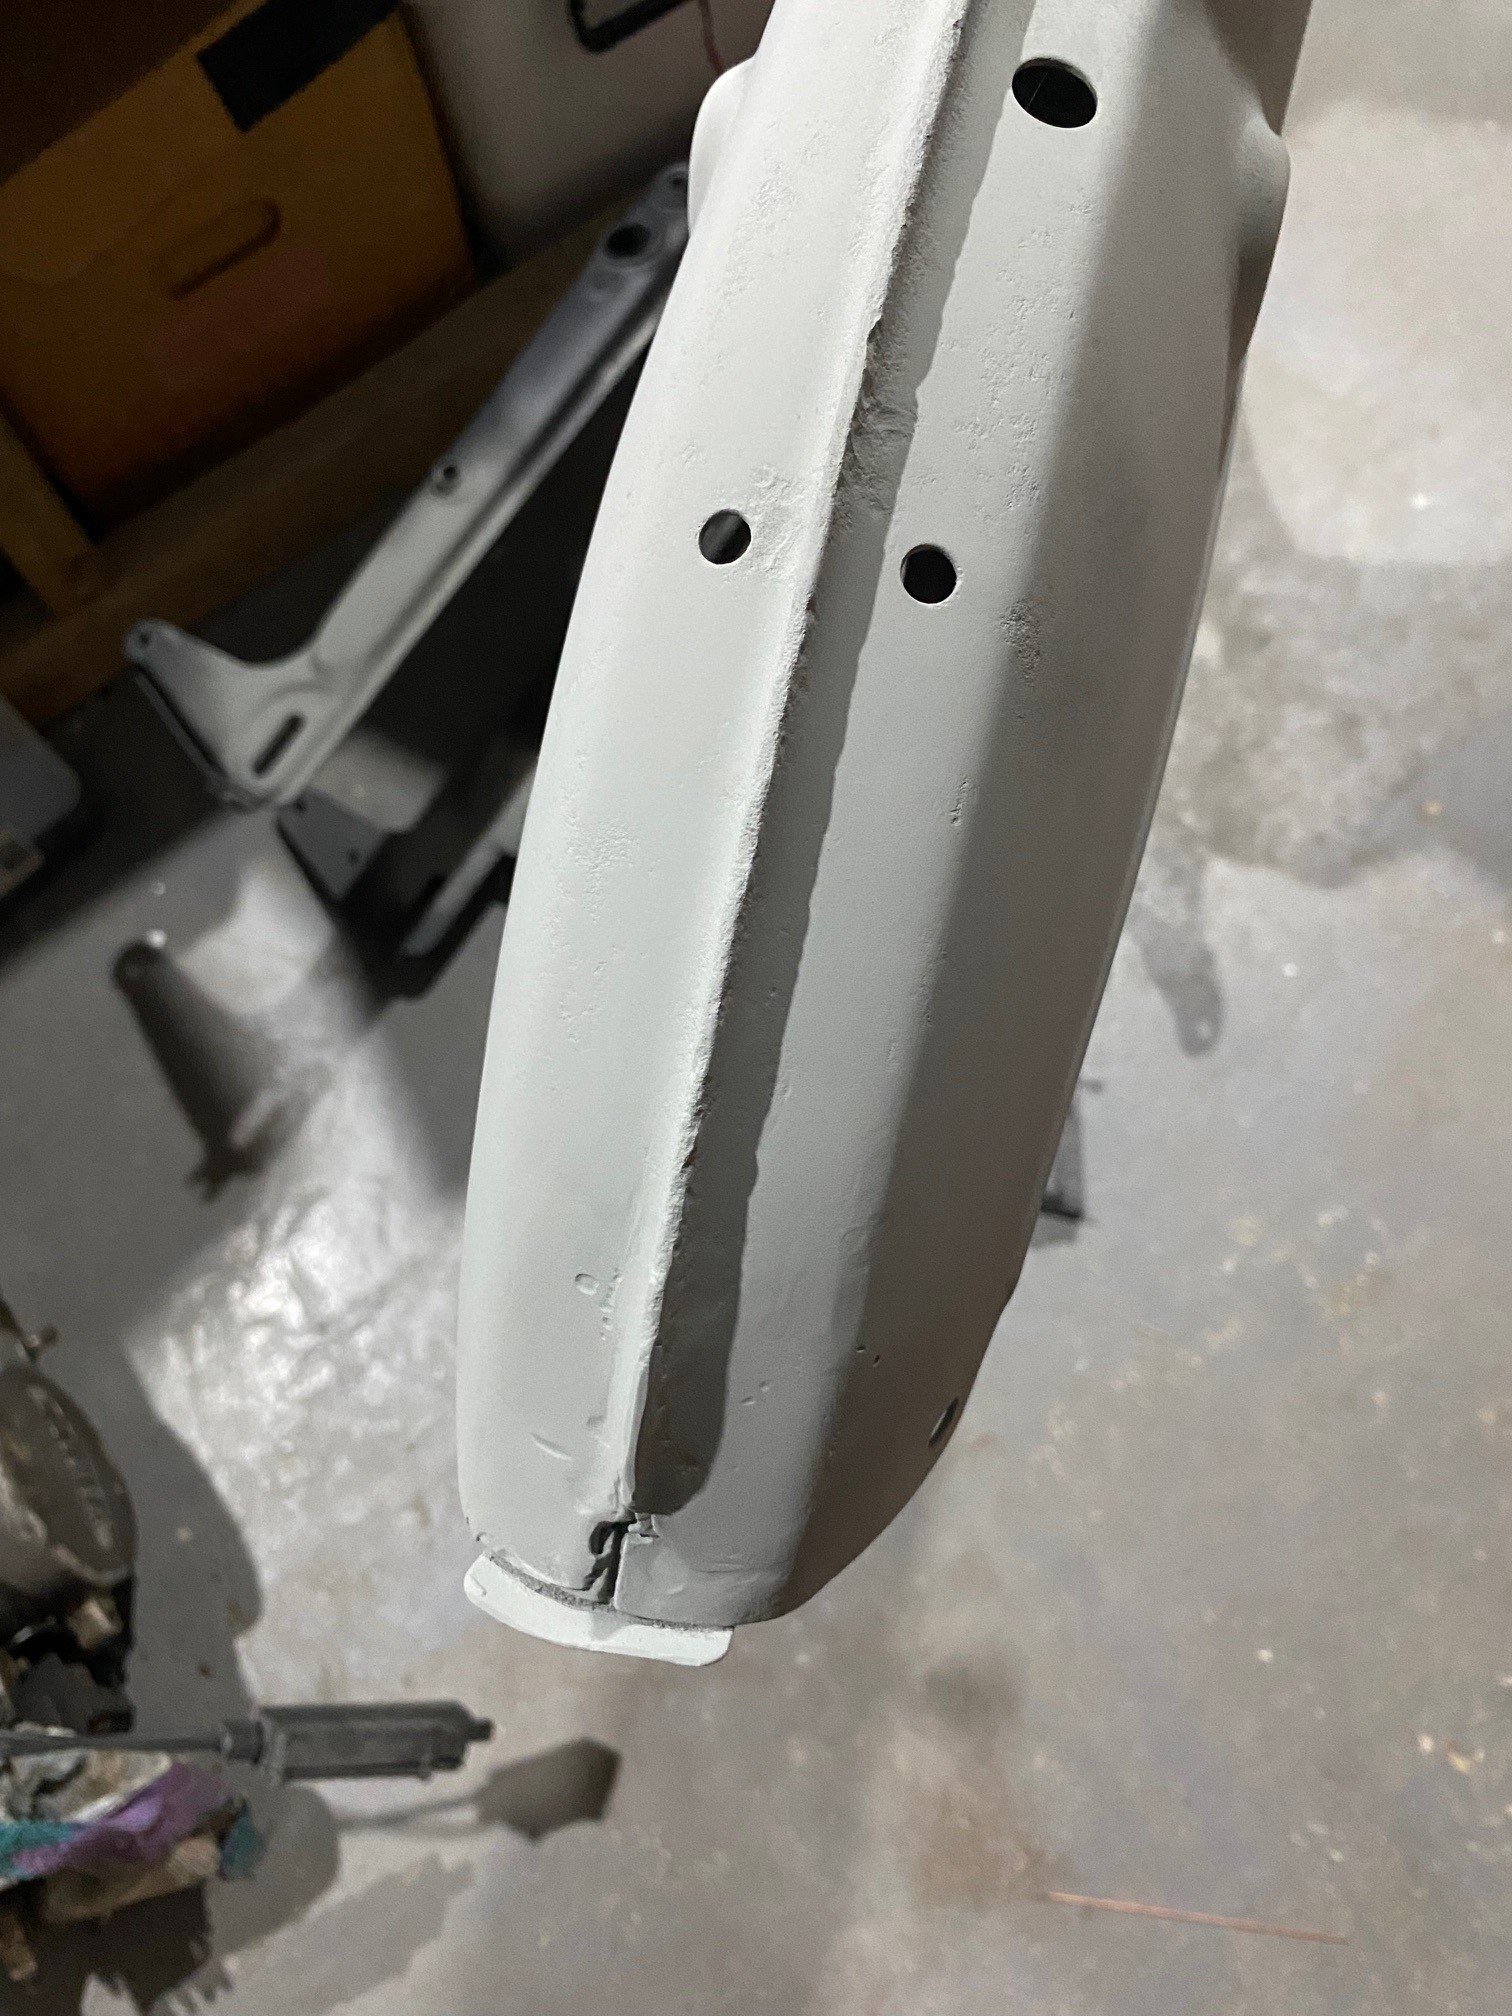
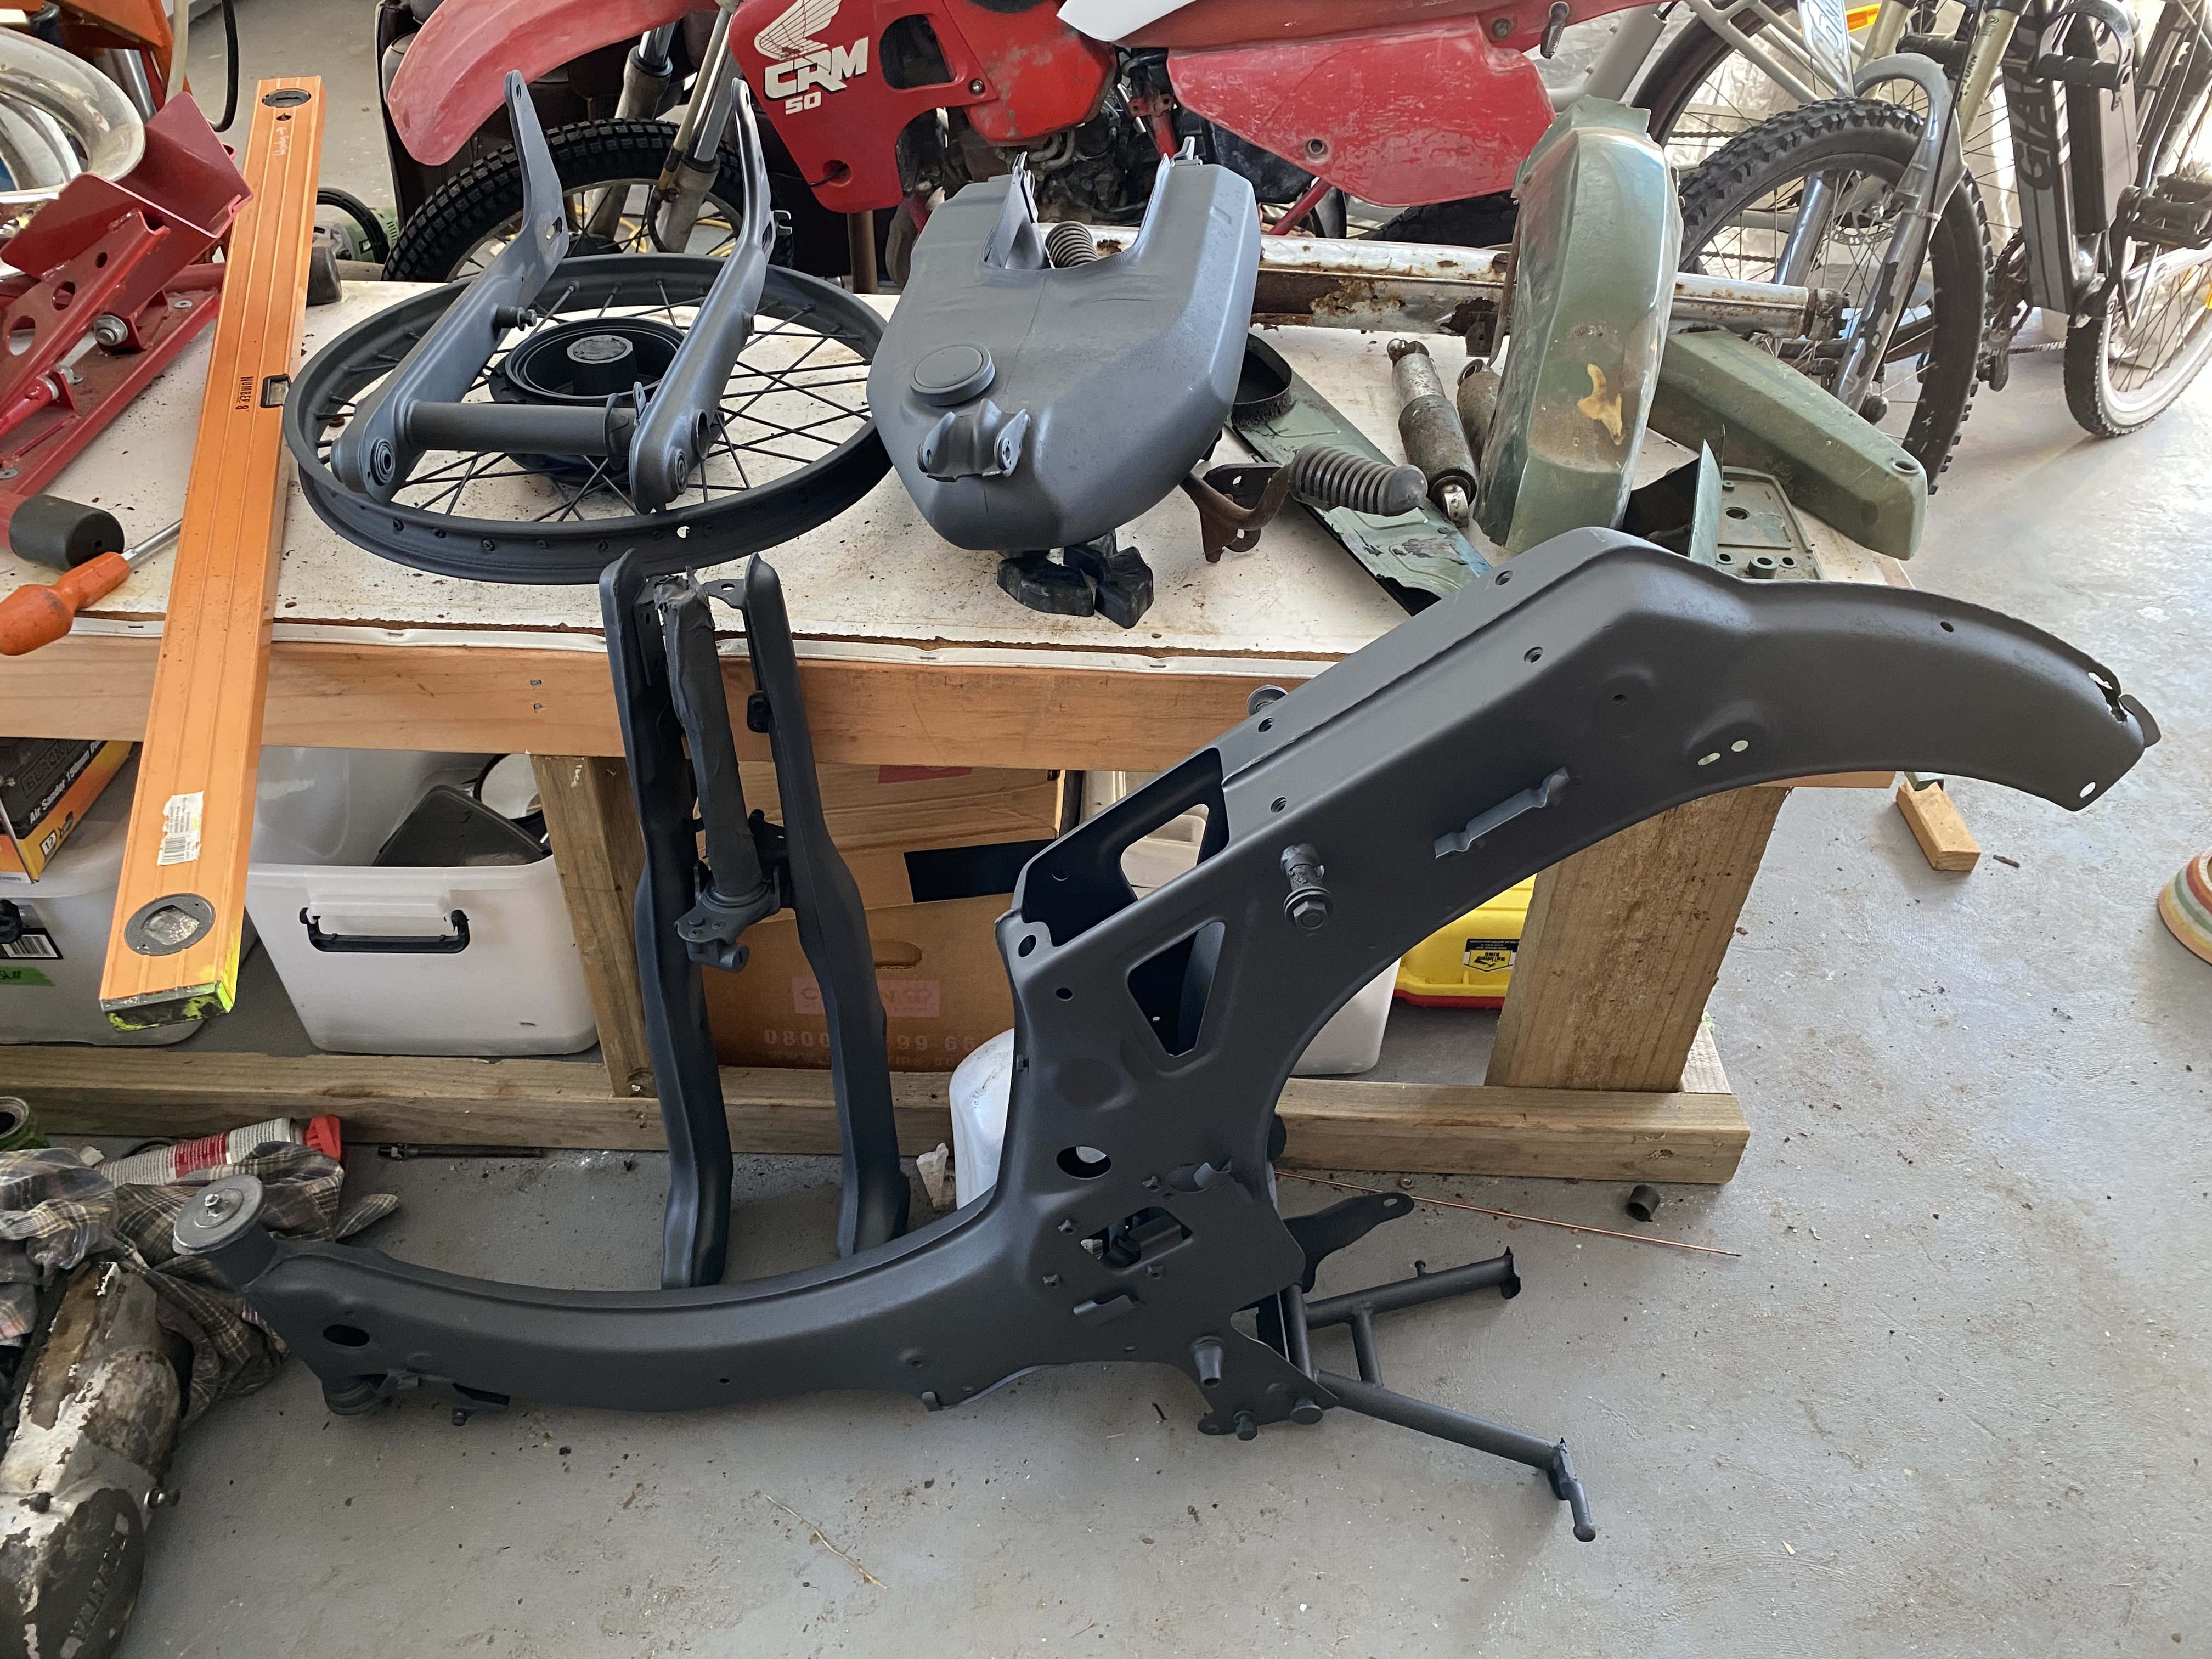
I've been chipping away at getting this sorted. I had wanted to have it ready for this coming weekend, but that's not going to happen, so the new target is the Taupo Supercars in 3 weeks. It needed a couple of repairs: I'm not aiming for perfect, the frame is too rough of a starting point for that. Also had a crack in the petrol tank. And now it doesn't. I'll try and get some high build primer on it this week and see how it all looks after that and a sand. The foot peg assembly I got off trademe has been broken, repaired, bent and twisted... So I'm on the look out for another of those A box of parts arrived from Japan the other day, with new cables, headlight and a brake lever. New "less-broken" front guard is on order from trademe. Making progress.
2 points
-
Nothing like full send on the revs straight after putting it all together.. bloody well done and great job so far man2 points
-
Driveshafts in Oil in Coolant in Popping and banging when I try to start it Realising the plug leads are 180deg out Boom Then realising the fuel pump is leaking like a sieve and it is a $14 AliX special so not unexpected. Then finding the original Facet pump and checking it works, it does Then realising you have no fittings to make it work so no driving2 points
-
The SW20 radiator turned up, and thankfully it was indeed 755mm wide, not 770. So just needed a small snip up one side to fit. There isnt actually too much in the way of the fins being shrouded by the front panel, because those side parts are mostly the end tanks. So ended up better than expected, it will mount up to the front panel nicely. This is the amount of room to the crossmember level: My next problem was that the radiator outlets are 32mm, but on the motor they are 38mm. Wellllll, turns out that you can buy flexi hoses with 32mm at one end, 38 at the other. At what looks like good lengths (400 for one side, 300 for the other). So ordered some. Too easy! I'm glad to not need a join in the hoses this time. I printed some lower radiator brackets which bolt onto the crossmember similar to the ones I had for the Altezza radiator. I remember we made the altezza ones out of aluminium, and it seems like it took forever and was a really hard job. Now with a printer it's just incredibly easier to test print and test fit a few iterations within hardly any time at all. I've also got all the fuel lines connected, throttles are now mounted on carbon nylon manifolds, throttles are balanced and connected. My to-do list for getting the motor fired up is rapidly shrinking!
2 points
-
So what you're saying is, a modern car would be better? That's it! Close the forums, we're done. Let's not forget a 2J is 5 miles long and weighs the same as a bus.2 points
-
The black ones look better I think the key is low rpm, and Bic pen valve springs
2 points
-
Good to see a couple of paddles handy.. but in all seriousness, looking forward to hearing your plans to remedy the flooding.. Would it be a matter of better redirection of the water or raising the house onto a basement for said vehicles as well as water management away from site?1 point
-
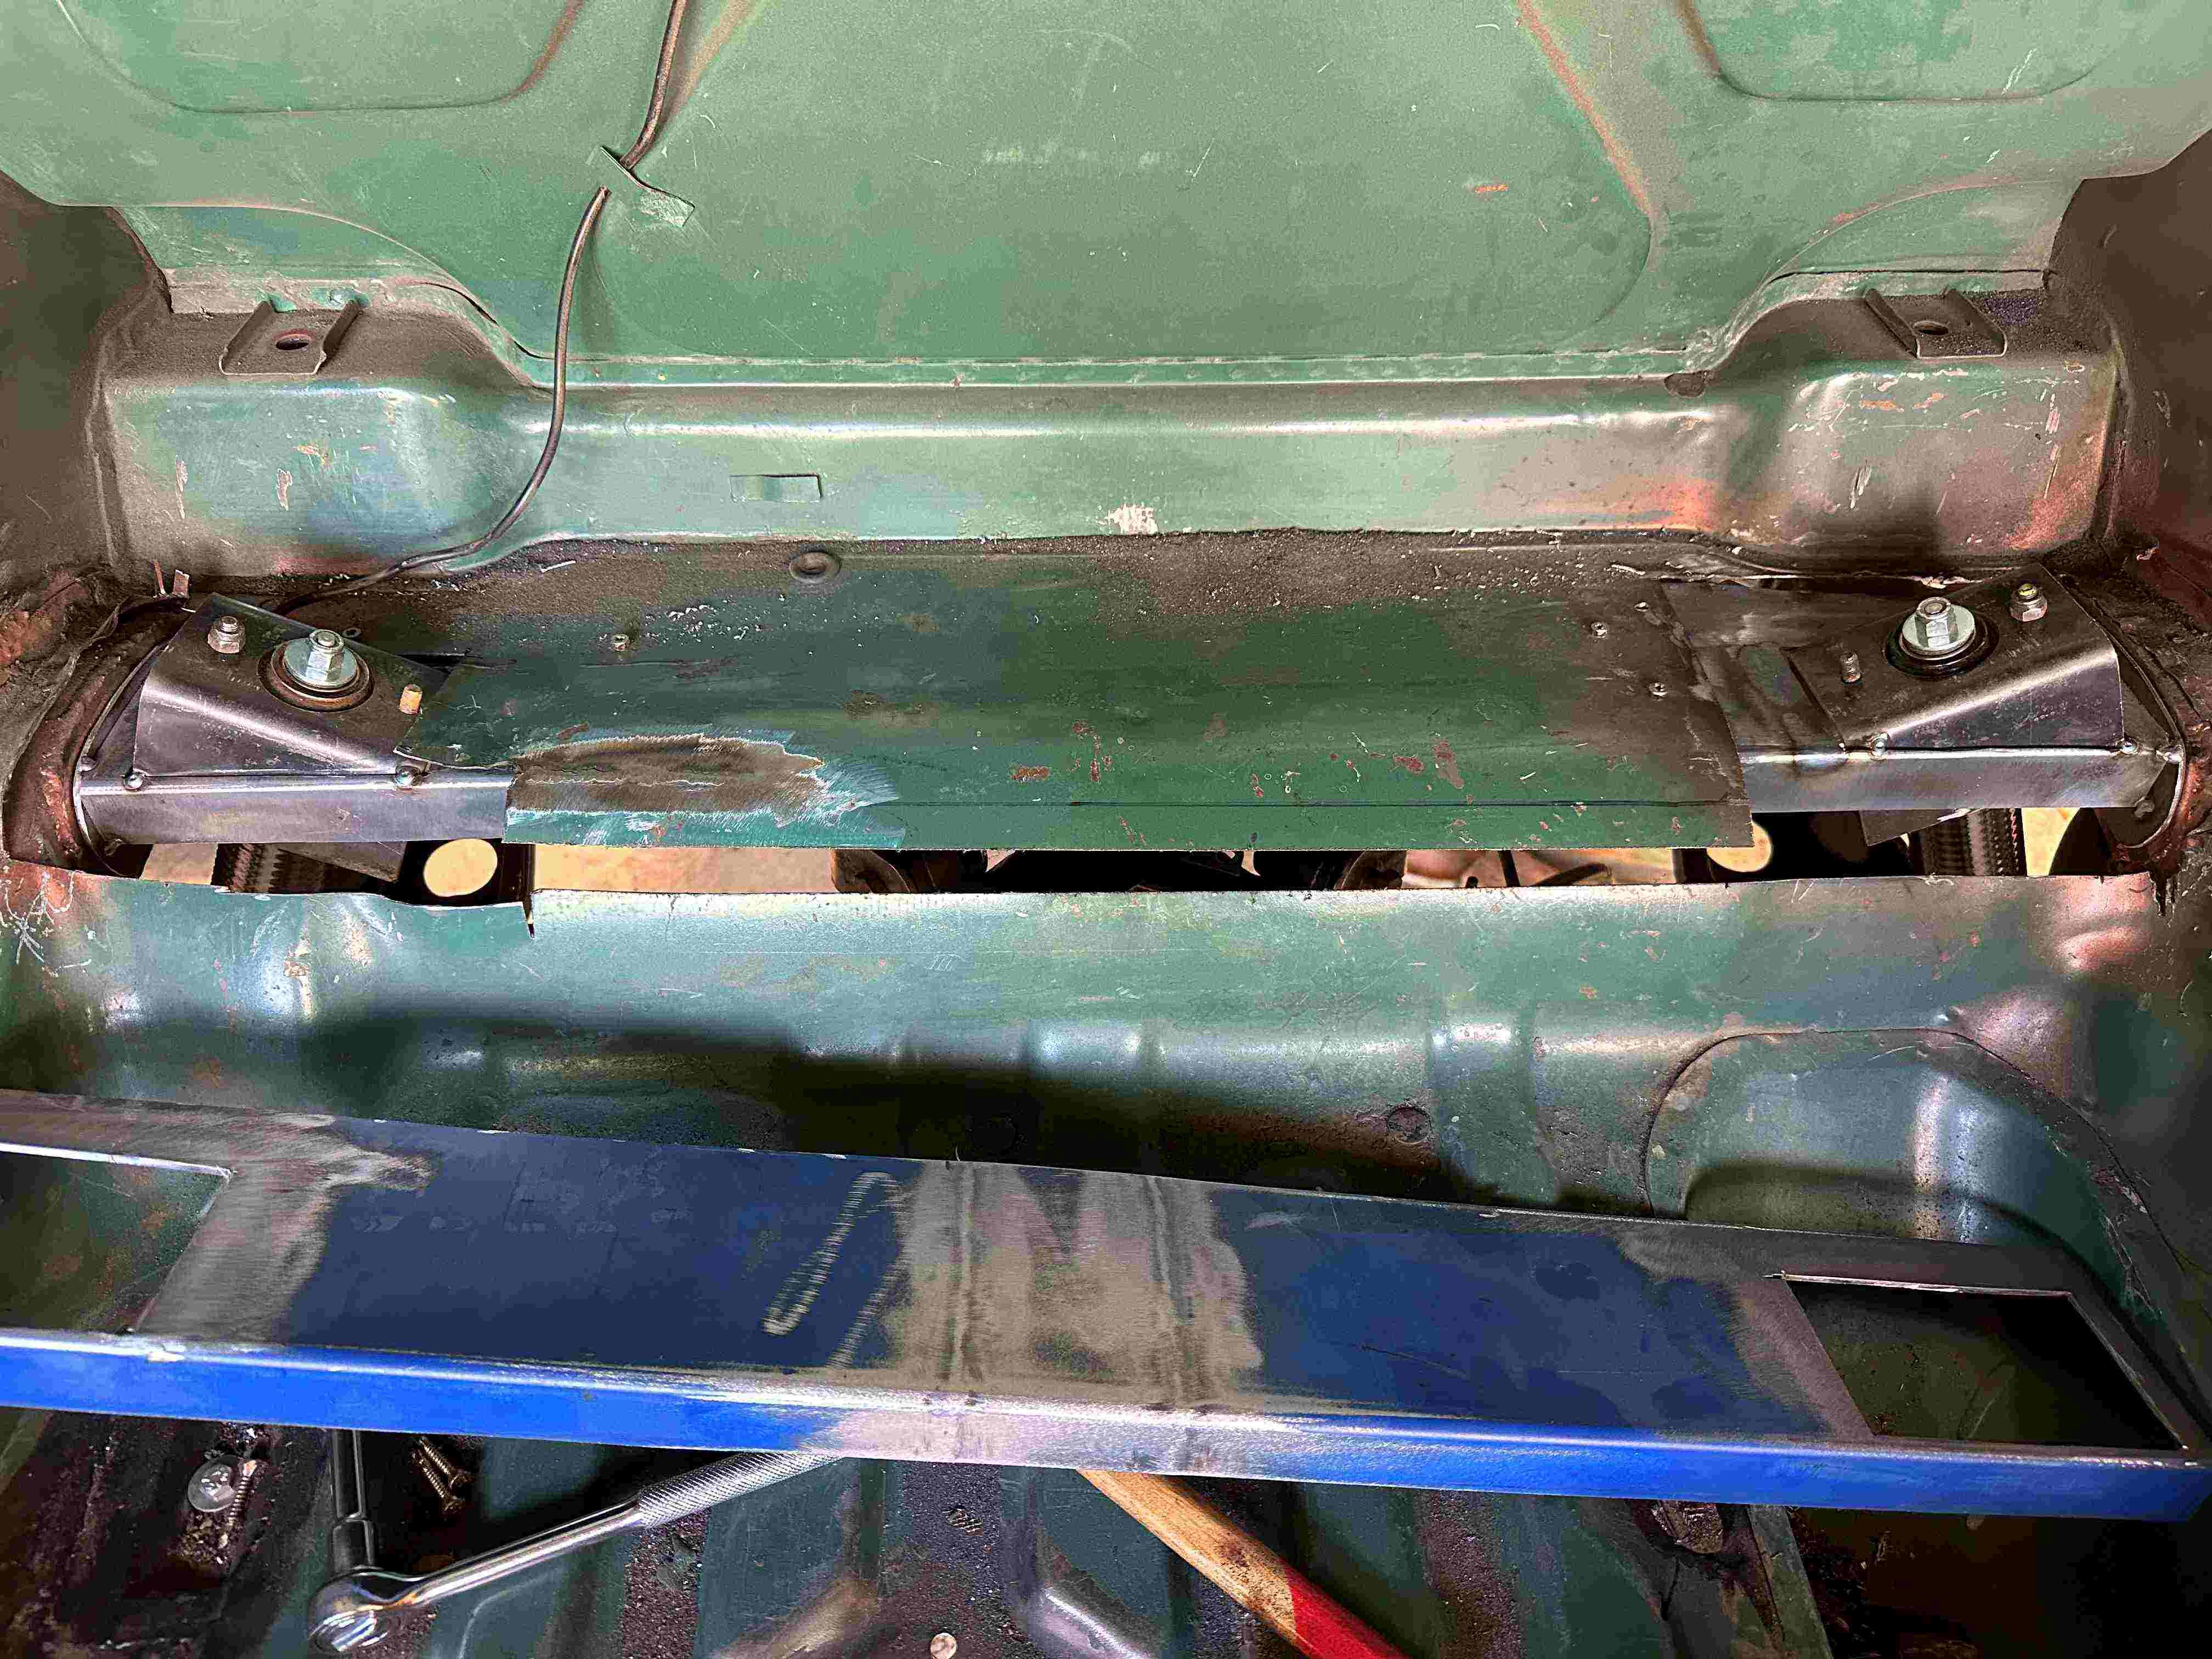
Anyway. Slight F*#%$ up. I should have just tacked it in place and wrestled the diff back up in place and CHECKED the F*&%$#g thing. When I went to fit the shock in place it was in the wrong place. The diff must have moved on me when I was originally setting it up so what I thought was the correct place to weld it in was to far out to leave. It wasn't as bad to remove as I thought it would be.
1 point
-
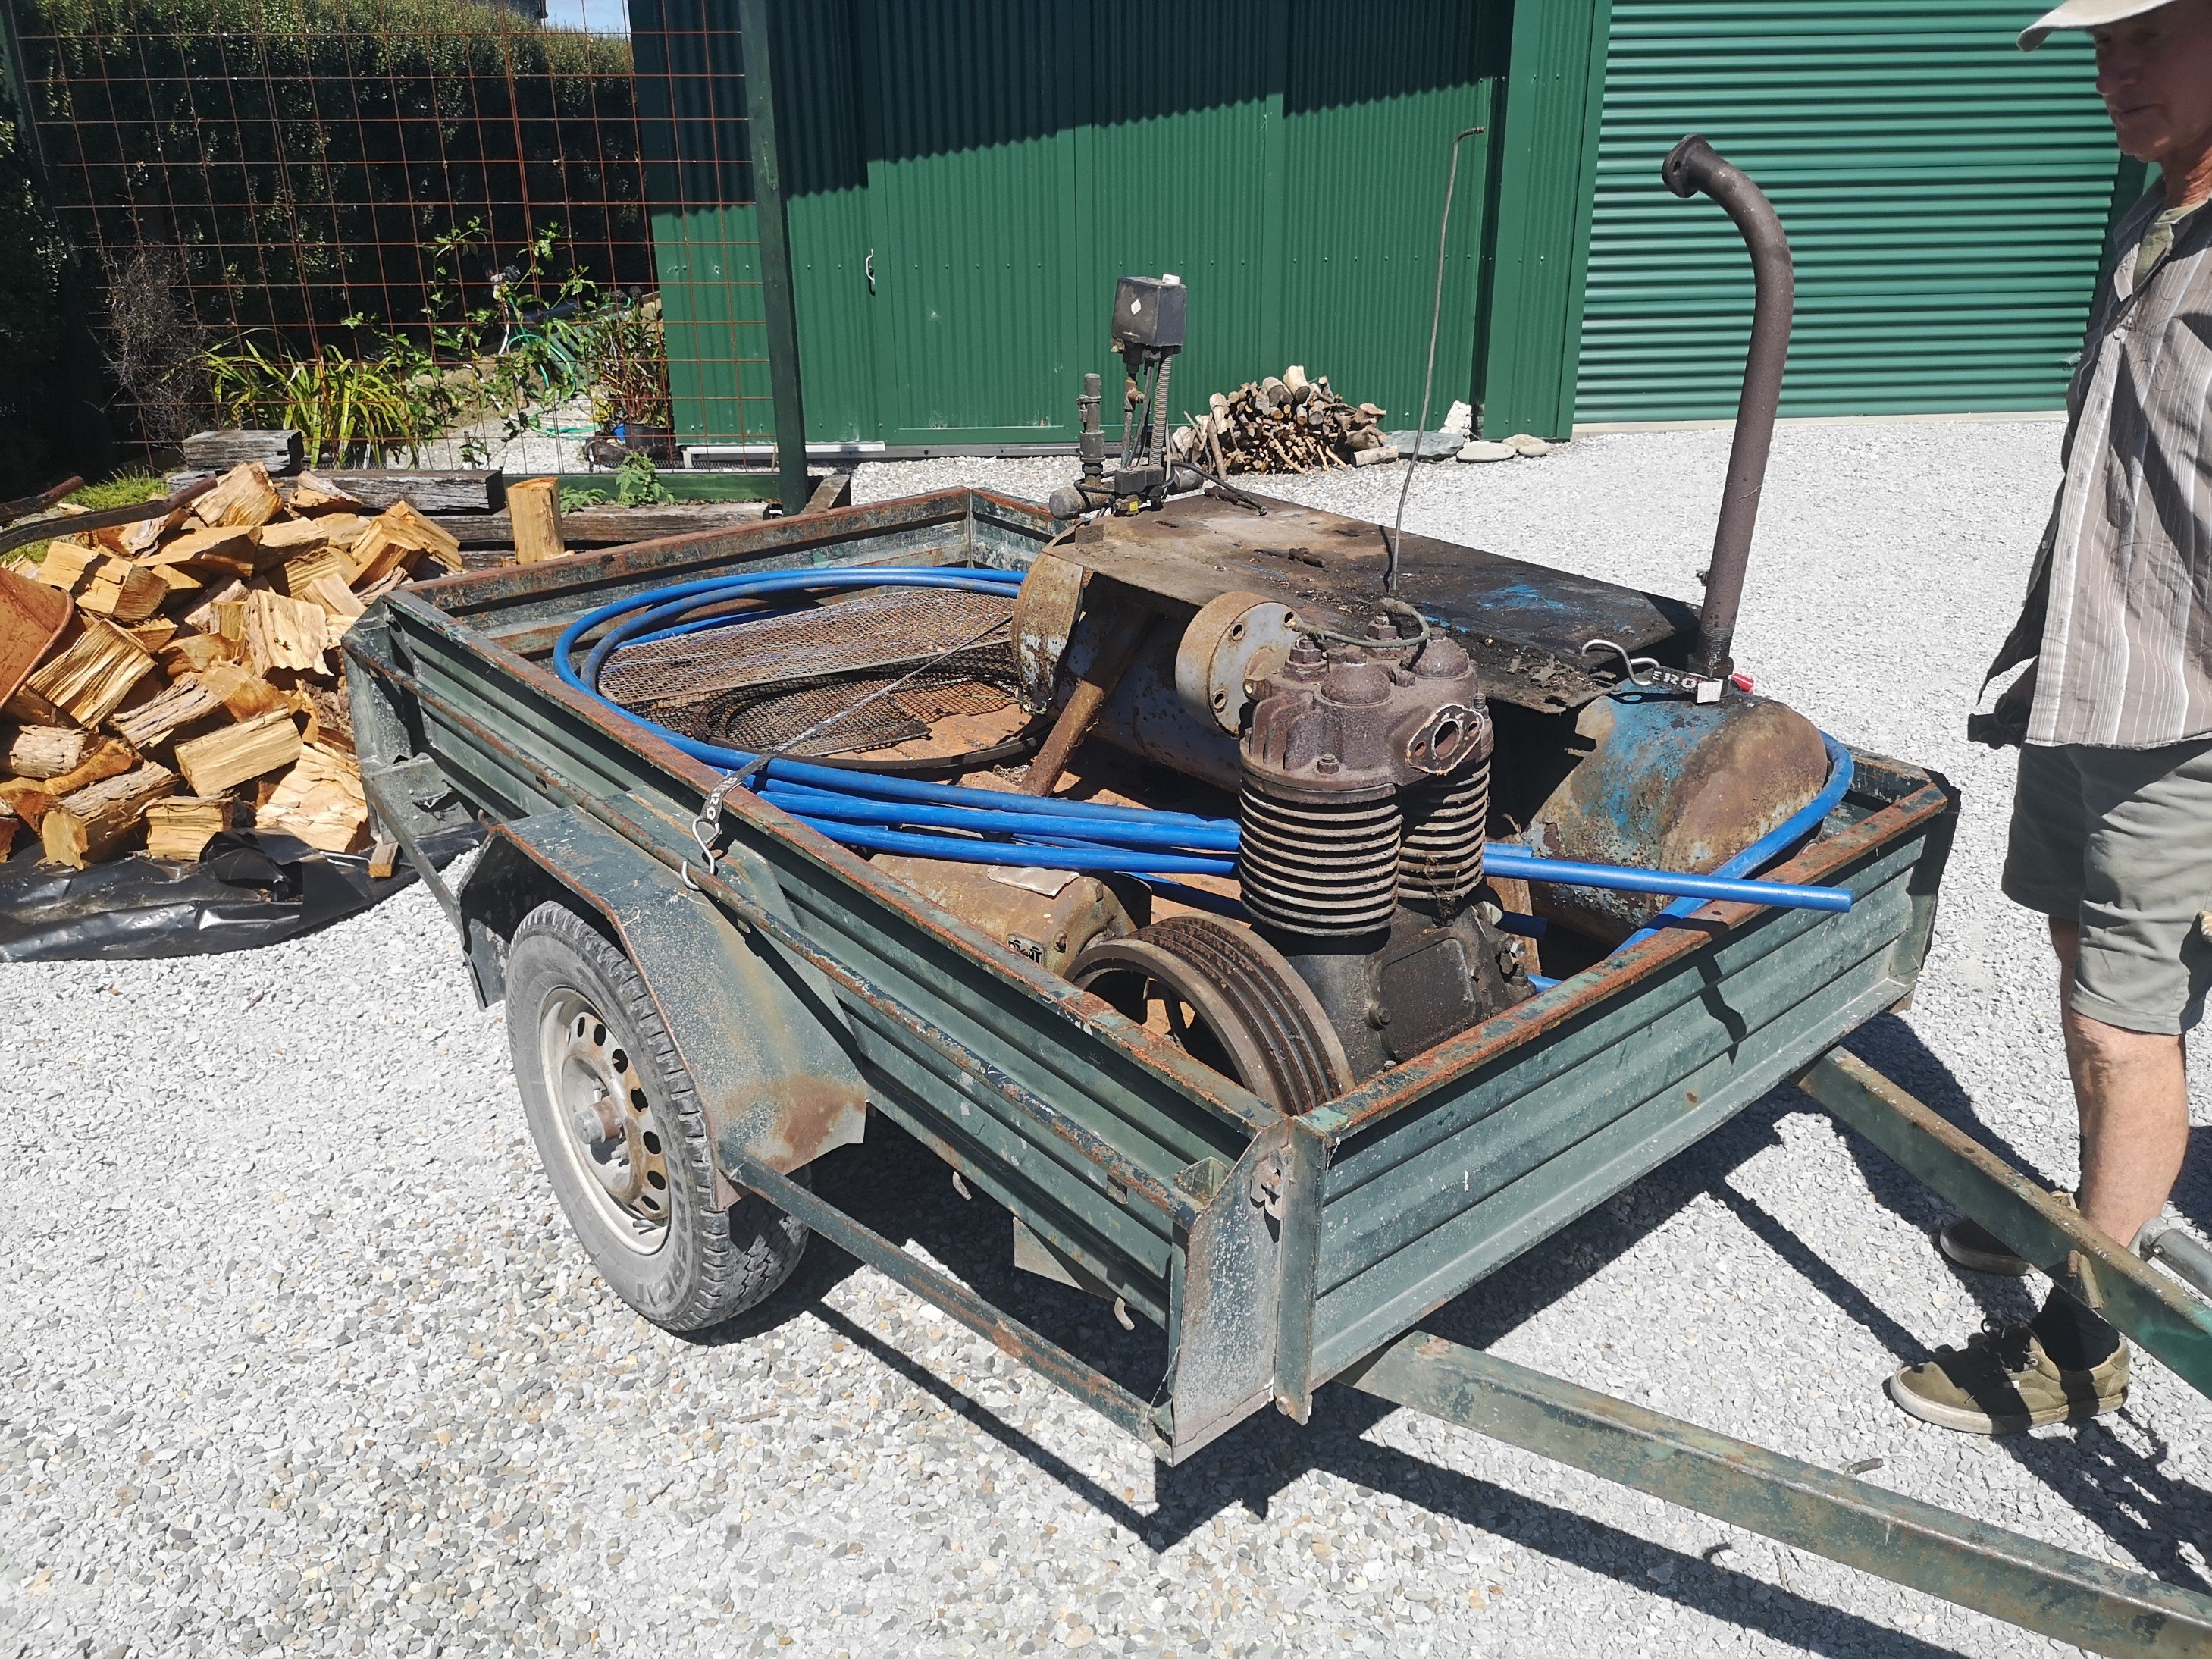
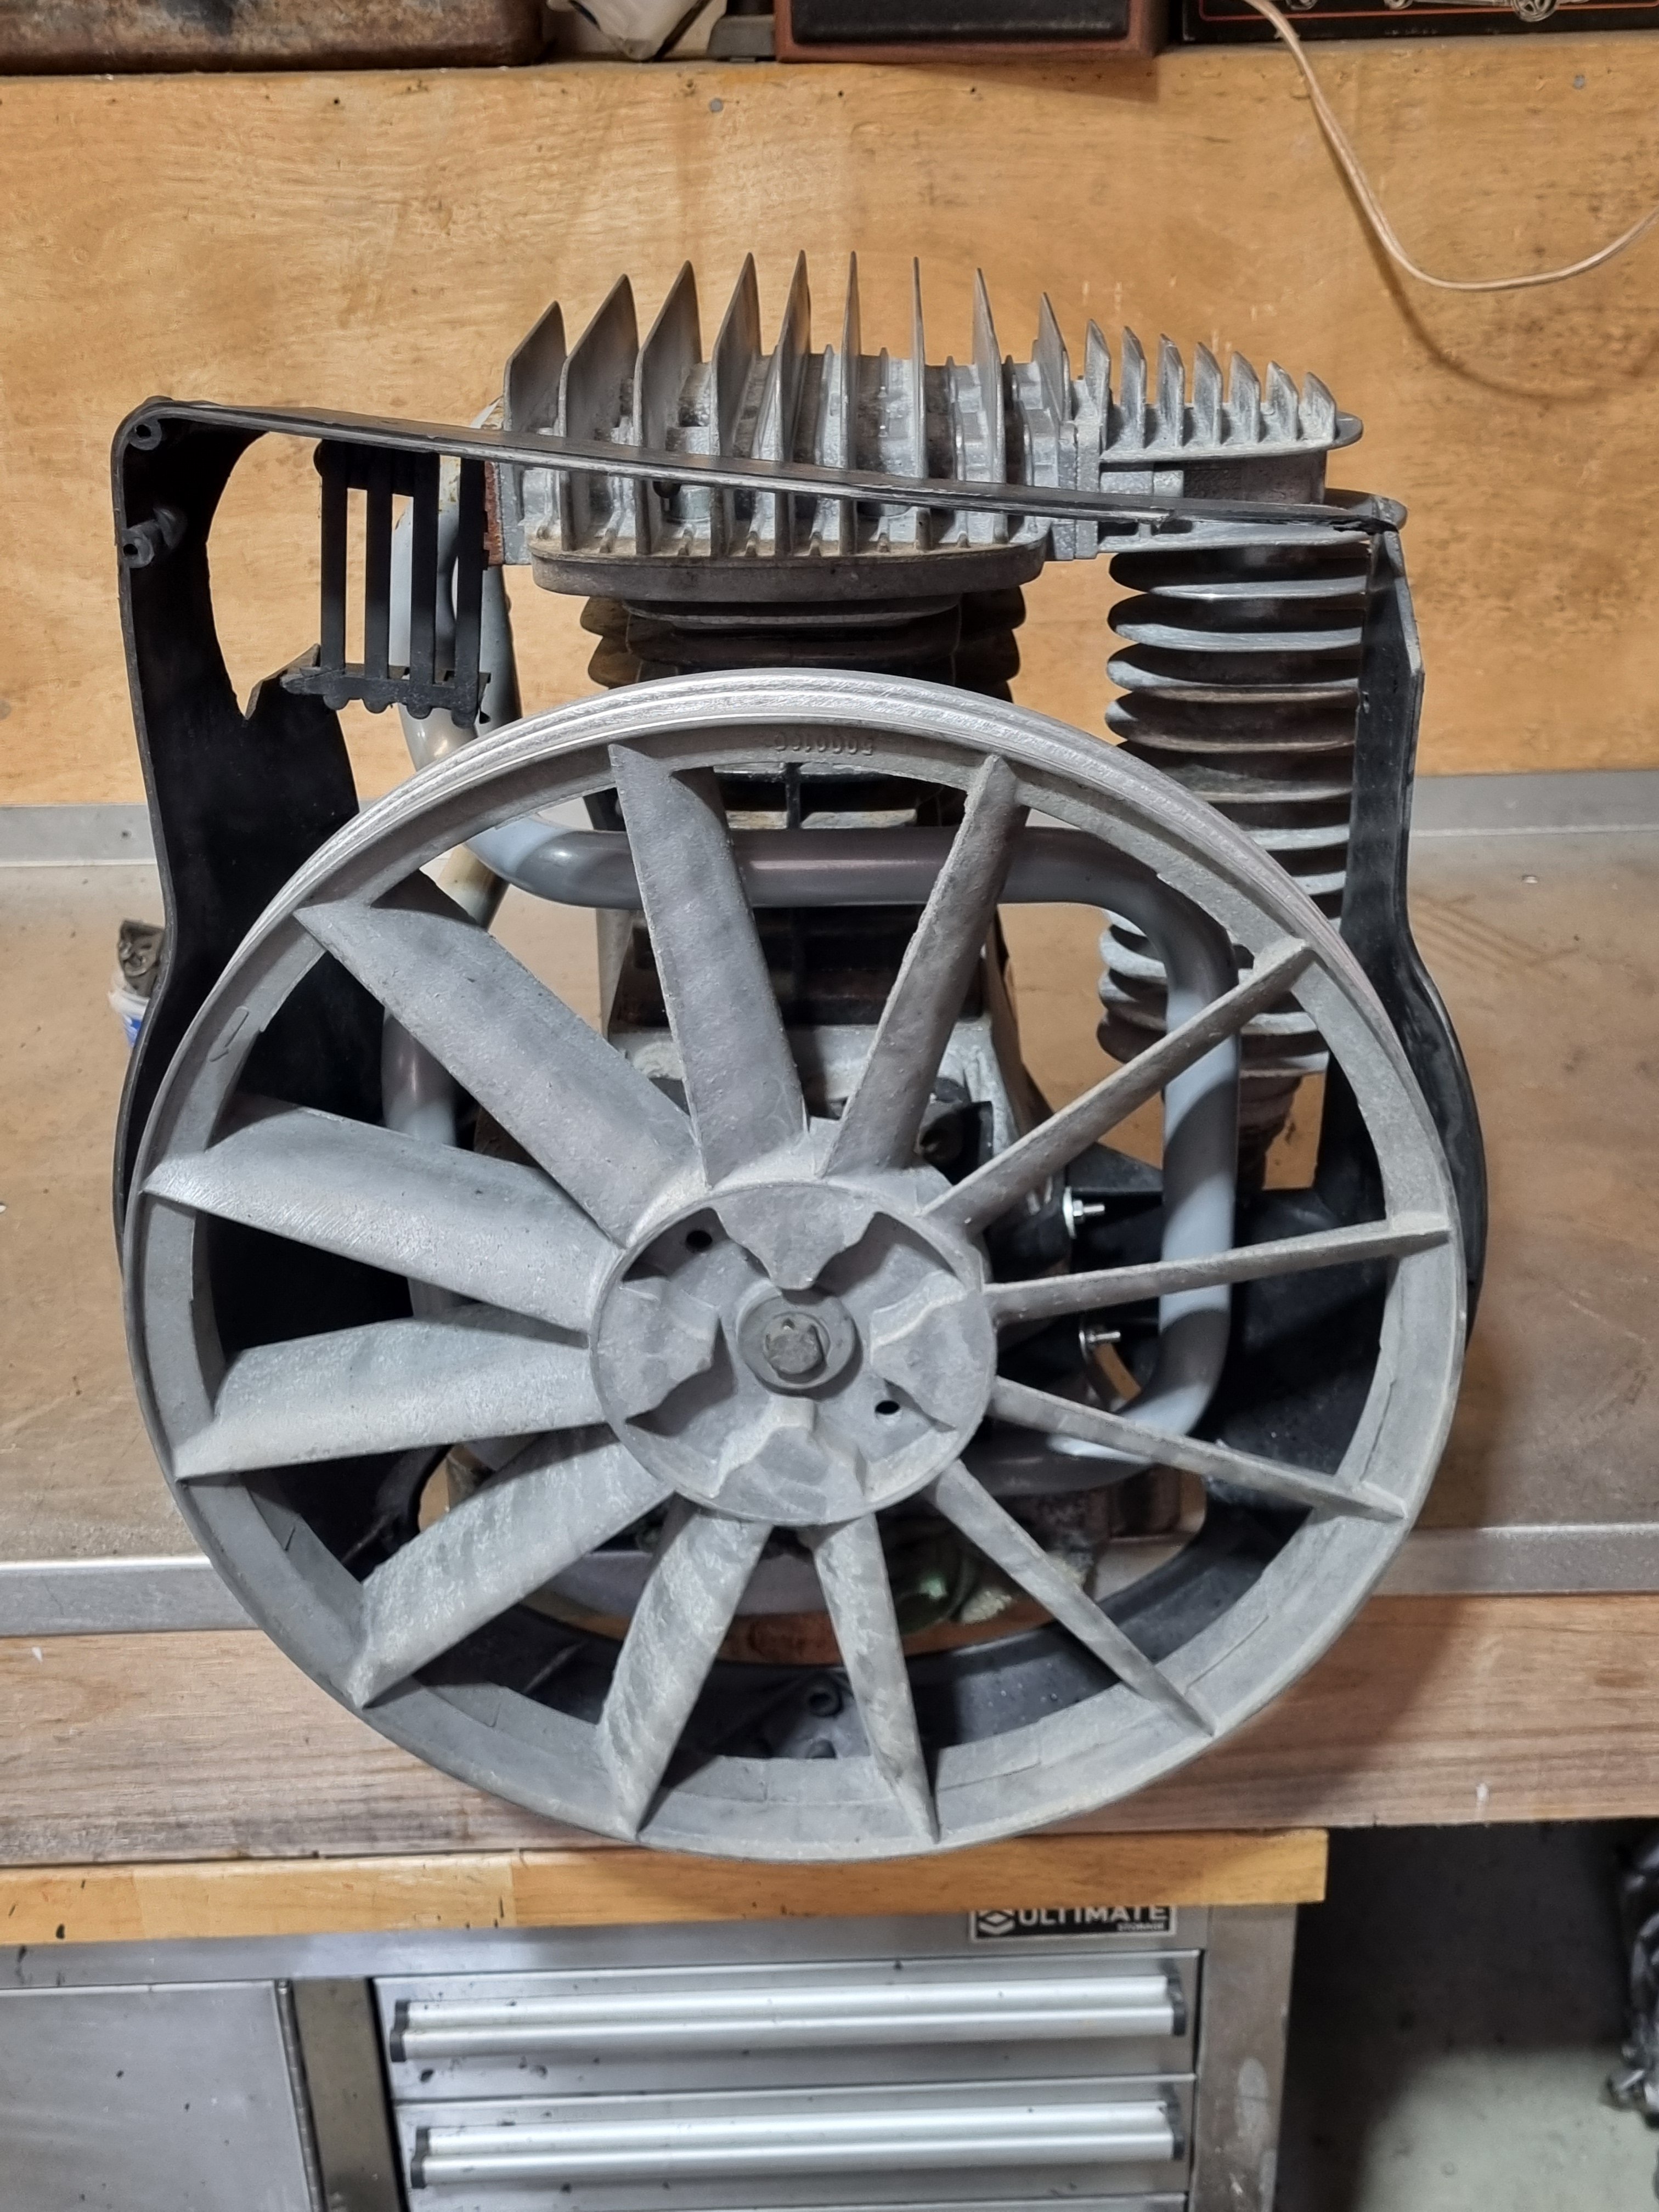
Nice... looks like a red dwarf.. At "some point in the future" I have this 10hp Broomwade to reco.. Think it was out of a mine
1 point
-
Picked up some factory mk2 escort Recaro seat mounts, Seem to make the seats a bit high compared to the flat bar I had, but is alot more comfy overall, will leave them in for now, make something similar with less height will be ideal Grabbed a console, but due to gearstick placement I'm trying to think what might work better here instead Goes well, starts easy and drives well and even got the tyres squealing today
1 point
-
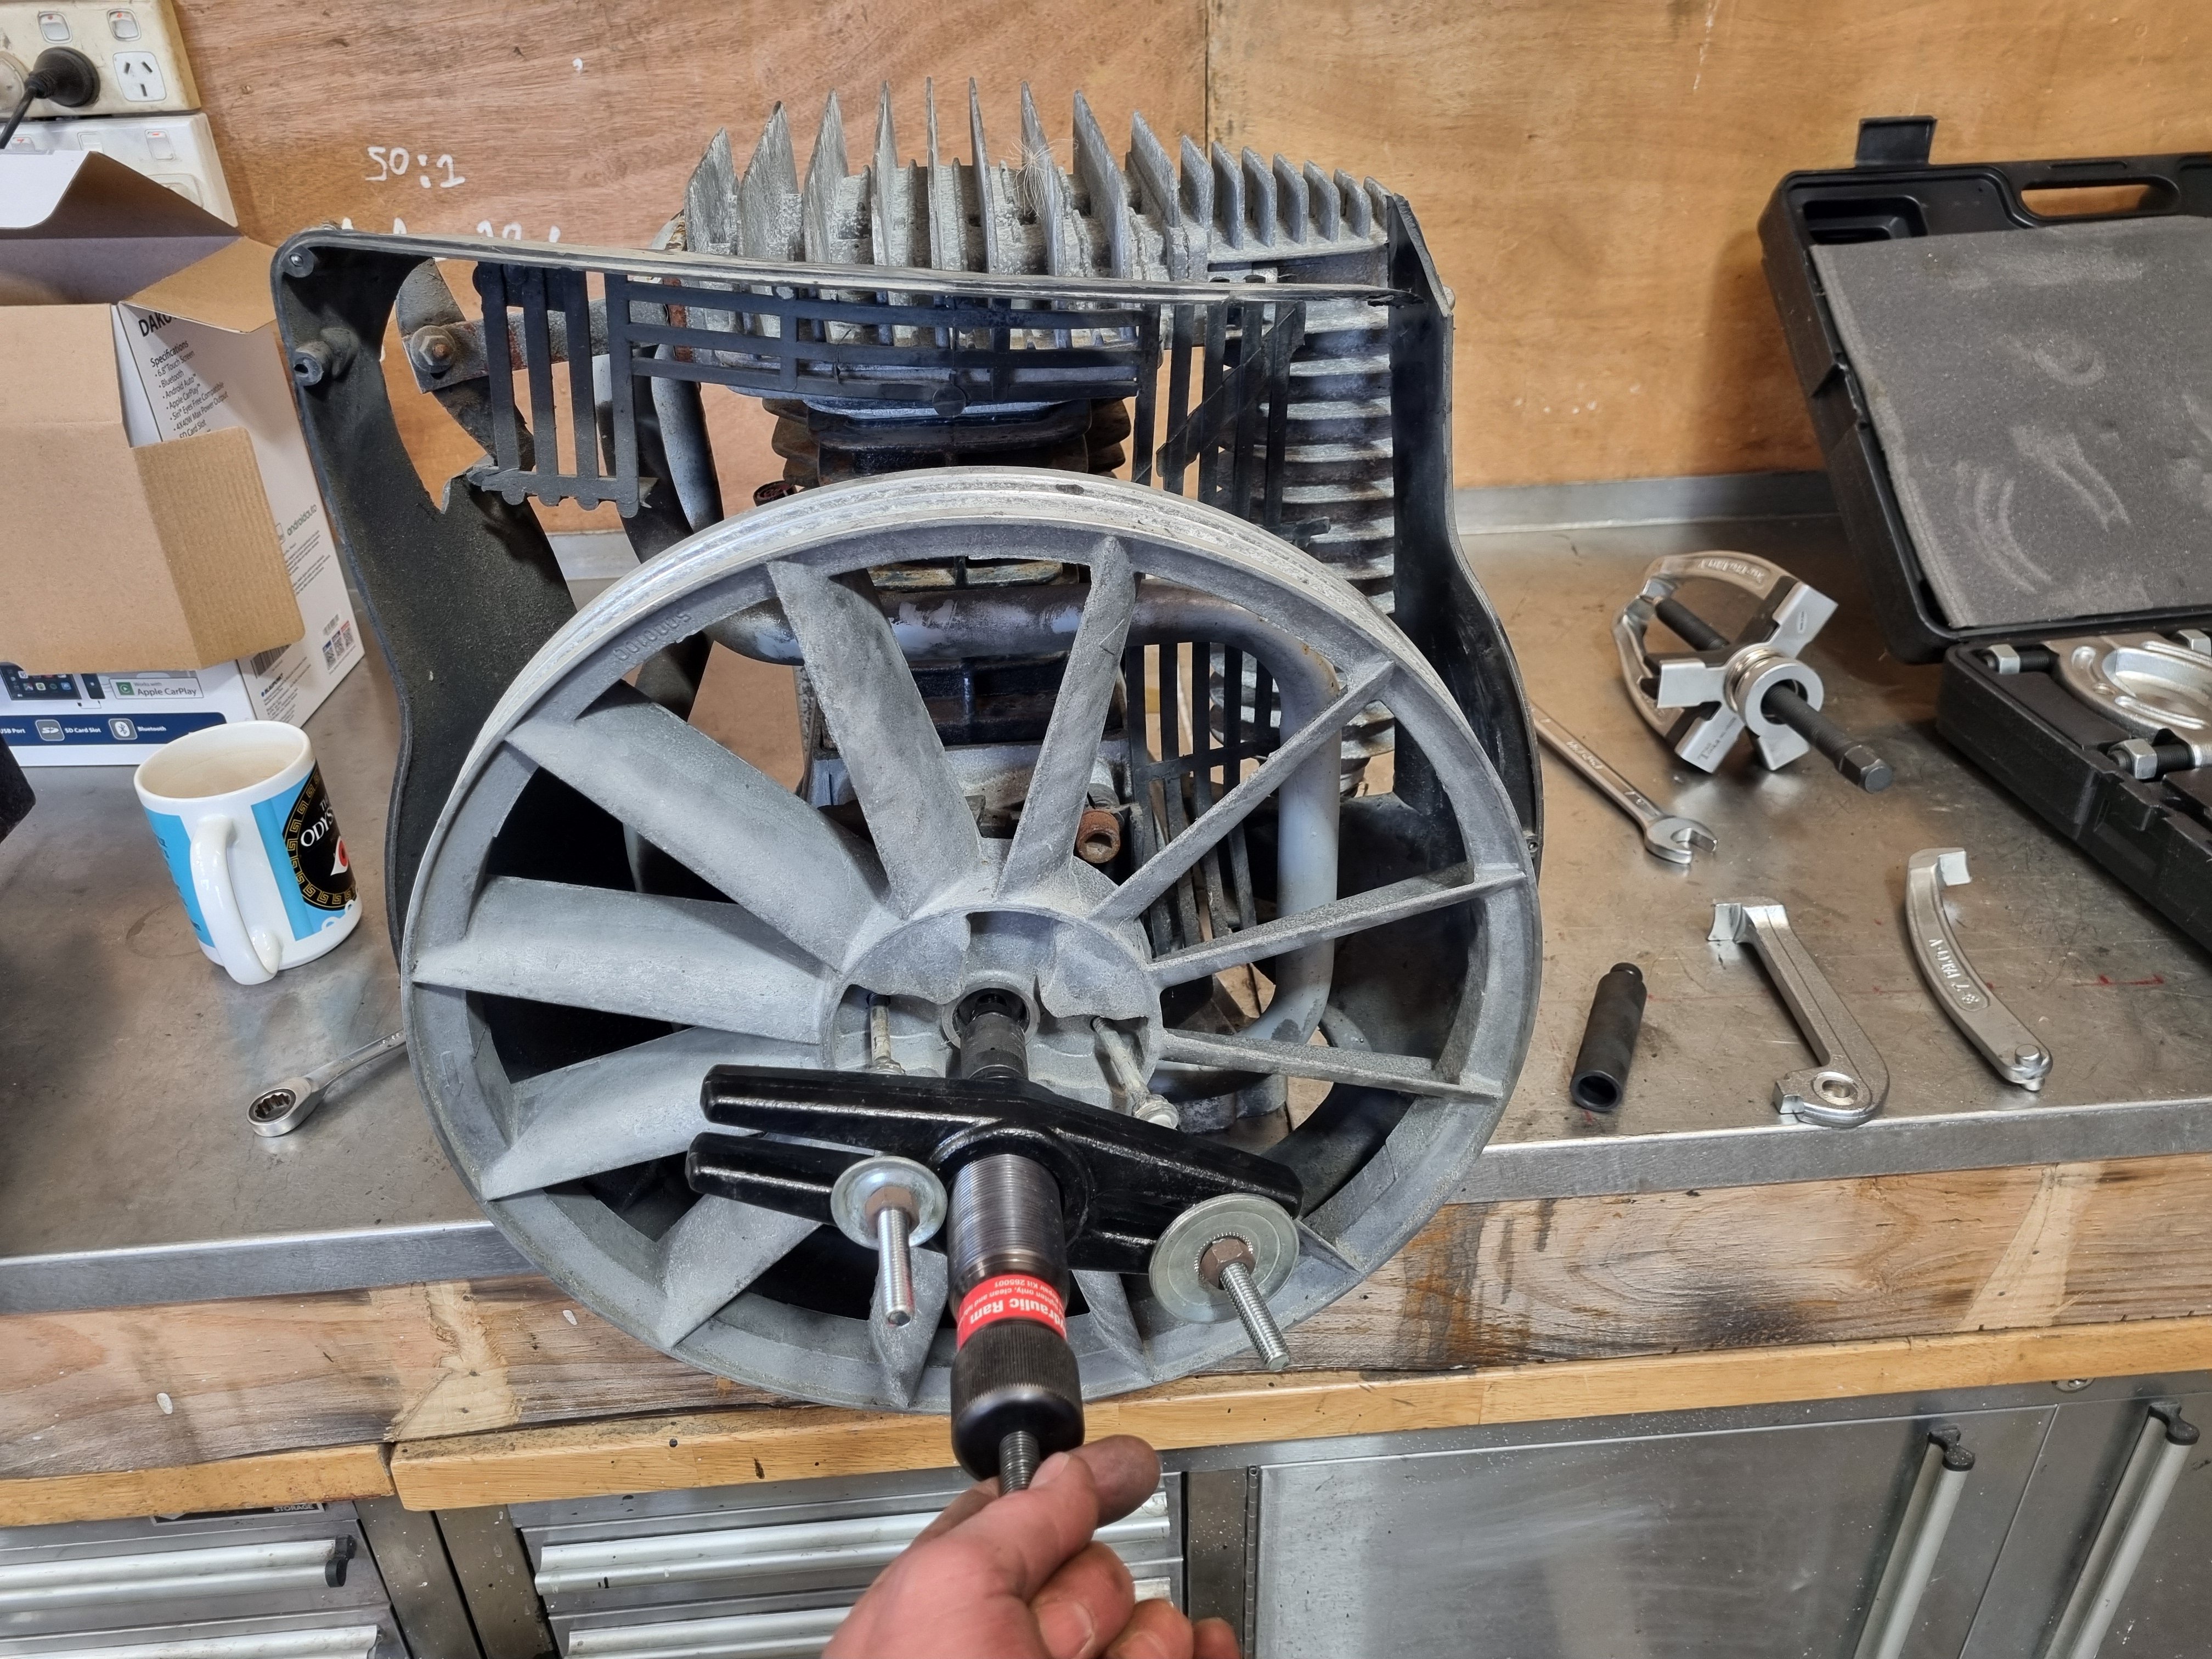
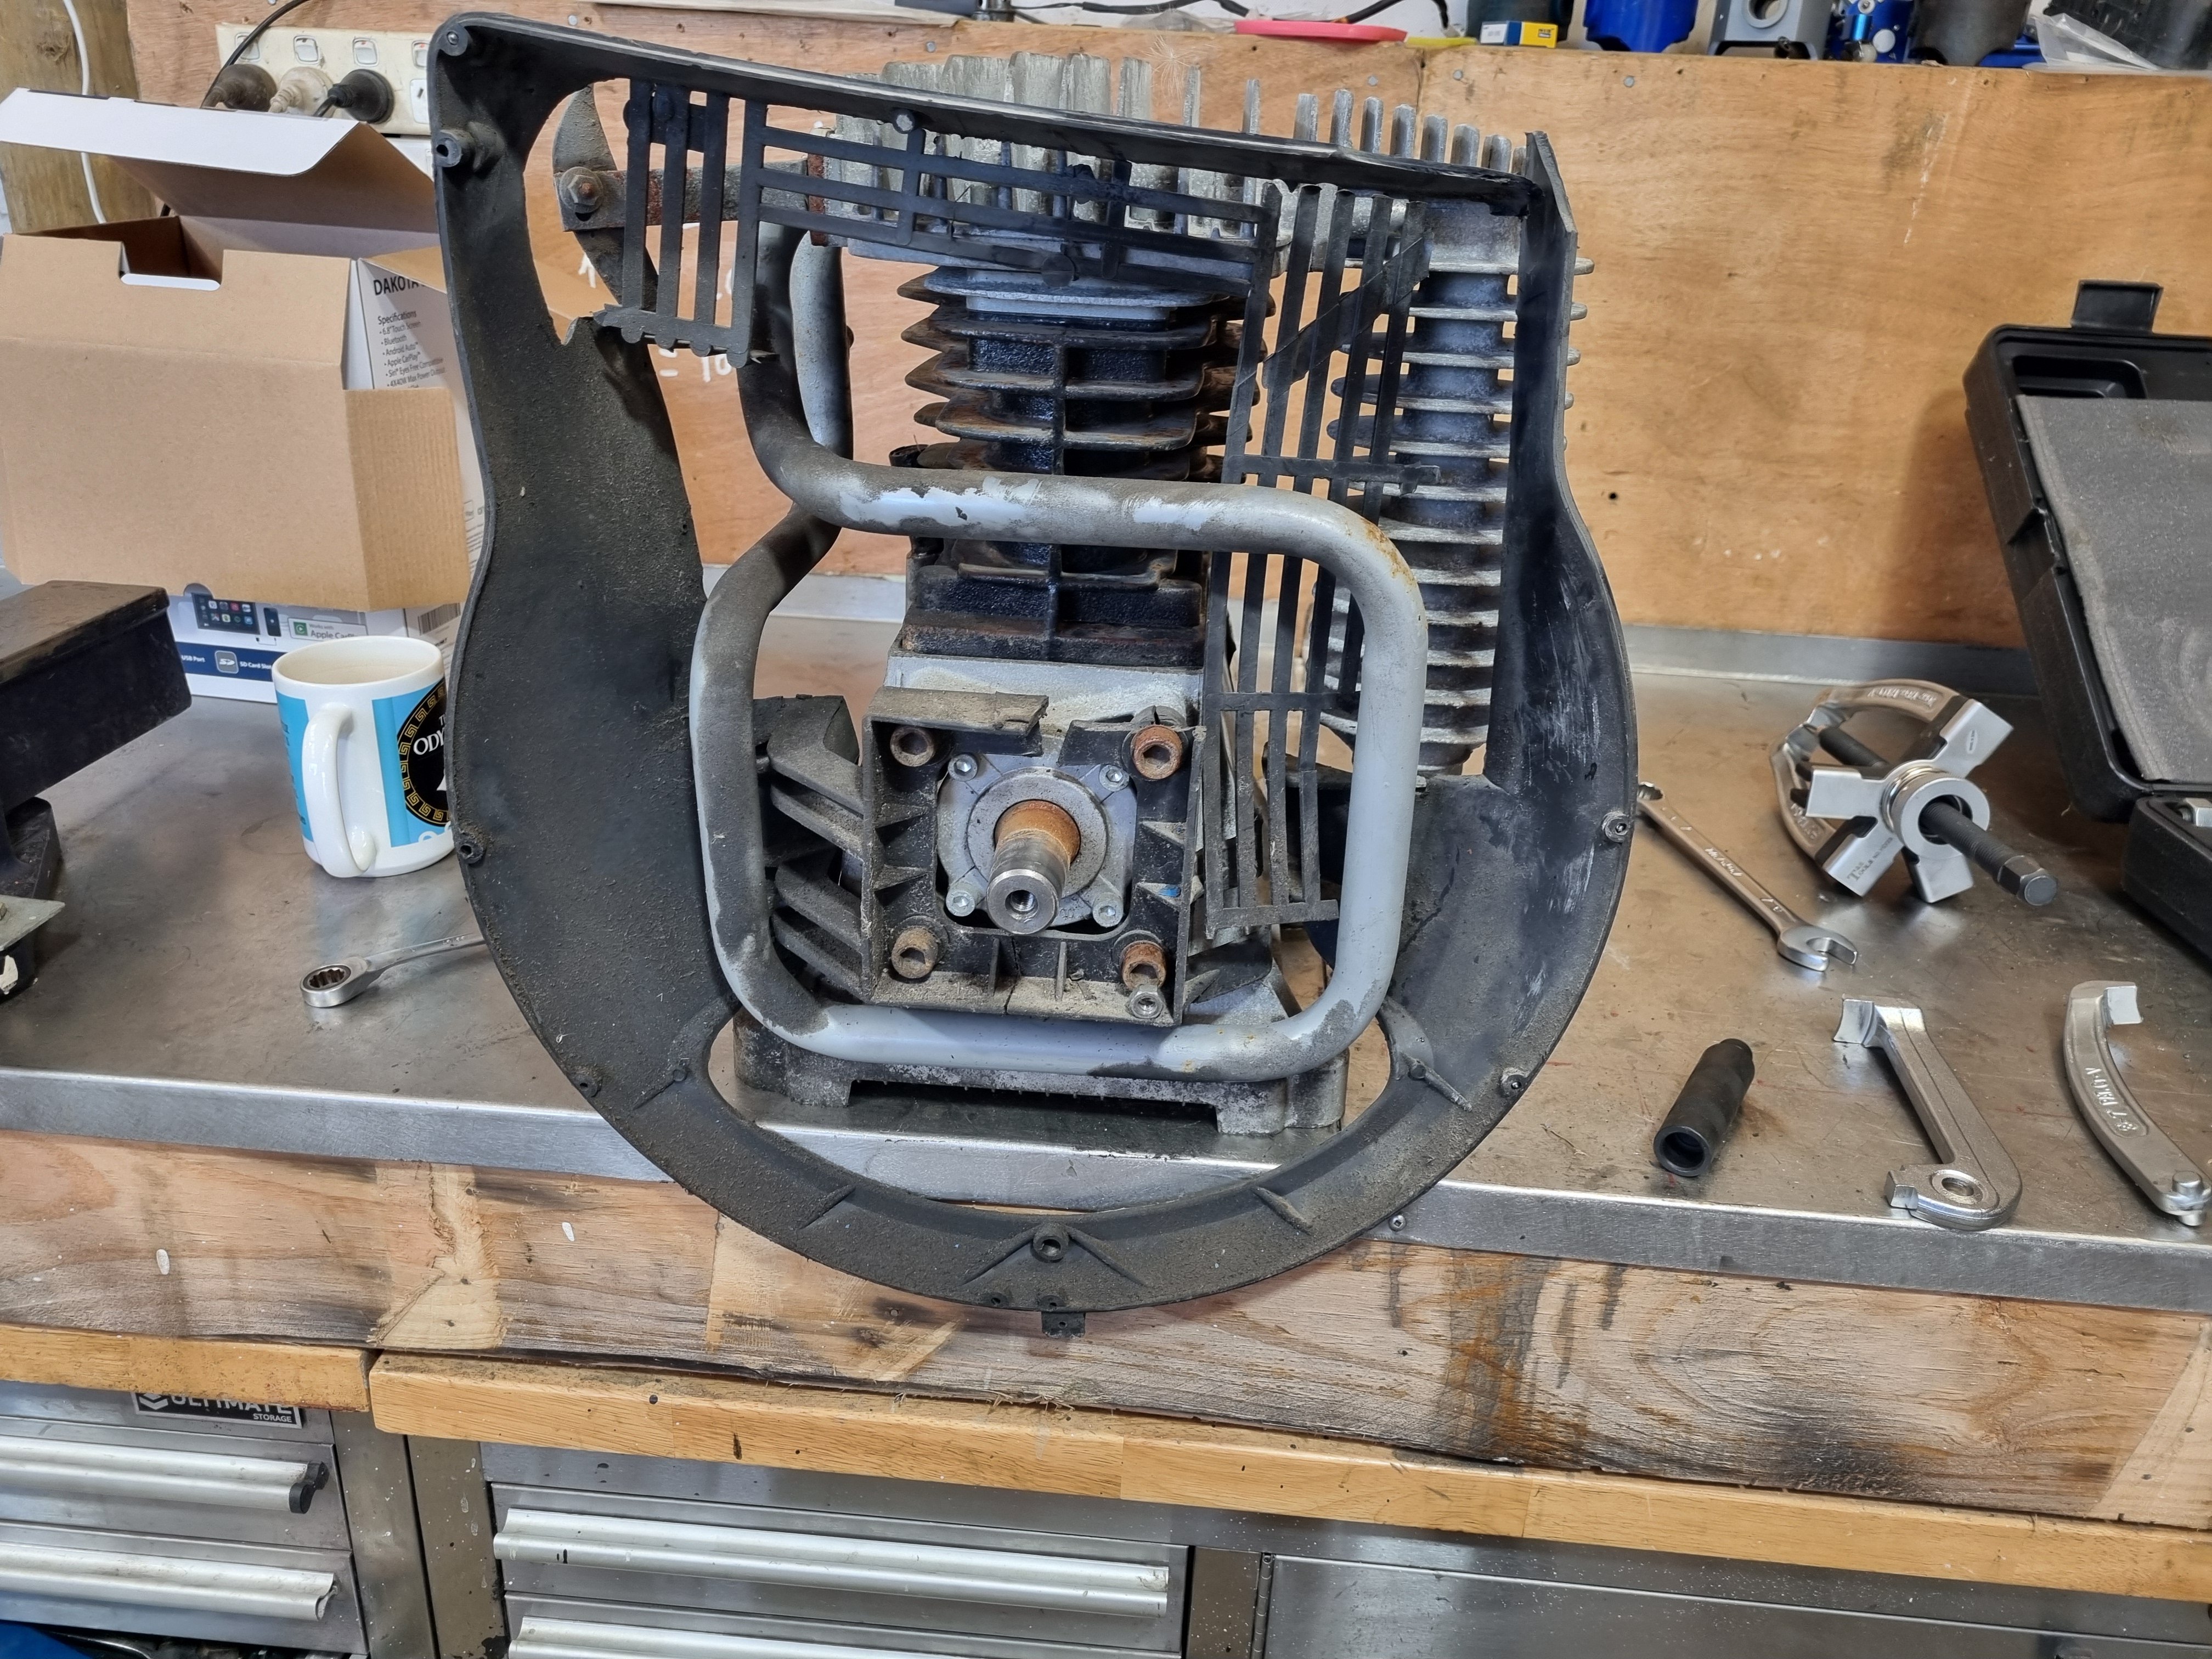
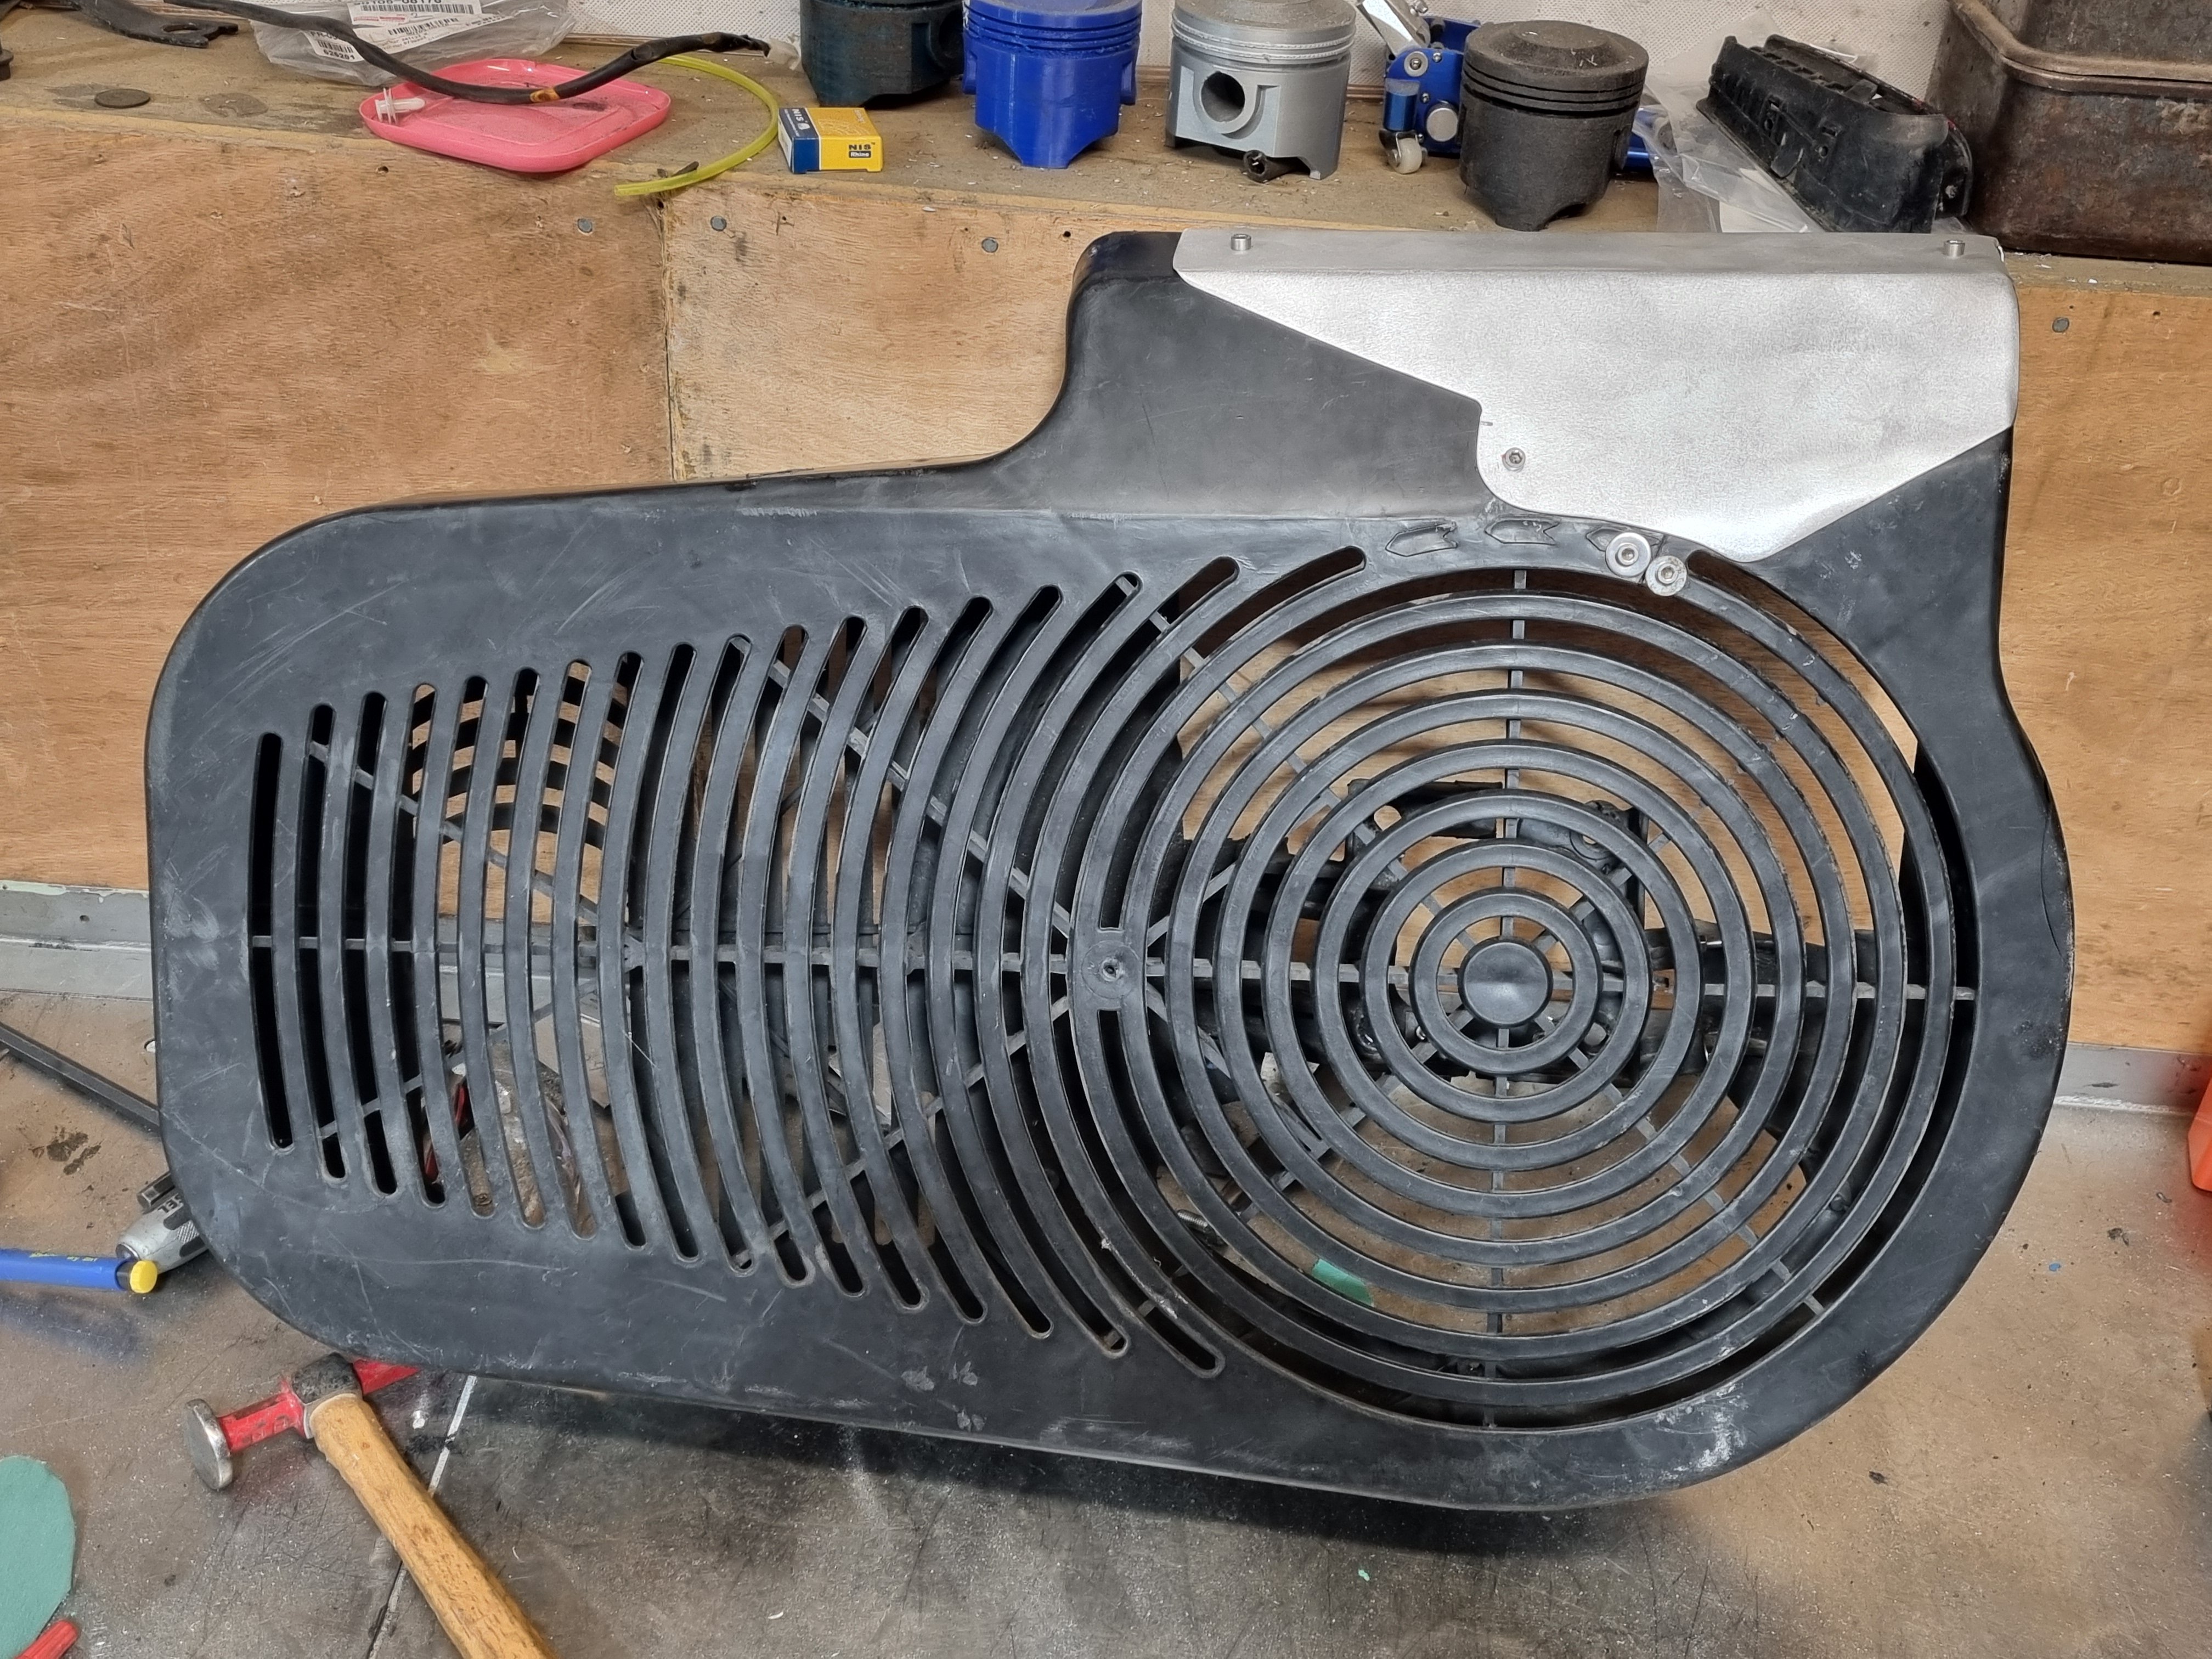
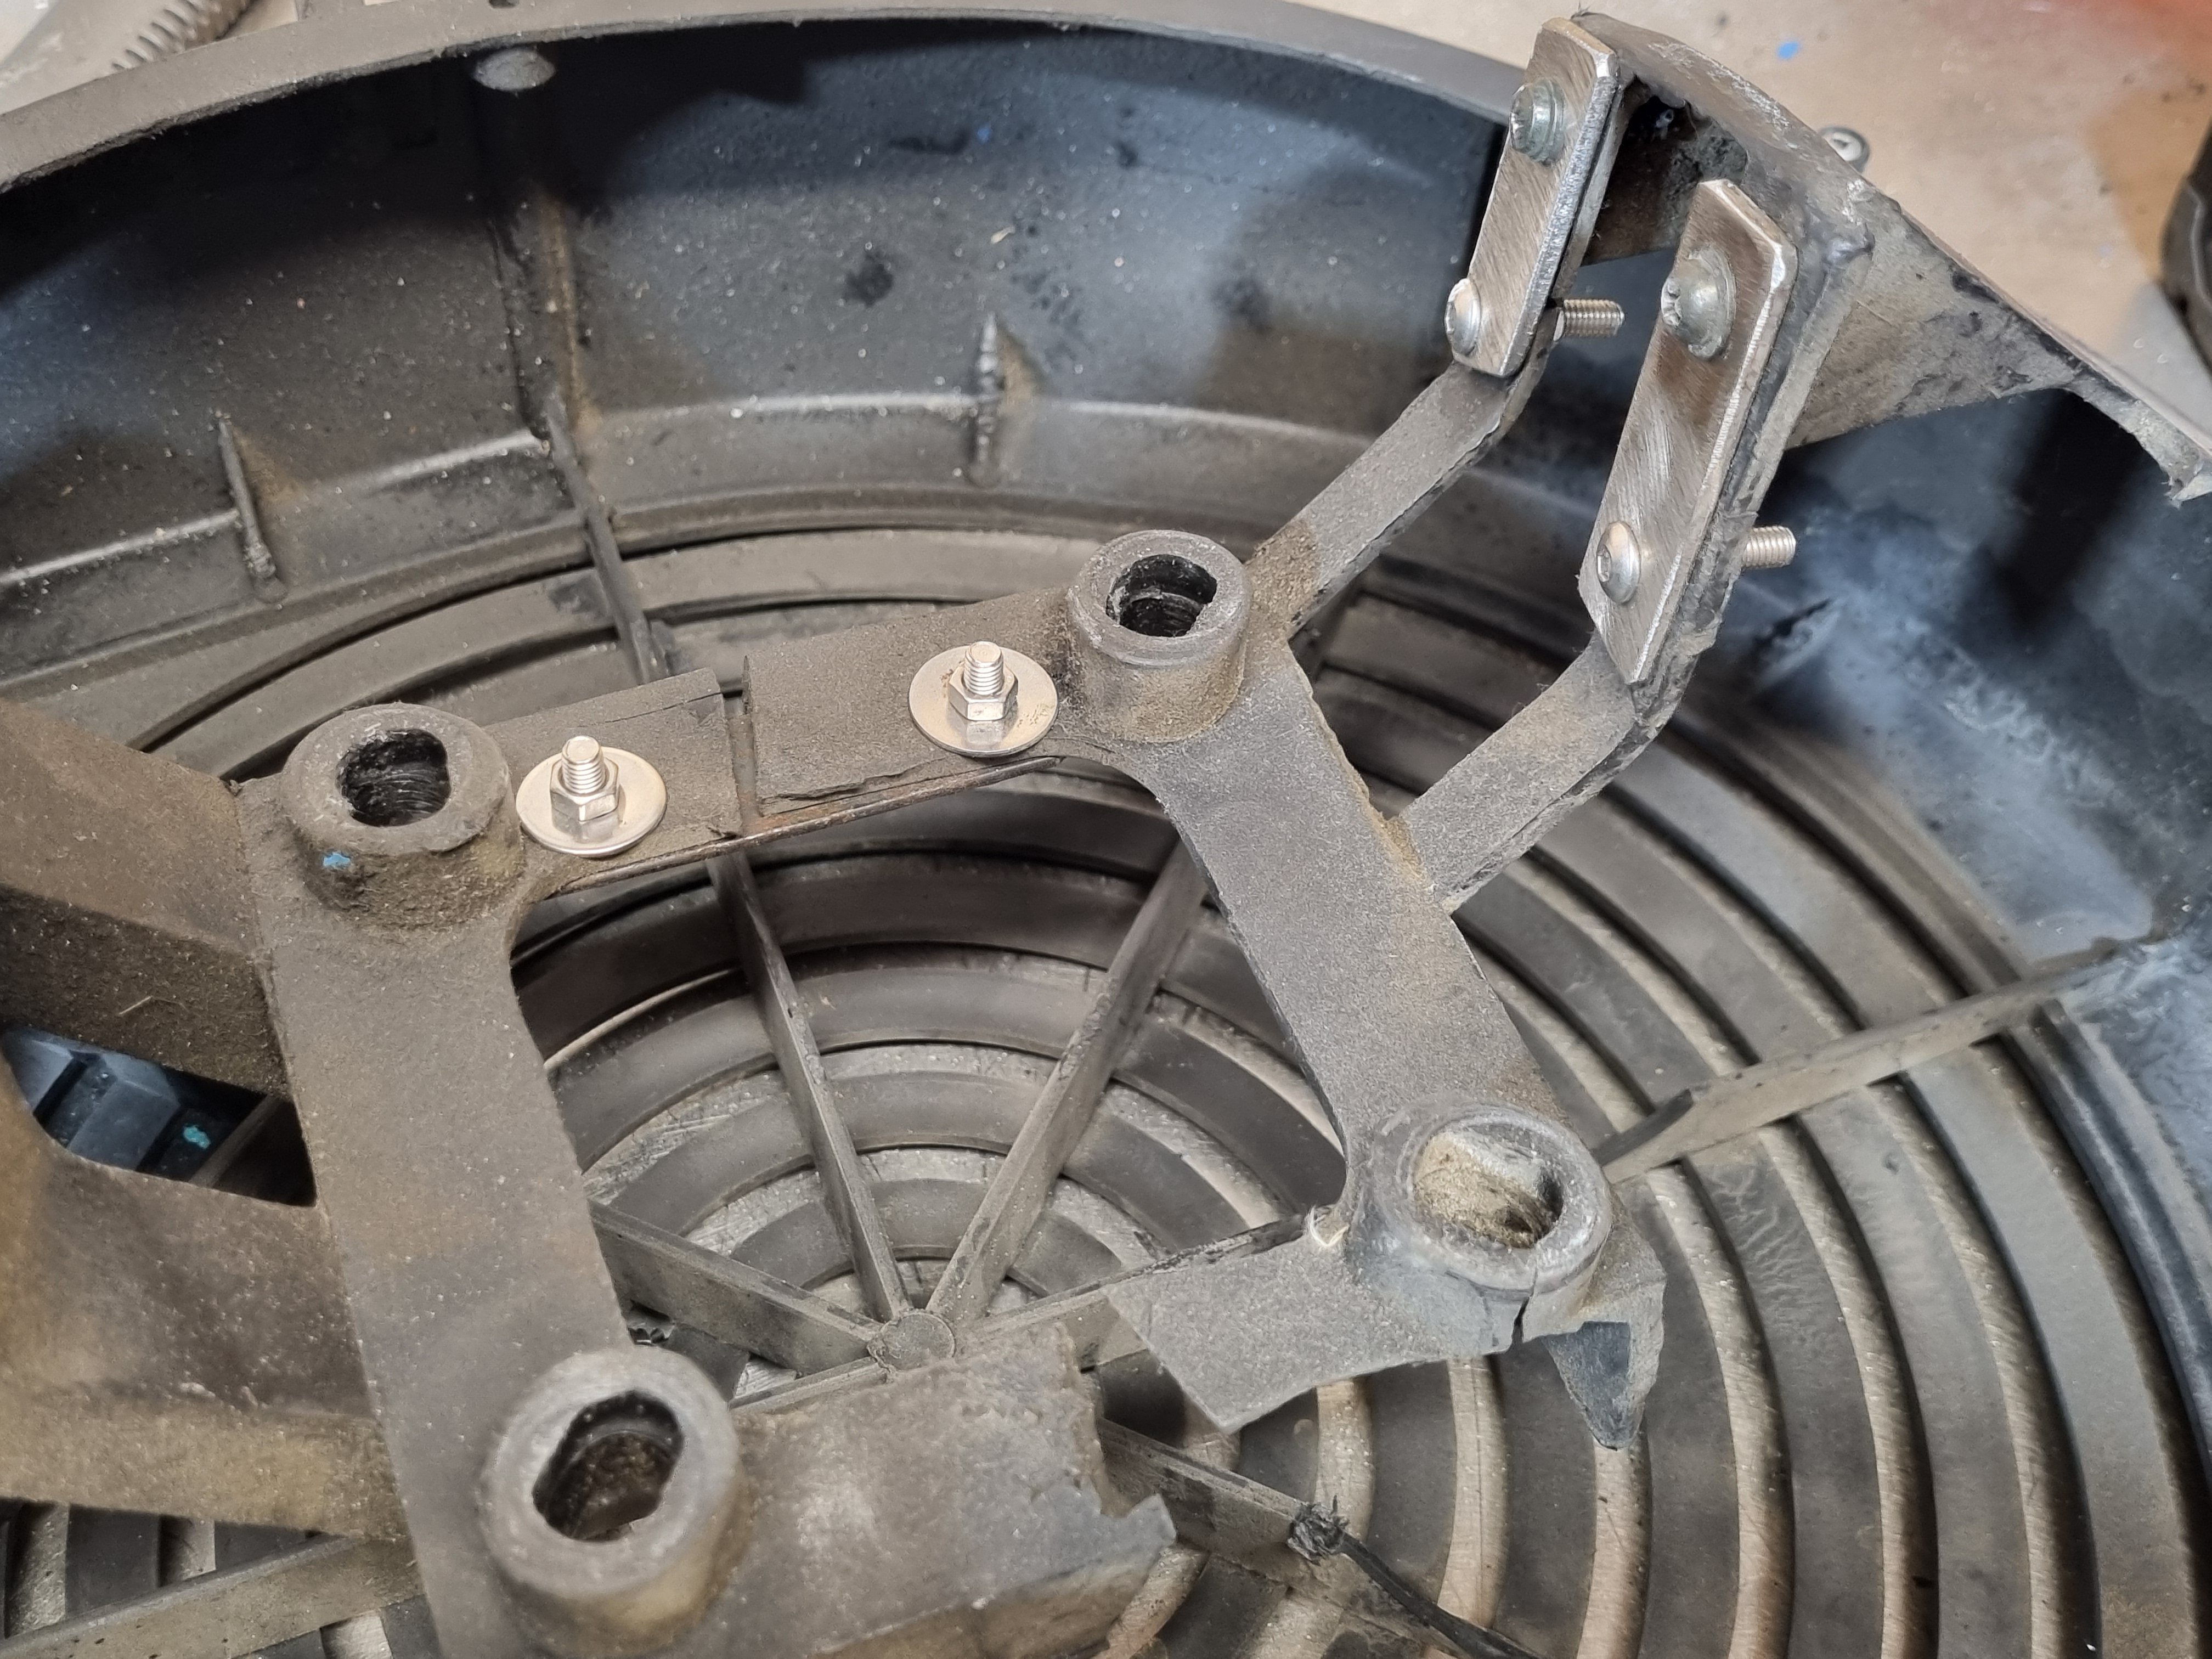
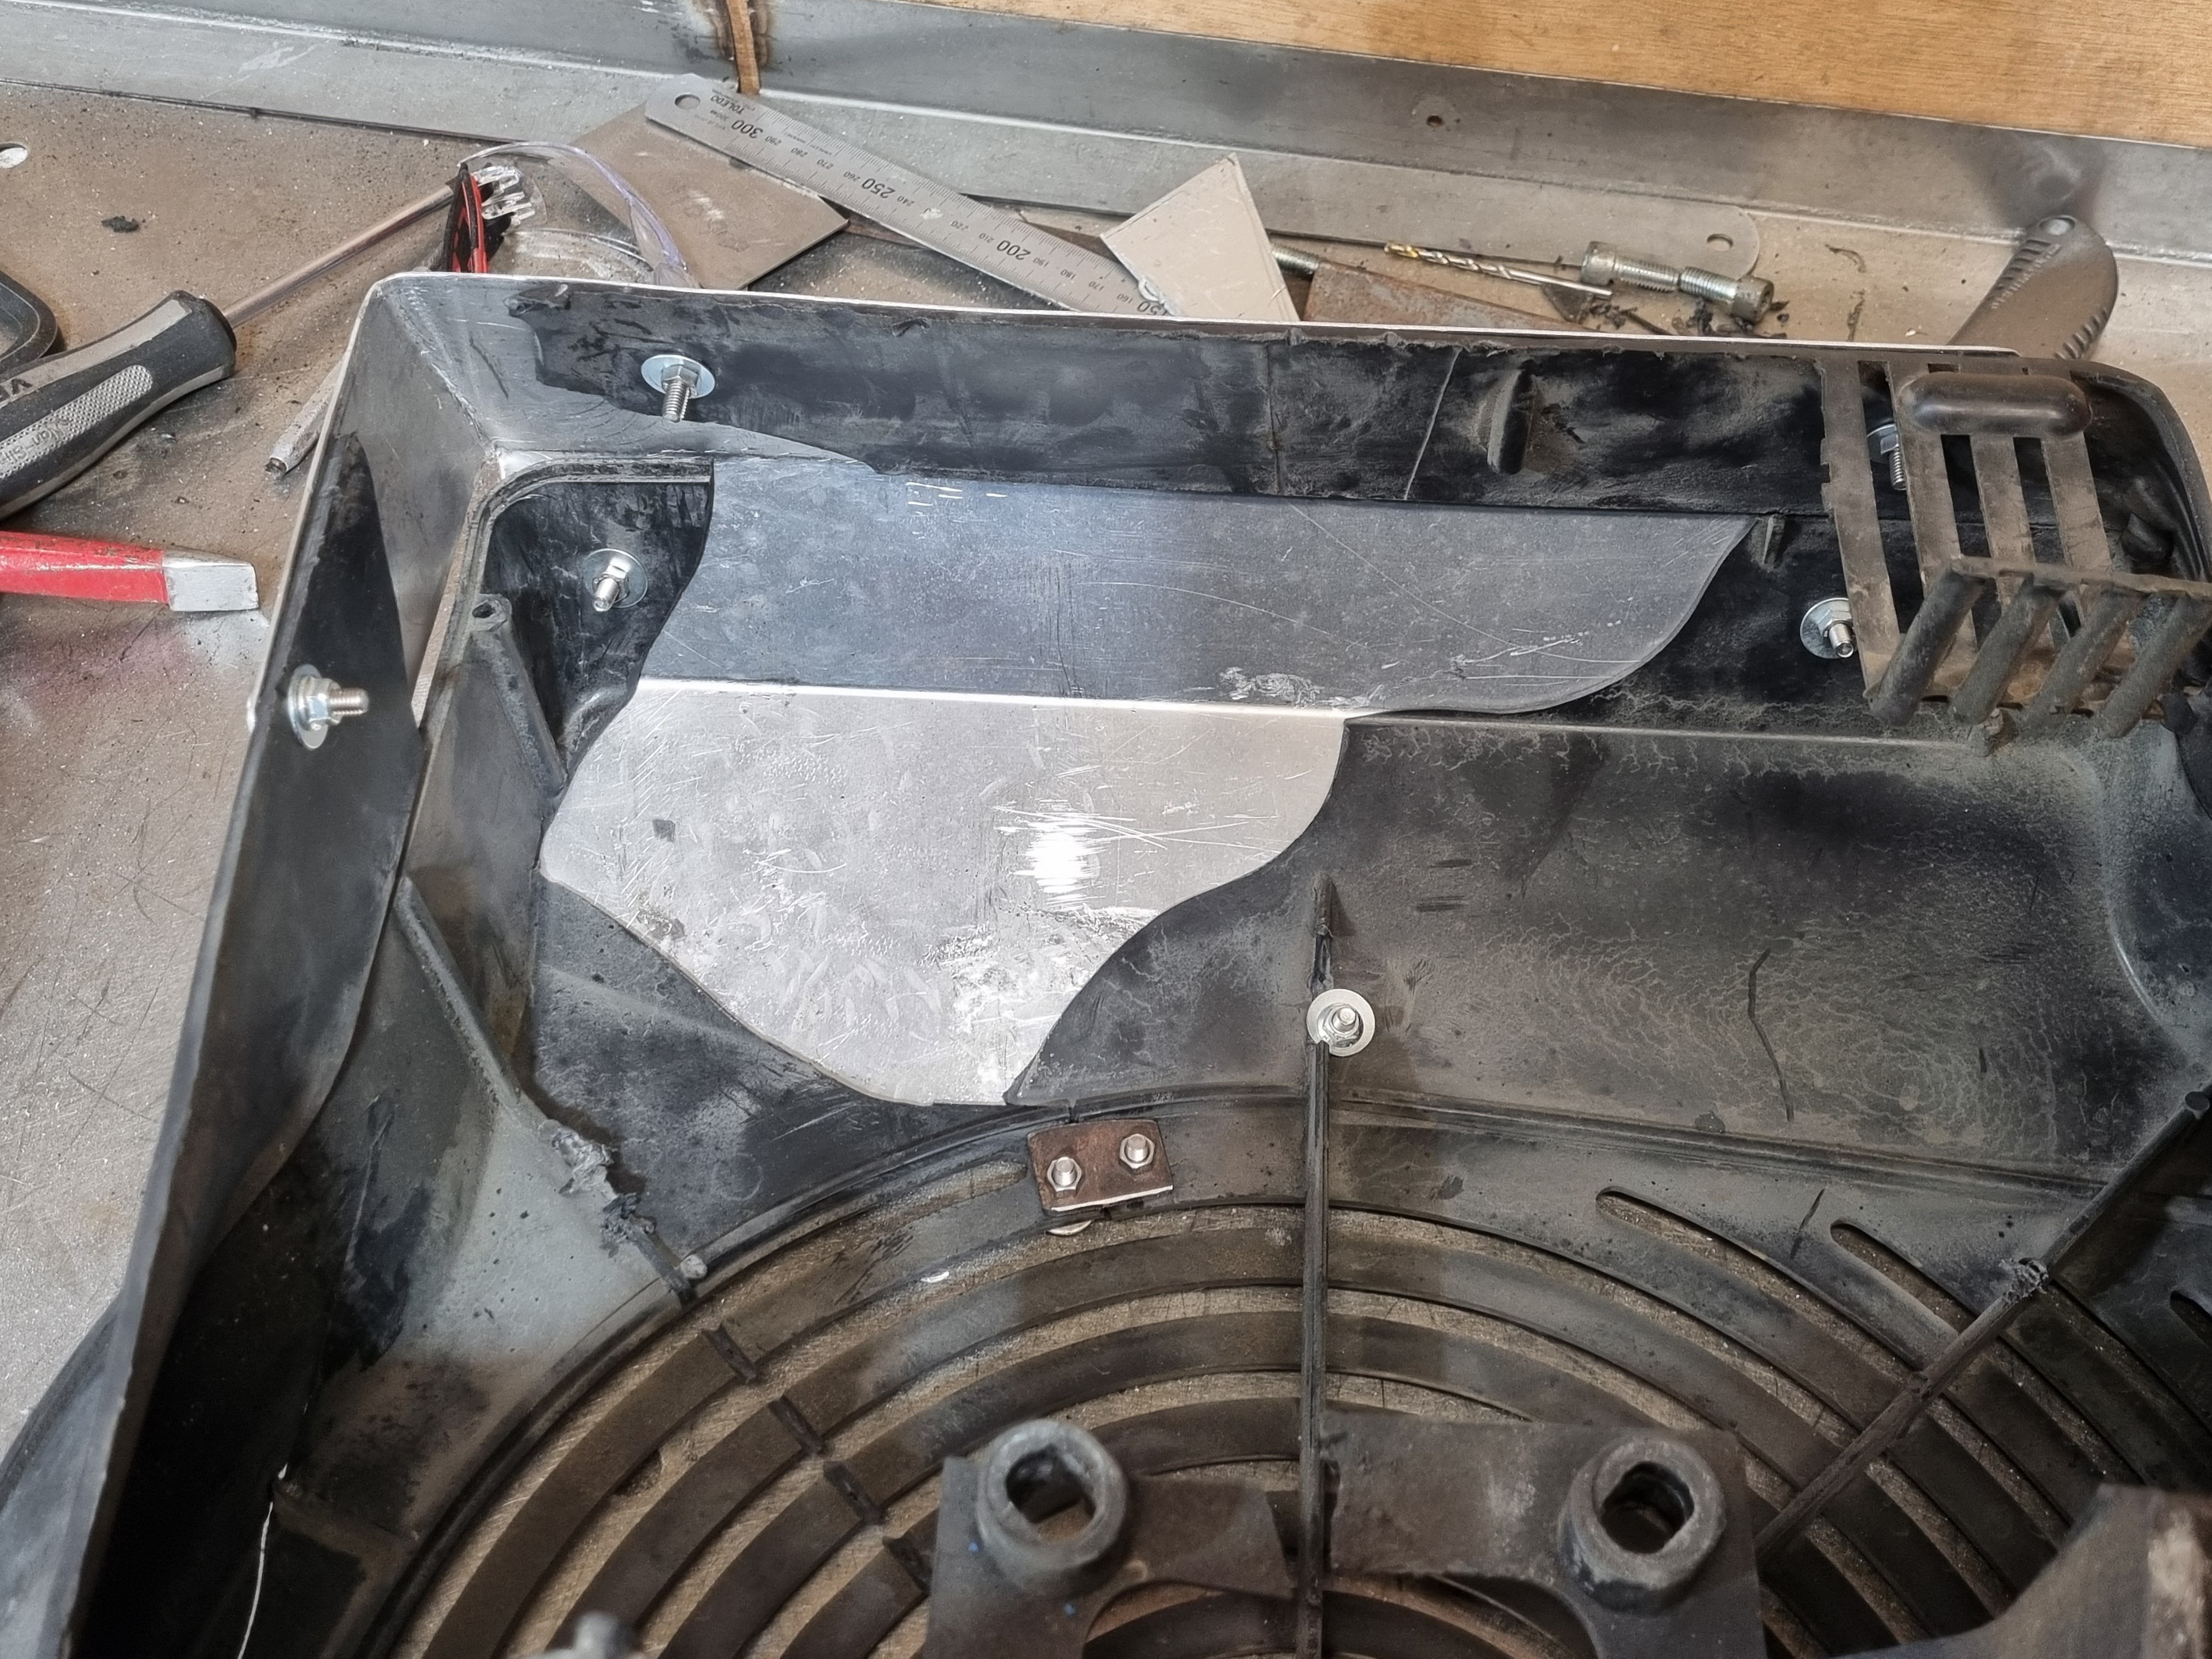
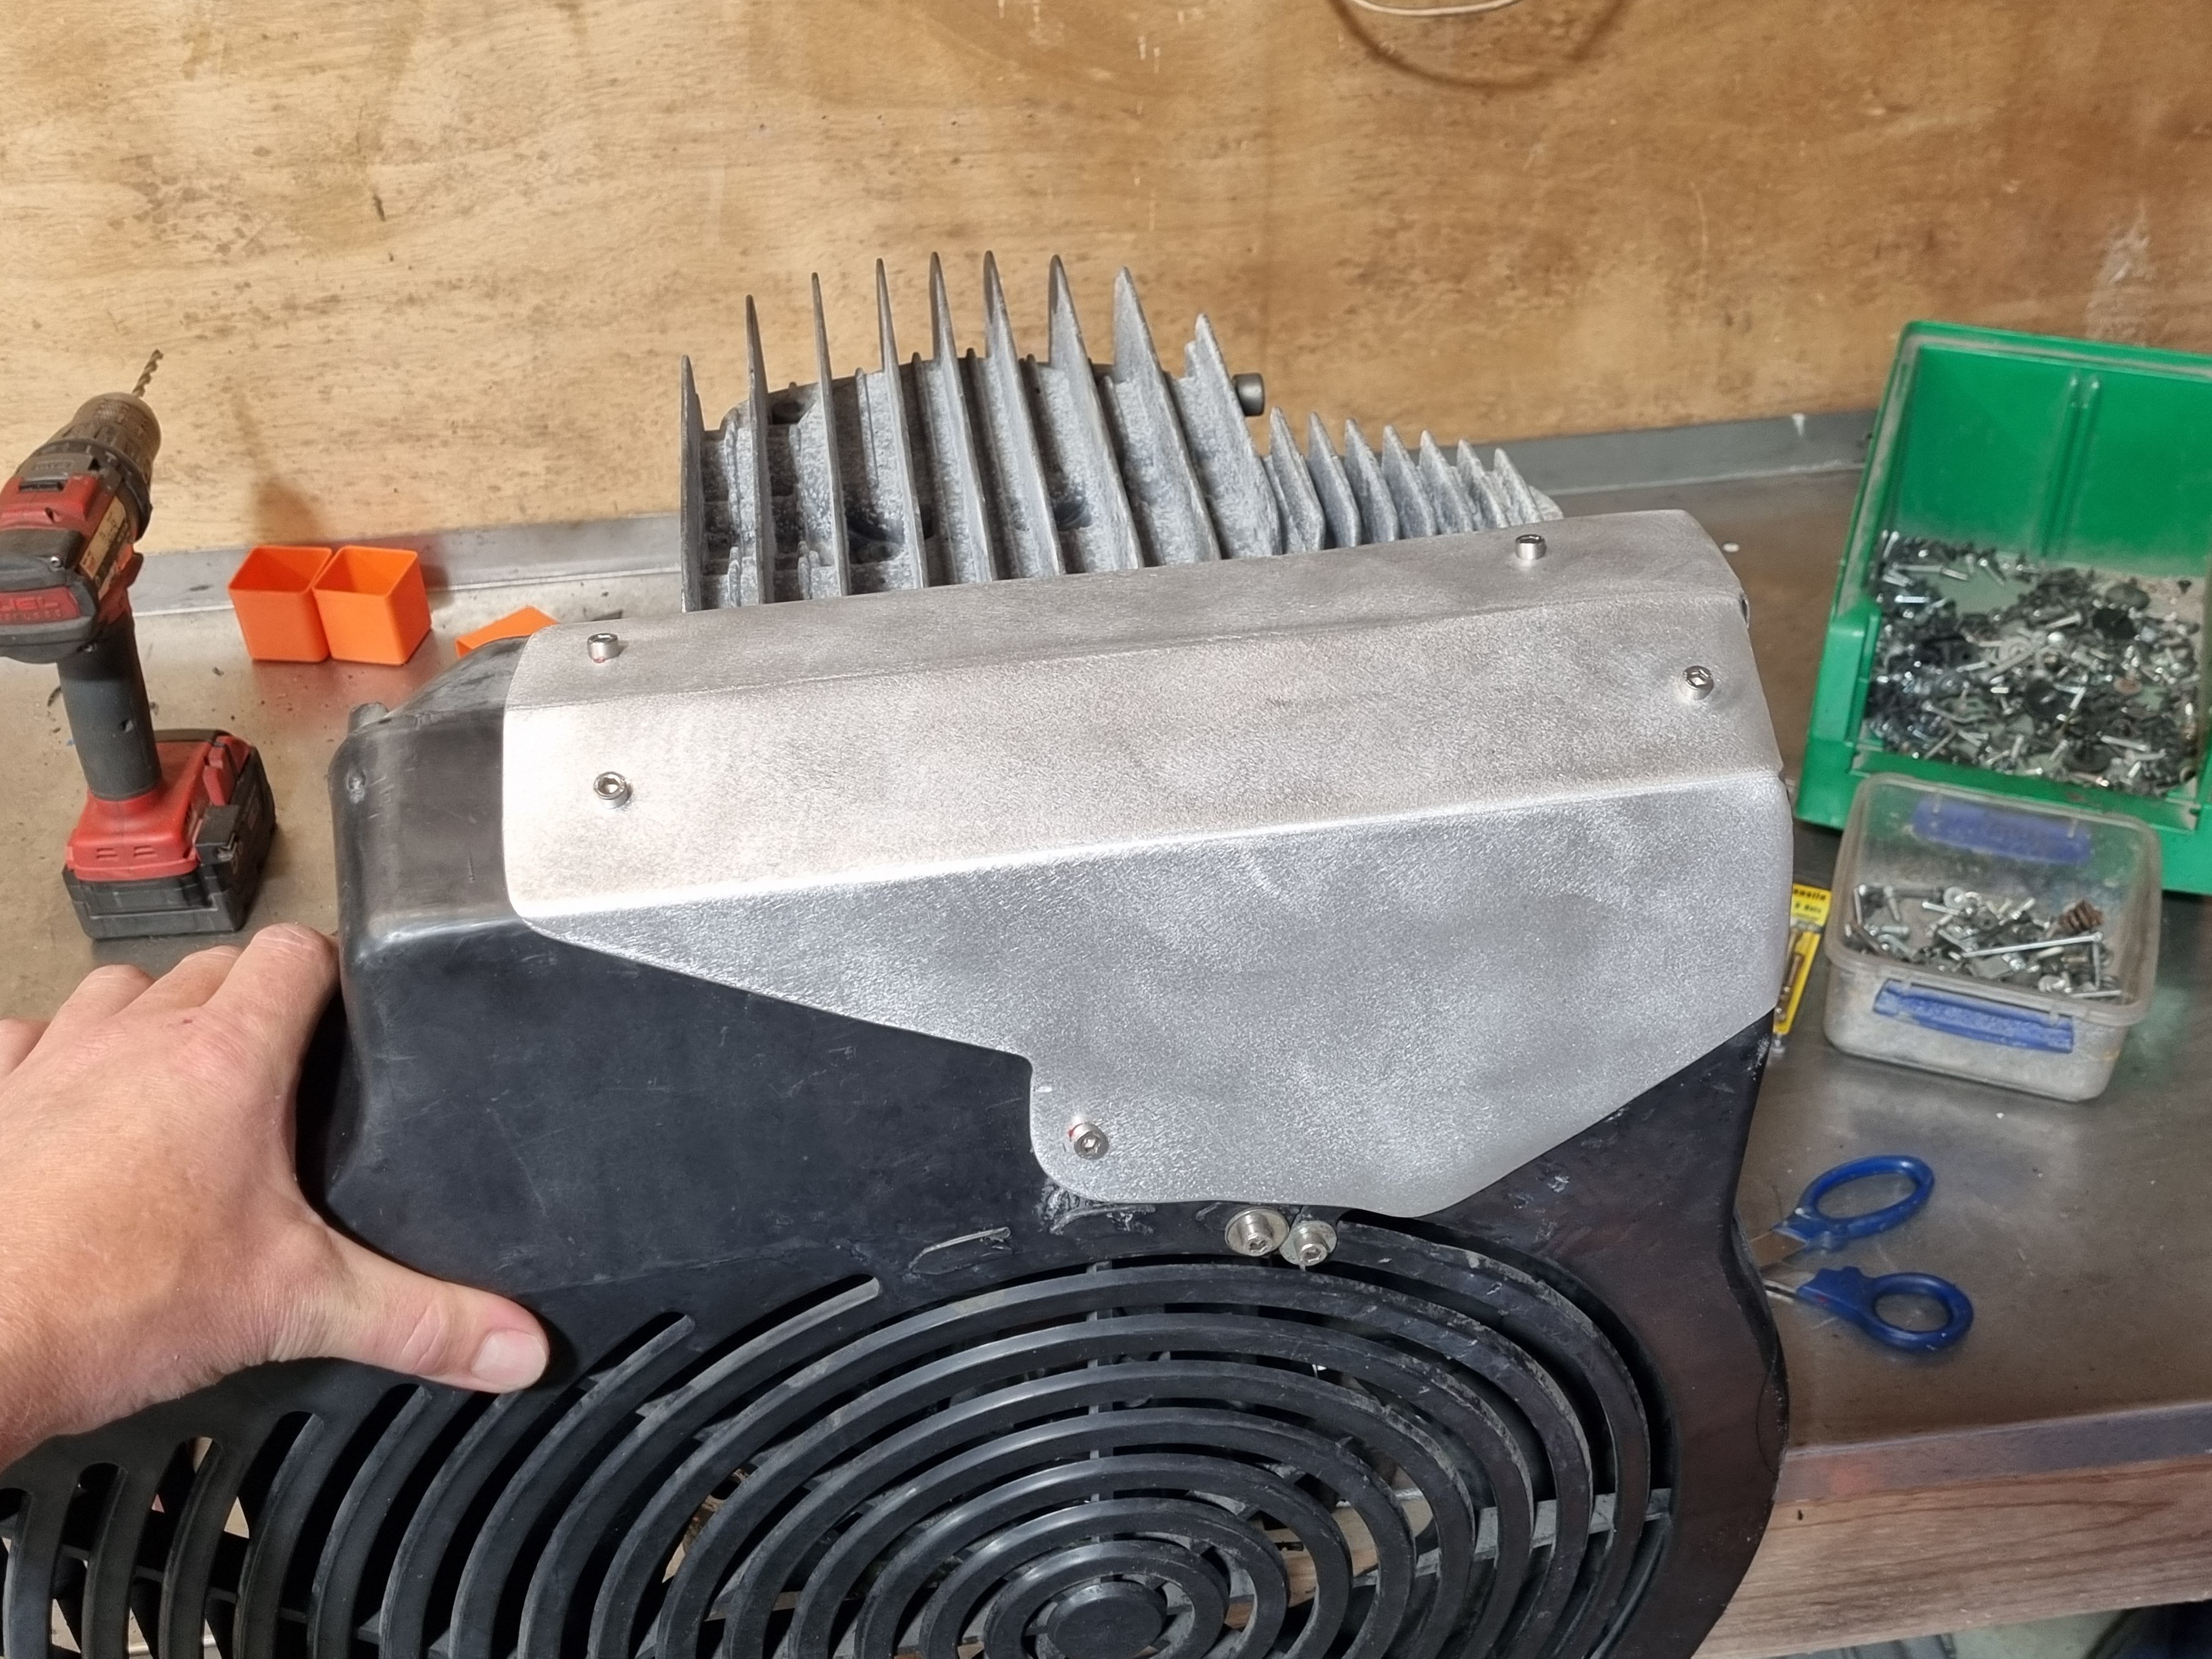
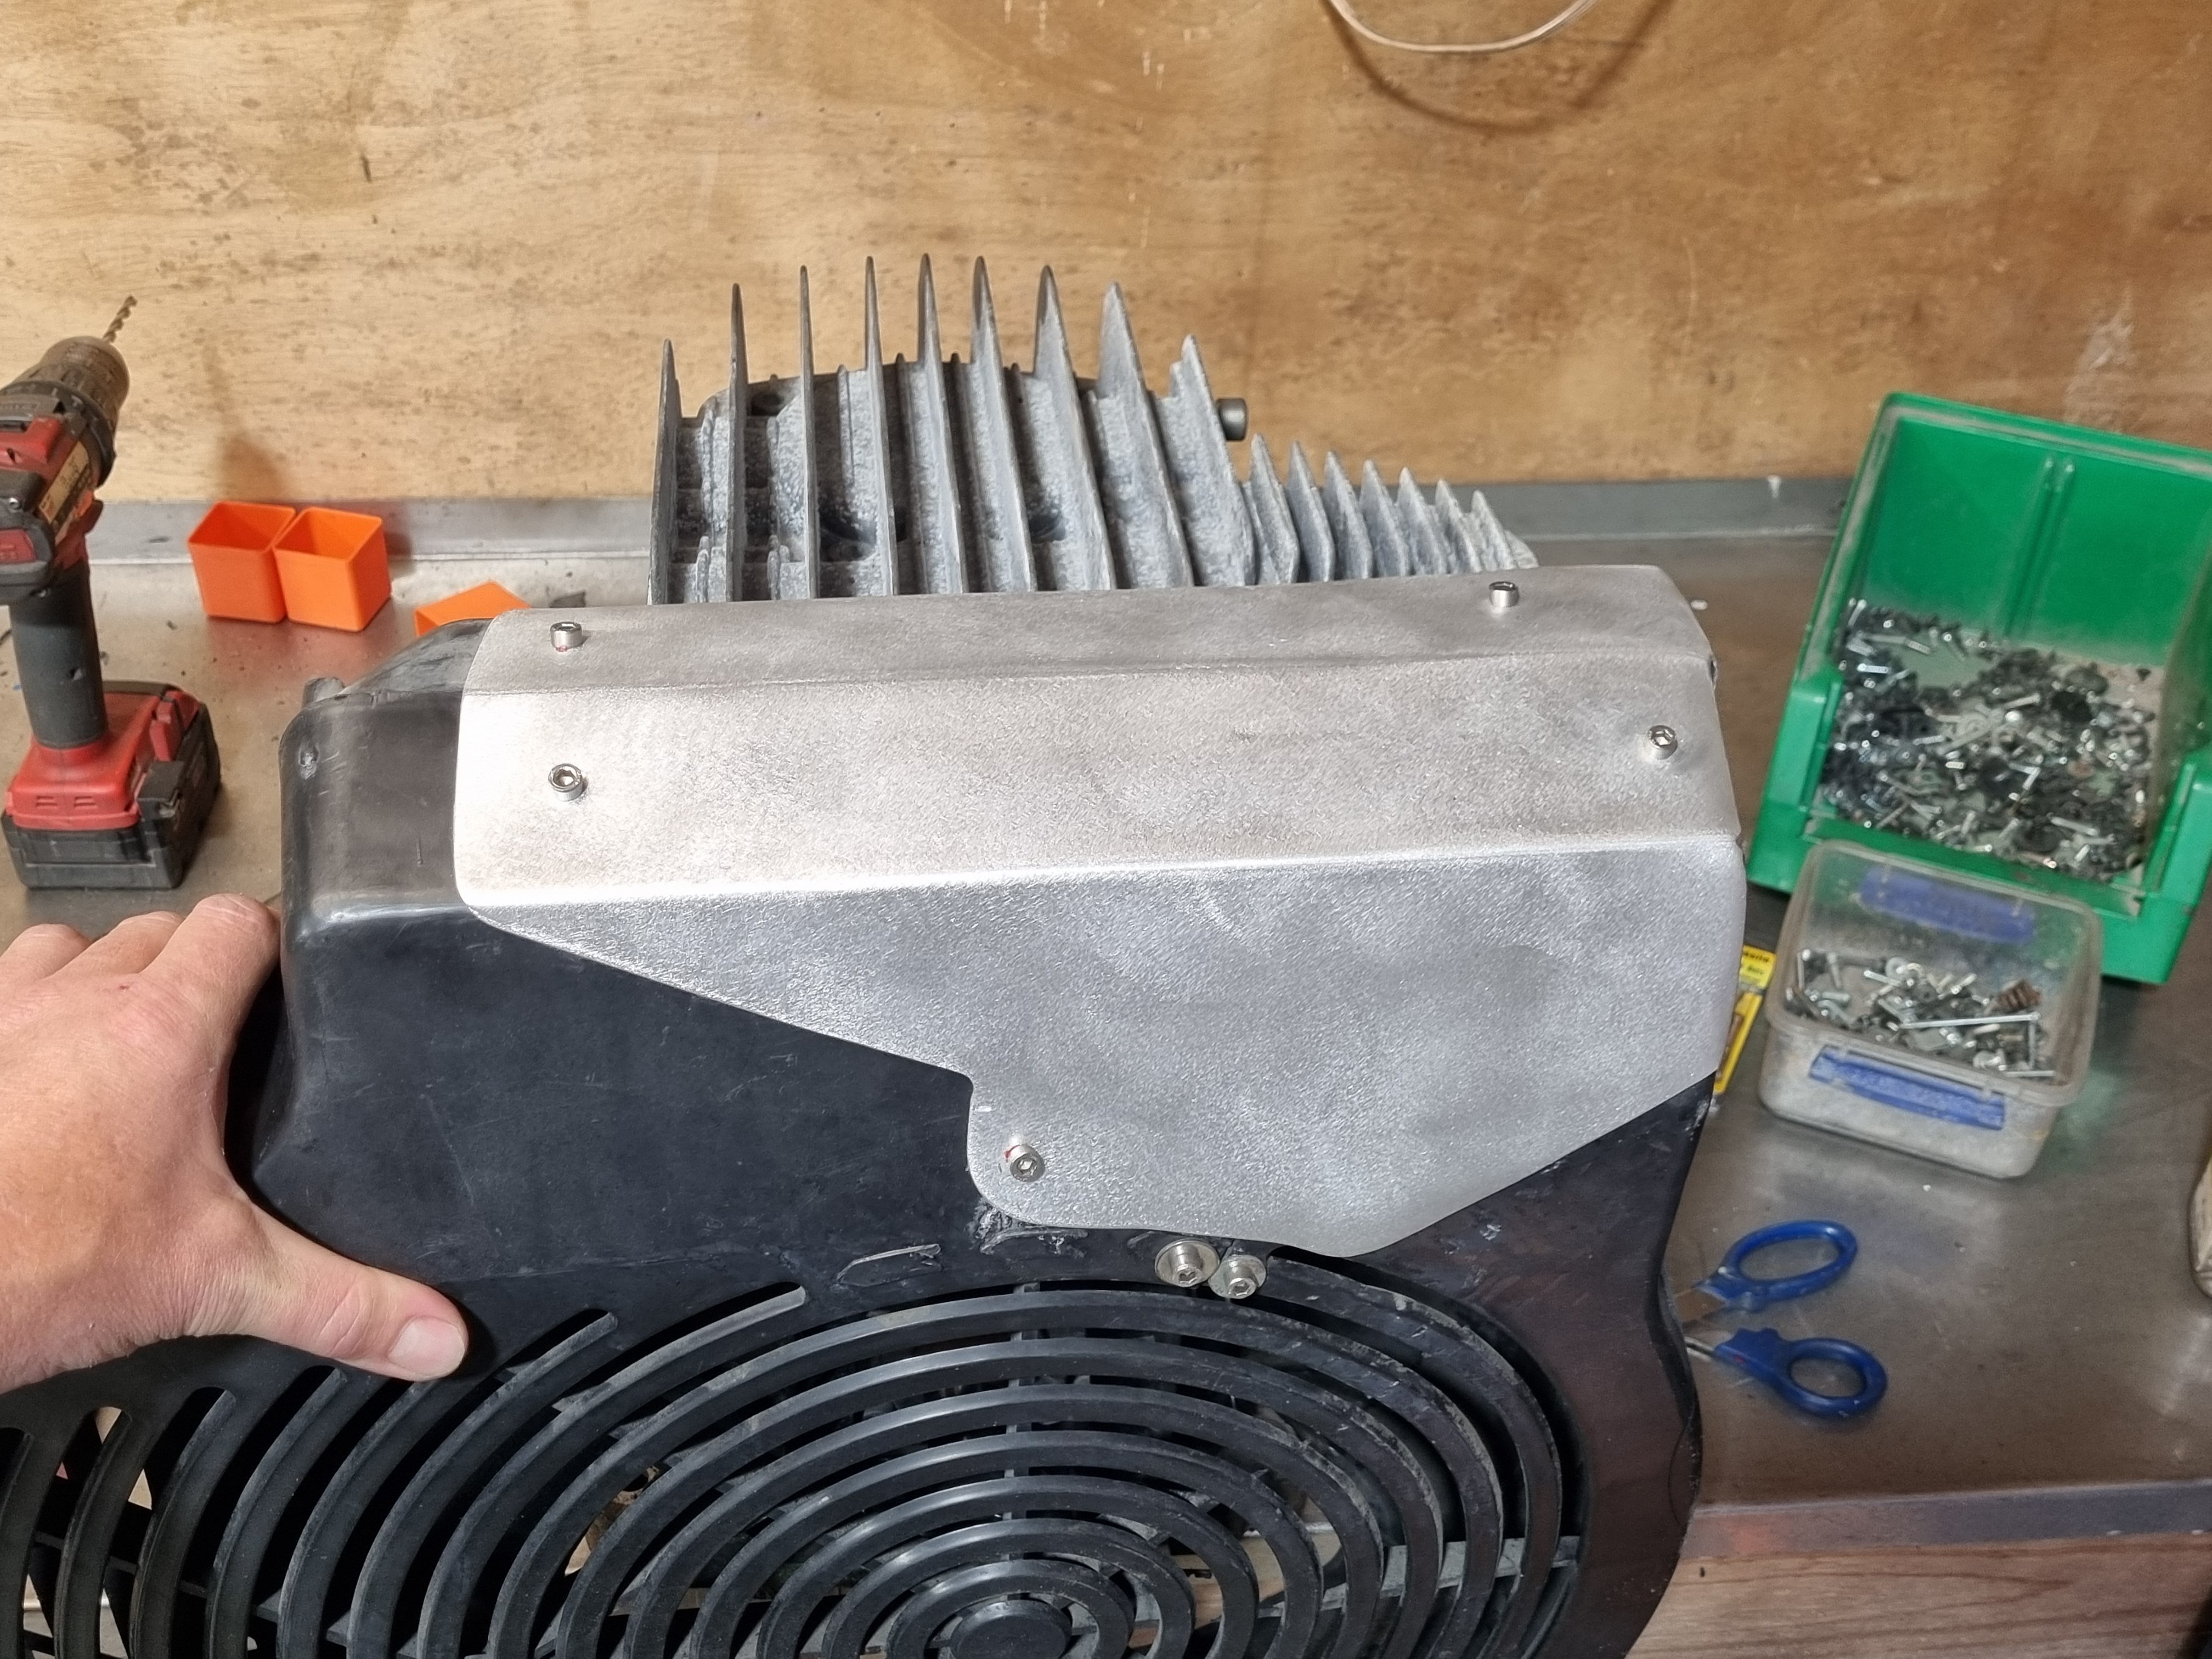
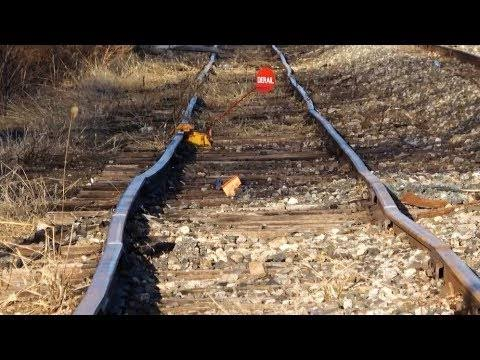
once id gotten the thing apart i had a look inside the tank and it wasn't great, it also wasn't terrible but yea. im sure there are many, many tanks being filled with compressed air every day that look way worse but still i wasn't keen on having it explode in my face. so i took the tank to get pressure tested. the joker said it was too rusty for him to certify but that's cool with me, i don't need any documentation, i just need to know its safe. so its at the testing place now. once its tested i will get the tank blasted and then ill paint it some colour, probably whatever colour i have enough of to do the job. then i had a go at fixing the belt shroud. i had to make a bunch of metal brackets to bridge all the breaks i could and bolt it all back together. I also had to make a big aluminium bit to fill in a huge piece that was missing completely. when its a whole unit its pretty strong, ill make a bracket to support the far end of it (the whole thing hangs off the 4 bolts around the crank spigot and thats it) once i put the thing back together on the tank.
1 point
-
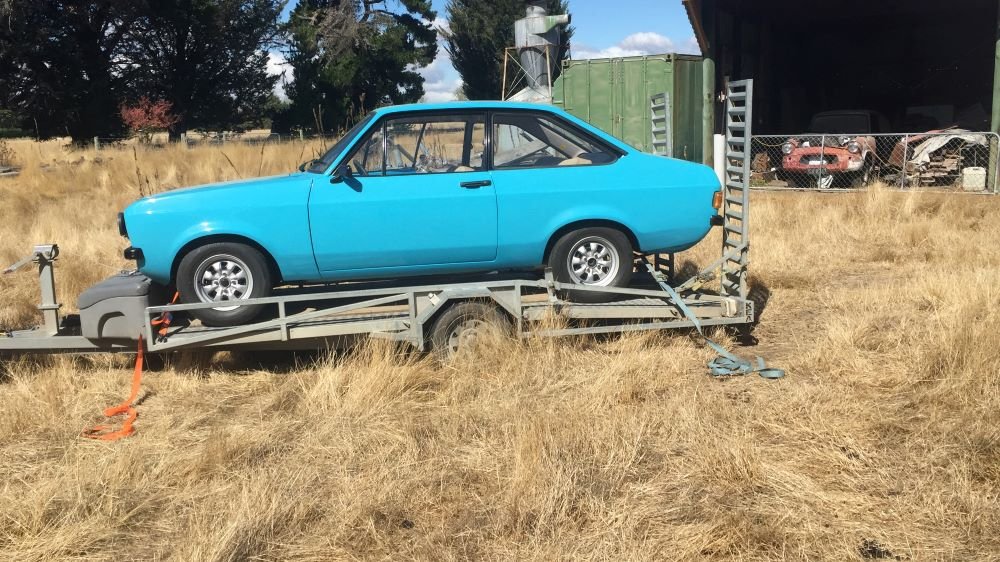
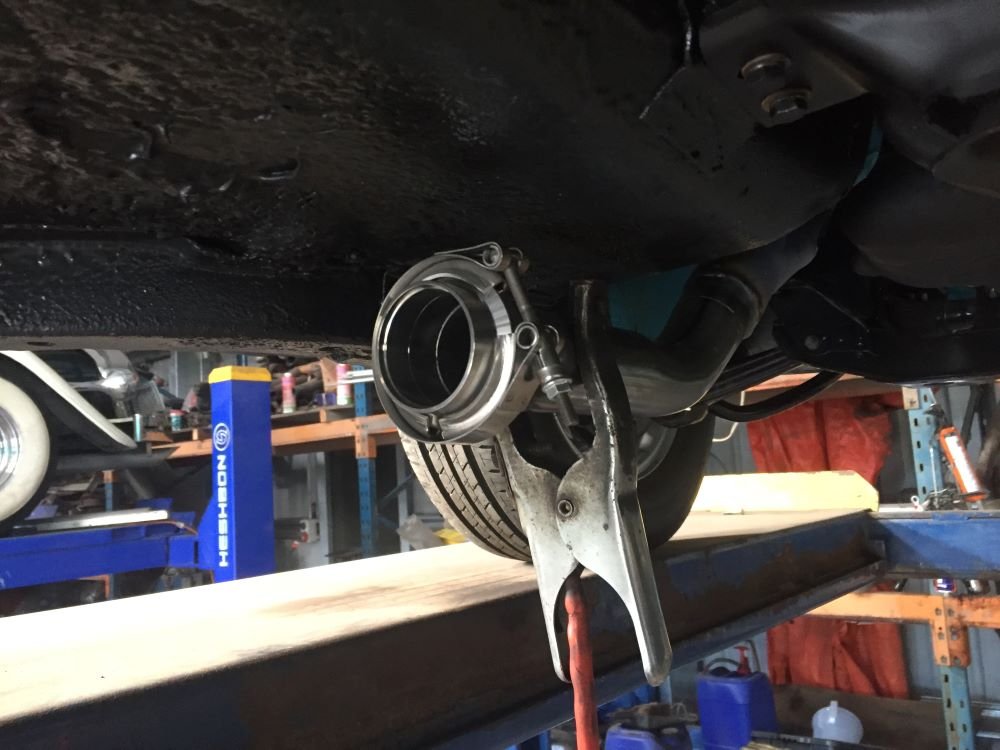
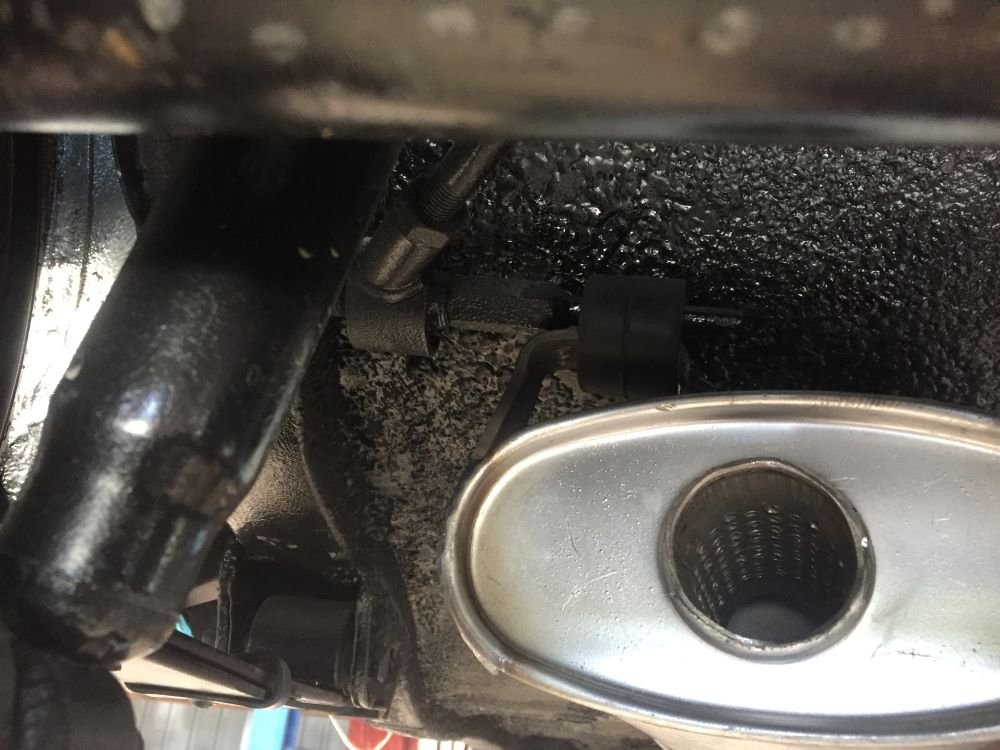
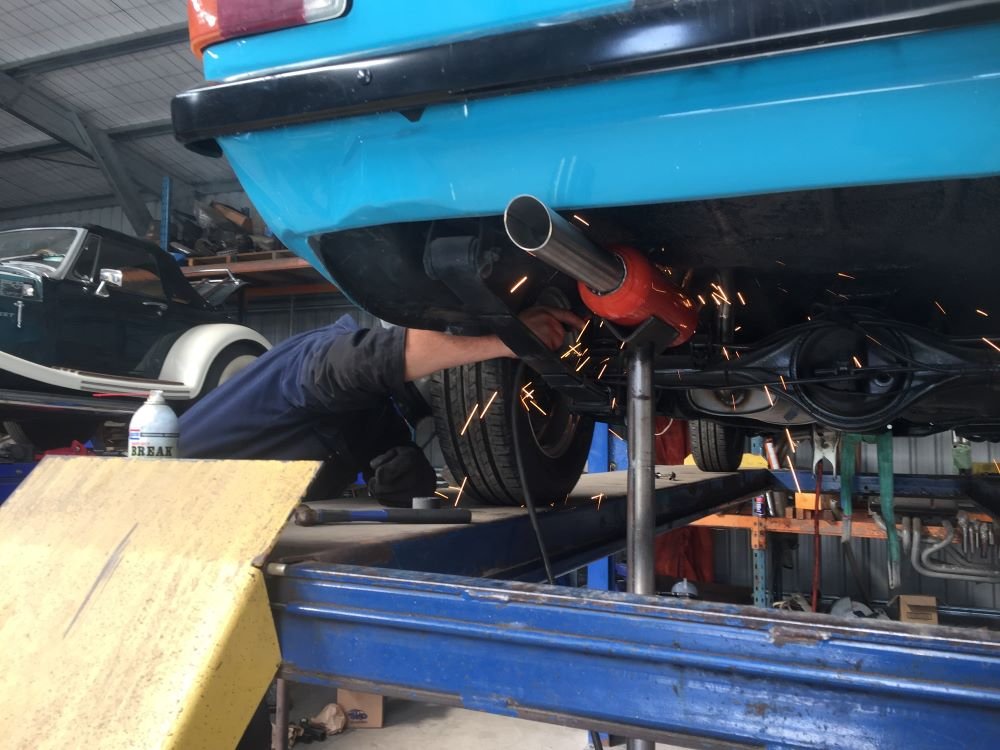
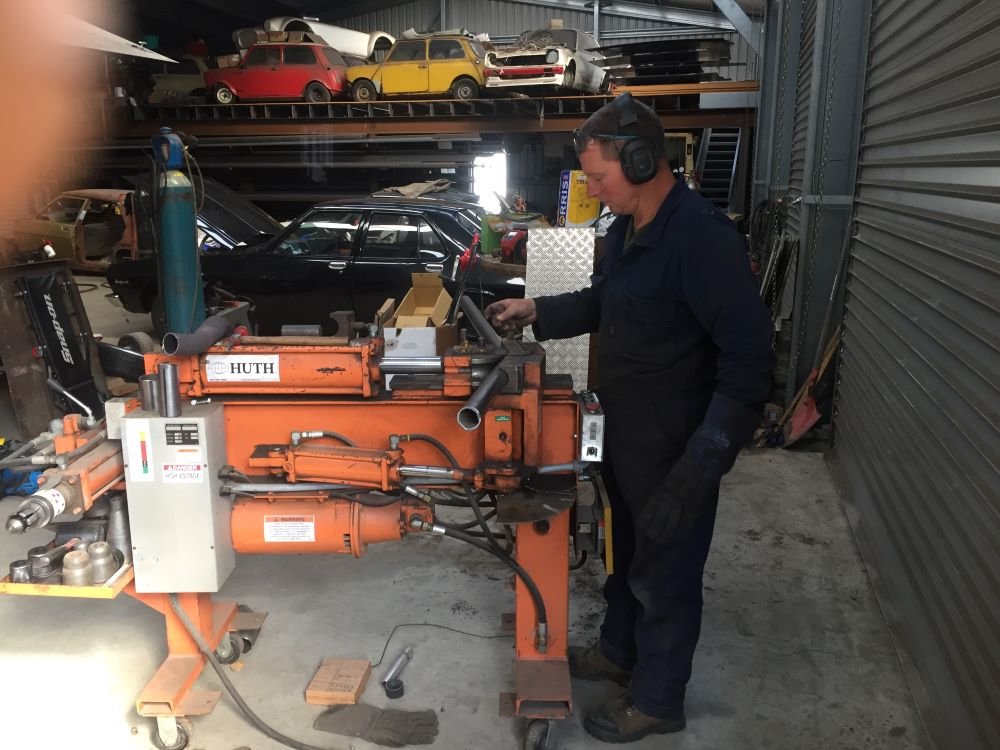
Car back on the trailer and off to Christchurch to have exhaust fitted. Corey from Elite Exhausts has got the job and after discussing what I wanted he sets to work. We are going with a 2" system with standard oval muffler before diff and a Coby after. I really like watching someone working who knows what he is doing. He has it all mapped out in his head. No tape measure, just a piece of wire to help form curves.. He cut off end of headers to start 2"pipe and fitted V-clamp, welding in place. Next placed muffler in place and bent up pipe for first section. Welded in place and fitted mounting bracket. Next put Coby in place and bent up section over axle and welded to first muffler. At this point Corey said we should see how it sounds. While he held Coby in place, I started car. Perfect, has a nice throaty note but not to loud. Welded Coby on place and mounting bracket. Finally put on tip and all done. Just a few more things to do. Wof, Wheel alignment and tune. Shouldn't take to long ??? Project Discussion https://oldschool.co.nz/index.php?/topic/84912-petes-mk2-escort-1600-sports/page/3/#comment-2625686
1 point
-
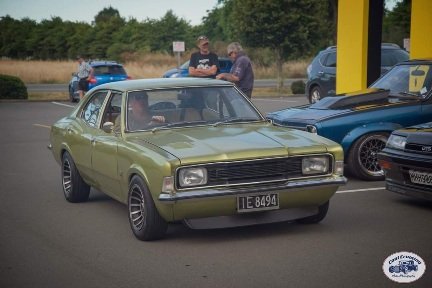
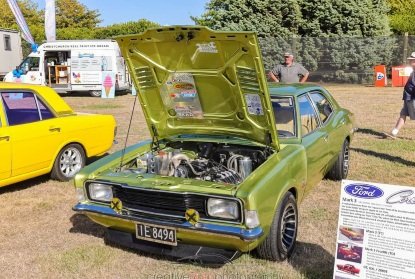
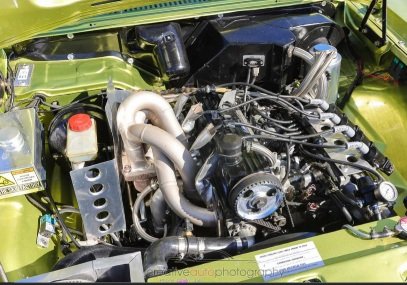
Been a while and I have been pretty shit about up loading on here. . But the car is running and driving it is still on a factory motor (apart from ARP head studs) she is running 10psi at the moment and is happy with it.. We are still road tuning and she not legal at the moment ...but I have taken her to a bunch of meets and to work a few time... (its a fun car Lol).
1 point
-
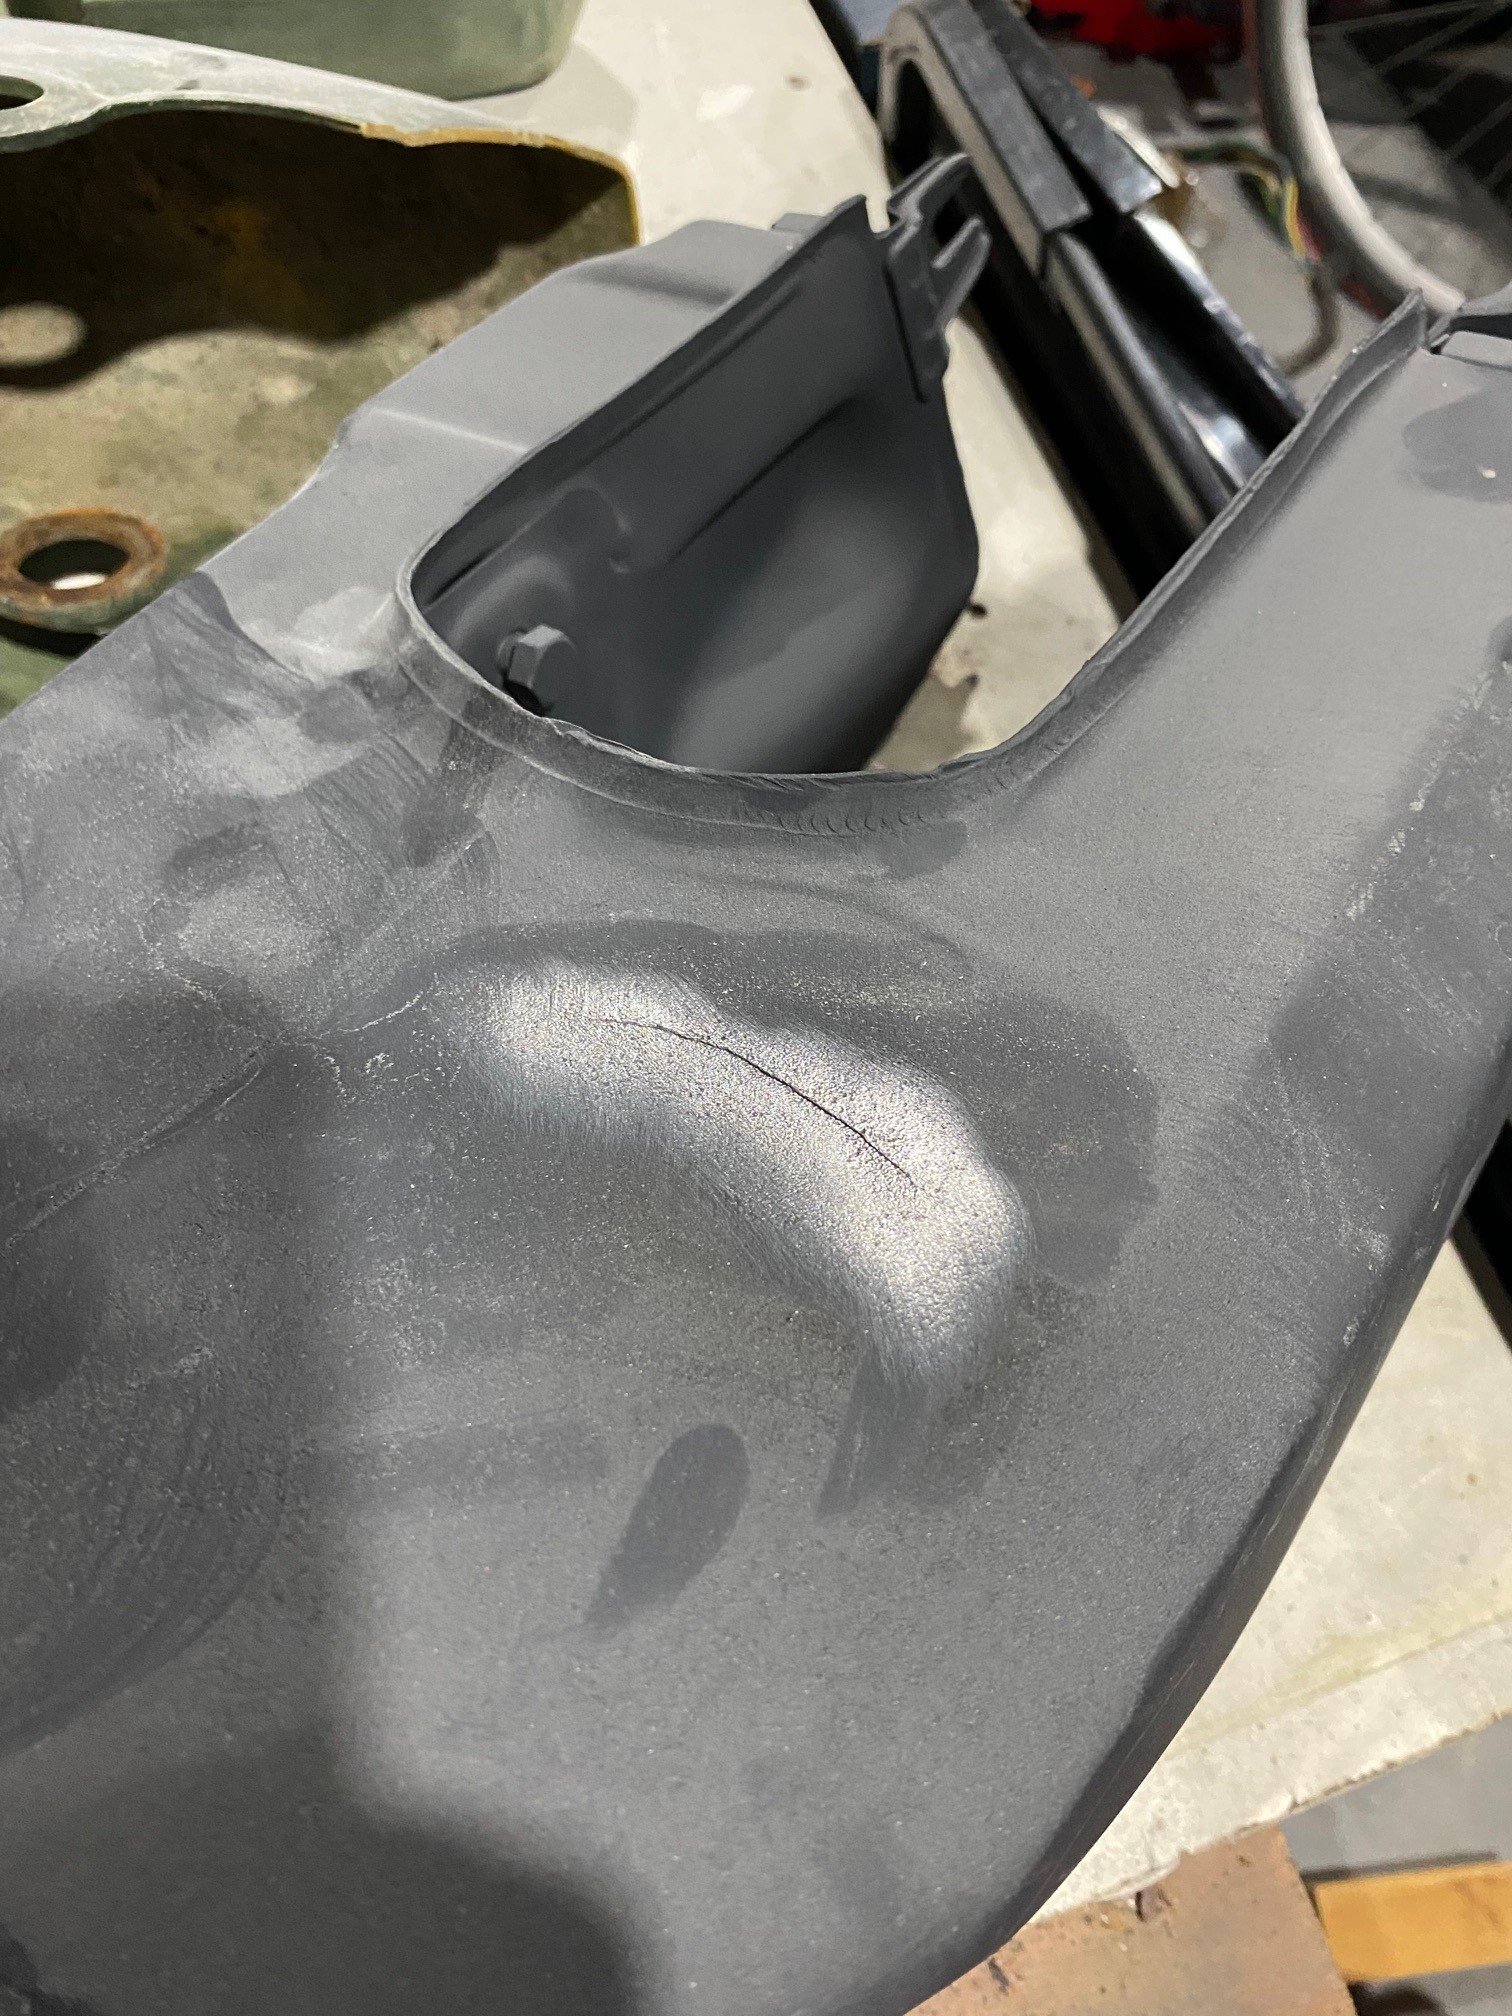
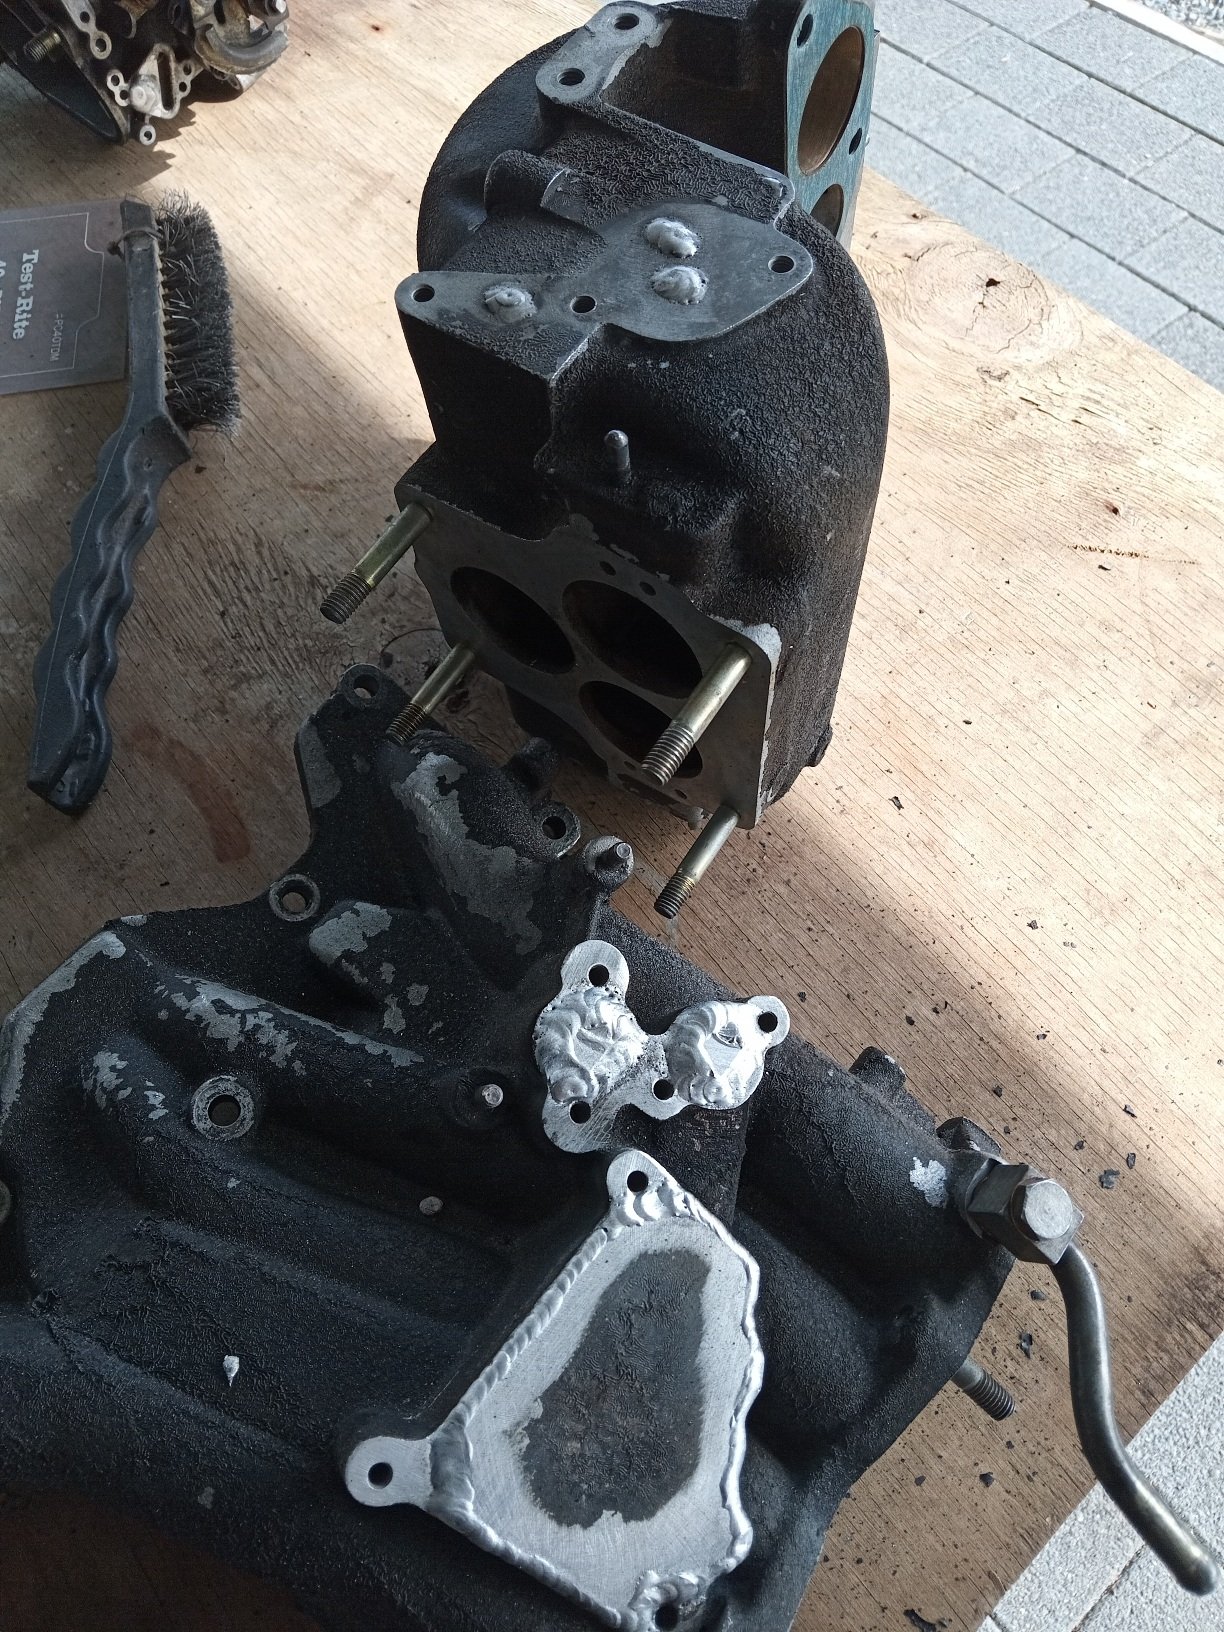
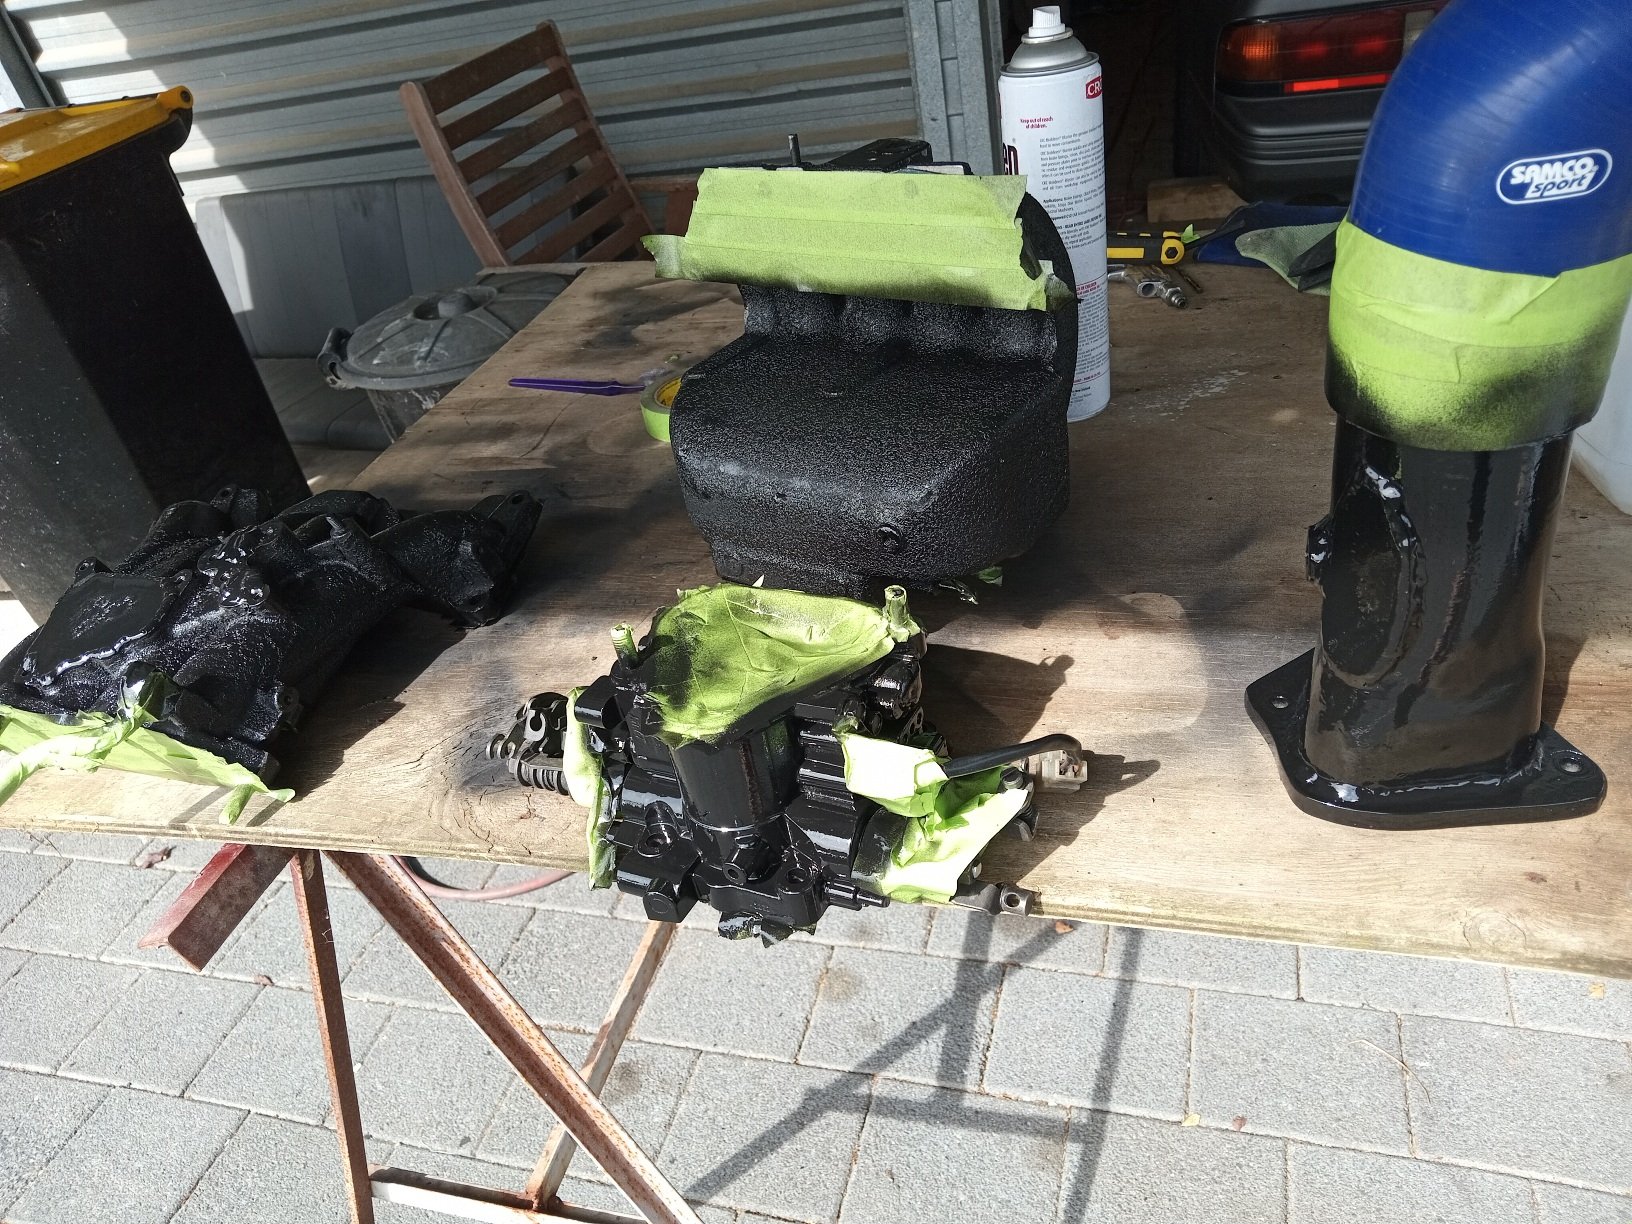
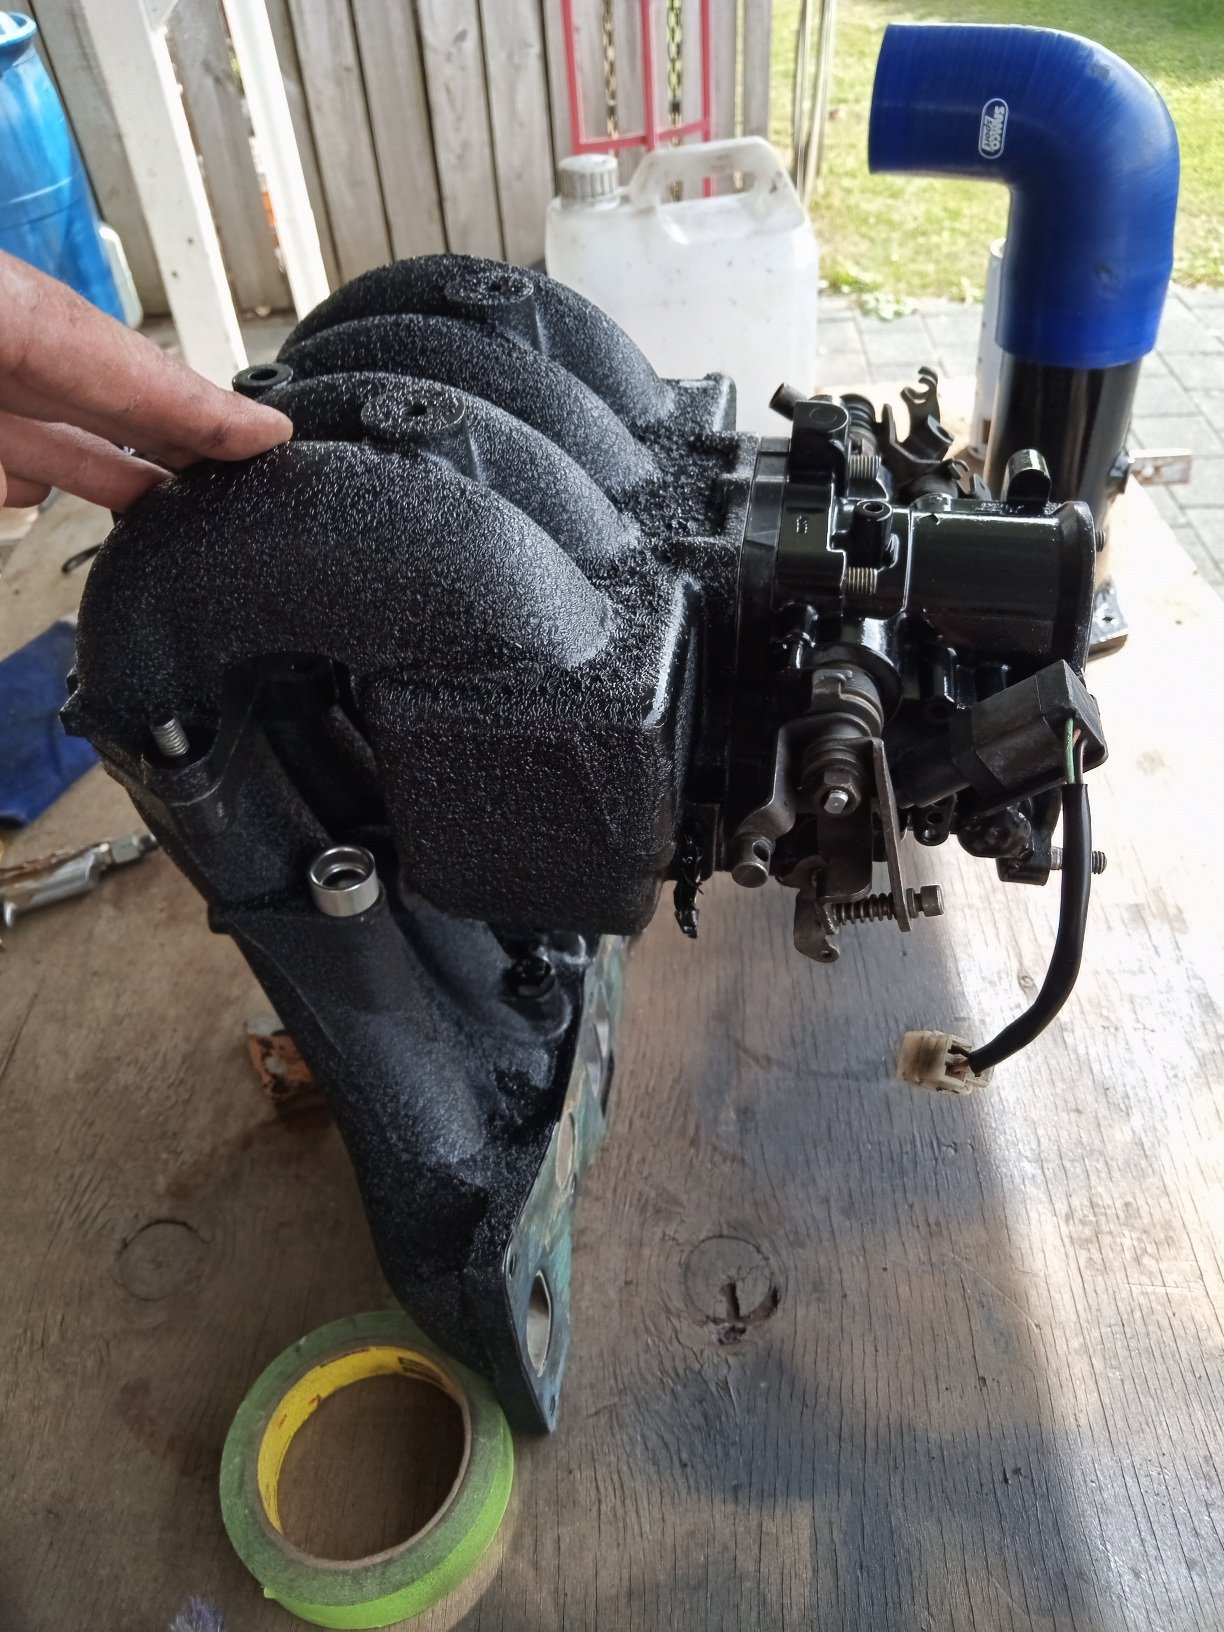
Welded up all the emissions and unused ports, this got rid of about 5 plates and gaskets as well as 3 or 4 hoses with bolts in them, sprayed in high temp black, should tidy things up a bit
1 point
-
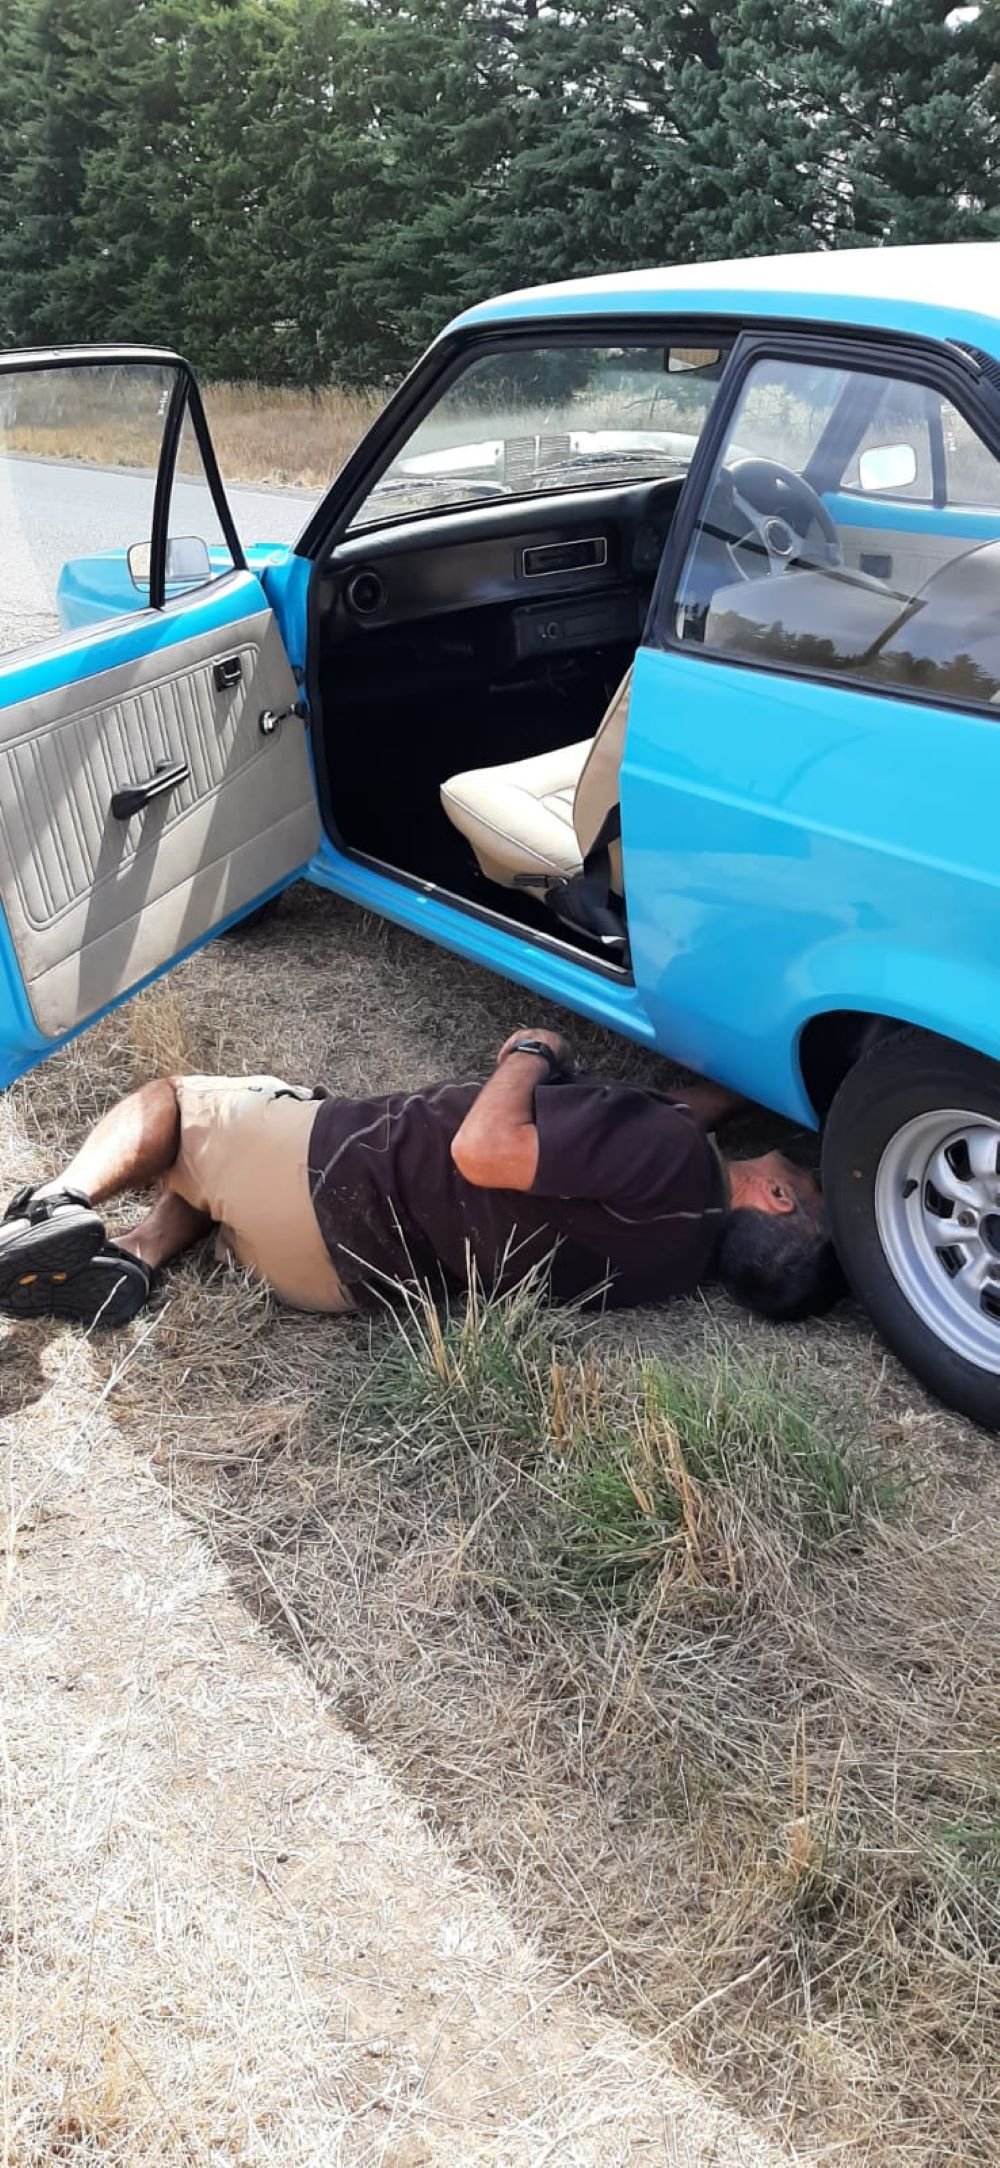
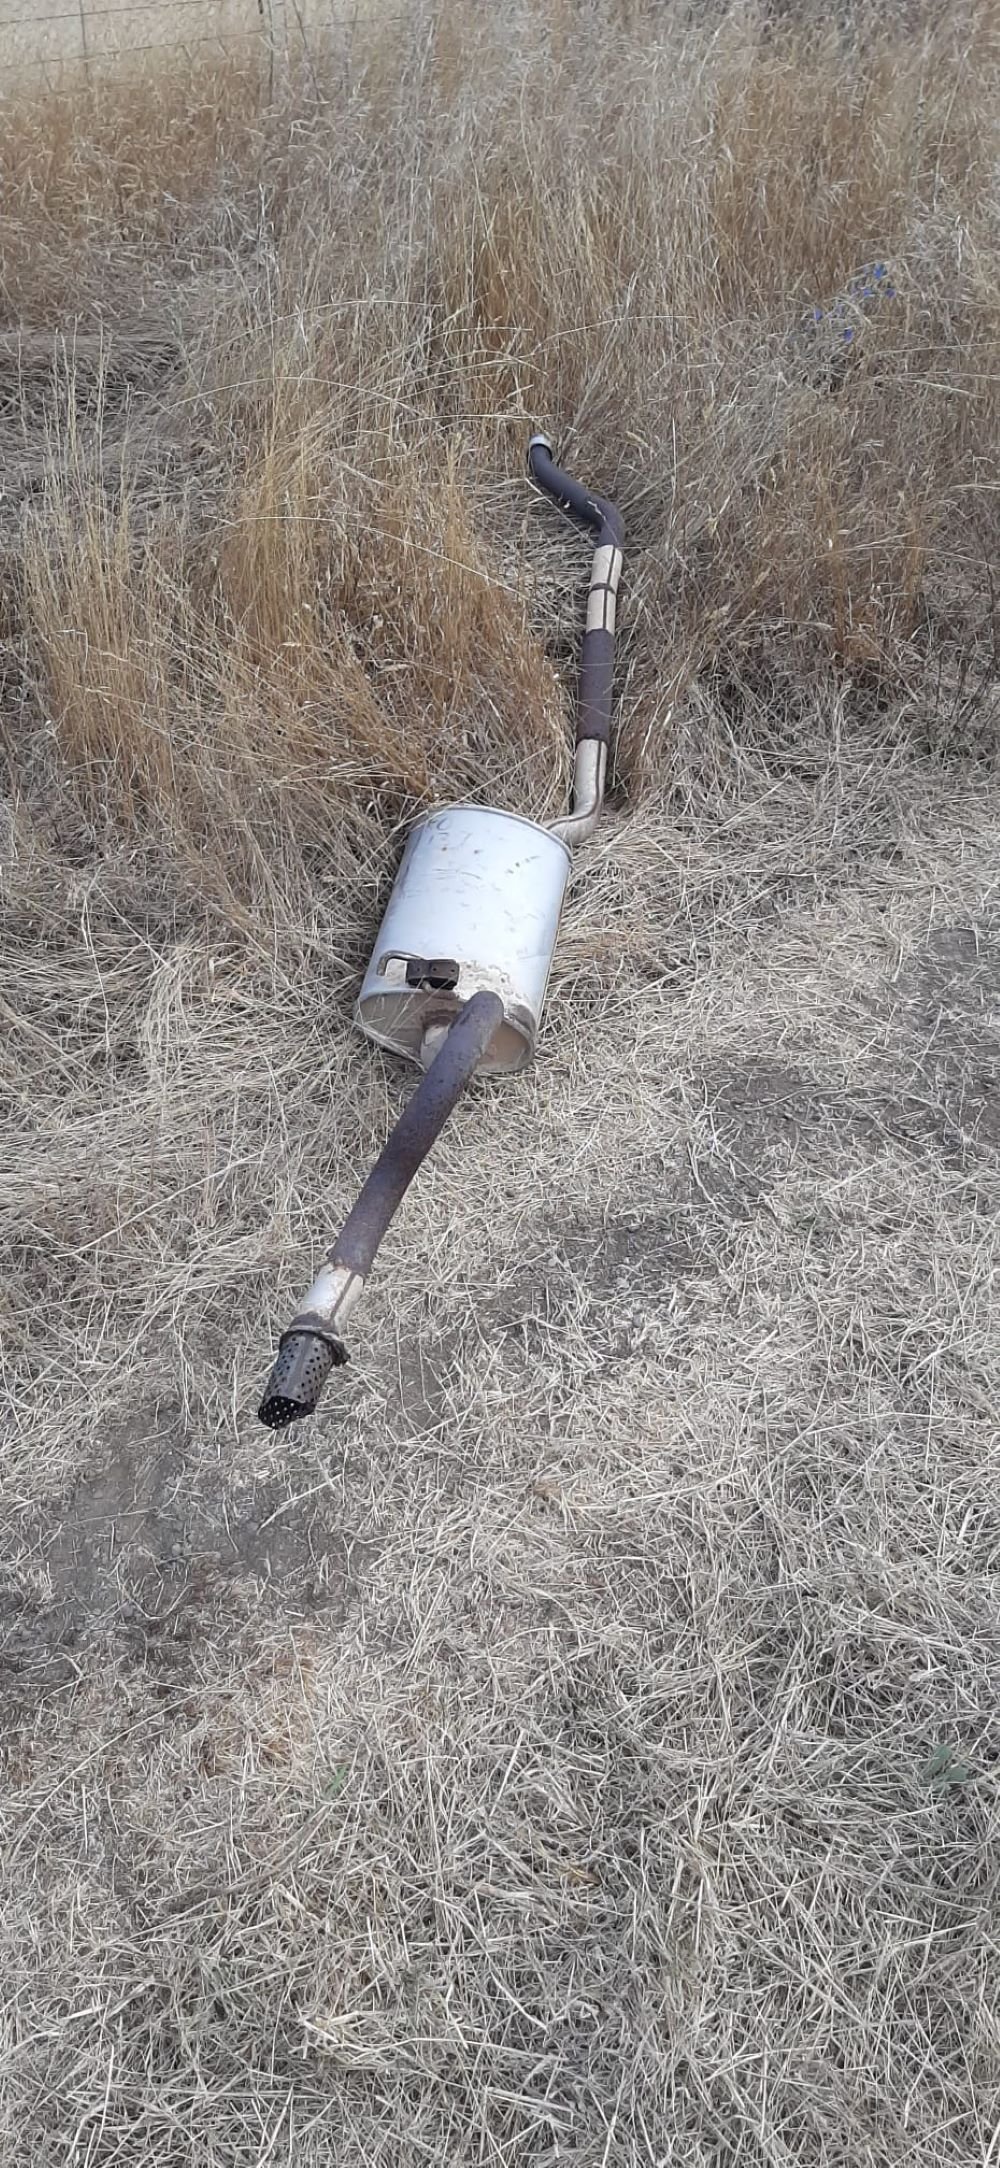
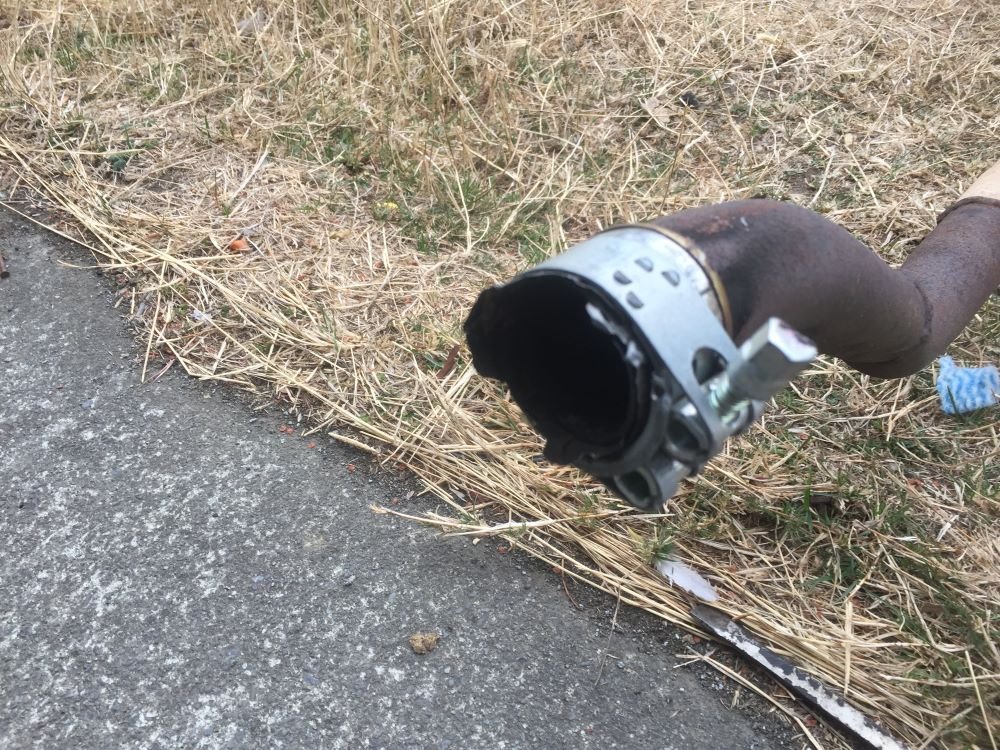
We had great weather in the weekend so decided it was time to take Jenny, my long suffering wife out for a drive in the escort. Things wrer going really well until I noticed a change in the exhuast sound followed by metal scraping on road. Quick stop and inspection shows that they don't make baked bean cans like they use to. Managed to remove exhuast from under car while jen was busy taking photo's and letting family and friends know how her first outing in the escort went. Needless to say it was a very noisy 8km trip home. Lucky we live in the country so left exhuast on the side of the road to be picked up later and booked in to get new exhuast fitted. Project Discussion https://oldschool.co.nz/index.php?/topic/84912-petes-mk2-escort-1600-sports/page/3/#comment-2625686
1 point
-
Shrink fits are legit. About 4 or 5 years ago I had to design an extrusion container for making magnesium rods, the container needed to be made of multiple shells of high strength (H13) steel that are shrink fitted together to get enough strength. The shrink fit was used to put something like 600 MPa of compressive stress on the inner liner, giving almost 2000 MPa of pressing capacity. I think it was something like a 0.15mm interference on about a 53 mm diameter sleeve, required temperature difference was about 250 or 300C to get it to all fit together. Was quite stressful as the liner was about 150mm long and had a nitrided surface so any lathe tooling would just bounce right off if it grabbed and needed to be redone.
1 point
-
Nearly ready for first startup. Just a couple of jobs to do, one being to attach old exhaust to new headers until i'm able to get a proper system made. Don't laugh but I cut both ends out of a baked bean can, slit it down the side and with the help of some hose clamps, made a sleeve and clamped over both pipes. Should be ok for a while. Checked all fluid levels and filled radiator with hot water as mechanic suggested as been sitting for a while since build. Removed plugs and cranked motor until oil pressure light went out. Replaced plugs and turned key. Motor started straight up and sounded really good. Ran it up to temp and checked for leaks of which there were none. Time for a trip around town. Goes well but needs a tune. Brakes are good and everything else works except fuel gauge. If anyone has a suggestion of where I could get my 32/32 weber carb tuned around Christchurch could they leave a message on Project Discussion page. Cheers Project Discussion https://oldschool.co.nz/index.php?/topic/84912-petes-mk2-escort-1600-sports/page/3/#comment-2618039
1 point
-
Super speedy same day turnaround at the sand blasters.
1 point
-
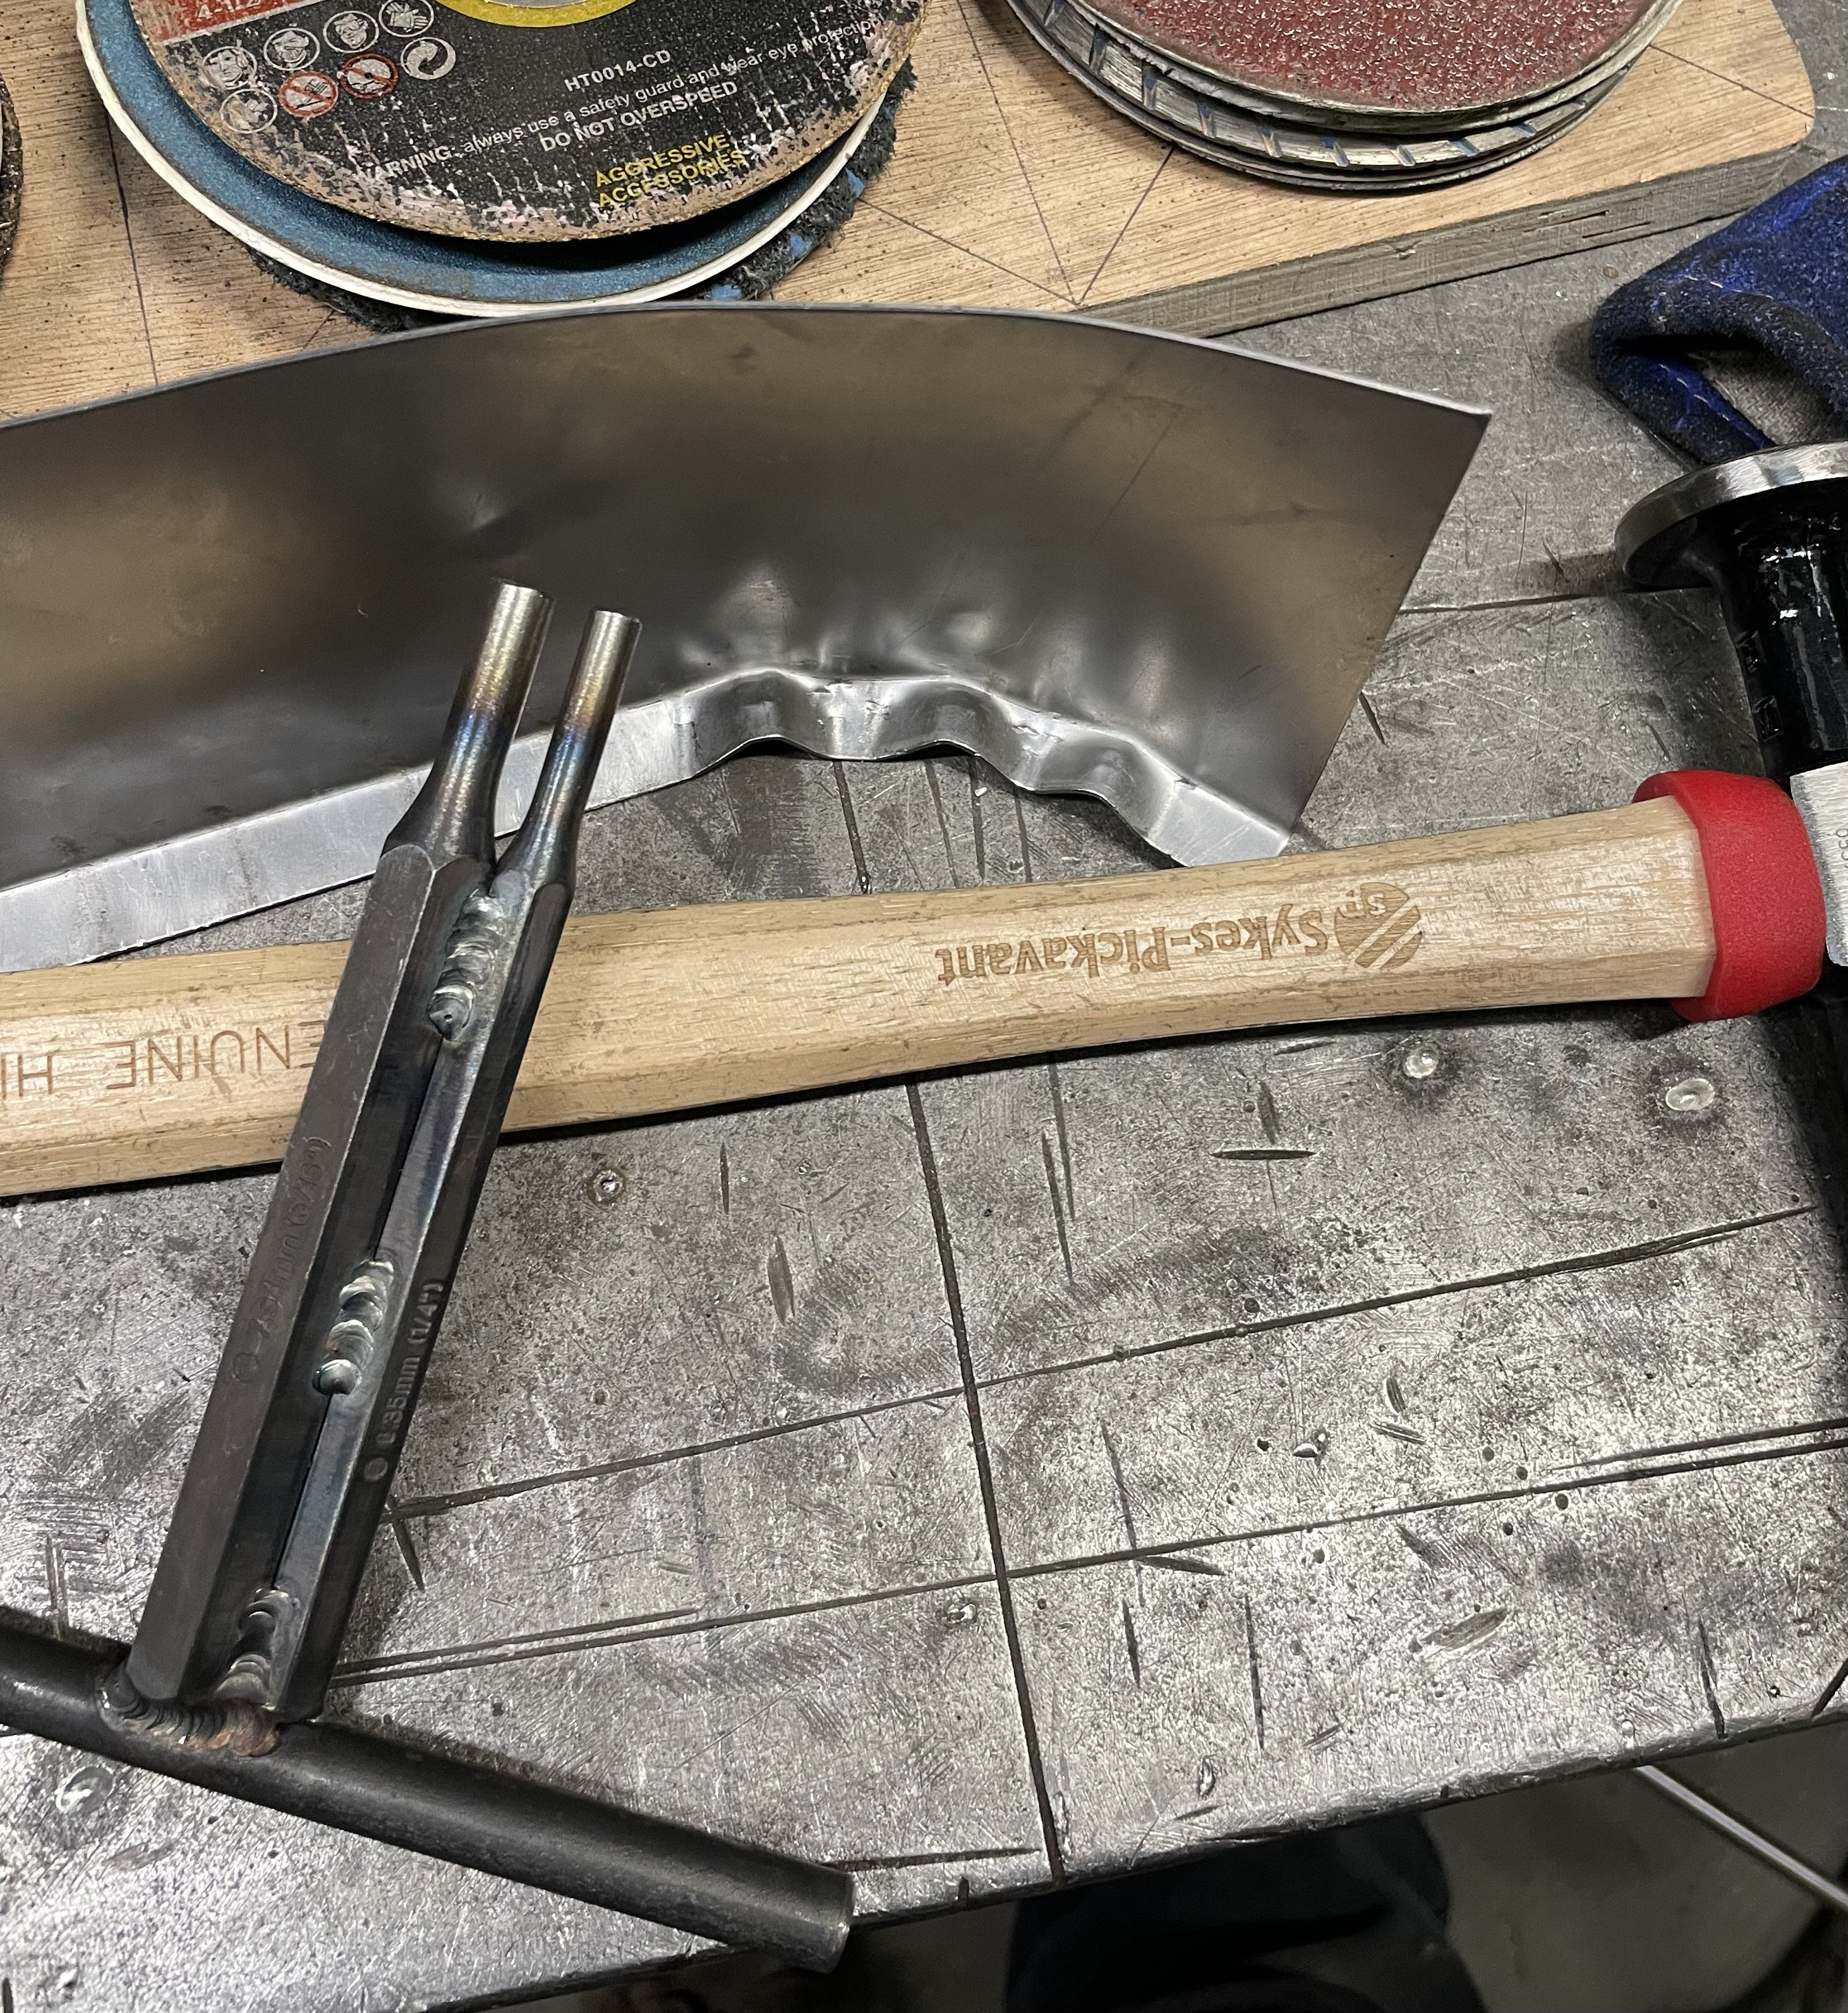
Got a bit side tracked and made a tucking fork to give manual shrinking a trial… hard to get even but bit more practice and it'll work alright.
1 point
-
1 point
-
Turns out the mechanical fan does a better job with the new water pump.
1 point
-
I had to dig this up because kinda relevant. Spotted in a Donut video about cheap anti-theft measures and they cut a knock-off Nardi wheel to get one of the locks off. This is what is inside the rim of it, "more than 90% foam" This video seems to show its a common thing on cheap wheels, including the spokes being attached to the rim via small indents on the rim, not welds.
1 point
-
That Hansen fitting will be fine with the heat. I've run them on the back of a fireplace to hook up a wet back and they didn't even go soft with 80 degree water running thru them1 point
-
On AliExpress keywords are a bit rubbish (I think) due to the translation going on. Have you tried an image search?
1 point
-
Handles like it's on rails mate The rails
1 point
-
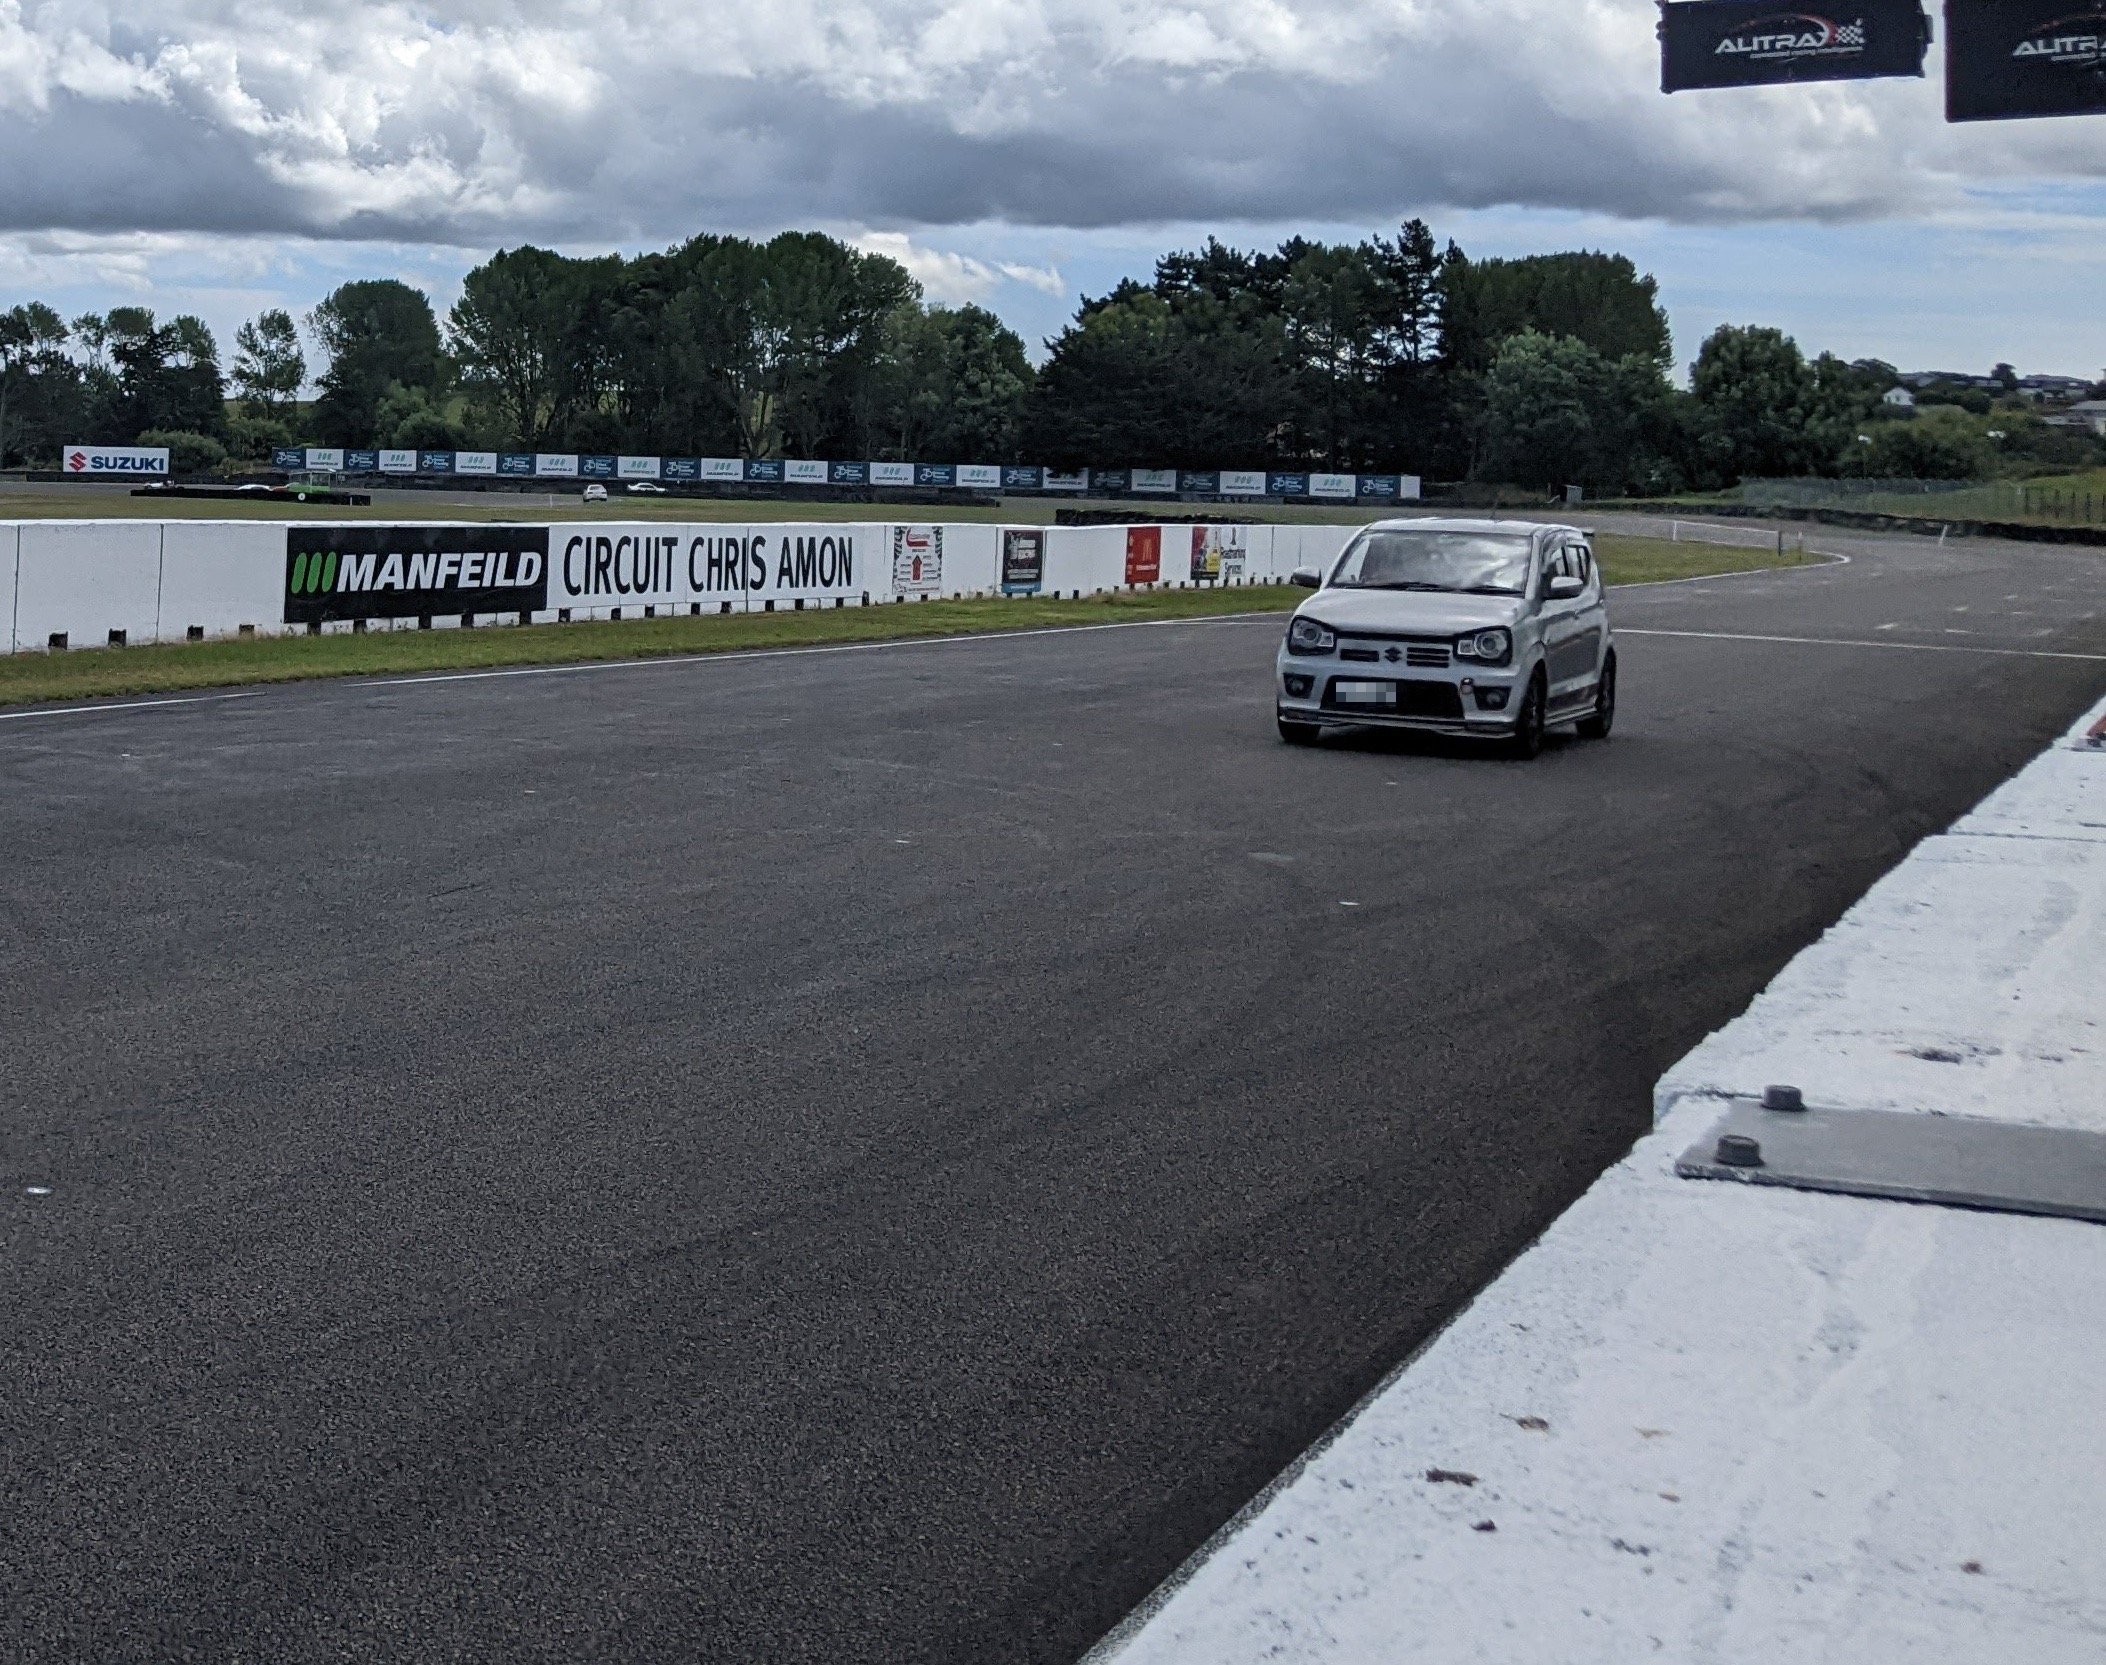
I'll post up more details at some point, but for now, enjoy the glorious sight of an Alto Works on a track1 point
-
Chances are, this code is because you were in the shed when you scanned the BCM, so there is no sun on the solar sensor.1 point
-
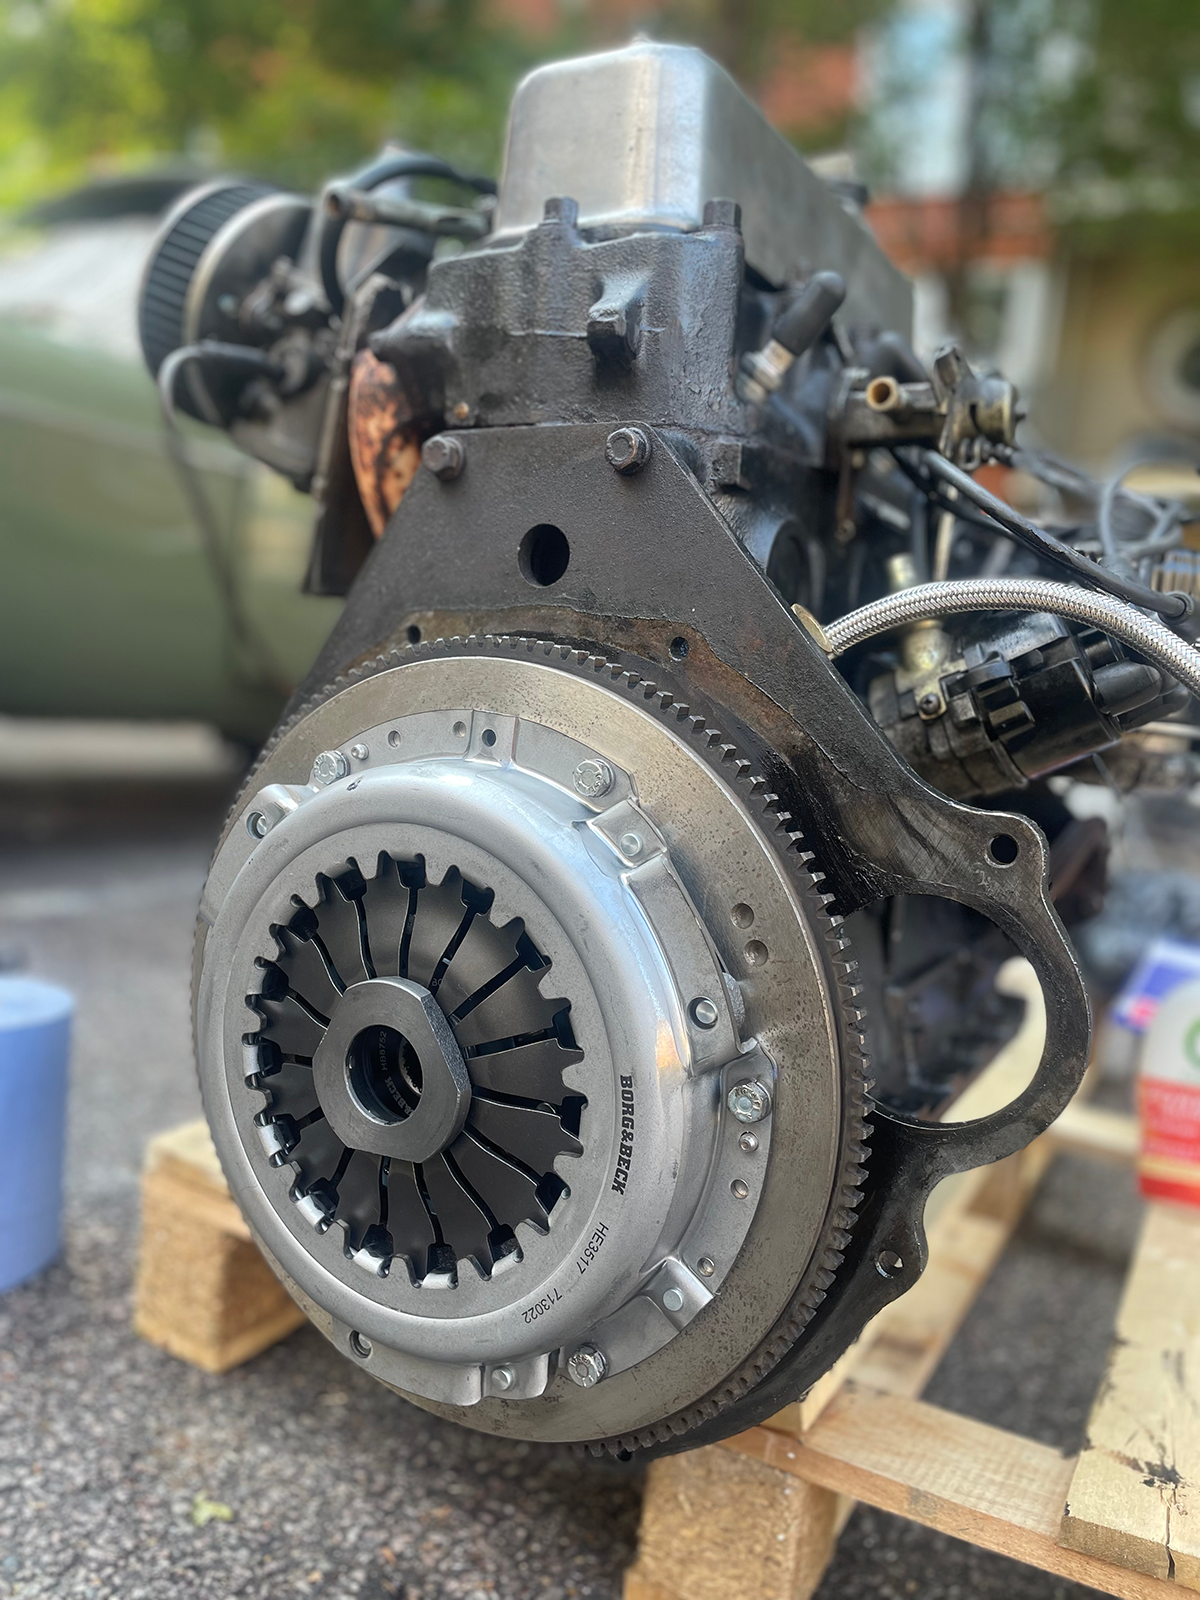
New clutch too.
1 point
-
Out with the old and in with the new.
1 point
-
roadside alternator change and she’s back in action
1 point
-
Took her outside today, she now runs/drives/stops. I really need to get this car finished asap.
1 point


.thumb.jpg.570970b401ac8d26ce9af7c1bf2bd8cd.jpg)


This leaderboard is set to Auckland/GMT+12:00