Leaderboard
Popular Content
Showing content with the highest reputation on 05/09/21 in Posts
-
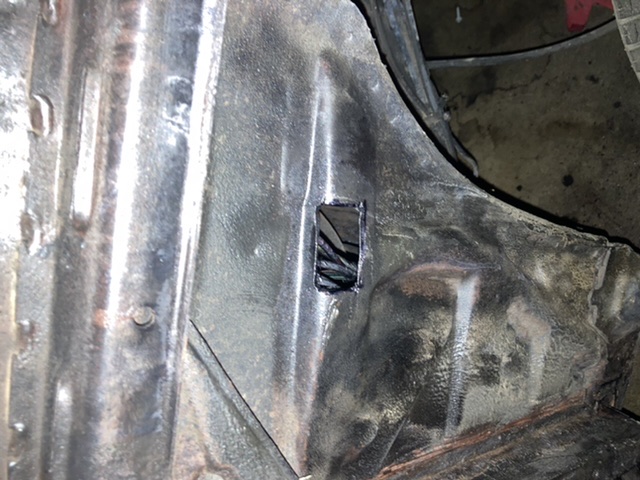
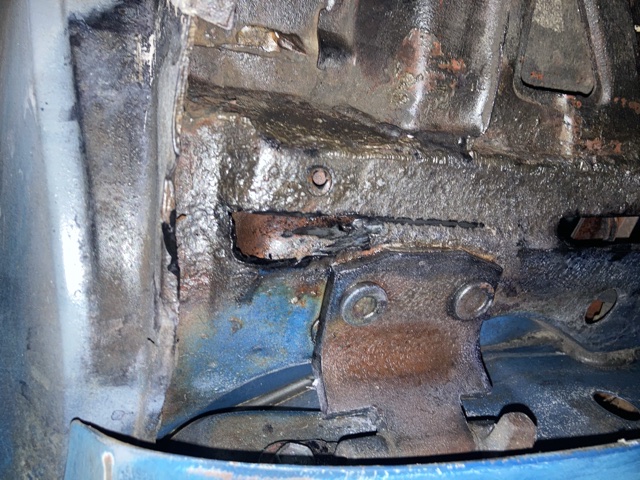
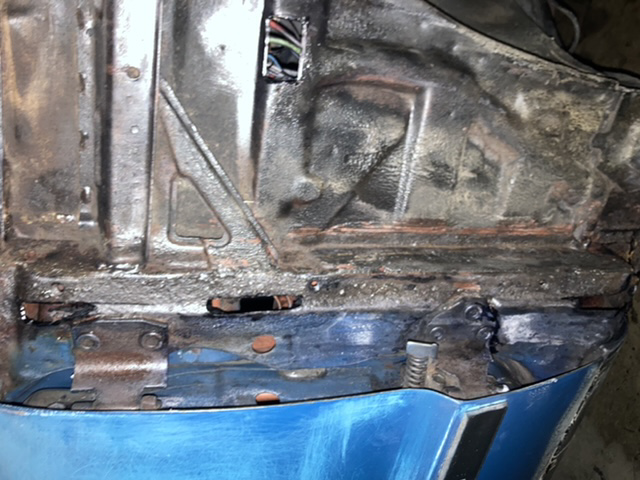
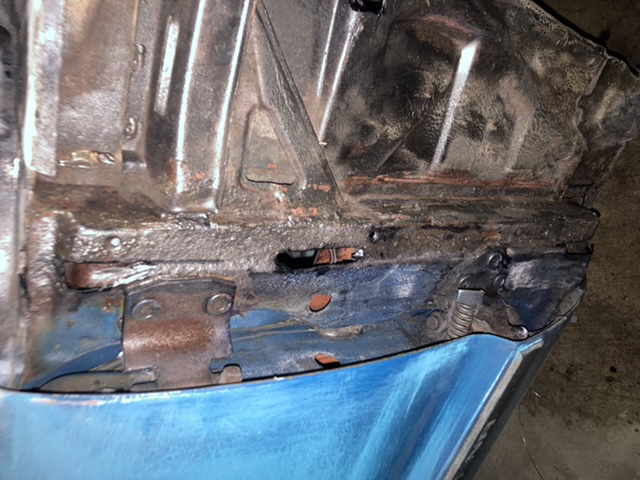
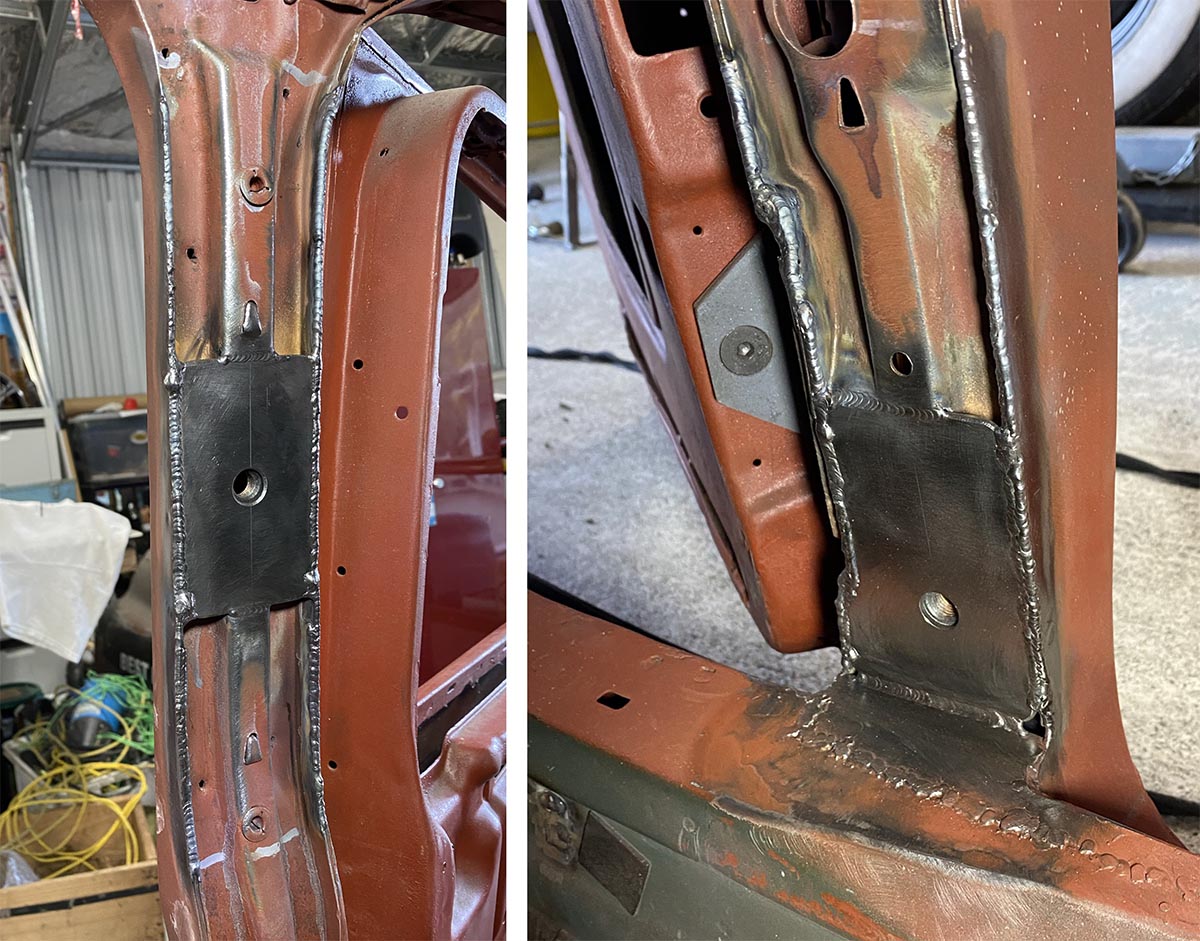
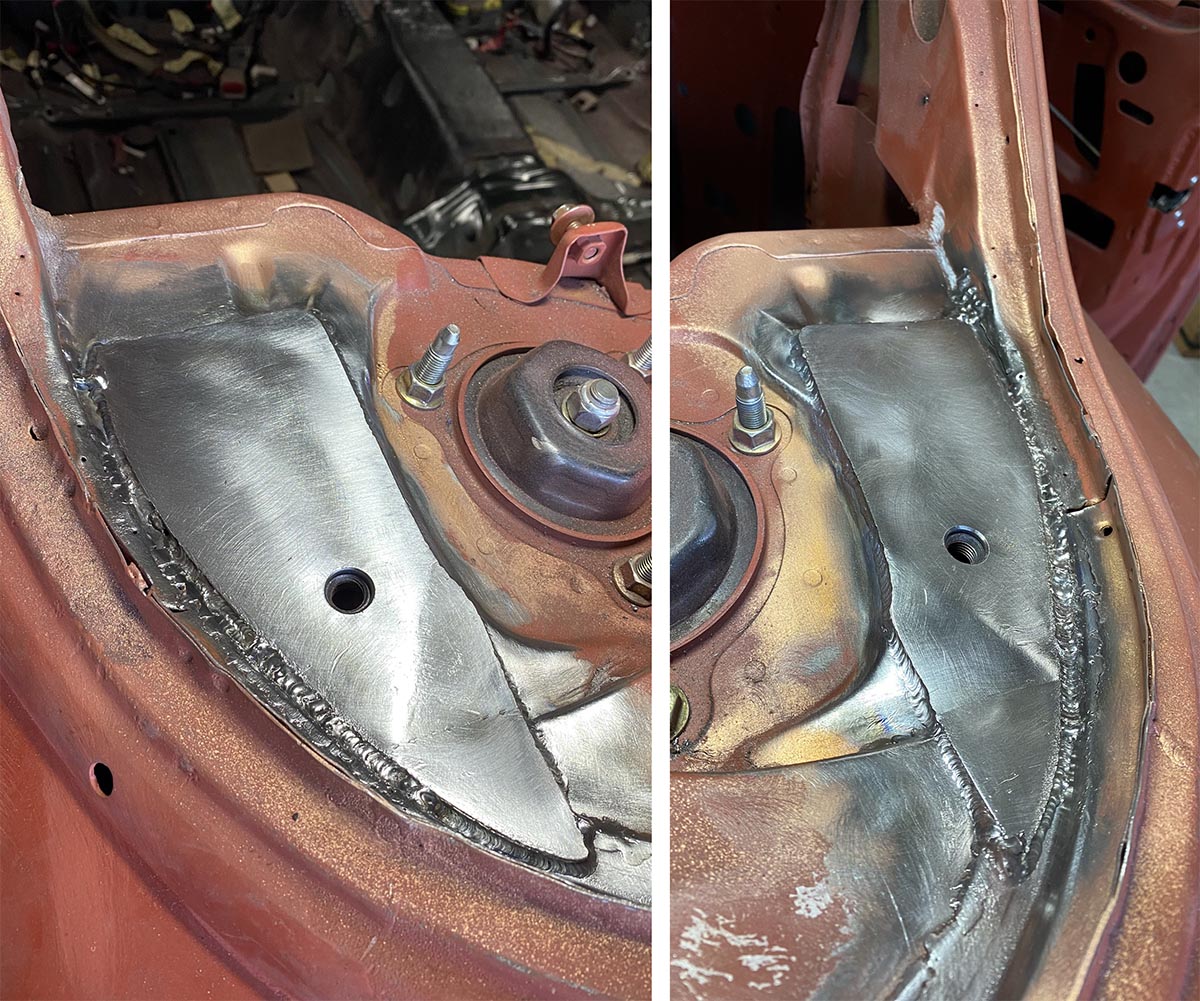
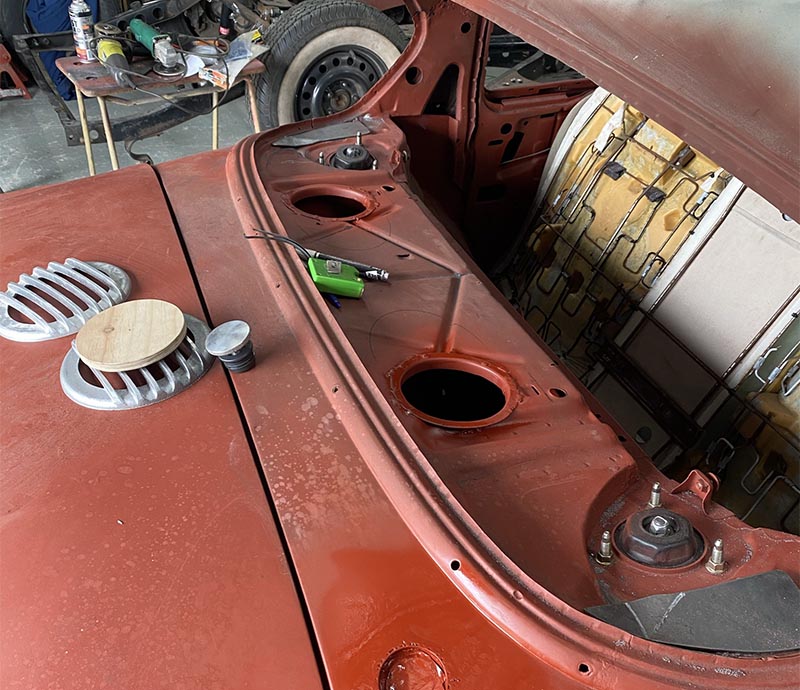
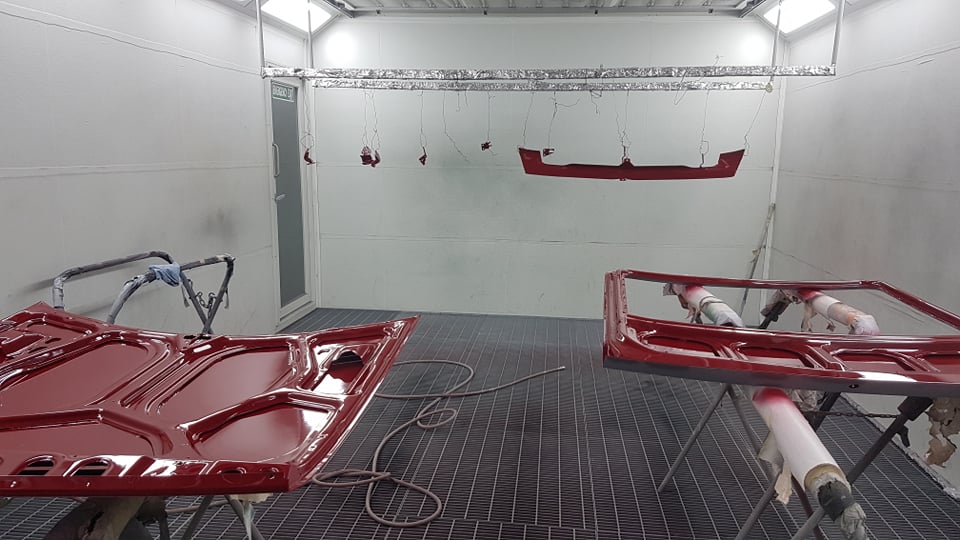
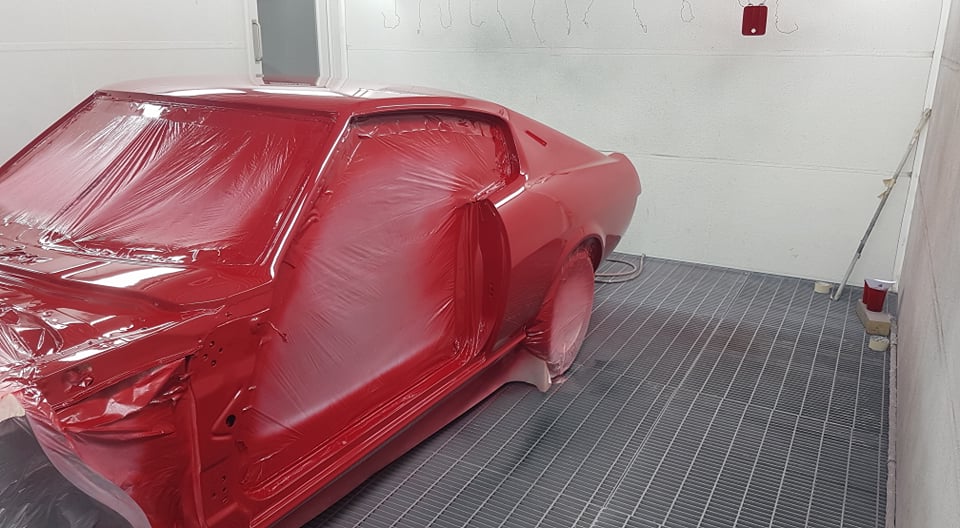
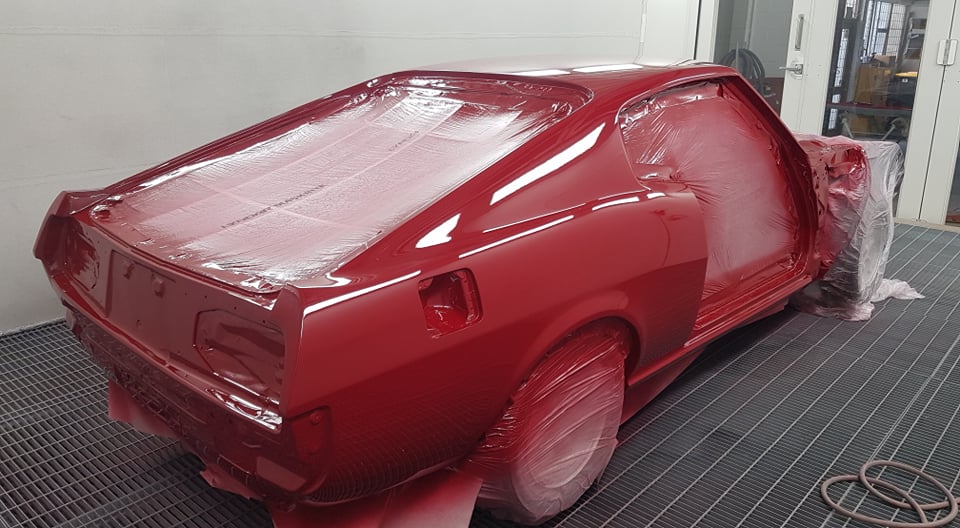
This week turned in to week after next week so dropping to blaster tomorrow! kinda been in limbo so not much progress (vinegar soaked and painted some clips + bolts) but today I said fuck it and knocked out the first 2 of MANY patches to come. firewall passengers footwell ..and figured since the blaster is passing over, I’d expose these bulges around the shock towers so it’s nice and clean behind. also blasted the crusty bits on the front valence and made a few holes. I just zapped these up and rust killed.12 points
-
A few minutes with the strip disc and flap wheel turned this... Into this: Amusingly that's not even the side that was leaking. This one is. You can see the peeled off 'patch' and the offending hole that let all of the river go for a spin through the bilge pump. Today's mission is to head down to the metal recyclers and obtain some replacement metal to hot glue in there.12 points
-
Filing cabinet for a guy at works camper trailer. 2 drawer spun on its side and shortened top drawer. Small drawer for cutlery big drawer for bowls etc and chopping boards down the side. Pretty time consuming but looks sharp. Am making extended cabinet on right hand side for more storage and flush mount for gas cooker.12 points
-
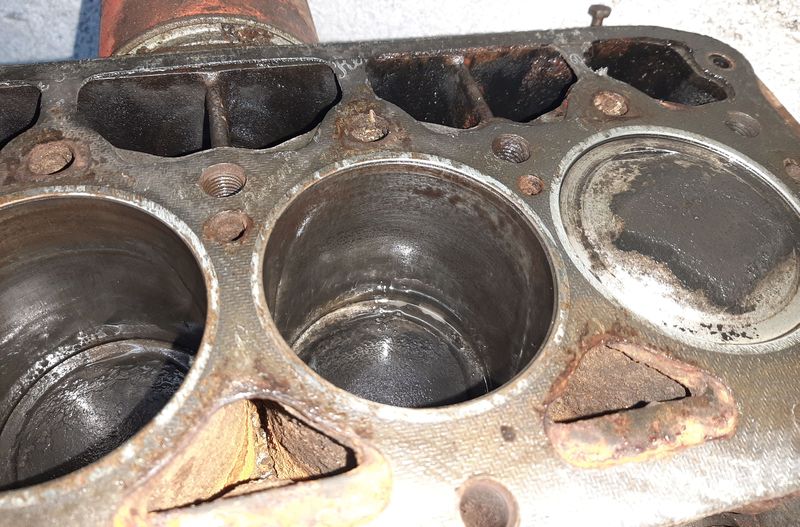
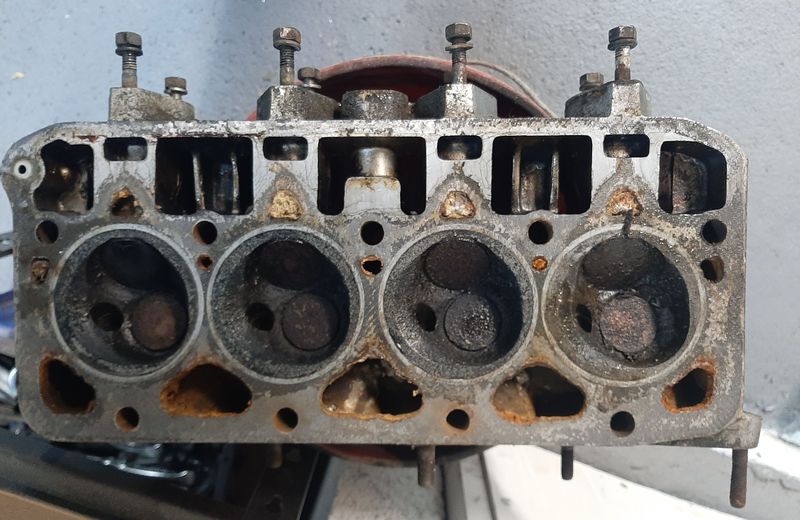
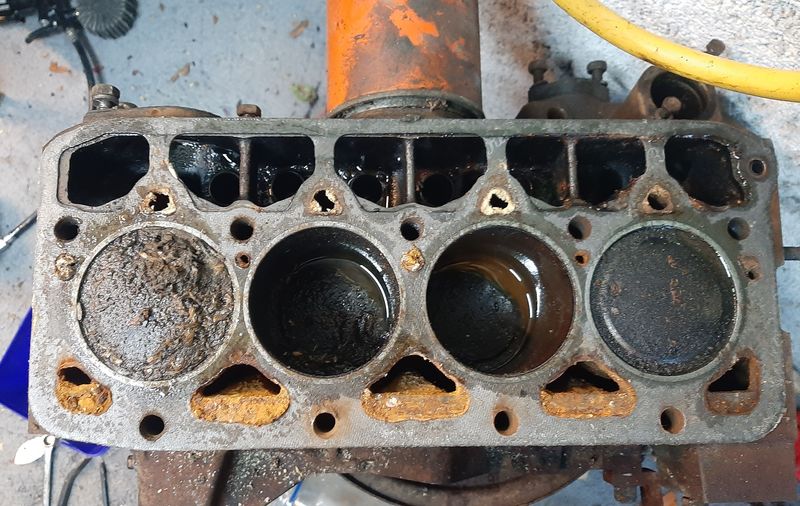
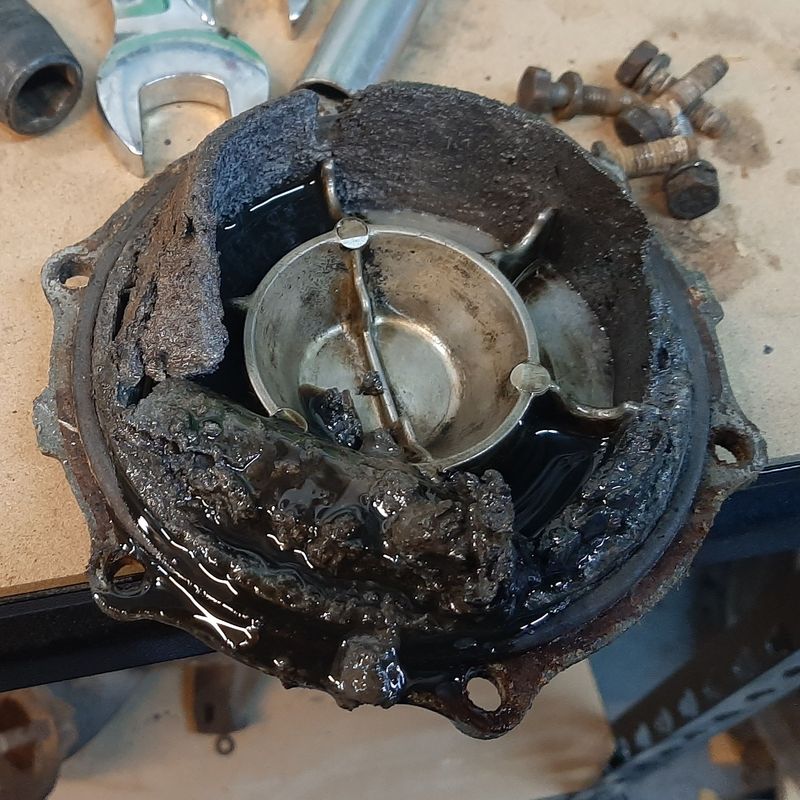
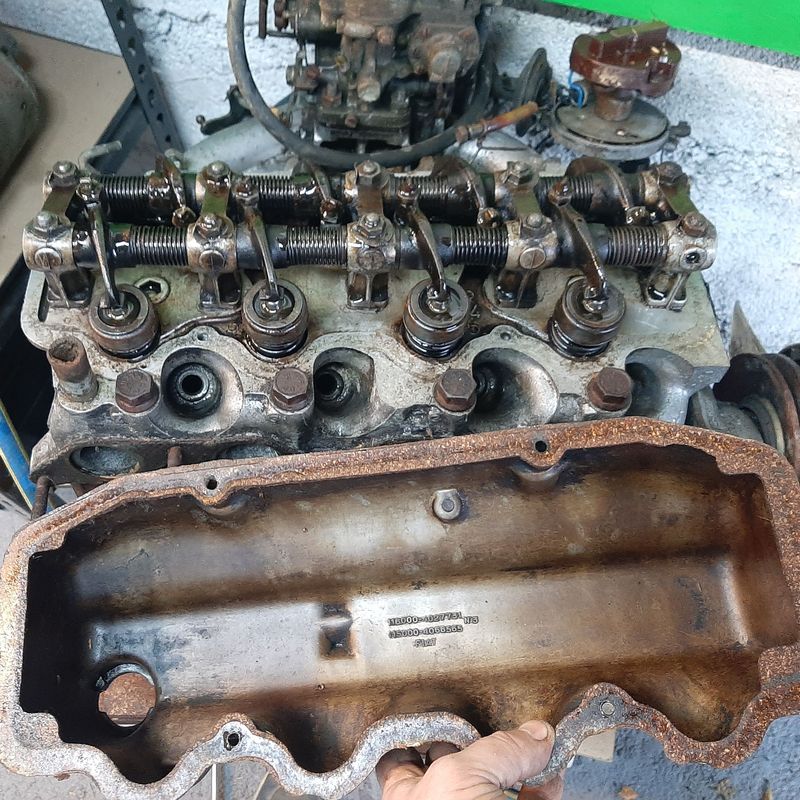
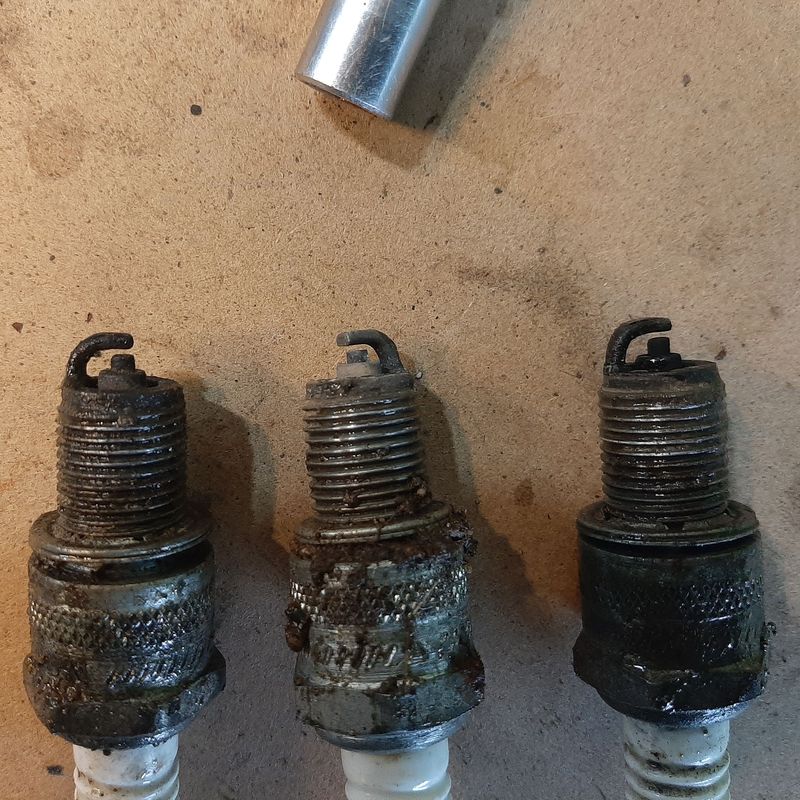
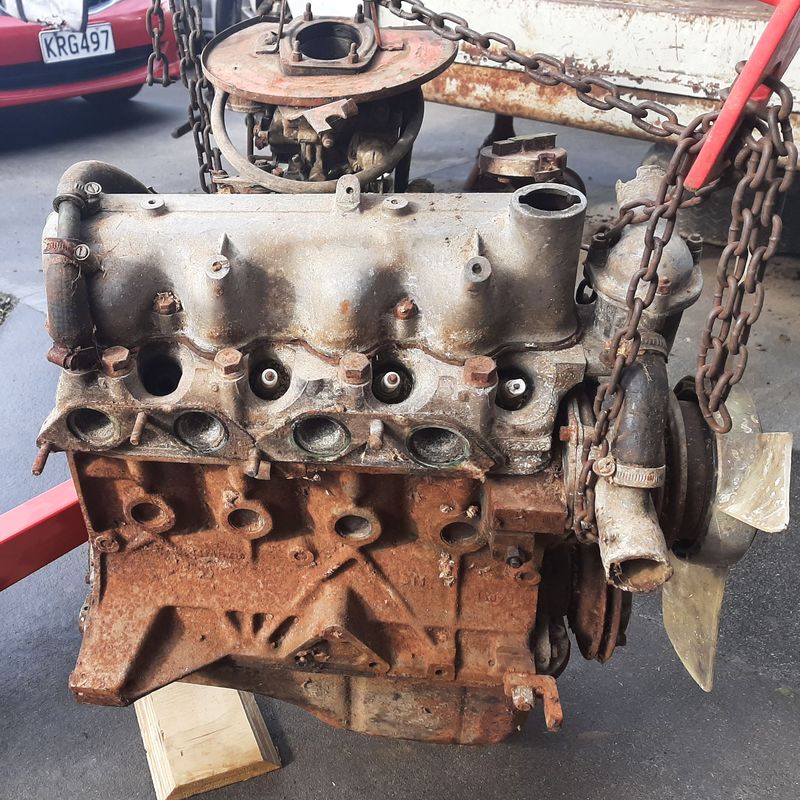
I got a engine crane for my birthday, so i yoinked the spare engine from the boot out and ripped into it. Its a 115.000c engine which was probably from a Fiat 1500 sedan or Crusader based on a Solex carb it has. This would have been the factory engine in my 125P Ute and is also the 2300 engine less two cylinders, so shares a lot of parts and design It only had three spark plugs, no air filter and no oil cap, with grass seed and mouse nests everywhere, and appears to be seized. Perfect. Remaining park plugs out look not bad, not too bad at all, not bad. Hmmm. Valve cover off, well, would you look at that. Bit of crud under the open oil cap, but otherwise clean I guess? Centrifugal oil filter says, well maybe you shouldnt get too excited, just yet... At this point the effort of getting the crank nut loosened the engine shifted. Some more oil down the cylinders and it moved nearly 360 both ways. Couple of the valves were sticking so Head off, Mouses grass seed and fluff so tightly packed in on the inlet valves it was actually stopping the valve from closing again. Ill chuck it in the vinegar for a bit it should clean up i reckon, no damage, just grub Guess which cylinder had a and a mouse living in the spark plug hole! However thats a pretty new head gasket, can still see the writing A bit more brake clean and the pistons look shiny! Bores are a bit surface rusty in a few spots as expected but no scoring, i reckon a hone might be all it needs. This is after some worn out wet and dry and wd40 for about 20 seconds on the worst bit Need some M12 x 1.5 bolts to put it on my engine stand, then ill remove the pan.11 points
-
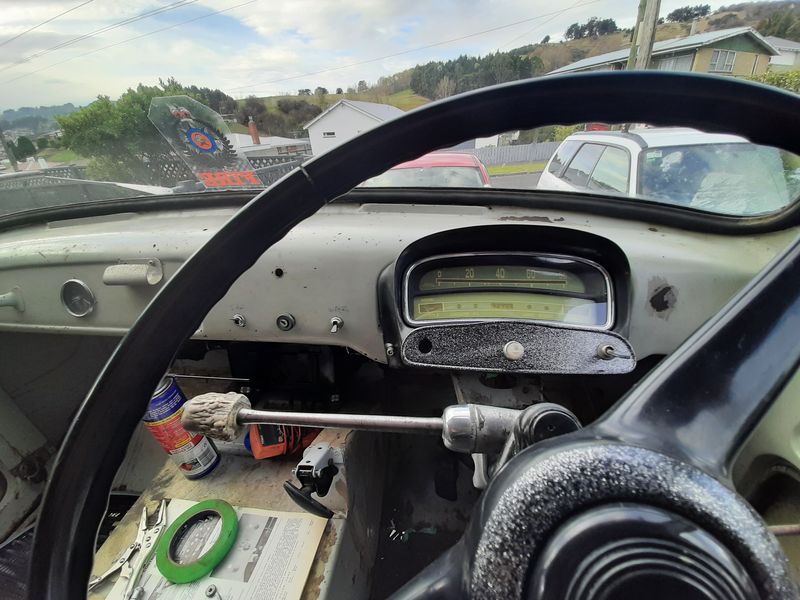
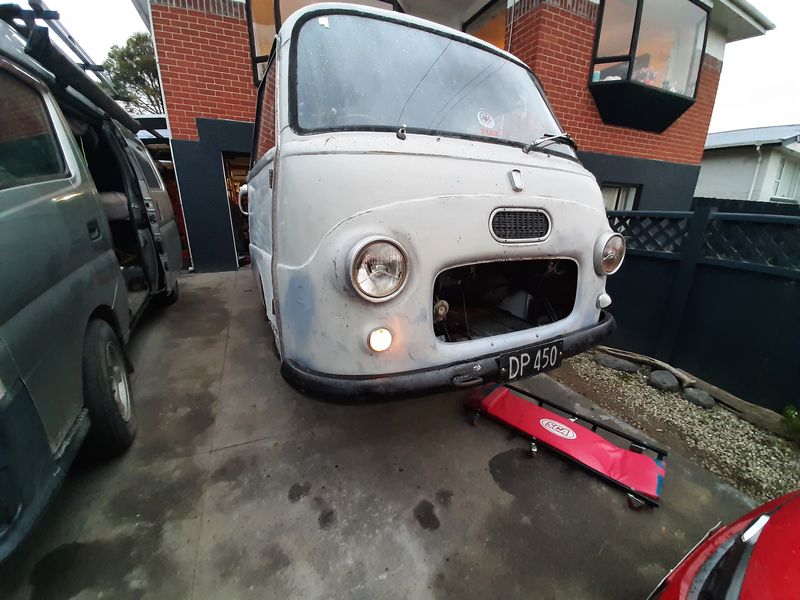
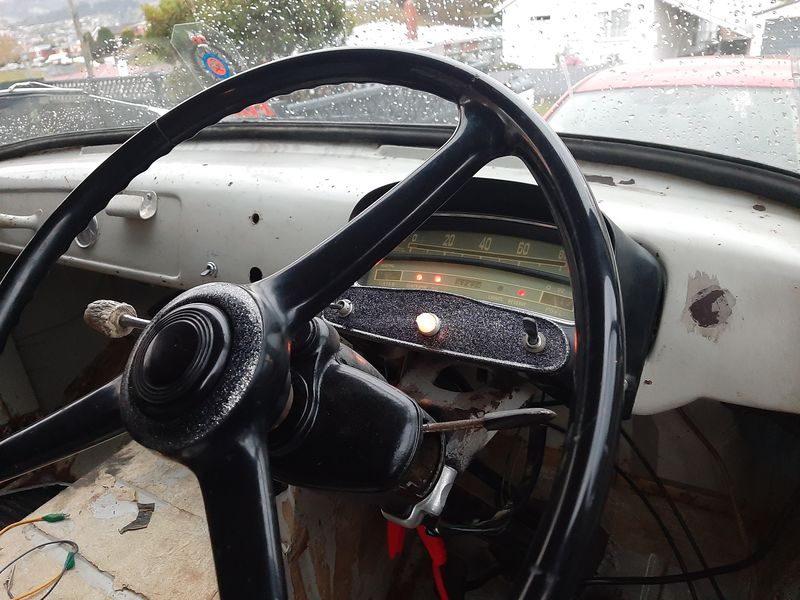
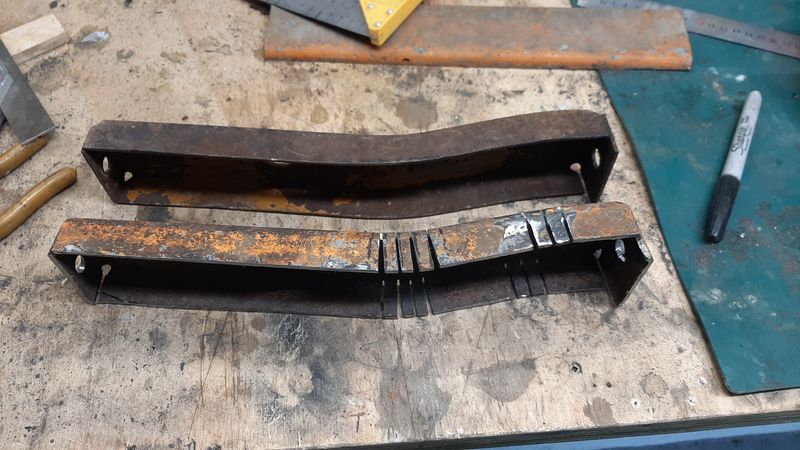
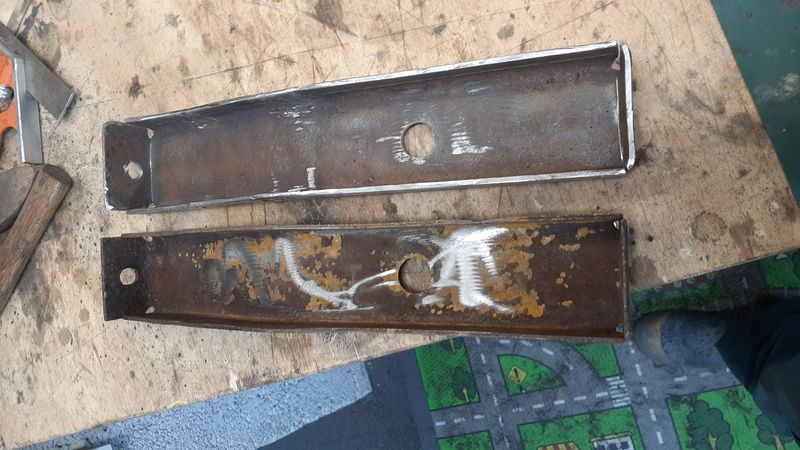
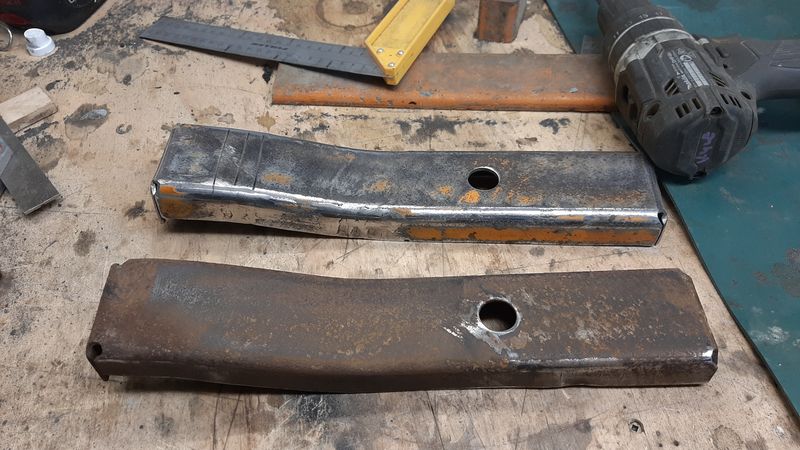
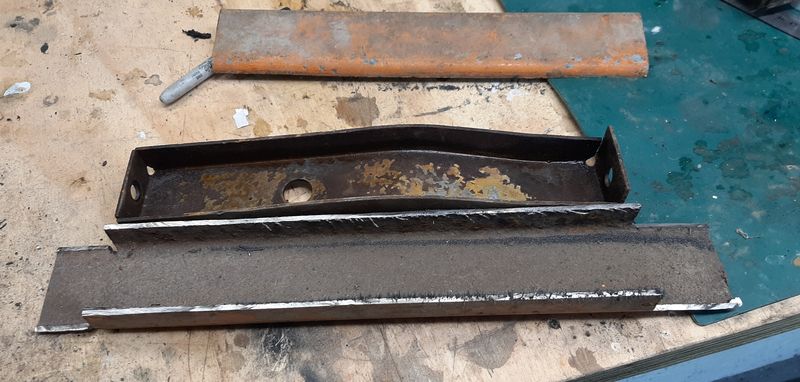
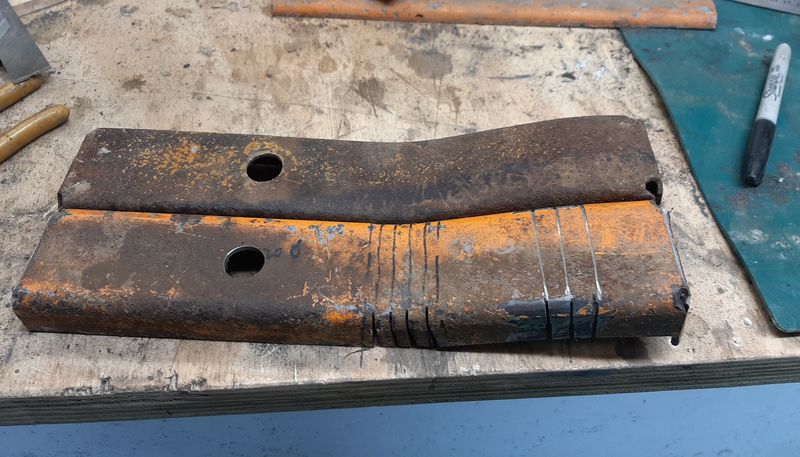
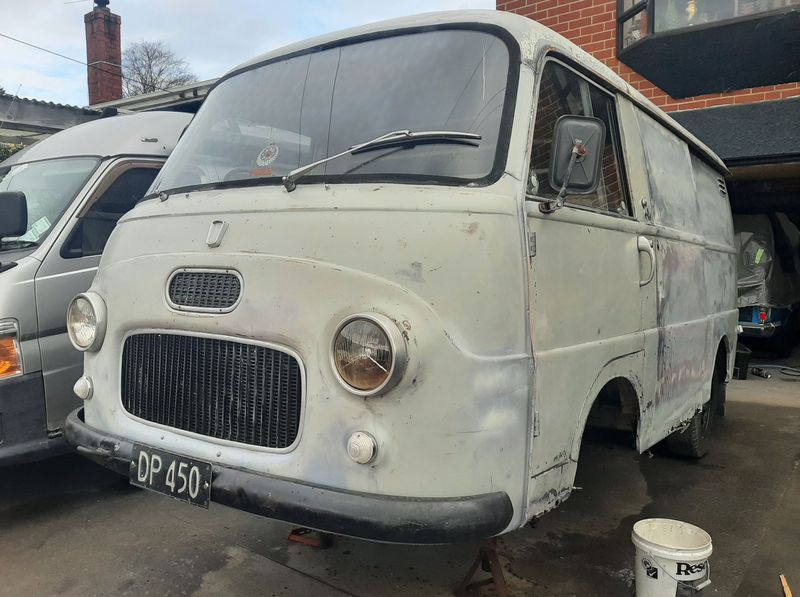
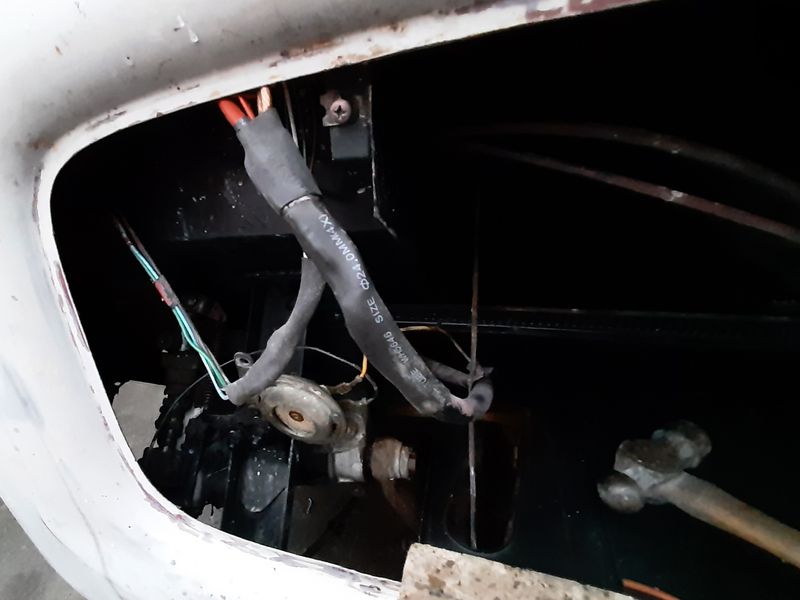
Made a bit of box into something else Its a bumper mount, the front bumper had been removed by a PO and one side was missing some bits. That means i could put the bumper on and finish routing the the wiring from the dash to the engine So i could put the dash back in, and ran a bit of juice though the circuits. IT LIVES! Indicators, dash lights, fan, and wipers all working. TStill some electrical work to do - on the engine side (after i drop it out) need a new column switch so the headlights can works (Ebay, ordered), and to install the new headlight bulbs (stuff in stock). Brake lights use a pressure switch so cant test those yet. So I put the front back together Look at that little face11 points
-
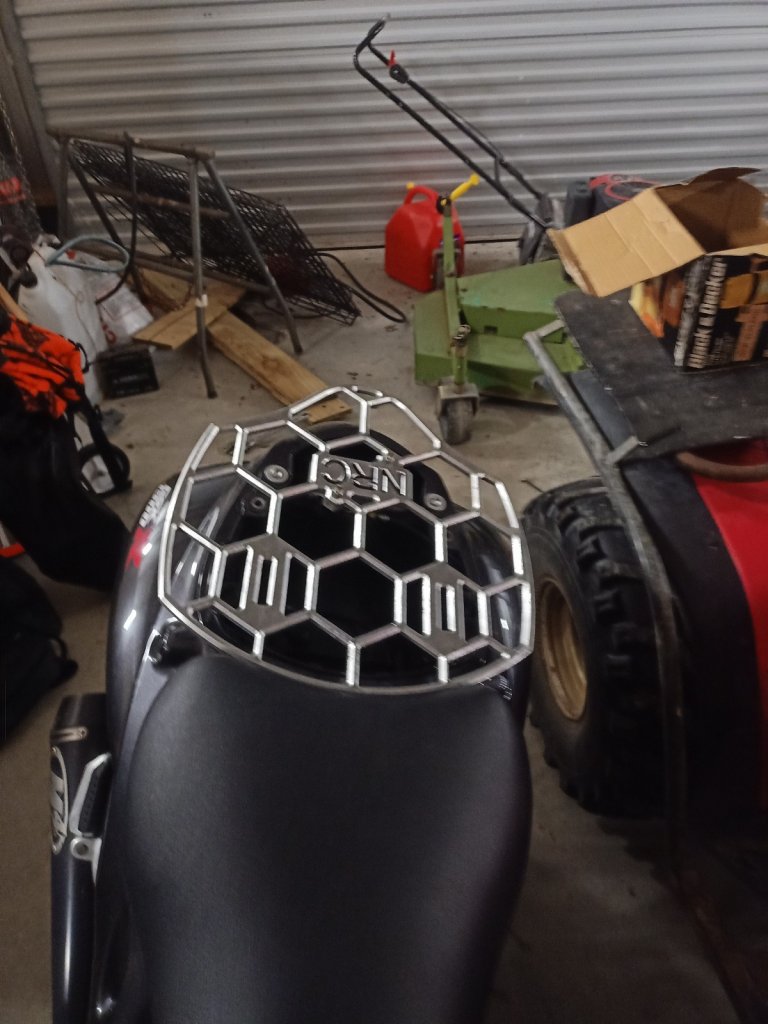
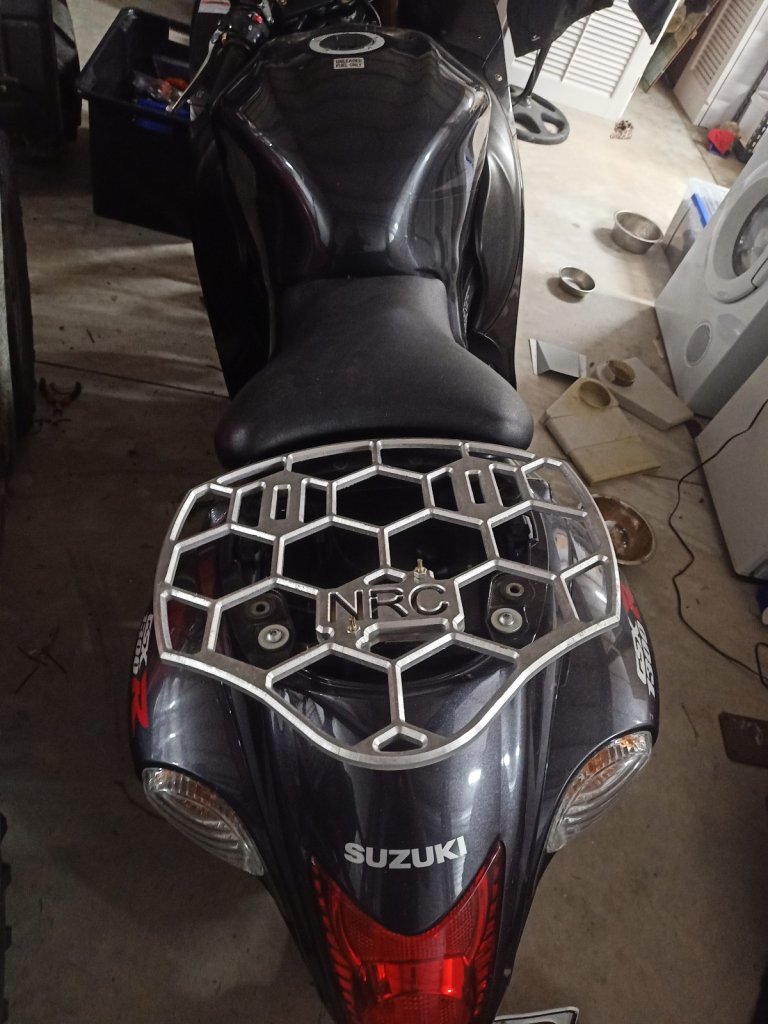
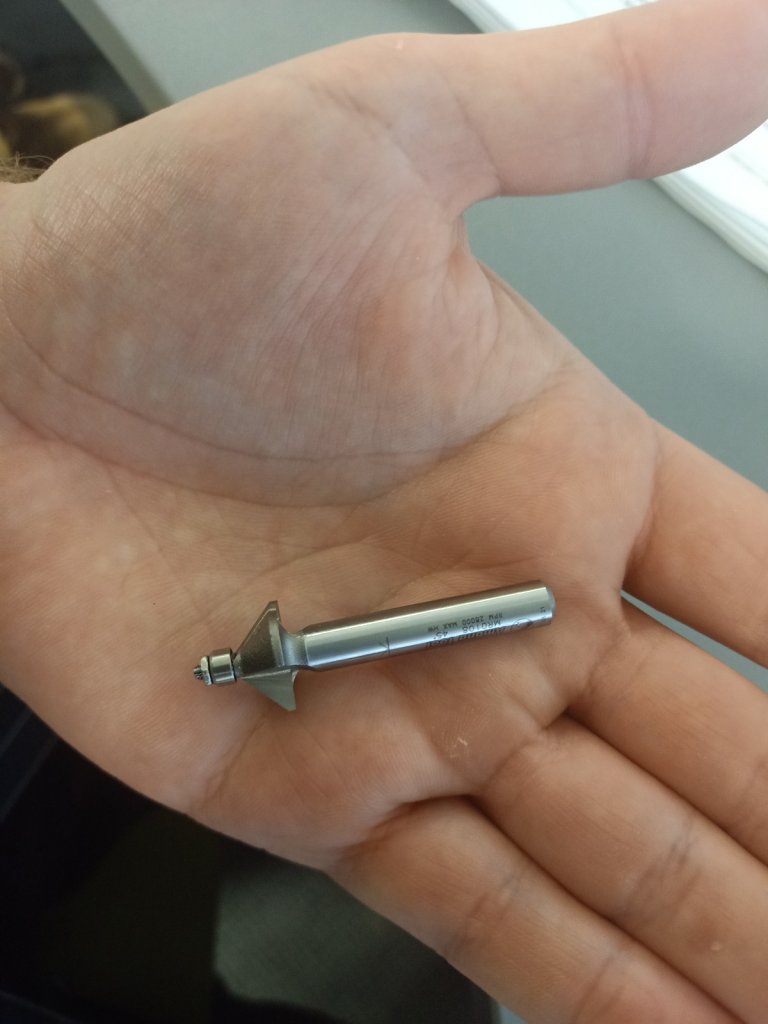
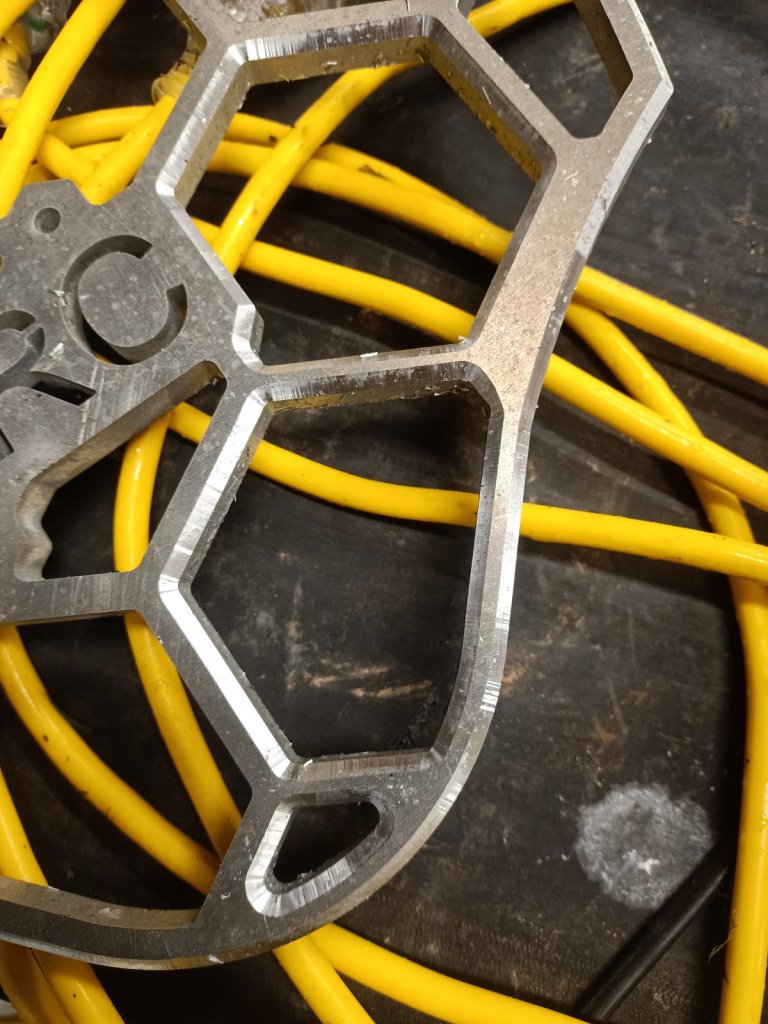
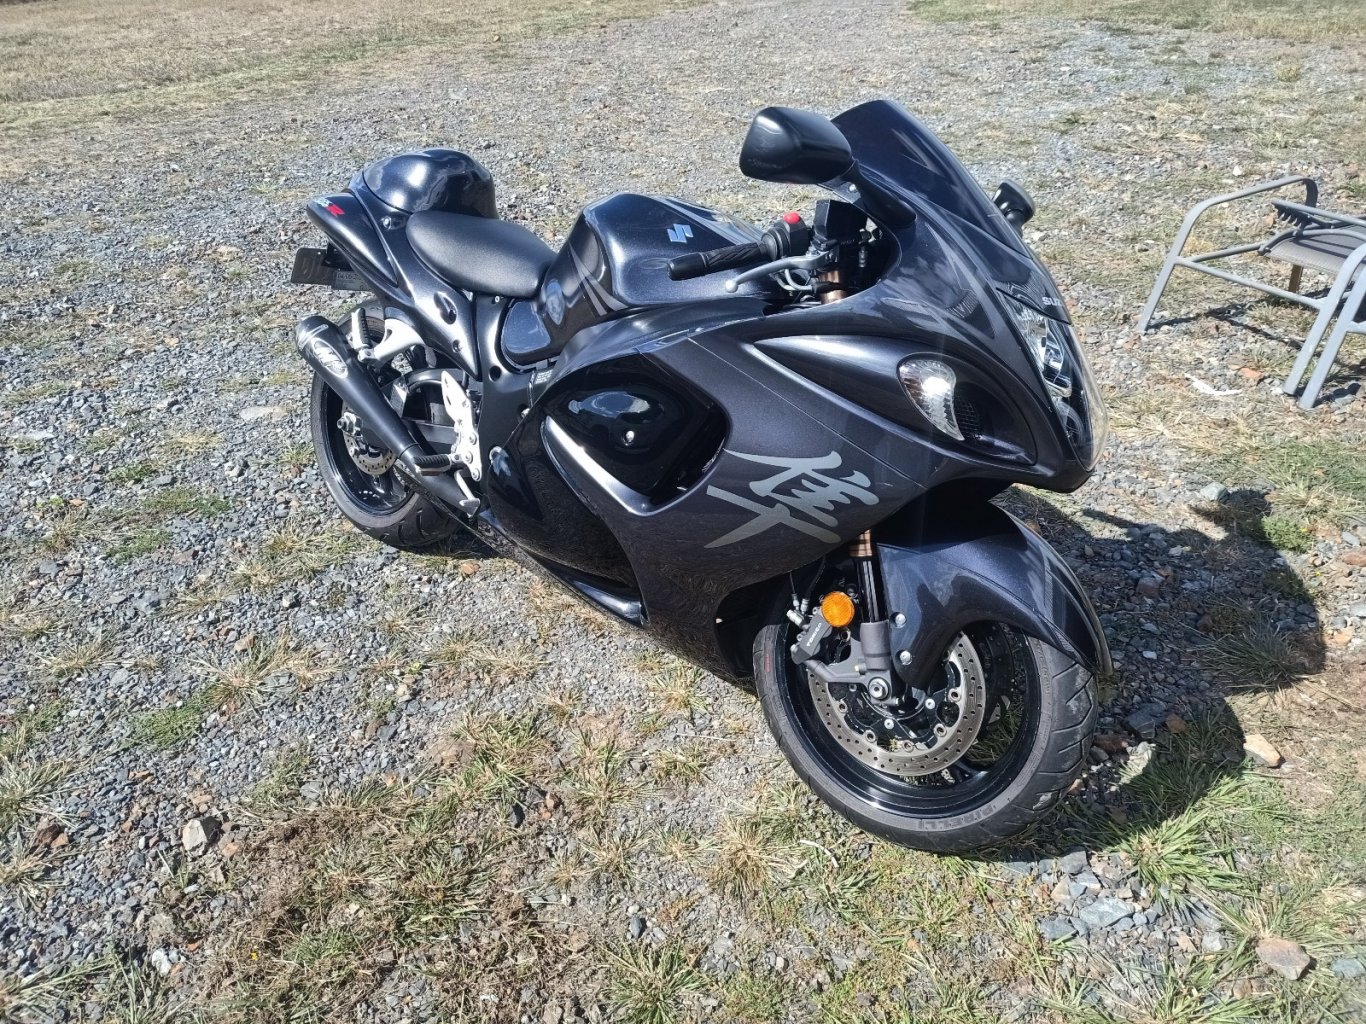
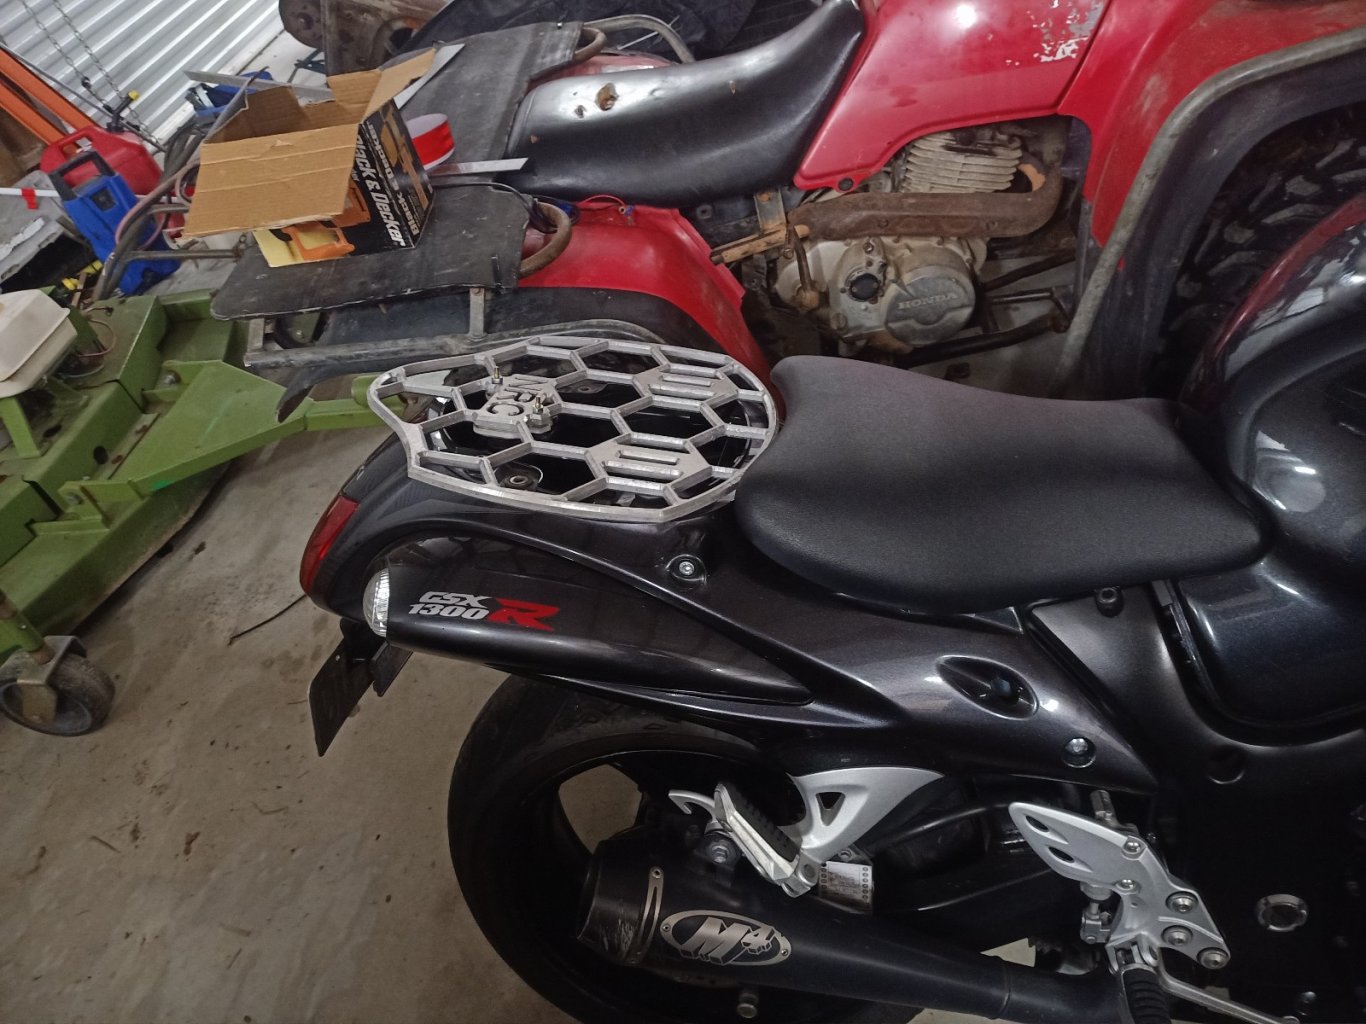
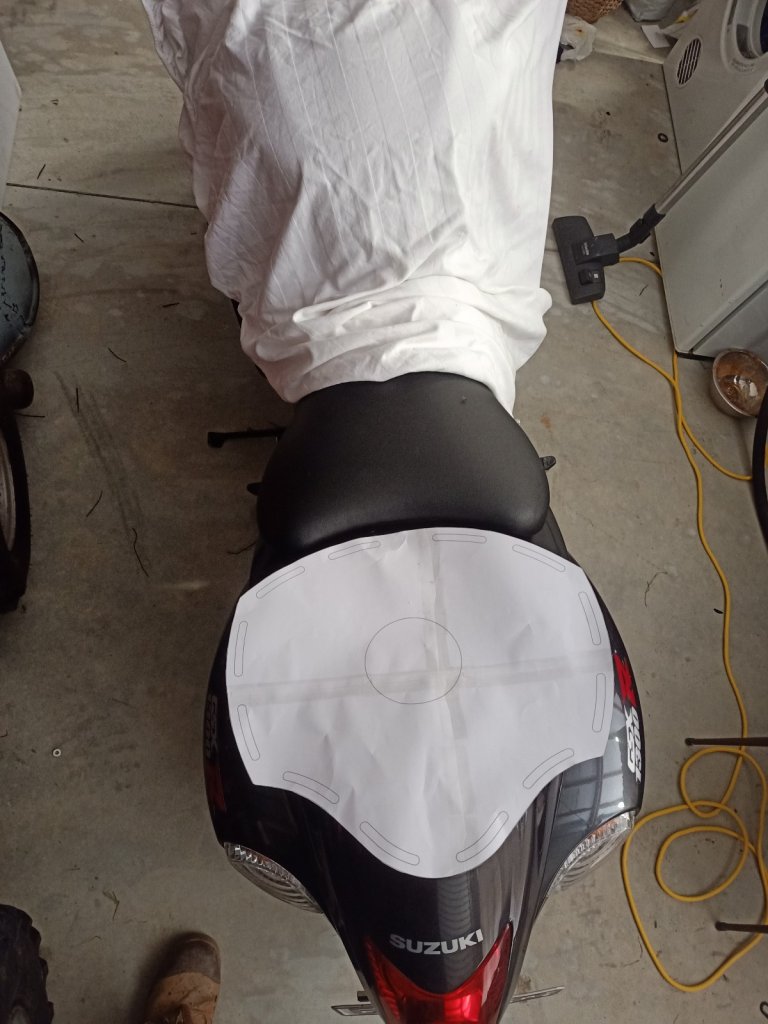
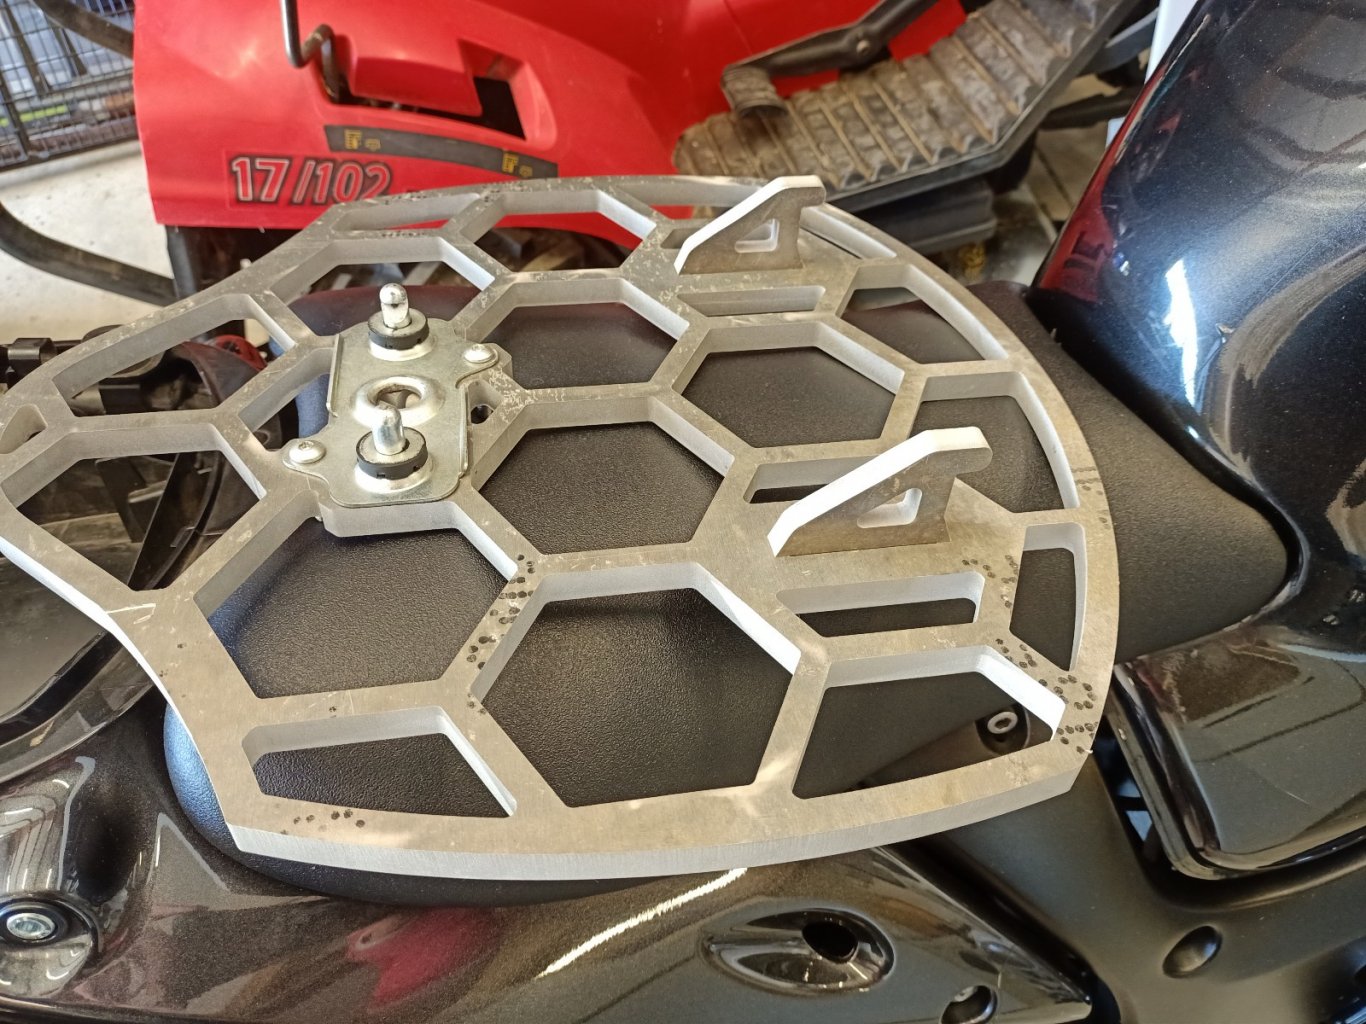
Got my cast off 1.5 weeks ago and have had bike out for half an hour since then. Have been pretty cautious as after 12 weeks restrained there was very poor muscle control and it felt super super fragile, but grip strength is improving very rapidly. We know this, but god damn shits amazing. In general I don't speed, but like acceleration and the sense of unlimited power- and this thing delivers for sure. Also very easy to see why these end up with huge kms on them compared to most 600-100cc superbikes-so easy to live with and manage. Big trip coming up and so of course i had to make the acquisition of a luggage rack far harder than usual. I had time on my hands and like a challenge, plus thought I could make something a little more aesthetically Drew outline in cad and printed/test fit then made alterations. Had a good friend cut from alloy. Ended up being done from much thicker aluminium than originally planned but this gave me the confidence to get a bit artistic with the design and weight removal. Then got a tiney router bit with tiny 4mm guide bearing and ran it over both sides to cut a sweet chamfer. Its had a fair bit of finish sanding/filing since these pics to remove hard edges, but now want to DIY anodise it dark grey/black. Its turned out pretty good so far I think. Swaps between aero hump/passenger seat/rack in a few seconds just with a key (all other racks use bolts, but they do allow a pillion where as mine doesn't, and they are also big square things with no real thought given to design) Also started it last weekend and had a really loud and alarming clutch rattle. Shut it off pretty quickly, opened up the clutch and ended up loctiting and torqueing all of the fasteners (this particular year omited factory loctite and loose bolts there is a problem) Sounds gone now but research tells me that these things are renowned for having rattles there due to their variable clutch torque limiting shit being pretty sloppy. Anyway, until next time Bye.10 points
-
5 points
-
5 points
-
4 points
-
Well it's been 2 months of ignoring this thing in the shed and what do you know....it still isn't fixed. 3 trips as passenger in other people's boats has motivated me a little tho. So it's time to flip the hull. I pushed it off the trailer and naively thought I could just roll it over using muscle power with the misses holding my hernia in. Turns out steel is heavy. That's no way my shed could support a chainfall so I got out the trolley jack and a series of wooden props.4 points
-
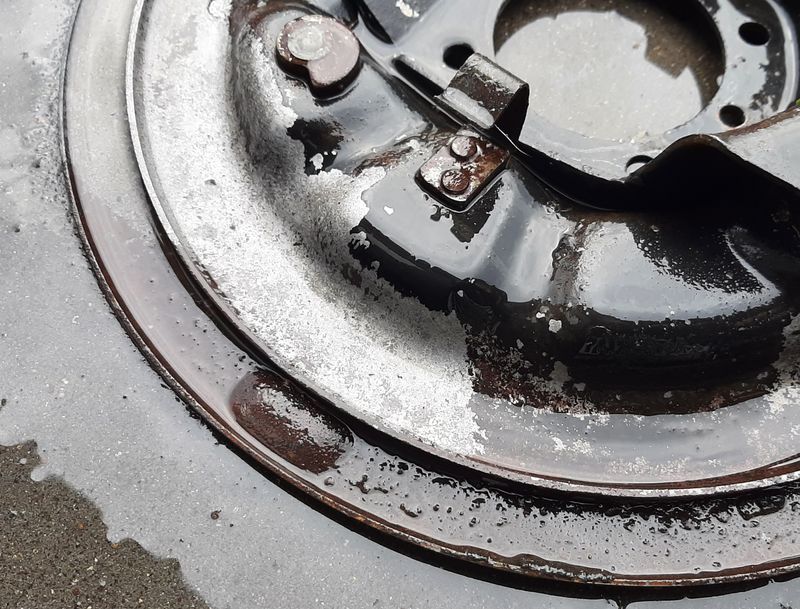
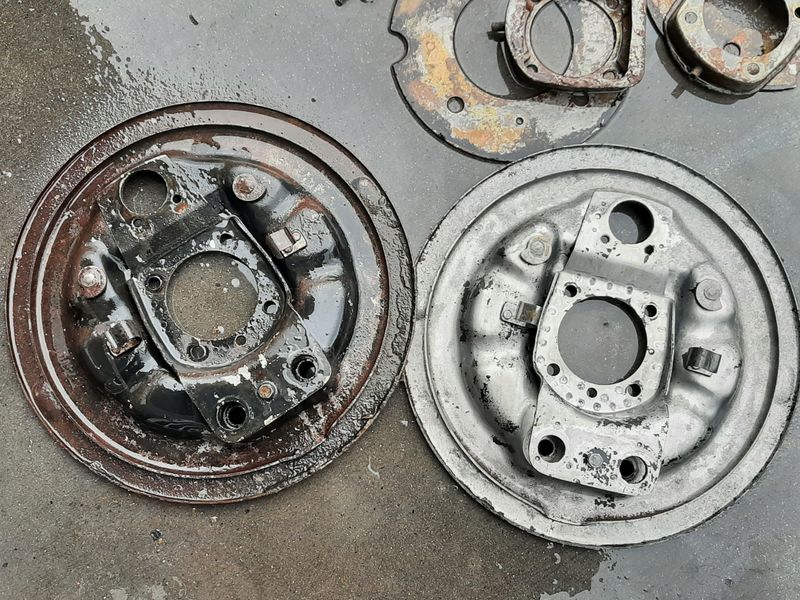
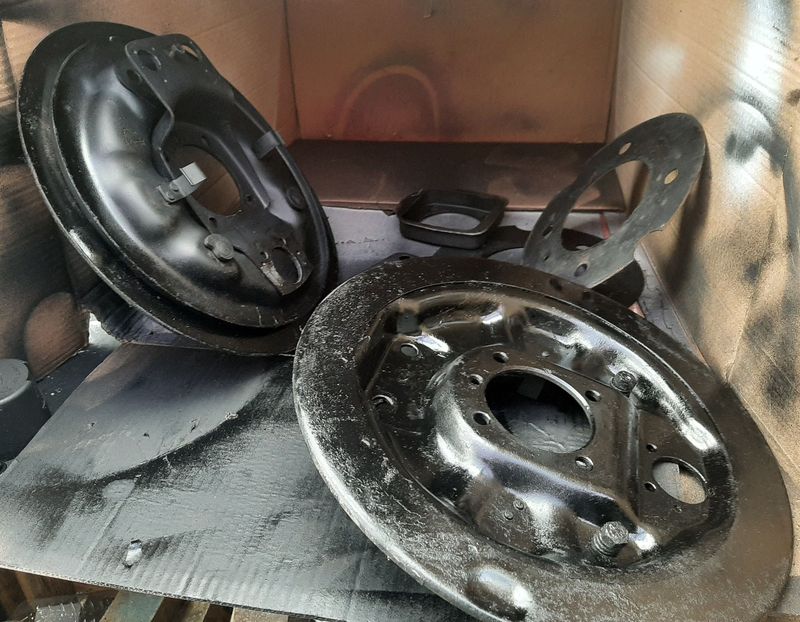
Brake bits out of the vinegar bath after a few days and then a quick water blast. Magic! Before and after, everything just washes off like its dirt. Gotta catch the flash rust tho, i spray them with degreaser (alkaline) to neutralize the vinegar (acid) then wash them again, then a bit of rust converter or evaporust before paint.3 points
-
3 points
-
3 points
-
3 points
-
3 points
-
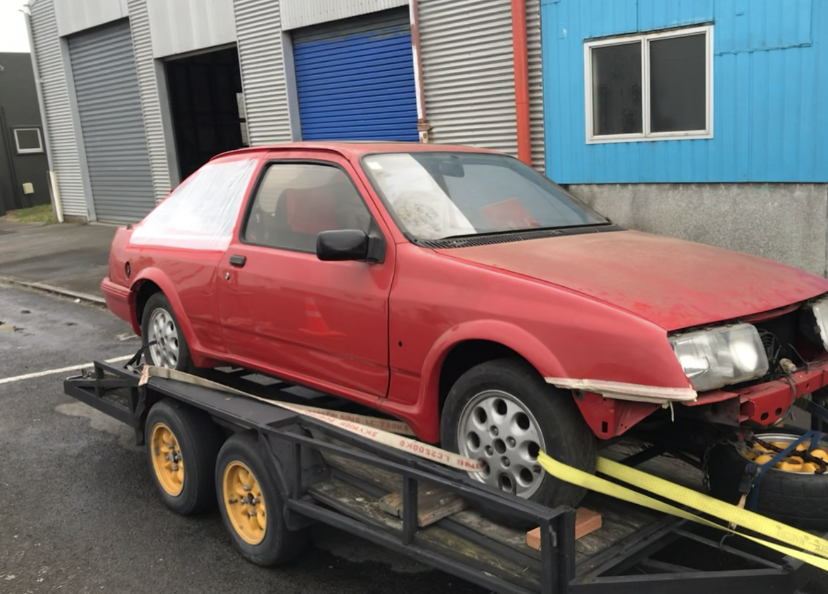
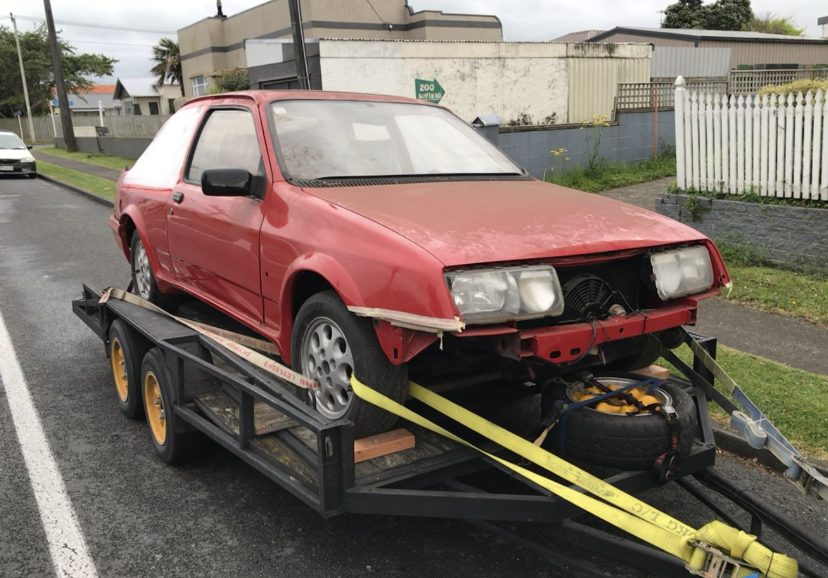
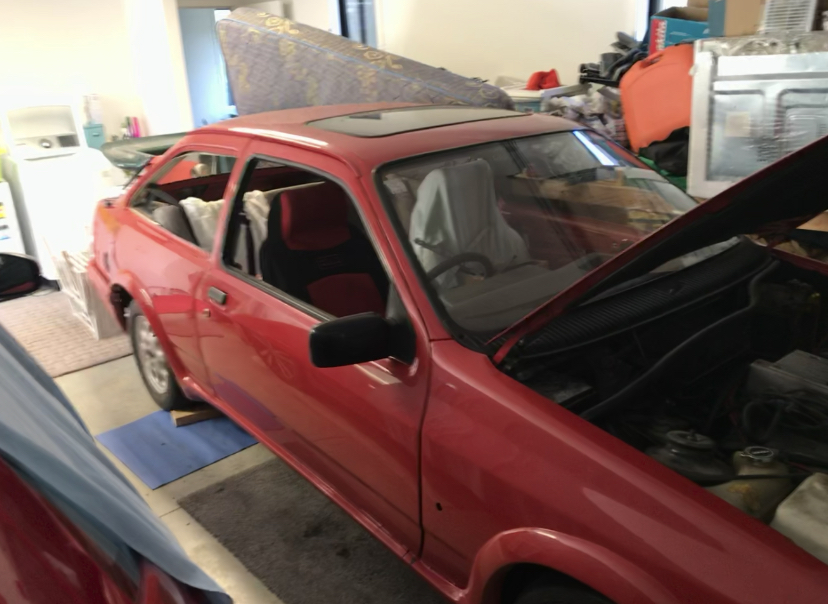
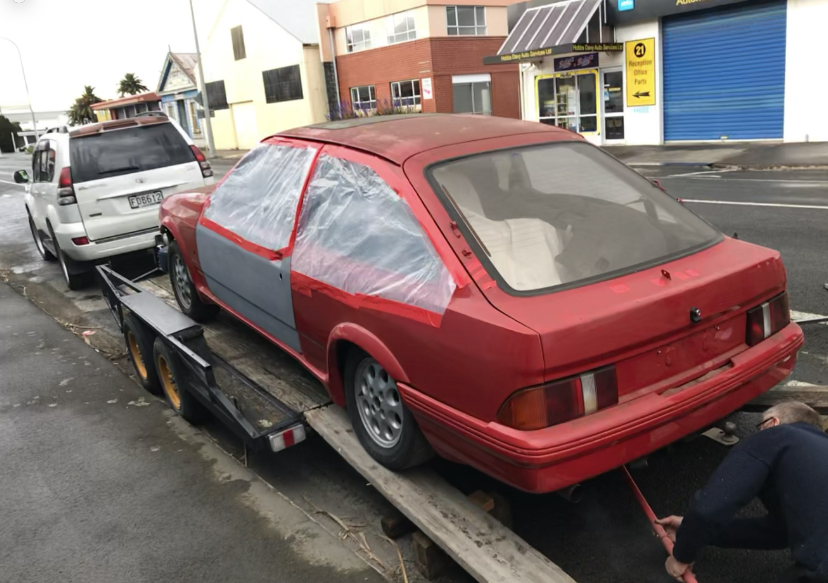
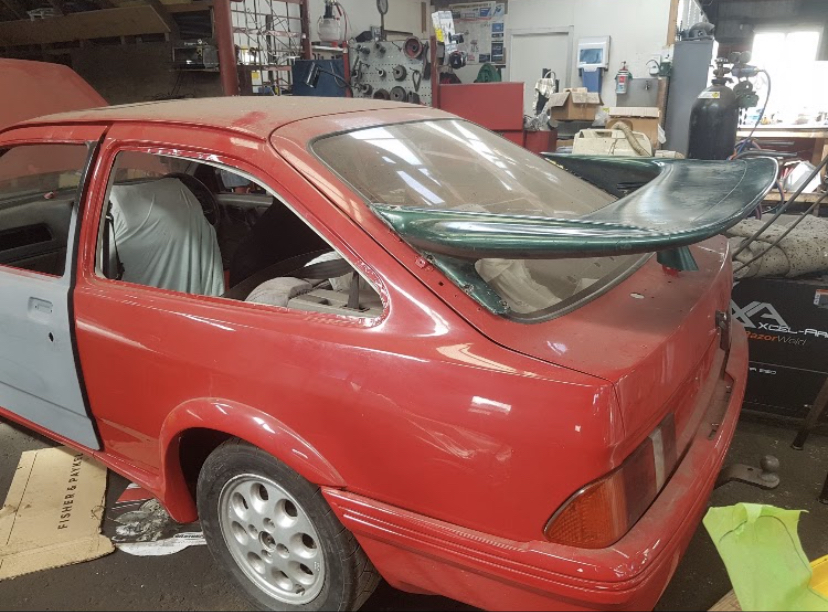
So a year and abit ago I was looking on trade me and someone was trying to sell a ford Sierra project and after looking and wondering I brought it next step was to get to the north island to get it ,so packed up the family and away we went and I got this!!! Its a Ford Sierra xr4i it has a 2.8V6 cologne engine the person I brought it off was going to make it into an RS replica so I’m going to continue with this theme2 points
-
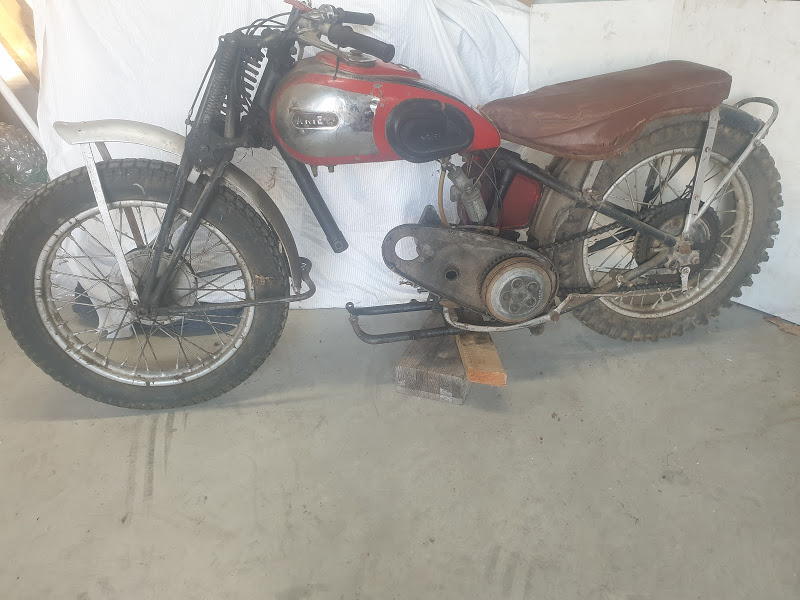
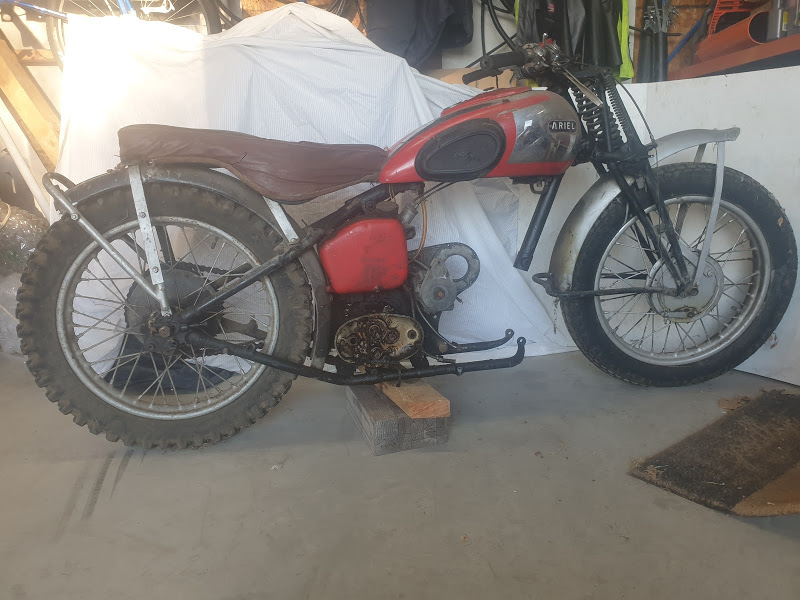
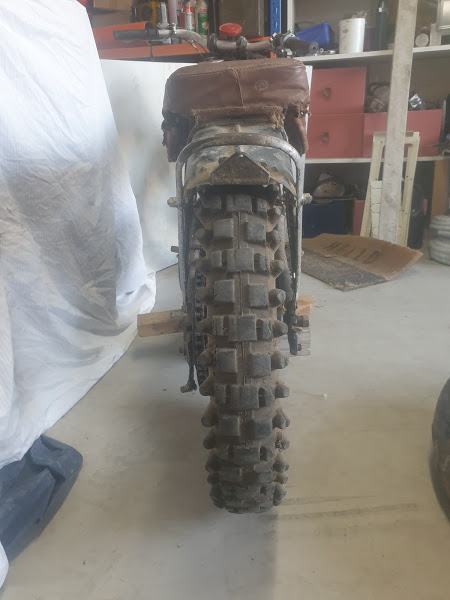
Thought I would put up a build of my Ariel, have been lurking on here for a while and have really enjoyed reading the builds posted, both cars and bikes. I've always been interested in motor bikes and had a few in my earlier years, mostly Yamahas, and had always wanted an older bike. Many moons ago where I worked in Ch-Ch there were quite a few guys in the VCC. A couple of them went to Wellington and bought up a heap of bikes from an estate (Brook or Brock Motorcycles?) One guy got a bunch of AJS/Matchless stuff, and the other guy a bunch of Ariels. I had a look through the Ariels and chose a bit of stuff that would be the grounding of a 1937 Ariel Red Hunter. Engine was 1937 and not too bad, frame is about 1946 from memory. Pretty much enough for a complete bike plus extras, but everything needing work. Back then I got a few bits done, girders straightened, oil pump over hauled and most importantly got the engine done. Had it re-bored to suit a wiseco piston from a 350 Chev and new chev valves to suit. Didn't get much more done due to moving towns, young family, seperating from wife etc. etc. Usual shit. So recently life has settled down a bit and I have come into possession of another Ariel. This is a pretty much complete, bit rough, ex farm/hoons bike that has been hidden in the back of a shed for at least 40 years. It's a 1939 500cc Red Hunter. Frame and engine numbers show it as a 1939. It had been used on a farm for a bit here in Ashburton and thrashed, blown up, piston shattered! Then sold, engine removed and stripped, stashed in the back of a shed until a few weeks ago when I got it. Most parts from 1937 & 1939 are all the same. Will post a couple of pictures of the 1939 bike as I got it, 1937 is in bits and all over the place in my workshop.2 points
-
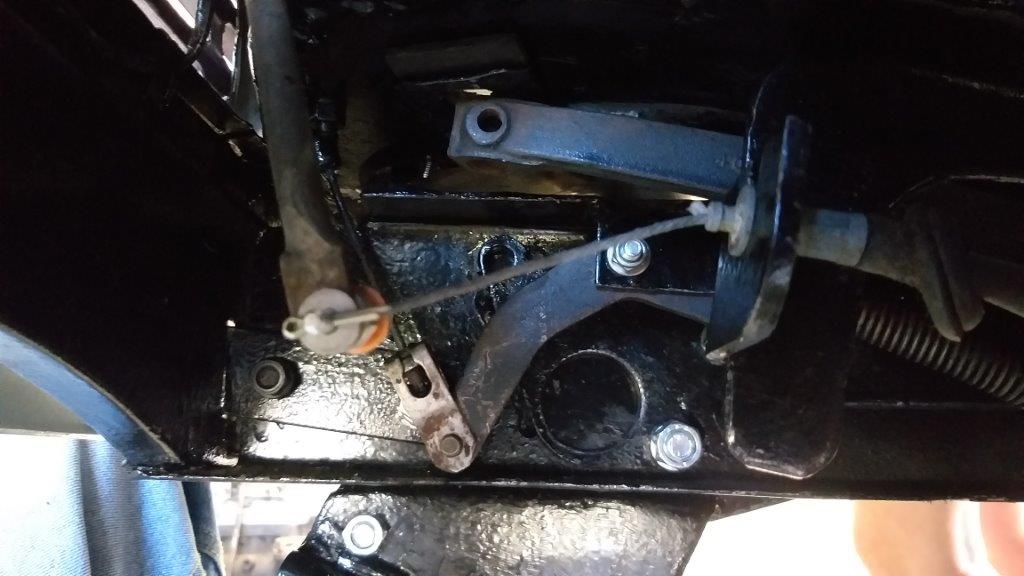
Still plugging away at fiddly little bits and pieces. My mate Lane was back from his swing this weekend and brought a few hoses and fittings home with him so we were able to mock up the pressure hose for the power steering and complete one of the fluid return hoses. He will take the pressure hose back to work with him so he can crimp it and we just need a short length of 5/8 hose to complete the second return line. The adapter plate that mates the Mitsi power steering pump bracket to the Toyota engine needs a slight bend as the belt isn't running perfectly true at the moment, so I'll take that out and sort it before the big fire up. Talking about brackets I'd noticed that the accelerator cable bracket that I made up a while ago isn't going to cut the mustard. Everything looks fine with the accelerator at rest, but as the pedal is depressed the cable starts running at an angle. Here is a photo of the angle of the cable under full throttle. Not good.2 points
-
Ecom on pertol? No. Unsurprisingly. Checked its fuel consumption just as a matter of interest pre mods- 15.9L/100 around town and a bit of motorway Went to rotorua today with cruise control set at 100 most of the time, 14.35L/100 It came with a set of headers, so I'll put those on, should try a new thermostat because it seems to run a bit cool, and I should probably fit an electric fan as the engine driven viscous one takes a while to 'unlock' when it's cold Stay tuned for riveting updates on the subject2 points
-
2 points
-
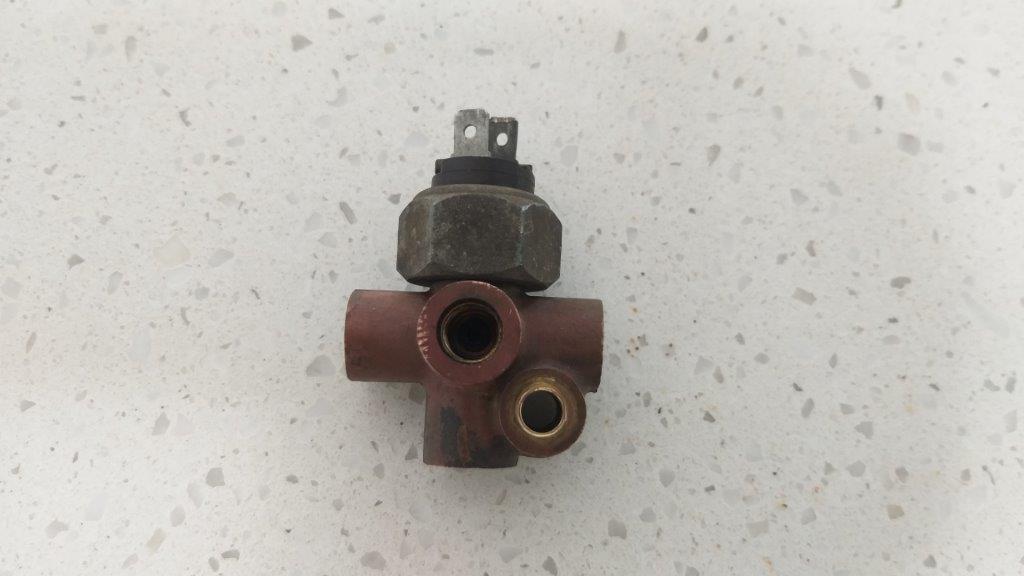
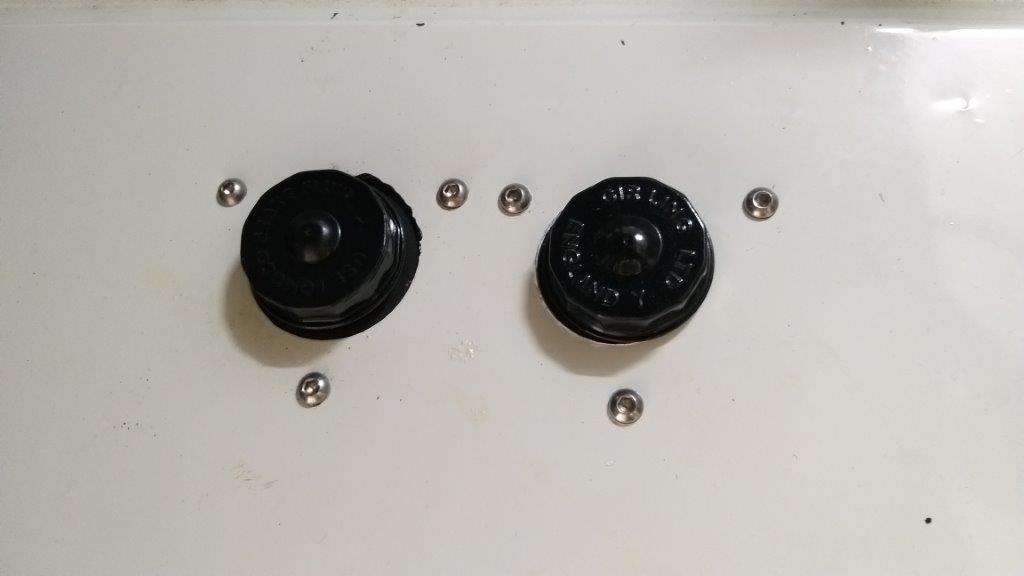
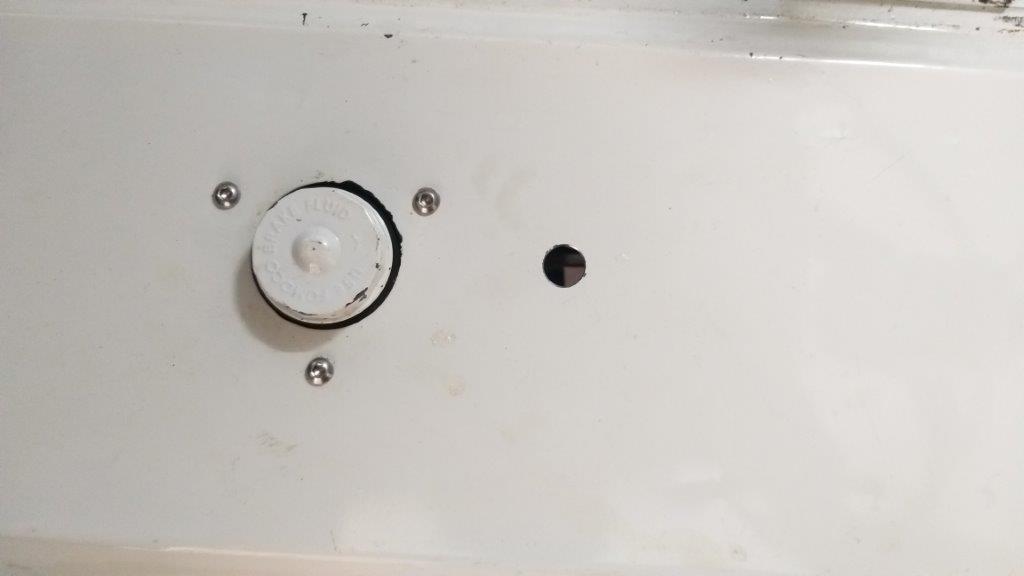
Progress has been slow of late. I've been mocking up the brake hard lines using old lines that I've harvested from my fleet of wrecks. I'm using them just to get the correct shapes and lengths as well as identifying the correct end fittings since I've got a mixture of brake components from both the Thames and some of my donor vans. It's fiddly work, but is worth investing the time to get them right. One of the Thames parts that I will be using is the brake light pressure switch and T piece. It was originally plumbed in to both the front and rear brake lines, but now that I am upgrading to a dual circuit setup I'm going to plumb it into the front circuit only and will blank off the remaining outlets. In other news I've finally installed the second fluid reservoir. I just need to complete the pipes feeding the master cylinder. Once I've got the pipes all mocked up I'll take them along to my local brake and clutch place to have new ones fabricated. Thanks for reading.2 points
-
Ideally we’ll be blasting the underside and enginebay next week! stripped the heater A/C and junk out because it will never be more accessible/ save some weight baring down on my stupid little wheels and I can clean the mouse shit off. Some time in the past the furry sound deadener has got moist and that’s why there’s crusty bits on the firewall. I had to remove it or it would catch fire anyway. Back out with the face mask and wire wheeled this big kahuna after whipping off the fuzzy shit. Quick black-zinc to seal and savour. That shite I mentioned a few weeks back that I was blowing out of the plenum, there was more in the ducts. Glad that didn’t fire out first time I used the heater! LOL at the gasket never being square since assembly. Classic industries hadn’t provided an invoice or MAF declaration, just an address.. so the crate was just chilling at the depot in California. Took the mrs a couple of weeks to get that squared away.2 points
-
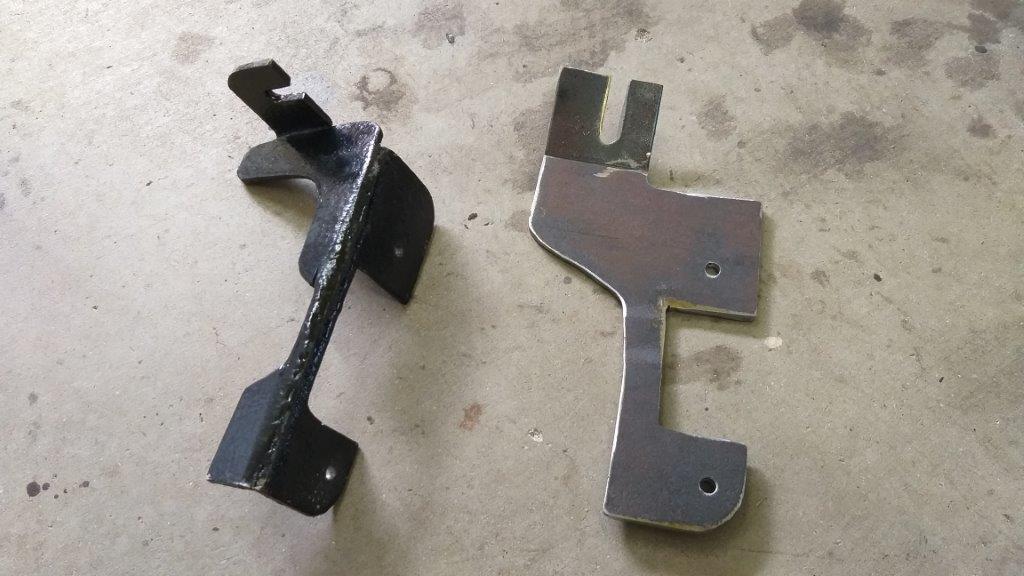
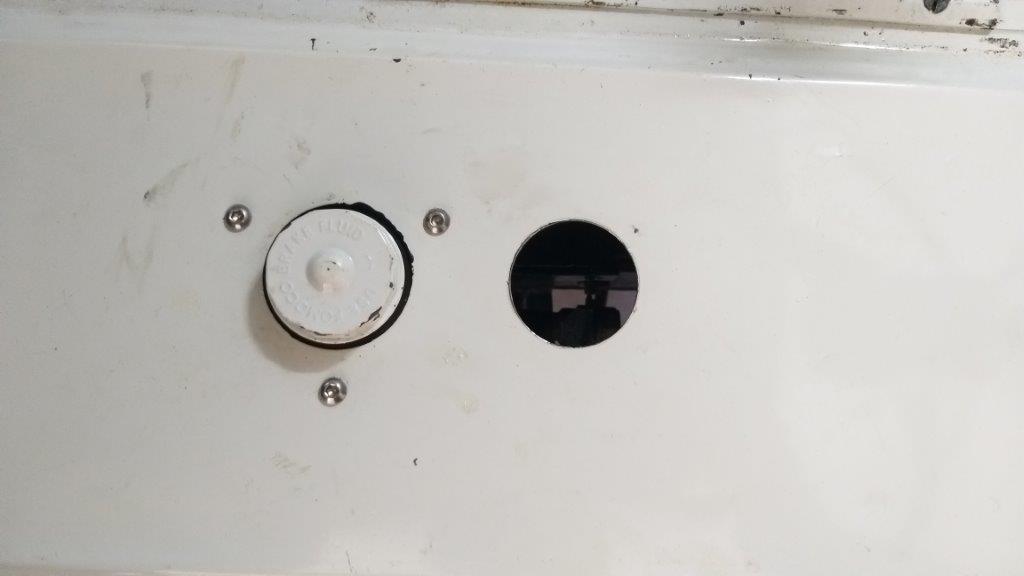
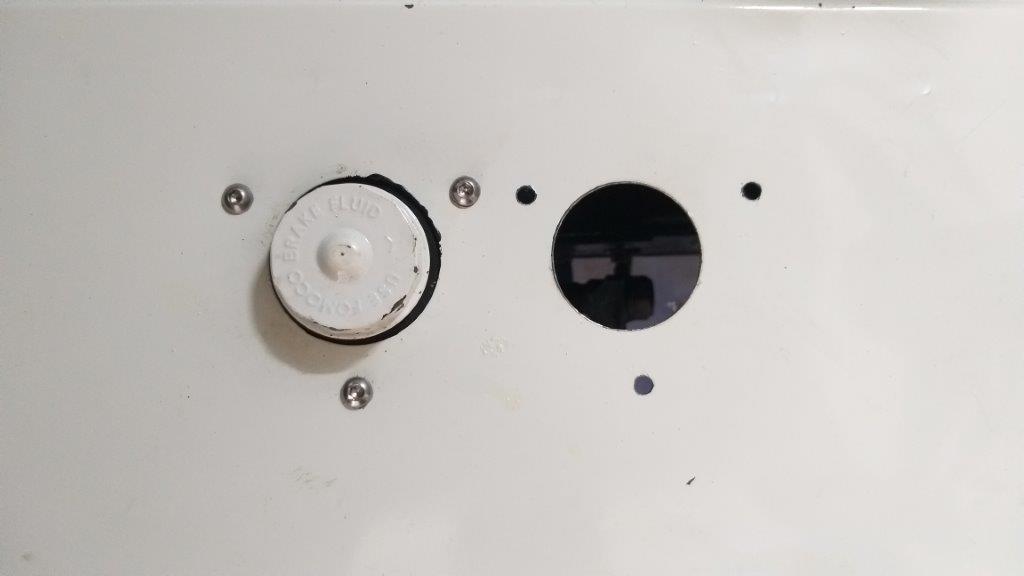
Today I took the bull by the balls and poked a ruddy great hole in the sheet metal under the drivers seat for the additional brake fluid reservoir. Started with a 15 mm pilot hole which is the size of the bolt on my 50 mm chassis punch. The chassis punch made short work of the cab floor and I then poked the 3 smaller mounting holes for the bracket. I cleaned and painted the second hand mounting bracket that I got in from the UK and gave the new reservoir a few coats of satin black to match the existing one. I've ordered 2 meters of 3/8 EPDM fluid reservoir tube which should be more than enough to plumb the dual reservoirs to the brake master cylinder.2 points
-
Turns out I'm a moron and those fuel injectors were hoopajooped. Changed the filter and cleaned the bowl, everything was covered in this fine silt crap. I figured of its on the inside of the filter bowl - it's on the inside of the injectors. Then it hit me. What causes detonation, crappy power and chunks to break off a piston - shit fuelling! There was also one time I started the engine and it locked on one cylinder. I'll bet number 4 injector was leaky and that's what screwed the old motor. Anyways, the internet was half divided on whether you could/should run VT-VY injectors on a VS ECU. Everyone agreed they would fit and had the same capacity and impedance....But a solid 90% of posts said you would need a map to suit. One guy posted on the justcommodores forum that he did it and drove around for a few weeks and nothing bad happened. That's the sort of scientific evidence I needed! So on went the VY injectors with fuel rail, pressure reg and a new filter. Drove to the boat ramp, fired it up and boy did it sound quite different. So went for a quick lap and holy shit, it seems so obvious now that things weren't running right before. Have a listen to the engine note and max rpm compared to earlier videos. What an unbelievable difference.2 points
-
Hang on...what's that sitting in cylinder 4? Oh that's the top ring. Not sure where the missing chunk of piston is but it hasn't ruined the cylinder wall or put any dings in the head. P.S I didn't mention it but this thing did start up and run on 4 quite happily after I got home. Bottom end wasn't knocky and it had oil pressure again.2 points
-
na i love it, i have bought and sold several "doesn't go" vehicles recently The pile of new parts only sweetens the deal1 point
-
1 point
-
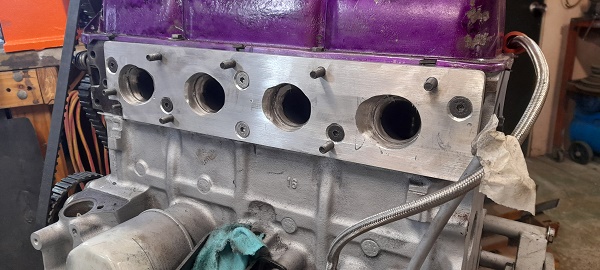
was thinking about temp sensor for the ecu and where to put it.. couldn't put iy in the factory position as the factory sensor was there for dash temp gauge.. thought about the hole in the head between #3 and #4 inlet port but there is no way with the linkages for the inlet manifold... so then i thought about the frost plug at the rea of the head...there is about 30mm from the rear of the head and the fire wall and when i popped the plug out and measured the depth i had ..that was 60mm from head surface to 34 cylinder wall...........and the temp sensor itself is 60mm long. soooo i garbed a new front plug....gutted it and got some thick pipe and cut that to size and then a washer.....welded it all up and fucking back.......sorted.. andits about 10mm of the cylinder wall. and as paranoid as i am with it leaking and being in a spot that the motor will have to come out if it does....i plasty dipped it twice. tapped it into place and it should be fine. also trimmed the adapter plate for factory temp sensor. .port matched it to the inlet manifold.. port matched the head to the adapter plate (will do for now ...this motor is to only get it all running..i don't have hope for it lasting long)..gave to surfaces some belt sander love ..some lock tight on the socket head screw.....a gasket and some extra sealant and bolted it on the last time .....(well till she epode's ) cheers1 point
-
I made a plate for the other side, to prevent the riders foot from going into the front sprocket. Probably not really an issue, as the way its tucked away, plus the near impossible chance something could squeeze into the gap between the upper/lower chains - but hey as I've always said "Saftey 3rd"... I also set the rear suspension up. Google tells me around 25-30mm of bike sag, plus around 100mm of rider sag is about where I want it. I measured: As it was when I brought it to be 32/120 which did feel a little droopy? 1st adjustment I made got 22/100 sag numbers, which made it corner like it was on rails...but felt too hard for me after riding it for the past month on the Cadillac suspension settings. It felt like it would bouncy me off when landing my epic jumps (***my jumps are less than 1m high). 2nd attempt I split the difference and ended up at 30/110. This still feels a bit hard and bouncy in the rear compared to the ride I'd become accustomed to...but I figured I get used to it. The bike corners, handles and lands pretty well, it doesn't feel as droopy as it once did. So I'm leaving it like this for now. I may re-look at this in the future? But keen to just send it for now.1 point
-
Got a little bit done on this, removed tank seat and oil tank. which made it easier to see this bend in rear frame, RHS. Will have to get creative with steel beam, hyd jack etc and see if I can straighten. Otherwise off to old mate engineer with decent hydraulic press that I checked out for him a couple of weeks back. Other side nice and straight. Nice bit of wear on rear sprocket, bloody country boys getting their money's worth.1 point
-
1 point
-
1 point
-
Making slow progress on this whenever I can be bothered. The control panel is covered in leather jacket, and we have volts! I bought a kitset of a motorised chain similar to a tank track, and used it to create a motorised curtain. The curtain grinds its way noisily open and closed, which adds to the cheese factor. It's lit by some Christmas lights: Hopefully the lights in front are sufficient to stop lights behind from being visible through the thin fabric. I discovered that my plasma globe causes my neon bulbs to glow dimly, which is kinda cool. I hope I don't have to ditch the plasma globe because it scrambles electronics in its vicinity. Next up on this project is puzzling out what the rest of the controls should do, and deciding how much effort to put in. I'd quite like a magic eye VU meter.1 point
-
1 point
-
1 point
-
1 point
-
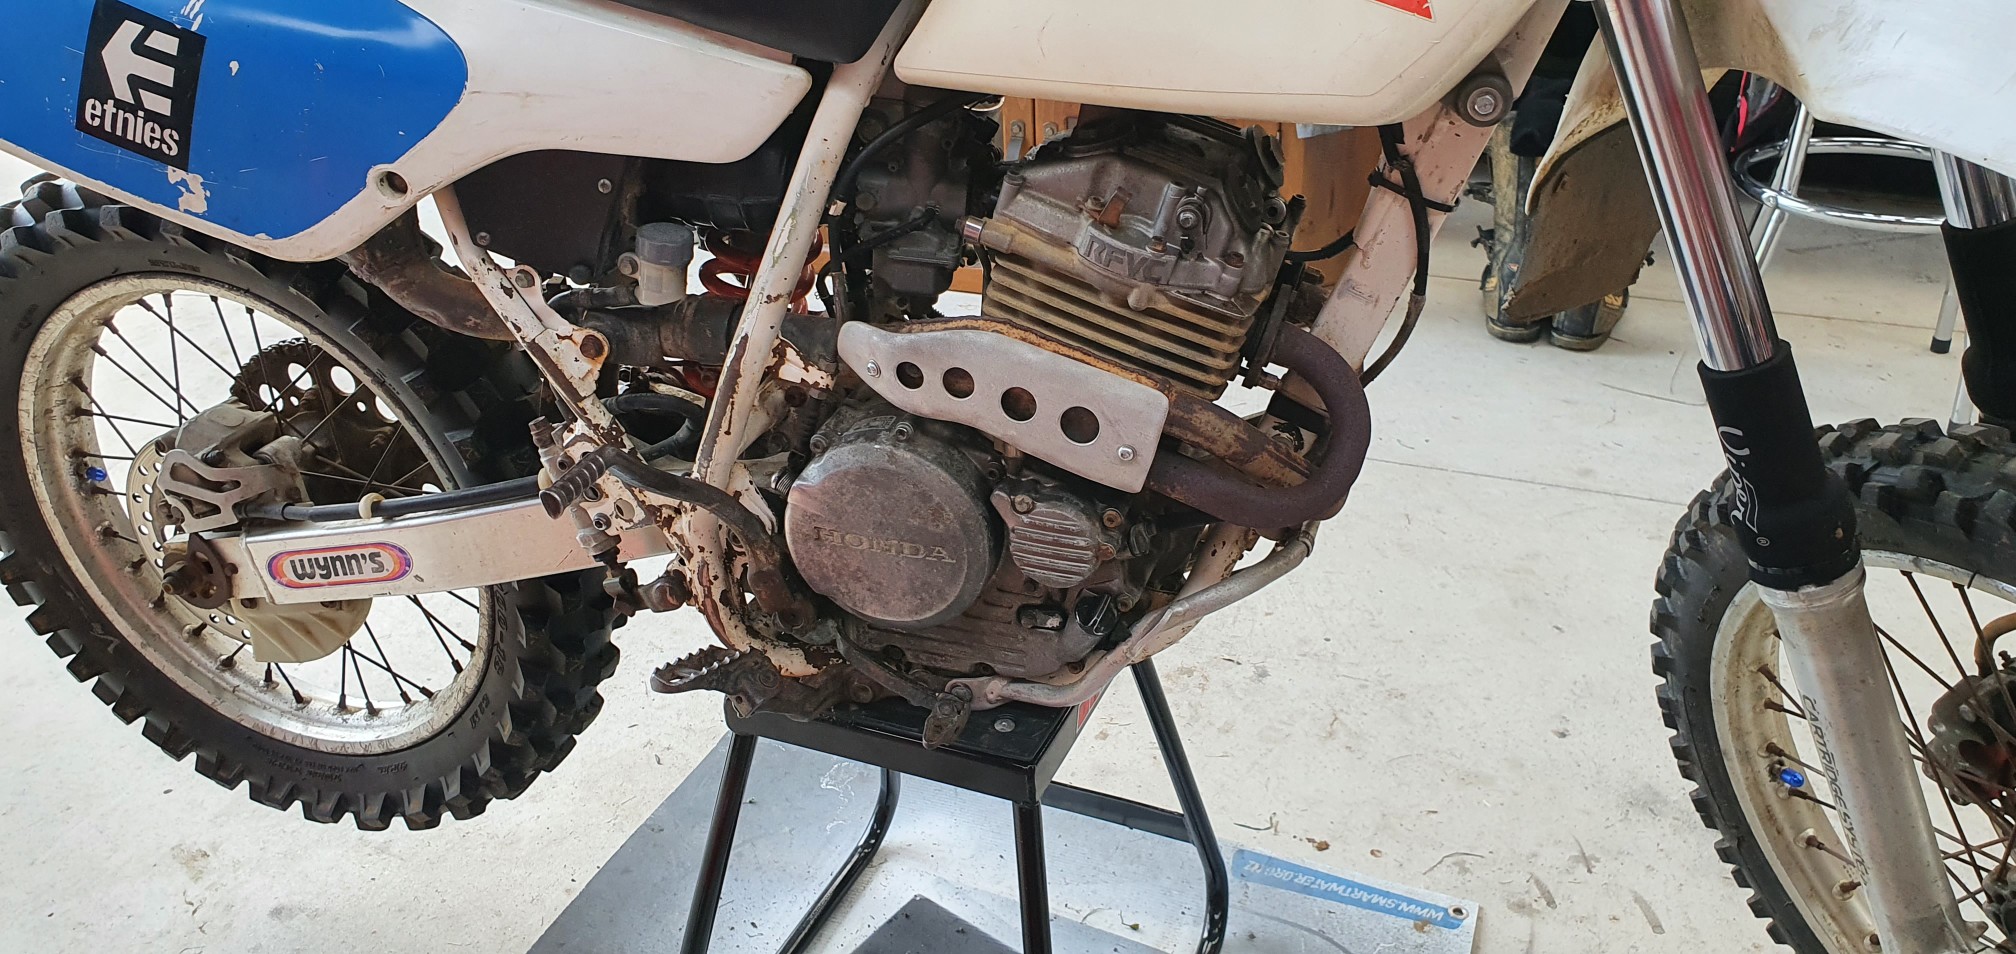
The blue fork boots on the 185 had disintegrated after being ridden for the first time in 20 odd years. IMG_20210426_140223_1 by John Bell, on Flickr AliExpress to the rescue, they're not quite long enough but will do for now. IMG_20210501_131214 by John Bell, on Flickr Annoyingly the rear shocks that I had rebuilt at somewhat of an expense don't seem to dampen very well again, no oil lost so I'm guessing the gas has left. Might have to look to AliExpress for this also. Would like to keep the blue springs though. Have only travelled about 400km on this since reviving it. The jetting on china carb is still a bit off, so will have to experiment sometime. Is nice enough to ride around on though, not fast by any means but would probably tour around at ~80km/h quite happily, will do 100km/h but tach is at 9k by then. Found a gate open close to home and drove up a hill. IMG_20210426_163748 by John Bell, on Flickr IMG_20210426_163800_1 by John Bell, on Flickr IMG_20210426_163817 by John Bell, on Flickr IMG_20210426_163829_1 by John Bell, on Flickr1 point
-
1 point
-
Working out where i needed to make some clearance to get the most travel in the rear. After cutting out the original diff tunnel the axle tubes now sit on the chassis rails and the tops of the tyres are just touching the tops of the wheel tubs. Here's a pic of what the maximum bump travel would look like. This is the most i can do without raising the chassis rails and wheel tubs which would involve changing the rear of the rollcage as well..... Too much work !1 point
-
1 point
-
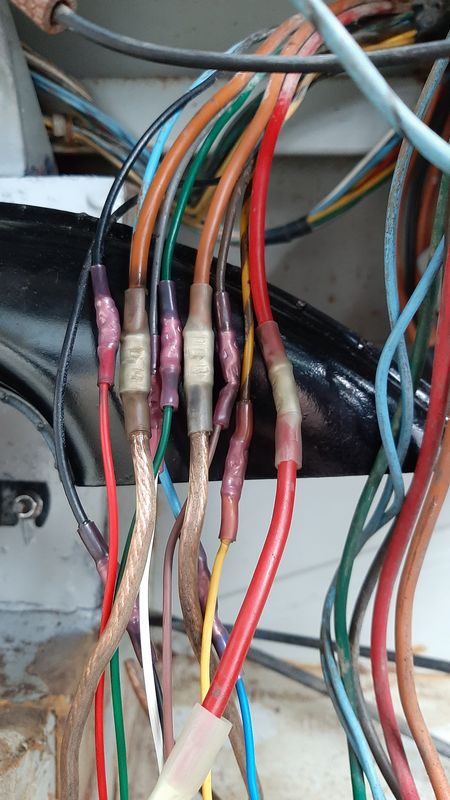
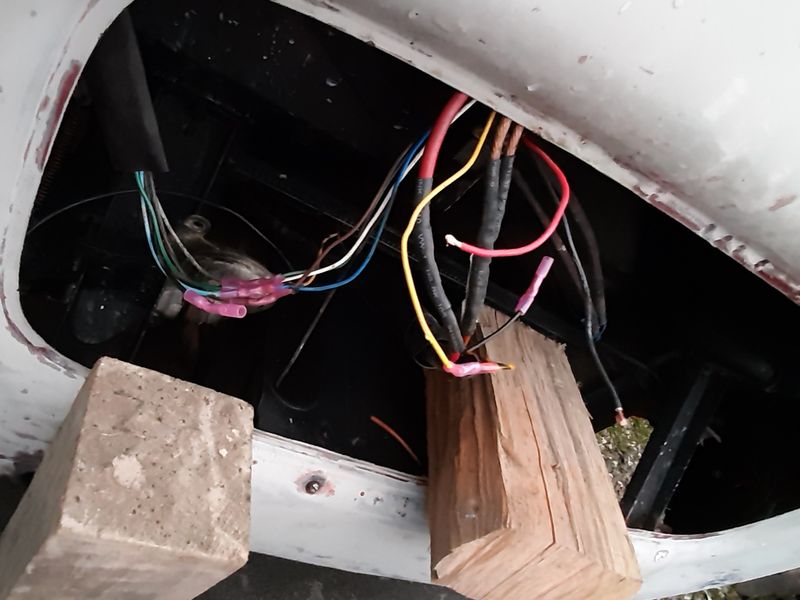
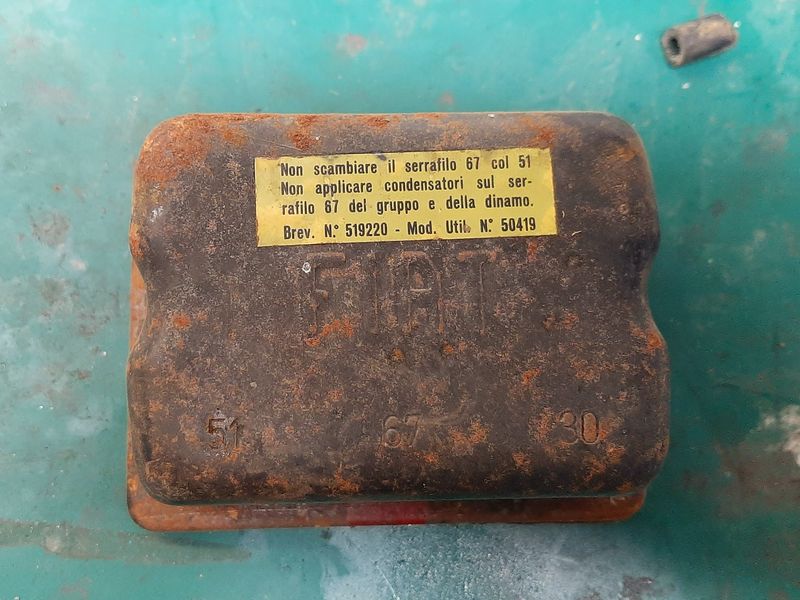
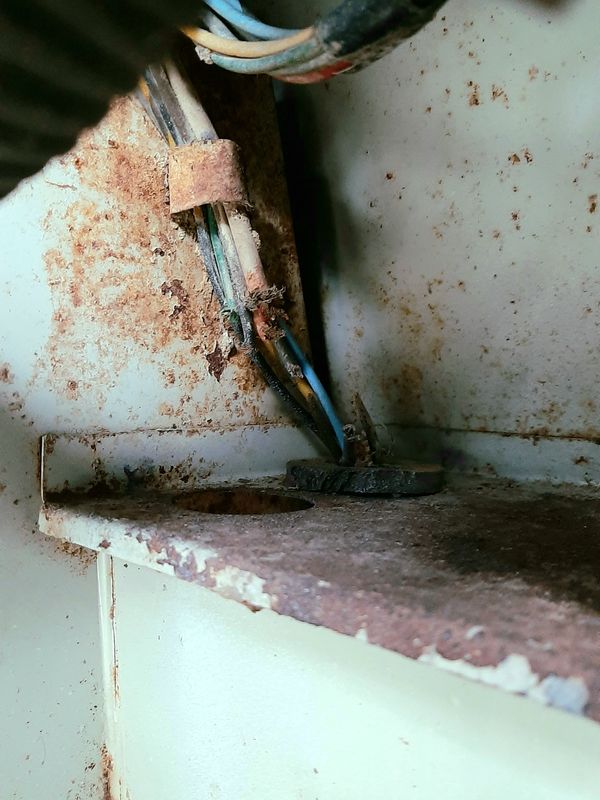
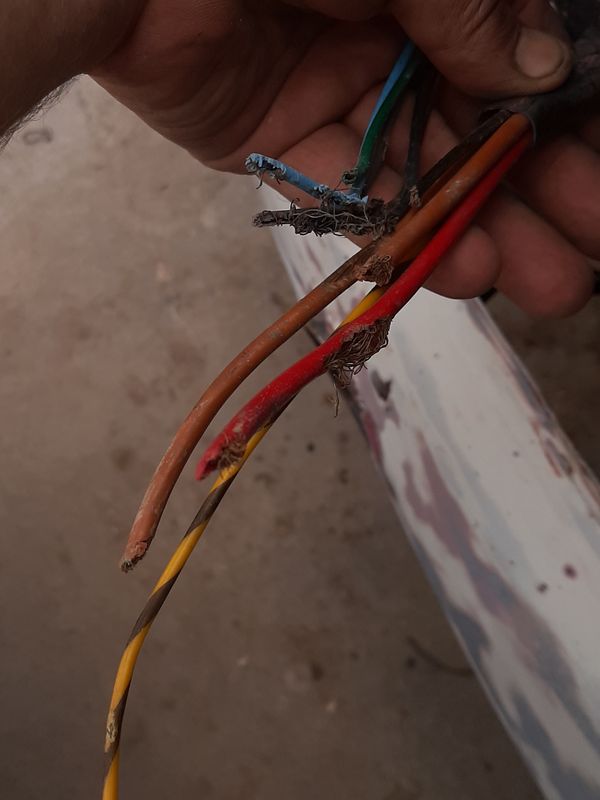
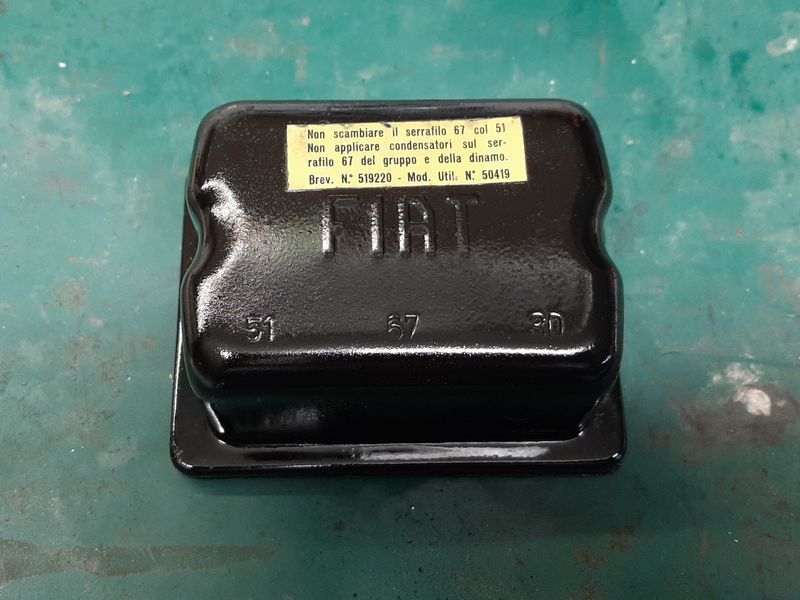
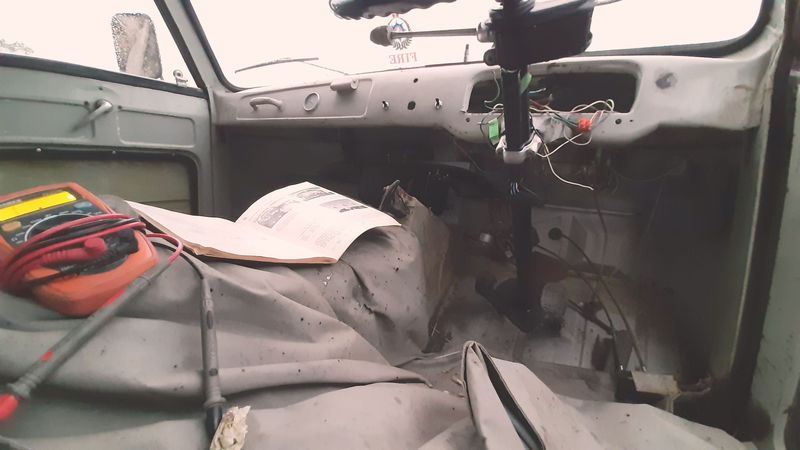
Before i put any electrical things back in i gotta take care of some shit. Fucking rats man. This is the main engine loom (alternator and starter control plus main power feed) as well as the drivers front lights loom. Only wire not chewed to the point of separation was the horn power supply. Interesting horn wiring sidesharn, the other horn wire (from the button, that earths out the circuit) actually travels the length of the hollow! steering column and exits the bottom of the steering box!?! Because of where the break was,right in a really tight shitty spot, under the dash, I extended the loom from the dash side first. Love these shrinky connectors and my box of wires came up with almost a match for most of the wires. For future reference the black to red wire is the alternator signal for the voltage controller. Then poked that though the hole after a quick derust on the shelf while it was all ot the way. Then finish off underneath with lots of heat shrink. The wooden block for really getting those small crimps crimped up good with a blunt cold chisel, my crimpers dont quite go small enough on the small ones And some cable ties then more heats for good measure. If you cant fix it with a hammer you got yourself a software problem... Voltage regulator lives under the dash too. "Do not mistake the clamp 67 with the 51 Do not apply capacitors on the wire clamp 67 of the unit and of the dynamo" Cleaned out the cobwebs and gave the 'points' a quick file while the paint dried after a quick sandblast. Important electrical safety messages maintained. I forsee a bit of this before i finally wire everything back in. My back got pretty sore from even thinking about doing that, so I did some more sanding, shes coming around. Got a good light for finally seeing the chassis number properly. I also wanted to be able to get a good photo of it before cleaning up the area. FIAT 217D * 107627 * Tipo 217D = Type 217, revision D, that makes it a 'late' 1962 to 1968 model, and this was the 107627th, Tipo 2171 point
-
Right o, the latest round of fuckery. As discussed, I decided that a second rad was going in, regardless of you fuckers who said not to worry. Basically the thing bouncing off the electric fan just by hitting 100kmh for 2 mins or after a hard pull was not giving me the lovelies. After a measure up I scoured the internet radiator catalogs for a suitable donor. Unsurprisingly a Hiace van rad was pretty much bang on if maybe a little tall. I ordered one from my rad man and when it arrived presented it up. A minor forward tilt had it sitting in a good place. The top inlet pipe was a stupid angled thing so I took it back to rad man to change it for a straight inlet. I made some bottom mounts that hooked in to existing chassis holes, then fudged up a top mount. I had to grind off some unnecessary brackets and such but that was no drama. Then I spent quite a while rejigging the stainless pipework to point in the general direction of the rad pipes. I dragged the old fan and viscous clutch setup out of the container, however the 450mm safari fan was going to be pretty tight in there and probably going to hit the engine cover. Some google-fu resulted in the purchase of a TD27 fan, as it had the same mounting but only 420mm diameter, perfect. I then somehow spent nearly a week of evenings fucking around creating a shroud that would miss everything but still do ducty good things.. I have no idea what it took so long, but it did get remade 3 or 4 times. It's a bit dodgy, ie made out of some old flashings that were the only really thin steel I had lying around, but it appears to duct adequately. So today I finally filled and bled the cooling system and took it for a spin, and holy shit what a huge difference! It basically gets to 1/3 of the way up the gauge and stays there absolutely rock solid. This is where it sat when doodling around town previously. I did a long run at 100kmh, then went up a steep hill that had always made the big fan come on and it didn't move the gauge at all. Super happy with that.... It also appears the thermostat now has a temperature range it can work with, as the wee fan and aux pump cycle on and off which tells me the thermostat is choosing to open and close rather than stay open all the time in an attempt not to blow the engine up. So all in all that was a worthwhile exercise.1 point
-
Such a cool day yesterday. Went to a mates farm, my son was able to ride in big flat open areas at full throttle for the first time, so awesome for his confidence learning to ride in an environment like that. Then we did a few trails through tree lined tracks following a river. He loved this, however it was quite a step up in skill level, which he handled it like a champ. By the end of the day his confidence increasing more and more. We probably overdid it with the ride from the farmers house to the river trail. This was about 2km each way. My son was exhausted on the return leg. Next time I'll shorten this up so it doesn't tire him out as much, lesson learned on my part here, its gotta be fun for the kids otherwise you risk putting them off.1 point
-
1 point
-
1 point
-
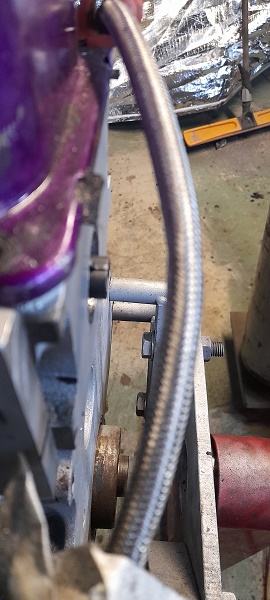
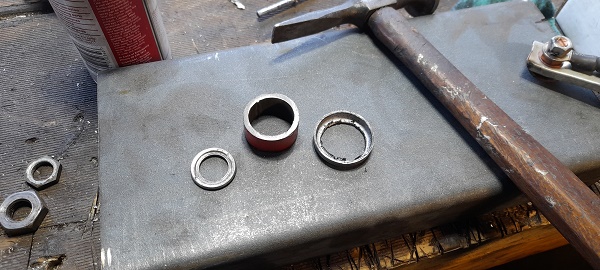
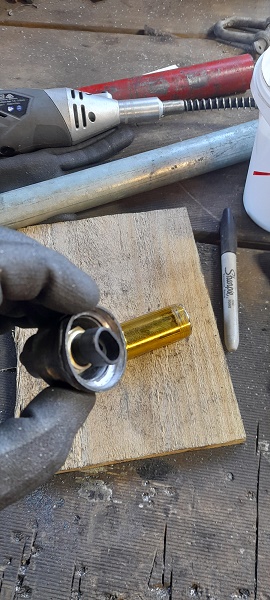
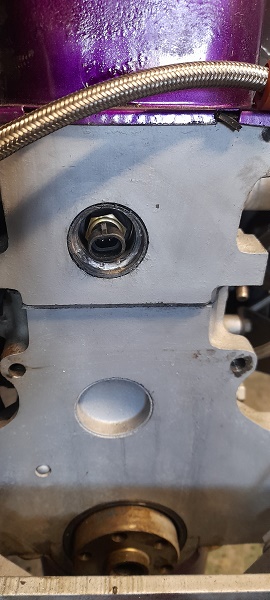
Got the local engineer to spin up a new spacer for me, cleaned everything up and started reassembly. Got some new oil seals and loctite, the packaging was excellent. I glued the front bearing into it's housing with the loctite after cutting some shims to keep it centered in the bore and to electrically insulate it from the aluminium. Discovered a couple of sad threads. I can't quite tell what they were tapped to but some brand new M10 bolts tightened up ok. If I ever put this stuff into a new hull, must remember to get some threadserts installed while it's out. Finished reassembling everything and went for a gentle squirt about the lake to run the bearing in without the engine cover fitted so I could keep an eye on things. Noticed large amounts of oil smoke billowing from the right hand bank. Turns out there's a sneaky hole in one rocker cover weeing oil onto the headers. There's also a lot of smokey blow-by coming out of that hole but we won't think about that for now....we're just going to 'fix' it. Back to the lake tomorrow for a good extended run with VG and J5.1 point
-
Looks like a flash as goped house to me!1 point
-
Barried up the start of a 3" dump for @Raizer van for hero churbo diesel spool noises1 point
This leaderboard is set to Auckland/GMT+12:00


