
Leaderboard


Popular Content
Showing content with the highest reputation on 08/09/17 in all areas
-
15 points
-
Time for door to go back on
 10 points
 -
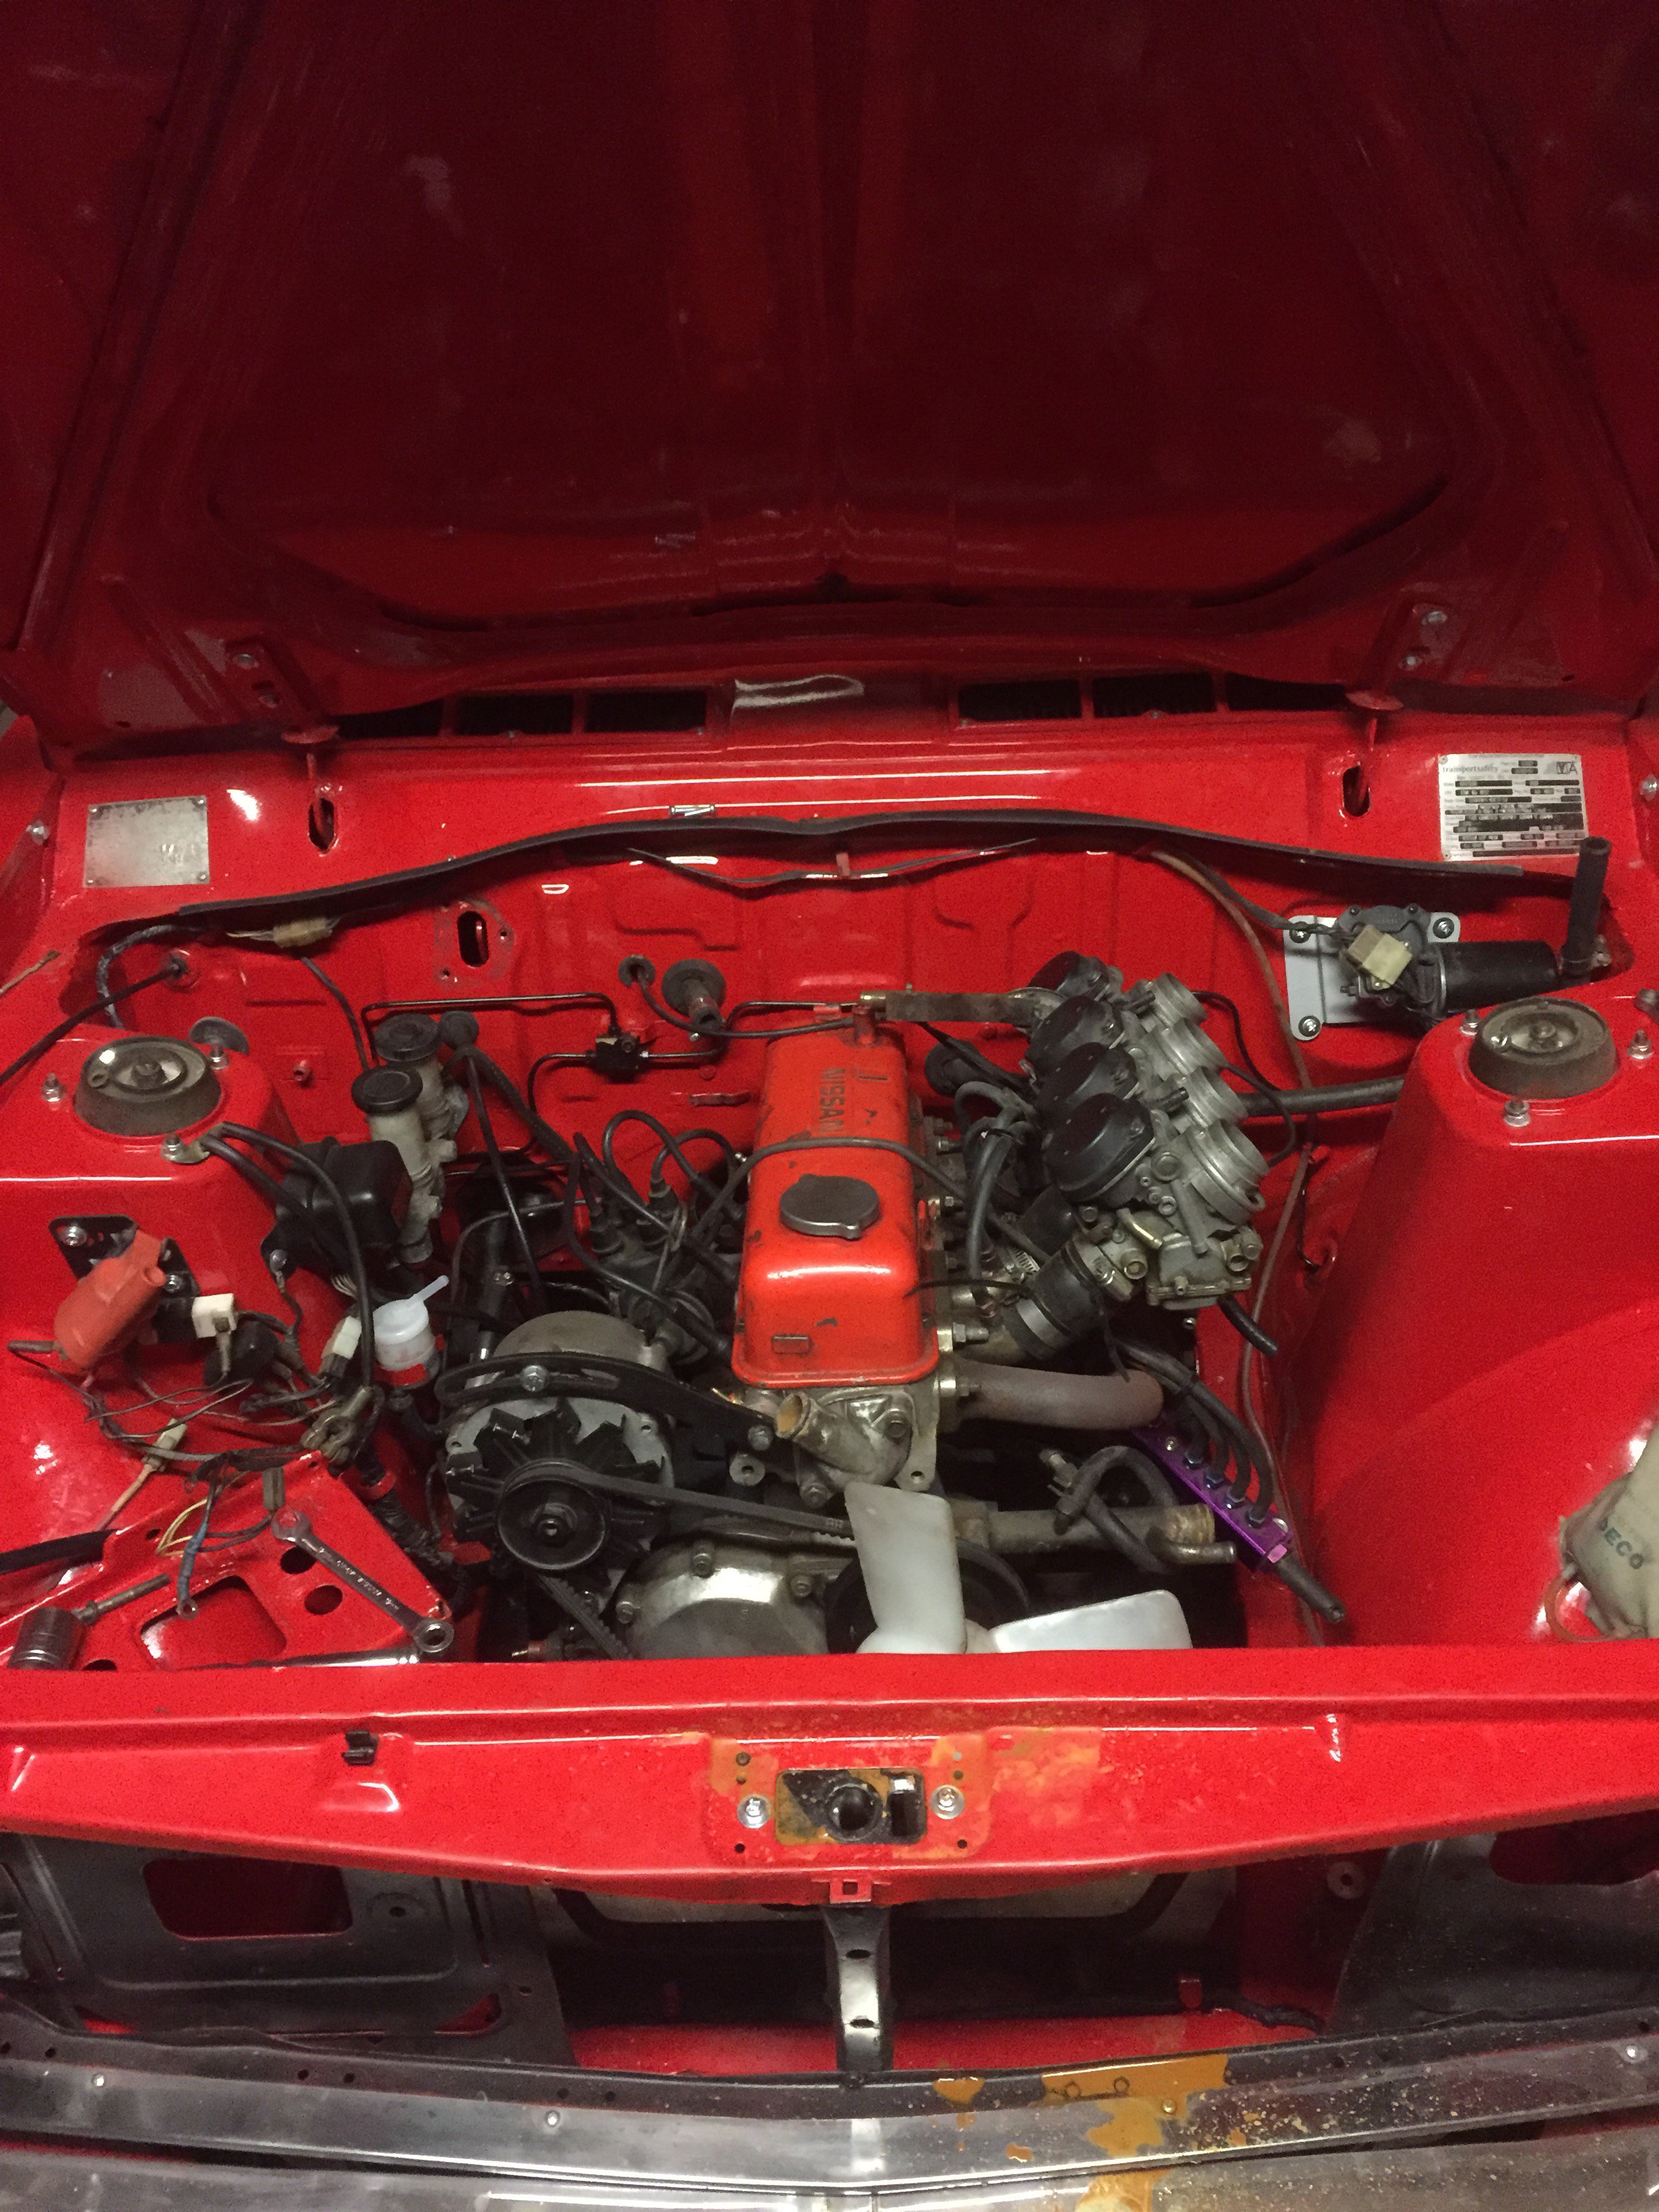
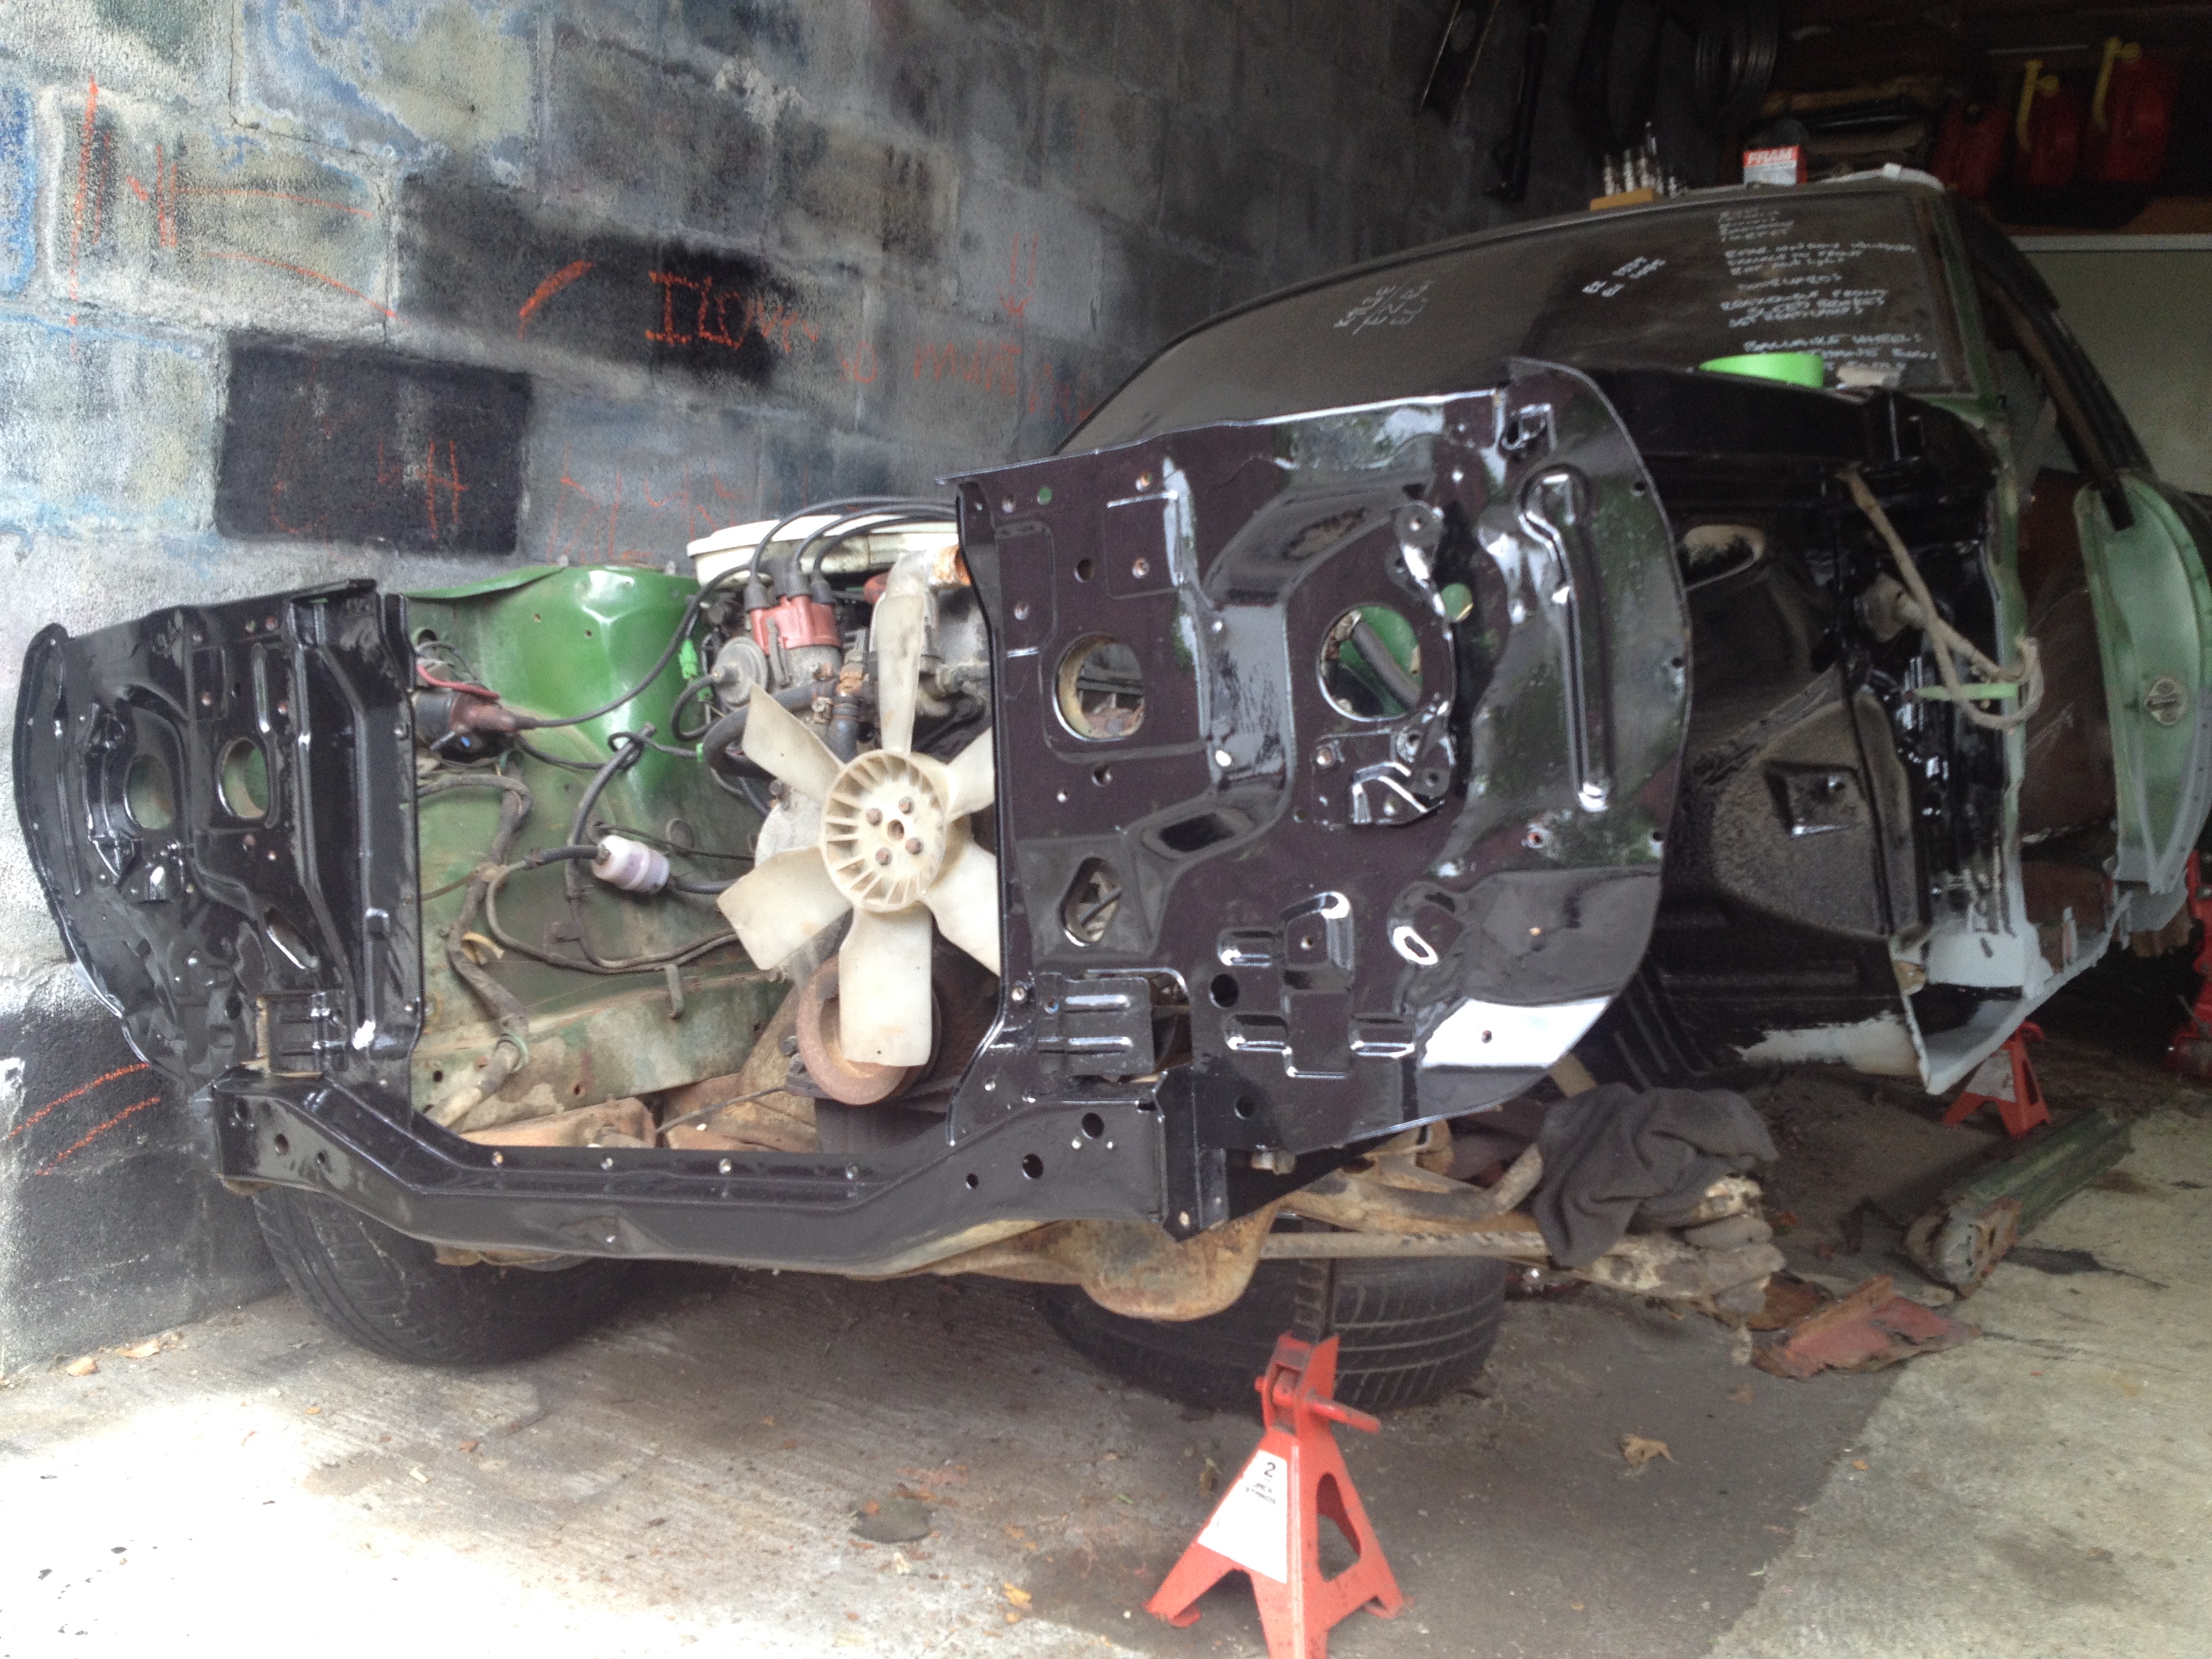
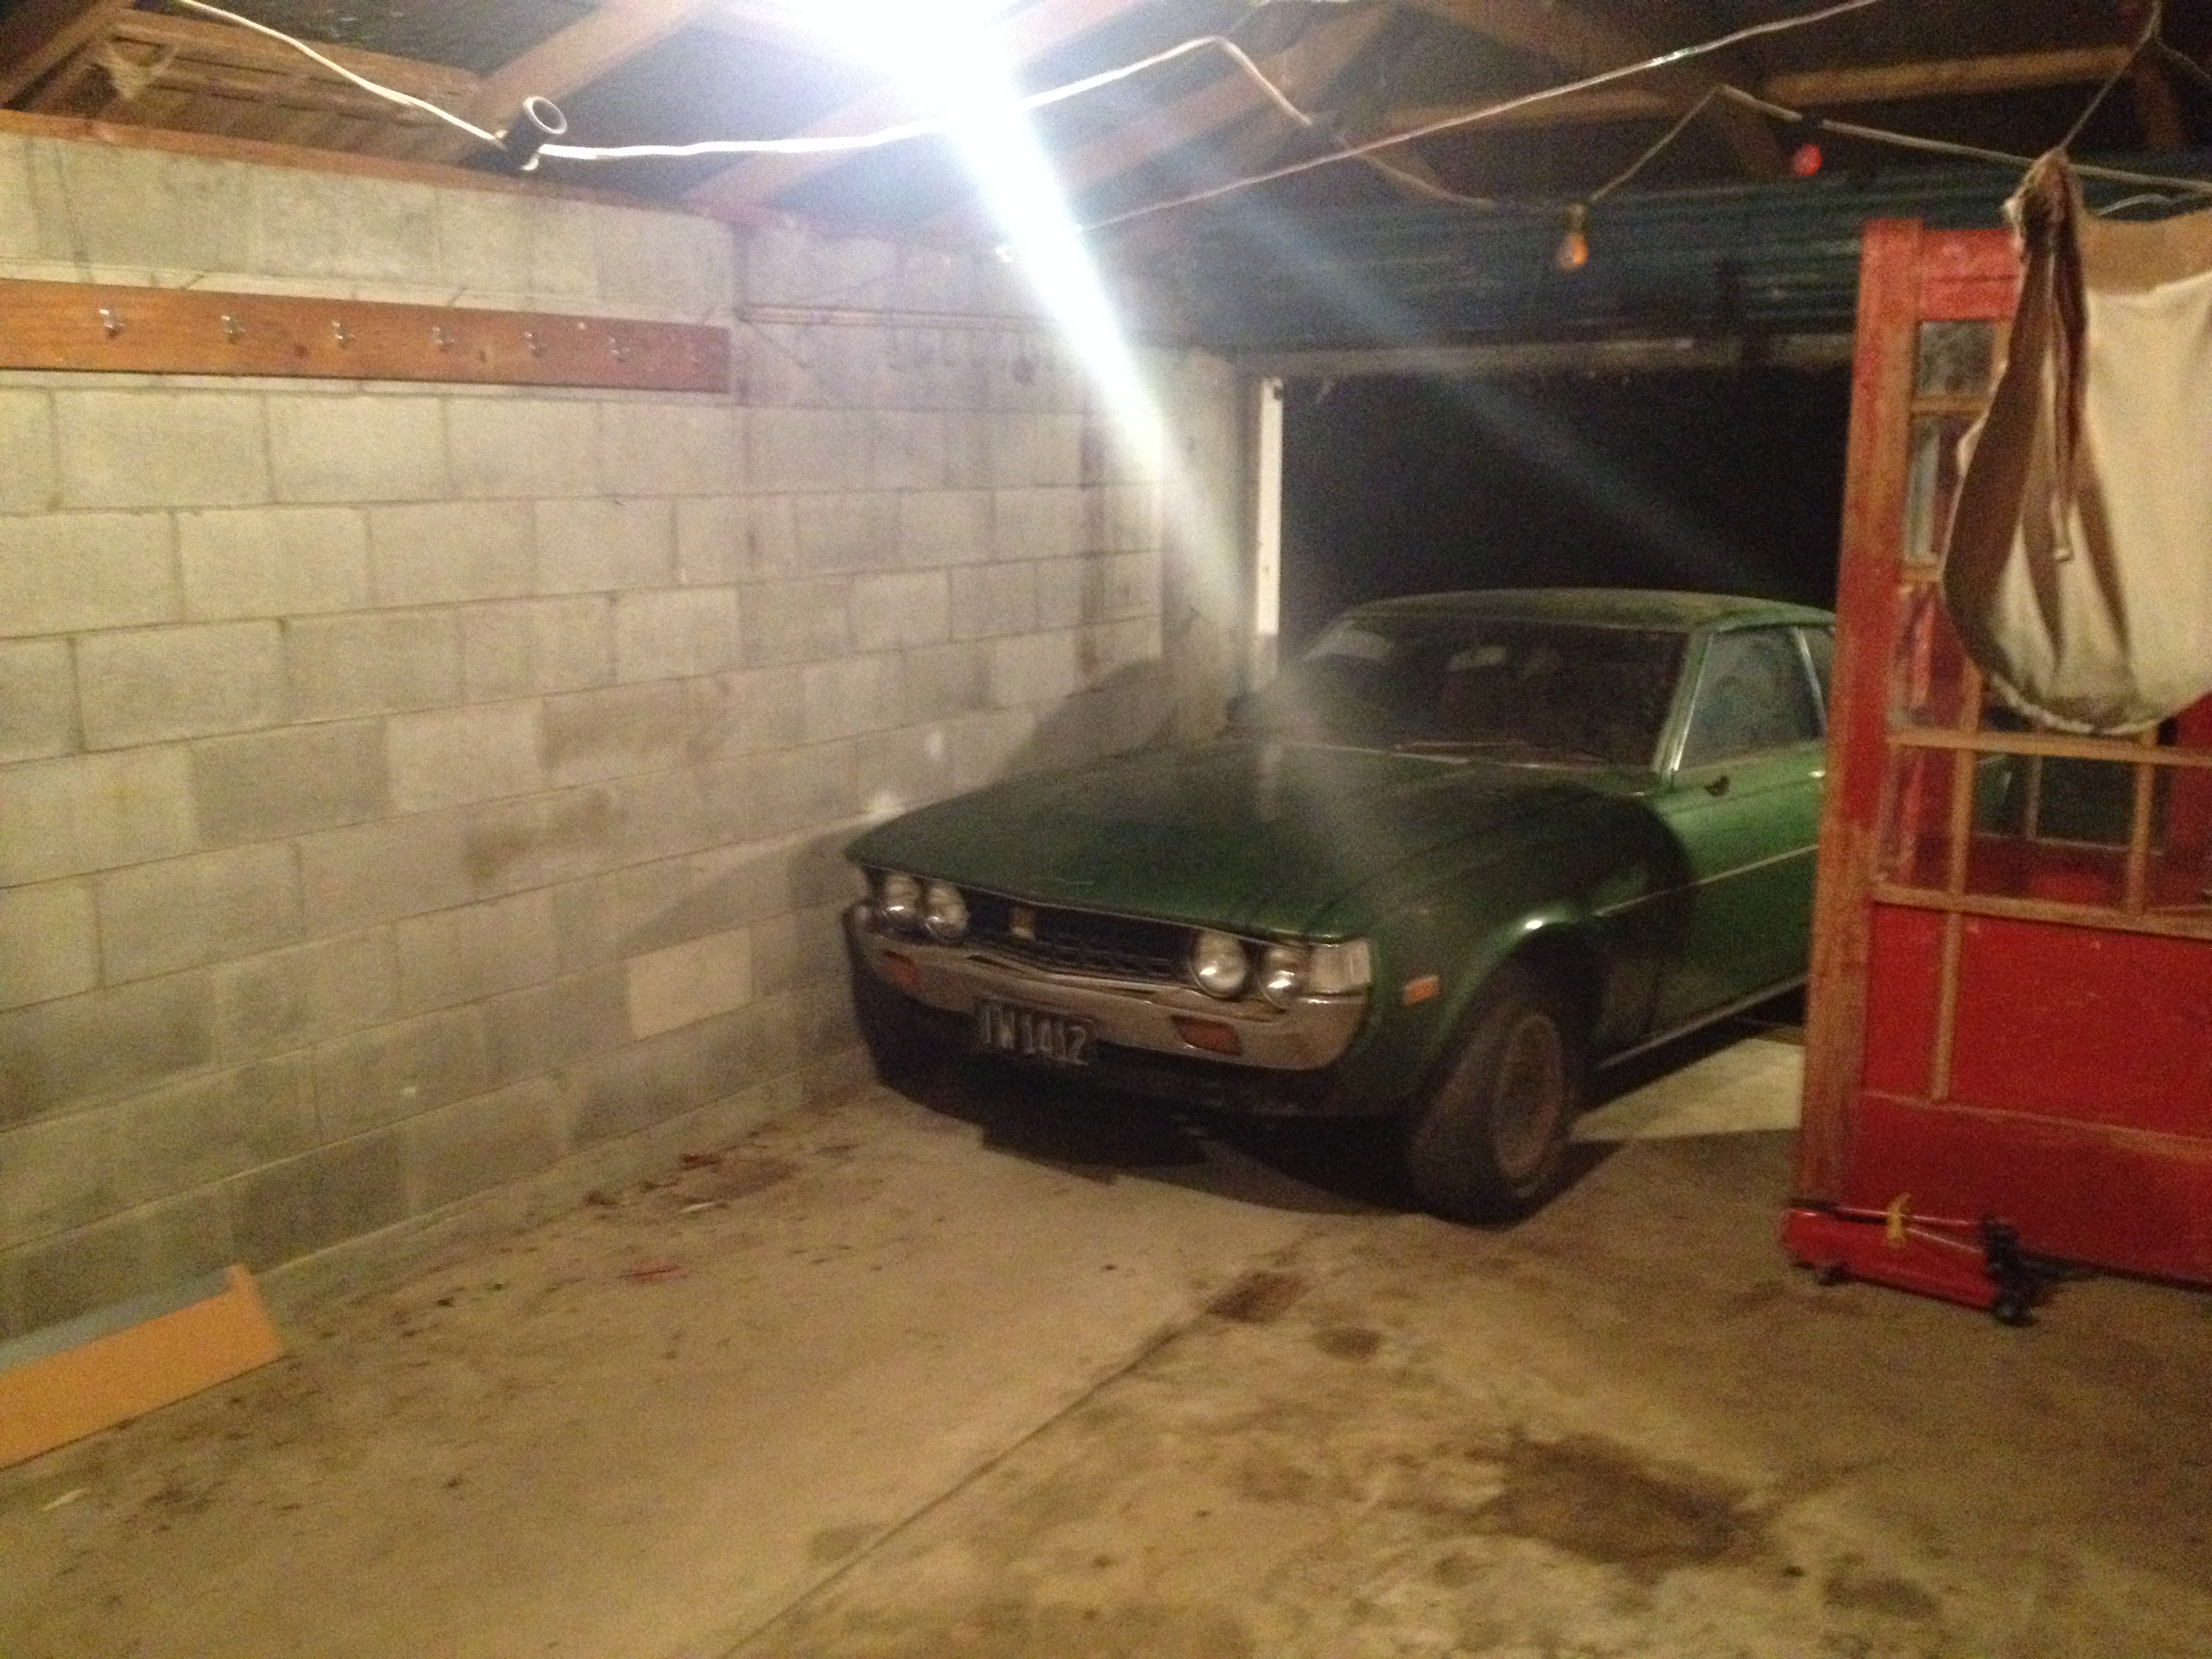
Please don't ban me for RB, figured I'd start a build thread for my latest daily driver/project vehicle. She's a 1988 VL Royale. Like the VL GTS' the Royale's were a New Zealand only model, essentially a run out of the remaining Calais parts. Unfortuantely they didn't get the pop up headlamps but they got the Calais tail lights and steering wheels plus luxury extras such as cruise control, power windows and electric mirrors. Royale's were either RB20E or RB30E with ML4 automatic transimssions and GM3 or GN9 open diffs with drum brakes. I picked this up off Trademe after missing out on it a few months ago due to lack of funds. It was listed on Monday morning, I called the seller in the afternoon and then took Tuesday off work and drove down to Timaru for a look on Tuesday morning. An hour and a half and one terrifyingly fast test drive later I'd put a deposit on it. I'd been on the hunt for a tidy VL for the past few months and while a tidy example of a model with limited build numbers, with a manual transmission and the extra bonus of two tone paint ticked all my boxes, the real kicker for me was this: an A8 RB30ET factory turbocharged engine. The engine was put in a couple of owners before me and the car has been converted to manual with a 30E gearbox and driveshaft. It's still running the original diff and drum brakes but has had factory turbo front discs, calipers and master cylinder/booster fitted. I'm still working through the car and making a list of what needs to be done and then I'll book it in for a cert inspection. Bit of a daunting process as I've never done it before but mega excited to get this thing street legal!8 points
-
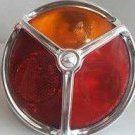
This is my inspirational pic Keeps me fizzing
8 points
-
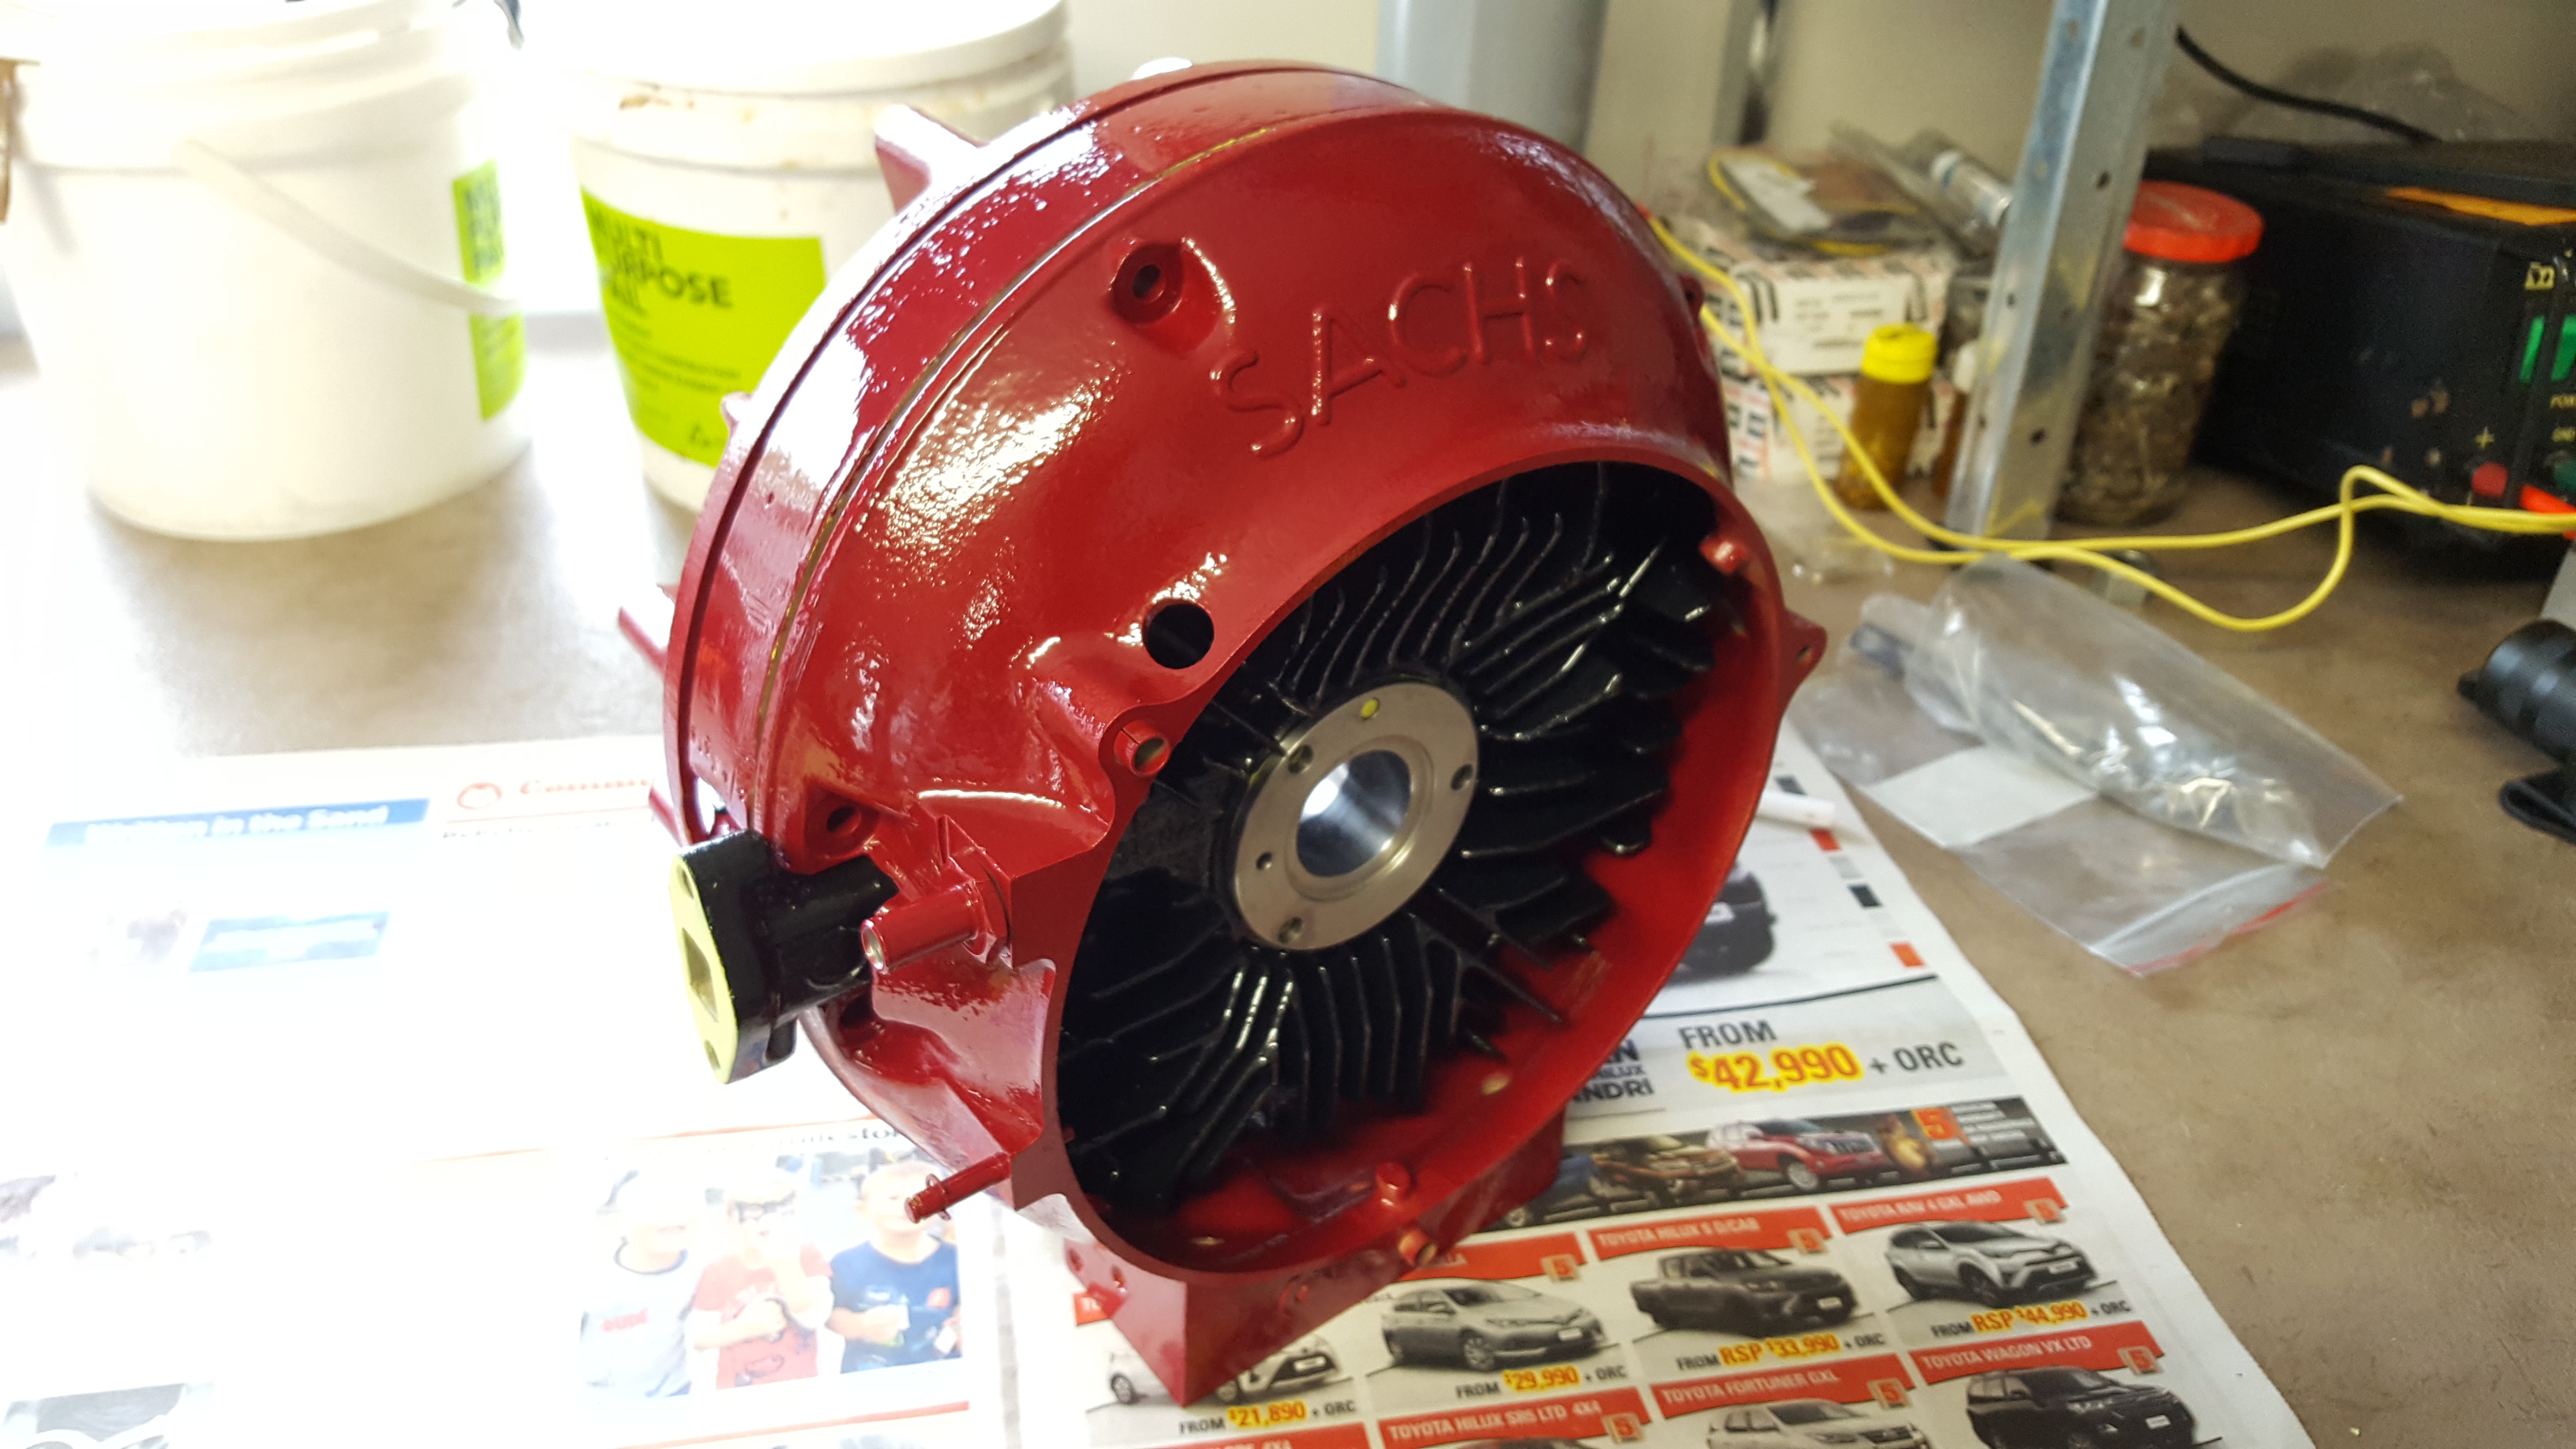
The cranks getting machine and I needed cheering up, and the car for a tiki tour in a fortnight, so borrowed this A15 with R1 carbs and a bit of work done. the manifolds are on the same flange and it's to suit a vanette so the extractors hit the idler and the floor so I might need to modify a little but might also just flag it and use my carbs and extractors
6 points
-
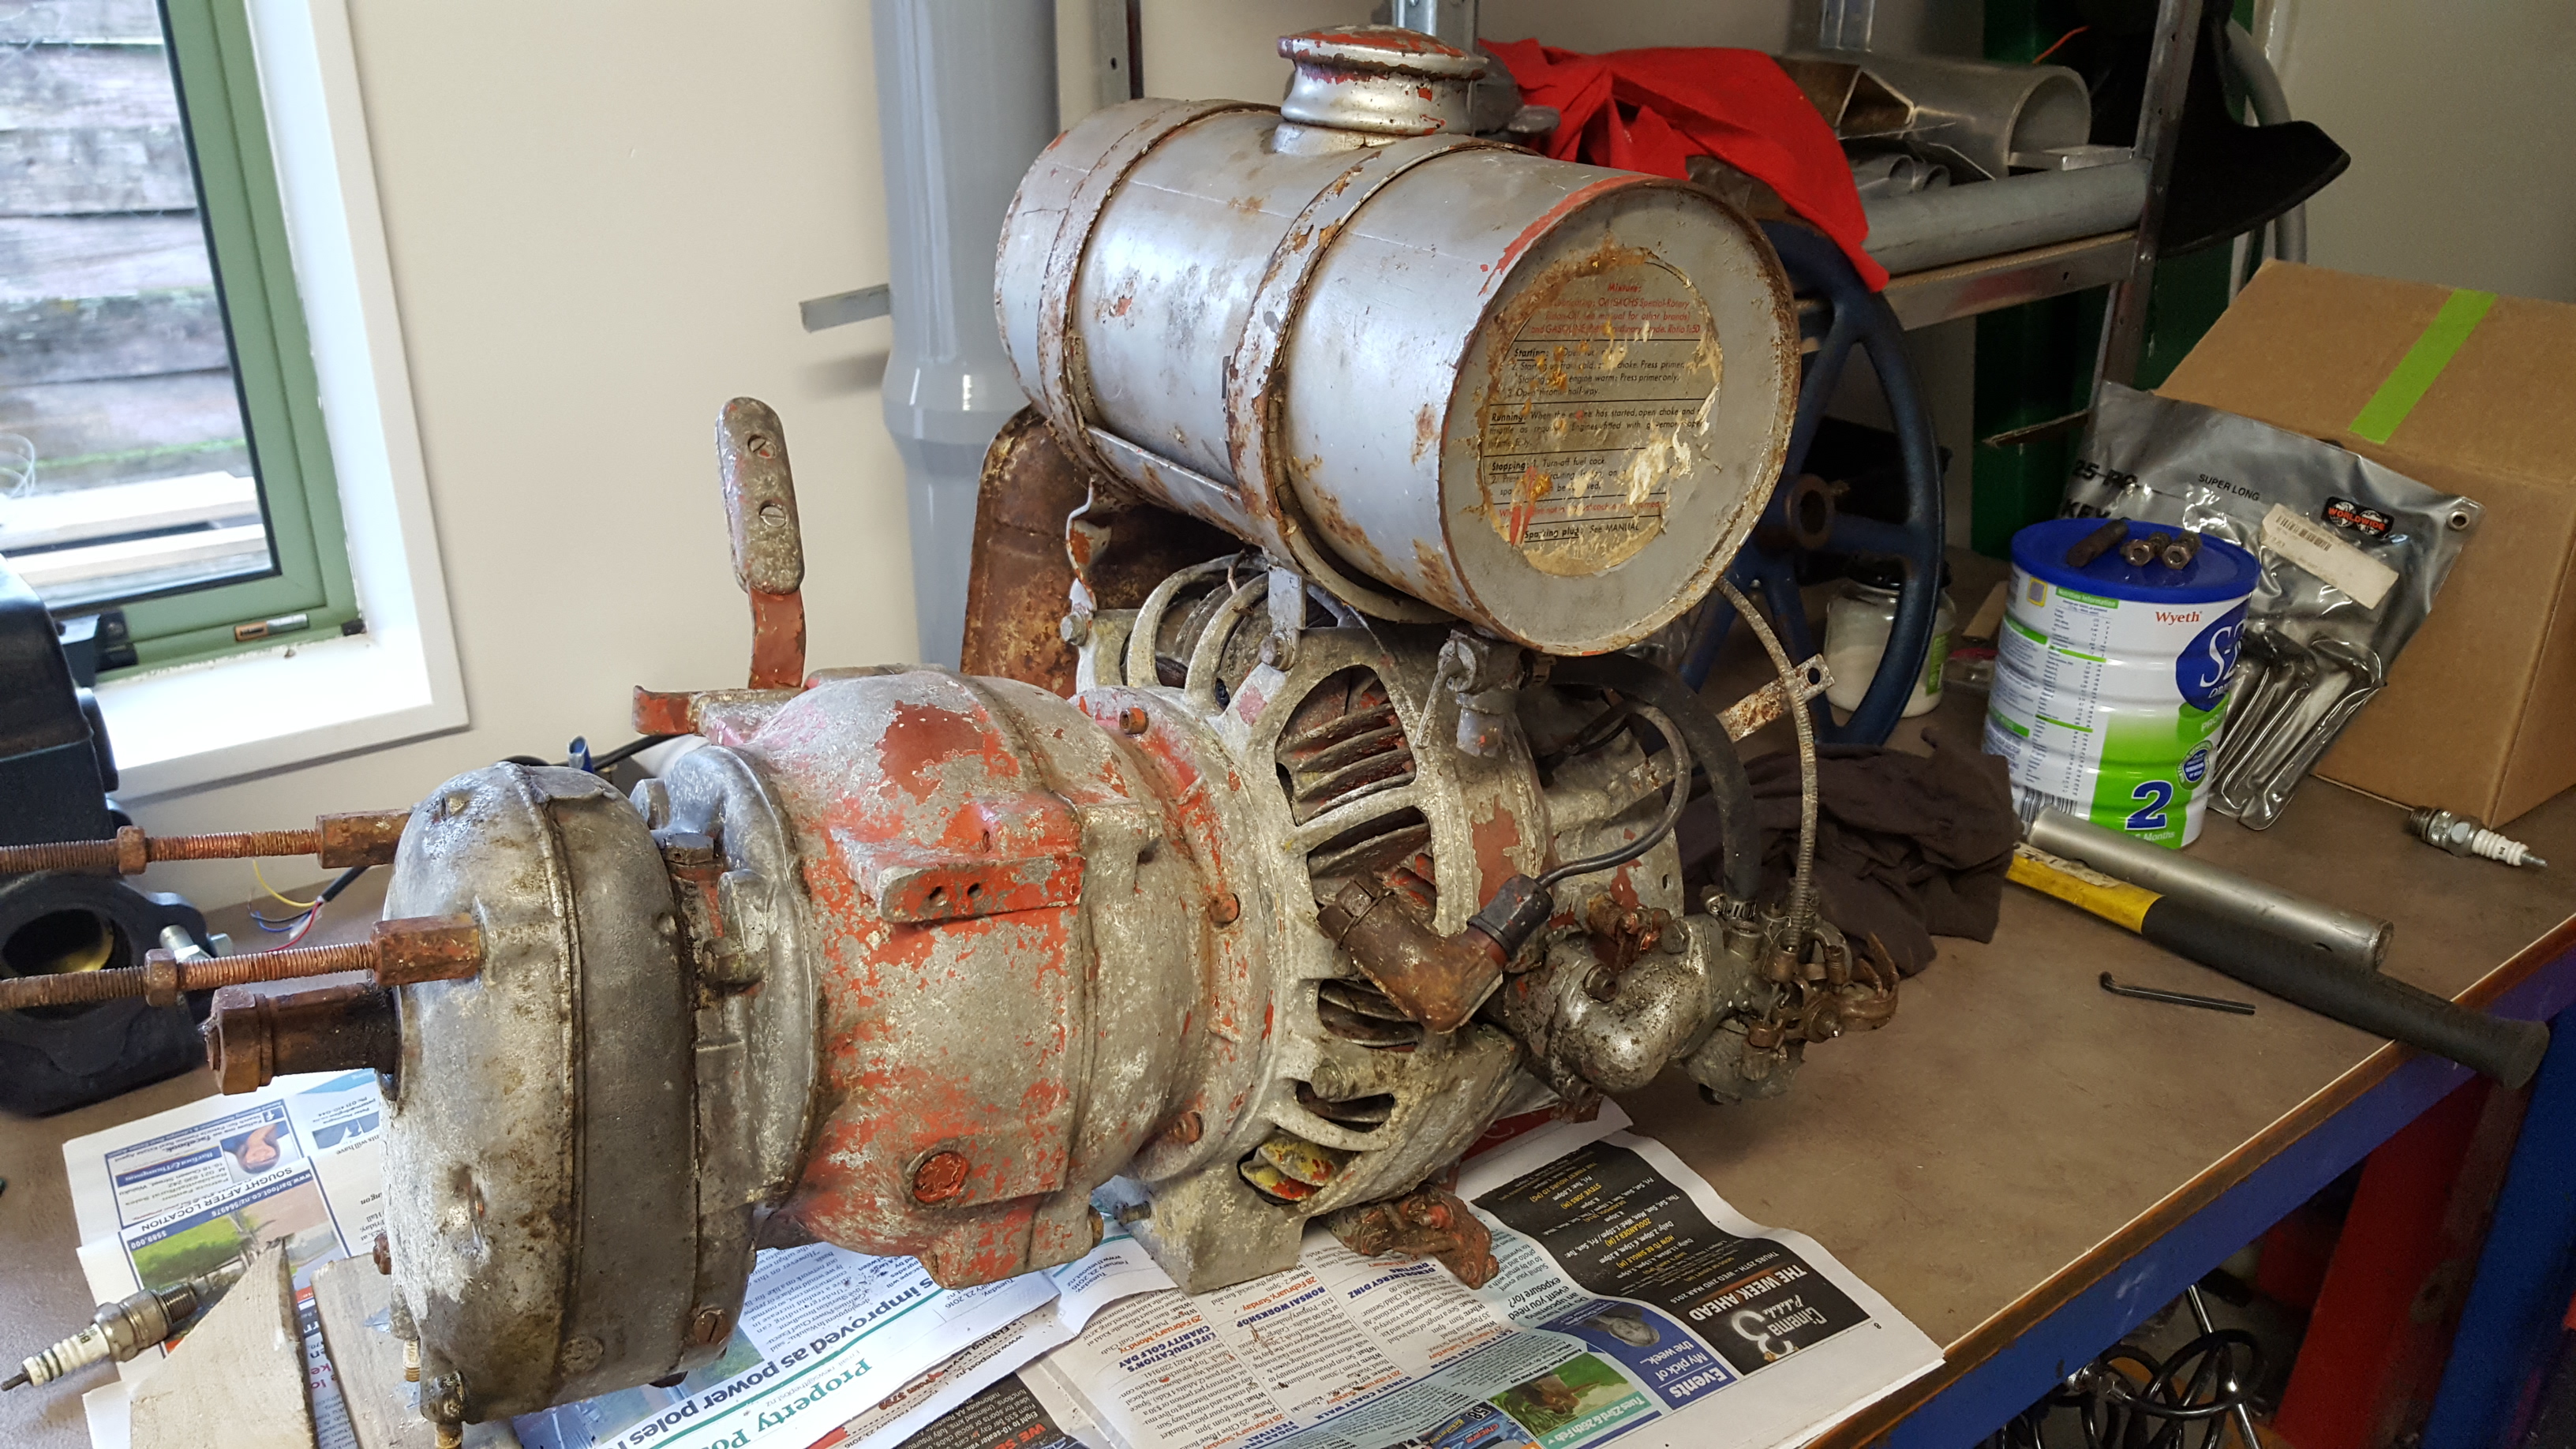
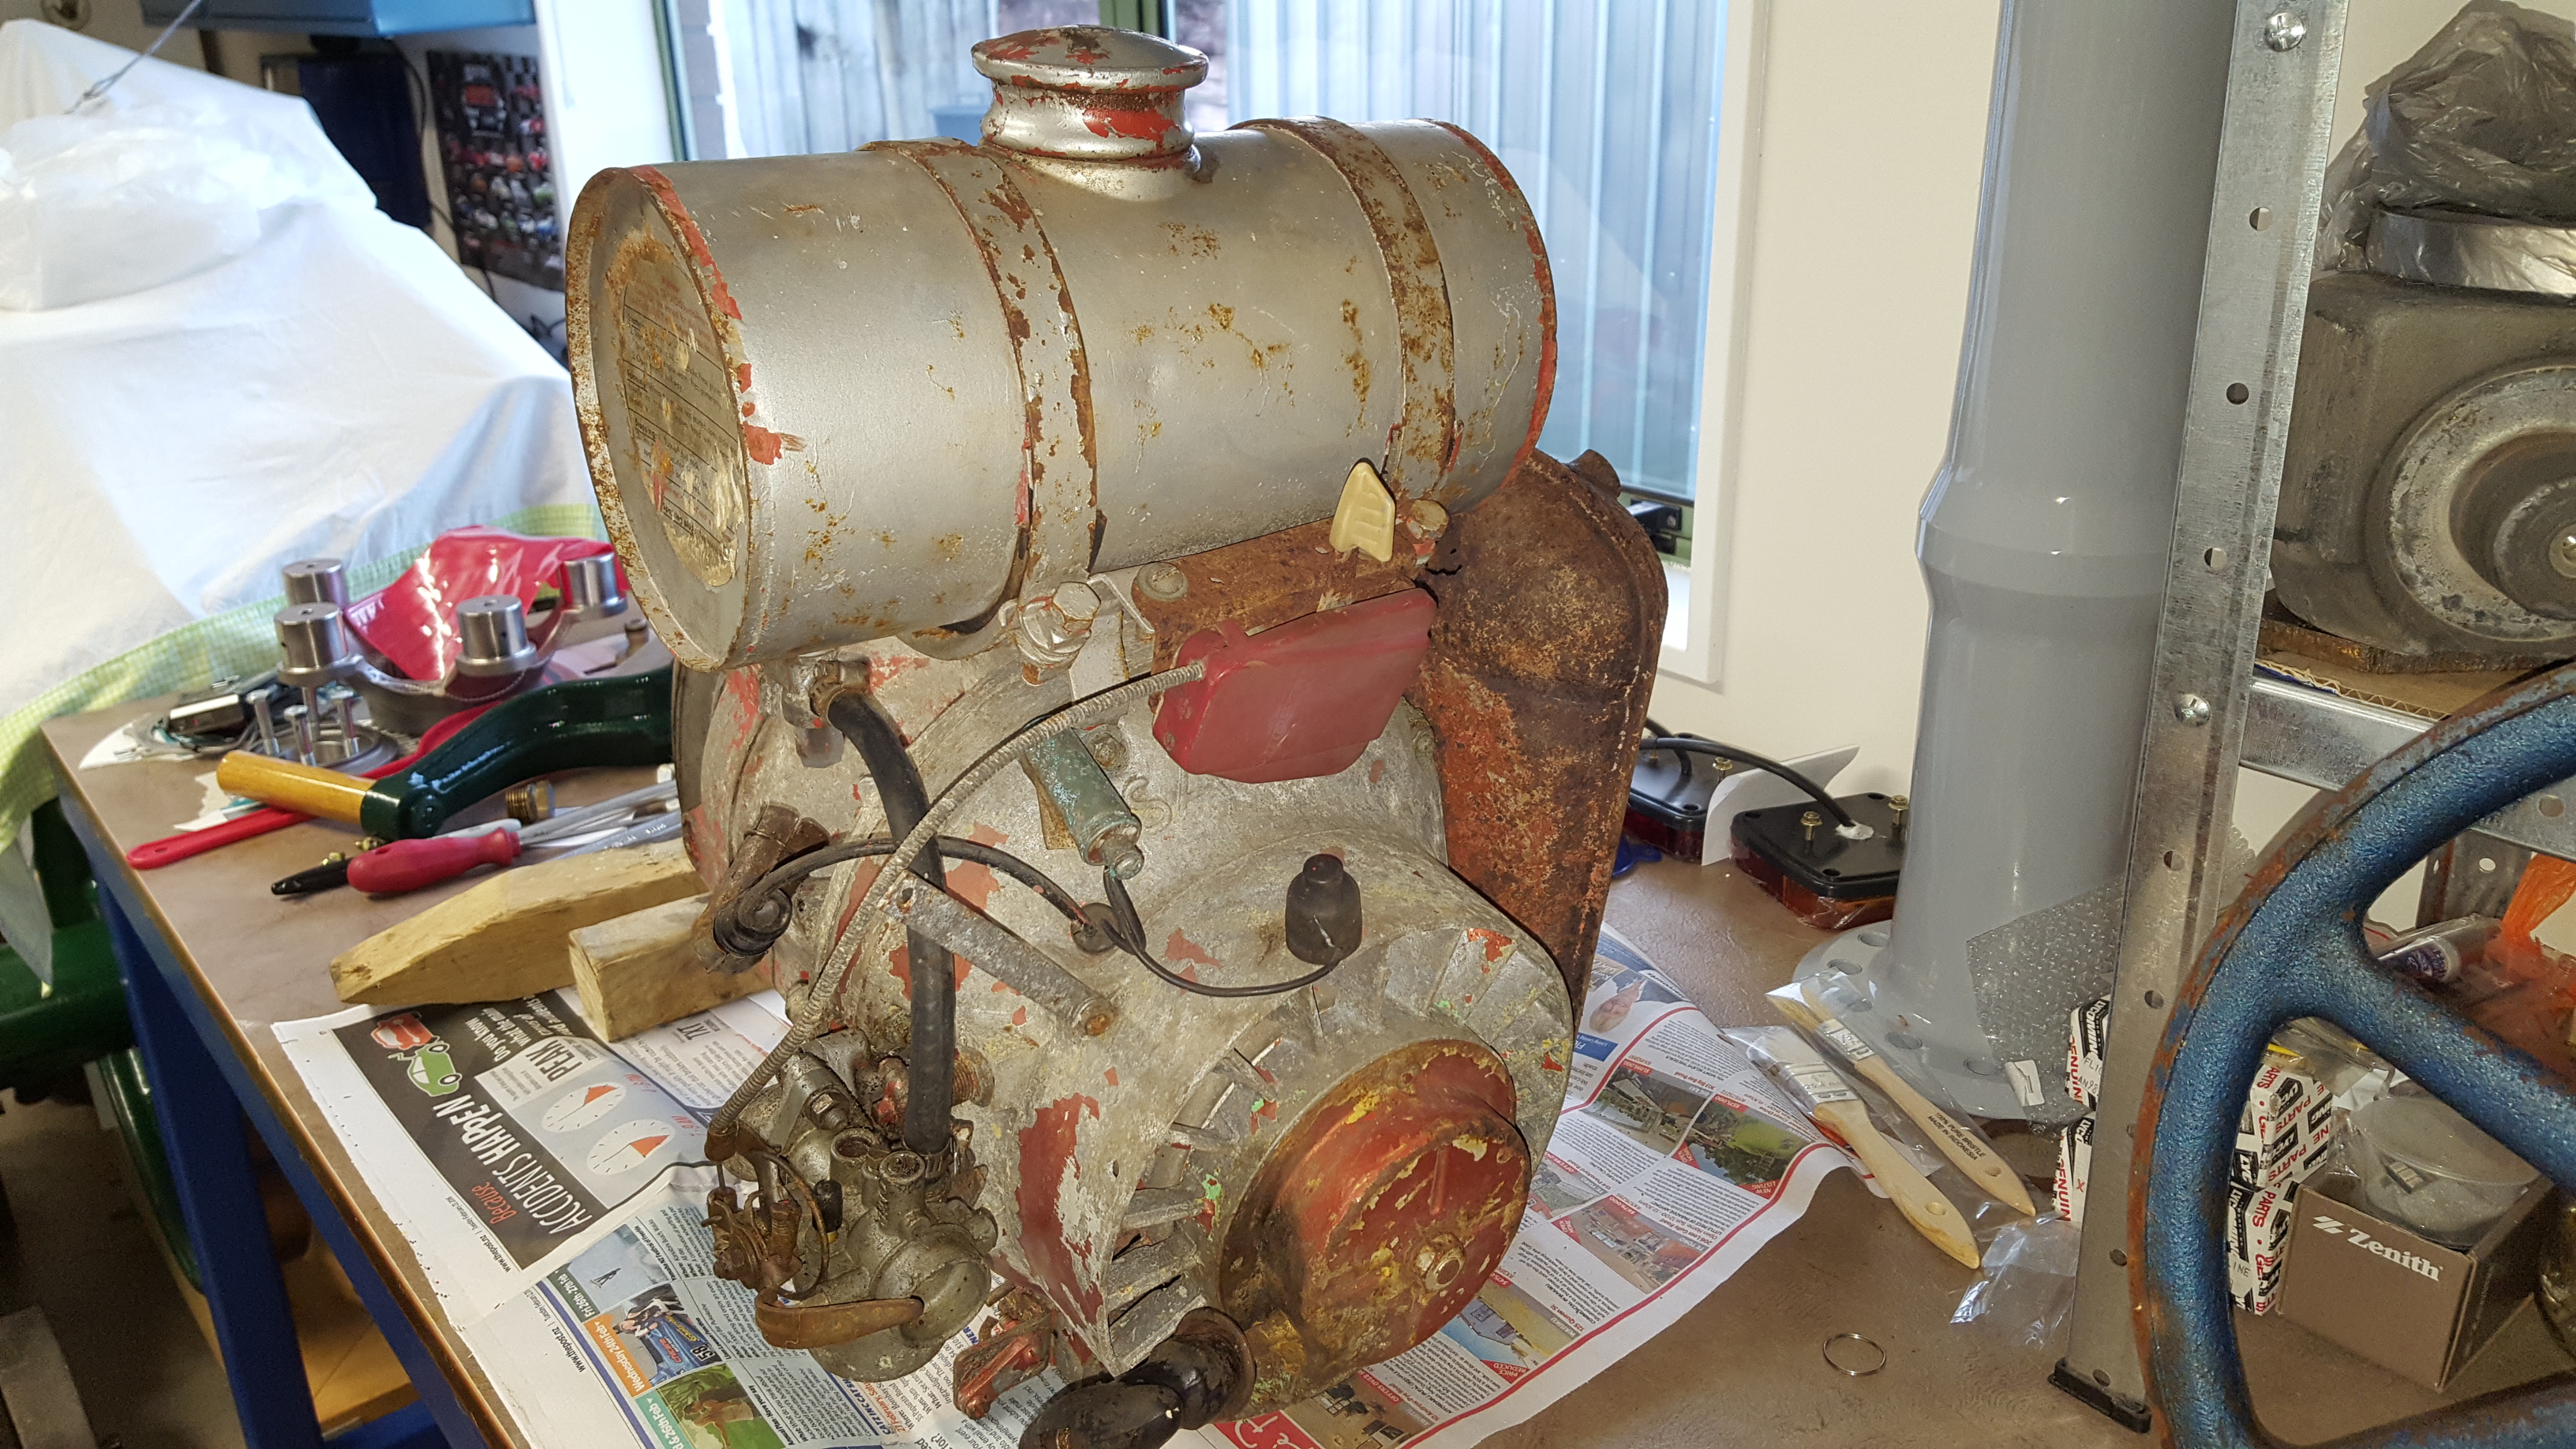
A project i am currently working on. Hopefully will make it run again once i get parts i need for it. It is a km37. From late 60s to 70s i am guessing.
4 points
-
Too dumb, sorry old school, had to put a pic up, I'm too much of a tard to figure it out on me ph, will delete once I sort other pics out on a host, so it doesn't take up all your space.
4 points
-
Autoblast that puppy. Happy chassis, happy life, just waiting on the timber for the deck. Found some nice swiss cheese in the floor, so have some patch panels in the shed to throw in in the next couple of weeks. Truck is ridiculously solid barring the floor. Also have the C10 front end to pick up later this week and another rear end. But I found some 3.38 gears for the stock rear end (currently 4.57) which will put it at about 1600 rpm at 100 ks in 6th when the LS and auto go in. So in the name of getting it done I might go down this route.4 points
-
4 points
-
Went to bnt hillside road today. Asked for points and condensor for a 1977 ford transit. He asked me for the rego number.............. here we go. Left with out points and condensor3 points
-
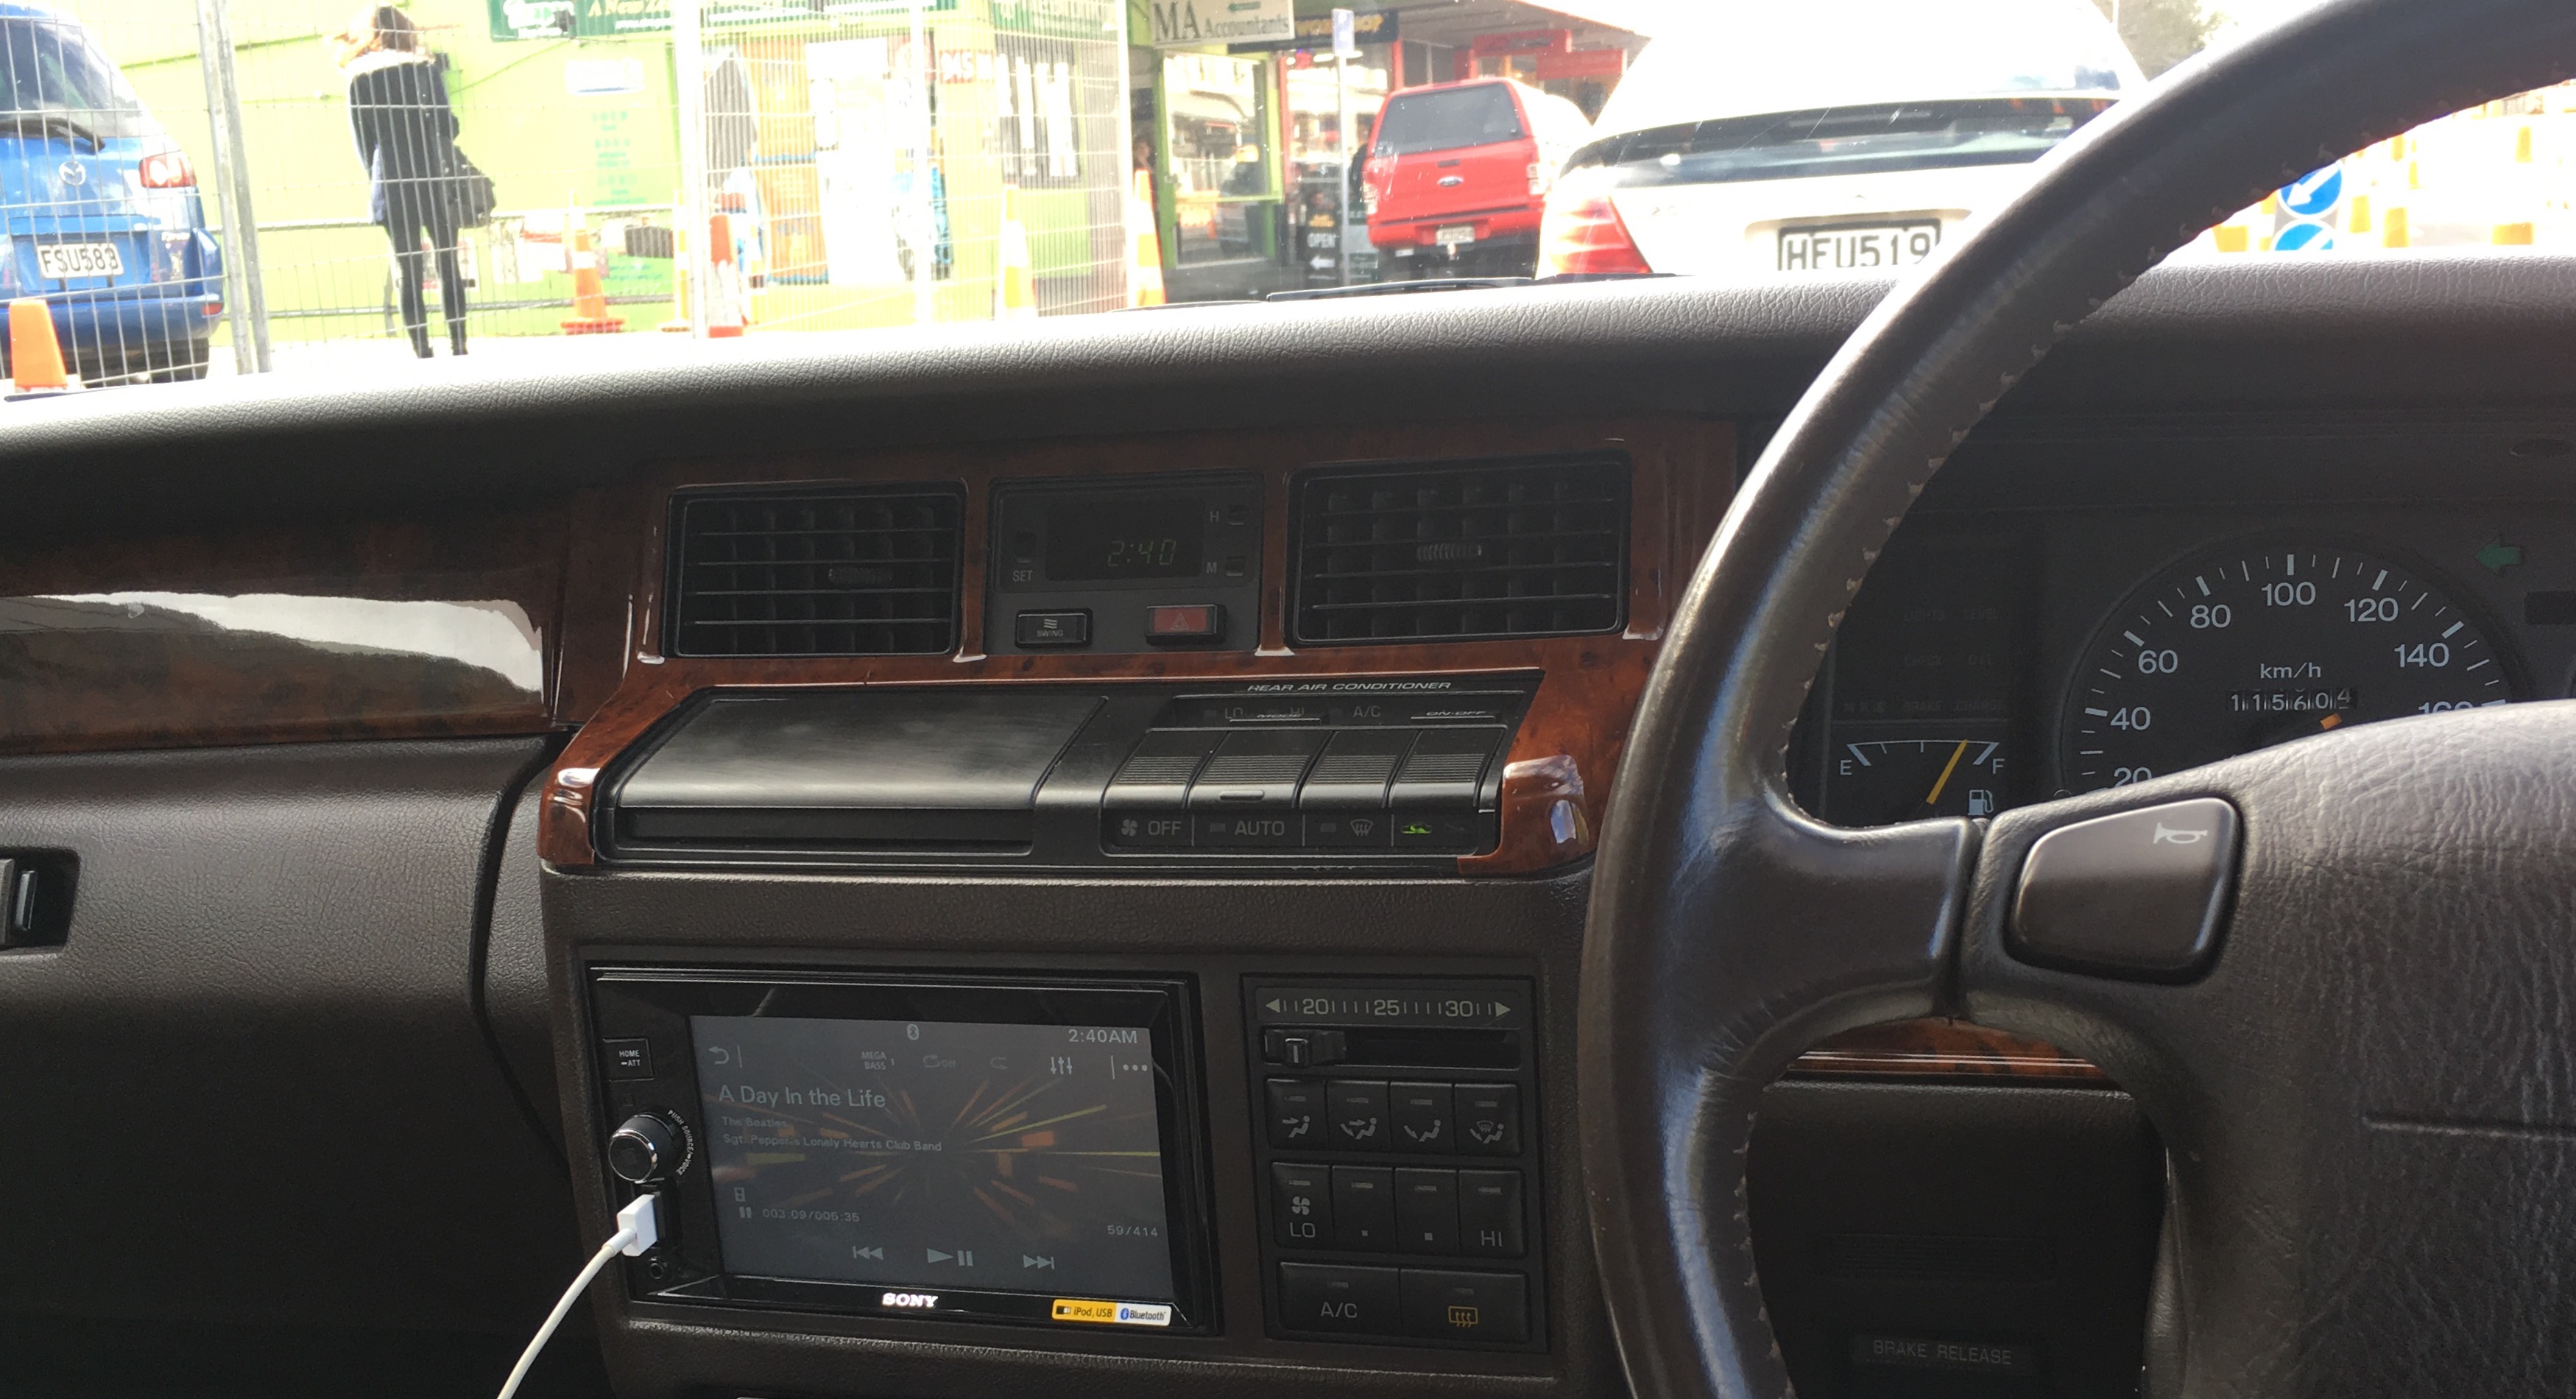
So anyway bought a GS131 heater control unit to test, worked fine but the unit was from a different dash so swapped out the resistors in my blown unit and now my heater turns on/off plus the air con front back and the rear fridge is ice cold... Win... So finally got dash back together with a stereo and reversing camera (once you have a car with a camera it's hard to not have one) plus screwed the dash all back together.. First time since I've had it, also stuck on the rest of the woodgrain inserts..
3 points
-
Well the lord taketh away, and the lord hooketh it up. Scored 2x complete 4k engines locally today for the princely sum of $200, one has a reco-ed head, arp bolts etc and flogged rings, the other went hard for what it was. Good score, came with all accessories, manifolds mounts clutches etc
3 points
-
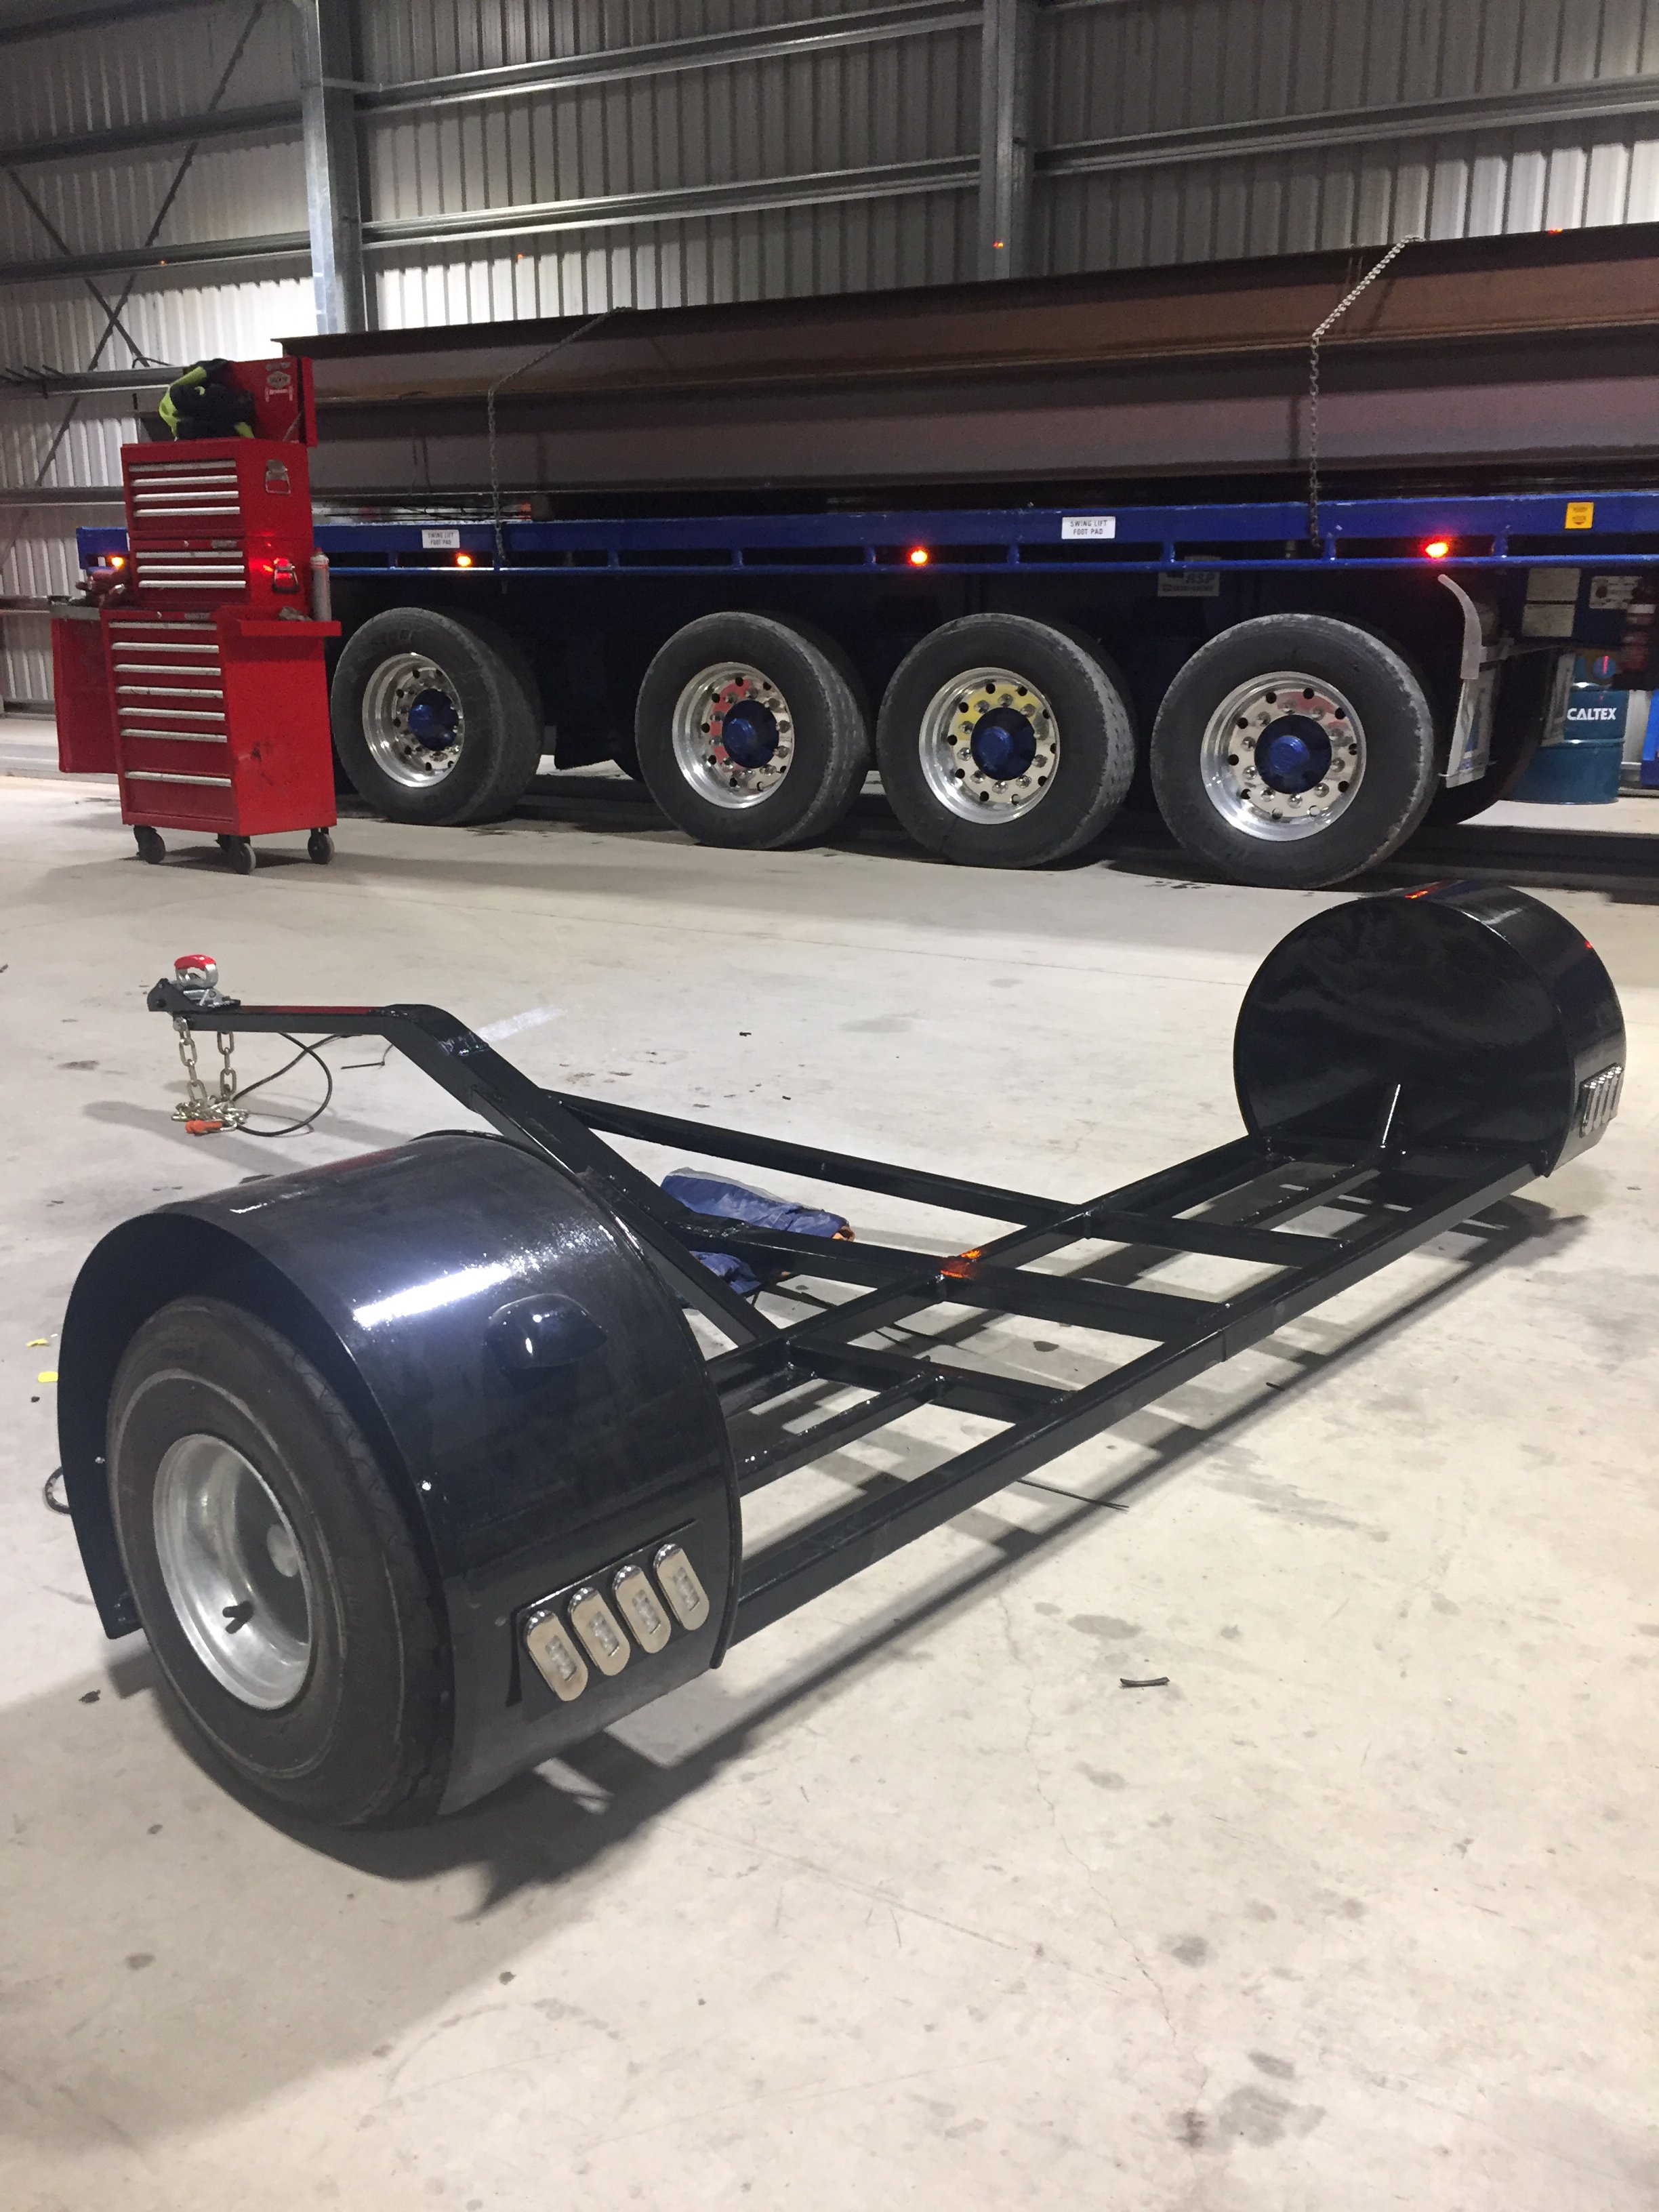
So I lied, I do know why. I had done a welding job on a mates sisters Corolla wagon and as payment received an old Lazer sedan. I thought I would use said Lazer as a track hack until me old Anglia was up and running. The problem was at the time I only had a single garage with a skinny drive I could park mine and the wife's cars one behind the other. This meant nil room for a transportation device of standard car trailer dimensions, so I thought, why not a dolly I could stand up against a wall. Research was undertaken and the frame was welded up....then I changed jobs and moved to a much betterer home. Lazer was sold and the Anglia project was concentrated on, and the new job didn't leave much time for anything else but pottered away on it, but as I finish up with this job in 2 days the rush has been on to finish it. As I wasn't going to put the Anglia on this dolly, but on a proper trailer, I decided to carry on with the dolly and get Wof and Reg and flick off for Anglia funds. I wanted to make it as low as possible with low guards, so went with JetSki trailer wheels and tyres, 8x8.5, nice and fat. The guards available for JetSki trailers were fugly, so racked the old pea in the noggin and stuck one of the wheels on top of a 200L oil drum at work, and Lo it had virtually the right radius. I liked the idea of the guard going past the 90 degree level front and rear, to get that custom look. I think they turned out quite cool. The fiddliest bit of the build would have been running the cables in the frame and connecting up 11 lights without having a rats nest, but I managed to get it all clean and tidy and hidden away. In the next day or two I will replace the 3 missing wheel nuts I managed to push into the matrix, stick 2 reflectors on, get rego'd and Wof'd and put up for sale. Can't wait to start my car trailer. pics in a mo, once I remember how to use host sight again....damn peabrain2 points
-
So me dad texts me one day Oy found this
2 points
-
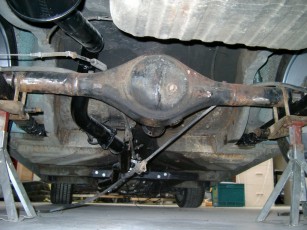
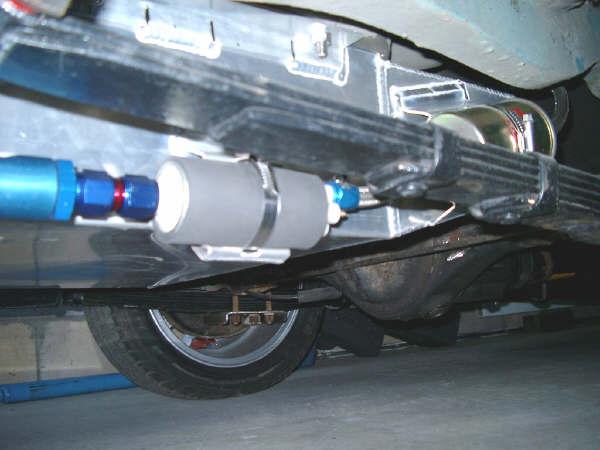
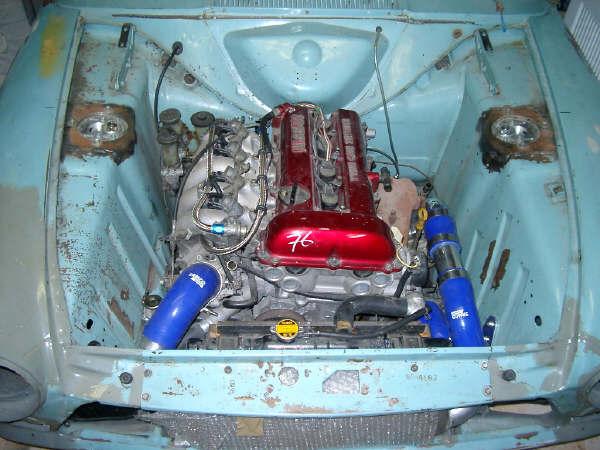
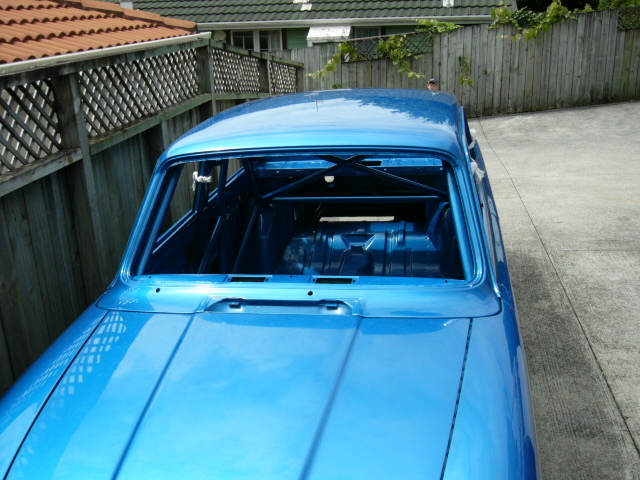
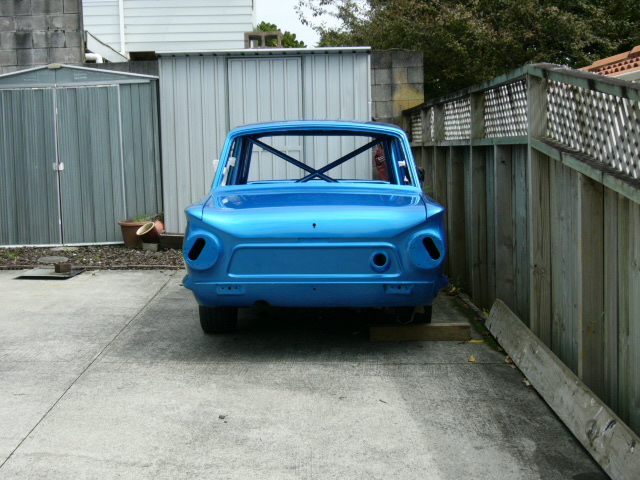
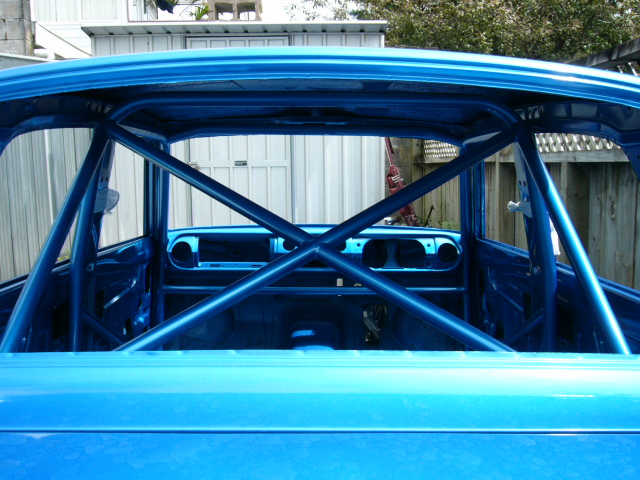
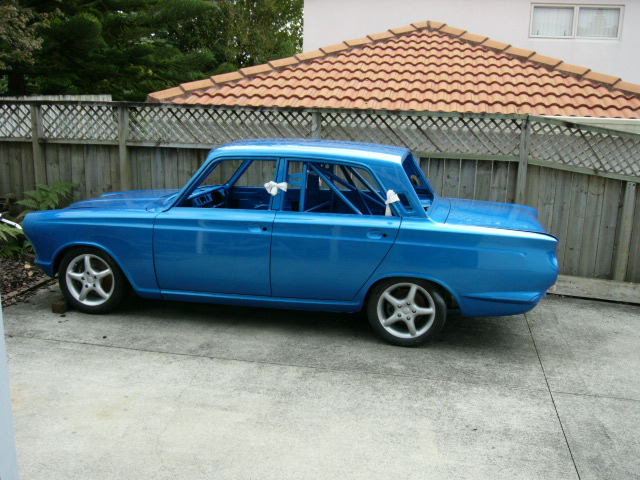
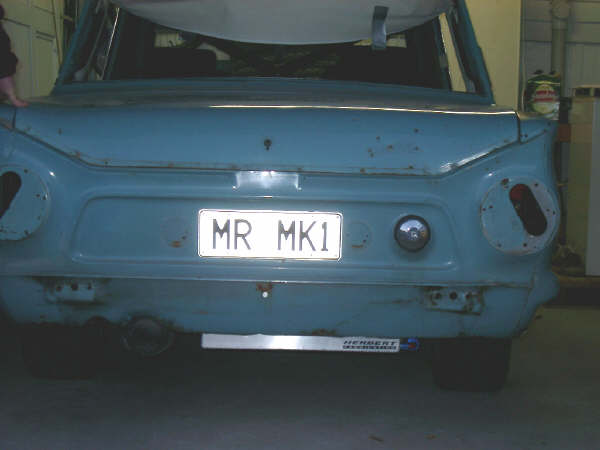
The Dream started in 2001, a need for speed, something crazy and unique. Something Oldschool! I had cut my teeth with lots of escort previously, the 2l pinto motor just didn't have the power I wanted. My first choice was a cosworth engine, but I needed both kidney to drink beer with, so that wasn't an option At the time the sr20det wasn't that popular engine, drifting wasn't around. i m manged to track down a complete engine, g/box and loom for 2k. mrmk1 was getting a new heart transplant! More Power Required Big Diff and Rear Disc Brakes. - Shorten 7.5inch F series toyota crown diff, 3.9 Ma61 supra LSD Custom Fueling and tank by Herbert's Fabrication Roll cage was fabricated by Jono Climo.. the master craftsman!
2 points
-
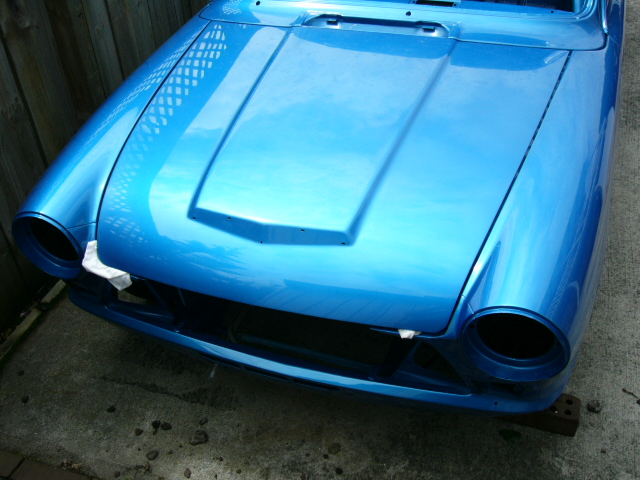
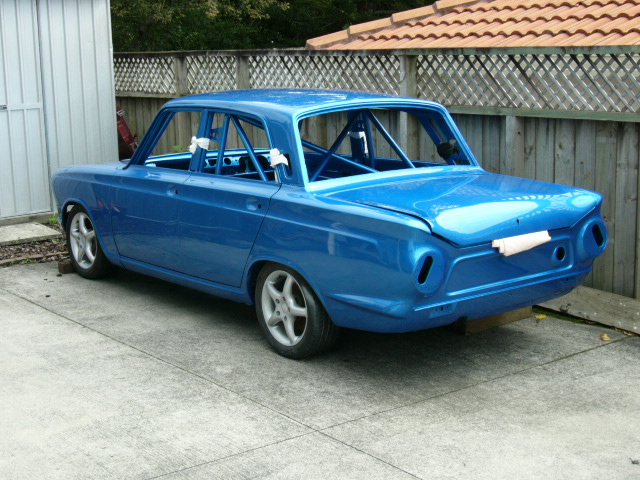
Won't bore you with the in between stuff This is just before front all went back on Got new headlight buckets and brackets Indicator chrome While strut was out whacked a super low spring in there Also got a new gear lever rear tailight filler panel And another shell courtesy of Mr @71ta22 Absolute legend of a chap many thanks for these items I'll post up a pic of the shell it's for rustcut purposes spare wheel tub is better than mine etc
2 points
-
Haha nah I've had it just over 18months Only just got the internet on at home lol Drove it from mastyton to Hampton an back For toyotafest2 points
-
A+ effort i hope those photos aren't just today's effort fuck I'll I've accomplished today was eating my lunch2 points
-
New shocks; new radiator ready for a 1000km trip2 points
-
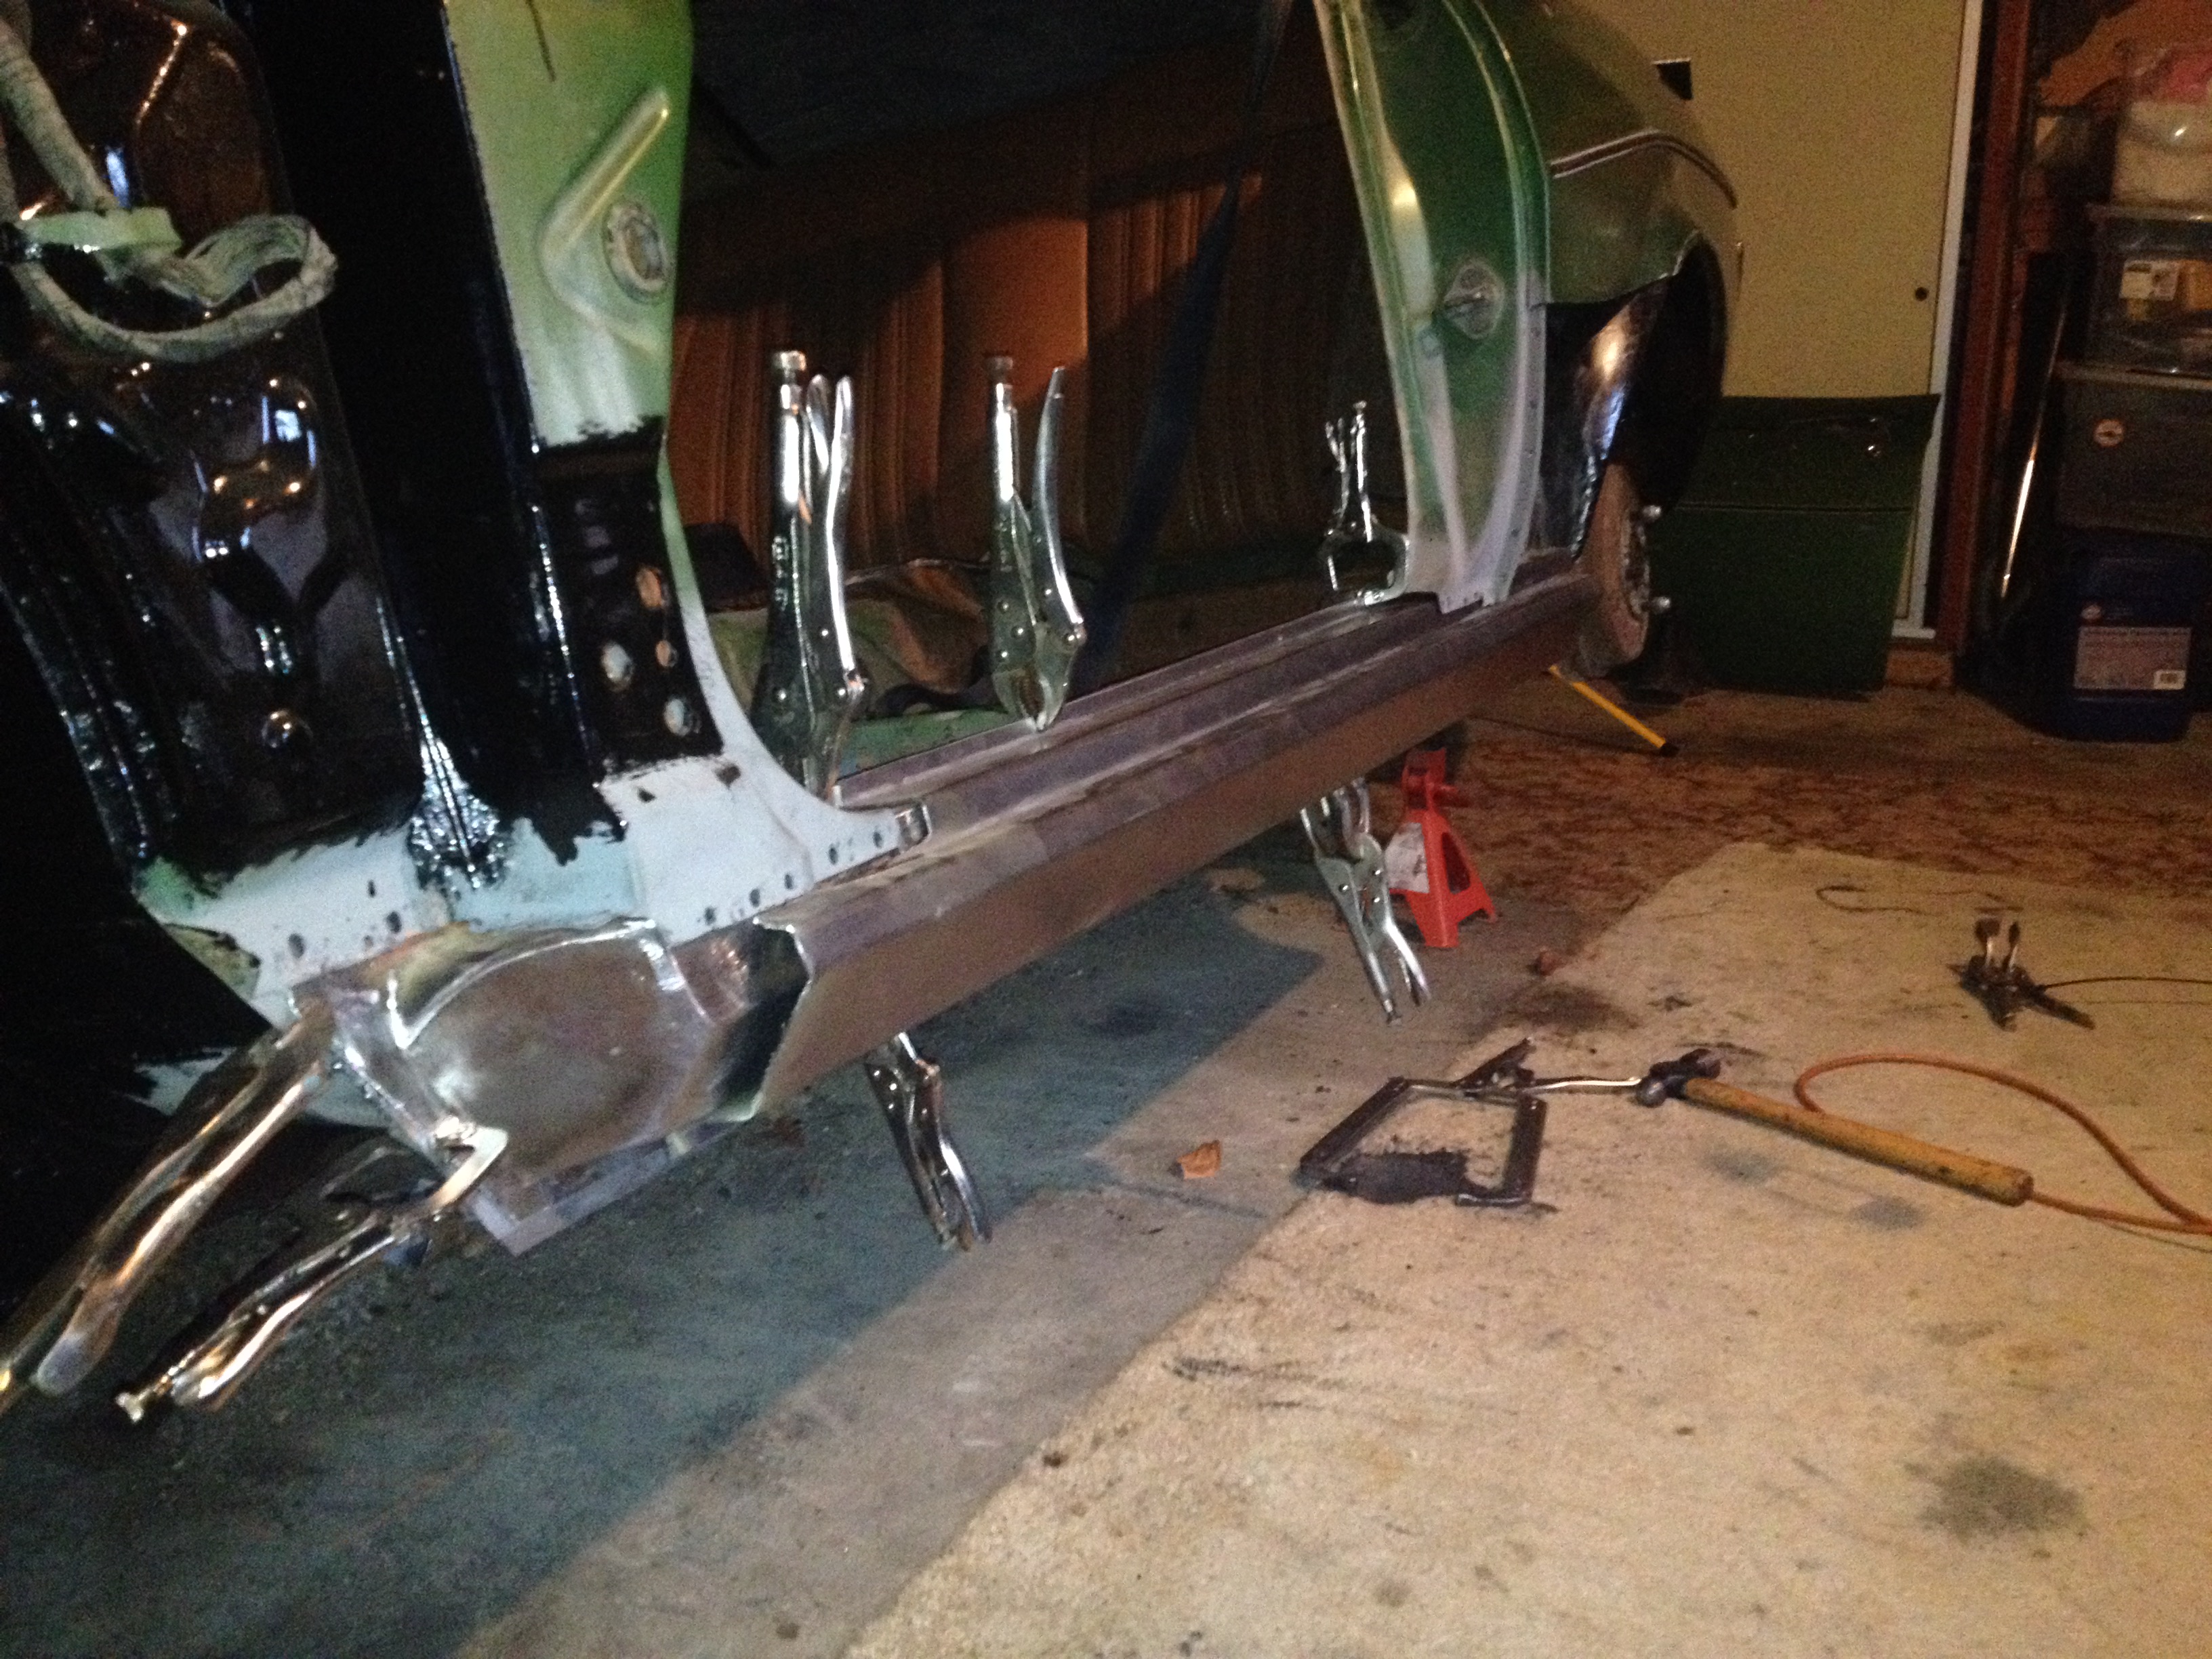
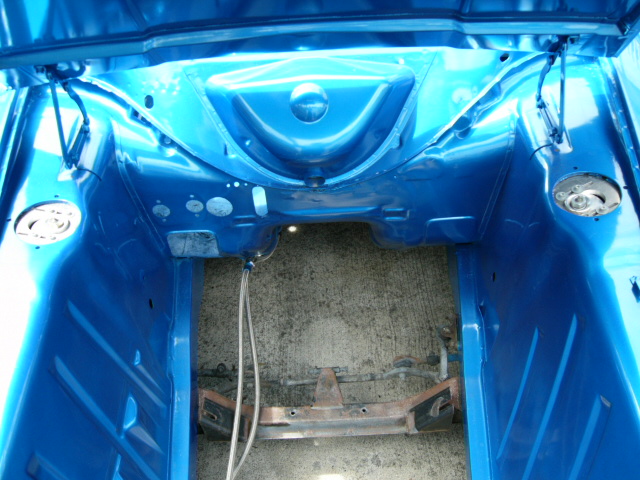
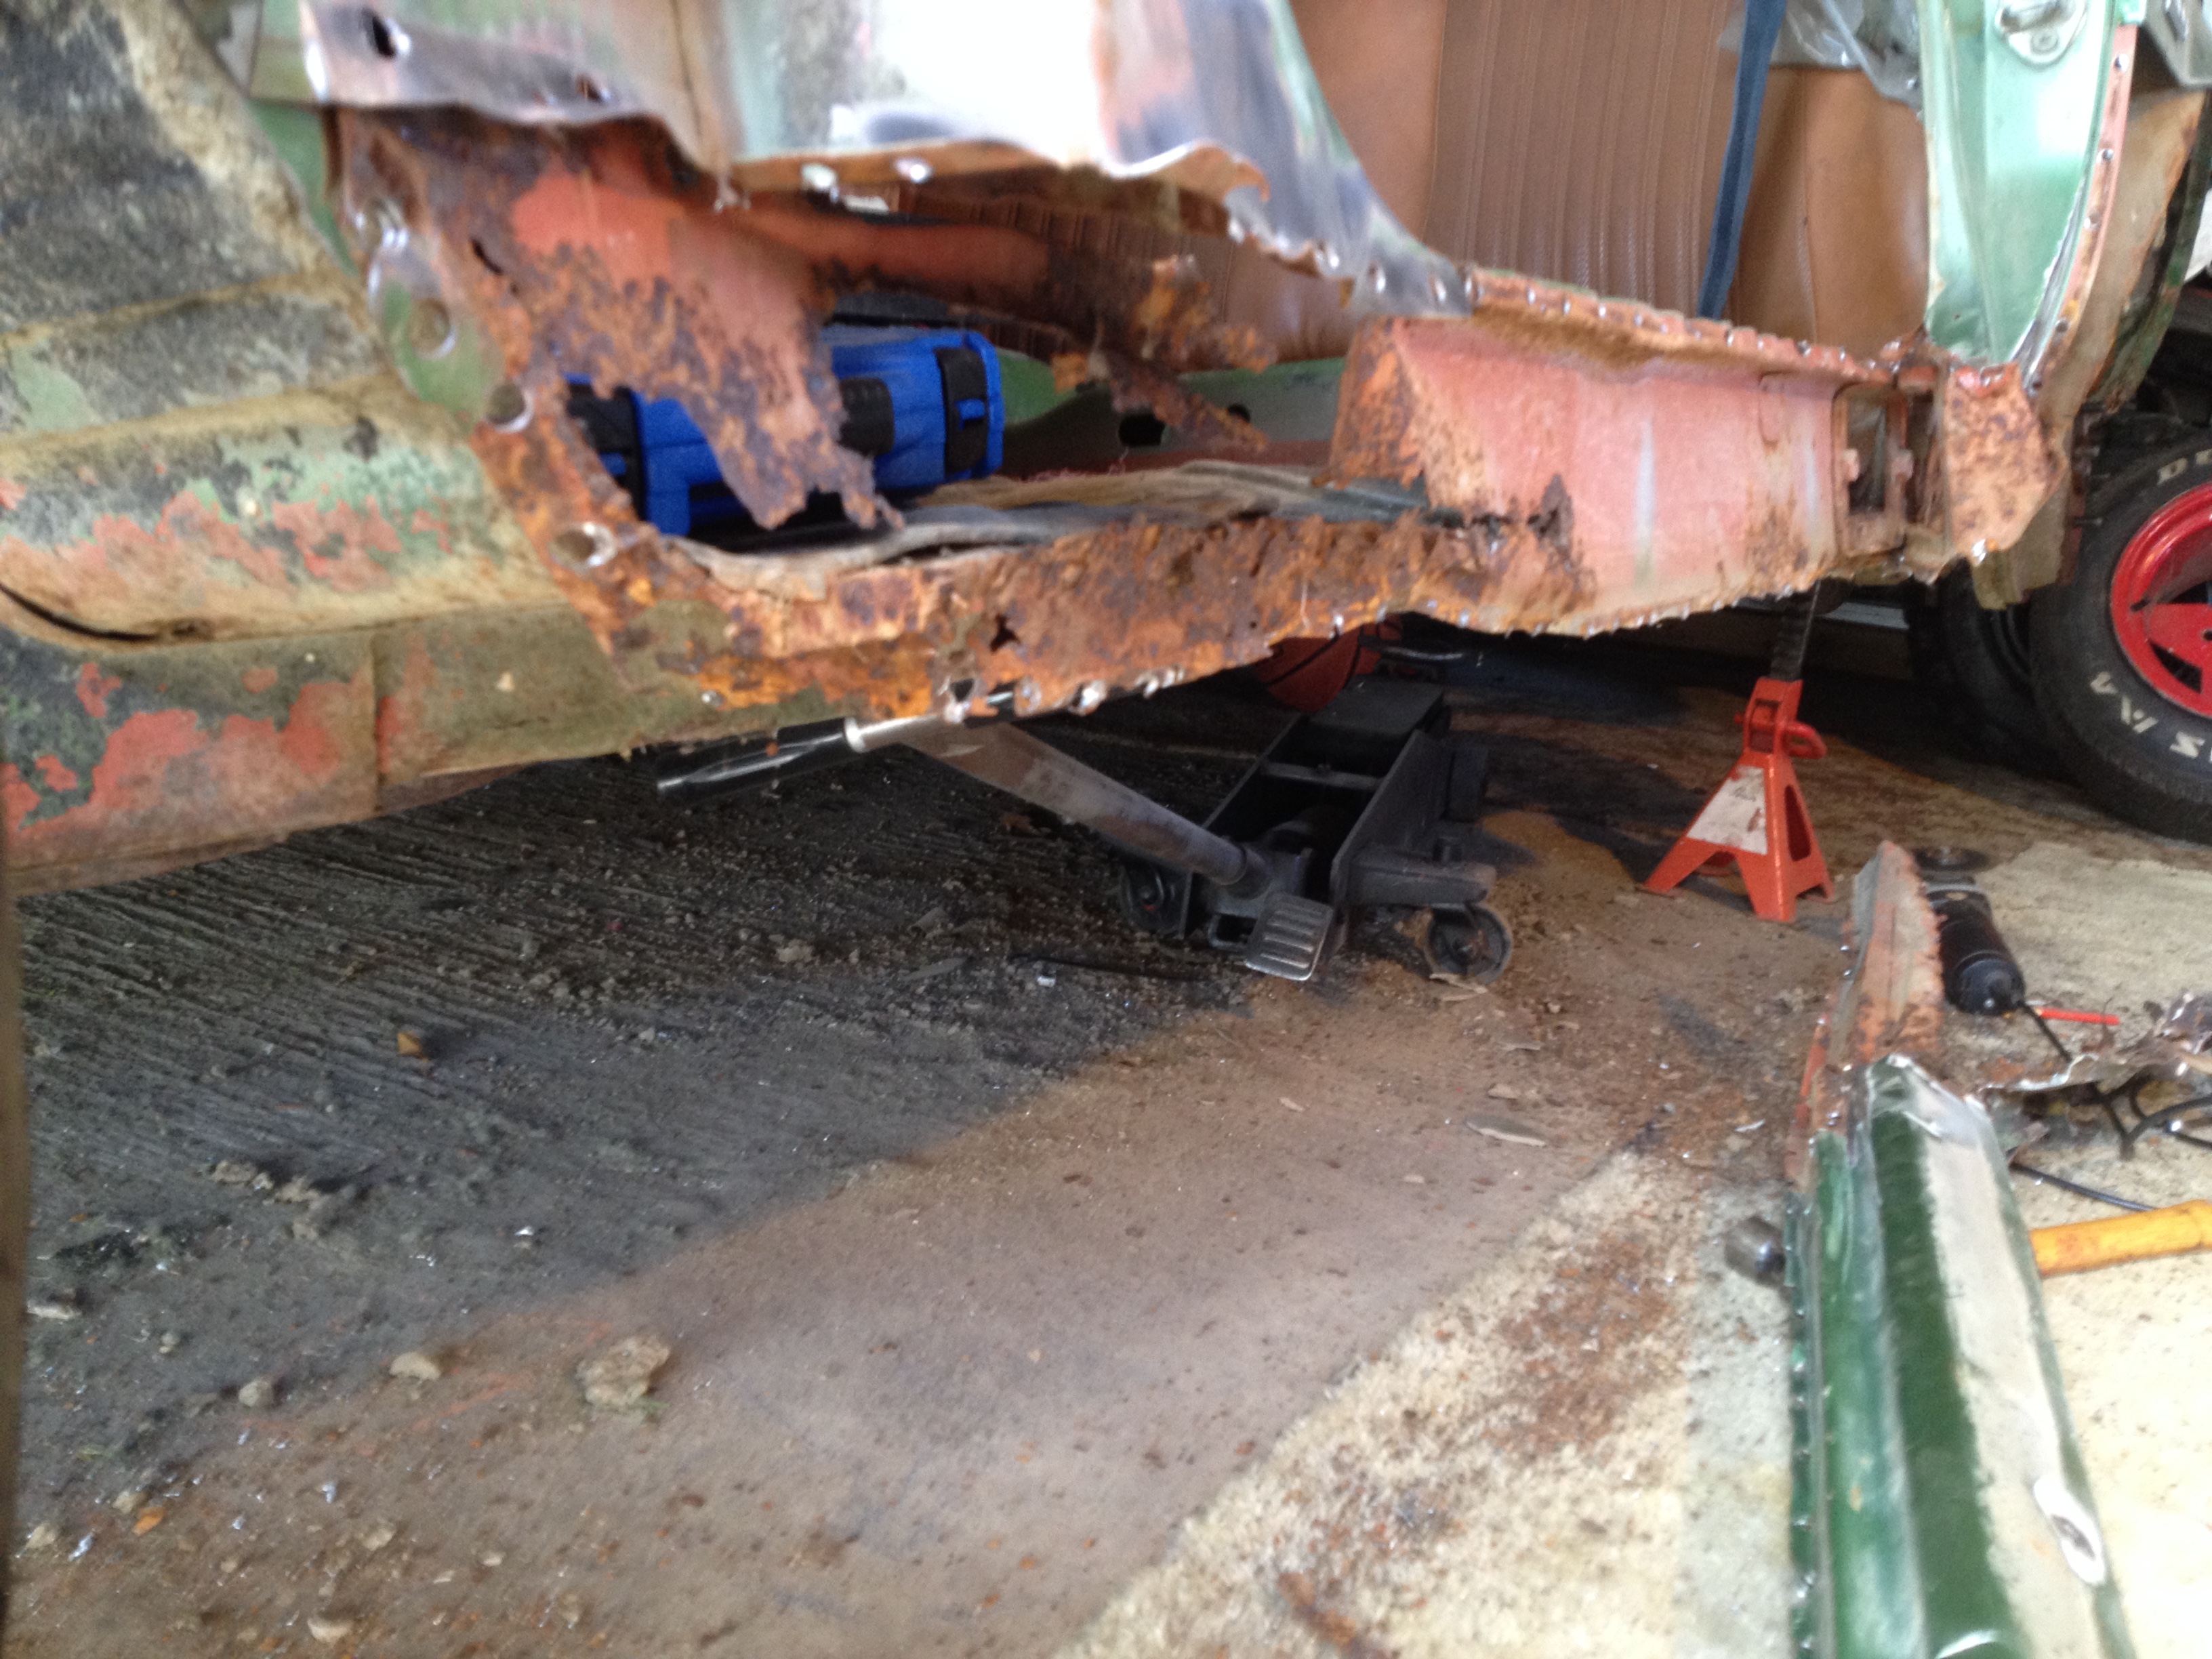
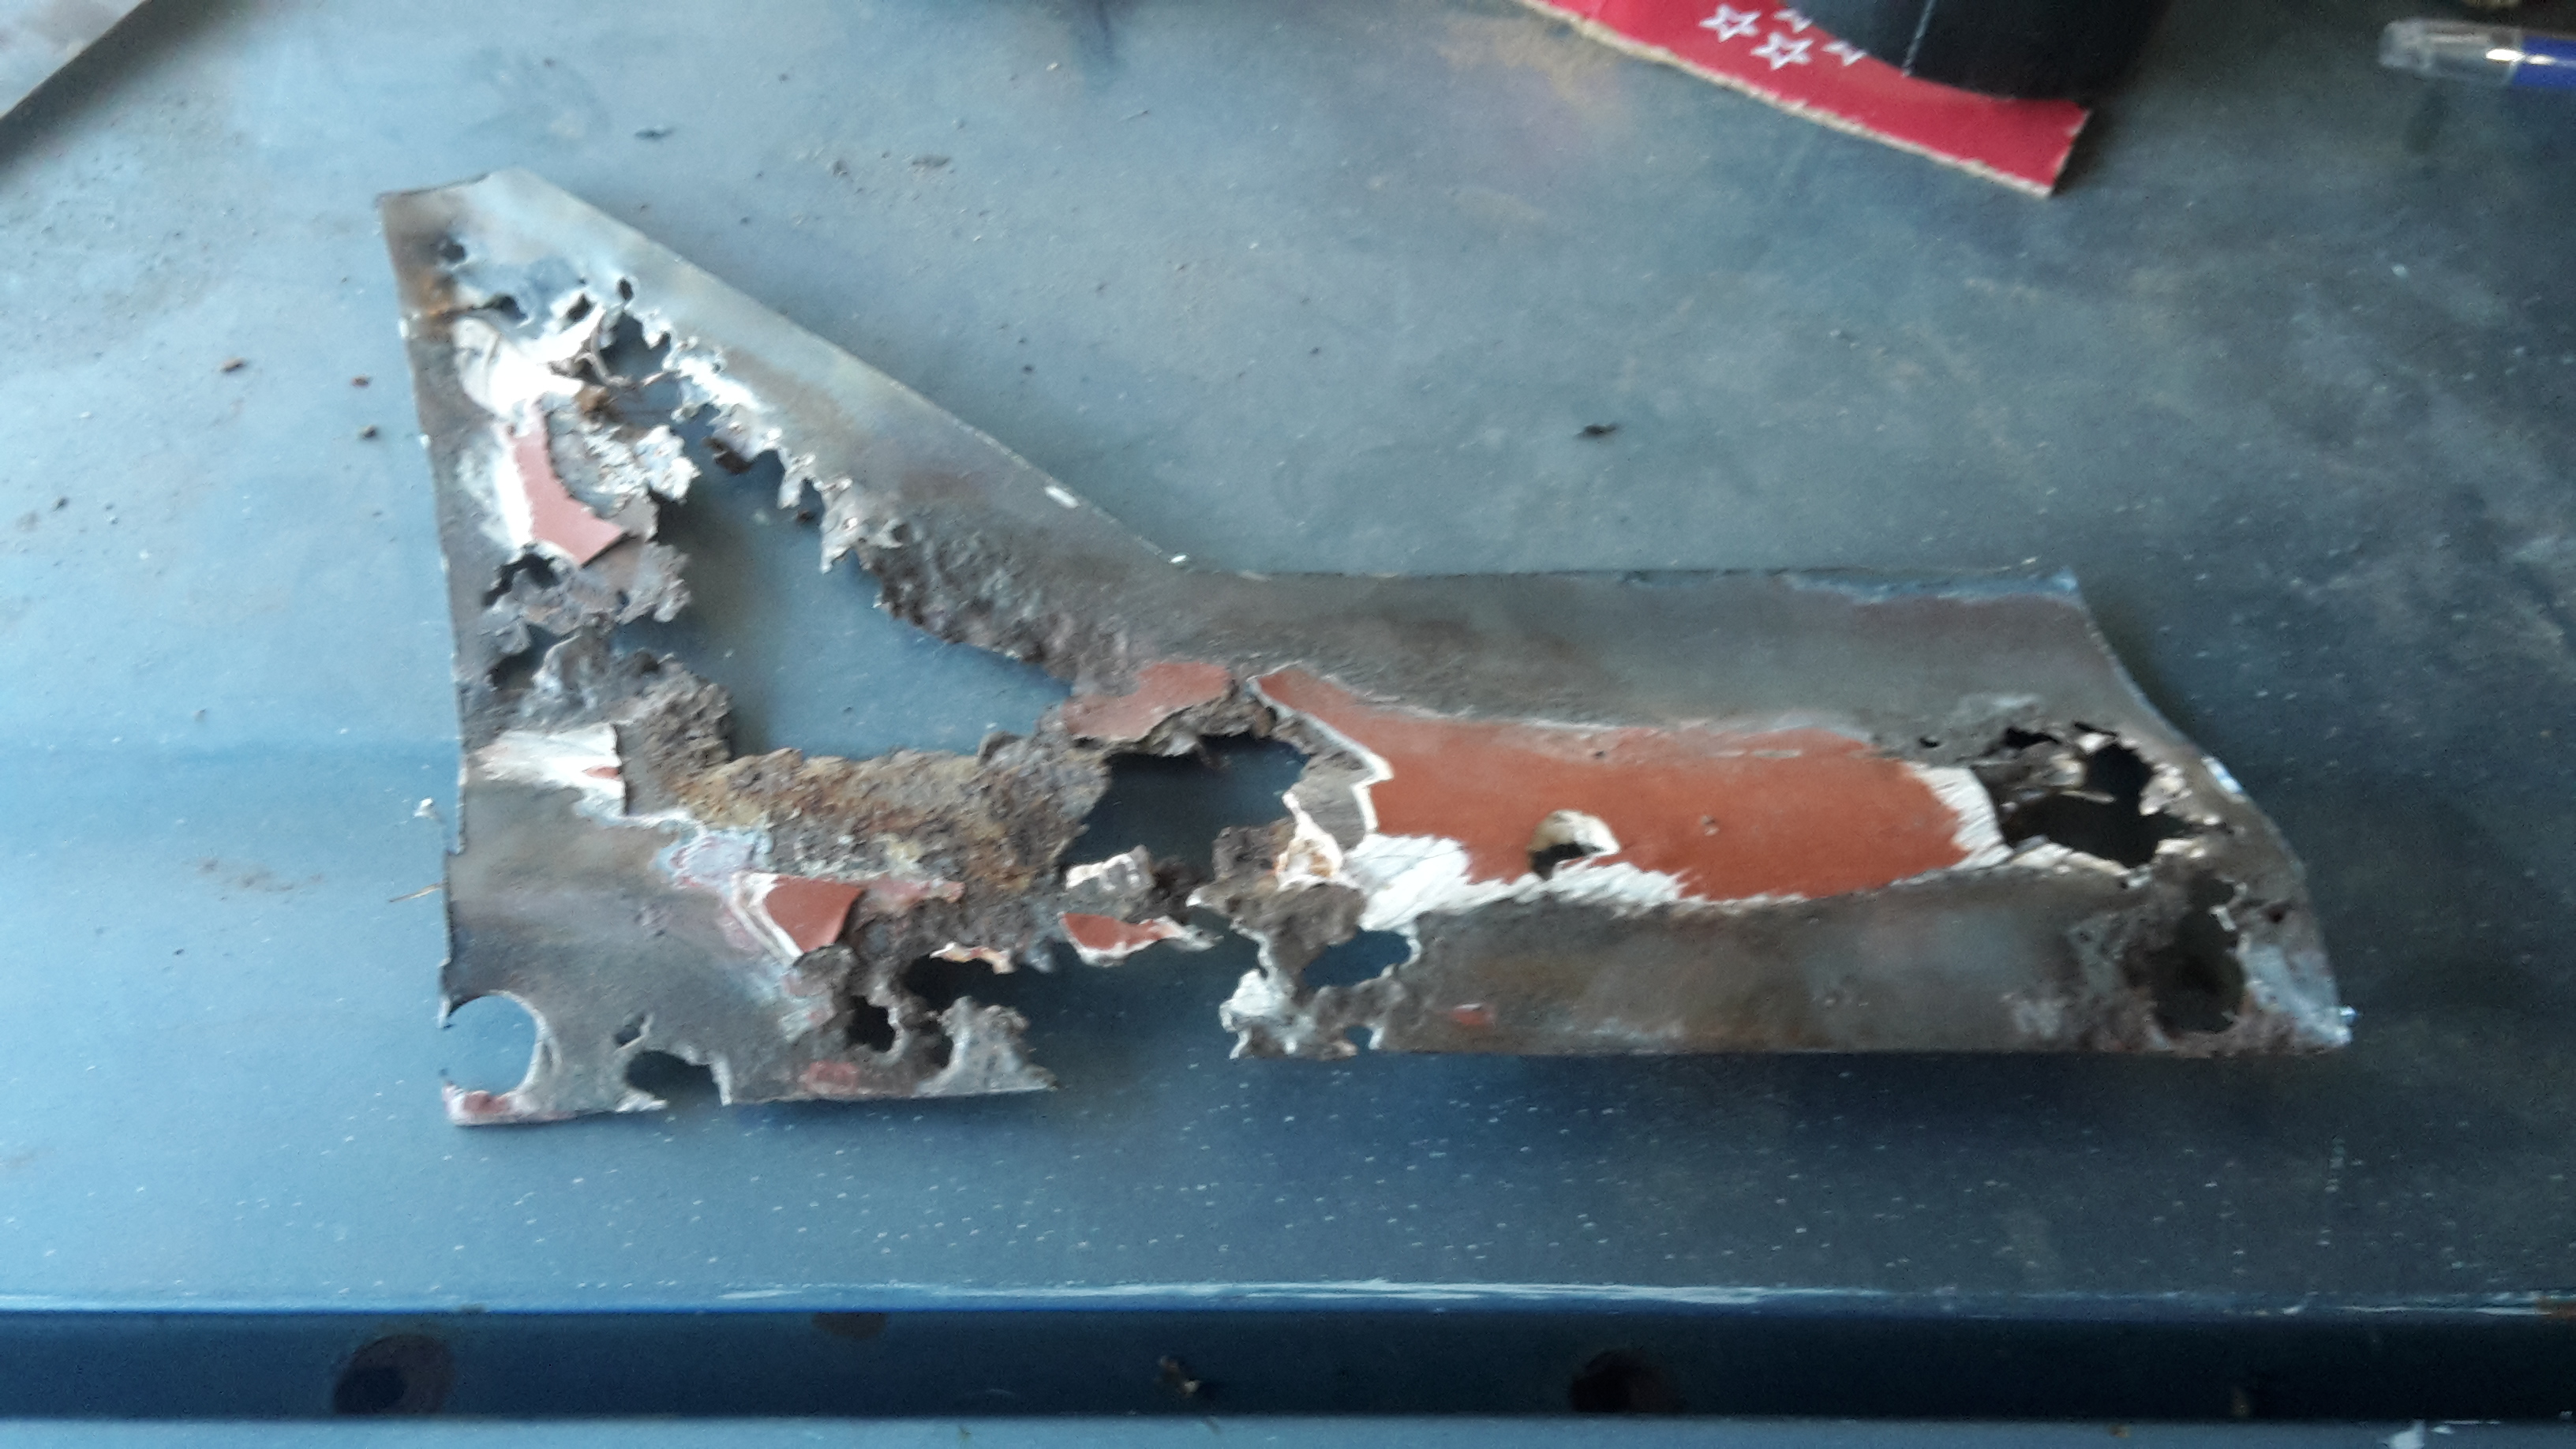
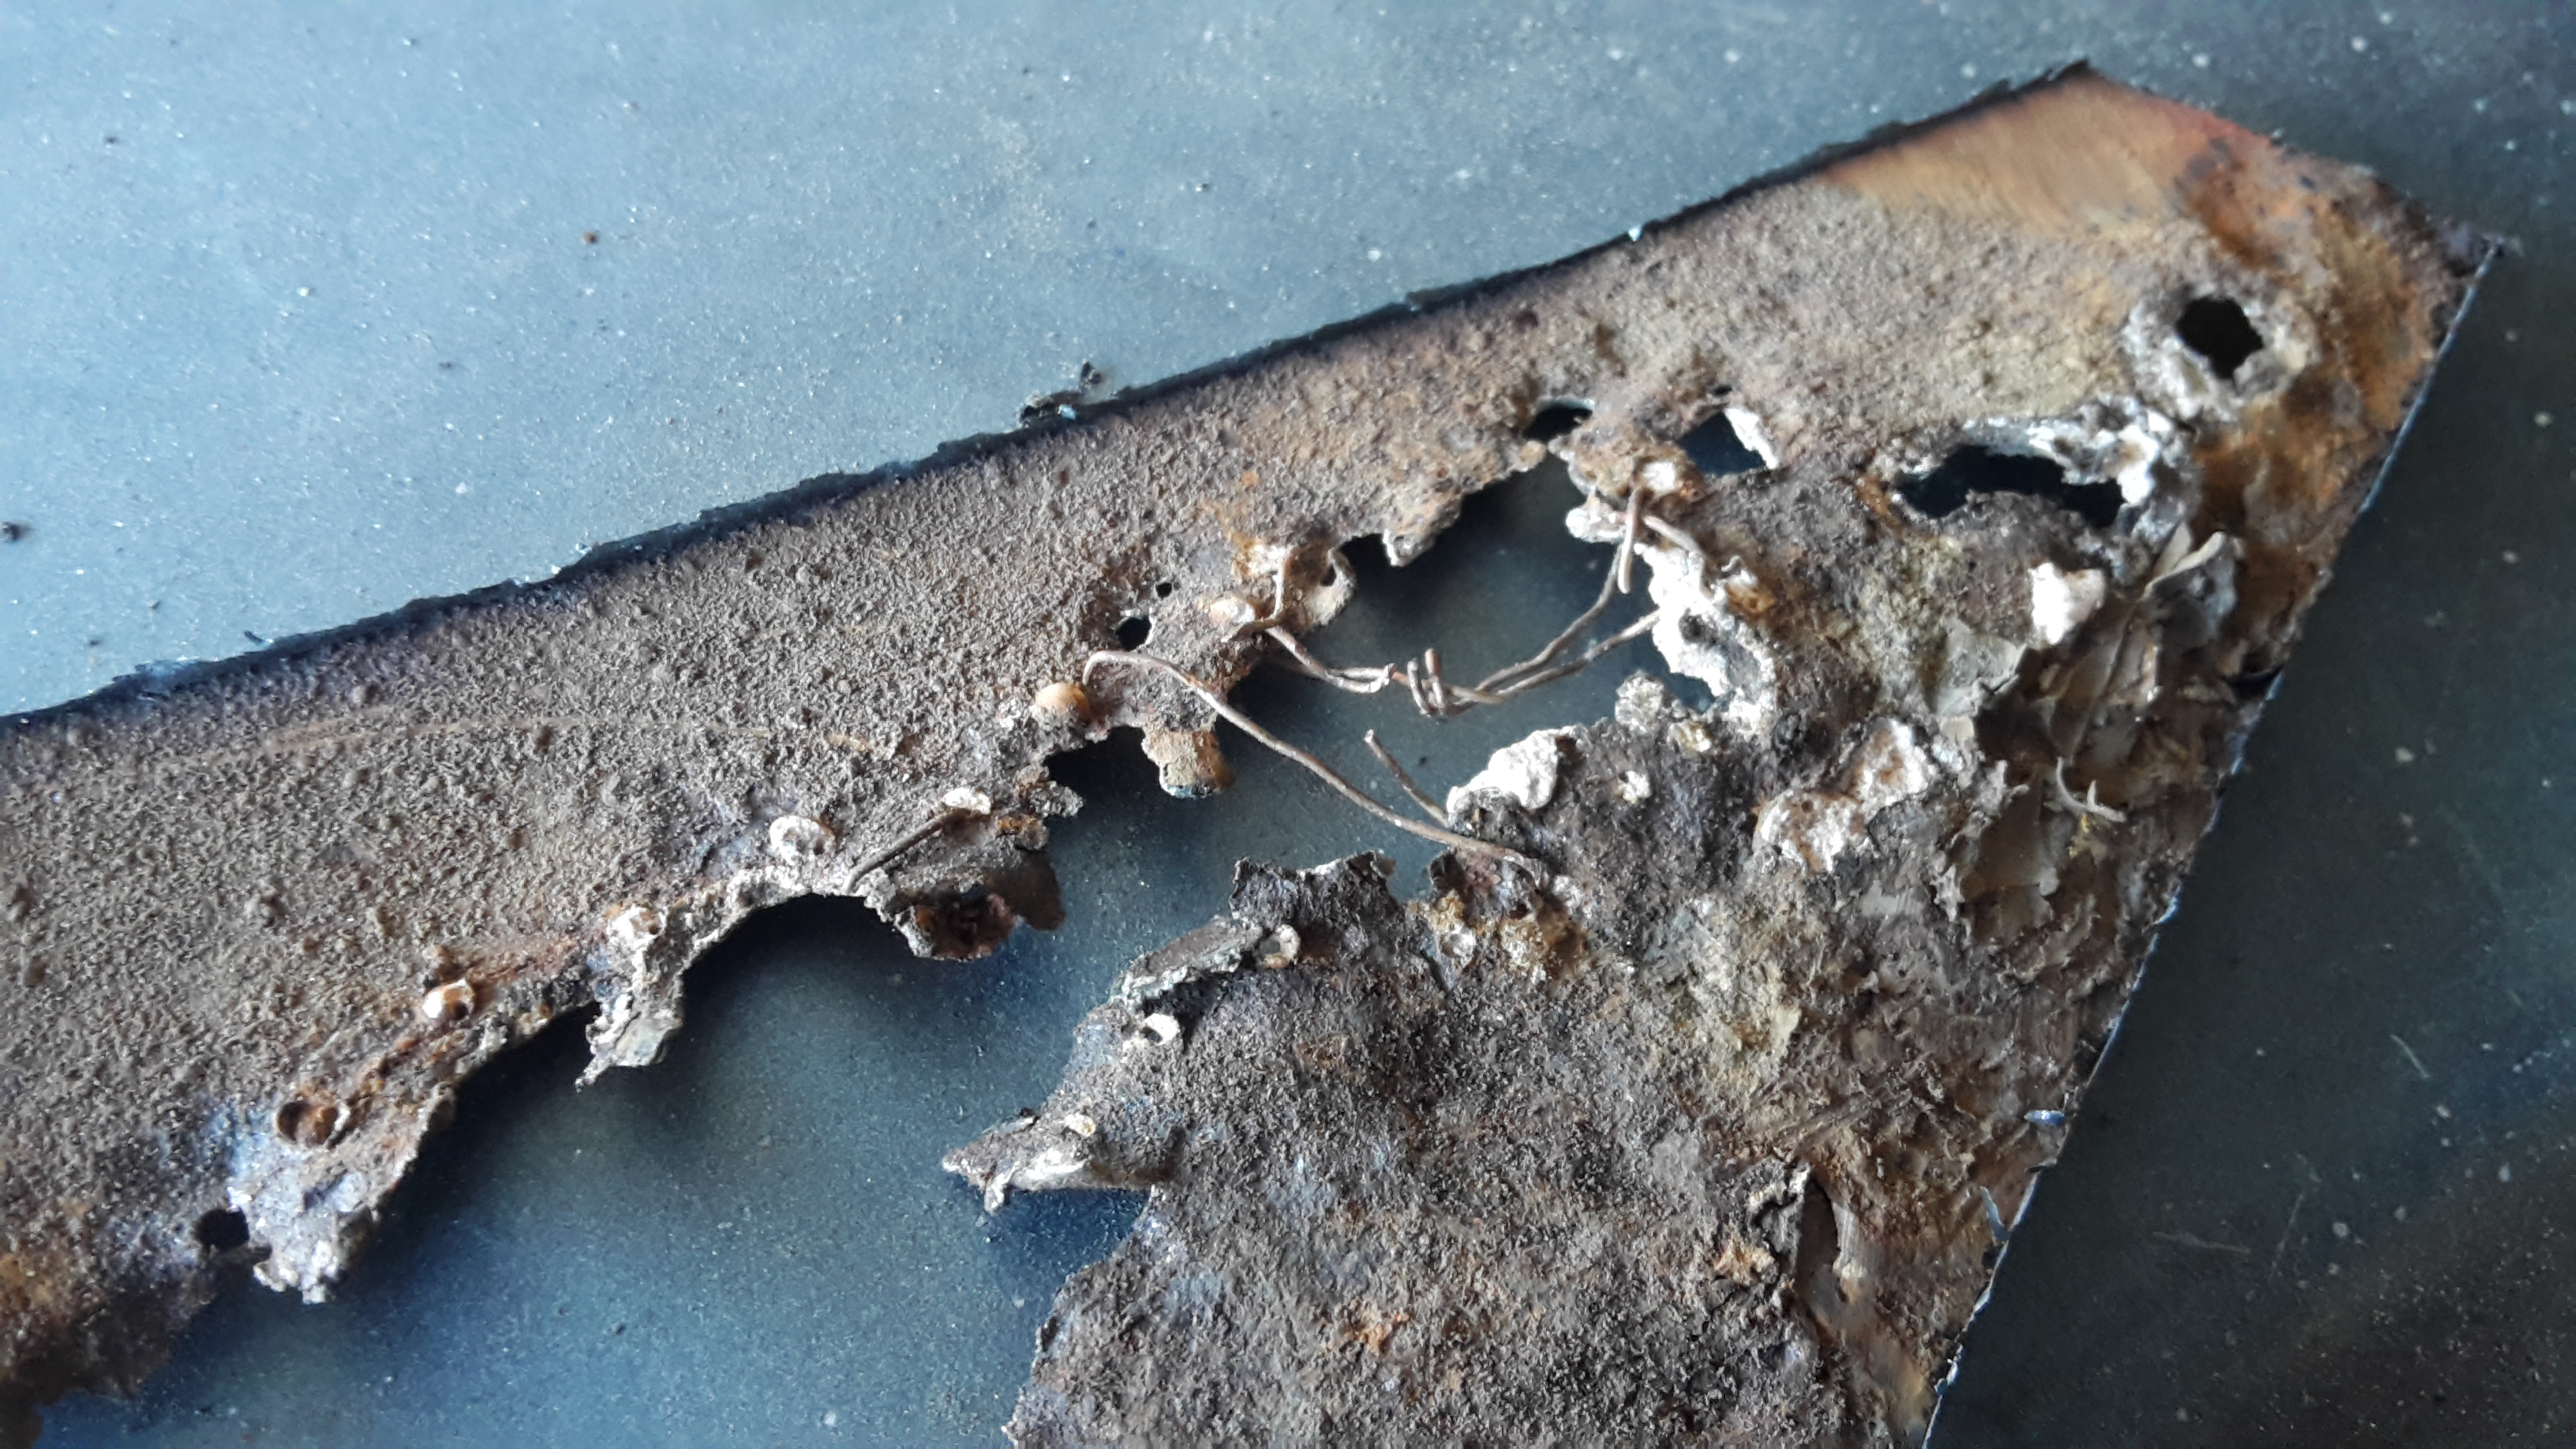
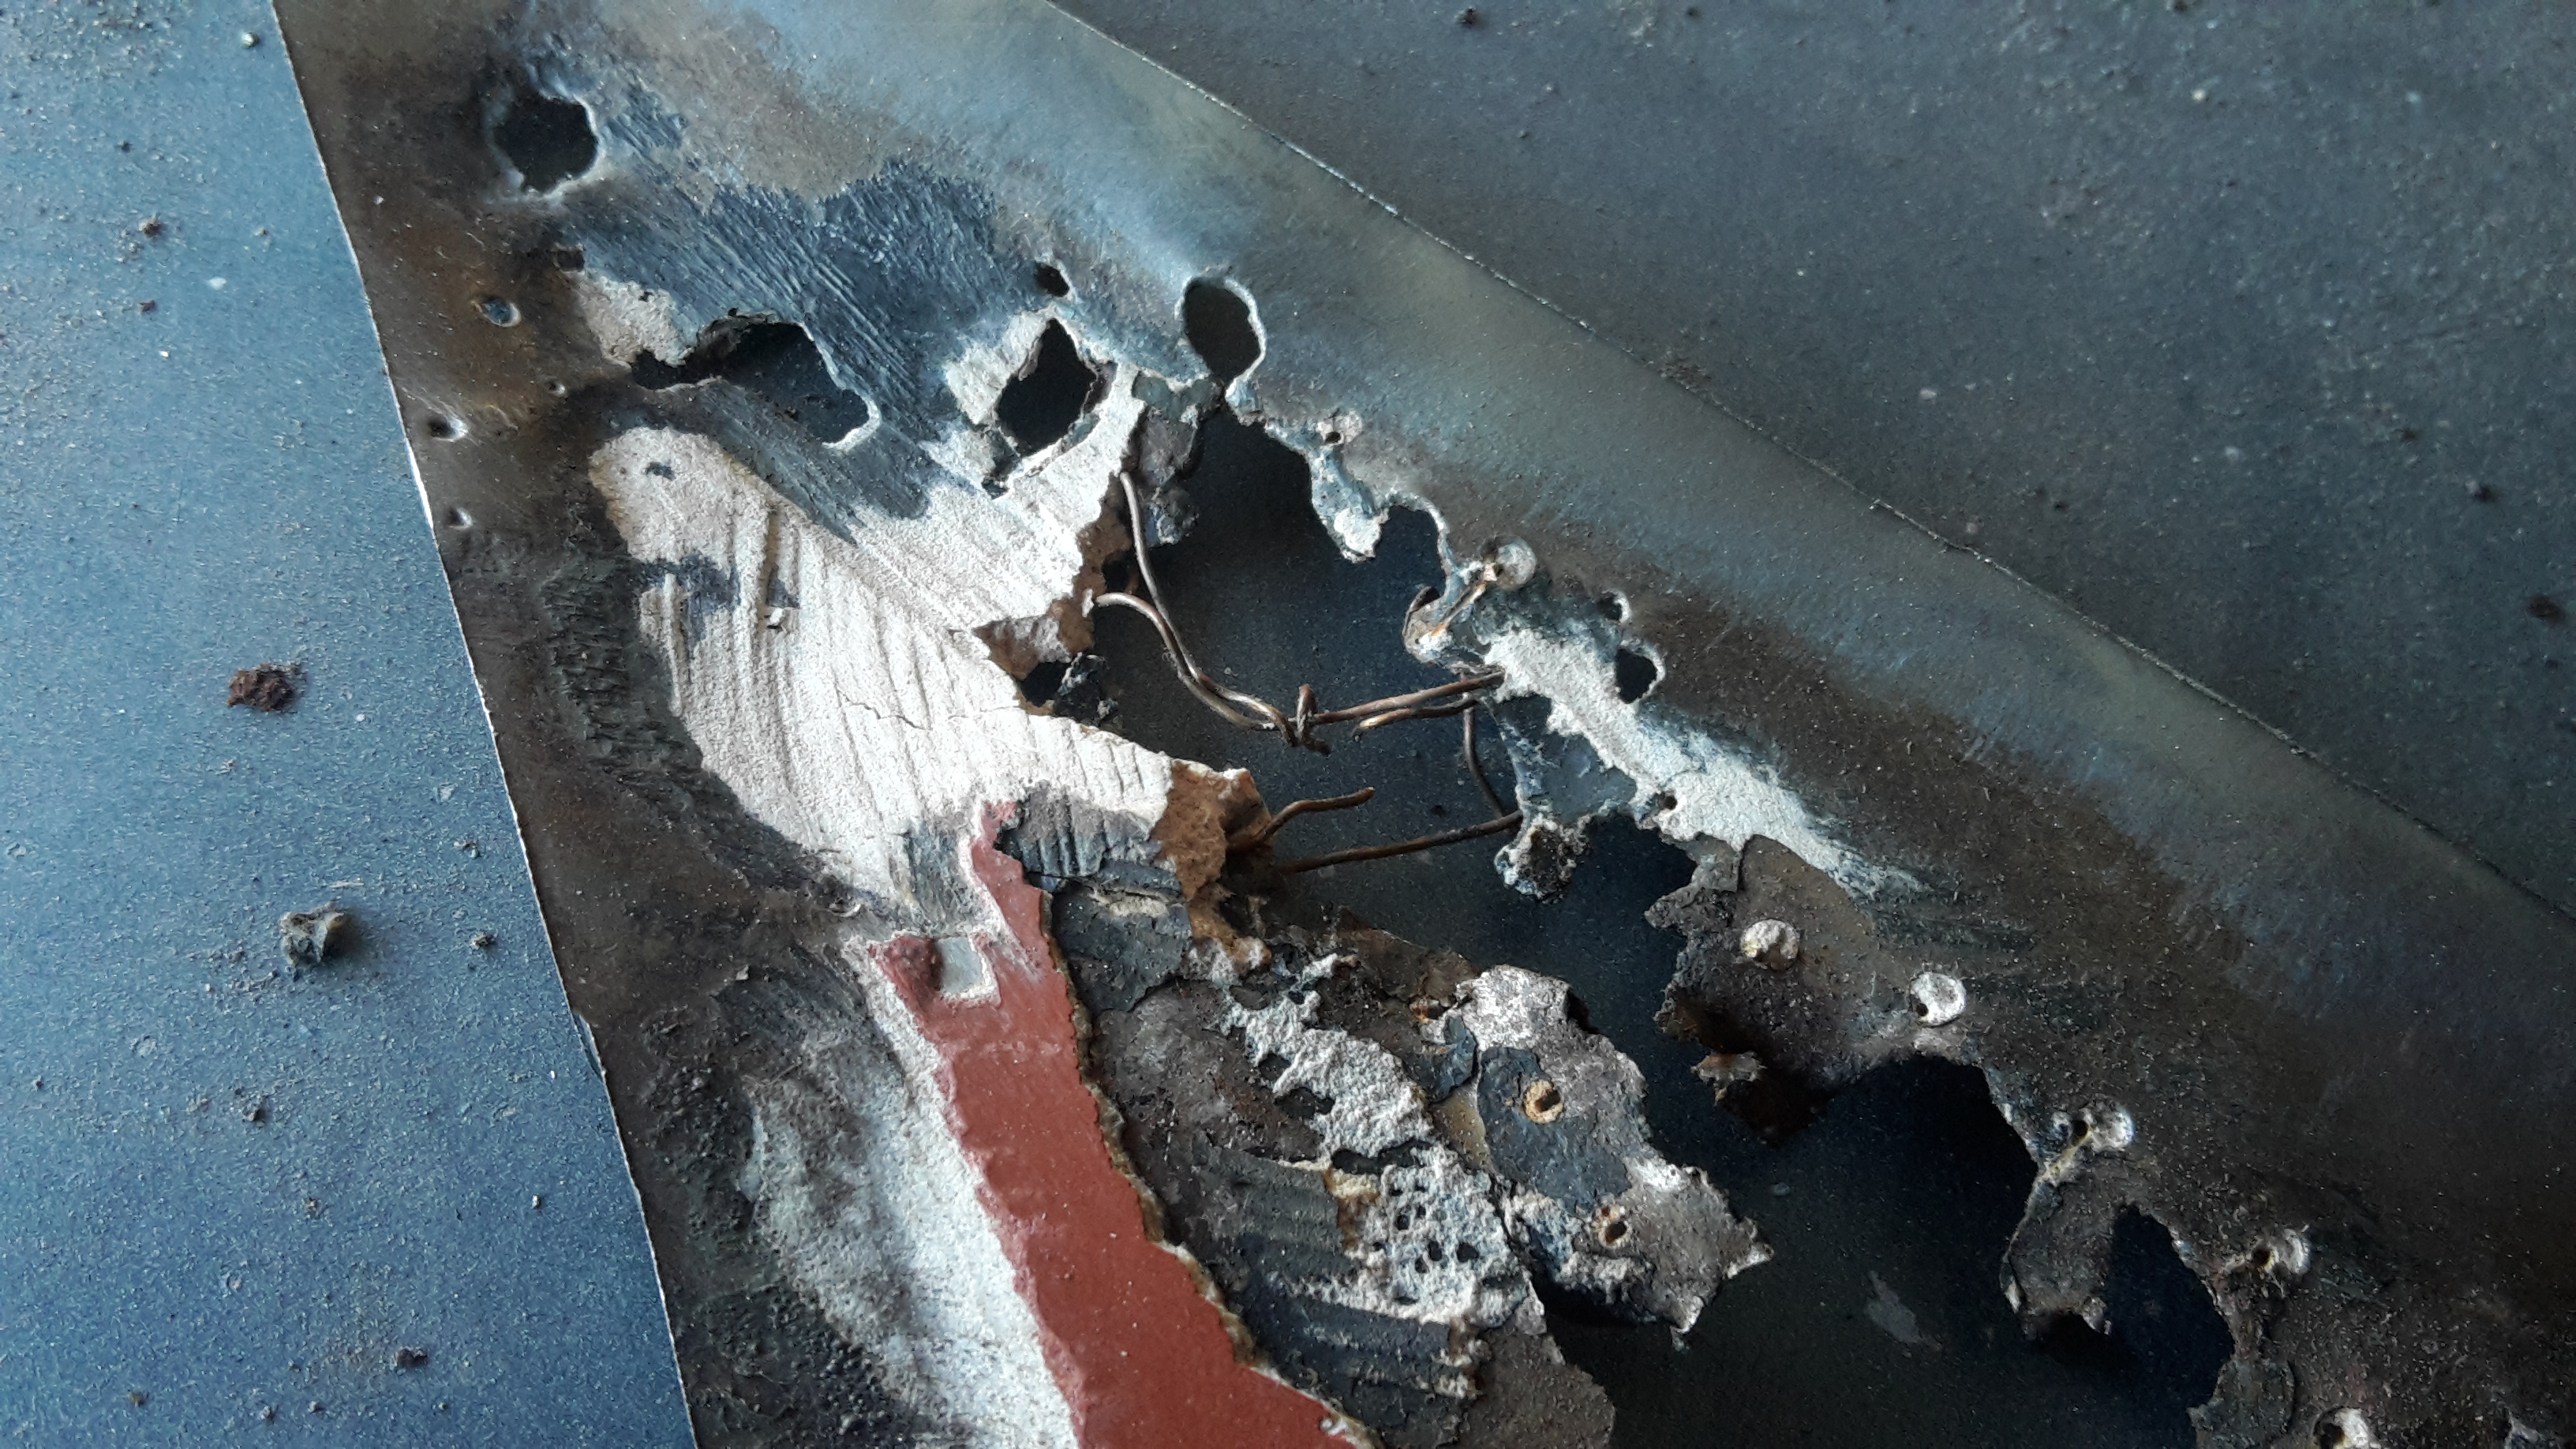
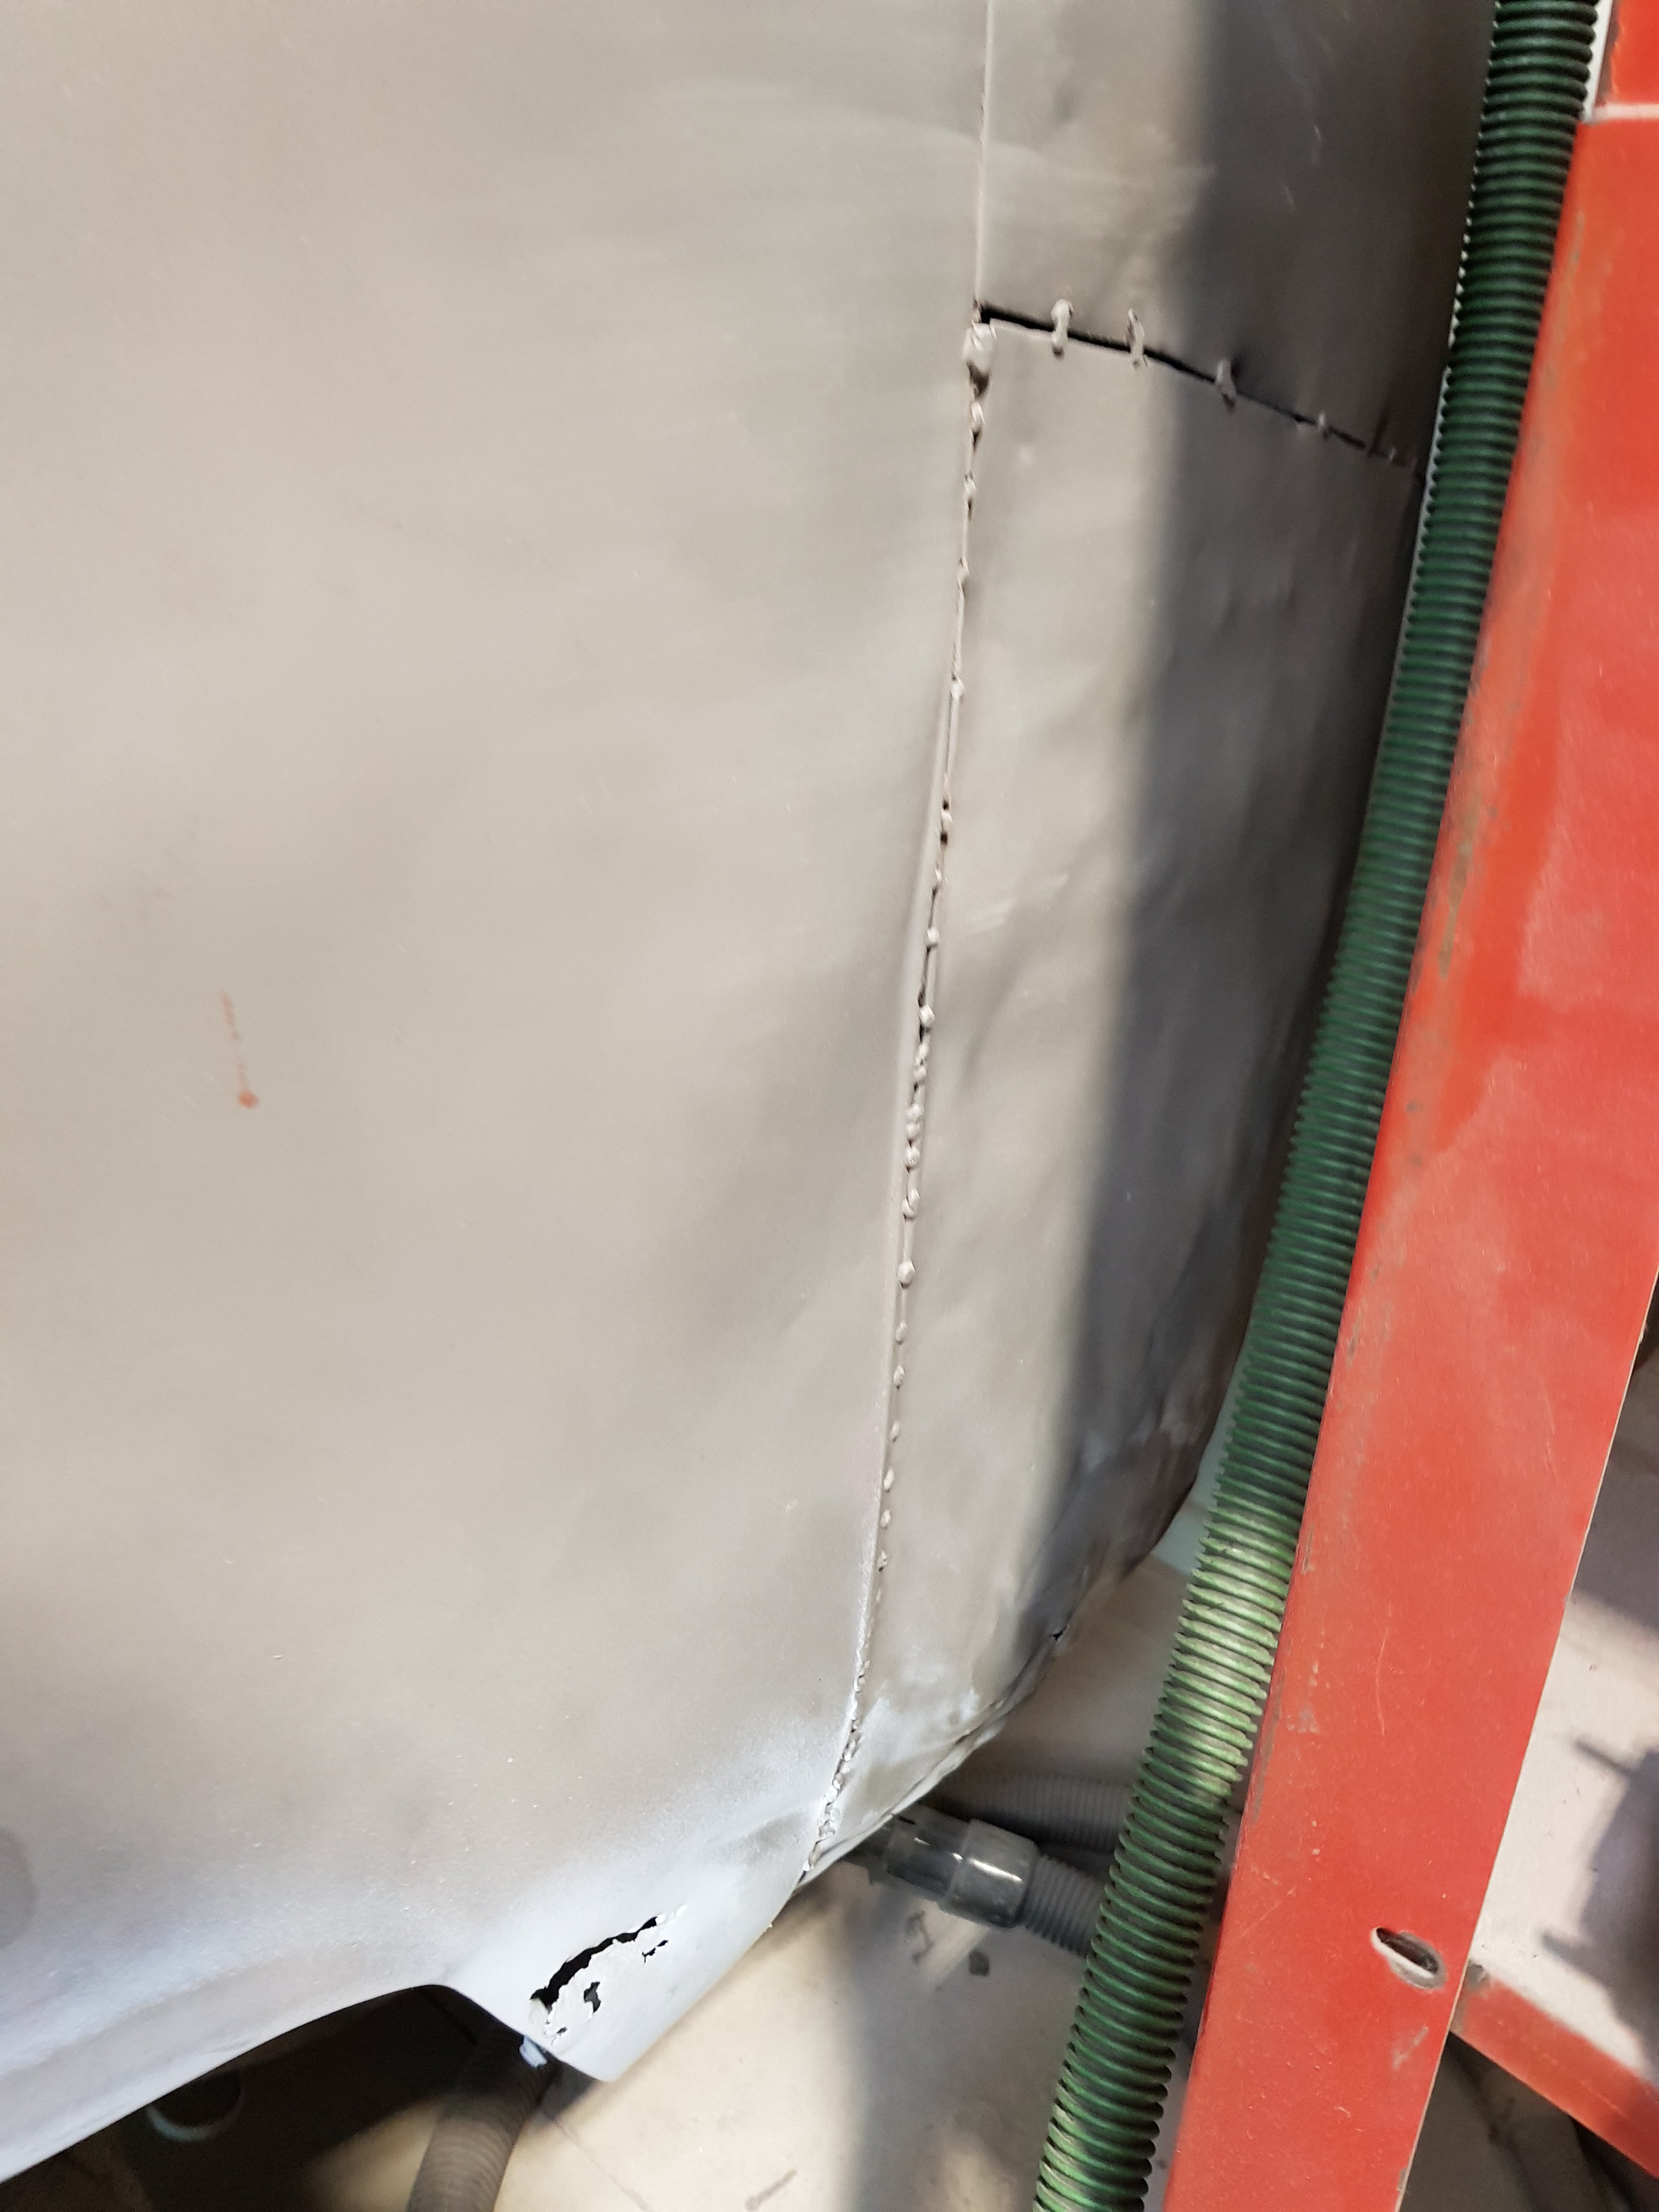
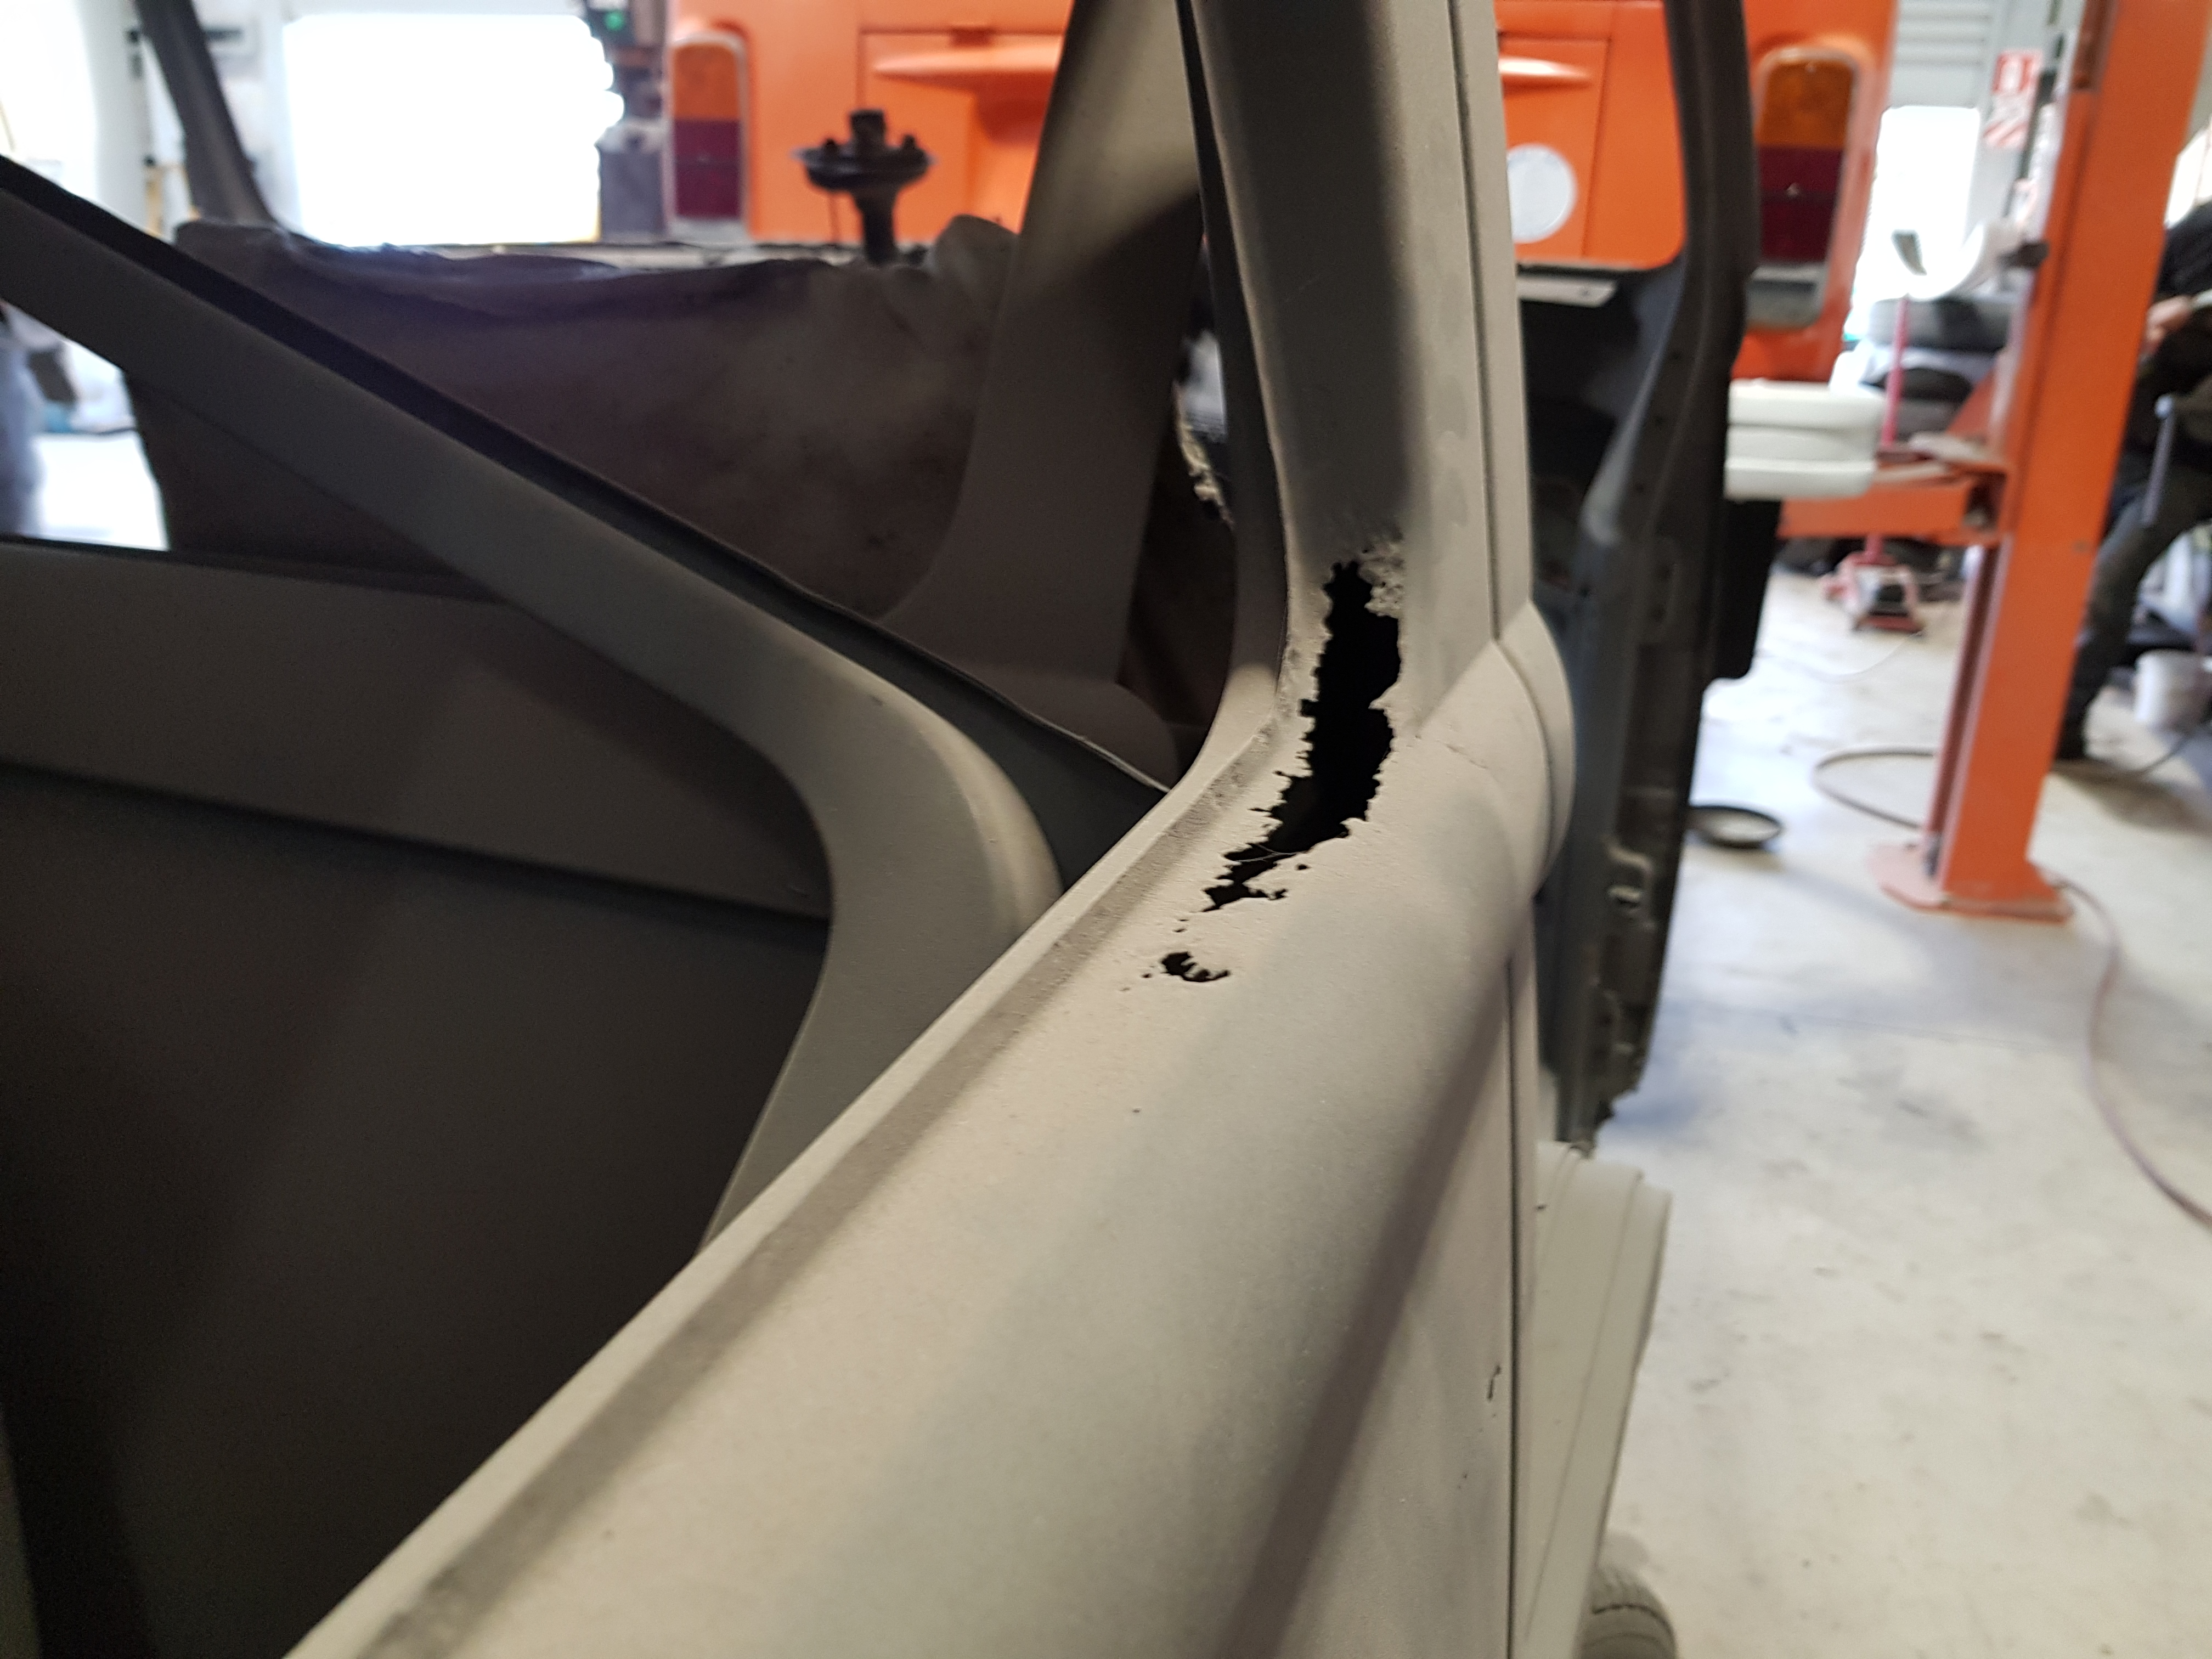
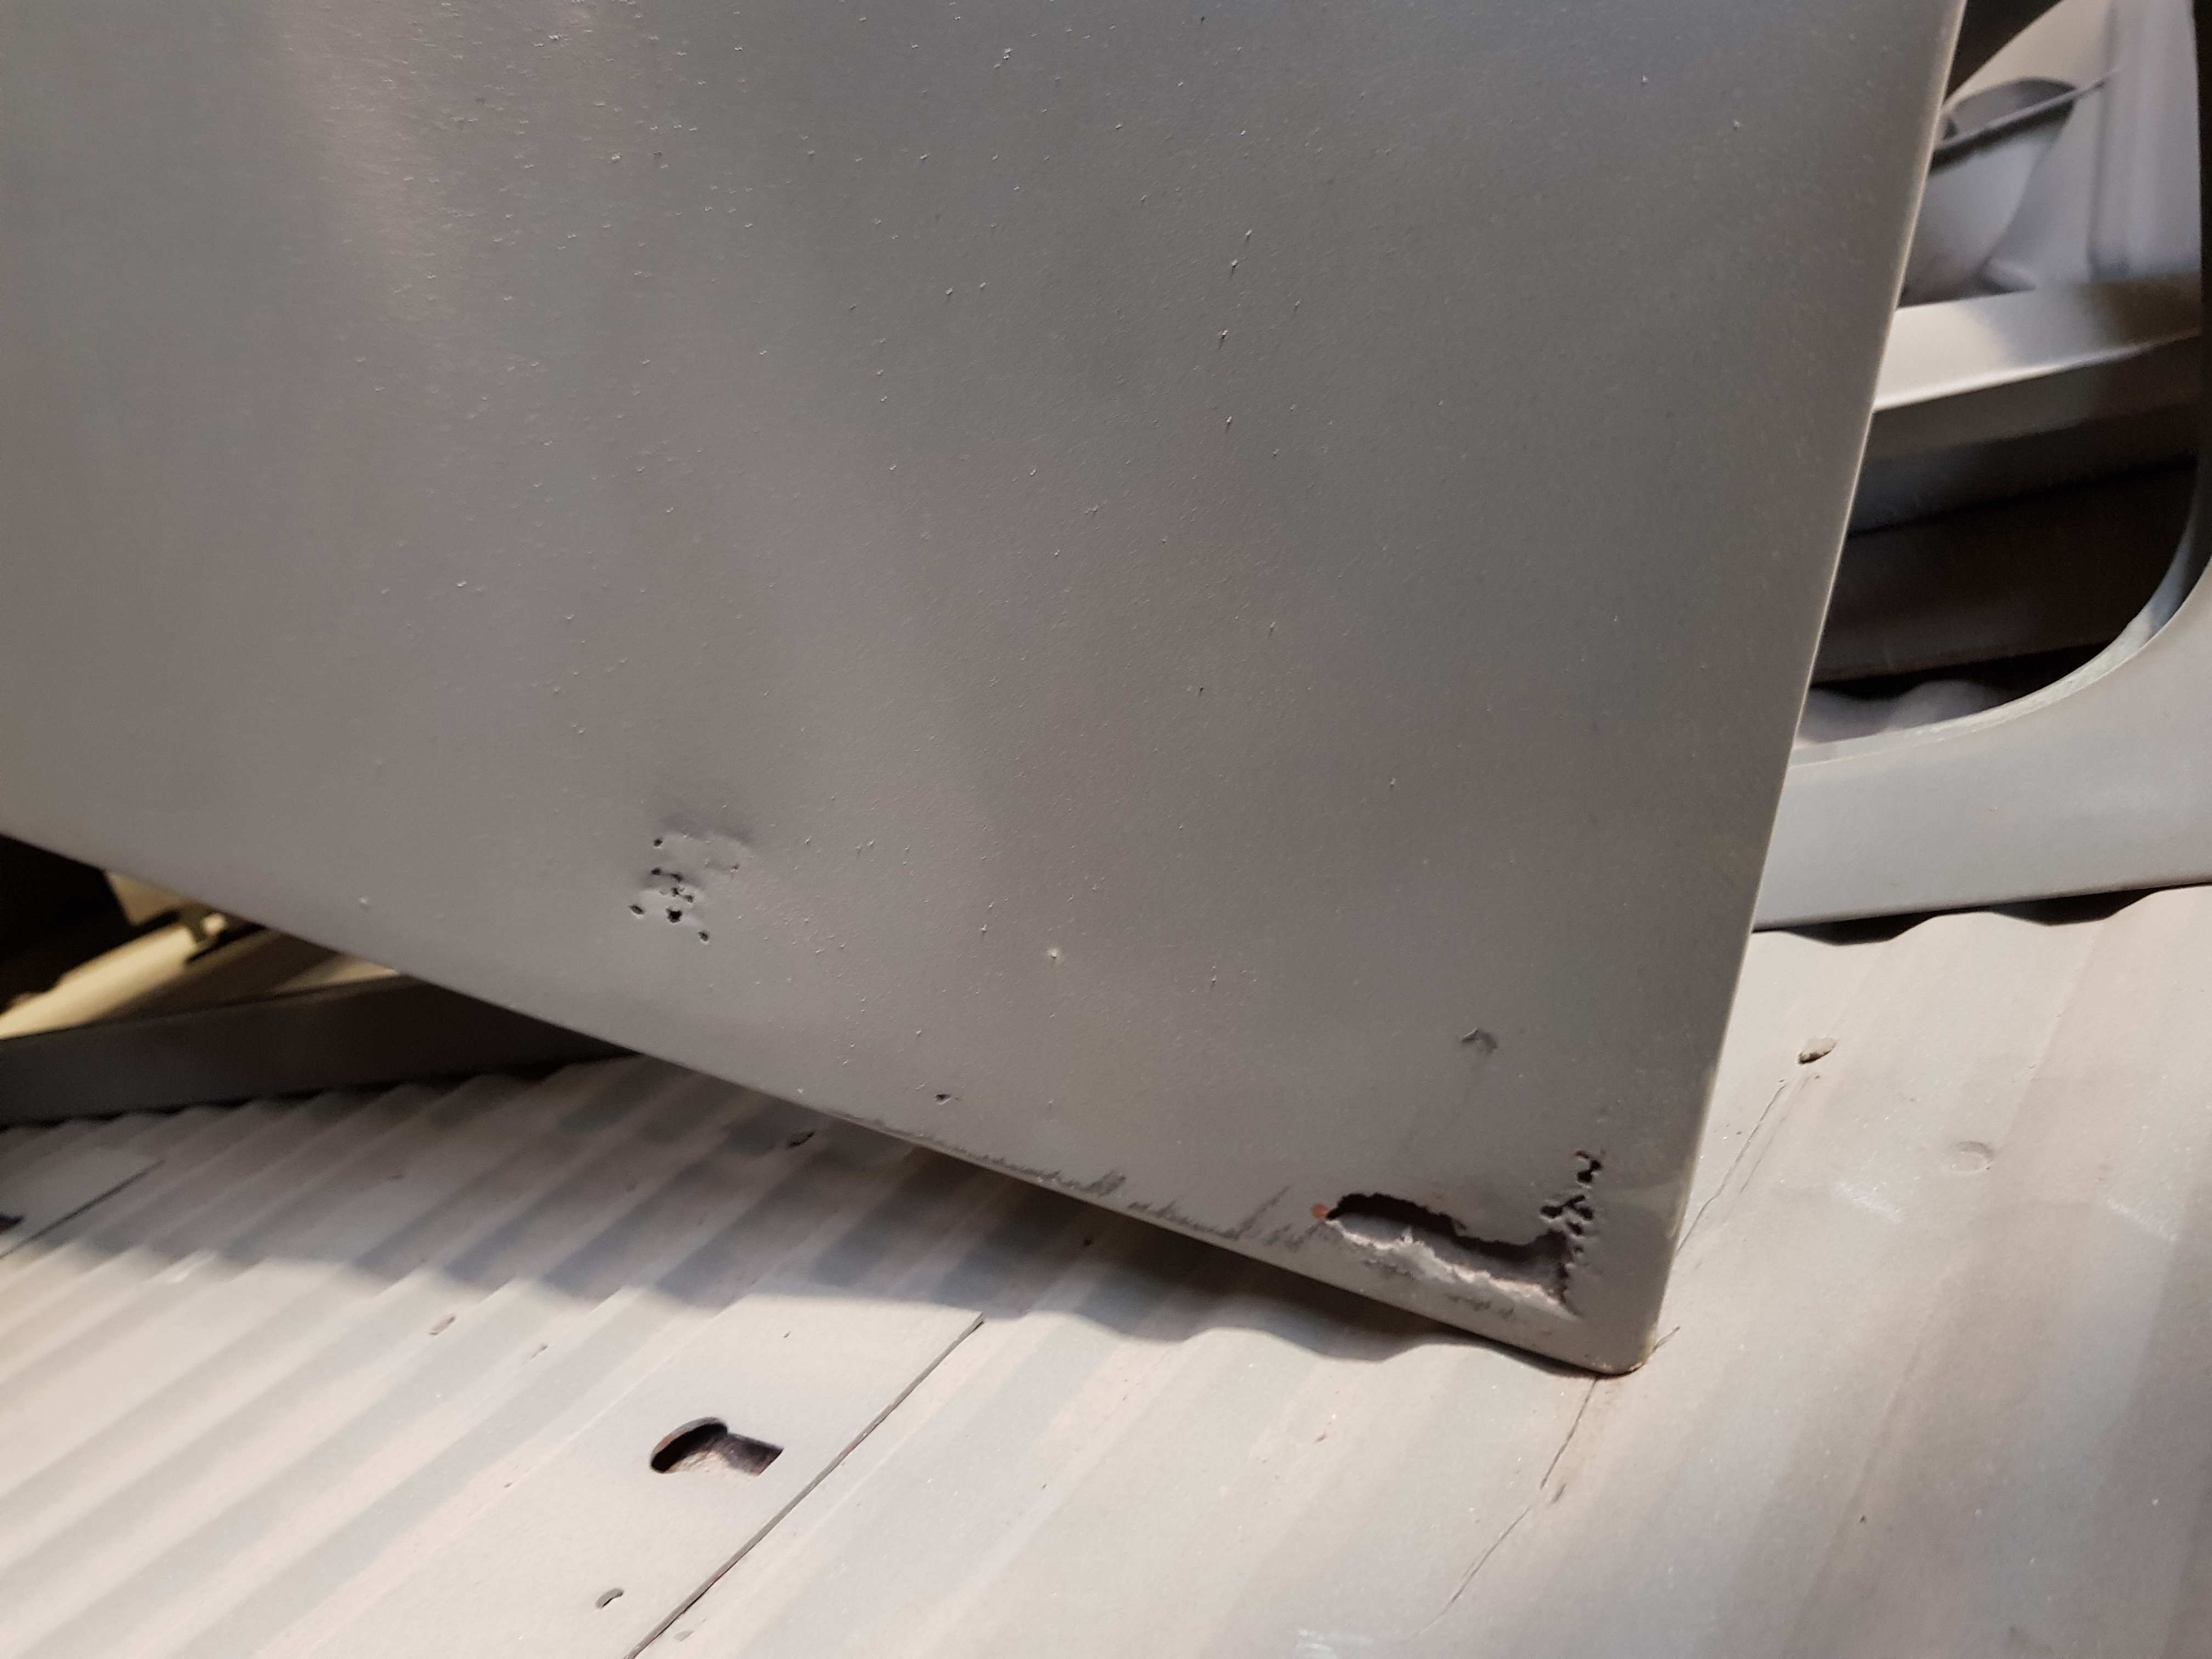
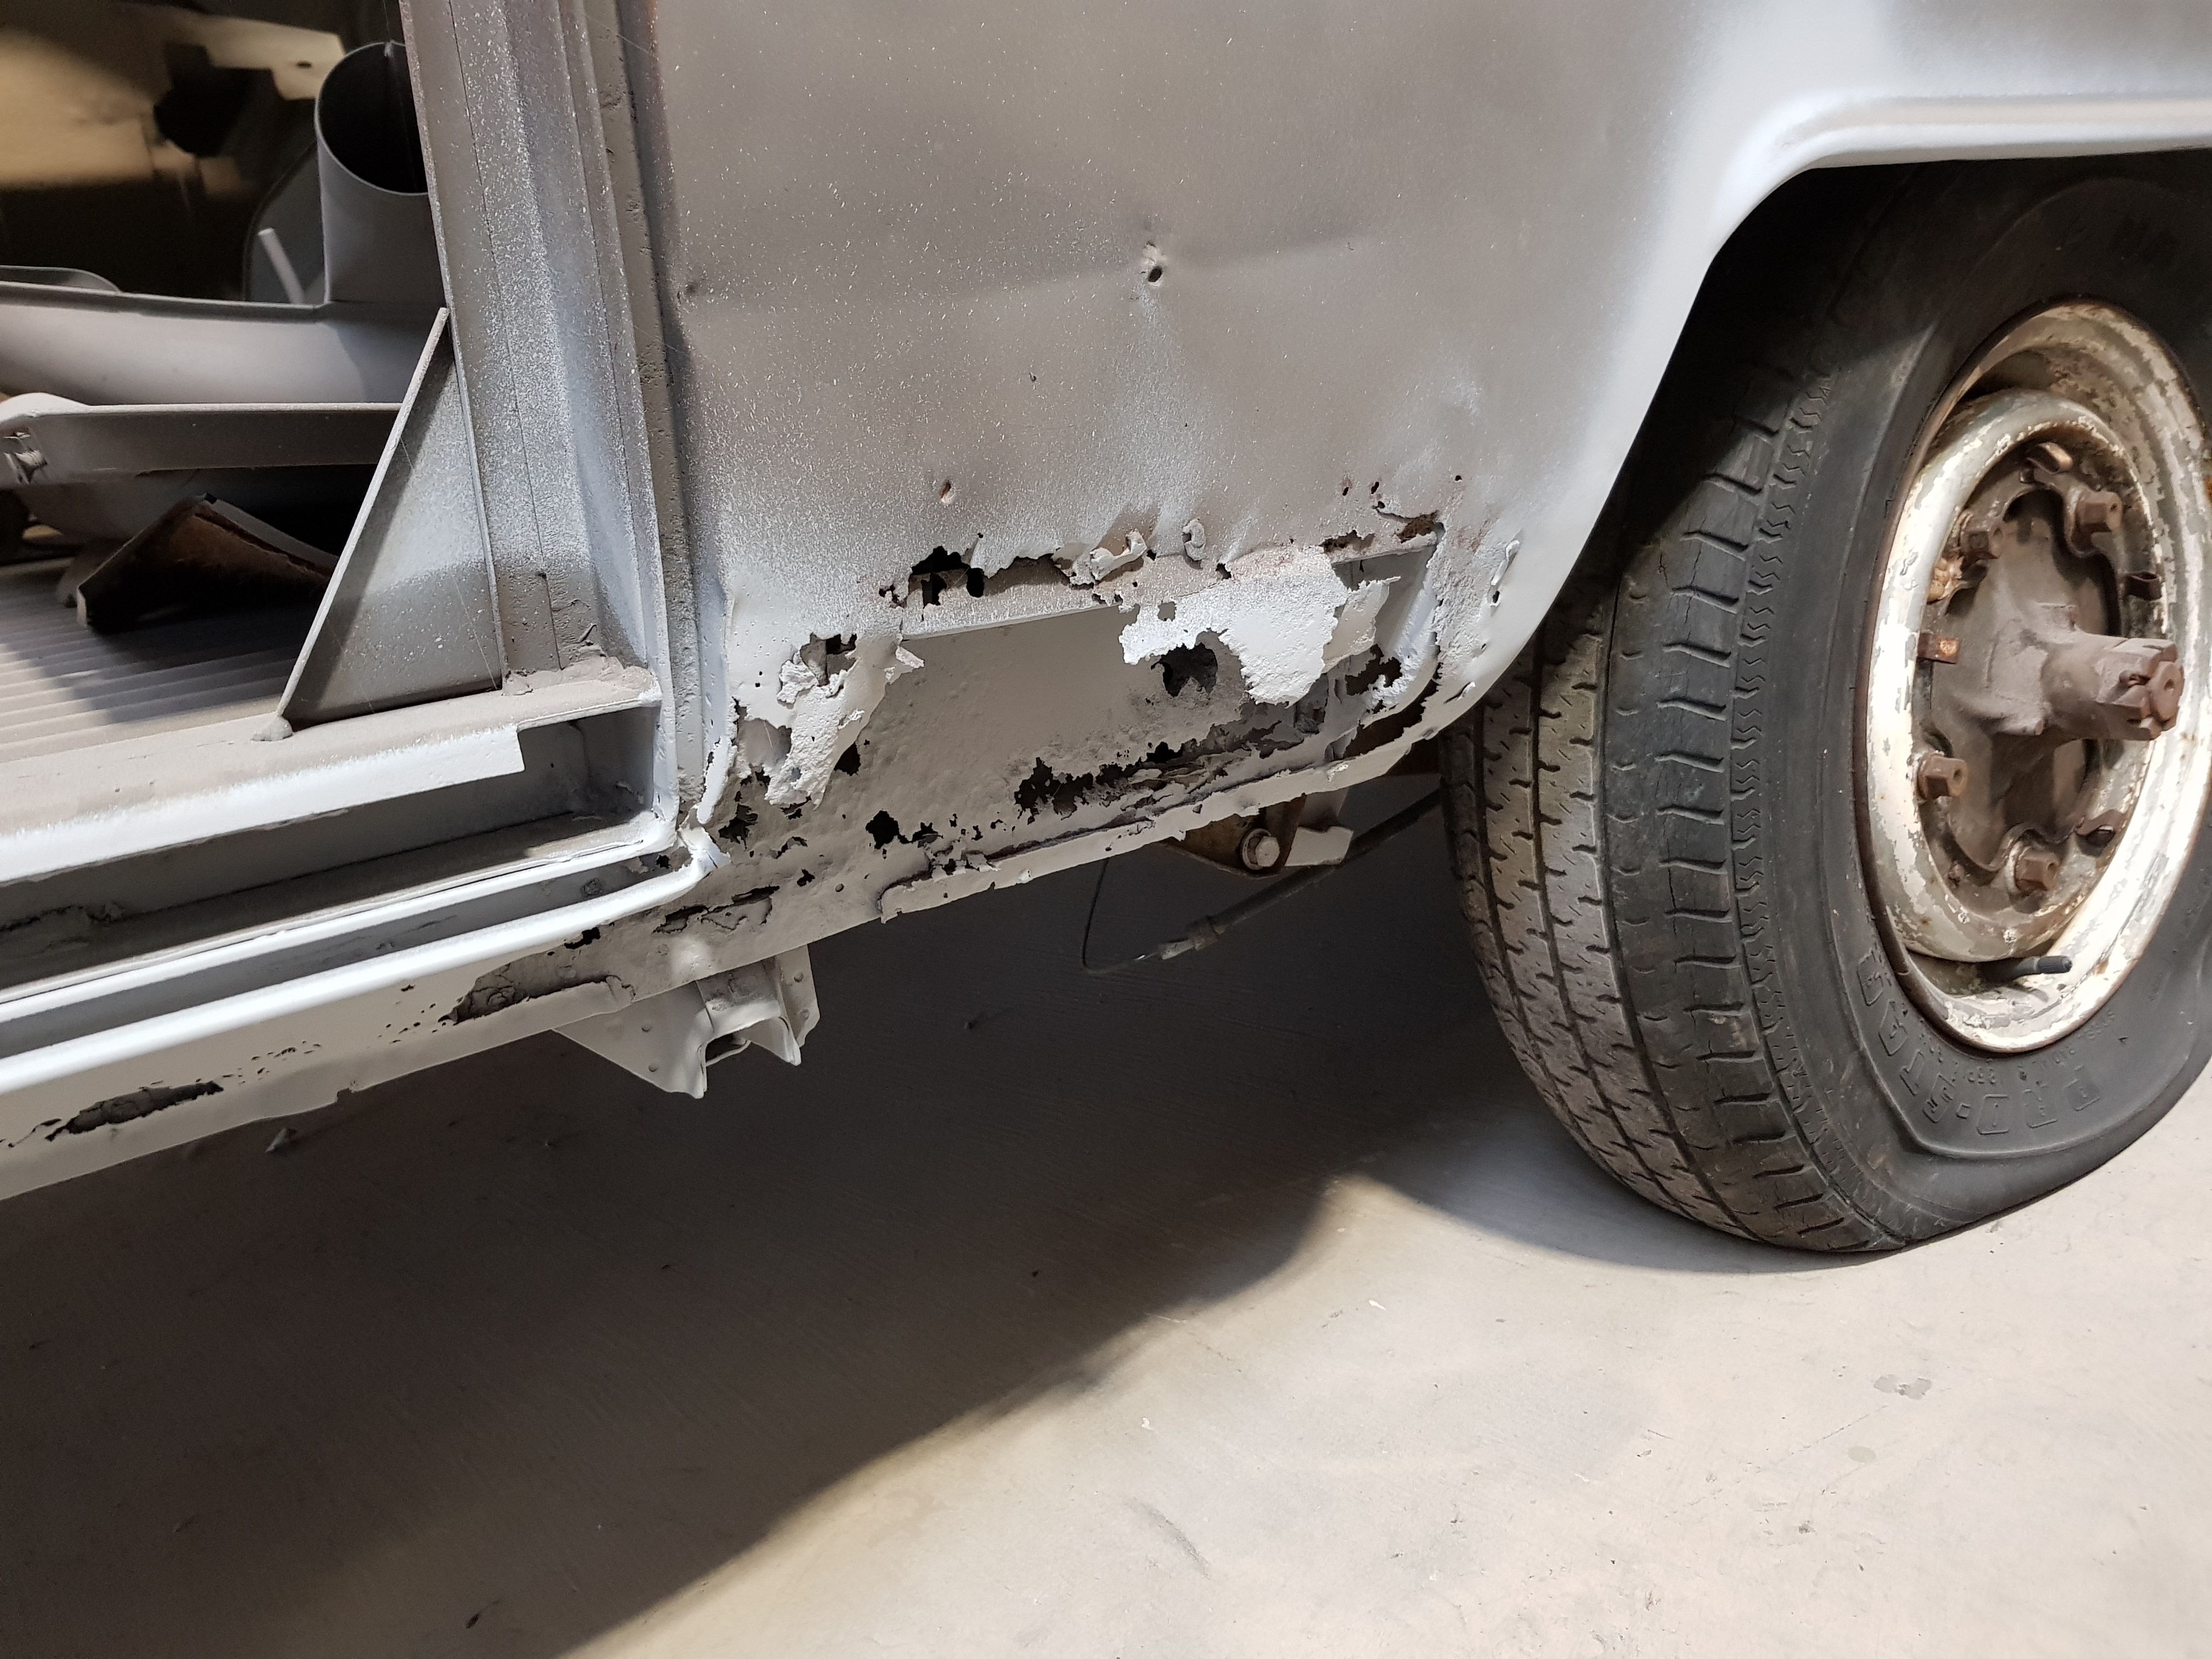
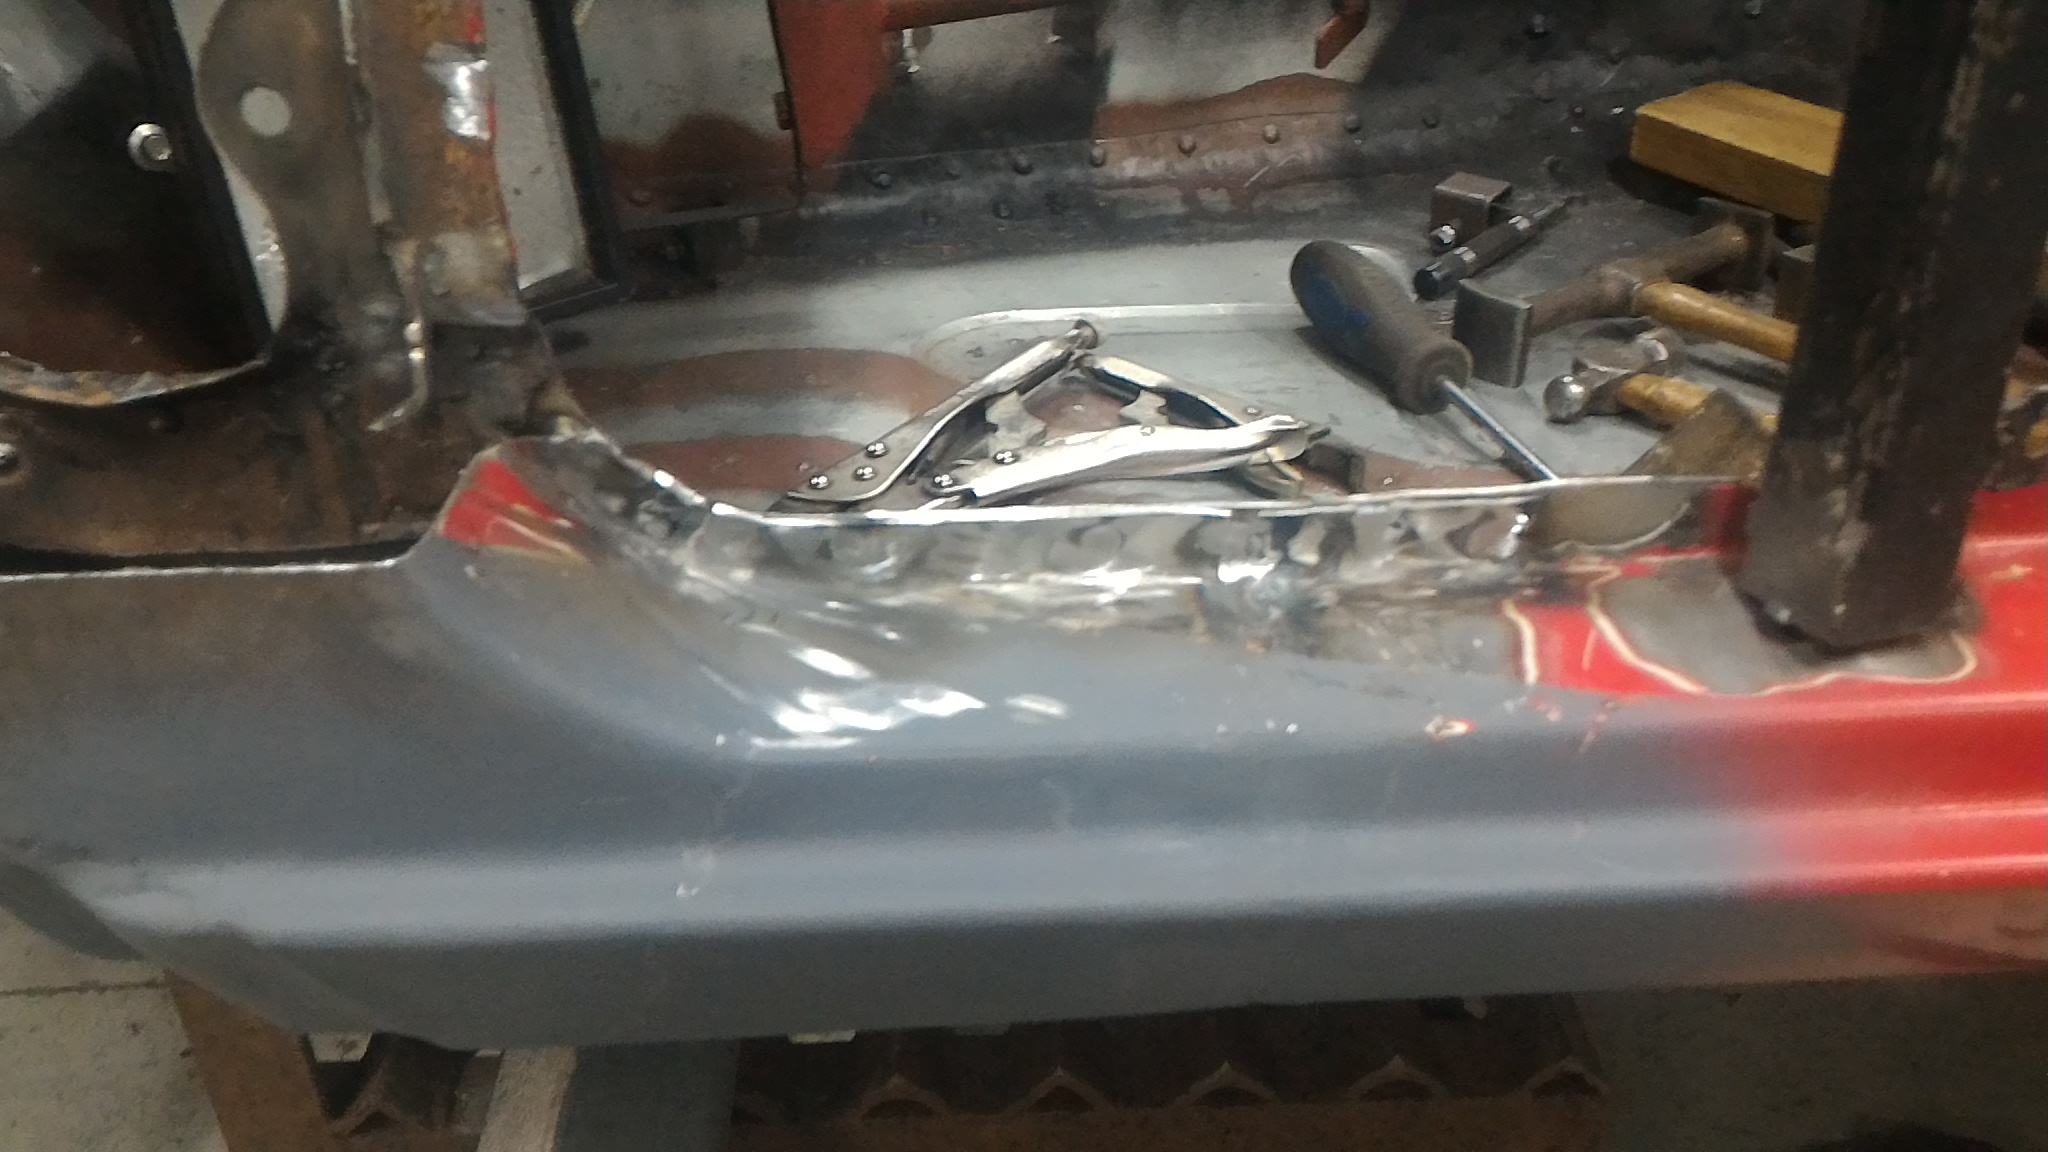
This is what greeted me on lhs inner sill Pics are a bit off centre where's snoozin when u need him? Will post a pic of pass floor too Stay tuned
2 points
-
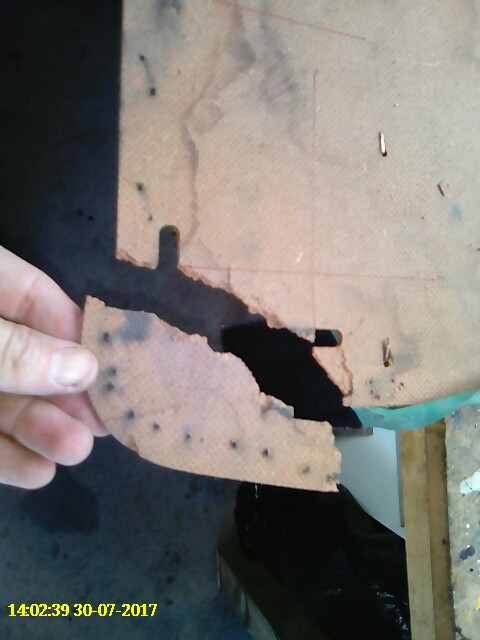
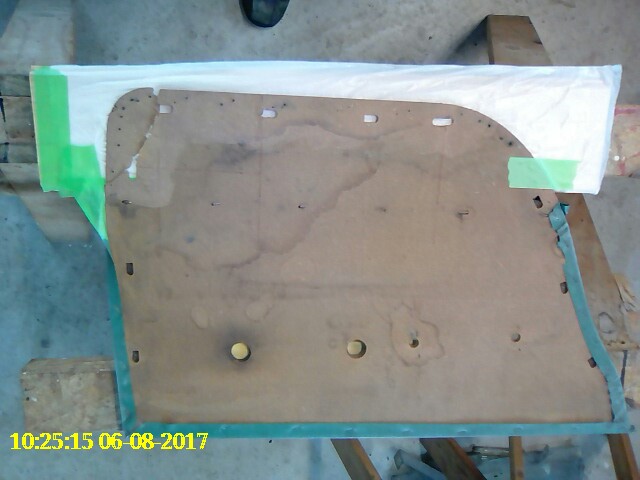
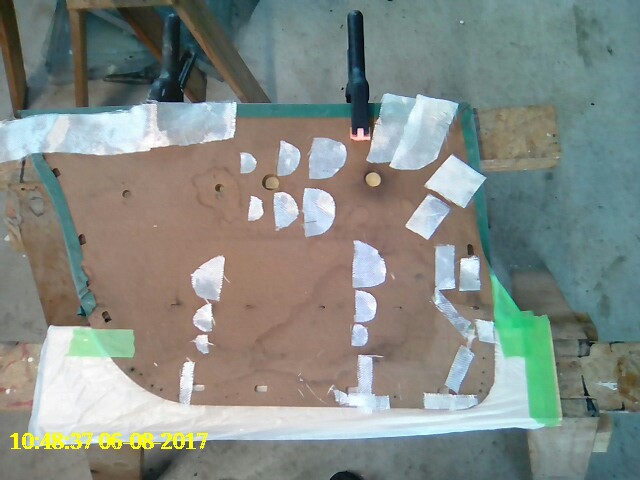
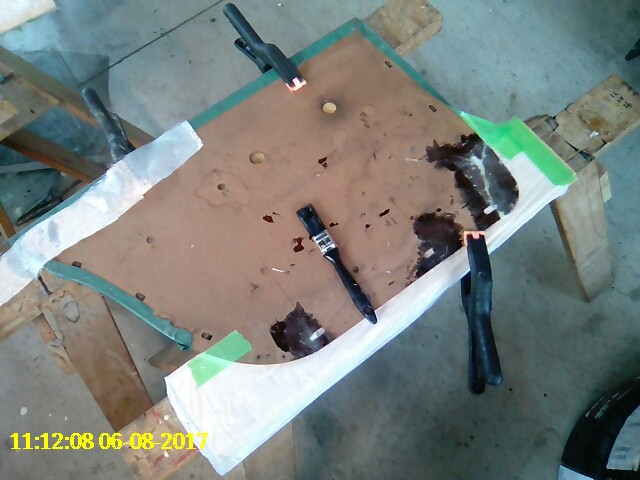
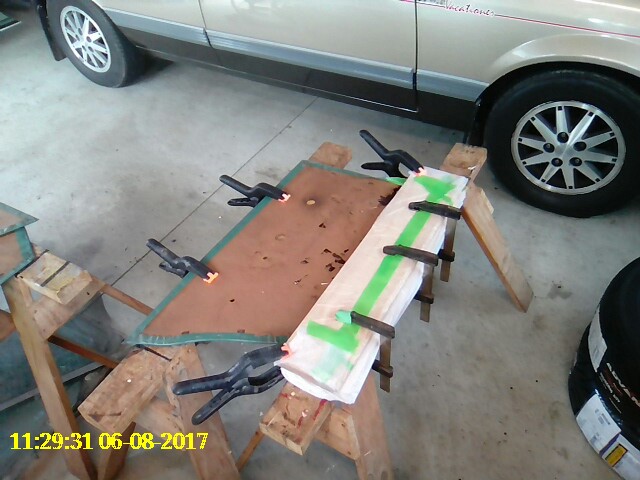
While the car is away having the panel work sorted out I decided to get started fixing up the interior door panels. I started with the left rear, this one actually as a corner broken off completely along with a couple of trim clip locations that can no longer retain the trim clips. I have built a few small boats in the past (you can see them in the background of a few pictures in this thread) and have plenty of fiberglass off cuts in a box in the shed. I decided this would be the perfect material for fixing the door cards so began by cleaning up the areas to be repaired with a sanding disc. Then I cut out a whole lot of little patches from fiberglass cloth so I can build up the damaged areas. Next I set about rebuilding the damaged areas with fiberglass cloth and resin. Finally I put two layers of glass cloth right along the bottom but by this stage my gloves were well coated in resin and I didn't dare try to pick up my phone to take a photo. You can see the strips of glass cloth that I used in the photo above (top left of the pic). I then sandwiched the whole lot together and allowed it all to cure overnight. And the next day it is all cured. Only 3 more to do.
2 points
-
2 points
-
The plan is to chop the ends off it and make a simple Baja Bug. It's something I've always wanted to do but have never found a solid but lashed up car before. I'm not a fan off cutting up good old cars but I'm also not a fan of rusty Beetles. This is what I'll be aiming for, pretty sure it's going to be a bug eye. Aye Before I do that, I'm going to drop it, put a big motor in it, put some paint on and run around like that for a while. I've given it a service, taken the door bars and front half of the cage out coz I'm 50 and falling out of a car at the local Supermarket with your foot stuck under the seat is not big or clever. It's a piece of junk, it rattles crashes over bumps, lets the rain in and is as slow as fuck and doesn't really stop but i'm hooked. Update when my mate finds me the 2" drop spindles and 7" rims for the rear. Hang loose Bro or something.
2 points
-
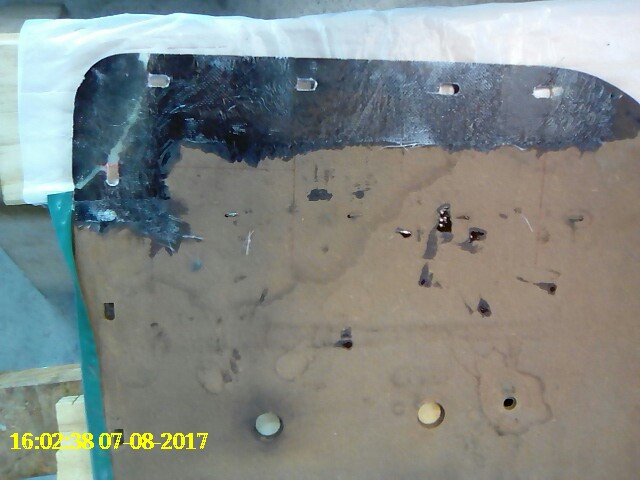
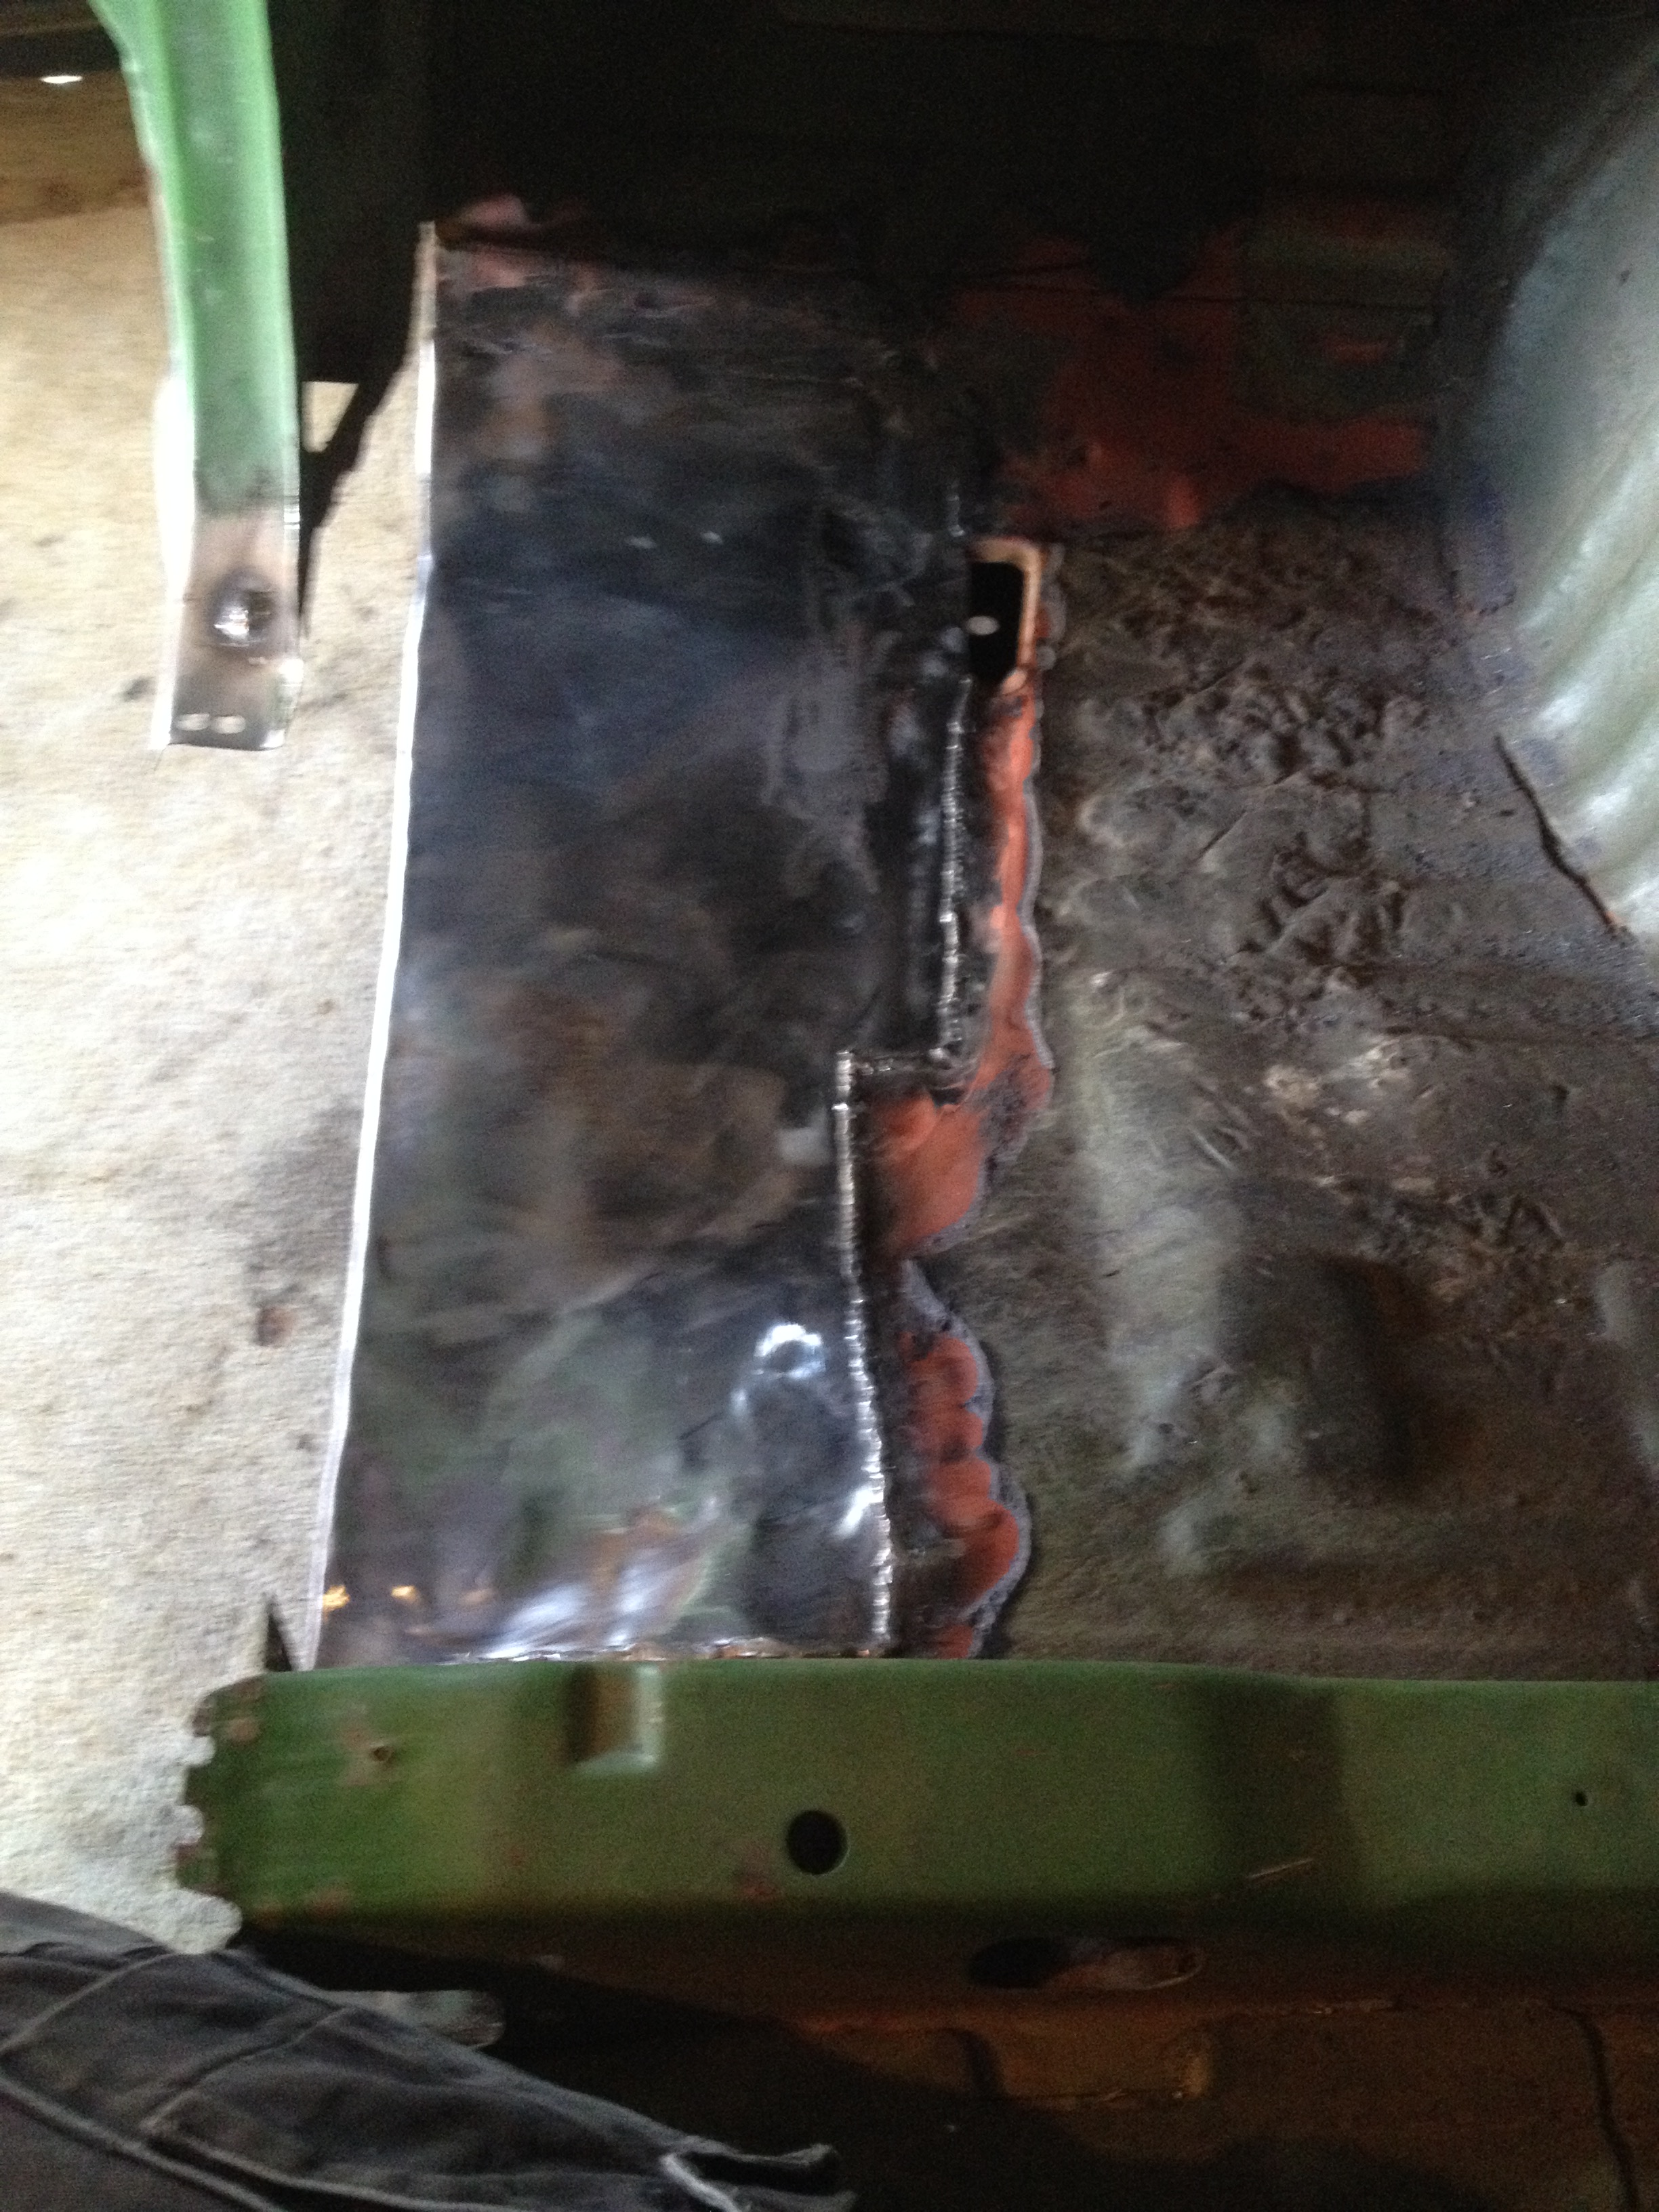
It's been a while since the last update because I had a birthday last weekend and I'm back at work now after a couple months mooching off ACC so it's harder to find time for the poor old escort. That said, I got a little bit done tonight. I started by cutting out the bad steel that I made the repair panel for last time. Then I trimmed both panels up and tacked them together to check how they fit. I'm not worried about the gap at the bottom because everything below there is being replaced anyway. Then I went ahead and fully welded the two patches together. I thought it would be easier to do this while they weren't on the car. In hindsight, I should have done the other side in two parts like this too. It saved a lot of time and headaches. Then I tacked it in place and double checked everything. I'm happy with how it's shaping up. I'm going to leave everything tacked for now right up until I have all the replacement panels on the car, just to let me adjust things if I need to in the process. I apologise for the lack of substantial updates for a while. Trust me though, there will be a very exciting (for me anyway) update on the weekend so stay tuned for that...1 point
-
More...I want to see more!1 point
-
@Shakotom the last VL I had had VN discs on the rear, it braked pretty well but the open diff was a bit hopeless as far as traction went. Really not sure what to do for the rear end, part of me wants to do LSD and discs now so I only have to get cert once but I don't own a car that goes so I really need to get it legal. Tempted to raid a VN this weekend...1 point
-
They go hard for what they are to be sure.1 point
-
ChasintheRoyale Everytime I read your user name I assume that your name is Chas and that you are in a Mitsubishi Mirage. This is the website for you: http://www.calaisturbo.com.au/1 point
-
Been making a list of things that need to be done, hopefully this will take care of a few reliability and potential cert/WOF issues Oil and filter Fuel filter Air filter Recore radiator Thermostat & gasket Radiator cap Release bearing BOV Inlet manifold clean & gaskets Check injector & coolant hoses Drive shaft loops Diff & gearbox oils Reverse lights Fit speedo cable Check cam belt Drive shaft U/J's Front brake pads Rear brake shoes and cylinders L/H floor damage Surface rust on rear brake line Rust in spare wheel well and seal channel Alarm Secure intake pipe brackets Check ignition timing Rust kill and paint radiator support Replace steering rack boots1 point
-
You should be able to refit your bell housing onto any other (4cyl, 6 cyl boxes are shorter overall) fs5w71c. I call Dibbs on your old fucked one.1 point
-
fs5w71c, from what I can tell.1 point
-
I thought id hear way more wind noise atleast and its nada even at 160~ i actually notice no difference to the cars handling or noise so im happy. I just want to cheat my way closer to walls and clips without using the car body...1 point
-
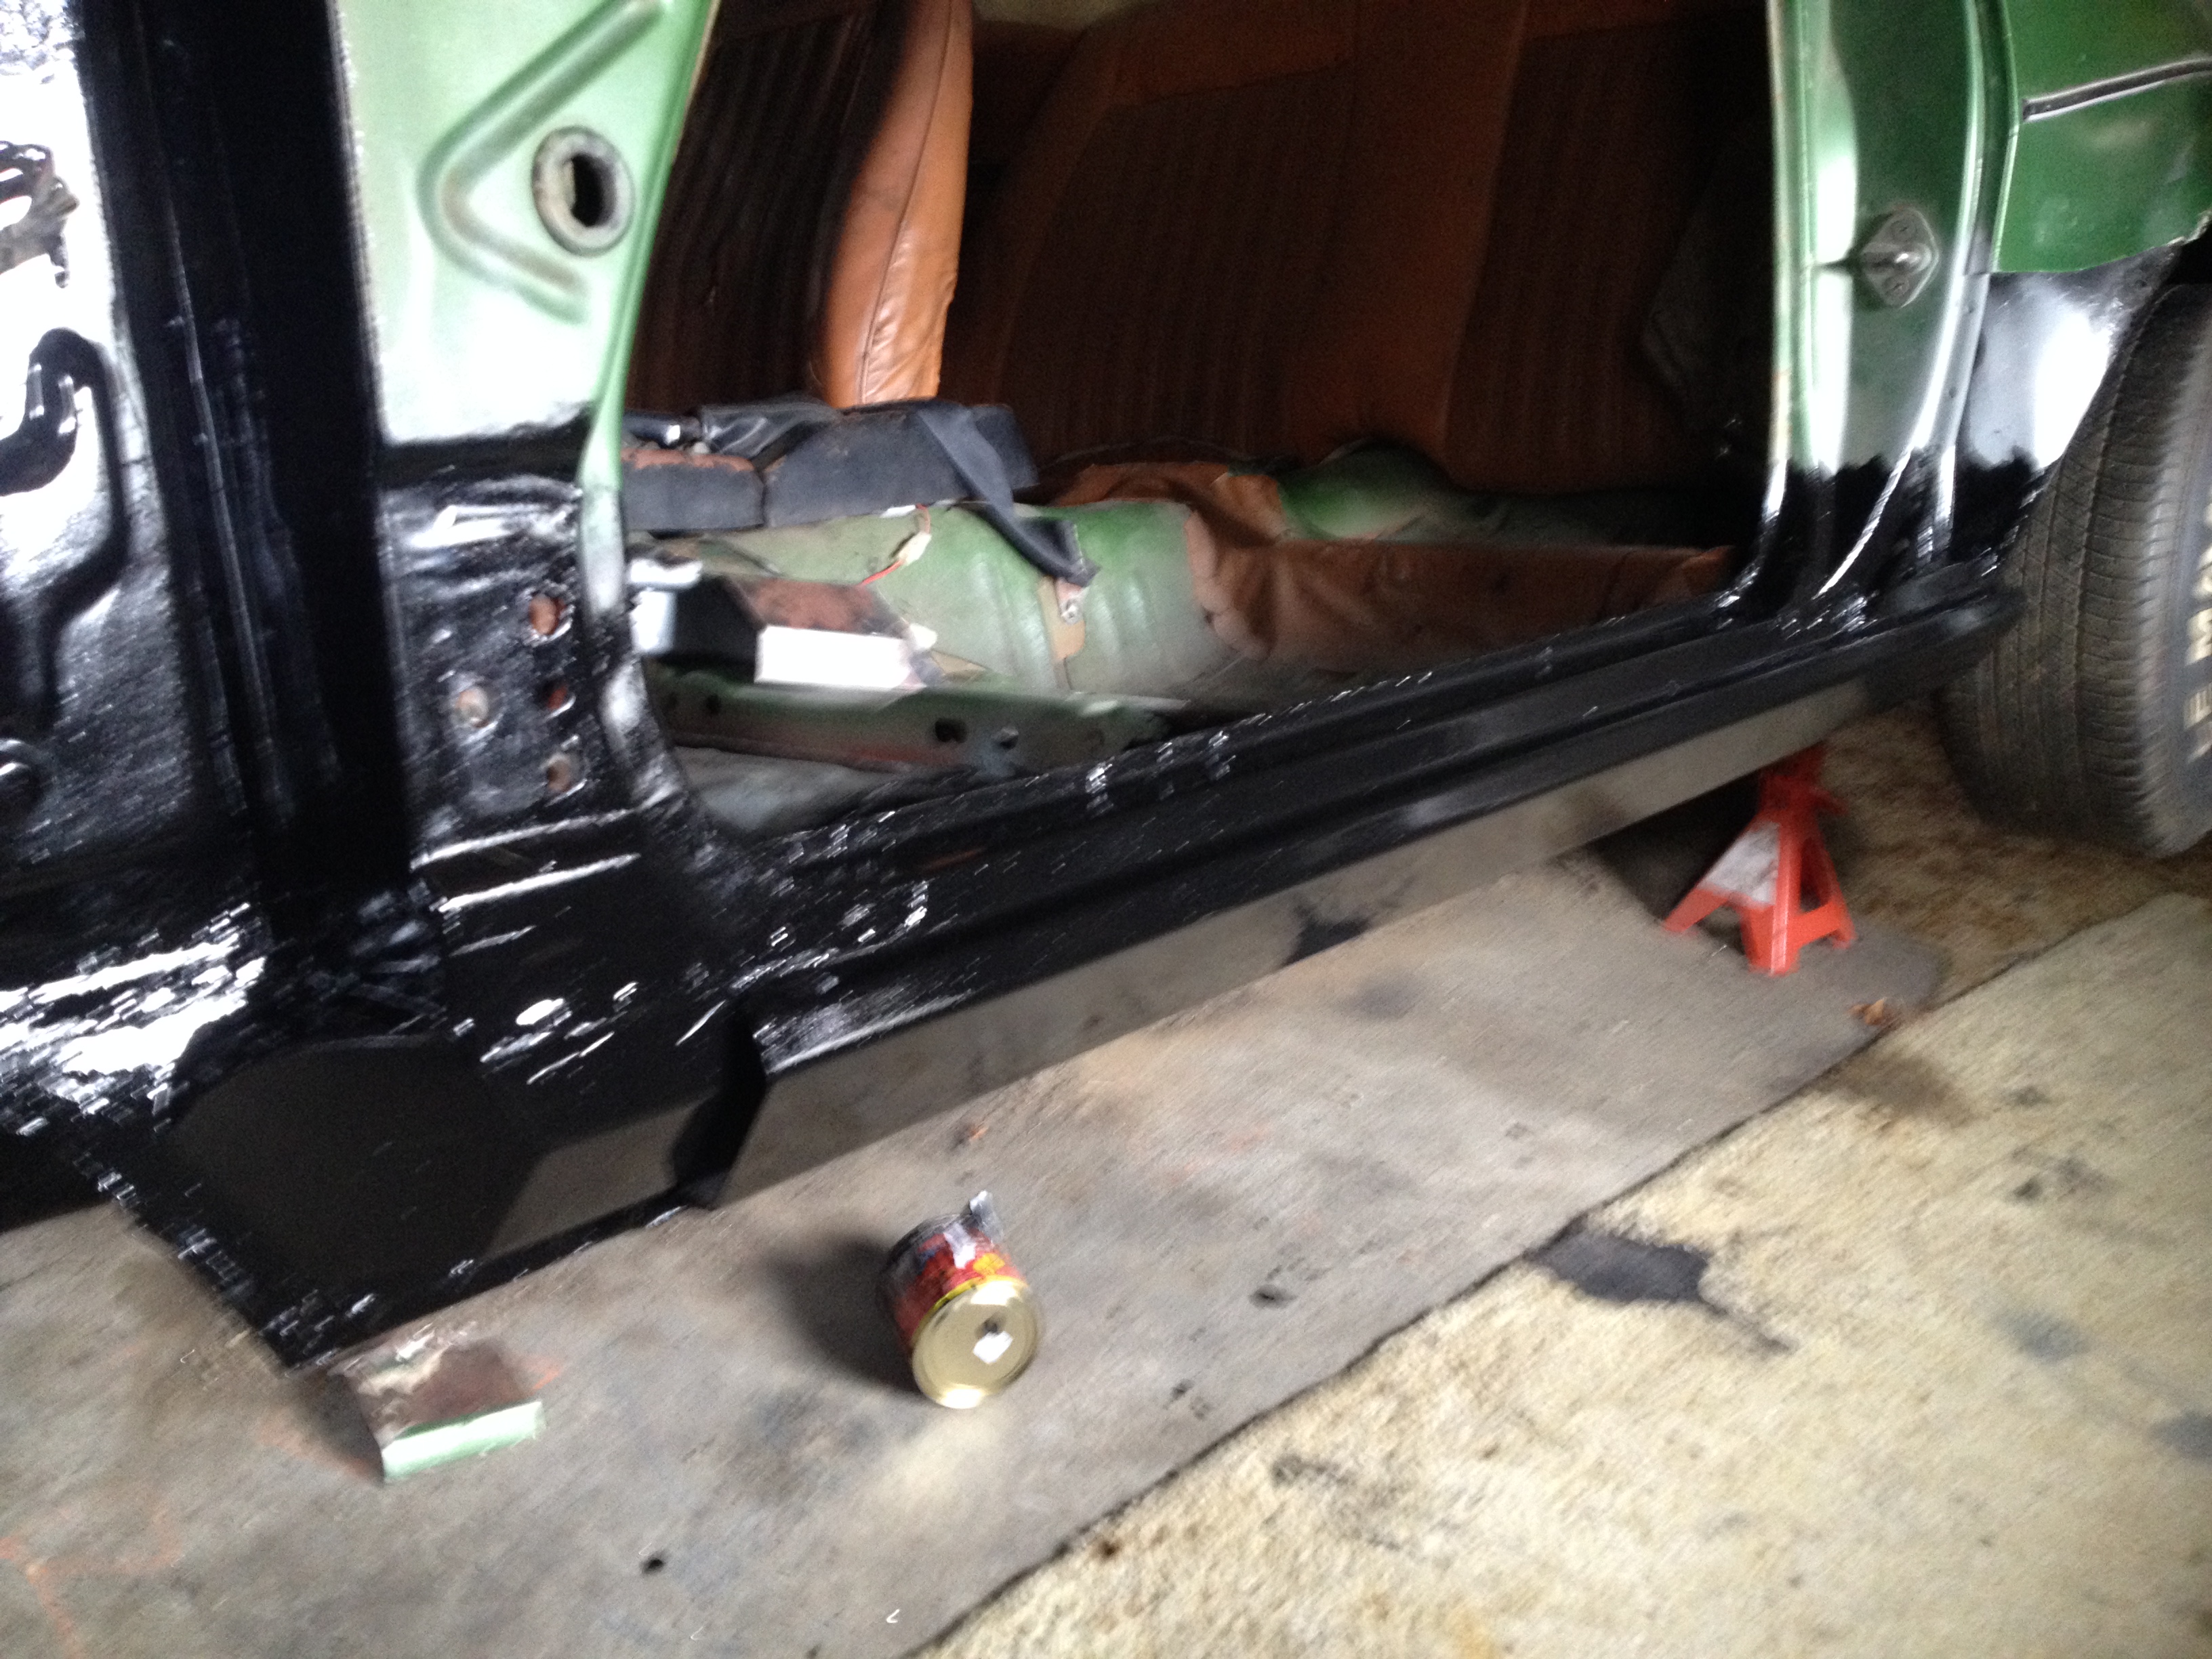
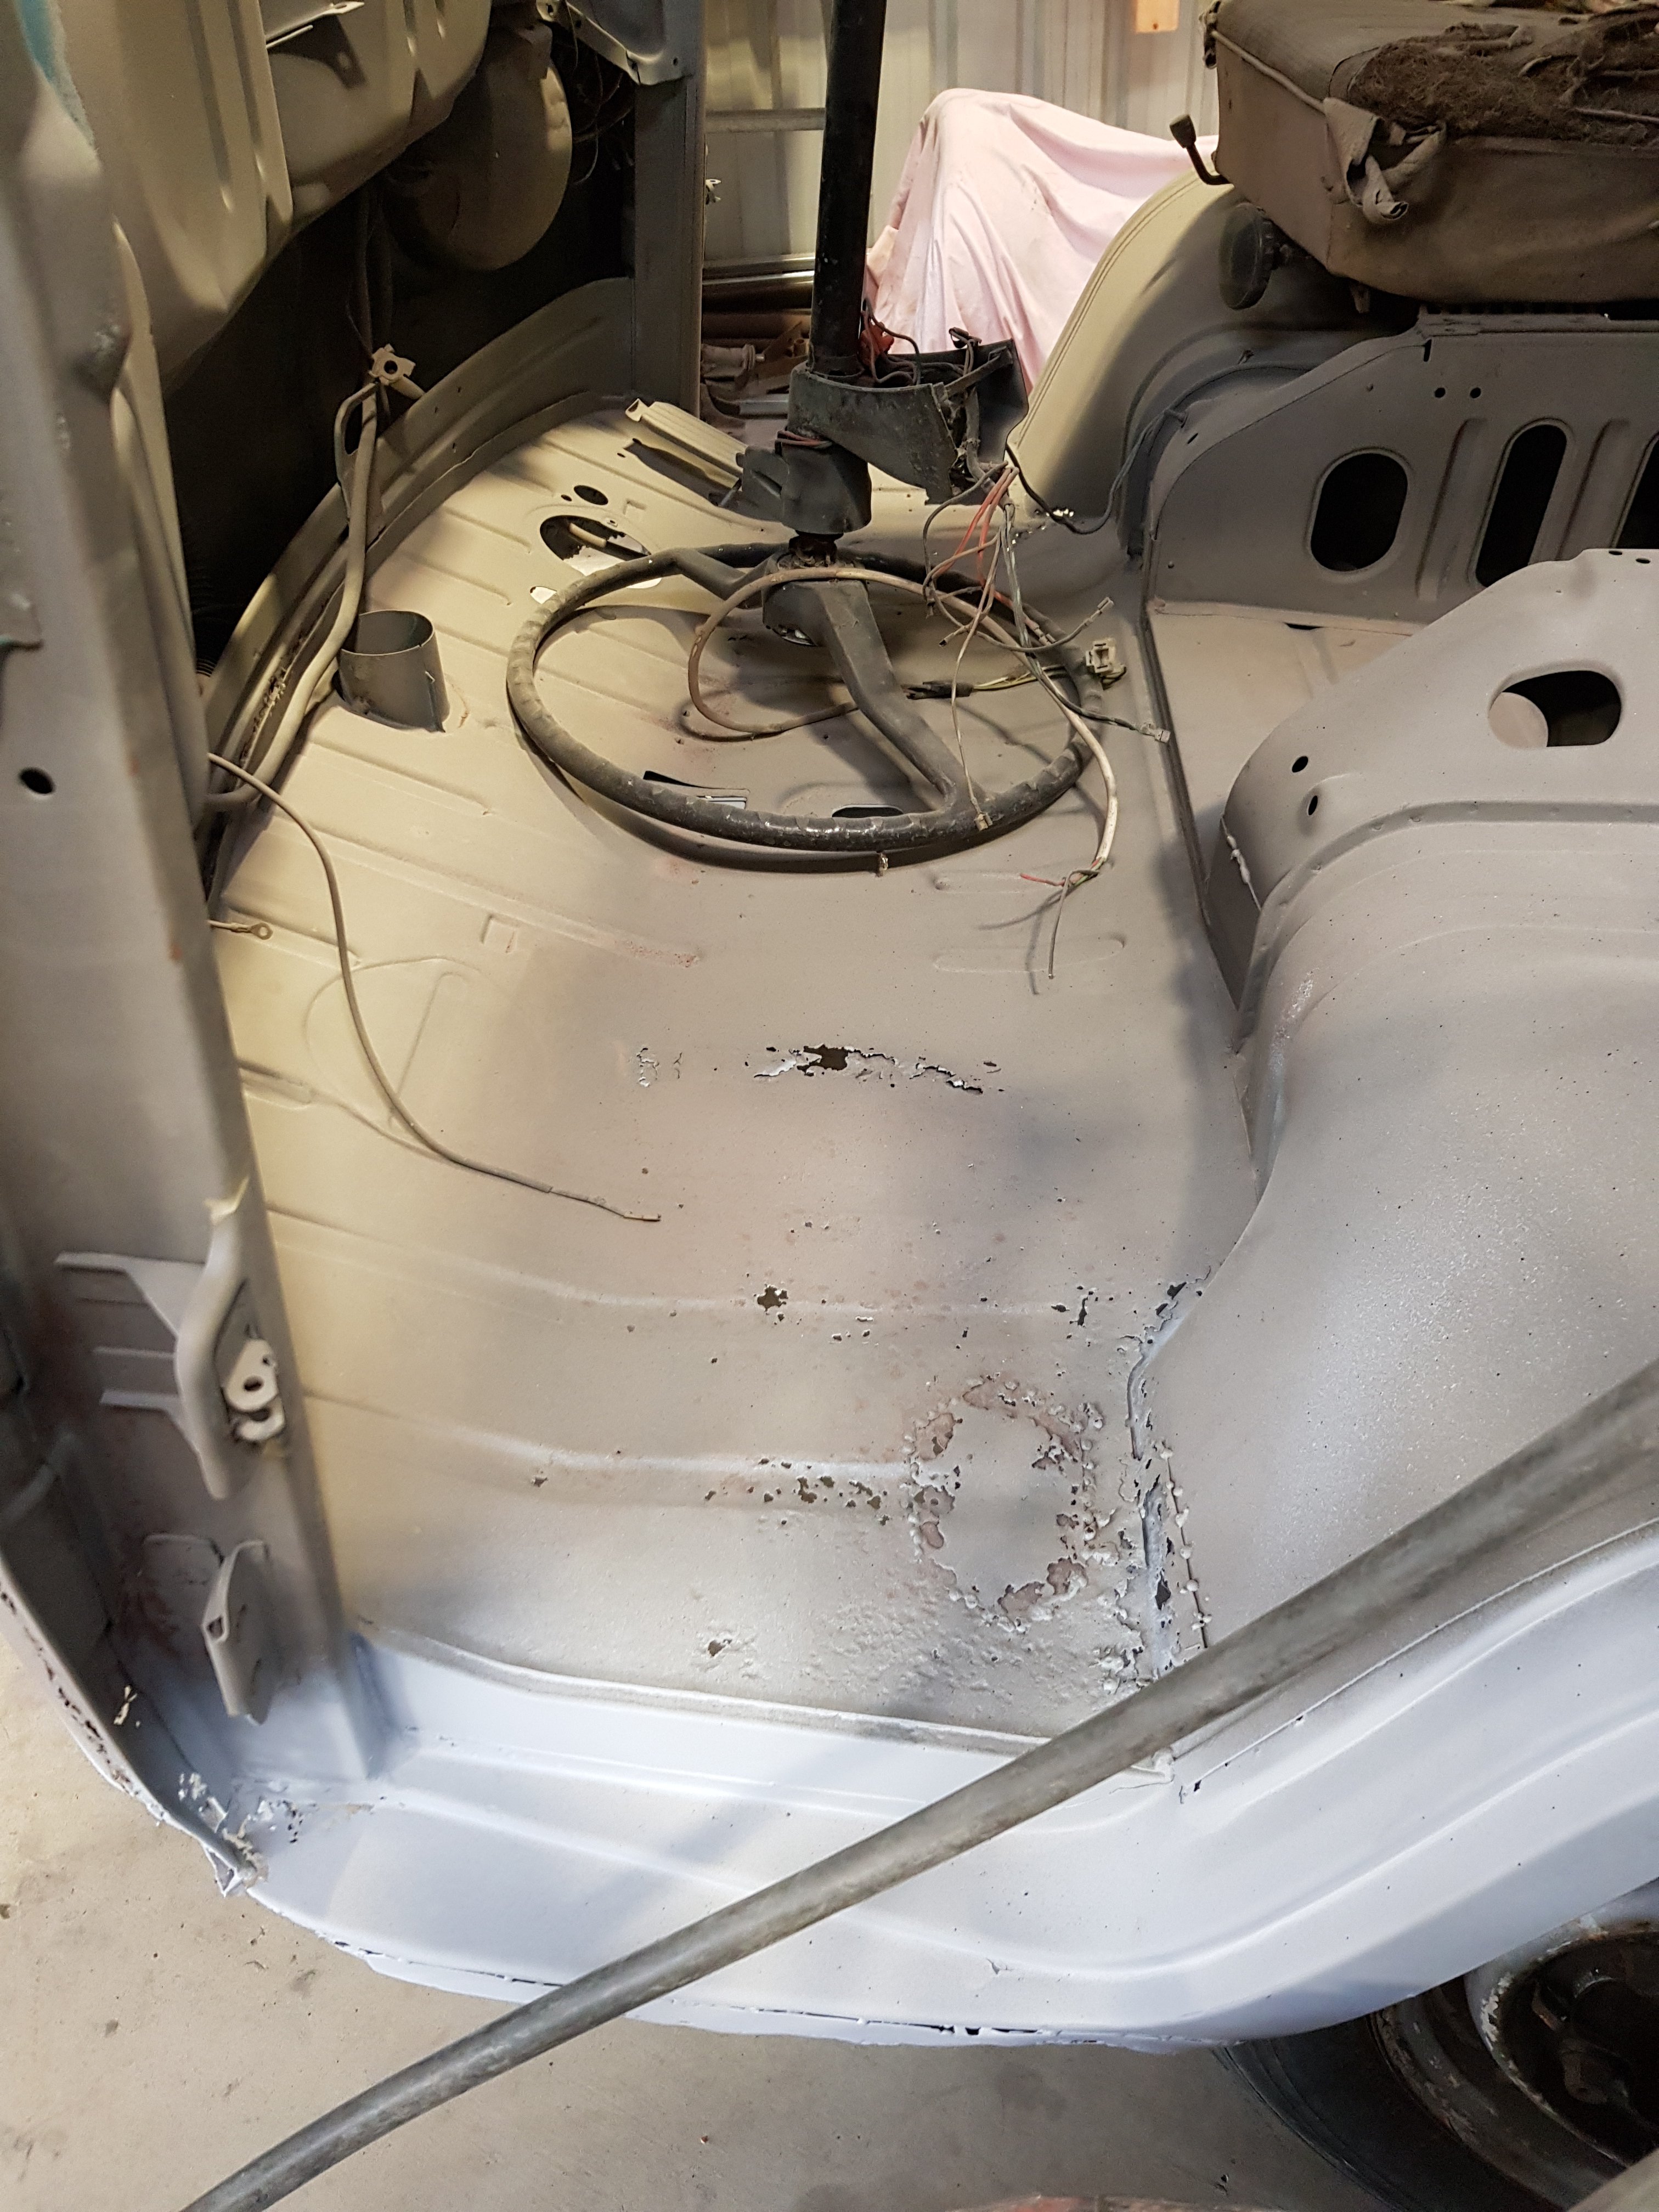
Passenger floor sorted
1 point
-
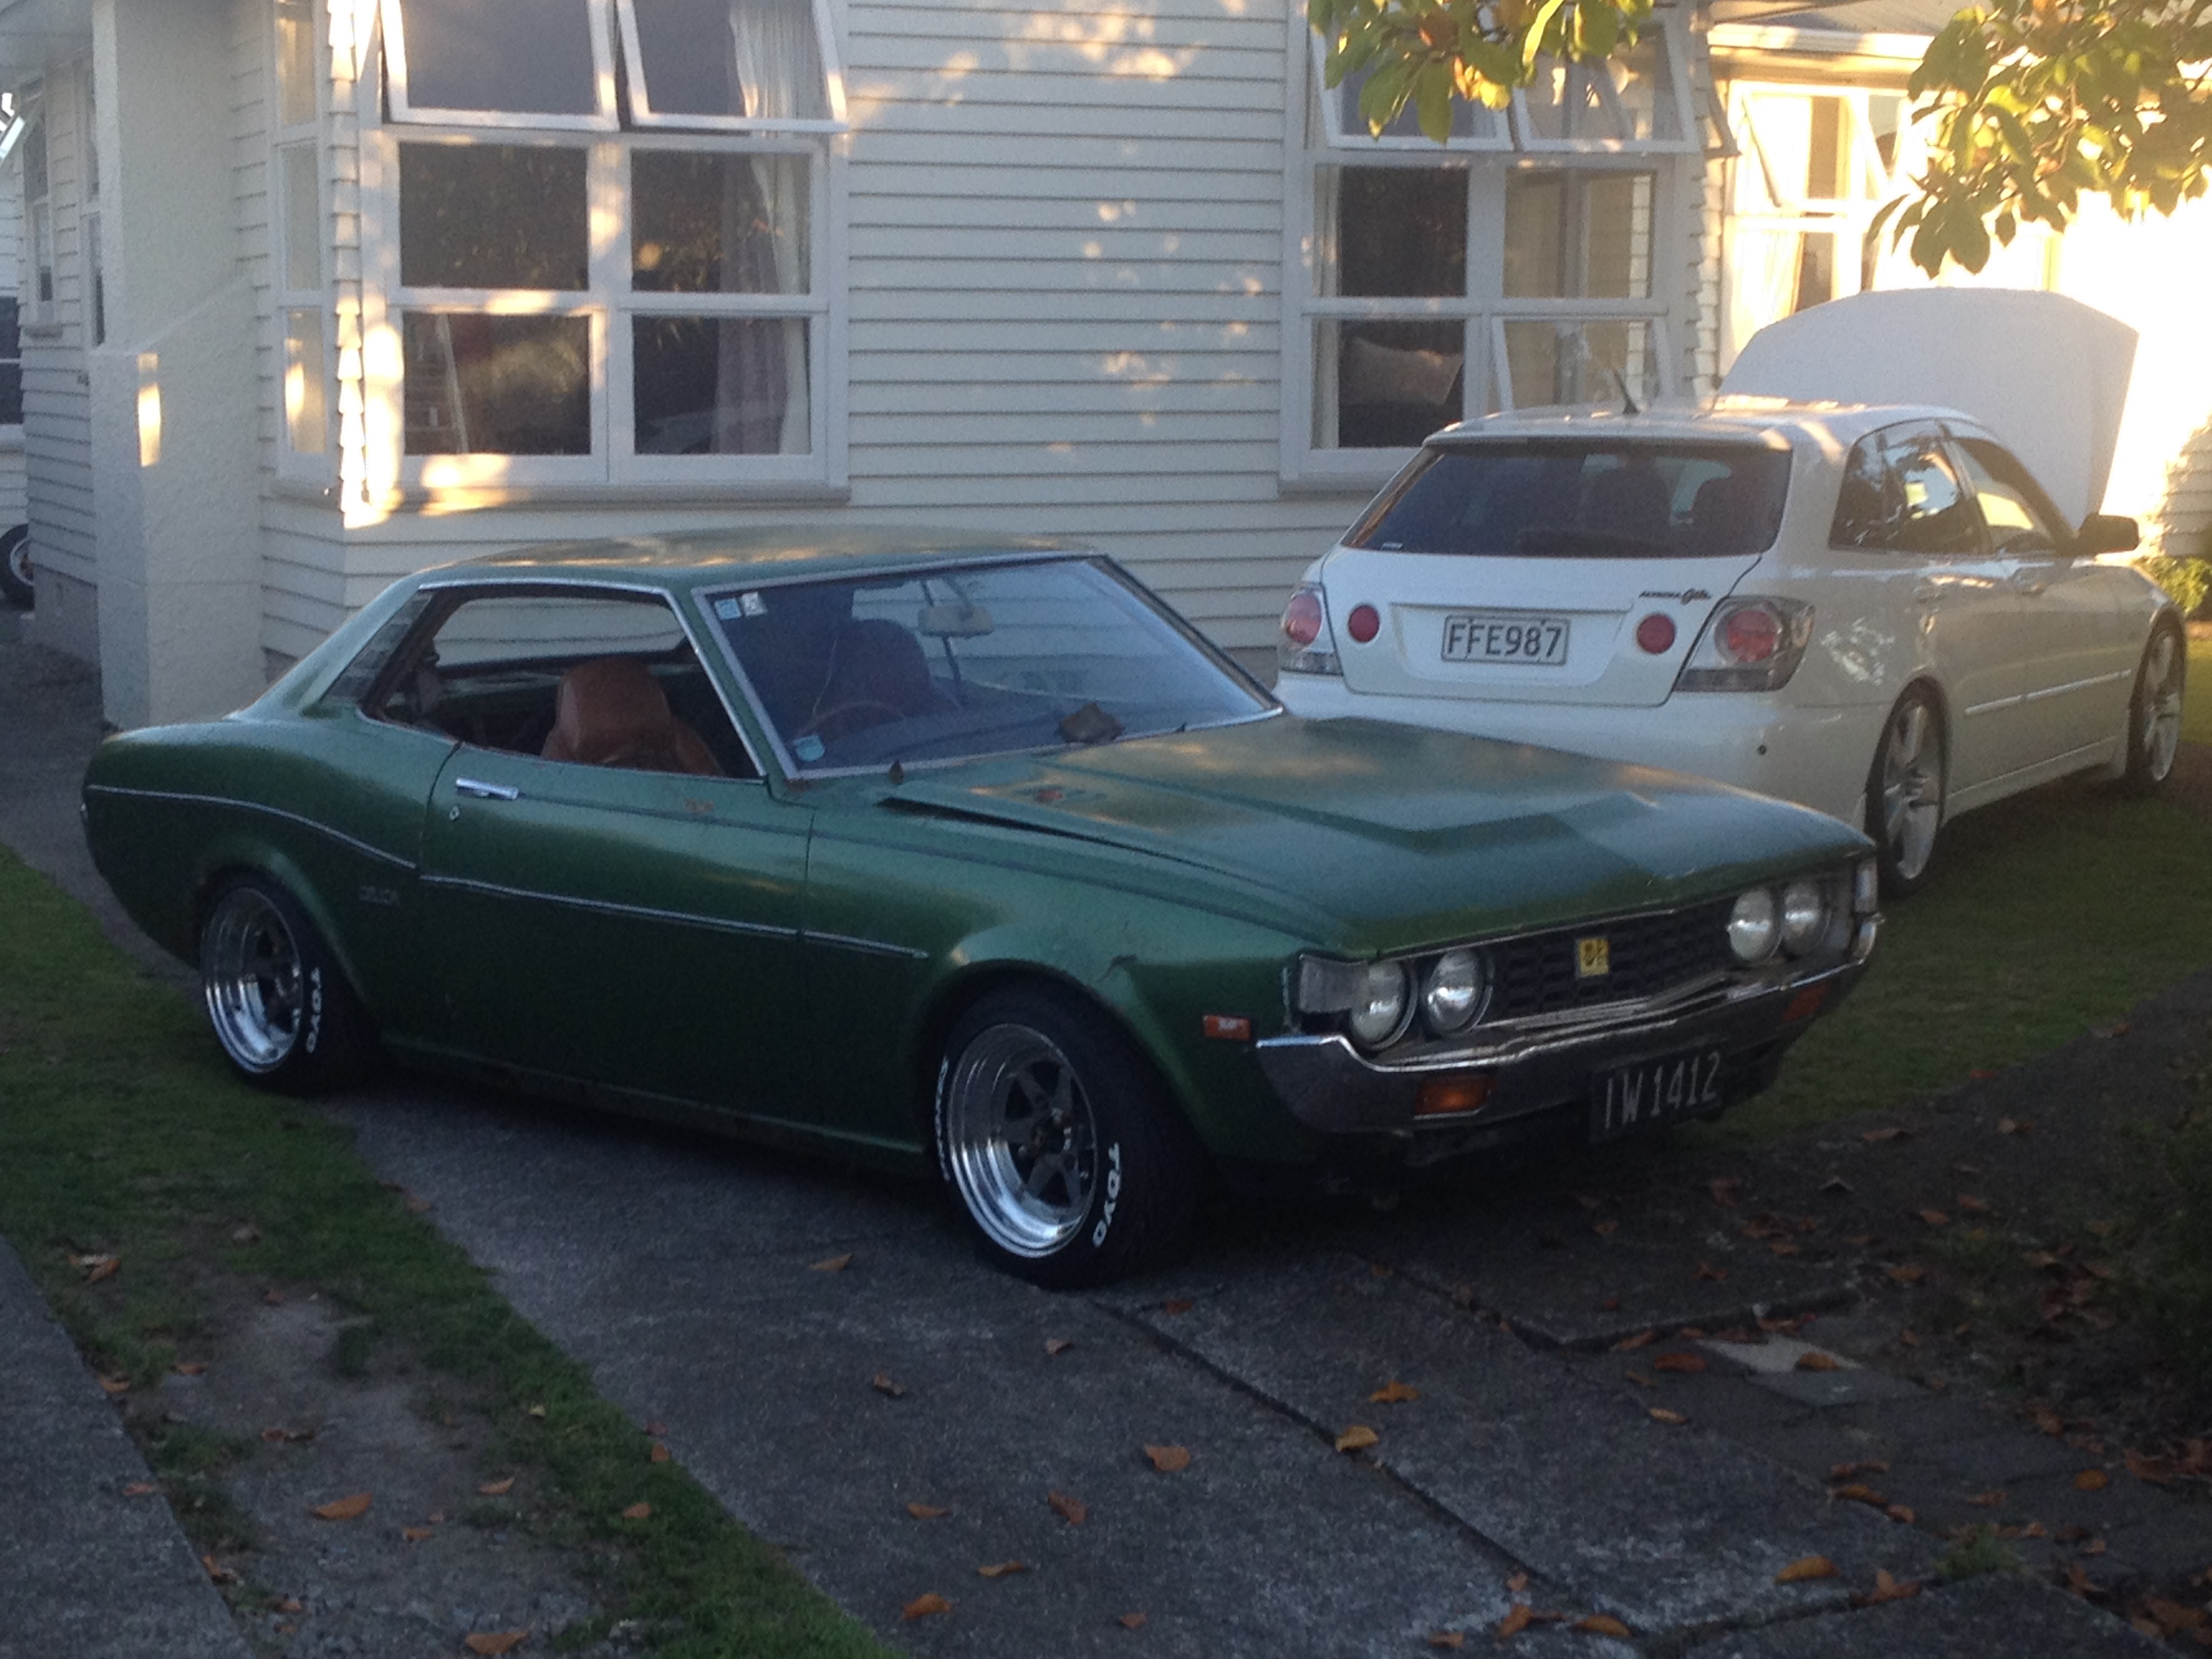
Inspirational pic runs rotary! Haven't seen anything about it for a long time now, wonder if it's still around cool score, old celicas are awesome. Wish the gf would let me mod her RA28 the right way, but she thinks wheels smaller than 16's are not ok. Why do I even like her???? Oh wait, she's got a BEAMS RA28 and lets me keep buying old Toyotas cheers Matt1 point
-
Are you after indoor, or outdoor storage?1 point
-
You're welcome + I'm sorry. http://www.restored.jp/ra20ta20ra25ta27celica.htm1 point
-
So @Mrs 64valiant wrote of her golf the other day. So we now need to buy her a new car. Well why not her buy my subaru out back and I just get the kombi done. Can't be that hard right? Got the beetle driving in 21 days hahahahaha So I've been on trade me tonight found out ej20 engines are actually rather bloody cheap. https://trademe.co.nz/1386690002 Don't know which one I linked now but there where even ones for 300 dollars haha. A crap load cheaper than a rotary conversion. @Evan just said pick a part has engines for like 200. Sounds like I might be off to pick apart.....1 point
-
1 point
-
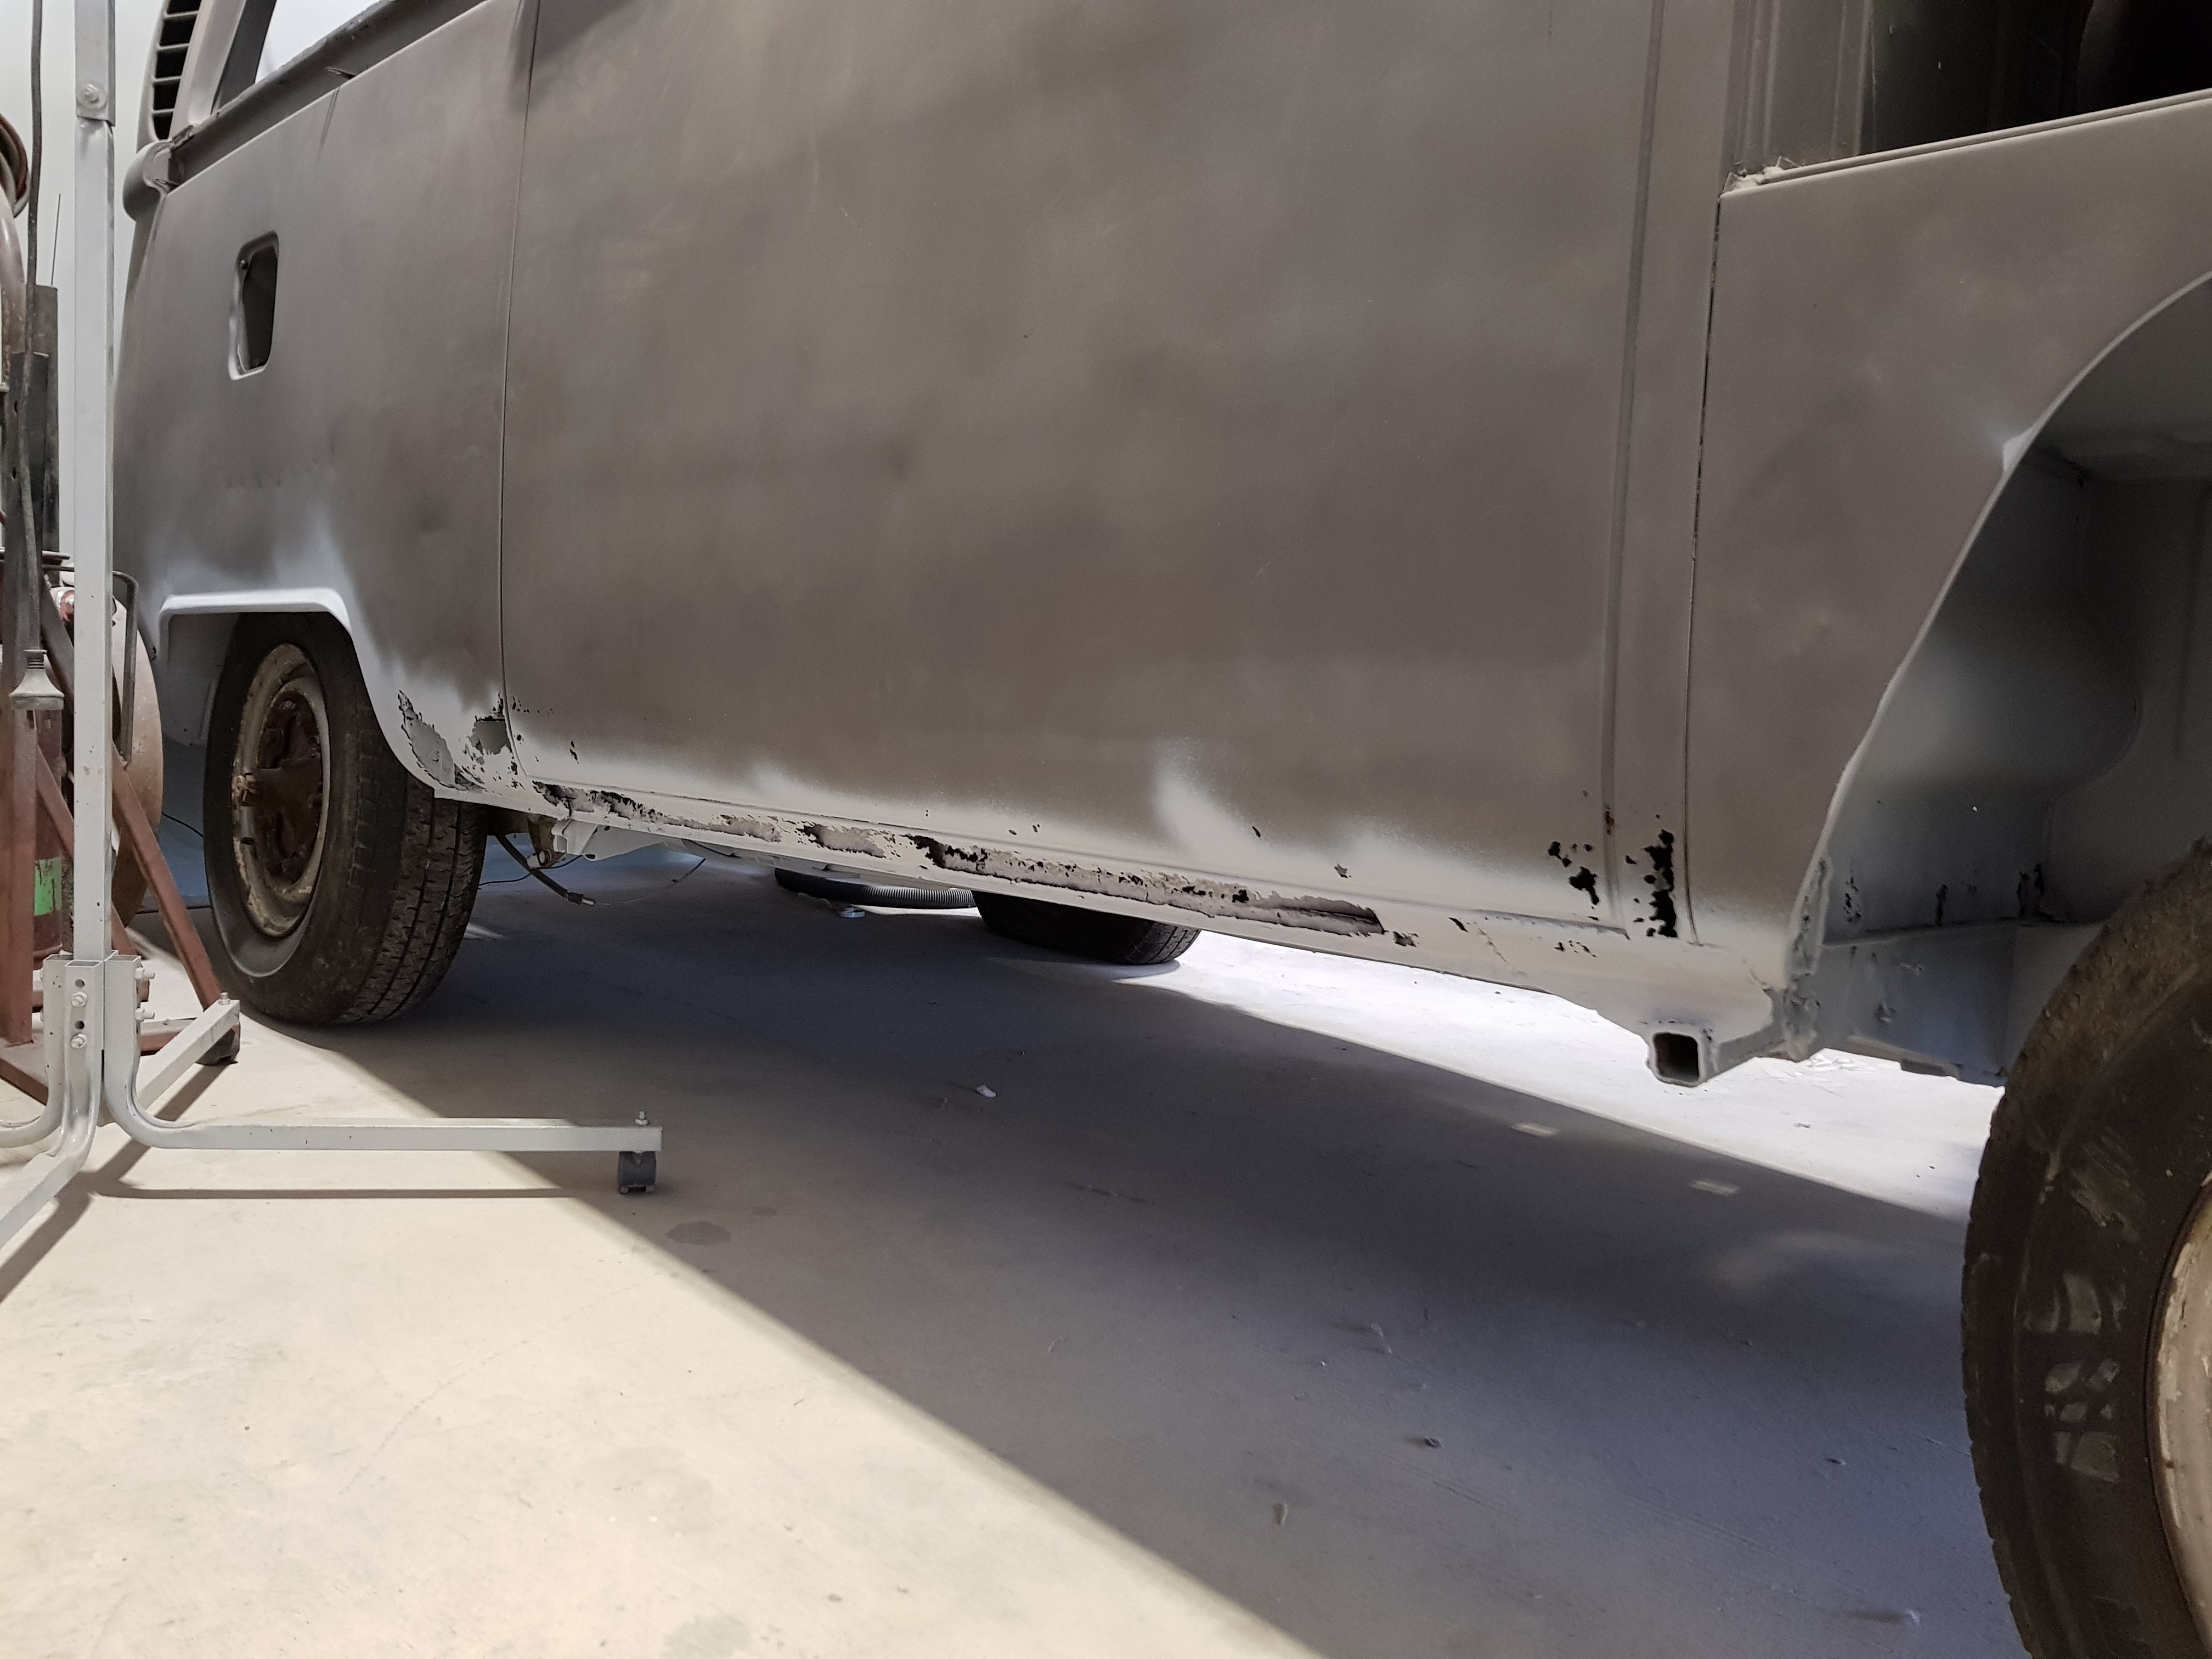
up close pics of Previous guard "repairs" drivers side next....
1 point
-
Let tank dry out over night and gave it a good clean out today. Plugged it all back together and put it back in. Confirmed the filler hose was trash. Spose 40 years up to ya bits in leaded petrol will do that. Have got 2 new flexy joiners coming and 2ltr of brake fluid. Could it be a running driving van this weekend? guess we will have to wait for next week on..... im a transit get me out of gear1 point
-
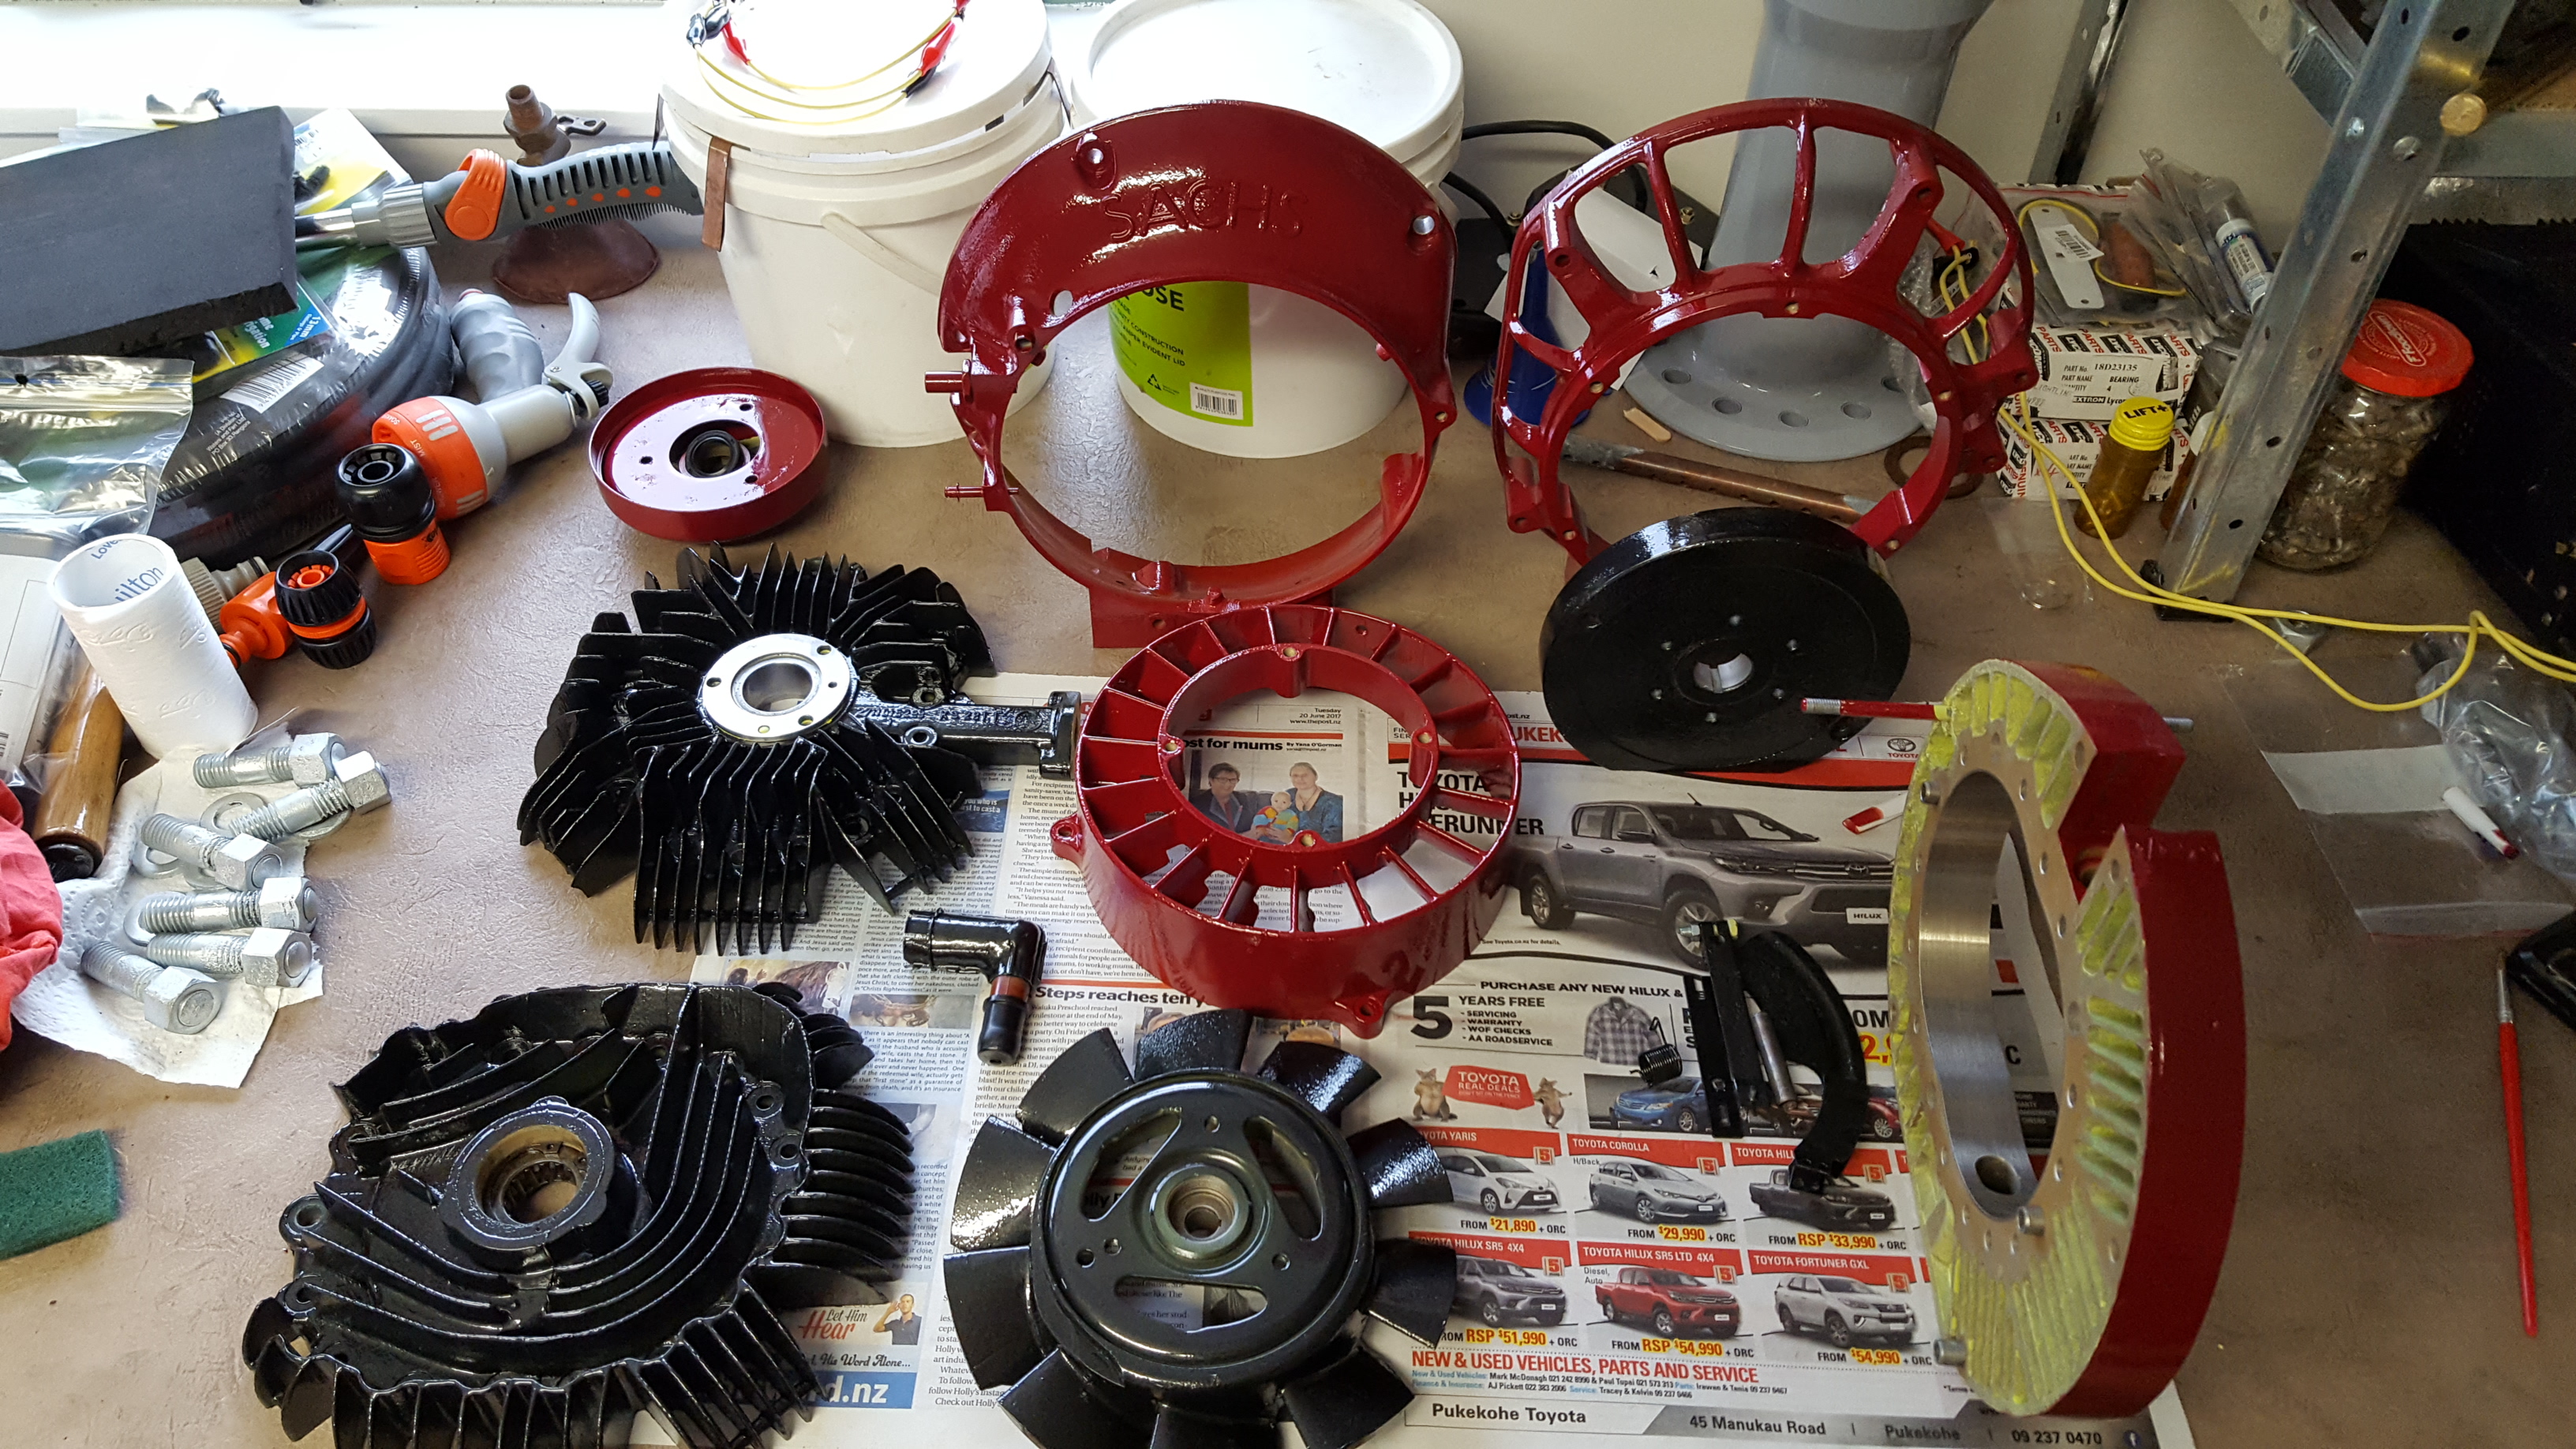
Testing the CSP linkagejust wanted to check everything fitted and worked together as I bought carbs, manifolds, linkage separately.managed to turn the engine around and get a good look at the flywheel/clutch for the first time in nearly ten years.a bit surface rusty, should be okay??bench looks like this.car still looks like this, sort of.1 point
-
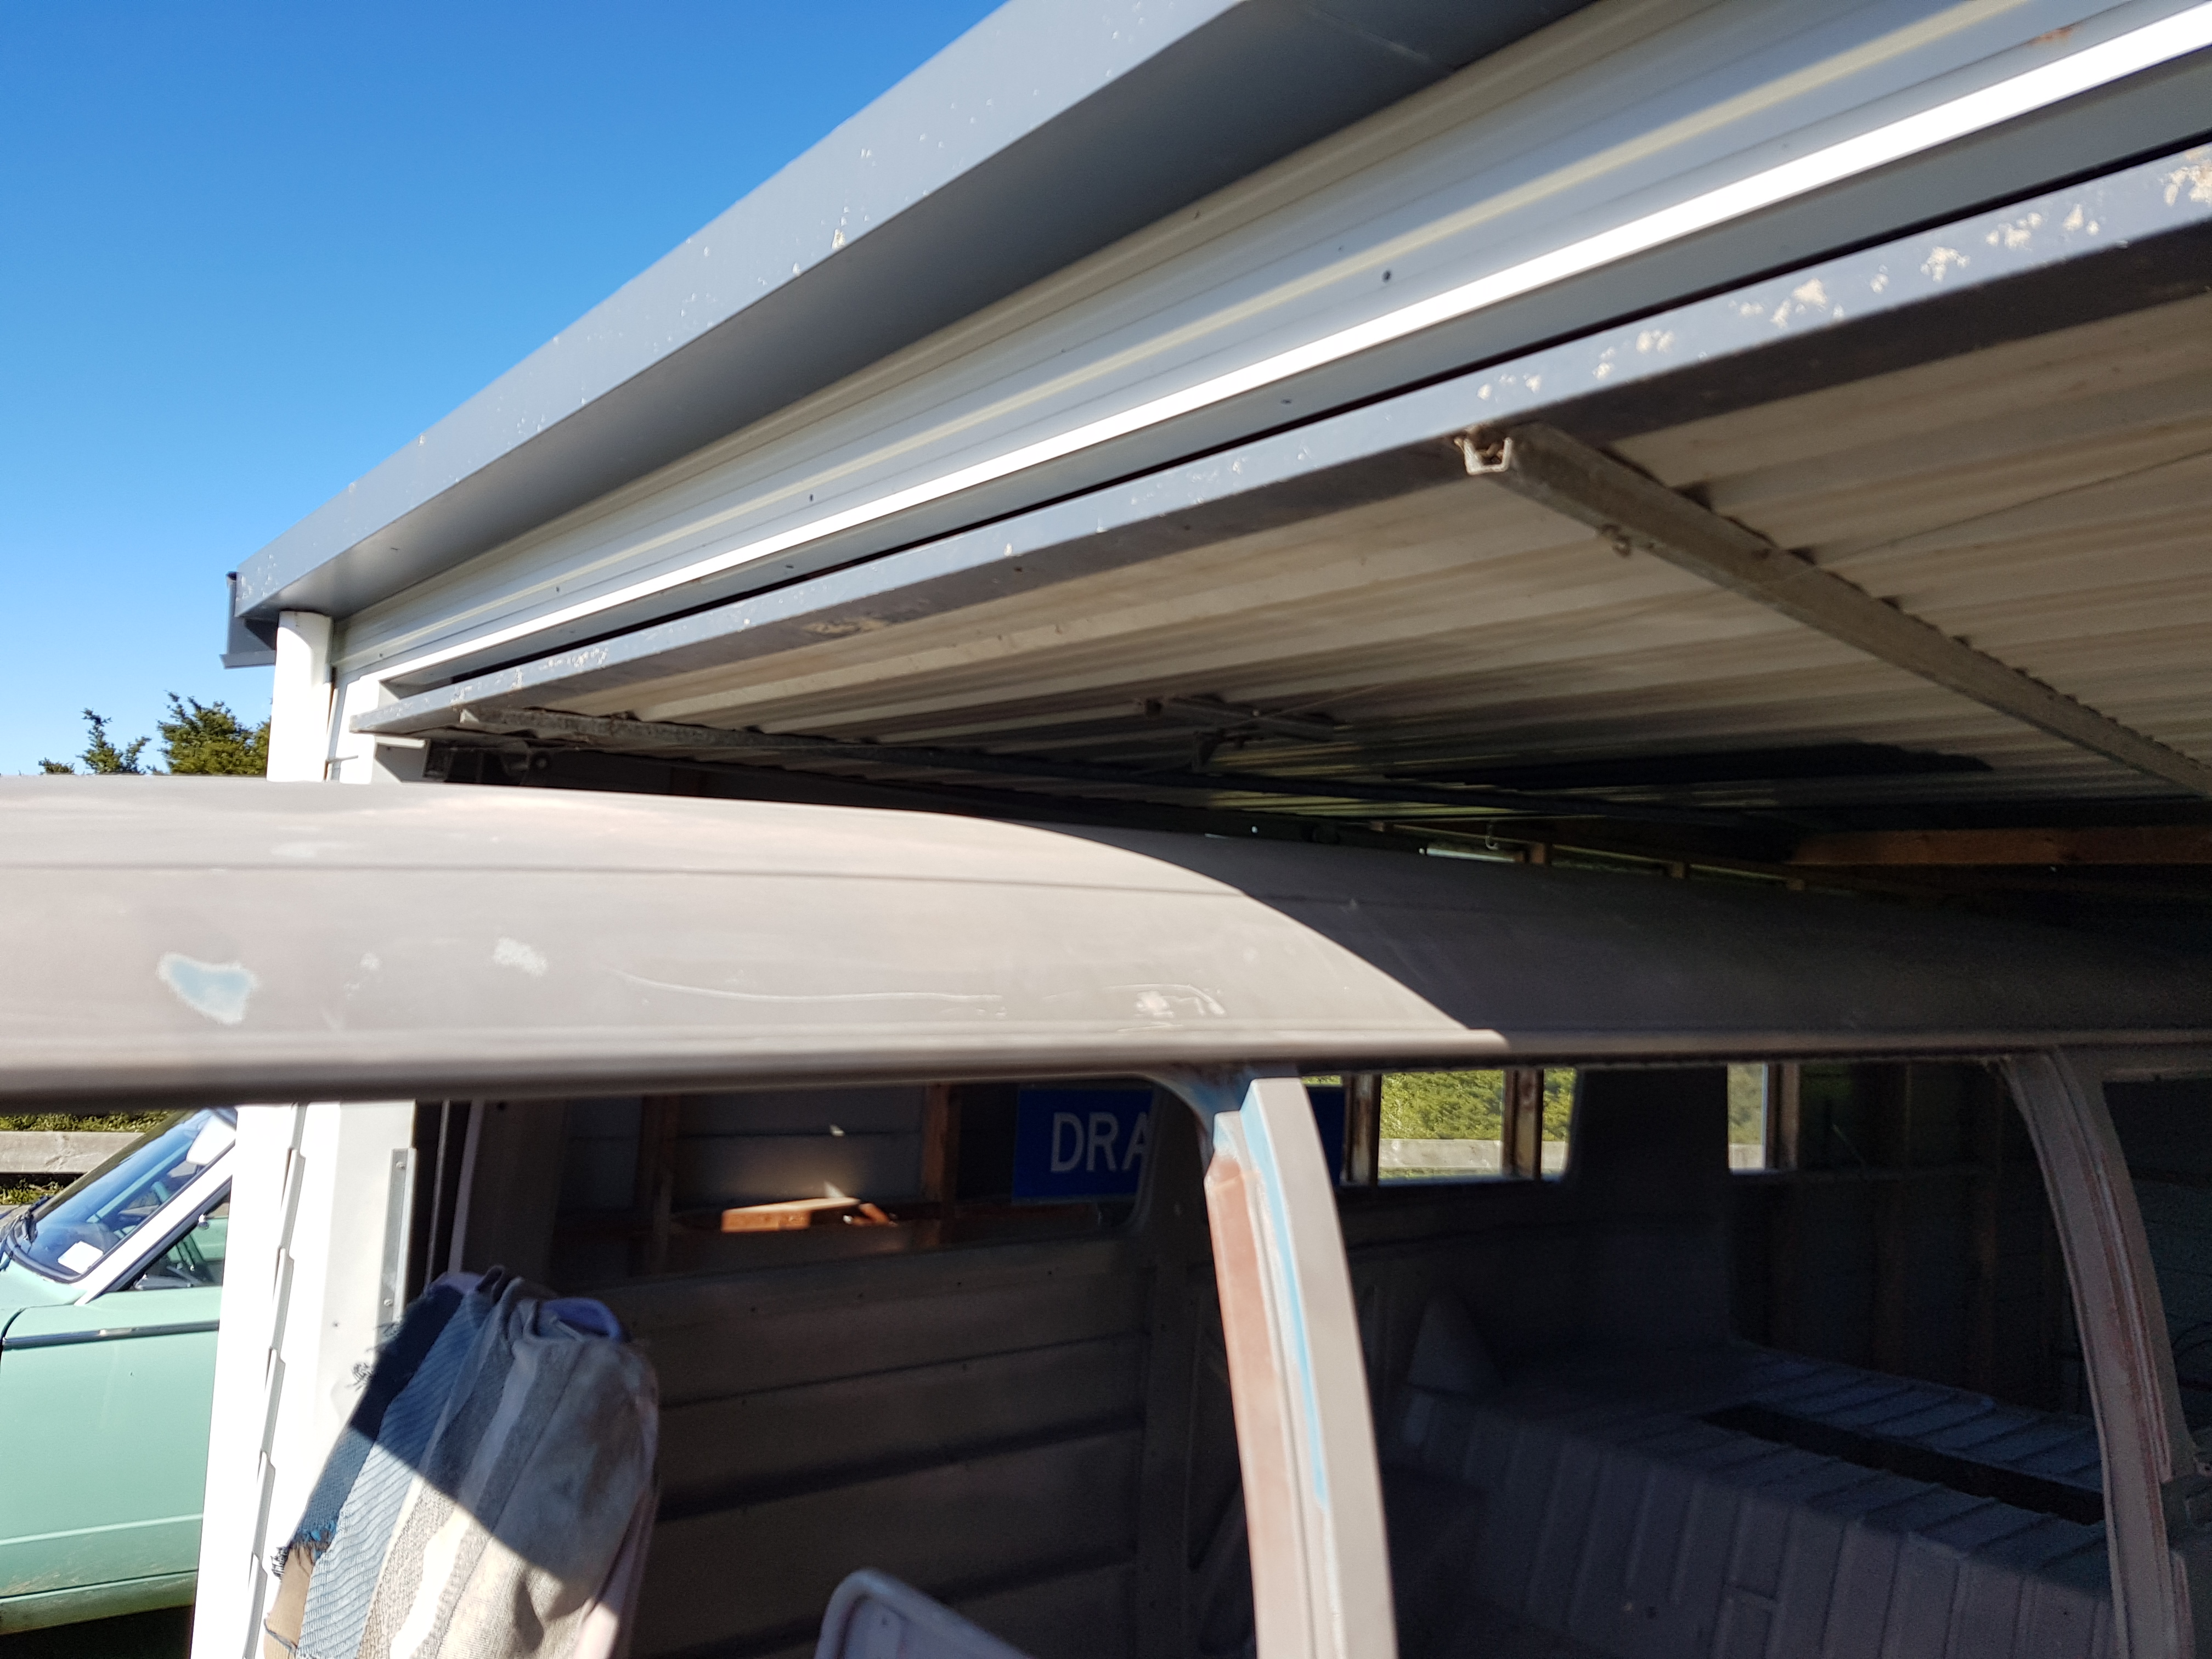
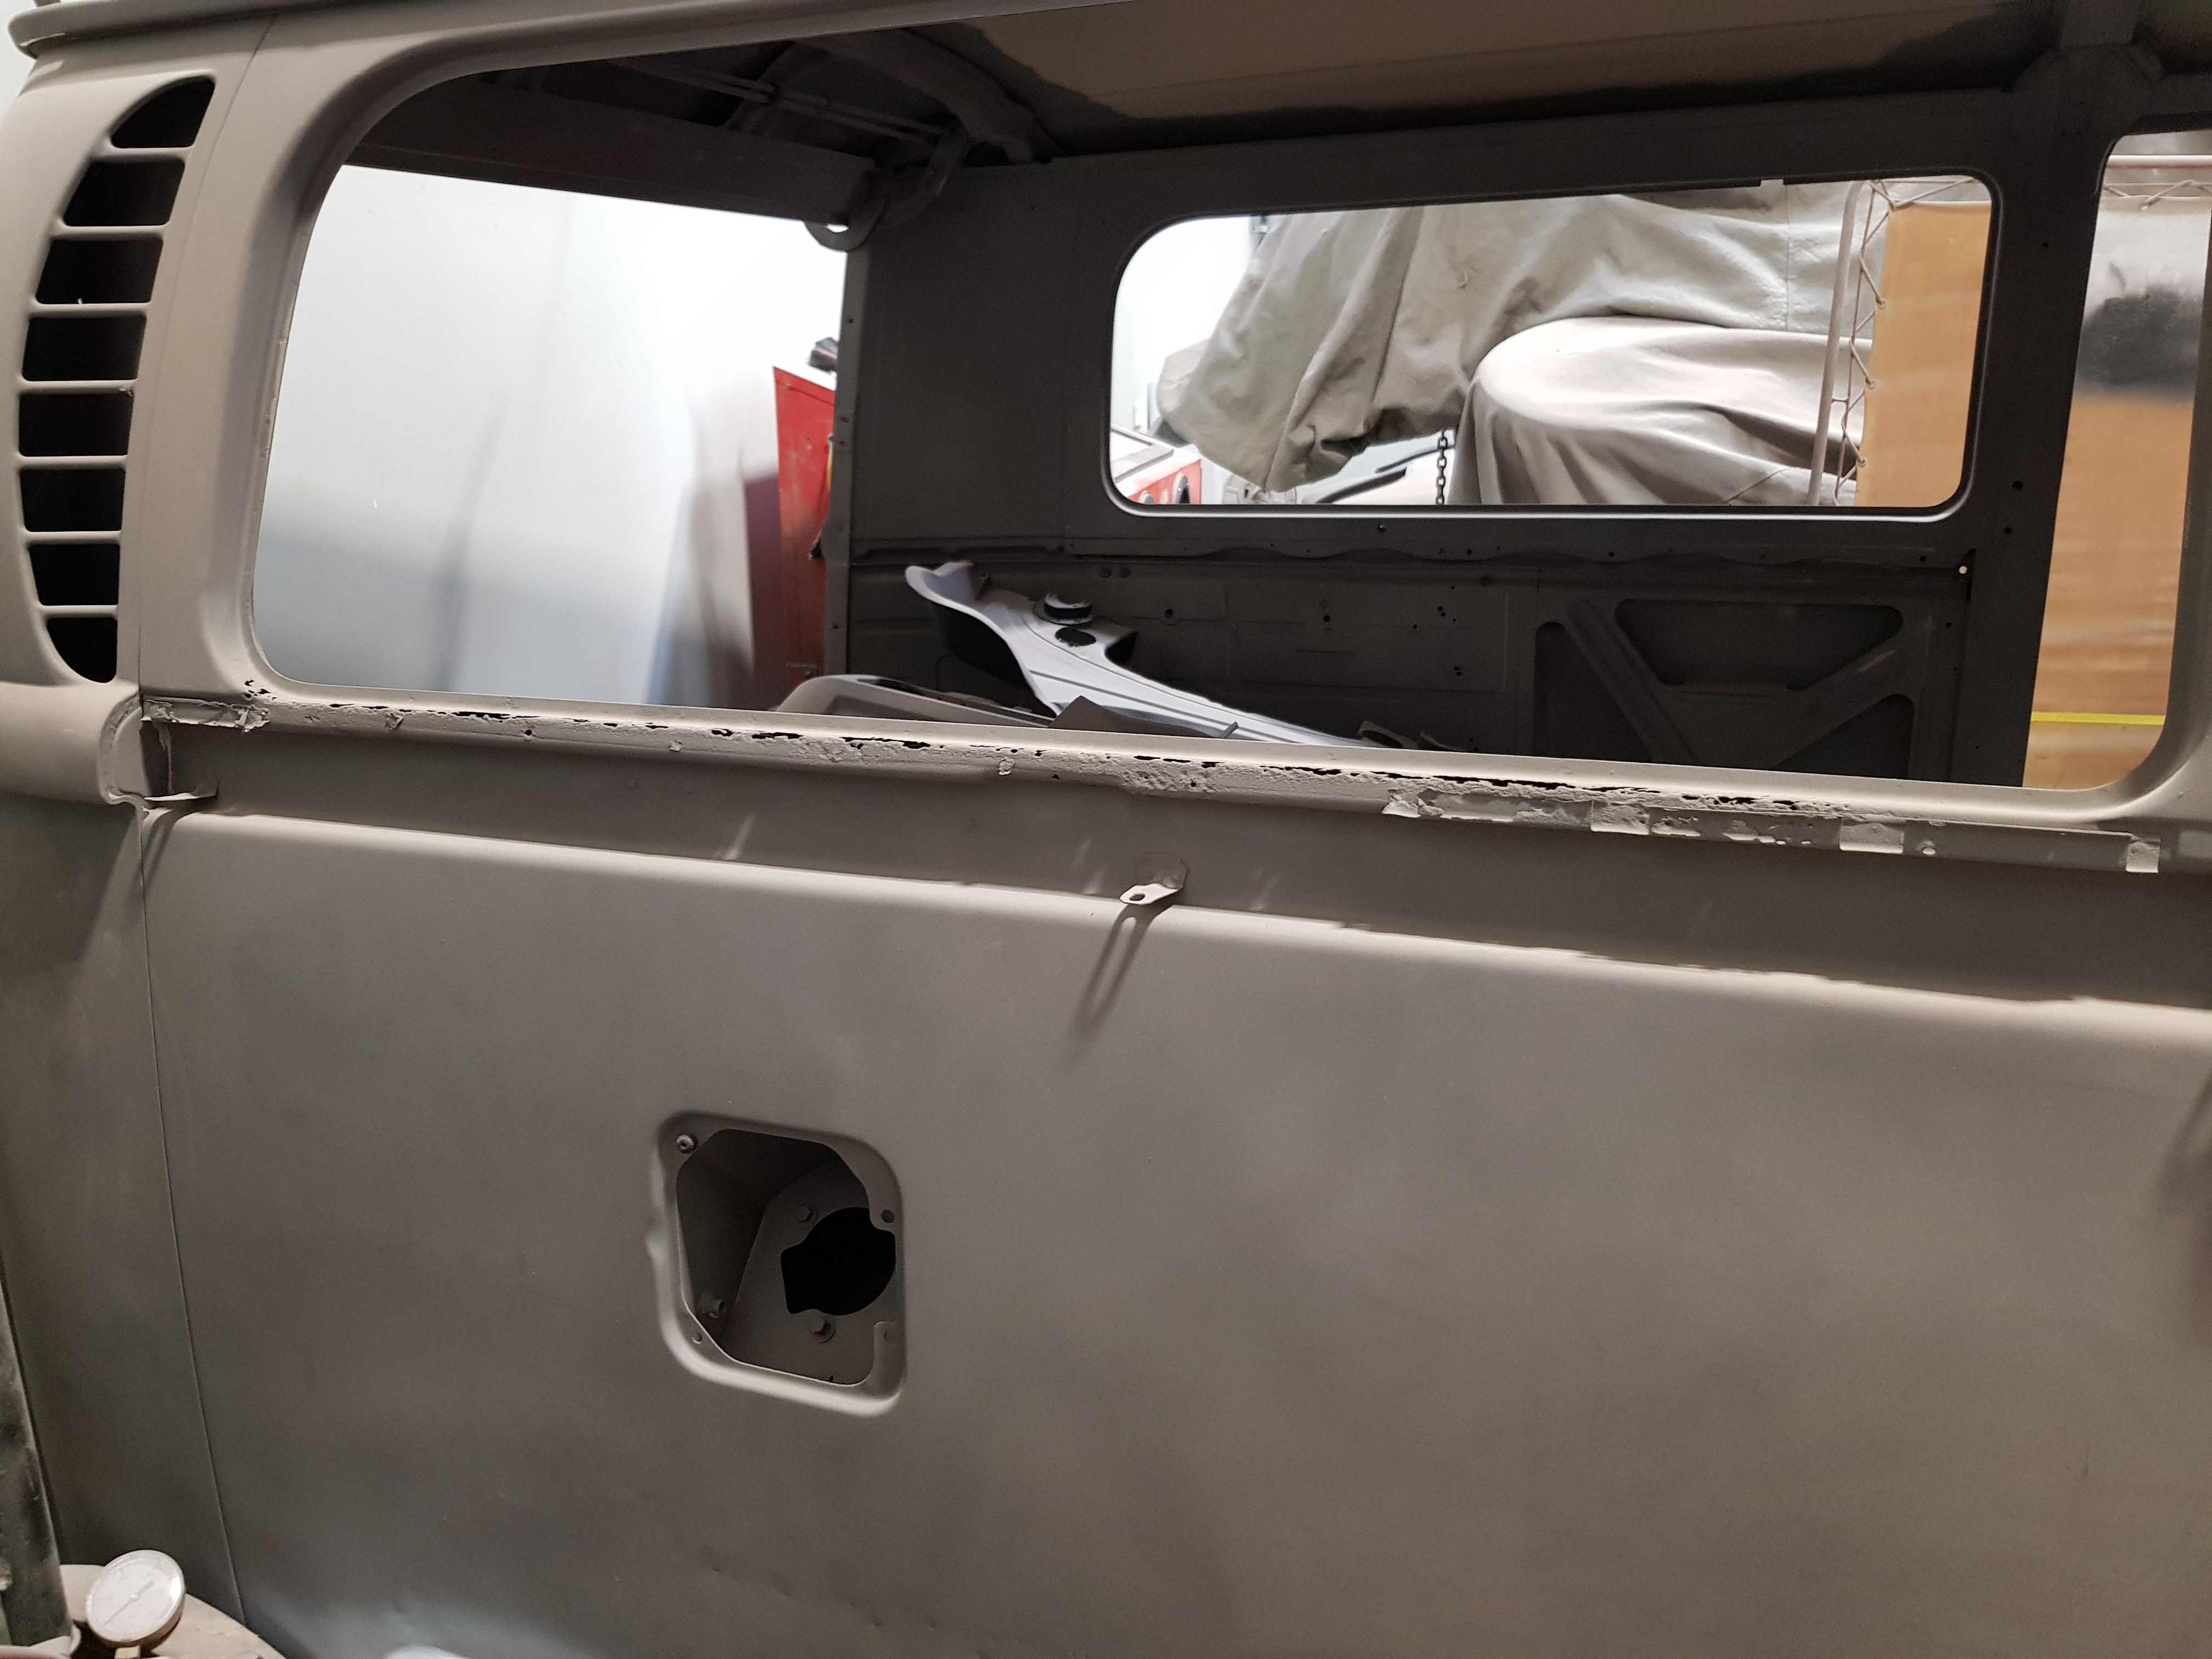
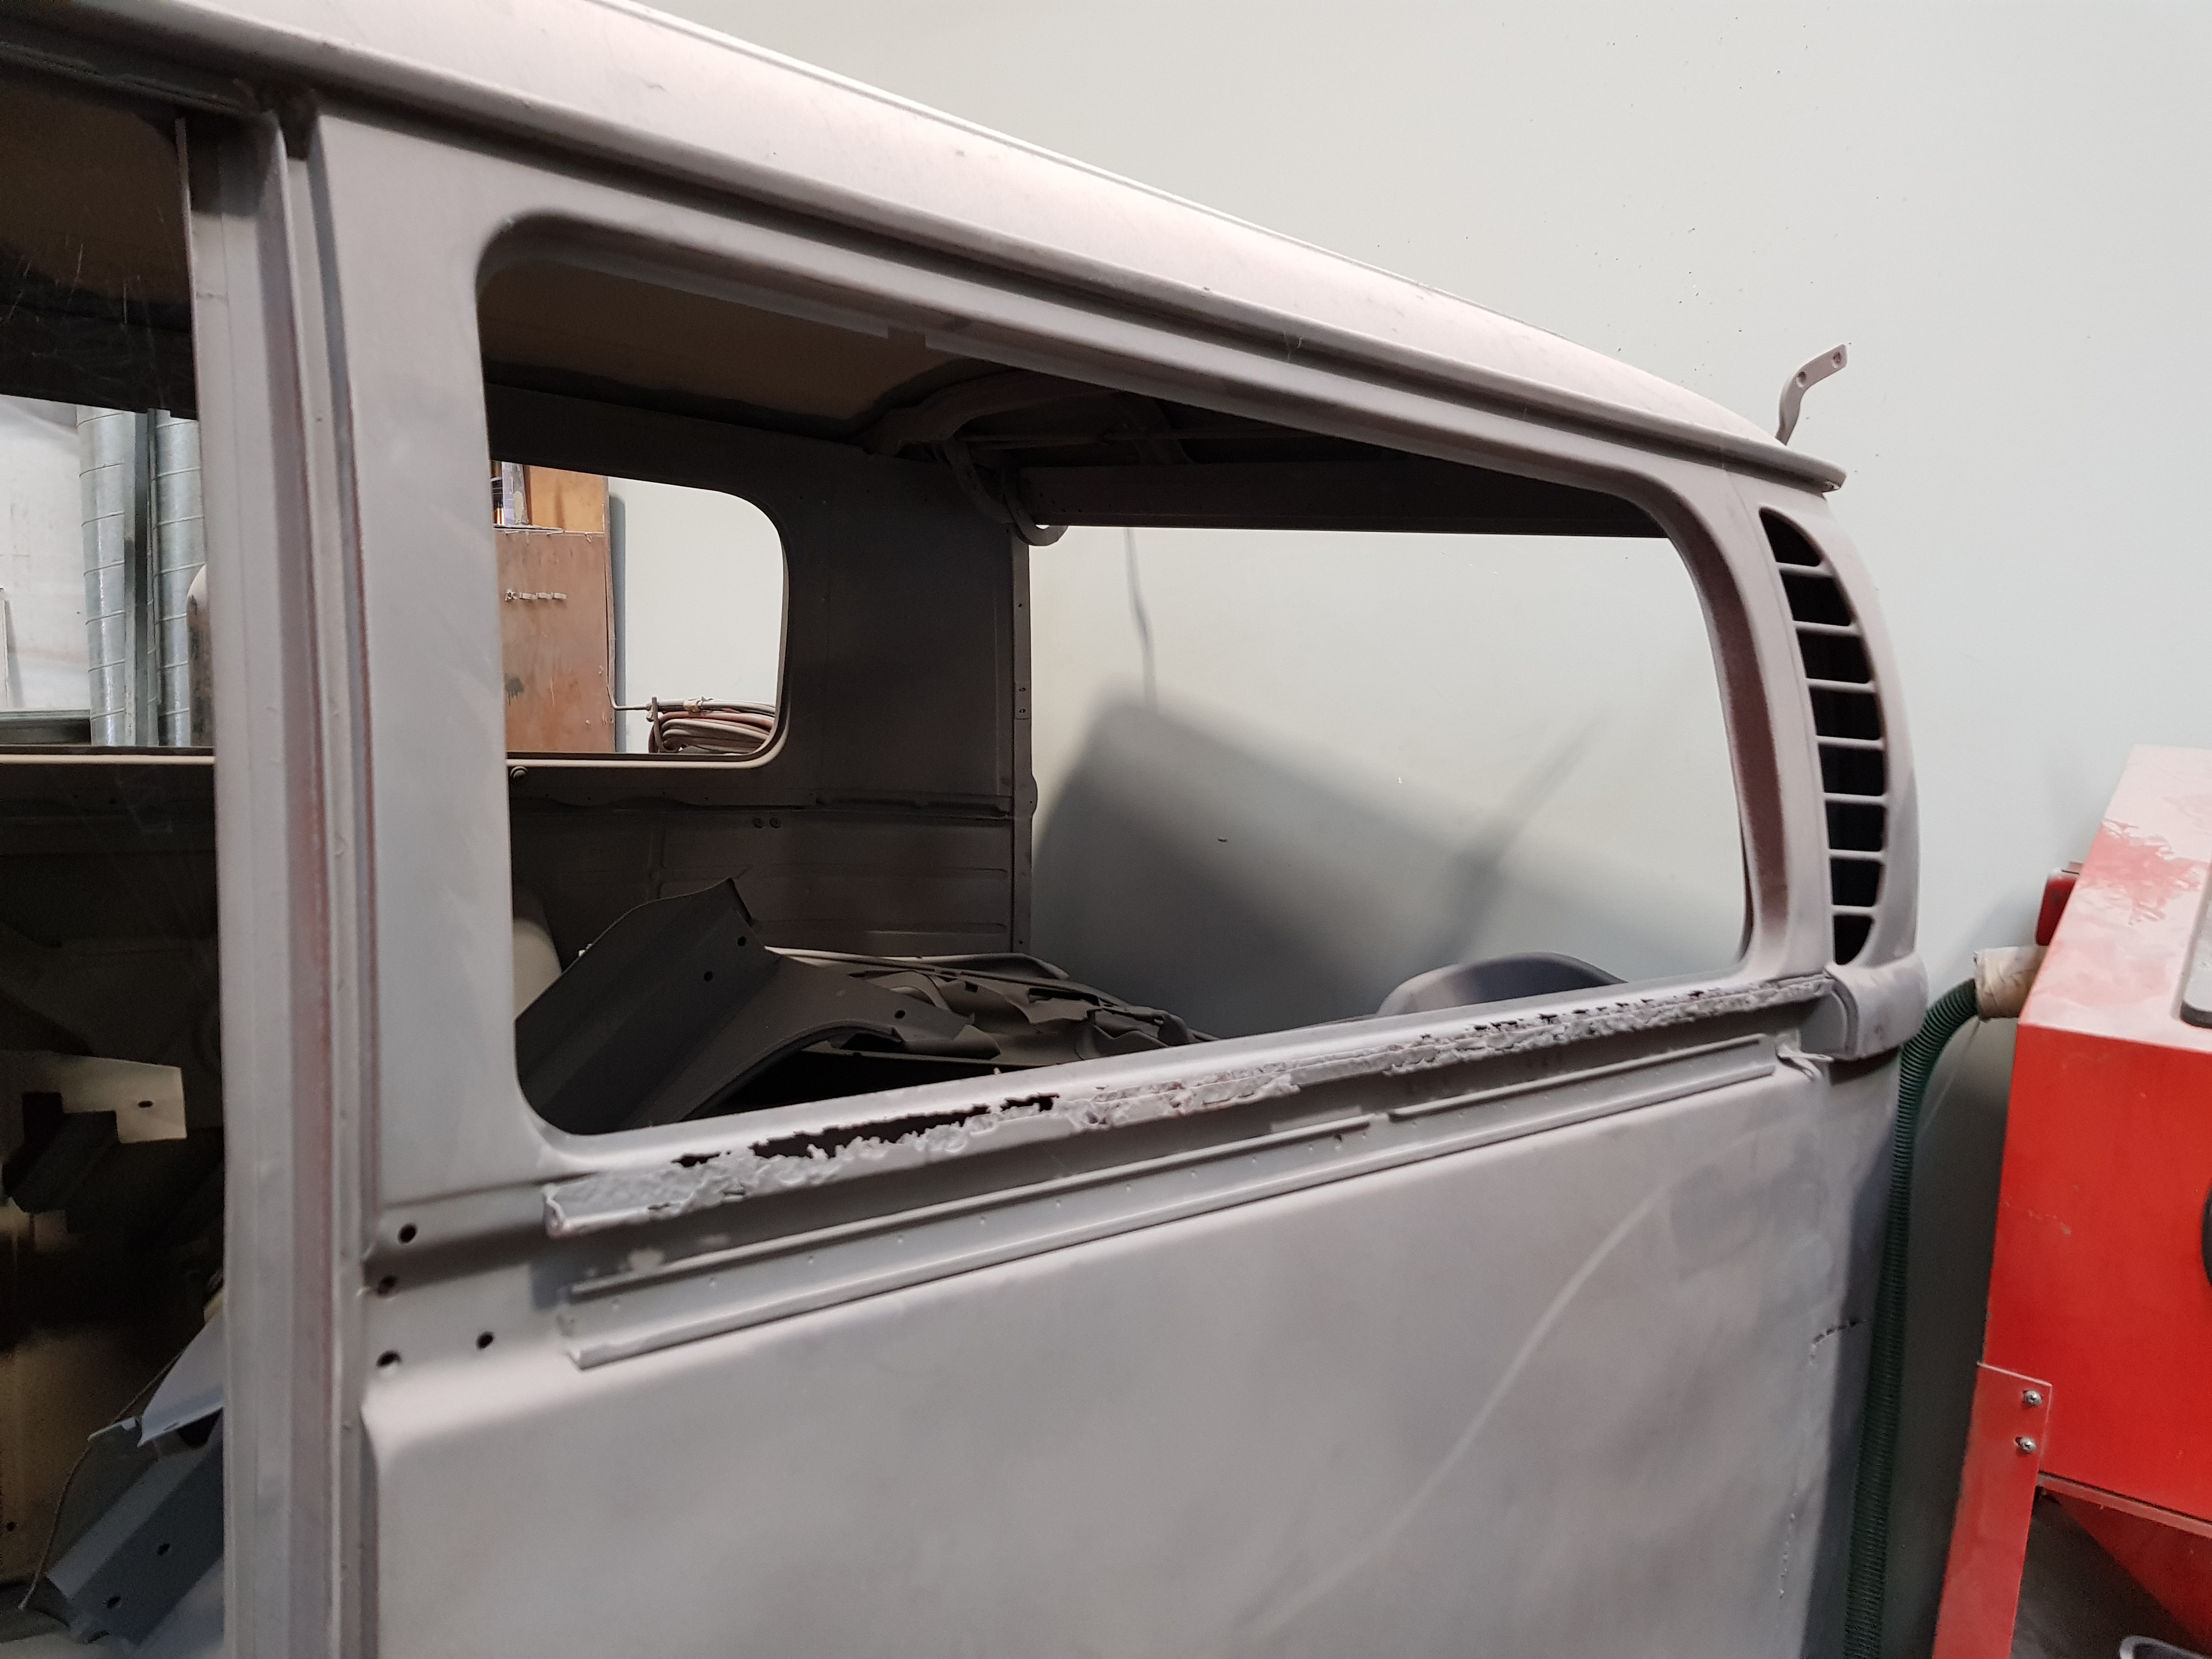
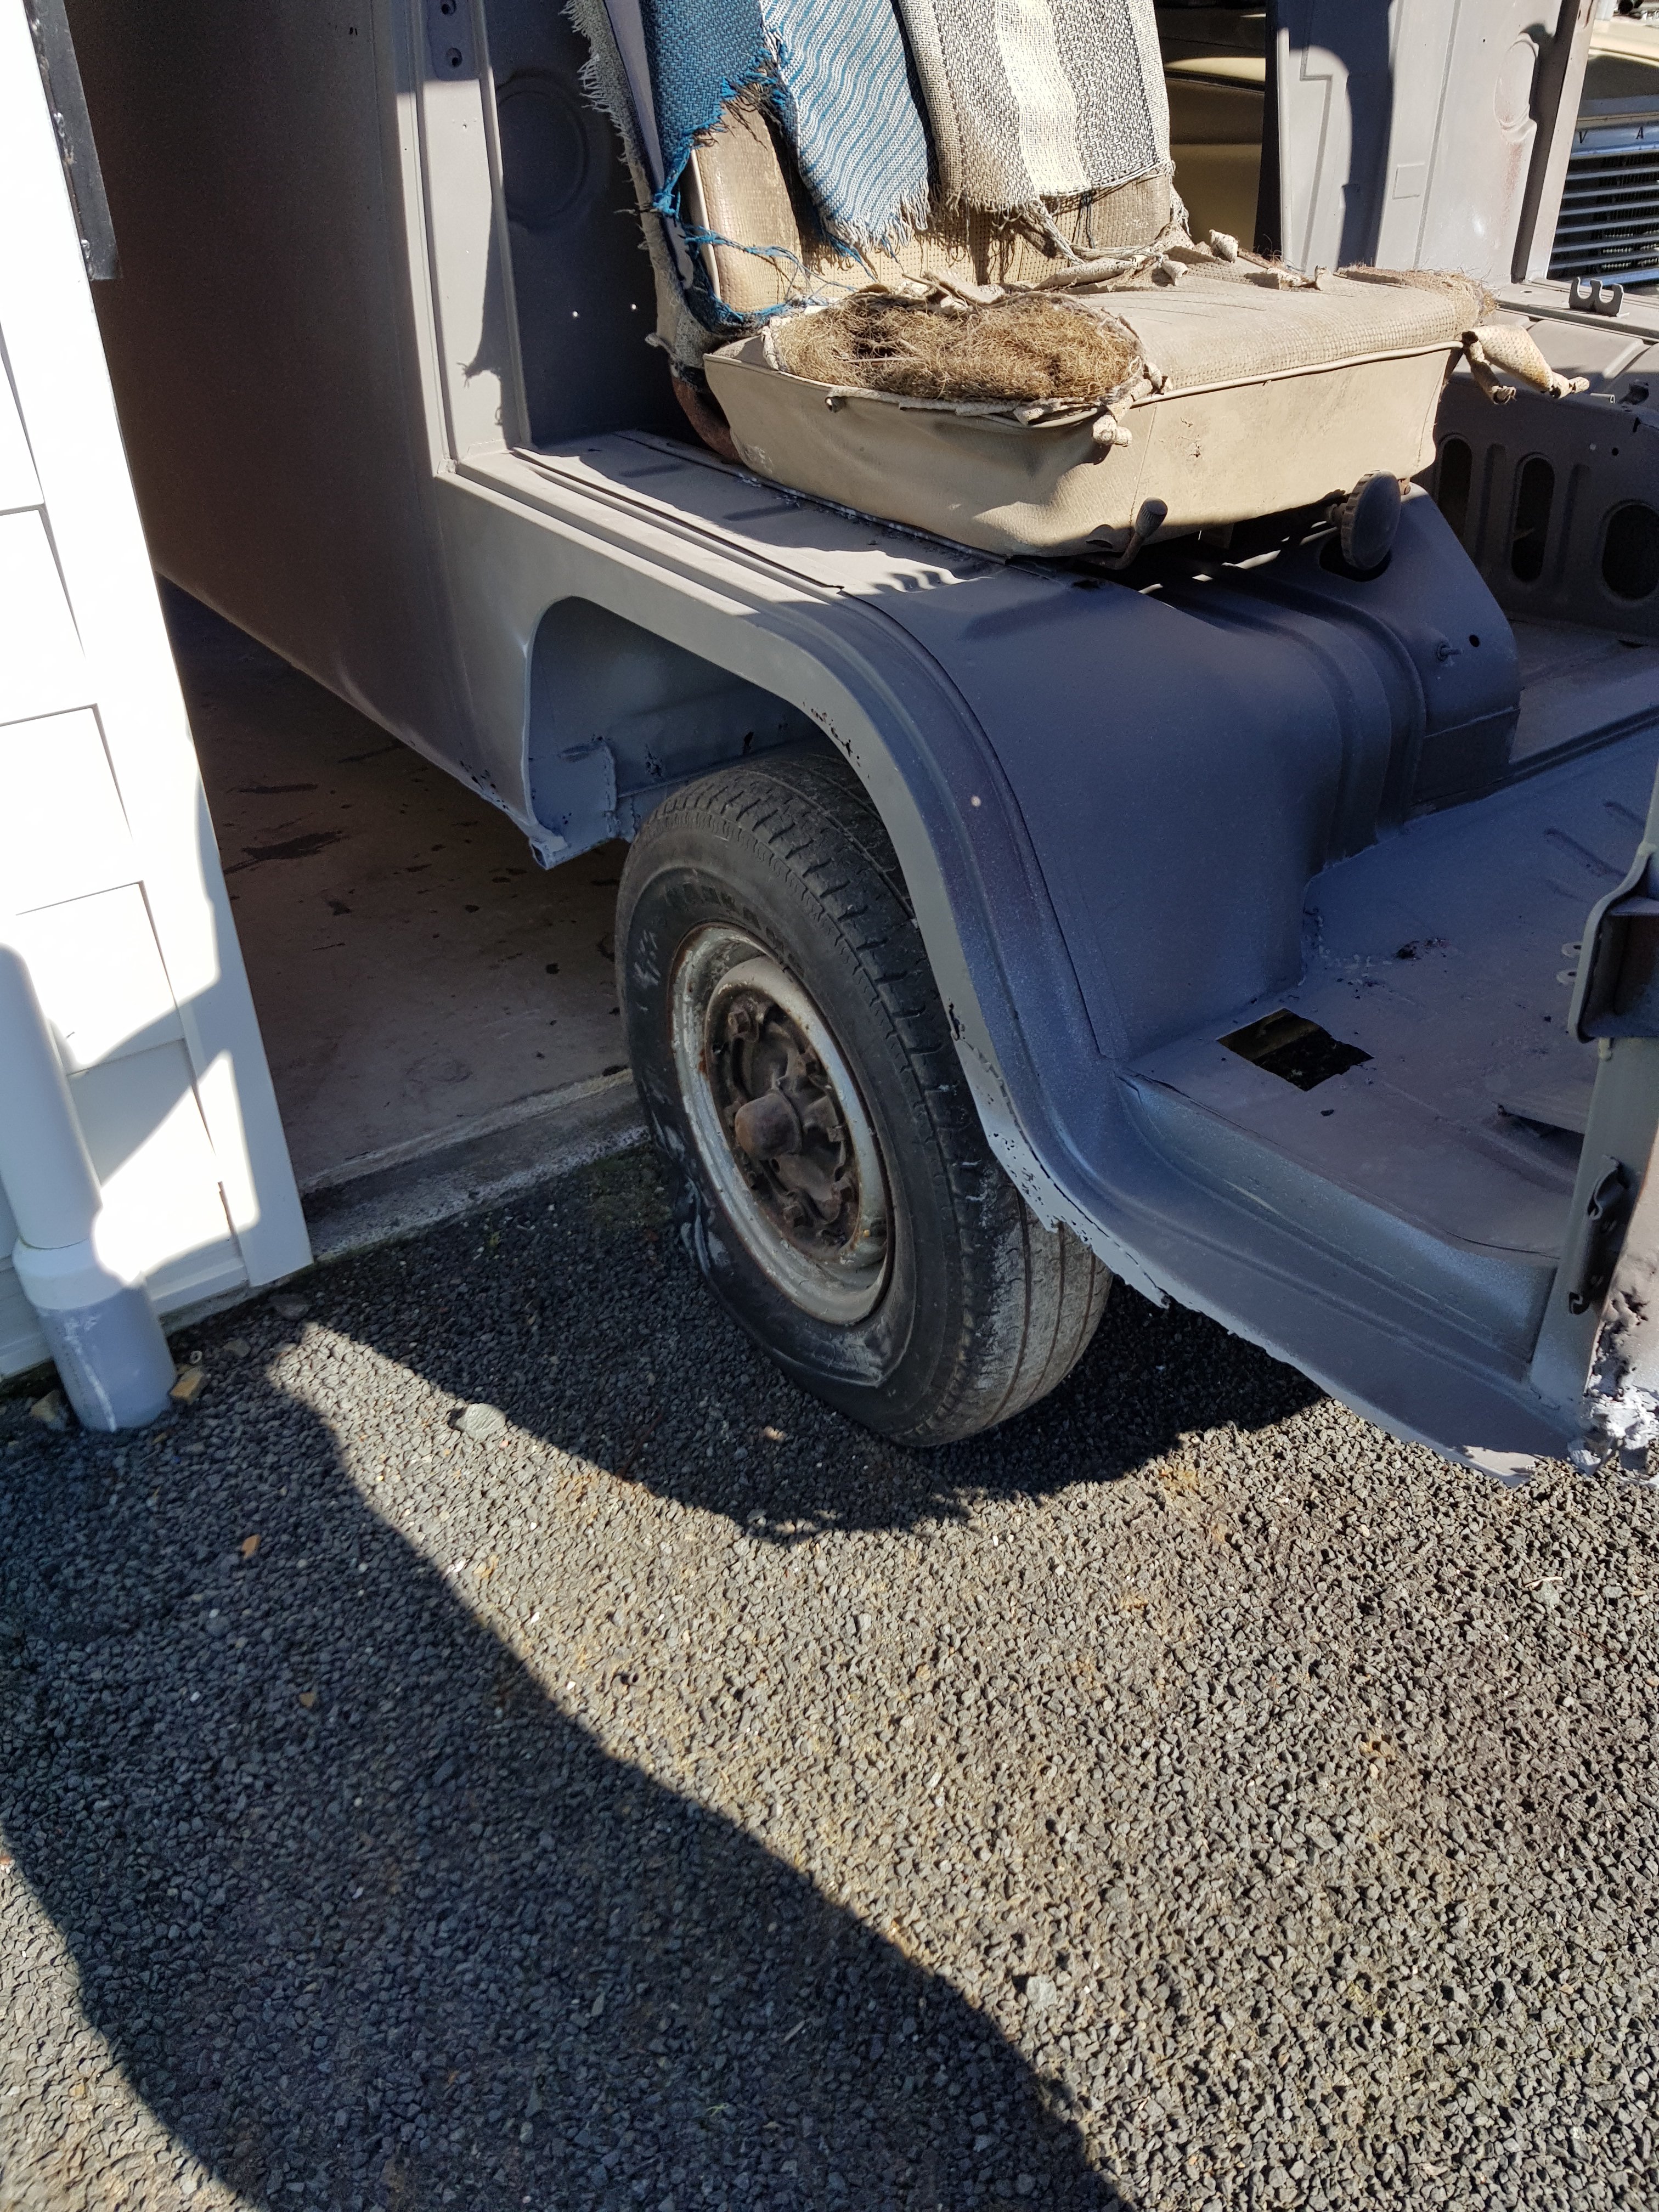
roof continues. allegedly finished tomorrow. 2017-08-07_05-23-40 by sheepers, on Flickr 2017-08-07_05-23-30 by sheepers, on Flickr 2017-08-07_05-23-20 by sheepers, on Flickr 2017-08-07_05-23-11 by sheepers, on Flickr 2017-08-07_05-22-58 by sheepers, on Flickr1 point
-
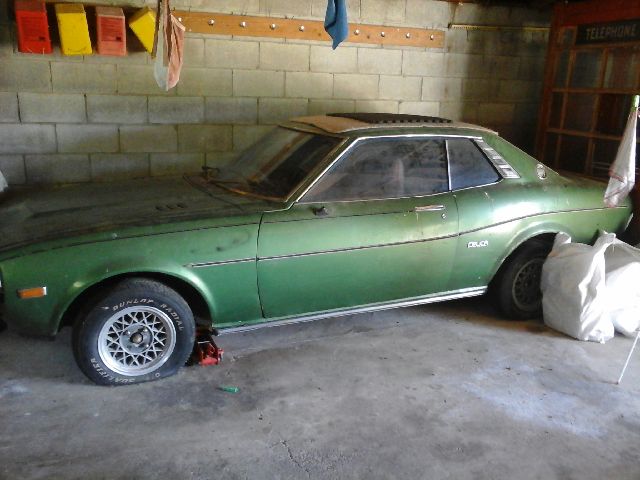
Me and the bro went and picked her up This is were she sat for 22 years
1 point
-
Let me have a look the Lucas alt first, might be an easy fix. And its already on the car. Parts are cheap. Cut my teeth on Lucas stuff, it's fine if set up right. Pm me your address bud..1 point
-
Ah so yeah most definitely will be making this thing a lot lower. Couldn't fit it in the shed without letting the front tyres down. Here are some more photos of the rust/not metal. For example on what a peace I brought. This back left 1/4 is pretty terrible. Some one has had fun filling it with bog before. Bottom of the sliding door Yeah... Some one must of drove into a nice pole at one stage. Bottom 6 inches like normal. Just easier to replace the hole front. Yeap. Few holes in this part. Just looks pretty when I put a torch under the floor in the dark. See heaps of stars Drivers door. Just behind the drivers door. Passengers door Behind the sliding door. And the bottom of the front window. I'm going to be a great welder or grinder by the end of this.
1 point
-
Also installed a new secondhand fuel pump and its still not pulling gas up but if youbungy cord a gas tank to guard higher than carby and siphon the gas in it runs. It runs good. Doesnt even blow a shitload of smoke. Drove it forward a meter. Finally found reverse and drove it back some meters amd then forward again. Its almost a real deal living van1 point
-
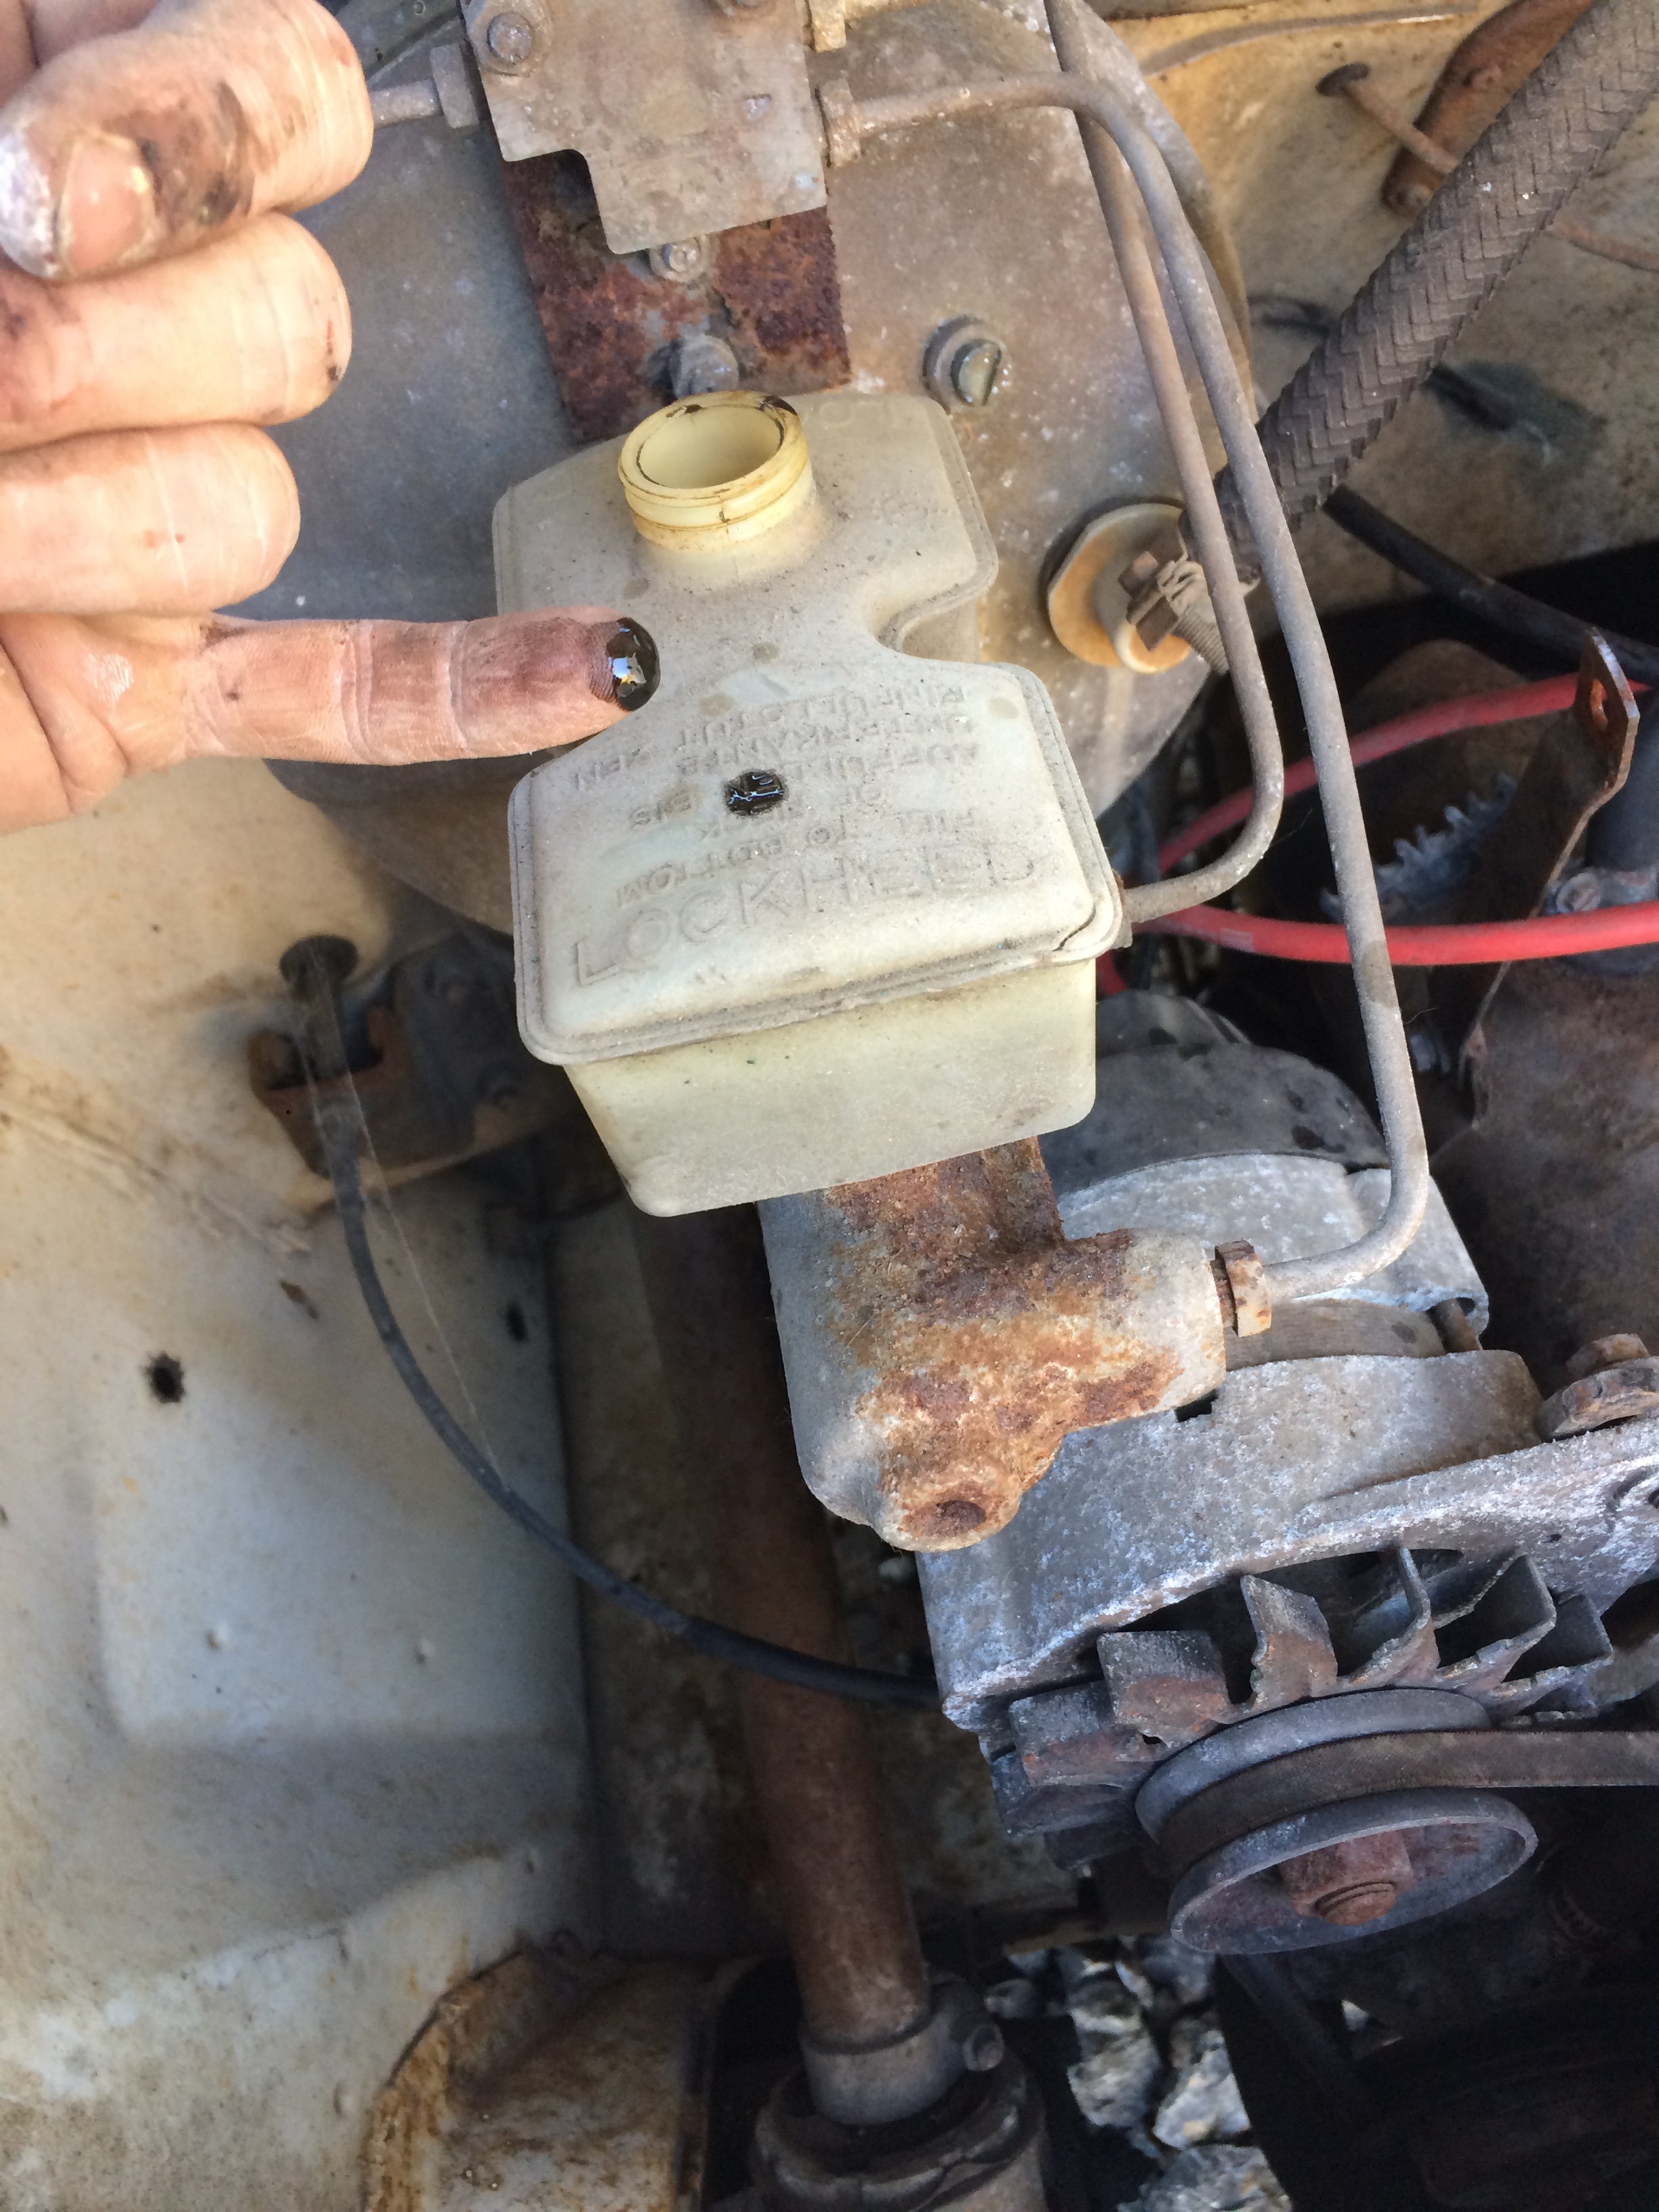
Found out why it has no brakes. Like no brakes at all coz it has no brake juice
1 point
-
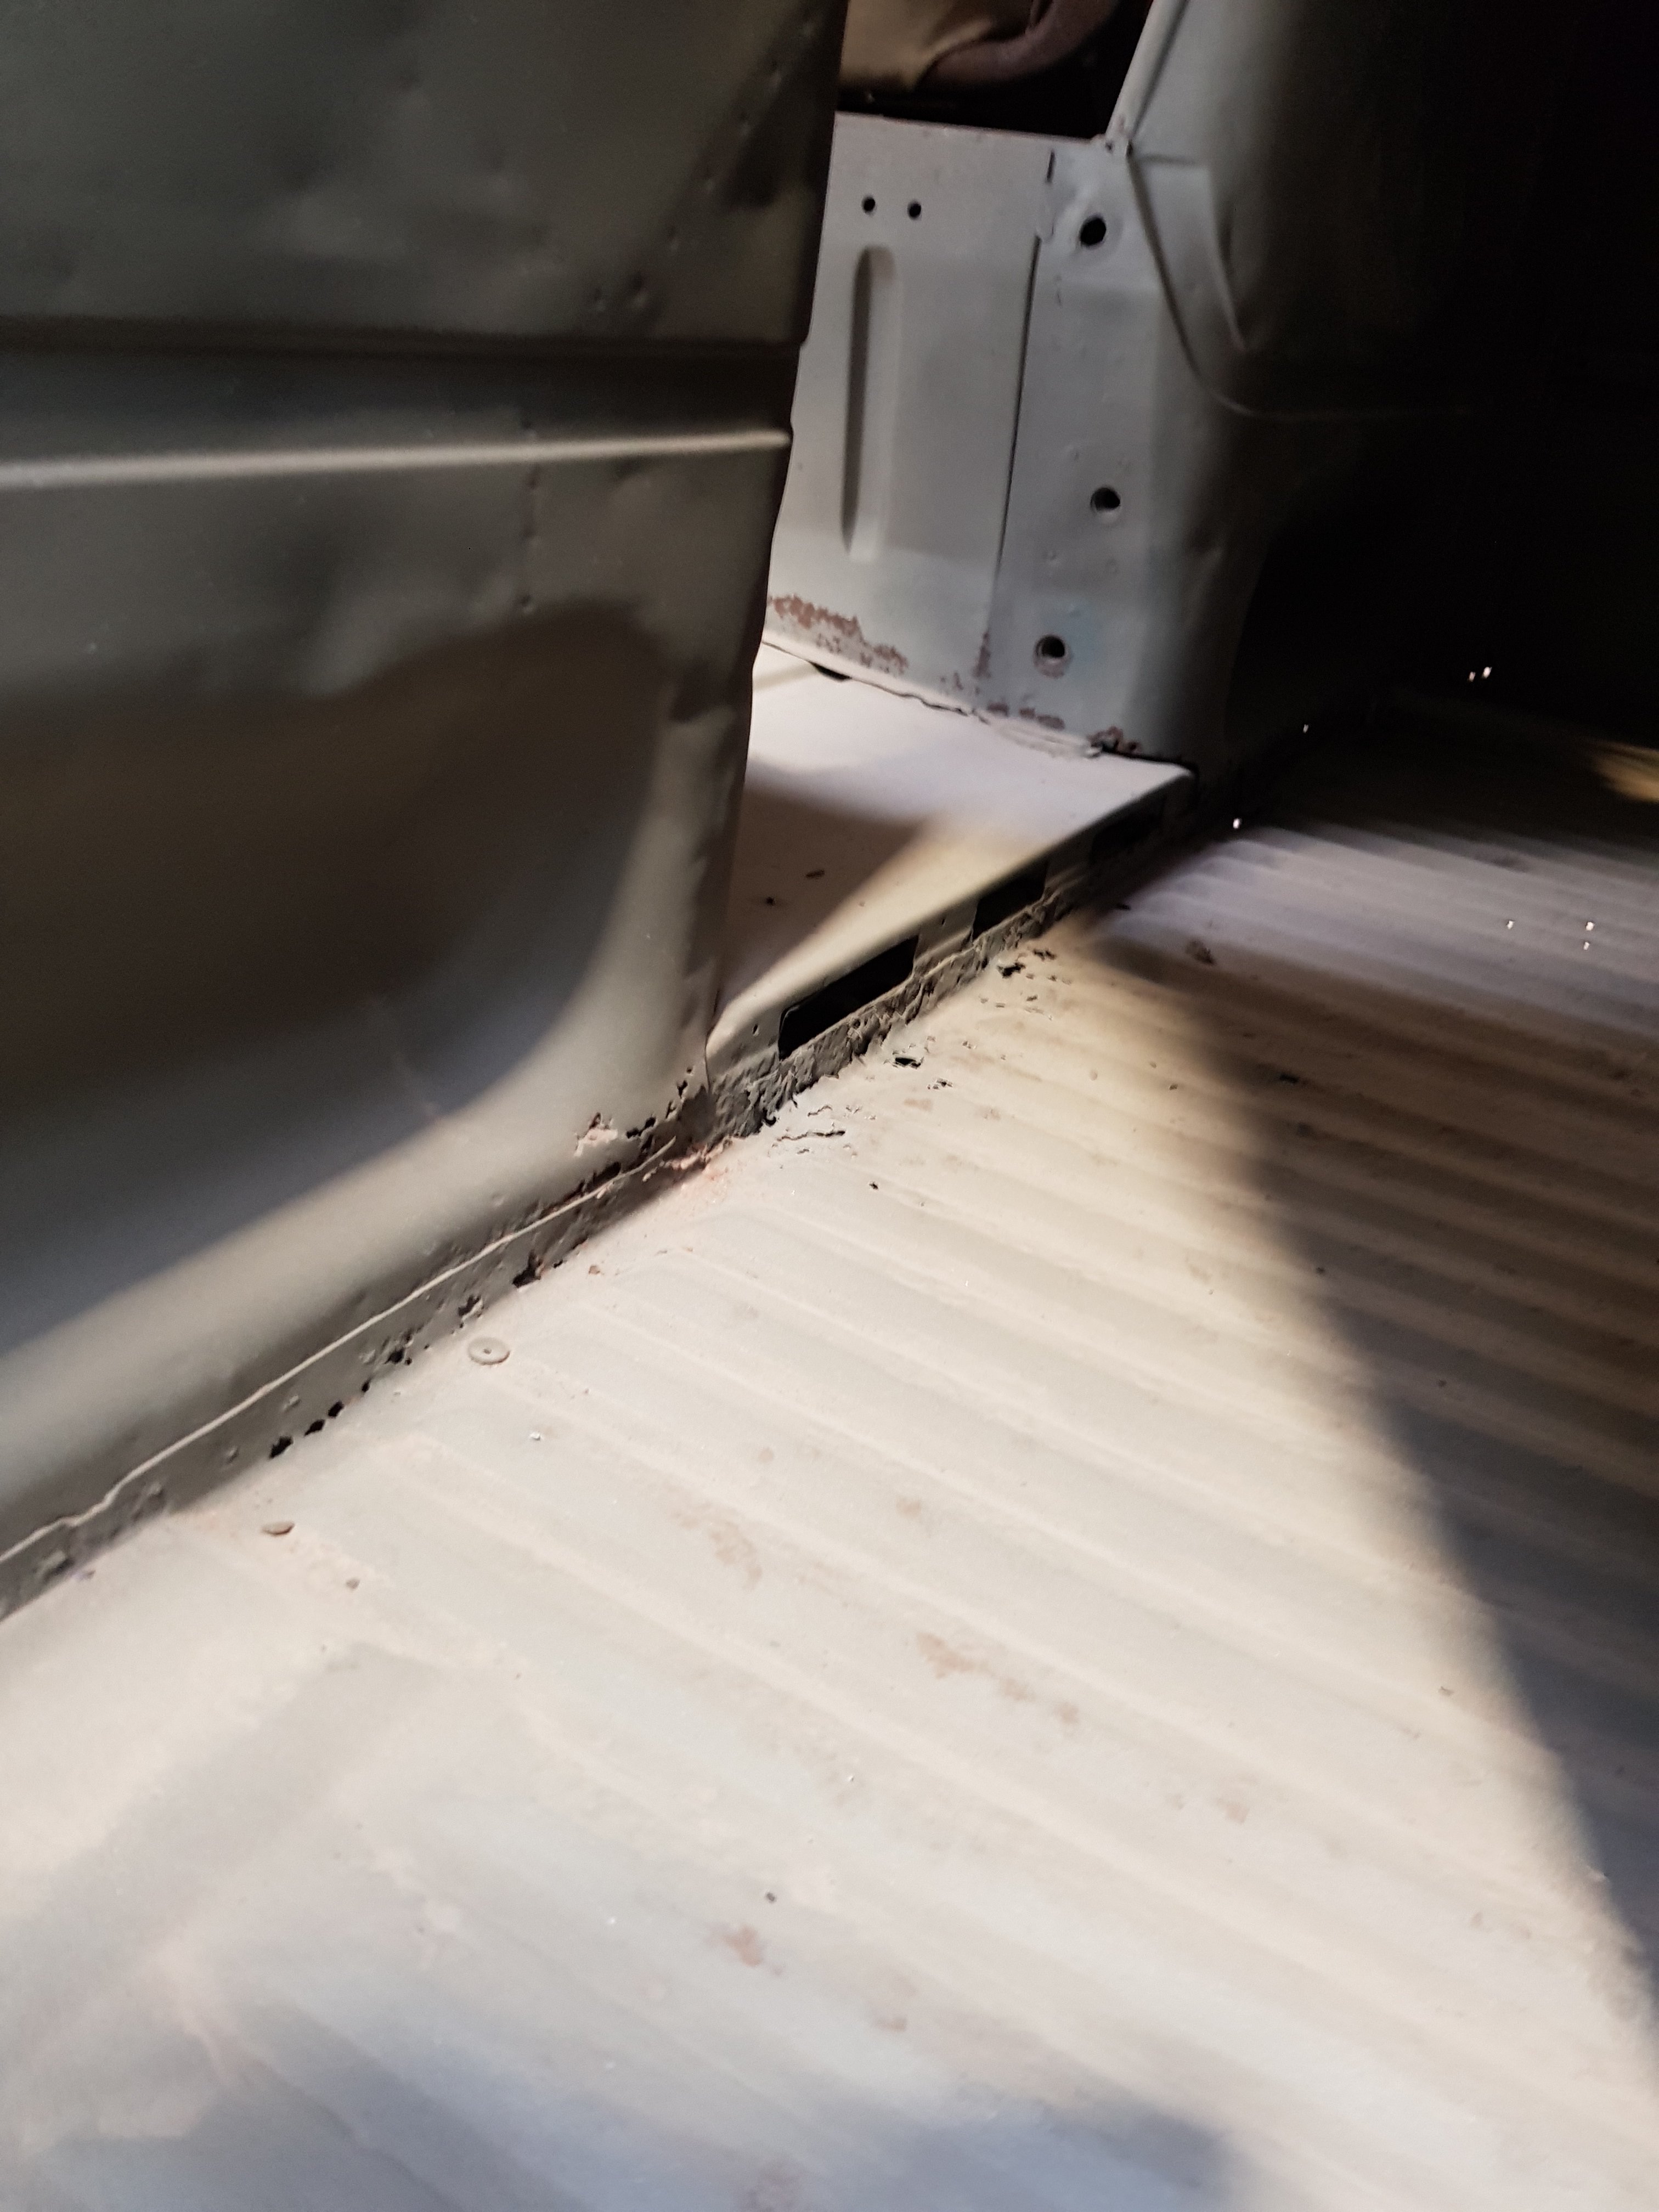
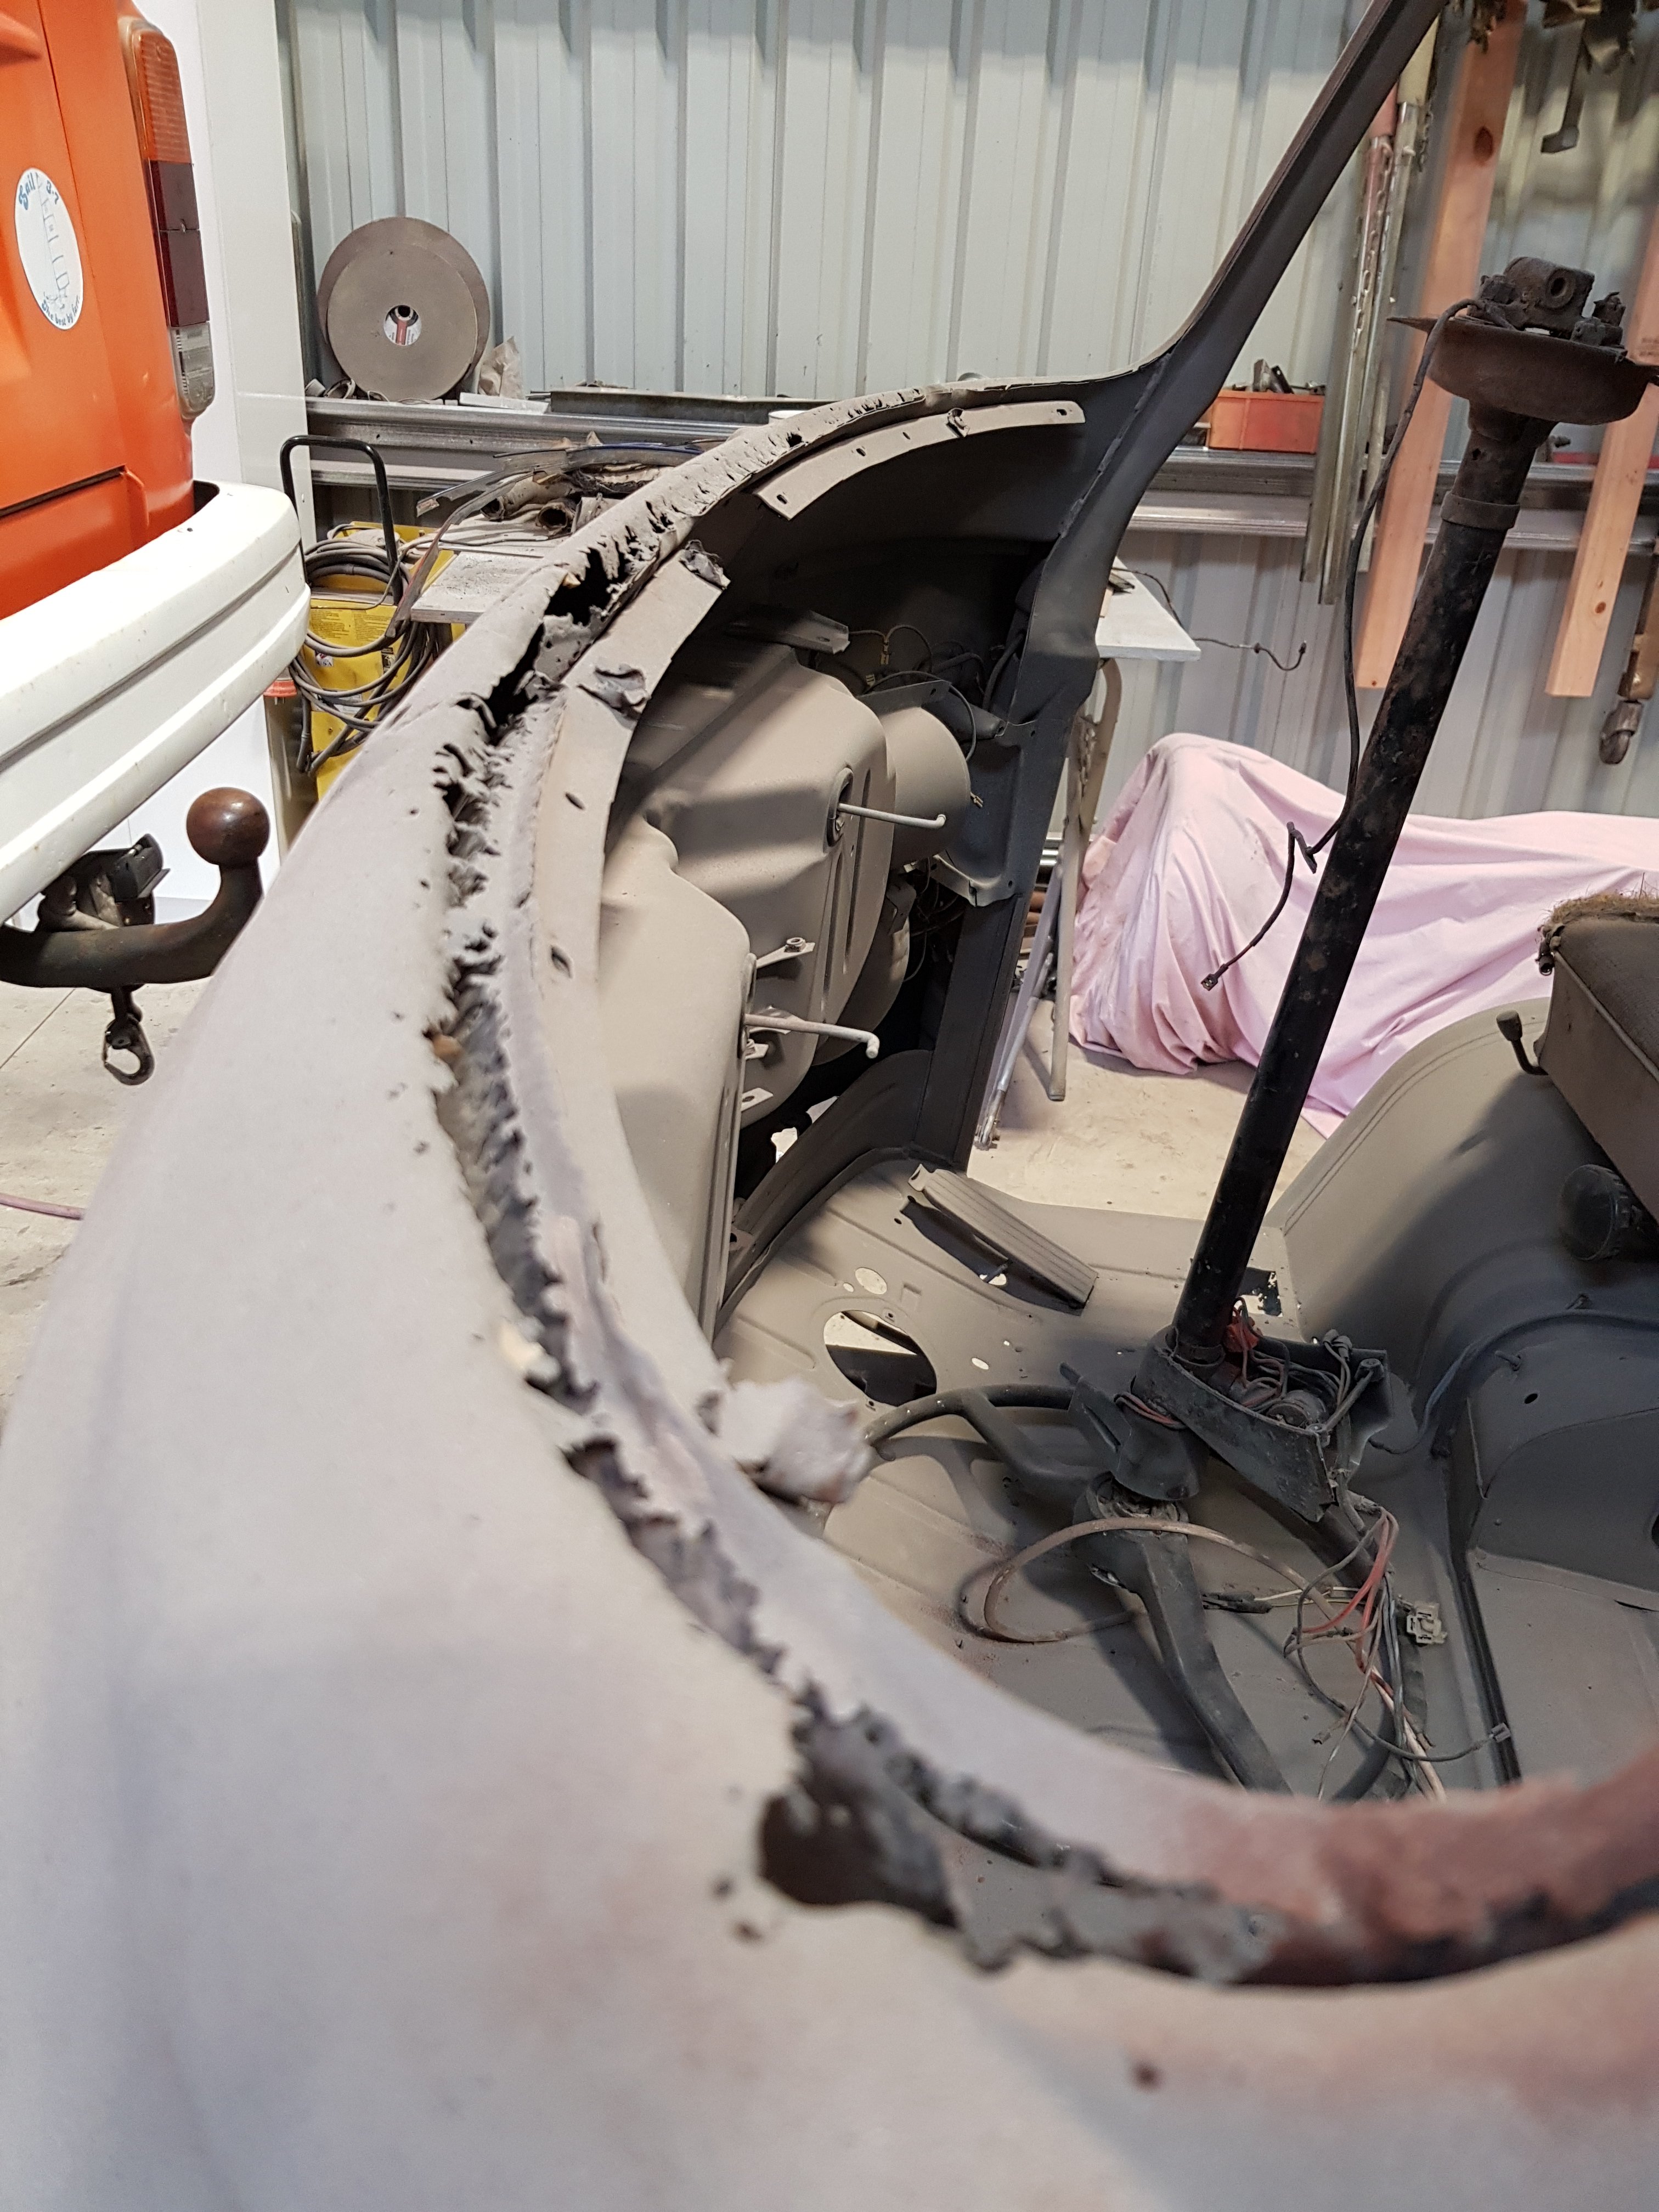
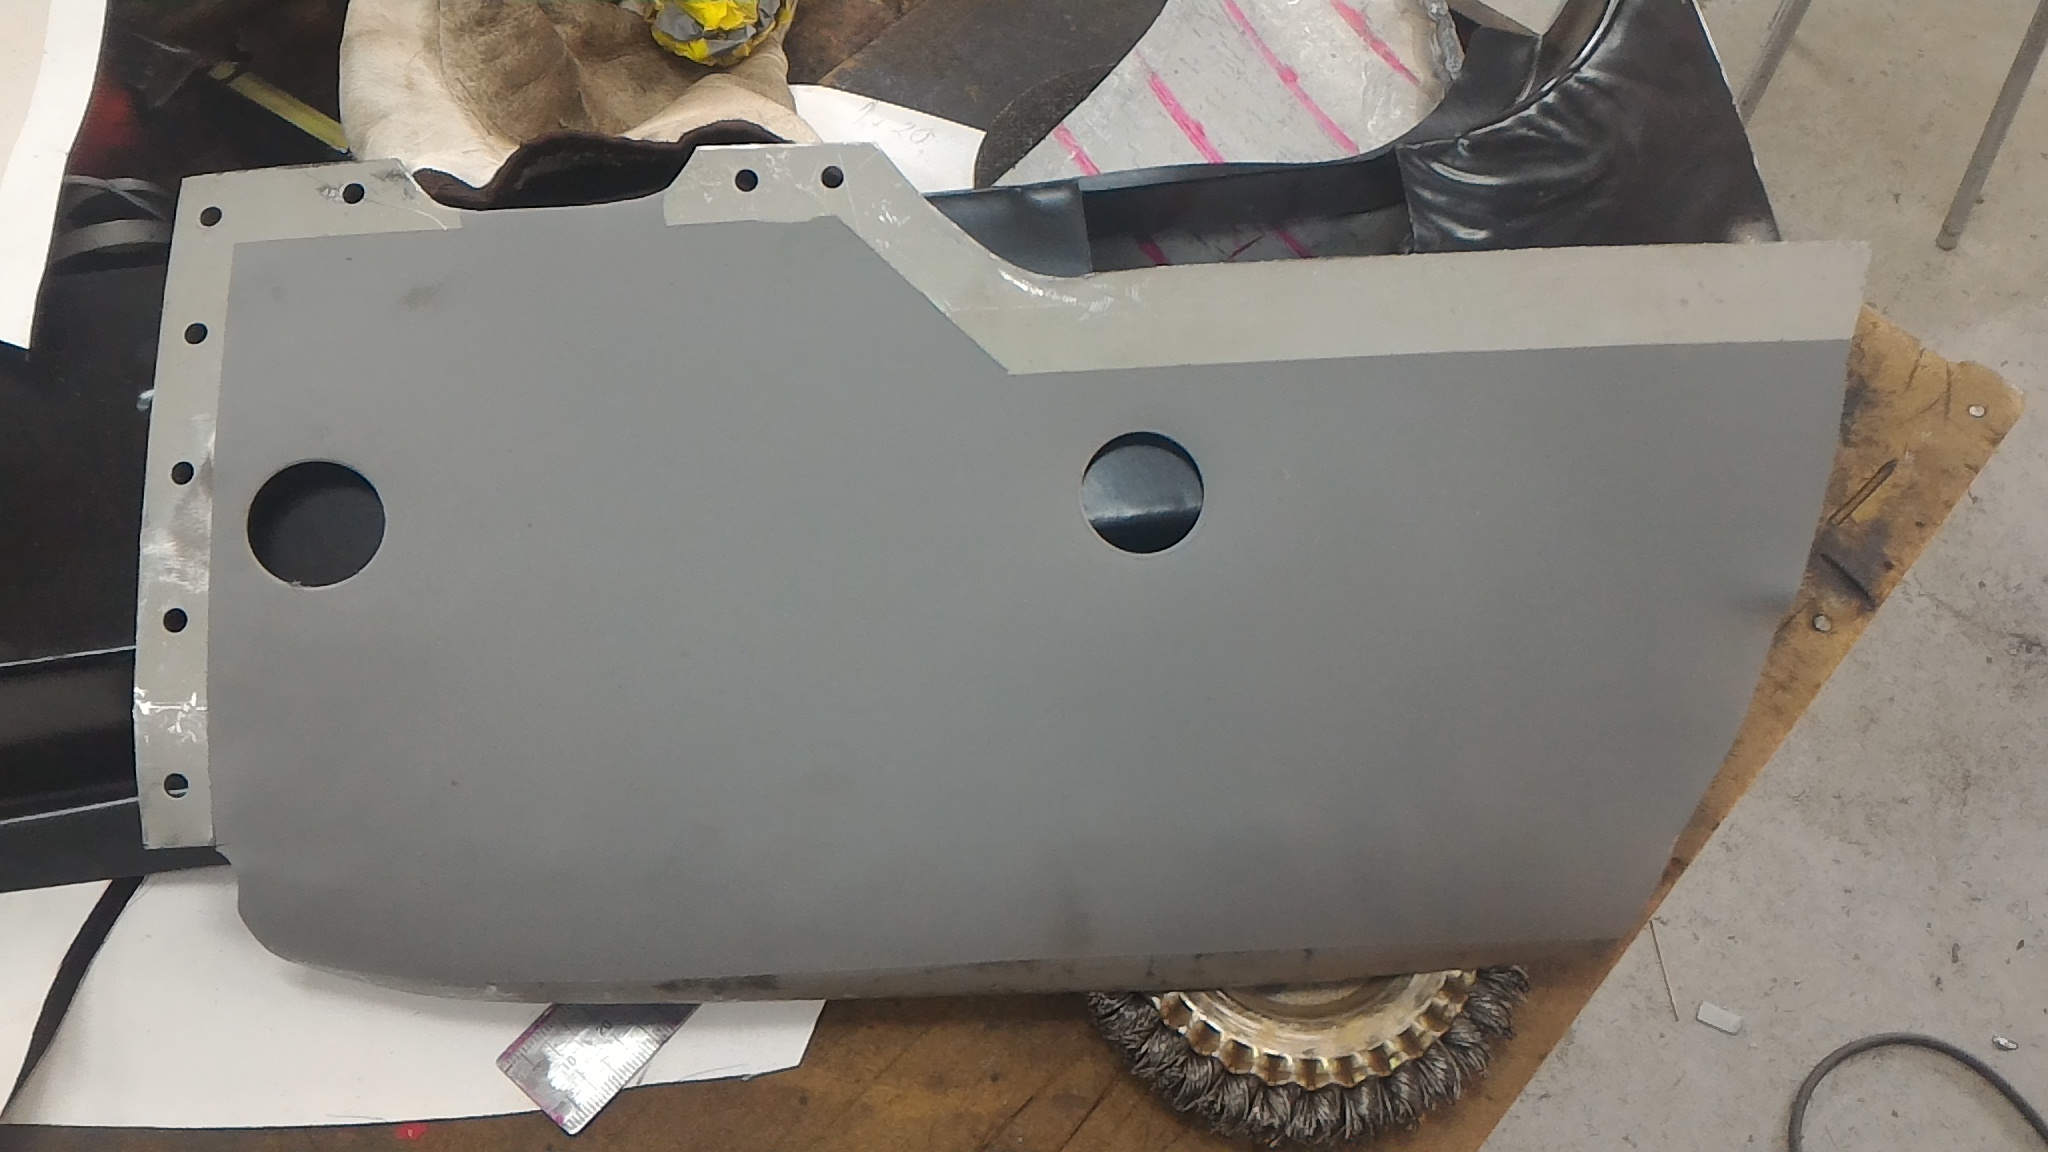
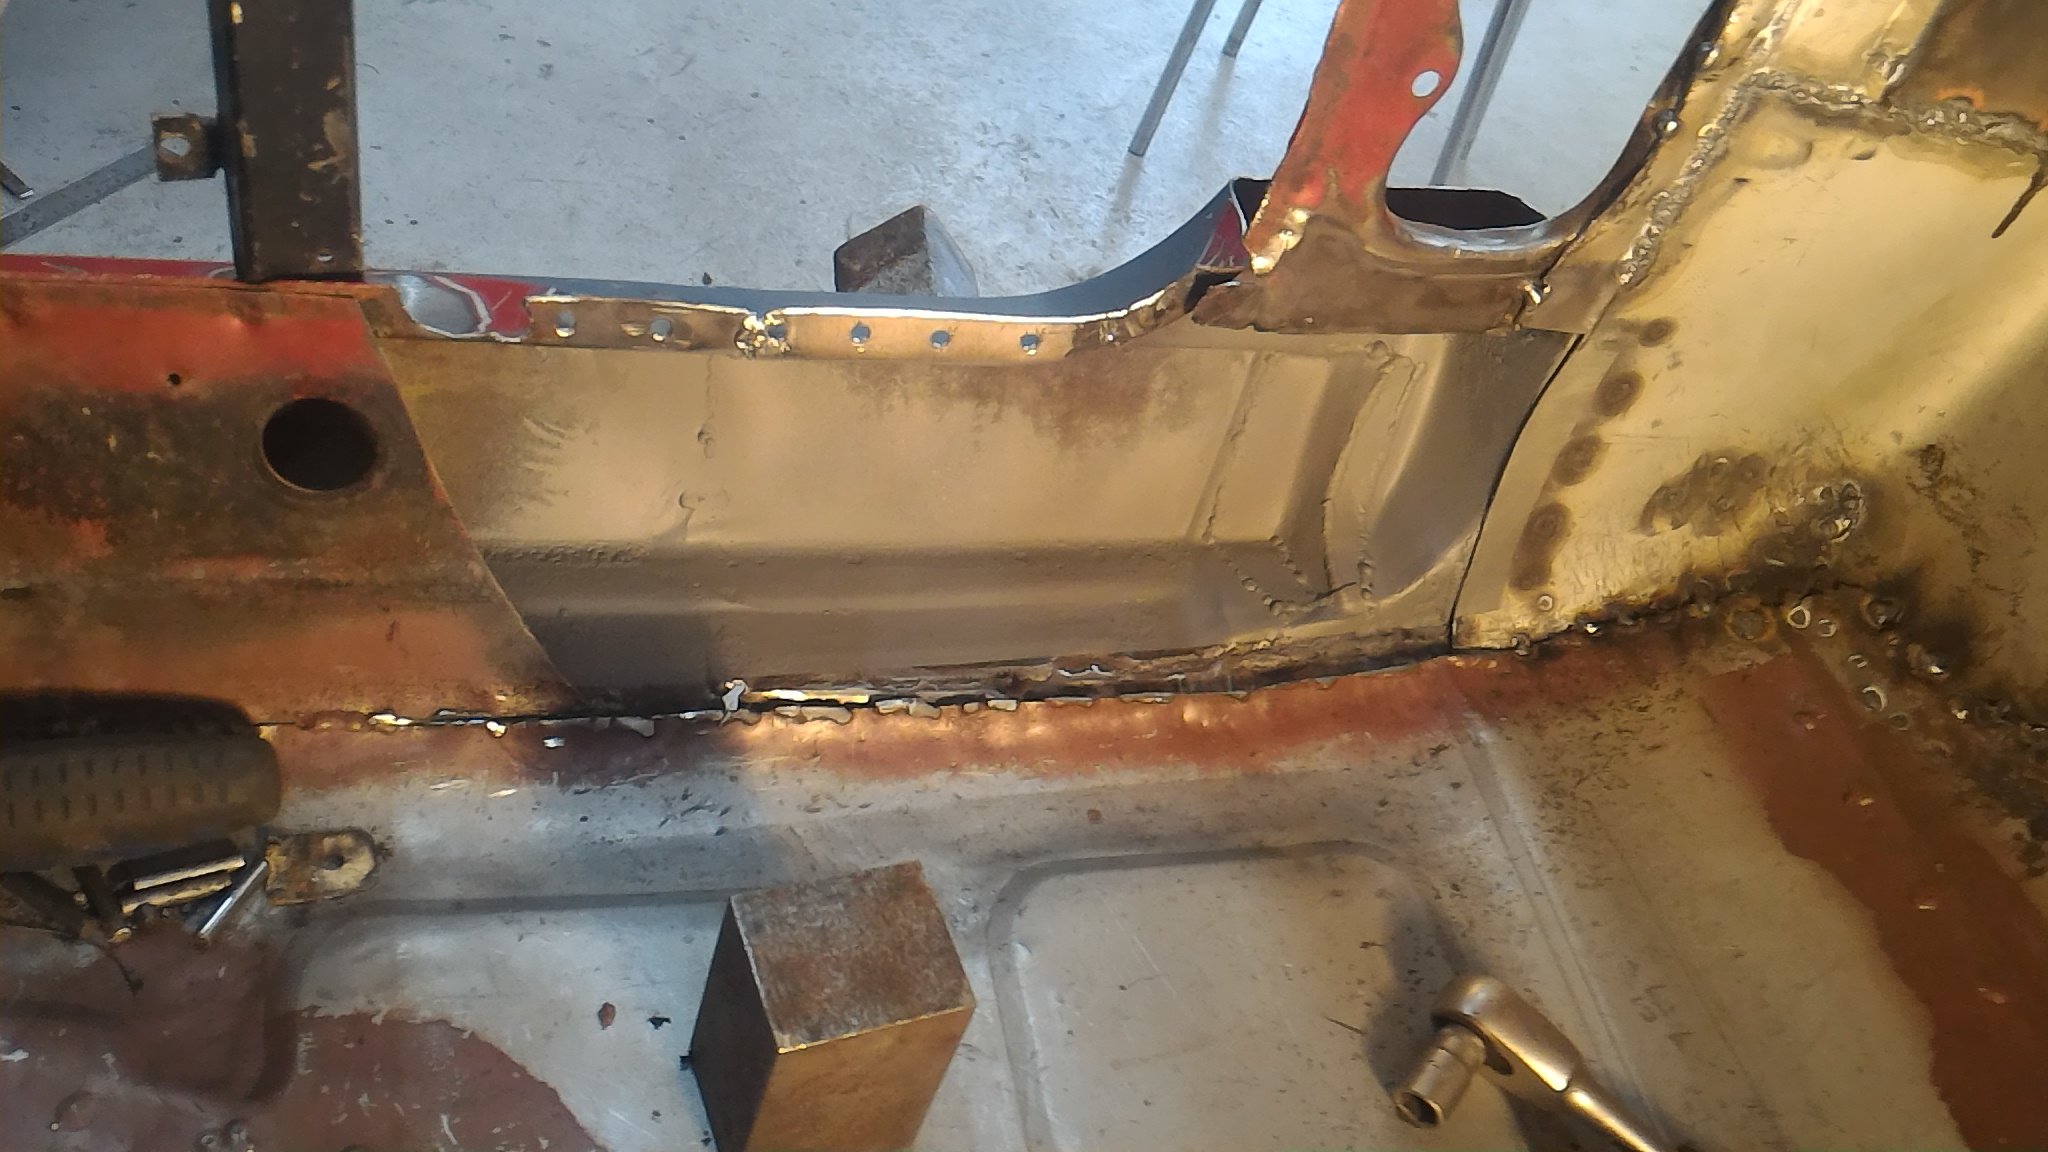
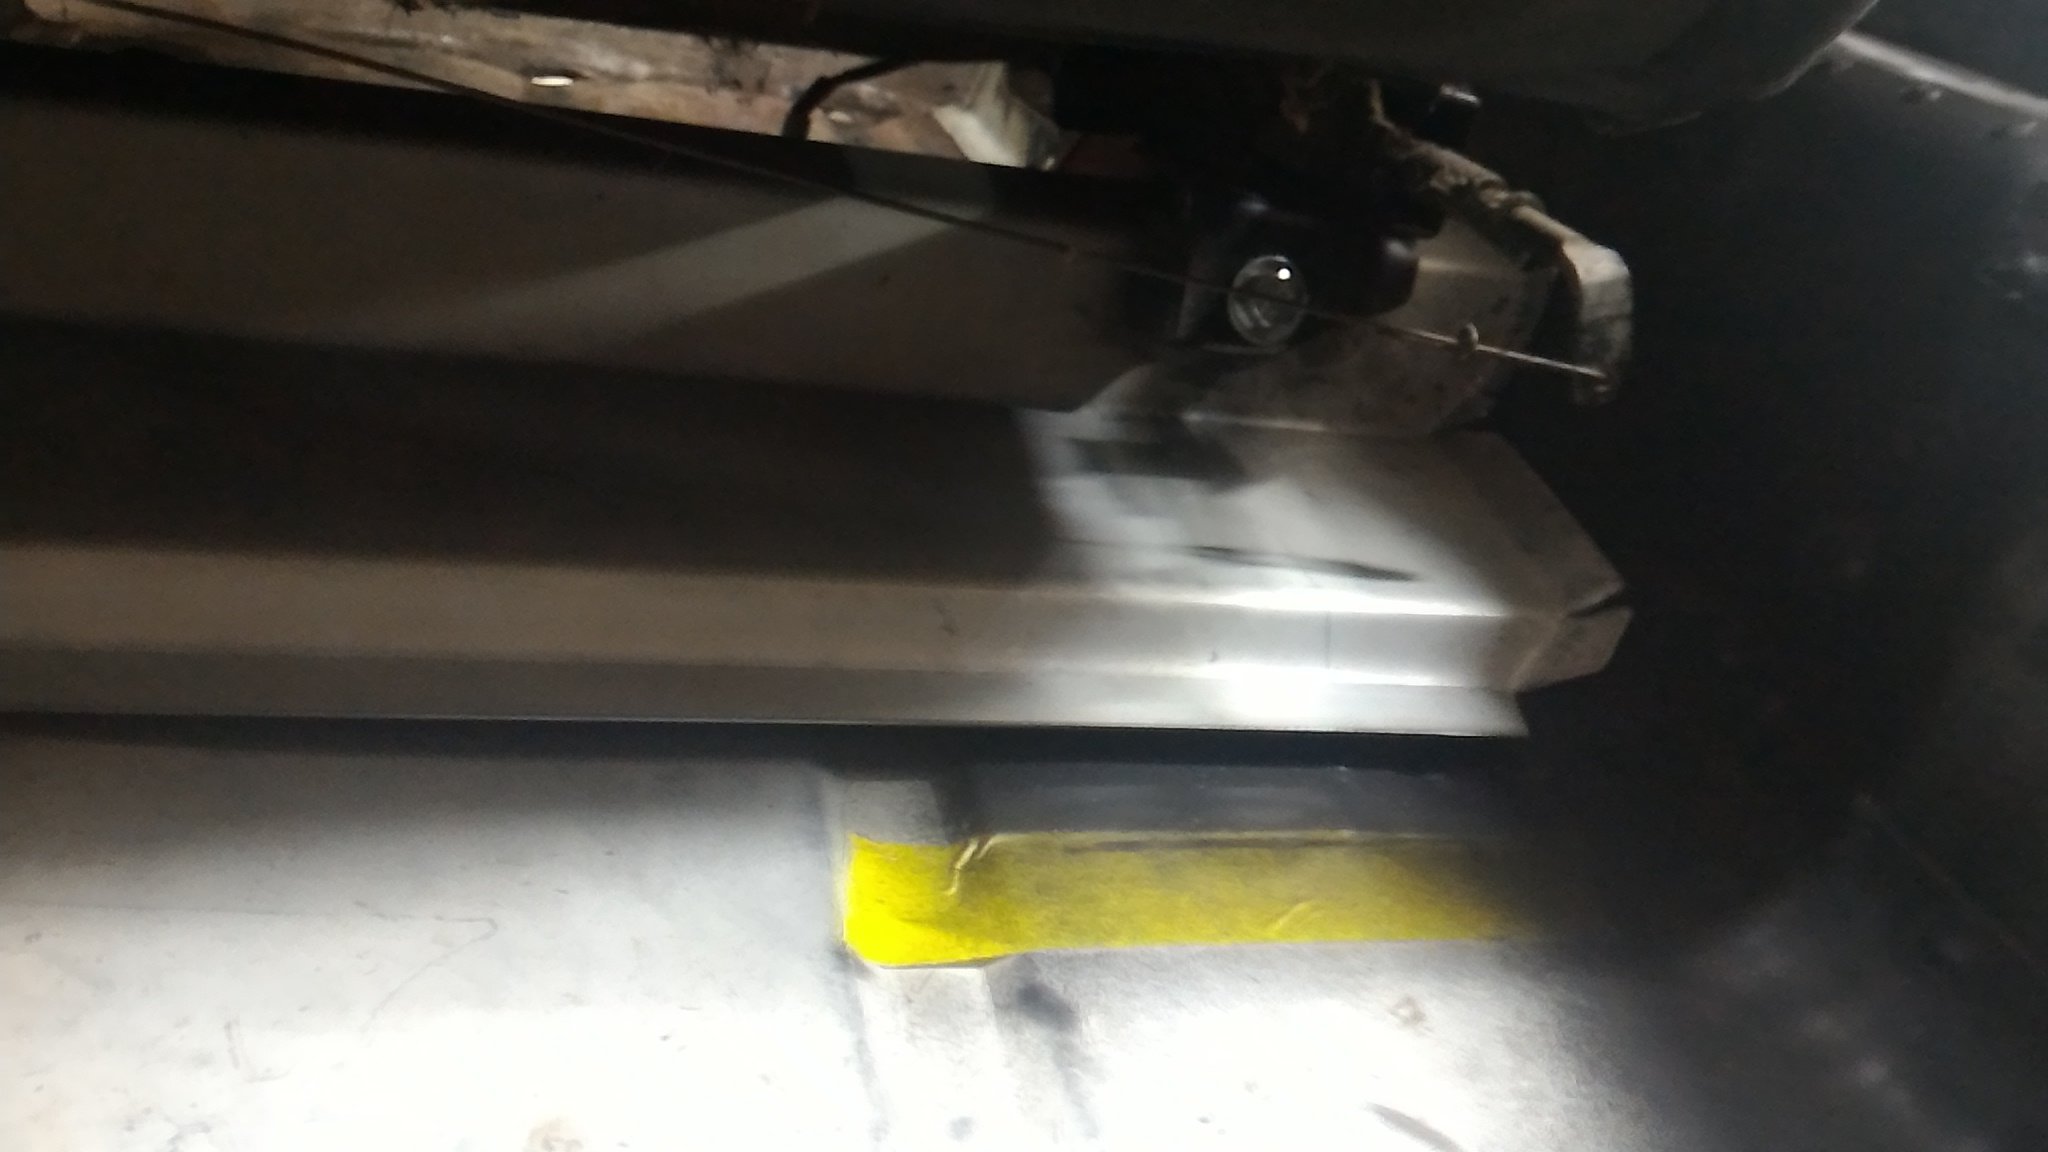
To finish off the sill part of the operation I needed to make up an inner sill panel. So that's what went and did. Efficient aye? So paper template, steel, hole, no hole, And all welded up. Only took about 20 minutes...(hahahahahahahah not)
1 point
-
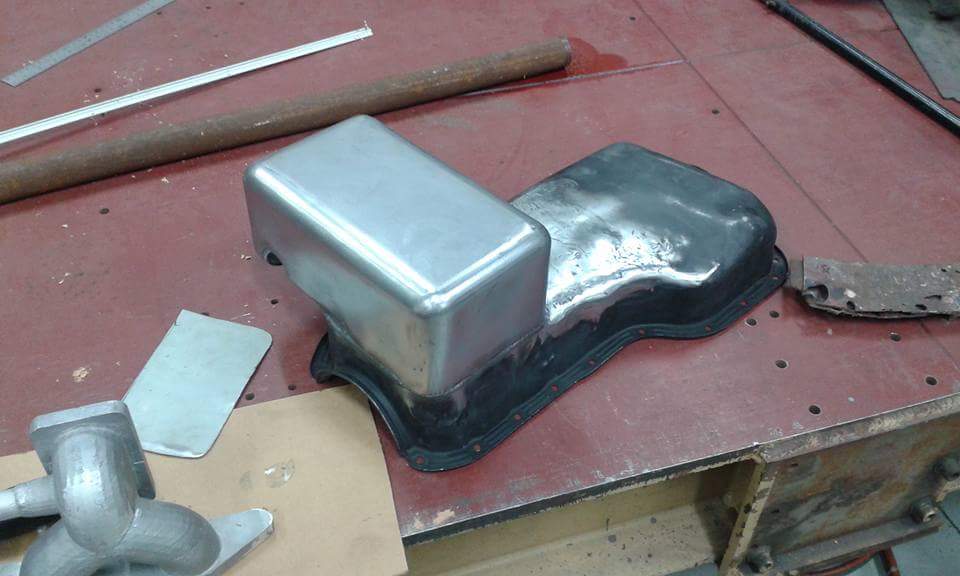
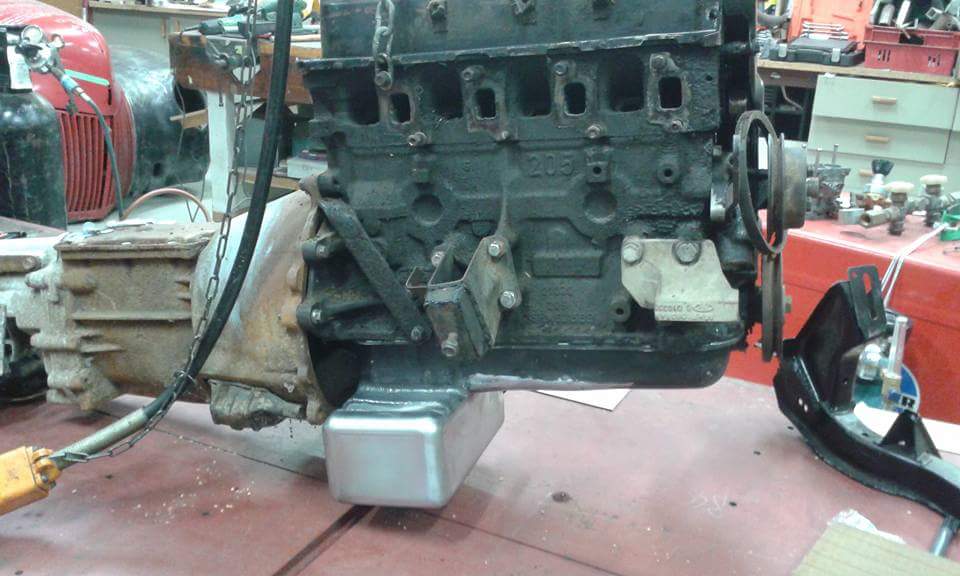
Dad modified the pinto sump to clear the escort cross member because while an alloy RS2000 unit would be nice, the price is a bit excessive. I did some rough calculations to make sure it's close to the stock volume. Note the cutout to avoid the clutch cable. Not shown in the photos is the baffle added later on.
1 point
-
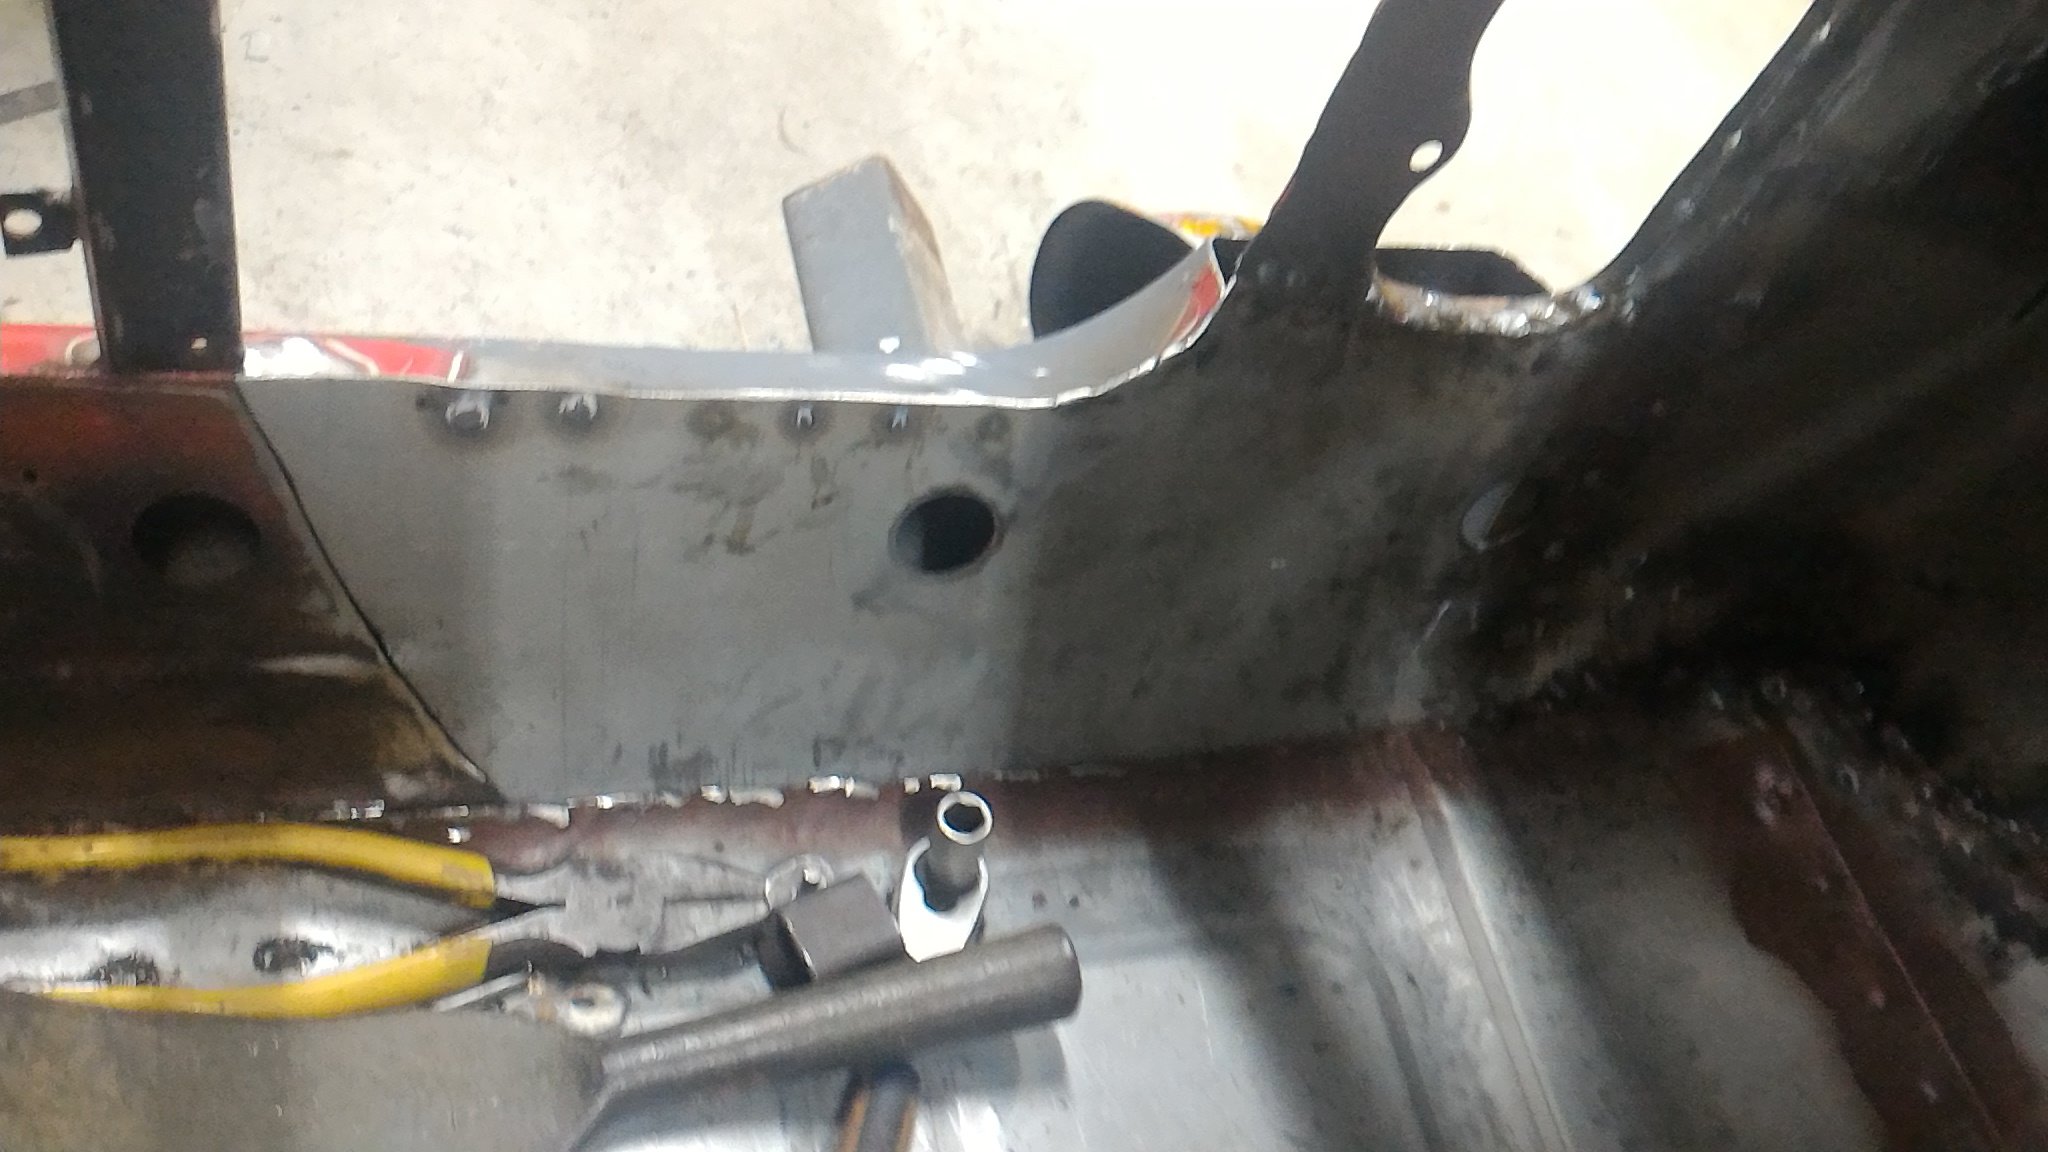
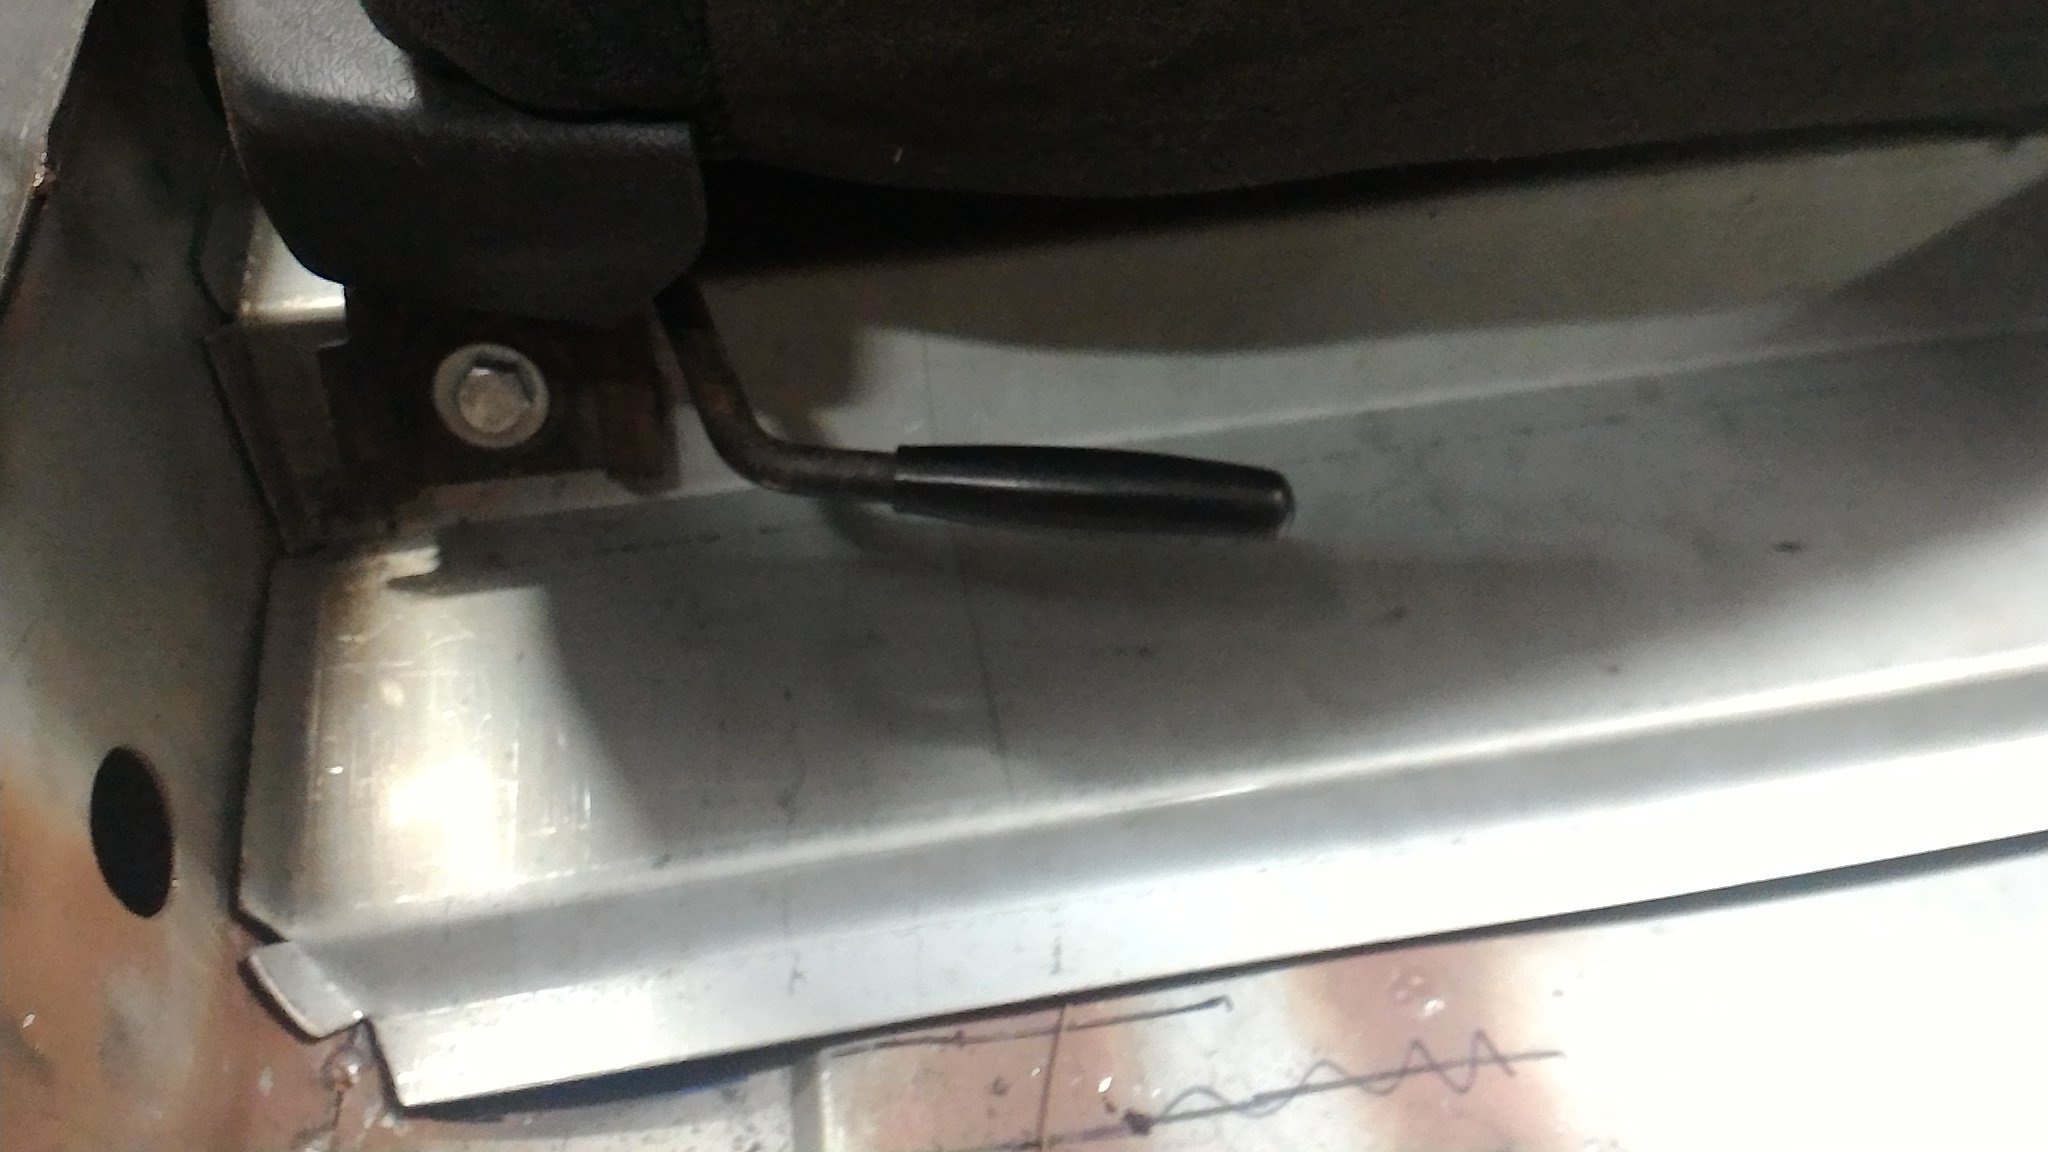
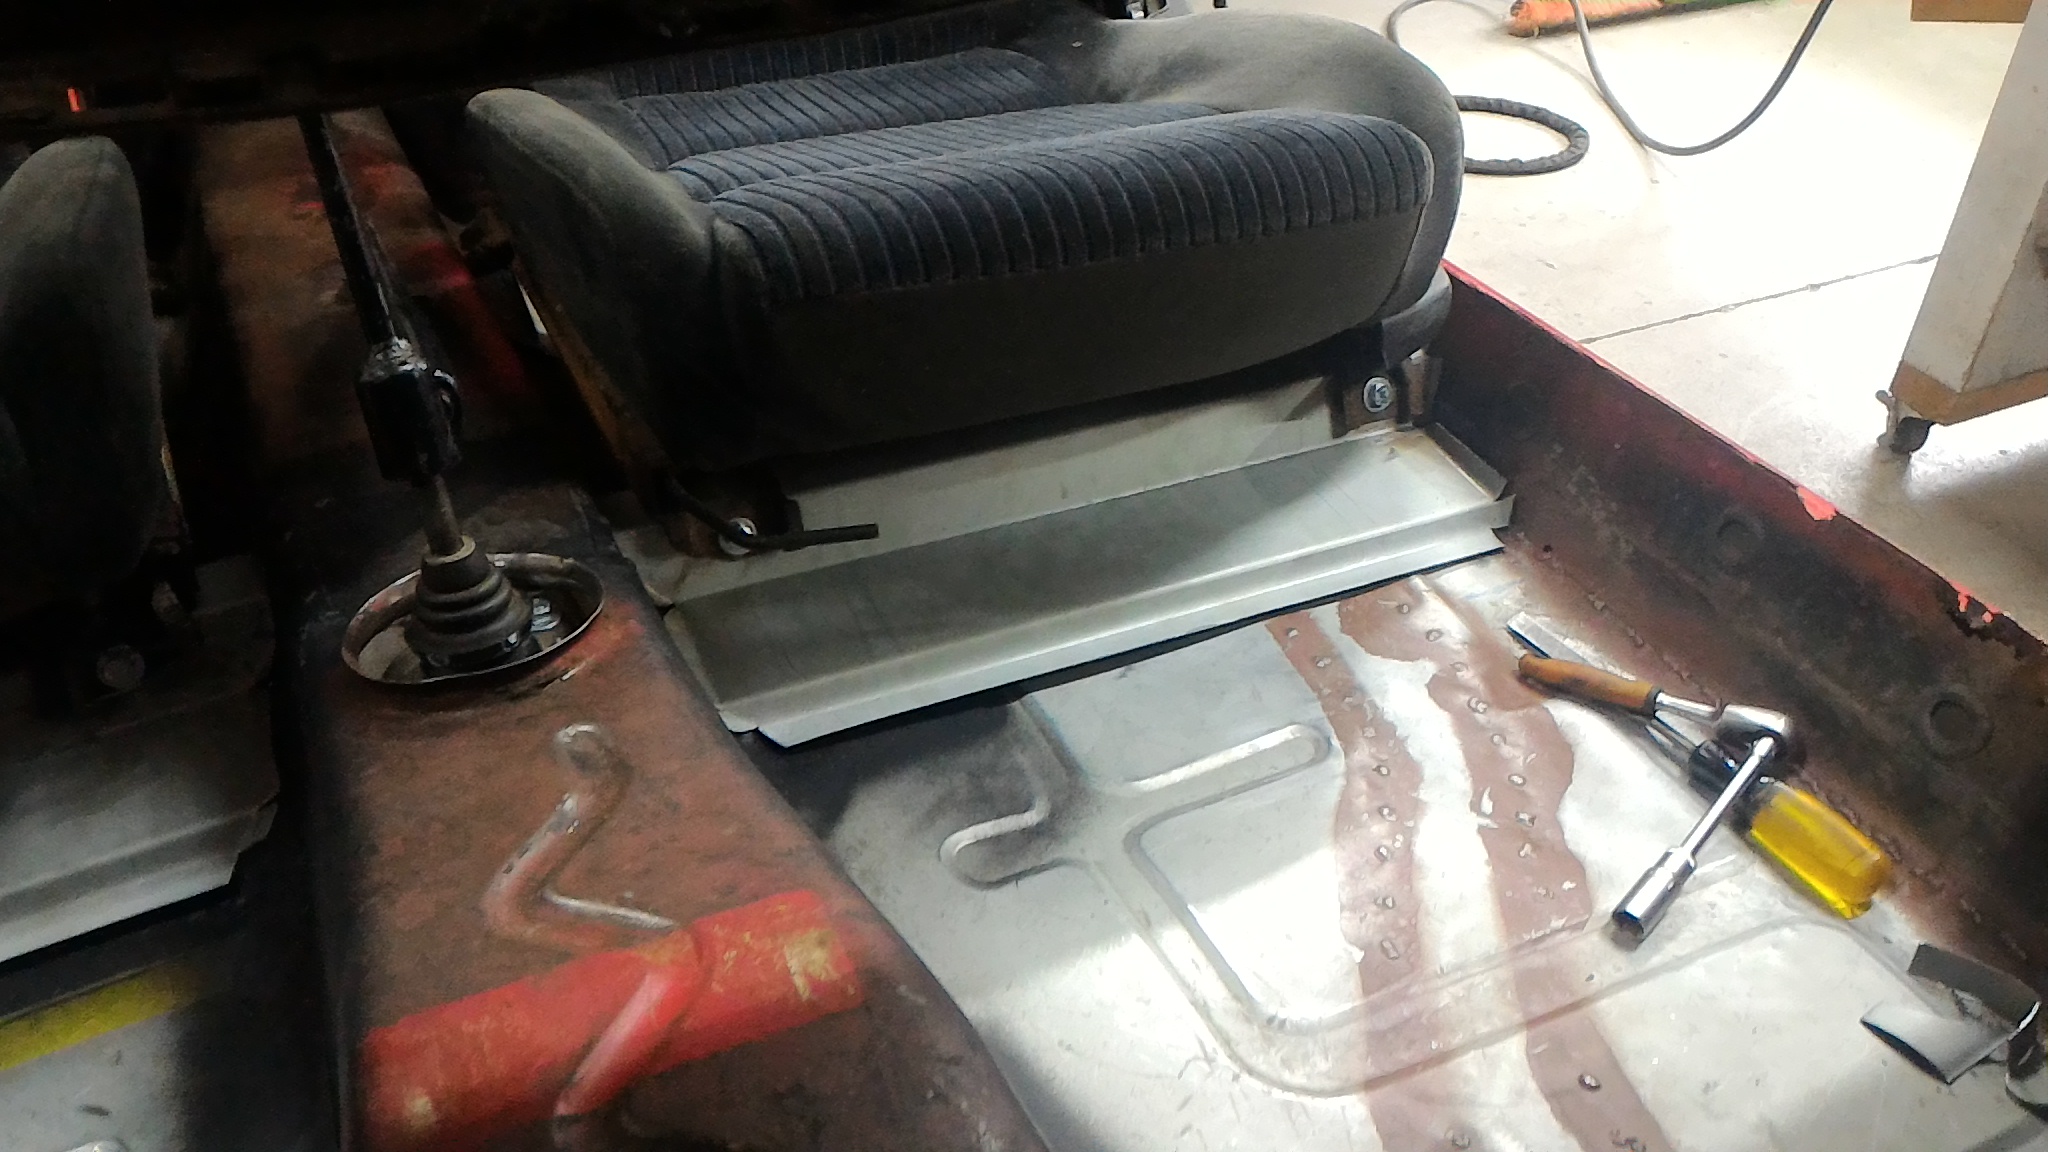
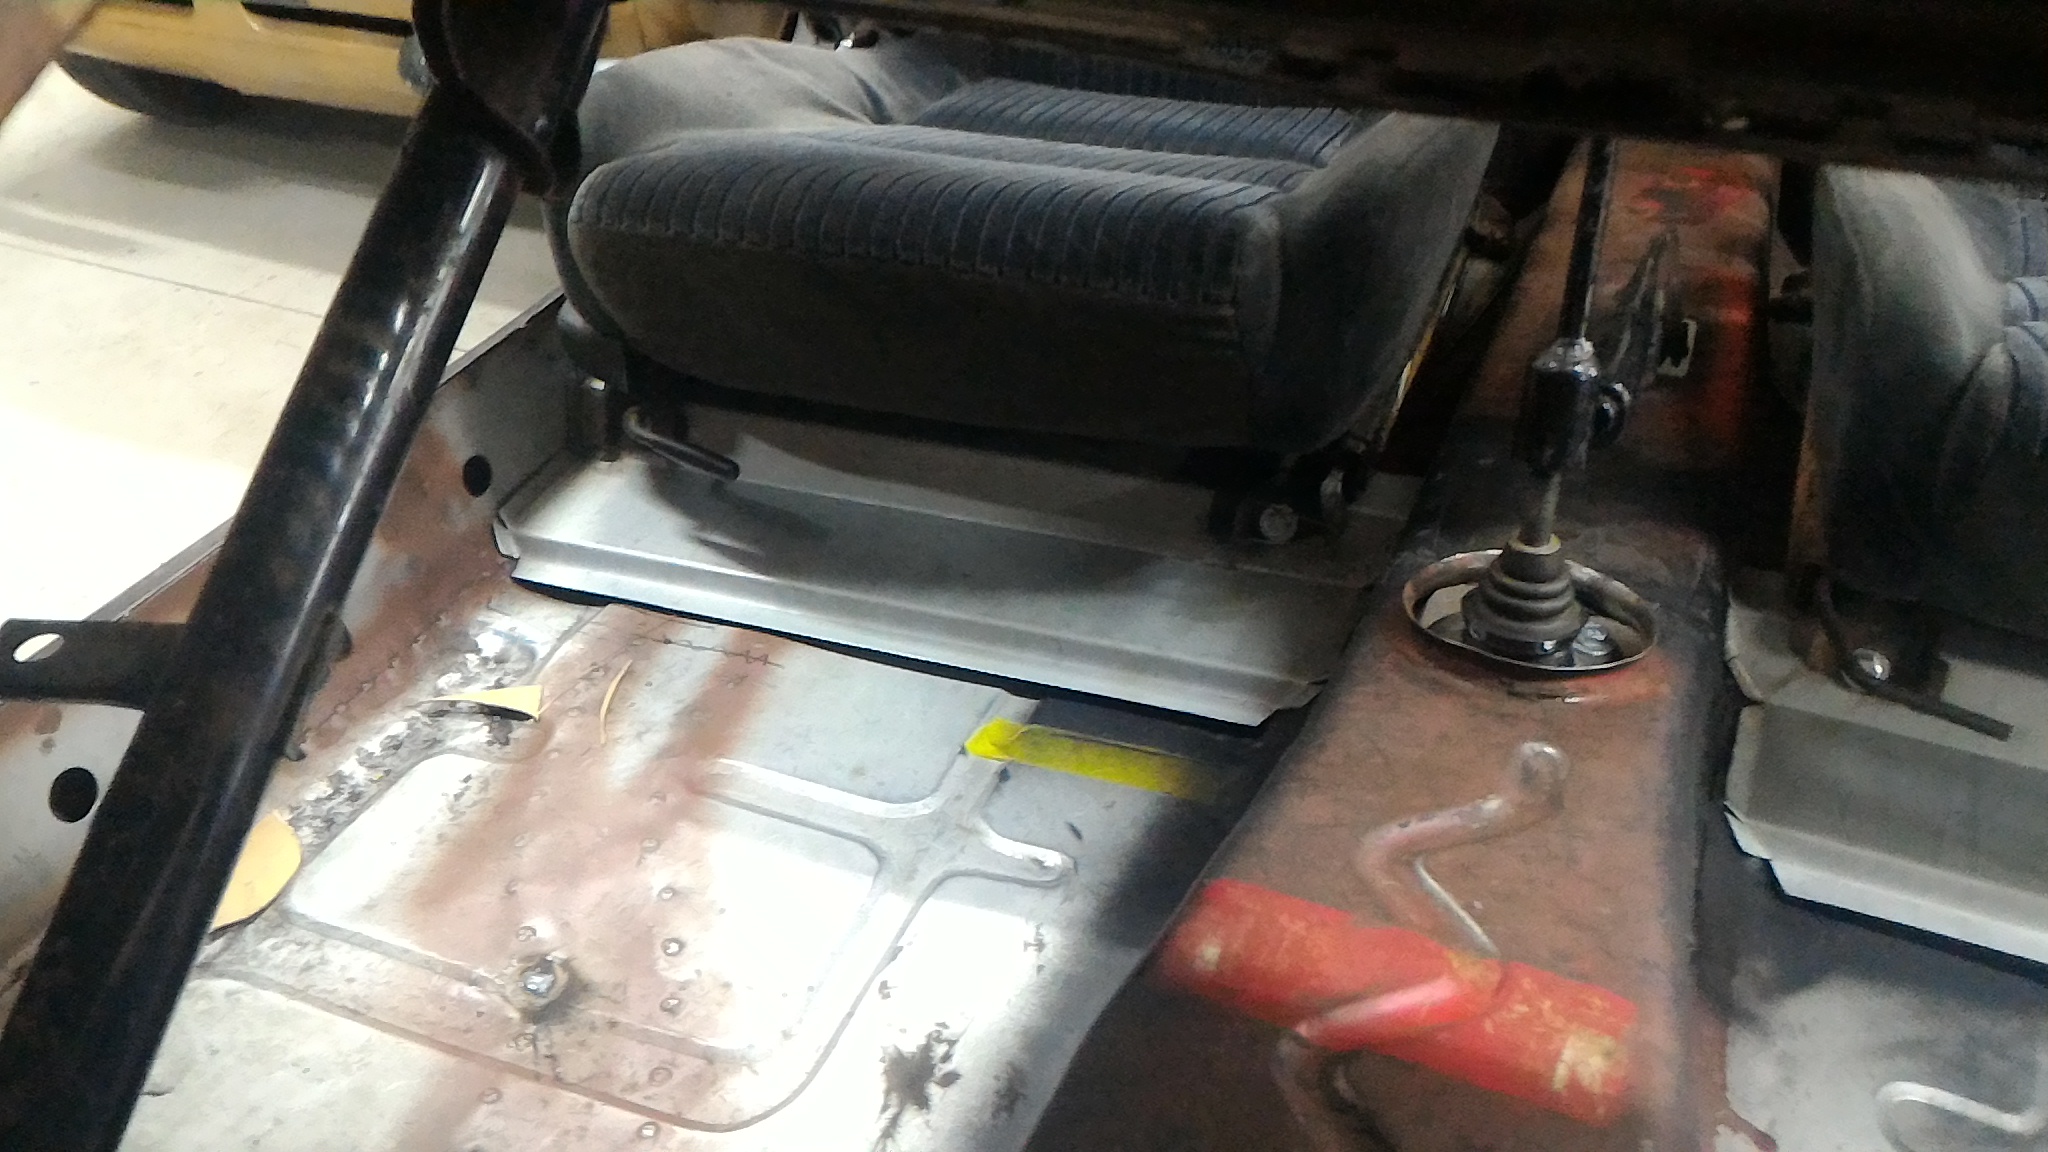
Continuing the floor themed fabrication work the next job was to make up some seat boxes to replace the ones that were torn out. I wanted them to do a couple of things. Firstly they needed to tie the tunnel brace to the sill as the stock boxes did, as well as fitting the honda seats as low as possible and still giving the full range of movement. Initially I made up a cardboard template before transferring it to steel. We folded the basic profile up on a big sheet metal brake at a local bus company's workshop before bringing it home and I fettled up the side profiles to fit the tunnel and inner sill as closely as possible. Doubler plates were drilled, tapped, and had captive nuts welded on before being plug welded to the inside of each box. While I was at it I made up the rear mounting posts as well but I can't find any photos of them right now. I might edit them in later on. Again, typical me, only the final product is shown. I'm leaving them loose at the moment until I can get a cert man to come and double check them to make sure they're up to scratch before I weld them in.
1 point
.thumb.jpg.b5491dbec1053270a4d99ed376fc2c36.jpg)


This leaderboard is set to Auckland/GMT+12:00