
Leaderboard


Popular Content
Showing content with the highest reputation on 06/14/16 in all areas
-
I more interested in this hole time you speak of.7 points
-
maybe the van was in front, but we're just seeing the view beneath the driveshaft6 points
-
Before I got the box all bolted up I gave the tunnel a quick clean up as there was 40 odd years of oil and dirt layered on it. Not that I'm composing as it certainly has held any rust off. I had a few issues with the clutch not disengaging which turn out to be that I needed a longer release bearing. Thankfully I was able to get another one fairly easy which did the trick. Here's the difference between the two Once the gearbox and motor was all bolted up and I was happy with how it was sitting I went to go put in my driveshaft. It turns out that it was over 20mm too long even though the 5 speed boxes are the same length as the 4 speeds. The previous gearbox mount had the gearbox hanging much lower, so low that the heater outlet on the back of the head was smashing into the firewall. As the engine and gearbox were on such an angle the driveshaft just fitted with the old setup. Luckily my old man is a fitter so I got him to shorten up the driveshaft by 25mm. One interesting thing was that this driveshaft had already been shortened. This picture below shows what my old man found when he parted of the old weld and yoke from the driveshaft. It turns out insulation tape can be used for spacing the difference between two different pipe sizes. This would probably explain the terrible vibrations I was getting a 50kph6 points
-
It's not in the pics cos the new owner had just driven it away.5 points
-
gone. 2016-06-13_03-42-56 by sheepers, on Flickr4 points
-
More updates on my excursions! visited hampton downs to do some skid pan work. Trying to handle the car in a tight, slow environment was very... tiring. I don't have power steering and still running the e30 4 turn lock to lock rack. Also i'm finding that i run out of lock very quickly so will need to do something about that. Despite all this I had an awesome time! Learning to drive this car *properly* is so fun. I need to attend more of these types of events and get as much seat time as possible! My car was dubbed the cone eater of the day. my front lip had suffered quite a beating haha Hence its absence Having great friends that always come to cheer me on, I had to take them all for some rides. What better way to show off my new front end setup! The more I drive this car, the more I need to change stuff. Some new bits and bobs incoming3 points
-
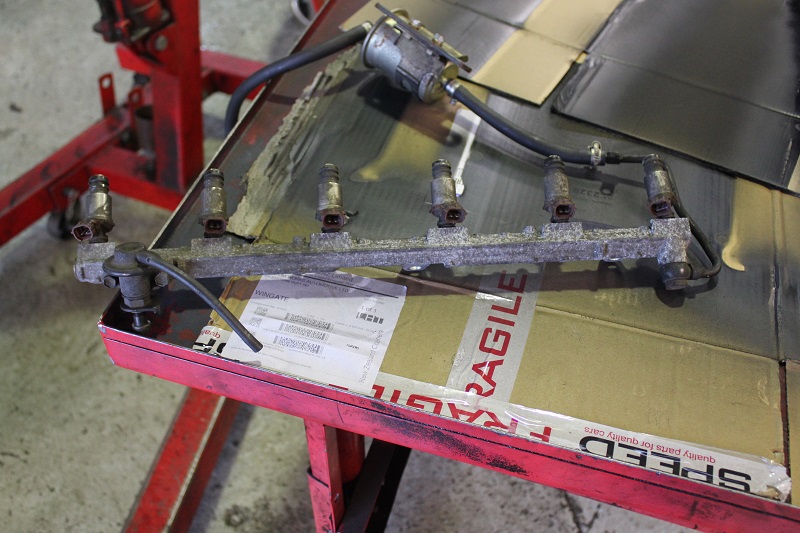
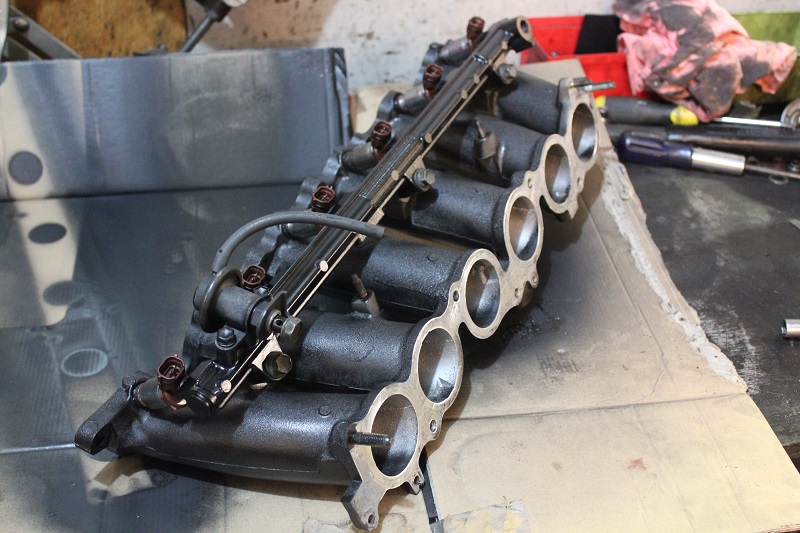
so. after a BUNCH of fucking around and getting dicked for a few items that should have been covered by insurance i finally got a payout to fix my blue car. without wasting everyones time with details the result was that the insurance company would pay for a new gearbox, a secondhand engine and a few sundries. so i bought this, 2016-06-11_09-35-36 by sheepers, on Flickr 2016-06-11_09-35-29 by sheepers, on Flickr 2016-06-11_09-26-57 by sheepers, on Flickr 2J short block, gasket set, new oil pump and a new R154. if i hadn't of just sold the red car i wouldn't be able to afford this and i would have had to buy a second hand 1J. but i have just sold the red car so its splurge on shit time! I've also bough a new manifold which ill post some pics of when it gets here but its pretty special. now its time to put it all back together and make some mods along the way. should be interesting when its back on the dyno…….3 points
-
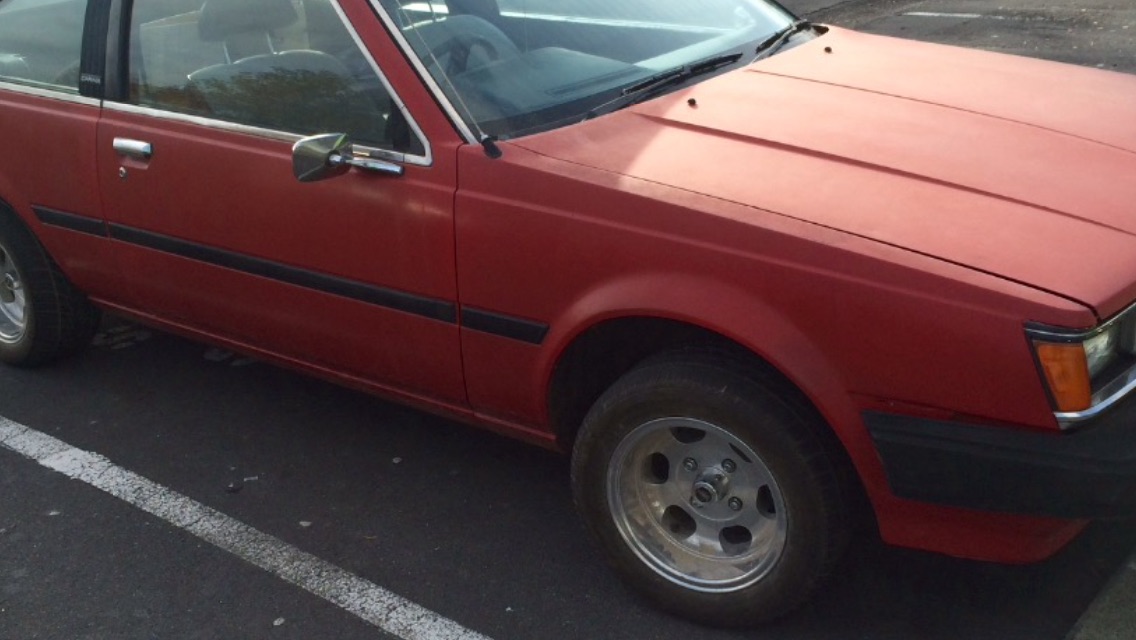
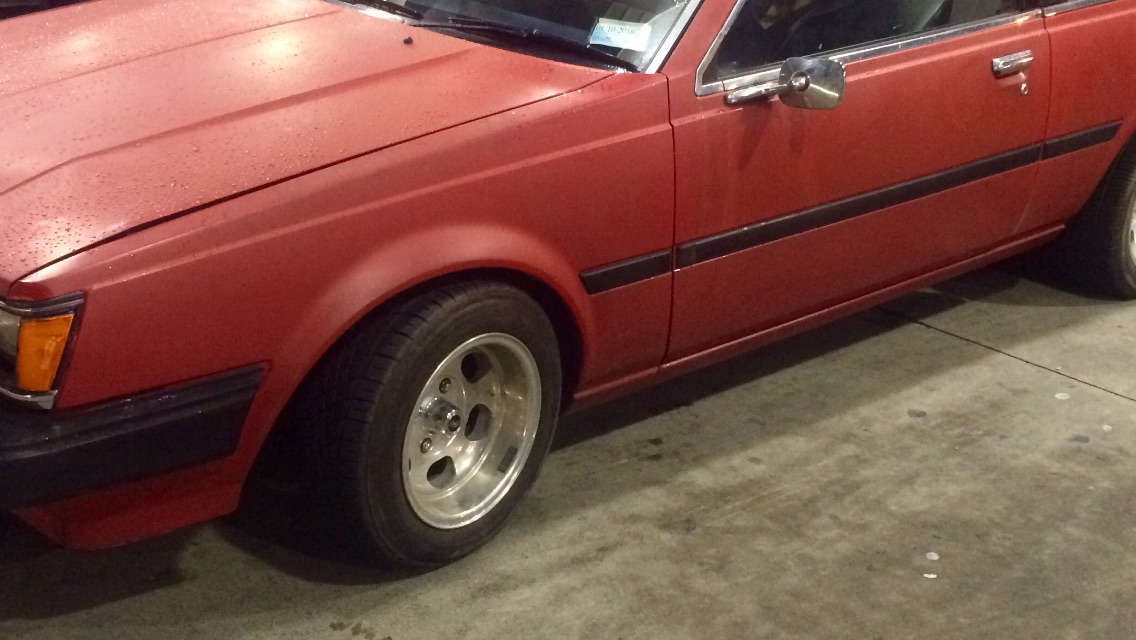
Sooooo, another mitsi to add to the hoard! Discussion thread here //oldschool.co.nz/index.php?/topic/53153-jesses-mk1-mirage-yarns/ Saw this little gem pop up on trademe at a ridiculously low price so couldn't help myself and impulsively hit the buy now, bit of a pain being in blenheim but it was worth it! organised to shoot across on the ferry this saturday and drive it back.... has not been driven for 2 years and is dereg... what could go wrong?! Got down to blenheim about lunch time on saturday with a sack full of tools and got to work on getting it going, wouldn't start at all for ages and found no fuel getting through so blew out all the fuel lines and shot to ripco and got a new fuel pump and filter and spark plugs for the hell of it. fitted all them and she fired into life like a treat, sadly after hours of trying to get it running right it still wouldn't idle or drive, only starts and revs, fuck, thankfully my GC mate who i was staying with towed me to the ferry on sunday night when it was absolutely pissing down, couldn't see jack shit and had to use left foot for braking as my right foot had to feather the throttle to keep the car going! but alas we got it on the ferry and up to wellington and my boss picked me up at the other end with the car trailer....at midnight on a sunday. So, Cons: * Carb probably needs resealing or a rebuild but that's not a biggie * Paints faded (not in a cool patina way though) That's pretty much it, was surprised for a car that's been sitting outside for a couple years without being run aside from the engine the brakes and clutch and everything work a treat! Pros: * It's a genuine 1 old lady owner with 114,000ks on the clock * Apart from running rough it doesn't smoke at all * Body is incredibly straight and completely rust free, underside is like new thanks to what looks to be factory underseal! Plans are to get it running right, then use as a daily, then the usual things like low, gonna chuck my advans on it that were initially for my turbo mirage (this will be up for sale soon) and then later down the line engine conversion, was thinking of maybe a carby 4g15 with a few minor add ons, nothing too major Aaaaaaanyway here are some pics!2 points
-
2 points
-
So I have heaps of rusty parts for the ute and have found that there is lots of surface rust/light pitting in my floor SO my interest in rust removal has tripled in the past few days. Why don't more people use electrolysis! I have a bath with brake disc bubbling away outside and I honestly can't believe how quickly it's happening! Cost isn't an issue- you need about 50c worth of Washing Soda (super easy to find eg bin-in) and that's about it! I was using a charger but that was 1a max- now using a 19v 3.5a laptop power supply (cheap) with some alligator terminals. The disc is simply to satisfy my curiosity though. I REALLY want to know if electrolysis can be effective if you don't have a bath of solution.. I'm thinking wet towels soaked with electrolyte sitting in my floorpan with the anode laid on top. I guess it depends on if the electrolyte needs to be free to circulate. What if I made an electrolyte jelly or paste? Yes grinding would work but this is so much cooler.2 points
-
Things i have done recently Front brake - i dont like the lever, havnt found one i think suits. alsmost swapped it for a centrepull but it looked horrible longer stem. doesnt handle like total crap now that the weight isnt so far behind the front wheel longer chain so its not only half in the dropouts I torched off the pully mount, pump pegs, and front guard mounts. THis was a silly thing to do because they all had locator tabs and left holes in the frame, which i then had to braze up. But i dont have a grinder here so whatevs I think thats is. I didnt file off the rear guard mounts because i have some track ends im going to braze in 2 points
-
i will do my best to come (if i don't break down, i always worry i will)2 points
-
I got this old girl out of the shed last week I felt really bad about this next bit, I've had this bike a really long time... No wonder it was so bloody heavy https://www.facebook.com/ecovolis/videos/1205497879470106/ Just in prototype form at the moment. Seems to work ok but fucking hard to ride!2 points
-
Facebook: with one hand it giveth, while with the other it taketh away... I thought facebook was cool for a sec when I saw 86 people reached. Then I realised it has been taking the piss out of me - I KNOW boost is unavailable right now, no need to rub salt in the wound!
 2 points
 -
http://imgur.com/gallery/kUR6bIN related2 points
-
Wet ya whistle, dip ya wick.2 points
-
richie is very very good at taking pictures. IMG_6716 by Richard Opie, on Flickr IMG_6743 by Richard Opie, on Flickr IMG_6760 by Richard Opie, on Flickr IMG_6875 by Richard Opie, on Flickr IMG_6848 by Richard Opie, on Flickr IMG_6974 by Richard Opie, on Flickr IMG_6889 by Richard Opie, on Flickr IMG_6786 by Richard Opie, on Flickr2 points
-
Got my manifold back and sitting on the car which got me pining. Started fitting the body looms back in the car then found that the drive shaft I gave away was the one I had set up for the car and forgot I removed it so that sucks. Also fitted up a steering wheel from an unknown year corona coupe (gift from my cuzzy) which looks good.2 points
-
drilled or slotted rotors can help. the short version of why? when pads get hot, some of the stuff that bonds the pad together turns to gas. this microscopic layer of gas prevents the pad from 'gripping' the disc. the slots in a slotted disc let the gas out, reducing fade.1 point
-
If you want to dehumidify your lock up use calcium chloride (damp rid), put it in a cheese cloth over a bucket and watch it fill up with water.. You can get big bags of it for cheap from pool shops..1 point
-
I left it leaned against the fence last night at my mates place, he wanted to bring it inside the gate and I said nah it will be too funny when someone tries to nick it haha1 point
-
Thanks Mate. I thought he was legit but wasnt quite sure (he is my new Wof guy since I moved region last year) C pillar rust is within that 300mm of seatbelt mount Oil leak is at the rear of the tappet covers (both) spits a little bit of oil down the back of the block which then drips onto the exhaust. Sounds worse than what it is. easy1 point
-
Since I've sold the Corona I might bring the newly acquired AE101 race car along if you guys don't mind, not really old school but I'm sure you'll appreciate its 4AGE and the noises it makes1 point
-
gona have an issue with the hydrogen bubbles building up ya dont smoke do ya1 point
-
http://www.rickswoodshopcreations.com/miscellaneous/rust_removal.htm1 point
-
Your google image search holiday pics have no van in them. I don't think the above post satisfys the requirements of the rule "pics or it didn't happen"1 point
-
I was trying to point the pivot as close as I could to the rear tyre contact point, in my brain that would make it more stable. But there was only so far down I could point it before it interfered with the bottom tube.1 point
-
After installing the oil return i went on to replacing some of the intake that got bent in the crash. Then got to wedging the drivetrain into the new shell. Got my old fenix radiator that got bent in the crash, shortened by 150mm to make intercooler piping far easier. Then welded up some mounts to suit. And plumbed up a power steering cooler. Swapped the black dashboard out of the other shell then made sure everything was hooked up correctly to be able to give it a test start.1 point
-
The Charade has officially been demoted to project car. Was overtaking, heard a bang, lost a cylinder and there was massive pressure in the cooling system. It'll be going in the shed and the motor will be coming apart. While I'm at it I will strip the interior out, as it will become a weekend/track day car. Cheers to @Dolan's Towing Services for the lift from Wanganui!1 point
-
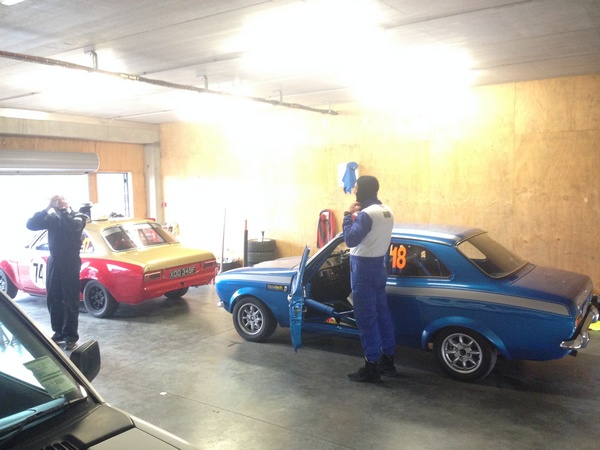
Suited and Booted On the Startline Having a bit of sideways fun
1 point
-
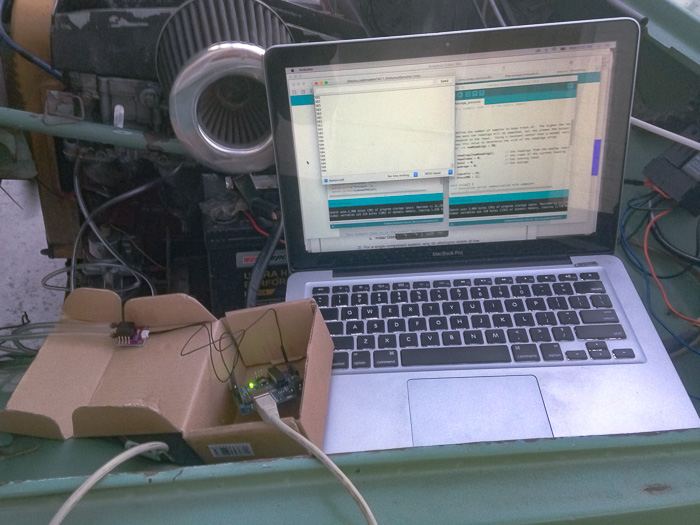
Interesting few weeks messing with the carbs, had issues with cylinders not doing much on idle, pulling plug leads didn't change anything. I tried all sorts of fiddling looking for manifold leaks but couldn't track it down. Guessing this was connected to the idle adjustments not doing much on the same cylinders I pulled the jets for the 100th time but this time flushed the passages resulting in near instant success, much happiness! Keeping track of fuel use I'm getting 250-280km/40L tank around town, that equals the open road use pre head gasket, need to find time for an out of town trip and hopefully be back to 400km/tank open road. I have suspicions the pump jets are a little rich from the way it hesitates at low revs, I'll give them a tweak and see how it responds. A few weeks back a differential air pressure sensor turned up from ali express, i've had it running on the work bench and but have waiting on a screen to also arrive so I can hook it up in car to balance the carbs, bit more hi-tech than a clear pipe filled with oil i've used in the past (and quite likely less effective). Today, still waiting on the screen I decided stuff it, lets just do it with the computer: Bet thats a sight not ever seen before, tuning a twin carb Lada with a computer! Things didn't go too well, with the sensor hooked up to the ports on carb #1 during the first run readings were full scale each way due to the pulses from each cylinder, to fix this I sampled at a higher rate and played with a time average over a set number of samples, this smoothed things out slow enough I could read directly off the screen. Opening a balance screw right out increased the pressure value while turning it right in decreased. Assuming this may have been a fluke fluctuation I tried again to the same result, bonus! I gently adjusted things to get a mid range value and closed the vacuum port only to find it had a residual leak, with darkness falling I've left it for now, but will fix the leak, re-test and hopefully confirm my balance made with the tube & oil method (which should be near perfect) If the screen ever turns up I plan on making a simple bar graph to show imbalance between the ports which should be pretty cool!
1 point
-
Late to the party... This was the norm in v8 supercars before they moved to the IRS they have in the new spaceframe cars. from HRT.1 point
-
You may need to up the pilot. Set it to idle with the throttle stop screw, then look for highest idle turning the air screw in and out. I think generally 1-1.5 turns out from bottomed is ideal, if you find best idle less than 1 turn out go for next larger pilot, more than 2 turns out go for next smaller. Two strokes are crazy with the jetting increases after pipes added etc, my RD has 110 mains stock and without changing the emulsion tube and drill the air jet I'd be looking at over 300, with the new tube my new starting point for jetting is 2201 point
-
An udder week Firstly super thanks to beaver, who was bored so gave me a hand with a few things today. Anyway been a bunch more cleaning and painting and messing around. not much more painting to do, just wrinkle finish the top of the intake, but, really need to get my inner guards painted. keep tossing up between spraying them with some cans and hope they turn up ok, or paying some painter for a perky to use some of the black chassis paint we have kicking around work either way I'm getting to the point where something needs to happen sooner than later, but yeah, also got the ECU mounted, with a lovely bracket beaver fabbed up, and wired in the vac solenoid for the intake flappers. Anyway, fun. Not sure how this week is going to go. have dinner out two nights this week which cancels out how two nights of progress but its worth it.
1 point
-
1 point
-
Its not oil leaks anyway... its designed in rust prevention for the underside of the car. Very clever them poms. So happy to see you have this on the road. Would be sweet to see it along to a Nelson meet. I might spur Hannah on to rip into her Mk1.1 point
-
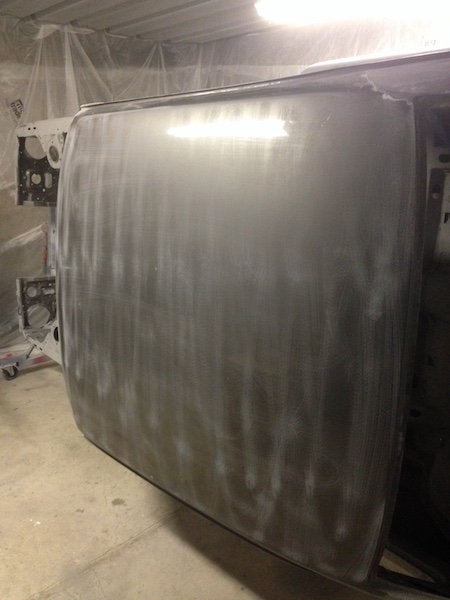
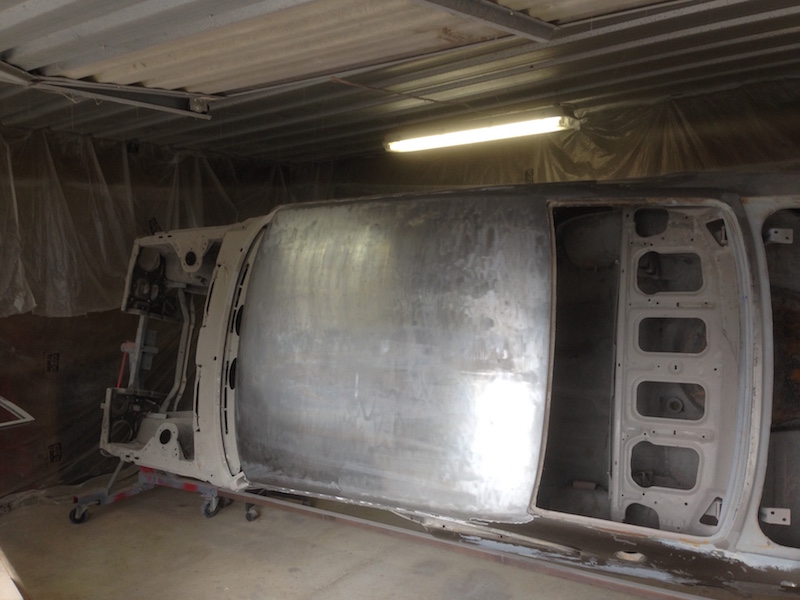
Got some shed time in yesterday avo......Stripped the roof/coated in Keyphos - great stuff! Just wipe it on and it stops any surface rust forming. And no I haven't primed the inside - that's just the new layer of bog dust EVERYWHERE. SO MUCH DUST! Only one small dent under it all which was nice. I had two coats of the gunmetal grey, a layer of spray filler in spots and some red primer (didn't see any original green up there) to remove, and even after scuffing the paint with some 60 grit, applying the stripper and wrapping it in plastic, I find I have to do it 2/3 times in some spots, and very thickly......is this normal? I seem to spend HEAPS of time on the grinder with the strip disc too, thought the stripper would be more potent.....I'm using TERGO STRIP. Also bought a 'dremel' from the warehouse to do the niggly bits around the doors and apertures. With the $$ i'll have to spend on the body work, it's cool to be able to get as much done as I can myself.
1 point
-
That's better. Cut a coil and a half of the springs then used my gas torch to bend the top half coil down so it sits flat Got autoline to shorten the shocks 35mm ($55 a side) Got new inserts as well as they were pretty nackered. Handles far better now. Turns in more responsively and its not to stiff. I did think about going lower but would have had to spend a lot more on inserts to match the higher spring rate. Since I'll go to coilovers at some point the money can be used else where. That and it is actually pretty low, maybe it's just the 13's don't fill the guards but I like the 13's as the car picks up well with the smaller radius while it's only got the 3A in it Drifts better, just need to lower and stiffen up the rear as the rear is now more floaty then the front. The list to date: Indicator relay New tires (Achilles 122 185/60/r13) Lower rear with new telescopic shocks Pull plastic's out and roll guards, sort any sill/pillar rust out Then re-do all the under body seal New carpet Possibly new rear demister
1 point
-
So daily has been sold to Boxed who will hopefully have heaps of fun and learn lots in it. For me its good to close another chapter in my ae101 life. Also finished moving into new garage finally getting rid of some furniture to make room for racecar. Time for some progress. All my wheels went with the daily so time to buy some new wheels and tyres. These will be my road tyres. Went for a dunlop DZII which was unfortunately only available in a 195 but the tread pattern is pretty cool which looks like the footprint on the road will be more like a bigger tyre with a conventional tread pattern. Will see how they go. Wheels are a Lenso PDJ 15x8 +20. Relatively lightweight. Bit too much bling but brake dust should solve that.. pretty happy so far. Ride height sorted: Pretty happy with finding a modern wheel in a 15x8 that looks pretty good on the car. Next up is organising rollcage re-homologation and mods and ordering a set of these: Can't wait!!!1 point
-
its had the cert inspection and it failed on a couple of little things which I've remedied. Clint has re-checked it and its all done so the cert is sorted. I've been doing little jobs here and there but nothing exciting the only thing i took a photo of is the badges. I've got all the badges for it now I'm just waiting on the last one to turn up from the states. 2016-06-06_03-42-50 by sheepers, on Flickr 2016-06-06_03-36-49 by sheepers, on Flickr 2016-06-06_03-17-49 by sheepers, on Flickr1 point
-
Amy took some rad B&W pics free upload image1 point
-
still no word from the insurance company as to whats going on but i should hear next week. the flares turned up and they are premo. really well made and they will fit really well. and for some reason i bought some new tyres 2016-05-21_02-14-10 by sheepers, on Flickr1 point
-
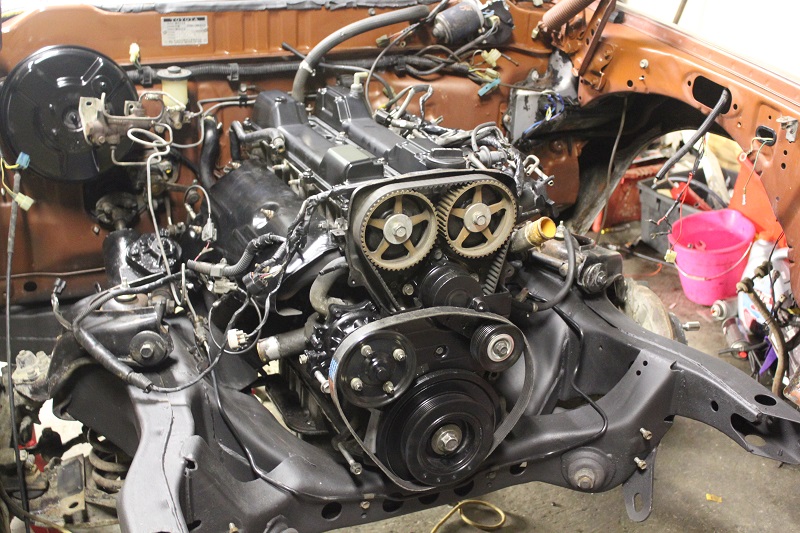
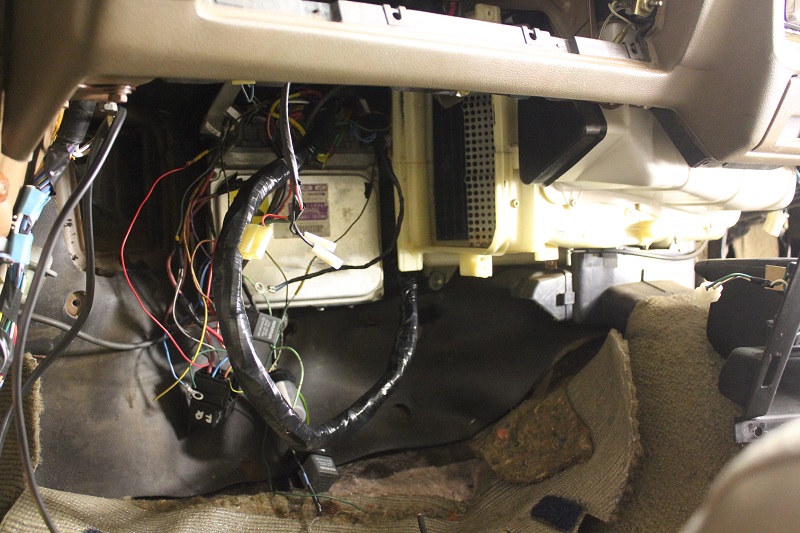
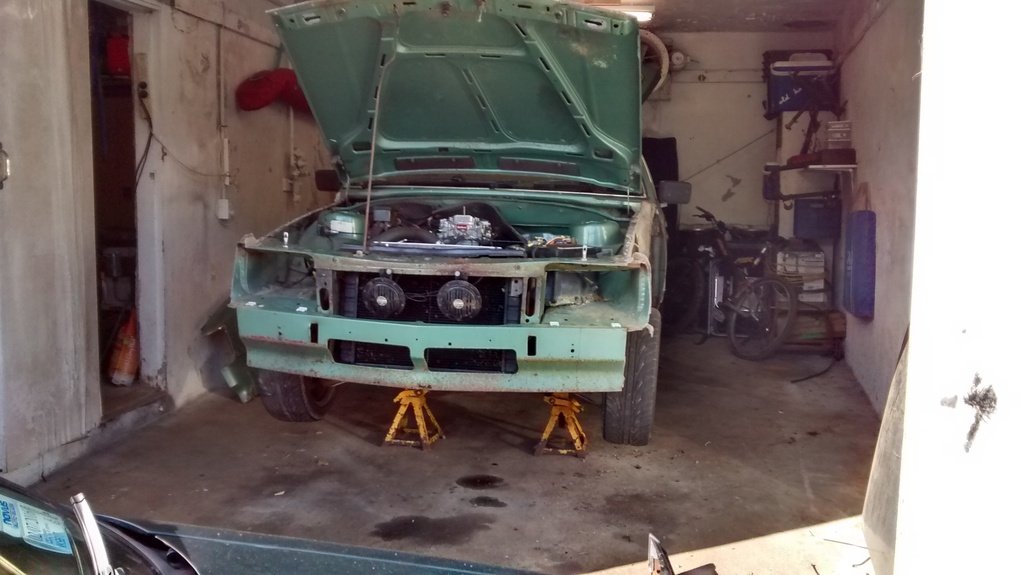
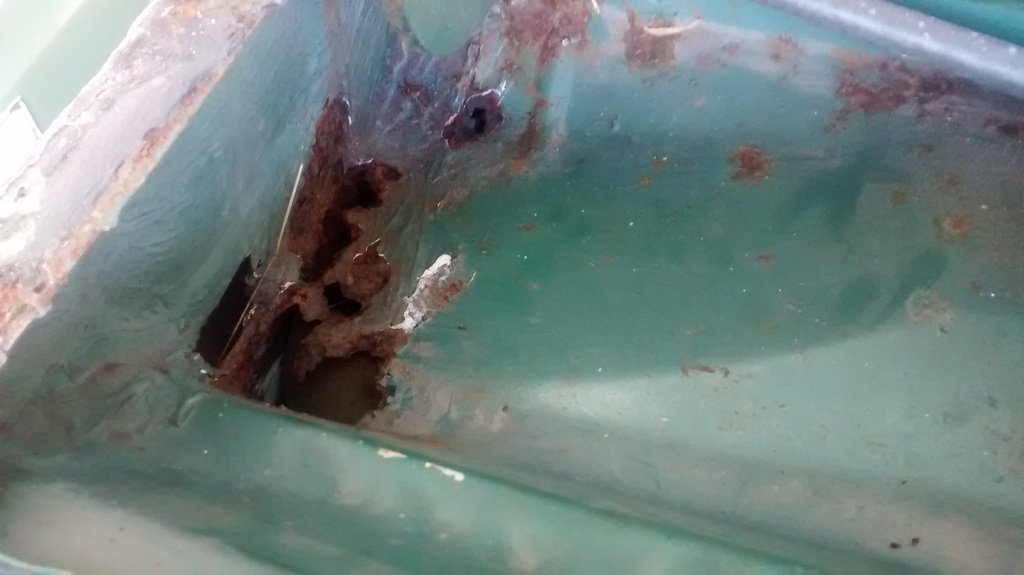
Well the big job of fixing the rust has begun. Pulled the front sheet metal off. Deja vu from a few years back. I can't figure out for the life of me why my feet got wet every time it rained... Next job is to pull the dash out and then when I have the other half of my lockup back I'll pull the motor and box then completely gut the engine bay. Was a pretty good day today.
1 point
-
I have always had good results using fisholine1 point
-
cut out the bad stuff replace with new steel clean everything up nice paint with a good paint1 point
-
The plot thickens.... Today I called Gavin at Euro - Italian Car Parts to see what head gaskets he had in stock, confirming size and thickness I measured up the bore, its 4mm smaller???? taking further measurements, 80mm bore, 80mm stroke, for a 1800TC it should be 84mm bore, 80mm stroke, seems I was told wrong when I got the motor and it is a 1600, that means the last head gasket was too big (see image above, doh!) So with this i'm certain the gasket failed due to the steel band being too close to the water gallery under the split and the correct gasket should solve the trouble! And, the jetting i've been setting up is all wrong, maybe i'll get further economy......... maybe yay!!!!!1 point
-
Test fitted the front bumper the other day on the daily. Wanted to see if it's going to be suitable for racecar and if looked OK. Looks a bit drift kit ish but changes the look of the car quite a bit. This is now the daily struggle. My driveway isnt even steep and it scrapes. Also 3 wheels going over the driveway. Since kit has indicators blanked I did some Andrew-spec wiring alterations to the park lights to make them into indicators. Which means I don't have Park lights now but meh won't be an issue.. Looks pretty good i reckon. Looking into options for painting bumper. Will keep it mint and change it to the stock one if I'm driving any backroads. Should be mint for smooth roads/track use1 point
-
Built another ae101 as a daily in the past couple of weeks. Back to cheap reliable 4age power for daily driving yay! Keeping this one extremely simple compared to the racecar...1 point
-
fuel system finished. so far it doesn't leak much. the first time i pressurised the system it had a hole in the surge tank. so i welded the hole up and at the same time welded some AN fittings on the top to make it all a bit more professional. finished and leak free. Untitled by sheepers-ra28, on Flickr dyno is booked for the thursday the 26th so we can add a bit more poost and see what happens.1 point


This leaderboard is set to Auckland/GMT+12:00