
Leaderboard


Popular Content
Showing content with the highest reputation on 07/31/15 in all areas
-
see you at Hamner, should finish it in time!22 points
-
I picked some old bakelite magneto telephones recently, I had heard you can quite easily hook them up and have a closed circuit telephone line, turns out it is pretty easy. What better way for the wife to let me know it's dinner time while I am working in the garage, with the gentle chime of bells awoken from their slumber by a hand cranked magneto, aaahhhh technology. Party line party times One of the phones I got was the phone in the scoreboard at Athletic Park. There seems to be some slight variation between the telephones, mostly in the wiring, they usually have a diagram stuck inside which is handy. All the mags look like they are from the same manufacturer, I had to swap one from a front crank unit into a side crank one, just had to change over some brackets. As far as connecting them together, each phone should have 4 wires, positive, negative, line 1 and line 2. These are just connected to the same on the other phone, positive to positive, negative to negative etc. They will now be able to ring each other by cranking the handles. To get the voice circuit working a battery can be connected to each phone, 3-6v seems to be enough, I have a little AA battery holder on each which is connected to the positive and negative terminals. All hooked up and working again Next step is to run some wire to the garage and swap one of the cases to a nicer one for the house, should fit in quite nice as the house was built in the late '20s18 points
-
that is fuckin legendary. side note, old man had a phone magneto hooked up to silvered toilet seat in one of his flats, handle in wall labelled 'dont turn'10 points
-
I recently moved out of the big city to a sweet lifestyle block and I've been dailying this all week to get to know it better I can happily say I think I like it a lot!7 points
-
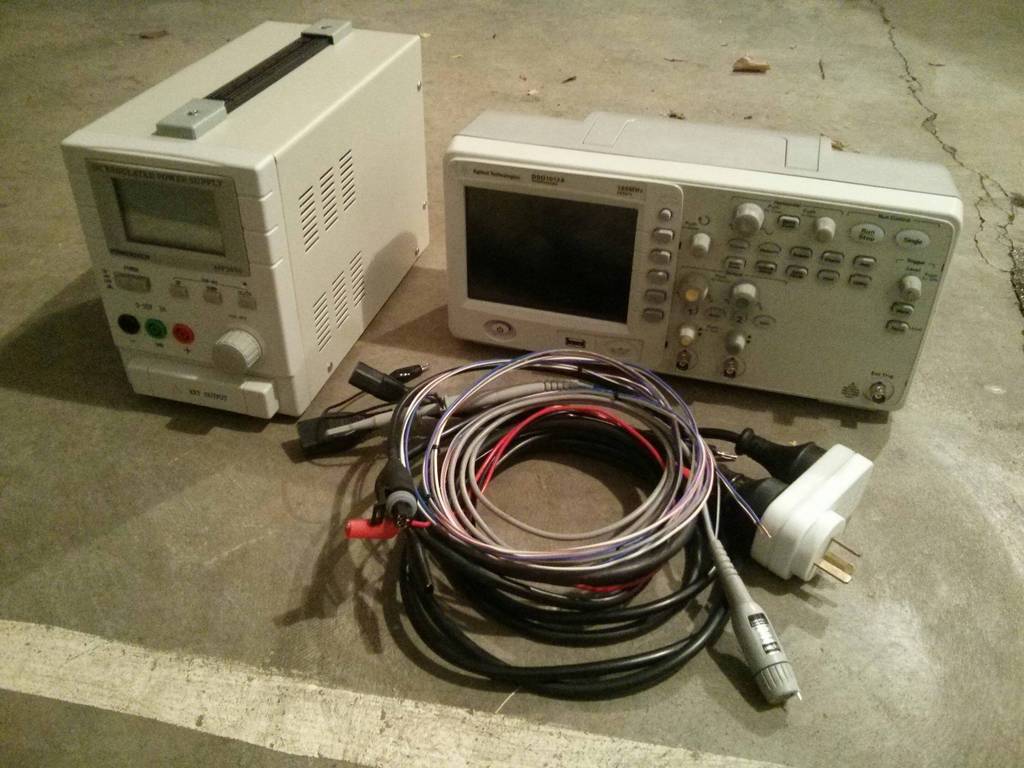
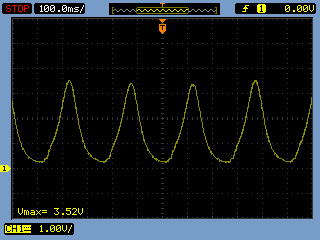
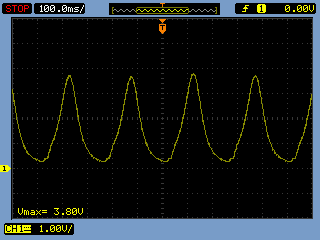
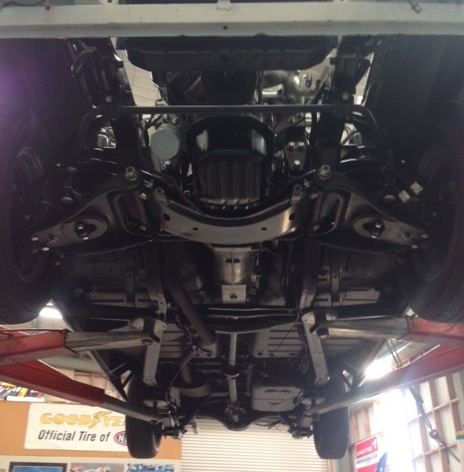
One rotary compression tester adapter: I cut away the crimp just above the sparkplug hex, and then tapped the porcelain out with a drift. Came out really easily. Spun up a bit of bar to sit in where the porcelain has been, tapped it for 1/8NPT, and welded it in place. Screwed the sensor in with some thread tape, and it's a good-un. The supporting gear needed to actually get anything useful out of the sensor: If I find time I'll make up a simple little box with a display to give the readings, but this lets me get on with fixing this car for the moment . Front rotor: Rear rotor: They look all good. The sensor measures 0-150PSI (not sure if gauge pressure, or absolute), outputting 0.5-4.5V. Working this back, the front rotor is showing ~130psi, and the rear rotor is showing ~140psi (subtract 15psi from each of these if it turns out the pressure sensor measures absolute pressure). The peak figures don'y really matter though, outside of the fact that they're all pretty even. I forgot to open the throttle when testing anyway, so they're not really accurate. What is good though, is that all the peaks are pretty even, meaning the motor seems to be sealing well. Fuel pressure testing next! [EDIT] - I didn't work out those compression number correctly. I have confirmed that the sensor measures gauge pressure, but didn't take the 0.5V offset they have into account (they output between 0.5 and 4.5V, not 0-4V. This gives peak compression values of 112psi for the front housing, and 123psi for the rear housing. Sounds much more reasonable .
 4 points
 -
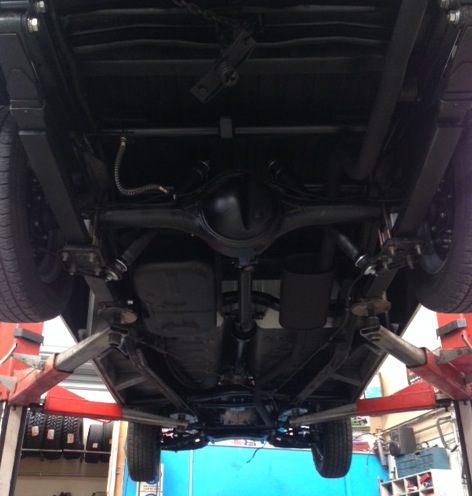
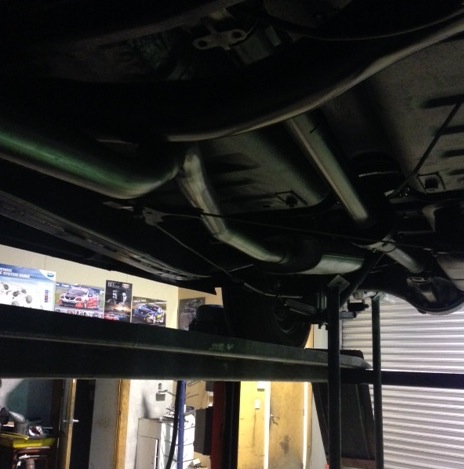
exhaust is finished, looks good all painted and done, i removed the lsd and put the open head back in, wired up the taillights and have painted up headlight buckets getting ready to put the front back together, still need to put the new clutch hose in and test it for free play/set it up. also need to try and find/trace the oil pressure and water temp wires from the dash and remove all the extra wiring for the rotary, lots of little things to go, just going to get it going and worry about interior after driving it for a month or two.
4 points
-
Picture of fresh wheel setup. I knew new tyres leeched into white walls, but wow, quick! Looks nice and aged, not phased! Took the same pic on Tuesday and thought.. Shit that looks gay! Turns out the coil had popped out of perch and it was about 3in higher than usual! Rectified.4 points
-
That's gold, I have a spare one that could be put to use, maybe a bike with the mag hooked up to the crank and a sprung seat with no cover3 points
-
I just messed my pants twice. The front for the shaved red one. The back for green one.3 points
-
First up we have Rosemarys baby, she loves watching you sleep Then we have the twins, they have a fondness for murder Up next is front bum, nuff said Don't be fooled by Cuddle bear, this guy is a sadist, he's the reason the twins above are so fucked up Unfortunately the knitted clown has gone missing, I'm gonna go get a kitchen knife and check under the bed.3 points
-
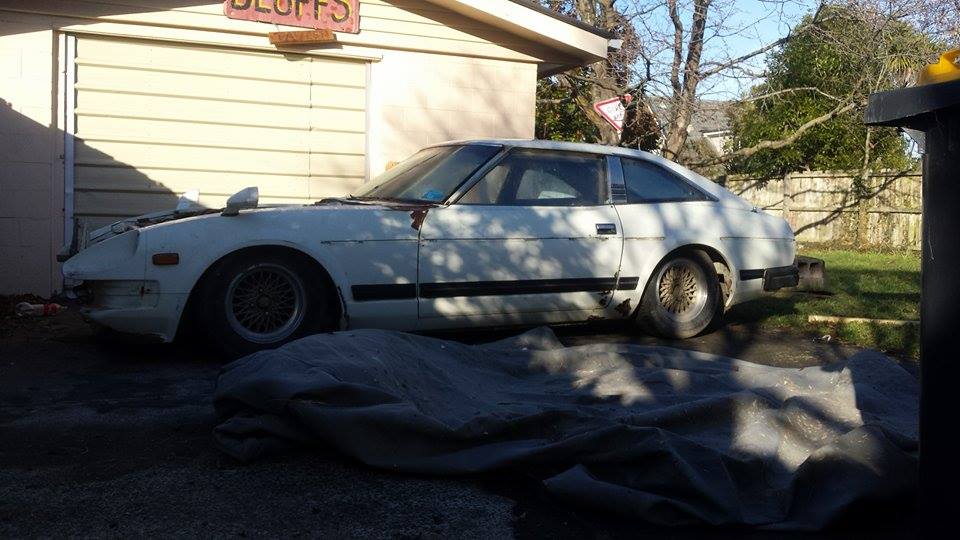
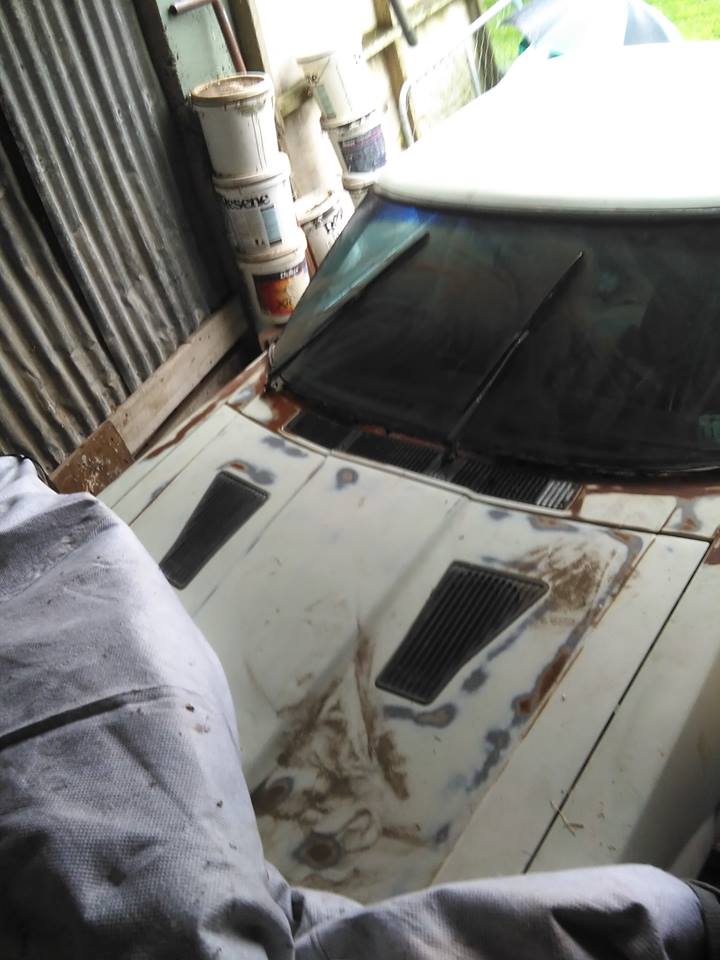
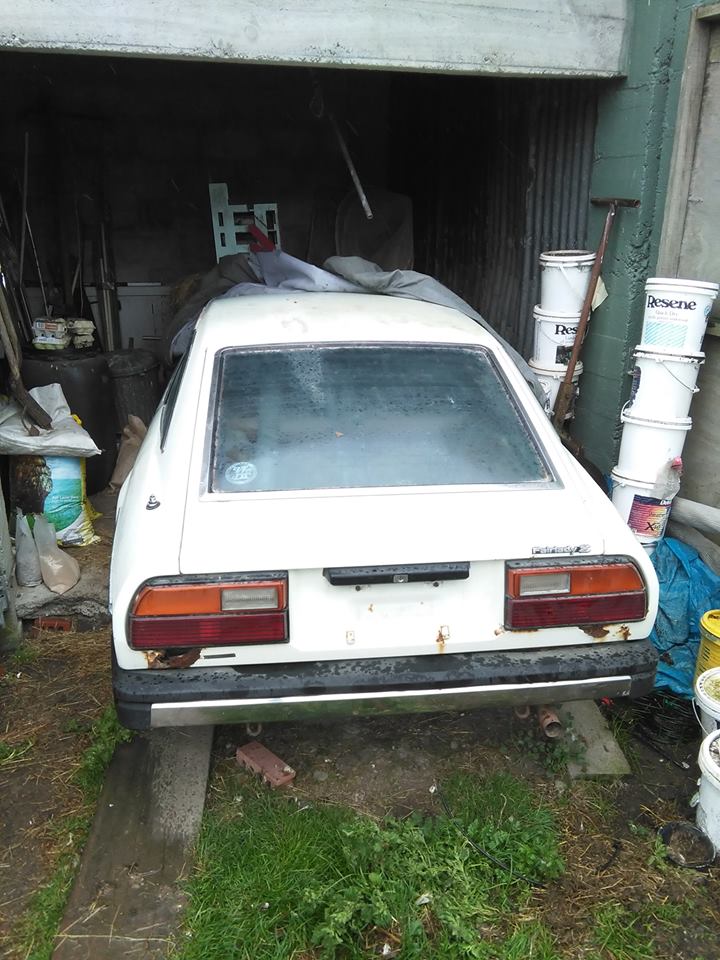
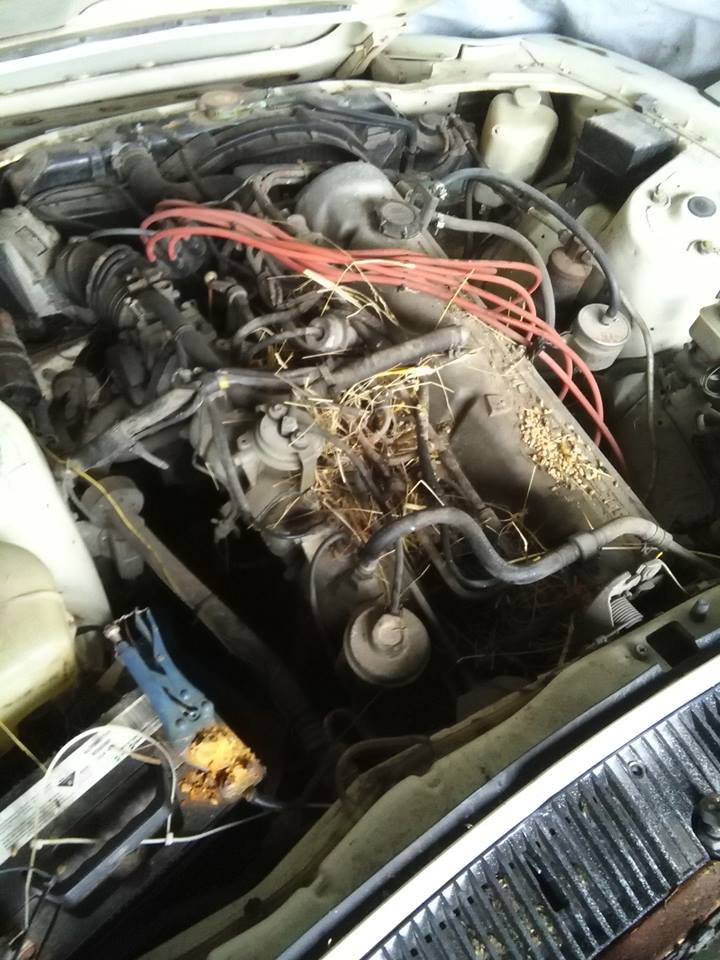
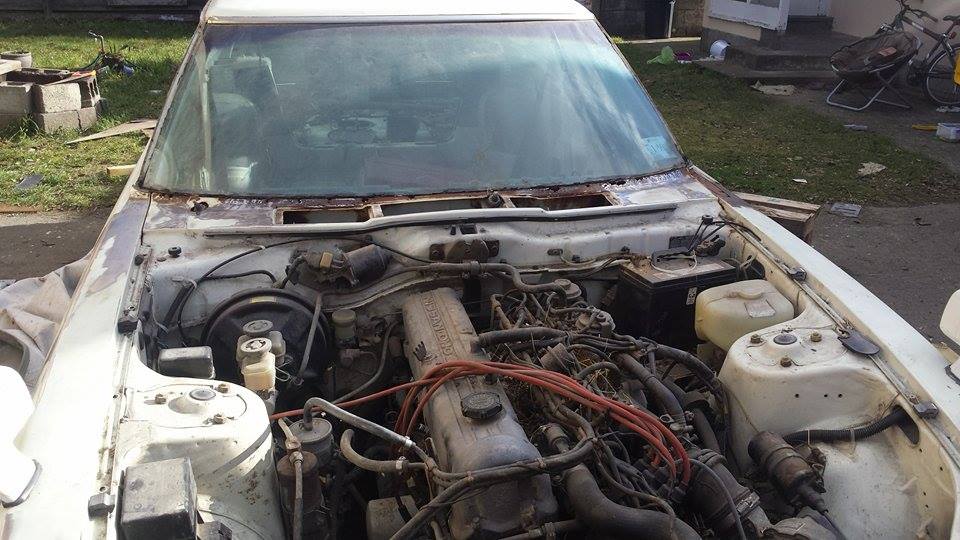
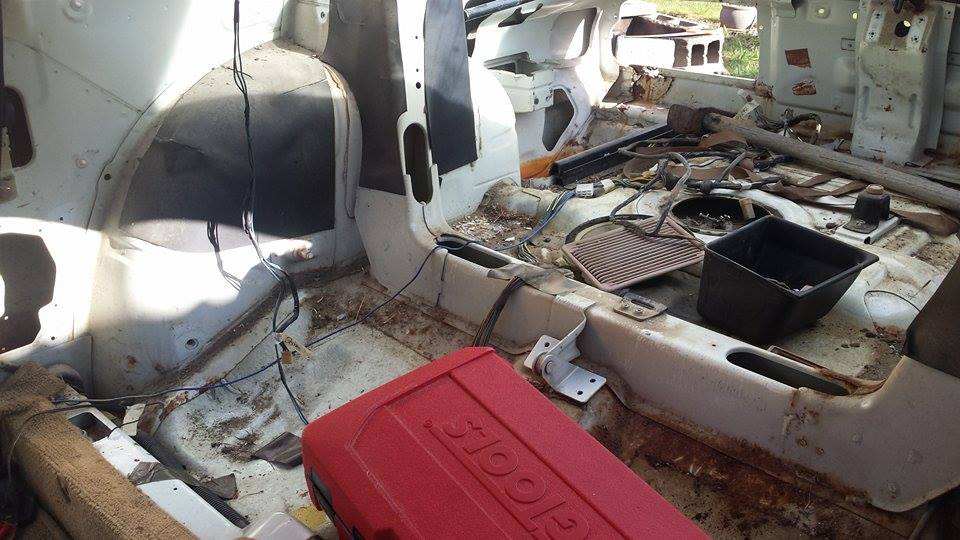
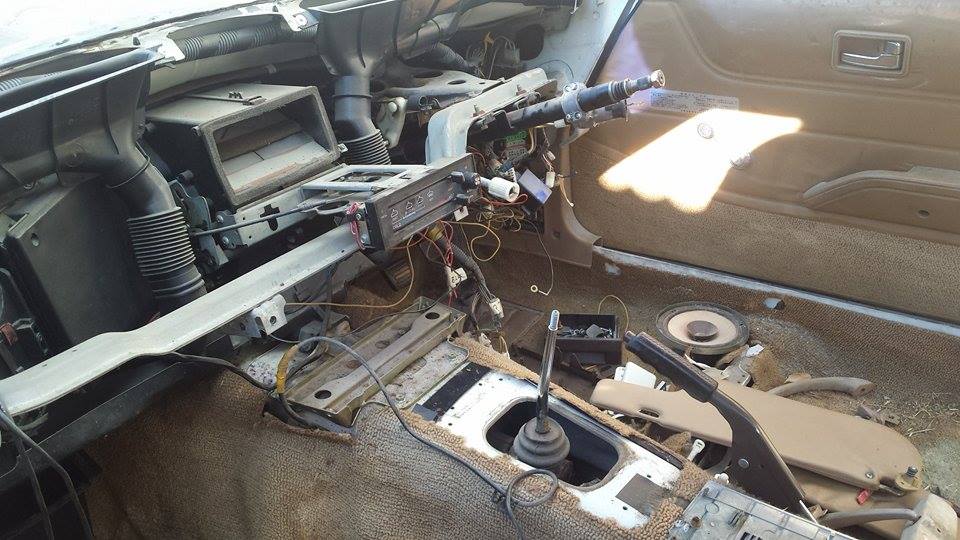
Bought my first project car last week and thought I would start a build thread. It is an 280zx Nissan Fairlady. I've always wanted a 240z or 260z but couldn't find any. I picked this 280zx from a nice old guy in Ashburton for $800. Had lots of trouble getting it home took about 2 hours to load it on the trailer. The car was on the bumper stops which made it catch on the trailer when pulling it up. And then to make matters worse, the towing car couldn't get traction on the grass. Thank god for the neighbors and there 4 wheel drive, who towed us out the paddock. Some car details: - L20e straight 6 (turns over) - Interior was average but all the peices are there - Exterior shows some signs of rust, probably many more hidden spots. What I have done so far: Removed the interior pieces and the doors and fenders. Got to remove everything to find and patch up all the rust spots.
2 points
-
Man an old couch would be a great donor for this thing! Leather, springs, padding. Perfect!2 points
-
Oh and speaking of seats and springs and what not. I have a couch (leather) which used to be nice but has seen too many things to carry on with life. It's the right shape etc for a seat for an R(eally)OS ride, I'm binning it, you want me to take pics etc for springs should you be interested? Can pull them for you if you want, no dramas.2 points
-
Loving your work Rusti. This is going to be sooooooo awesome when you finish. Max respect for building your own car.2 points
-
No more photos unfortunately and this is the only supplier API can use. I'm going to have to go ahead with it and make it work. Better than nothing2 points
-
Finished welding the corner in last night, will grind down on the weekend, then the inner panel can go in and on to the A pillar.2 points
-
can't believe they just massacred one of the most beautiful wellsides ever made!! holy shit! but I have to go with the general consensus here; any wellside is better than no wellside. I'd def wanna see some better pics and I would probably relocate the taillights back to were they originally were (they look cool with the smooth round edges etc). Would be a lot of fucking around though. The pumped guards...well I guess they are just asking for wide rims now!! Might also lend themselves to flares a bit better though...2 points
-
Makes it look like a big B110 Ute. I don't like it. Prefer the lamps to be underneath, looks way cleaner that way. HOWEVER! It's still better than any flat-deck or step-side.2 points
-
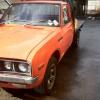
This is the look I'm going for I think
2 points
-
Wheels are coming together, taken a while but worth the wait! Also Jonny is machining up my new diff part. Just running an open diff in the mean time.2 points
-
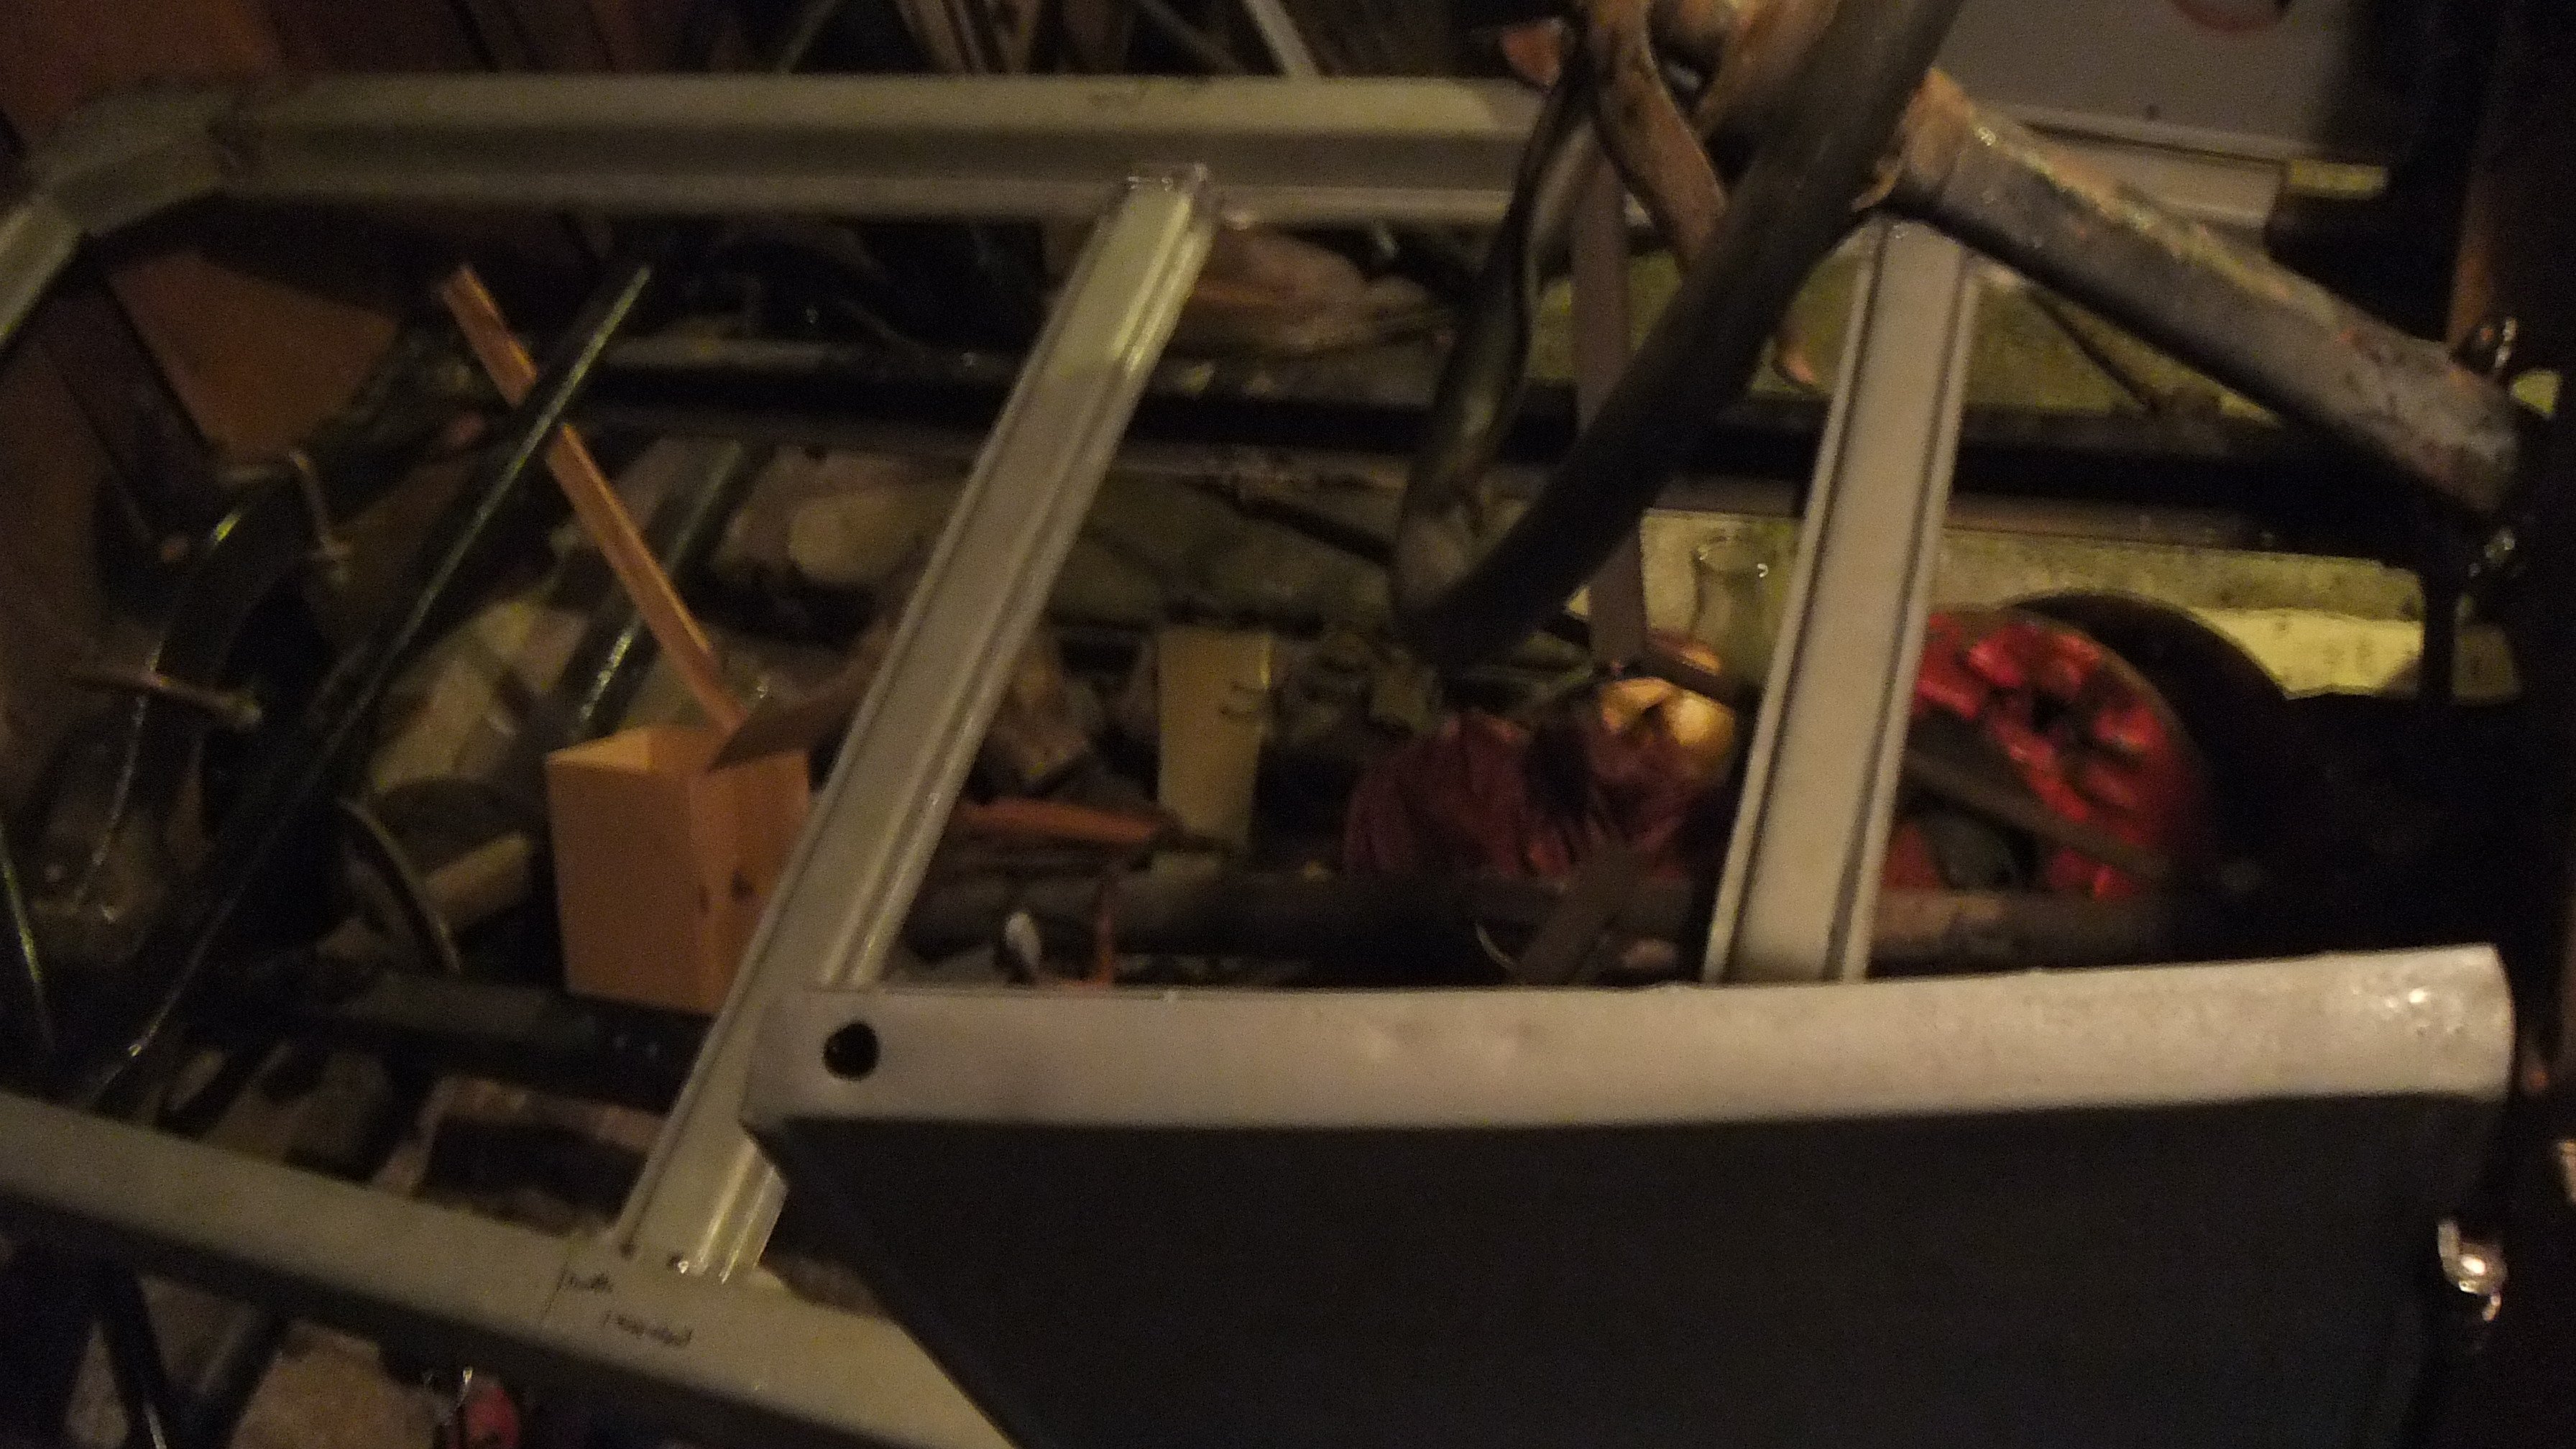
So people talked me into this, and i need the advice (clueless). Noticed the following for really old crap is small on here (sure there are forums for this but they don't need to obey NZ road regulations and those that do are esoteric to me) but there is some people into it so... So after buying piles and piles of rusty parts at swapmeets i decided i want to build a car. End goal would be something like this pictured. But i lack enough V8 parts yet and for some reason the NZTA type people make you register them as a 'replica' with stoplights, window wipers and seatbelts, stuff i don't want or I'd go buy a modern one. So how do i get around that? Register it as an original, but then i have to use original parts when getting VIN right? OK, first incarnation can look different and i change it later right? Changing it being swap body onto V8 chassis and return existing chassis to stock and resell it. (not sure if this reasoning is correct...) There, that one looks cool. Would be keen to replicate that look. Just so happens the chassis parts were cheap or free at a swapmeet last weekend because nobody wants them, body parts are expensive though. So how to lower? Because 2 feet of ground clearance apparently isn't cool these days. Think these are called Z shackles. Is this legal to do in NZ? If so i might do that. Problem is i would have to move the spring from rear crossmember to another new one installed a few inches further ahead. And rules around that? Is bolt in or riveted acceptable? Alternative is to move spring forward and put crushtube? (anticrush tube?) in radius rod and the bolt spring hanger in it. Small problem is the chassis i have has steel plates riveted inside the rails along its length, fishplating, not surprised considering how much they flexed back in the day. Is this going to need a cert or can a friendly inspector ignore/sign off as satisfactory? Then there is the front radius rods. If i lower it using the Z shackle style depicted above i would need to extend them. Then there is this bracket which does not need Z shackles or extended radius rods. This would work but i don't know if it is legal to fab one from steel (Xray testing?) or have a pair cast somewhere, although cast would be kinda awesome, what is the regulations around cast one-off parts? Or replace entirely with later model ones, with welded on brackets, i can't see this being a piece of cake to cert' though. Also wanting to move the body back about 2.25 inches to gain clearance for using studs to hold the head onto the block (and maybe aftermarket cylinder head). If it is only lowered and body moved a little i won't have to pass the 5 cycle brake test (or whatever it is) thing or anything will i? Pretty sure the 2 wheel brakes would never ever pass that. So what parts do i have so far? A rusty body with missing subrails. Is it legal to repair this with box tubing with the bottom cut out of the tubing? Or even tubing left intact? This is the only place the body brackets would be a problem if i moved the body backwards 2 inches. Fortunately this area needs repair and the bracket is riveted to the subframe and the rivets look crap, there is only one bracket, the other is missing so i can rivet it on further forwards when i install one. Would this need a repair cert' or would an inspector kindly overlook that it was moved? Don't know the regulations about this myself... This picture shows the frame rails with the bracket to the firewall. Is it acceptable to redrill the holes in the frame back 2 inches or should i use spacer blocks? New holes would be better. Also visible is the rivets for the fish plating. This is a rusty wishbone in case i had to split it, didn't want to split the one that came with the chassis, its like, 90 years old and still in good shape, this one is rusty, might have too deep pitting for a cert'? Then there is the rear ones, options include repairing or replacing with a new tube with a kink in it (for the correct geometry) and a crush tube for the spring mount. Can only guess there was water in the tube and it froze and burst? So yeah, am i on completely the wrong track here? Lost my mind? (think that happened last year) or is this a good idea? Better make a discussion thread as per forum board rules so you can tell me which is best for VIN/cert'/tell me i lost my mind and to give up already. //oldschool.co.nz/index.php?/topic/47381-rustiz-1920-26-ford-t-bucket-of-rust-discussion/1 point
-
I started building this camera last Friday because I have a nasty chest infection and cant spend time in the garage at the moment (too cold out there), but I get stir crazy sitting inside watching youtube/reading books/internetsing etc etc. Wifey isnt so happy about all the sawdust Im making but at lease she doesn't have to put up with me whinging about being bored every 30 seconds so she seems to be putting up with it. Heres what I started with: The lens and shutter work nicely and from what I have read online covers up to 5x7 so 4x5 with movements should be all good. The black thing is a film cassette, it holds 2 sheets of 4"x5" film, hence 4x5 camera. A lot of landscape photographers still prefer this format over digital apparently as resolution is 13x that of 35mm film which is said to be around 16megapickles equivalent, and the movements of the camera allow you to change the perspective of the photo in ways normal cameras generally cant. So far I have almost completed main frame of the rear standard. It will hold the film cassette, the ground glass that you use to compose your picture (yet to be made) and will pivot on a rail, and also be able to slide back and forth. I dont have much in the way of woodworking tools so this is all done manually with knifes, chisels and handsaws. Also dont have much in the way of woodworking skills so learning plenty on the way. kitchen counter at the moment:1 point
-
Will you paint your car with a rag to?1 point
-
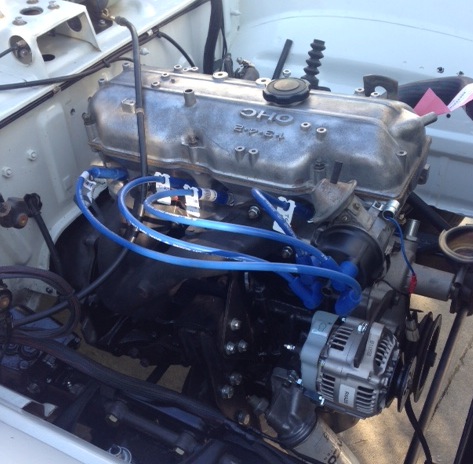
Gave the engine a good cleaning and attacked various parts with a wire wheel. Started painting, going with a nice BRG for the rocker cover (see below), silver for the box, diff and bell housing, and black for the block and head. Quick question - we're pretty sure the bell housing is aluminium? And we wire wheeled it back to bare metal.. Do we have to use a special primer to stop corrosion or is a normal engine primer fine? RockerCover by Tim Rutledge, on Flickr IMG_6280 by Tim Rutledge, on Flickr chur1 point
-
I plumped the seat up a bit with foam so thanks but you keep the mattress,my neighbors have some like that on their lawn at the moment.1 point
-
Fluid loss with no sign of a leak points to a leaking pushrod seal in your Girling Powerstop, (booster), the fluid will be accumulating in the rear vacuum chamber (as mounted on the car). The chances are that it hasn’t been drawn through the motor; if it had you would have noticed the dense, white smoke! Pull the plastic vacuum inlet check valve out of the rubber grommet and poke your finger or a bit of wire into the vacuum chamber, if it comes out with any brake fluid on it you have a pushrod seal issue (very common with these boosters). If it is leaking get the booster out of the car and stripped down asap, the brake fluid will eventually take out the vacuum diaphragm.1 point
-
Delving shall be done, pictures shall be taken, old condoms will be photoshopped out!1 point
-
You may not want the leather...... though I suppose it's clad everywhere so the back might do the trick. I'll get a picture and dimension this weekend.1 point
-
I have a new favourite Underdog build! (yes I'm calling you an underdog)1 point
-
This is the factory look, SiRage. Not sure where this talk of LED strips comes into play?1 point
-
Yeah the issue will be that because the arms follow the arc of the TCA the line wont be vertical, but I guess if I can get a reference first (maybe with the steering arms disconnected) then just adjust things until there is no toe change then that could work. It would be a quick way to check anyway Its a good idea about mocking something up before machining them, actually there is a guy here at work with a 3d printer, that might be a possibility.... Cheers1 point
-
I bought a company and the owner had never knowingly thrown anything away, This is some of that stuff. Everytime a bit of the workshop gets cleaned we find something interesting, last time it was a complete virtually brand new laser level set and an insinkerator. I have about a dozen gas regulators and the like, and we once threw away 10 broken grinders that were being kept as spare parts, also 3 or 4 broken broom handles. You get the picture.1 point
-
so i left the door in the sun all day and when i came home it was hard enough to sand. so i did. its now really good shape wise and needs 1 more coat of primer and its ready for wet sanding along with all the other panels in the shed. why is it leaning up against the bench? because I'm painting the seams inside the door and i want the paint to run into the seam. ill do each seam 1 day at a time turning the door each time to get the paint right in there. you can see it running out the lock hle because I've been painting the whole inside of the door. Untitled by sheepers, on Flickr Untitled by sheepers, on Flickr next is the bonnet. actually next i think ill fit the panels I've done and see how everything lines up before i go to much further. after the bonnet its the rear quarters and the roof to do as well as the minor bits and bobs. its getting there….. it'll be red soon if I'm not careful1 point
-
http://www.aliexpress.com/item/TIG-MIG-MMA-ZX7-ARC-welding-machine-Solar-Auto-darkening-filter-welding-helmet-face-mask-Electric/32269820242.html1 point
-
12A, 18A, 13B, 20B, 26B1 point
-
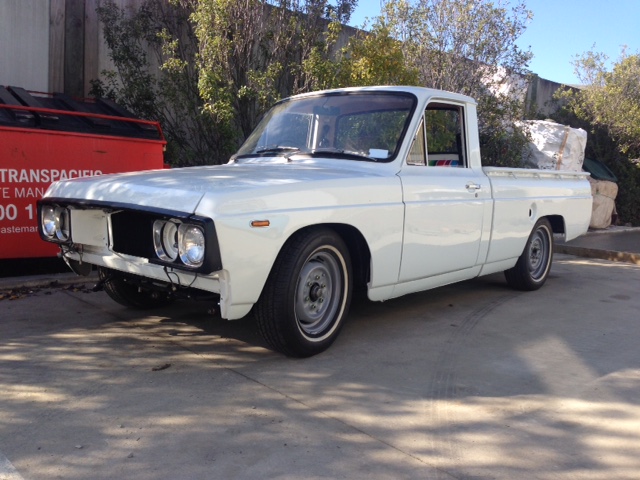
LOOK WHATS BACK TO RESEMBLING A UTE. Next step is motor and box back in the hole/find rest of things
1 point
-
Last weekend, I needed to move the HZ ute, and decided to make an effort at starting to put it back together to try get a WOF on it. Chassis was yuck after being out in the weather (was like that when I got it) So I put some work in and made it look pretty...
1 point
-
Well she is still cruising around in this most weekends at netball, at heaps of car shows and the odd trip to the shops. I still havent gotten around to sorting out a nicer push pole or a gear lever and the lake pipes are still sitting in the garage somewhere too! She loves cruising around in it and her typical driving style is one foot on the wheel, kicking back and people watching. Few things to note if you are going to make one. Be prepared to be stopped constantly to be asked "where did you buy that from?" or "so cute, can I take a photo?" Because it is so low to the ground my daughter sometimes gets bored and decides she wants to pick up random crap of the ground or drag her hands through the dirt. Watch out in crowds, retards wont notice it despite being bright pink and could end up tripping over it and sitting on your child. Castor wheels are not that flash on rough ground. She rattles like a bitch sometimes. Might try to rubber mount the front castor but most places we take it are nice and smooth. Women think it is the cutest thing ever and flock to it, Dad's usually look very jealous and grandparents ask if she is wearing her seat belt or has she got a drivers licence. Few shots out and about Greeting Dodgy Uncle Hayhole and Auntie Laura on his trip to Australia Spotted at car shows:1 point
-
Here are a few photos Rocker cover and air filter before And after And i thought these were pretty cool and deserved to be on here Grill painted with painted Datsun badge and Nissan 50th Anniversary badge1 point
-
Right, so the first step in testing the Wankel engine was to design and build a run in/test table. These are very common for R/C plane guys and there are plywood kits available but I wanted to make a table just for the Wankel project. The brief was for the table to be easy to transport, a decent working height, adaptable for multi rotor engines, able to carry all the equipment required for the engines and be adaptable for any alterations down the line (Tachometer, EGT sensors etc.). I then decided to CAD the table and because the old boy put the thought in my mind of using aluminium I built it around readily available extrusions. To aid transport the top is held into the main tube by pip pin allowing for it to be quickly disassembled (assuming I get a noise complaint and need to leave quick fast). The heavy items (battery, nitro meth bottle, starter) are placed near the base as to lower the COG hahaha, while the table top holds the fuel tank, engine and throttle lever (not in image). All the required items will be held in by O-rings held by small stubs similar to those “JDM” bumper mounts. Thankfully my good friend Tim welded the aluminium and did a mighty fine job at it considering the extrusions were only 1.6mm thick. I turned and threaded some aluminium bar to make the feet caps which are threaded into the swivel foot and will be pressed into the feet tubes. The table top was cut from 18mm MDF and will be varnished after the fuel tank and throttle lever is completed. I was also lucky to have Ross from the Uni’s work shop CNC machine an engine bracket from aluminium which will be held by some stainless fasteners. The image above shows the extent of what has been done so far. Only the throttle lever, fuel tank bracket, battery bracket, nitro bottle bracket and accompanying O-ring stubs are yet to be fabricated and welded… alas, I have taken my pretty time getting this far hahaha.1 point
-
When we last saw our intrepid hero he had welded up the rear strengthening panel and had cut the other end of the channel and the A pillar open. Well I don't have a photo but the rear panel is welded back in place and looks just like the other side now, I then chopped even more of the rot out and last week sandblasted the lot. front side inside the bottom lip on the front of the channel there was not as shot as the passenger side, so I decided to keep it and try to weld up the small pinholes caused but rust pits and some idiot with a spot weld drill(me). I also sandblasted the top of the sill, where the carpet holder strip was welded on. The metal had very bad surface rust and really needed sorting, I'm still in two minds about replacing this rust trap of a thing, do you guys think it would look super weird without? my other idea was to get some stainless sill steps made up to fit, any thoughts? carrying on, out with the old shit, in with the new. goes here. including my world famous pat. pending dents. just finished welding up the heat pipe last night, while I had the blaster out I cleaned up the air scoop that goes inside the channel, and bent up the inside panel that it mounts to. Just need to smooth the welds on the heat pipe out and weld into the channel, was hoping to have it done this week but i kinda forgot about the heater pipe things. Chur1 point
-
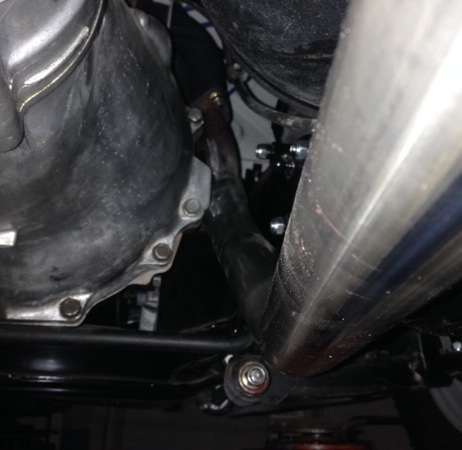
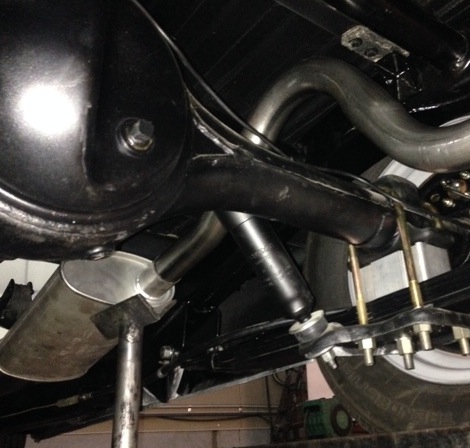
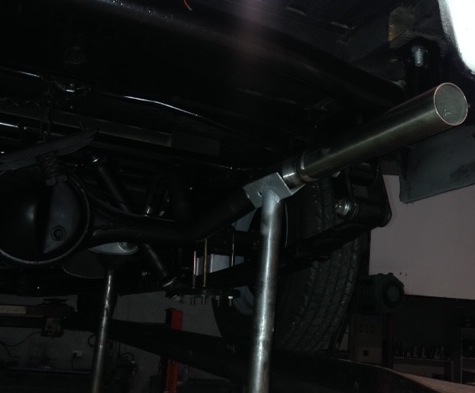
towed it down to work to do the exhaust i had over adjusted the brakes, so adjusted them again today and backed them off a bit, sits at not a bad height id almost say it needs to go down slightly more in the rear just a touch? chucked the new dizzy bits together and checked the lead lengths, looks all good, need to suss the wiring for it next exhaust has been made and sitting in place, just needs the mounts welded on then pull it out to paint then back in and weld muffler in, stoked with the job they did need to get the carb back on, suss more wiring and grease every thing while its up on the hoist. also have the little brothers escort down the shed, t has a 12a and s1 box that needs the gearbox out, it crunches into 2nd and 3rd.
1 point
-
Cool its confirmed that next shipment leaves in 4 months and there will be a well side for a 620 that needs it (mine). i'm happy about this1 point
-
Made some sweet seats. Forgot to seal two. SMDH.1 point
-
I have been dreading cutting the cockpit out... I only have one chance at getting it right.... I'm happy enough with it. I drew about 20 different lines before cutting this one.1 point
-
Finally had a set of these pop up on trademe which I quickly snapped up Small addition but adds to the overall awesomeness Also got my loom modded by Stu and have brought relays a fuse holder and wire to make it all go. Next job is to make engine mounts on the chassis side then I can start wiring it up1 point
-
Installed some driveable low and stripes. Lowered the back 1inch since the picture. Drove it to hamner for Hamnats was a good weekend!1 point
-
#LikeaBoss Raised heaps of money for Breast Cancer Research at the wife's netball club on Saturday and went for a cruise through the local arts markets today. So many people stopped us for photos or to ask where I got it, many jealous dads1 point


This leaderboard is set to Auckland/GMT+12:00