
Leaderboard


Popular Content
Showing content with the highest reputation on 03/10/24 in all areas
-
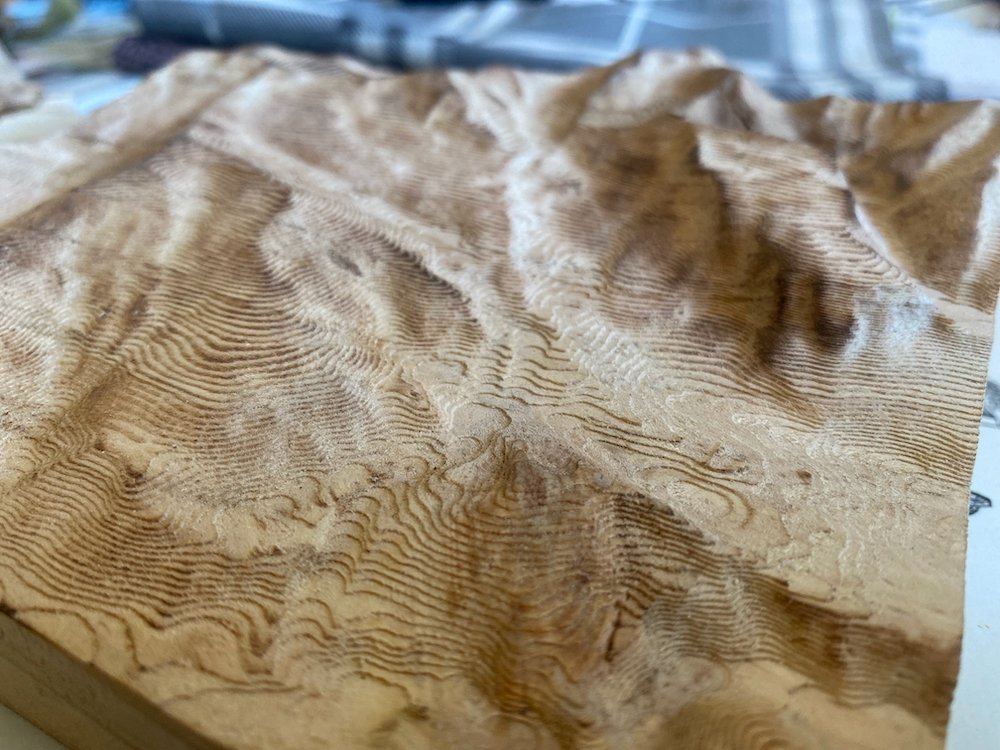
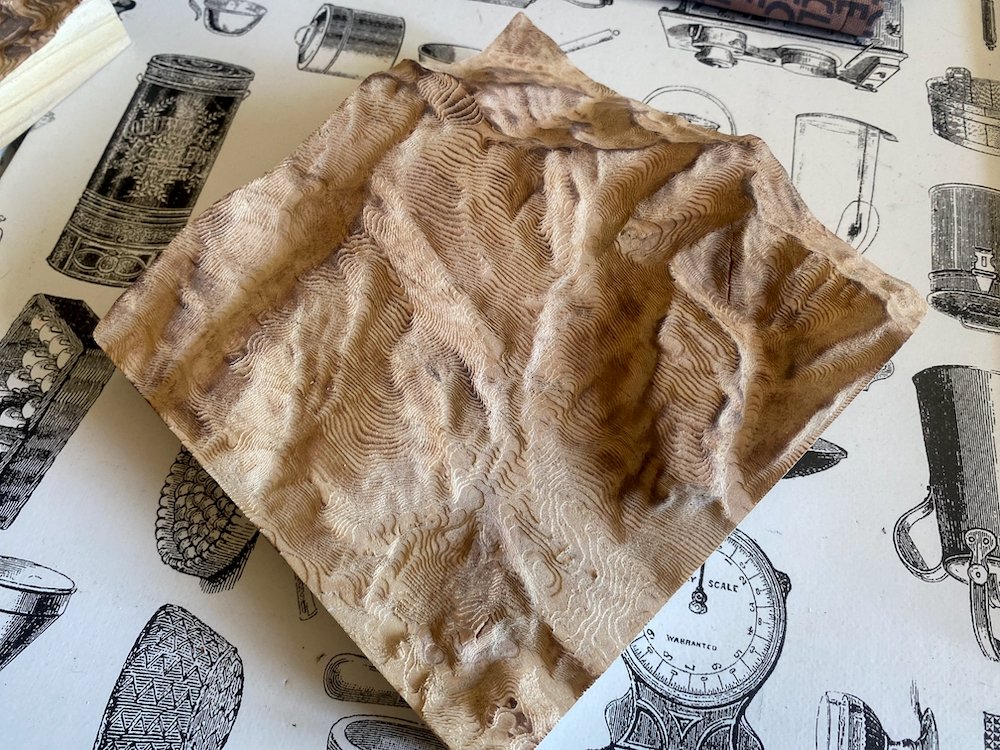
Making some thank you gifts for friends that looked after us on our recent trip overseas, reliefs of the mountains they call home. Carved out with the cnc to replicate contour lines on a map then run over with the gas torch to highlight the ridges.
 23 points
 -
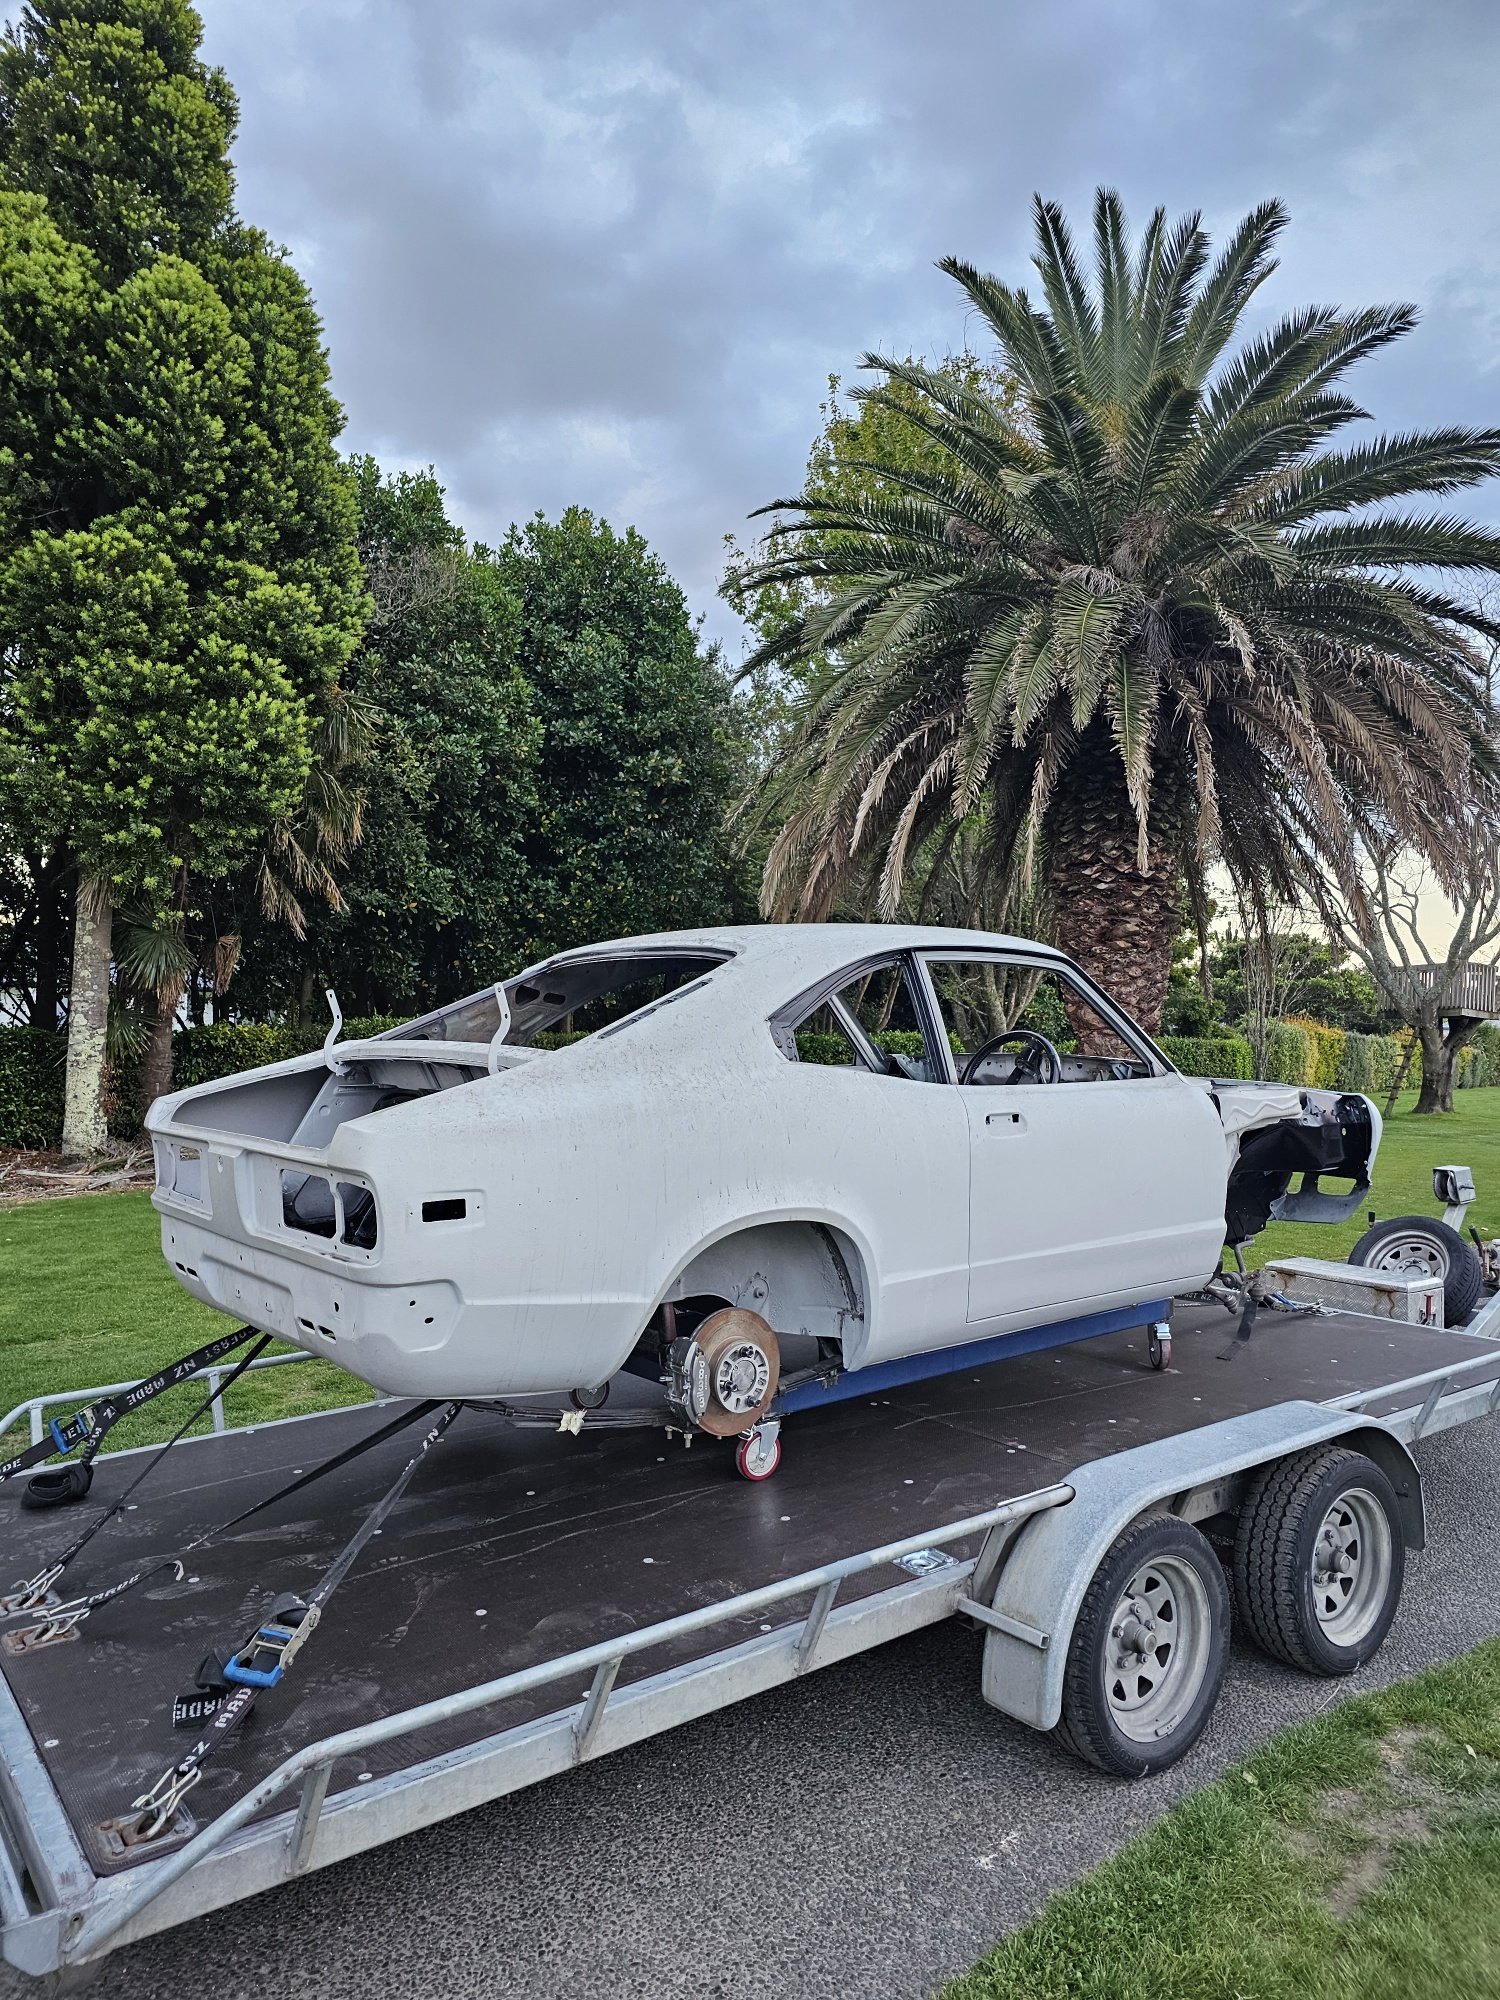
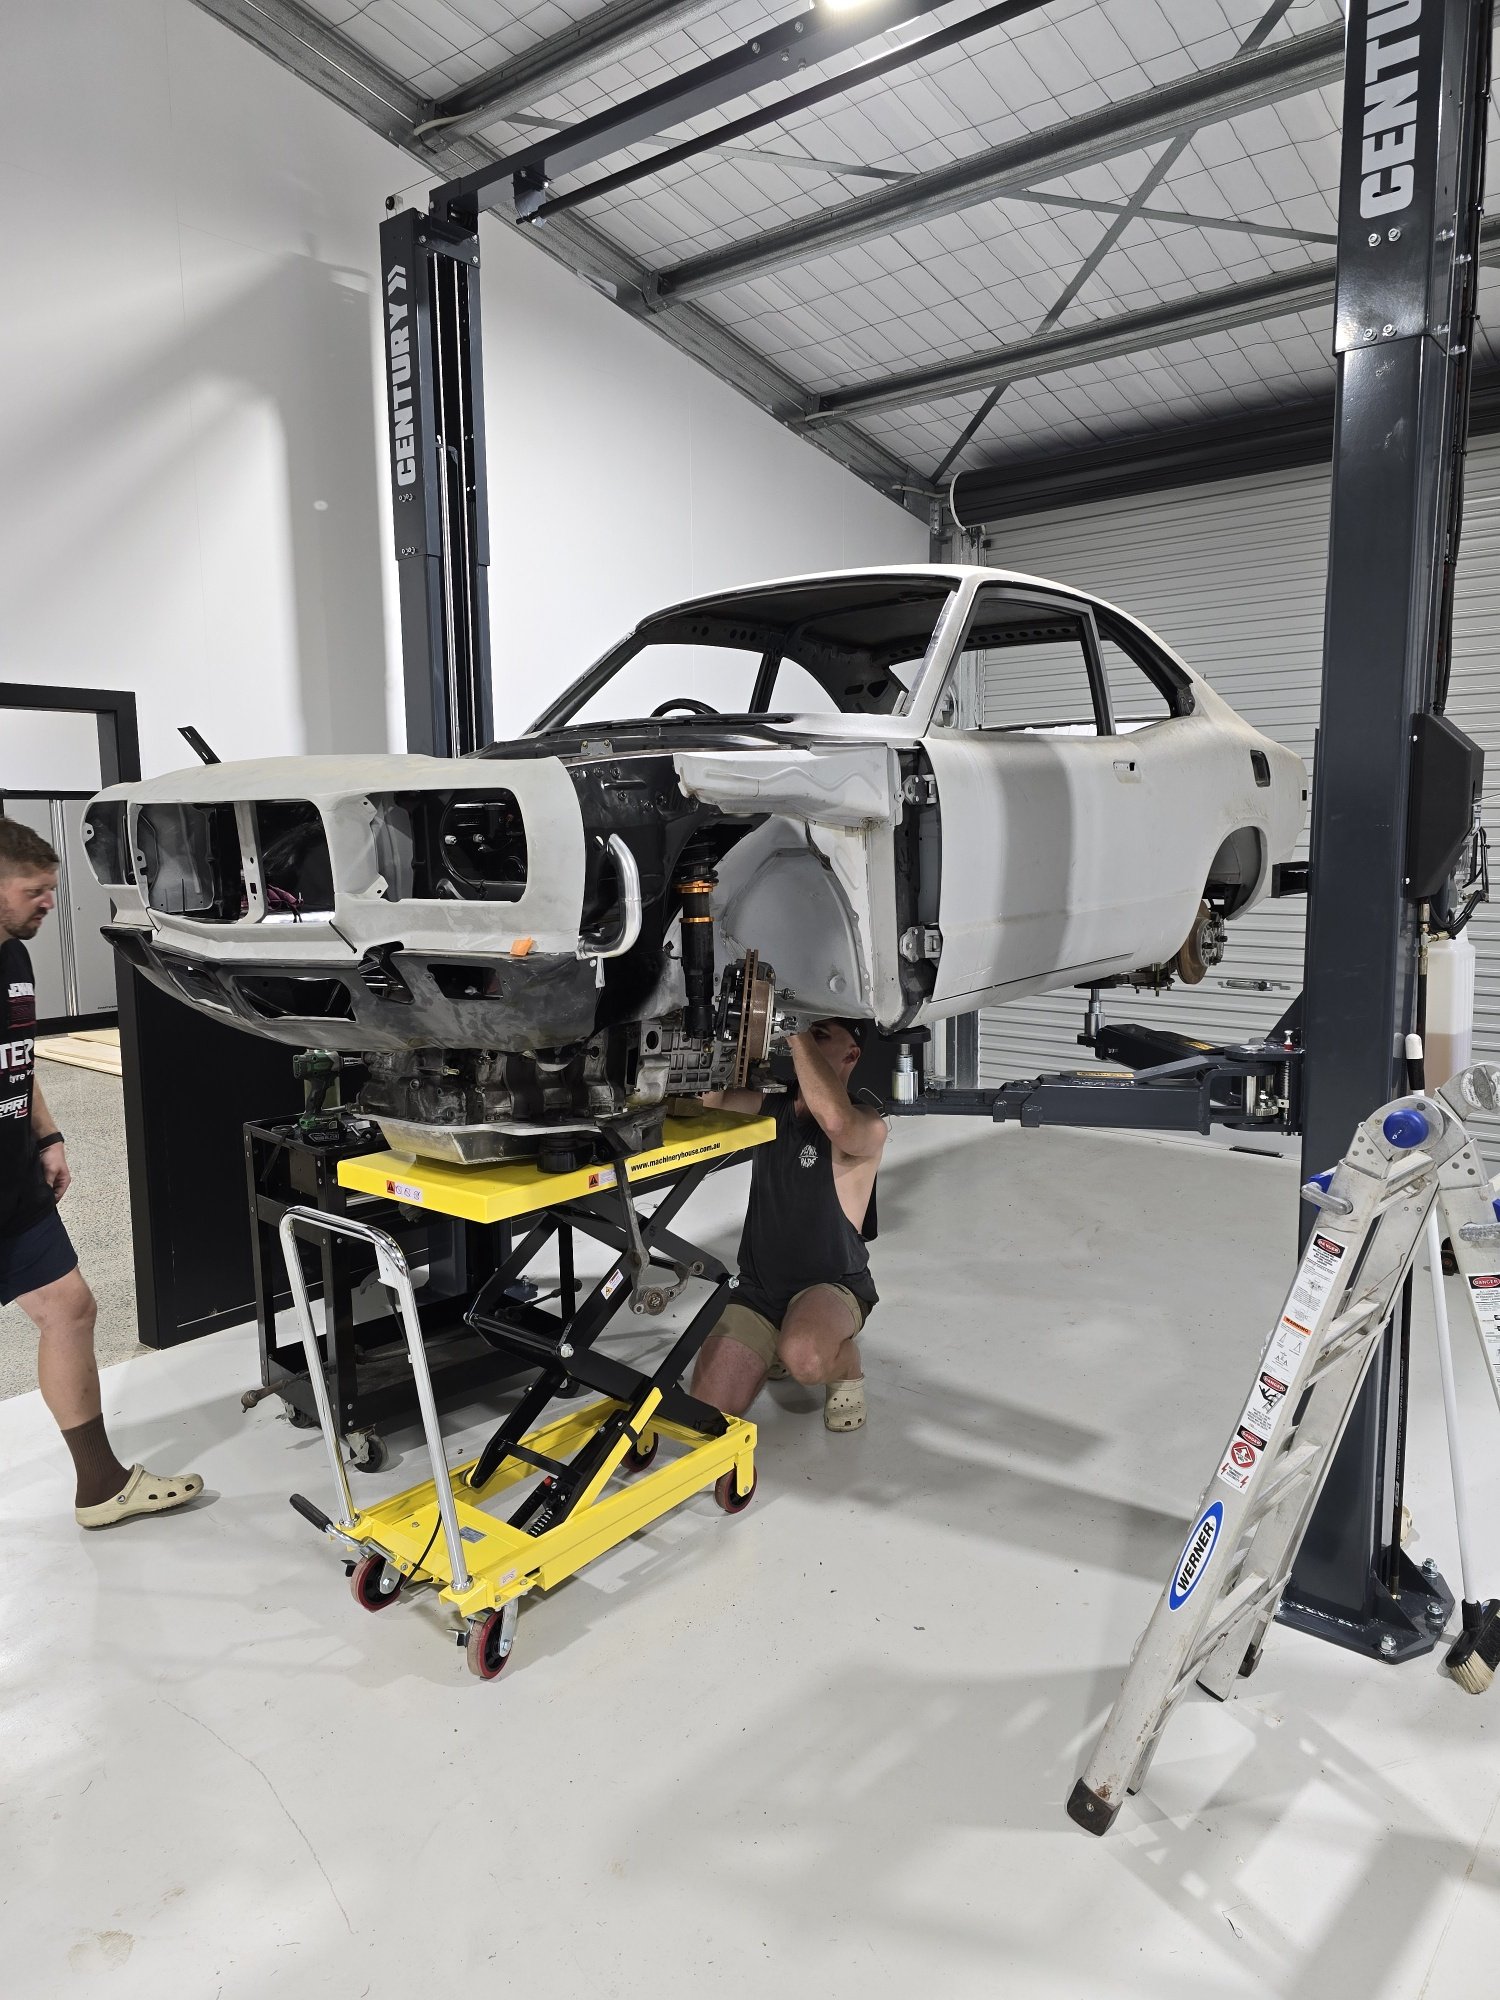
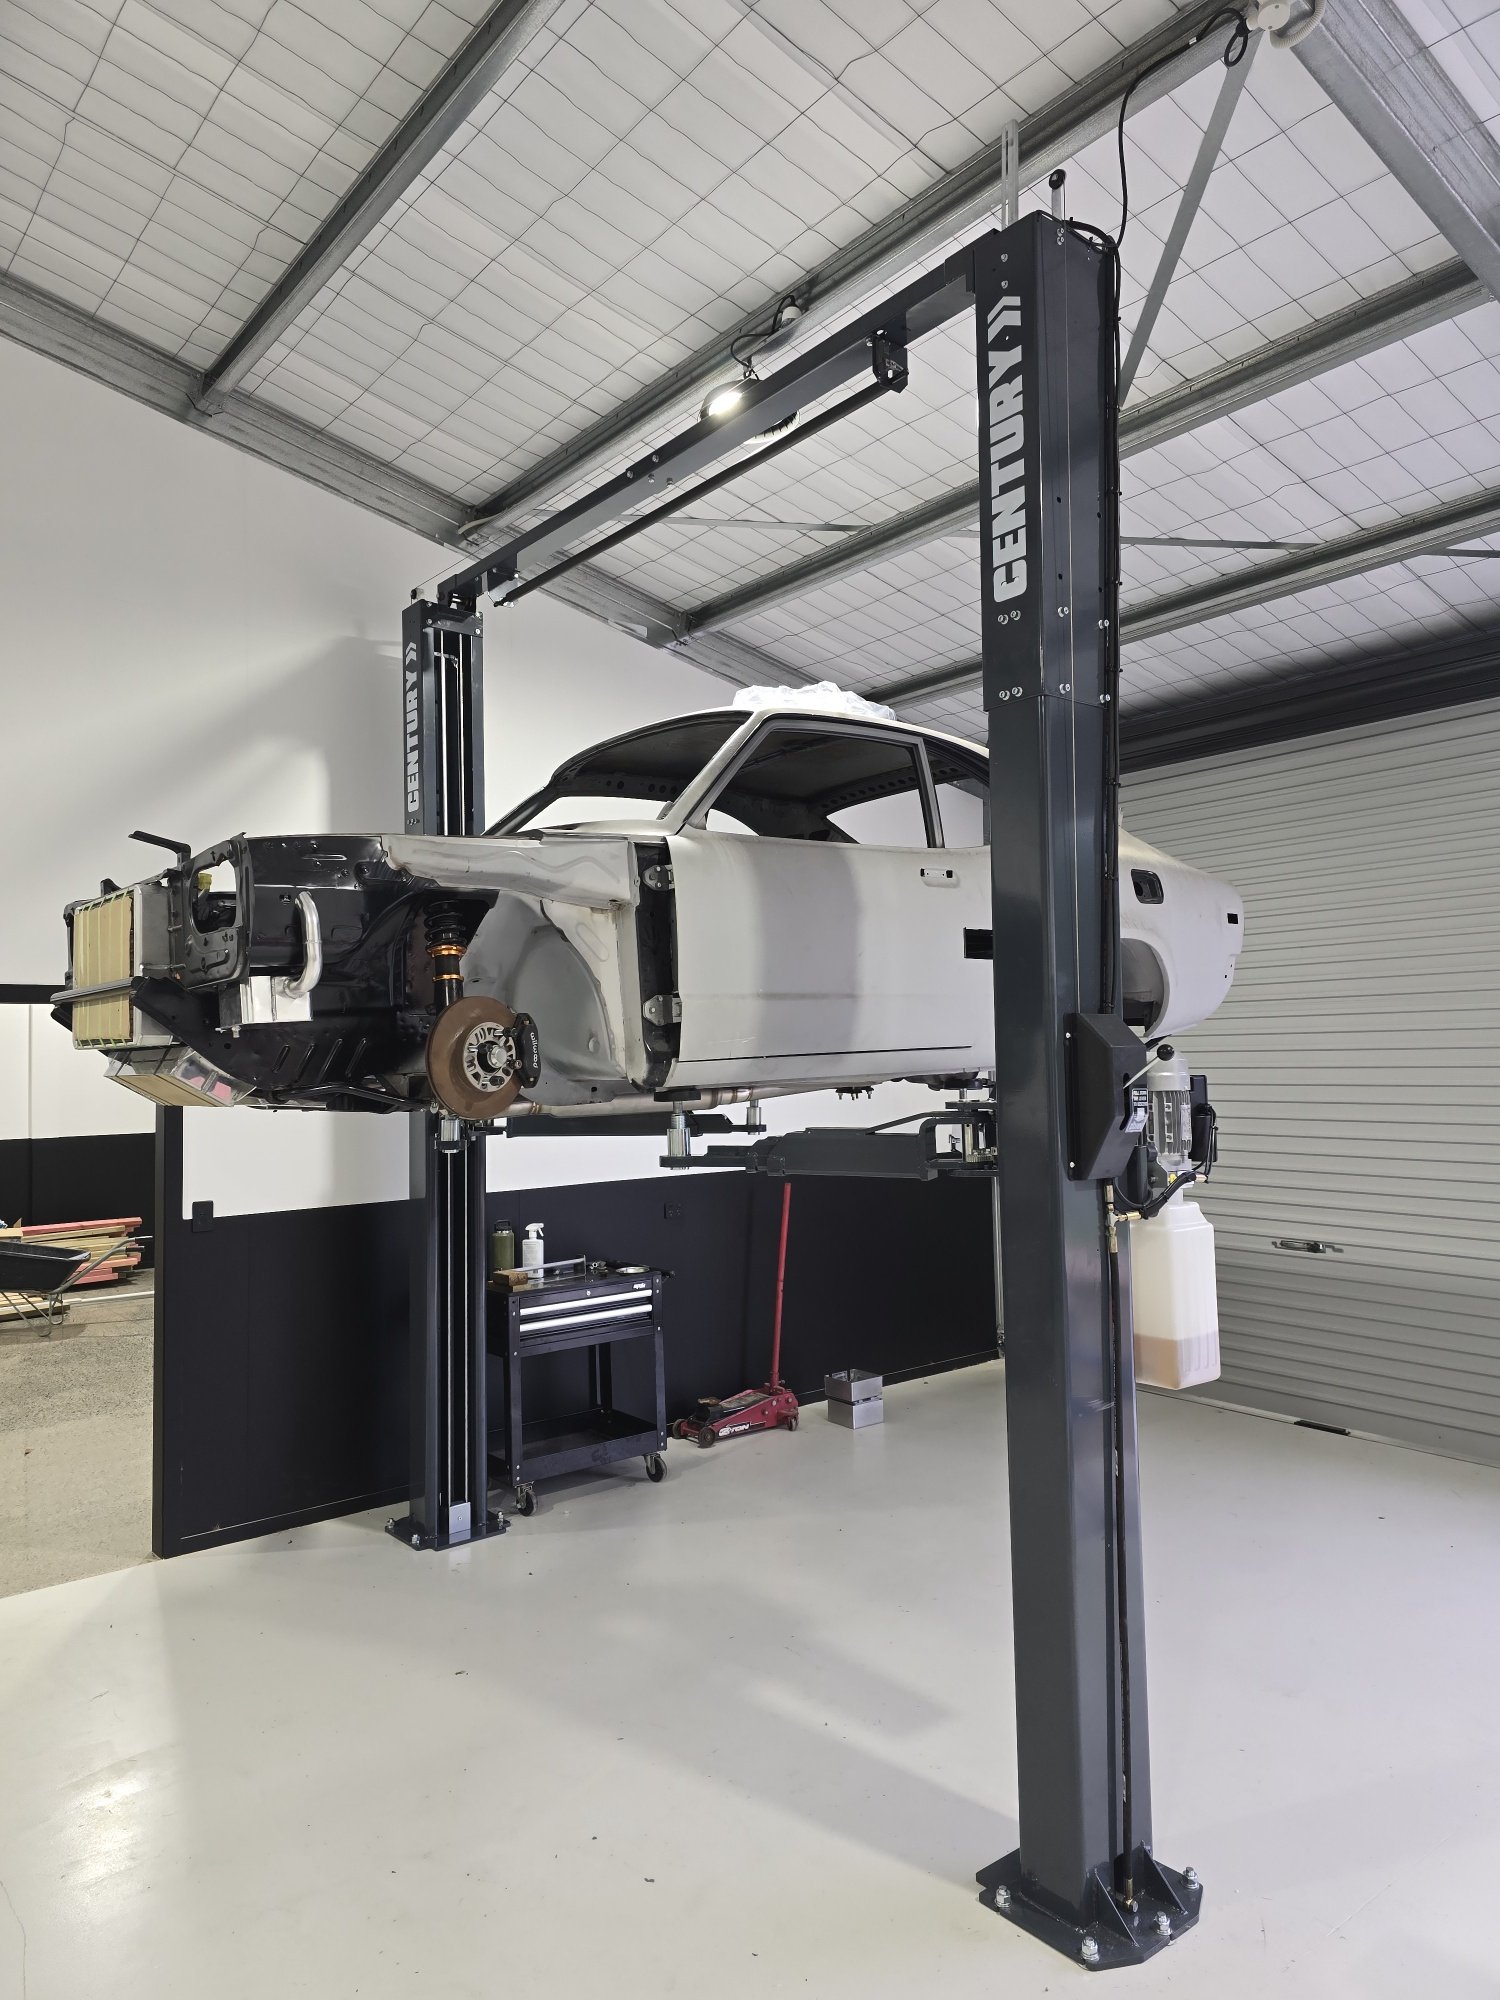
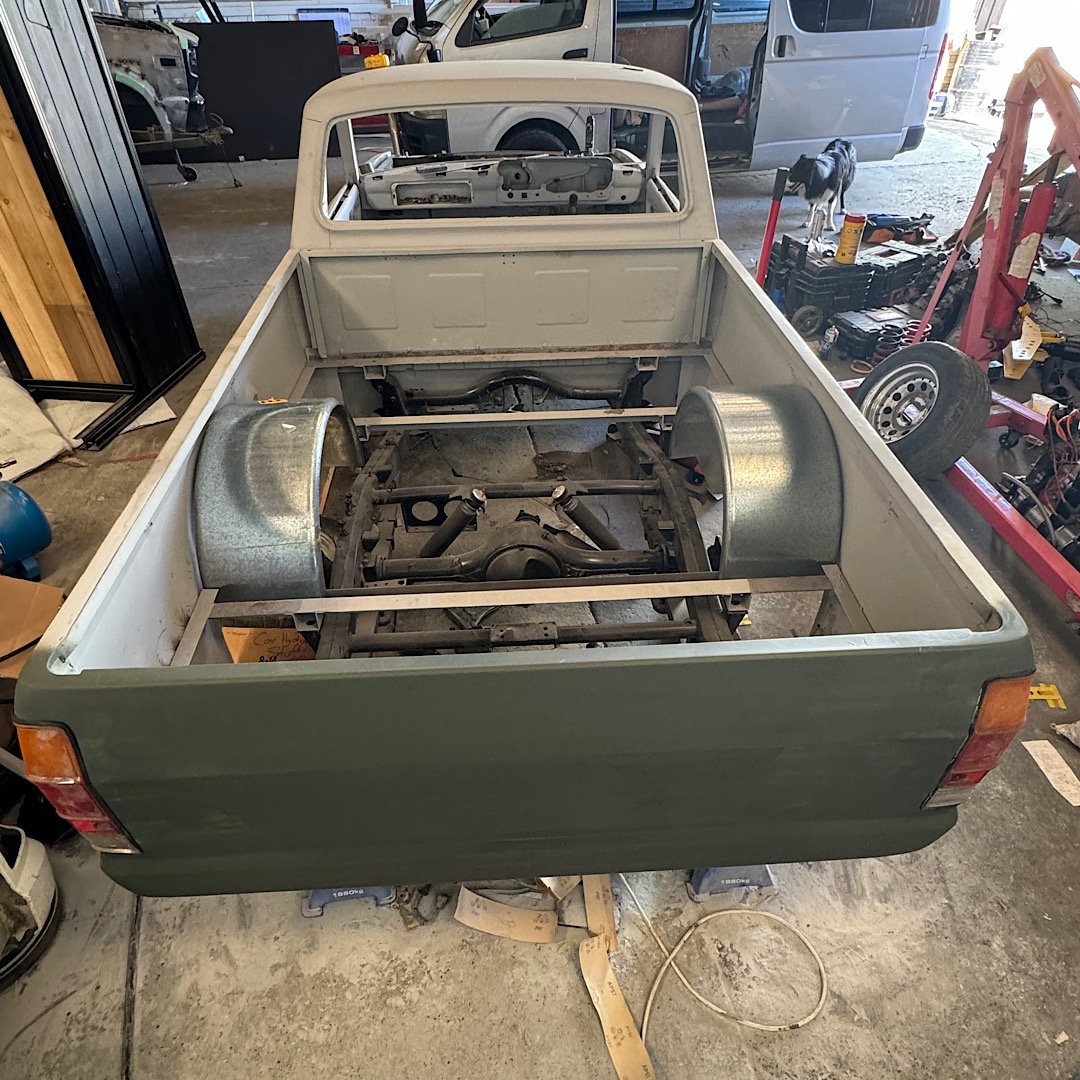
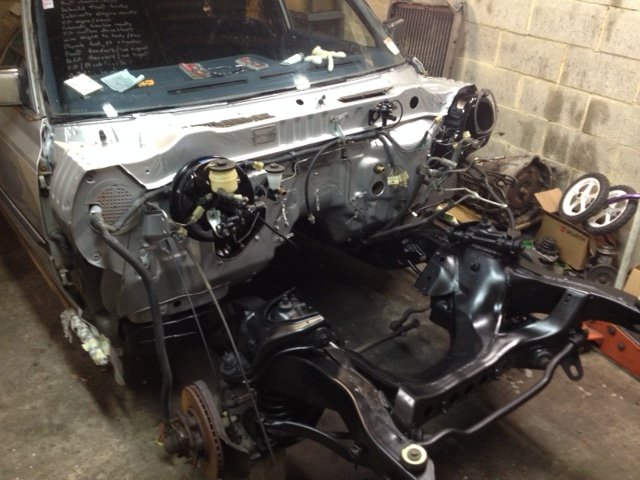
Been a bit slow last few months as been trying to get new shed finished but finally in there and got hoist up so back into the car. Motor and box need to go in as one piece from underneath with front subframe so bought a trolly lifter thing which made life so easy. Chucked the motor and box back in with the cooling system last weekend to work out a plumbing list to order all the oil, water, fuel braided lines and fittings. Also working out brake line routes and working out what else i need to do to finish off prep to strip it and get it back to the painter. Basically want to have the car dummied up in full then get painted/motor built etc so once painted its just assembly to finish.
12 points
-
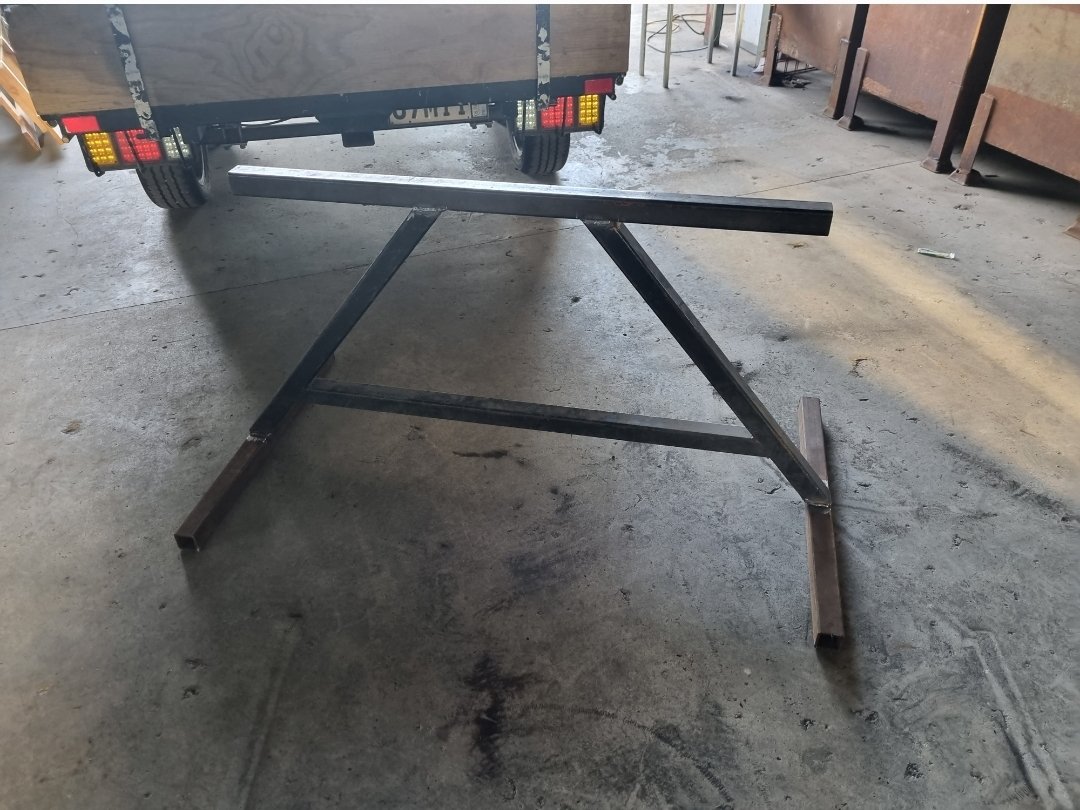
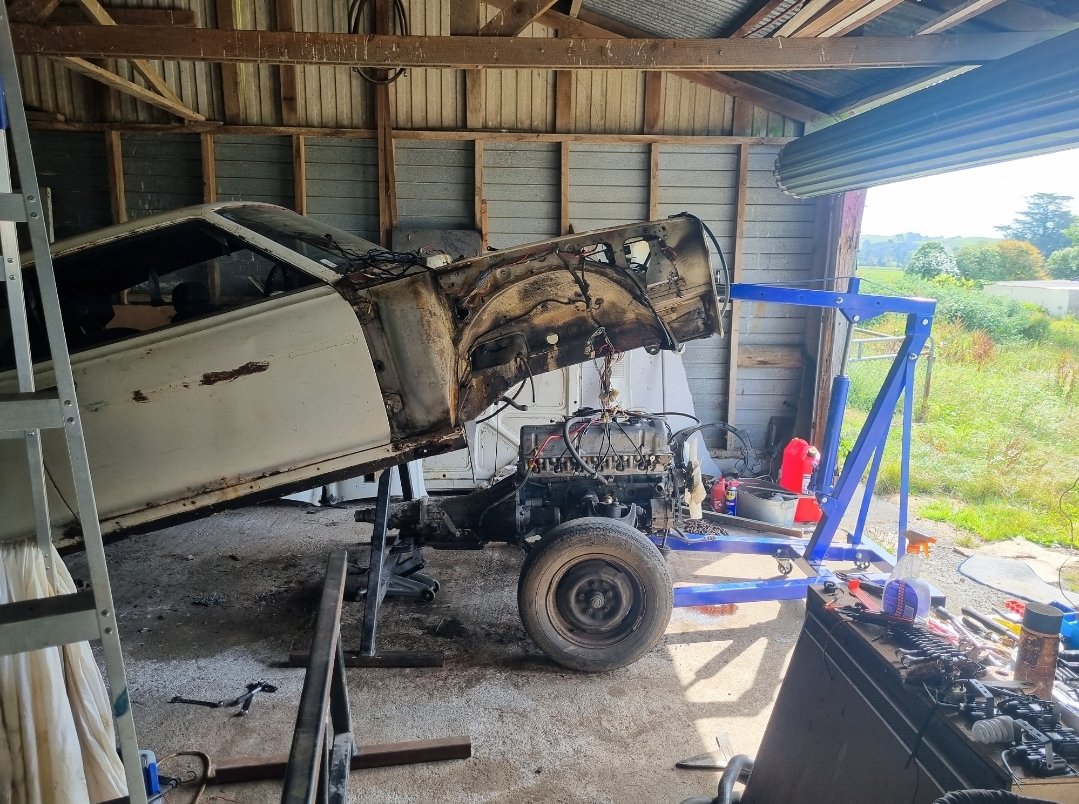
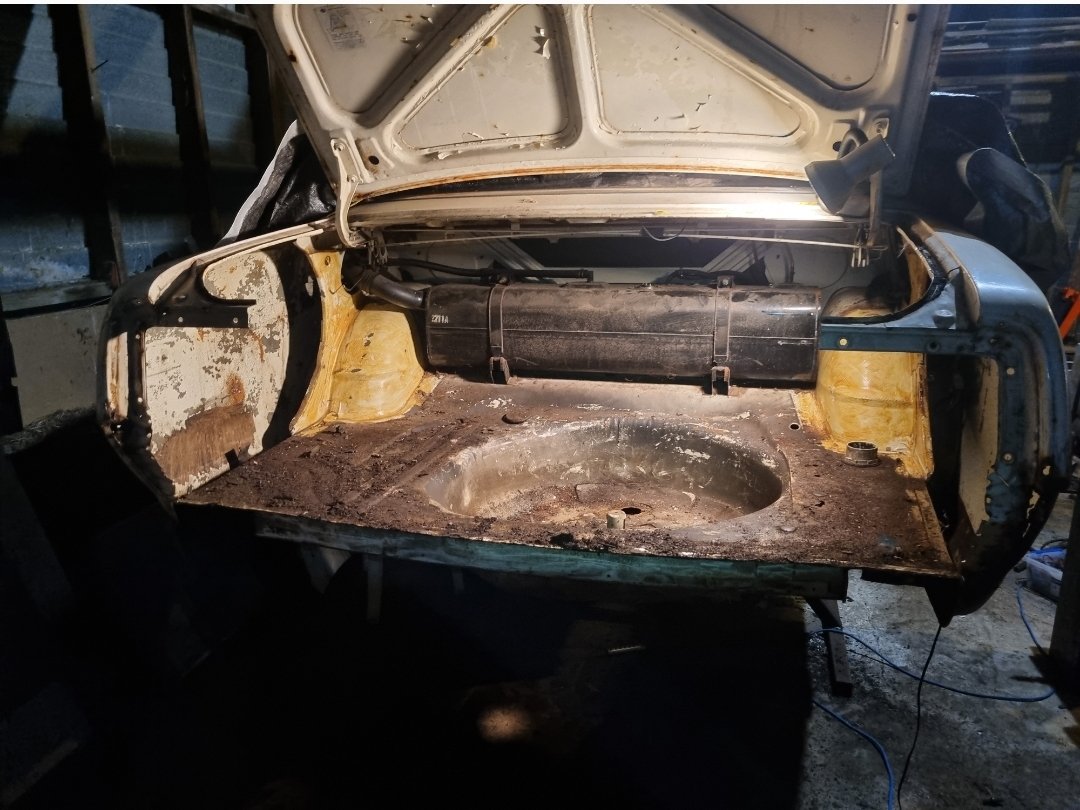
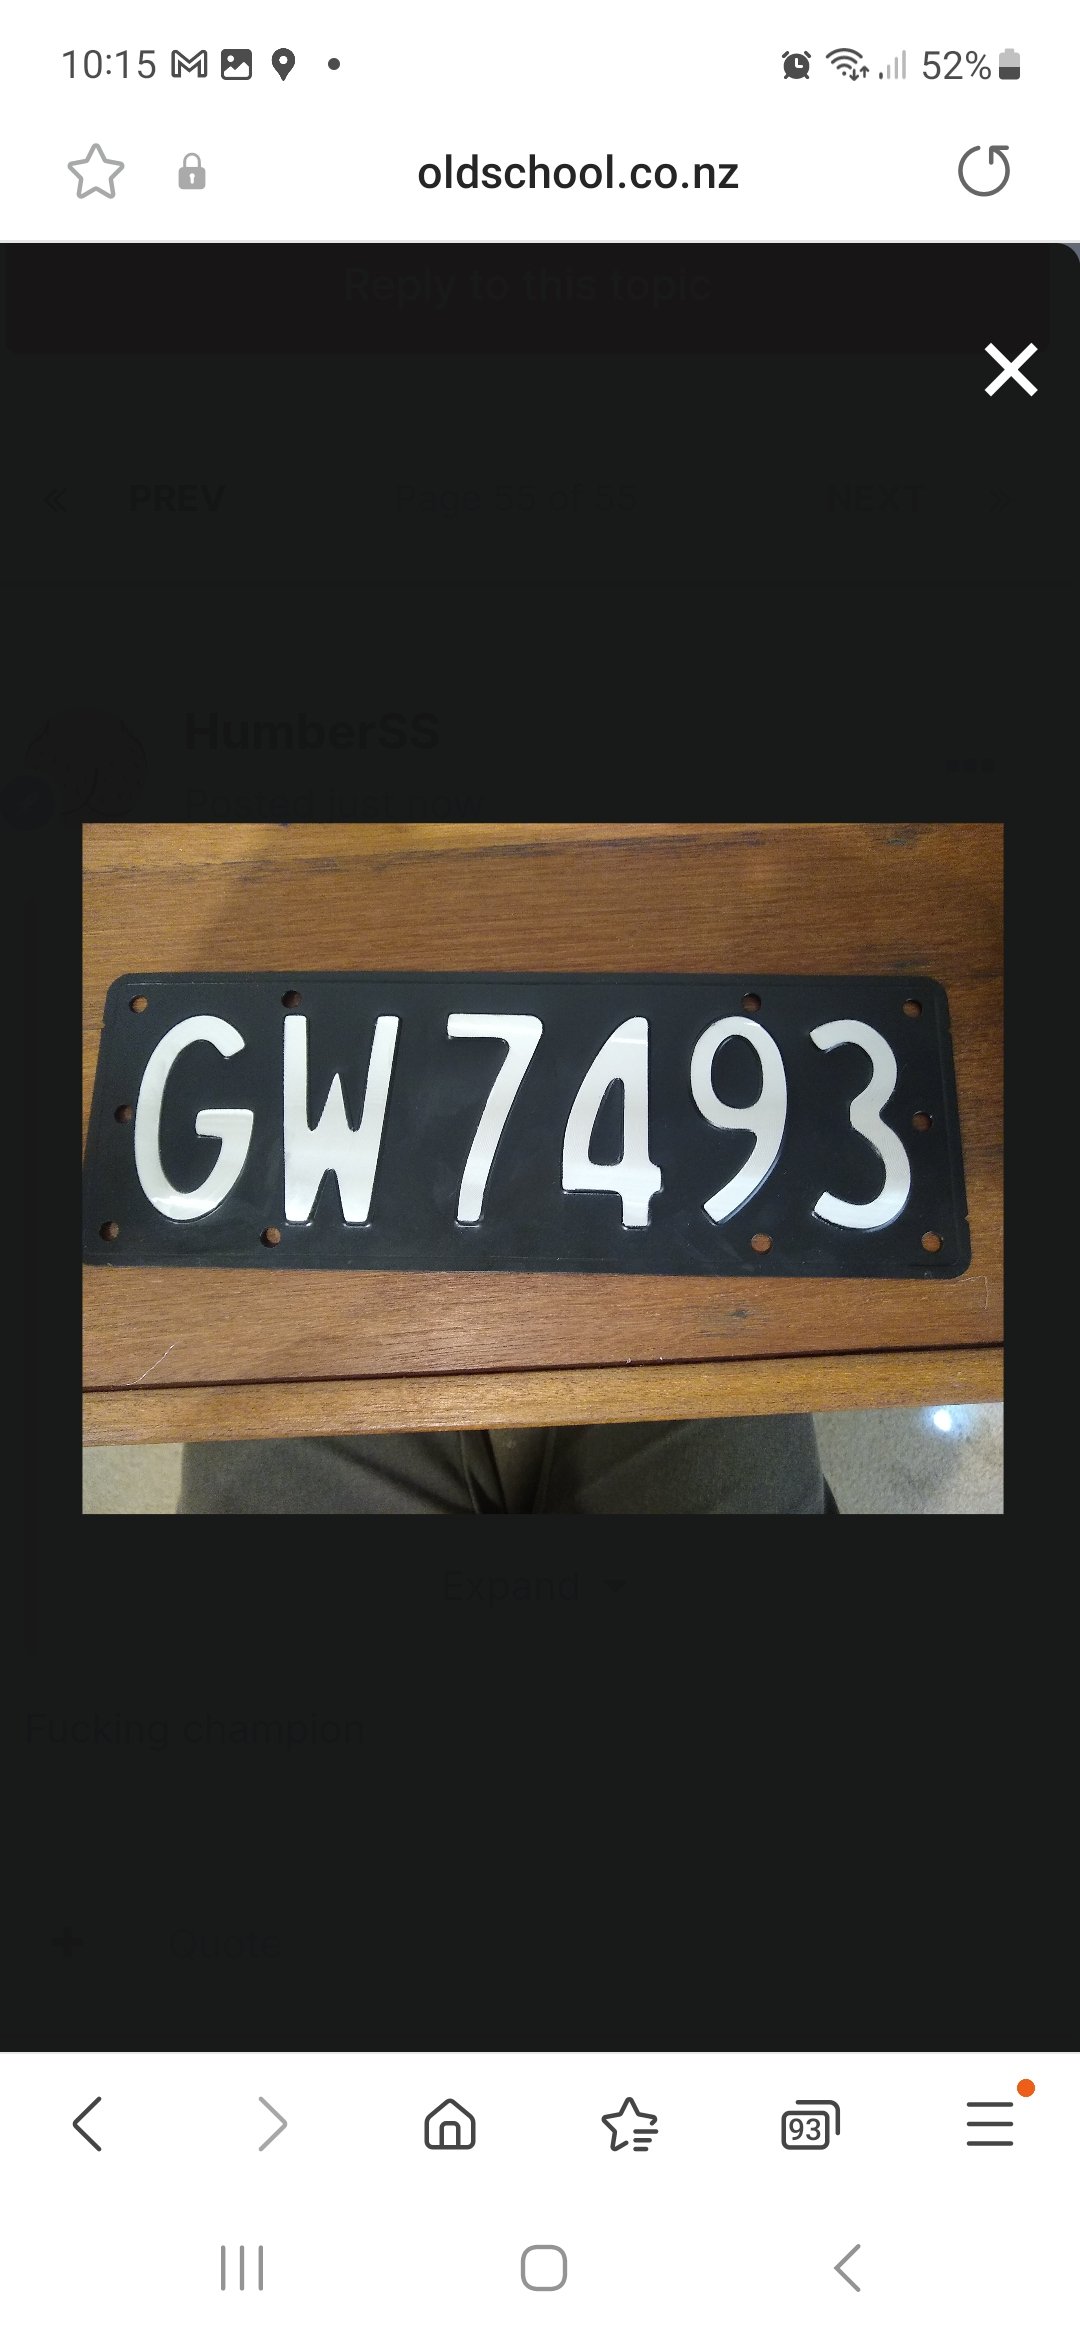
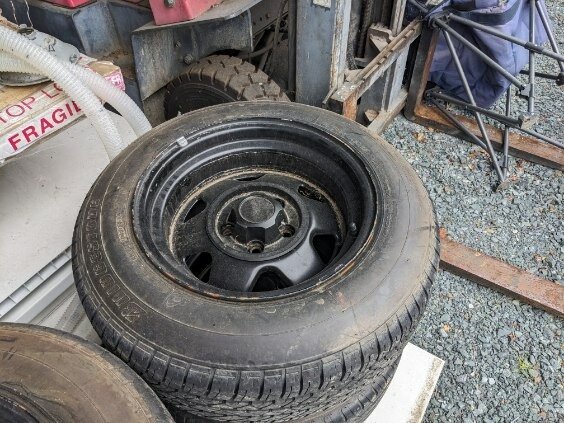
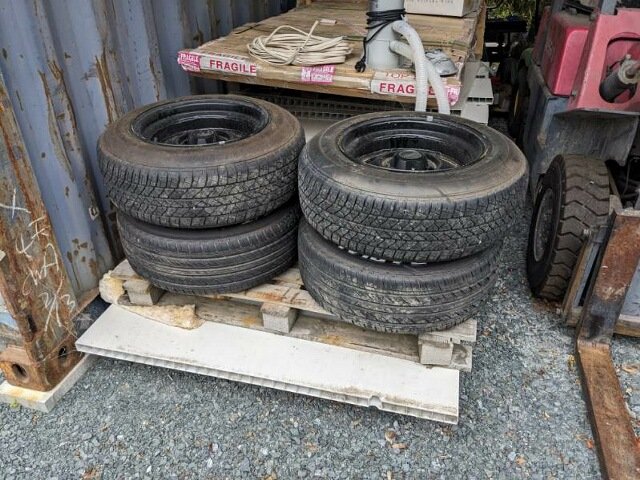
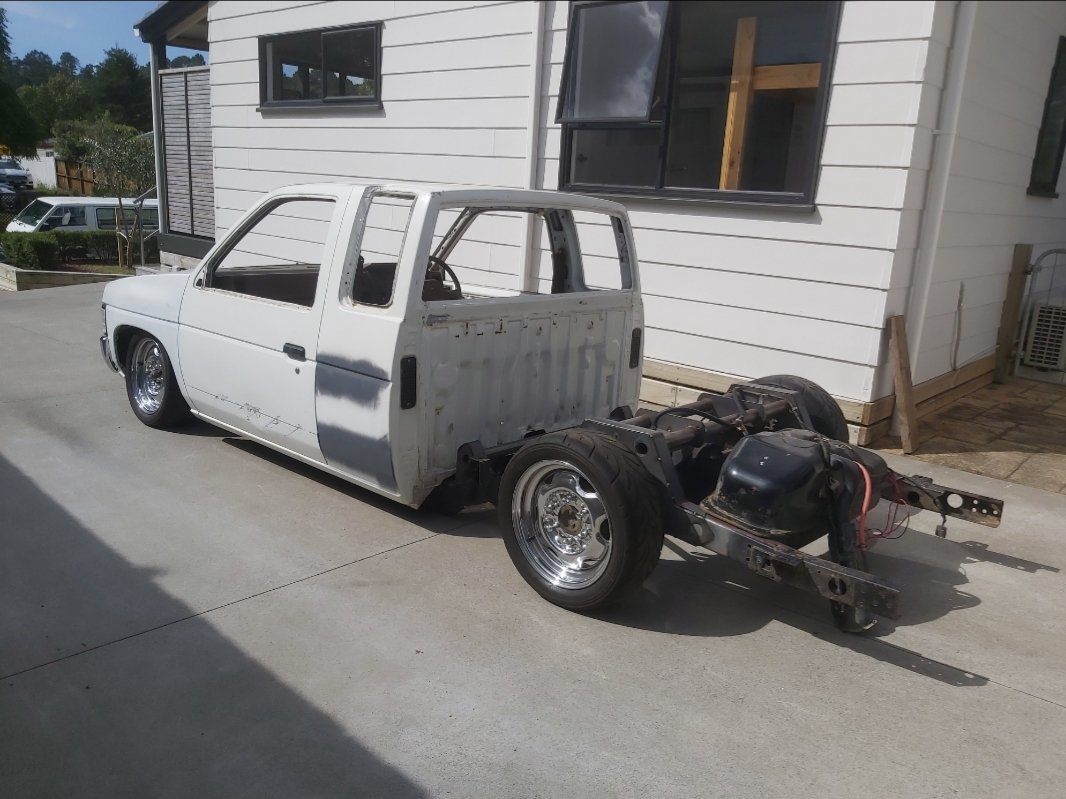
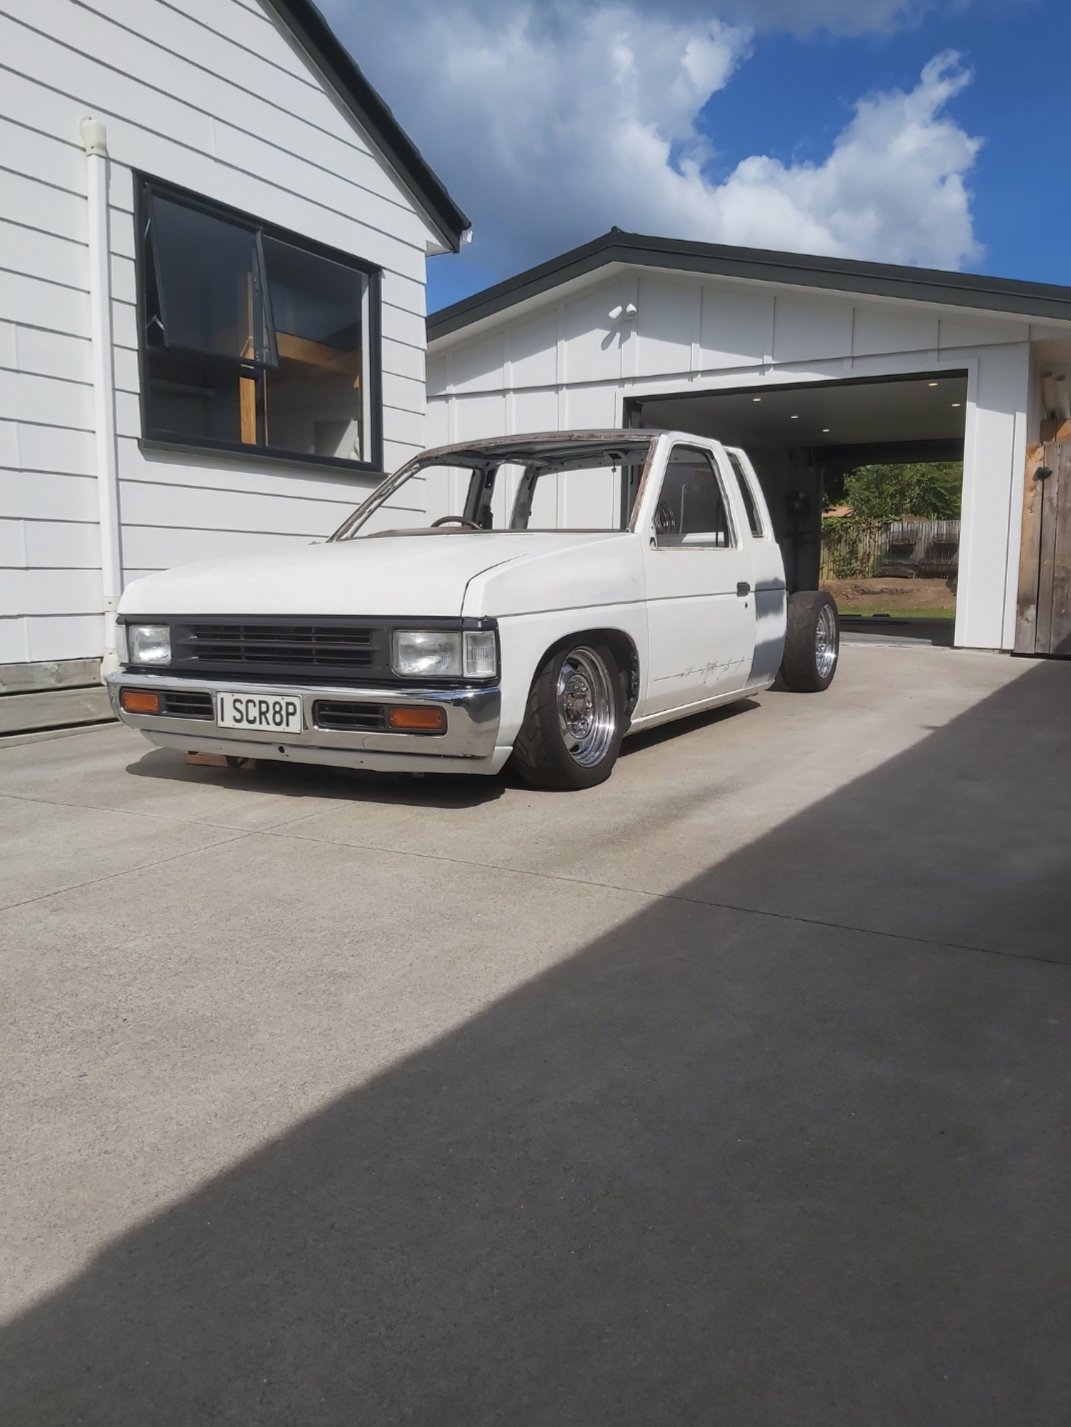
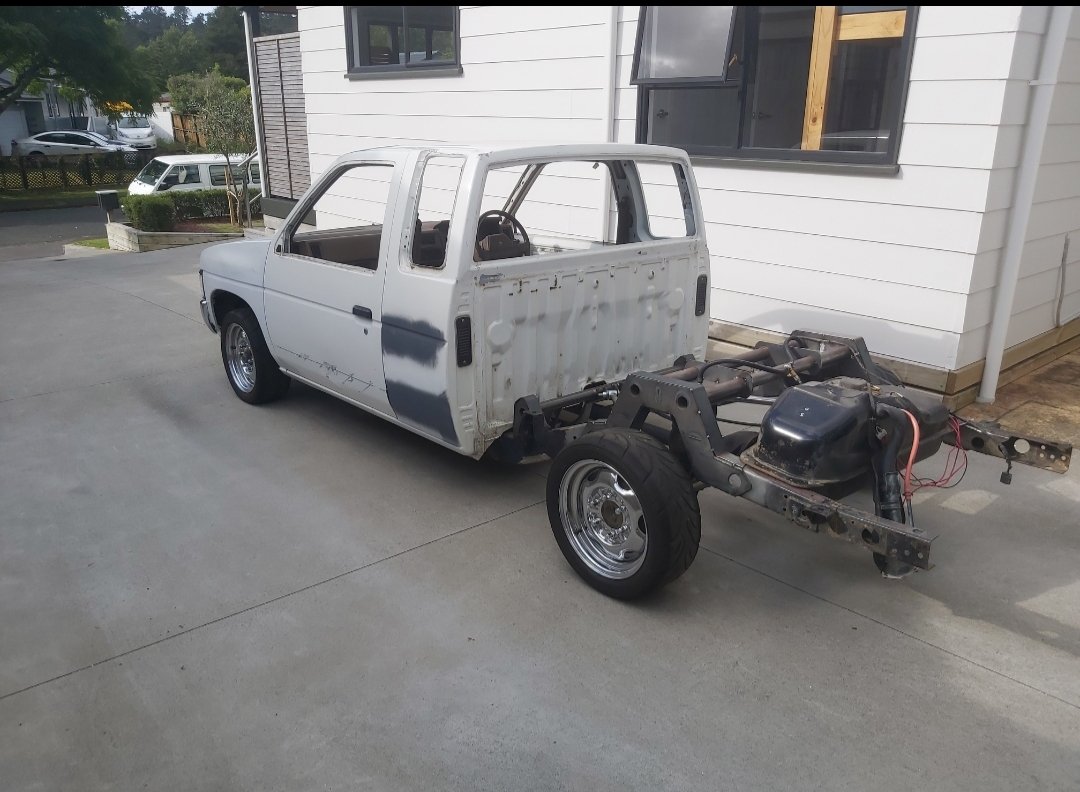
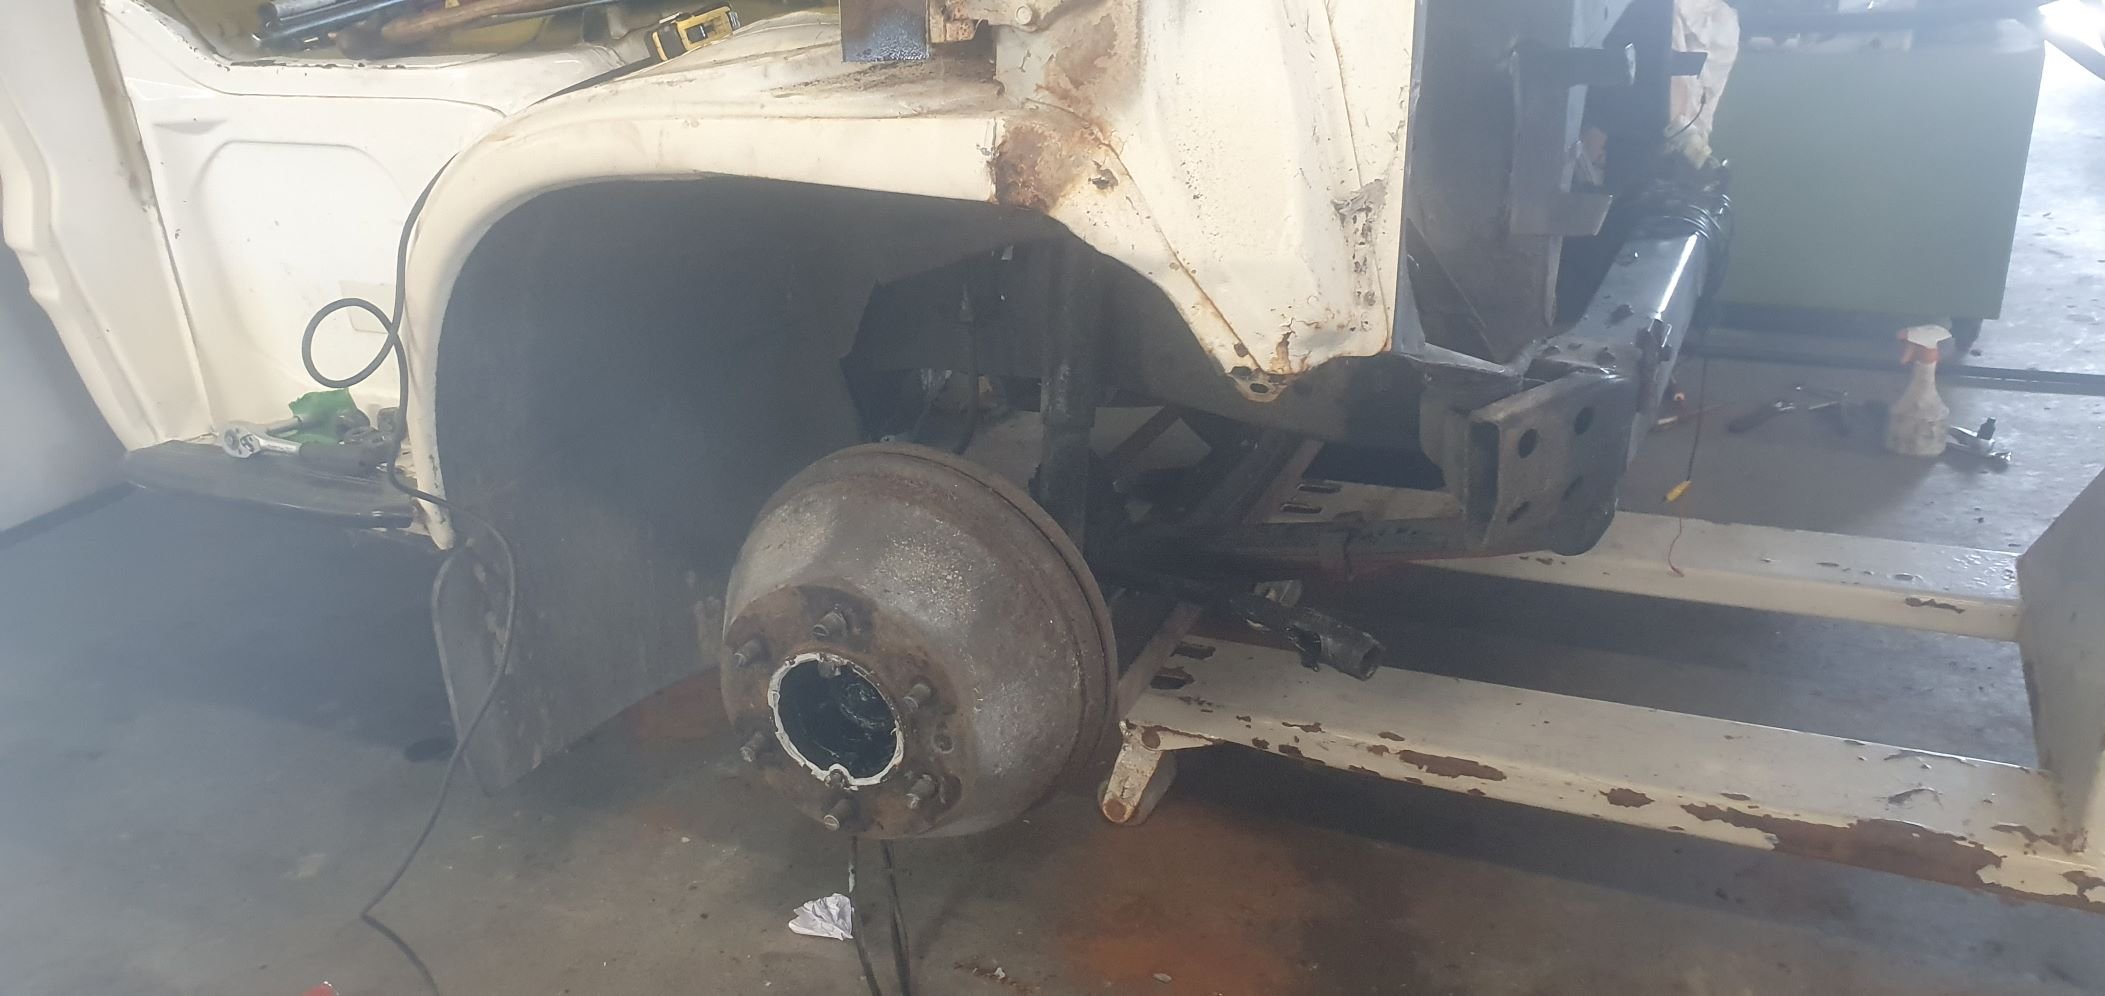
Sporadic sunday morning update. Intention with this project was to do the bare minimum and get it to functional. So that doesn't appear to be happening, shock horror. If it's worth doing, I guess it's worth doing right. Or burying myself deeply it in and selling on OS in boxes for $500... Finished tidying up and rewrapping all the loom in the front. No pics. Decided to get it up off the ground so I can make the floor all pretty, I figure with revinning I'm not going to fuck around and have them pick holes it it, the jobs just have to be done. Easiest way to do that was drop the running gear out and lift the body off on to some stands I hacked up. It was a surprisingly simple task. Might turn it into a brodozer on 37s... I haven't taken many pics, but I've scraped all the under seal off the underneath from the doors back, it's really sound and haven't revealed too many other gremlins. I've dropped the brake and fuel hoses out as these are toast. Thinking I'm gonna get a little pot sandblaster to deal to all the surface rust, then brunox/paint/under seal. Also discovered another 20hp under the bonnet. Not sure if they get picky on this shit for revin?? Meant to be L24.. I wanted to start at front and work my way back, but I need to bits to ensure I can align everything, so until such time I decided instead to attack the rear. Drilled and cut rear panel off, have started cleaning shit up and deciding how I'm going to attack the patch work. It needs new floors either side of spare wheel well, but weirdly the well itself is fine. Needs ne bottom quarters and a little bit of inner quarter and inner wheel tub work,so I'm just gonna start picking away at all that. I'm enjoying the process. Also, @ajg193 found my missing plate under one of his presses. And @ThePog found me some sweet widened Jeep rims which I'm gagging to get my mitts on
12 points
-
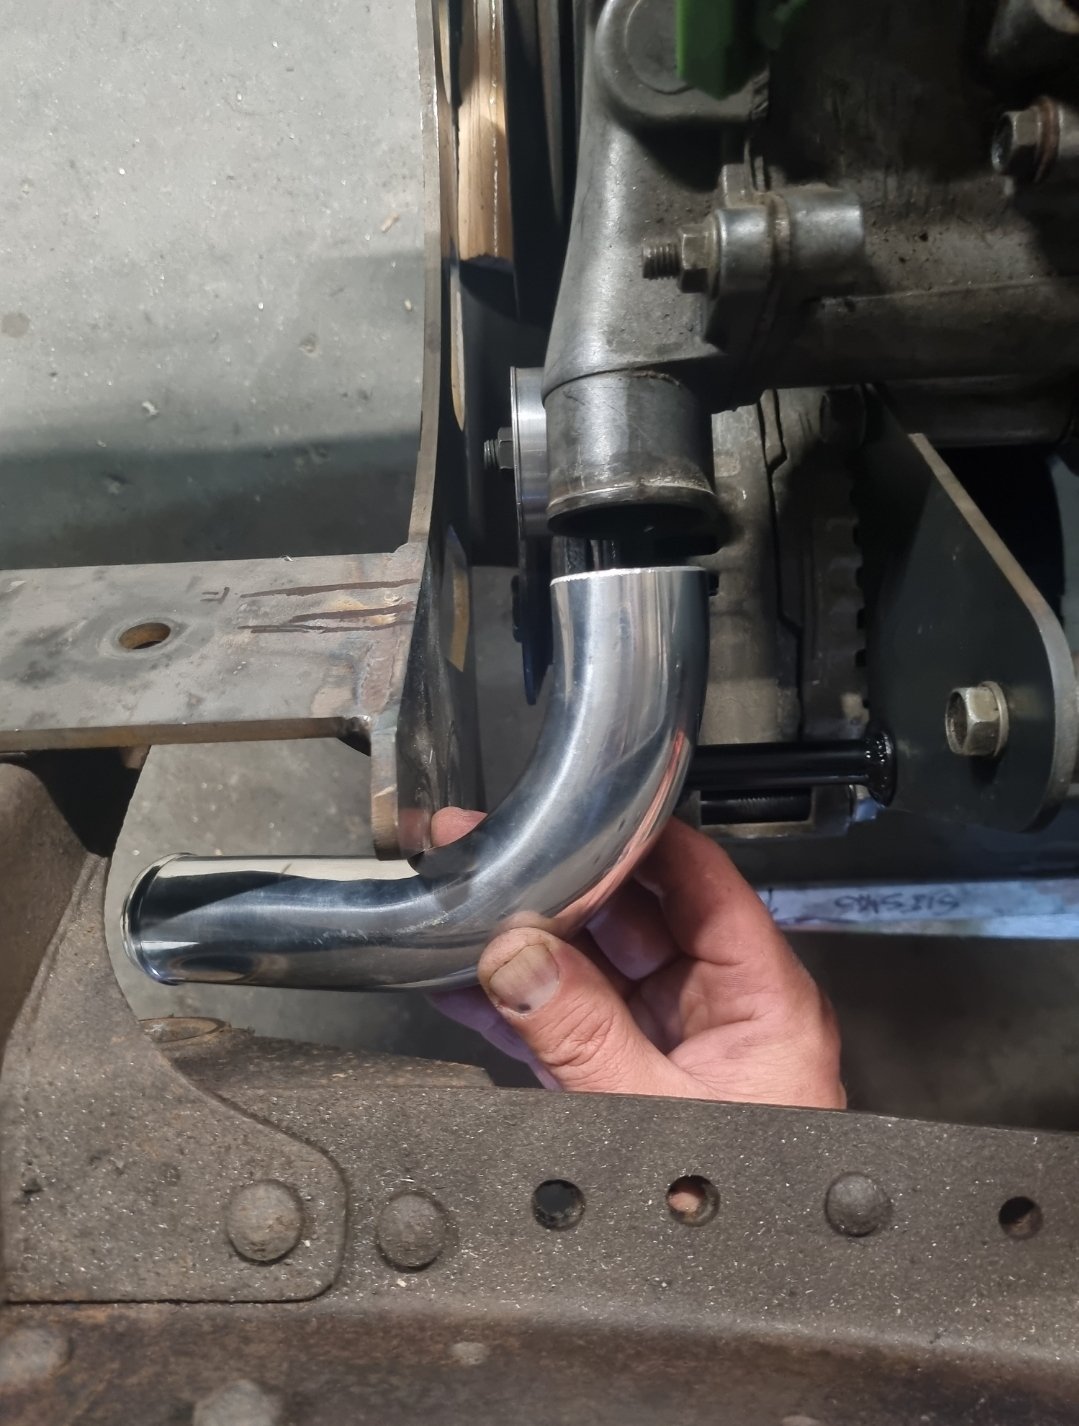
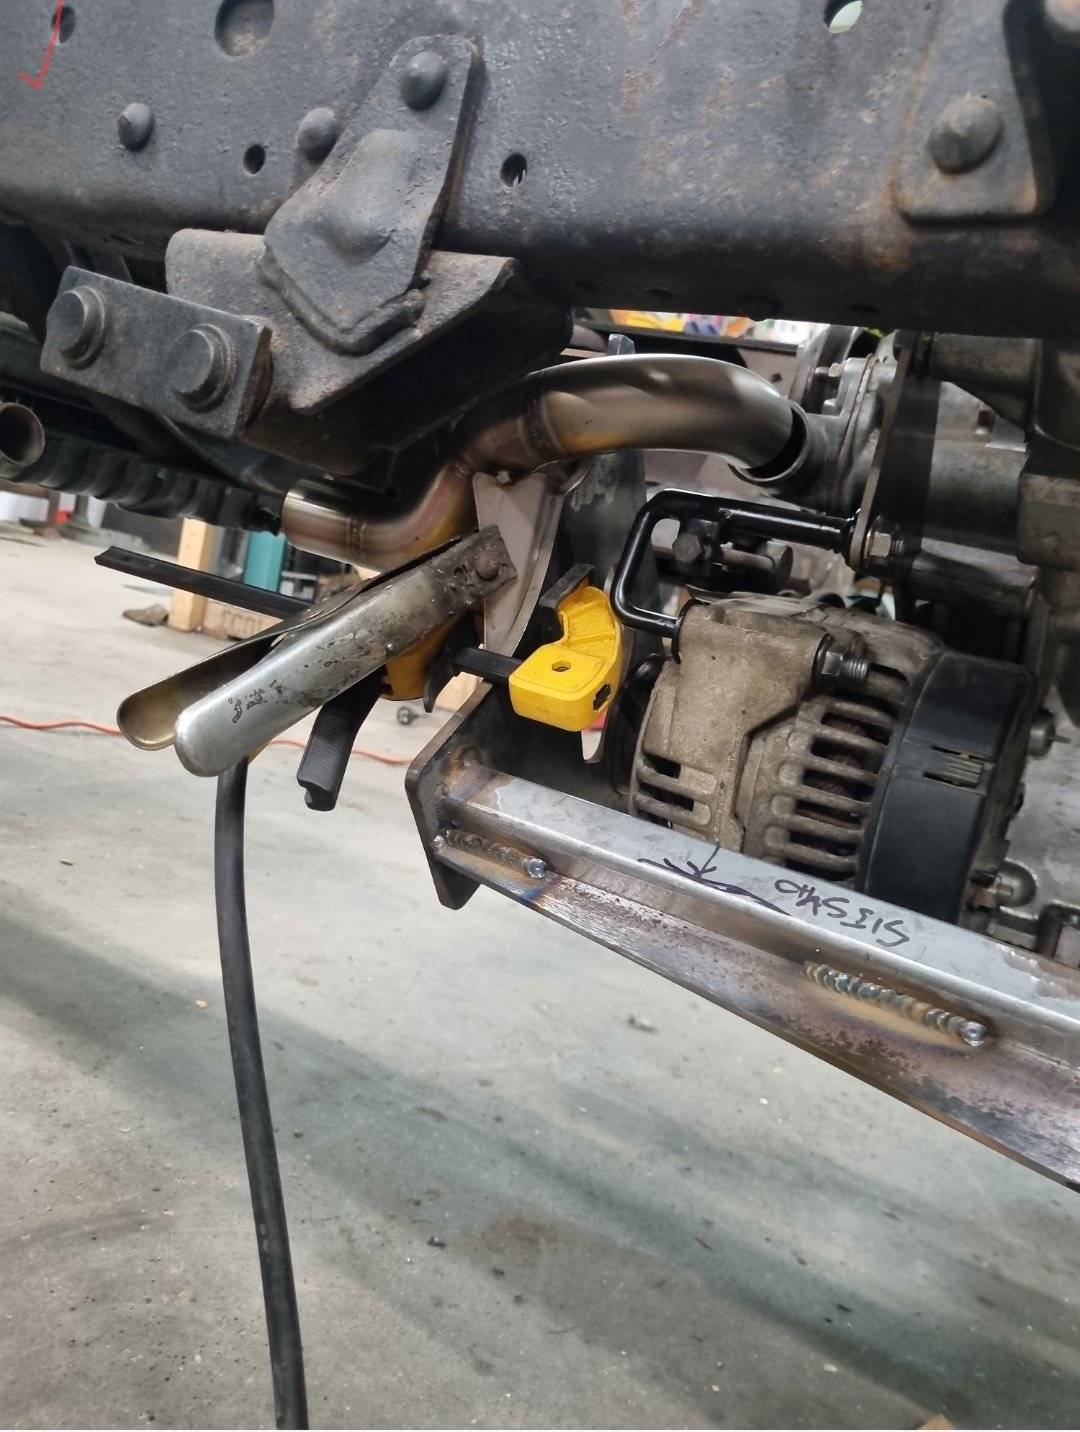
Well behind on updates here. Slow progress, school hols and general business has not seen the results one ambitiously thinks will happen in the desired time frame. #projectlife. Where to start? Have now finished engine cradle including a few notches for critical engine bolts. Made a complicated pipe to move water around. Started with ally bends off aliex but ended up going with tighter ss bends I had. Have since swaged ends to help with pipe retention Next stop has been to get engine to a point where I can start it. Got a belt, made a dummy wiring rig for startup. Cunt won't start, have spark, suspect I m not pouring enough fuel down the hole, and also haven't checked if I have 8 sparks, so need to do that. Pretty sure I've got the timing bang on. It's using and early chev hei ignitor. Was hard to find definitive info on wiring but eventually got there, and spark at plug tells me I have done something right.. before doing that I used some clay to measure my seal thicknesses and ordered these, buttoned up rocker covers with fresh coat of wrinkle black, Im happy with the look. Really want to hear this bitch now. I managed to get in touch with the original engine builder, it was built about 20 years ago. It's had head work, skimmed, block decked and cam reprofiled. On cranking I was seeing about 40-50psi oil pressure which is reassuring. Other things. My mate has been doing some of the bolt on panels as he owed me a favour. I've also been partaking in my other favourite pastime of staring at other parts, using motivational herbs, and figuring out next moves. Toilet will go under drivers seat, under the D40 Navara rear bench seats I acquired some time back.
10 points
-
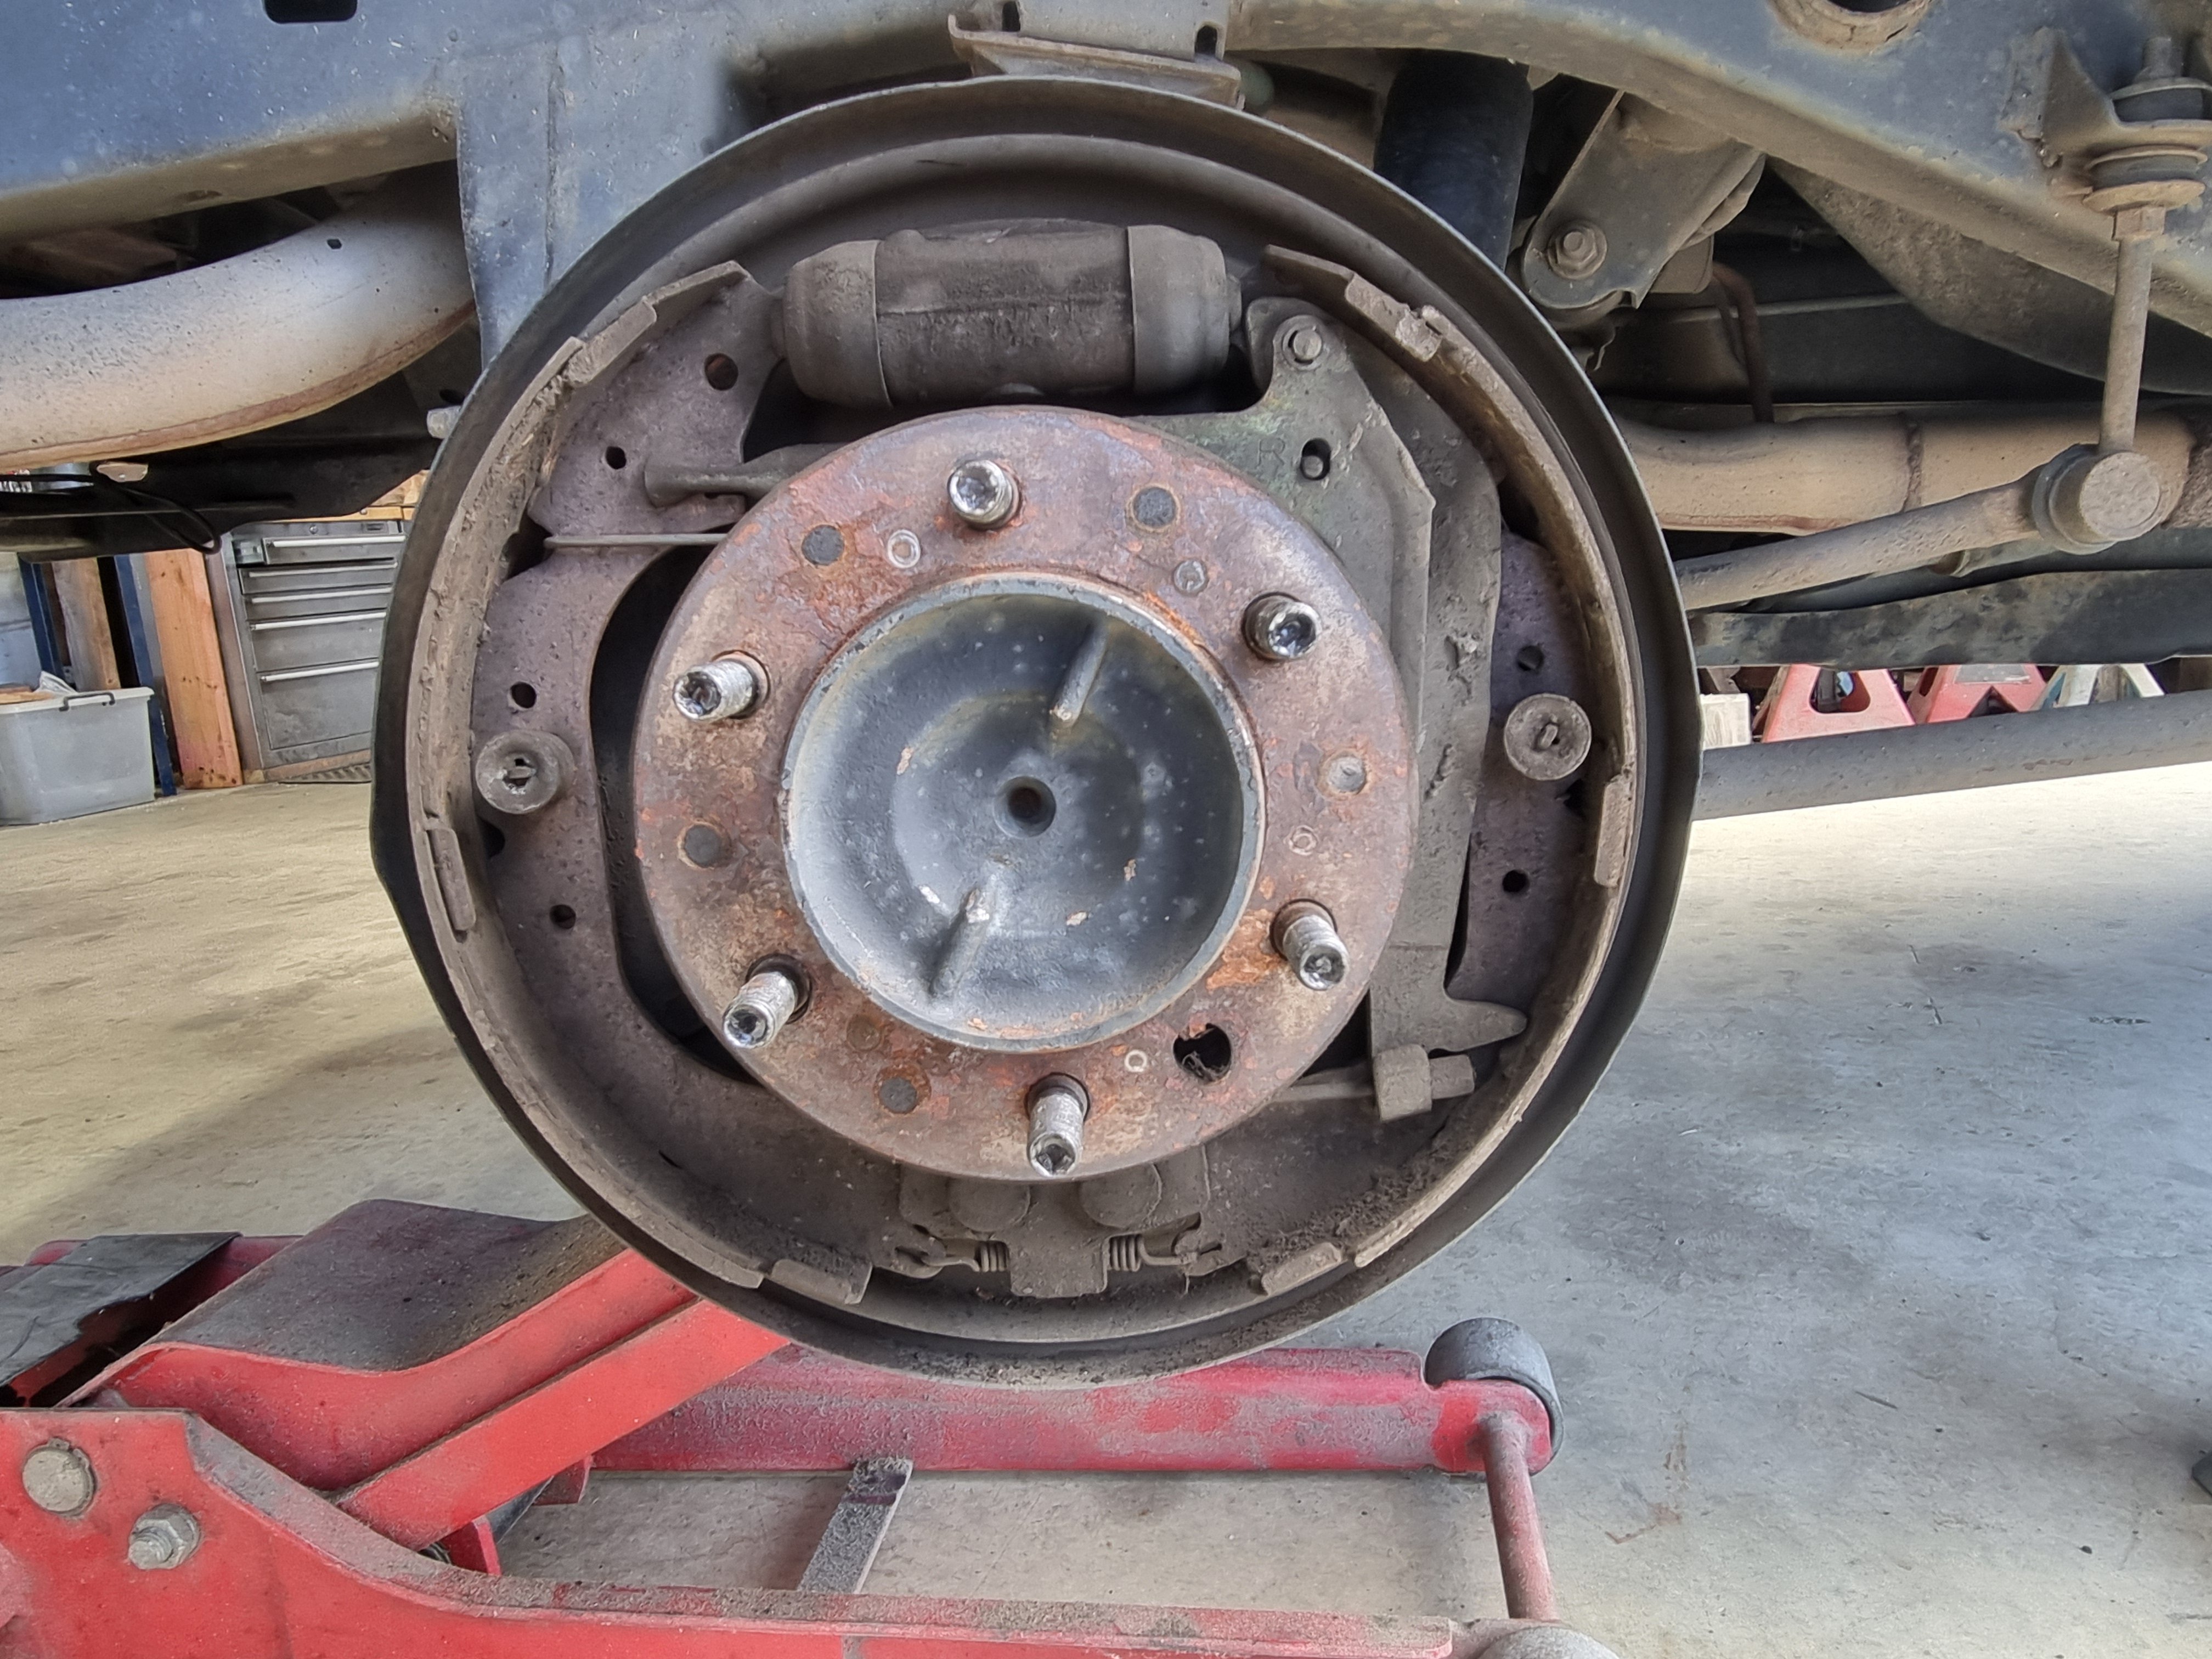
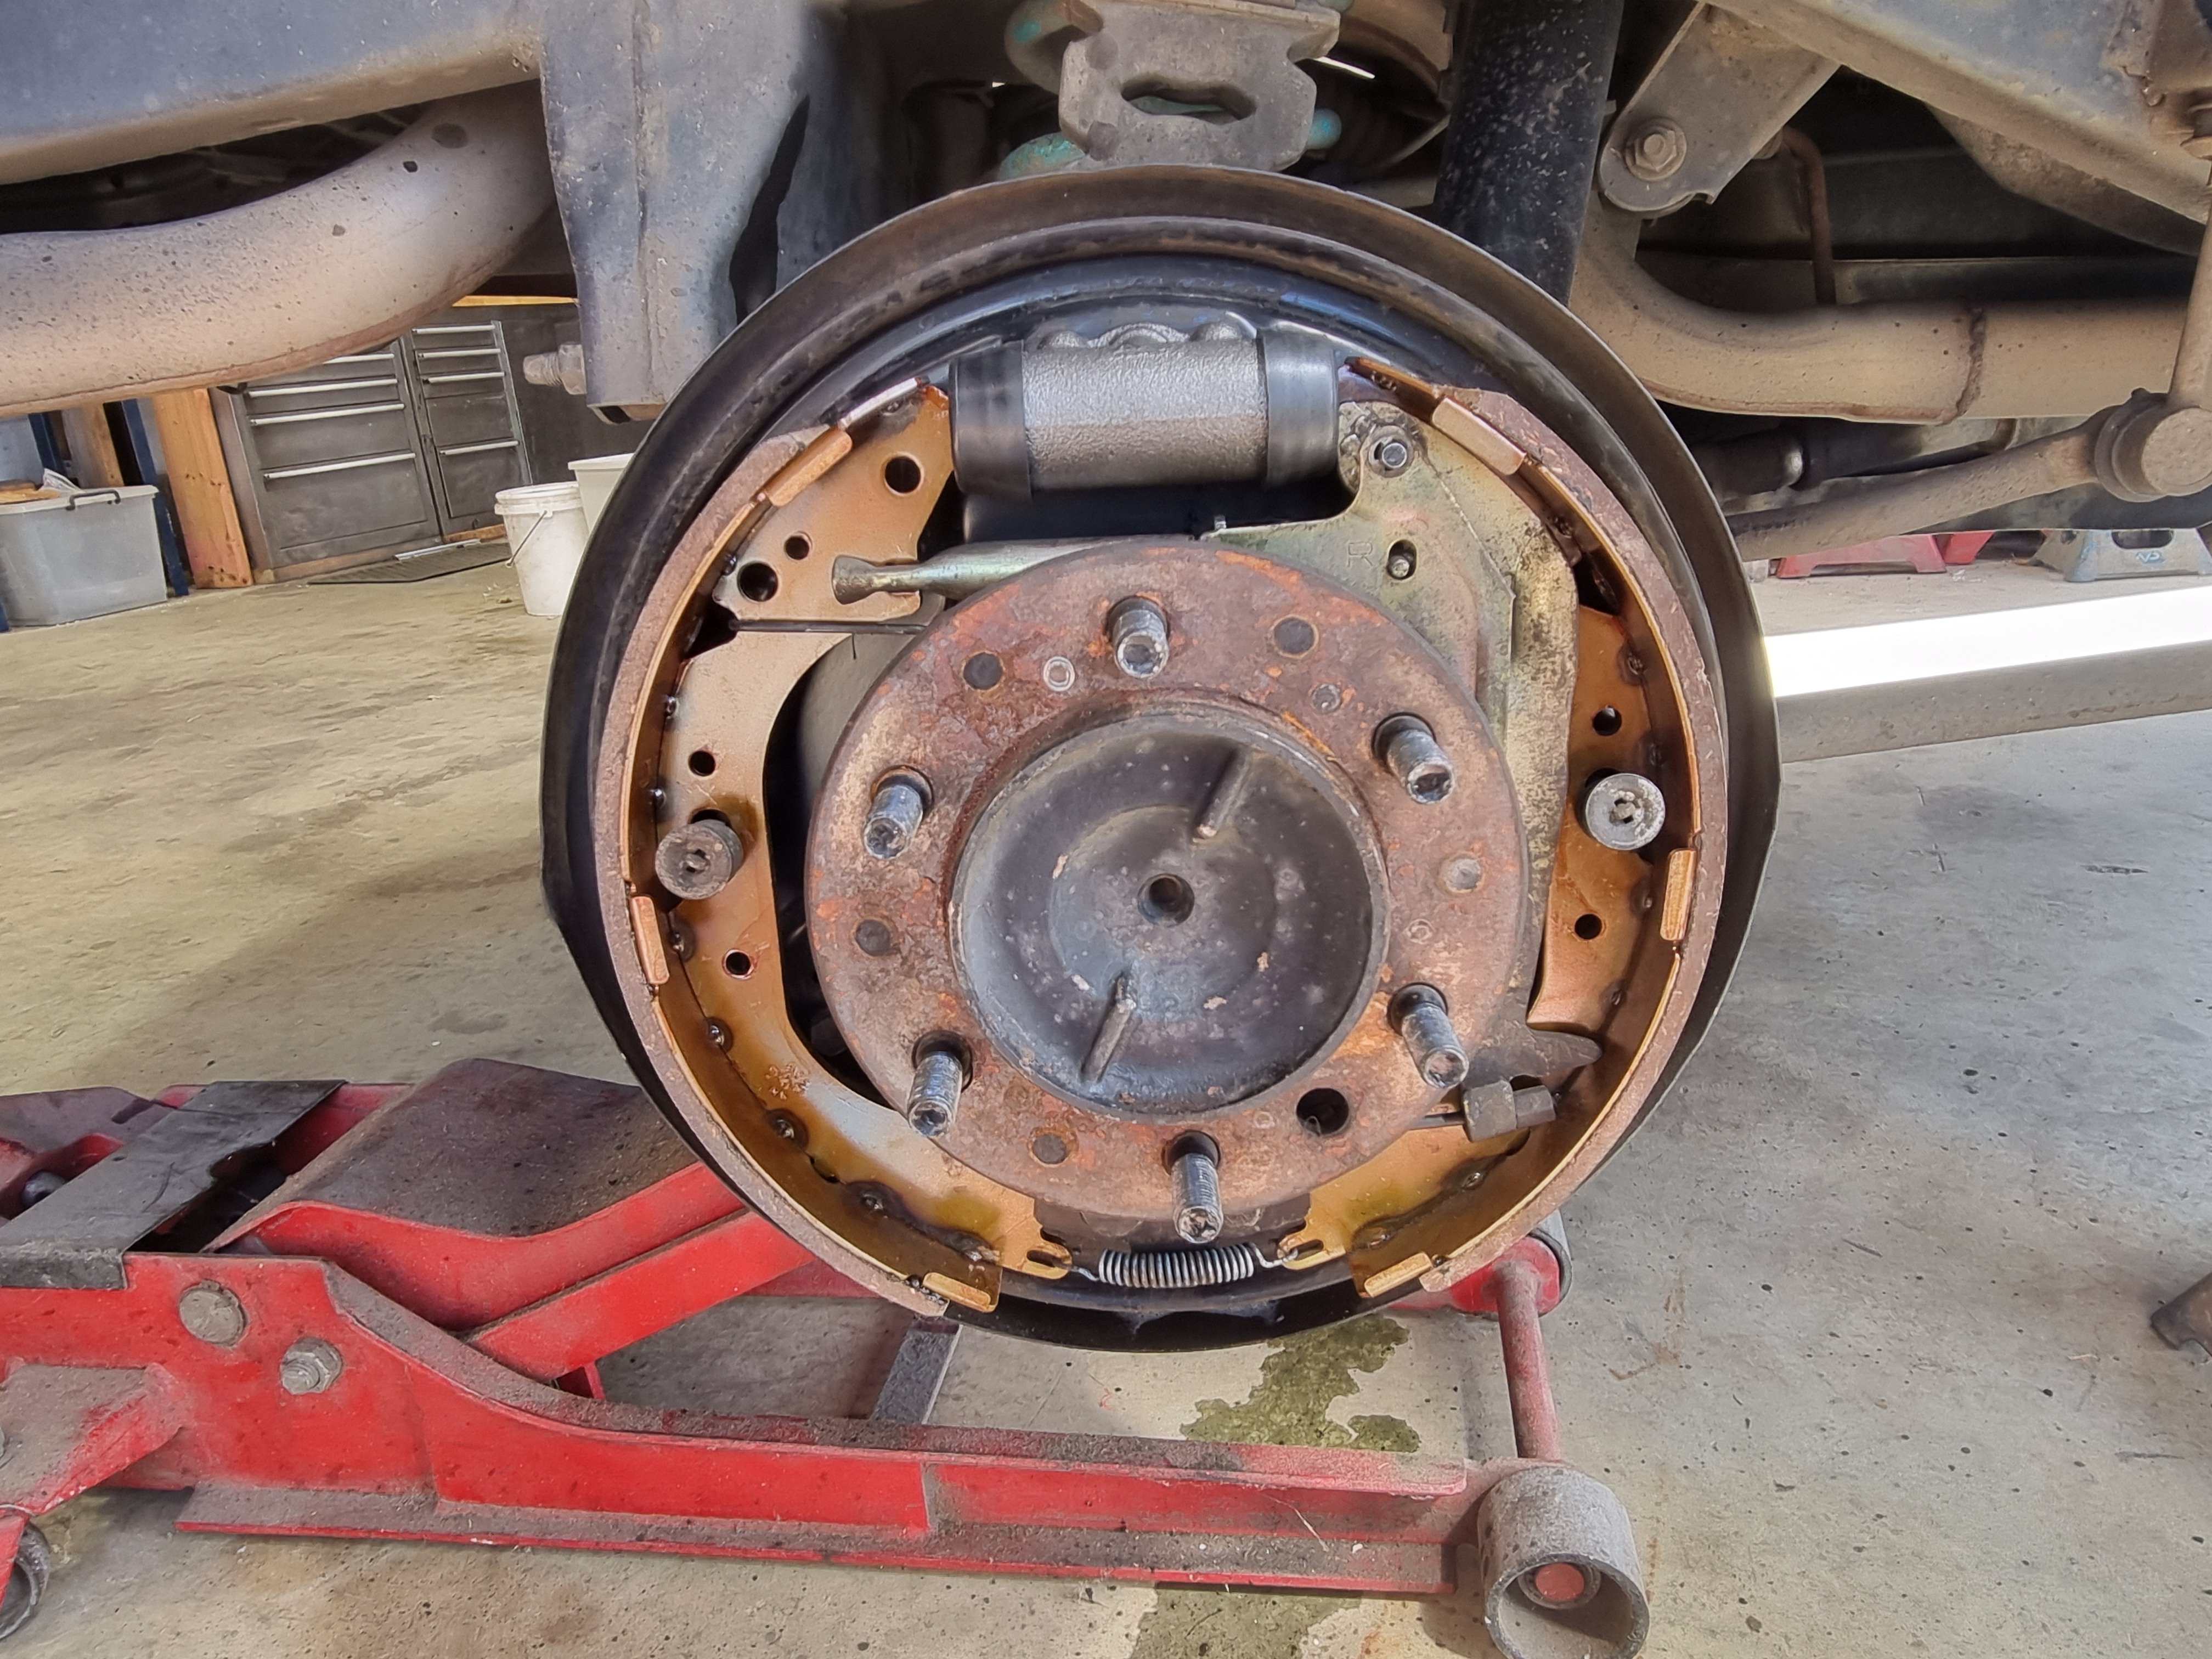
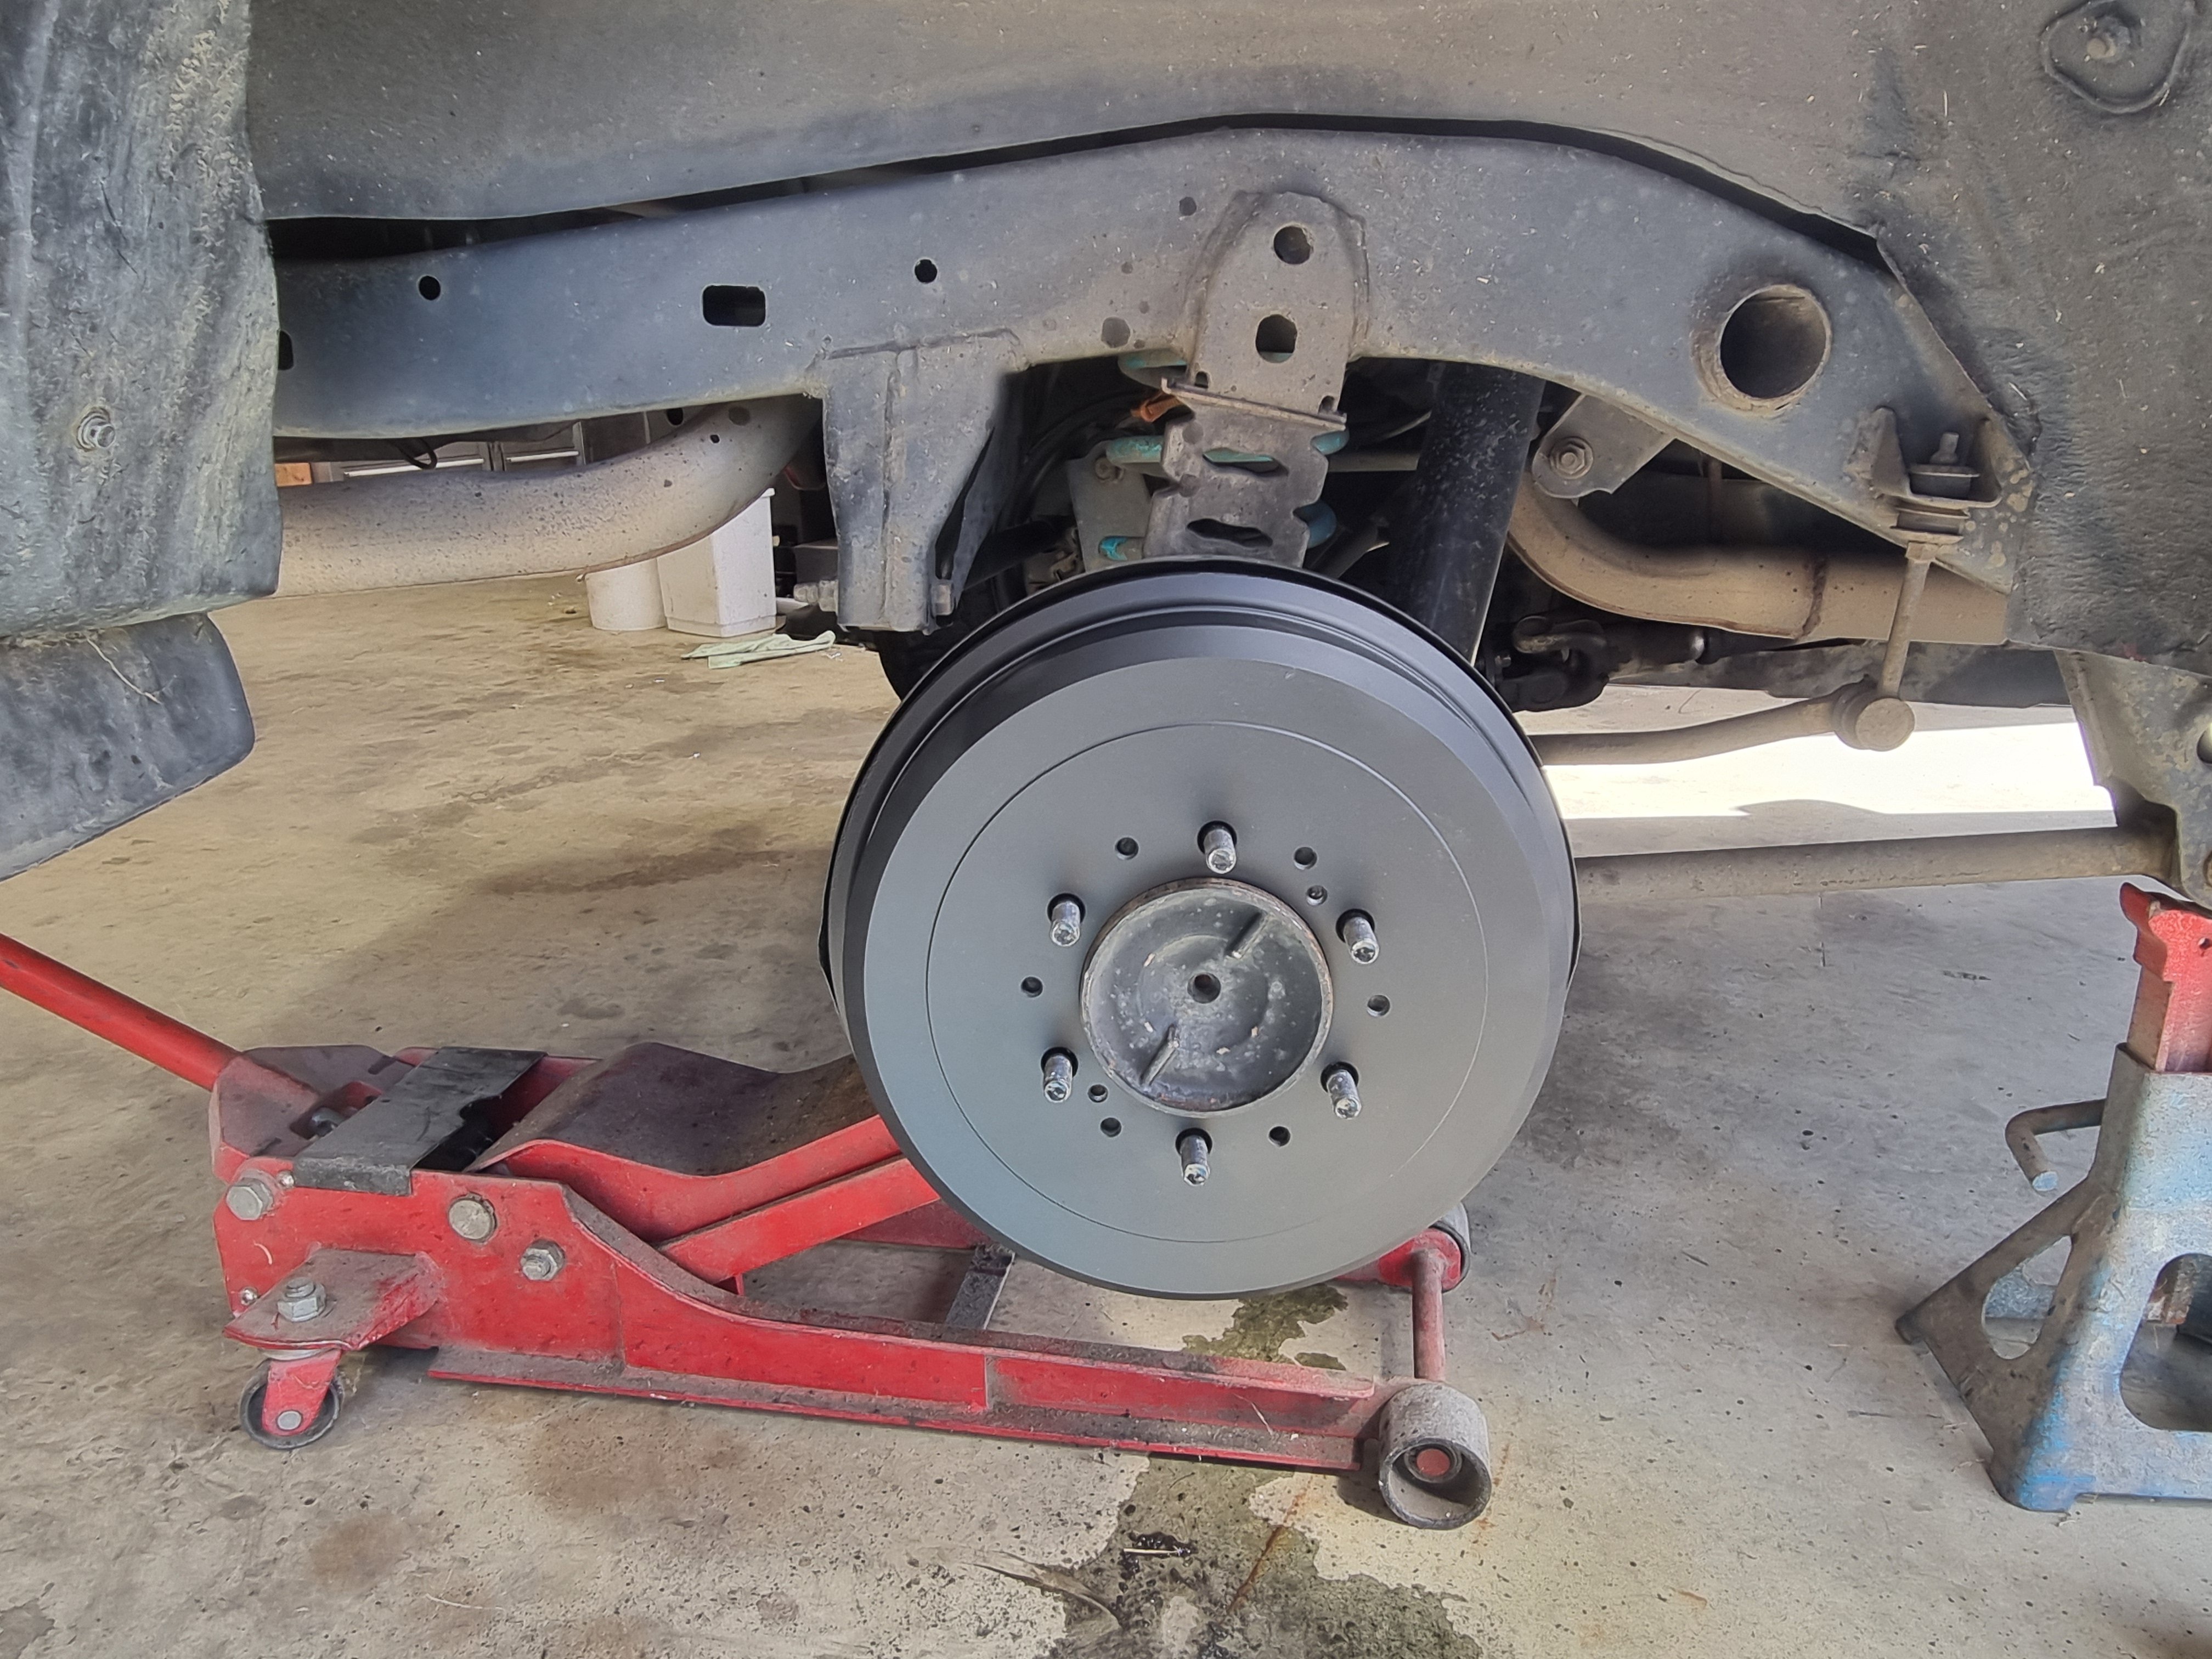
Finished up the new brake install. New shoes, new wheel cylinders and not pictured new front brake pads. To say that it stops better now is a bit of an understatement.
8 points
-
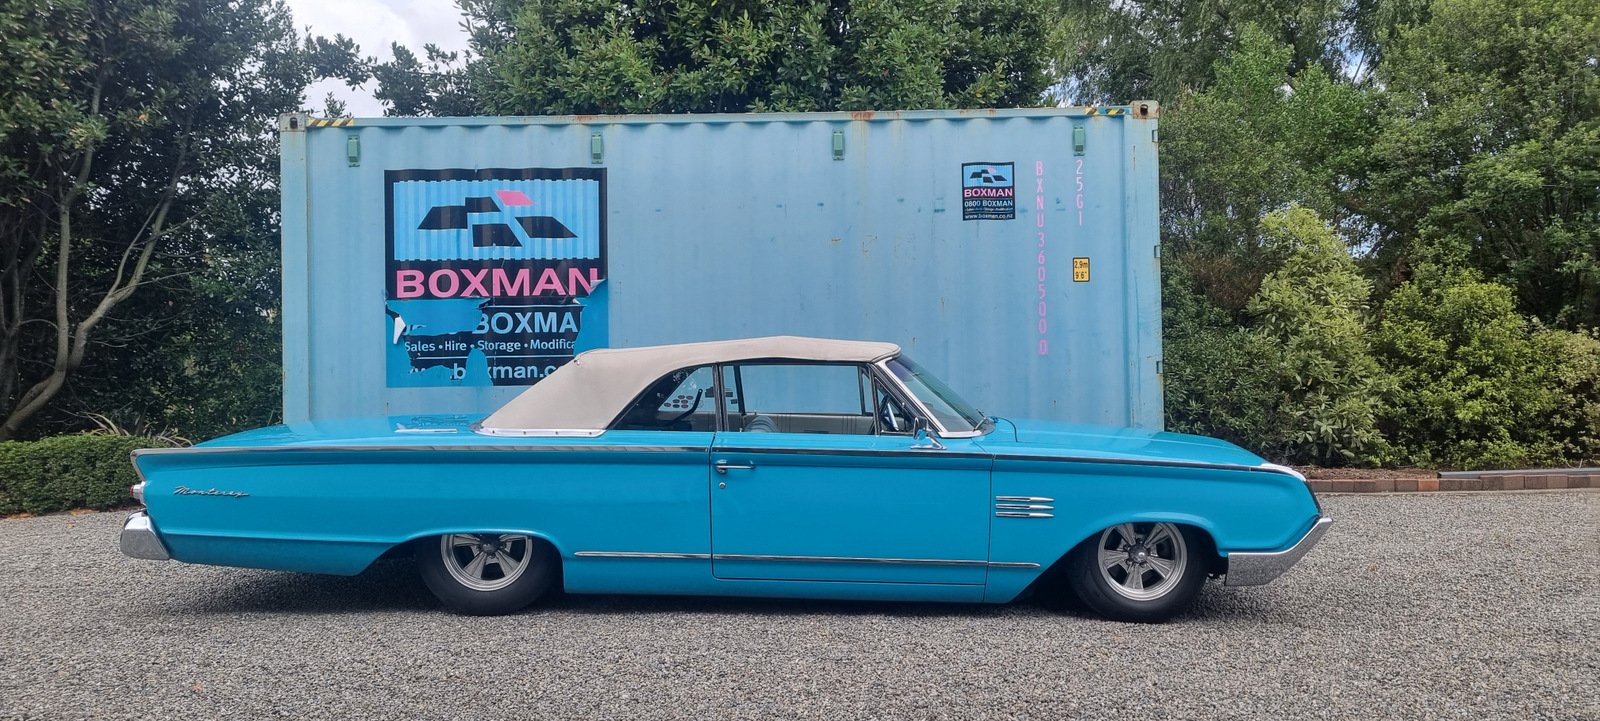
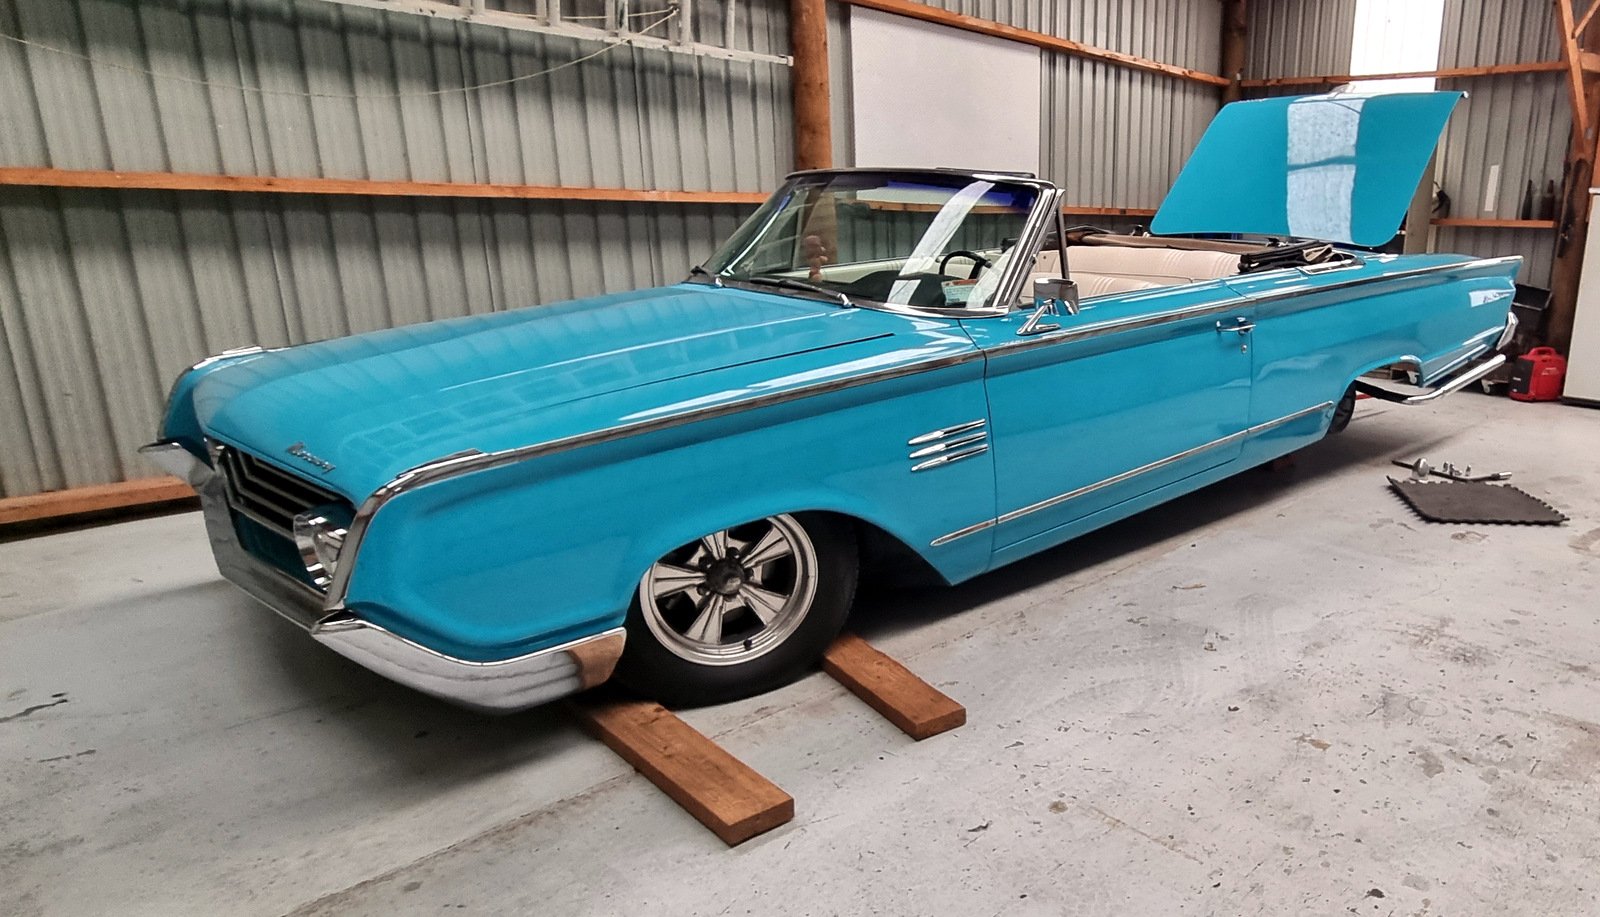
Collected from the paint shop on Tuesday basically a closed door repaint in the stock colour, nothing fancy Had a bit of reassembly to do, the bellflower pipes and the back seat and associated trim. Also had to find a bolt to fit one that went missing from the convertible top linkage (you can see the disconnected link in the photo above) Might have to hit up @ajg193 to make me a proper one as it is a special shouldered design. Looking it over the rear tyres looked a bit sad, so I pulled the wheels (which needs the tyres deflated) and got that sorted. WOF acquired today so have paid rego too. Just needs a bit of a clean up for the Beach Hop.
8 points
-
Bolted more shit on. I thought I had better reassemble the doors and check their function before chucking them on, and shortly I noticed that this little tit on the door latch had broken off, which would mean I would have to unlock the passenger side and reach over to unlock the drivers. See that tit on the diecast part? This actuates the lock from the door key; Commence bodging And it worked! I was quietly pleased with that as those latches are pretty much unobtainium these days Then I realised that I was trying to use the passenger latch in the drivers side, so that was all a waste of time. Except that the boot and engine cover latch levers are in the shut off of the passenger door. So actually it will be pretty useful to be able unlock the passenger side to get to those. I seem to recall this not working previously. So fuck all left to do really; Windscreen Box on and engine in Final wiring connections in the engine bay once the engine is in Passenger door Boot and engine cover Carb tune I am assuming the brakes will probably need rebuilding, we will just have to see. And whatever other fuckery arises.7 points
-
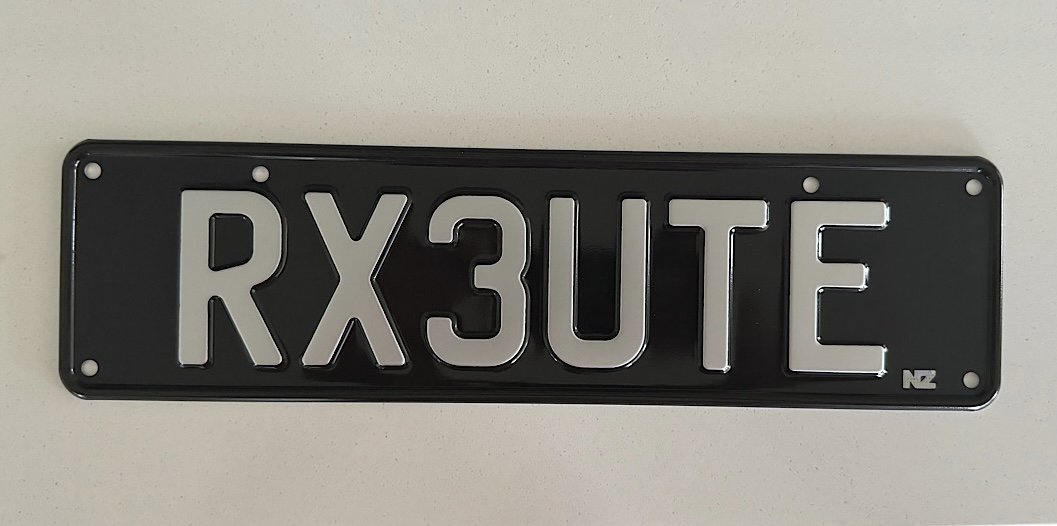
Got home from Low Key Nats to find a nice package had arrived.
7 points
-
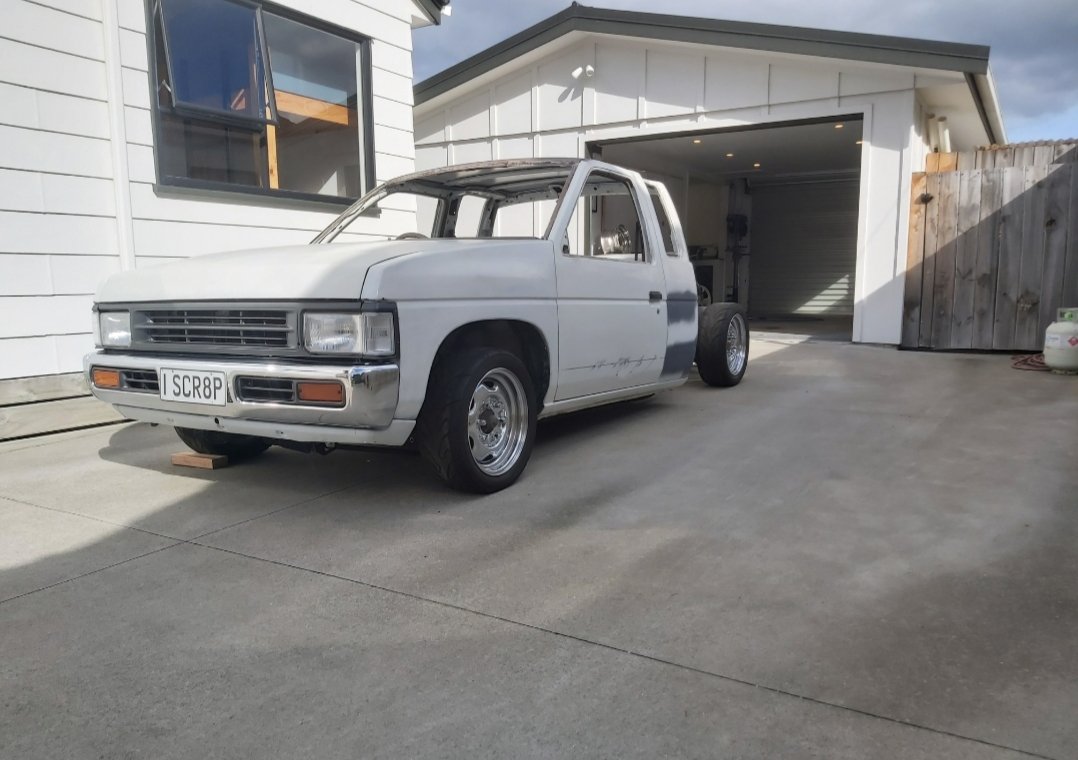
Been through a few ups and downs with this lately. Pardon the pun. Took it off the axle stands to get the full lay frame experience but unfortunately my bag mount bracket on the diff is a bit to tall. Same with the top link bracket. Unsure if it's also got something to do with the front not being fully slammed yet. But once the 15s on it sits quite healthy on the ground. Pushed outside today for a bit of sunshine. Here are the results. As far as progress is concerned there has been none apart from planning how I intend to rectify the problem. Thanks for looking.
5 points
-
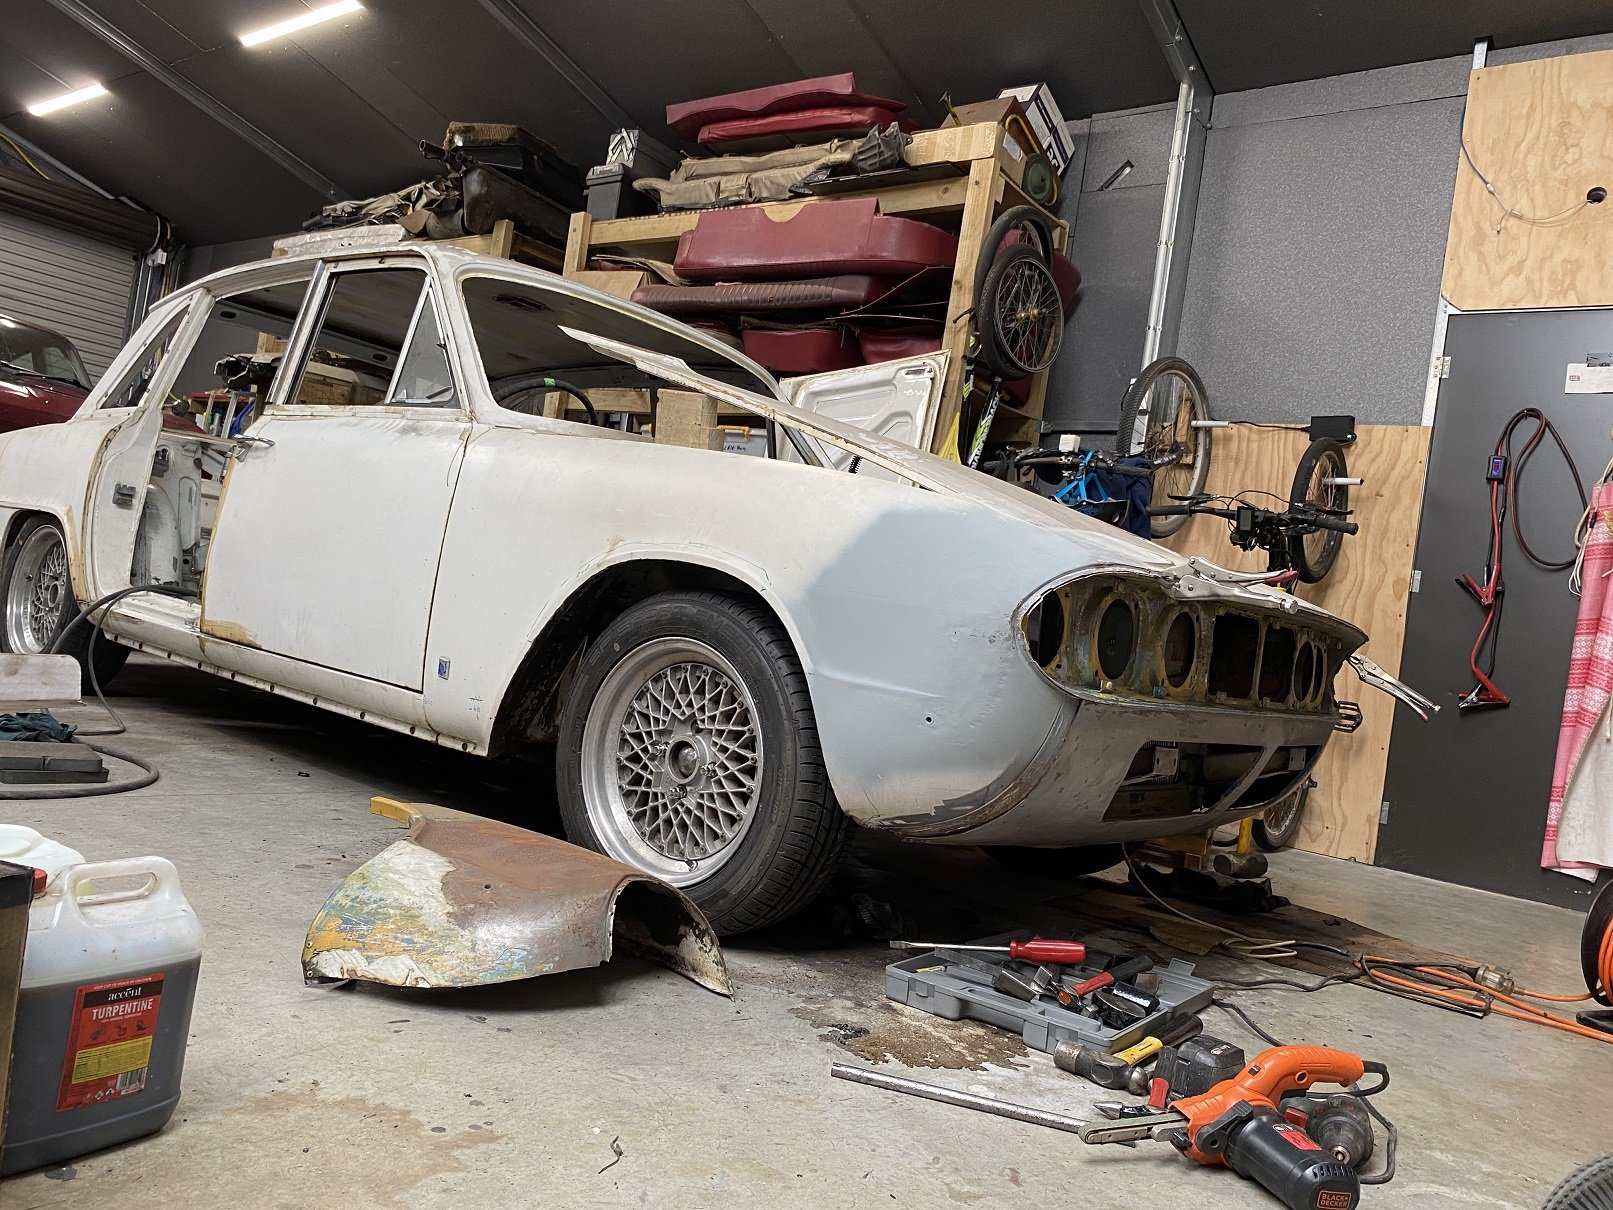
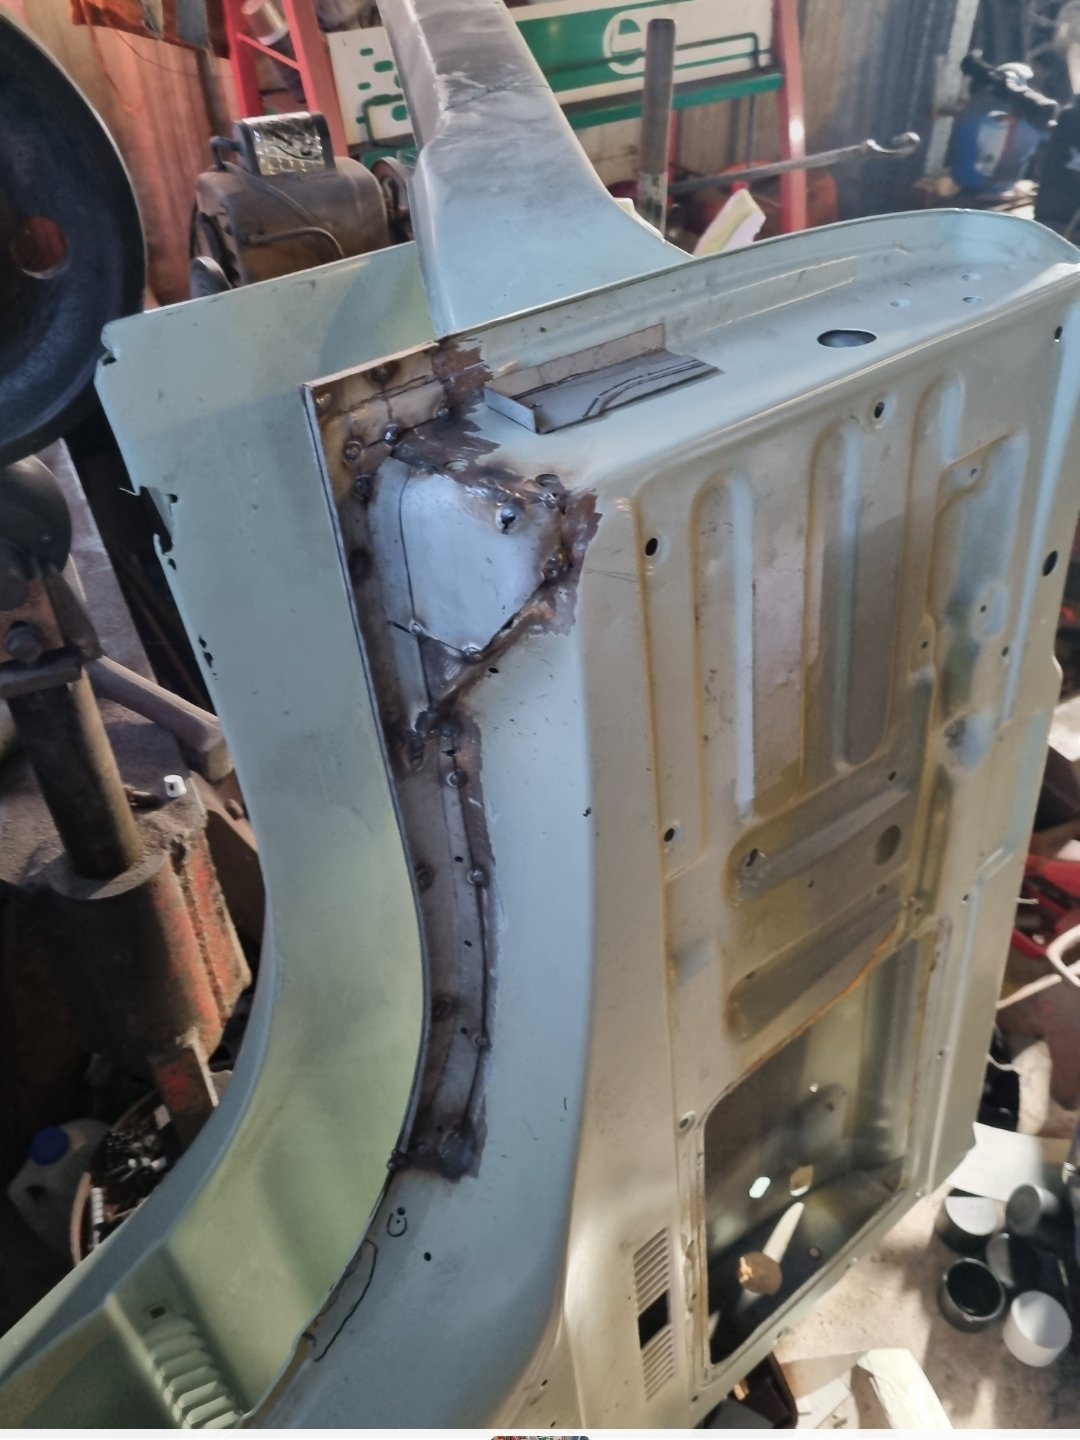
I had planned to have to weld in the front portion of the yellow guard because I deemed the panel damage beyond my skill to repair. The step thing on the corner had been totally flattened by someone else's previous attempt. I had a go at it myself maybe a year or so ago. But then the other day, I thought I'd have one more go, if I fucked it up I could still weld in the other panel. So I just hit it much harder... I think it's acceptable now, I reshaped the step and didn't fuck up the two... ridge line things. Should only need minimal filler. I also trimmed the doner front panels so I could trial fit them. This car had run into something and pushed in the front panels, folding over the lower front seam. I was unable to get the panels the budge with a slide hammer, so I decided I'd use the front panels from the yellow one, which were surprisingly rust free, unlike the rest of the yellow car. Front panels look like there will be no issues fitting them. I'm not ready to weld the panel back in, I still need to prep behind it for epoxy.
5 points
-
Clutch cover is away getting stiffer springs put in. I have ordered many specific X1/9 bits from a UK company that pretty much only do X's and Lancia Montecarlo's. So many little things that I was going to have to fudge and now won't have to, so thats nice. In the last couple of days I slapped the last of the paint on so it is (mostly) one colour, and this evening has been all about bolting shit back on. Quite a few little trim bits seem to be missing but nothing to prevent function or legality so far. Nice from far, far from nice.5 points
-
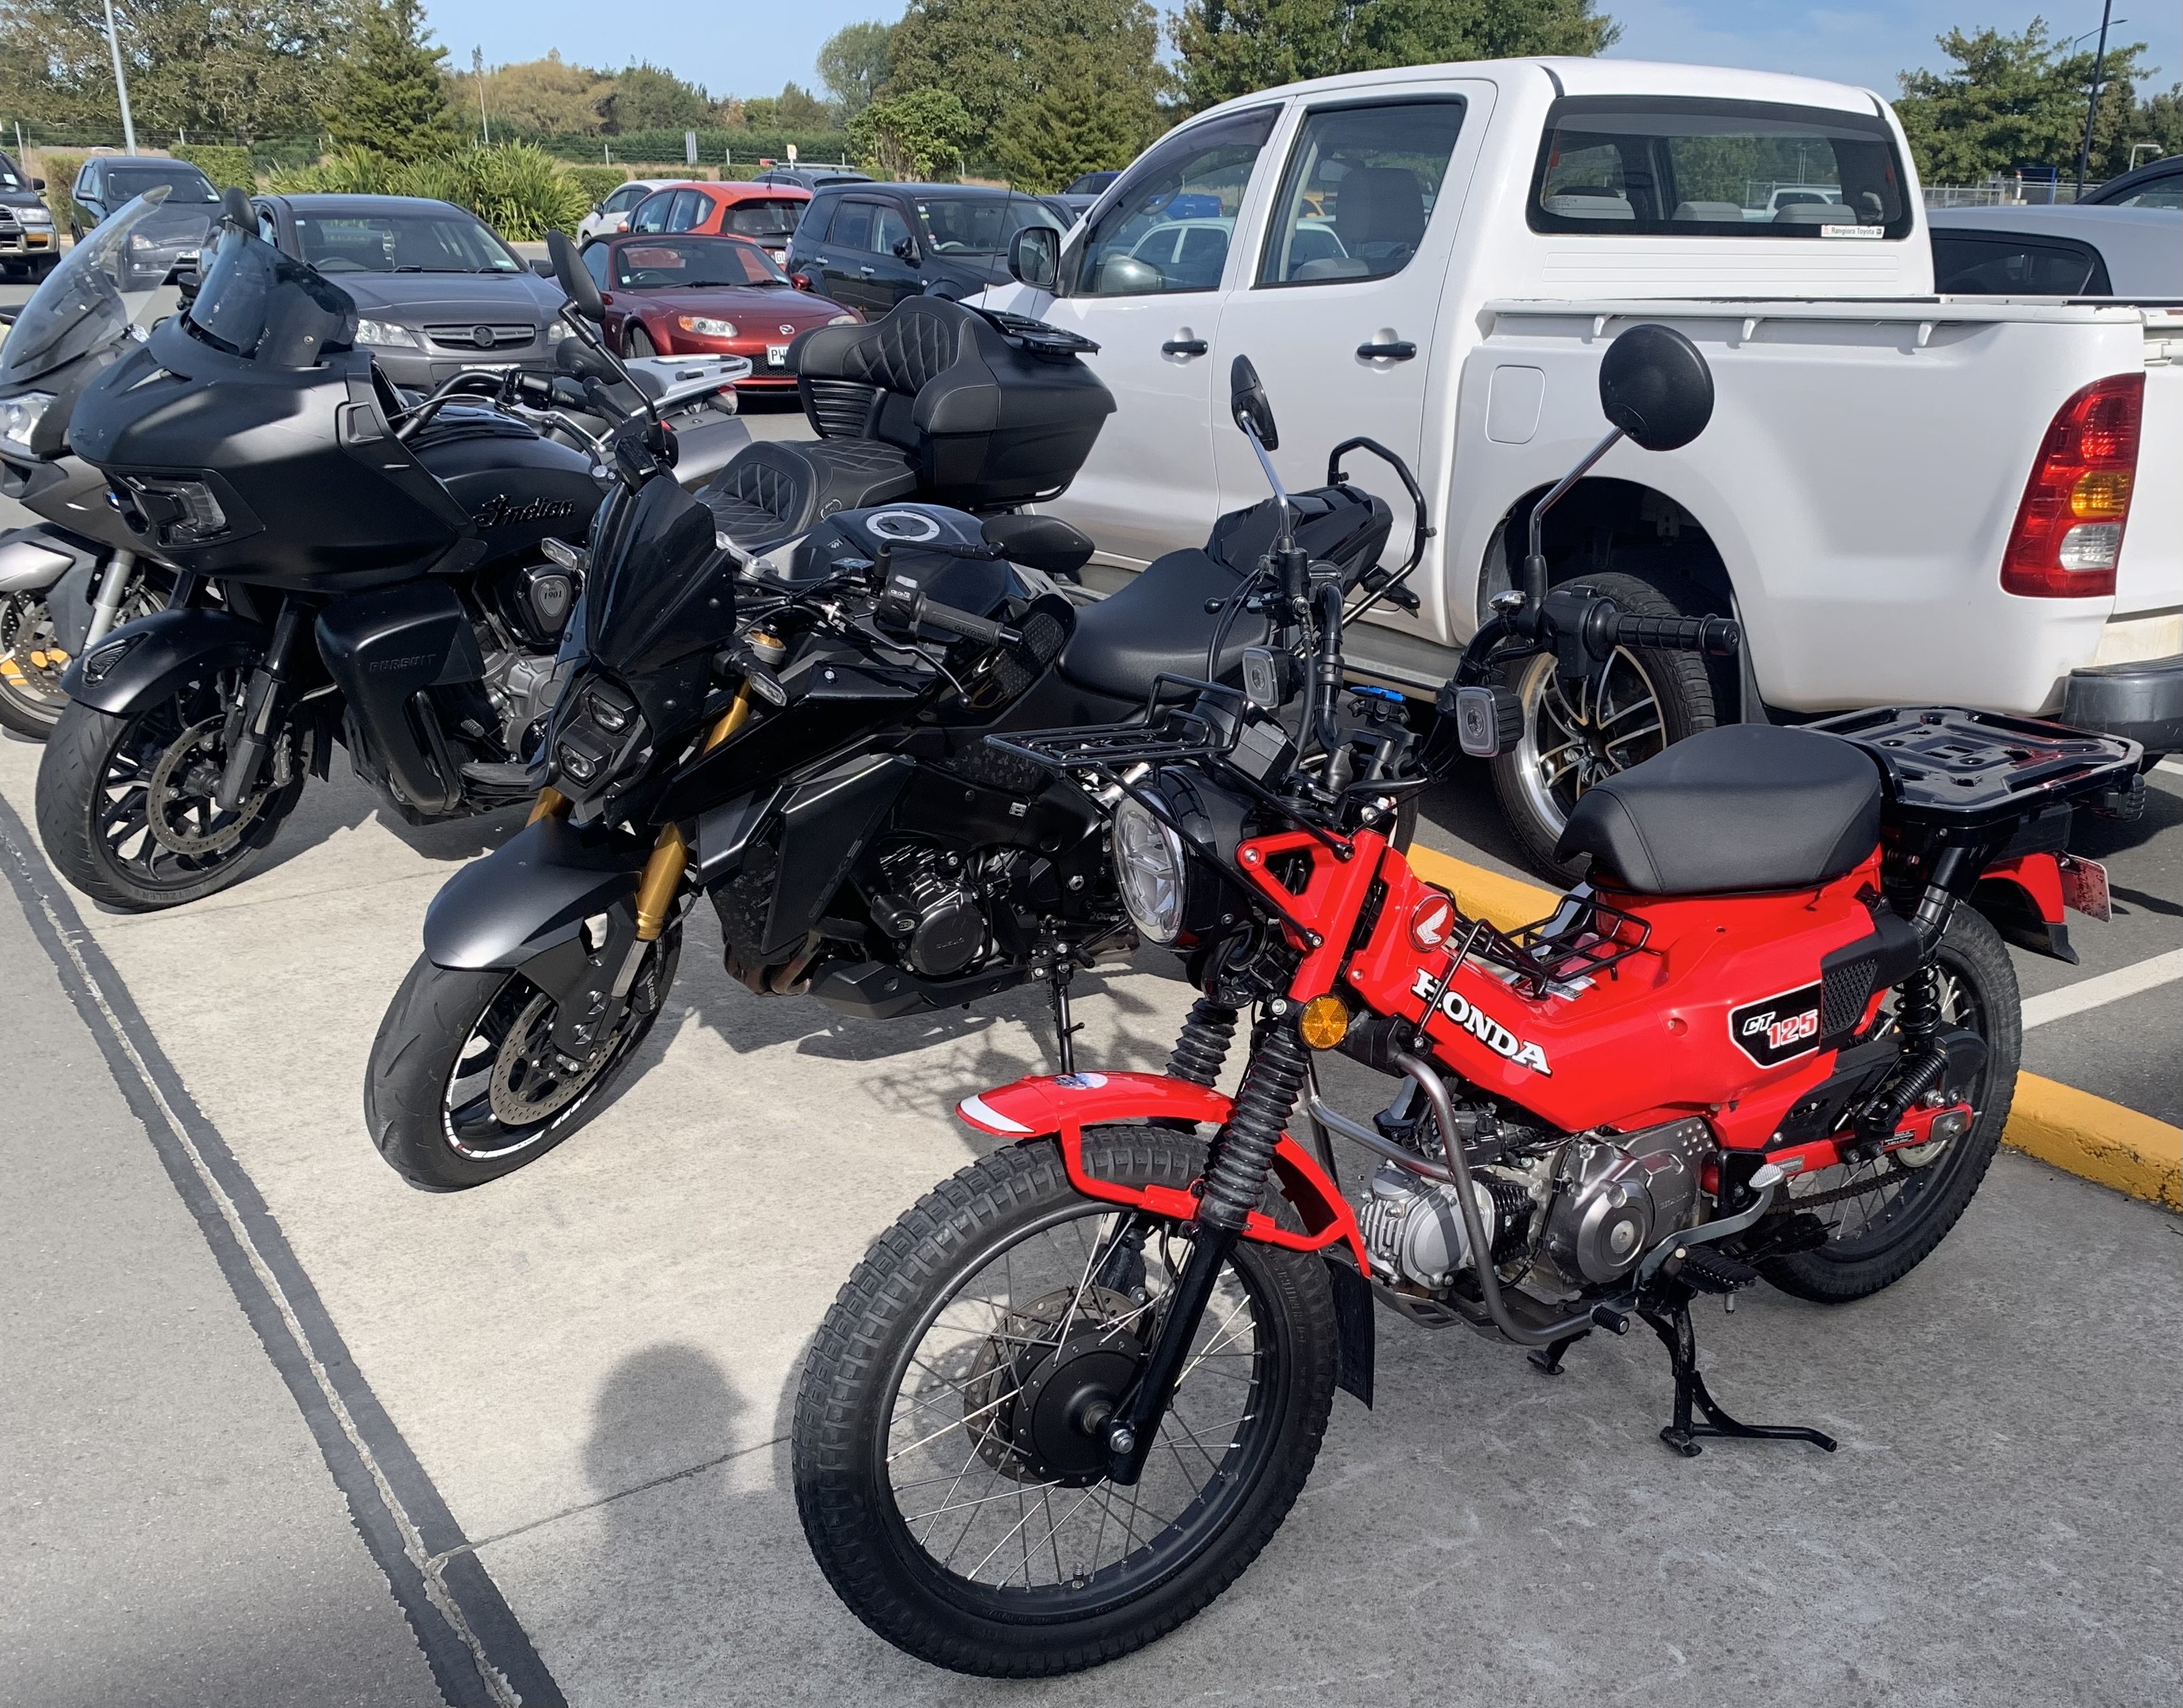
Came in to work a bit early tonight and steam cleaned the CT. That chain lube goes everywhere!! All ready for the next lot of abuse.
4 points
-
More pics. Also, I only have 7 original plug leads and they are not flash, and one oddball. I'm really struggling to find replacements that fit and would appreciate any Intel on sourcing something suitable. Amayama list but no stock.. wondering if maybe I could butcher some 7M leads perhaps?
4 points
-
rock auto https://www.rockauto.com/en/catalog/toyota,1998,4runner,2.7l+l4,1317453,suspension,sway+bar+link,7580 cheap as chips.3 points
-
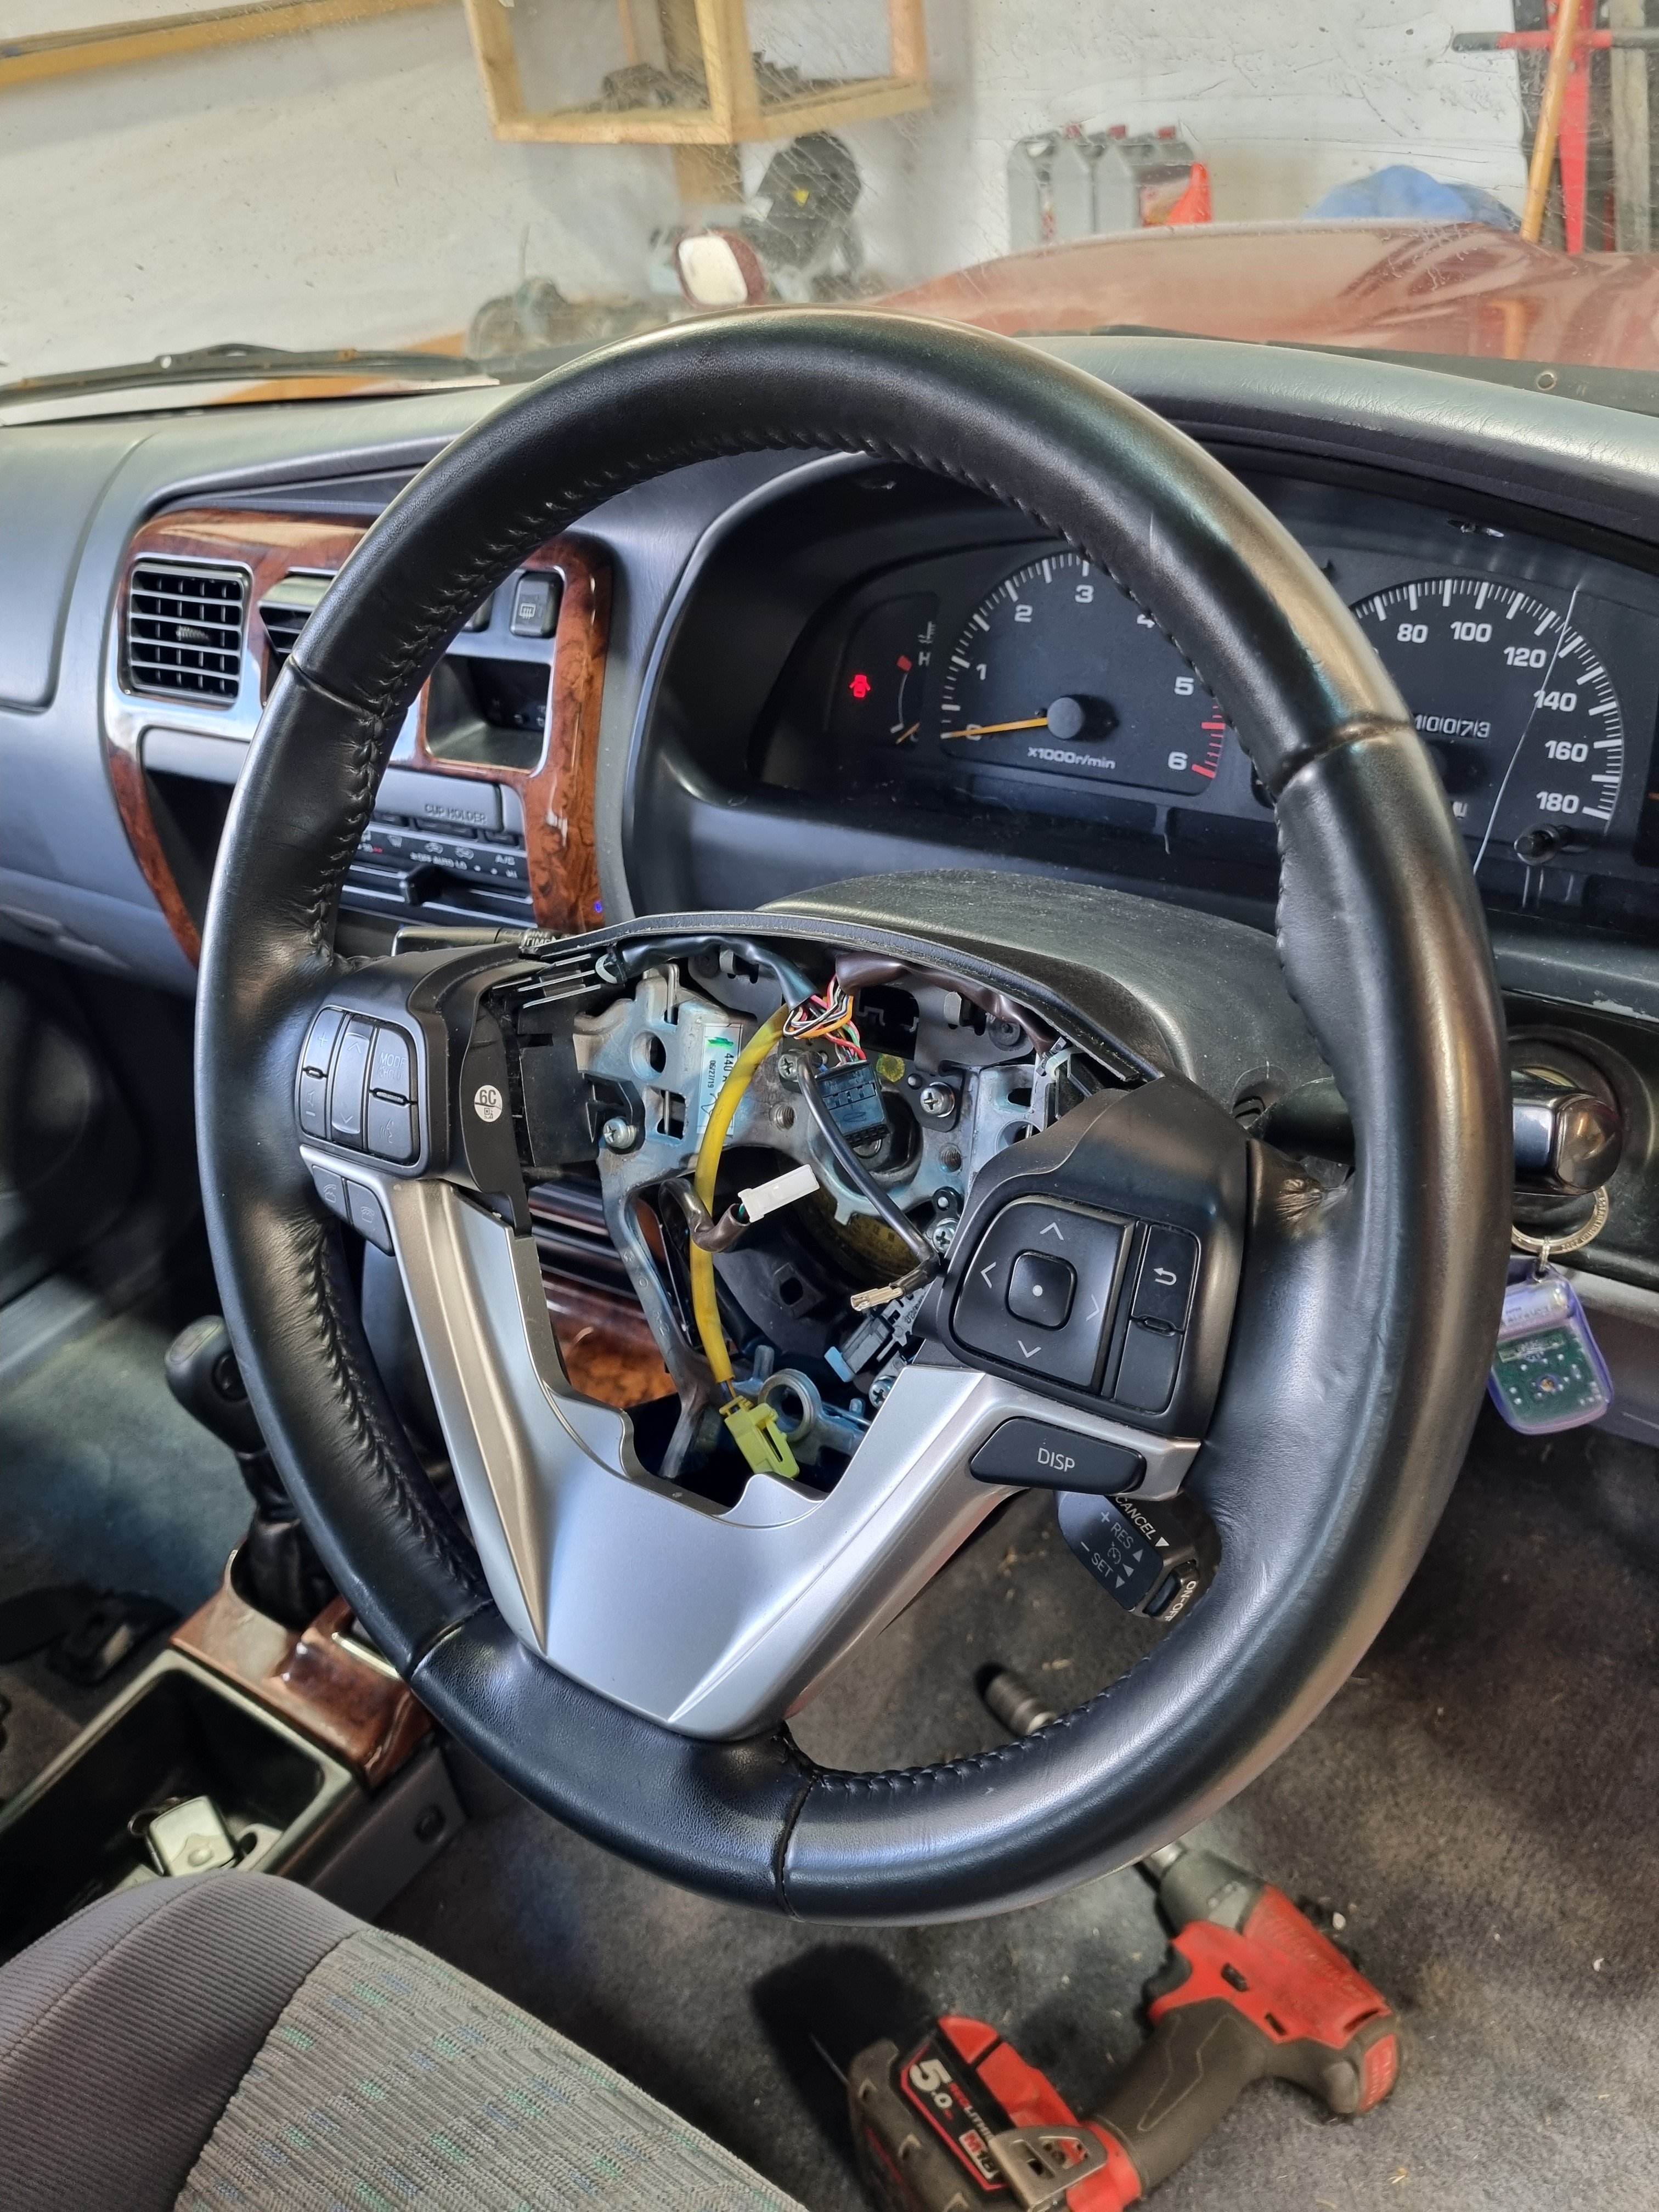
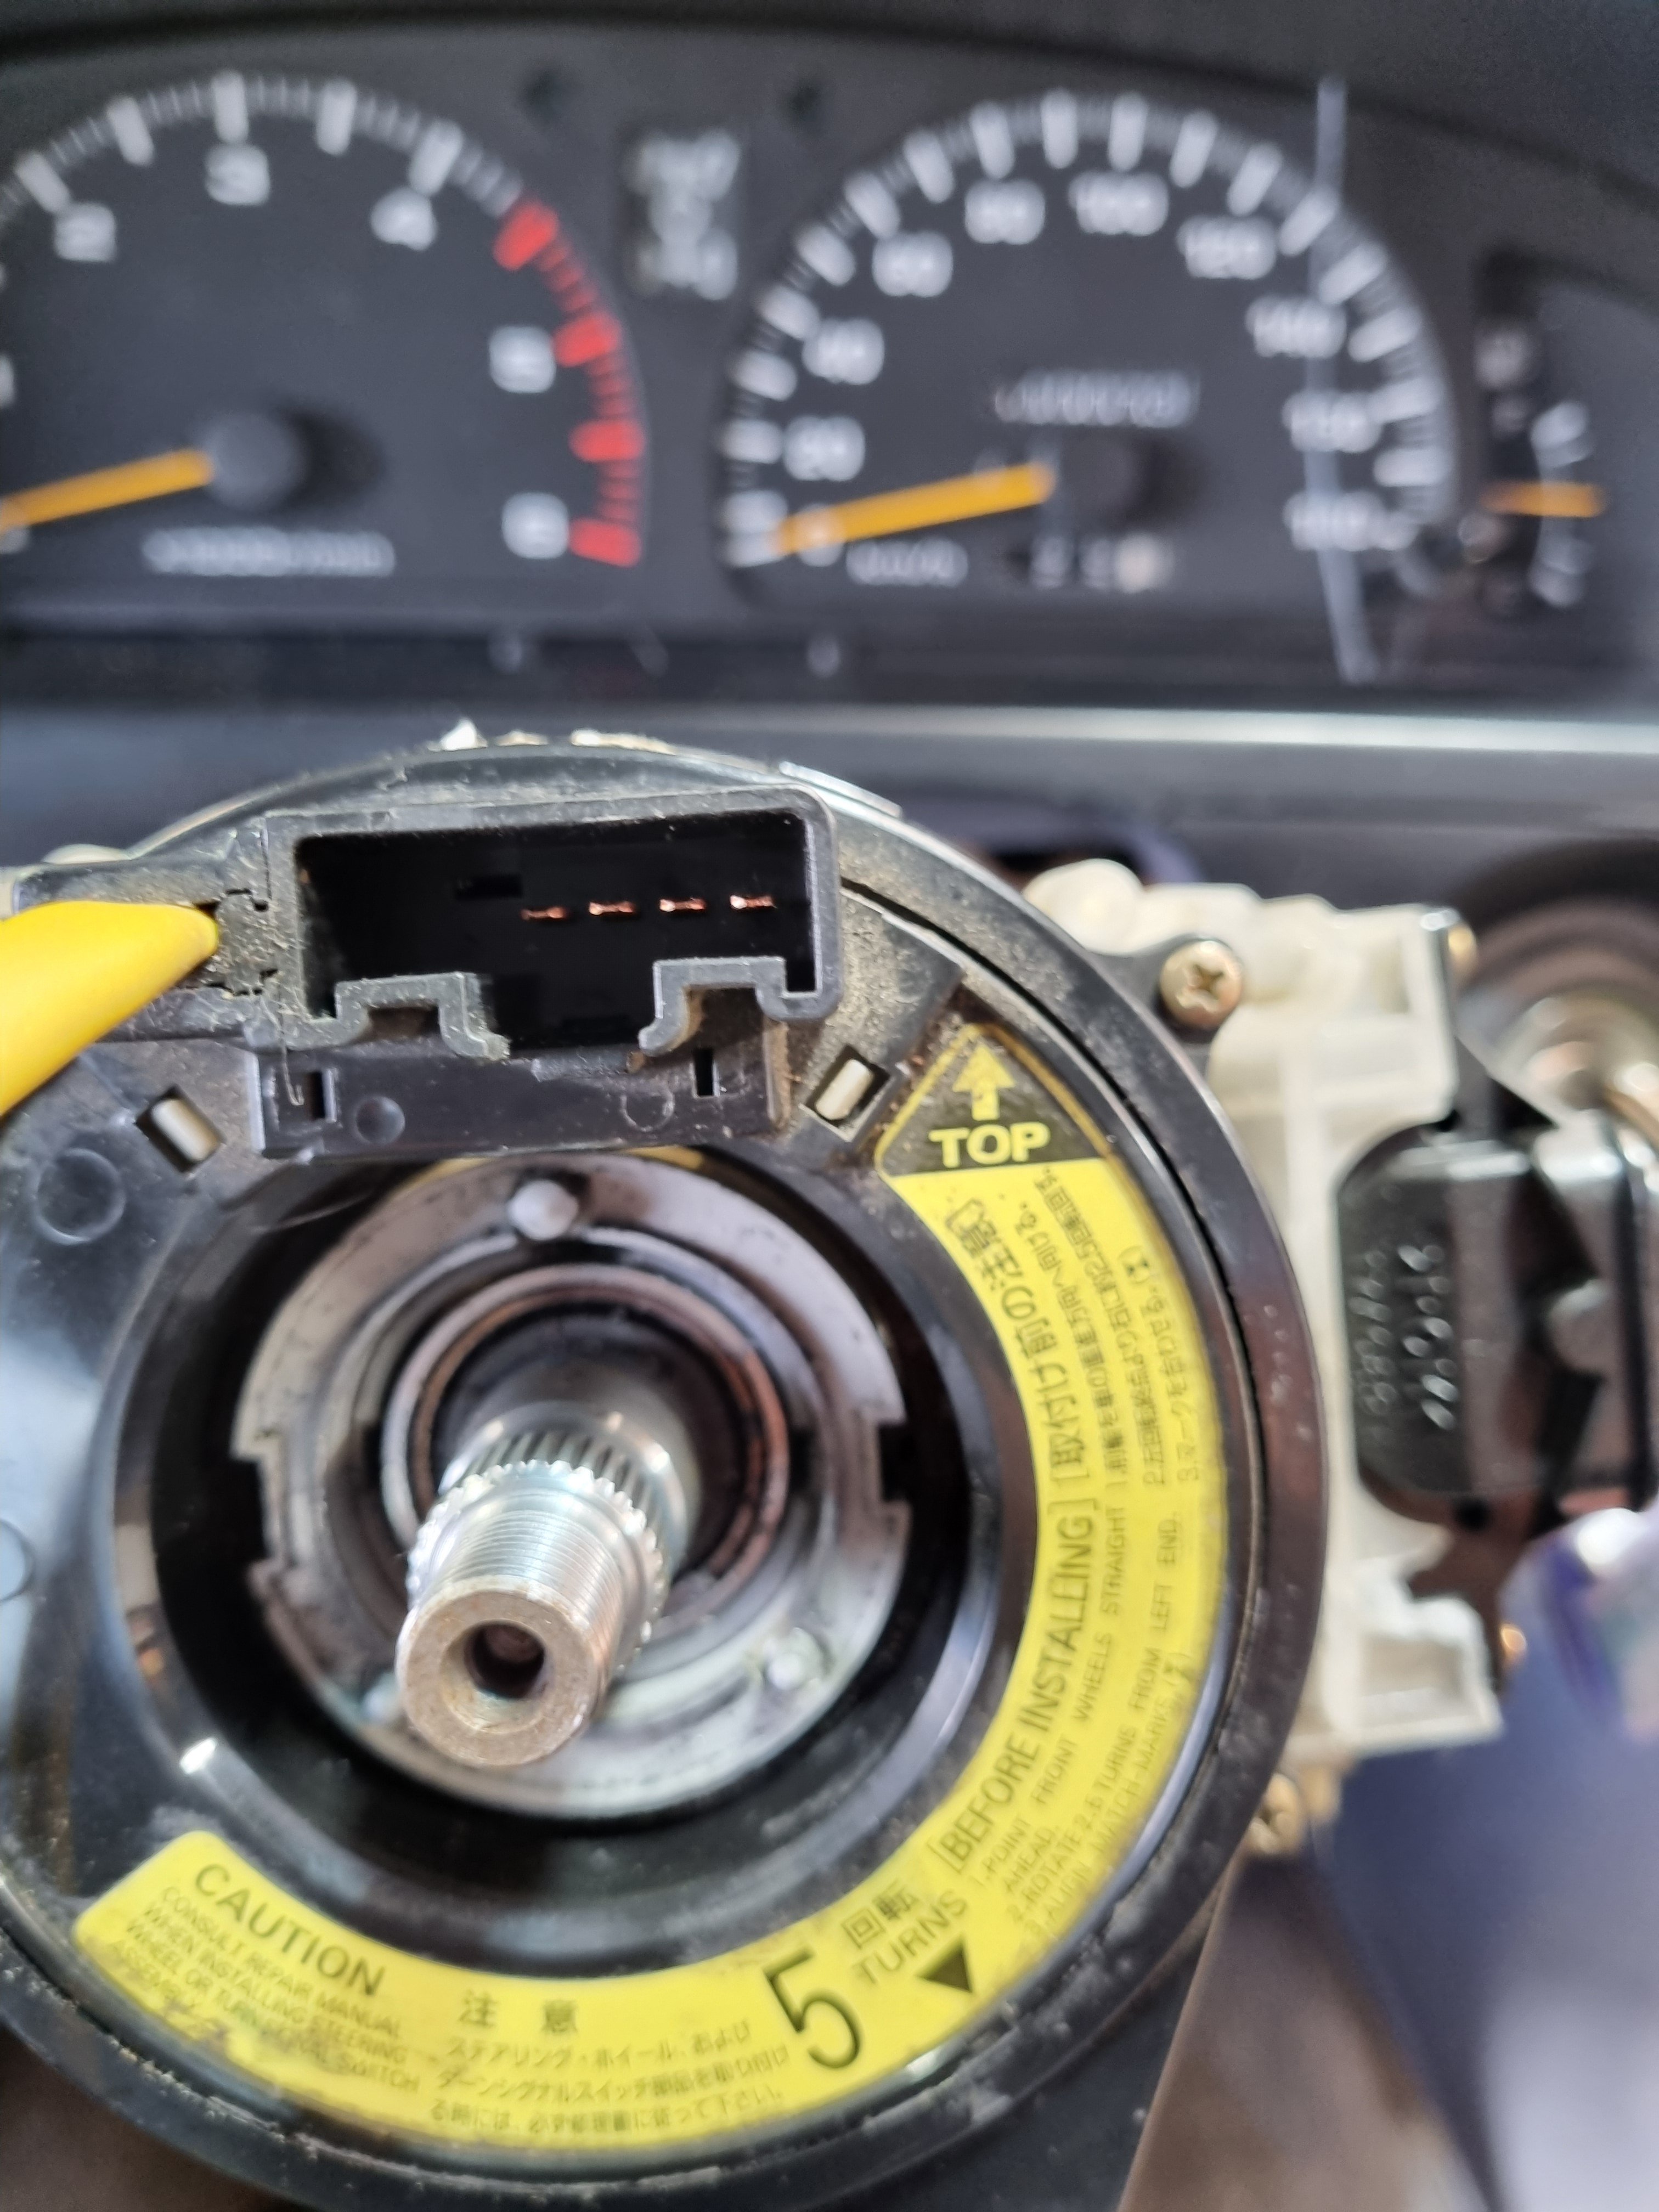
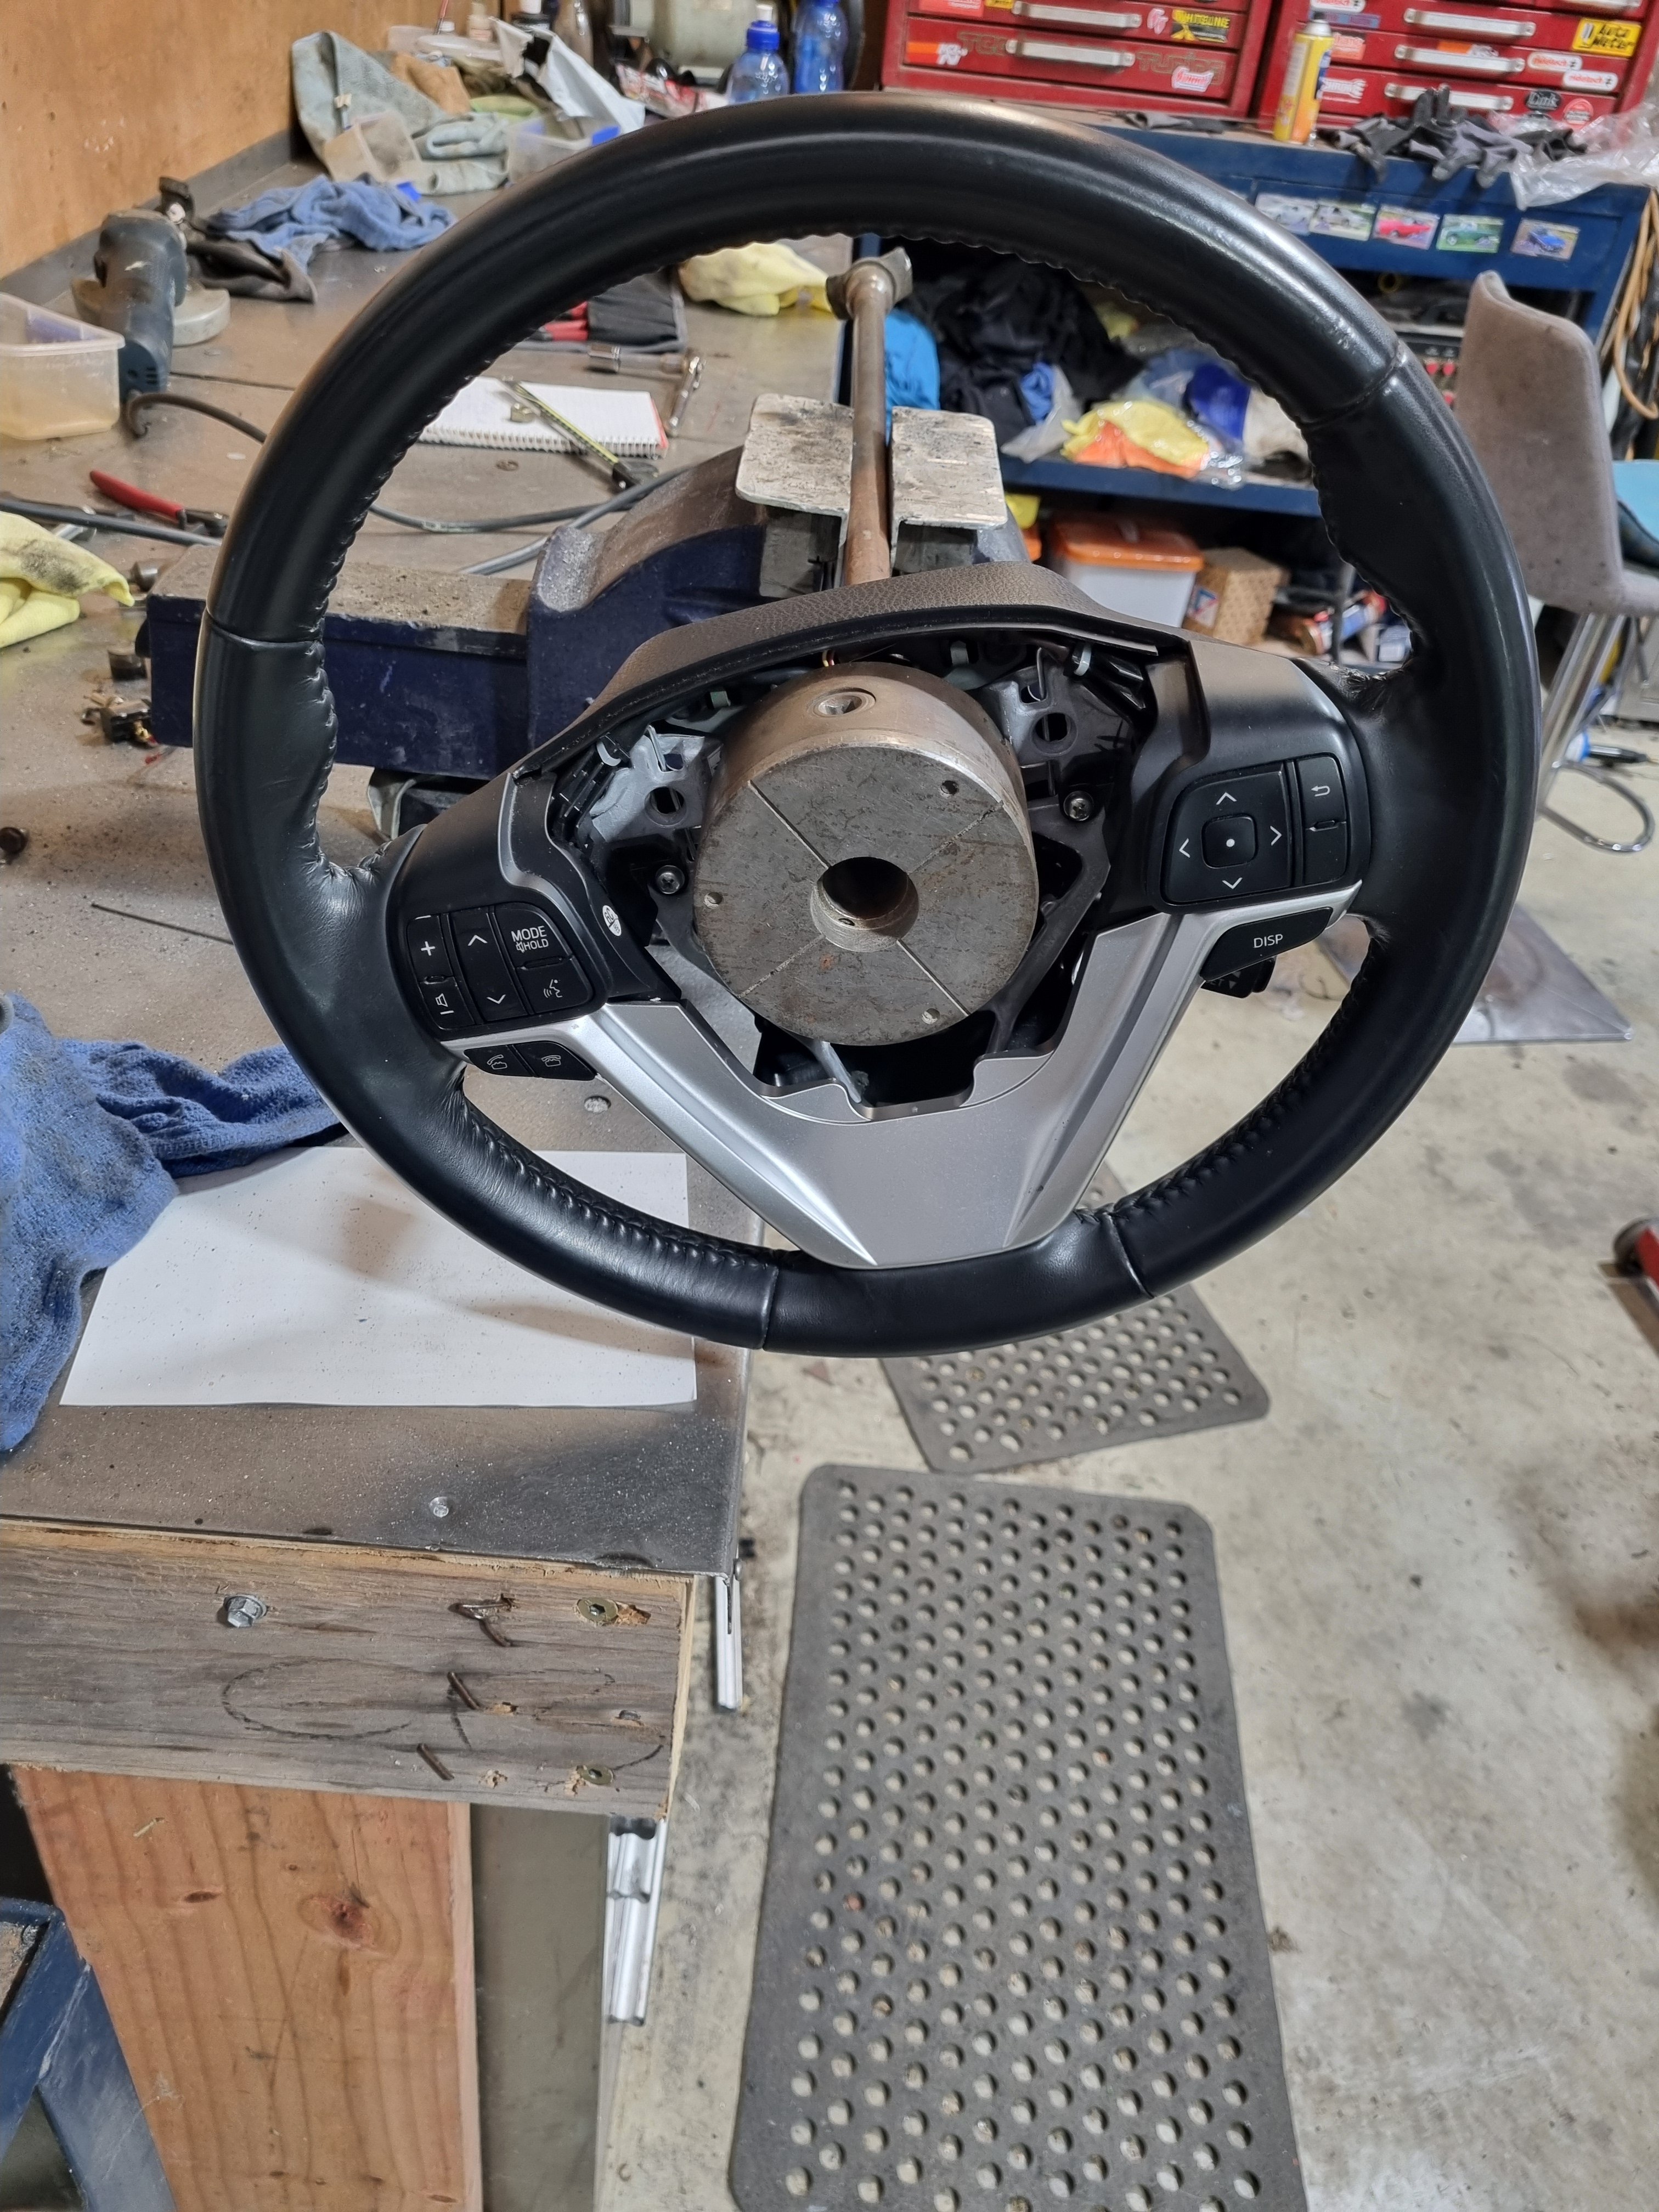
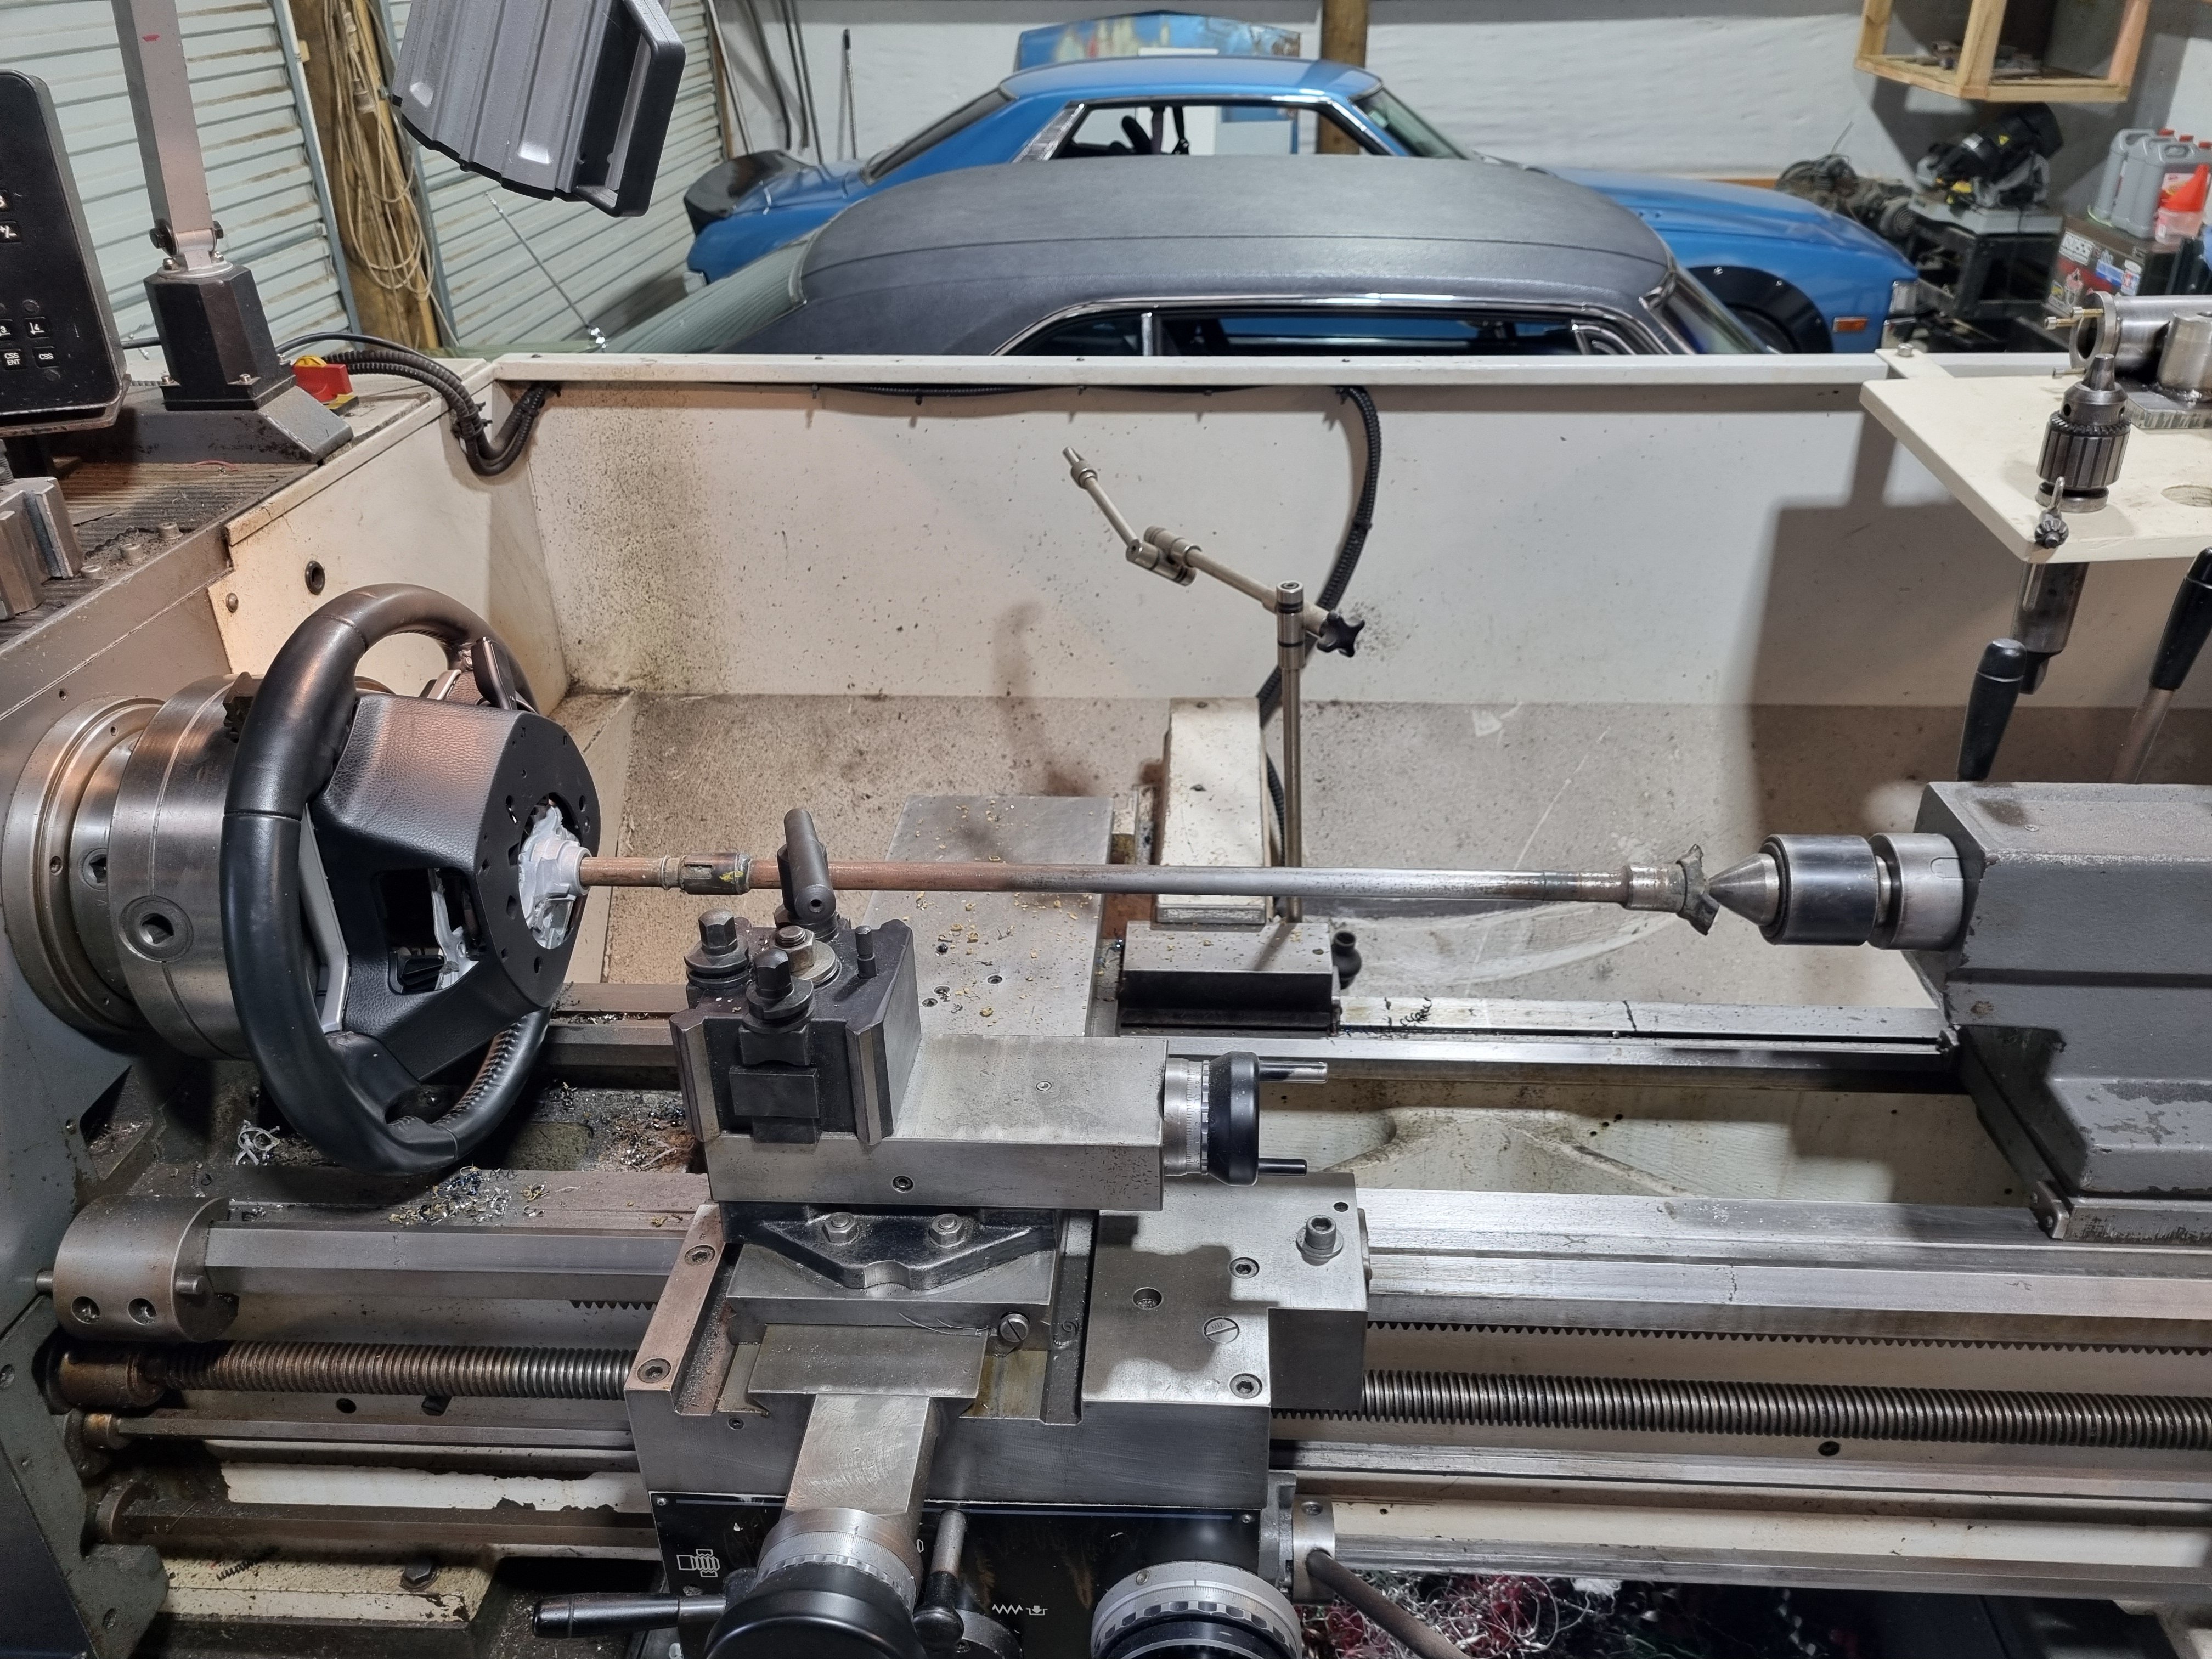
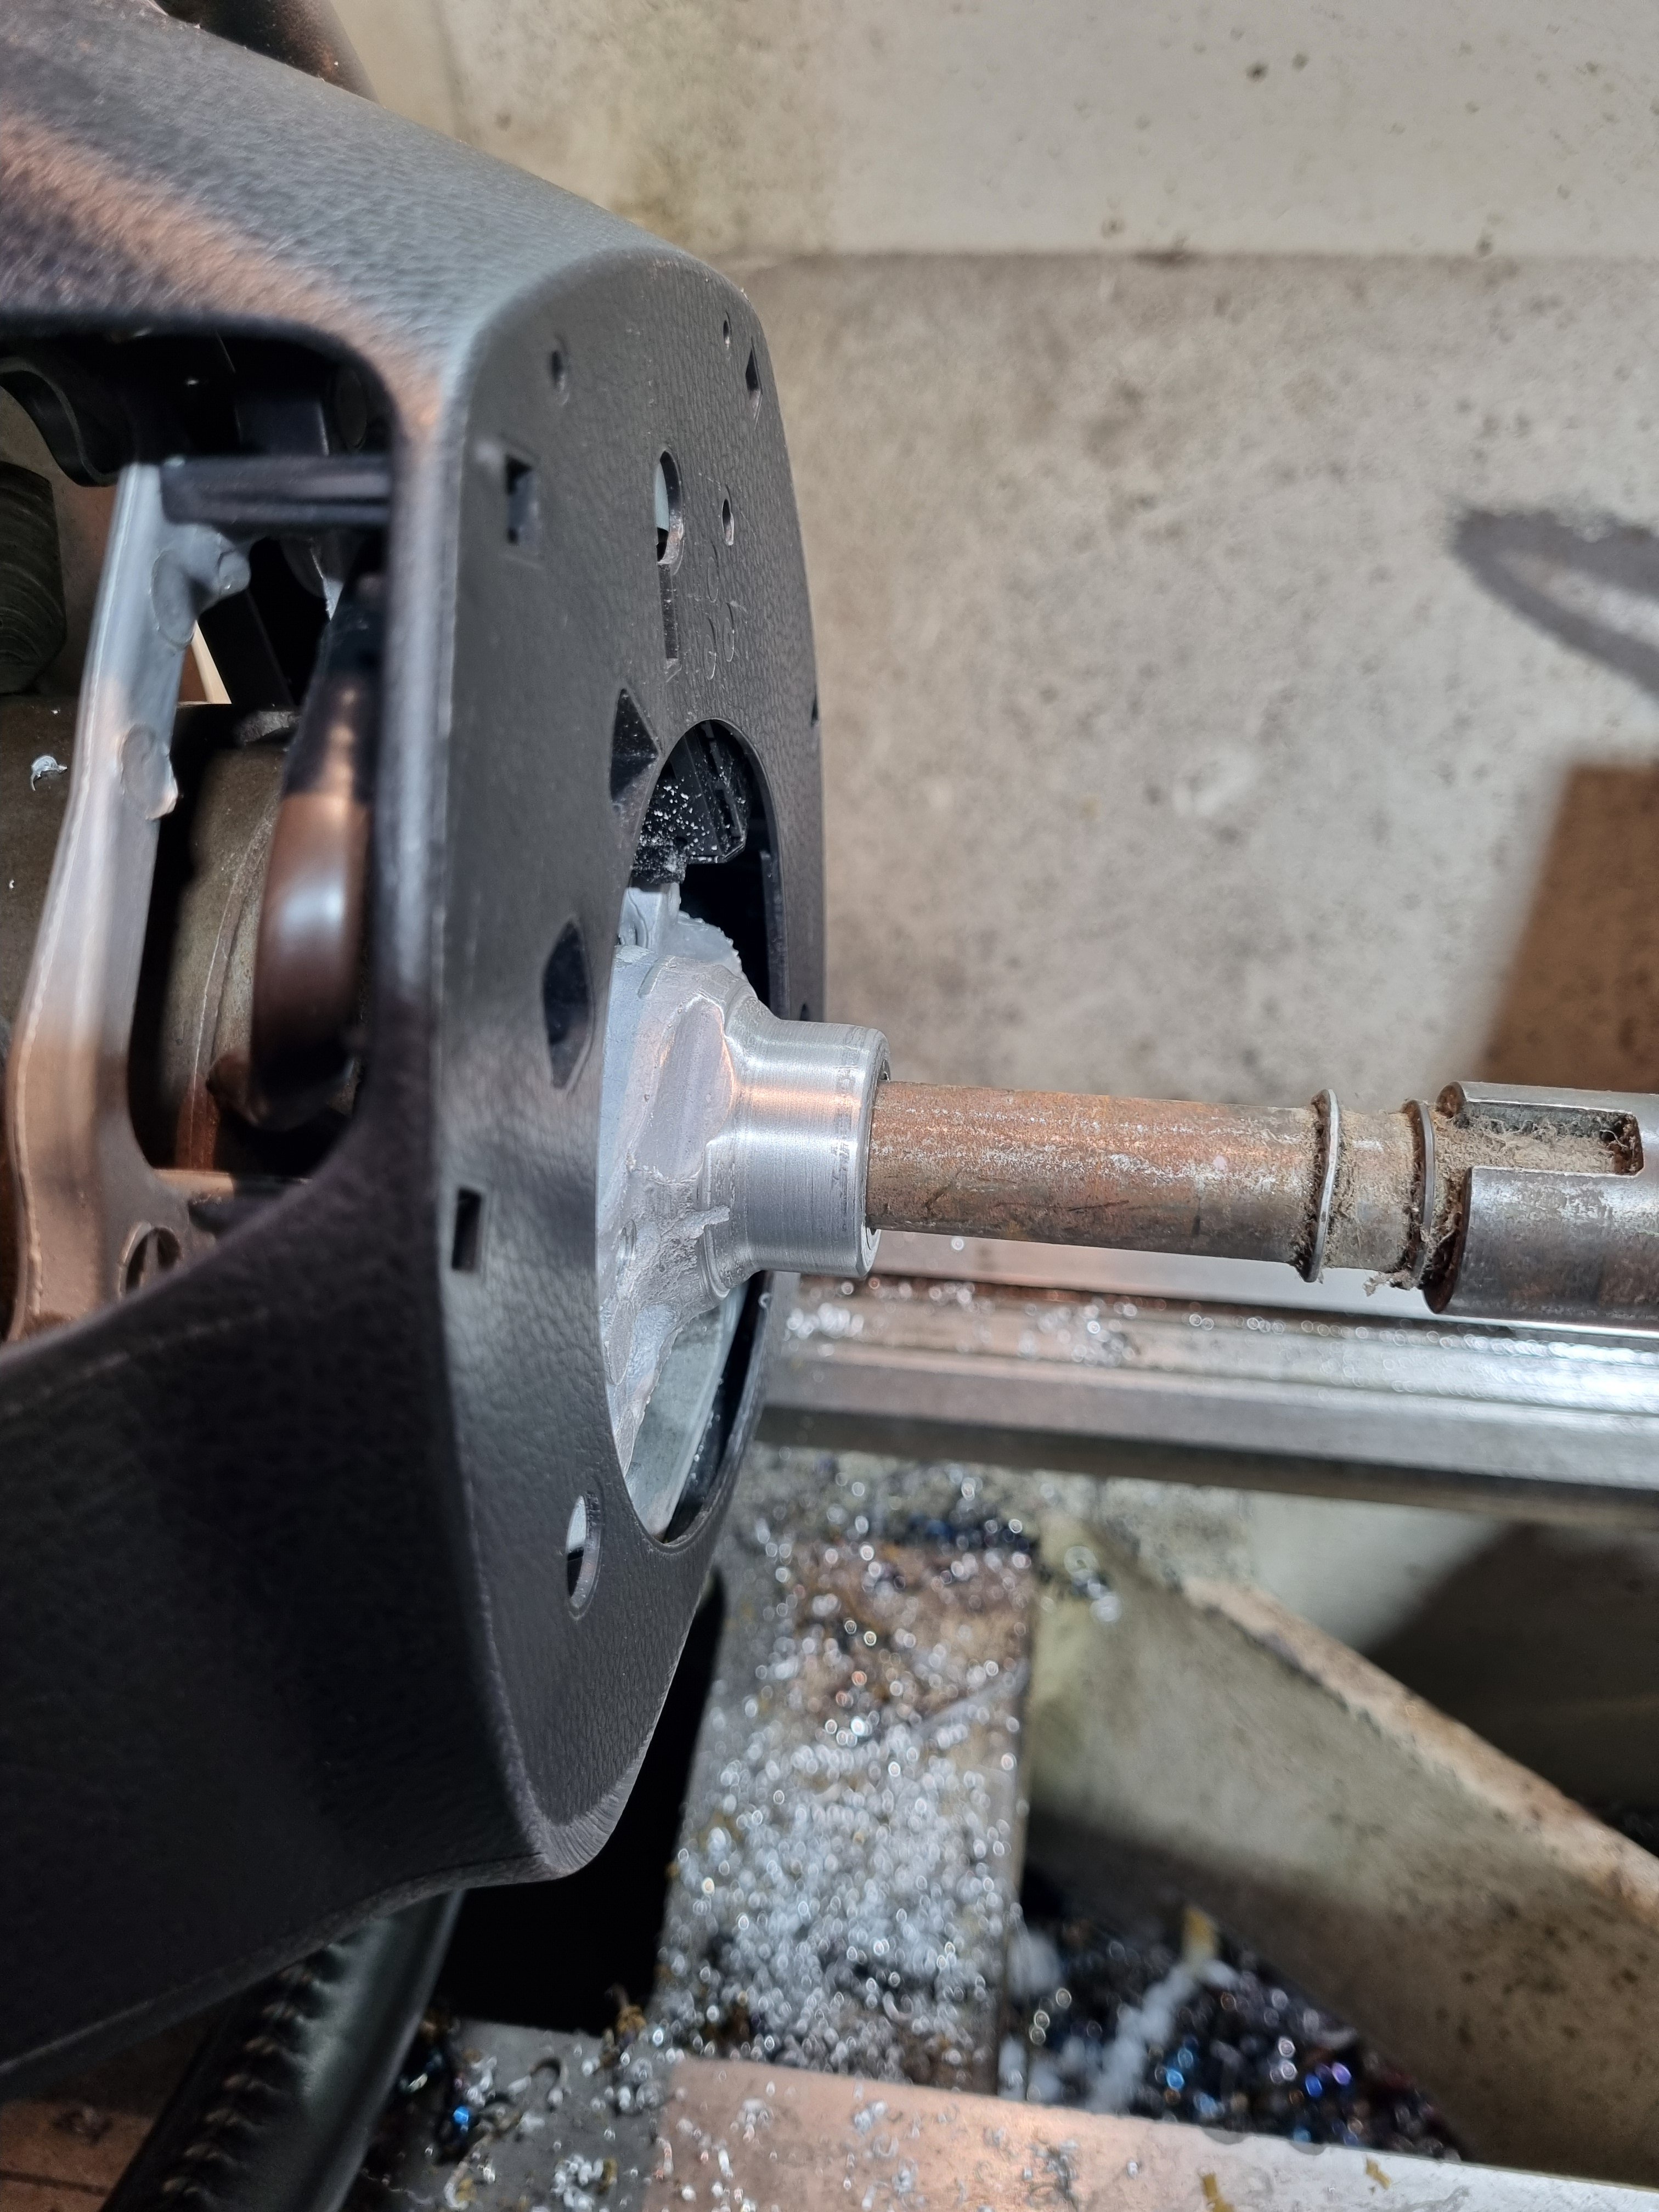
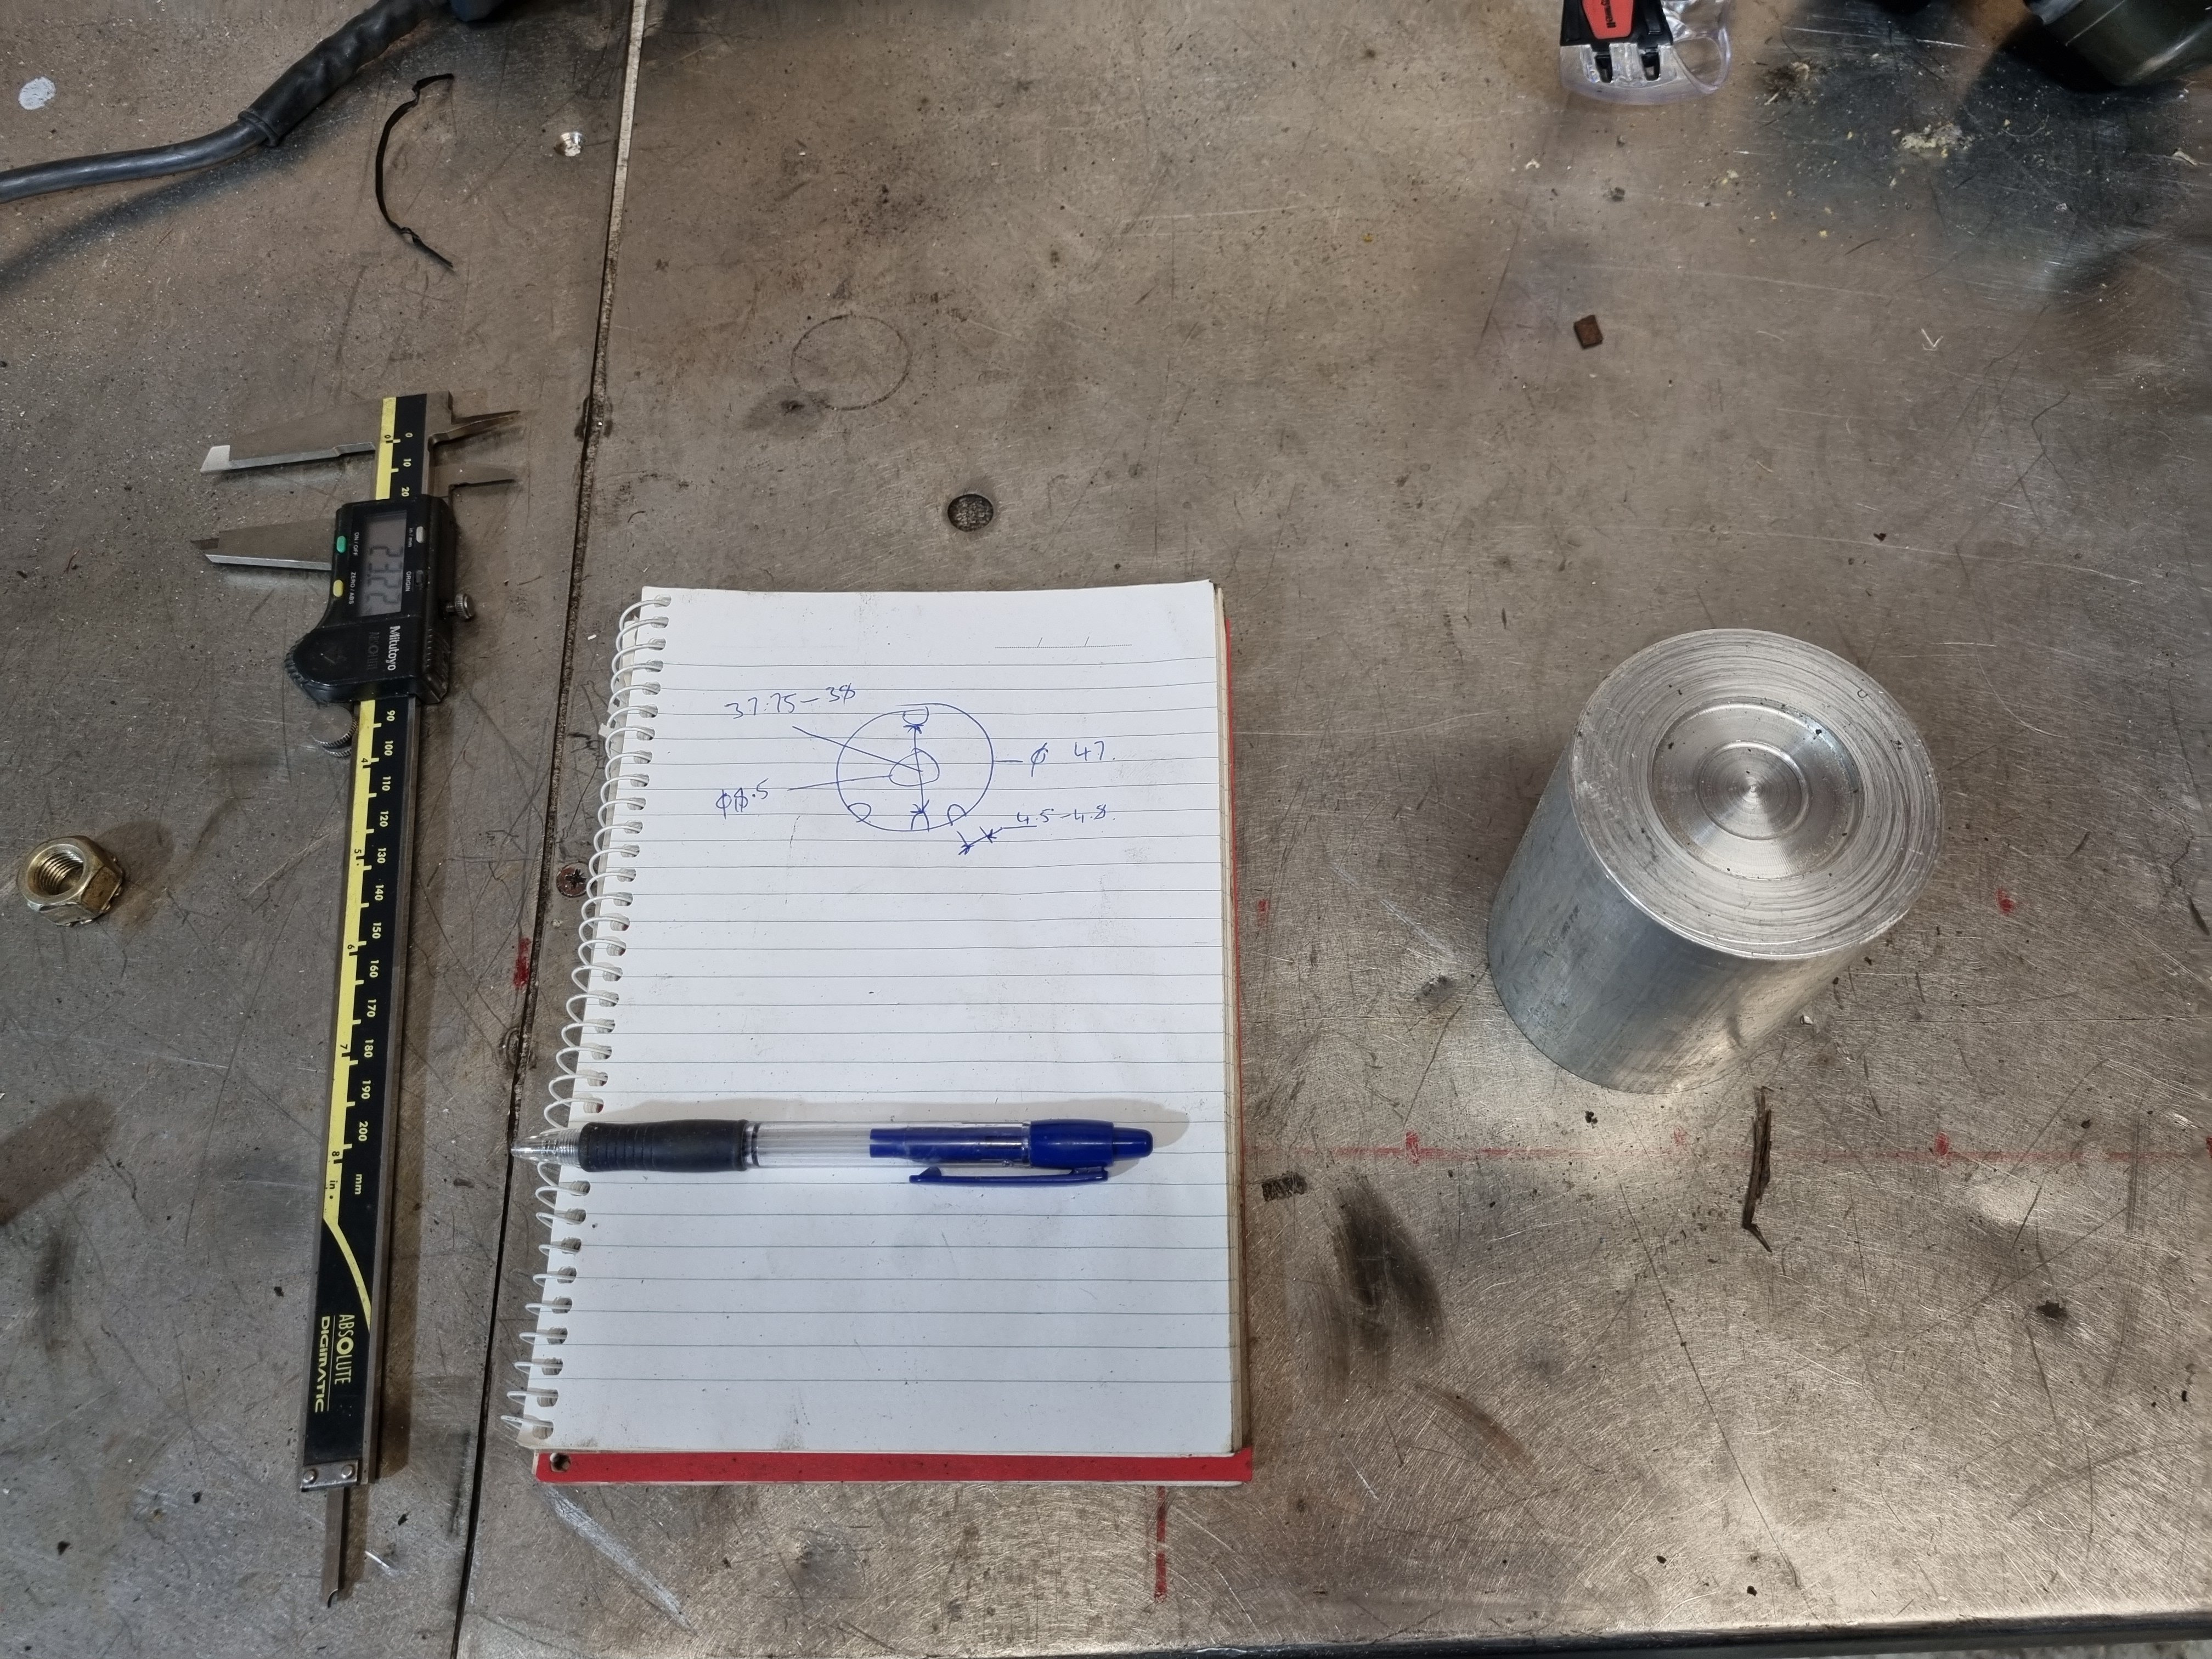
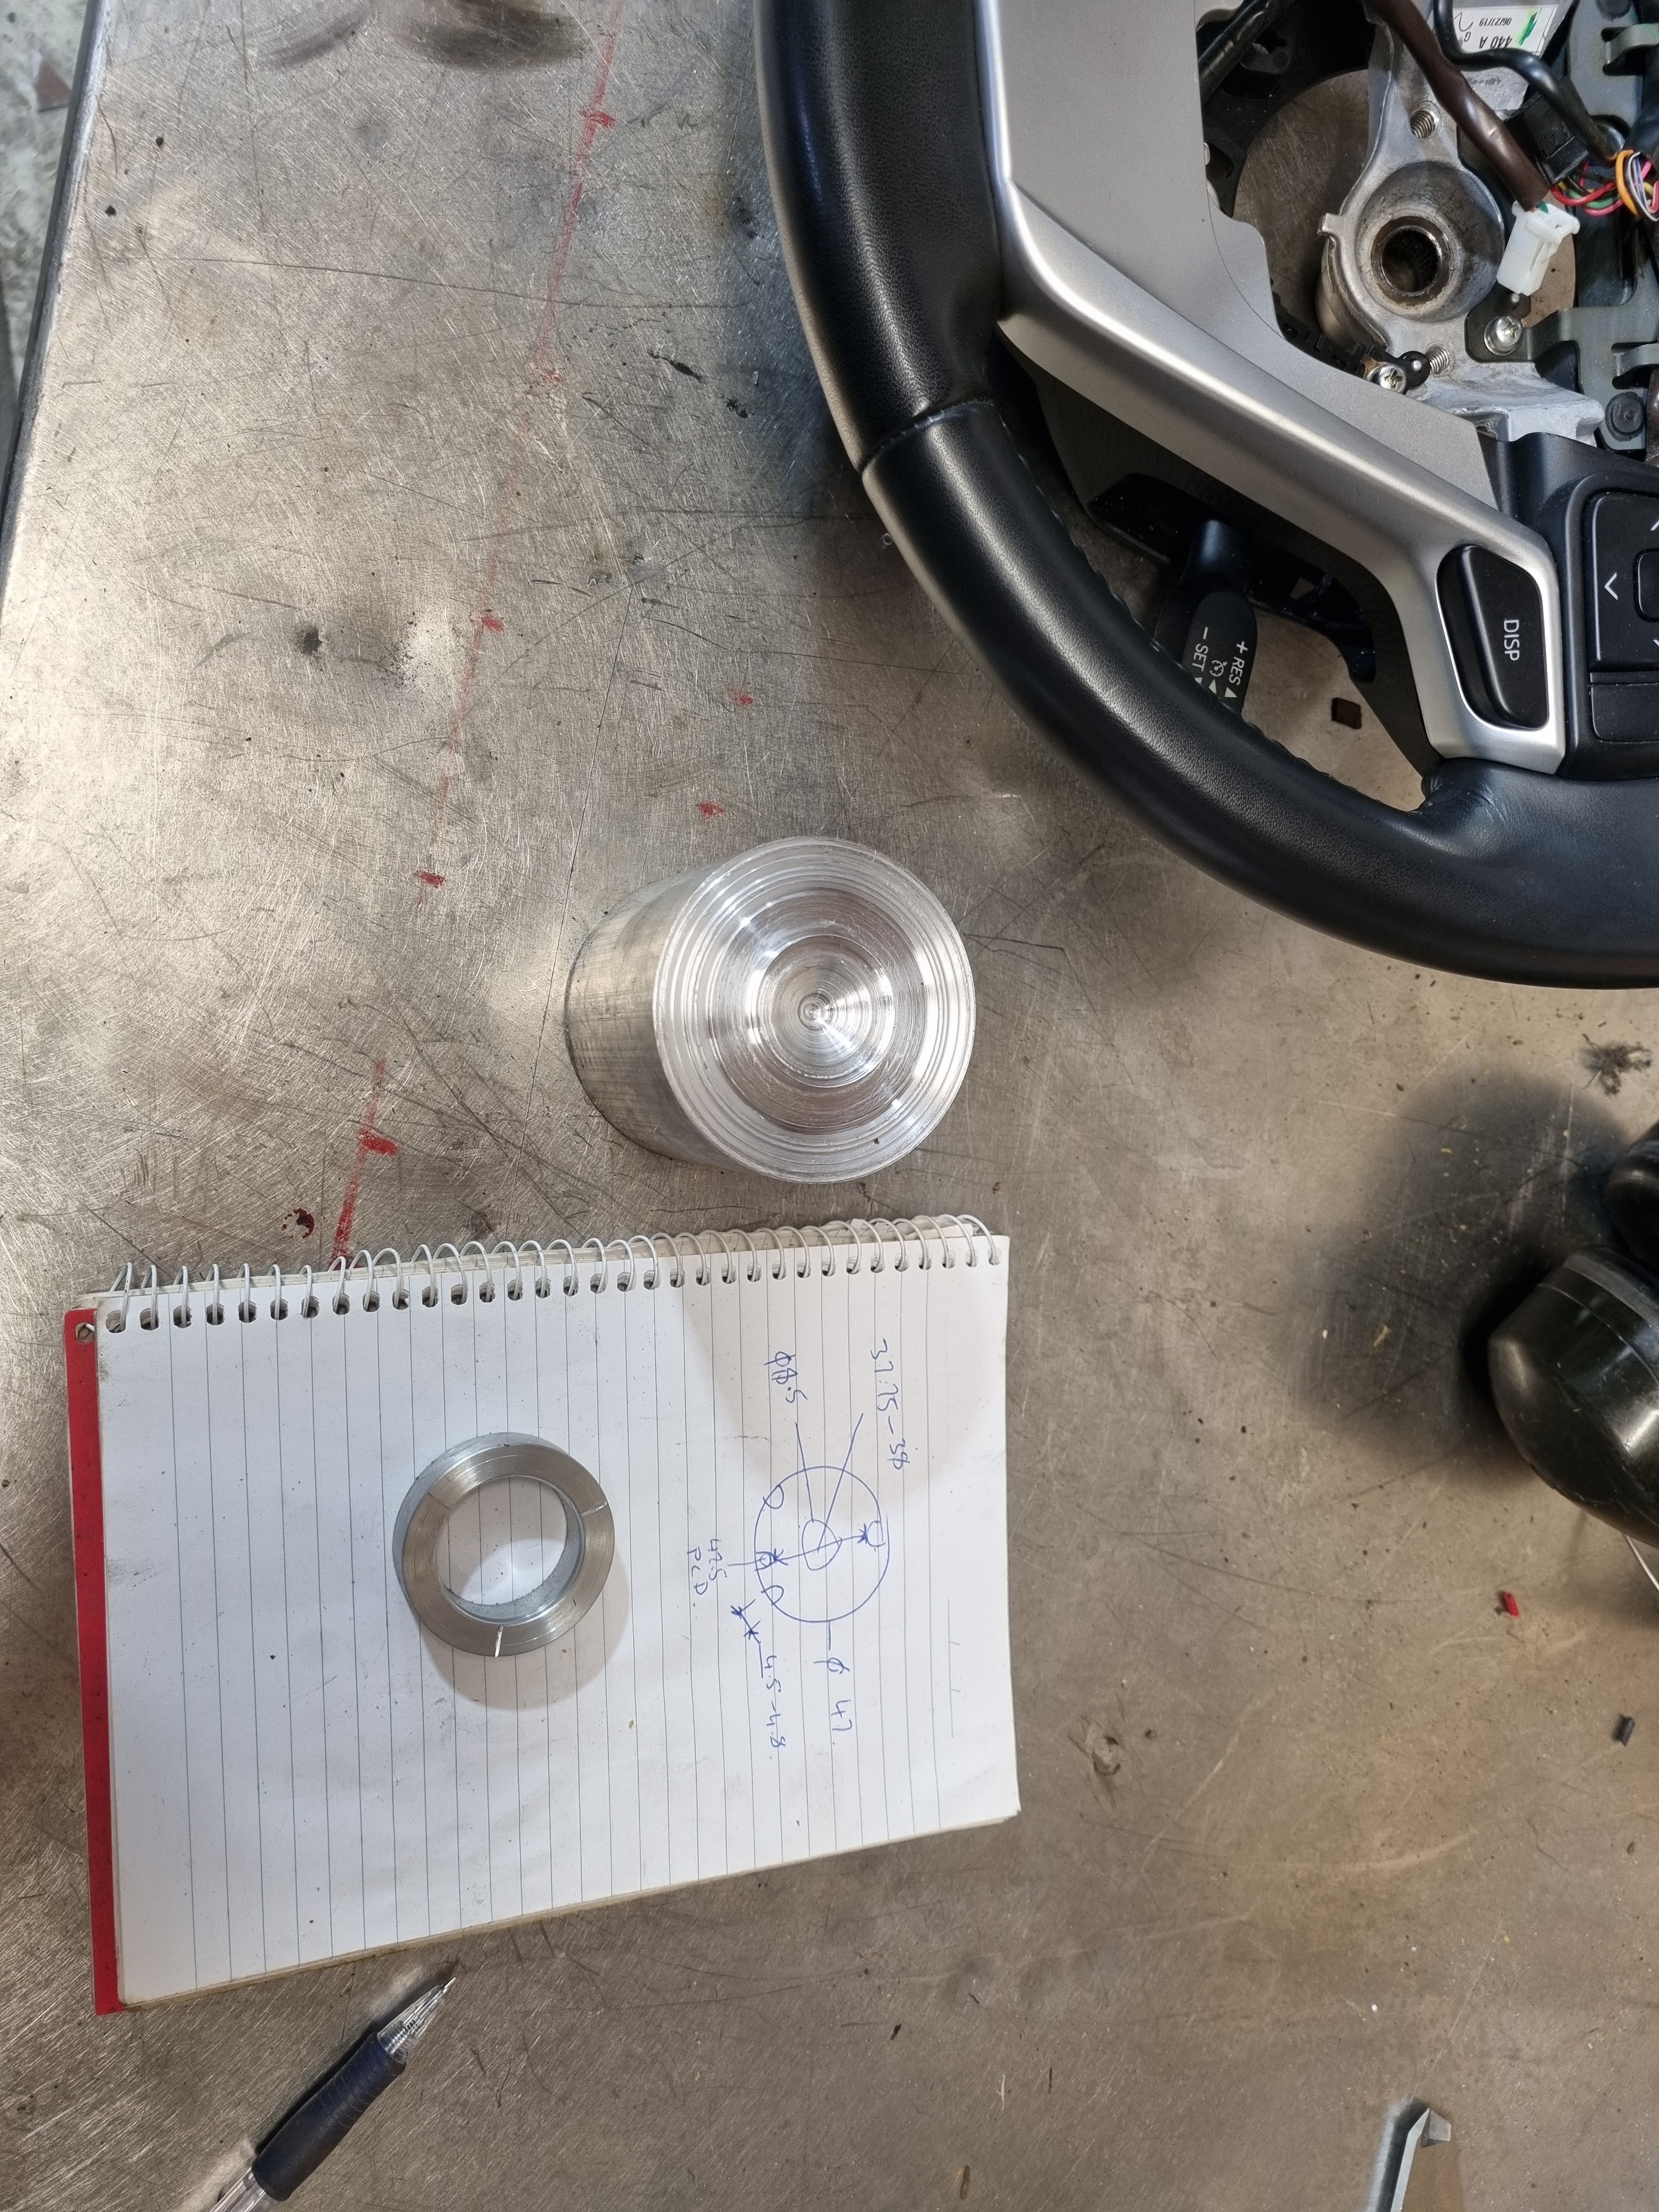
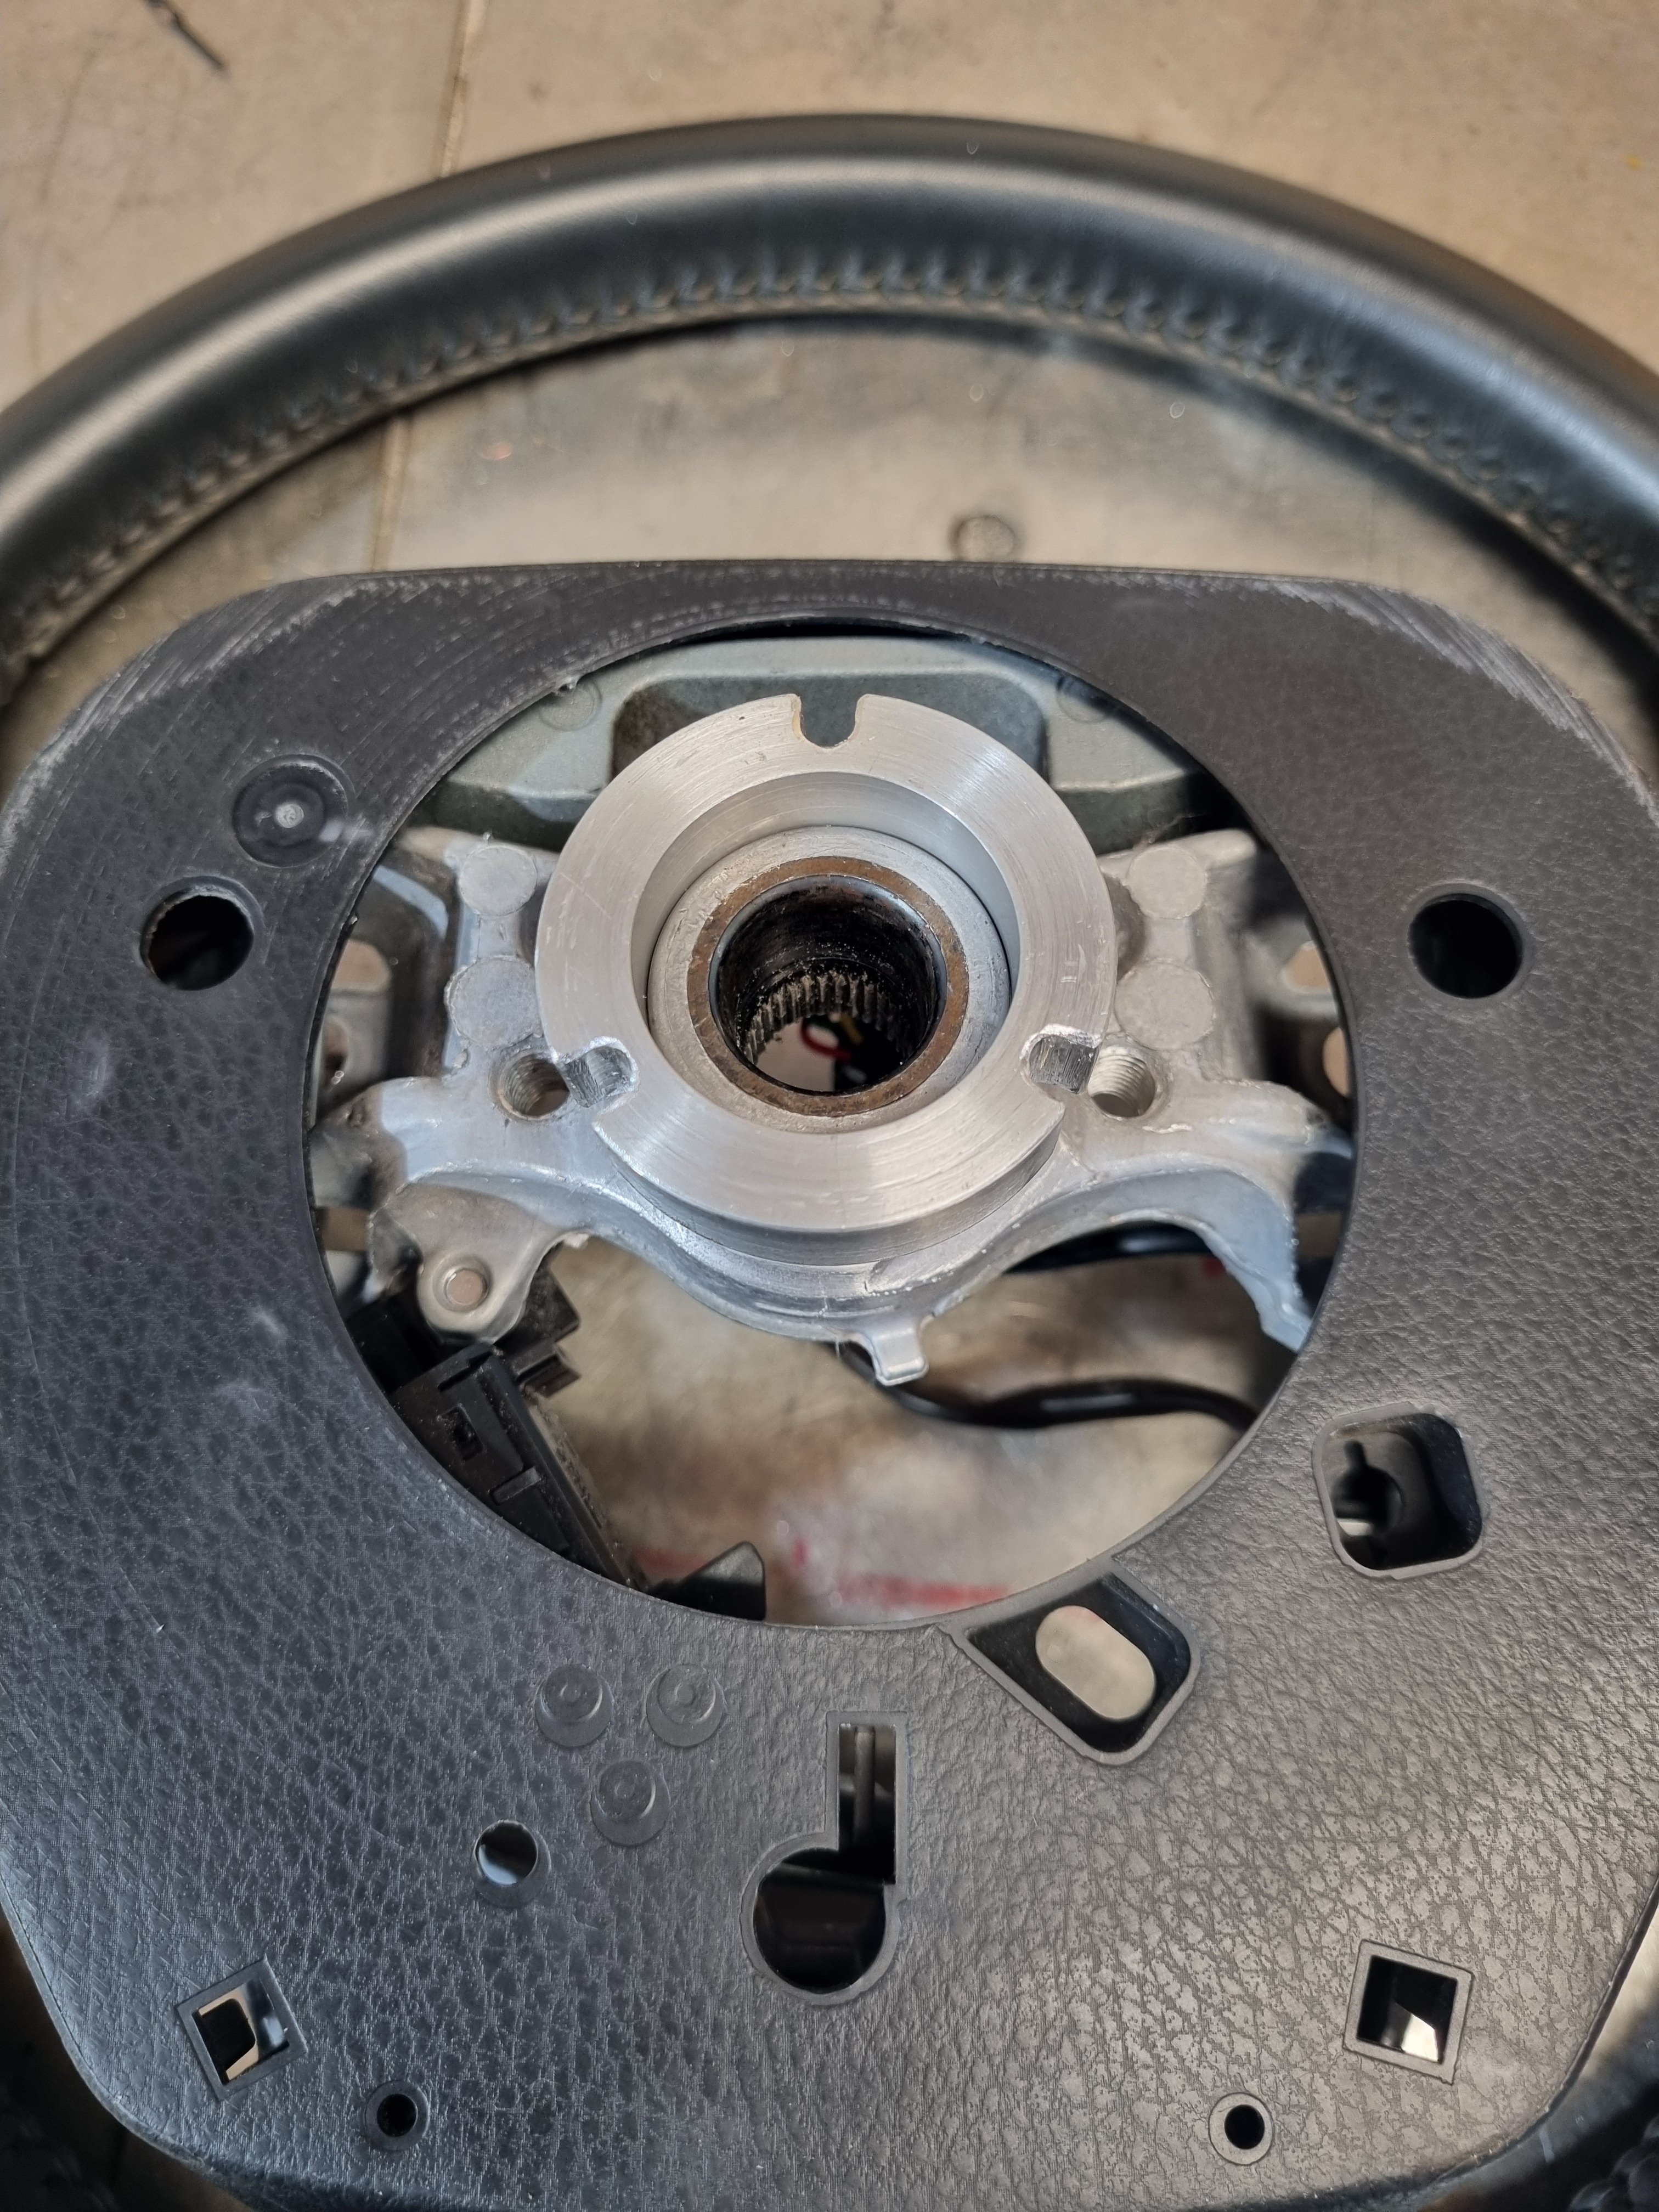
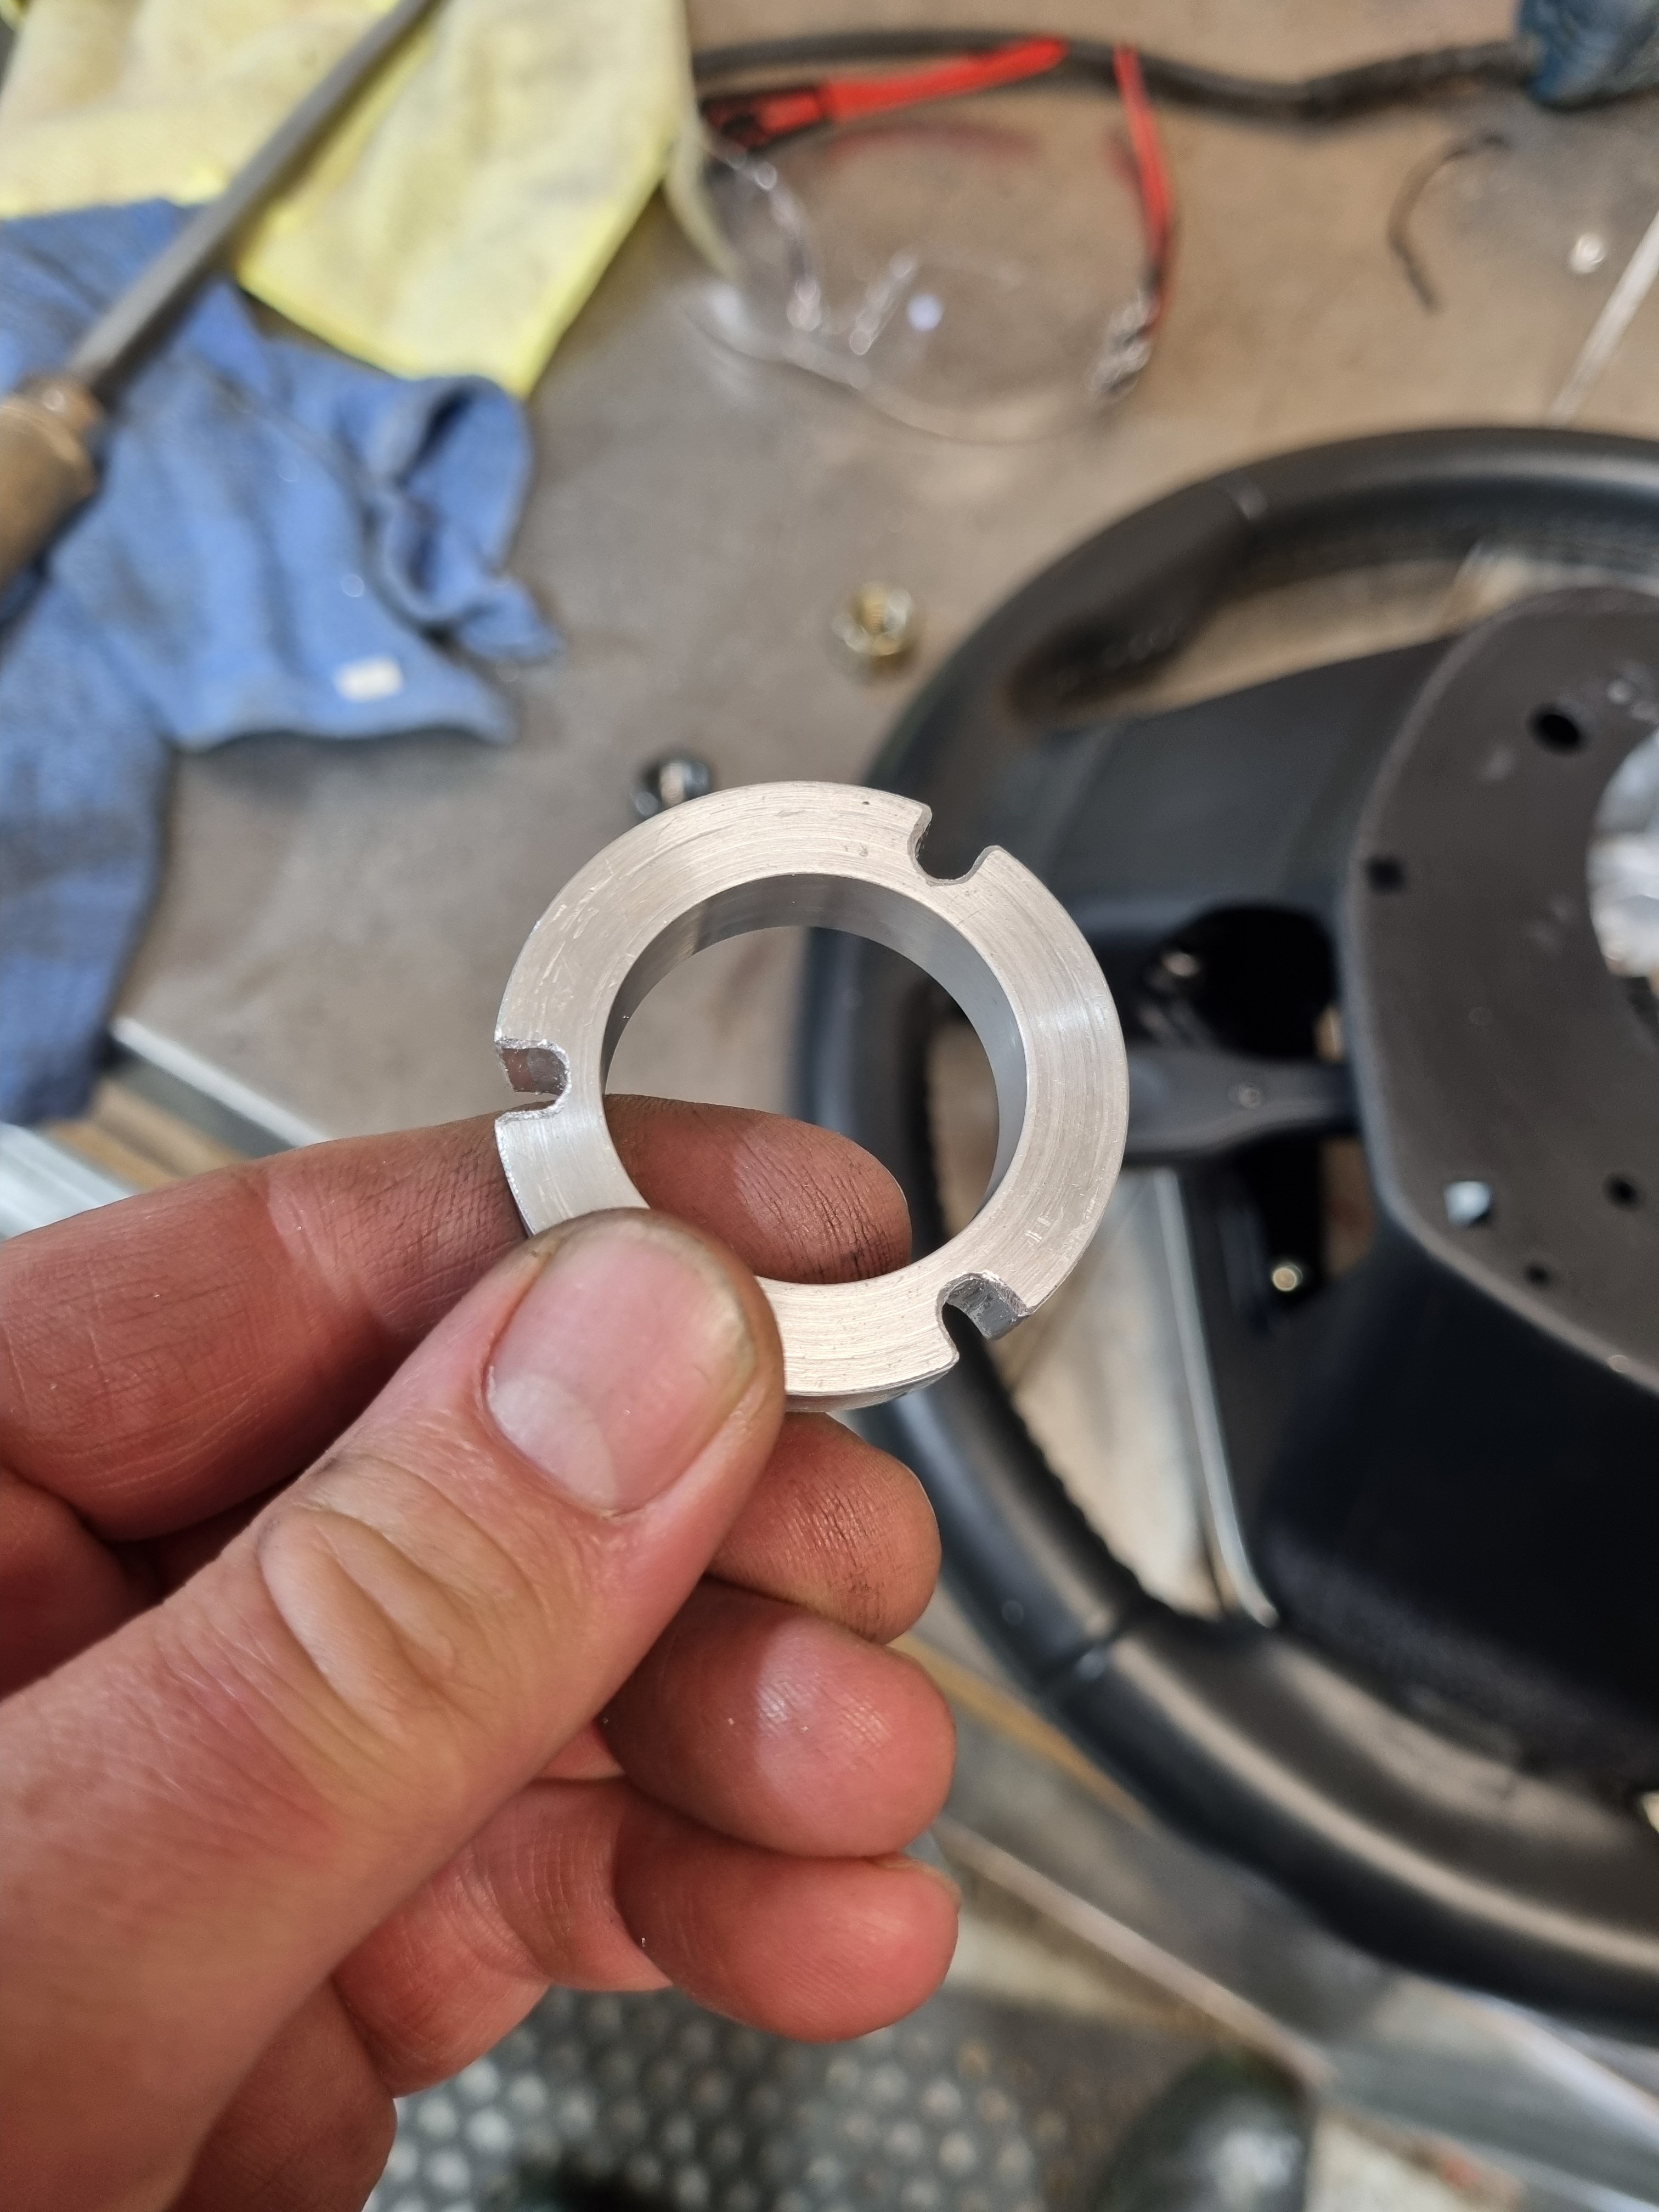
Story time/ going down the rabbit hole. The issue- I never did any homework at all when it came to buying this blaupunkt head unit. If I had of I would have very quickly been made aware of how crap it is. Is unusable as far as changing the volume, shipping tracks or doing anything. Its physically impossible to change the volume accurately, and most of the time is not possible at all. Totally my fault for not checking a single review or anything. So, present day me (well yesterday me actually) was yarning to Nick the sparky about steering wheel controls and clock springs and whatnot and he said "I've got a 2013 Highlander steering wheel, see it that fits" It does. I needed to make a indicator canceling wheel to adapt the new wheel to the hilux. Not super difficult, made a frankinstien rig up to machine a parallel diameter in the back of the wheel. Them made a ring that I will shrink onto the back of the wheel once I confirm its fits the truck. Then the next hurdle will be getting signals through the clock spring. It has 3 spare wires that aren't used so we can use those to send signals to the head unit. But there are probably other clock springs that will fit the truck that have more wires if we need it.
3 points
-
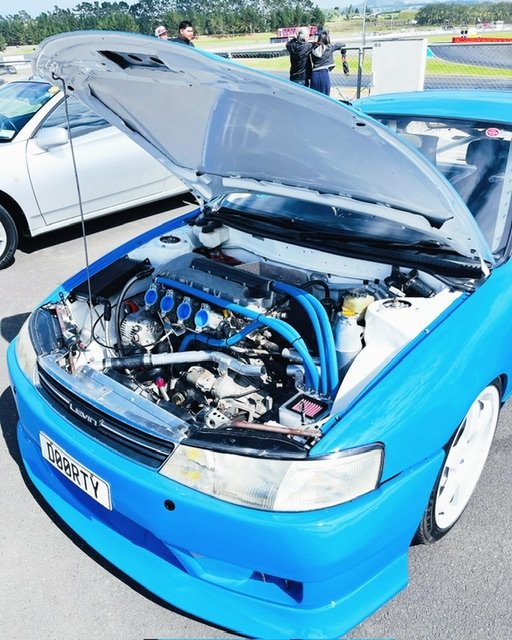
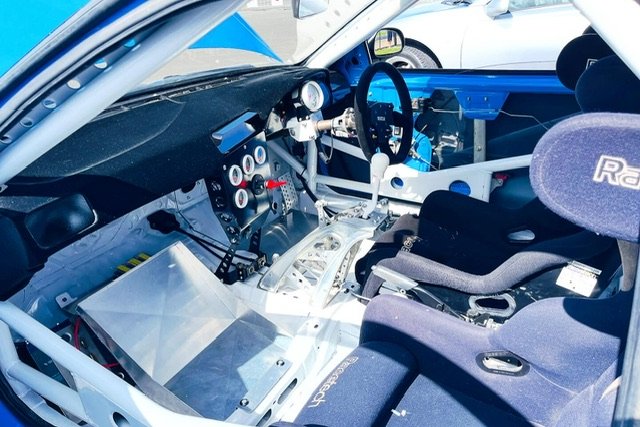
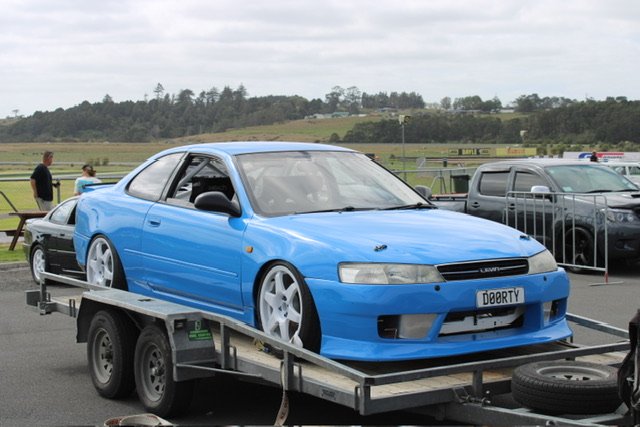
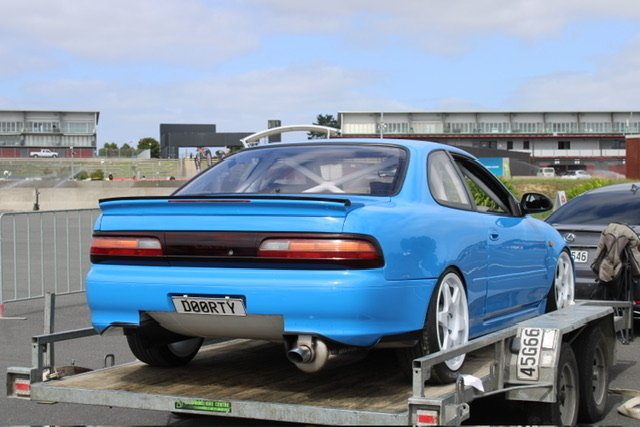
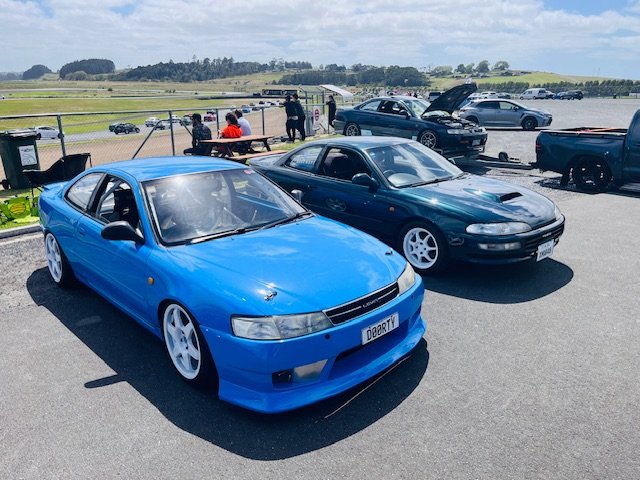
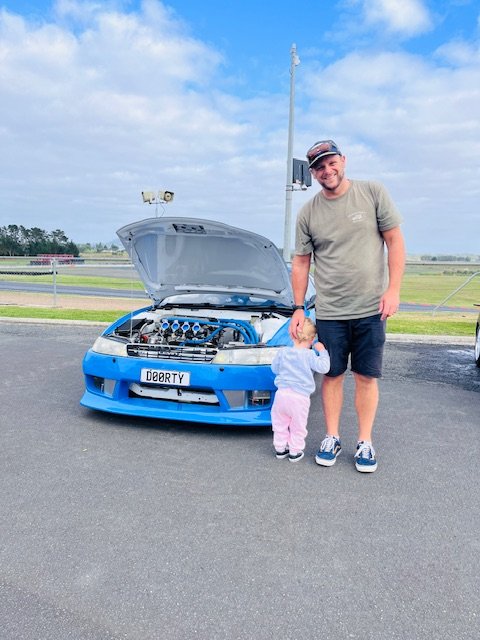
A few snaps from Toyotafest. If anyone got some feel free to share as well. Great to get the car out and chat to lots of people about it. Lots of motivation to finish it now! Trailer queen for first and last time hopefully Finley loved it too
2 points
-
There's a few sheet metal places in ChCh who would roll them up for you. Might even be worth asking the metal spinners too.2 points
-
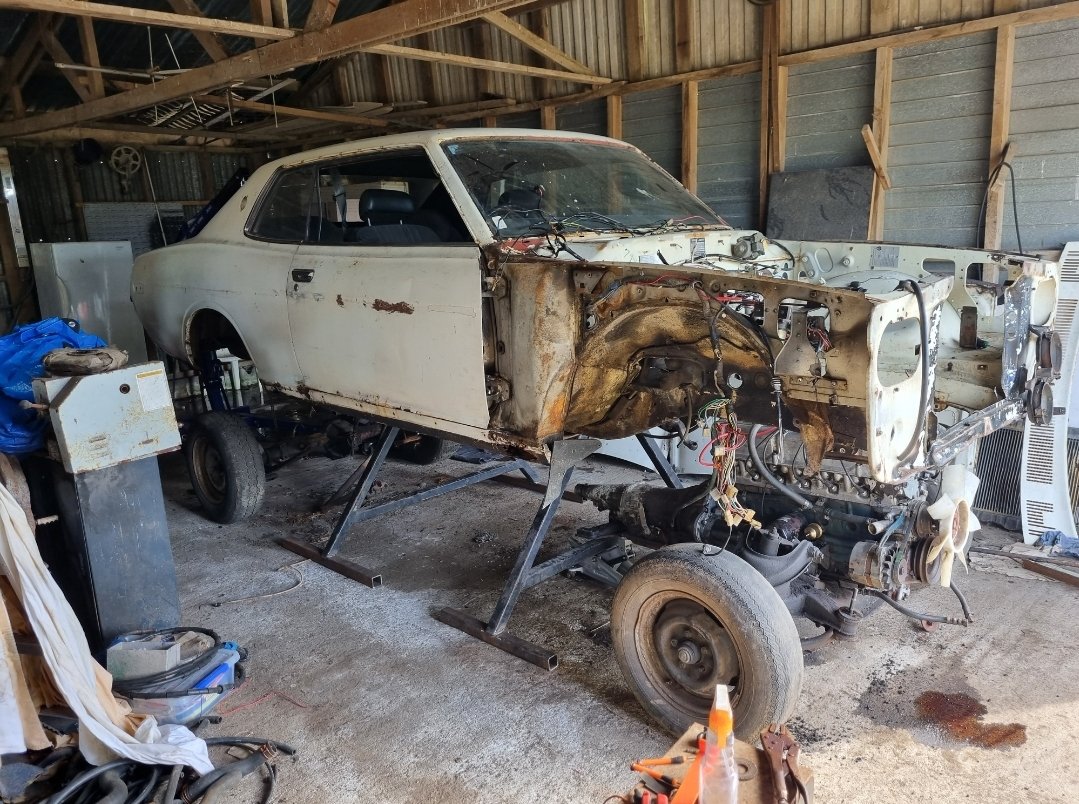
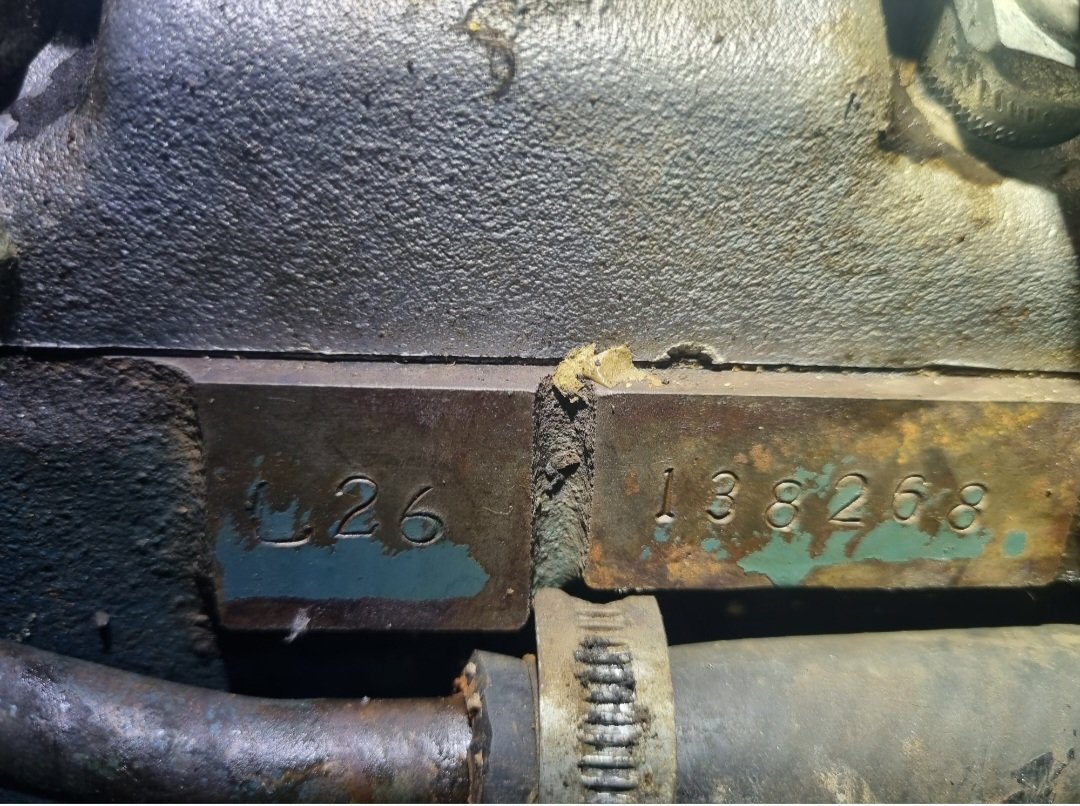
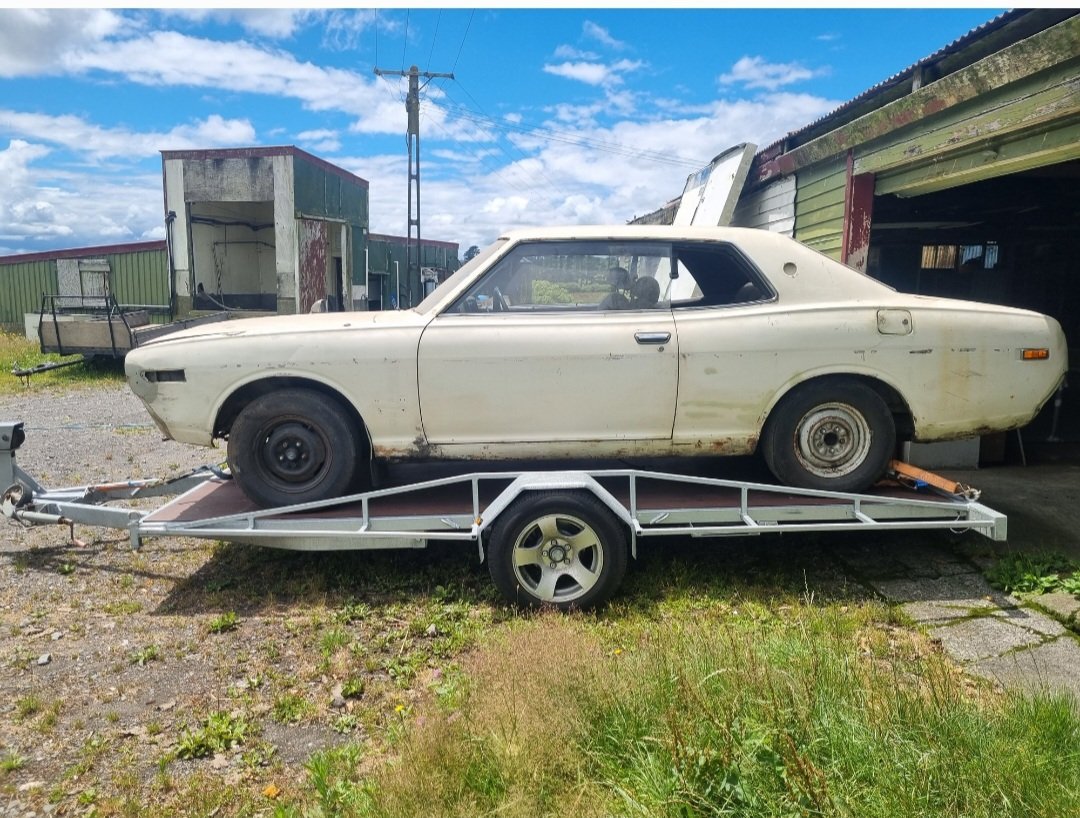
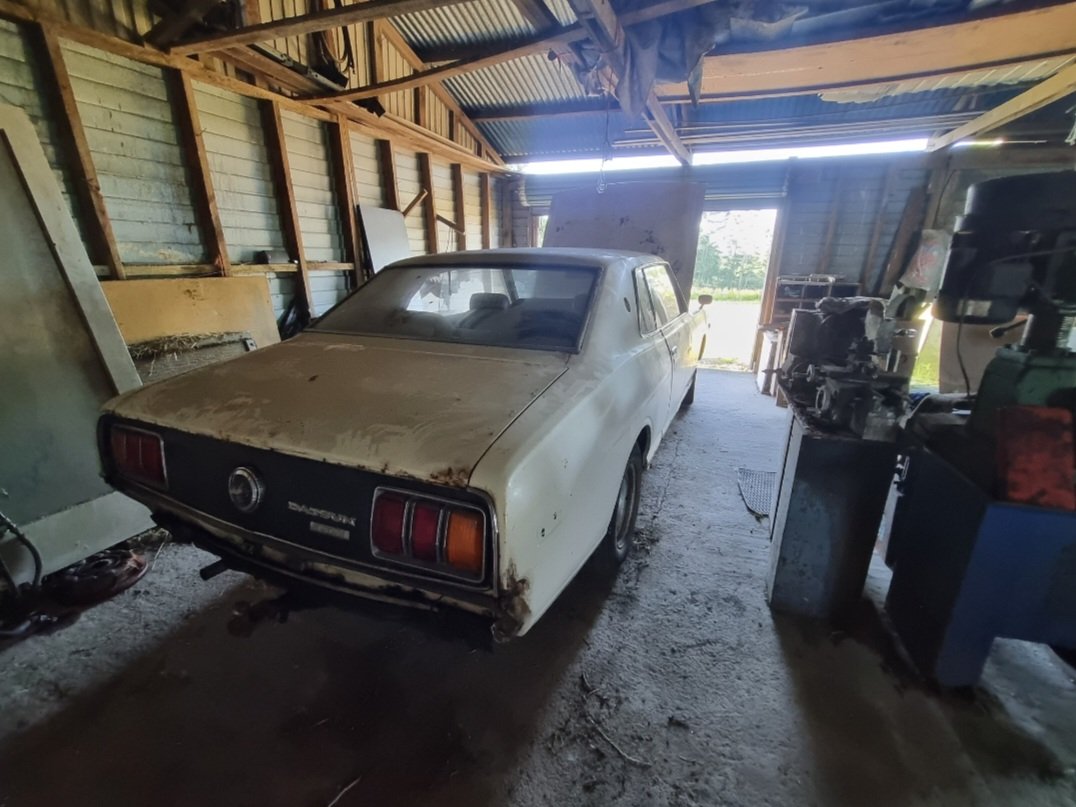
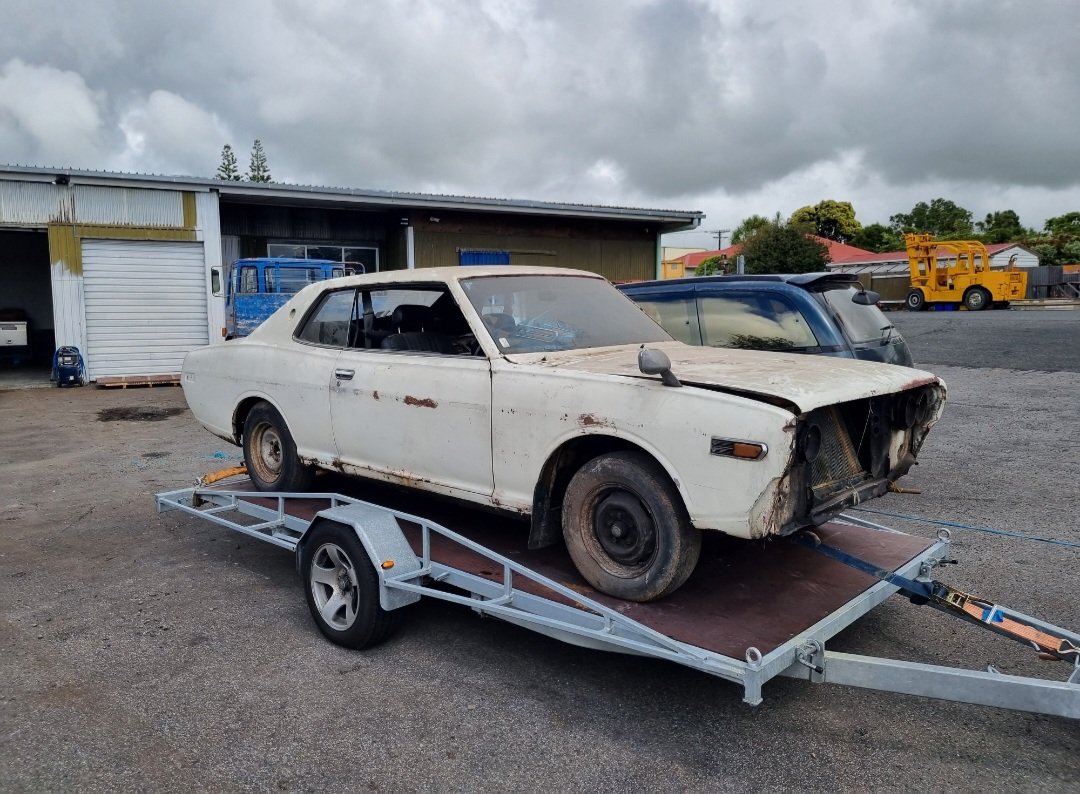
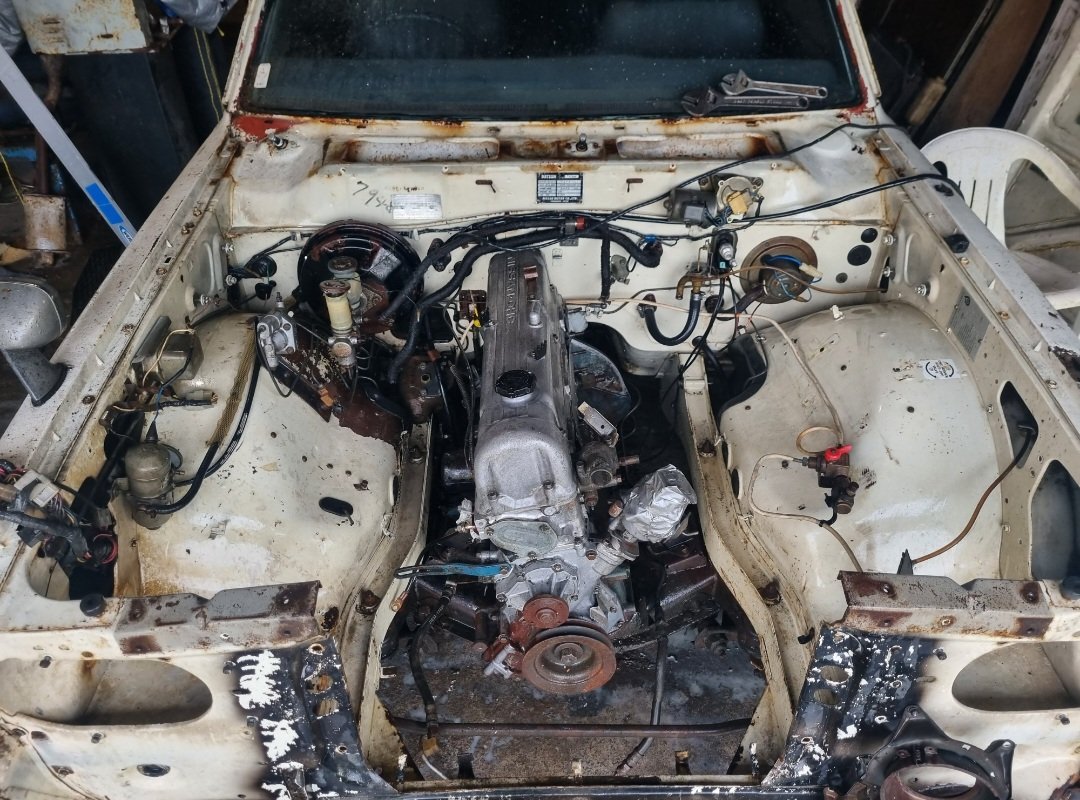
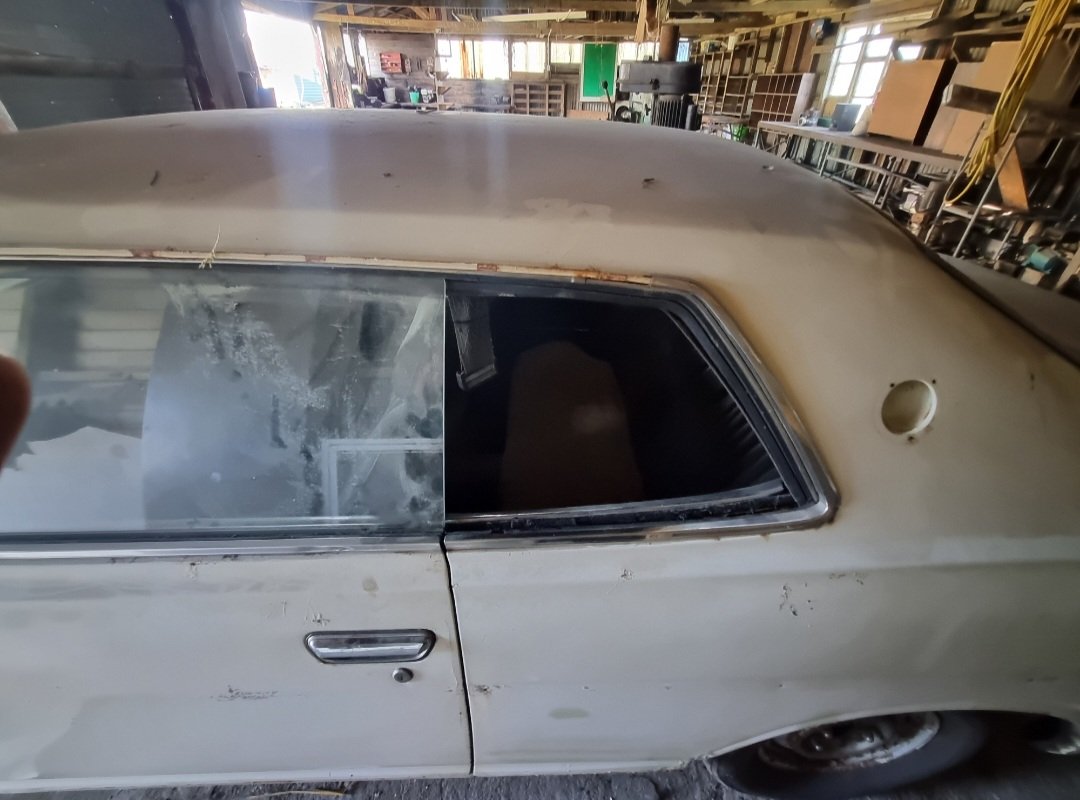
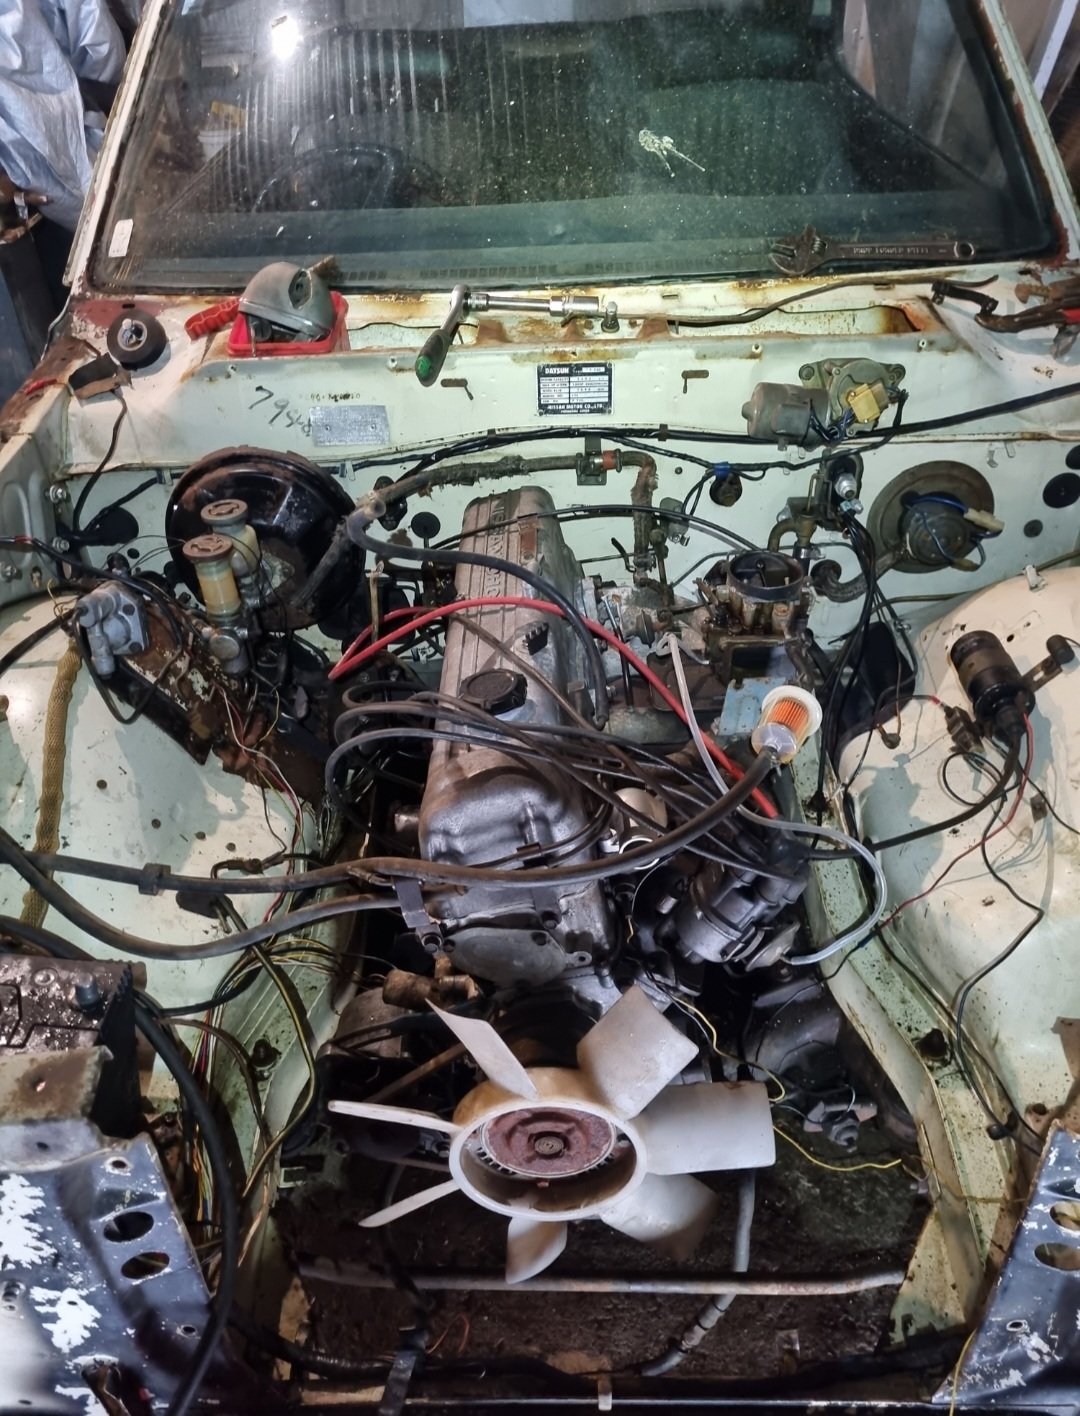
So, I brought a thing. Consider this my 'home project' as the camper is at work and on weeks I have my kids there is no ability to do after hours on that. Hence this, curbing my porn and doomscrolling with rusty Datsun goodness. Also my son is starting to show an interest and I want to attempt to pass on some skills and keep him off devices. Wishful. Anyway. 71 240c coupe. Dereg but mostly complete, shed stored 30 plus years. 77000 on the clock. L24 auto. Rust in sills, lower rear quarters, boot floor and odd little bits here and there. Fairly straight, mint floor, bulkhead and engine bay. Engine turns freely by hand but was partially pulled apart so hoping it was just a leaky gasket or something, but first mish is to clean engine bay and fire the old girl into life, then proceed from there with cutty rusty things. Thanks to the GC @fletch for some solid Datsun Intel/leads and a few little items I needed to fire the old girl up. Chur. https://oldschool.co.nz/index.php?/topic/88976-humbersss-datsun-240c-coupe-of-irrationality-yarns/
2 points
-
Bench seat column change rules..2 points
-
2 points
-
That's the shit house kiwi farm equipment spirit!2 points
-
2 points
-
Mostly finished up the tail light wiring tonight, brake lights and everything work, yay! Also I pulled the gearbox to inspect the clutch, it still looks brand new apart from surface rust. I will take it to the clutch man tomorrow to see if it cant be tweaked for a bit more clamping force. If anyone has a suggestion to improve this then let me know2 points
-
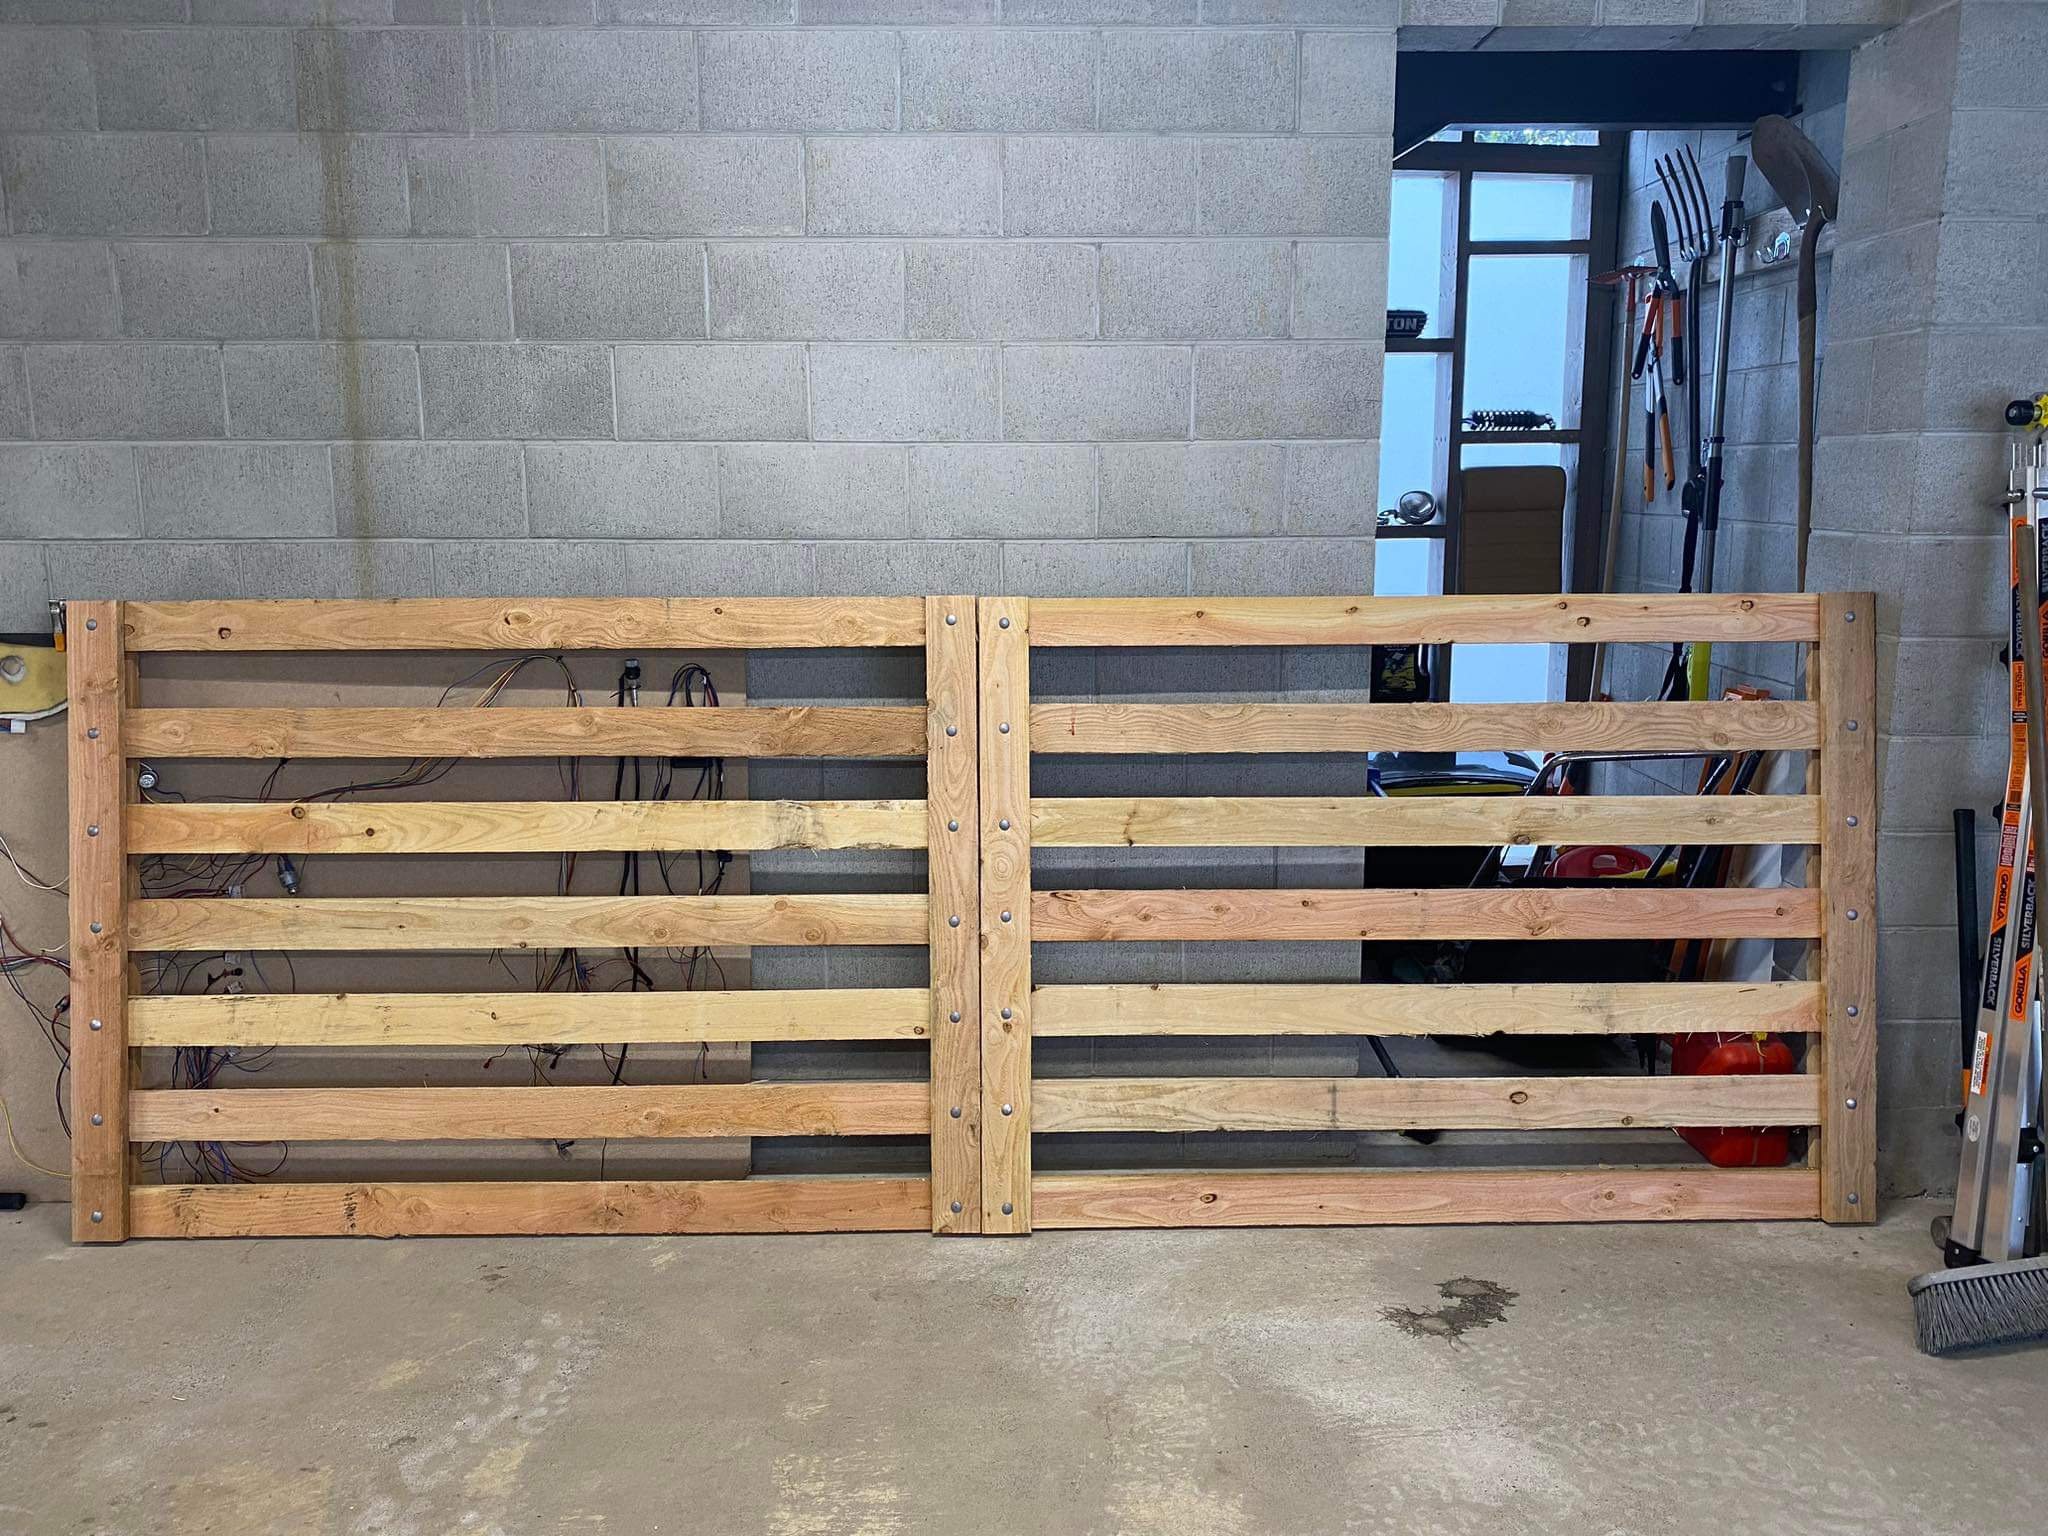
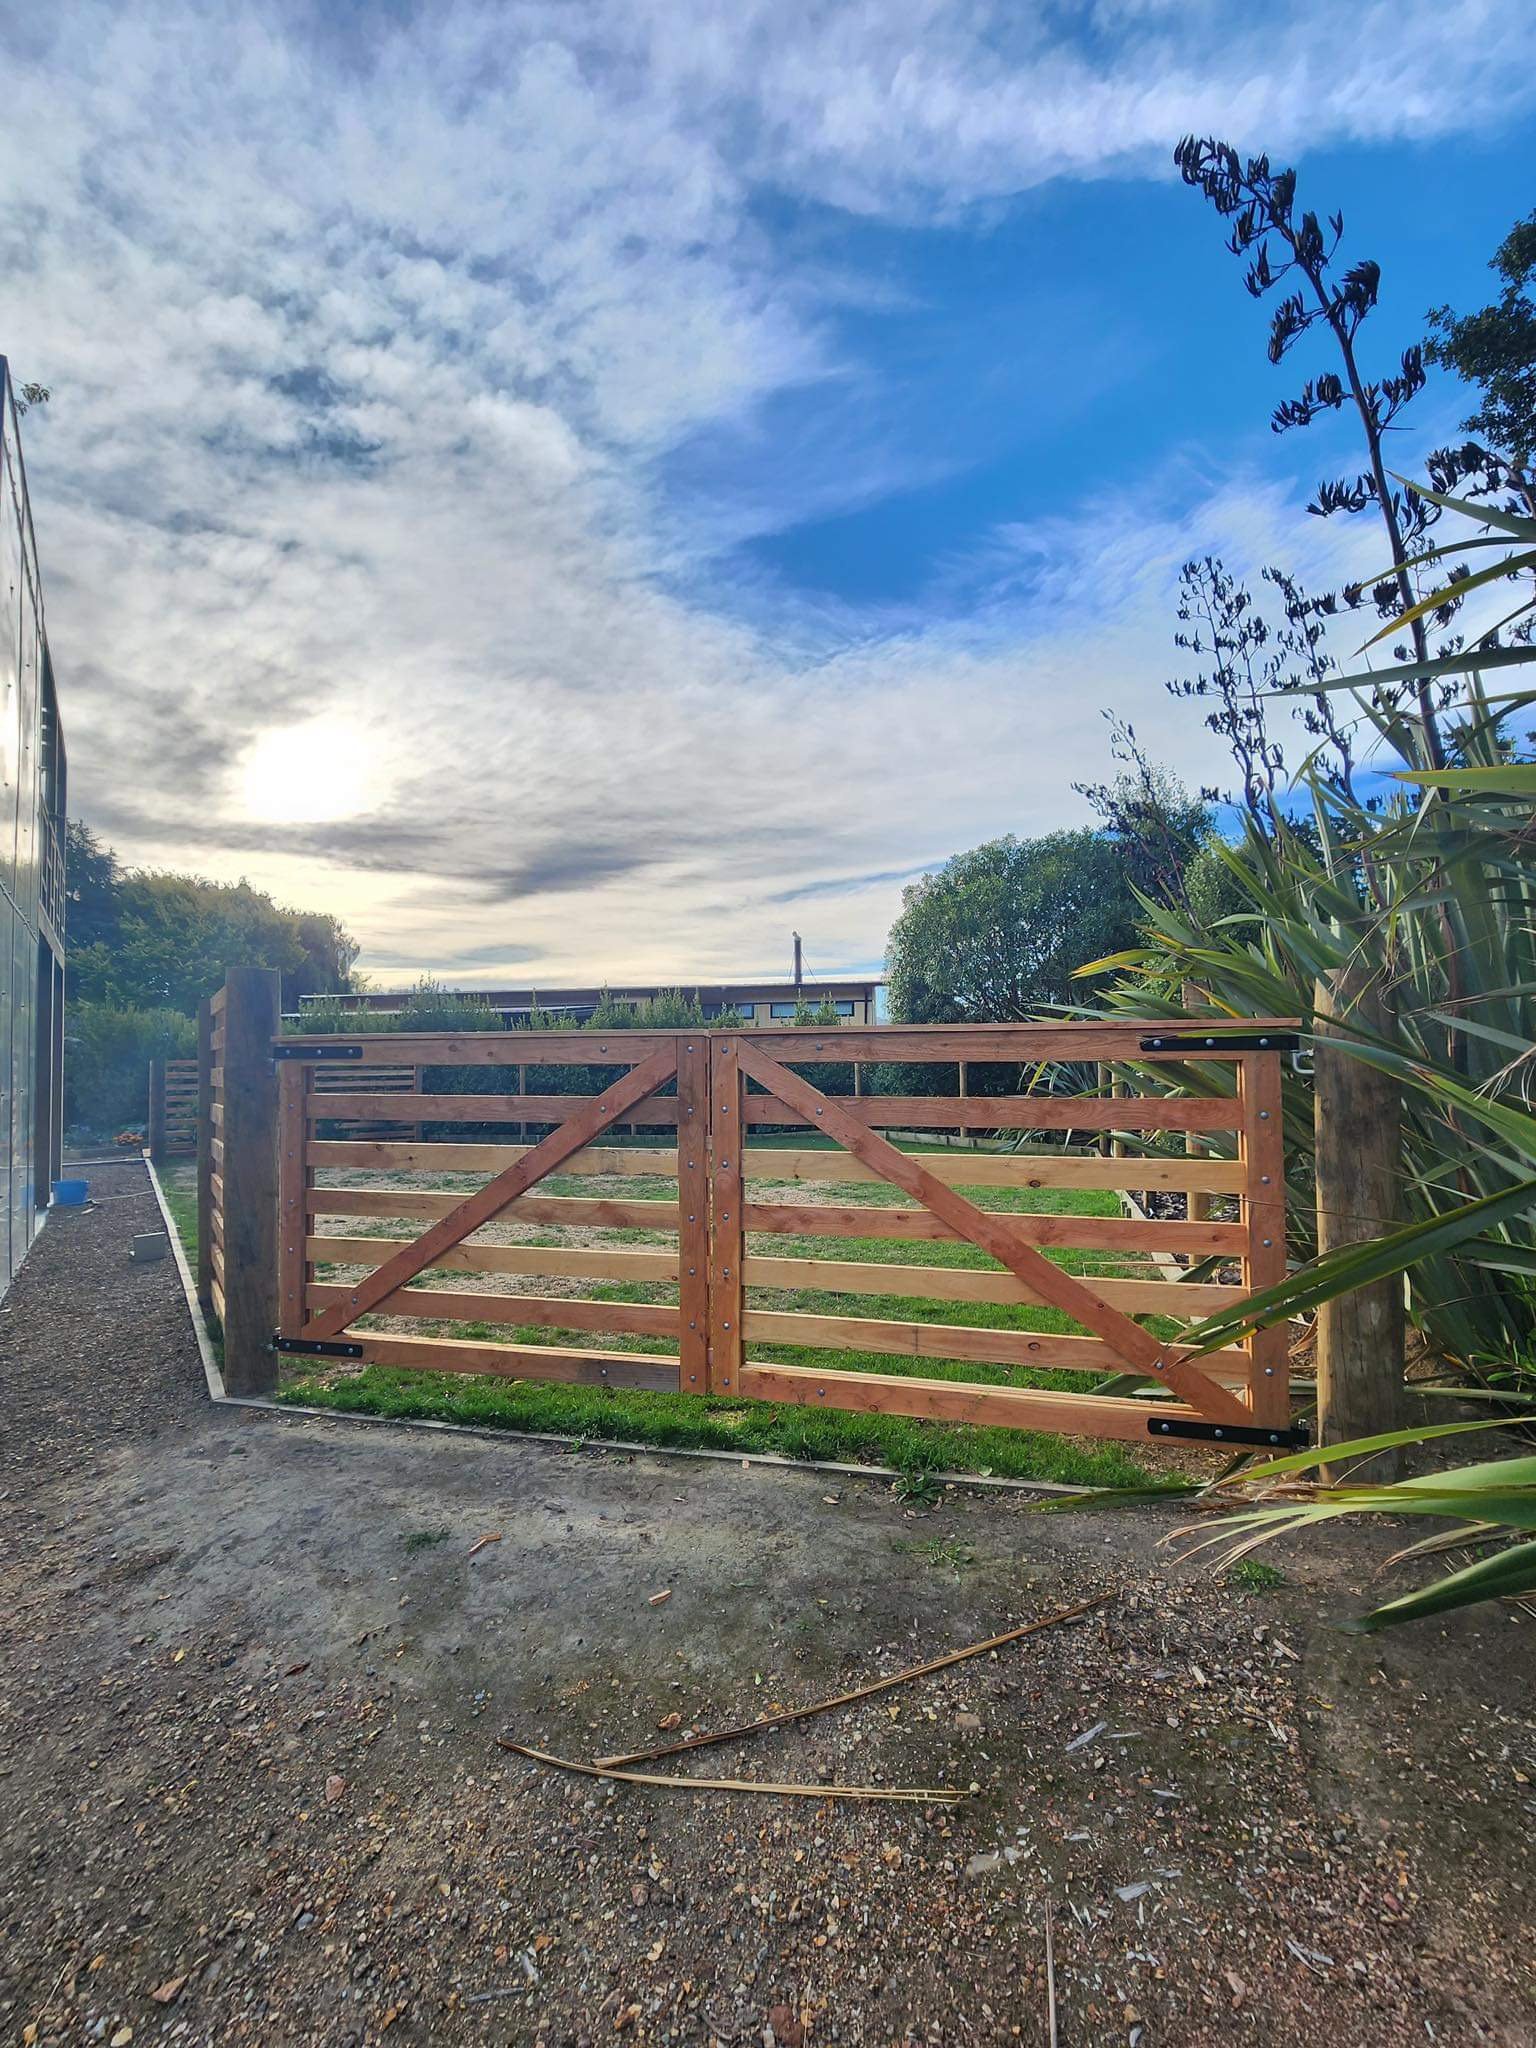
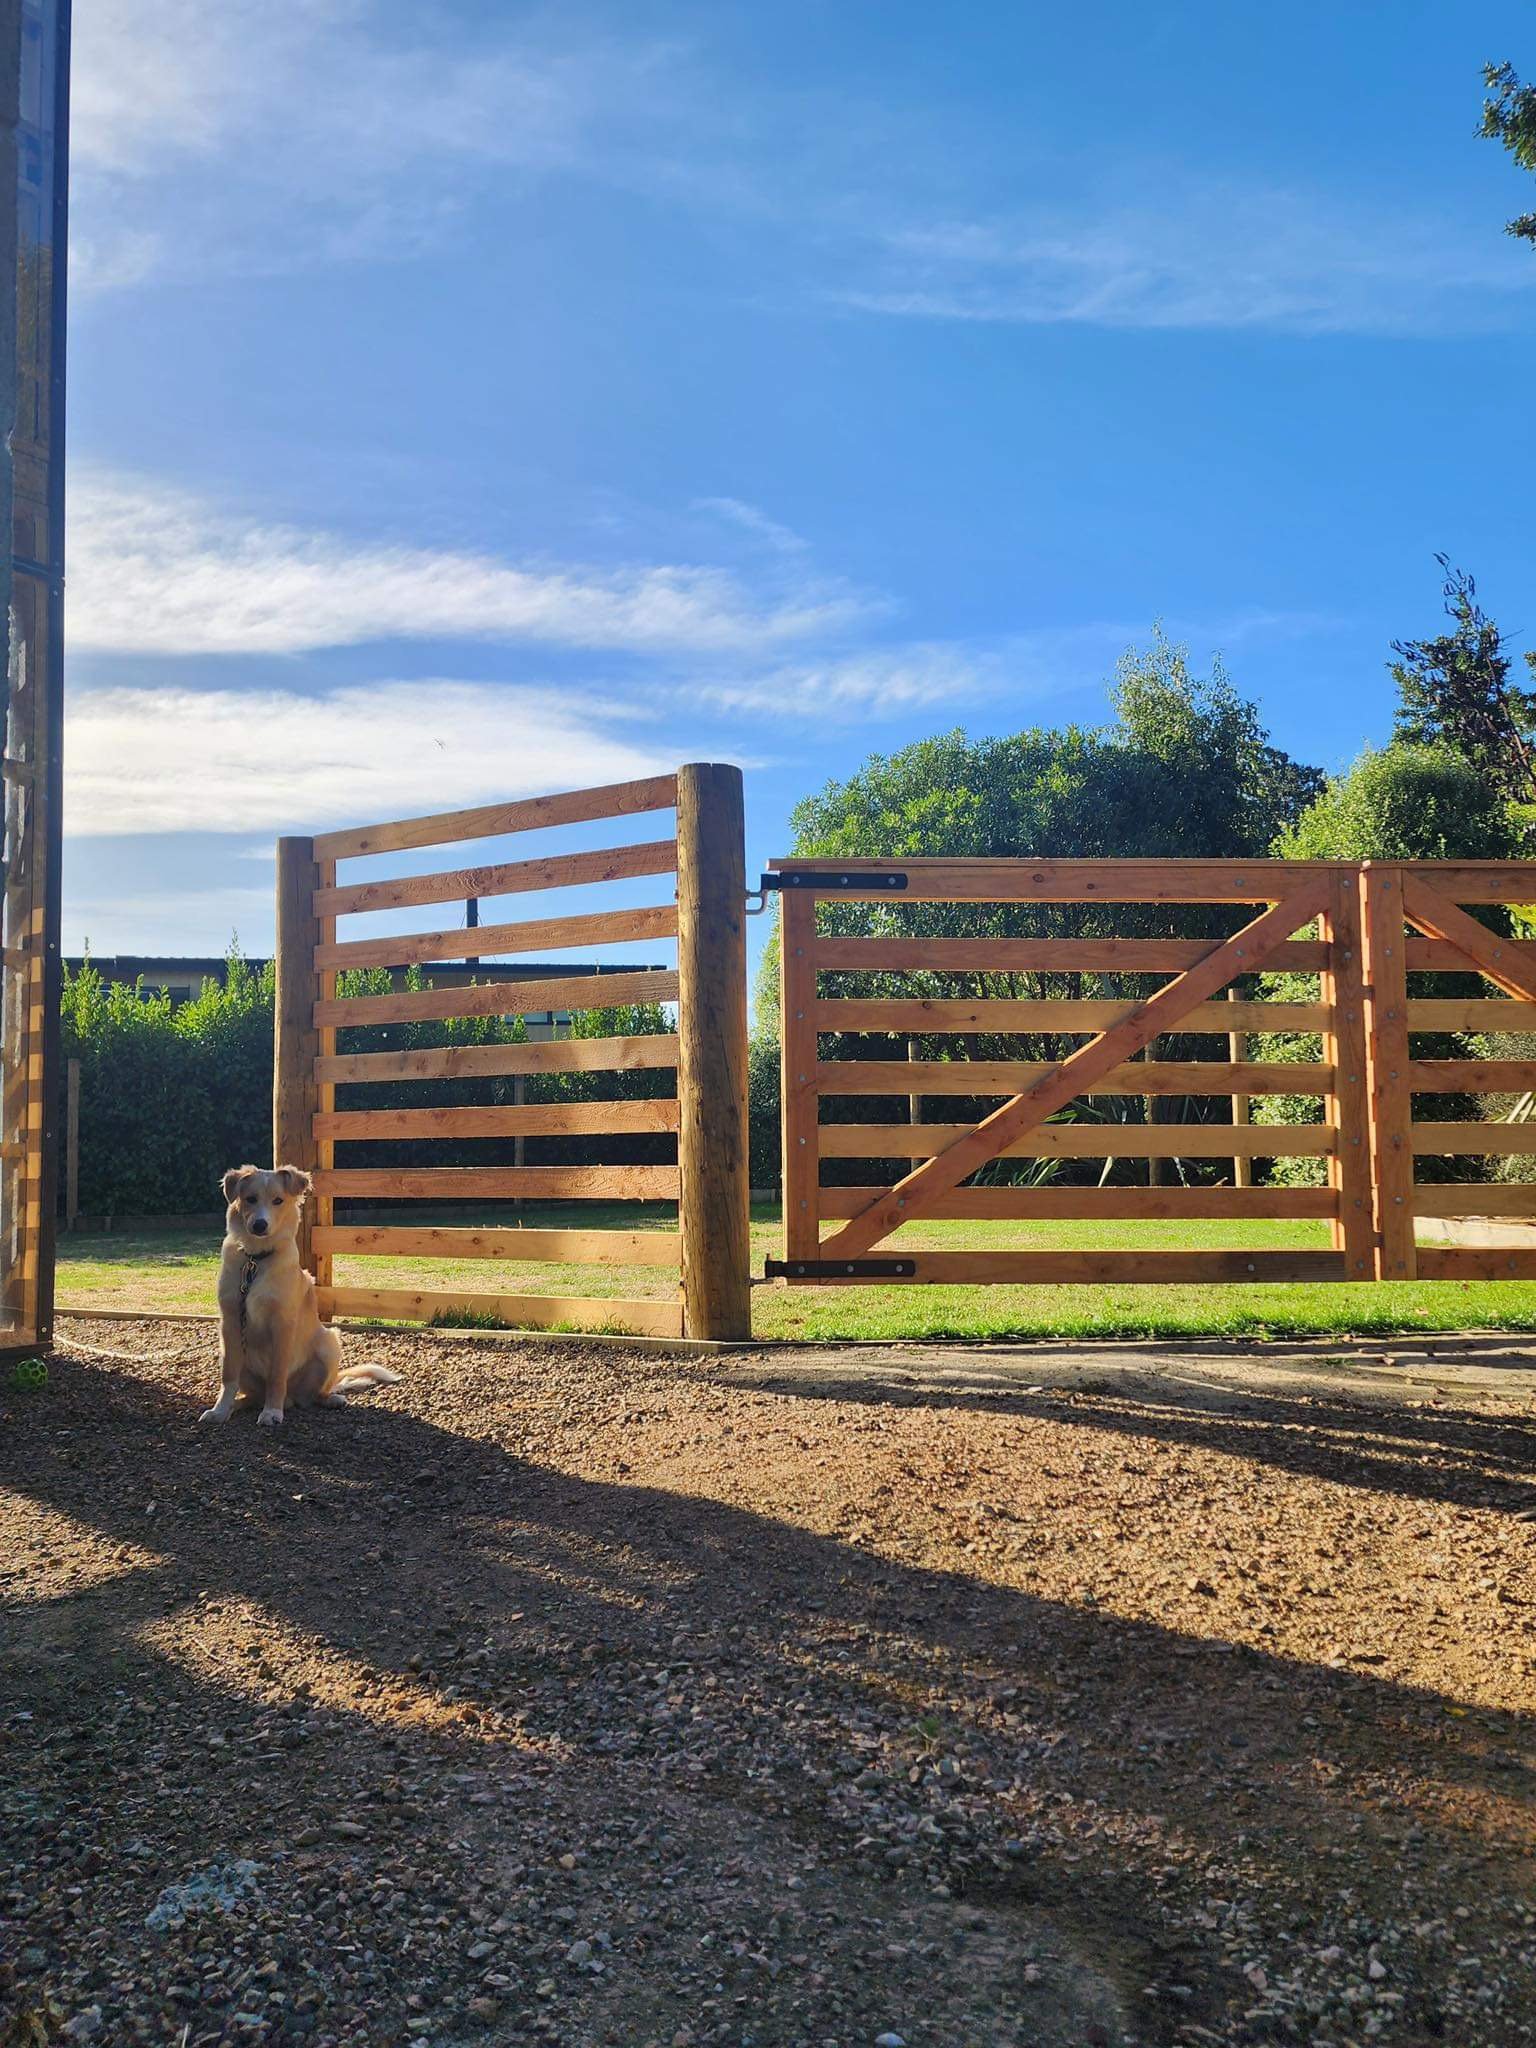
Made some gates so Finn has a nice place to hang out off the lead. Gates are 100x25 Oregon and 200mm round strainers for each gate post buried a meter per side, pretty sturdy: He was keen to show that he could still escape if he wanted to… Alcatraz it is not… yet…
2 points
-
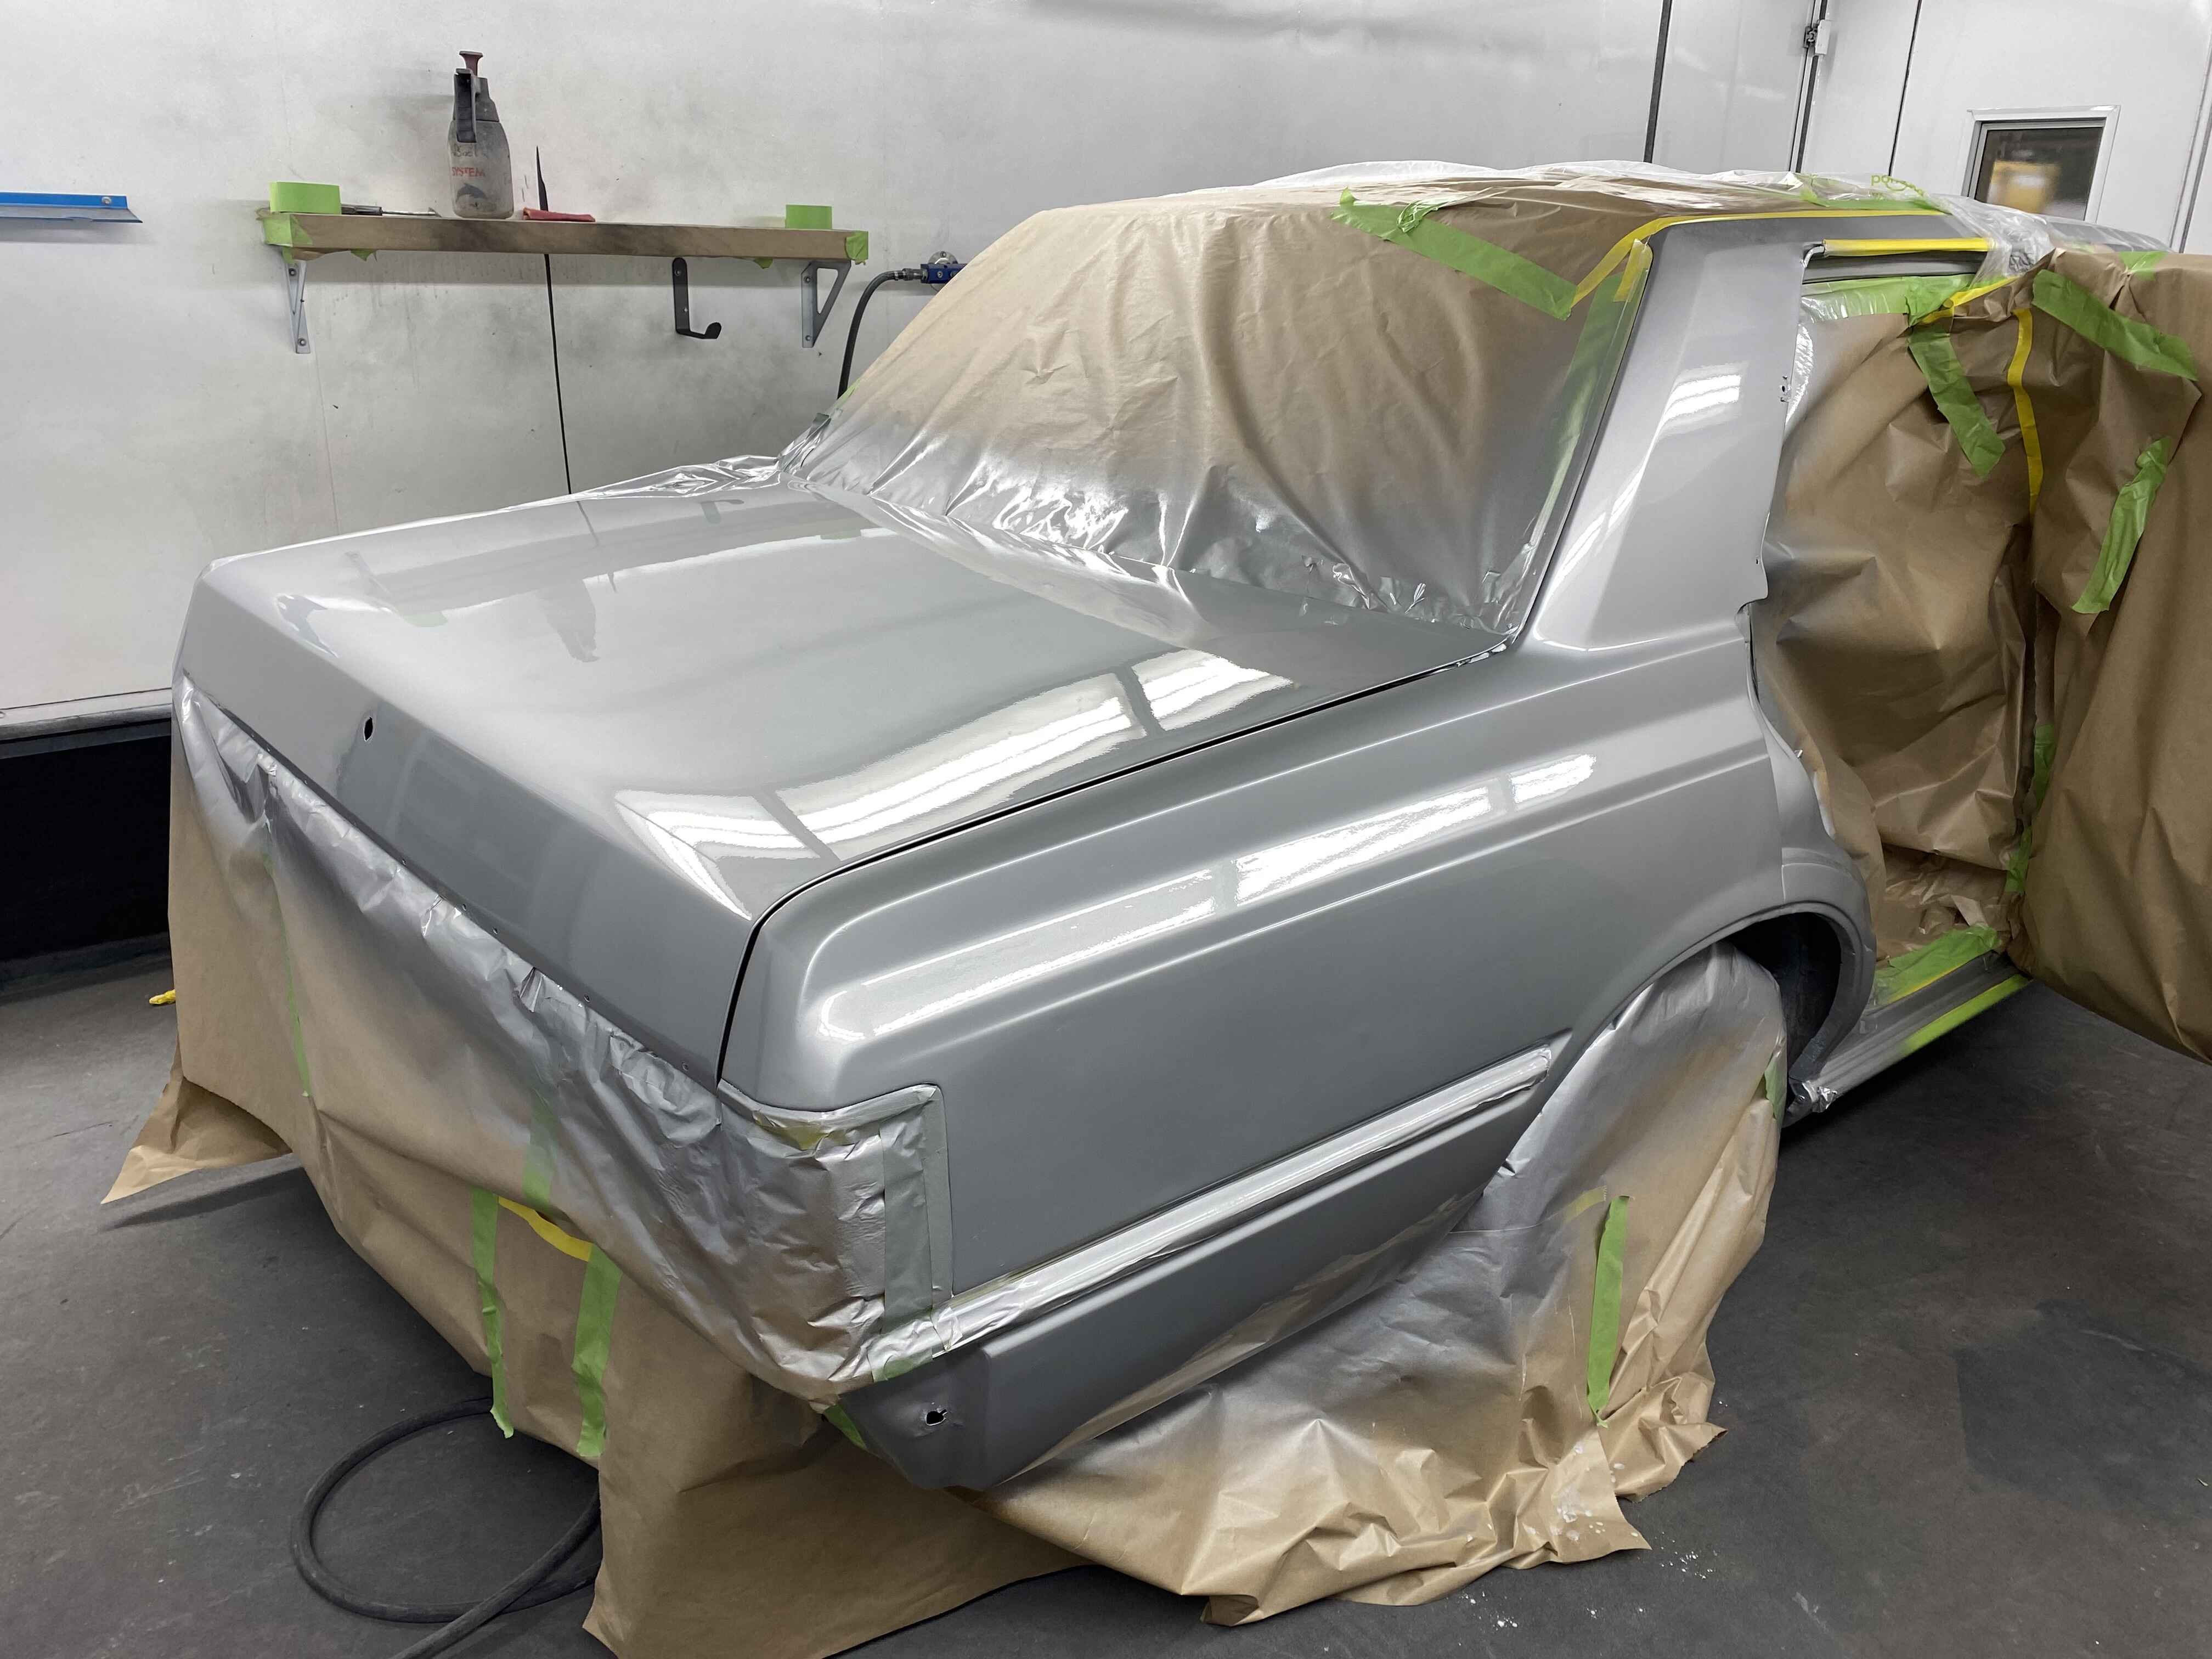
Body painted, trunk and hood should have been done today. Popped up the road and collected the rear bumper and other parts from the panel shop. Plan is to be all back together for the Beach Hop.
2 points
-
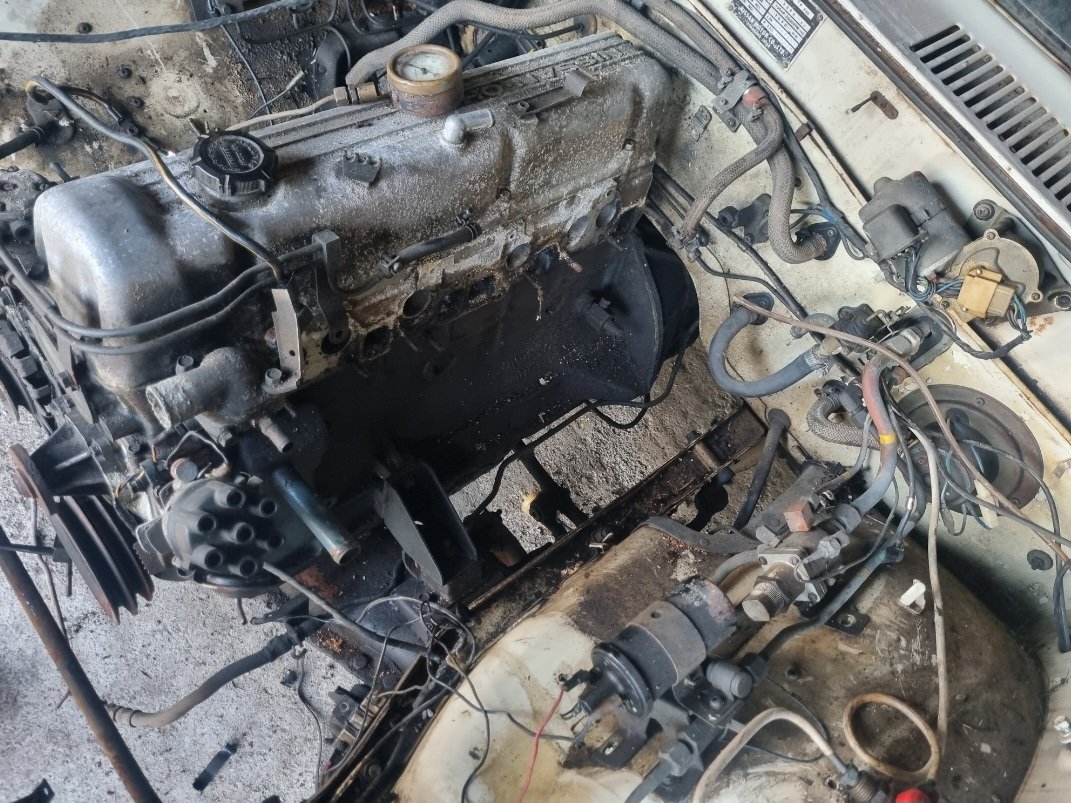
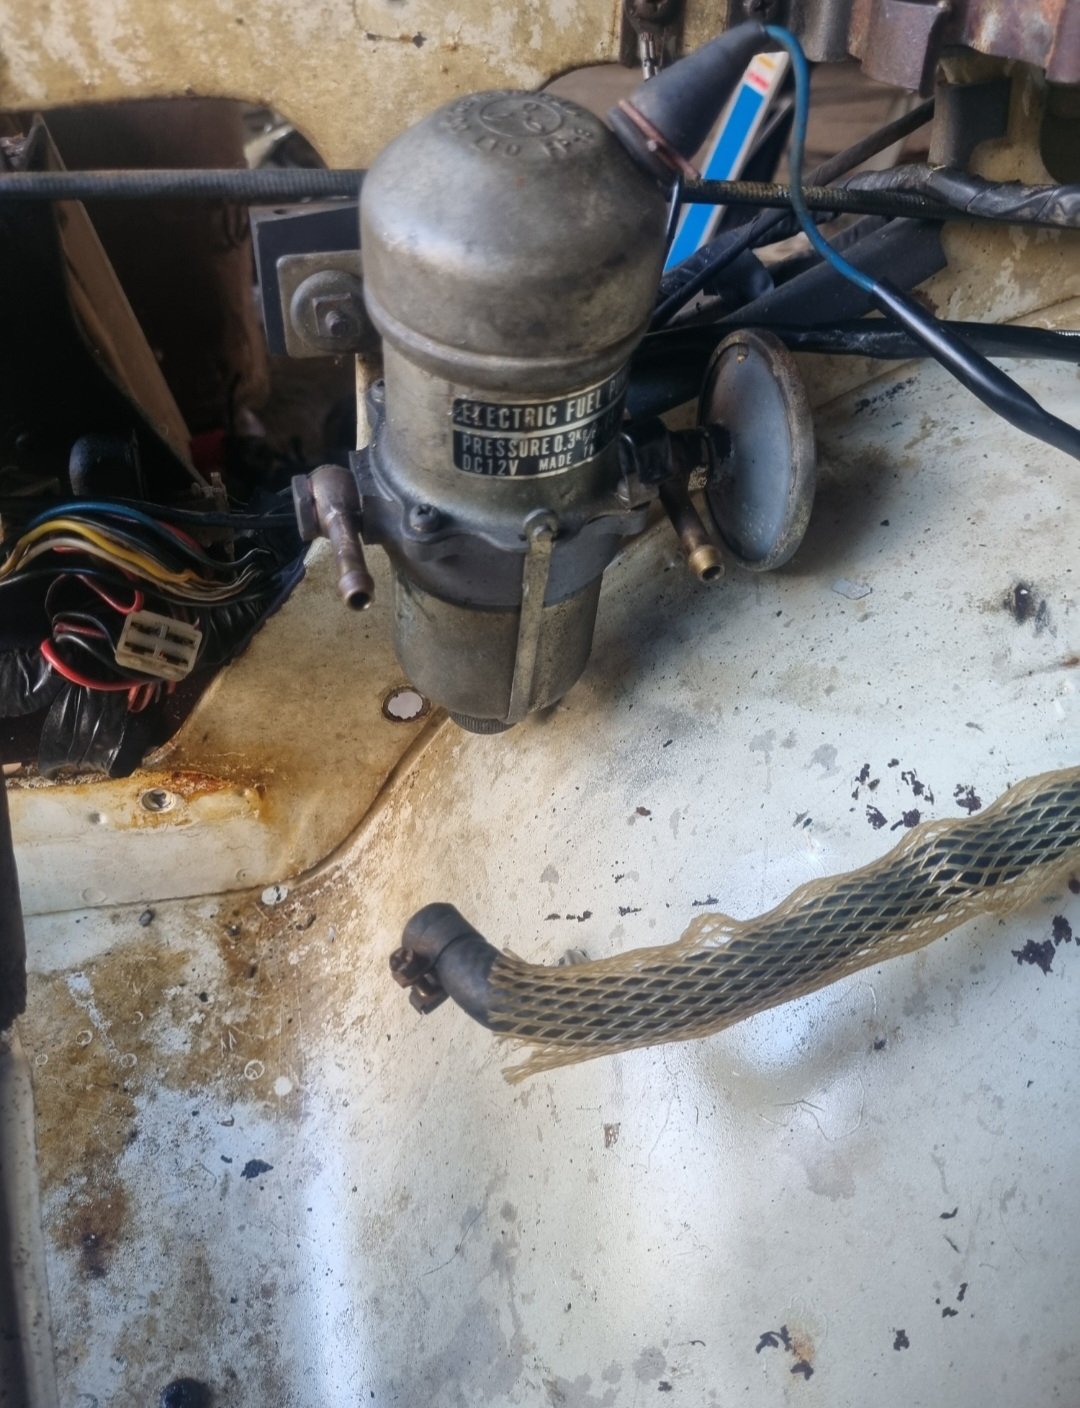
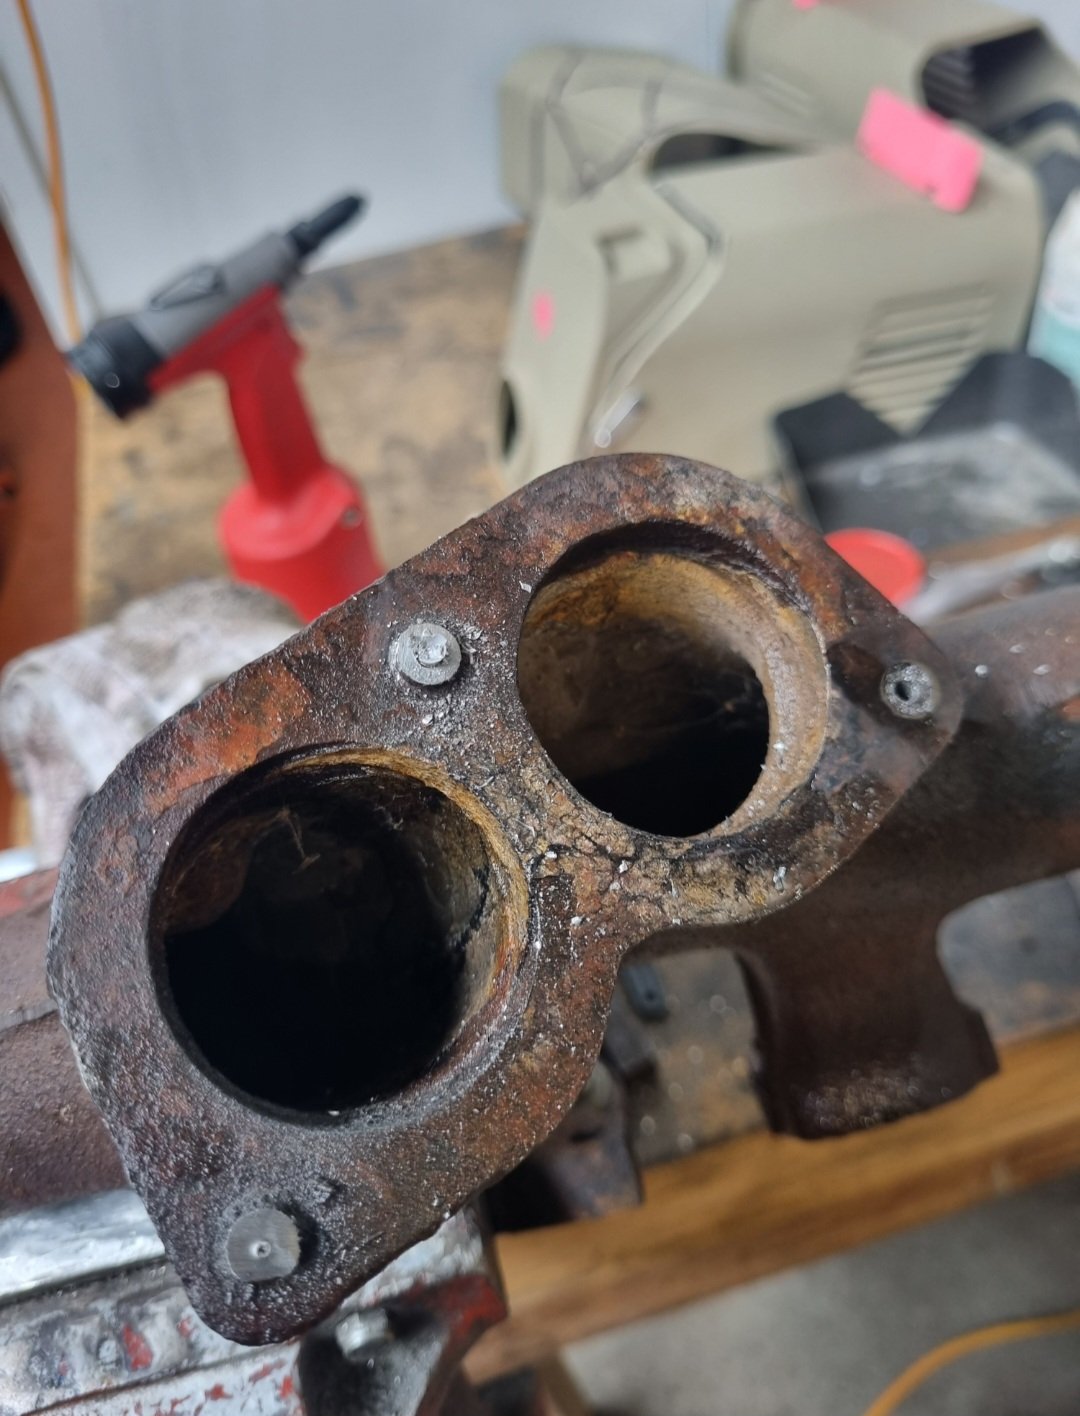
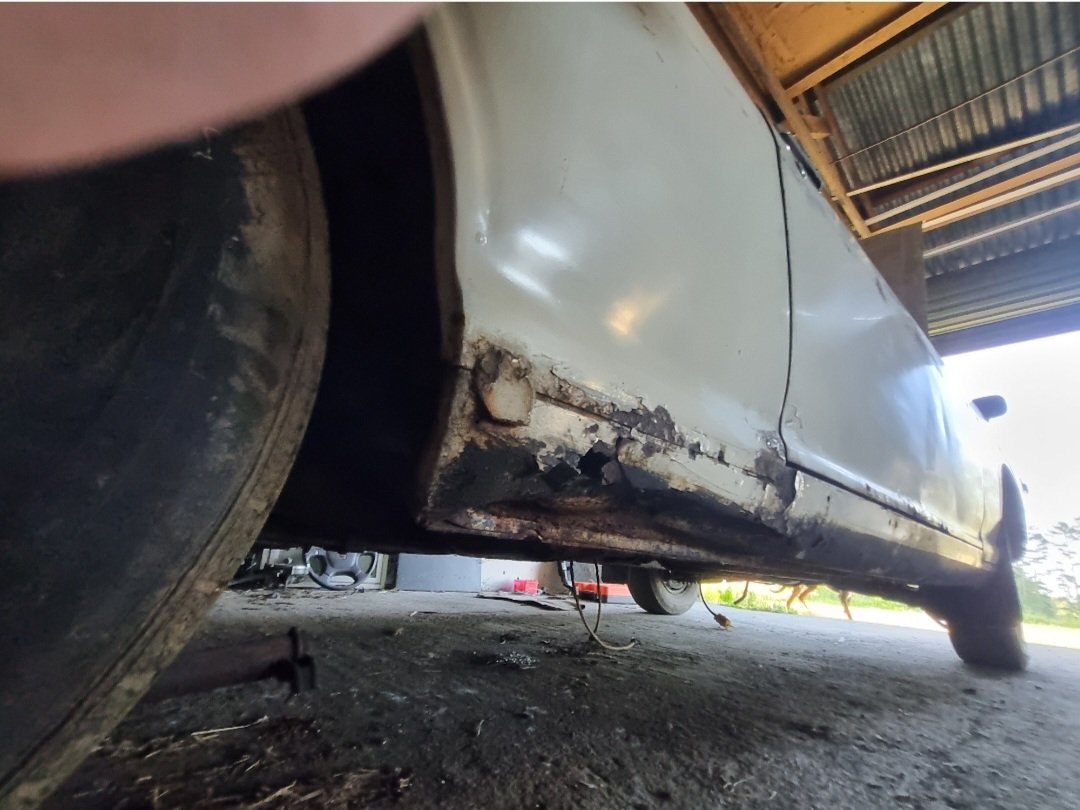
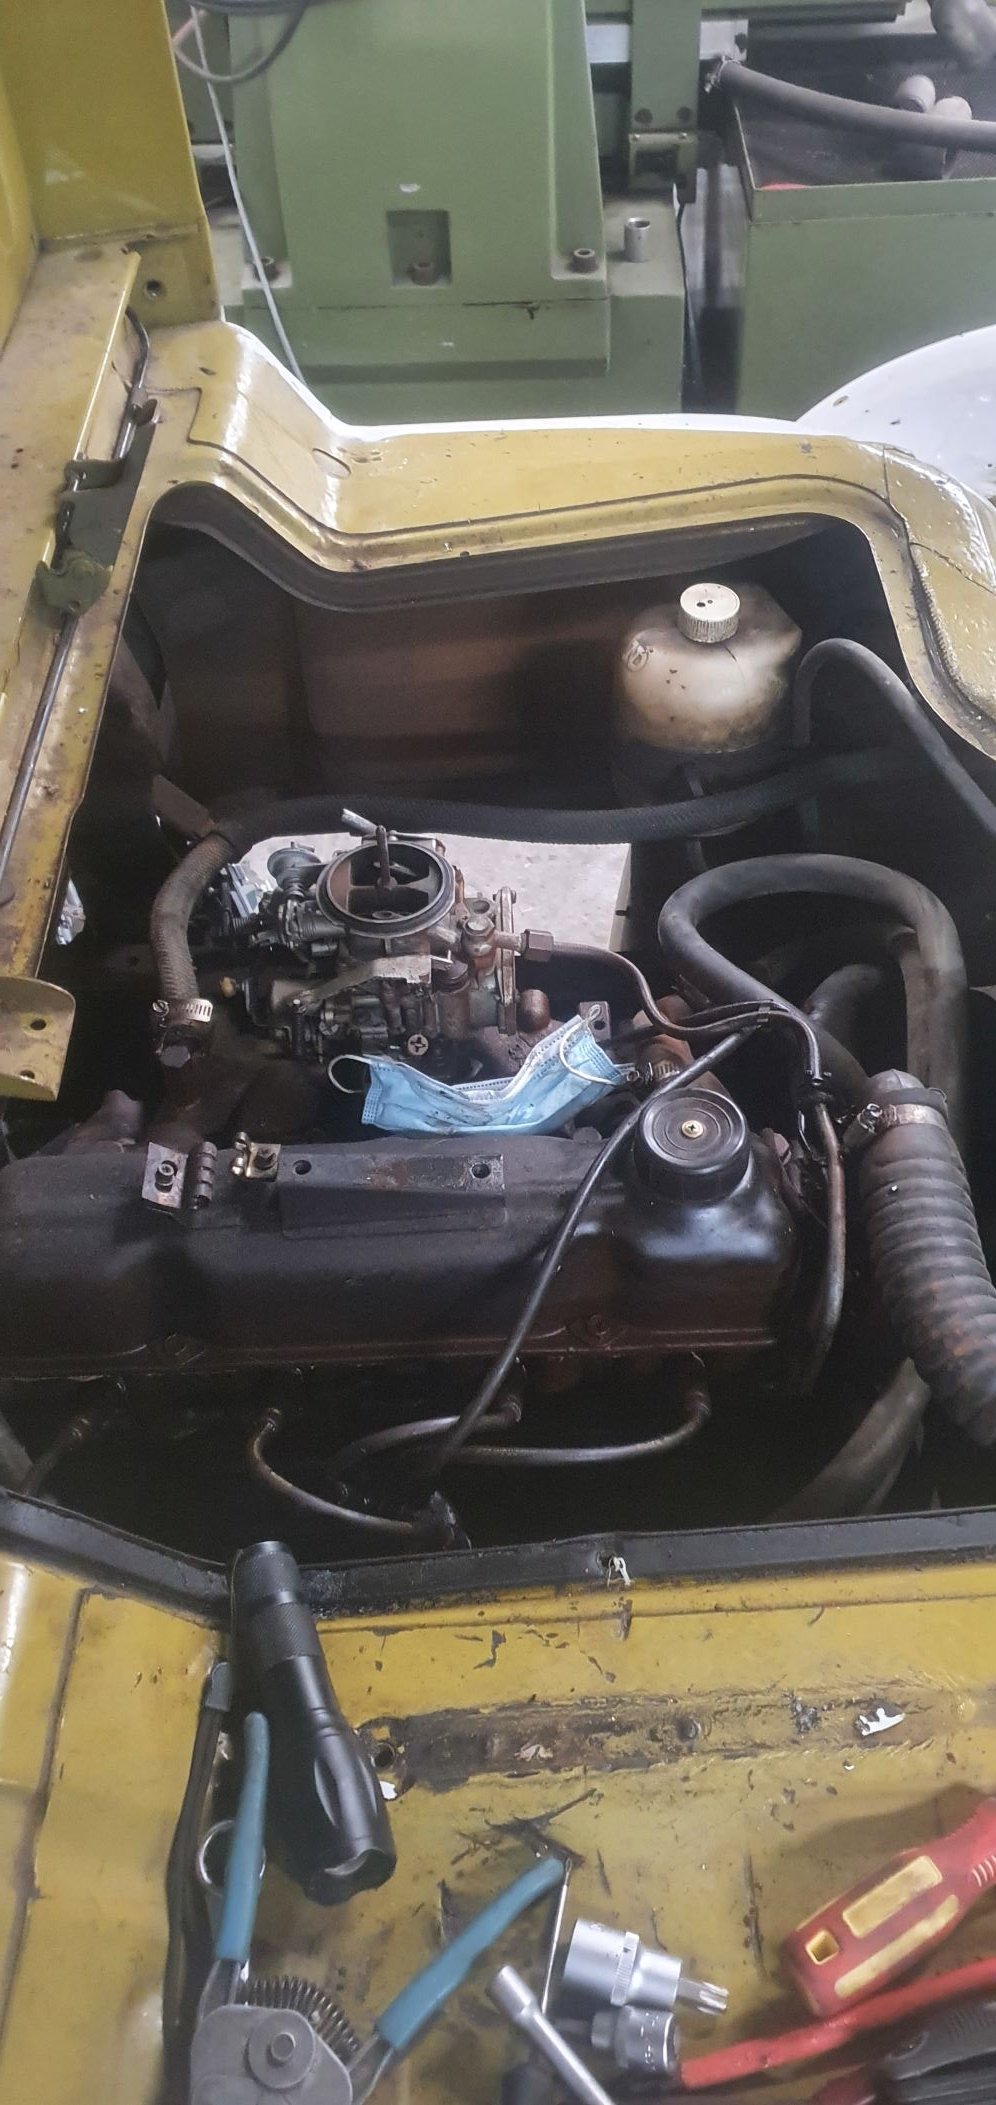
Been a few weeks now since I've had this thing. Started by deskunging engine bay with degreaser and waterblaster. Lucky my shed at home is so shit, as I had to waterblast it inside as the brakes are still seized. Before and after Removed a whole lot of junk out of the engine bay. Was originally a CNG car so all that shit went in the bin. Also had a/C so I pulled all that out too as I have no pump and the rest of it looked pretty unserviceable. Keeping it simple for now but would love the opportunity a/C eventually. Then set to deciphering the basket case wiring. It's like 15 year old me had been there and thought I could improve on it. Bit of work with the test light and had it all figured out. A lot of fuckery was going on but I got to the bottom of it. Had an electric pump owing to the CNG, I didn't hold much hope but shorting it sprung it into life. Next up removing many broken studs and retapping holes. All gravy. The big news today however is that after finding all the various parts that were strewn all through it (thankfully only a few bits are missing), and assembling back onto the engine with a new manifold gasket, thanks to @fletch new front pulley (had big chunk missing) and new thermostat housing. Old bitch fired up, after my comedy of errors forgetting to install rotor...woops! Thing runs mint, oil pressure around 60psi so I'm happy. I'm surprised it actually ran on the decayed plugs I cleaned up and shitty leads, but firing on 6 and sounding like she's ready for the demo derby! I'm stoked Have also cleaned and vacuumed out the rat shit from inside and pulled the old house carpet out and, whilst not mint inside is really not too bad. Door trims are a bit fucked and the seats have a few tears, as well as missing rear seat base, but otherwise good. Have assessed the rust situation and for an old Datsun it's really pretty good. The floor is mint. I mean mint. One pinhole. Engine bay also only a few pinholes, front cross member is toast though, so will remake once I get a rad support panel. A little bit on inner sills above floor, and both outer sills need replacement. One lower door needs a little bit of work, other is mint, as are the front guards, barring some dents and shit. Lower rear quarters and rear valance are toast, and boot floor either side of wheel well needs replacing. Not looking forward to finding a passenger's side rear window however... Next mish is to tidy up the bay wiring proper and perhaps get the brakes working so I can do some skids. That's why you own a Datsun. Will then work from front towards the back on the body work. This is not taking precedent over the camper, I have simply had more time to tutu with it in the school hols. Have spent a grand total of about $45 on parts so far to get it running, sold off some shit too which has offset the price of a set of widened steelies @ThePog kindly located for me in the mainland. Chur.
2 points
-
While that's going on a work colleague has tidied up the right rear wheel arch and flicked some silver over the boot and rear corner. I took this opportunity to fill the trim badge holes. I'm not sure what I'll put back there yet but I've always felt the factory setup is very busy, with "SuperSaloon" "Toyota" "Crown" and "2.8" all jammed in there. Once the rear doors are done we'll flick some paint up both sides to blend it a bit, and perhaps touch up the roof where the clear is coming off. I'd like to strip it back and do a proper job one day but I know I'd probably end up with the car off the road for years.
2 points
-
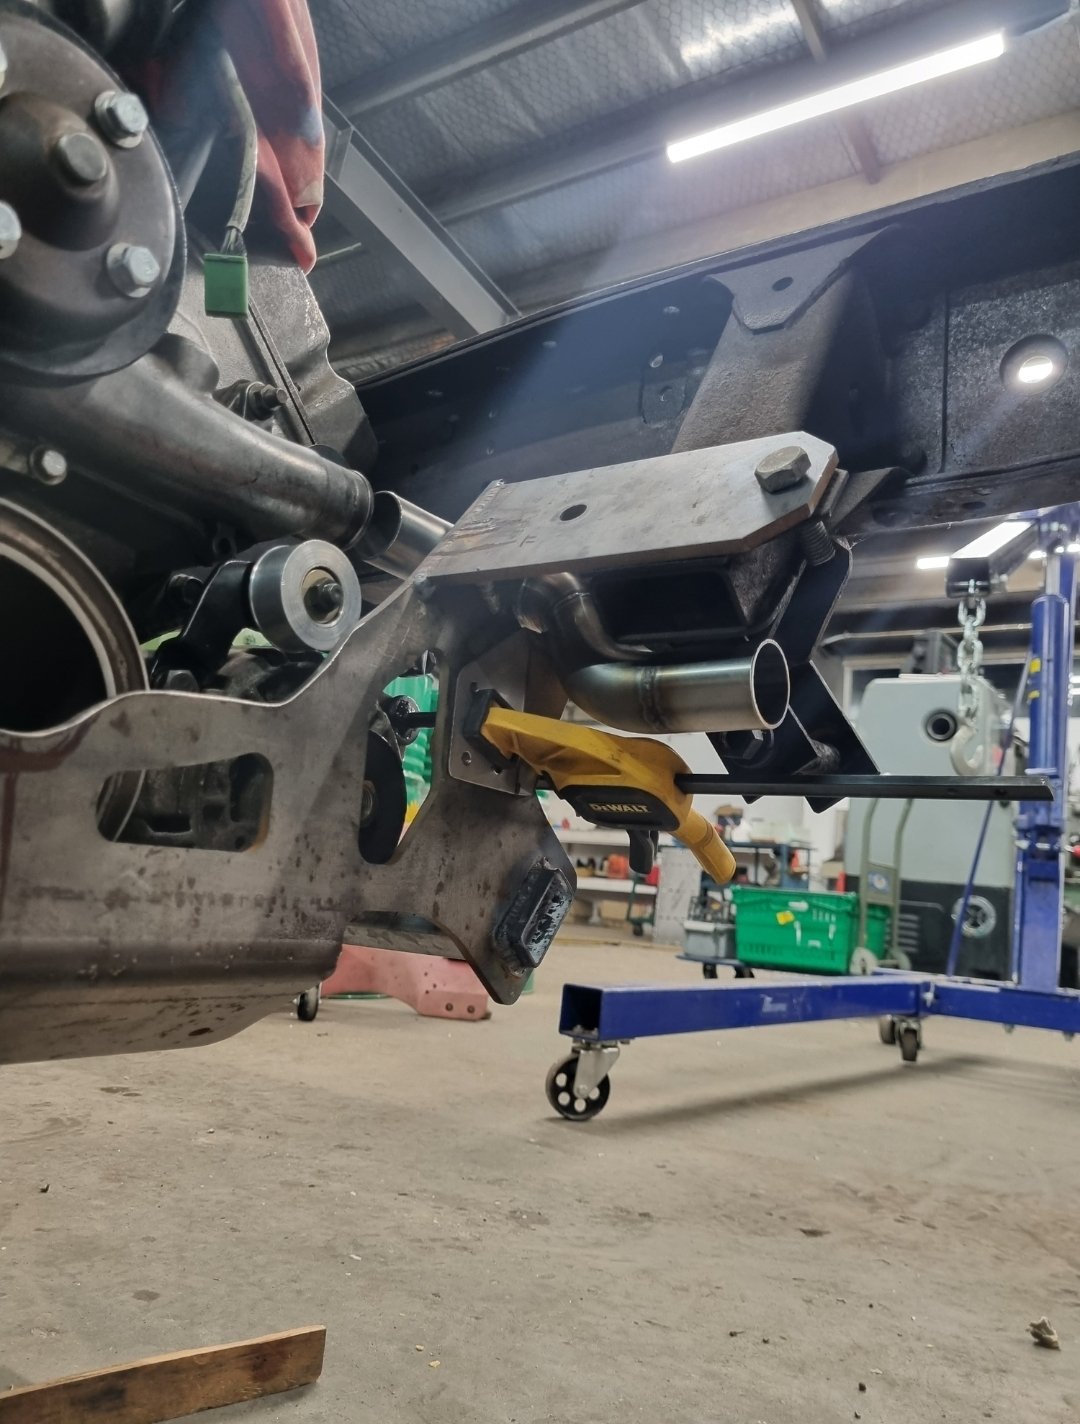
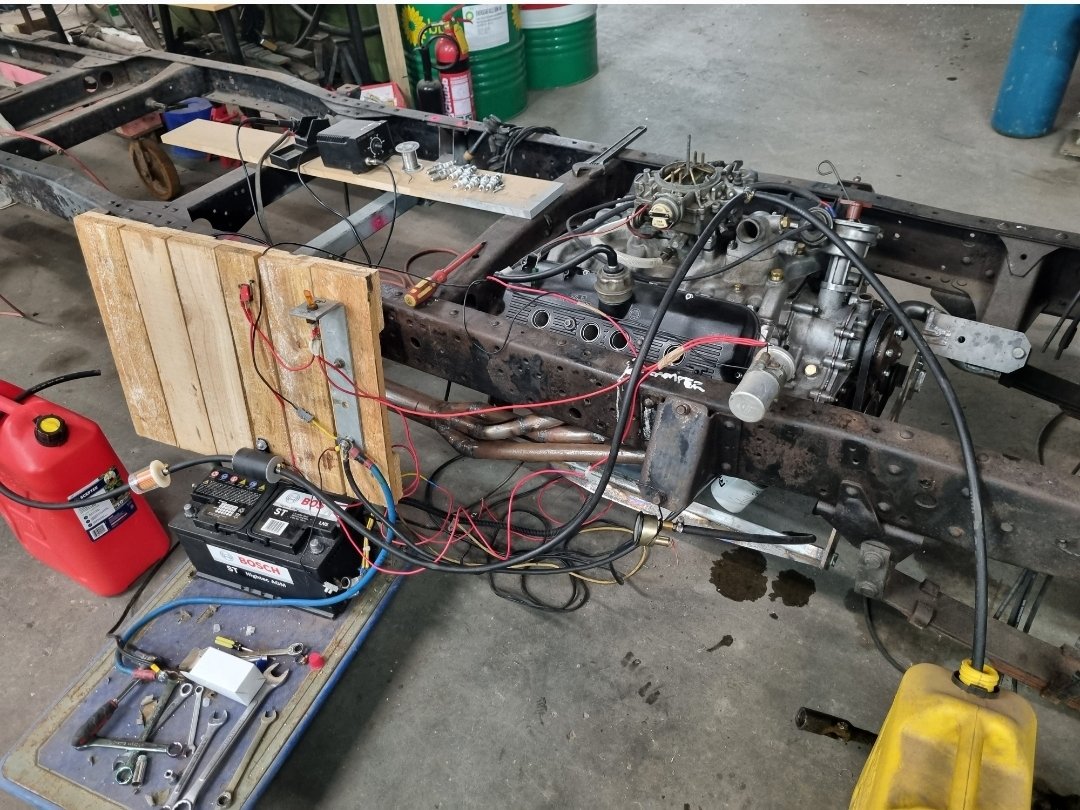
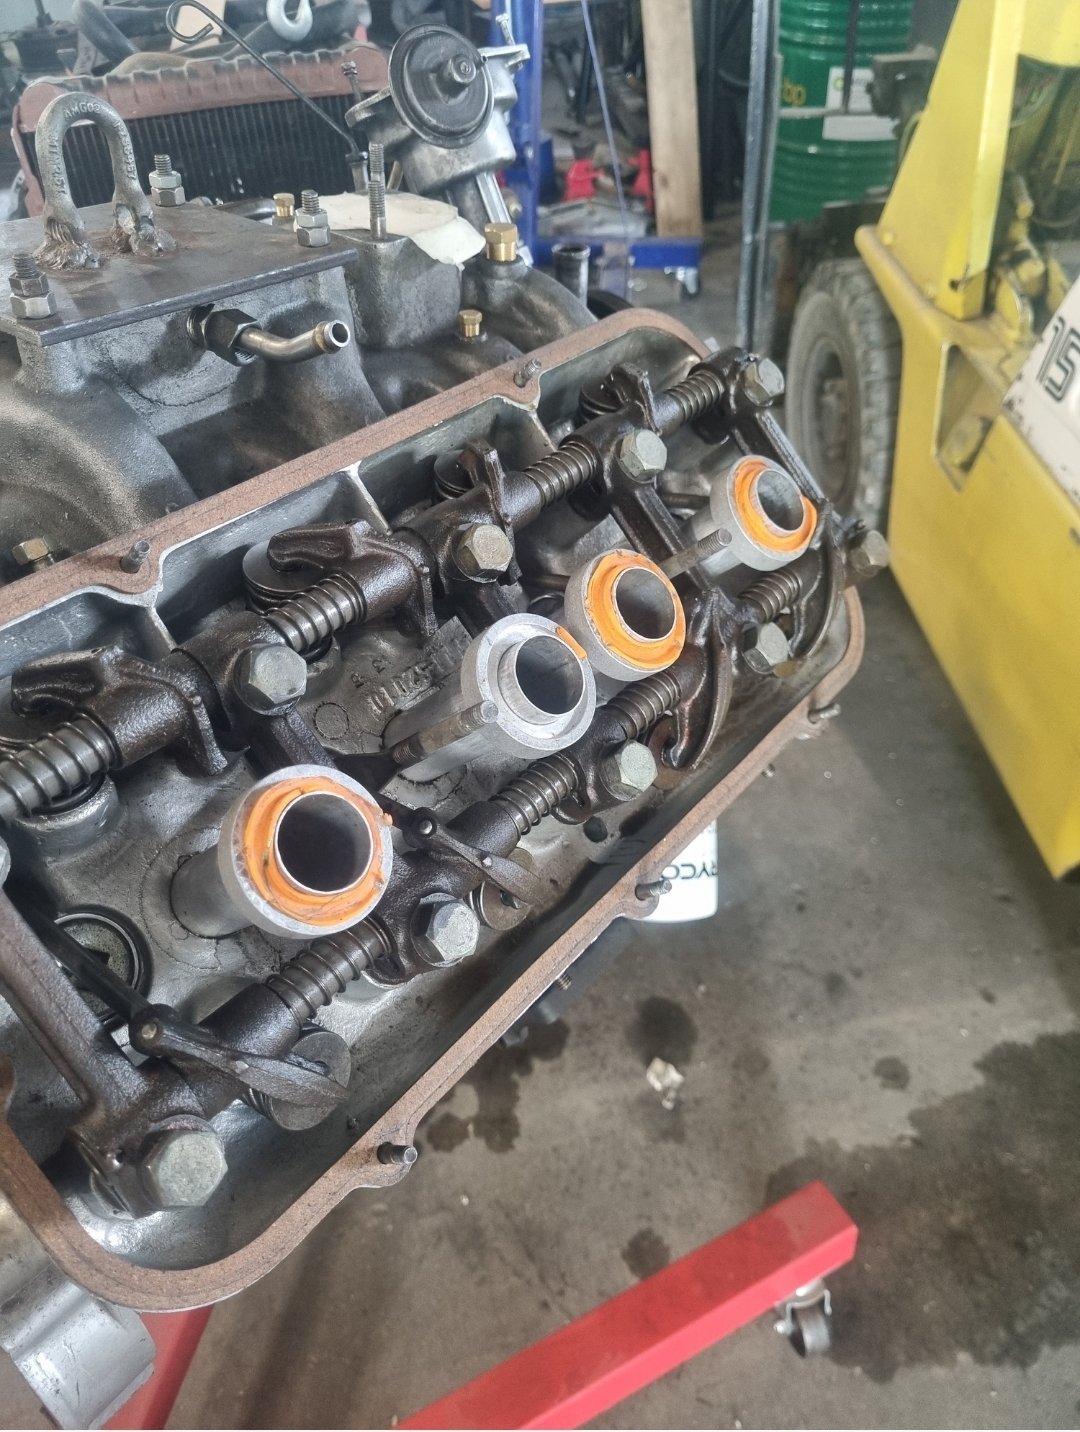
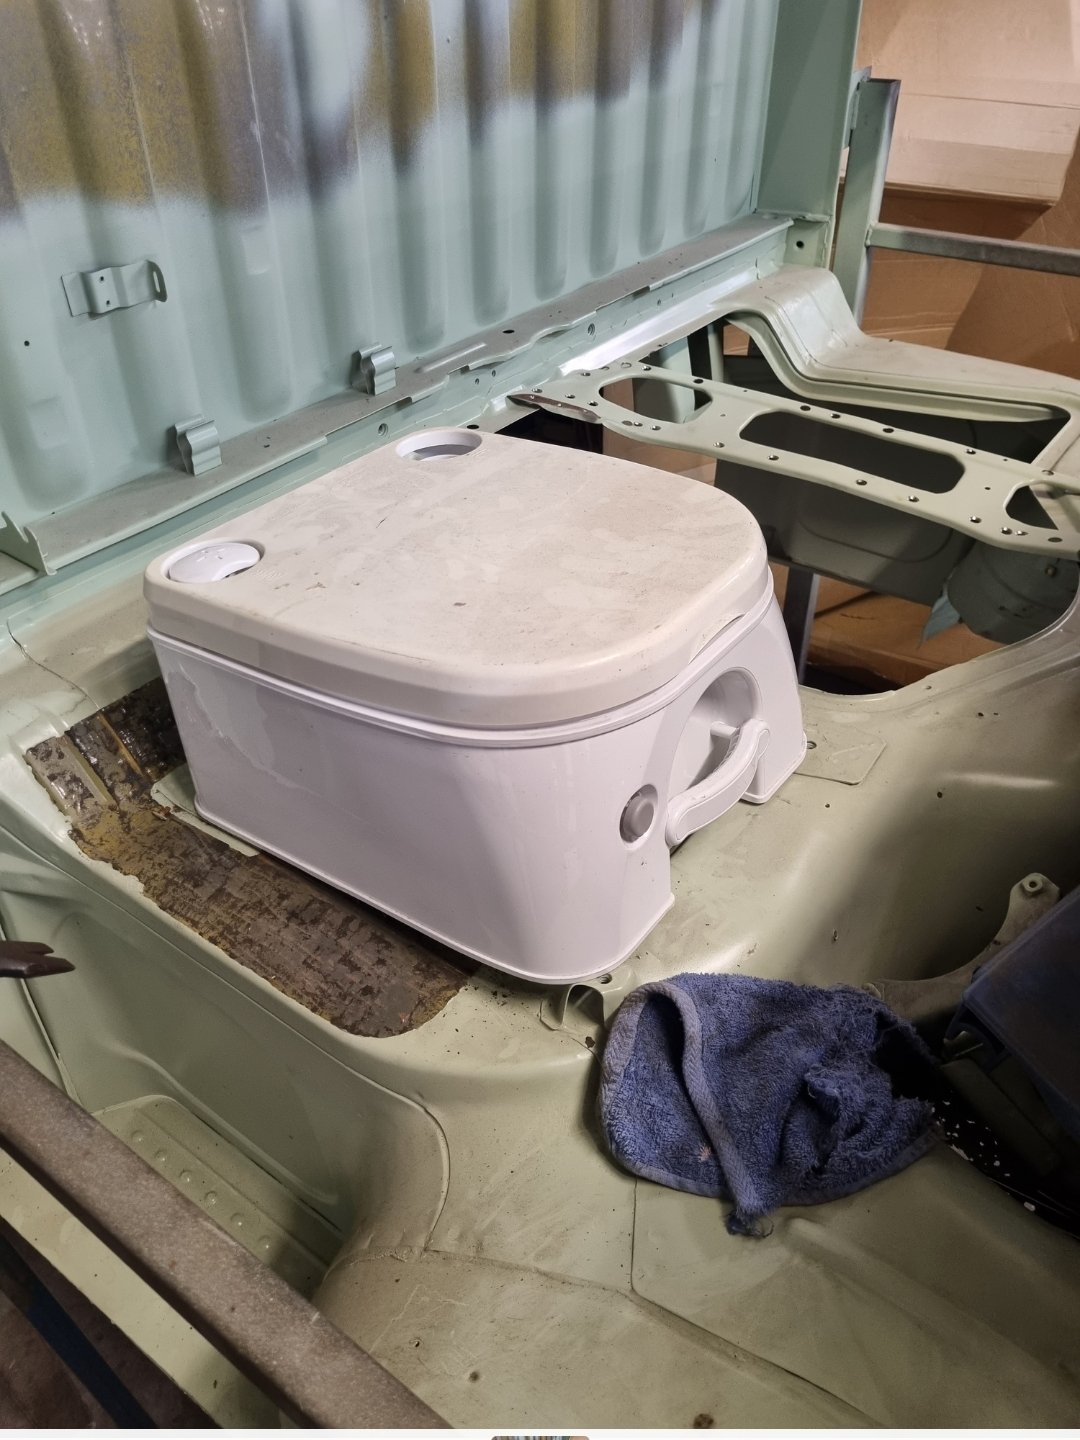
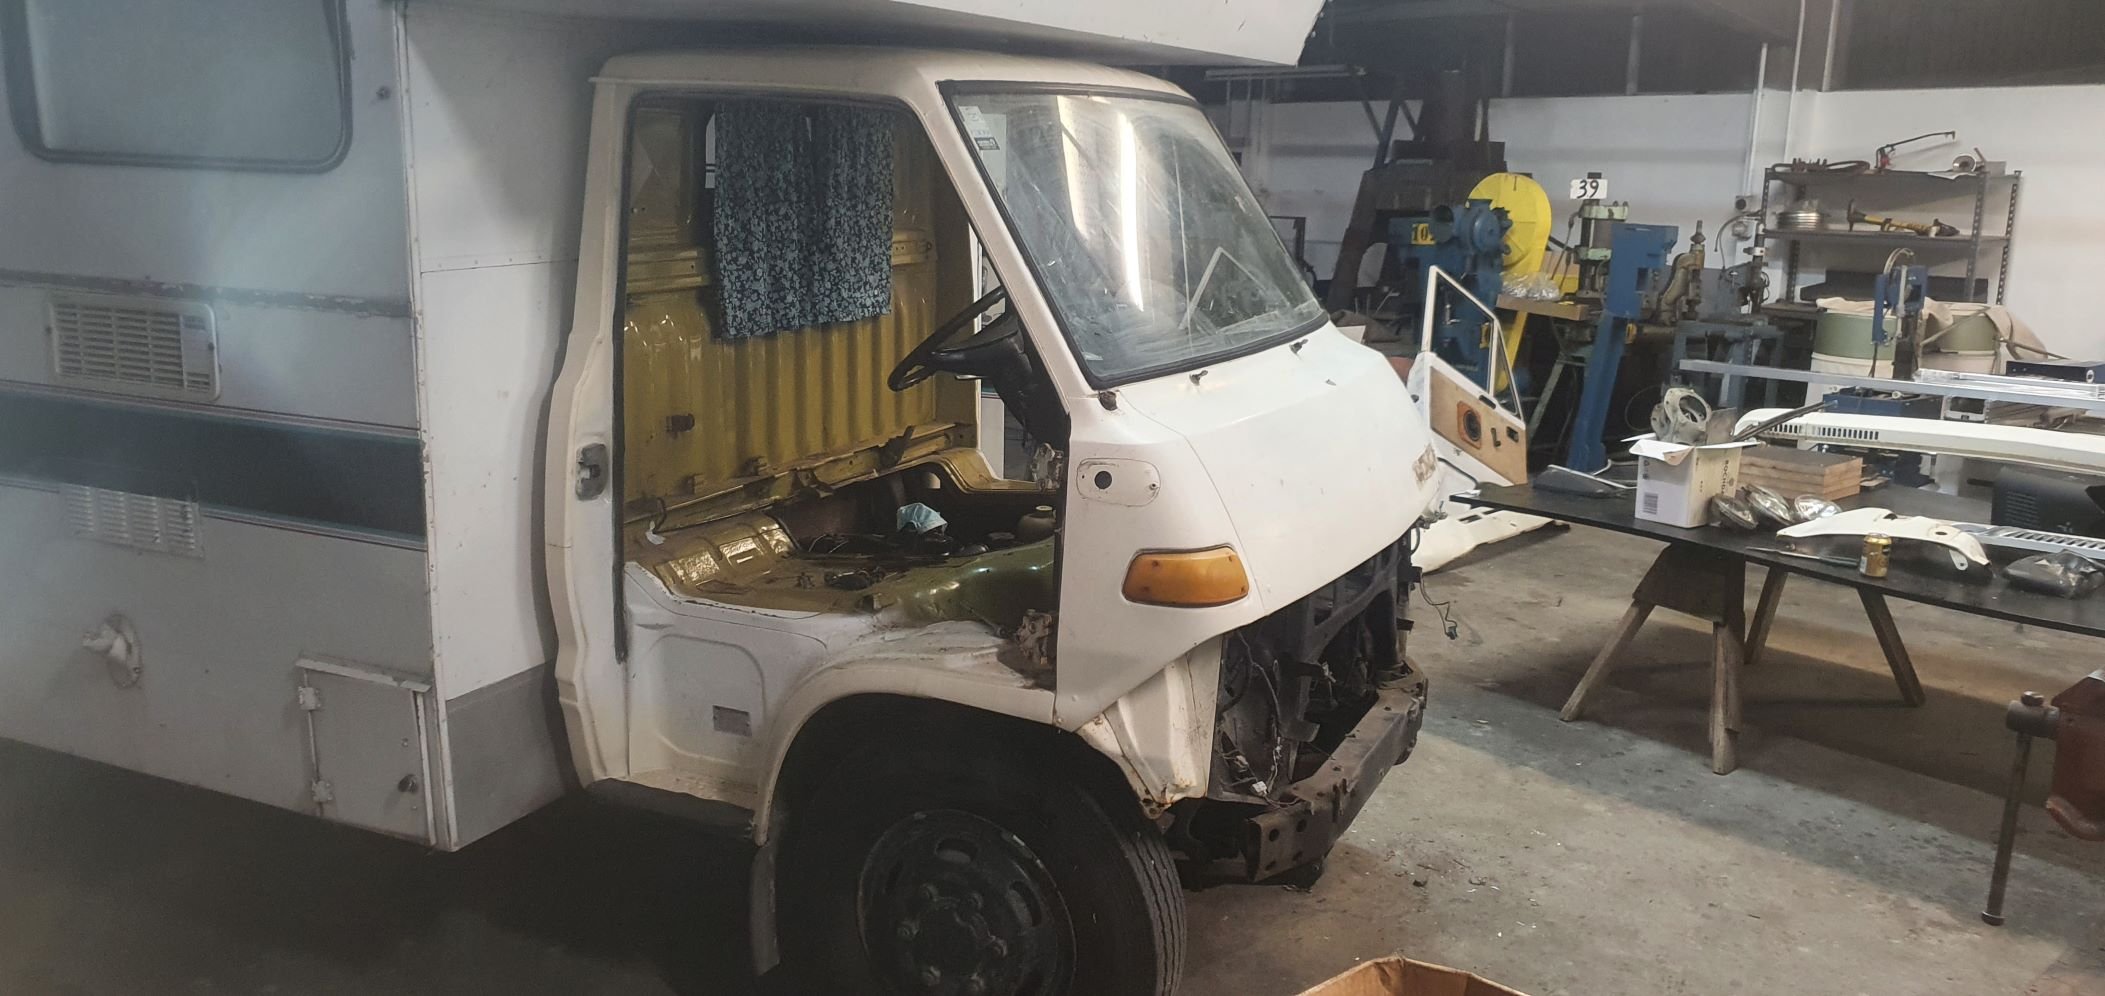
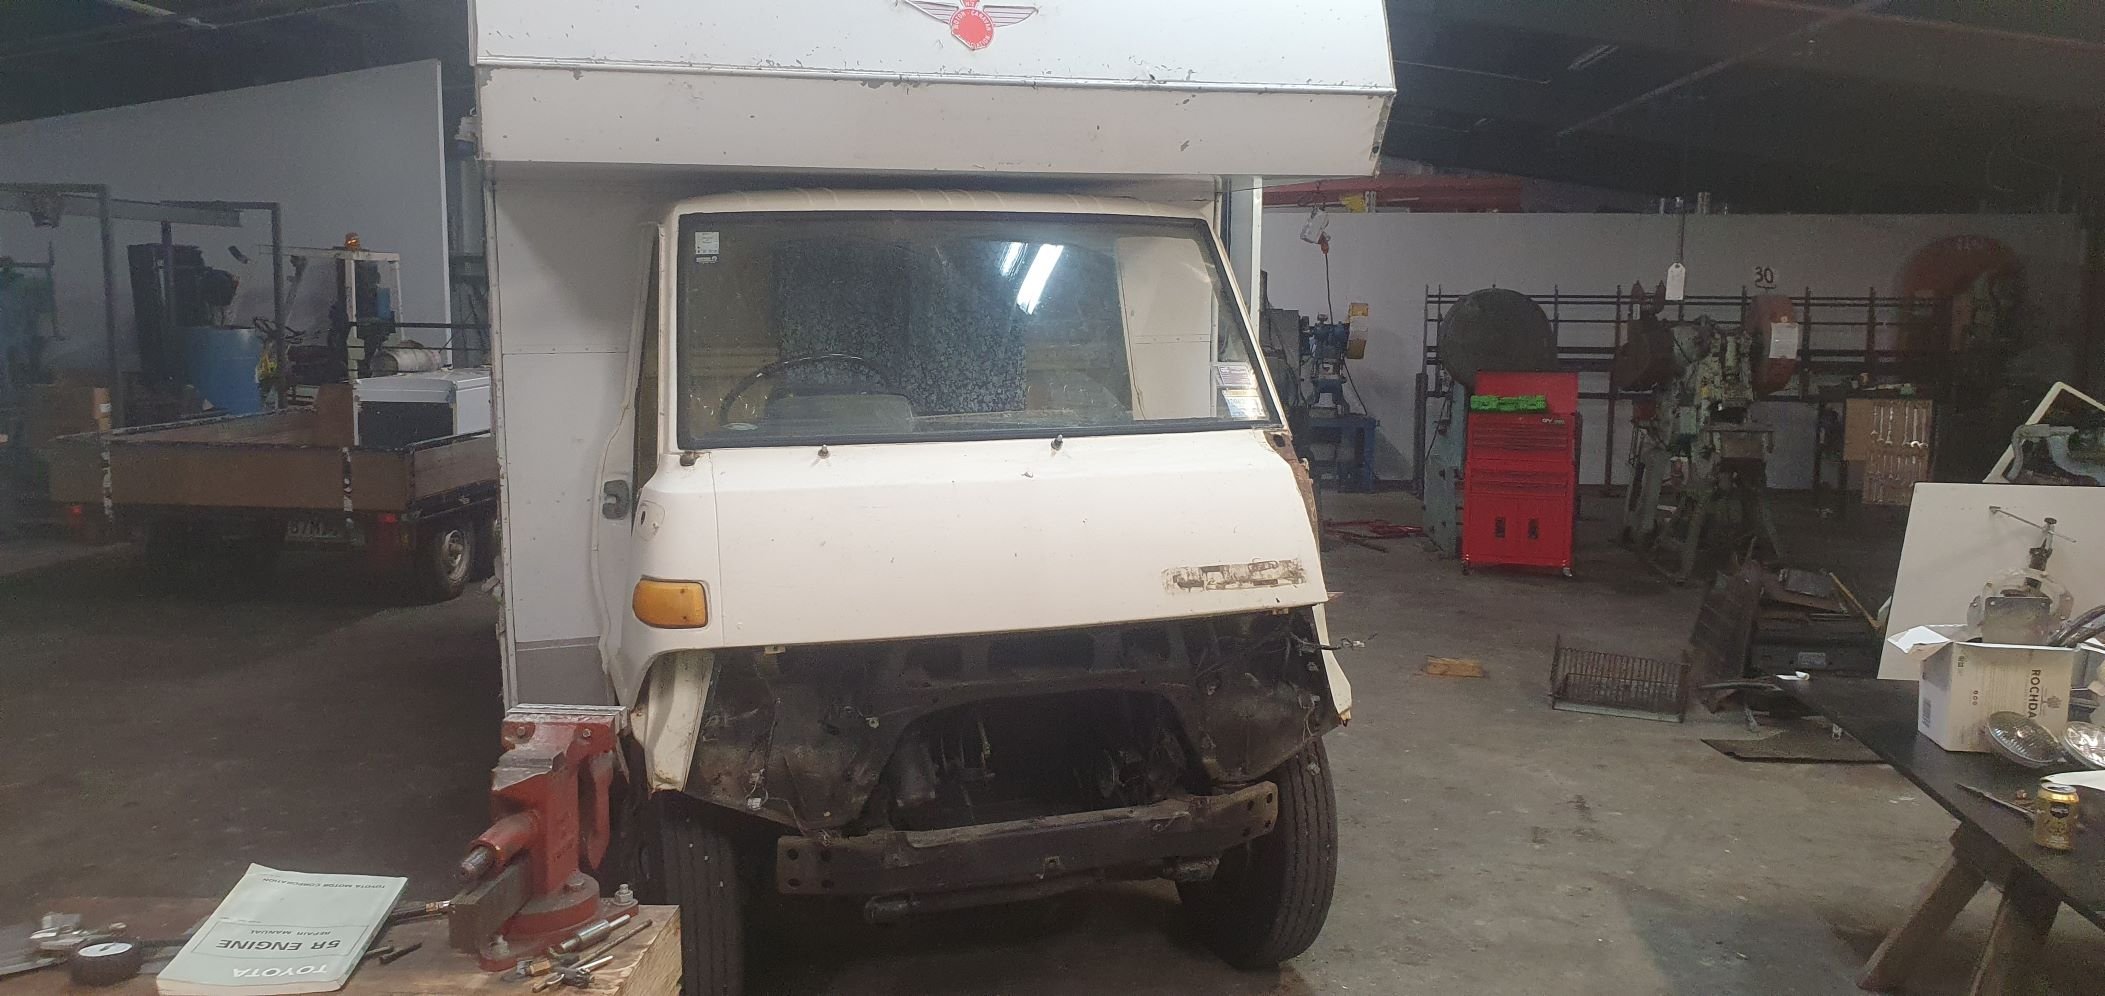
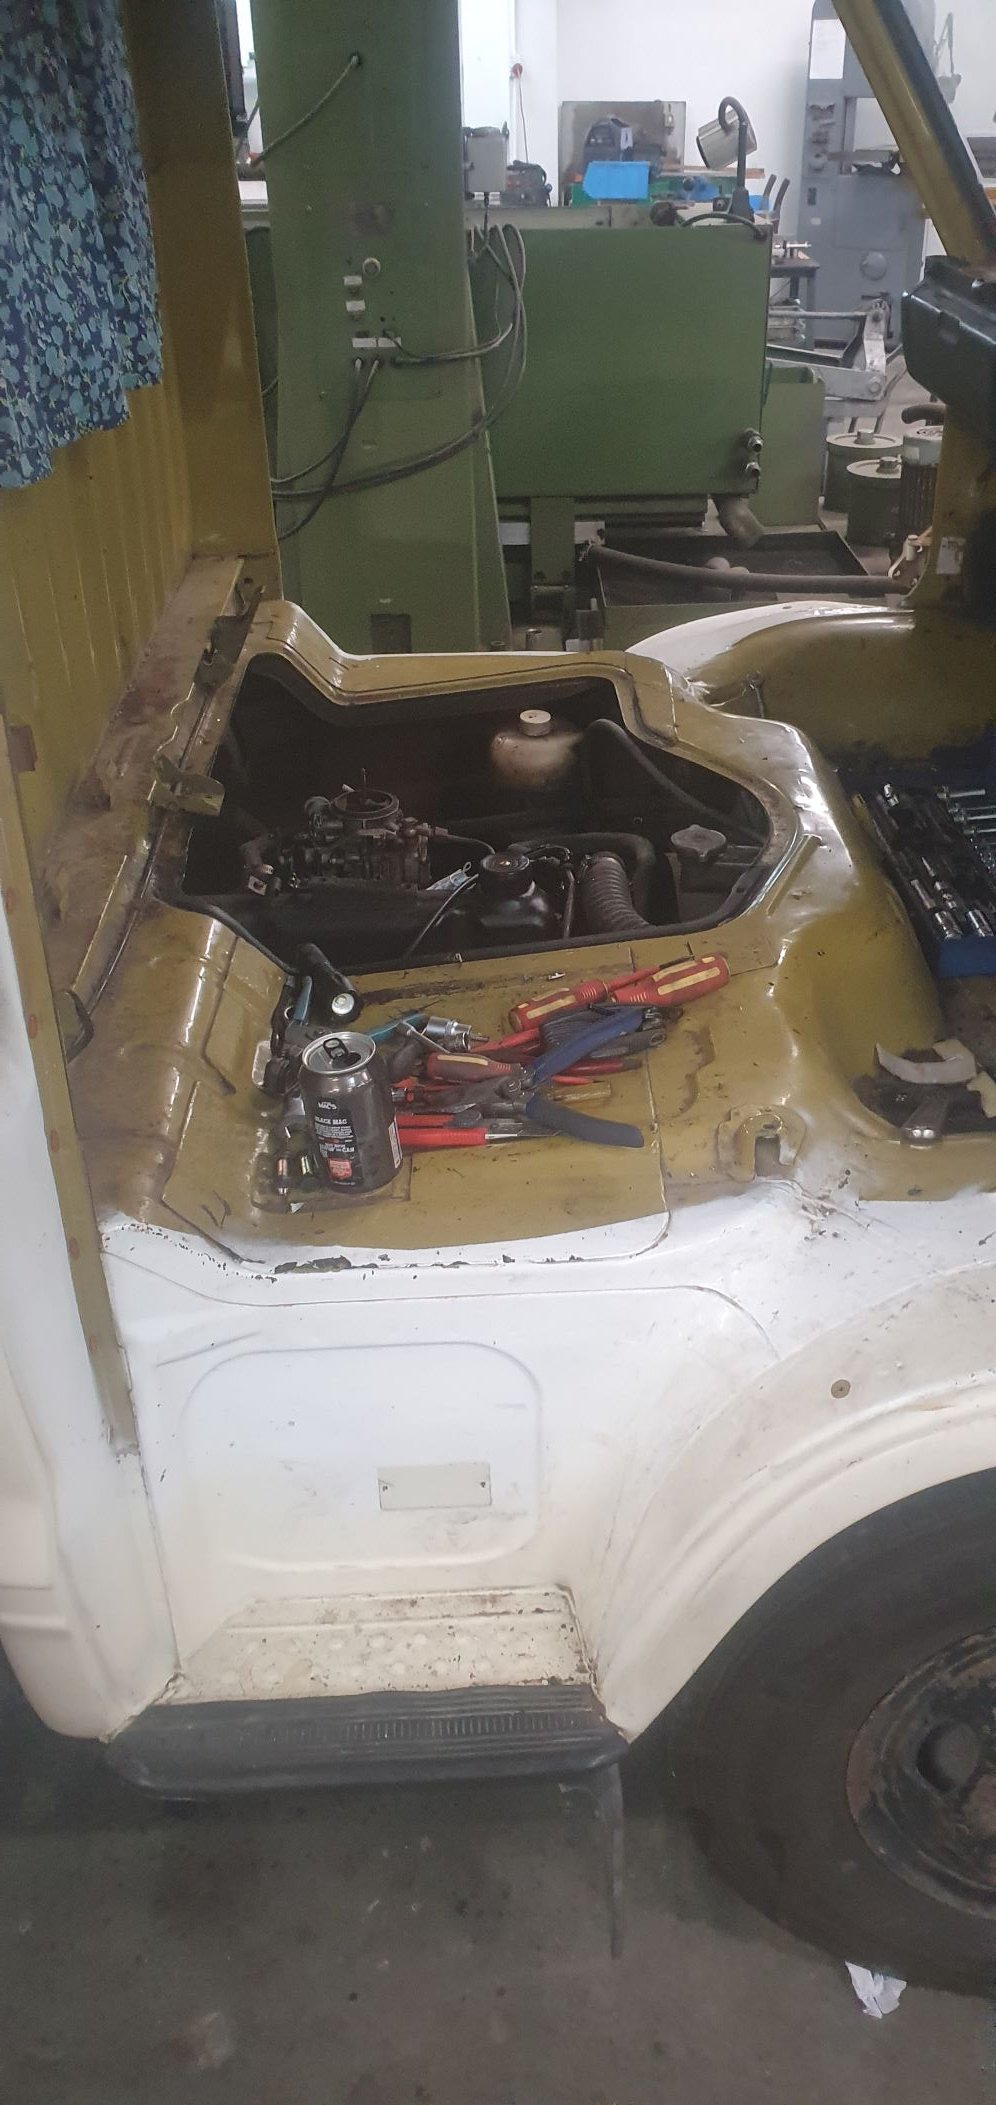
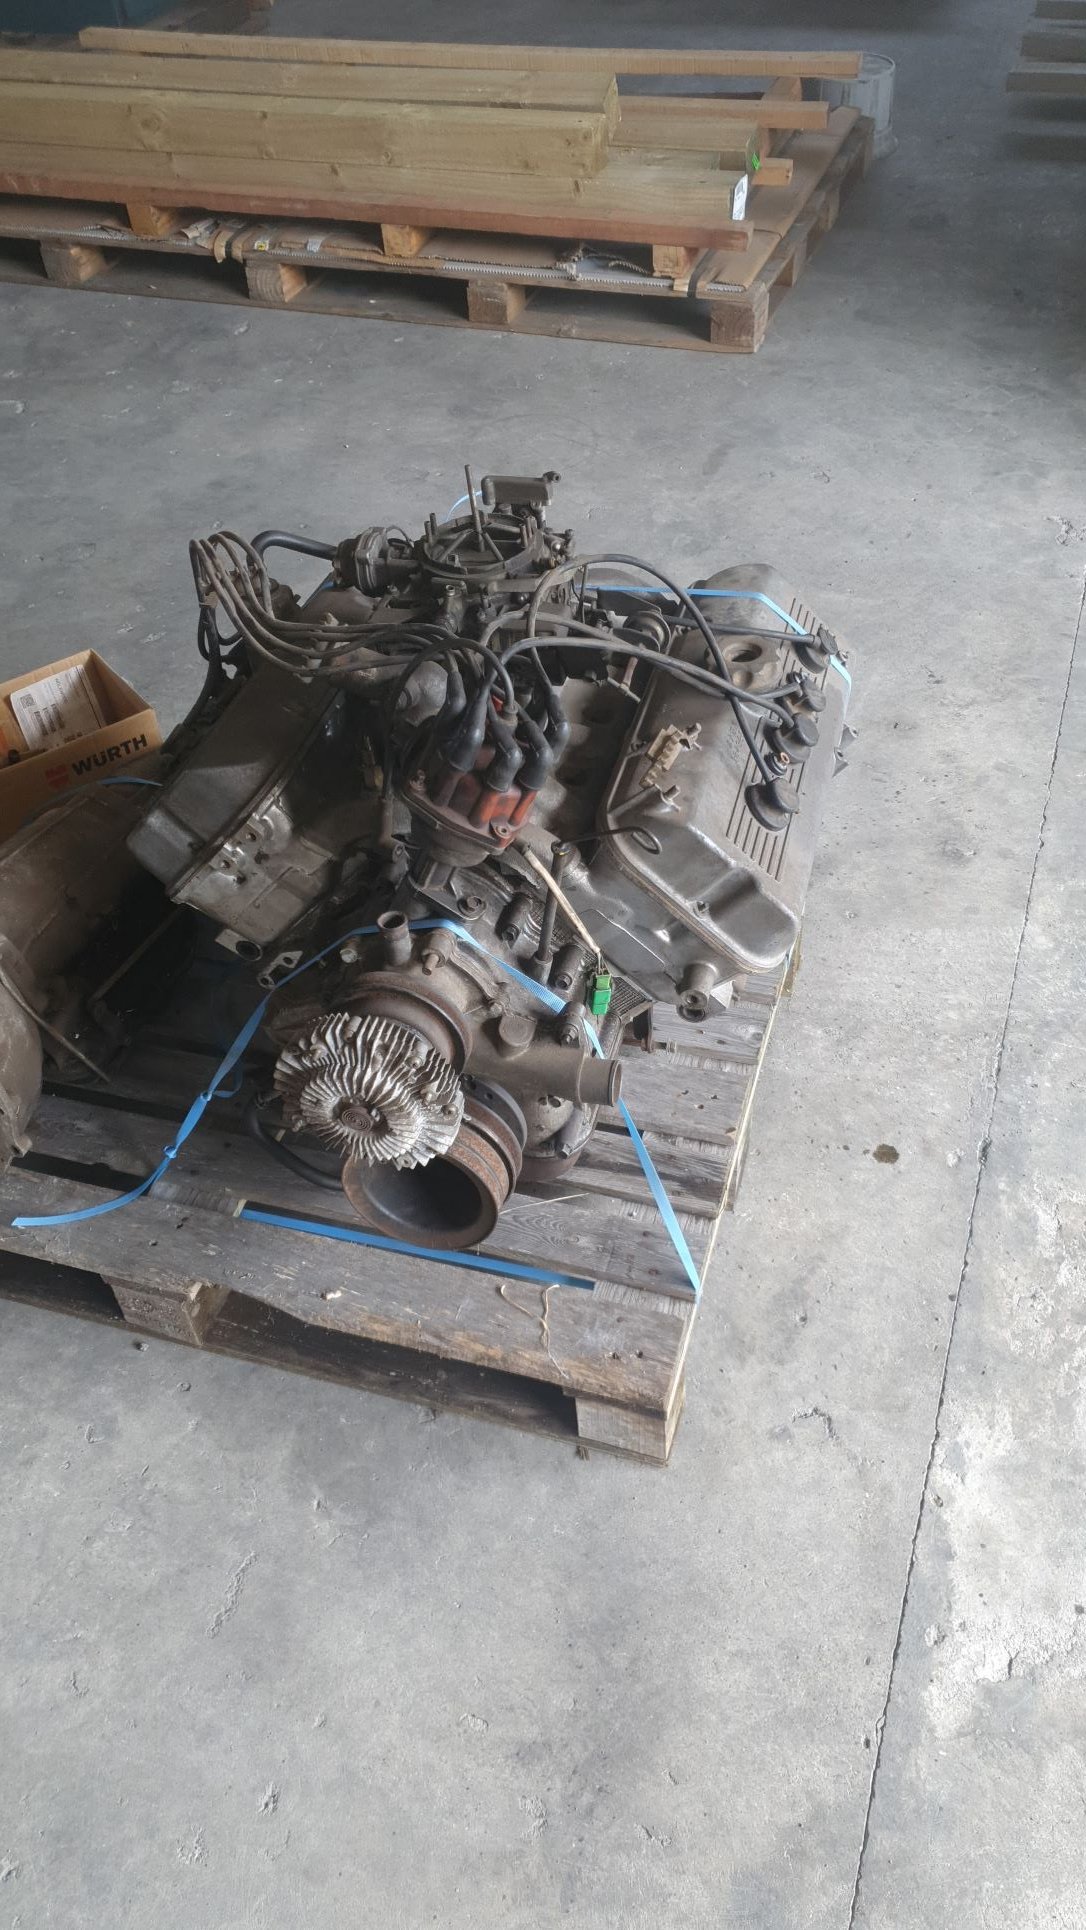
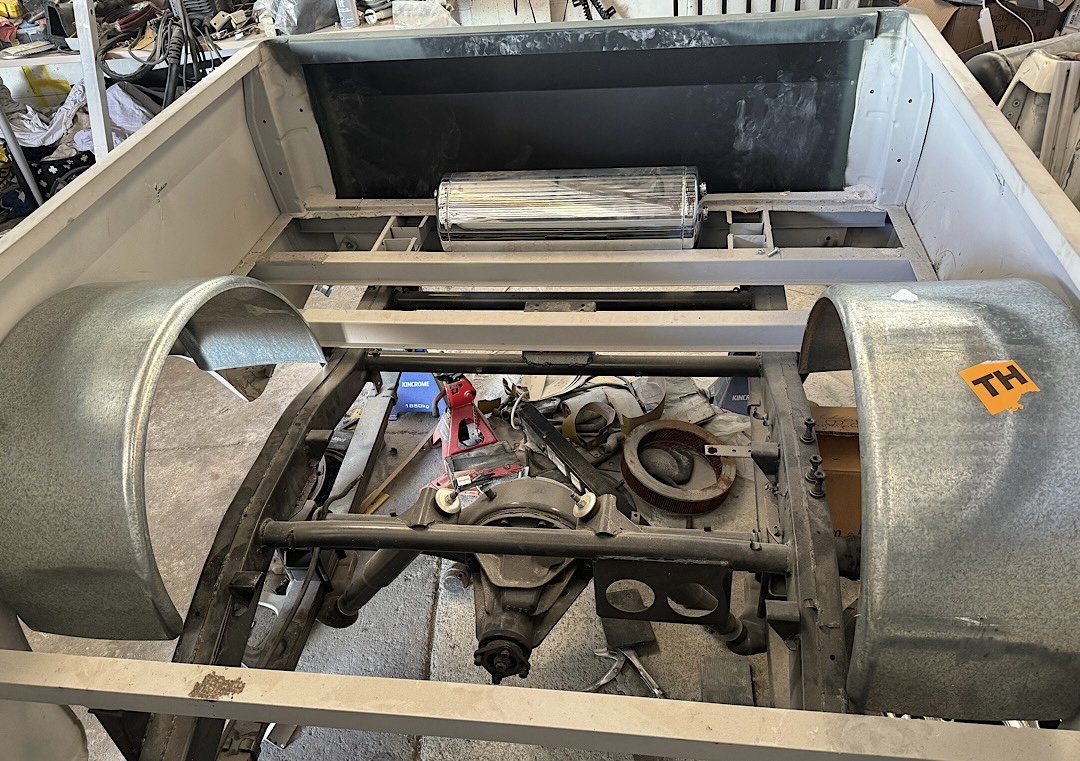
So ThePog convinced me to post up some info about my Camper Build. Its a 1977 Dyna U10 which was probably built as a camper straight from the factory - my guess is a CI Munro camper body, its very Caravan-esque. Its a cool thing in so many ways, Ive had for a bit over a year and probably done around 3-4000km in her - Far North, Raglan, Tahora...never missed a beat. Have fitted proper seats in the back for my kids, extended main bed, fitted good stereo and reverse cam, thats about it. It is on wof, which is nice, and has the mighty (79hp) 5R 2L petrol engine and 4spd L40 gearbox. As one might imagine performance is not 'spirited'... some of the best hills it will struggle to surpass 40km/h, which is not entirely conducive to making friends on the road... I am of course always willing to accept defeat and pull over. The 70s must have been glorious, certainly not in a hurry! Anyway, the wof ran out late last year, I still did some adventures through summer because, you know, the fear of actually being pulled over was of little concern! The rust issues were starting to rear their ugly head, and the engine thing was becoming tiring. FYI, it is actually surprising that, given time it will push the camper to 100km/h (@9000rpm) on a flat road, and up to about 40km/h it all sortof works, then goes downhill rather quickly. The 5R is still in good shape, but out she goes... So one night standing around having a beer ole mate from the workshop across the road comes wandering over for a brew, asks if any of us have use for an old toyota V8 hes had sitting on his floor for about 10 years. At that point, the consideration of what to put in the camper became abundantly clear. Somewhat irrational, but on-brand and period correct. Its a 4V, likely from a mid-70s VG30/35 Century. Its carbureted and came with the 3speed auto (I really want a 4 speed to avoid needing to lower diff ratio). Conveniently, it has also had a rebuild and some tickling. Has had a reasonable amount of port work, and a cam, we pulled it down to inspect and fresh hone marks on the bores, all new gaskets etc. Has the factory 4bbl Aisin Carb, which I will keep. The price ws also right at $1200.. So I have just really started, cab is nearly off and engine is likely to be slotted between the frame rails this coming week. The Cab needs an extensive amount of sheetmetal work, someones been pretty rough, lots of fibreglass, bog, gaffa tape... anyway will send cab and panels off for sandblasting/epoxy prime and then commence that bit in good time.' Plan is really just a sweet cruiser, nothing too extreme. Id like to keep it pretty quiet, so will run full twin pipes and 4 mufflers. Cab is going to be decorated in some sort of 70s/80s Toyota Orange. The Caravan body needs some loves too. A couple of roof leaks, a few rivets to be fixed etc. Have a new Solar panel to replace the tiny one on it. Also will rejig the kitchen a little and add in a better inverter, new fridge and new batteries and charge controller. Thats prob about it for now..
1 point
-
Hmmm… I did notice the commutator was worn but I didn’t notice that bit. I’ll have a look at higher-res photos when I get back from Nats.1 point
-
Thank you for wearing pants whilst taking the pics...1 point
-
Picked up a pair of trailer guards, aka wheel tubs from a solid GC today. just sat them in place where I think they’ll end up, or there abouts. stood back and admired the look, quite like it. still need to trim to fit snug once it’s all decided.
1 point
-
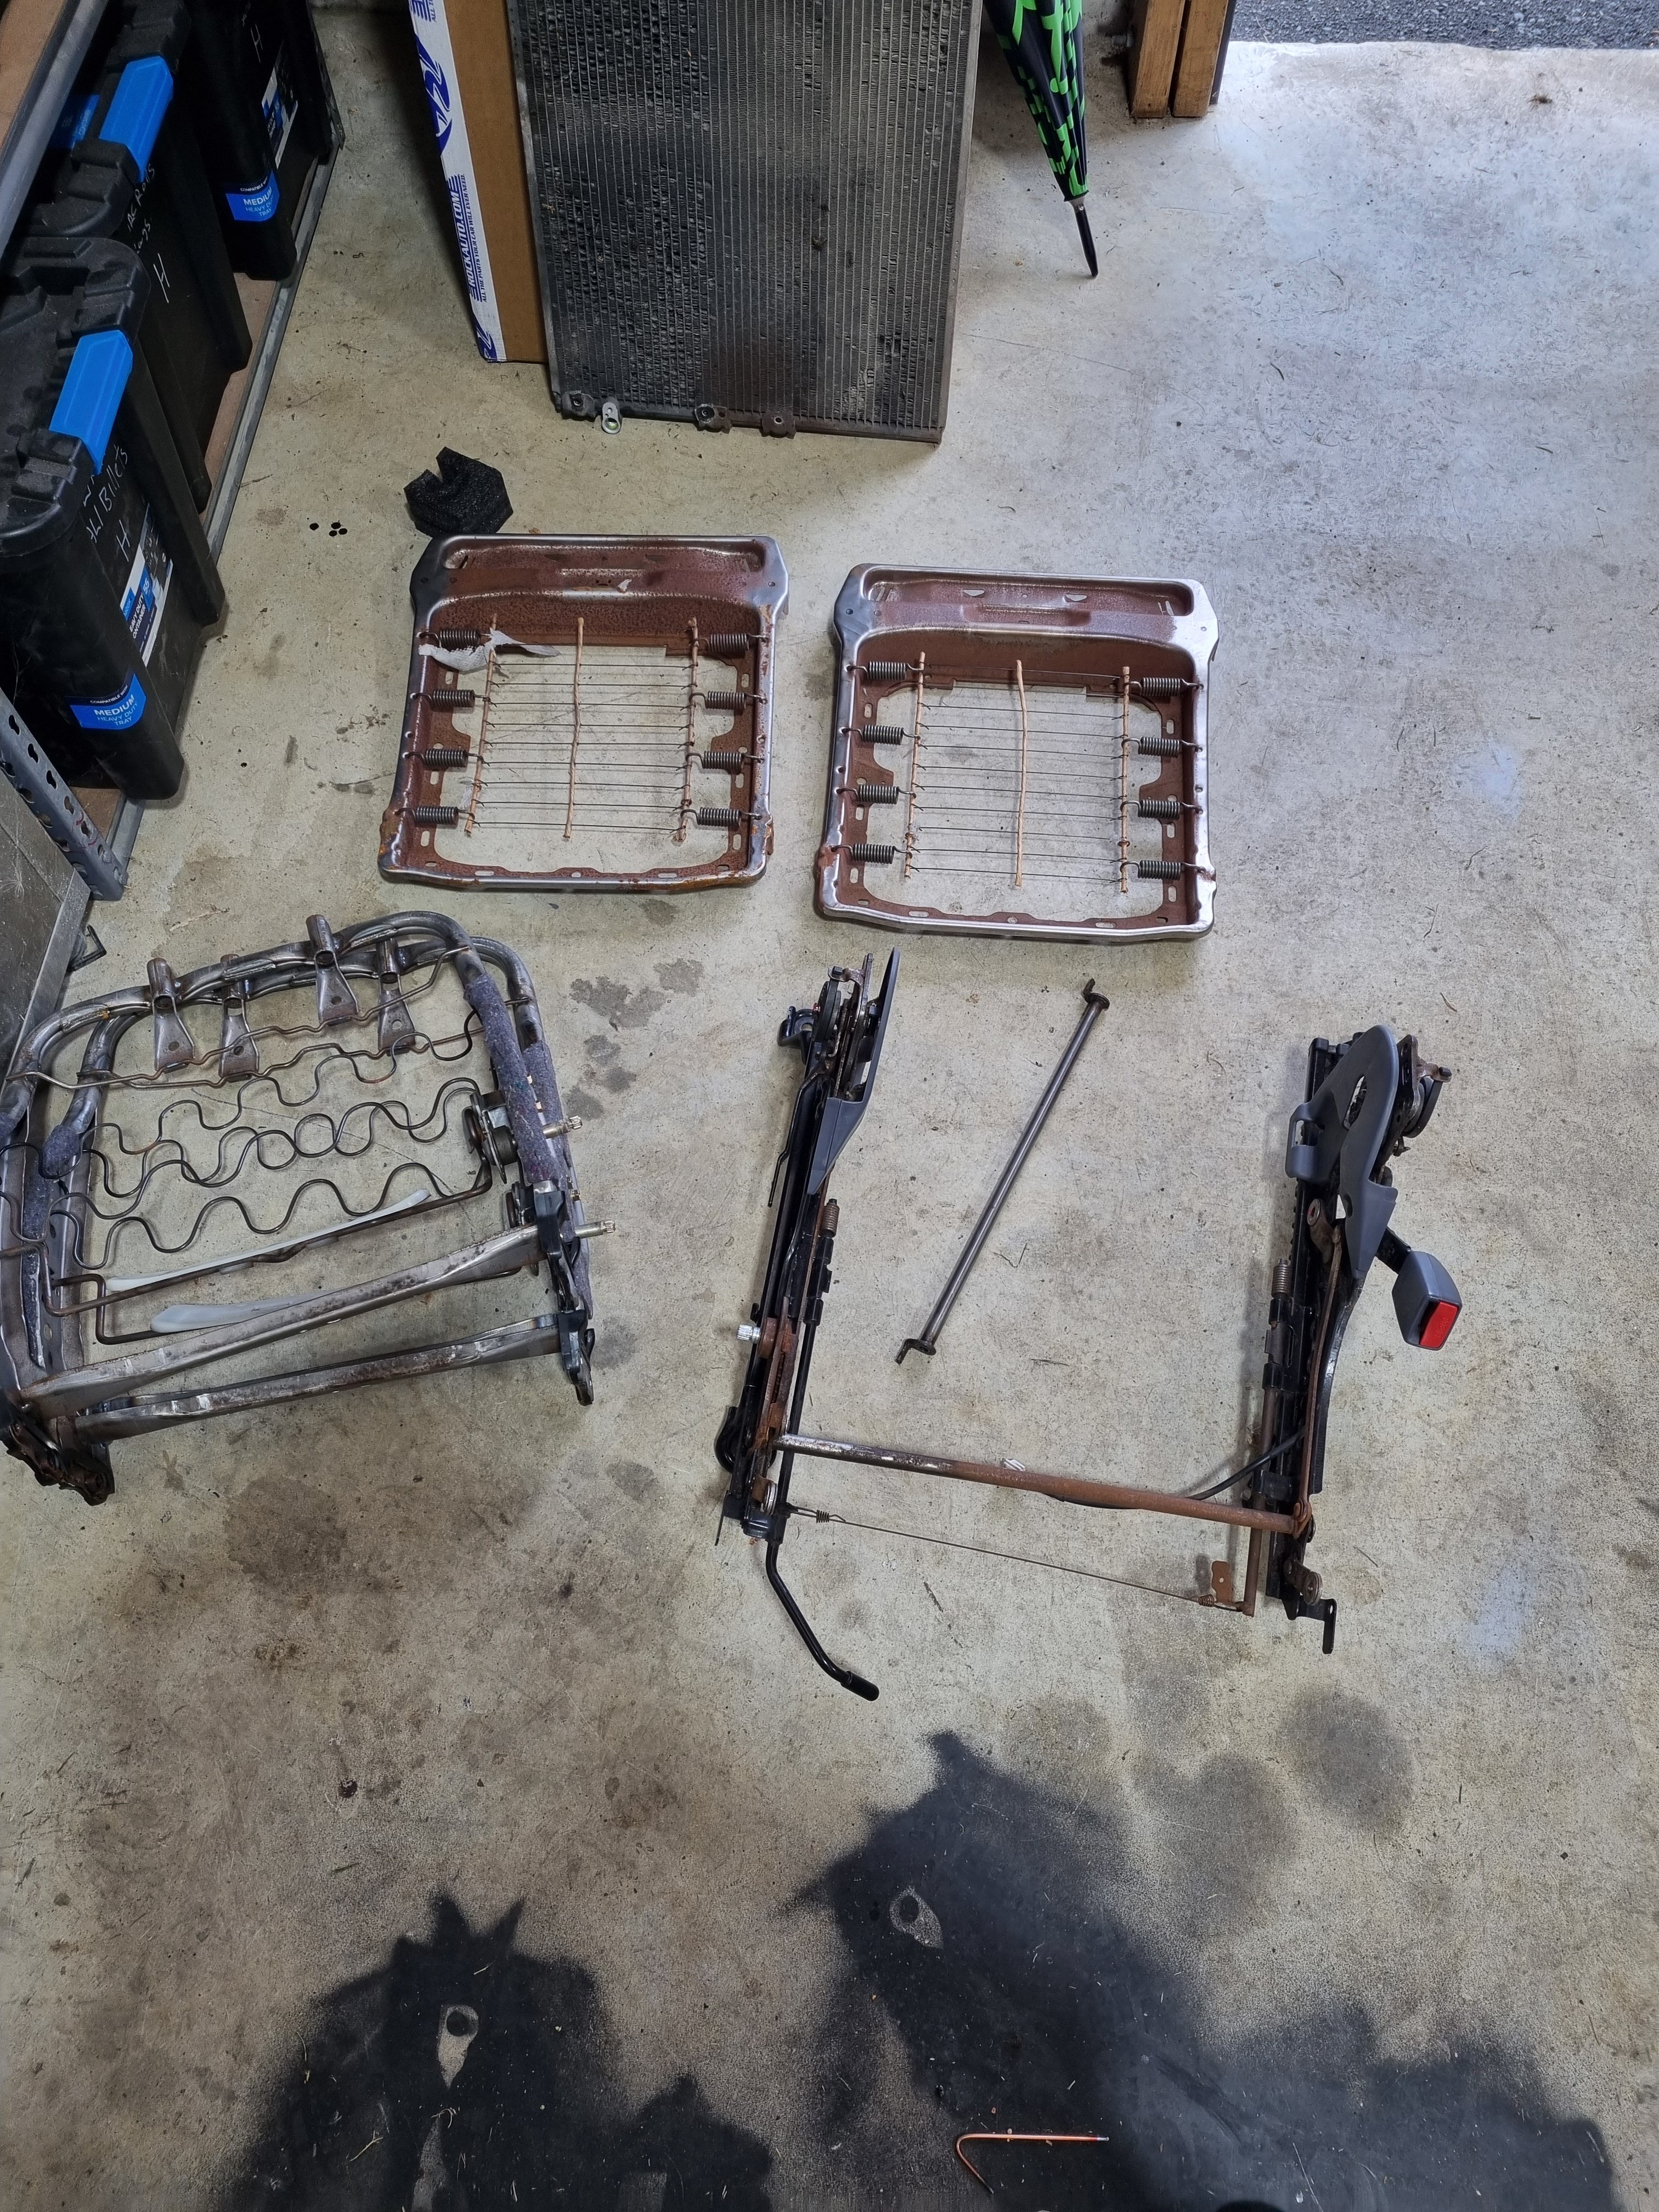
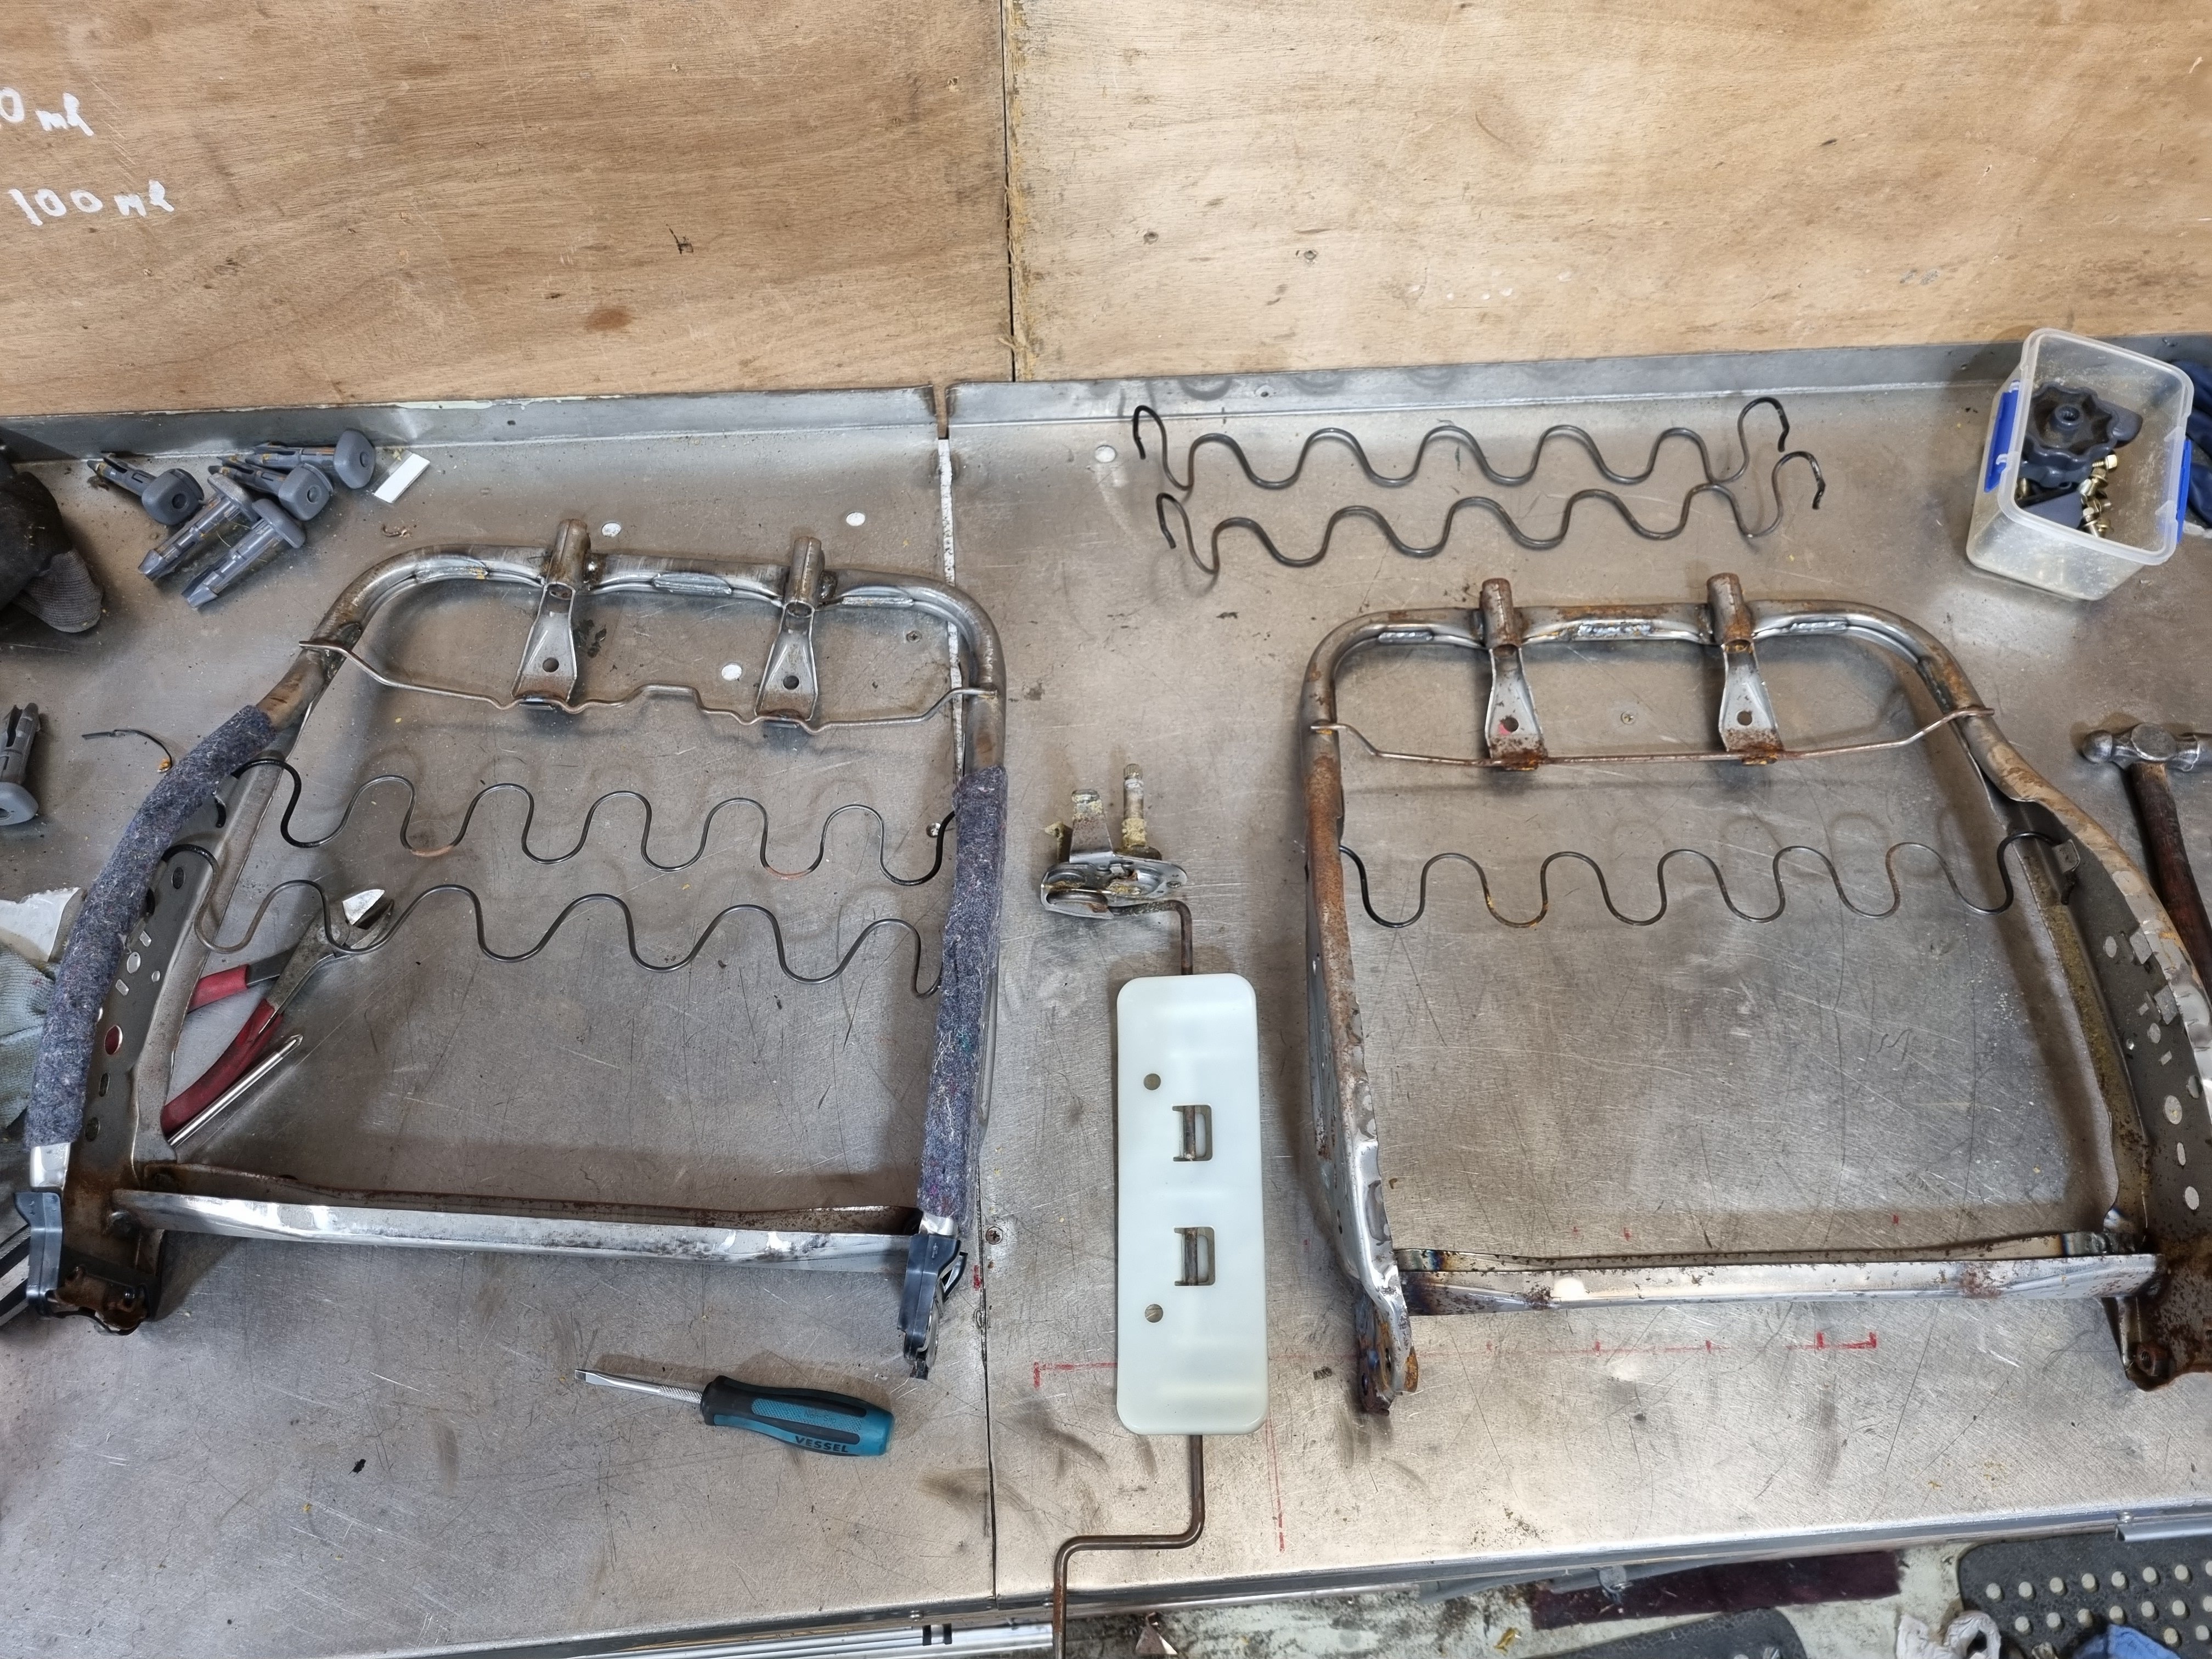
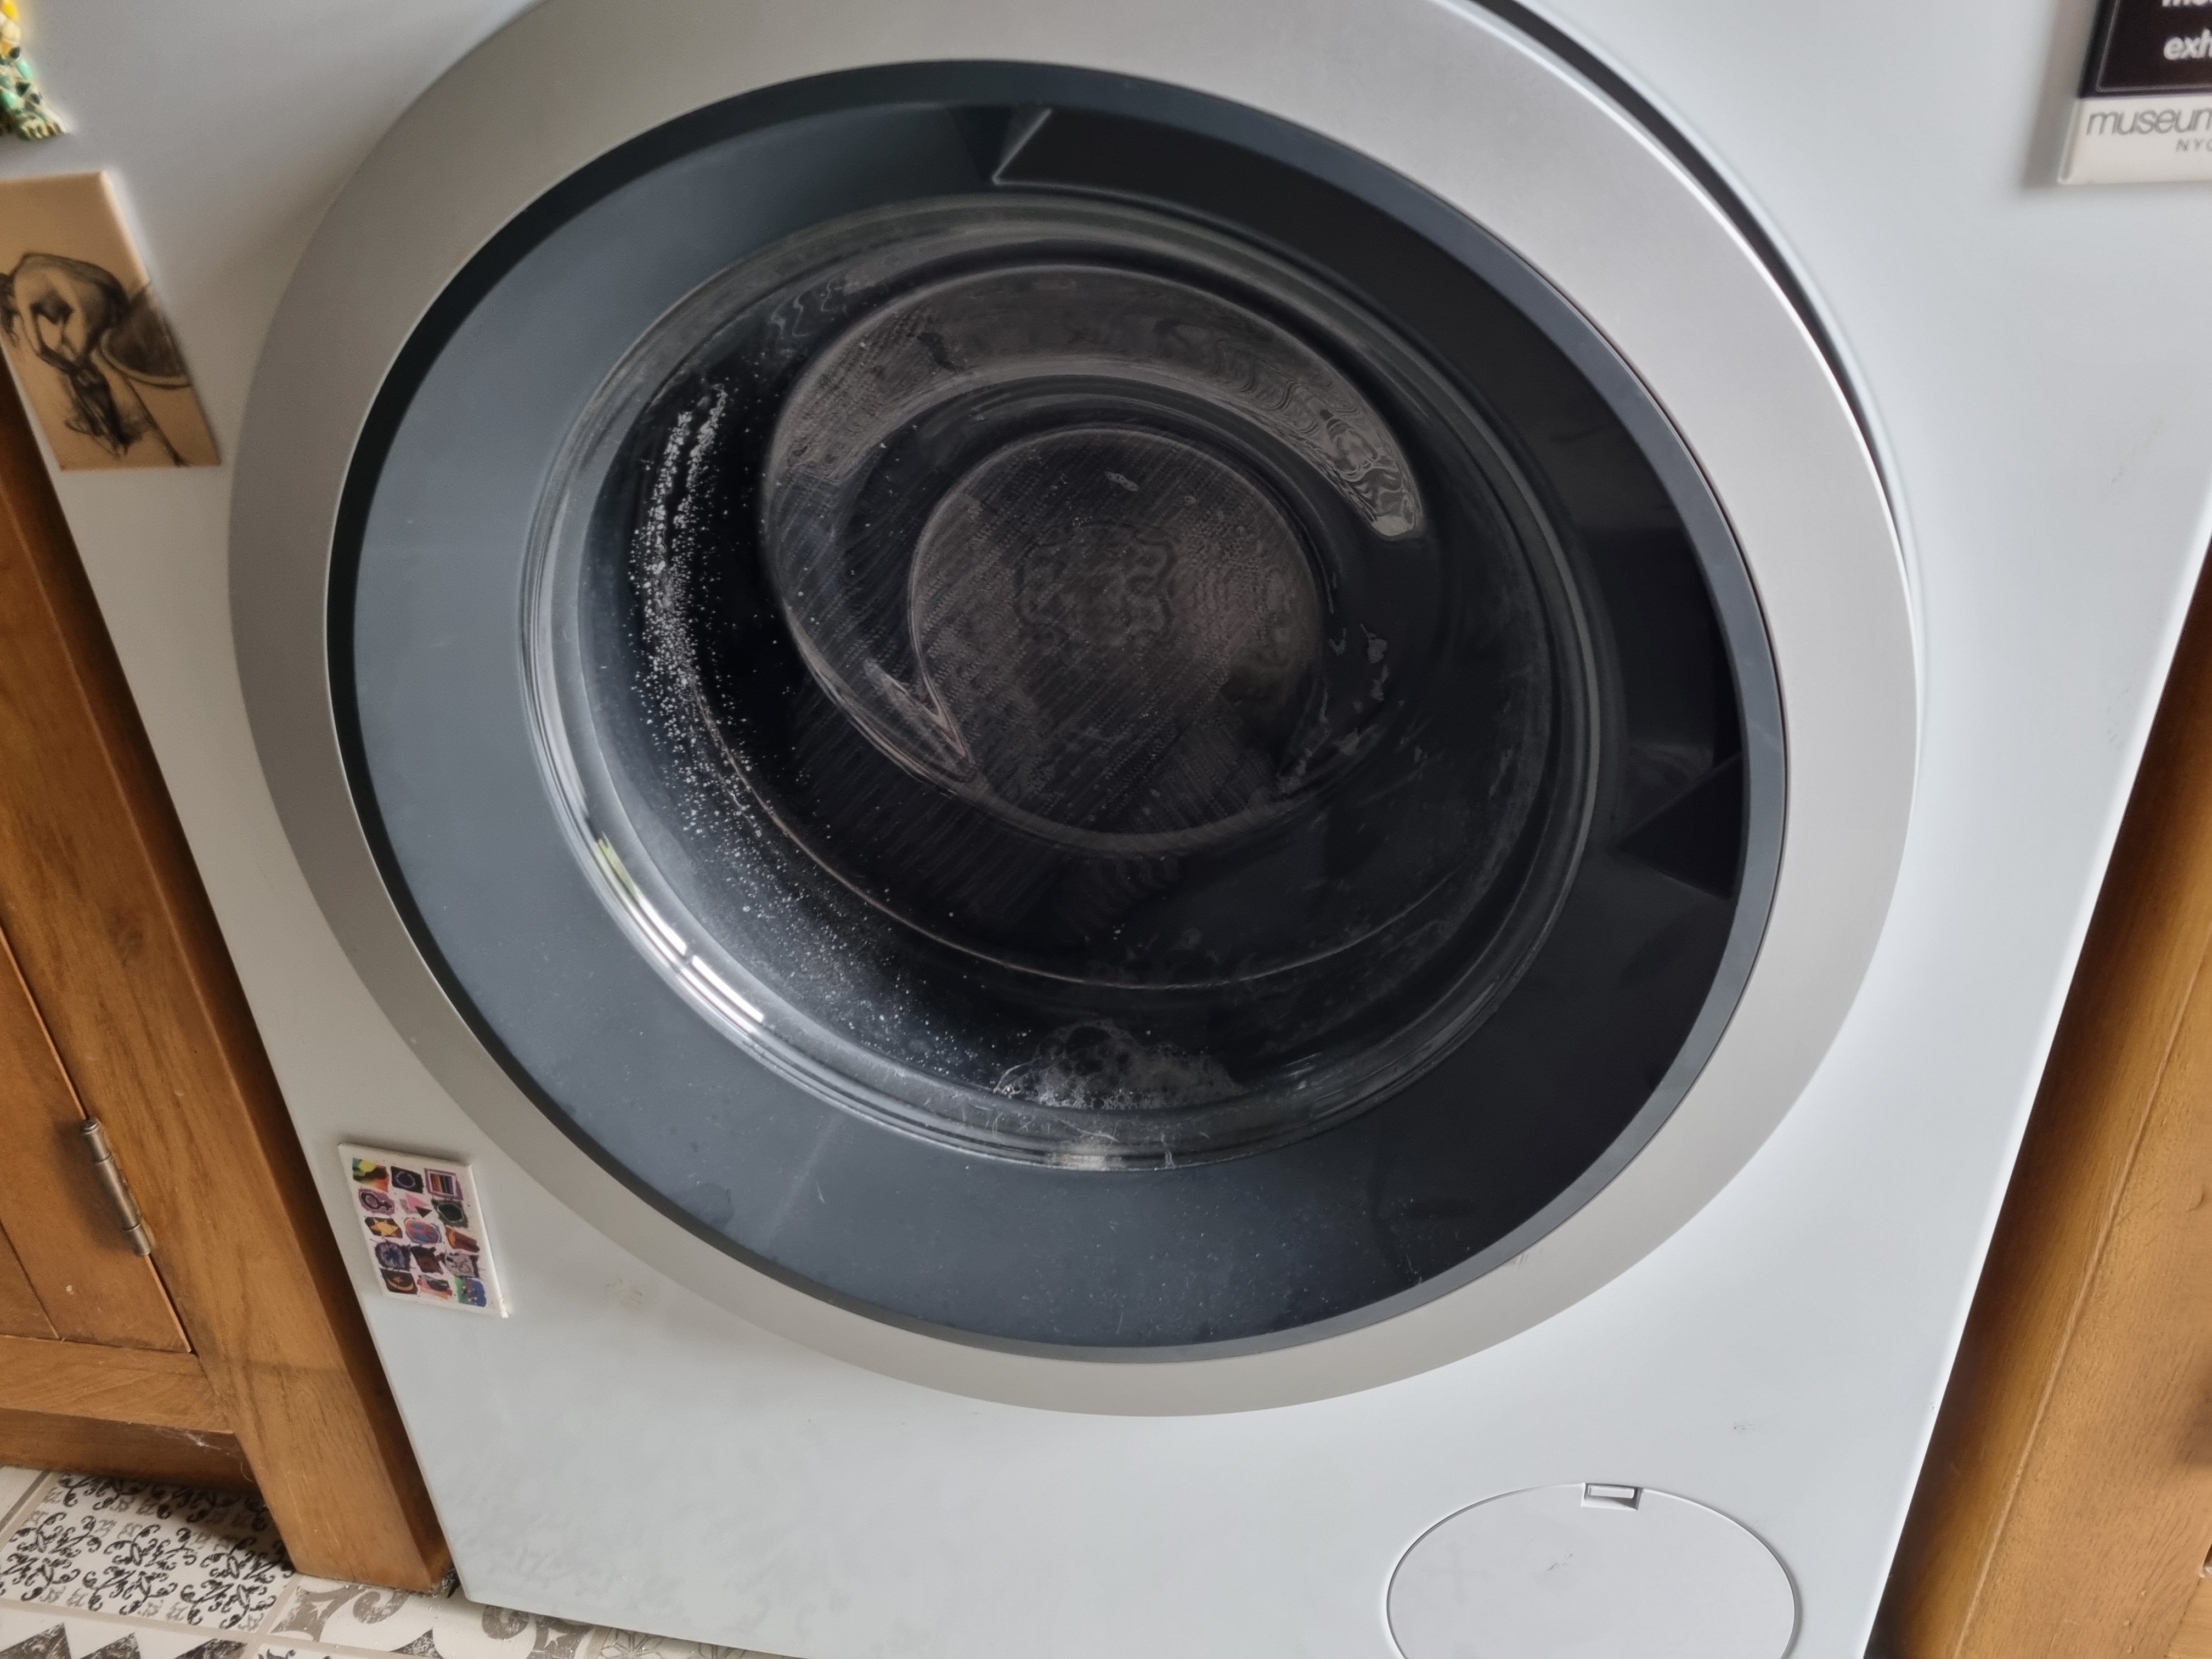
I are a pulsterer. I pulled the other two seats apart and have collected the best bits from the 4 to make two good ones. The seat covers weren't super gross but I decided a turn in the washing machine wouldn't hurt them. Tbh they didn't come out looking much different They might get another turn in the washing machine I reckon.
1 point
-
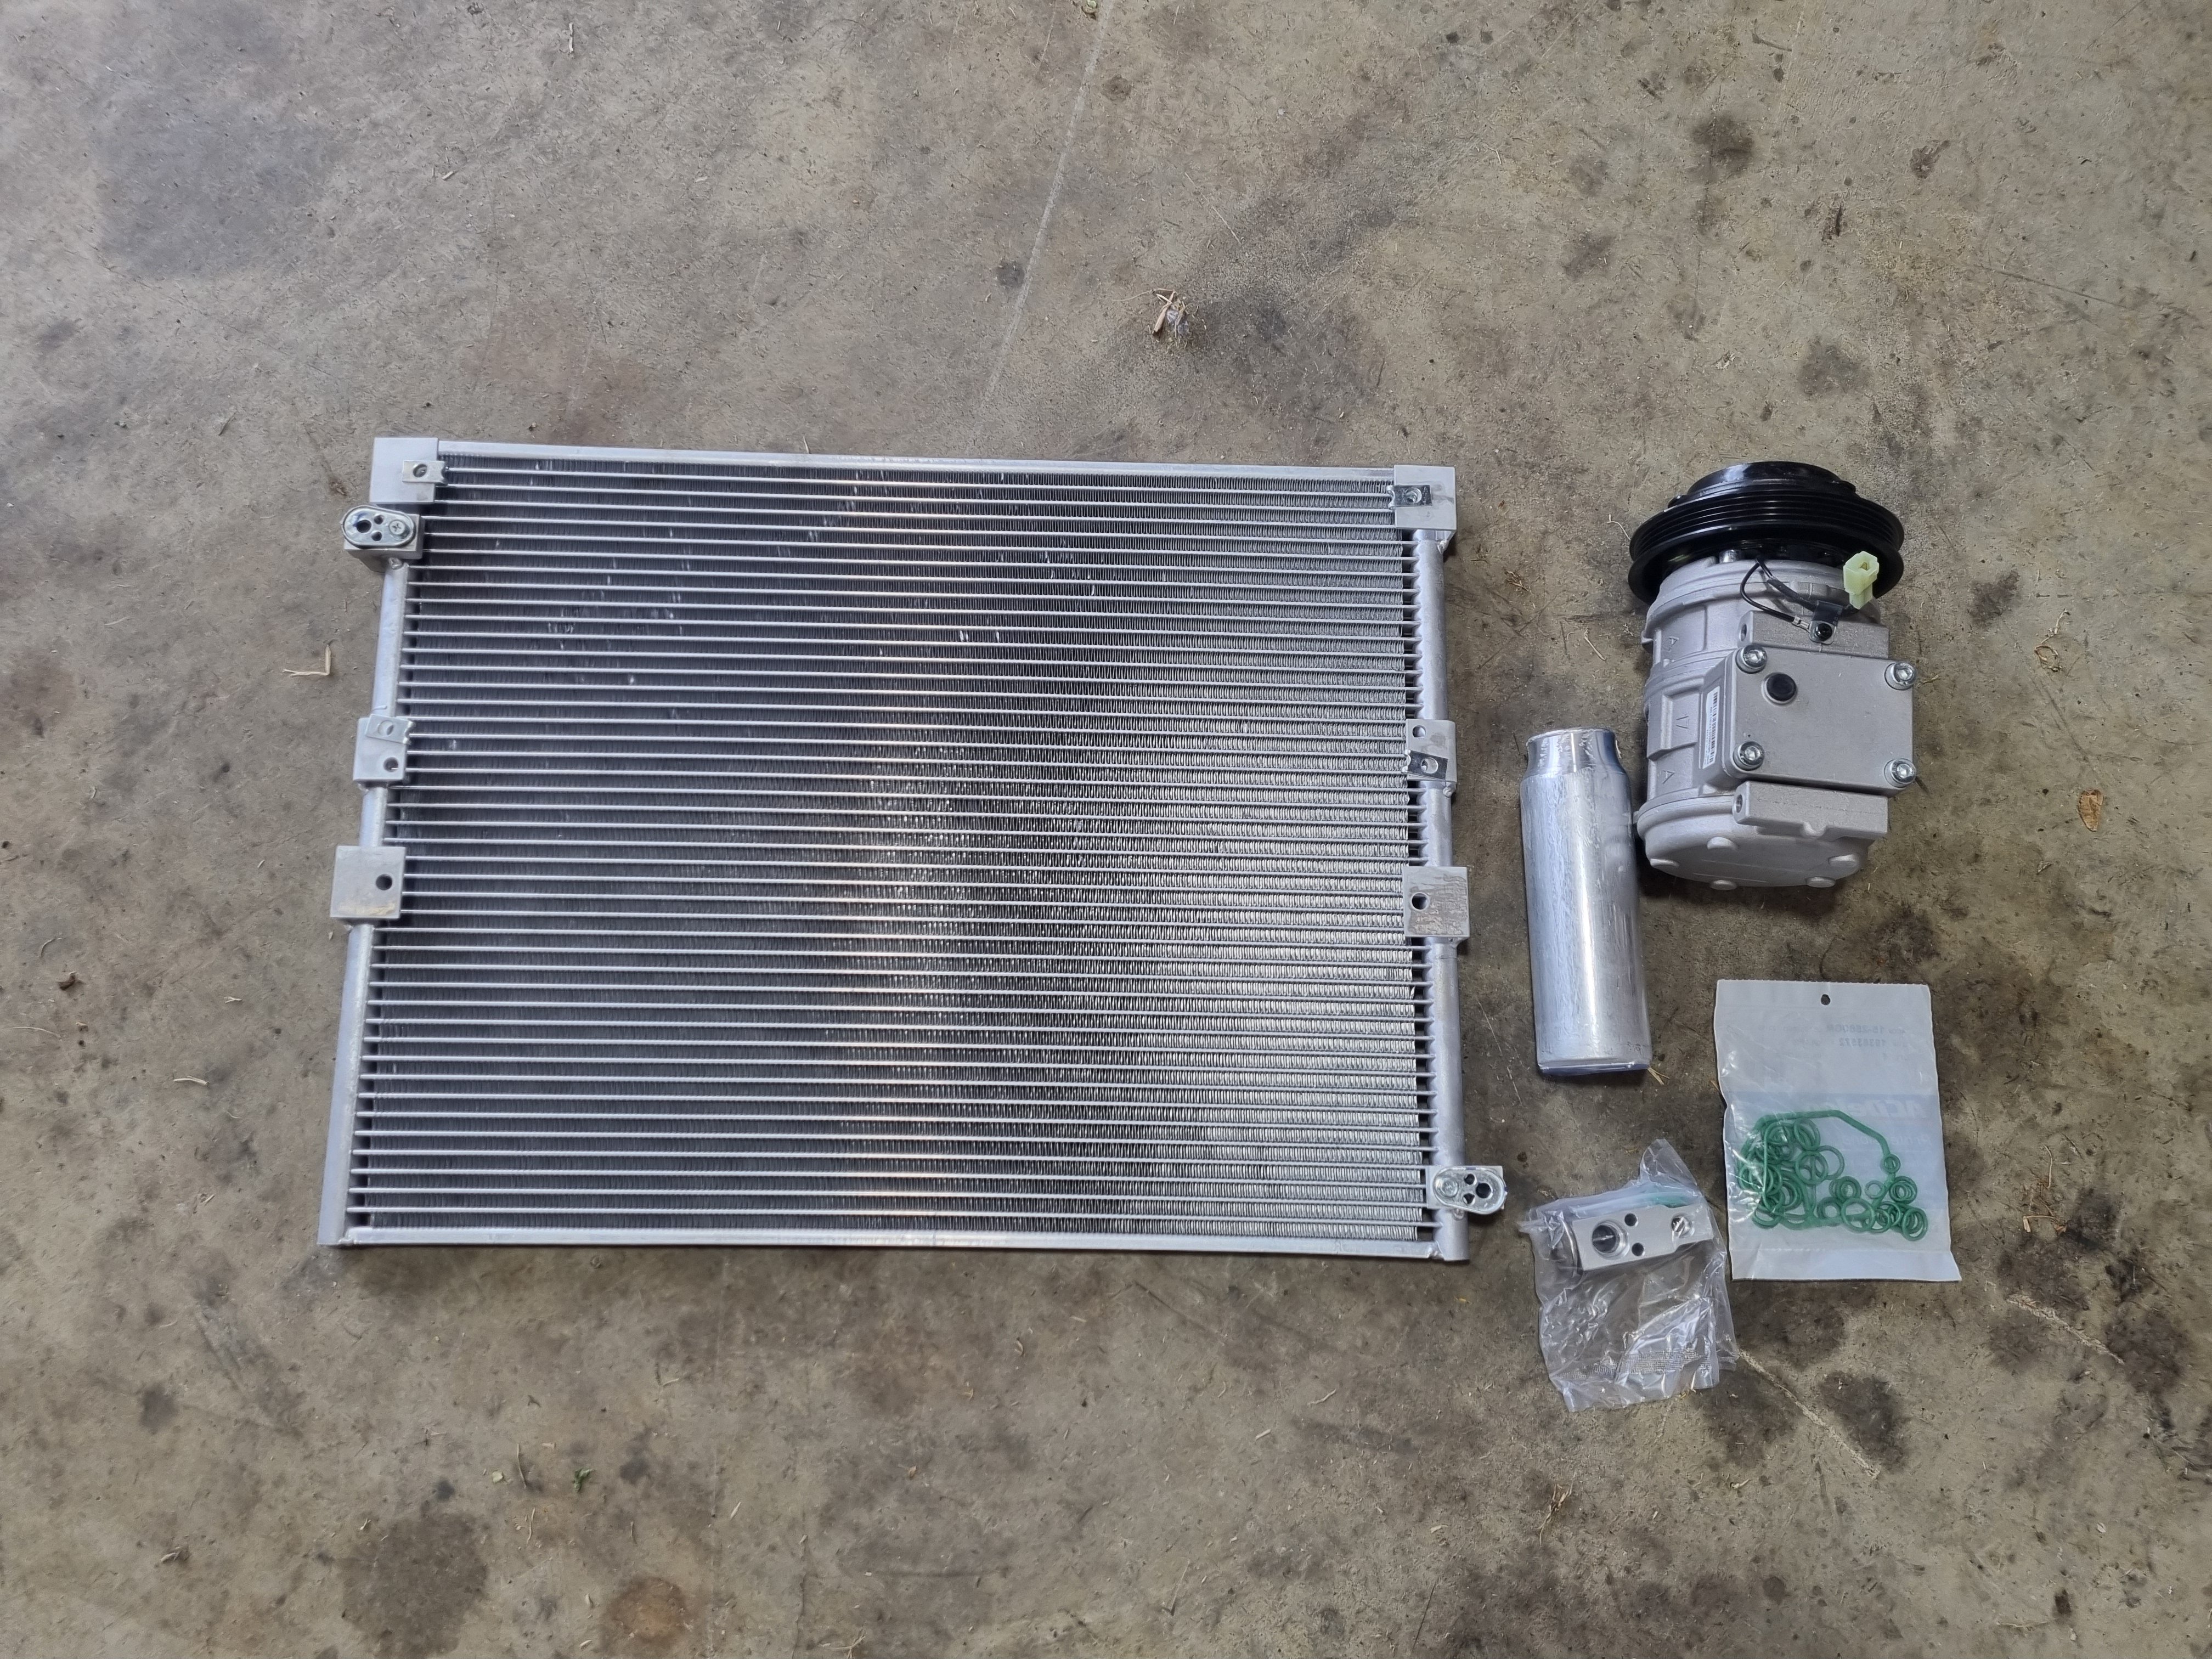
New AC system. As previously I bought one of everything from rock auto. Then I installed it. It was quite the job to get the TX valve out but yea whatever. I still have to fit a fan to the condenser, factory they don't have one which doesn't do the rest of the system a lot of good and is the reason why the TX valves shit themselves.
1 point
-
Playing with the nice camera.
1 point
-
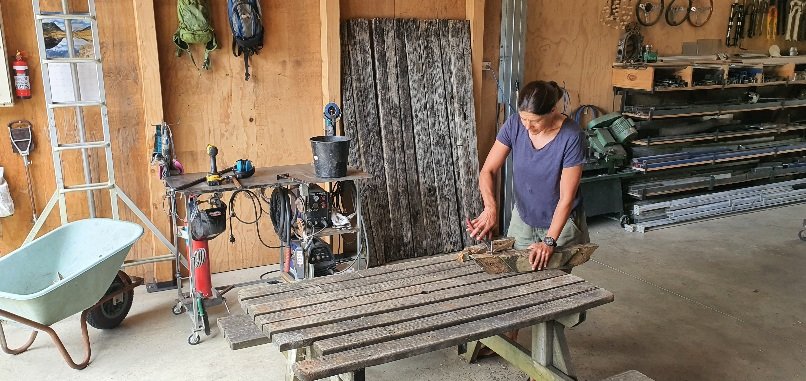
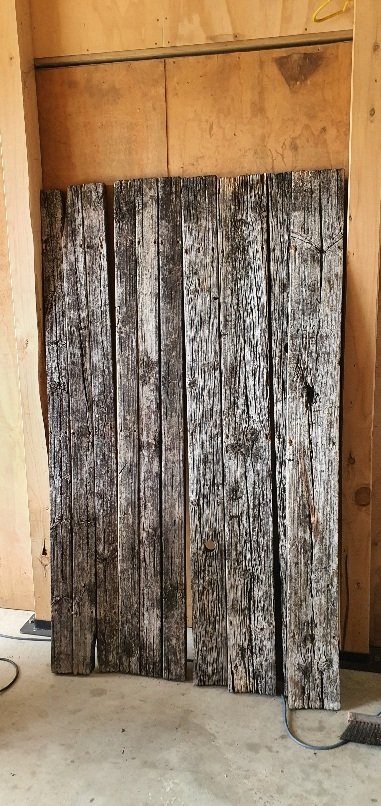
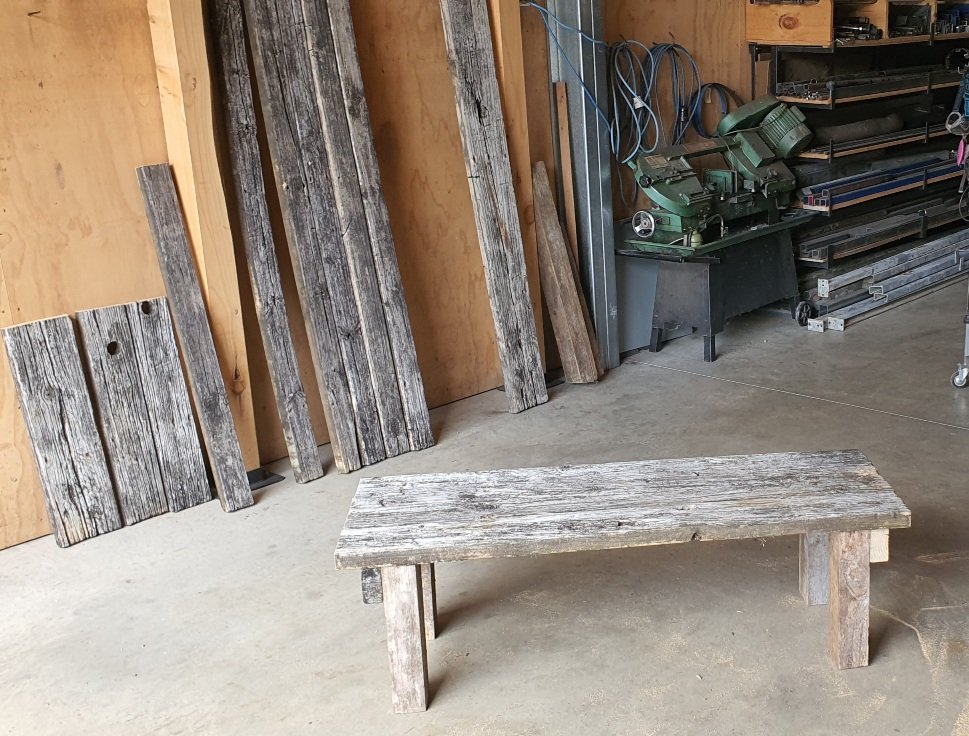
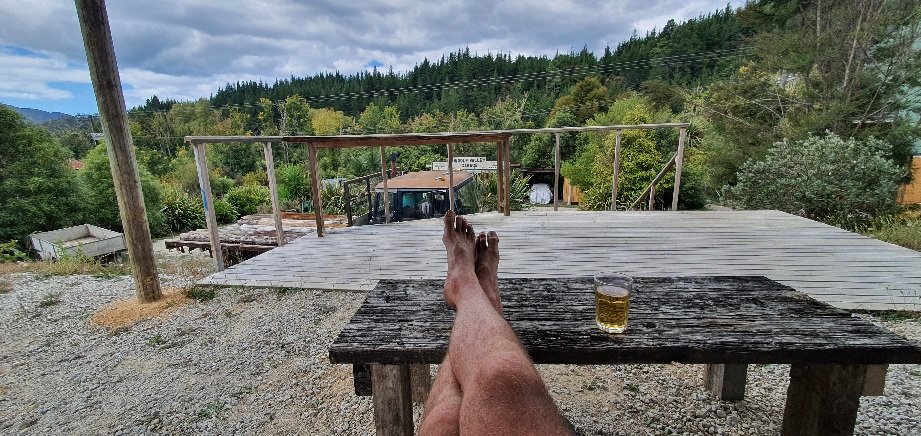
Had this old picnic table for 10 years, was given to us by friends at a campground so it's proper old, bowed, rustic and full of engravings from lots of campers over the decades. But heavy, in the way and not used by us so we chopped it up this arvo. (using our other younger table as today's bench)..
1 point
-
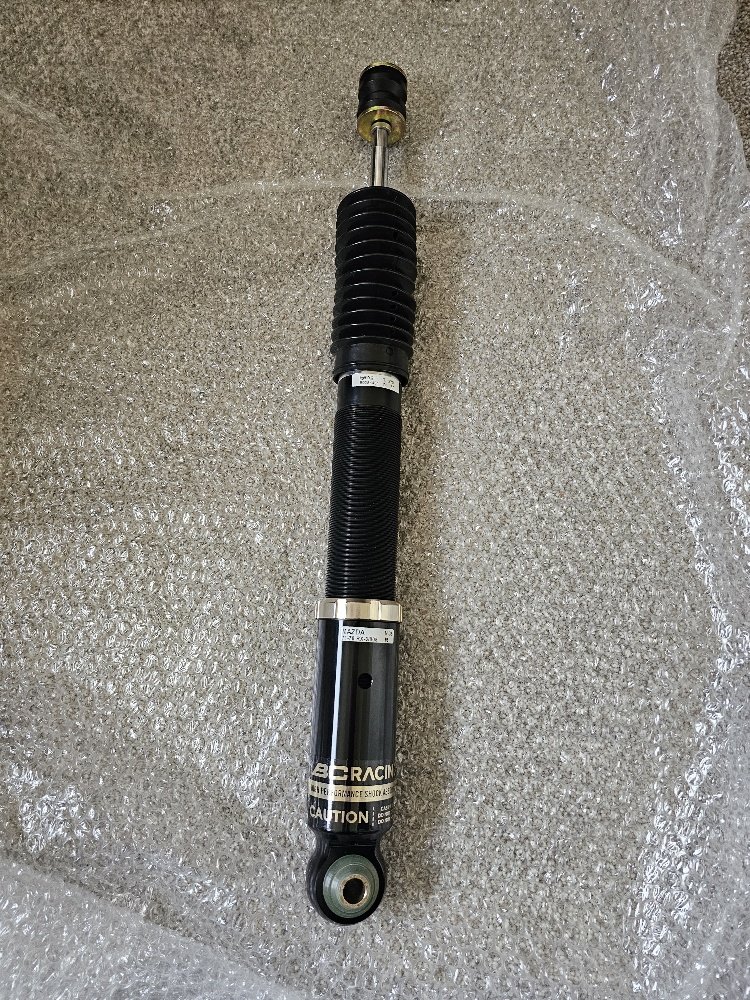
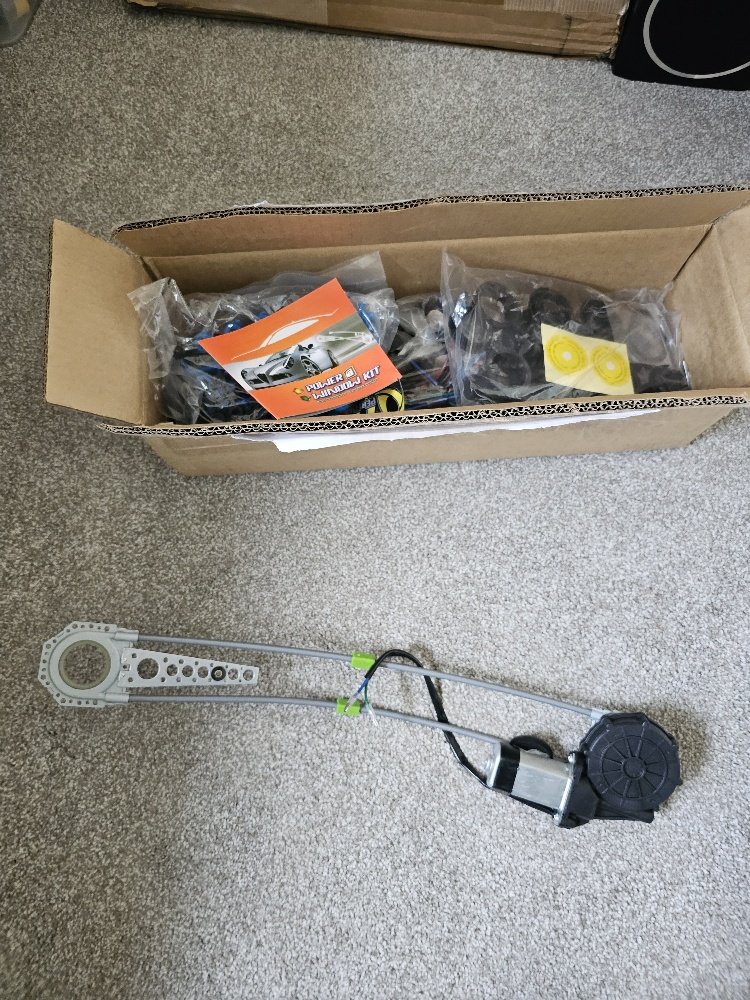
Few more things happening in the background. Marks finished my sump so ill pick that up next week. Azhar has sent me a few more goodies, They got stock of coupe boot lids so i got a new one instead of fixing my old one/s up. Also got some BC Gold damper adjustable rear shocks and the new power front window kits they released, thought why not be kinda handy having electric fronts while im at it! Cars finished at fab now flat boot floor, patches in the engine bay, oil cooler mounted, DBW pedal mounted, couple of other minor jobs done as well as a hidden washer botle setup under the front guard. Will pick it up one day next week when the weather is good and bring it home. Next mission will be to chuck motor/box back in and do all the brake, fuel, oil, water plumbing probably over summer holidays before pulling down for final time for paint.
1 point
-
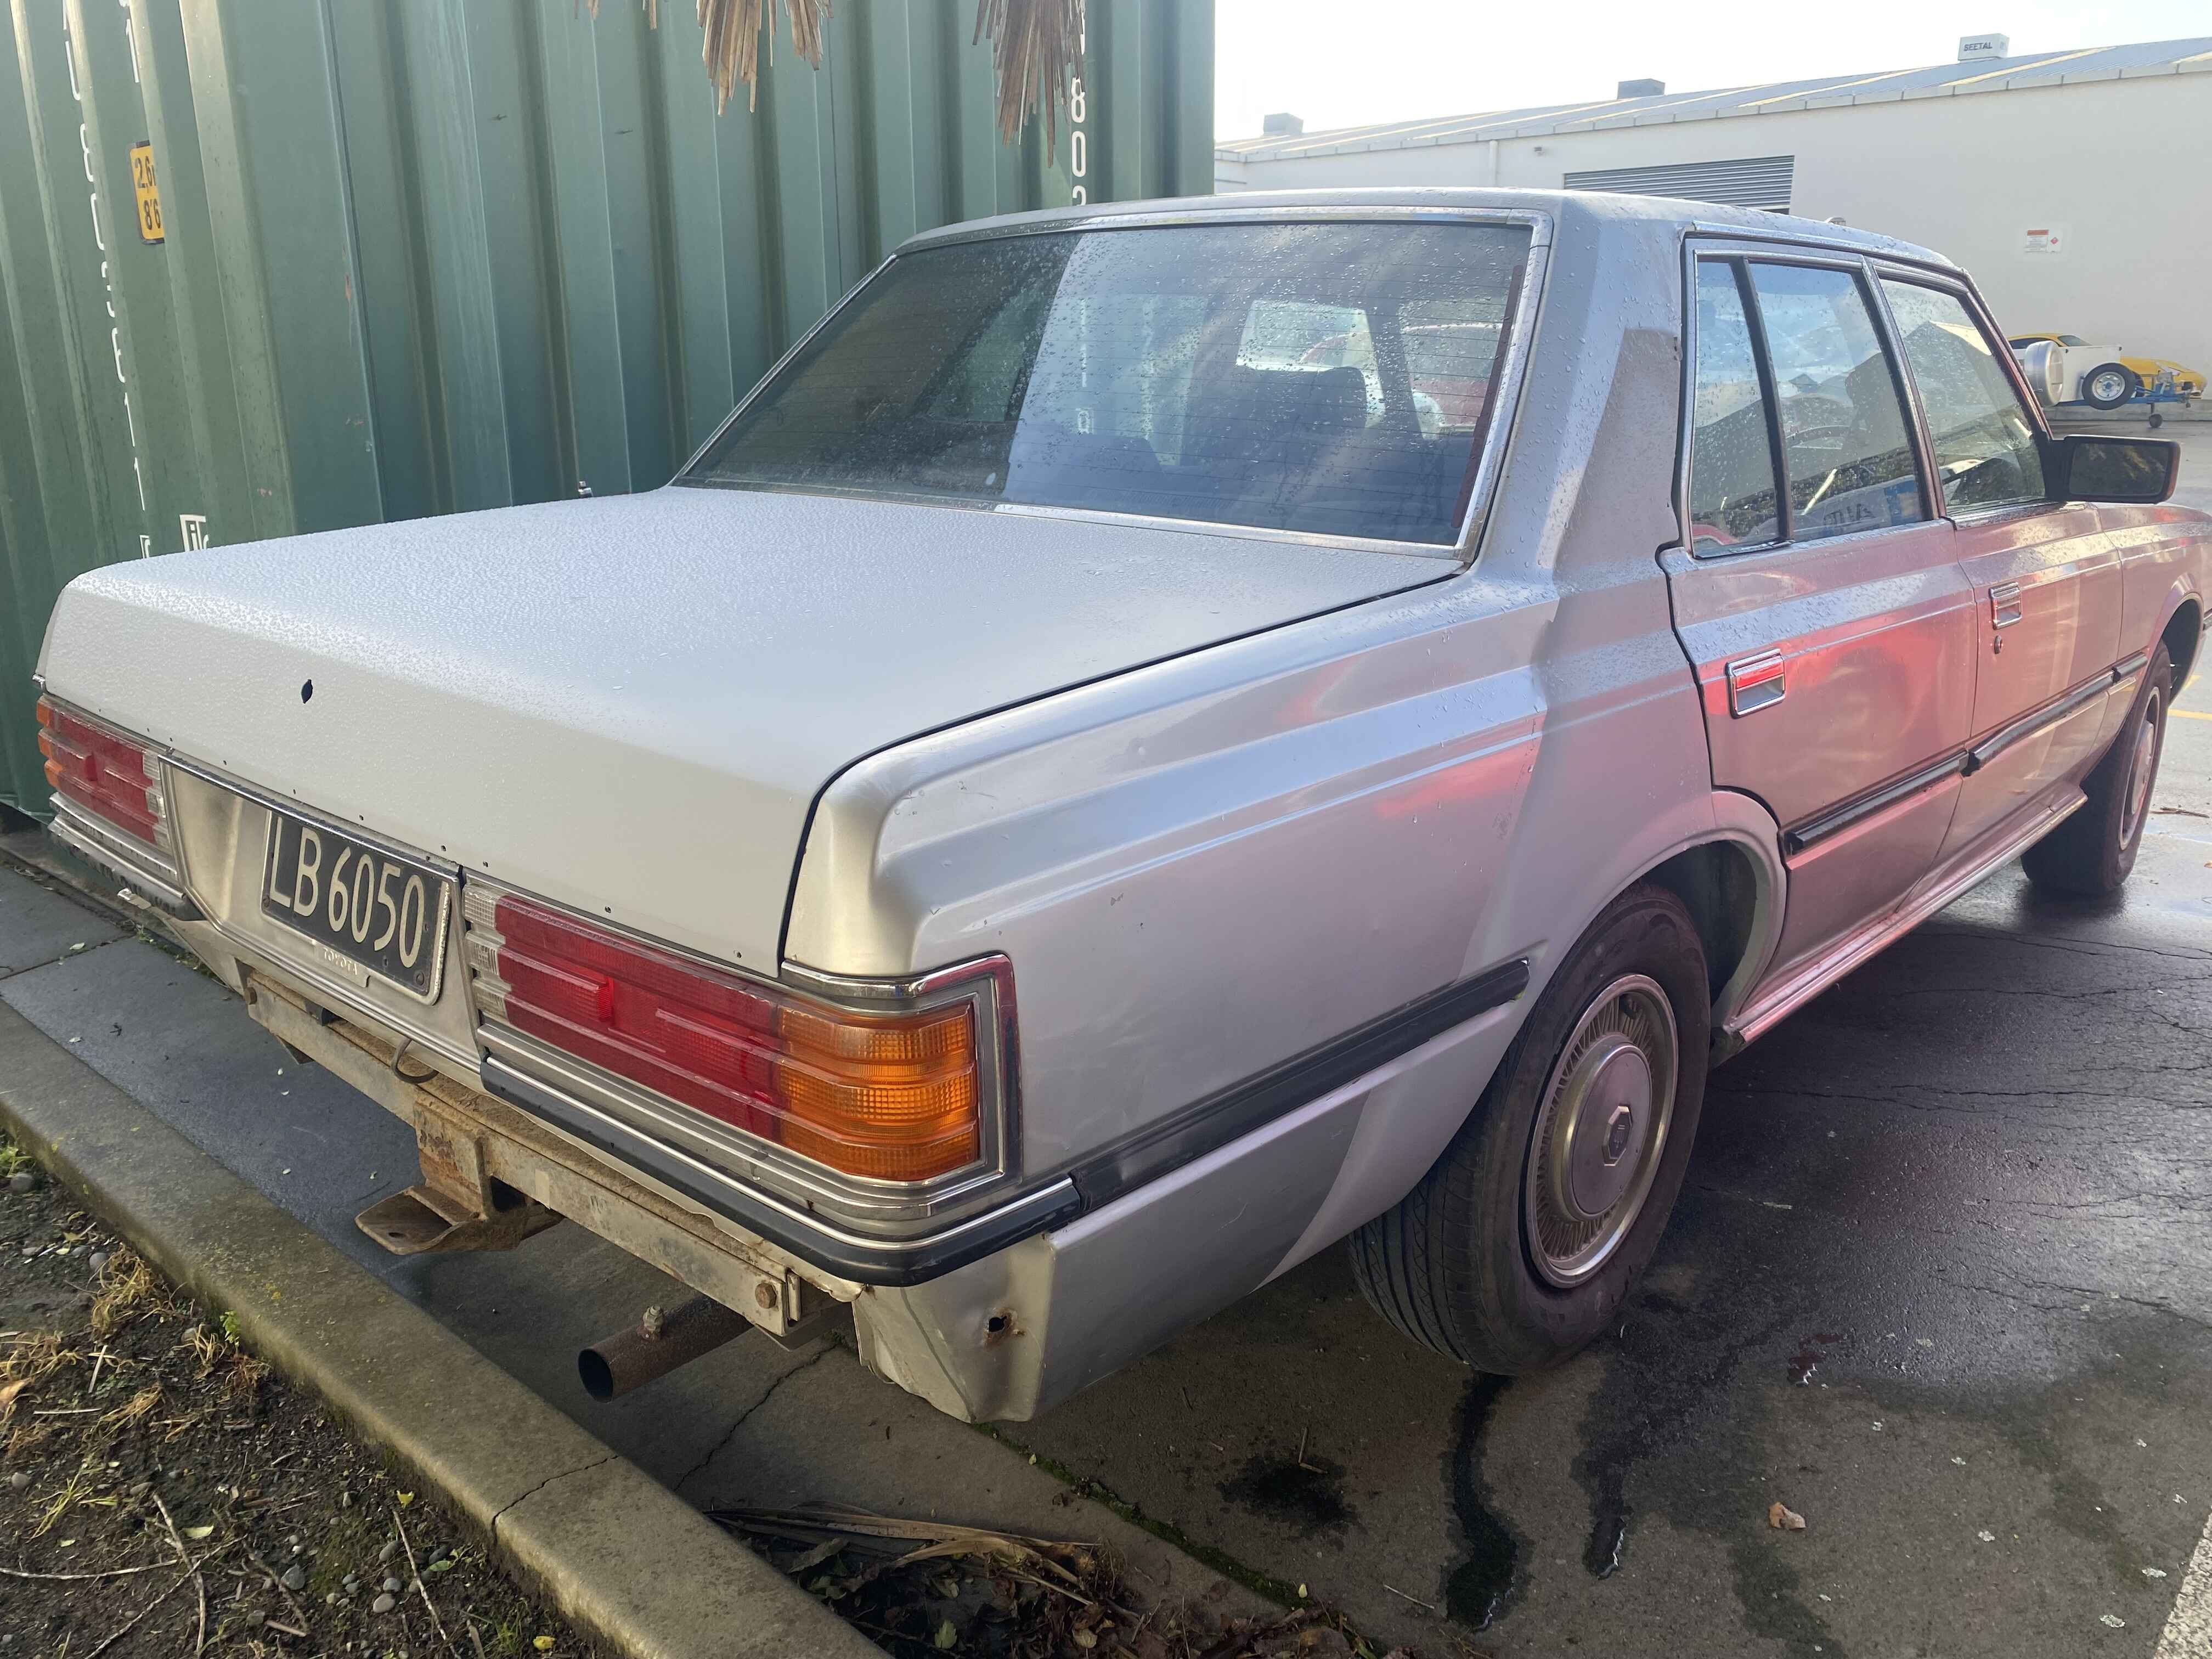
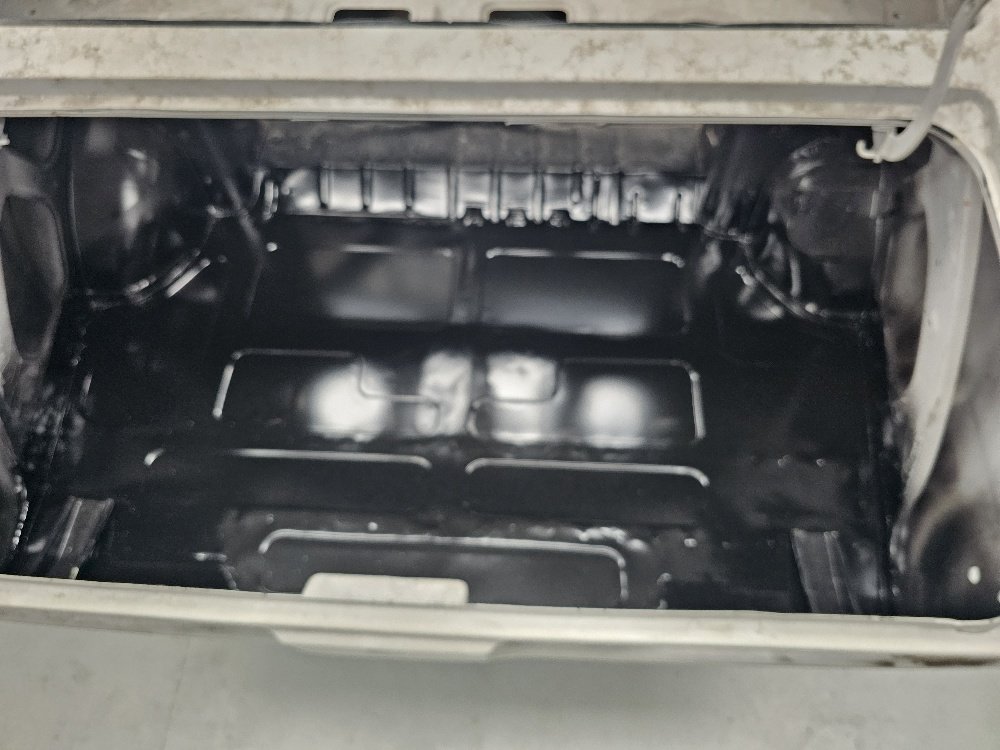
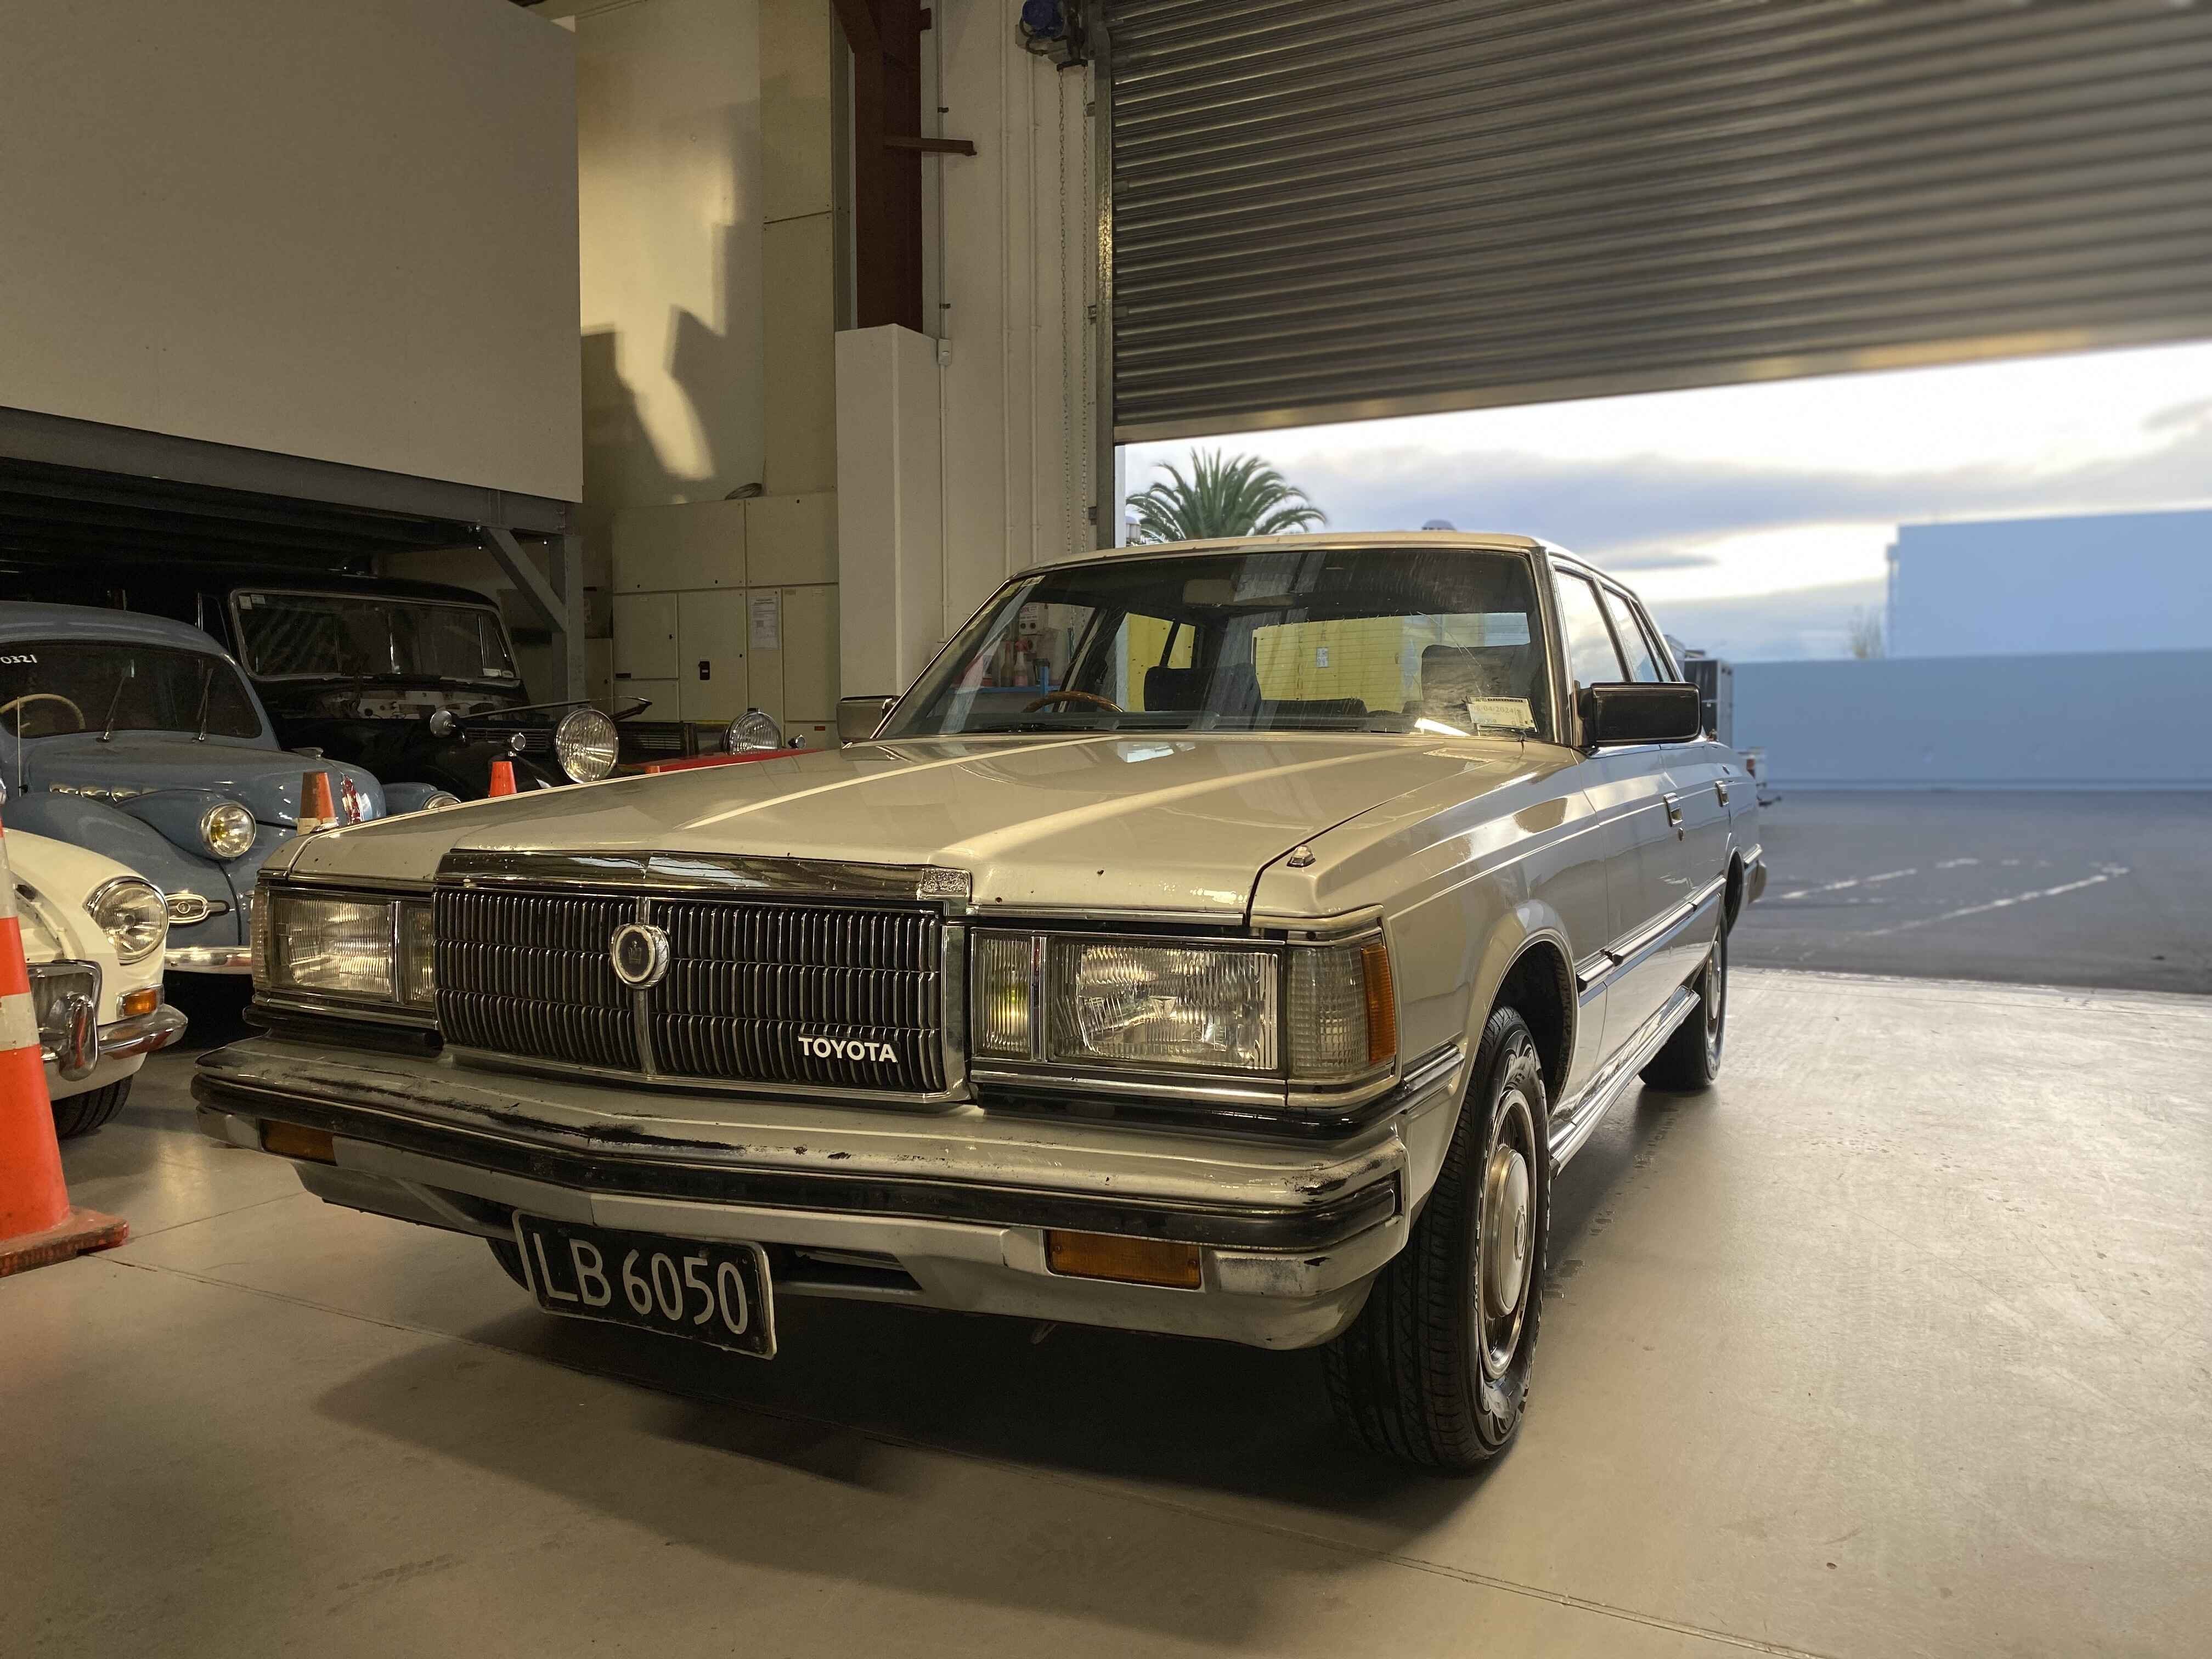
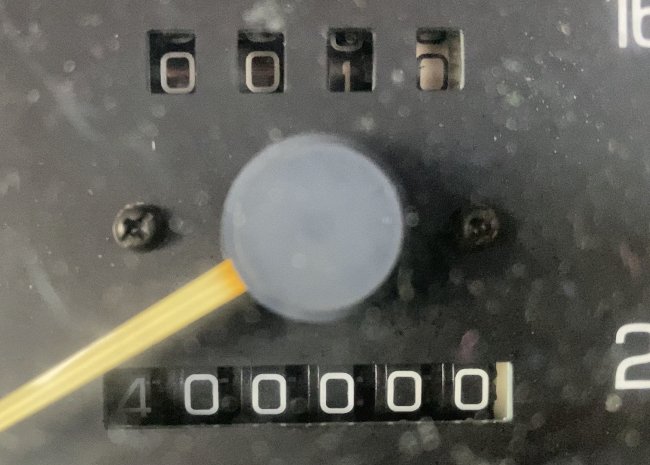
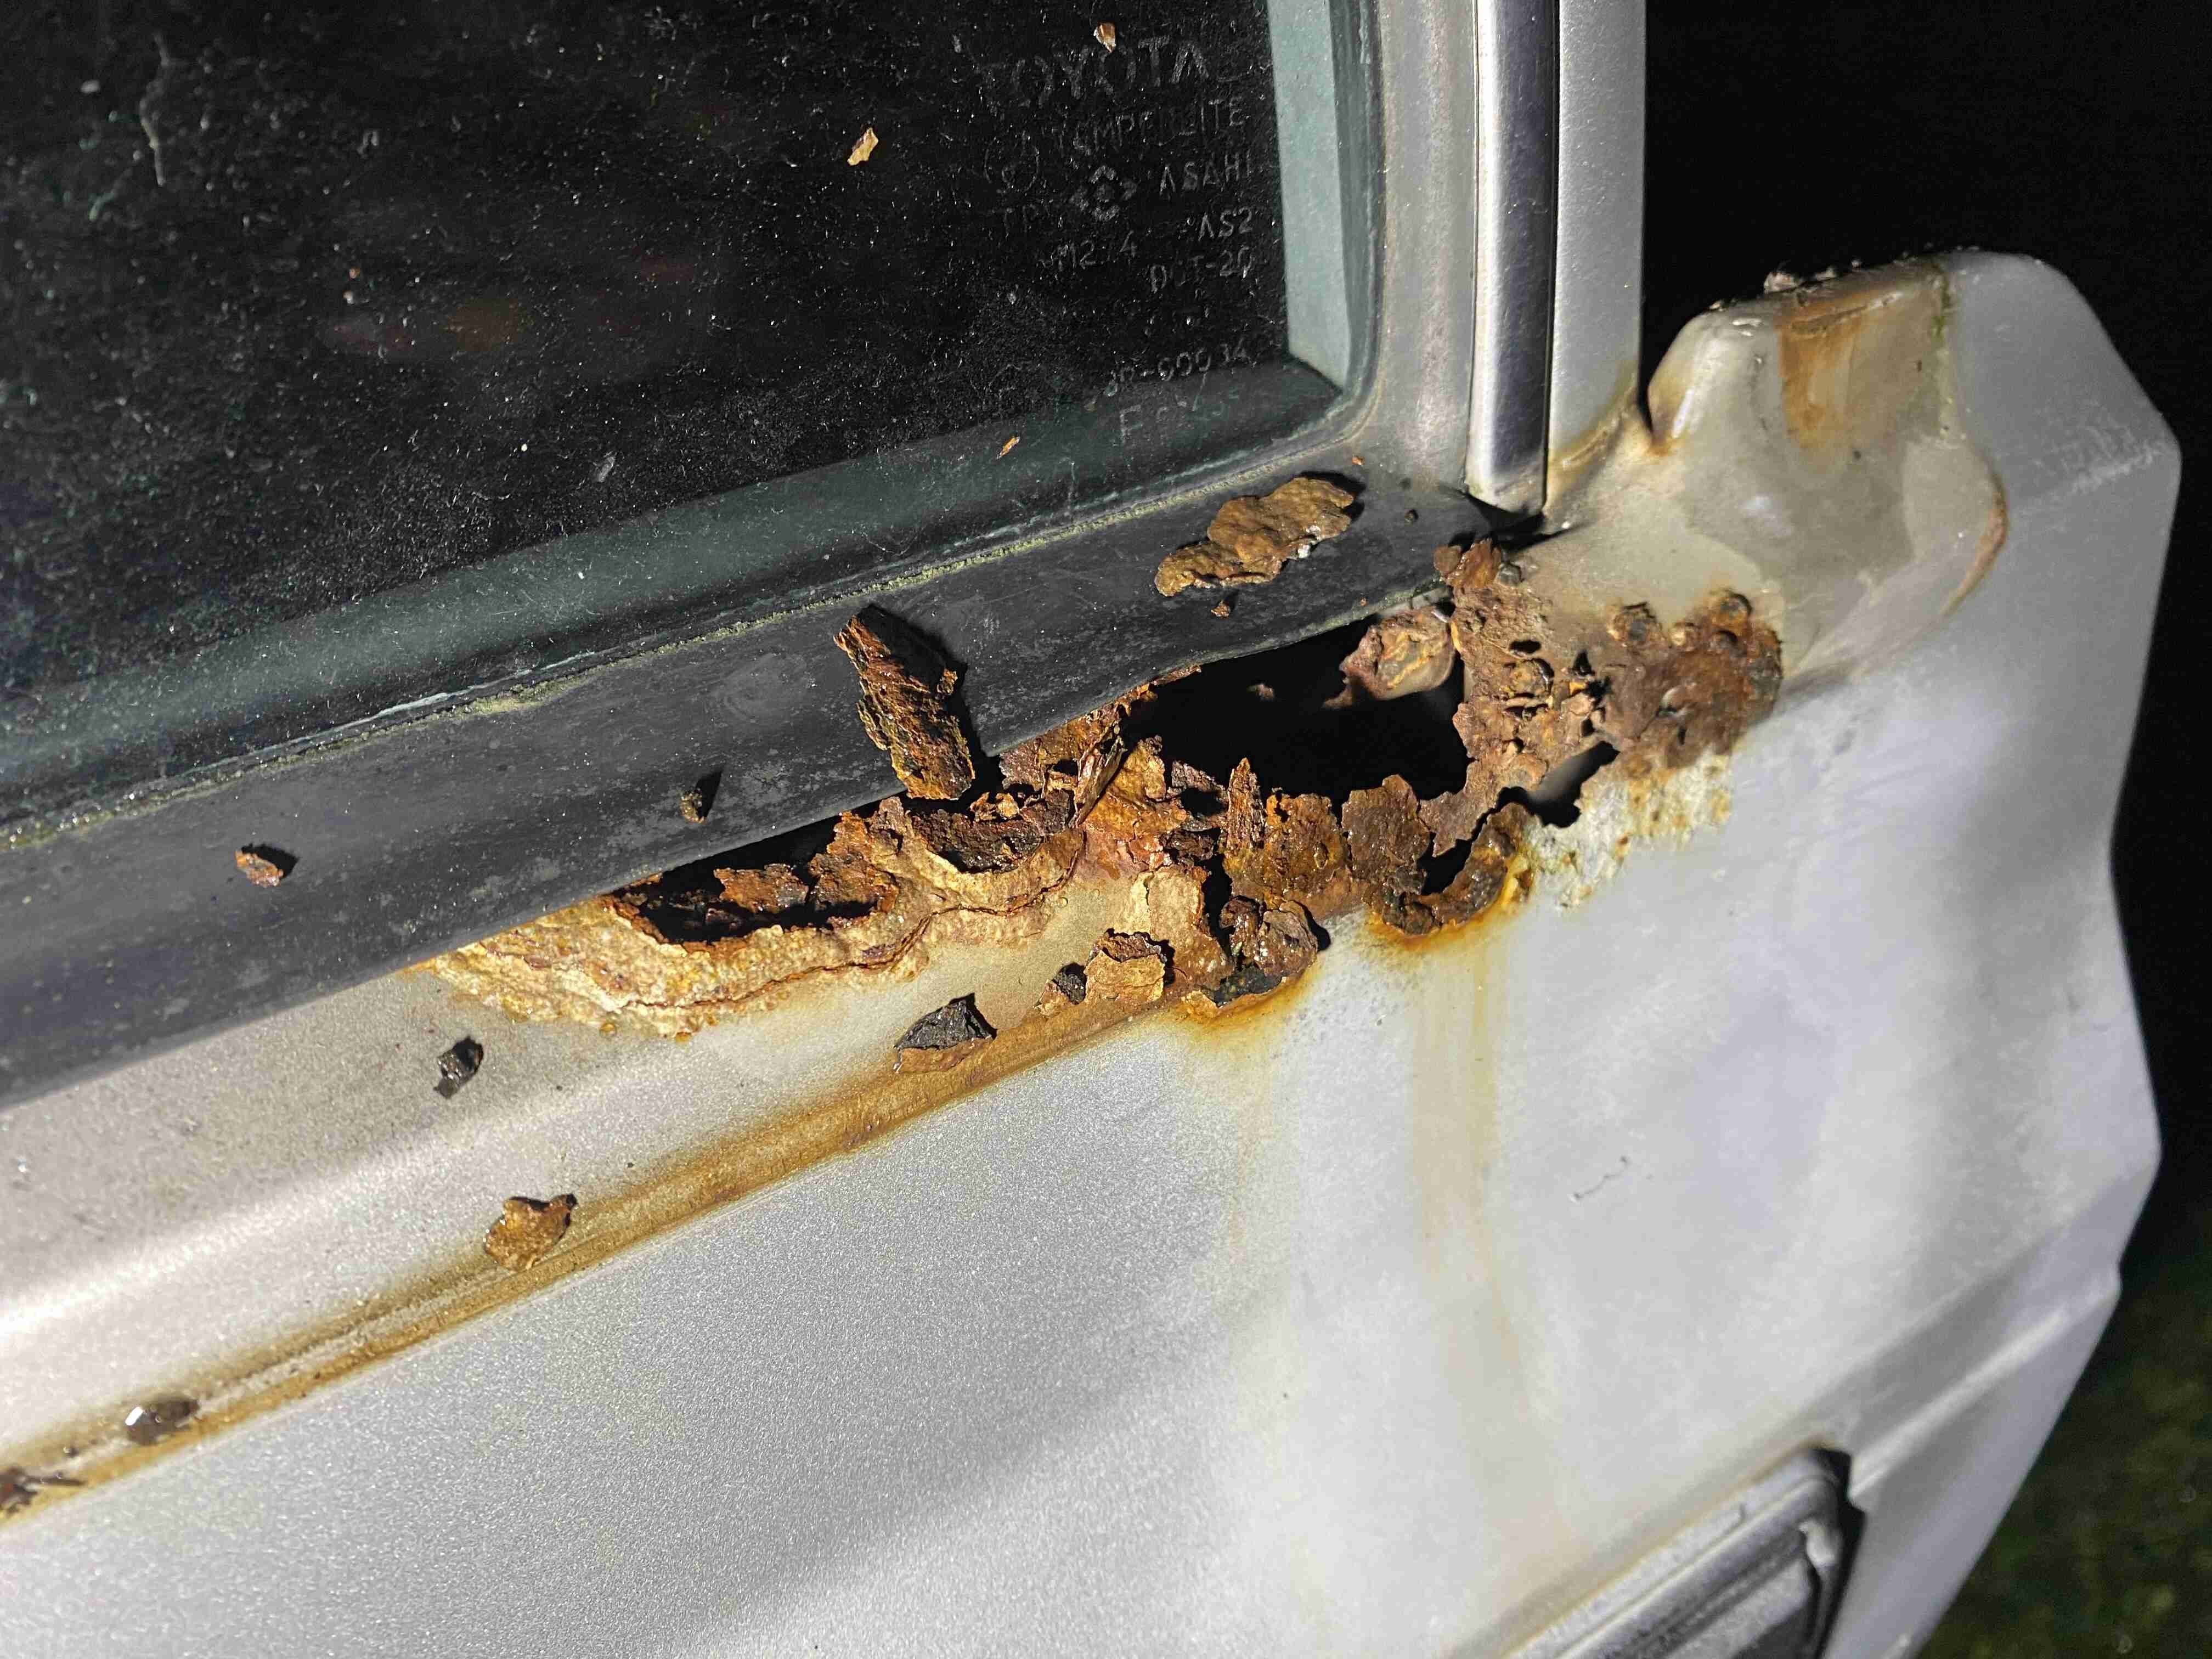
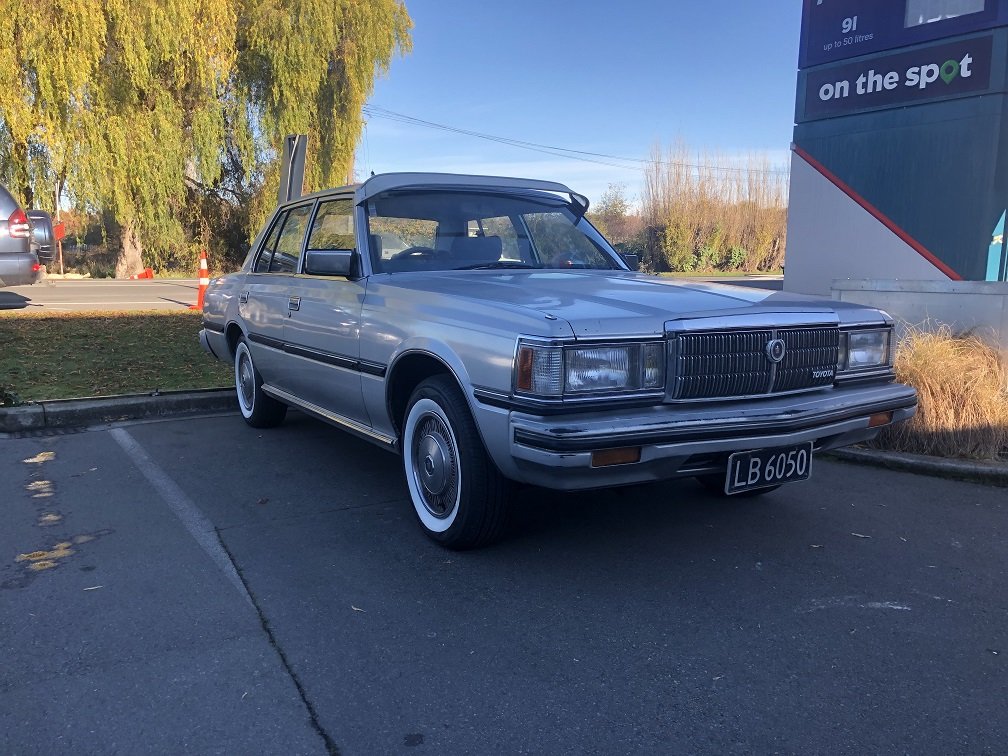
It's been a while since I've shown the Crown any love, but we have put 20,000km on it since the motor swap. It hit the 400,000km mark the other day! I stopped for a pic at the exact spot it clocked over. Mechanically its been going like a champ, but the rust has been creeping up on me. Keen eyed viewers may notice the black boot, courtesy of @JustHarry. He's been helping me out with some relatively rust free panels from a decent donor car. The boot lower lip was gone and both back doors have some issues. The left rear is the worst with some big holes hiding behind the trim! Time to stop ignoring it I think. I've also got to clean up the right rear panel which has been in primer since I welded in some new metal 2 years ago, and the bumpers need a respray also.
1 point
-
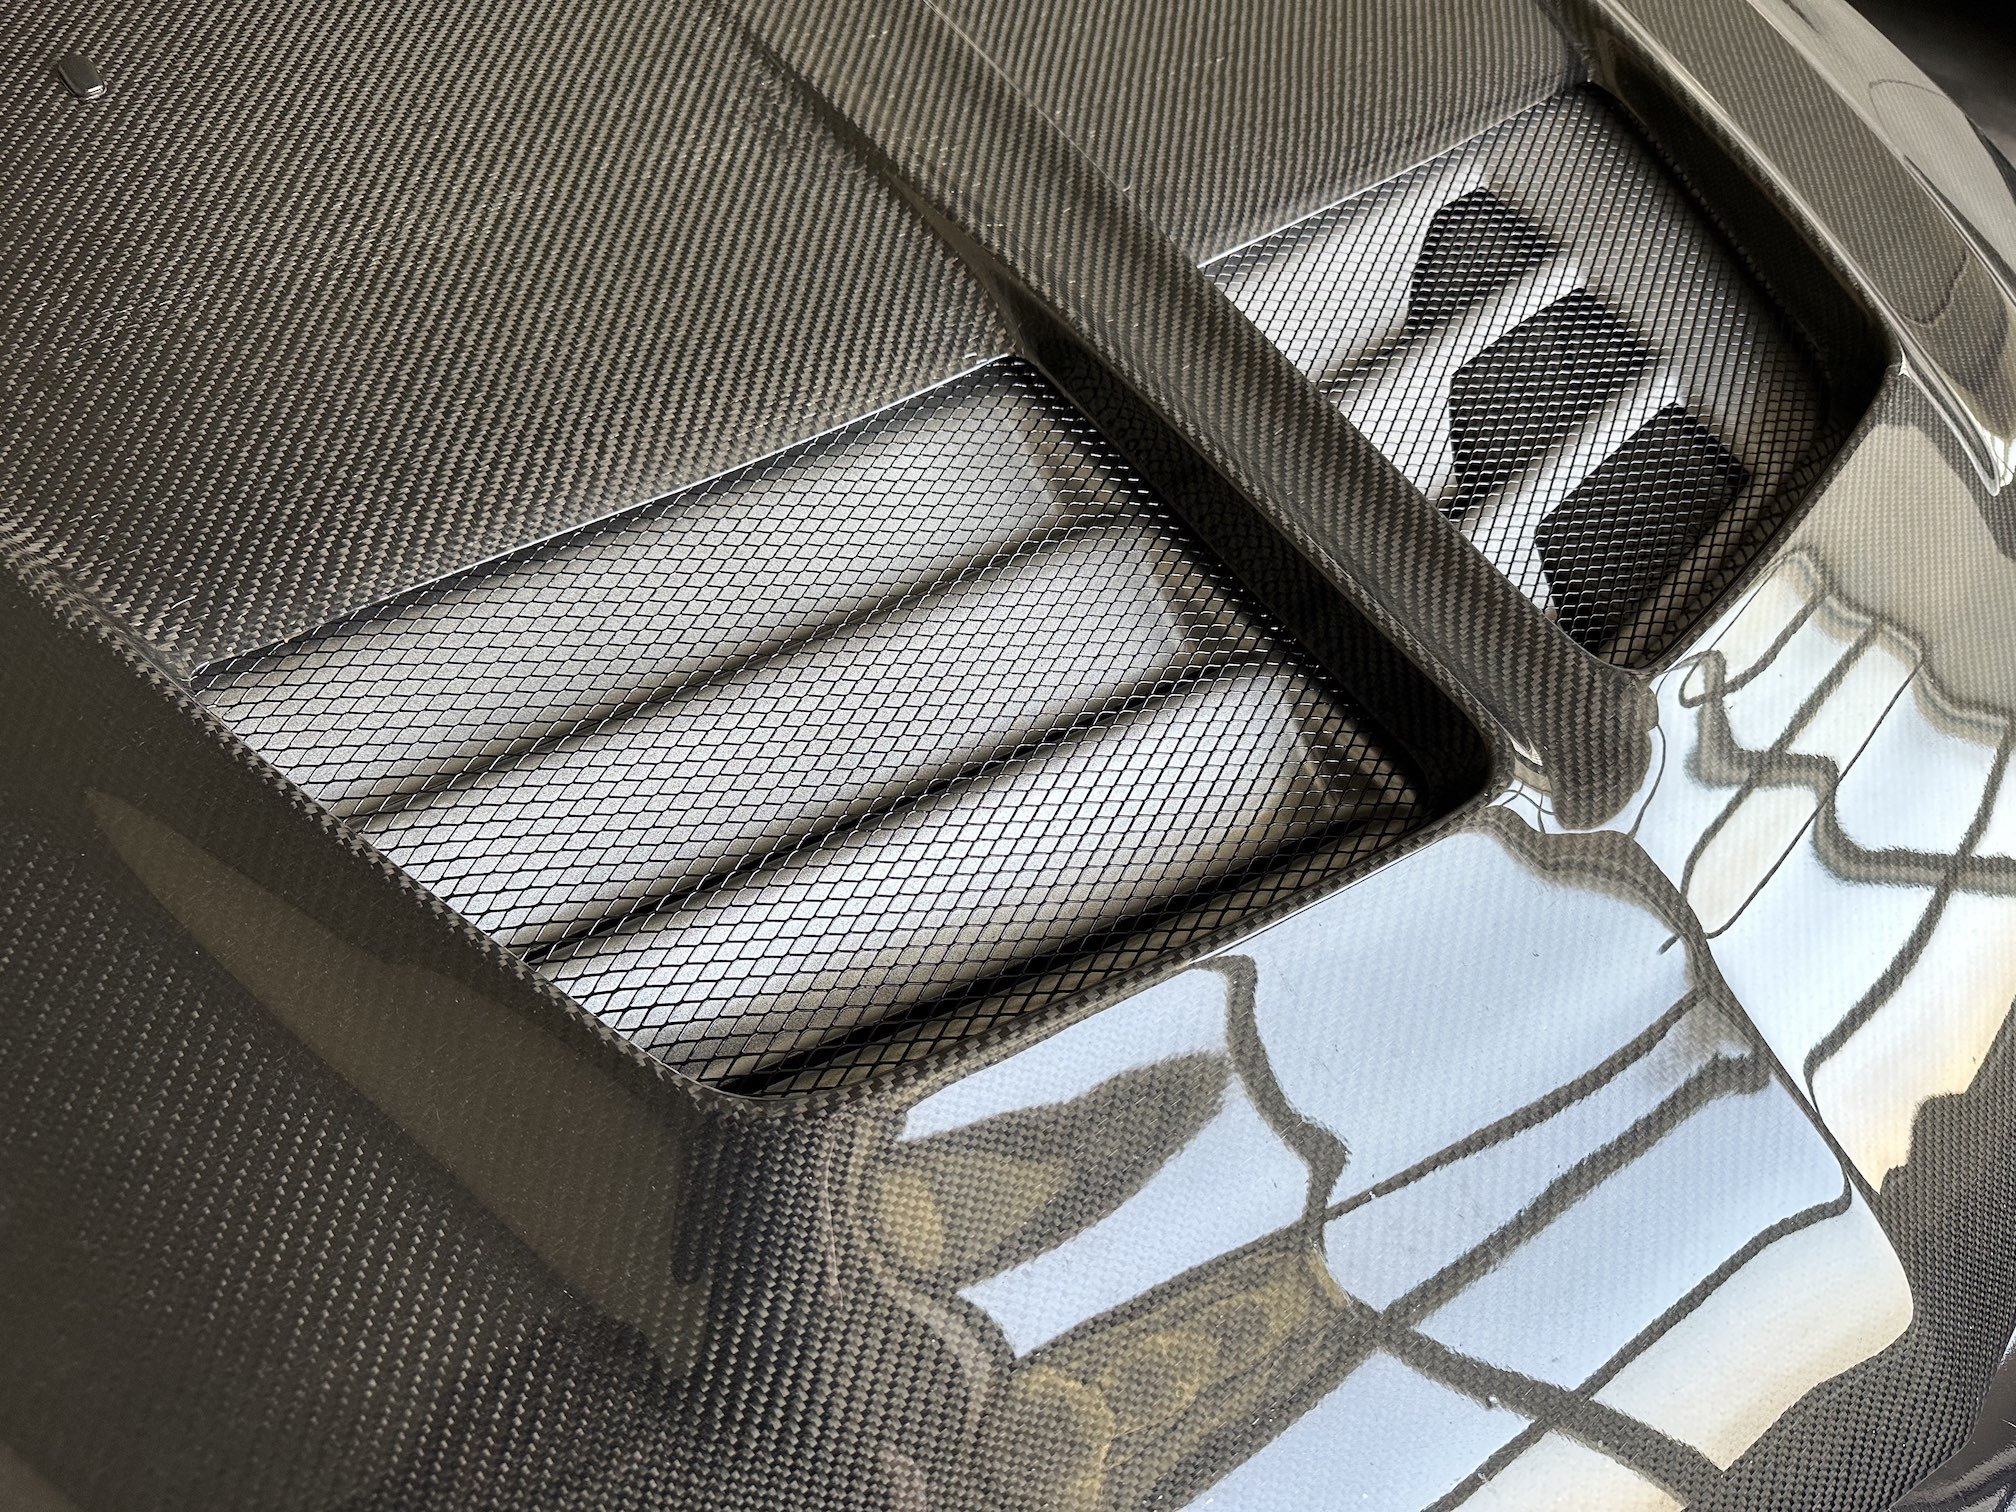
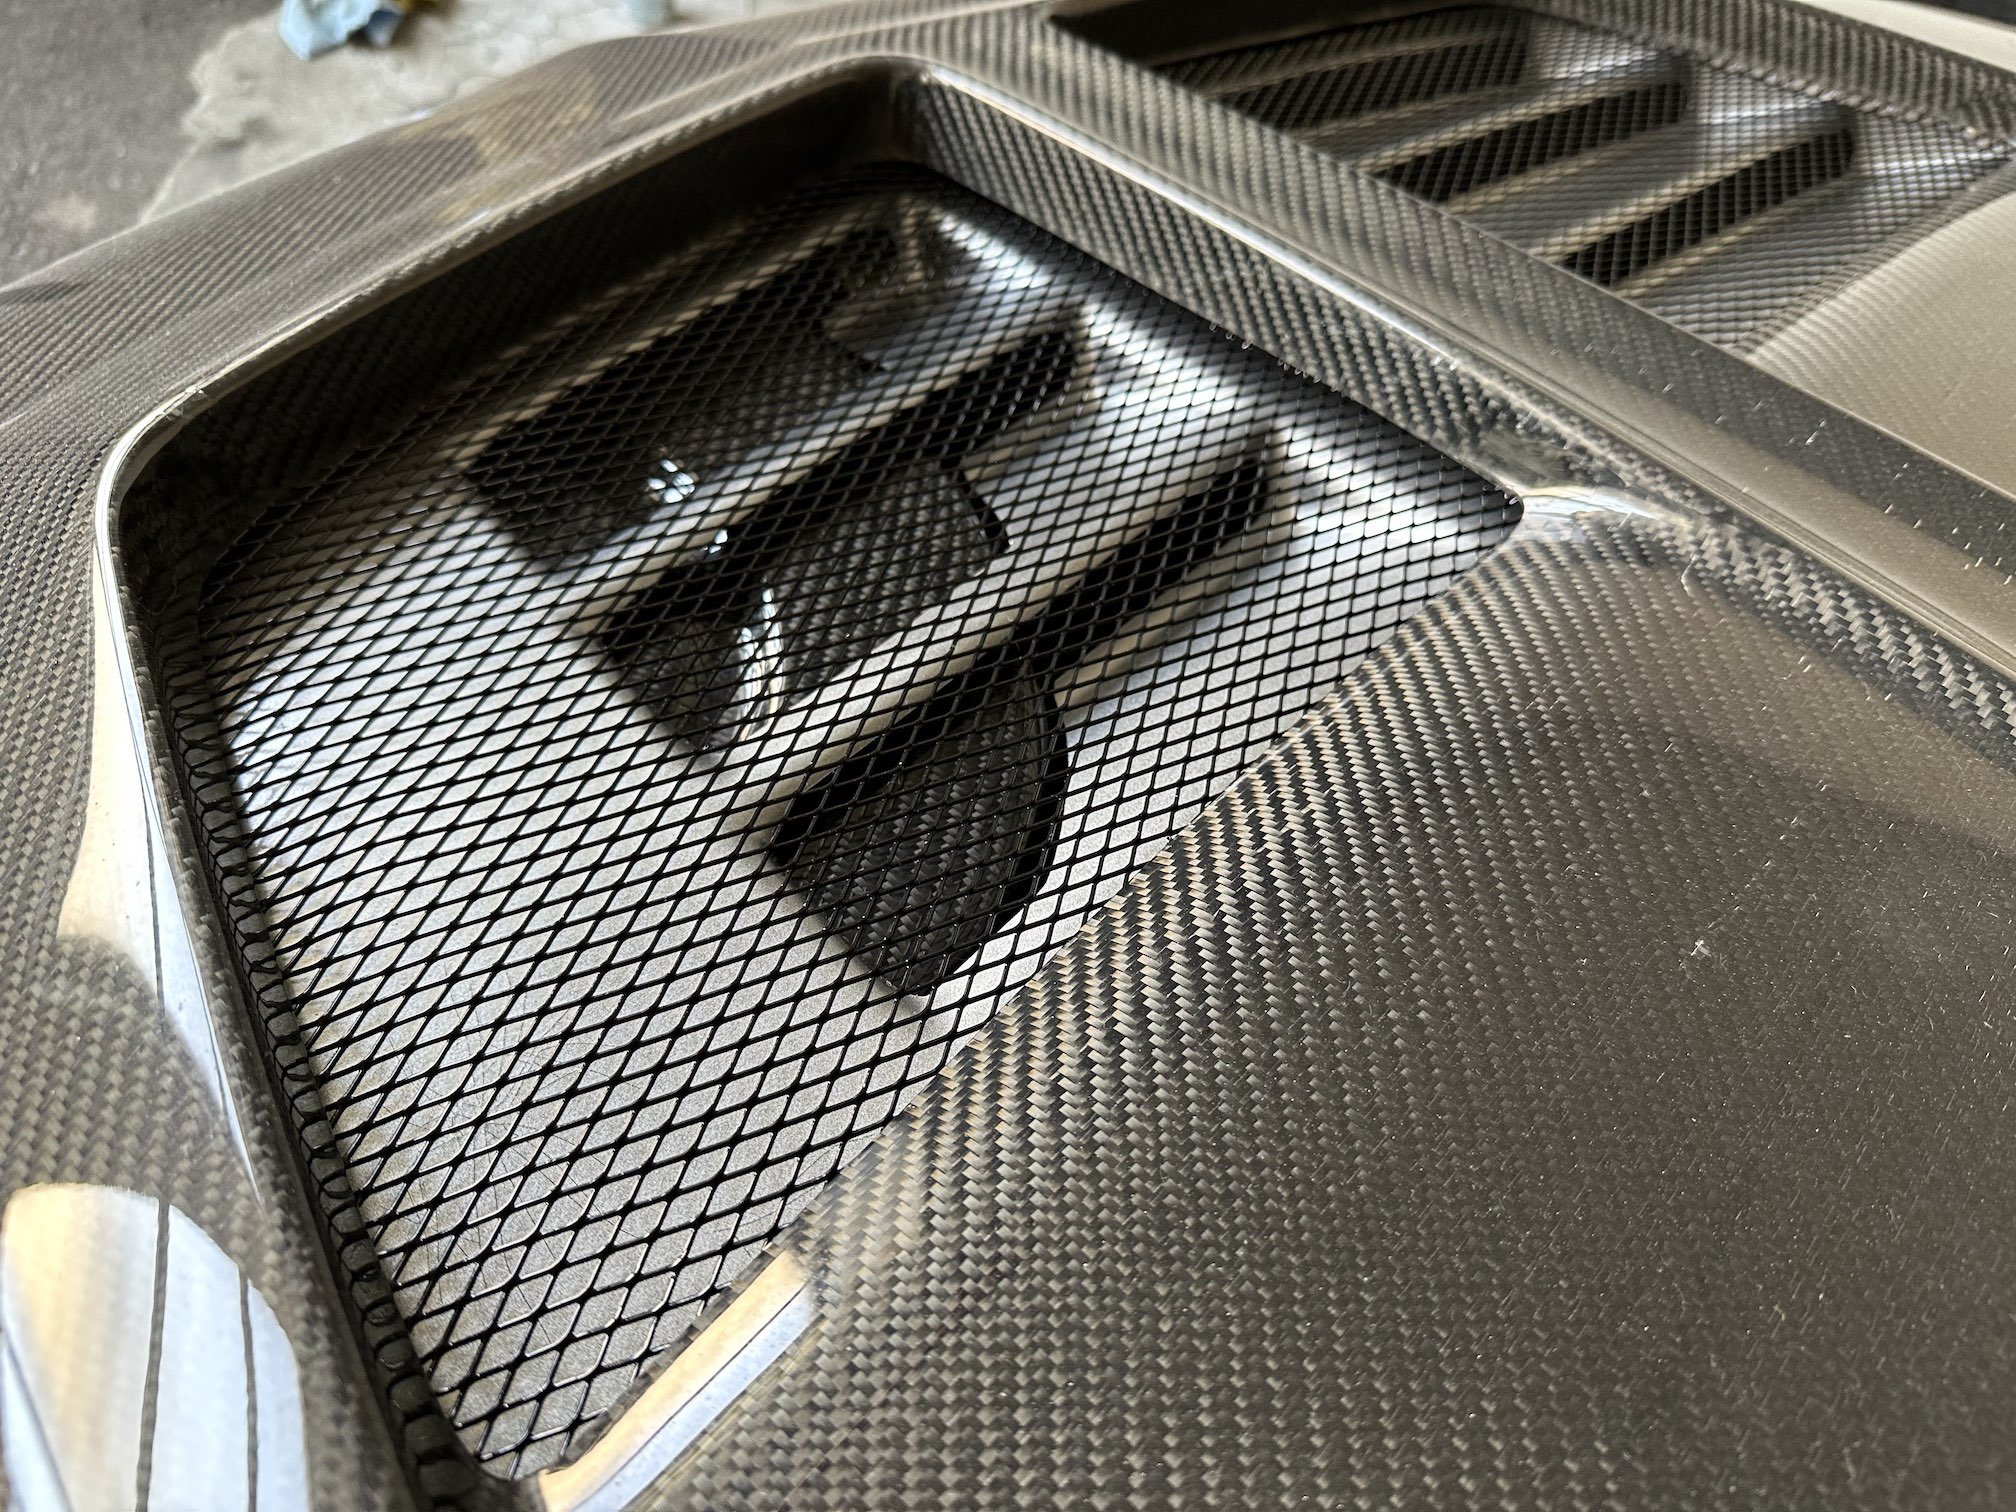
Some more angles of the silver vent plate
1 point
-
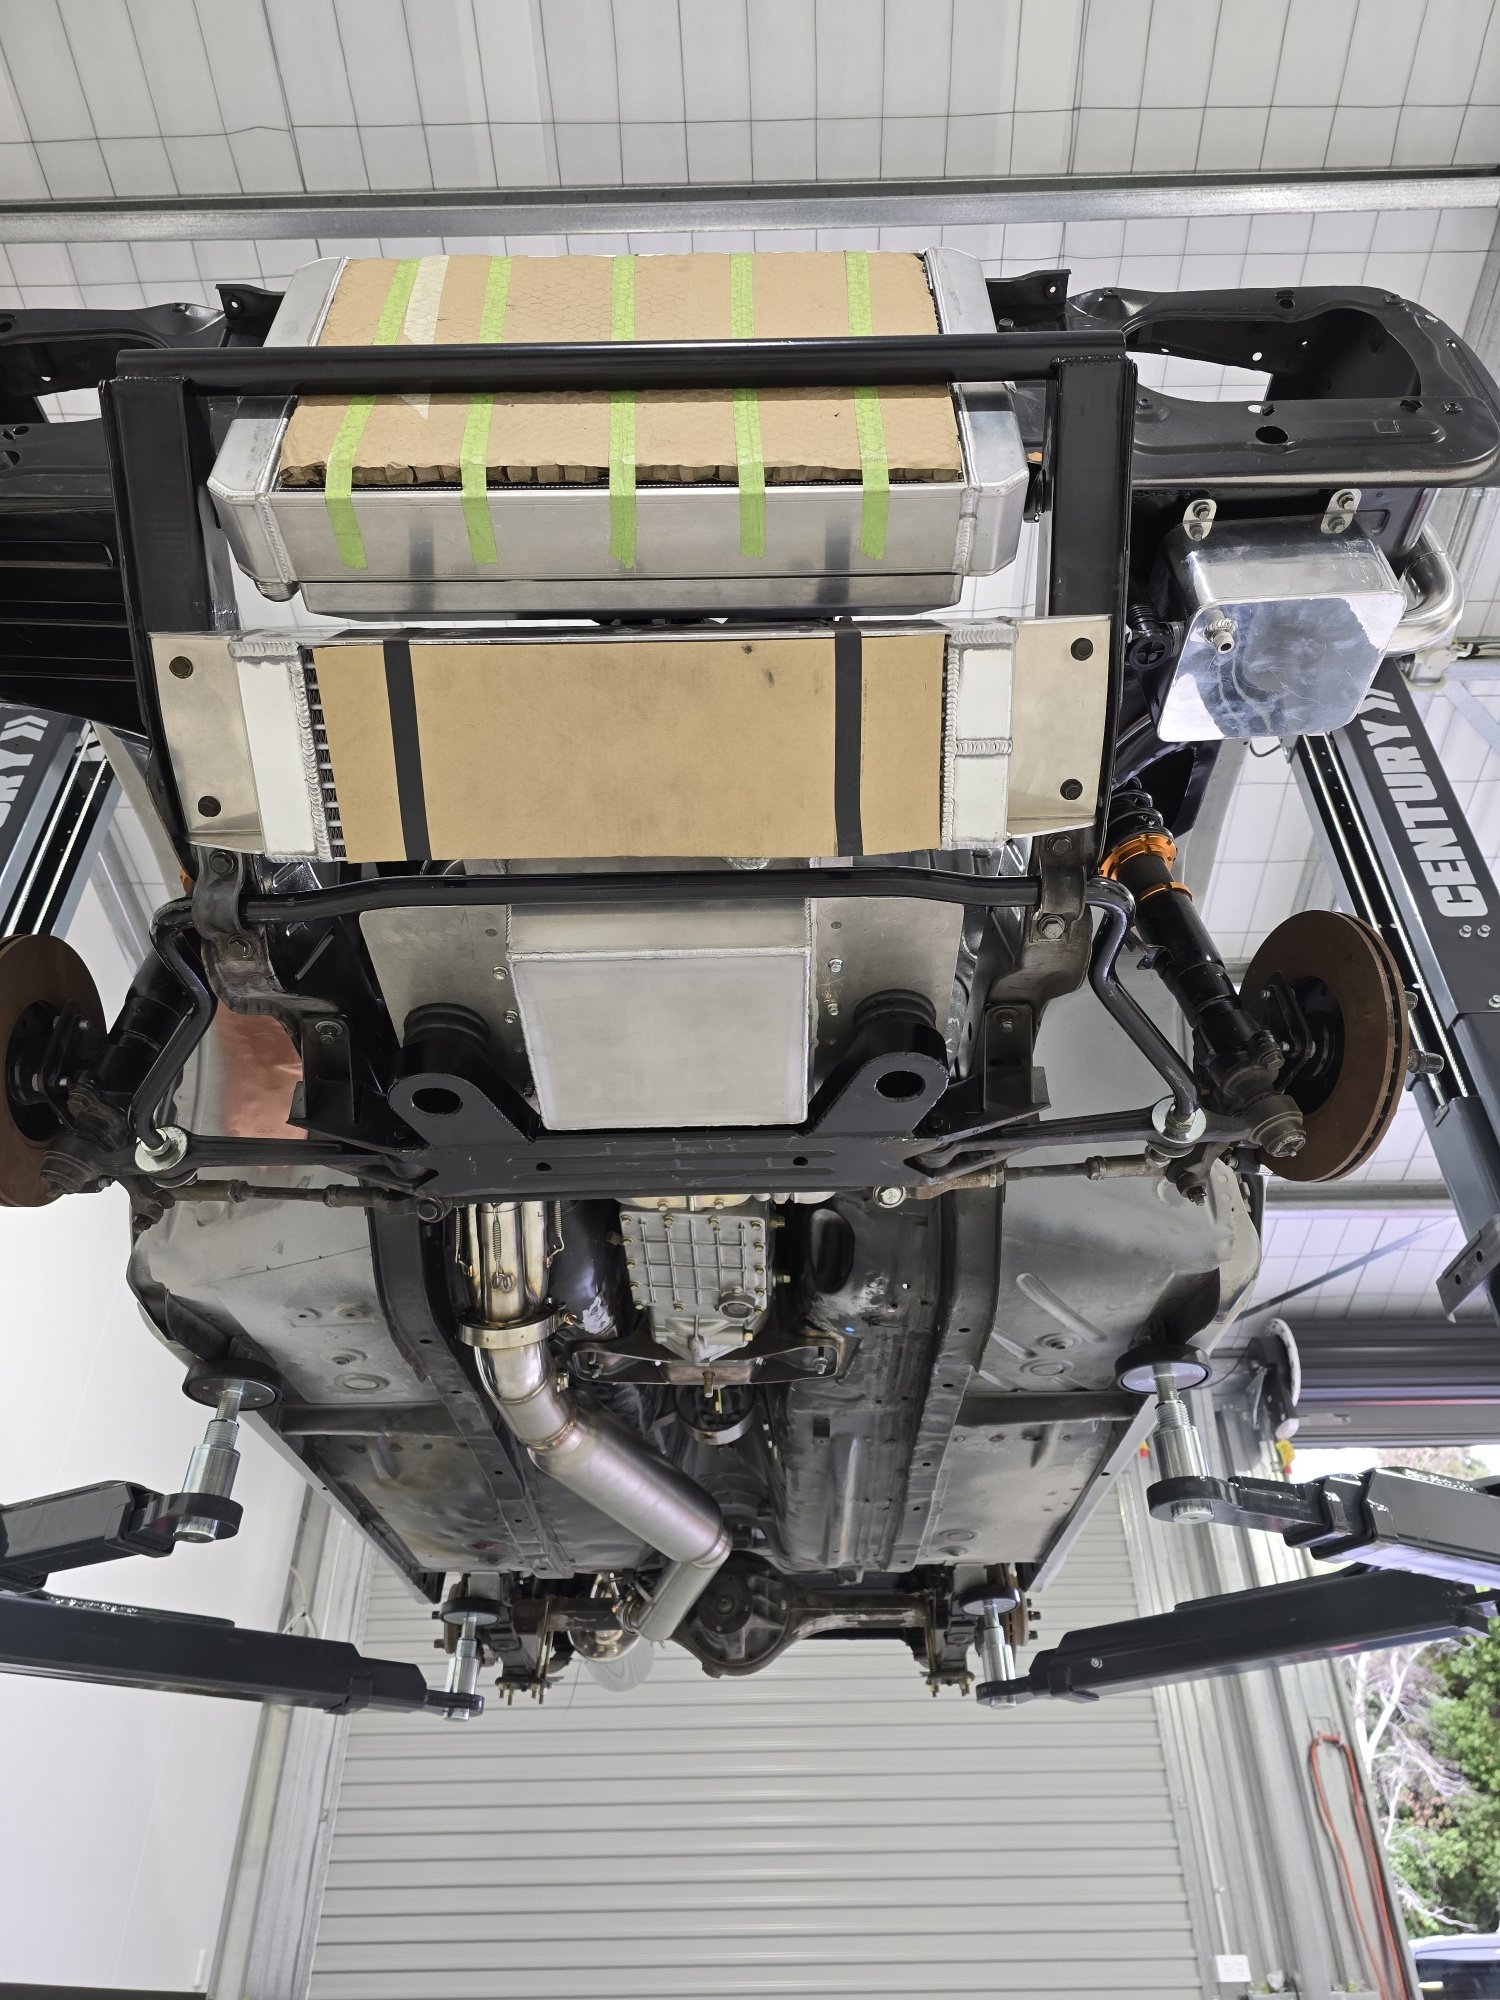
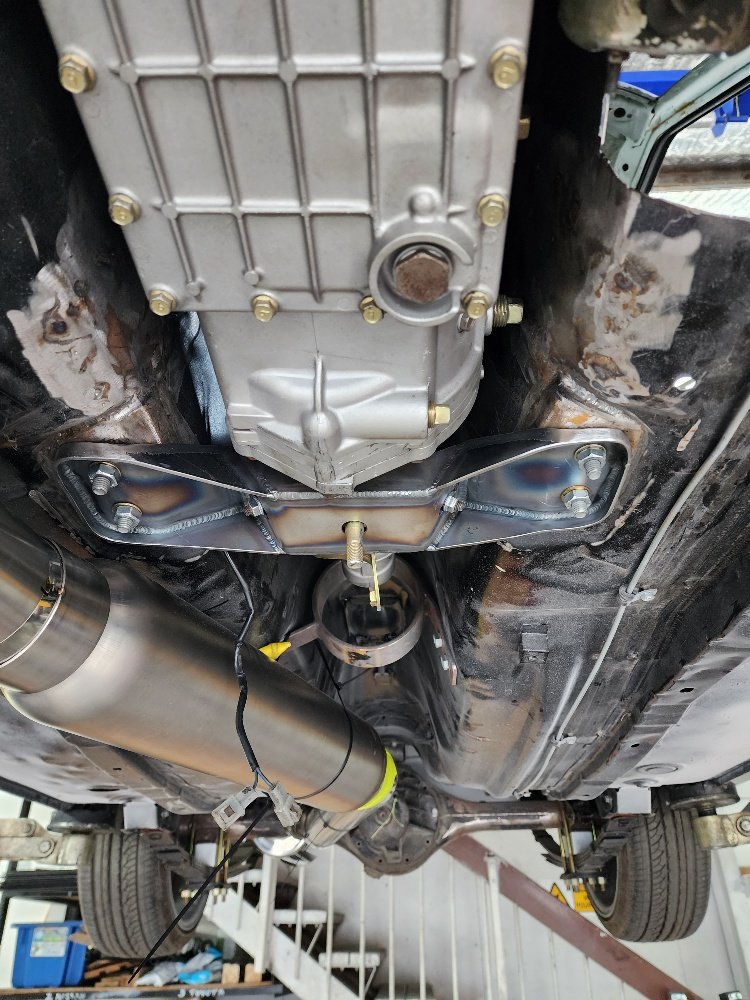
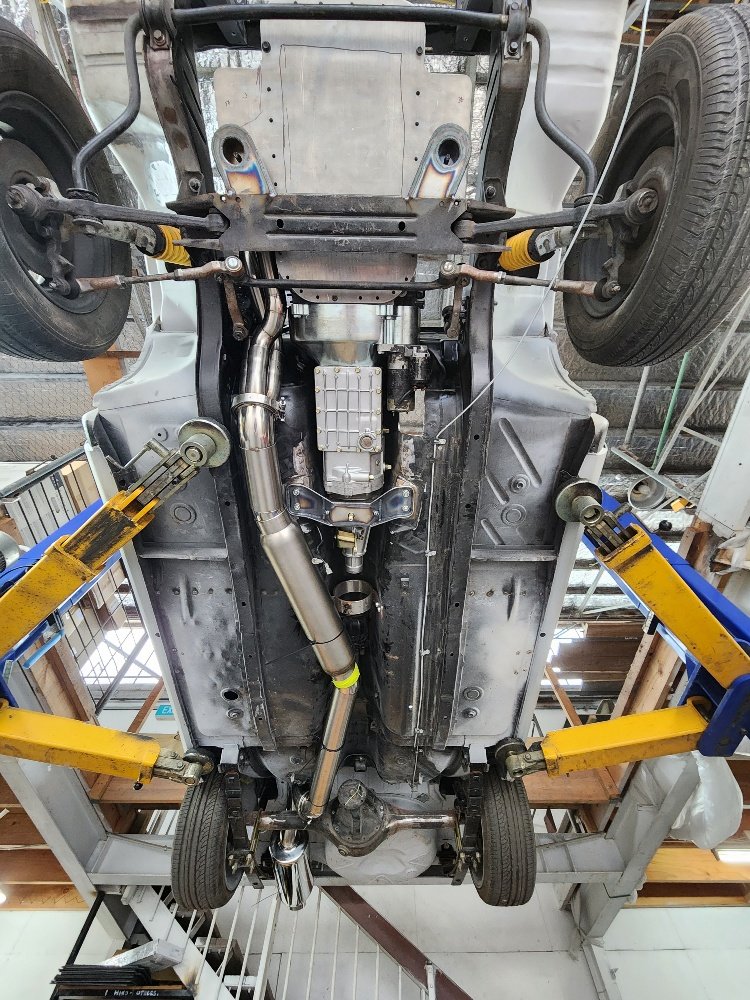
Managed to get back into the fab shop this week check on progress, Has been a bit of progress Mounts all done, headers and exhaust tacked up, battery box and washer bottle made up, Shes a tight squeeze but all going to fit just. Still a fair bit to go to finish off this stage but progress is good!
1 point
-
So once I threw it all together I drove it an almost 4000km round trip down to the Tennessee and North Carolina border for the Tail of the Dragon and had an absolute blast
1 point
-
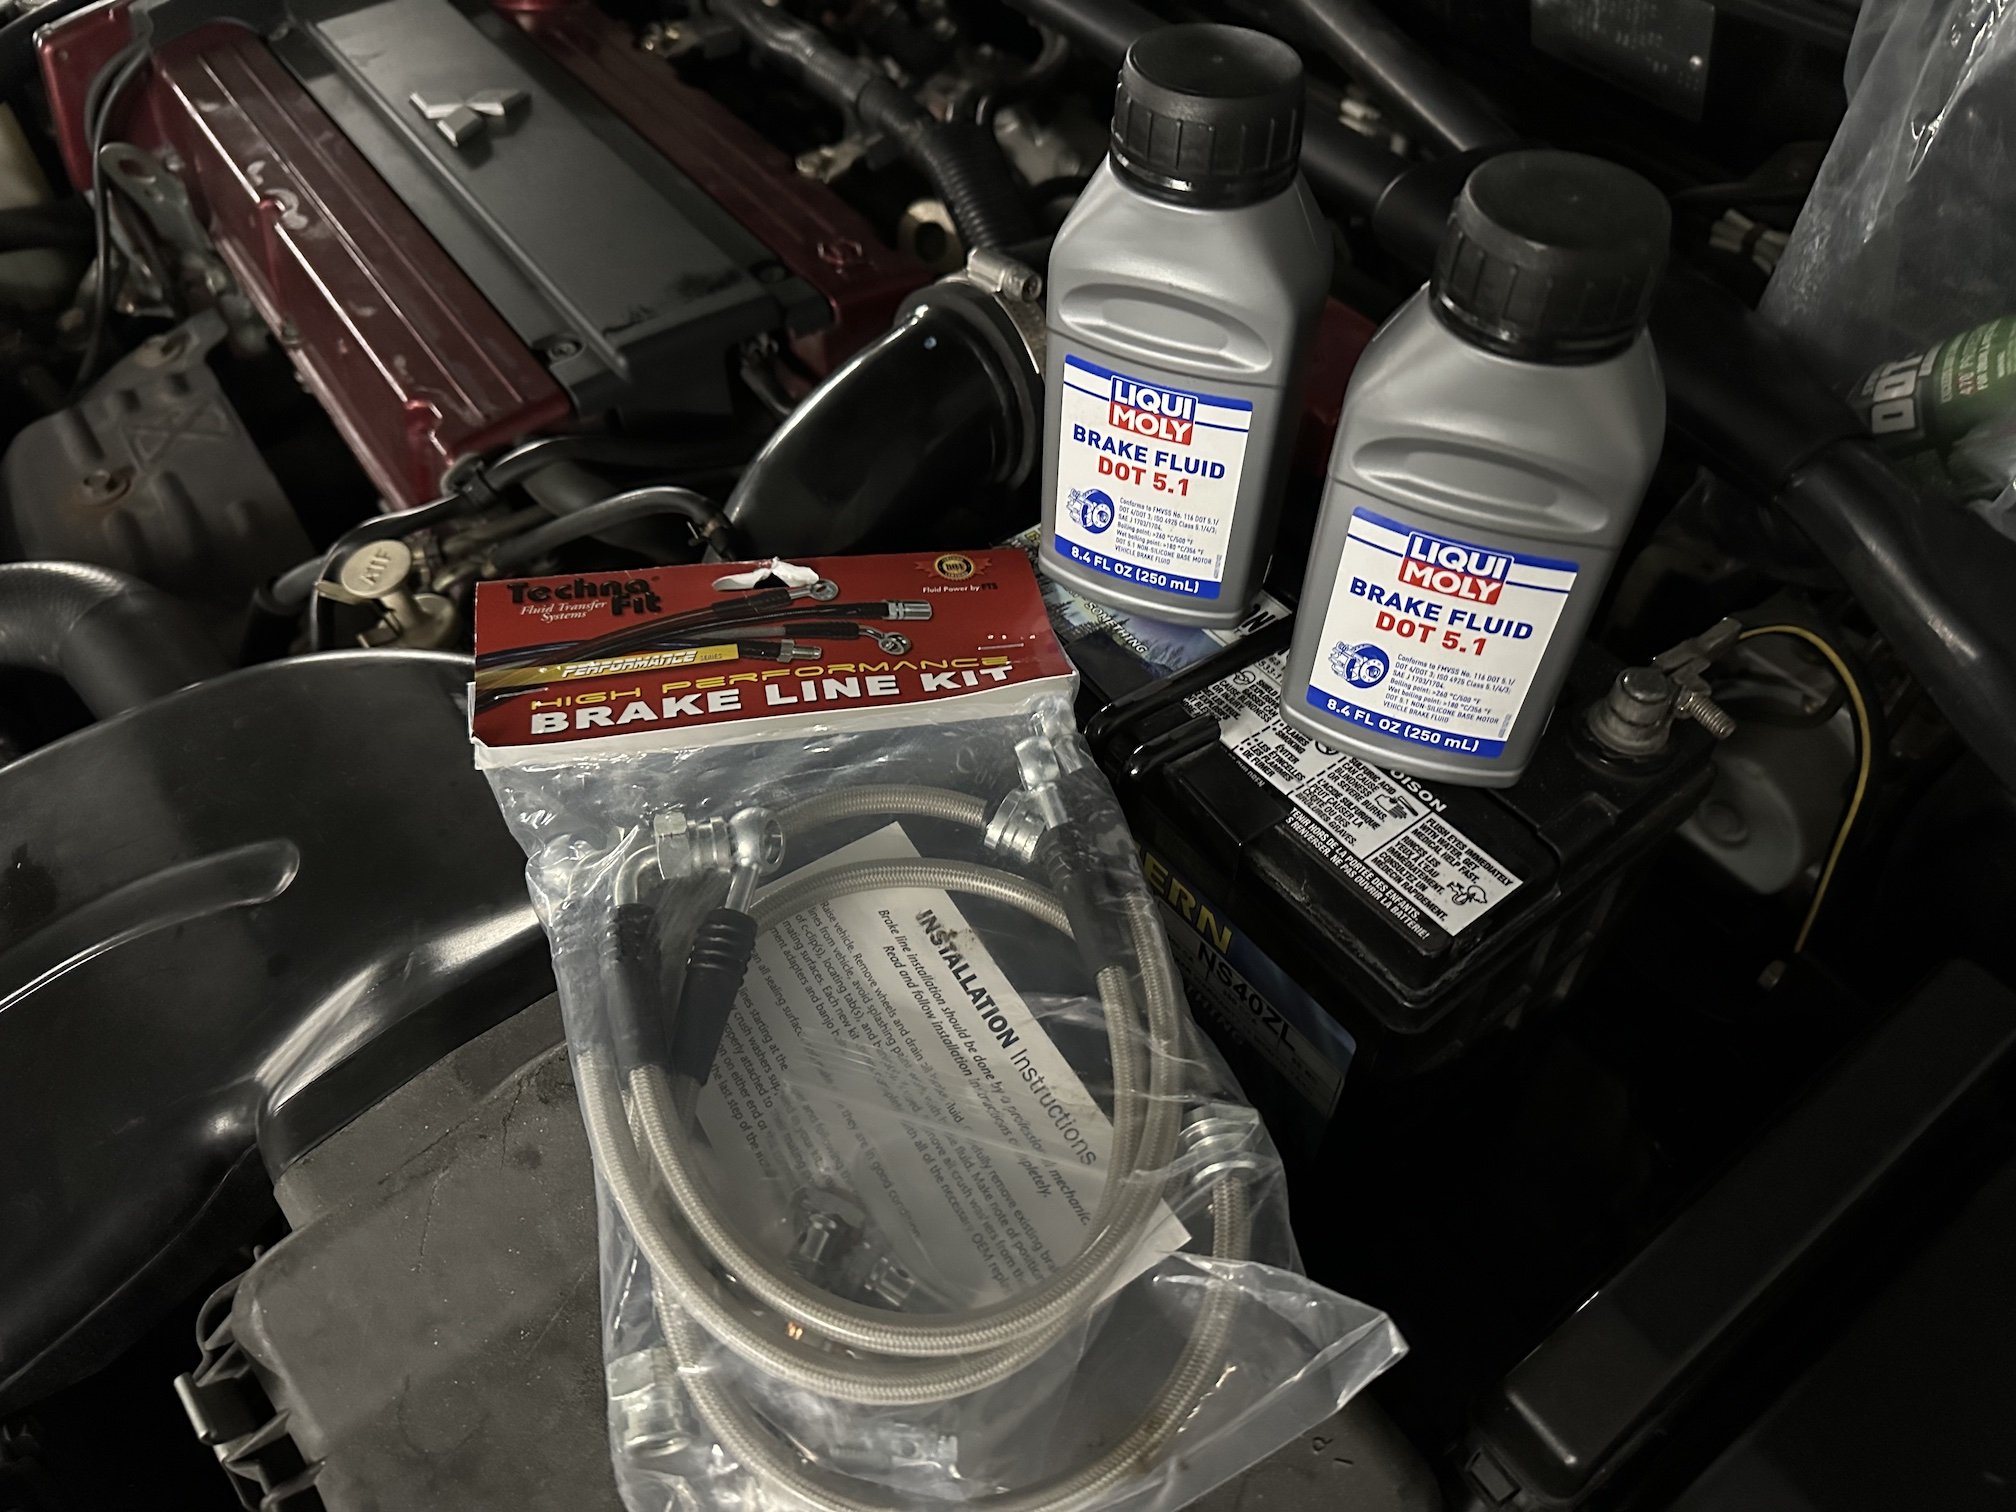
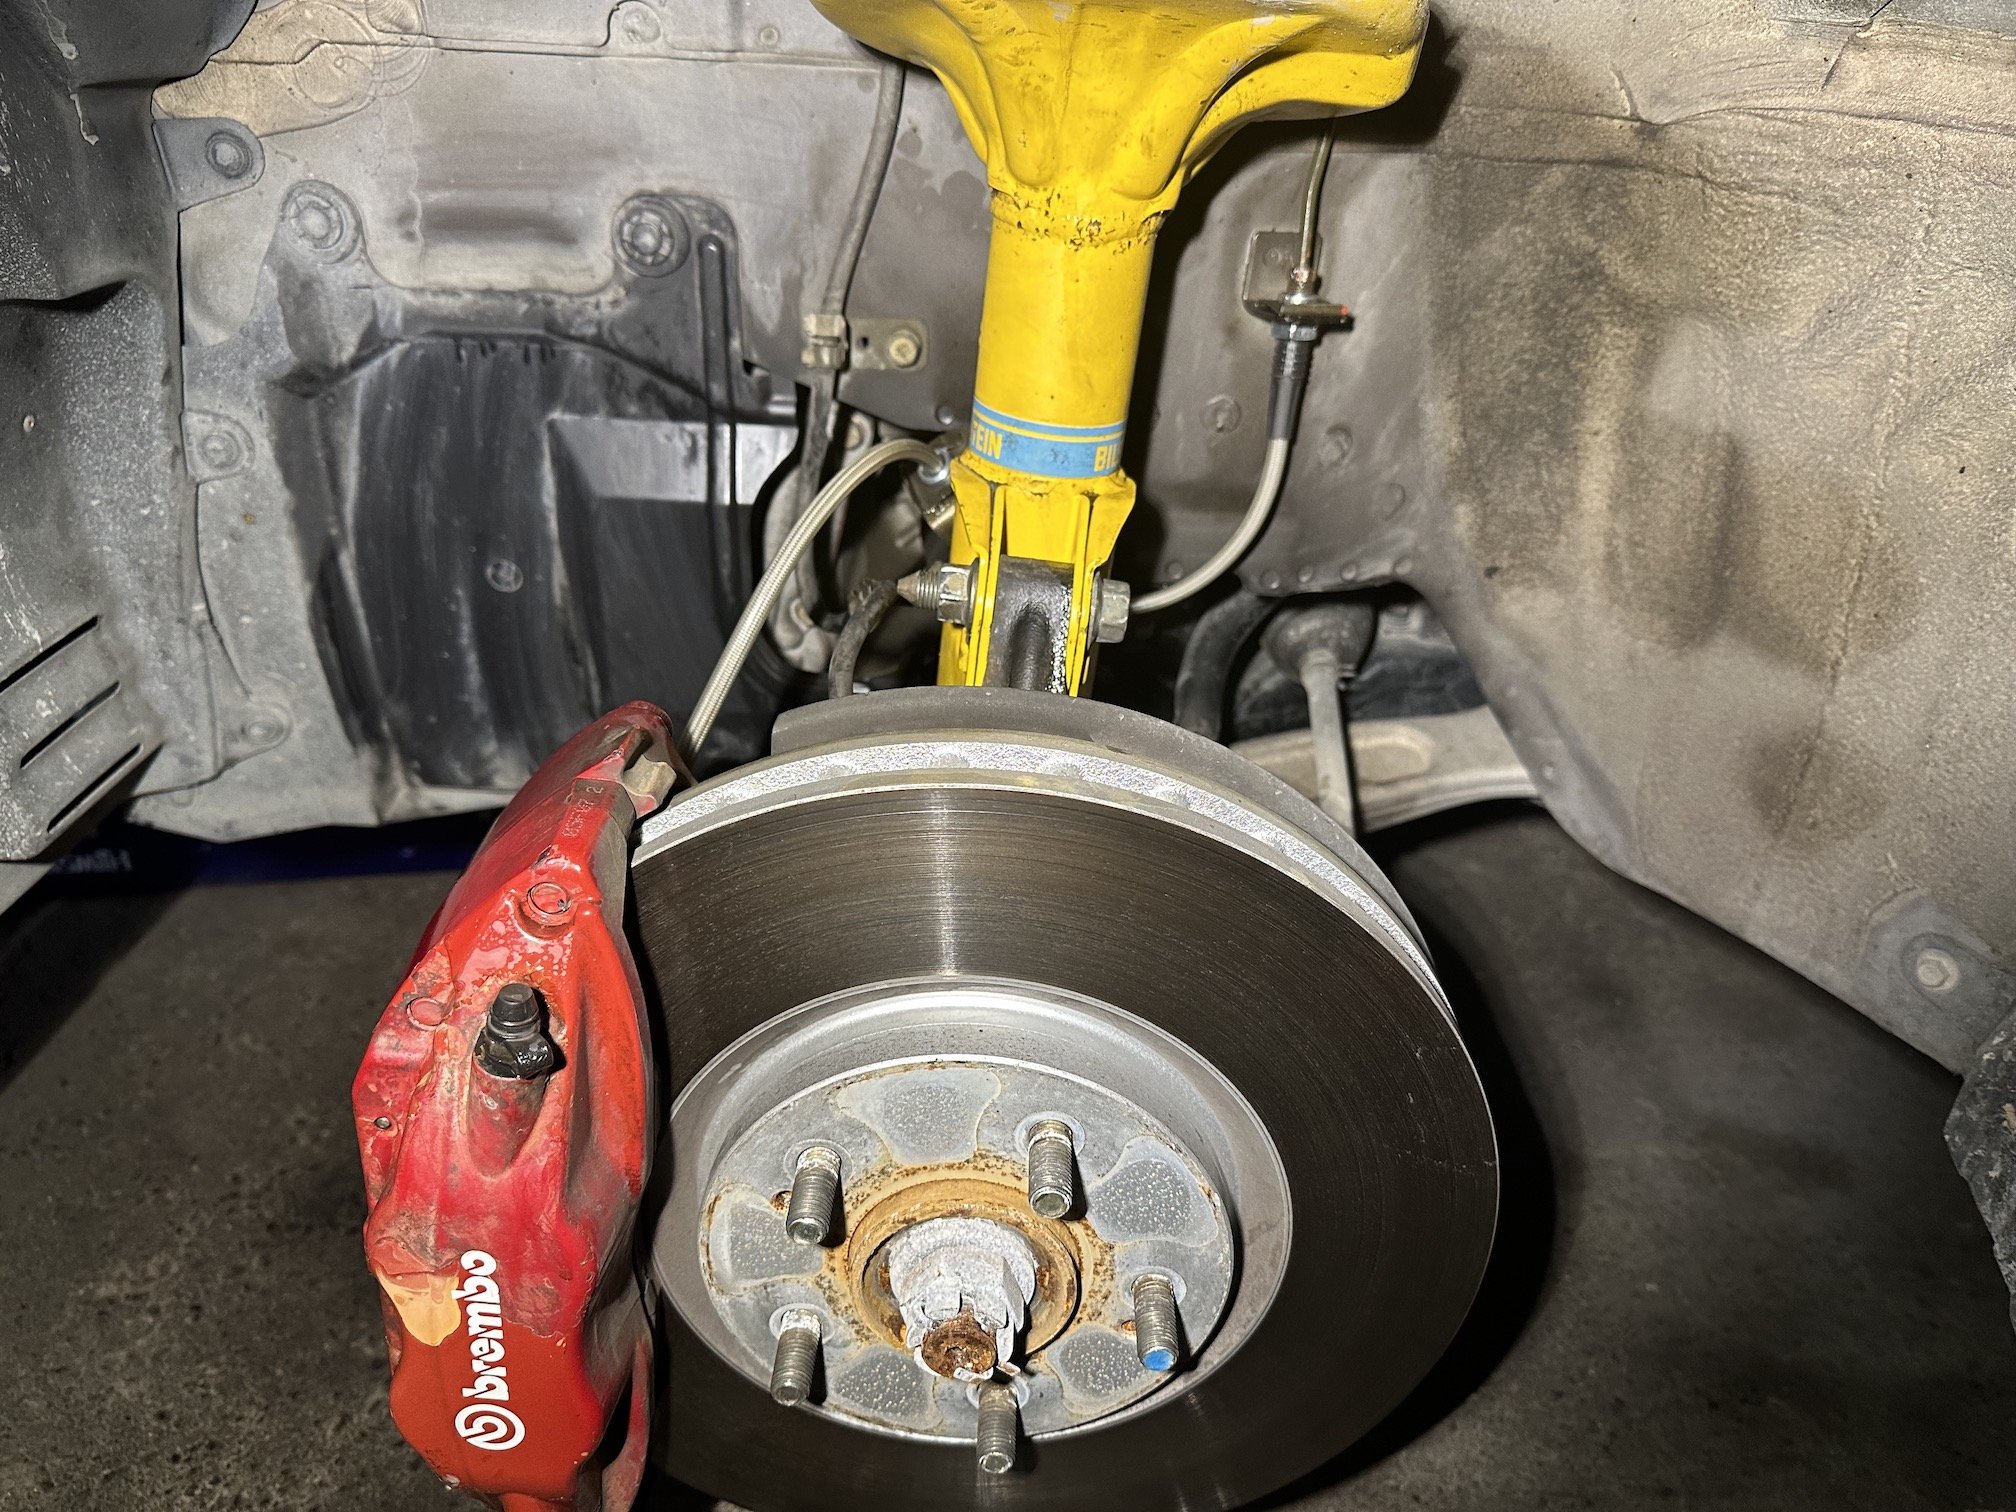
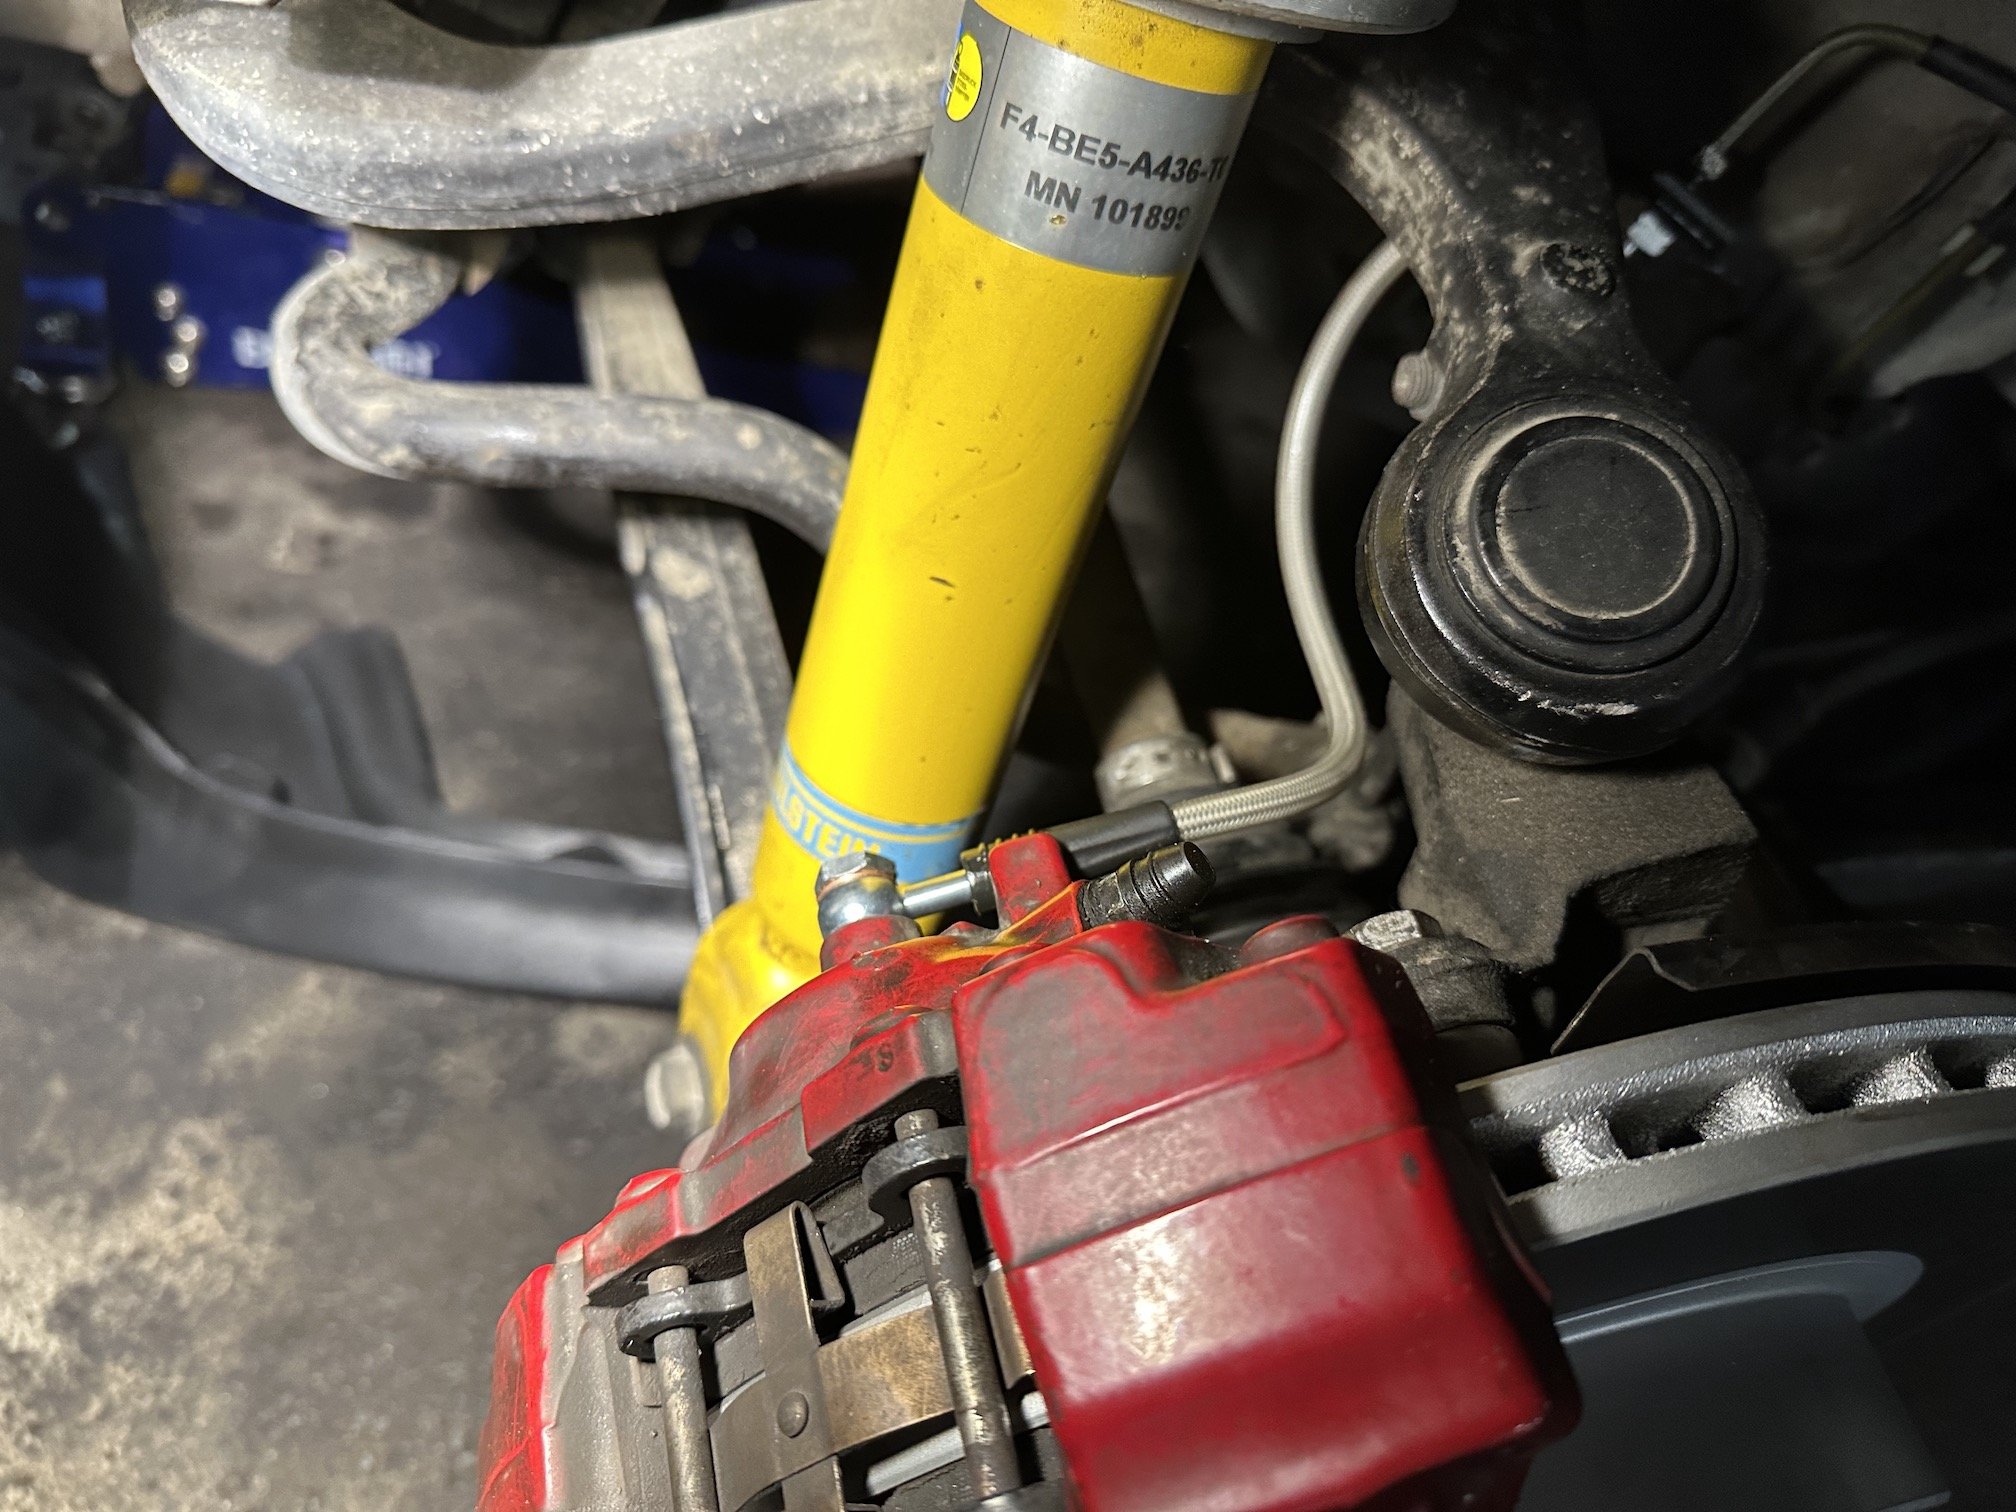
Black Friday has come and gone which means I picked up some stuff: - Braided brake lines - Superpro 24mm rear adjustable sway bar - Varis CF shift knob & shifter bushings (for when I do the 6spd swap) - Rear diff poly mounts - K&N air filter Made a start with swapping in the braided lines. You can see the brake calipers need some love as the original clear coat is peeling and fading. I have to swap in a different brake master cylinder reservoir when I do the manual swap so when the brake fluid is all drained again I'll get them done then. Have ordered up replacement brembo decals already. The existing brake fluid seems fresh and not discoloured which is a good sign, I opted to use some regular DOT 4 fluid I had on hand for the brake line swap and will wait for the new master cylinder reservoir and caliper overhaul before using the good DOT 5.1 stuff.
1 point
-
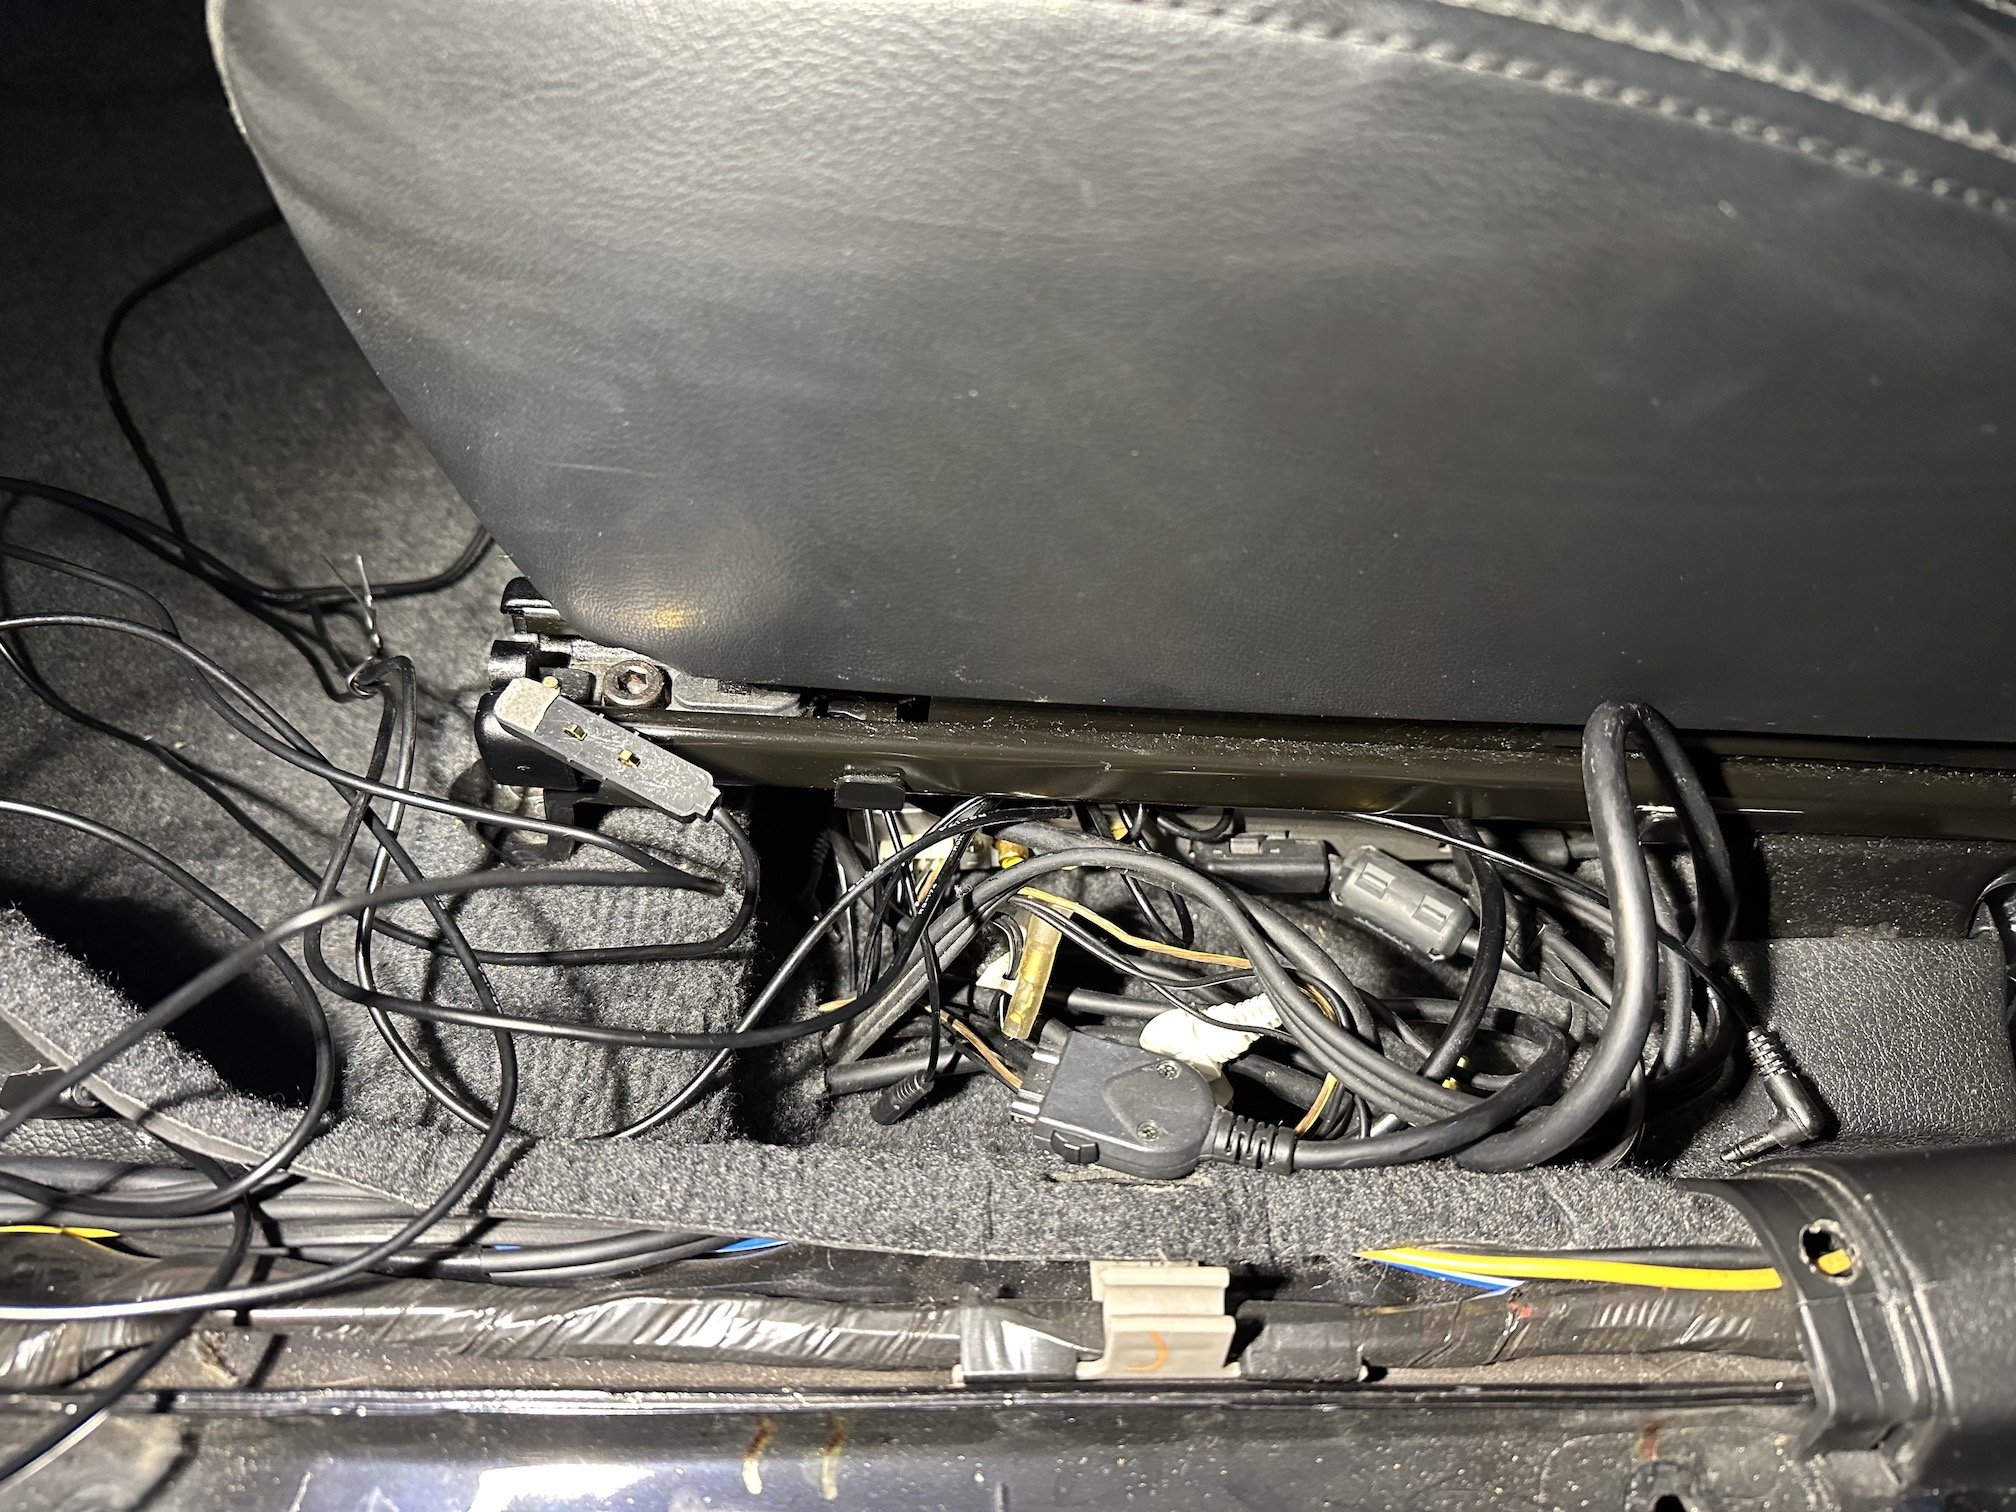
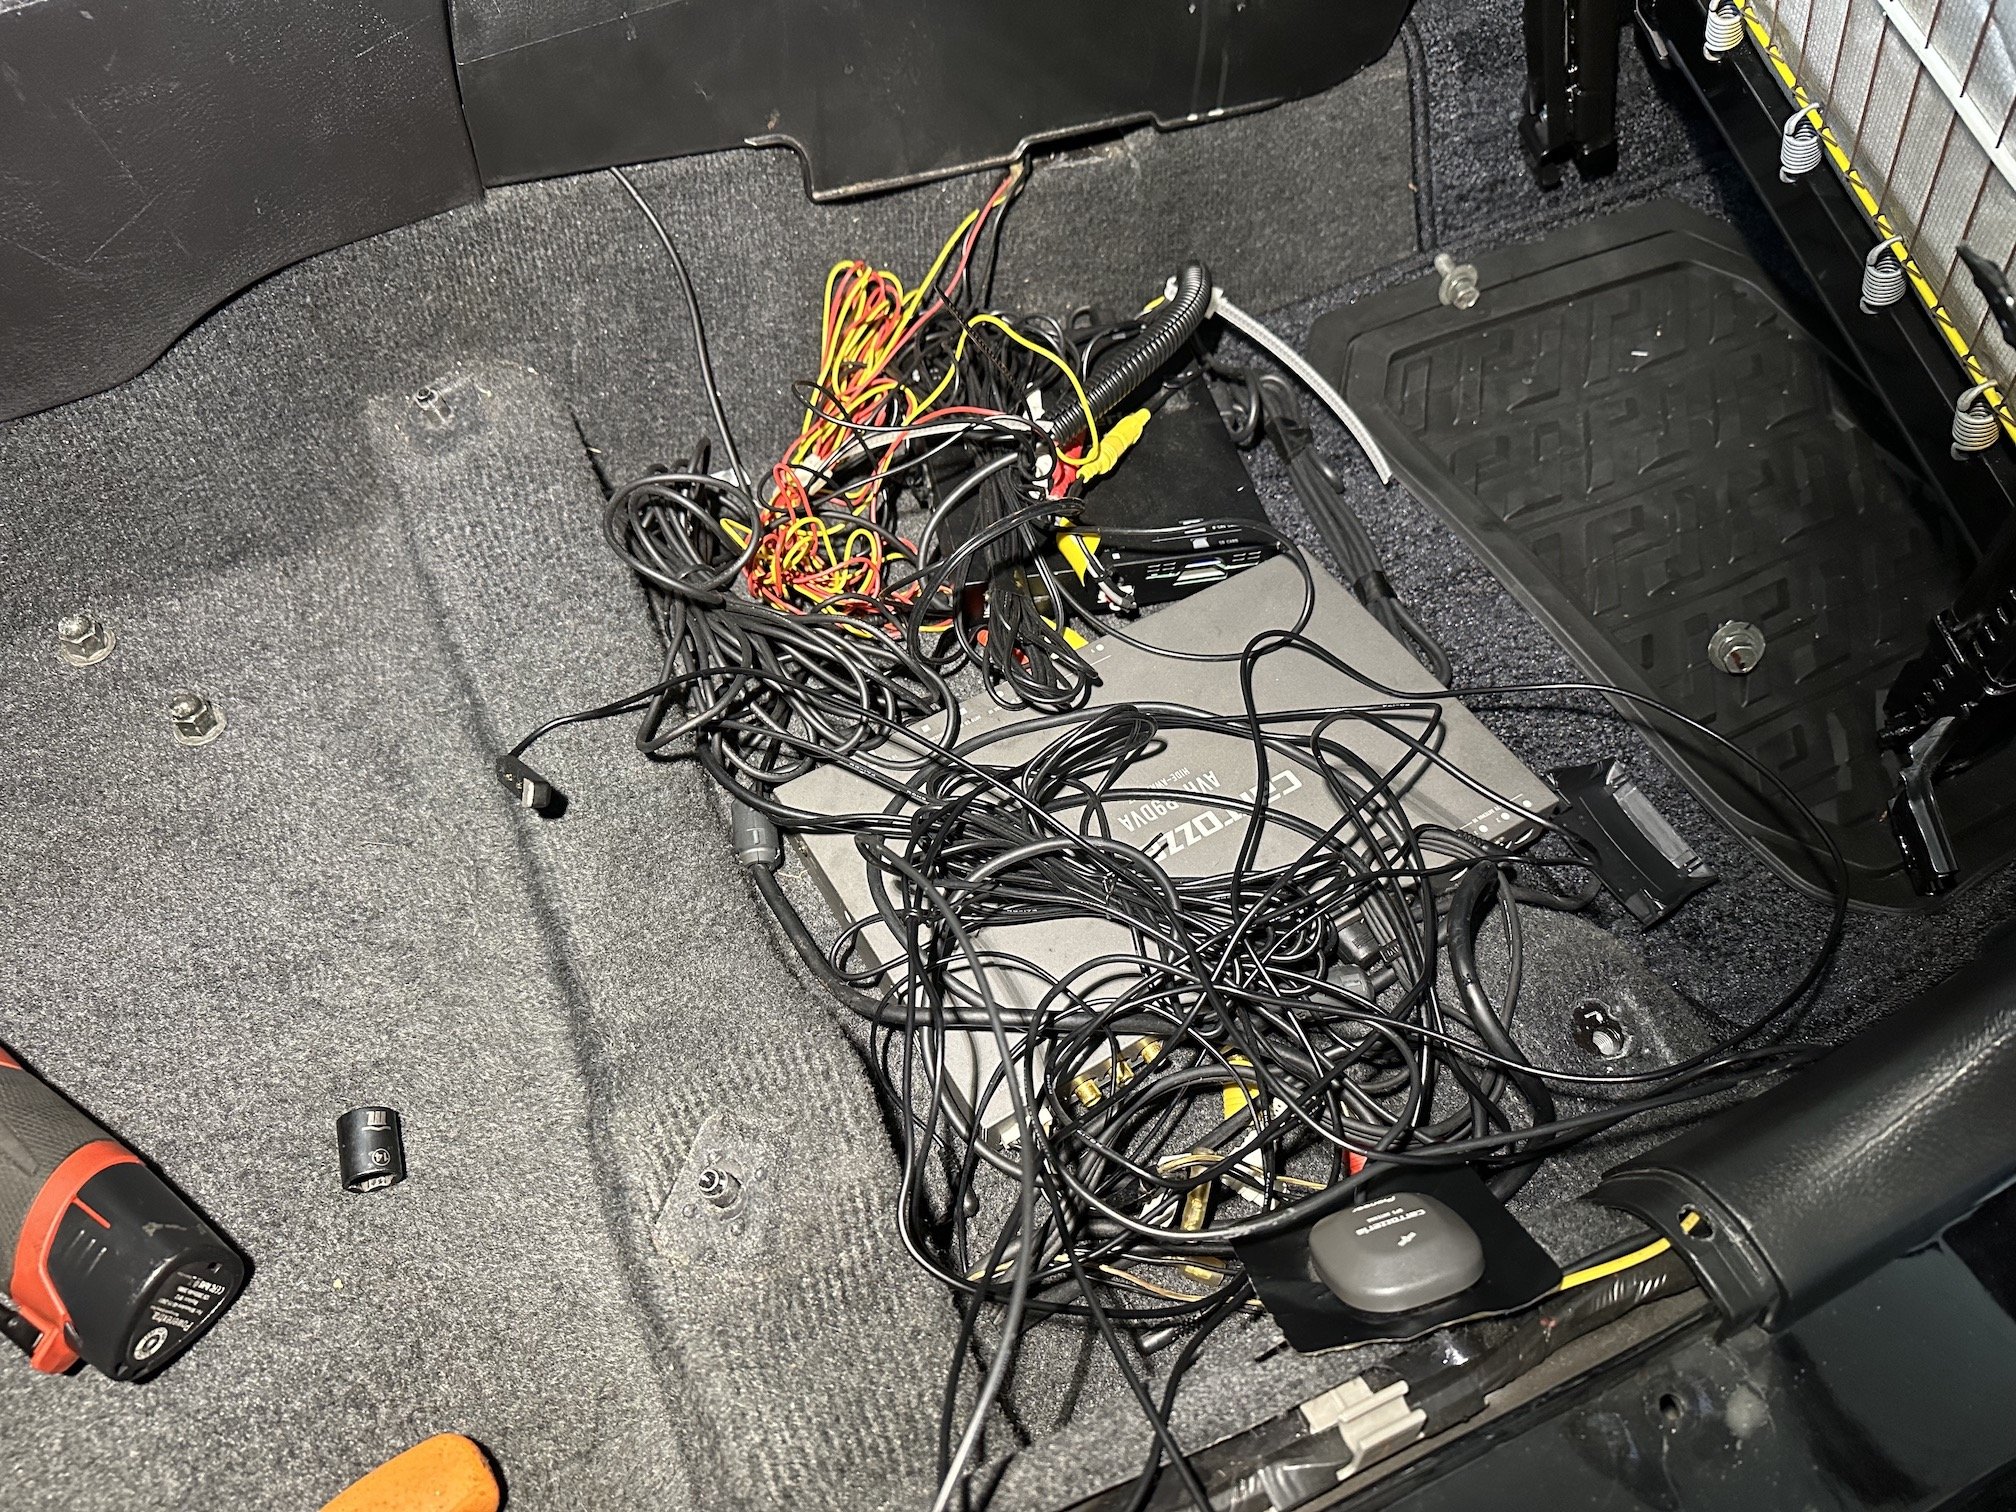
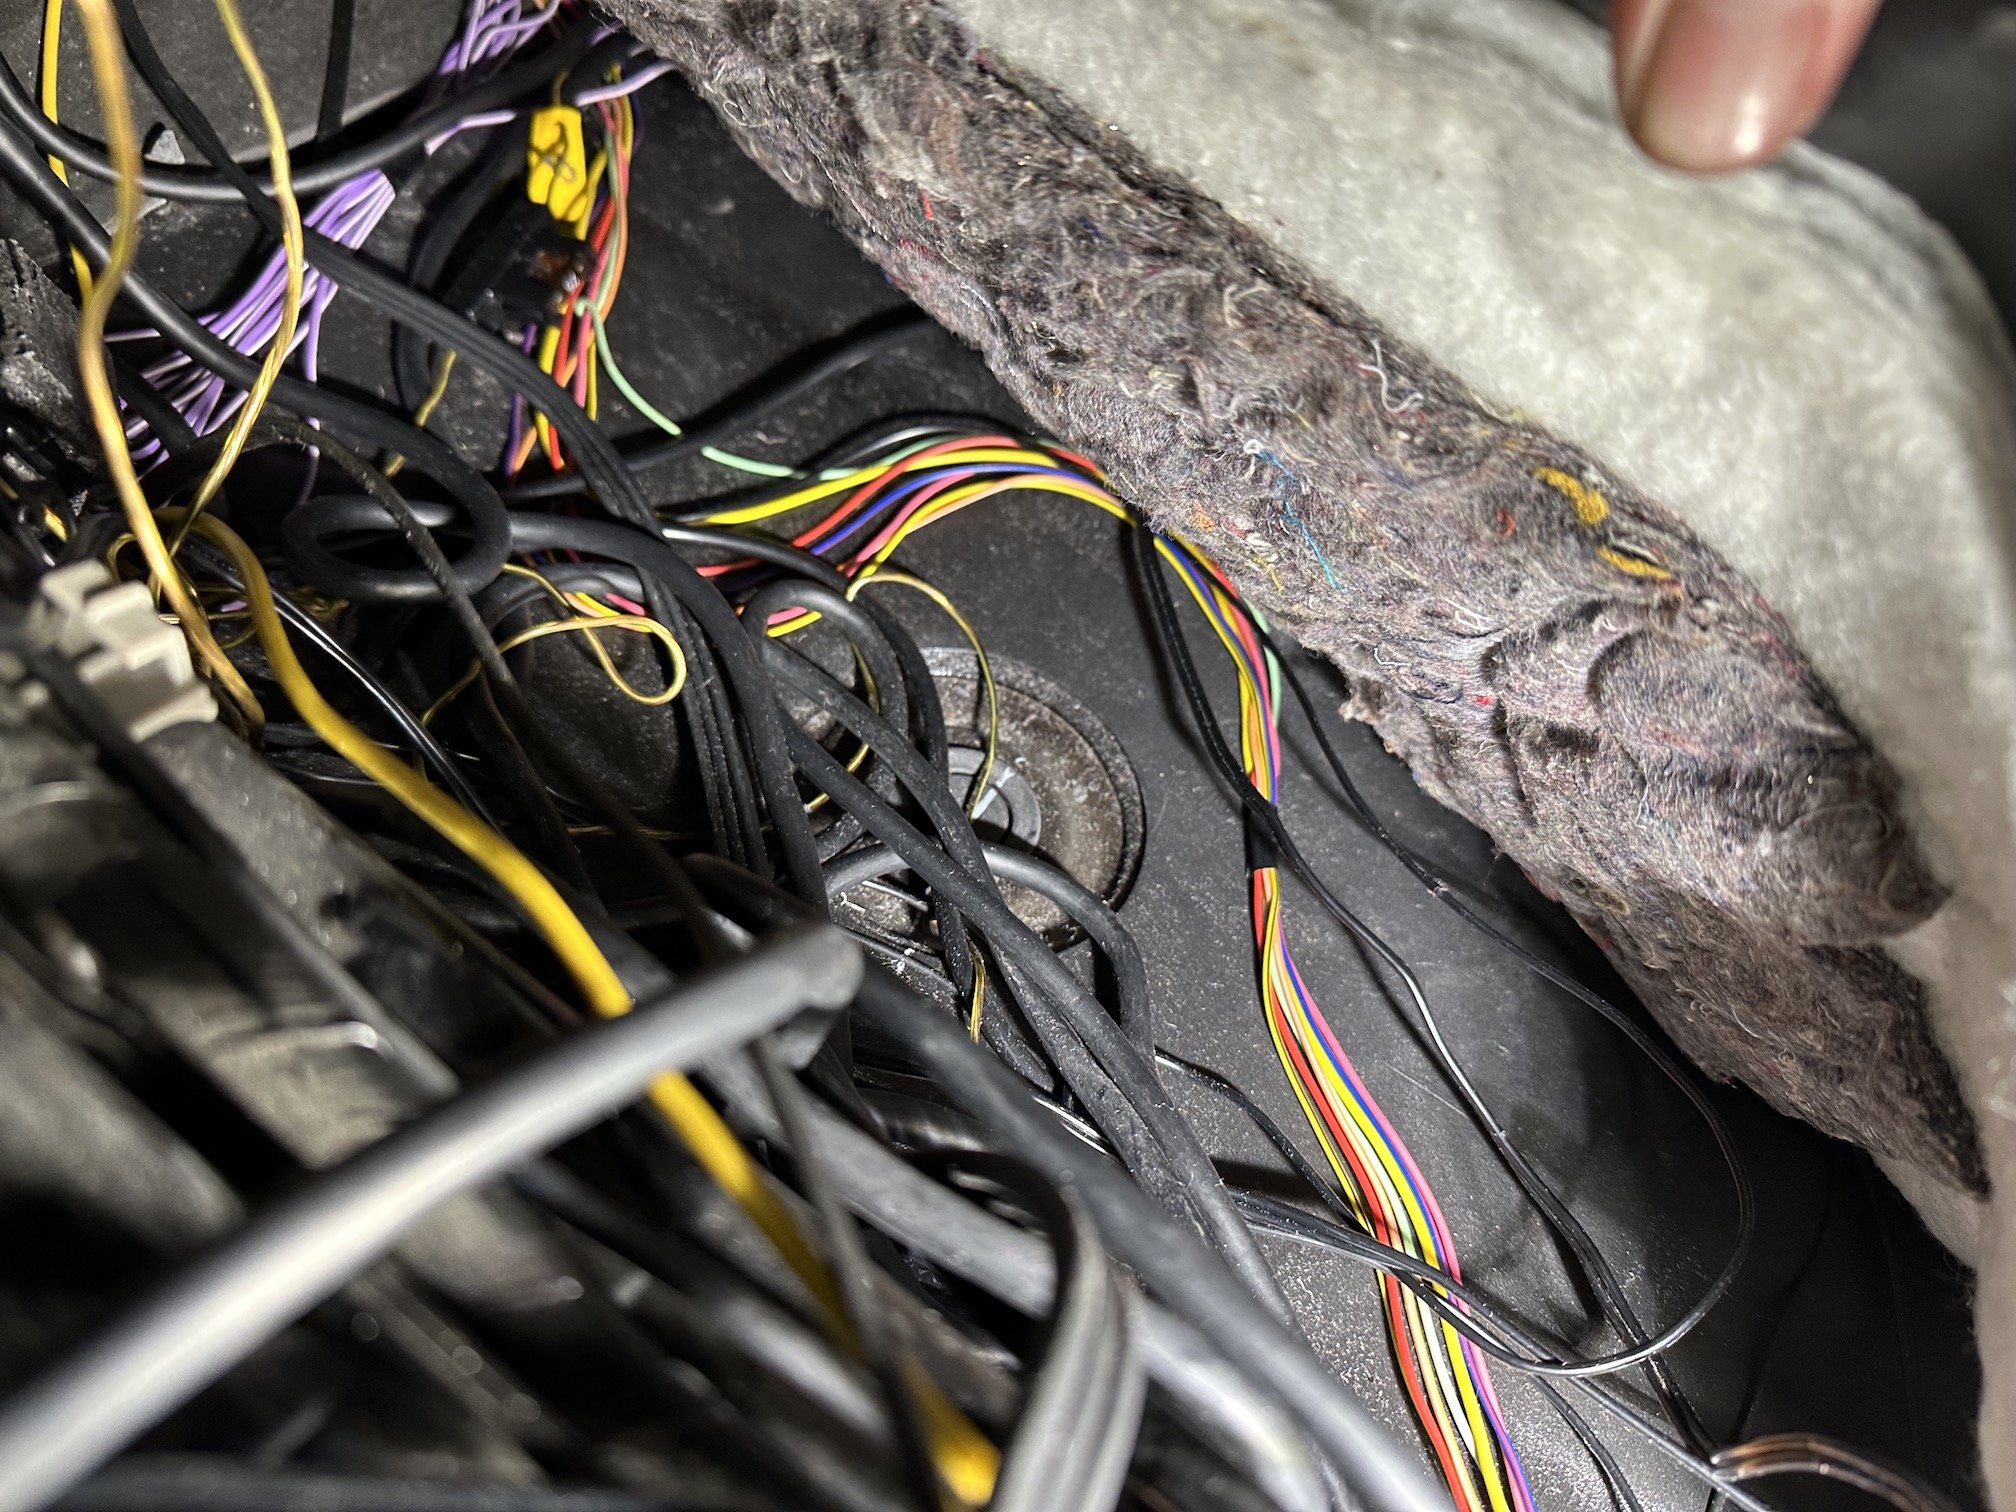
This mess is peeking out from under the front passenger seat: Removing the seat reveals this: This is under the carpet in the front passenger footwell:
1 point
-
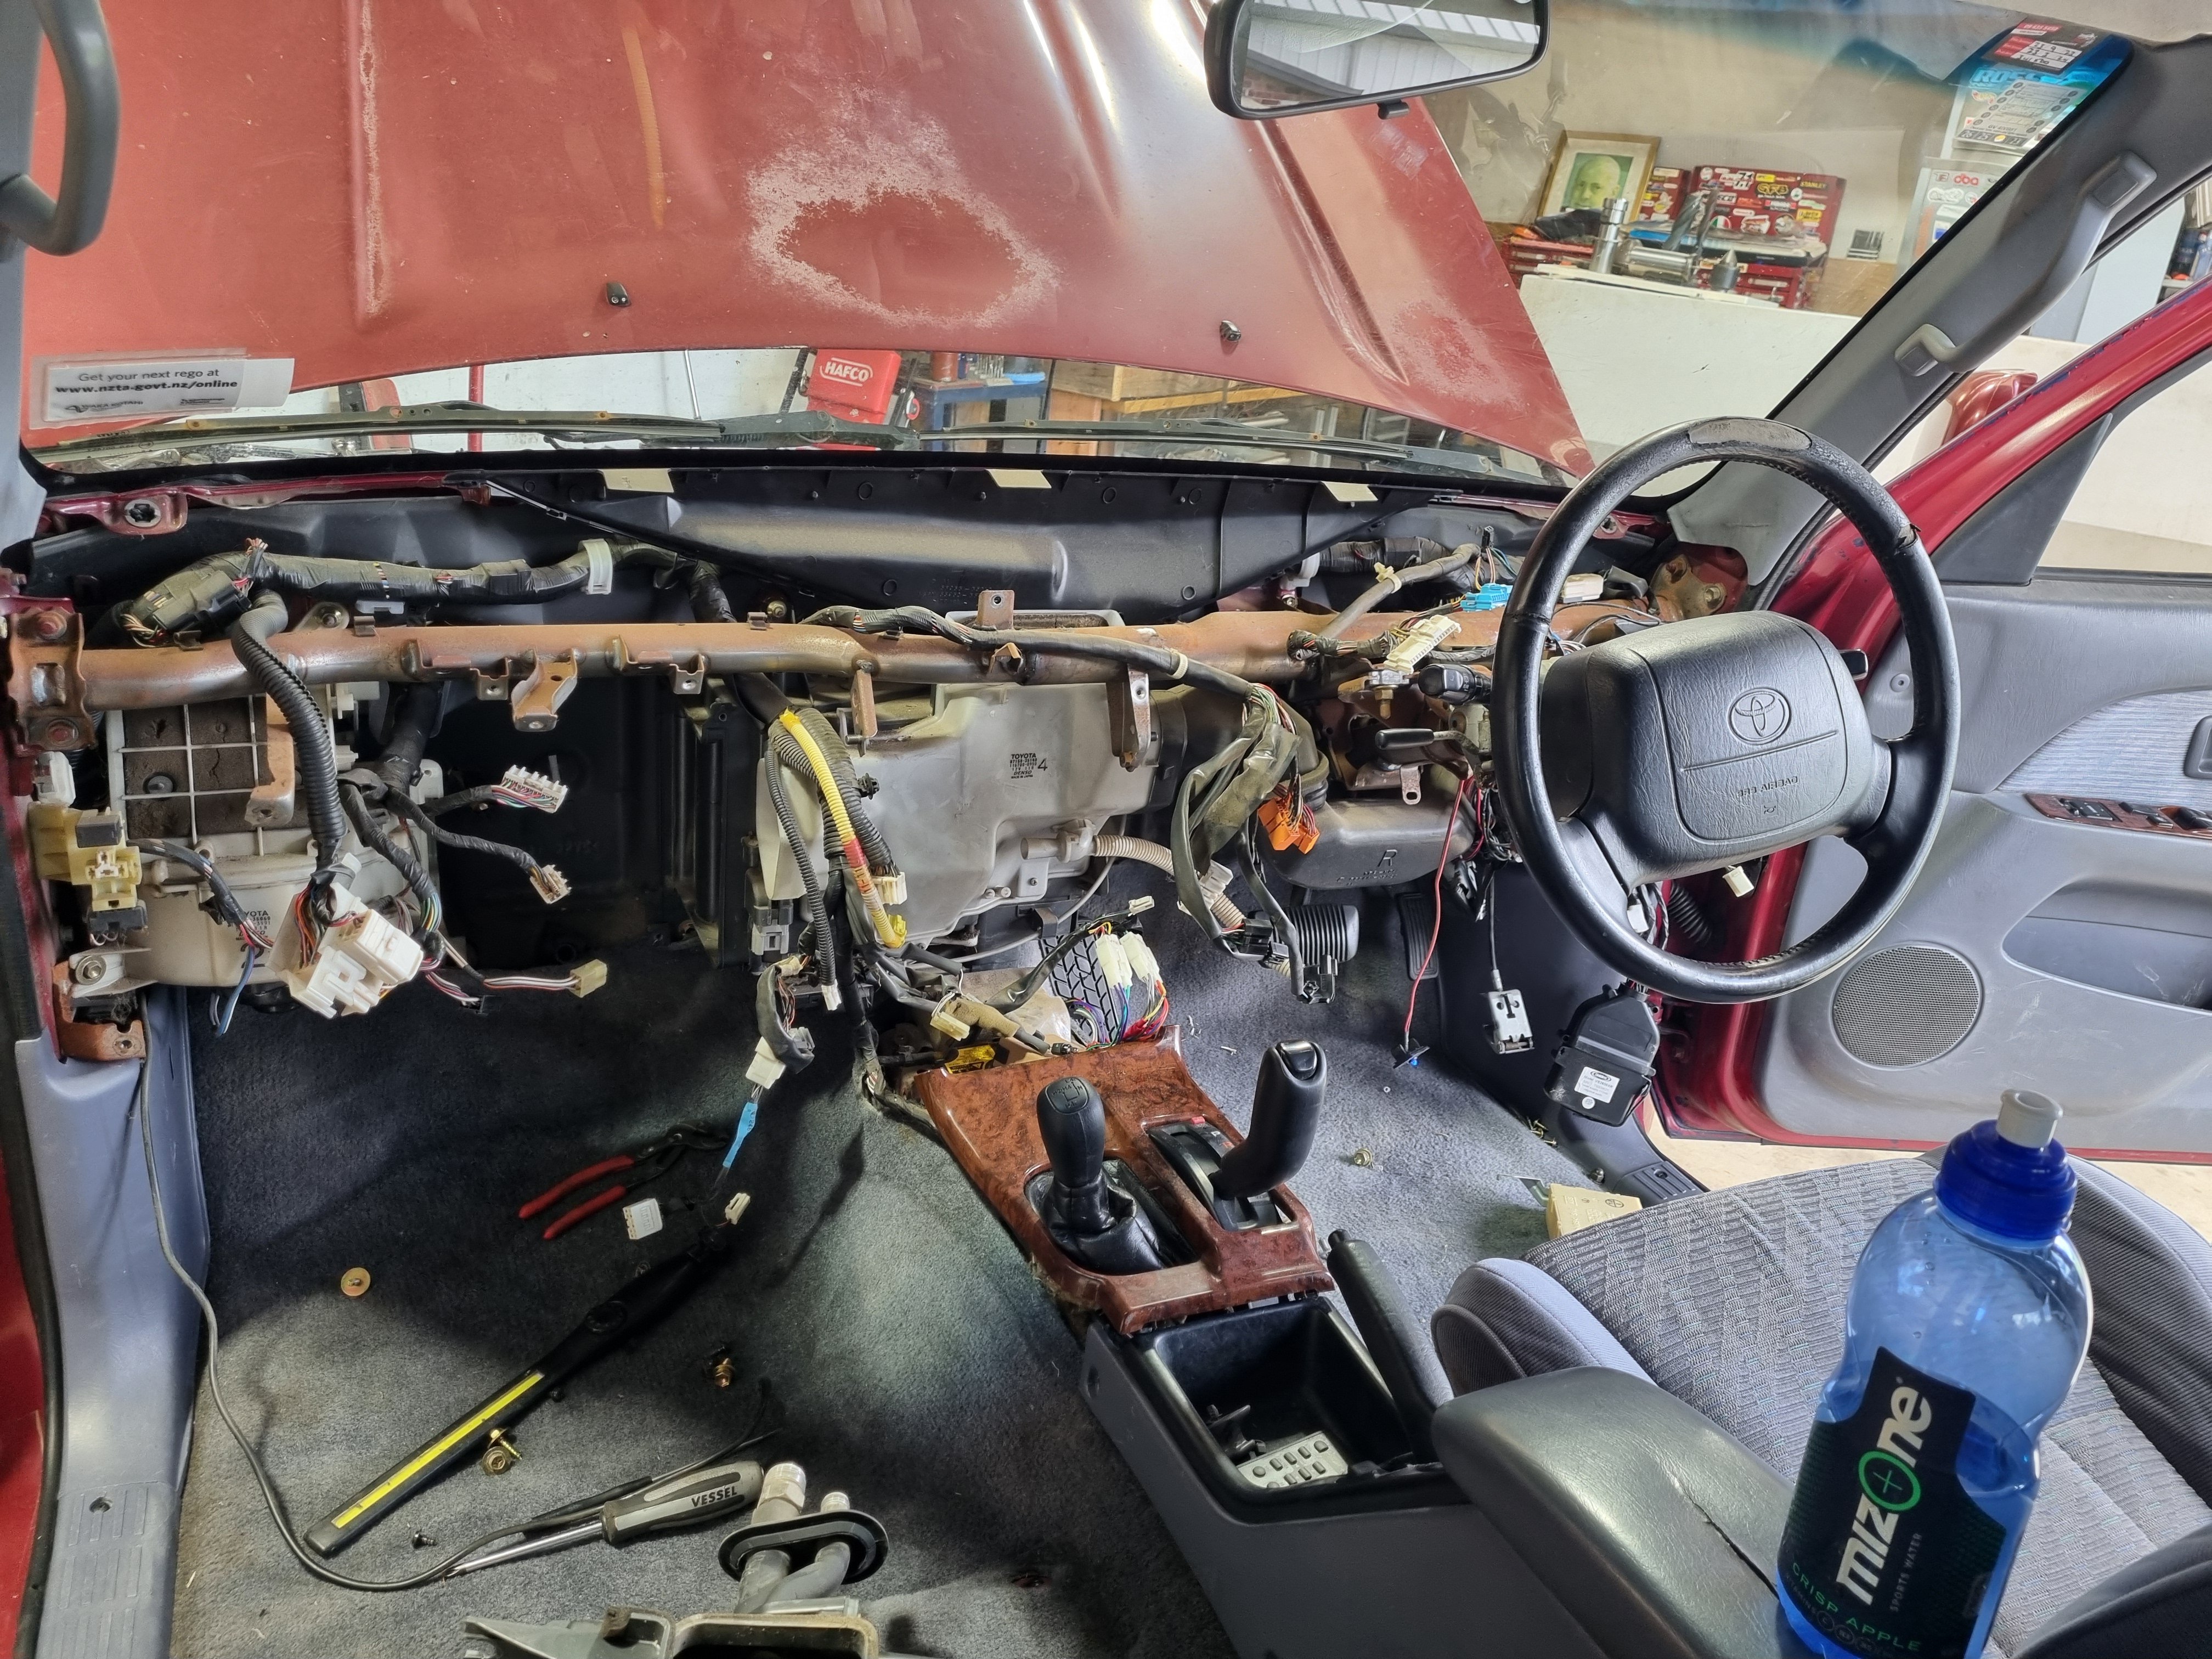
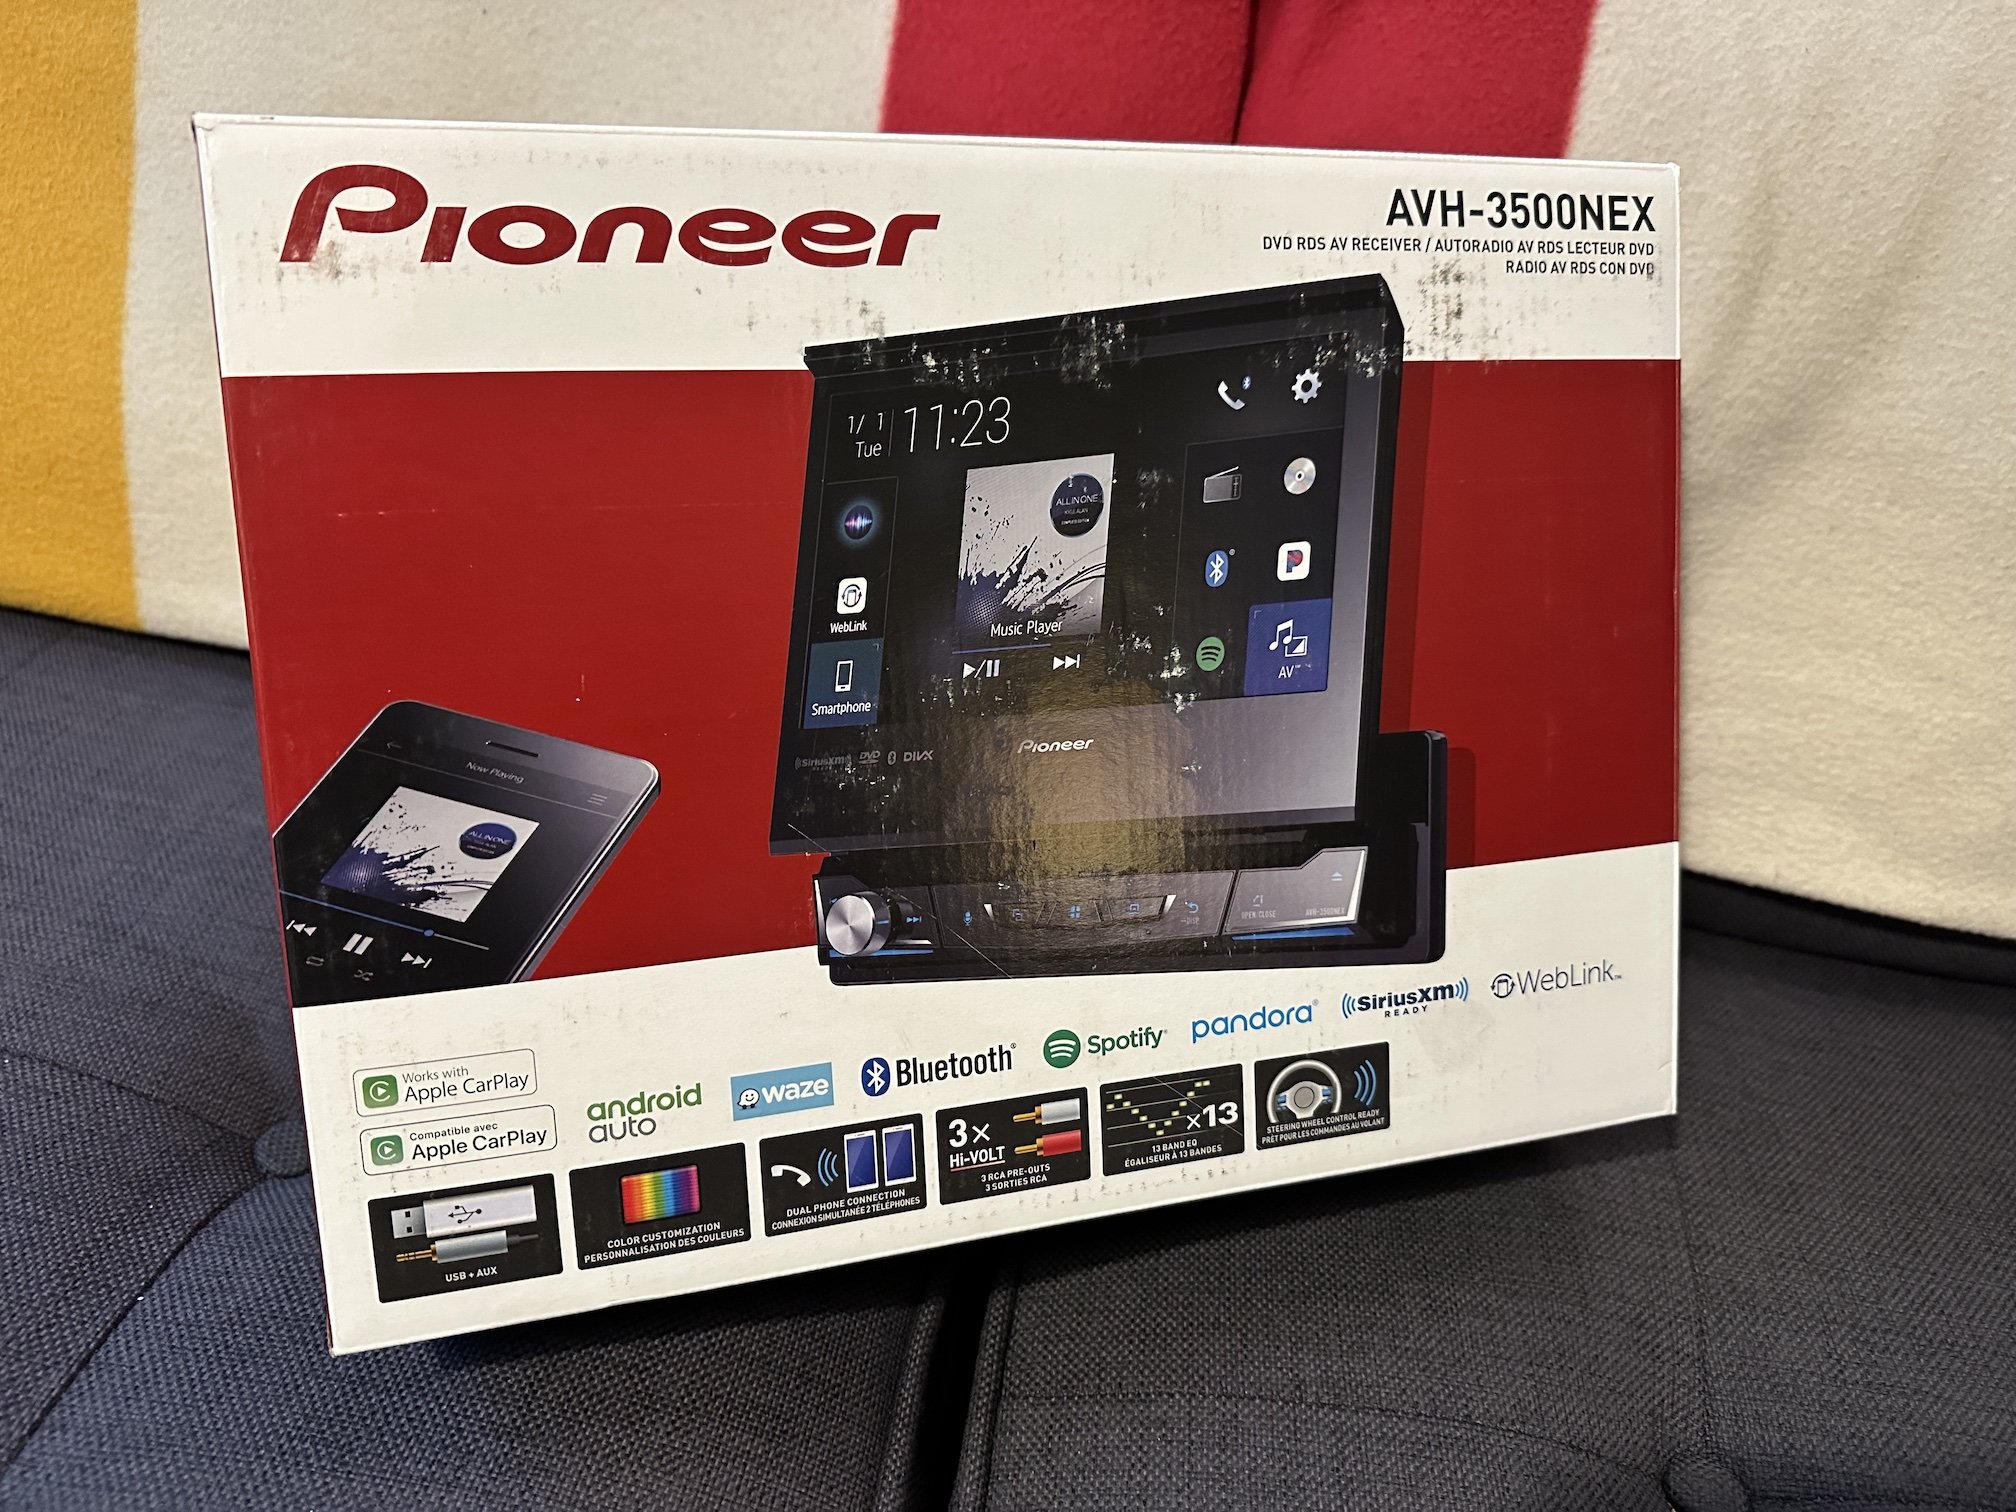
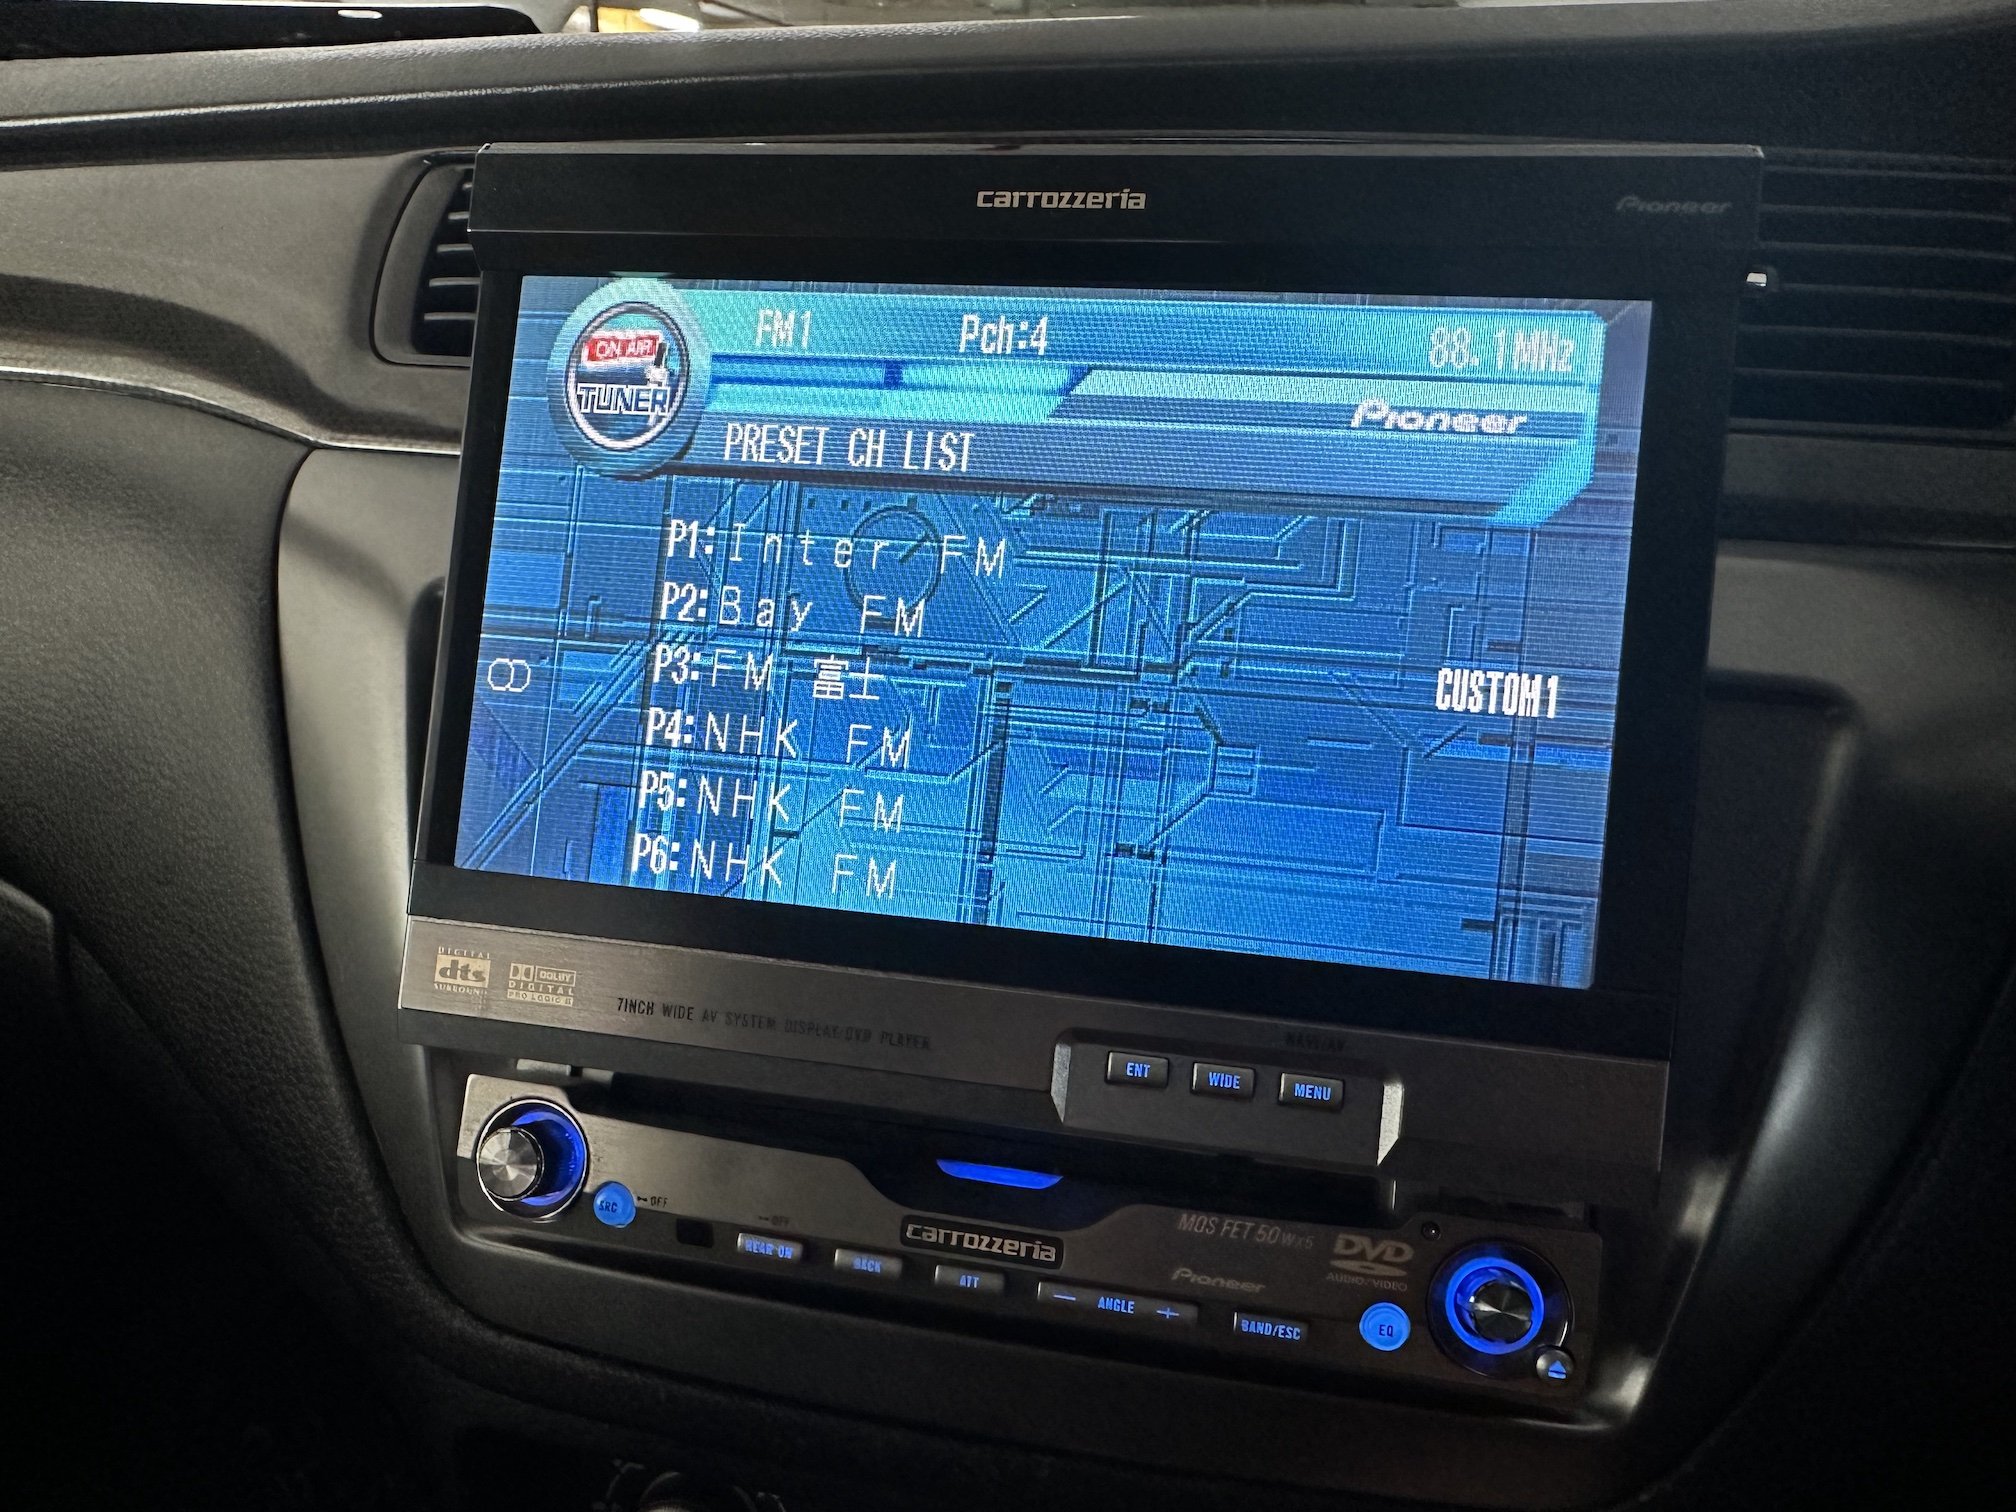
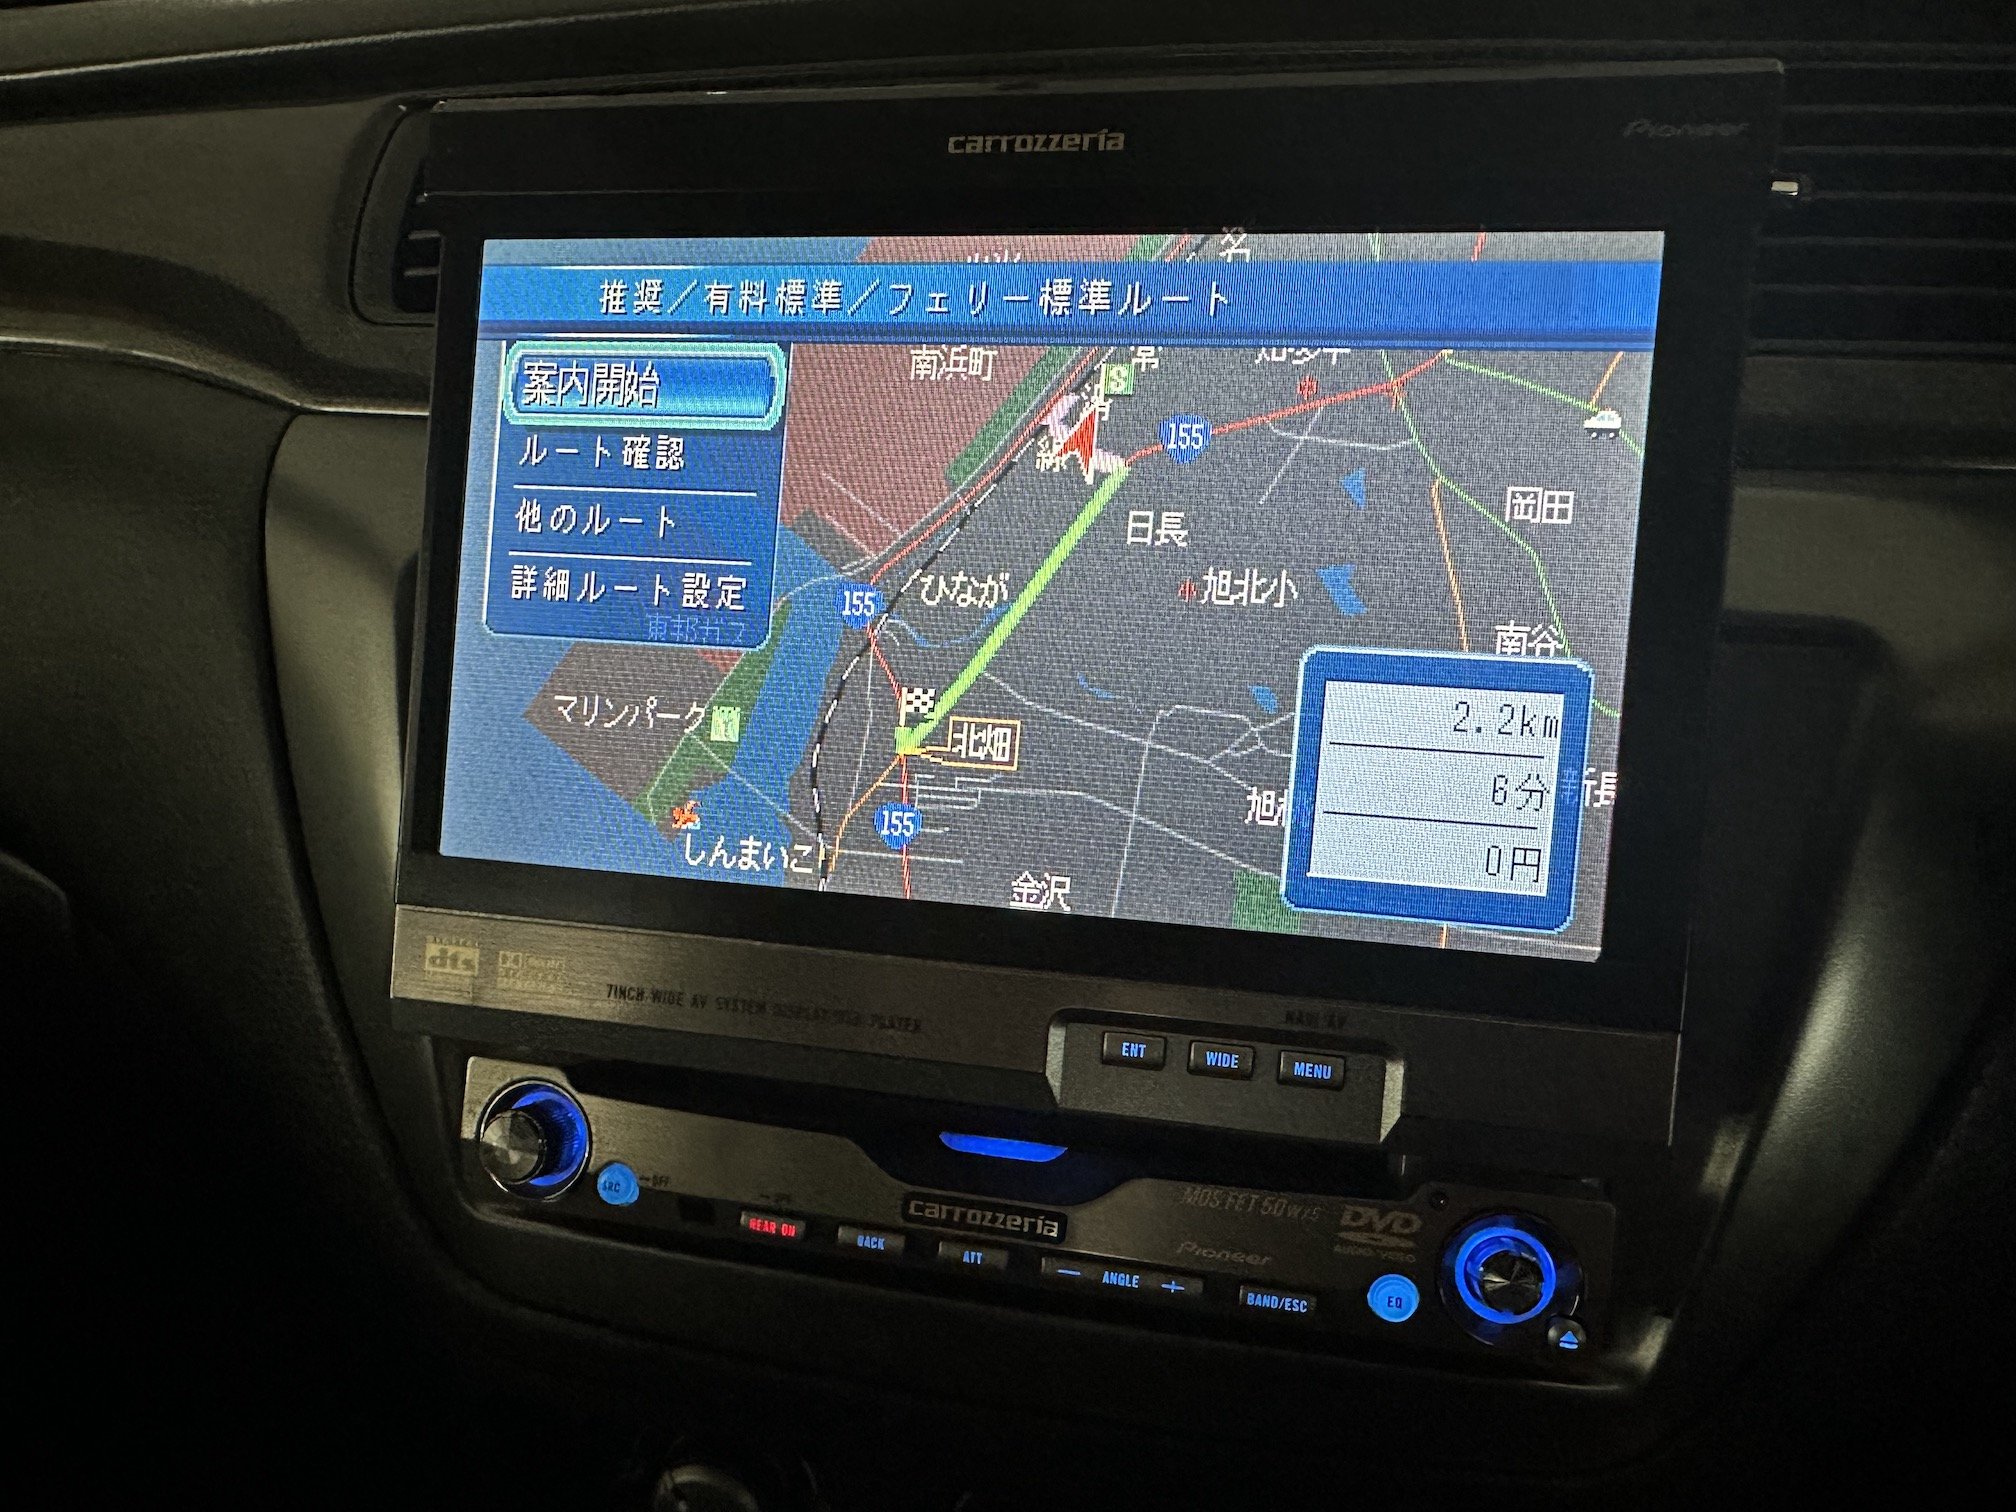
As with many fresh Japanese imports it has some additional gizzmos like the toll card reader which talks to you in Japanese, a 2005-era Carrozzeria HDD based navigation system and the above-mentioned A'PEXi I-Mobisses alarm system which talks to you in Engrishu. There really is a mess of wires under both the front drivers and passengers seats which I need to get rid of. The first that has to go is the Carrozzeria headunit as there aren't many radio stations here below 90Mhz, the built in TV can't receive anything here, and it drains the car battery something crazy if I leave the ACC power on without the engine running. The HDD unit that sits in the boot runs REALLY hot and I just generally don't trust it. I do love that it's a single DIN pop up display so I can still see the gauges if the display is banished back to its hole. Still has FM radio presets from Japan that stick around even when I disconnect the car battery: The Navigation showing its last moments in Japan, pictured here is the ports in Nagoya: I opted to get a Pioneer AVH-3500NEX which is the only unit on sale today that is single DIN, has a fold out screen as well as supports Apple CarPlay & Android Auto. The plan is to move the Ralliart gauges to below the headunit that way I can still see the gauges even when the display is out. Bonus alarm lols:
1 point
-
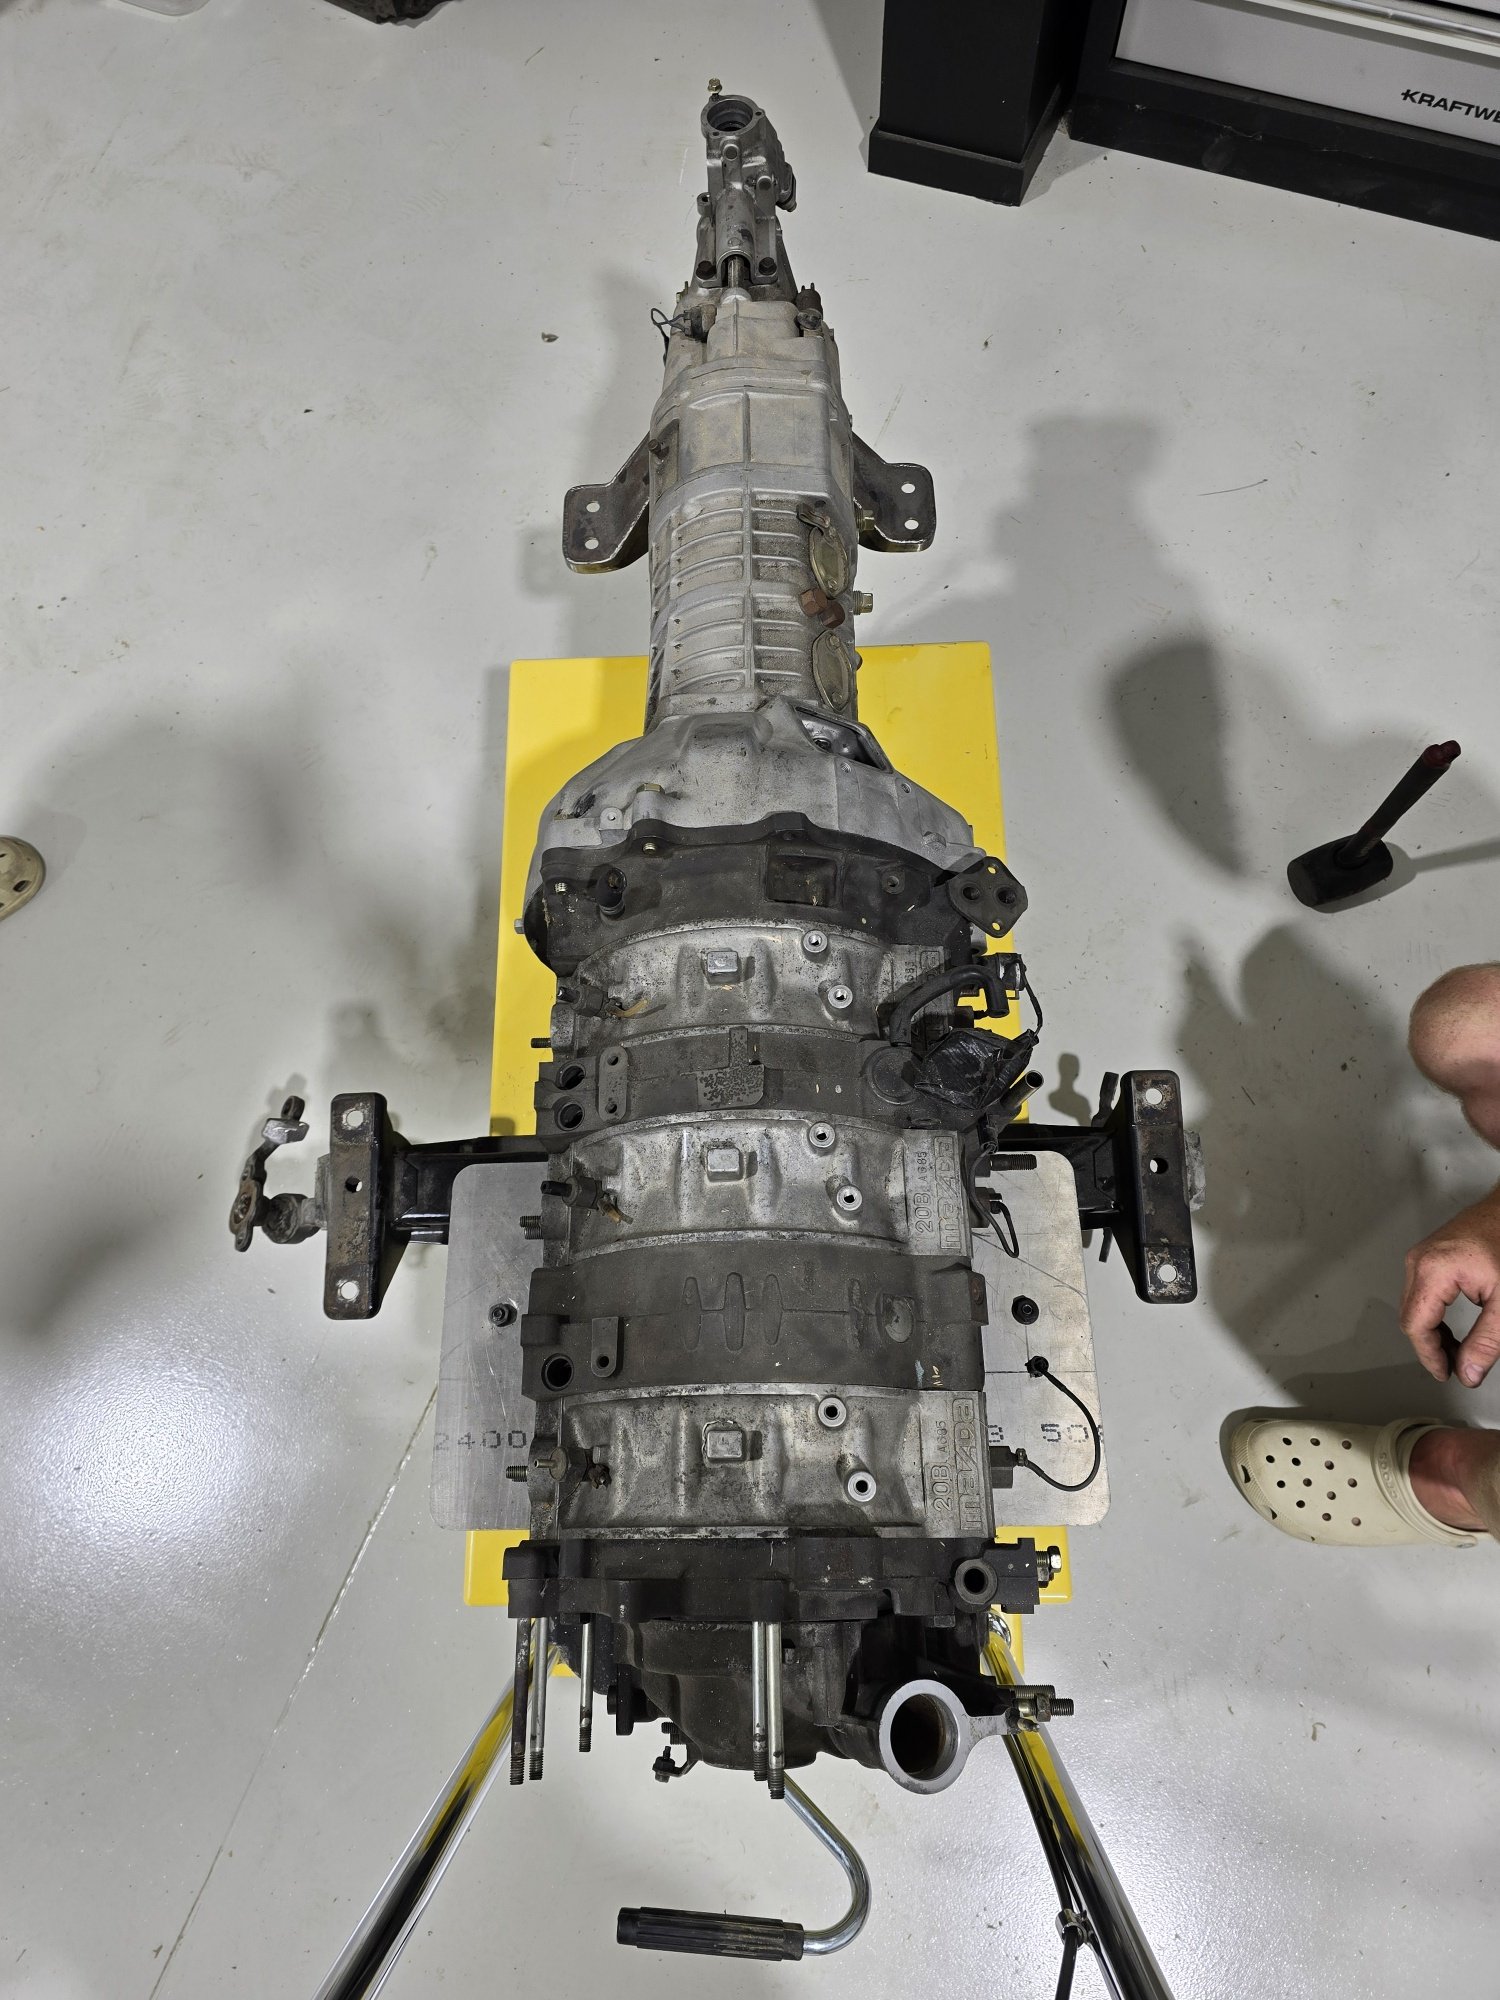
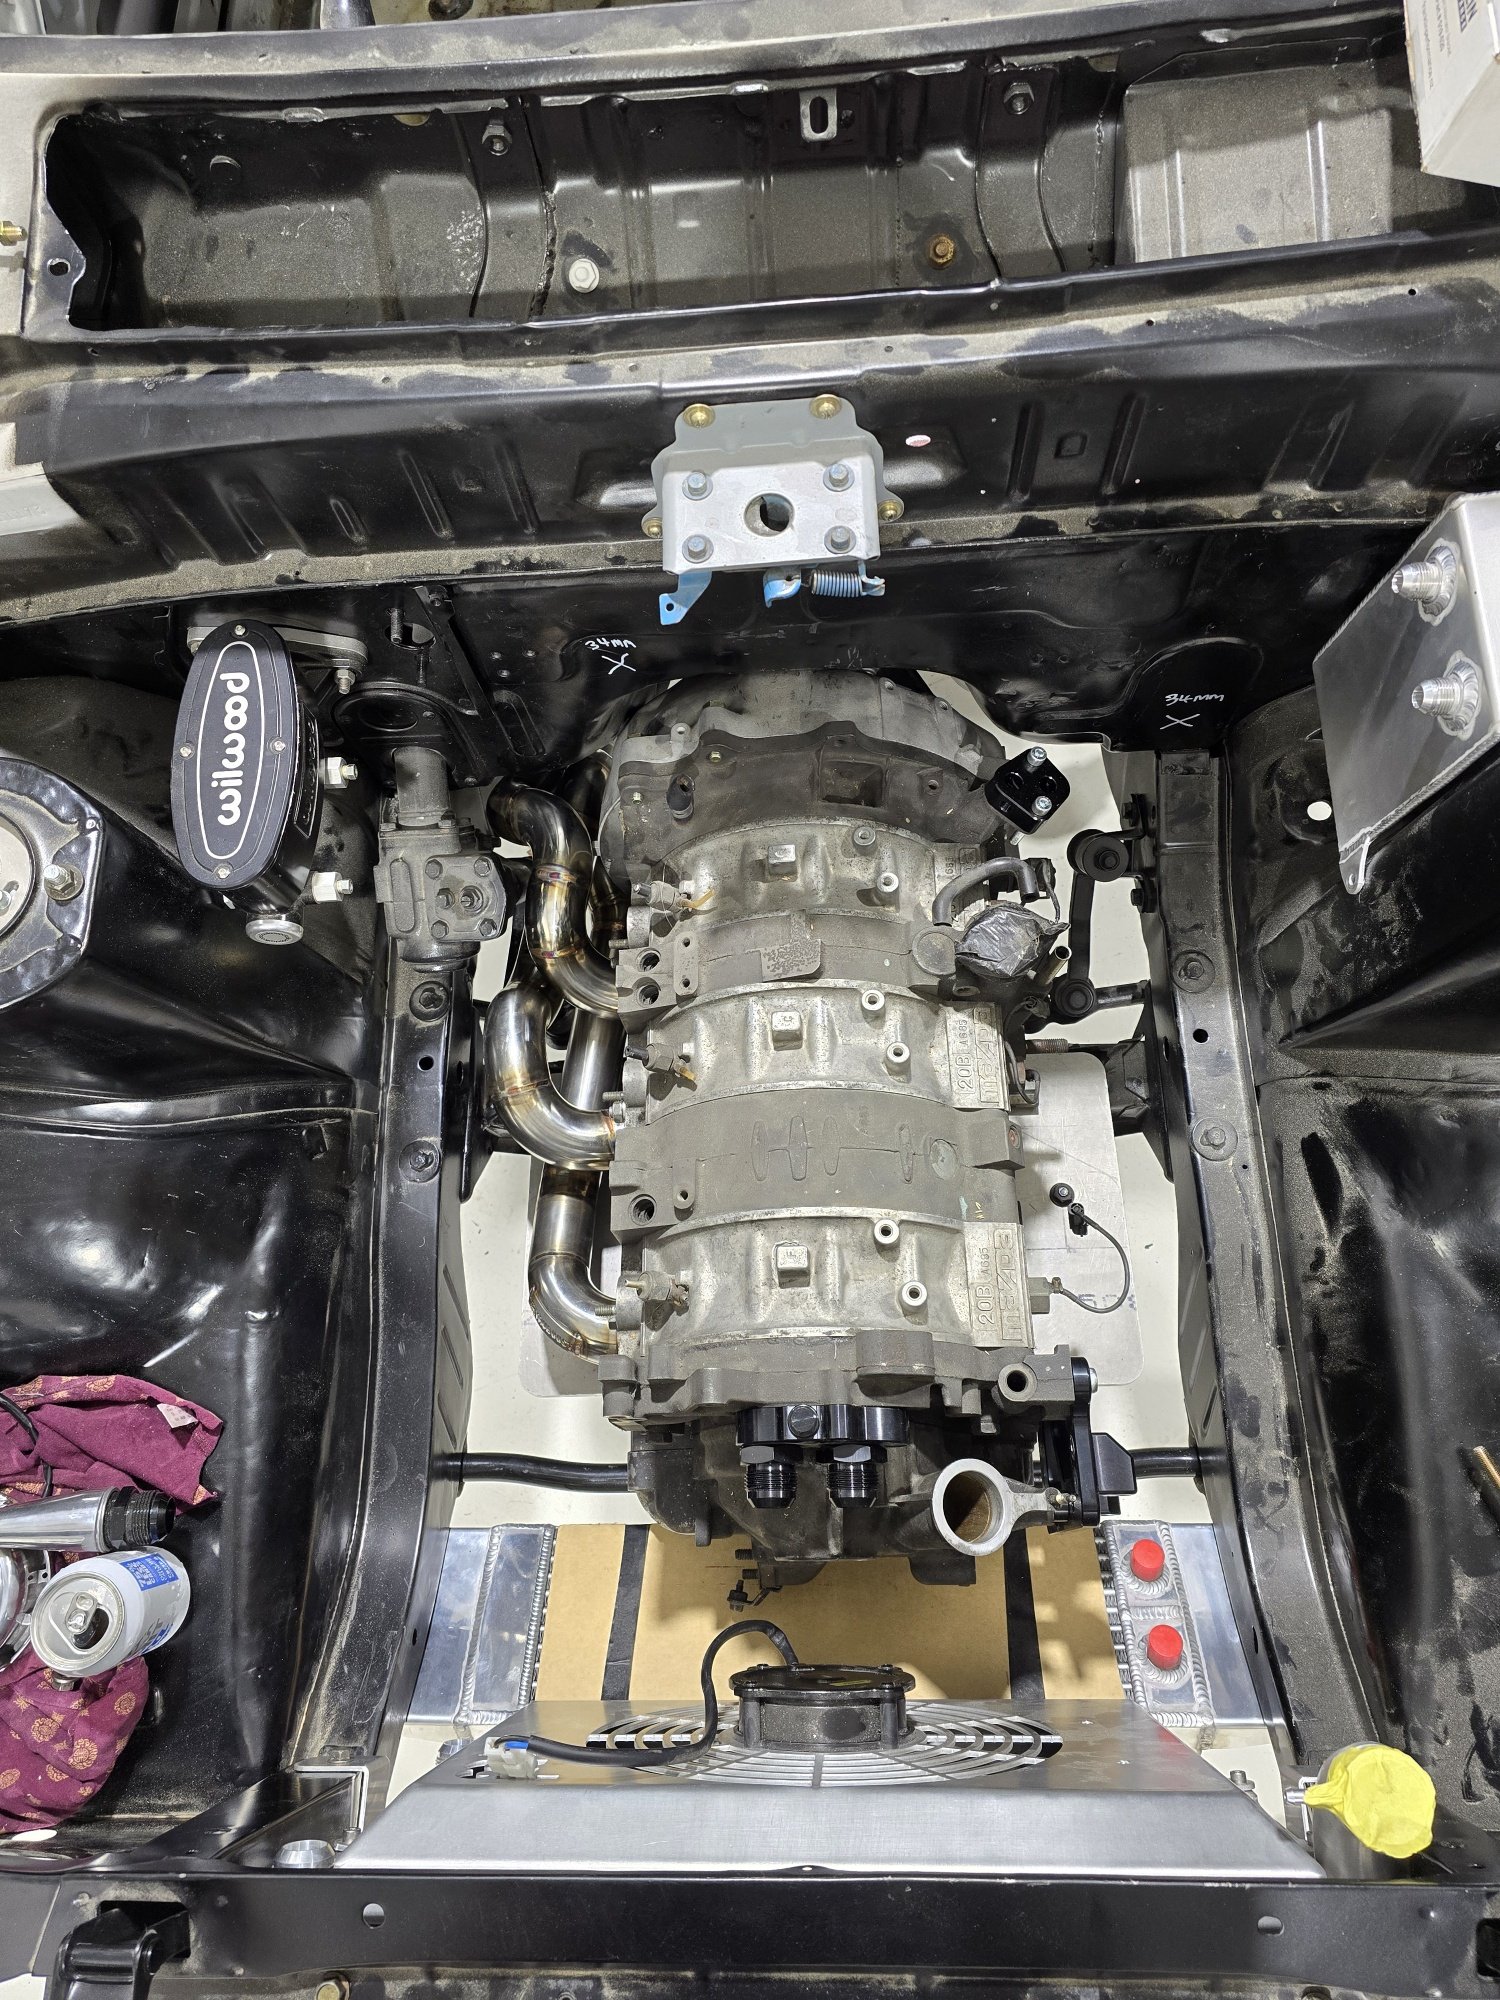
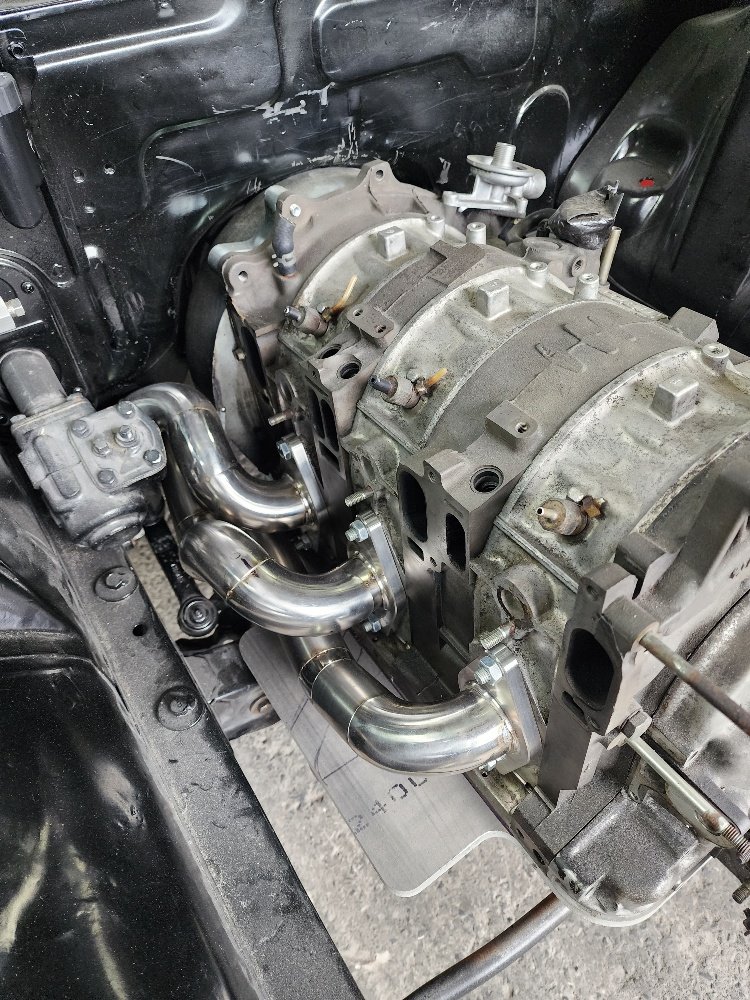
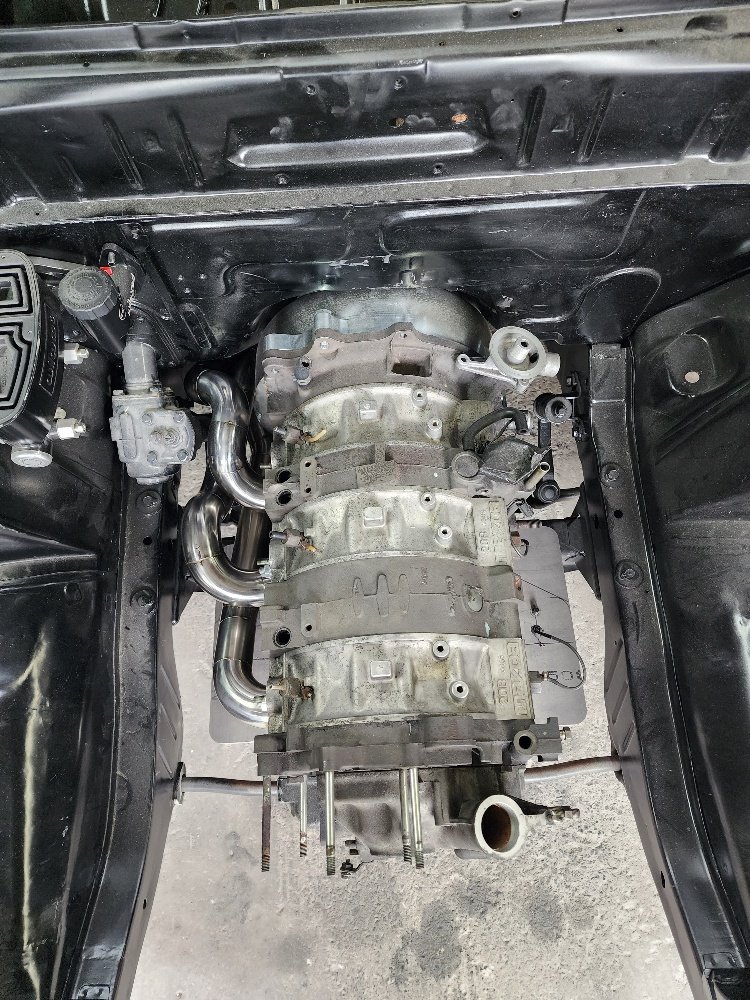
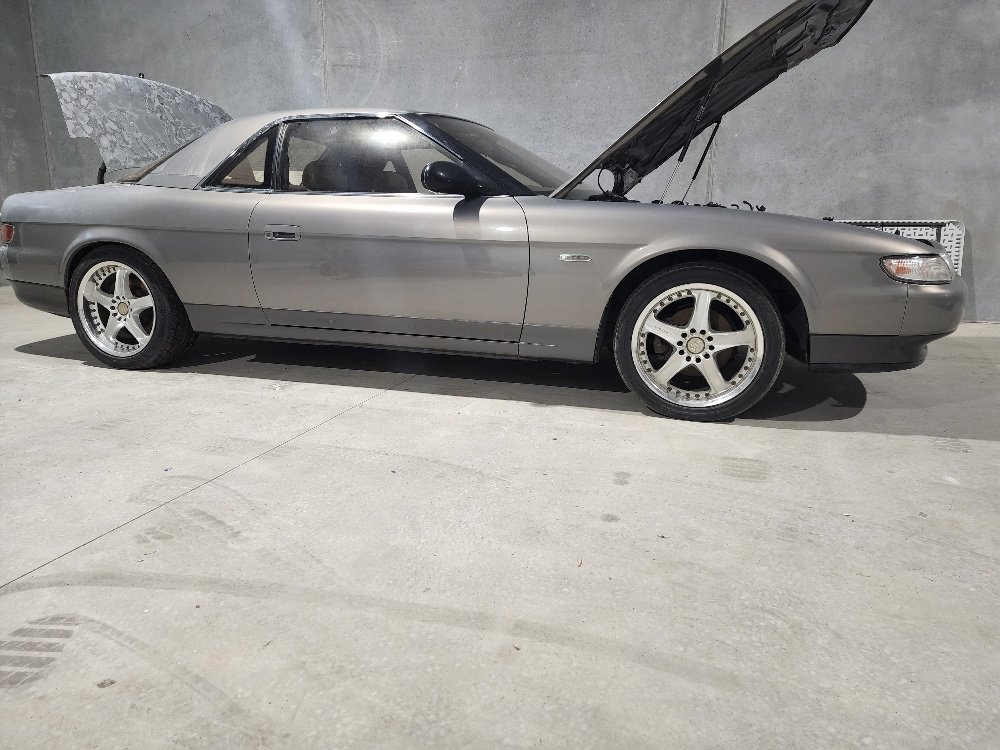
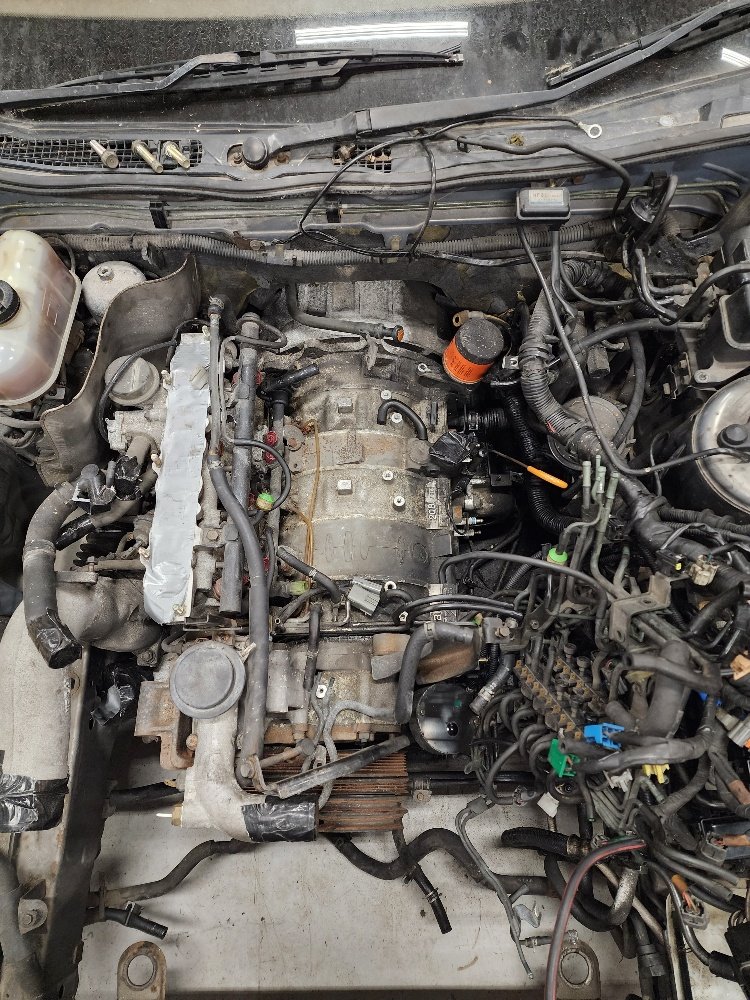
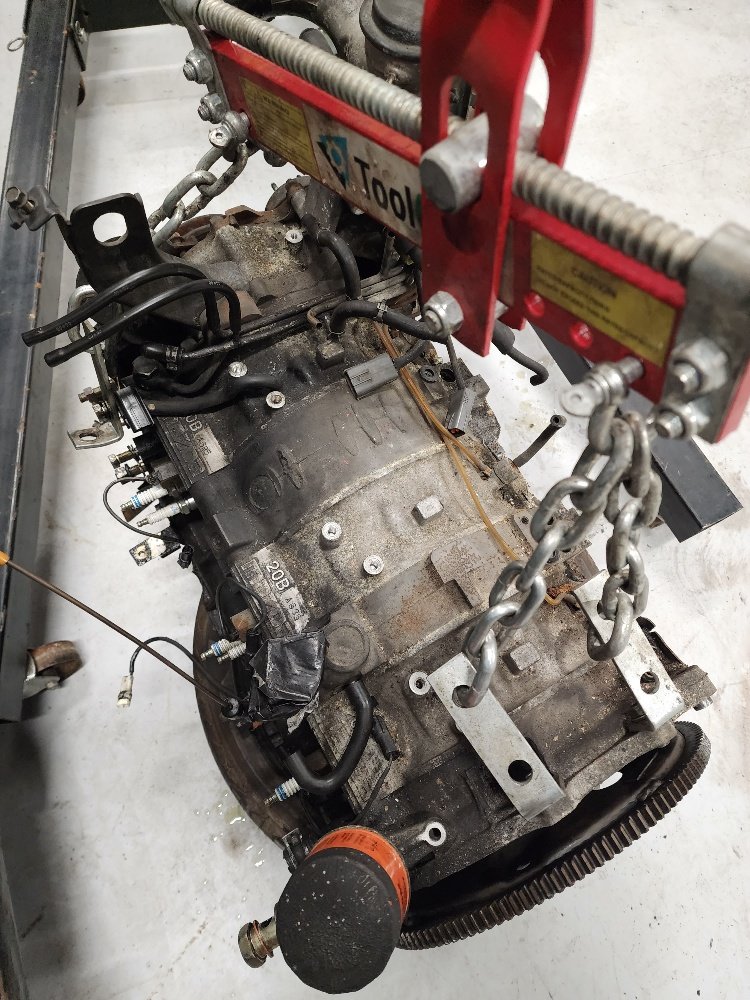
Well the RX3 Project has taken a little turn of late, My long term plan/dream for the car was to go 20BPP N/A but i was planning to get the 13BPP running and use that for a couple years then switch it out down the track. It wasnt till i booked it in for fab i was asking myself WTF am i doing, There was going to be so much rework to get it changed later on down the track, mounts, loom, ecu, intake, cooling system, exhaust to name a few. Didnt make much sense doing that all twice within a few years $$$$. Or risk scratching the fresh paint to bits pulling it apart and refabbing. So decided to bite the bullet and commit to building the dream even though i didnt have a motor and 20B's and 20B parts are bloody hard to find these days. After a heap of asking round here, Aus, USA, Canada looking for even a 20B Fat plate and crank to buy i ended up finding something here in NZ. A guy down the line posted up a cosmo that had been parked up for years after it stopped running and he was wanting to sell the whole car. So i ended up commiting to buying and Scott Barrabil picked it up on one of his runs south and got it up to me a couple of weeks ago. The car turned up and was actually really tidy considering, had been parked in a shed for quite a few years. Plenty of 90s clear coat peel but apart from that its straight and rust free. Pulled the motor out last weekend Turns out motor is all numbers matching plates/housings etc all original. Went in to see Mark Haynes at Revolution Engine Services yesterday and we pulled it down to see what we were dealing with. Failed water seals in the front housing which would of been why it was parked up originally. All looking like itll be useable with a bit of tidying up and work so pretty bloody happy with that! Will stack back together next week and get to fabricator to dummy up for mounts etc and then will worry about building motor later this year or early next year once we are a bit further along.
1 point
-
Its a ball ache to get out of the garage so I went out and got some of those dolly go jacks so I can just drive it in now and dont have to jack the front and rear up with a trolly jack to slide it over to the side. Kind of rocking my dream setup of cars now. Only thing I would like to add would be a 90s NSX but than can wait till I get more space. For now I spend a fair bit of time just having a couple cold ones and admiring the garage art while I wait for my damn parts to arrive1 point
-
Done! I took my kids around the hills last night and it blew their minds! They can't remember a time when it wasn't stuck in the garage so it was pretty cool. Big thanks to all you folks on here, you've been a huge help with advice/parts/motivation! Future plans are to finish tidying up the little bits of rust, throw in a 3.9 rear end that @Barnz.NZ helped me out with, maybe pop on some fender mirrors and debate if she should go low... But for now its time to eat up some miles!
1 point
-
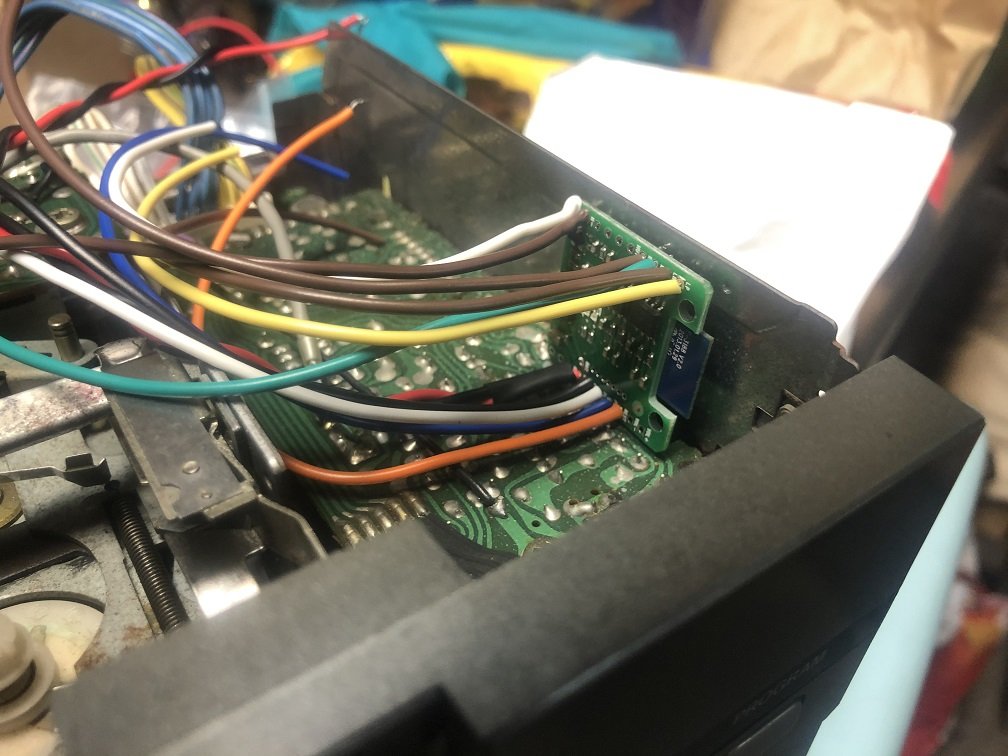
Now the engine is running sweet it's onto the interior. It's got the factory radio with a sweet mechanical auto search and cassette deck. The volume control crackles, the auto search jams, the cassette deck chews tapes and half the lights are blown. Despite all that I don't want to cut the dash to put a new unit in but I'd be keen on Bluetooth and the ability to play the odd cassette. First up is getting the cassette deck working. As with most old car decks it's just incredibly dirty inside and important rubber components have gone hard. I pulled it down, cleaned it out and put rubber conditioner on the belts and wheels while also lightly sanding the glazing off the wheels. I also cleaned the volume pot and replaced the bulbs with the closest size I could find at Jaycar. It plays better than I imagined! Doesn't sound too bad at all. I'll replace the old speakers as well and see if I need an amp later. The Bluetooth was pretty easy to install. If I tricked the stereo into thinking the cassette deck was playing I could inject a stereo audio signal and have full control of volume/tone/fade/balance of the Bluetooth from the stereo. I tried a little Bluetooth chip off ebay but it picked up heaps of interference and was pretty picky with power supply. I binned that and tried a neat Fusion unit which worked a treat and sounded far better than it has any right to in this setup. After carefully cutting the front plate & wiring in a switch and a little blue bulb she's done!
1 point
-
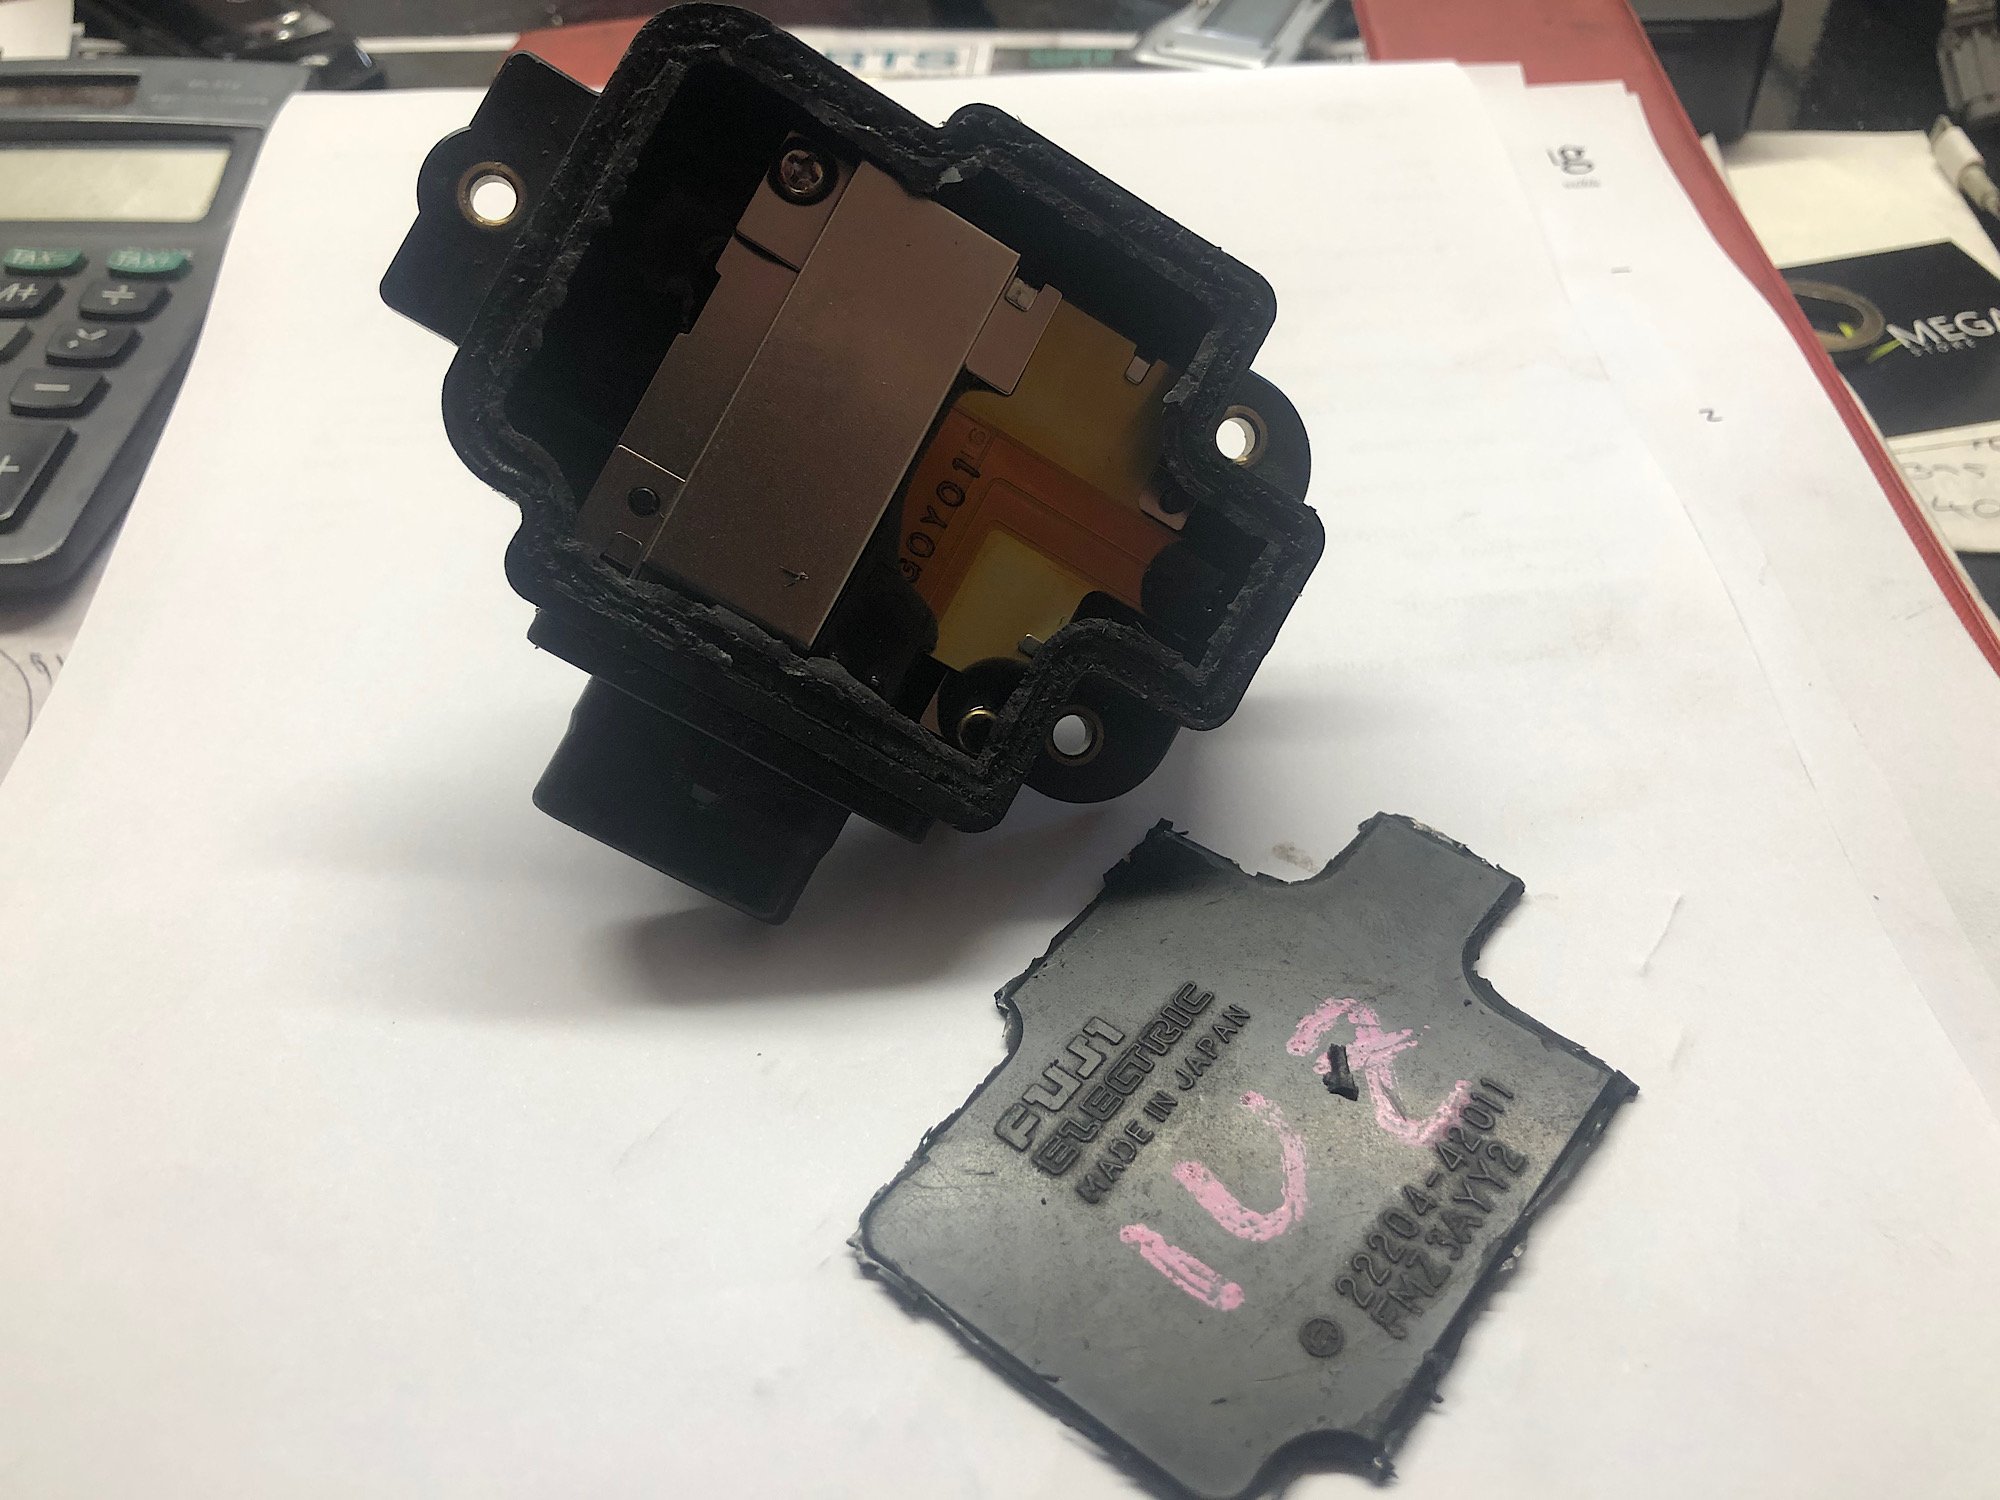
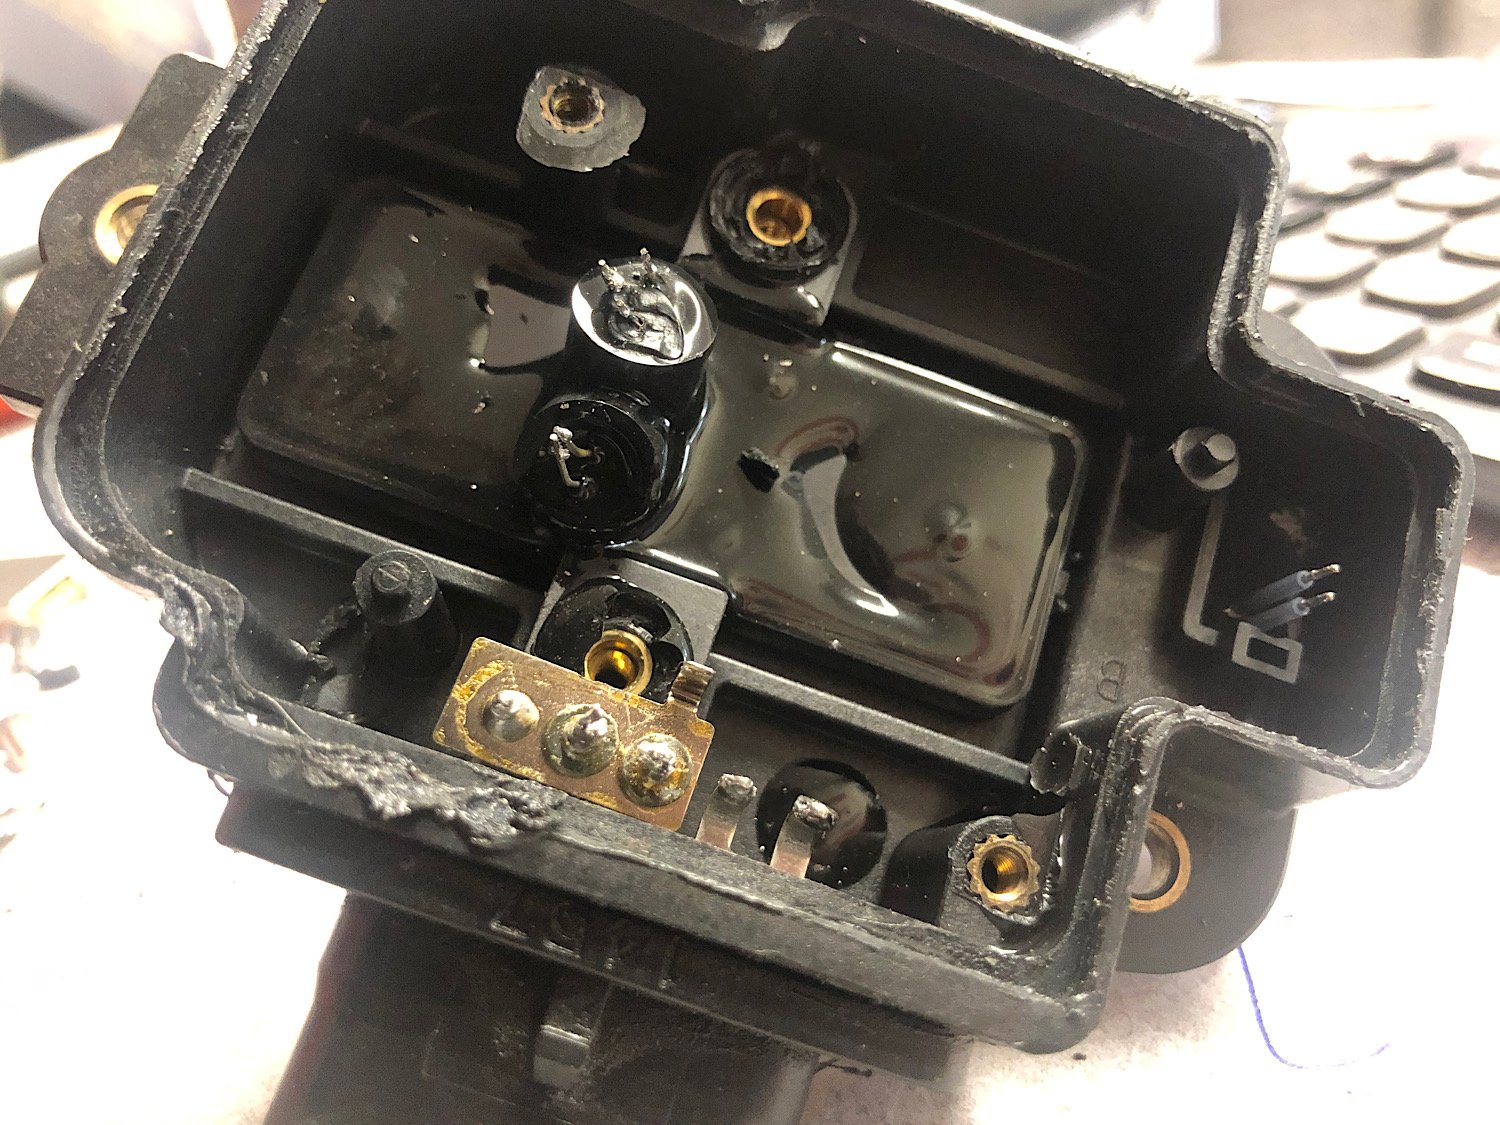
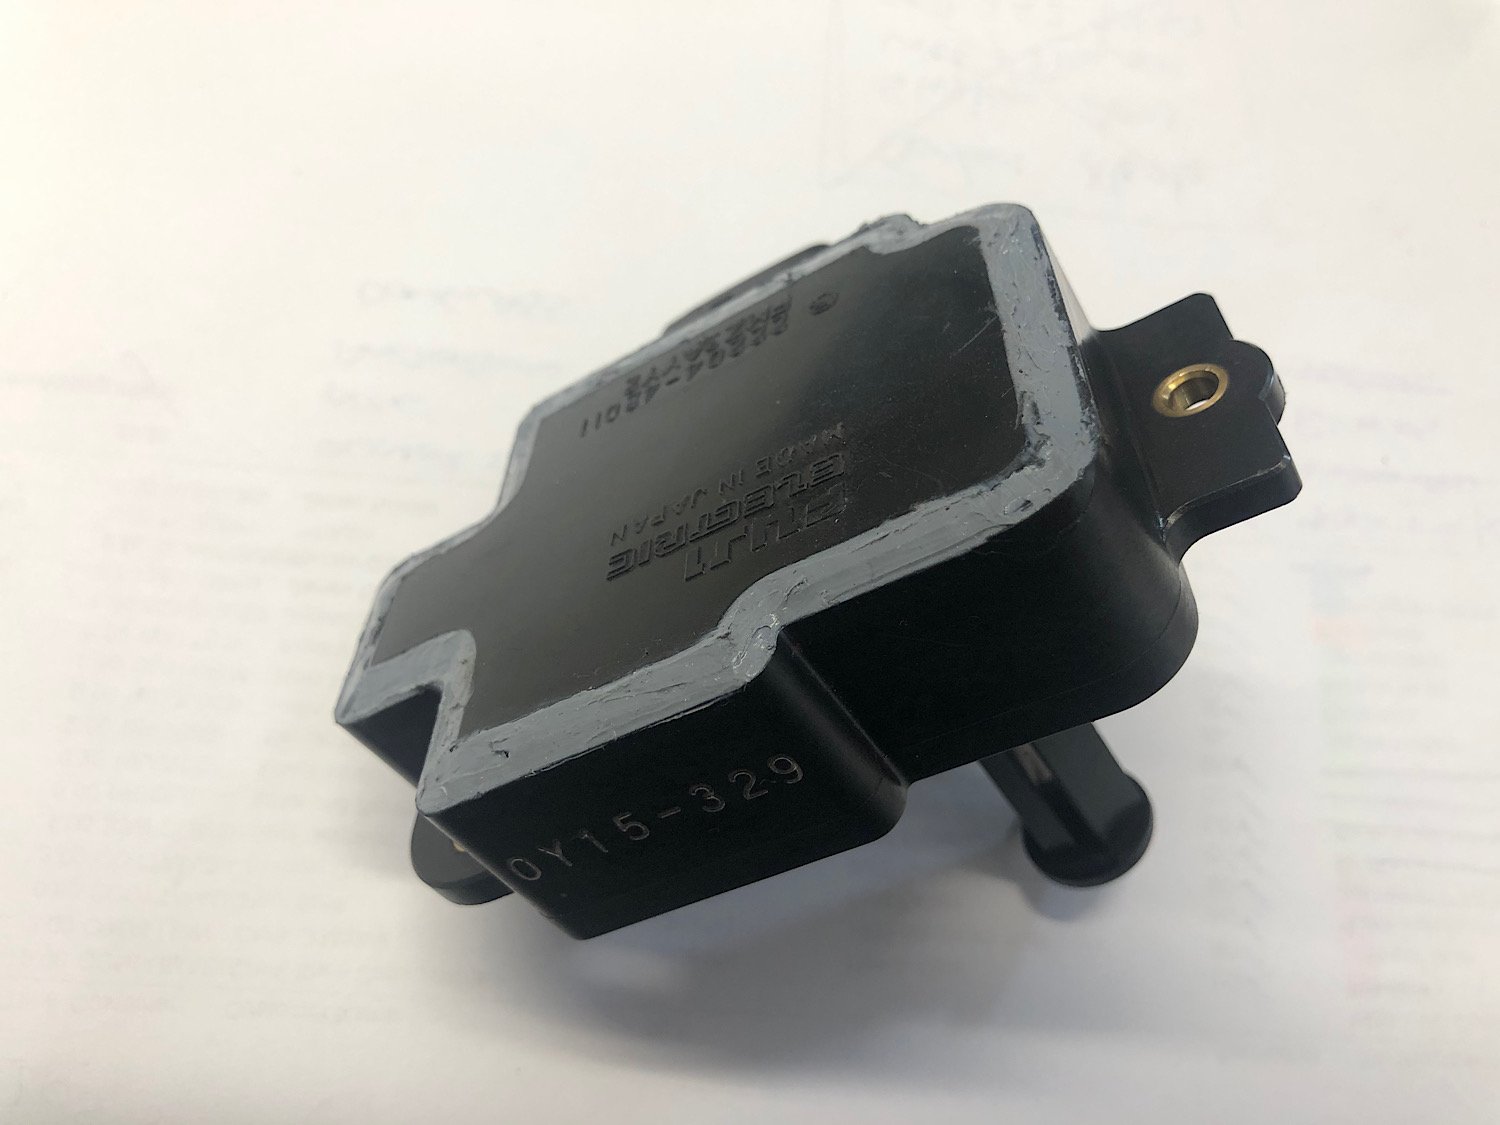
My options were Ali Express special at $60, genuine new for $470 or get some guy in Aus to rebuild it for $600. I wasn’t going to risk second guessing my diagnosis with a cheap part, but also keen to save some coin where I can. I wasn’t going to make it any worse, so it’s worth a shot to see if I can fix it. Lifting the board off and cutting open the main section reveals the tiny reflective metal diaphragm that two diodes stare at to work out air flow. Nothing appears broken, but the diaphragm is a bit sticky and stained. I polished it up and cleaned everything as carefully as I could, then put it all back together. I popped it back in and fully expected to have killed it, but I now have a perfect signal from idle! It runs smooth as silk and the o2 sensors are reading a nice lean mix at idle. Stoked with that.
1 point
-
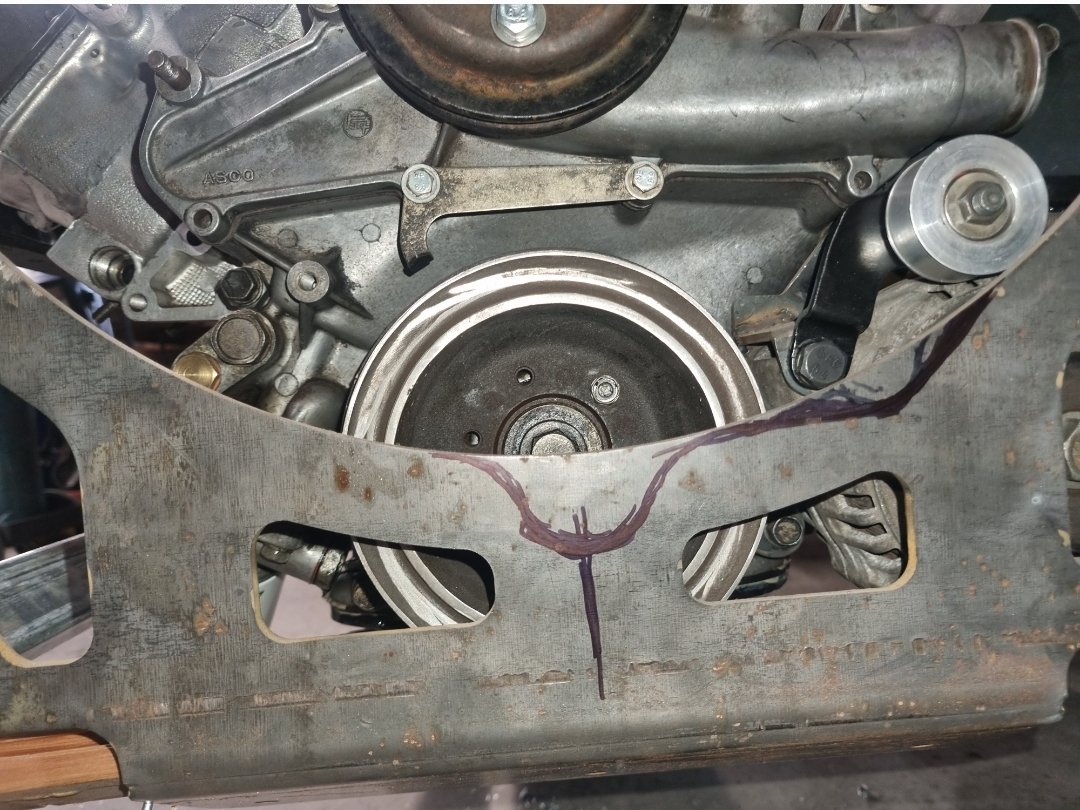
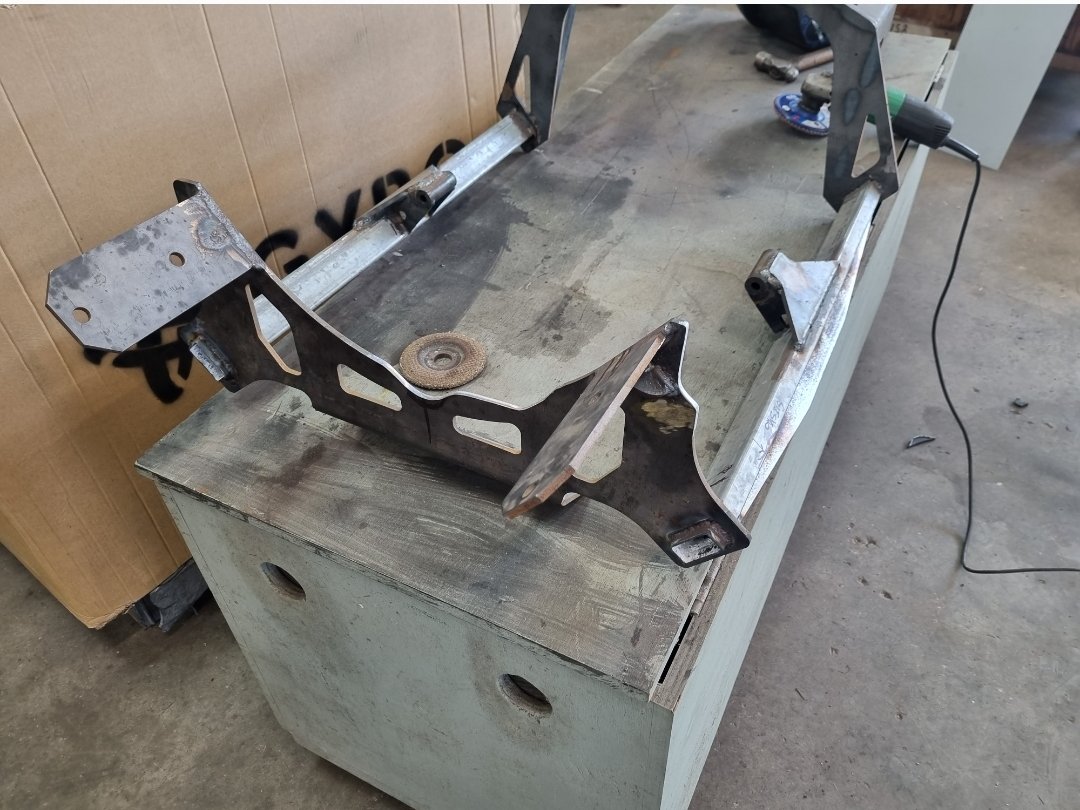
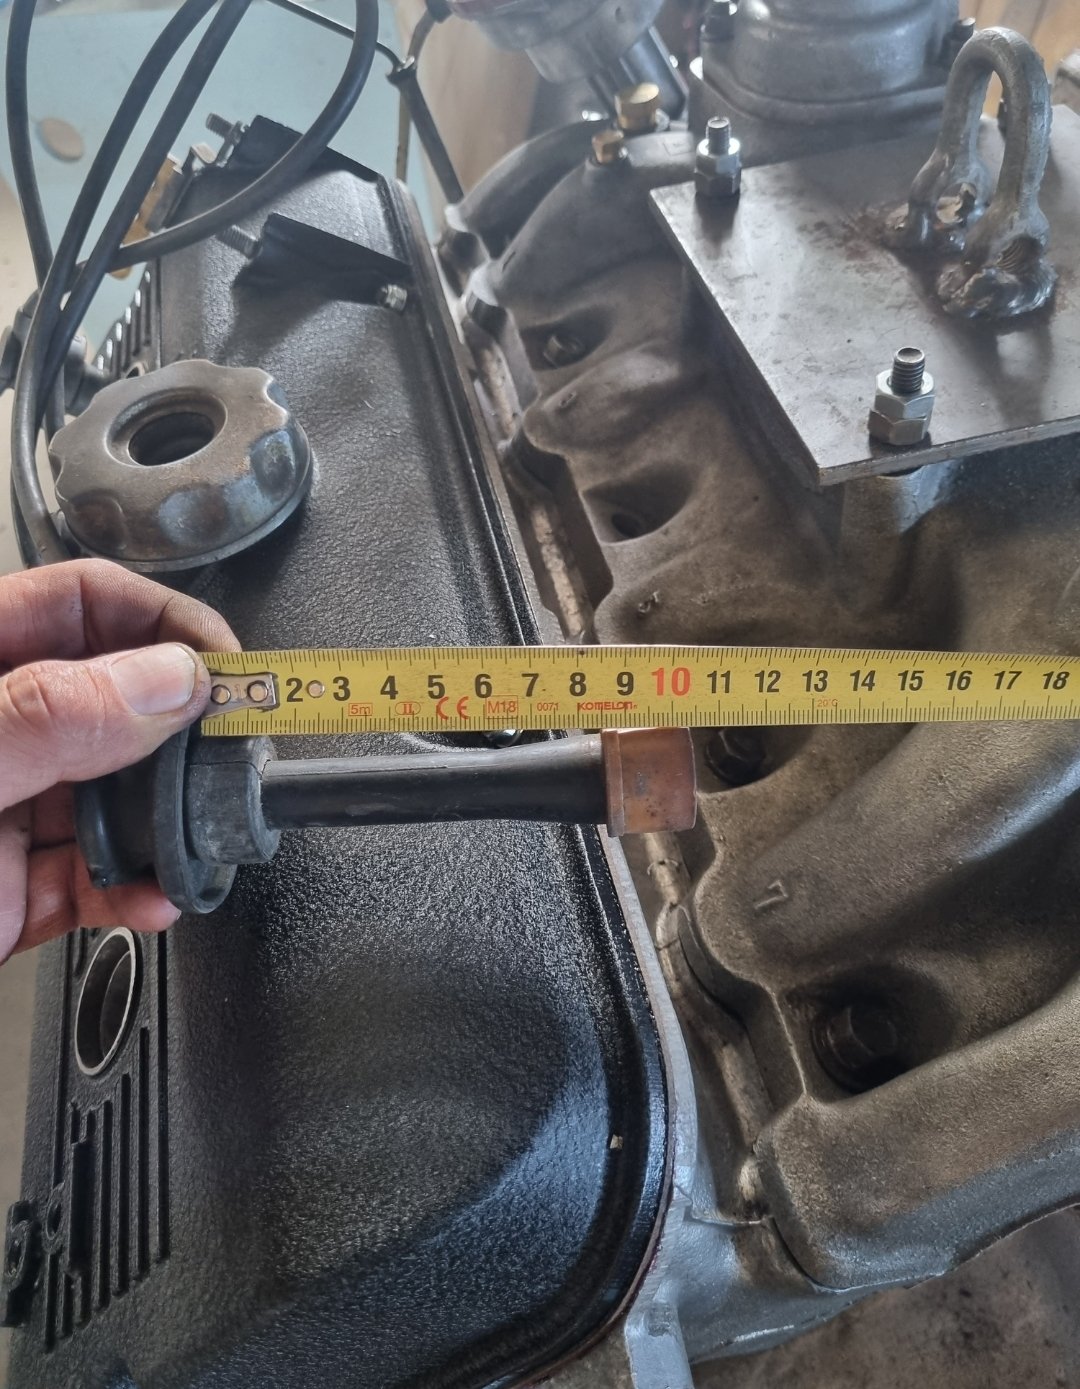
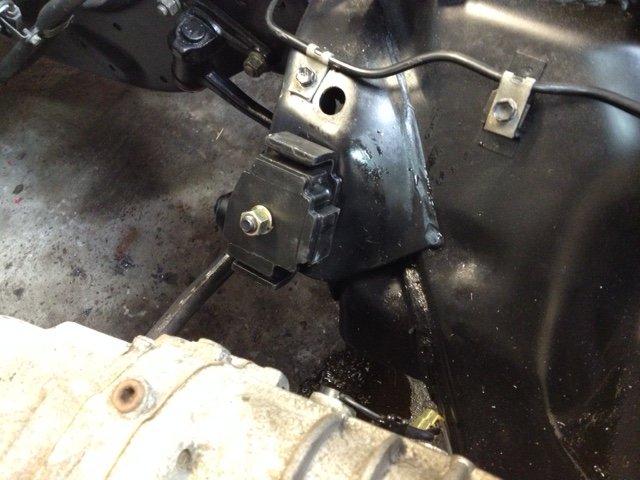
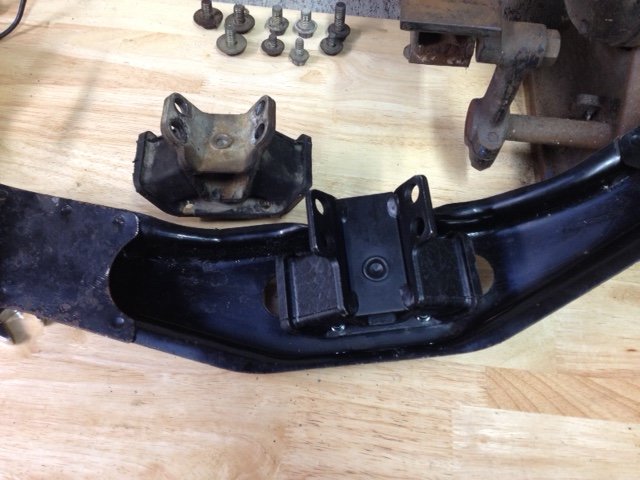
Mount time! I didn't have much choice with engine positioning. I've got maybe 10mm ether side. I'll take a threaded casting off the steering box to give it more room. The steering center link means I can't go back any further without cutting the sump but the crank pulley already sits a little further back than the 5m did. The remote filter housing just clears the factory mount position, it'll be easy to change from underneath. The gearbox mount for a RNZ147 Hilux has a greater offset than the factory mount, bringing the auto cross-member close to its original position. With all that lined up the chassis mount position is about 90mm offset to the 1uz mount position. The engine mounts from an FJ40 fit really nice in the limited space, have limits to catch the engine if the rubber fails & also have a female thread on the bottom which will make installation a breeze. The Mount Shop were super helpful with tracking those down. My father-in law came by, took some measurements & drew up some sweet brackets to bring it all together. Looks much nicer than I would have cobbled together, should make for a tidy job!
1 point
-
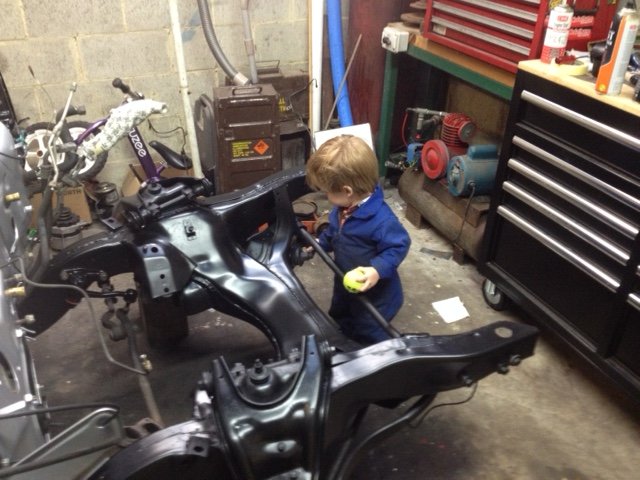
Cleaned down the chassis for paint, and looked over the front brakes. Rotors, pads & bearings are stuffed along with sticky callipers. I scored a set of old stock genuine Toyota pads from TradeMe for $26 and a pair of new rotors out of Super Spares in aus for $160. Could be a month before I see those though. I did get the prop valve back from rebuild, so after painting the chassis I could start putting the firewall back together. It took me ages to make up my mind as to what to paint the chassis with. Ended up keeping with the rattle can theme and going for VHT Roll Bar & Chassis Black as it was $12 a can, more money saved for bell housing bits! Anyway, it turned out fine. A nice satin. The littlest man is starting to get interested, who am I to stop him? I'll leave the guards off while I sit the engine in there & work out what I'm going to do with the mounts. The 1uz still has its UZS131 mounts, Im hoping I can use them somehow.
1 point


.jpg.10ac1528cdaef611fdc163973a2a5bb4.jpg)


This leaderboard is set to Auckland/GMT+12:00