
Leaderboard


Popular Content
Showing content with the highest reputation on 06/20/22 in all areas
-
It drives. Got a few bugs to work out though. The main one is it gets hot, and can't cool itself down. This might be a bit of a prick to sort out as there's no room left I think it has more boost than it should do Brakes are a bit spongy, might need next size up master cyl, might improve once they bed in a bit Seats are a bit low Needs something to stop the pinion angle changing under accel, driveshaft just knocked the floor slightly
 29 points
 -
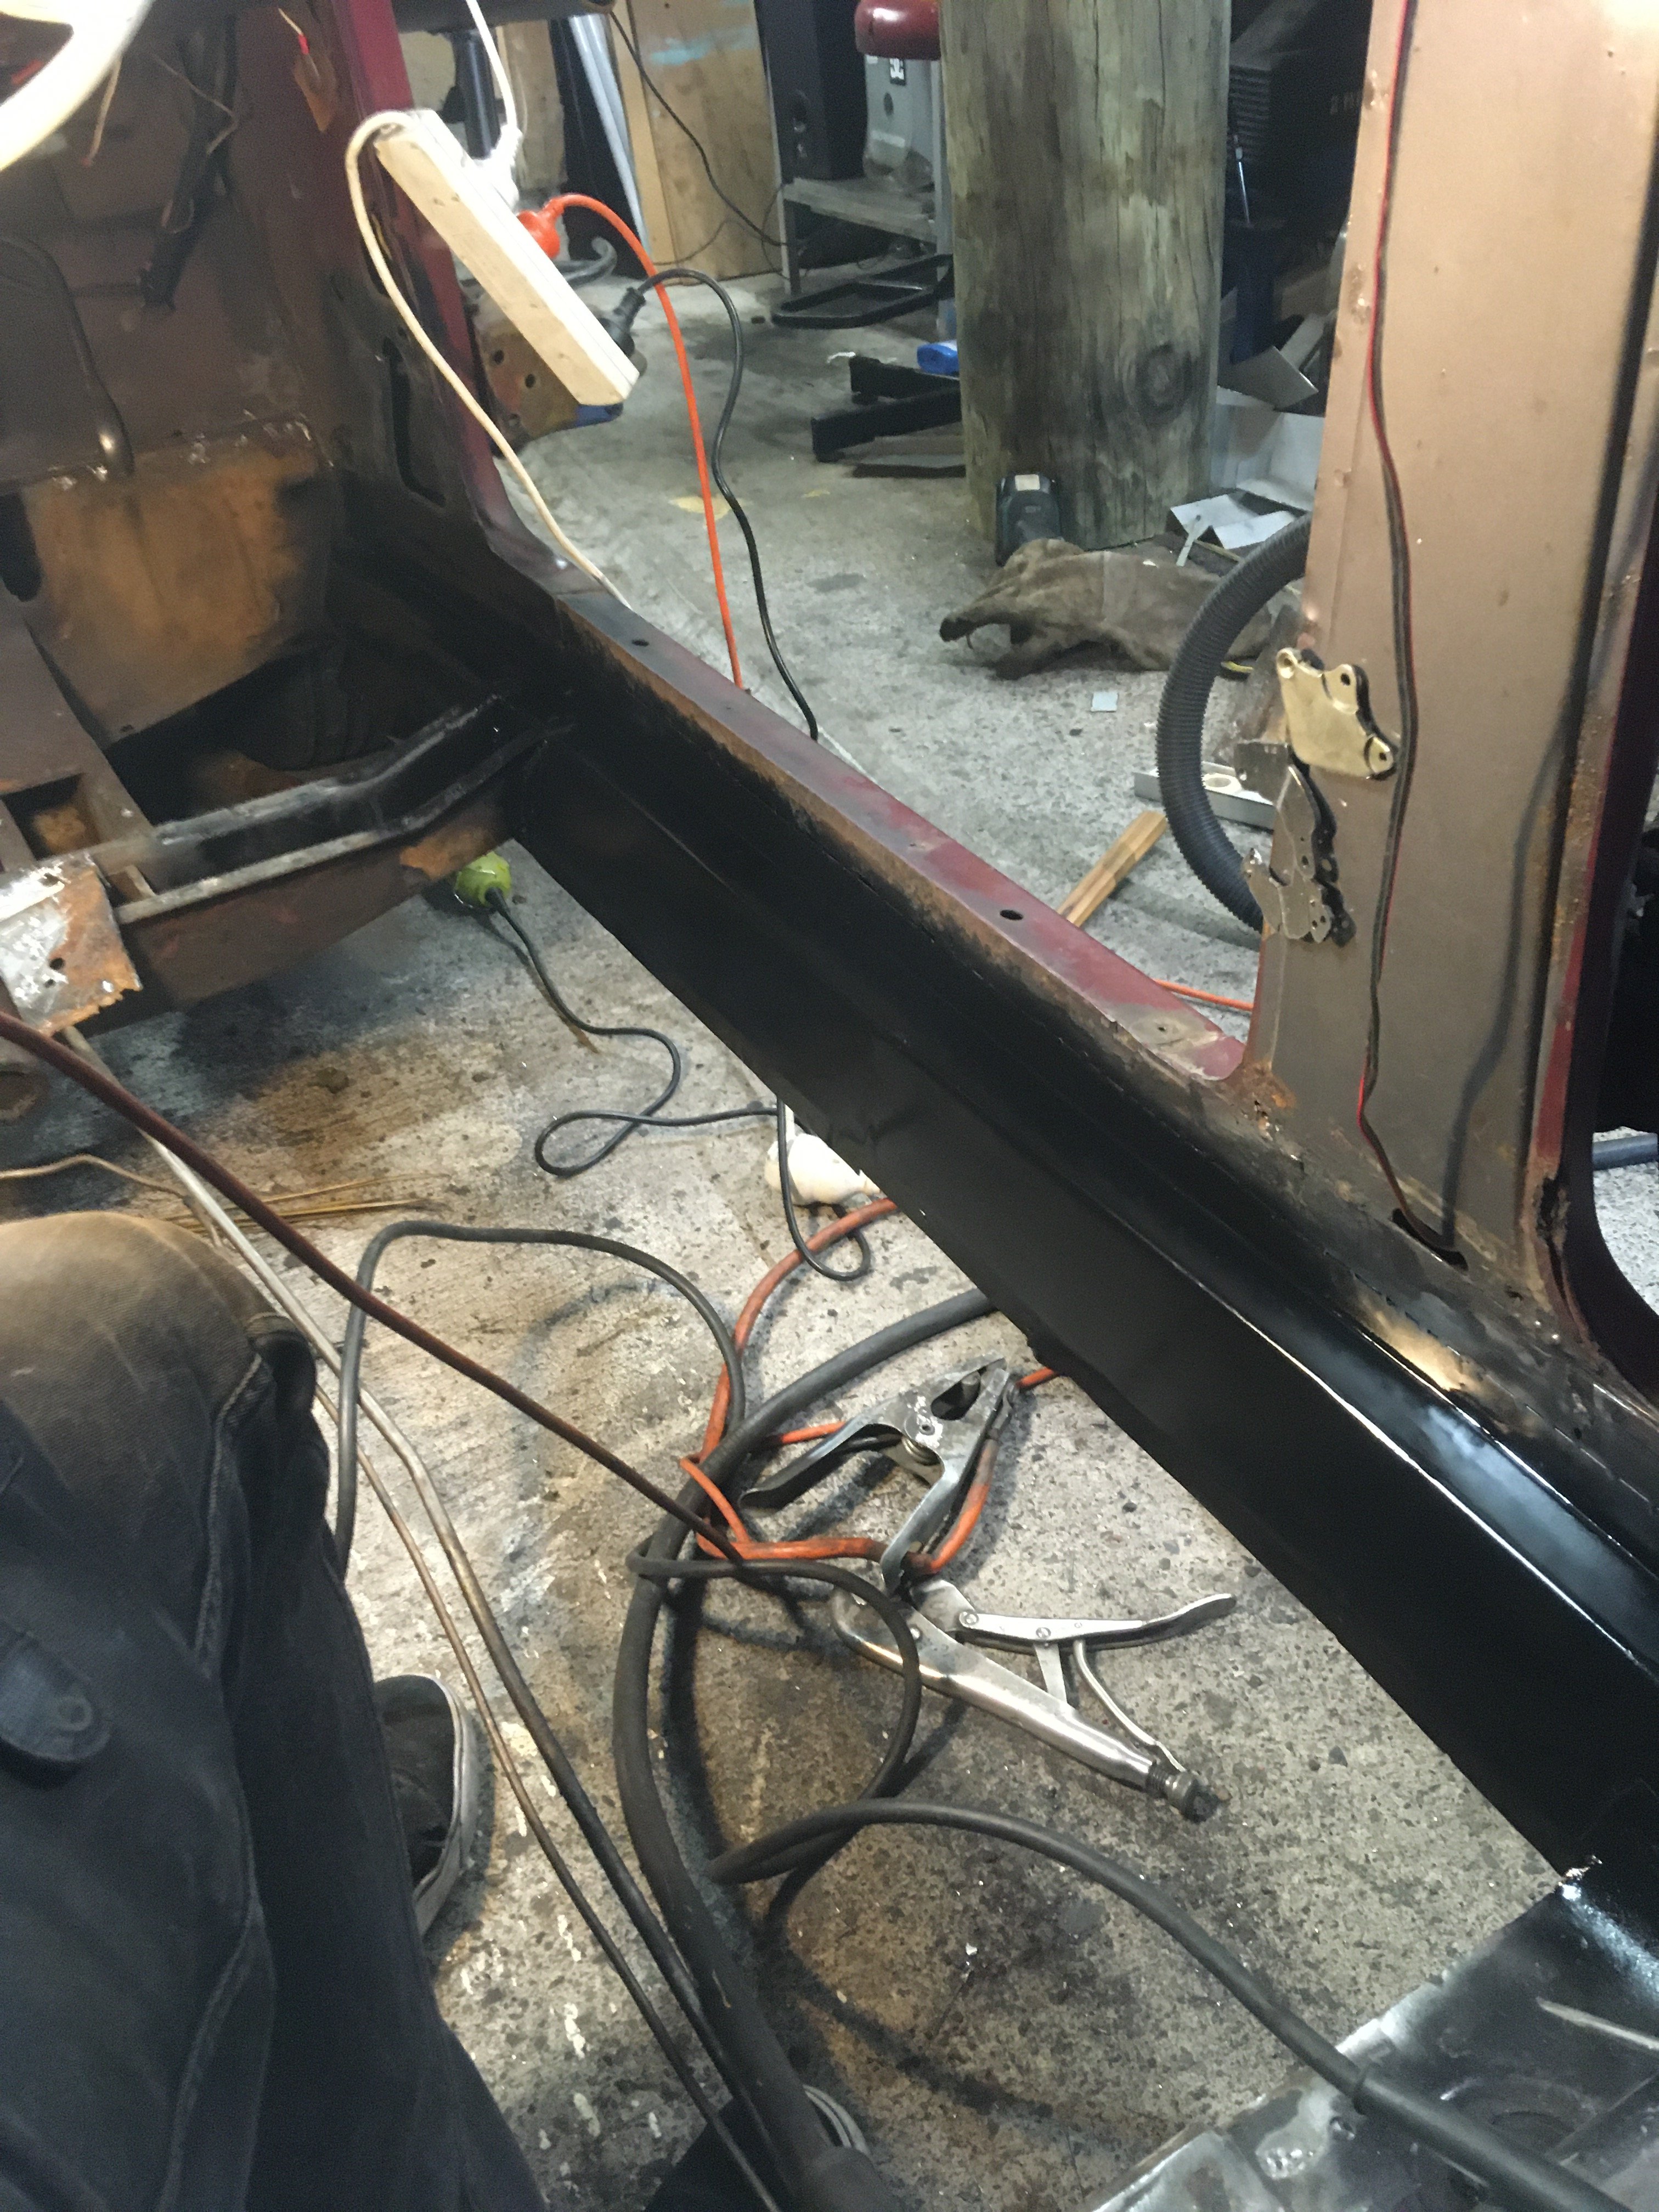
Finally found Time to get another day working on the car , got the rear fitted and tacked in almost half way there
14 points
-
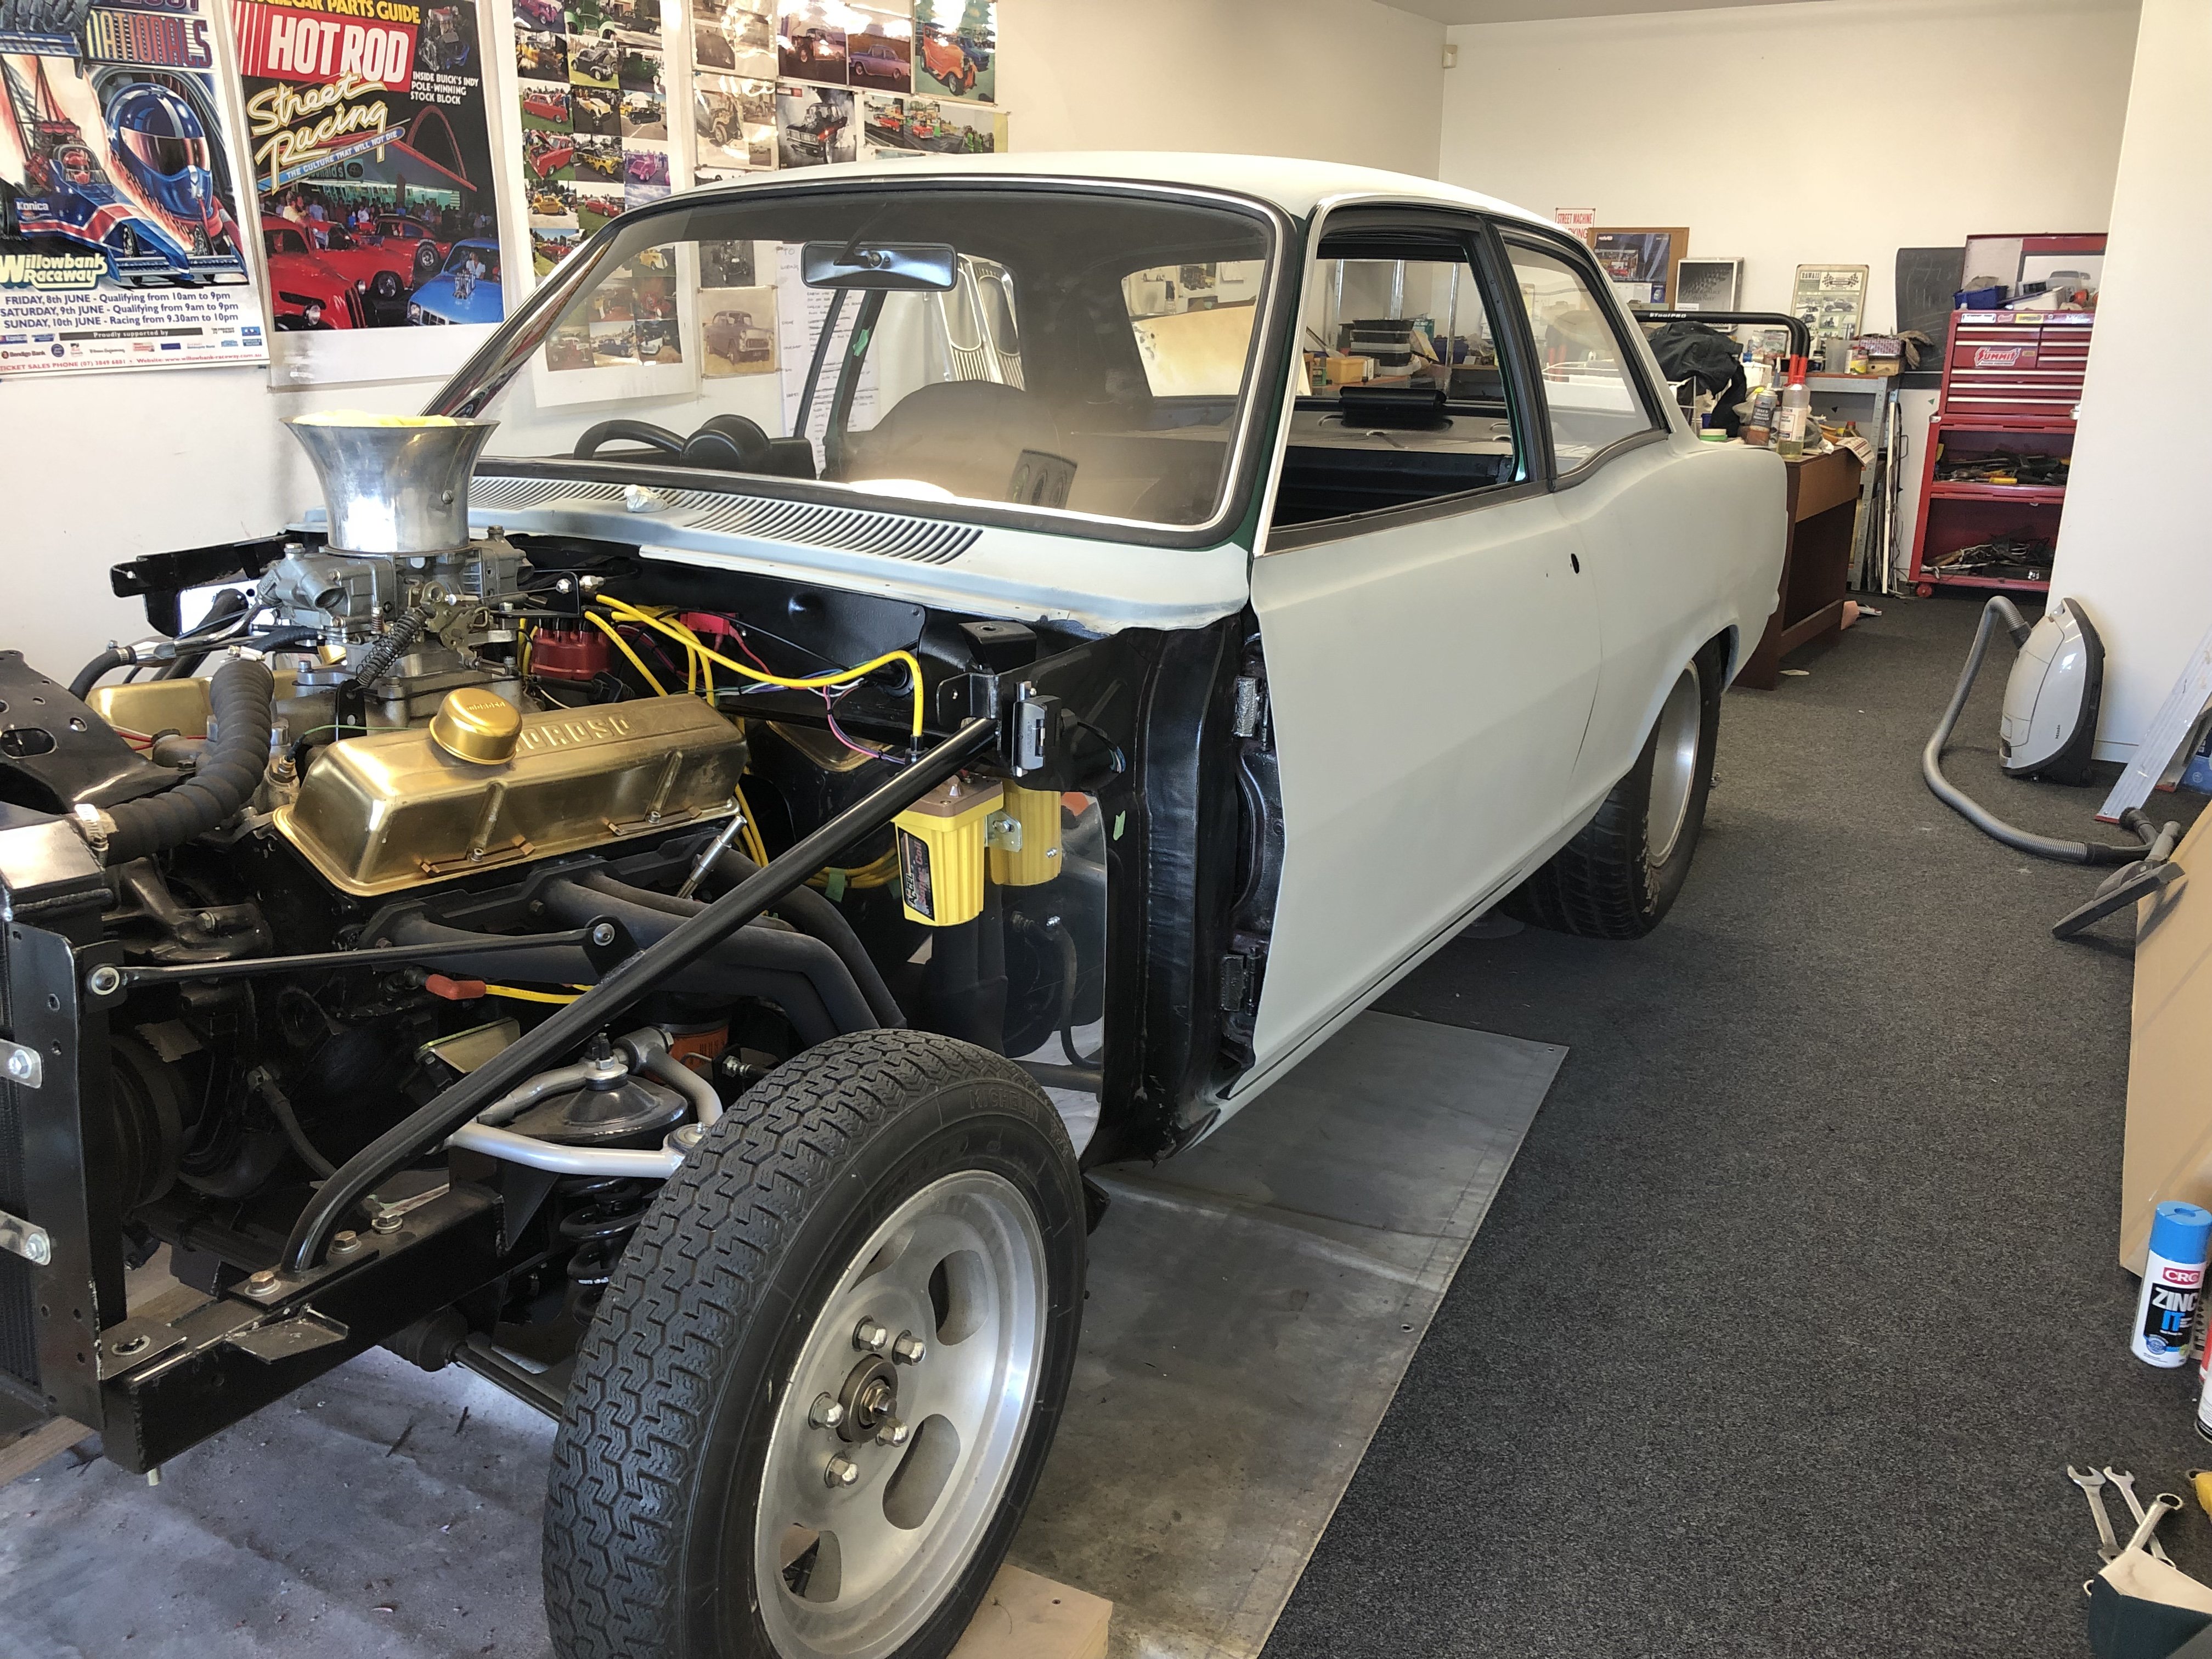
Done a few things the past week. Scored a new mirror glass from a wrecker mate. Old one was broken, but it was good to be able to smash it out to see how it fitted in order to avoid breaking the replacement one. Got the larger 17/16th master cylinder. Bad thing is its only a 2 port for ABS models, where i have the non ABS lines needing a 3 port MC. Is there a drill bit available to drill an extra hole? I think i read somewhere that its just a square hole with a the tapered cone inserted to seat the flare. But i have seen guys who have the bling braided lines just double stack the banjo fittings on the 1 port. Maybe i can get a custom single banjo to double female flare fitting? Also got a set of whiteline swaybars front and rear, with the adjustable links etc A nismo coppermix twin plate clutch. Supposed to be near stock pedal feel with 590kw of holding capacity. Had this for a while, got it for a good price a while back ecu, 84mm throttle, o2 sensor. I even found this gear shifter boot in my stash. Who knows when i bought this, but mine is stuffed so its a win When i got the car going, the clutch pedal was always creaky and looked out of place. I decided that since im getting older and have no back issues i would karma sutra myself under the dash and have a look. I ended up pulling the pedal out and sure enough, its from a R33. lol, now i remember doing that maybe 12+ years ago. I dont remember it fucking my back when i did it way back then, but it did this time..... For some reason i tried to buy a new clutch and brake pedal set with all the mounts etc a while back, but only the clutch pedal bracket is available. It would seem thats its all just a bit different The last photo shows a spacer on the front of the R33 pedal box. After a LOT of googling, i discovered that the bracket lives on the firewall on the R32. Mine is missing. Either the auto models dont have it, or i ripped it off when i put the ill fitting 33 clutch in. Anyway, in a stroke of luck, i tried yahoo japan and found someone selling the full set Jackpot! Was pretty cheap too. Somebody tried to snake me in the dying seconds but gave up before my autobid ran out. Phew Also includes the throttle pedal stop and footrest which im missing. AND the brake pedal. Because i did the old angle grinder conversion from auto to manwell pedal pad, and its a bit terrible...14 points
-
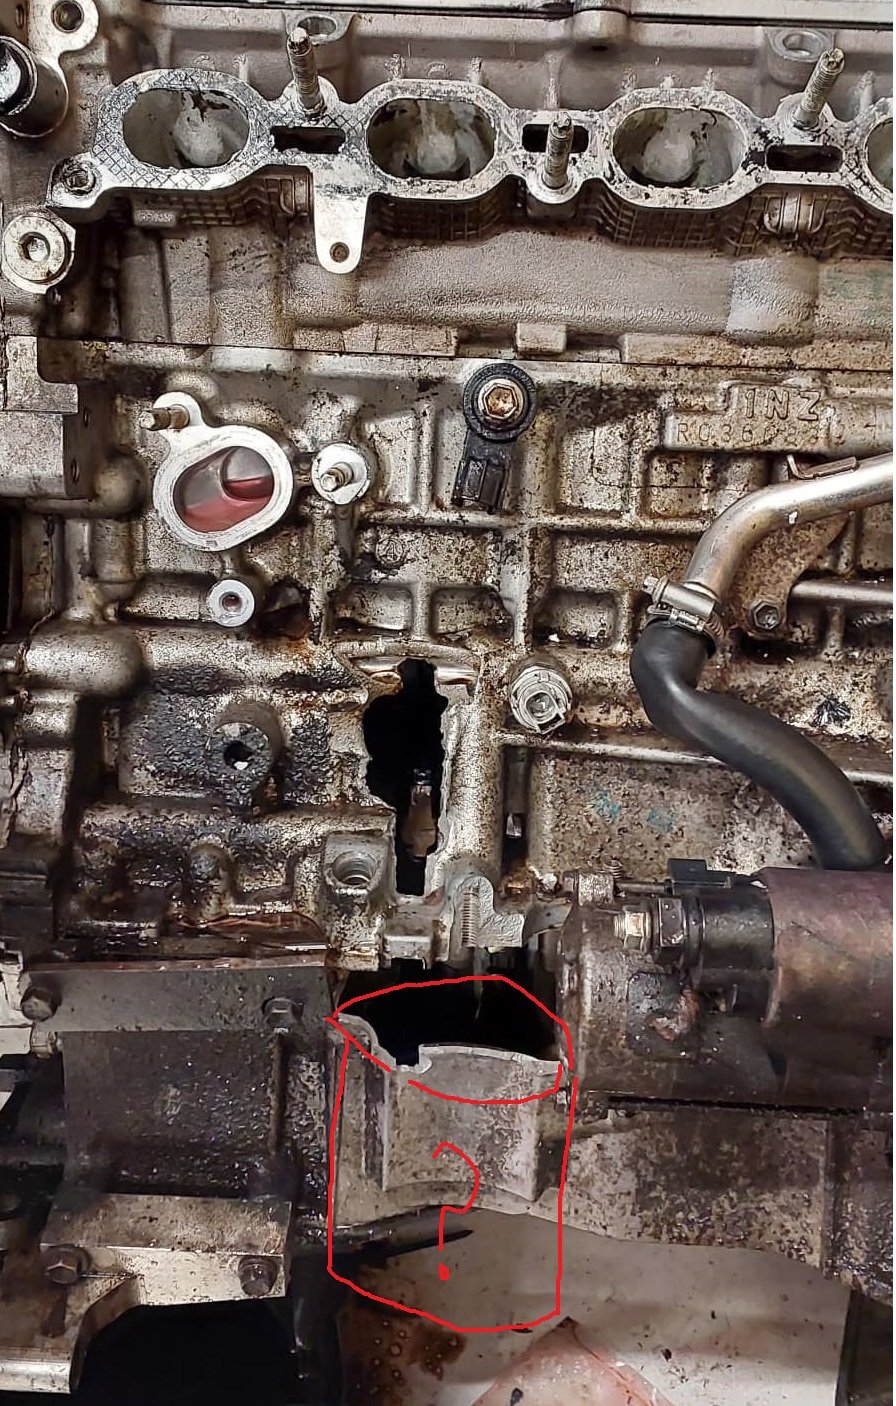
Nah no 2NZ rods available, and I'm fairly doubtful that all of my current pistons would be usable. Some of the bore is missing down the bottom on cylinder 2, so piston might have copped some damage. As well as the entirety of the oil filter and it's housing is AWOL haha Some good news while I've been stripping the motor down though, I found some of the rattles. The rear engine mount bolt has been vibrating itself loose, and my upper half of the alternator bracket had broken. So I think one or the other of those was making the recent noise, not the clutch or gearbox. So that's good news.
11 points
-
Yeah it kinda caught me by surprise. I had my daughter with me and because everything is new, and not tuned properly yet, was taking it easy I got on a straight bit and gave it a stab in 2nd gear at about 40k and it lit up as soon as it hit boost Kid got googly eyes and said "what was that dad?" It makes some good spooly noises when tootling around.7 points
-
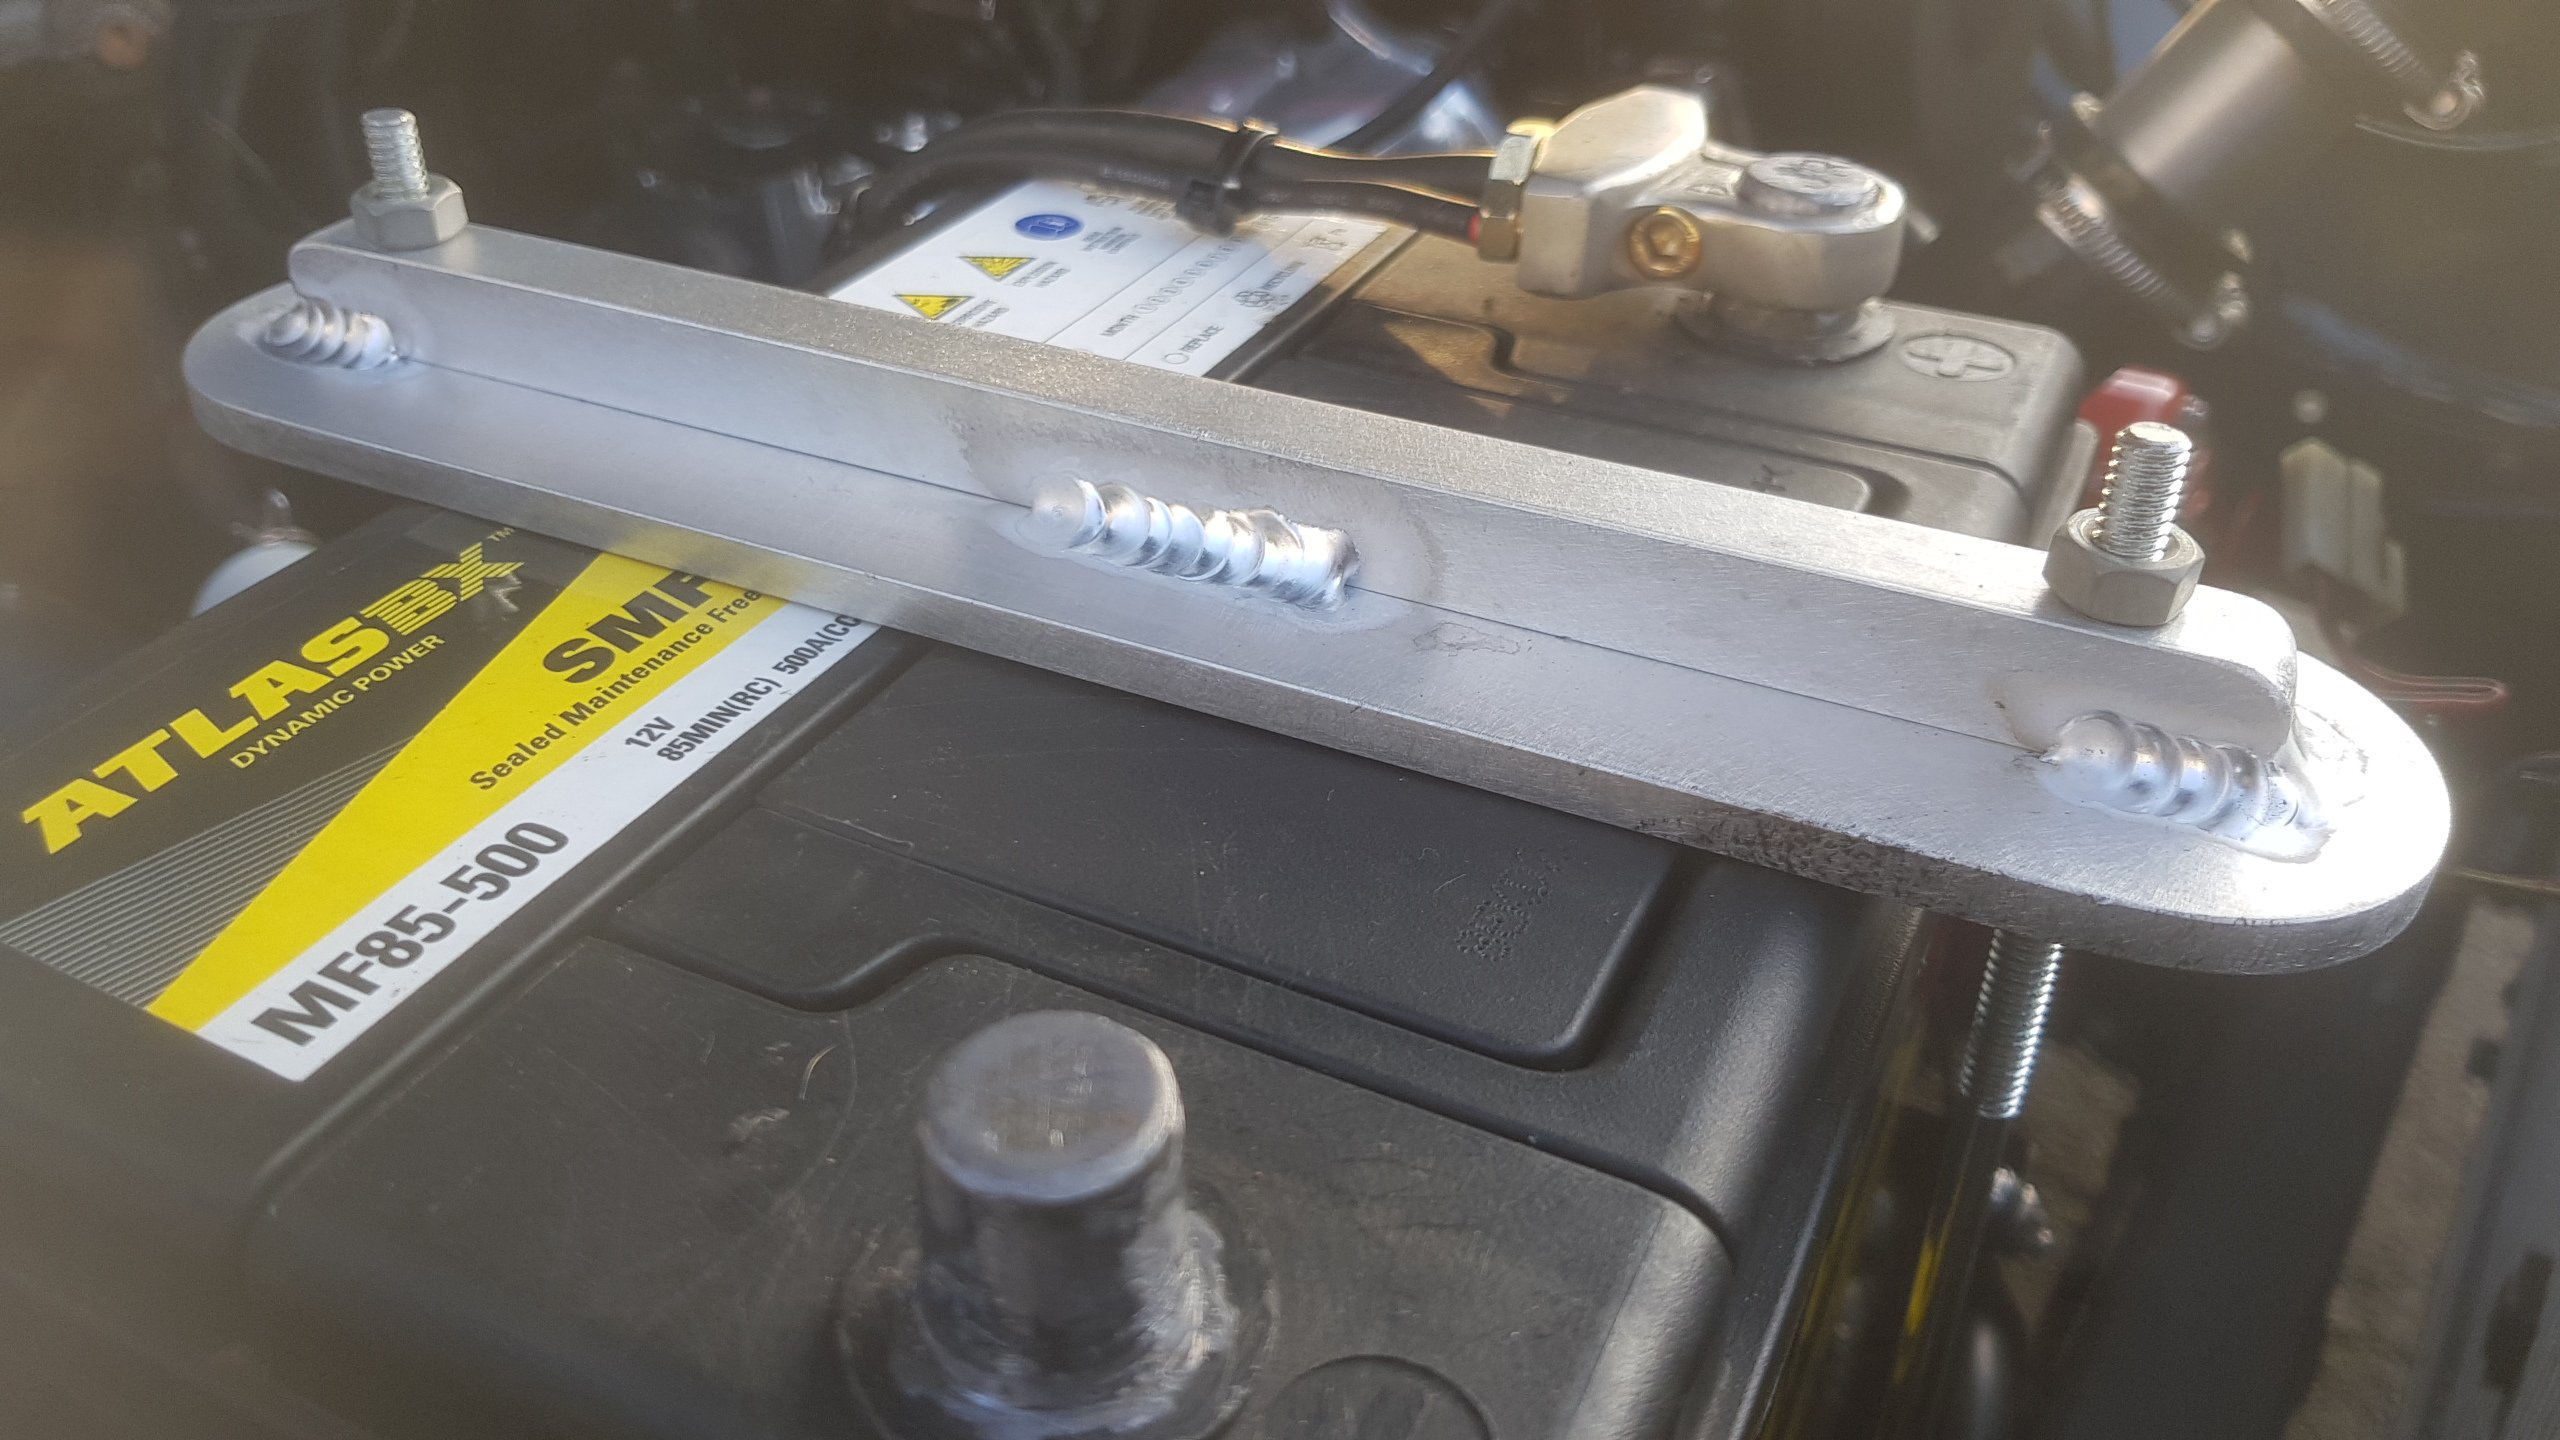
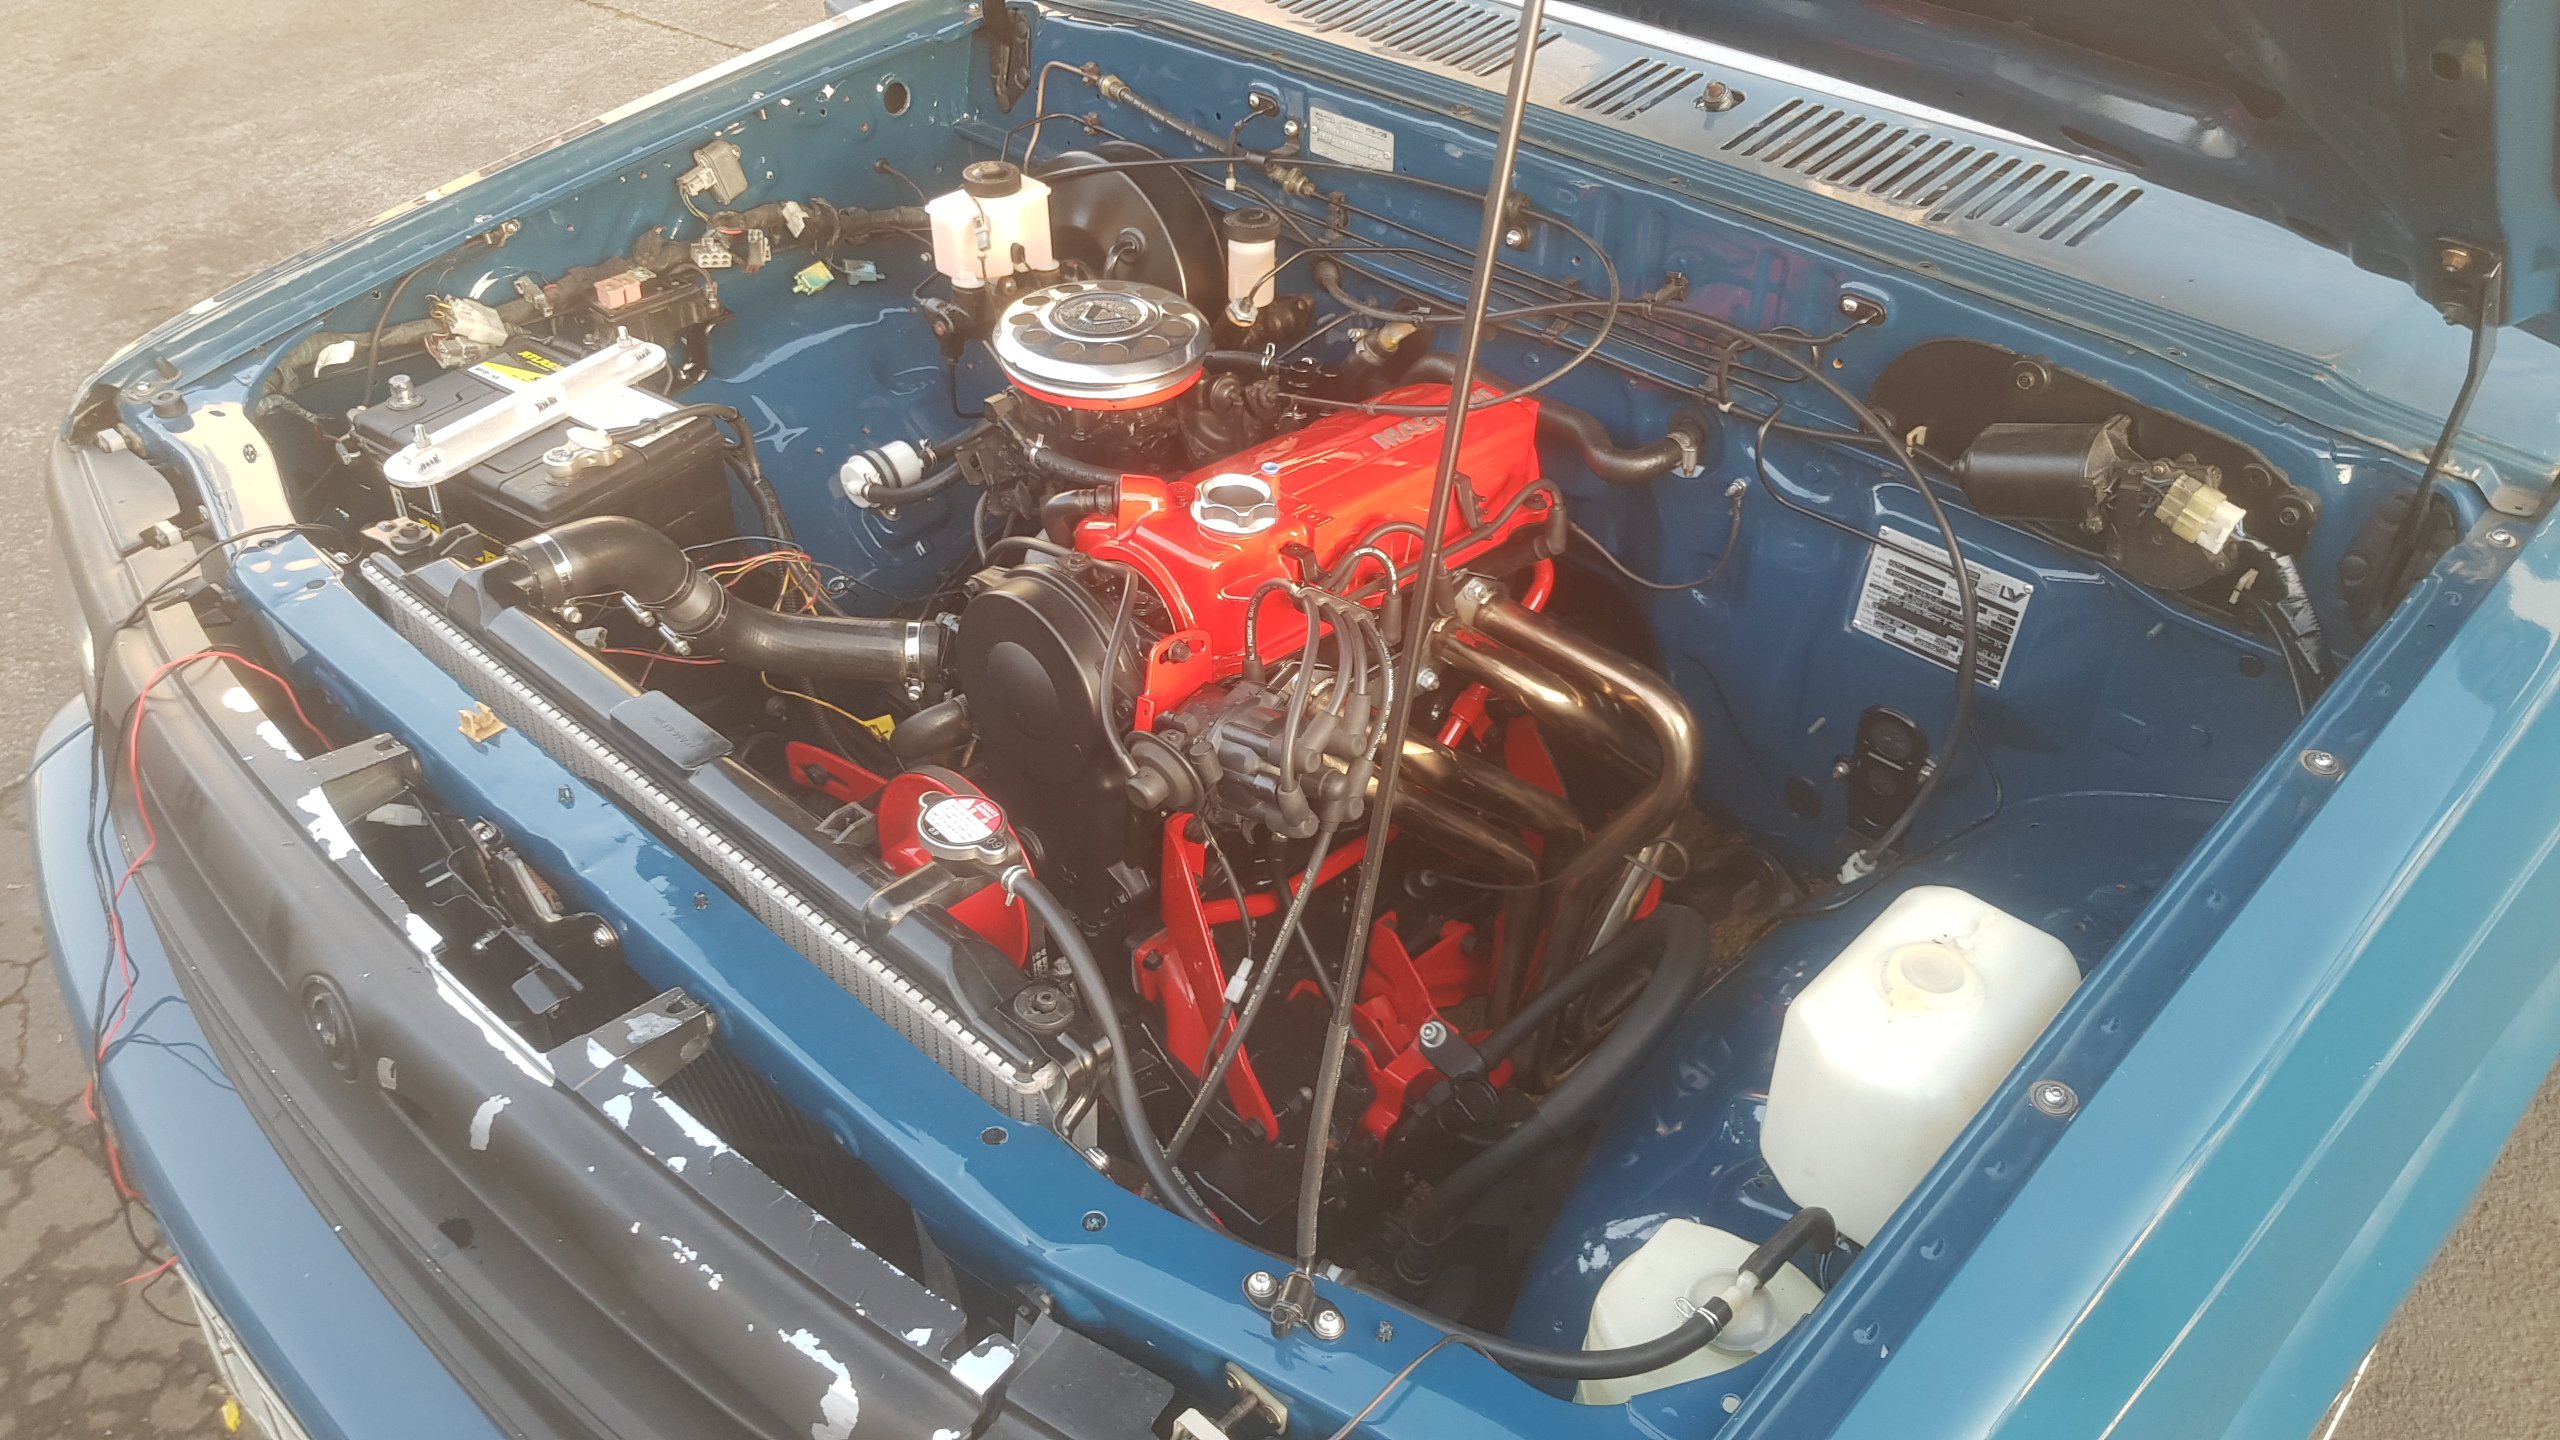
Got the battery tray fitted and had a spare battery tested before I went out a got a new one. Managed to save a bit of money there. Didn't like the plastic battery hold-down so fizzed up something simple but nicer from Ali. Will prob powdercoat black with the next run of stuff I get done. Nuts will get swapped out too. Engine bays looking a bit more complete now. Had been sorting engine loom, but we fired it up and got it up to temp for the first time on Friday night, so now that I know its all good, I can wrap the loom and tick that off the list.
7 points
-
Yeah that's a common failure mode of 13 second prius engines4 points
-
Did someone say graph? No? Too bad Yeah would be a 1300cc rev monster. A 1NZFE has a mean piston speed of 25.4 meters per second at 9000rpm. A 2NZ at 25.4 meters per second would be revving to 10,350rpm, and the mega long rod motor would be able to deal with it a little better. Doesnt mean its possible to rev a 2NZ that high without other issues though. But it would certainly be glorious! haha Also as another reference point, an S2000 motor that is built from factory to go 9000rpm. Has a stroke length of 84mm (vs 84.7 for 1NZ) then a much larger bore to acheive 2 litres. S2000 F20C motor has a rod/stroke ratio of 1.82
4 points
-
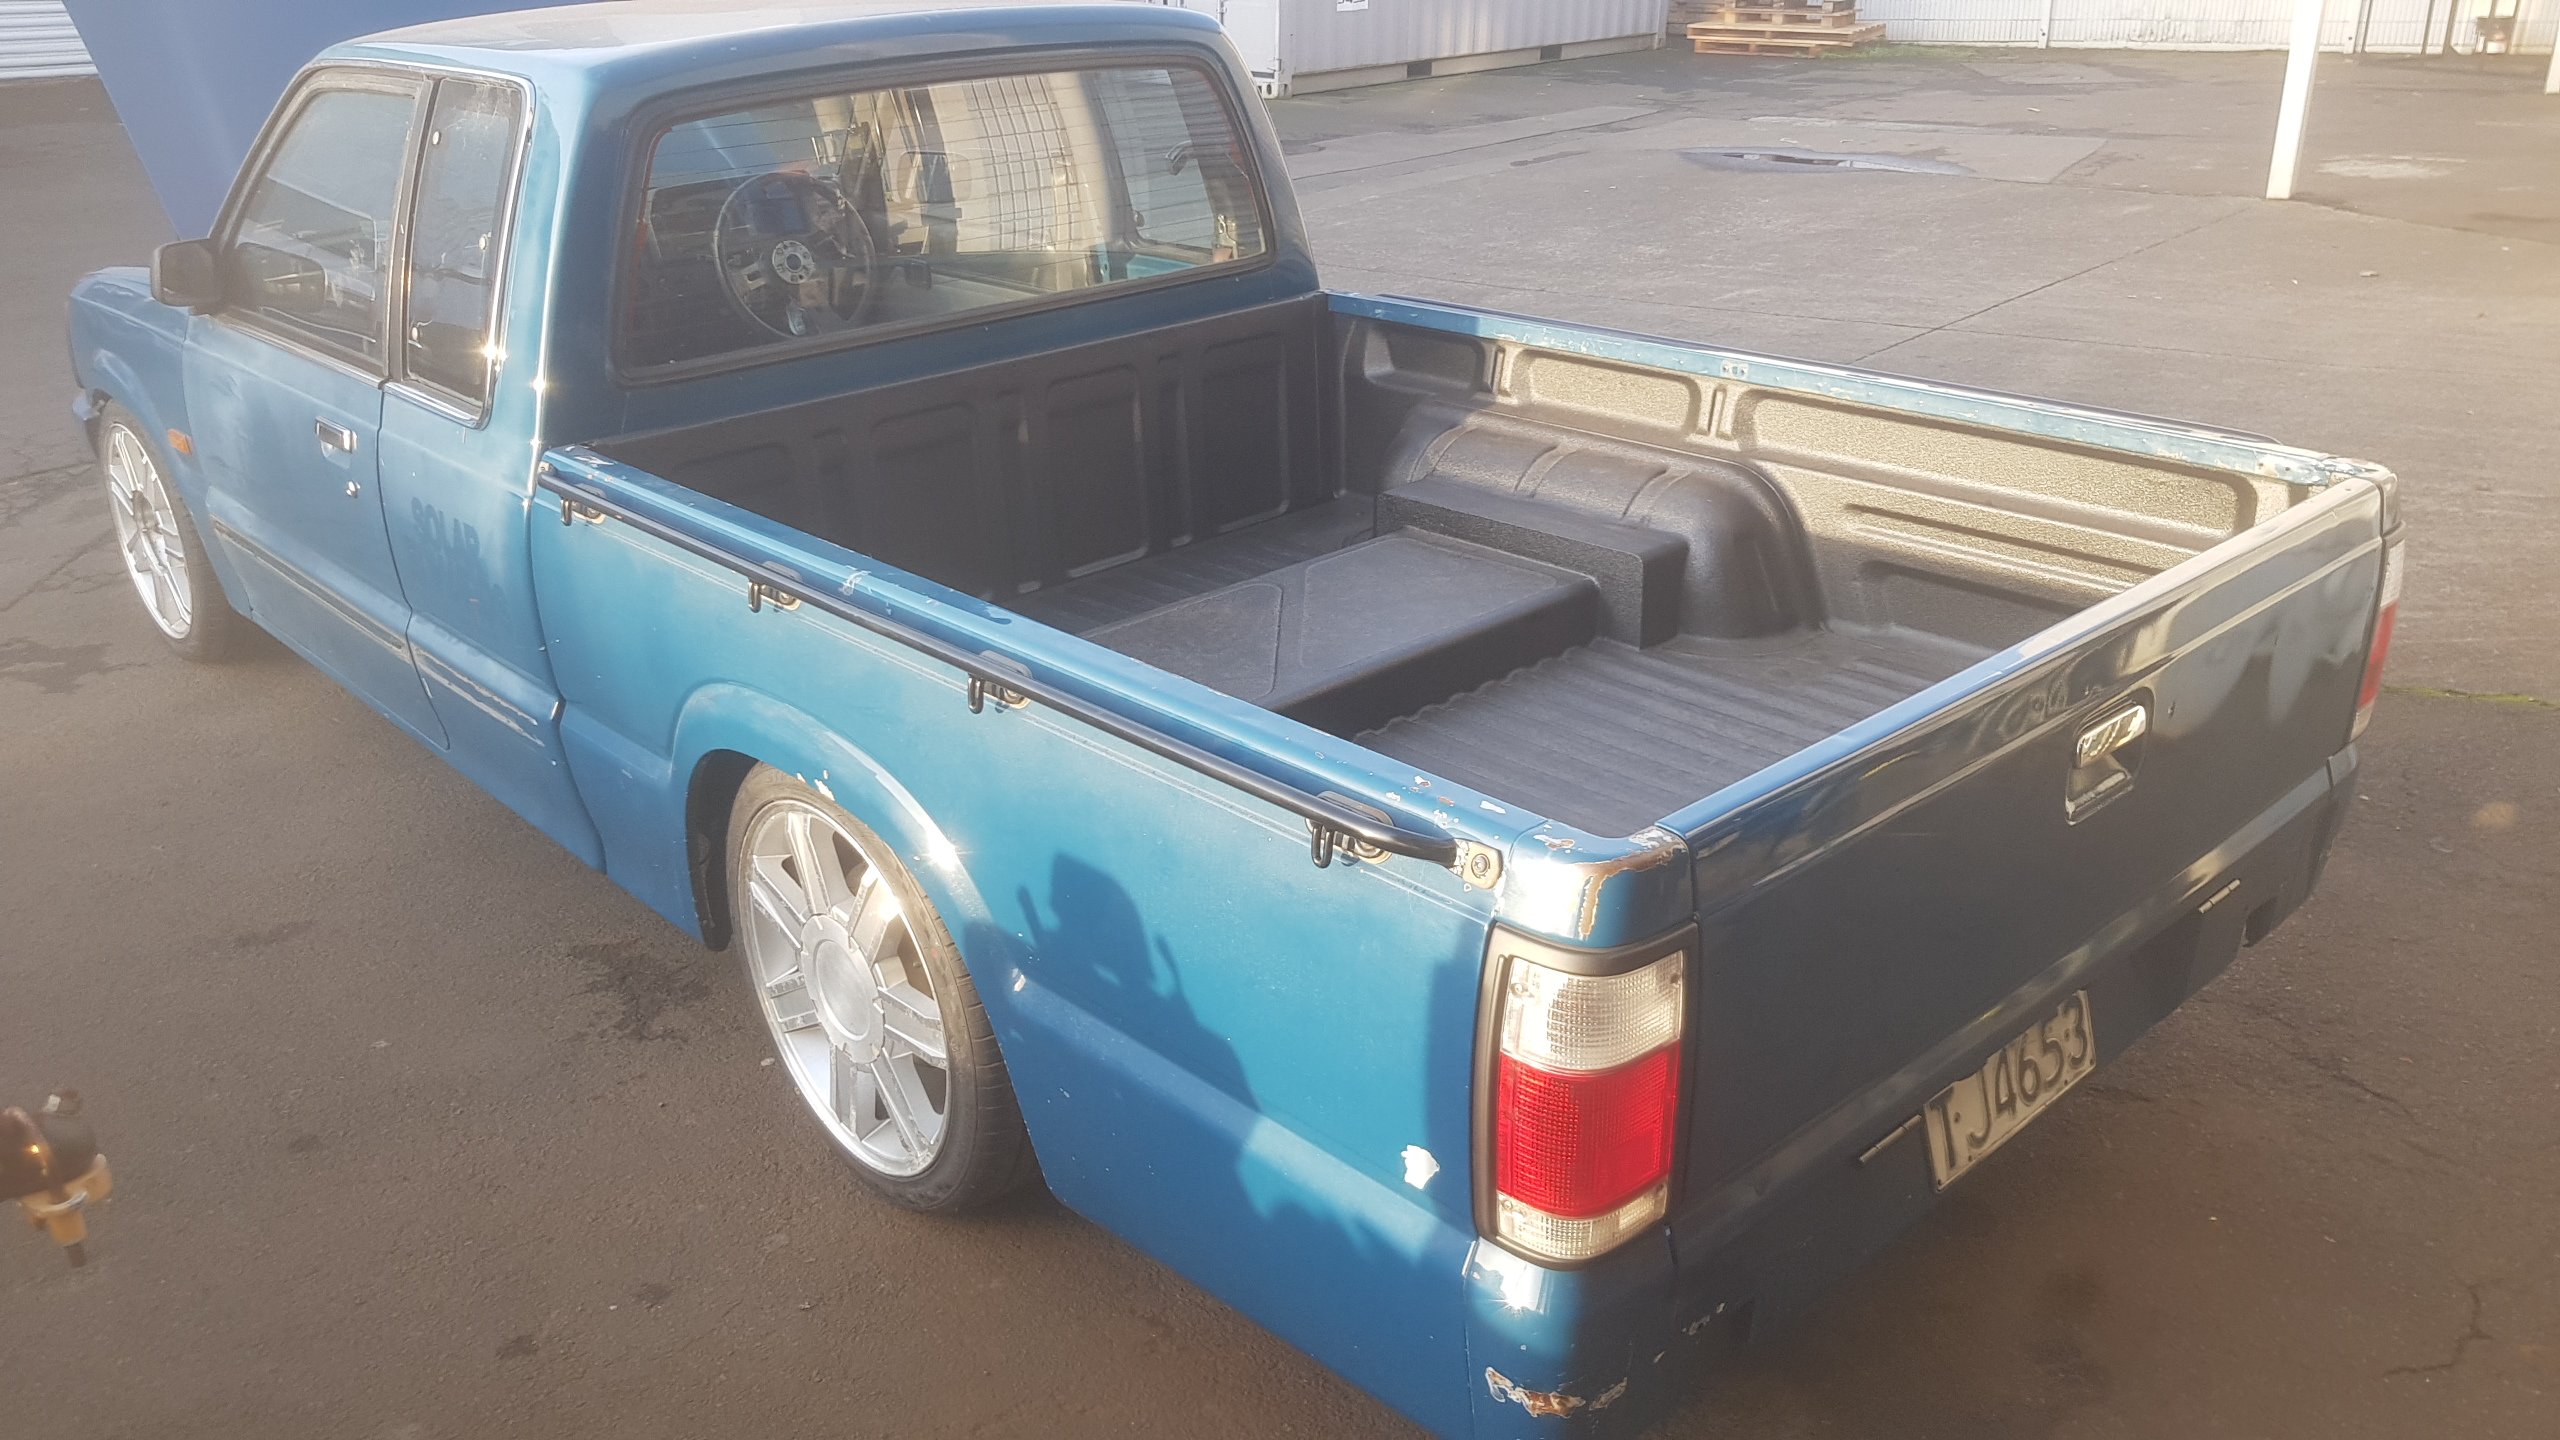
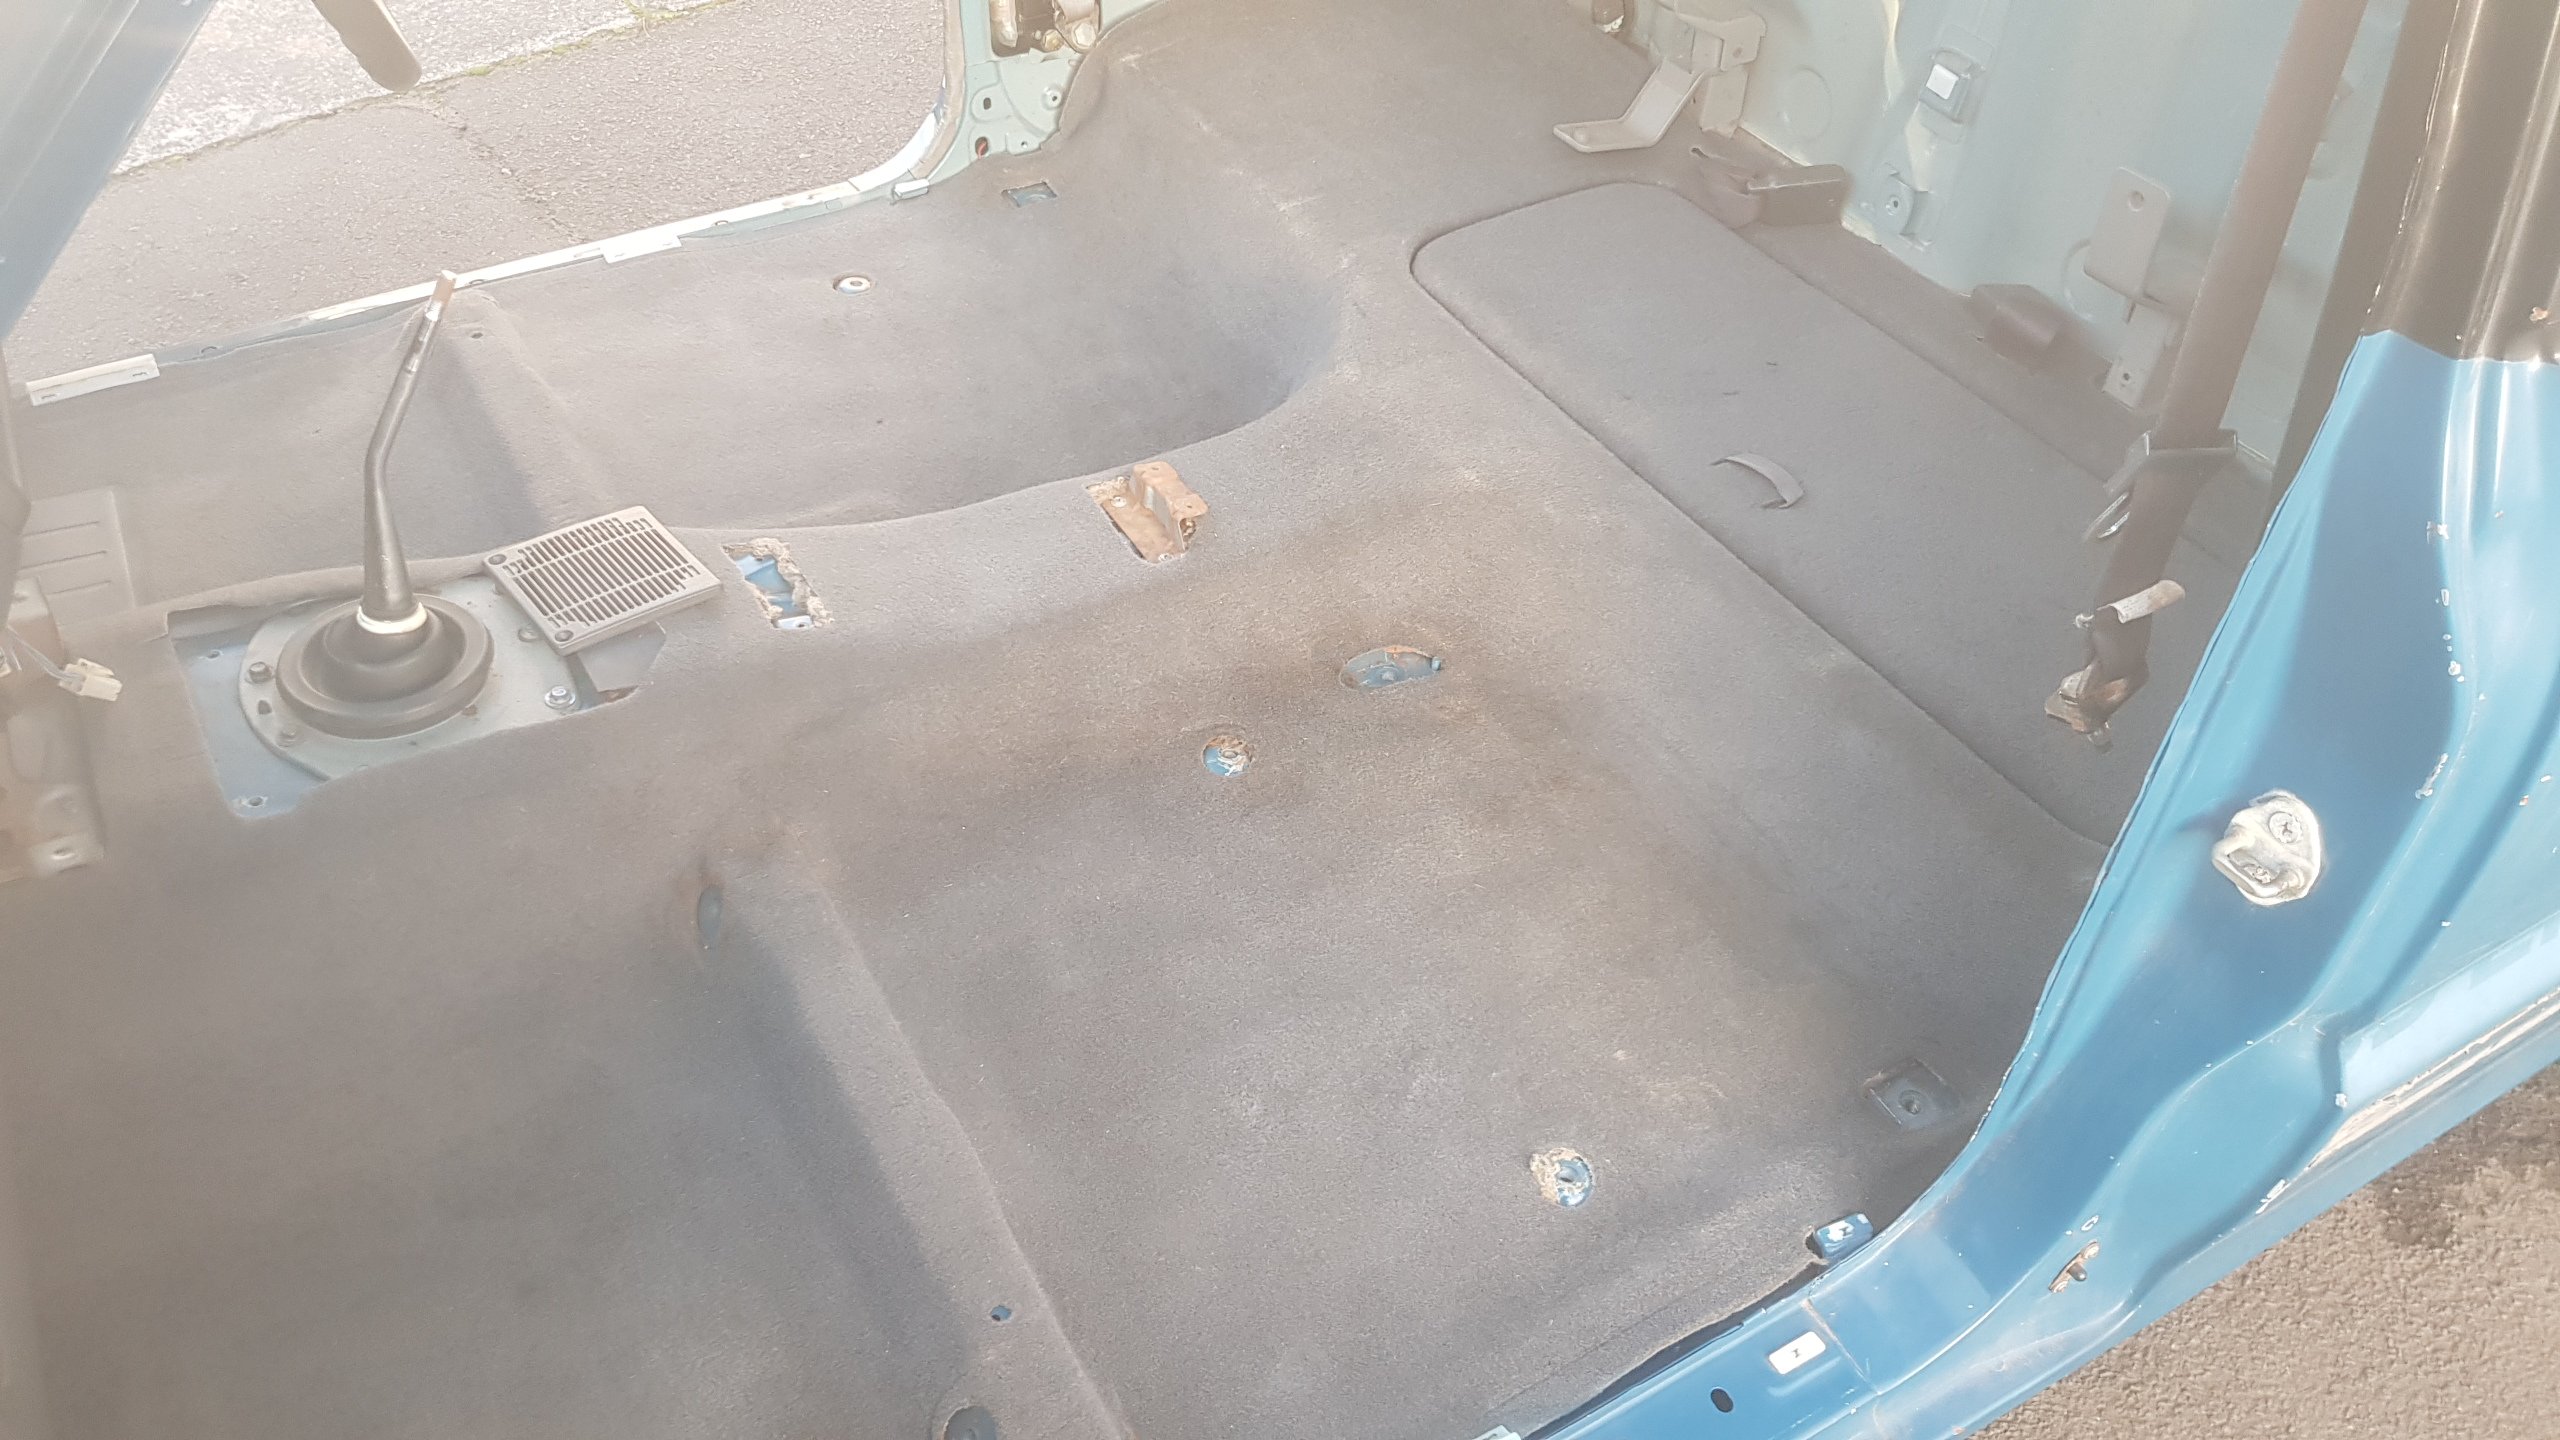
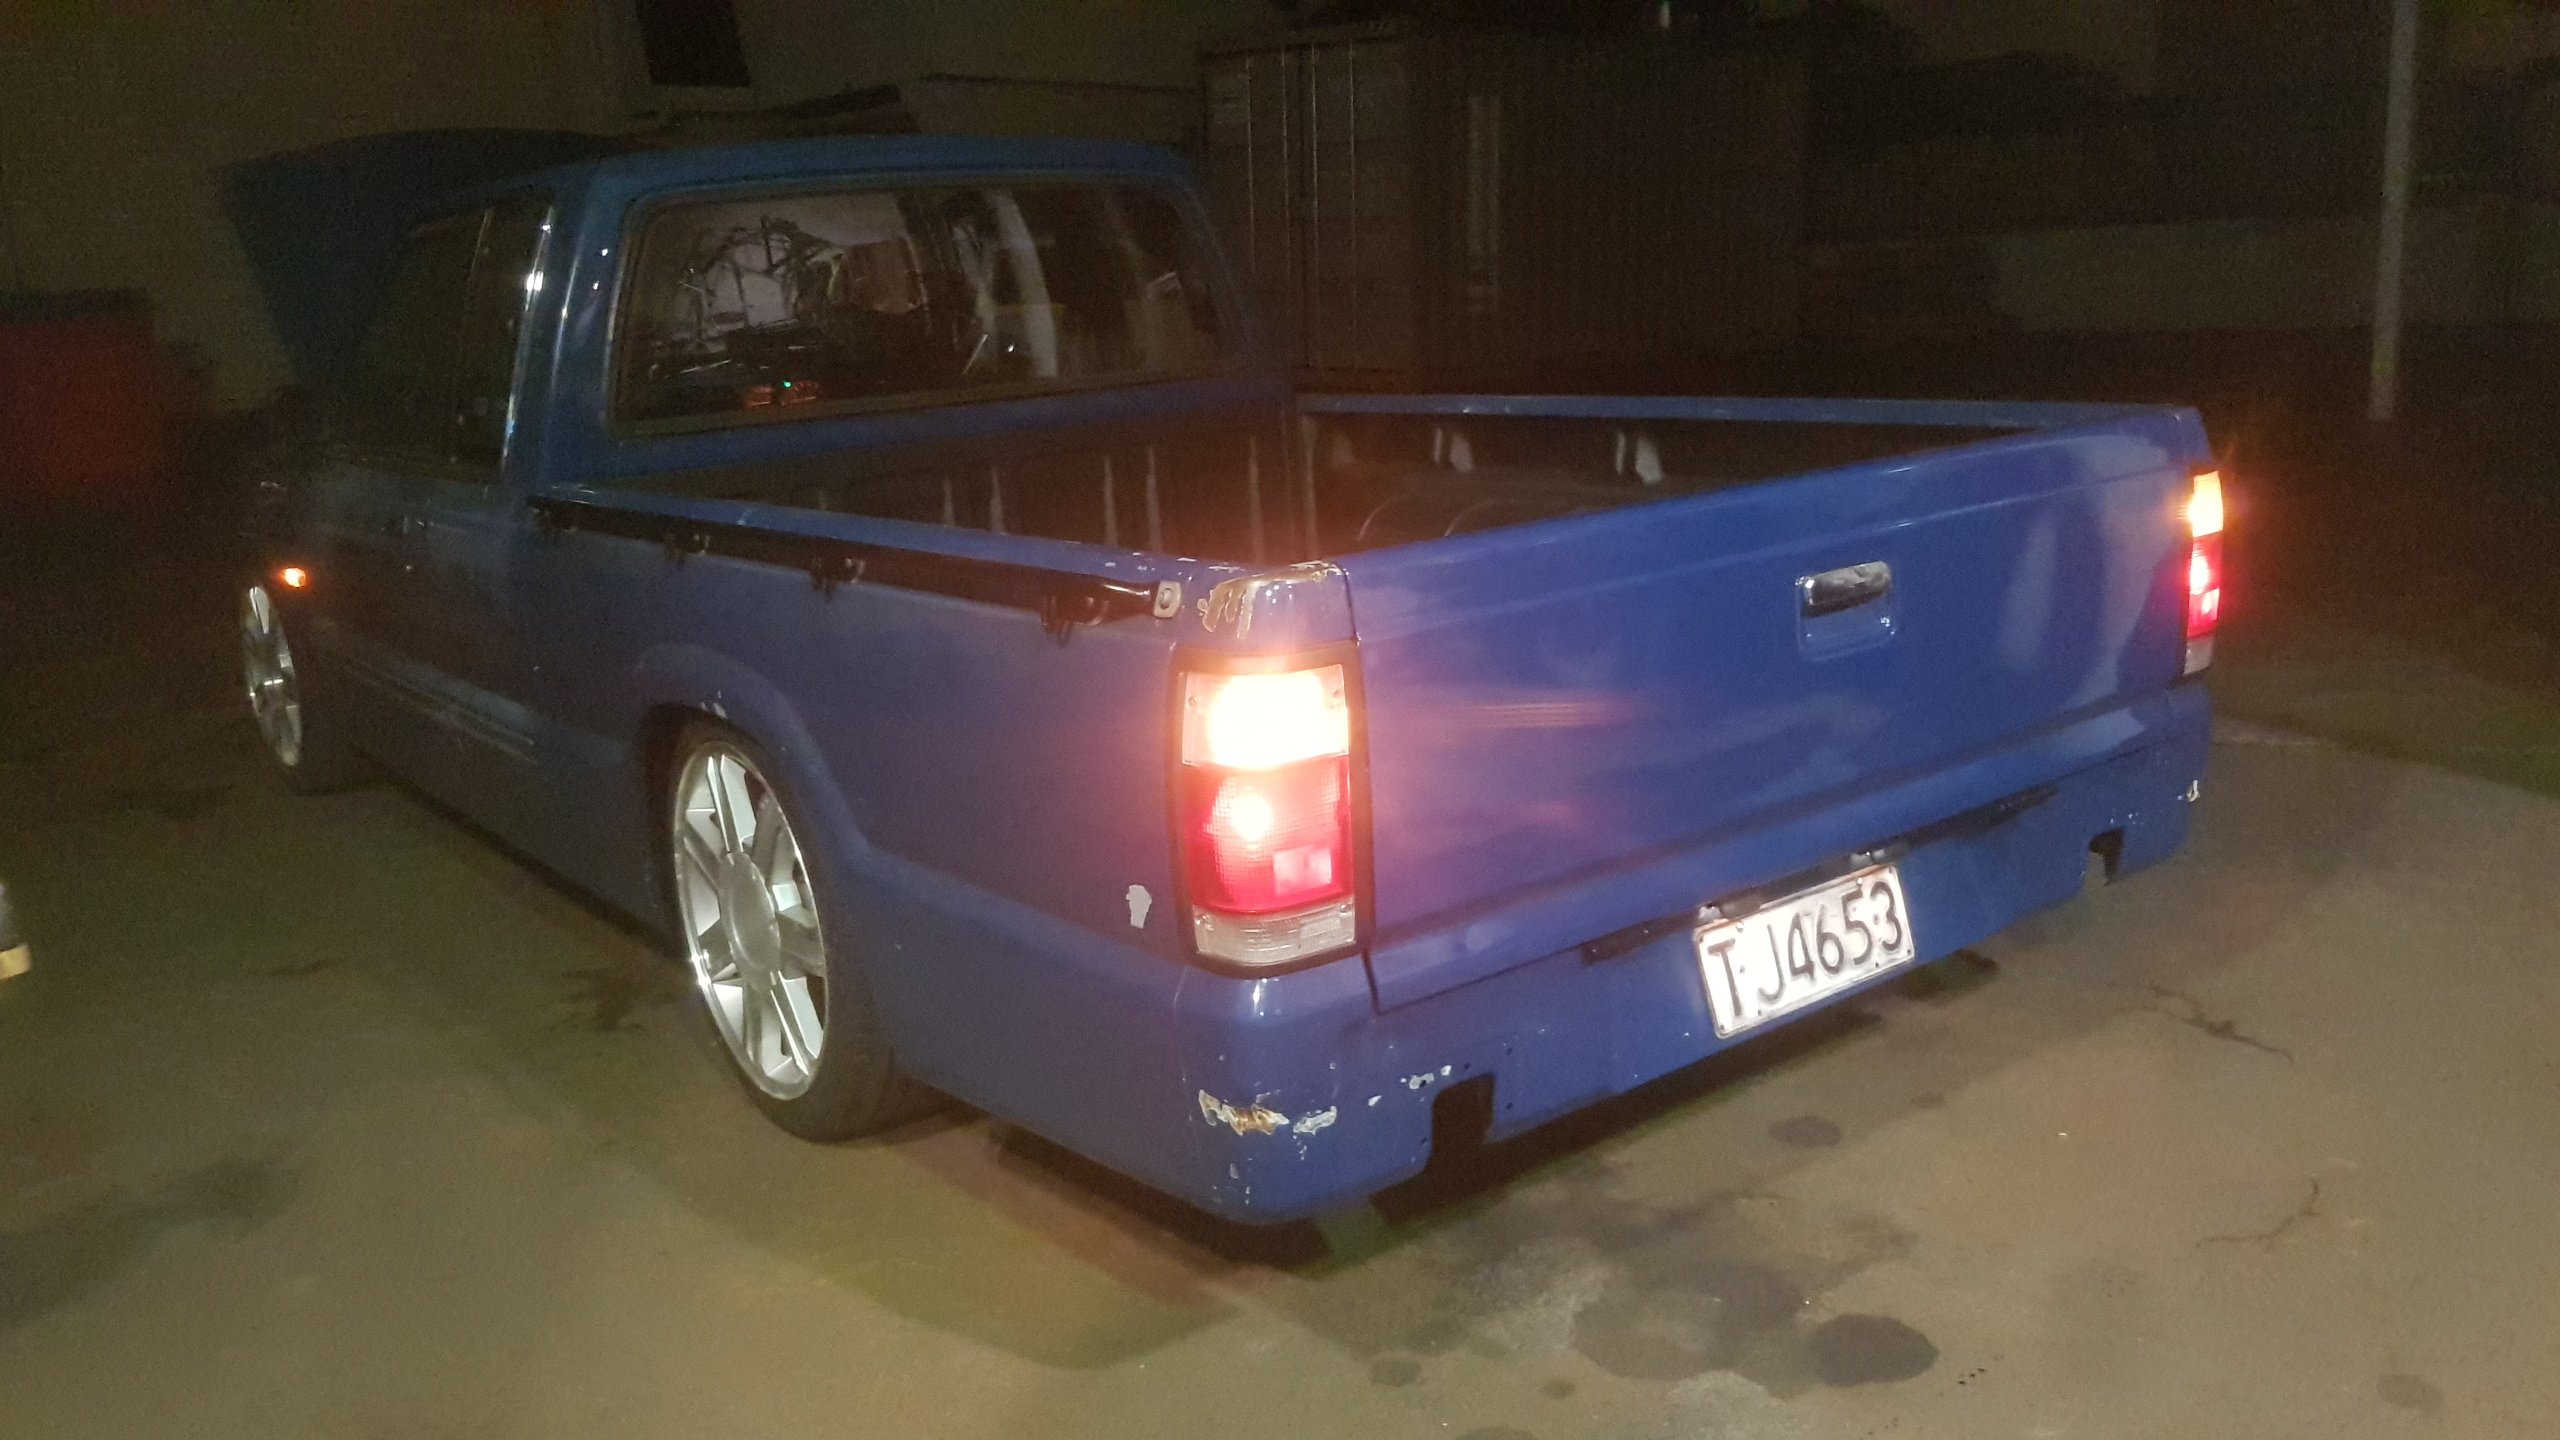
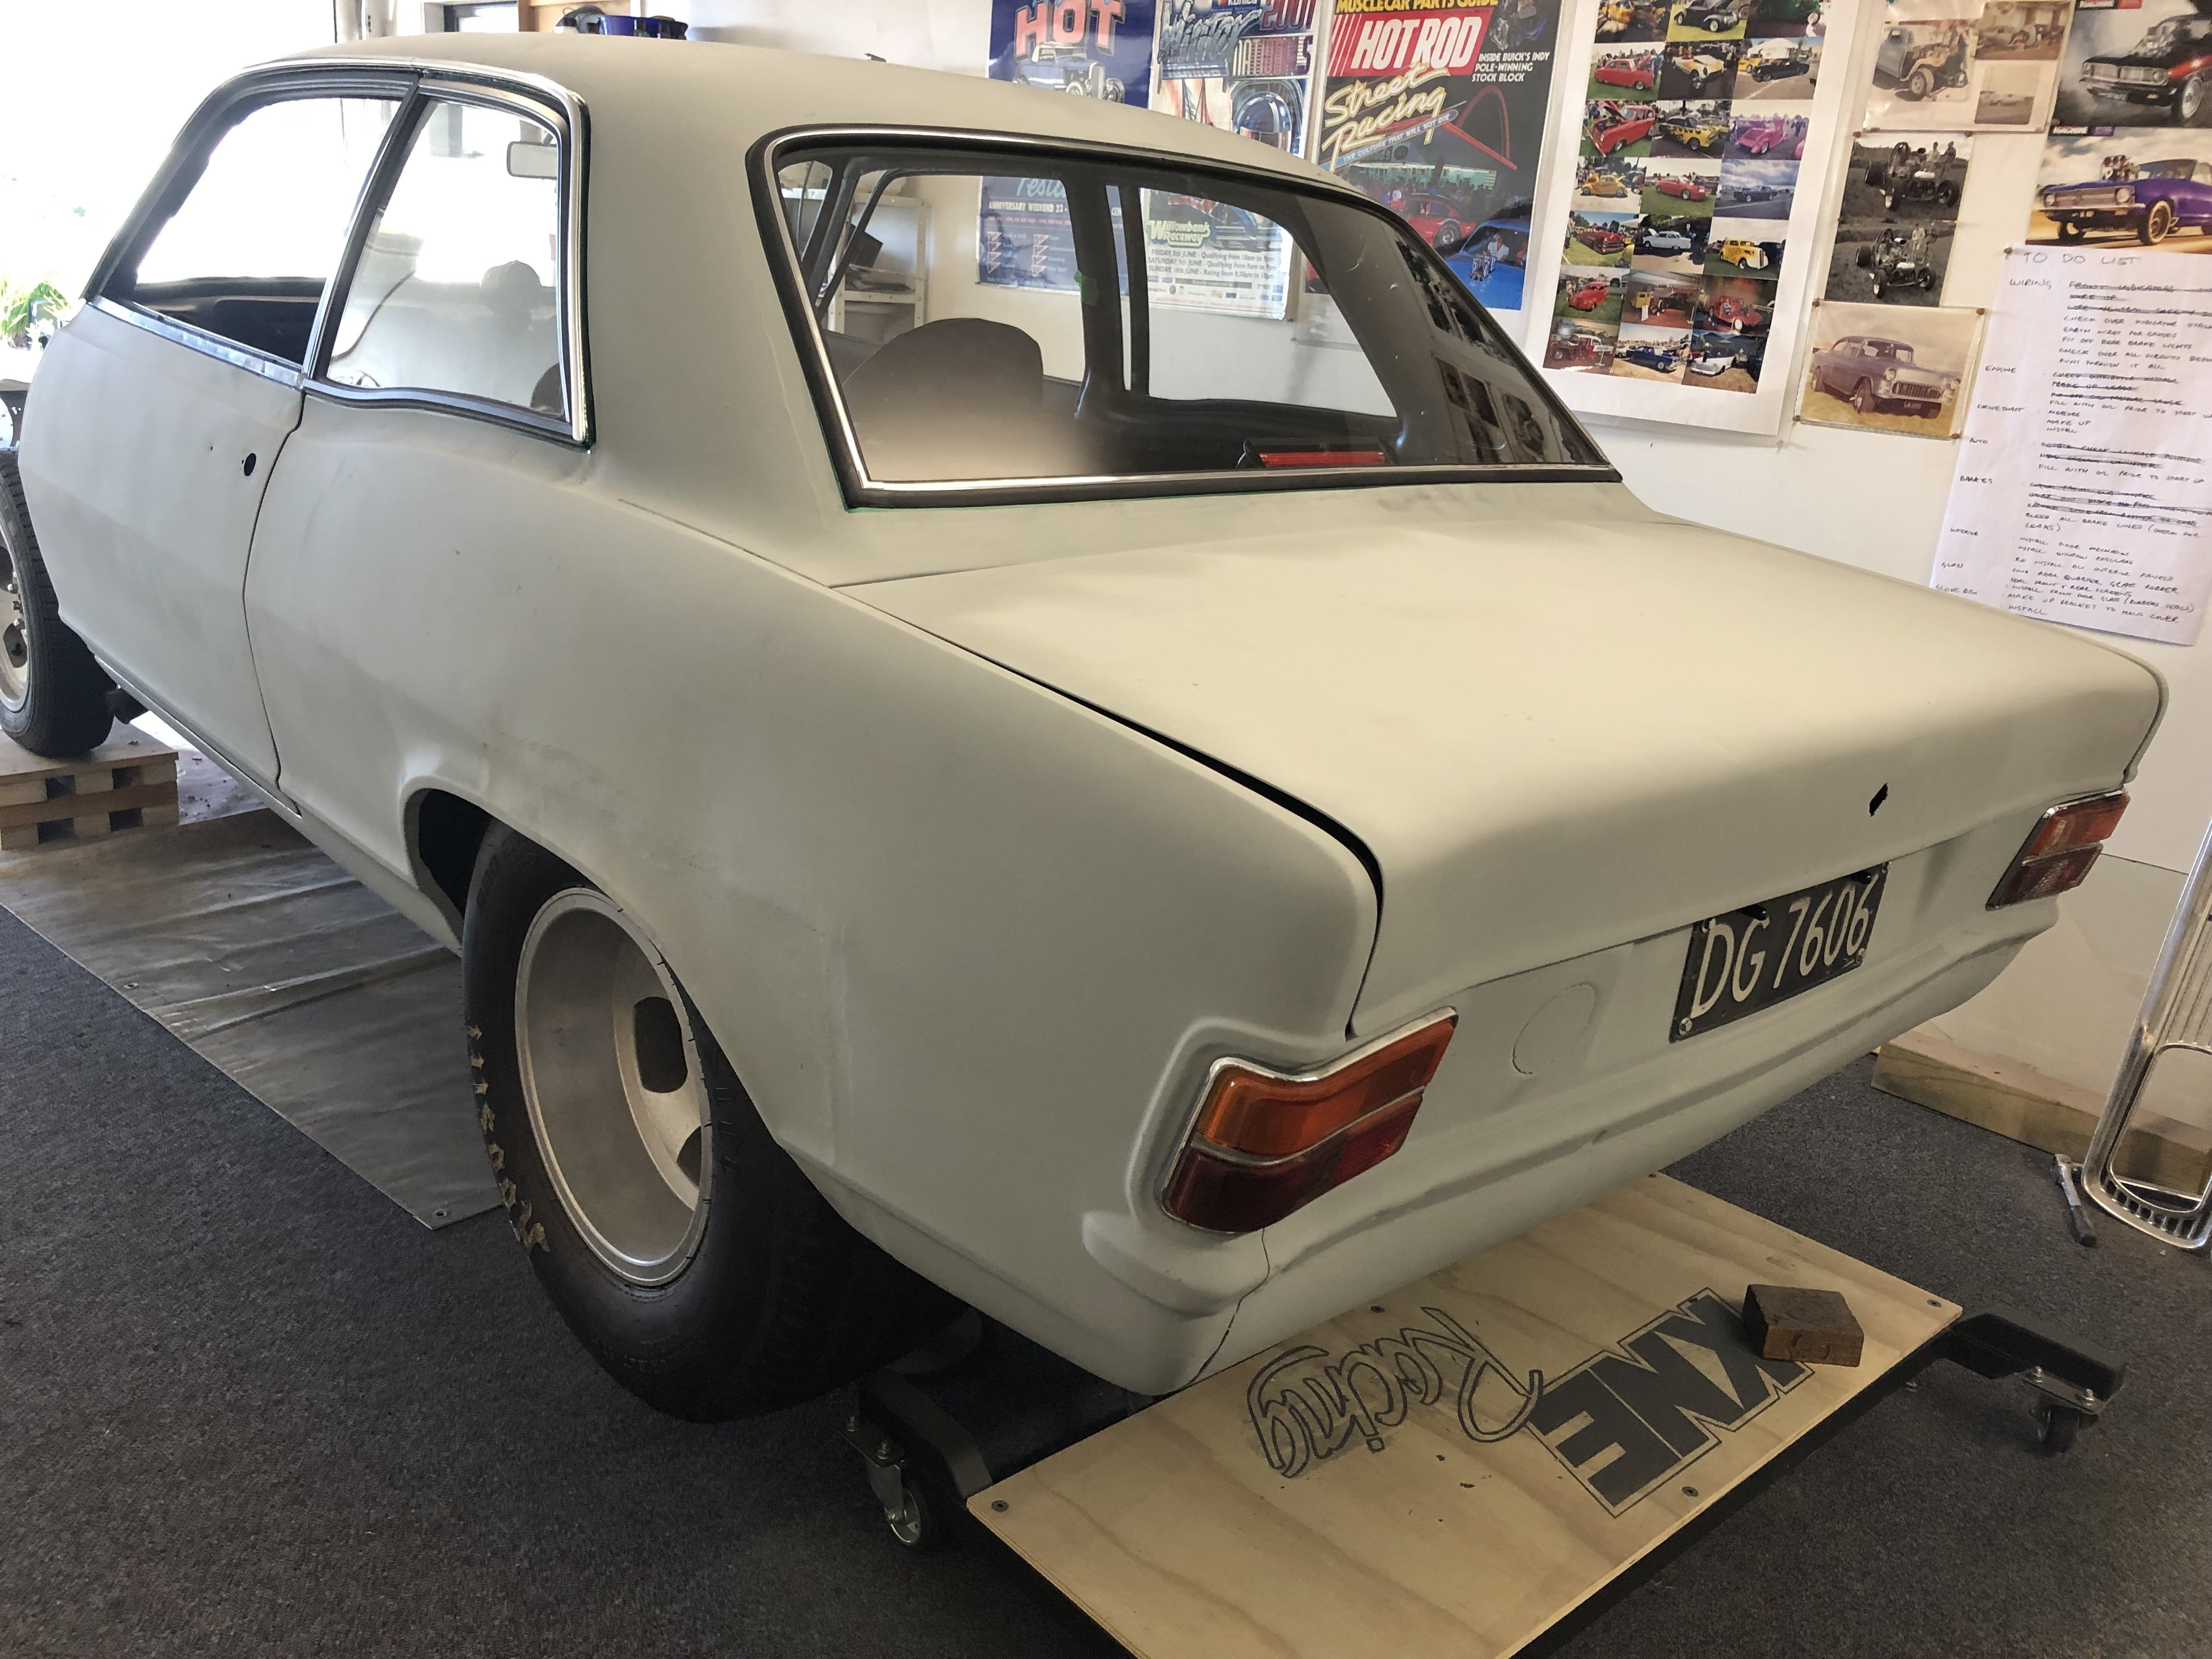
Got the cab aligned on frame side to side, and bolted it down. Got some new tray mounts bolts and shimmed it to suit cab then bolted down tight. Put some new plugs on the taillight looms as the old ones were a bit smashed up. Got some nice new clear/red/clear tail-light lenses off Ebay last year, so got those fitted up. Other than tracking down some bumper delete panels for below the tailgate, thats the rear end buttoned up, so gave the interior a good vacuum out. Original carpets actually nicer than I thought.
4 points
-
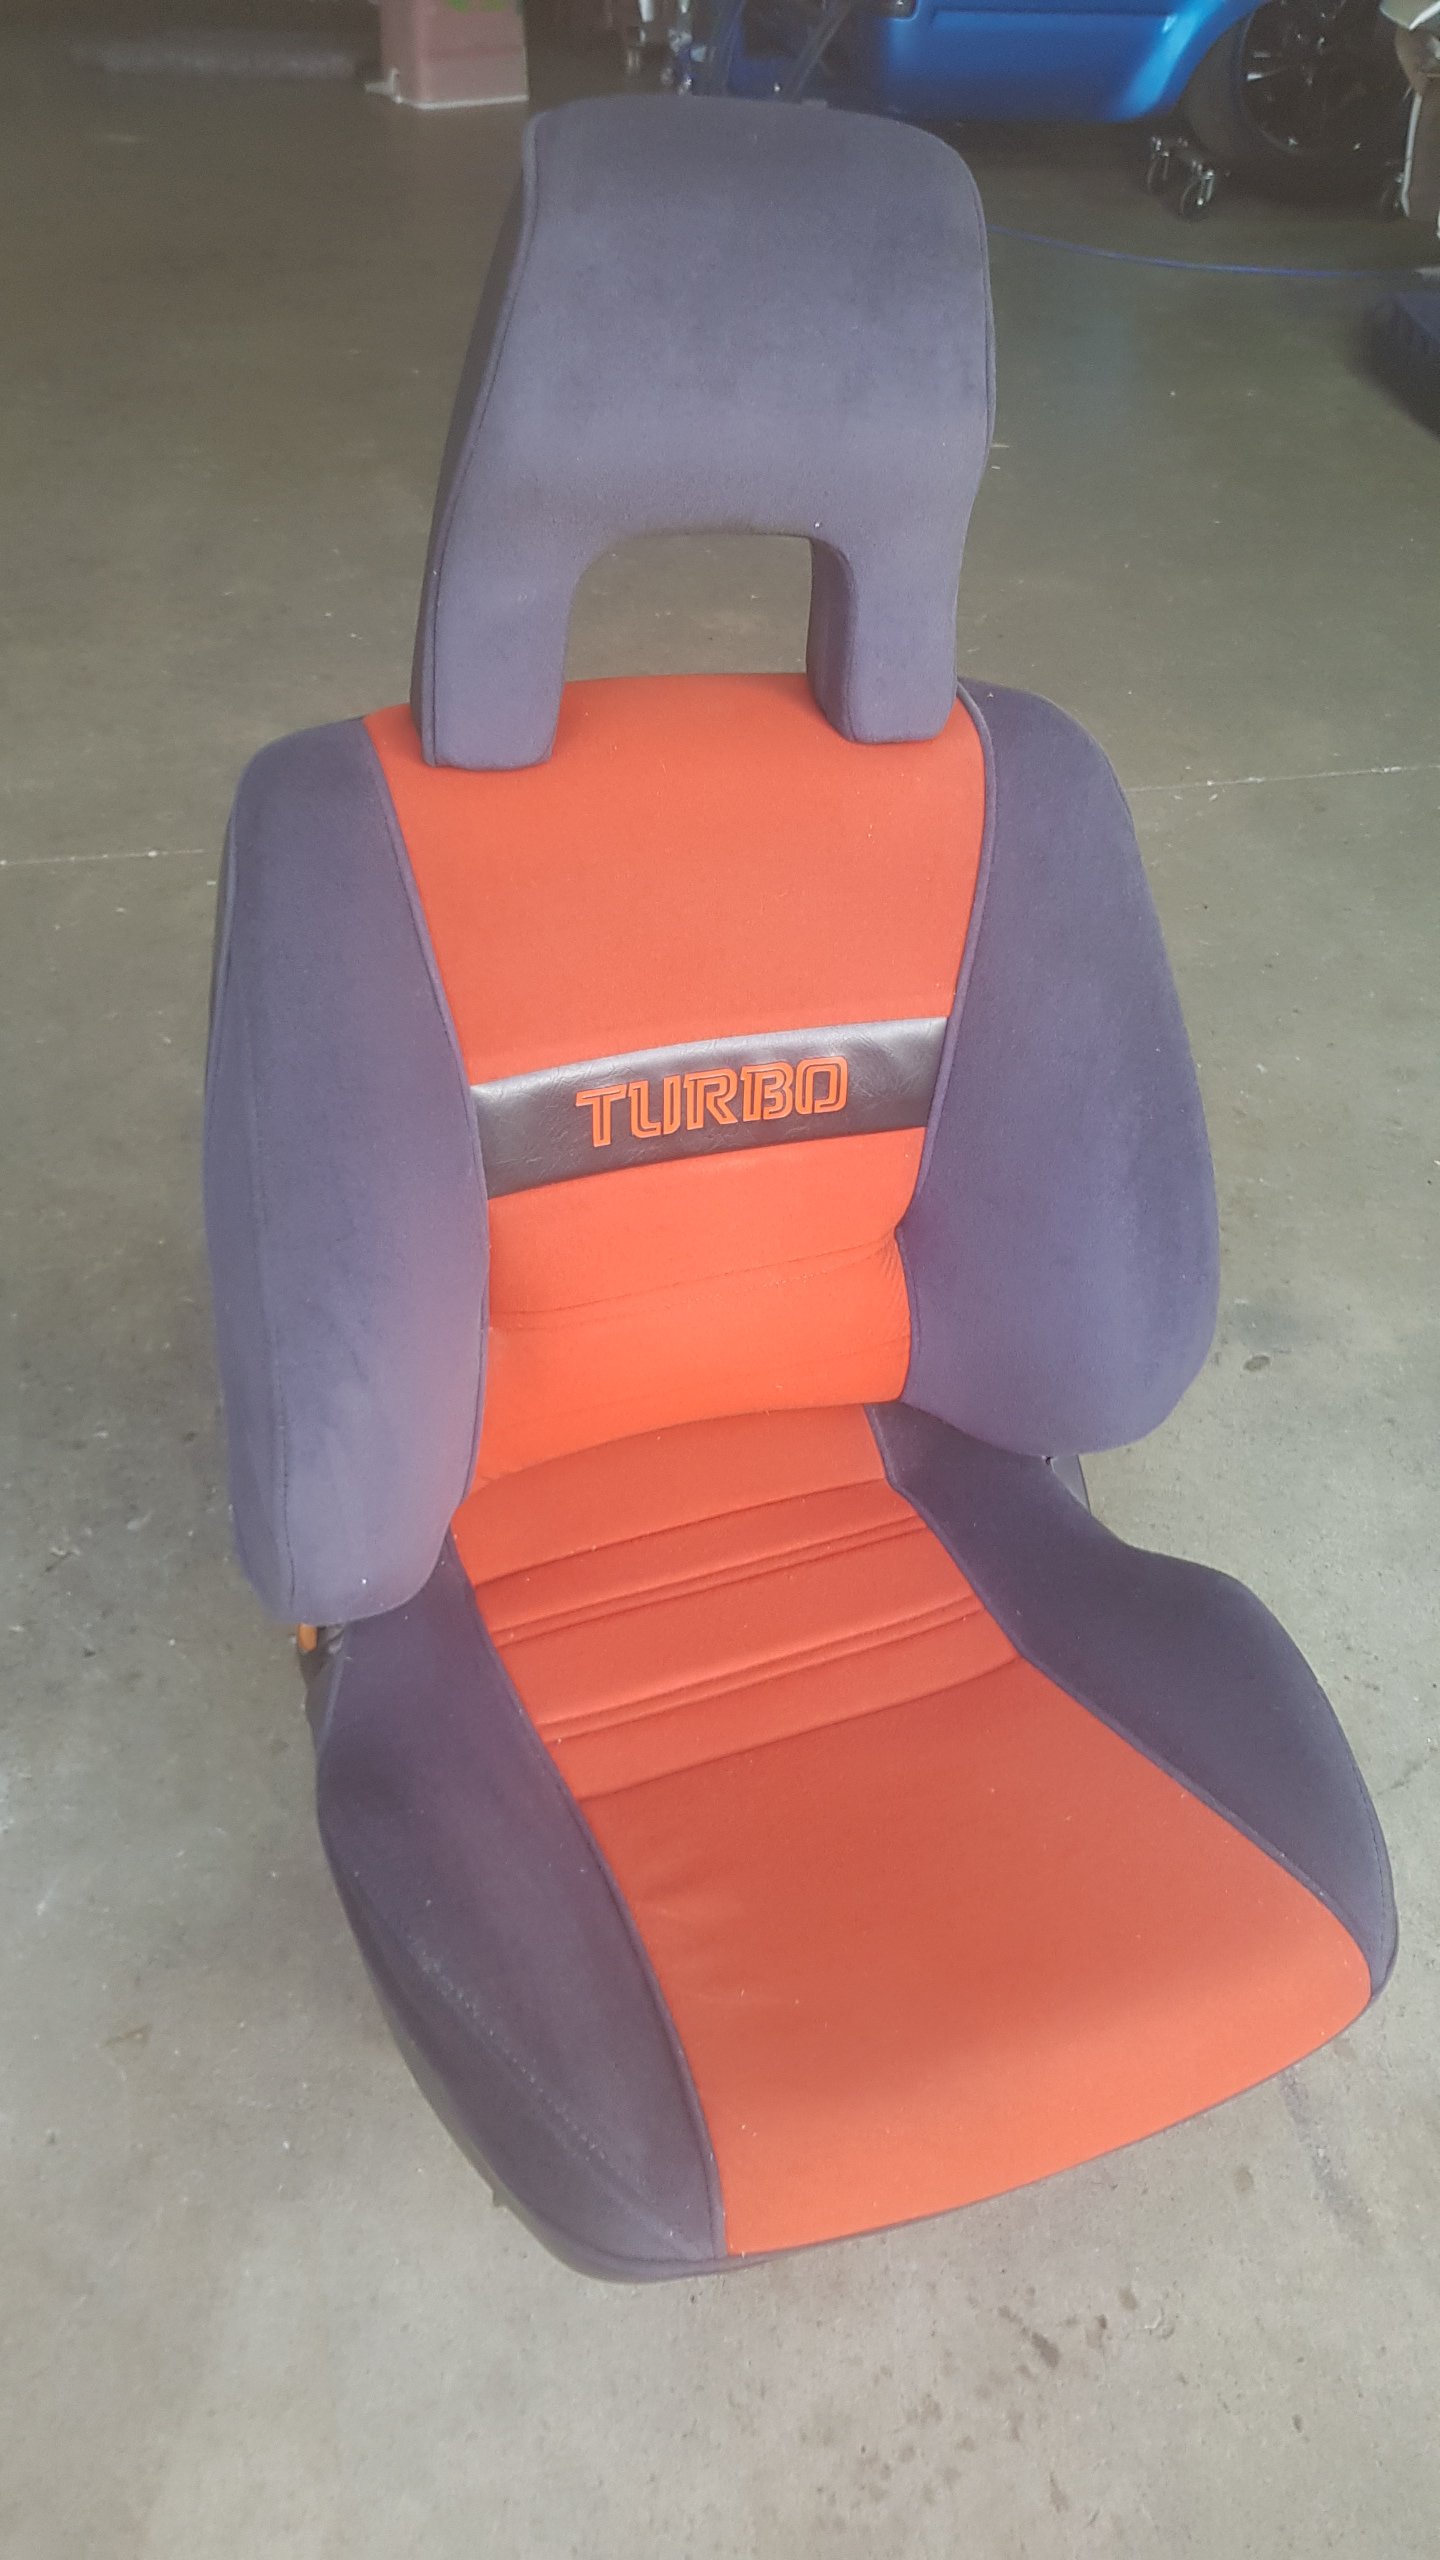
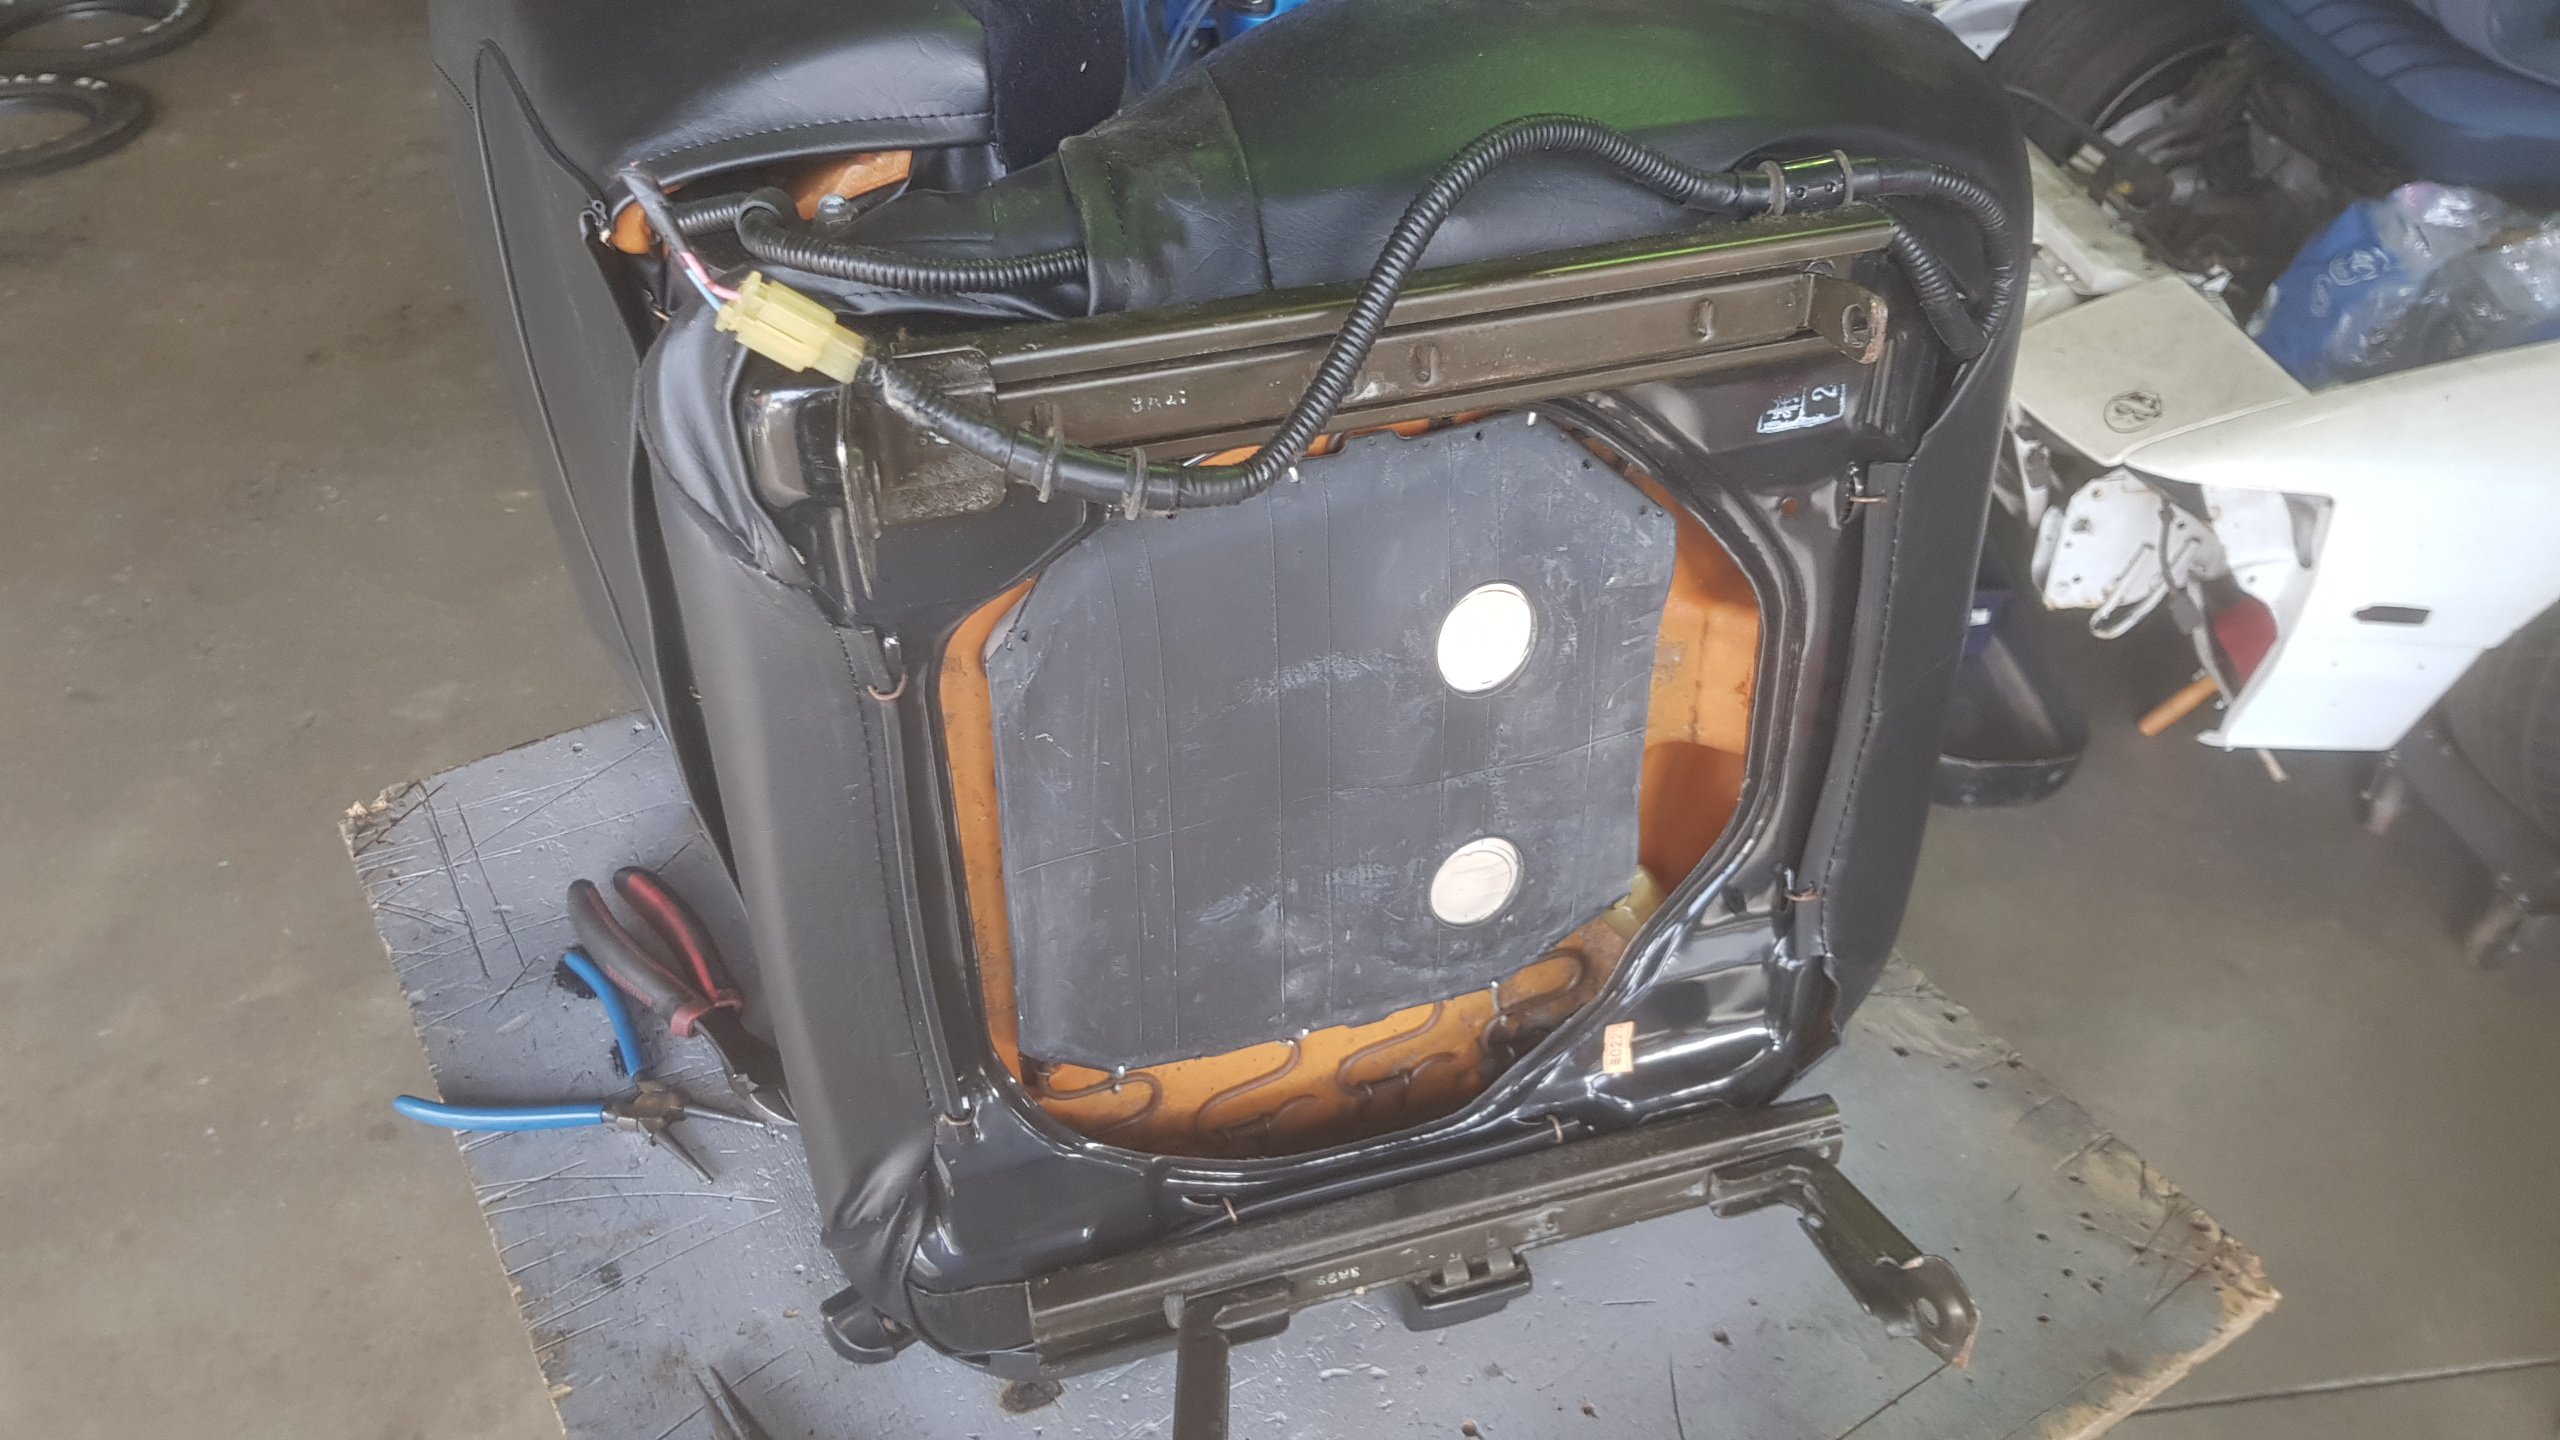
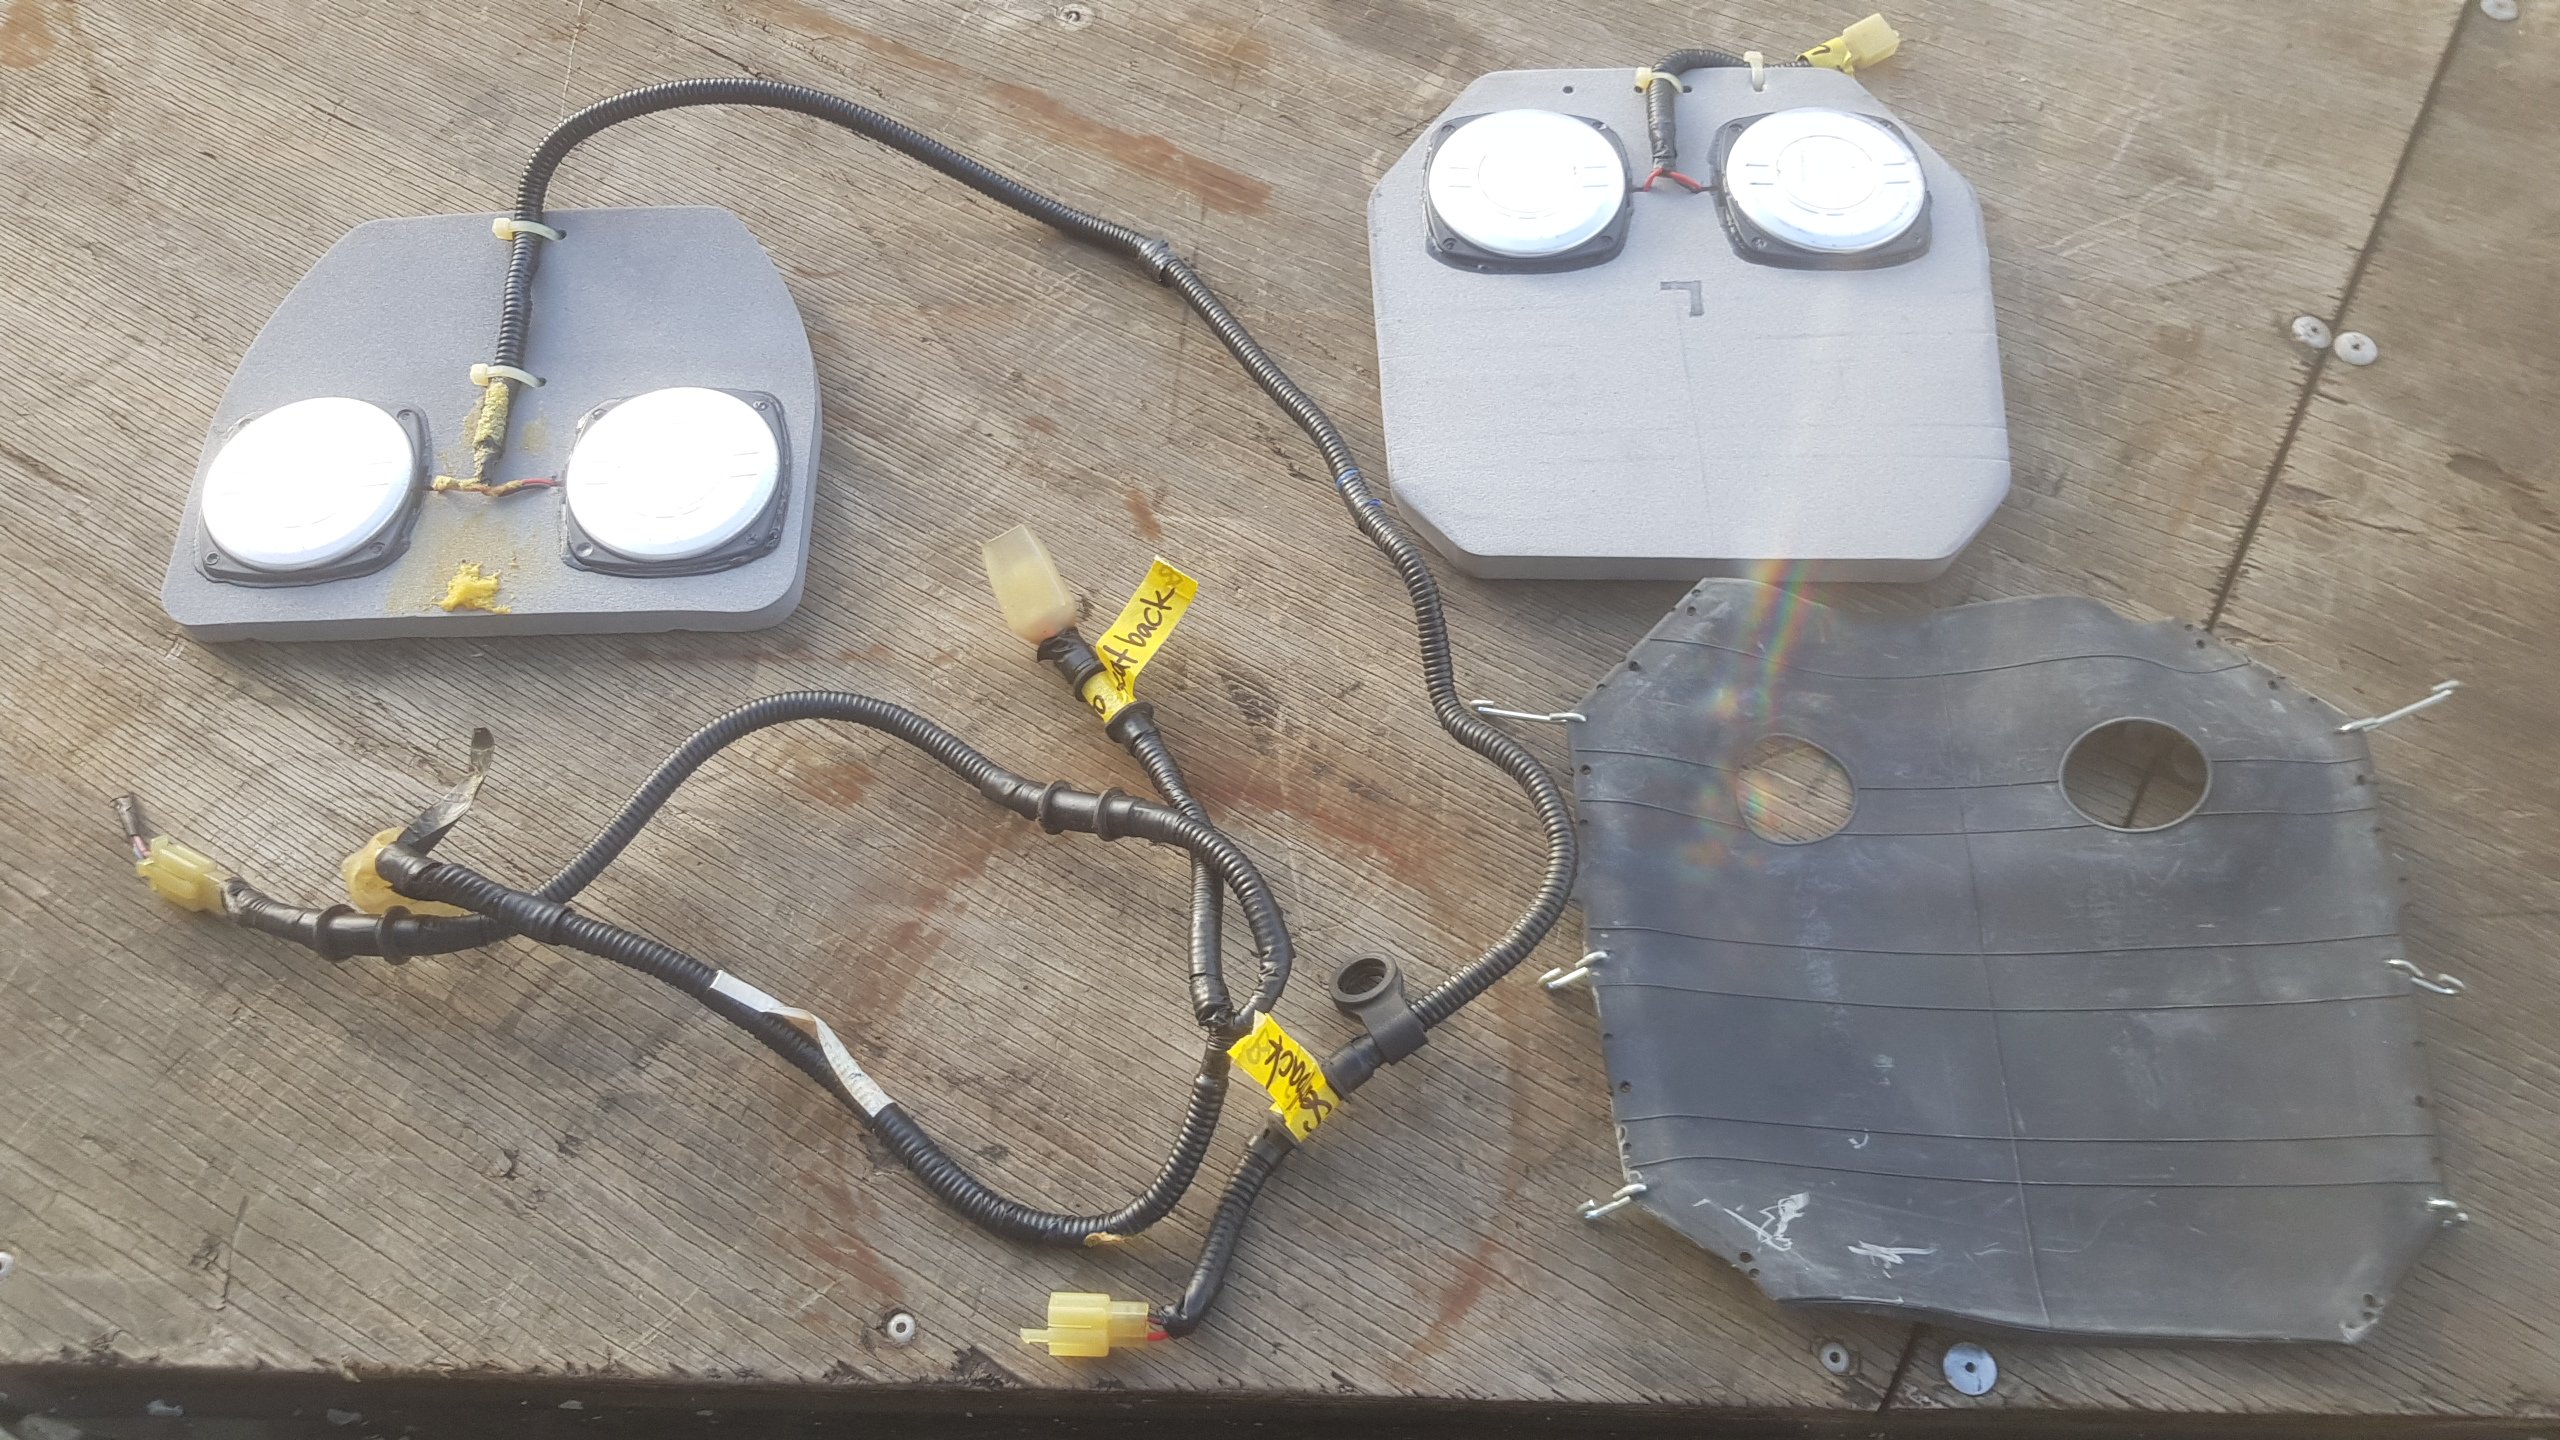
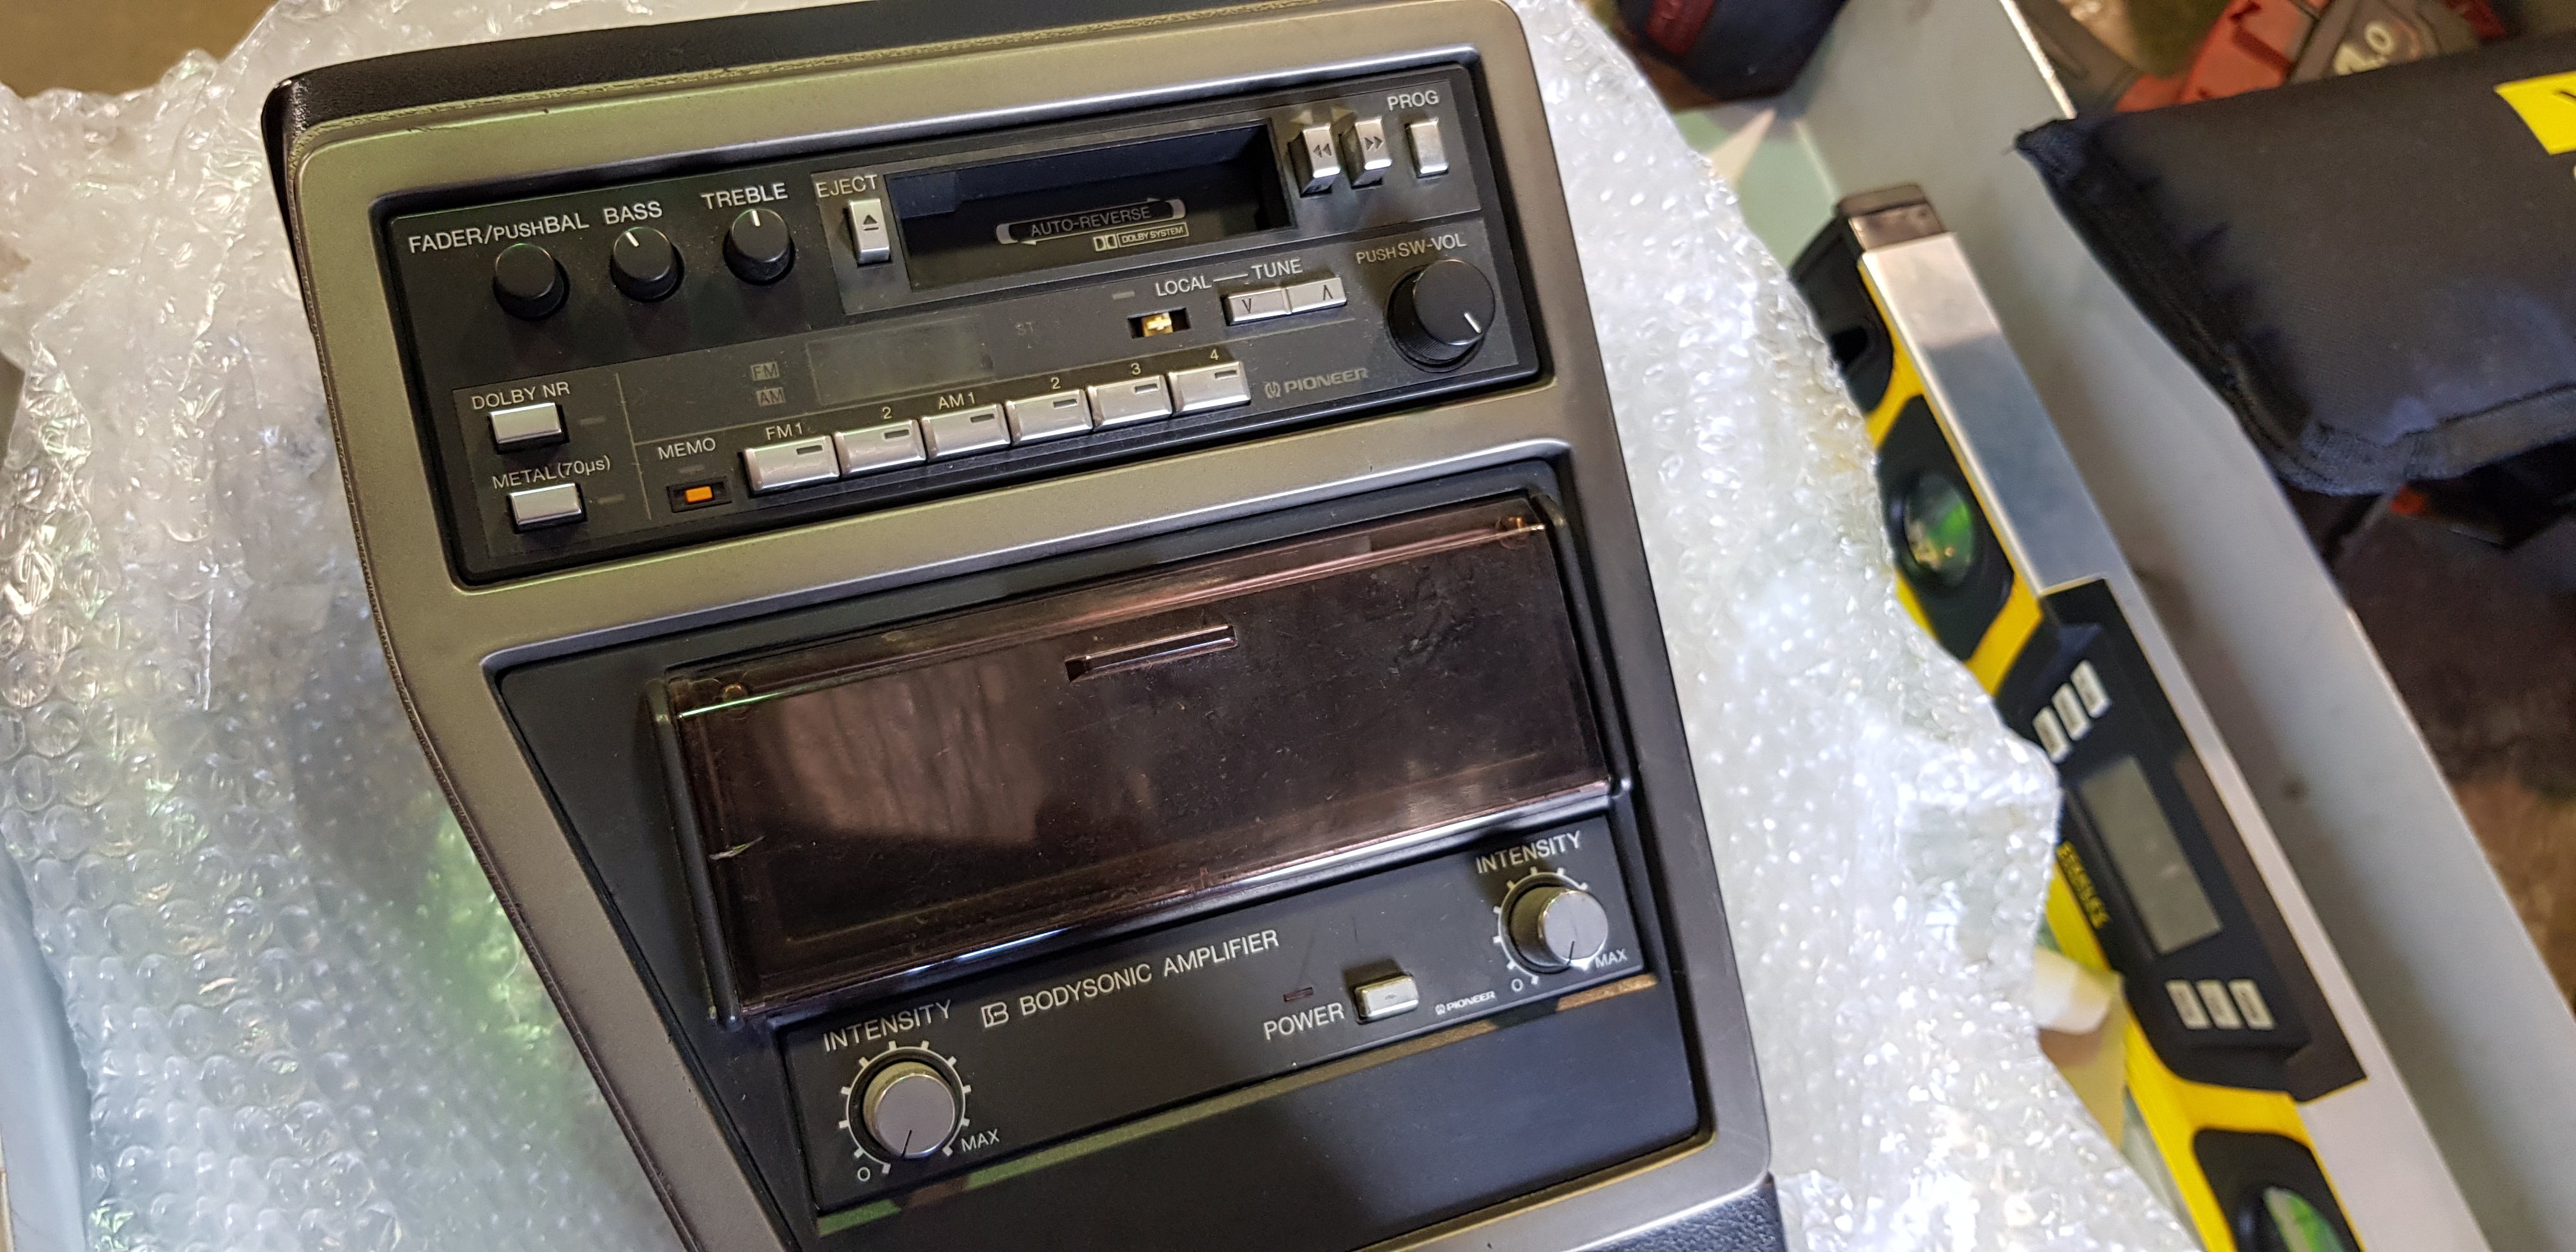
Been a while since an update. Back tracking about 8-9 months ago I brought a City T1 seat from Japan. It was through Moonlight just before he did his last shipment and unfortunatly I just missed that last container. It was no big deal as I wasn't in a rush, so it ended up getting put aside at Stacked waiting for the first shipment from Empire Imports. Fast forward to about a month ago. It finally lands, and is ready for pickup. International shipping is fucked as of late. Anyway, it wasn't the seat I wanted, I actually went halves in all the costs with a guy who wanted it for his T1 resto, but it was the small woofers in the back and base that are pretty hard to find. These came as an optional Pioneer audio 'BodySonic' package. Basically a mono woofer that makes no sound but just gives a vibration with the music. I allready have the BodySonic control unit so now I just have to find another seats worth of woofers to retrofit into my Tallboy City project one day.
4 points
-
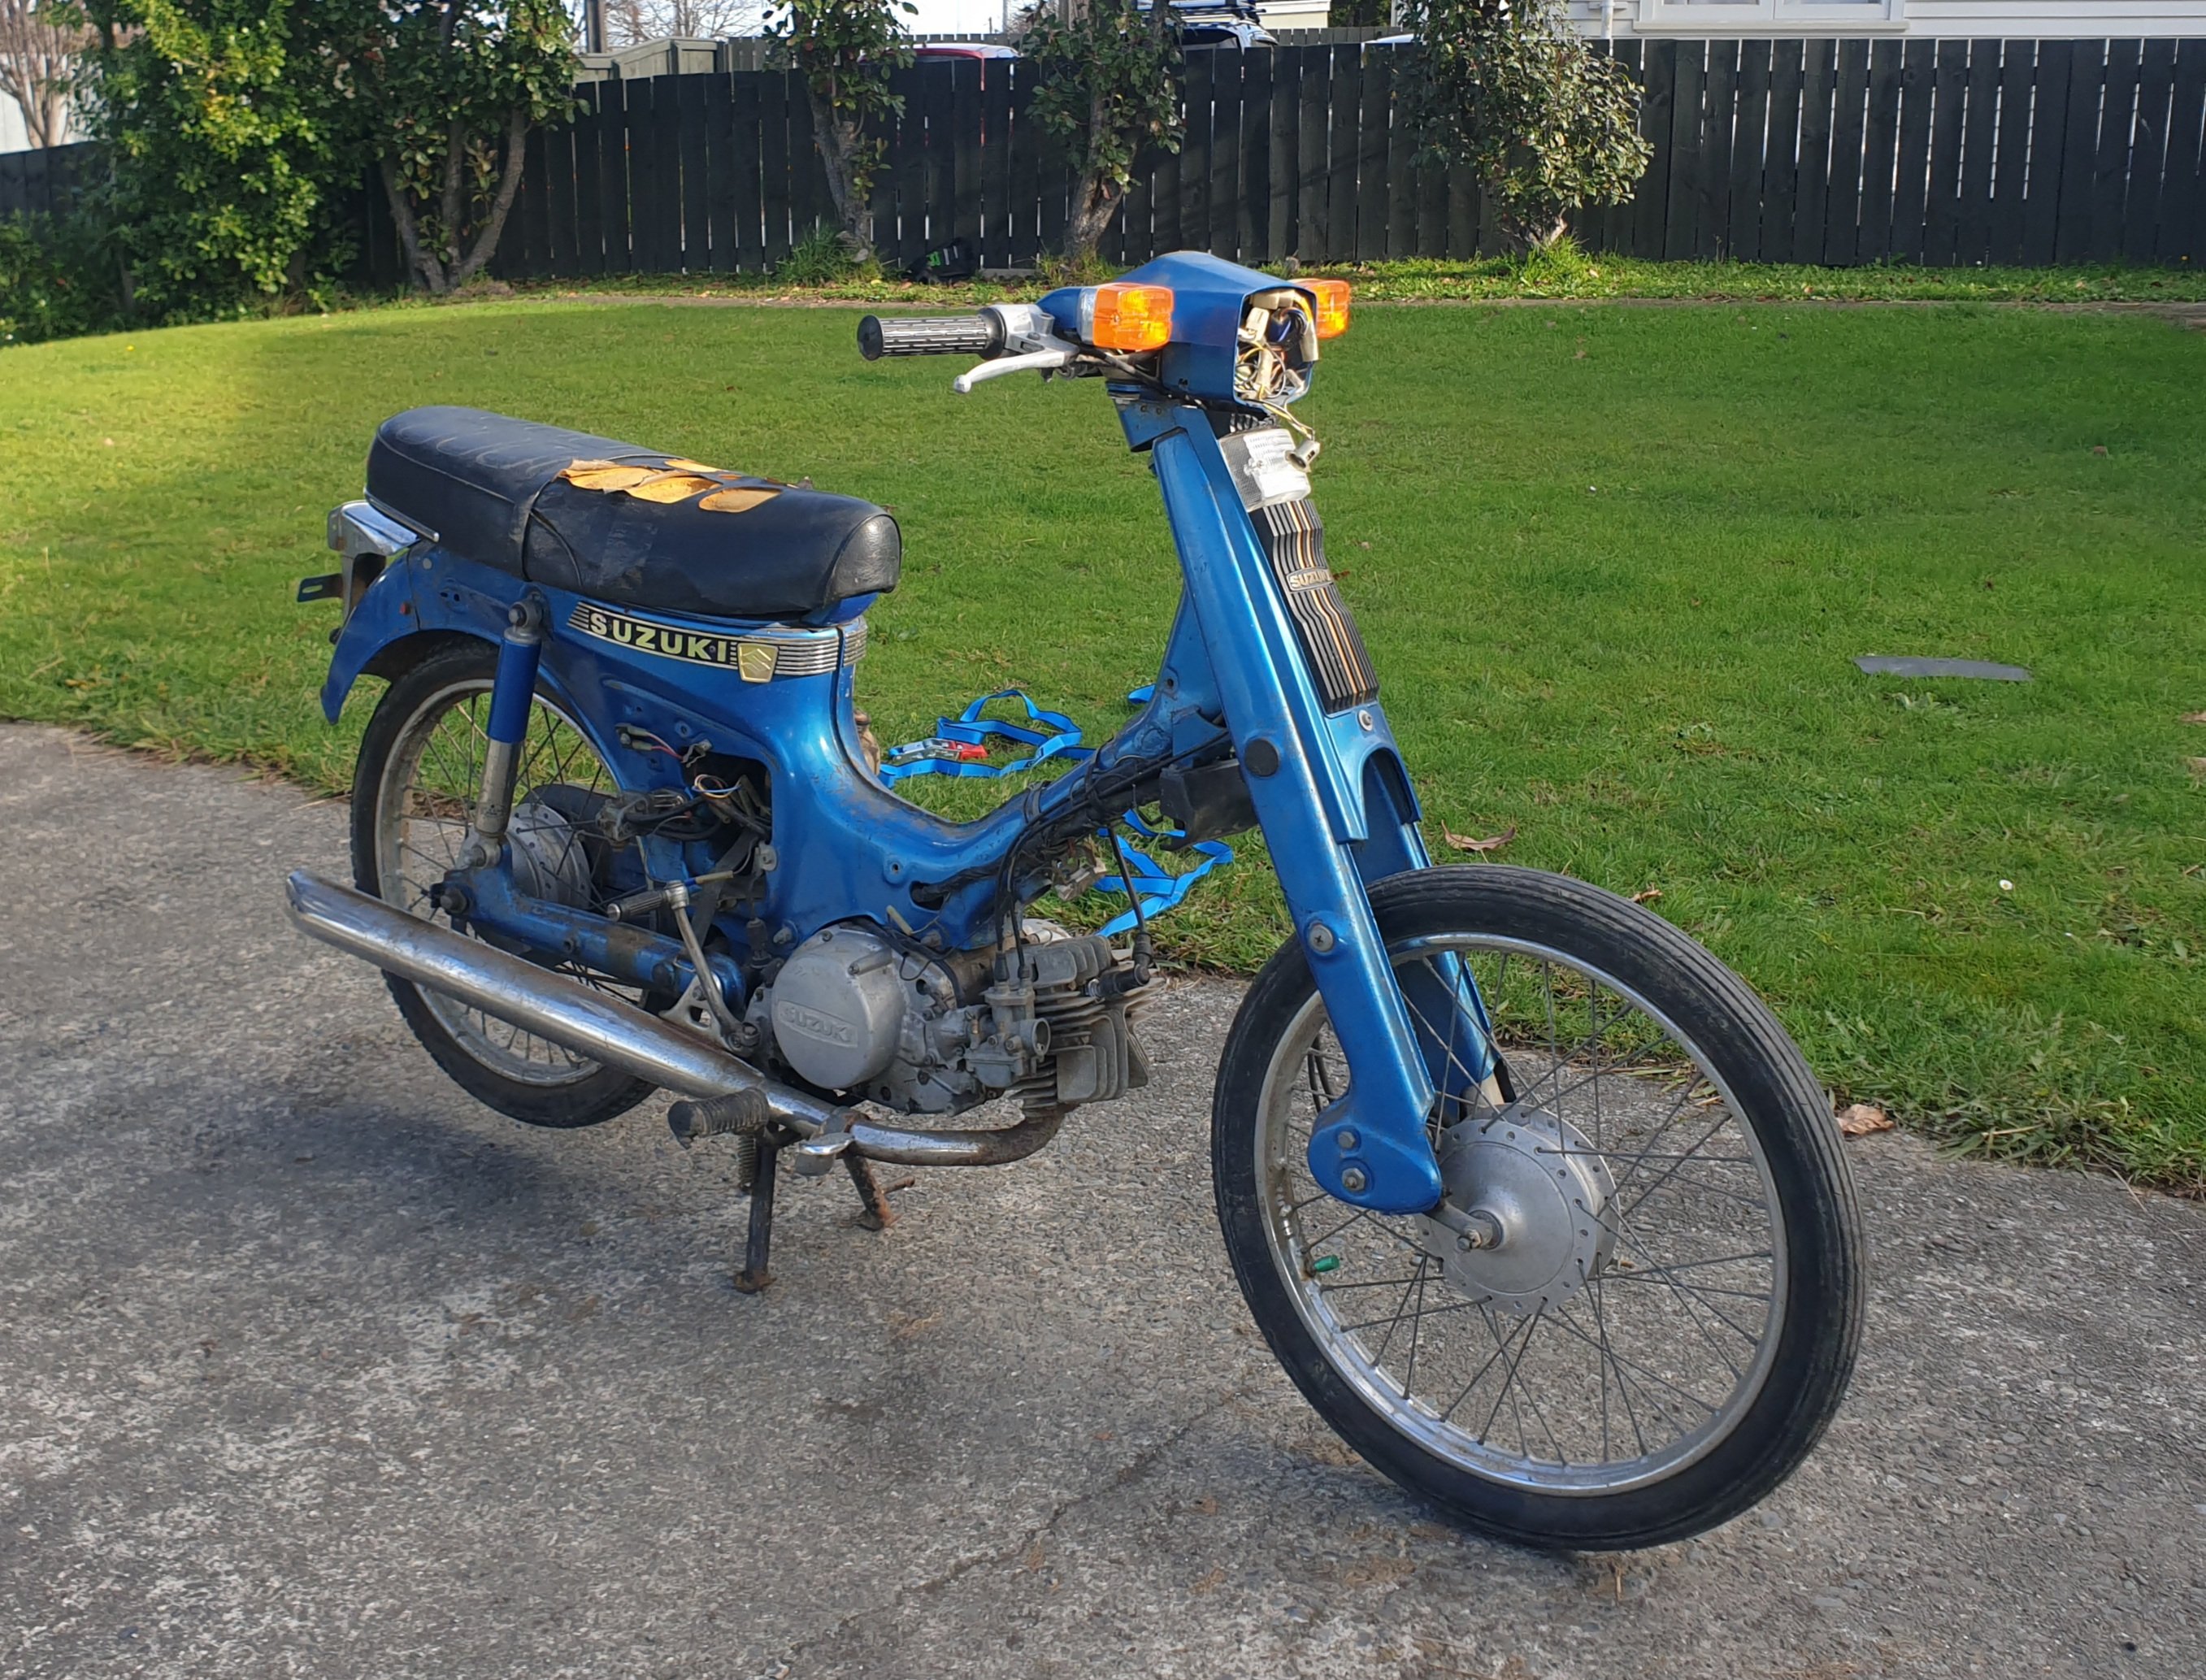
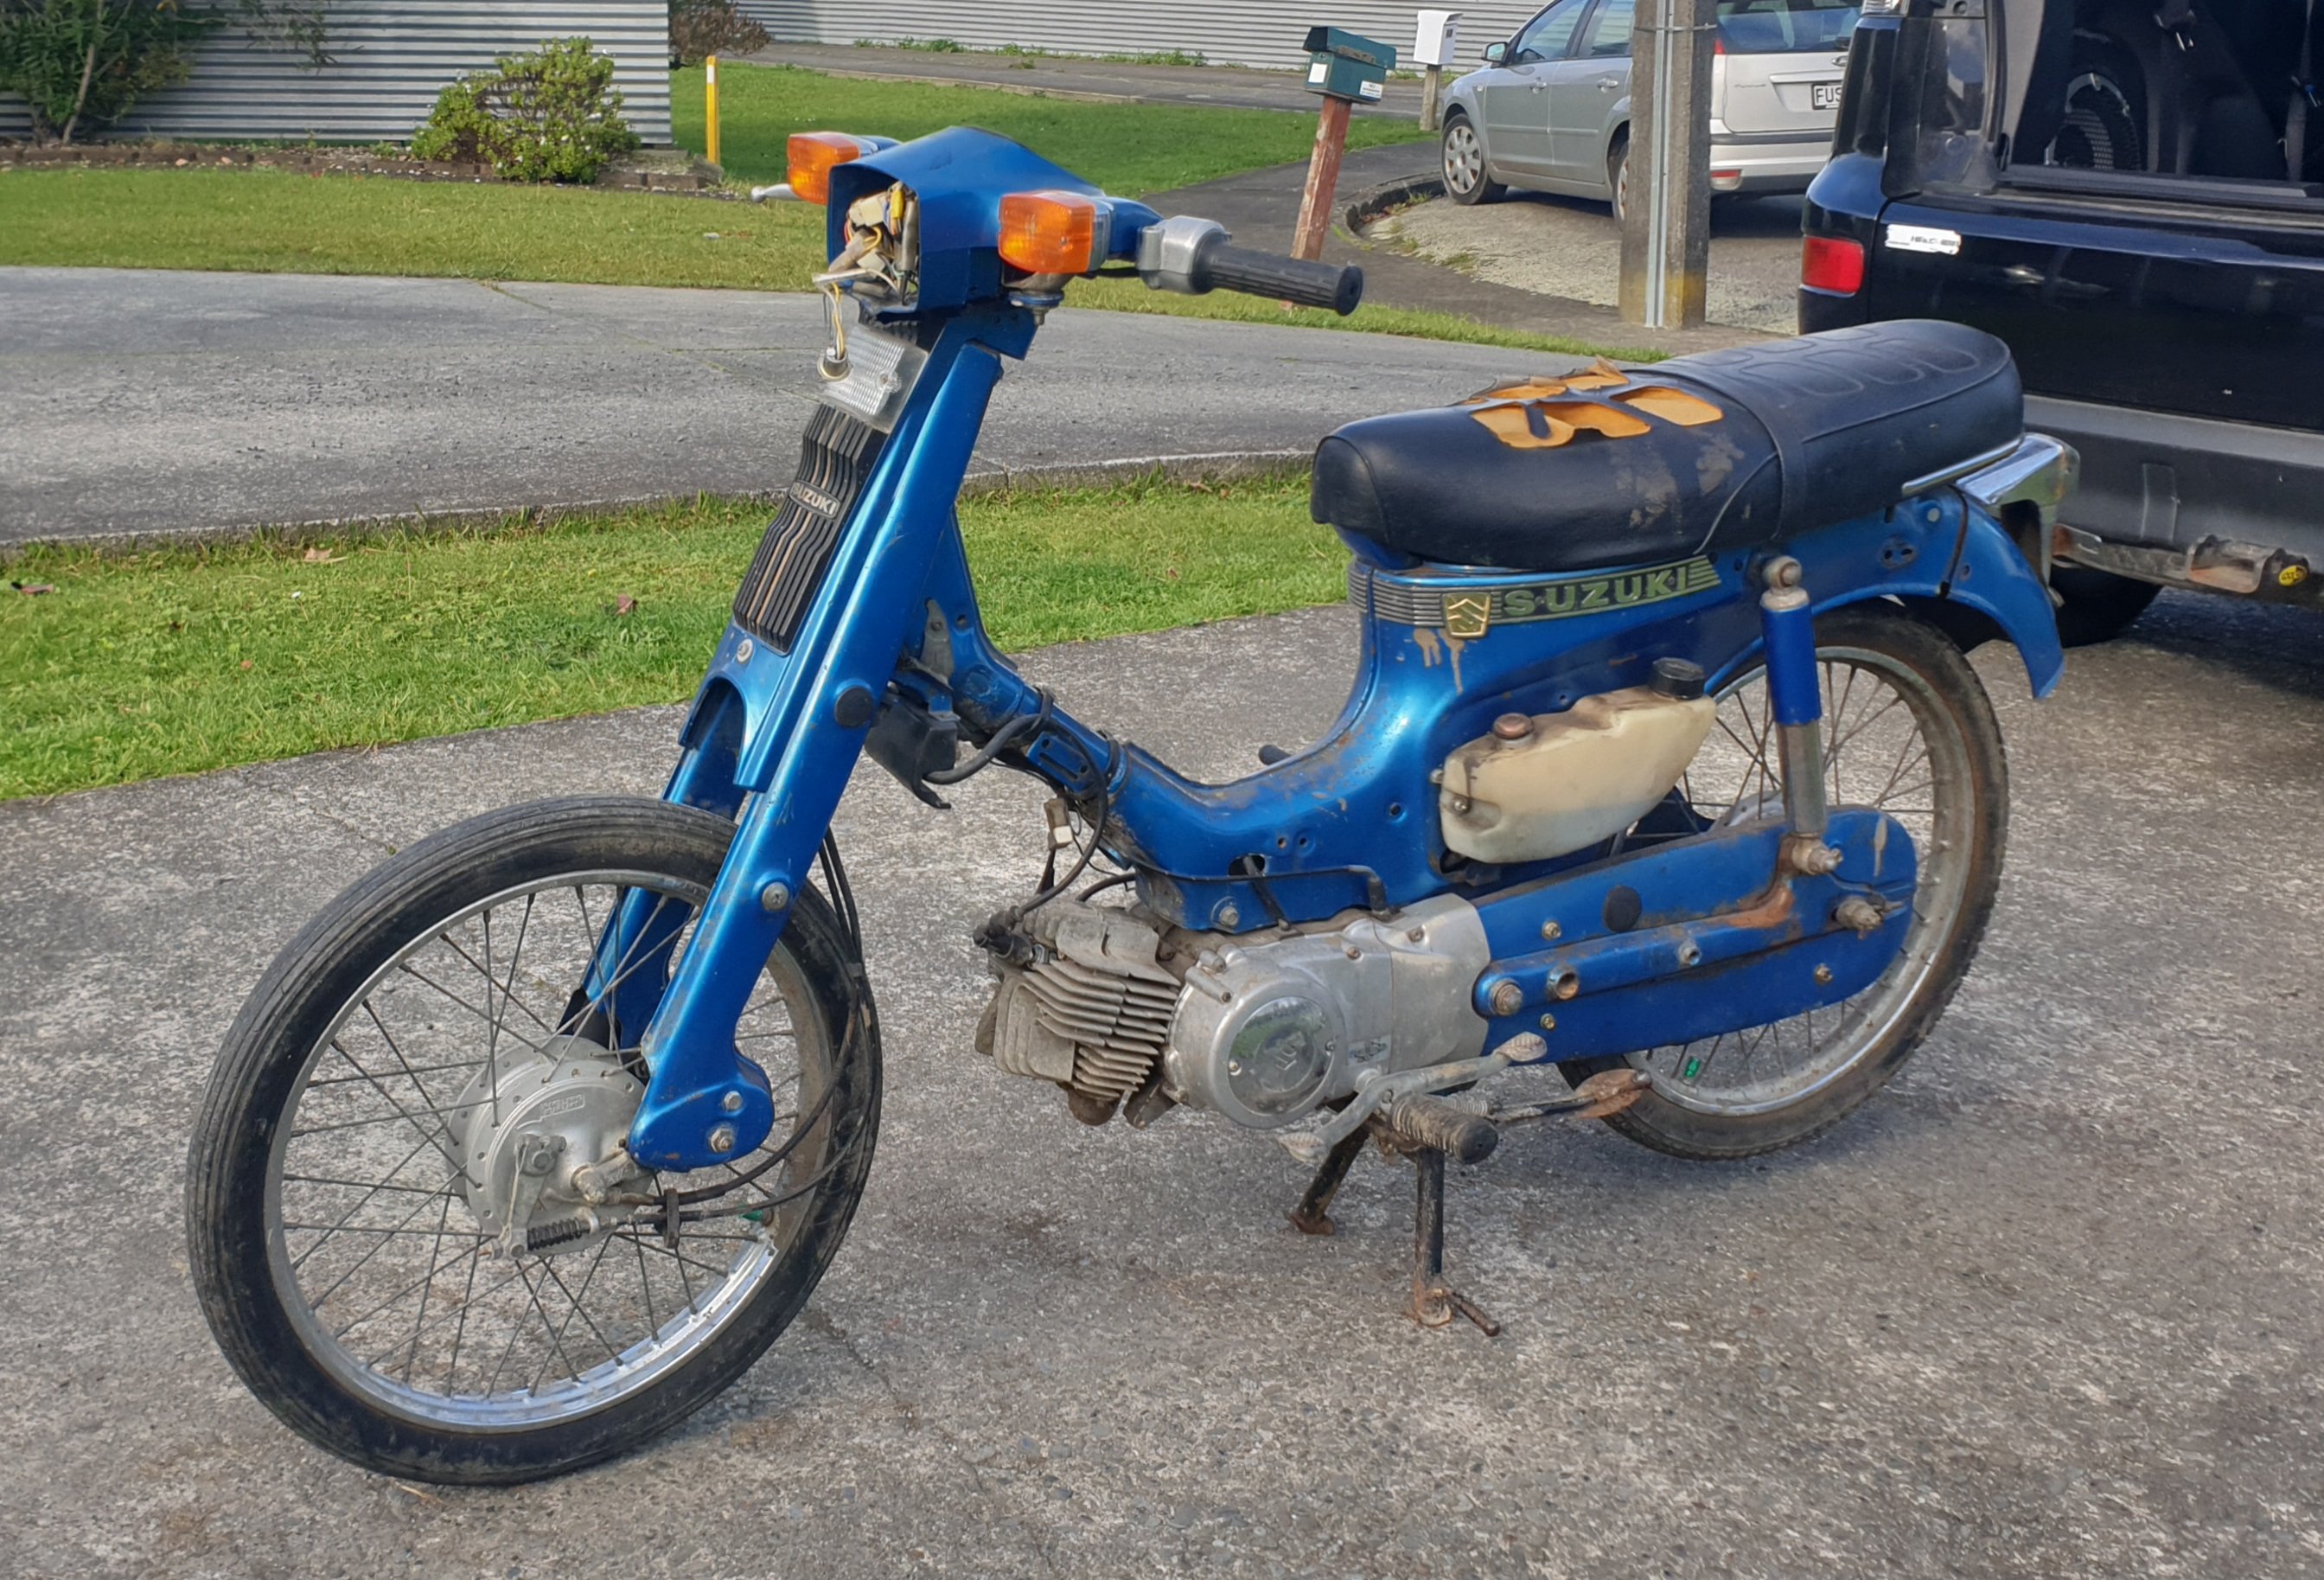
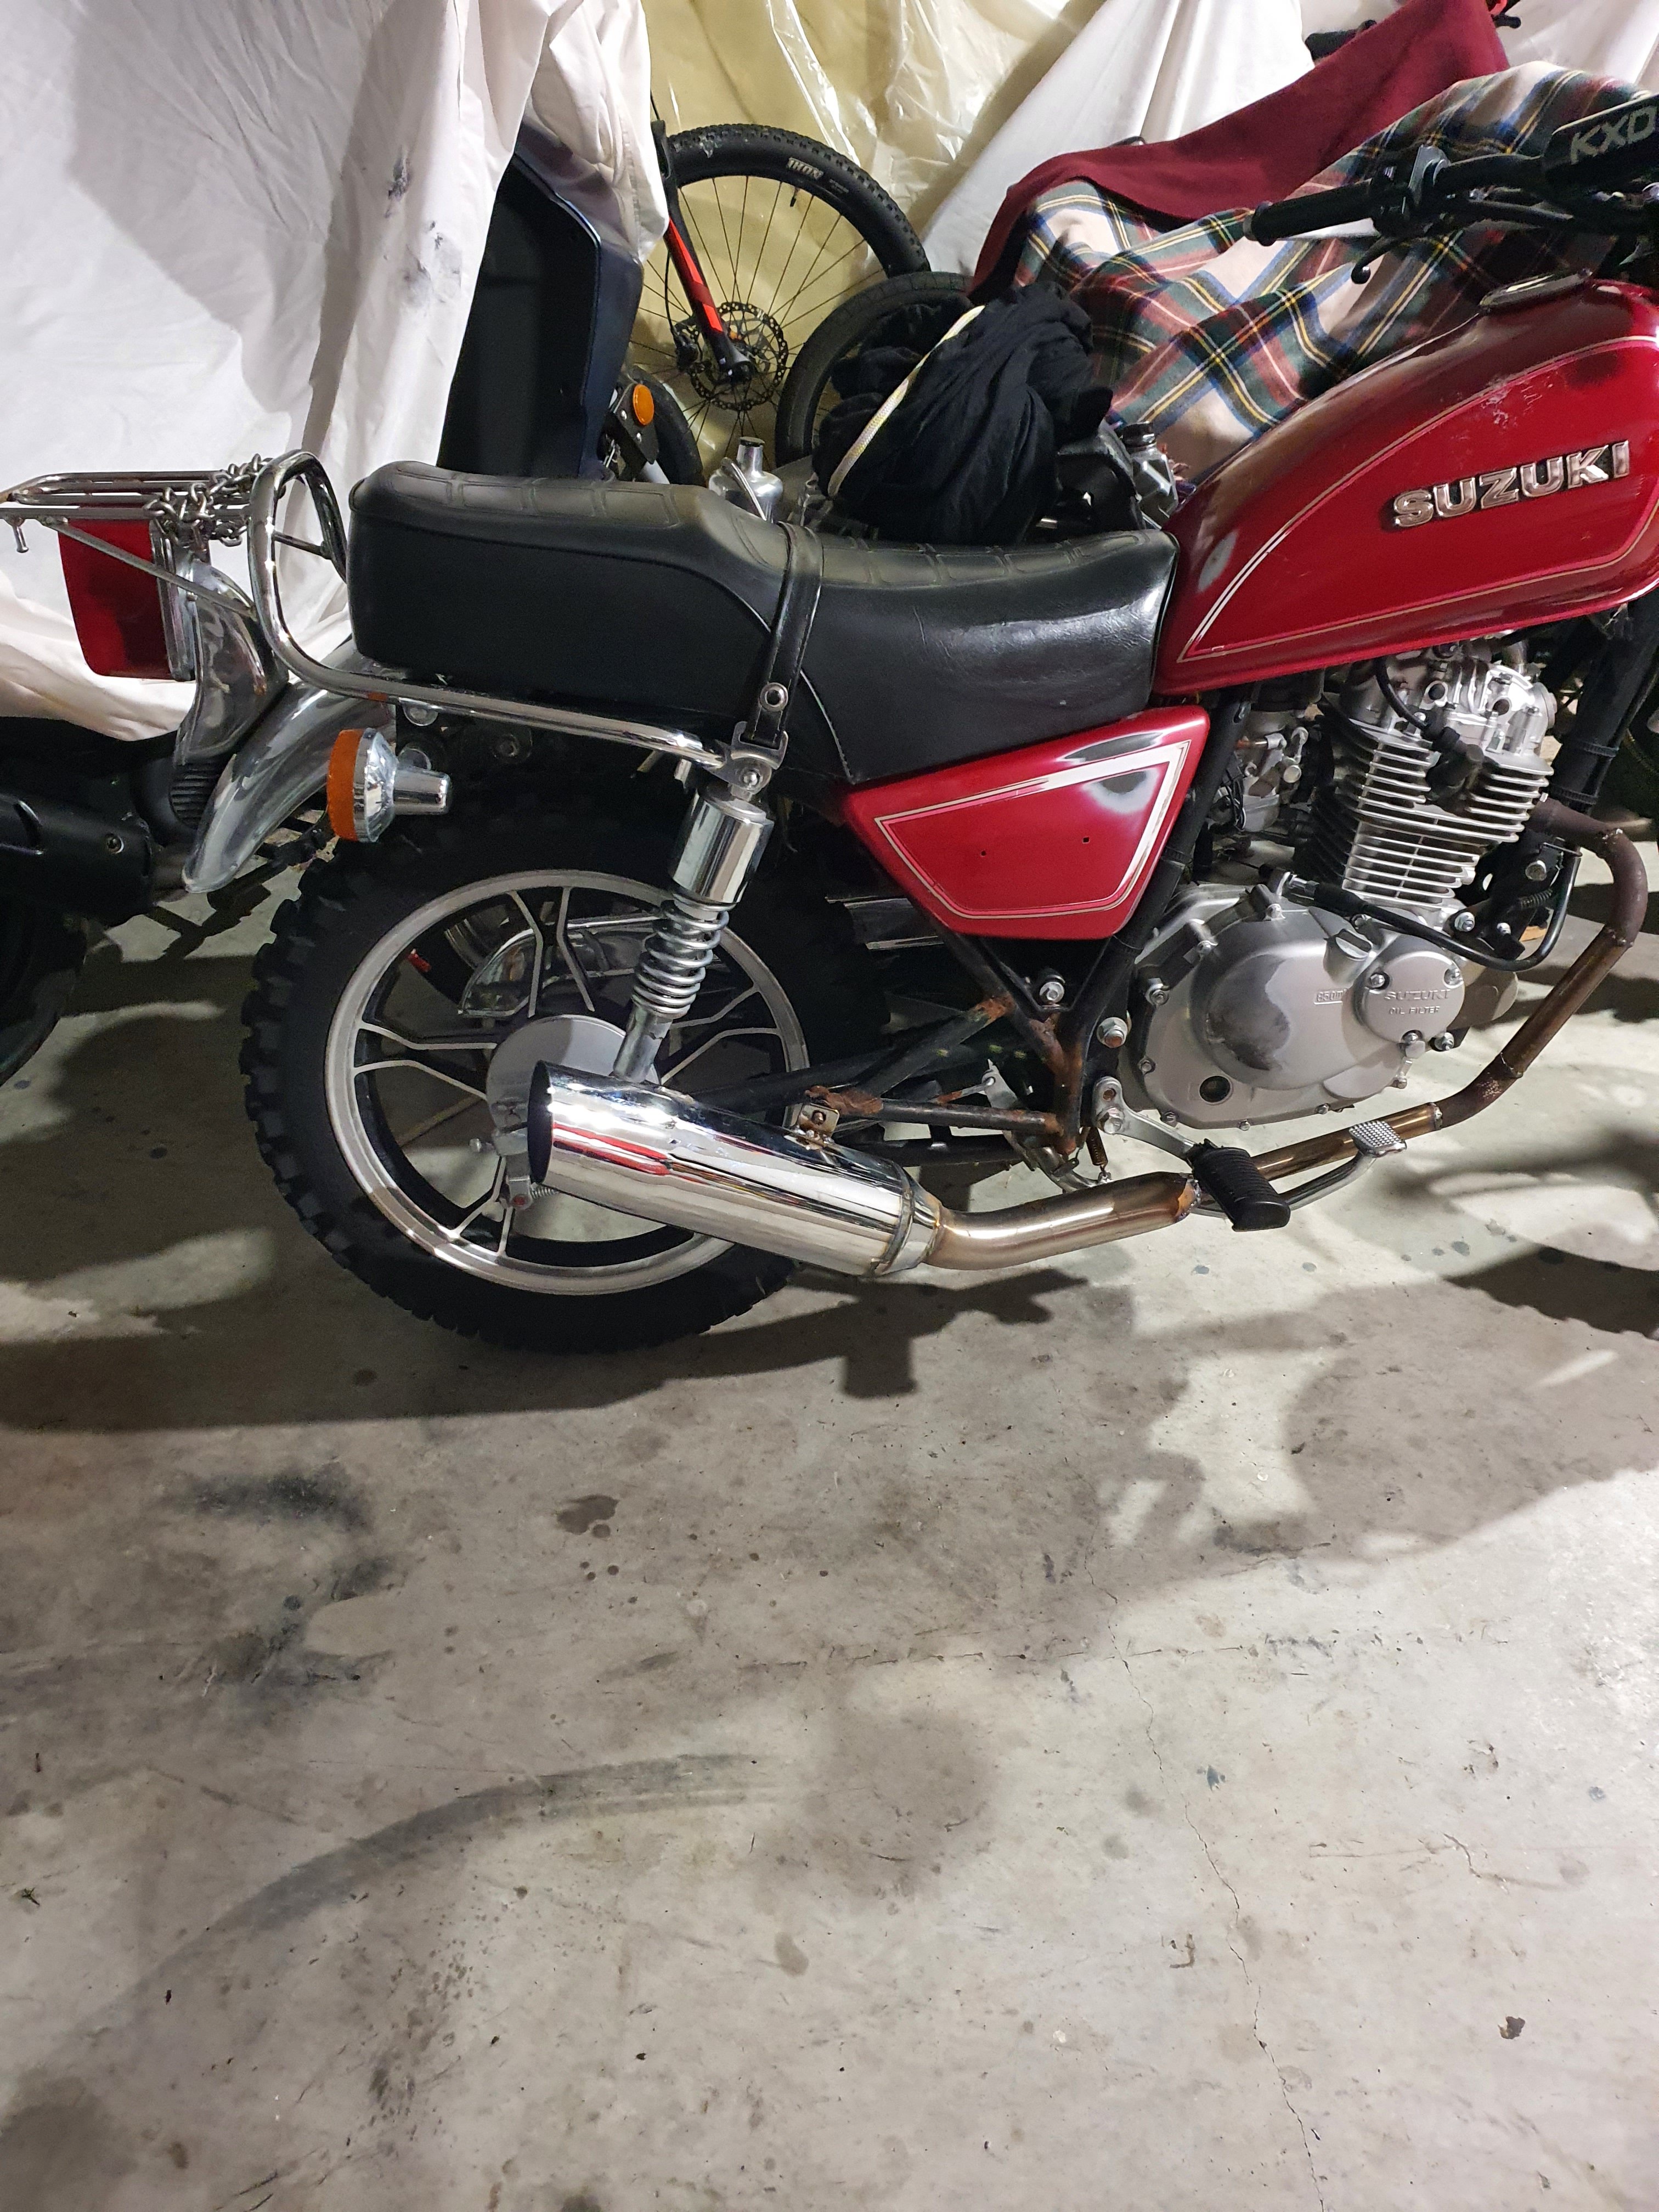
9Whata score got givin this over weekend. It didnt run swapd couple bits with some my spears. And she runs ran up down road leaking gas like a sive but still ran prety decnt considering. Crome isnt to bad sud polish up ok. Gona modifies it abit i figer shes bit ruf and missing bits so why not.
3 points
-
3d printed pistons3 points
-
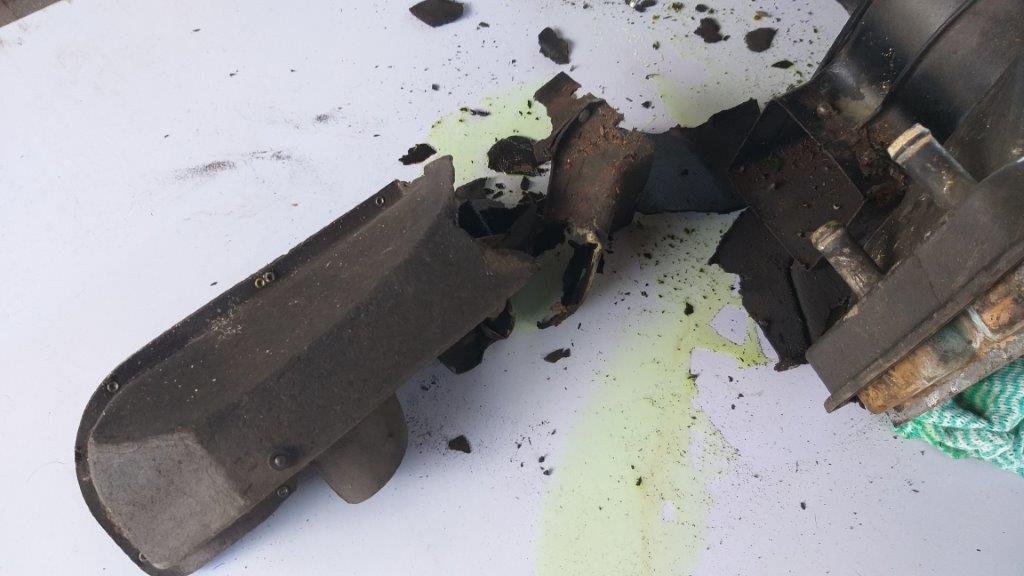
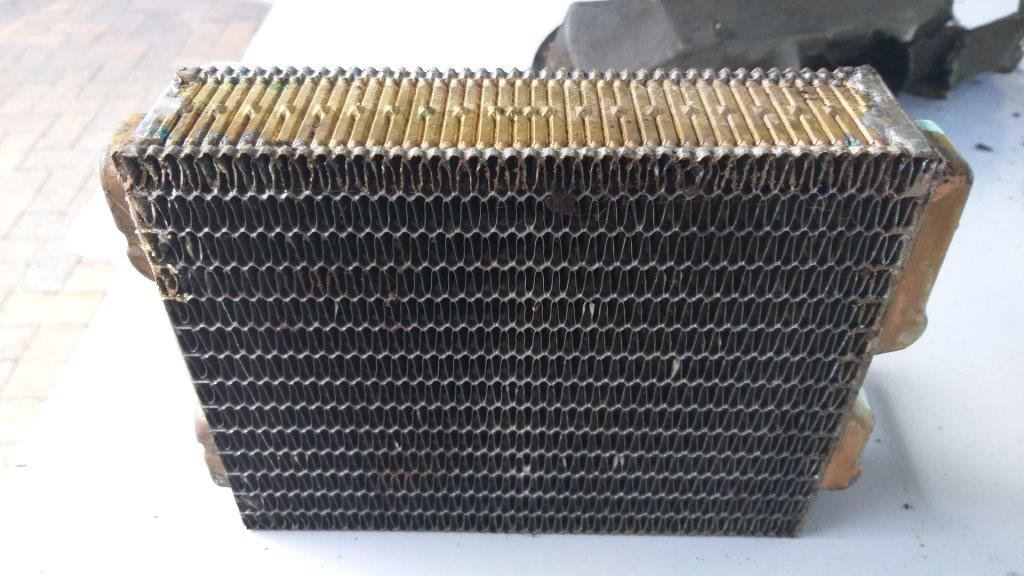
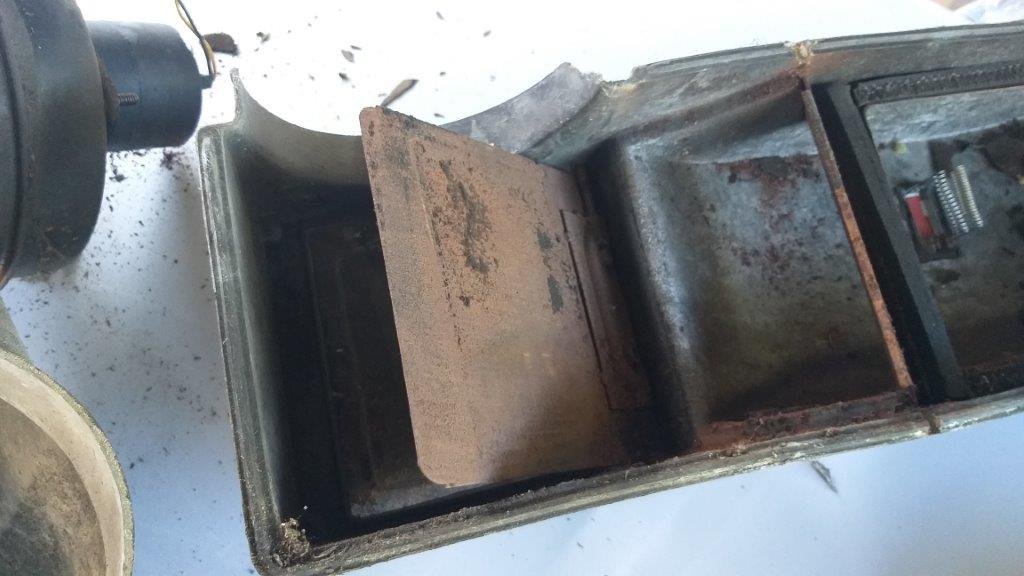
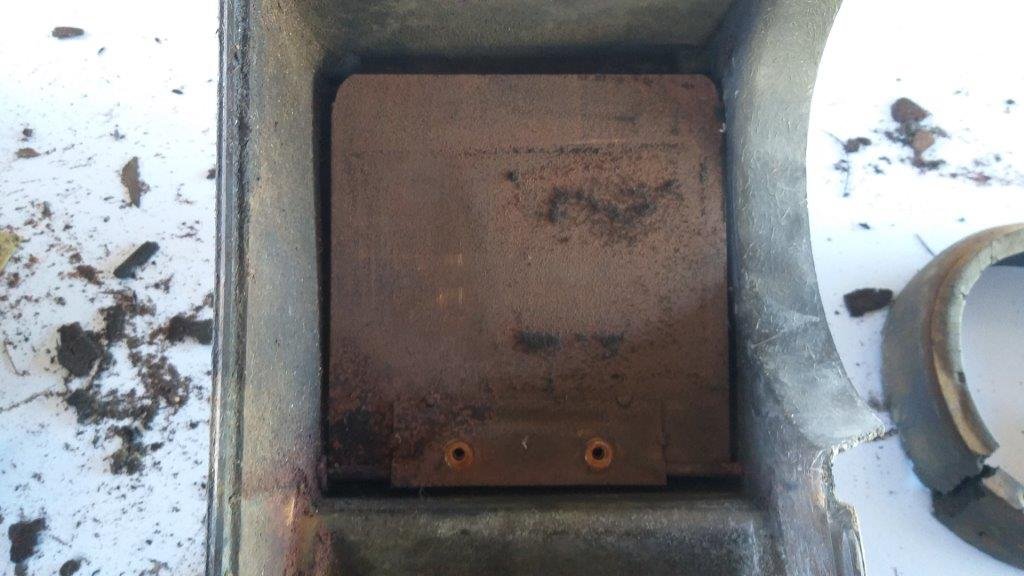
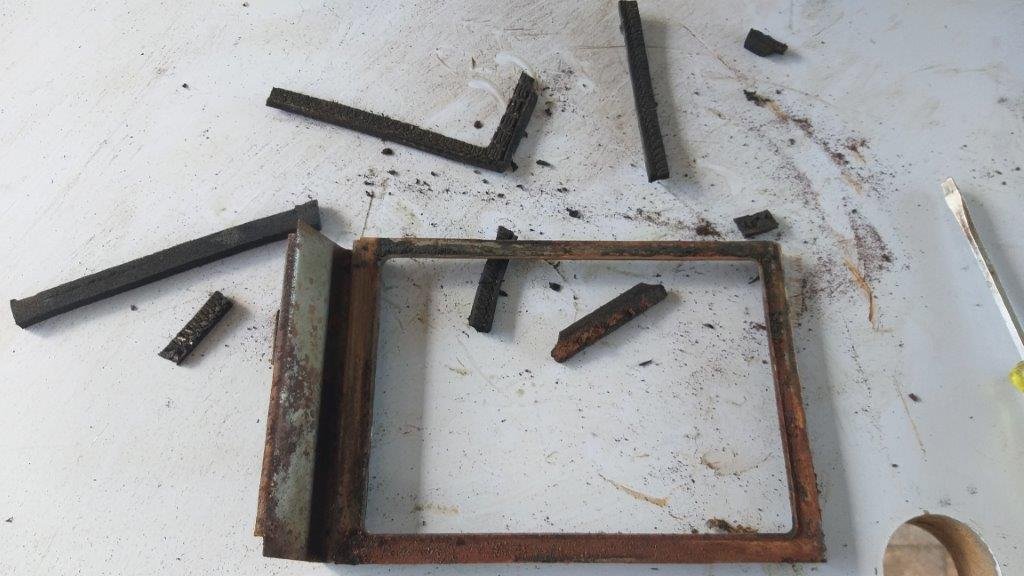
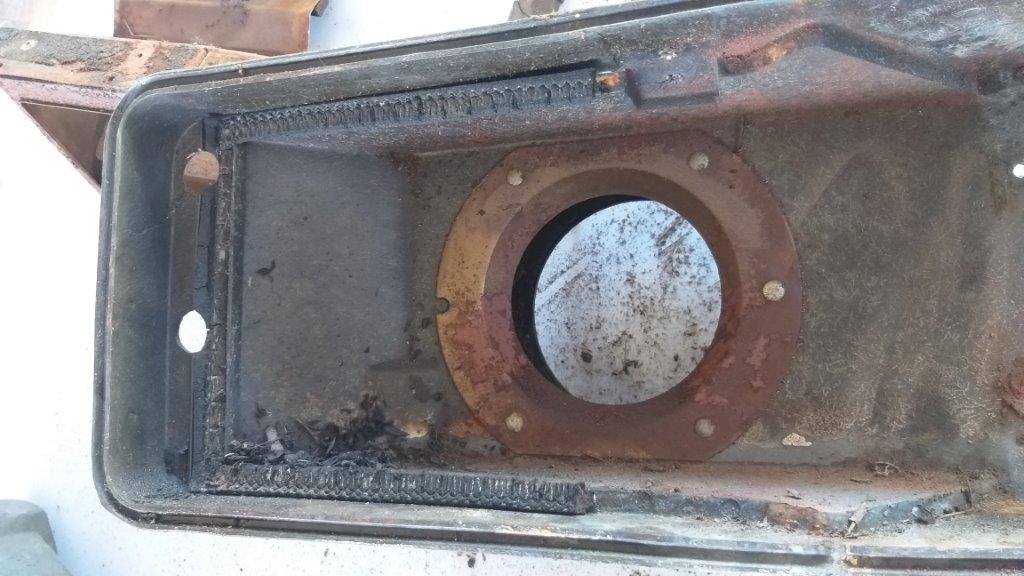
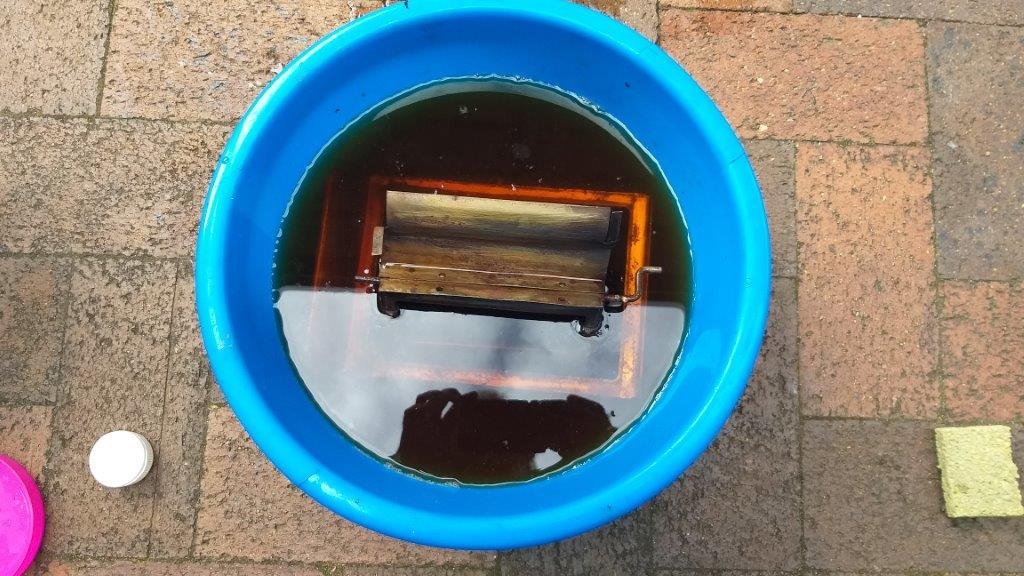
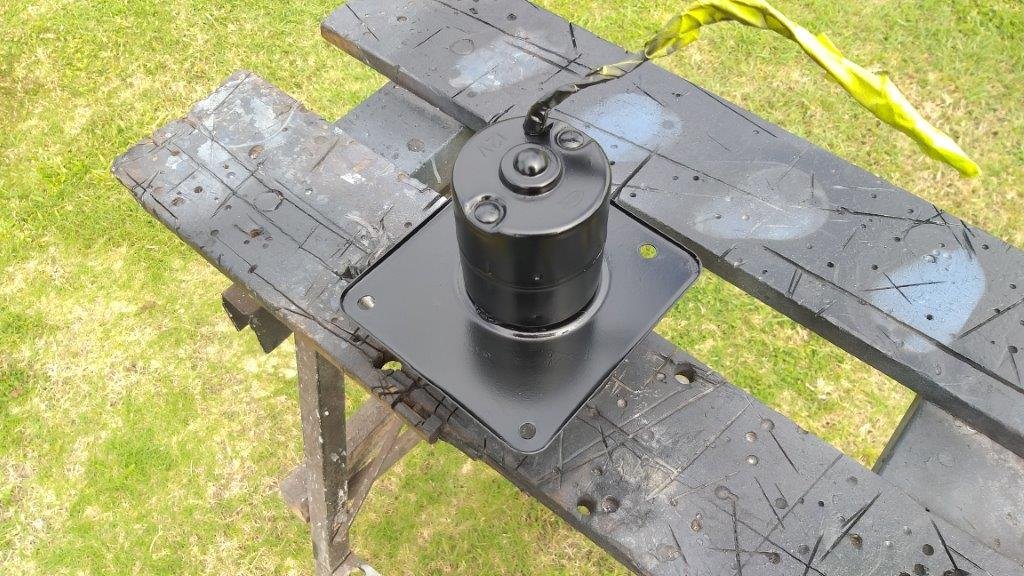
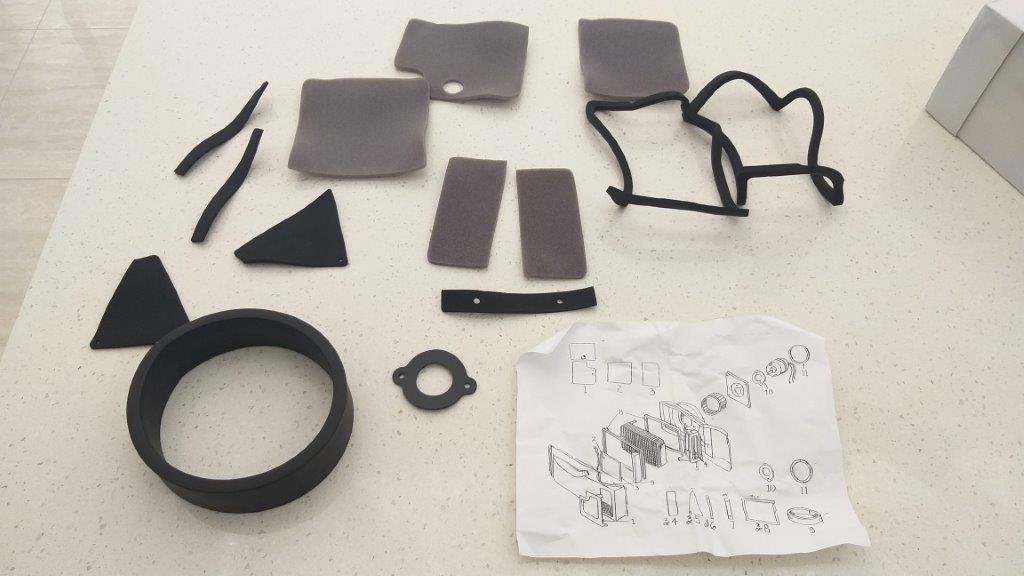
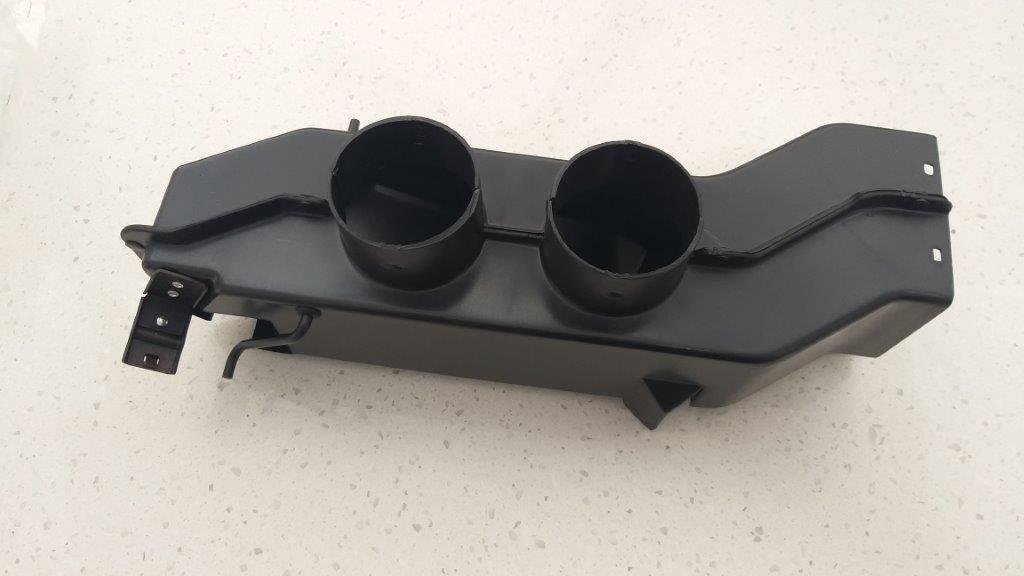
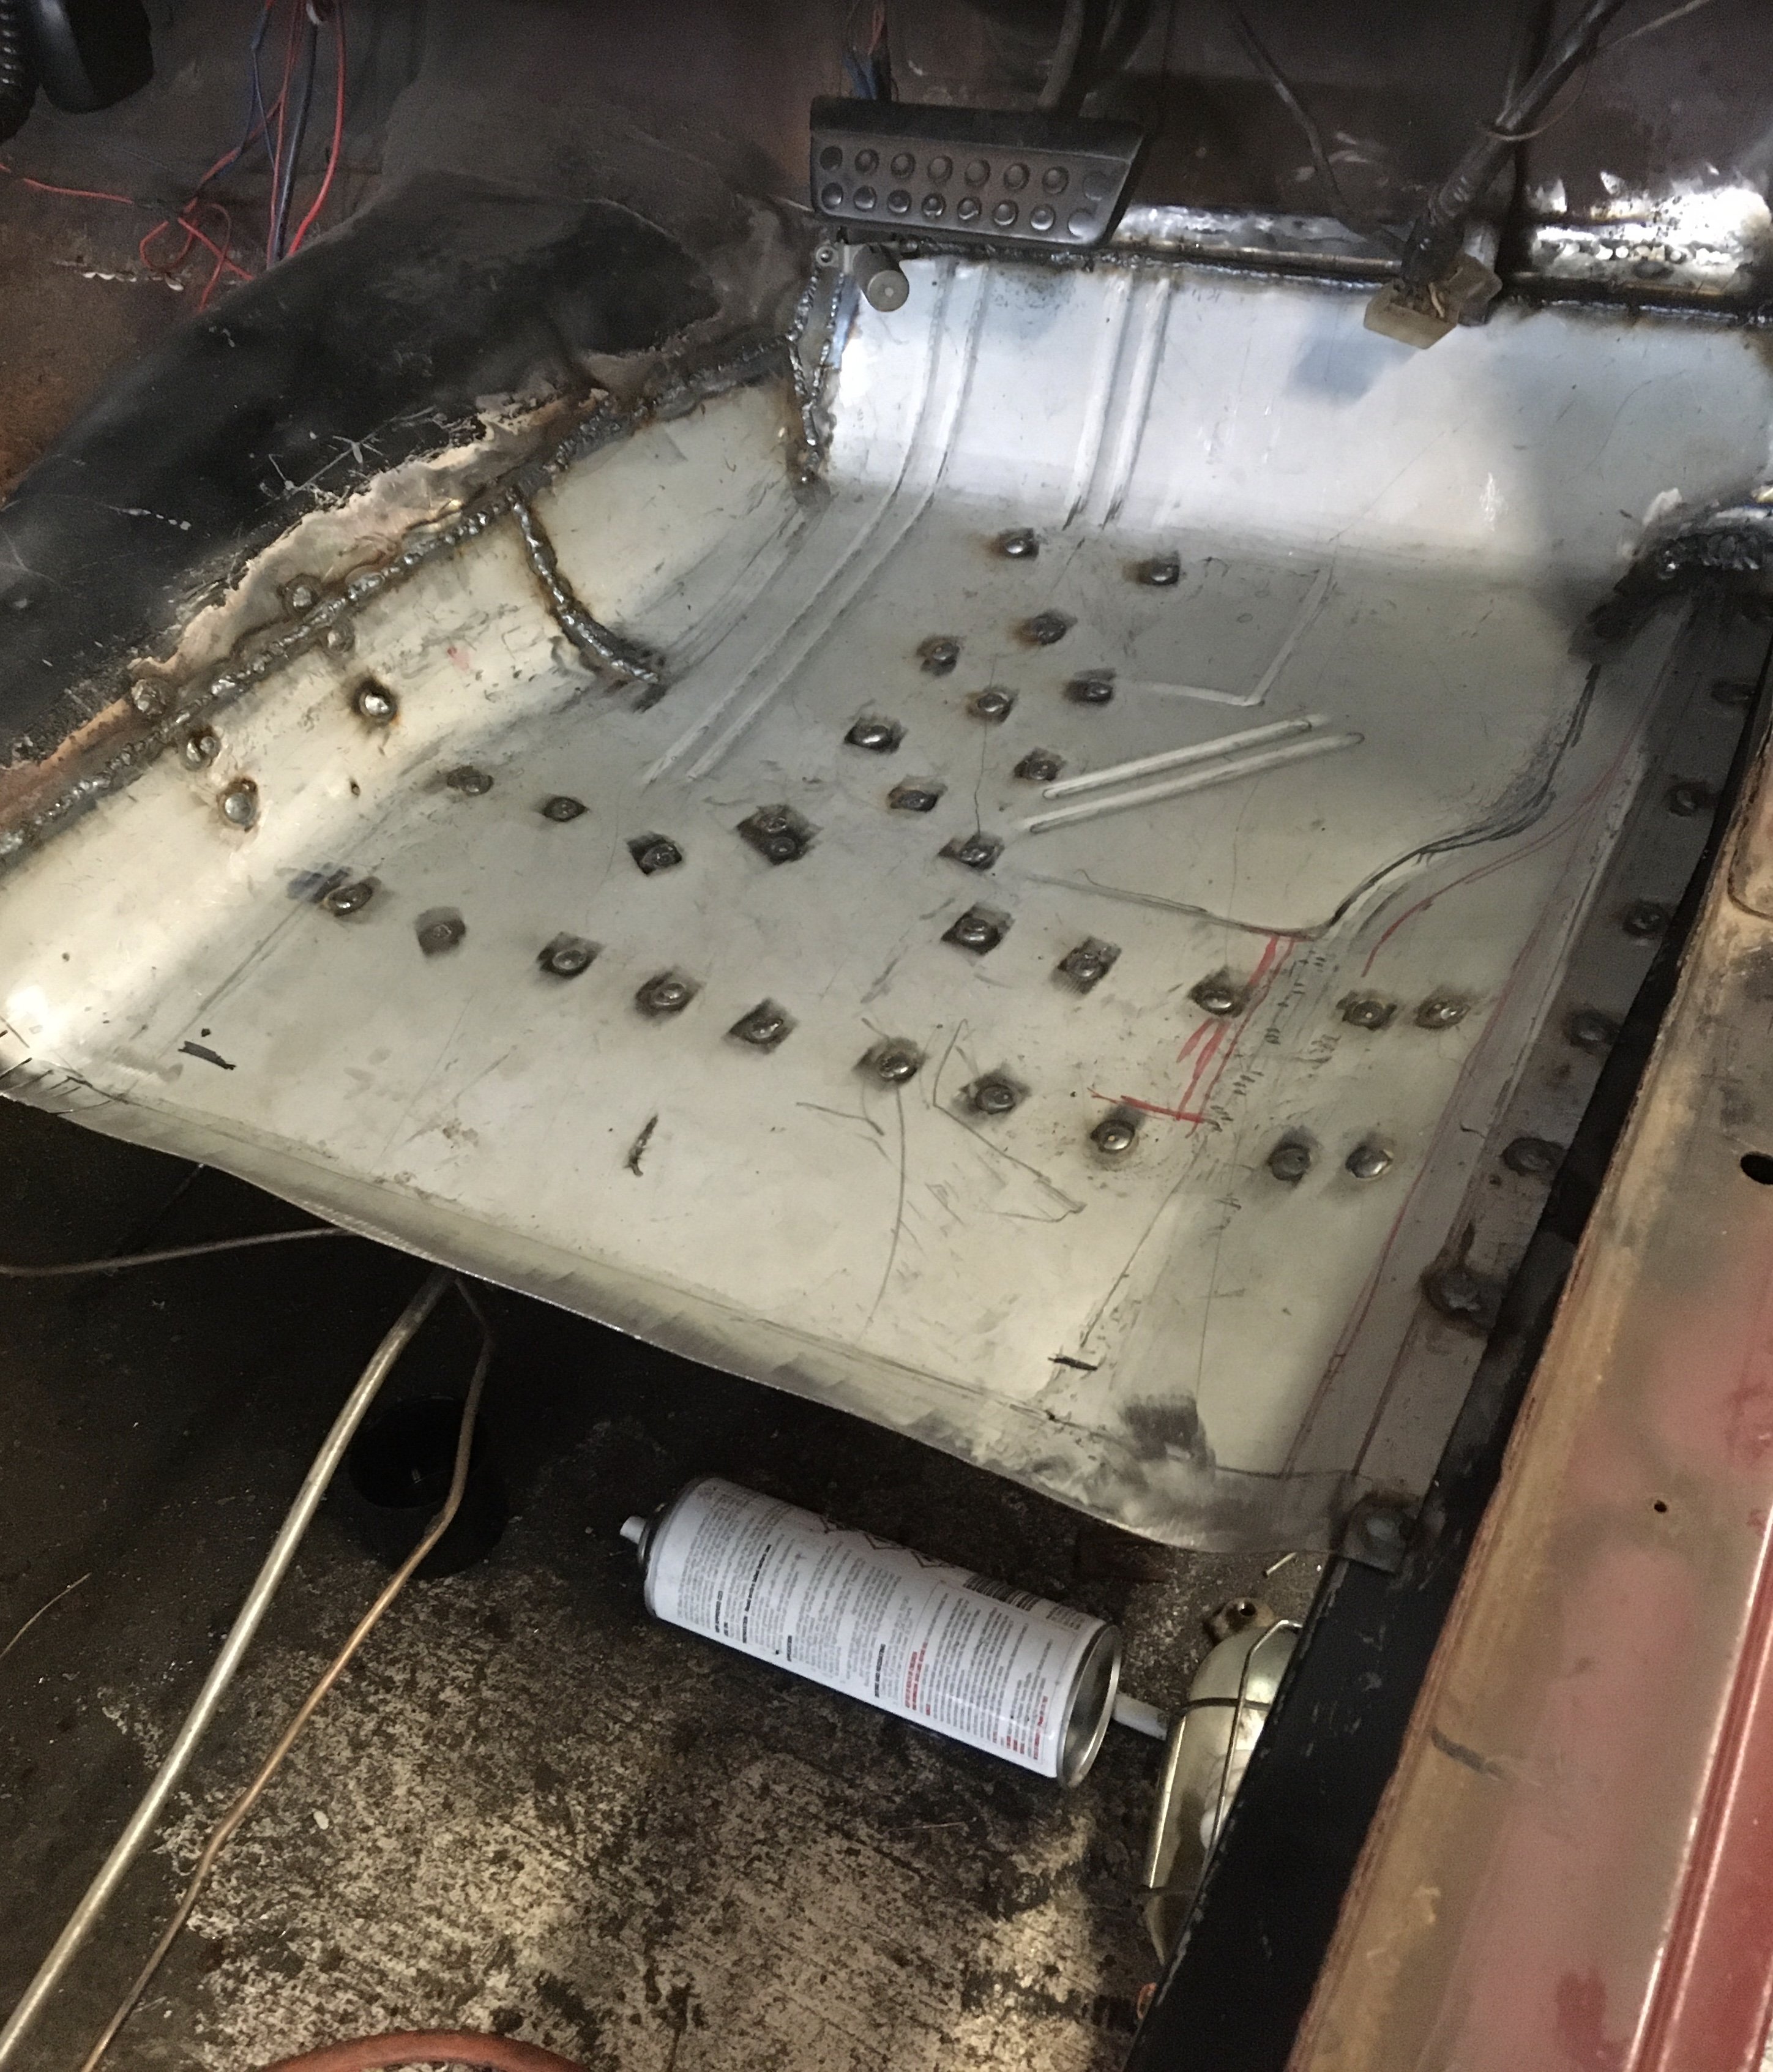
I need to take a run into town to get more of the rust proofing goo to do the other rear quarter and both doors, but I was waiting for some parcels to be delivered this morning, so I decided to crack into the heater box rebuild. Pulled it apart and it was surprisingly clean inside. I've seen Youtube clips of some Mericans pulling rat's nests out of their boxes, so counted myself lucky. As previously mentioned the little plenum extension is well shagged, the internal seals have all but disintegrated and a few of the little trap doors were seized solid. Slapped a bit of WD40 on the hinges and after a teeny bit of gentle persuasion they are now opening and closing smoothly. The main housing appears to be made of some type of fibre based material so I just gave it a quick tickle with the water blaster and left it in the sun to dry. The actual heater core looks mint and there is a little yellow sticker on one of the tanks, so I suspect it is a recent replacement. The main metal trap door and housing is busy languishing in a vinegar bath and I gave the blower motor a quick rattle can reco. I'll chuck some of that rust convertor / primer combo on the metal bits before I glue in the new seals and that should take care of that. Thanks for looking.
3 points
-
If it's over 20 years old- no problem Less than 20- has to comply with all emissions standards etc unless you can meet the criteria for a special interest vehicle Will have to pay the clean car fee though, the car has to be 40+ years old to avoid that Rust or damage repair will need repair cert regardless of how old it is I'd avoid anything where they salt the roads, I've got a really nice 64 dodge polara on the hoist at the moment, looks good on the outside but it came from new York, and underneath is pretty fucked3 points
-
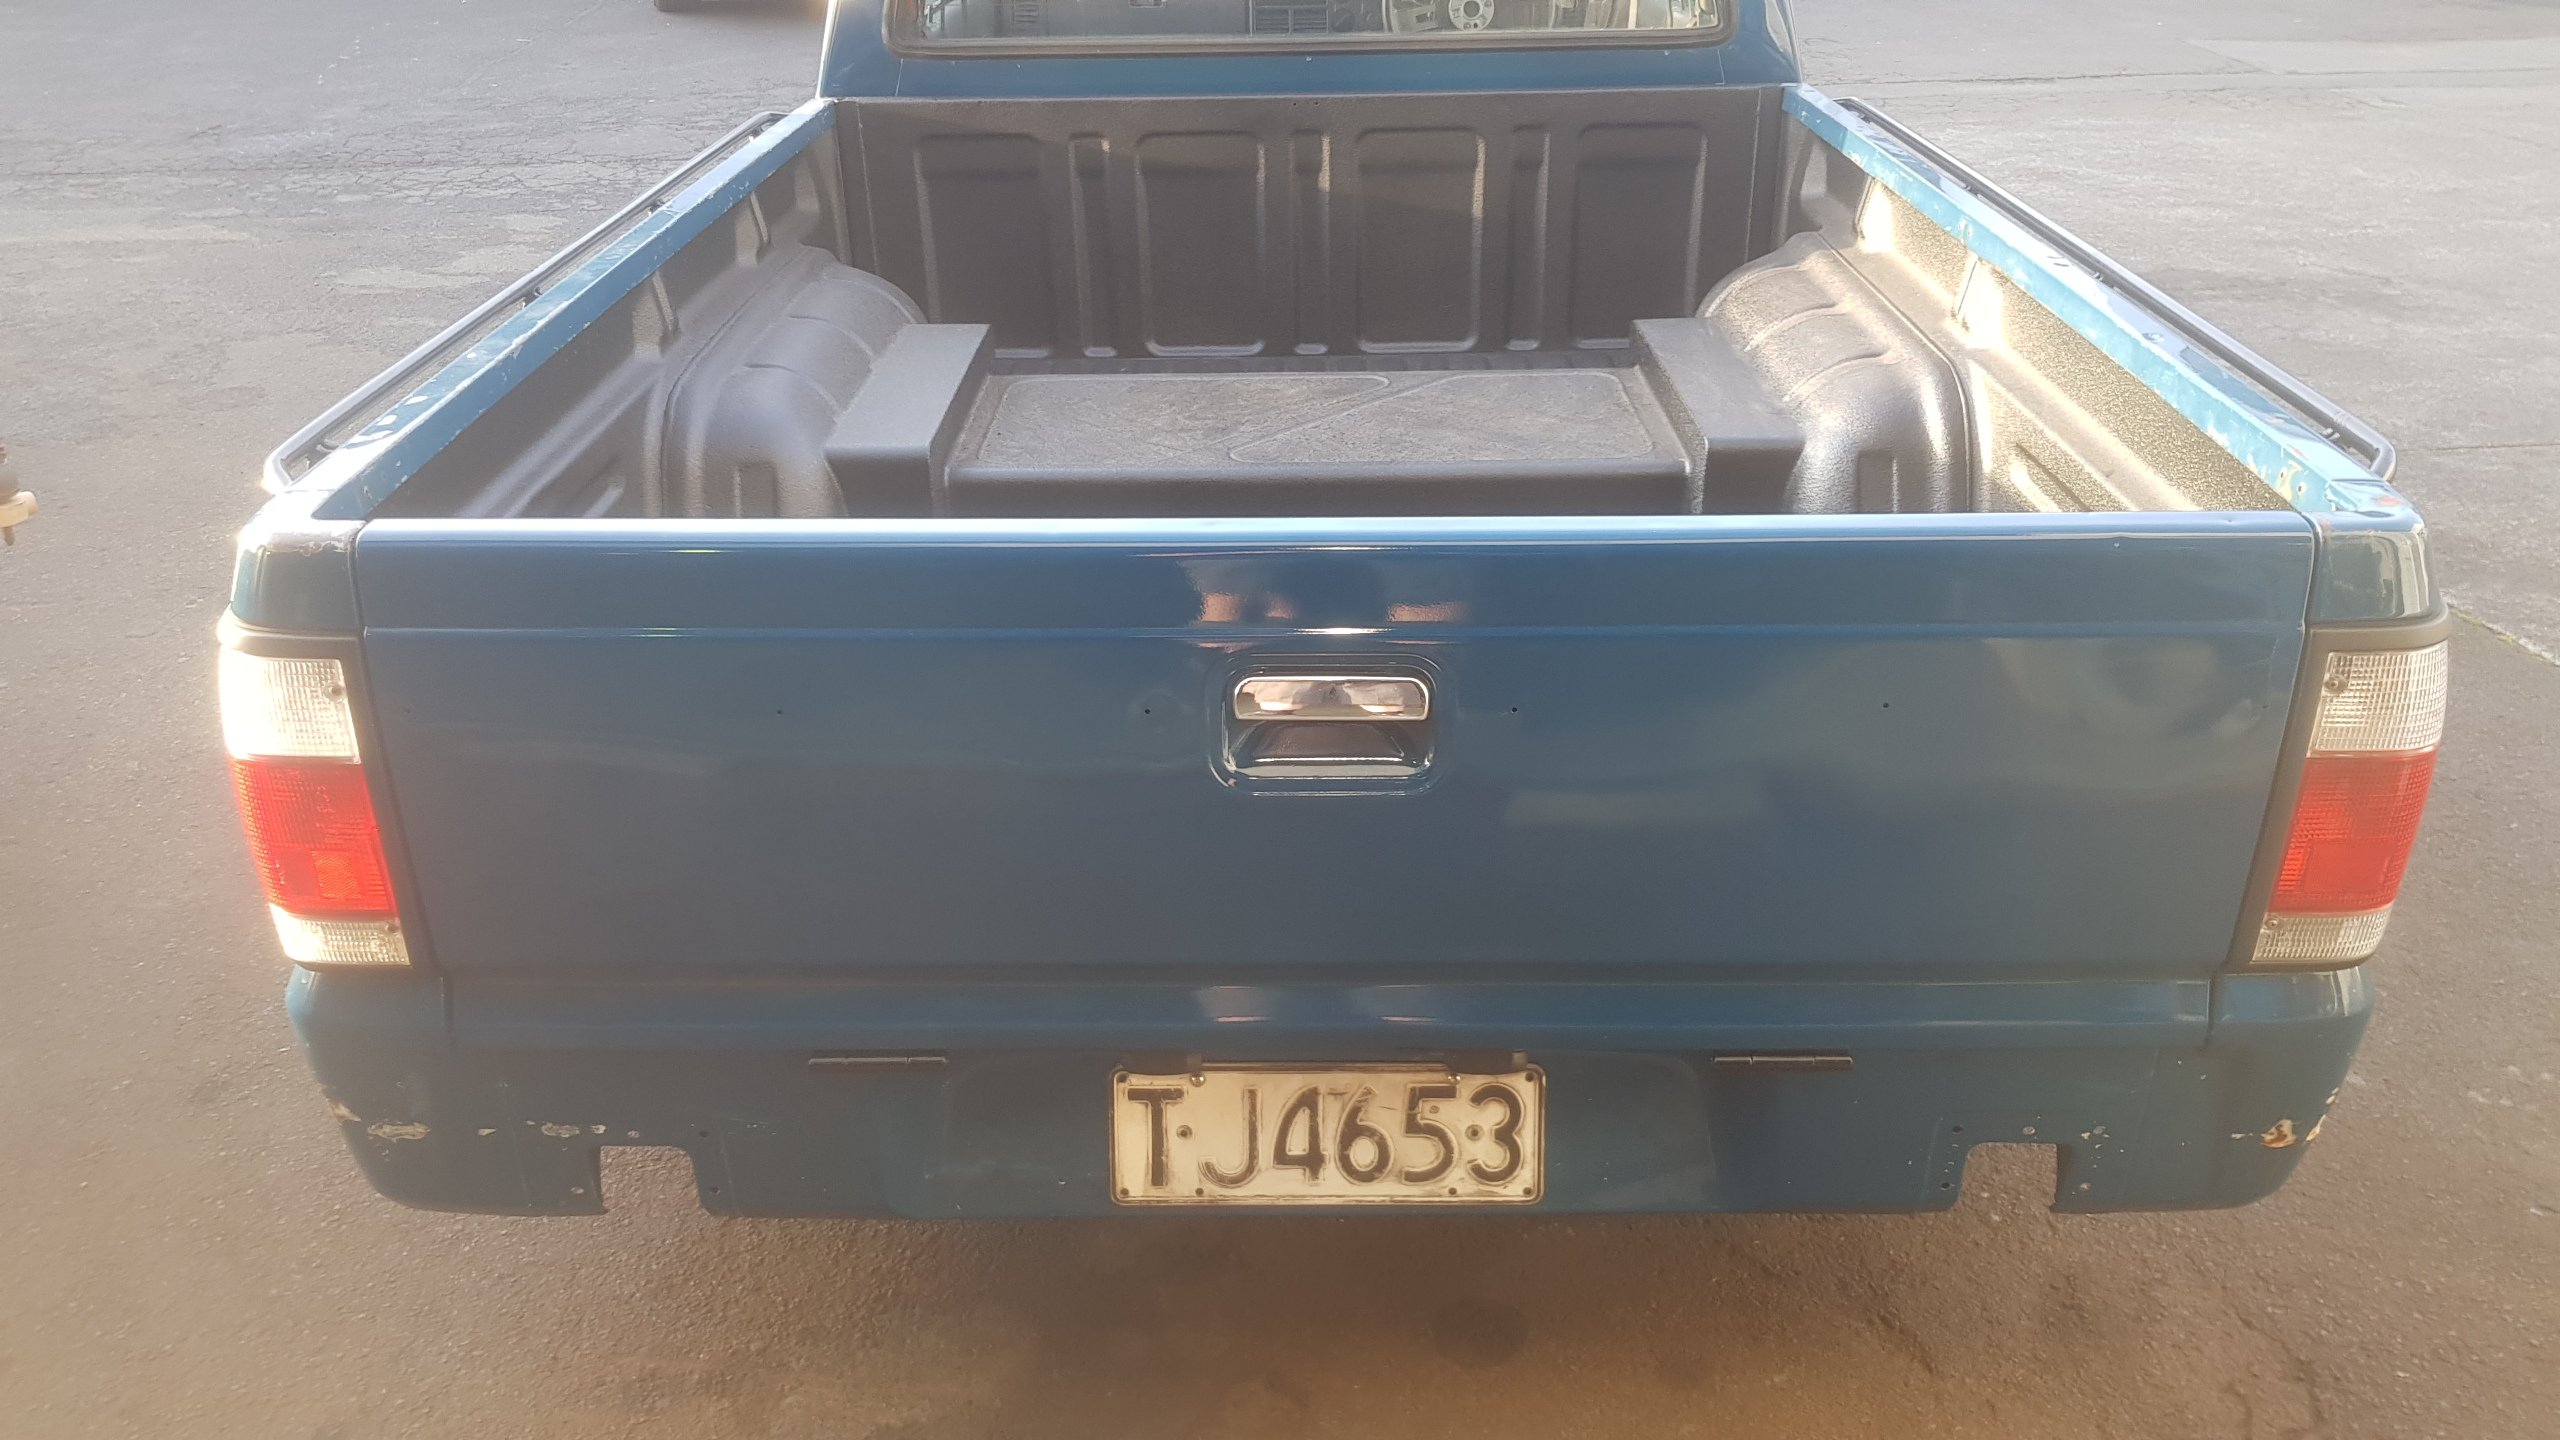
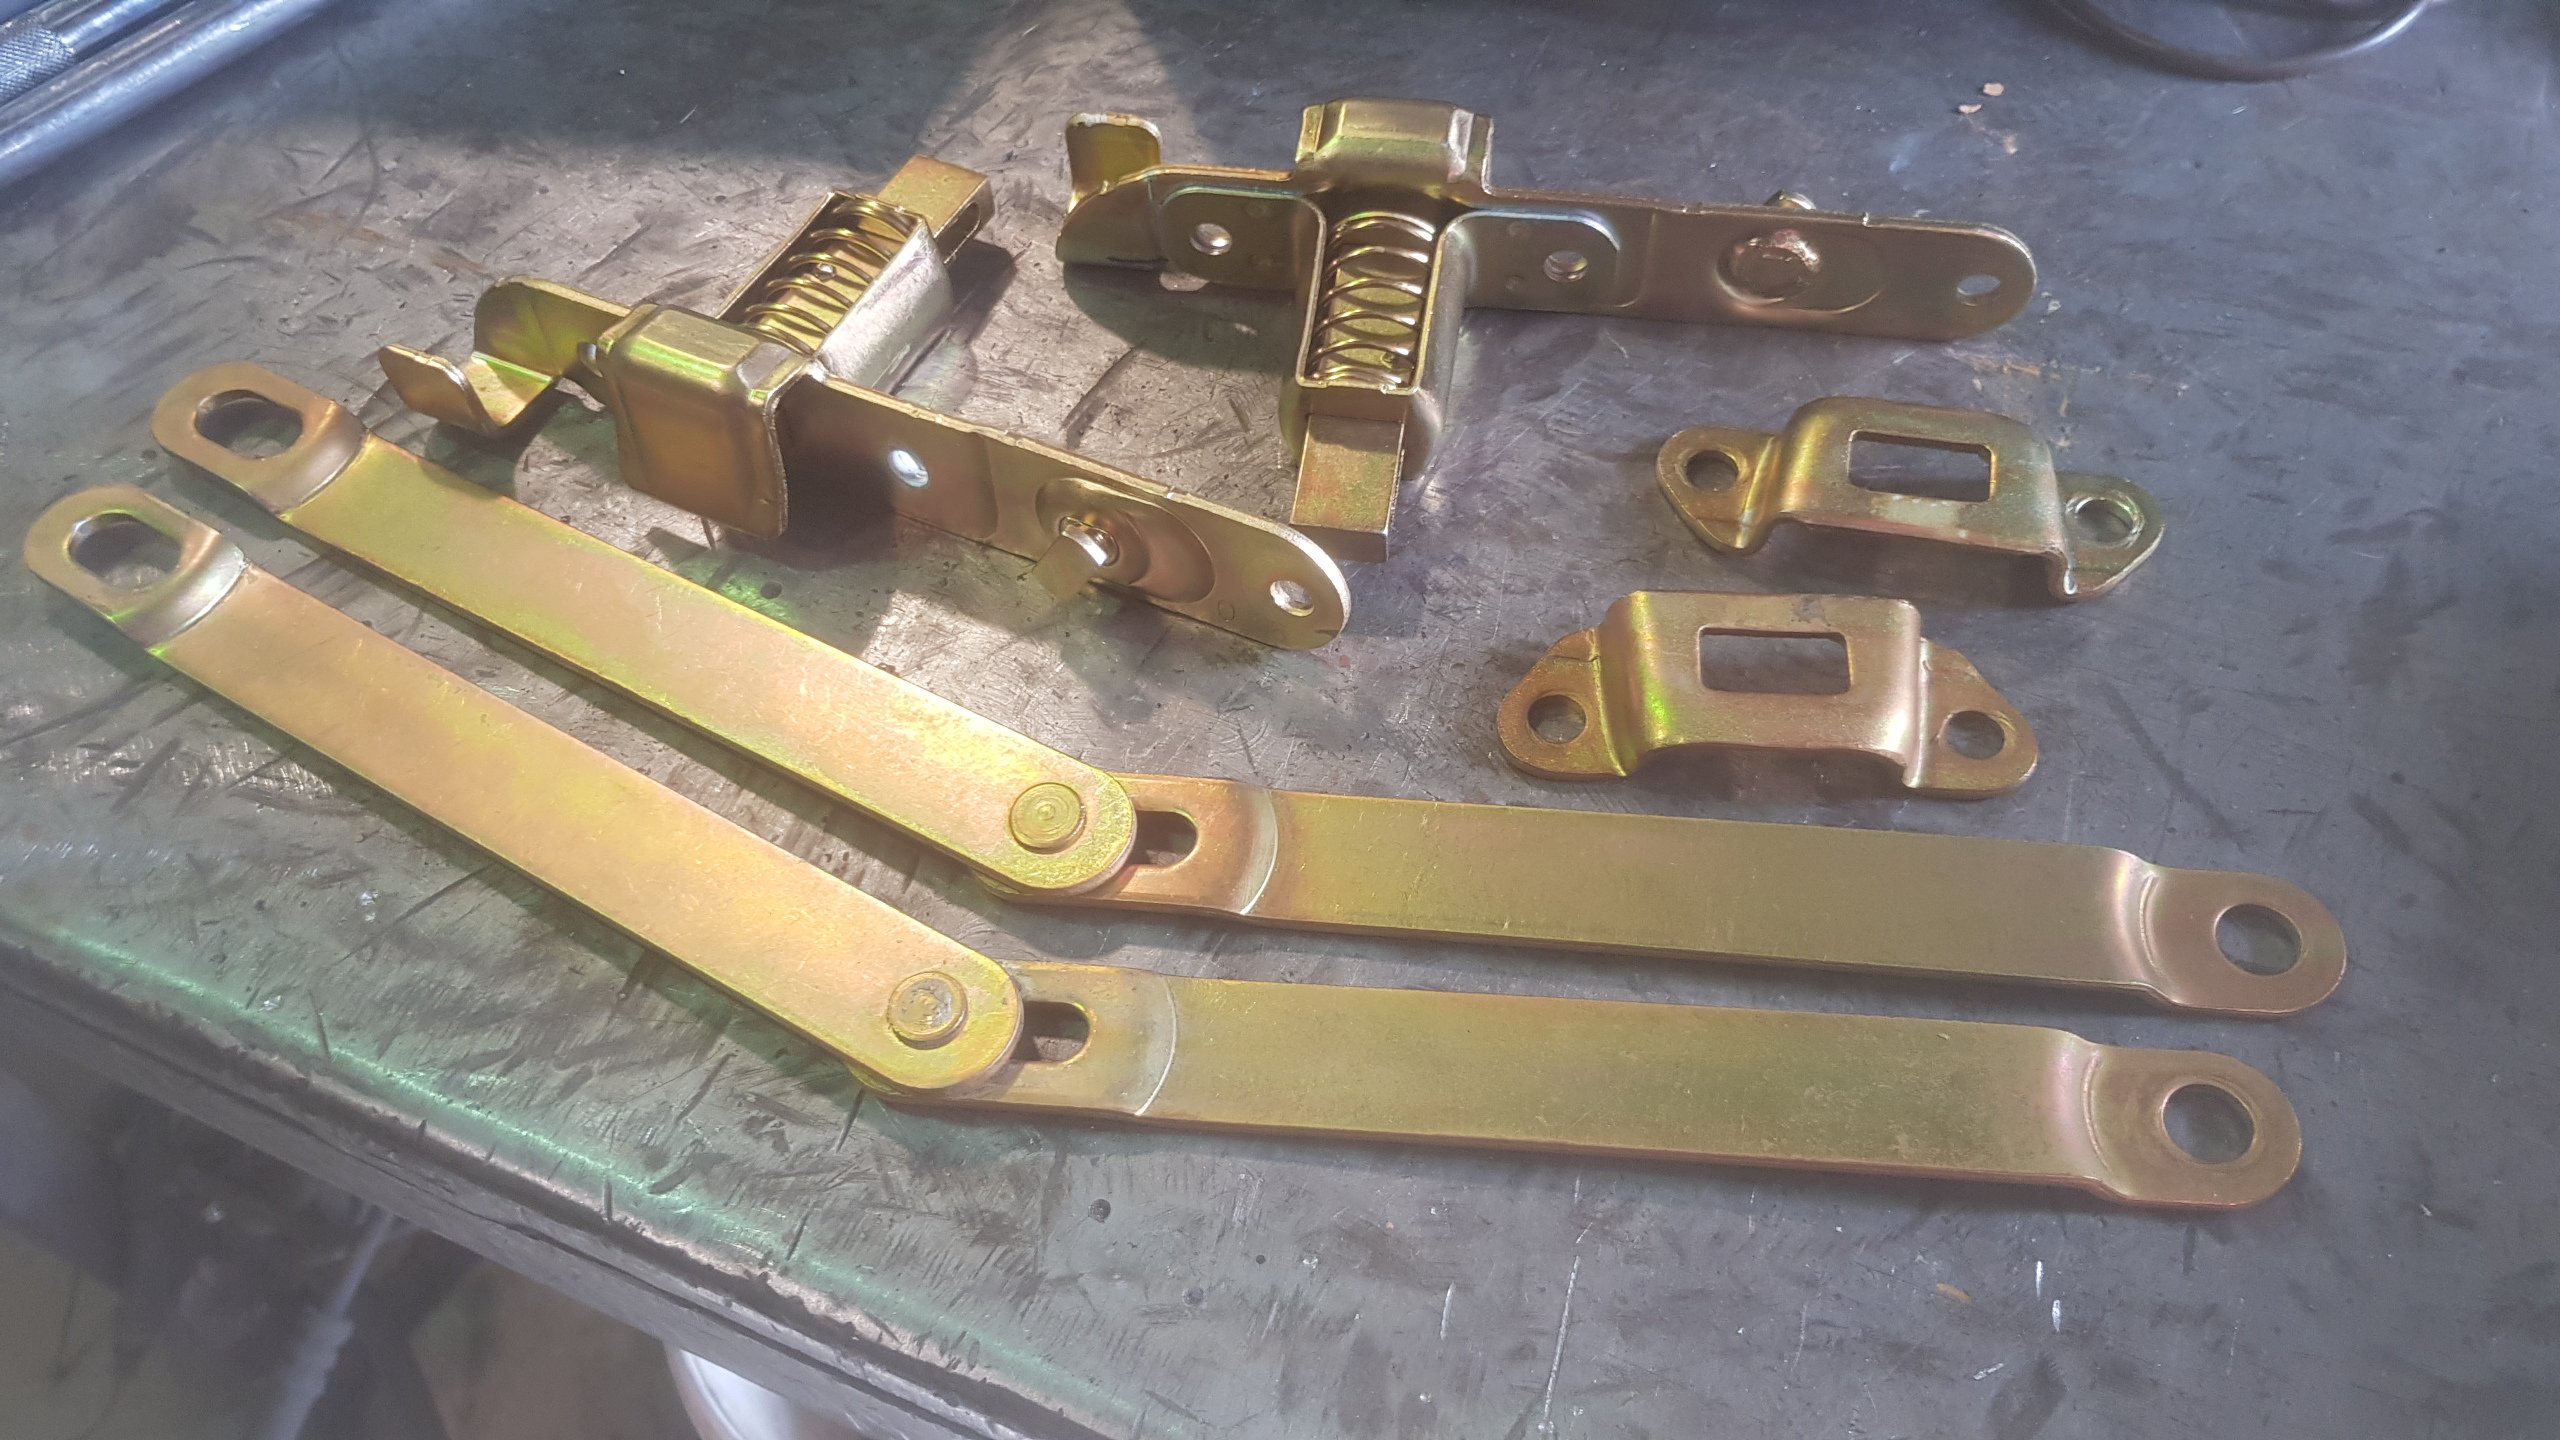
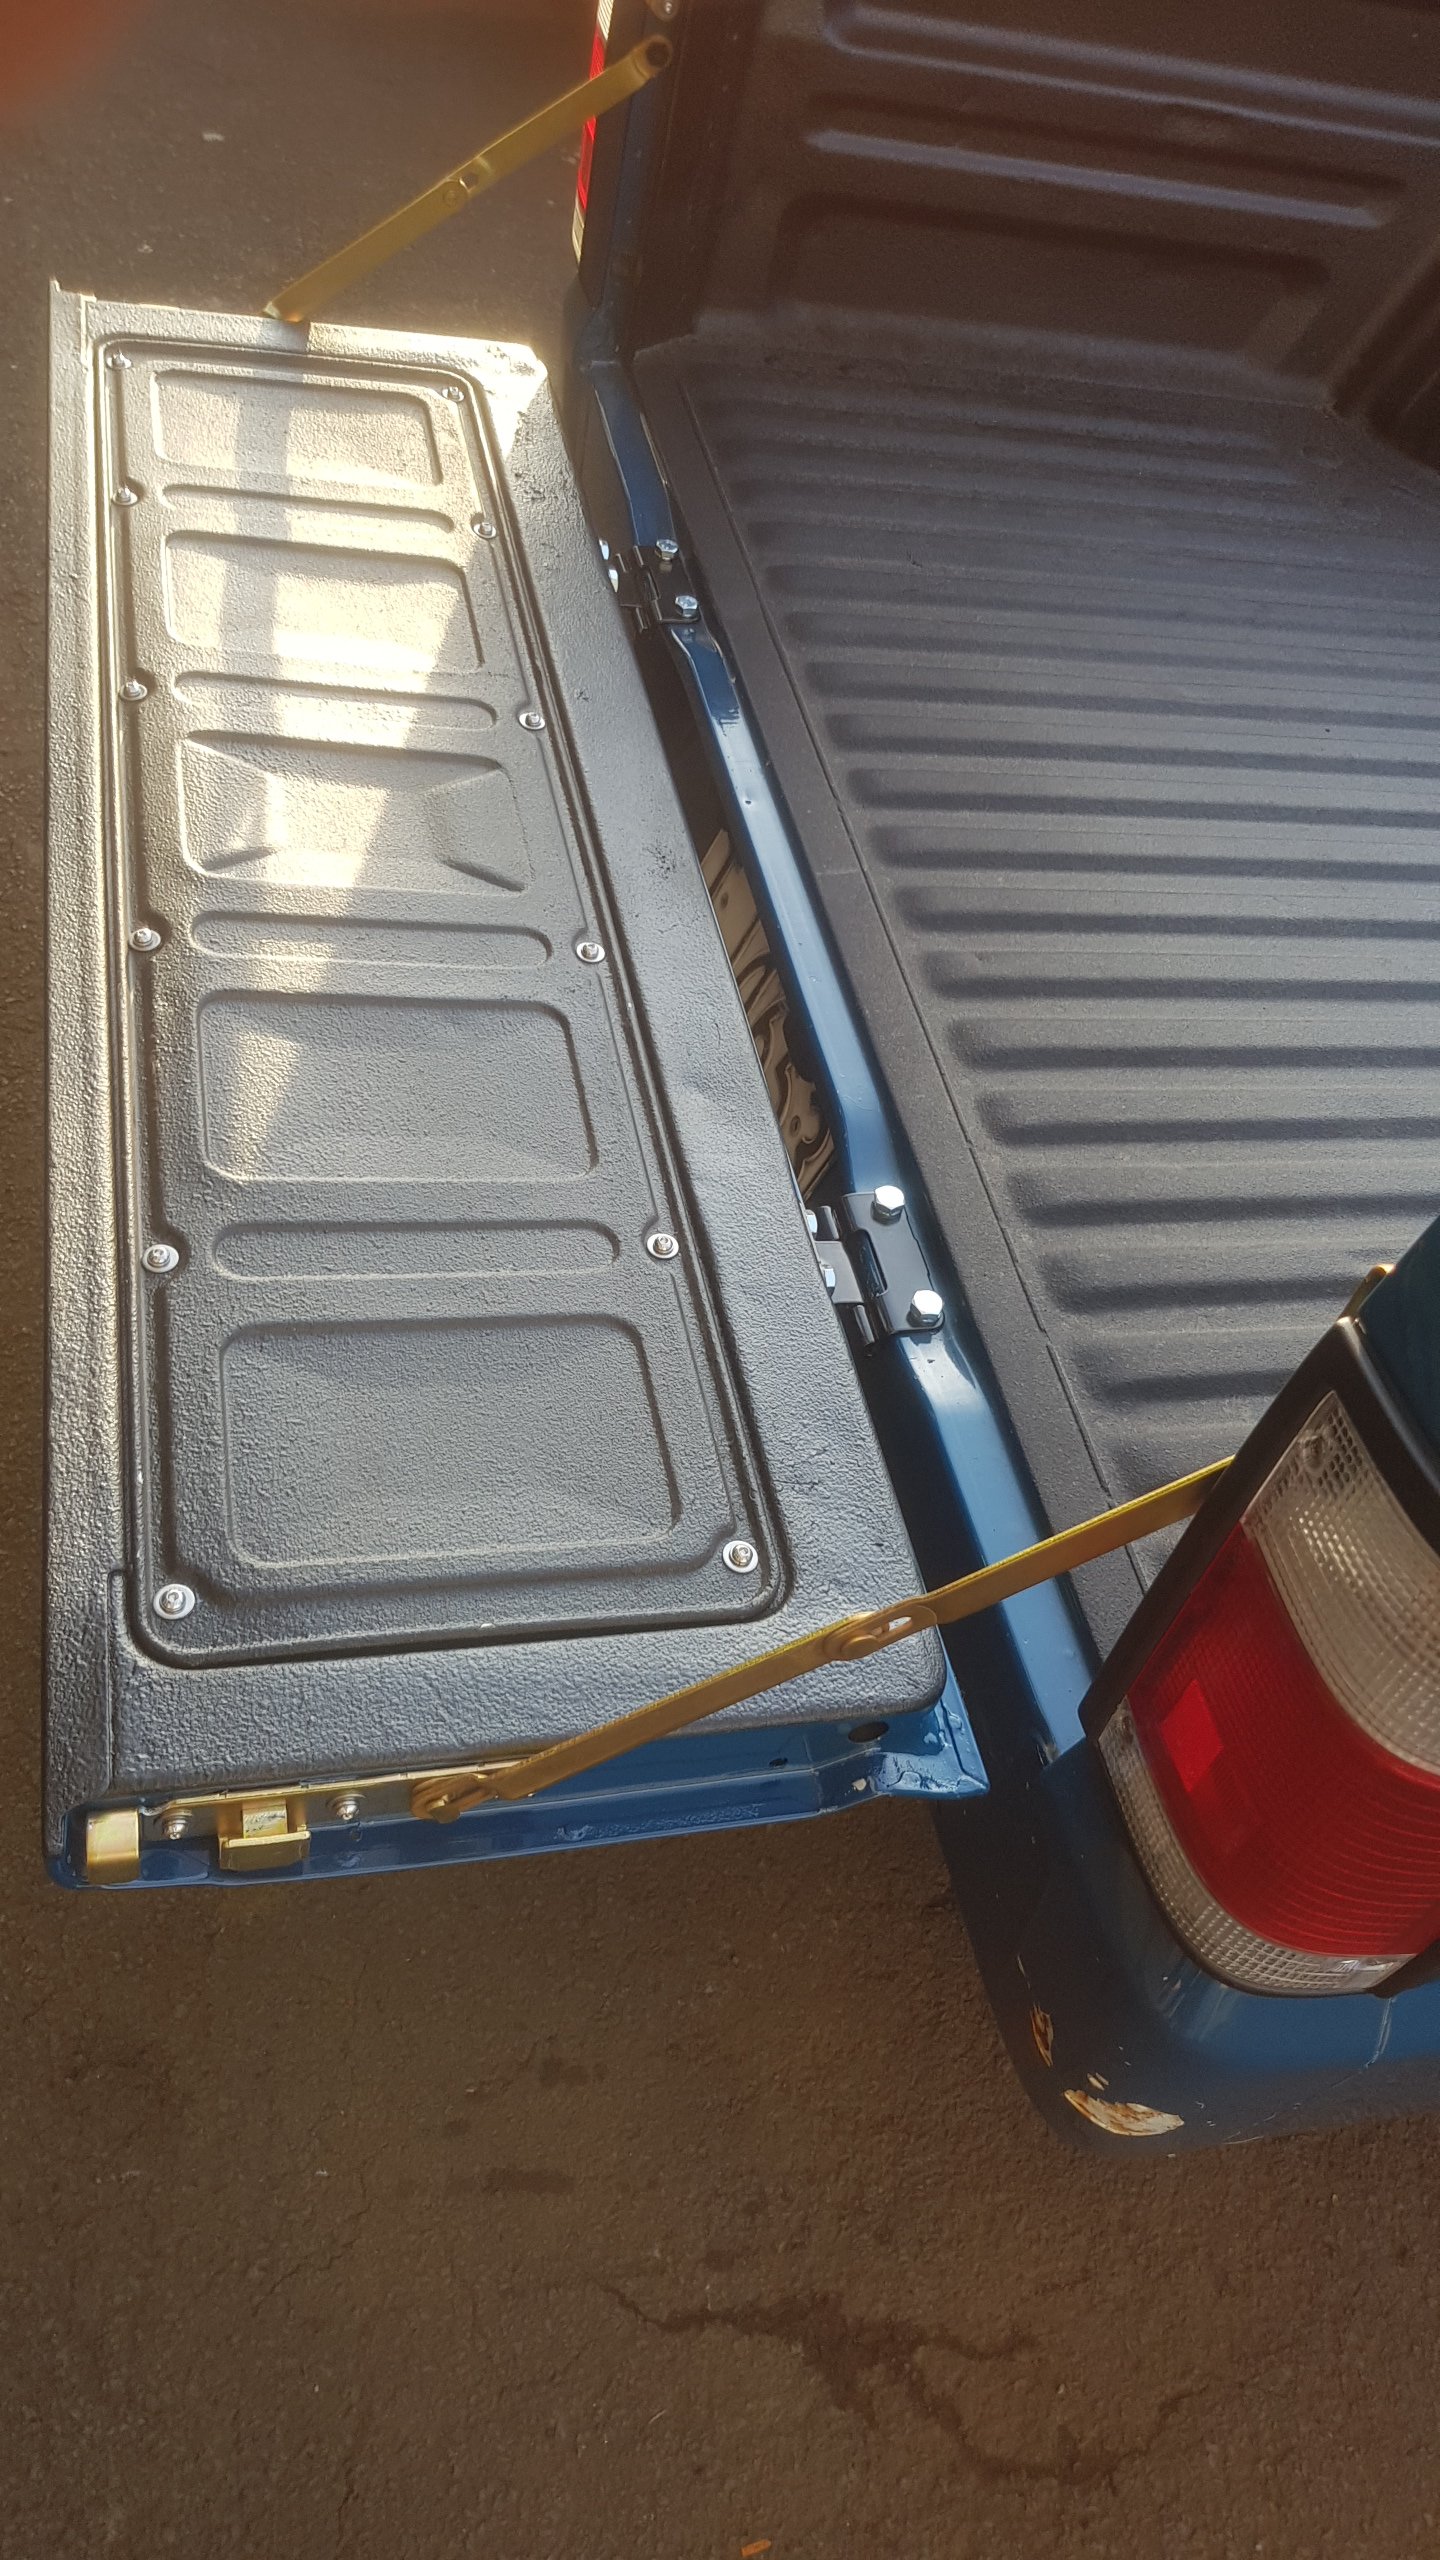
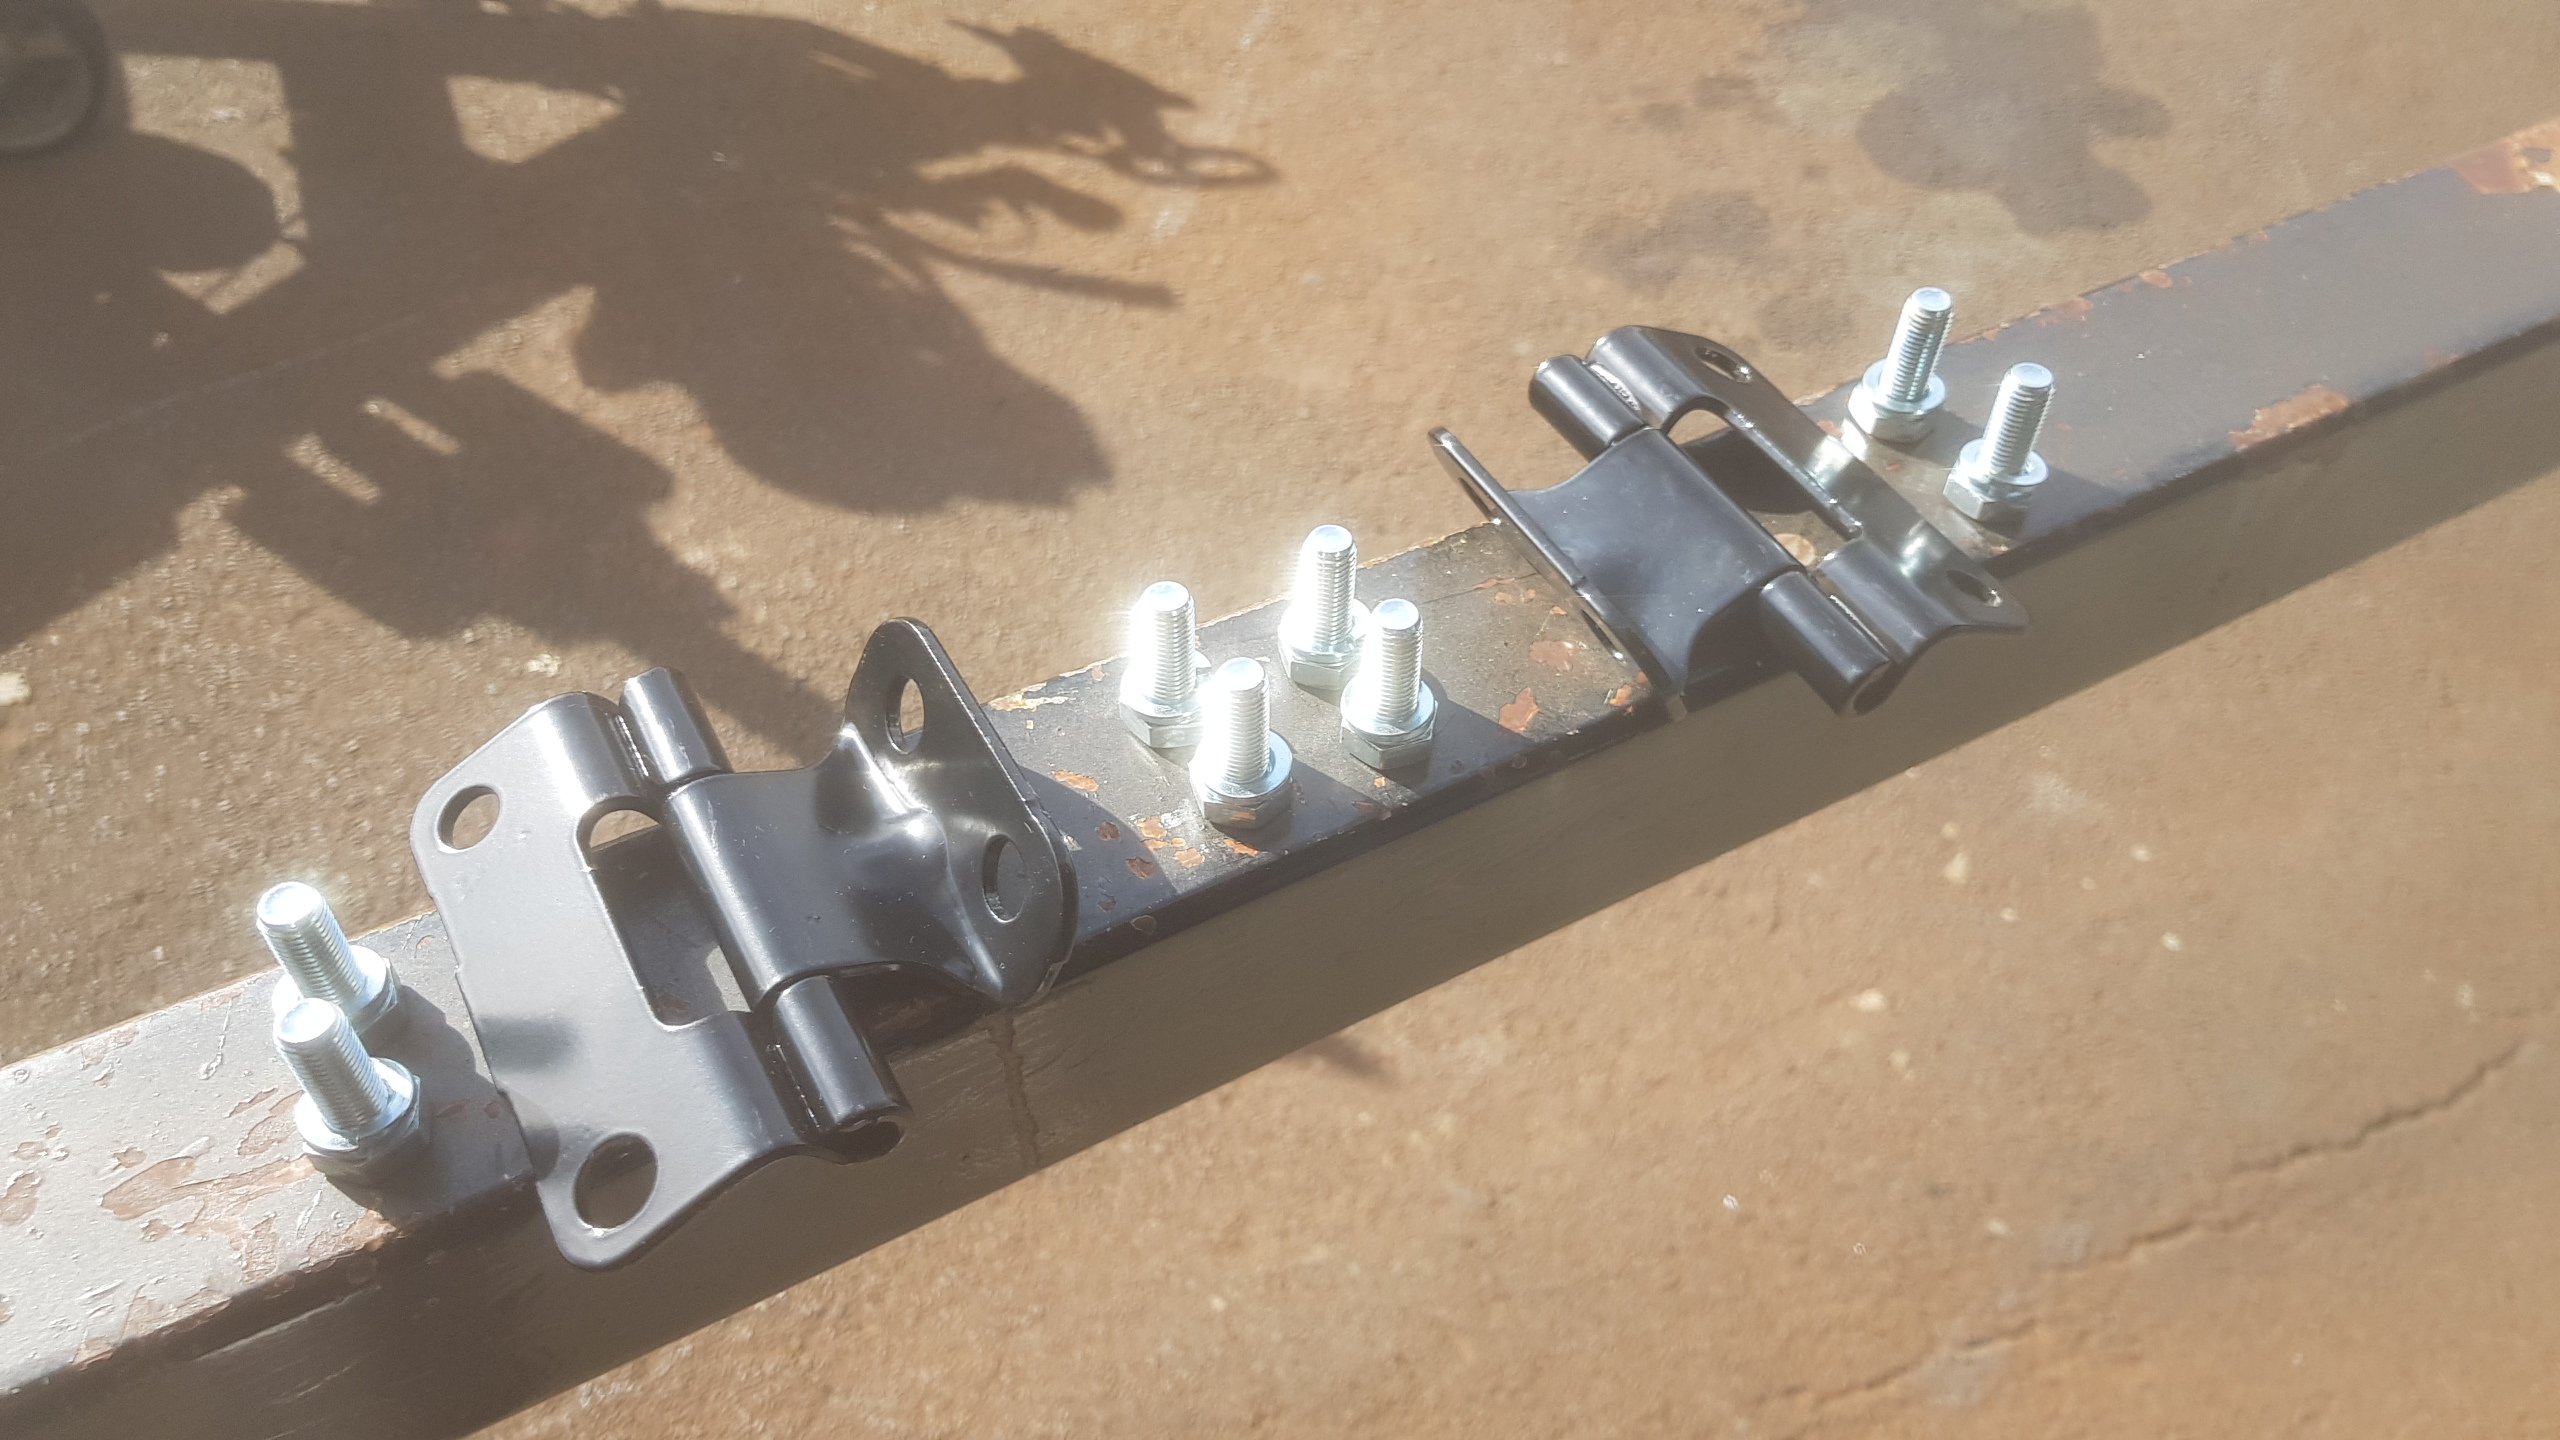
Got the tailgate hinges powdercoated, and the latches re-passivated with new fasteners to suit. A buddy colourmatched the tailgate a while back, and I got a new handle too as the old one was broken.
3 points
-
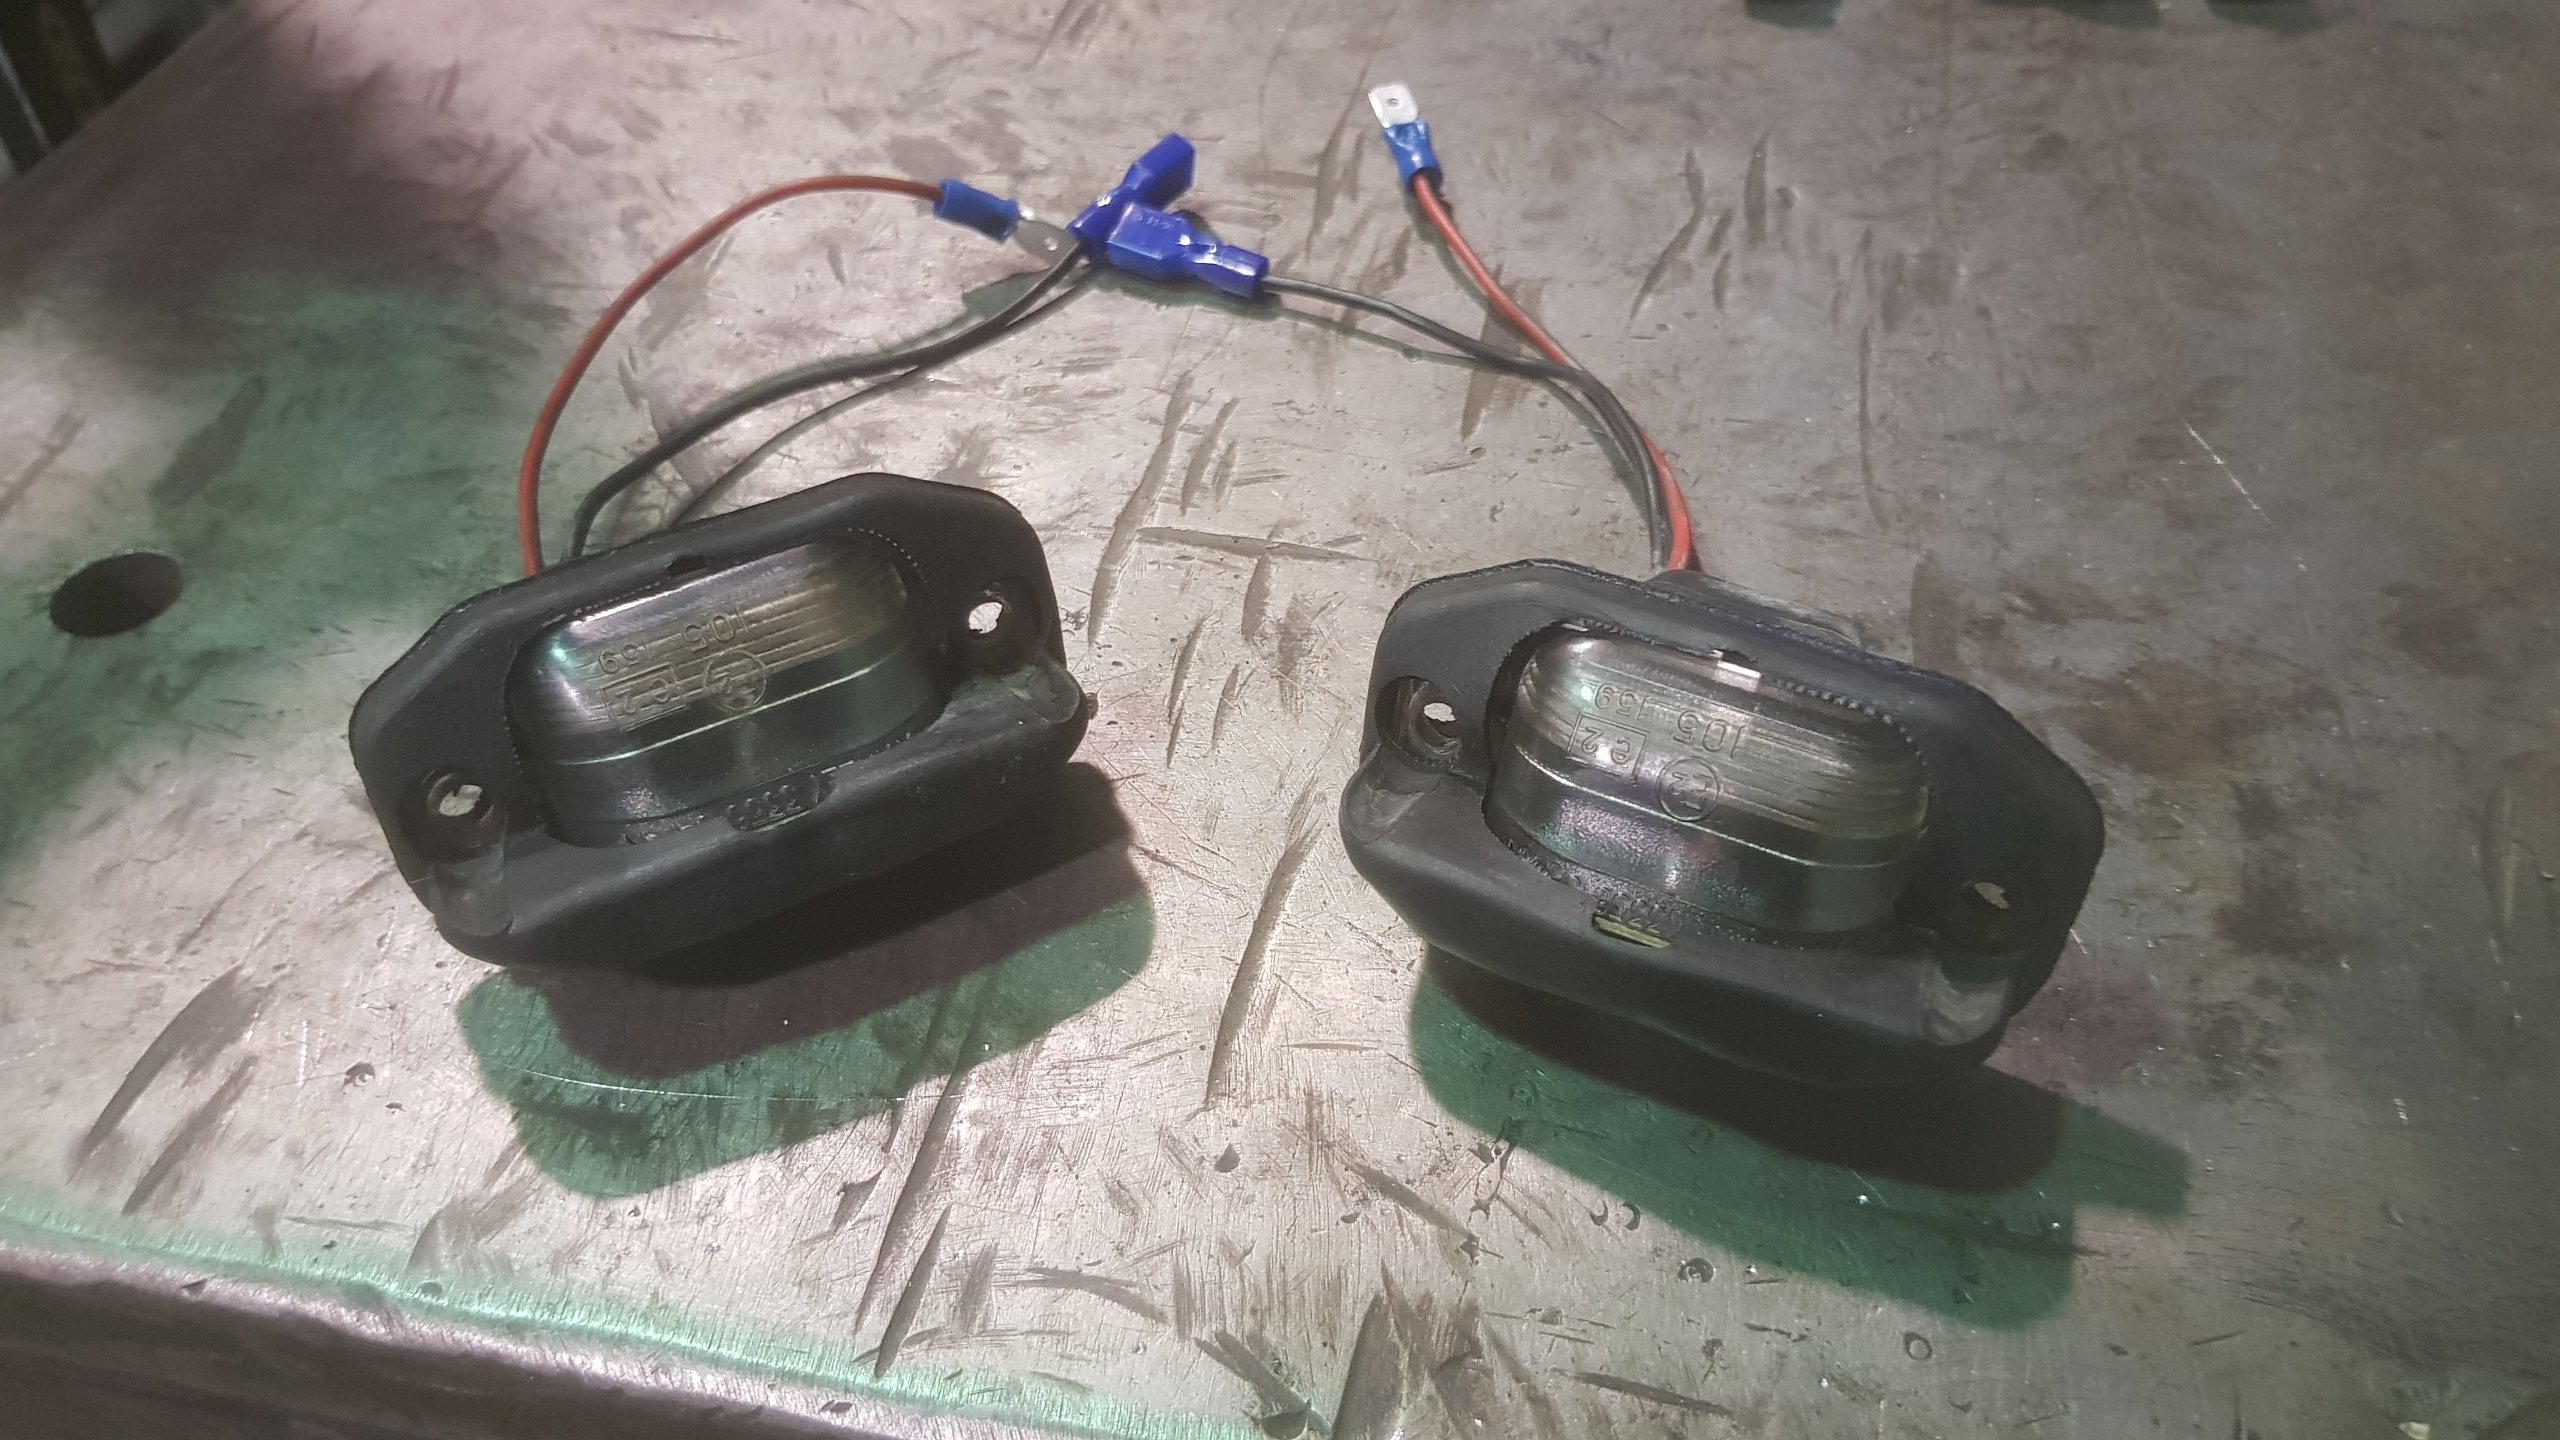
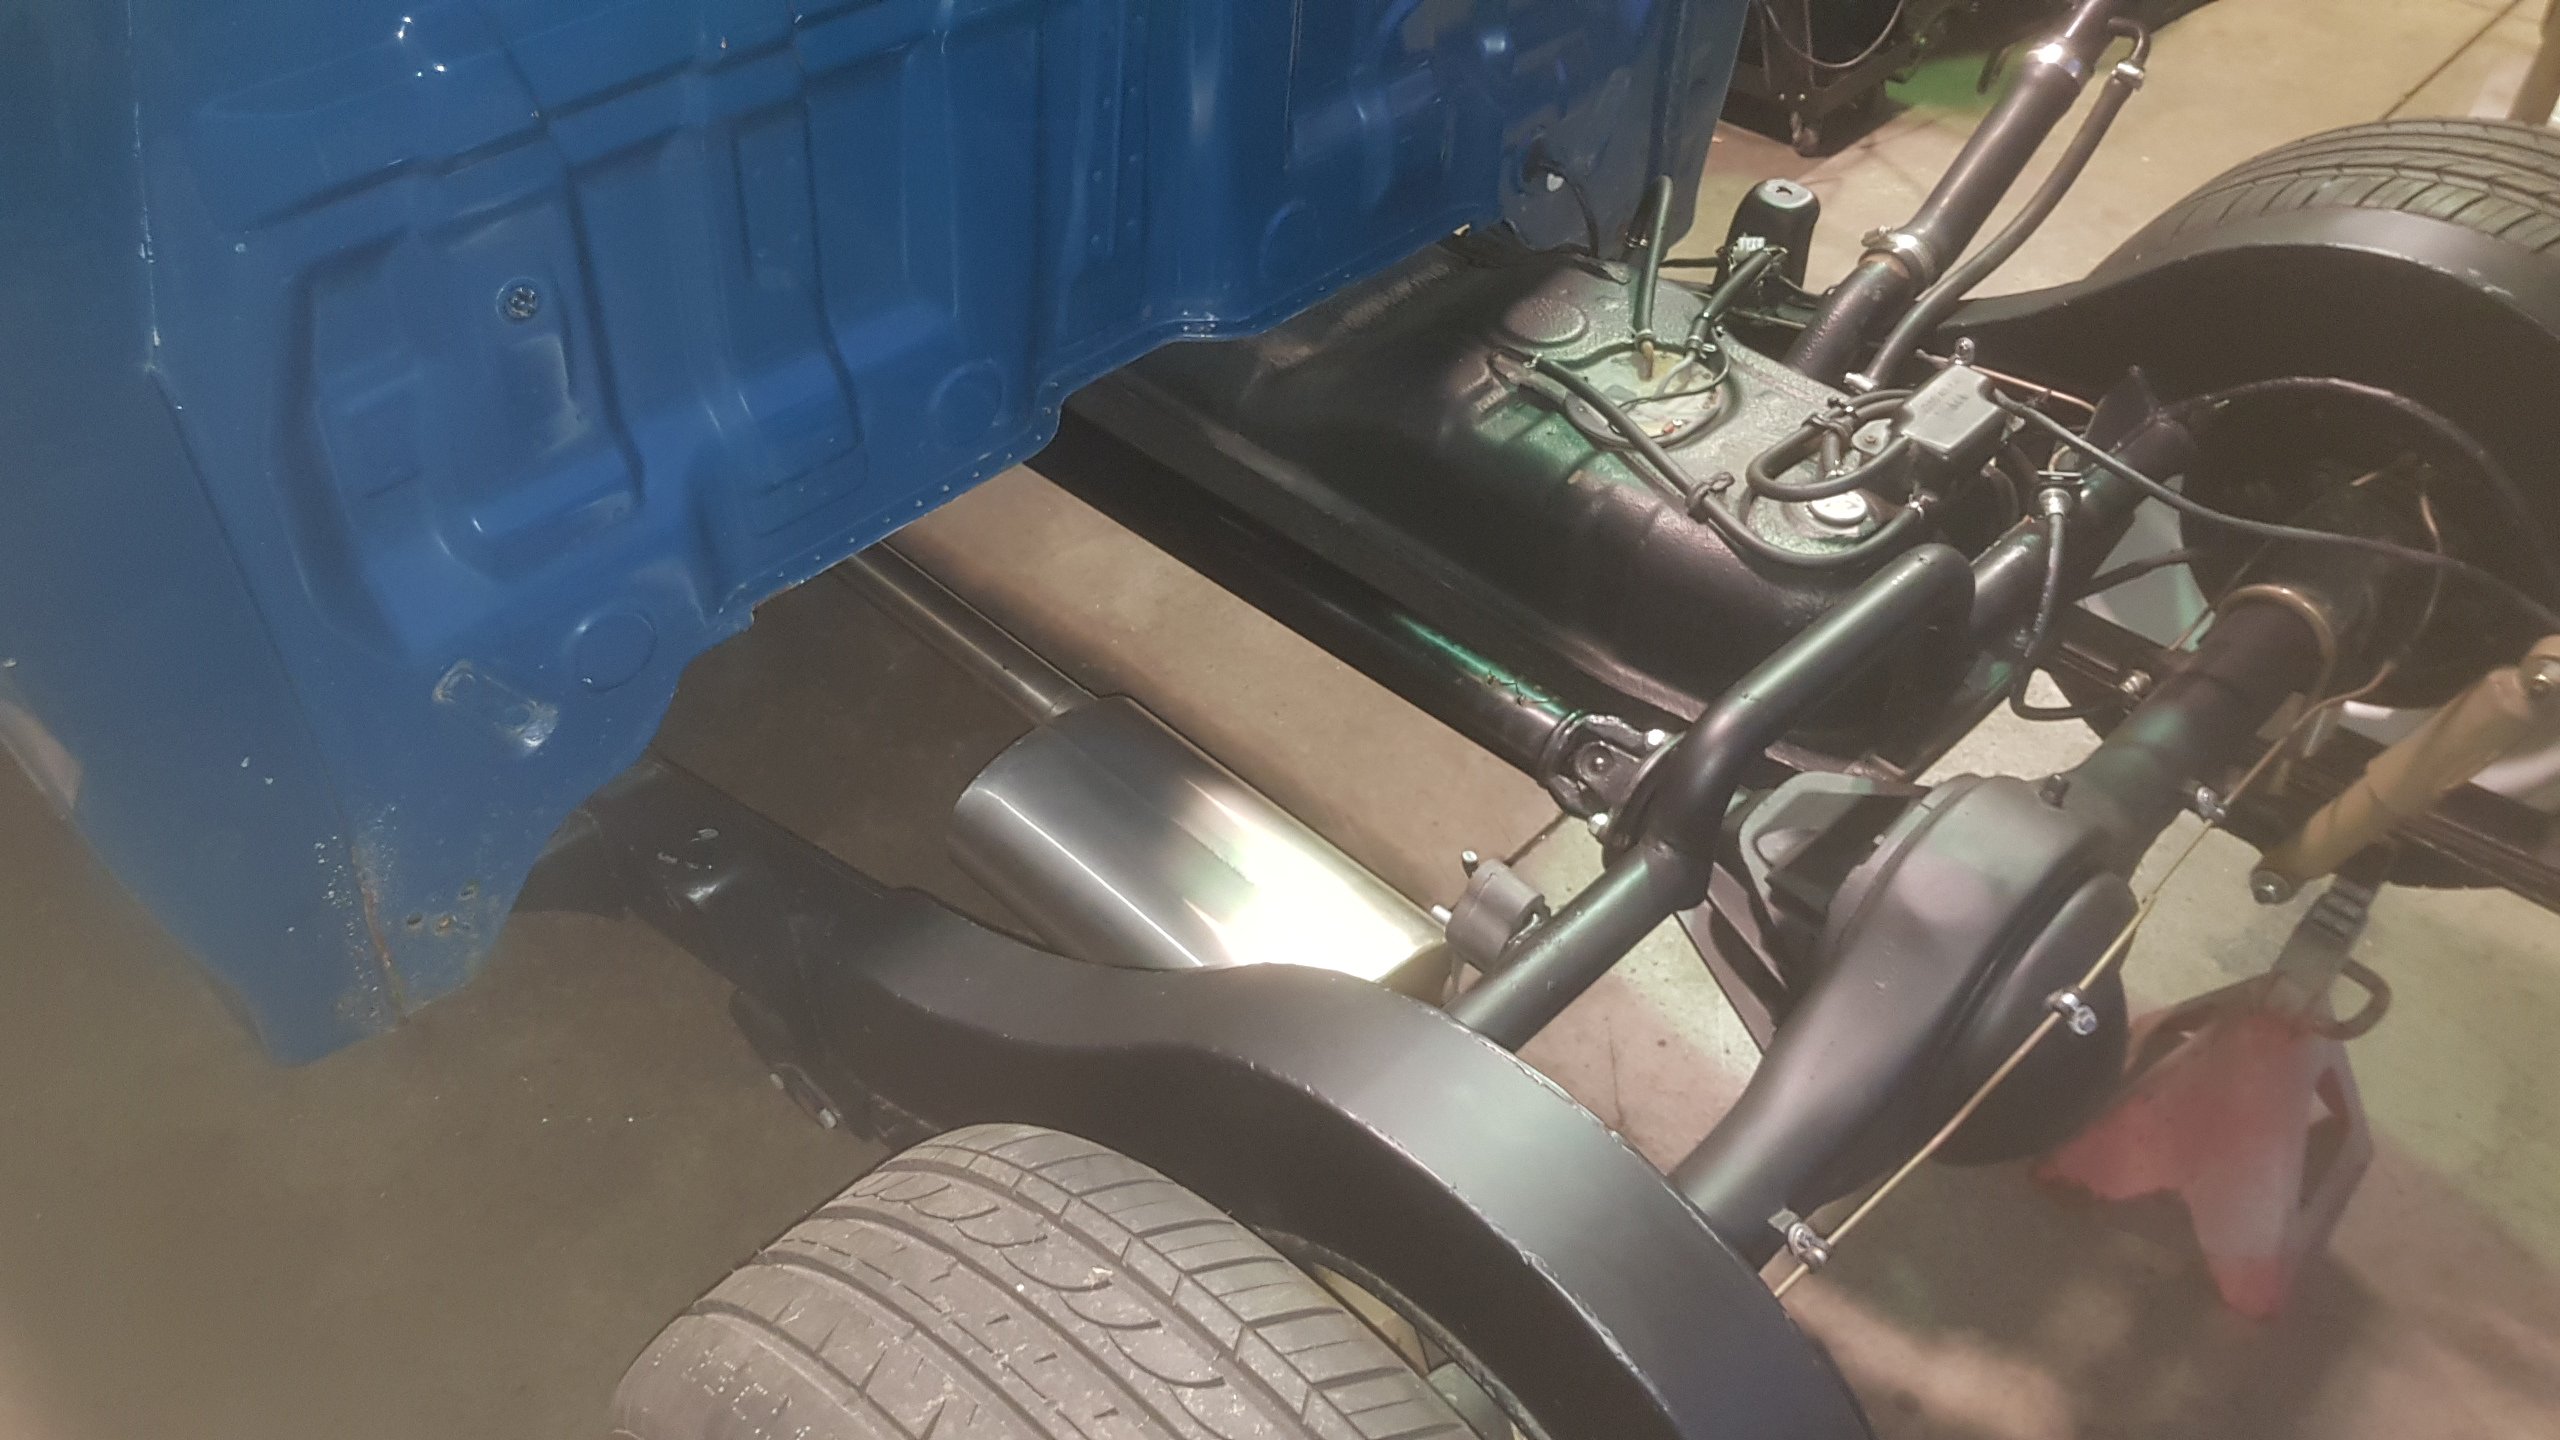
A few weeks ago I managed to bring the b2000 inside to make a push to finish it. Took tray off for the last time, and got the taillight wiring/earths run, and also cut & raised the driveshaft hanger bearing to get better d-shaft alignment. Gave the rear clip a clean and the rear cab wall a quick hand polish and put the tray back on for good. Also managed to snag a nice pair of license plate lights which I had been hunting for a while from Zebra
3 points
-
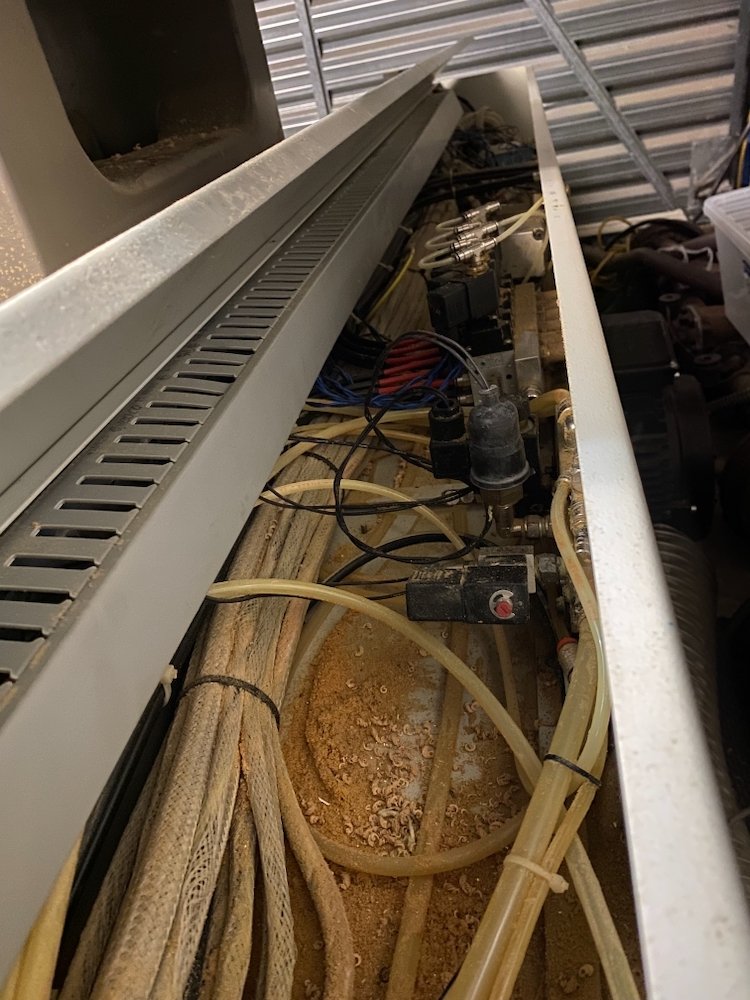
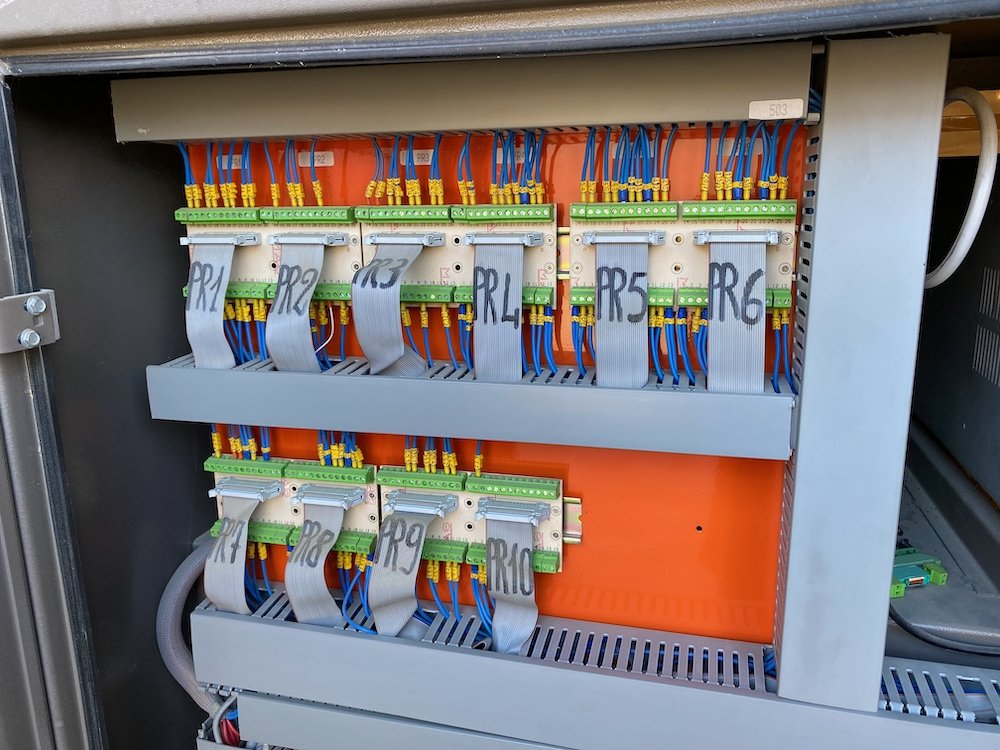
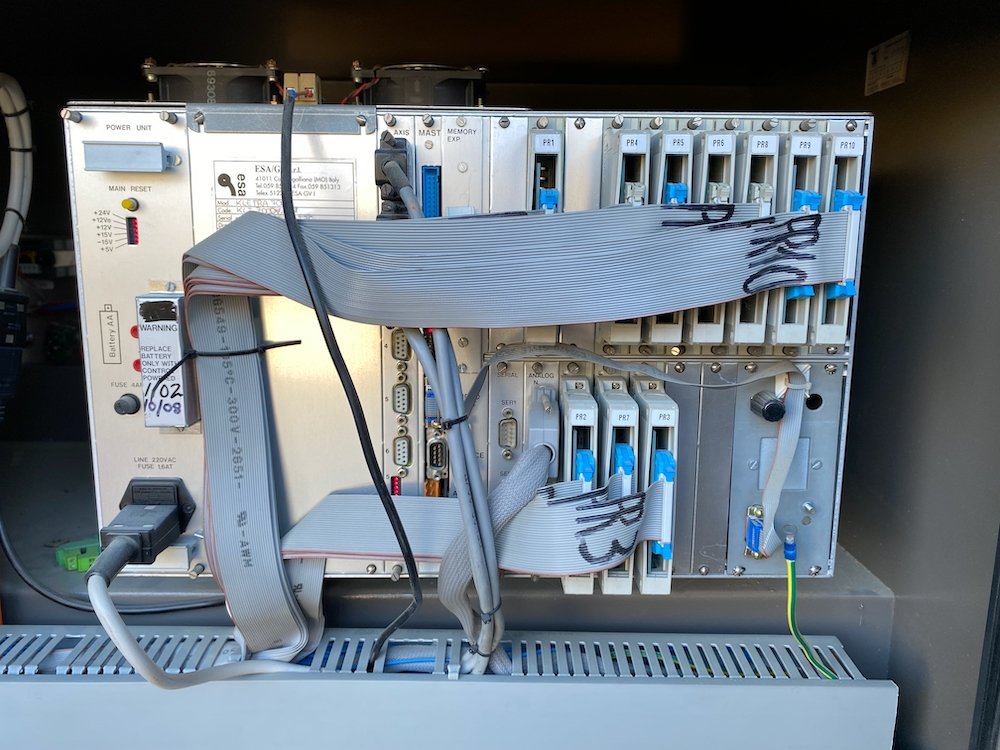
In Short, nah bro... Better chance solving Lucas production faults! I've earlier mentioned the pneumatic issues, the machine is listed as needing 220l/min air, which my compressor is capable of, but when plugged in all you can hear is hissing, from many places along with a rapidly dropping pressure gauge. Air enters the machine at a regulator, here it splits to a clean air feed and an oiled feed, these then head to 3 main banks of valves: On the chassis running parallel to the X-axis, these control the main distribution to the gantry, table controls (end stops and sucker position) and tool library. Second on the gantry, these control the spindle retraction, tool changer, hoods and various other functions The third bank is located on the toolhead, in addition to the two spindles, this machine has 18 drill heads, 6 horizontal drills, saw and surface finder, above each is a solenoid that controls the extension when the tool is called for. Sorry no picture because I still haven't pulled out the guards enough to identify them, but the drawings tell me they are in there, somewhere. As each tool requires an output, I don't plan on enabling them all, but at least one horizontal and the saw could be handy! Back to the air leaks.... I started by gathering up some blanking ports and methodically blocking off banks, starting from the main input and working back, I soon found various solenoids were leaking from their vents, blocking these off allowed working further down the line..... By the time I got to the gantry the list was growing, half the end stop solenoids are done but so far nothing I could live without. This is where it got interesting, during the initial pick up, the machine threw an alarm, the operator just said, 'oh, just give this bit a push' turns out that was the tool changer... With many leaks blocked off the compressor could finally keep up, manually operating the spindles was successful but the dust hoods were all over the show, as was the tool changer which refused to retract. Oh, did I mention the piece of timber blanking off the main spindle? With further digging, the tool changer is manipulated by the messy stack of solenoids that don't match the rest Yeah/nah, not something I feel like working out today! From the drawings, pilot air is used to combine various functions, while it makes sense on paper, the absolute mess needs to be untangled to properly evaluate, test, then reassemble to the drawings (And test again) I would carefully assume the main spindle has not run for some time and likely part of the machines demise, I have managed to enable the vsd and get the spindle to turn, so it is functional, just the state of the tool collet and changer is currently unknown. This was a pretty big sign to me that battling with the existing system was a stack of work with still not much chance of it doing what I want, but strip down, assess then rebuild to something that is useful will yield a pretty cool machine. The existing controller is about the size of a microwave, all the ribbon cables lead over to breakout boards which patch to the rest of the machine, I'm crossing my fingers that I can remove these breakout boards, replace them with the Mesa boards and replace the controller with a smaller desktop and screen.
3 points
-
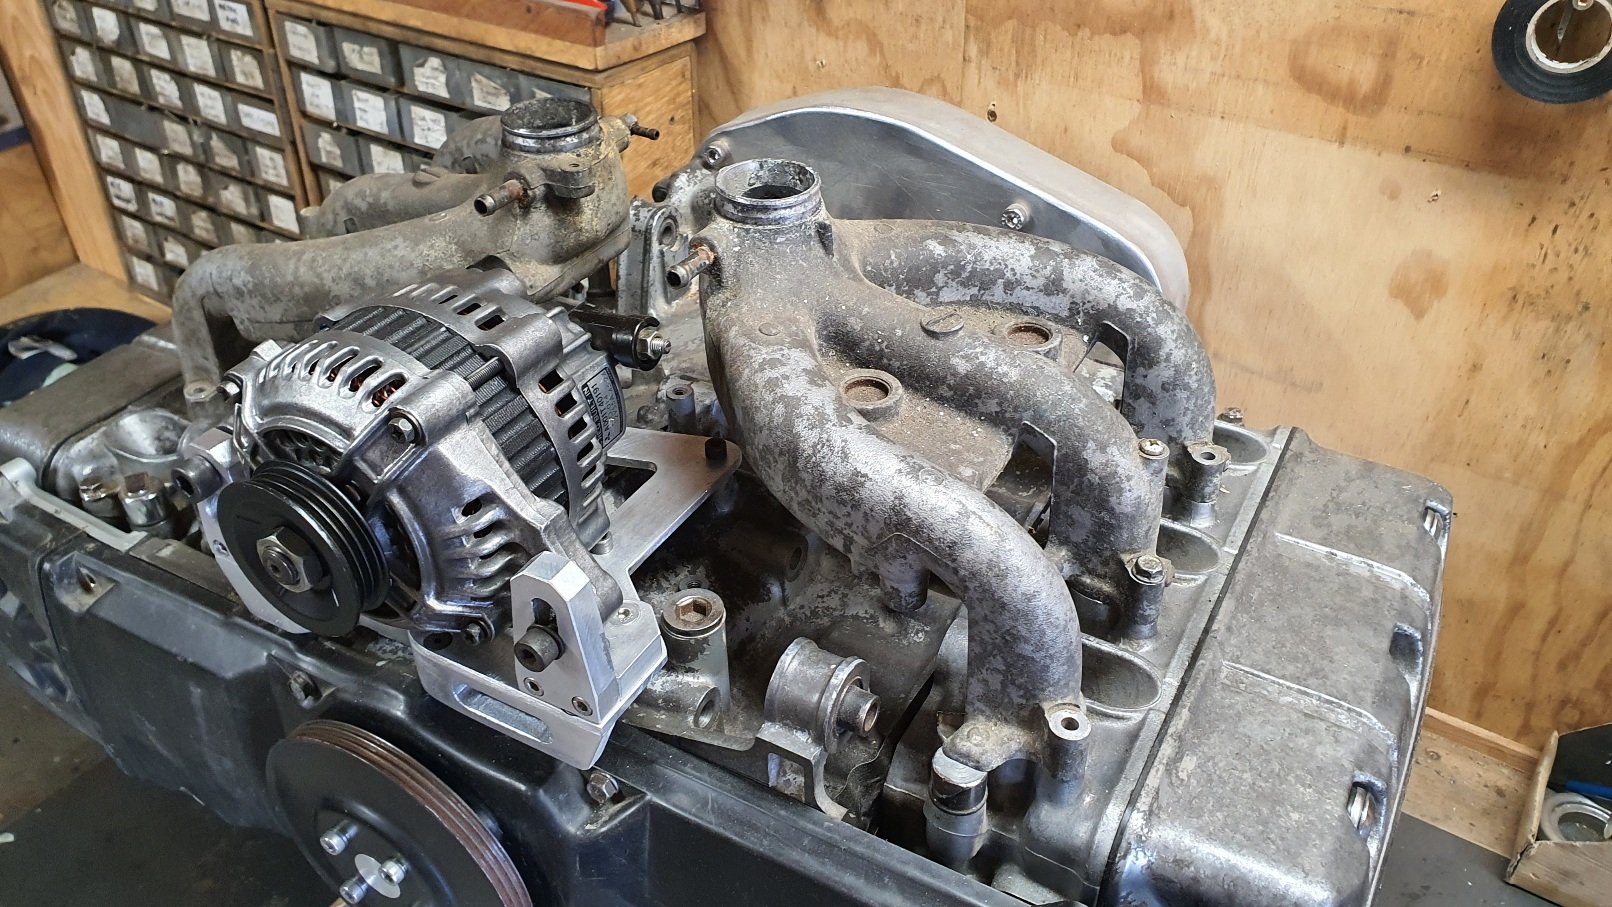
So while I plan out what my induction and exhaust setup with consist of I thought it best to get the alternator sorted. The goldwing engine originally had its alternator mounted off the back of the engine on a seperate casing now removed and driven via one of the many gears that resided within this casing between the engine and the clutch area. That area is now taken up by the bellhousing I have built and the alternator has to go on the front of the engine (which now the back ? of the engine as it sits in the imp..) and be driven off a crankshaft pulley that does not exist. This is what it looks like .. That little round cover hides the main cambelt drive pulleys and has a belt guide plate marked with various timing marks for setting up the ignition.. Under that pressed steel disc resides the first of the pulleys. Sandwiched between the pulleys is a 12 tooth trigger wheel - handy for my planned engine management on a six. I'll replace it with a 36-1 wheel though. So I need to machine up a few bits to allow the crank to run a mini v belt pulley and drive the Honda alternator which I had picked up at the local wreckers will sit about here... At another wreckers I found a pressed steel 5pk pulley from a power steering pump that was about the right diameter, had a flat mounting face and bolted in place with 4 little bolts. Ideal for my plan. I cut it down to suit a 3pk belt.. Then I popped a big lump of steel bar I luckily had left over from some other job into the lathe and machined up a hub with a locating extension on one side to match the inside of the cambelt pulley, of which which extends beyond the crankshaft nose by about 3mm. It drives , via a pin pushed into hub, off the hole in the cambelt pulley, which is there to locate the original timing plate.. The other side of this hub I bored out as far as I could whilst still allowing enough meat to bolt the pulley on. This hub then bolts onto the crankshaft, eccentrically located by the camshaft pulley and held fast by the crankbolt.. Then I machined an alloy 'plug' that fits snug into the bored out hub, machined on the end to centrally locate the steel pulley, rather then rely on the bolts.. And all lined up... So now I have a front drive pulley. Yay. Next up is making some sort of way to mount the alternator securely and not too ugly considering its going to be right there, centrally on view. Starting the mount by making lots of little tiny bits of alloy to tread about the workshop with this tool... I cut some strong alloy plate and mounted it to the top of the engine using several of the conveniently placed cast in mounting points scattered about the place on top of the engine. Thanks Honda I had to add a support on the front, easily bolted to the cambelt housing. Now I had a place that the alternator brackets could be bolted to. I just made it up as I went along and machined bits and pieces until I had what I was looking for. I wanted it to look a mix of between sort of factory and sort of 'race car'. I had lots of fun making more alloy swarf.. Of course I cut my plate too narrow... Eventually I ended up with all these bits to piece together... Together they made this.. But before I plonked the alternator in place I had to clean it. It looked horrid and had obviously resided in a Honda of some ilk with some serious oil leaks. It was also a bit corroded and things didn't want to pull apart too easily. I made a bespoke little bearing puller.. The filthy alloy castings came up nice with a petrol bath.. and even nicer with some wire brushing... While it was apart I cleaned up the slip rings... Painted the centre black. It will possibly be repainted in Imp blue at a later date, as a treat if the engine swap works out ok. Its just a look I quite like - call me 90s boy. Bolted it all back together, complete with a new main bearing that I happened to have in stock (must be one of the most common bearings ever -35/15/10) Then excitedly bolted it in place. My Honda goldwing now has a standard alternator mounted in a pretty normal fashion and it looks nice and neat... With that sorted I can move onto making the cooling pipes and induction setup. I have still not fully made my mind up on what route I'll be taking here but I'll probably to bite the bullet and click buy now on a set of itbs so at least I have something to play with and go from there. I need to find a set of suitable top feed injectors. Something around 200cc at a guess. The standard Honda goldwing 1800 items look like they'd be ok and pretty compact. I'll be making the mounting seats to suit, which I'll then weld in place on the stock intake runners. Fuel rail made to suit.3 points
-
My idea of what im gona do something similar
2 points
-
Project Binky levels of bracketry there, my good man!2 points
-
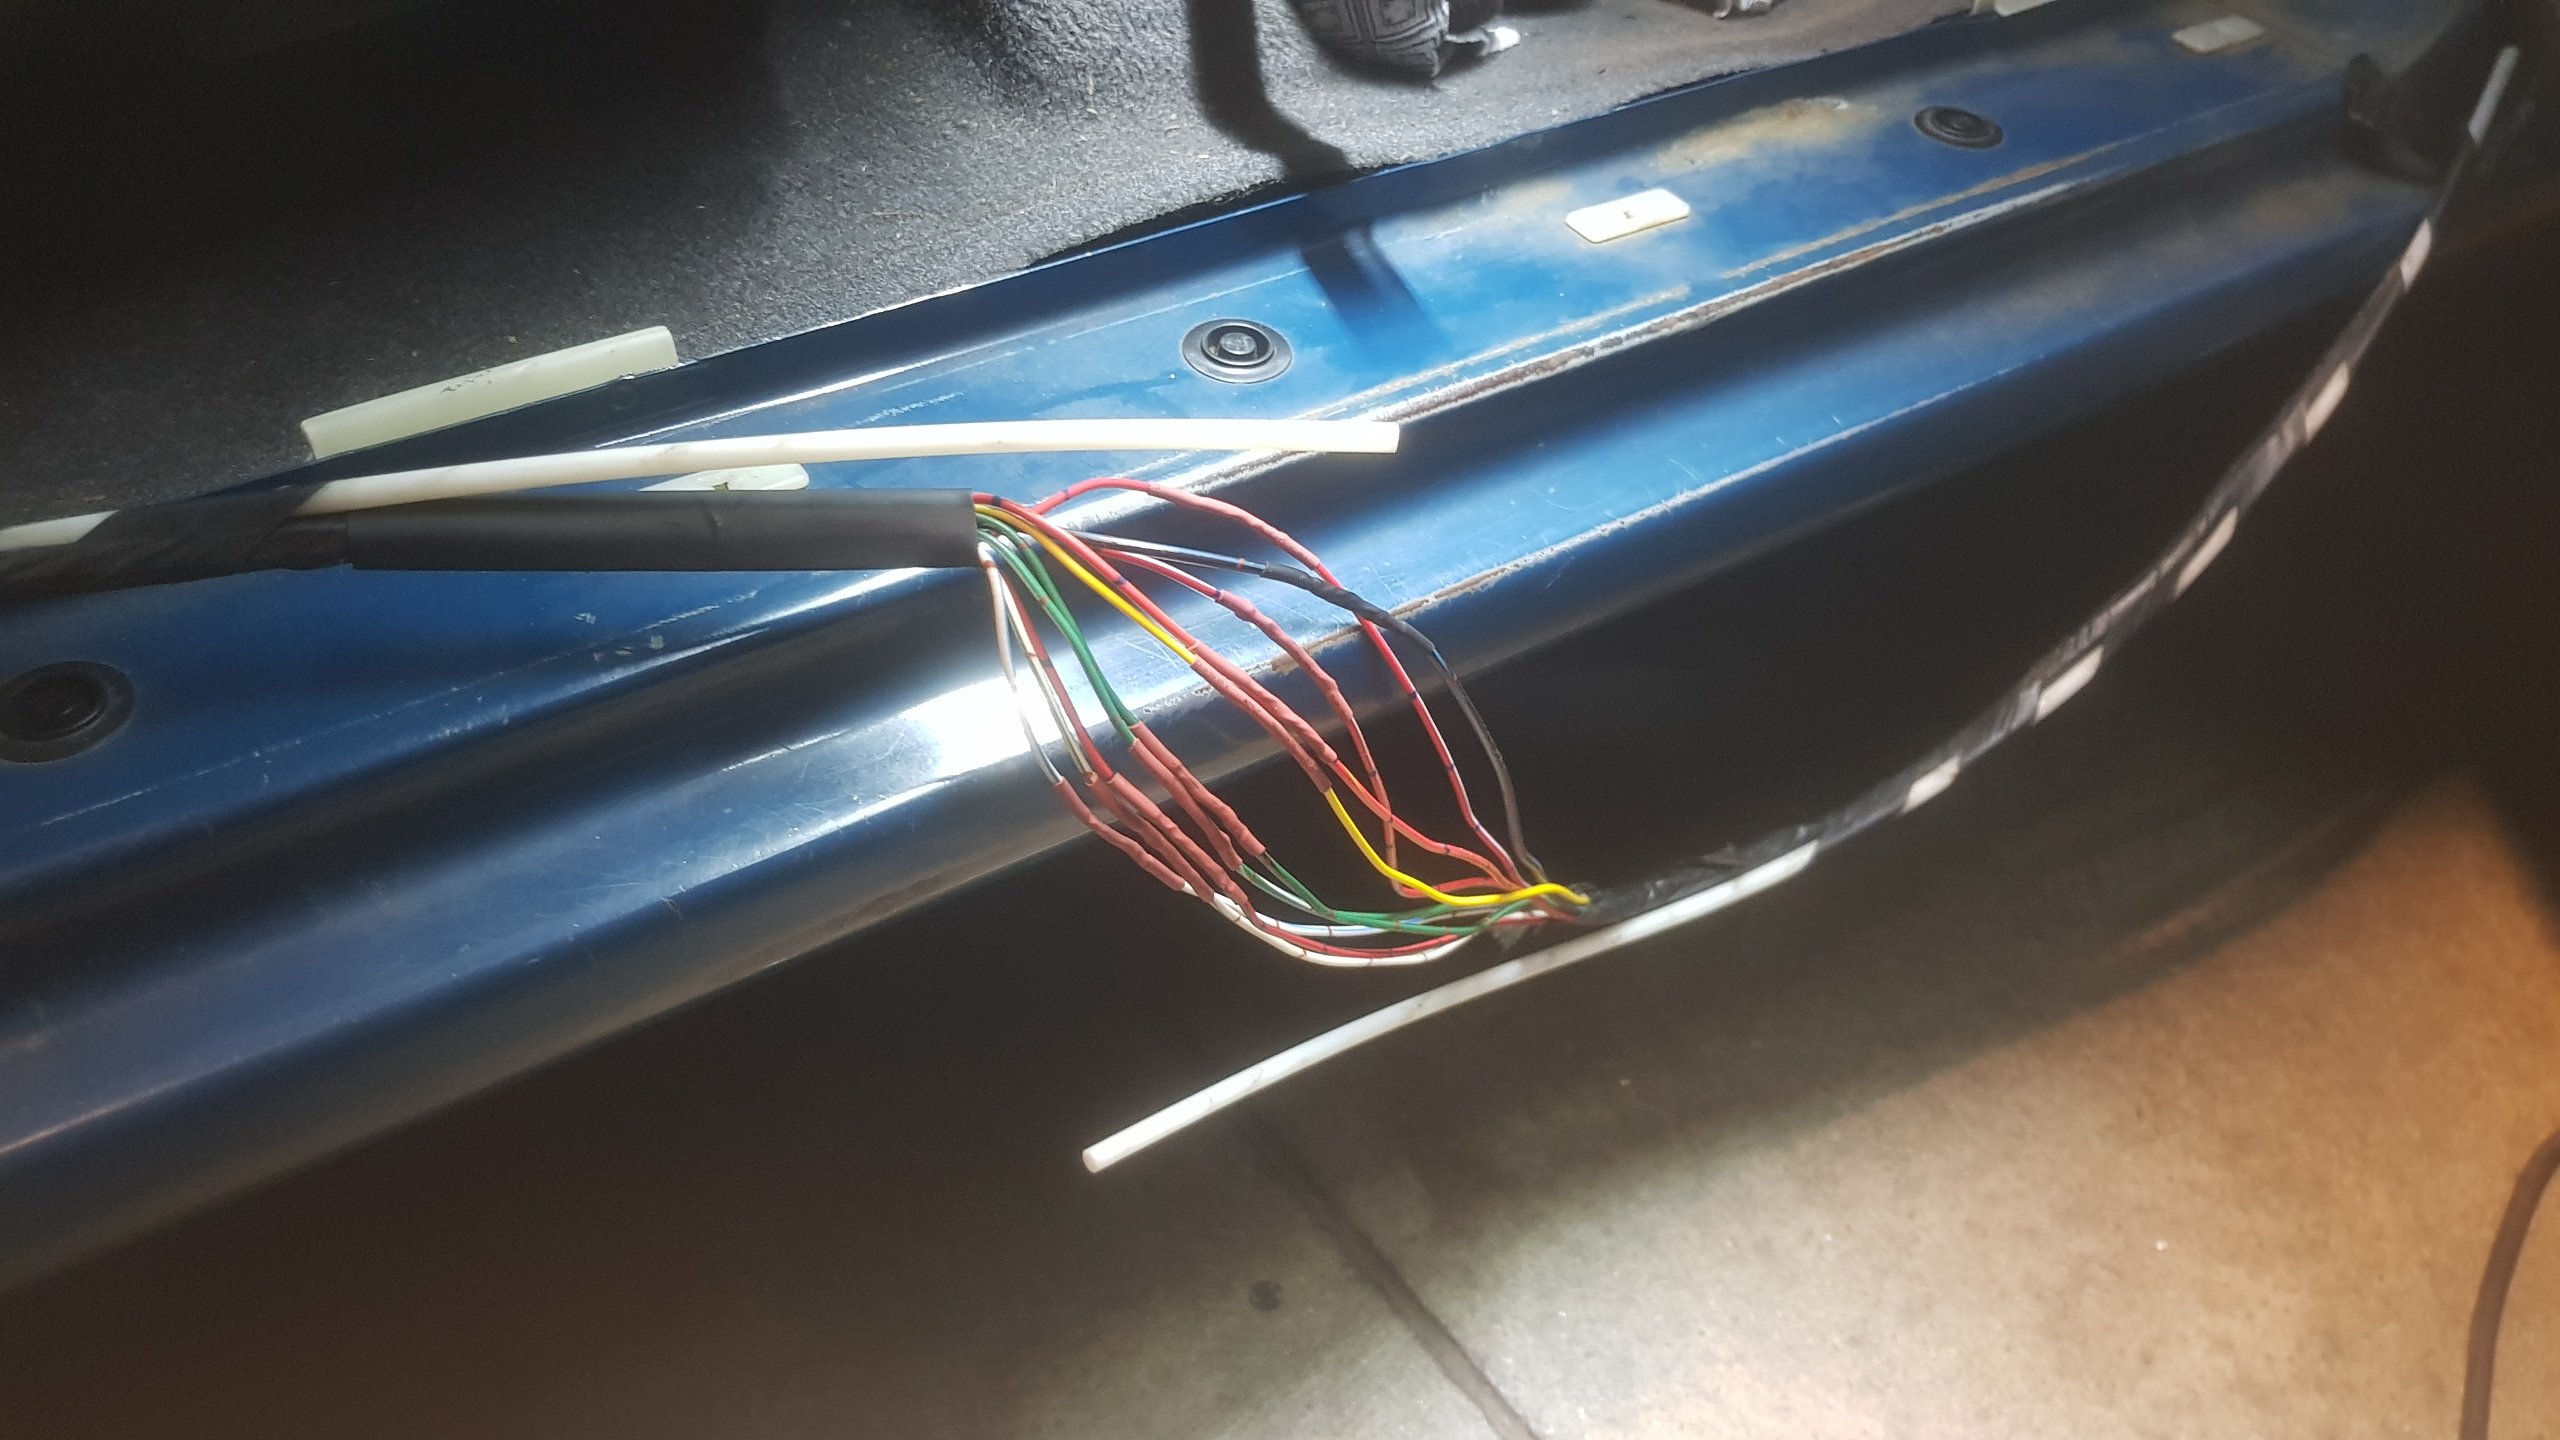
Remade all new earths throughout the car, and got main power connected with some nice terminals I had lying around. Swapped all the front light plugs to the newer style to suit the facelift front swap. Tested lights but had nothing at the rear. Found the main loom to rear end had been cut next to drivers seat, so soldered that back togethor and everything works mint.
2 points
-
Probably because I had success with it. Once I had googled the IO for the servo drivers and bought a breakout board it was pretty simple to set up.2 points
-
Those are the bits I wanted from it... Rare find. And can see the BodySonic control amp that came with another YAJ score mid last year. Also got the correct optional head-deck made by Pioneer for the Citys with that score.
2 points
-
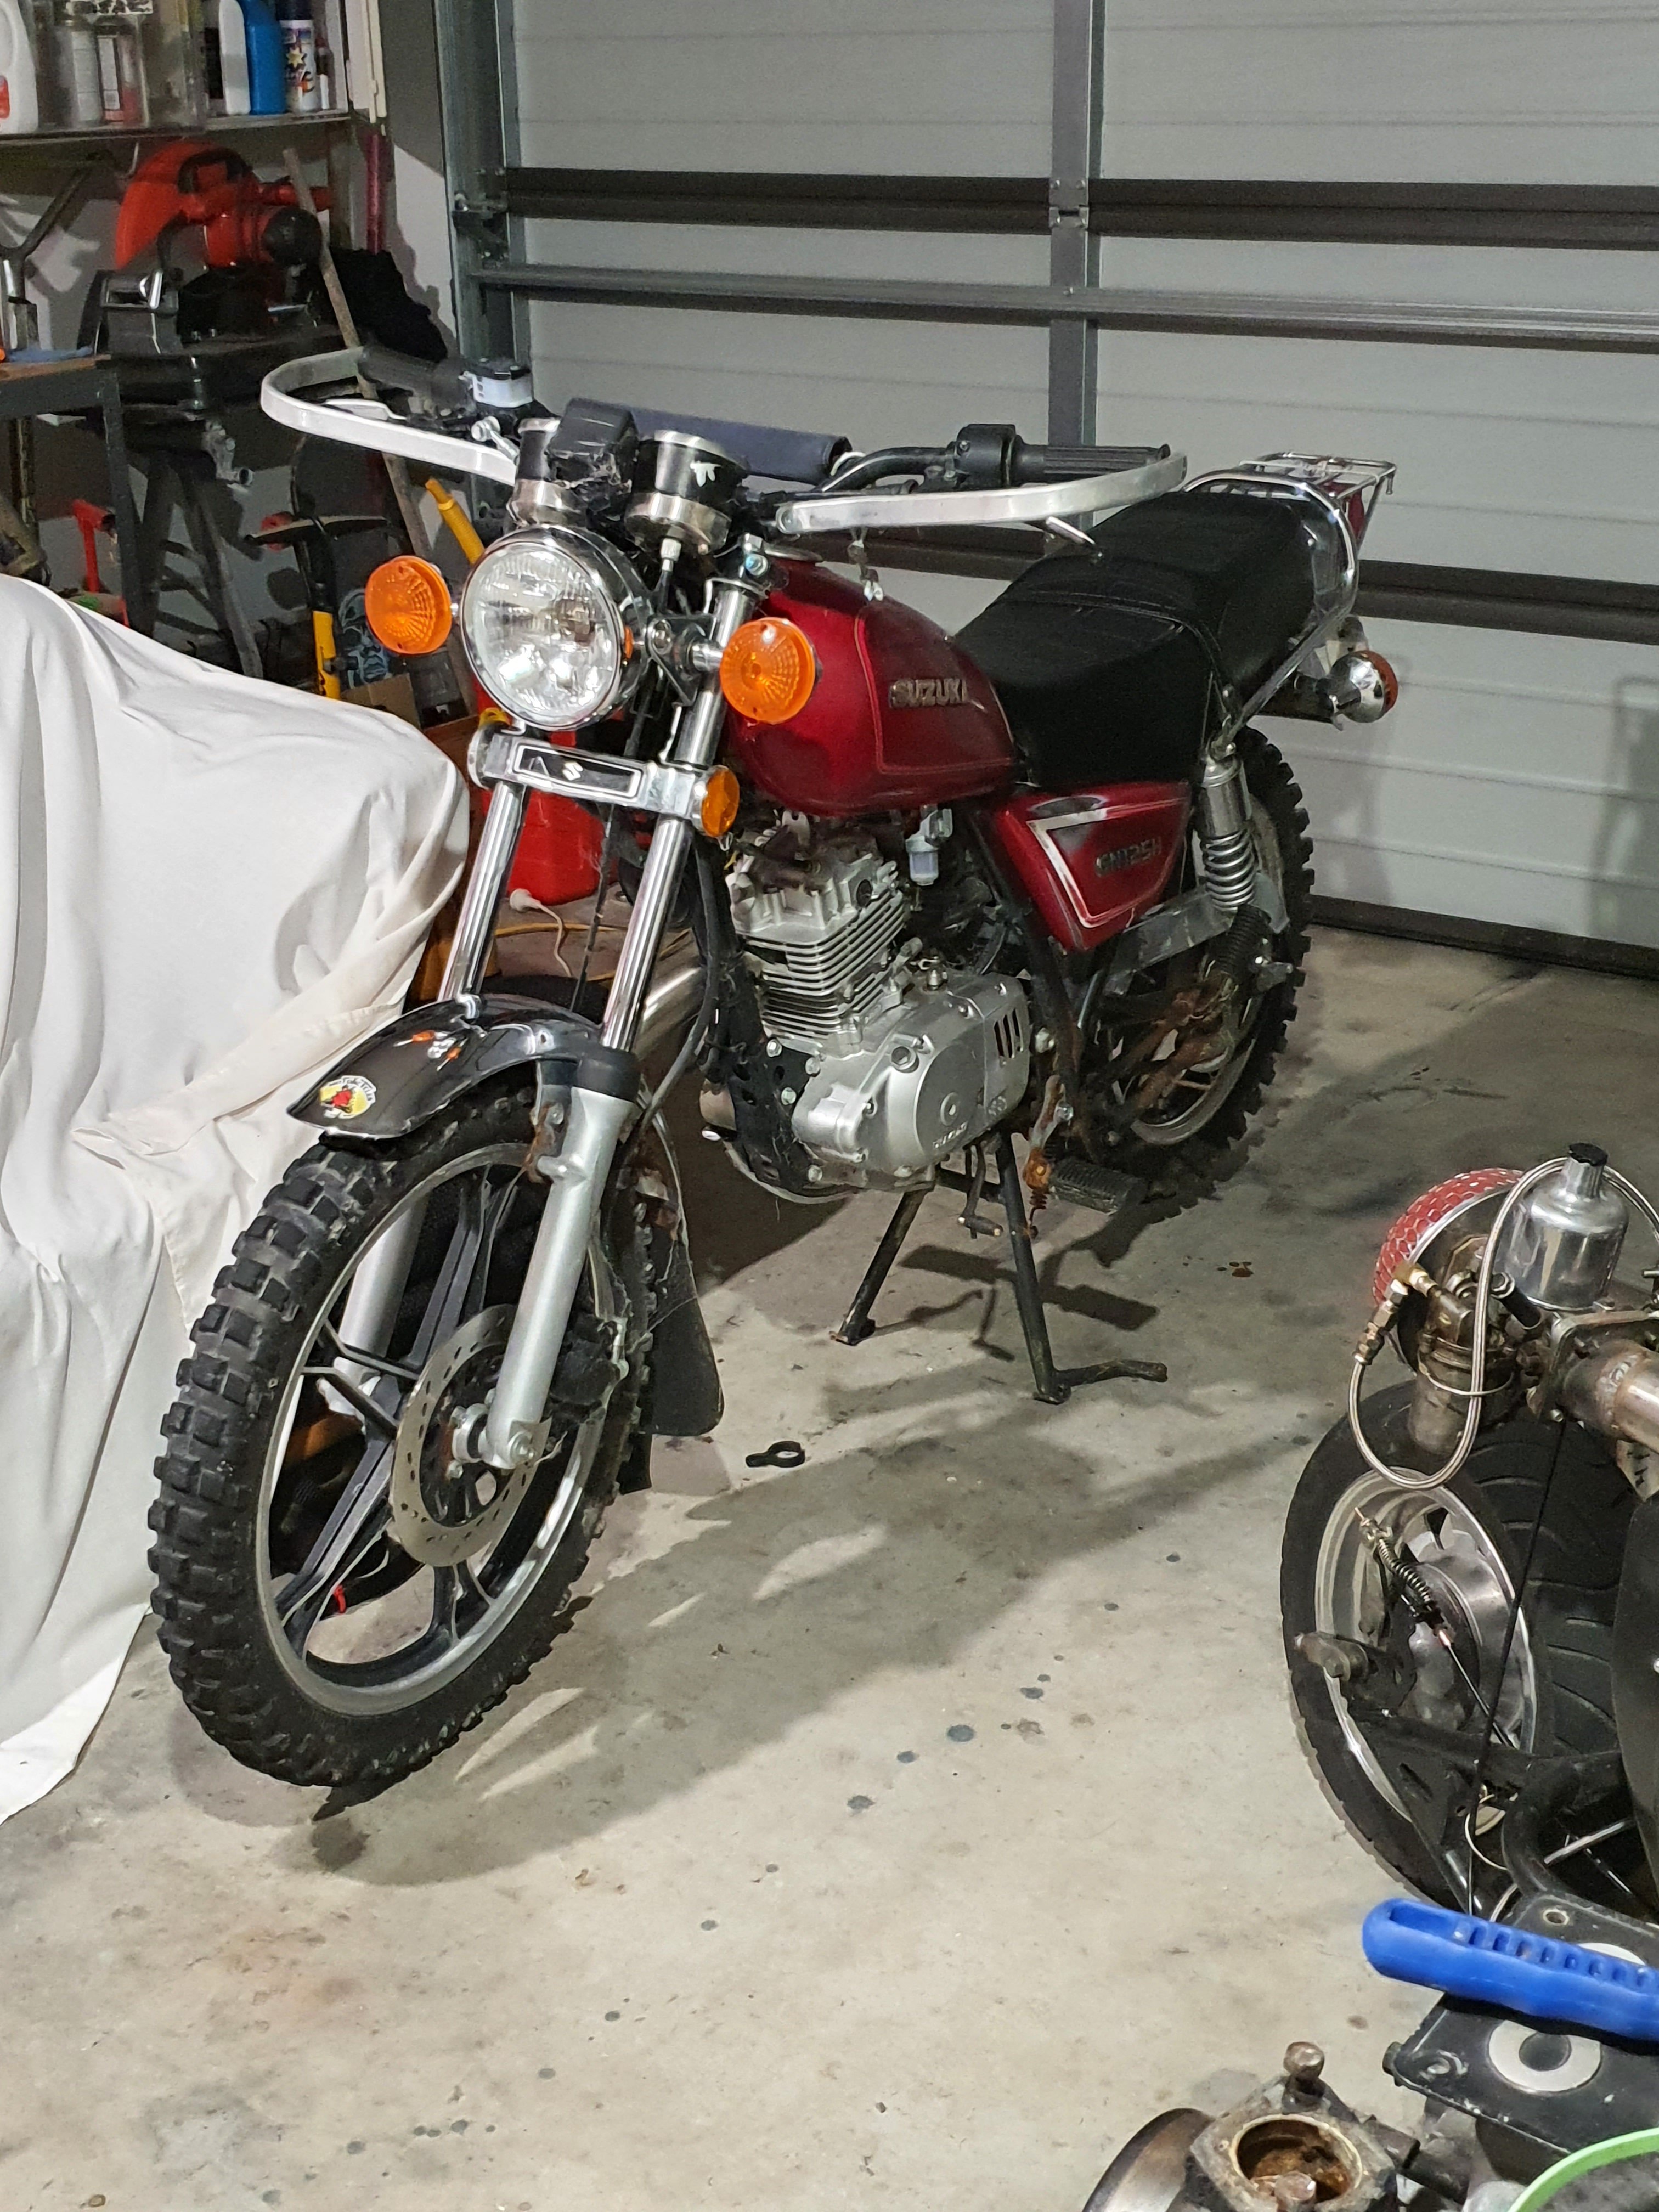
I used some more bits and cobbled up a muffler to go on the end of the system I made. Used a 140mm shortened harley V Rod muffler so it fit the frame its got quite a nice bark to it for a 125cc. In a moment of weakness I let my son ride it to top of the street and back only to get pulled over by the cops 4 doors from home. Thought we were fucked but shook cops hand and just agreed I'd ride it home I just pushed it as I was still shitting my self.
2 points
-
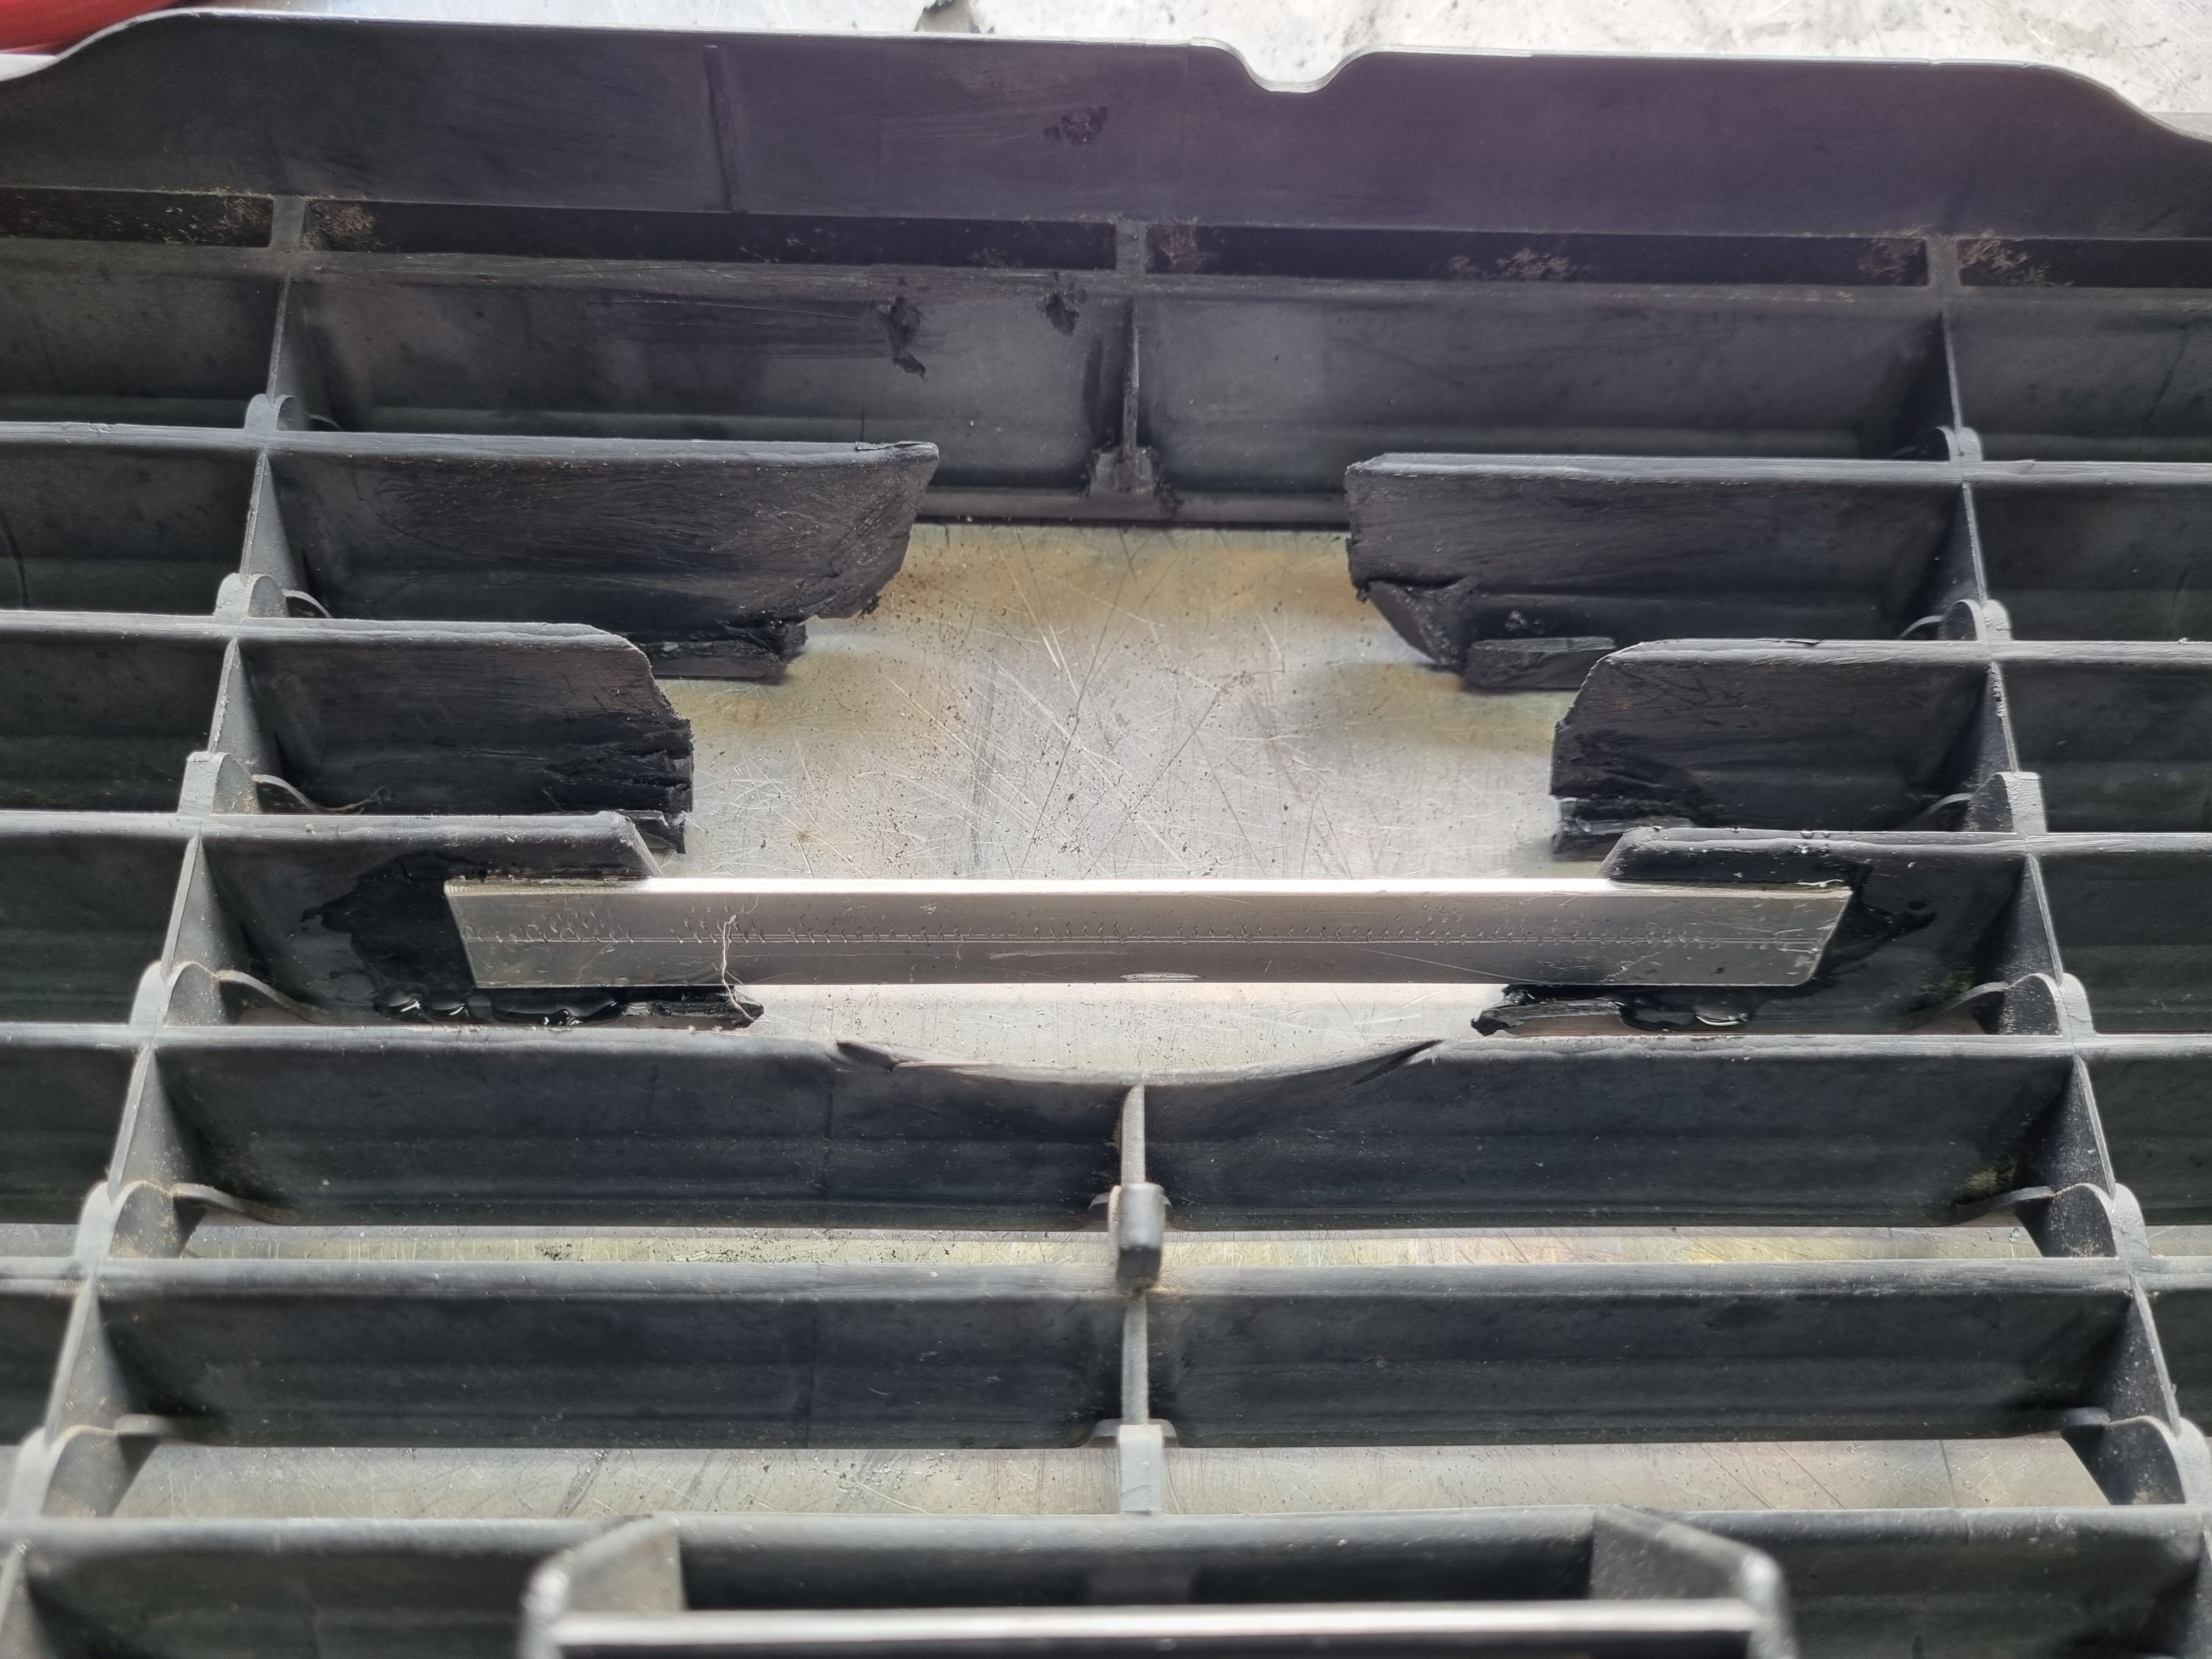
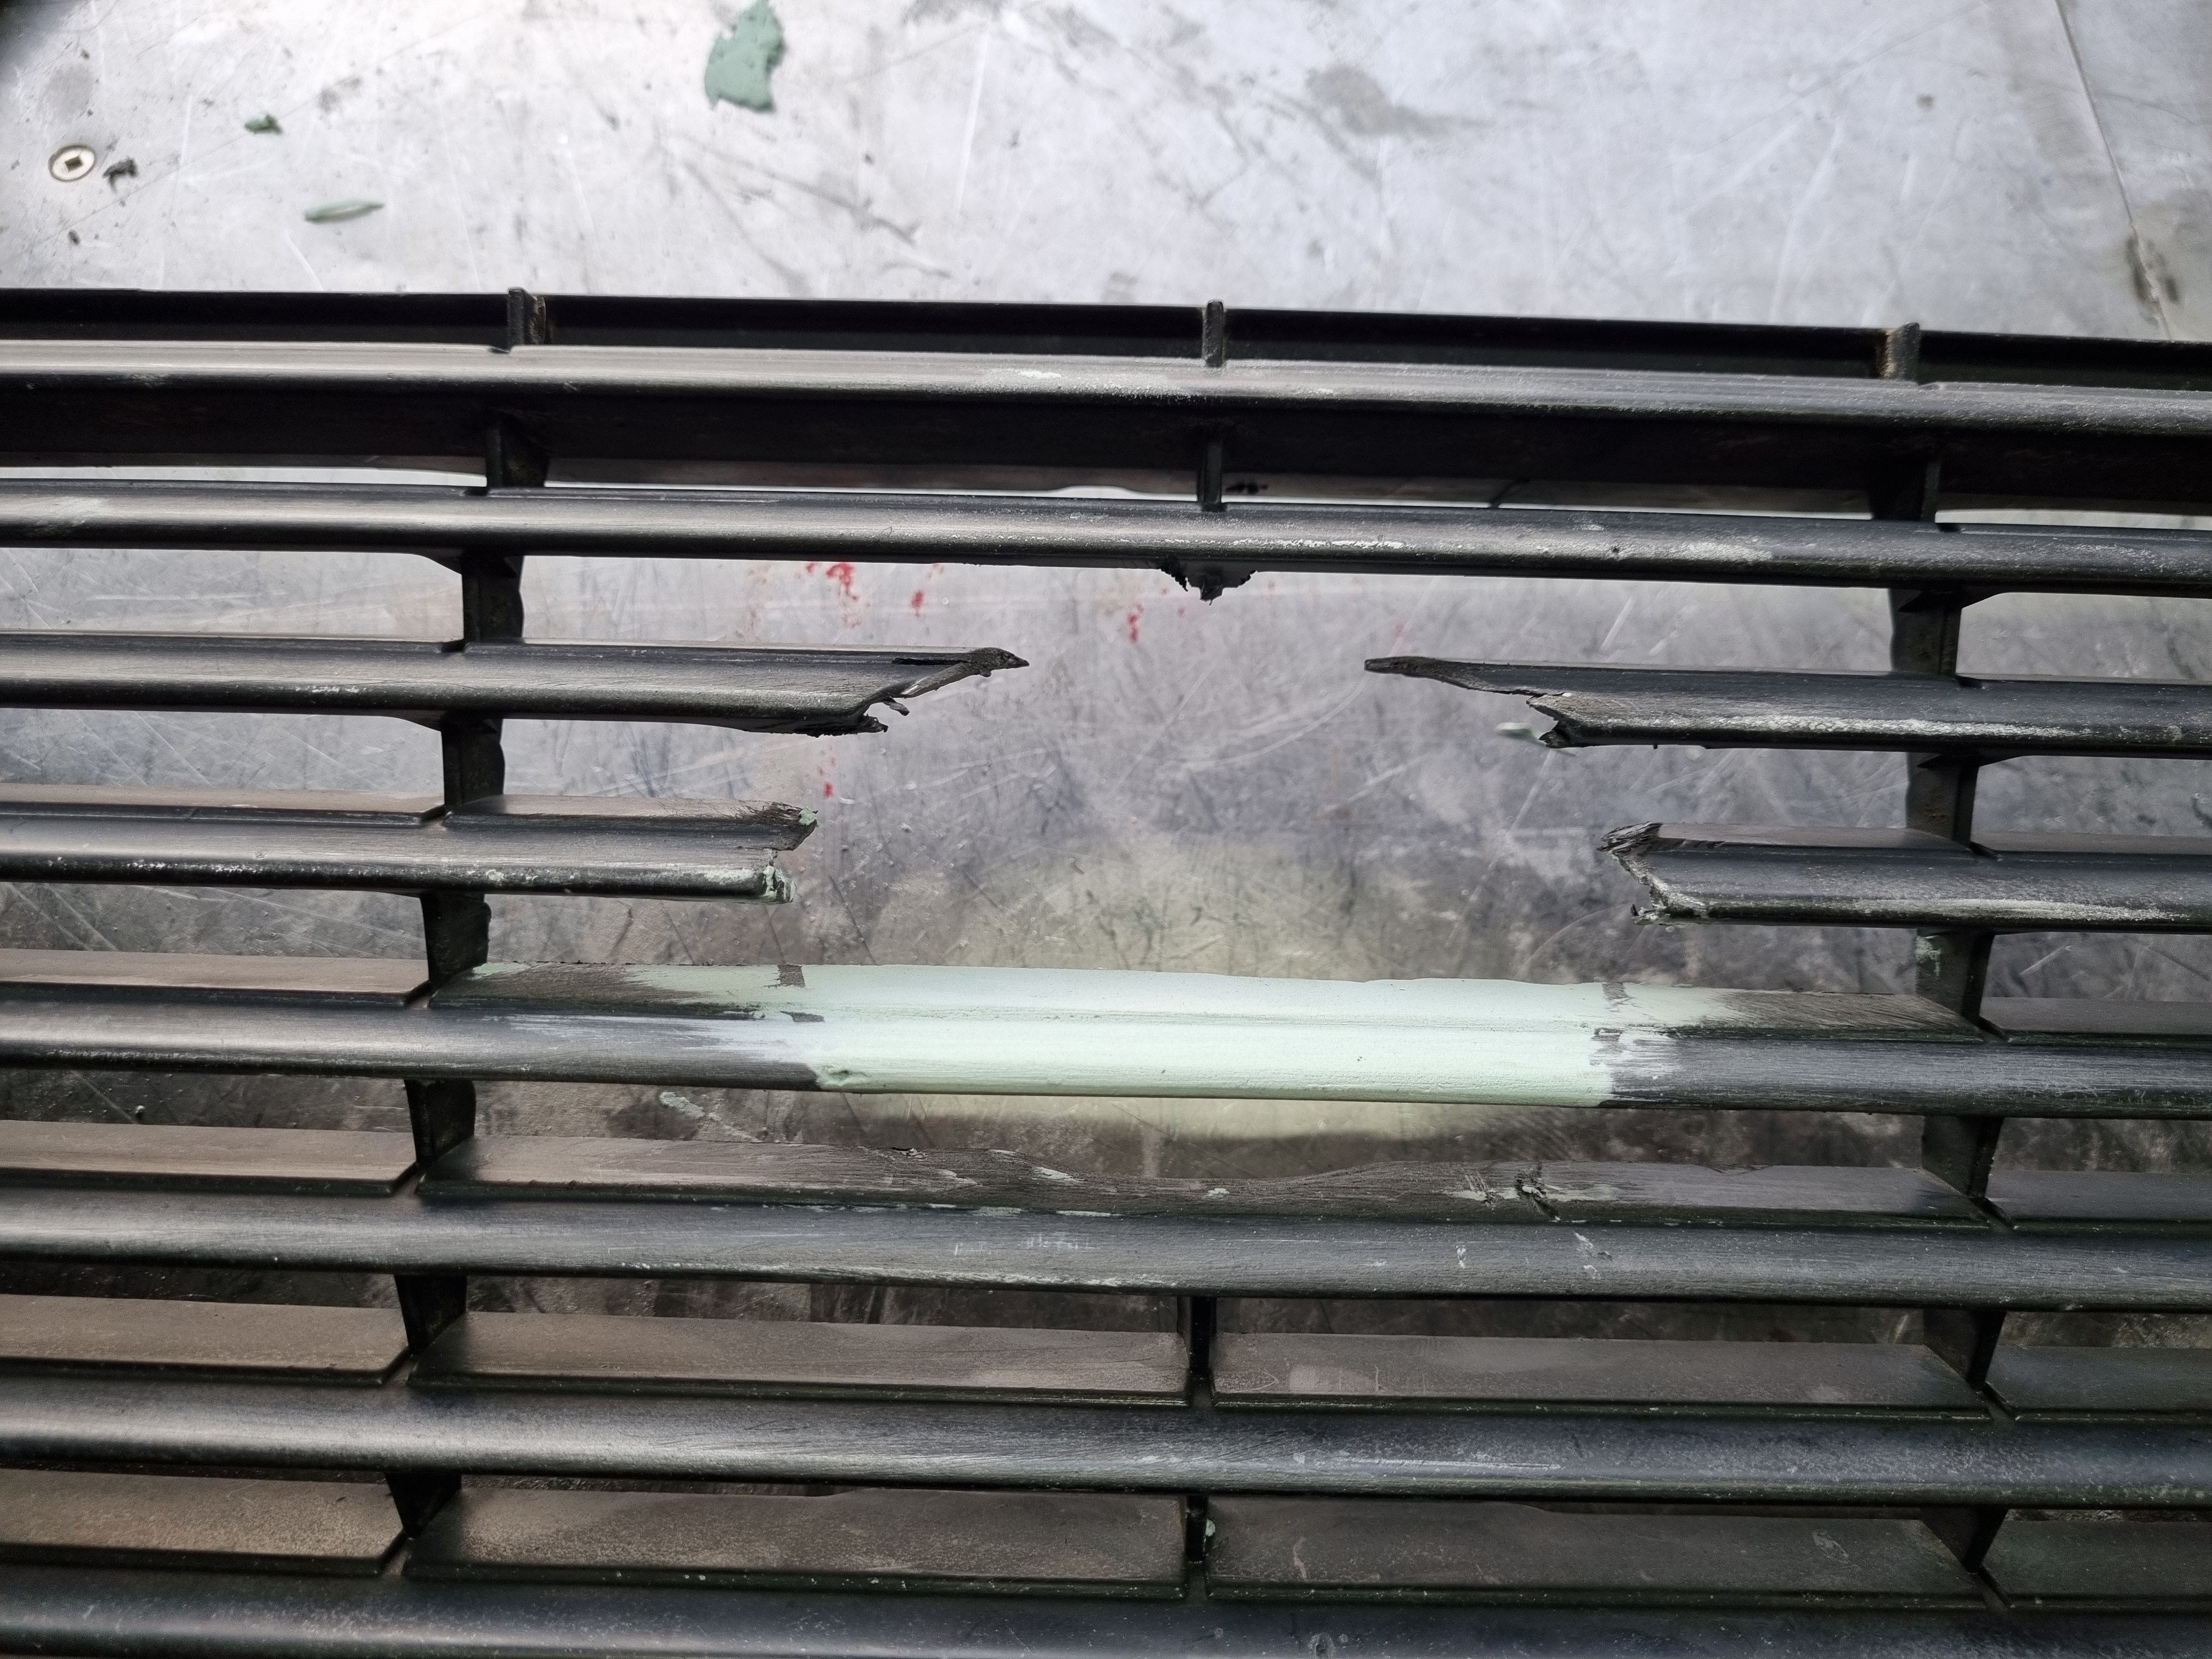
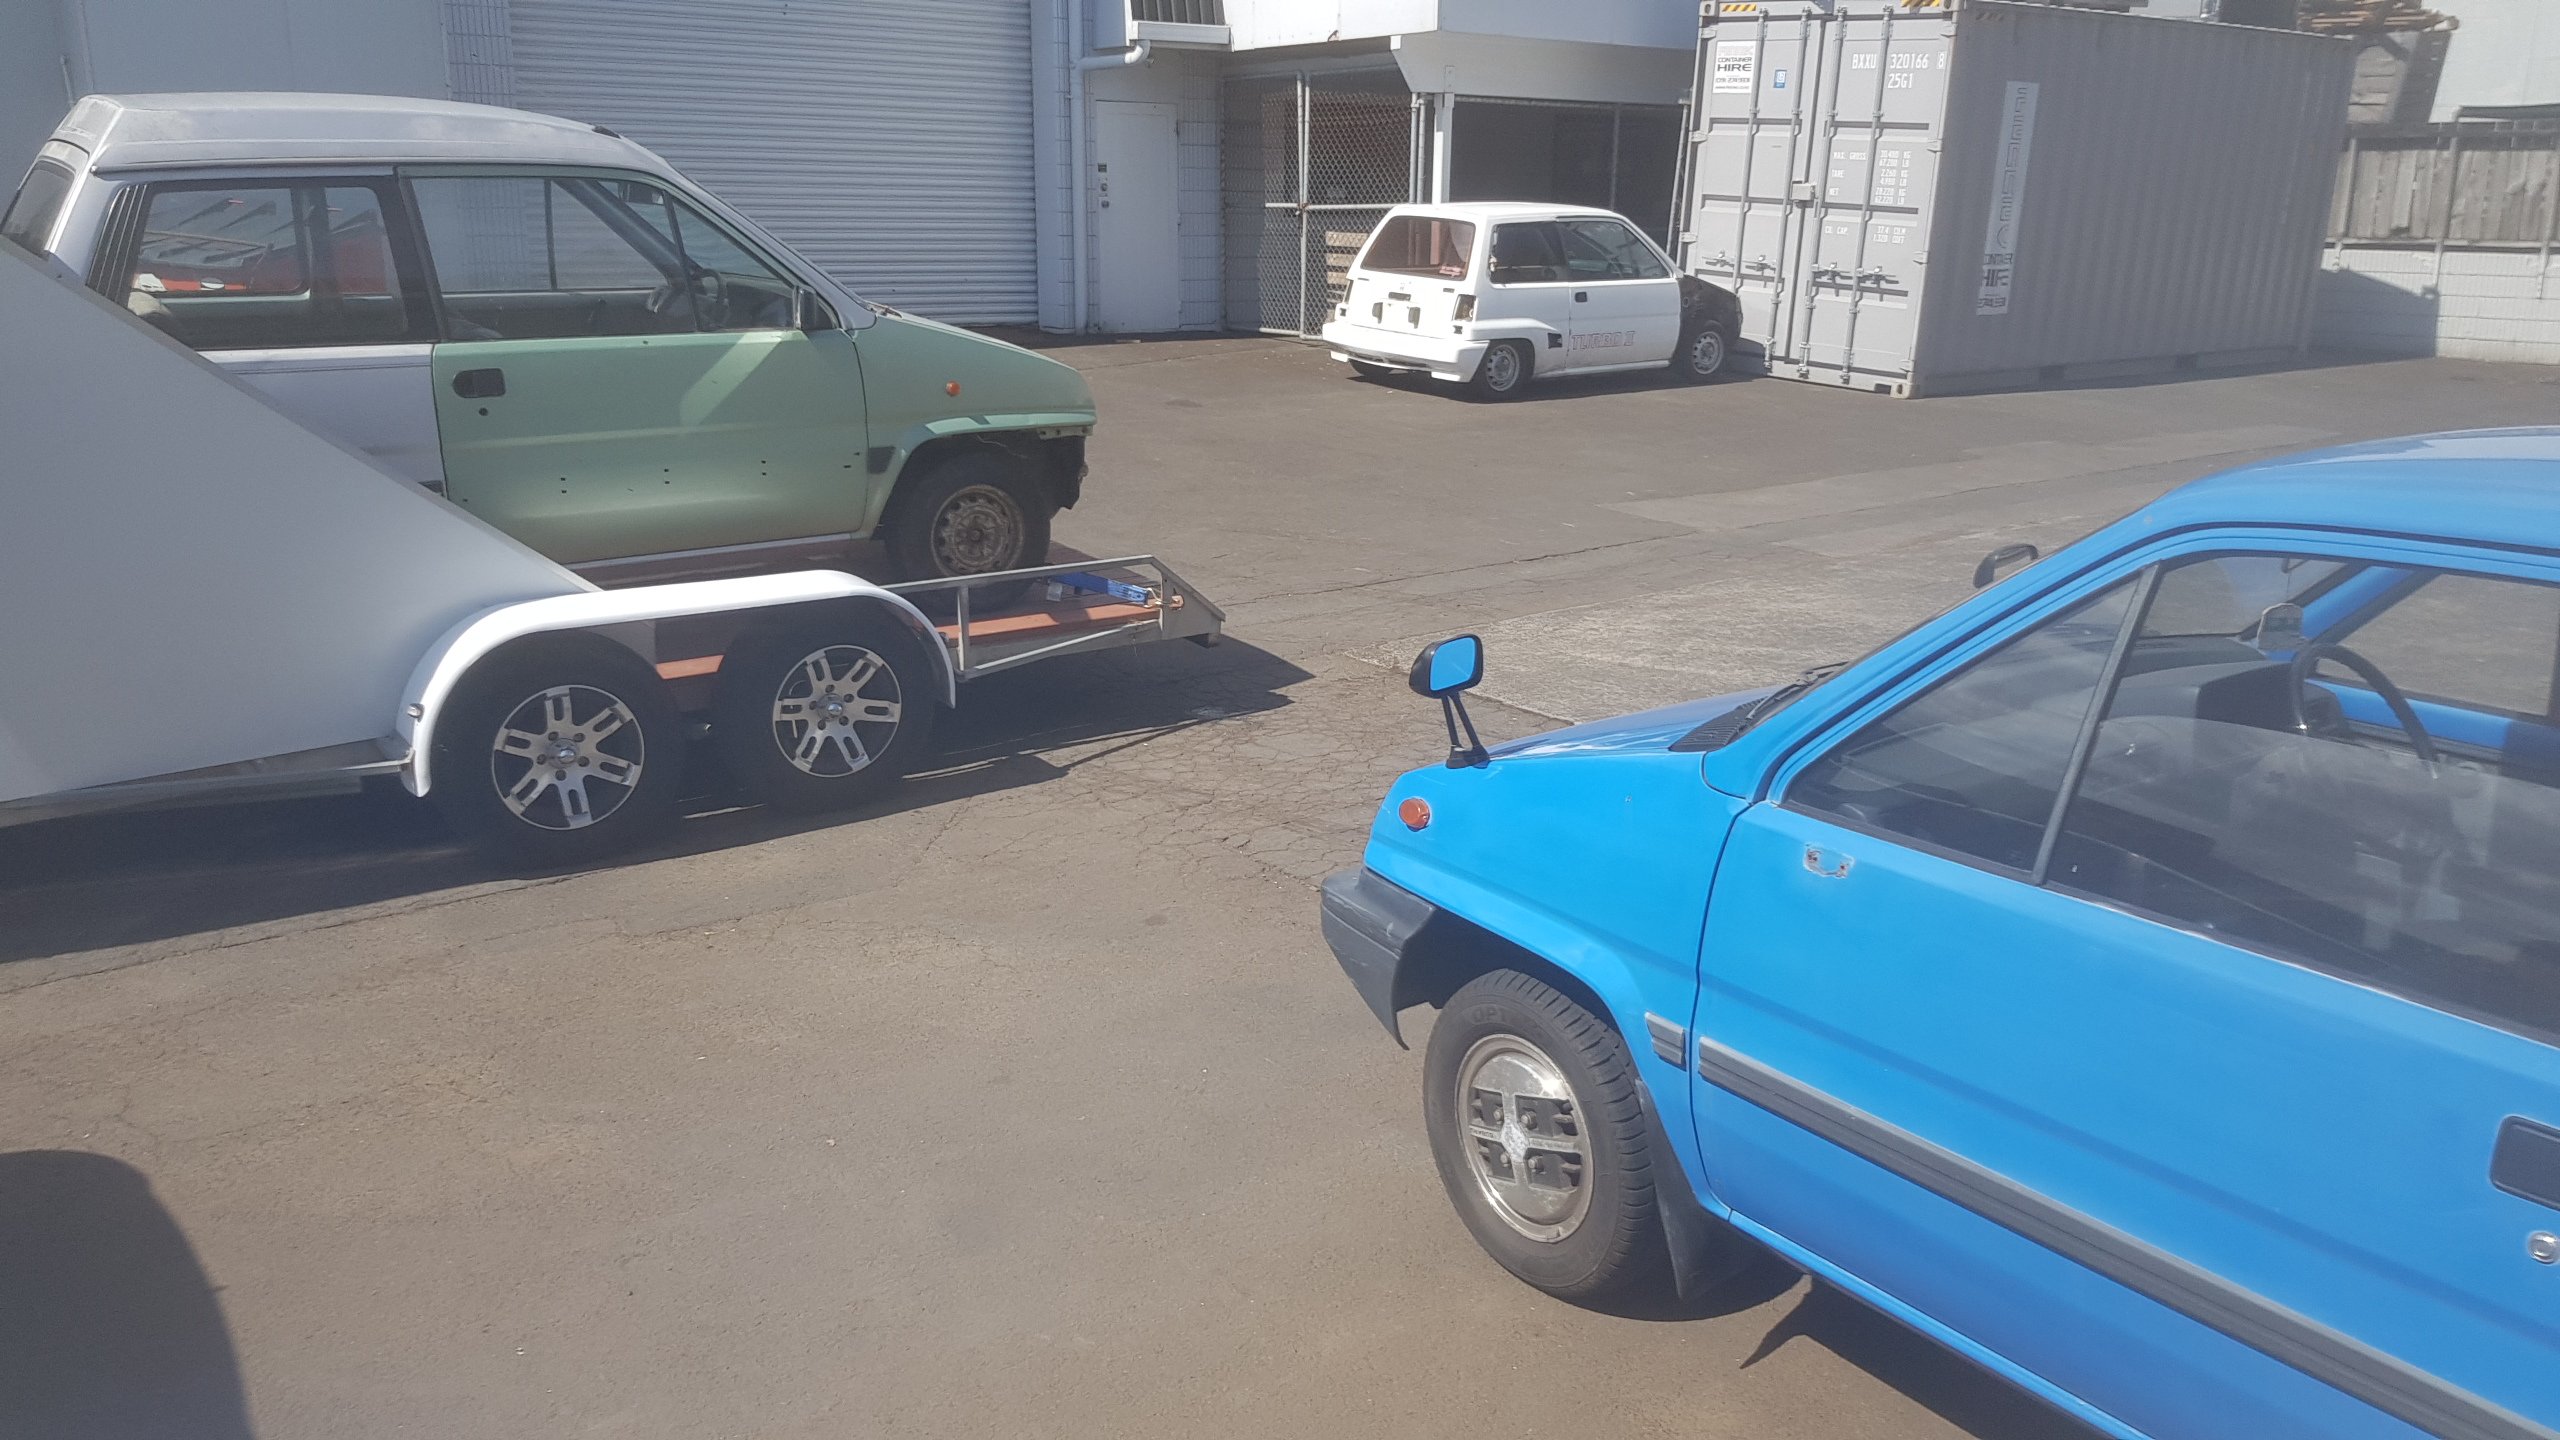
So getting coilovers for this is turning out to be a bit difficult in that everything had massive lead times in the region of 18 weeks. So I bought some yellow speed ones. I've got yellow speed brakes on my blue car, have had them on there for about 4 years or so, never has any issue with them and so I took a punt on their coilovers. In the meantime I thought I'd make a slightly custom grill for it. Because there was a cheap grill on trademe. I want to "delete" the badge, so they'd what I'm doing.
2 points
-
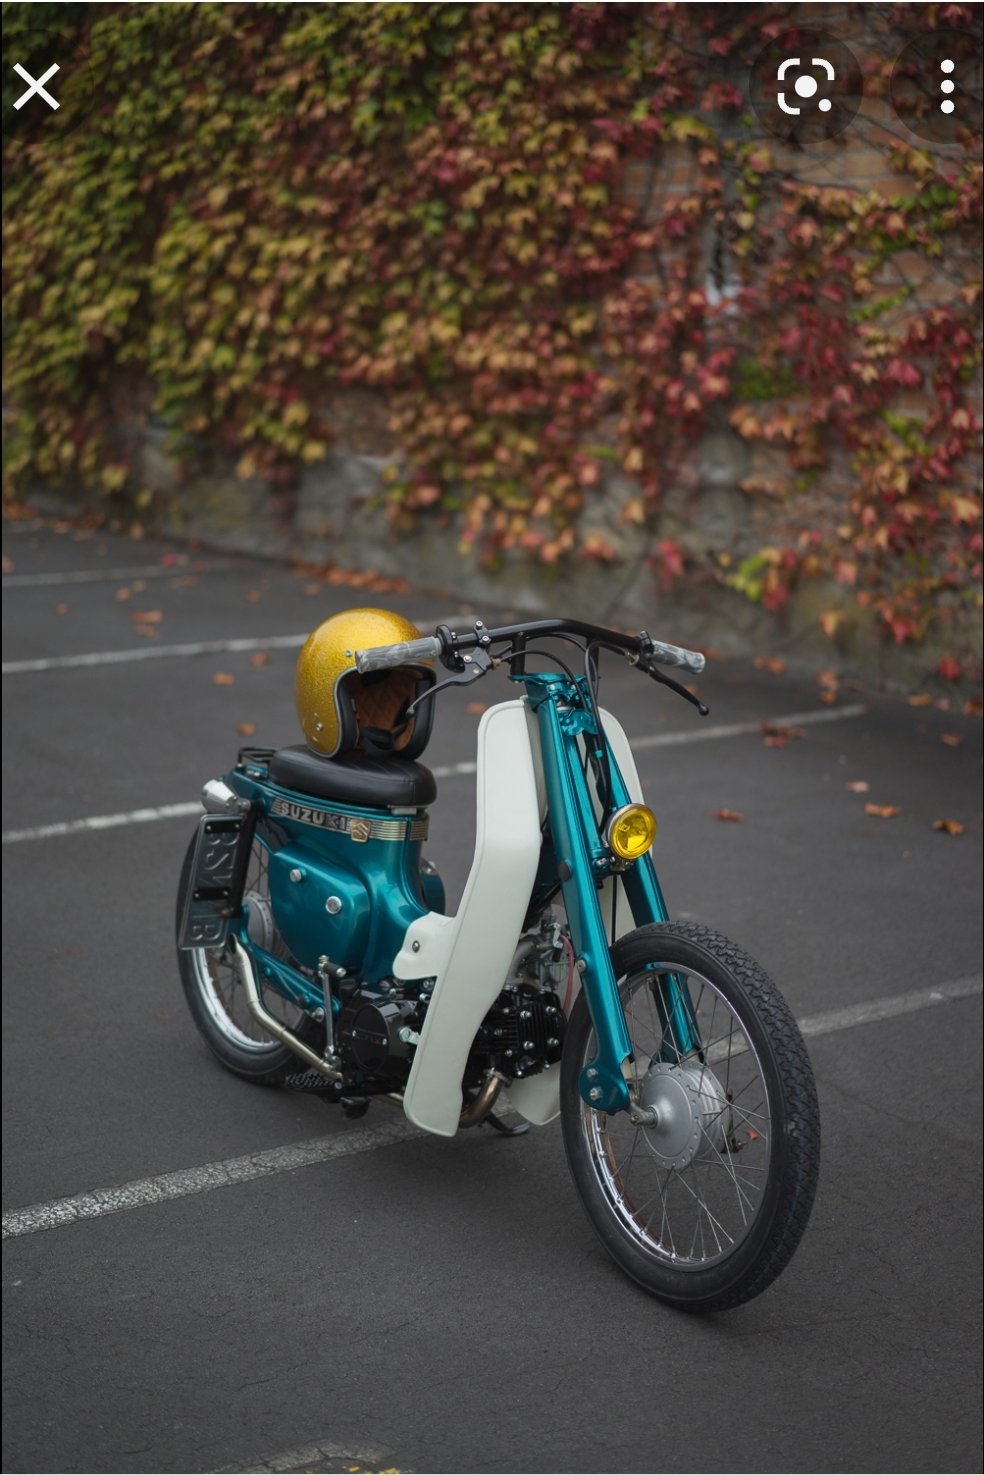
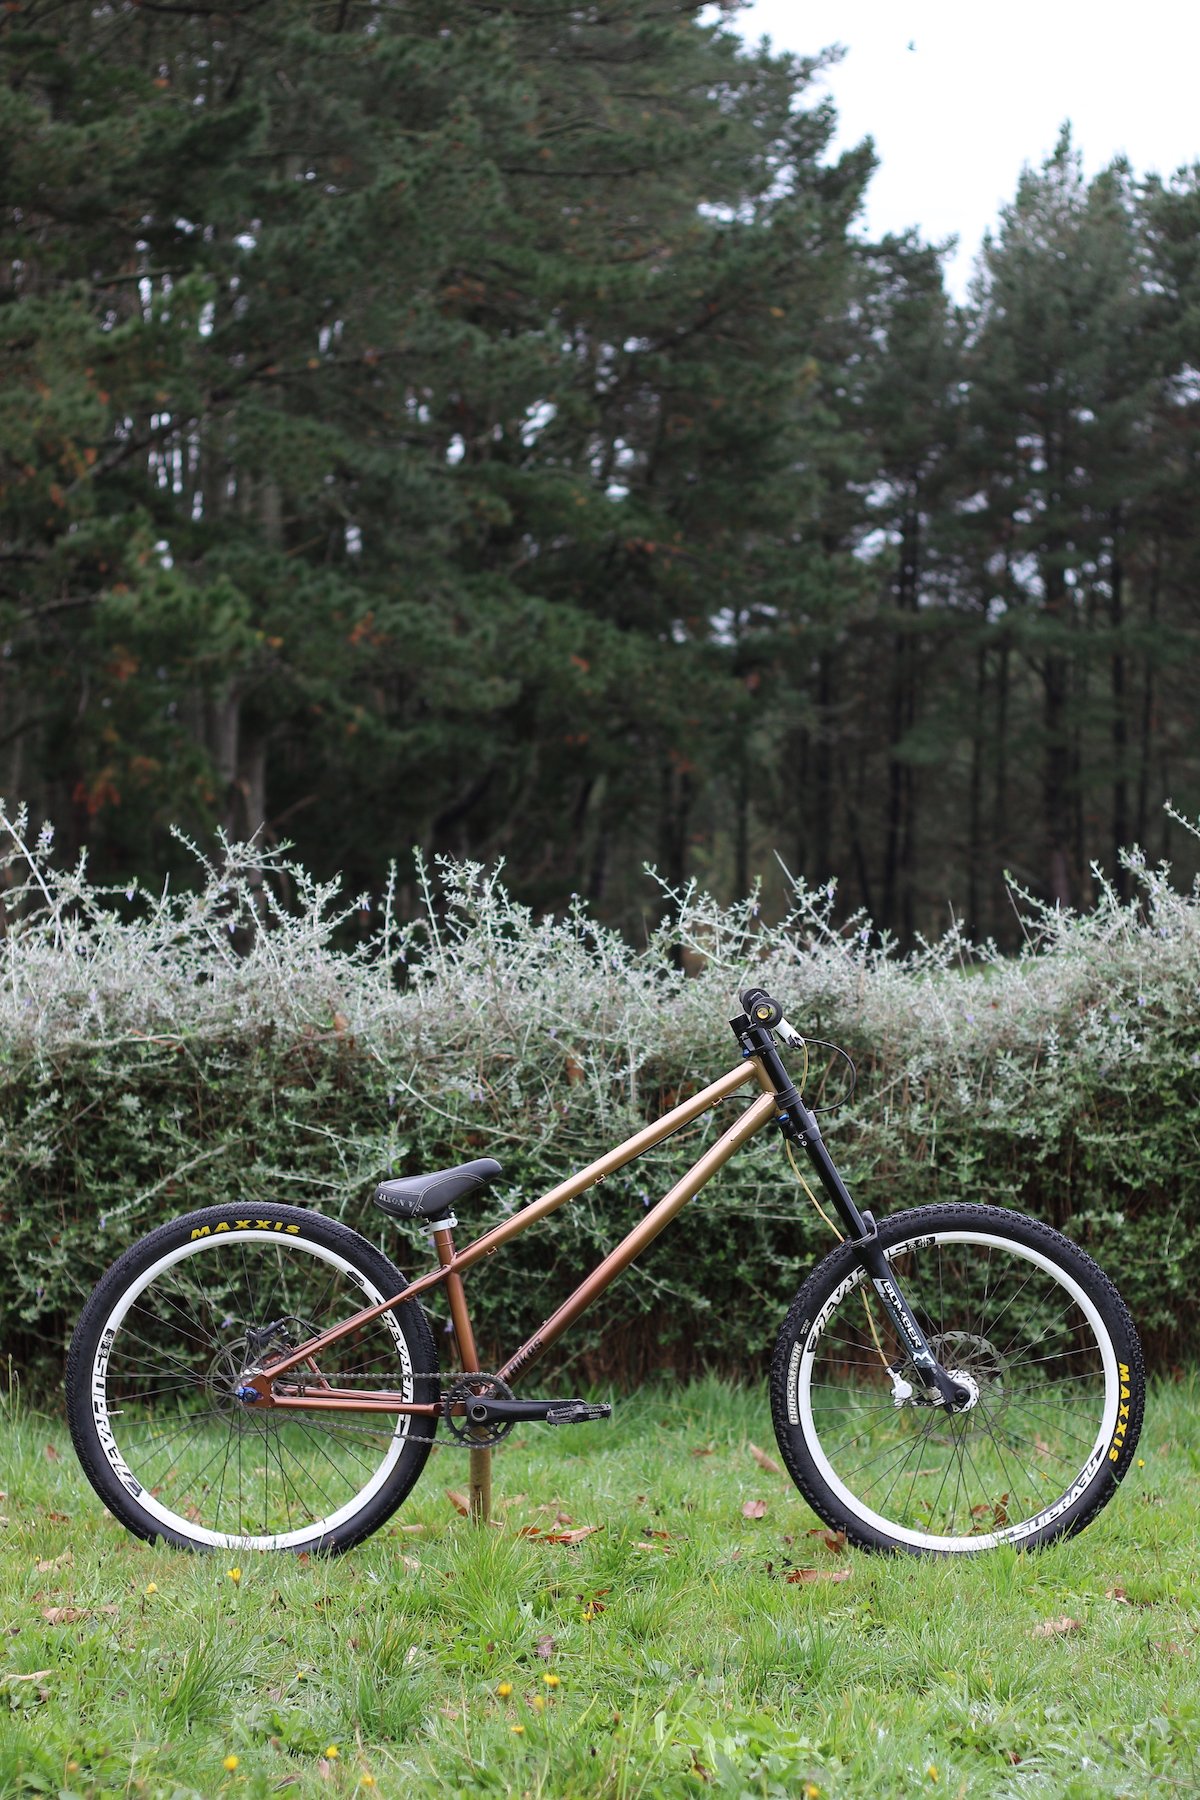
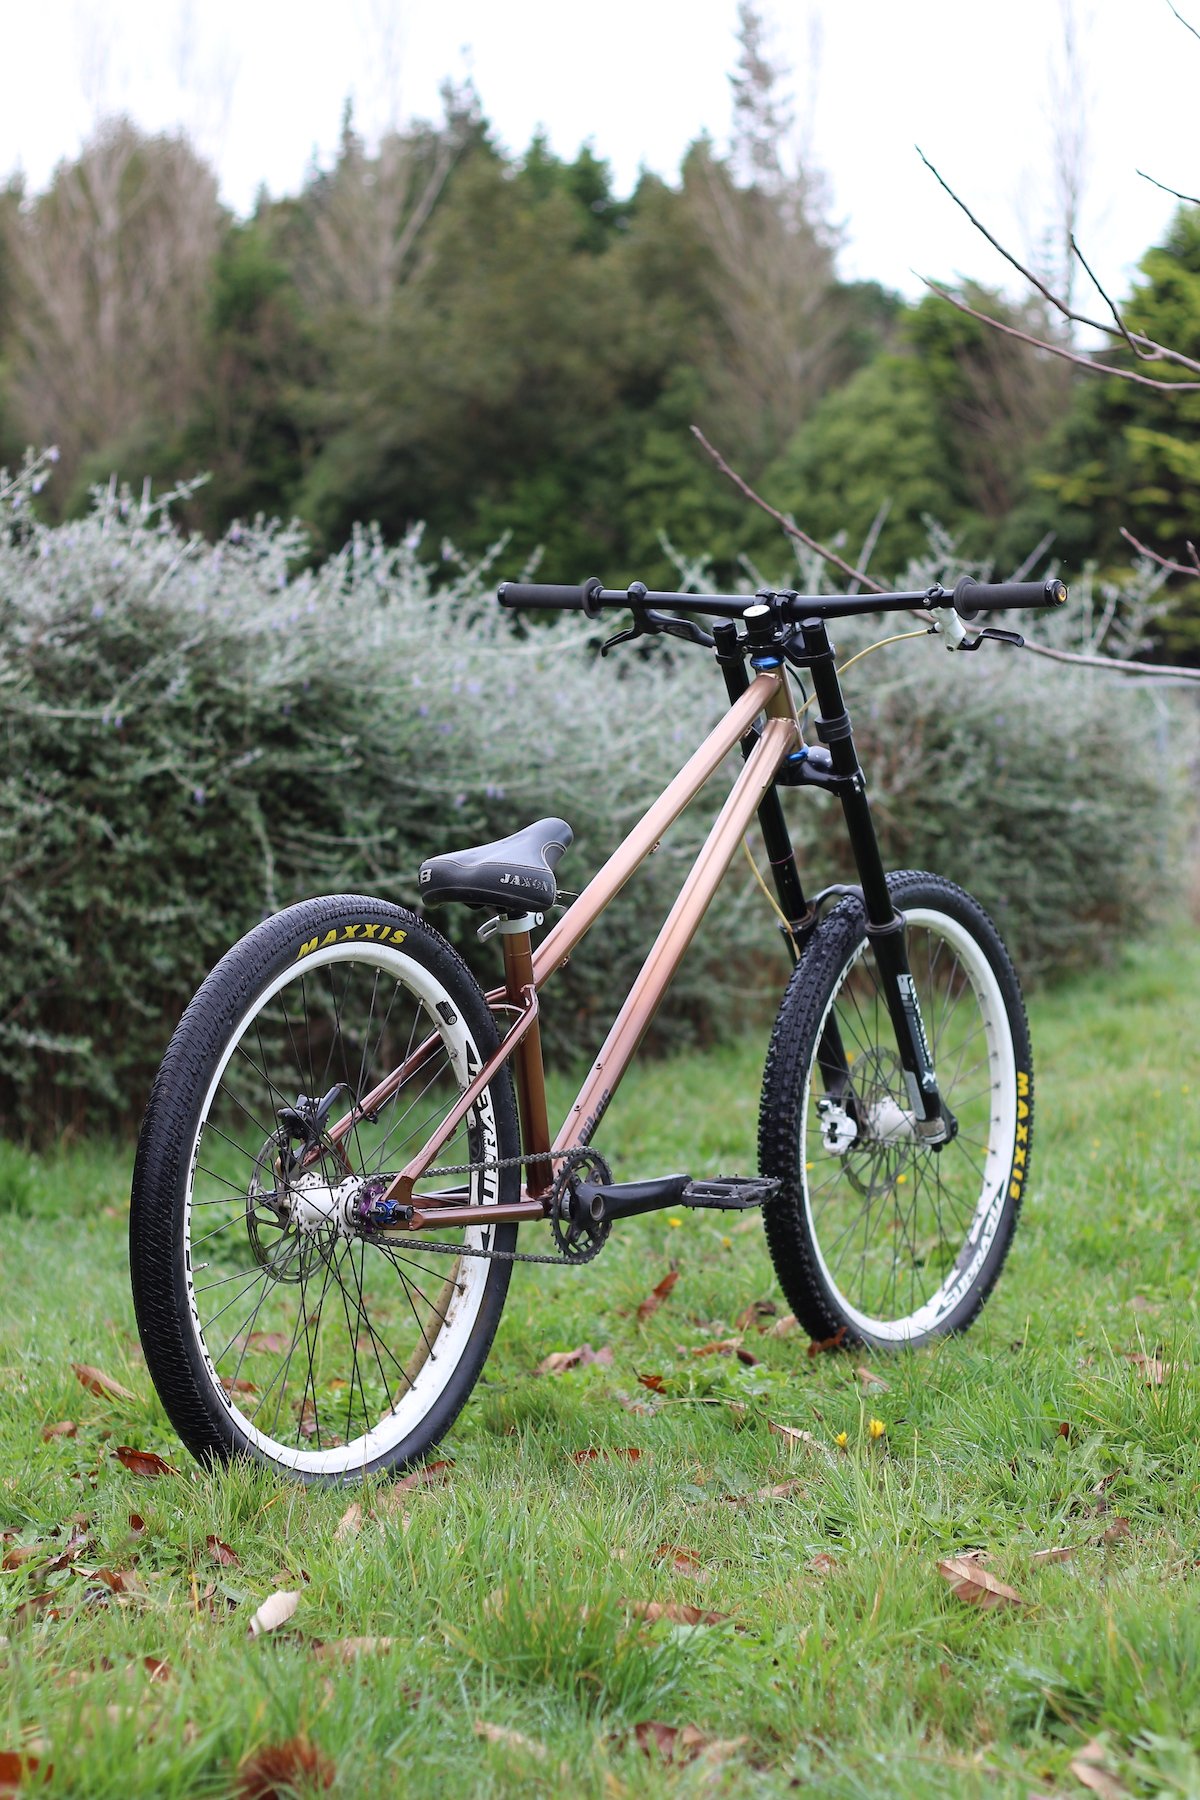
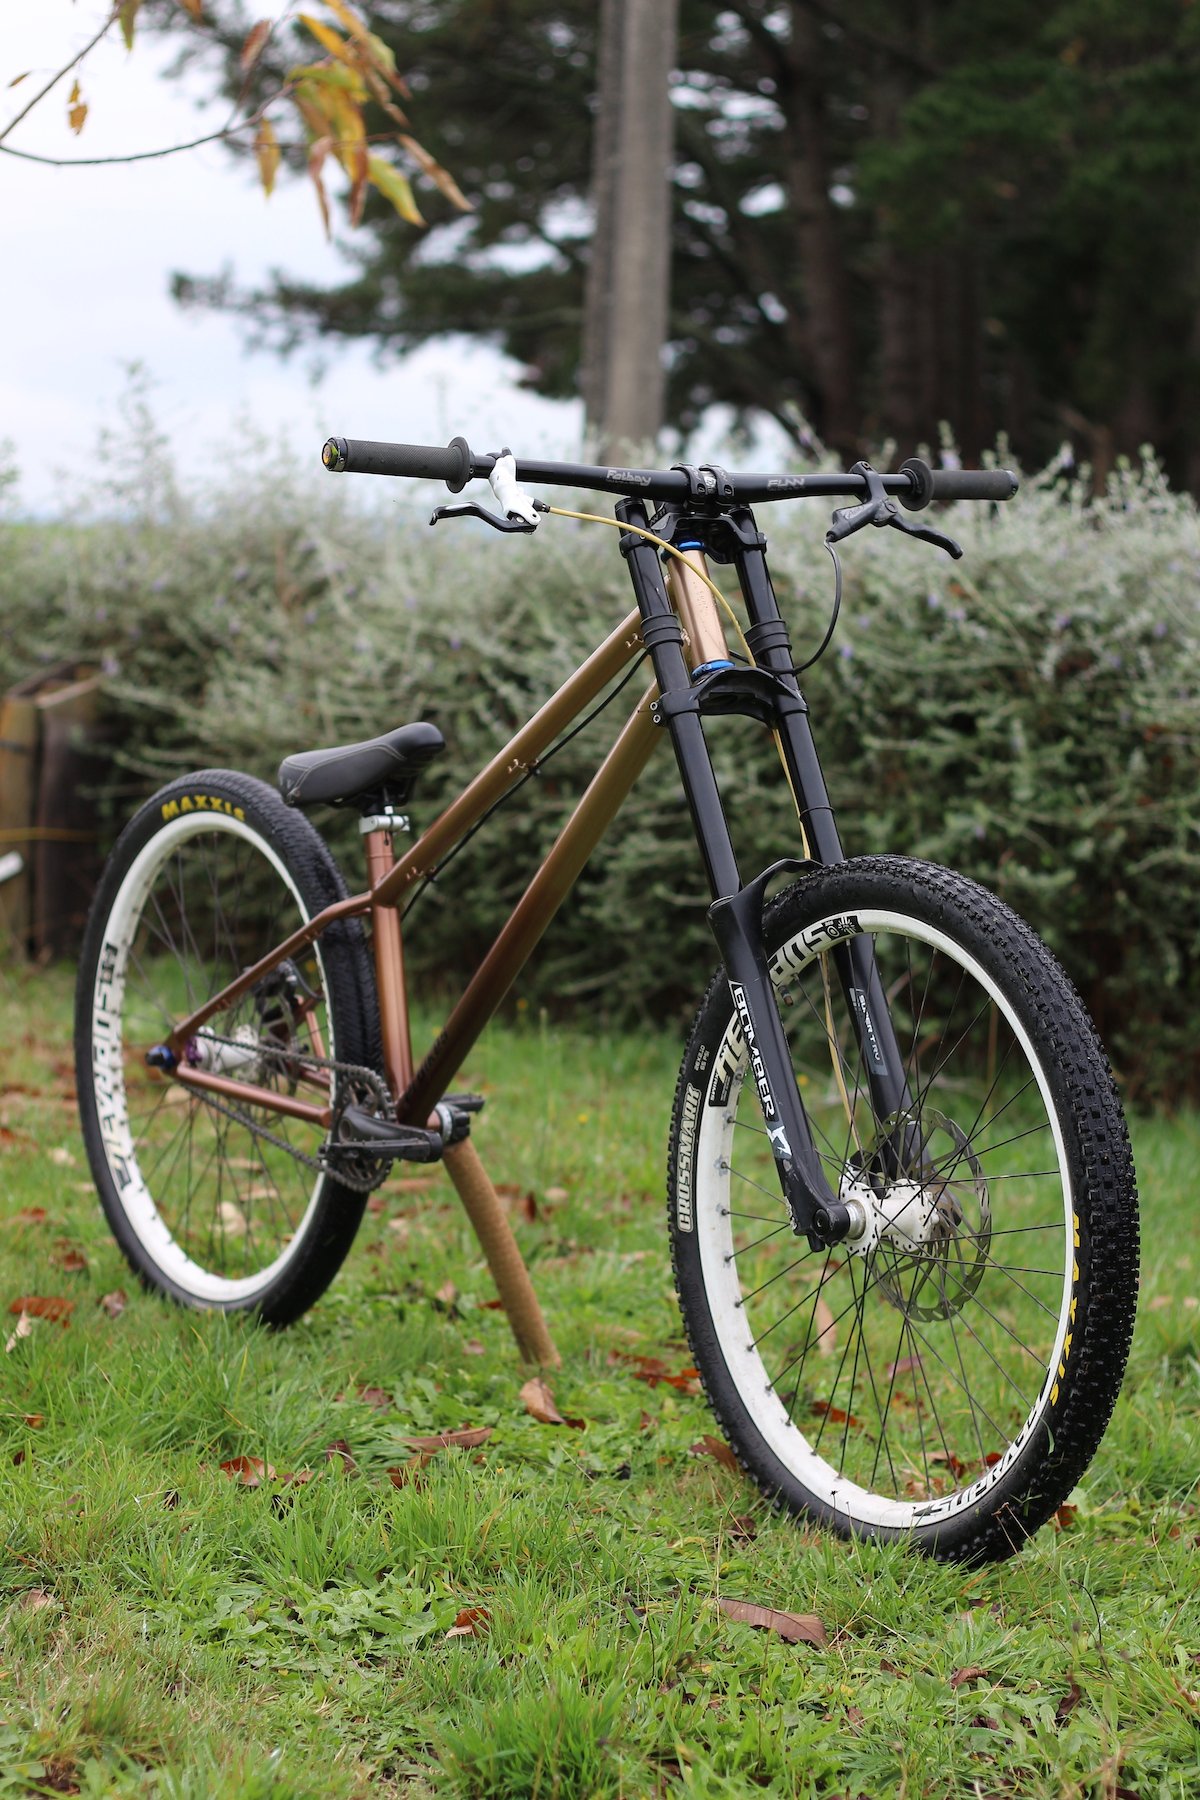
I didn't really give it a big test run before paint like the first 2 bikes, I don't think there will be any issues so I decided to paint it after spending about an hour or so riding it around the house doing bunnyhops and generally messing around. I painted it GM beechwood medium fading to GM beechwood light, a very 80's metallic colour. Pretty happy with how it came out, its far from perfect but its straight and shiny and looks very purposeful. Now I need to get some good tyres for it and go do some shuttle runs! ... it might be a little while I think I might have cracked a rib out riding on friday hahaha.
2 points
-
Oh heavens no, then i'd have to finish the kitchen, bathroom etc2 points
-
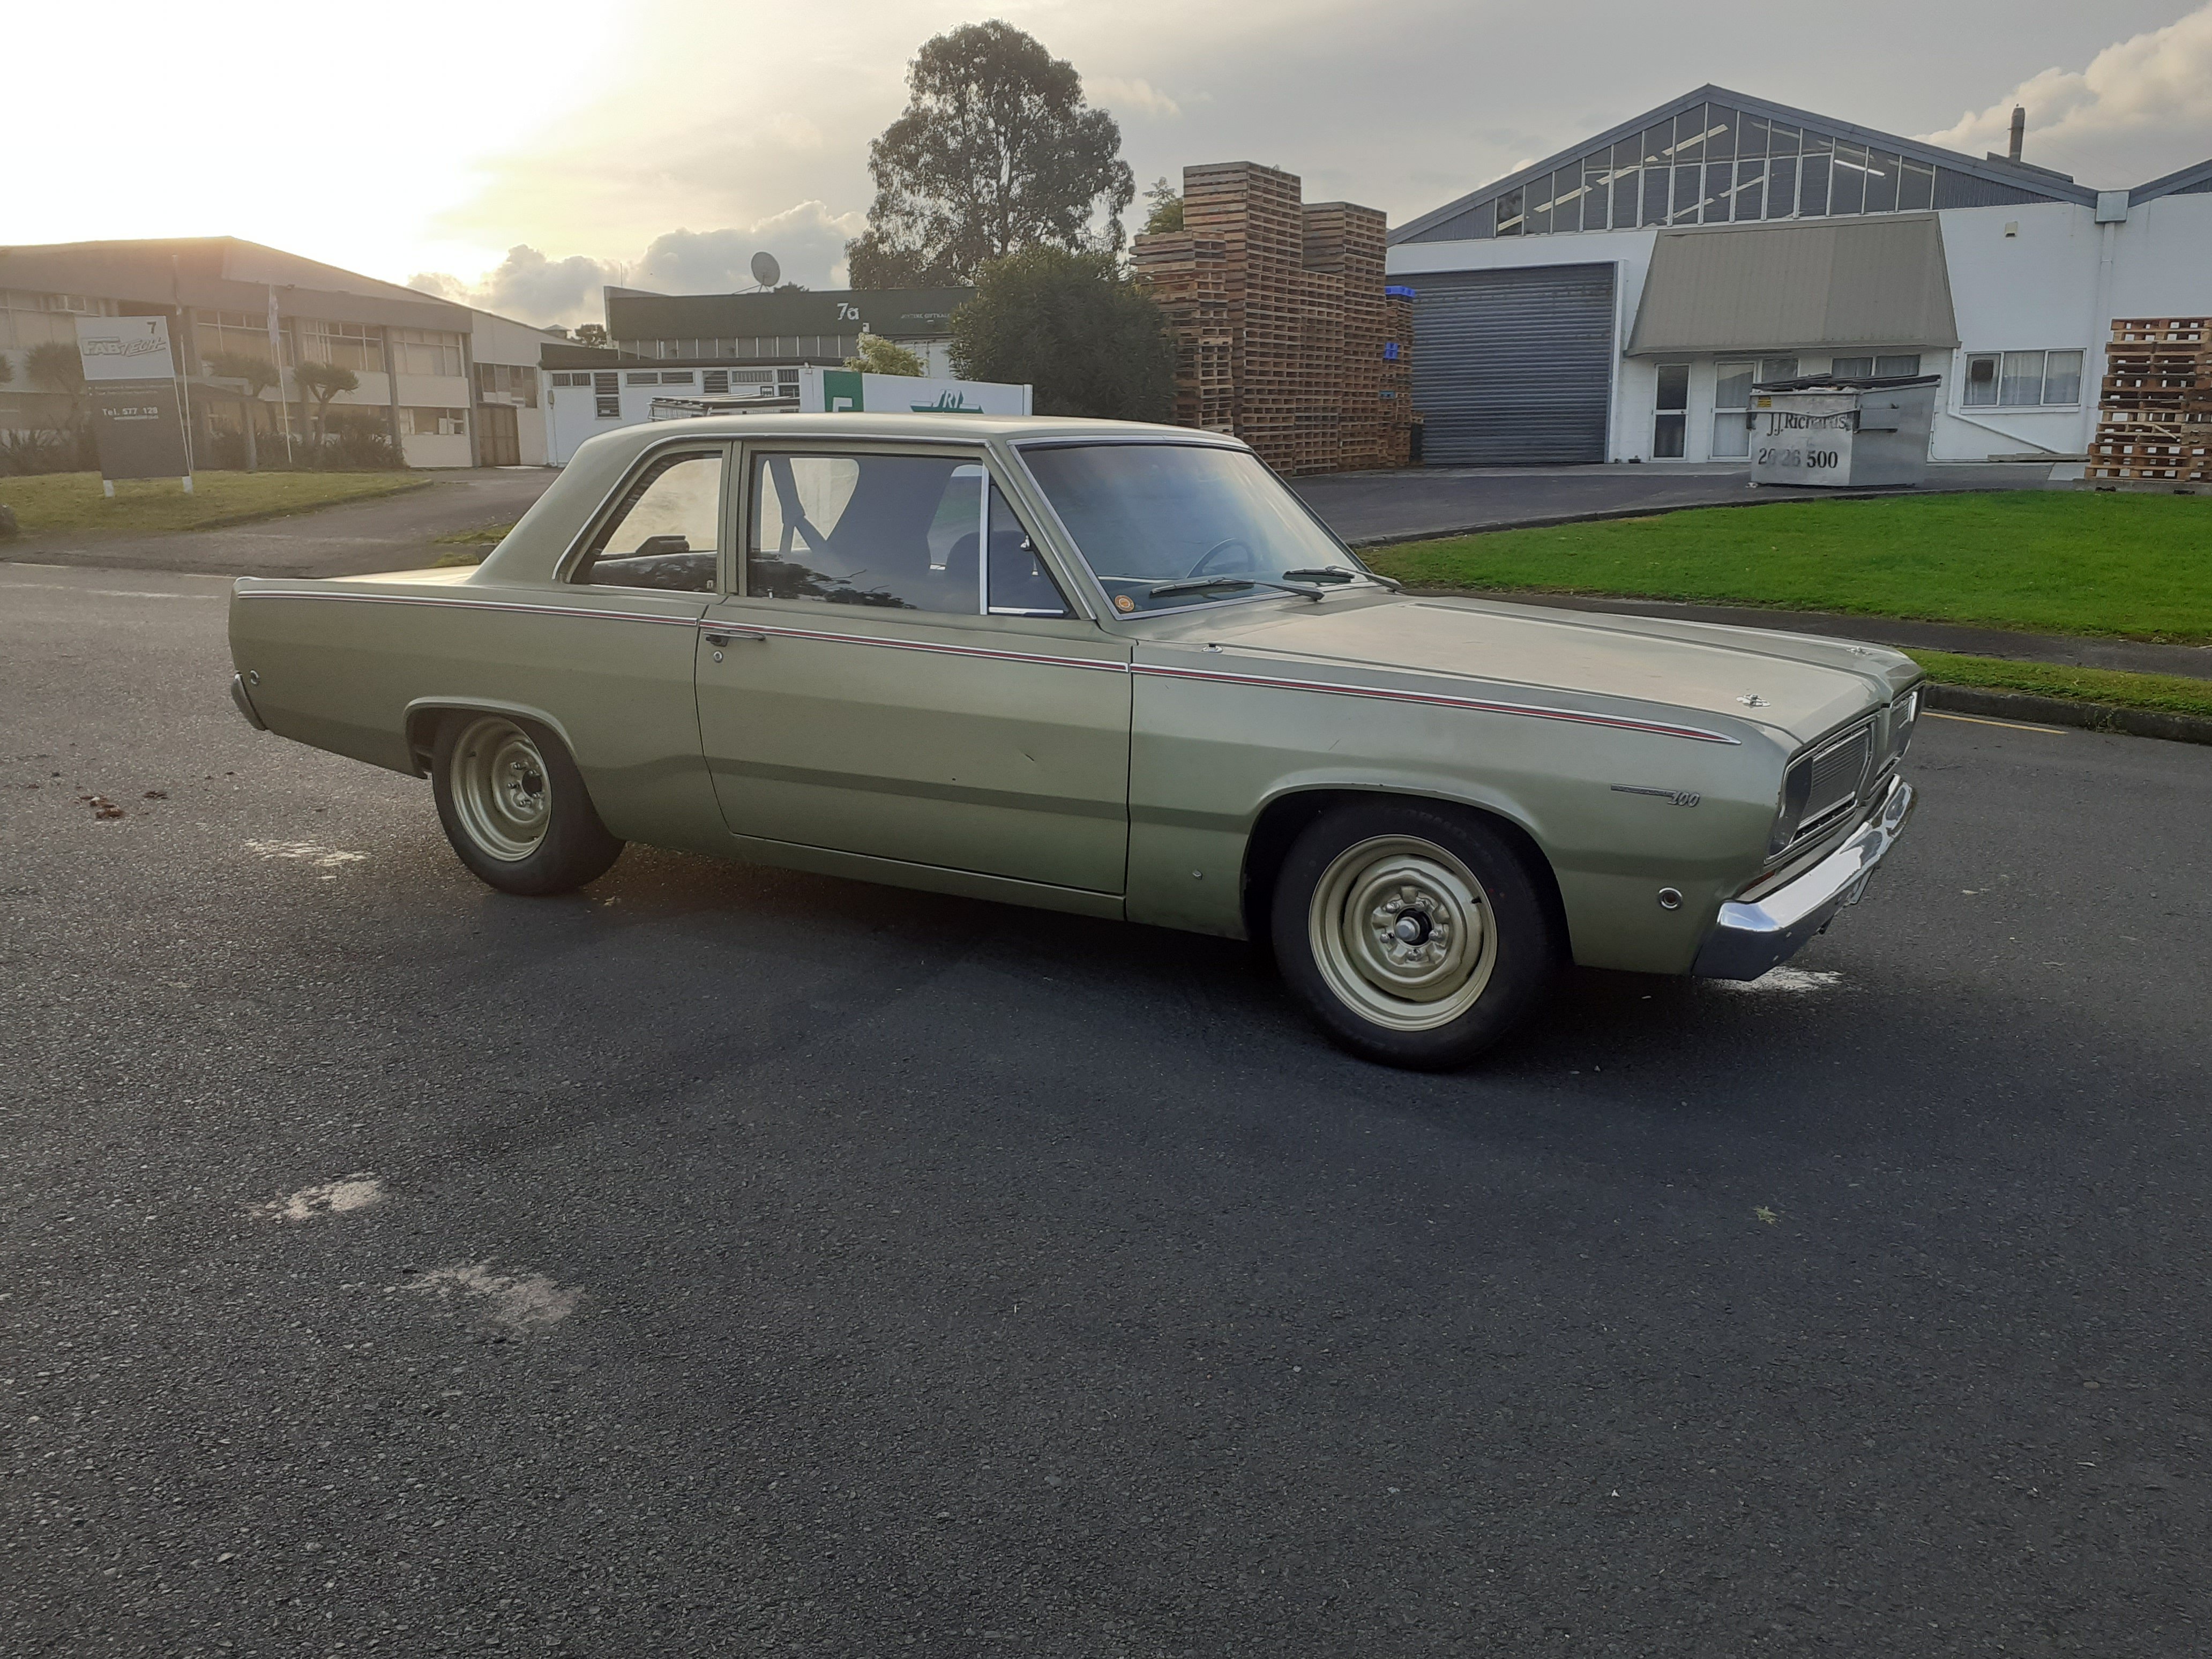
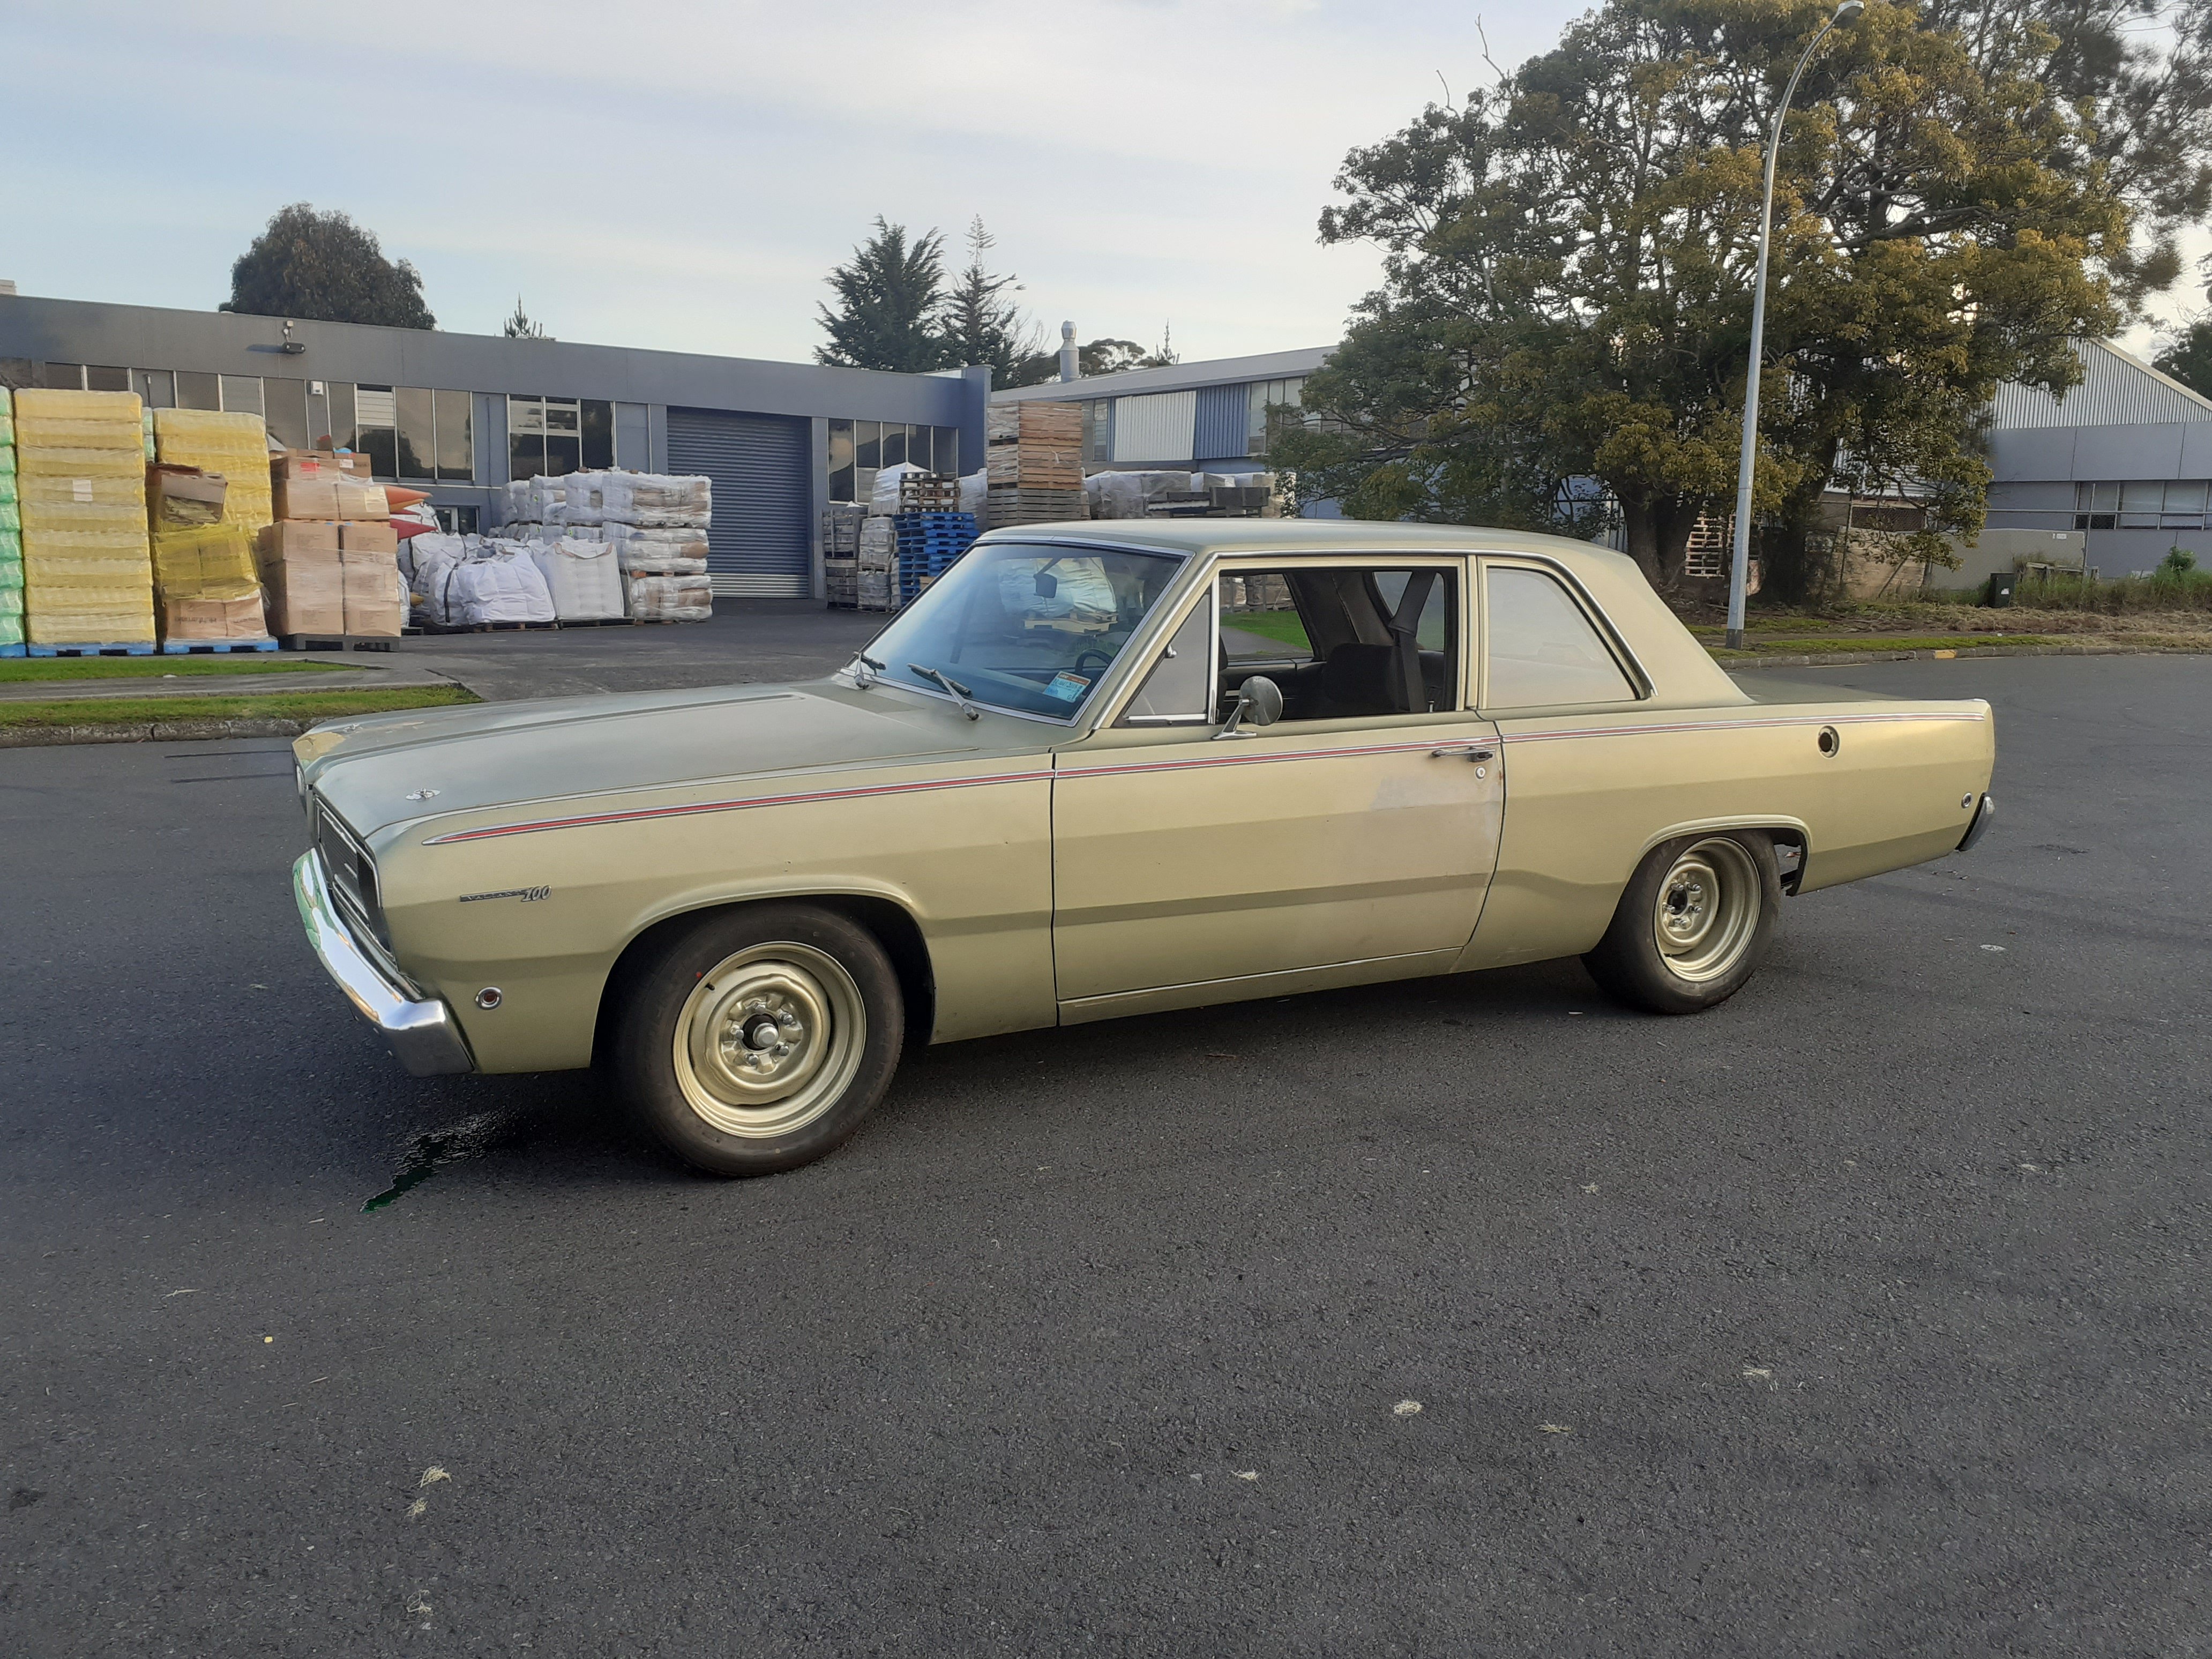
While I was mucking around on fbook this came up and I remember this car really well from the early eighties. Was such an awesome little car and getting fully restored as we speak.
2 points
-
2 points
-
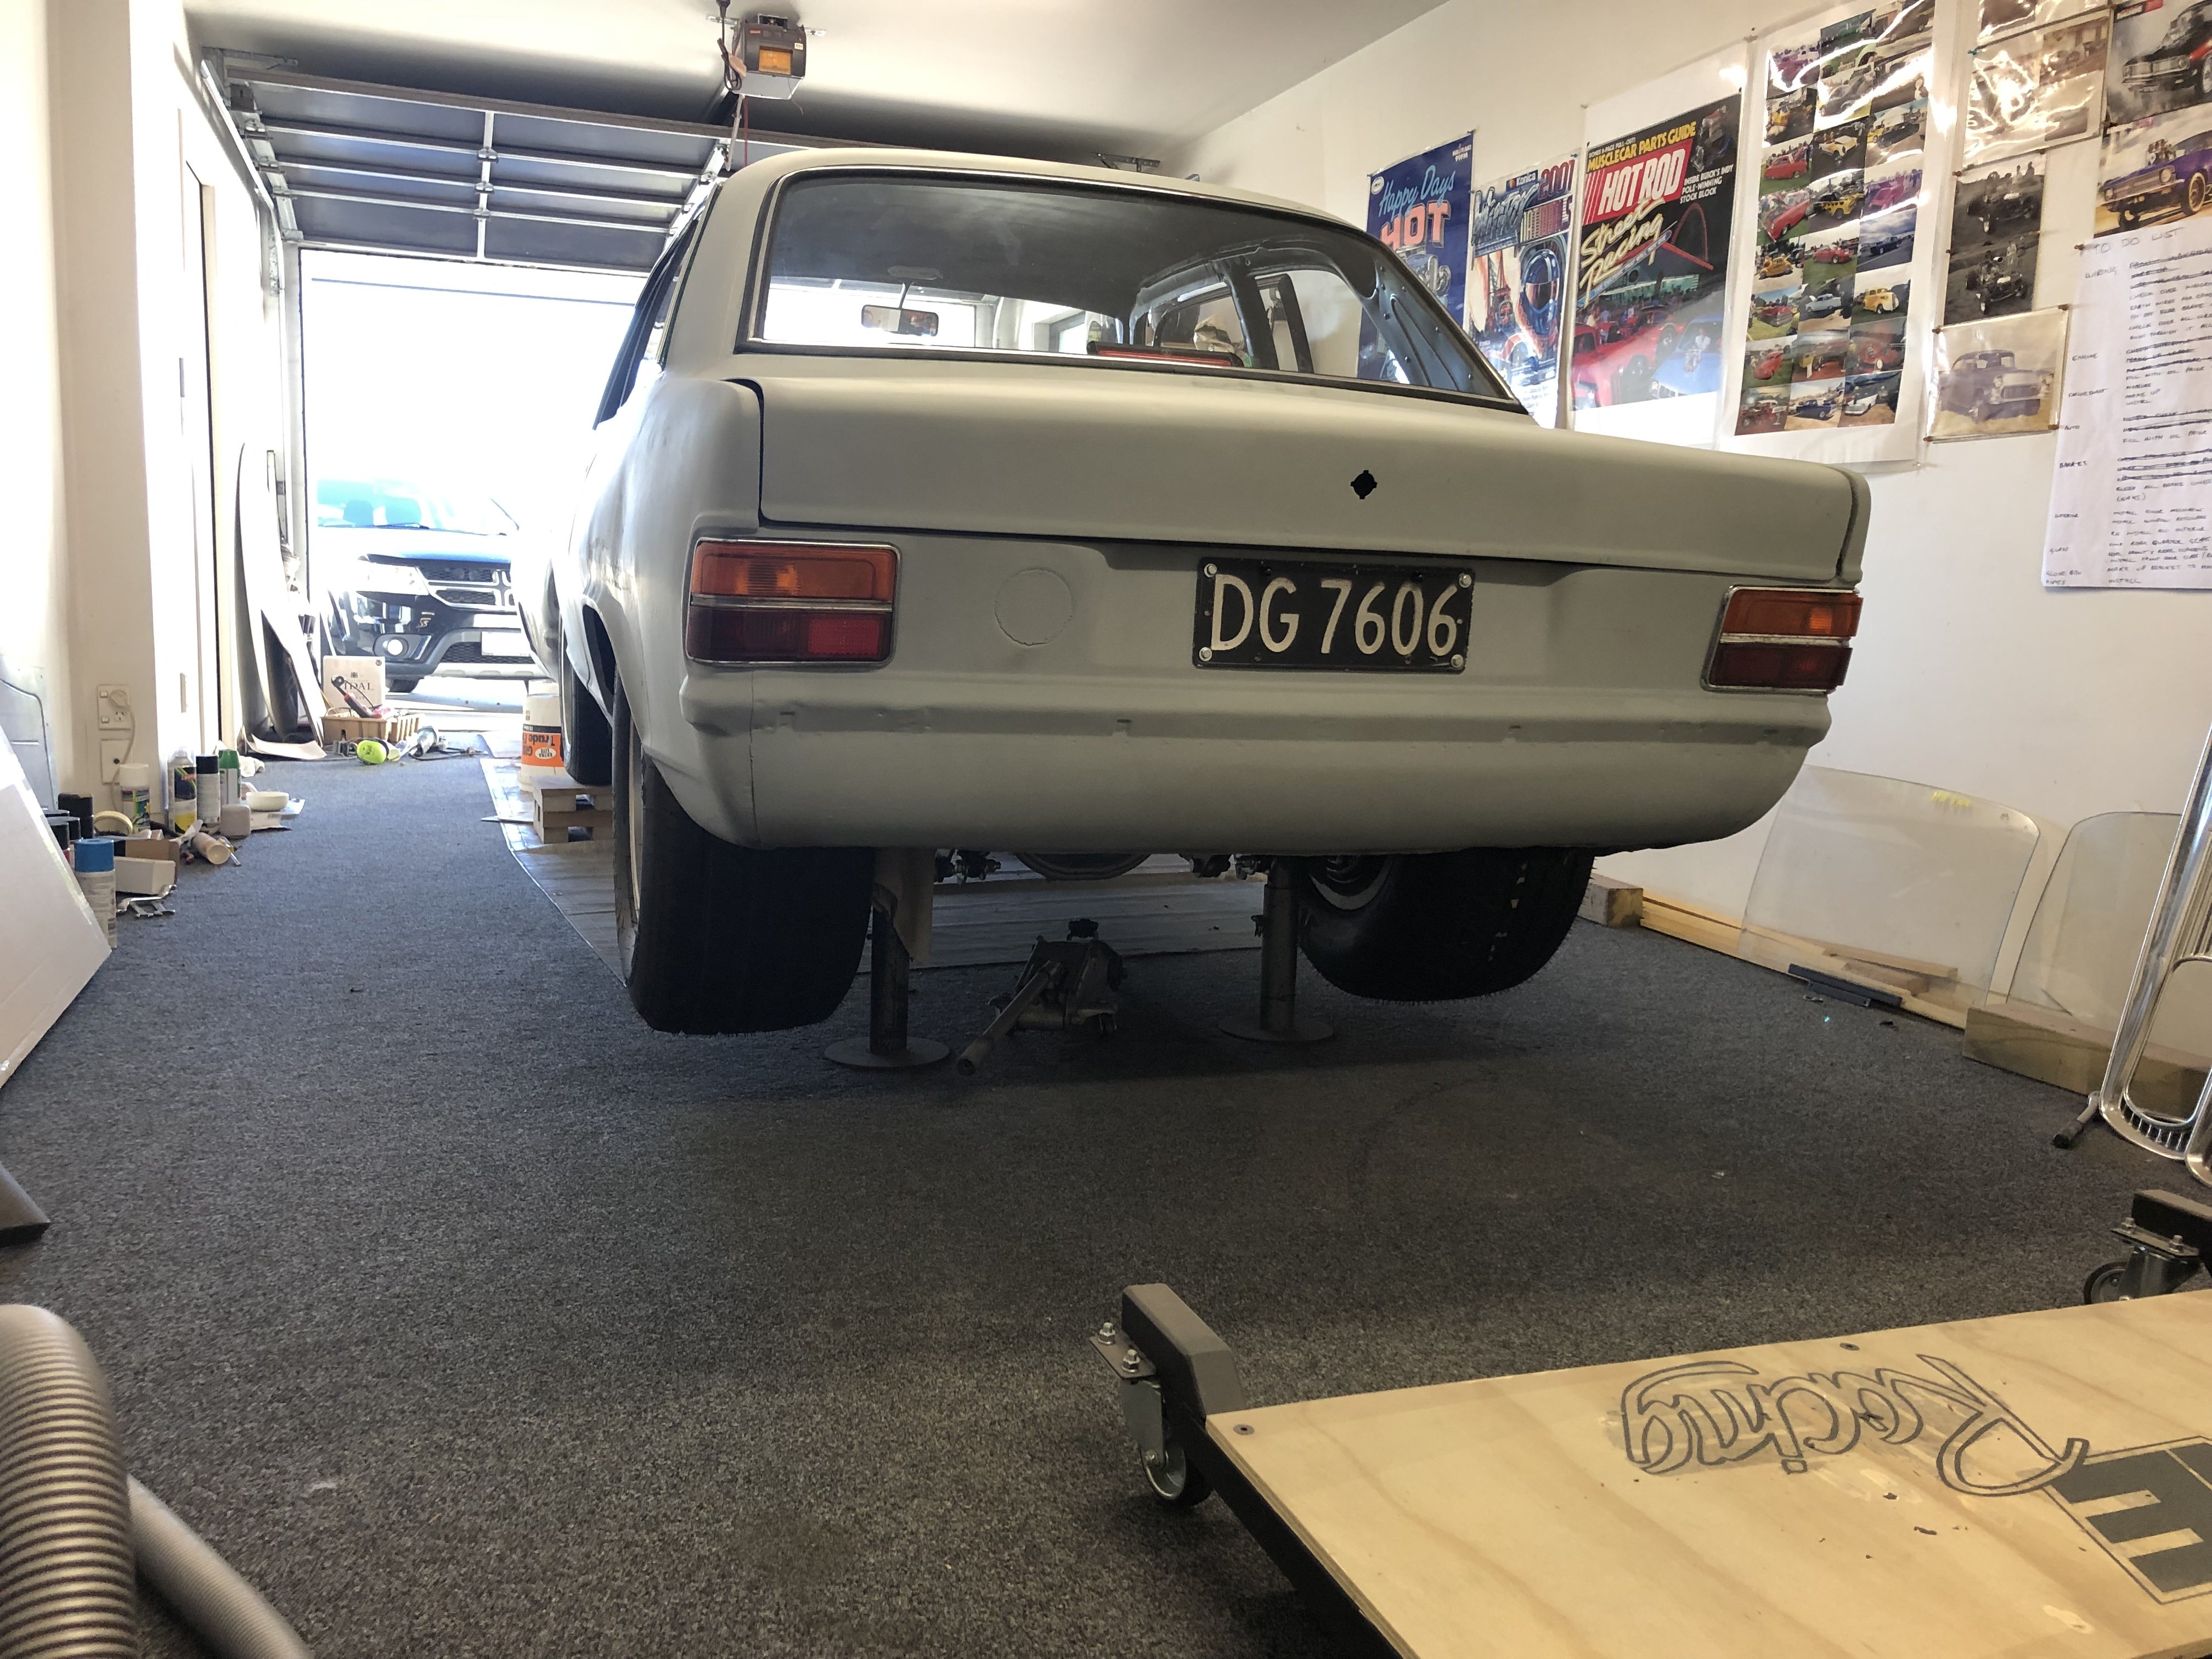
I was getting sick of looking at that ugly red paint so quickly rattle canned it grey. it all has to go back to metal eventually but makes me feel better looking at it.
2 points
-
Cheers! Check it out with the stock Honda intake runners. It looks even more porsche like!...
2 points
-
1 corner in 3 to go .. fark, a lot of work
2 points
-
Probably time I stopped being a background creeper and contributed to the forum a bit more, so here's an 'all in one' thread for some of my hoard... I kinda jump around on my builds a bit, so not really worth starting a post of thier own but heres where I am at with each.... I will start off with the build I have had the longest. Probably coming up 17 years now. Its an 85' solid axle surf, with a dirty old 2LT. Its got the period correct wastegate spacer mod so it has no problem clocking up high Egt's. Rear springs up front, Xd 'coon leafs in the rear, rear axle and hubs from an ifs (ln61) truck for slightly wider track, raised engine/trans, dual transfer cases with custom twin-stick setup and 37's to name a few of the many mods. Oh and its been made river crossing friendly by ripping all the carpet and door panels out... You may also notice its a little shorter than your average surf. I took 340mm out of the body behind rear wheel arch, removed the rear passenger sliding window, then shortened the fibreglass canopy to suit. Heaps more betterer exit angles now. Kind of over storing it now, so will be good to get it more mobile and finish a bunch of little things then decide whether its time to move it on.
1 point
-
I might be a bit after that.1 point
-
Well done Clint. Car looks bloody awesome mate.1 point
-
As the resident honda foamer, do you want this timing kit? fits sohc and dohc from what i can gather. maybe D16a or something. belt, tensioner and 2 brackets I ended up with it from somewhere along the line pm me your address if you want it and ill post it1 point
-
Stunning work! Did you consider a gilmer belt / pulley's?1 point
-
A mate up here in Chch set up a router from the ground up based on Mach3, he spent countless days trying to solve small issues which ended up being hardware and windows related, as I understand, Linuxcnc keeps all the processing in house so many control issues are effectively non existent. His advice was to go direct to Linux on this machine, as God ThePog has also followed this route, that left me at -1 Mach3, +2 Linux. I've been put in contact with a fella Andrew up in New Plymouth who has done a few machines, he hooked me up with the breakout boards and has been quite helpful with practical advice so far.1 point
-
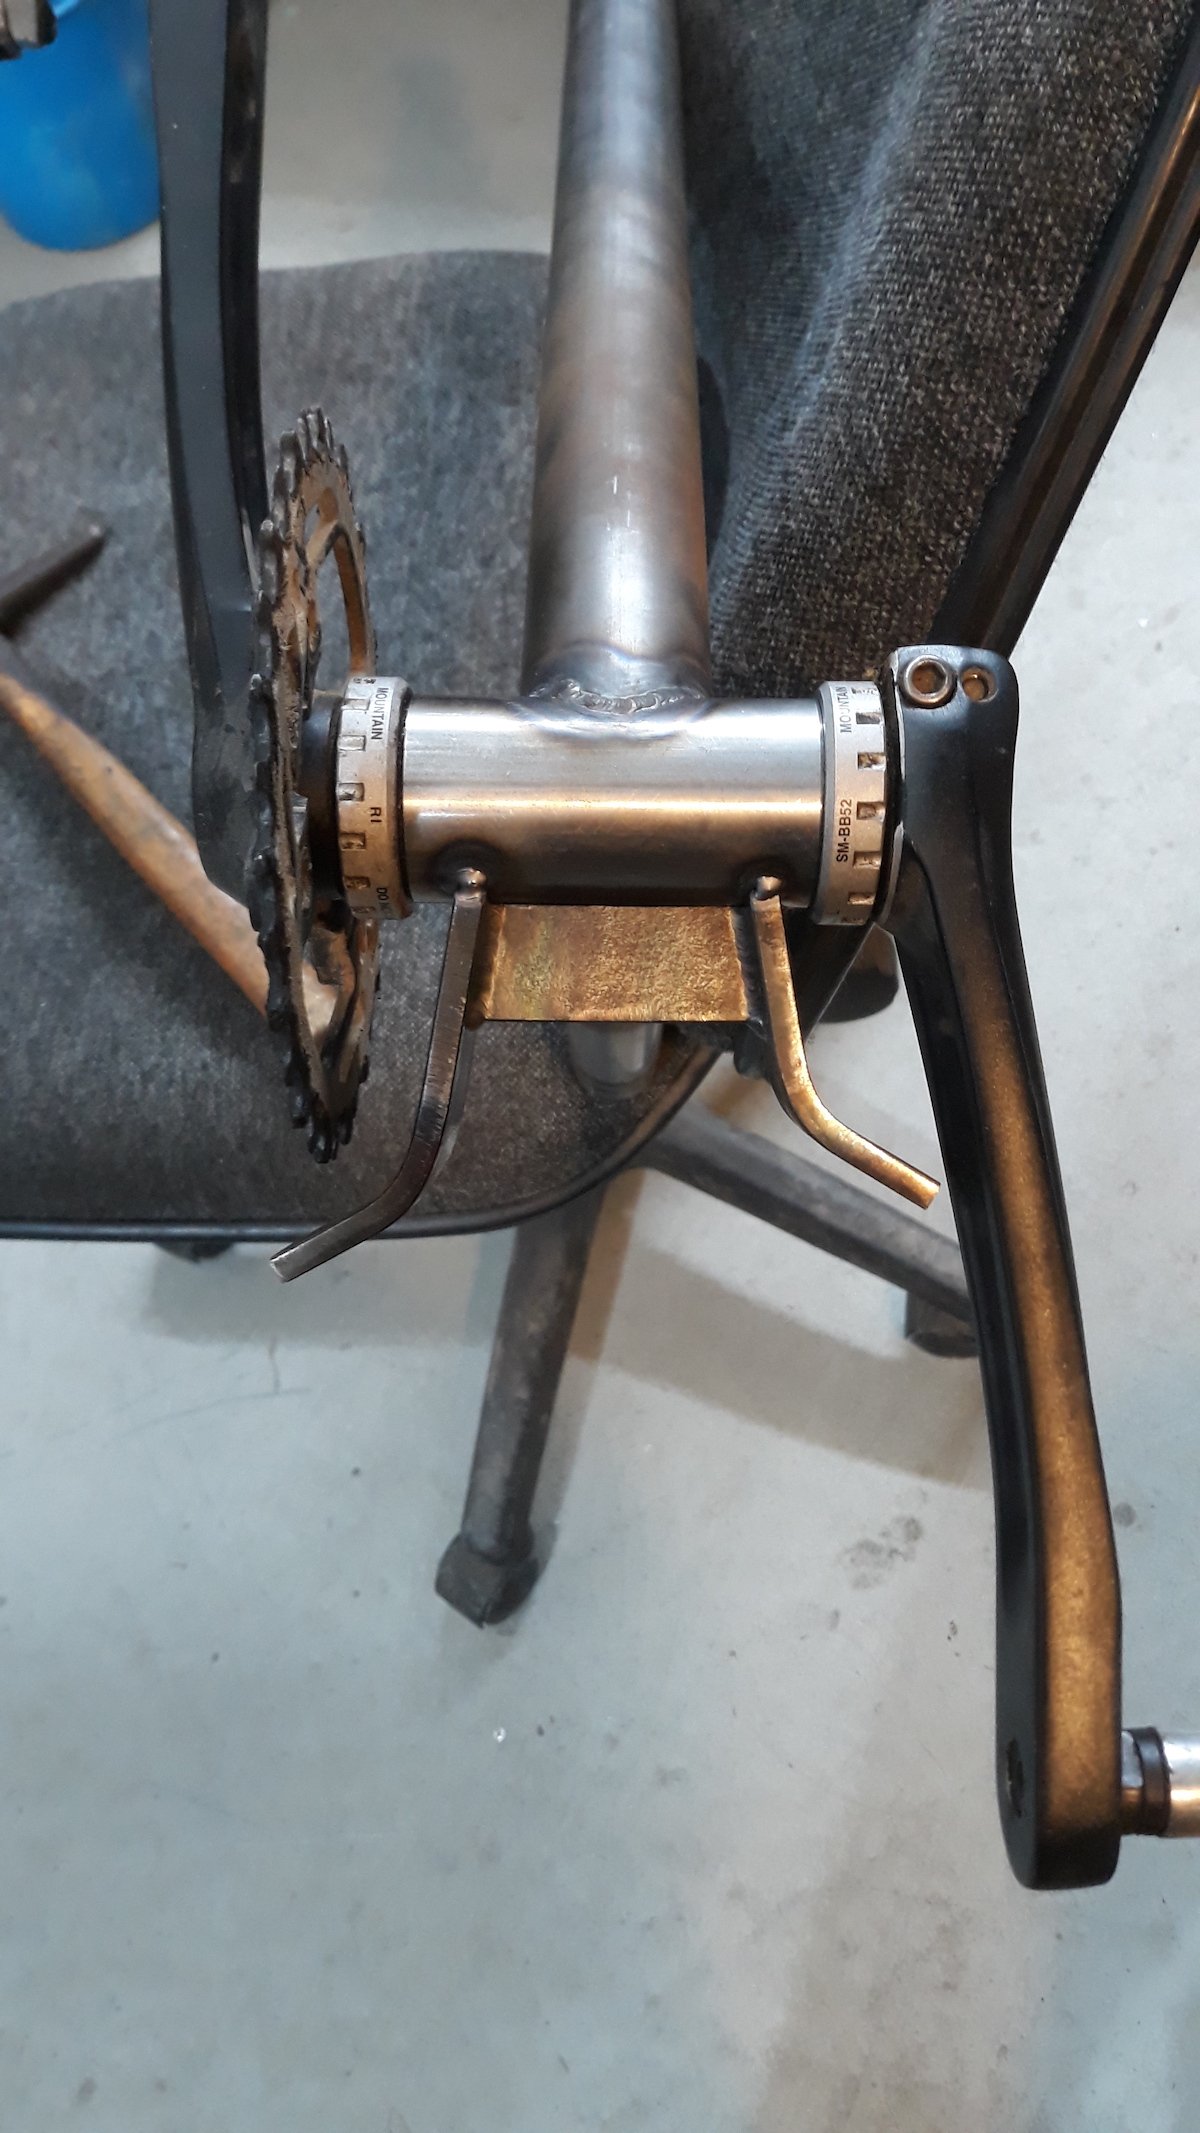
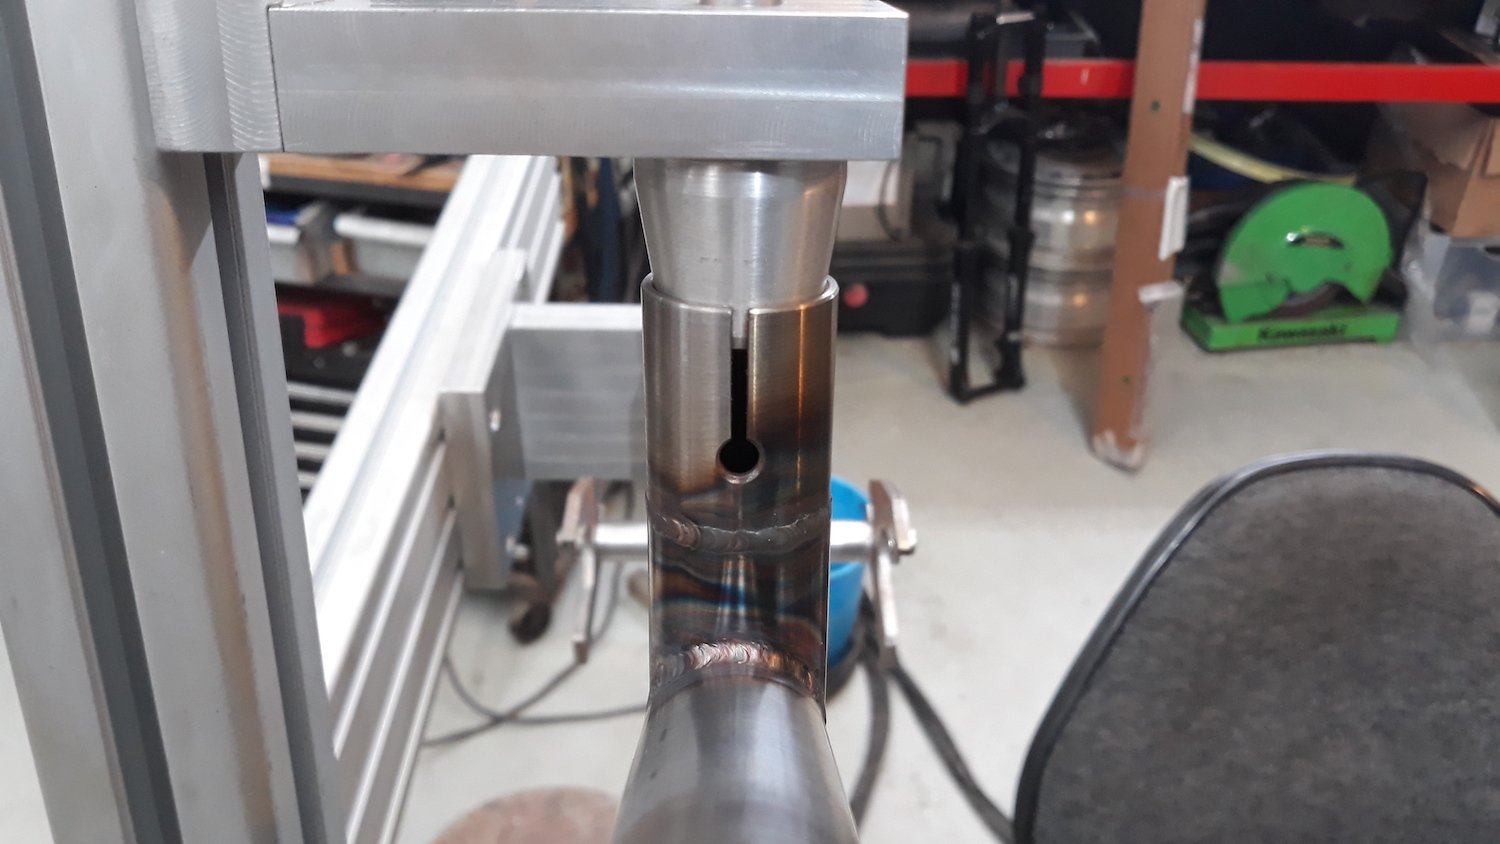
So for bike number 3 I decided that my previous 2 bikes were far too practical and that I need to make something that is almost useless. Well not really but thats is pretty much how it turned out. Most of the design decisions were made for 2 reasons. First reason is that I wanted to make a bike with as short a chainstay length as possible as that has a few advocates in the frame building world. I'm not convinced and think that it should be a ratio of front centre to rear centre, so if the front gets longer the back should too to maintain a neutral weight distribution between the front and rear wheel. But I don't really know so I figured I would make a long bike with a short rear end and see how it rides. Second reason is that I wanted it to be cheap and use as many of the parts that were already floating around in my shed. So it has a few odd standards that will make it ineligible for further upgrades in many ways. I had a single speed setup in the stash and sliding dropouts would be easy to make at home and allow for chain tensioning. I had a spare 26" wheelset from a dirtjump bike that I had built up then decided I didn't really like and then sold off the frame, so I made it to suit this wheelset with a 10x135mm axle. I made a chainstay yoke out of 25x6 flat bar with a couple of bends and the dropouts are from some 6mm plate. After putting all the parts in the jig its a just a game of connect the dots. So much easier! there are still some processes with getting tubes mitred that I need to make tools for, particularly the seat stay to seat tube interface. It intersects at an angle on 2 planes so I really would like to make a jig for the seat stays so I can just pop the mitering jig in the milling vice and get a nice clean cope. that is probably next on the to do list after building @hampie a bike. I made a reducer to go in some straigt gauge 31.8mm tubing to fit a 27.2mm seatpost. I slotted it on the mill with a tiny wee endmill spinning at 4000rpm. that was quite exciting but it came out pretty well I think! I borrowed @Geophy's bramley bender and had a go at bending up some seat stays. they came out ok, a little wrinkly on the inside. Probably could have done the packing with sand or ice trick. I mostly covered it up with a little brace that I was super happy with, I recon it looks cool.
1 point
-
1 point
-
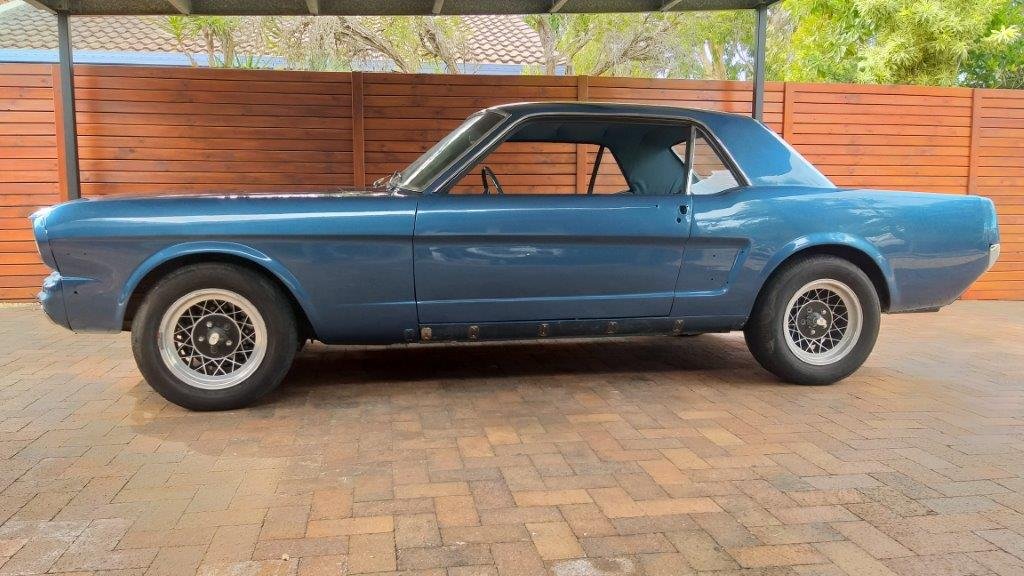
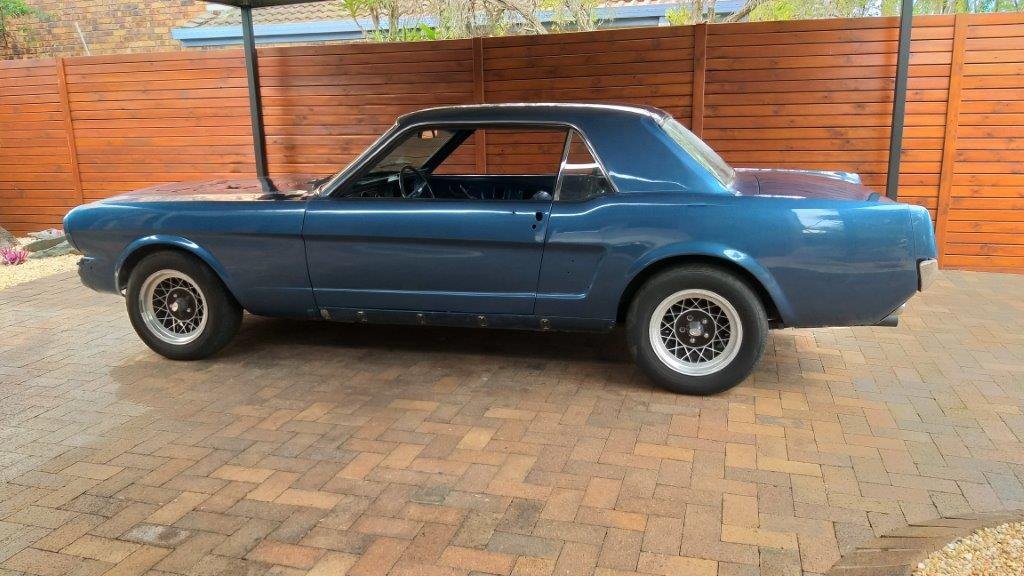
The paint finally cured enough to give it a machine buff yesterday and the Muzzy is now back home. Needs a bloody good bath and a final hand polish before I start the reassembly, but to say that I am chuffed with the outcome would be an understatement. In other news I borrowed two hotwires from Grant. They aren't my first choice of wheel for the Mustang, but at least they have given me a feel for what the car will look like back on classic 15 inch diameter wheels. The borrowed wheels are both 7J with a 205/60/15 on the front and a 225/60/15 on the back. I'm aiming for the same size tyres but will run a 8J on the back just to fill the arch a bit more. Thanks for looking.
1 point
-
I got it running pretty well wouldn't mind betting the exhaust valve and seat are pitted to buggery but it'll do for now(ever) It needed some back pressure to give it some legs so I created the king of jank scrap bucket exhaust that directs heat and noise away from the rider from all the titbits of shit under my bench.
1 point
-
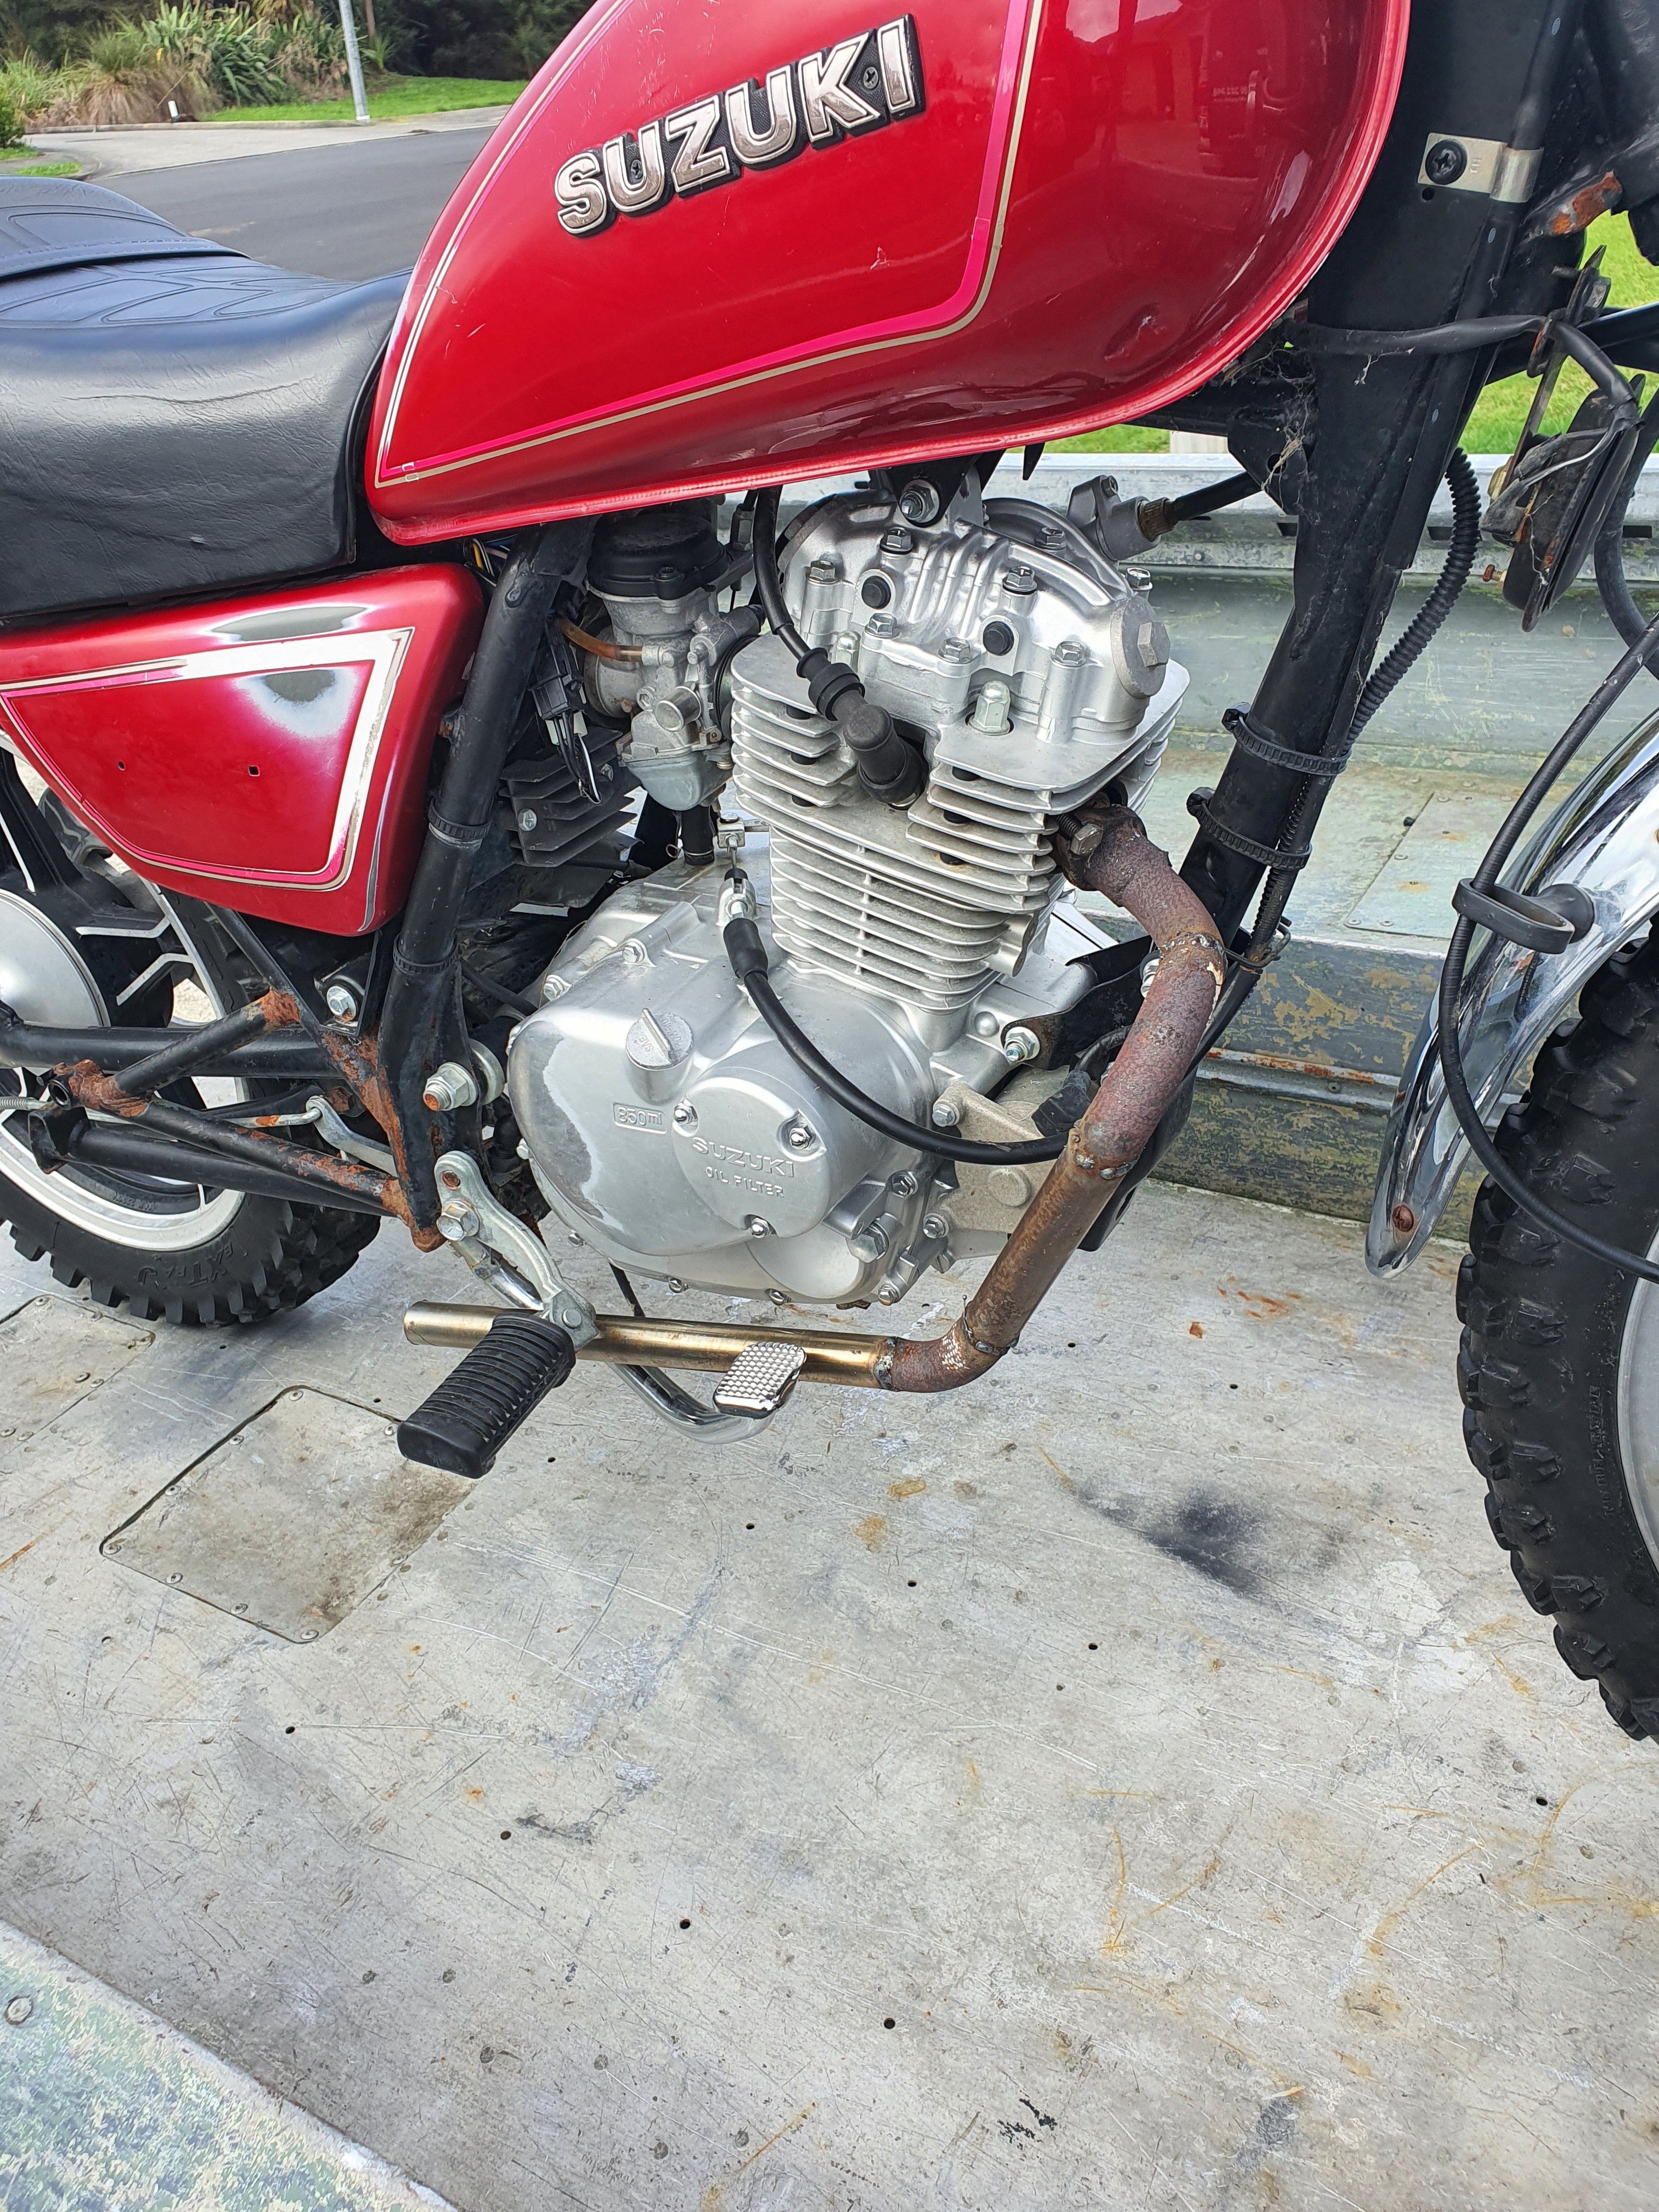
Test ride done with no exhaust pretty peppy once it's moving but 90 ks it's on the redline with the farm gears. Gave it a wipe with an oily rag and gotta say it's pretty mint! A puff of paint and it'll be too nice to let the kids on. Amazed it's been on a farm and the seat is immaculate foam is soft vinyl isn't rooted gave it a clean and leather cream it's glossy as. Tell me about farm reg? I want to get it back in system but not pay full bike reg yet.
1 point
-
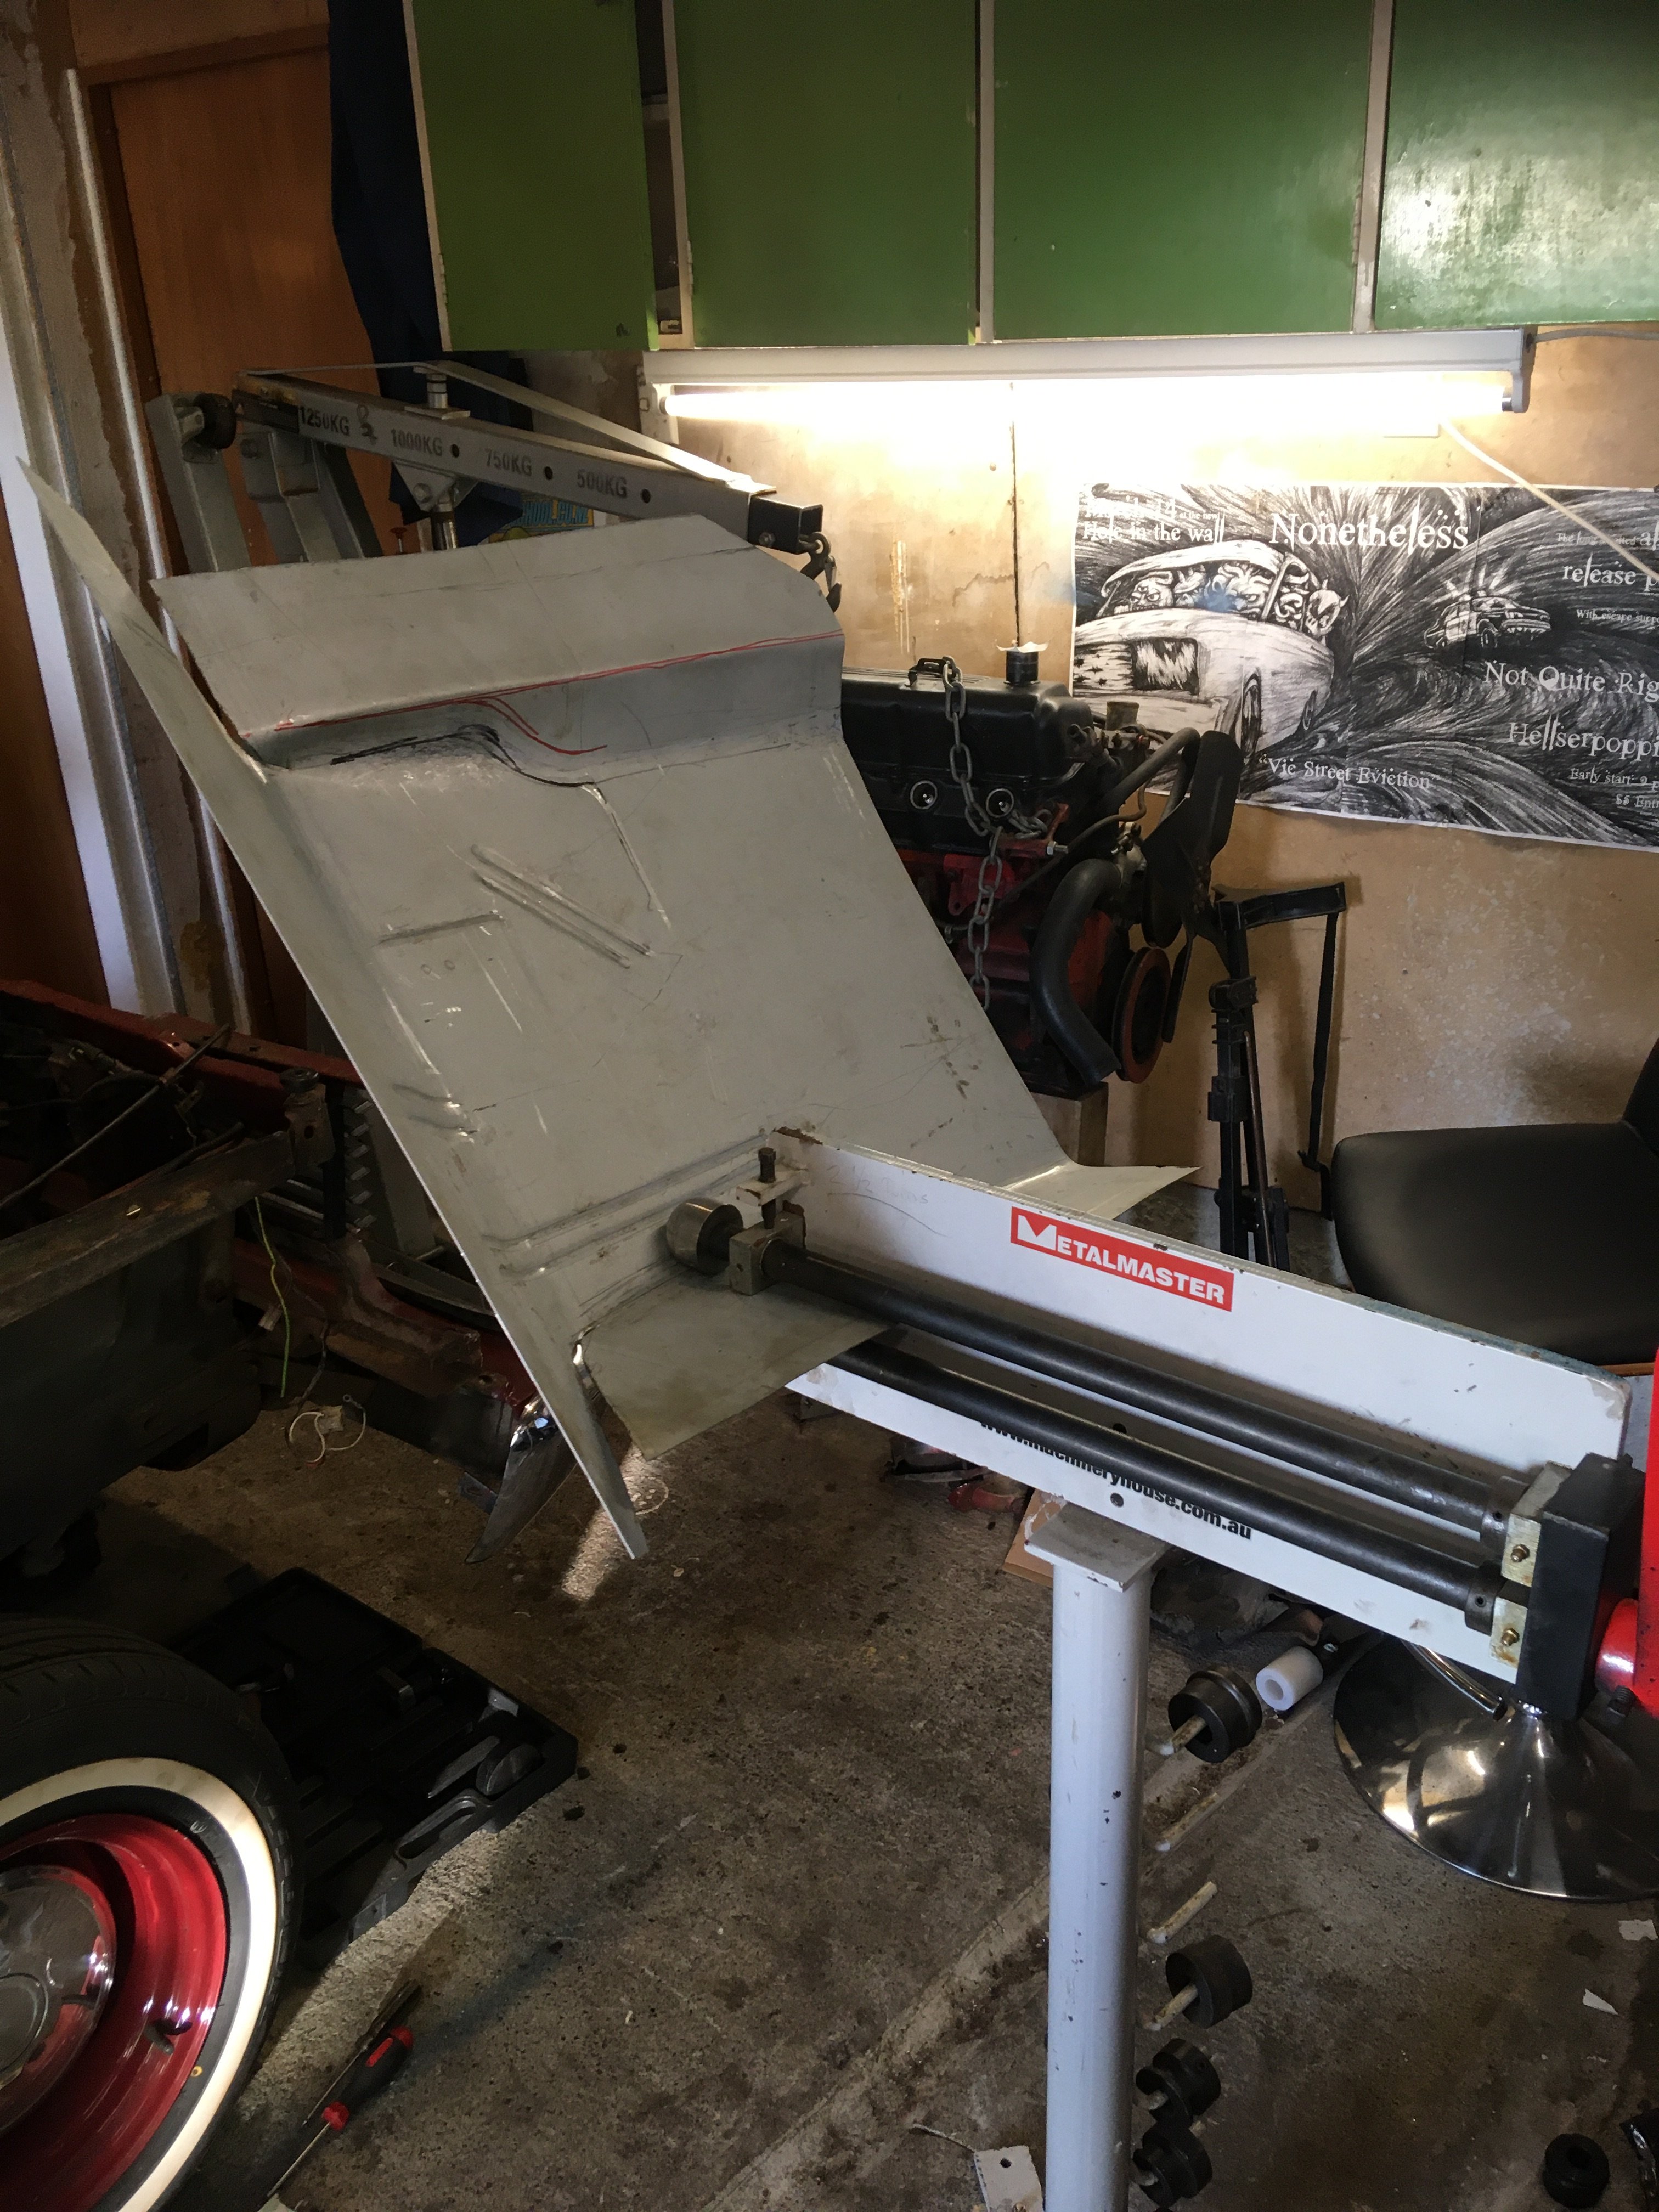
Home made forming die working a treat , could have gone for larger radius but it will work
1 point
-
1 point
-
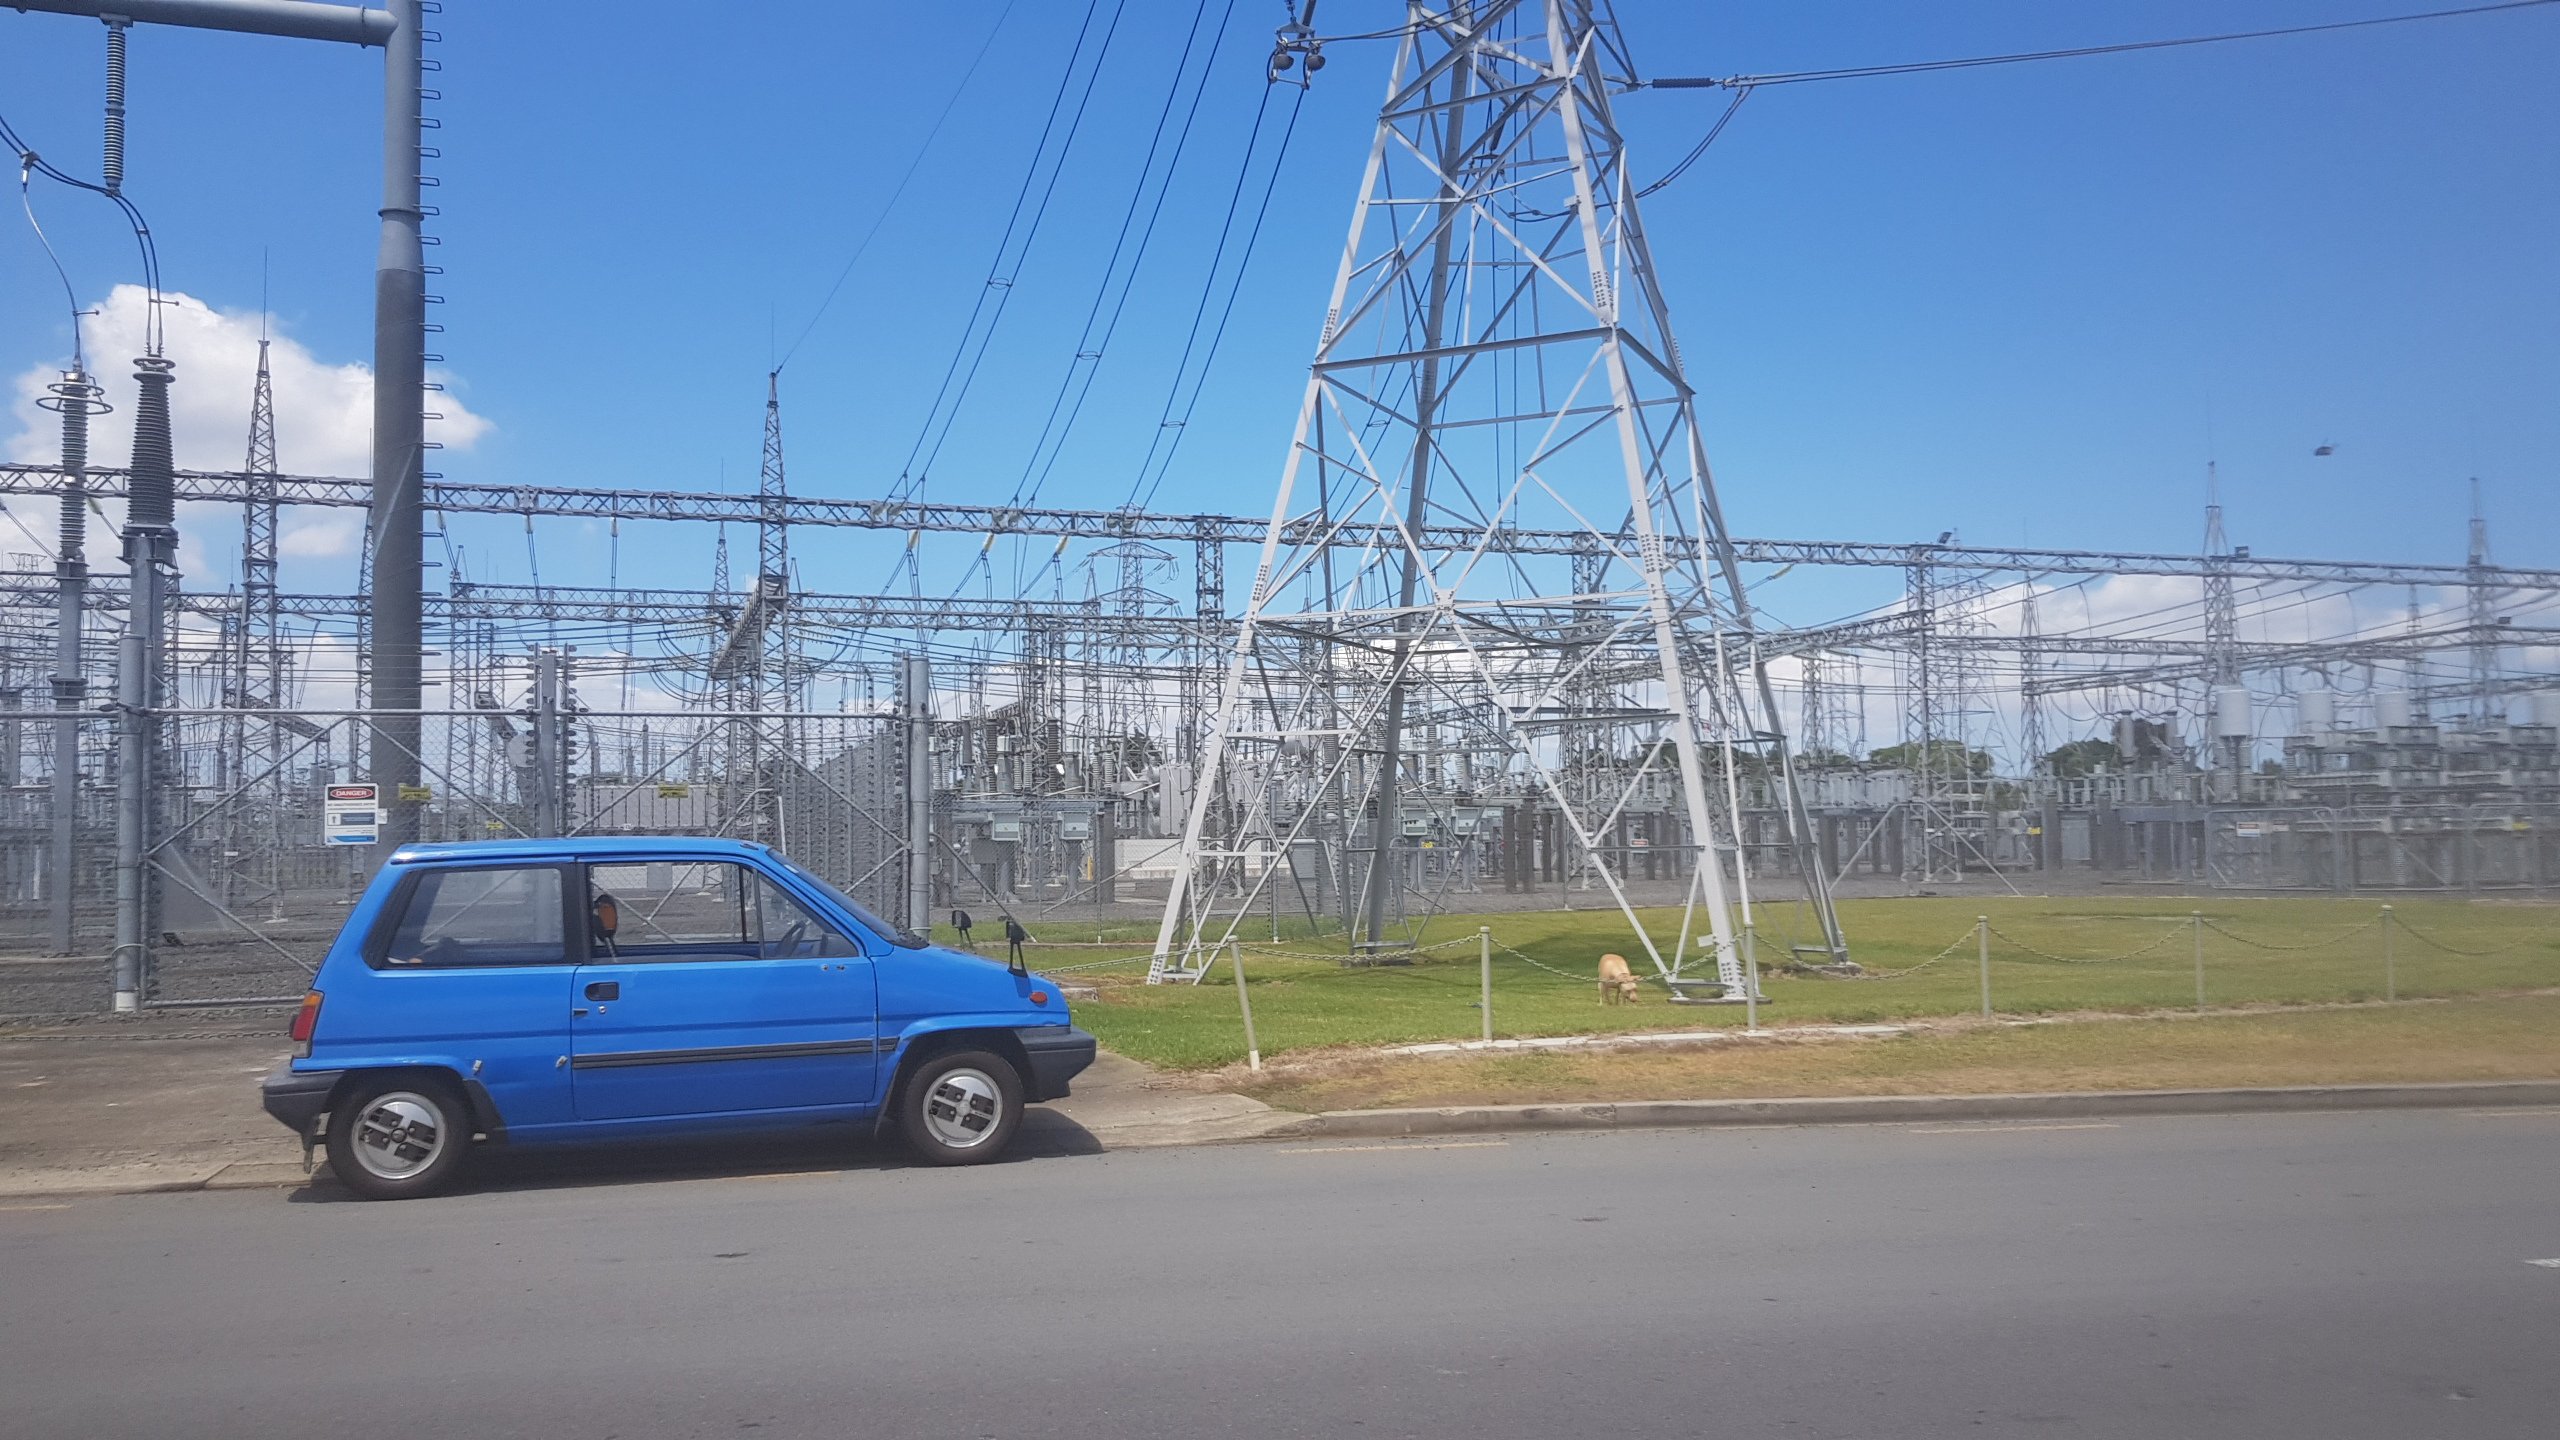
Scored a set of 12" Subaru Justy rims and tyres off a Riverside GC, Greer. Unfortuantly they didn't fit his Daihatsu so I swooped them up. Love this style of semi-solid rim. And fyi, that pic at the substation... I just pulled up and the wheels just happened to be perfectly aligned, what are the odds.
1 point
-
Went well Slight defects on the top of some fins in one area. It must be low pressure there becuase you can see its starting to chill quick in that area on all 3 castings. Its not that smart having the thinnest sections at the top of the casting in hindsight. Another quick weldup and itll be good.1 point
-
Spent a few hours polishing the Carib. From this. Didn't look bad when it was wet, except there was zero beading. But the horrors it hid To this1 point
-
One difference the Pre-Facelift Carib has is that the taillights are big solid colour blocky things. I didn't really like them, so off they came. The original taillights always looked dated to me, which made the car look older than it is. The facelift model of both the Carib and Corolla wagon got a slight upgrade in the taillight department. Removing and replacing the lights is very easy on these, so I grabbed a pair of facelift lights from a Corolla wagon at Pick A Part and finally got around to replacing them today. With the tailgate open, it's just two screws to remove the lights. I guess this was designed to be easy as this is also how you change the bulbs. Remove the screws and then the light just pops out. There are two plastic pins on the opposite edge of the light, but these are often broken. In typical fashion, the lights on the Carib were loose, so that wouldn't be helping. With the light removed it uncovered a haven for grot A quick clean, and then it's just a case of swapping the bulb holders to the new lights, and slot the light into place. Rinse and repeat on the other side, give them a polish with some PlastX and that's the job done. They came up really well with a polish, and fit better than the old lights. Much better Nice and easy. I also gave the paint a quick going over with Bowden's Own, to get rid of more of the sunscreen on the paint. I was initially very sceptical about this, as it's well known how hard it is to remove sunscreen, but checking out reviews and Youtube videos of this stuff convinced me to give it a try. The difference to most other options is that this is oil-based and lifts the oil-based sunscreen out of the pores in the paint. Just over a month ago I gave it a quick test on a small spot that had some clear and obvious finger spots. Pour some on a microfibre, rub it into the paint and buff off. It's not rocket science. But sure enough, there was no trace left at all. And over a month later, there is still no trace. Despite what I've been told, I'm not an idiot, I know how bad sunscreen is for paint, but the results speak for themselves so far. If it lasts, awesome, if not, I'll try again. With that success in mind, I went around the rest of the car today and just spot polished where I could see sunscreen marks. The car looks a lot better now, with a more uniform shade of black. I still need to give it a clean and a proper machine polish and wax but that will come in time. The paint has a really nice flake, so should look great when polished.1 point


.jpeg.519da854cdfa902a755021102dc95bfd.jpeg)


This leaderboard is set to Auckland/GMT+12:00