
Leaderboard


Popular Content
Showing content with the highest reputation on 31/07/20 in all areas
-
Finally managed to get to zebra to get a rear diff from an explorer, I missed out on the one @cletus told me about because I was slack. anyway Zebra finally had one come into stock at the end of June so I went out this morning and plucked it out of this gladly all bolts came out with out a fight and it ended up with this It’s 8.8 inches of Ford goodness, 31 spline axles, factory disc brakes with onboard handbrake, it’s a 3L73 so 3.73 ratio LSD, need to source another short side axle, shorten the long side down 3” and it will be just narrower than the factory mopar and is the same stud pattern as the VJ valiant front brakes I’m using, it’s a well documented thing to do in the USA so there’s an abundance of information about it online.7 points
-
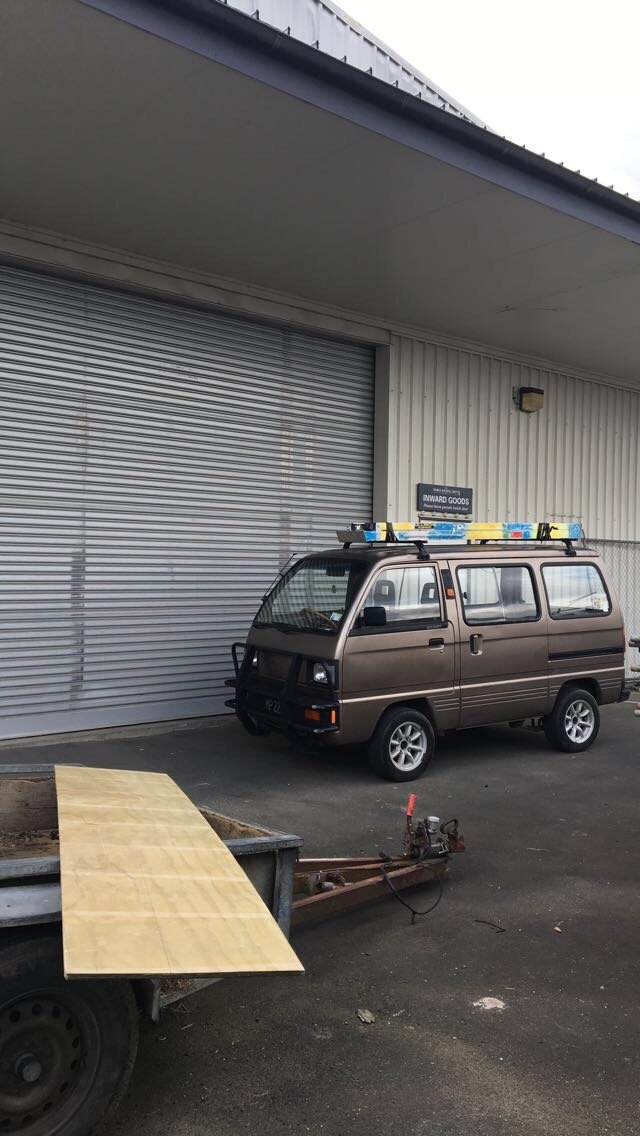
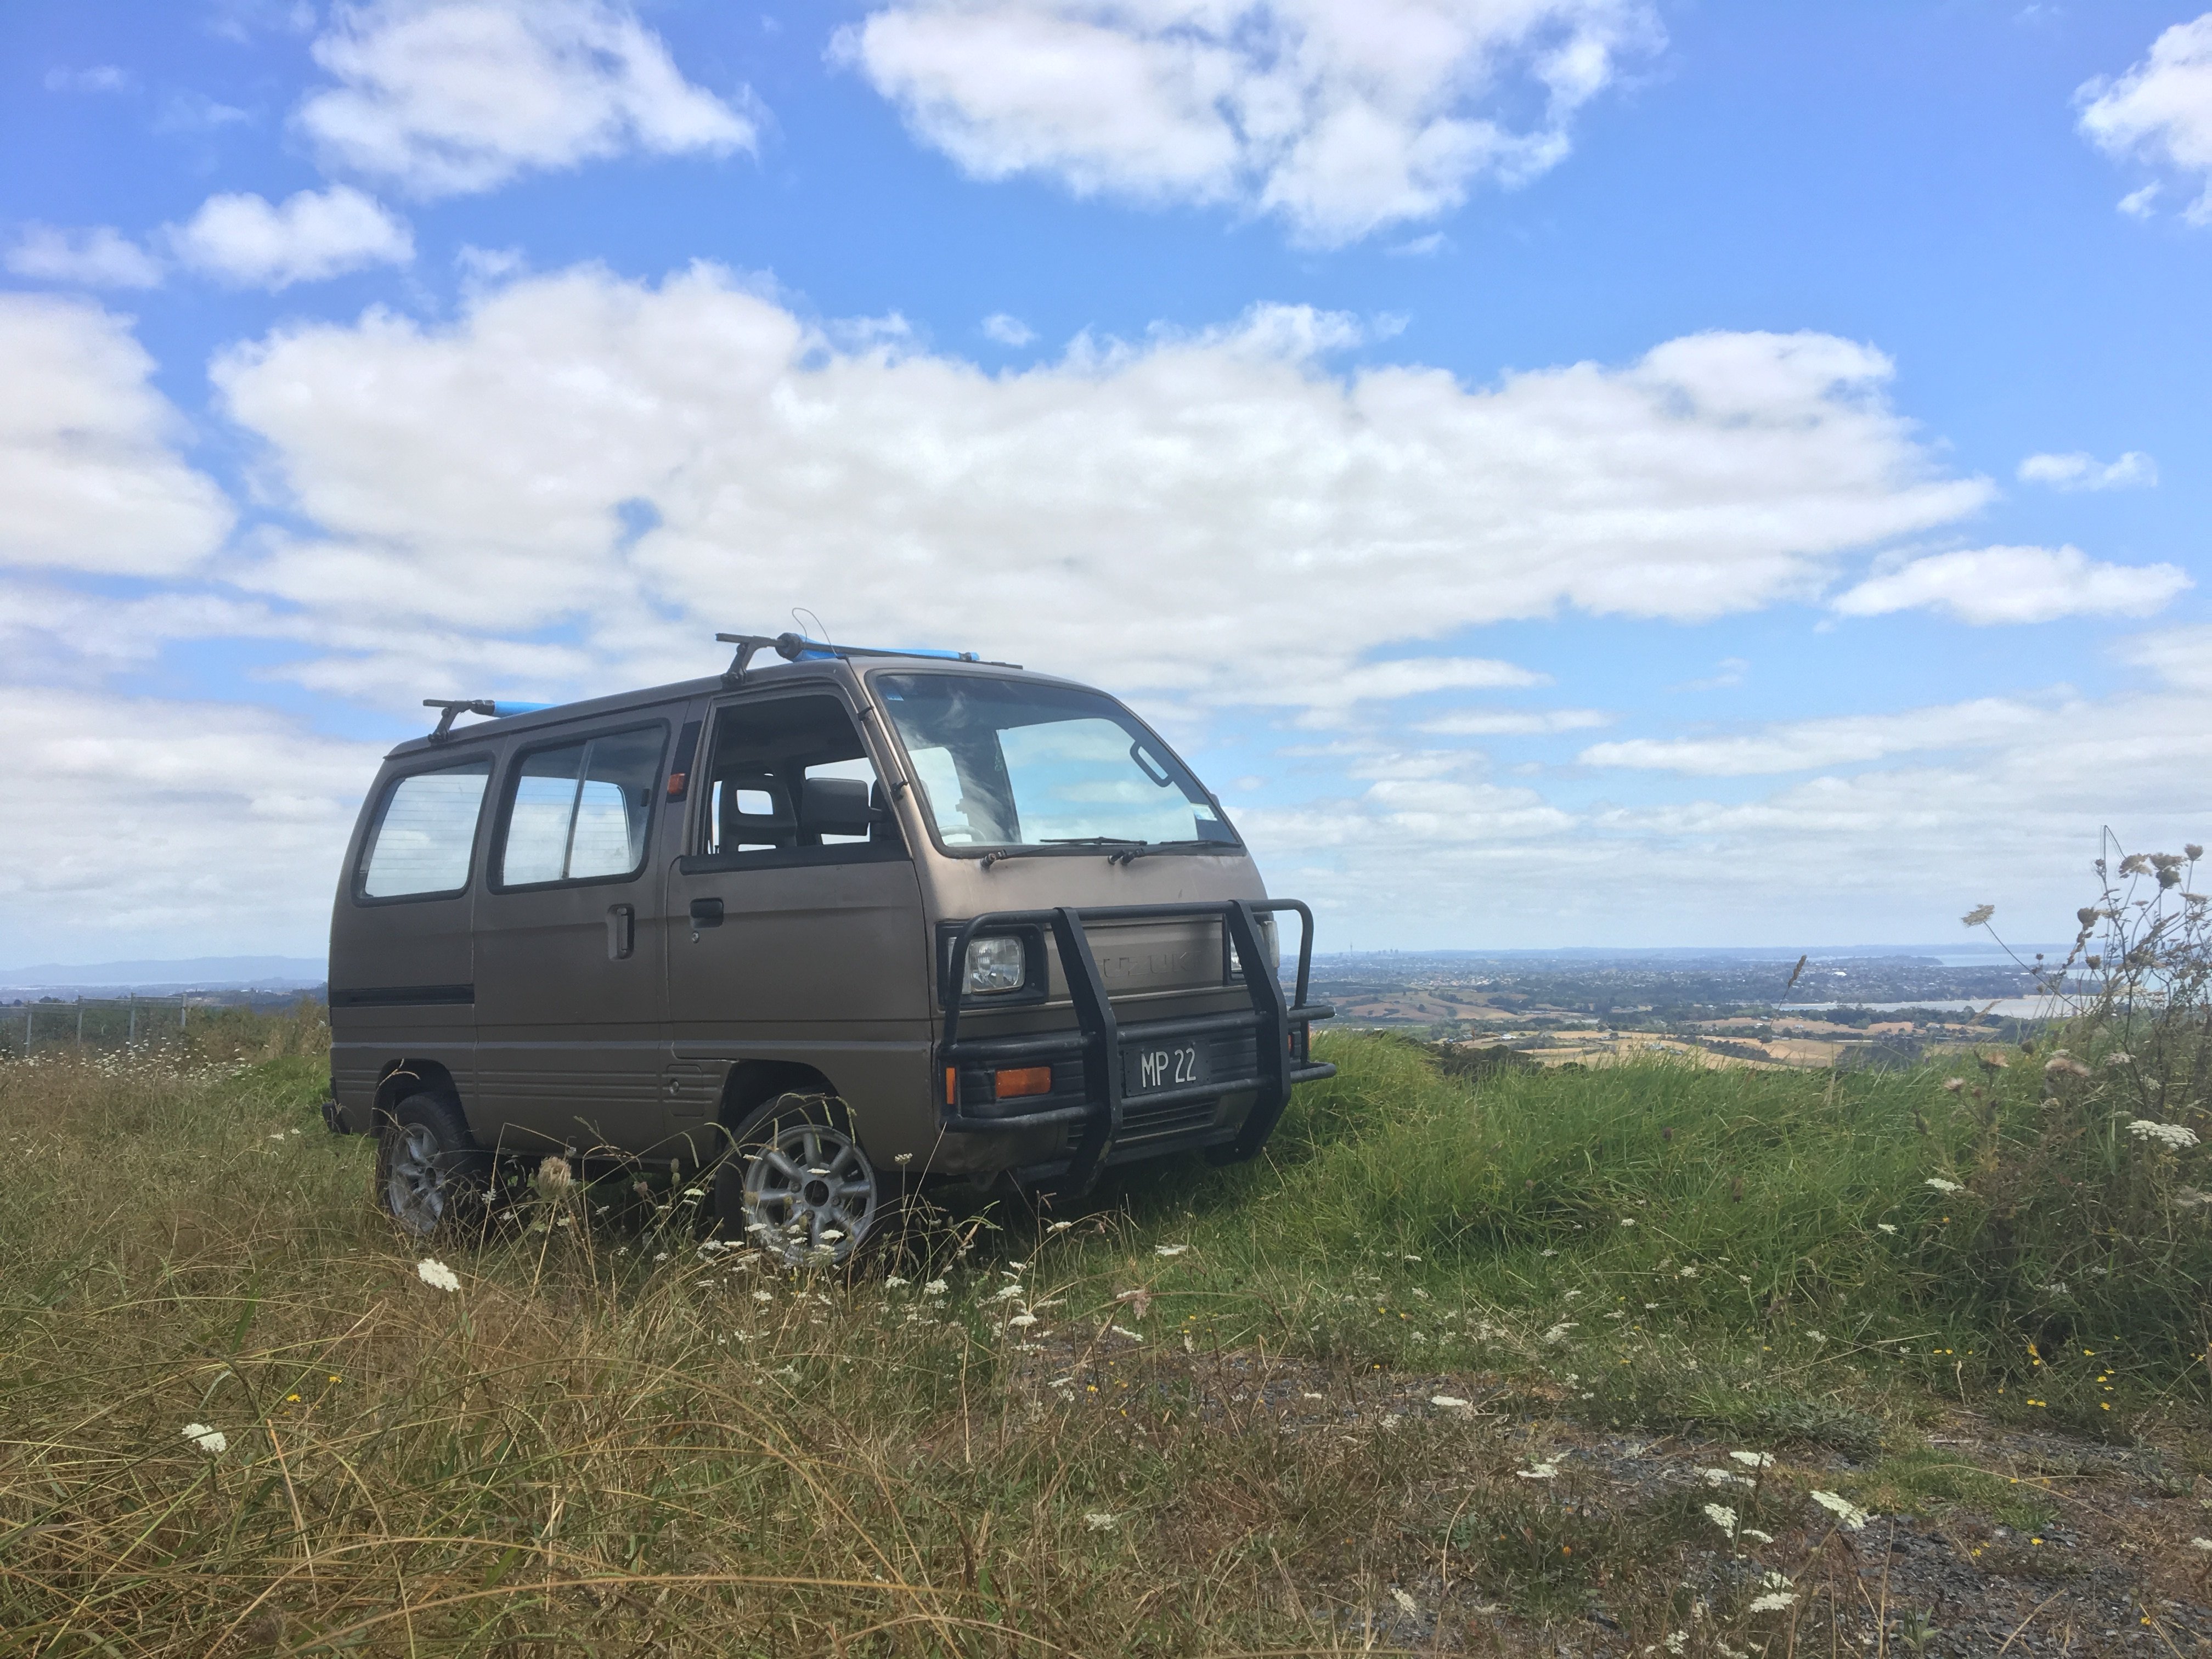
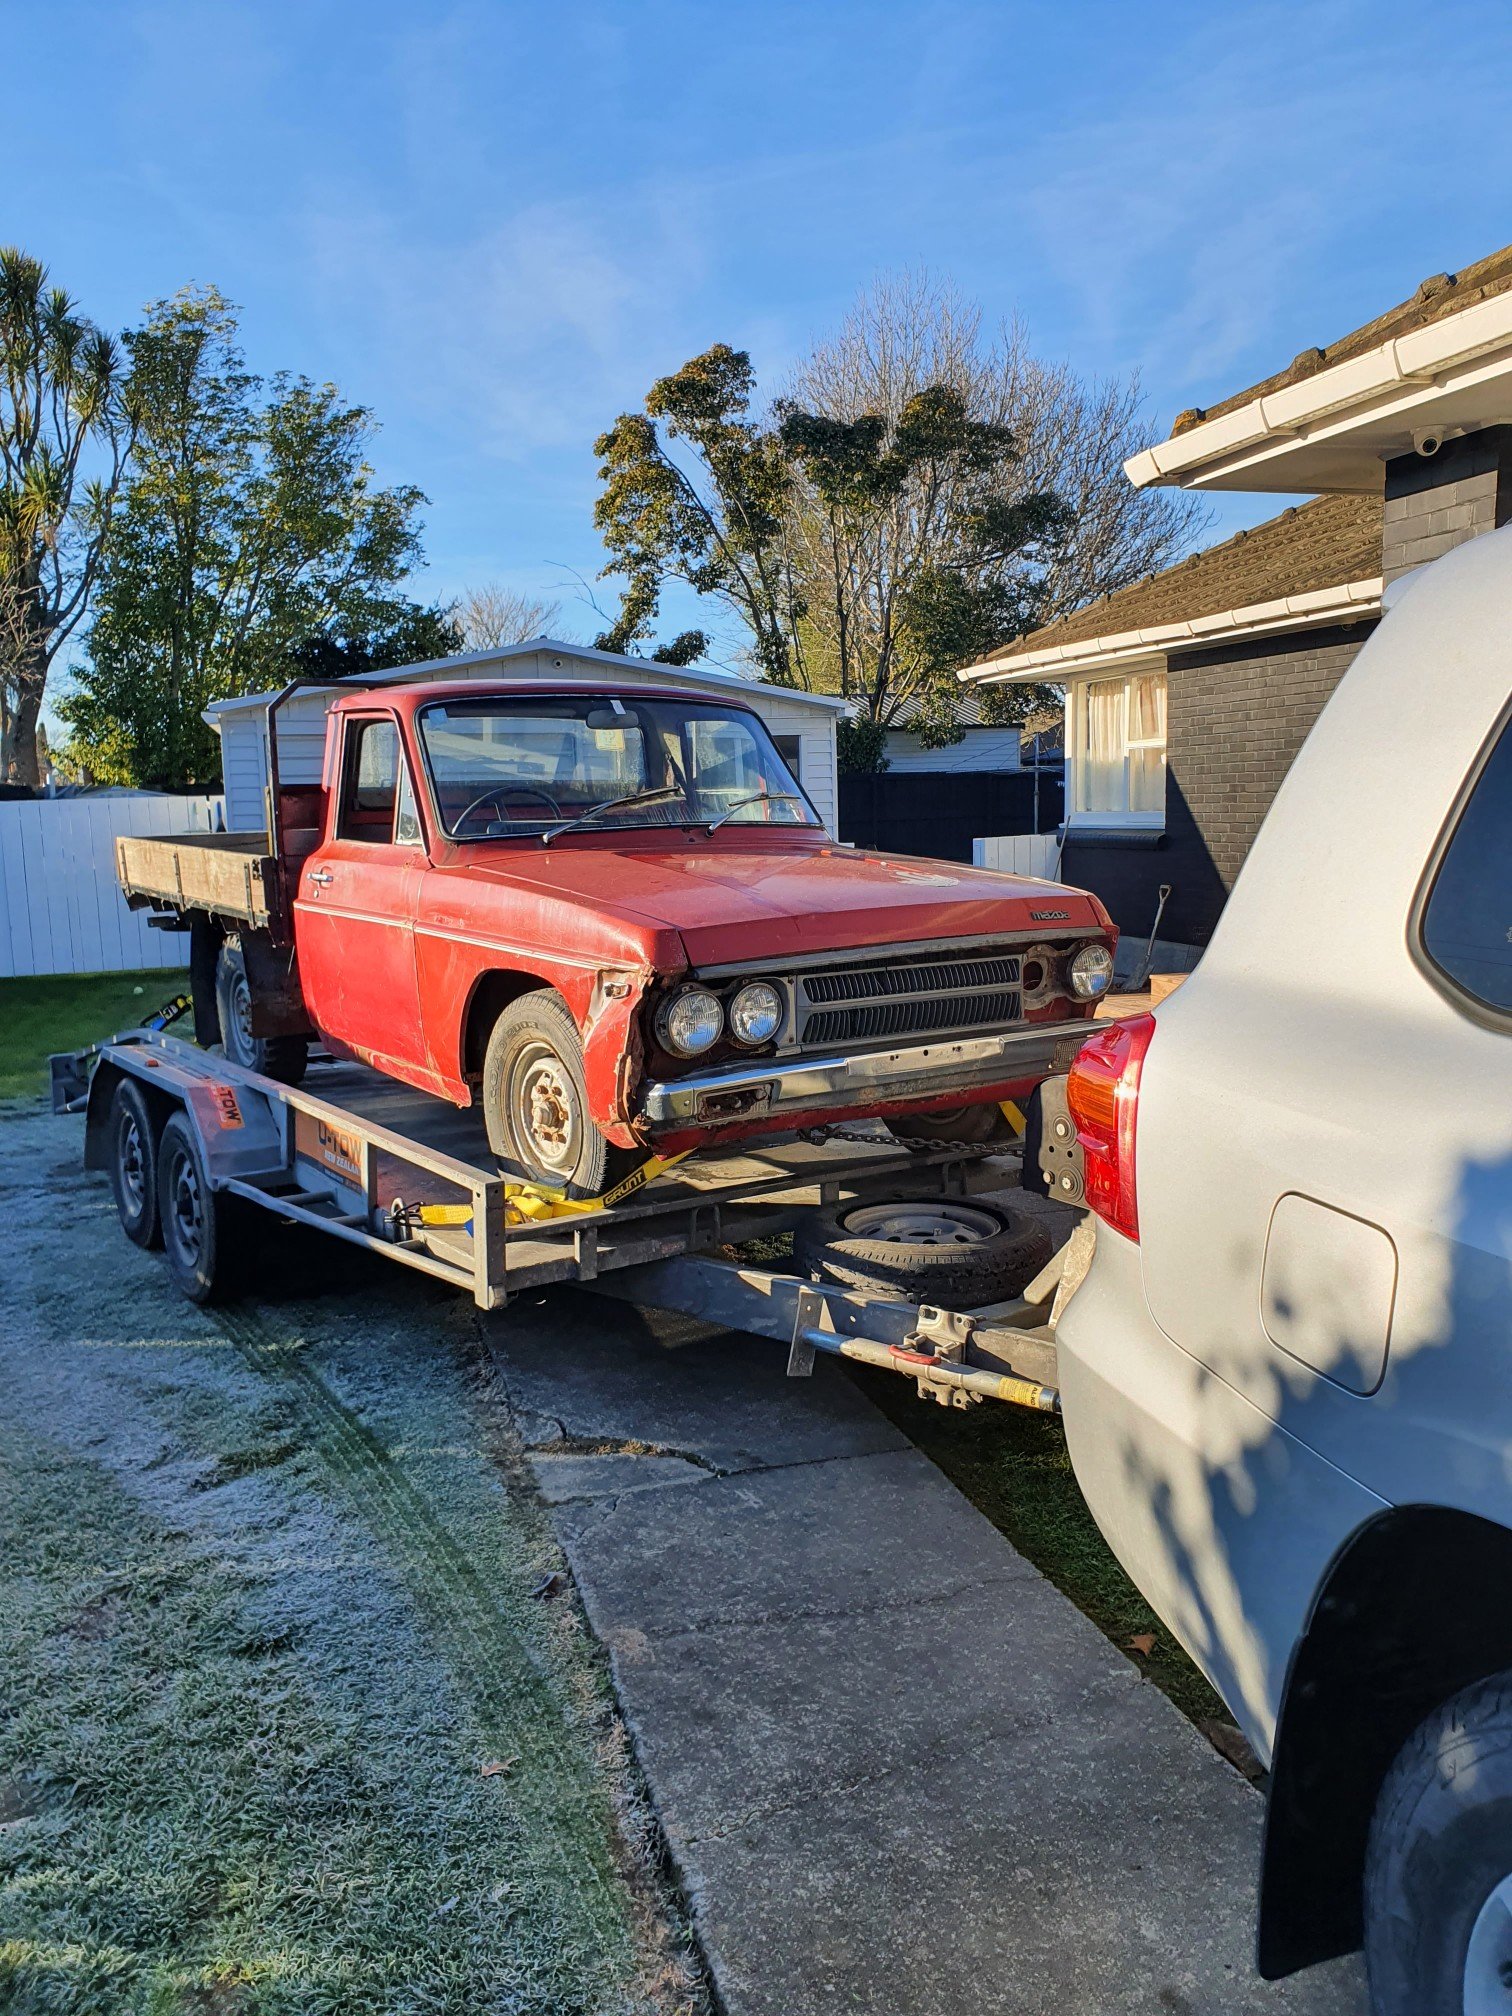
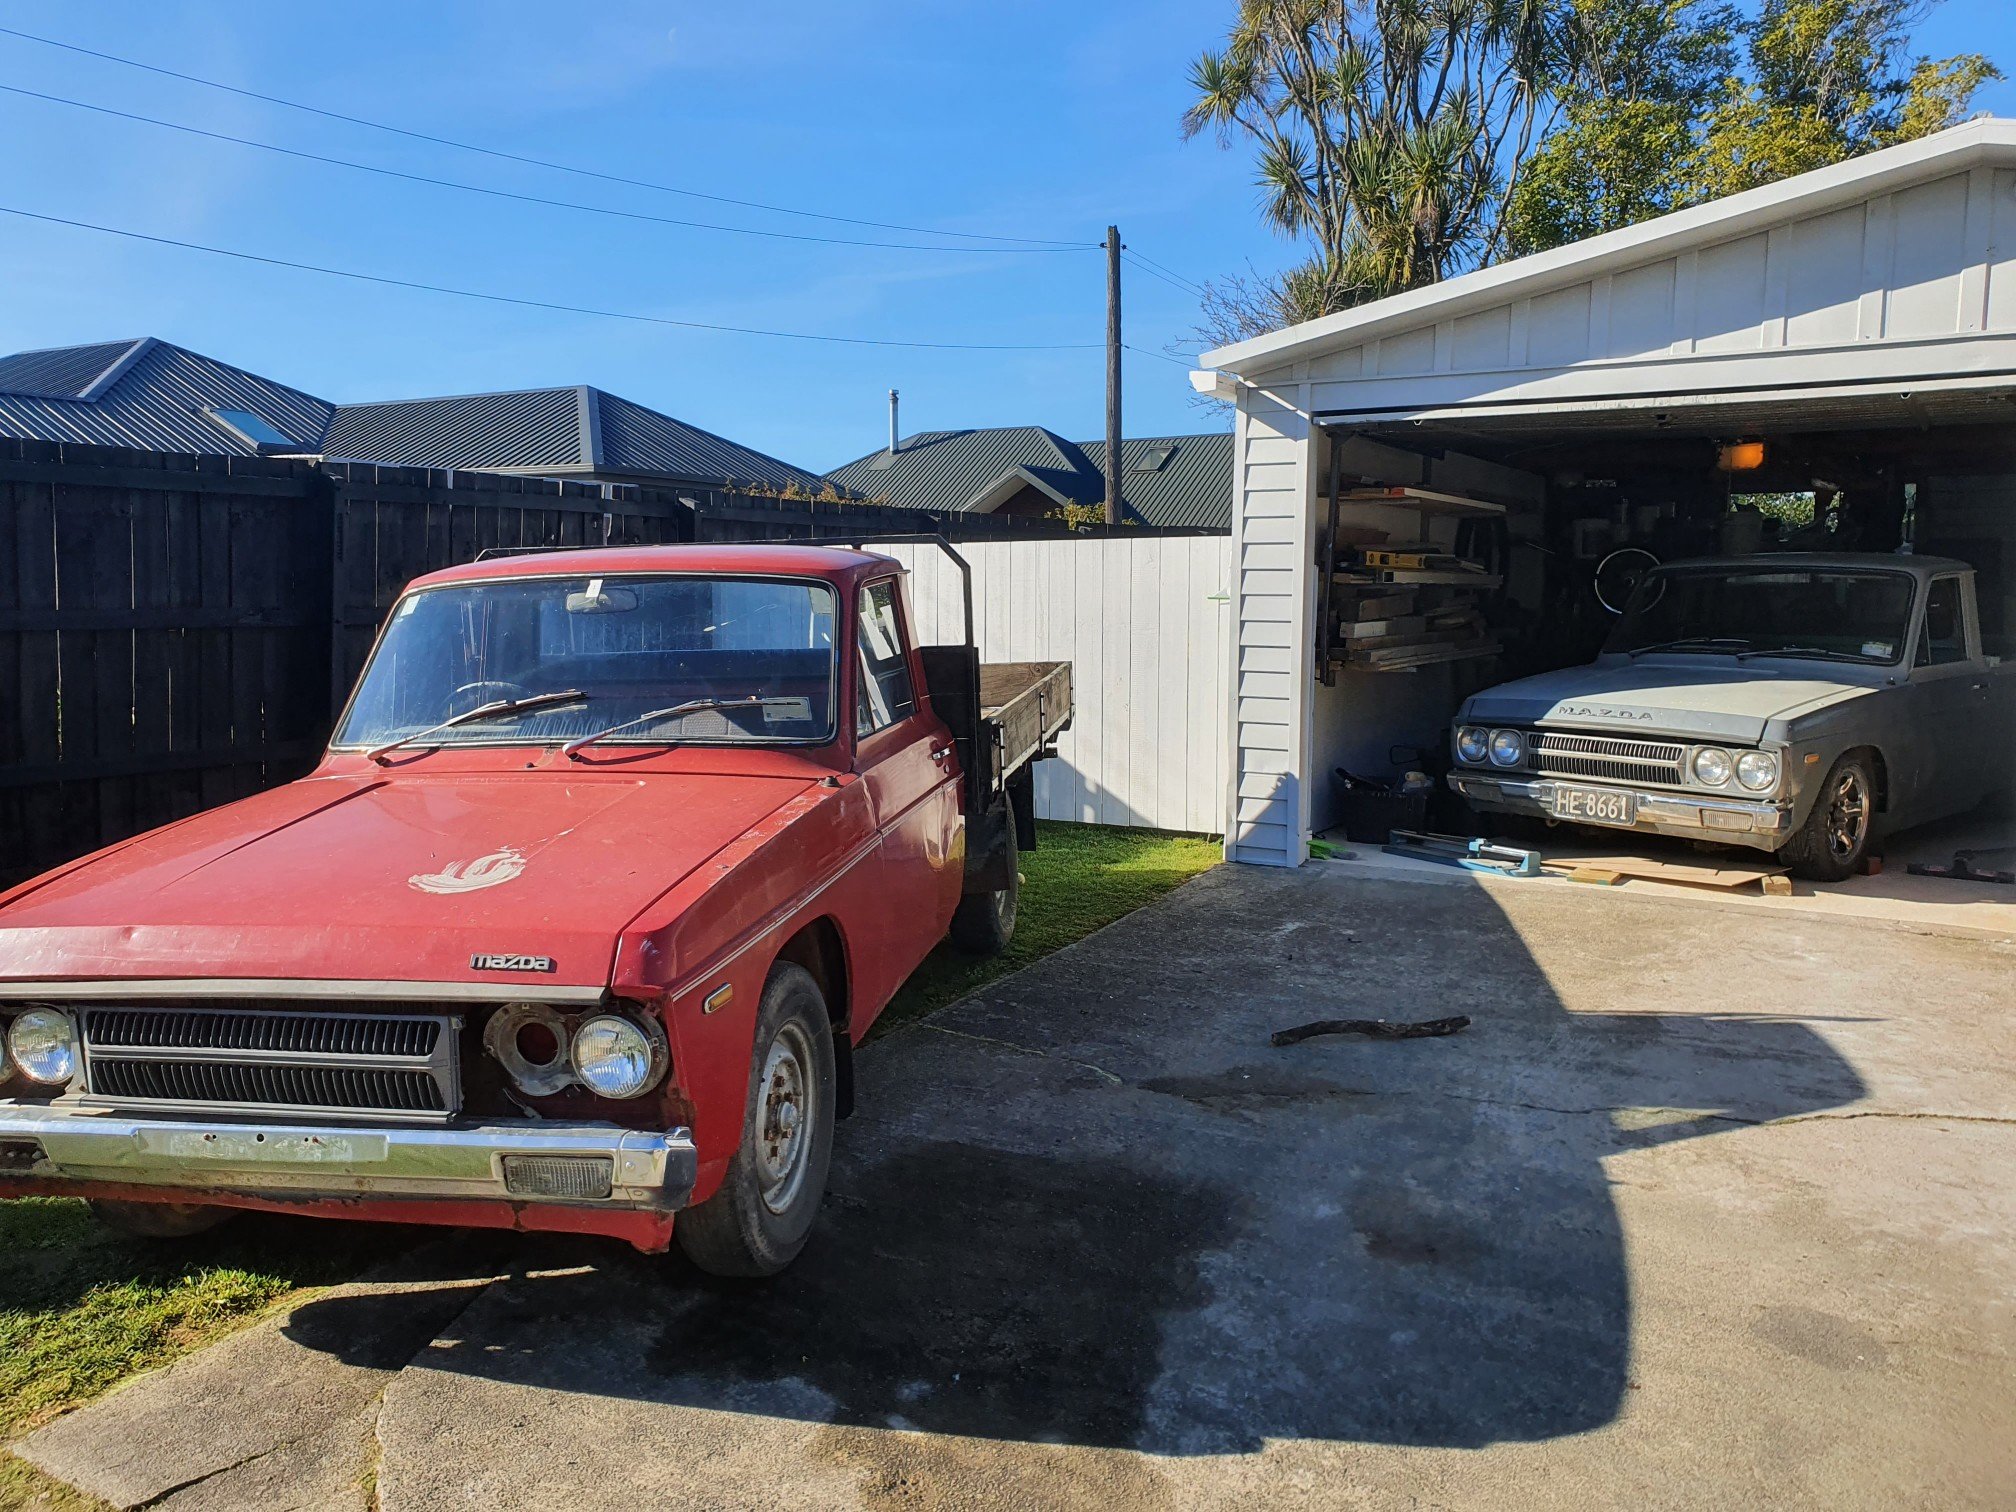
The wee carry van is back in action after a few year hiatus threw a few different owners. Currently my workhorse but have been tidying it up since I bought it the start of this year (has a pretty fat sound system now to!) Will keep updated with progress. Cheers, Mitch
 6 points
 -
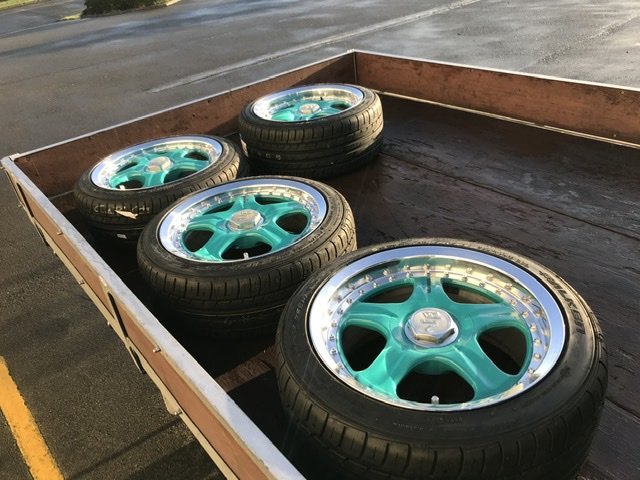
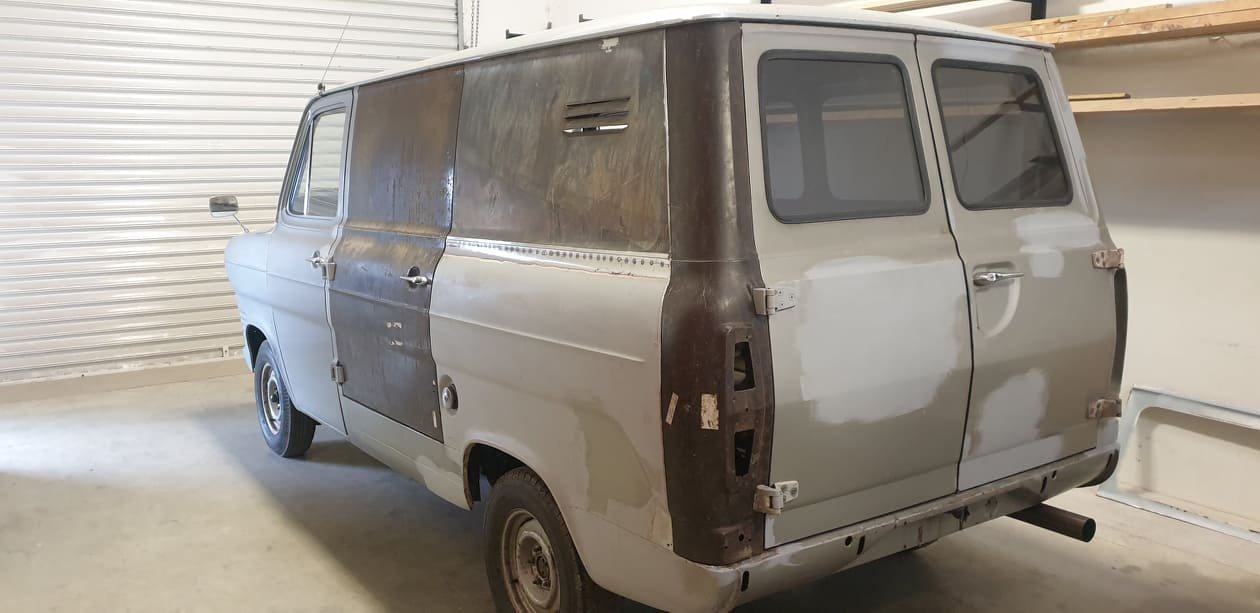
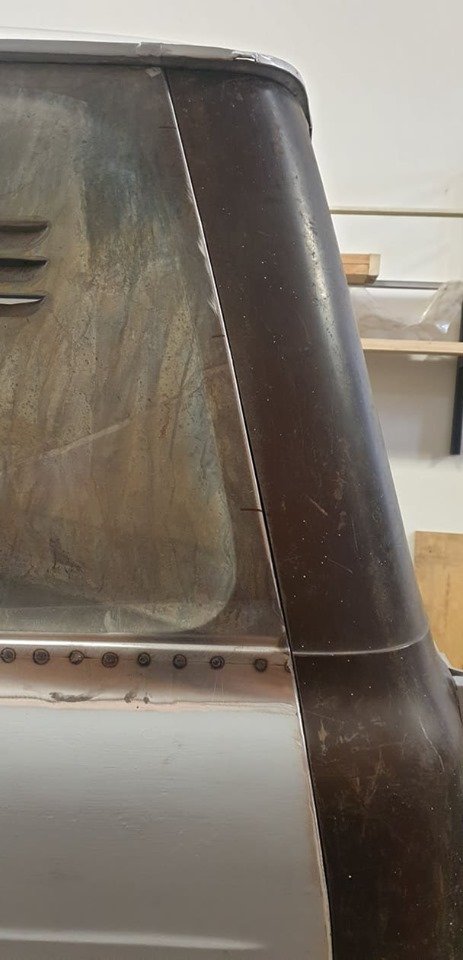
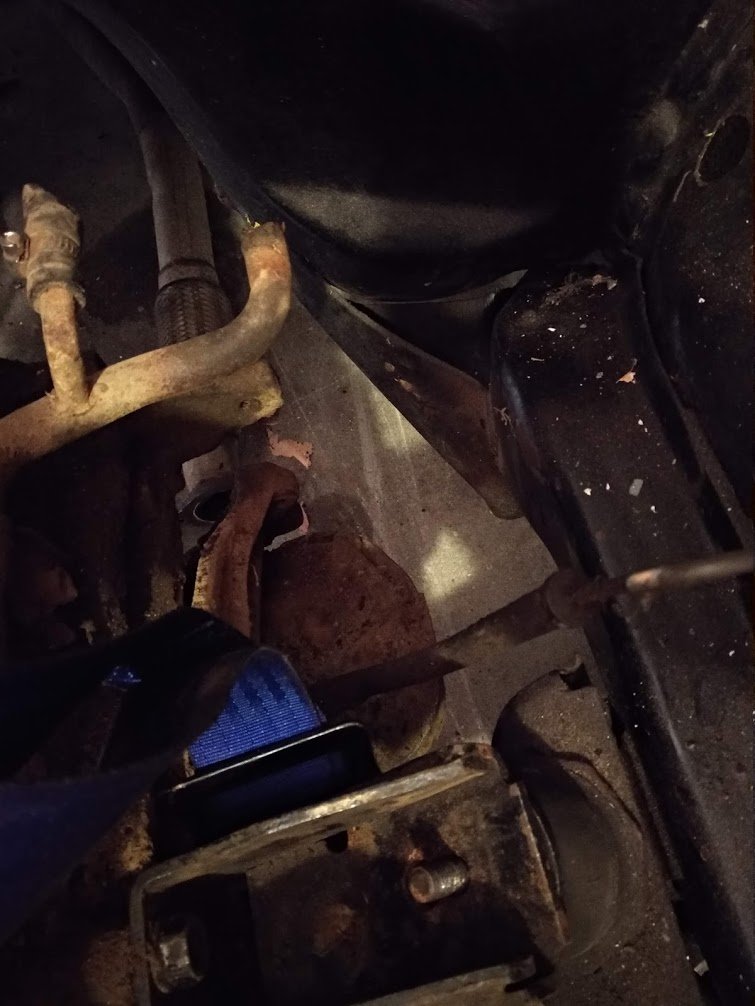
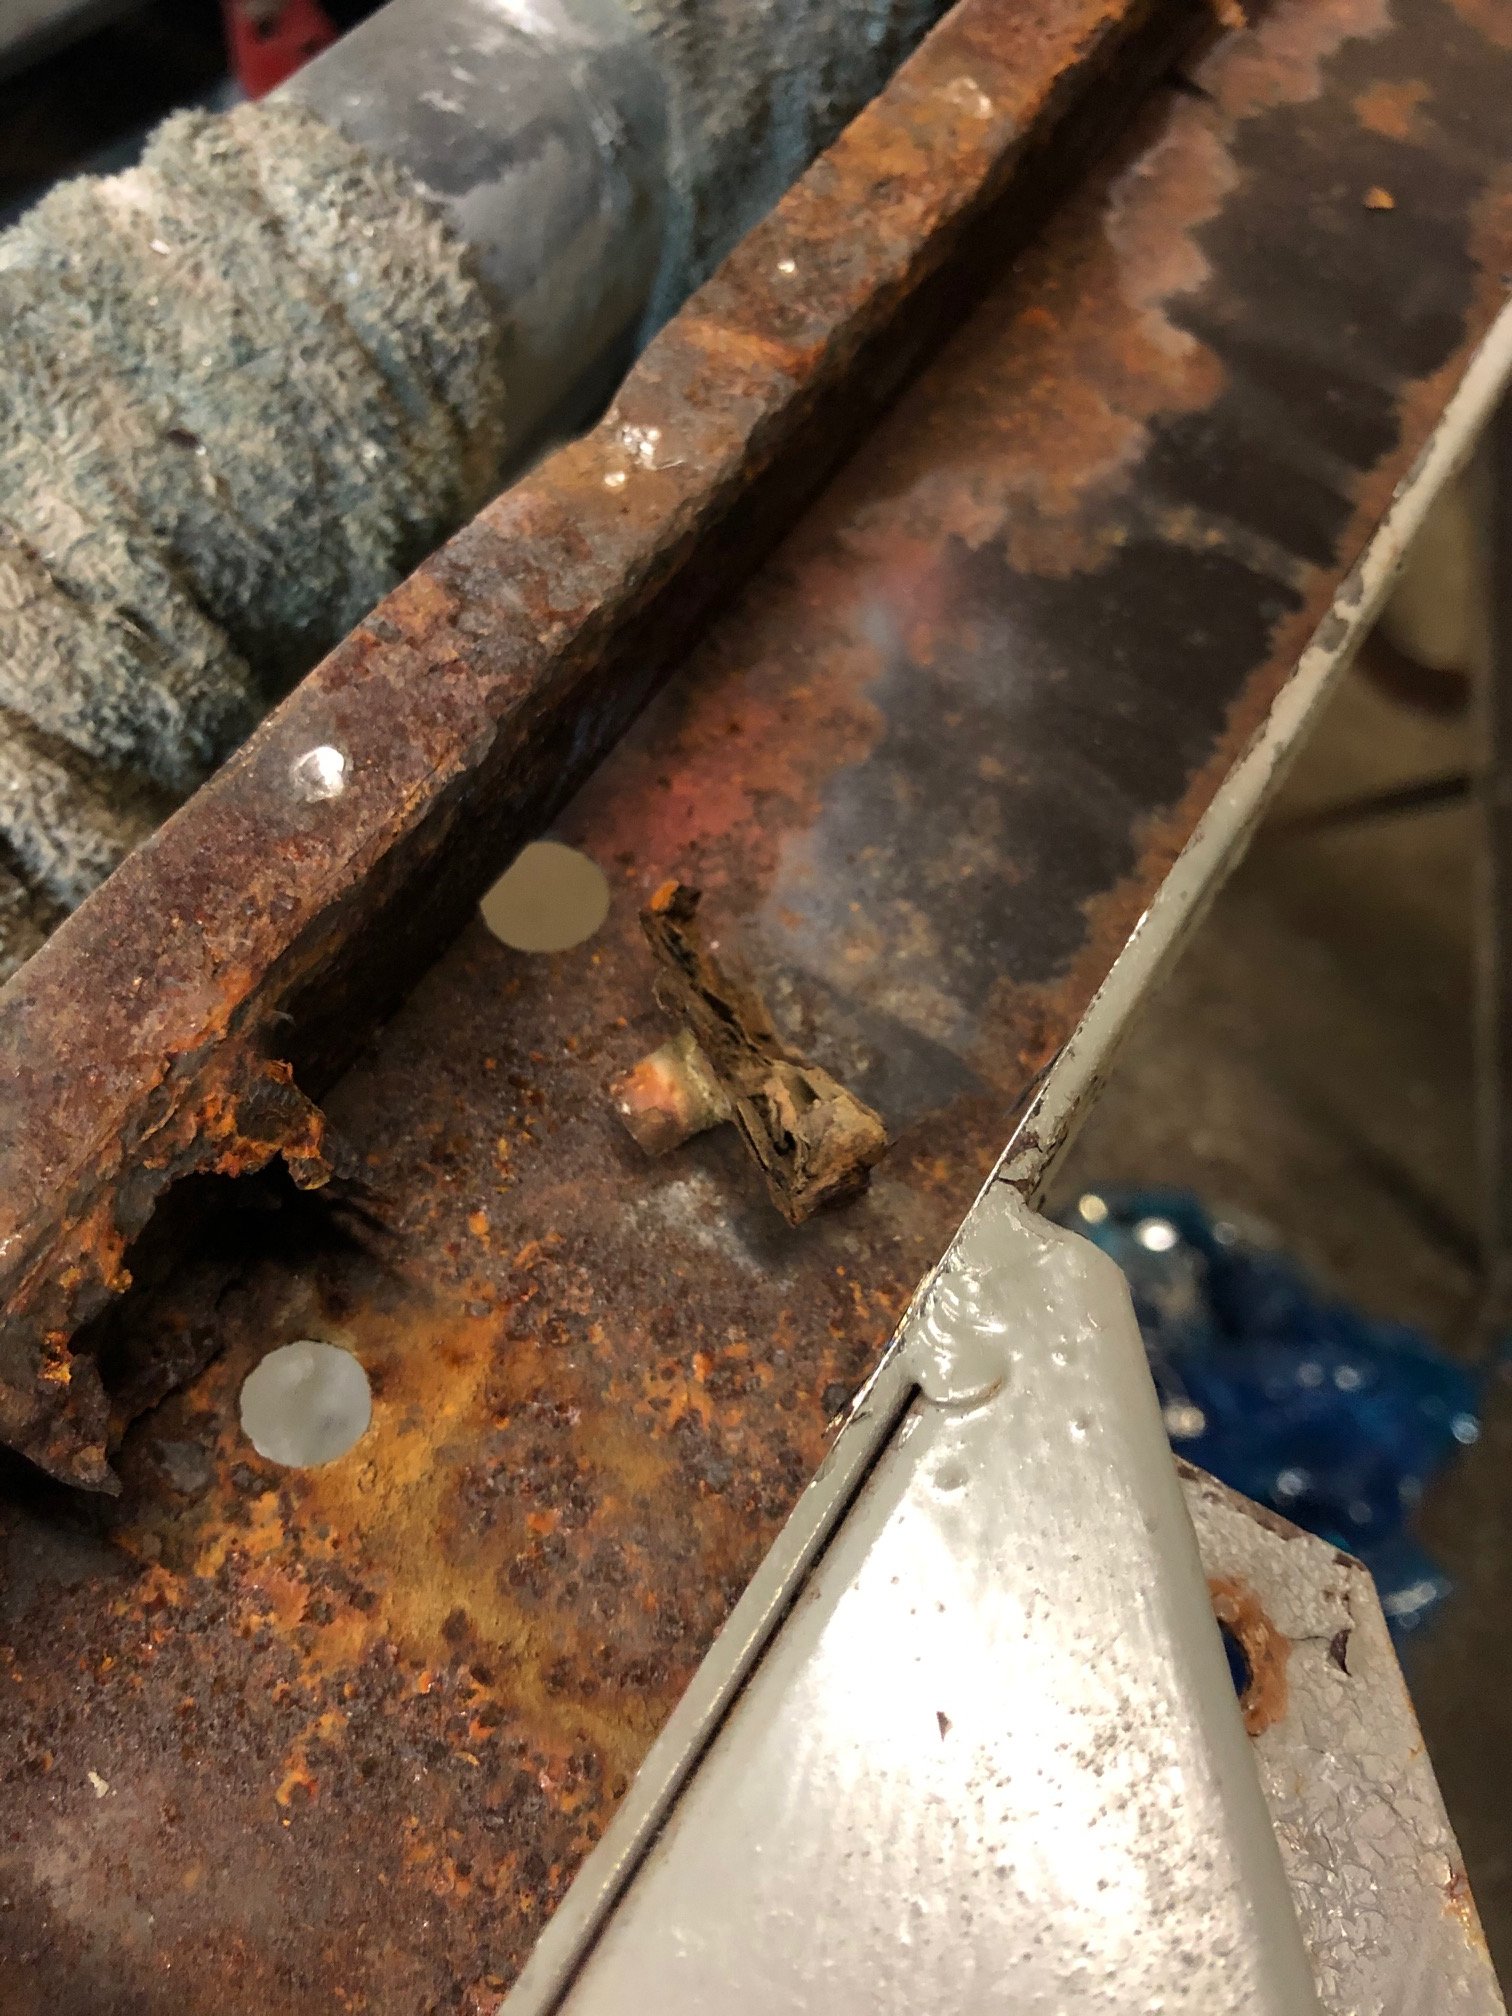
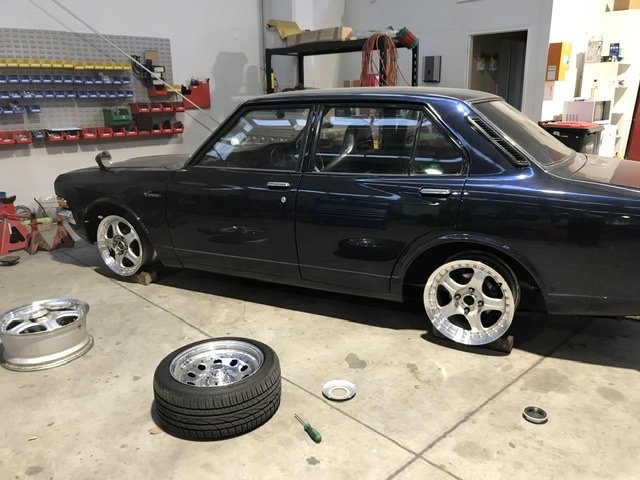
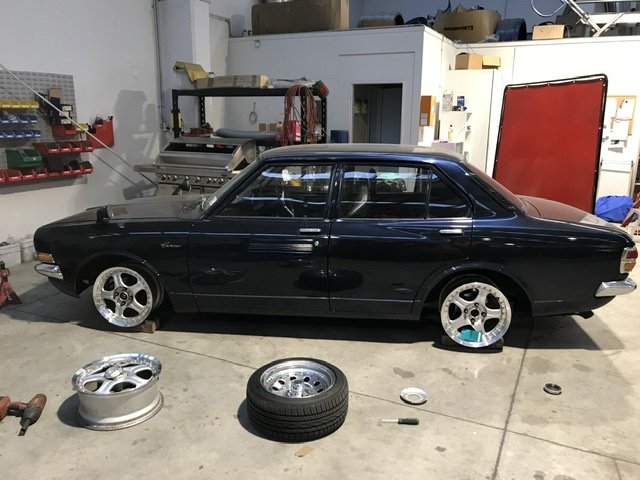
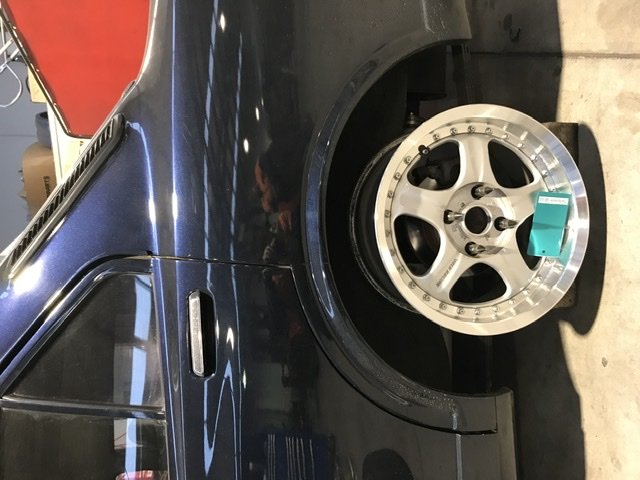
New tyres and spacers on. This thing just gives me one step forward and 2 steps back. I discovered a few amazing things today: The front end of off centre by 4mm. The LF wheel has 7-8mm guard clearance and the RF has 0. I will have to remove the subframe, slot the holes 4mm then weld the slot and reshape the mounting holes. The rear end has been fitted 10mm off centre. The LR wheel is flush and the RR is in 10mm. I will have to cut the mounts off and reposition them over 5mm. I have found some rust underneath that I’ll have to fix up and the chassis rails need tidying up before a wof. The car came with a receipt for the exhaust from a reputable car modification company here in Christchurch. $2500 worth. The rear muffler has 2 mounts. The forward most one is hard bolted to the chassis with no rubber so that explains the vibration through the car. The rear most mount is a cotton reel that has been mounted as a hanging set up and in a way that it has pulled itself apart. Cotton reel exhaust mounts have to be compressed! Anyway. Enough chat for today. Here’s some photos.
4 points
-
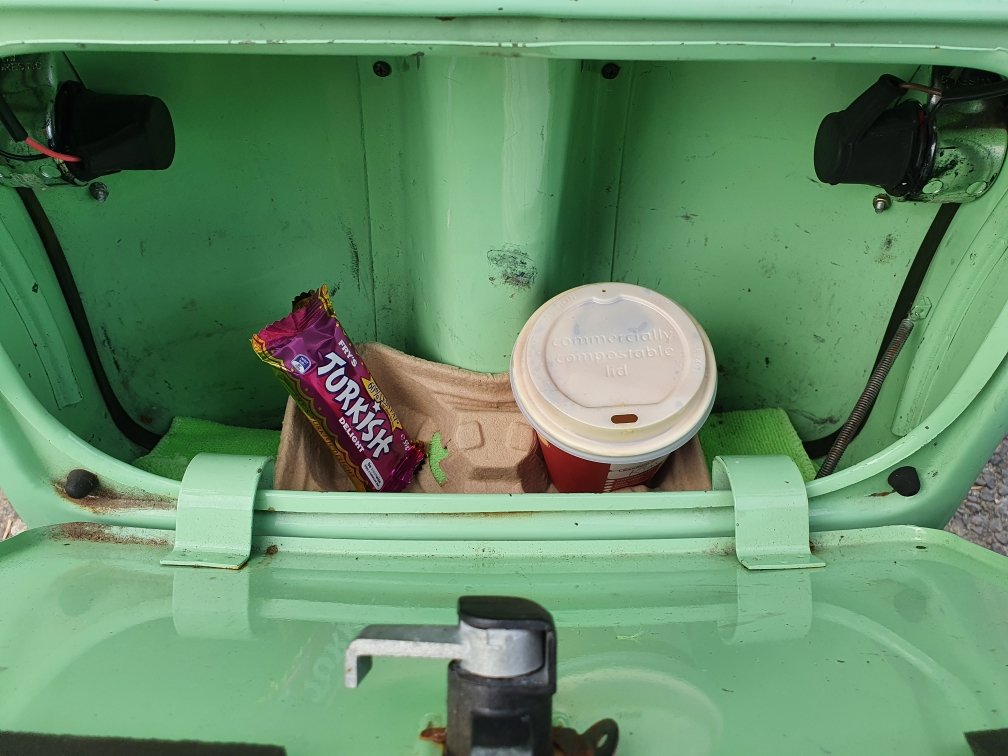
I got 2 coffees home, 10km from town like this. Well one dropped off to wife on the way. Didn't spill a drop! Did 120kph downhill...it loves it!
3 points
-
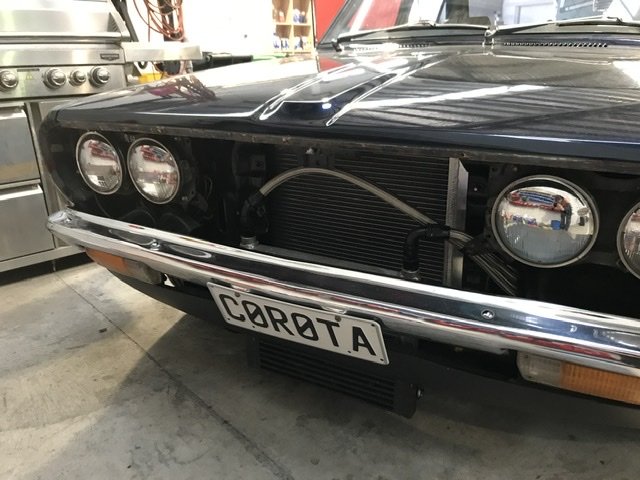
So a few weeks ago I took the mighty beast for a spin and has developed a smoking habit.. A bit of blow by, its mot consistent in volume or how often it does it. I'm at a crossroads whether or not I rebuild the motor to +60, cammed, ported head and rejected carbs.. Still limited by the 4speed box to 110km before it screams. Or drop a 12a BP in it with s1 5speed for max skids. I have a complete 12a set up lined up, including a crossmember that will bolt in. It's a no brainer for me really. Might aswell do a diff swap too if I can find something decent in a similar width. Thoughts?3 points
-
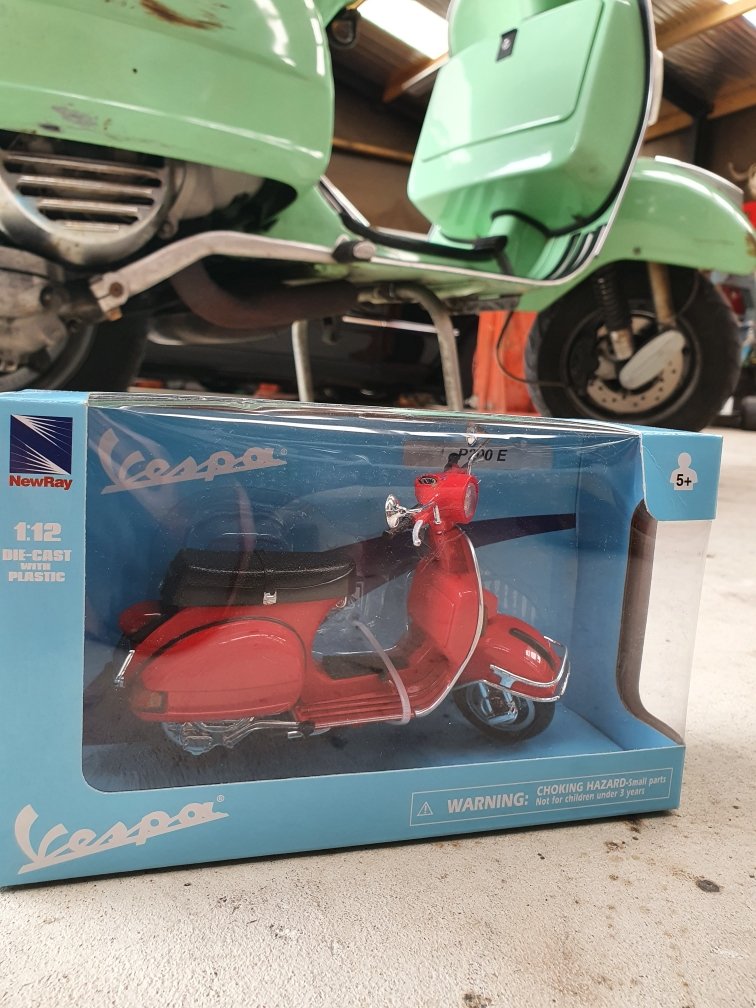
This arrived today. Just need some snifter green paint to make it match...
2 points
-
Yeee! Such a sweet little van2 points
-
Looking good! Perfect wheels for it. Feel free to take over the build thread!2 points
-
Hey mate!! I own this van now, i’d love to get in touch. Cheers, Mitch
2 points
-
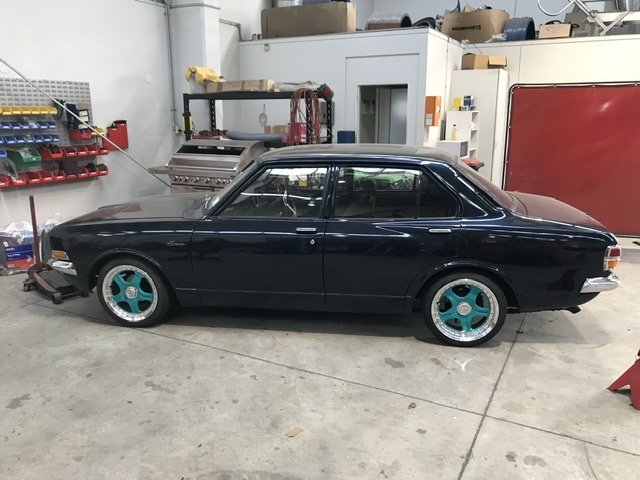
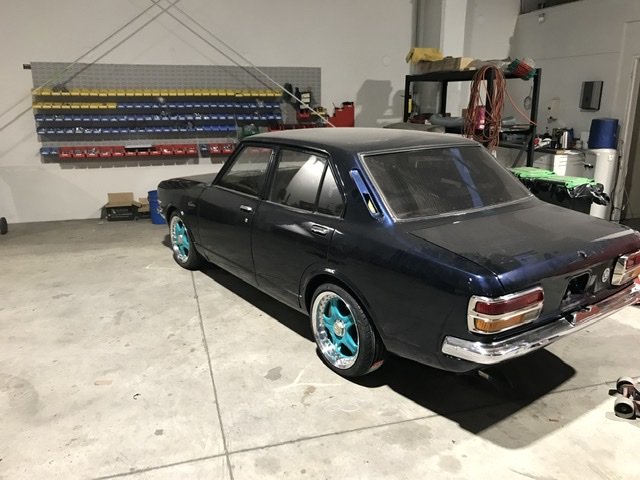
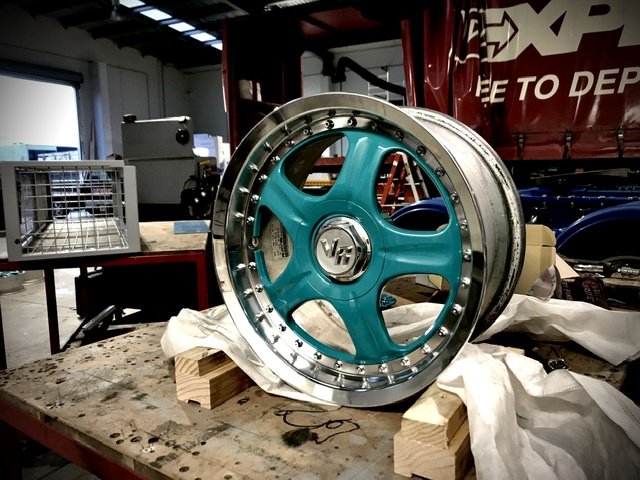
Fuck I’m hesitant to post these photos! I kinda went pretty out the gate on the wheels. I wanted something different and I thought the japs used to have pretty crazy wheel colours back in the days. So I present to you my new wheel set up. This sure as hell won’t be for everyone but I’m really liking it. Please keep in mind the cars getting dropped significantly, I got the wrong size rear tyres so they’re being changed and also my spacers haven’t arrived yet. Anyway, I’d love to hear people’s honest feedback......... Again, discussion here:
2 points
-
Year 12s project to make a clock that re-draws the time every minute - it's upside down, but 15:10 is what it's writing...1 point
-
Lol nah, not unless someone took the cover off it, drove it over there and snuck it back without me knowing lol Waiting on some bits from overseas but cant ship due to Covid lol1 point
-
I ordered some jets along with some other goodies Jets were ordered first but haven't shown up Now I can nicely mount fuses and instead of the industry standard stuff that's in there1 point
-
some good progress today
1 point
-
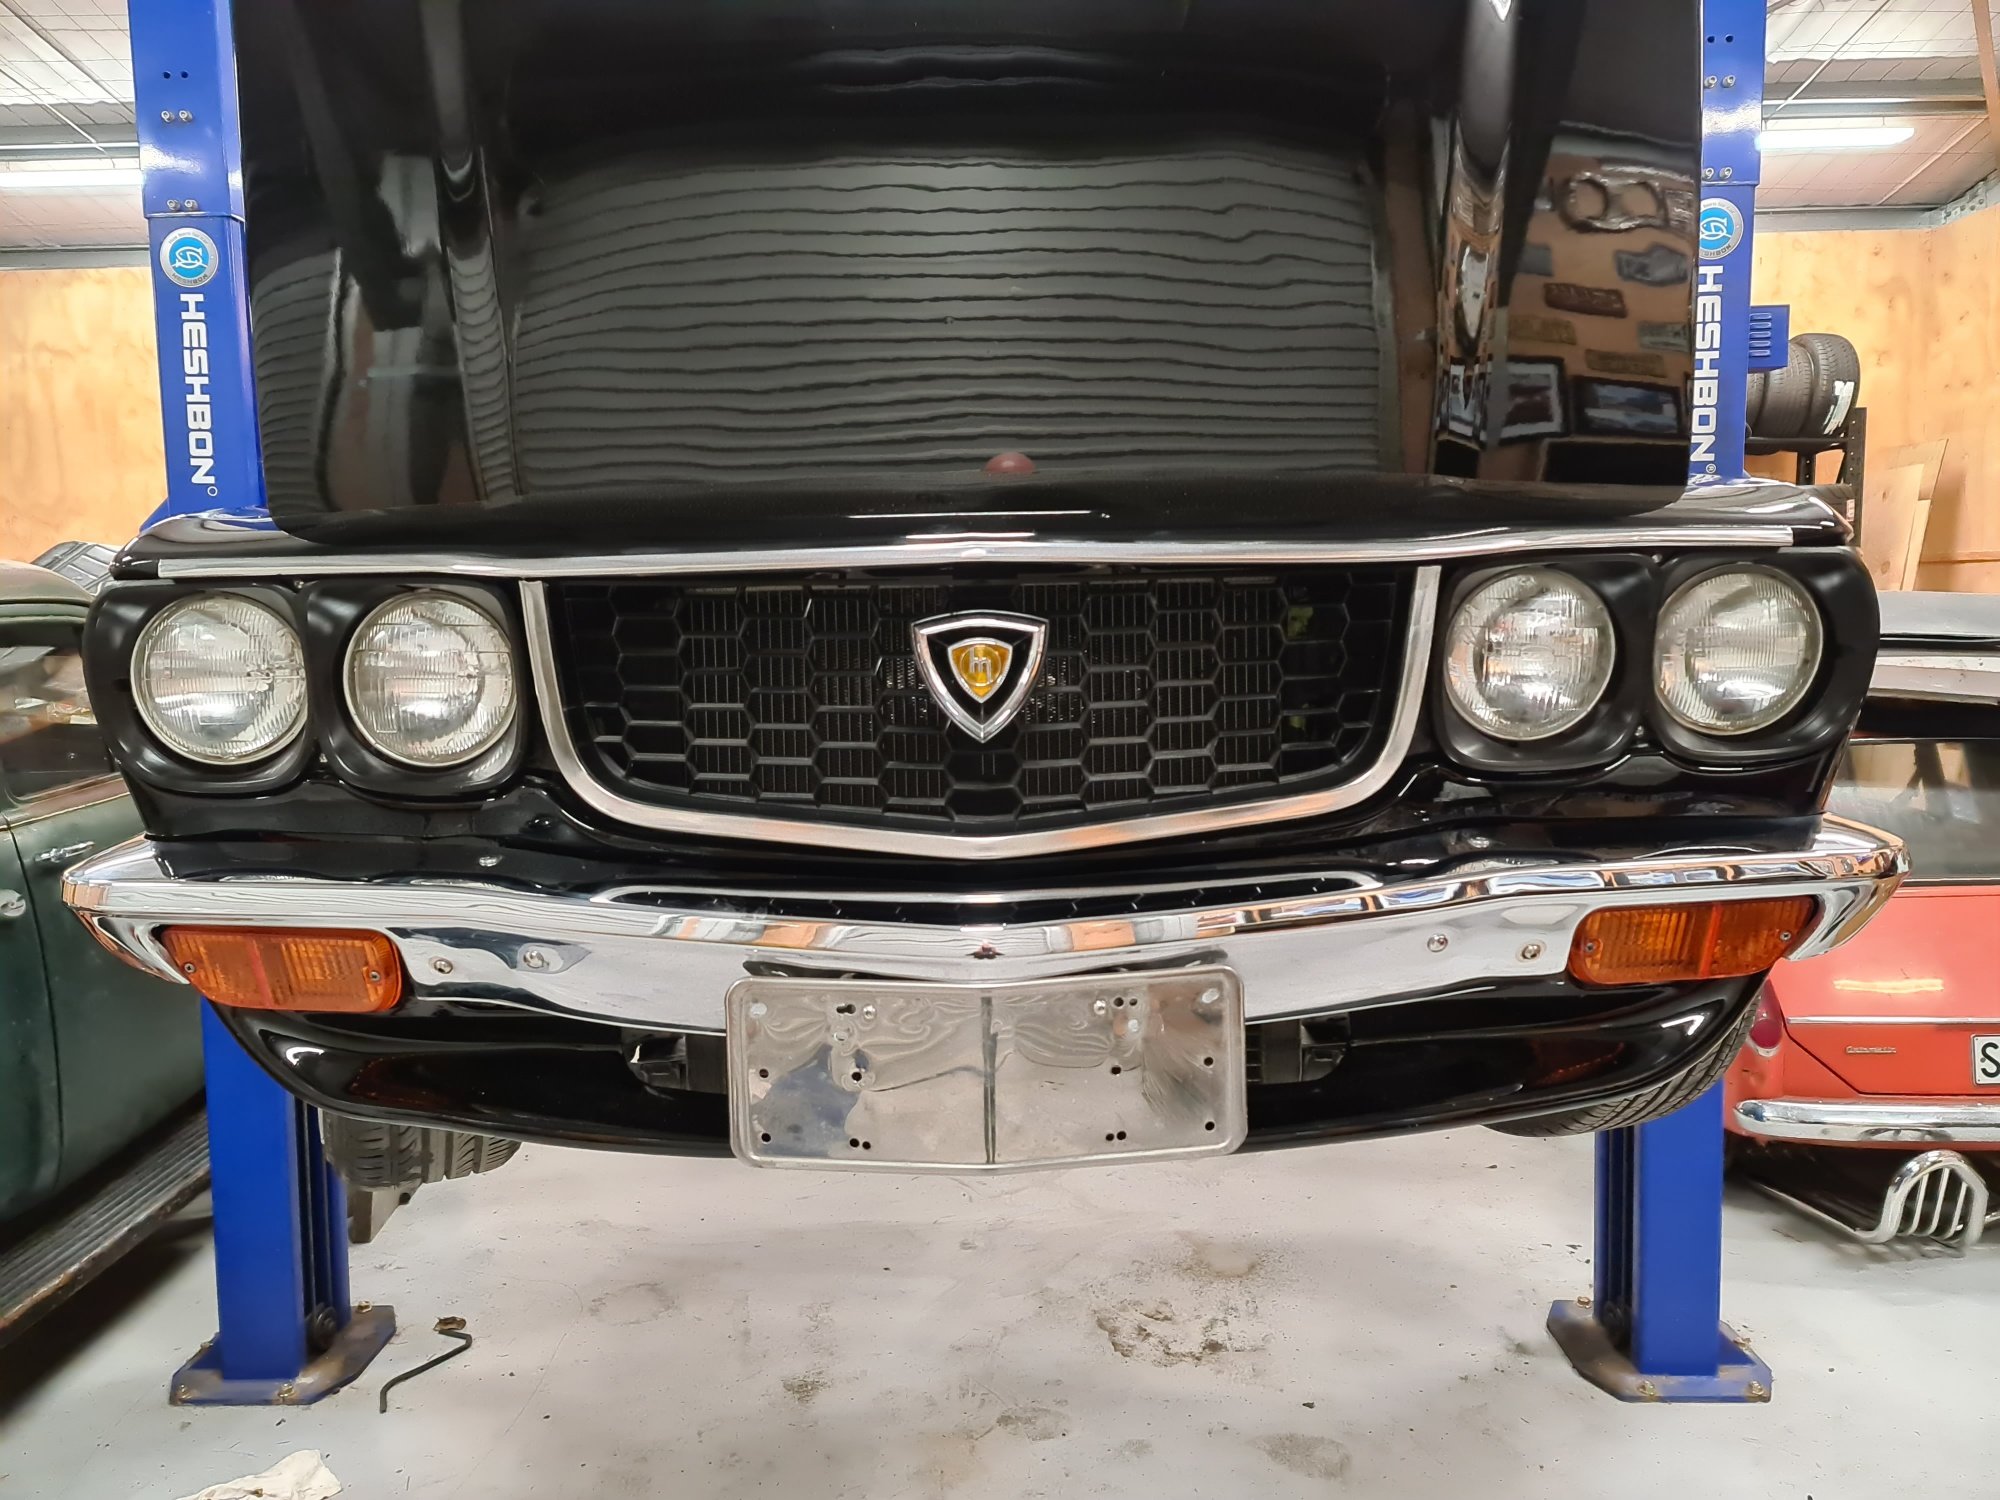
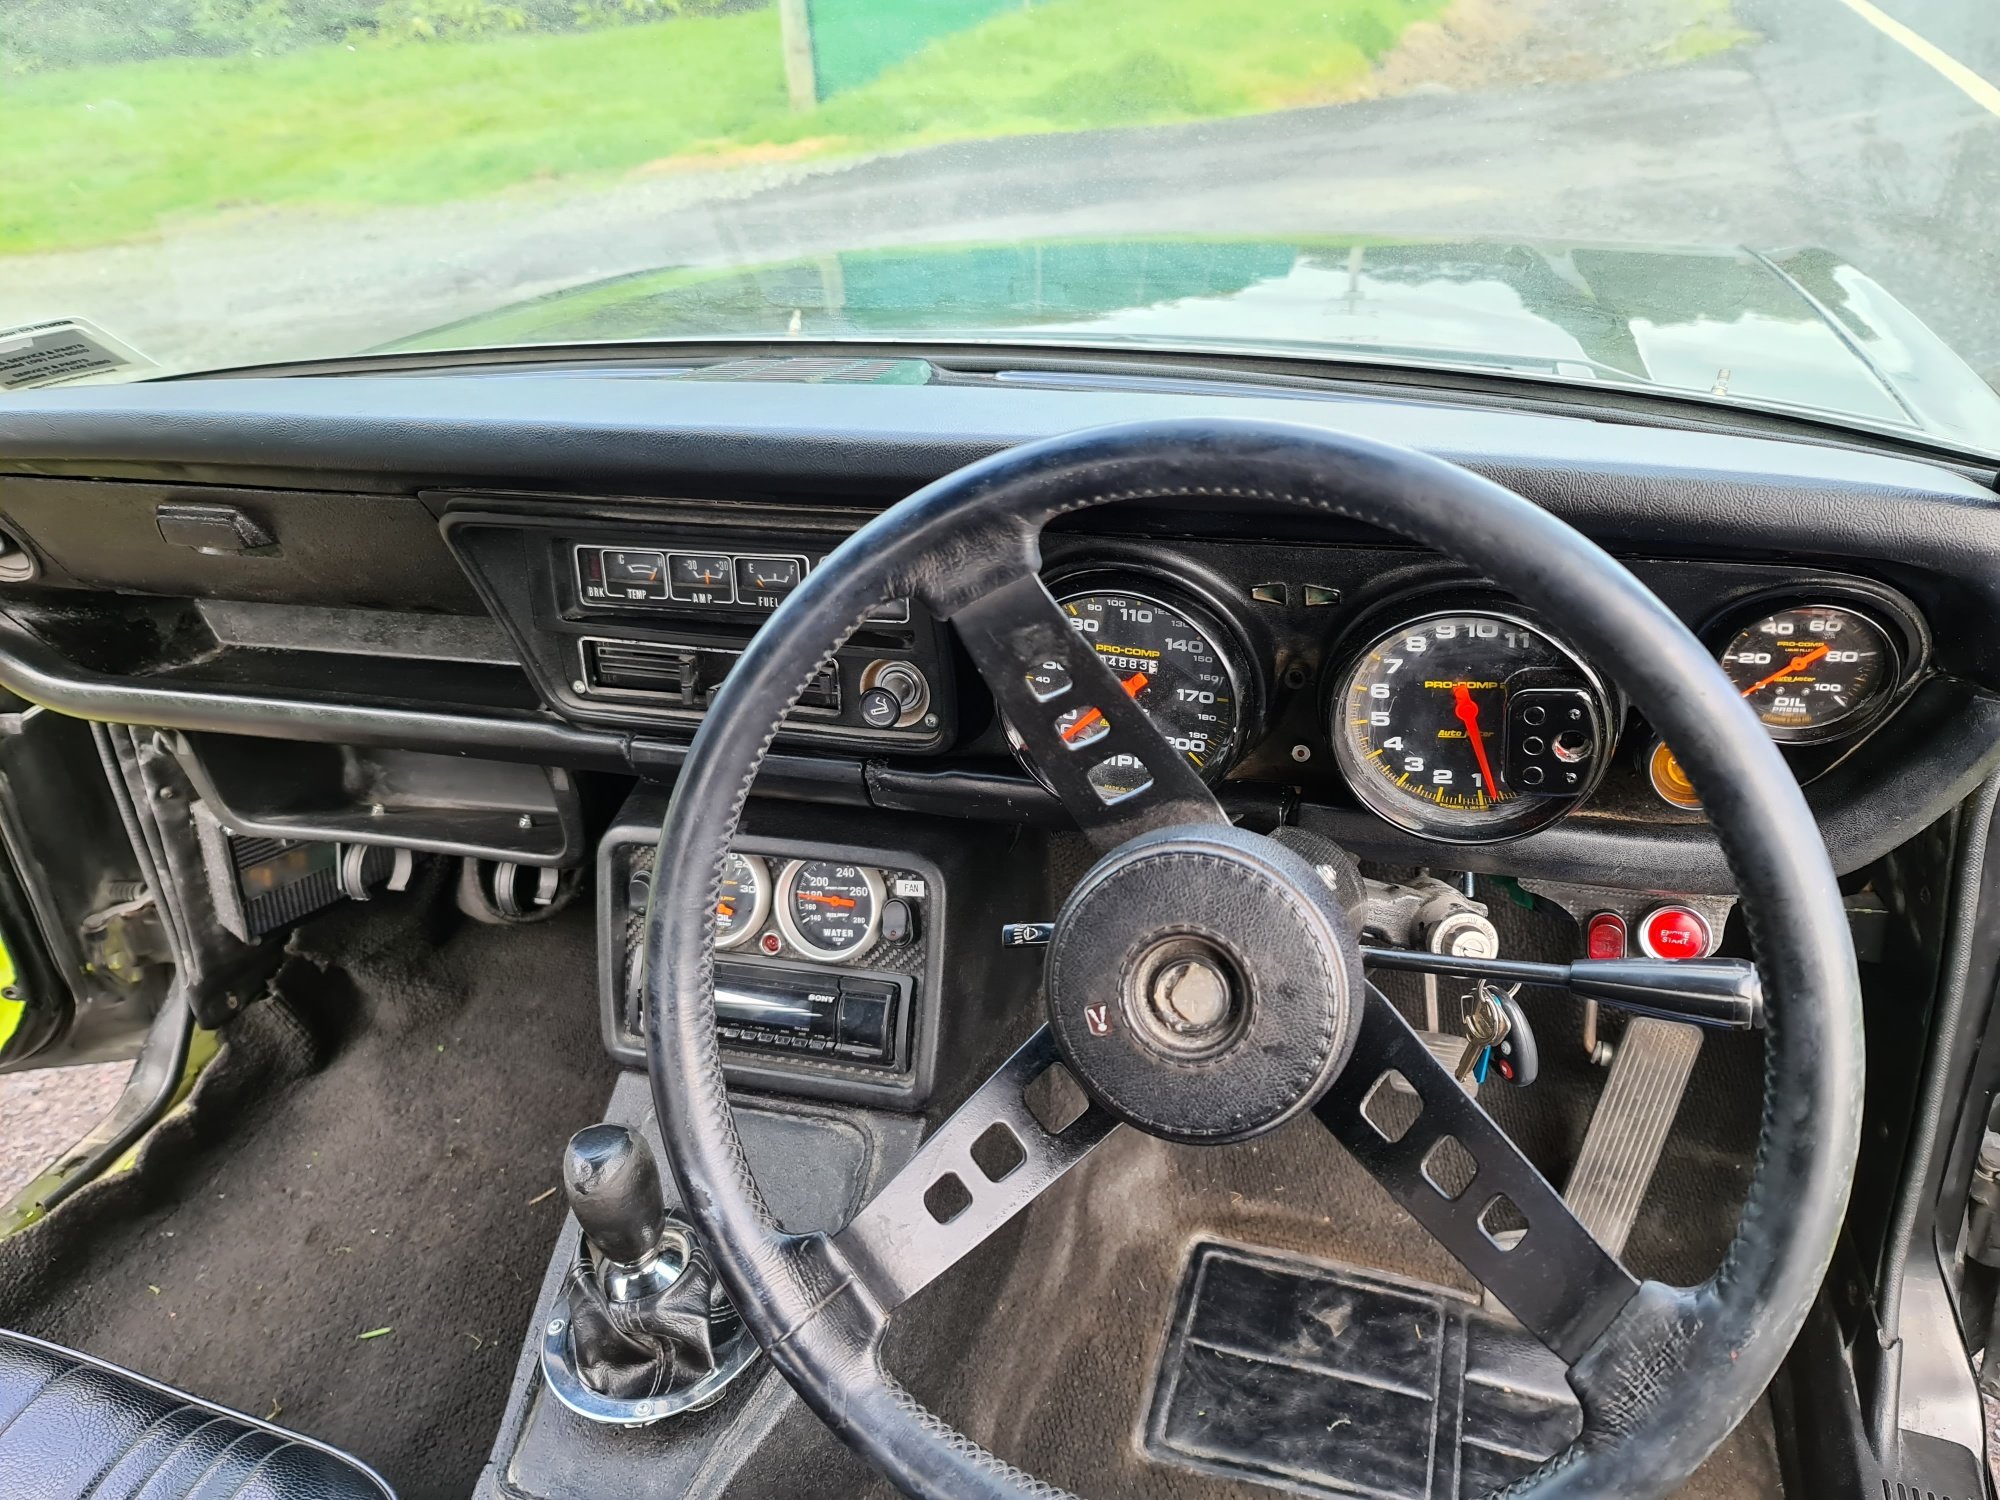
Had a big night in the shed last night working on it. Got bumpers and lights and bezels etc back in starting to look real good. Got the cluster all back together and sorted. Ended up having a rejig of it all and starting again with a new non wrinkle painted cluster. Repainted gauge surrounds as well and pretty happy with how it come together considering. Got a custom cable made to run the autometer box and seems to work fine on the test drive this morn! Needs a good clean as sanding dust everywhere! Car just got taken off for a tune so fingers crossed that all goes to plan this arvo and ill pick it up tonight to finish assembly this weekend.
1 point
-
***Warning lots of images follow*** Final fab work was to add a harness bar in, new Motorsport regs mean I have to run a HANS and the old mounting was technically 5 degrees to low. I took the opportunity to also rear mount the seat which adds a lot of stregth in an accident. also took the opportunity to add some gusseting in to the A pillars. Here's a nice clear shot of the modifications to the gearbox to move the shifter forward: Next up was the headers/exhaust, carefully designed to meet the power requirements by John at JPWPerformance (Honda header guru). 4-2-1 packaged nice and low in the car. I then had everything cermaic coated to help reduce the heat, decided to do the muffler and flexi as well to have a consistent look and protection, really happy with how it came up. While the engine was still in I mocked up the wiring loom after putting myself through an HPA Wiring course to get up to speed on some gaps. Then the entire car had everything removed for the big strip and repaint of the interior, underside and engine bay, as I wanted to get away from the black which looks grubby very quickly. Going to be a rattle can job as it is a race car after all. Engine bay first: Stripped: Etch Primed: First light coat of grey: So while doing all that I found a rust spot, and started digging... That then highlighted a bodge someone had done, and the rust had spread abit... Least i found it now when it's easier to fix. Stripped the interior: Etch Priming (hard with a cage in the way): First light coats of grey: Still need to seam seal so avoiding those places for now. So current tasks are seam sealing, then get the car on a spit so i can clean up the underside and I can get the rust fixed. New driveshaft is coming together, flanges have been manchined. driveshaft is 900mm odd long and actually has less then 1mm change in length when moving from top of suspension to bottom, but we have allowed for 15mm movement.1 point
-
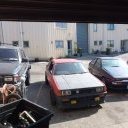
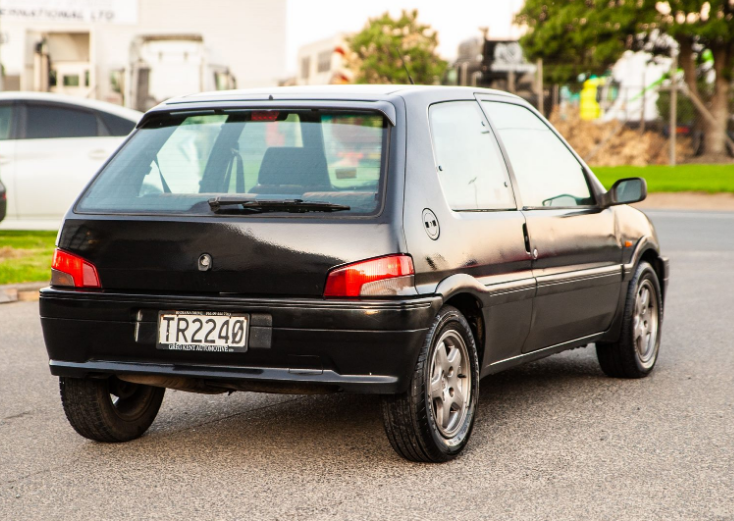
I got bored the other day, and figured i'd need something new to drive once my porsche sold. I bought this Peugeot 106 Apparently had been listed a few times. Bought it sight unseen, only really asked about the clutch - and typical dealer. Lied. It'll be a cool little project. Its an XSI so has the 1.6L, 5 speed manual. Everything standard Has a crazy amount of receipts and wof sheets ( rebuilt head & practically every wof is a clean sheet aside from odd tire every couple of years ) Good things: Has quite a lenient wof. Has rego. Has 4 wheels. It starts ( just ) Bad Things: Clutch slipping Shocks fucked Brakes suck Who ever painted it, shouldnt be allowed to paint. Broken Left park light / indicator Broken Passenger mirror No fog lights Goals: Replace Clutch Replace buggered shocks Fit brake upgrade Lower 40-50mm Tidy up dents & broken parts Tints Respray white & Fit / find Rallye Guards + stickers
1 point
-
I am now 'Facebook Page Guy'1 point
-
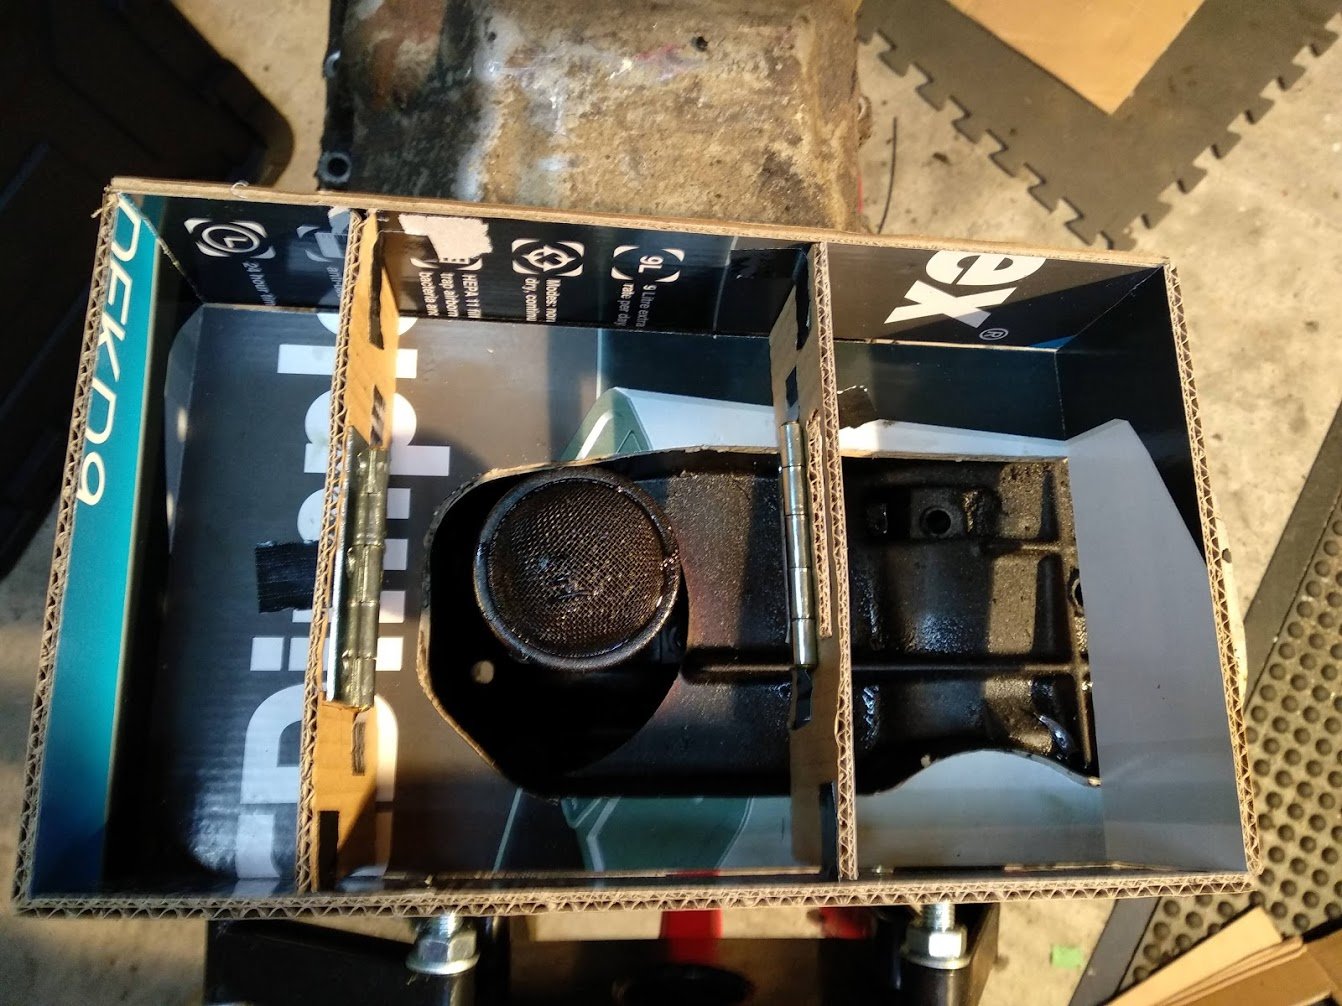
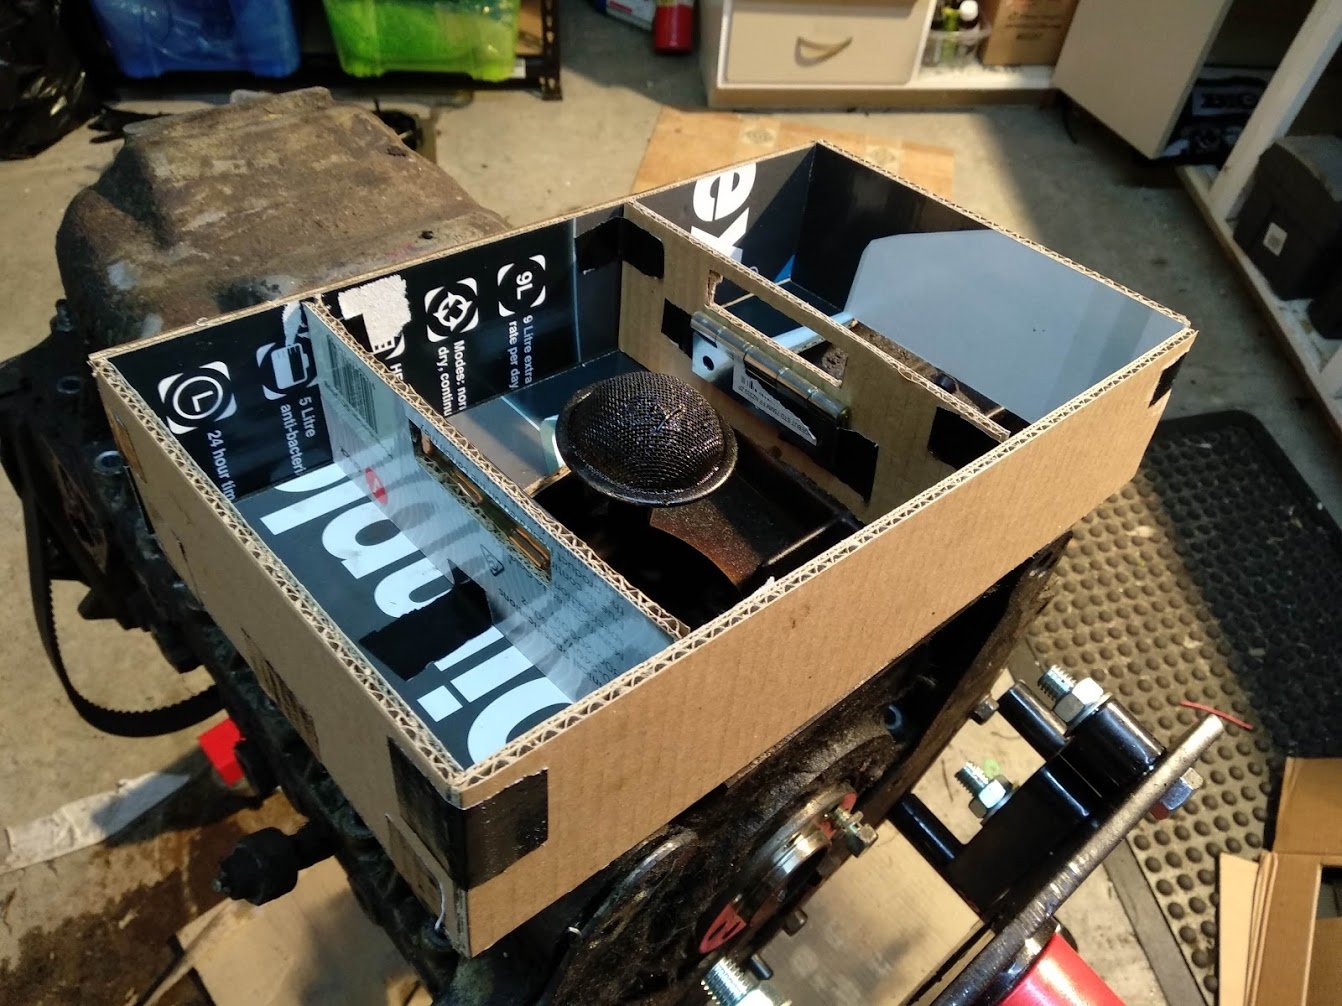
I've also been working on how the sump for the 4ZD1 is going to work. There are two main problems: the bowl is super low, like 50mm below the x-member which is already quite low itself, and the wing of the bowl is below the exhaust and is going to get in the way of any decently size down pipe that I need to use. You can see the tight fit here: Here's the bowl sitting low: The x-member is quite snug up under there and it hang down quite a bit. But essentially it's just an empty bowl. My plan is to cut off the wing and weld on a new bowl that is raised, moves the wing to the intake side, increases capacity, and has some baffles to ensure maximum oil pickup. I have never done any of this before, so I'm just reading as much as I can, and @EURON8 is helping me out. Today I started mocking up the new bowl with cardboard. The adept might notice that the bottom of the sumps in these two pictures are different - the pictures above are from the 4ZD1, those below that I'm using for the mock up are from the 4ZE1, which drops much lower at the front meaning I'll have to cut more out to clear the steering rack - another story. It looks like the pickup will just clear, but I might take a few mm out of the tube to bring it up just in case something nasty happens. You'll see I've added in some trapdoors to try and prevent oil starvation. I would appreciate any advice about these in my discussion thread. I think I need to still have some non-doored bypass so the oil can more easily self-level. Also I will probably make sure the baffle over the opening does go all the way up to stop oil slopping over the top.
1 point
-
Have had fancy pants Riley ones done by this place in ChCh a few years back. http://www.toresleeve.co.nz/1 point
-
Well not a lot to report on this. I did pick up a parts car. Going to run the standard chassis and flick the c notch.
1 point
-
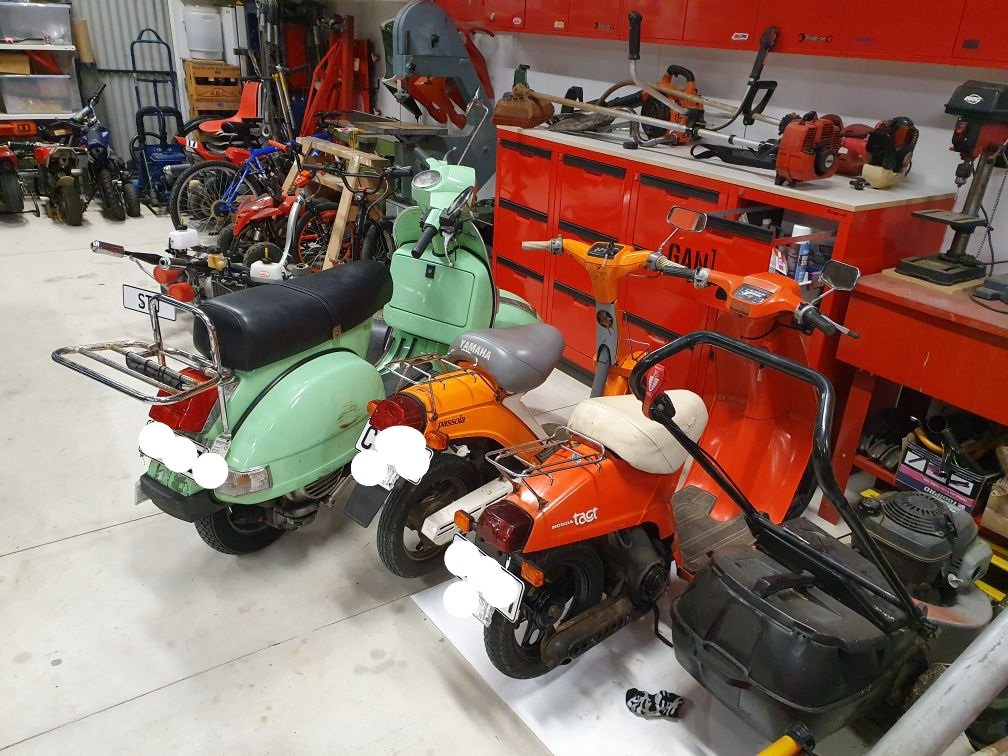
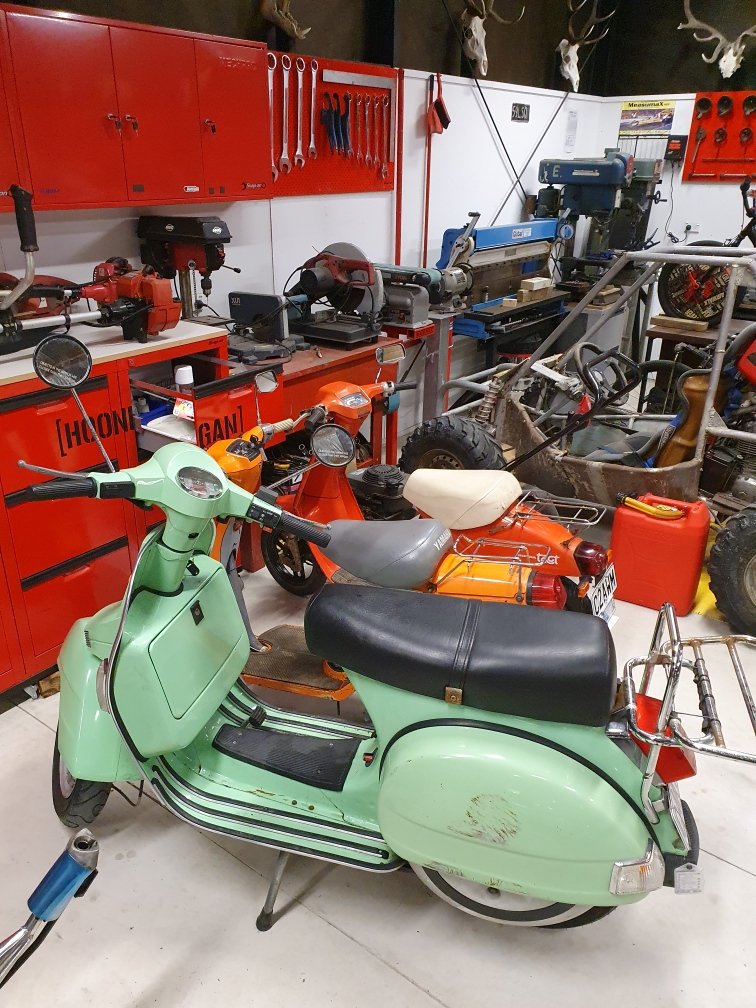
You can fit a surprising amount of stuff in a vespa glovebox. I was going to remove mine when I first got it but it's too handy And now welcome to the rabbit hole of chasing more power1 point
-
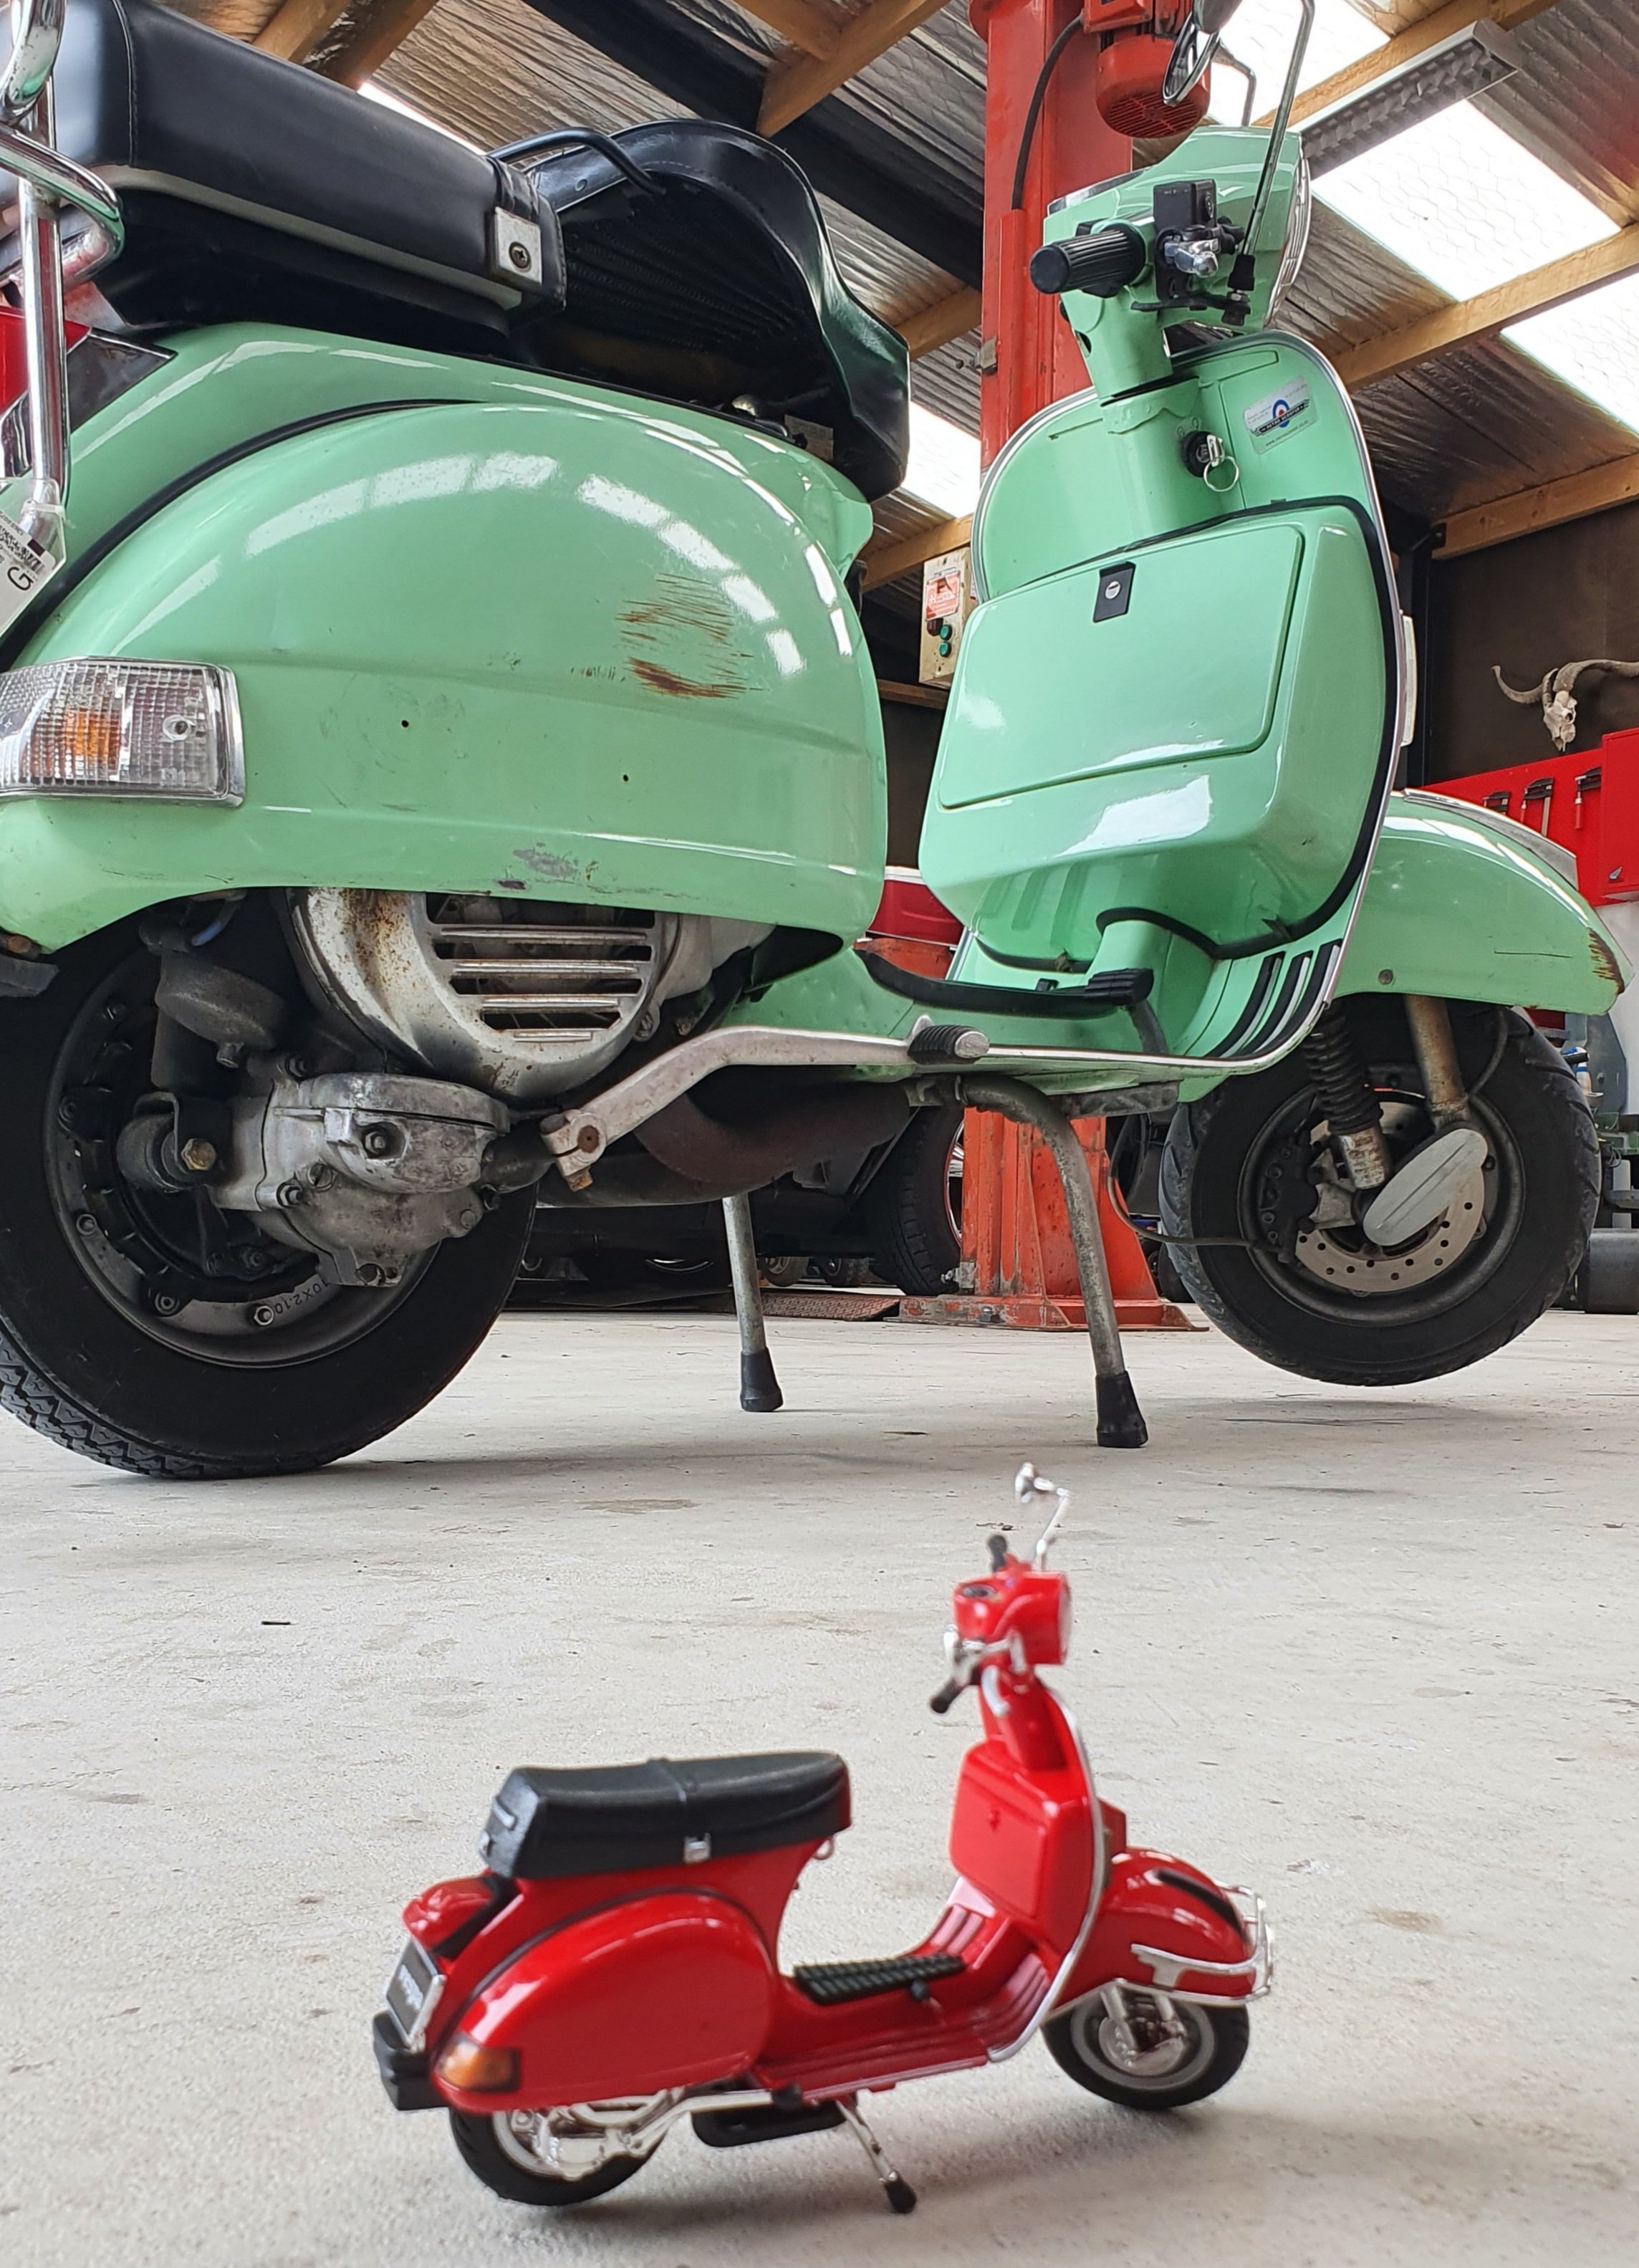
Look at the size difference! Took it for a ride late last night, its so fast compared to my other two scooters. Easily sits at 80-90kph. It corners surprisingly well too. Can't wait to ride it today and get used to it under better conditions.
1 point
-
goes without saying really but ive driven the crap out of this, drove it to work every day, supermarket, all that shit. anywho the clutch slave shit itself which tbh isnt that big of a surprise. the pedal pressure on the clutch was immense, the whole fire wall flexed so much the brake master hit the strut tower. the clutch that was in it was the highest pressure 250mm exceedy clutch you can buy. and it had started slipping. so Richard gave me a hand (because i dropped an engine on one of mine) and we took the JZ out to replace clutch slave and clutch. im just going to replace the seals in the clutch slave because fuck you cardwells you thieving bunch of cunts. and im replacing the old clutch with a twin disk OS Giken unit which requires less force on the spring tines but has double the clamping pressure. its a sprung center unit and fingers crossed its actually drivable on the street. consensus is that it will be fine once i get the hang of it so thats good with me. ill do a few other things while the motor is out because why the fuck not and then ill chuck it back together. then do a skid i would expect. 2020-07-25_03-40-31 by sheepers, on Flickr 2020-07-25_03-40-21 by sheepers, on Flickr 2020-07-25_03-40-04 by sheepers, on Flickr 2020-07-25_03-39-53 by sheepers, on Flickr1 point
-
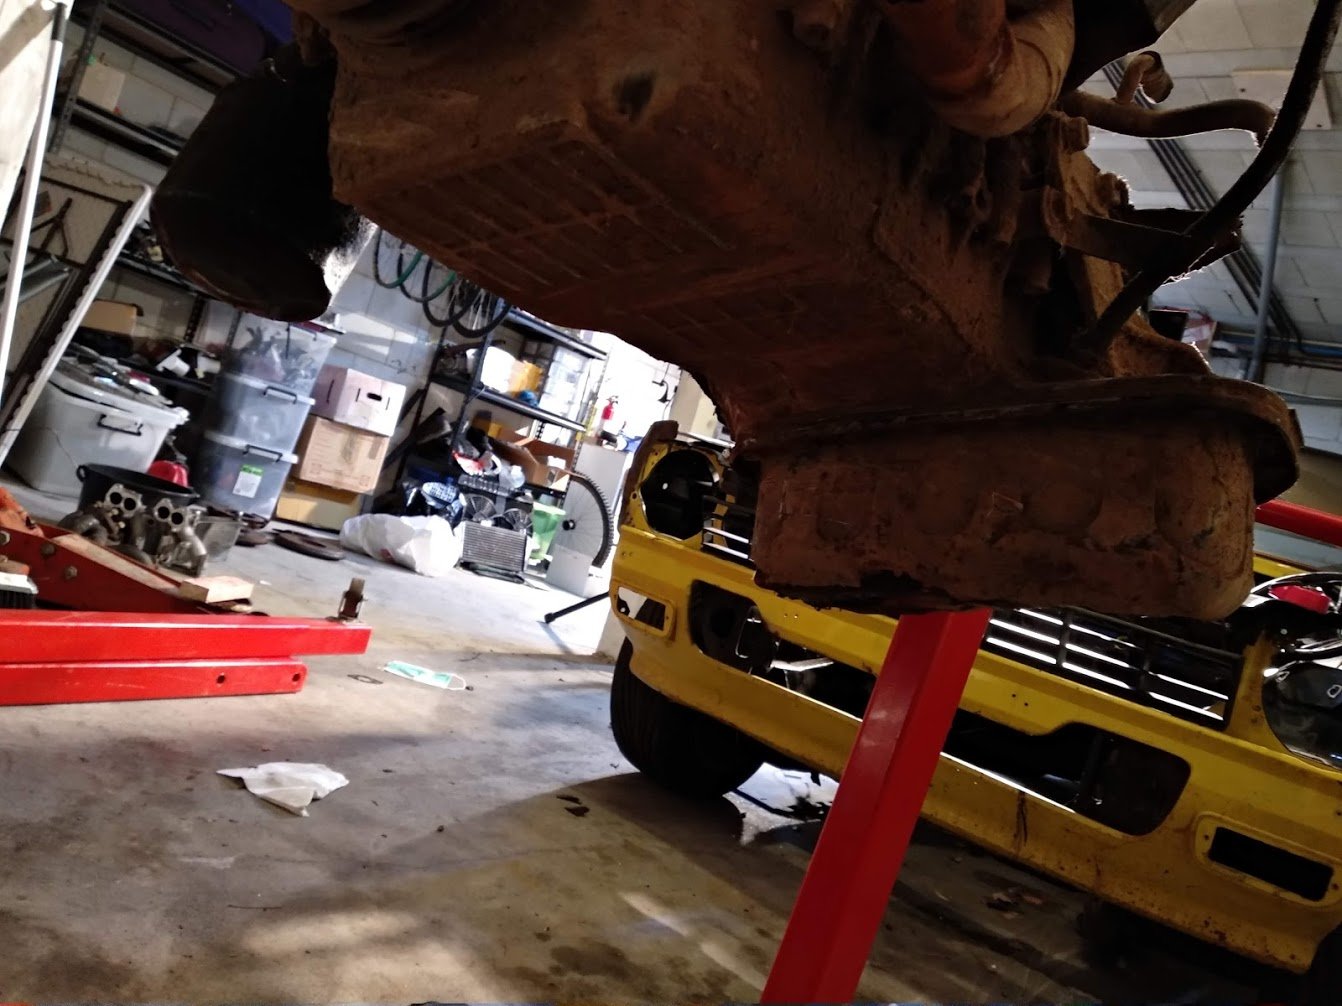
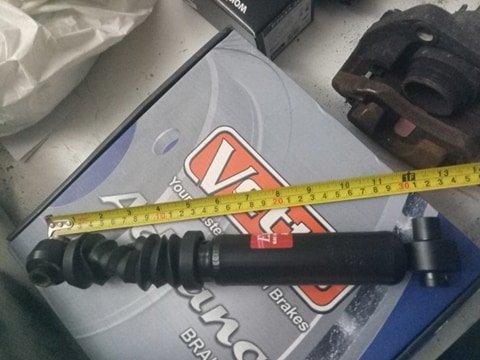
I've started ordering parts Got me a exedy clutch, all new shocks, got a brake upgrade, threebond cleaner all turned up Got a front lip to mod and put on too. Waiting on my short shifter, gear linkages, new key and lowering springs to turn up. Using Early 206 GTi Rotors & Calipers, so goes from a 244mm to a 266mm vented + bigger calipers ( was hoping to go to the 288 but realised the wheels were only 14" so unsure if they'd fit ) So they'll be cleaned, painted & rebuilt. New Rotors & pads. The shocks are a crazy funny length, the rears are tiny. Like 320mm extended.
1 point
-
Well great news, and slightly delayed, the Covid19 pandemic allowed time for a bathroom sink(!!) Made from an old brass preserving pan, and brought the copper pipes down to the valve taps. Stoked with it! Prior to this great update, we spent a day coating the walls with $100ish of driveway anti-slip - stops all the dust escaping the 25 year old tilt slabs and seems to keep it a more moderate temperature, but in hindsight it made the walls really rough to touch as there is evidently sand in it... I should've understood how it was anti slip. But anyway it's still far better than dust and can confirm second winter round, it's bloody warm in here and that is without any heating and still exposed roof. Since lockdown it's become my full time office space until the travel industry picks up again, so I've spent many hours (and dollars) on artwork and instructing old mate what furniture to make me. But finally finished off the feature wall with a favourite picture from my parents work, Rod Millen in the RX7 in the Santa Monica Hills. I spoke to him yesterday and he confirmed it was the first "official" test of the 4WD RX7 (other than around the workshop streets at night) and his team mate explained how it was 3 images cut into 1 image. Also over lockdown it became home of various additional rotary projects, from the strip down of the 12a Twin Dizzy for the RX2 to starting up and restoring the Sachs rotary bike. It's currently home to both 808s which is surprisingly fine as the floors cleared out more so they don't really get in the way. Have started discussions with alibaba about a car stacker for when the RX2 ever eventually moves in. A massive shout out to the great people who have given us amazing additions as well! Got given a vintage fuel pump from Rodney's vast collection of 60 of them, and a oil can from the airport he used to book out to test the Celica for Pikes Peak, amongst some signage too. Got some amaaaaazing signs like Rotary Engine Specialist and rotary goodies (on lease apparently ) from @73crownwagon and with some brilliant new LED lights straight from Mr Jackson @UTERUS it's coming along really well. Also picked up this cool Turkish rug to hide the petrol stains the blue 808 caused, and protect the floor from the oil leaks the rotary provides. Pretty sure I've forgotten a lot of things but yeah, it's still fucking cool to be here tbh.1 point
-
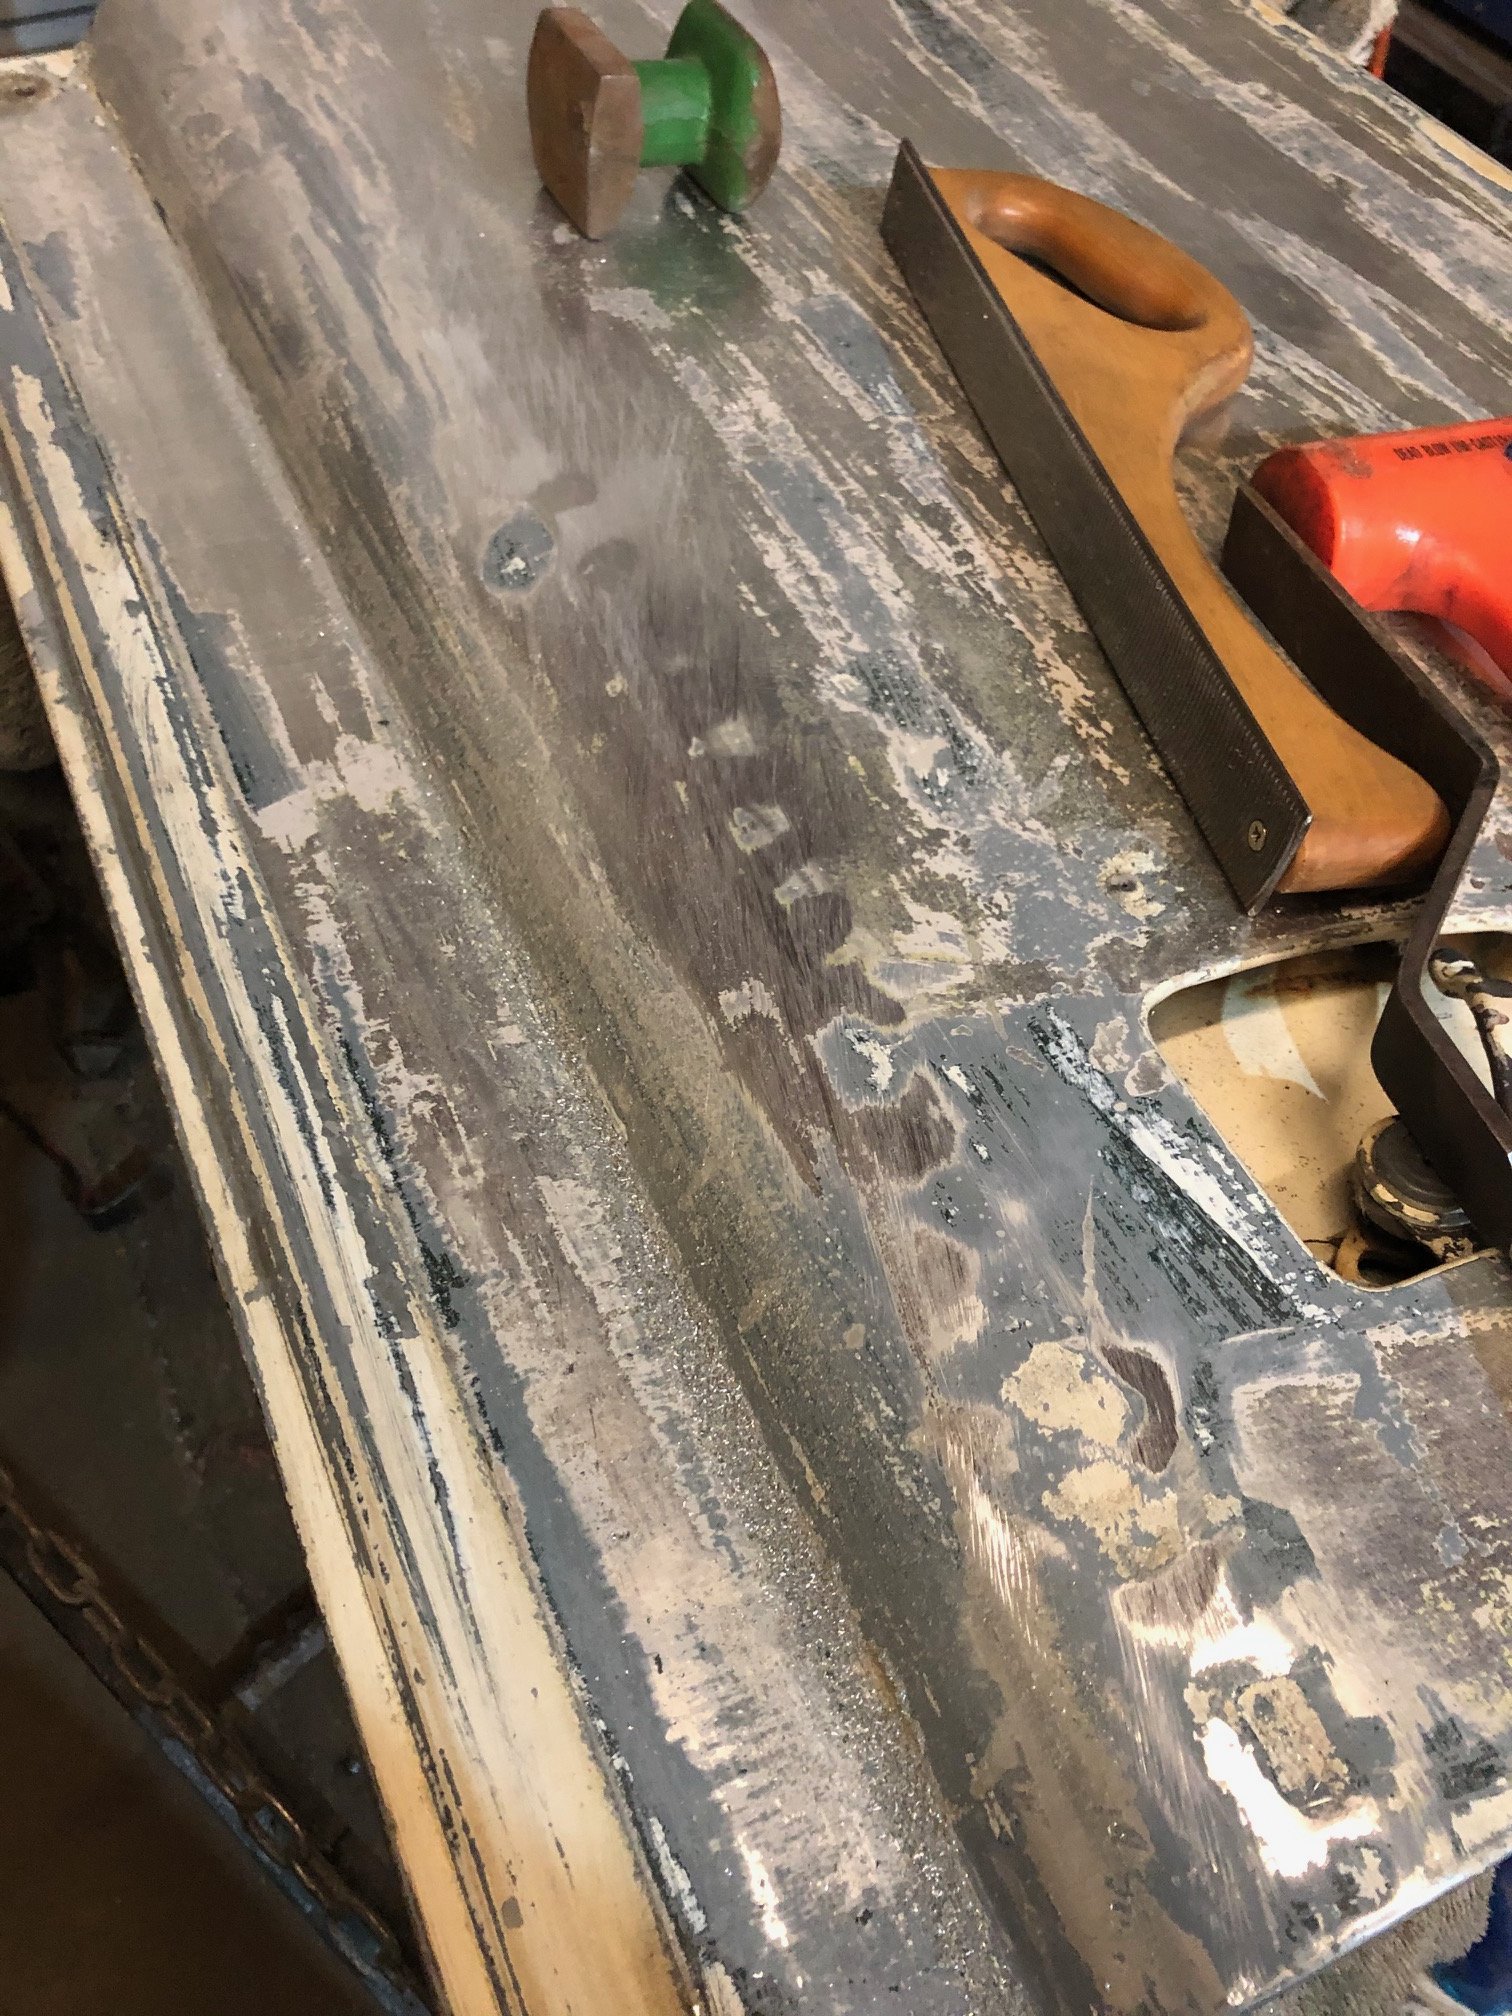
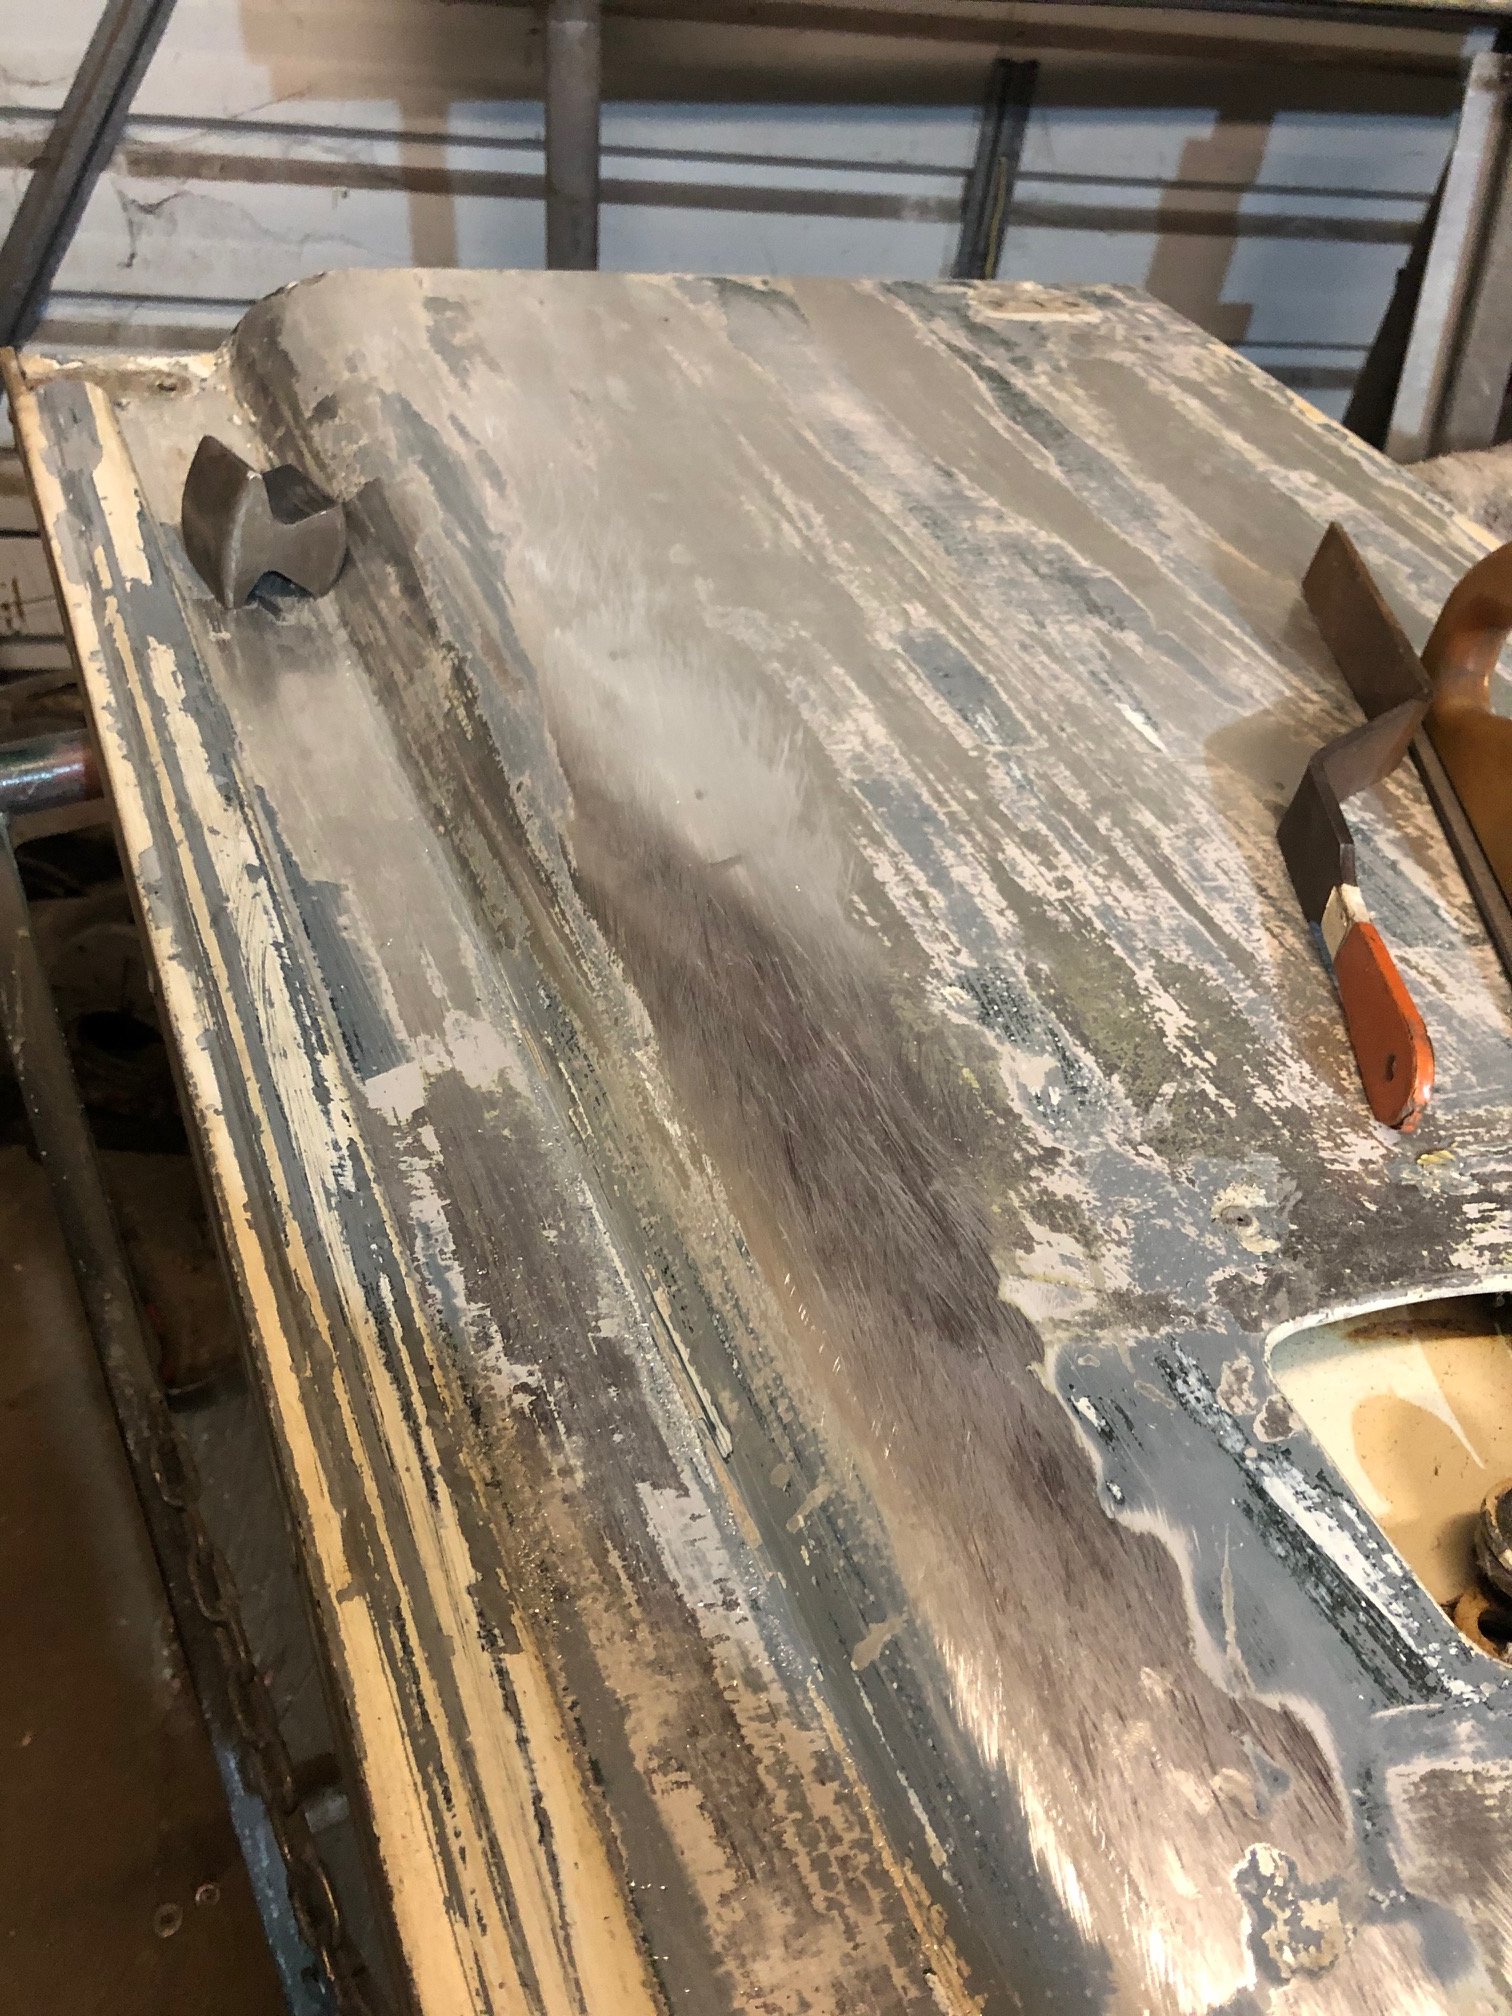
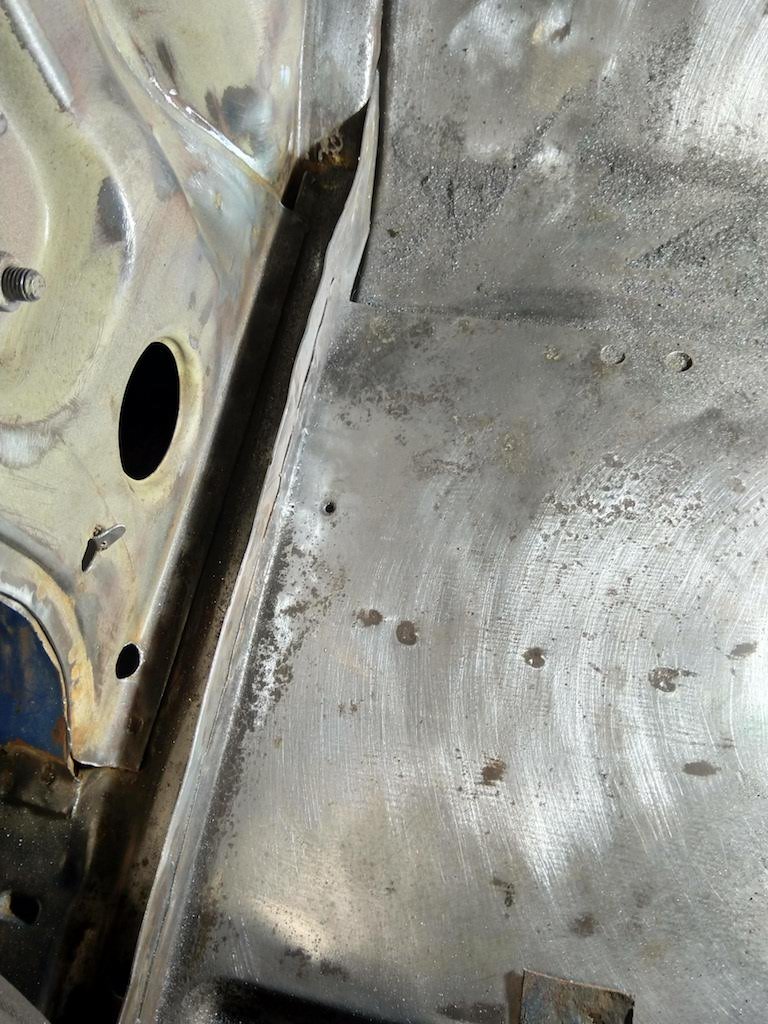
I'm sure most of this is boring as hell but it might help 1/100... The rear doors in these are notorious for rotting out... which means they are extremely difficult to find decent ones second had and the new reproductions are orribly expensive... I've cut that whole section away (all of these frames are going to the blasters). This little section is the cause of all of the problem. There are drain channels here (which look like an engineering afterthought) which get clogged with crud and rust out into nothingness, then you get water in the frame an the whole lot rots out. I will be making new drain channels . I'm not going to reskin these front doors, they are ok enough, I did however spend some time taking the dings out where I can (the ones hidden by the frame can stay there...). Working alluminium is SO nice, it moves so easily and files out well...
1 point
-
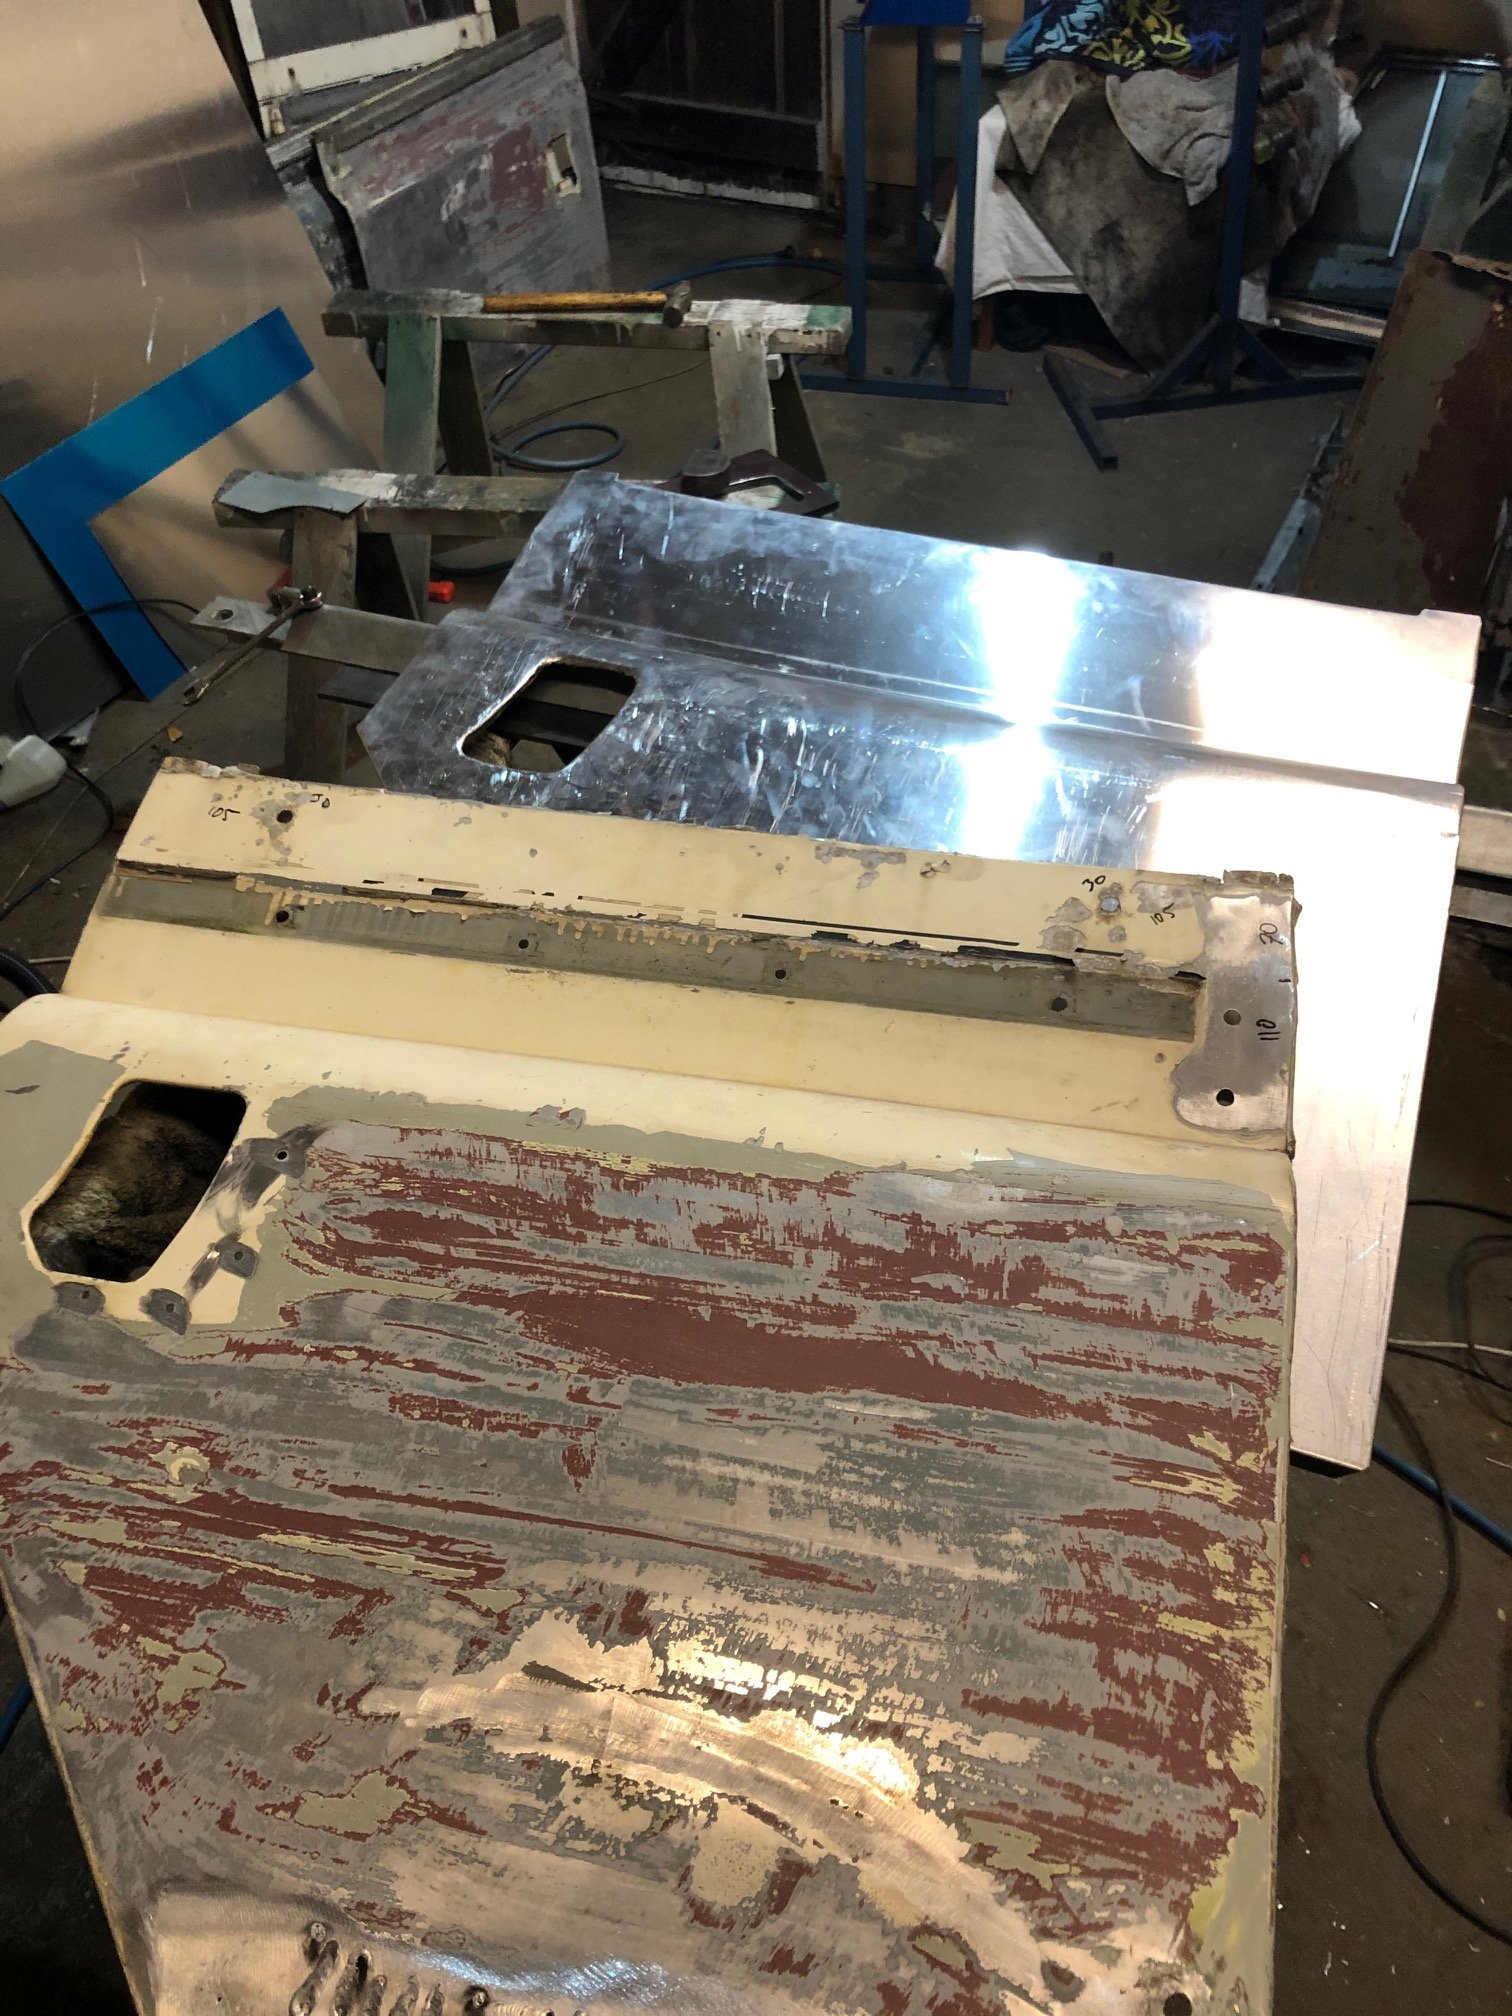
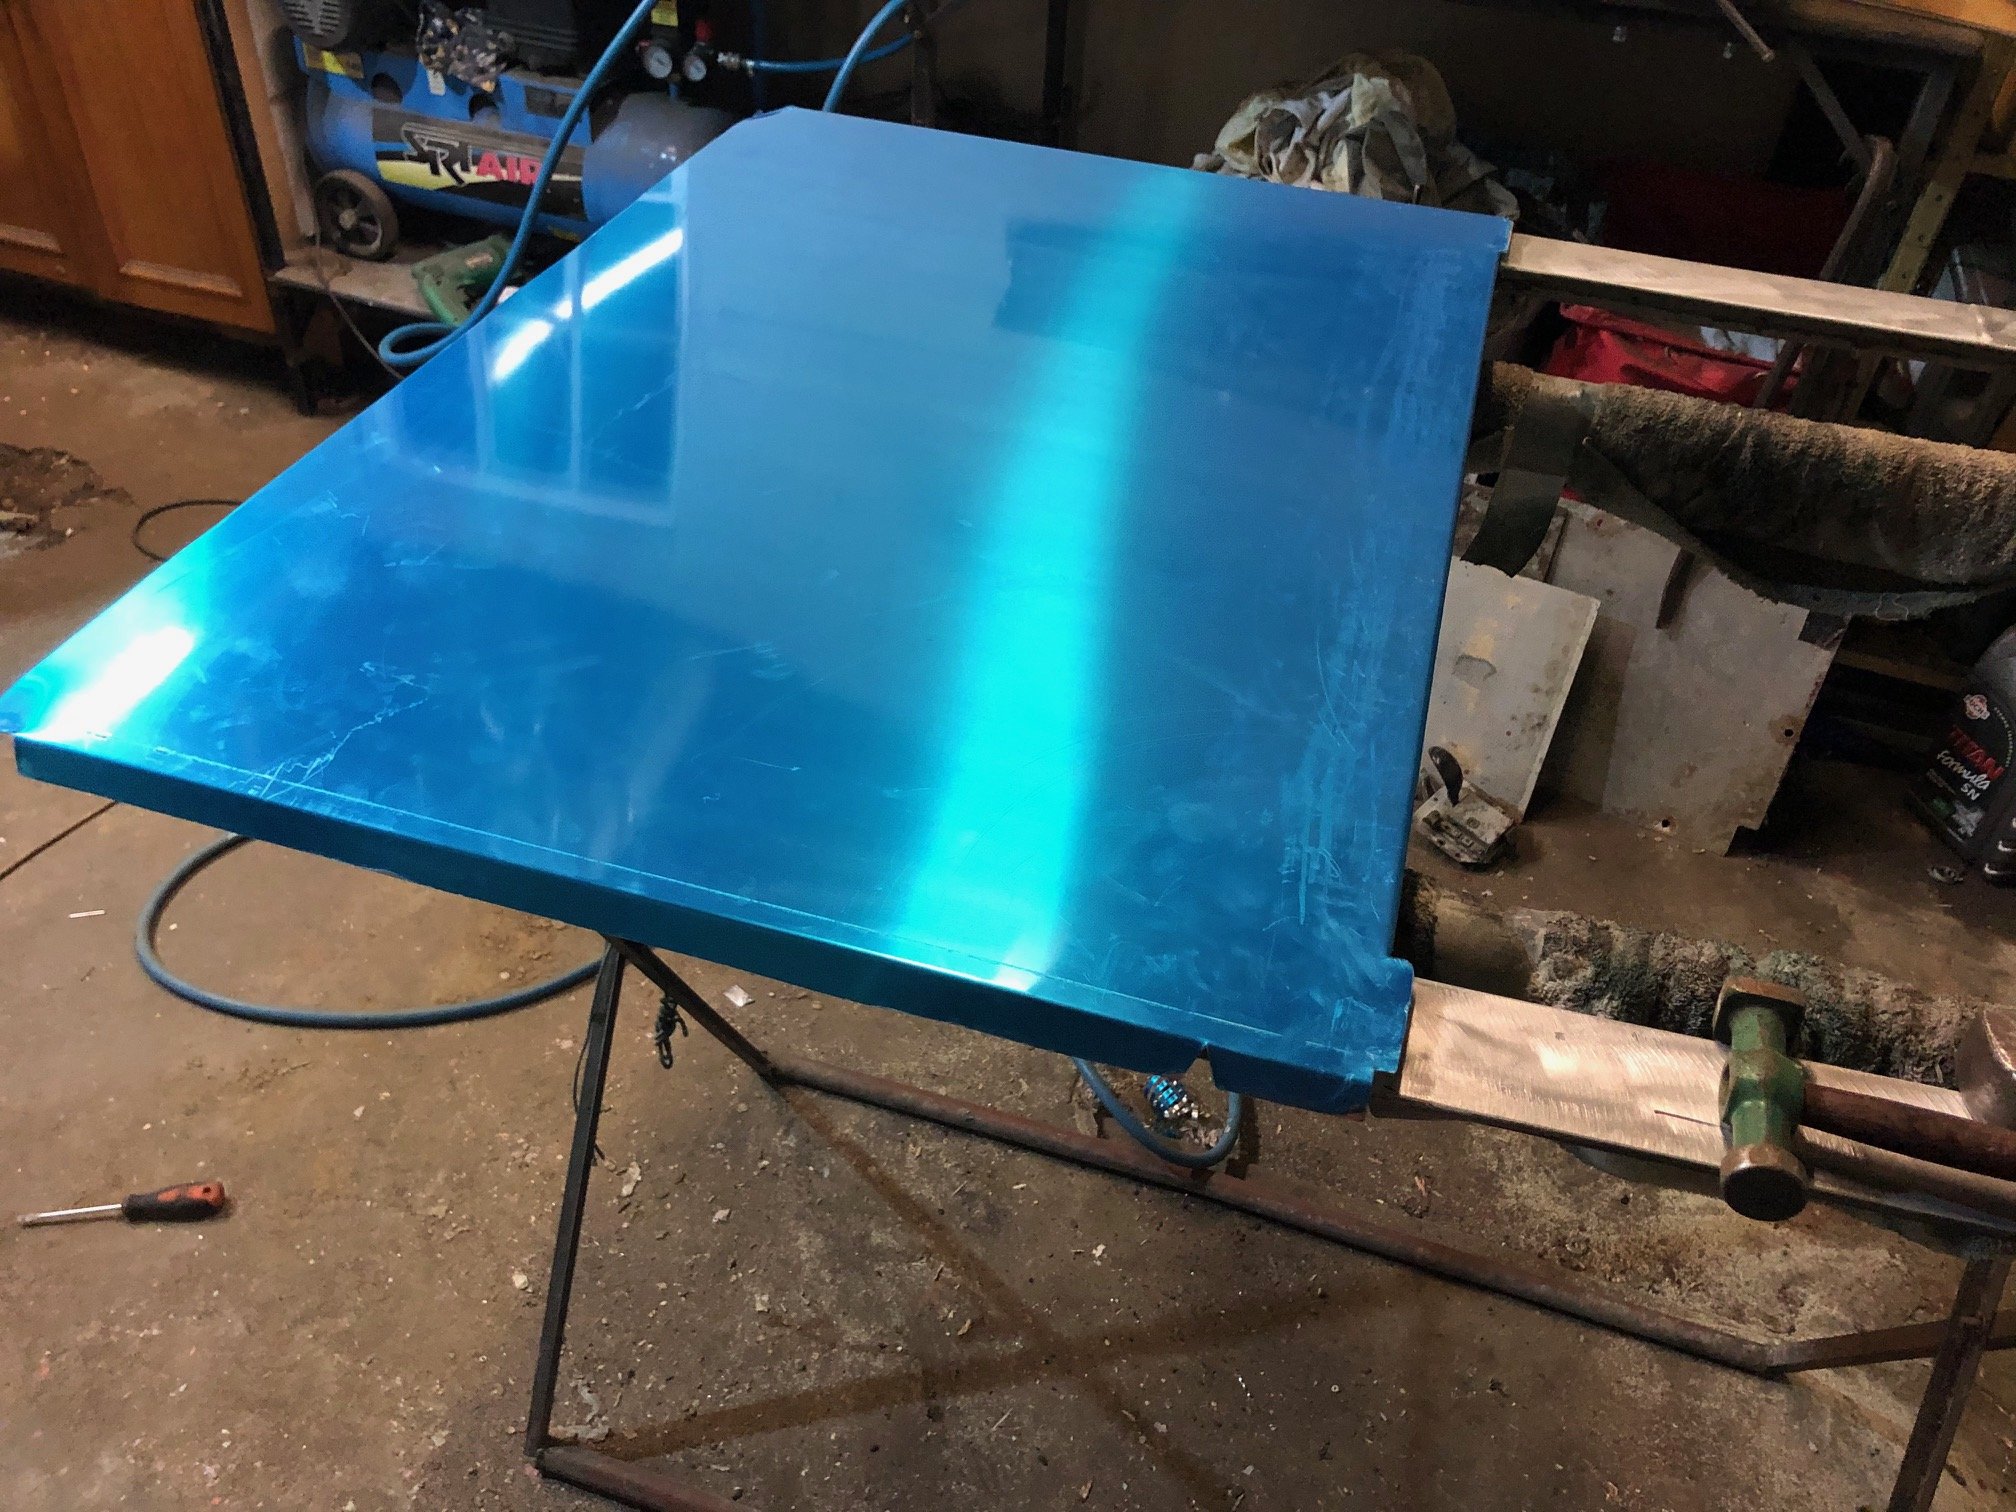
Bit more time in the shed. Got these skins knocked out. Hammerform approach worked really well. Would ideally have access to slip rolls to do the radius a little bit better (and a nicer folder) but got there in the end... Will drop the frames off at the blaster, still alot of work in the back doors
1 point
-
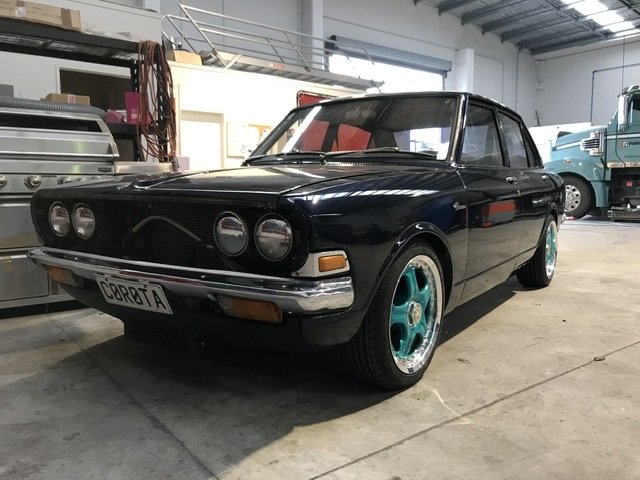
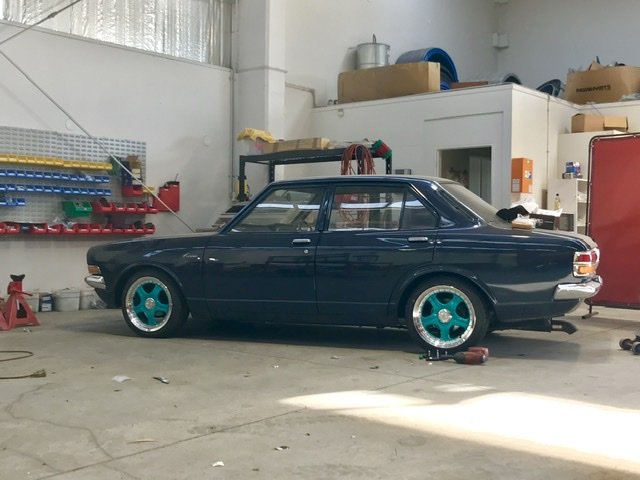
I picked some new wheels. Might upset some purists but I needed the size to get the right look otherwise it was always going to be high rolling. At least they’re genuine Japanese rays wheels....
1 point
-
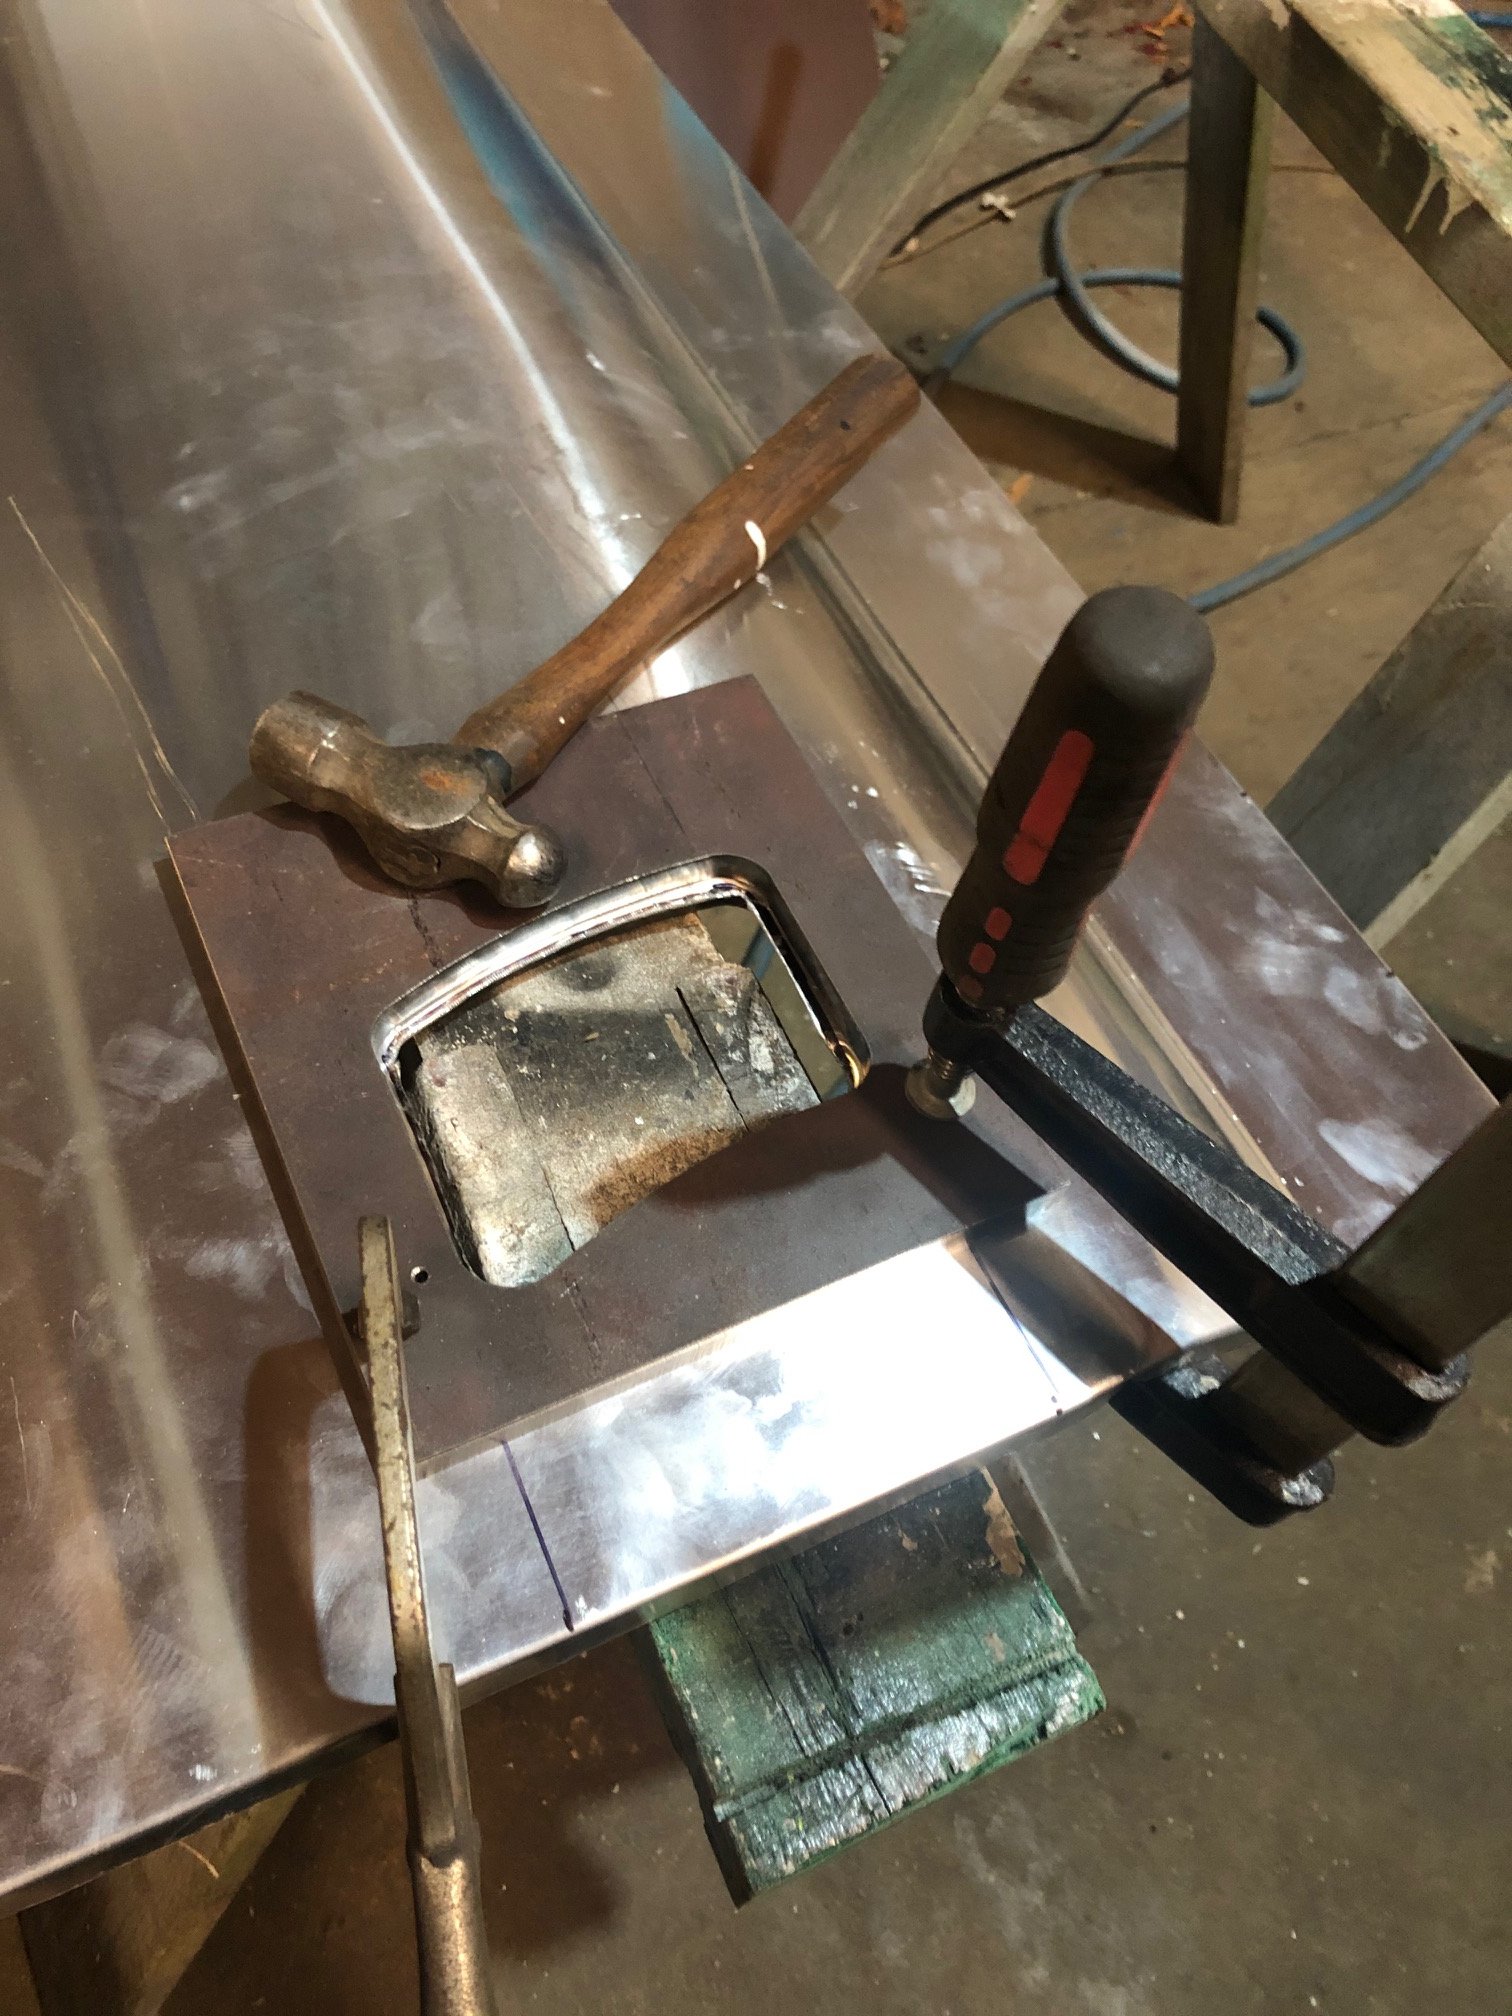
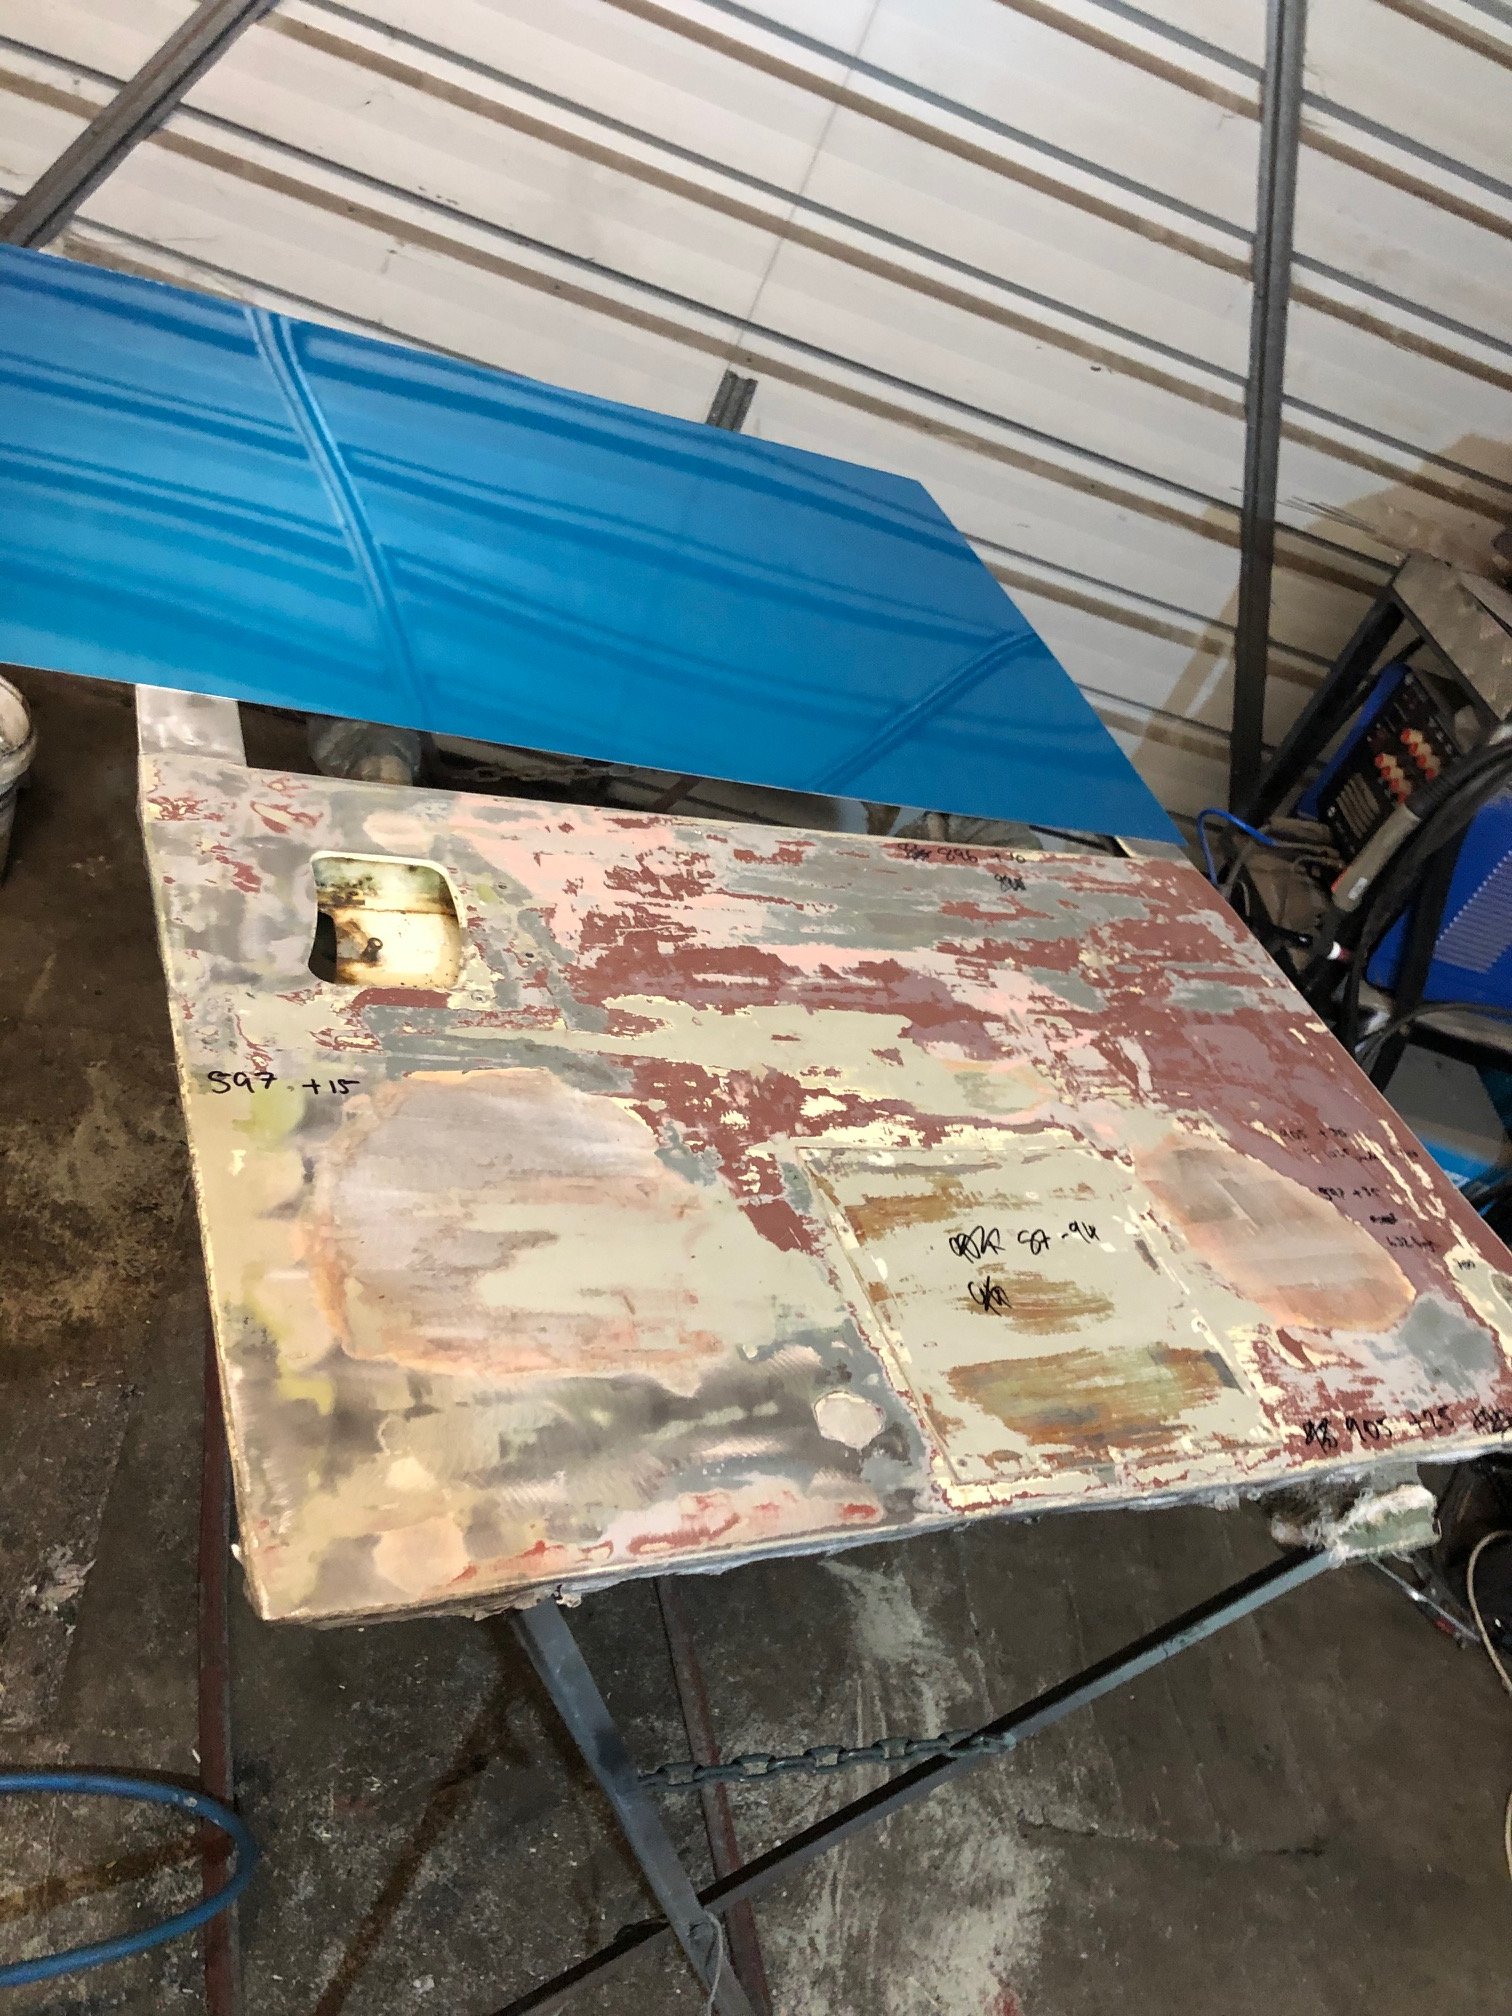
Been starting on these door skins. Went down to Paynes Alluminium to buy a few sheets and met the absolute GC of an owner. When he learnt I was making door skins for a LR he personally went out to the warehouse and got about 3 of his guys to scurry around looking for what I needed. When the sheets werent going to fit into my truck he got another one of the guys in the yarn to put them on their shop truck and drop them to my house. They've got 4 depots across the country and national accounts, and they did that for 2x sheets of a cash sale..... Anywho, back to making these skins, I'm doing the rear 'barn' door first..... Peeled the original back to the frame... Then after a bunch of measuring (there is a slight taper/narrowing to the top of this skin) I folded the edges over. This is me doing the top edge, my folder isnt quite long enough to do this length but it will do the sides. The cheap alternative is to line your fold up with a straight piece of steel, clamp it to that and then form the break with a soft hammer and a dolly to stop the rest of the sheet curving back. In doing this I did stretch the fold a bit in the middle which caused a curve (this alloy moves really quick), no problem as will use my kick shrinker to bring it back straight Fold the side edges down on my panbrake and a quick test fit...
1 point
-
Airbrush rota art is awesome. Please replicate. Cool having a bit of the history with the car. Makes for better sharns when out and about! /sidesharn #lingor When I sold my last Moggy Minor, I was the 4 owner, but it had only been owned by 3 old ladies prior. (Cool story bro) It then changed hands a few times and popped up at a car show in Auckland. I was like “oh cool, my old Moggy!” But the new owner was very scathing of this remark and corrected me by saying it had only had 3 old ladies owners before him. I played along for a bit before getting my phone out and showing him the car in my garage sandwiched between a couple of Mazda’s. He was a little sheepish after that. Twat. Disclaimer: this has to be one of my best/worst side sharns that is completely irrelevant to thread. Sorry/not sorry.1 point
-
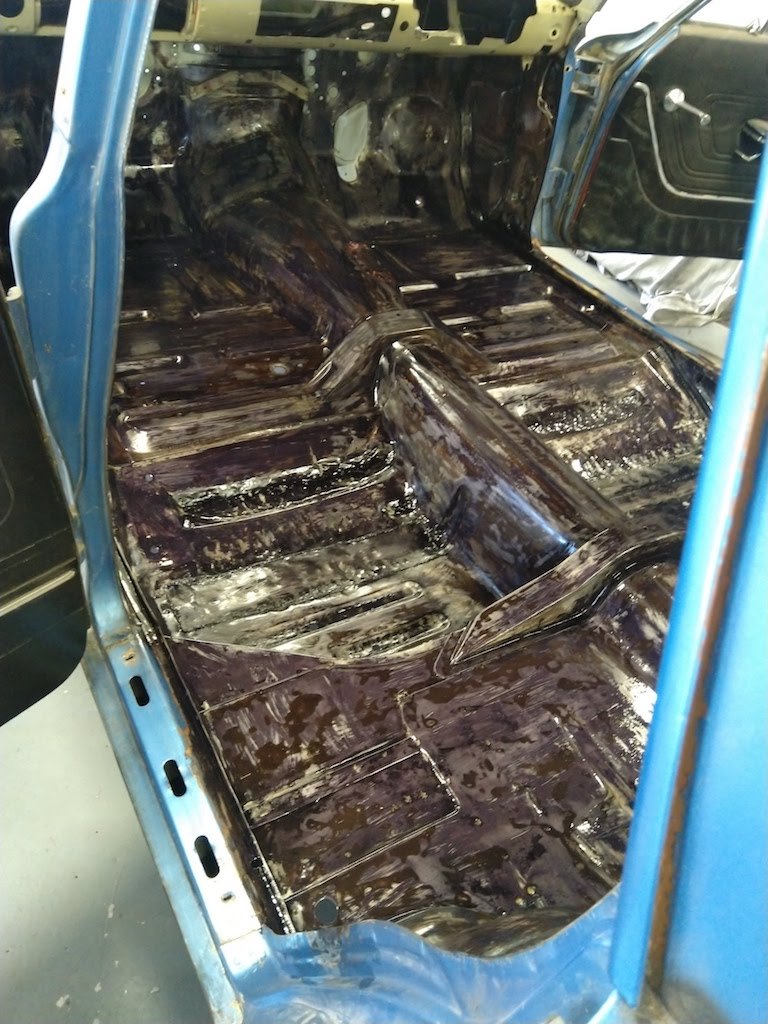
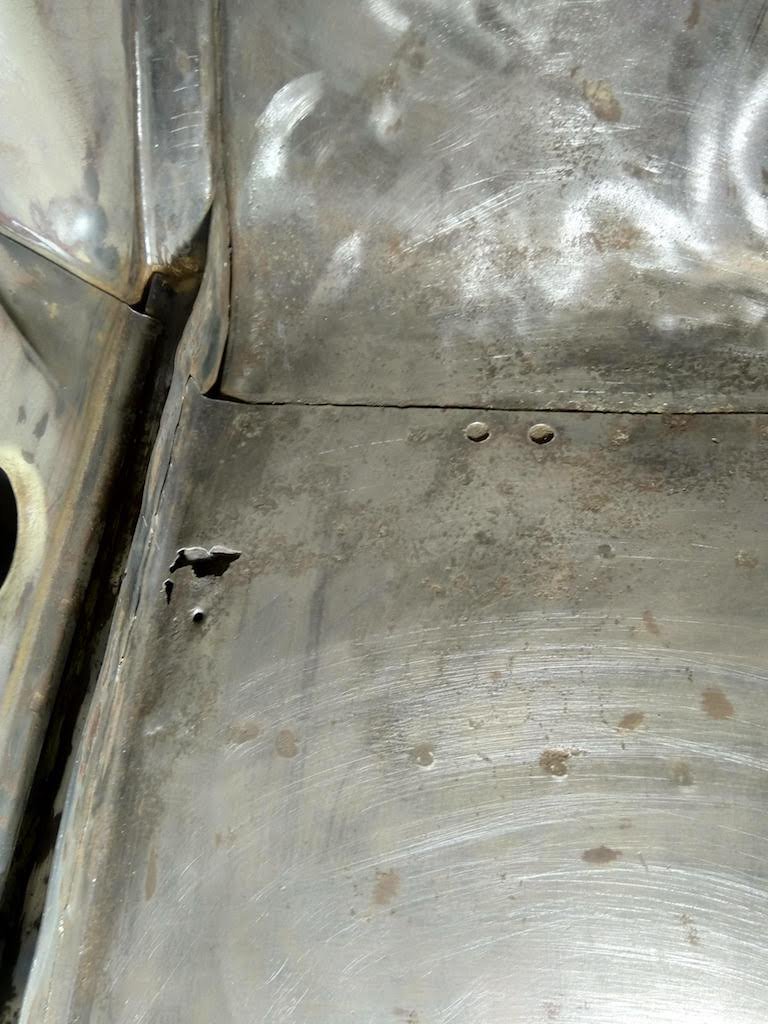
Fixed the small rust patch in the floor and filled the holes that had been drilled to install the bucket seats. All the rest of the rust came off with a wire wheel. ' Sanded off most of the paint, especially on any areas which looked like there might be any surface rust. I've painted it using Brunox to catch any last bits of rust
1 point
-
Swapped the points out for an accuspark electronic kit and a new bosch coil. Bugger me, she fired straight up.. Smooth as and the idle was higher, so clearly a much better spark. Now I need to get some headers for it then send it off to get tuned/needle swap1 point
-
Chucked in the fresh triple electrode plugs and new leads.. hooked a few gears for a Sunday drive. Waiting for 1 last part to arrive. Will attempt a wof check this week. If it passes I'll attempt the hanmeet drive
1 point
-
Morning update. I drove the old girl home last night. The reg expired on 15 may 2012, so I've got about 8 days to put it on hold before it lapses and they de reg it and I lose the black plates and have to go through re reg. I've saved a life! It's pretty haggard bodywise, and im nervous about what im gonna find under that dodgy paint patch in the front. The brakes are spongy, and it was pretty dangerous driving it down Burgess road in Jville in a storm, but we made it to the bottom just fine. Engine works mint, revs up and runs sweet. Just looks like it needs a new thermostat cos it doesnt warm up. Radiator probably needs a flush too, cos its full of rusty shit water. Currently the plan is: Get it wofable. Get wheels Get low Bullbars Panel and paint Interior fit out. (Want a sorta day camper type theme. So a little fold out table and some little speakers and a bin or cupboard for food/minifridge. Just wAnna take it to the beach/park/events and park up with the doors open and lax in the back of it.1 point


.thumb.jpeg.910c6632f6e66e8cba89476e83b41634.jpeg)


This leaderboard is set to Auckland/GMT+12:00