
Leaderboard


Popular Content
Showing content with the highest reputation on 09/28/19 in all areas
-
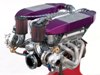
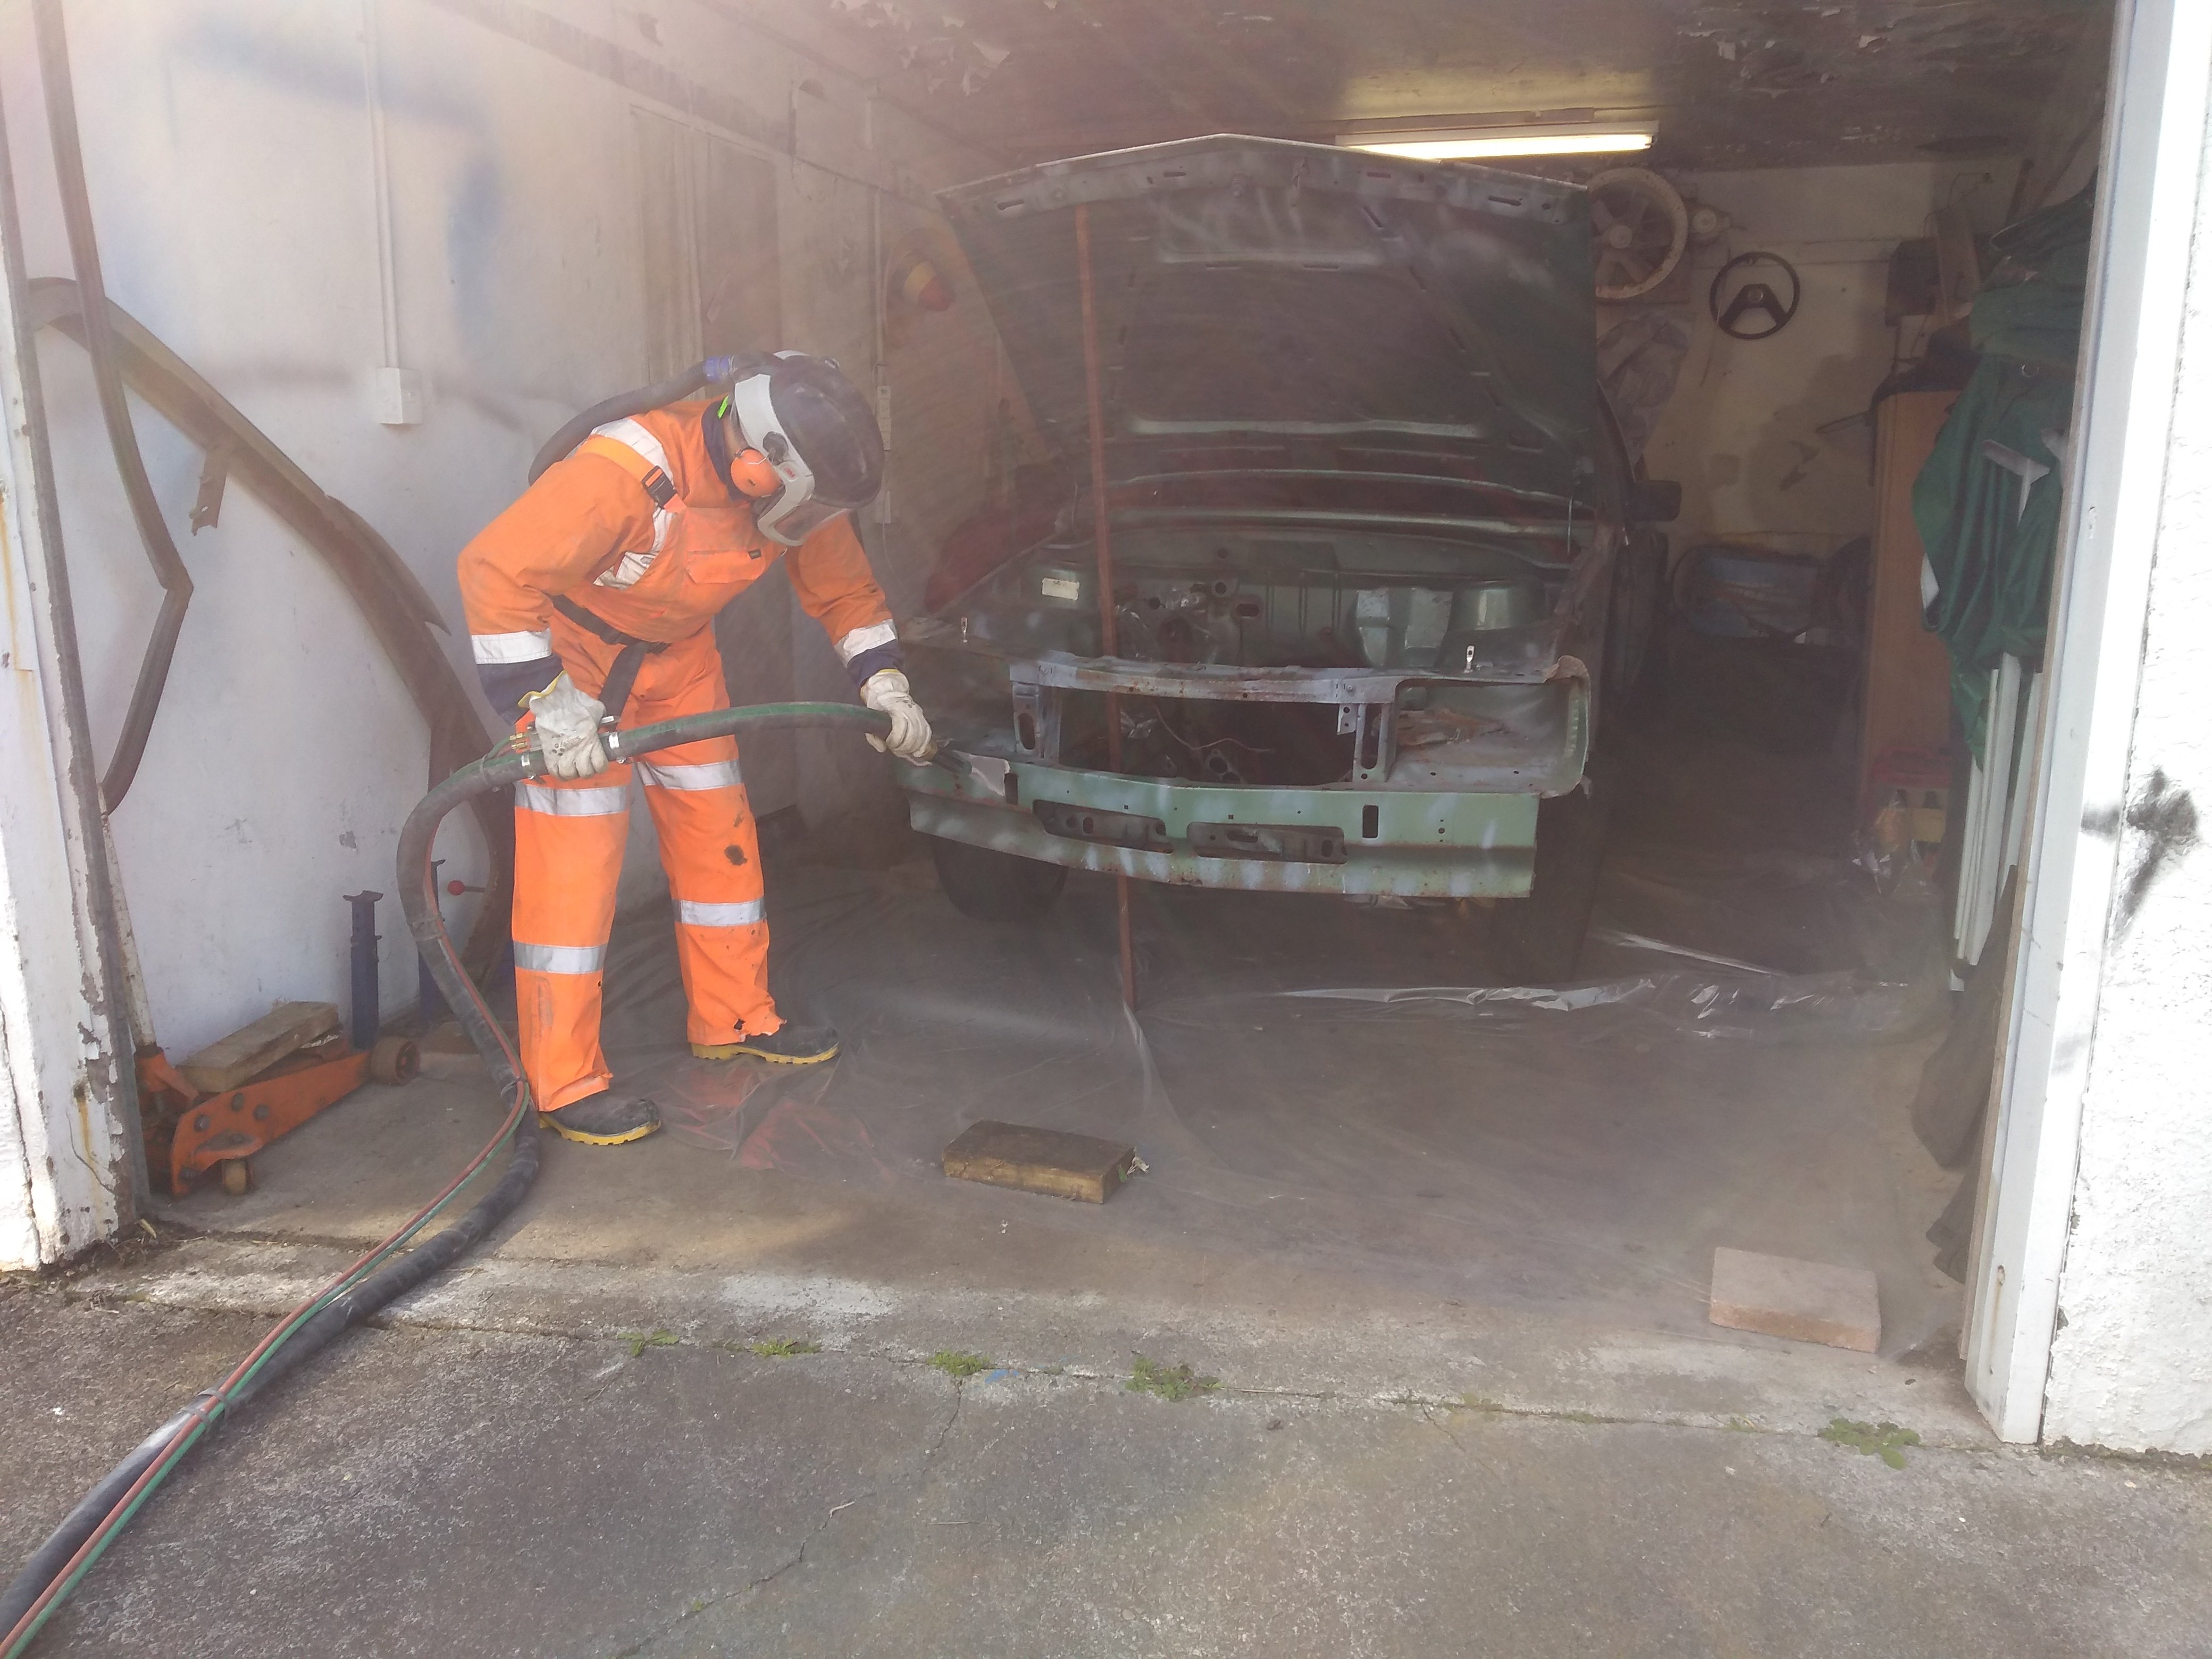
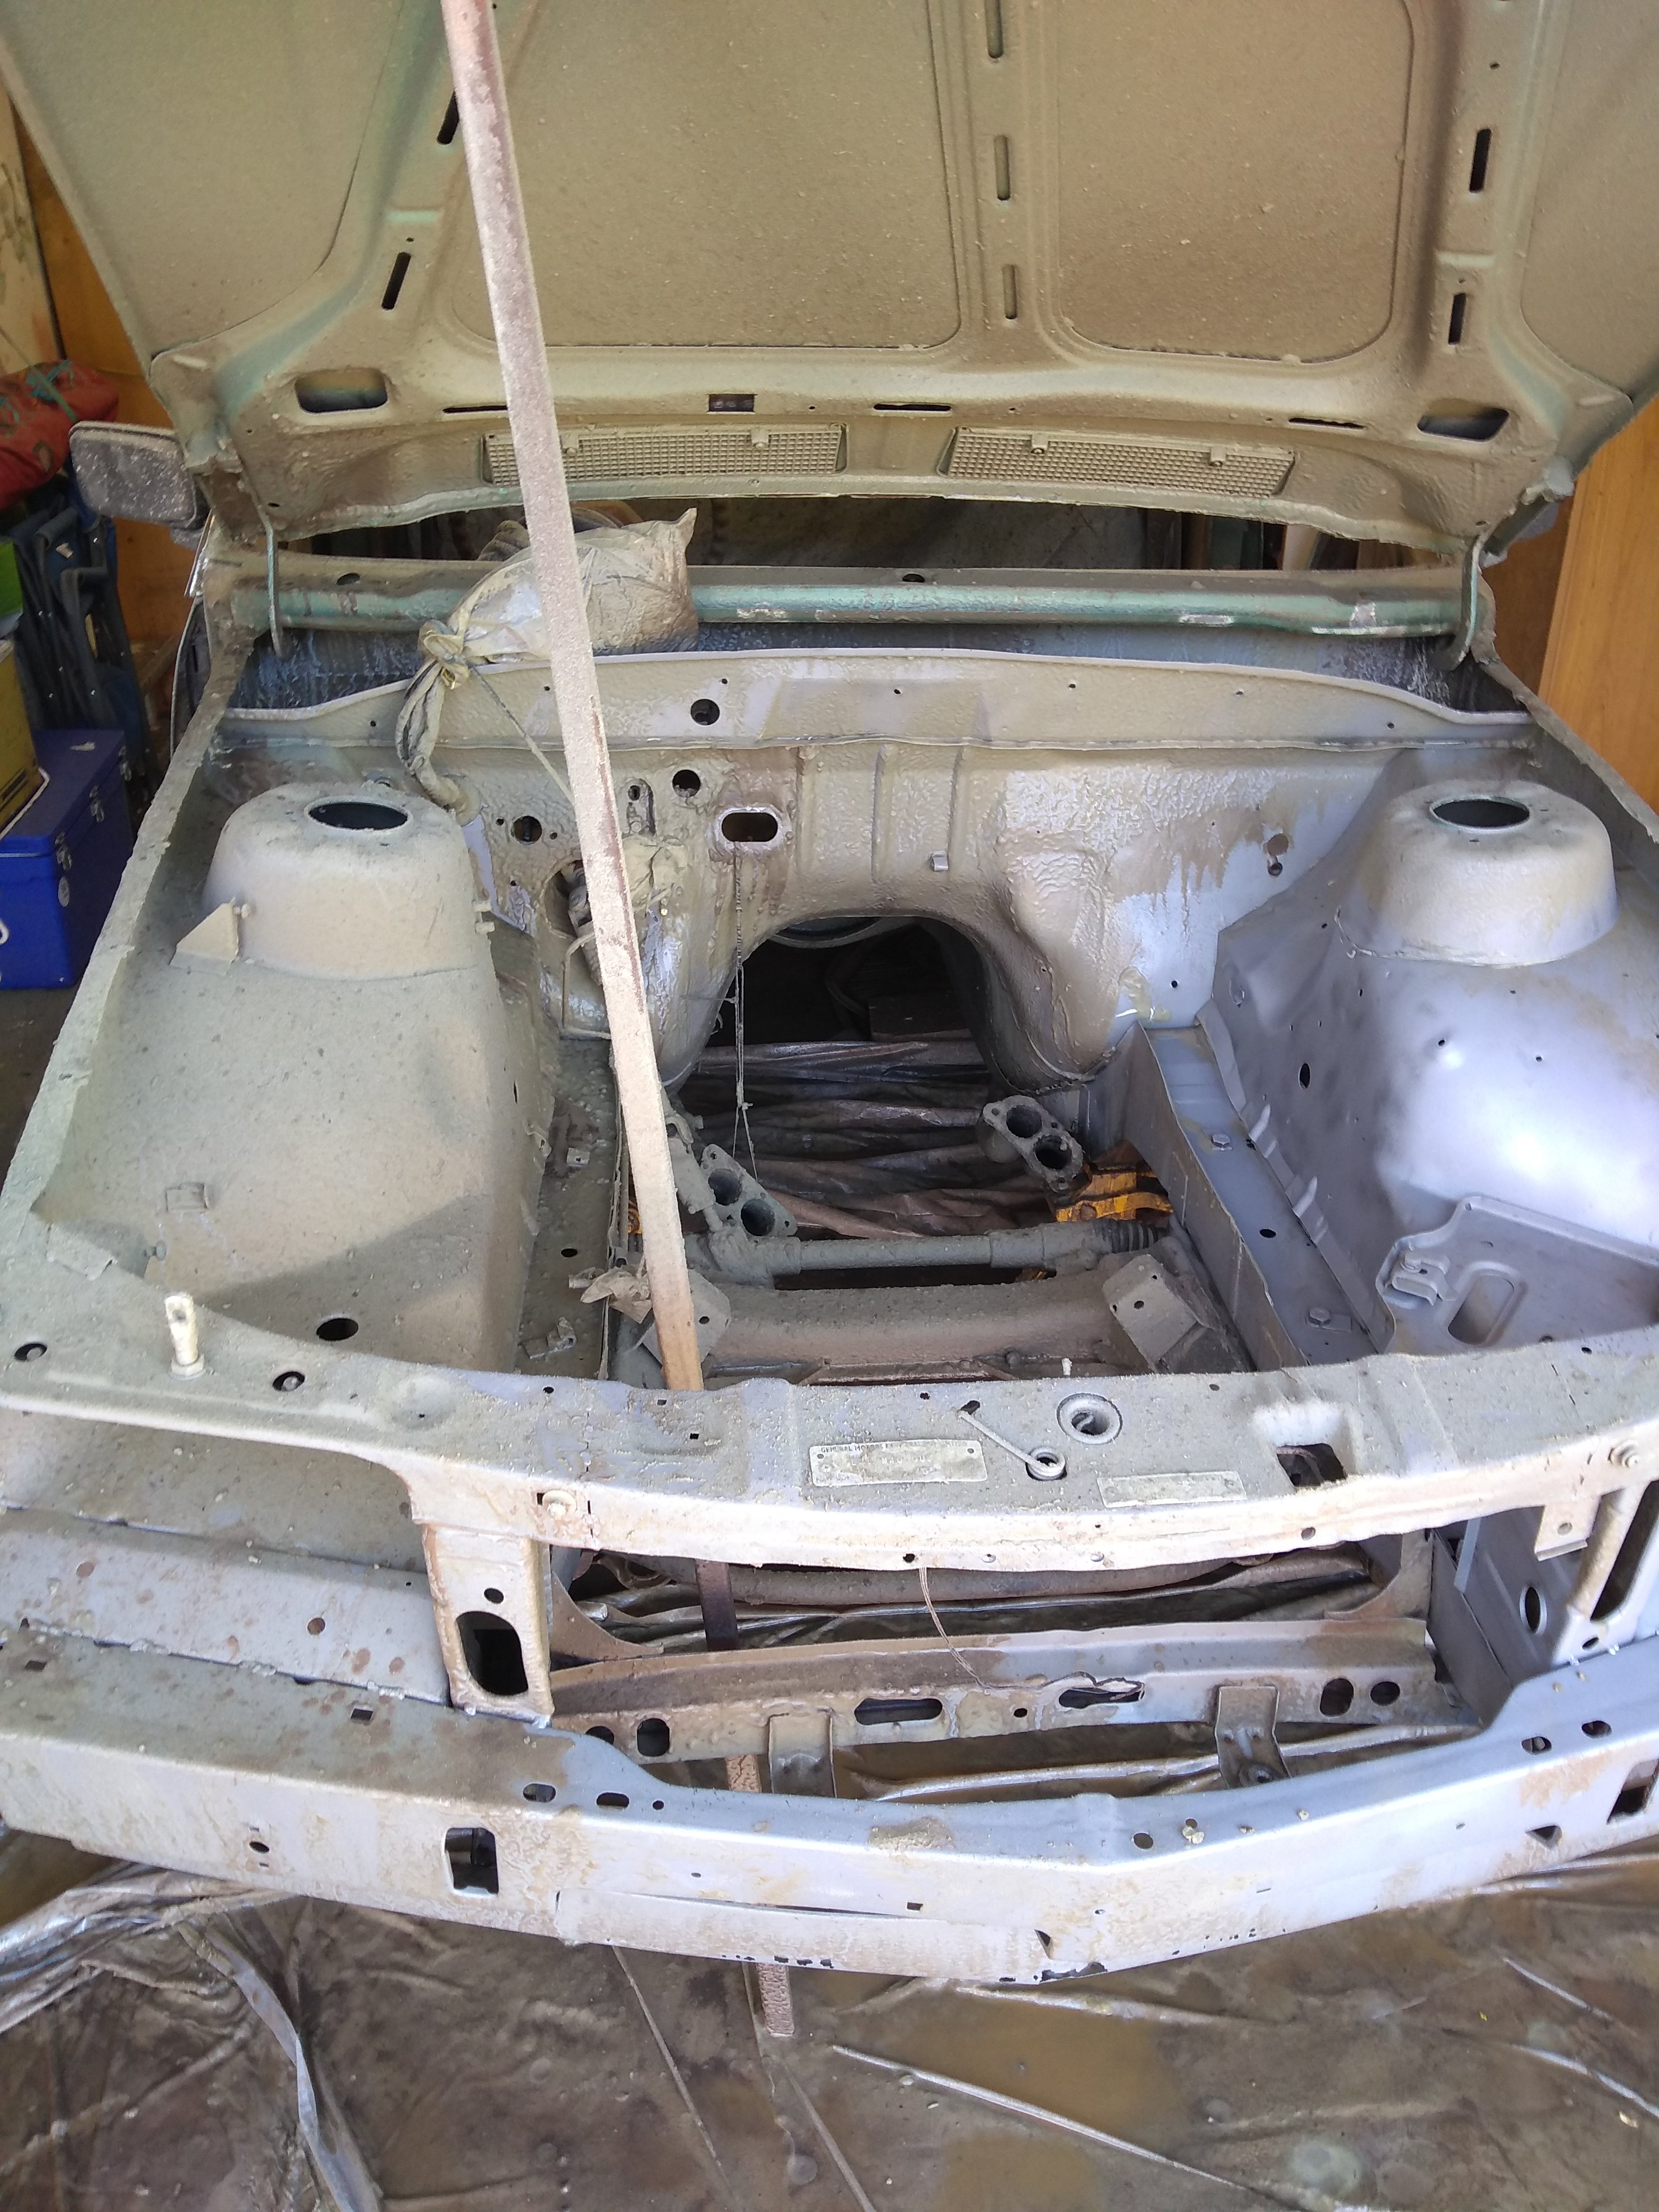
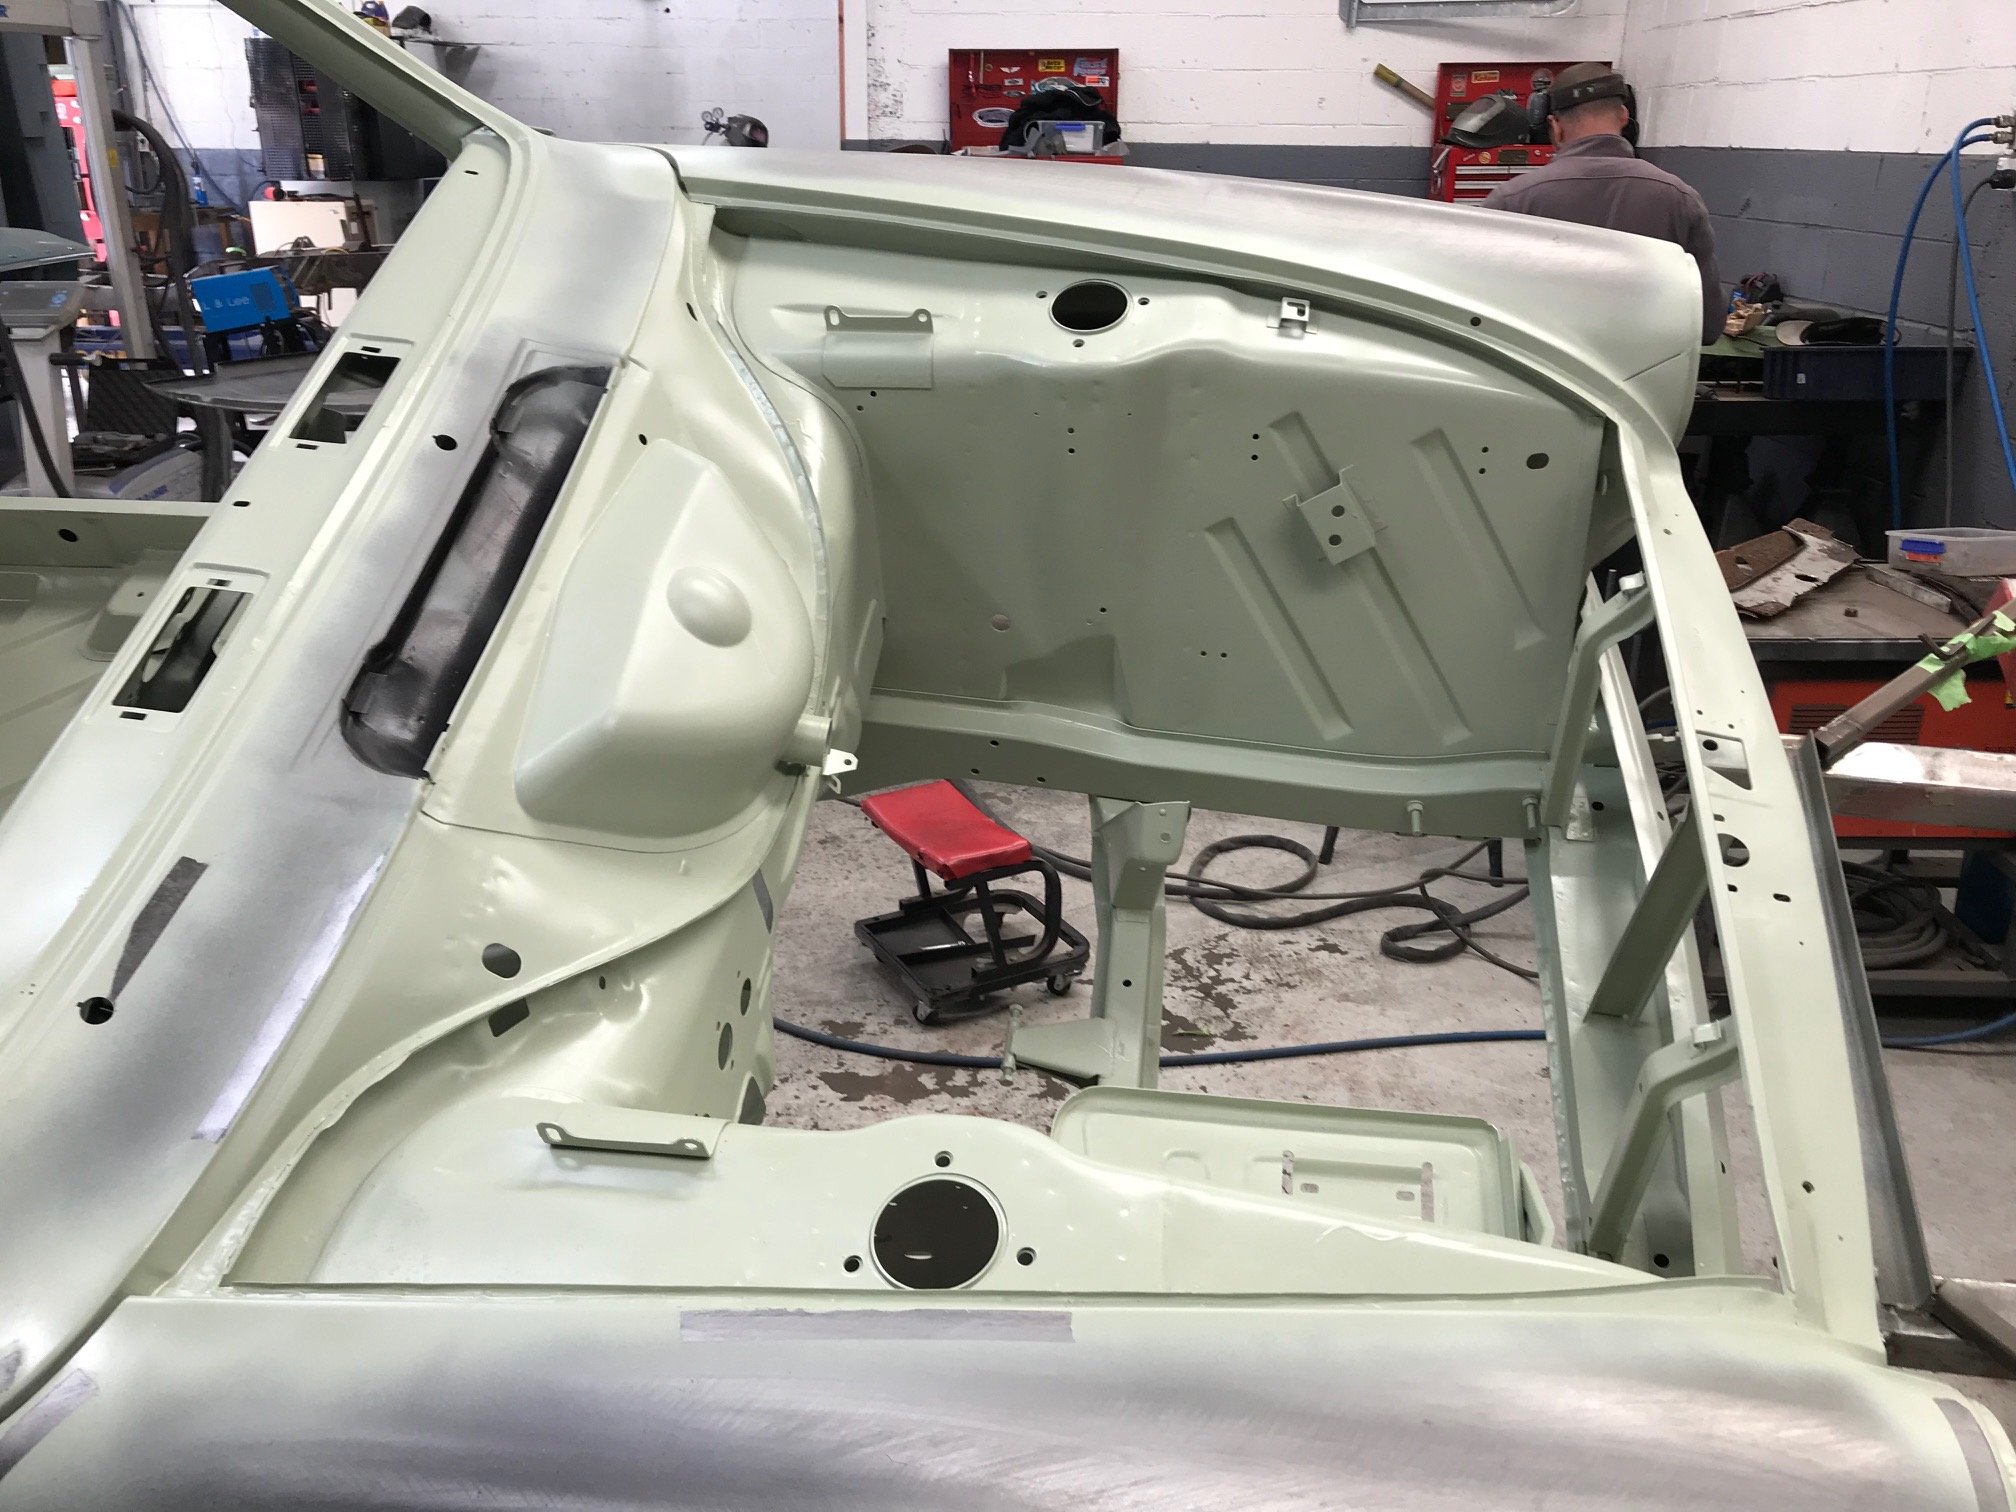
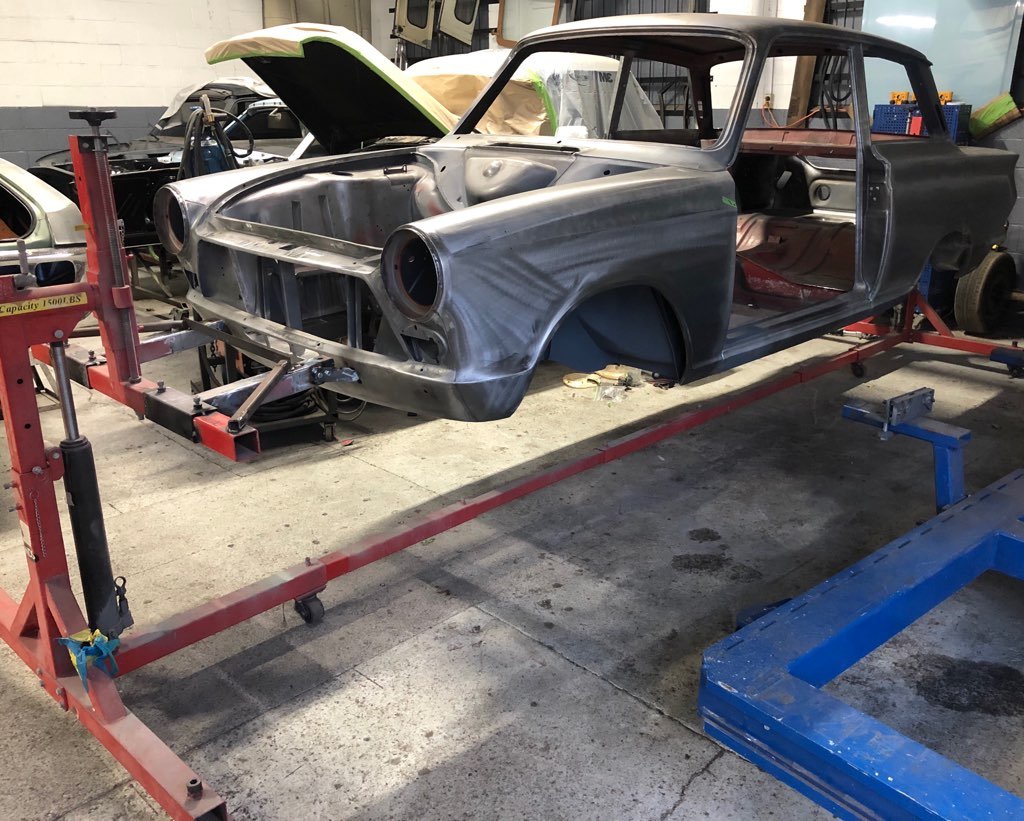
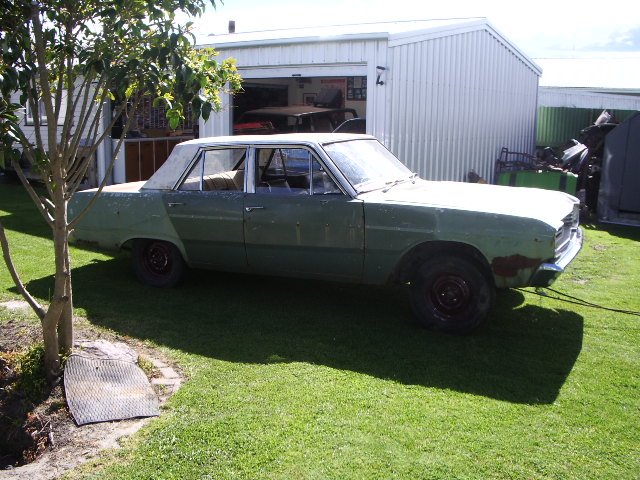
A Big Rig turned up today... To do this Which ended up looking like this A bit better after clean-up Next step, to the panelbeaters - hopefully soon.
 14 points
 -
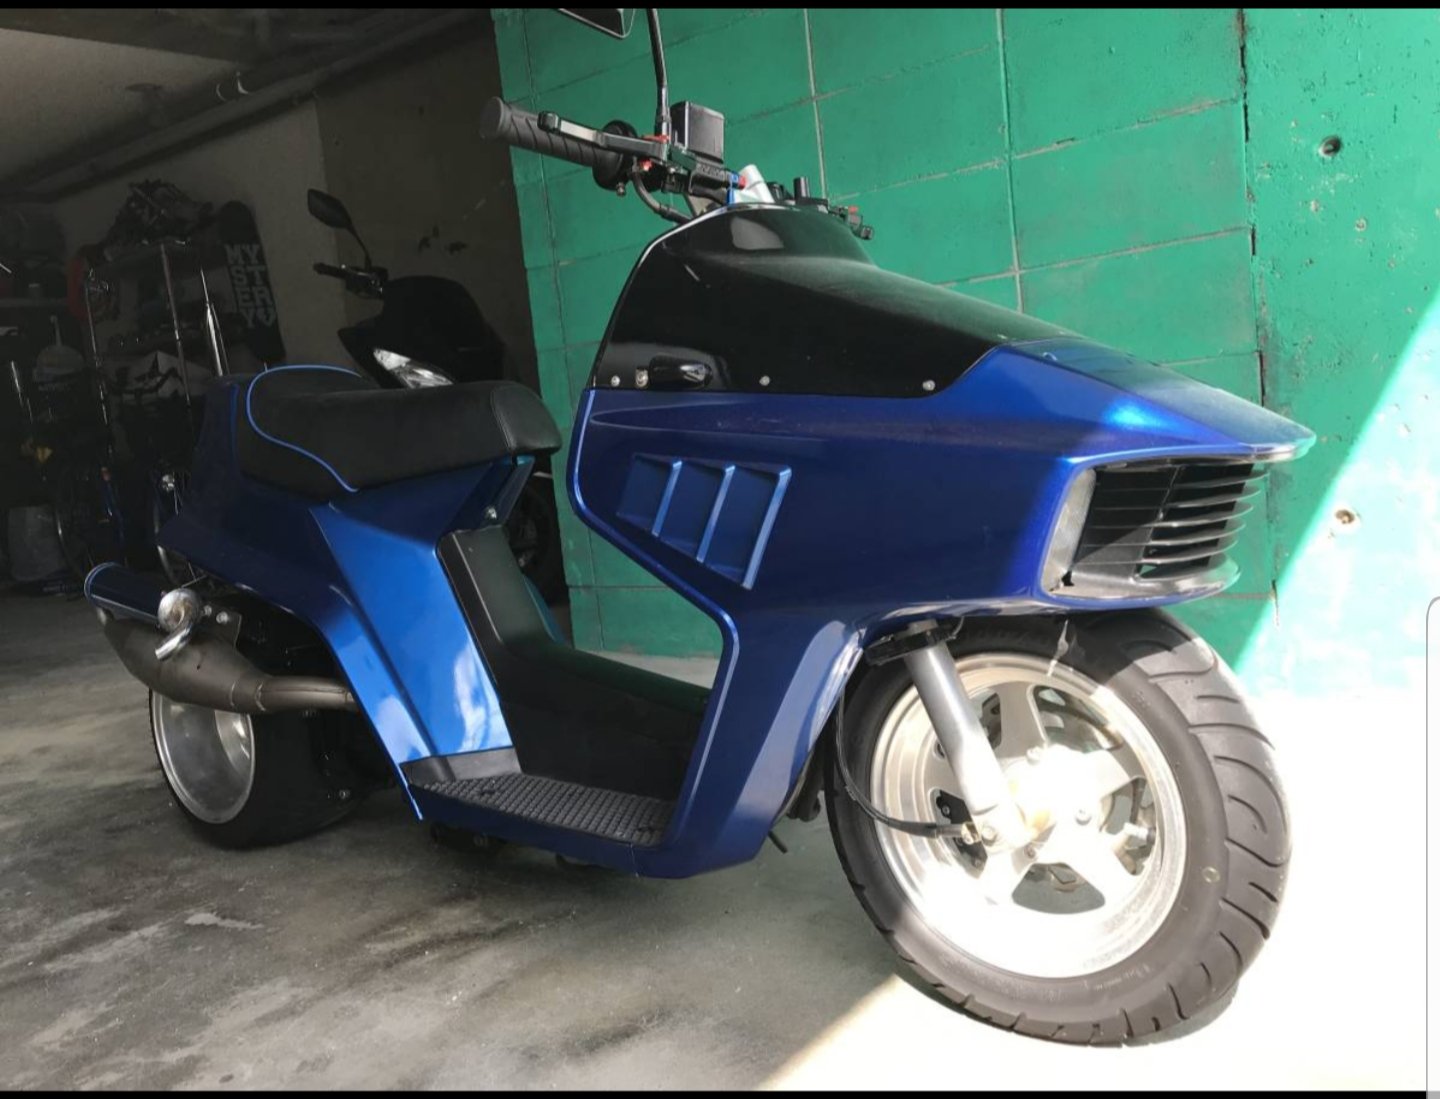
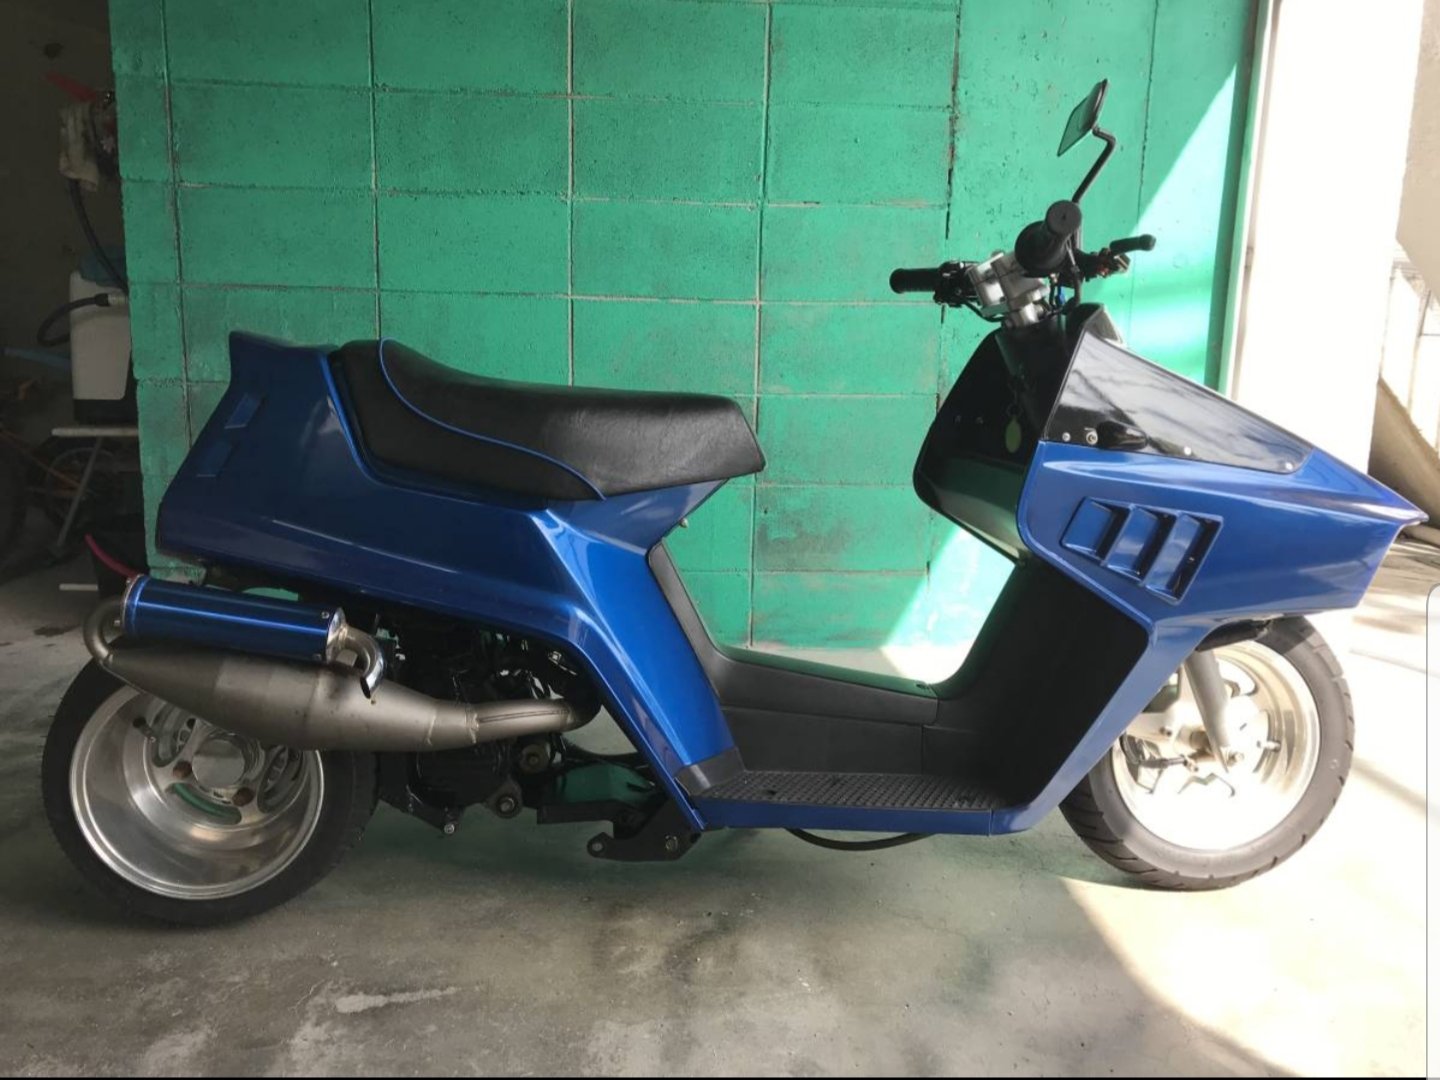
More pics
6 points
-
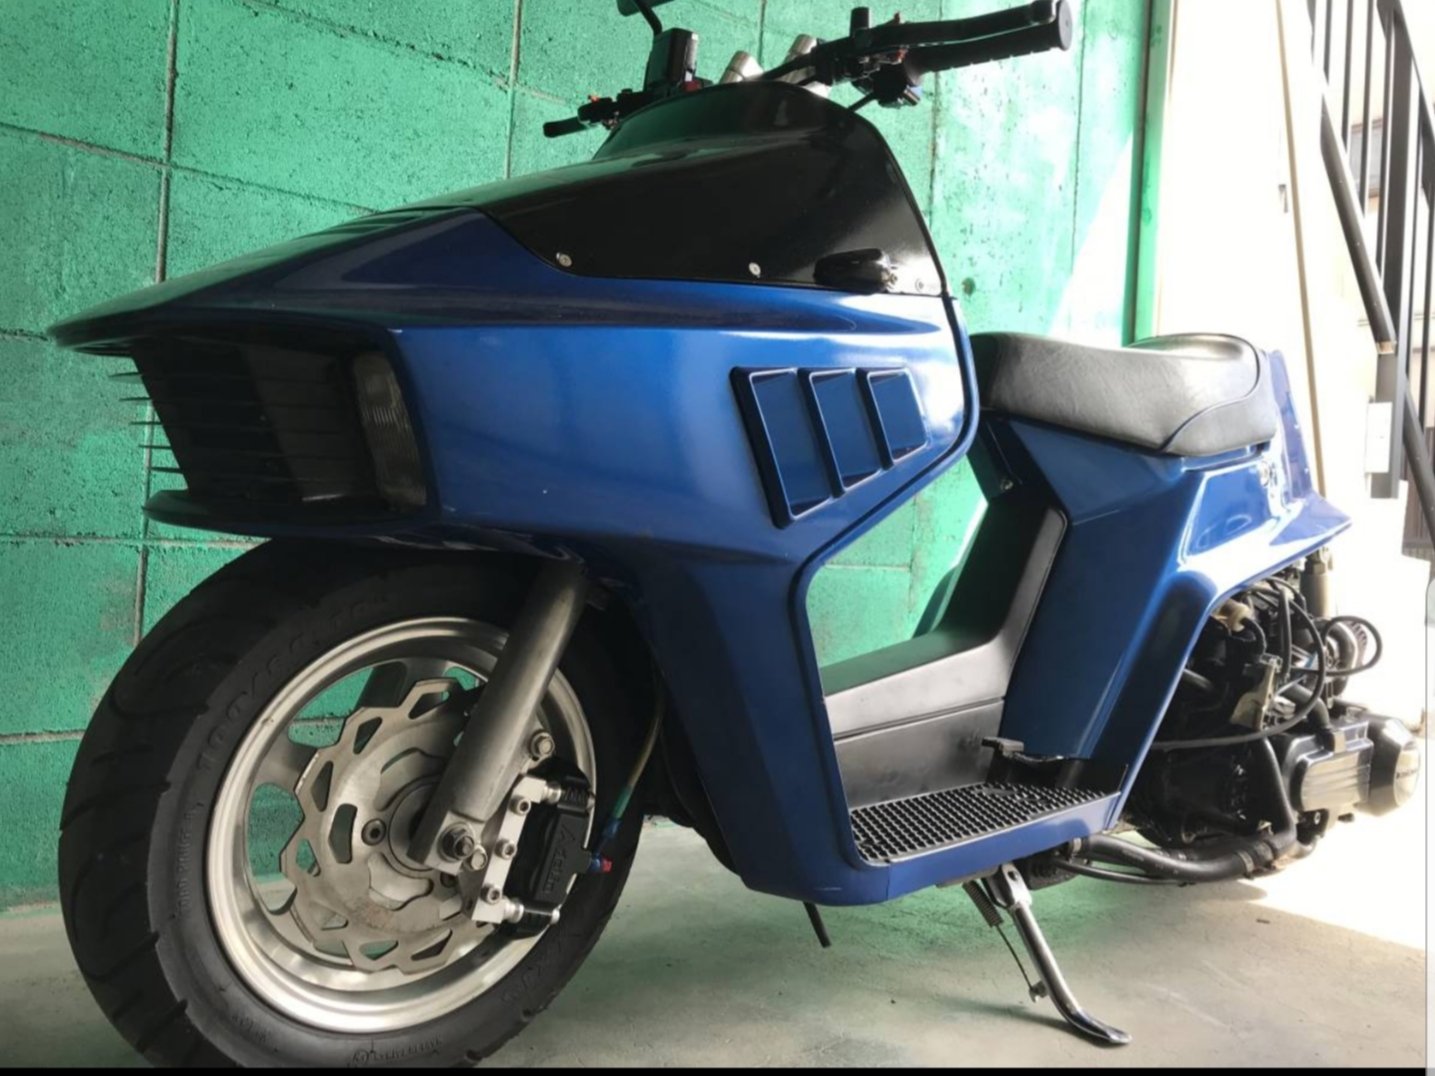
This badass beat is for sale on Yahoo at the moment.
5 points
-
Waiting on parts to finish the throttle & plenum setup. so pulled the radiator and intercooler out to modify the intercooler pipe. Then went full retard and cut up the radiator. cut a bit off the end and relocated the outlet pipes Why? more room for other stuff and that part of the radiator was mostly blocked off from airflow anyways. Redone the turbo side pipe, as well as the inlet side. the pile of pipes at bottom of pic is the old stuff that come off it. Yep that cast elbow looks horrible for flow ^ thats why i chopped it up, so goes from 2.5" to about same area as 3" pipe. The intercooler is on the list to go in the bin. because is heavy and junk. I brought the cheapest one i could get when originally built the truck. Staying for now but will go to a tube and fin one day. 2.5" hot side 3" cold side. old was 2.5" . even though the pipe is bigger have cut the length down quite a bit. so probably sill less area in the pipework than the old setup5 points
-
Had an interesting situation with the Hyobanger last week.. Starting the bike in the morning as per norm but when I pulled my hand off the starter button the starter motor didn't stop I hit the kill switch.. Was still going Turned the key off.. Was still going So I had to disconnect the battery real quick cause I didn't wana burn out the starter When I put the cable back on the battery the starter would engage.. Yep, so the starter is getting constant power regardless of the key situation/kill switch situation I pulled the fairings off and checked all the cables, they all looked fine. Pulled apart the RH Switch block to see if there was any shorting there but that was all good Disconnected some stuff to see if that made a difference (ignition, switch block etc).. nothing I sent a snapchat out to the boys to see if anyone had any suggestions which some replied with some helpful knowledge but nothing I hadn't already done Bit the bullet and loaded the bike up to take to an actual motorbike mechanic Unloaded the bike, explained the situation I got in the car and I got a snapchat from a mate. I nearly didn't check it and thought fuck ill check it at home, im hungry I wana leave but he said "sounds like the solenoid is stuck on bro.. Give it a wack or two" I had done this.. but obviously not hard enough Surely enough.. Gave it a couply decent love taps and it was fixed.. Loaded bike back on and head home. I dunno if I need a new solenoid but they're cheap enough to replace so I will order a new one in a minute but yeah.. No big bill from the motorcycle shop so thats a win4 points
-
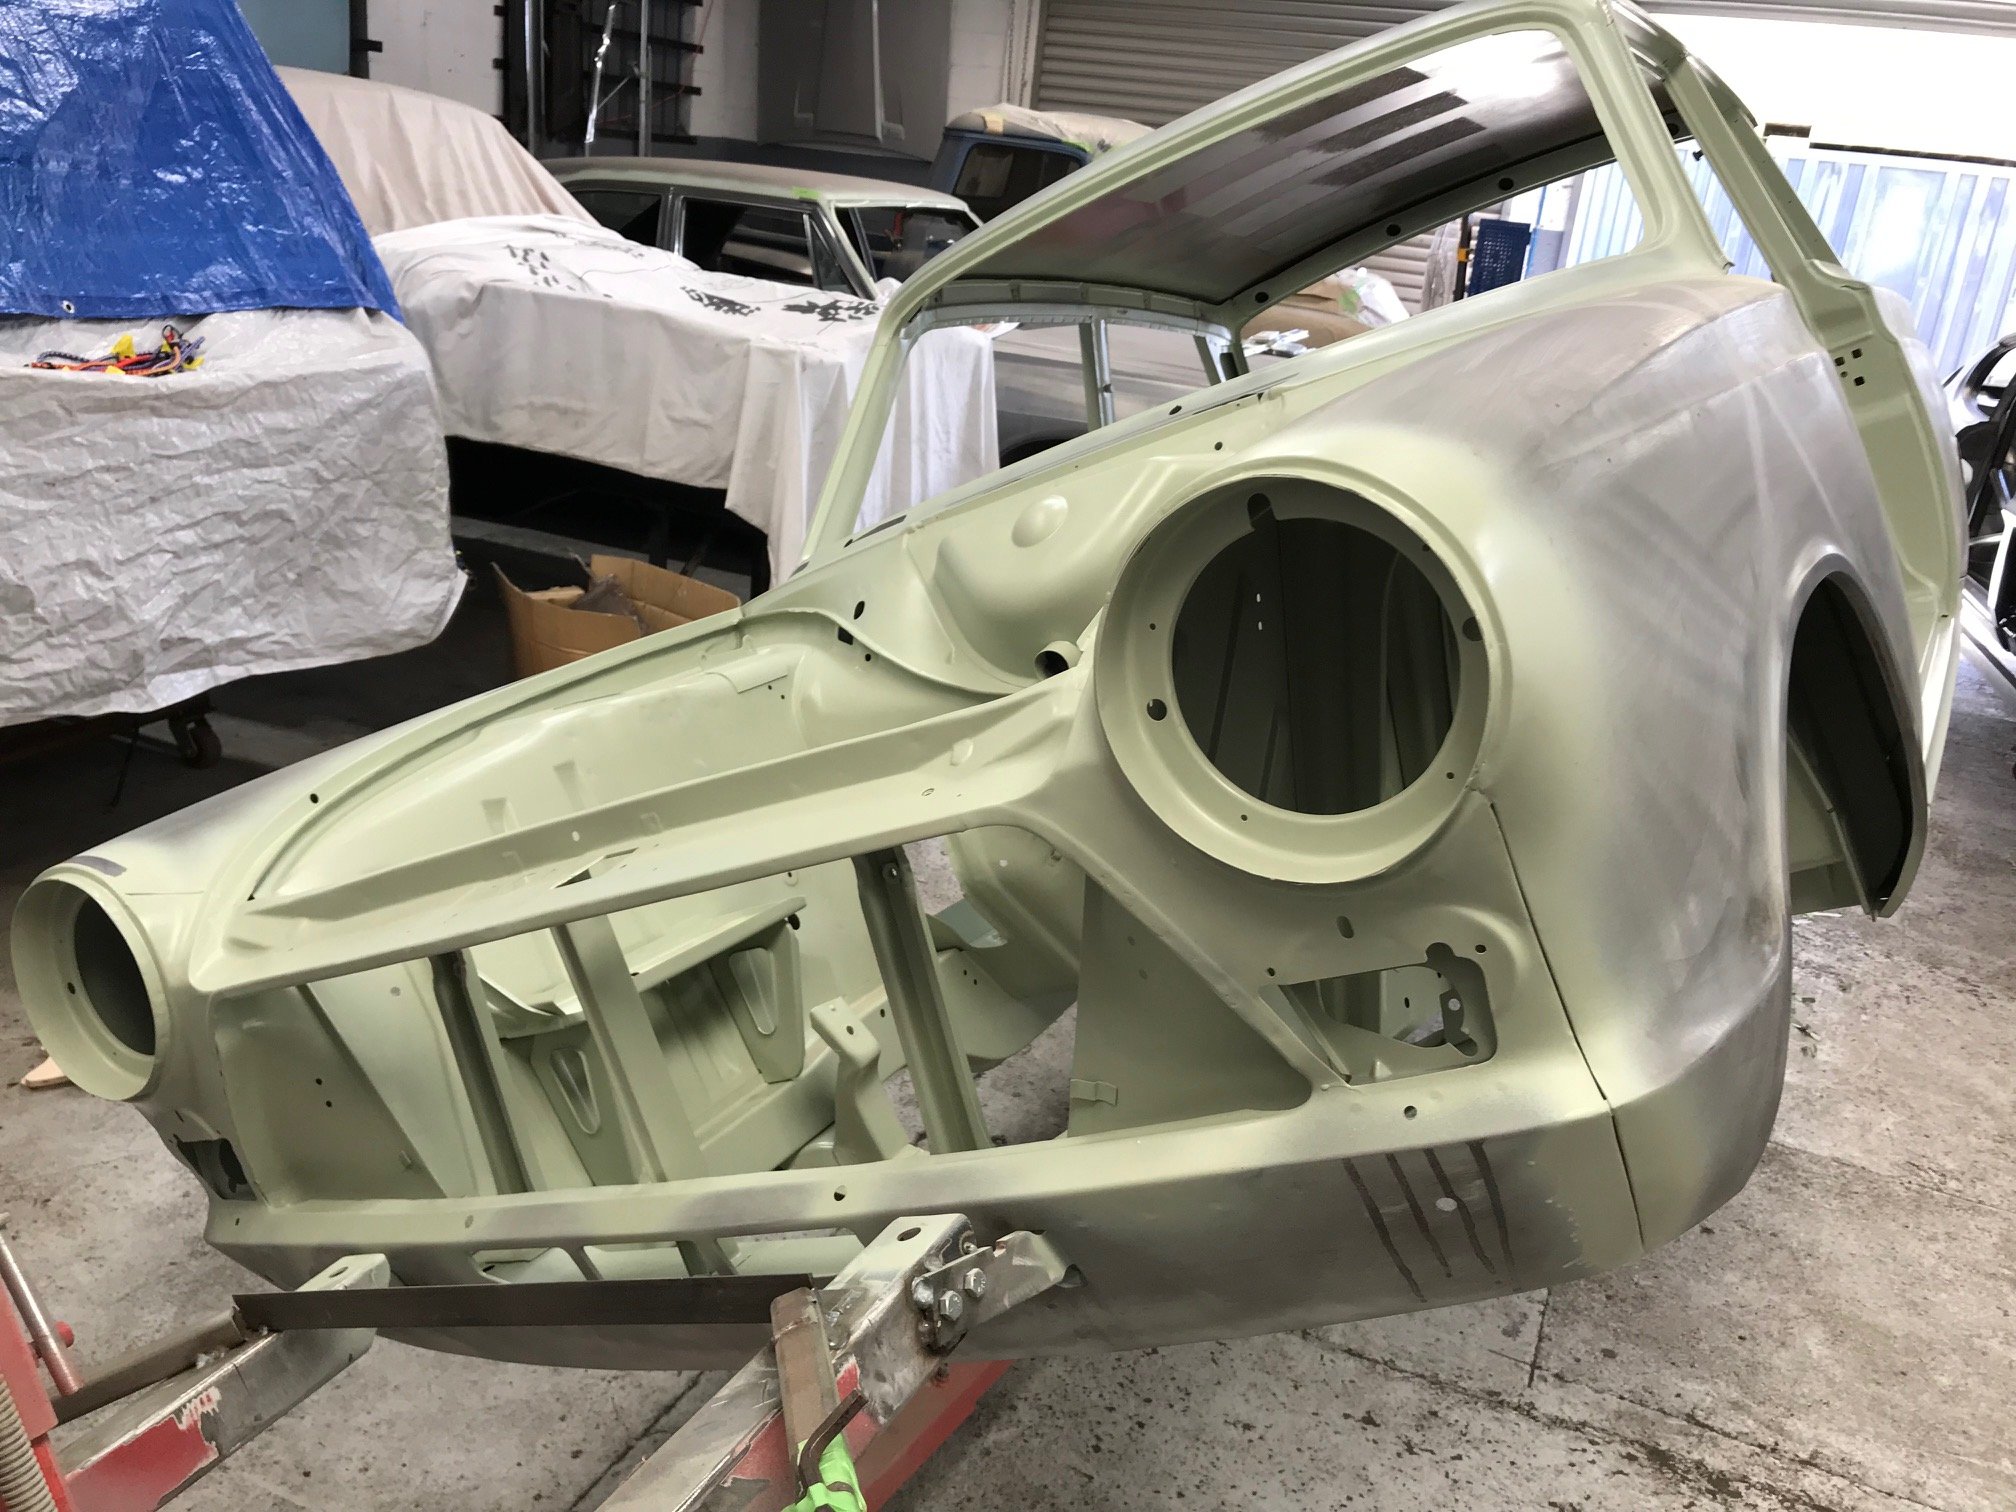
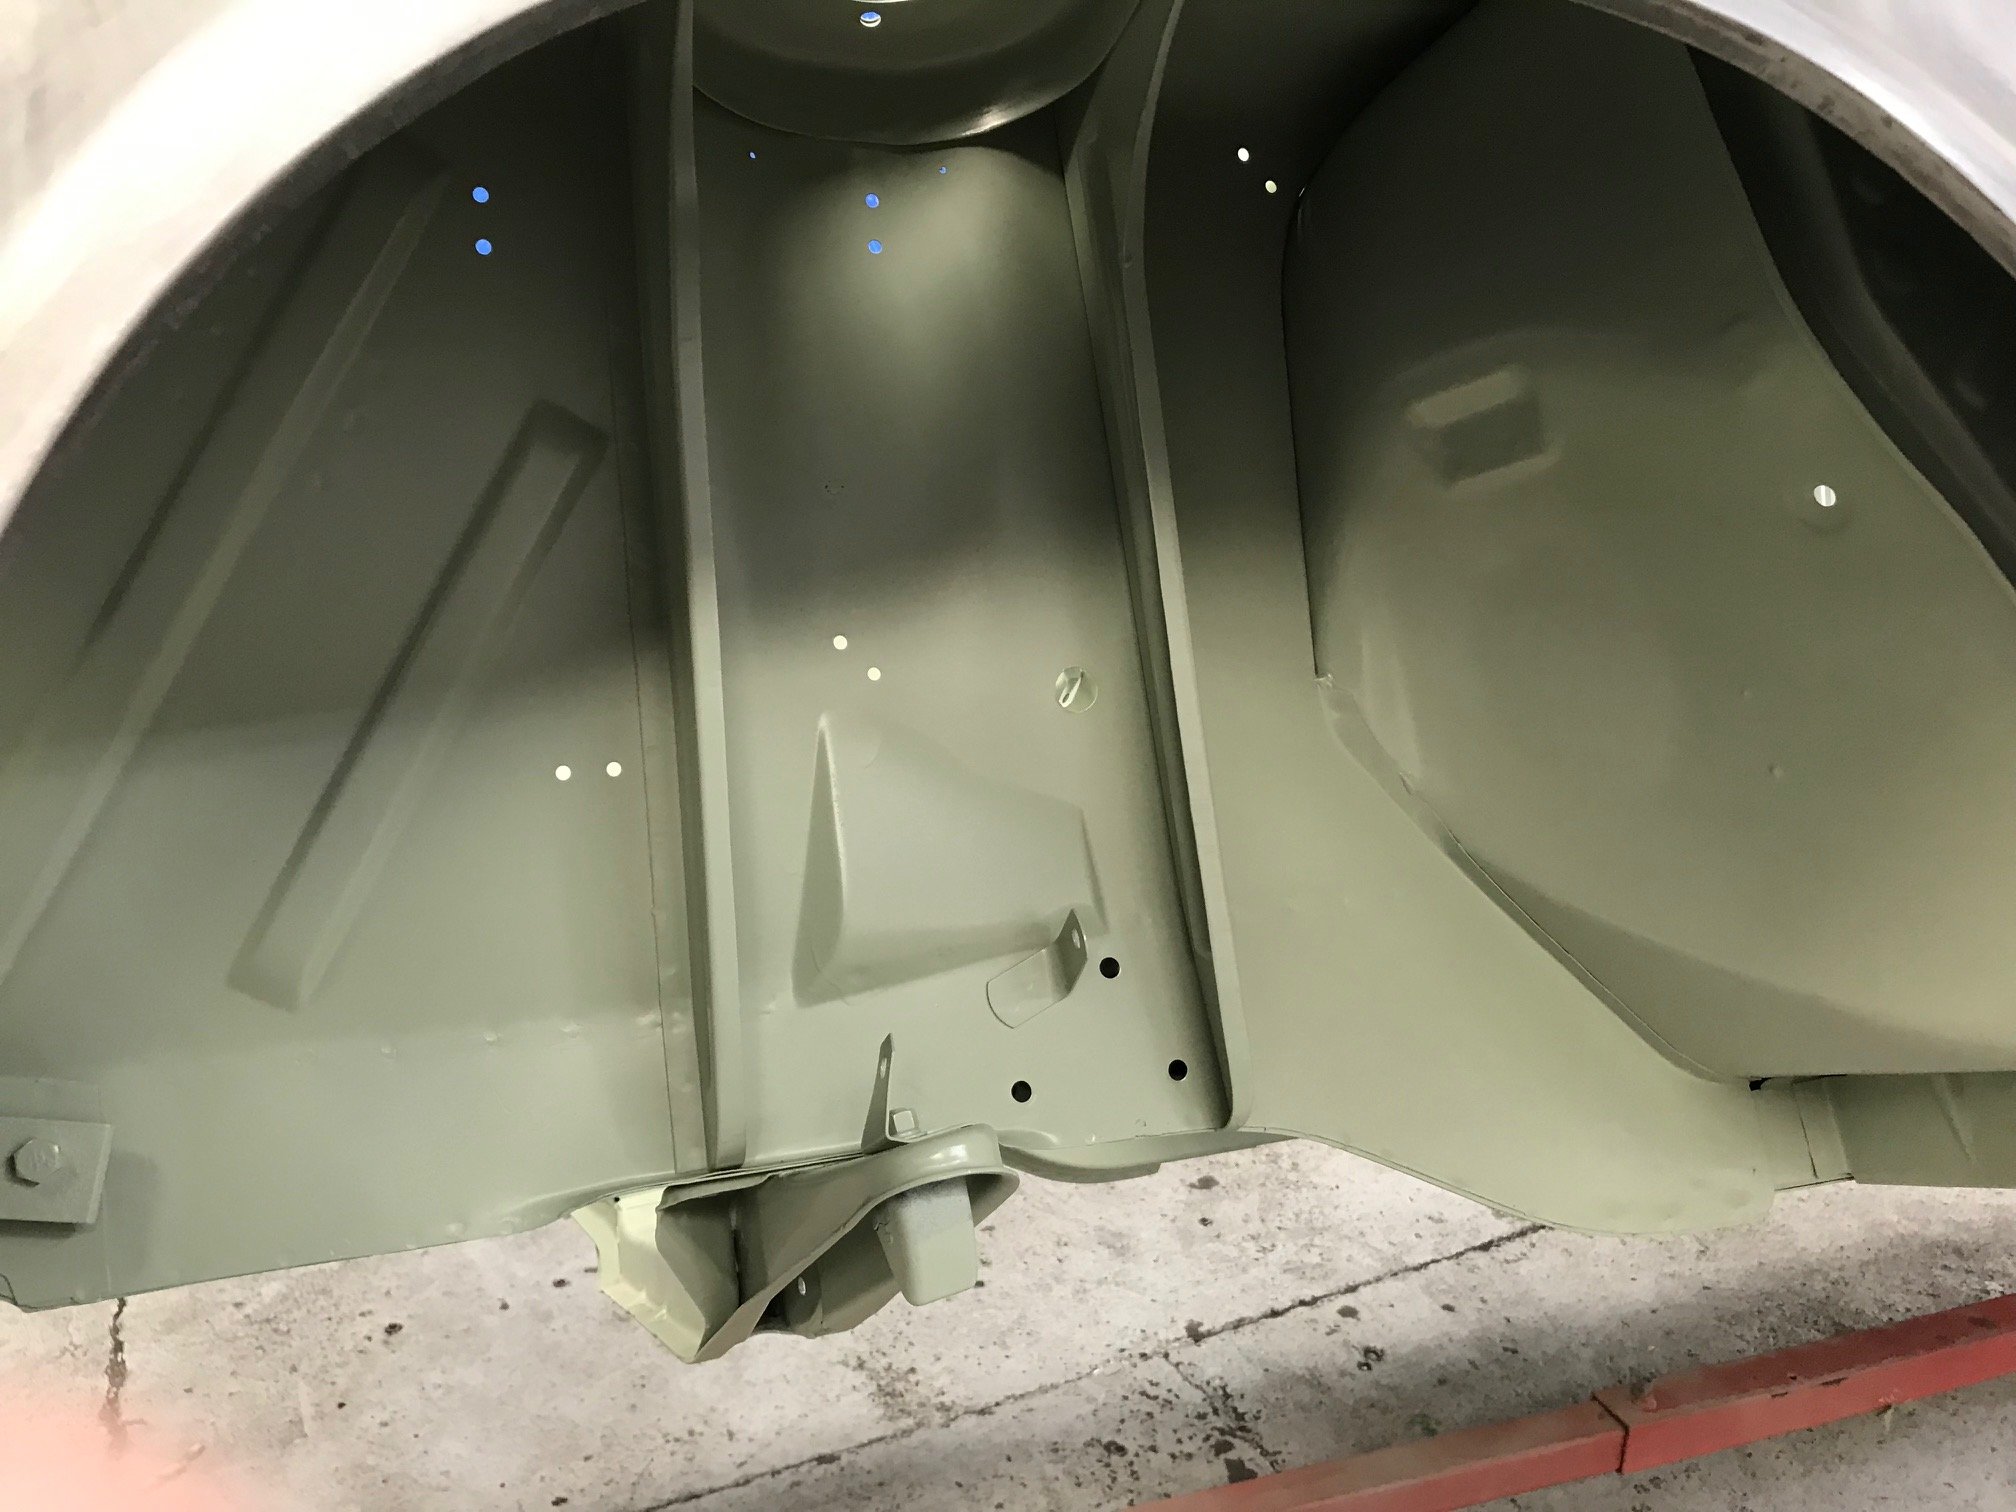
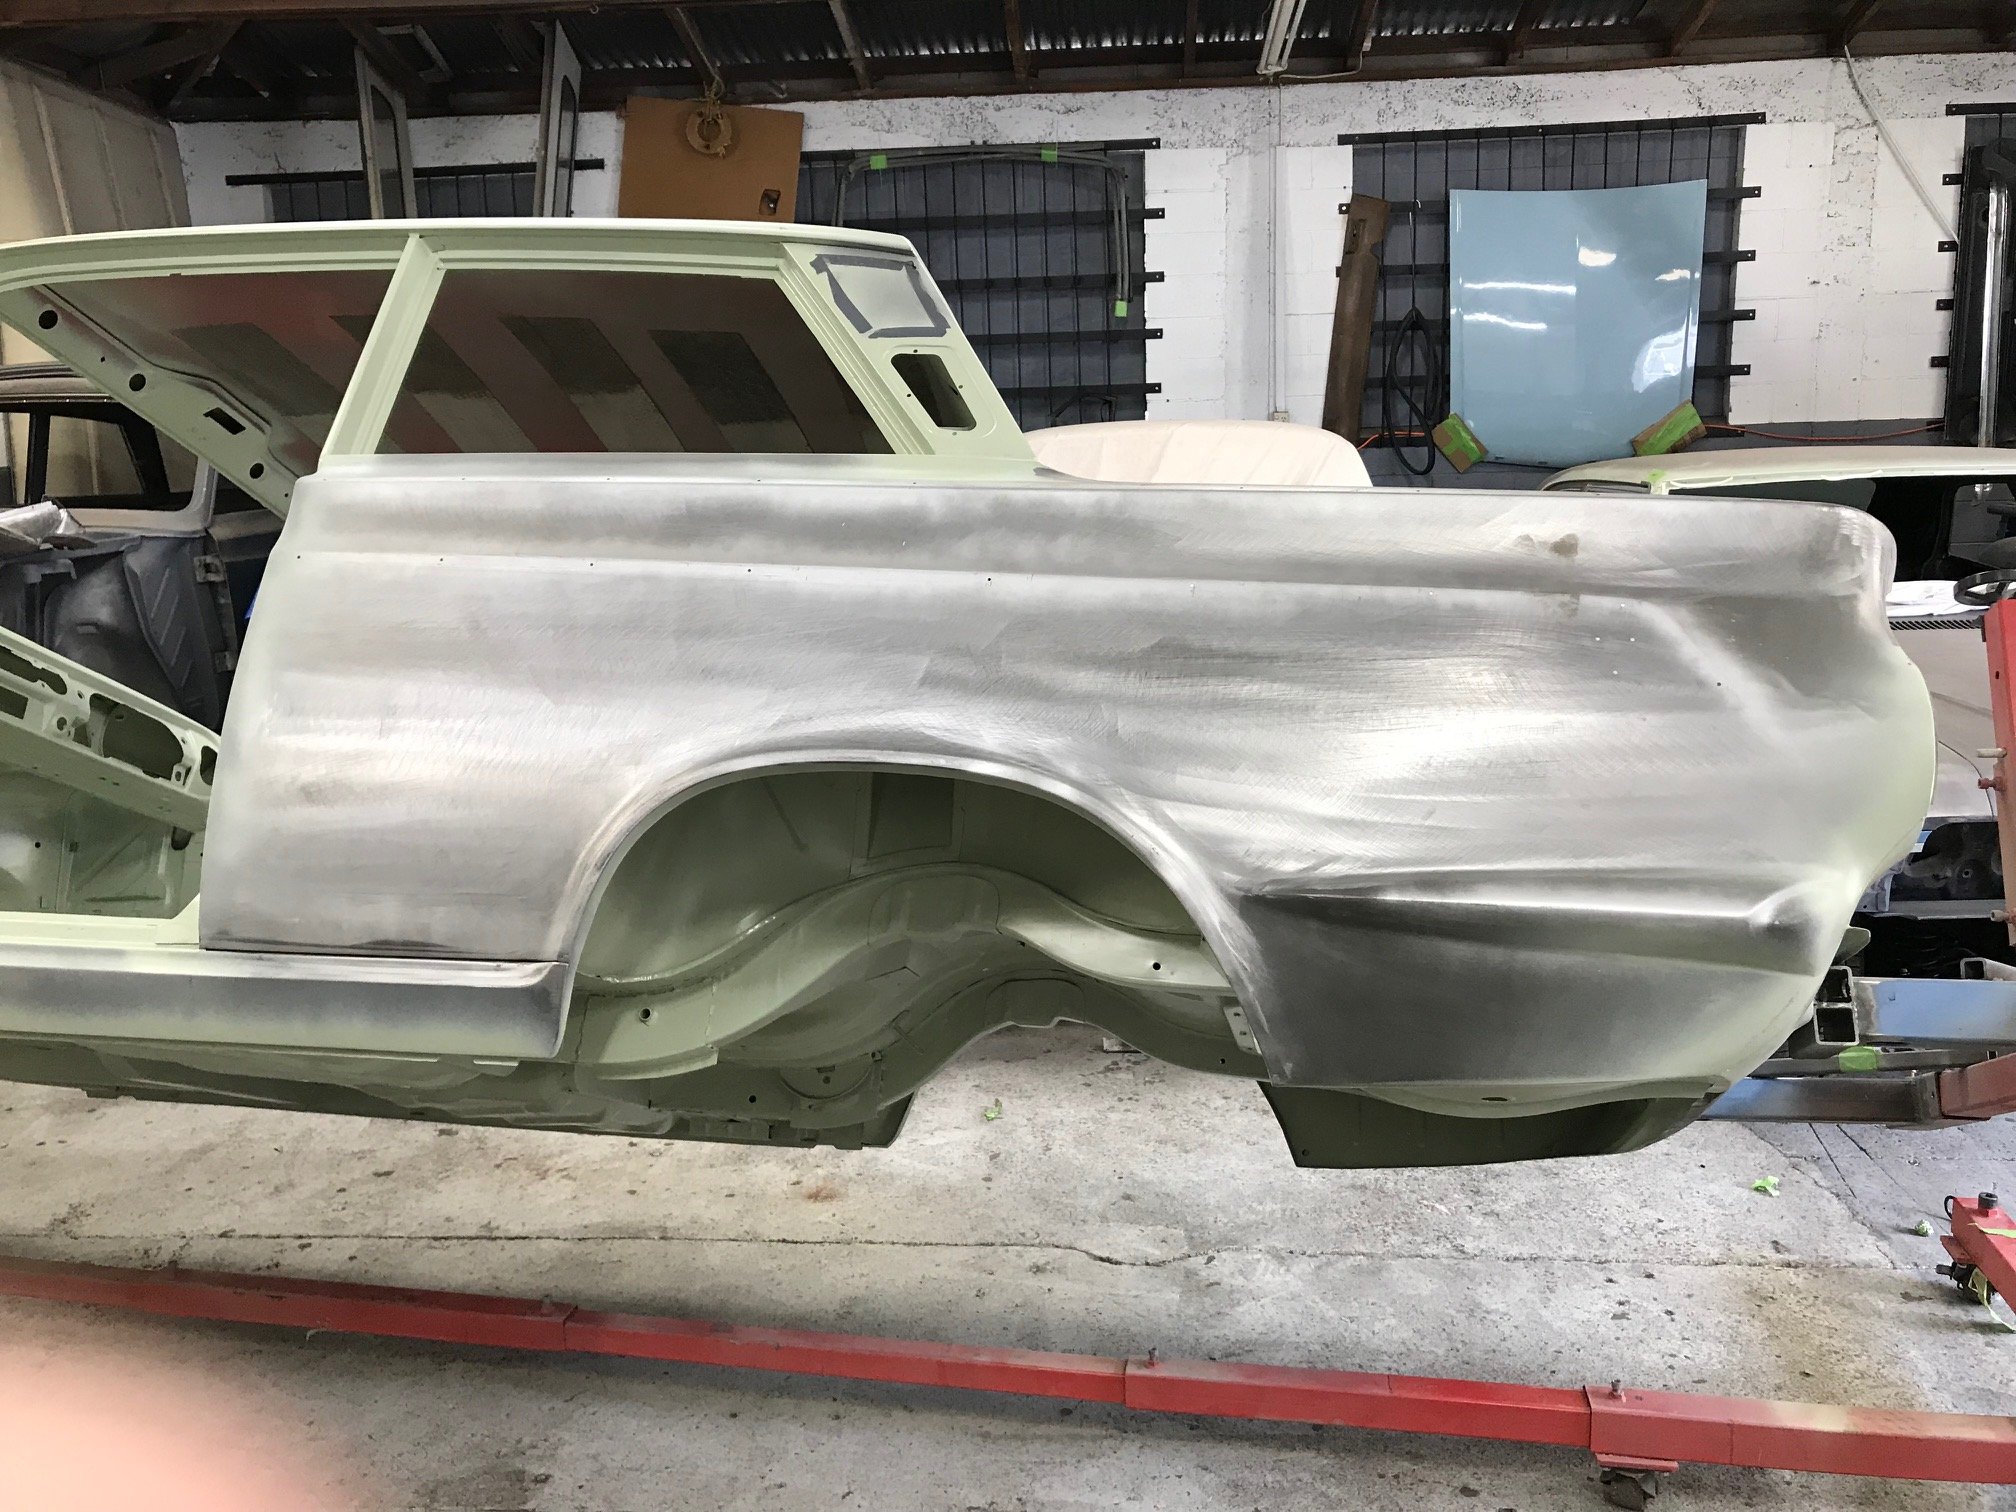
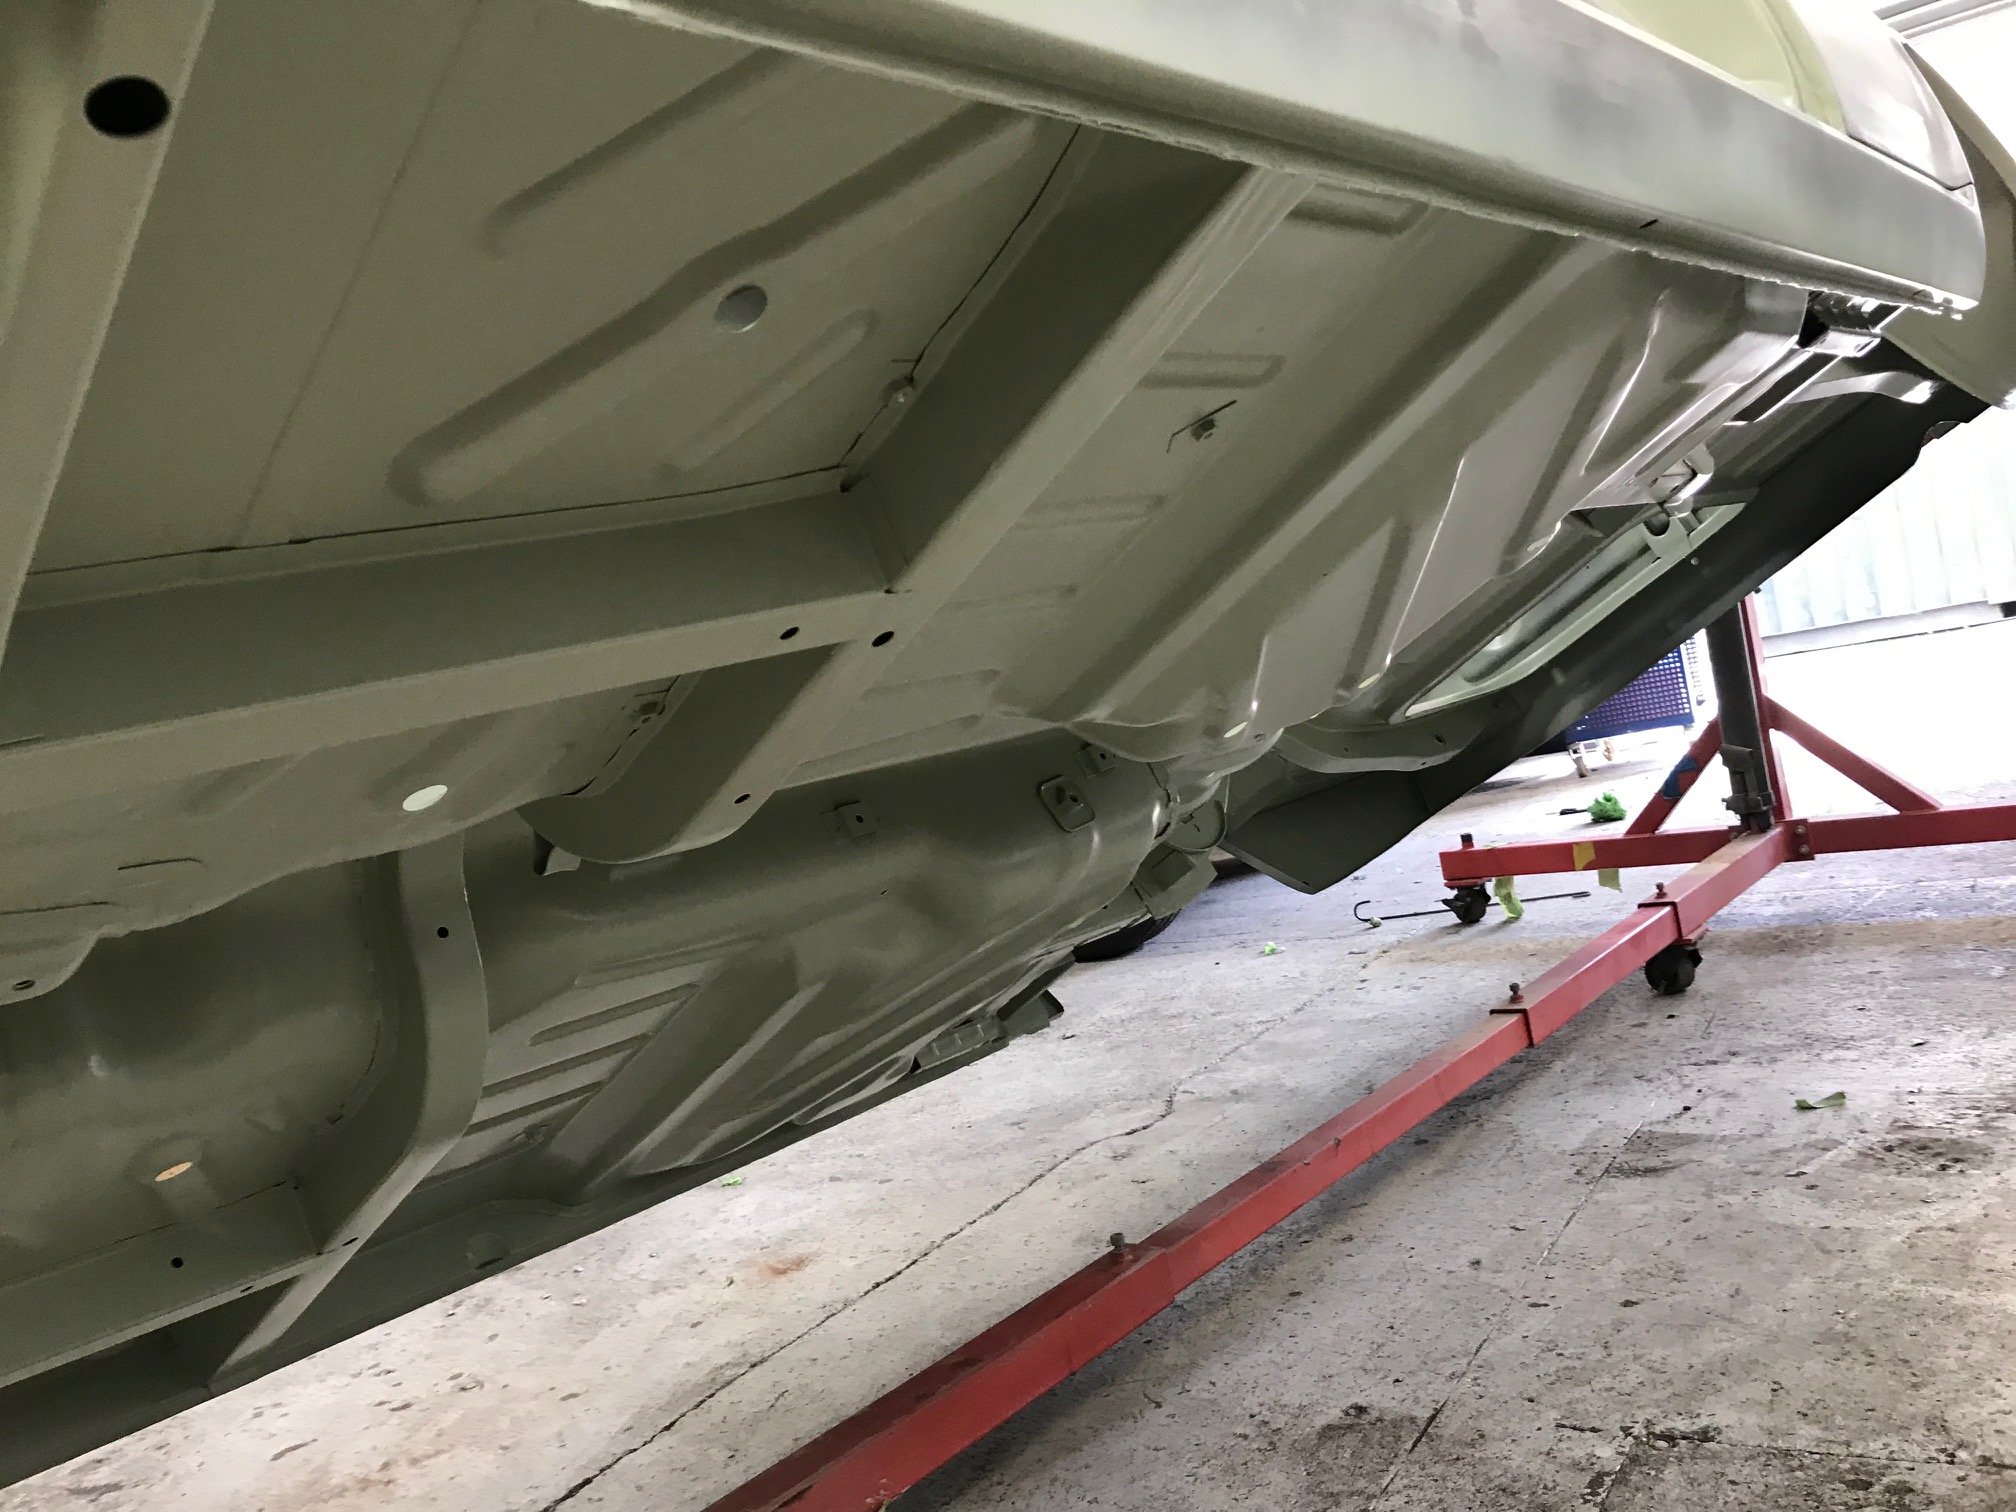
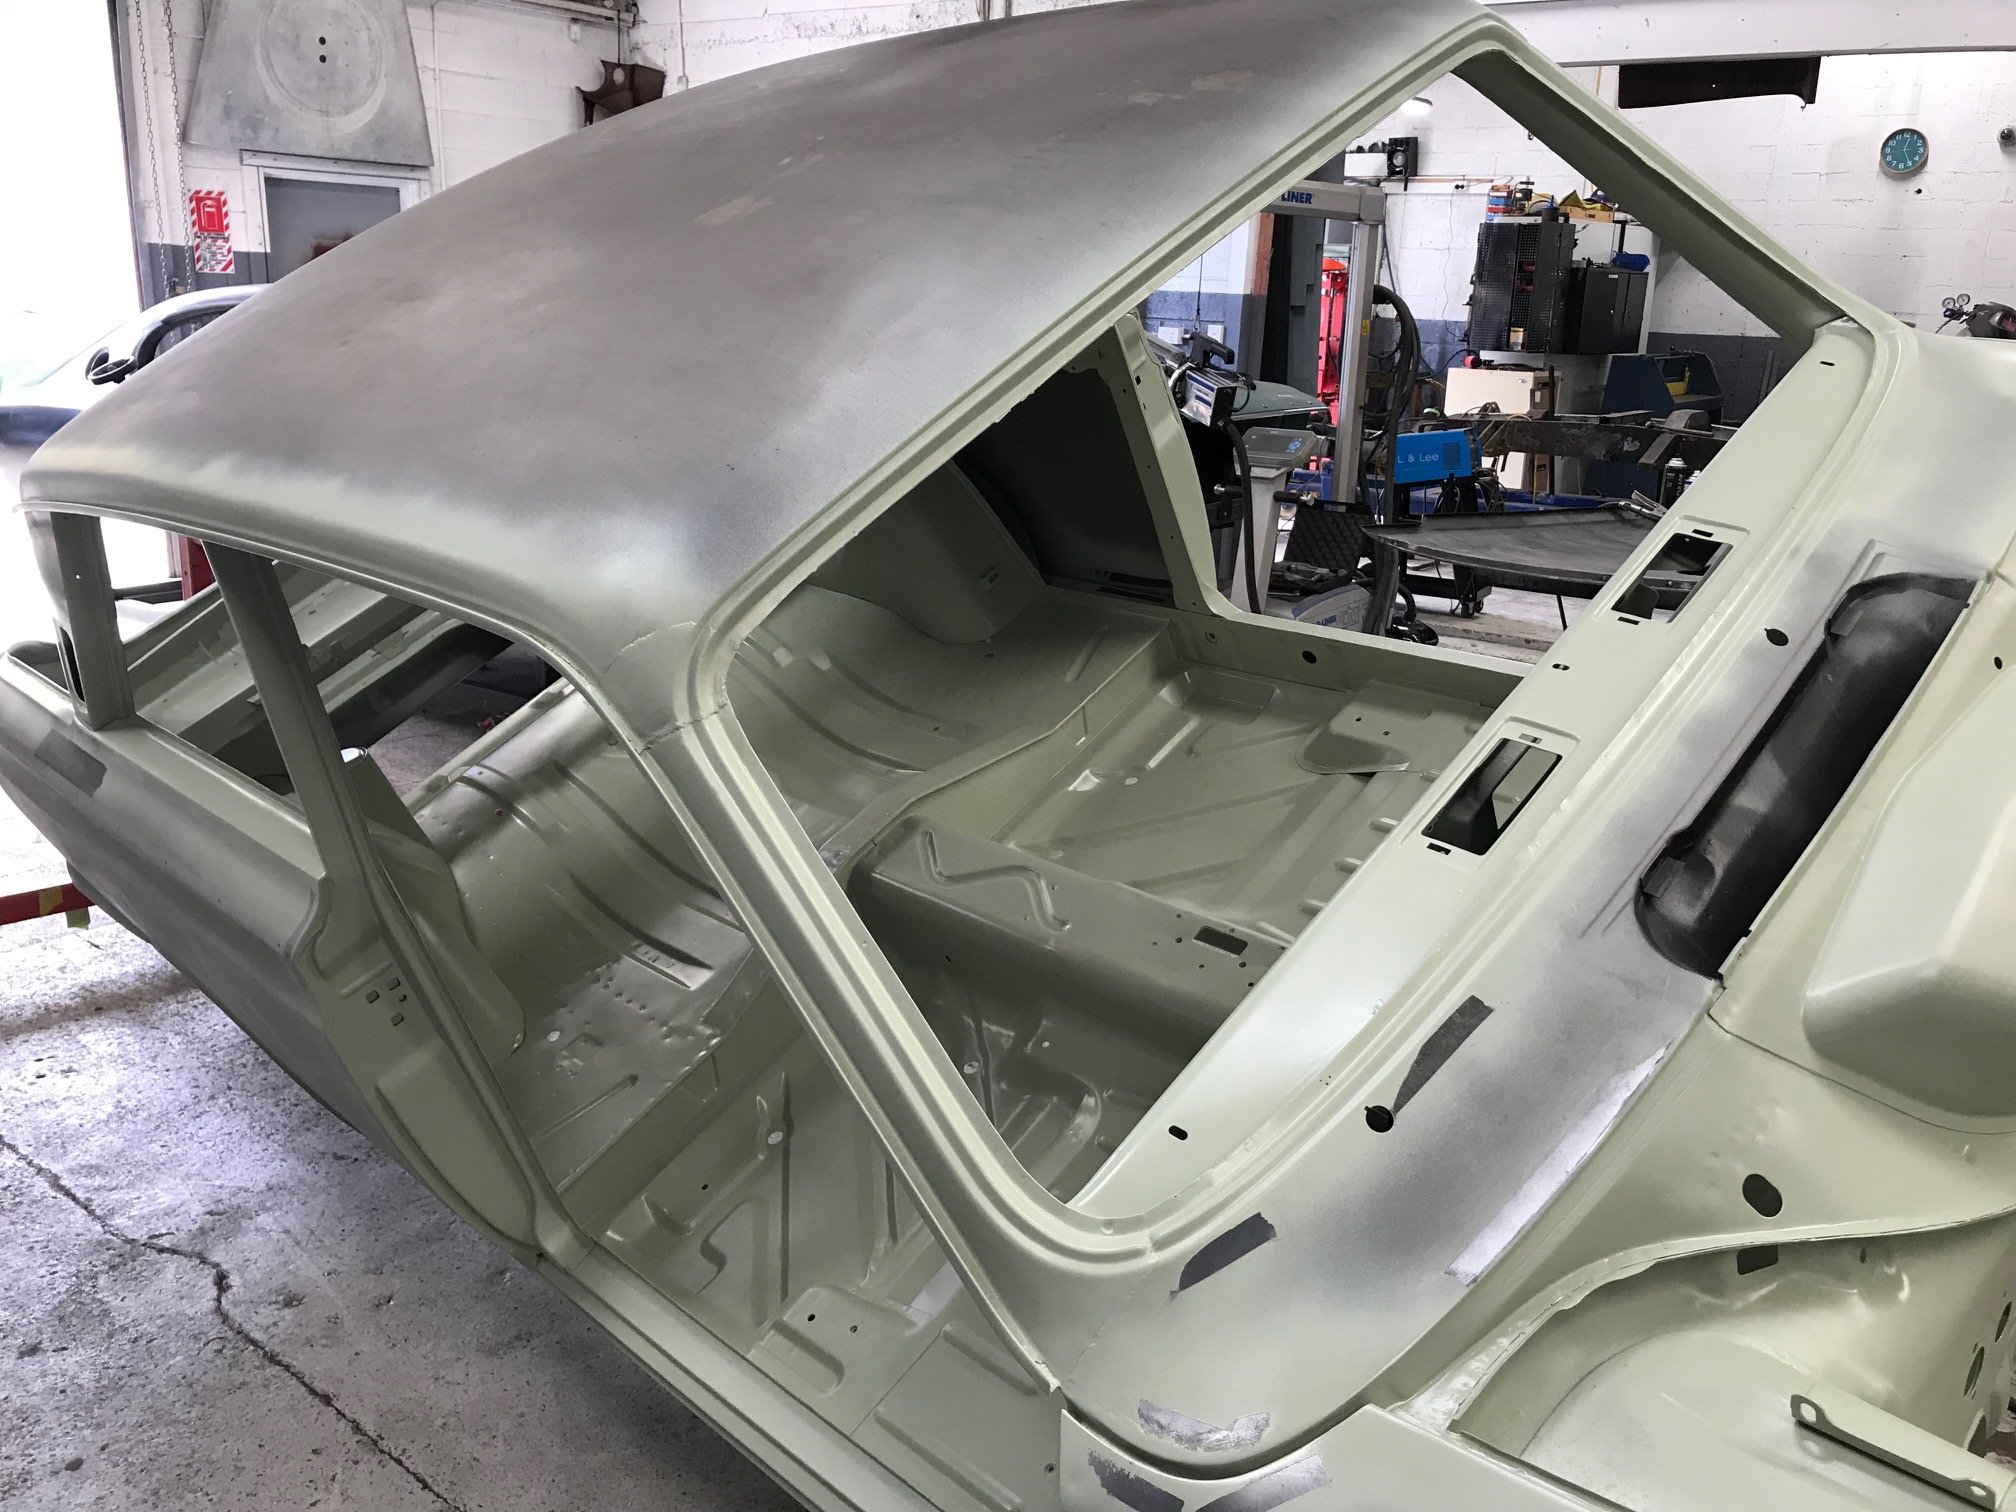
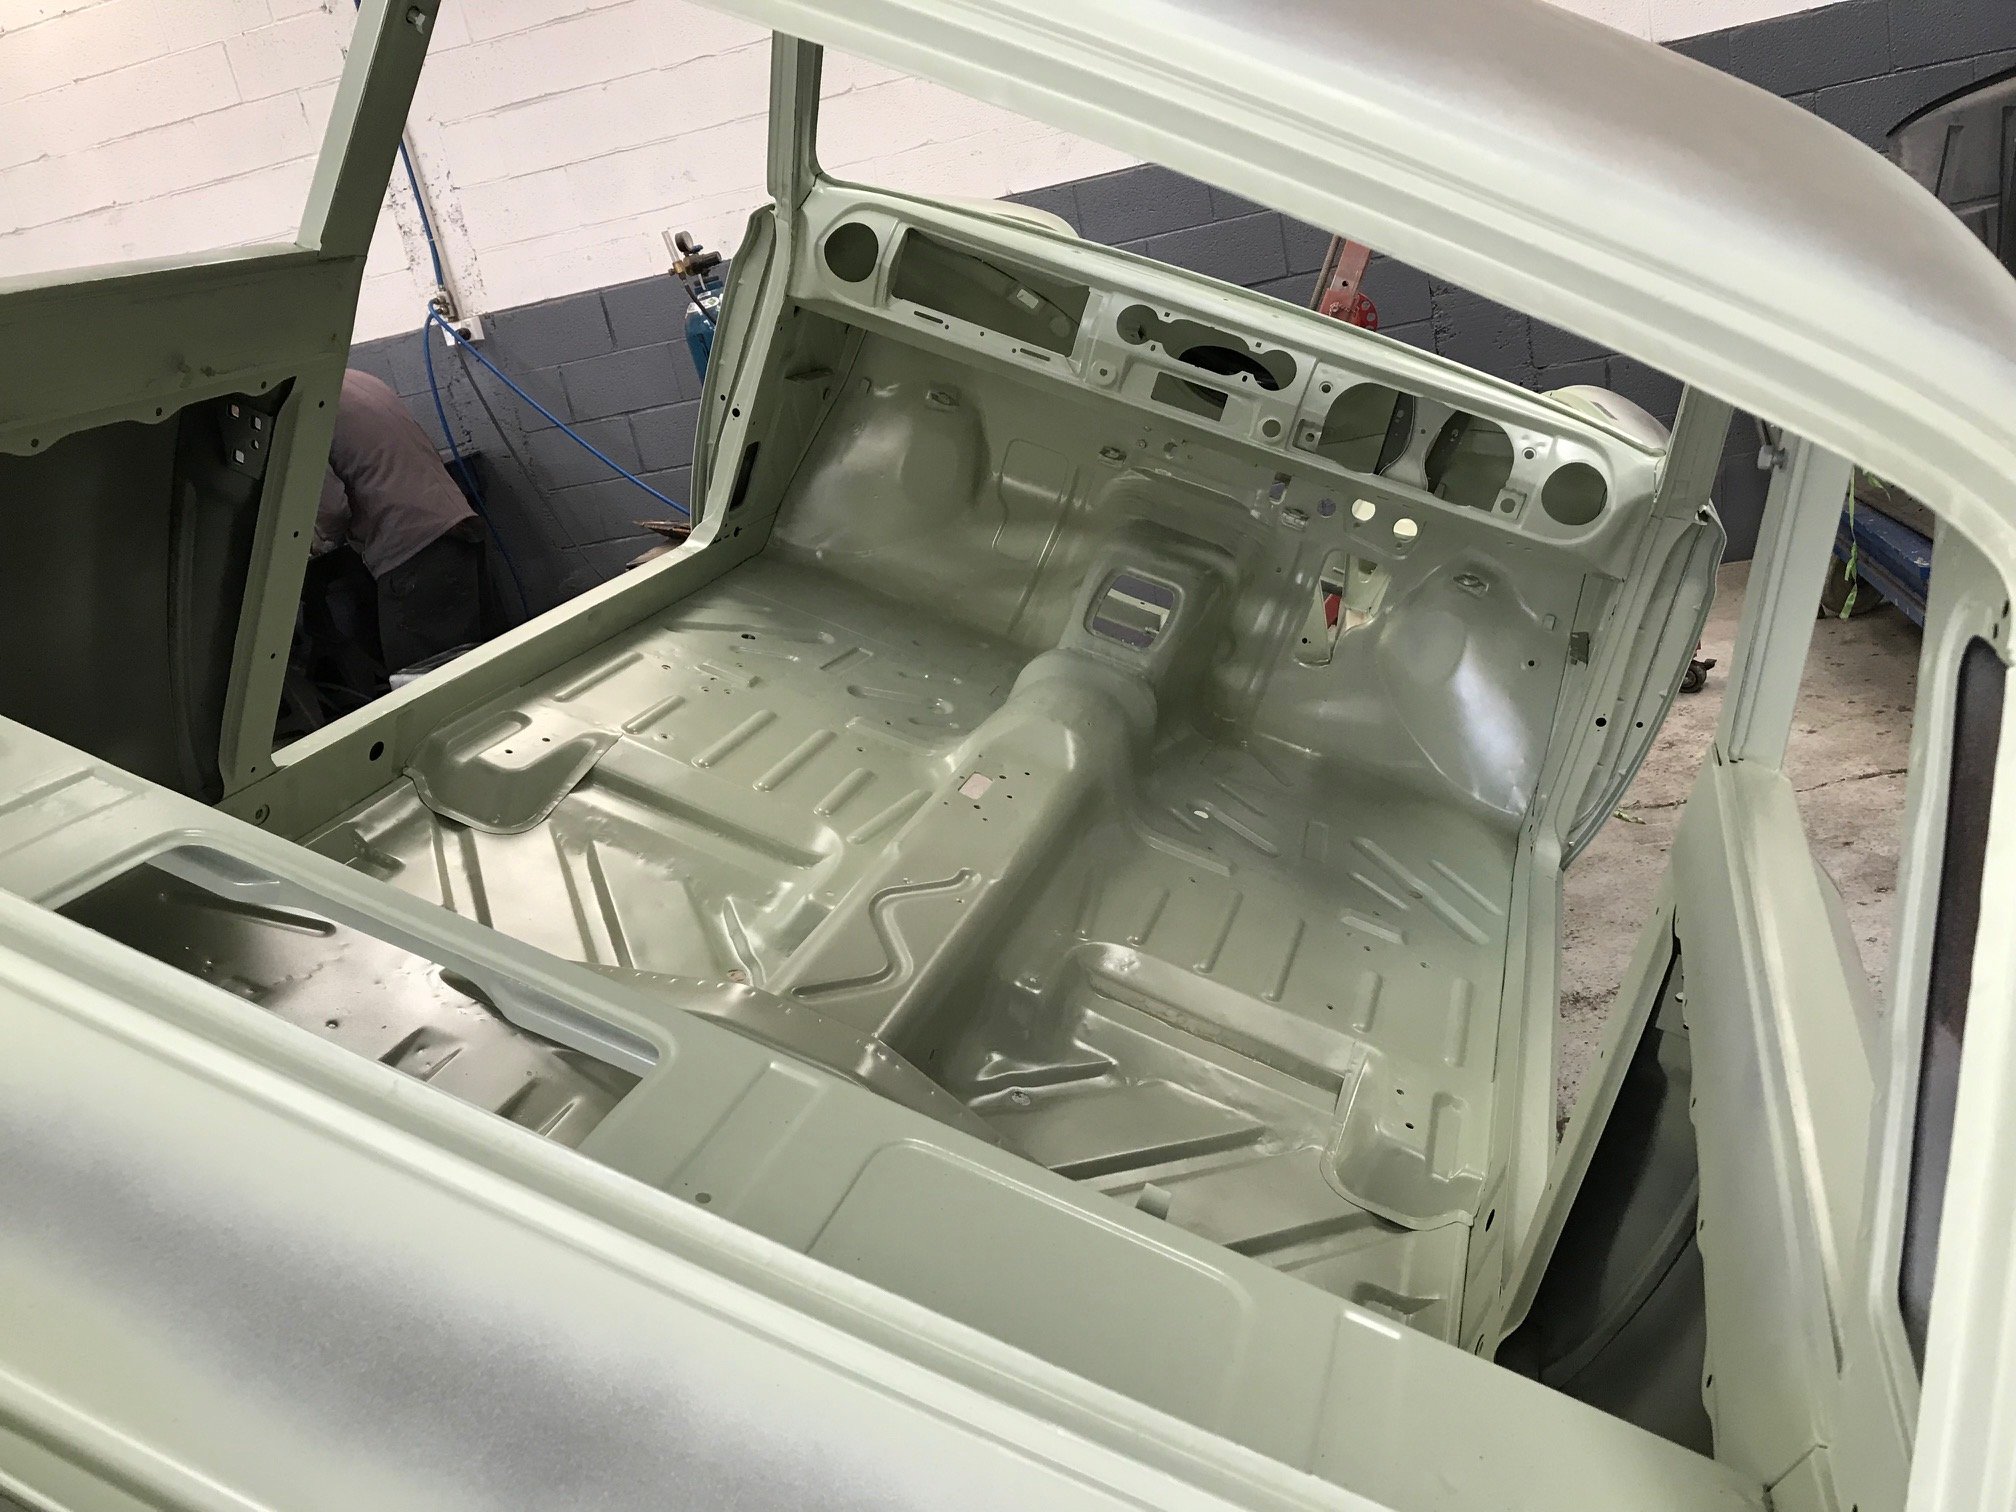
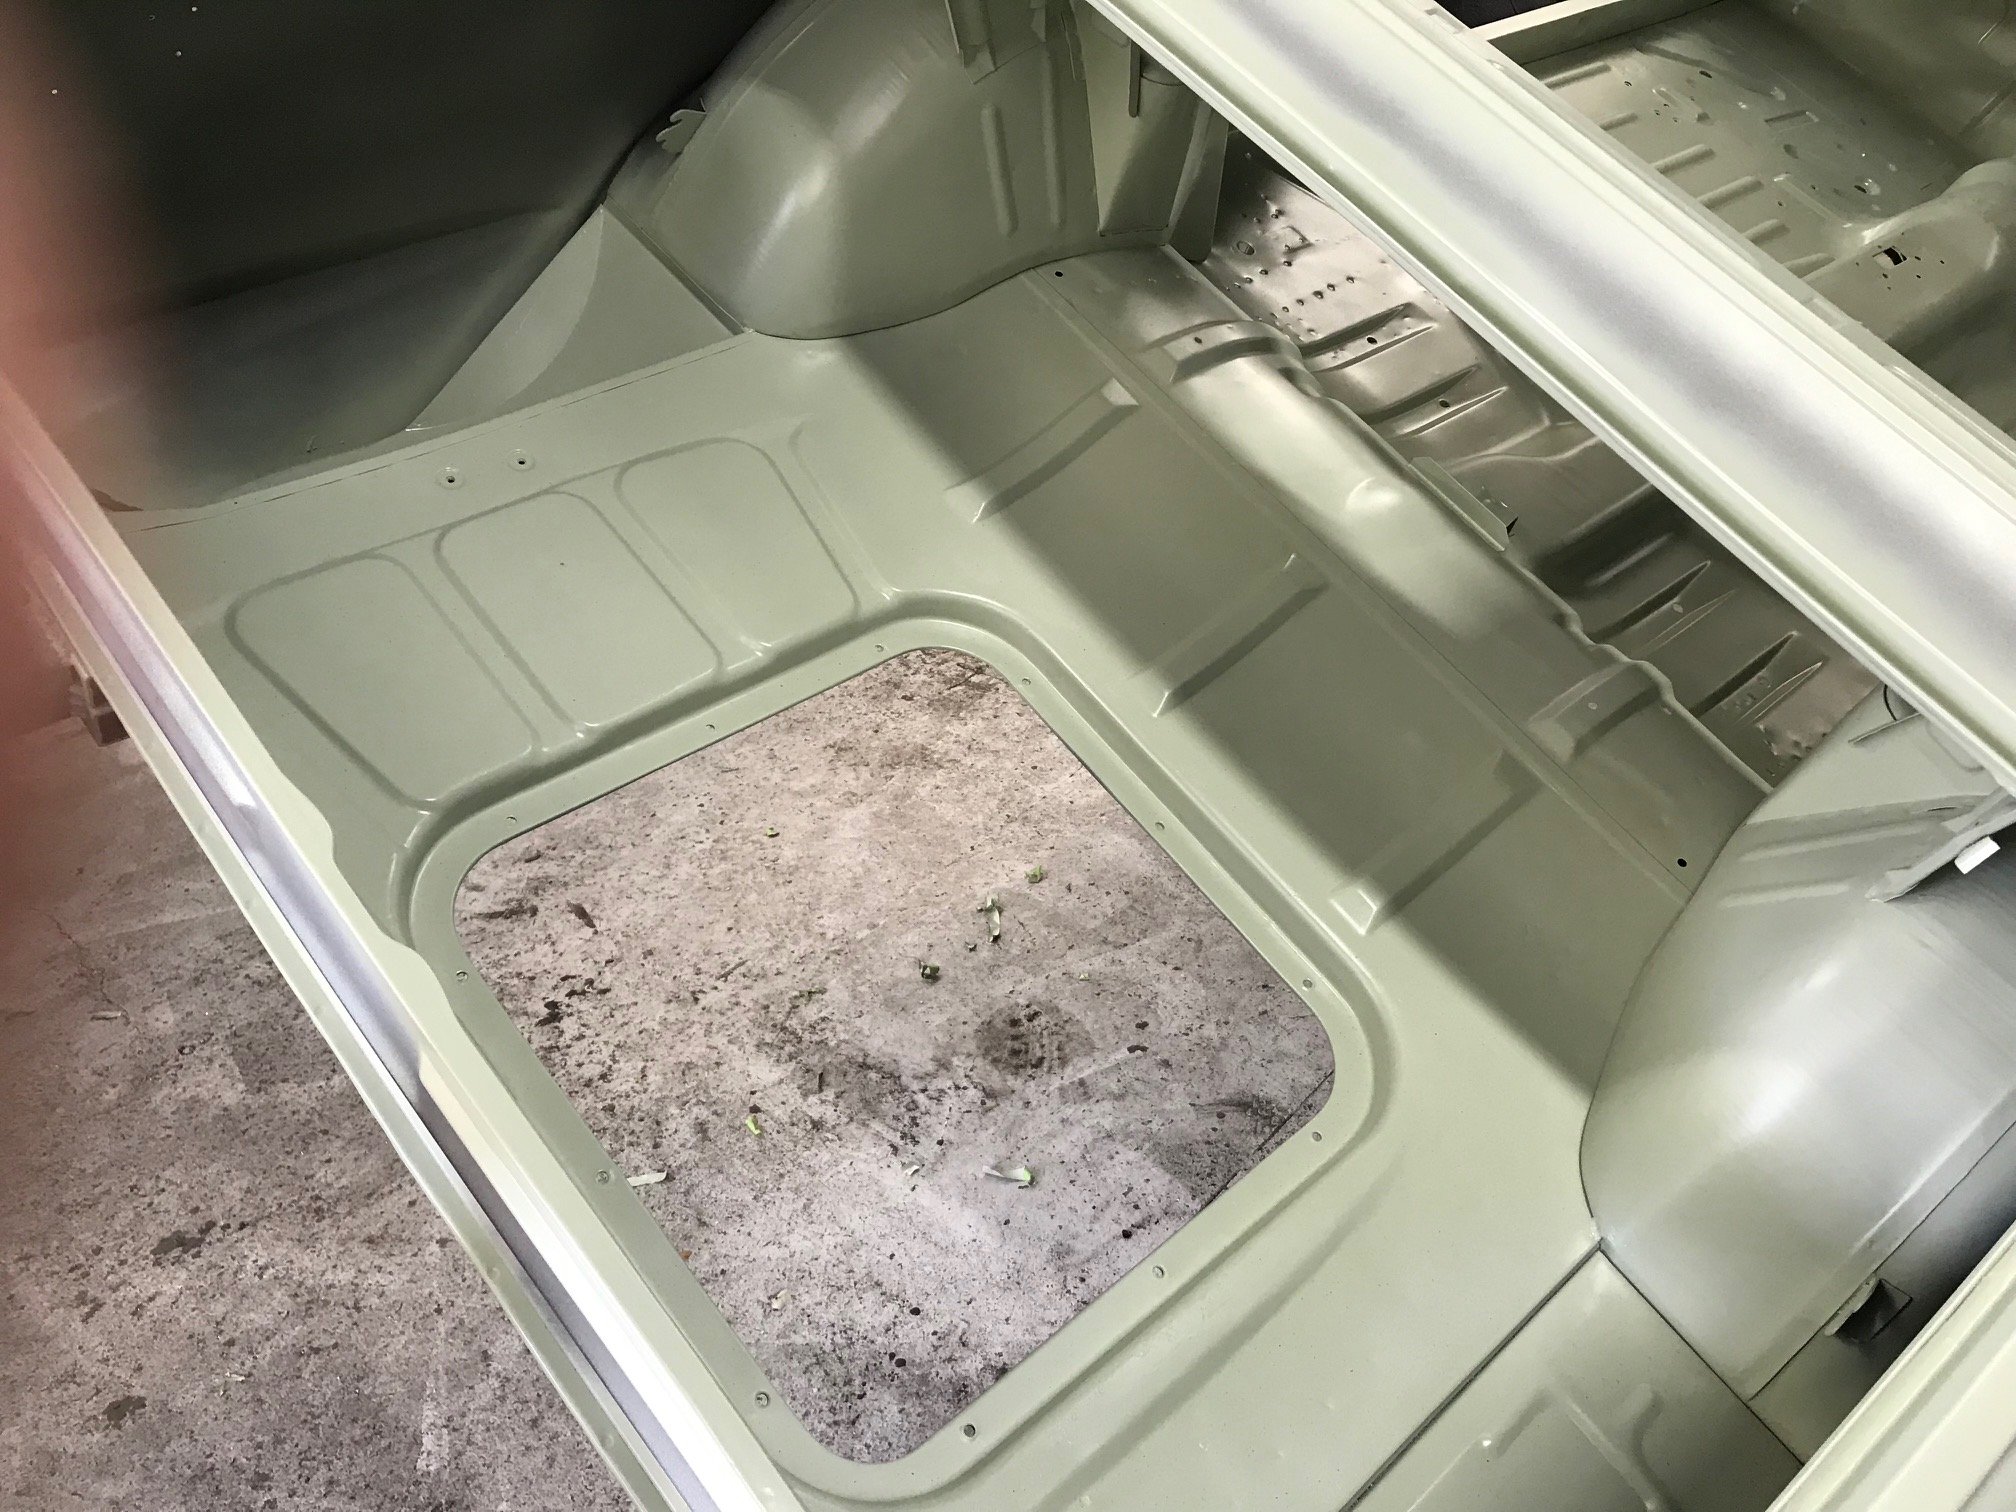
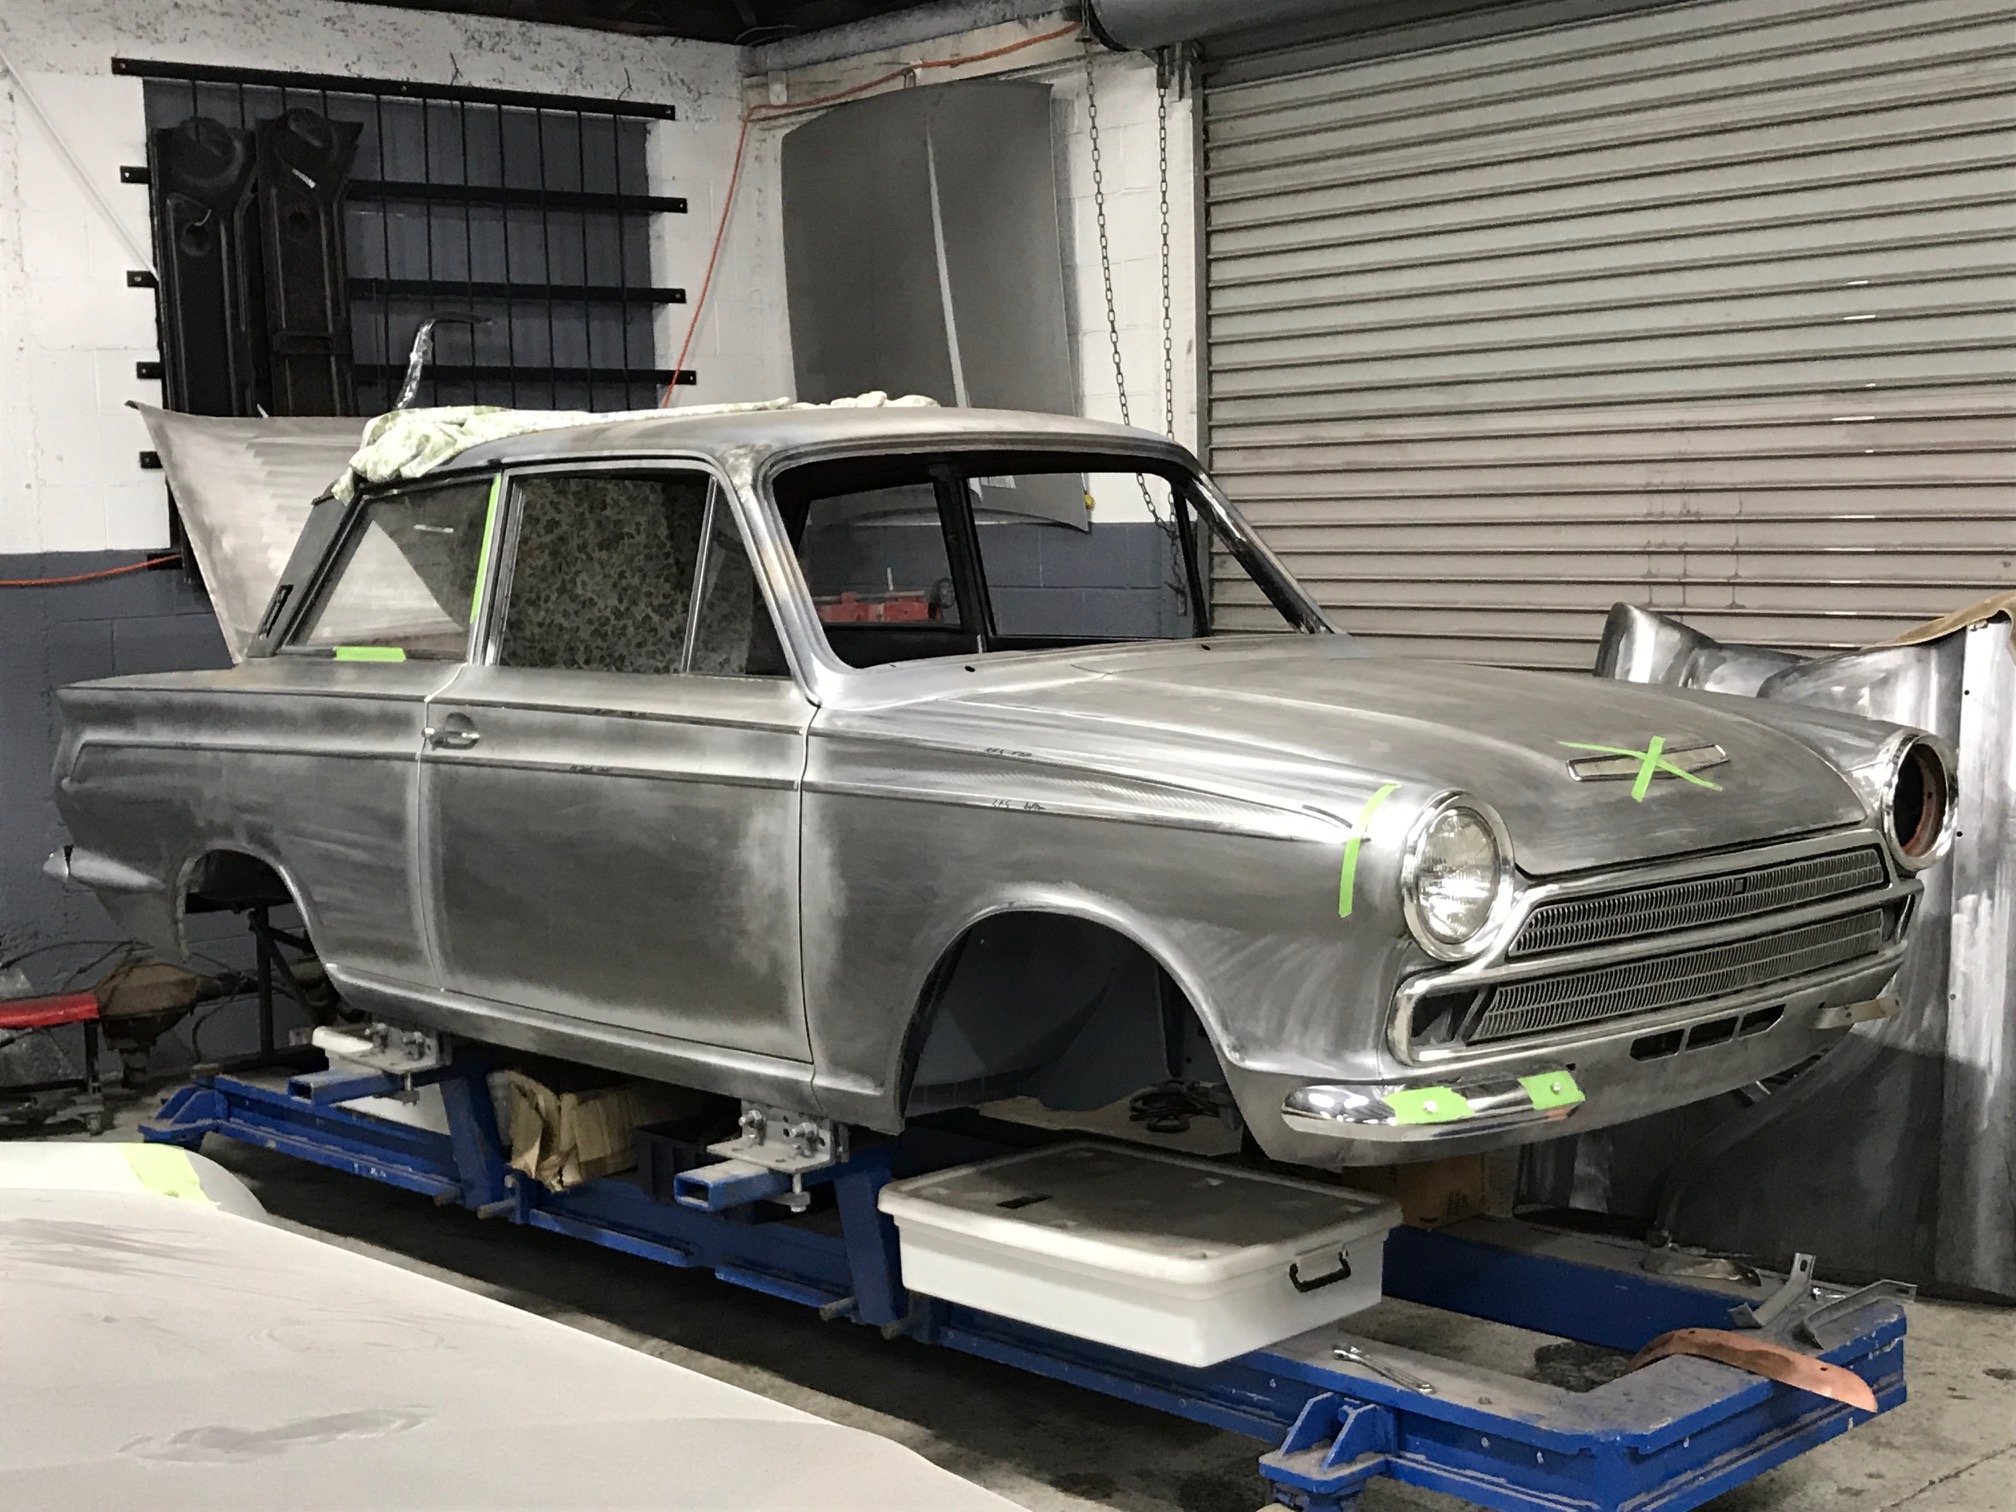
Back from the blasters. A couple of minor things to do and it’s off for paint.
4 points
-
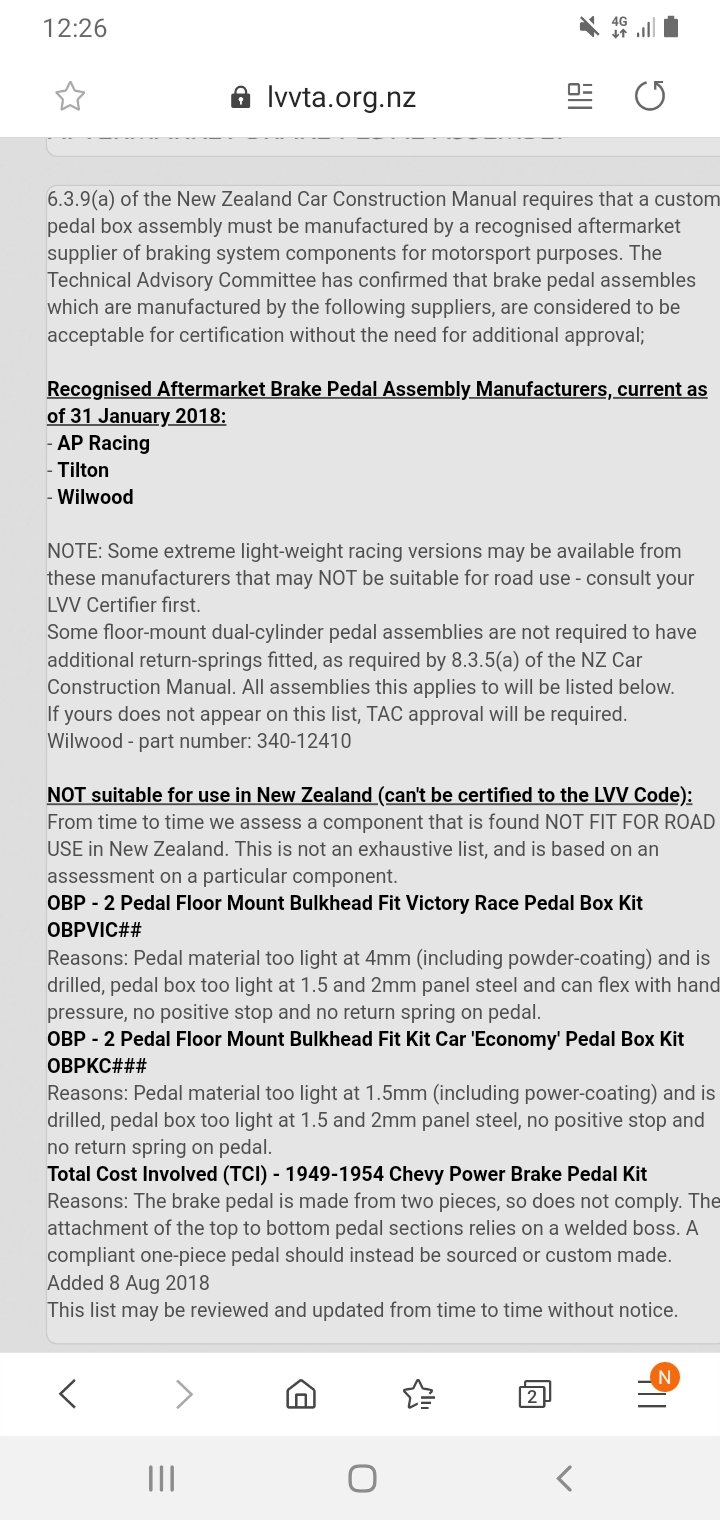
Nah it's probably china junk. Here are the pre approved ones
3 points
-
did the bushes in the rear today. nothing special, usual shit of drilling out the rubber, cutting the sleve then smashing it out. new bushed just push in. haven't drive it on the motorway yet to gauge betterness but given how squishy and fucked the old bushed were i suspect it'll be a big step forward. 2019-09-28_06-51-37 by sheepers, on Flickr 2019-09-28_06-51-27 by sheepers, on Flickr 2019-09-28_06-51-19 by sheepers, on Flickr2 points
-
Yeah the insides of the solenoid will be pretty shitty and prone to doing it again/ could go the other way and not engage properly too either pull apart and sand contacts smooth (prob a cheap cast plastic unit tho) so yeah buy a new one2 points
-
Playing with these full circle camshafts. They're renowned for not being balanced. Bit of a black art, but basically a single cylinder engine can't be truly balanced...so lots of people have come up with trial and error rule of thumb like a "balance factor". Something between 55% - 60% seems to be what the I interweb says...so that will do. Before After (well actually more during) Holes are drilled and each time the balance factor is checked to see if more material needs removal. It should be close according to what I've read online that others have done, but likely to need a bit more of a tweak later when I've got better information from actually results, but I'll leave it there as I may window my piston and that would throw my results out the other way. So call it done for now.
2 points
-
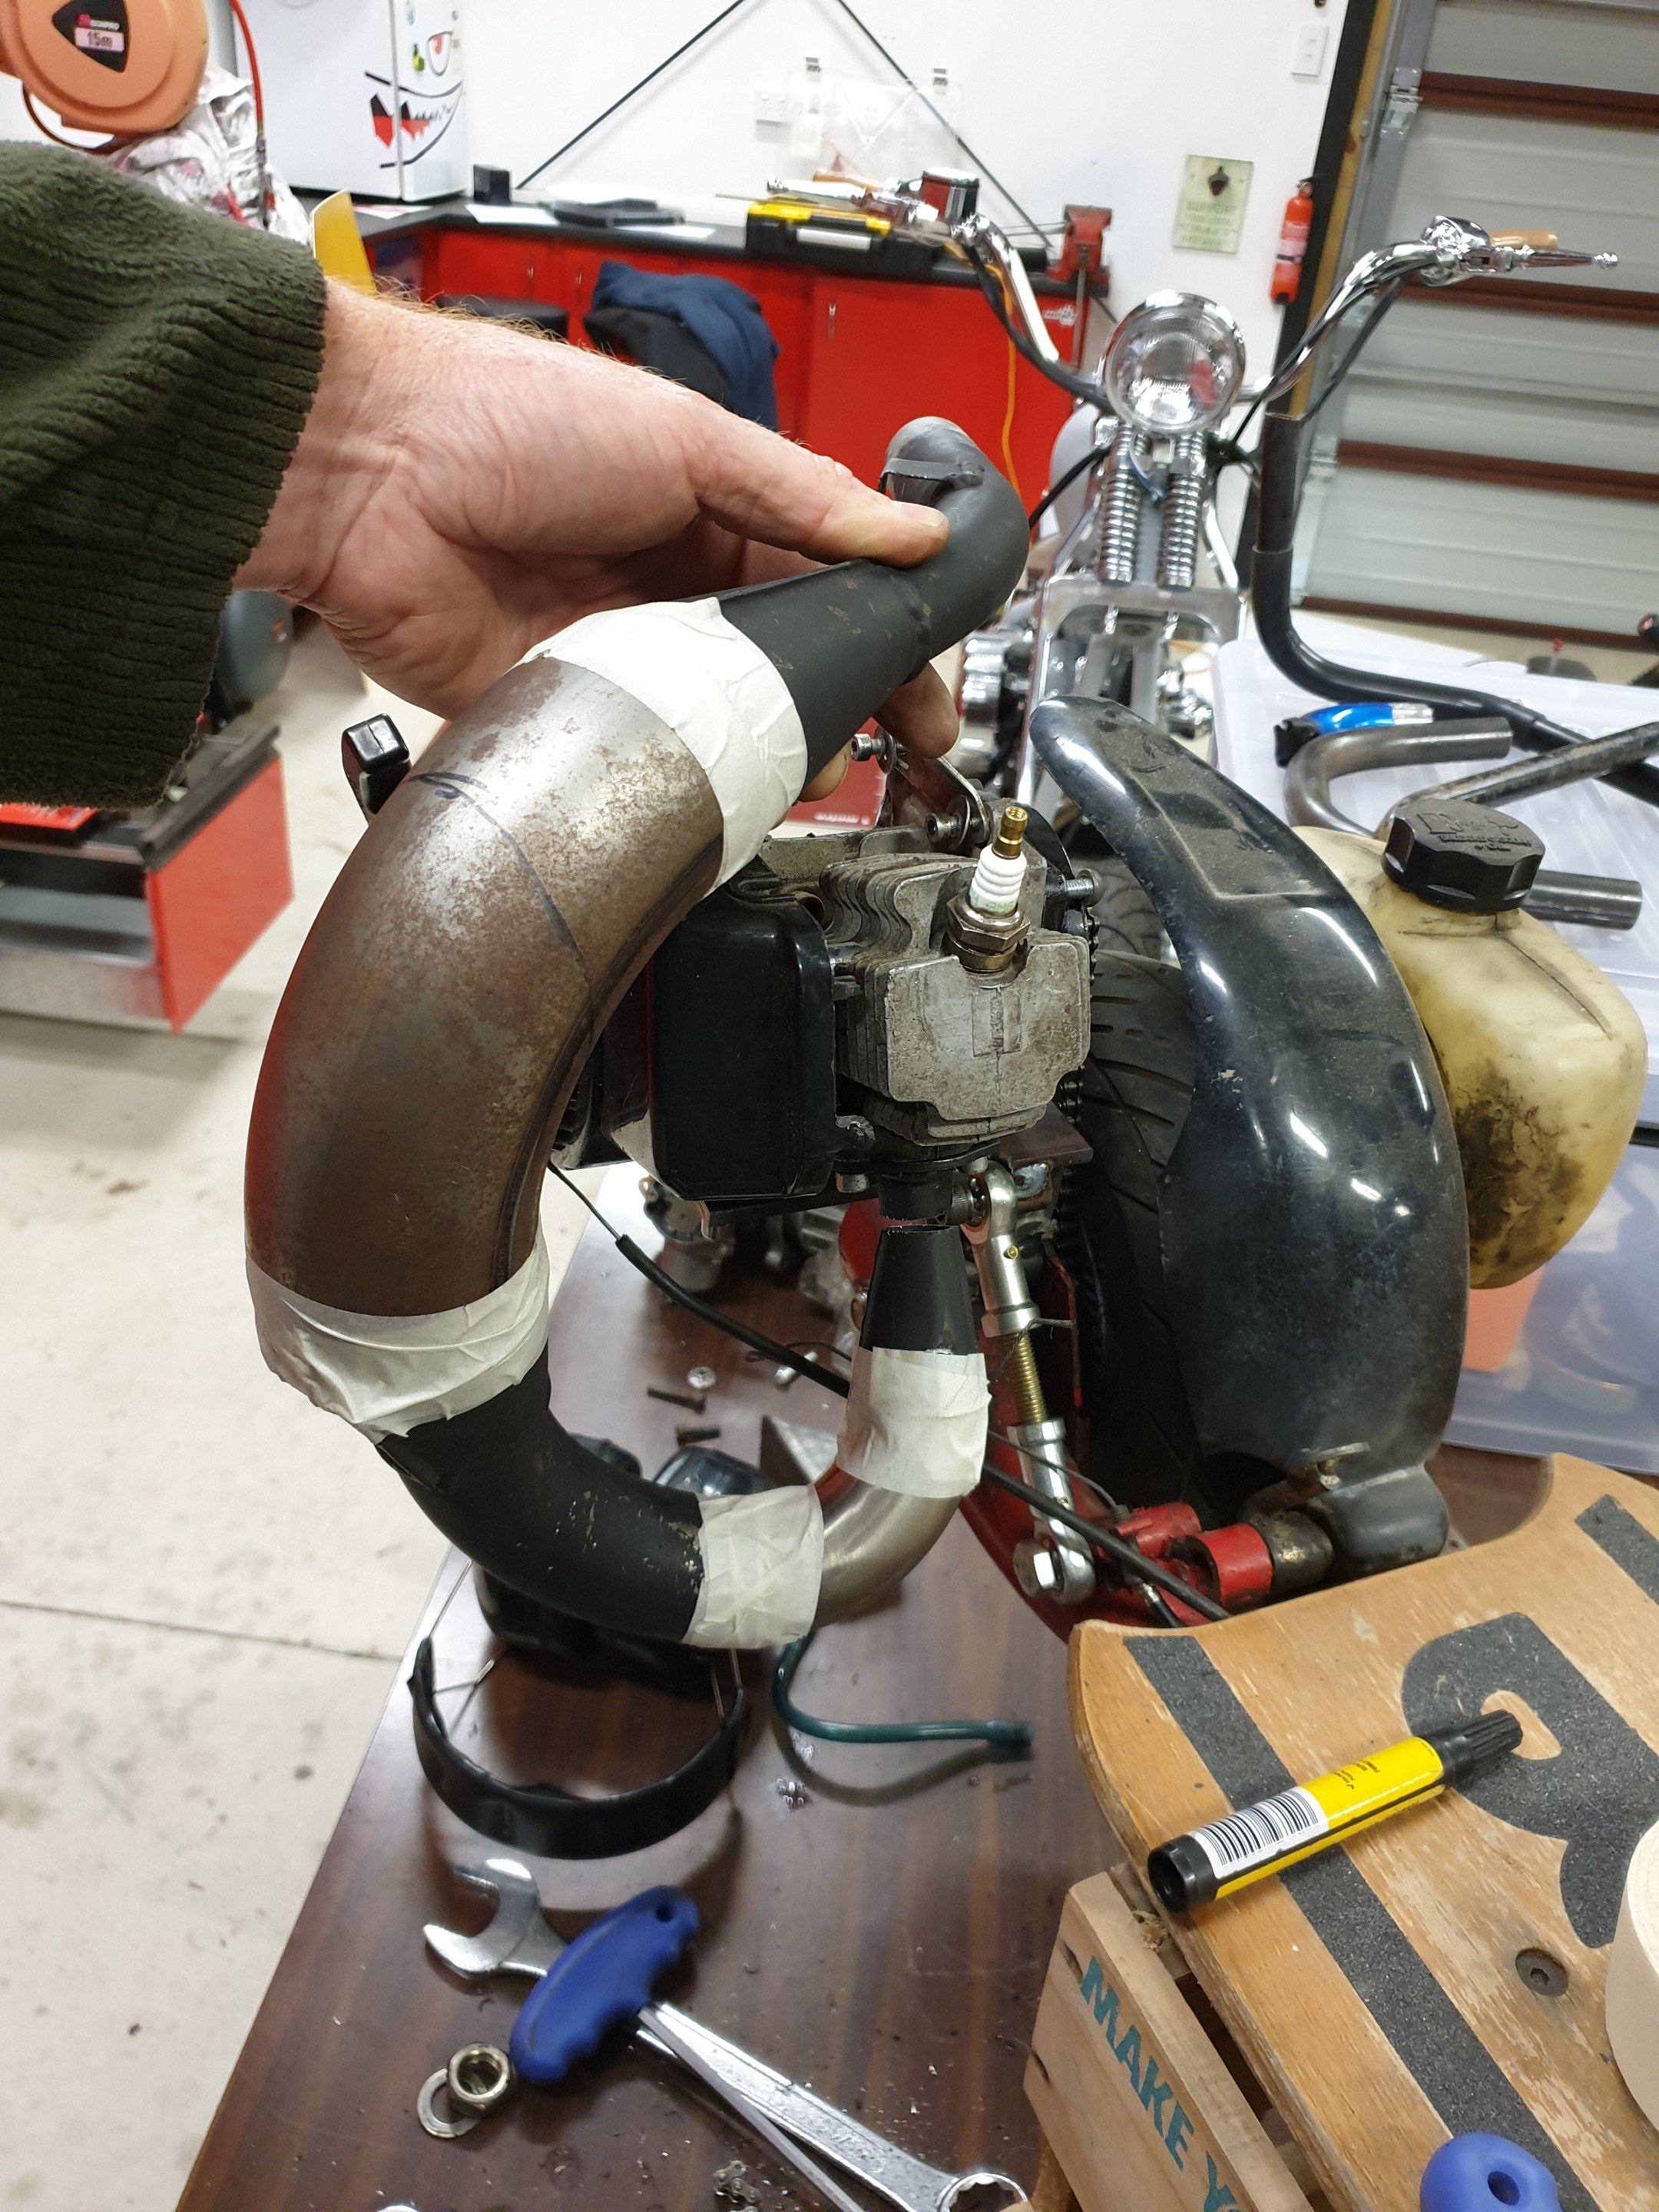
Added a silencer, mainly for the restriction as my "stinger" (outlet side of expansion chamber) was too large in diameter. The additional benefits of a silencer is ummmm....added silence;) pretty happy so far with what I've made.
2 points
-
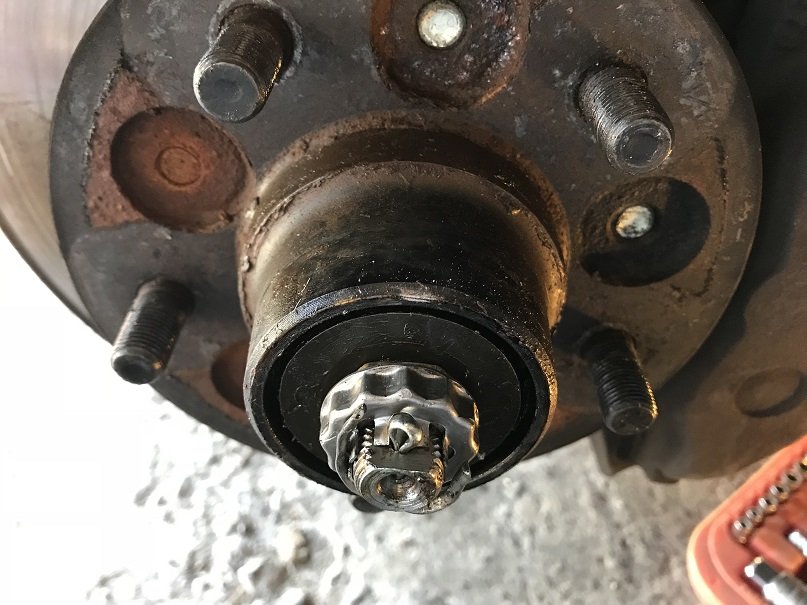
You can actually see and feel the wear on the tip.
2 points
-
2 points
-
2 points
-
Cylinder has been re bored and ports chamfered by Henderson Automotive. I ground off the step at the bottom of the transfer port, I have done this to a few 2 strokes and it makes a big difference.
2 points
-
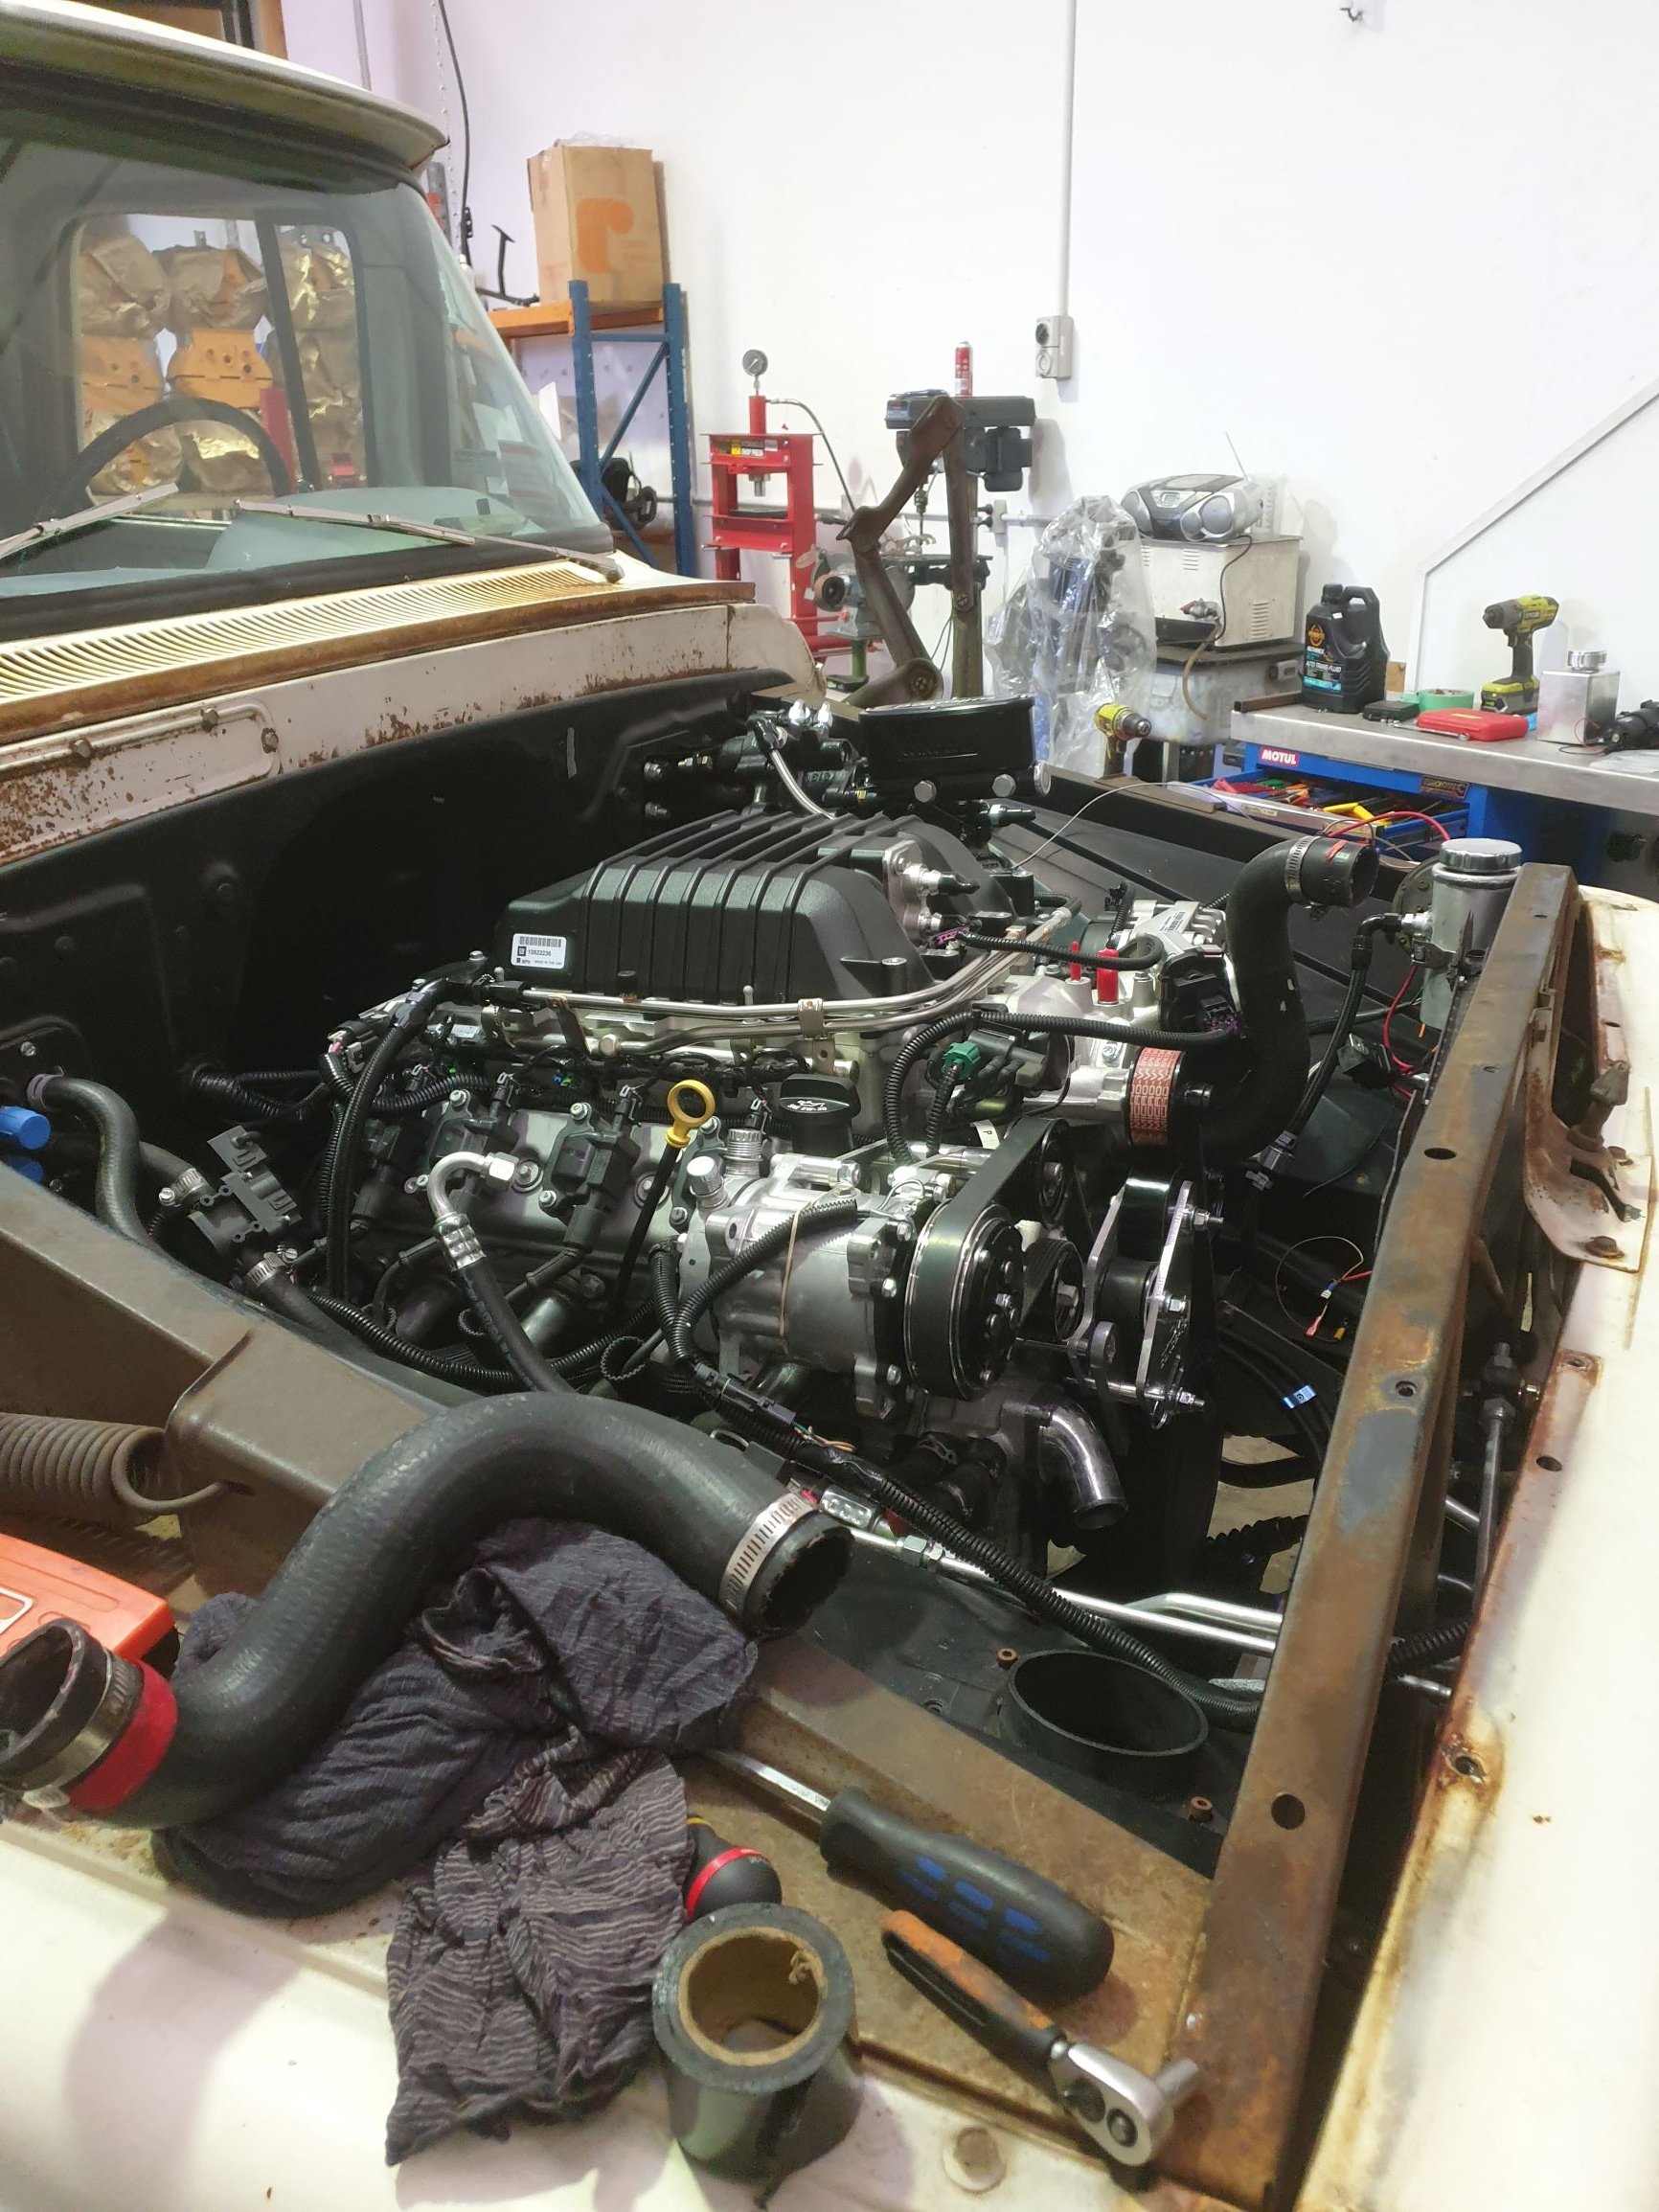
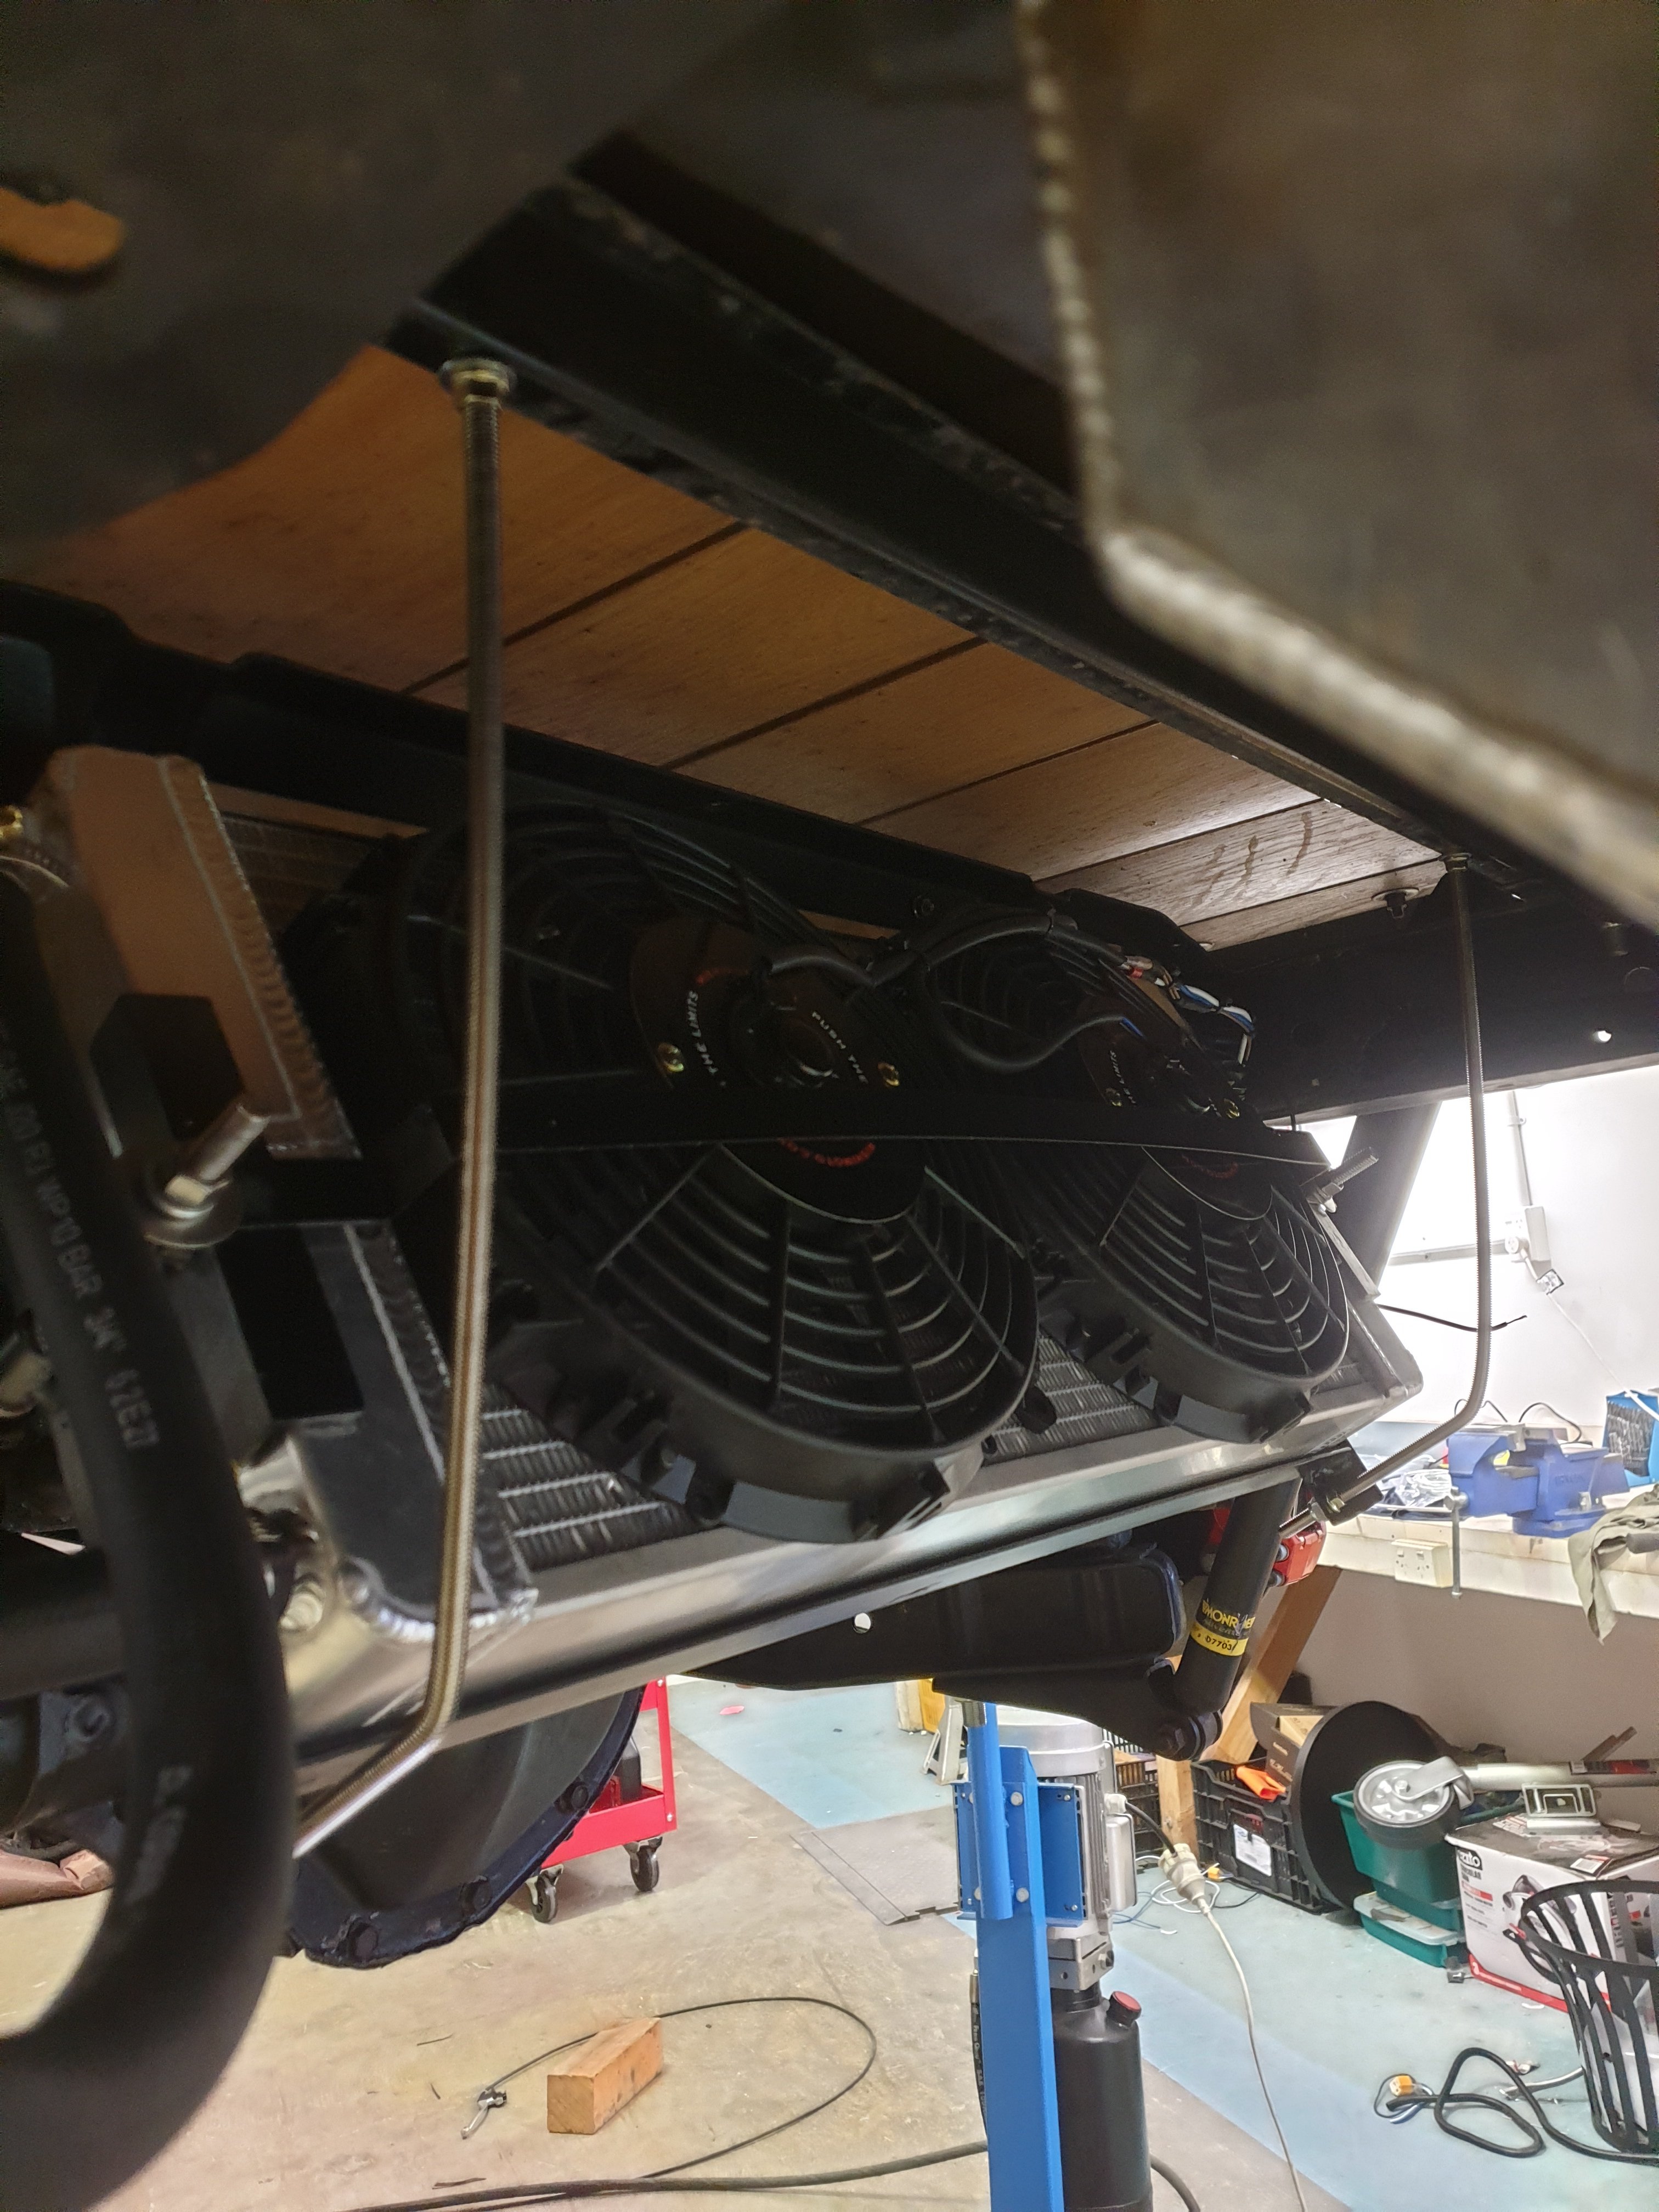
And it runs, briefly, usual dramas with brake line leaks etc... Managed to fuck a supercharger belt in 15 seconds - 8 rib belt and it was a rib to the left, but barring that electrics are all good, bit of wiring to finish off, trans cooler to secure and wire up (fan #4 - hovercraft spec), last of the copper line for Heat exchanger to sort tomorrow, mess around with fuel system pressure a bit and then burnouts.
2 points
-
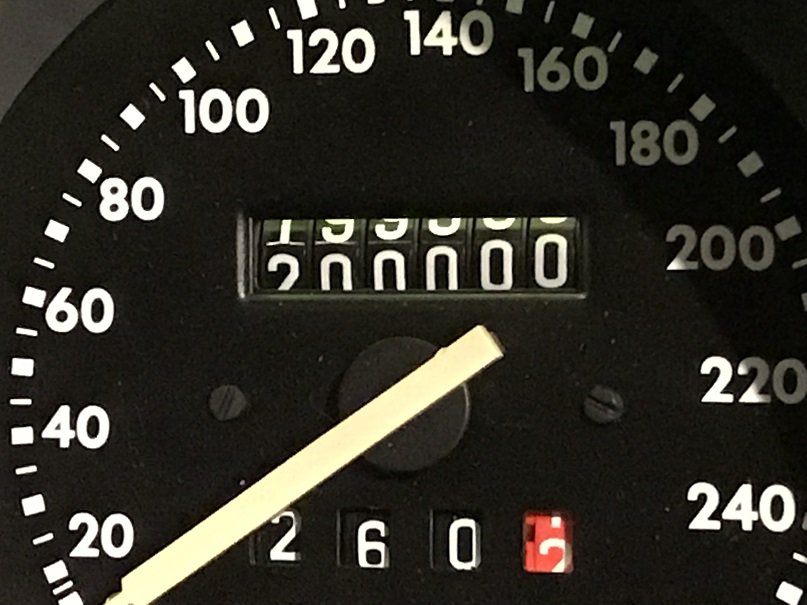
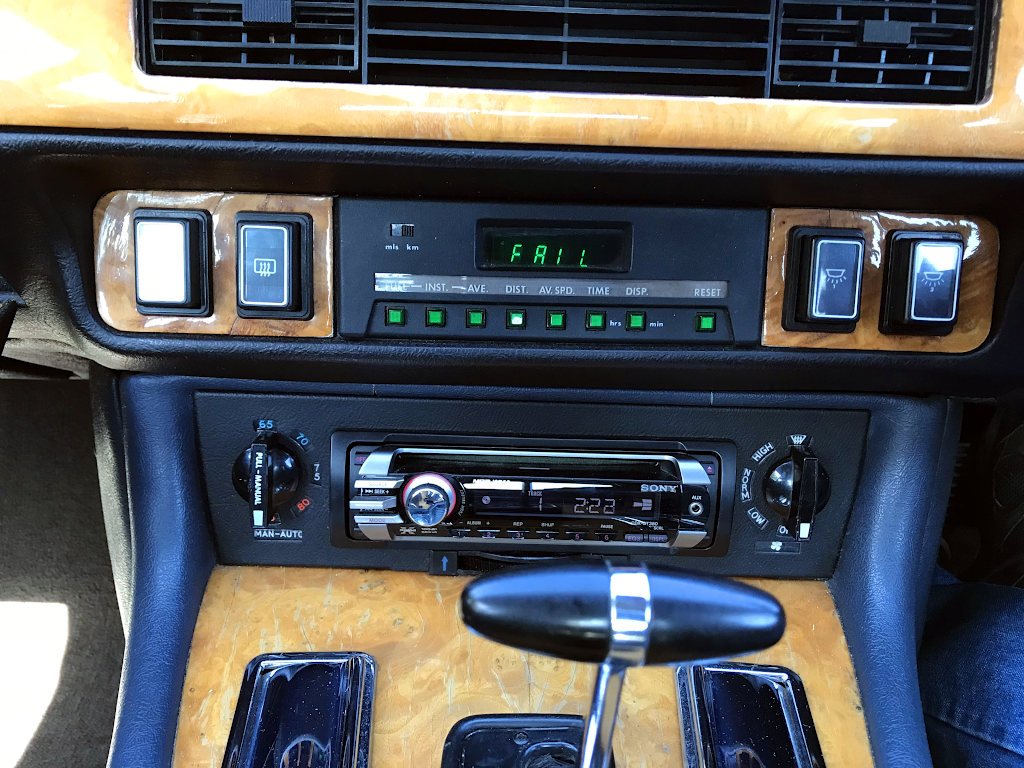
So I did the upper ball joints as well.. ..but it wasn't those. The push/pull play at 6 and 12 o'clock was still there. So I looked at how to adjust the wheel bearings.. I was expecting it to be horrible but it was easy, and now the play is gone. Should have done that first. Alas, the vibration is still not quite gone. It's probably just something I have to live with in a British car which has made it all the way to..... 200,000kms. So I got a new obsession instead. The engine doesn't run all that well - it has a random half-stumble at idle and low rpm.. You can see the misfires by watching the shaking of the motor, and although it appears to smooth out if you raise the rpm sufficiently, the higher engine speeds could possibly be disguising the problem. The car has also never really started that well from cold. I checked the spark plugs and they looked amazing to someone who has never owned fuel injection before. I looked for bad connections and vacuum leaks, since the ECU directly reads manifold vacuum (in V12 cars, the ECU is in the boot and its vacuum line has to run the whole length of the car, because why not... ). Nothing stood out though. Several tanks of fuel system cleaning pills didn't help either. Today I took off the airflow meter and cleaned it, and this did make an improvement. The raise in engine speed on startup is more pronounced, and the idle speed seems to have raised slightly which makes the car coast better / makes it not decelerate as aggressively when you lift off the accelerator. But just like my reduced 80kph vibration, the shaky running issue's still detectable. I'll try a compression test and then randomly change every ignition system part, idle valve, fuel pressure regulator and injector before giving up in 6 months from now. The Jag let me know what it thinks of my diagnostic skills:
2 points
-
Off for the final blast, then refit the bonnet, doors and boot lid and then off to paint woohoo
2 points
-
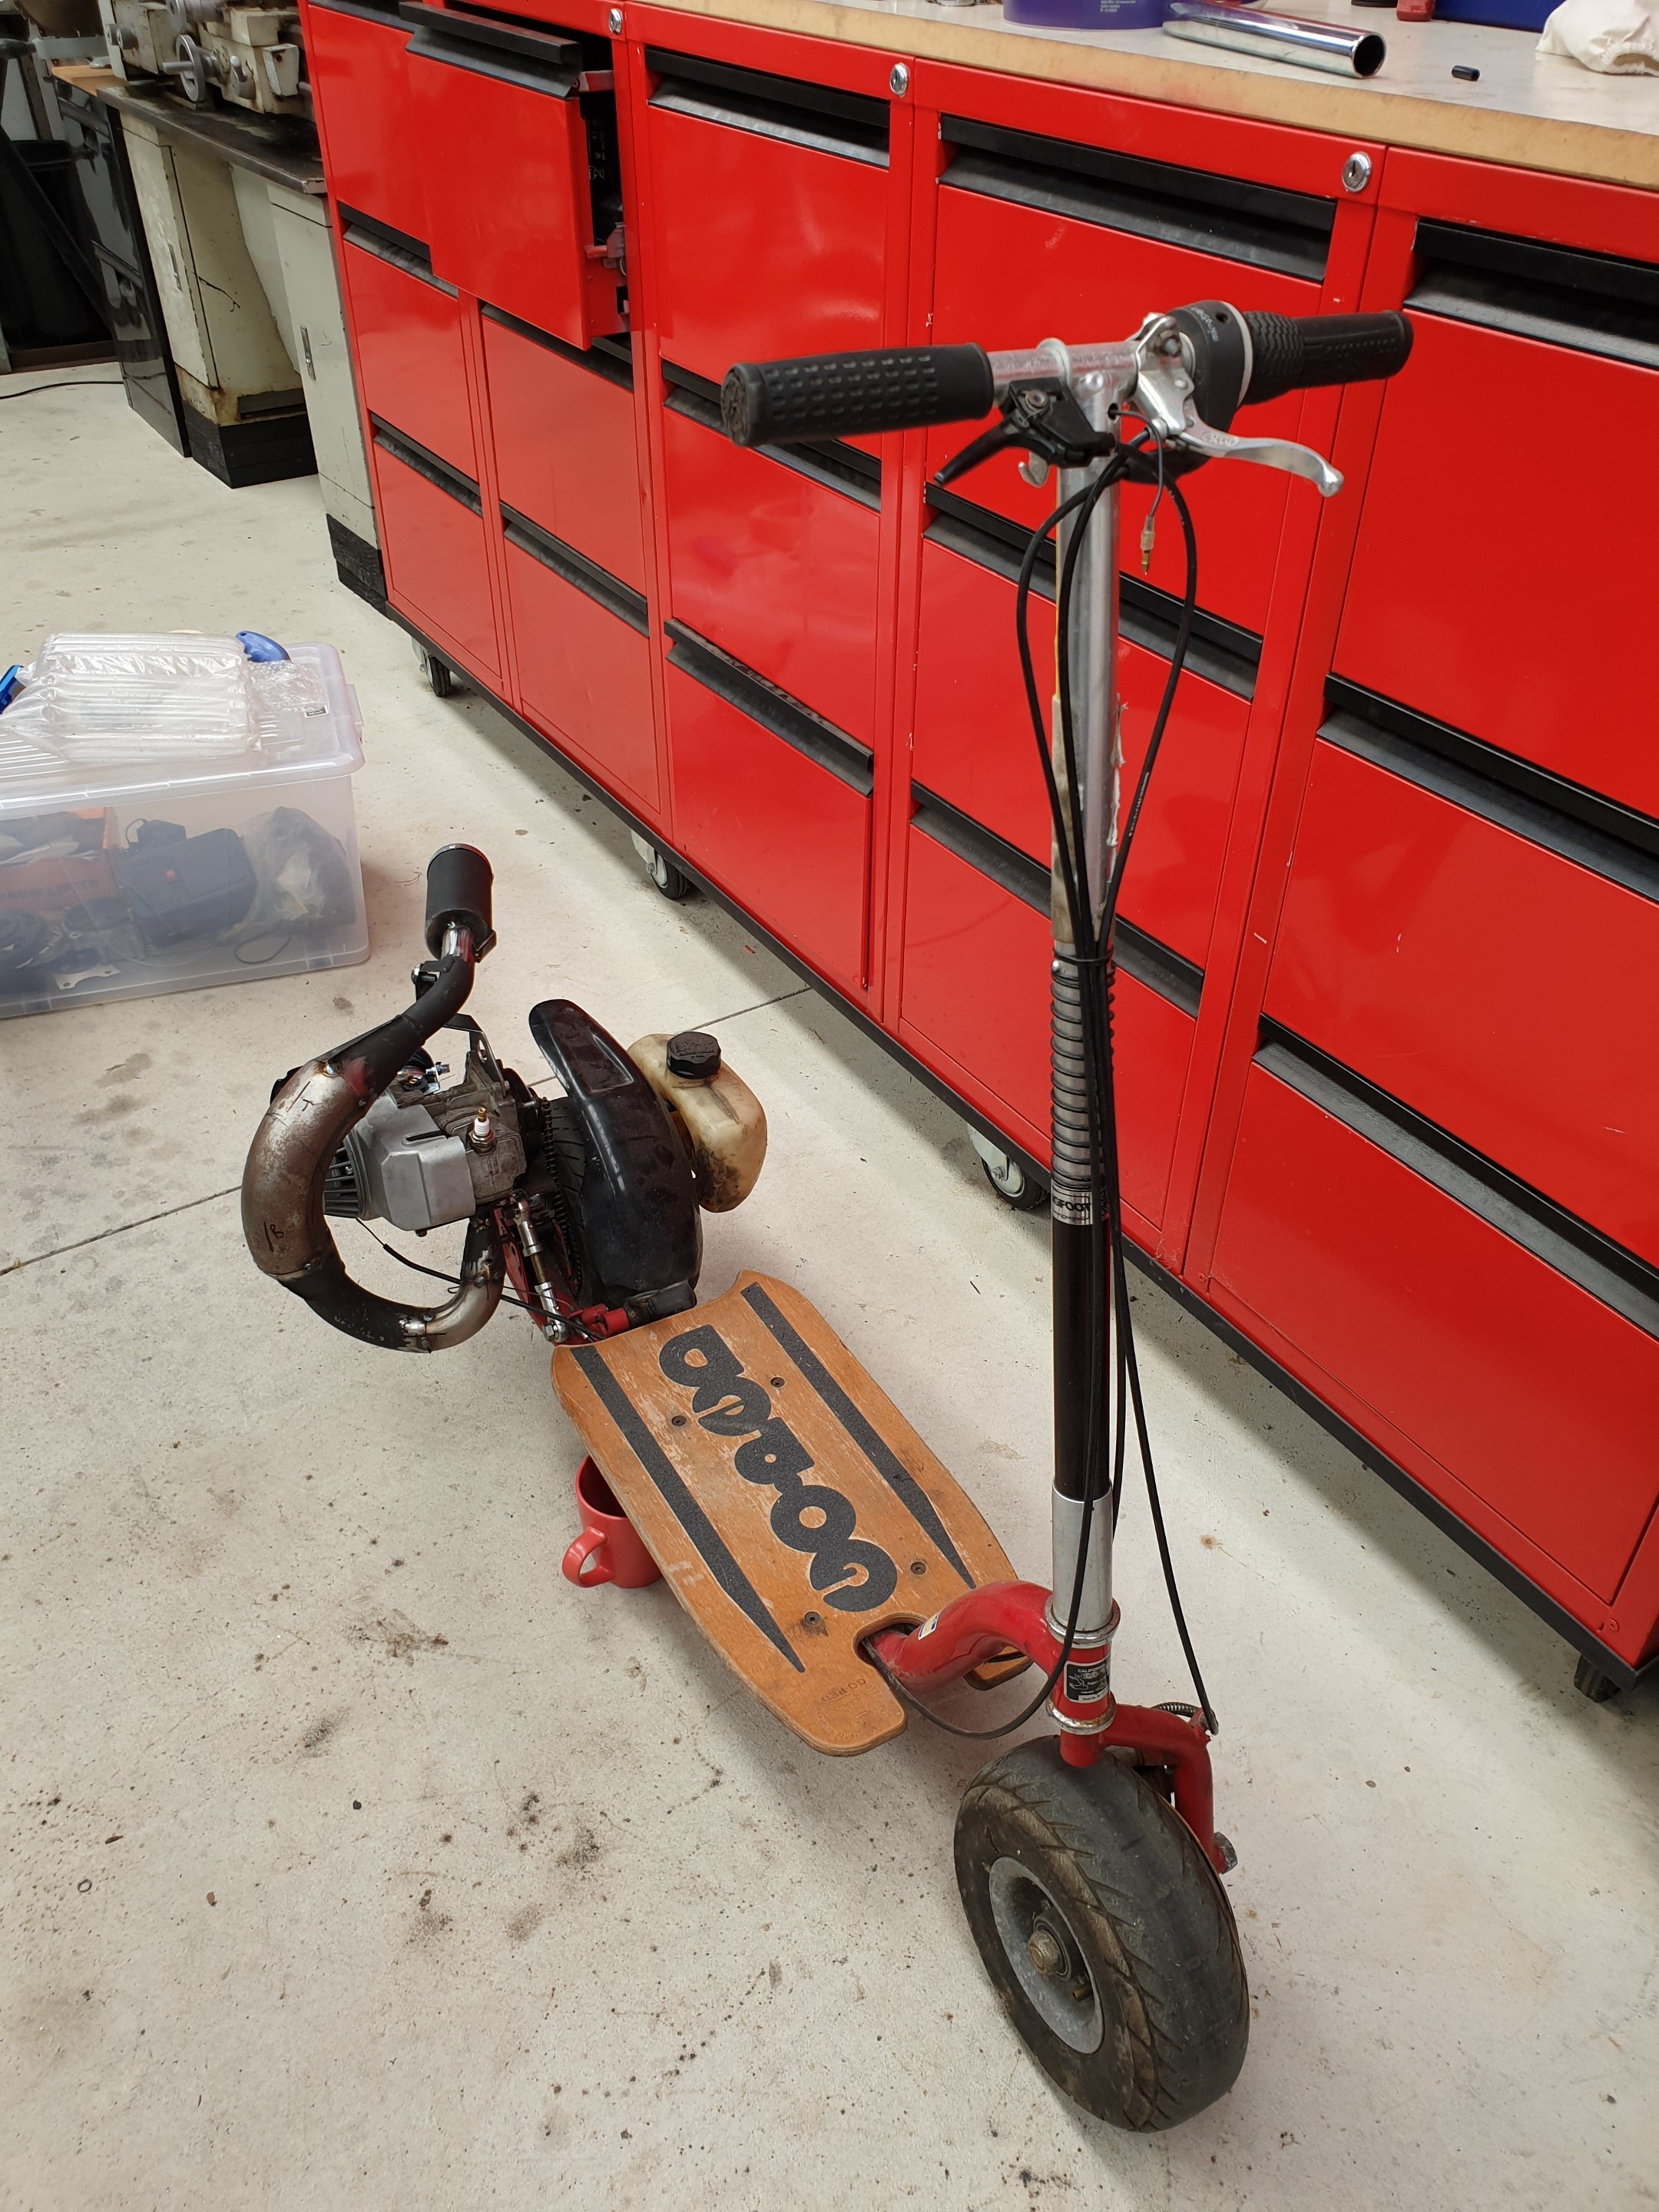
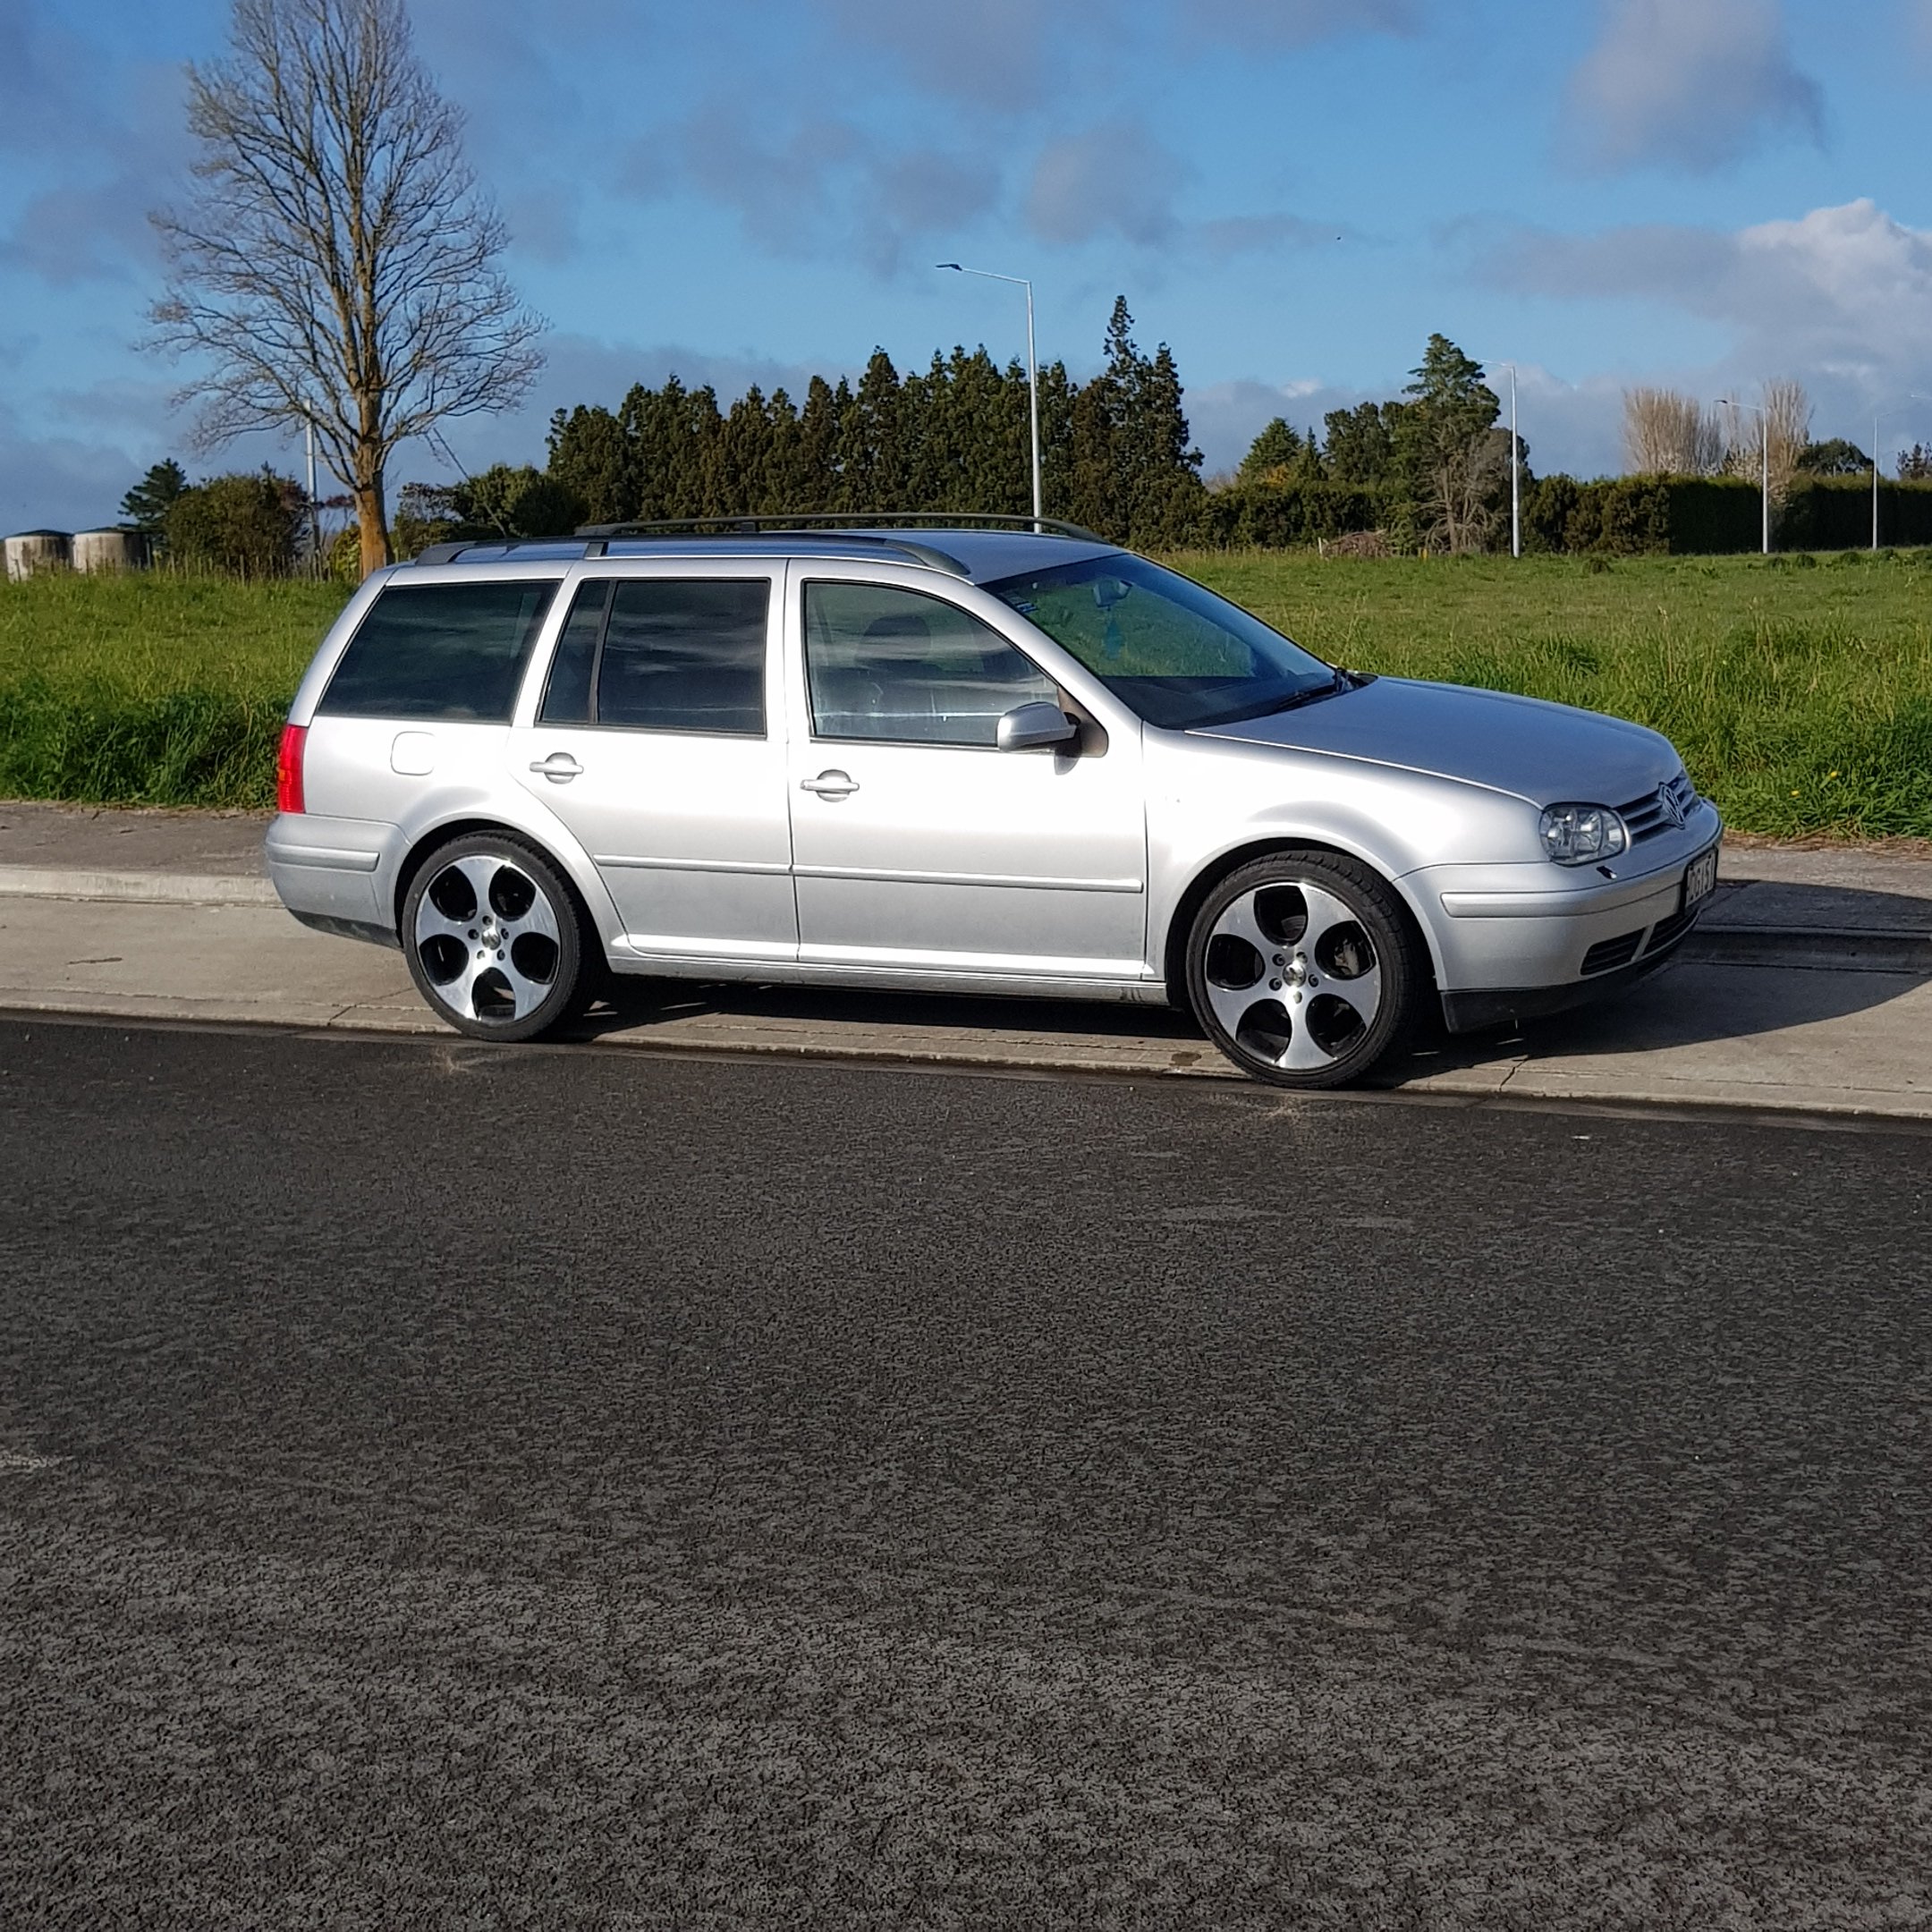
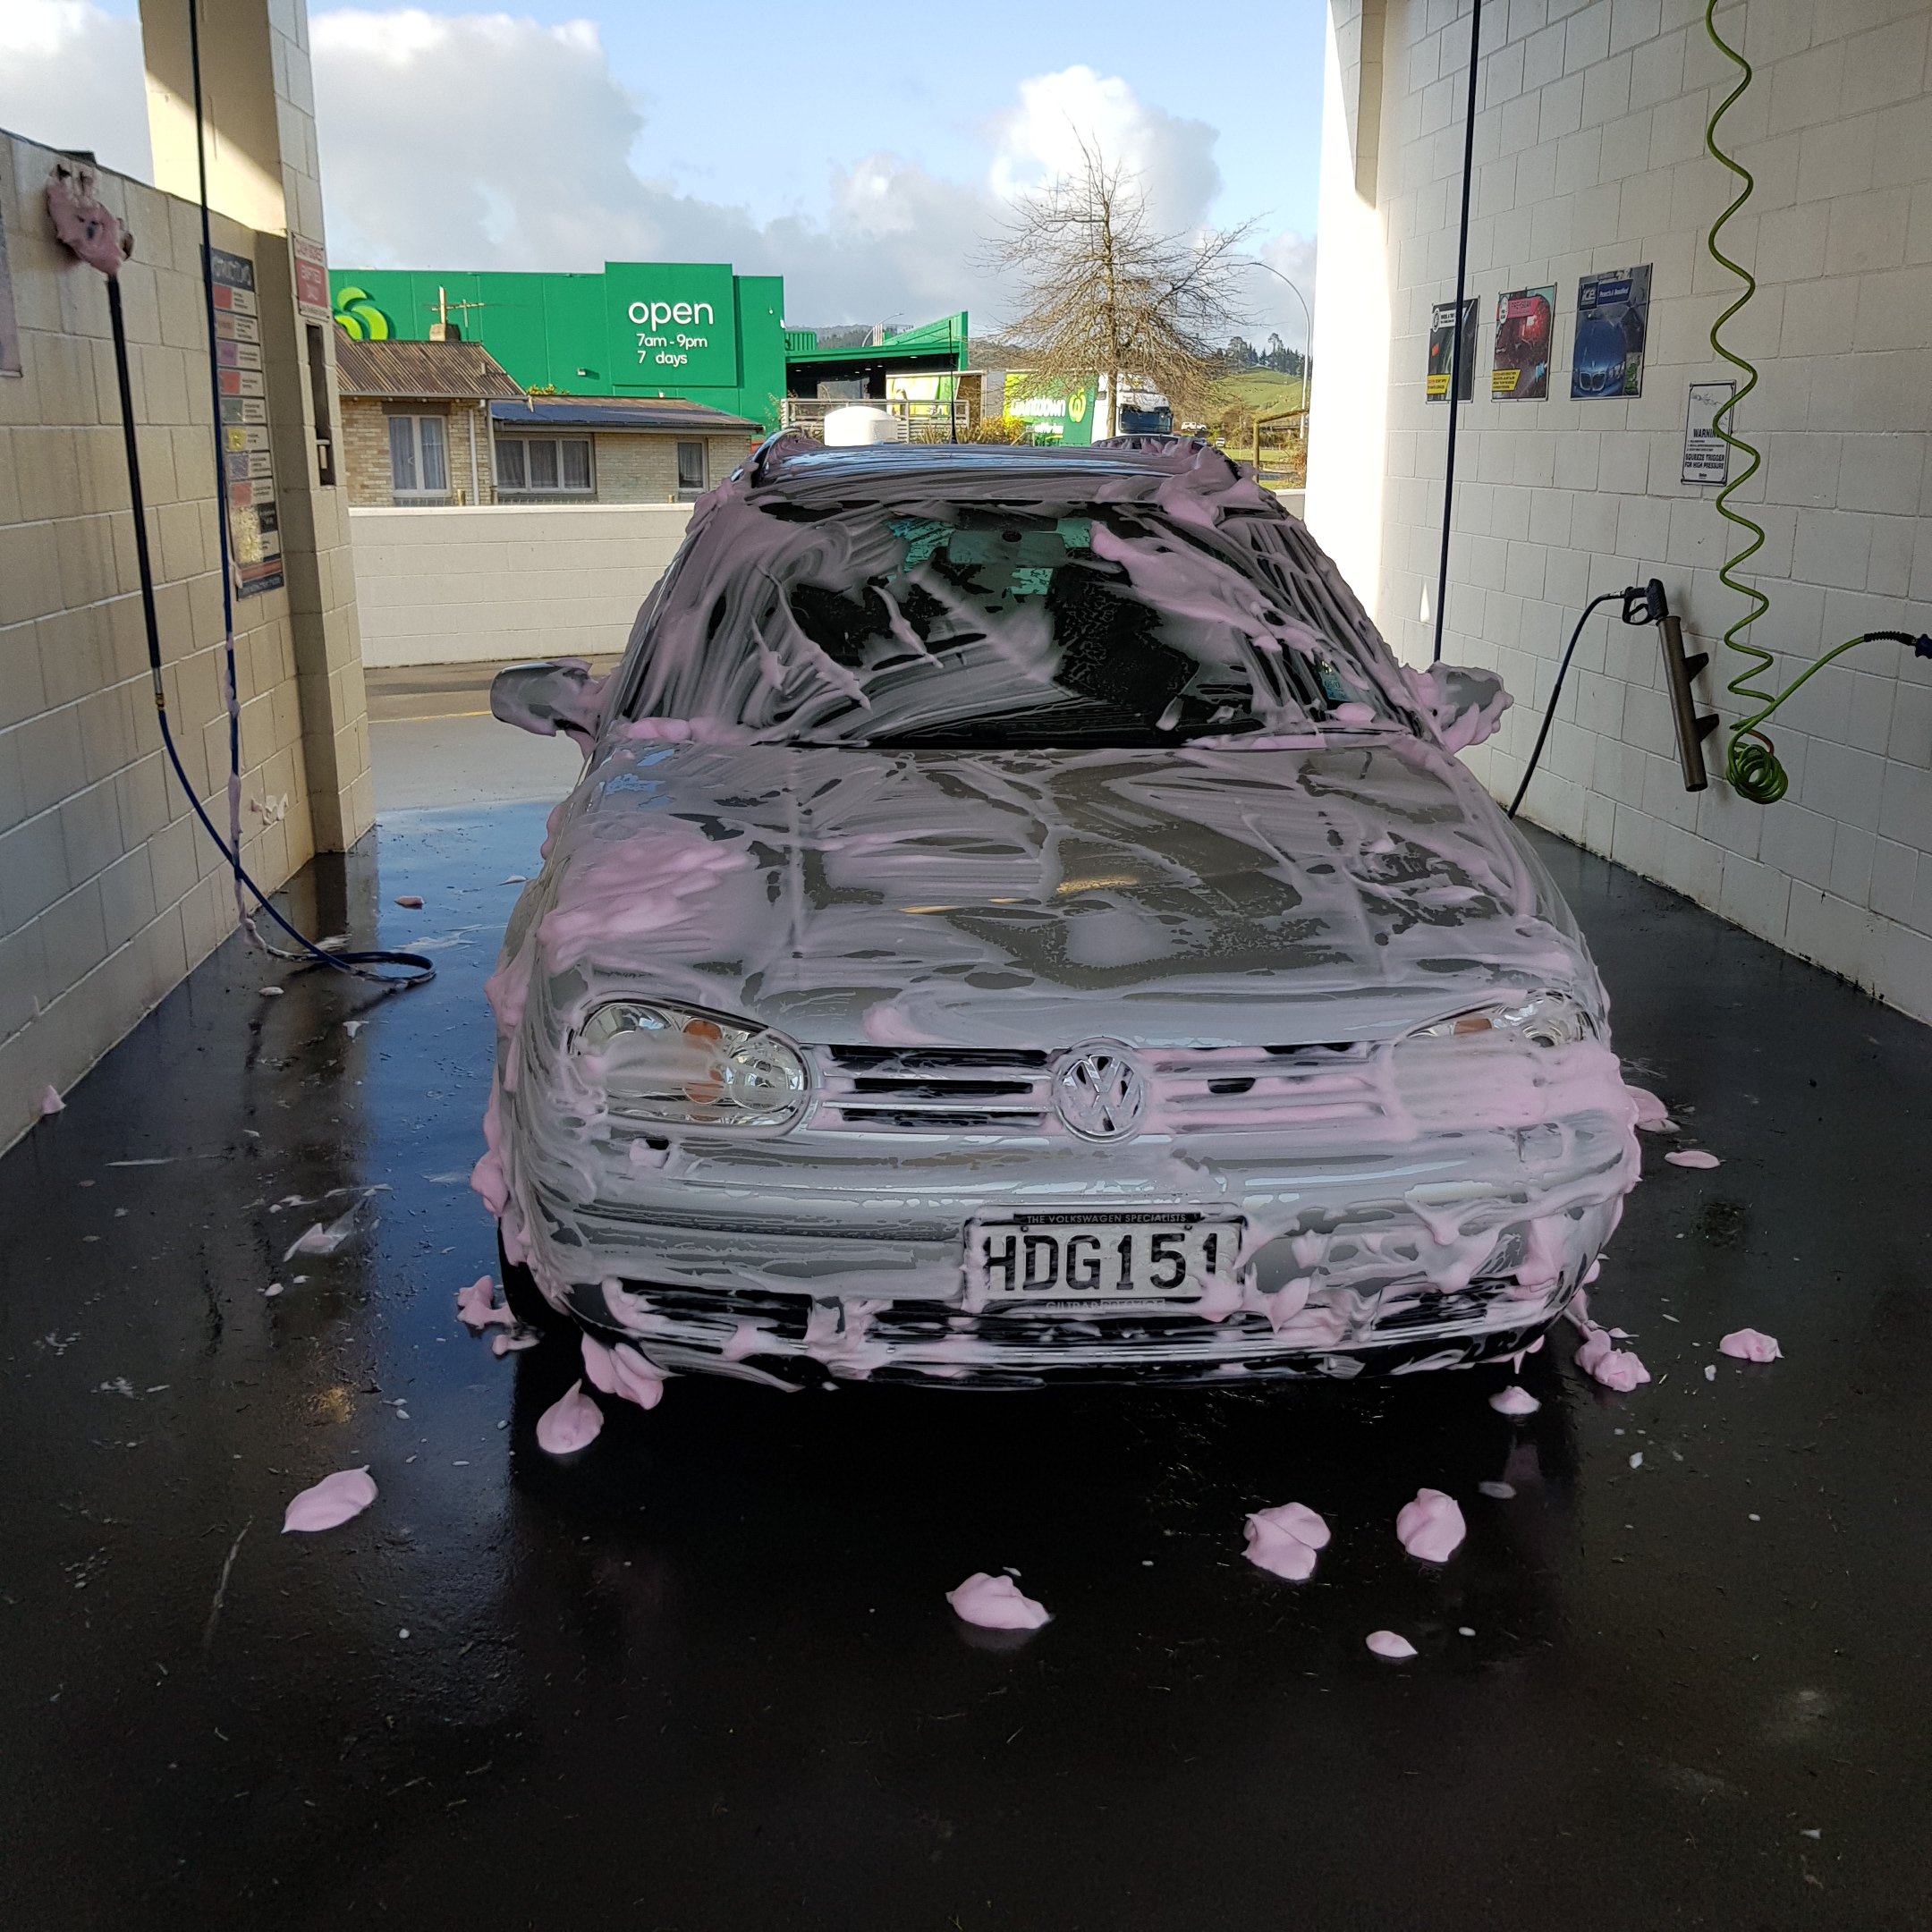
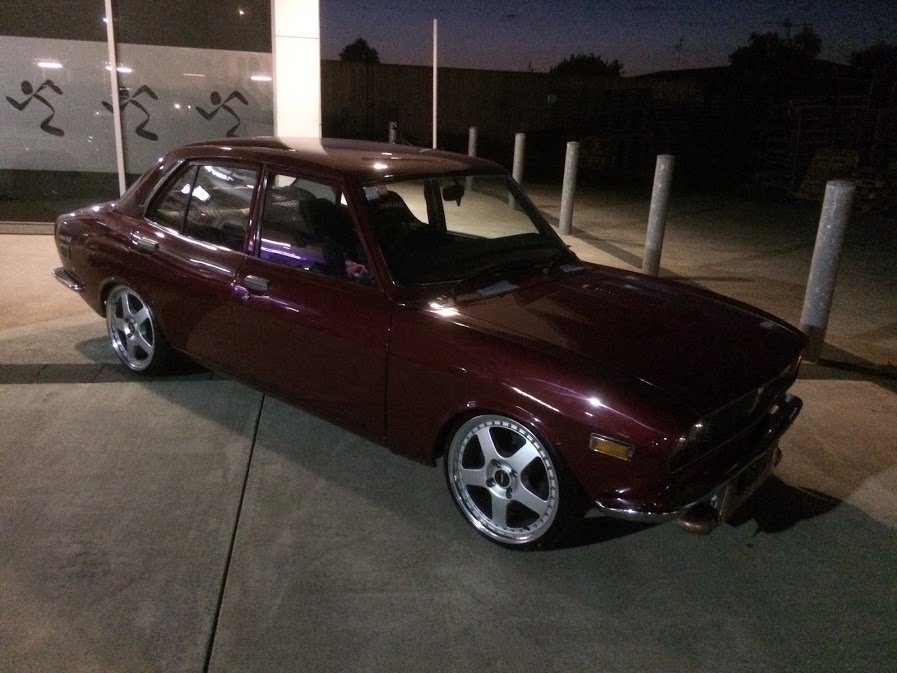
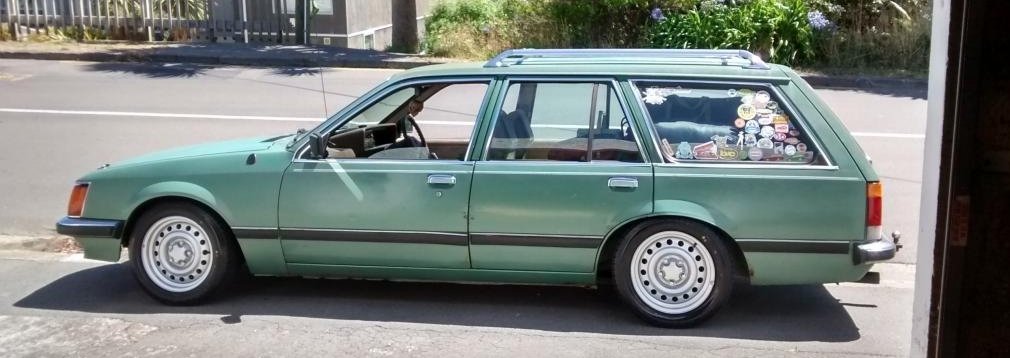
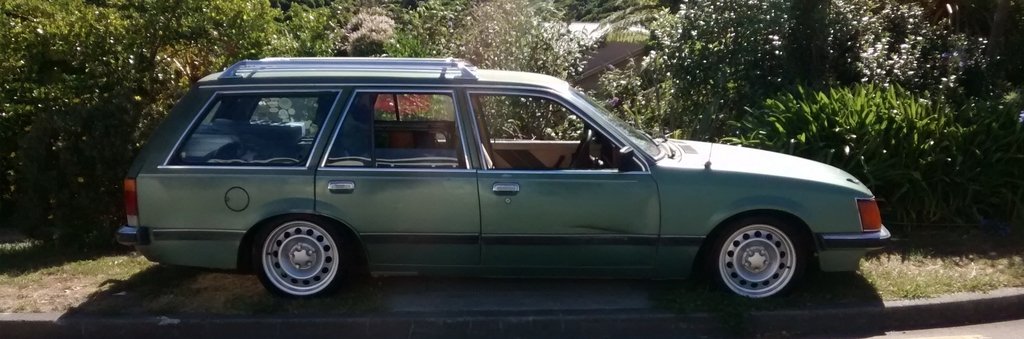
A good scrub and in to Saturdays errands and a bit of point and squirt fun. Good to have this on road forgot how tight the suspension is loads of grip and power think its a bit thirstier then my commodore though. Going to lop muffler off back see how ghastly it sounds.
1 point
-
Expansion chamber in the making. I want exaggerated proportions on this Goped. Trying to bias the bulk out one side to over inflate its looks. I took several (as in I've been fucking around for 2hrs) attempts just trying to find the best line for the exhaust to flow. I'm settling on this look, as I personally think it compliments the motor and look I'm going for.
1 point
-
Made a headlight bracket Cut some plate up and reinforced the stem mount1 point
-
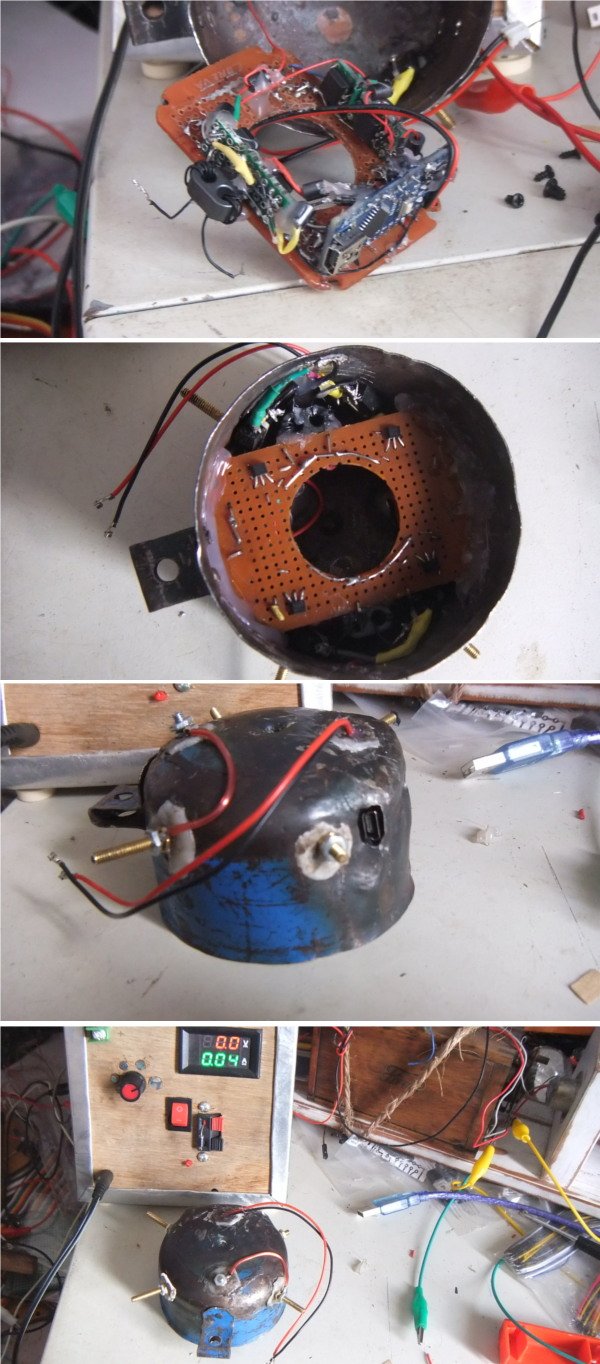
Ardunio nano on a small board with some hall effect sensors. installed in the end of an old can, some melted plastic in the holes, light passes through the plastic so i know where to drill it to put the bolts through.
1 point
-
so from here i have now got new tyres that are a bit bigger. got a 205 75 14 which was the biggest 14 i could get and just started clocking up some kms of to the mt to go to a mates party. went the long way so get some nice views. 1st night for @Mrs 64valiant and i in the kombi together. i put some stripes on the side to see if it was something i was after im not quite sold on them yet. also got a 2nd plate made from @Archetype after loosing my one. i dont even know how i done this. had a couple of peaces of paint that were cracked and water was just sitting in them so i just sanded it back to metal and put some primer on it & painted it white to just seal it and keep the water out of sitting in it. check out the layers of paint. no time for body filler i was just wanting it sealed. now i was about to do a trip to Fielding with old @Geophy i thought i better fix some water leaks. i found it was leaking through the wiper mechanism so pulled the wiper blades off. clean these wiper blades up and paint them black might not be much but man they look so much better been black. now the trip to fielding with young geophfey, wouldn't be a trip south of taupo with out snow right? both times i have driven this way in my vws it has snowed and both times with this guy. hold up. take a few steps back, we were making our way down the line. when my wheel bearing started to make a little noise, say an hour in. So an hour from anywhere with a dry location. A few phone calls later @Ned was home and was welcoming me to his dry garage and a few of his tools. a wheel bearing, fish & chups later and we were back on the road. thats right snow. we made it to the ding hotel were we proceded to get drank on cheap big bottles an i slept amazingly in the bus again. next day we done some swapping of the meat and went for a little drive. i got a brand new kombi that day pretty proud owner of a nice new kombi..... with that new kombi we went for a cruise on some back roads to which i heard my wheel bearing again...... but we made it home safe thanks to @Bistro skillful driving. got drank again and another lovely sleep in the bus. then it was time to head home, better re pack my bearing before we head on home....... then we hit the road again. which brings me close to where i am now. how to get a vw bus in and out of the shed we had. so no longer we are at that address and the bus is living out side which means i have been driving it a bit more daily... which is were i noticed a some what noisy wheel bearing...... new bearing races inserted new bearings and a wheel alignment tomorrow. and now i should go make my rx3 carpets before i have to drop them off tonight. we are off to raglan on Saturday and i see labour weekend everyone is going camping so we might go to that in the bus. laters dudes1 point
-
Probably ok, havnt seen any of that particular brand, usually the main issue with them is the belt buckle so if yours is off the floor you should be ok.1 point
-
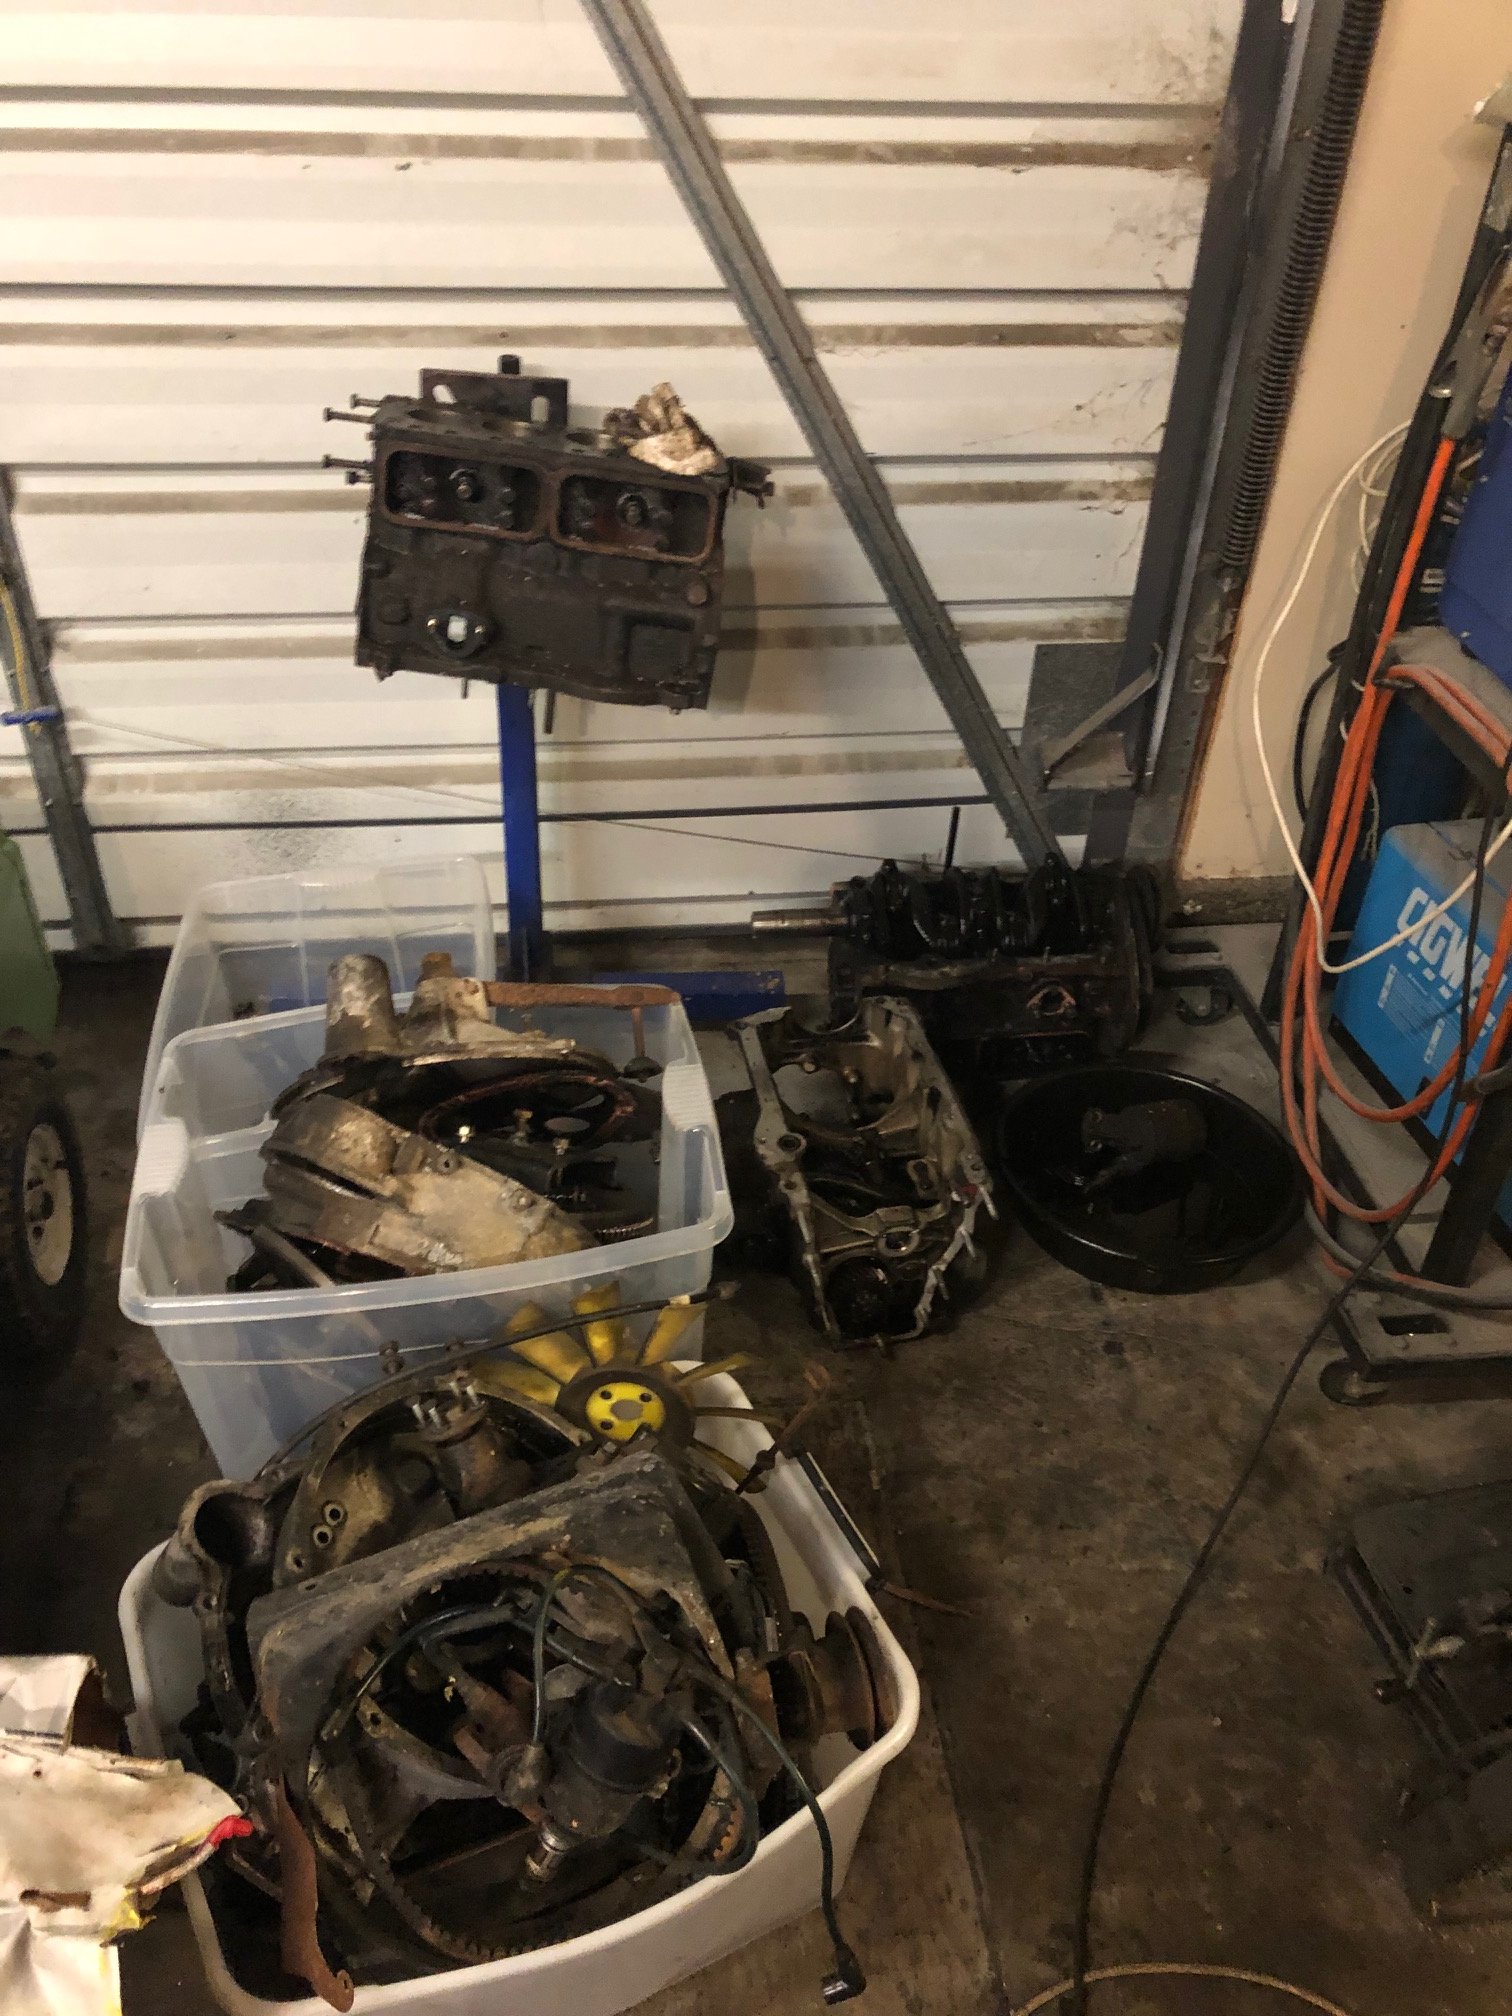
Back in the game! a literal bootload of 18rg parts just turned up at work. purchased from a mates mates father up north. highlights include; a mint block, that has been professionally honedand surfaced. nearly all rebuild parts. a couple of really clean heads and a partly complete dismantled but complete one. the early "230" head has port work. but ill most likley use the very clean and resurfaced "270" efi head as they had bigger ports anyway and are much stronger with a lower compression, they just had wimpy cams, so the 230 cams may find there way in there too. a slightly lighted flywheel, which will probably be ideal for a street car. once the crown is shipped off to panel in the next week or so, ill hook into building this engine. i need to do alot of measuring and thinking about what combo of parts to run though.1 point
-
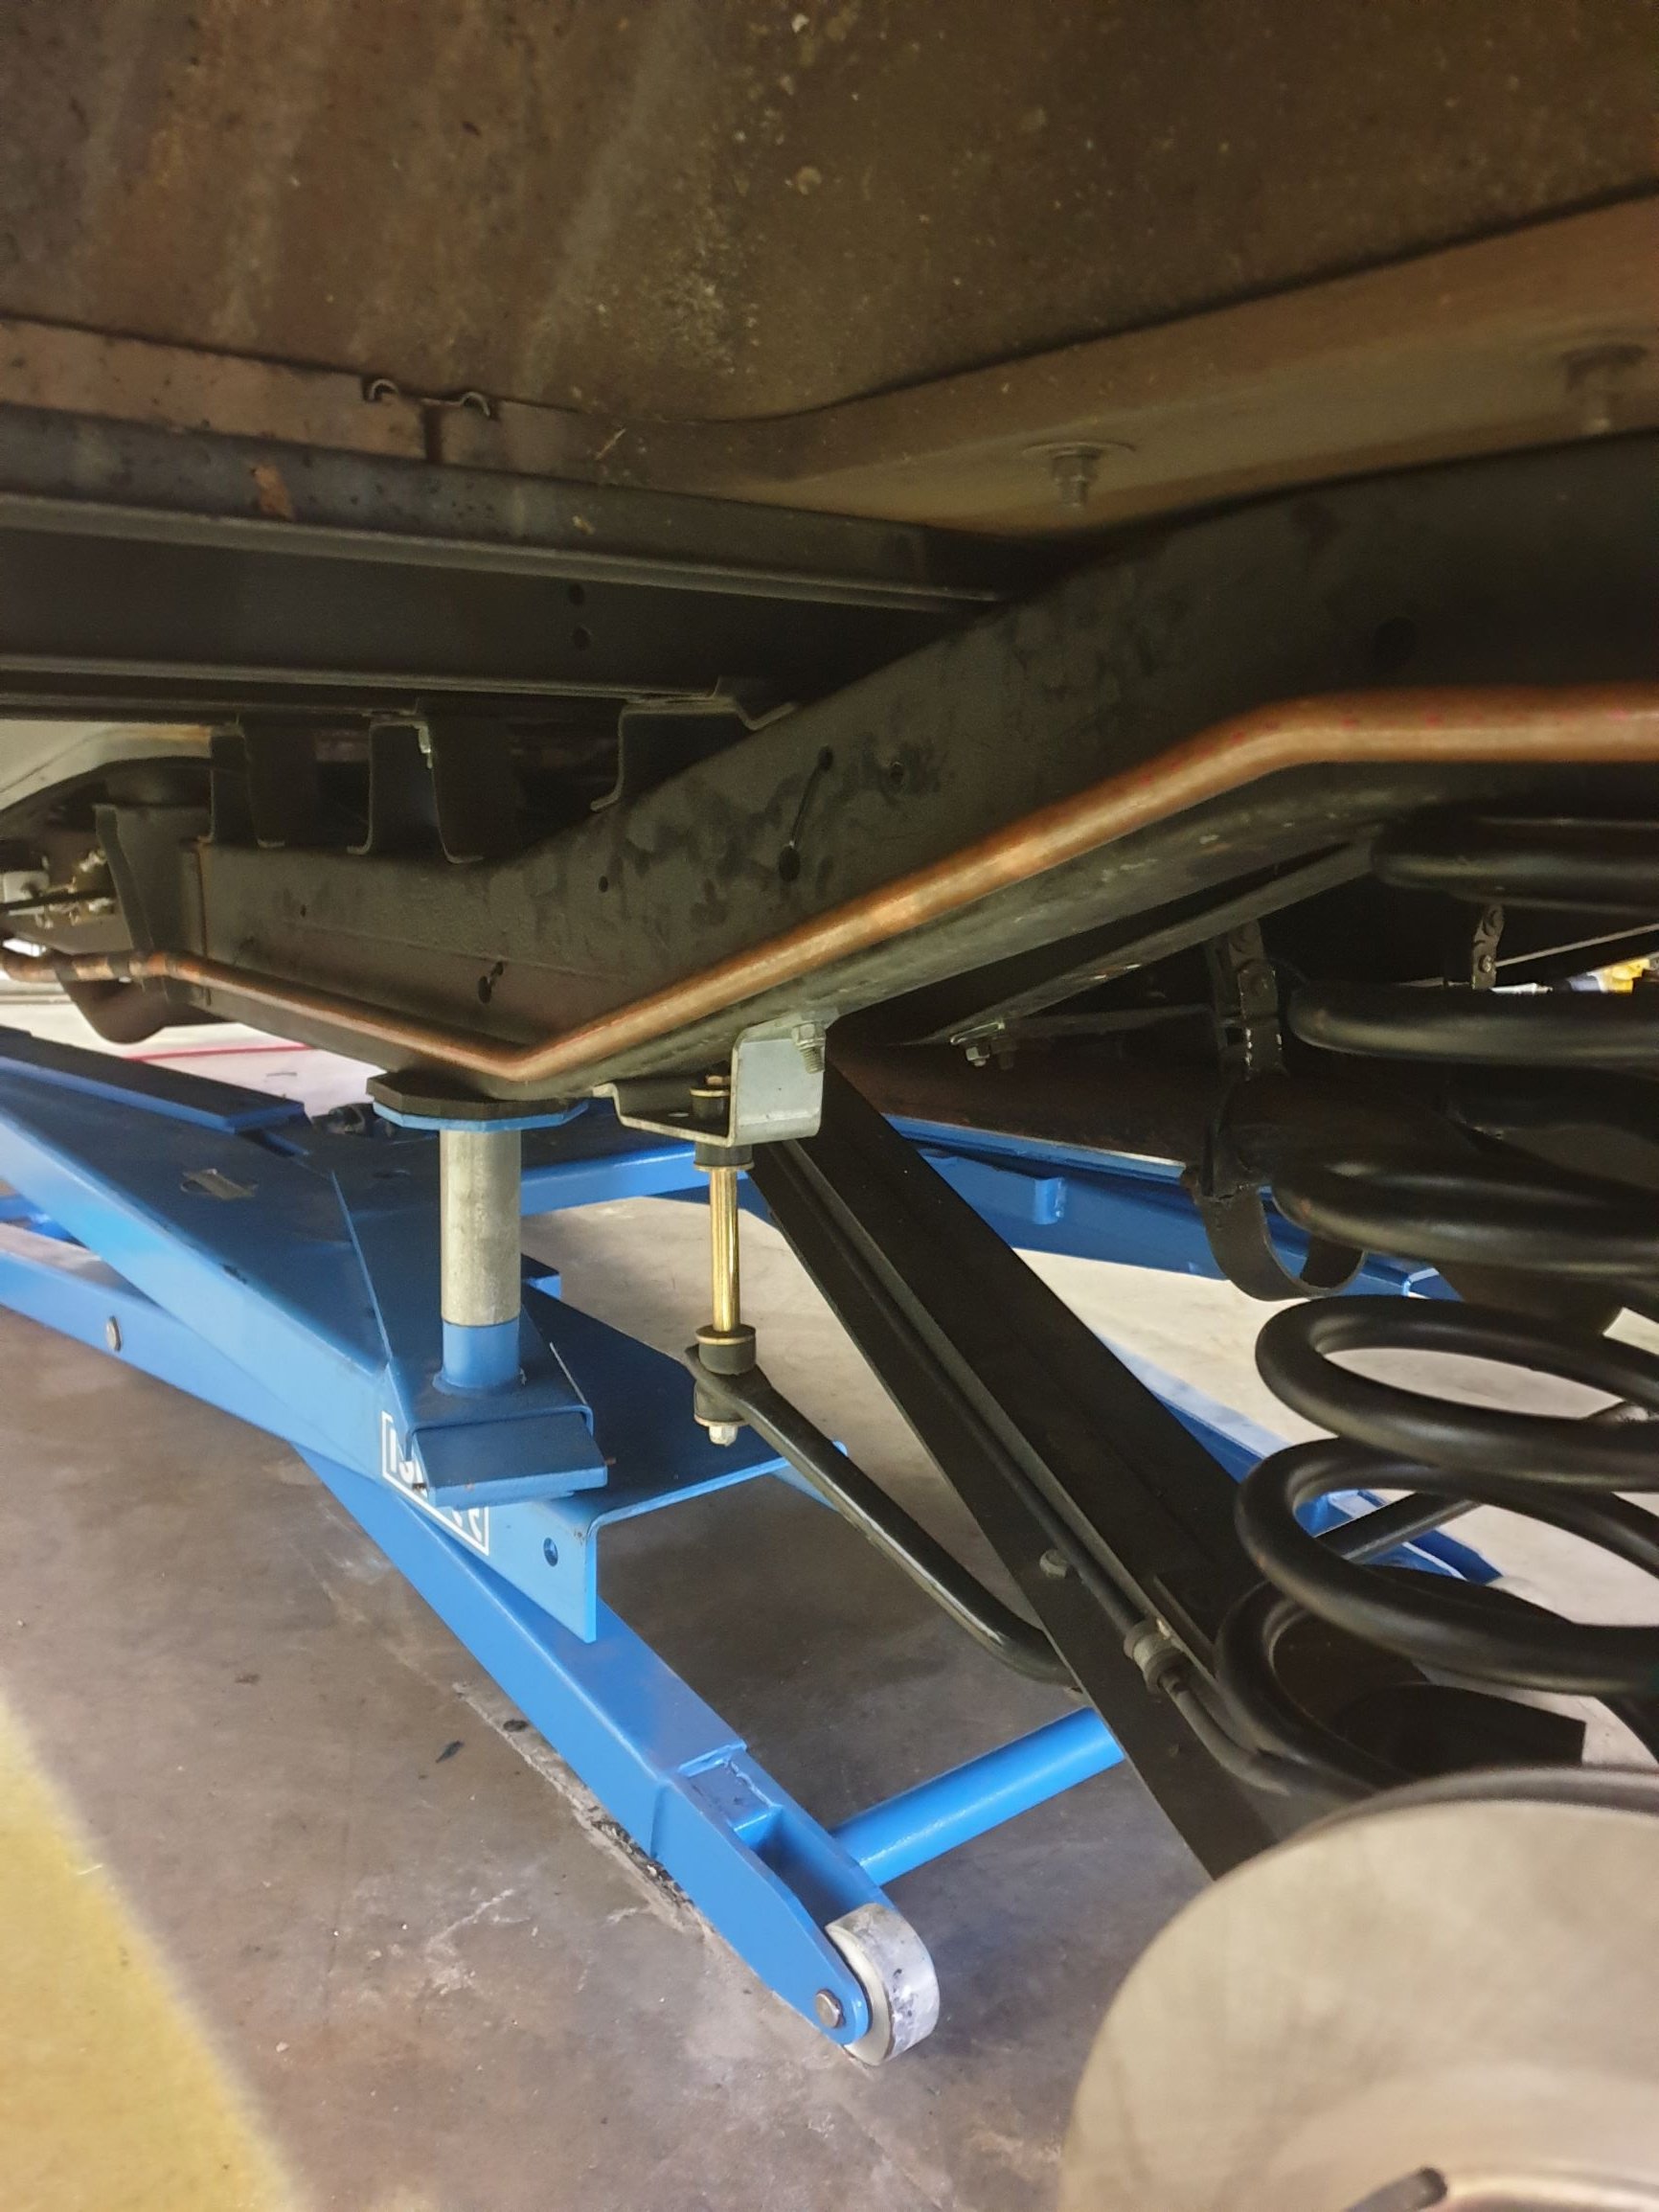
Bit done over the weekend, tidied up the last of the wiring, stripped an internal thread on brake bias adjuster (bastard) , checked electrics, powered everything up, got radiator for supercharger heat exchanger mounted behind the diff, looked at trans cooler and put it back on the bench, got power steering half plumbed . One of my lads is a plumber so going to run 3/4" copper lines from front to back for the heat exchanger plumbing. And probably need to cover the front of radiator with mesh or something.
1 point
-
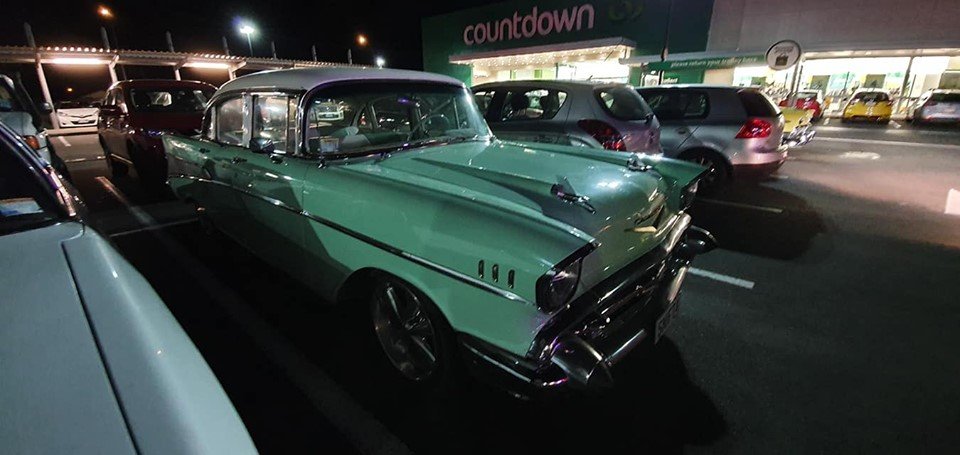
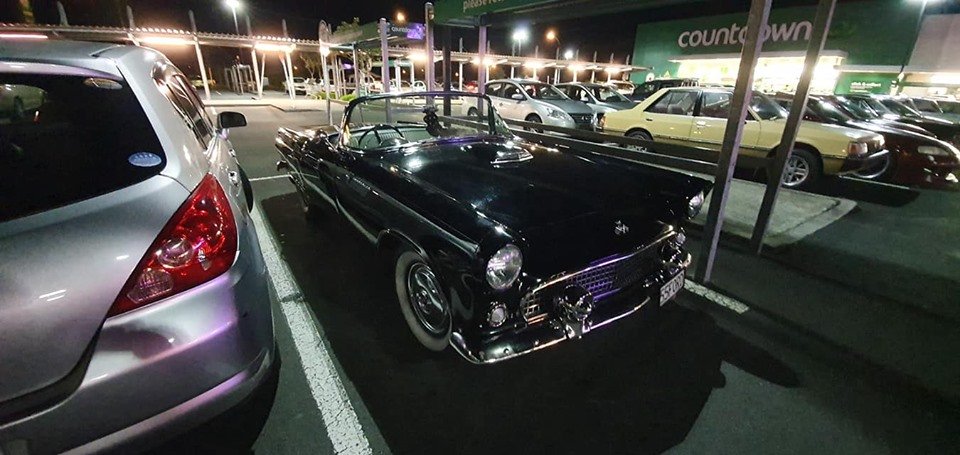
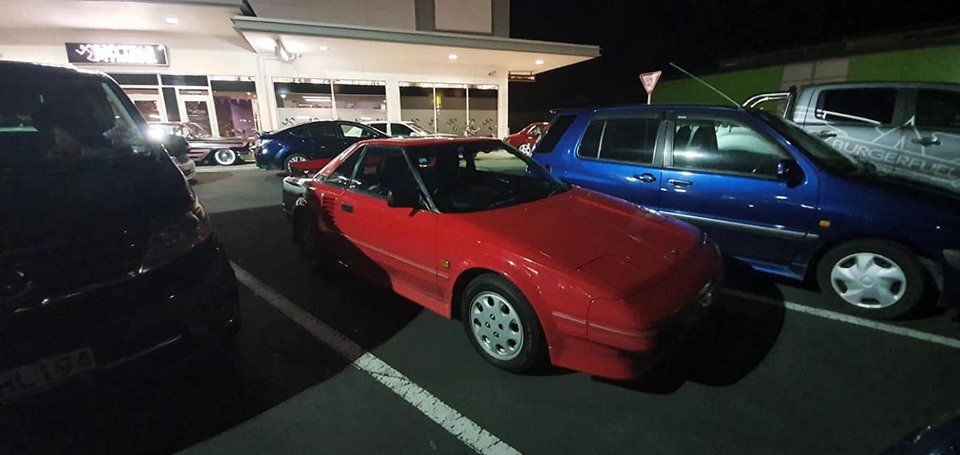
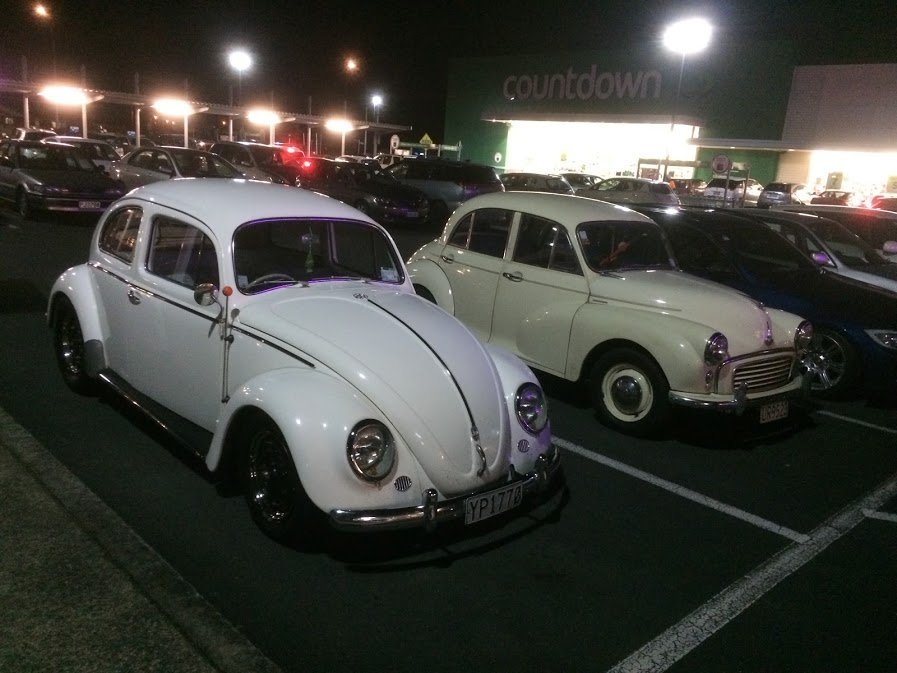
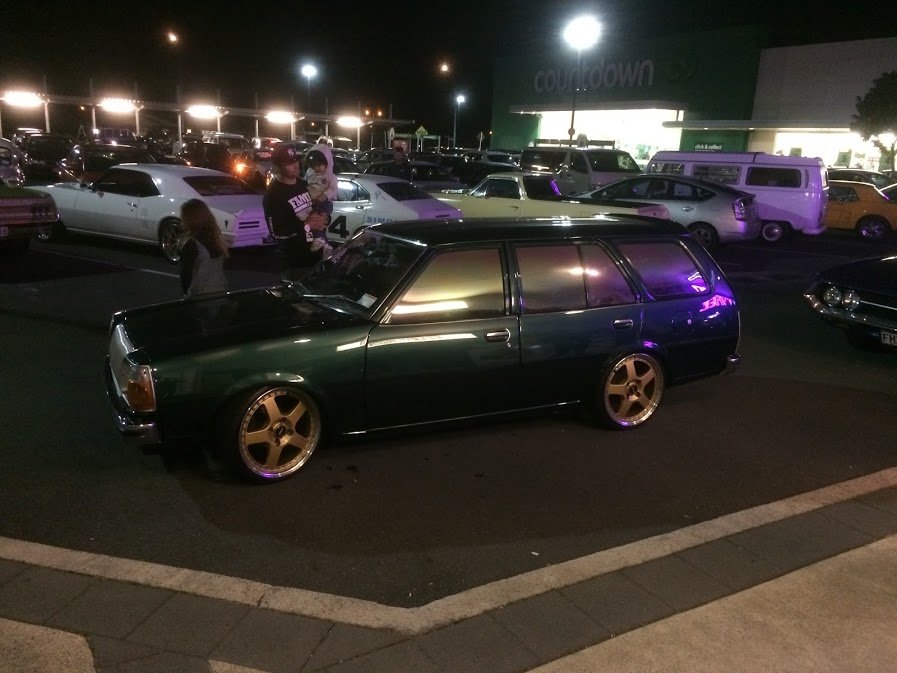
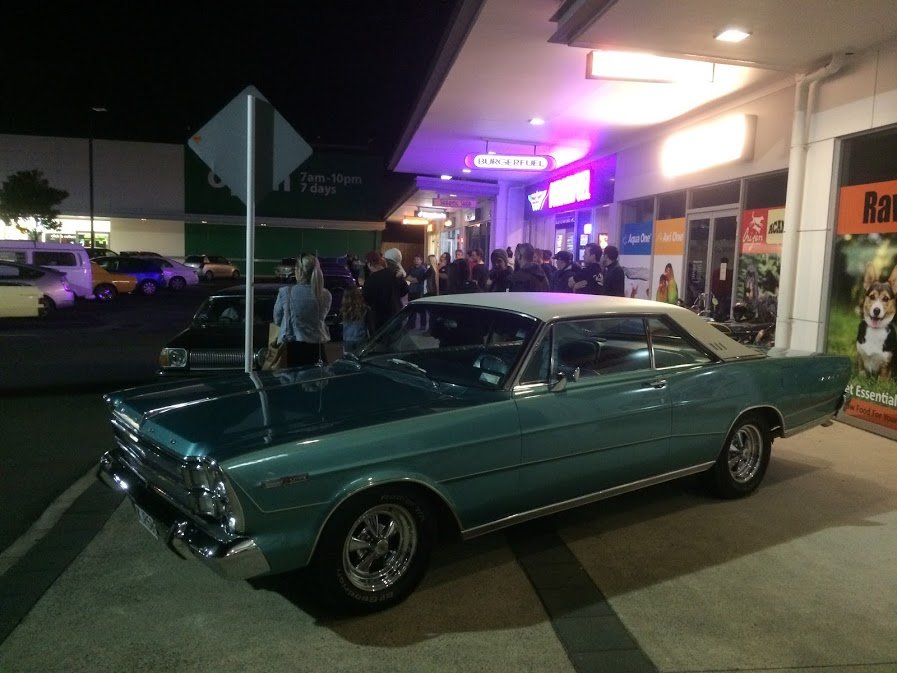
That was an epic meet. Thanks to @64valiant for making it happen.
1 point
-
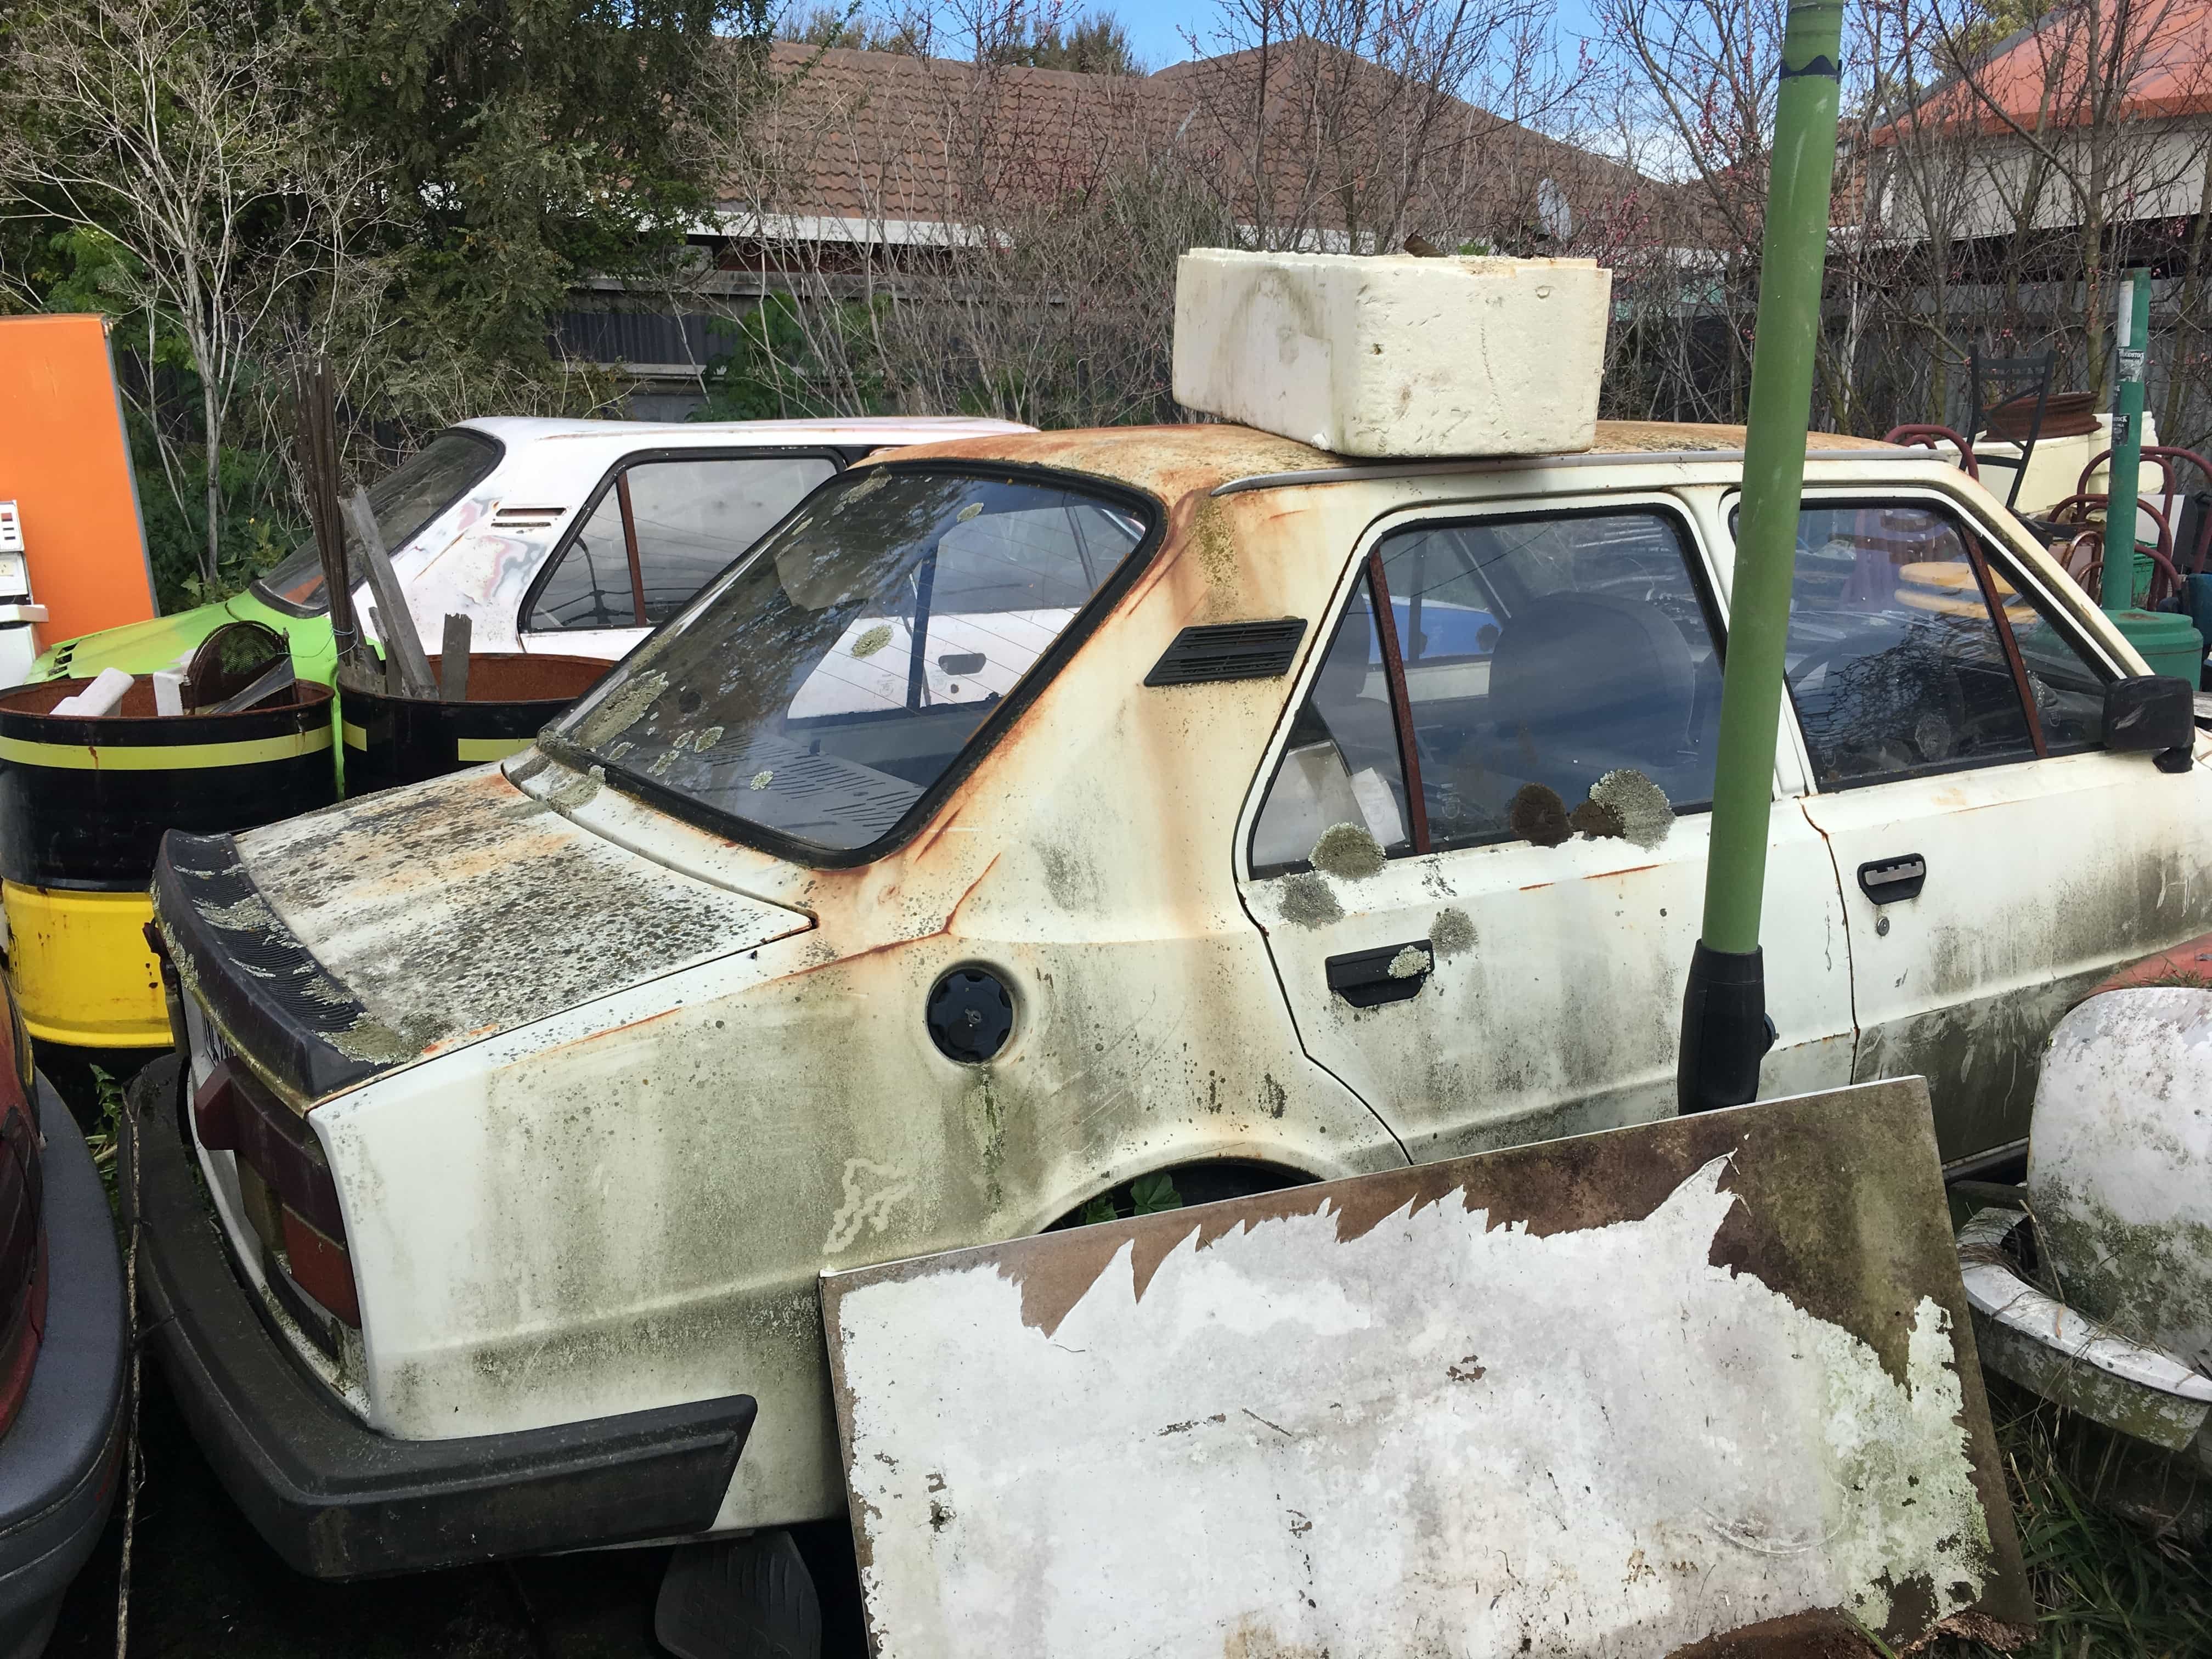
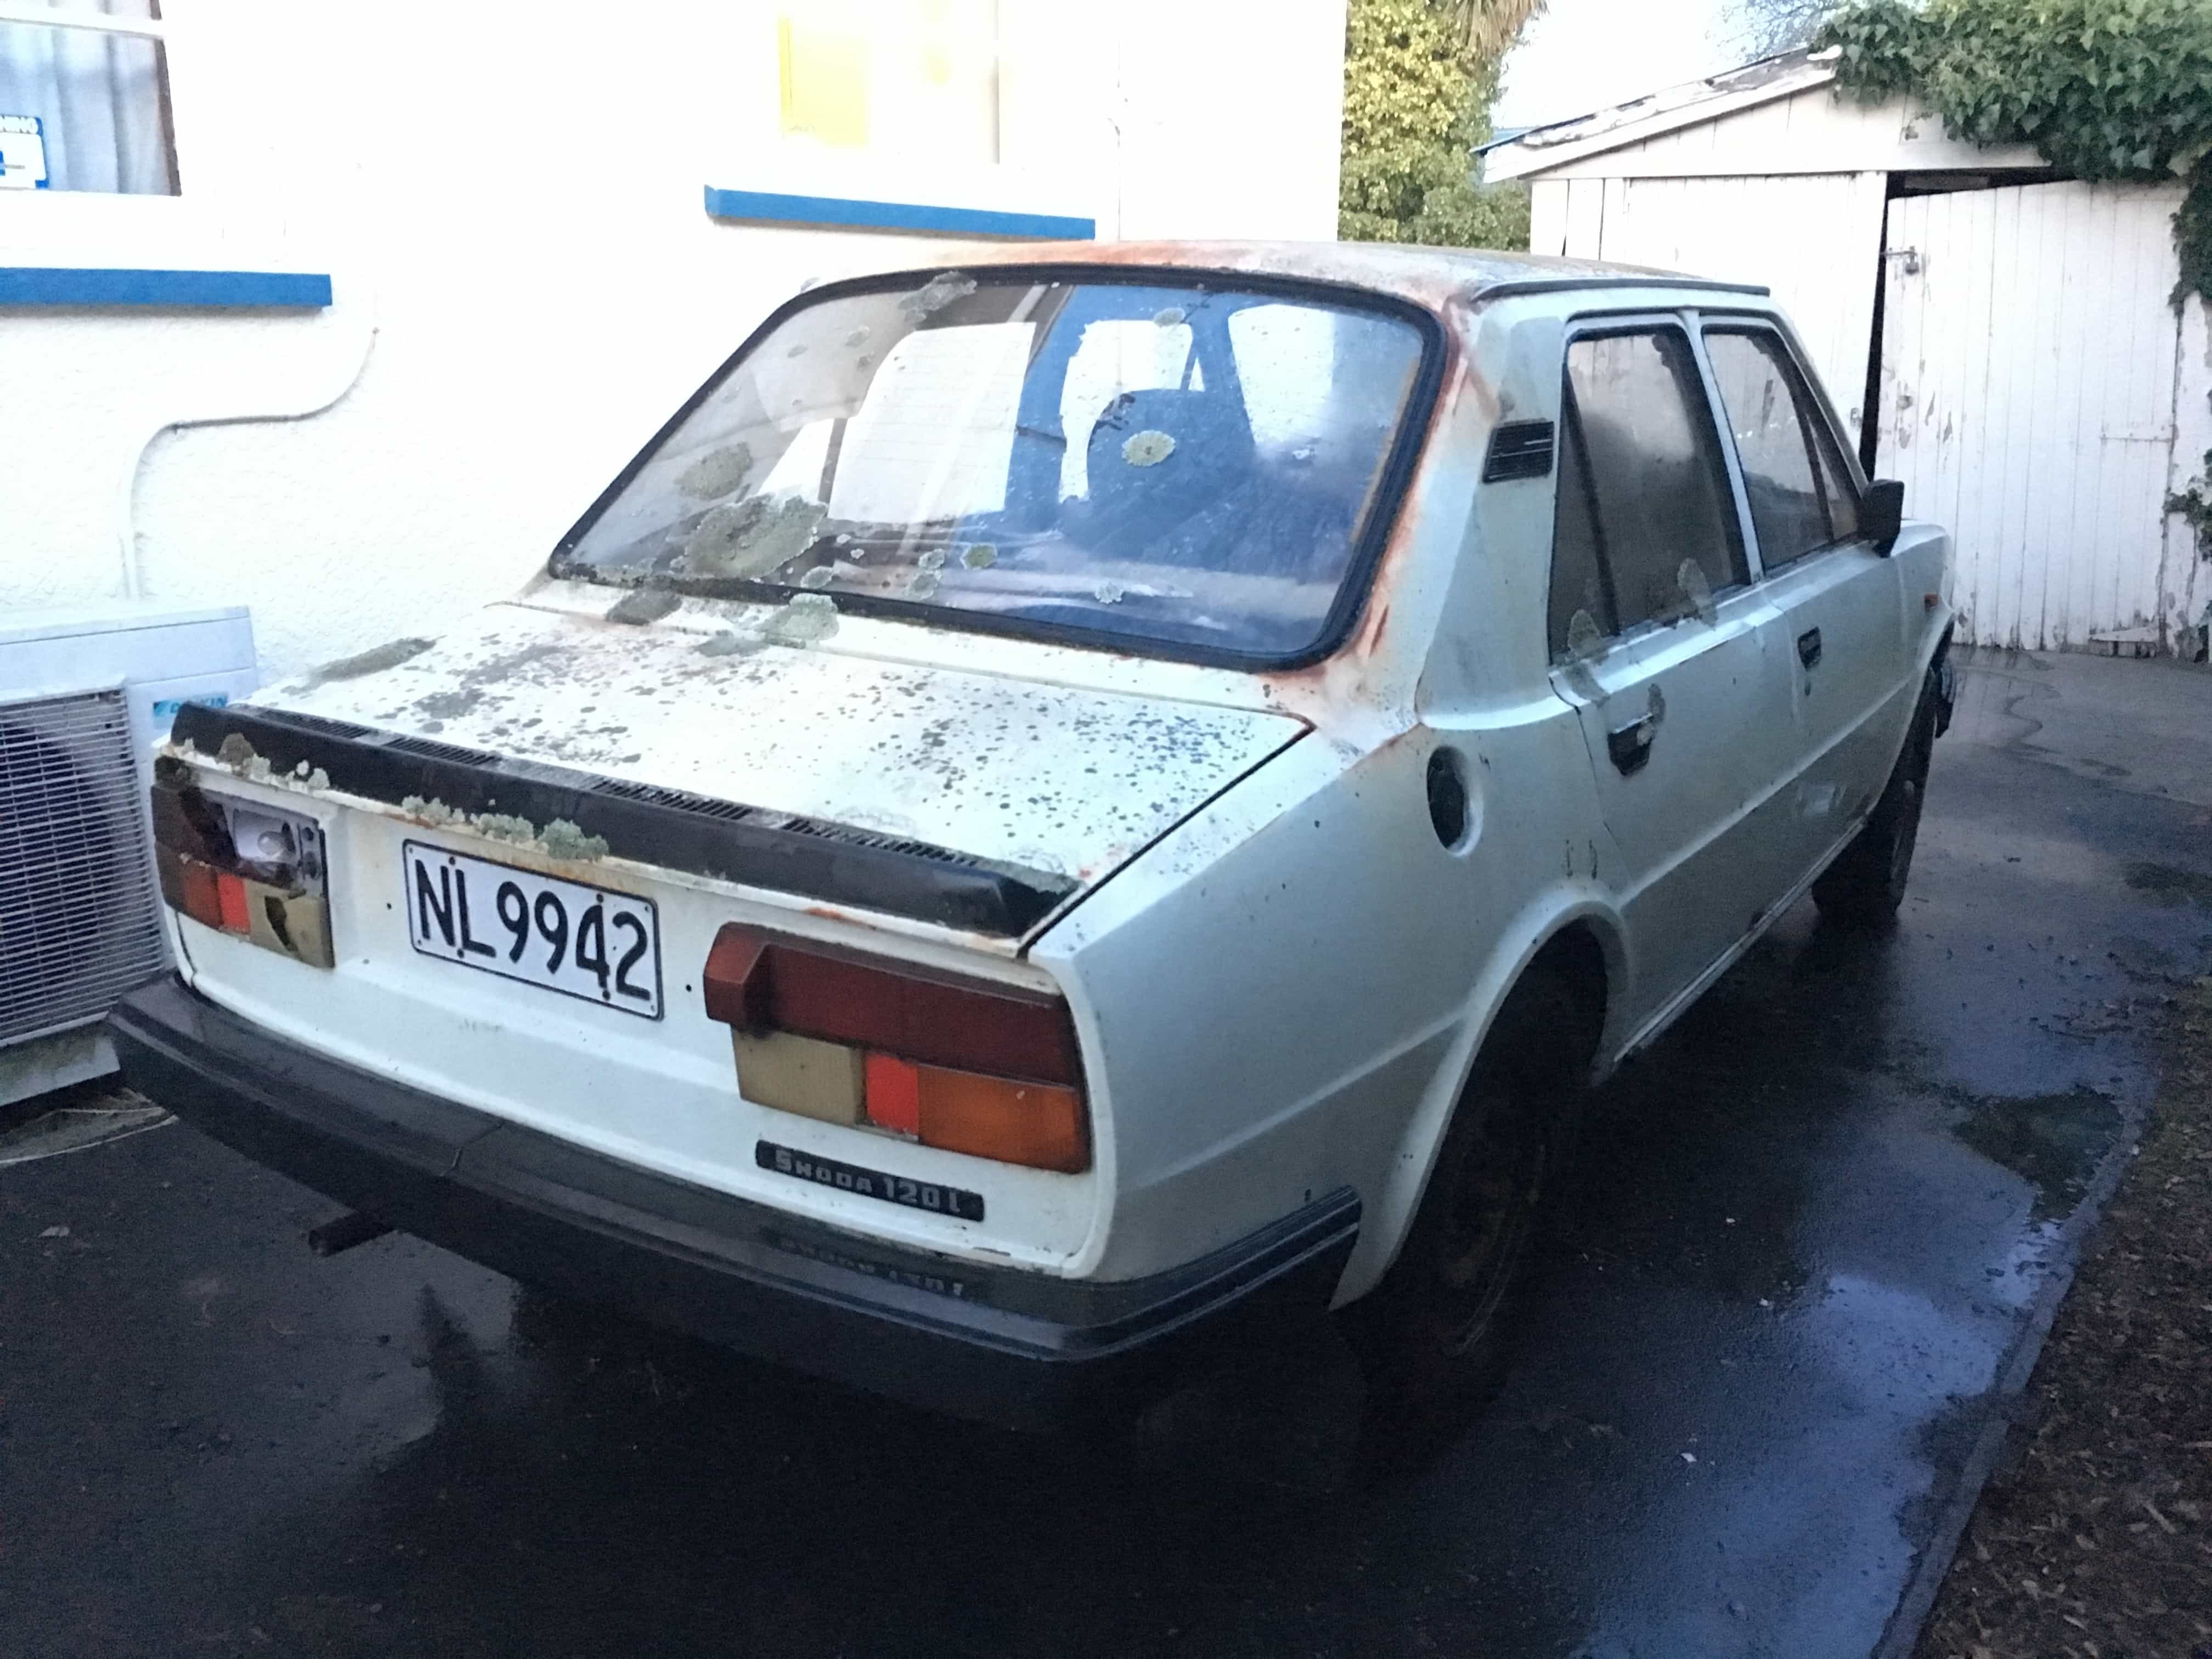
Not immediately build related but after seeing this stuff article @myk00l ( https://www.stuff.co.nz/national/115722682/worker-to-clean-up-christchurch-hoarder-house-begins ) I managed to get in touch with those involved and a sad sight awaited me. Three 110R wrecks All realistically too far gone to save due to rust, the guy told me they had driven into the site three years earlier but I found that verrry hard to believe. There was also two 120L models (one half converted into a rally car) and one solid looking one that apparently only has ~50,000kms on it before the head gasket blew and it was taken off the road. A guy in Dunedin who I've been in touch with has a 120L that he and his son are doing up but were struggling to find parts (was quoted $2,600 for a windscreen from Smith and Smith!). I managed to save the white 120 and will be taking it to Dunedin this weekend when I go down to pick up the Sabre. It's surprising solid considering it's been of the road for ~ 20 years. Almost don't want to let it go! Would come up good with a proper scrub! Also found a loose half axle sitting in one of the cars that I'm reconditioning to put into the Sabre after the fuckery I endured trying to replace oil seals without the right tools / knowledge. Aim is to have it on the road in time for the Mcleans Island swap meet.
1 point
-
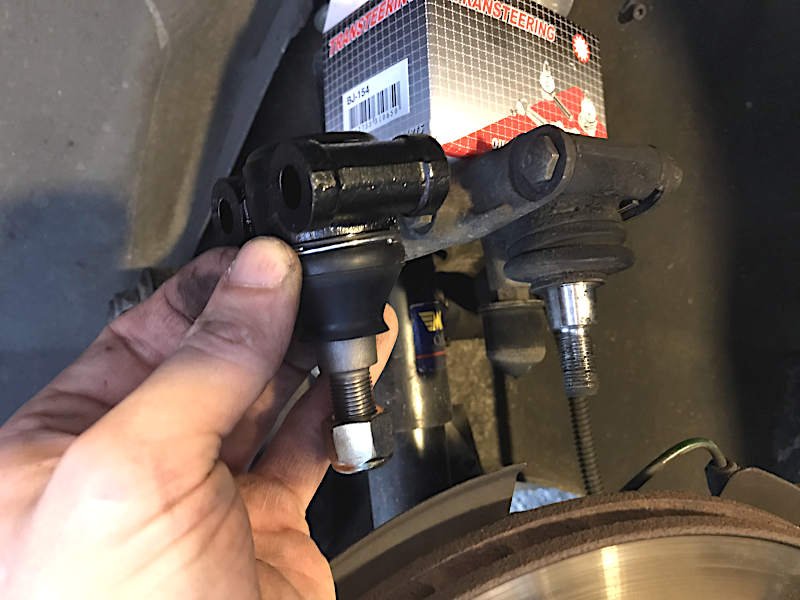
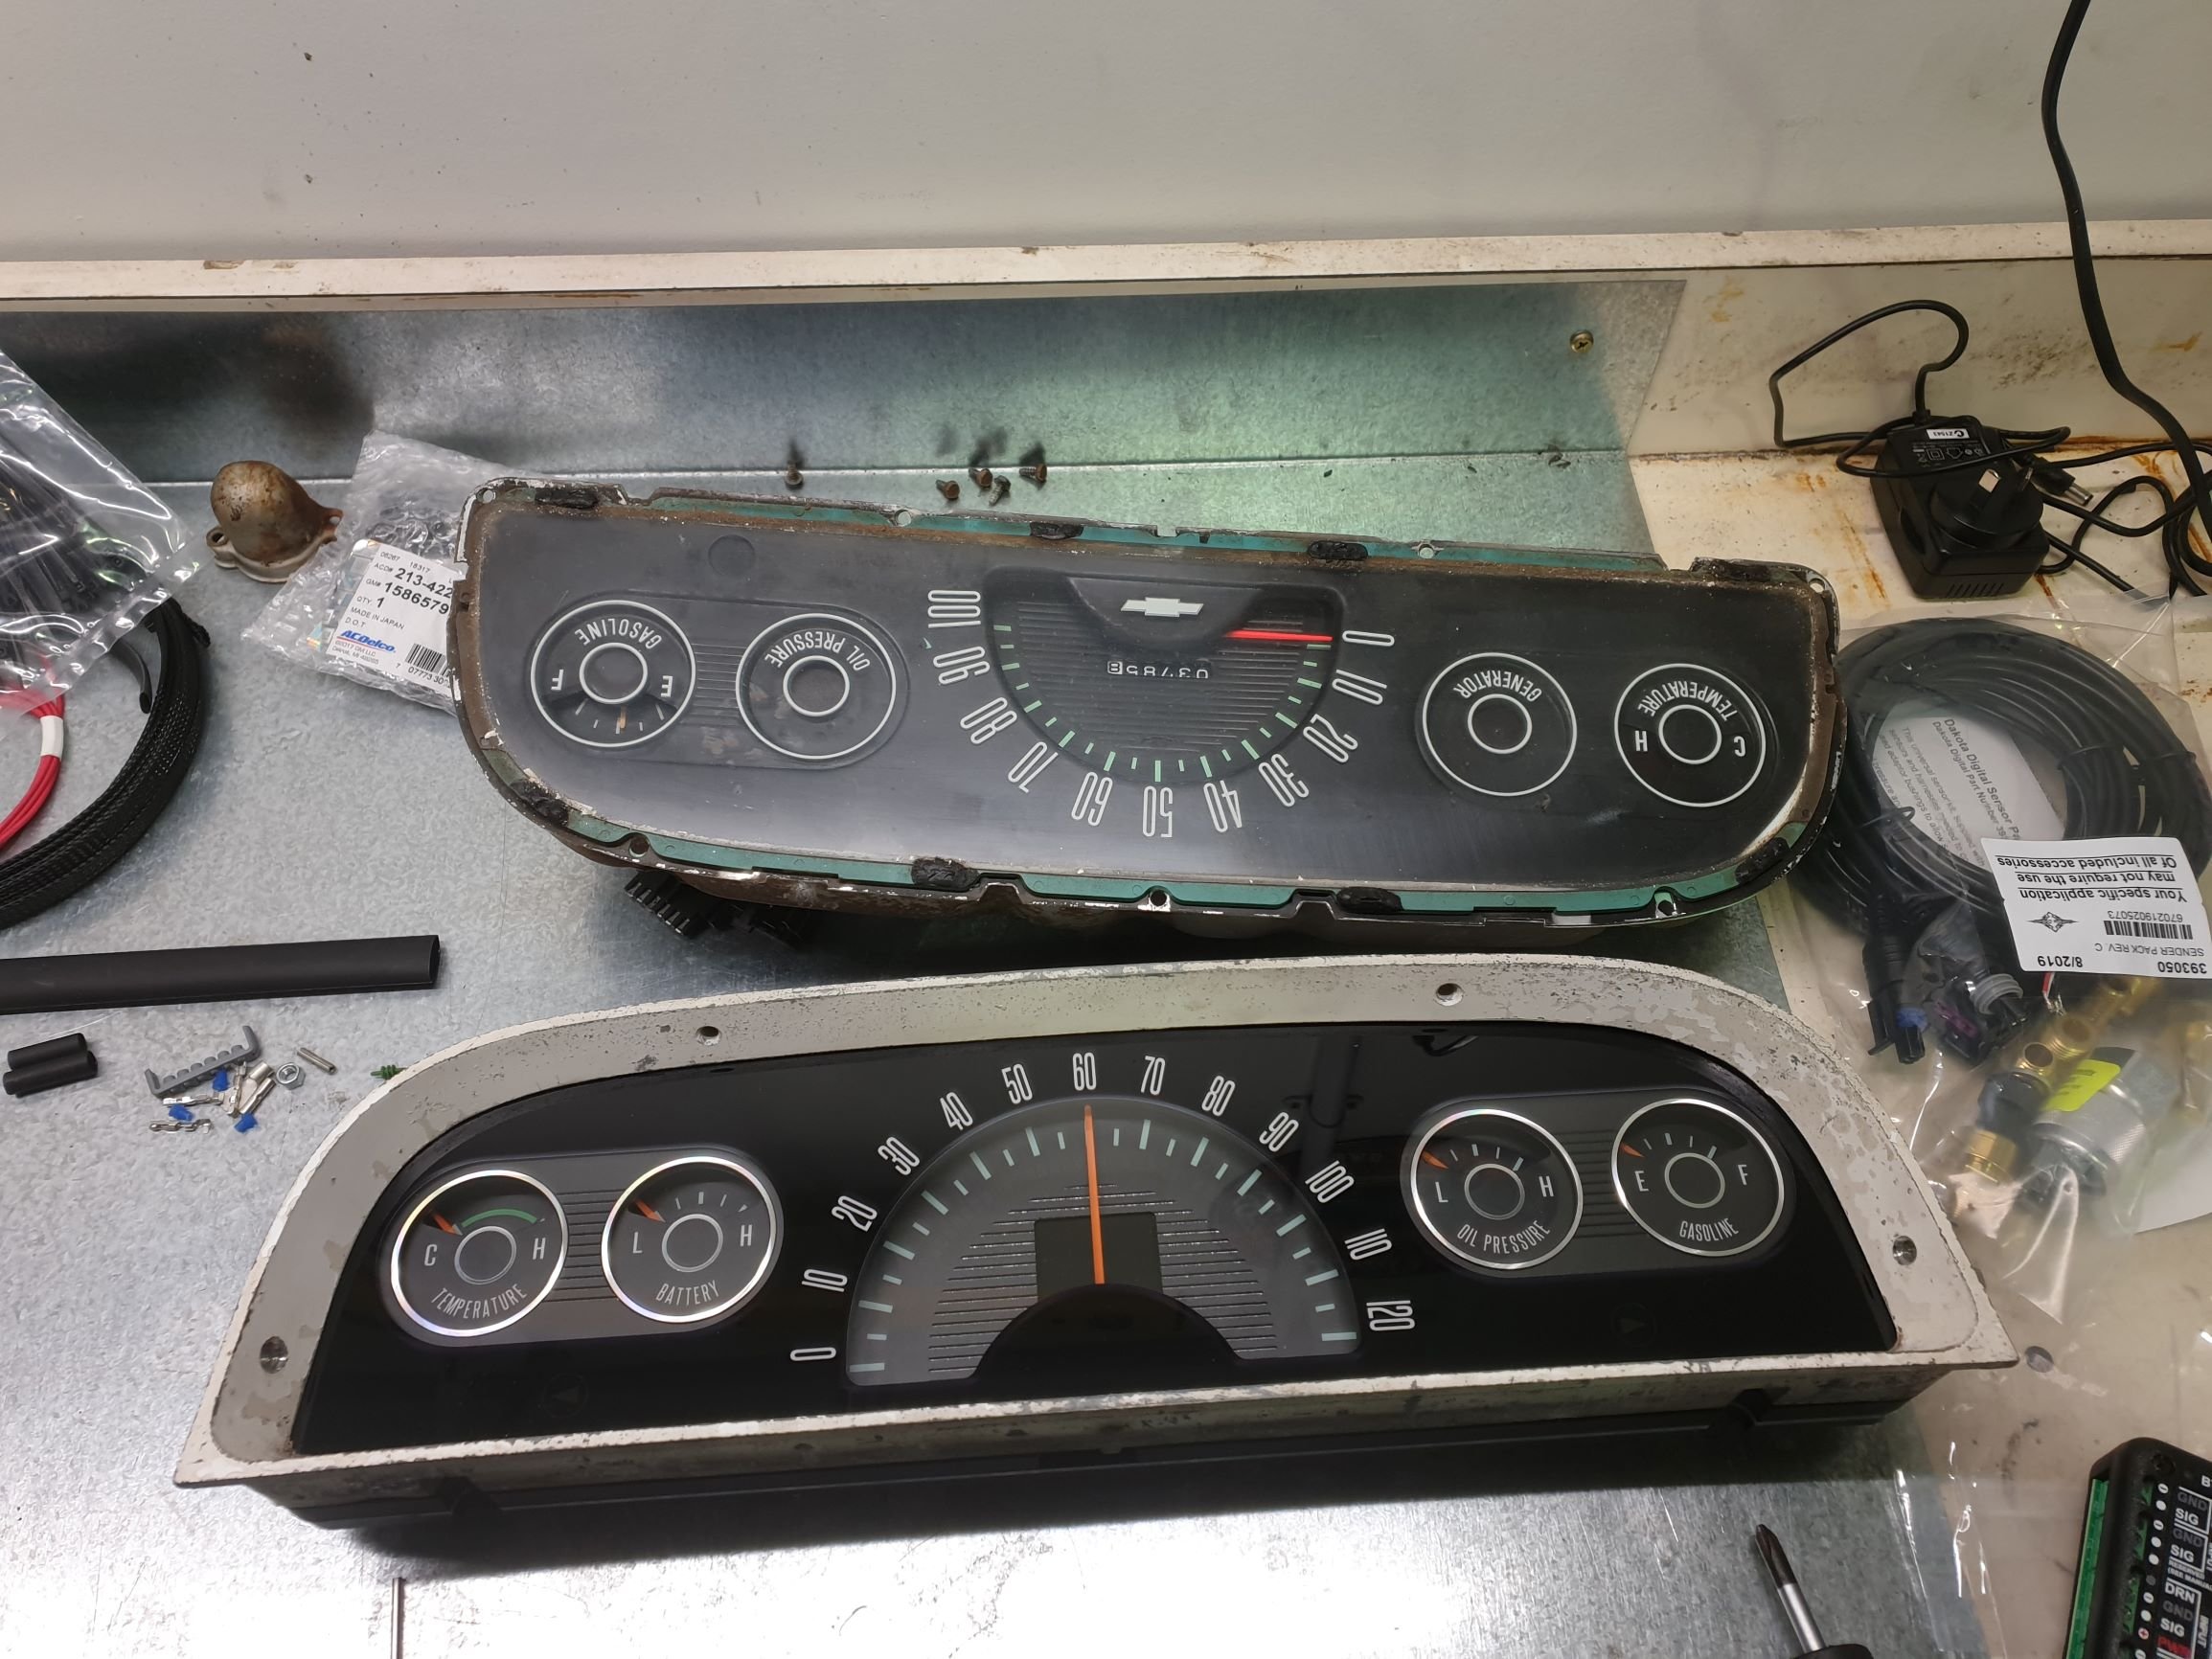
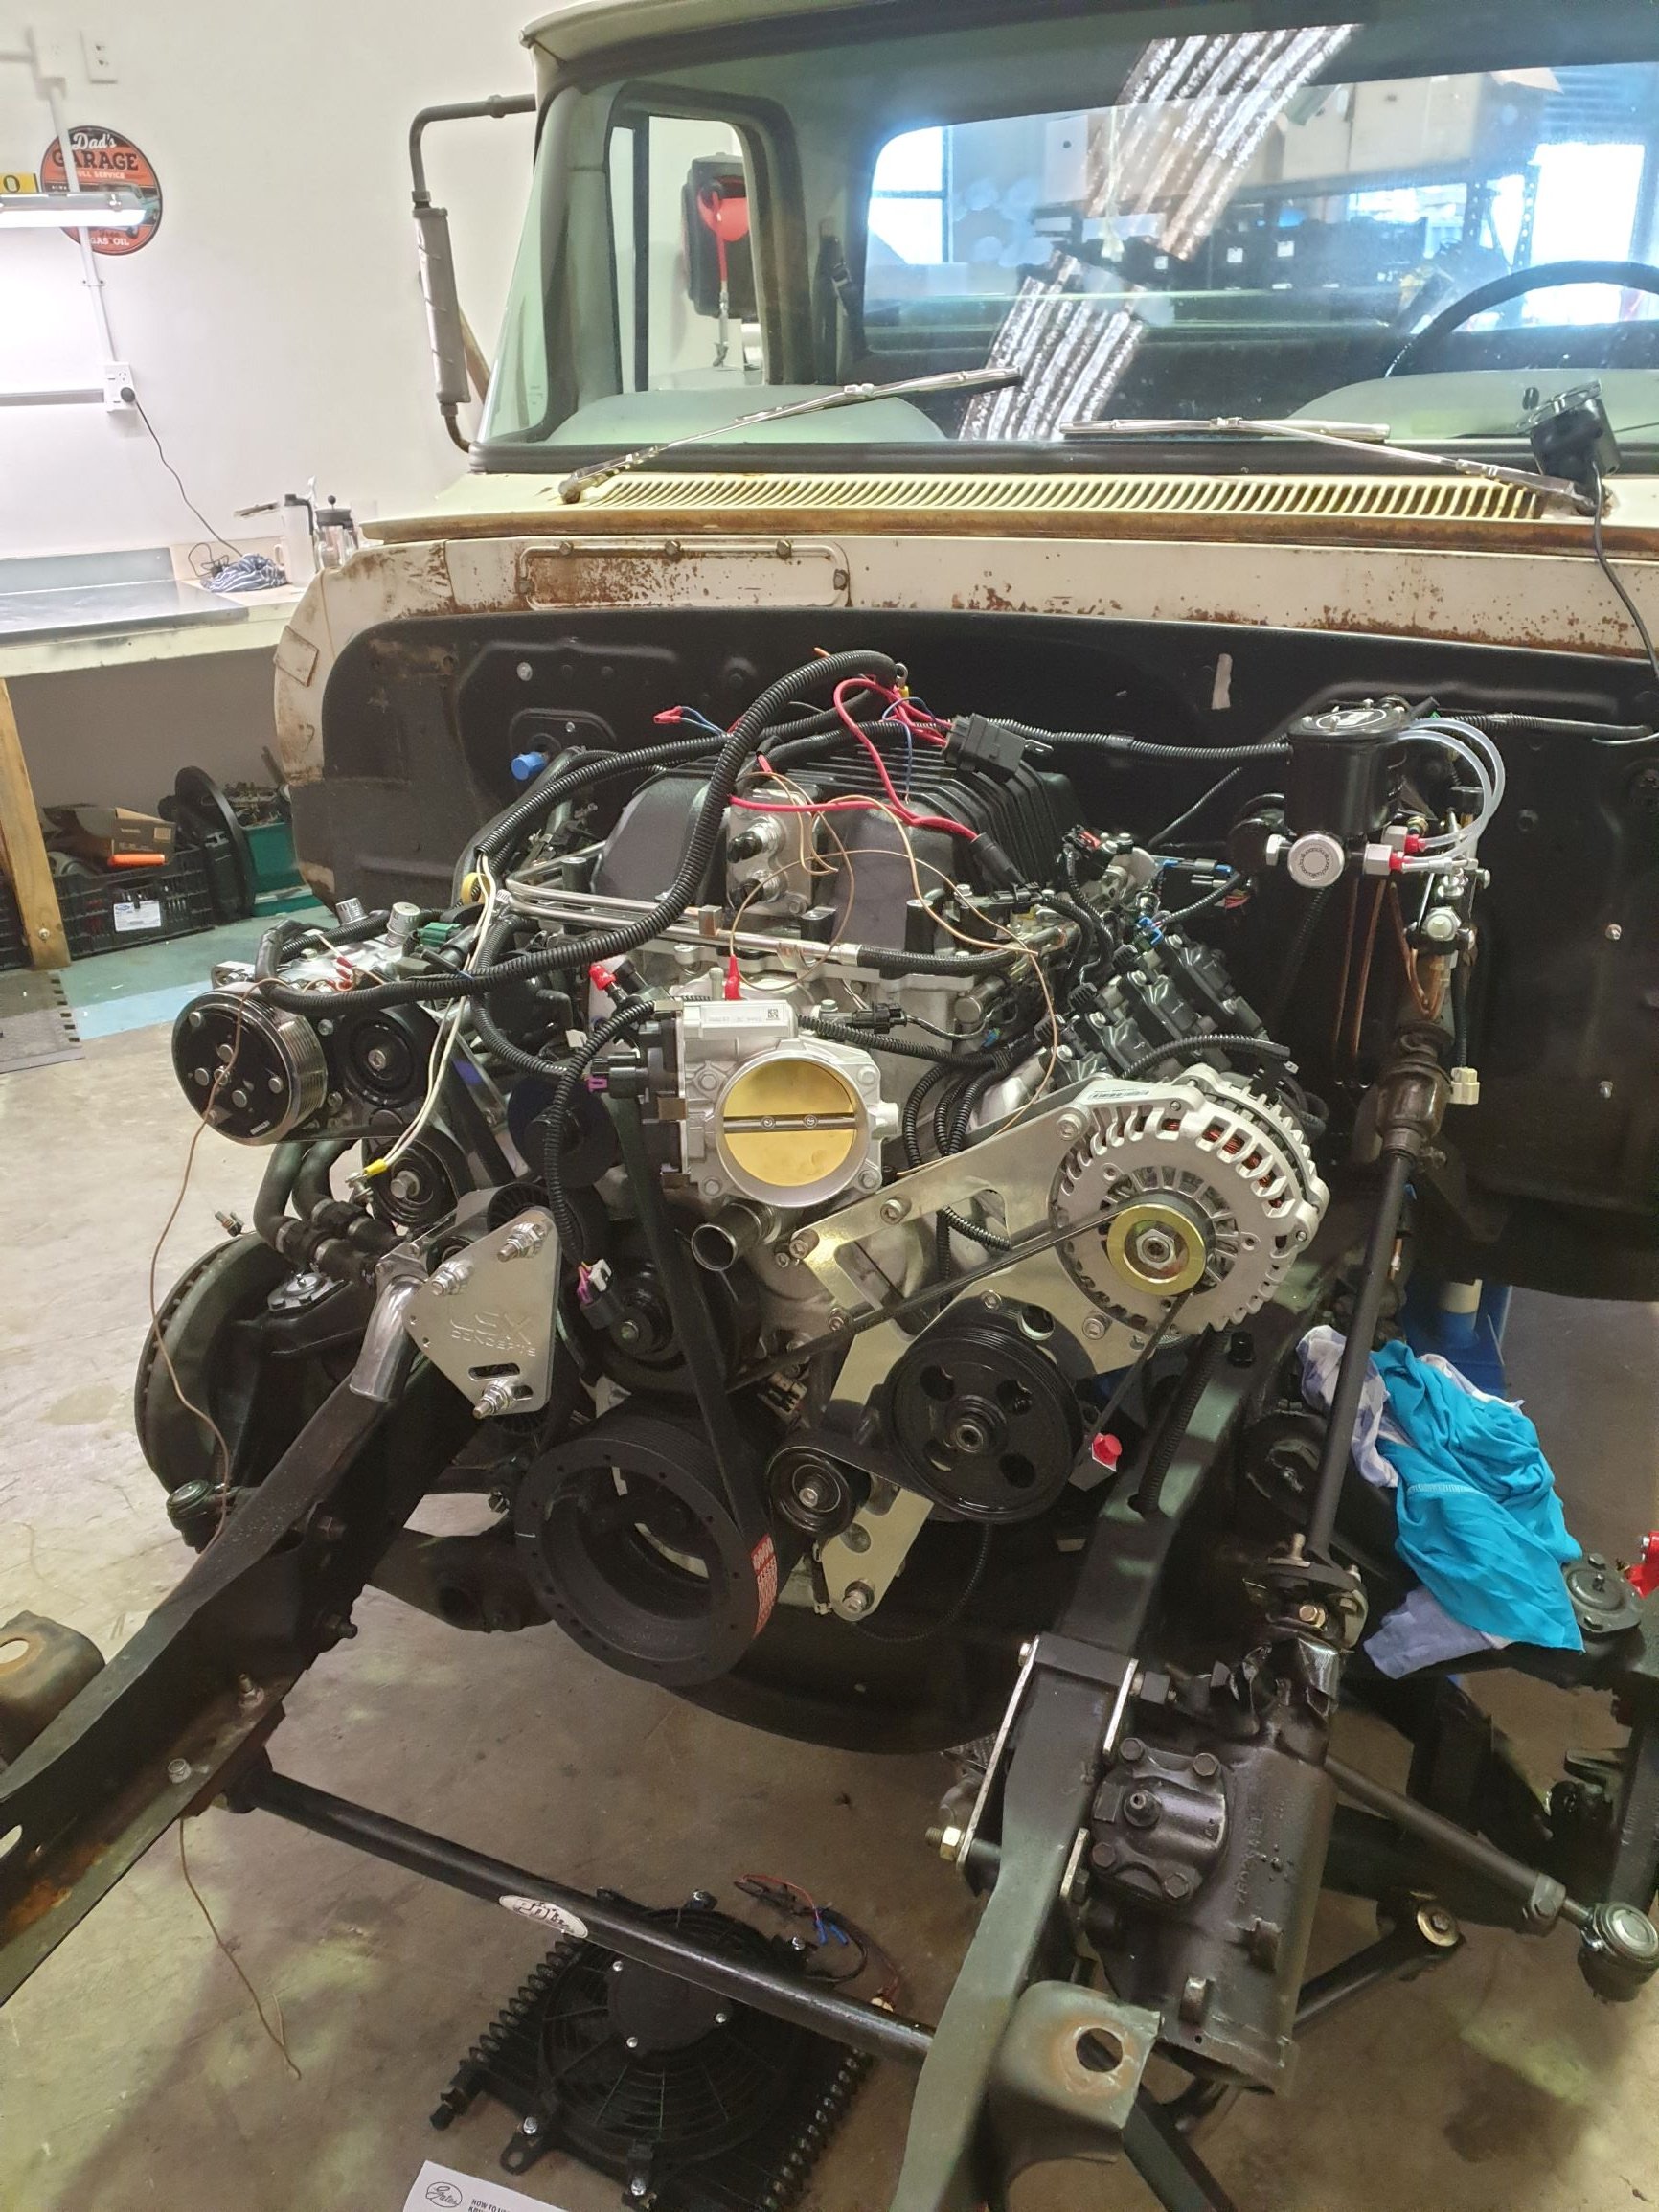
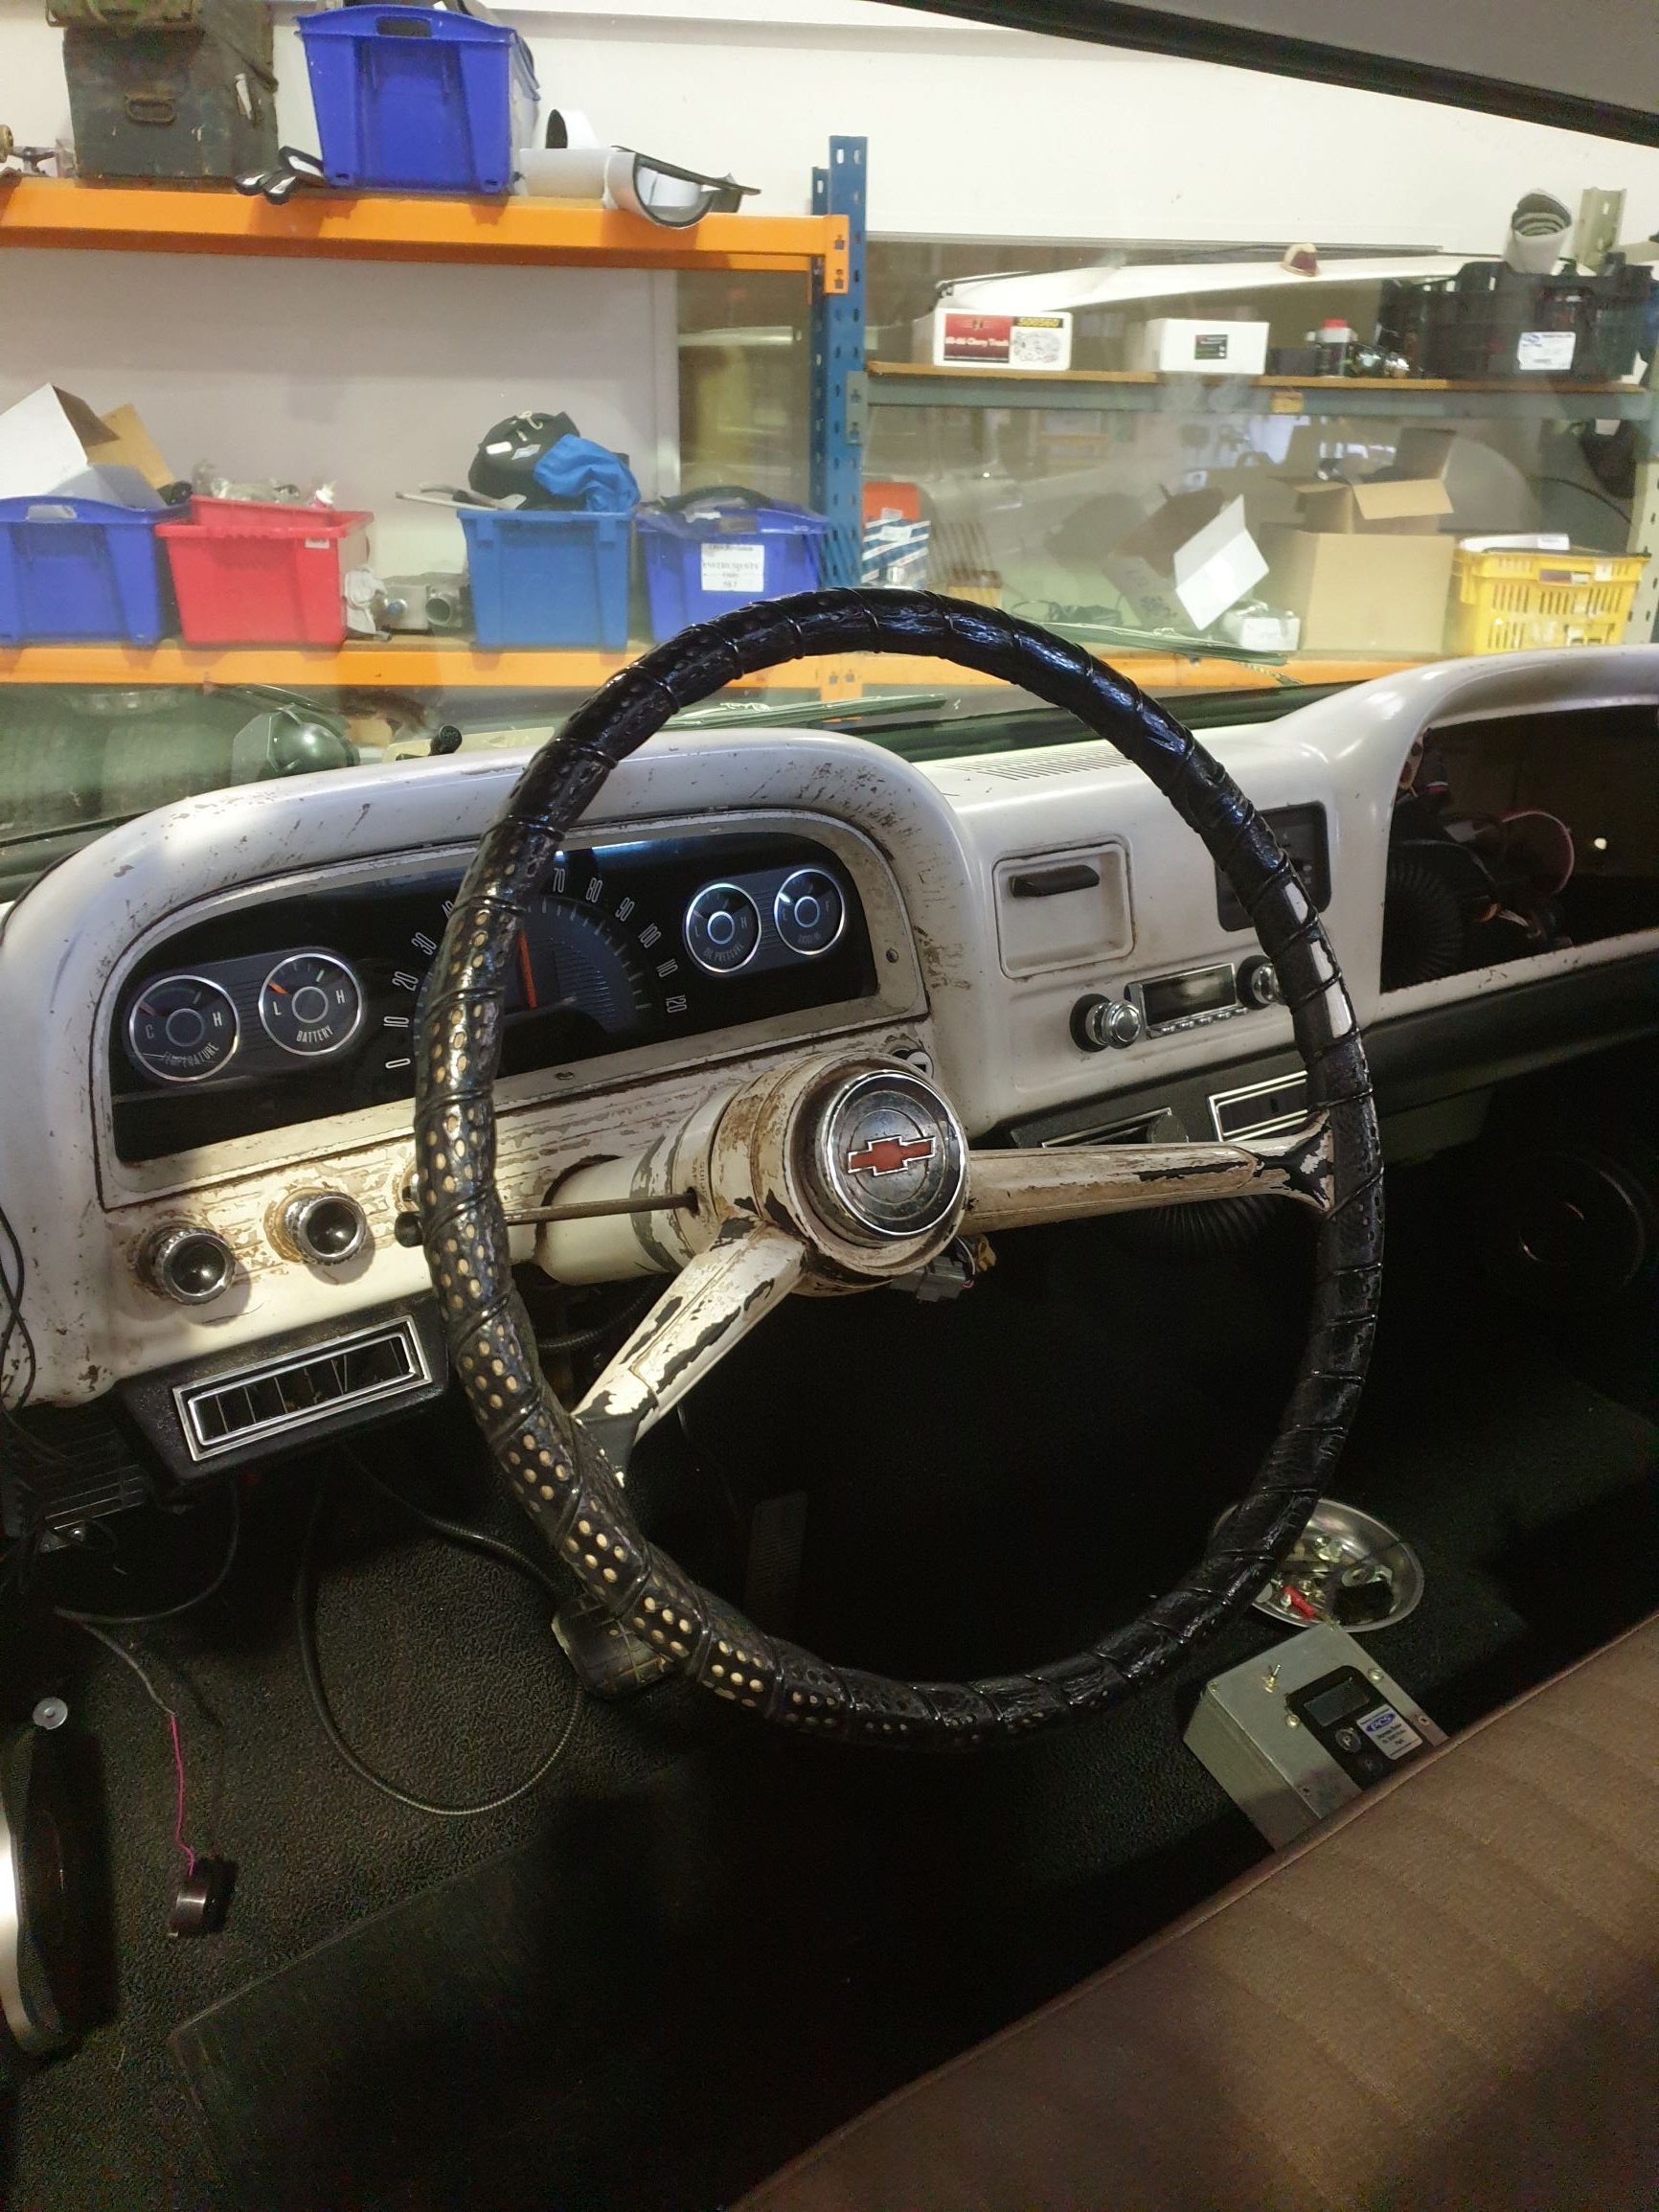
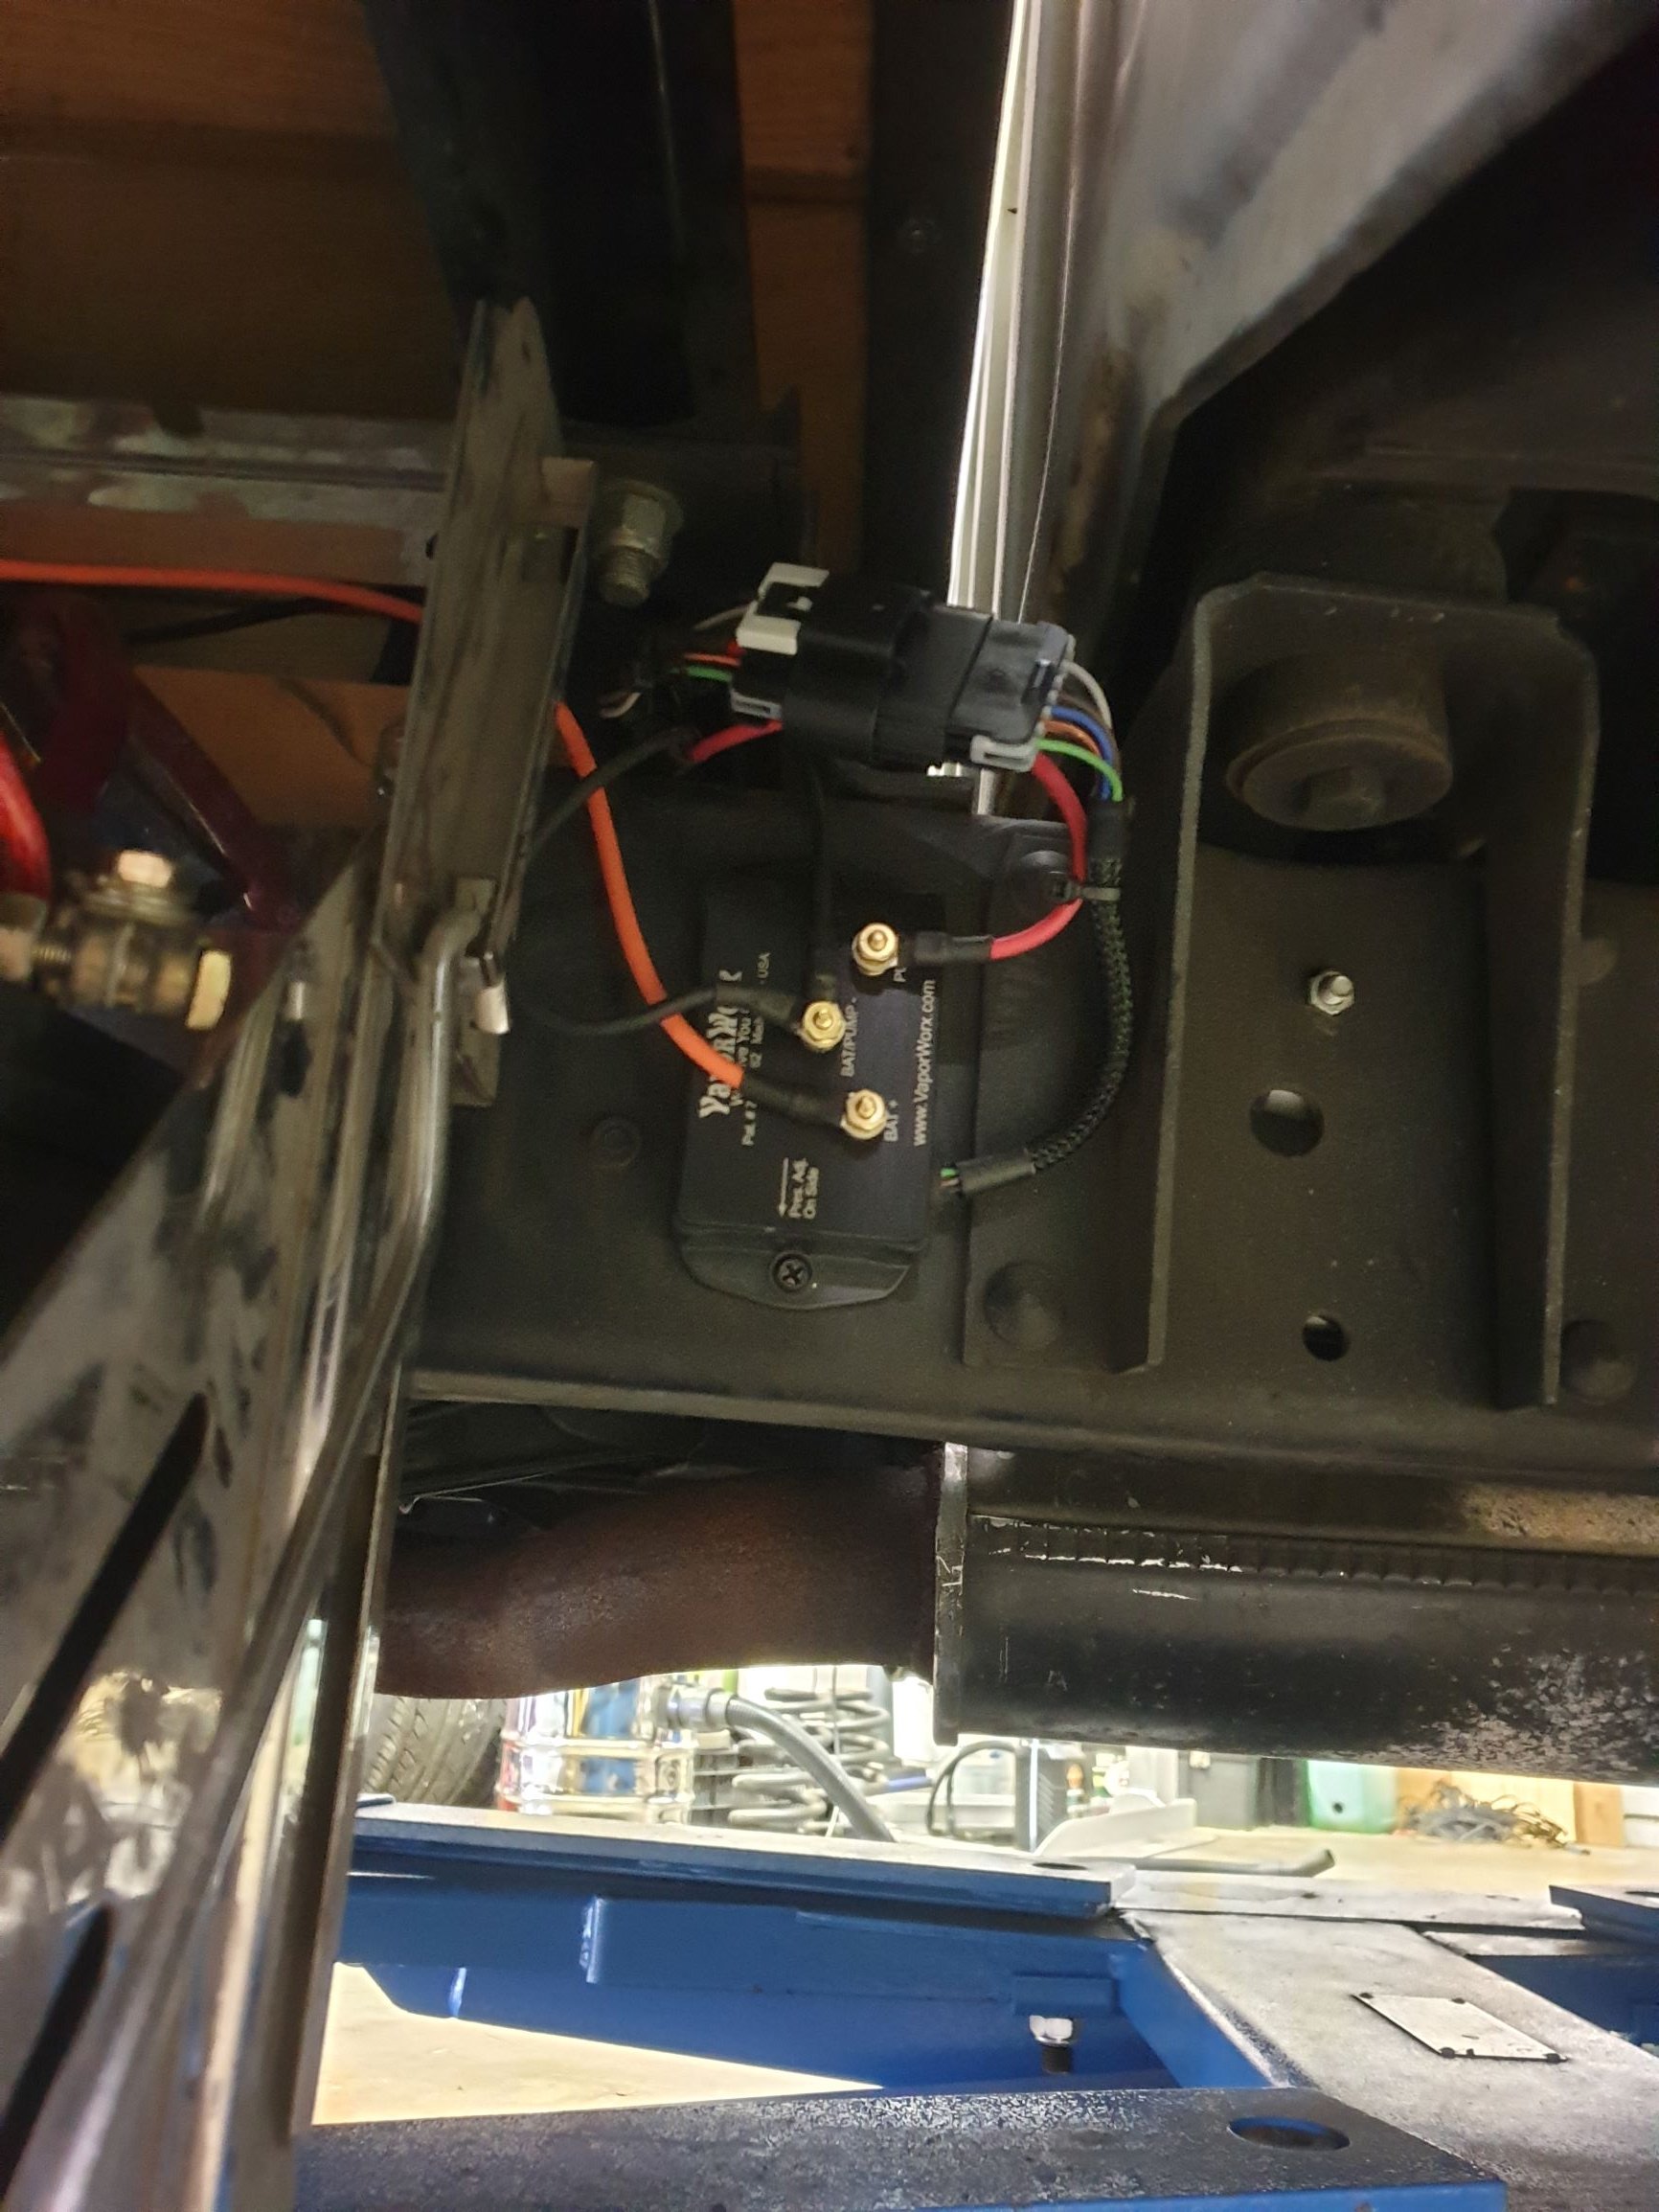
Donkey deep in the swap now. Finished up wiring on weekend, have put a vaporworx pwm set up on the fuel system. It gets fed fuel pressure, MAP, and ecu on off signal and makes the magic happen from there. I reran the fuel line in a 1/2" line, dead headed set up. Trans and engine are in, changed rear stoppers to disc, also changed pinion yoke to 1350 size, it was 1310. Remade all the front brake lines, replaced all ball joints, tie rod ends, basically all the steering/front end stuff is new. Changed the Instrument stuff to a Dakota digital set up that plugs into the Ecu for all the info. Cert check soon !!
1 point
-
Turns out i need to use the cylindrical style transformers, they need a longer ramp up time of at least 8 milliseconds, ideally 10-12. The little cube ones are nice but they seem to foul. Although the cube style produce a hot enough spark to burn paper & start to melt the spark plug electrodes, when fouled with fuel they can't even light a pan of fuel. The cylinder style build up a charge and discharge it all at once, this appears to help with the 'self cleaning' effect. A big plug gap will make them lag like crazy, but the spark is loud enough to hear from outside the engine block.1 point
-
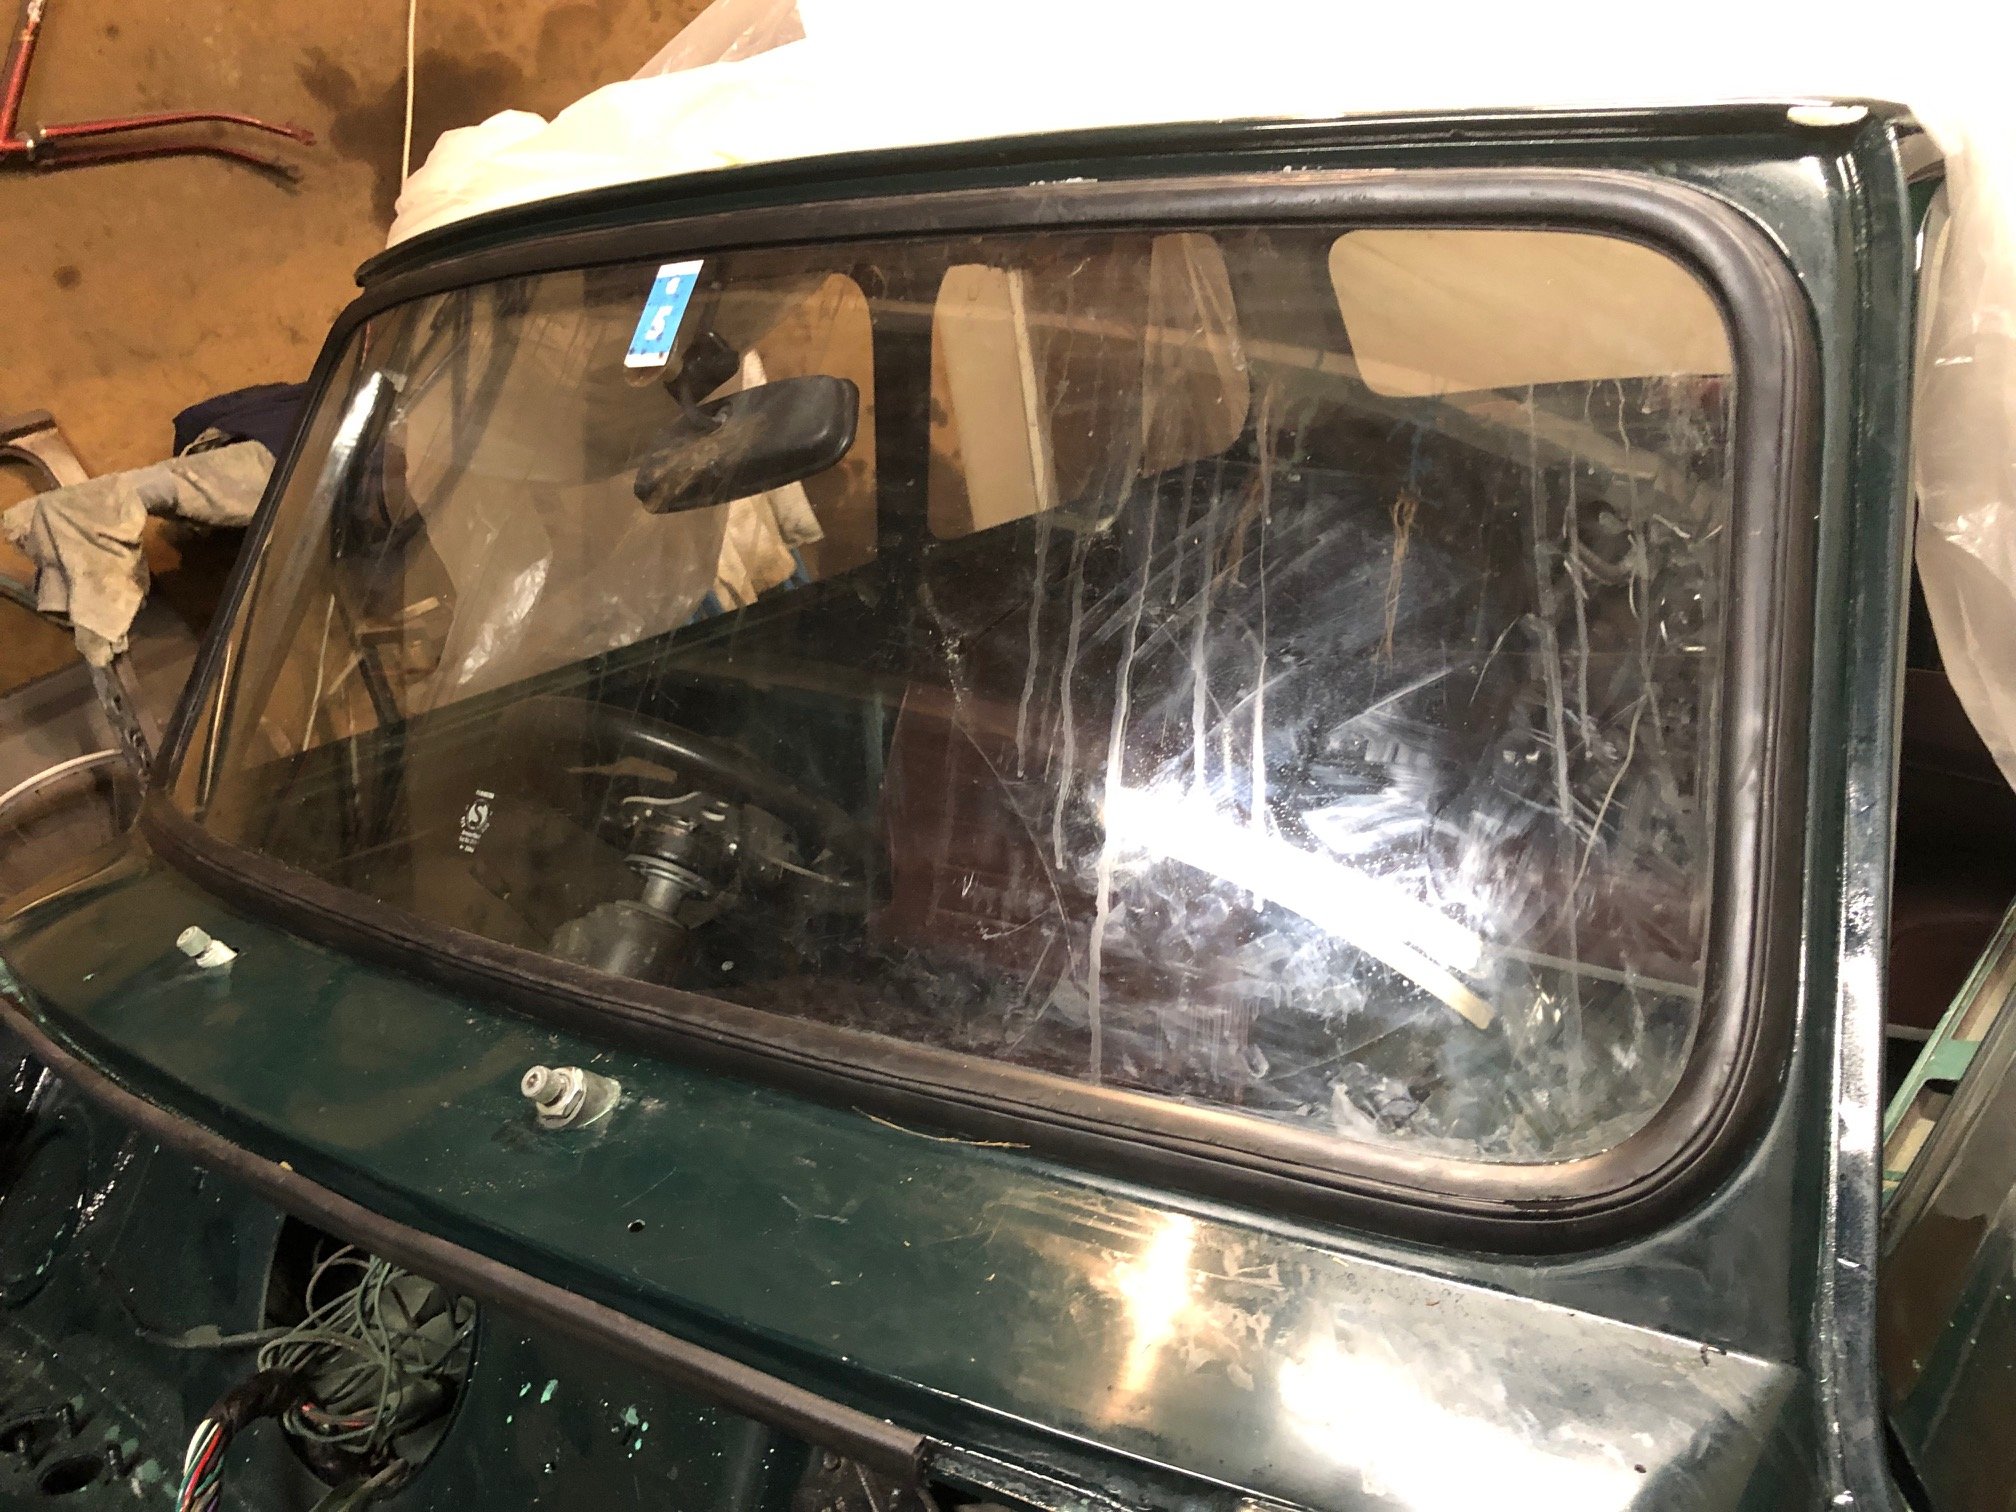
Got the screens in, what a painful job that is...... came with fixed glass for the rear (which I kind of like) so I've gone with that Need to get my A into G, first weekend with some decent weather I need to paint and start assembling the subframe.....
1 point
-
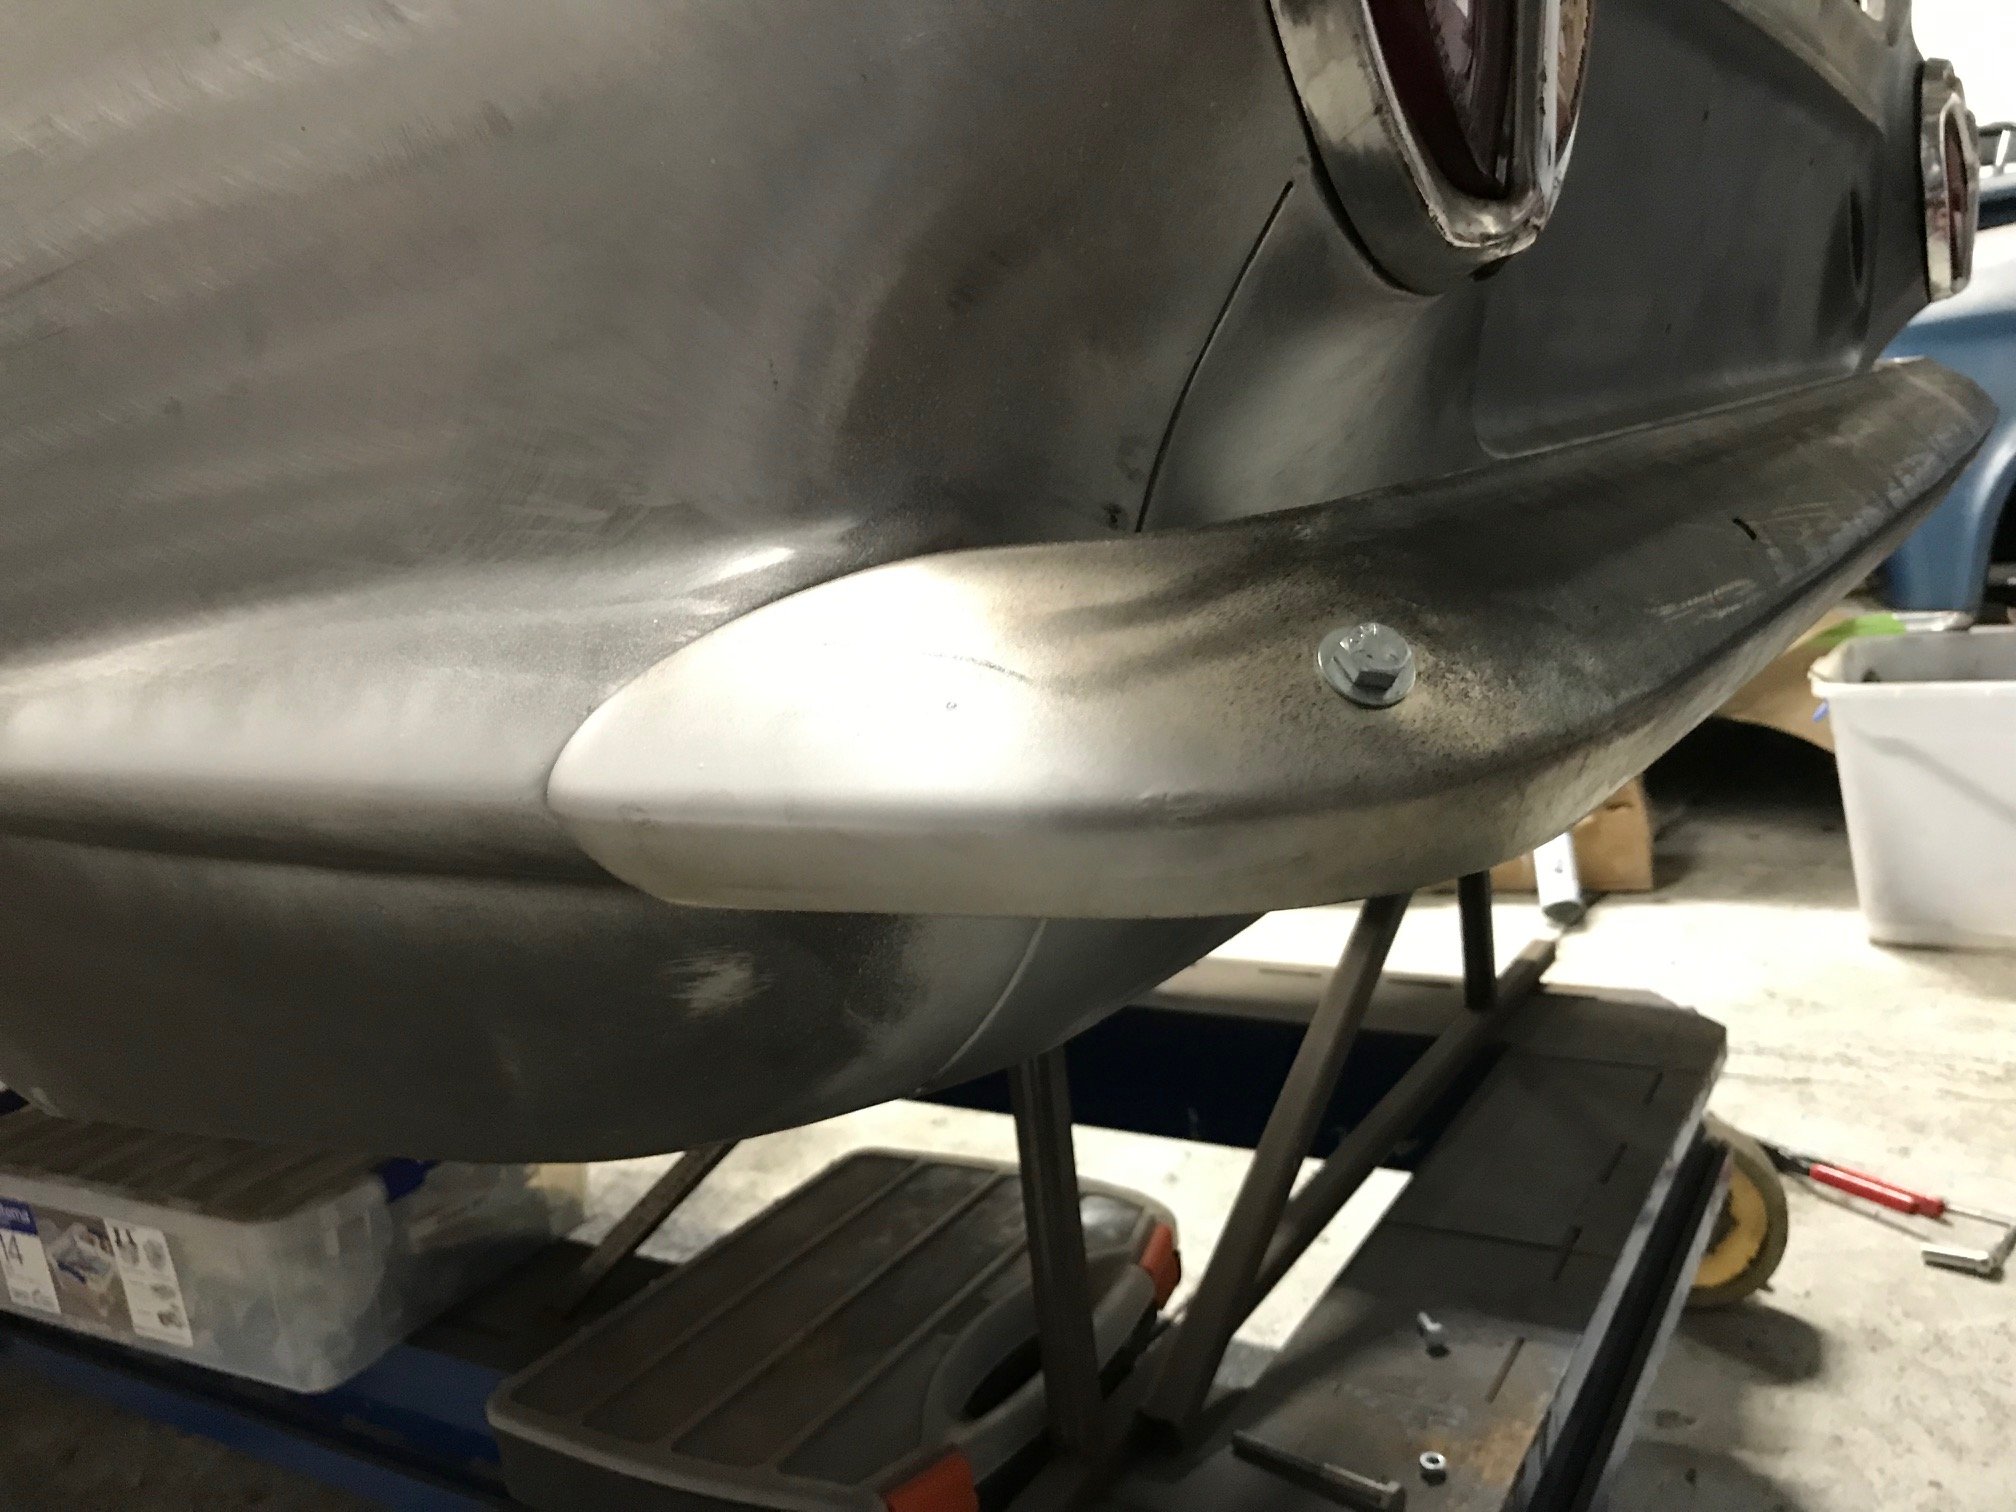
Rear bumper has been straightened up and trial fitted. Looking mint. Just needs a file up and off to the chrome players again. Down to the last few small jobs and off for the final blast.
1 point
-
Beat life1 point
-
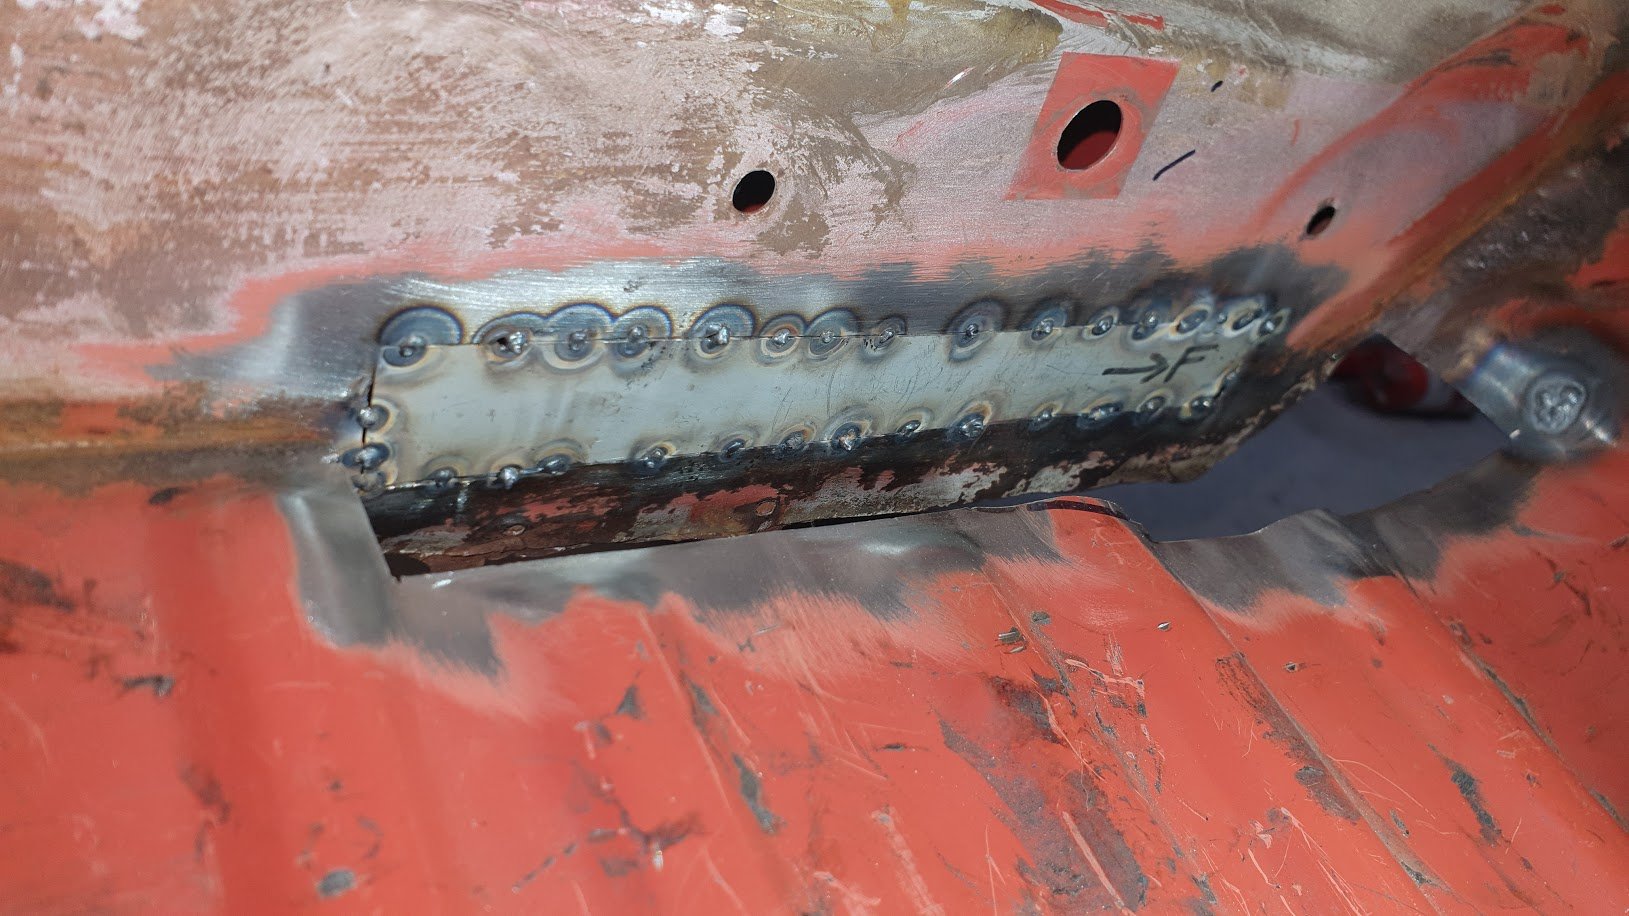
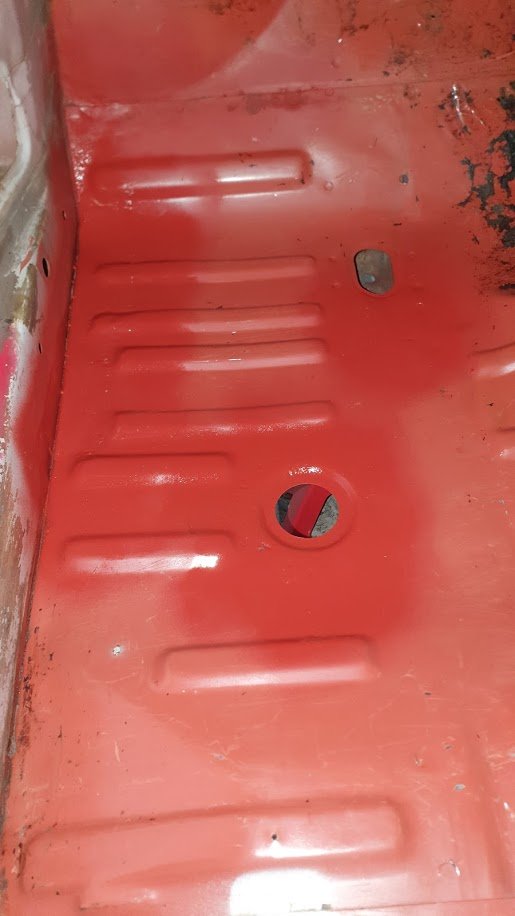
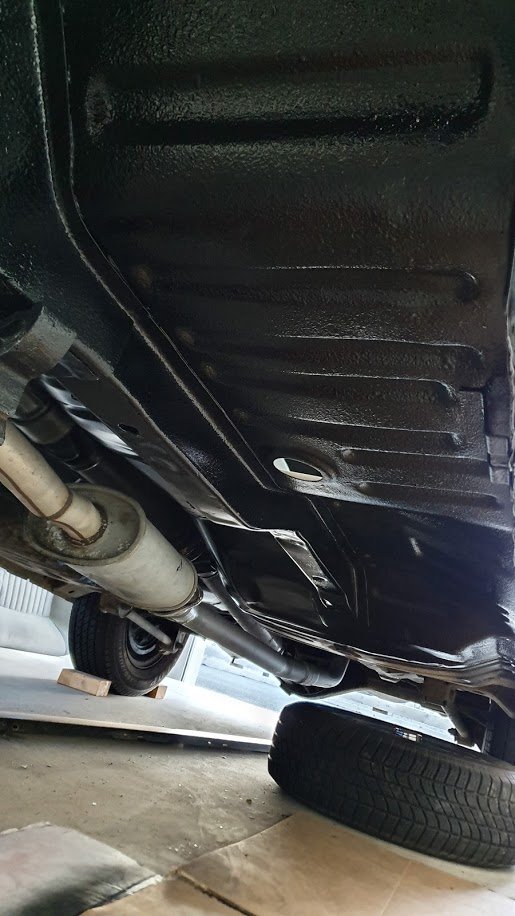
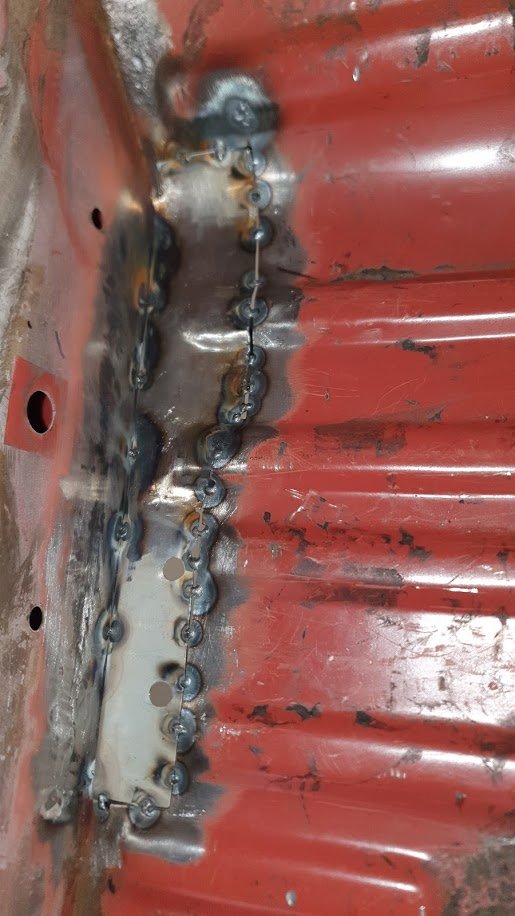
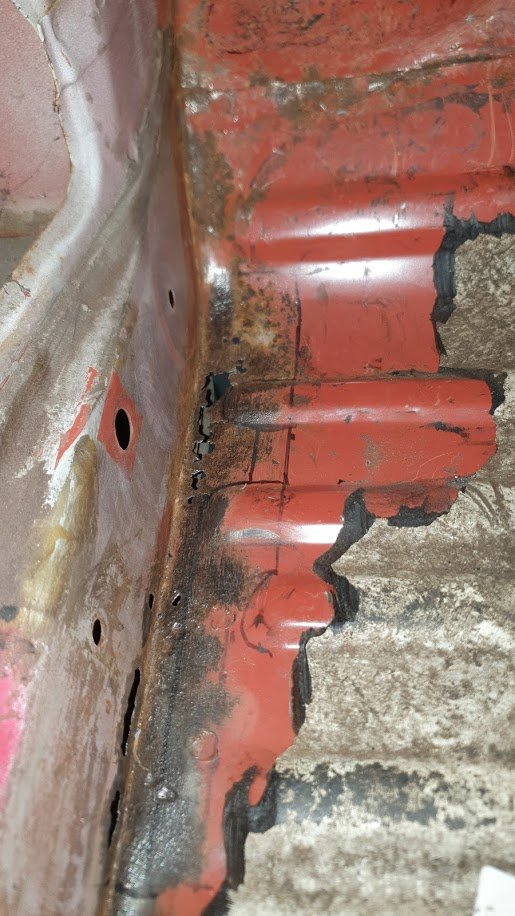
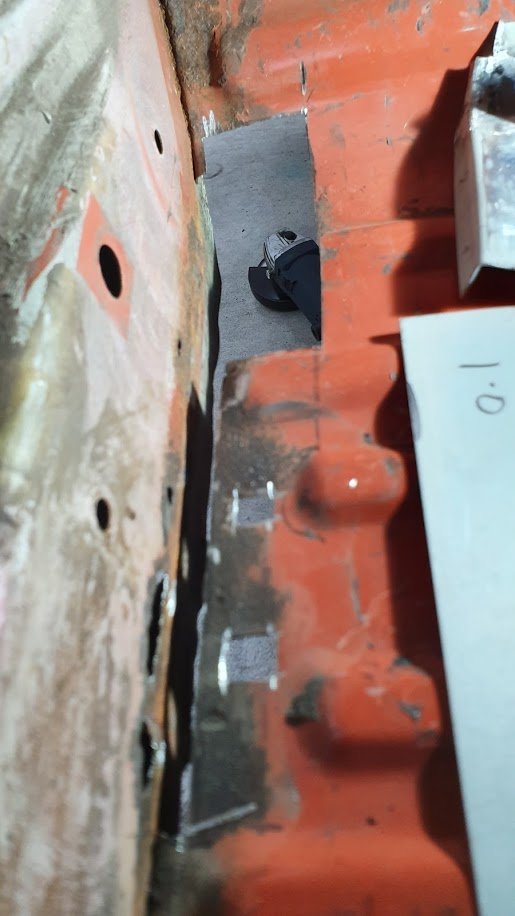
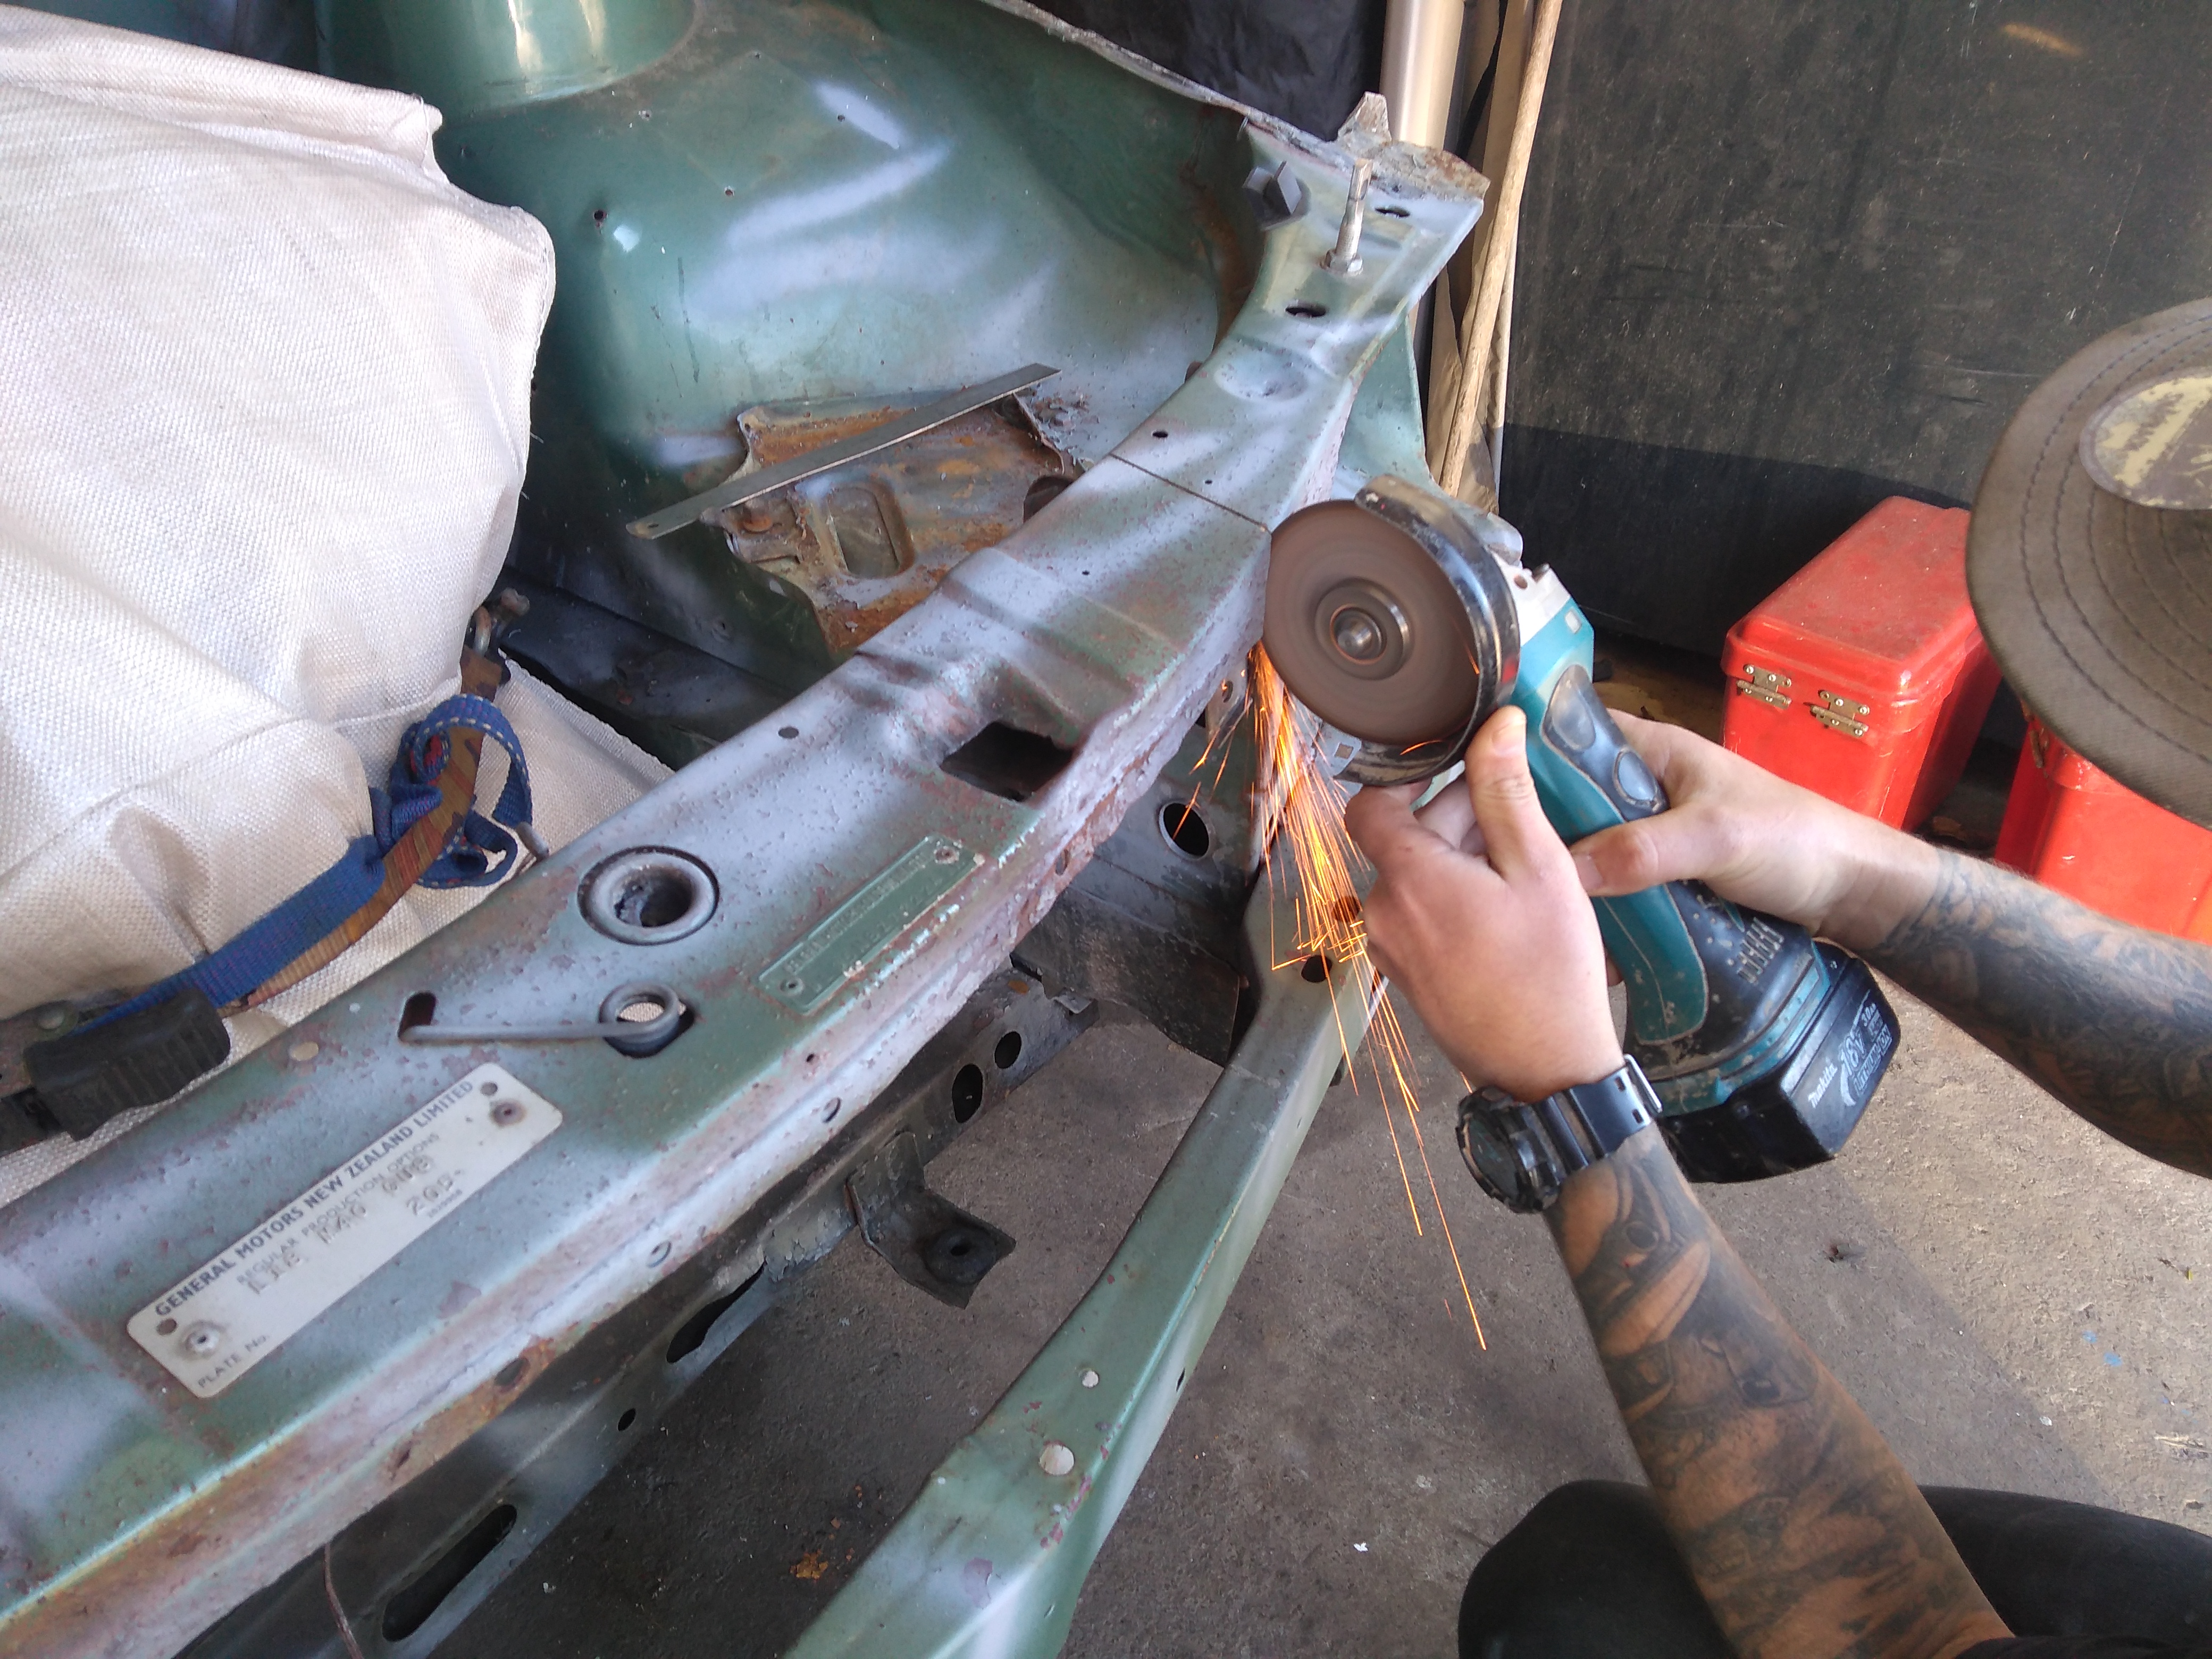
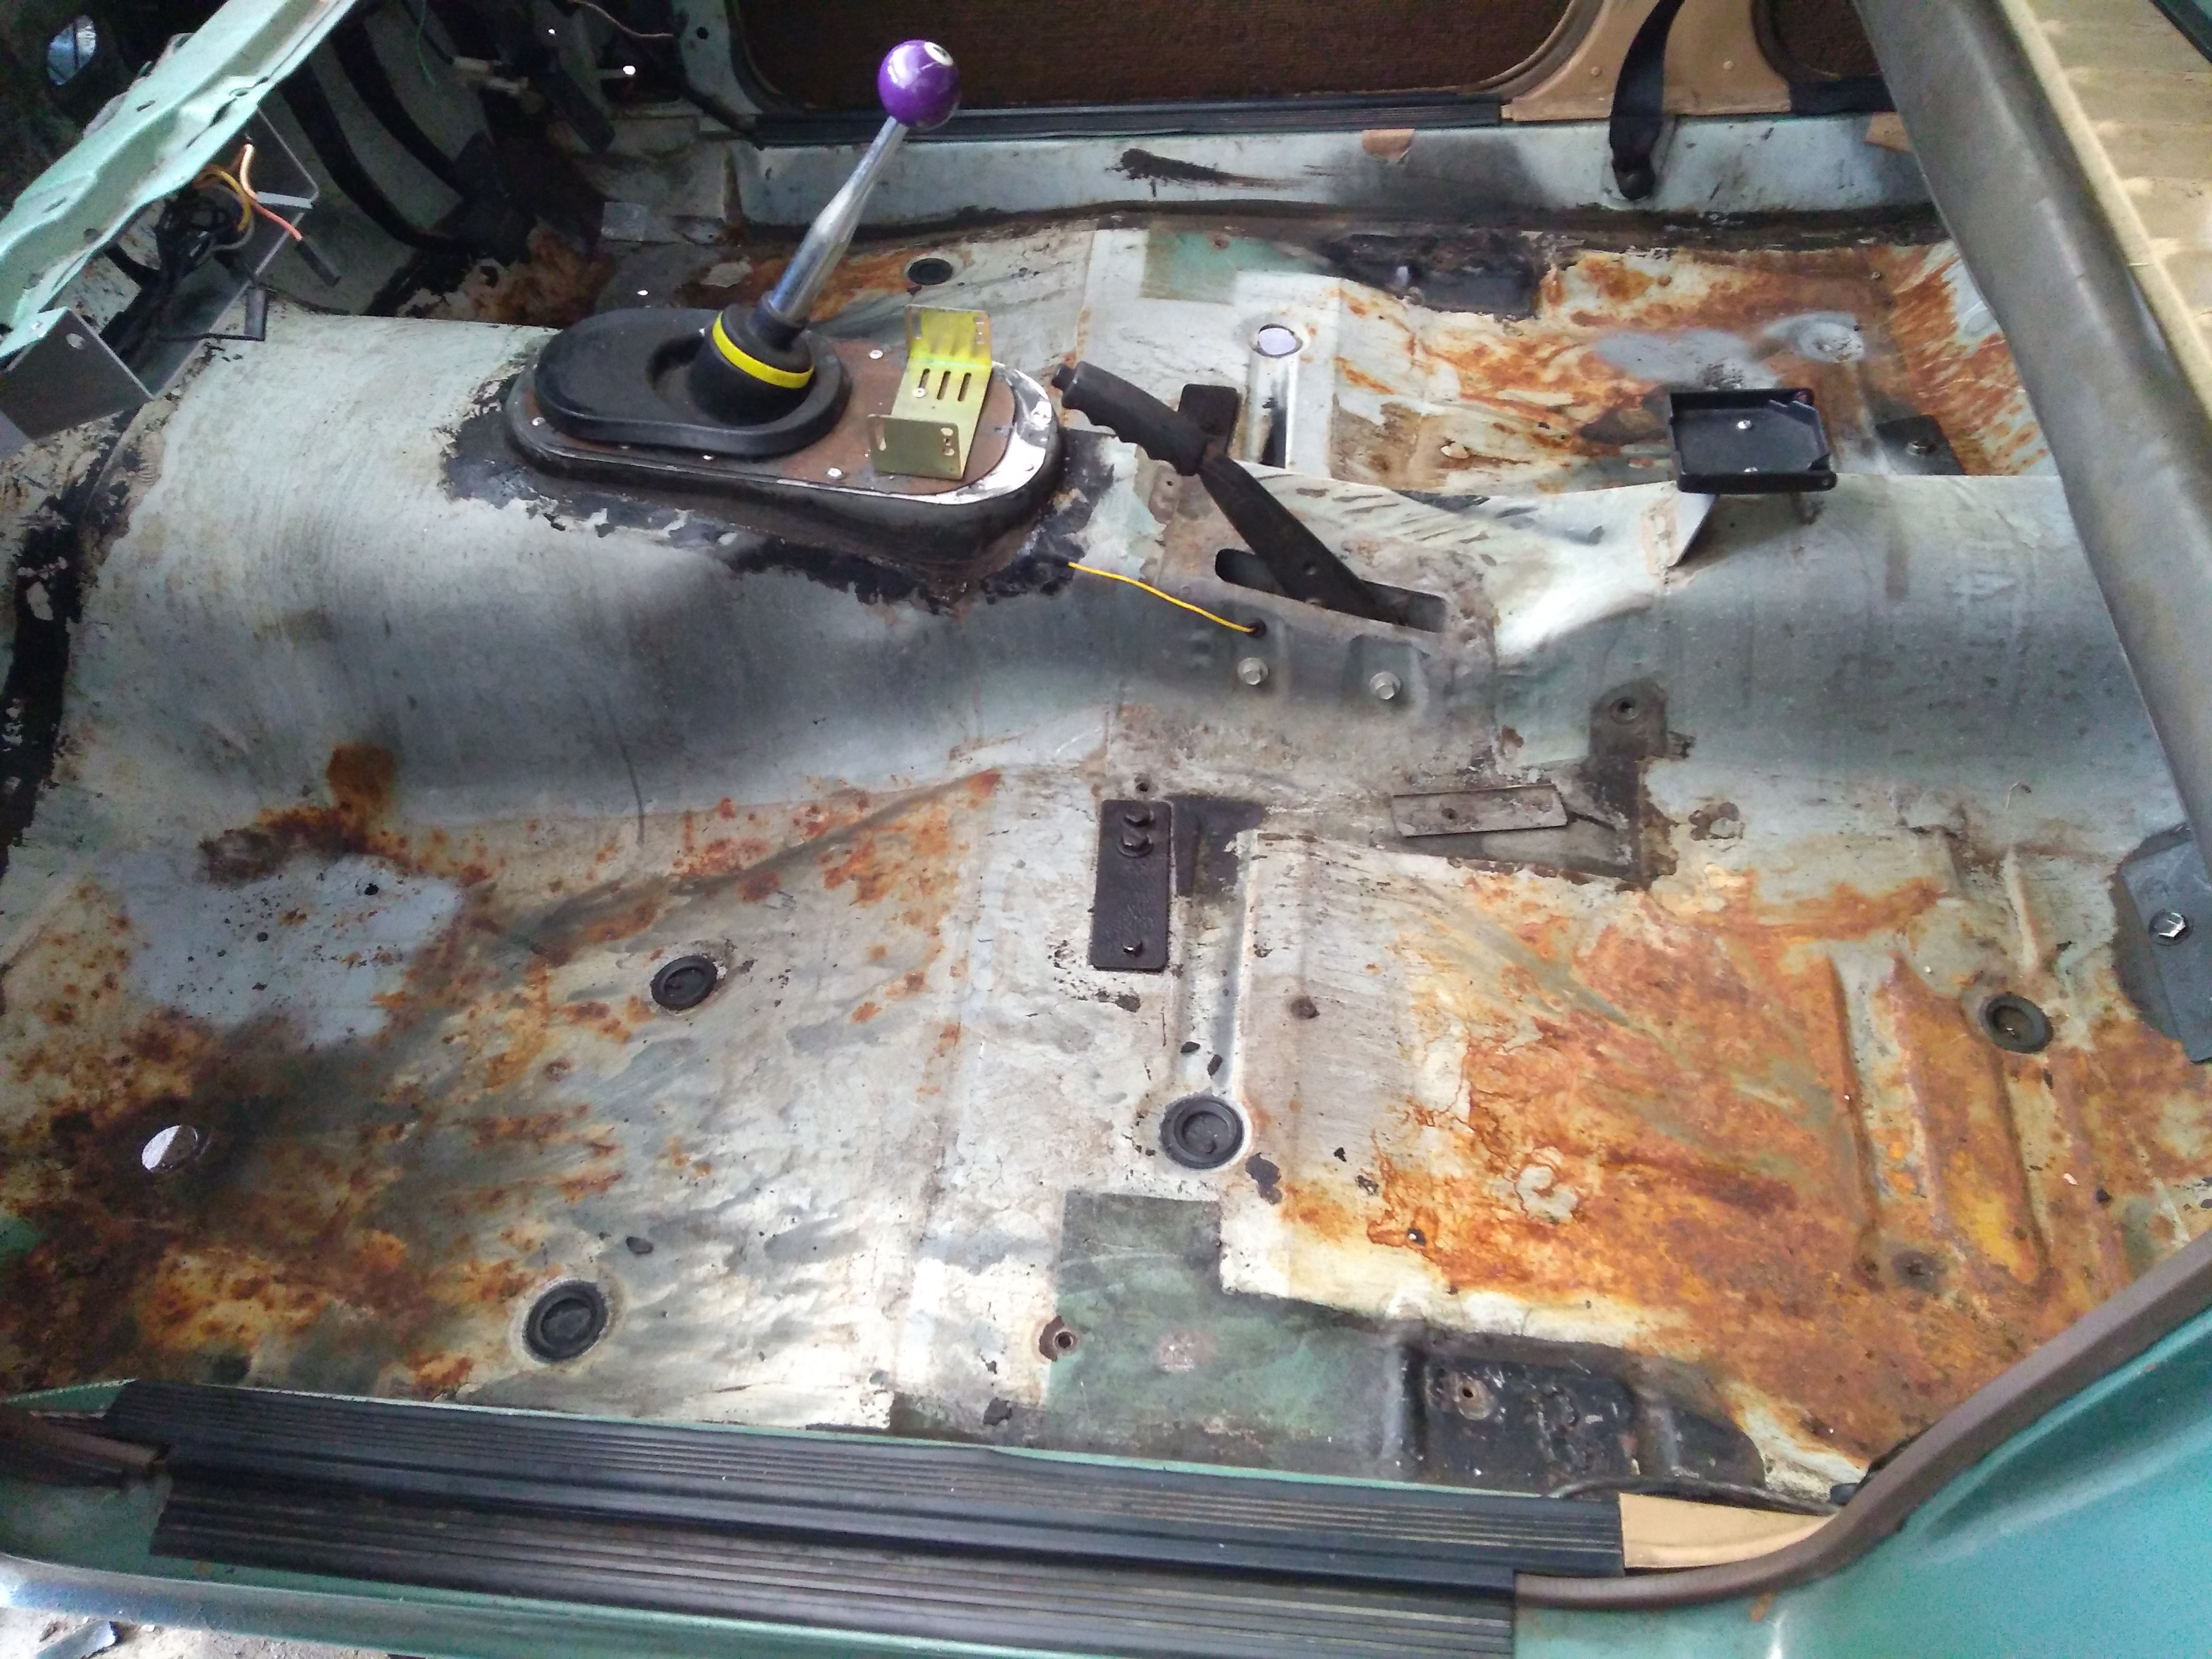
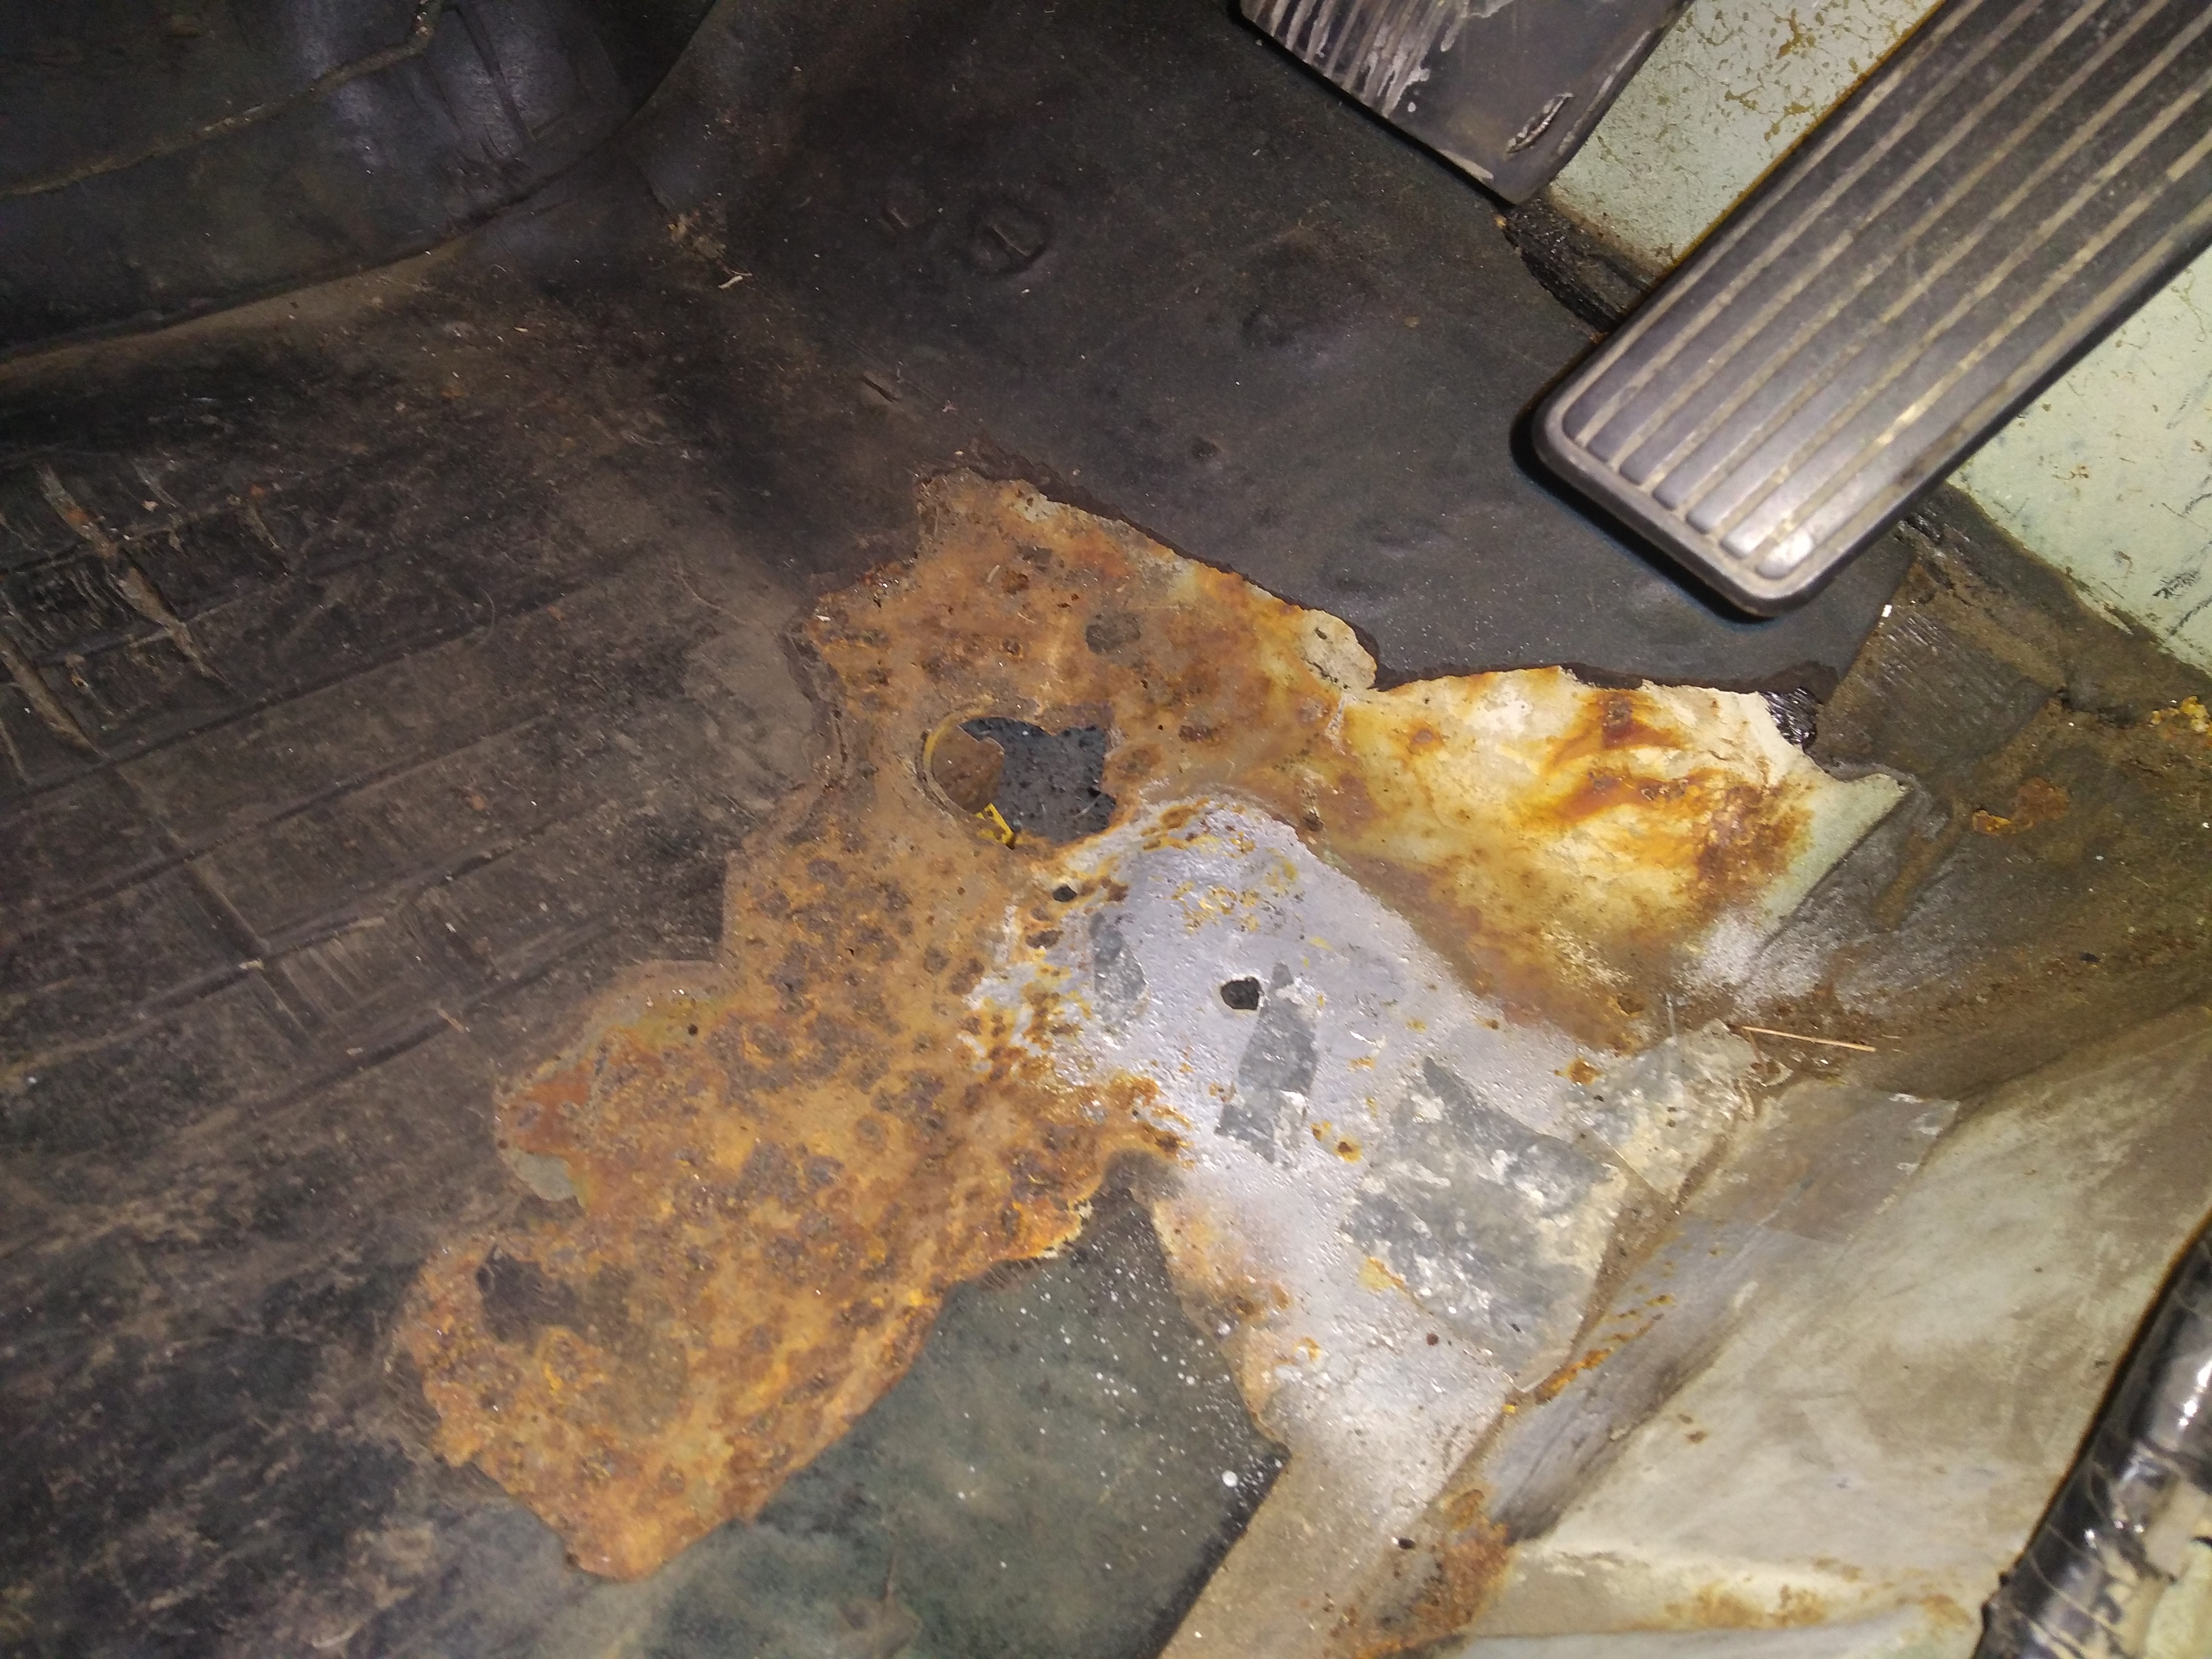
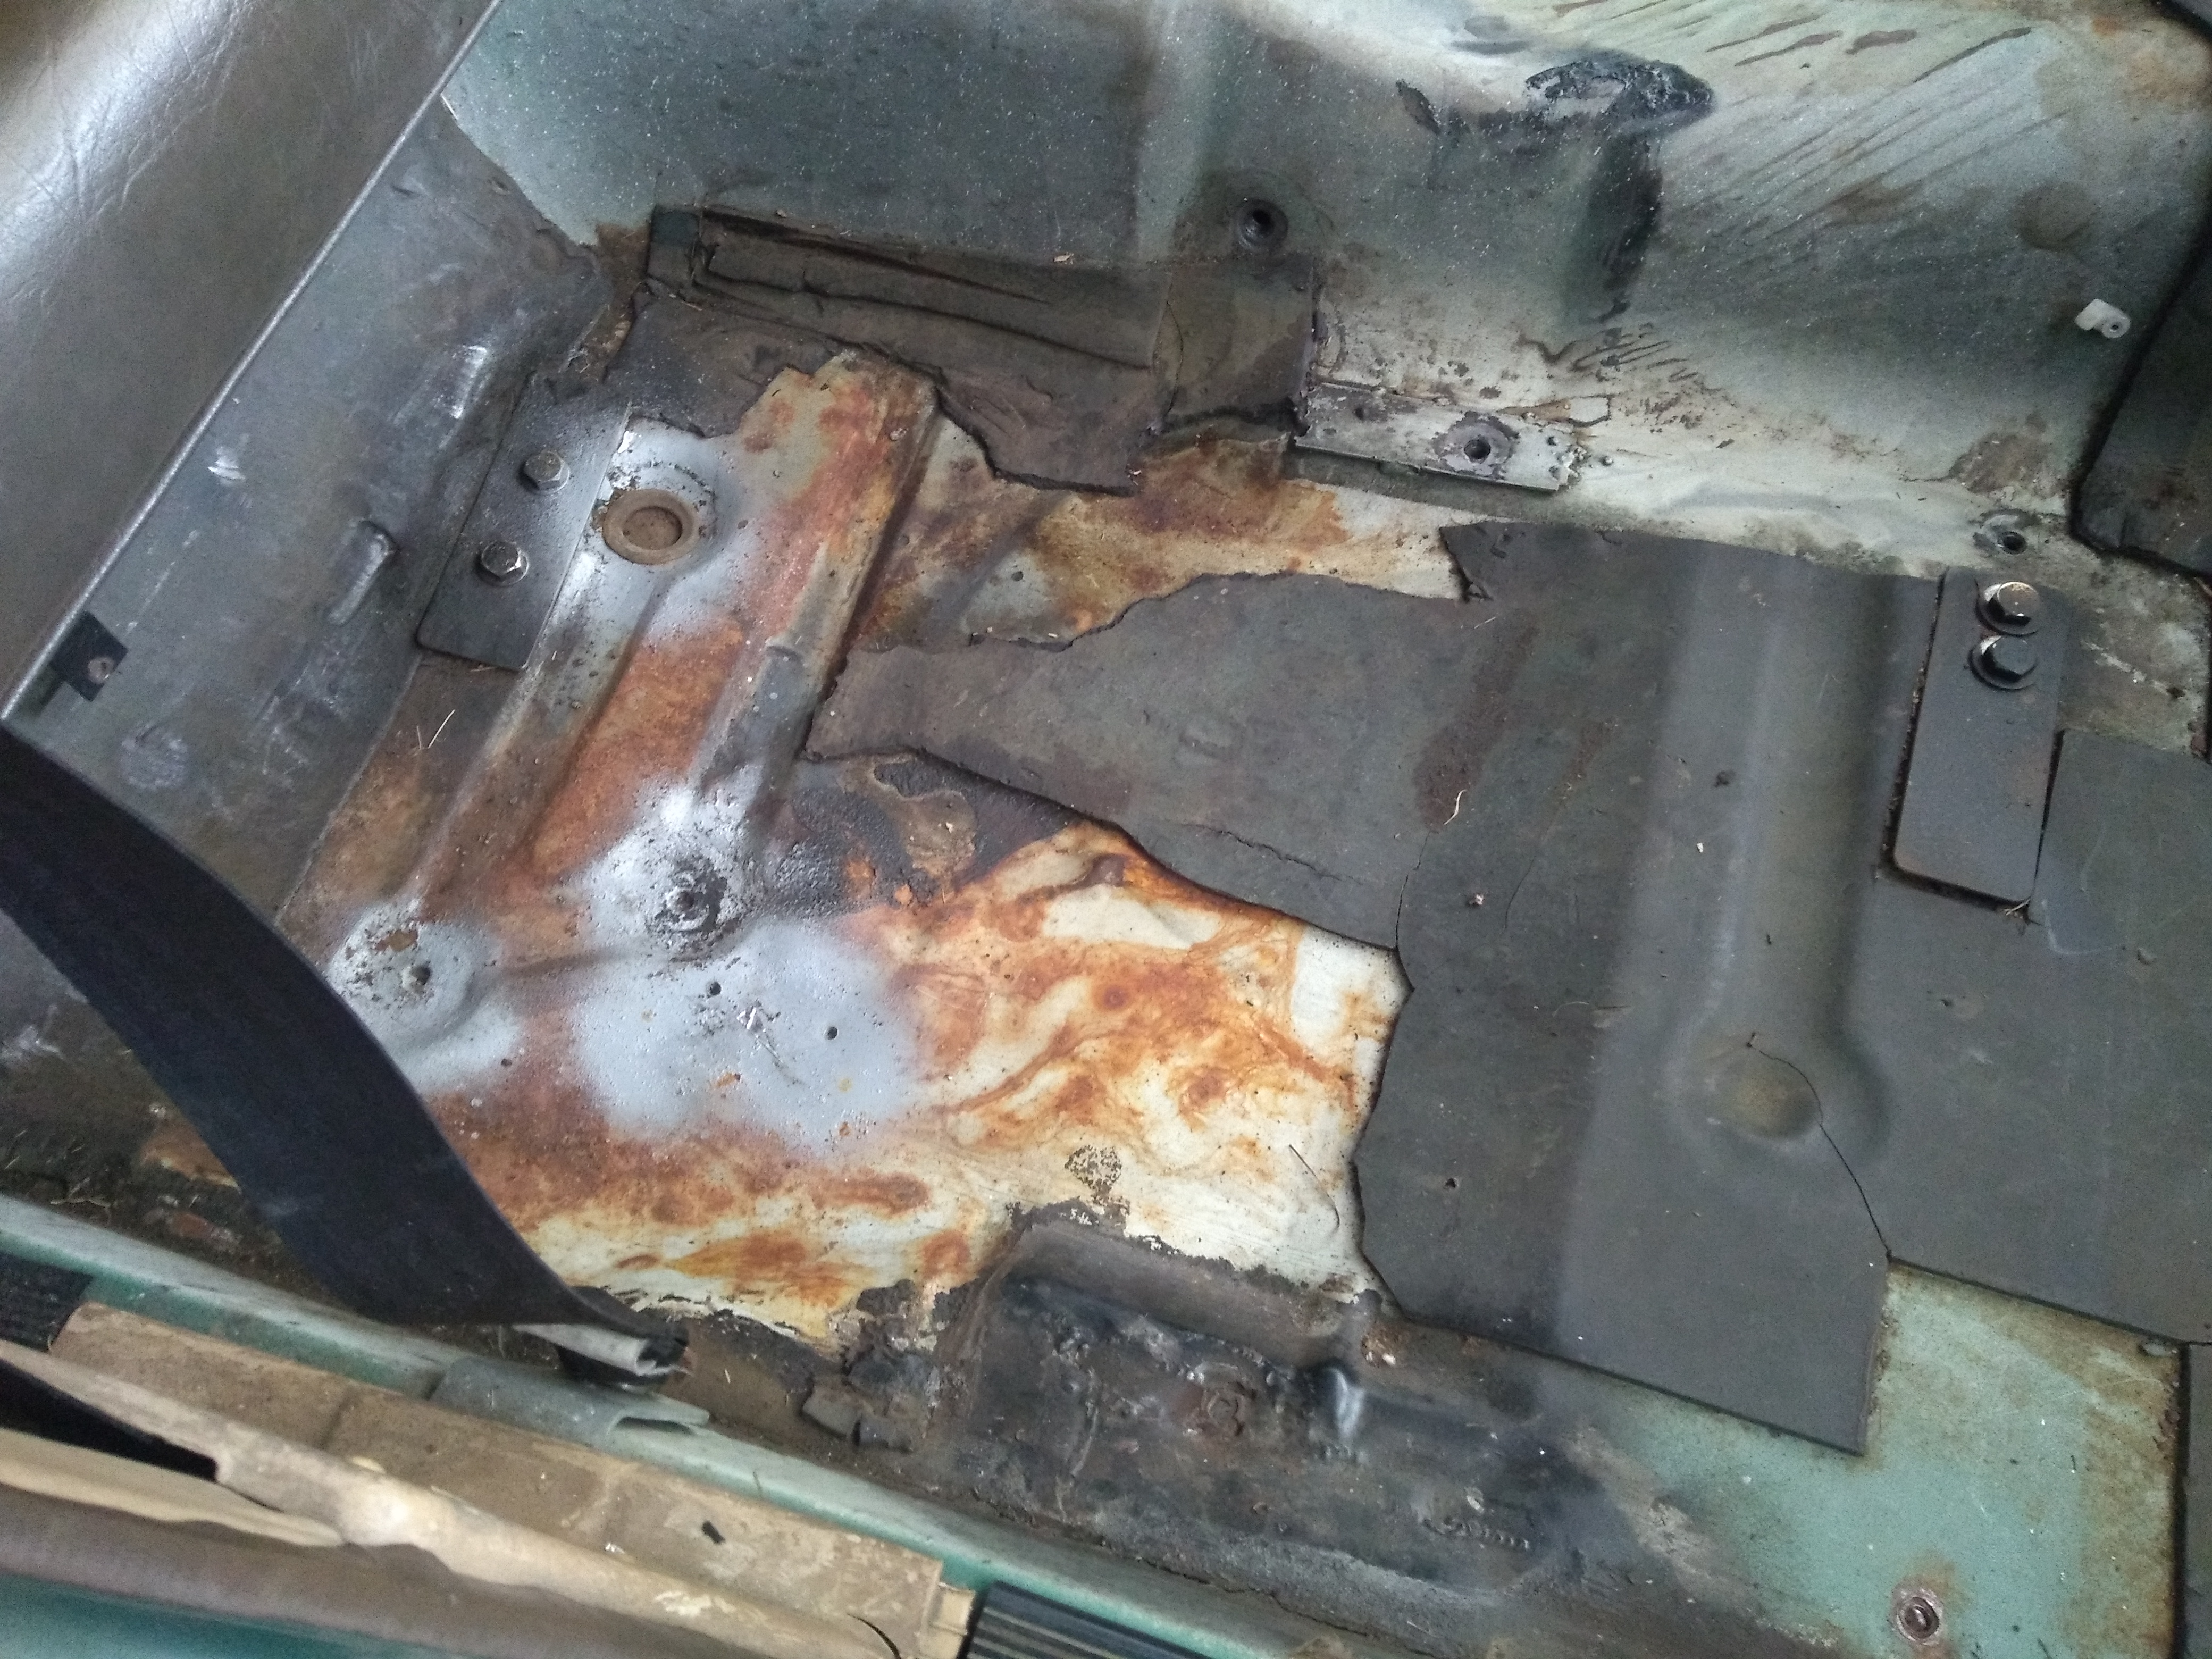
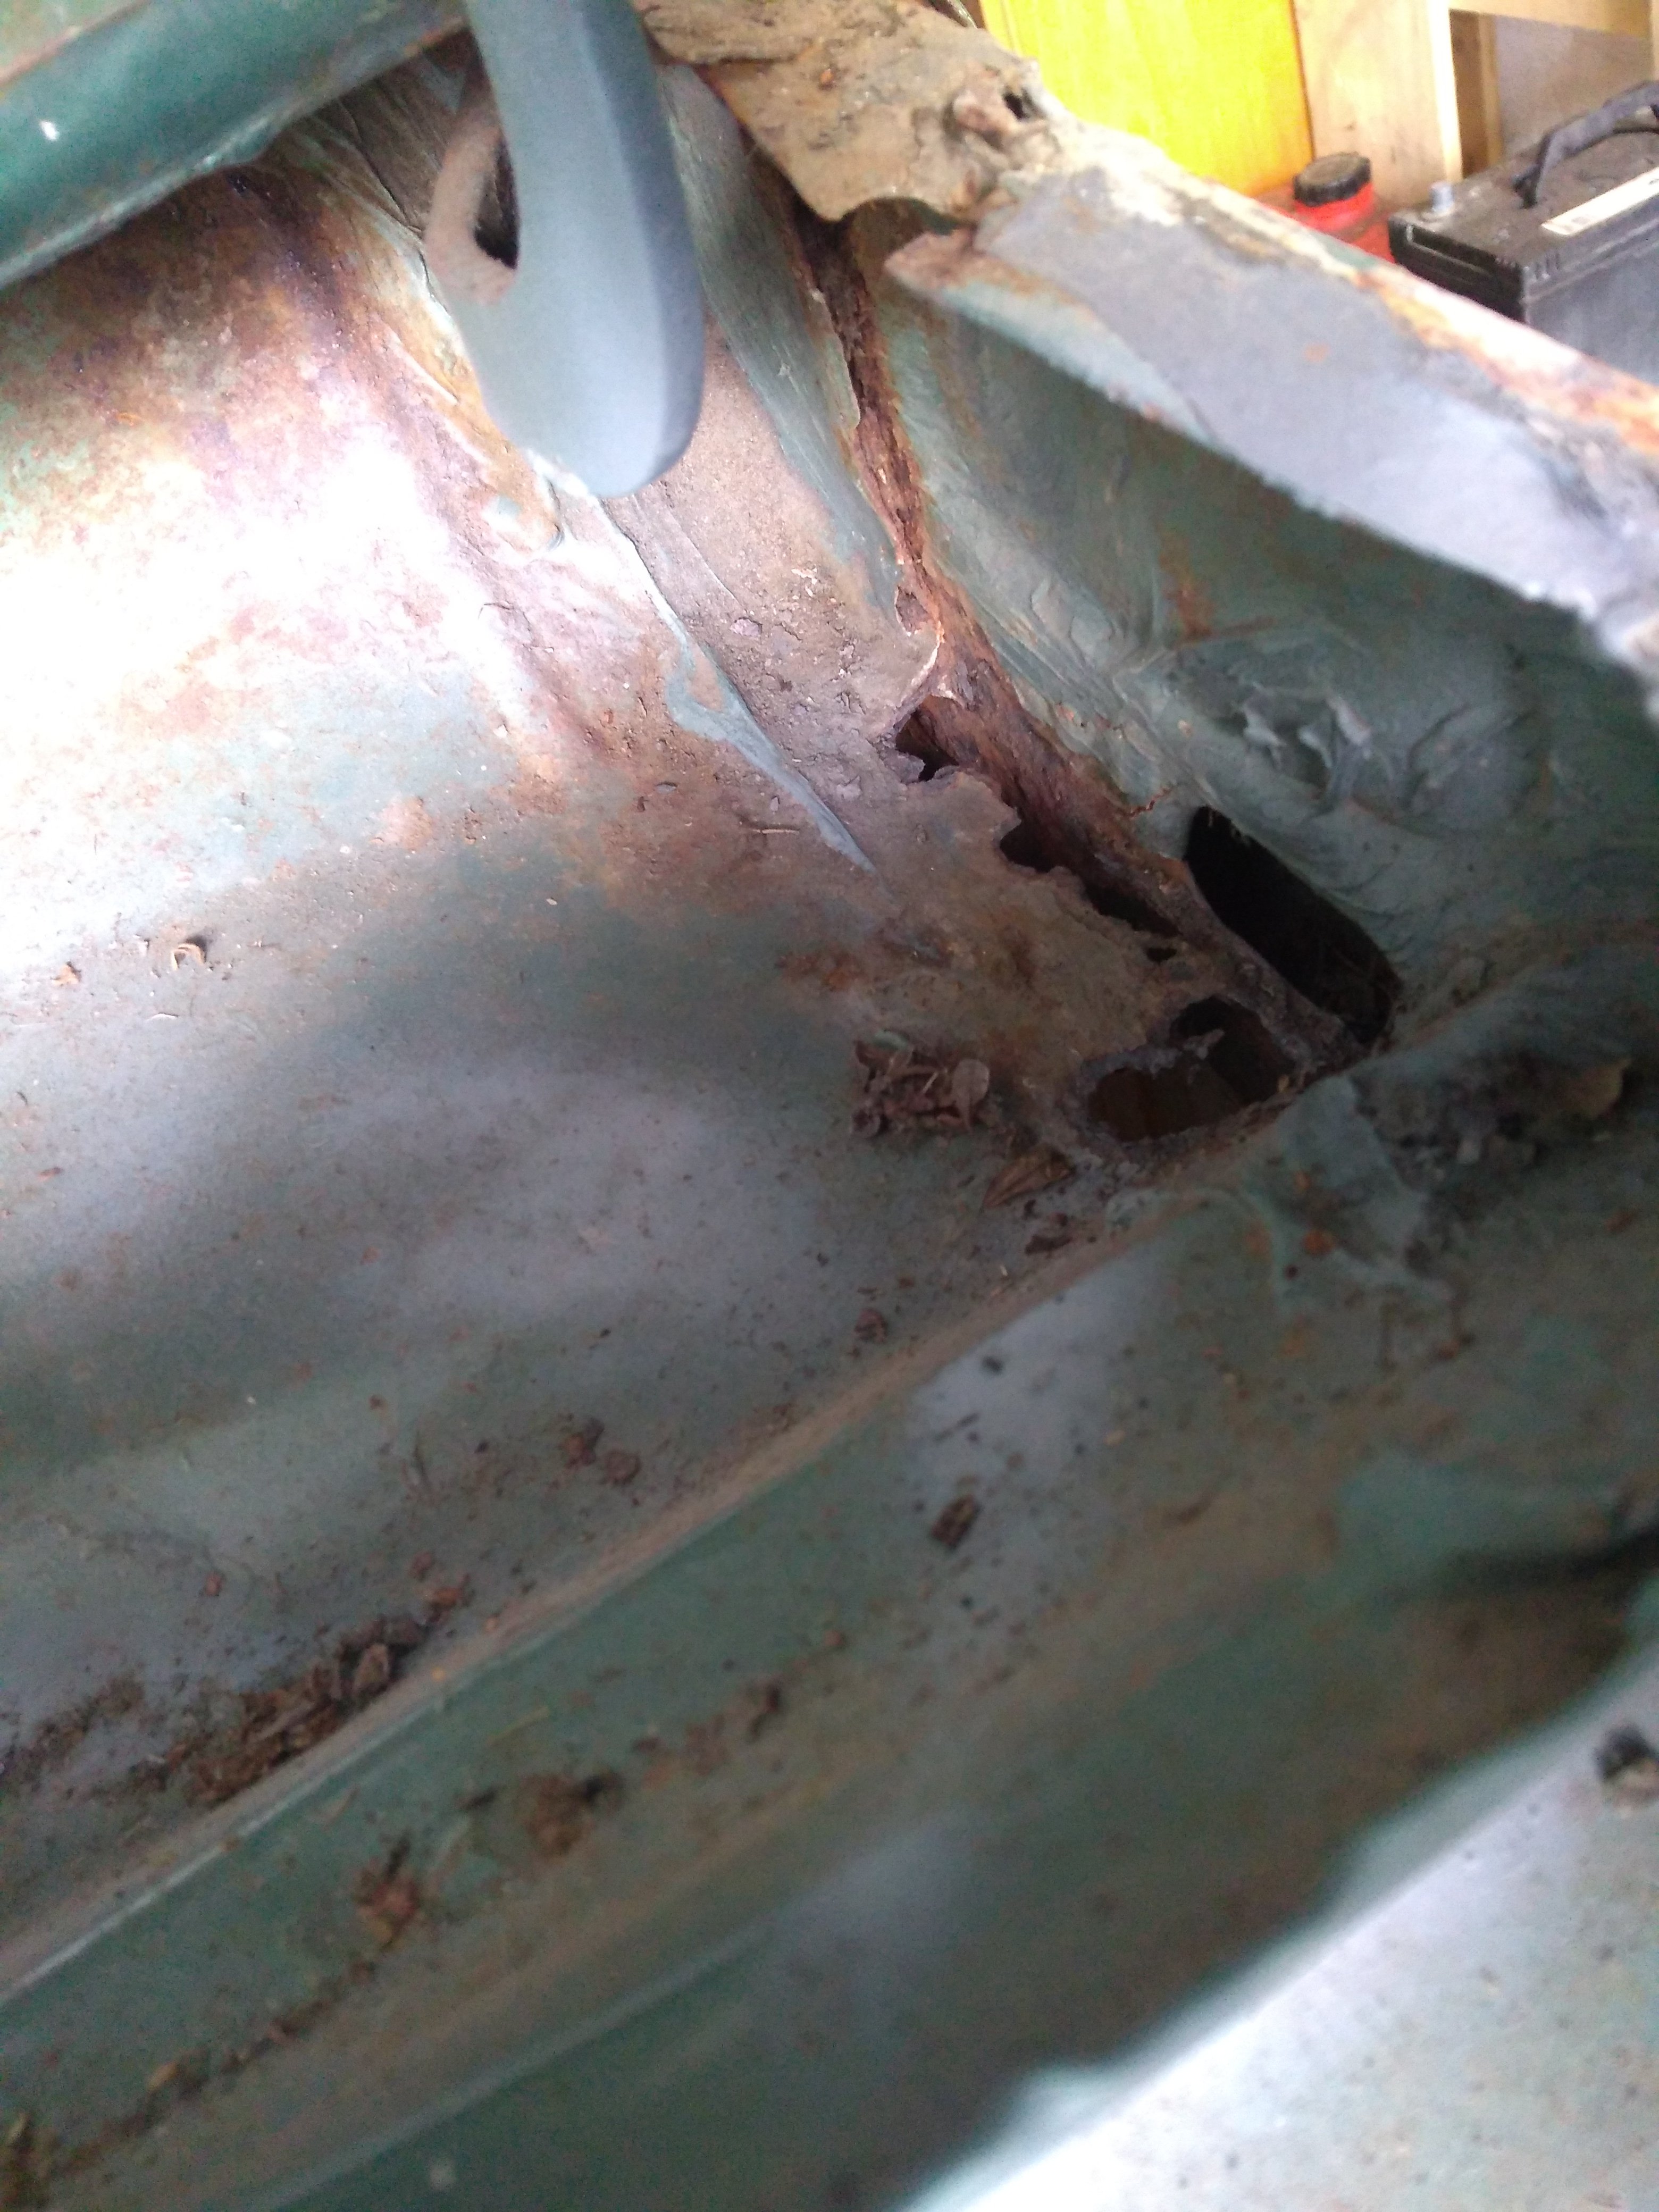
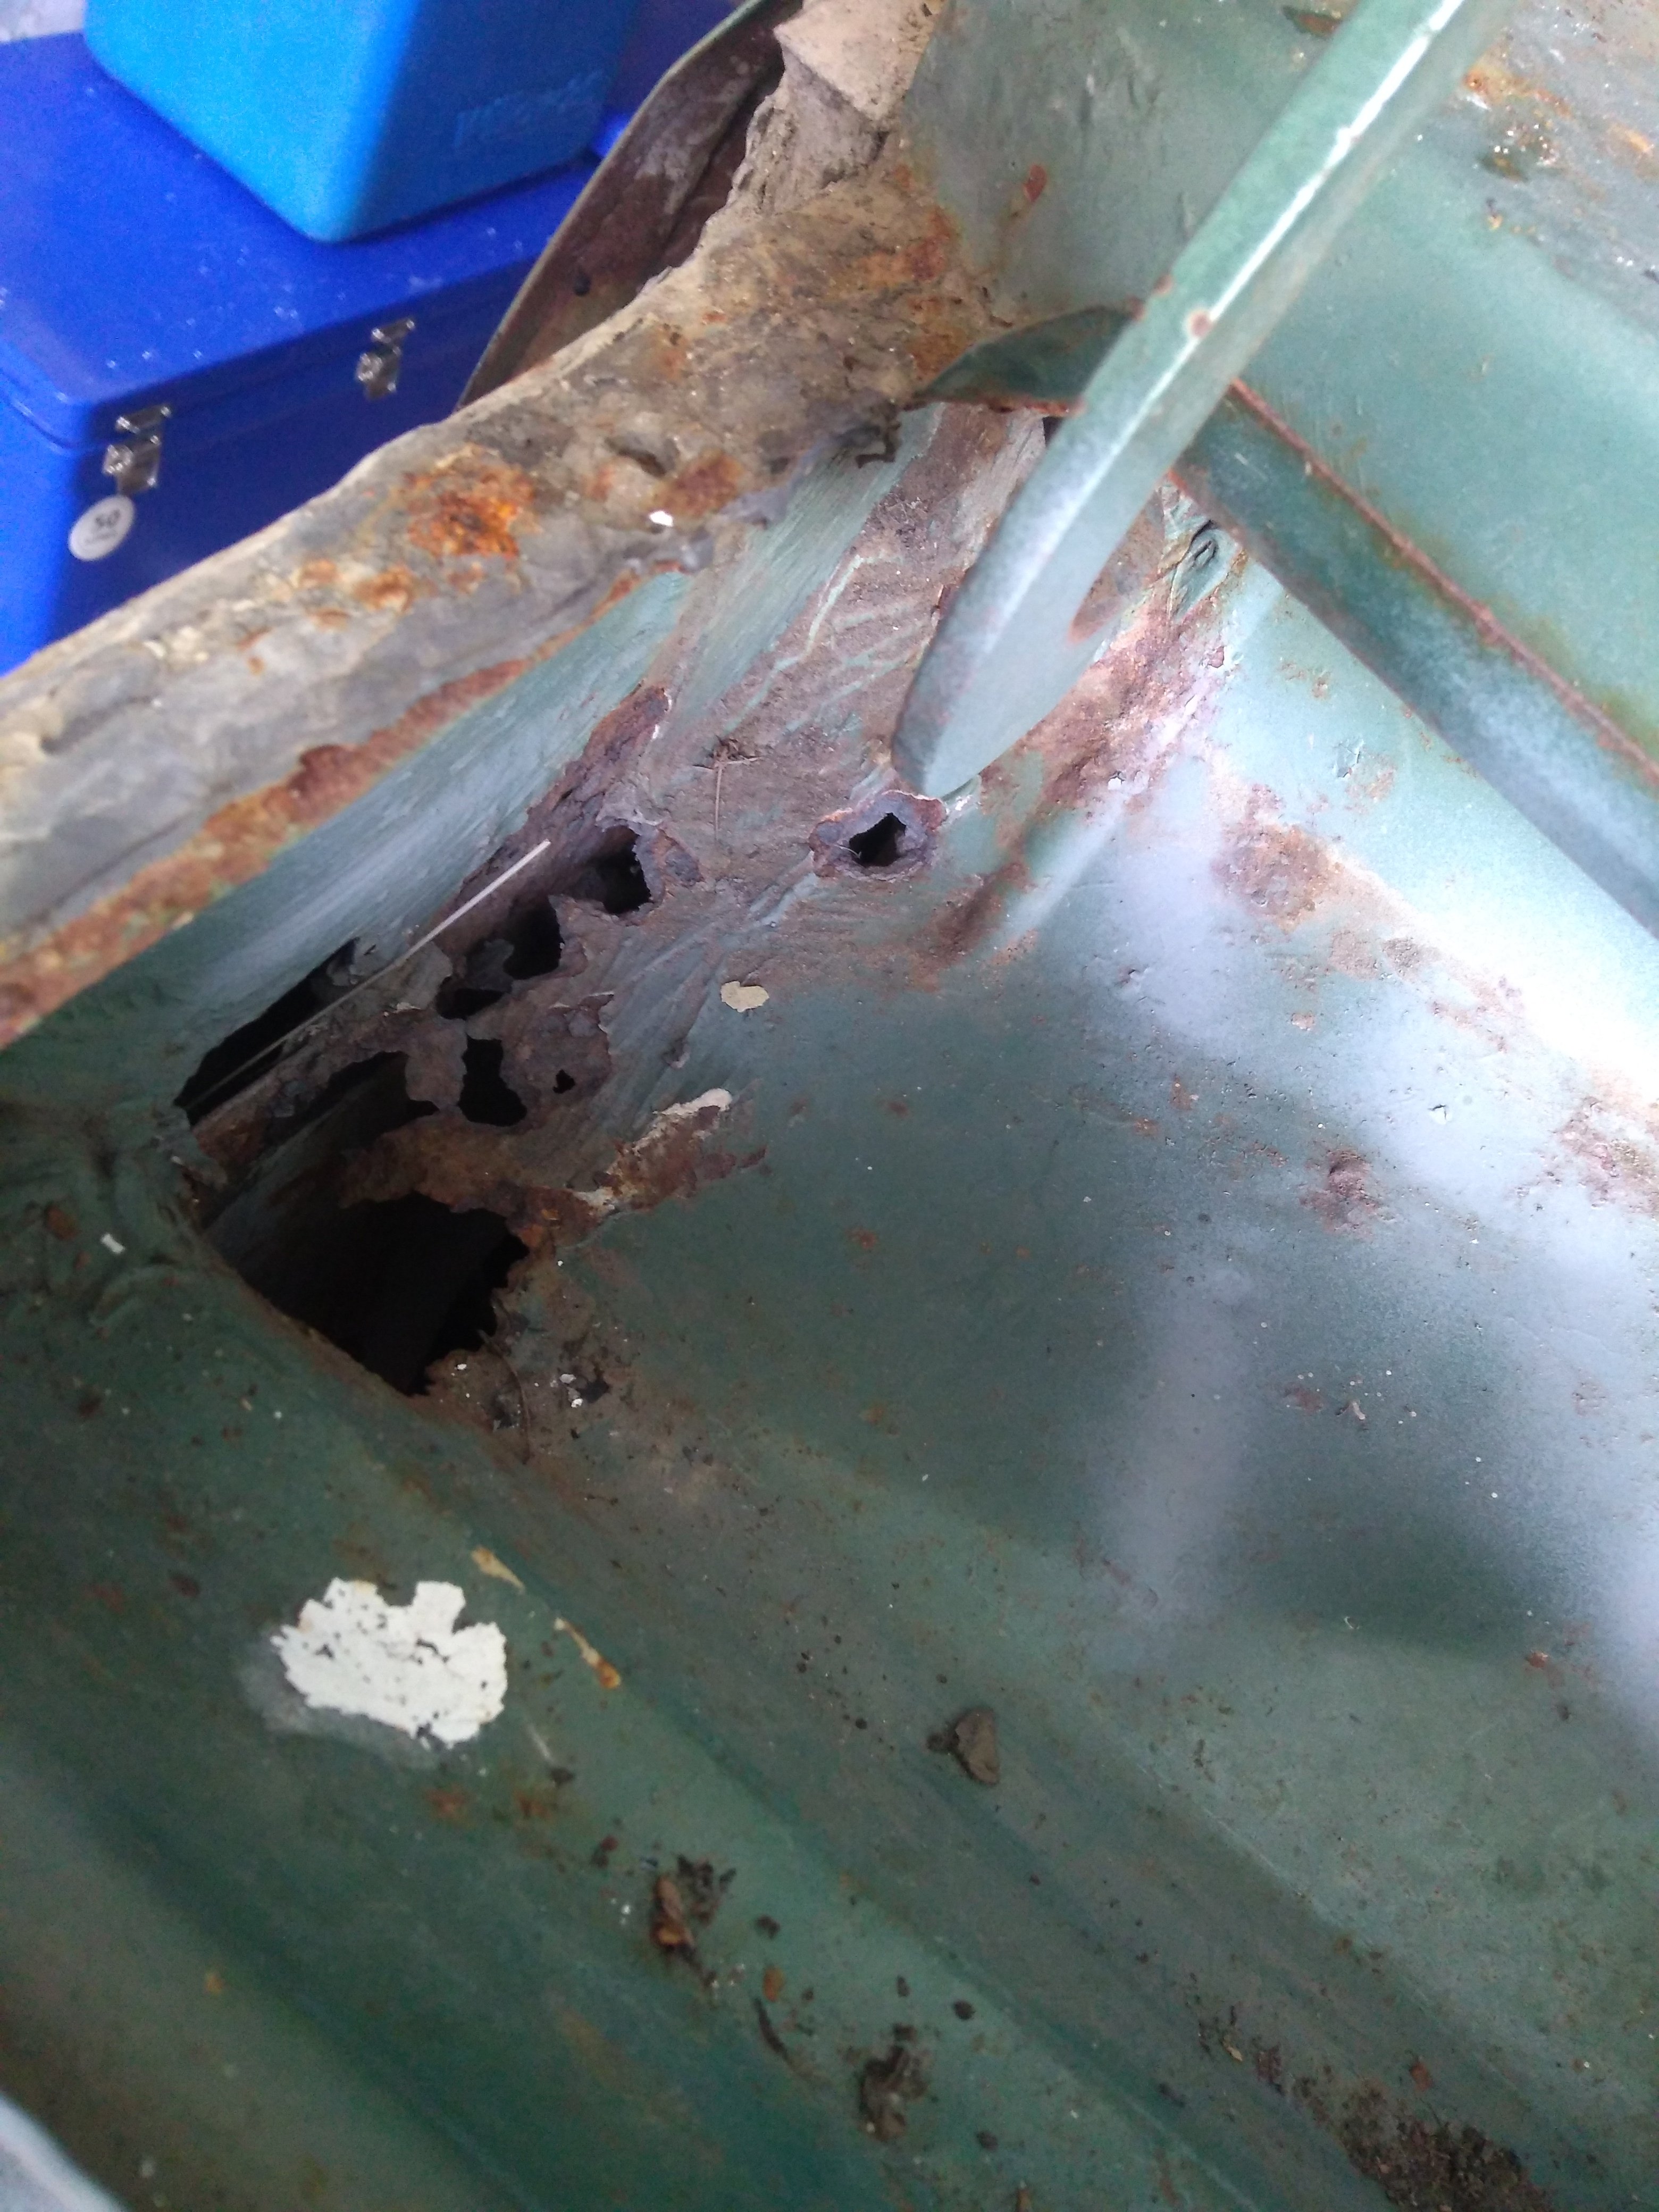
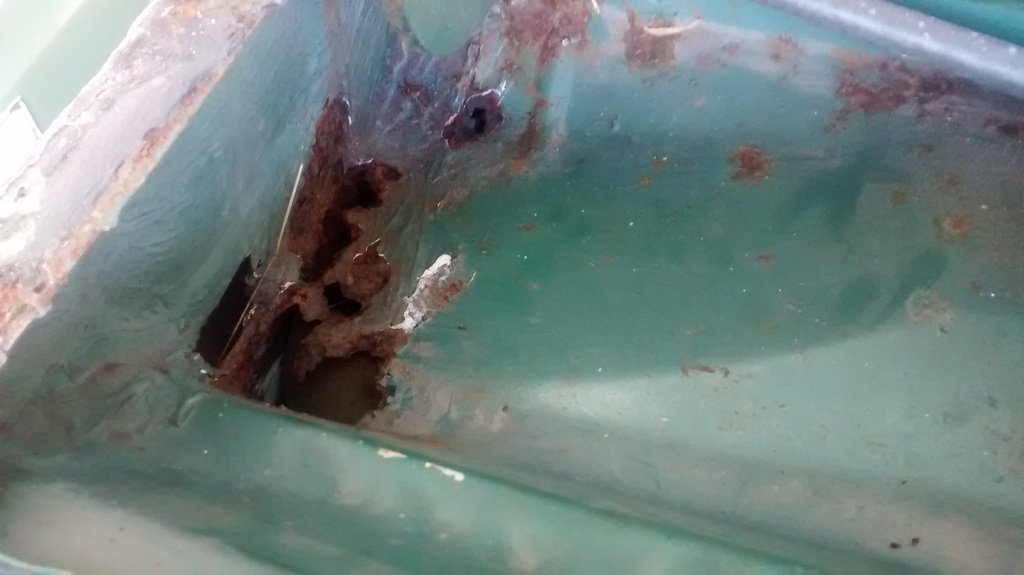
So... a change in the place i took this for a WOF meant it had a bit more of a thorough inspection. It didn't fail but he mentioned that some rust in the passengers floor would need attention soon. So some investigation happened. Turned out that hiding under the sound deadening was a little more serious than anticipated. Likely a leaking windscreen caused this. Out with the cutting disc and I had at it! And then glued it all back together Grind, Sand, and Prime - phone was left in the house so no pics except after And finally a renewal of paint and anti-chip coating. A nice tidy up for it.
1 point
-
Ok so I'm still chipping away at this. Kinda slow... what have I done...? - Stripped the blue clubman for anything useable and took the shell for scrap (It practically folded in half from rust when they lifted it off the trailer). - Using the front subframe out of the clubman which is the one I need (earlier type), pulled apart that running gear but the bores are rusted out... - Pulled the drivetrain from the yellow mk3 and stripped that one, bores are ok and should come up with a hone. - Took the interior out of the mk3 and started fitting that to the mk2, kinda digging the brown/green combo. - Realised that the hoodlining is different between mk2/3 so am thinking of trying to mod the body to make the mk3 one fit (I 'think' it will)
1 point
-
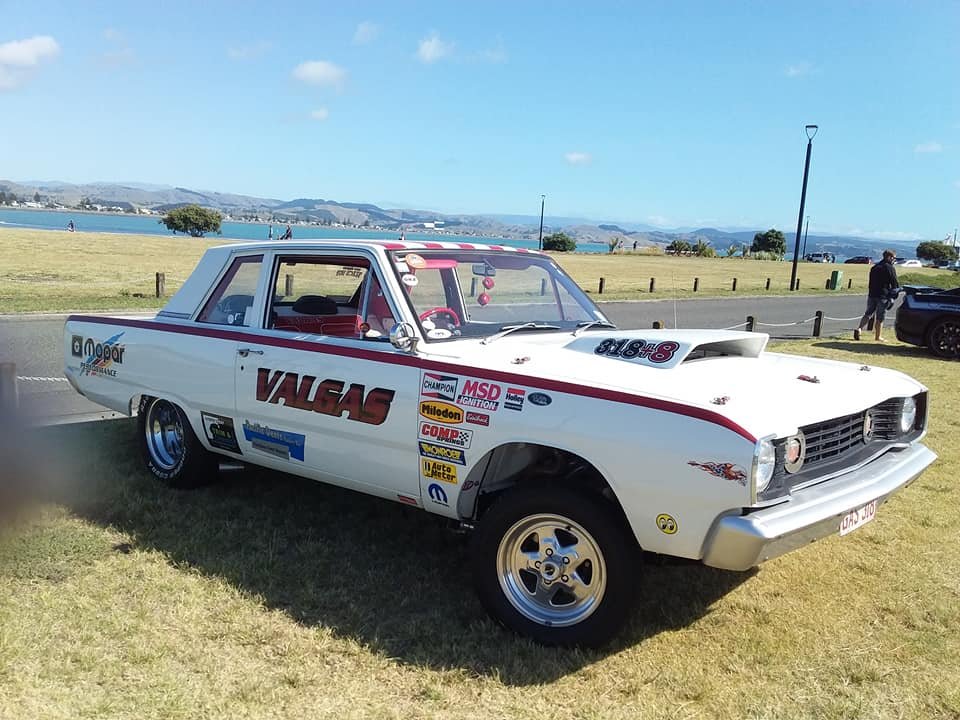
thanks i like to find a rusty wreck it make something cool out of it more fun that way . heres a pic of the gasser before and after
1 point
-
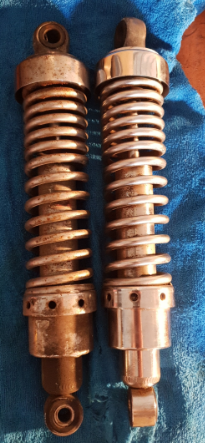
Wheels were next, as well as rear shocks. I plan to replace the rear shocks with something decent but I wanted to do something about the ones I had in the interim. Left is how they came, right is after a clean before I went to town with some sand paper Below is the "finished product" Back to electrics.. It was time to wire up my new tail light (integrated indicators) For the life of me I couldn't get the tail light to work. I knew it wasn't a faulty light as I was able to test on a known working circuit so was time to figure out what was wrong. Fortunately I had a spare loom so I split that up and started tracing the wire back to the front of the bike. I tested the wire at both ends and was able to get continuity so ruled that out. Tested the power where it was coming from and was also getting power. So it was time to test the switches. This was a pig of a job.. So many little fiddly buggers Put all back together and still the same problem. I went back to square on and found it was the feed that was feeding the tail light that was buggered.. I found the speedo back light feed and just rewired it to that feed. Job done and was able to keep it nice and tidy too. I assembled the bike now that all my painted bits were dry and rolled it out of the shed for some Vit D for the first time in 4 months and gave the shed a good clean
1 point
-
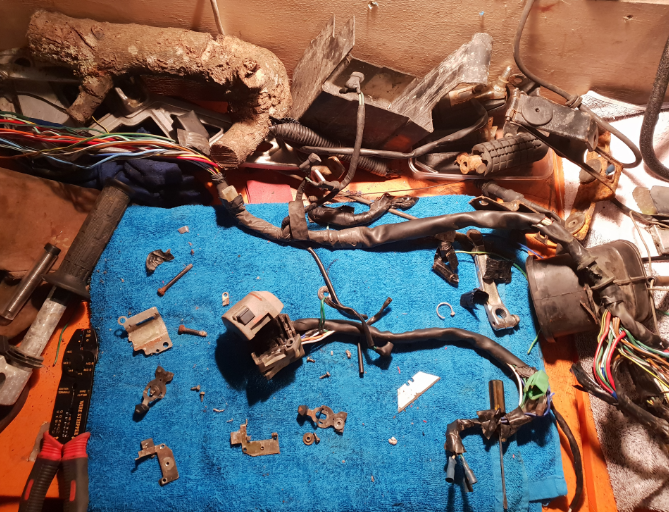
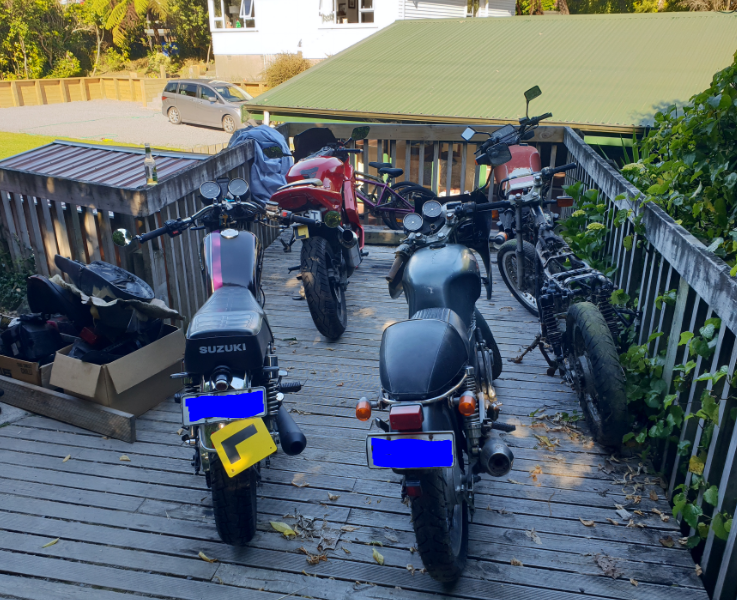
Family photo, back home after unloading bikes As mentioned earlier, first plan of attack is to hear the bike run. In order for this to happen it would require the following.. - A battery - Carb clean Try and see what happens Unfortunately I don't have a garage to work on. I have converted a garden shed into a make shift work shop. It could be worse, but could be better haha but I still get it done At this stage I had never taken a carb apart (well practised now haha) so I took plenty of photos along the way to make sure when it came to reassemble time I wasn't going to get stuck. What an absolute nightmare! What should have been a very simple excersize (in my mind, in theory) turned out to be about 5 hours work and approximately 451 swear words and 6 mangled knuckles. In the end I had to remove the rear wheel and drop the swing arm to get the air box out.. Even with this dropping I had approx 2mm of room each side to work with.. Great success!! Carb is no longer in the hole.
1 point
-
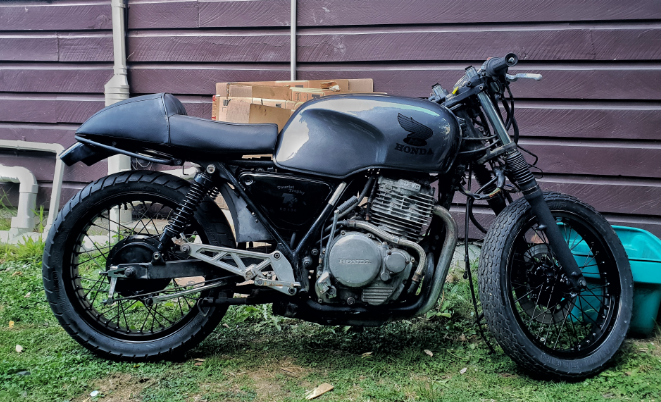
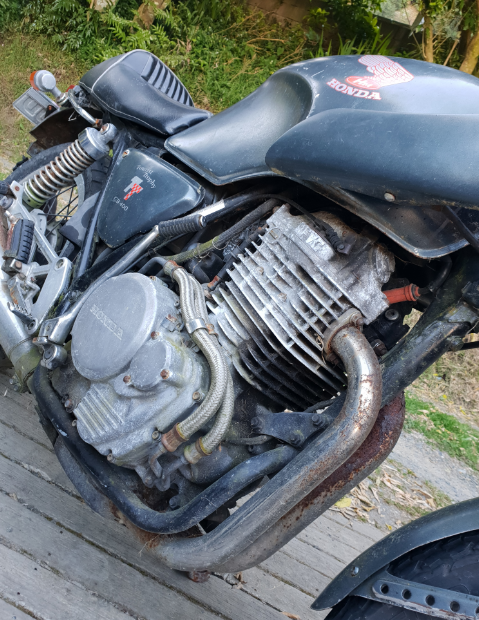
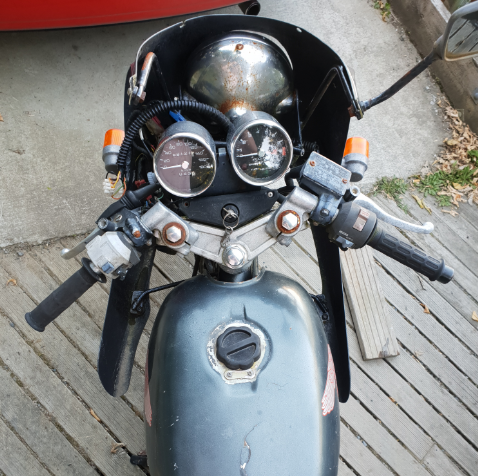
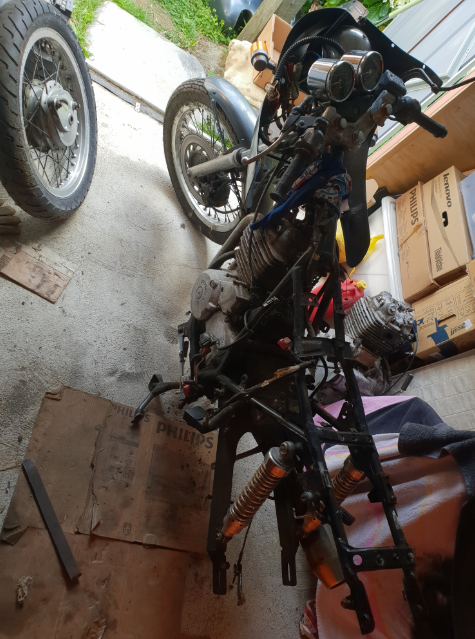
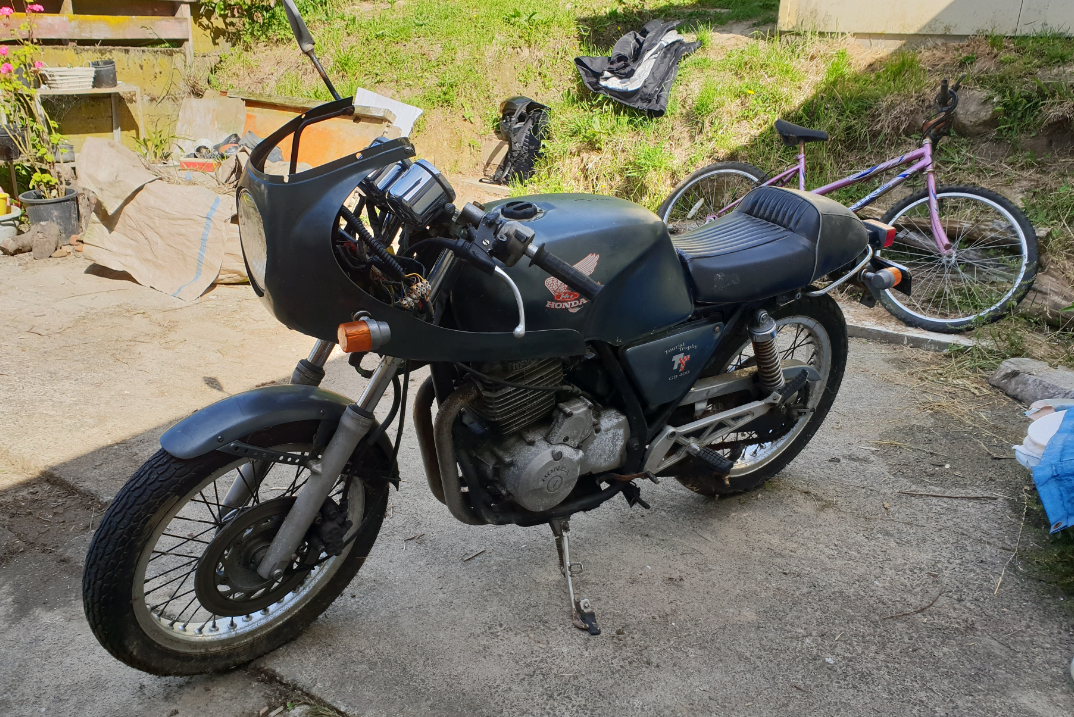
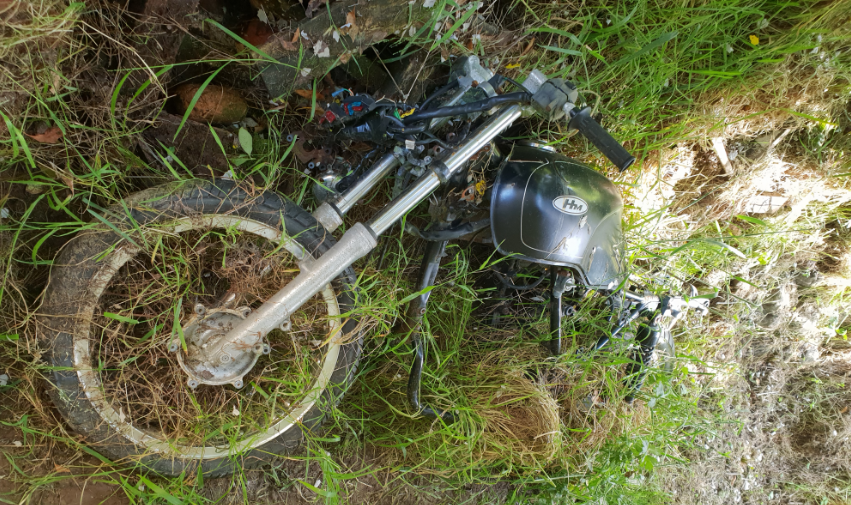
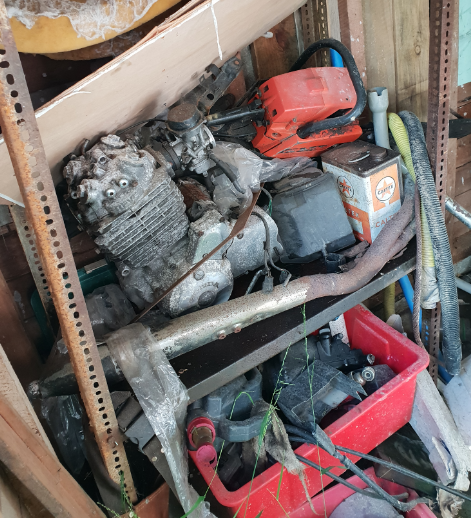
Thanks man. Exactly, although it's 'just' a shitty little Hyosung, I still enjoy getting out there twisting throttles and banging gears. The GN250 is perfect for the Wahine. She mentioned the other day she was wanting to change it up a little to more of a 'scrambler' style so i've gone and brought a whole bunch of parts so stay tuned for v2.0. I'm looking forward to it as it's the direction I would have gone myself if it was a bike for me. Alrighty, GB400tt build. Backstory.. I was on my way home from a party and as the taxi driver dropped me off he saw a bike out the front and said "Oh are you into bikes? I've got an old Honda I wana sell, a CB500". I was hammered but my voice of reason kicked in and politely declined. The next morning I remembered the conversation and had a moment of instant regret.. By some miracle I remembered his name and rang the taxi company. I explained the situation but they wouldn't give me his number but the supervisor did say he would pass on my details. Several weeks went by and he called me. Again, he called it a CB500 and I was fizzing thinking it was a 4 cyl CB500 and I said I would come and have a look. Had a squizz and turns out it was a GB400tt.. I still thought they were bad ass bikes but was low key gutted it wasn't a CB four. He also had a spare bike tucked away in the bushes and a shed of parts. Needless to say, after some negotiation I purchased the bike(s) on the spot. He also had a Yamaha xz400 sitting under a tarp that he didn't want so I took that off his hands too. Kinda to help him out, I knew I would take a loss on it but I got the others for a fair price so was happy. Enough talking, moar pictures.. As you can tell, the bike has been neglected. It hadn't had a warrant of fitness since 2015 I believe He said it was a runner before he parked it up when he got hand surgery and I had no reason to not believe him but the first thing on the list was for me to hear the bike run before I pour a load of money into it. Don't look too closely at that wiring by the headlight or it will heart your heart as it did mine This was also the spare bike and box of spares it came with - Bit worse for wear, yeah To be continued
1 point
-
After being peer pressured by you bloody cunts, I decided to pull the engine out. (I hate you all now but believe me that once that engine is back in I'll be thanking you for doing it once doing it right) So first thing on the menu was to sweep up all that sound deadening which was surprisingly heavy 2.5 decent sized rubbish bags full. Then I made the executive decision to make getting the engine in and out easy. Before it goes on the transported I'll be fabbing up some nice brackets to hold this back in place and give it back the strength it needs. Leaving me with this nice big gap. Then after undoing this, twisting that, pushing this and pulling that... out she came. Leaving me with a gaping hole. So now that's done, I'll have a few wee things to do then it's off to the blasters. Couldn't have done it without the almighty help of Jibba Jabba/Midnight/Mo Bigga/Plank/@lowlife. Thanks bud - you rule!! Also cheers to @vivaspeed for the lunchtime beers.
1 point
-
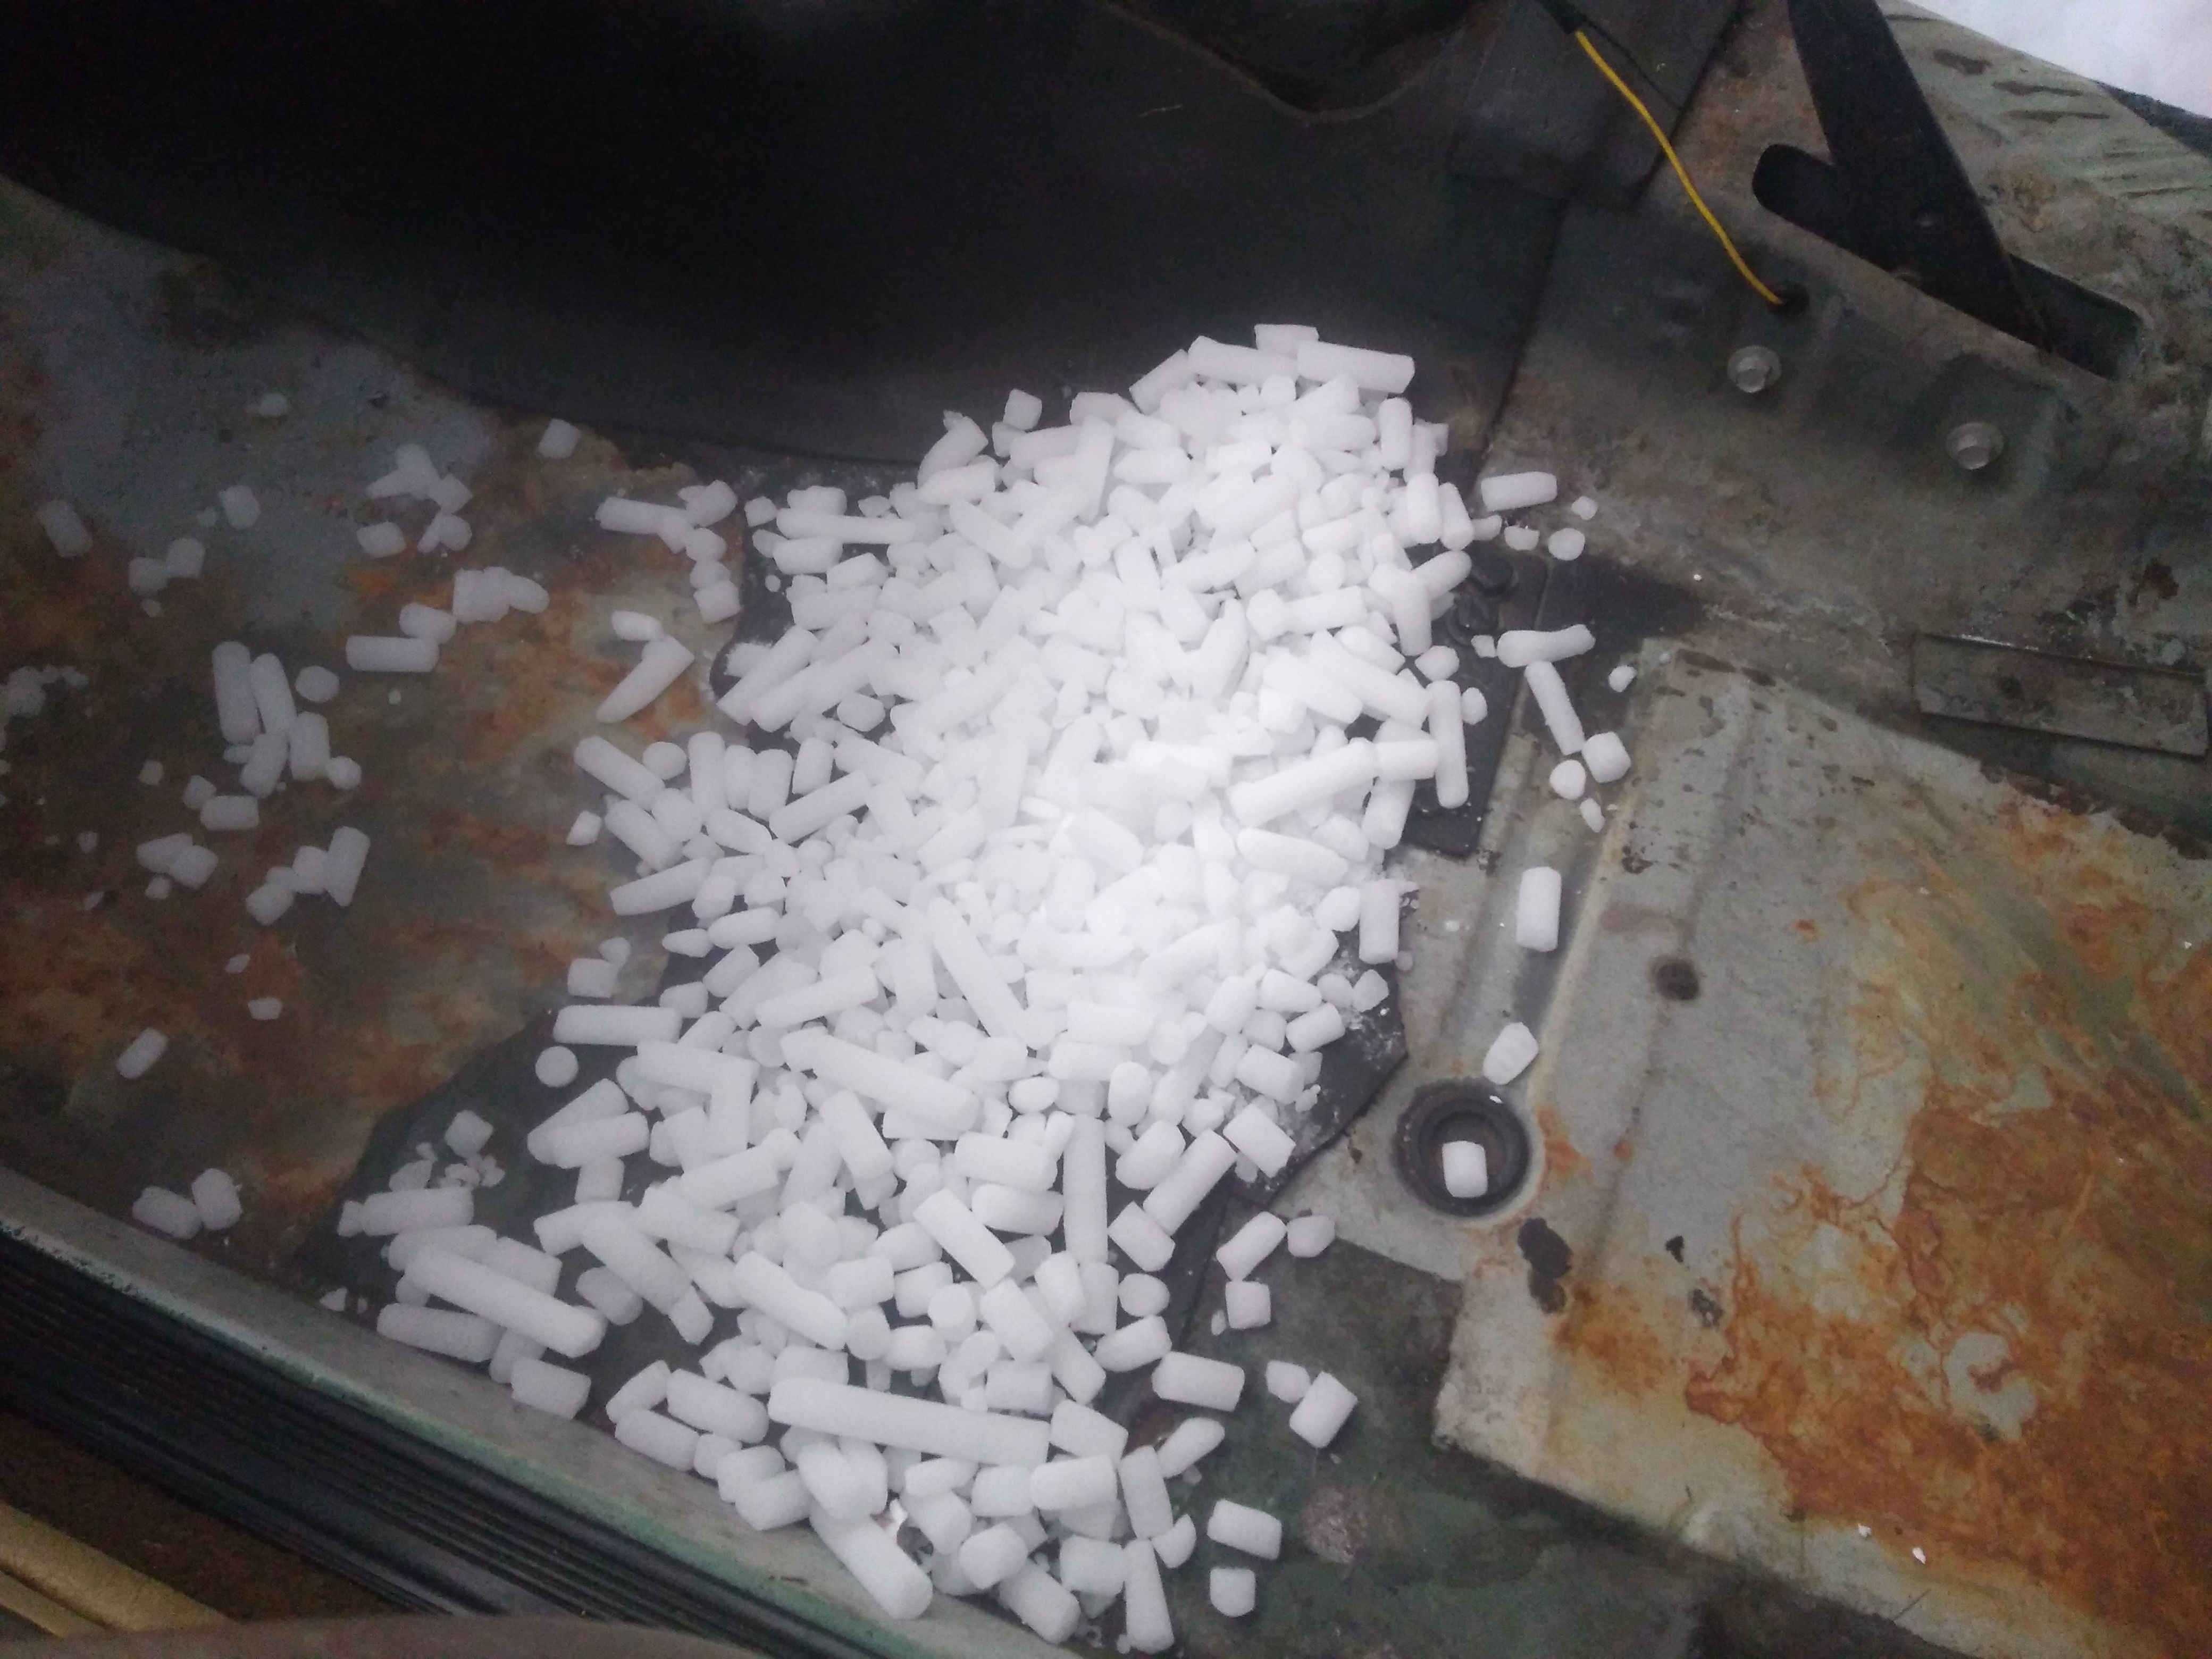
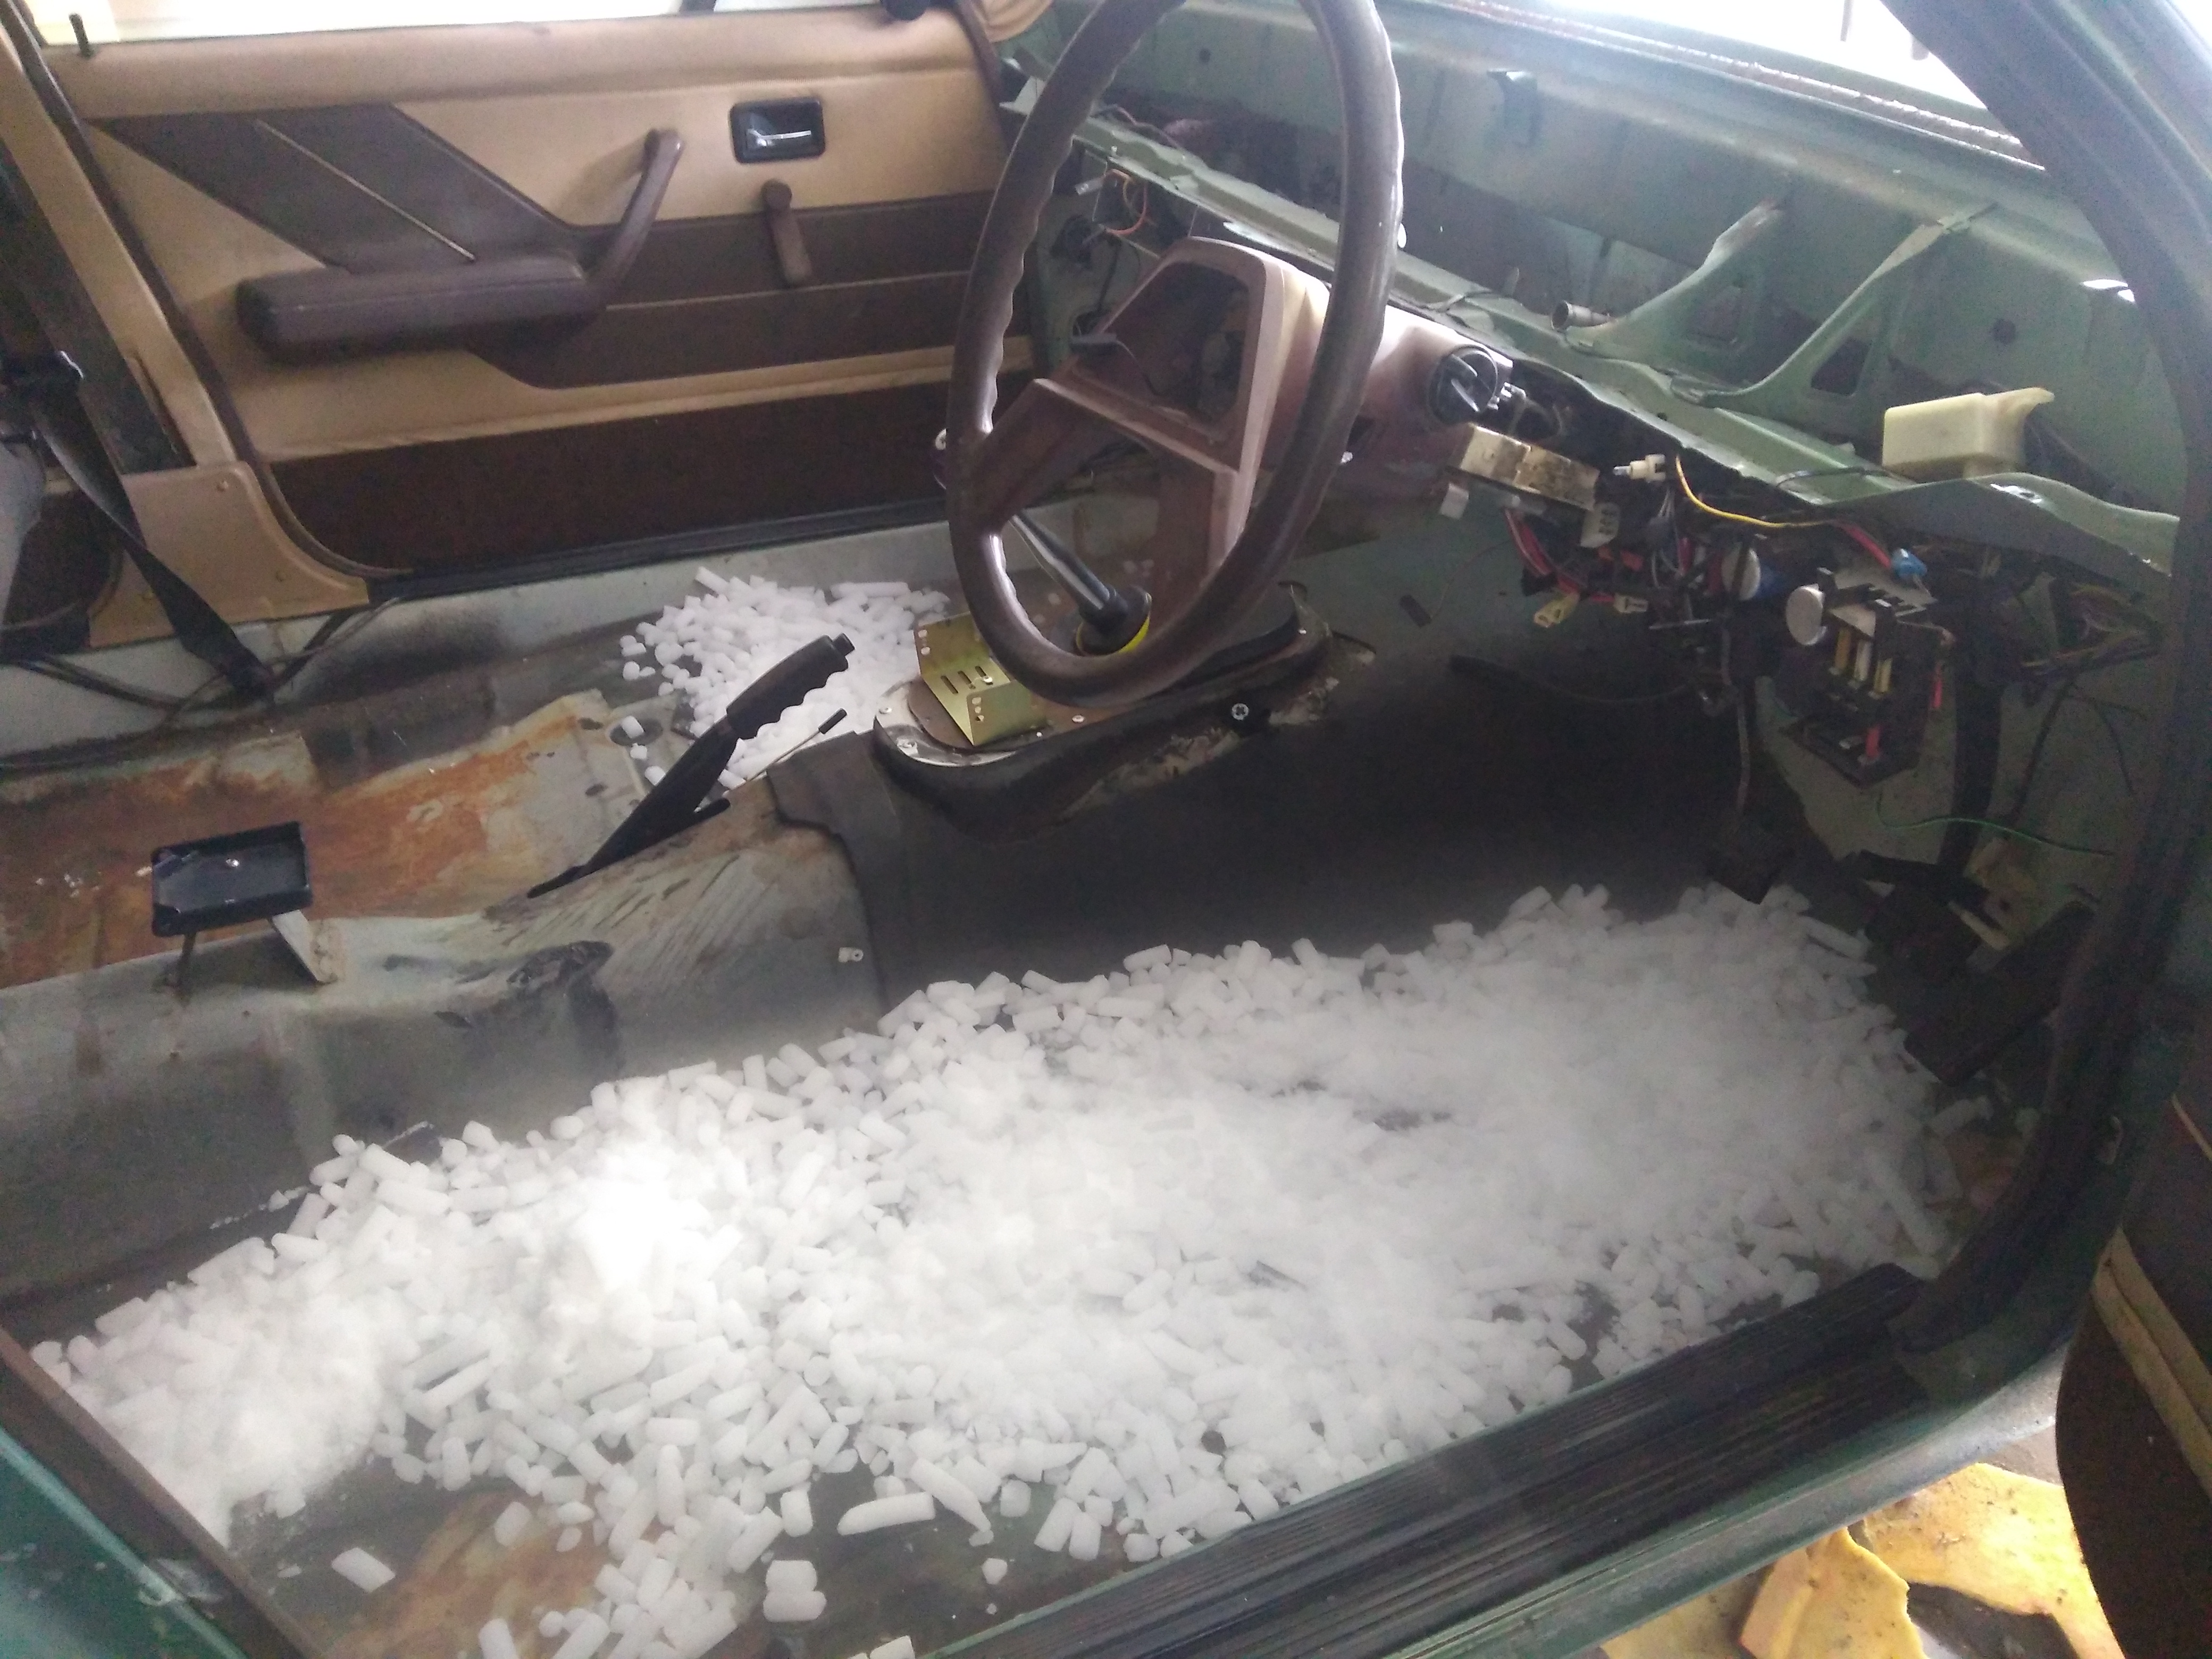
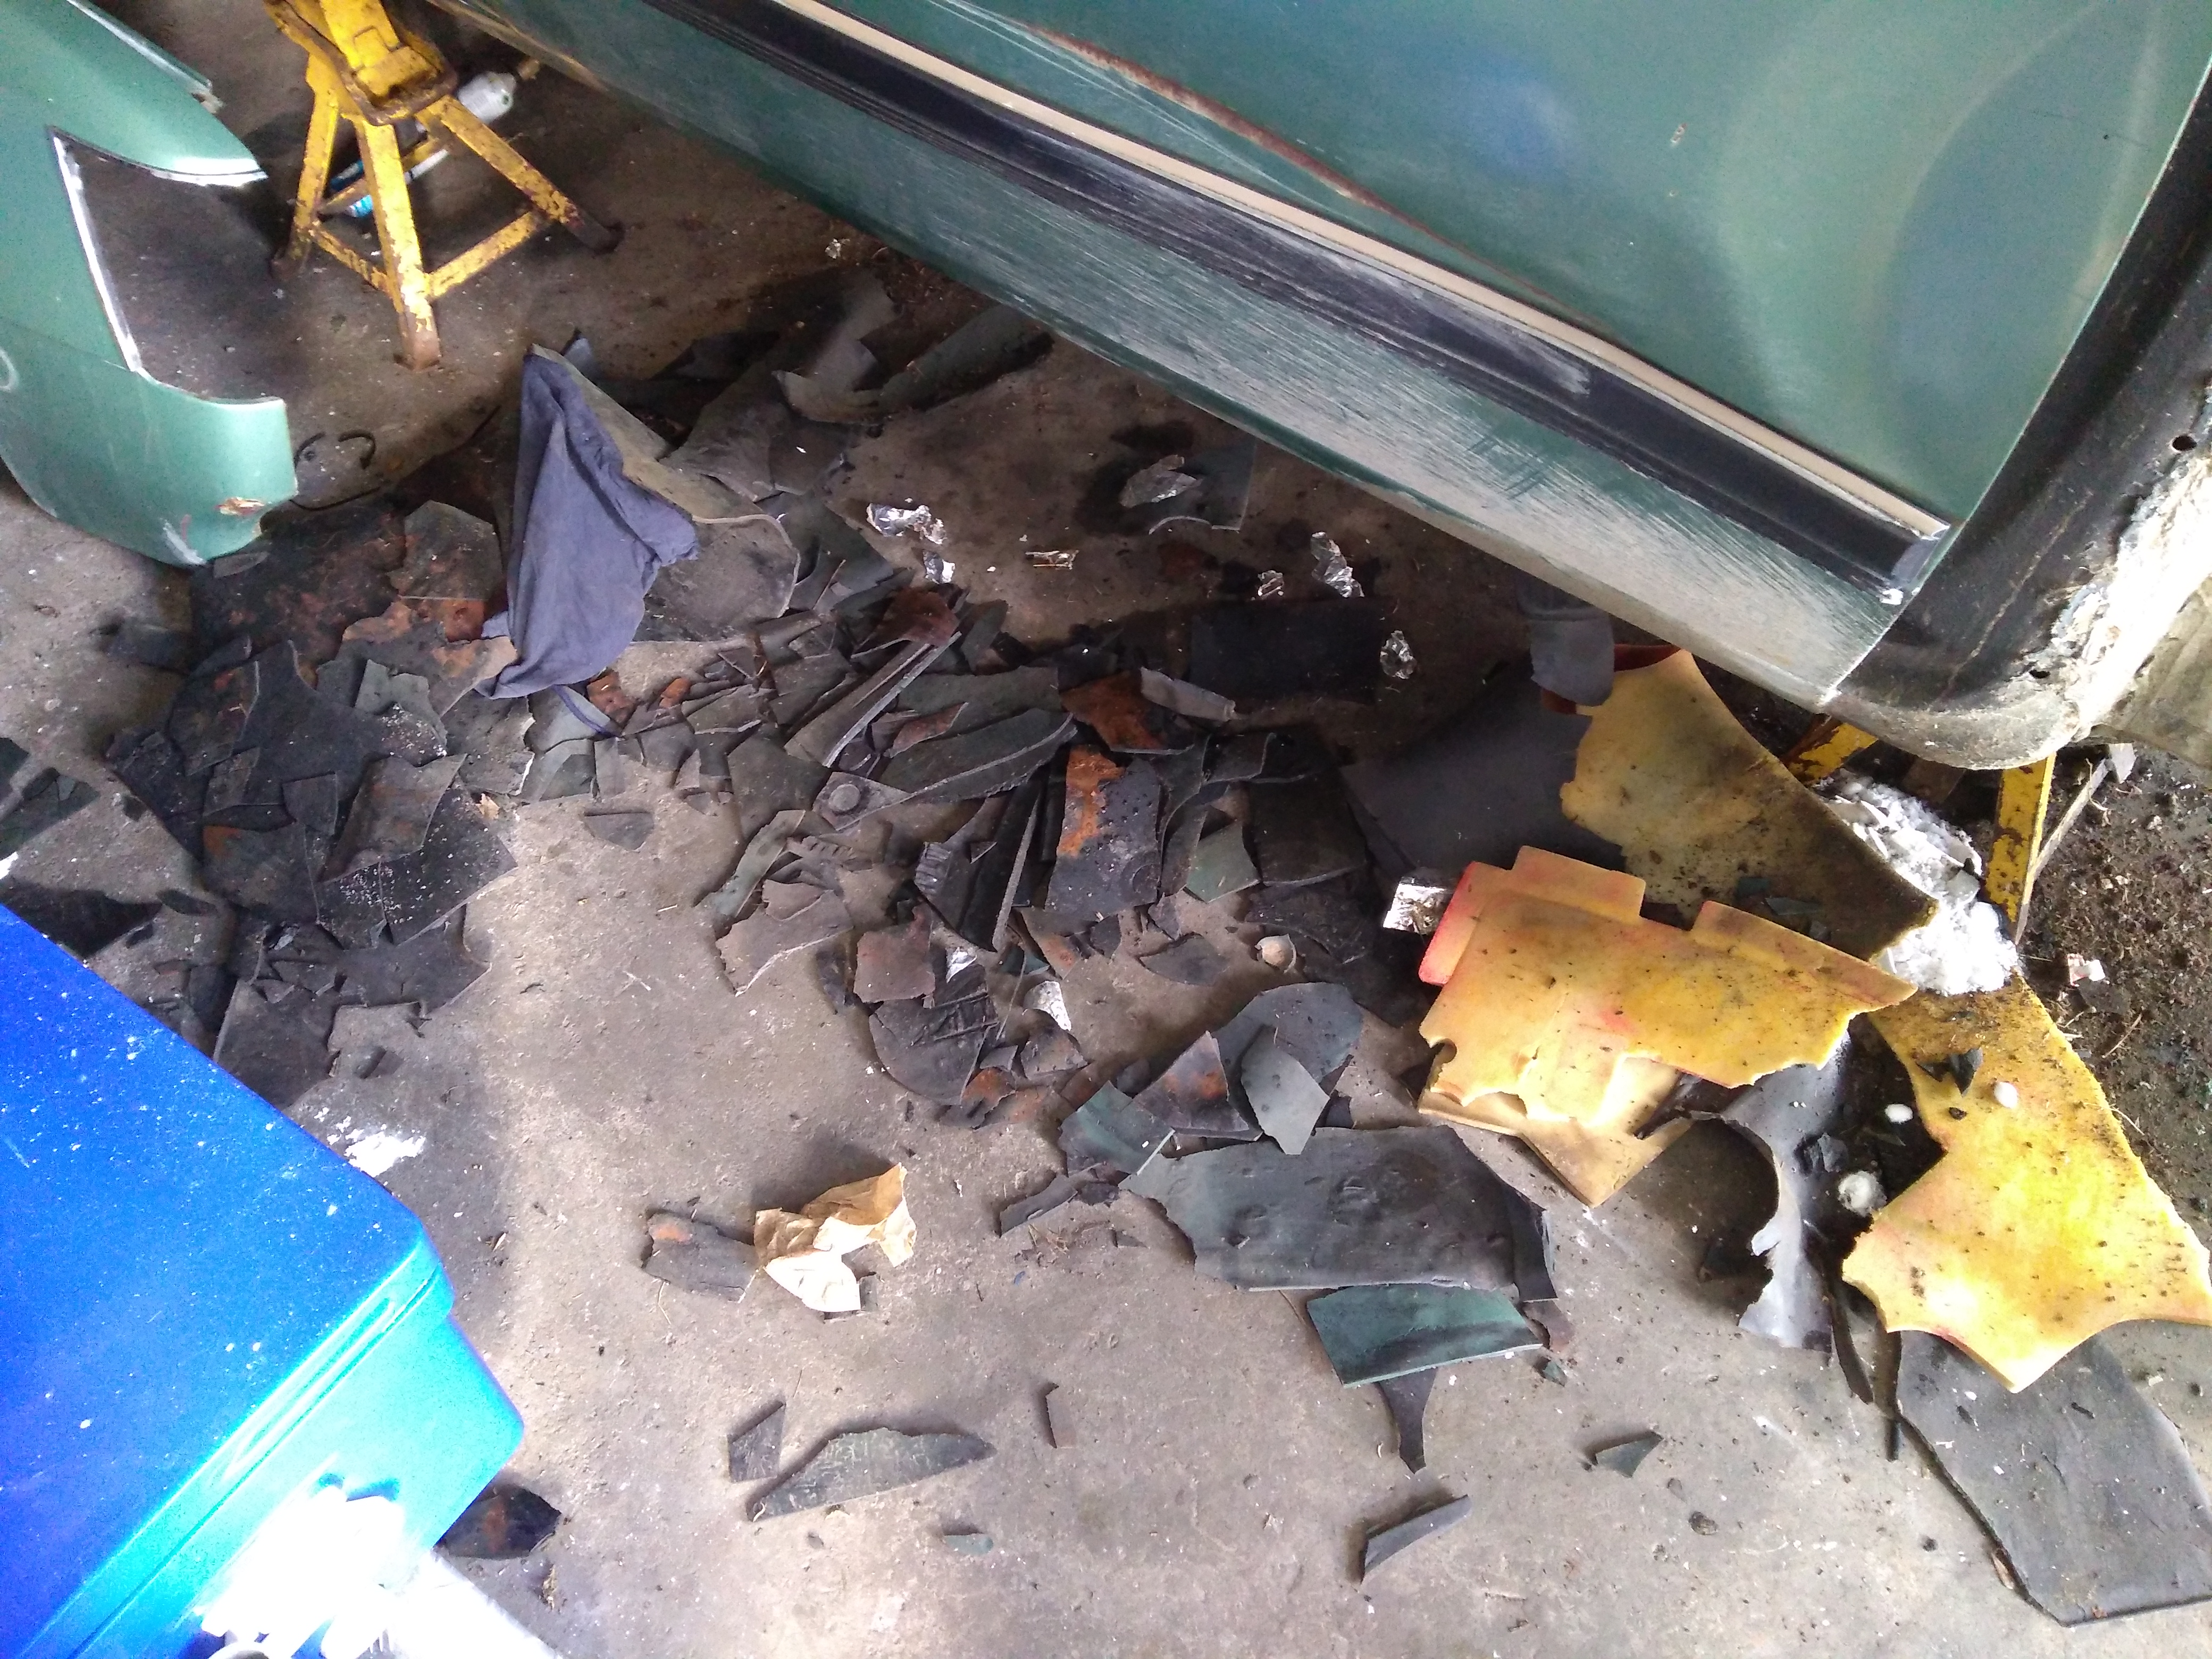
compared to ...was slightly concerned that someone was going to call the bomb squad when I dumped the remainder down the drain... no one did, I think
1 point
-
Did some sound deadening removal today. Shit is so easy with 10 pounds of pure white Columbian ice. All the shit I got out - some pretty sizeable chunks there
1 point
-
Continued stripping bits out of the car prior to rust removal. I'm taking it to the blasters in the next couple of weeks to get all the rust taken off in a hail of sand. To make it easier and safeguard important components I tidied them all up out of harms way and then marked all the areas I wanted sandblasted with a squirt of paint. Some pics for me to compare the finished result once its done.
1 point
-
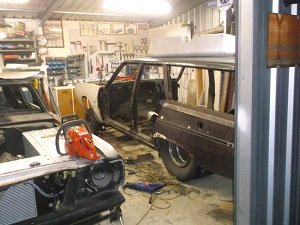
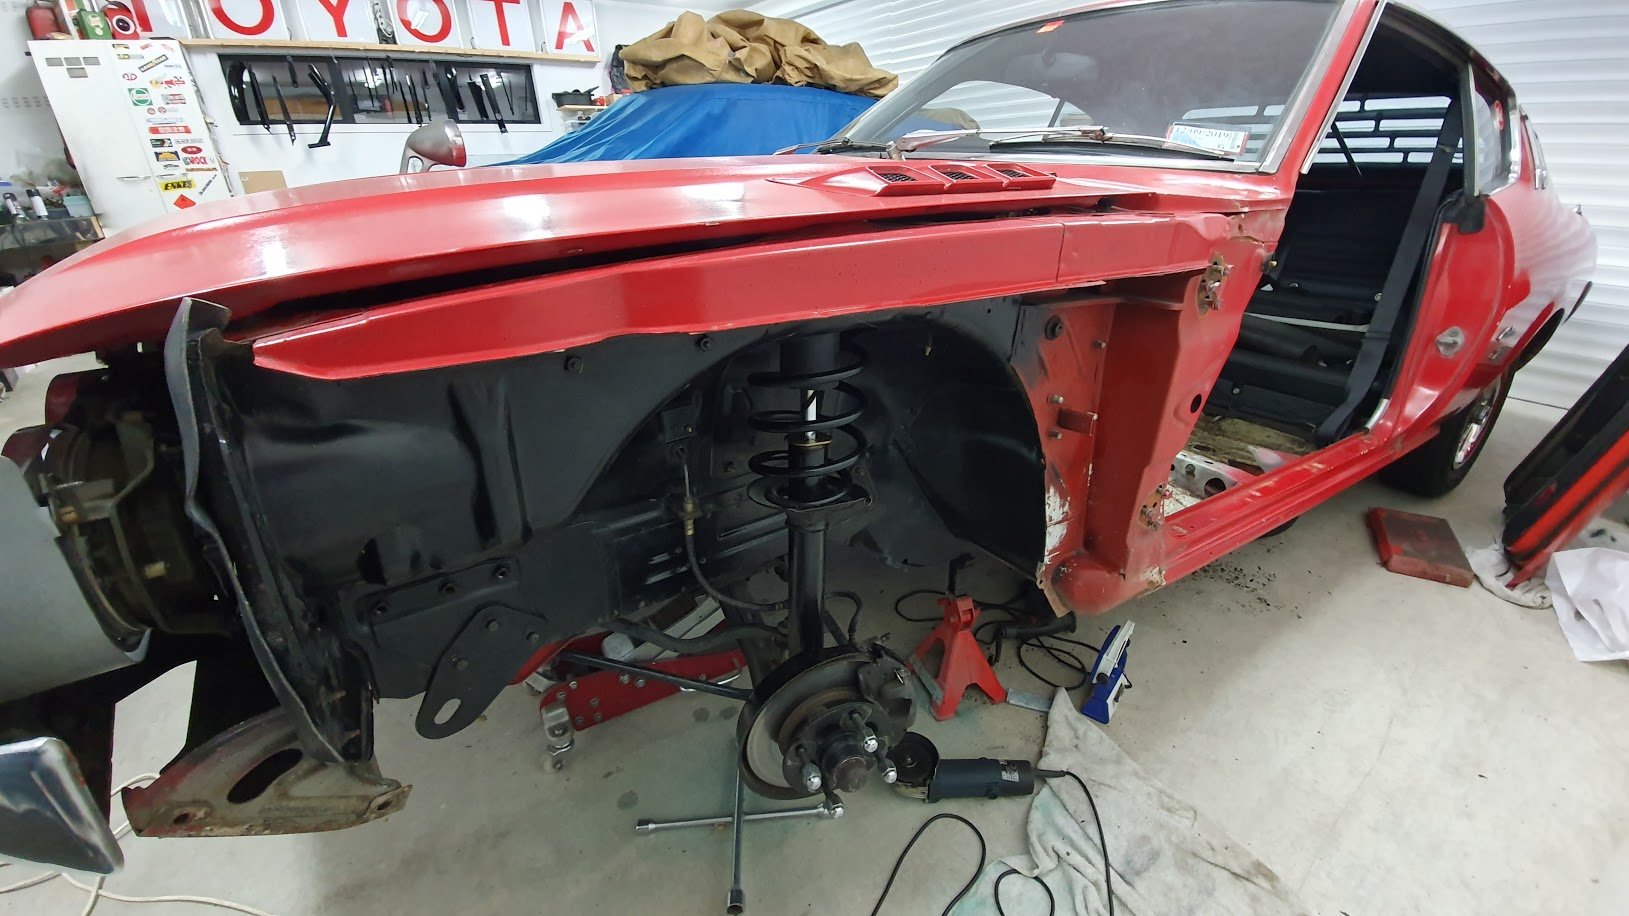
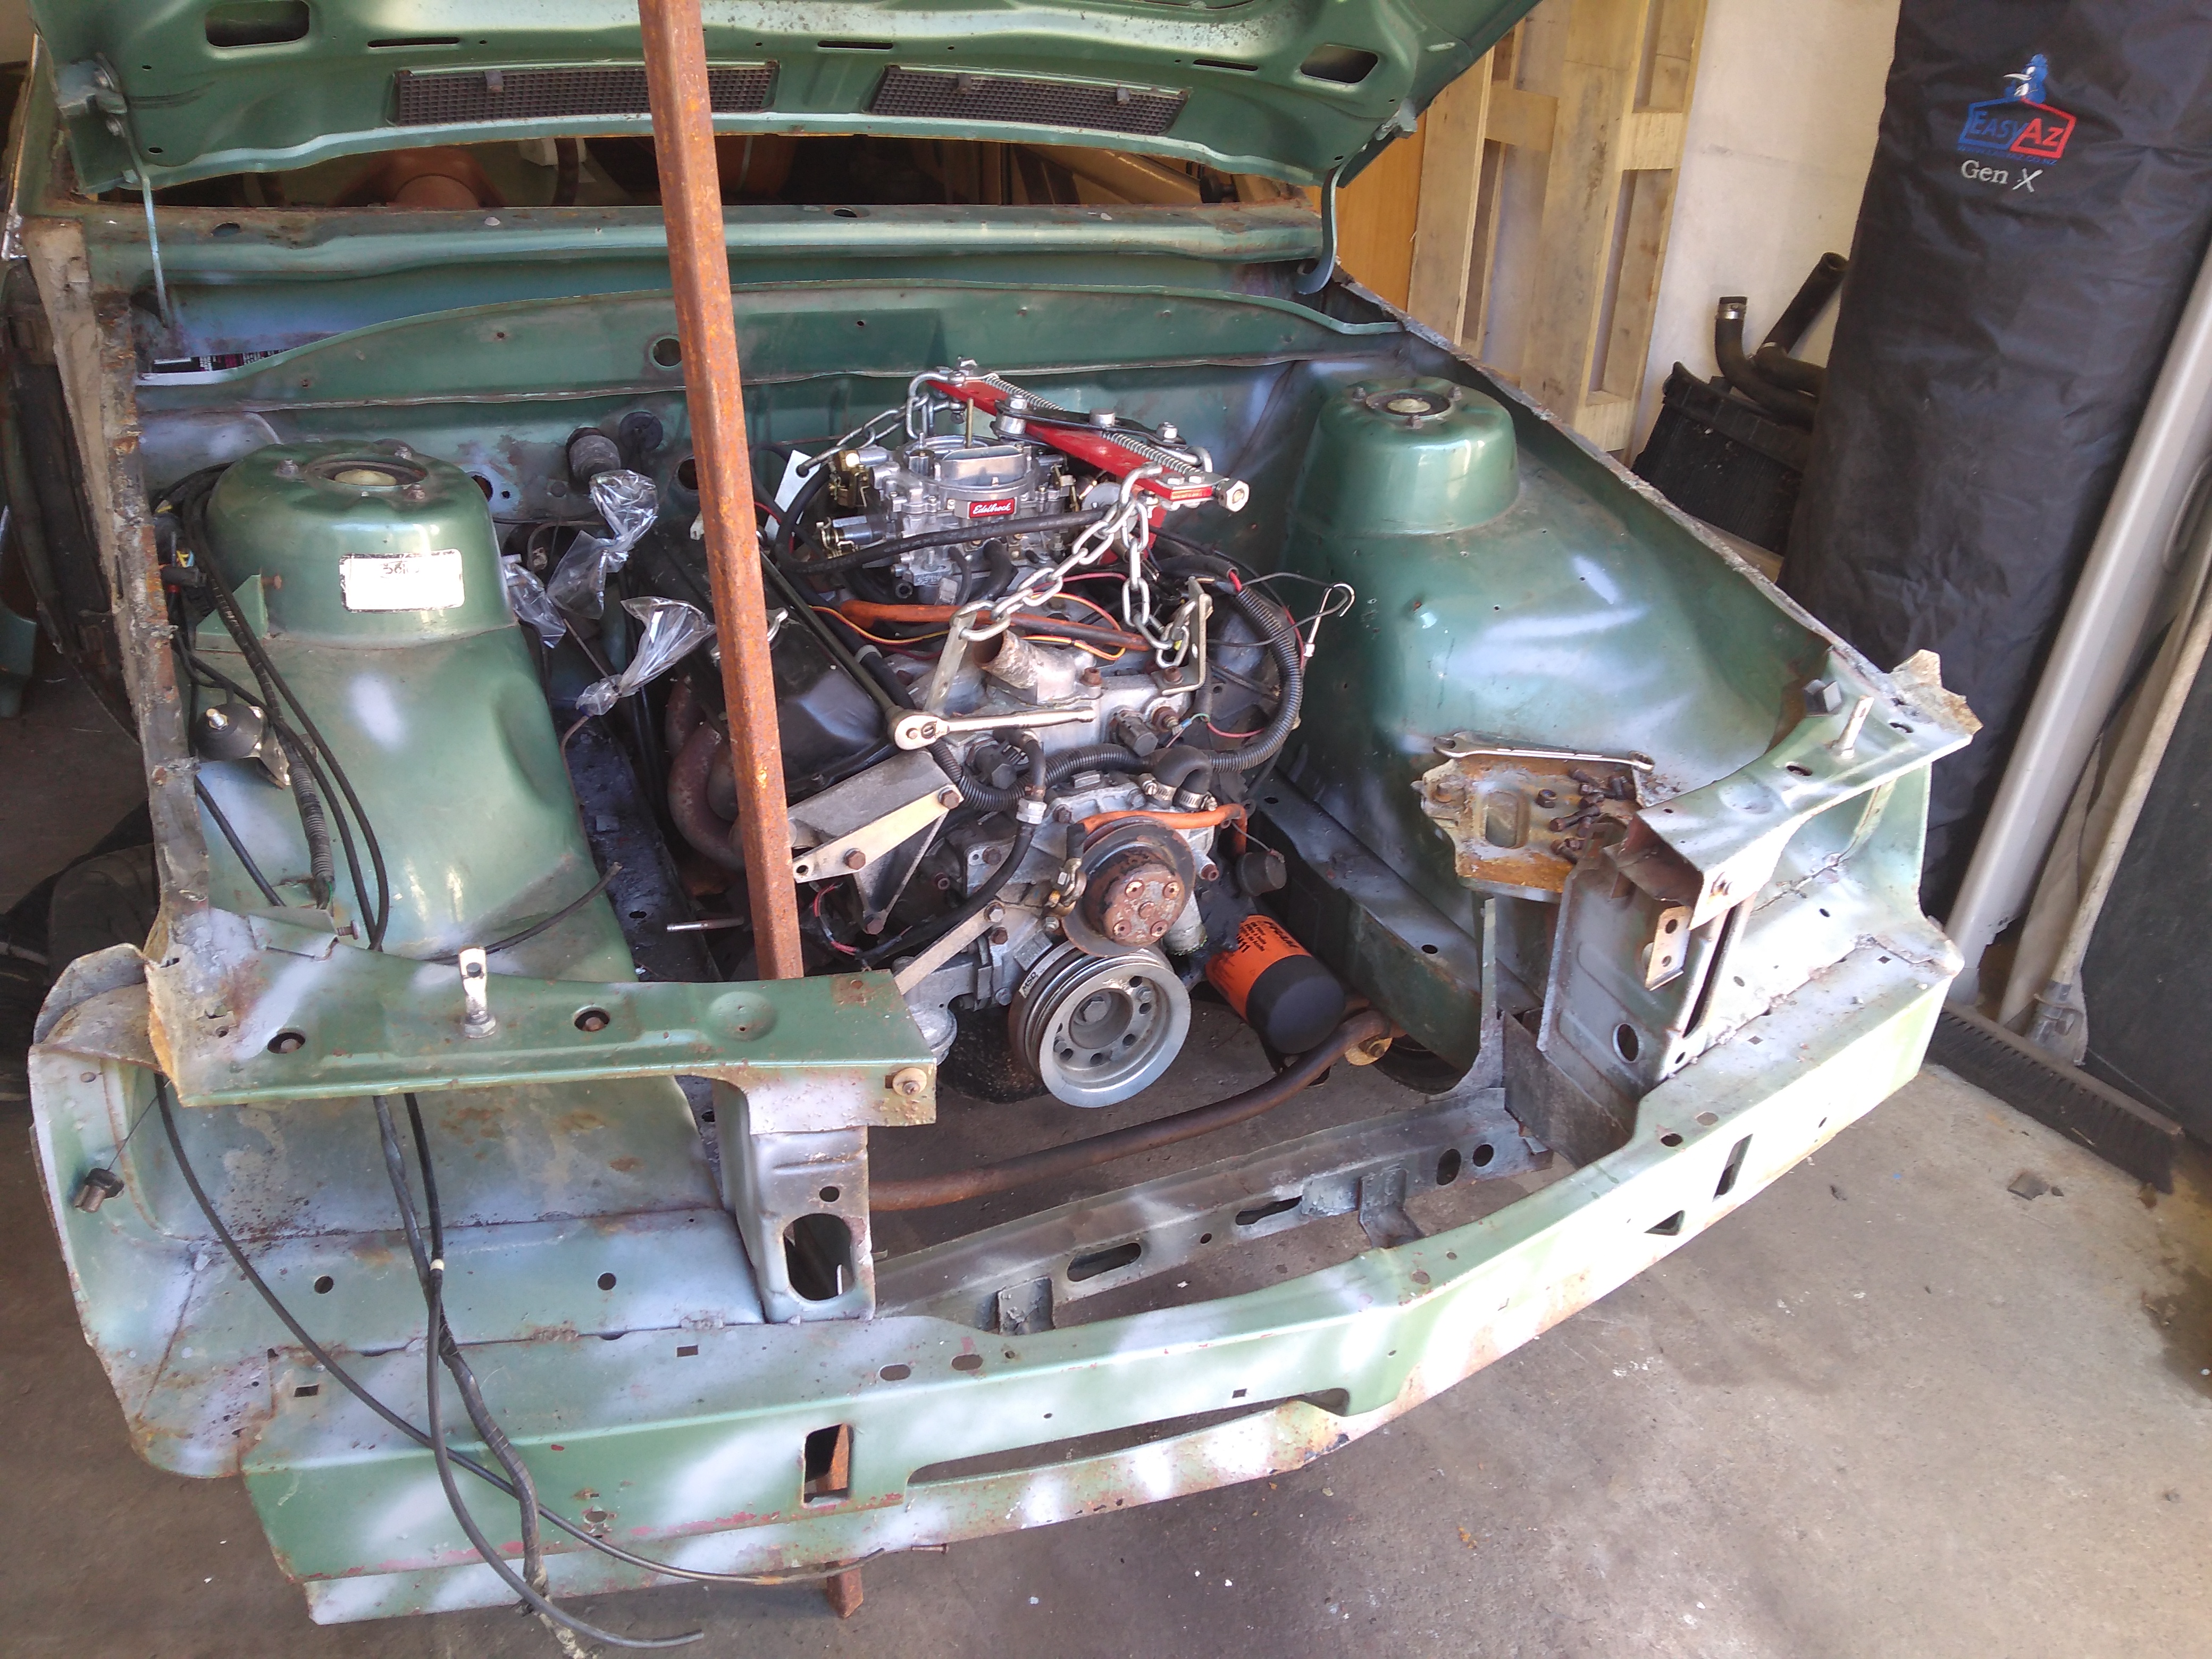
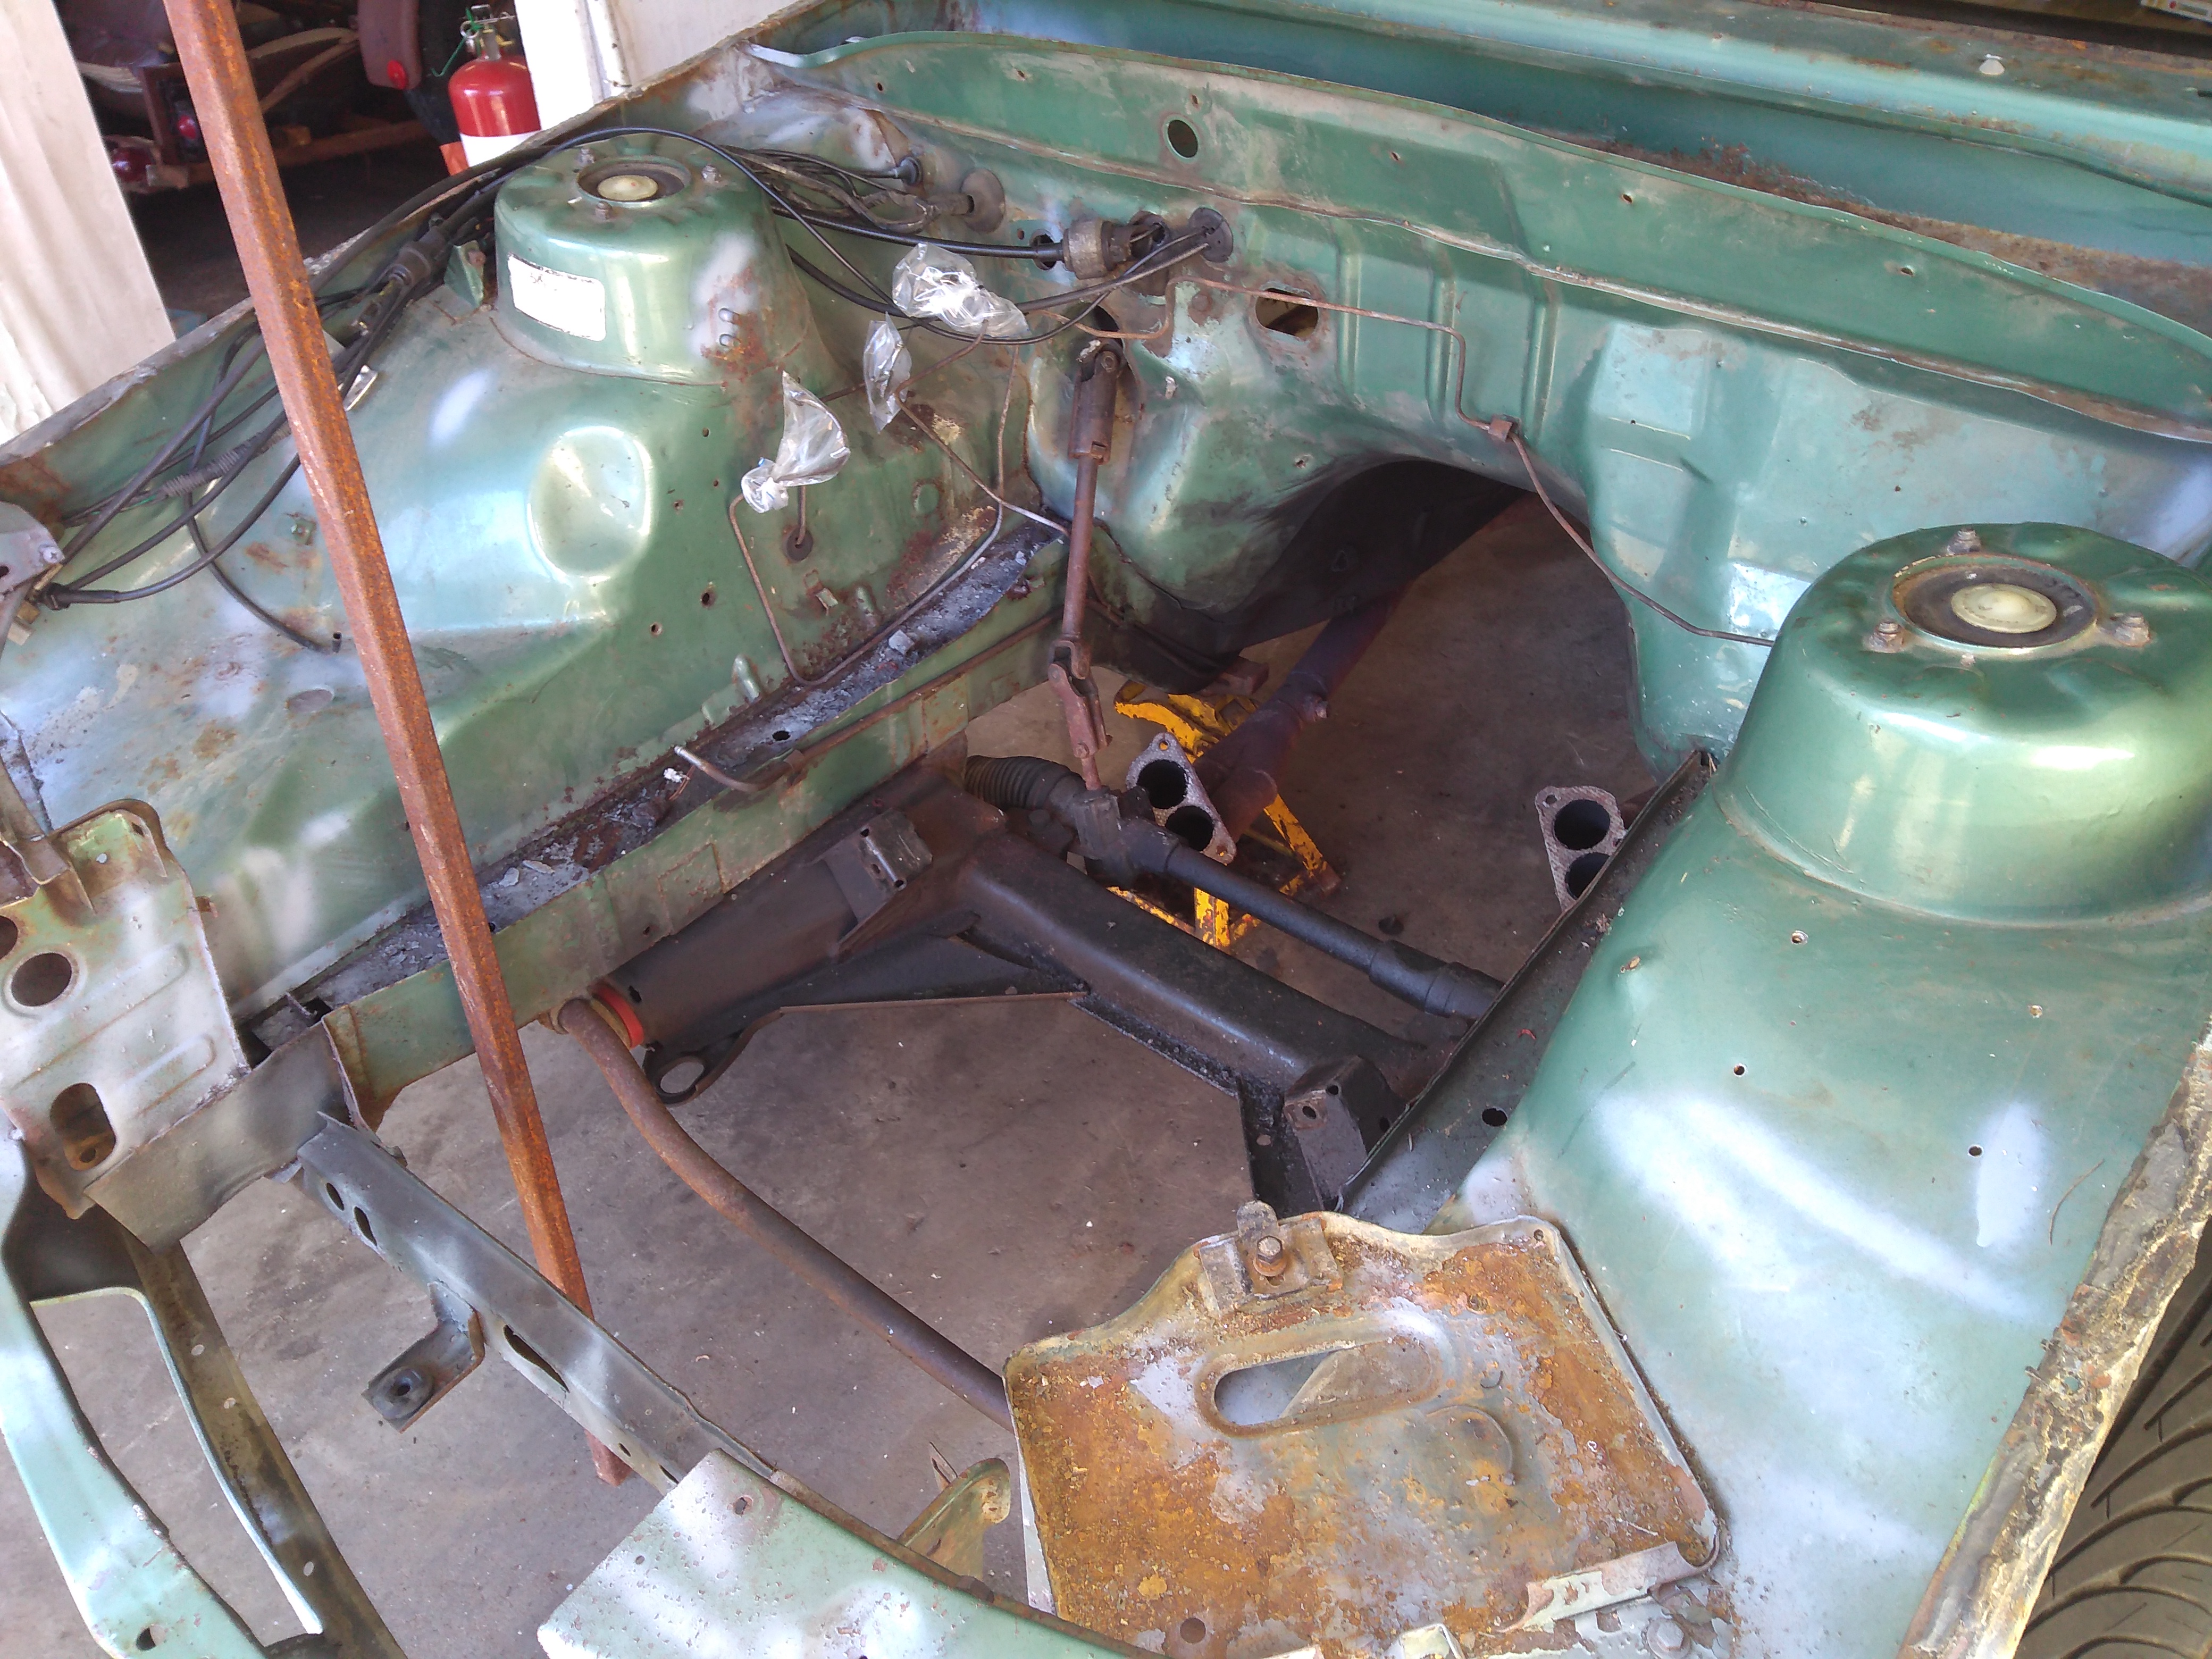
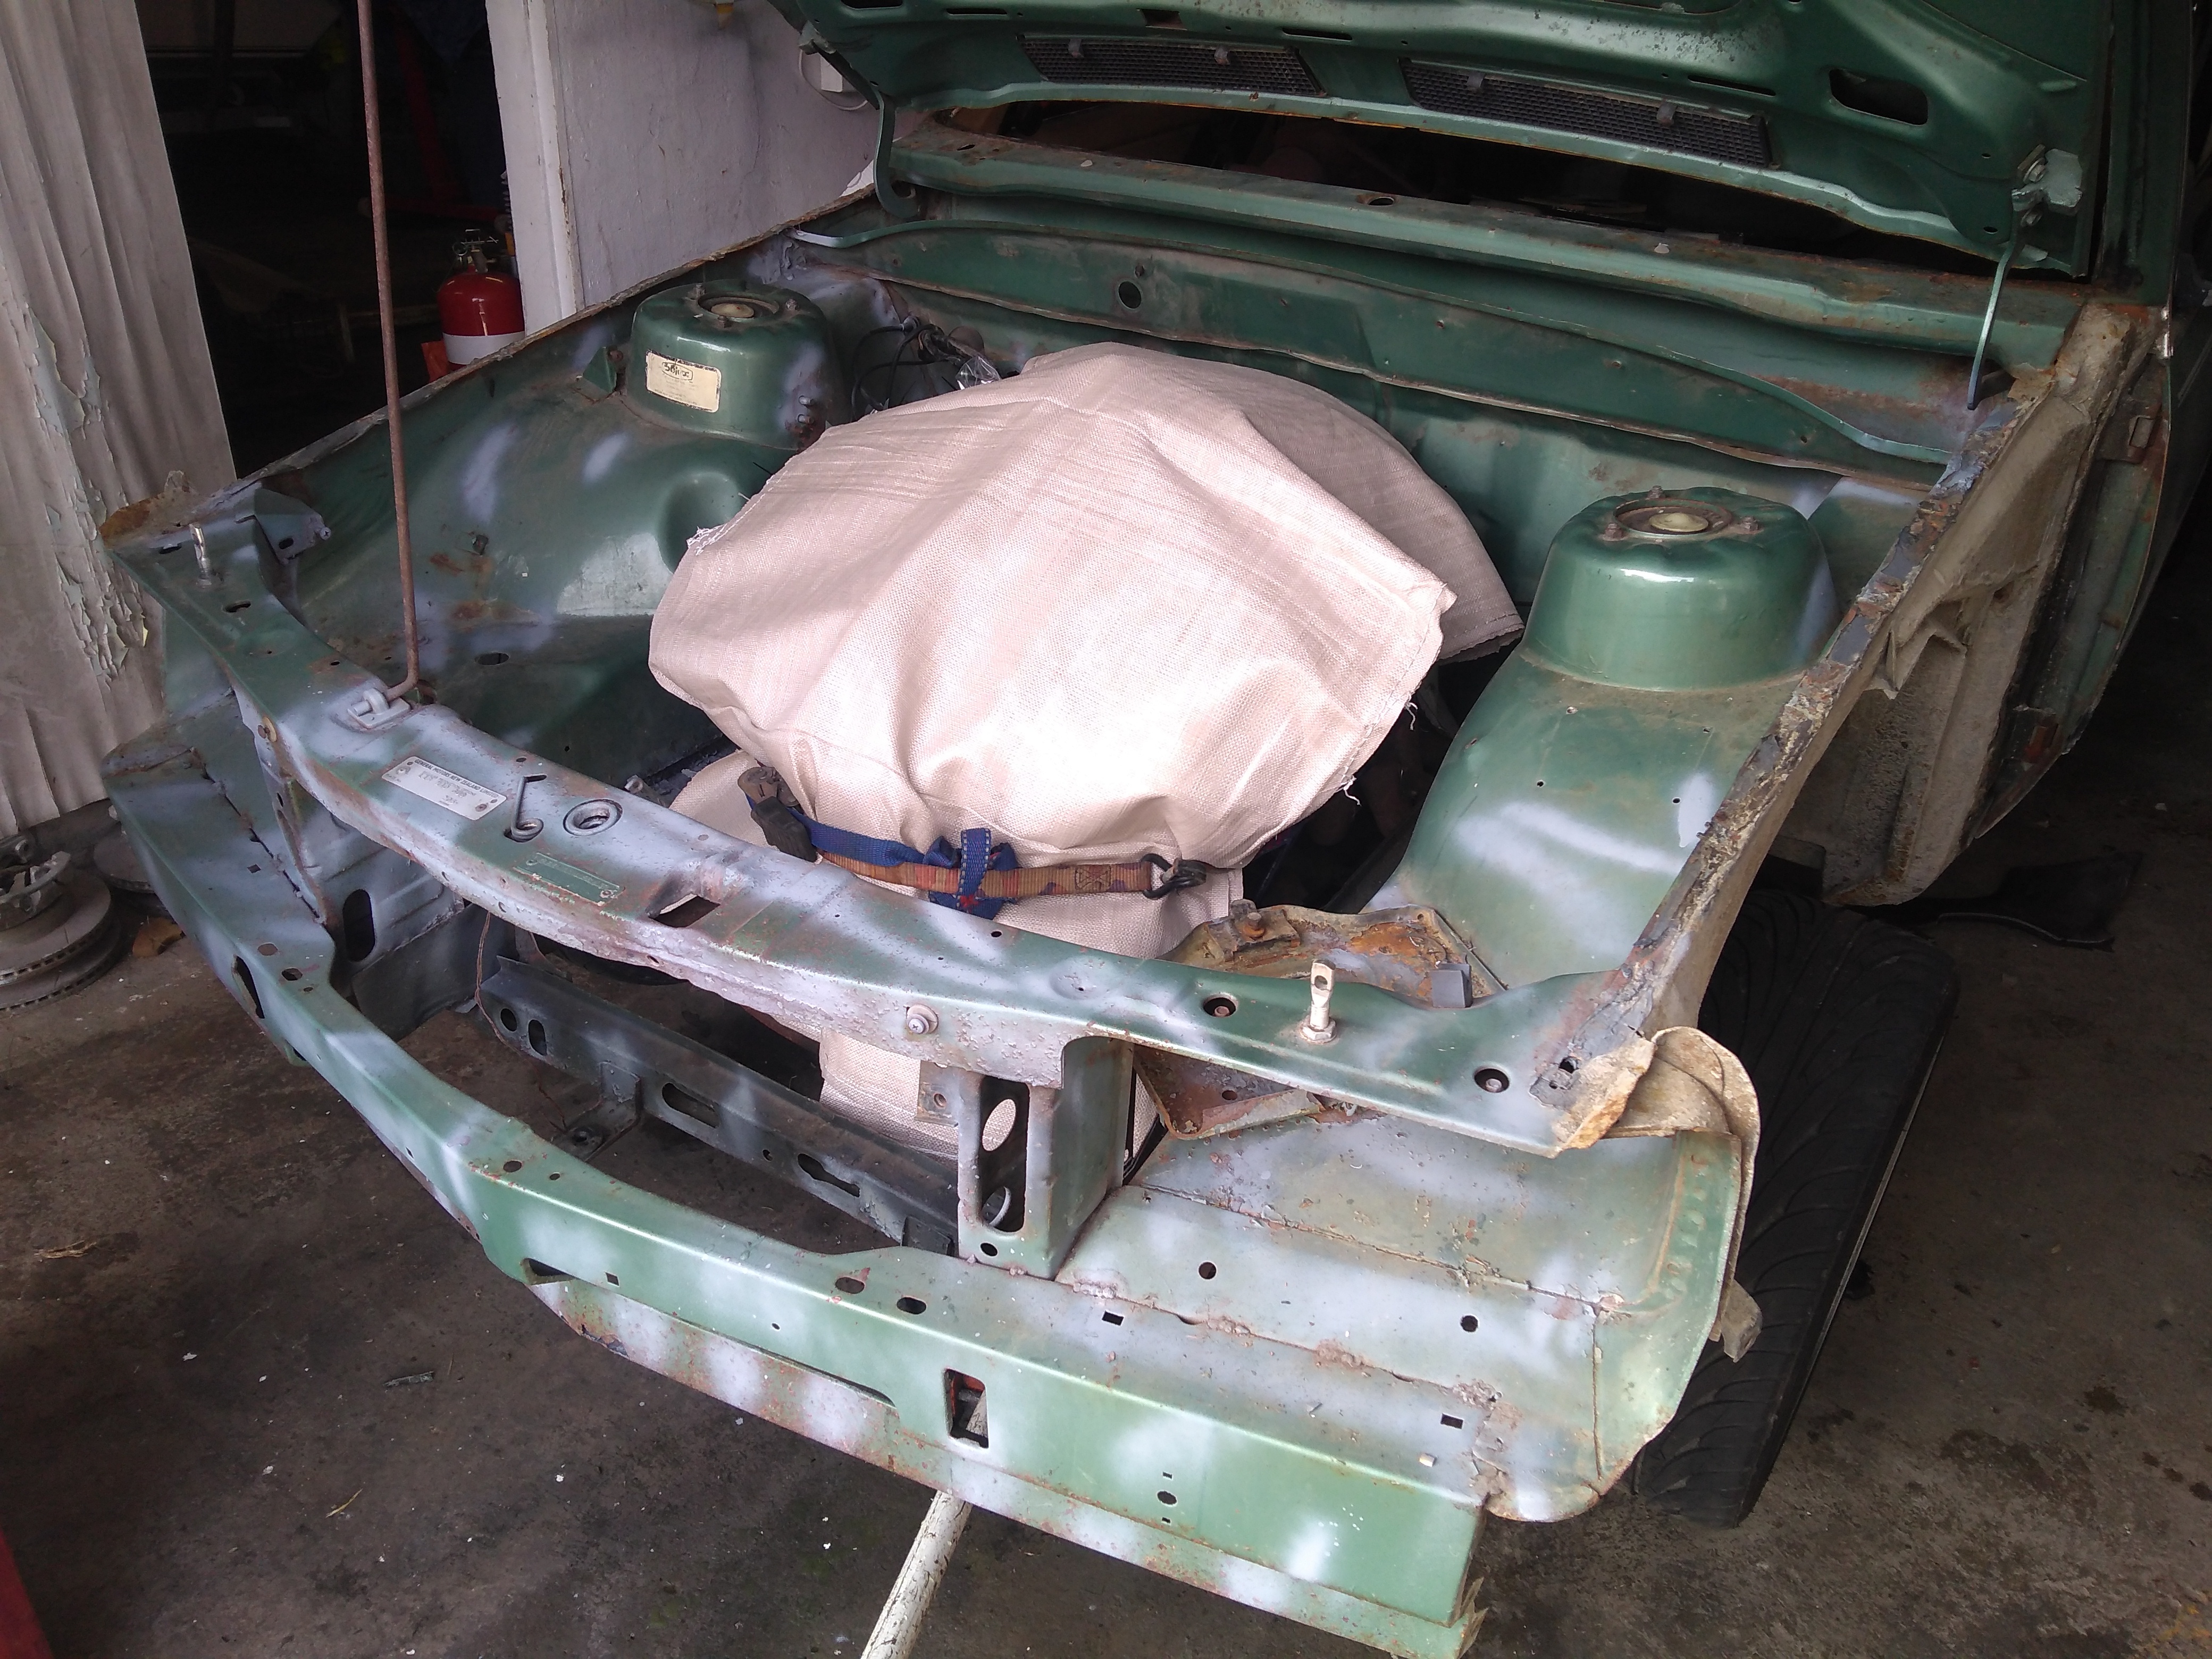
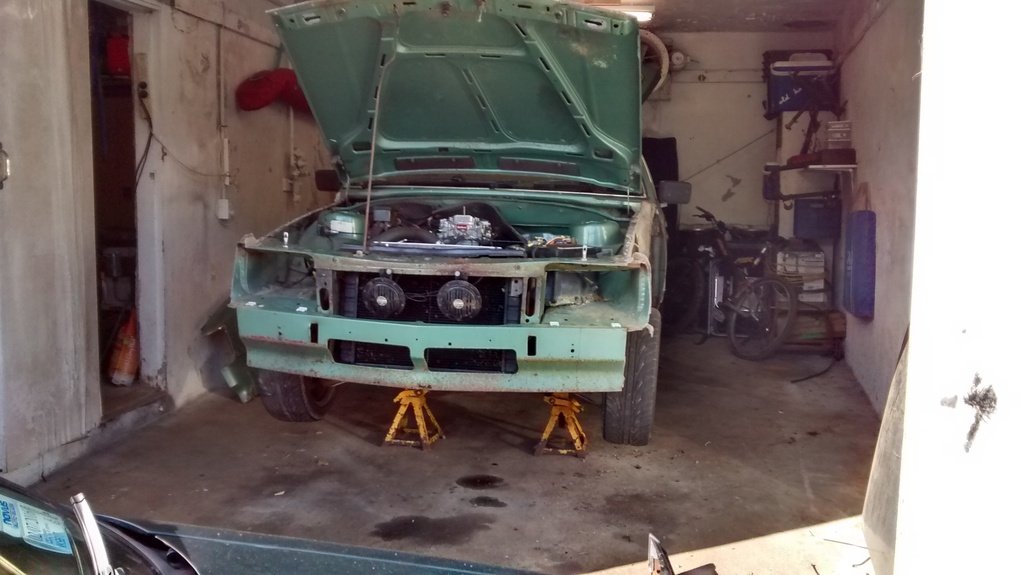
Well the big job of fixing the rust has begun. Pulled the front sheet metal off. Deja vu from a few years back. I can't figure out for the life of me why my feet got wet every time it rained... Next job is to pull the dash out and then when I have the other half of my lockup back I'll pull the motor and box then completely gut the engine bay. Was a pretty good day today.
1 point
-
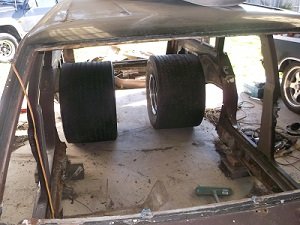
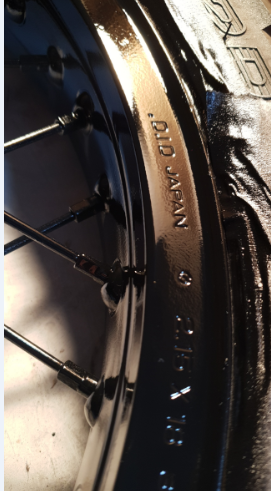
Before 15's Now 16's
1 point
-
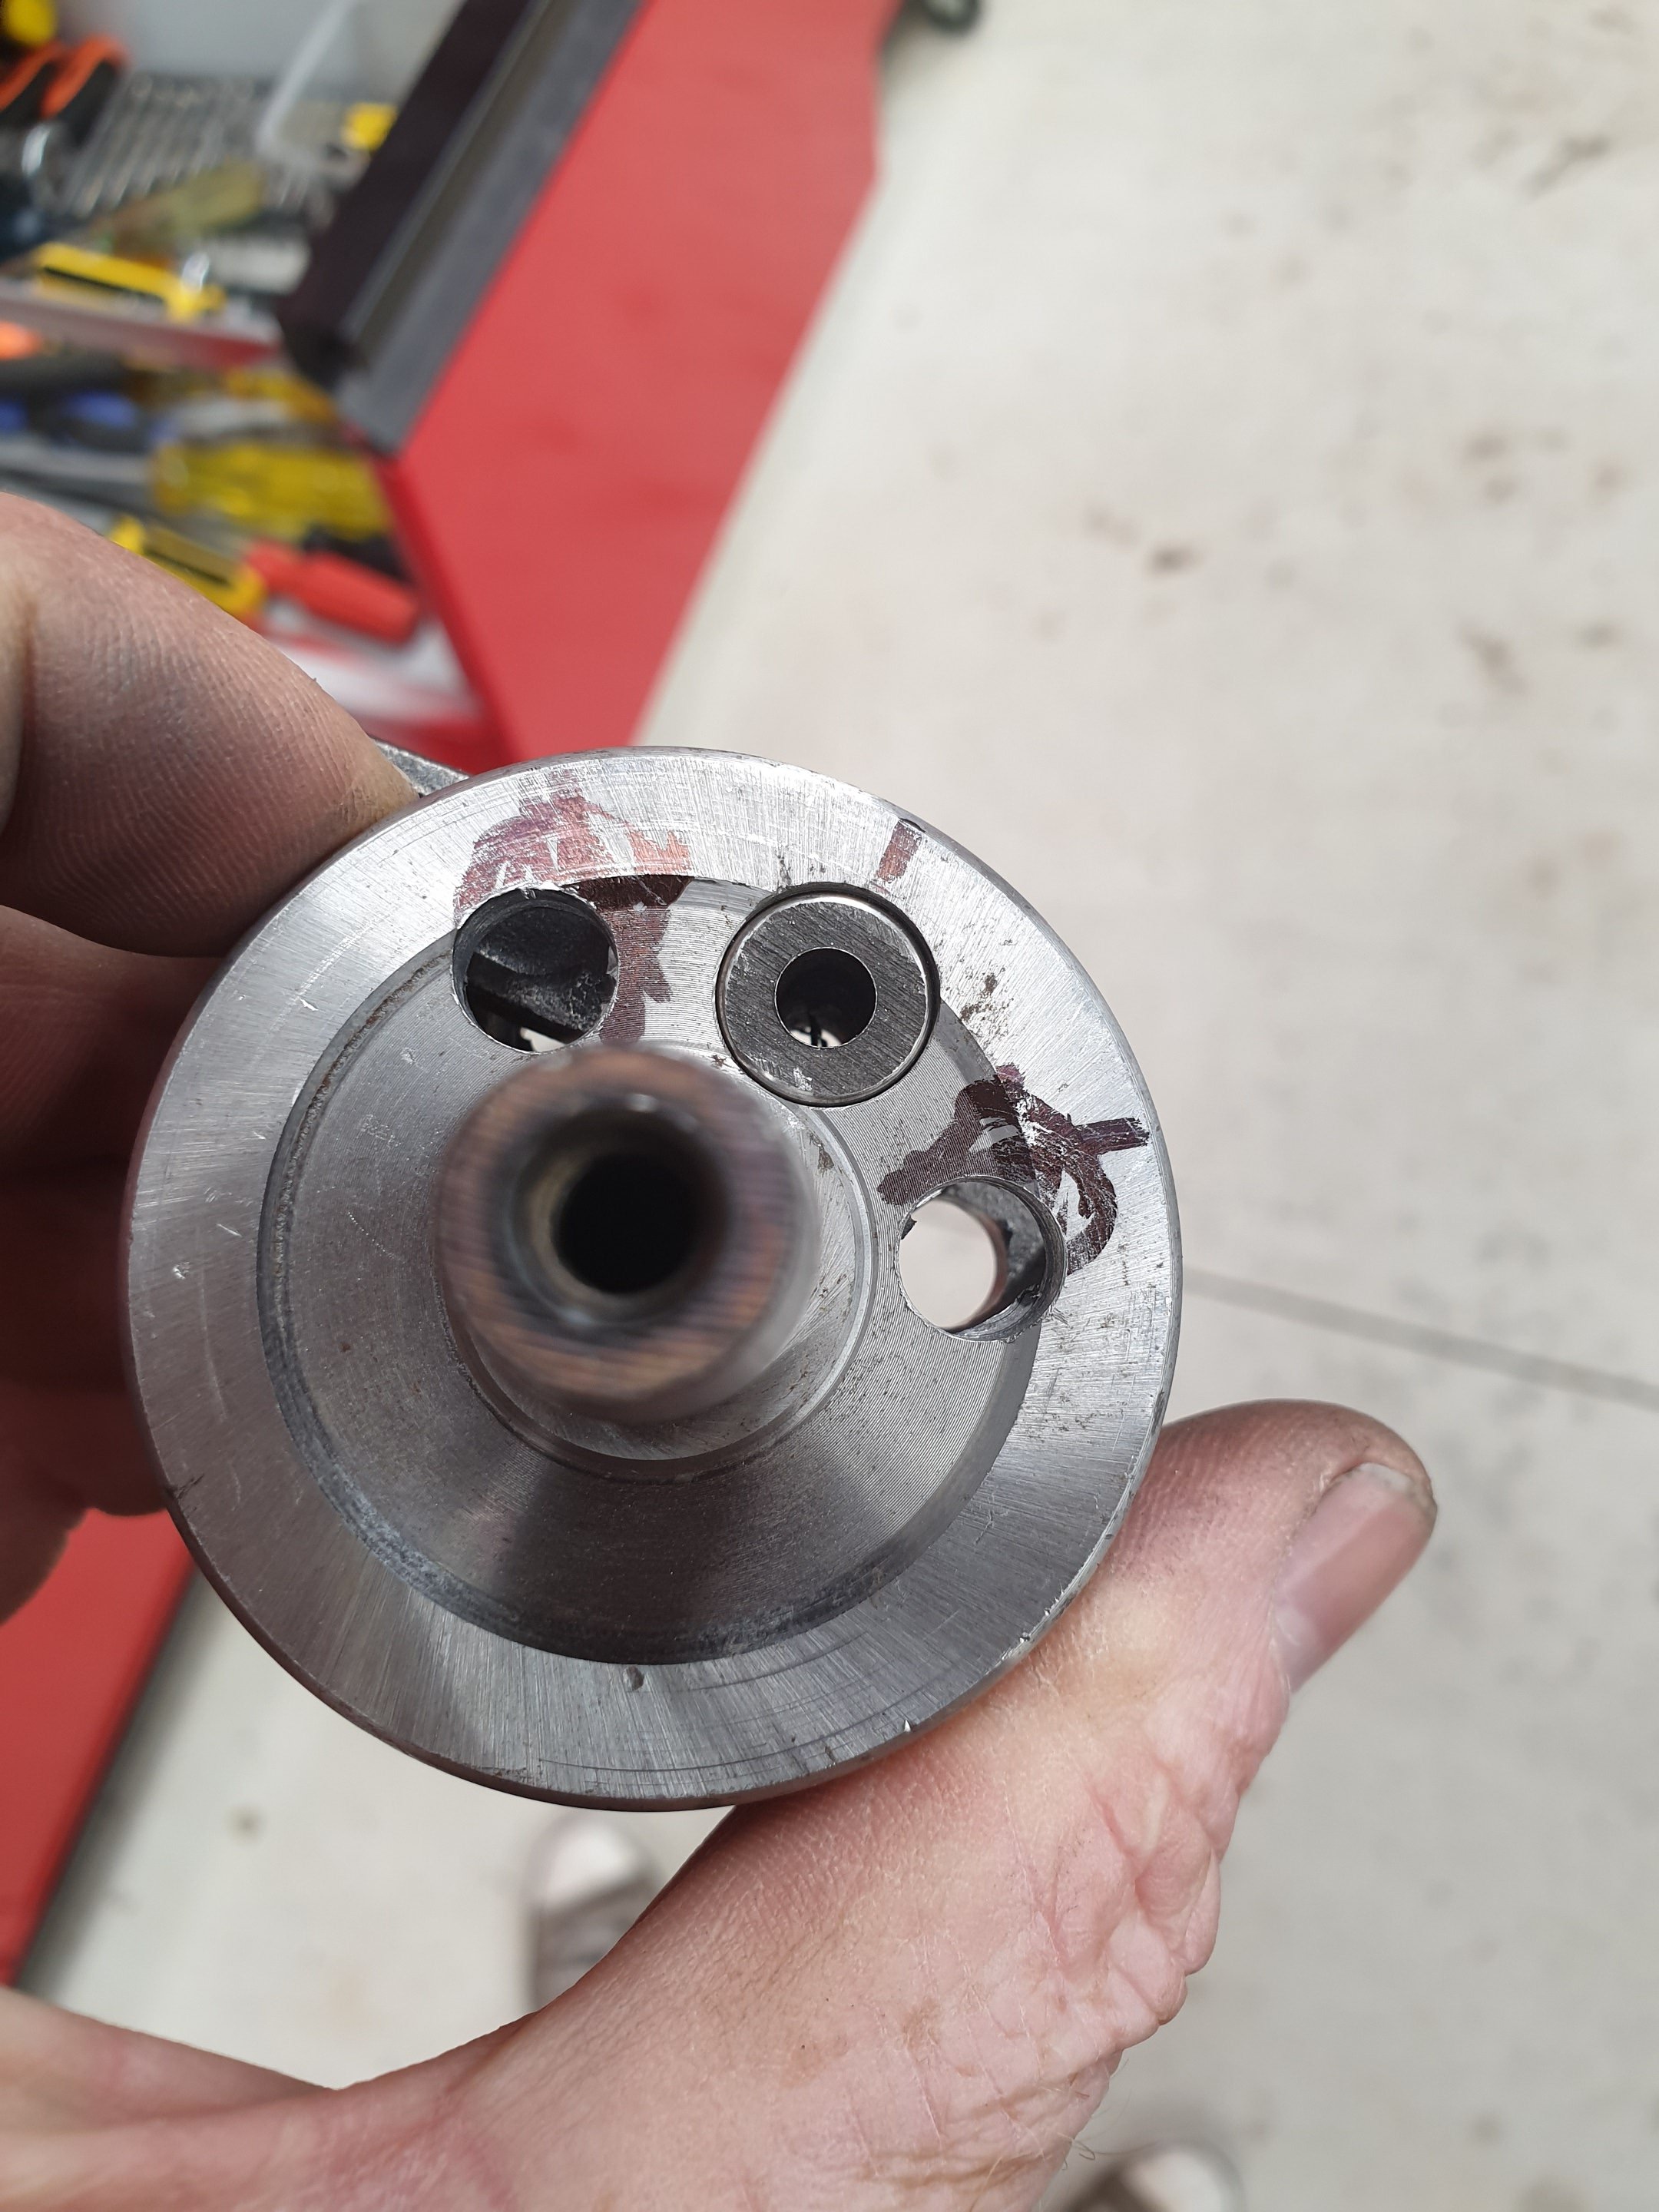
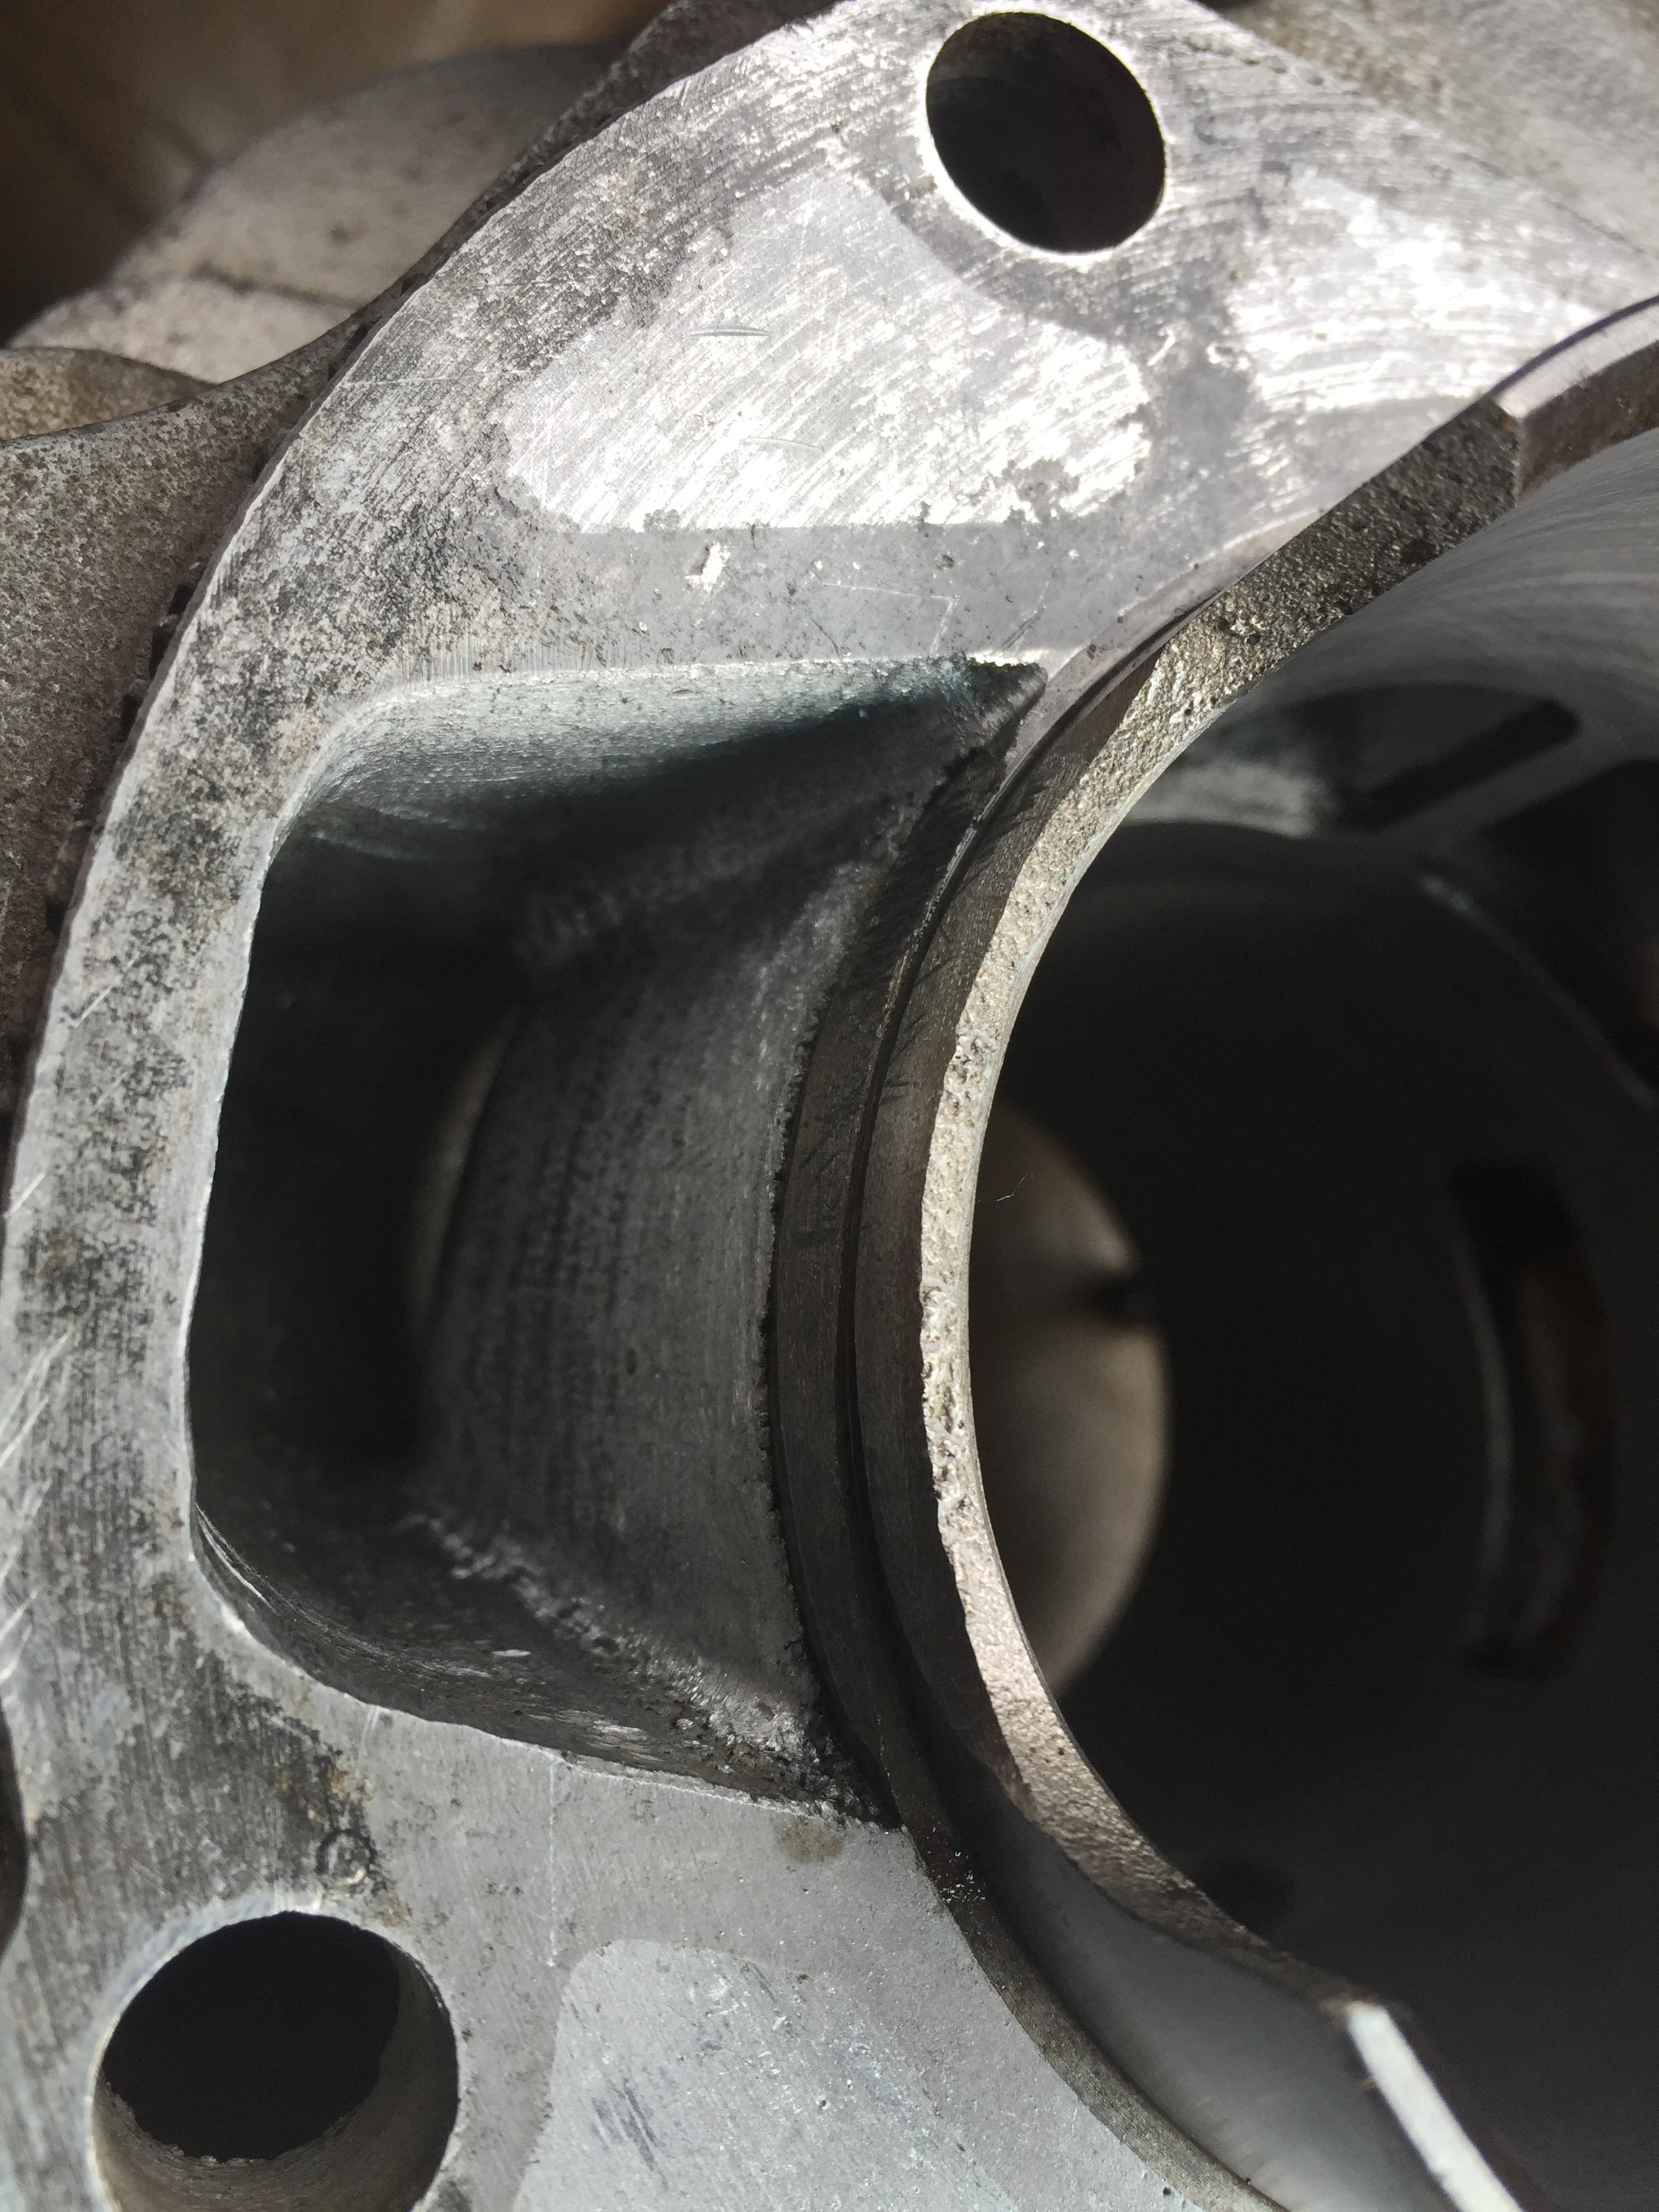
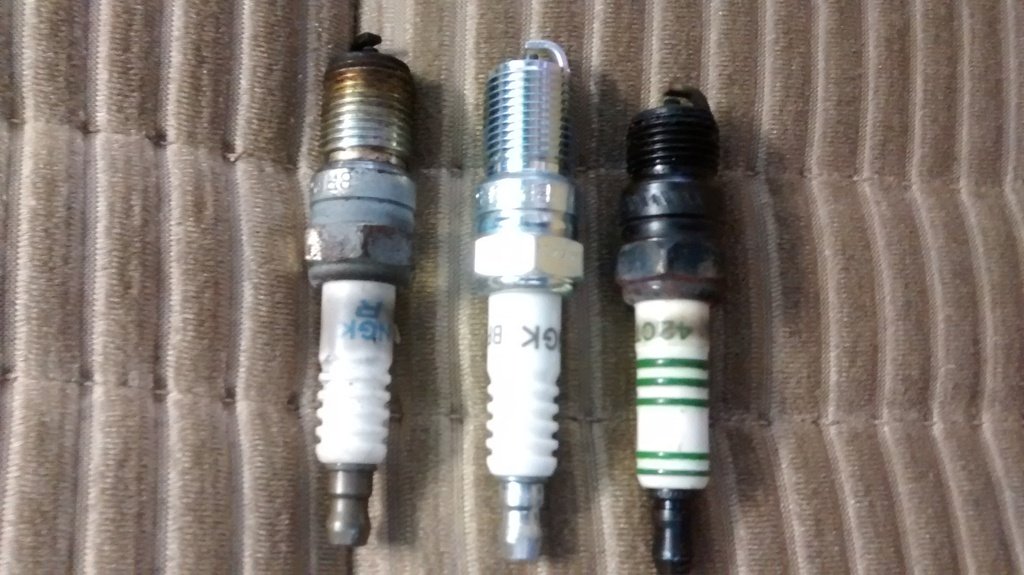
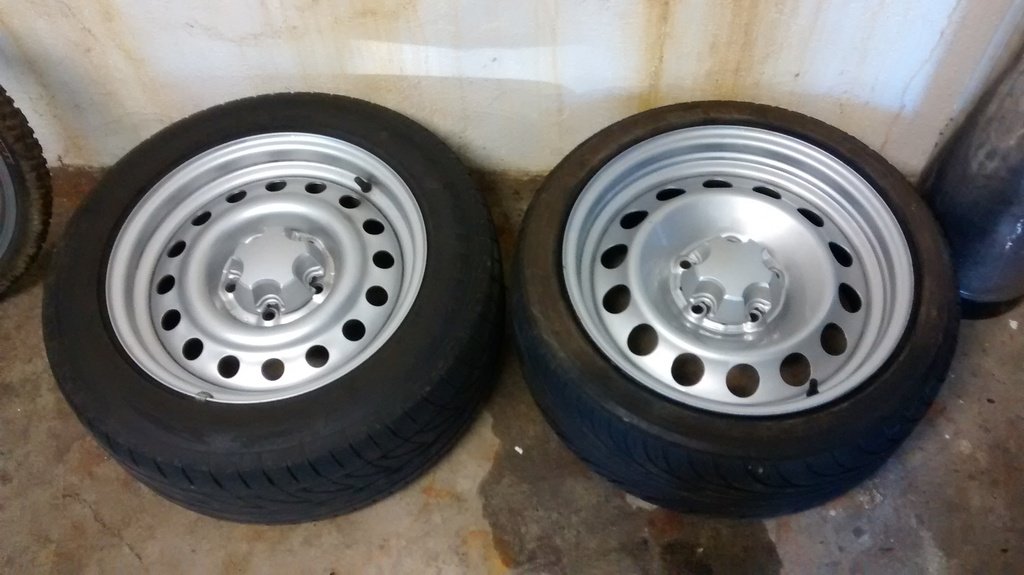
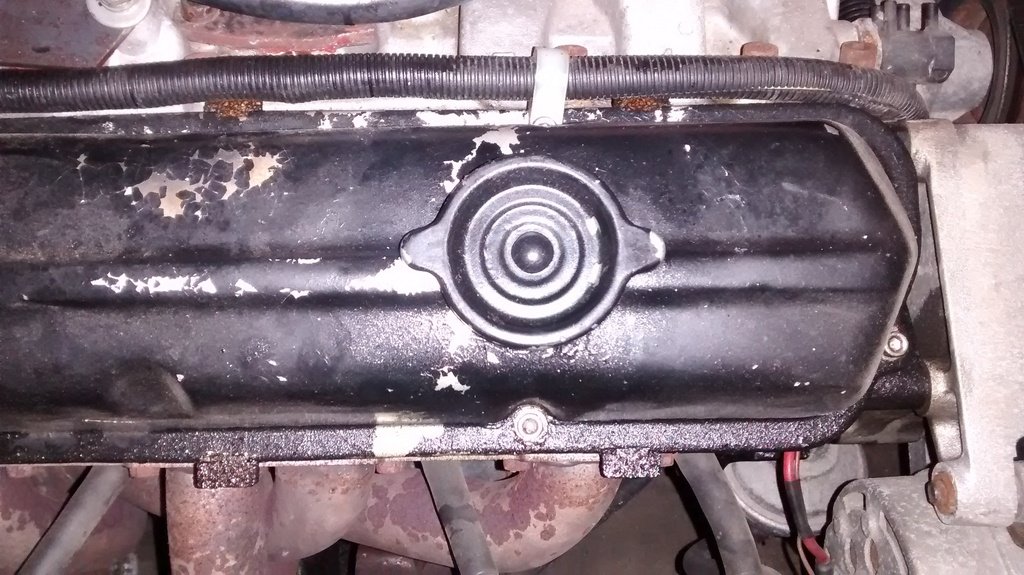
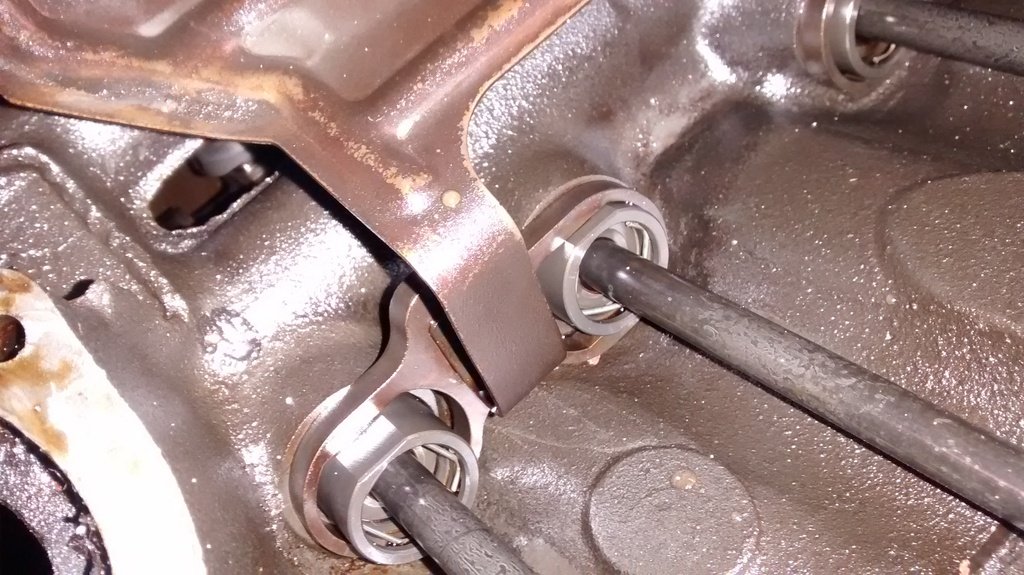
Got up nice and early this morning with tonnes of enthusiasm and plans to take care of a whole bunch of things for Wagnats, Nats and just general sorting of my lockup. Did a bit of a service on the old girl, adjusted up the handbrake and clutch plus fixed a squeak in the rear brakes. I discovered when swapping the spark plugs that I have had the wrong ones in there since I got it going. The electrode must have been recessed so far inside the head. (see photo below) Seems to run a bit nicer and the exhaust smells a lot more potent so I am assuming it is burning the fuel much better now. Won't know till I drive it a fair whack to see if it has made a substantial difference in performance or driveability. Left - 304 injected motor plug (I pulled it out just to check my finding) Middle - new correct 308 plug Right - plug I've had installed since the I got the motor going (oops) I also had the original 16" steels painted by Matt (Sorensin) and chucked those on with the pursuit hubcaps. I'm not 100% on them yet. But give me a week and I'll know whether I'm keeping them or resorting to the 15's again. 16's vs 15's Fitted
1 point
-
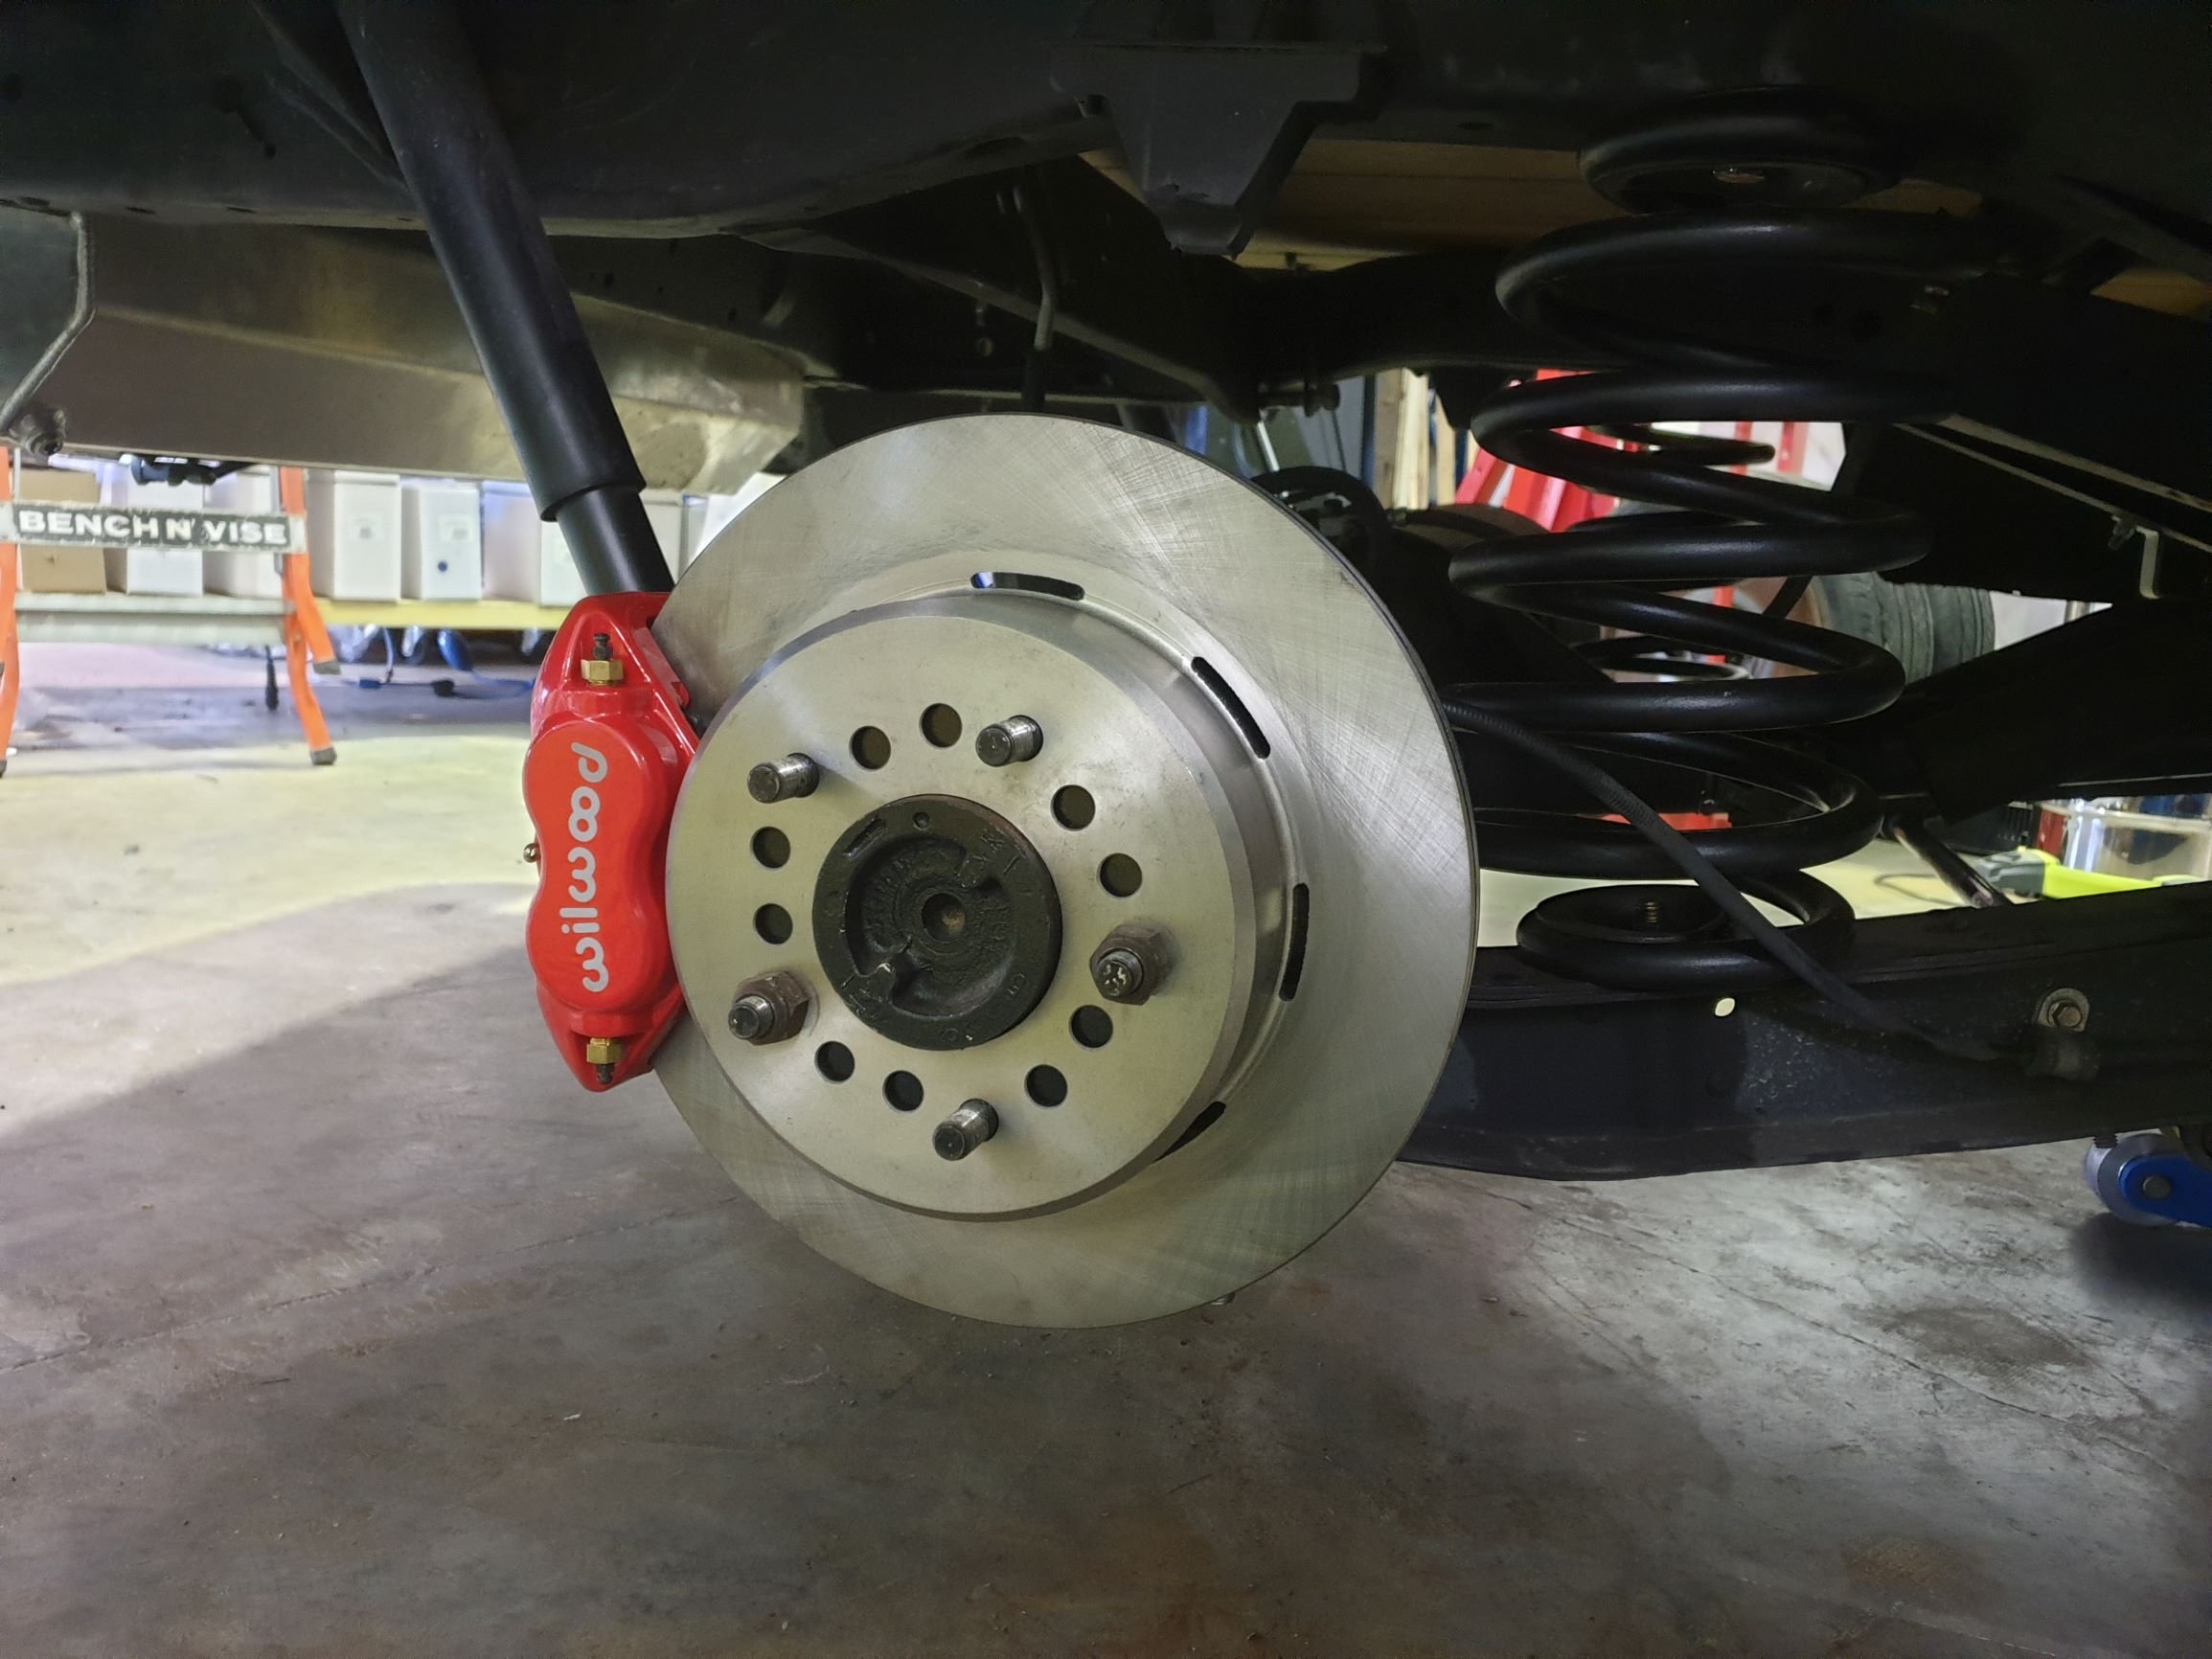
Turns out the driveline vibration I have been stressing about since April was just finger tight centre CV bolts. Guess they've been working loose since August 2013 when I paid a decent chunk of change for a reputable driveshaft shop to rebuild, shorten and balance my driveshaft. Tempted to go back to them and kick them in the balls, but know it will achieve fuck all because its been so long and I've done several thousand Km since then. Anyhow I'm going for a bit of a drive tomorrow night to see if the vibration has disappeared at all speeds and will report back with pics.1 point
-
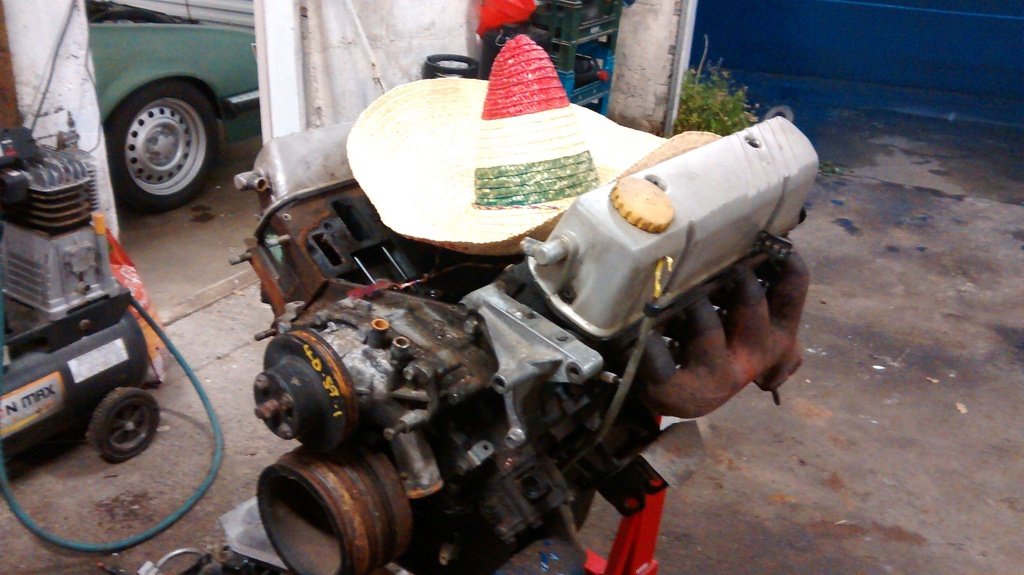
Also I scored a replacement oil cap after I lost mine at Nats on the side of the road. Cheers to... Joe for bringing the motor door to door from Auckland to Wellington Seedy for the loan of engine crane and bringing it to my lockup tonight Beaver for the loan of an engine stand Kamahl for a free oil cap and picking up a booster for me Chris and Tara for storing my motor in Auckland for a month or two Kicker for selling me the scooter and Steelies for turning up as generic peanut gallery motivation Thanks all - hats off to you
1 point
-
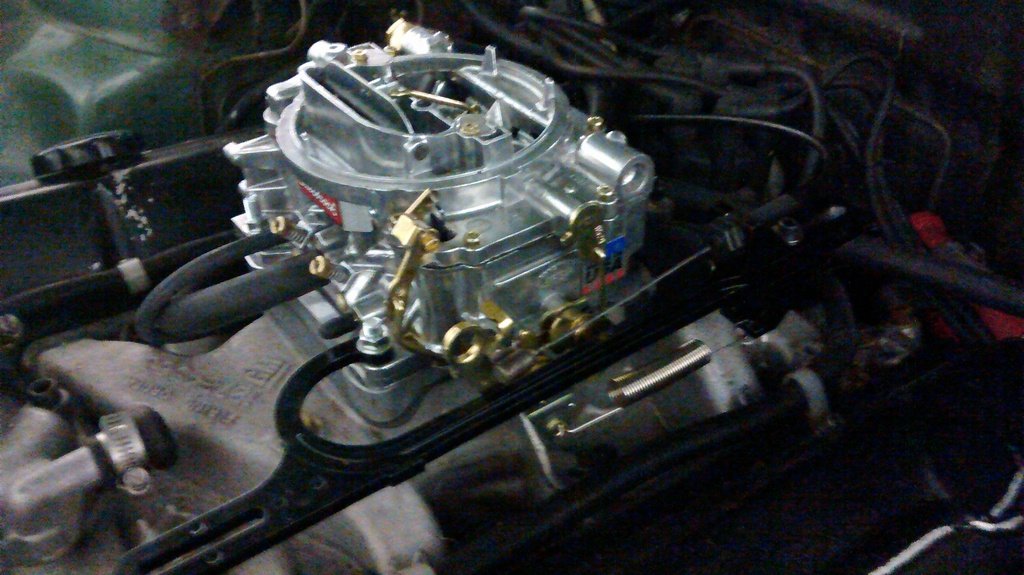
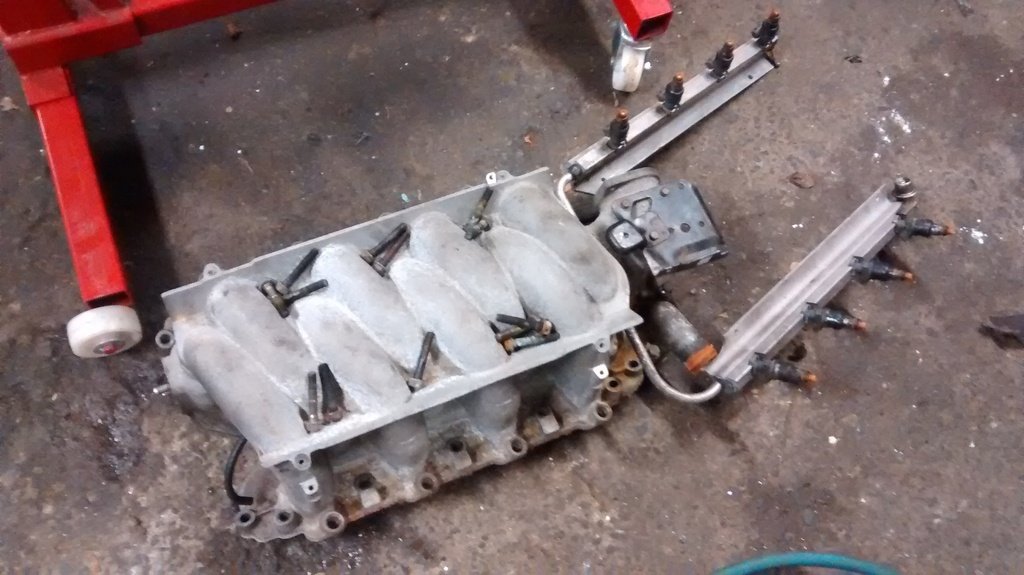
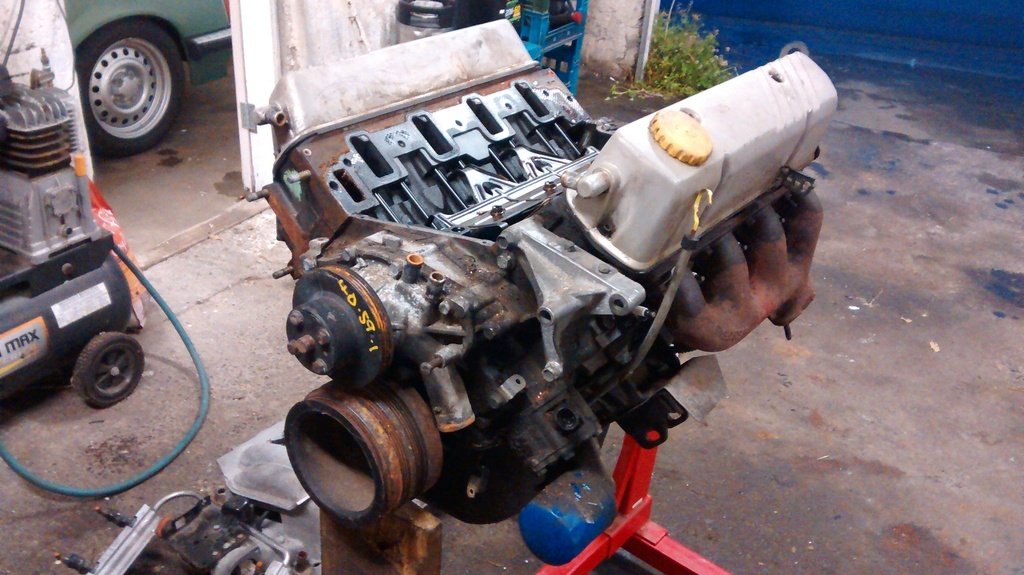
Tonight was a unexpectedly productive night now I look back on it. Was meant to just be meeting Joe and Seedy to unload my motor and chuck it on Beavers engine stand but a traffic accident on the motorway held them up. So I trudged on and cleared up a couple items I've been meaning to do for a few weeks but just haven't had time - even though I've had the bits on hand the whole time. First of all I fitted up a new spacer/adapter and throttle bracket to fix the twitchyness that I was experiencing - all to do with the angle of the throttle cable in relation to the pivot. (sorry for potato photos) I mounted the spring mount at the wrong end and upside down because it fouled the air filter in the correct place. Probably puts a bit too much strain on the spindle so may rethink this. (but probably will leave it cos I'm lazy) Then Joe and Seedy turned up and we unloaded my new motor. I wasn't going to do anything more than just jam it on the engine stand but Joe tricked me into taking off the wiring loom. ... and the inlet manifold so I could check if it had a roller cam - which it does. woooo. leaving me with this by the time I was done. I also scored myself a scooter tonight too.
1 point


This leaderboard is set to Auckland/GMT+12:00