
Leaderboard


Popular Content
Showing content with the highest reputation on 07/04/19 in all areas
-
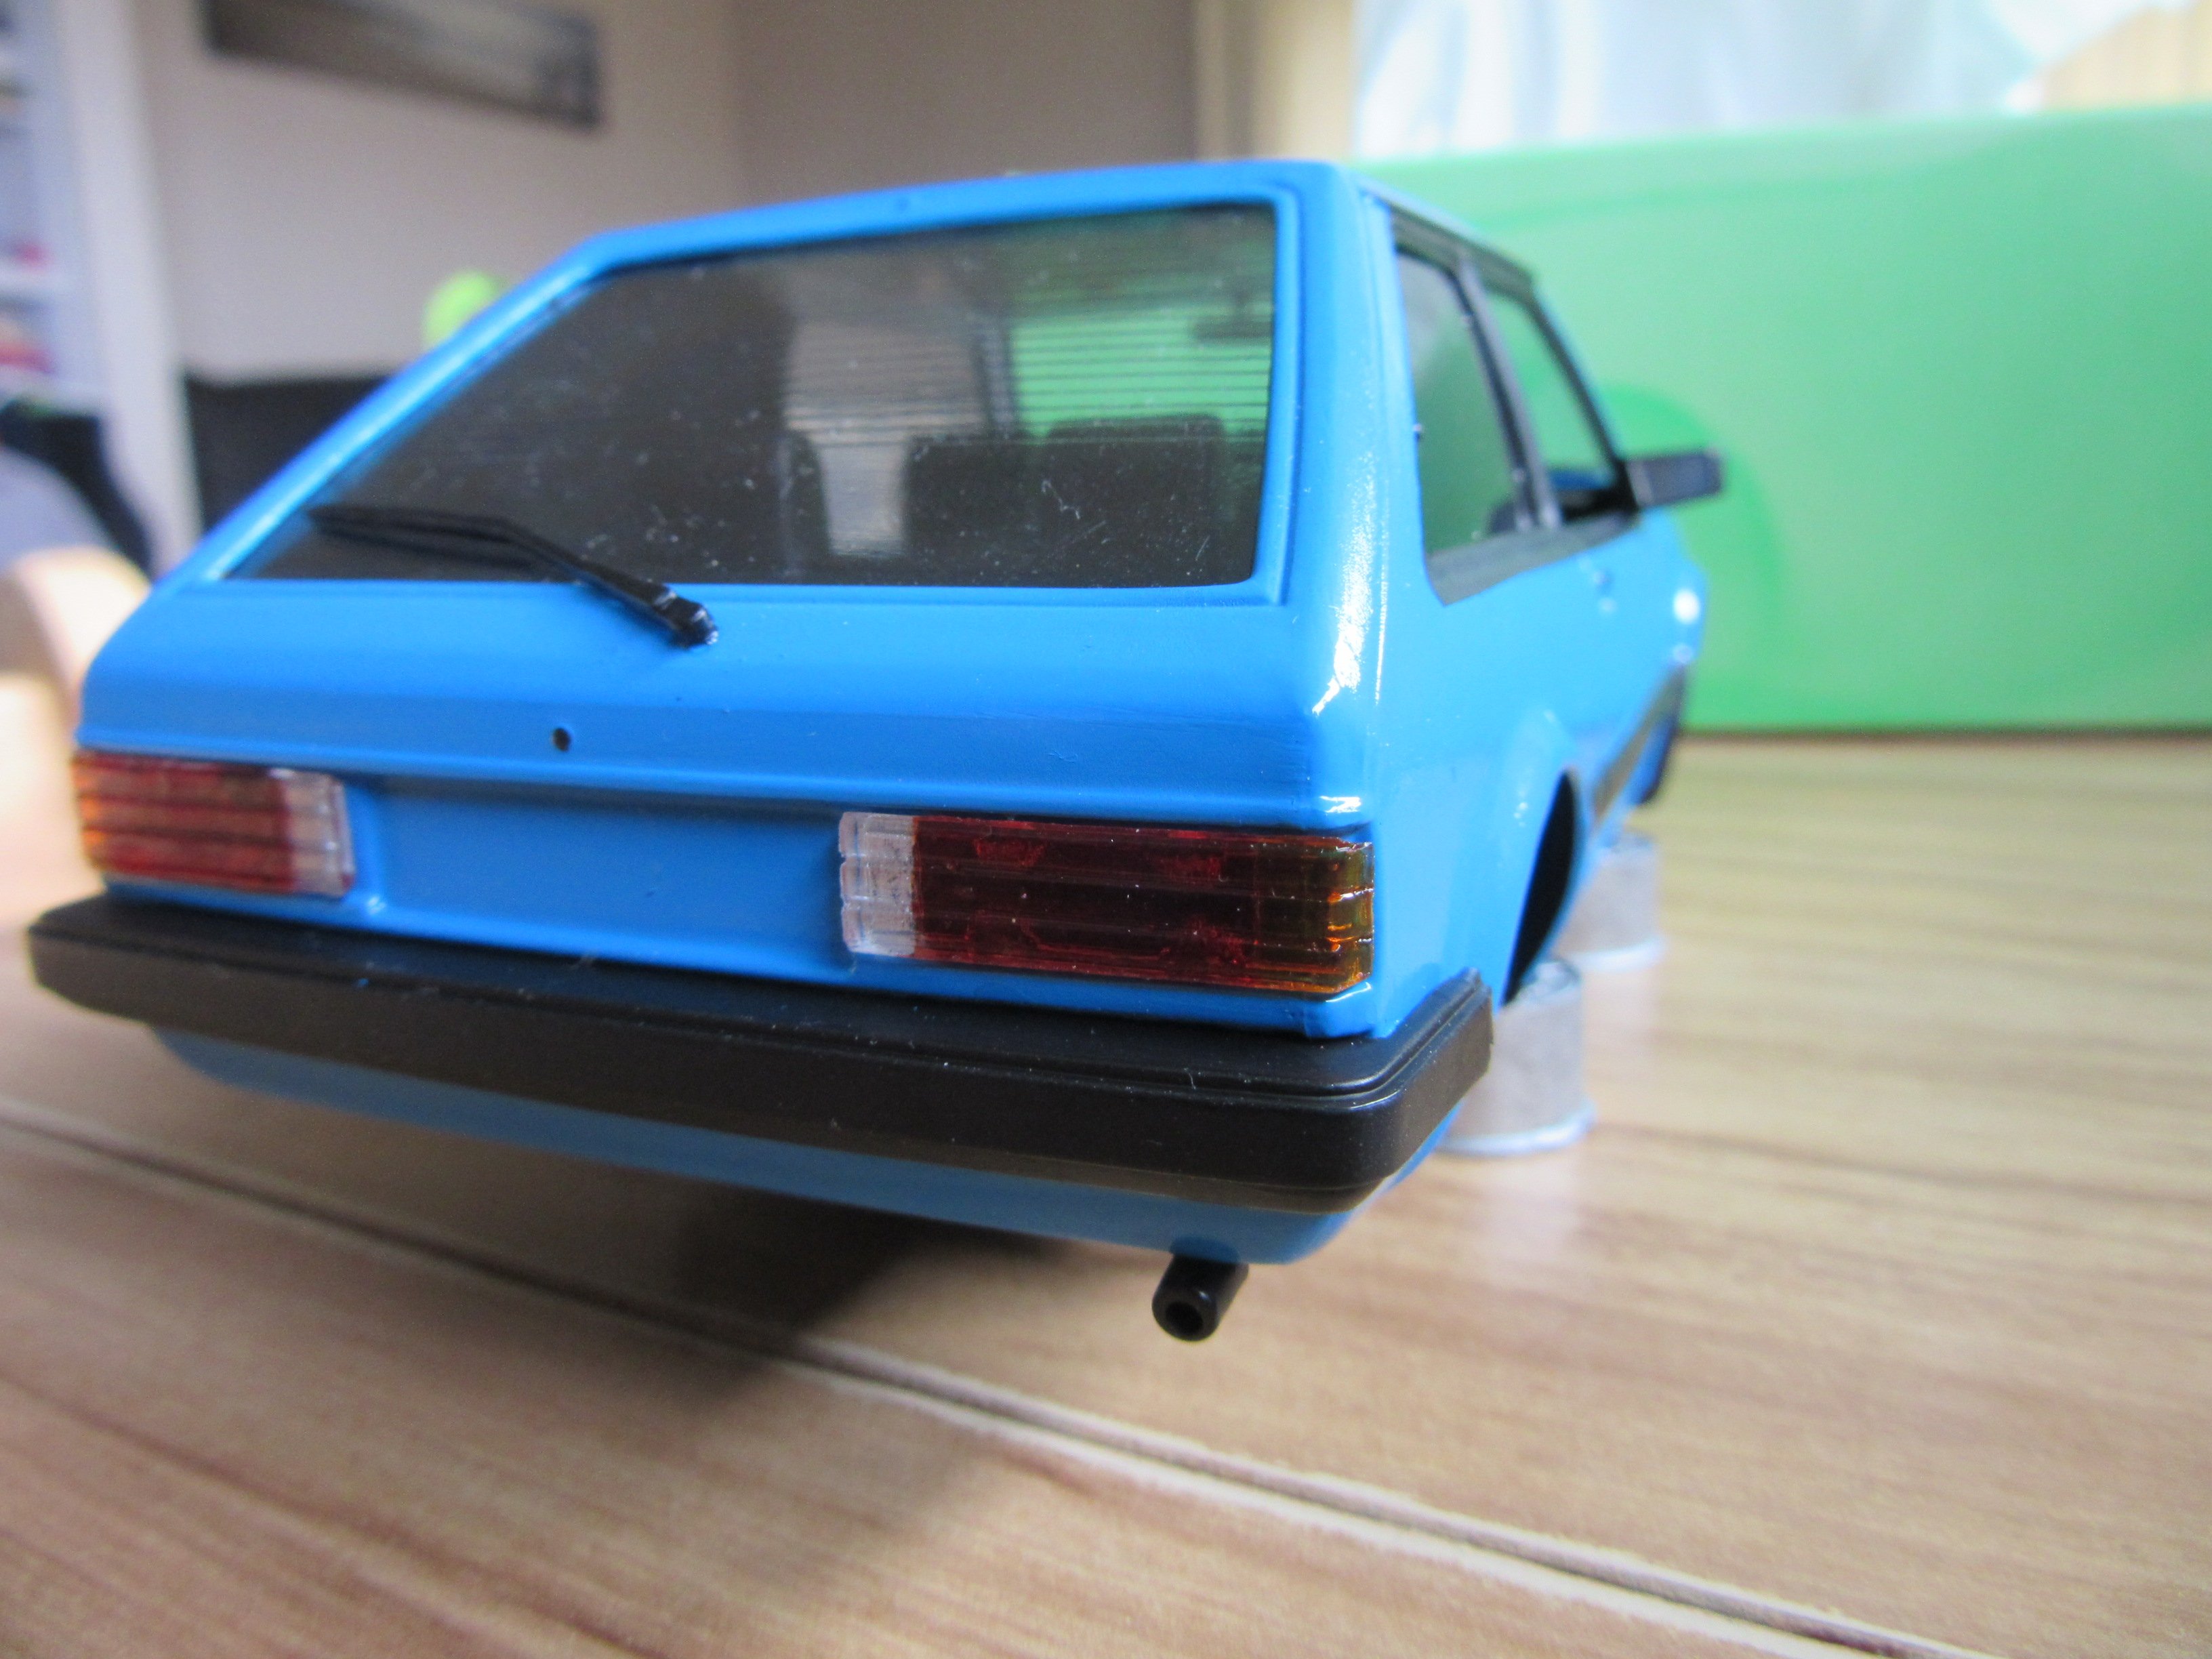
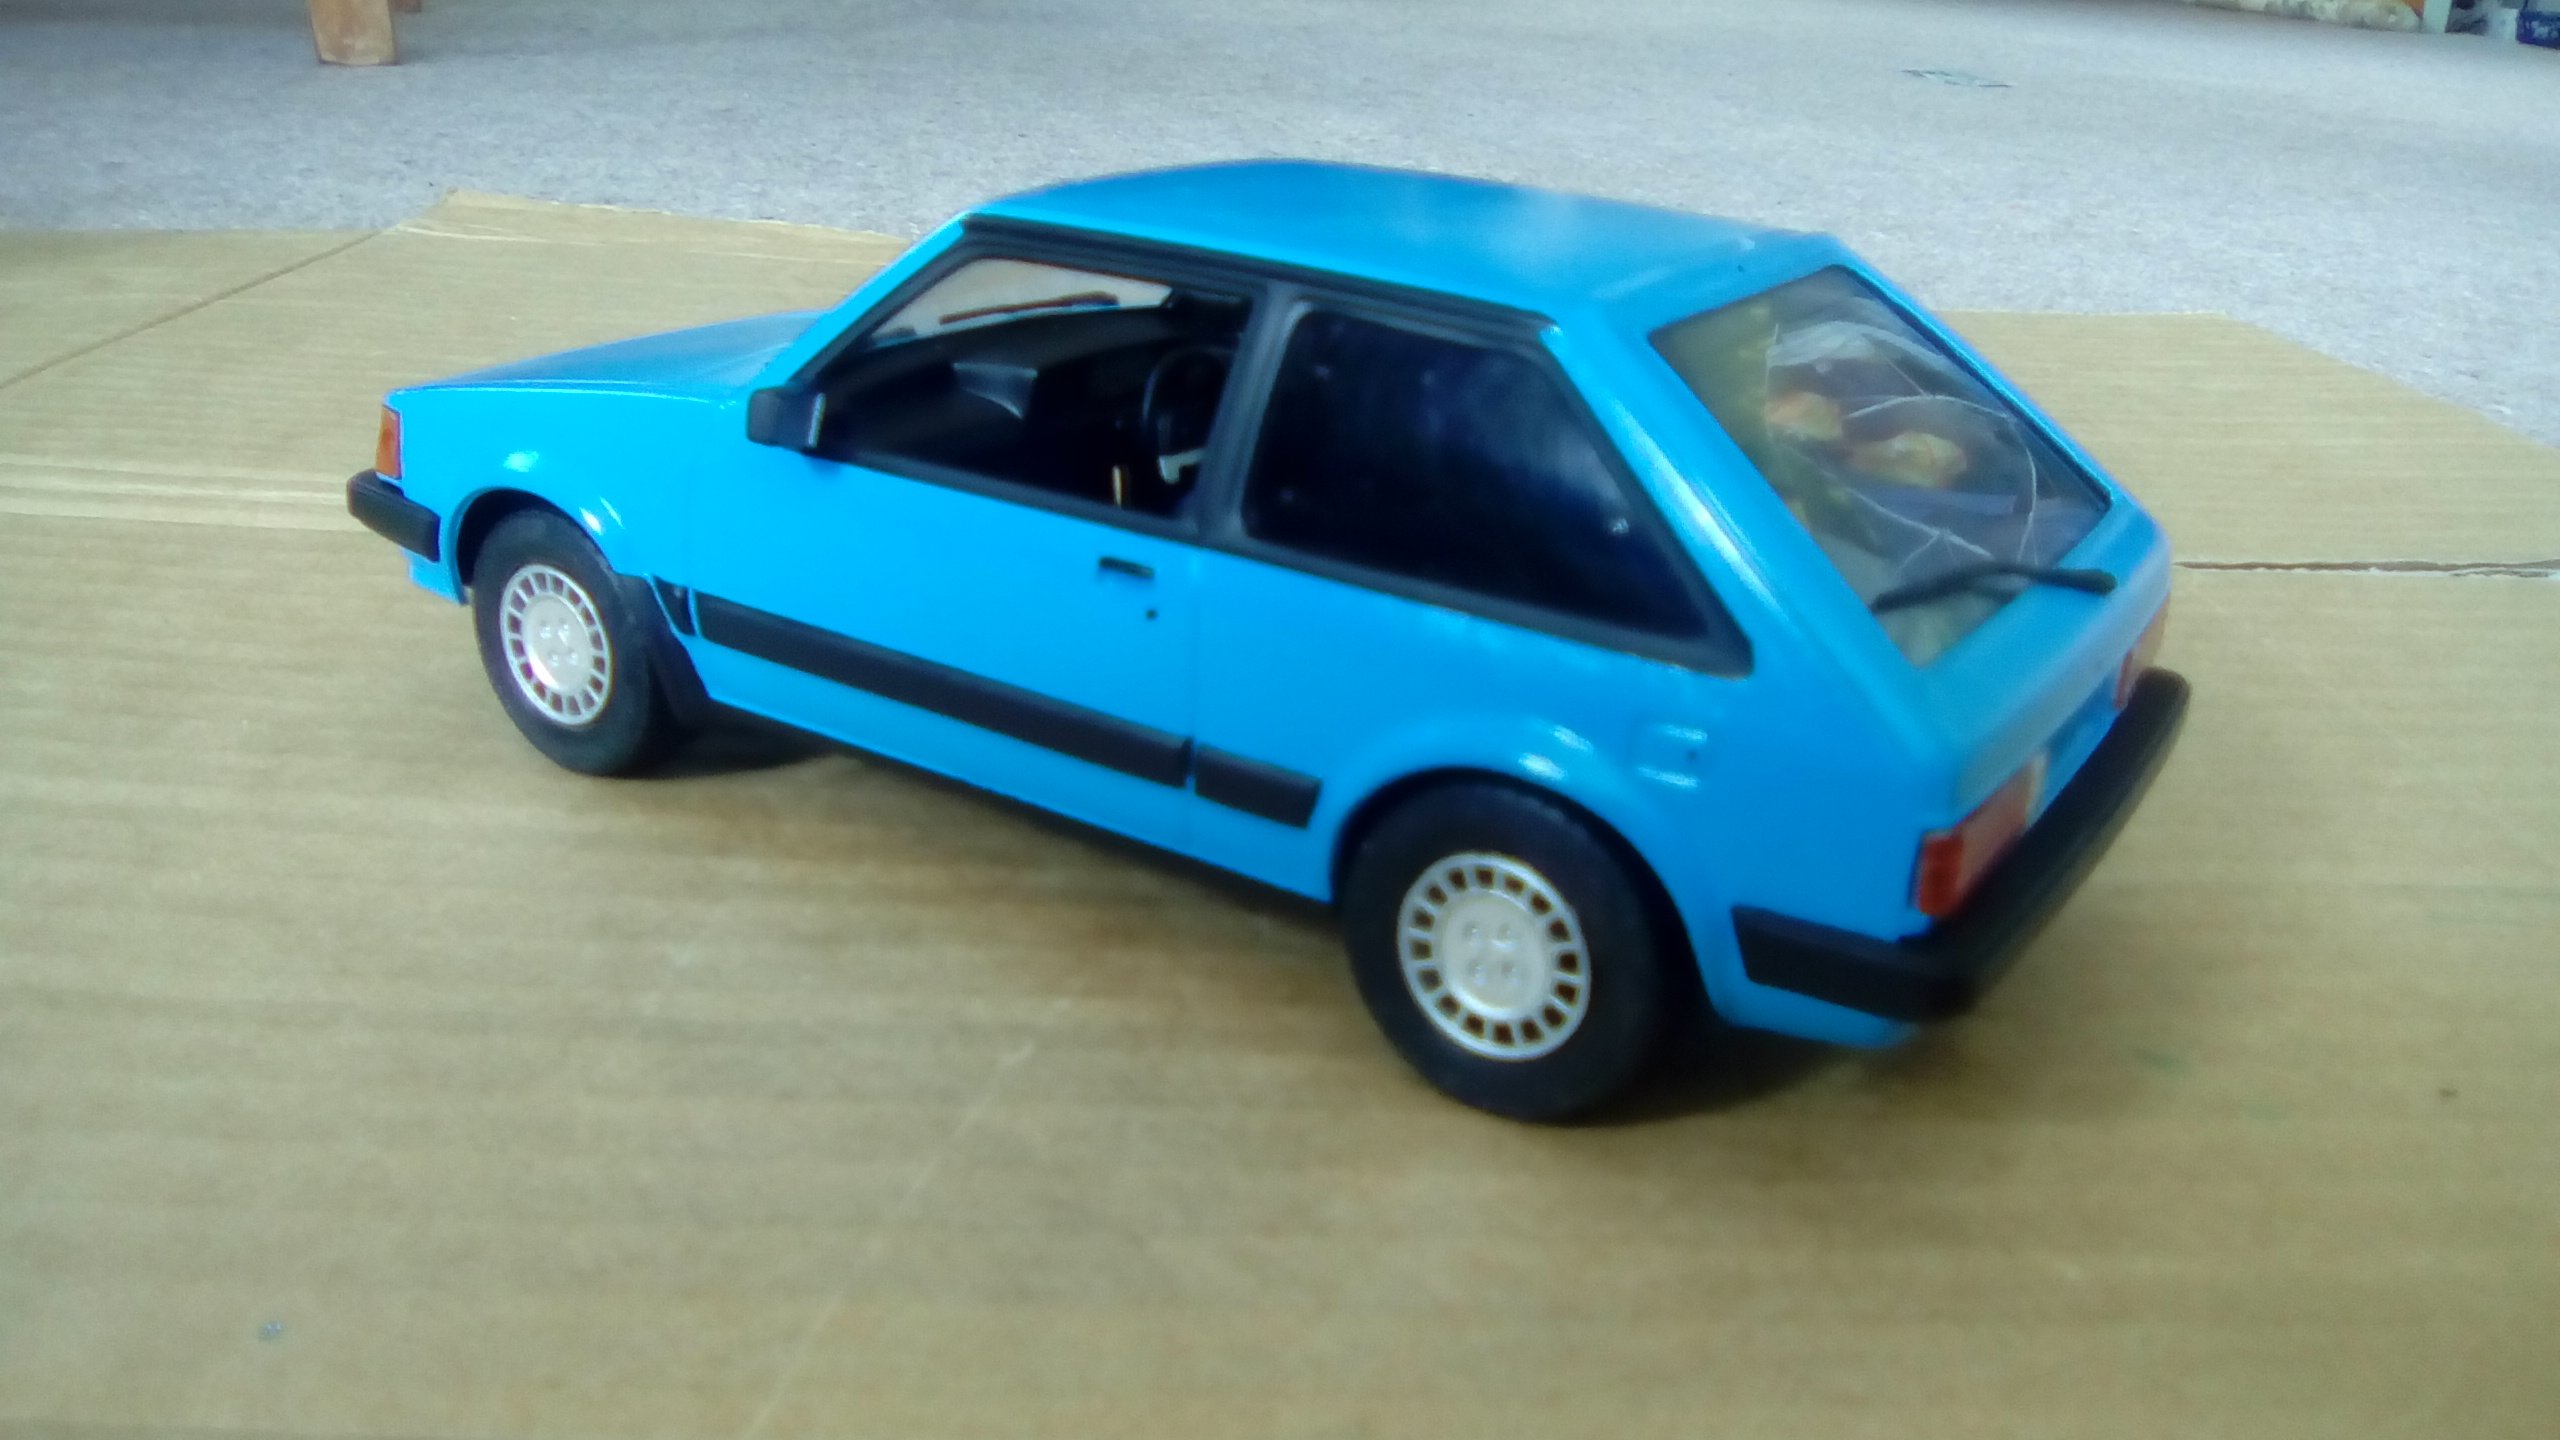
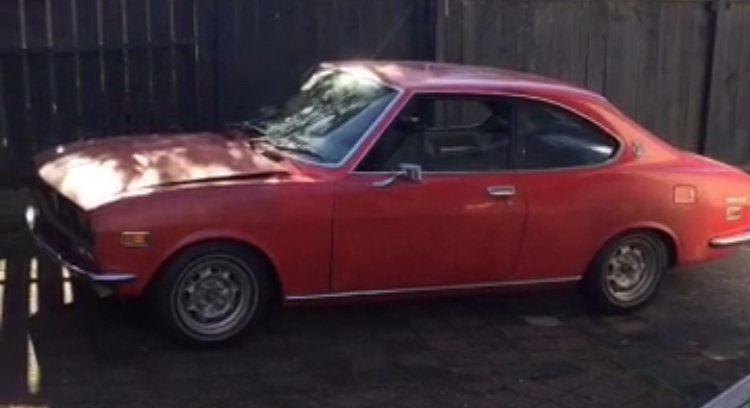
This is my first 1:24 car model I've just done recently. No mods, just a copy of the wife's first car.
 8 points
 -
Workmate just brought a stack of chinesium AN fittings for an efi conversion, macaroni elbows would have been a superior material choice.....5 points
-
Yup. I am all that is man.5 points
-
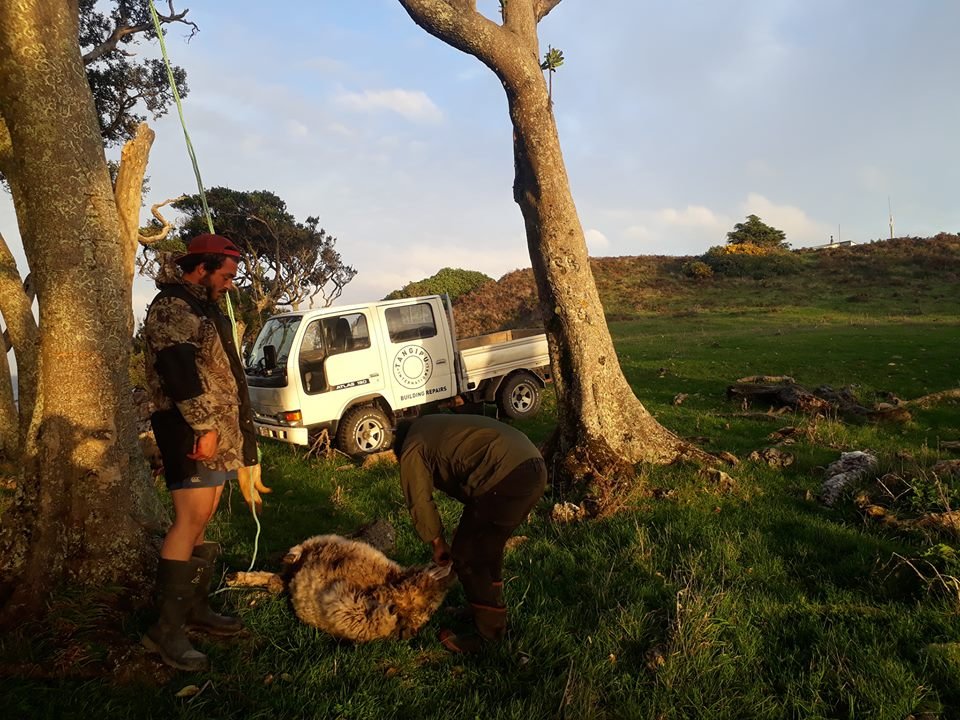
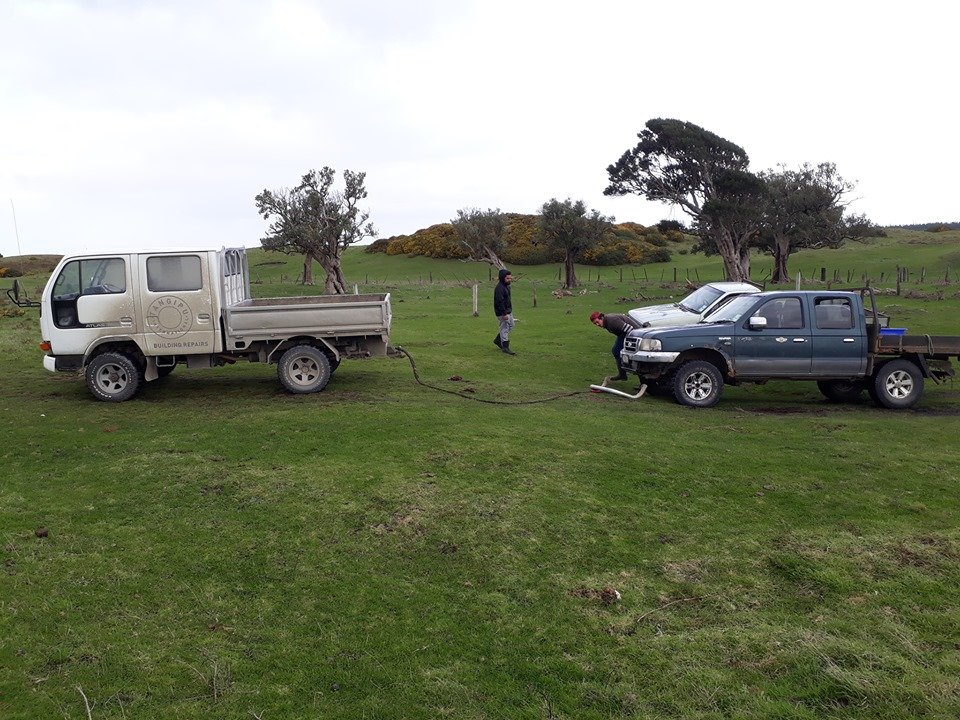
After 2.5 months and about 3,000kms of Chatham 'roads' the Atlas has seen some adventures. Unfortunately the clutch master cylinder has failed which makes driving a slight challenge, but I ordered a new one a couple of weeks ago and am hopeful it'll get here on the next plane. TBC. The engine's getting tired, and I'd love to fit some auto-locker diffs, but apart from that this truck is absolutely perfect for what I need. I lubs it.
4 points
-
colour went down very nicely.
4 points
-
Have a few. Made the civic had it white and silver 2 tone, made a mistake on the black trim so ended up doing the whole thing silver. hated it got so ruined it more and thats how it ended up. Haven't touched another one in the fear i will stuff it up.3 points
-
Can someone from the 3D printing thread please whip up a few sets of hotwire's, turbo's and tridon's? Cheers.3 points
-
@kyteler they even do the worlds best rim! https://www.ebay.com.au/itm/1-24-wheels-17-inch-Ronal-Teddy-Bears-w-stance-tires-for-Tamiya-Aoshima-Hasegawa/254180426791?_trkparms=aid%3D111001%26algo%3DREC.SEED%26ao%3D1%26asc%3D20160908105057%26meid%3D05bc413e65114e999ec5342e5ee5649d%26pid%3D100675%26rk%3D1%26rkt%3D15%26sd%3D254180426791%26itm%3D254180426791&_trksid=p2481888.c100675.m4236&_trkparms=pageci%3A7538d8eb-9e2c-11e9-9316-74dbd180afaf|parentrq%3Abbdcd11116b0a4e8e08c7bfbff92e09a|iid%3A13 points
-
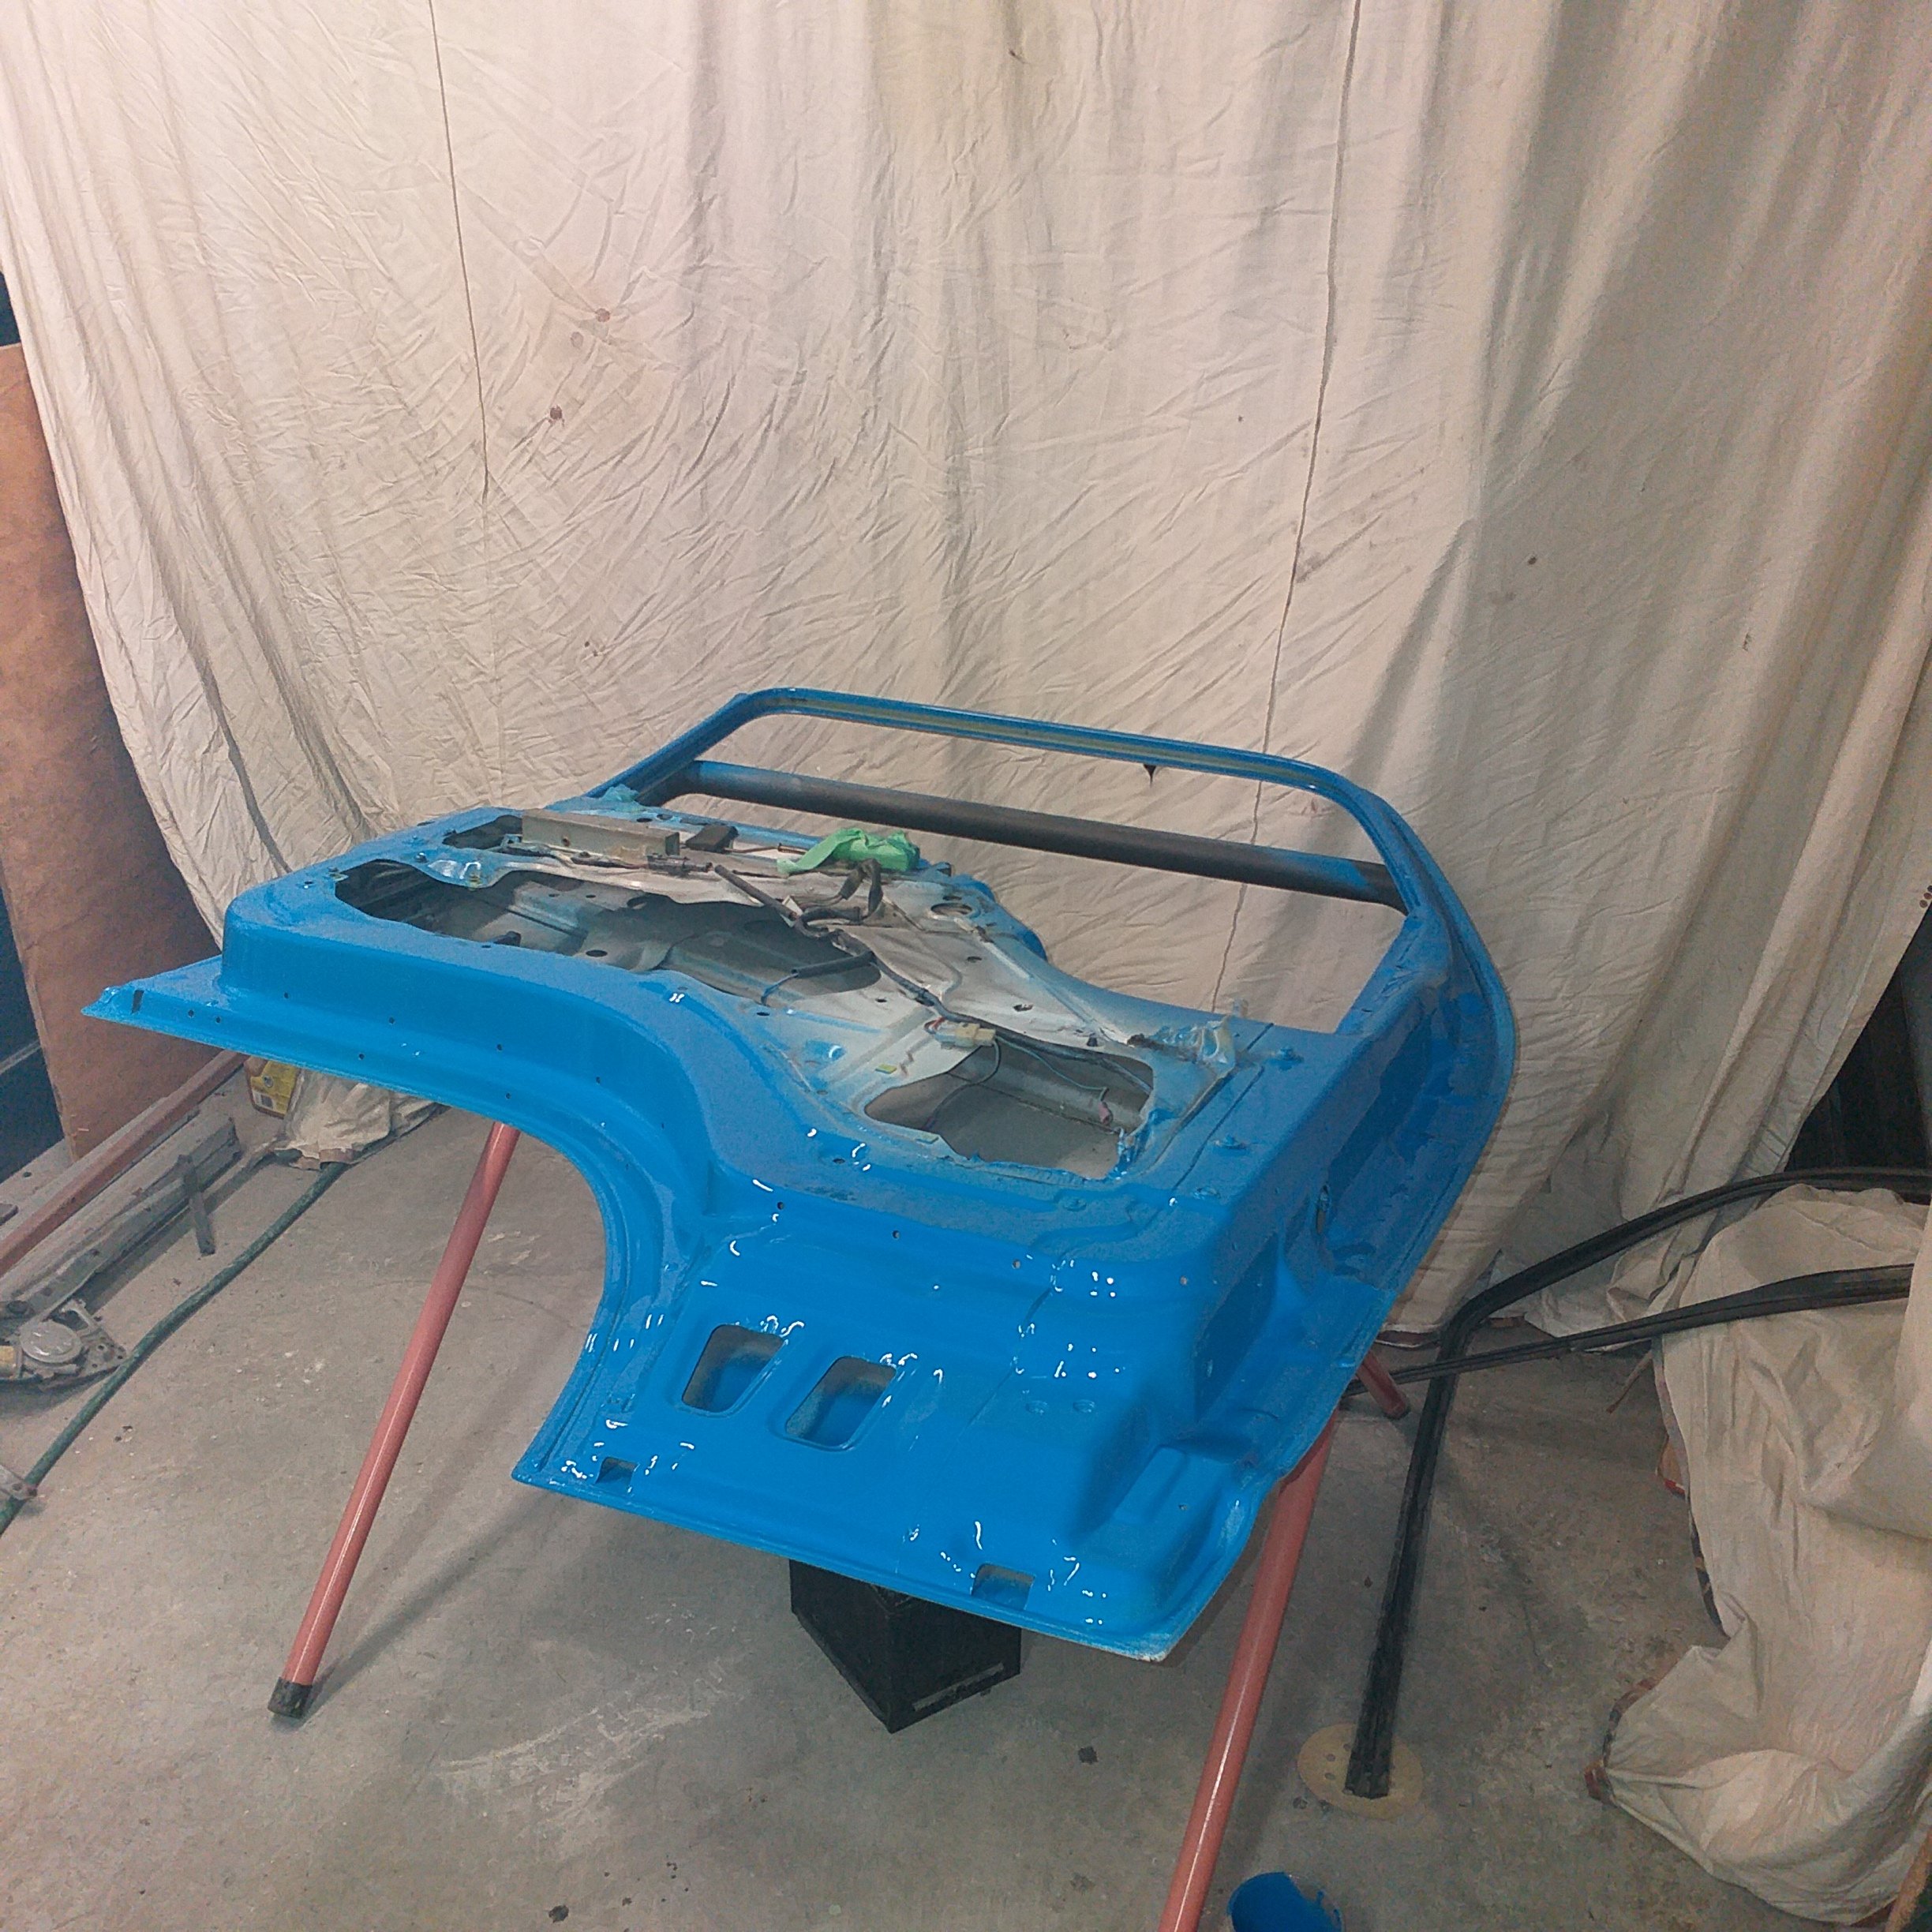
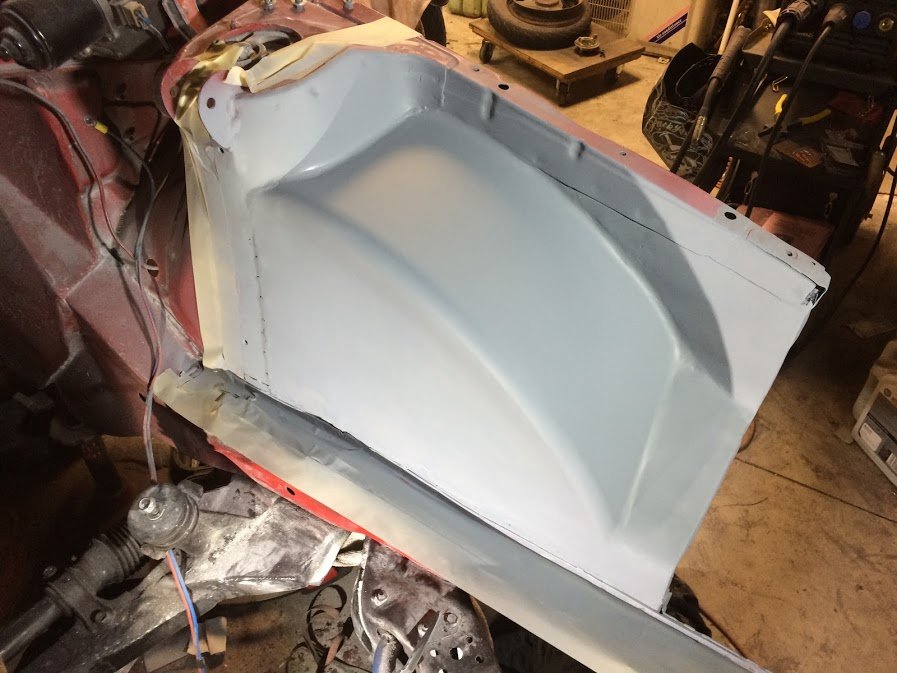
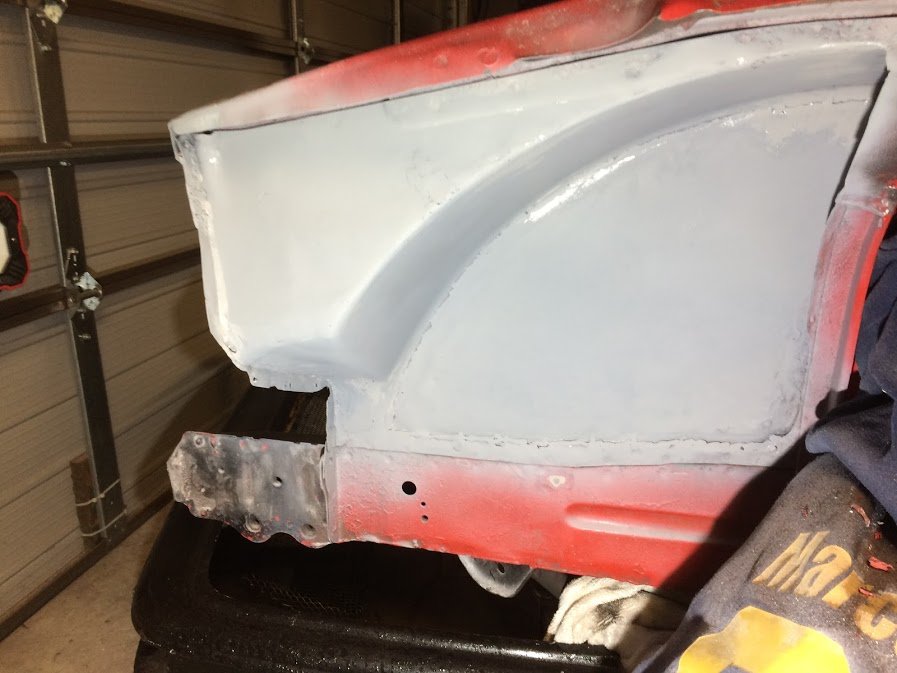
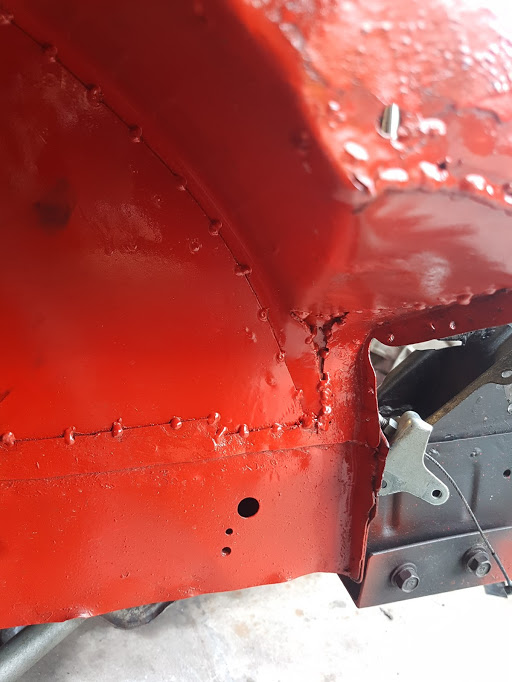
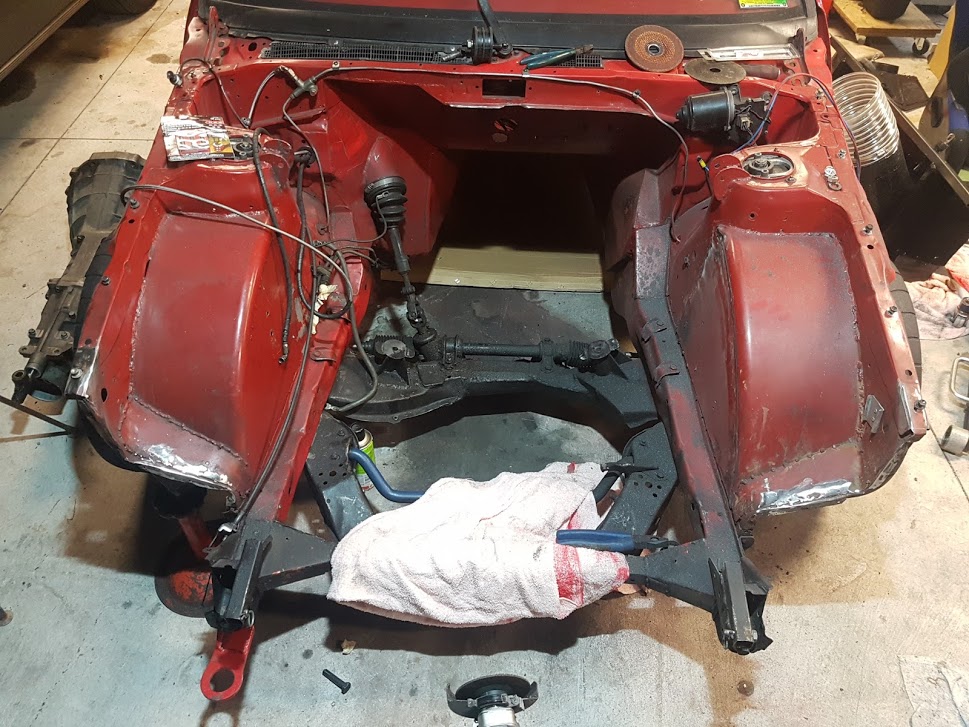
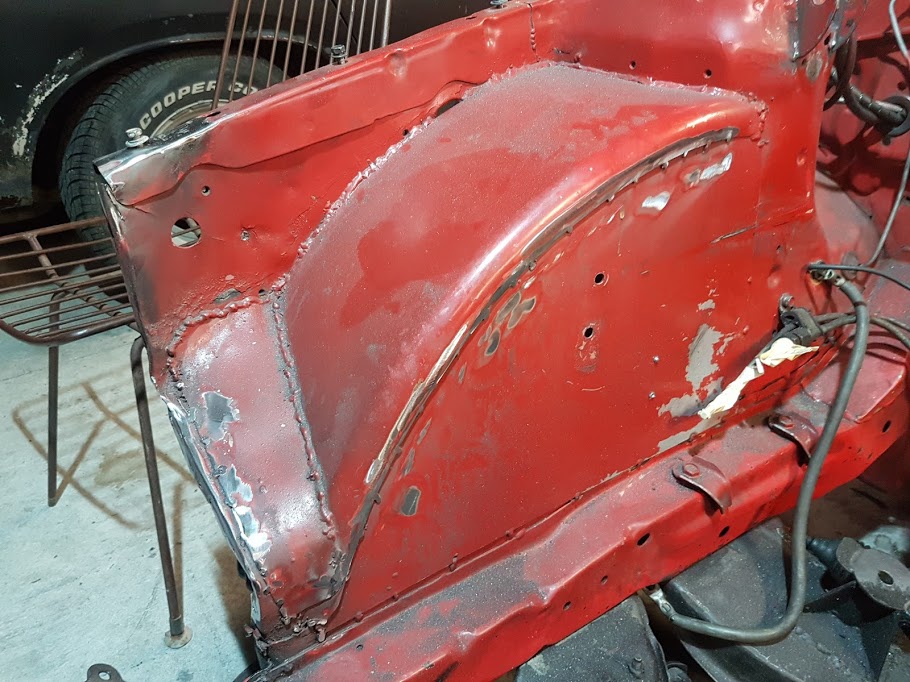
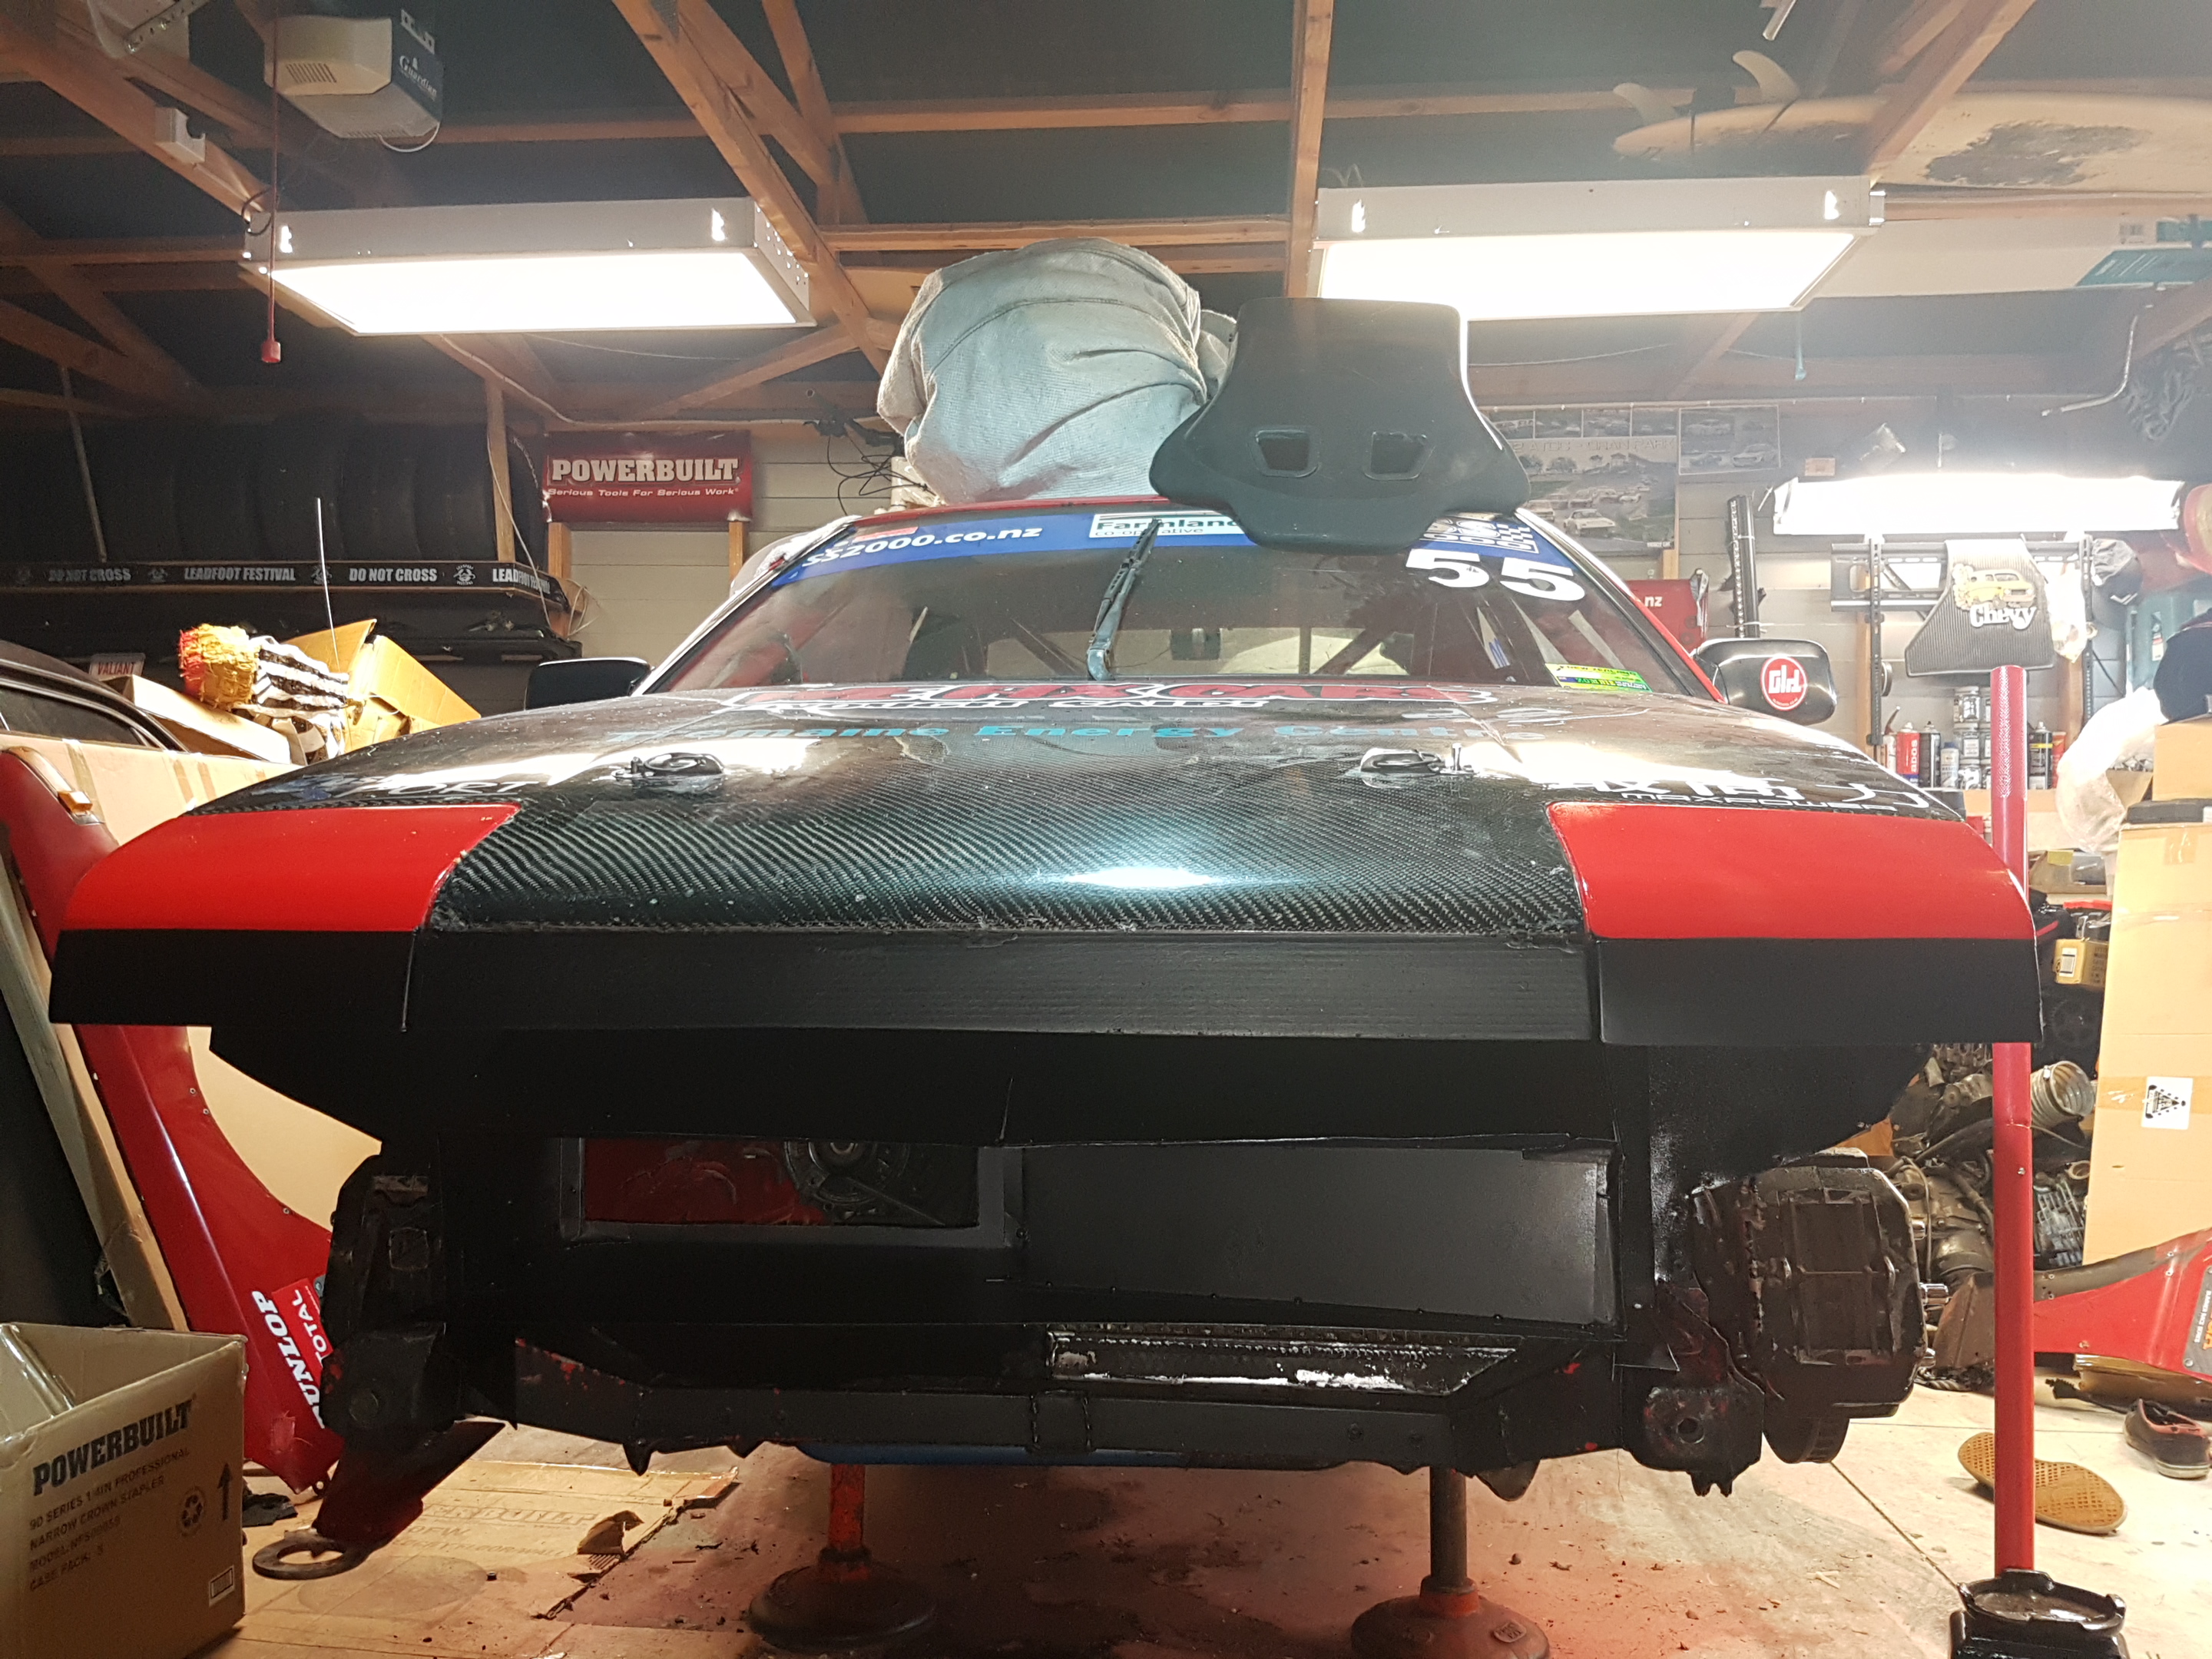
September will be two years since I've driven this car... So I've decided that I should get it going and try to race it at the final round of the Manfeild winter series. I've not done a whole lot since 2017 due to general slackness, but have cleaned up a bunch of welds around the tubs. This was about a year ago: Fast forward to this week and I've started doing things again. More weld removal, a few holes welded up, paint removal etc. A bit of filler and the first coat of etch this evening to see how it looks: The underside is still a bit wrinkly, but it's good enough for an inner arch. Now to get the other side. to this level.. I always forget how long it takes to sand filler! It's a pretty painful job . Once both sides are in primer I can give the rest of the bay a good clean up, sand and start thinking about paint.
3 points
-
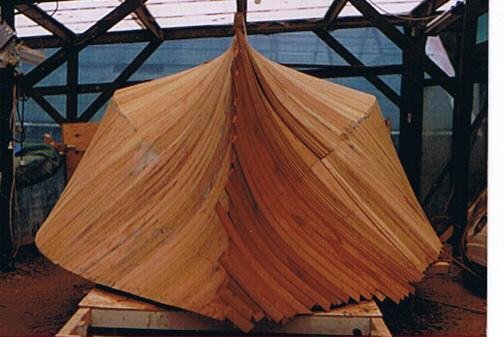
so a small update. yeah the kombi has had all my attention over recent times but i also got the dream plate that was listed here for sale. for scale this thing is huge. but pre bay windows are also quite small vws also added the bottom of the caravan also added some strength across the roof, so now have three bars from side to side. it had been a while since picking up the welder and i had to put this up against the bench so i could stand on it, on top of a box As of yesterday i got some motivation and done some more work. Cut the side door in and then i added some braces to the caravan. old mate @Geophy came over to drop some steel over and i was like hey hold this. so i welded the base of the up rights for the door, then cut the center. needed the strop in the center so i could get the grinder in. another strop here in this welding action shot. this time holding the peace of steel up. This thing looks like a caravan now. pretty happy to see a door cut out in the side. i now need some right angle for the floor and need to put some triangle braces in some corners and im pretty keen to get some paint on it this month. getting pretty annoying in the shop.3 points
-
Those aren't turbos!2 points
-
I'm sure with a bit of digging we could find a good supplier on Ali. After all most of the legit brands probably come from there anyway.2 points
-
Yes/No, I actually thought it would be a good way to size the system for cheap and then buy legit ones. The tapered threads on the Ali ones were that terrible, I doubt they would make a seal of any confidence2 points
-
Some things are probably better bought from a legit supplier.2 points
-
A dash is a 1/16th I think? So -4 AN is 1/4" I think2 points
-
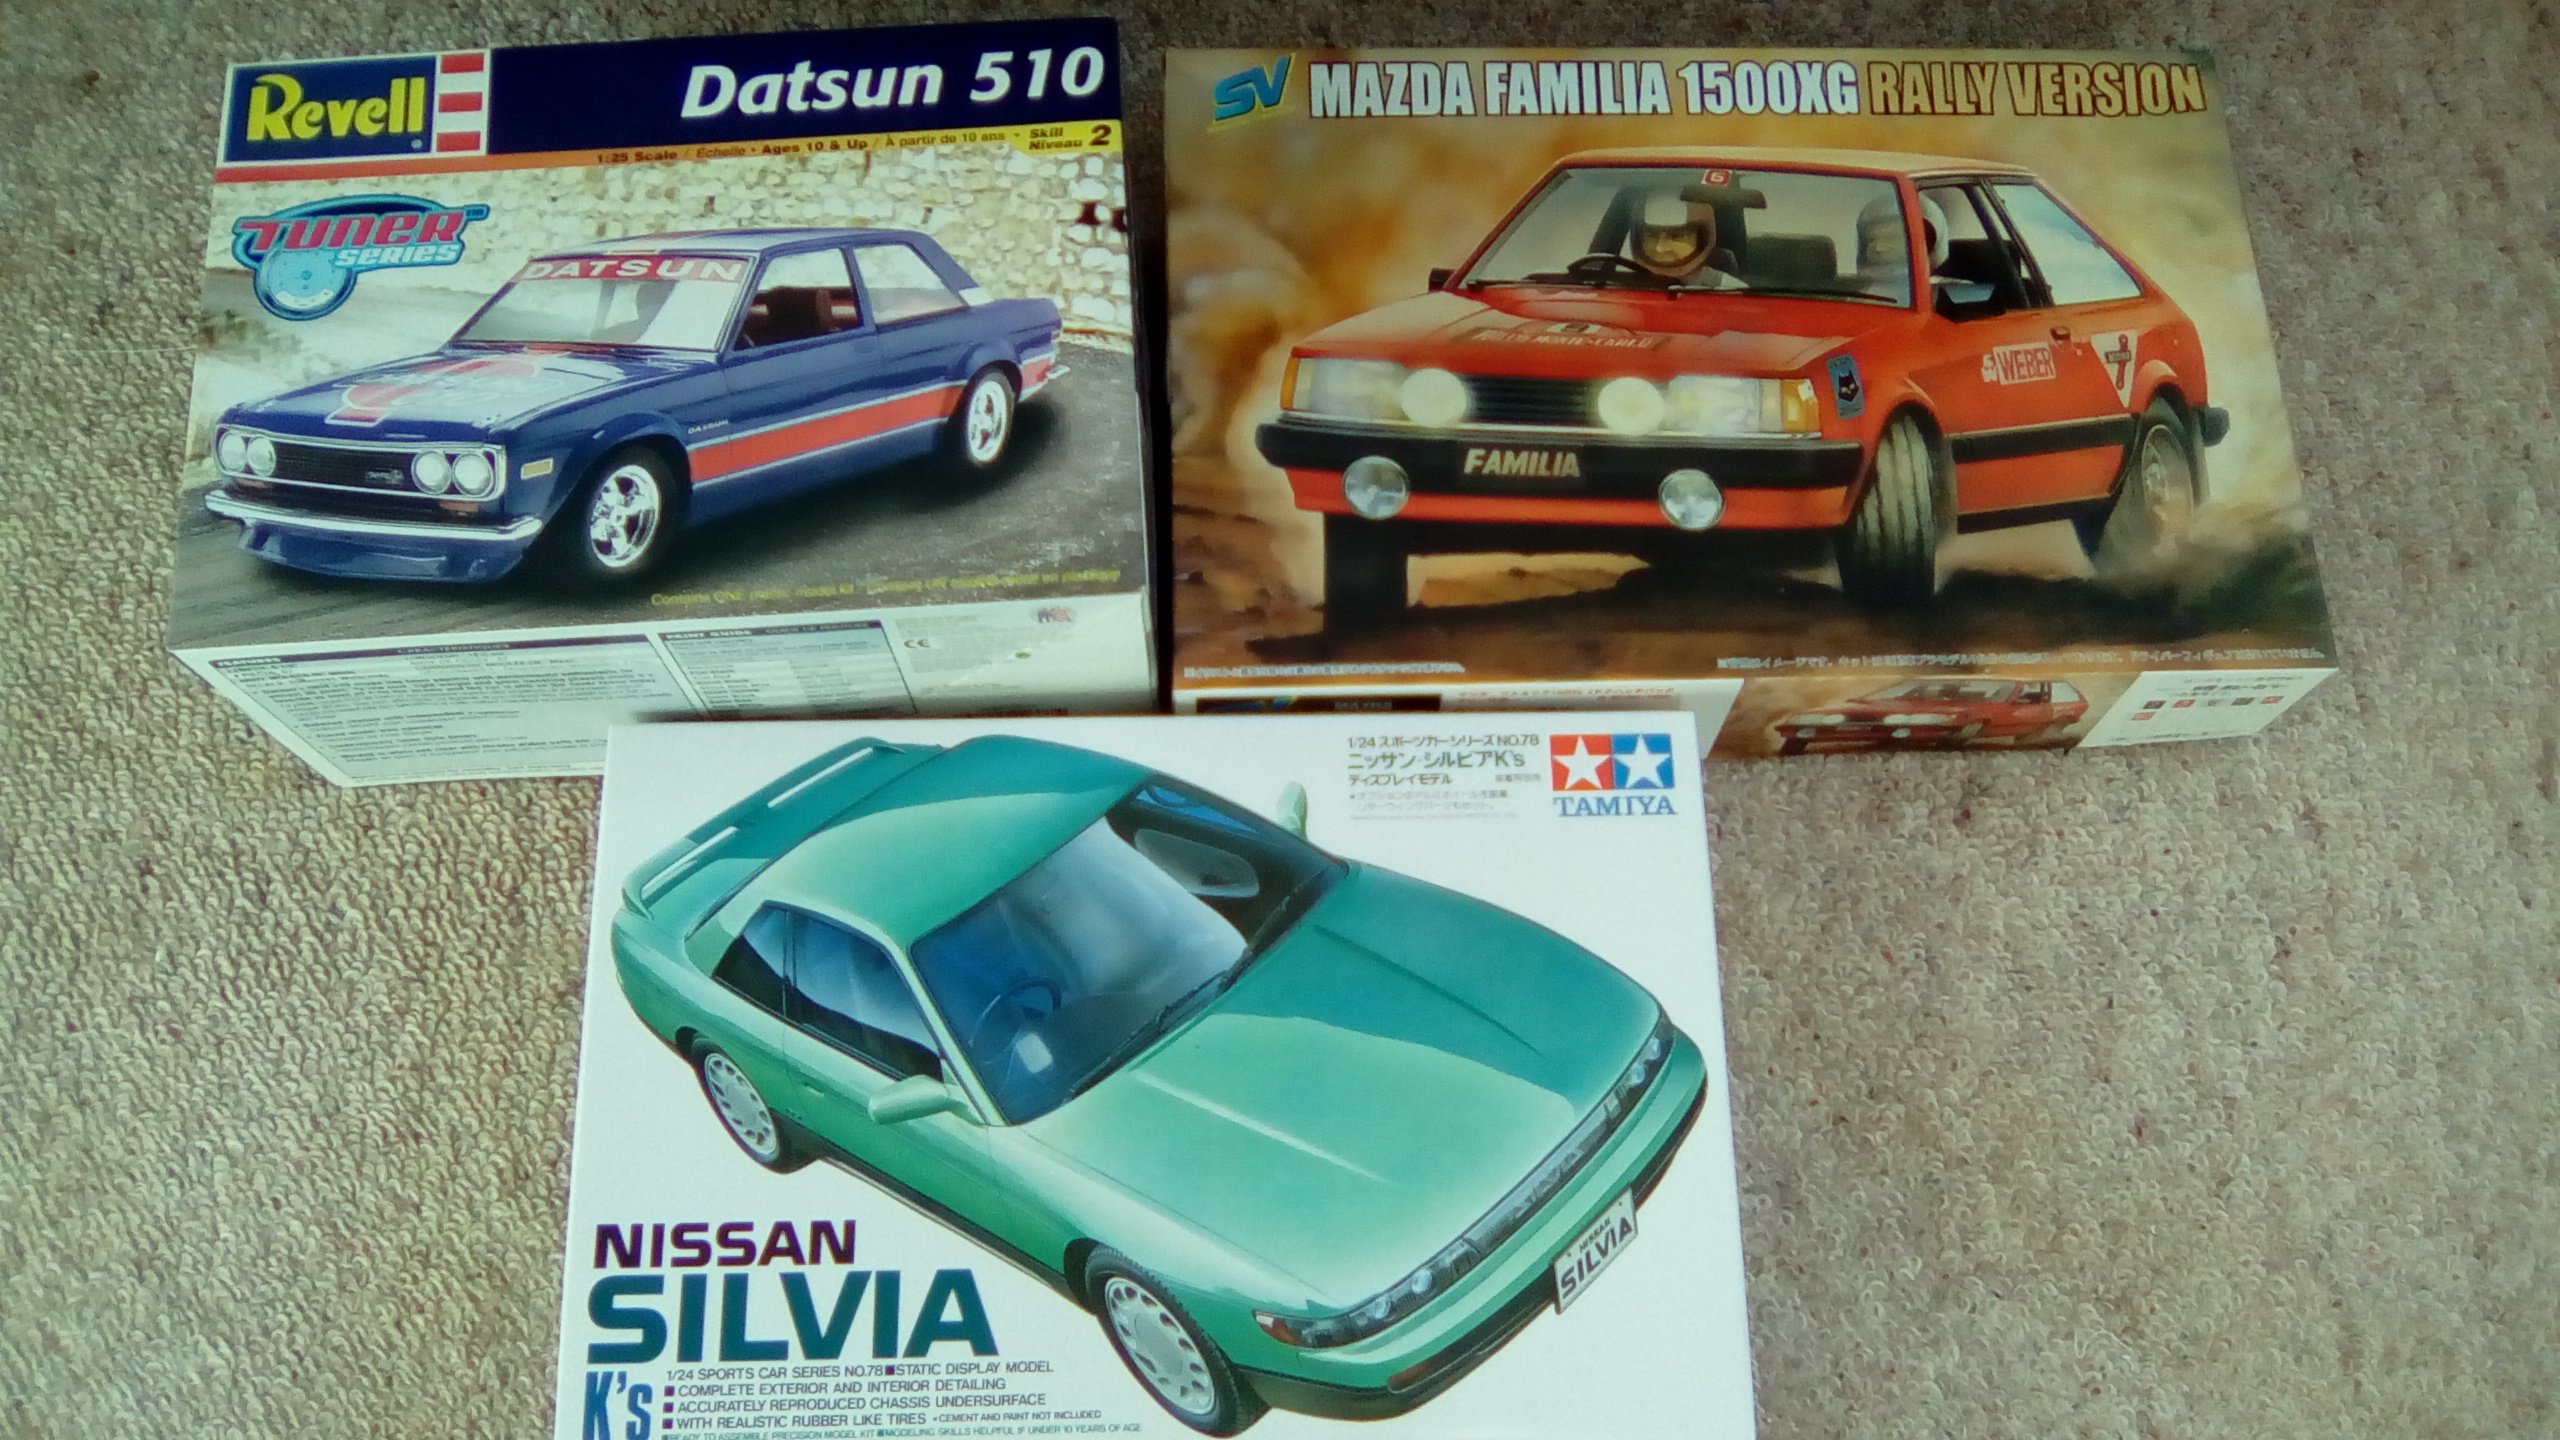
@kyteler could be keen. I was after a 5 spoke style in 15's to match my car but those MK-III's do look cool. I'll look into it tonight. I also have this nos Datsun 510 sss kit that I'm undecided if I'll build or just hold onto for a while.
2 points
-
Zinc blocks only work on things that are submerged.2 points
-
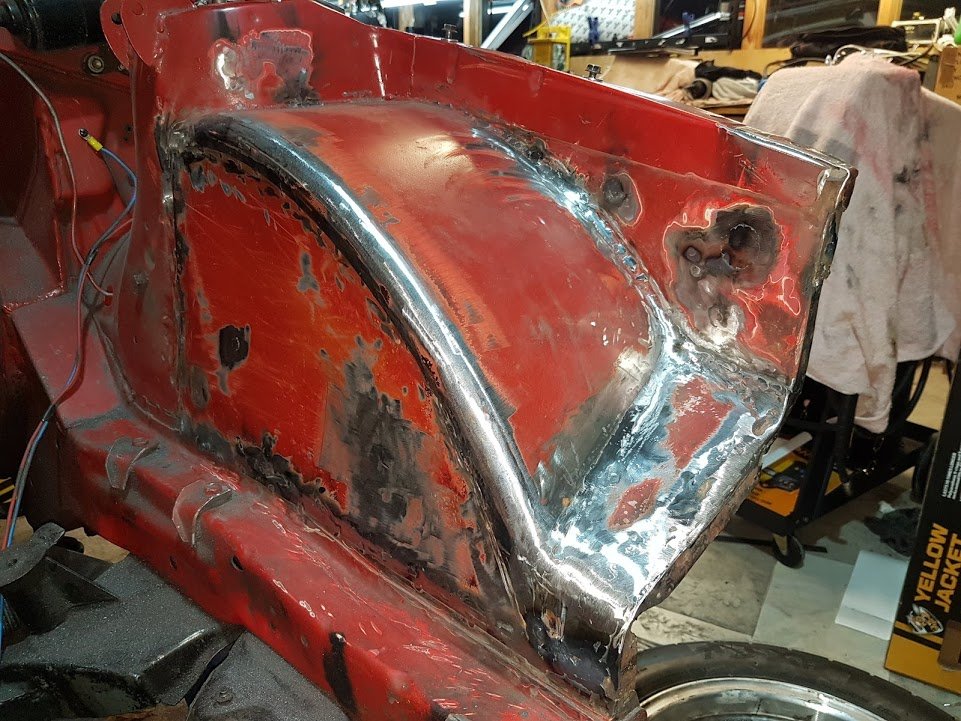
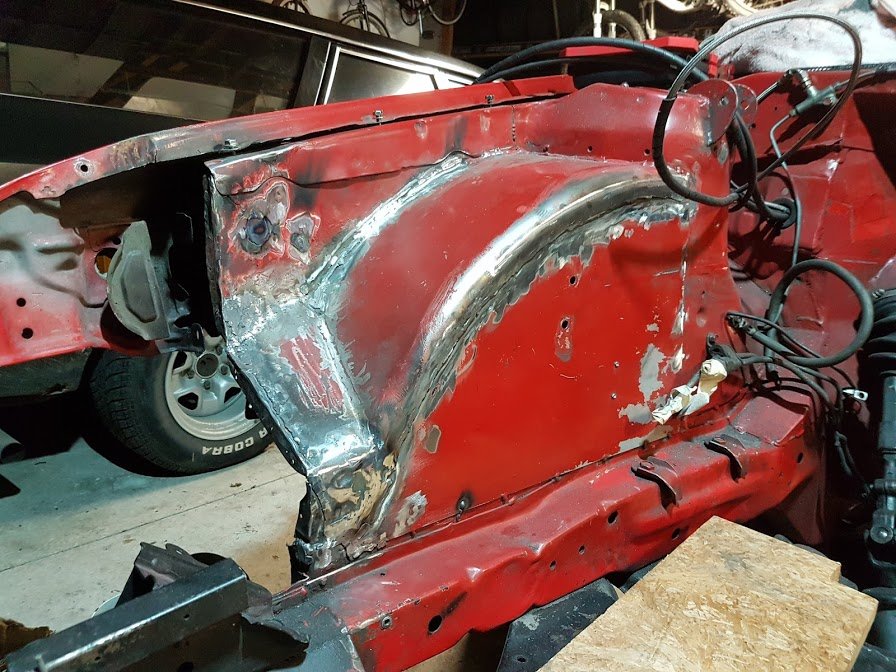
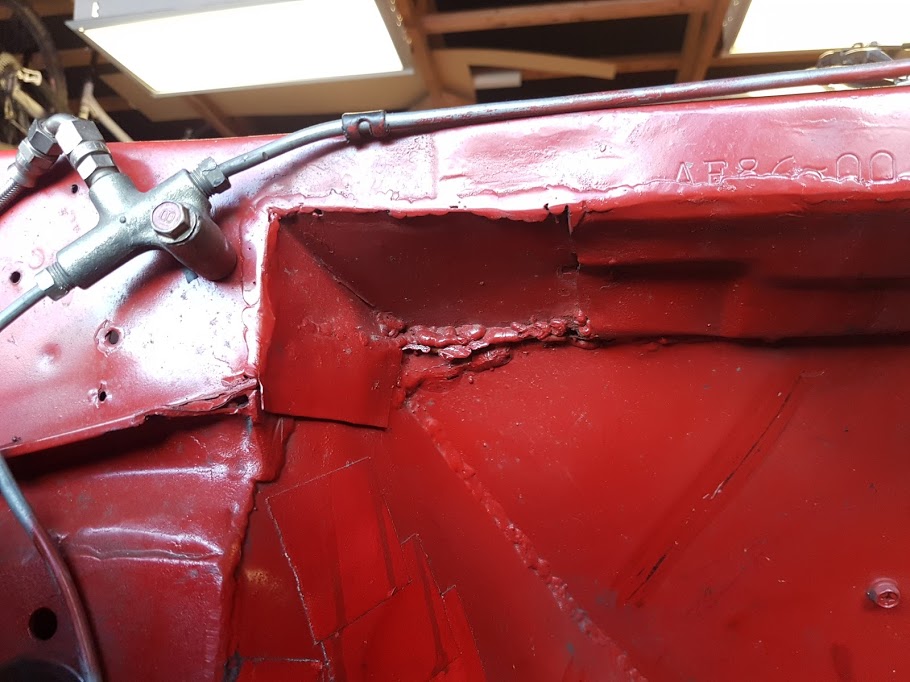
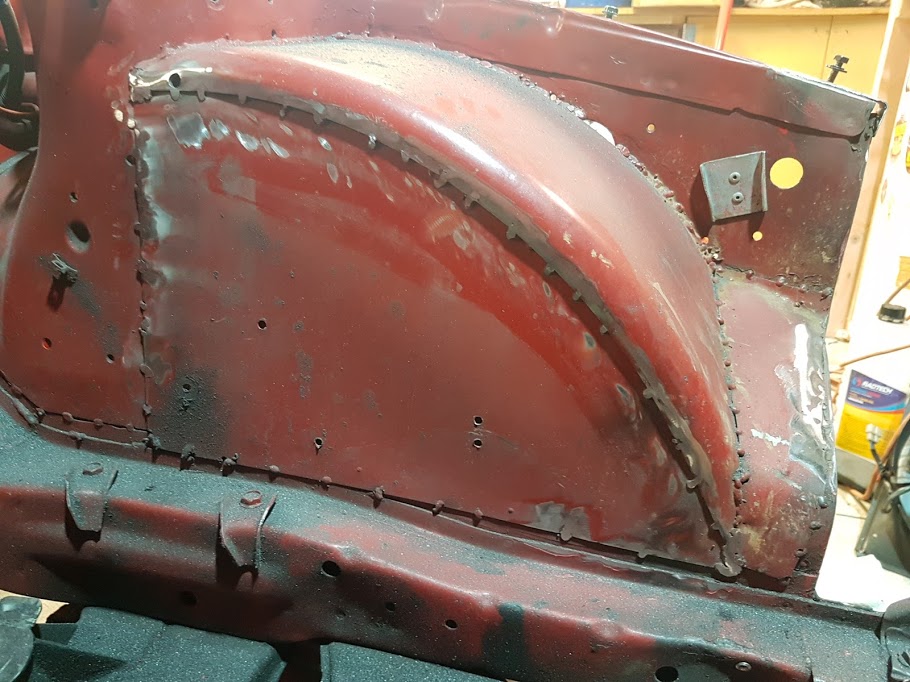
Haha, cheers man. I’ve never been much good at bogging, so half the fun was learning how to mix and lay it again... The stuff I’m using doesn’t change colour when you add hardener, so I doubled down on hardener the first time and ended up with a streaky mess to deal with. Recent applications have been much nicer! Plus the sanding is basically cardio . Its getting there now - bit of filler primer and seam sealer done. Now it’s time to start applying filler to the other side and get the rest of the bay cleaned, sanded and primed for paint.
1 point
-
motor is still in bits.. been making progress but slow due to doing other stuff and trying to get the machinist to come in on and Saturday and help work on it. did some stuff last Saturday but couldn't assemble heads due to wrong valve stem seal but should be sorting that this sat its Actually quite depressing when ive spent more time working on it than ive ever driven it.1 point
-
Yep, when it's carrying pressurized fuel or oil, I'd rather pay more for quality.1 point
-
Yeah mate, they make all kinds of cool shit.1 point
-
I yep all blew. and no that would just make it look like a smurf. black or silver wheels. plan is for blew tray. blast the back end and smash some blue on. but its winter so may just wire brush the base parts and squirt some black on till summer1 point
-
1 point
-
From skimming forums for next to useless info a few years ago suggests about 300KW if you're not too much of a rough bastard. They're cheap enough though so break one and try again.1 point
-
I can get a 1:1 scale for that1 point
-
I'd probably be willing to part with the MK-III if they were something that floated your boat.1 point
-
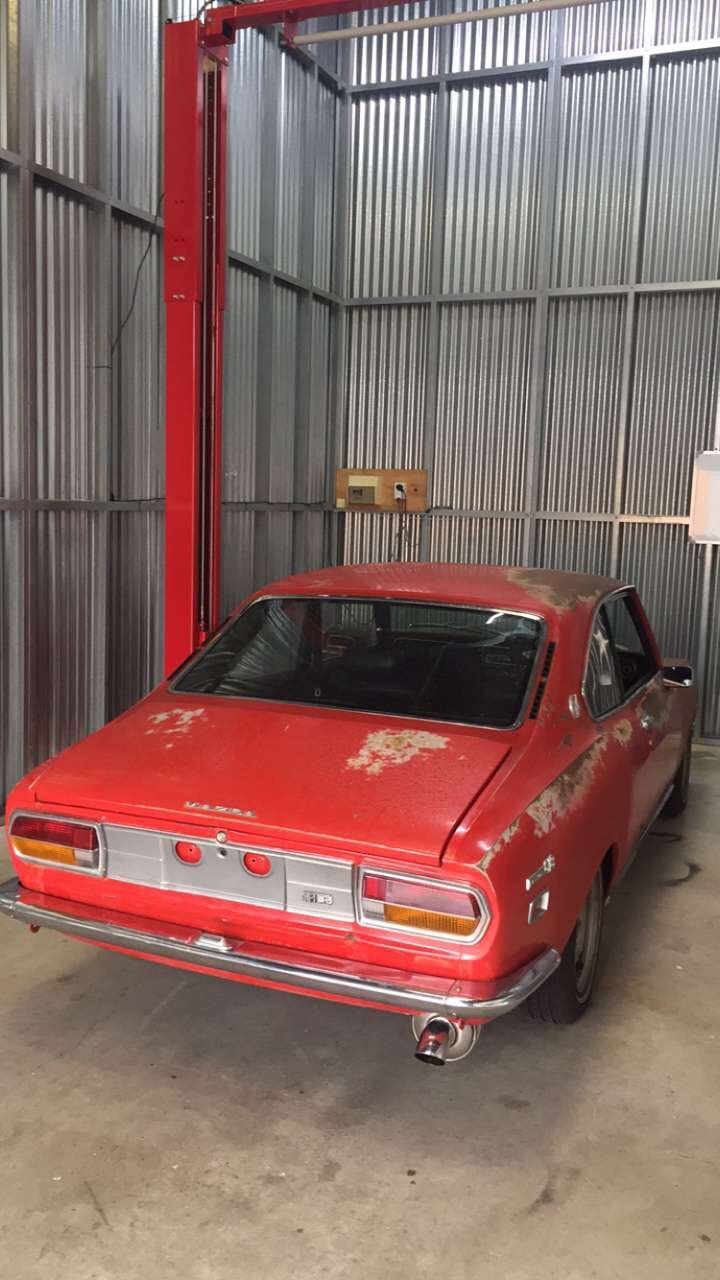
Yea 1/24 aoshima and fujimi have the best range of jap classics. But ricks models do a range of resin kits too.. have seen monaros/falcons/rx2 coupe and Anglia 105e but gotta be fast on those ones lol Don't kill me but my first derby car 1993/94 was an 808 and brother in law did genuine tagged rx4 sedan both had piston motor for derby tho1 point
-
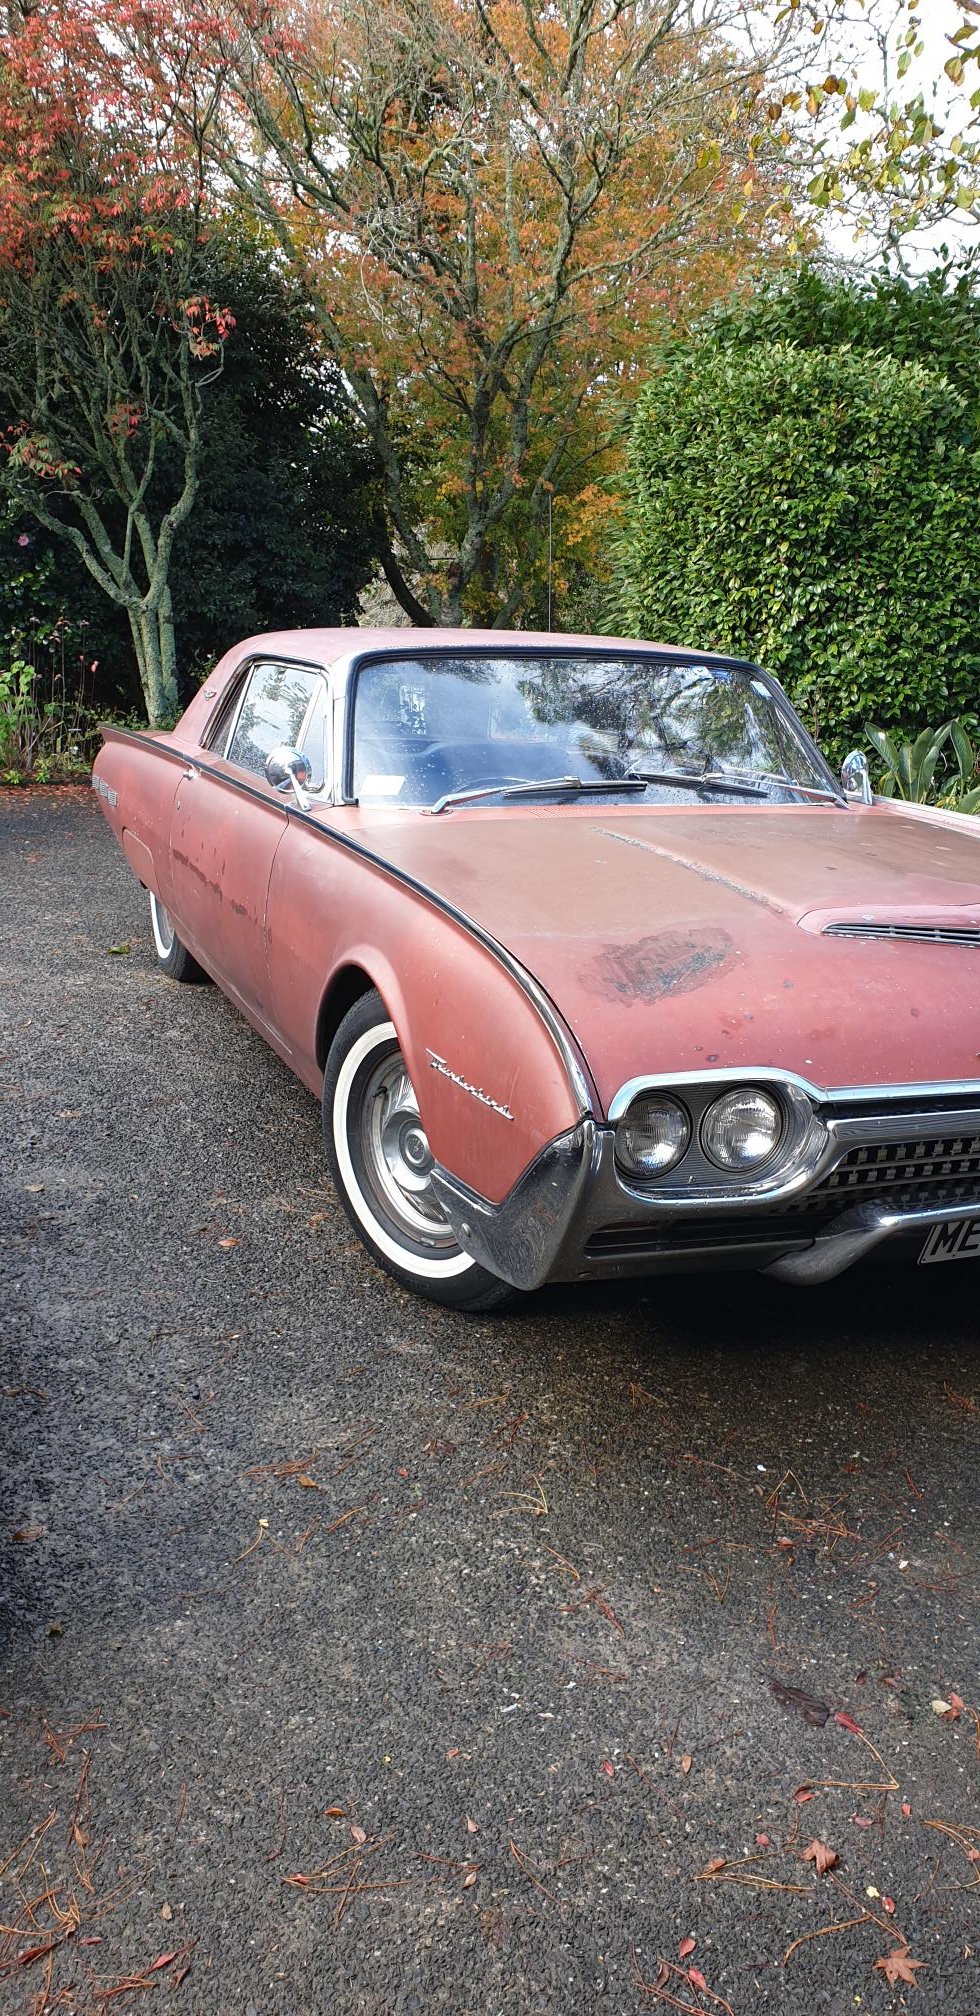
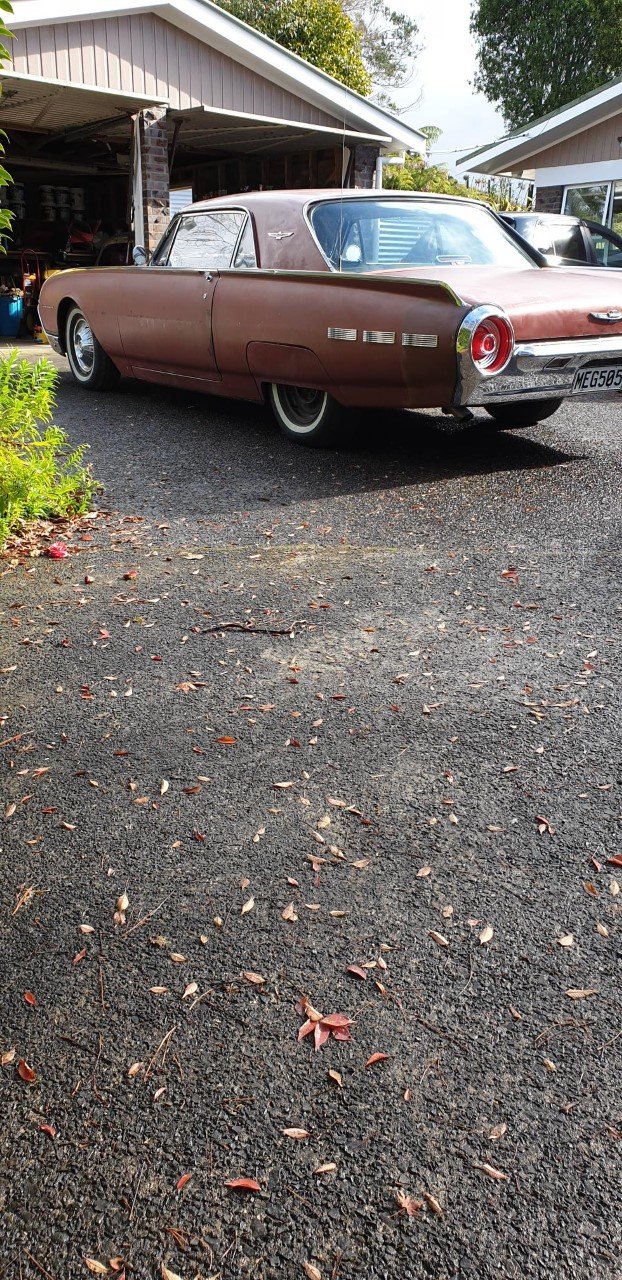
Used to have a 64, sold it to buy a house. Sold the house bought another house bought another Thunderbird because had more space. Has been chopped about 3 inches which makes some annoying but also some cool. Needs quite a bit of a tidy up but its had a disc brake conversion and a bunch of other coin spent by someone else which is cool. for yarns
1 point
-
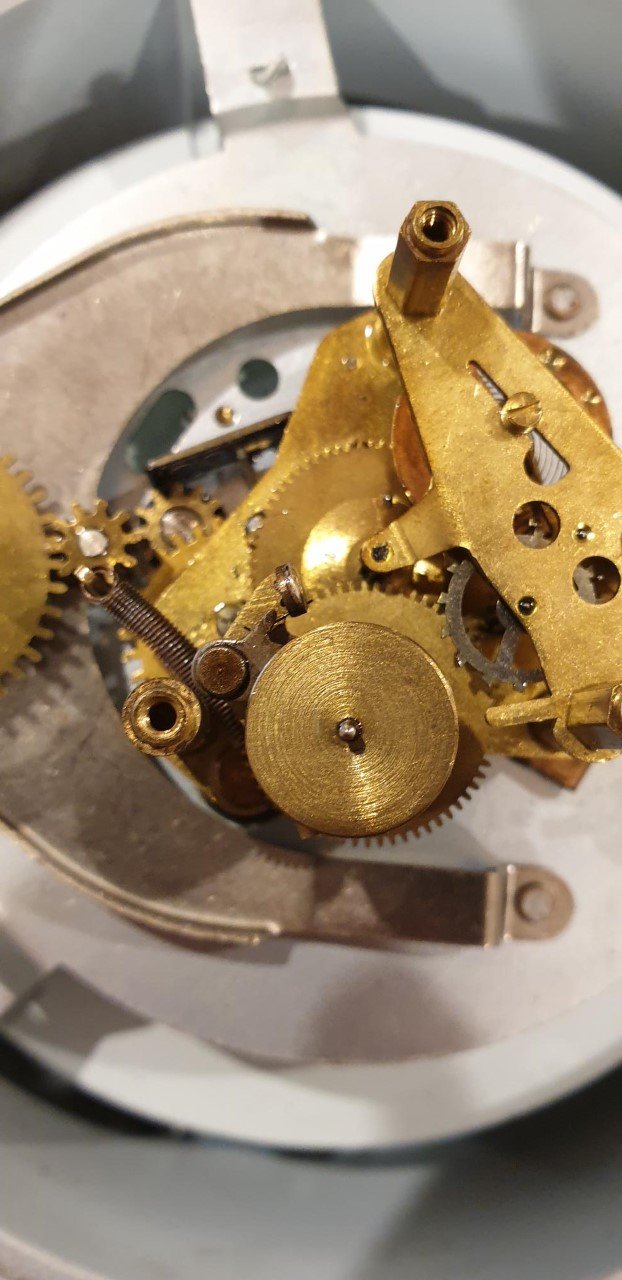
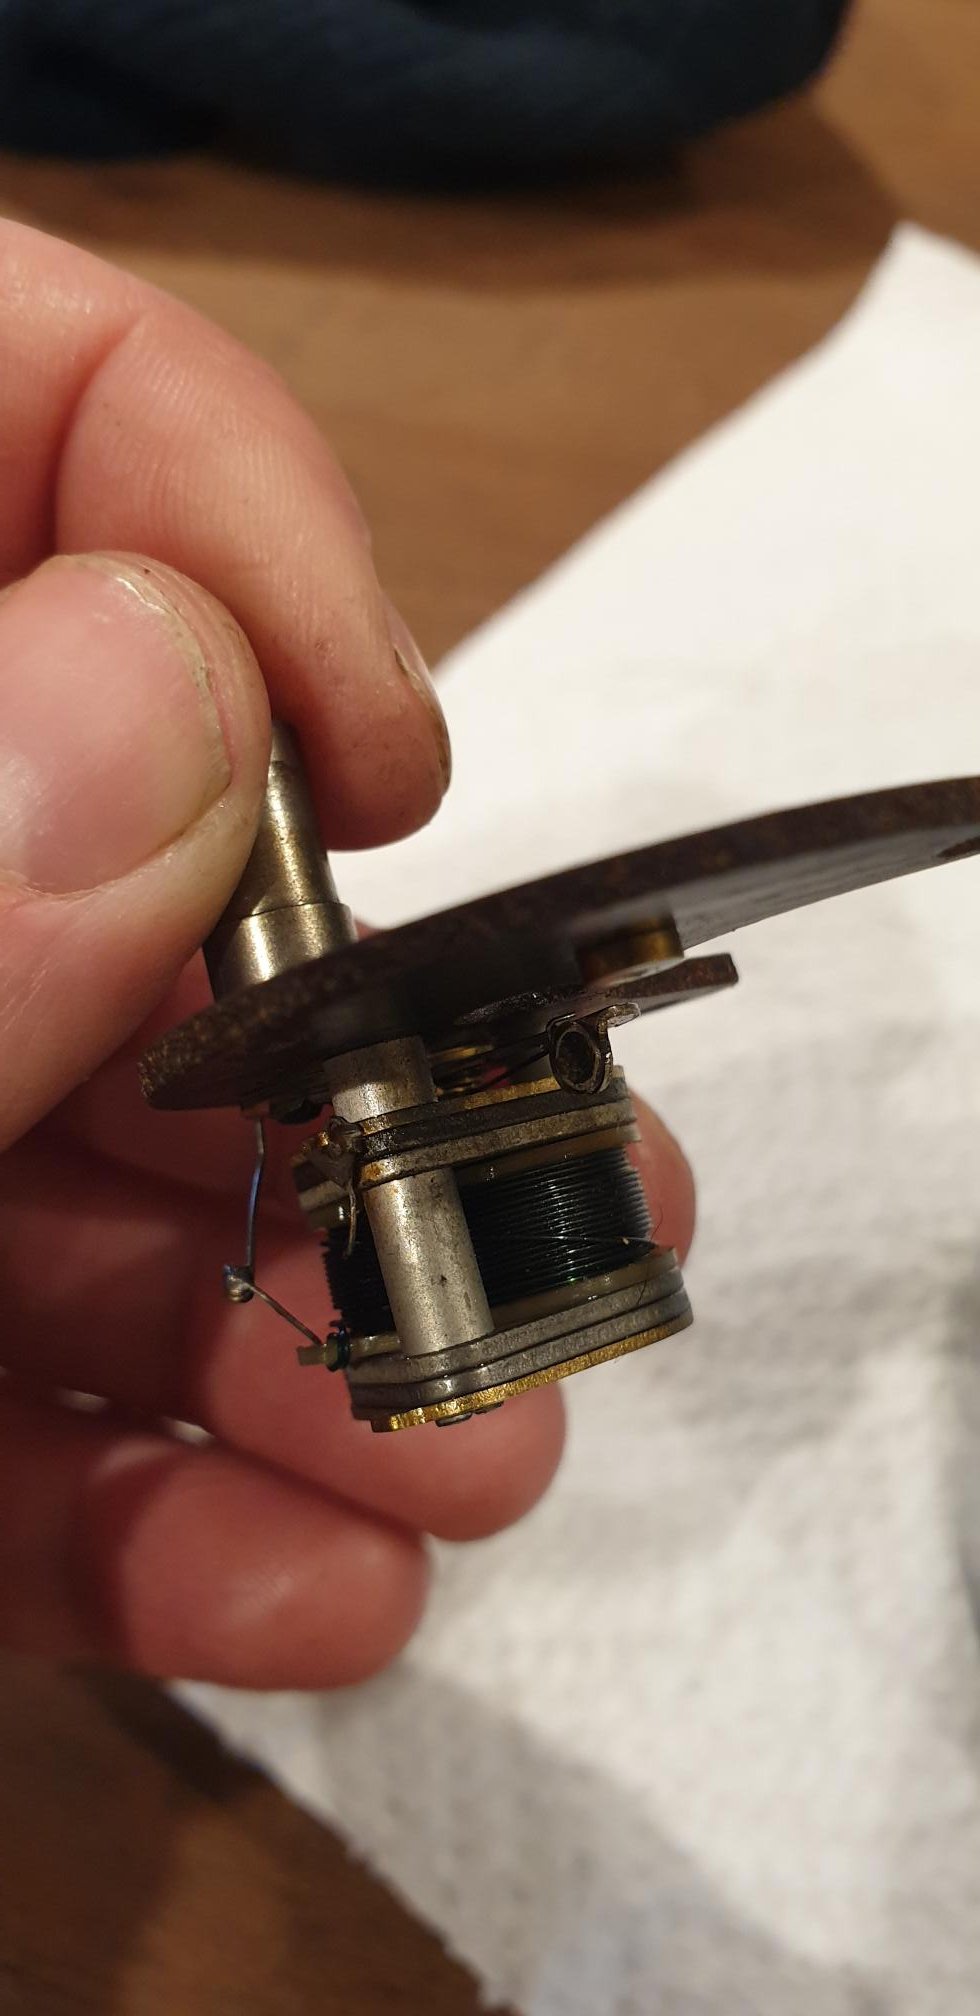
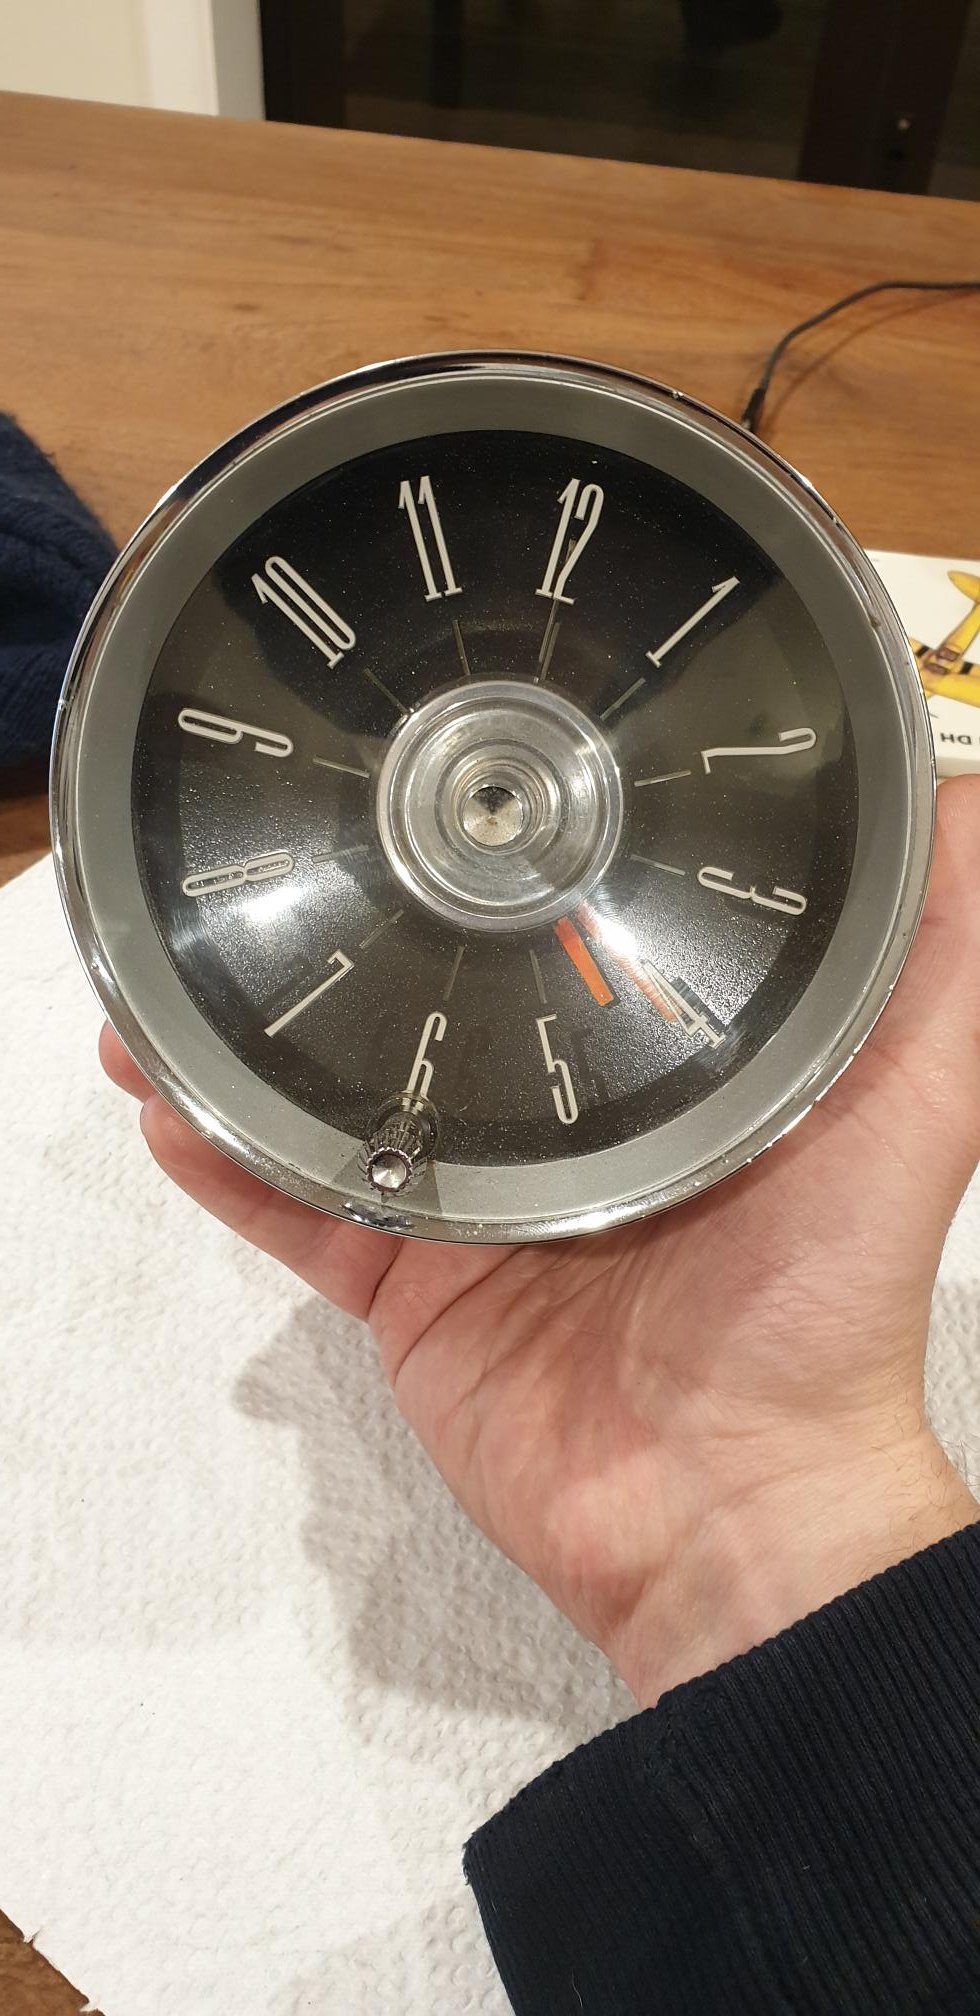
Got the clock going tonight, strange place to start but the clock comes out and the shed is cold... Some pics of inner workings,the solenoid winder and the front of the clock which still needs a polish up.
1 point
-
Car passed cert today - awaiting Cert plate. You beauty1 point
-
Yeah the guy who had the 2zz in it stripped it and reshelled all the parts into a ae111 and then sold the shell. I almost bought it a 1-1.5yrs ago when it was sold that first time but we’d just bought a house and the timing wasn’t right. The guy I got it from just never got around to do anything with it. Came without wheels but with a few spare body parts. All the exhaust, swaybars etc are gone.1 point
-
I buy them directly from Japan in bulk mate, heaps cheaper than local and huge variety of those JDM kits.. Look up https://www.1999.co.jp/eng/m/ they have a huge range and deliver to your door1 point
-
Sunday of productivity. Water pump back on, filled & warmed up. No leaky, no squeaky. Messed about with the front brakes but couldn't work out a way of fitting the new calipers without it turning into a fearsome bodge. I'll take the calipers & current flexies into the workshop tomorrow & make up some hard lines and brackets. Rear brakes went well though. Offered the shoes up and they looked good enough for a country job Everything fitted perfectly so I can confirm that 1971 Datsun 510 rear brakes are the the same as Hakos. Do with that information what you will.... Also done a vid. Really to demostrate the tappet rattle for comparison after I've adjusted them but it sounds like the cam's not bolted in. It's really not that bad. So that's about it, hopefully full braking will be restored by the end of tomorrow and then I might even give it a clean. Once I've adjusted the valves I'll give it the beans, I've been staying below 4 grand (mostly) because of the water pump but it really feels like it wants to pick up between 4 and 4,500. Thank you for your continuing interest.1 point
-
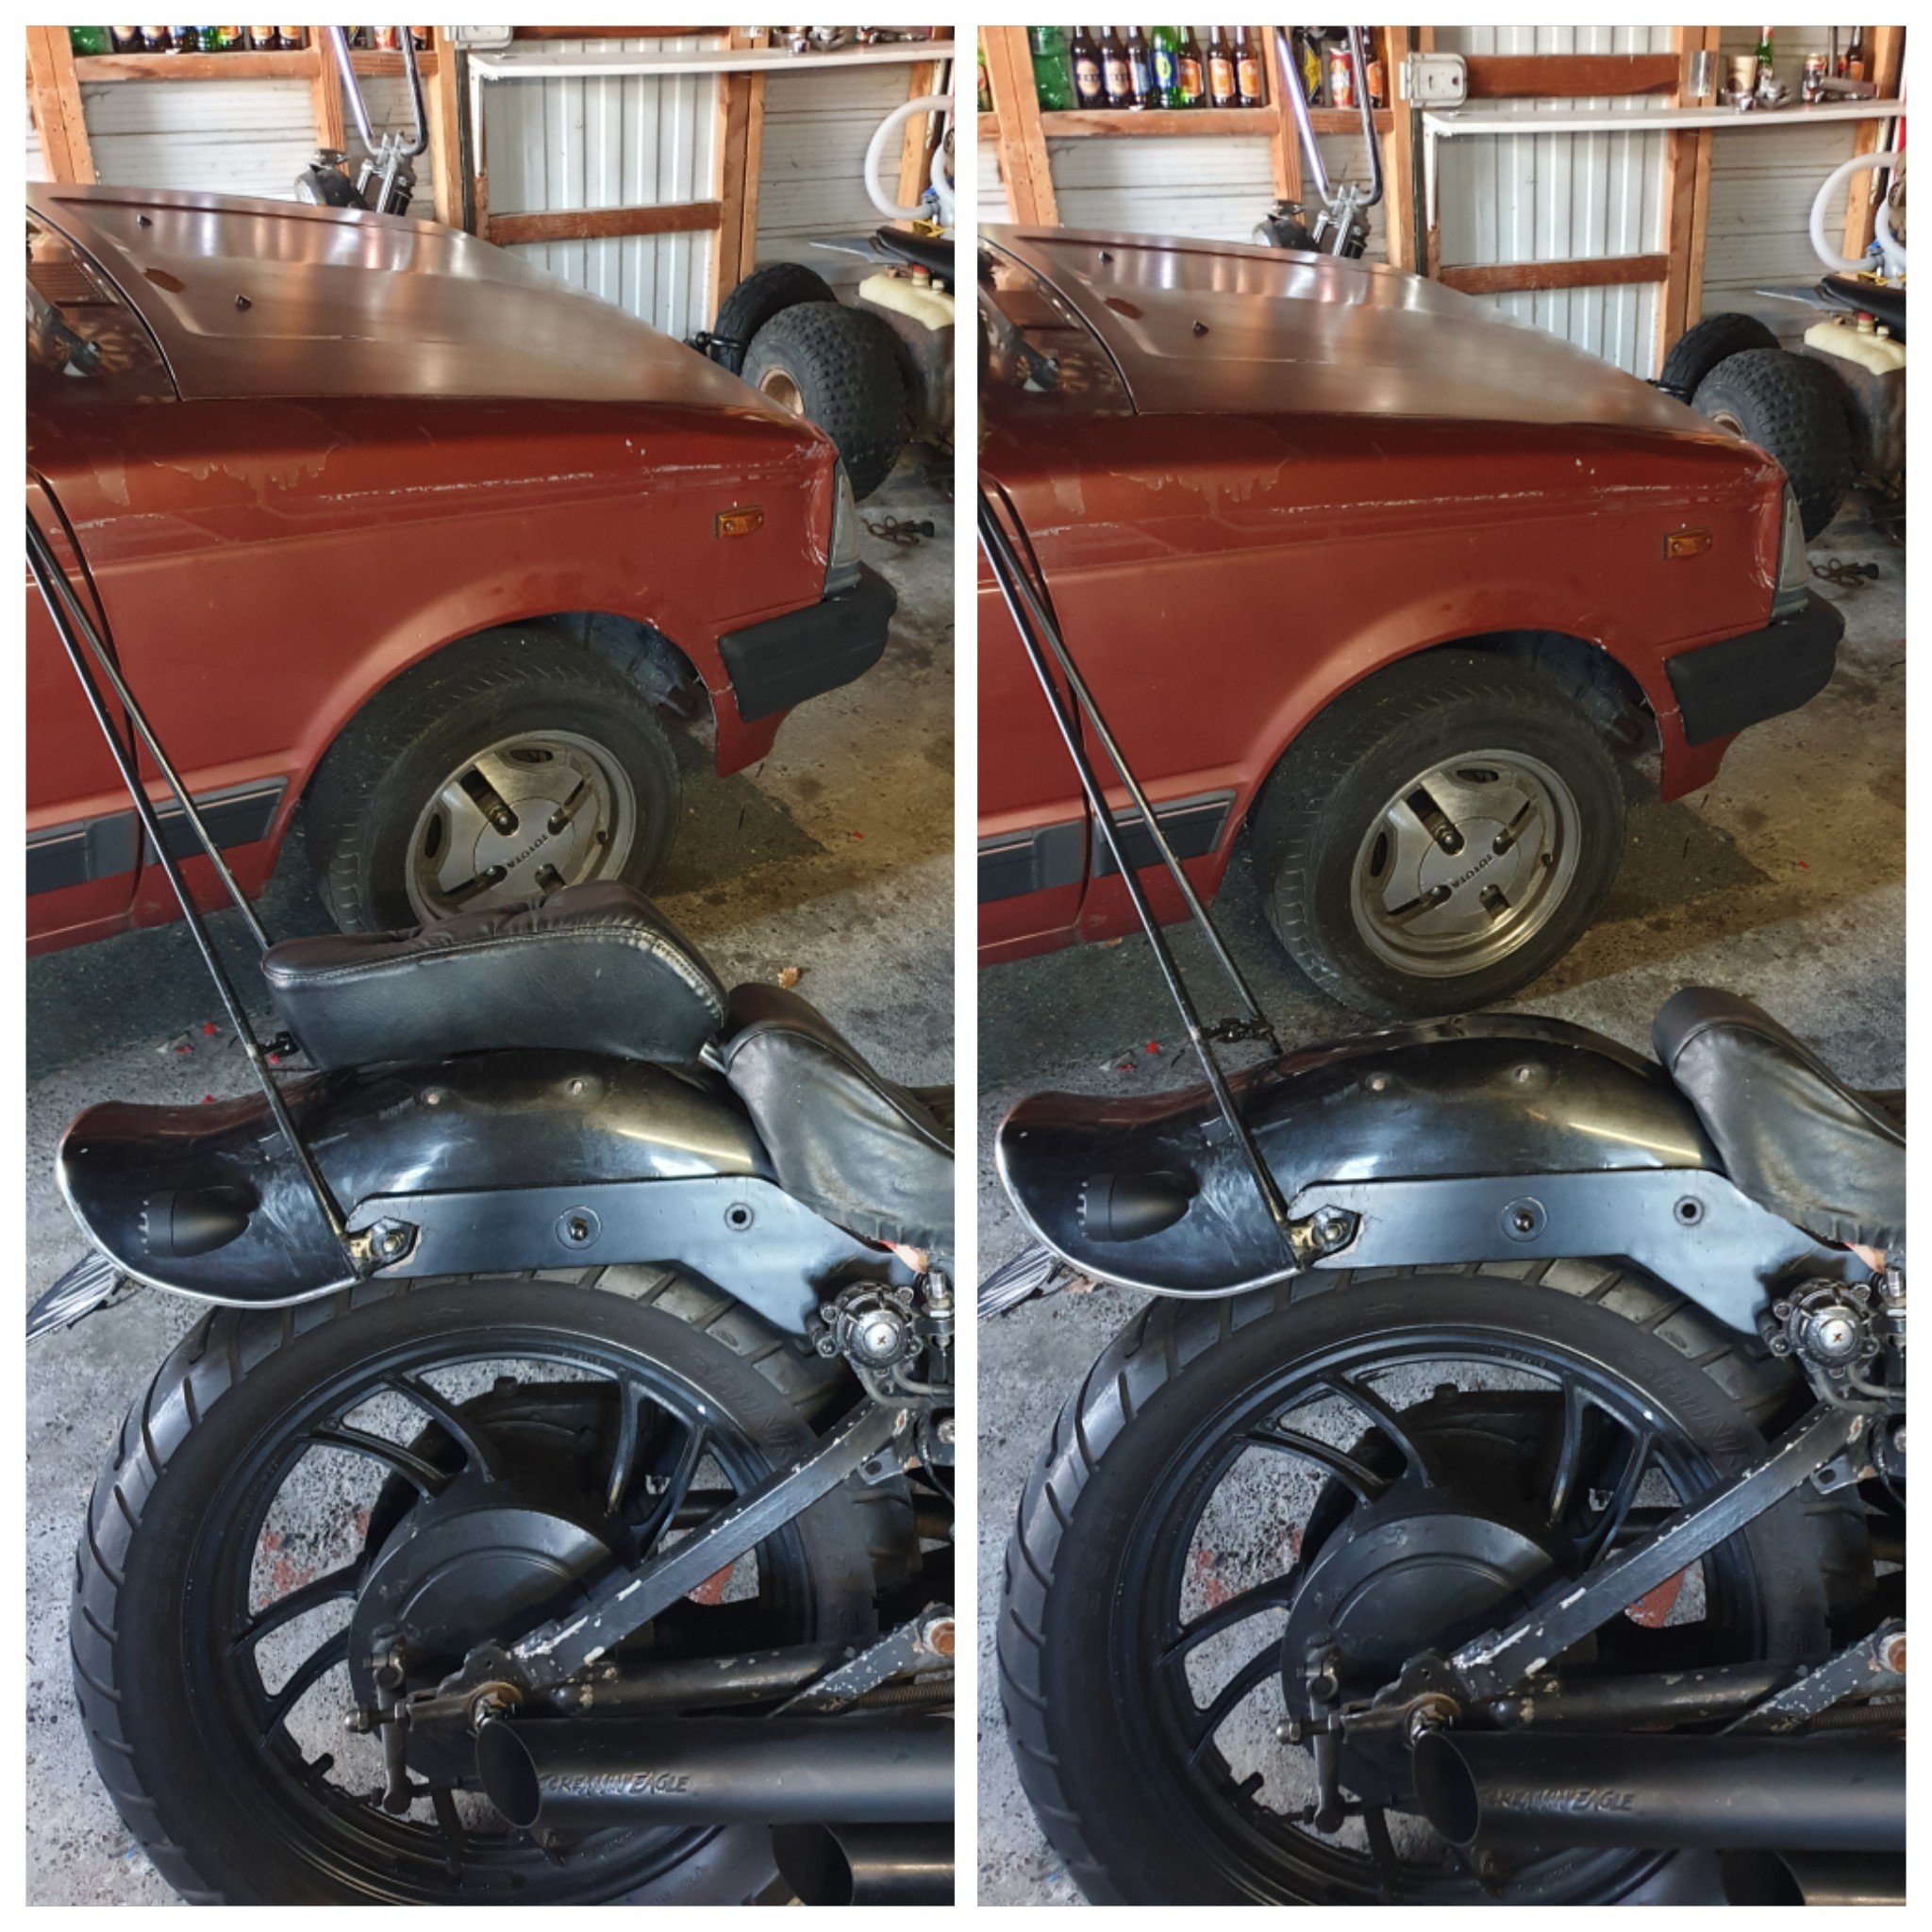
So got this old pillion seat given to me ages ago gona make some simple brackets to bolt to exsisting bolts from when it had saddle bags.. So it can come on and off quickly.. So can load up more during summer camping What ull think look better with or without im on the fence
1 point
-
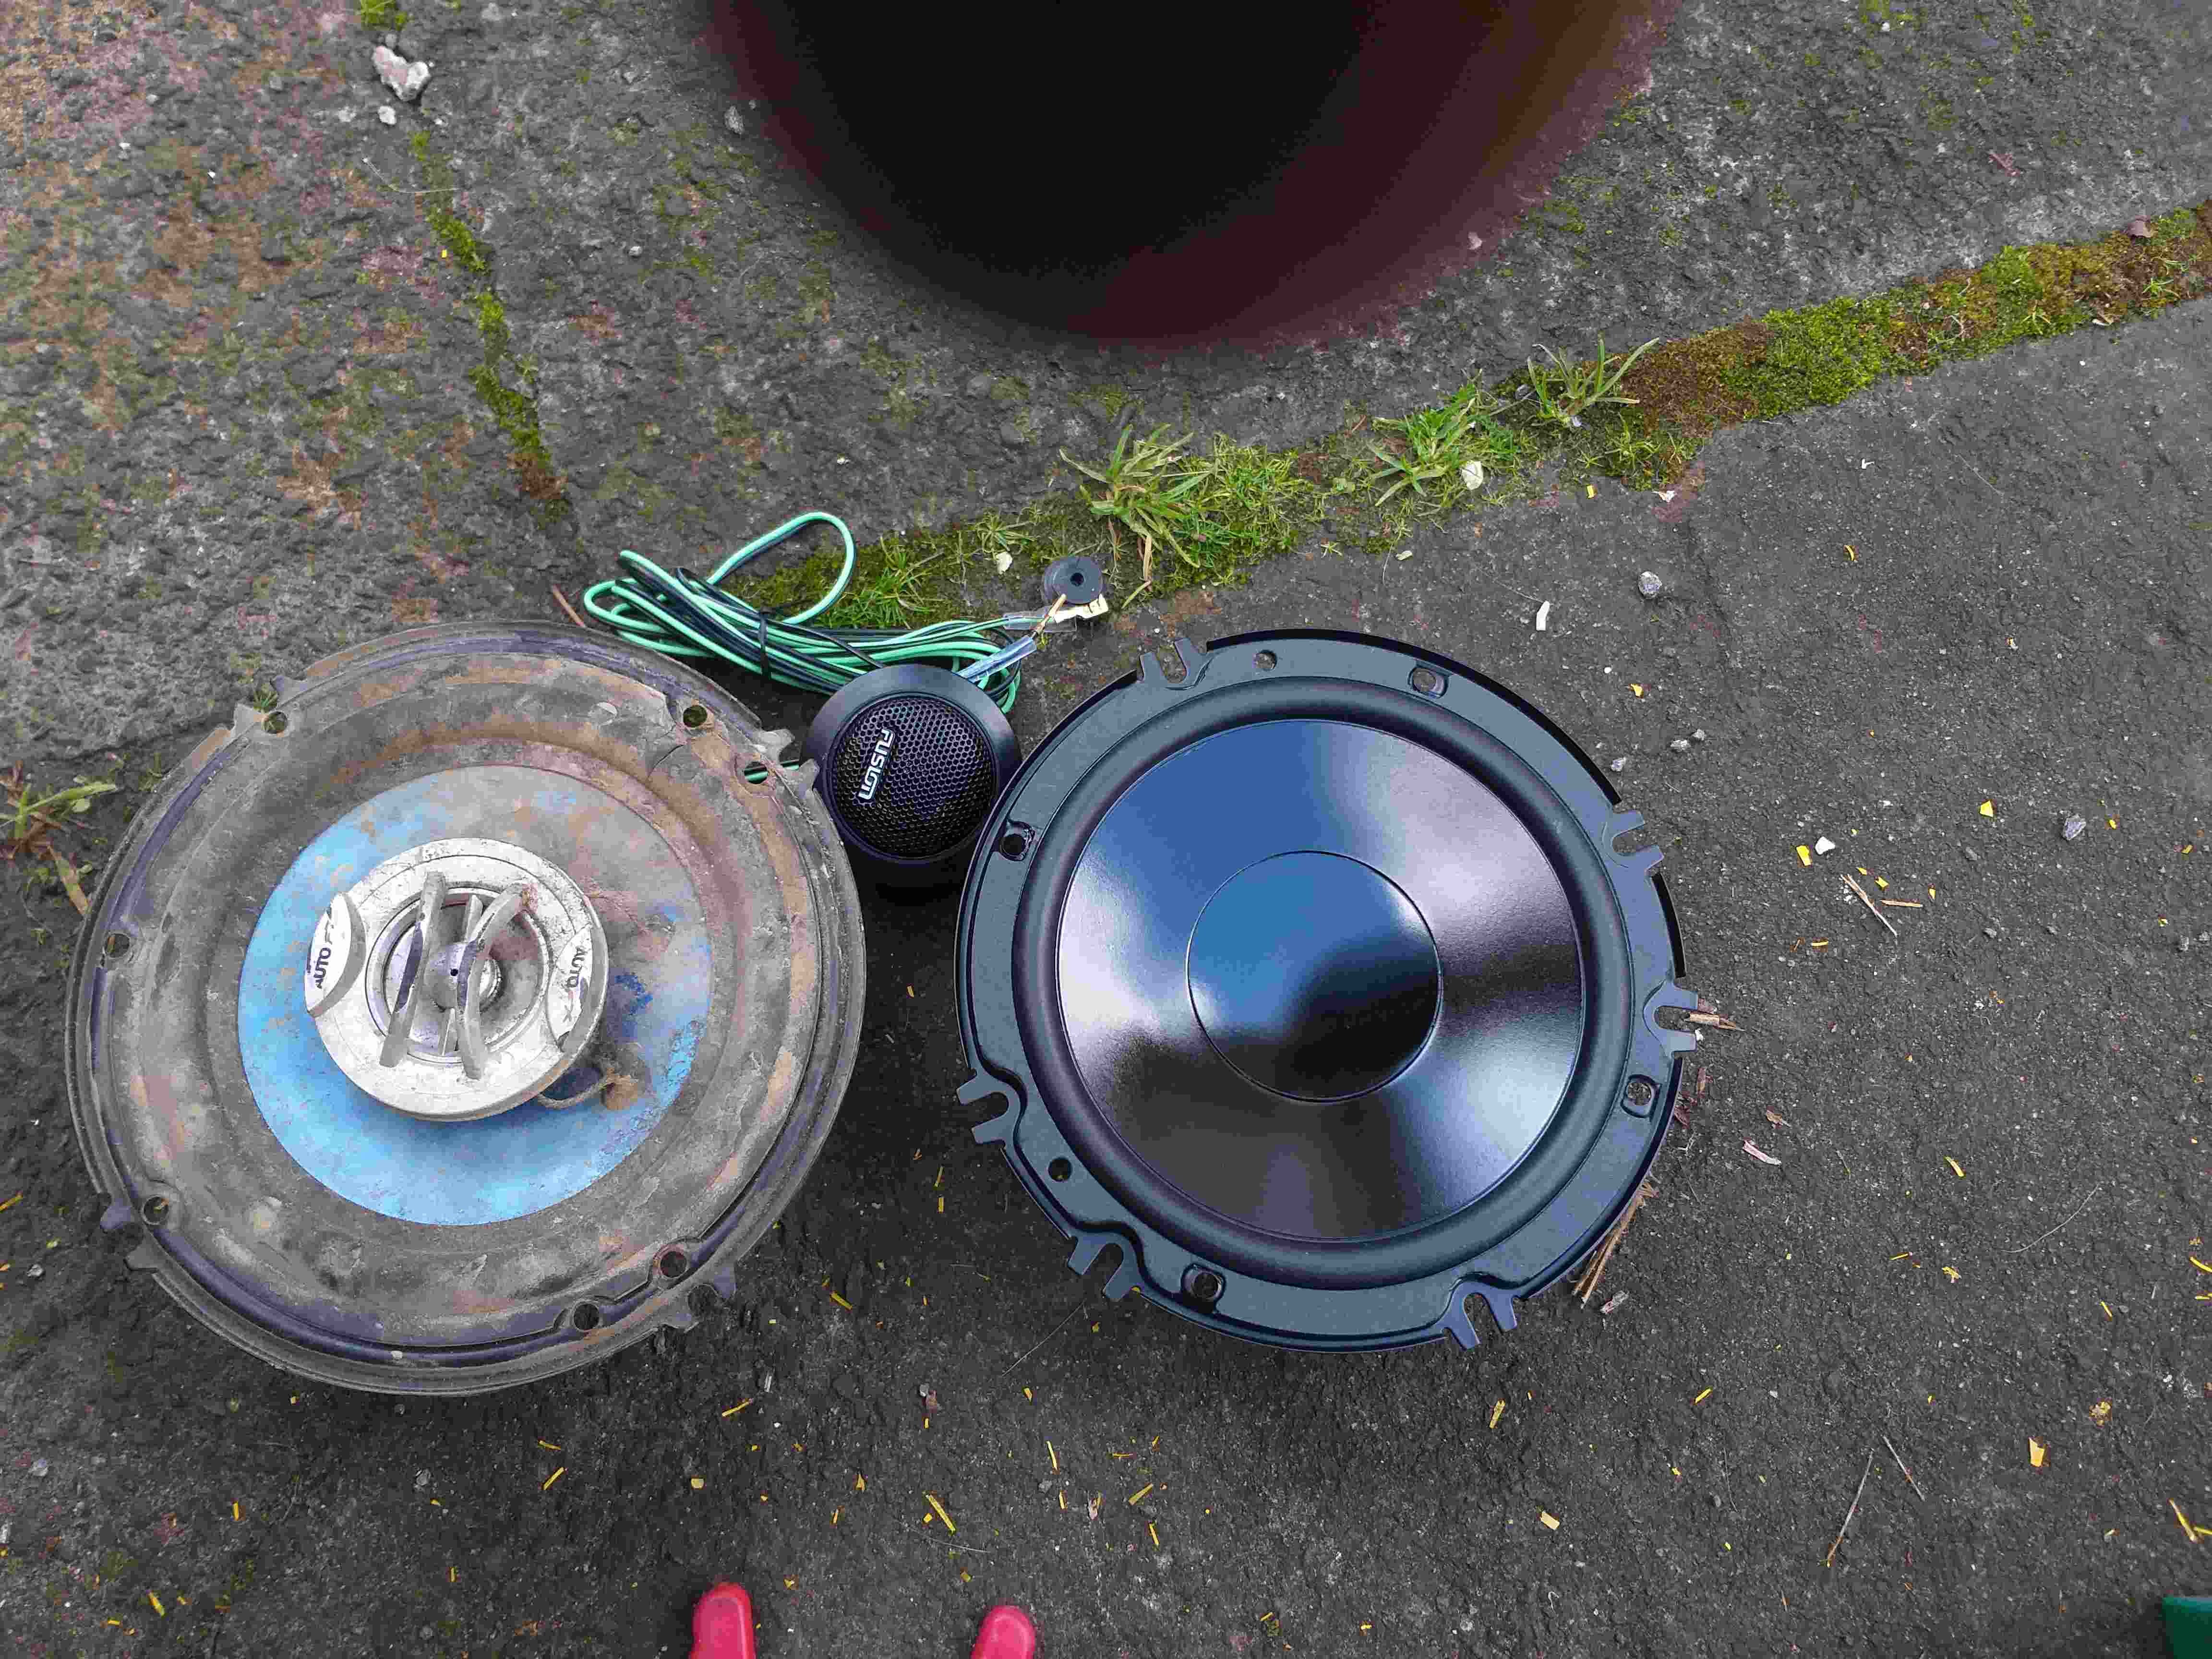
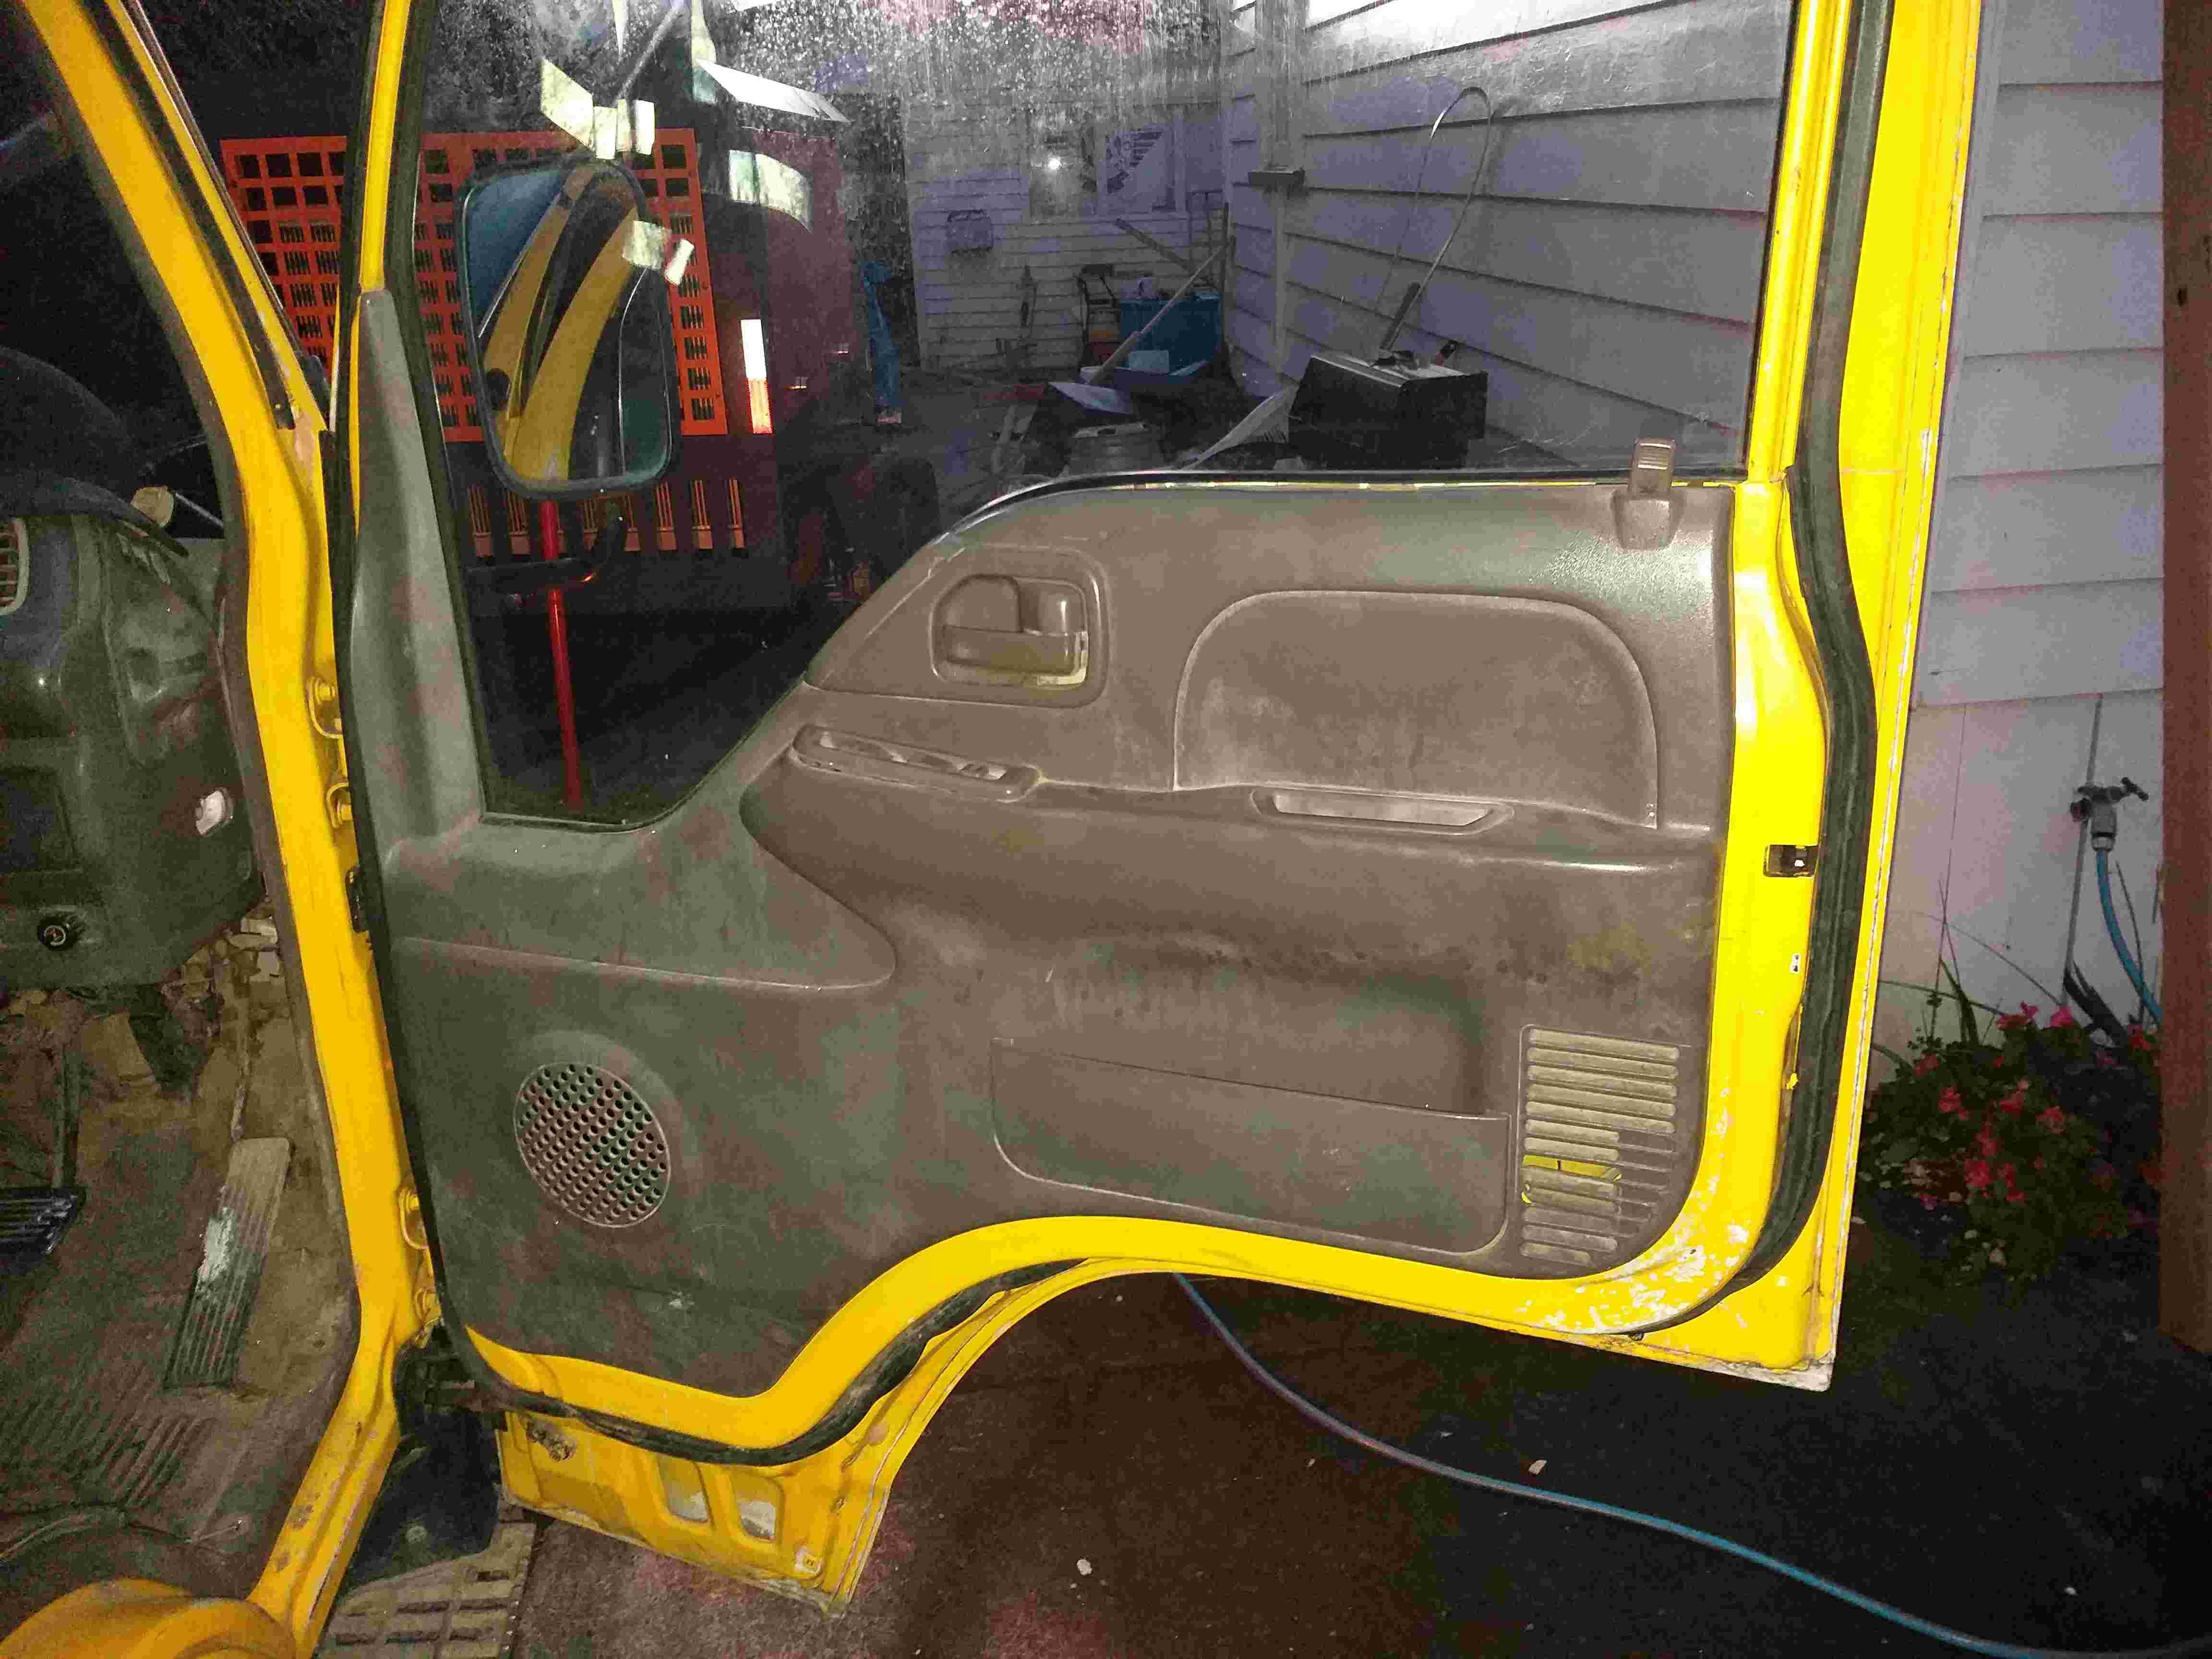
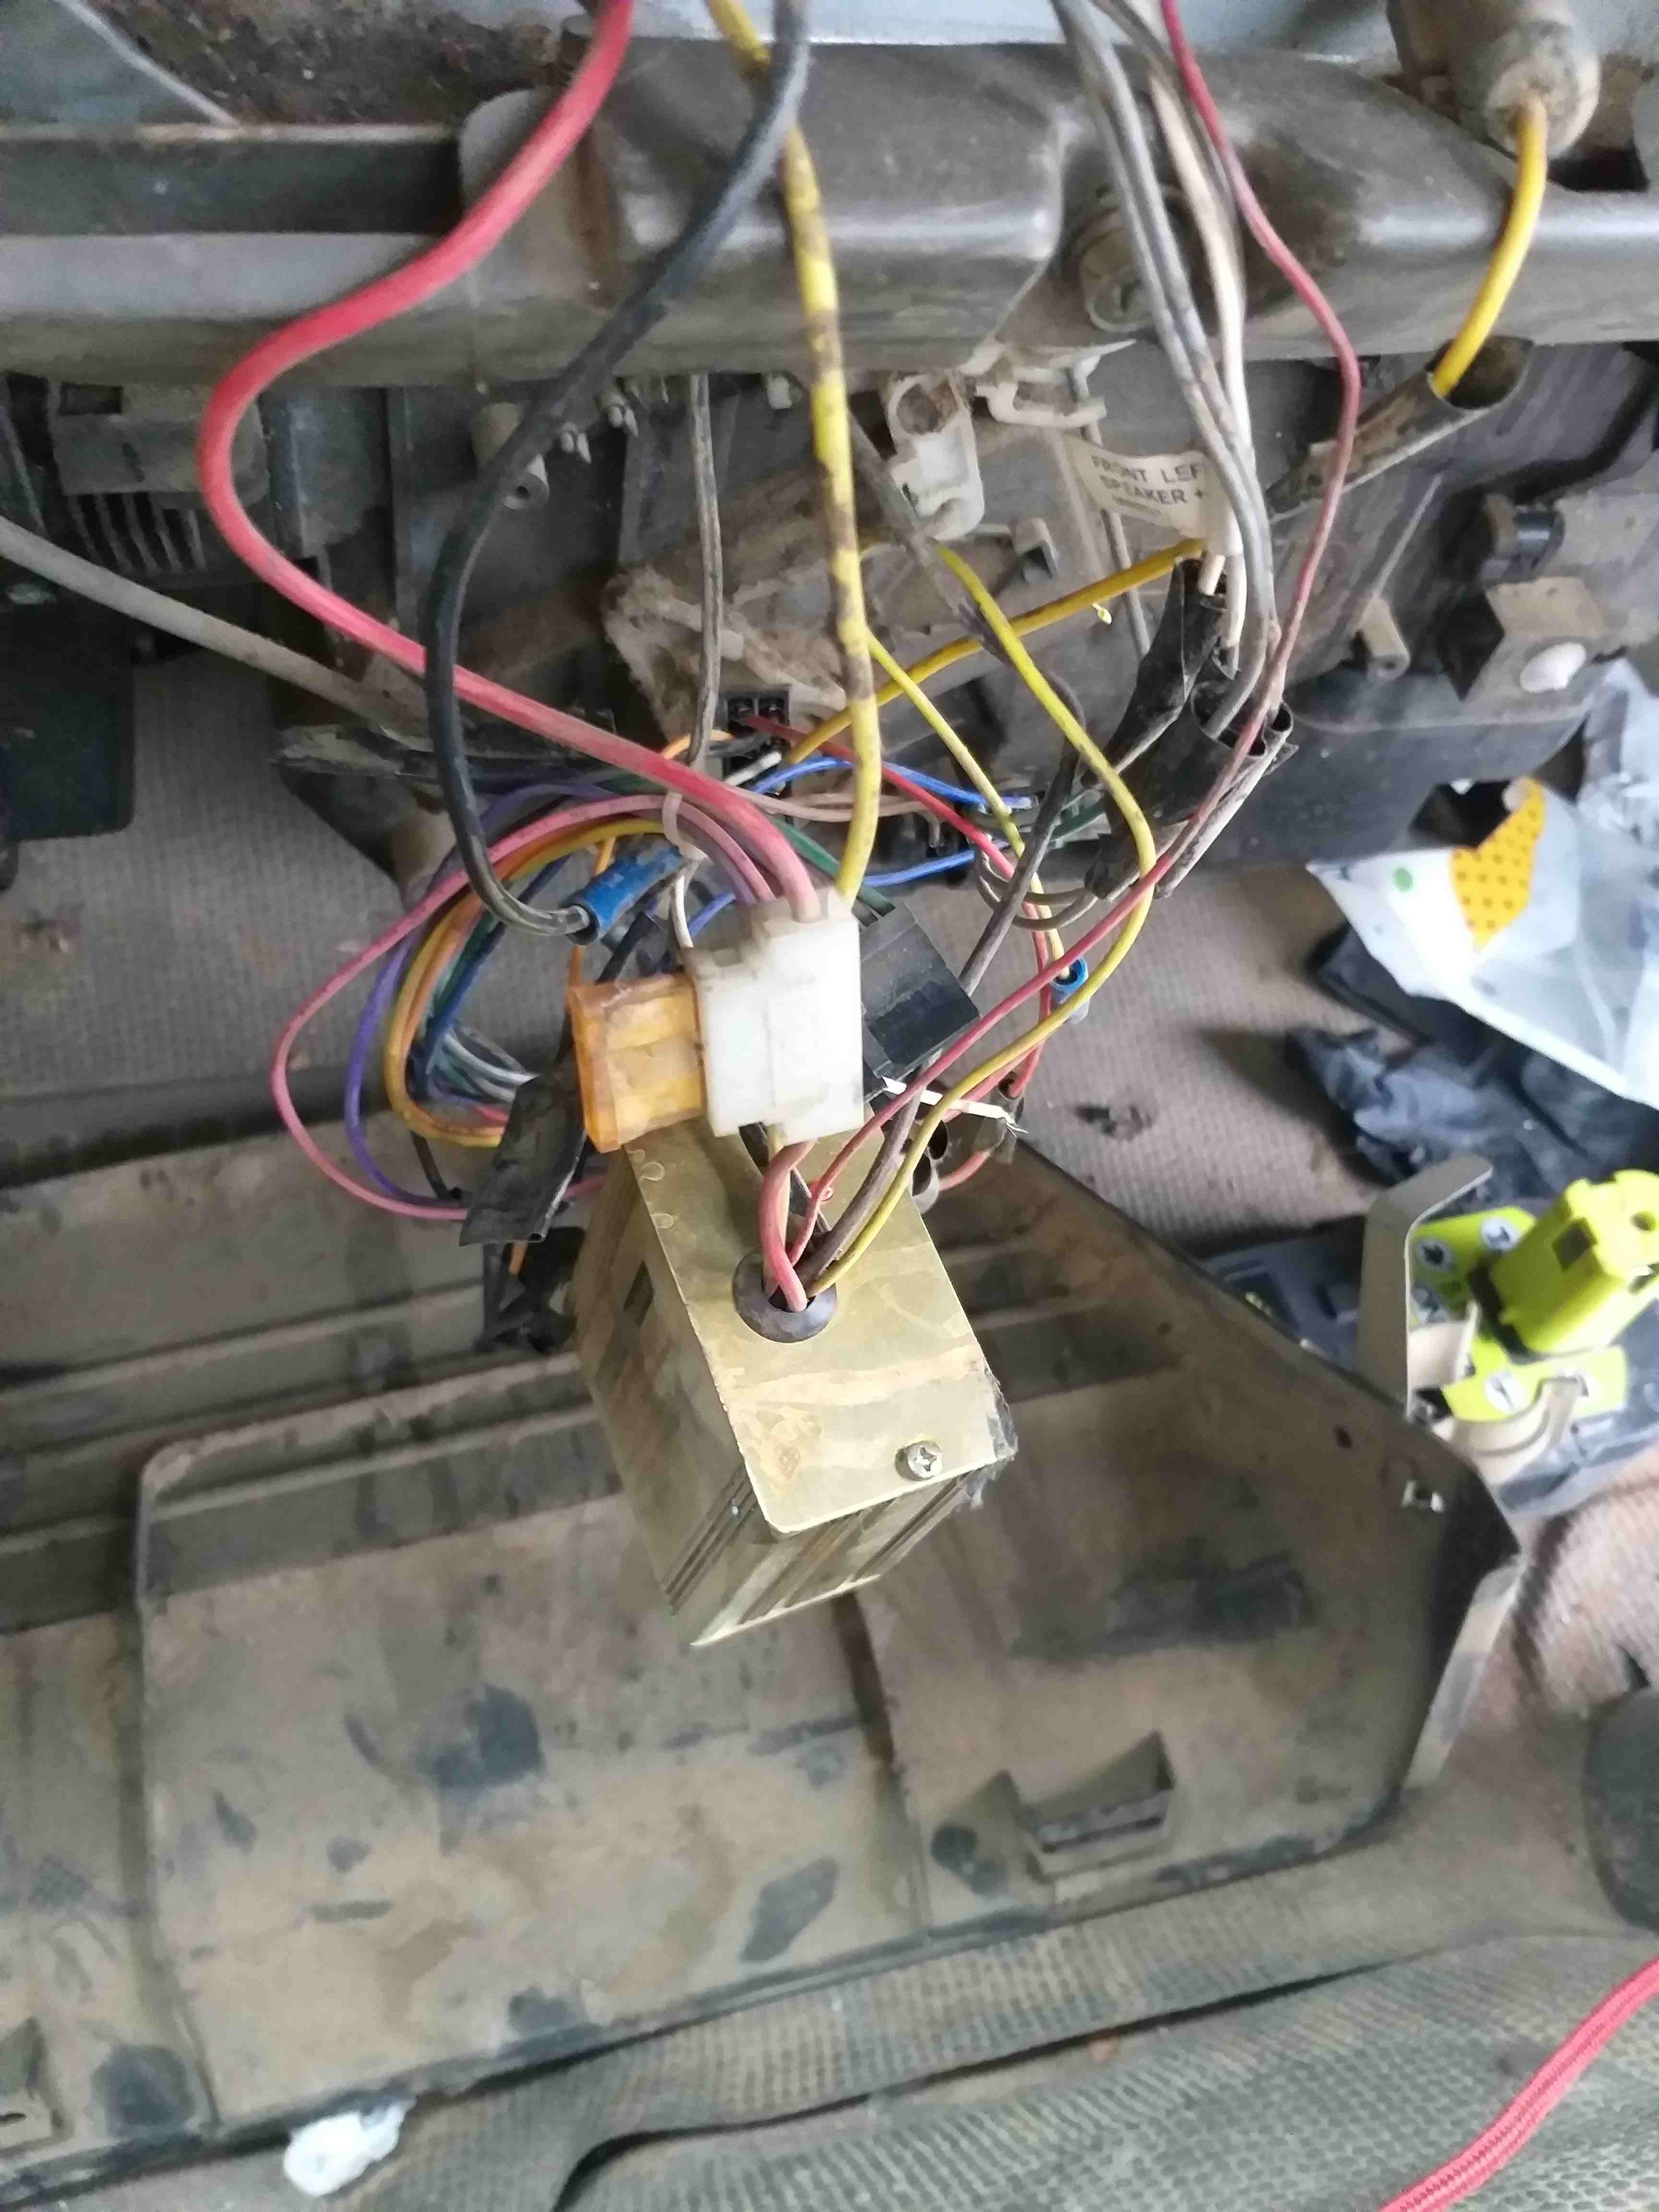
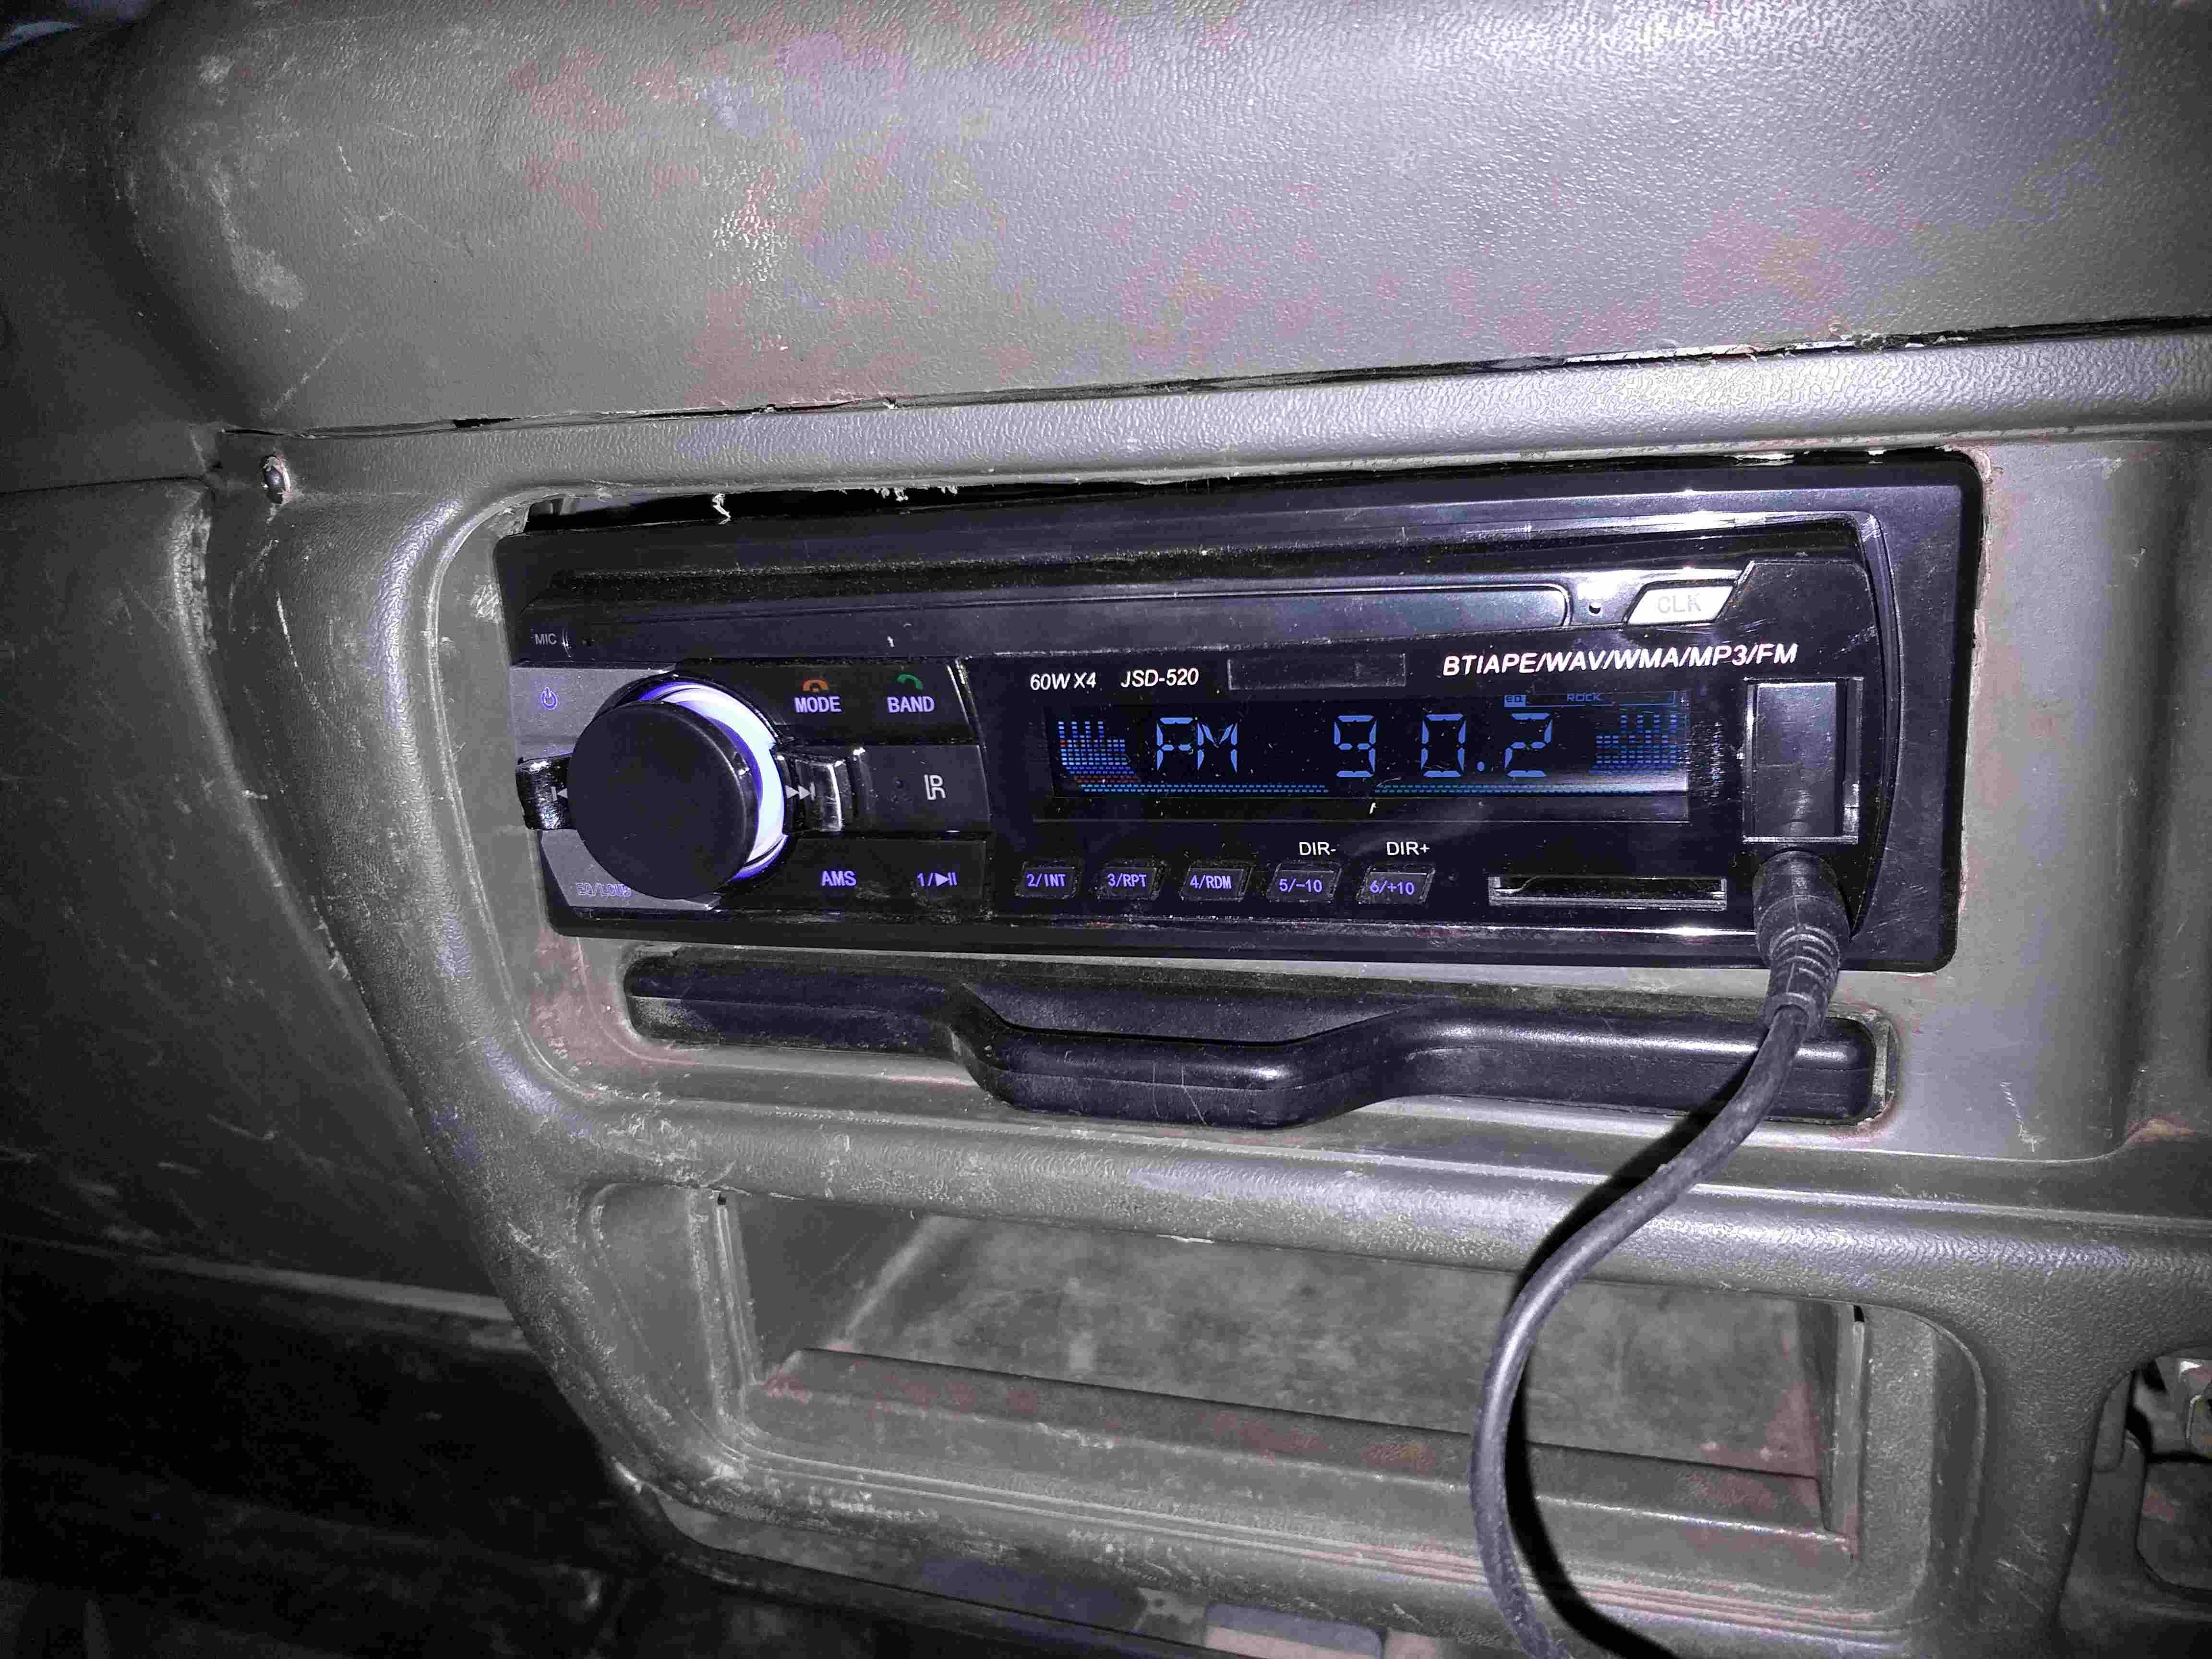
So today I got cracked in the head buy a rampaging concrete drill as I was making a big hole is a wall. Got sent to the Doctor and he said go home an rest, but don't go to sleep. My standard mode set so if I stop and simply lounge around 8/10 times I will have a nap. So I decided to make a start on the truck. a set of fusion component speakers arrived this week. just 58 delivered of the tard. out with the old and in with the new. when j pulled the door panels off I found all but 2 clips wer missing or broken. luckily I brought a a bag random clips off ali. will be very handy. boring pic but I'm stoked the door is back togeather and the rattles are gone Got a cheap $30 radio offAli. Found a 24_12v reducer under the dash. good to have but the radio I got is 24v so pulled the reducer hoping it may stop my battery drain issues.
1 point
-
^ Not this month unfortunately. I've gotta be ready to start a job at 8 in Manukau so it would have to be a very early burger. @Ghost has to carry the torch this month.
1 point
-
House is rented and I dont live there anymore sorry guys life got busy1 point
-
your mum must be a real handbreak eh1 point
-
Cert recheck today Passed the drive test and the 5x 100km brake test too. Let me tell you it was loving the fang today and performed spot on. It was the first time going over 50km haha so I had my beady eyes on the temp gauge The only remaining things to do are: 1) supply the alignment print out (repair cert person has this so will need another copy printed) 2) add 2 rear bump stops - ordering tomorrow from a George Stocks 3) tighten hand brake (this needs to be done for the compliance also) 4) the speedo is out 15-20km. I need to apply custom stickers to the speedo corresponding to the correct speed increments eg 120km is actually 100km Legal cruising is so close I can taste it.
1 point
-
RX4 steelies are on with a little taller white walls of 70 series vs the 65 on my previous steelies. Fouled the plugs this weekend and got brand new plugs. Will put more conservative jets in tomorrow and hopefully stops the plugs fouling. Ive drive It 10km EVER so I’m still feeling it out day by day.
1 point
-
Shit im slack Heres more build photos
1 point
-
Put a 50cc 5th wheel on it and register as a moped1 point
-
oh hello. long time no posting we finally got the profile of the caravan cnc bent. borrowed old bad pennys work horse to get it done. pretty excited about the weeks to come now. just need reunion to be over with and get this thing rolling again. EXCITED!1 point
-
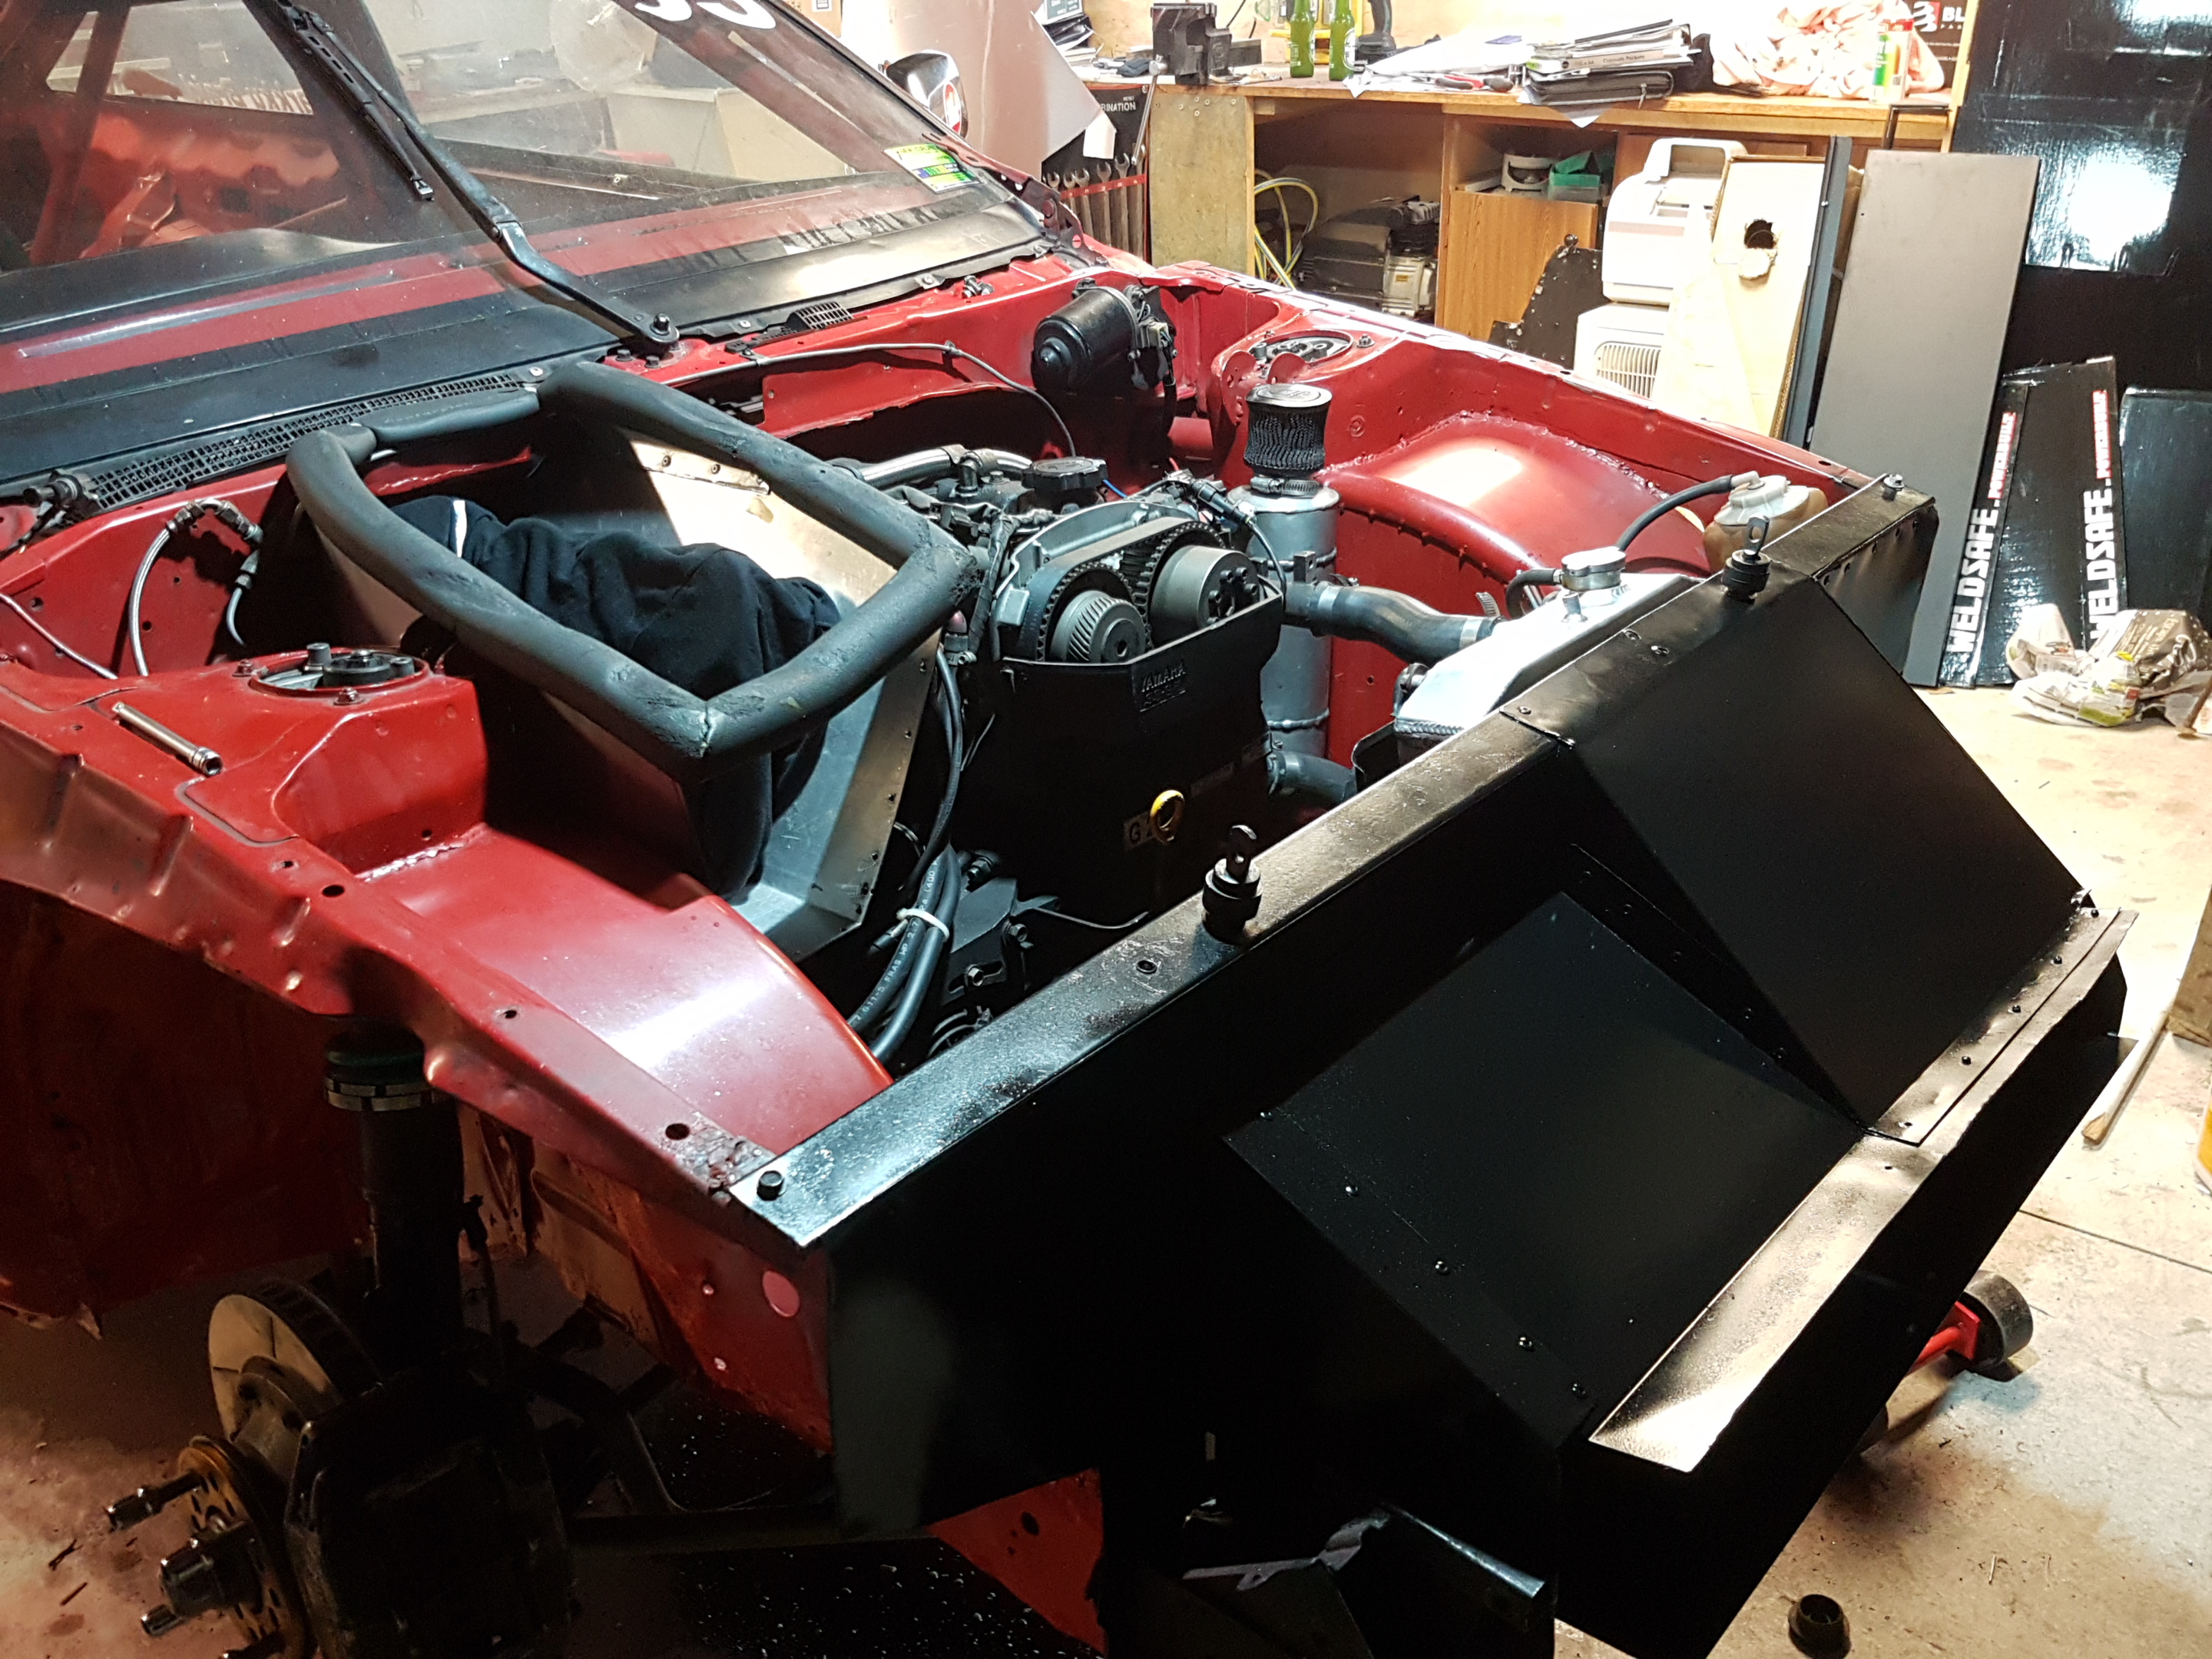
Picked up a front panel last time I was in Palmerston North. I like it more than the one I'd made out of rectangle tube and alloy sheet. The standard gap is the perfect width for my radiator and air filter together. The plan is to install this panel with rivnuts and keep it as a removable piece. I'll need to add some steel to a few places and fill in a few holes.
1 point
-
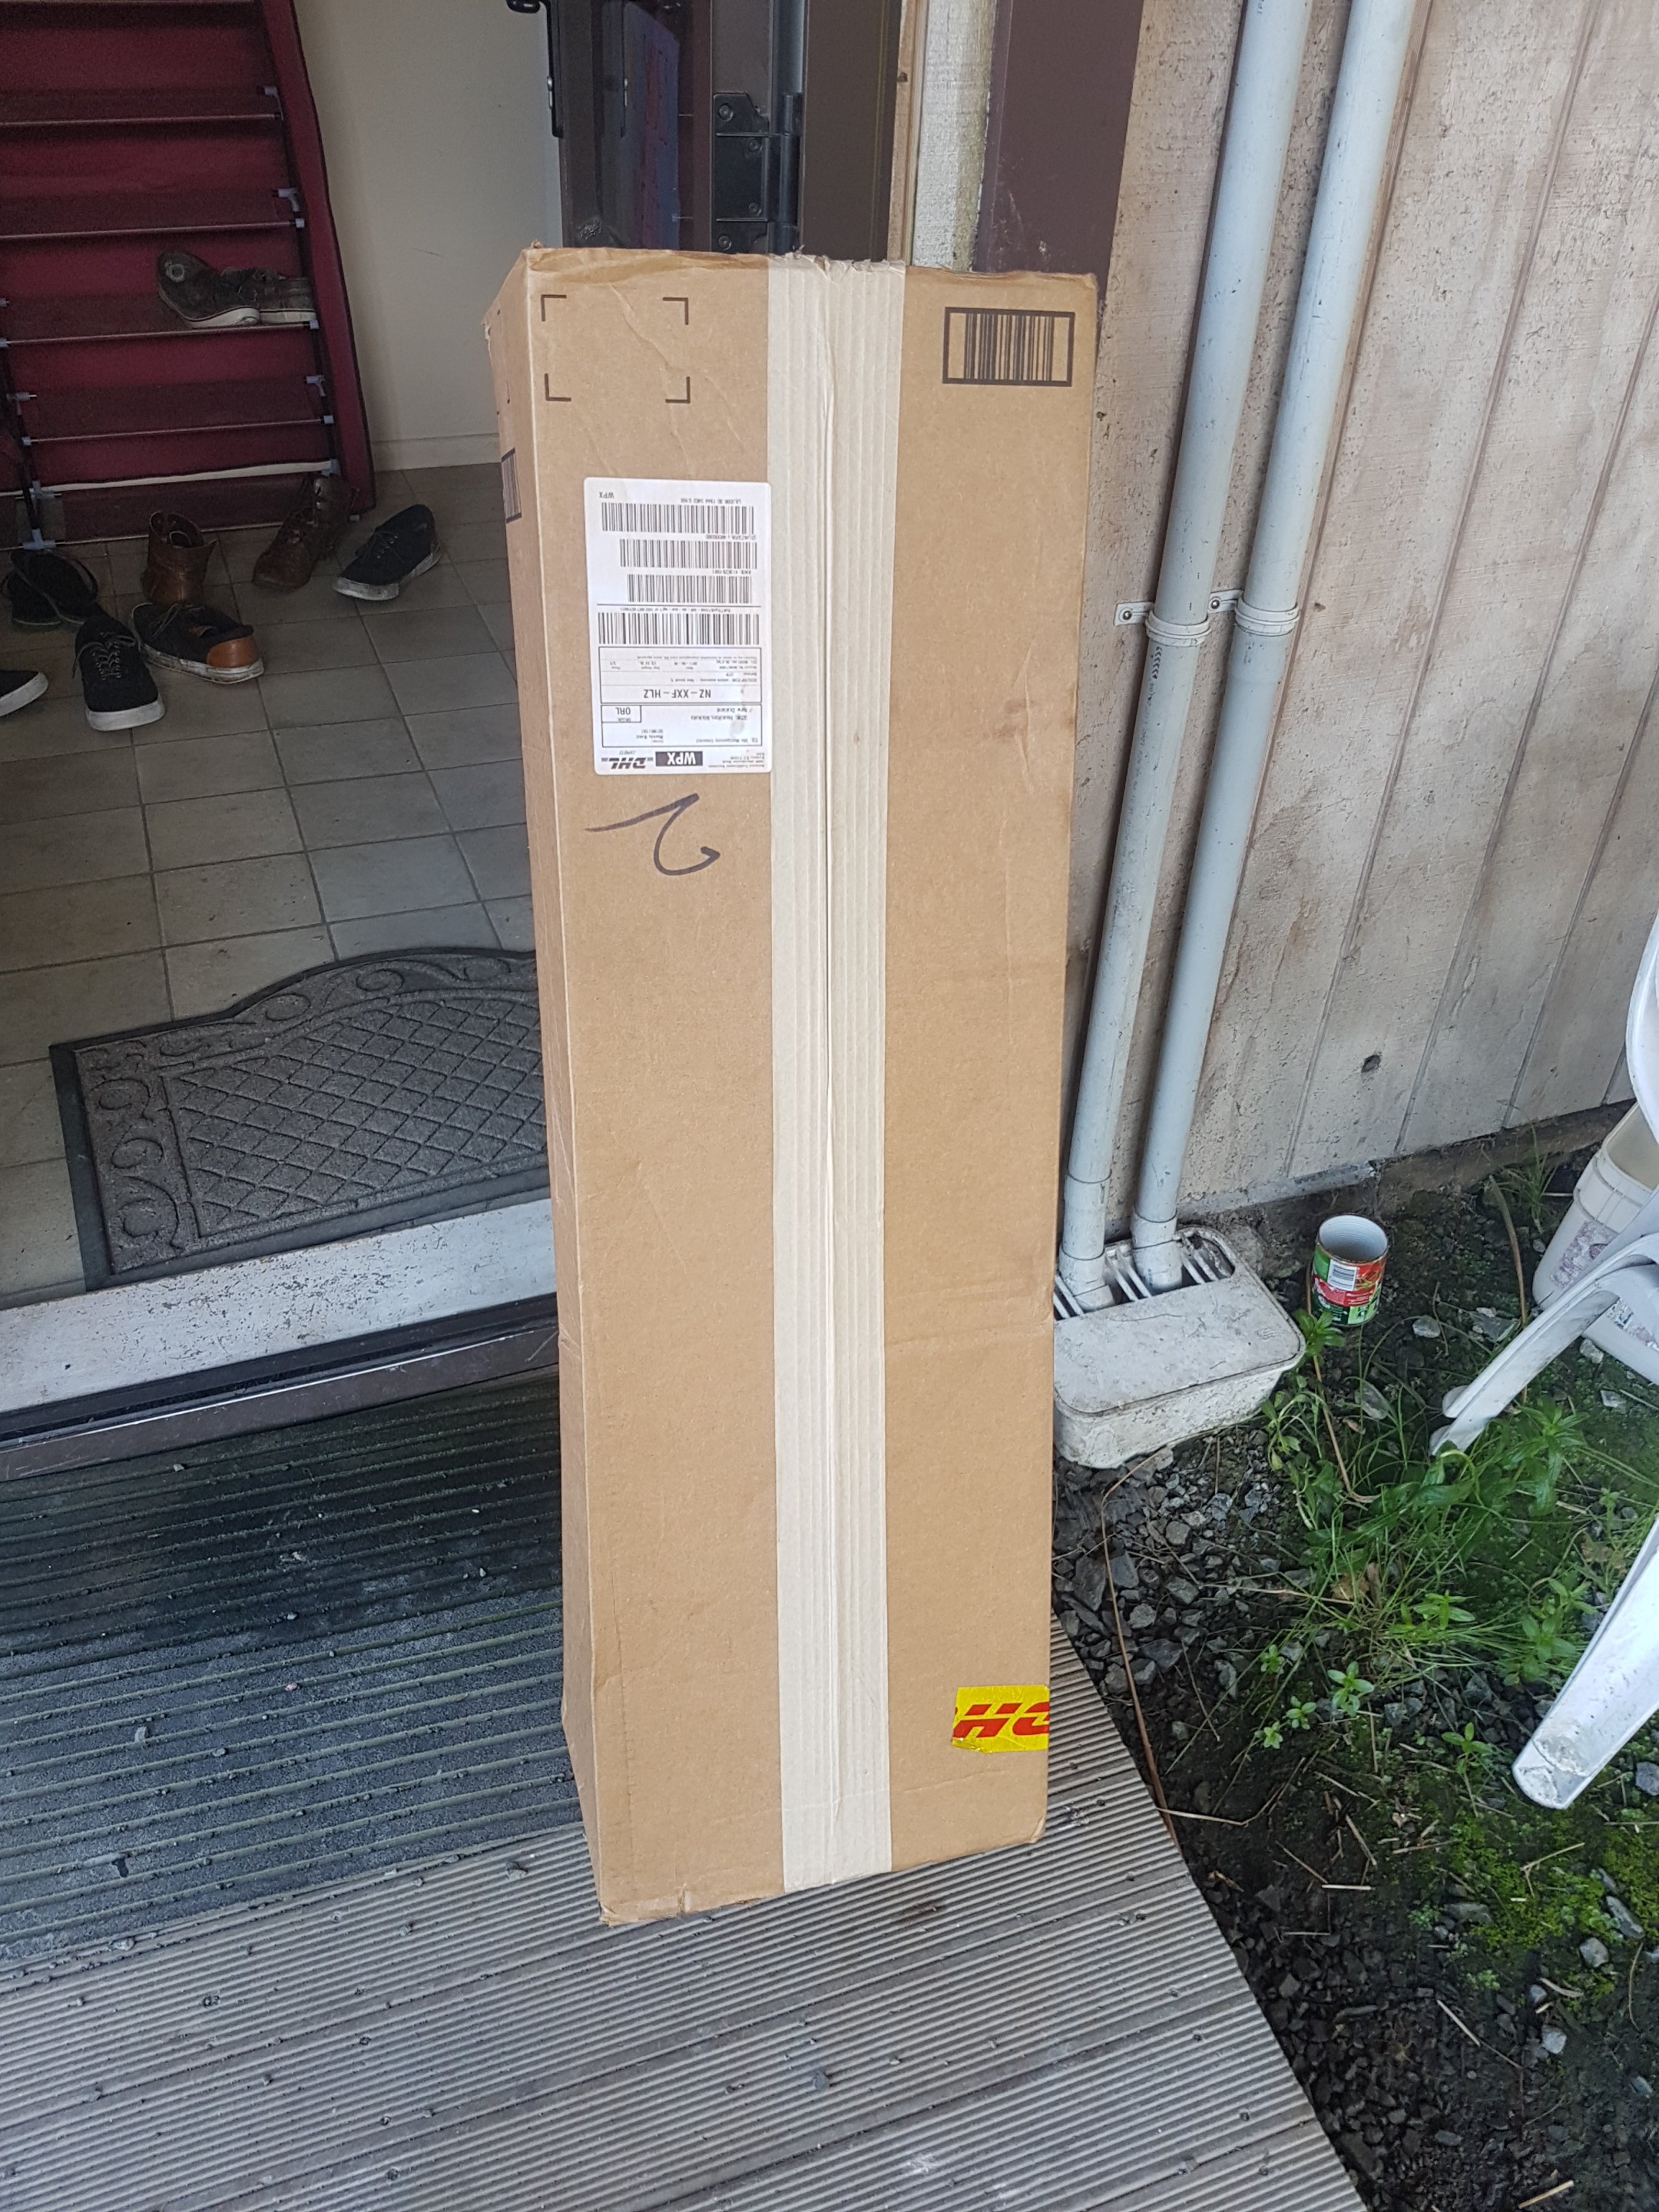
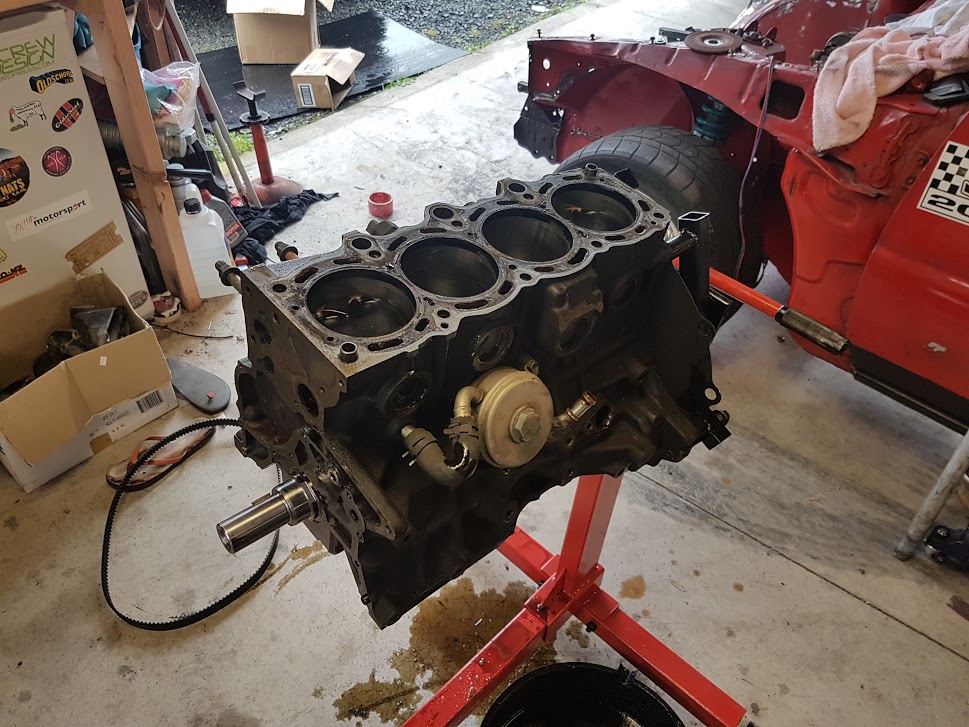
A bit of further investigation shows no signs of stress on the underside or the valvetrain. This chunk obviously decided it'd had enough... But it's hard to know why. Also had this massive box arrive from Amazon: Which contained my new muffler. It's no wonder their shipping was so expensive! I chose this because it's 3". But also because my neighbour has the same on his K24A DC5 Integra and it sounds great. I've also got the matching 3" resonator that I'll probably make removable so it can be added if the car's too loud at Pukekohe etc.
1 point
-
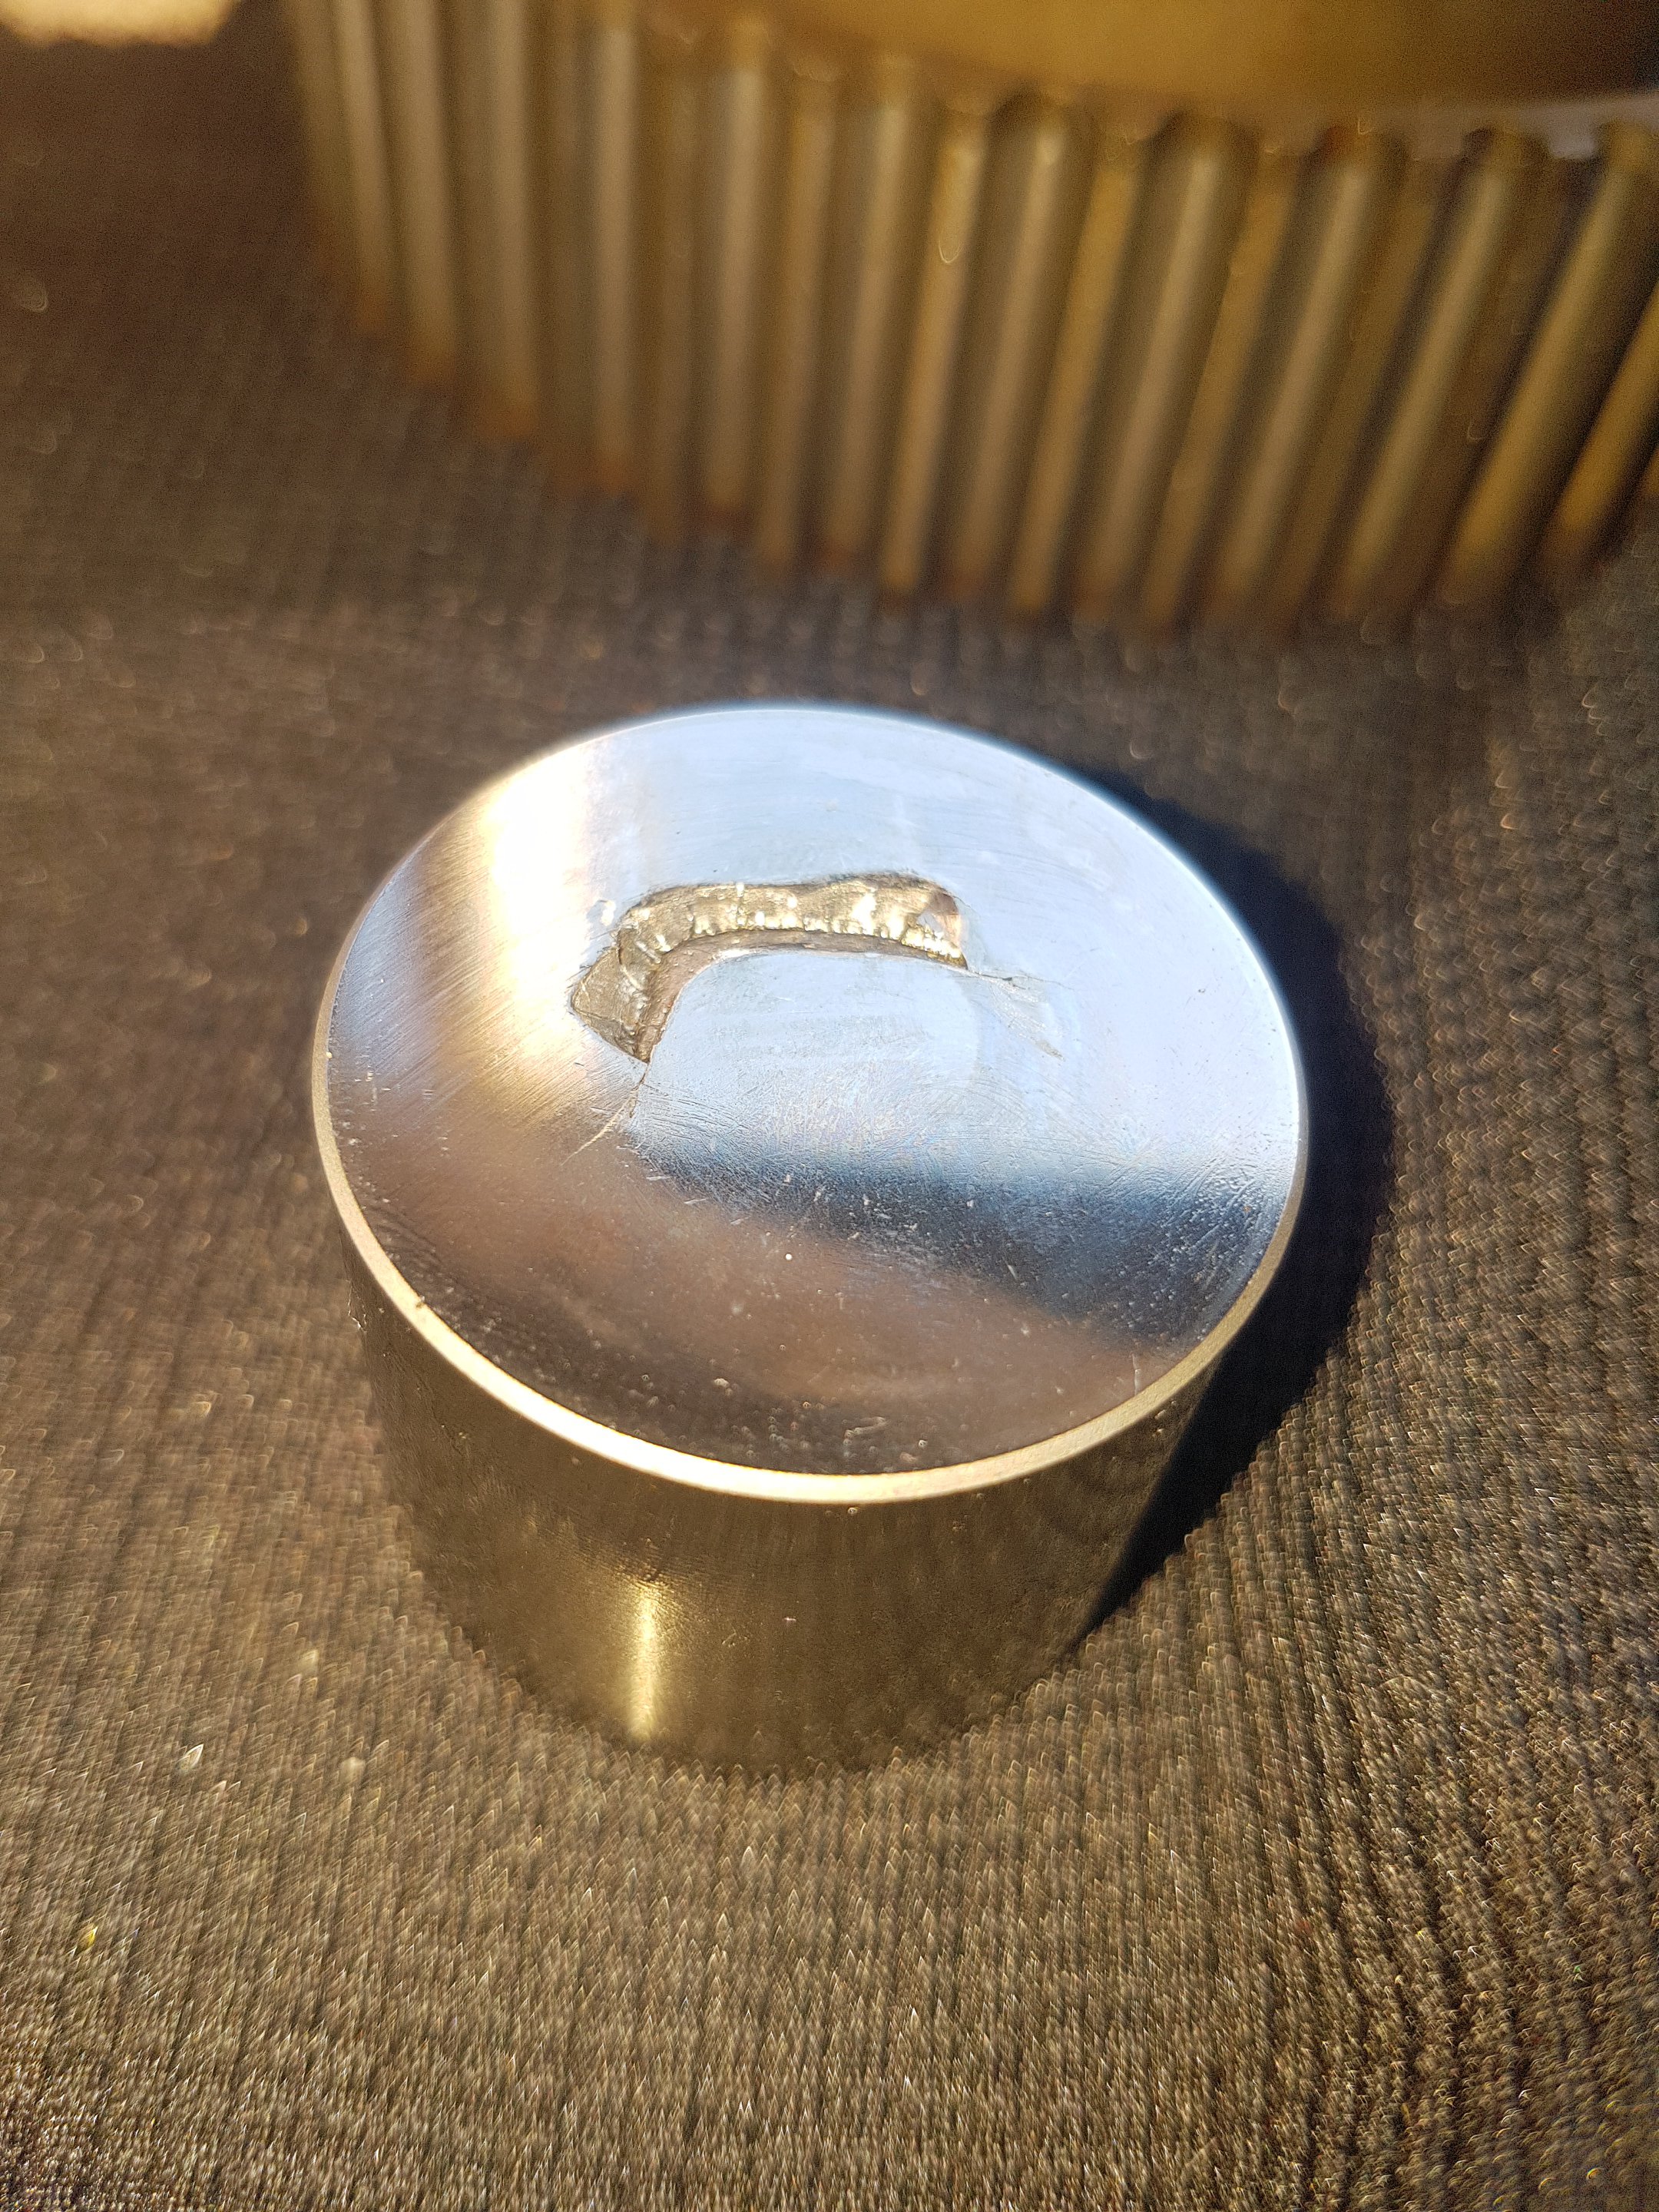
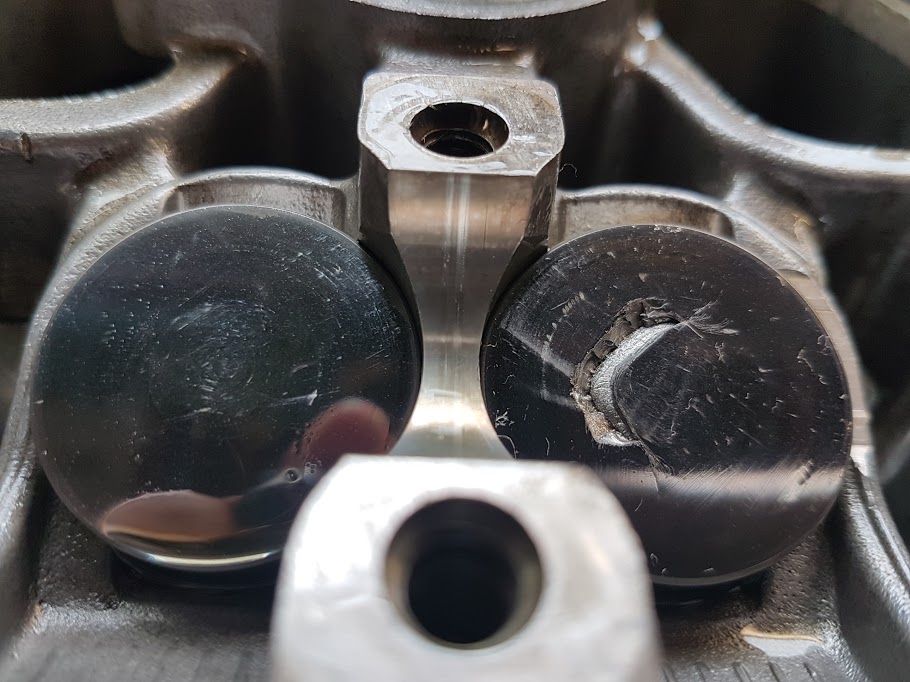
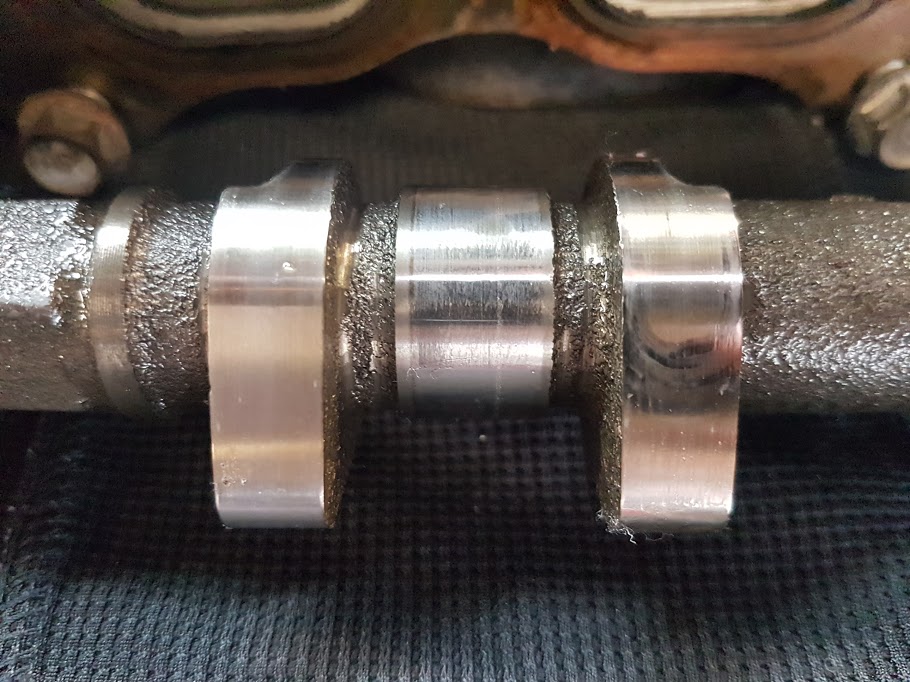
Pulled the head off and will send the bottom end to the rebuilders this week. And I noticed this very strange bit of damage while inspecting the head: I have no idea how this would have happened, but there's a substantial piece missing from the face of the bucket. There's no signs of damage on any other buckets either. The cam appears to be fine aside from a small wear pattern visible in the above picture. I'll get a DTI onto it to make sure the cam is straight and will replace the bucket. Has anyone else ever seen this?
1 point
-
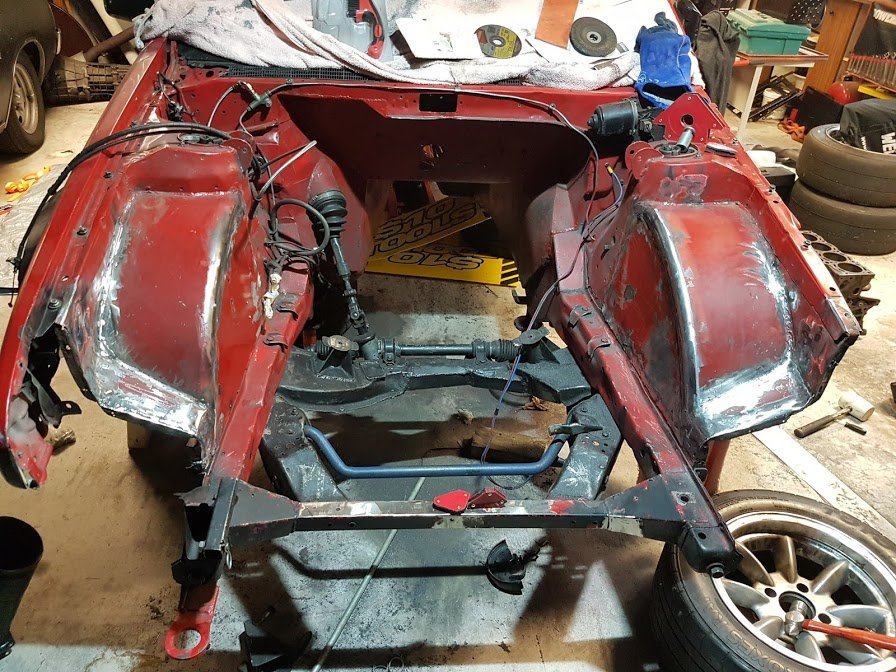
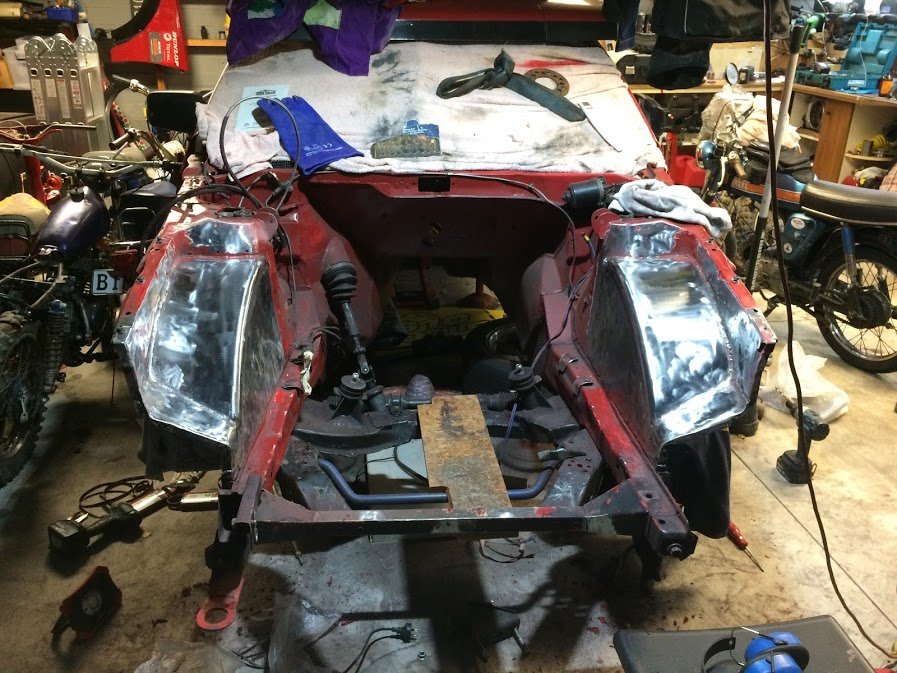
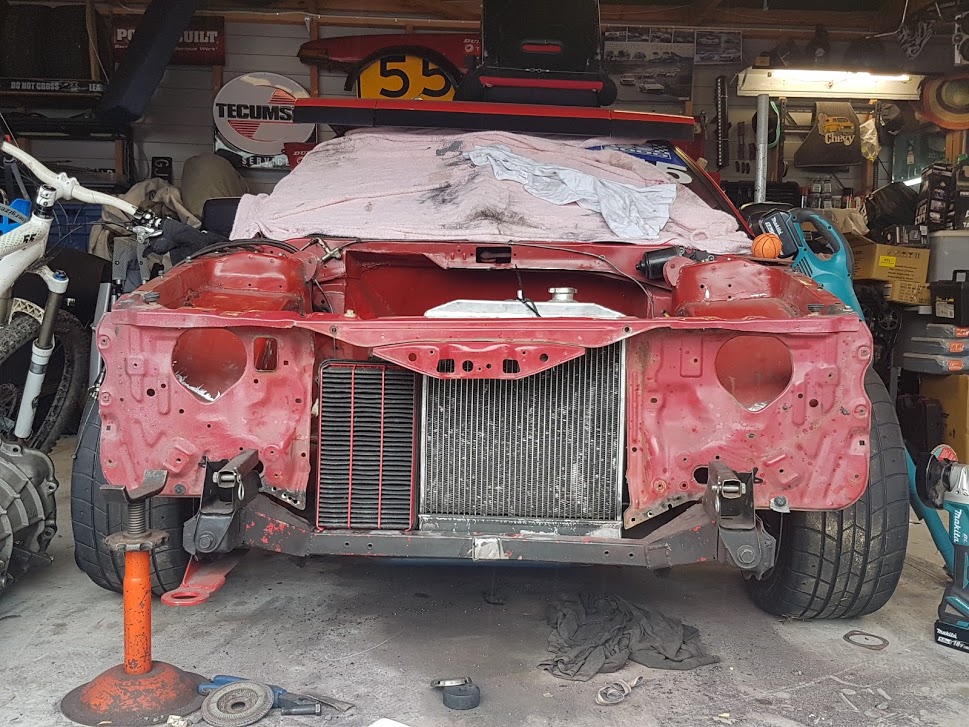
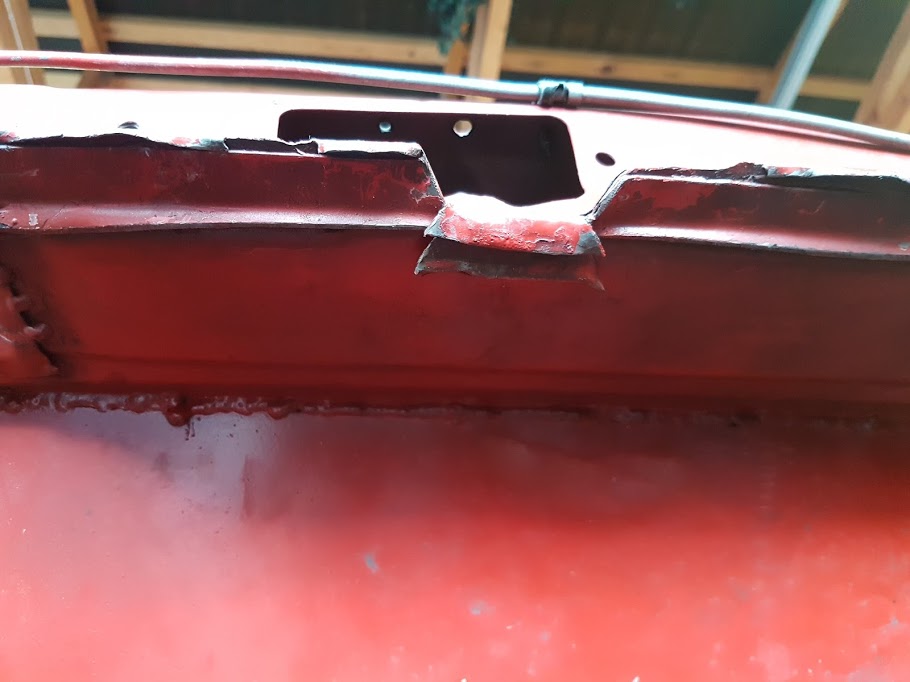
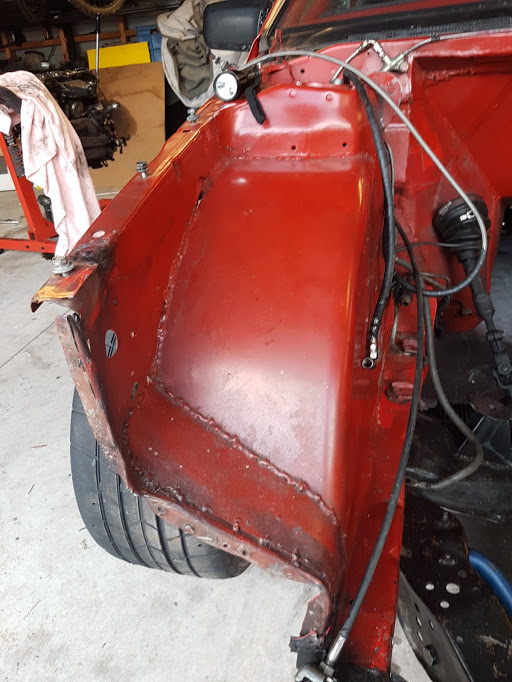
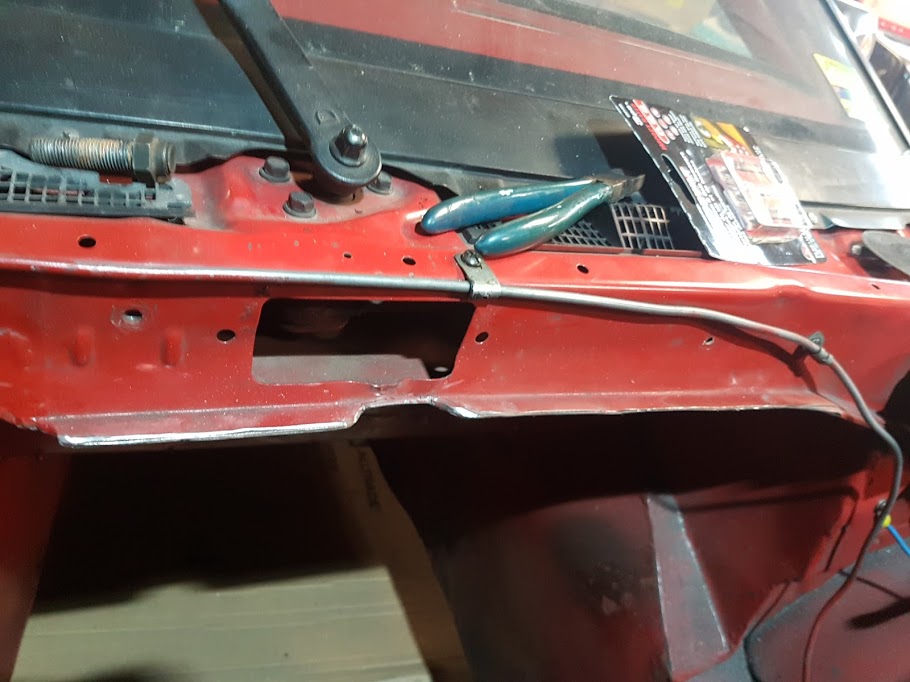
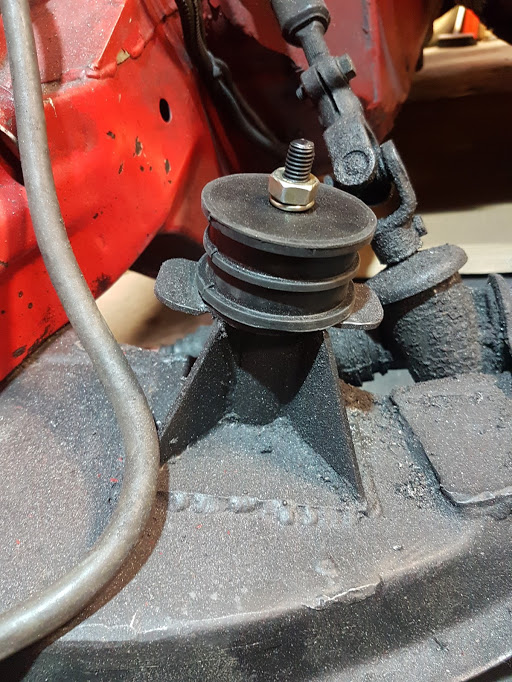
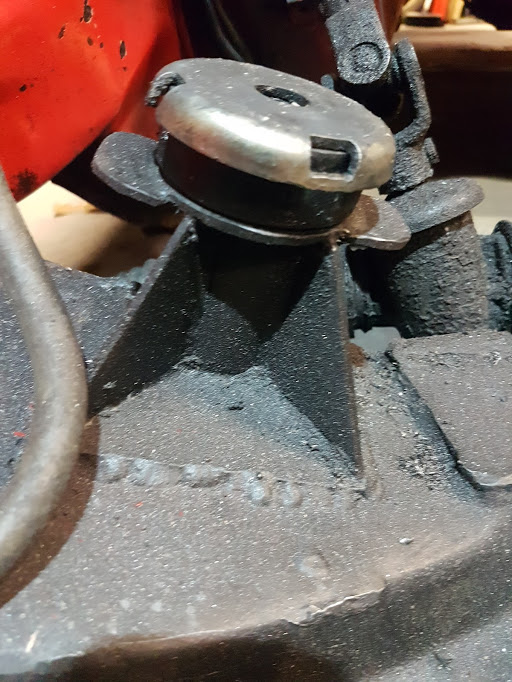
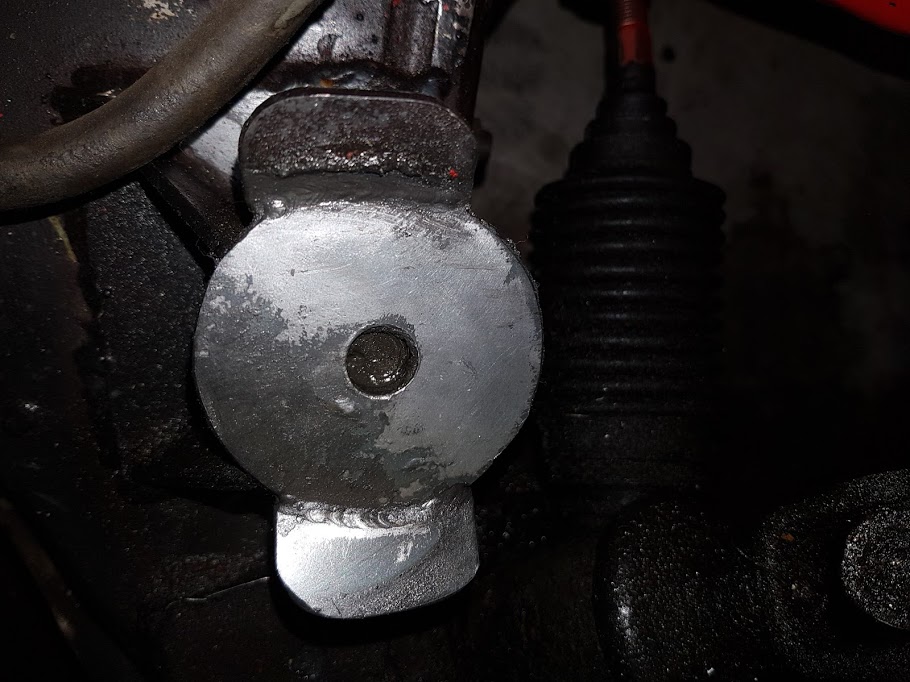
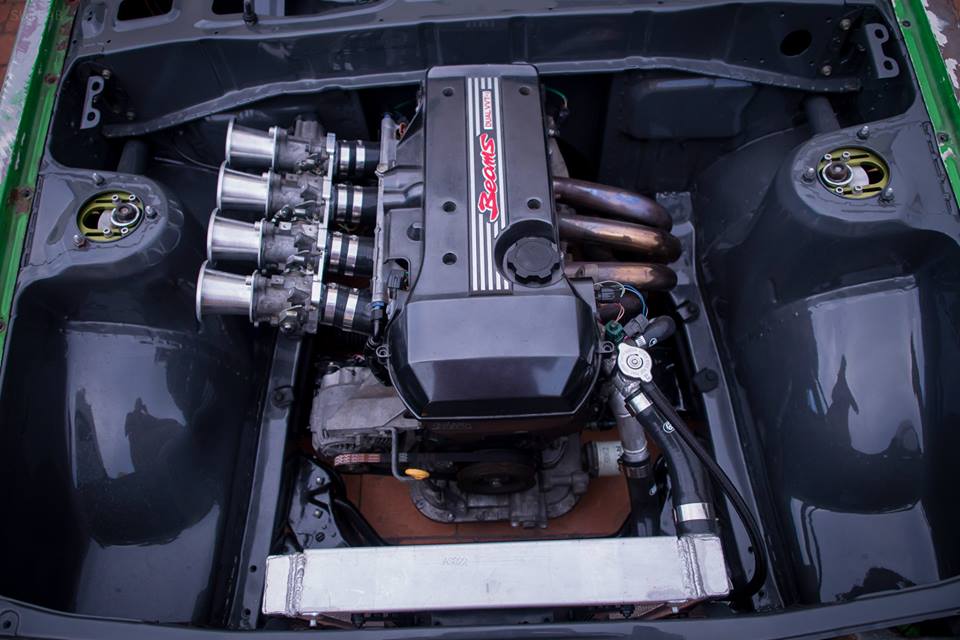
Back to those bad decisions... I don't really want to share these photos, but am going post them for the sake of good record keeping. I did all this with maximum haste and minimum care and it shows. First up, half assed tub job. From what I remember, I left the paint on for most of these welds. I also did the tubs and "wedge" sections before the front rad support panel was removed, so it was hard to get in there.... But never cleaned up the welds after removing the slam panel. Started by attacking them with a flap wheel to get rid of all the super high spots. I'm going to clean all the welds up as much as possible and will re-weld some parts. There will be grinding.... And welding.... And cleaning.... And filler. The inside is just as bad: Like, what the actual fuck 23 year old Markku? You didn't even cut the bottom edge straight! Oh well, just weld'er'up anyway I guess!?!?! Firewall - not finished and the welding at the back needs to be taken away and shot. Firewall notch to get the coil pack out - this was done at the track or on the dyno when we realised that the coil hit the seam: Started by cleaning up the edges and will weld parts of the seam: Next issue - engine mounts. The original idea consisted of pancaking a piece of Urethane between the engine mount and the pedestal with a bolt going through. In other words, it was basically solid mounted... Until the bolts snapped from the torque, vibrations and bumps. This was the situation when I removed the engine: On top of that, 3 out of 4 of my gearbox mount bolts had disappeared! So the engine and box would have been flubbering around like a kitty on crack. The best solution is a set of Land Rover engine mounts as seen in @DAD's KP build thread. These are 10mm taller than what I had before (26mm vs 36mm), but I've got another solution in the works to get the height right. Old: New: I'll also need to re-set a captured nut into the pedestal. I'm currently trying to decide on the strongest way to do this... The pedestals are welded onto the crossmember, so the only way in is from the top... I can either drill a big hole and weld a flange nut in there from above OR drill a bigger hole and weld an extra plate on top of the pedestal with a nut welded from underneath. I'm open to ideas - what have you got? So I'm taking the run bearing as a blessing after seeing the sum total of issues that need to be sorted. I'll be spending the next few months getting this right and am taking ti as an opportunity to learn some new skills and will take my time to get it looking good. Luckily I work for a company that sells flap wheels, grinding discs and linishing belts! Here's a pic of @nothingsfree's engine bay for inspiration:
1 point
-
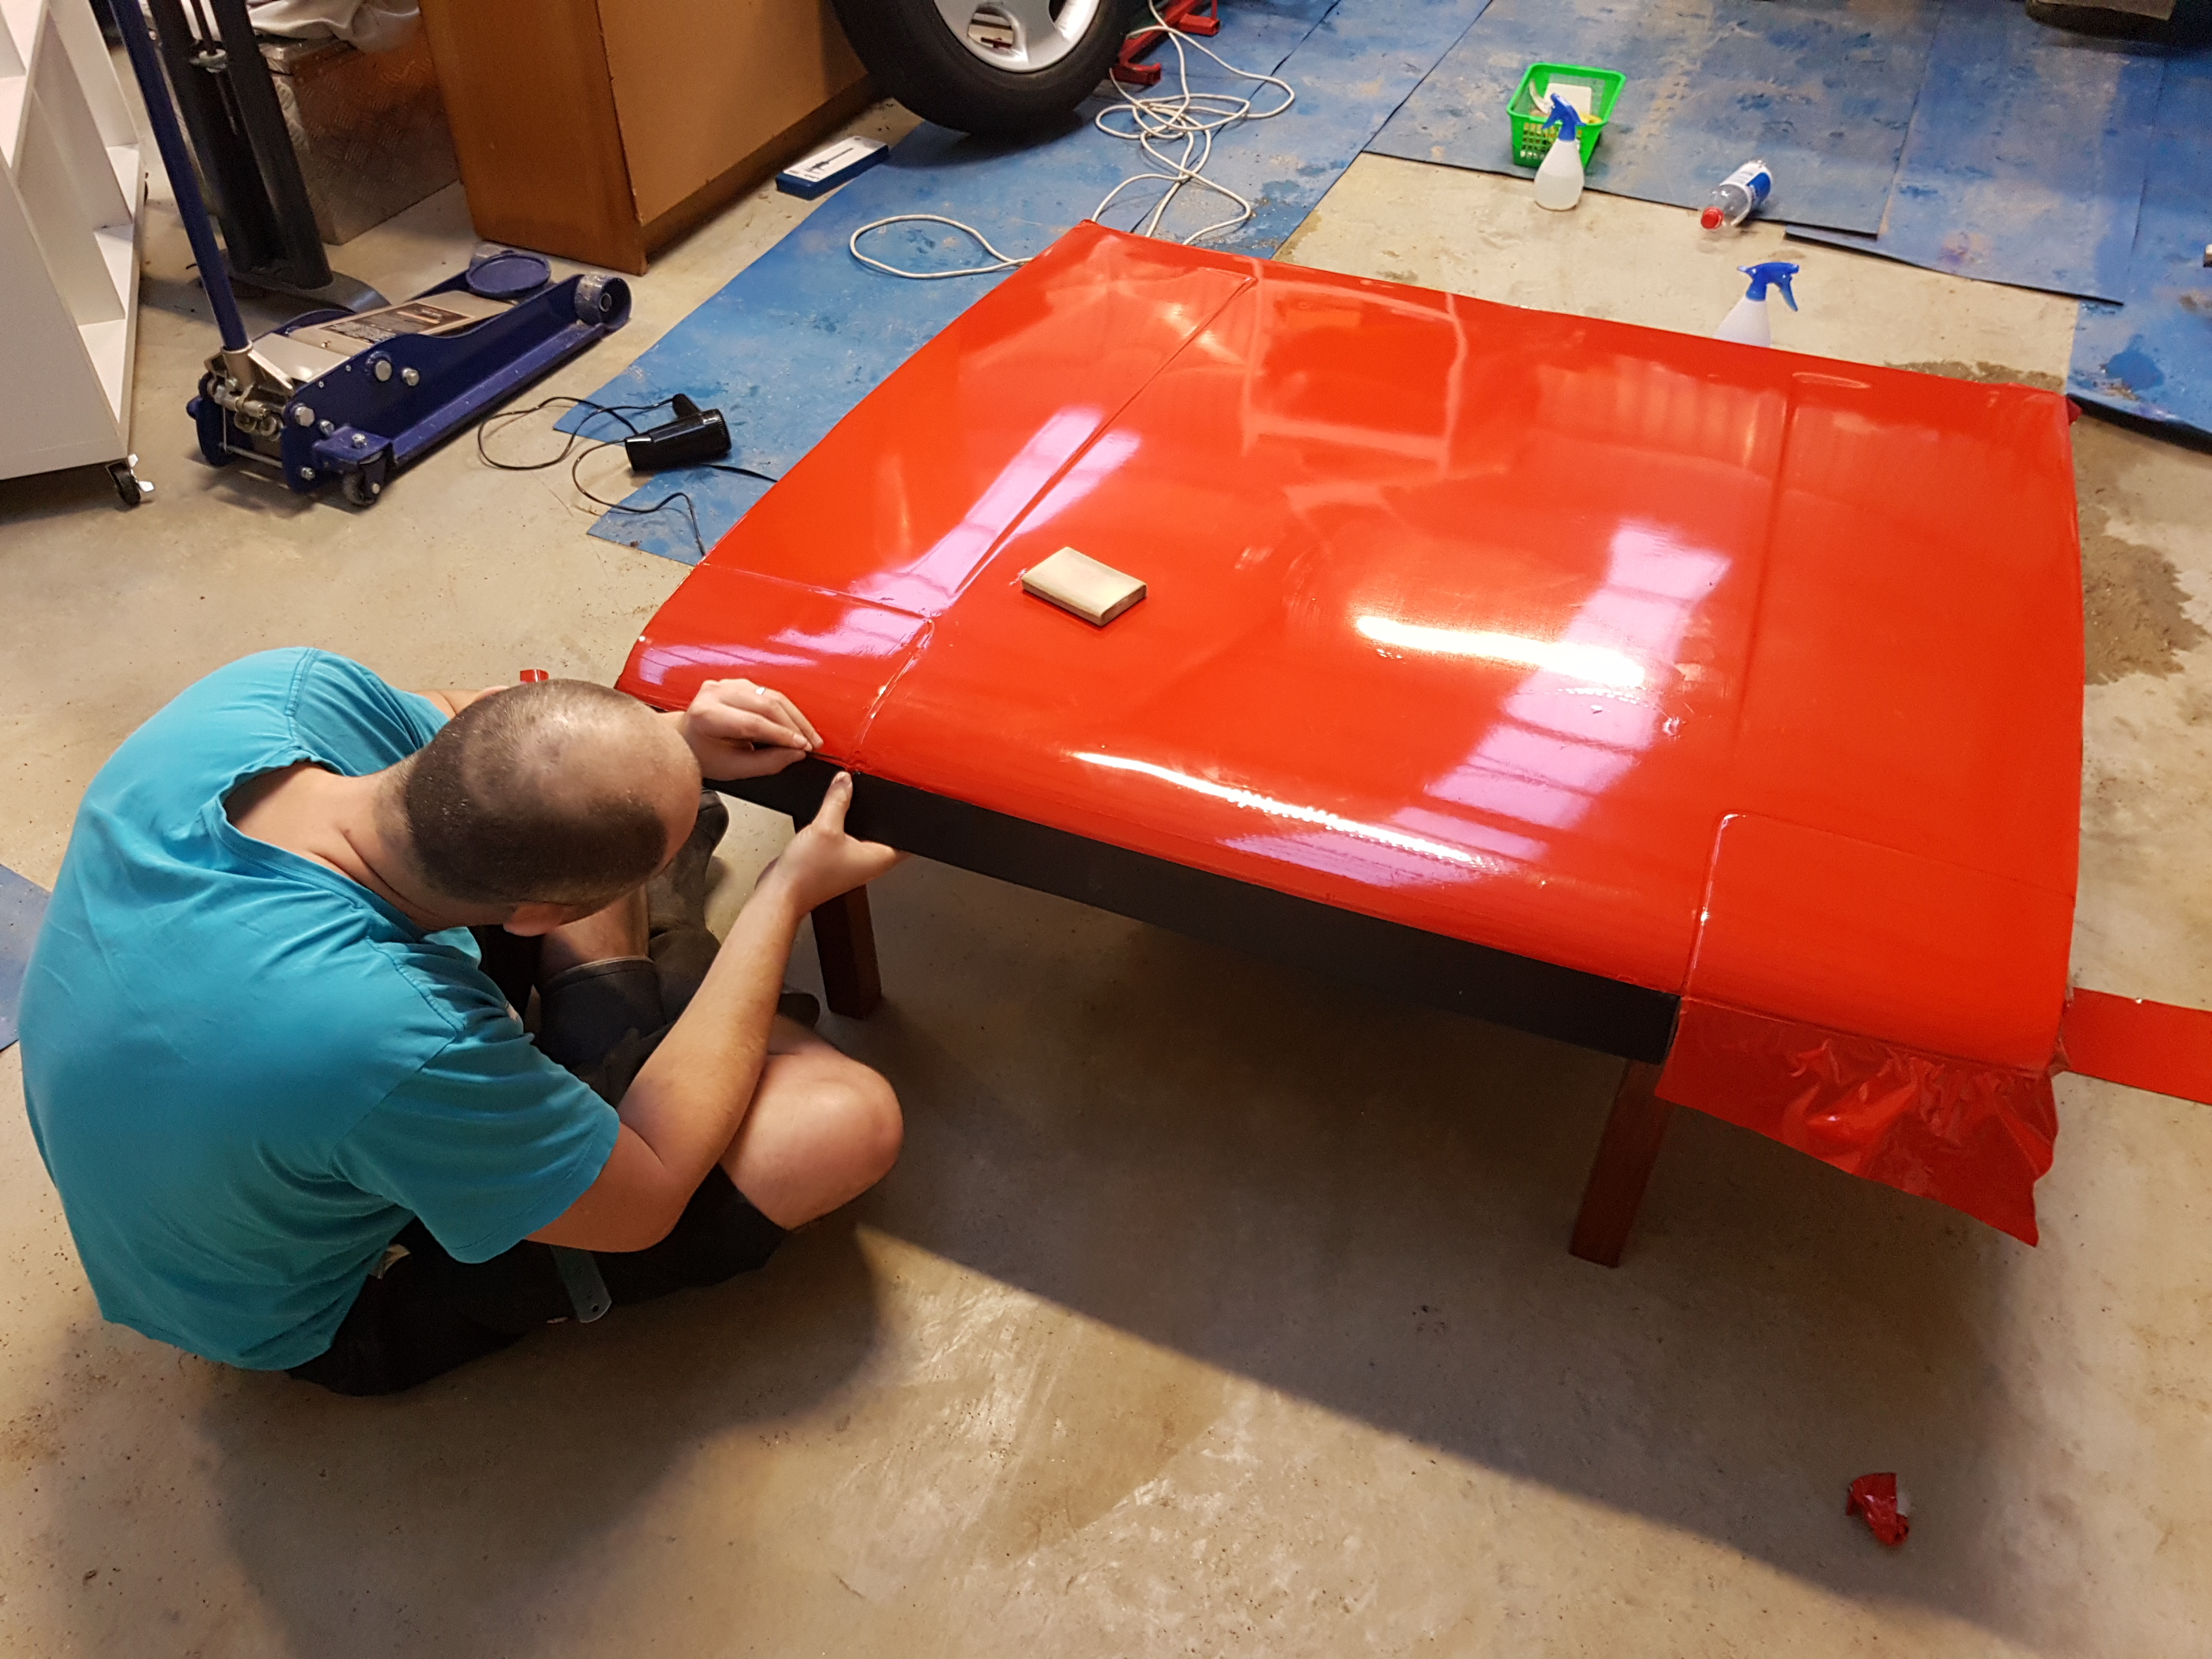
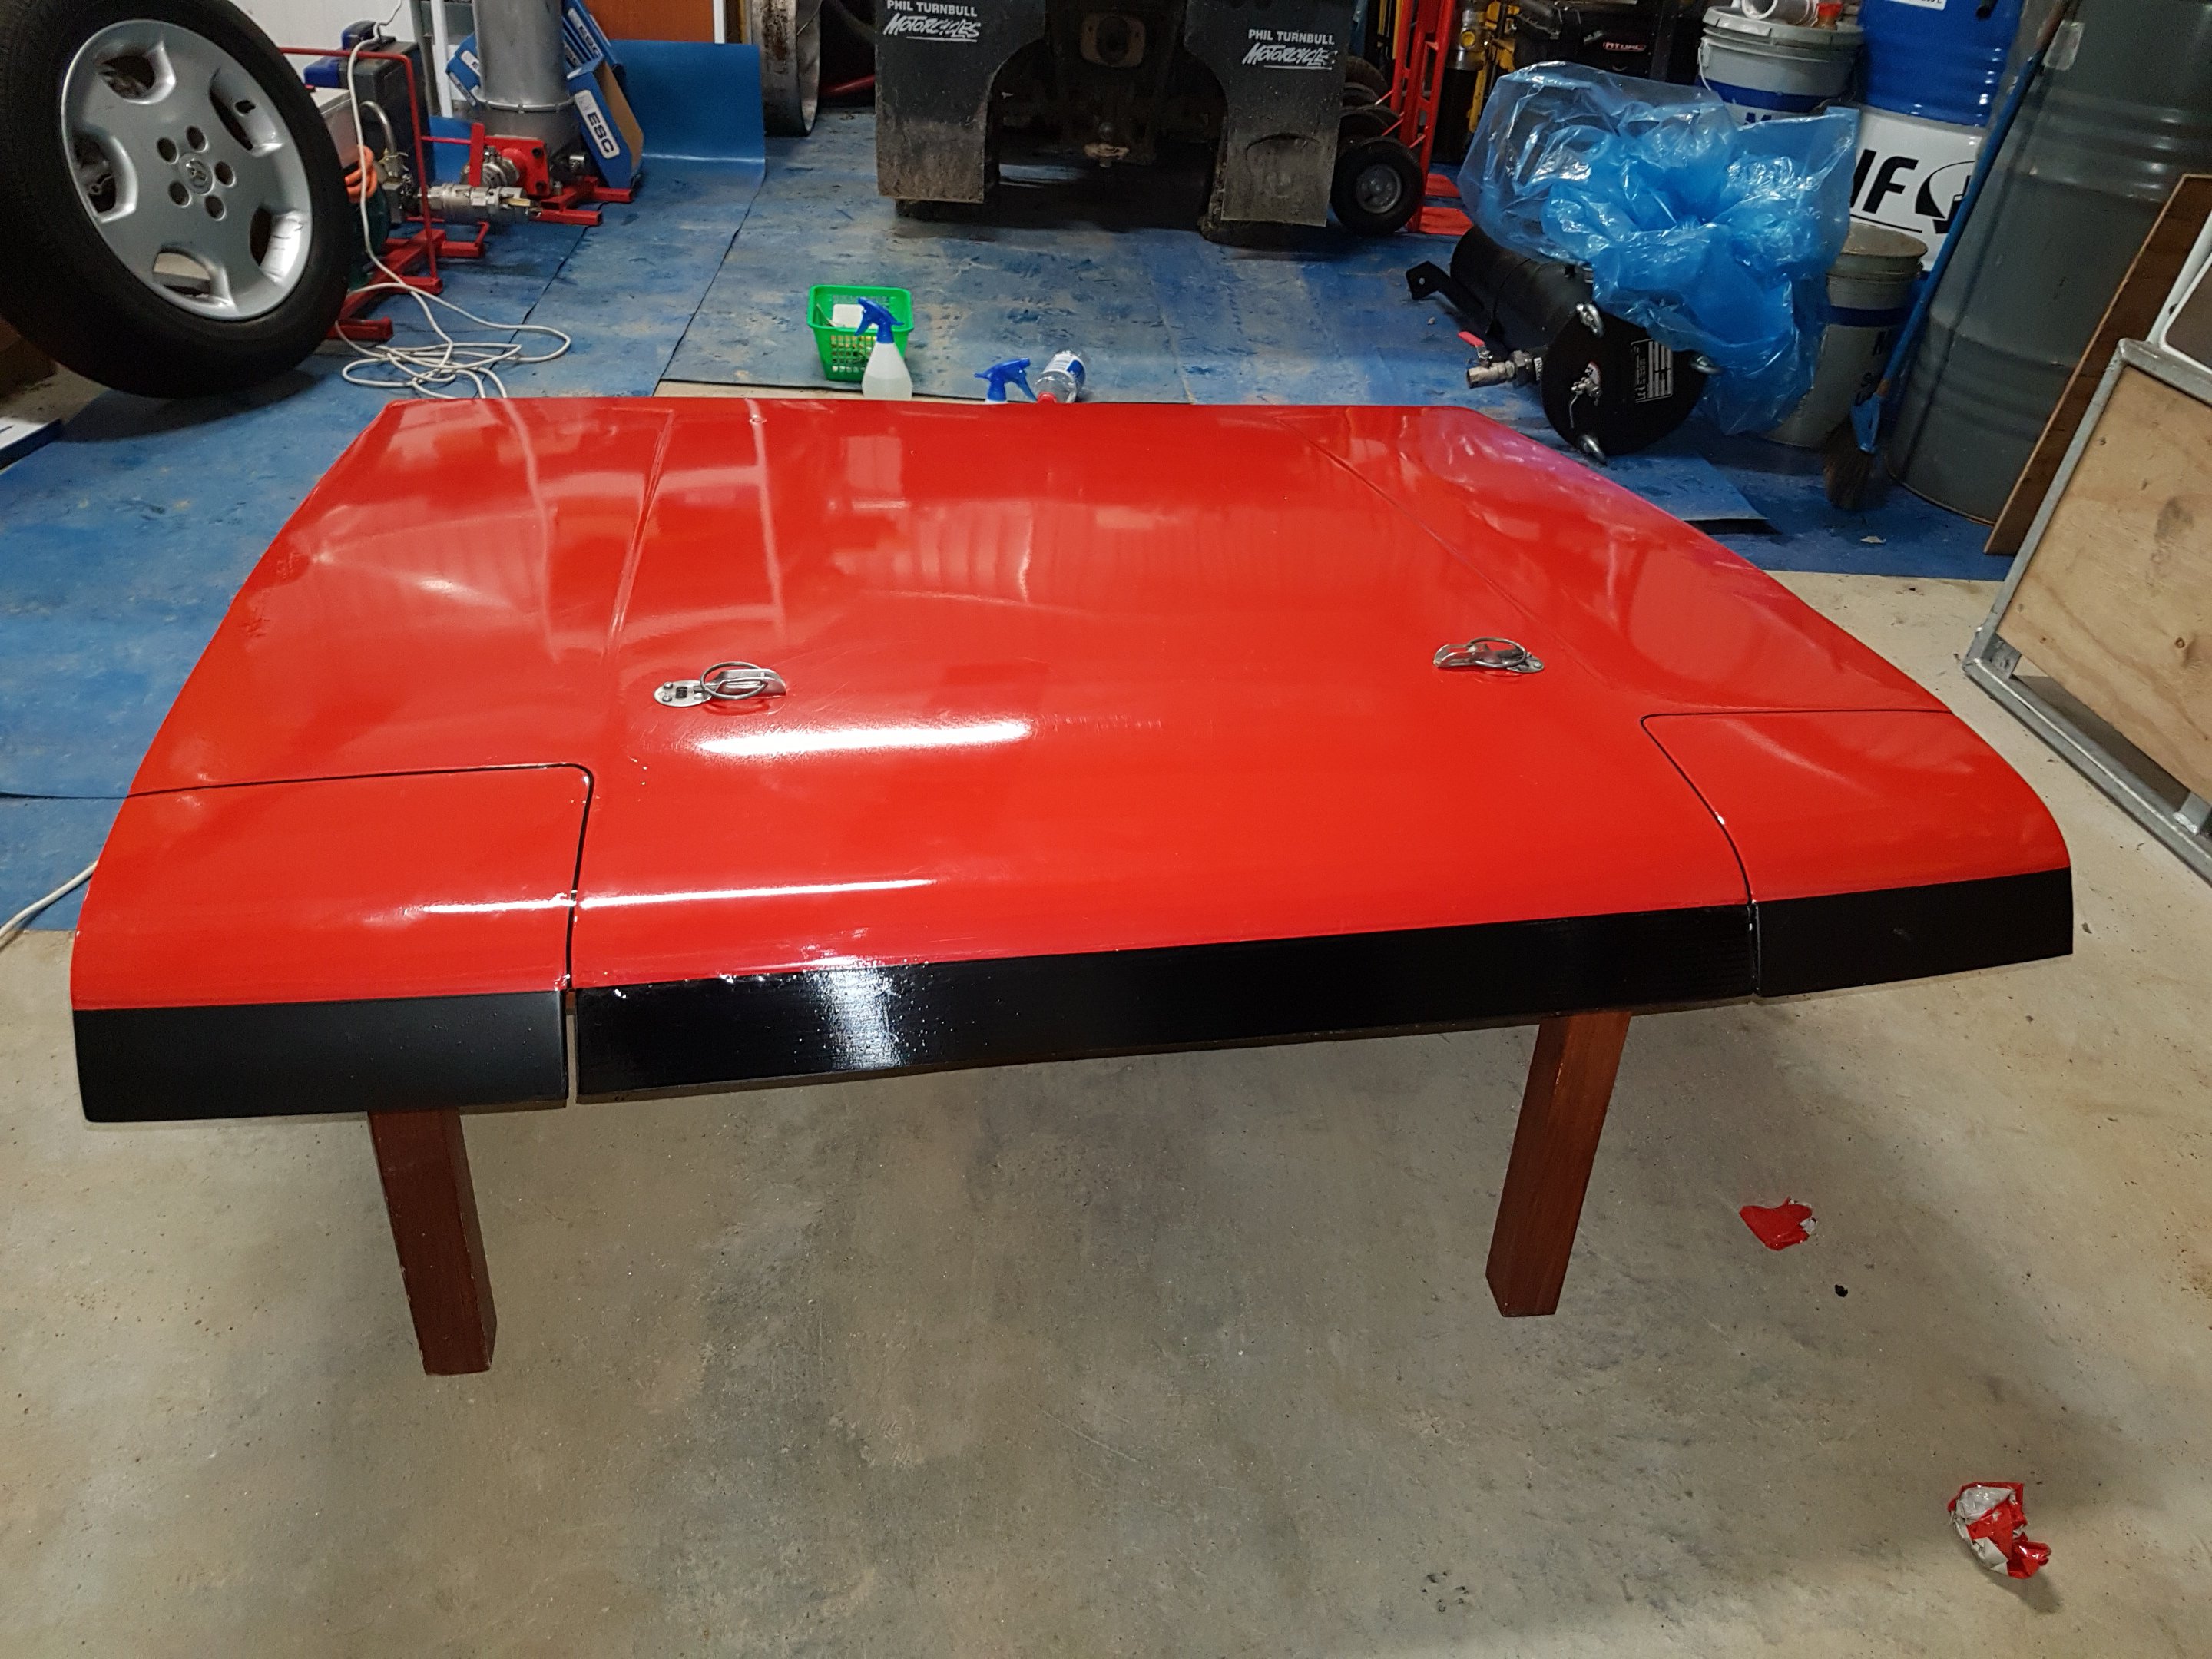
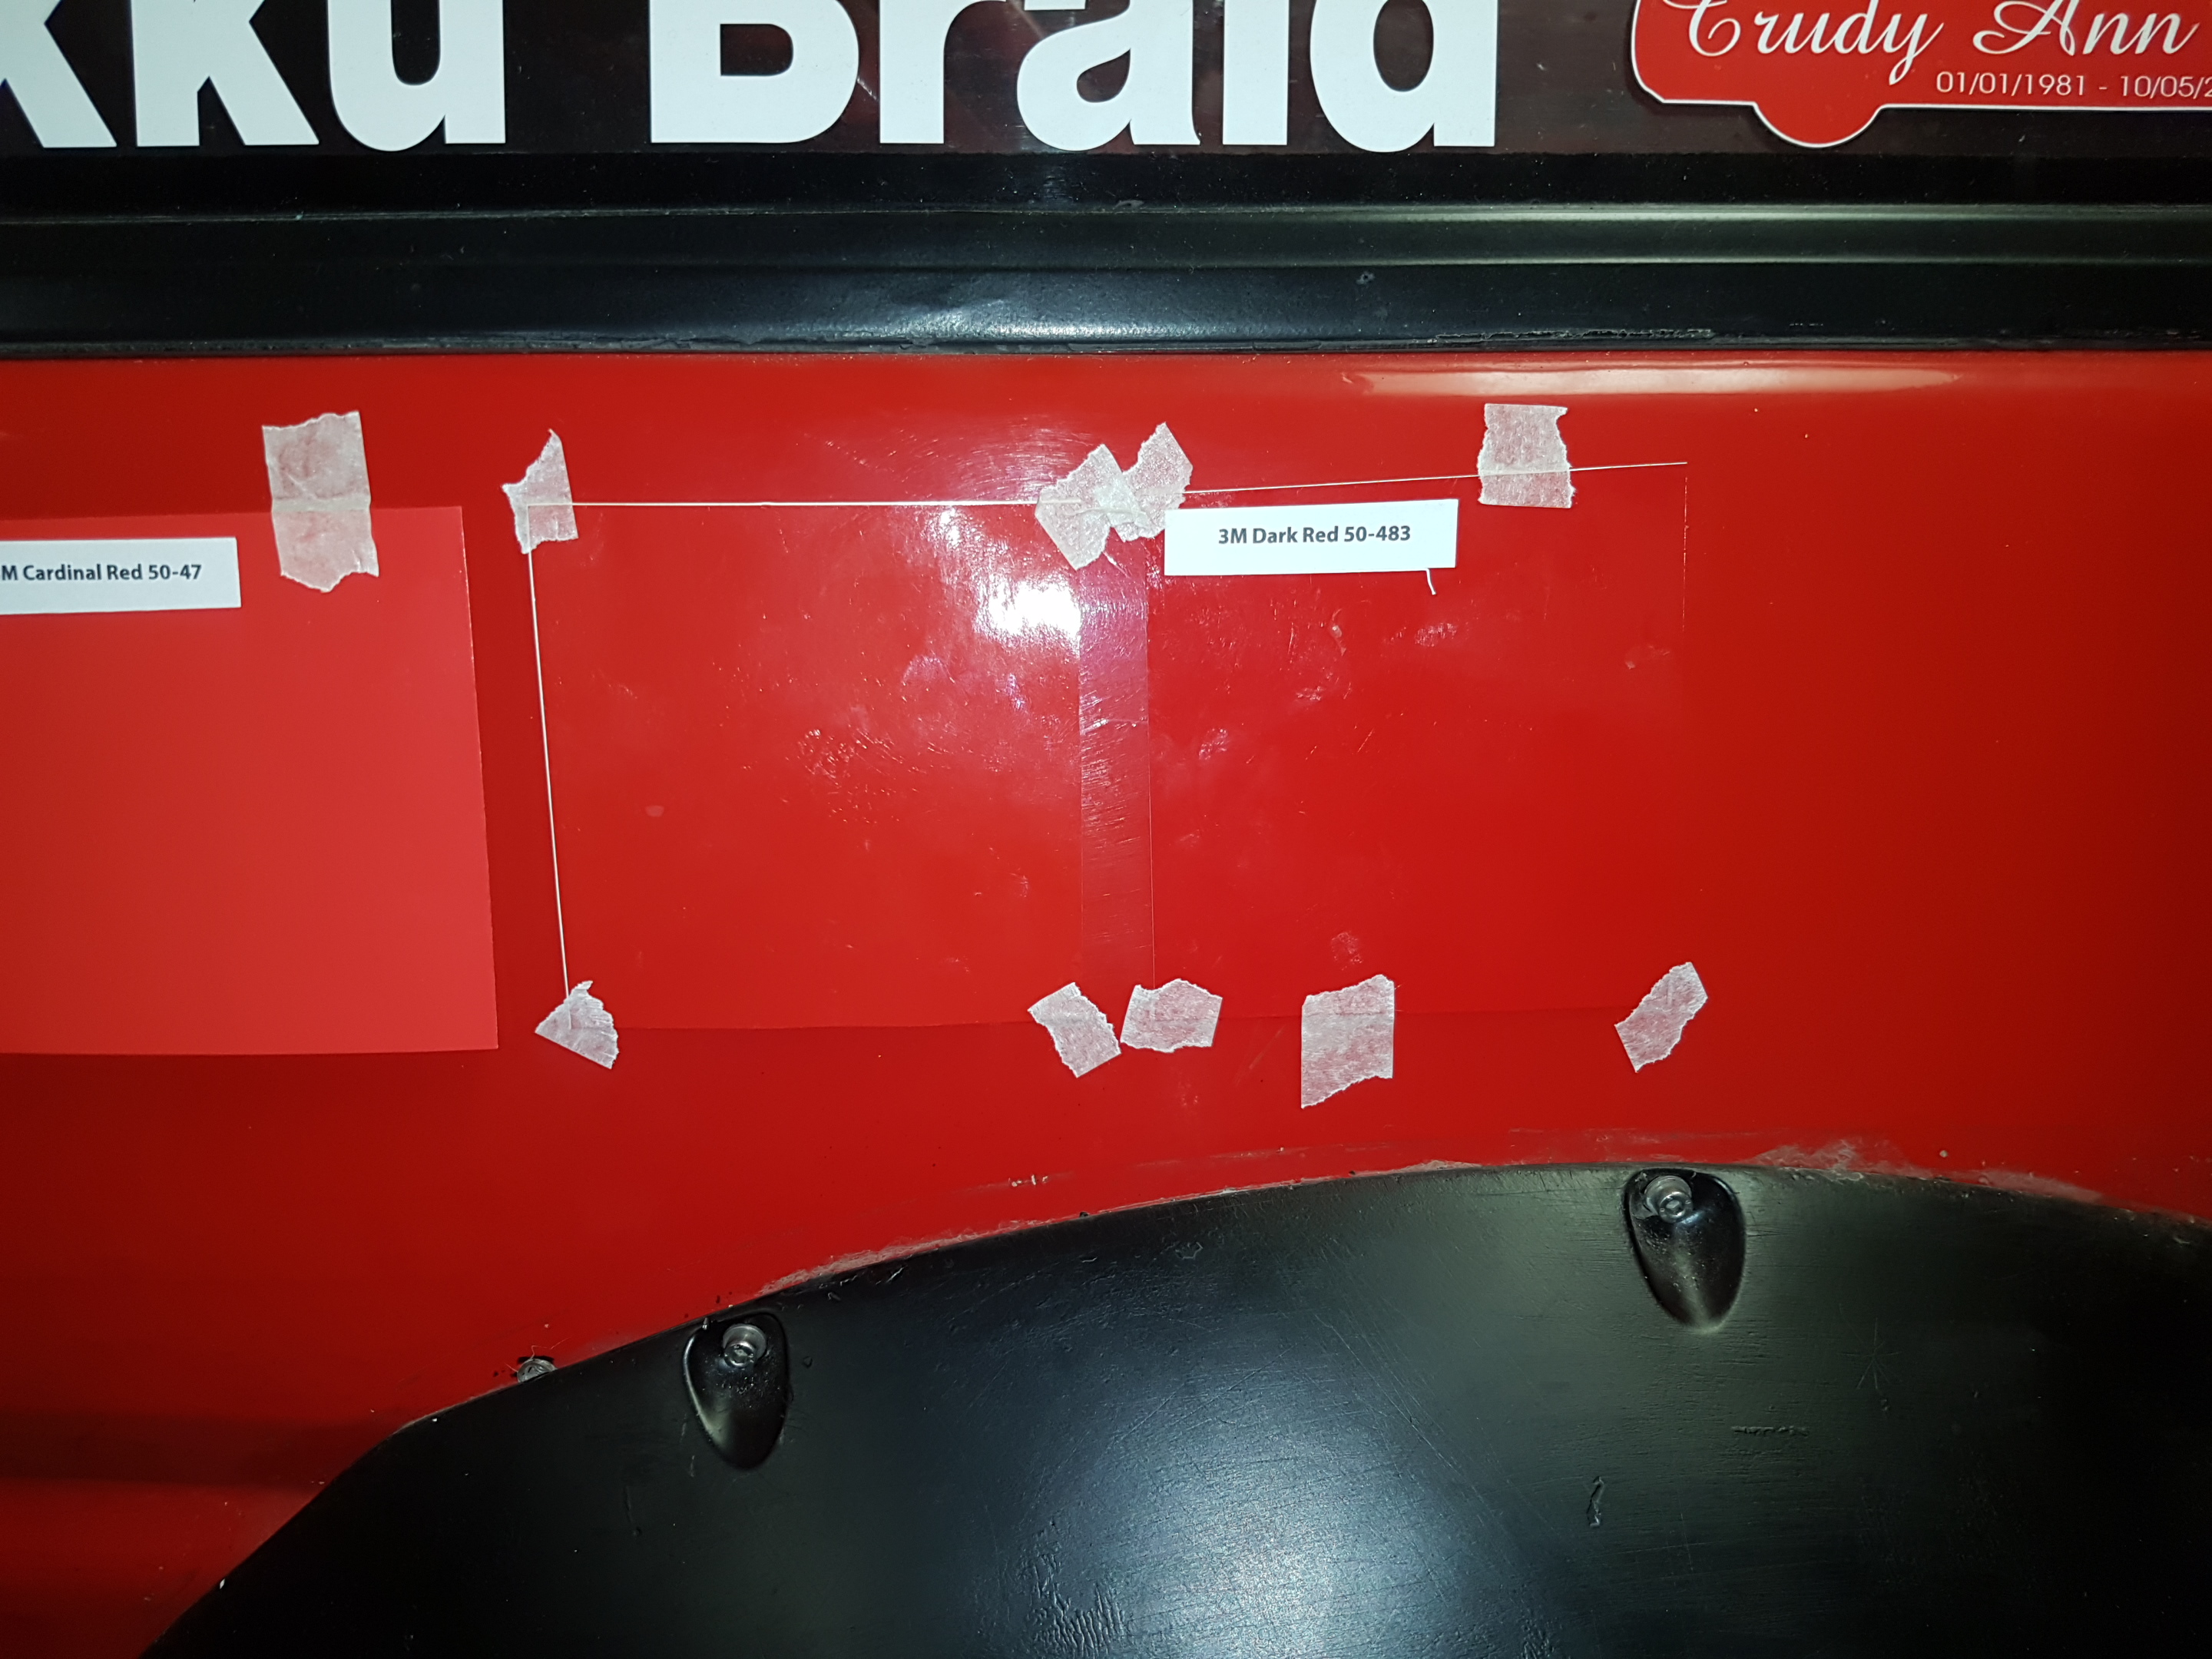
Took the bonnet out to @Archetype's place on Sunday to have a go at wrapping it. We'd used a bunch of vinyl samples to choose the colour "3m Dark Red" which seemed to match well. The 3m 1080 film is amazing stuff to work with. It seems almost impossible to get a bubble! After a bit of mucking around we had it finished with new vinyl eyelids and "grille" too. We used matte black for the eyelids and gloss for the grille to add depth. Got it home and chucked it on - looks nice: But... The colour is different to what we thought it would be. 3m obviously has a different colours for the 1080 wrap vs the standard 30 and 50 series vinyl. This is called "dark red" but it looks almost orange compared to the test sample. After a bit of research it seems like there probably isn't an option in this range that will match my paint... Dammit. For future reference - it's best to wrap your panels on or next to your car to make sure the colour matches as expected. Massive thanks to Brent / archetype / Doozi / MotoringEvents for making it happen. The job itself turned out mint.
1 point
-
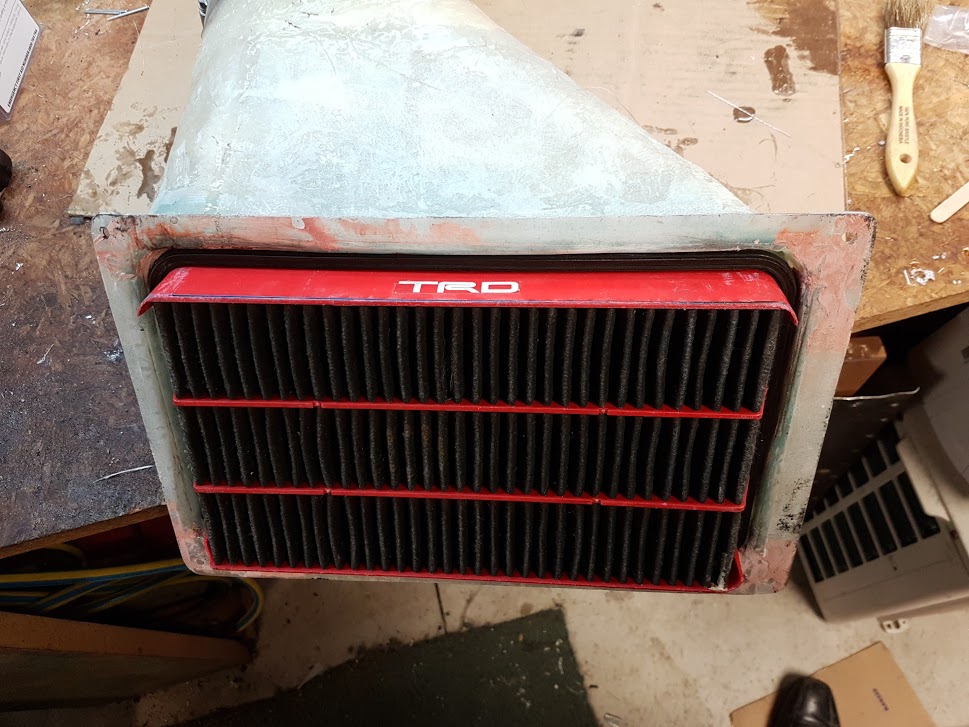
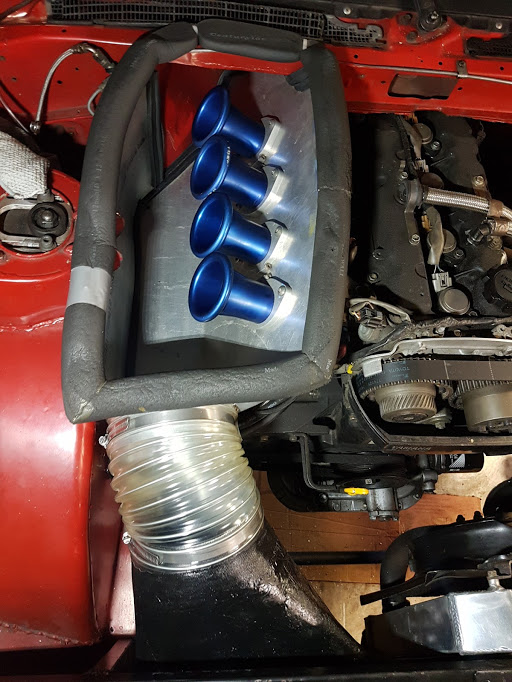
Jason managed to turn my "buck" (read: bucket and piece of wood) into a part that will hold the filter and funnel air towards the air box. the filter fits like a glove! Test fitted with some big hose: Gave it a wash and a paint. I didn't want to sand it too much because I hate fibreglass dust and don't have any masks at home, so it can stay rough . The setup has turned out good enough for now. I'll re-visit everything next time the engine comes out.
1 point
-
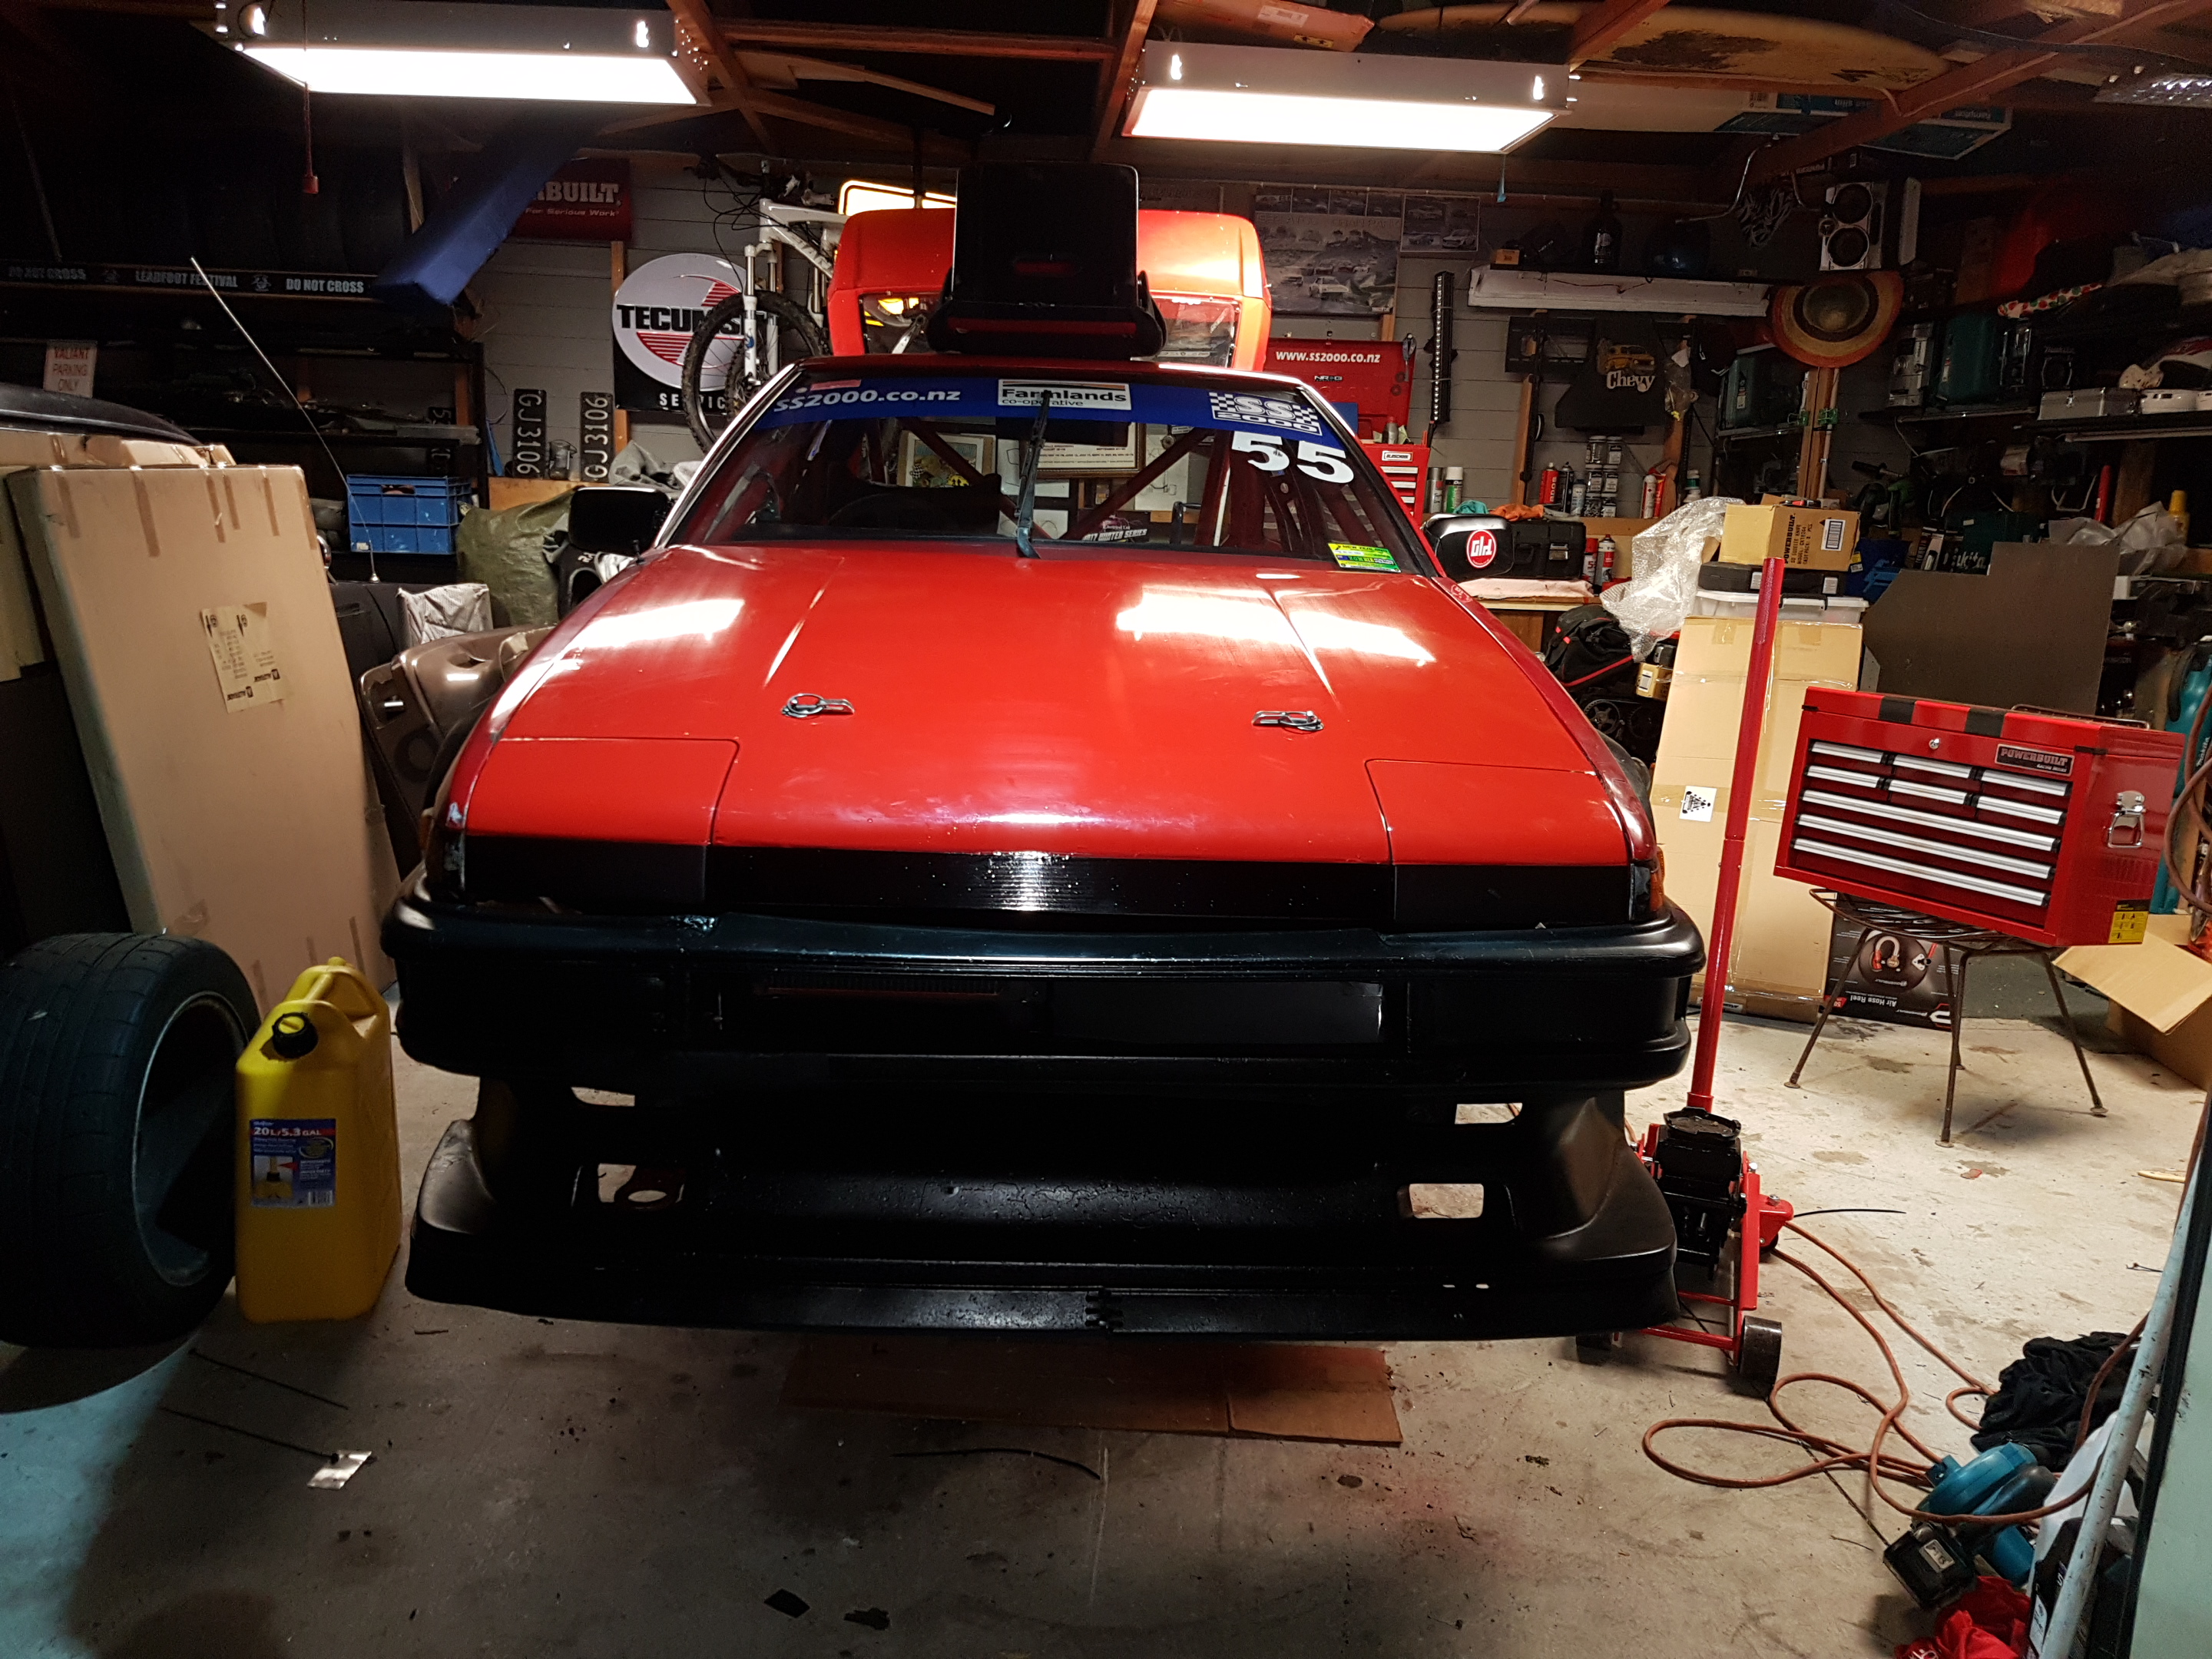
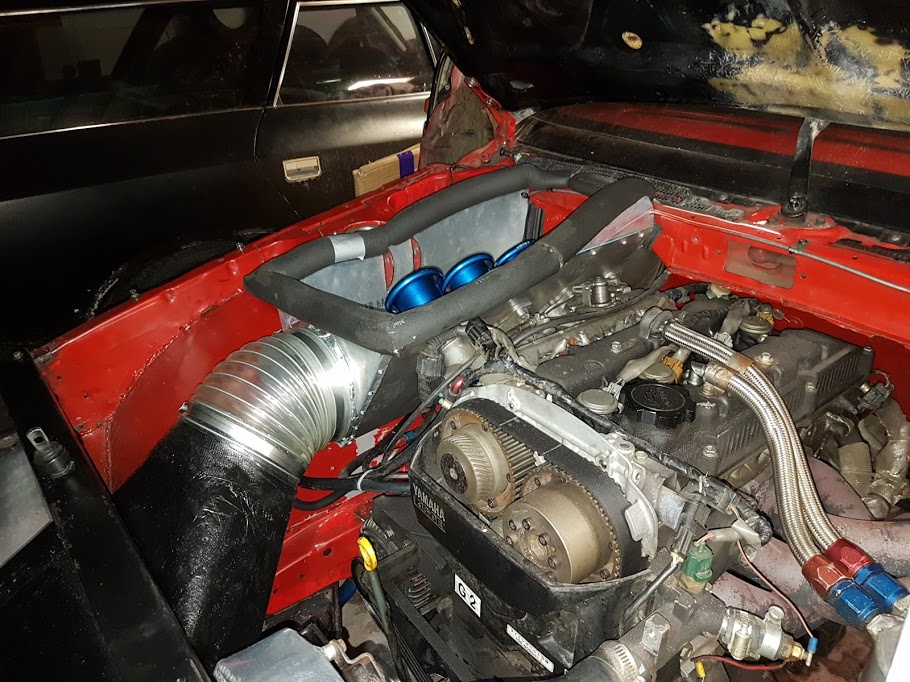
Bit of black paint for the ducting. The fibreglass piece should be done this week, then there's only a couple of jobs to do before going racing!
1 point


.JPG.7088ba6fa7cfaef5bb1de64fe36dc3a7.JPG)
.JPG.25c6894ce27999d6c3d77eee3f811bc2.JPG)
.JPG.665778e5bebbfee26ffa5985082cba2b.JPG)
.JPG.a861dc58ccceaf8ce4540642dddfebe9.JPG)


This leaderboard is set to Auckland/GMT+12:00