
Leaderboard


Popular Content
Showing content with the highest reputation on 02/11/24 in all areas
-
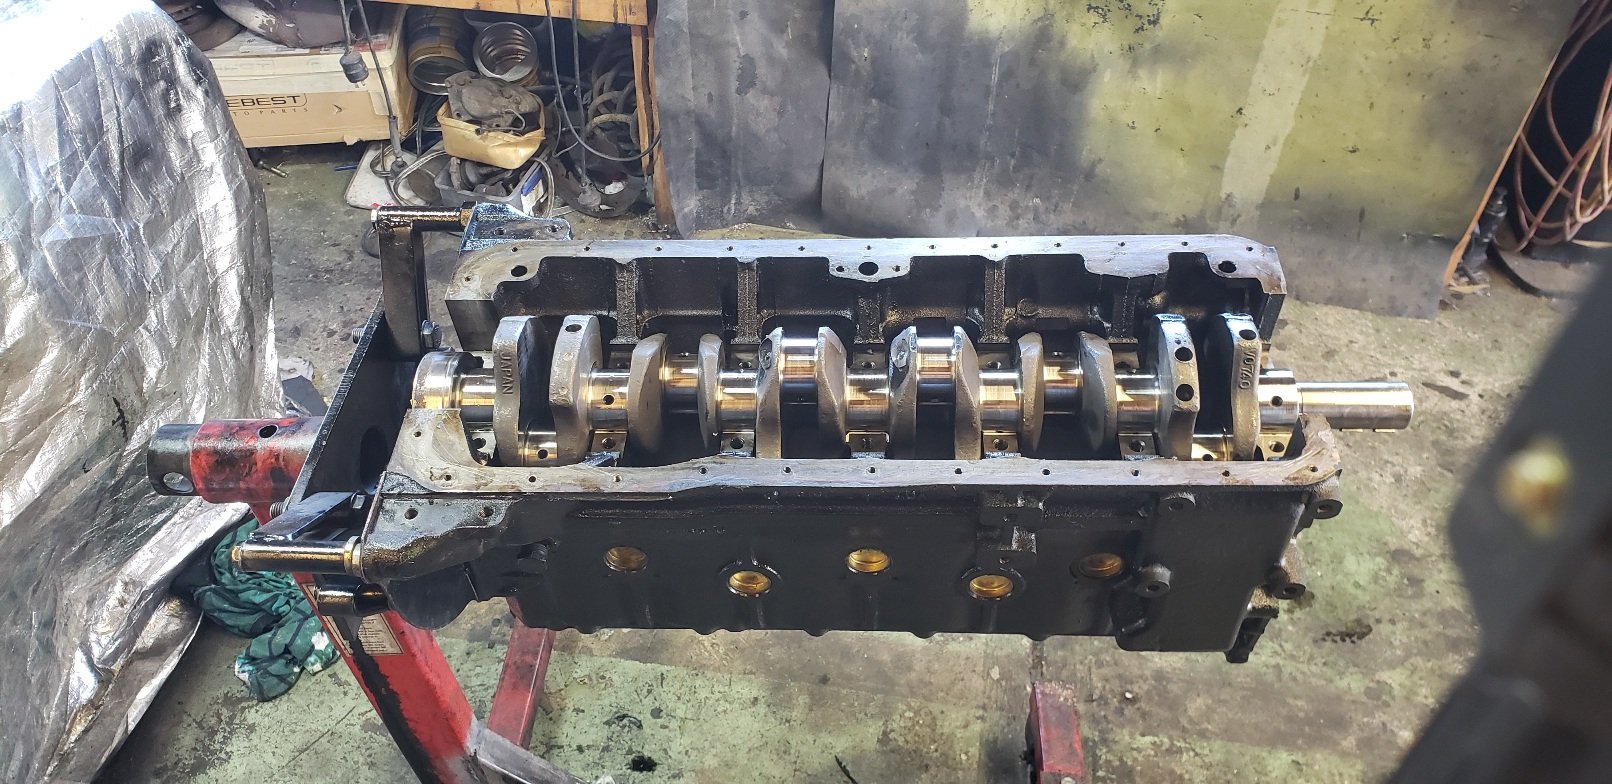
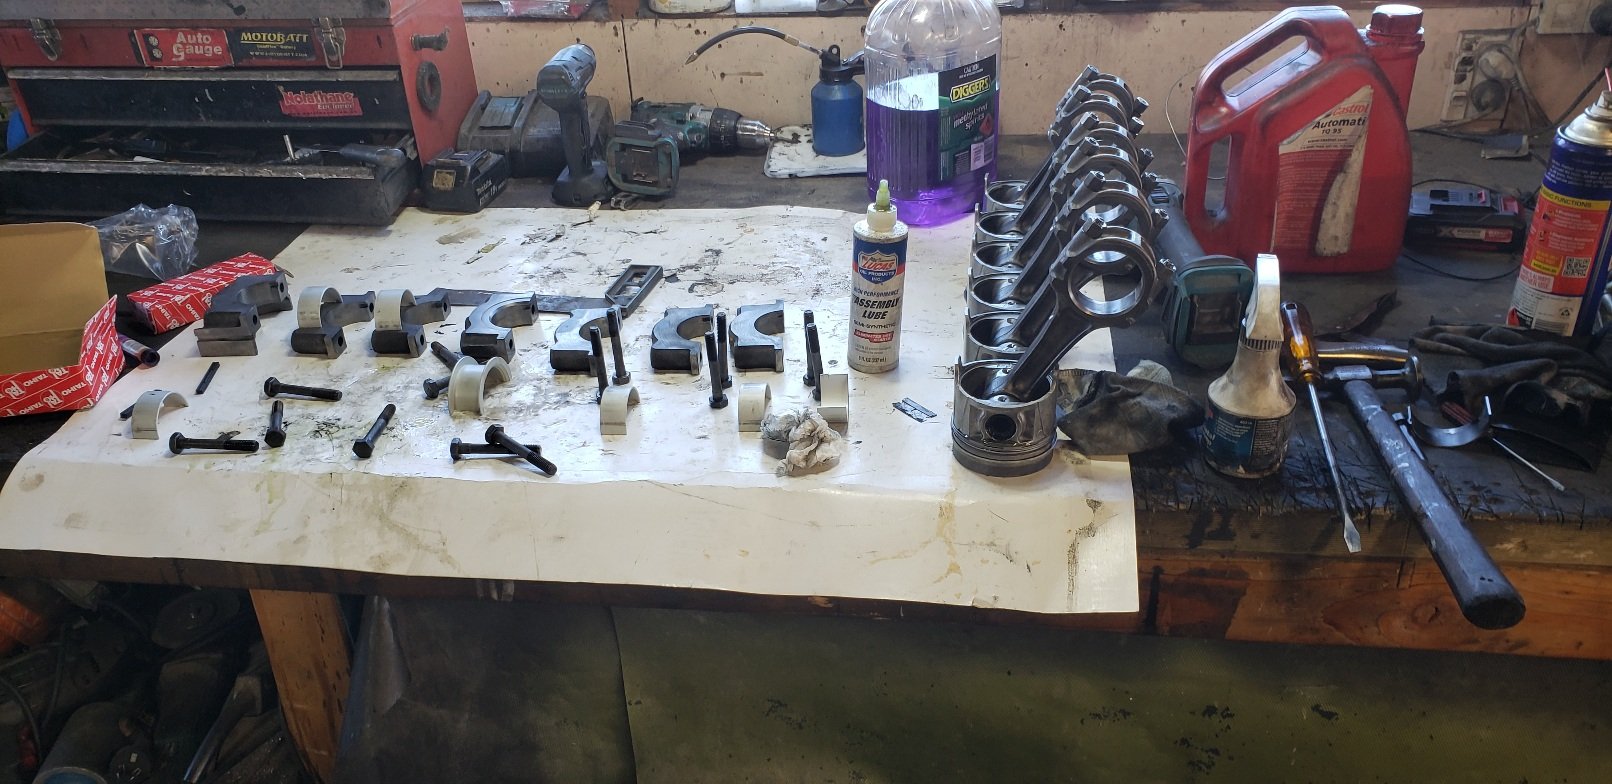
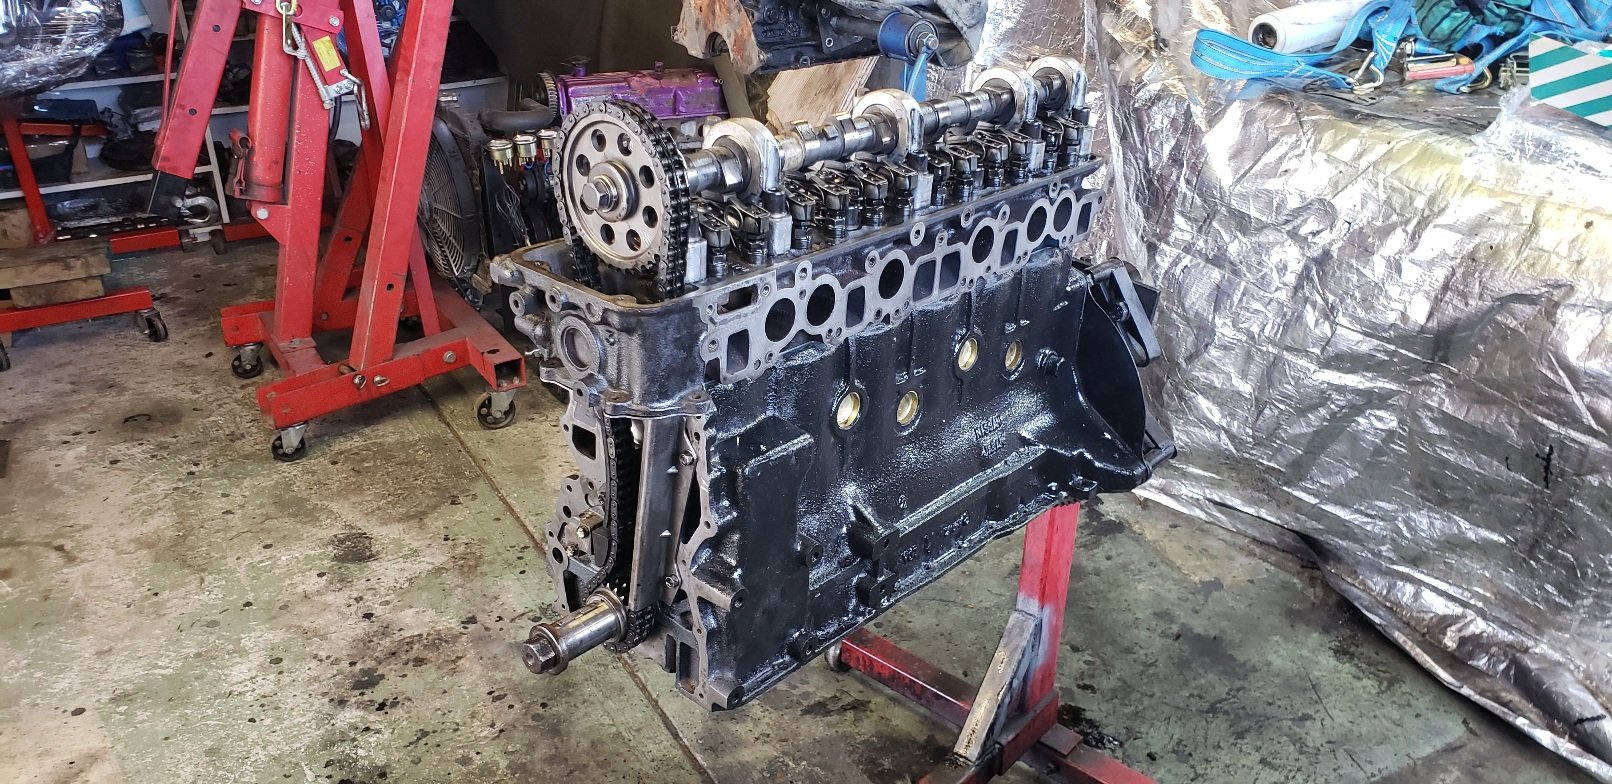
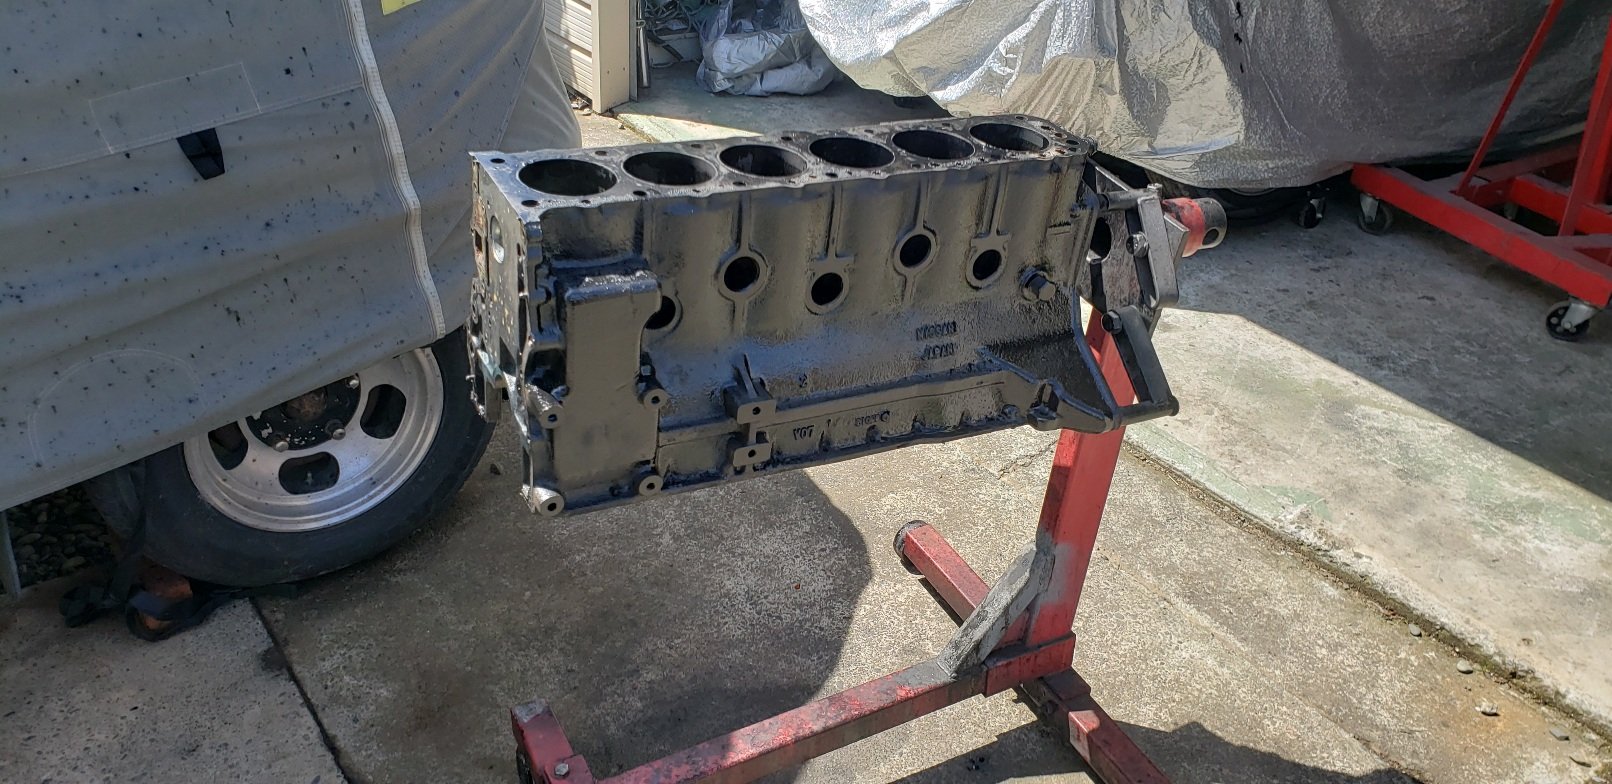
Piston rings ,main and big end bearings where sitting on my door step ready for me when I got home yesterday...(love that). So today . I *surfaced the block face. *honed the block (some marks around the top of the bores ..but not a lip..so not worried) *cleaned the block for rebuild *slapped the frost plugs in *slapped the crank out of the 1st motor in *put the rods and pistons back together *pit the rings on the pistons *slapped the pistons in the holes and all bolted down. *slapped the head on..bolted that down And got it all timed up.
 13 points
 -
So continuing on with the saga. No one really had any cam bolts in stock including a wrecker locally. As I suspected. I made a call to a wrecker out passed Waingaro hot pools and he said he might have a gsxf650/600 i could rip parts off if they worked and I had put up a post on a local fb page and a guy said he had a bandit1250 with spare bolts, so on the way out to Waingaro i stopped in to check the 1250 bolts he had. 10mm to long but I grabbed them anyway along side some dowel pins I was short of and some spares. continued on to the other wreckers and this is what he had for me. Limited tools and borrowed tools from him we cracked into the job. 20 new/second hand cam bolts the right length for $10 and 6 that were too long from the other guy and I think we were ready. Made a trip to malcolms house and the longer ones were able to be shortened with enough thread on them. He used a left hand thread drill bit to get the broken stud out earlier that afternoon. Made a plan to pop around the following night at 730 to finish it off. To which I turned up at 725 and the cam cover was going on and most of the hard work was already done. So I slapped the rest of it together and we had it running and out the door at 9pm Night speed drag wars here we come! Friday came around and we left Hamilton just after 4pm getting to meremere just on 5pm, qued up for tech and paid our fees and our 1st test runs were made at 630pm My first run felt good. Really good to get it out of the way and kill the nerves. 12:557 @ 111.05 might with a reaction time of 0.160 Very happy with that for my first run ever. My second run was 12.7 and the bike bogged a bunch after leaving the line. I'm number 024 for reference. Third test pass and I was asleep on the tree. Old mate on the Harley red lit haha. We then went into dyo and I set mine at 12:38 thinking if I broke out at that I'd be happy to loose breaking out. First round of dyo I won Second round I won 3rd round I had a by Fourth round I broke out massively and went 12:20 Over all coming 4th position in the bikes. Absolutely stoked for my first night/event of drag racing on a bike. Was really great to see the drag scene alive and thriving last night and cool to see this 39 and a half year old bike still able to get out there and do it while been competitive as well. Got to remember as the night gets later my bike will run faster with colder air so I'll have to button off at the end of the strip so I don't break out as bad. Got home and 12:40 am and my trip planner registered that I done 180kms for the night from home. 10/10 will bang again. Next round is on the 15th of November. Stay tuned for more yarns.13 points
-
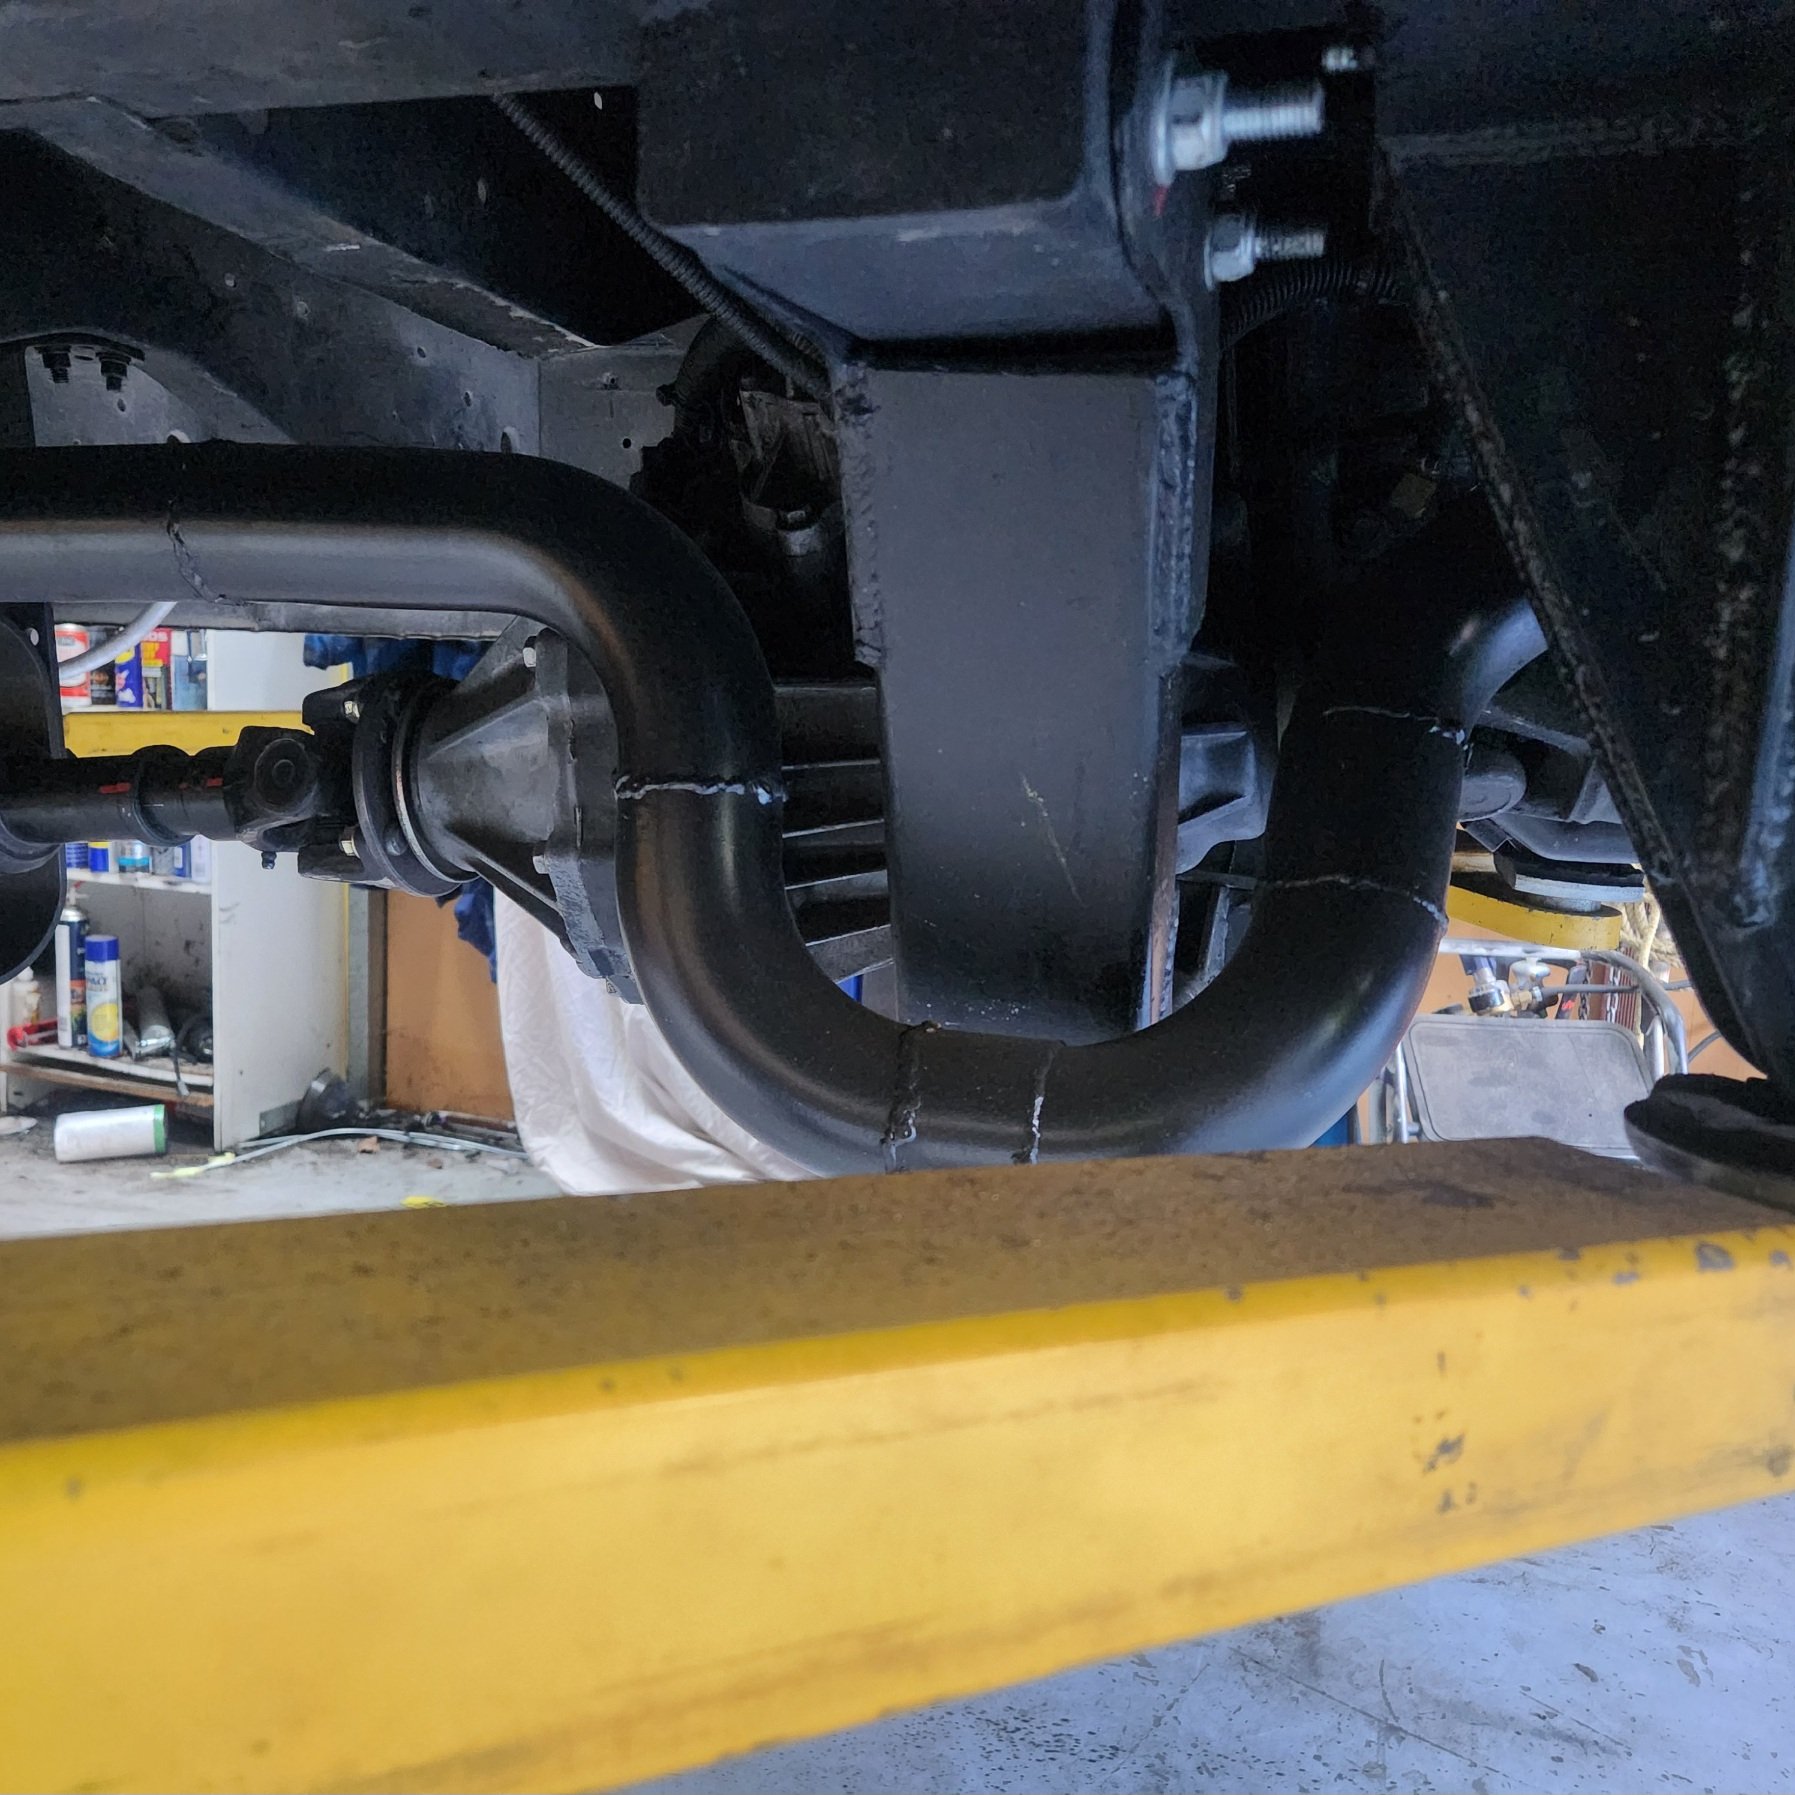
I also ditched the rod for the shifter and put a cable in, it's of a 6 speed Levin and works much better I added a goofy u bend to tuck the exhaust up a bit better and still clear the water tank and now have room for a muffler out back. And remade front shock mounts to beef them up a bit
9 points
-
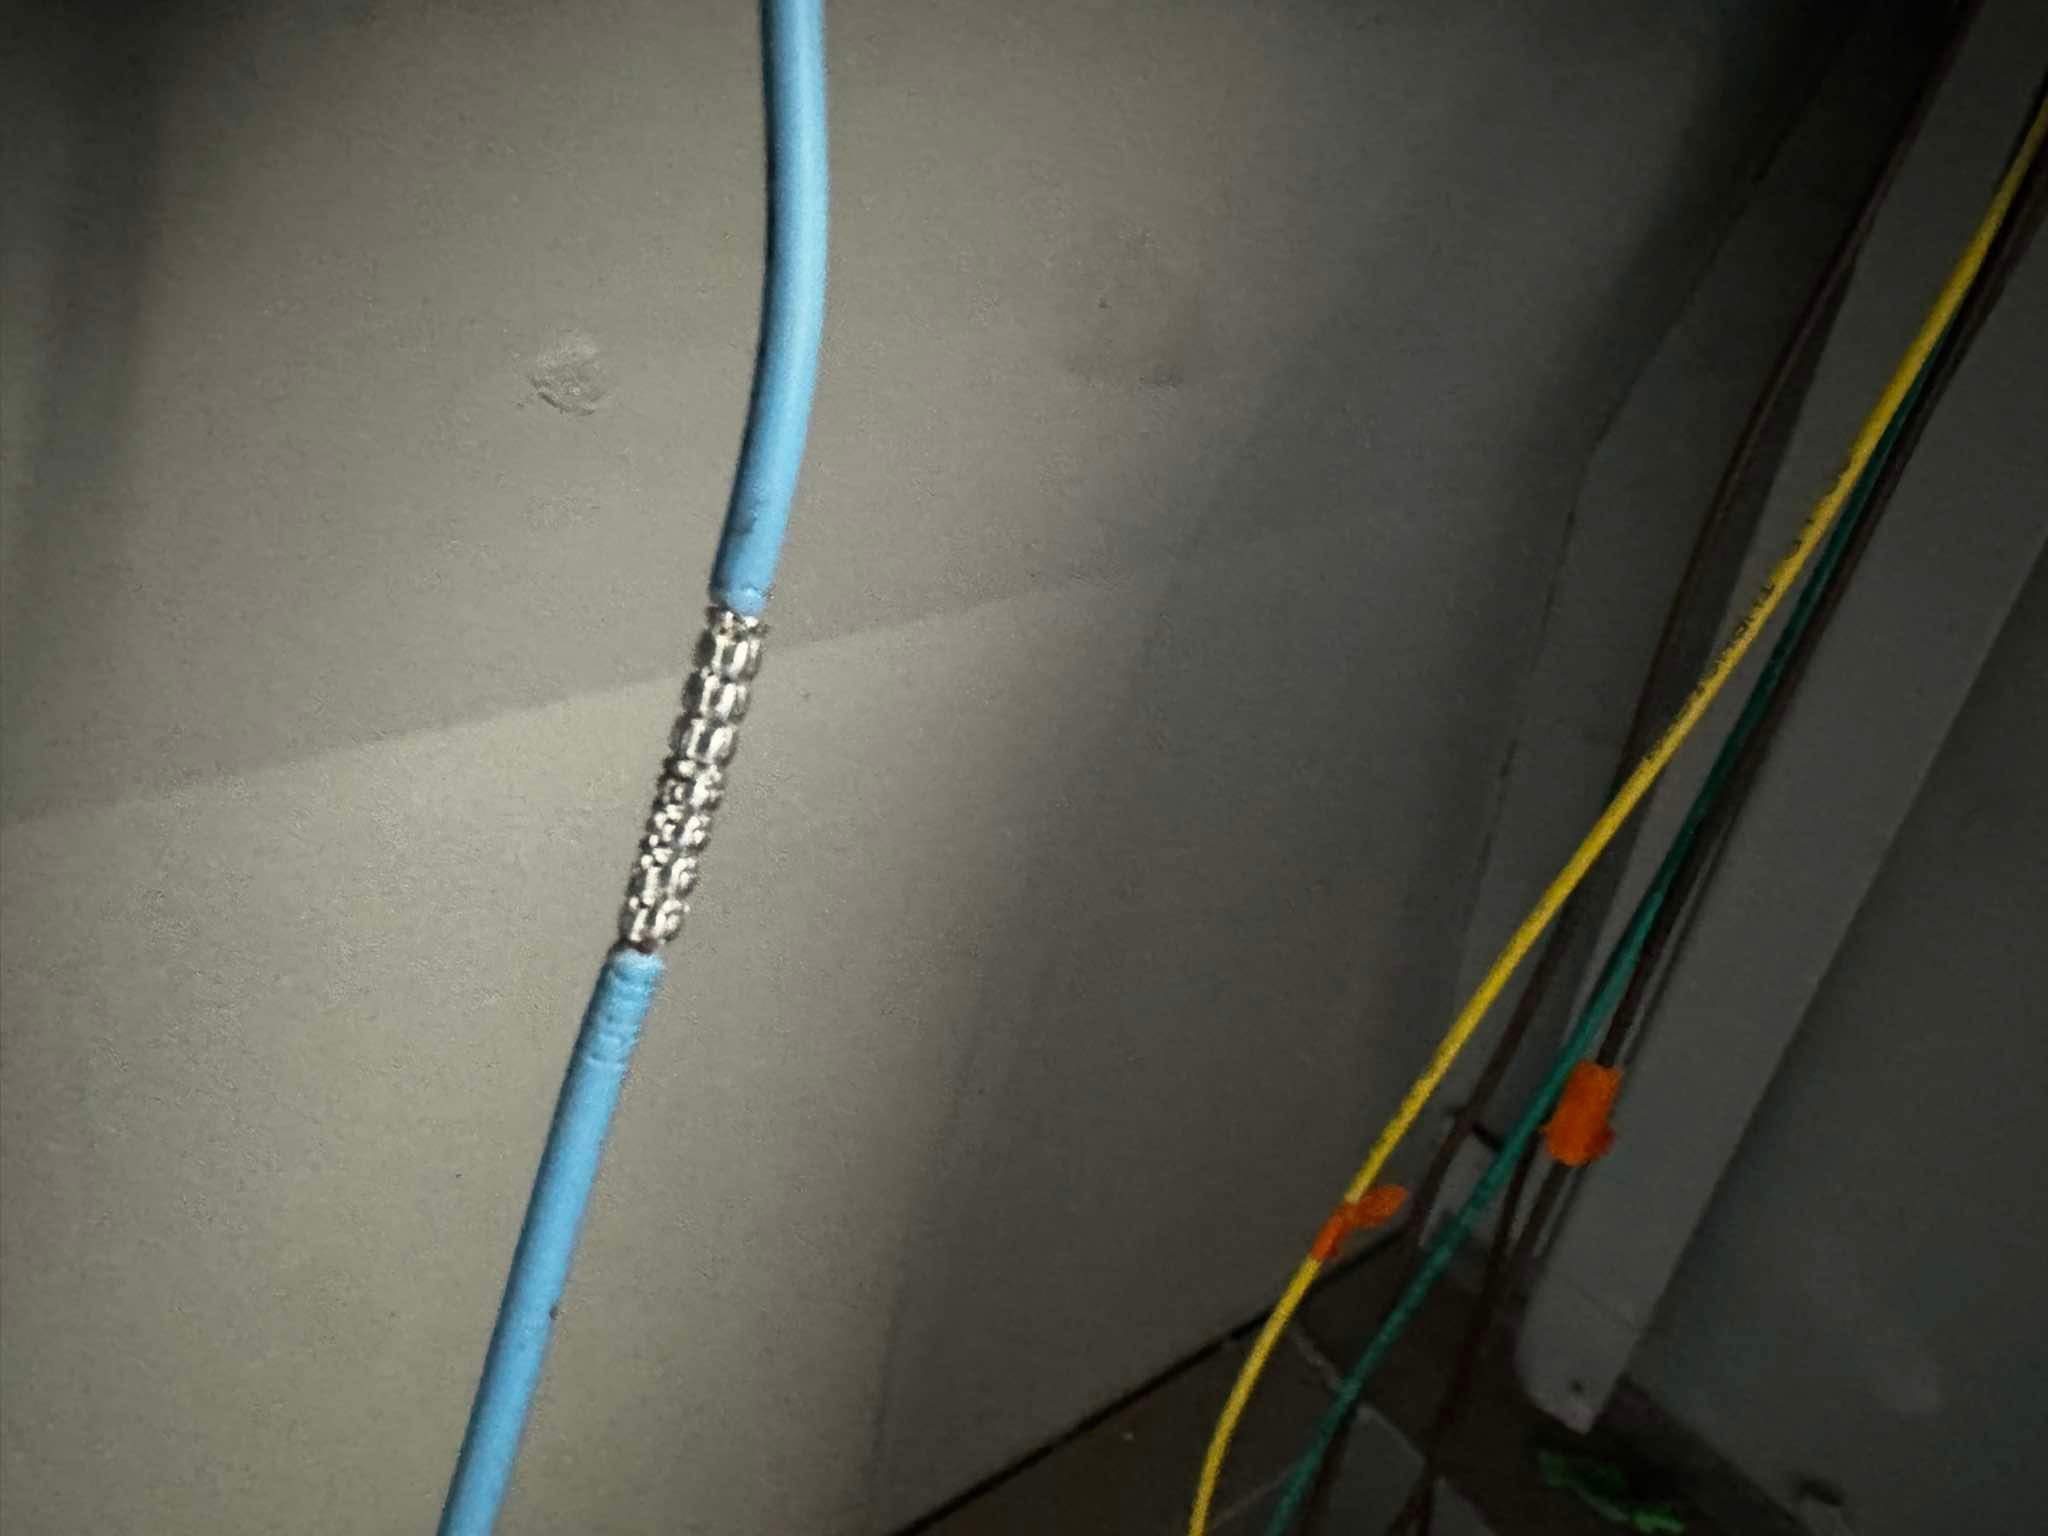
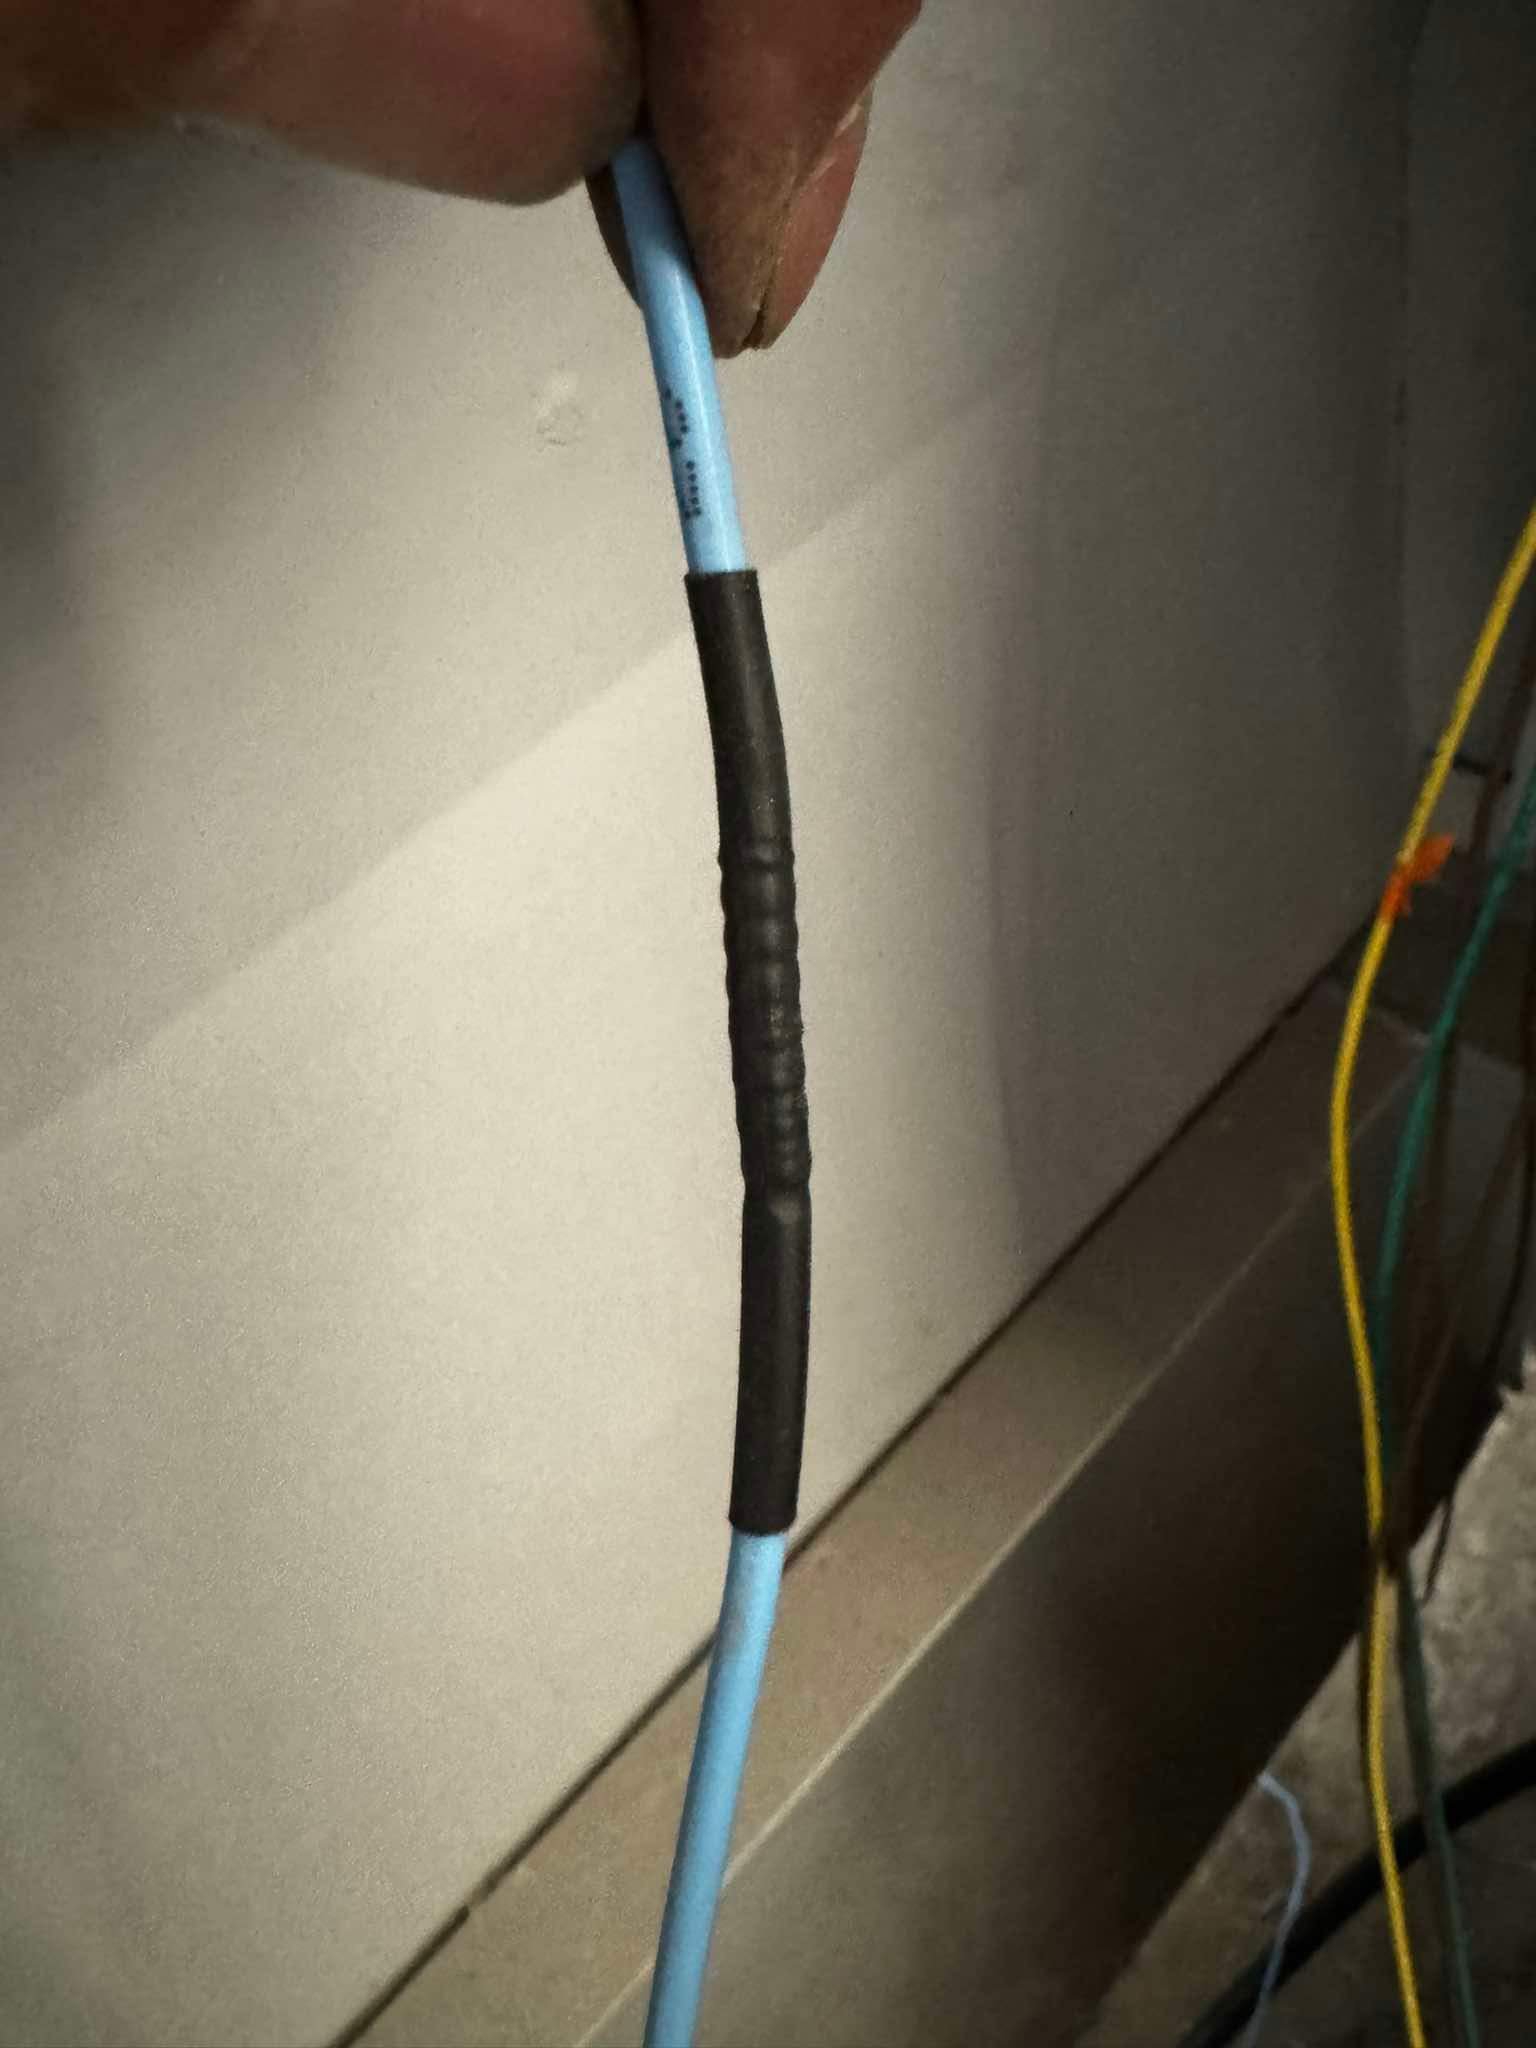
Revisited the lightning spaghetti. decided to just chop the required wiring off the universal fuse block. every wire is labelled for its intended use. So it will make it easy to connect and troubleshoot later. im still waiting for my headlight plugs to arrive. I can’t terminate anything until it’s painted. the whole rear loom is finished apart from termination plugs. I also made up a cool mount which I’m pretty chuffed with, it locates both coils next to the radiator and hides most of the wiring. im stoked with the cable routing, the majority around the cab is completely hidden, will only see a small loom in the engine bay. lack of pics though these 2 are of my wire joining exercise. should be ok next up is sorting the battery tray, battery, box and clamp to locate it under the deck, as well as a jumper terminal block. looking at batteries, I’ll probably go with an Optima red top 800cca. 3 weeks to paint date
7 points
-
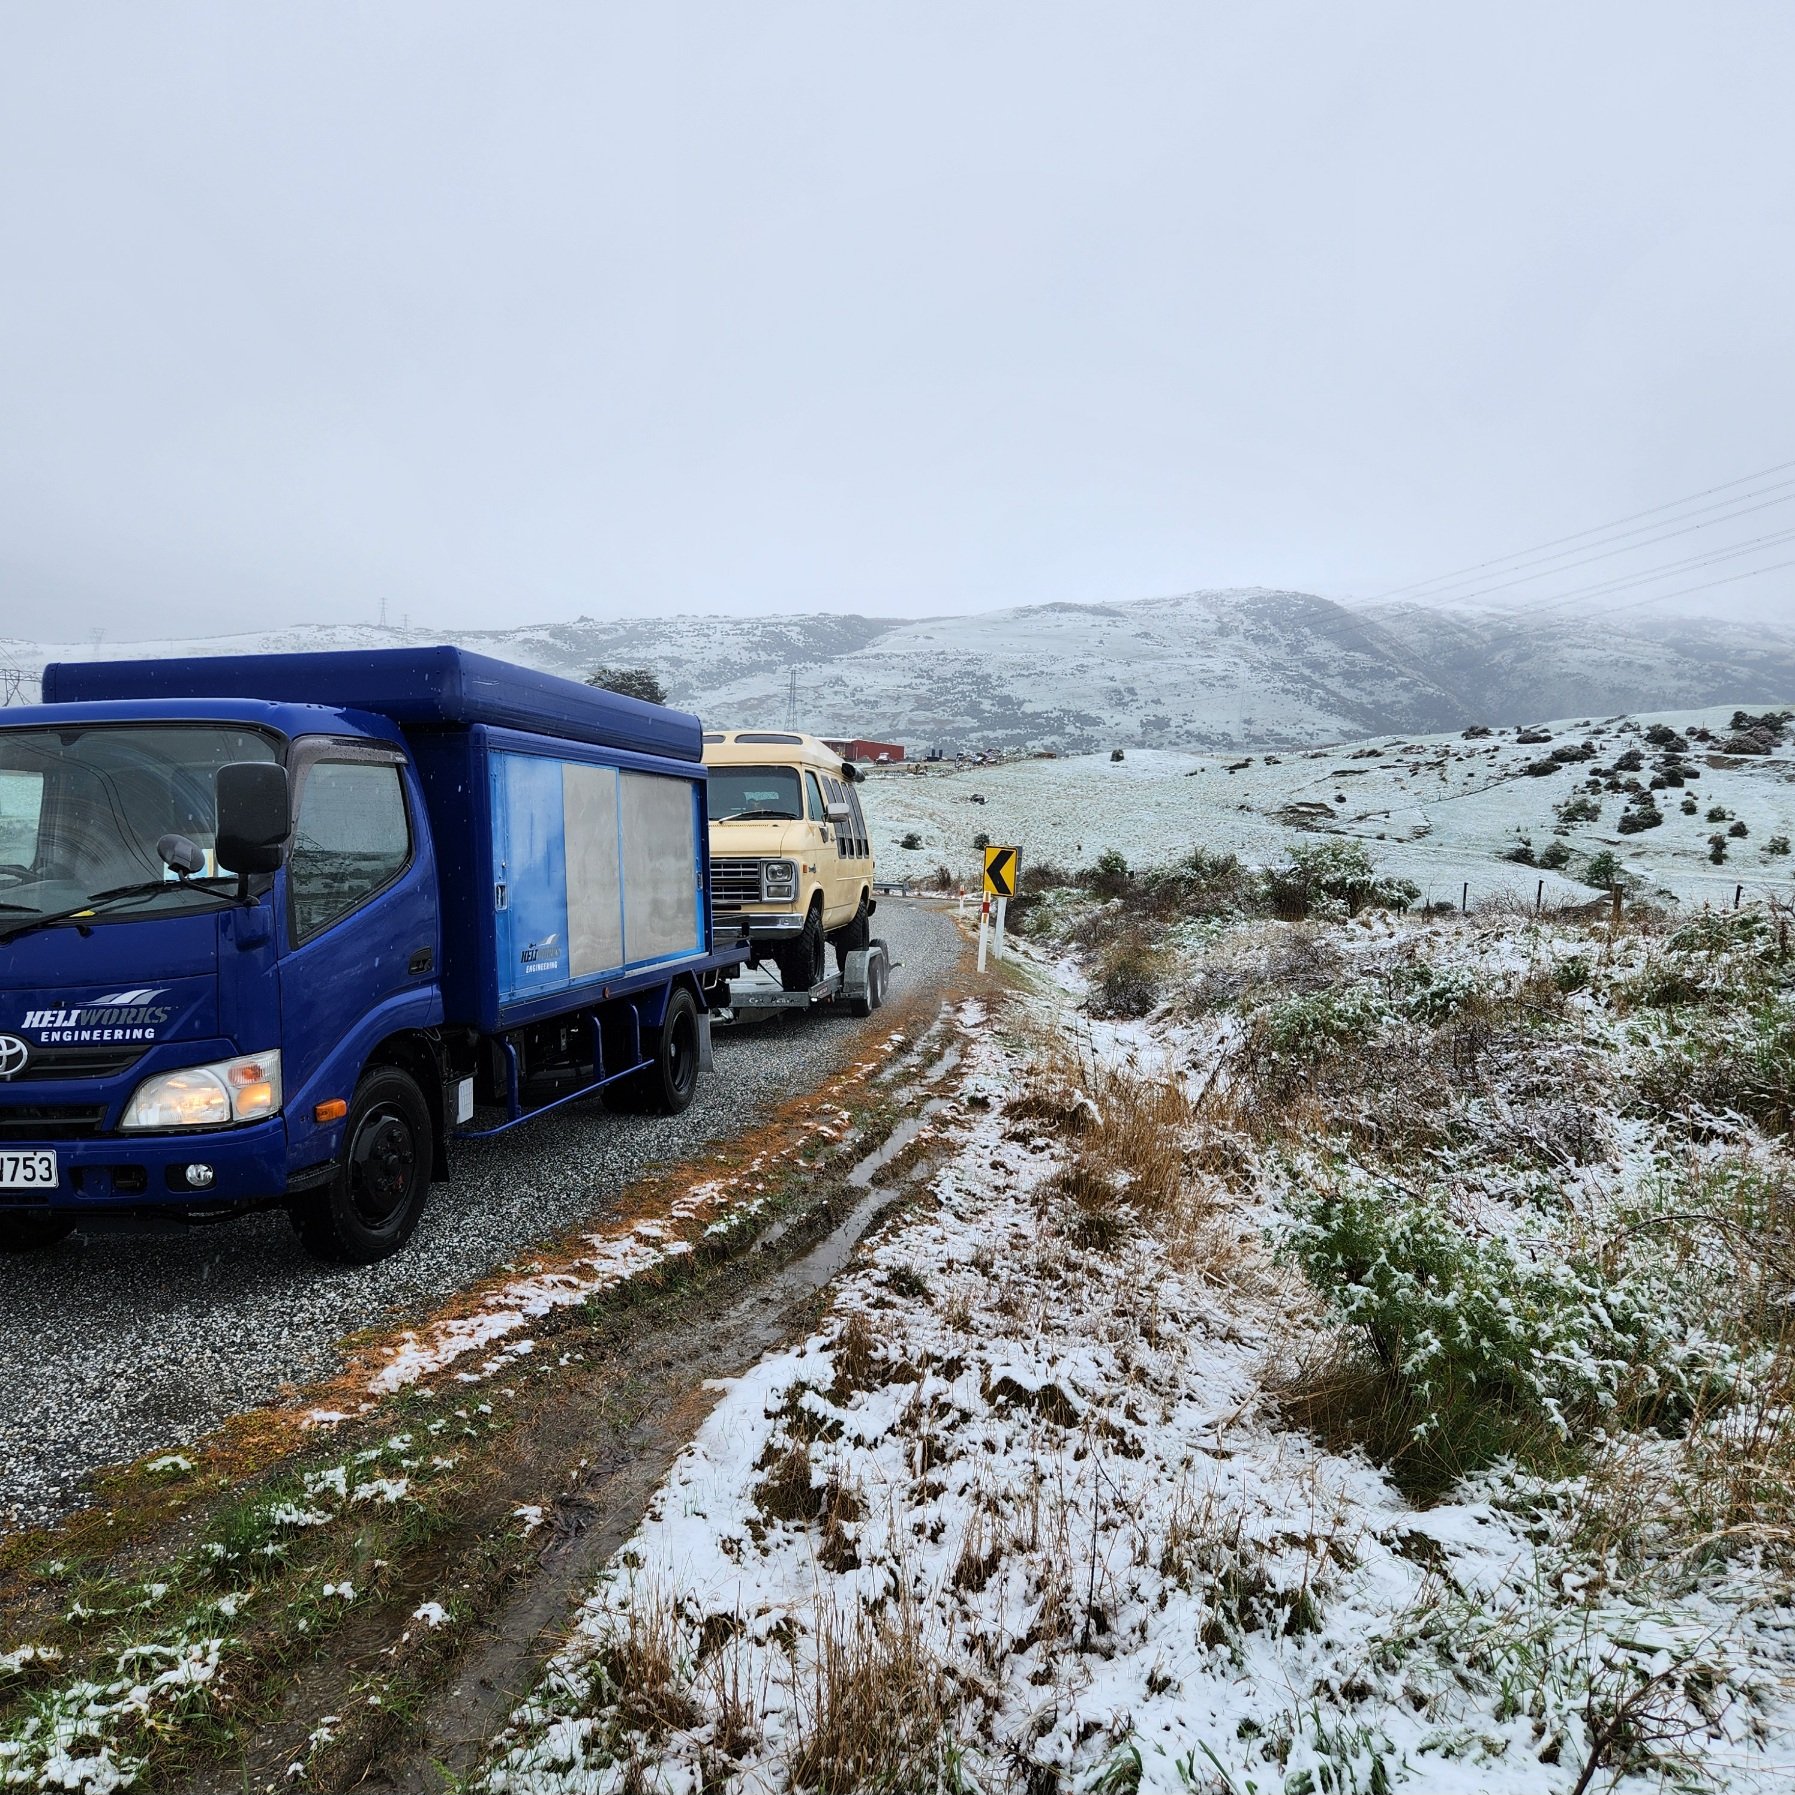
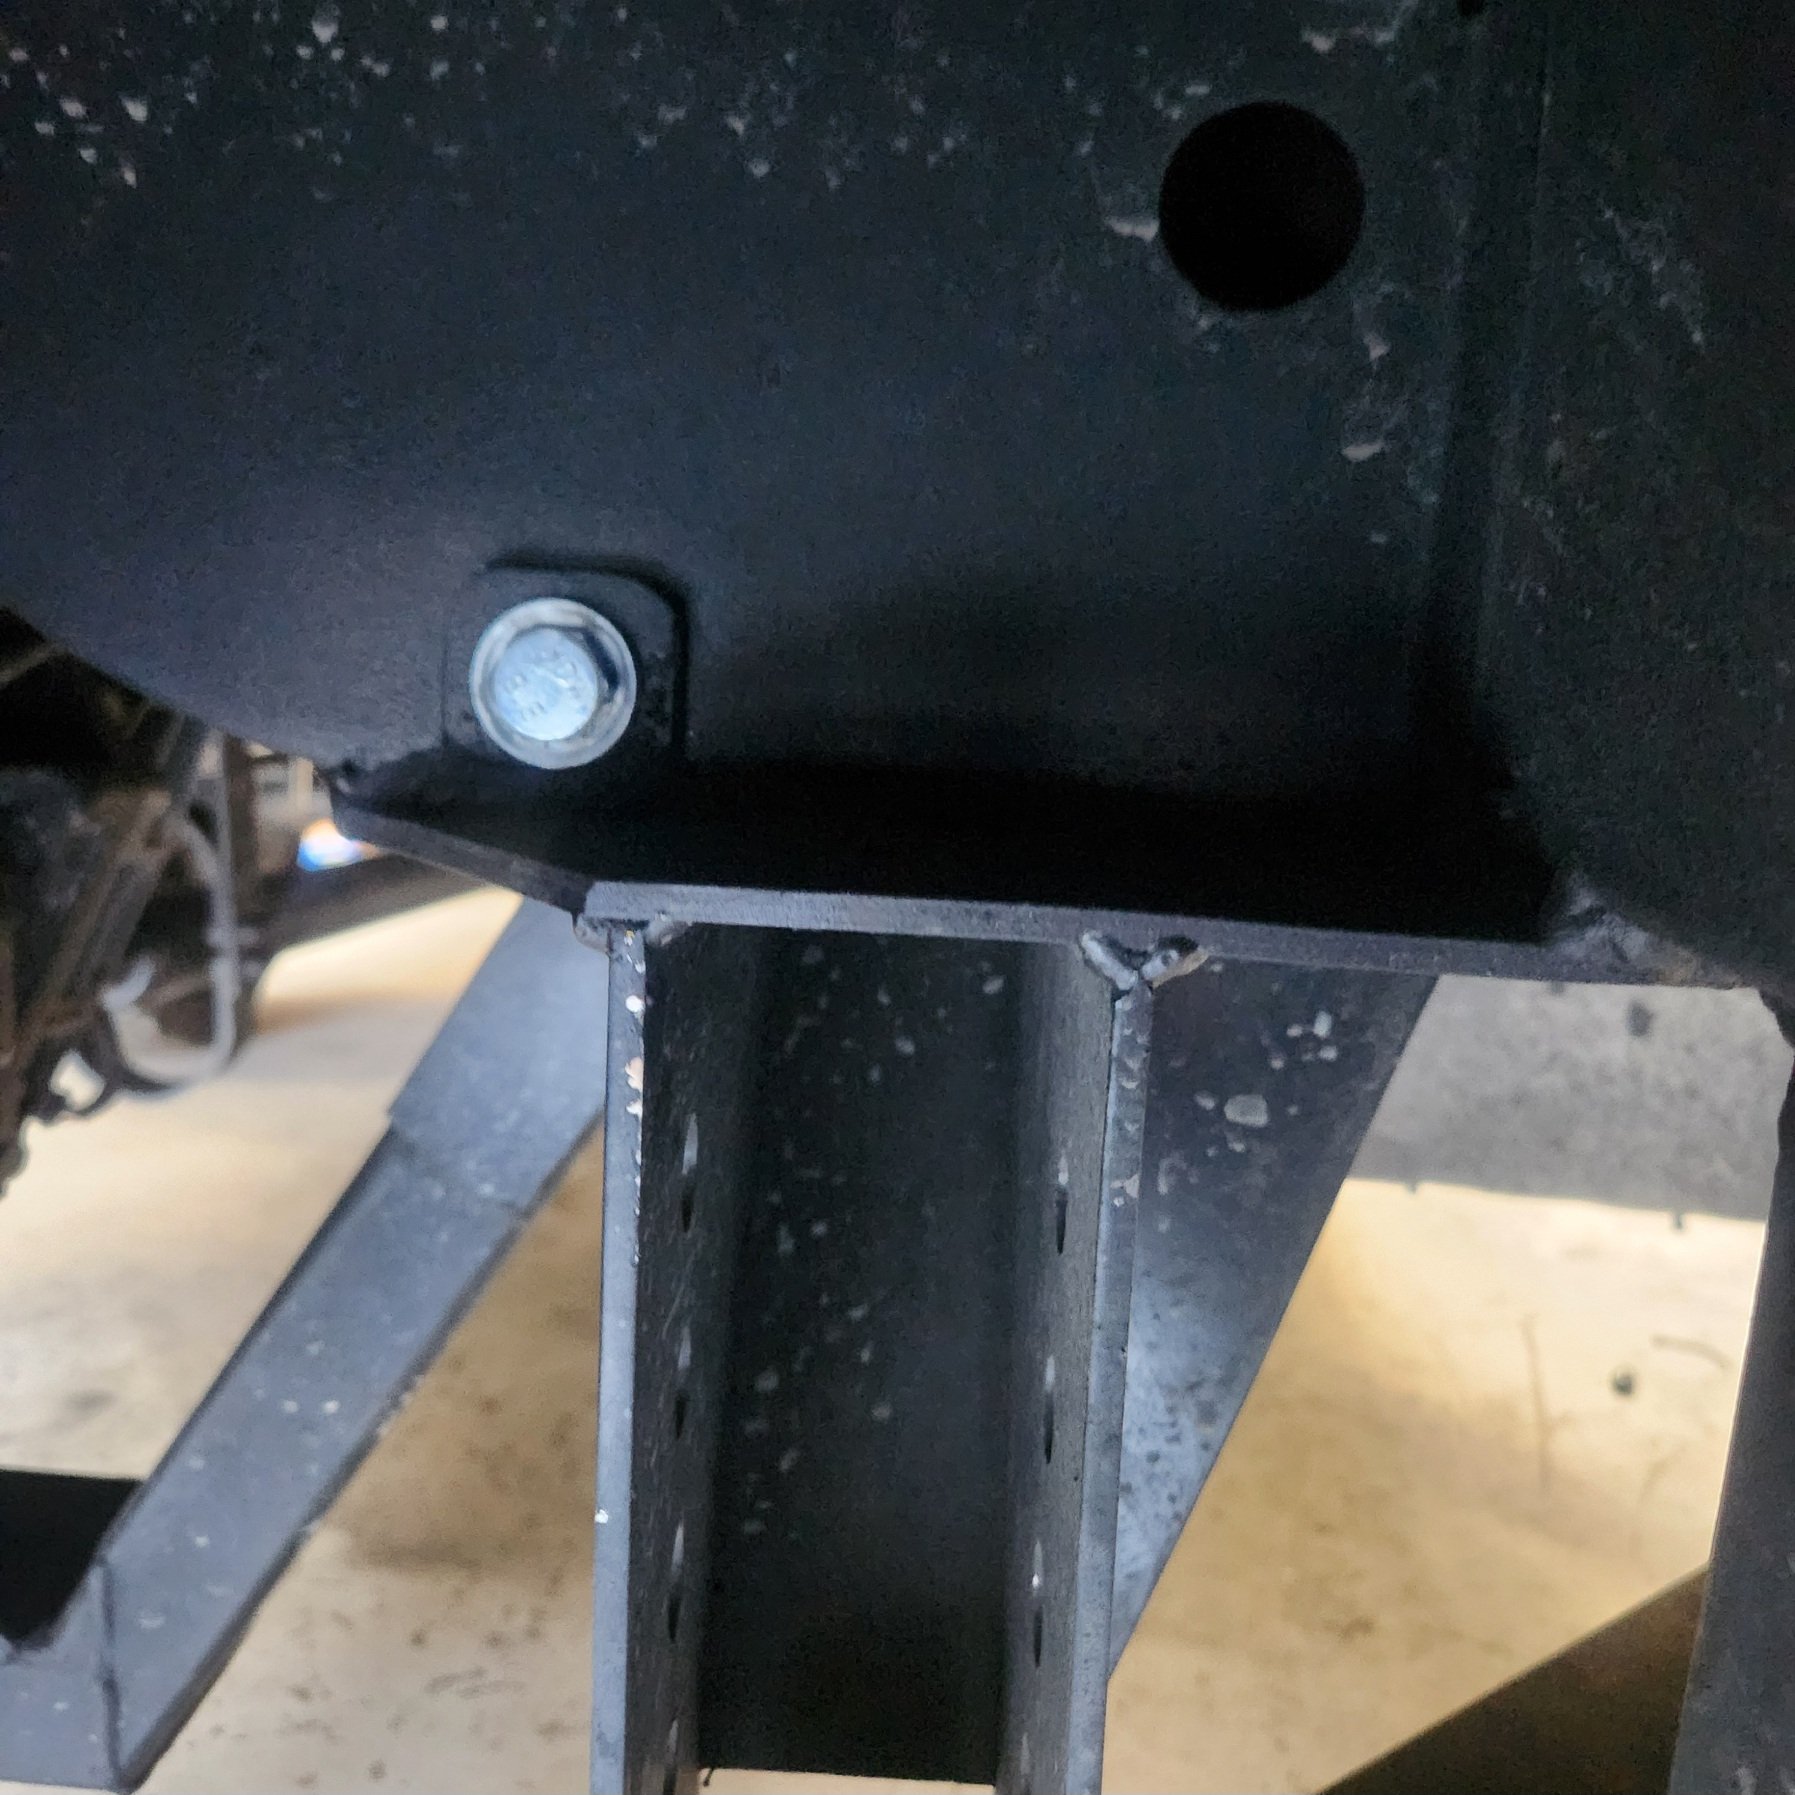
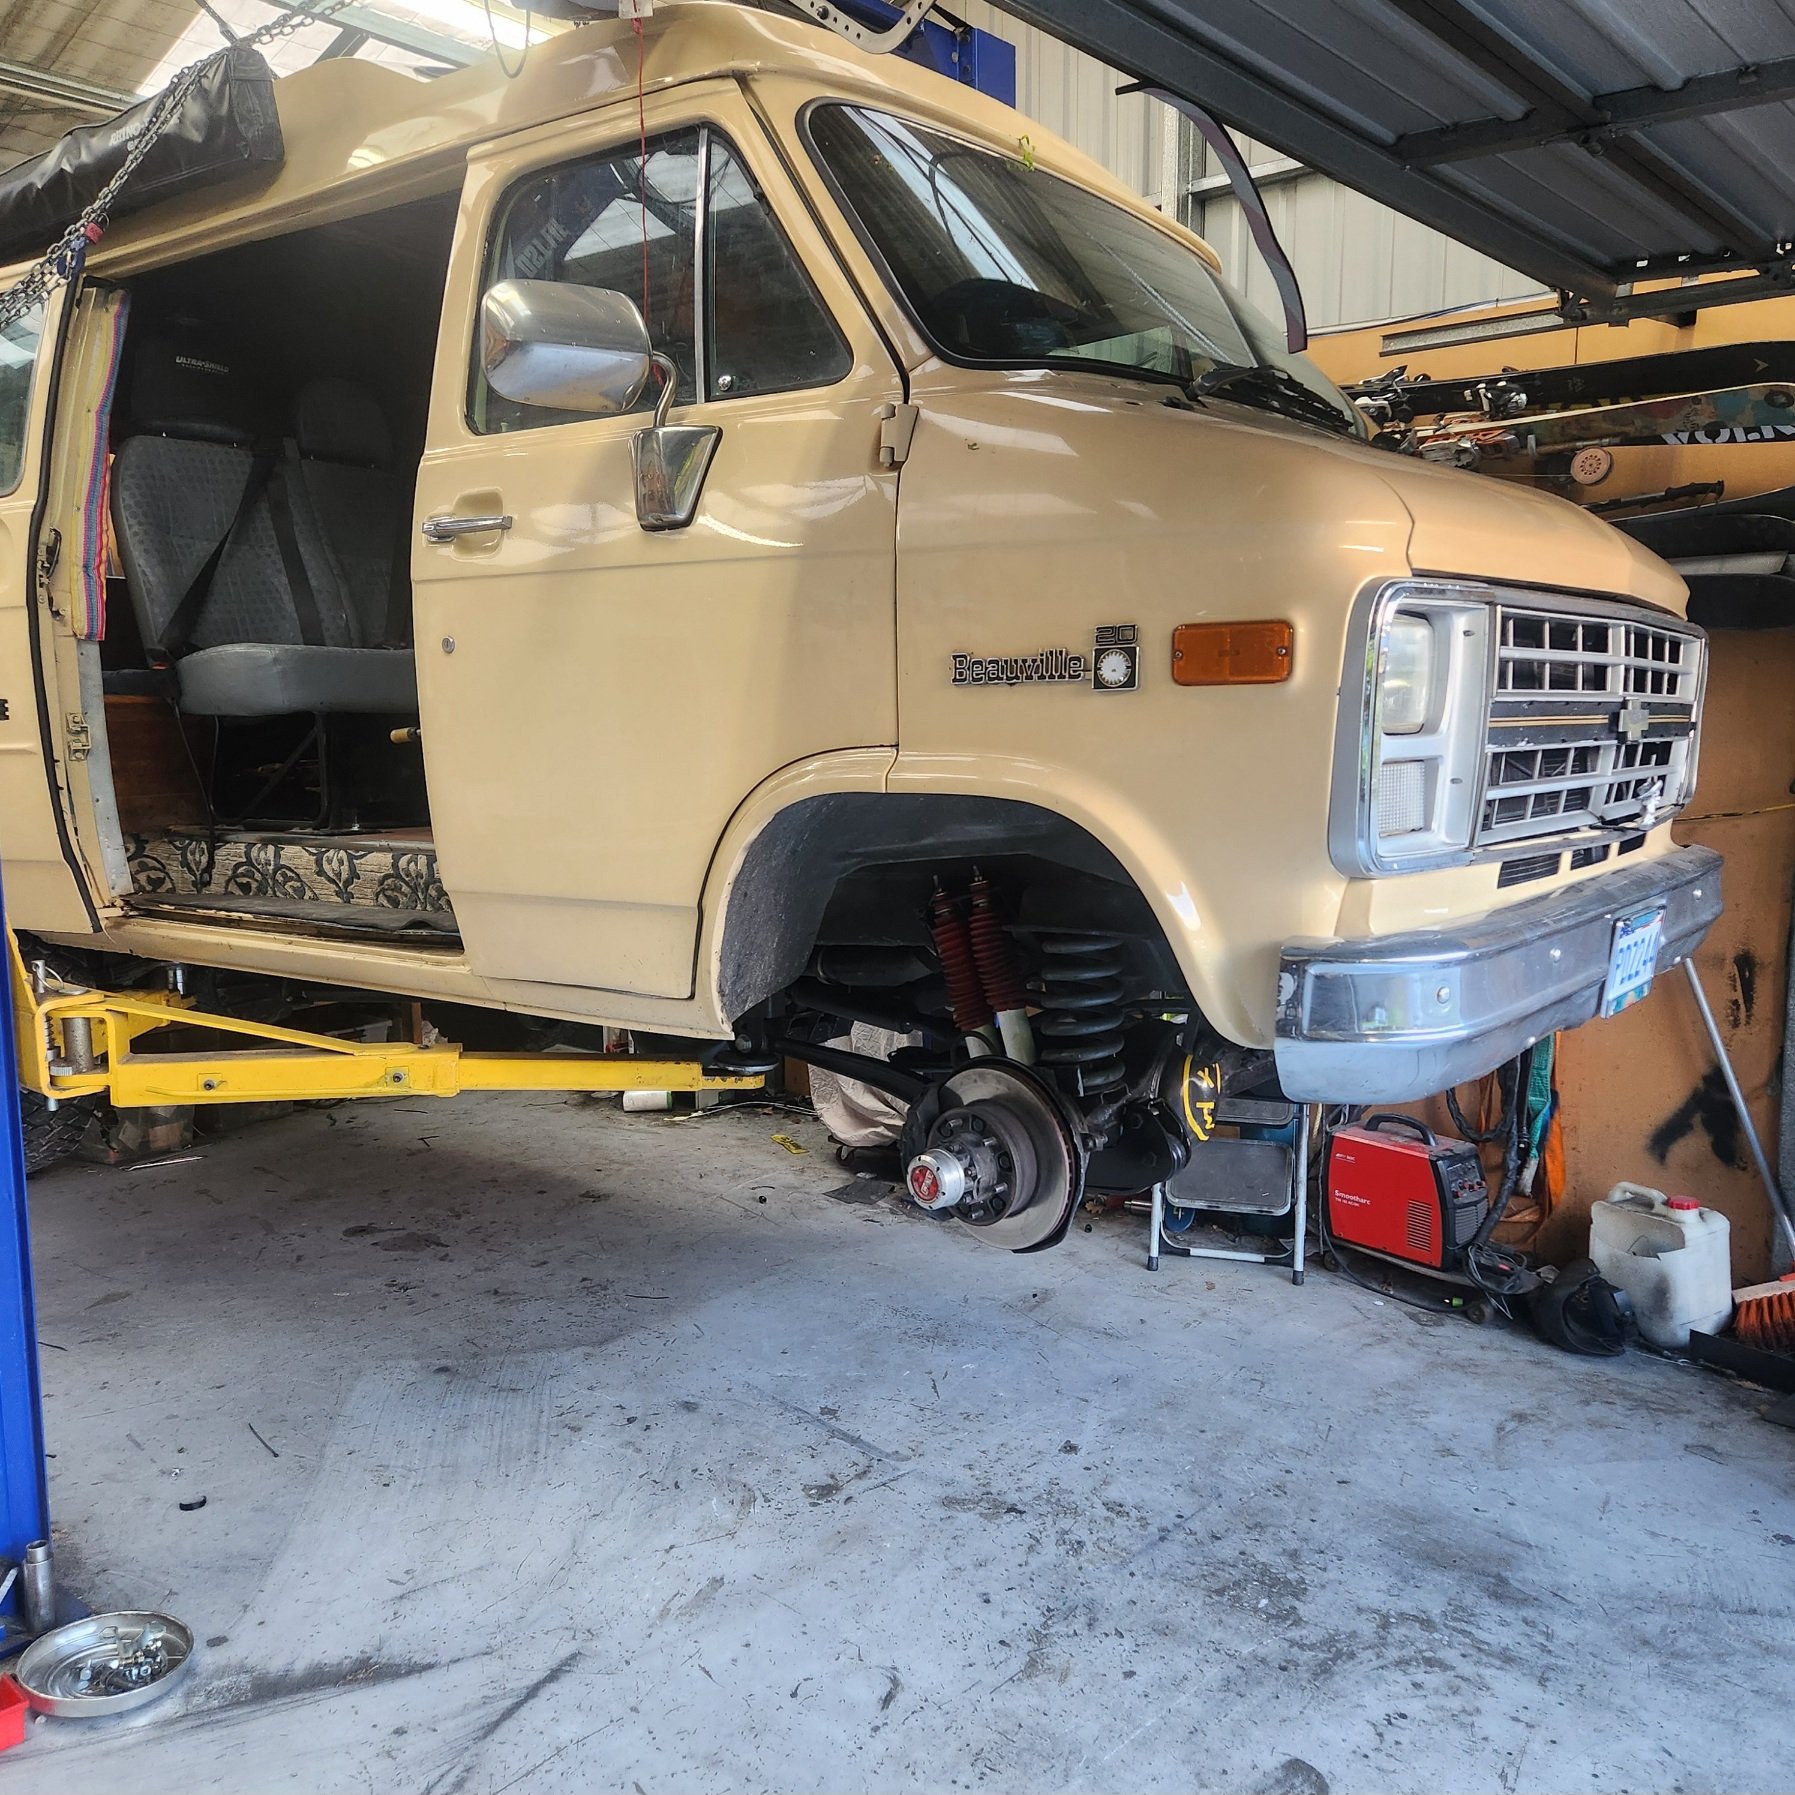
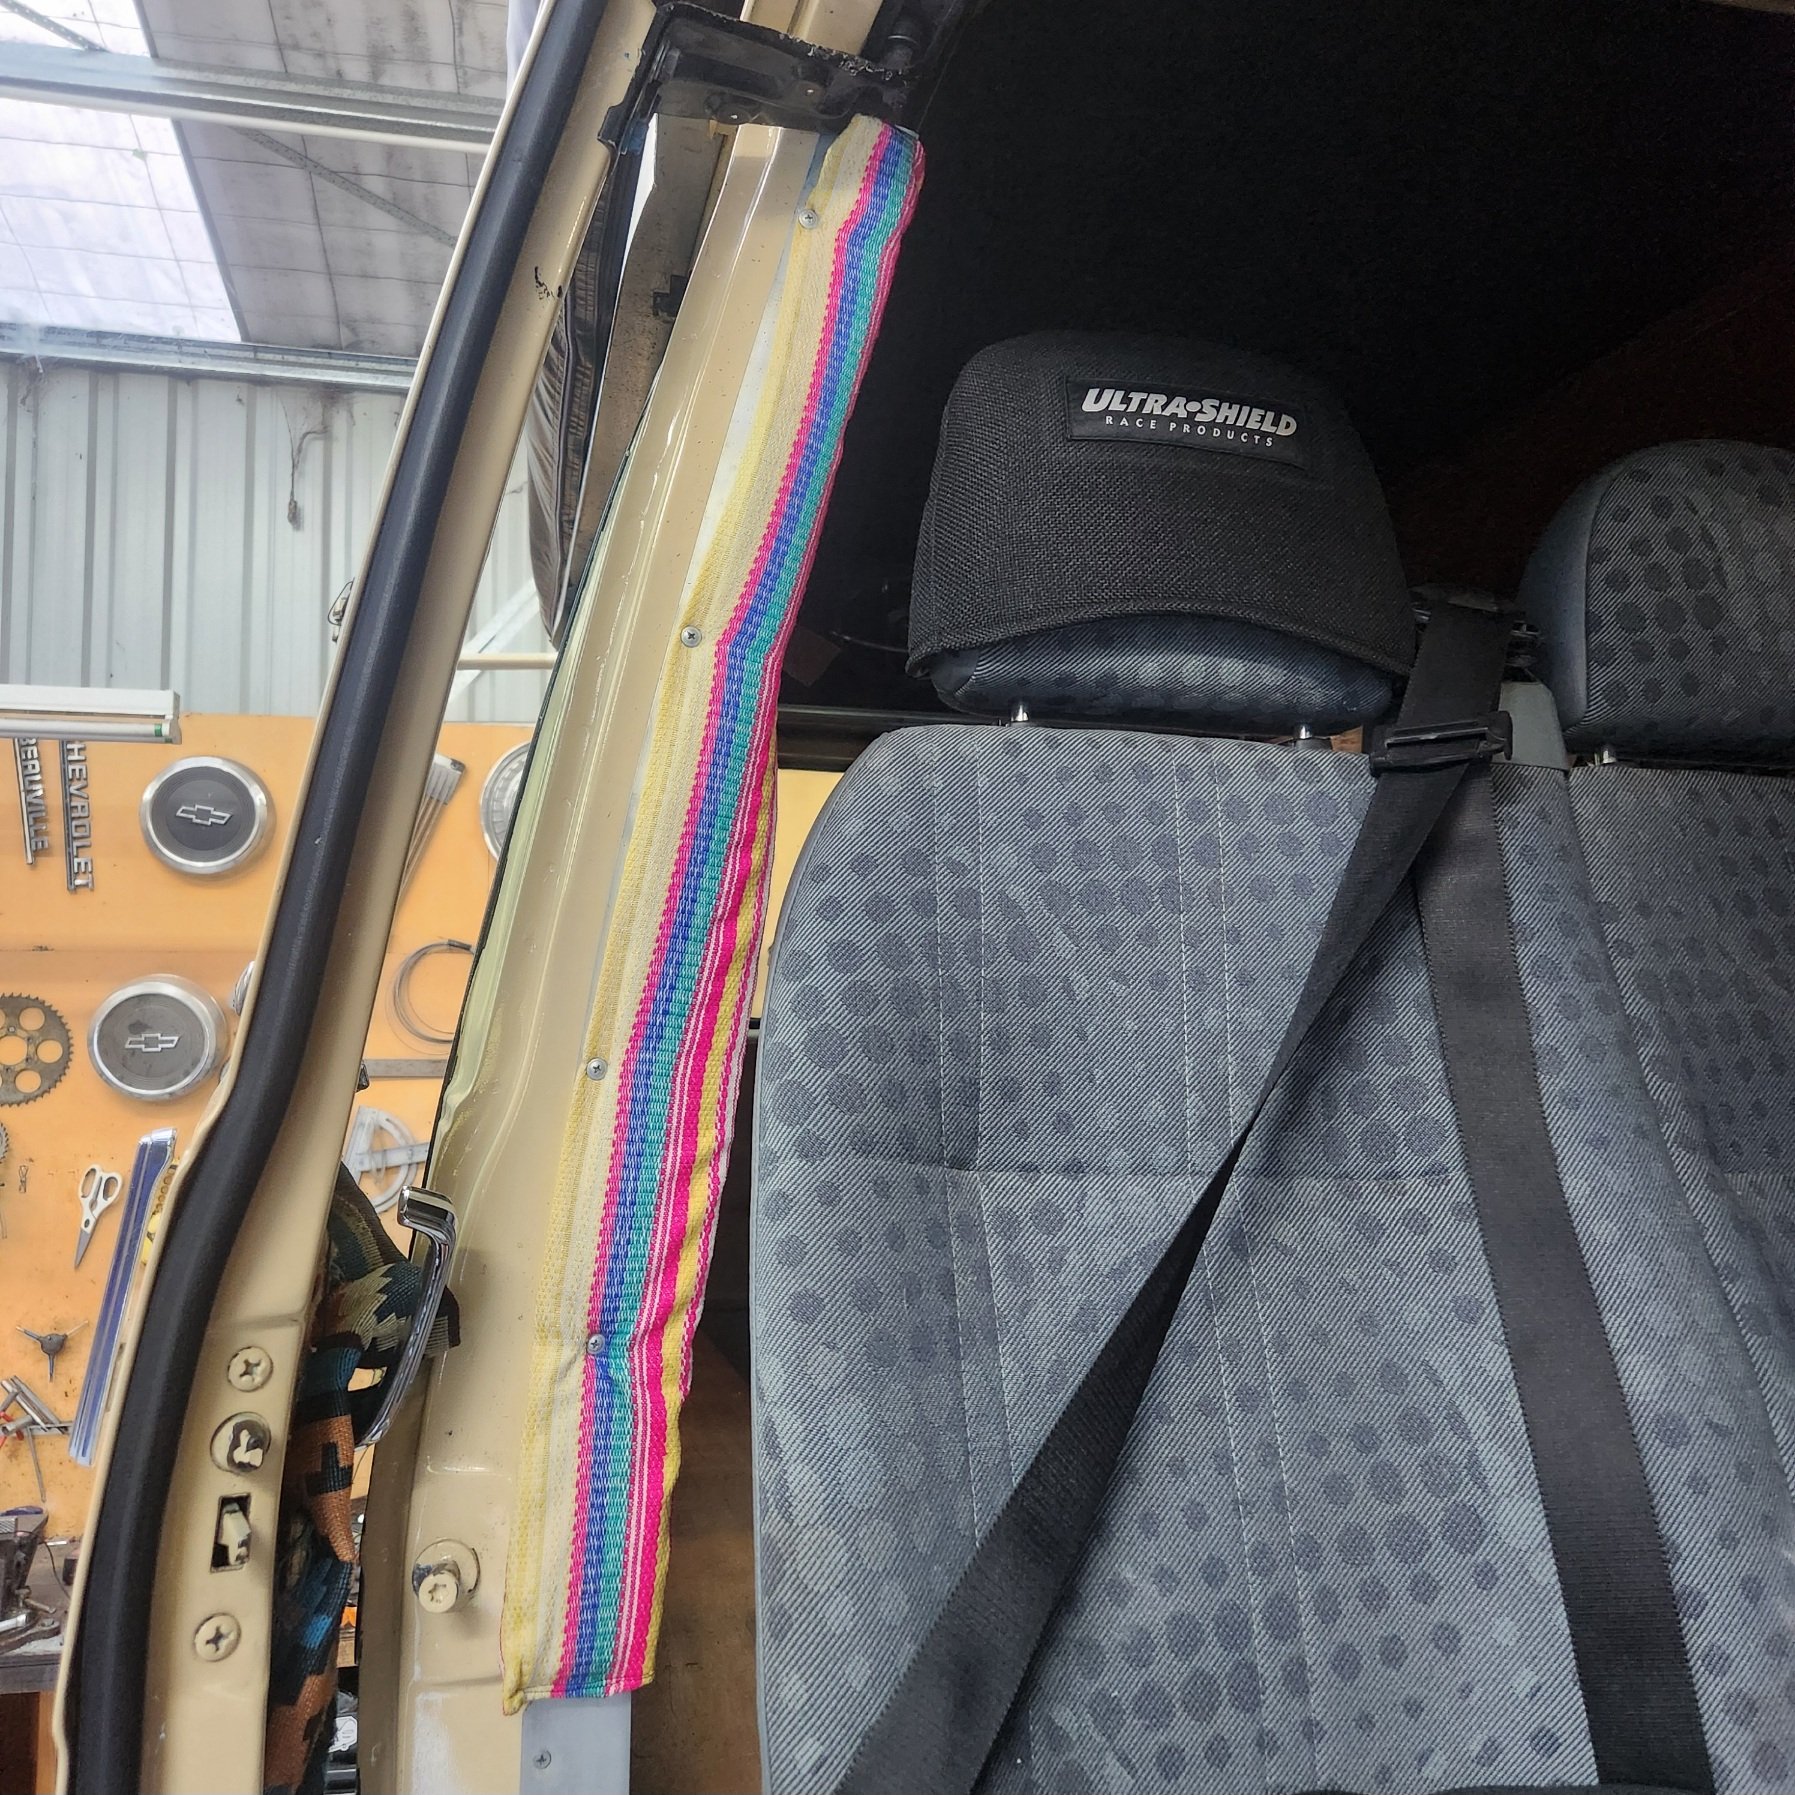
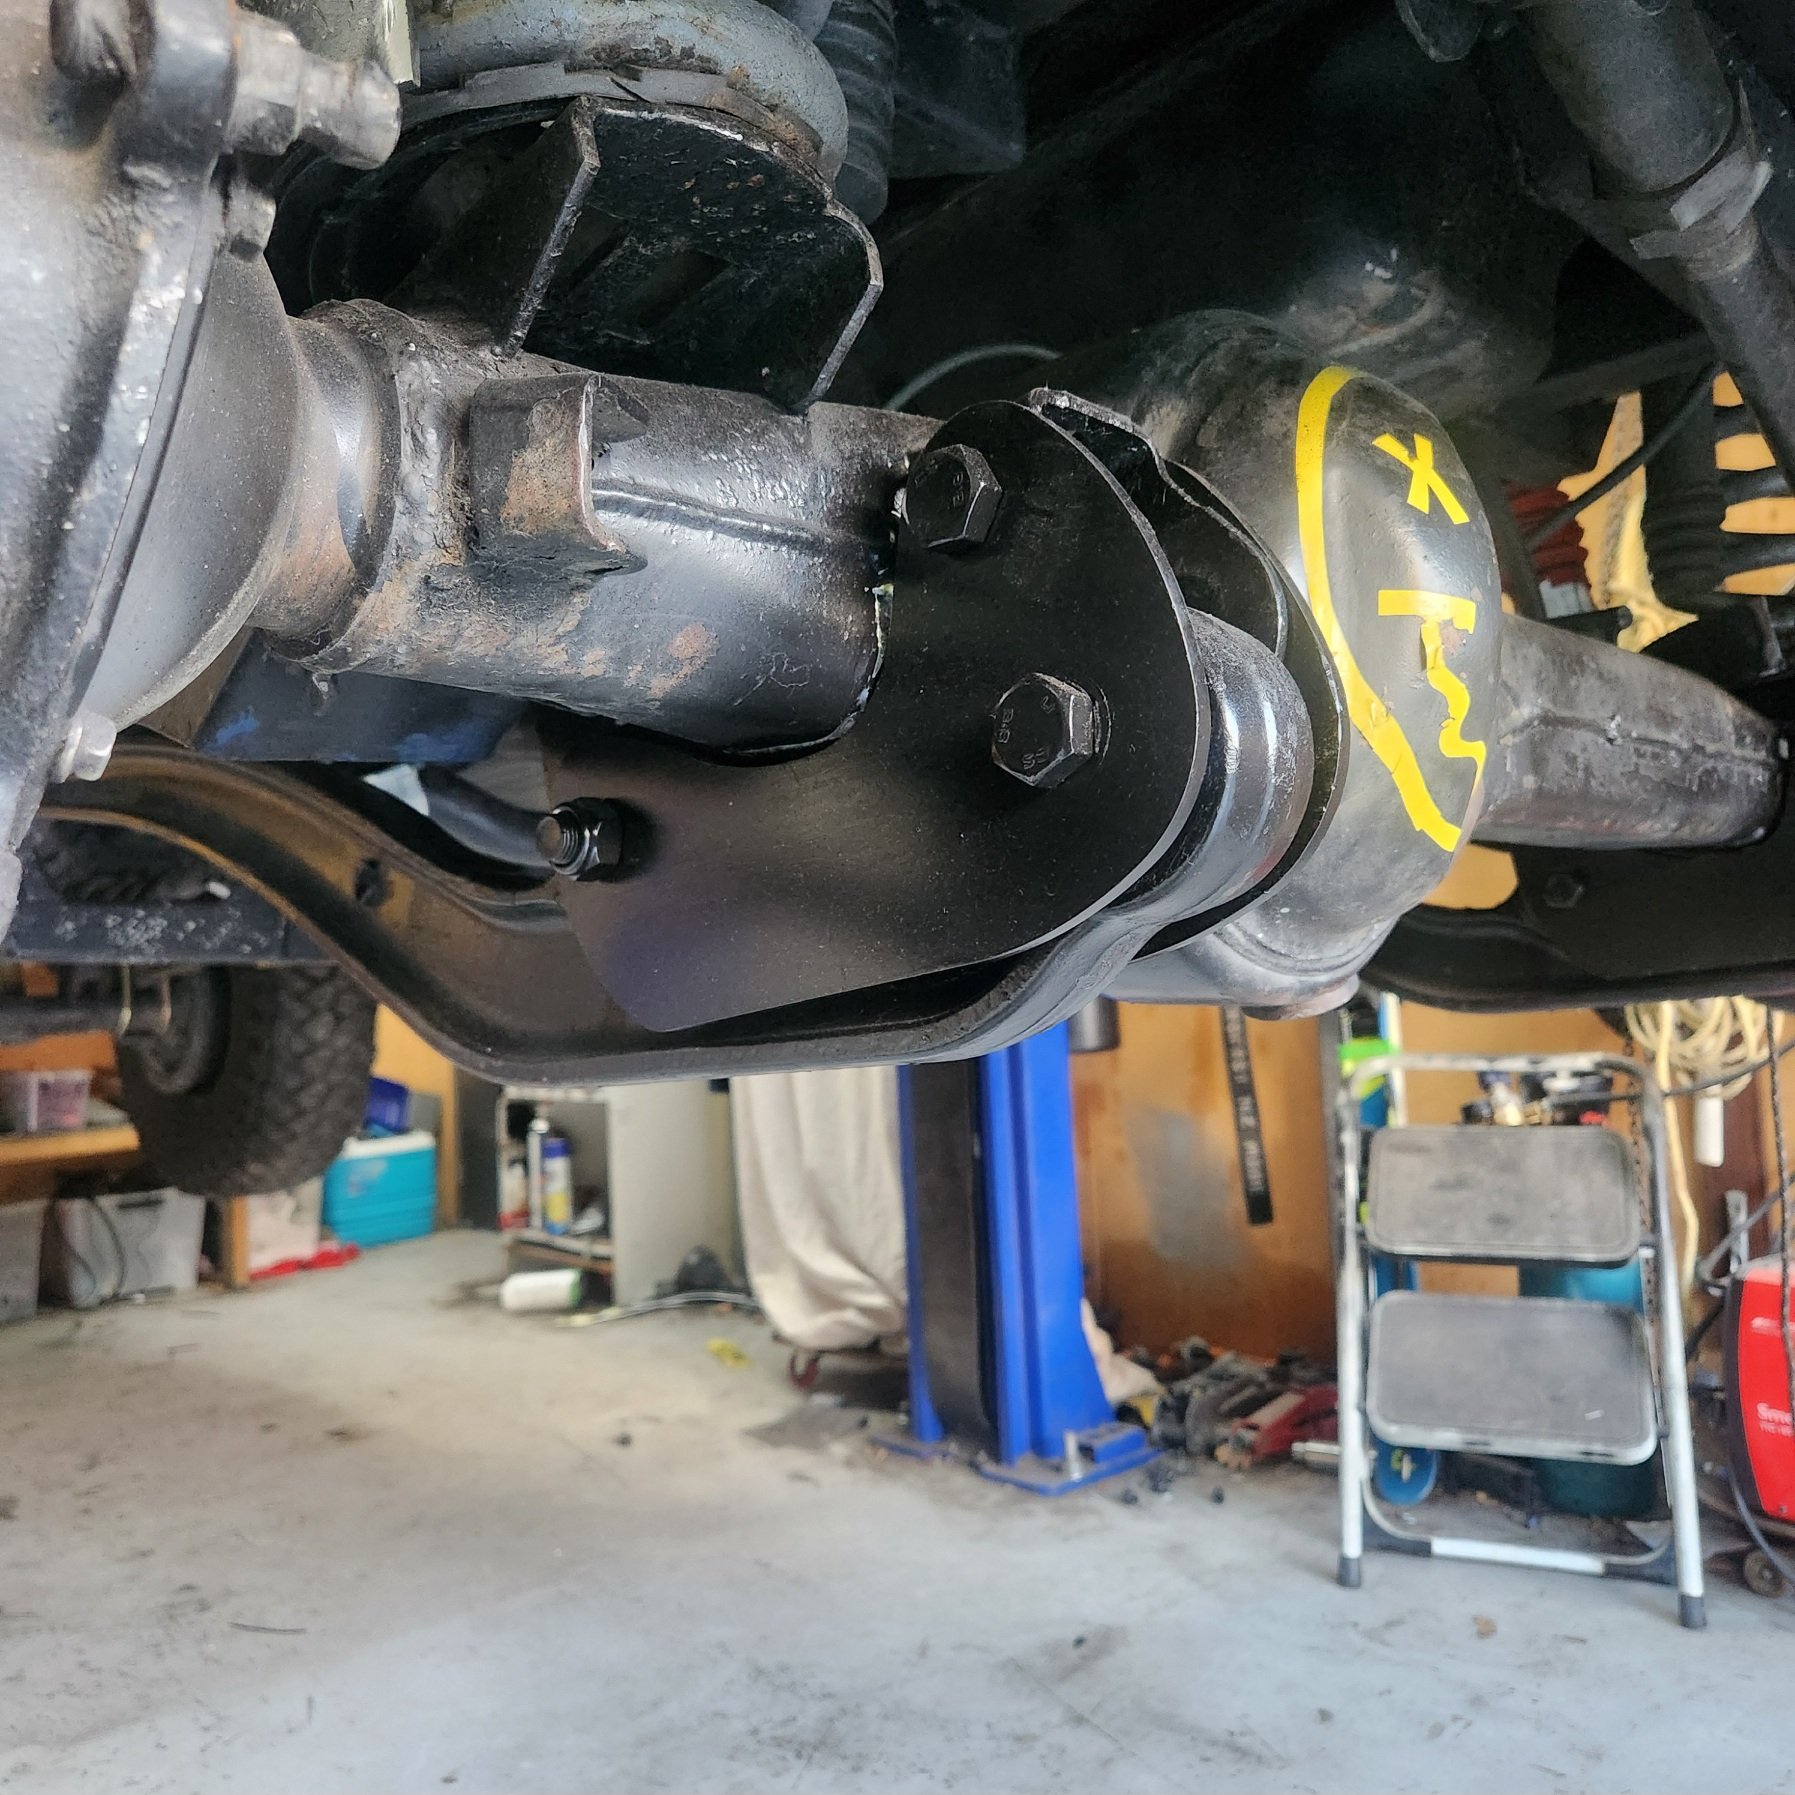
I'm back into this thing, certifier finally looked at it and got a list to me. I towed it to Mosgiel which was no fun , of course it rained and snowed. So for the list : - head pad next to back seat on pillar - add muffler ( wof issue not cert but whatever ) - rear brakes locking before front ( will add prop valve and change mc etc ) - steering not returning to center. I added 5 degree caster plates to rock diff back, shit of a thing to install. I had to move sway bar mount, jerk around with steering again and adjust panhard - add tabs and bolts to radius arm mounts. Astonishingly pointless but whatever. How does another bolt add strength to an already welded mount ? Why not add gussets ? Anyway I do what I'm told I got it on the hoist better too so I can move around under it a bit more. Still an awkward height
5 points
-
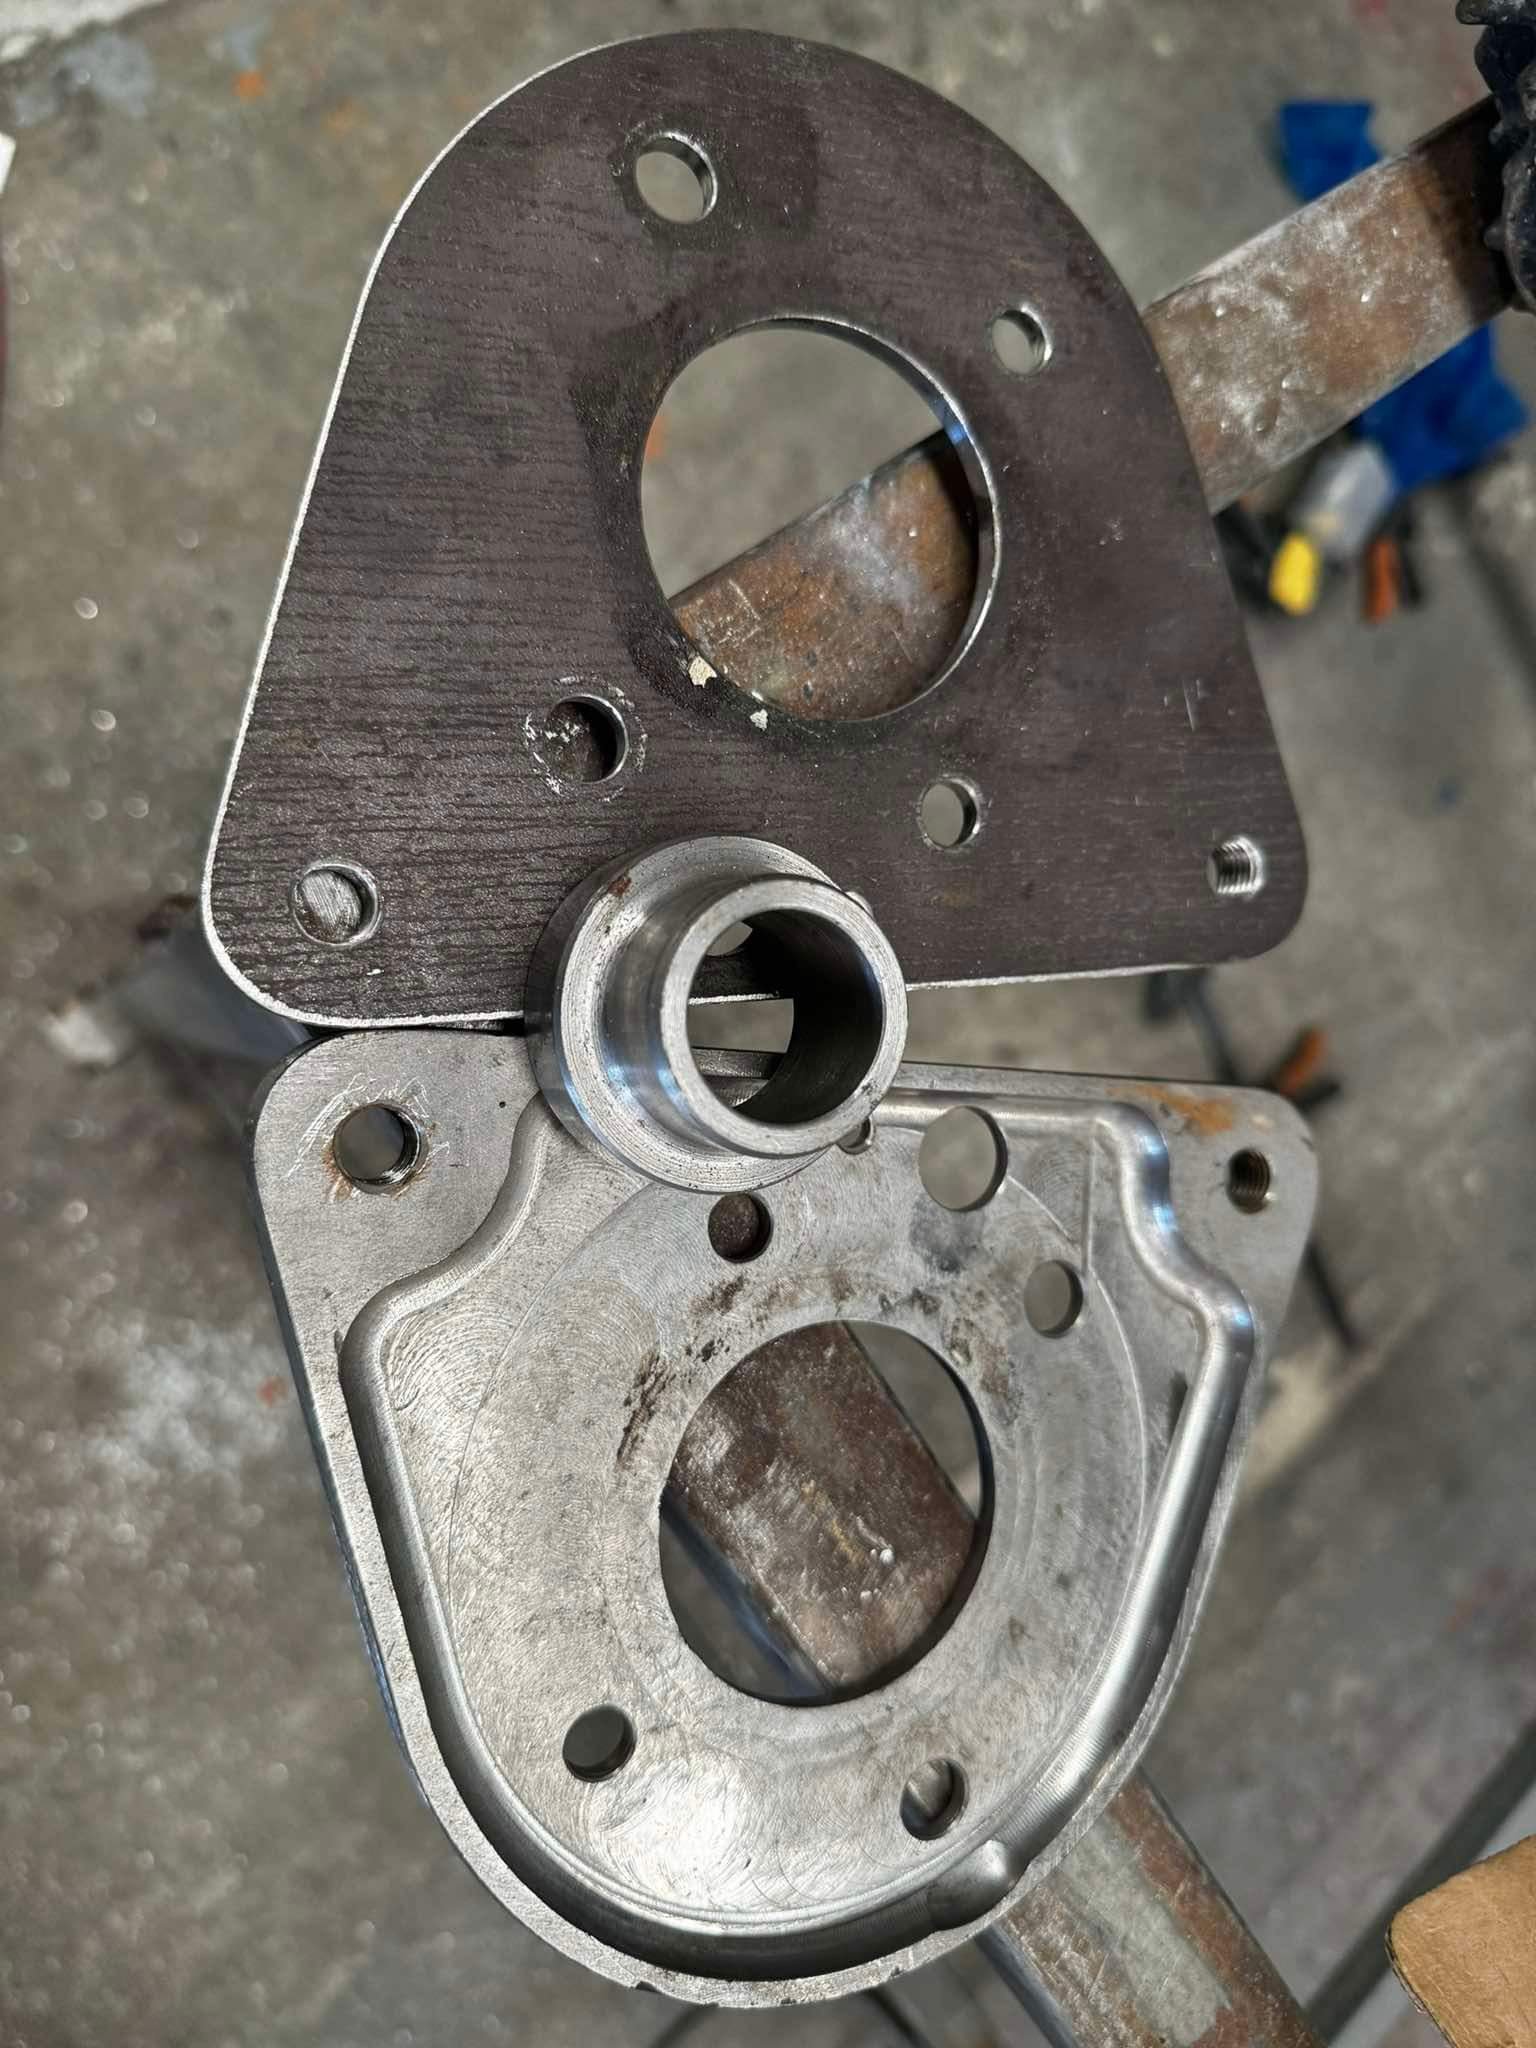
Still dicking round. The worker got back with the last bits to my fc swap. bloody aced it!!! no clearance issues anywhere! also dropped the rear caliper plate off to get the new ones cut out. They’ll be fine by Monday. Legend. I now have a full B1600-FC brake swap as a spare. I won’t use fc brakes on the rear of the 2nd ute, it’s already got a disc brake borgdaborgya diff
3 points
-
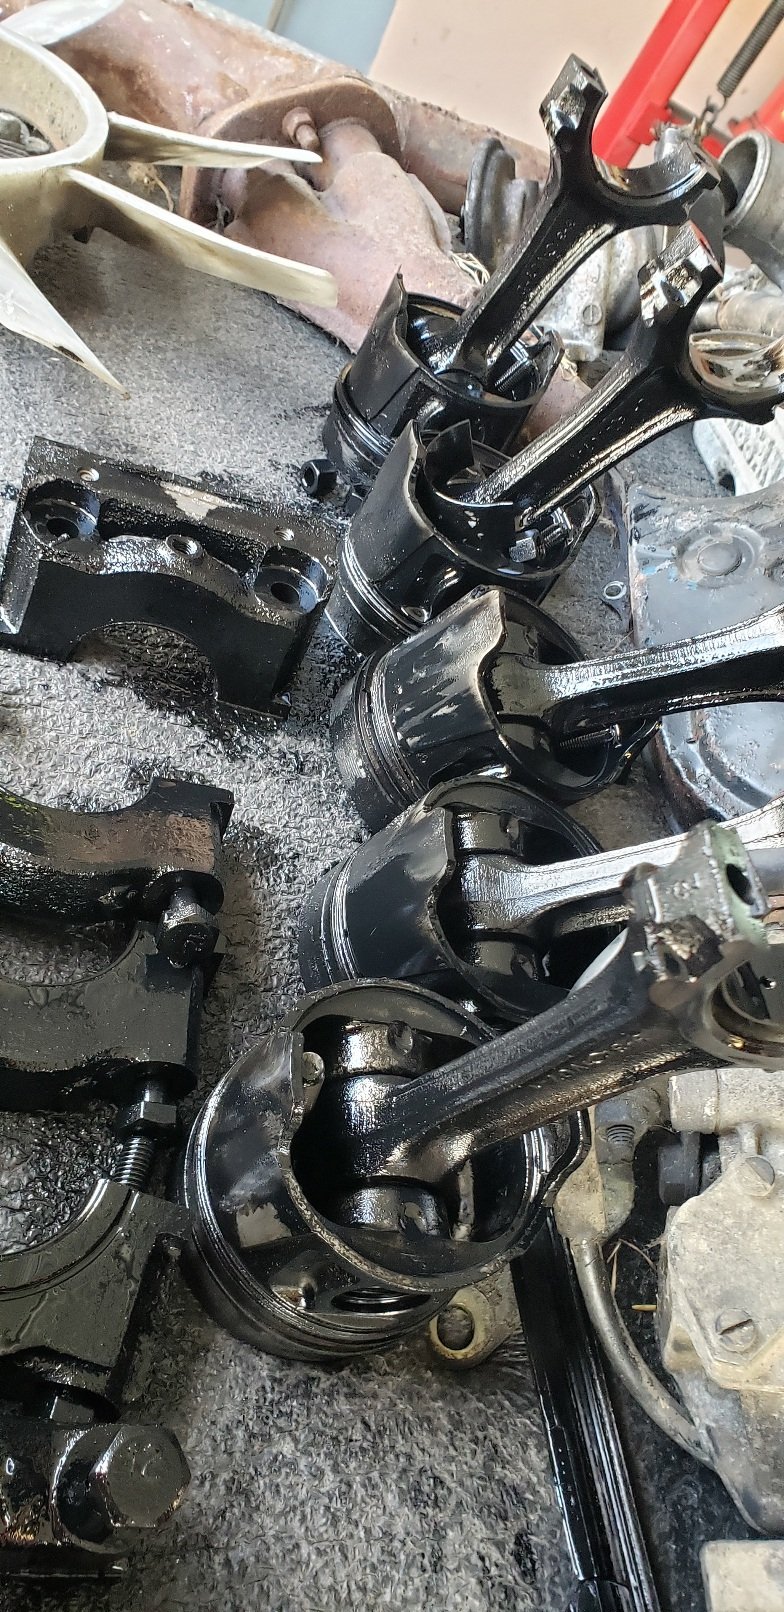
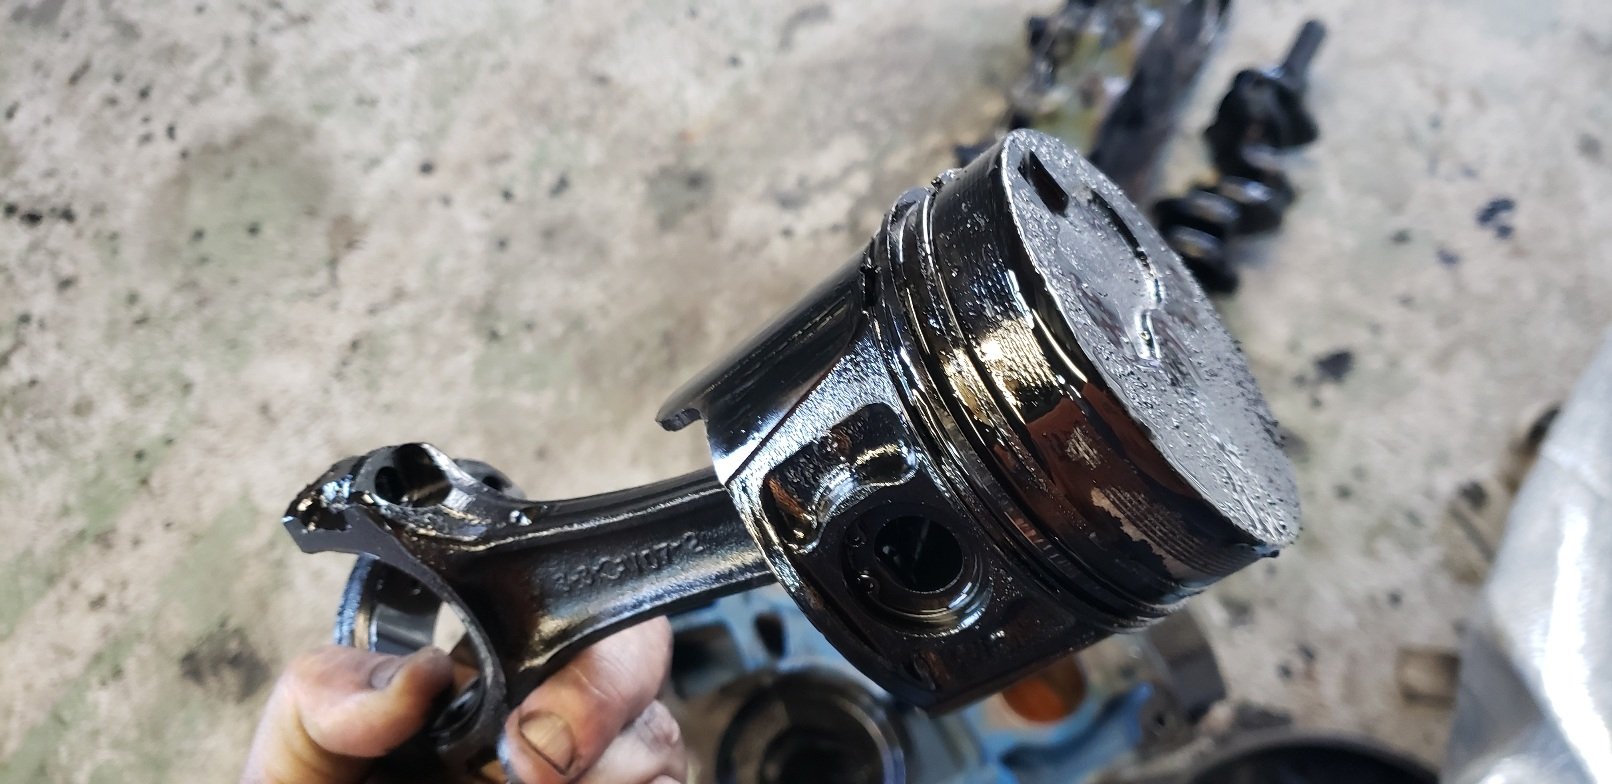
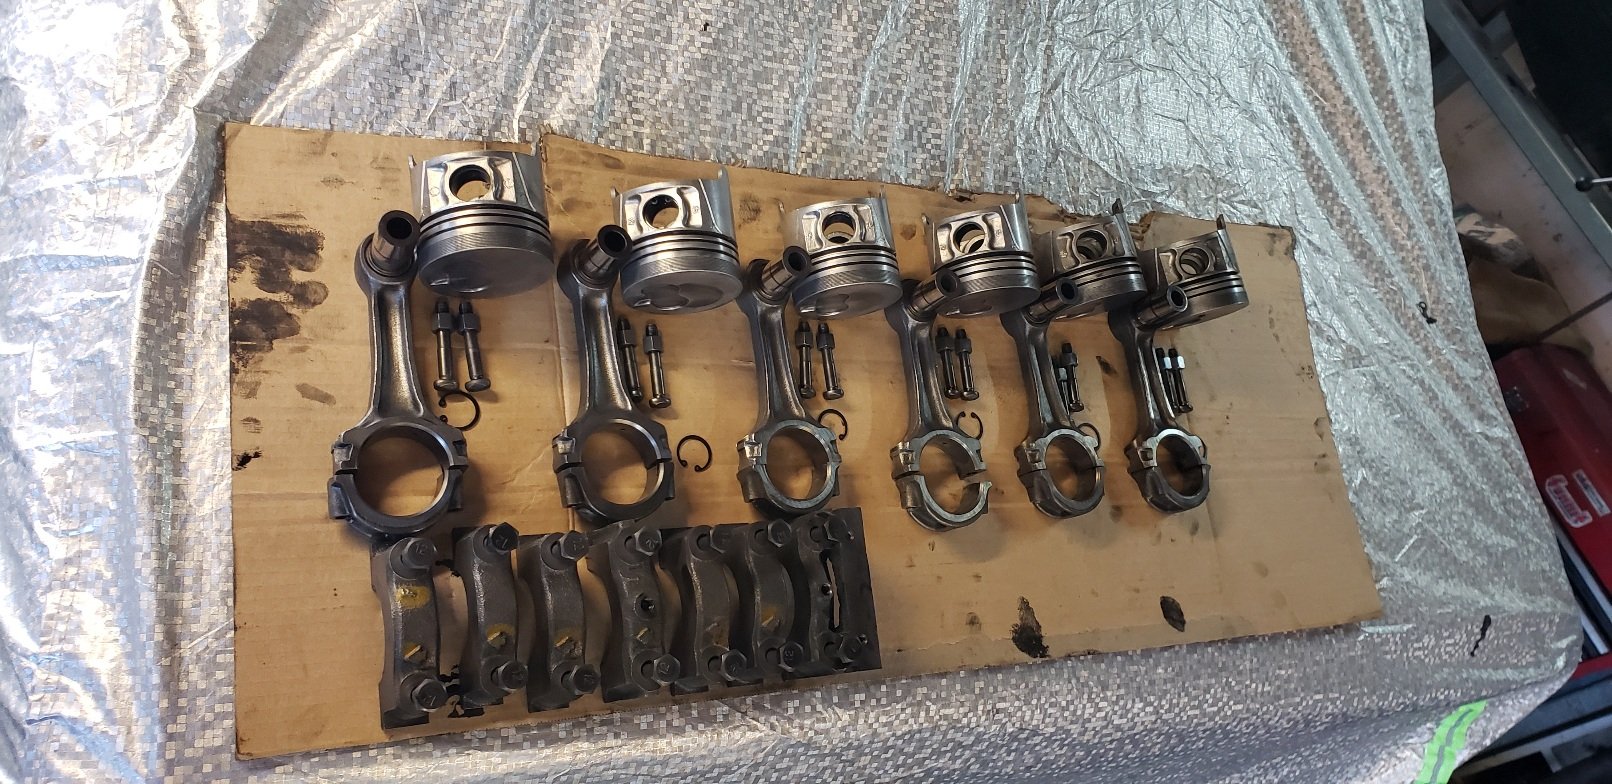
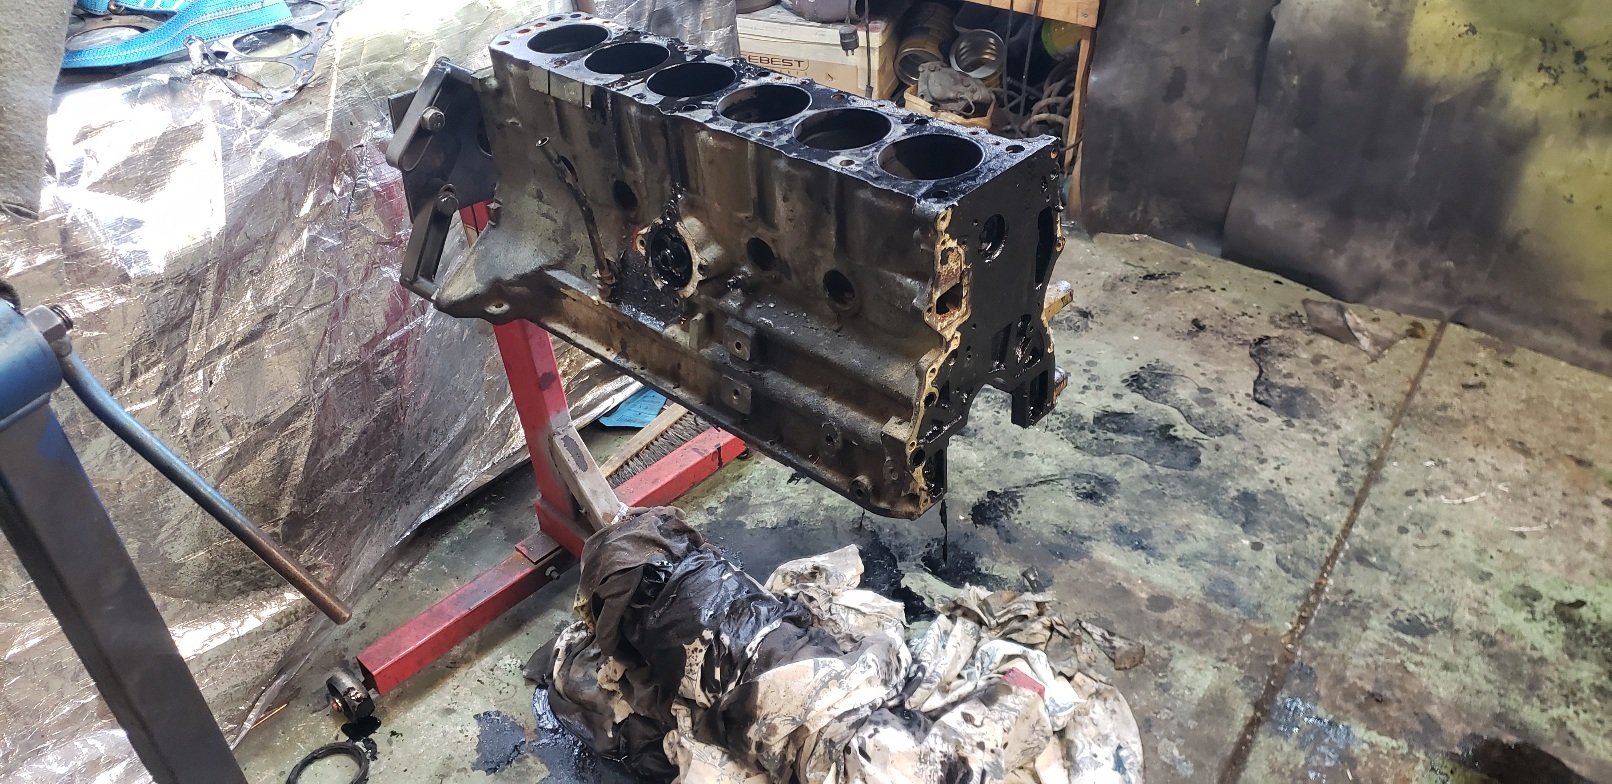
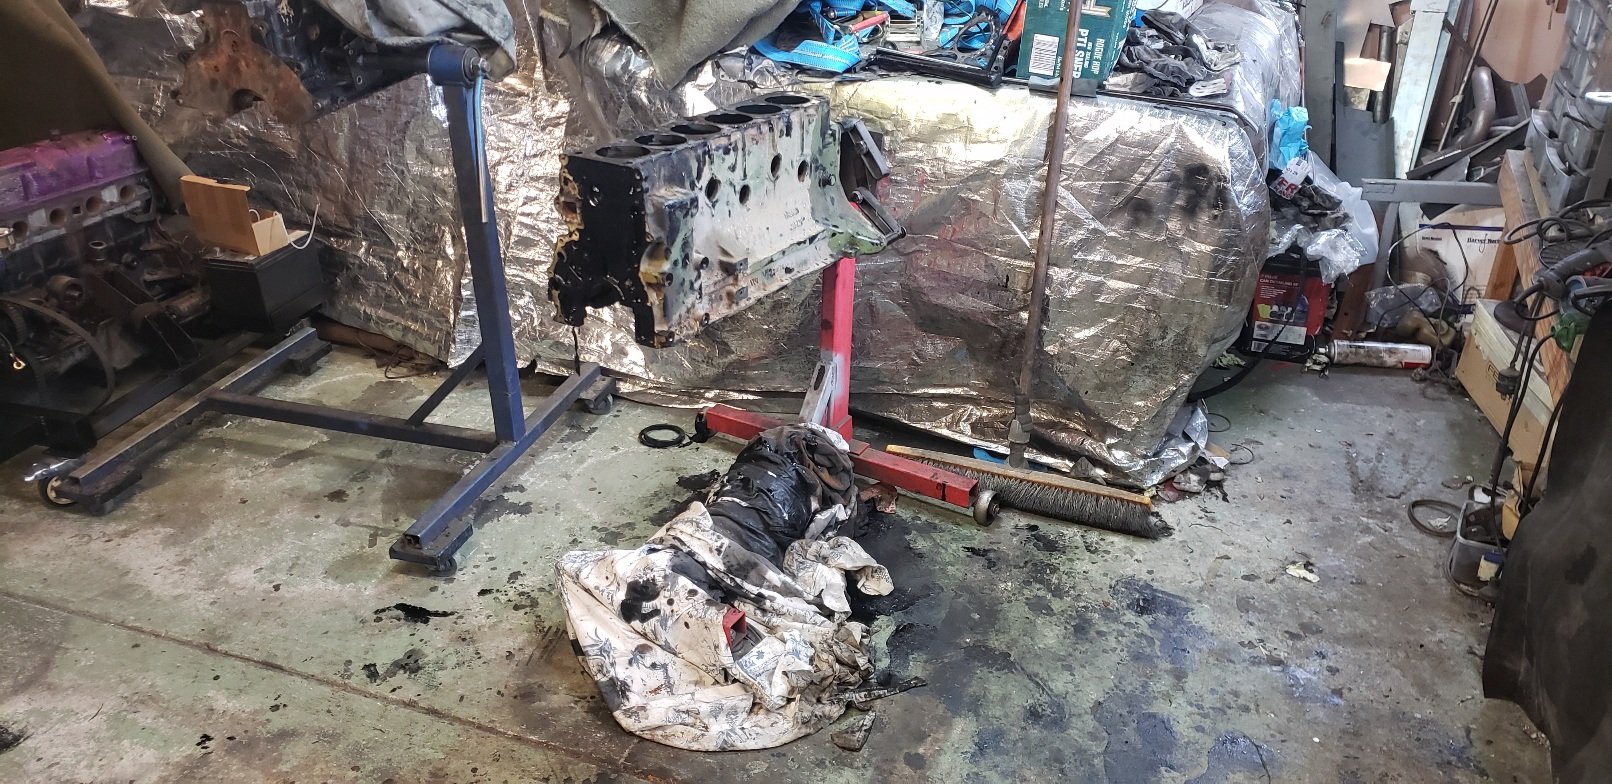
So the #2 motor is STD bore STD rings and bearings . The 1st motor is over sized pistons and .25 on the bearings. The bore in the 2nd motor seems perfectly fine and will be good with a hone. But this means I aming to have go use the dirty shitty black fucking pistons and rods so i stripped them all down, checked them all and gave them a clean and the main caps I'm going to use the crank from the 1st motor as it looks like its had a recent grind and is good condition. The block from the 2nd also seems in good condition and cleaned up well....no cracks found just yet !! A quick paint with some black and ill sort the surfaces out at a later date.. So just need some STD rings and .25 main and rod caps and ill be able to rebuild the block. As for heads the head from the 1st motor is in great condition and even the stem seals look new ..so ill not strip it ...I'll just bolt it on as is. Cheers
3 points
-
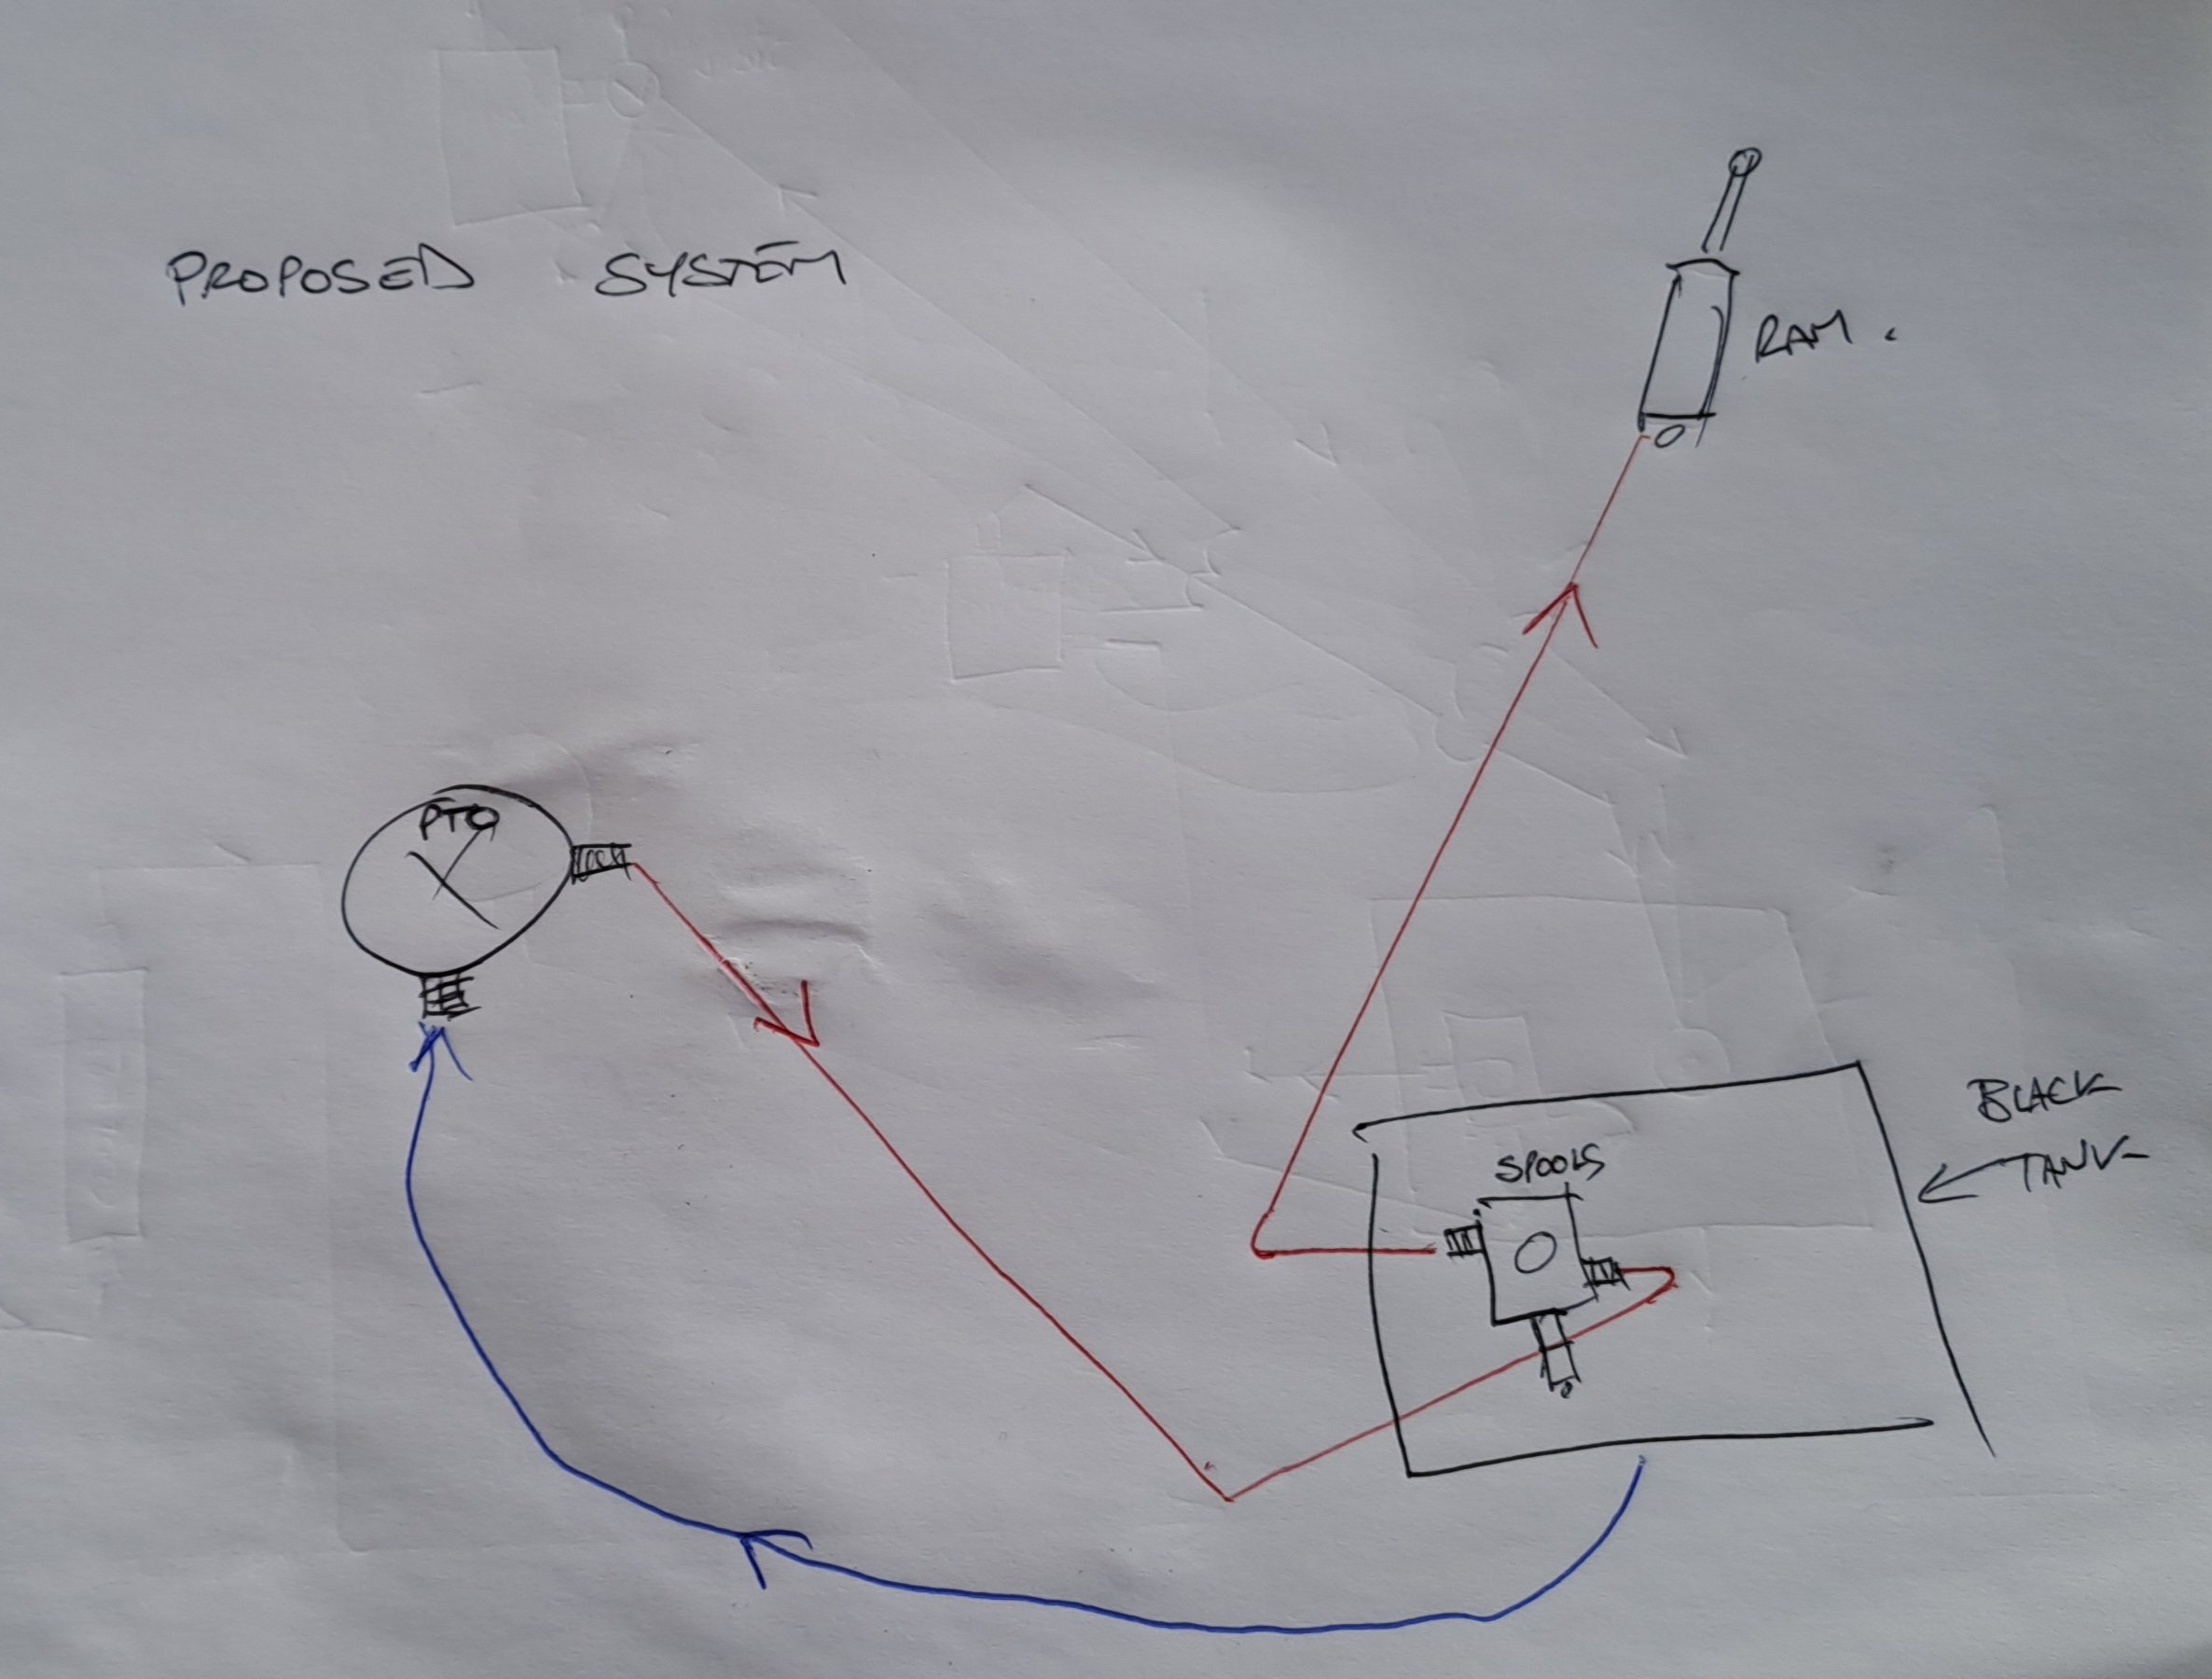
I'm guessing as the ram retracts it discharges fluid into the black tank via. the spools? If so perhaps I can delete excess failure points and get to this state. Unsure.
2 points
-
Good morning everyone. The clean looking valve assembly seems to be hoist up and down control and lots of return lines into the black tank. The tank is a bit over half full The dirty looking valve assembly (inside the chassis) is a diverter that is fed directly from the PTO pressure line. Hoses from that diverter go to places. I'm not entirely sure where yet... but one of them goes to the Hiab Either the diverter or the PTO isn't working as I still can't lift the tray and have no apparent hydraulic pressure at the ram, but I didn't have the correct spanners to crack open the pressure hose from the PTO to the diverter yesterday. I'll try again this afternoon.
2 points
-
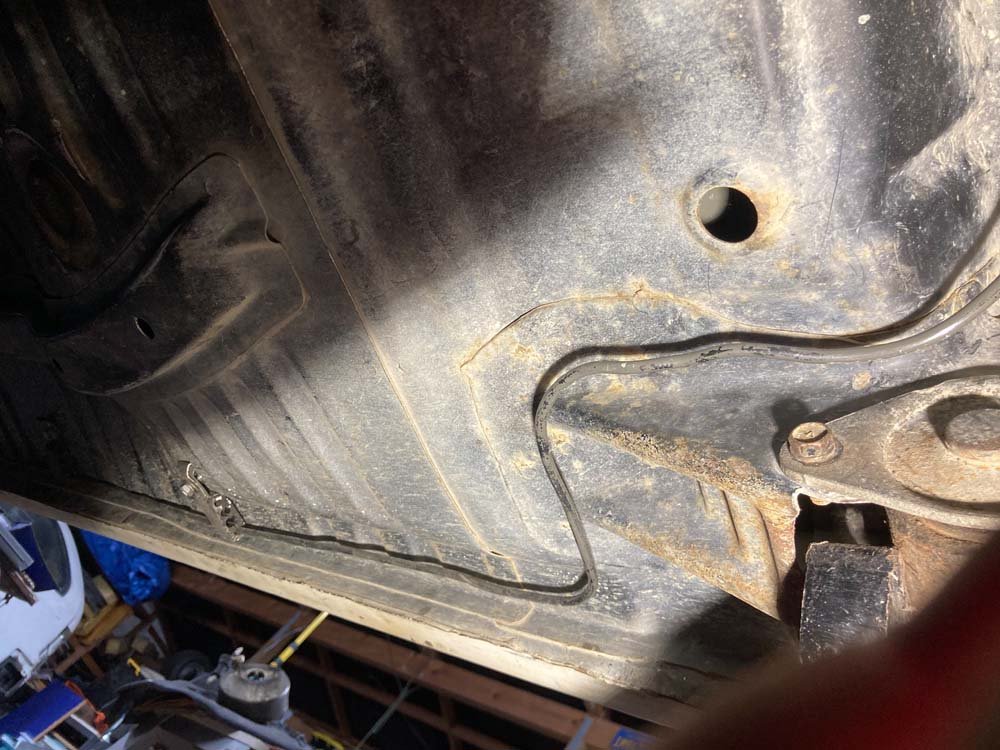
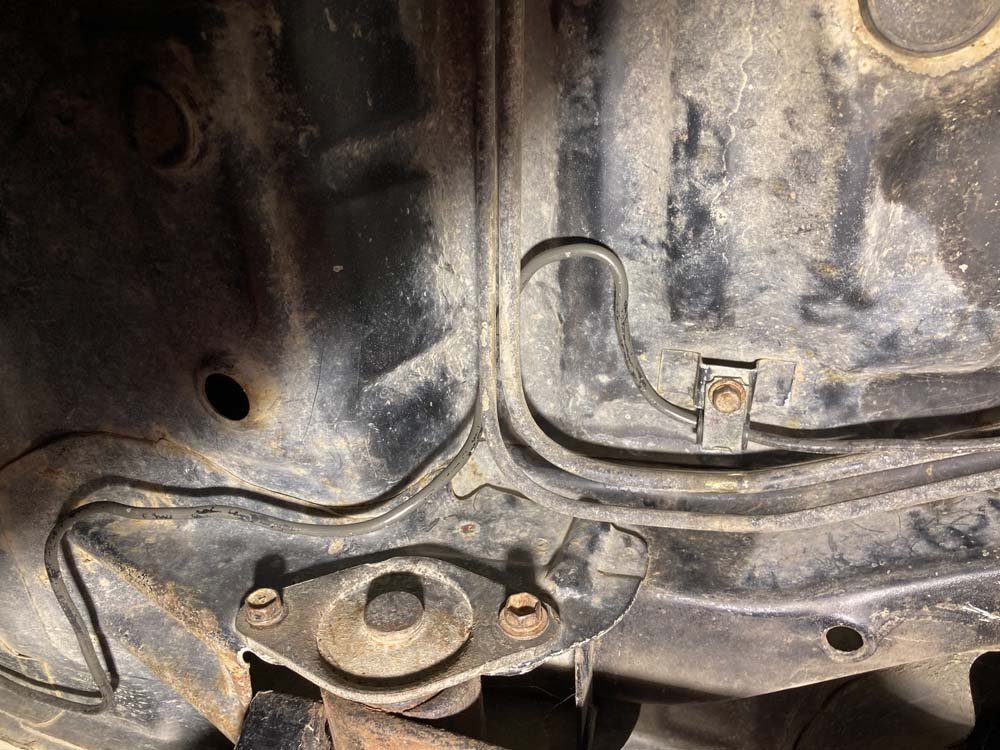
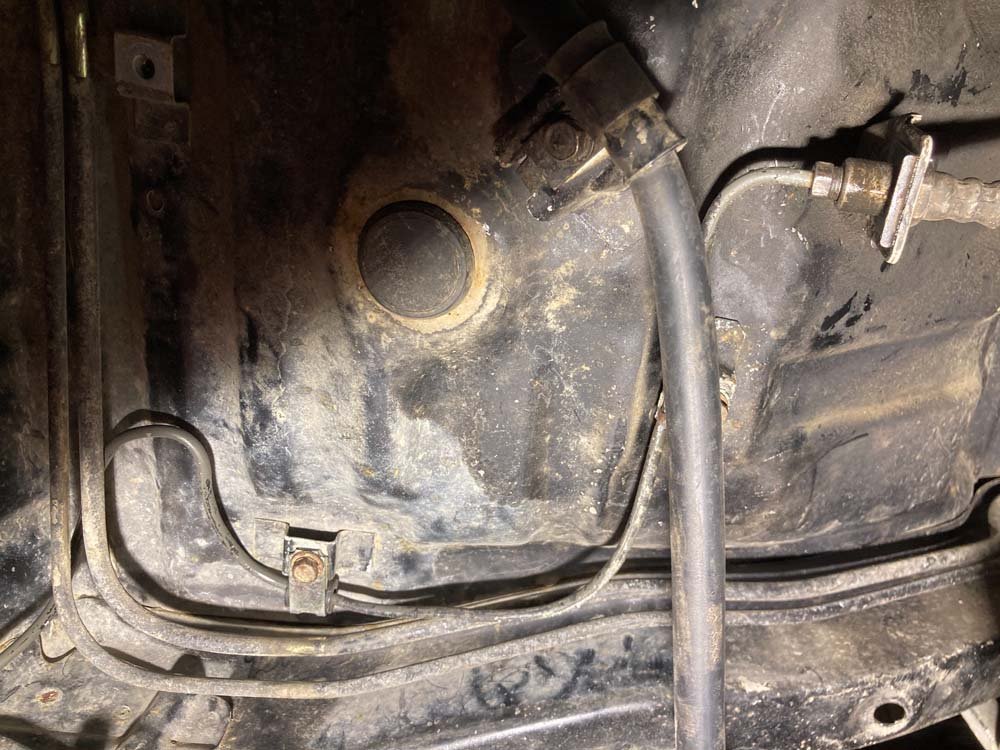
So @Dudley hooked me up with a Wilwood prop valve that he may have stolen off his dad... I've pulled the factory rear line out and rebent it to go out the side of the engine bay and run down beside the seam in the inner wheel well. I've replaced the plastic screw clips on the guard liner tabs with rivnuts and am planning to make a panel that works as a guard liner and protective cover for the brake and fuel lines. Maybe from some sort of plastic and I'll probably mount it inboard of the seam as well just to hold it off the lines. I've repurposed the factory fuel and brake line mounts and attached them with as few holes in the floor as possible as I didn't want rivnuts sticking up under my carpet. I'm gonna have to get some more brackets from somewhere, so might check out Zebra at some stage as I don't really trust 3d printed ones and I assume I'm going to need to mount the lines at 300mm spacings even if I'm mounting in a factory manner? I'm thinking about making some sort of cover that protects the line where it crosses in front of the leaf mount and I'm gonna tidy up some of the bends (and straights) eventually. This little kink in front of that last bracket is essentially coz I didn't want to cut and flare the line just to take that much out. The line is basically the factory length with the front flare cut off to suit the Wilwood nut and then run down the side of the car rather than the tunnel. I've still got the fuel feed and return to add down there. The feed will be the factory 8mm line and the return I'm upgrading to 8mm from the 6mm factory return with an ae86 factory feed I round in the rafters. I'm thinking I might add some sort of protection down that rail just to make sure nothing gets smoked into the ground. It's pretty satisfying how the line runs into the factory rear flexy hose for the diff. With the two fuel lines, I'll keep them running down the outside of the spring and then run the soft line into the tank through under the bump stop platform.
2 points
-
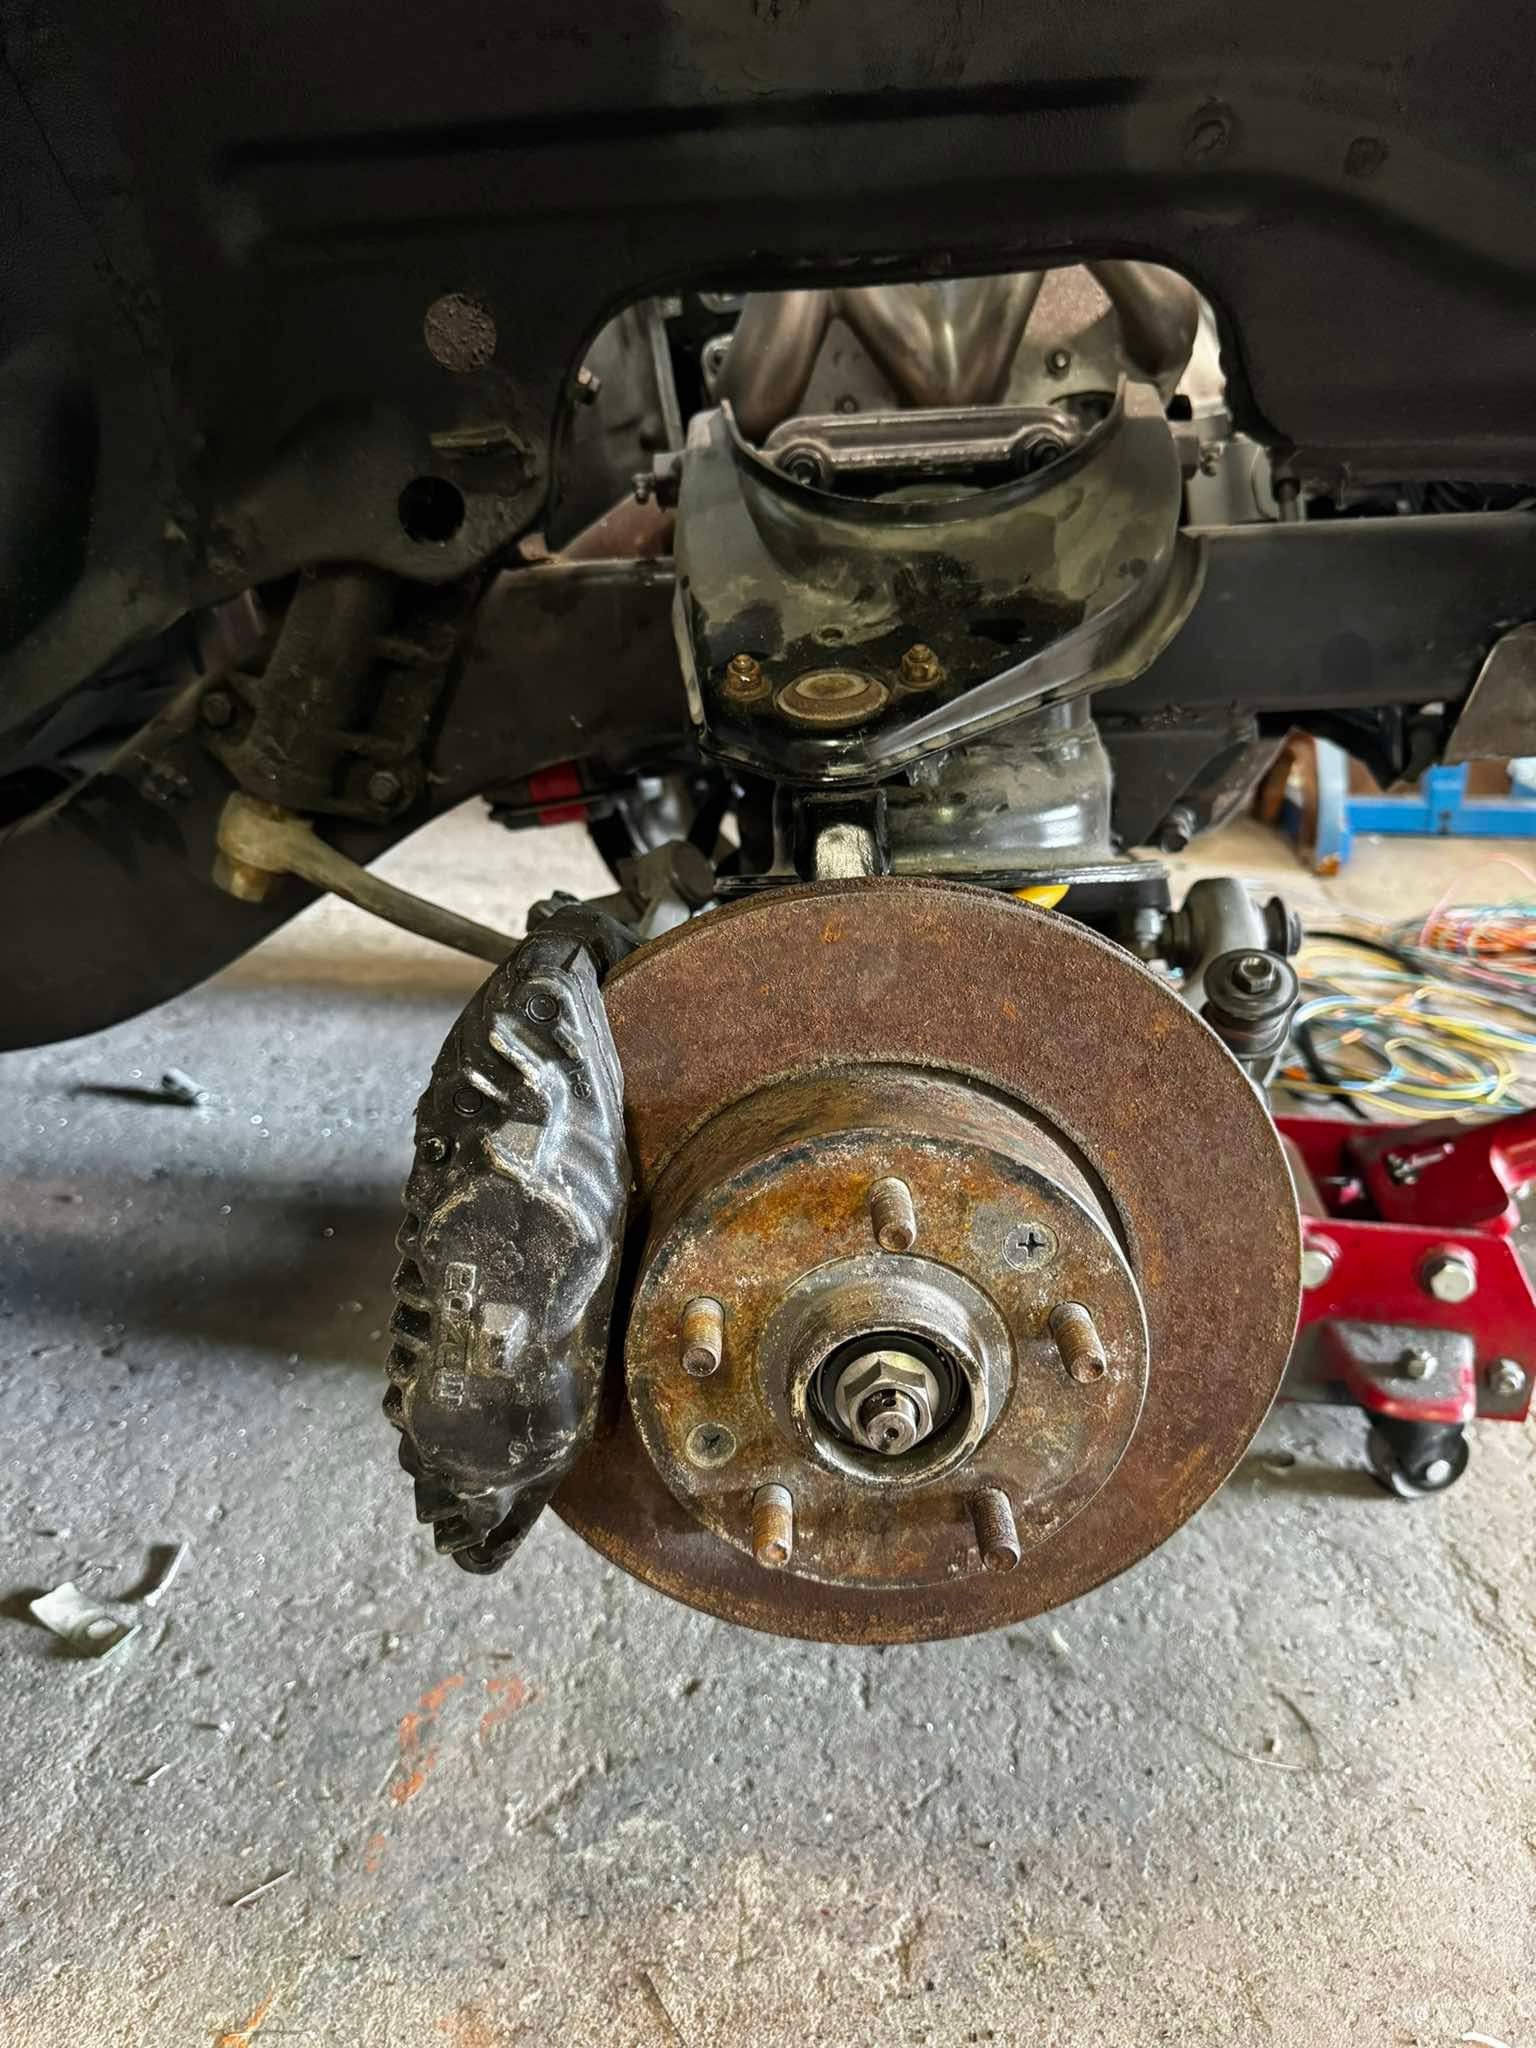
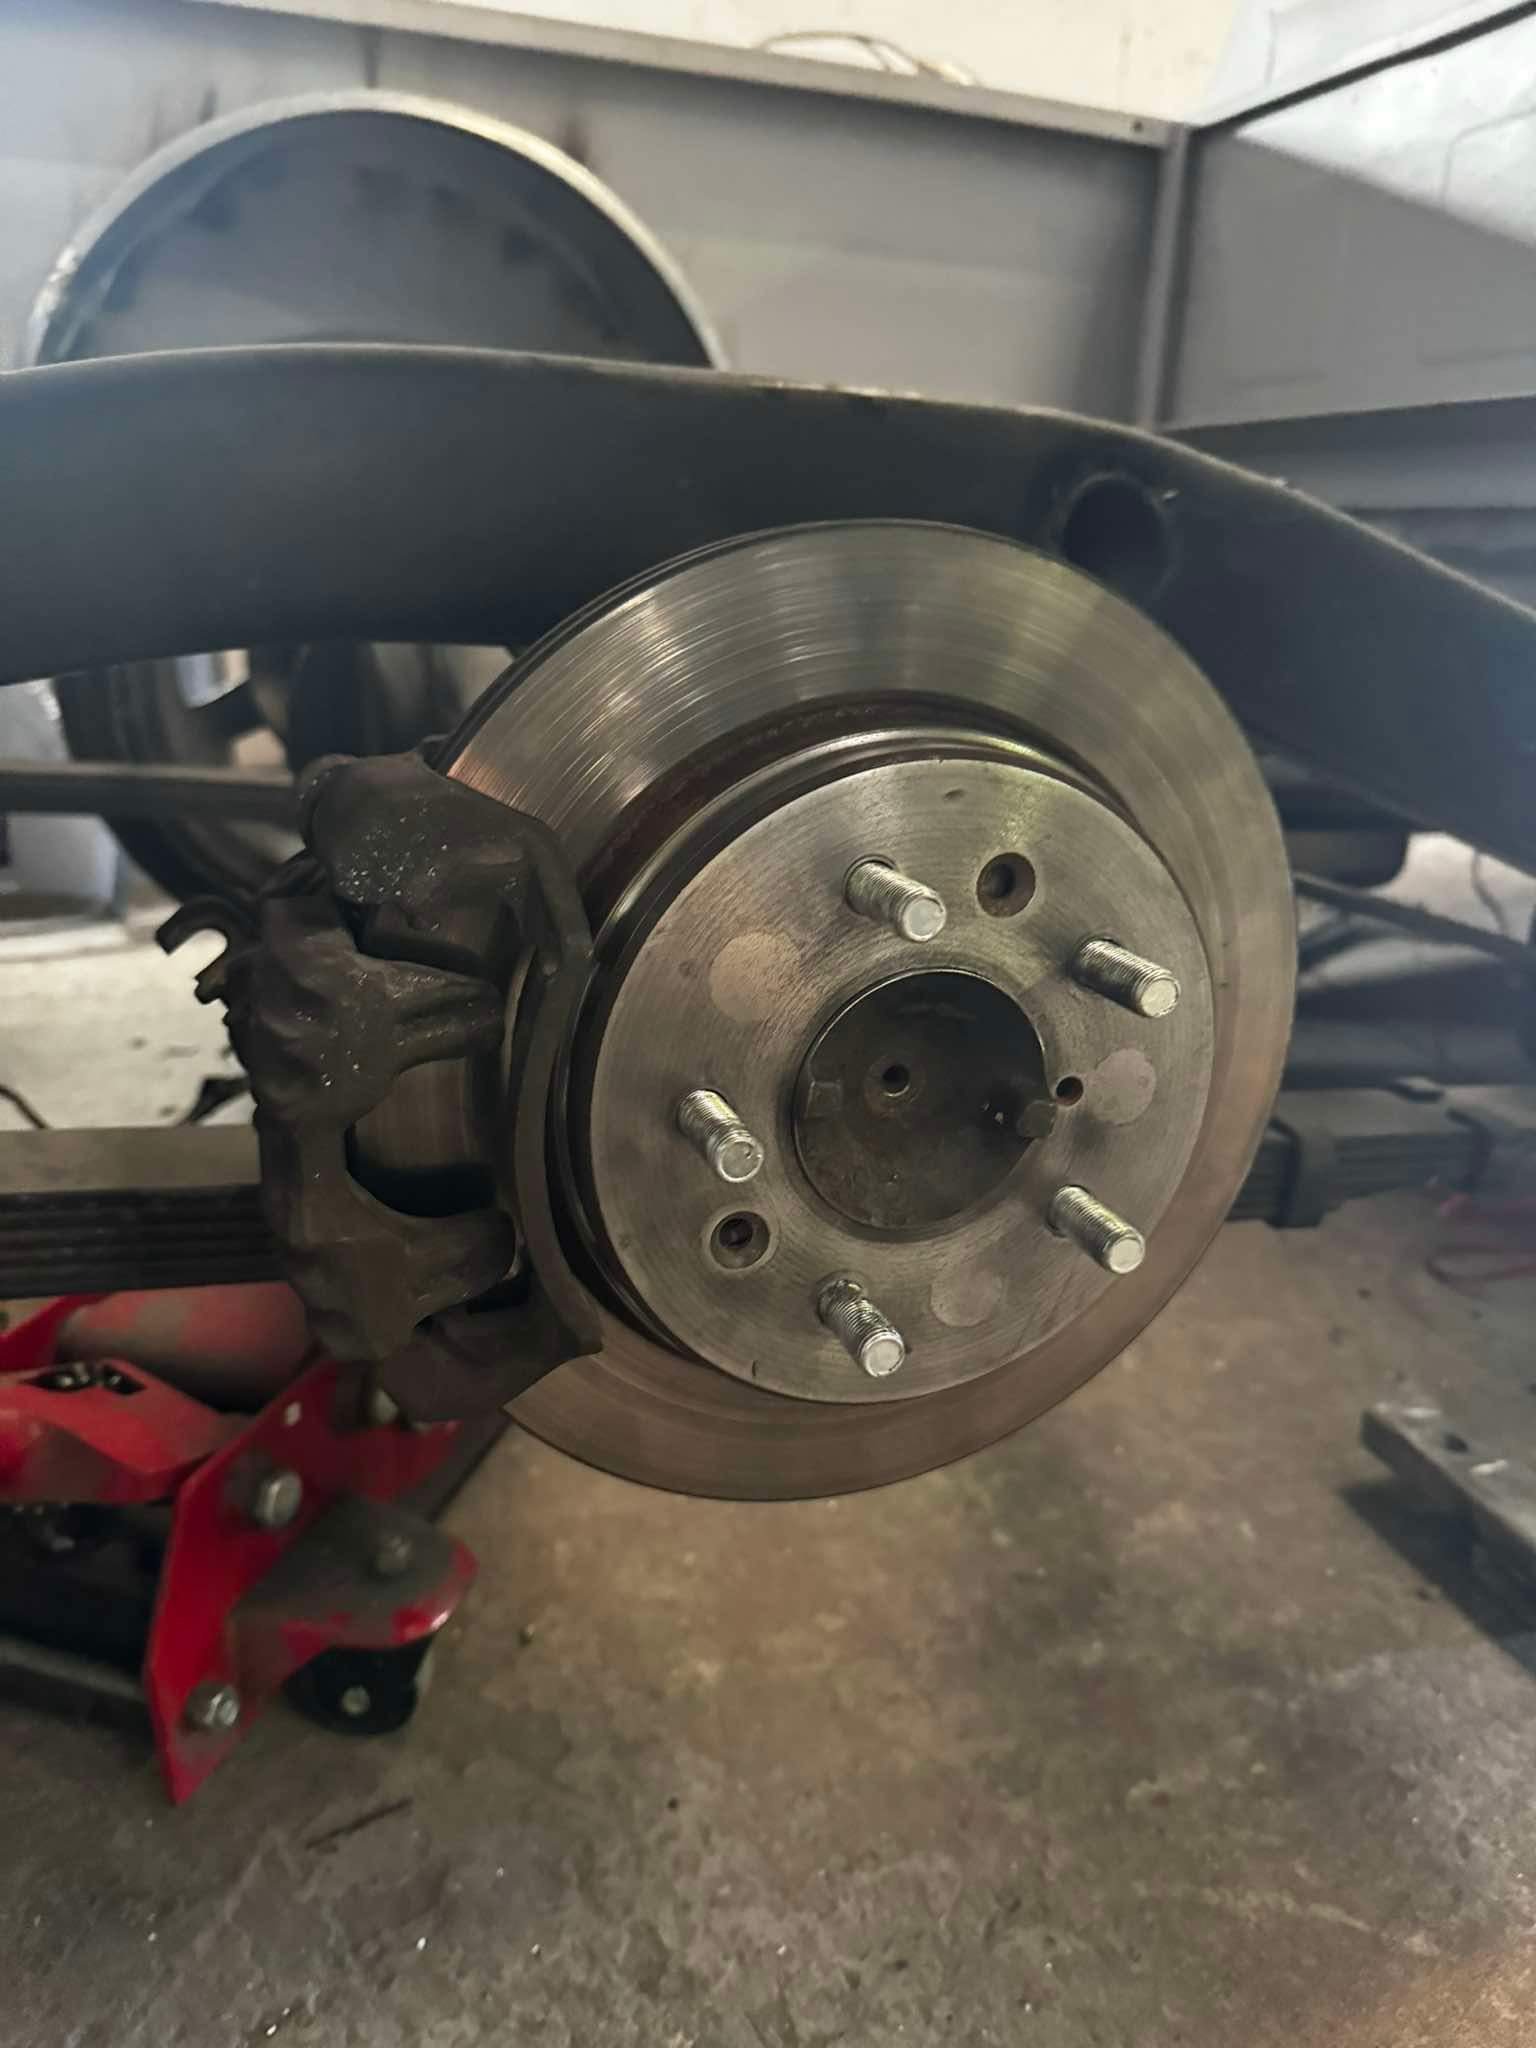
Sooo work can take a hike today. got my rear end in place. FC RX7 discs and calipers mounted. the calipers came with a set of brackets for a hilux. they fit perfectly offset wise, but the diff bolt spacing is off my a few mm. That’s ok, I’ll get some cut to suit. but for now it’s classified as completed. these calipers take the cables directly inboard to the nugget. I got the cables with the calipers too. just need pads all round. also side bonus is that the supplied caliper brackets fit a Hiace diff I have outside.
2 points
-
Just found a good right hand tail light lens at mooneyes japan, so I bought it and I'll be bringing it home with me.
2 points
-
that didn't take long. its been a minute since i done an update, so lets unload whats been going on in classic motorcycle world. got a family photo like my dad did years ago. went for a few rides between and then it was time to do cold kiwi. all packed up headed down with @flyingbrick @MostlySuzukis and a mate called pete. myself and marnix cheated a bit and had our gear and tent taken down to ohakuni the week before hand, but set up camp went for a ride around the local region went up the mountain with a couple of the guys we were camping with had word there was a storm coming with some crazy high winds so we tied the tent to the bikes. probably should have tied my bike to the other side as i woke up to the tent inside out and on me at 230am and woke marnix who was on the other side of the tent. the got winds of 100kph and other bikes fell over during the night. cc in @flyingbrick we packed up and headed home after the miserable night and stopped off on our way home at some spots and made it home to a happy daughter a good clean later spotless and lubed chain we are up and riding again. this time to the Hamilton motorcycle club night not long after that i decided id ride it to work, fouled a plug and got pissed off so changed out all four plugs. while doing that (during work hours) i left a lead off and thought the bike was completely fucked. i was pissed off to say the less during the time that i thought it was fucked. some more riding, this time to kawhia. another month passed now and club night was on again, quick ride out to raglan before hand during these last couple of rides the clutch was slipping at say 140kph and 160kph really bad. so i got some new clutches which i found locally and this was my next task. a few free minutes and a daughter wanting to work on grandad garys motorbike we were all go. oil all drained and wiggles magic wand to help i don't know what i'm doing at this stage, but i'm following my noes quick count up looks about right. clutches now soaking in new oil and time to put it all back together borrowed a torque wrench from a mate and made sure i didn't over torque these clutch bolts back together with a half fearing cause @flyingbrick is a sicko and really likes it like this quick ride to raglan to test the new clutches patted a random dog while i was pondering life but when i got home, i checked the oil and after a couple of rides this bike was still burning oil like no tomorrow. so time has come and the valve stem seals are now to be done on the trailer and off to dads best friends house who has kindly offered to help out and has some really good knowledge of motors and engineering we got into it and stripped the rest down till we came across needing a few different modifed tools. so we stopped, malcolm modified some tools and we caught up today to carry on. but during that time i put on my big boy pants and sat my full license for my motorcycle. took my small honda monkey over to Revs motorcycle center in paeroa went for a bit of a hoon while i was over there and yes i passed my full license but back to today. Malcolm made this handy air compression thing to full the combustion chamber up with air and hold the valves up while we took the springs off to reach the valve stem seals it was originally a spark plug of mine. he also had to modify his tool to press down the springs cams off and into it (well went over timing and a few other things) here we can see his tool that has been modified over the years watch the next video with volume off or down, the air compressor was still getting up to psi. and check out how toast this were. we were on a roll! had a good rhythm going and got them all done. cams back into place and started to put all the bolts back in that held the cam in place. when out of nowhere, one decided to snap under no tension at all. putting a end to the day pretty fast! i can get new bolts which is alright. ill try locally and see if i can get them fast. but for some weird reason we were missing a couple of dowels too. so ill get a couple of them and we should be good to go again. been that dad modified this bike and mucked around with it heaps back in the day, these bolts are a bit rough and i can understand them been fatigued just look at the top of the bolt. anyway, that's us up to date now here is a photo of when malcolms 38 ford was in nz hot rod magazine back in may 1992 with his supercharged 327 small block chev bored to a 331 in it. and a small glimpse into his shed for max barrie points2 points
-
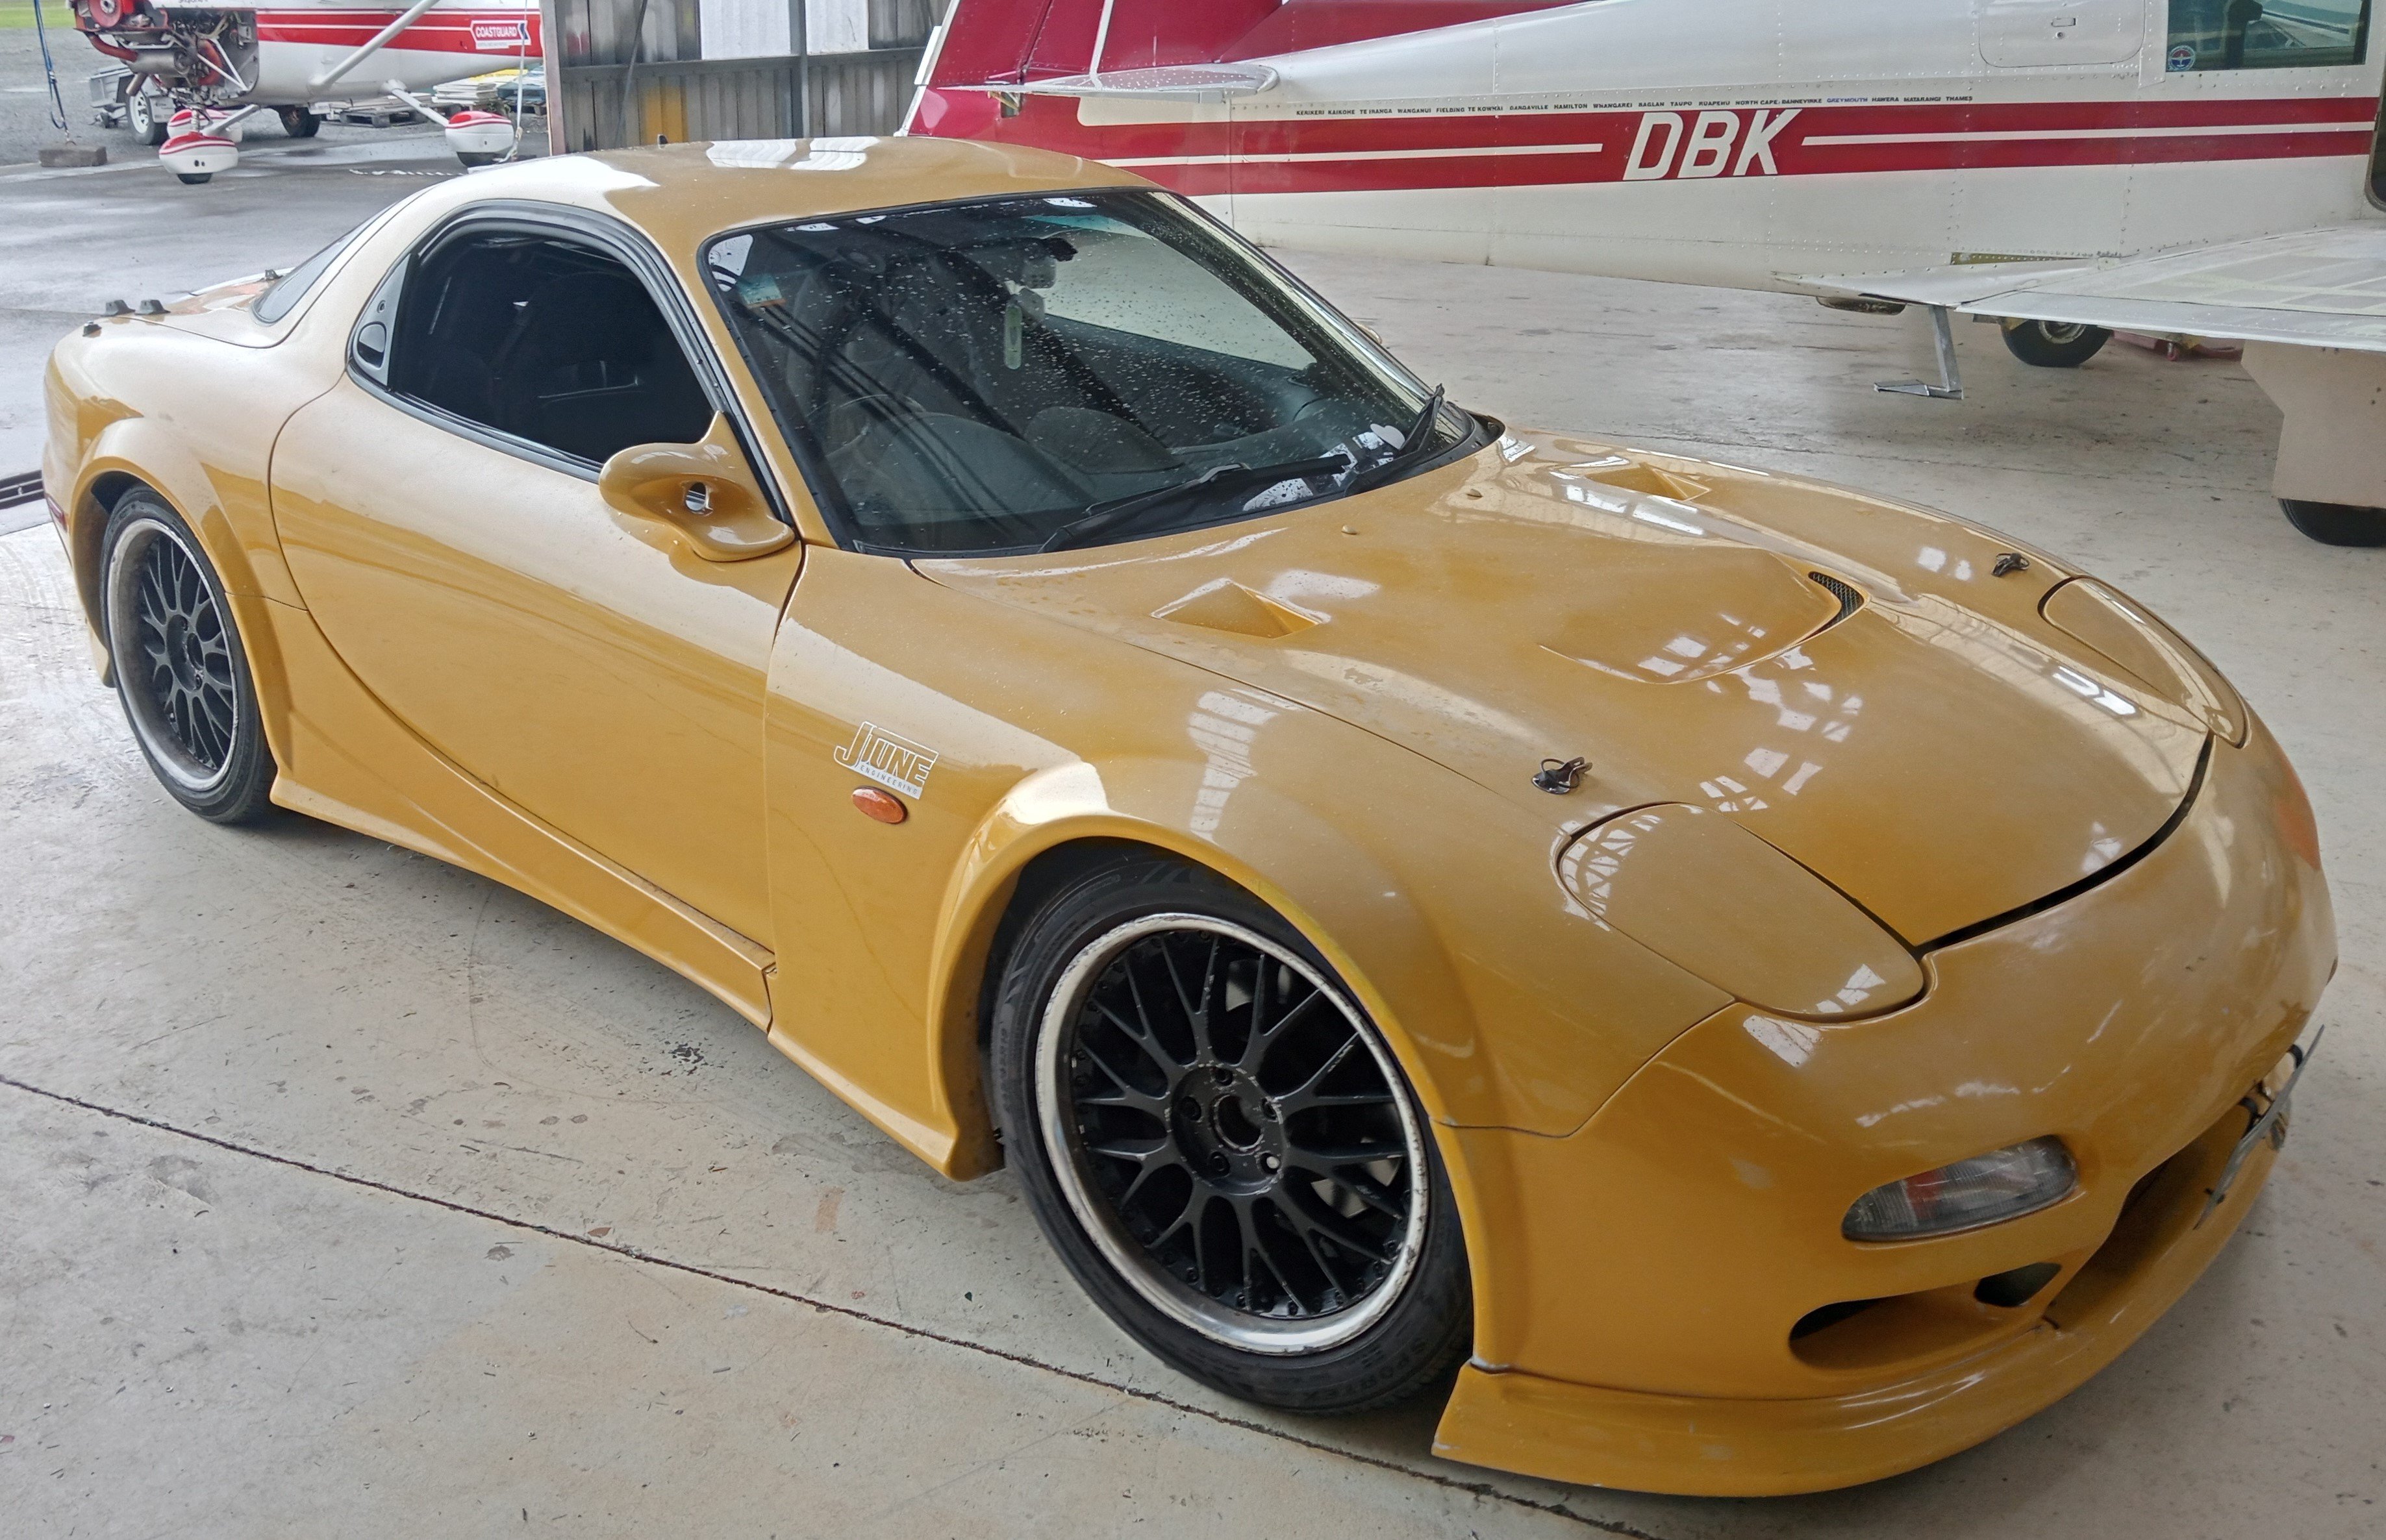
I can't quite remember the exact moment that I suddenly became aware that I needed an FD RX7, but it became a full blown itch over the next few weeks, checking trademe and FB marketplace pretty much daily - but also noting that the price of these cars was starting to tick down, and a lot of stuff wasn't selling. So the third time the price dropped on this one particular machine that was already in the cheaper category happened to coincide with half a dozen beers in my gut and before I knew it, I was the proud owner of a 1997 FD3S so it arrived on the back of a truck, which I am told is how these vehicles generally prefer to travel from A to B It was a quiet day so I anticipated this wonderful opportunity to dig around the thing and see where and how I'd been hoodwinked, but instead the towie turned up at exactly closing time so all I could do was roll it into the shop and bugger off for the weekend.
1 point
-
Yes, the hose marked in yellow comes from the diverter. Deleting the four return hoses would give me a filling point, but I will need to have a filler hose as the deck would make it otherwise difficult to add fluid. Good point about the breather. I hadn't thought of that... but I can just drill a hole in whatever I cap the hose with. I need to get the clutch fixed, get a working hiab back in to lower the deck, and then drive the thing into the shed. I'll do that once all the bundy tube arrived (possibly Wednesday). EDIT: Perhaps there's a removable plate in the deck for topping up the hydraulic tank already. I will look on my next visit. My biggest hassle is the diesel gushing over the PTO and grass when I run the engine. It's a PITA and right where I need to work1 point
-
Any specs to share? For any future sickos working on LD28's1 point
-
Those return lines could have been the old filler point to looks maybe a 1inch fitting. Would need a breather there thou.1 point
-
Was the answer provided in Ugga Duggas or just make sure it's f***ing tight1 point
-
All sorted1 point
-
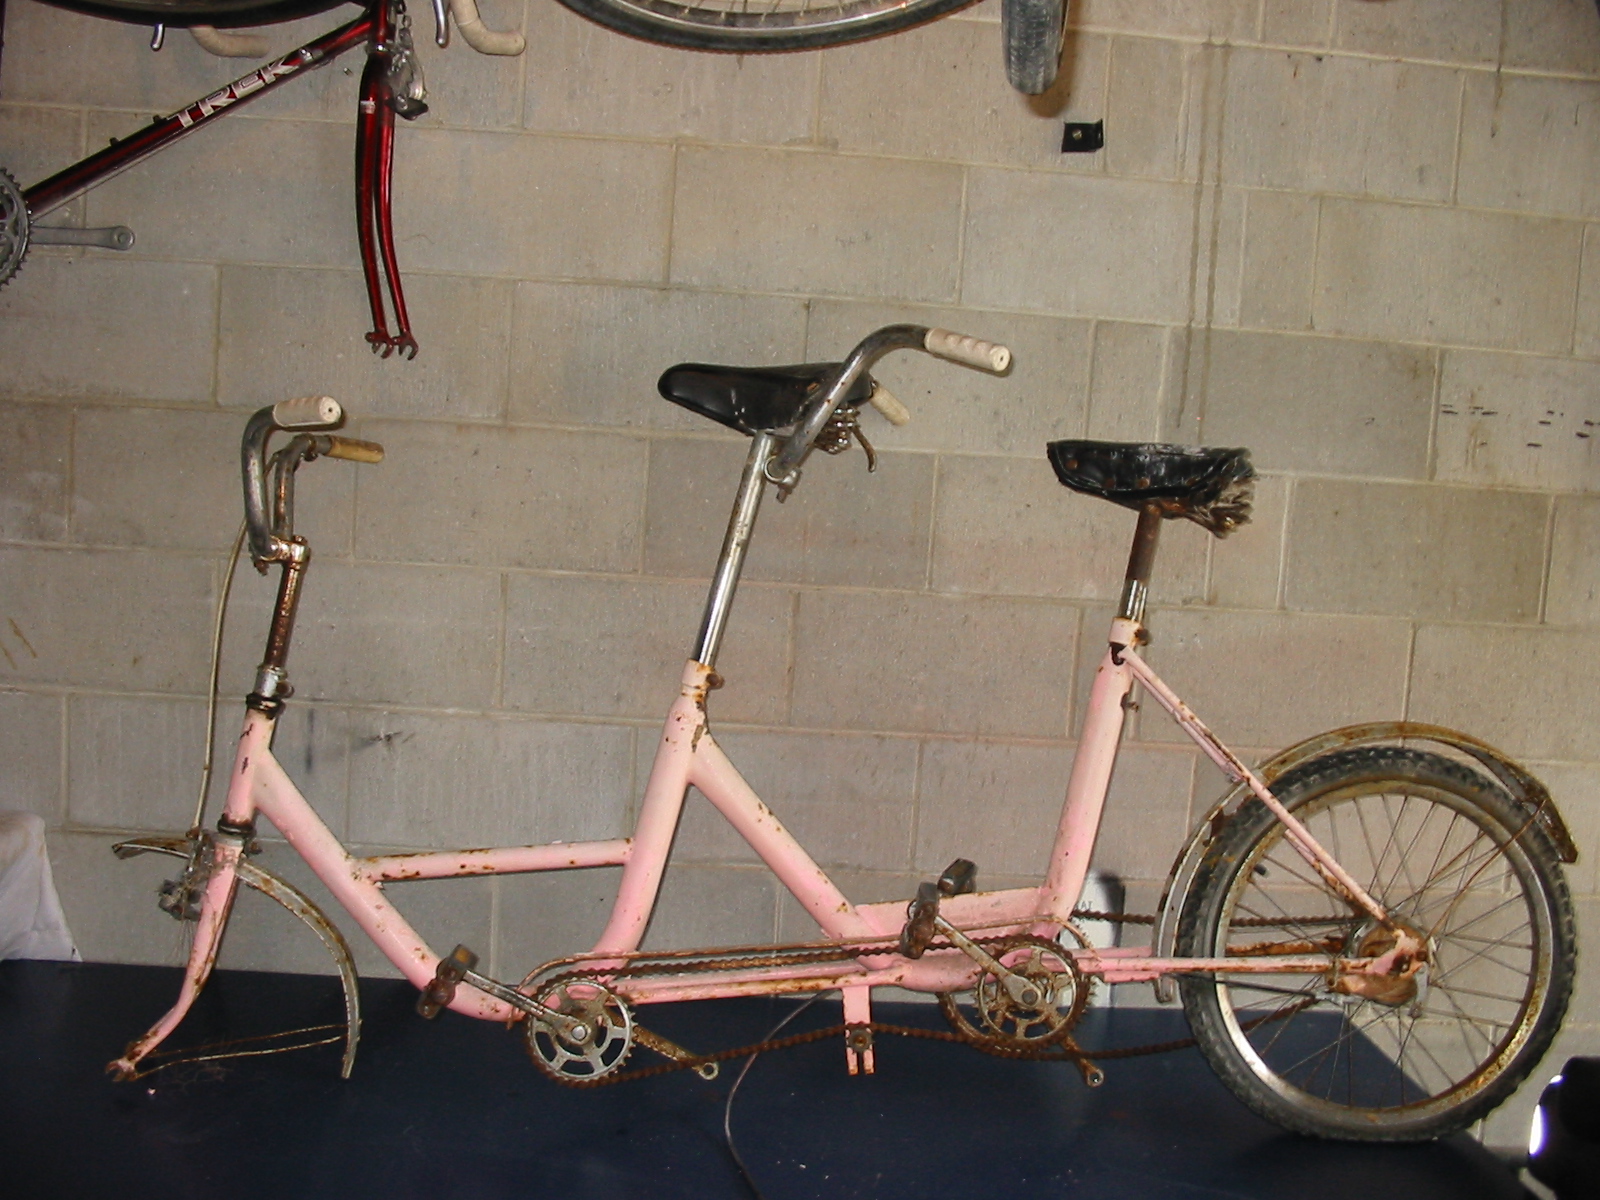
In July BDA780 and I bought a Tandem Loline because we thought it would be hilariously awesome to try velo it. However, it is so cool that we are currently discussing just restoring it to ride round. It needs a fair bit of work to get it going (still a sweet deal for $100), has gears at the rear but they're ceased, everything is pretty rusted minus the frame, need new tyres and seats and need to fix the shocking welding job on the back handlebars.1 point
-
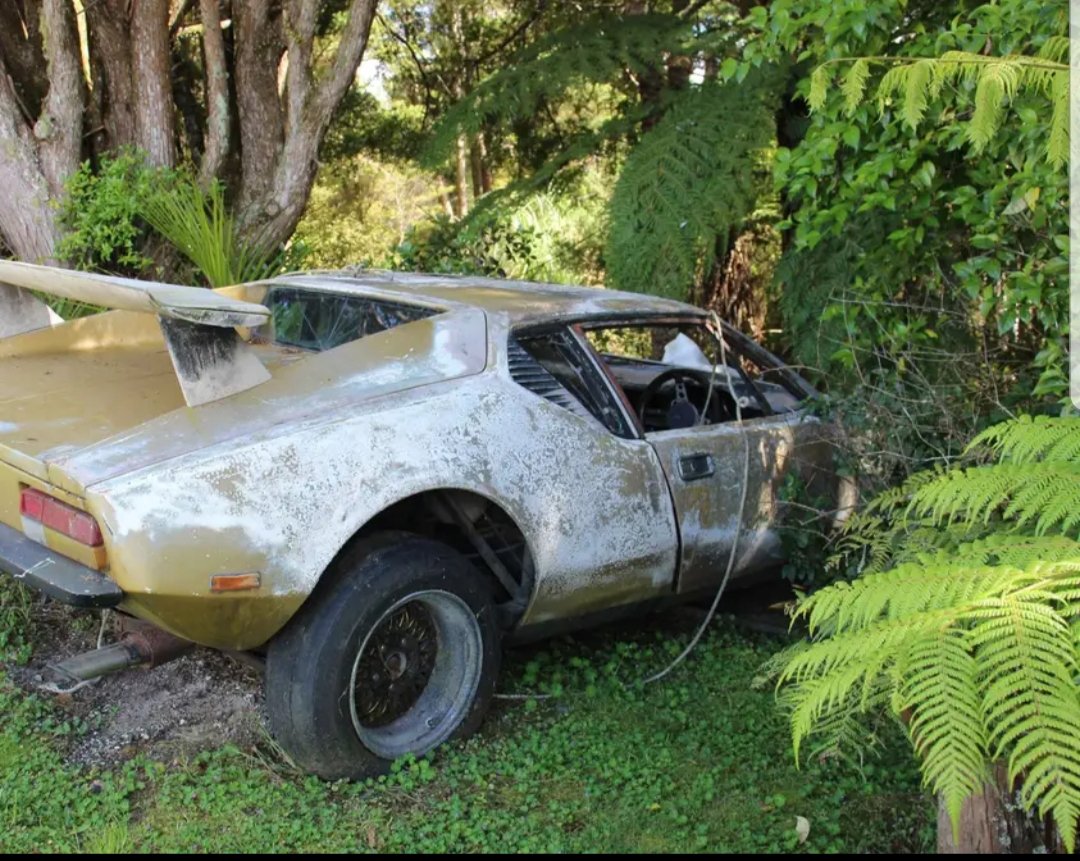
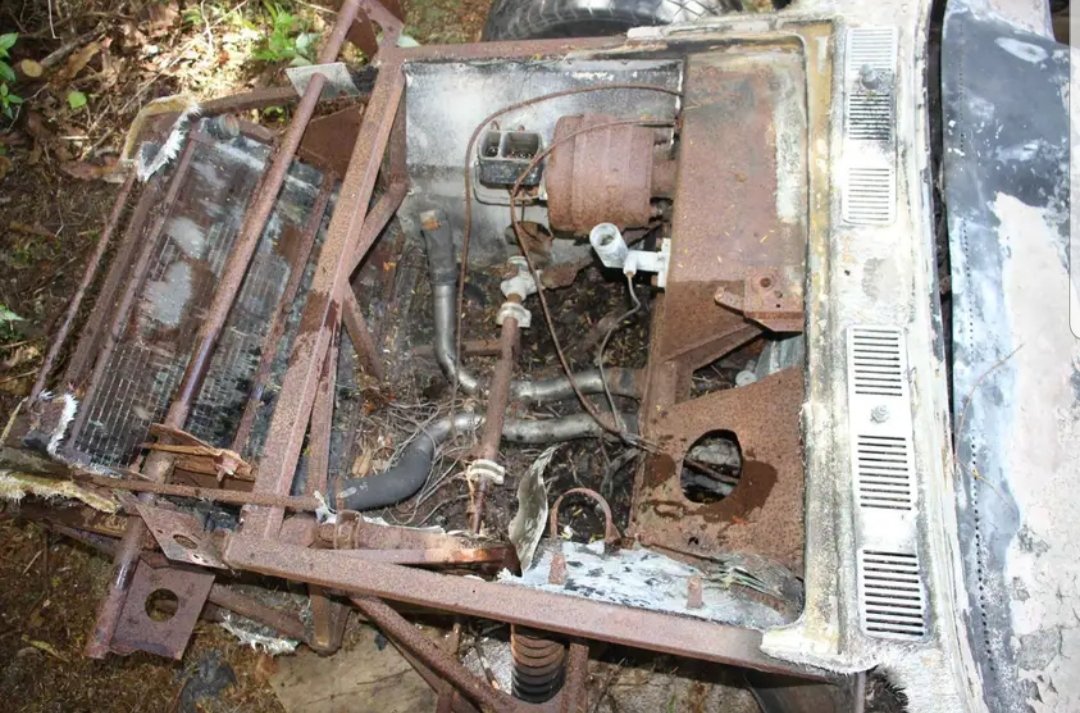
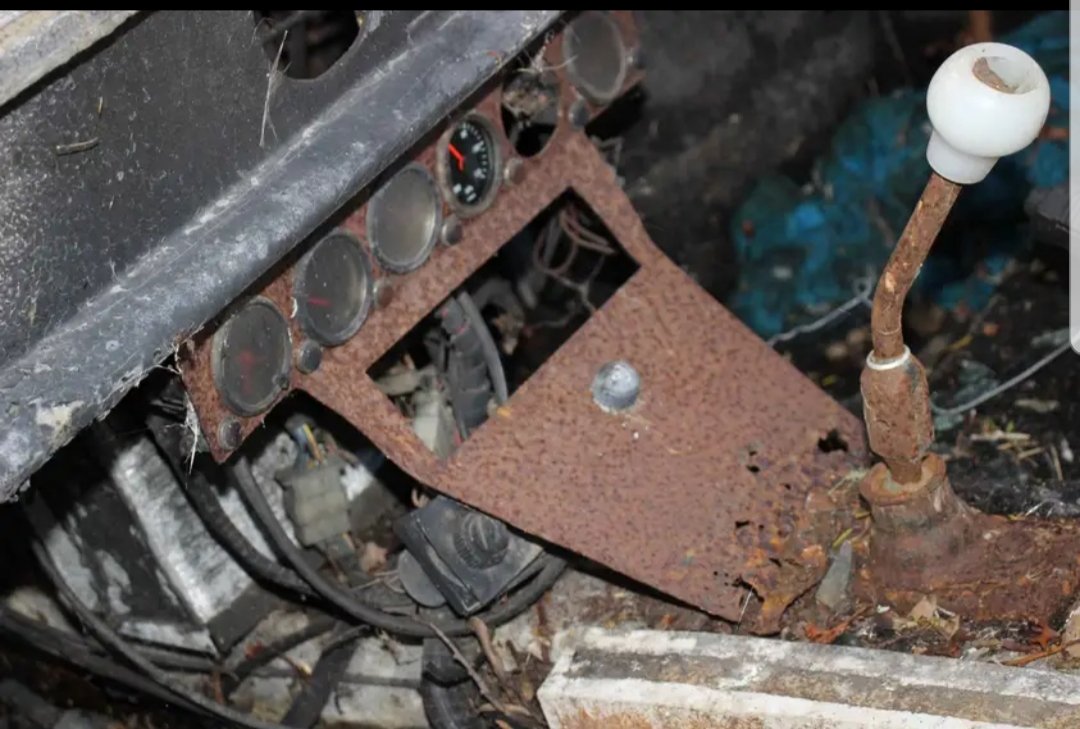
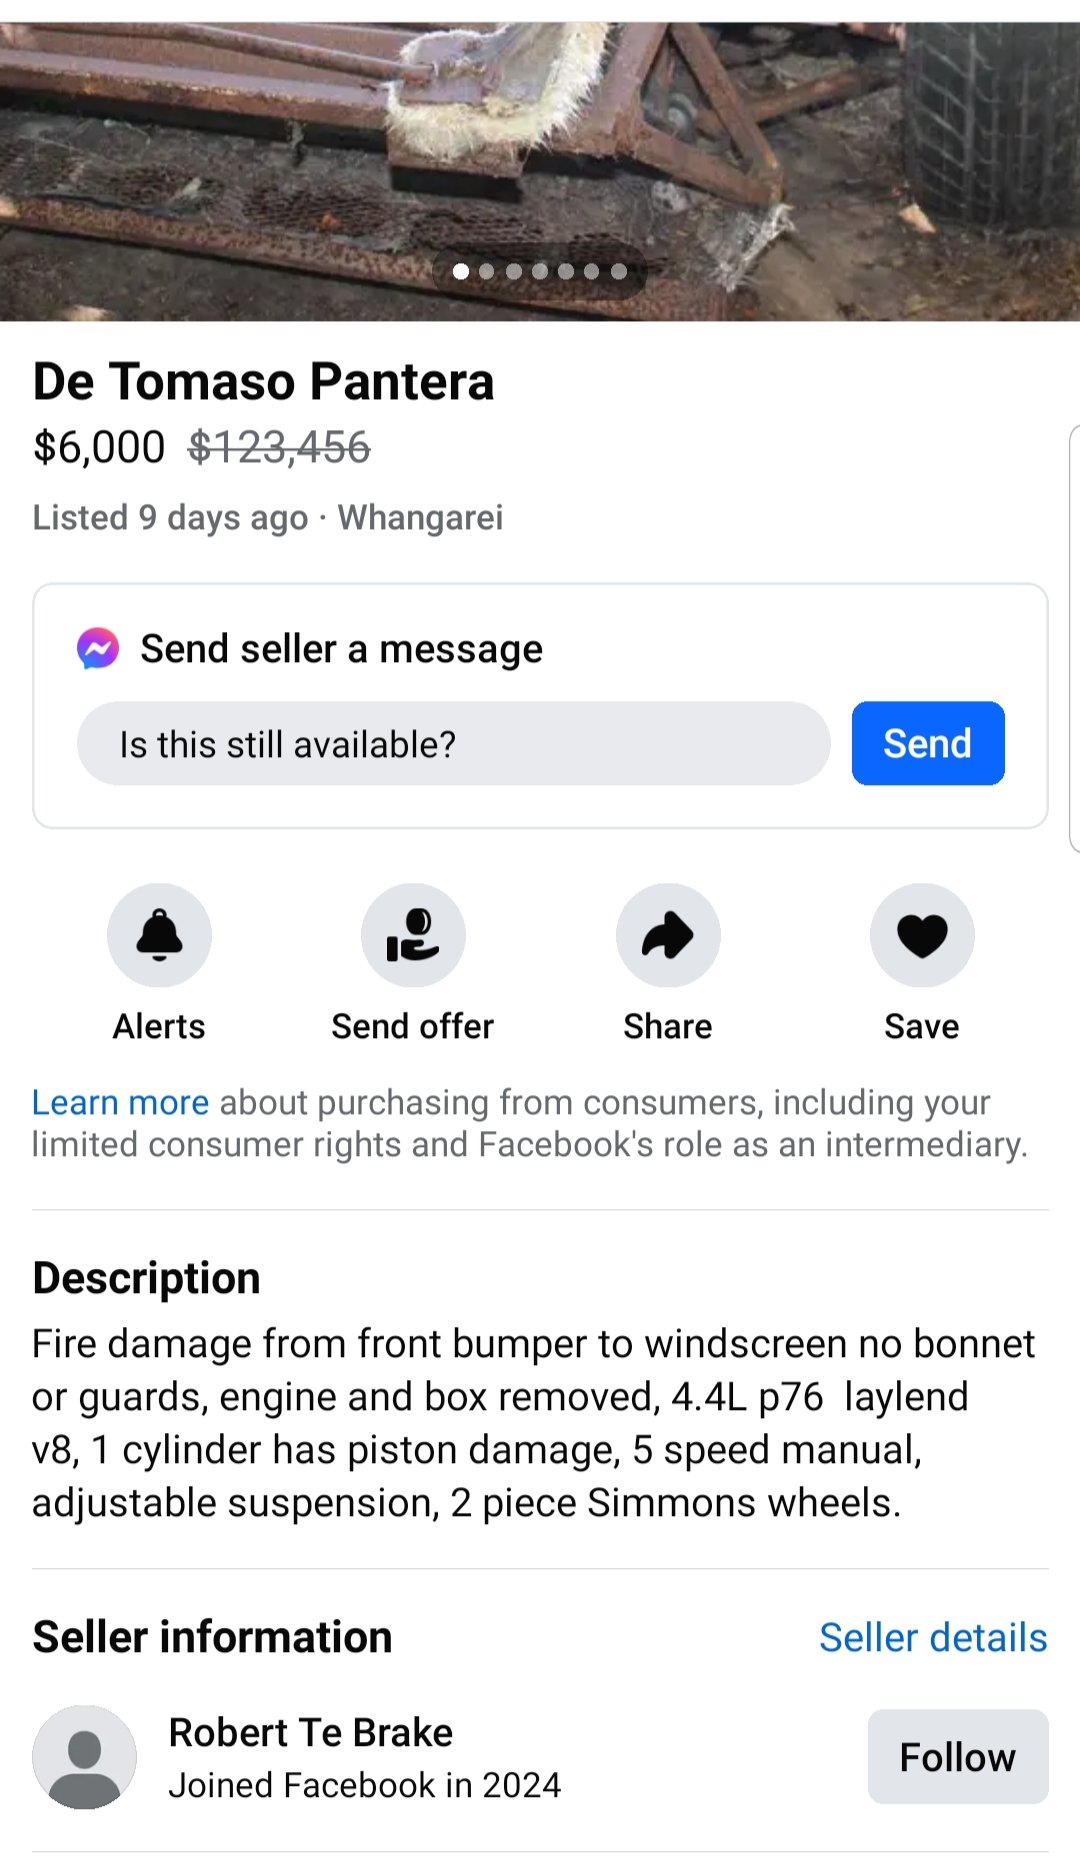
Spotted on Marketplace. Profile looks pretty suspicious being started in 2024. But its Rhd and the ferns look like its NZ. https://www.facebook.com/share/14M1LGgMag/
1 point
-
yes will need two loops you will need to make some legs off the crossmember to attach the loop to the chassis, or bolt it to the tray floor with doubler plates on the top of the tray floor requirements are in the CCM for dimensions, bolt sizes etc1 point
-
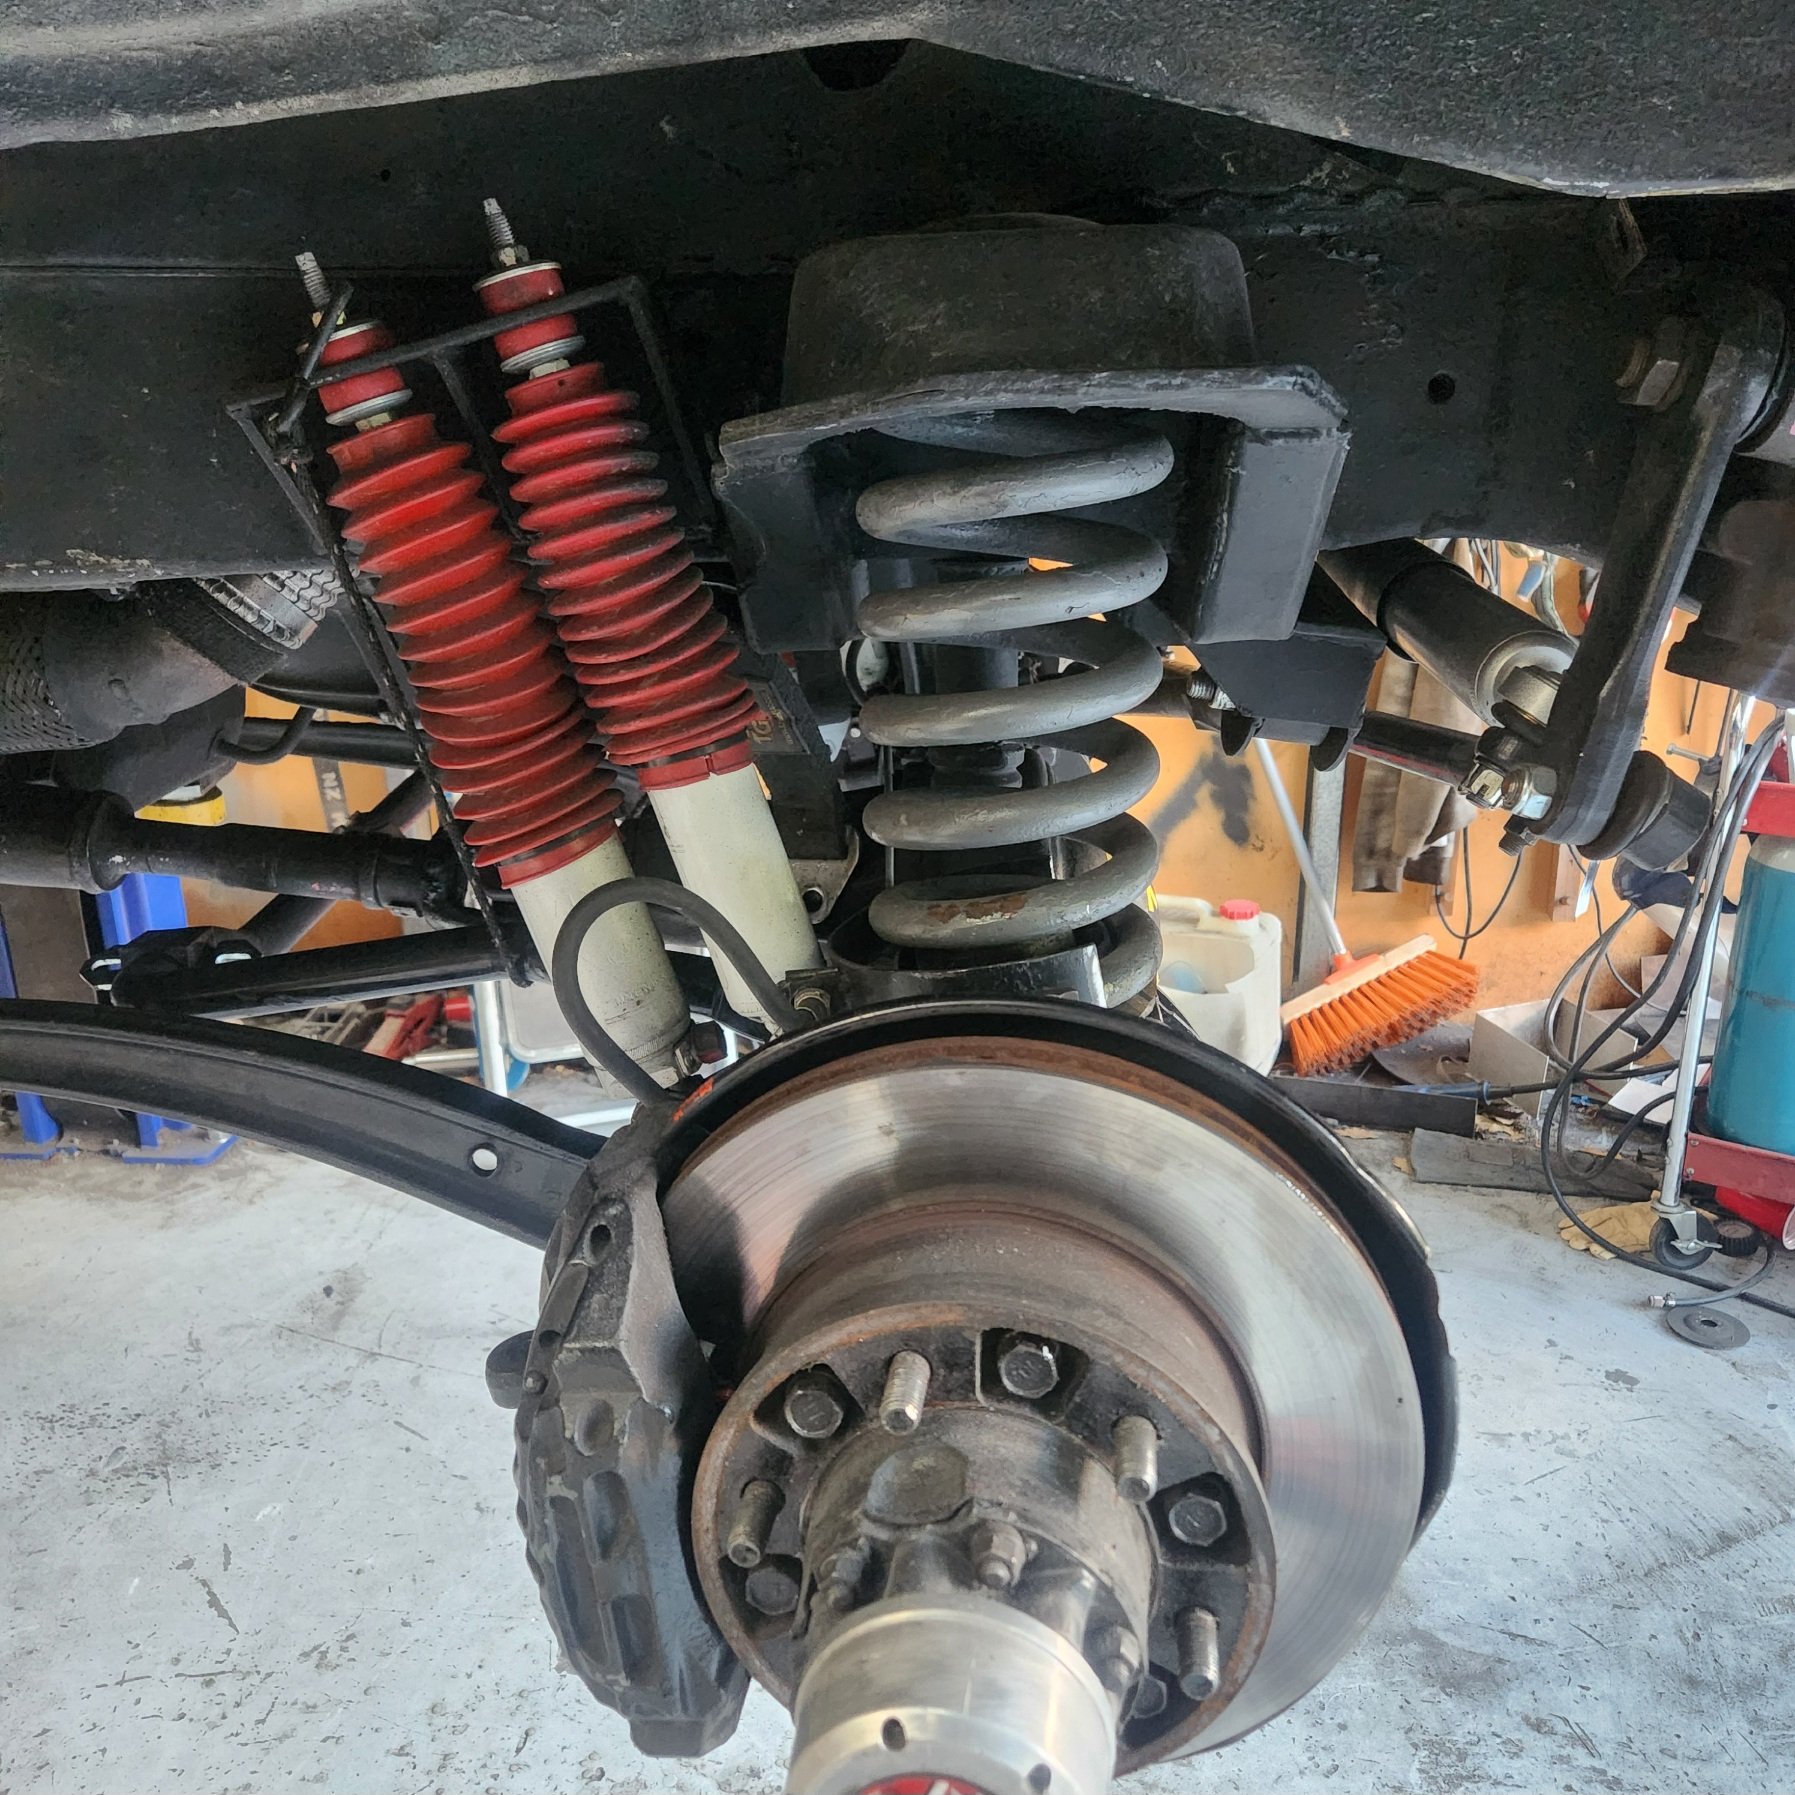
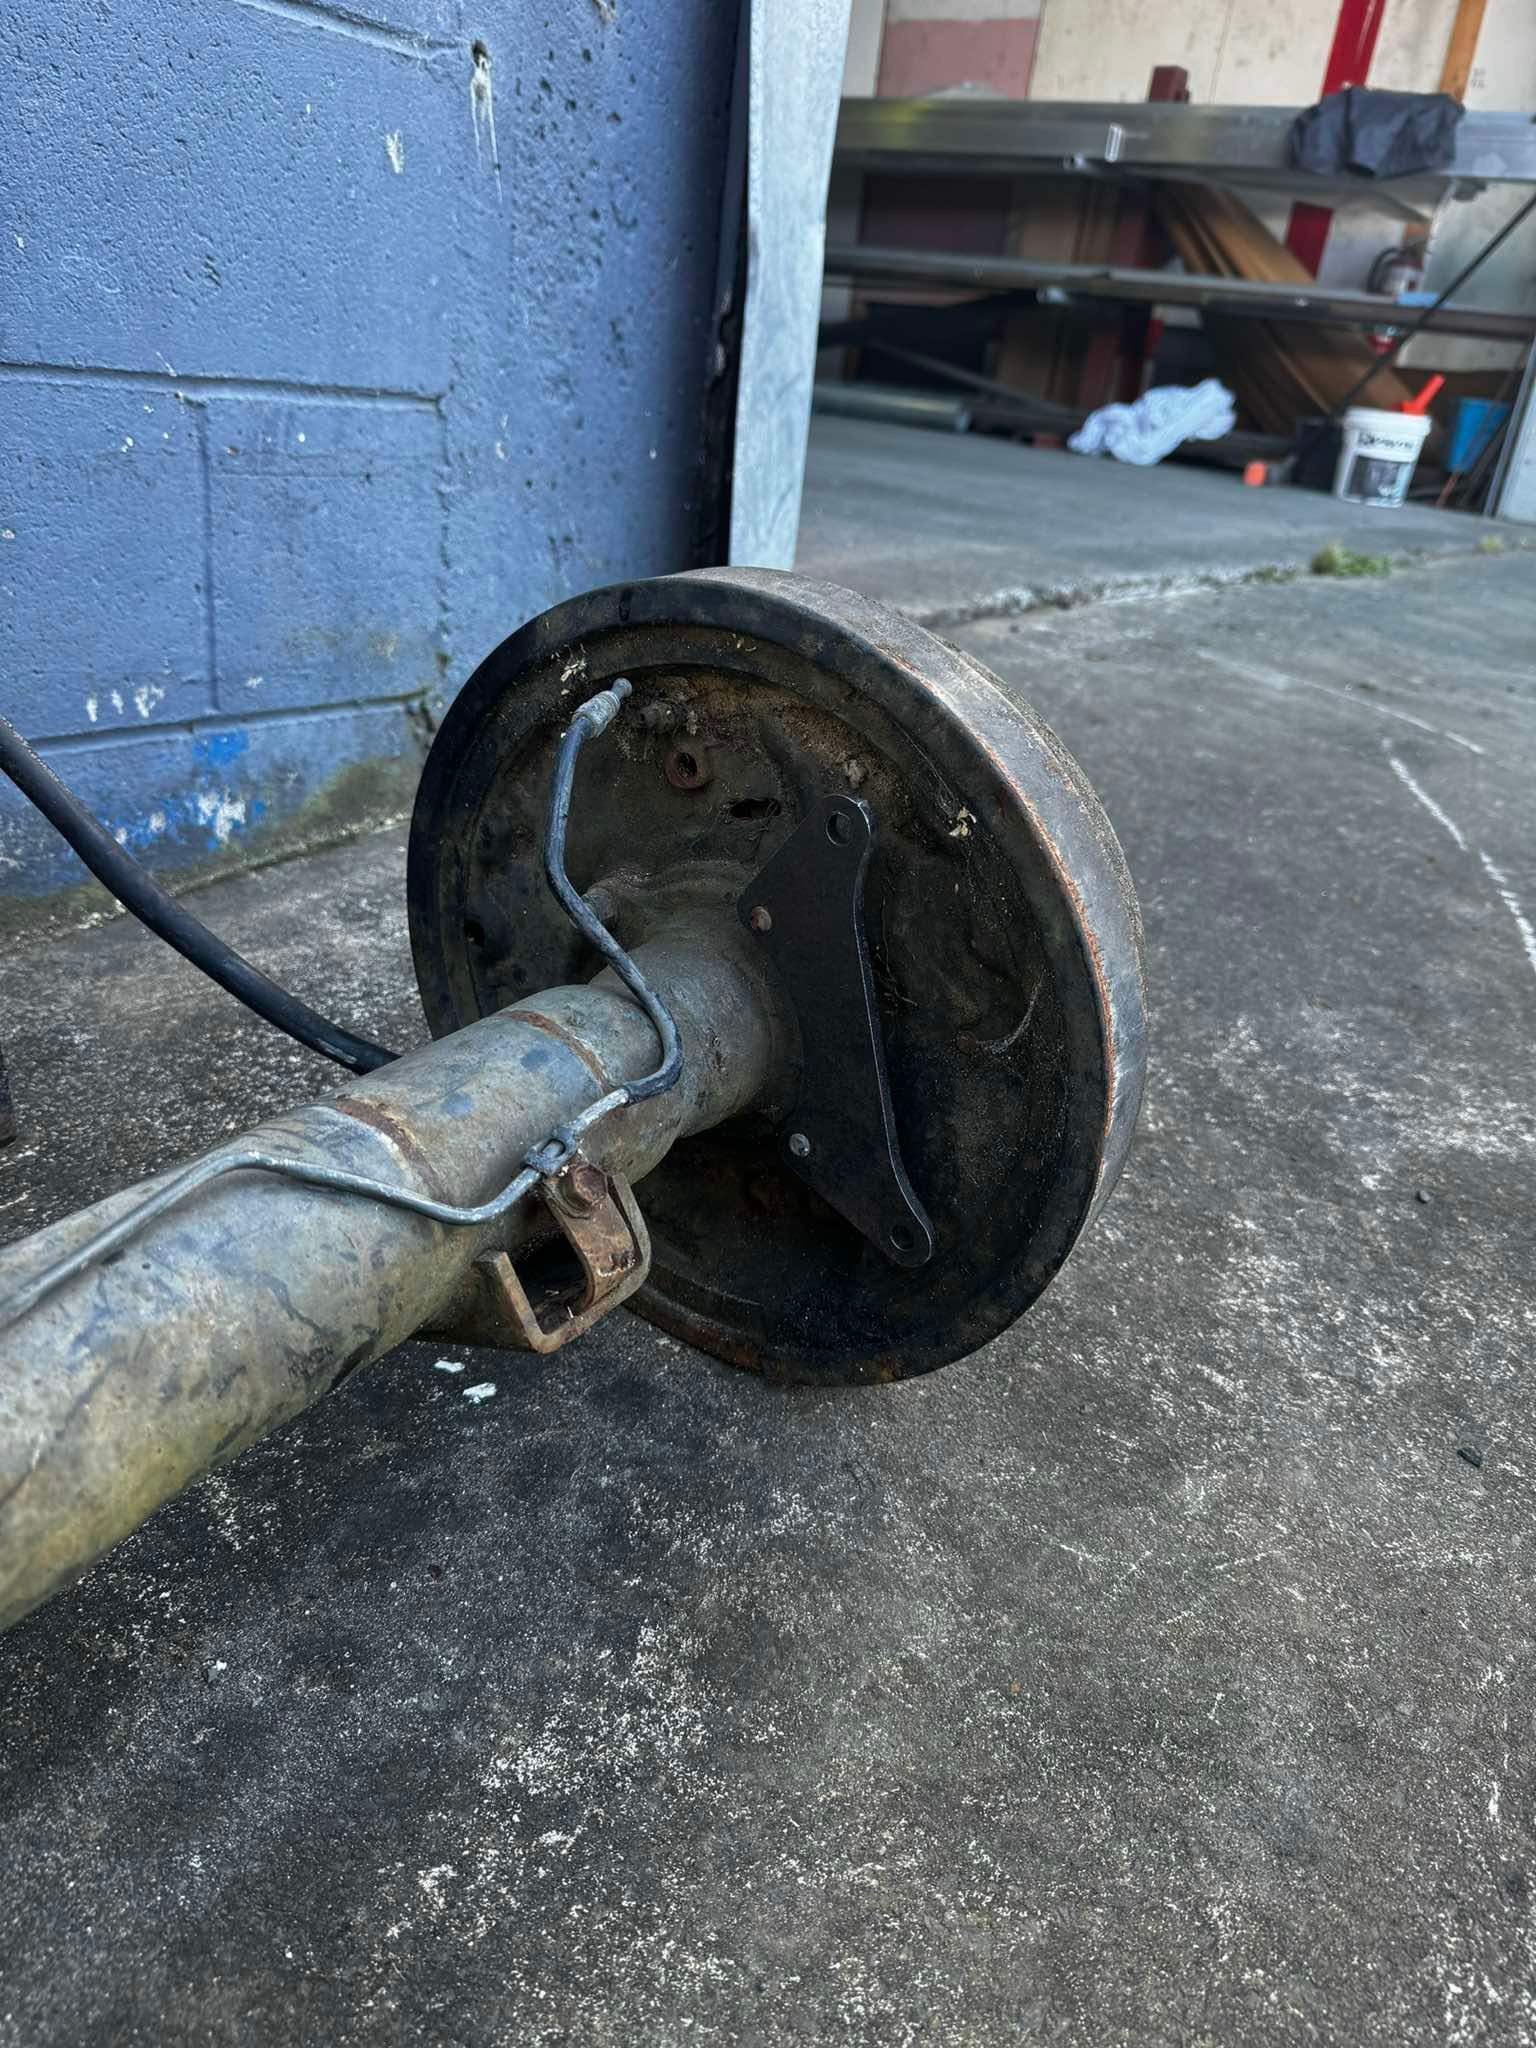
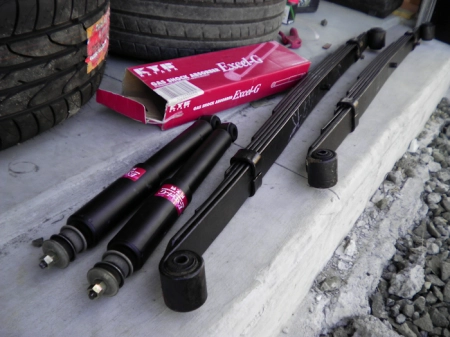
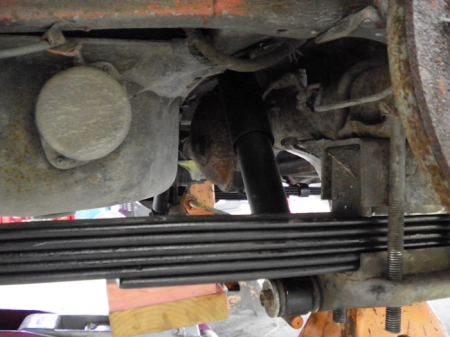
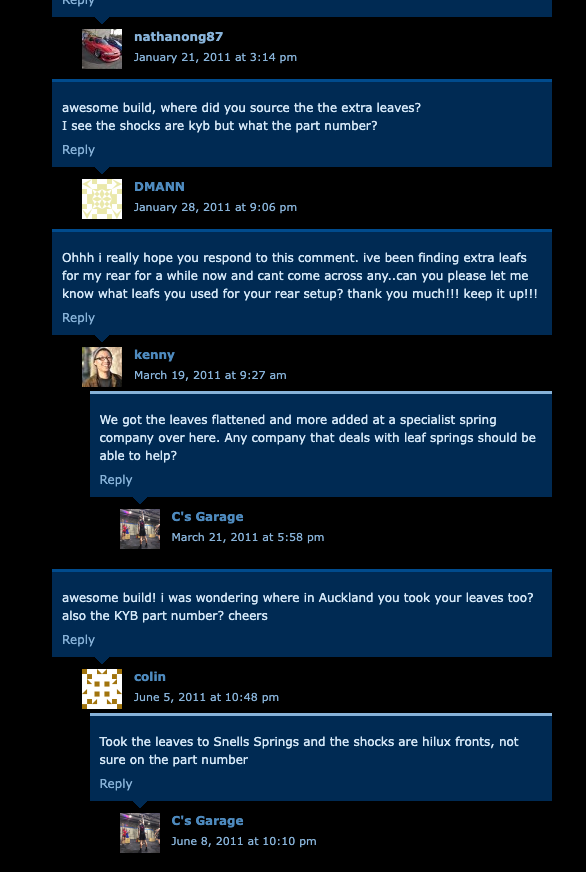
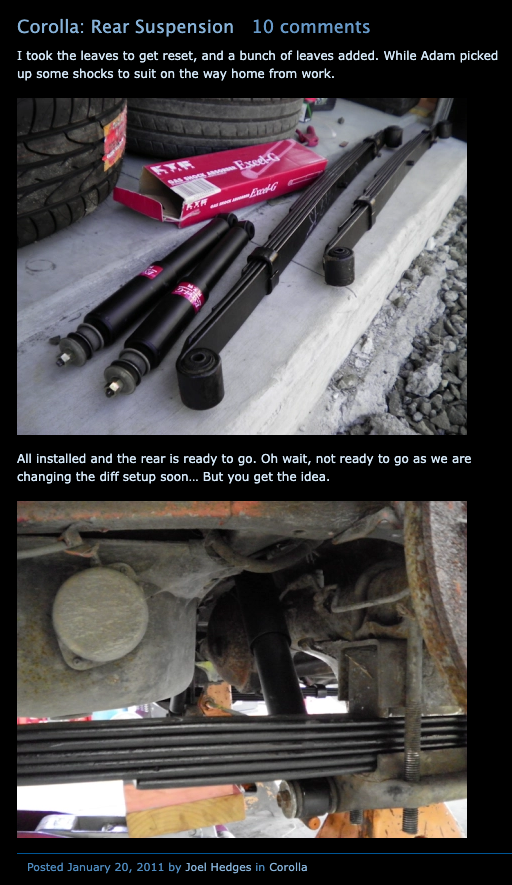
Just storing these so they don't get lost. This is the rear suspension setup I have although looking at the pics my shocks are grey rather than black so they must have changed them at some stage before I got the setup
1 point
-
The Virm has actually been updated recently and made it illegal for Yellow Rx7s to have oem turbos. So only way you will get a wof is if you fit a single BorgWarner 300sxe.1 point
-
I blew all my fancy ECU money on mags and shiny intakes because I'm sixteen1 point
-
Have tuned a couple of fd's with power fc, both had single turbo swaps. one had a stock engine with a pulsar 6262 (g35) the other one had an older gt series of similar size with with a rebuilt engine with some mild porting. both made low to mid 200kw at wheels on low boost. the one with the pulsar turbo was more responsive and came on bit sooner. but both had a stack of midrange and good off the bottom, nice to drive for street cars Anyway, power fc is getting pretty old tech now and fairly basic. but for something like above they are fine. anymore power i would look at something newer like a link. as they arent amazing with bigger injectors, have to fudge the deadtimes and stuff to tune the low load and idle stuff and you are putting your trust in some old electronics, The idle control has a mind of its own also. Need a datalog it or similar to tune them properly, hand controller is just for small adjustments and a pitta to tune with. I would avoid a microtech also, cant say ive tuned one myself but have heard stories from other tuners and are old tech now also I dont think the air pump would effect anything tune wise Edit; Also if you wanted me to tune it. you'd have to deal with me moaning about the power fc and to buy a link1 point
-
Lol I assume you have looked through @ProZac's thread.1 point
-
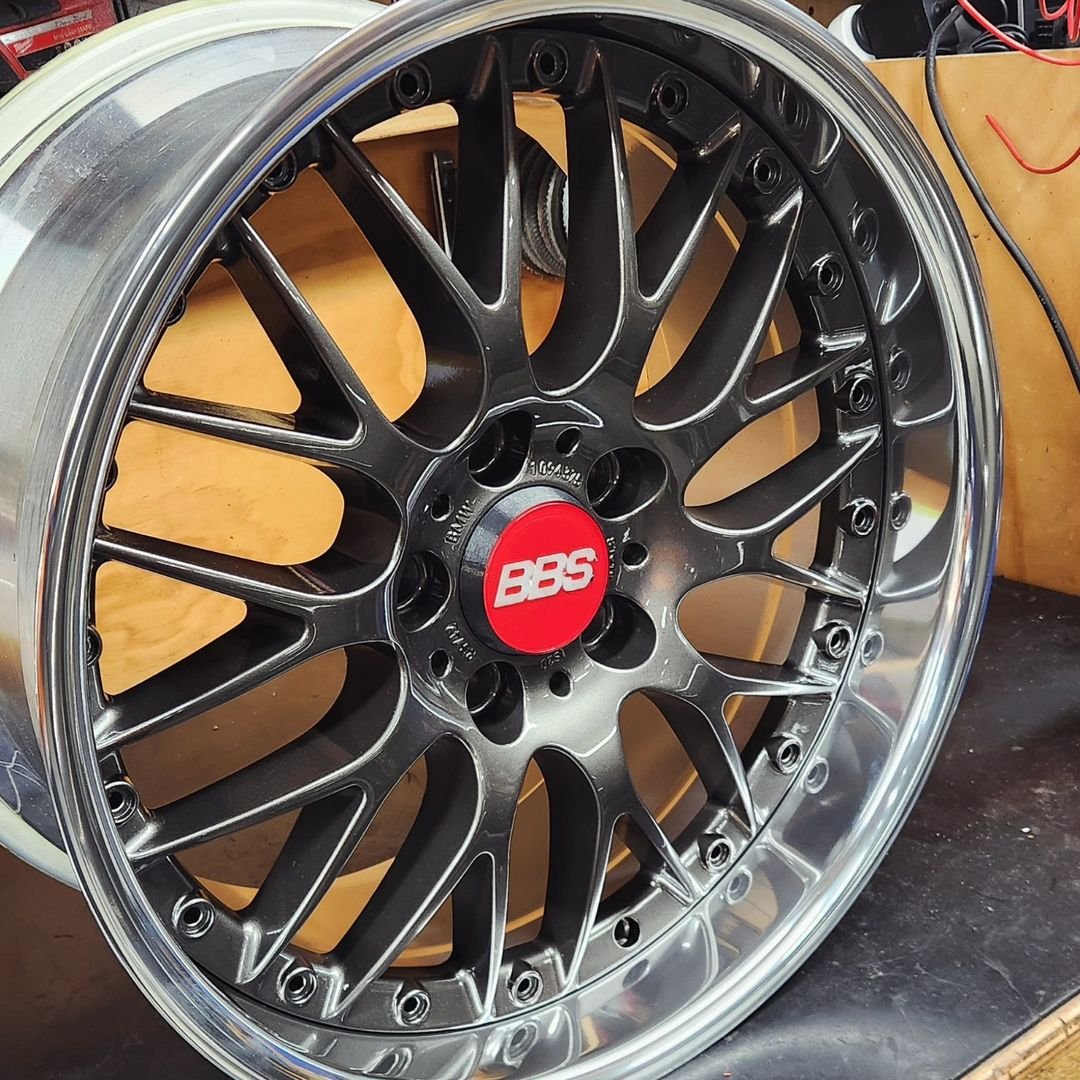
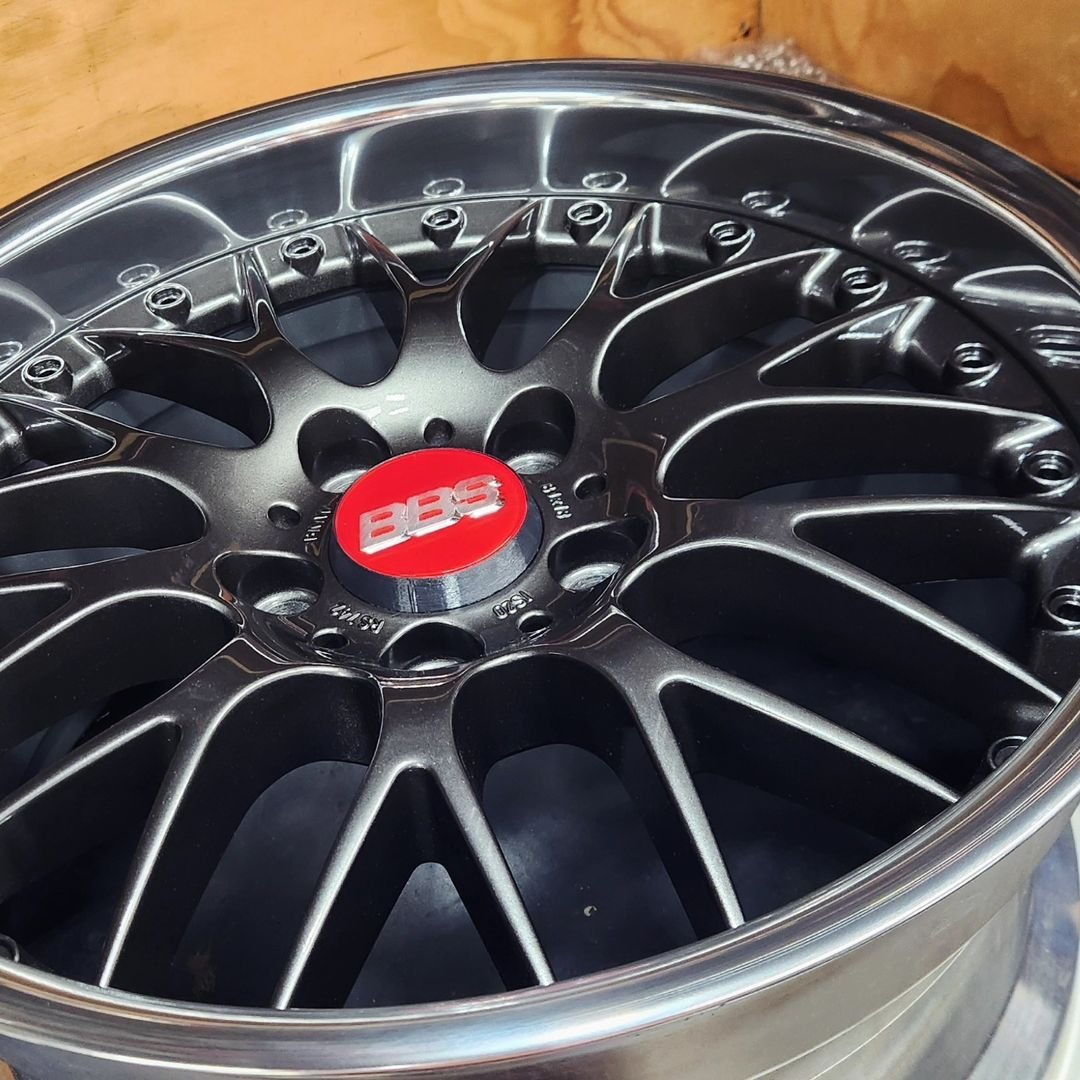
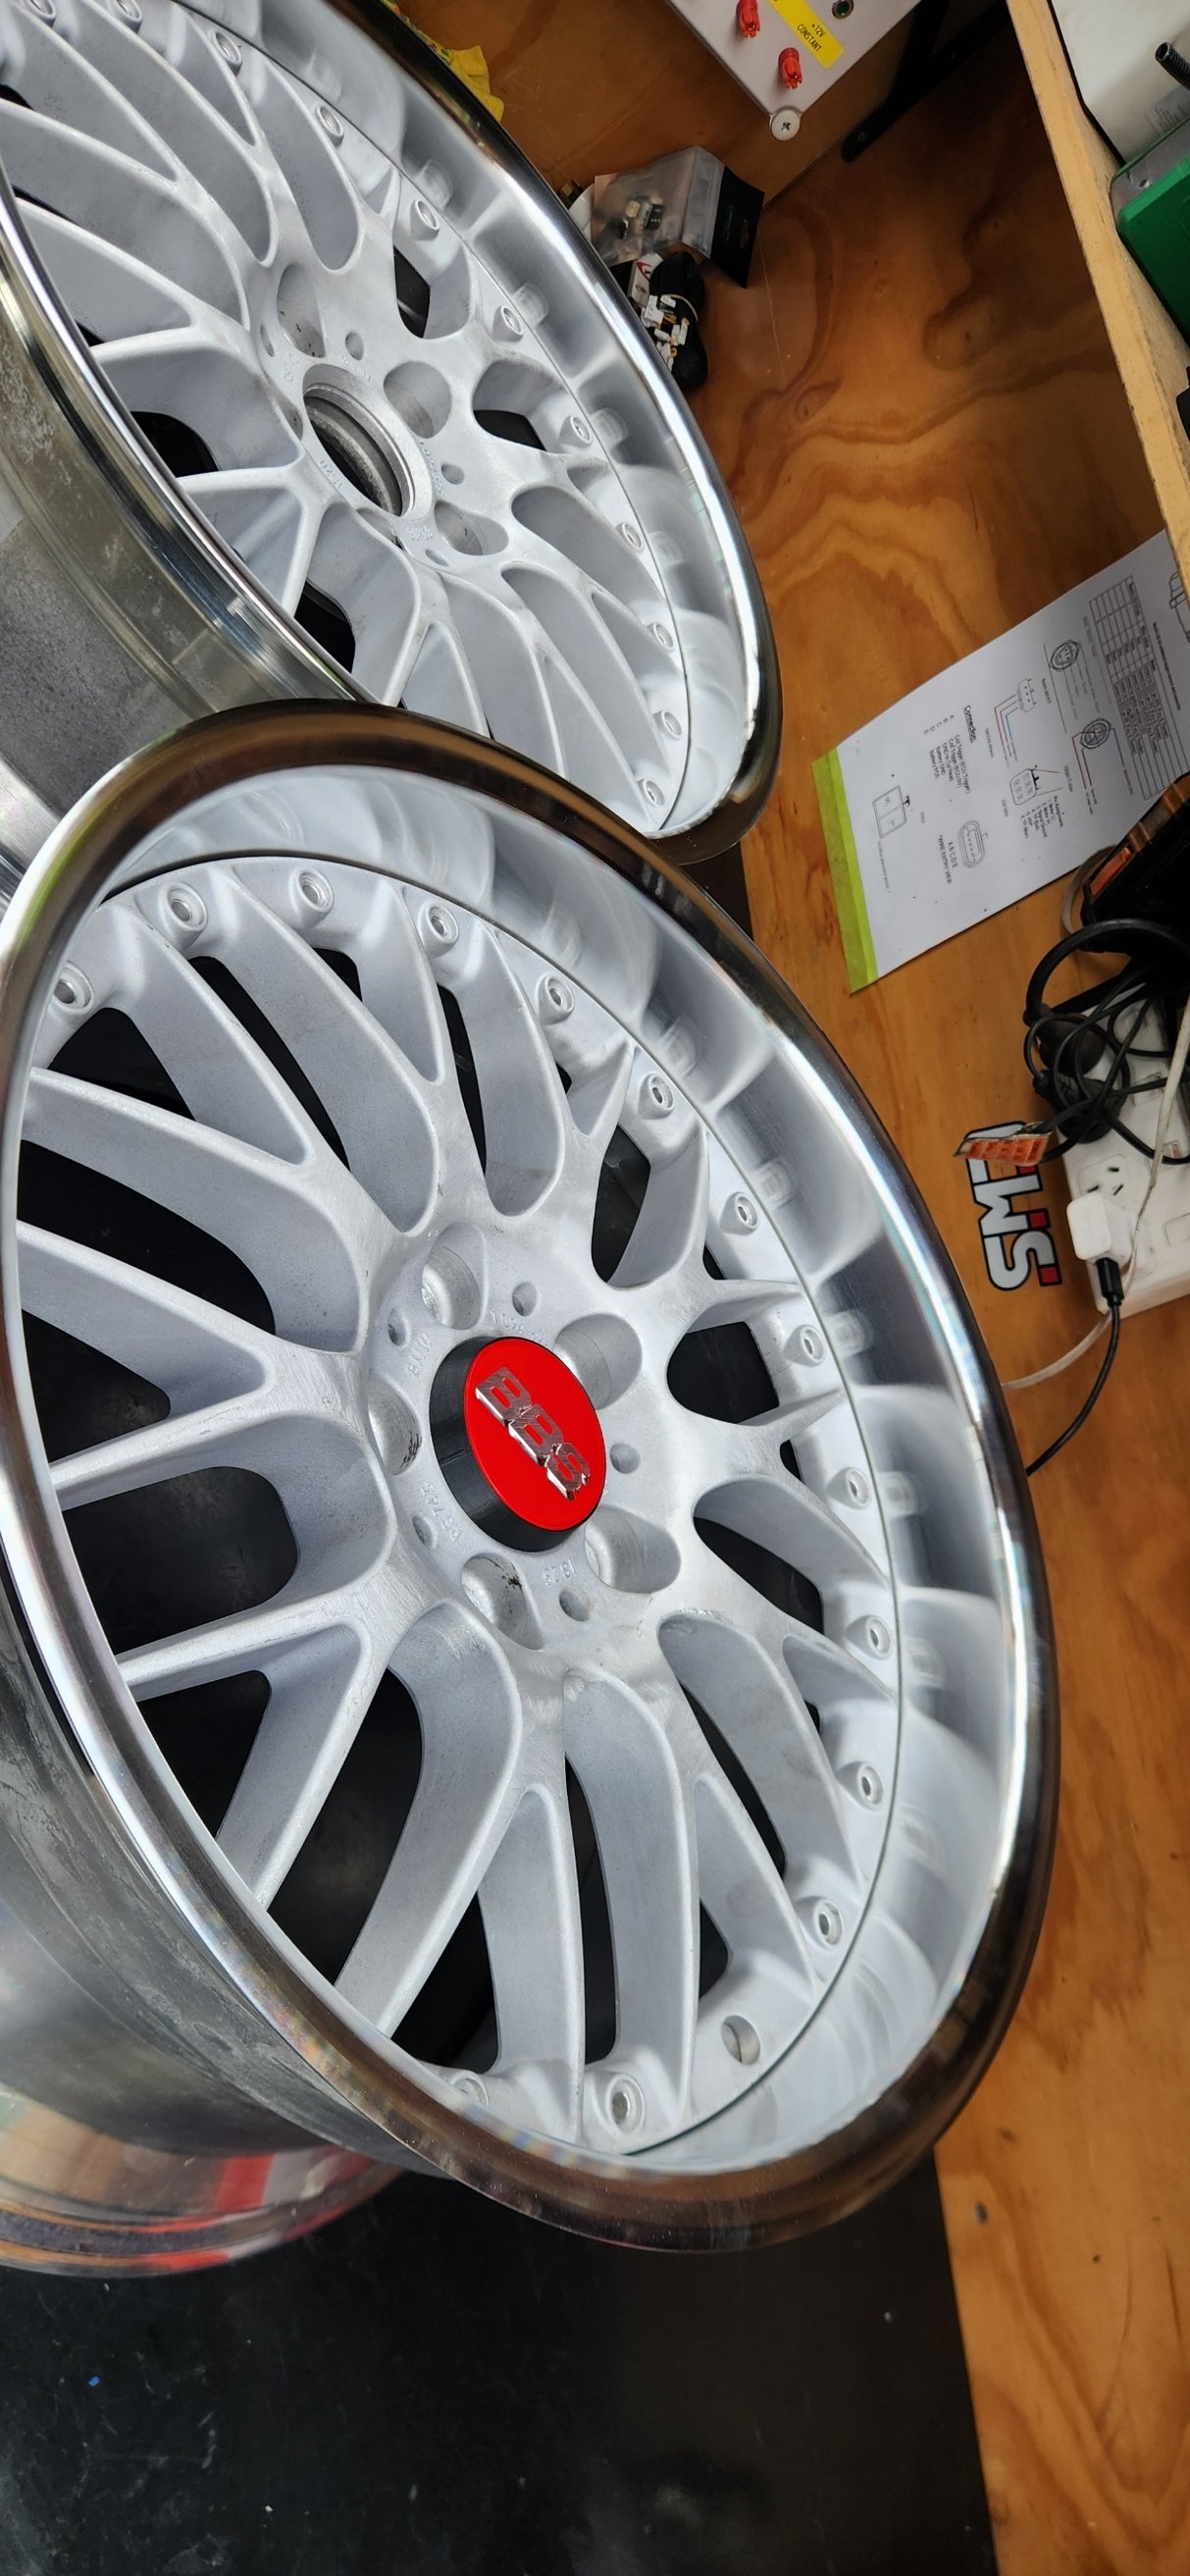
Wheels have been making progress, painters has sorted the centers in a custom mix gunmetal with silver on the inner barrels, & RKM sorted polishing the outer lips looking sharp now, just gotta finish polishing bolts to assemble them
1 point
-
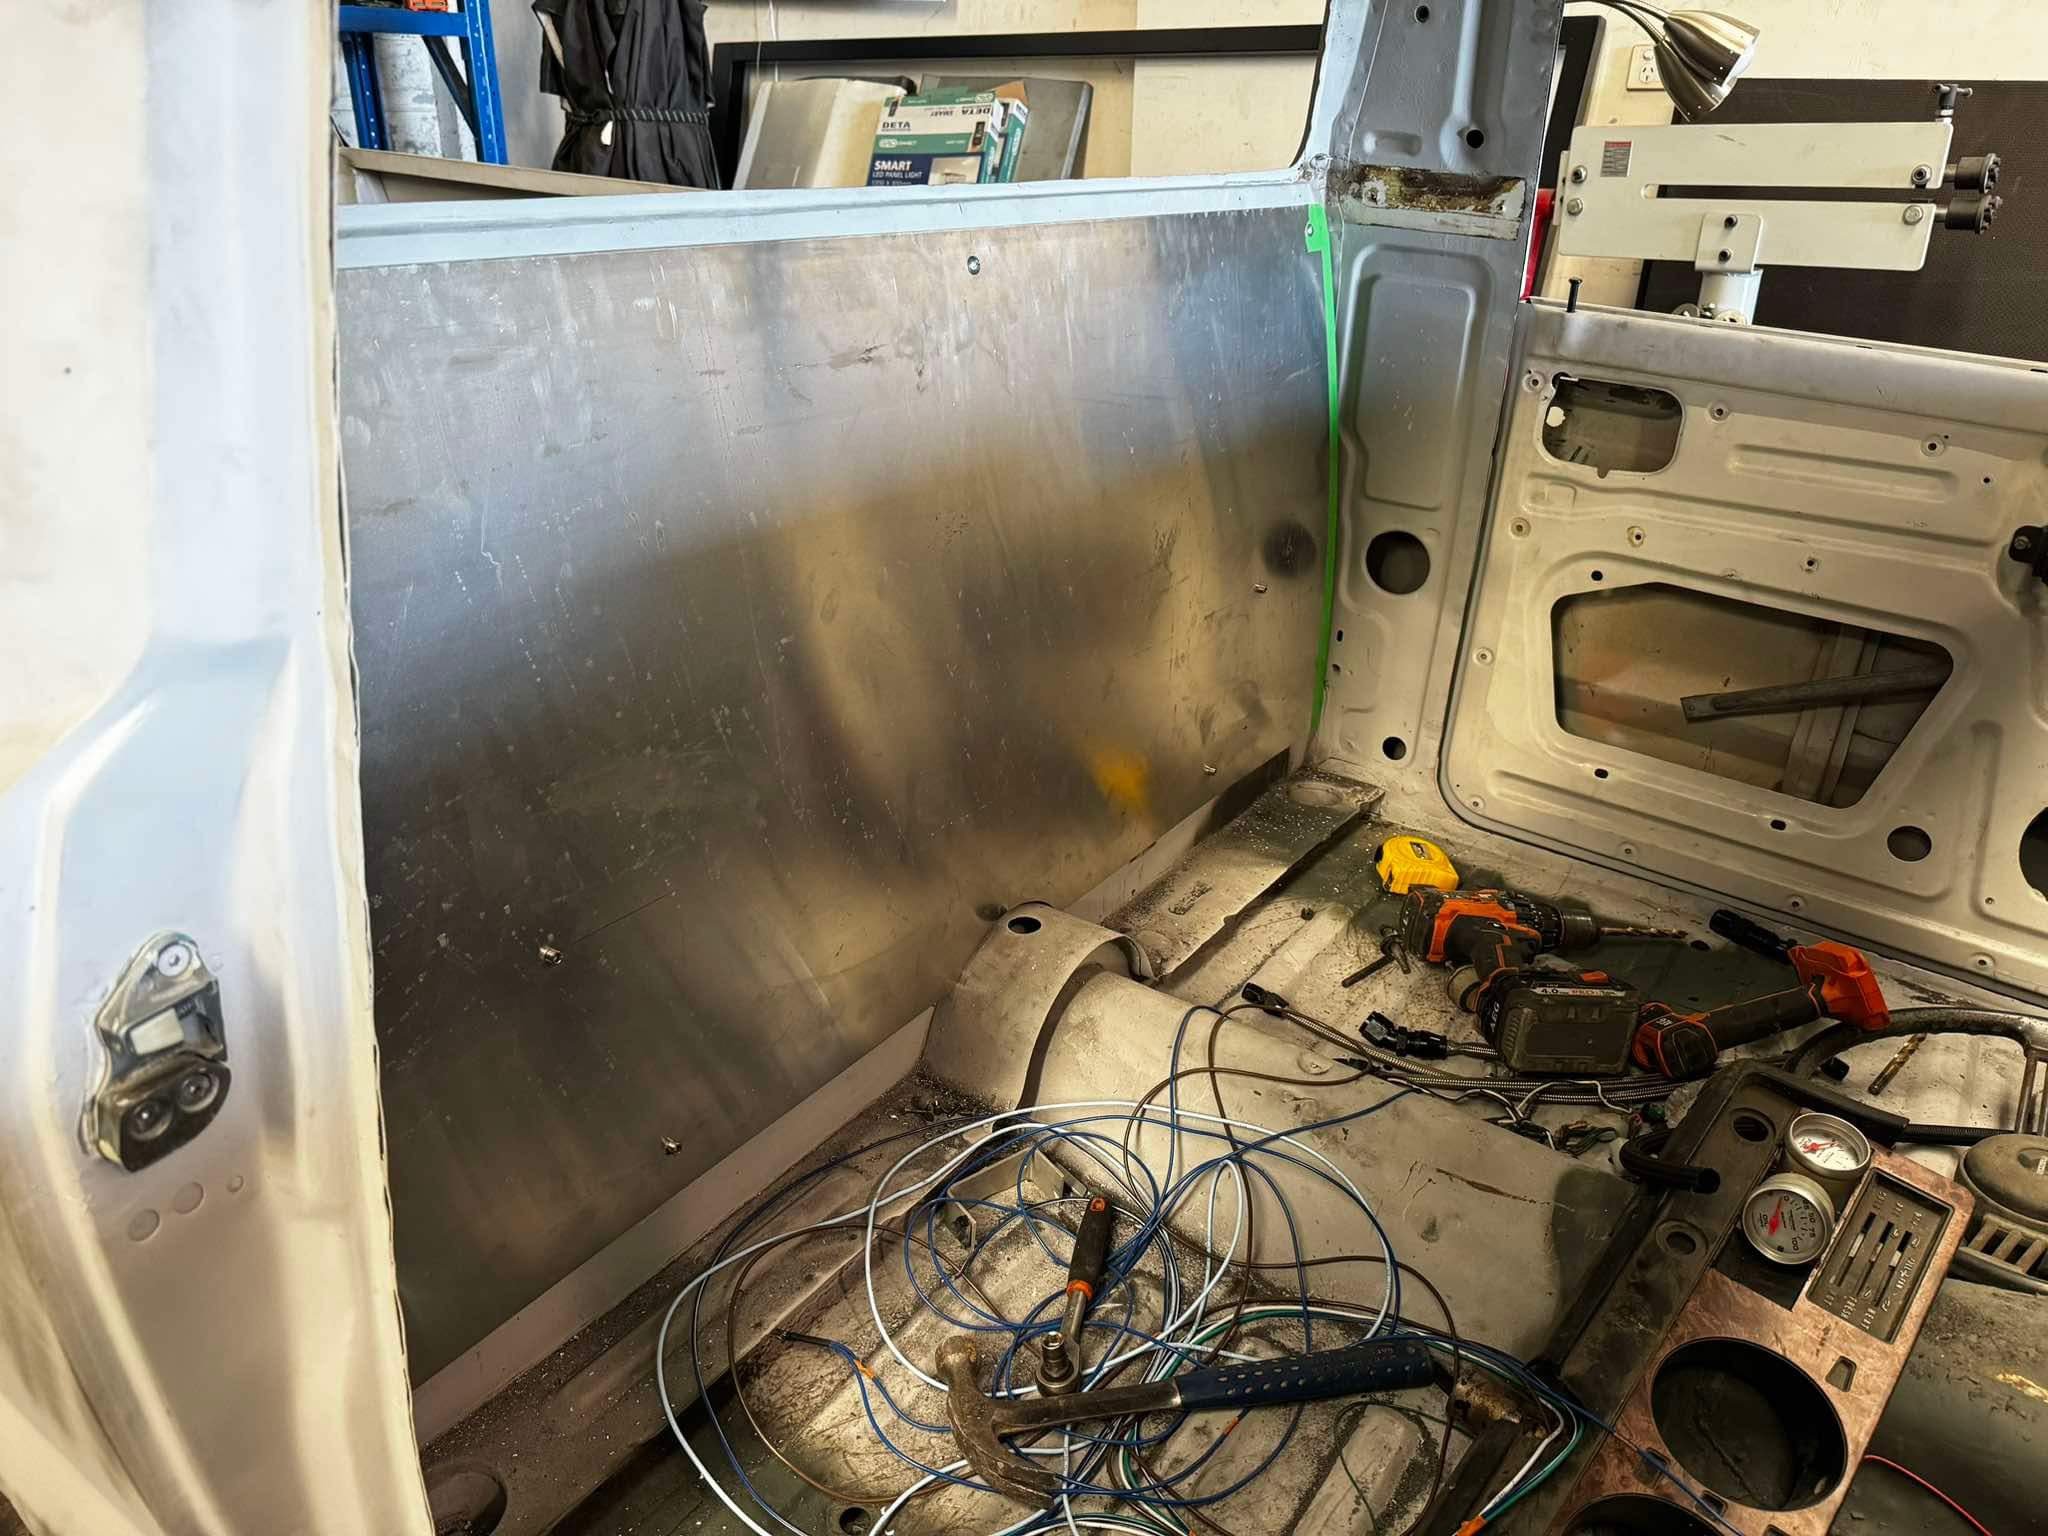
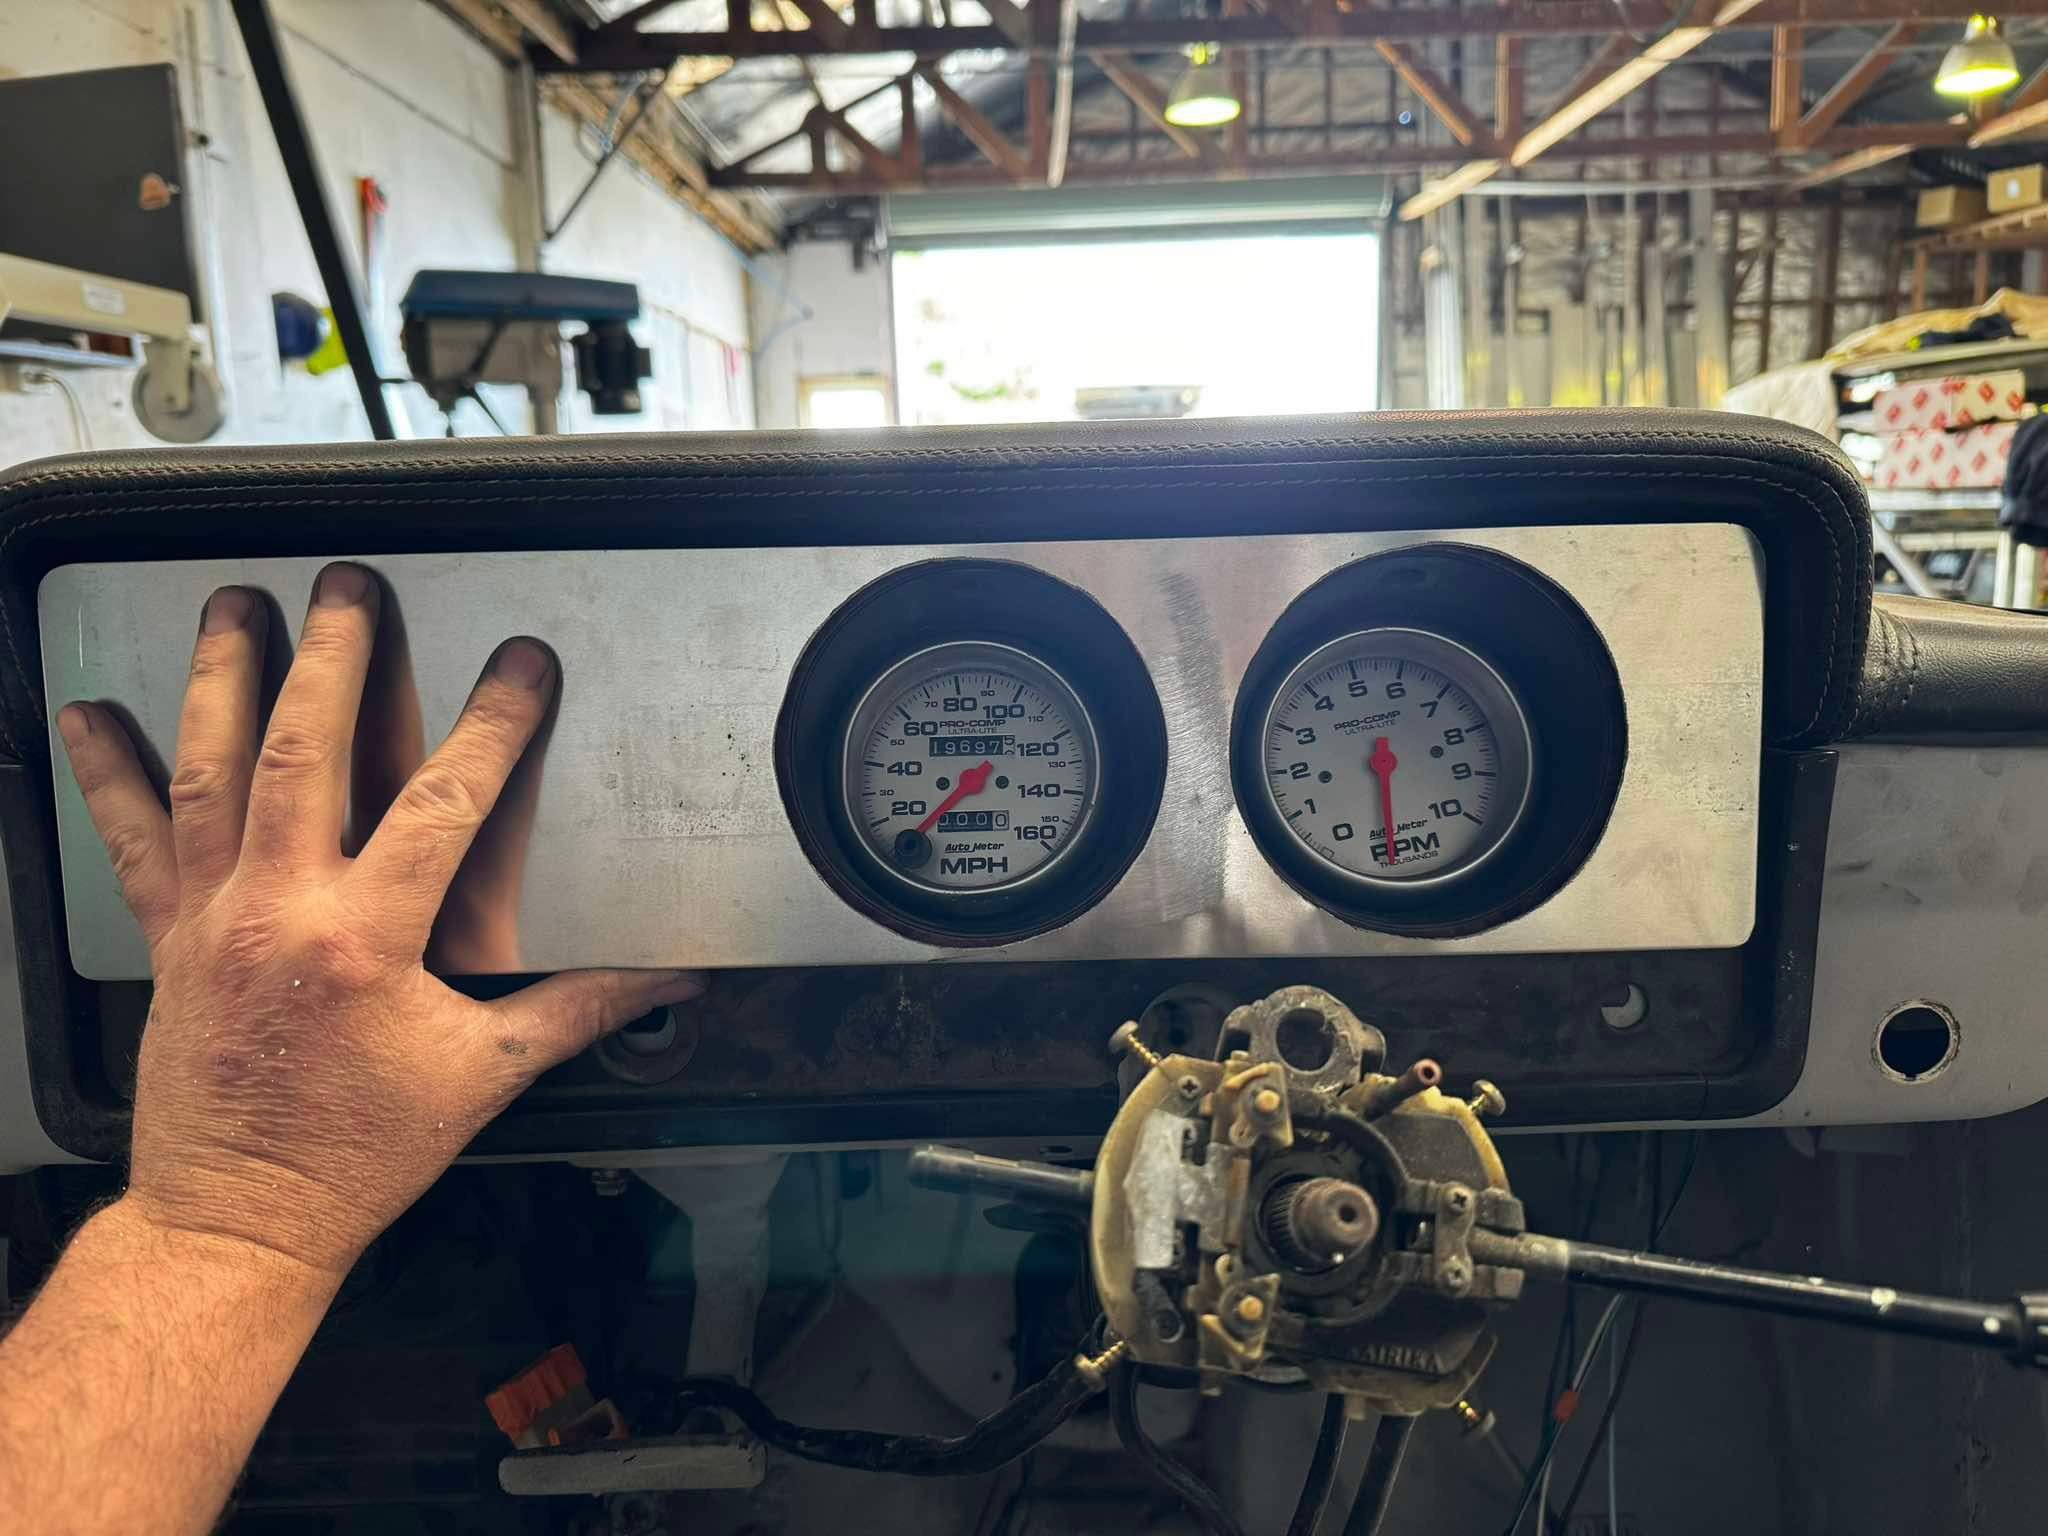
I started playing with the lightning spaghetti, I hate it. I despise electrical work. so I gave up for now. but today I had some alloy sheet laying round so decided to make a rear cab panel so that it’s flat and can be easily upholstered. I will also mount the fuse panel and other electrical bs on this behind the passengers seat. then I made a face plate for the dash cluster to bond to the original. This will allow for the triple 2” gauges to fit better than hot glue and mangled plastic. this will only be a temporary solution as I’ll probably change the dash set up later on once it’s in the road. now I’ve been having all the drama trying to find someone to paint it and some minor finishing (one body line needs a bit of fine tuning and a couple of gaps sorted.).
1 point
-
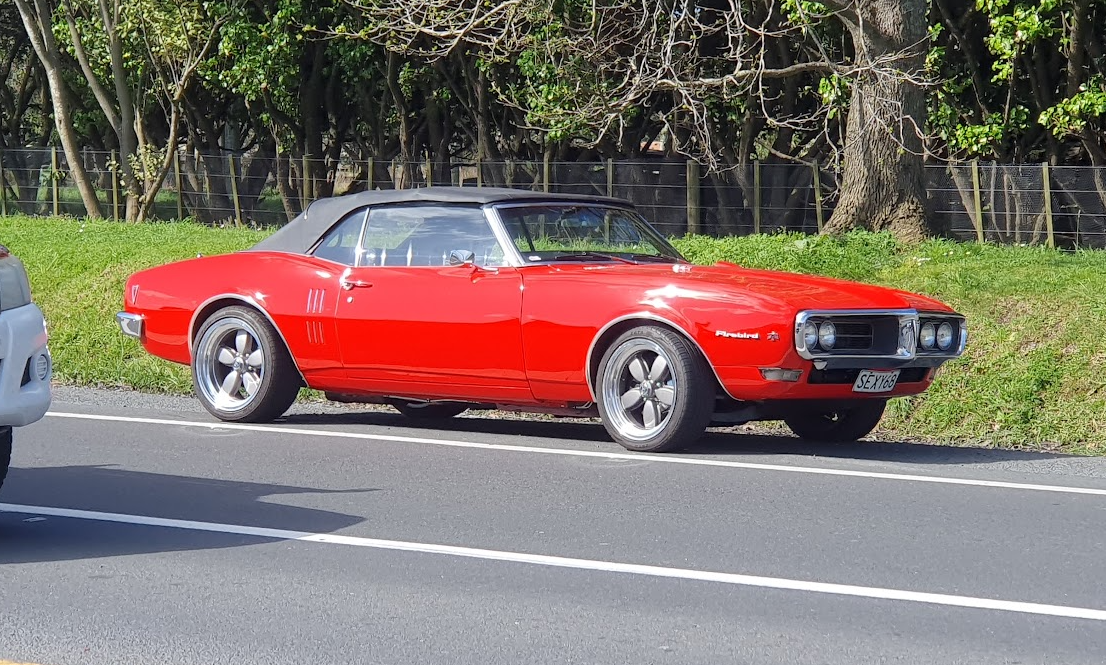
Over the long weekend I took the Firebird to Napier with a bunch of other American car owners. My son took our 1990 Corvette. The Firebird did really well. In the nearly 29 years I have had it this is the longest trip it has ever done, total was about 1200 km over the 4 days we were away. Over the time the stuff settled down, the brakes feel better, more to do with all the crap being burnt off the rear brake shoes than anything else and the gearbox is shifting much better. I have a list of things that need looking at, clutch needs slight adjustment, brake light switch keeps working loose and leaving the brake lights on, the drives seat is bent (always been like that) and gets uncomfortable and the 2 really annoying things, an oil leak on to the headers an both tail pipes hitting the diff and the back springs. I worked out the cars does somewhere between 12 and 13 litres per 100, the corvette looks like it does 9. I'm pretty happy with the economy, even with EFI its still a 60 year old design with pretty low compression. Just as an aside, the Corvette used to do about 10/100 before a set of headers and a full twin exhaust. The increase in torque was very noticeable, I certainly didn't expect the economy to get better as well. There is probably more in it, I know my son was giving it the Welly every chance he could.1 point
-
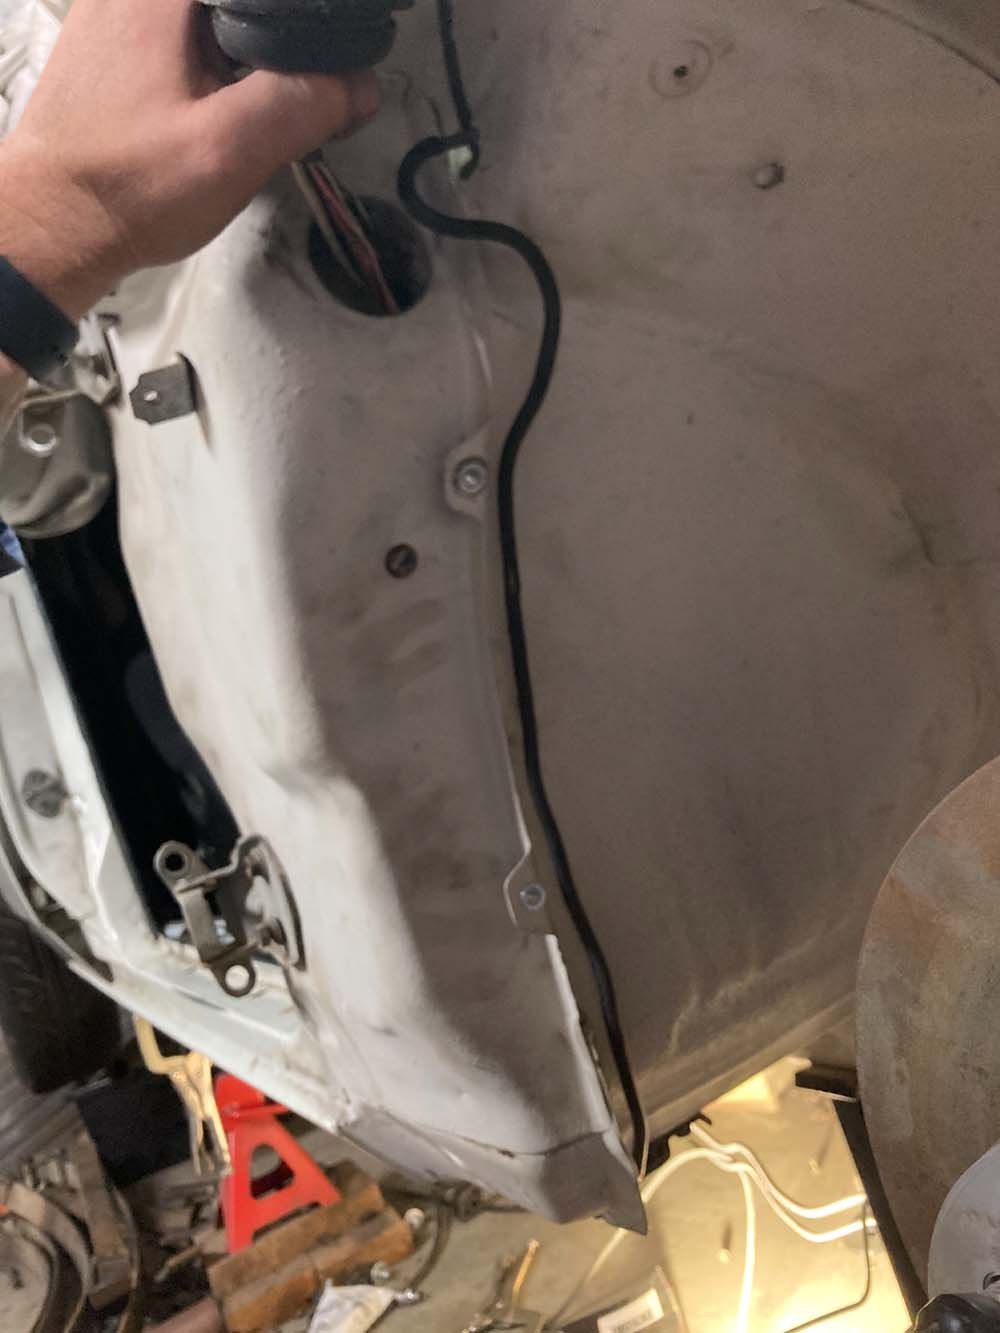
Right, made a start on the resurrection of this crustacean. Moved lots of shit so I could get it out of the shed. Shes a bit dusty/*BARN FIND JOKE* It still thinks it was made in England unfortunately. I decided to remove the race harness as I doubt I'll use it anytime soon, and some inspectors don't like it in there at WOF time, and this is when I discovered another weeee job that needs doing. The right rear seat mount (on the drivers seat) is not happy, and the seat rail is also not impressed. This was starting to happen 11 years ago when I was putting the car back together, so welded up the cracks and added a big washer to disperse the load. After pulling the seat out, I now know its much worse than before. Now before you point fingers and exclaim "what a fat cunt" i'd just like to point out that I'm not just a fat cunt, but also a 6'4" tall fat cunt, so I have to have the seat full back, and when its full back, the rear mounts are near on half way along the seat. So the majority of my fat cuntness is right on top of or behind the mount, less than ideal. Finger indicating location of rear mount. Not much I can do about this, other than make a beefy replacement mount, and reinforce the rail I guess. The other mounts are all fine. Anyways, got the old girl going (started perfectly) but the gas is very off, so will drain that and replenish. Gave it a good wash, which reminded me of all its other haggardness, but meh, just needs a WOF, not trying to win no sho'n'shine. Removed everything needed to start cutting the windscreen out, most of it came out OK, but the top window trim was a COMPLETE BASTARD to get off, due to me gluing it on with a litre of window sealant years ago after it blew off. Got my first peeks at the rust. Started on the cut out procedure, haven't cut a screen out for like 20+ years, but I managed to do it myself without rooting anything. Don't ask where the cutting wire came from. Check out my pro cutting handles though. Screen gone-burgers. Little rusty bitches. Two main spots, and lots of little bits around the place, next I'll get the buff cup out and go to town, trying not to destroy any interior. Regards, V "I regret not selling this at the hight of retarded covid pricing" G.1 point
-
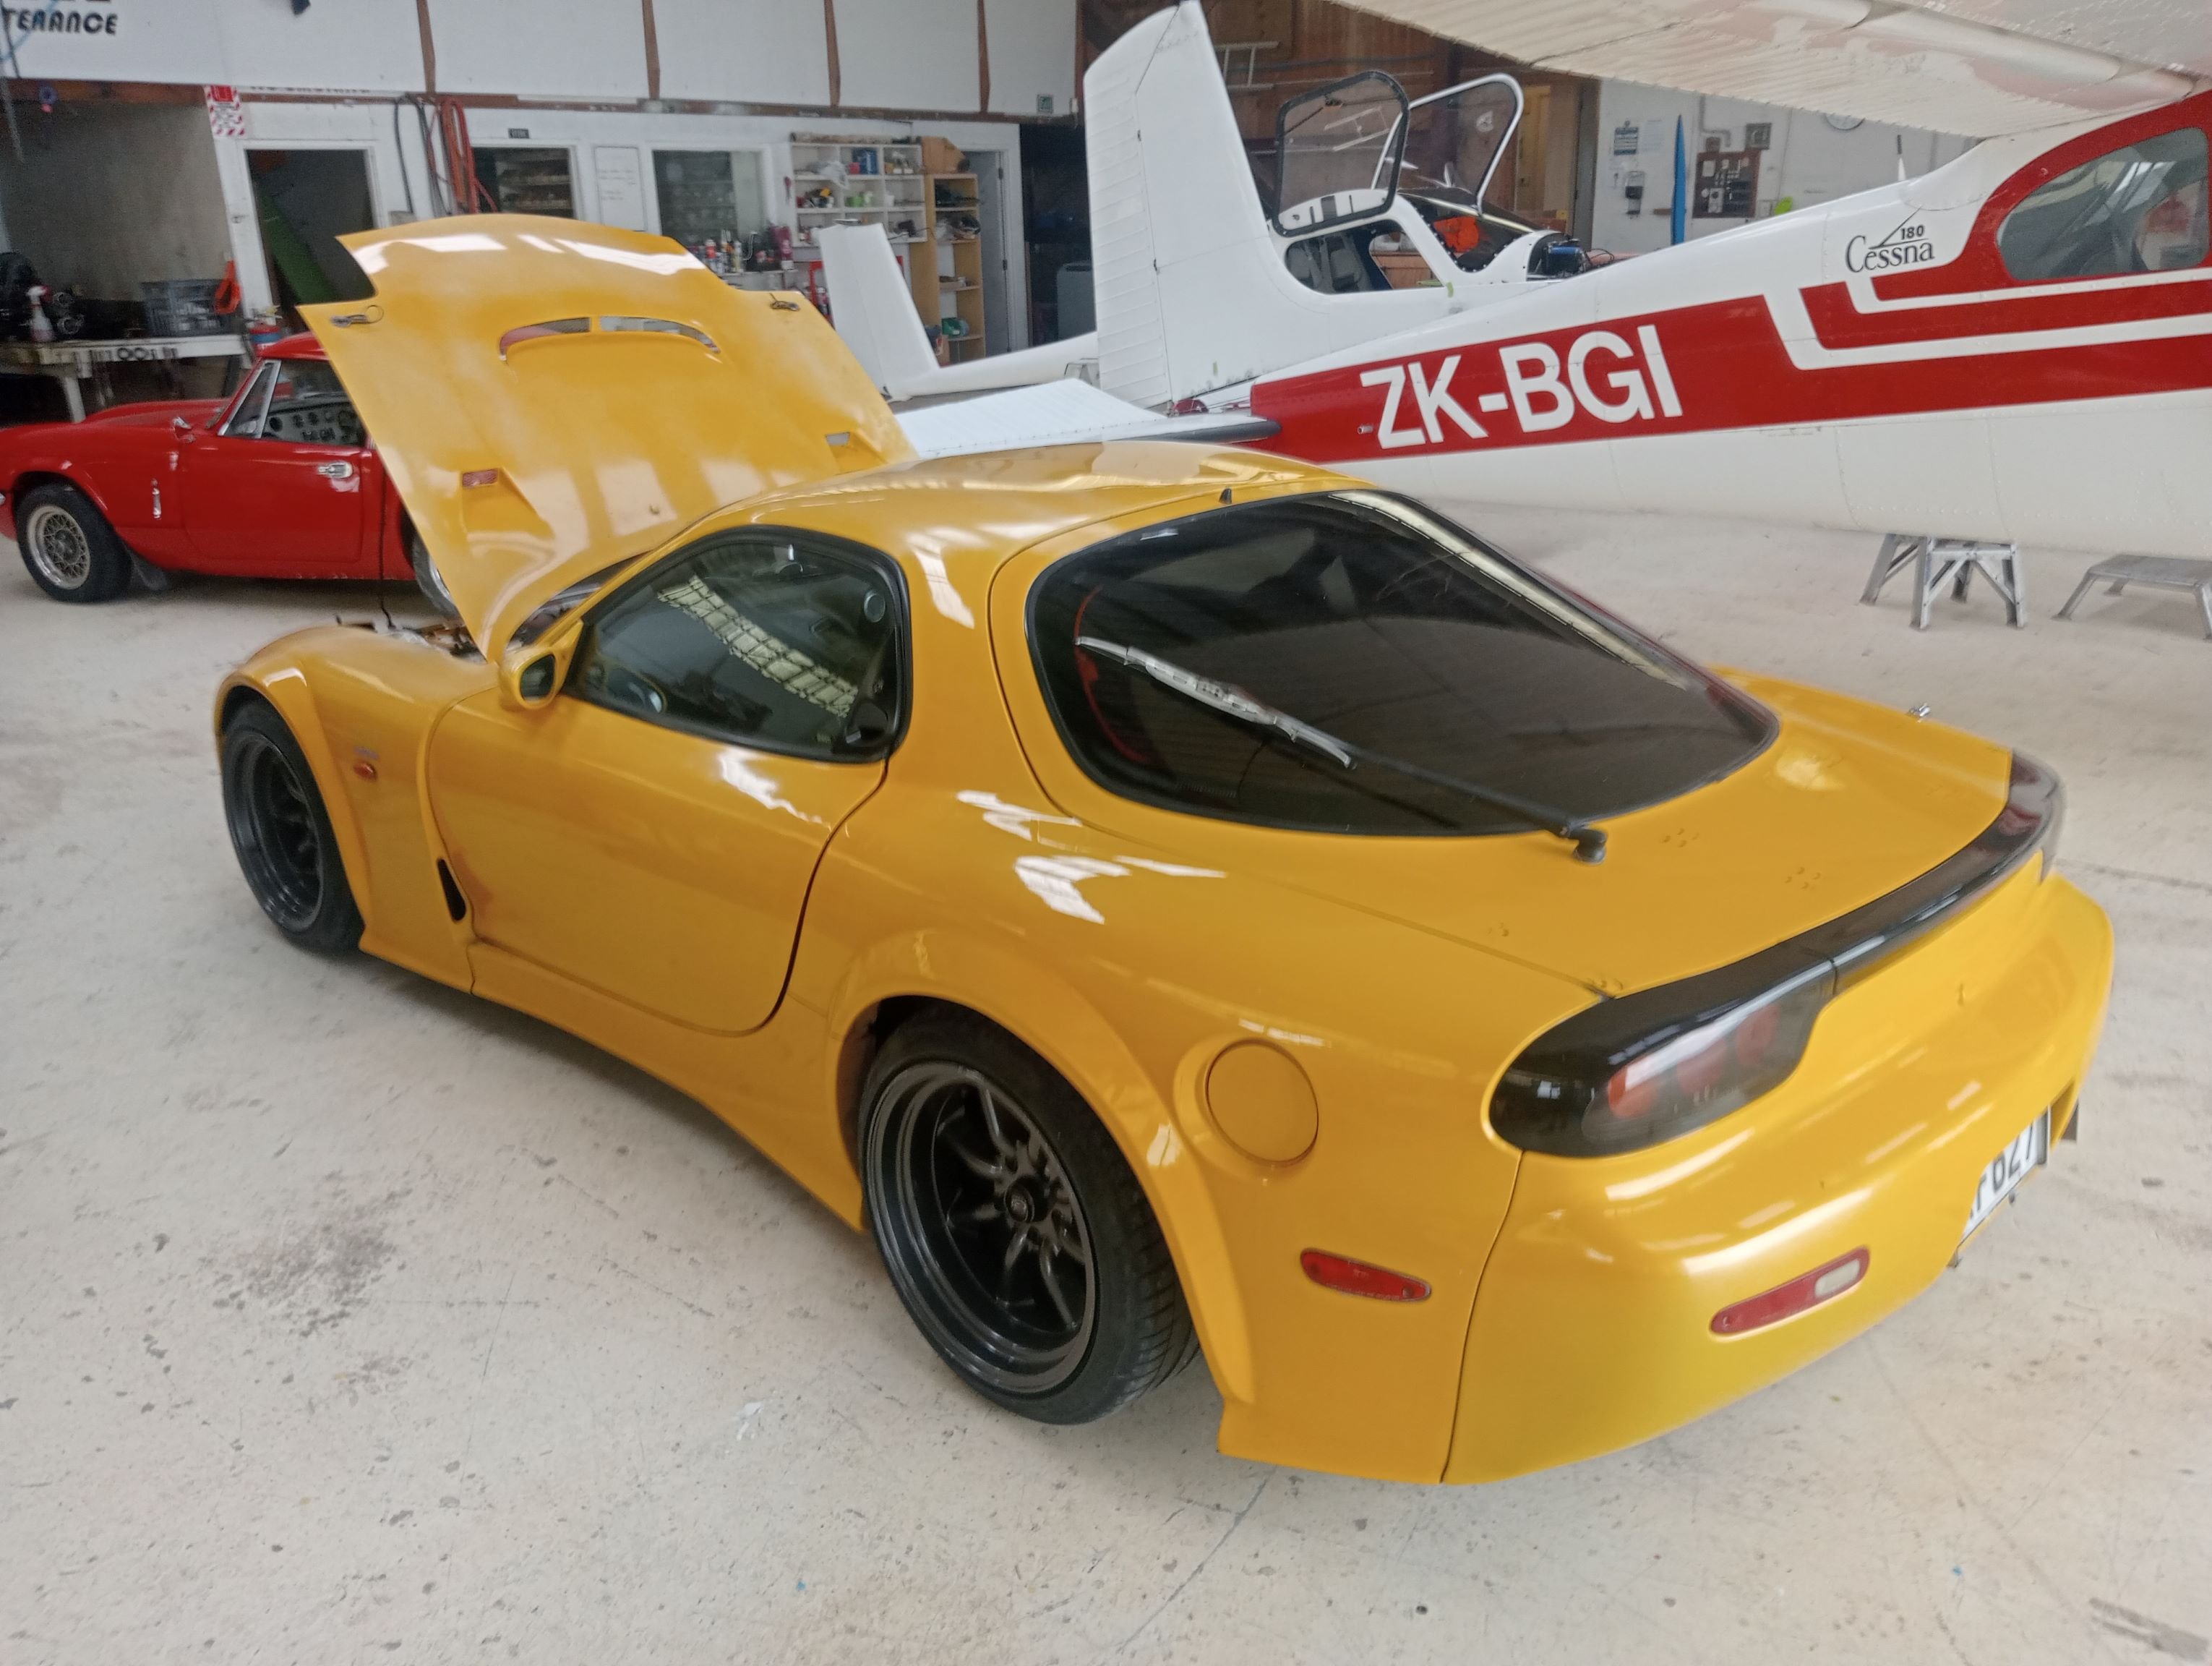
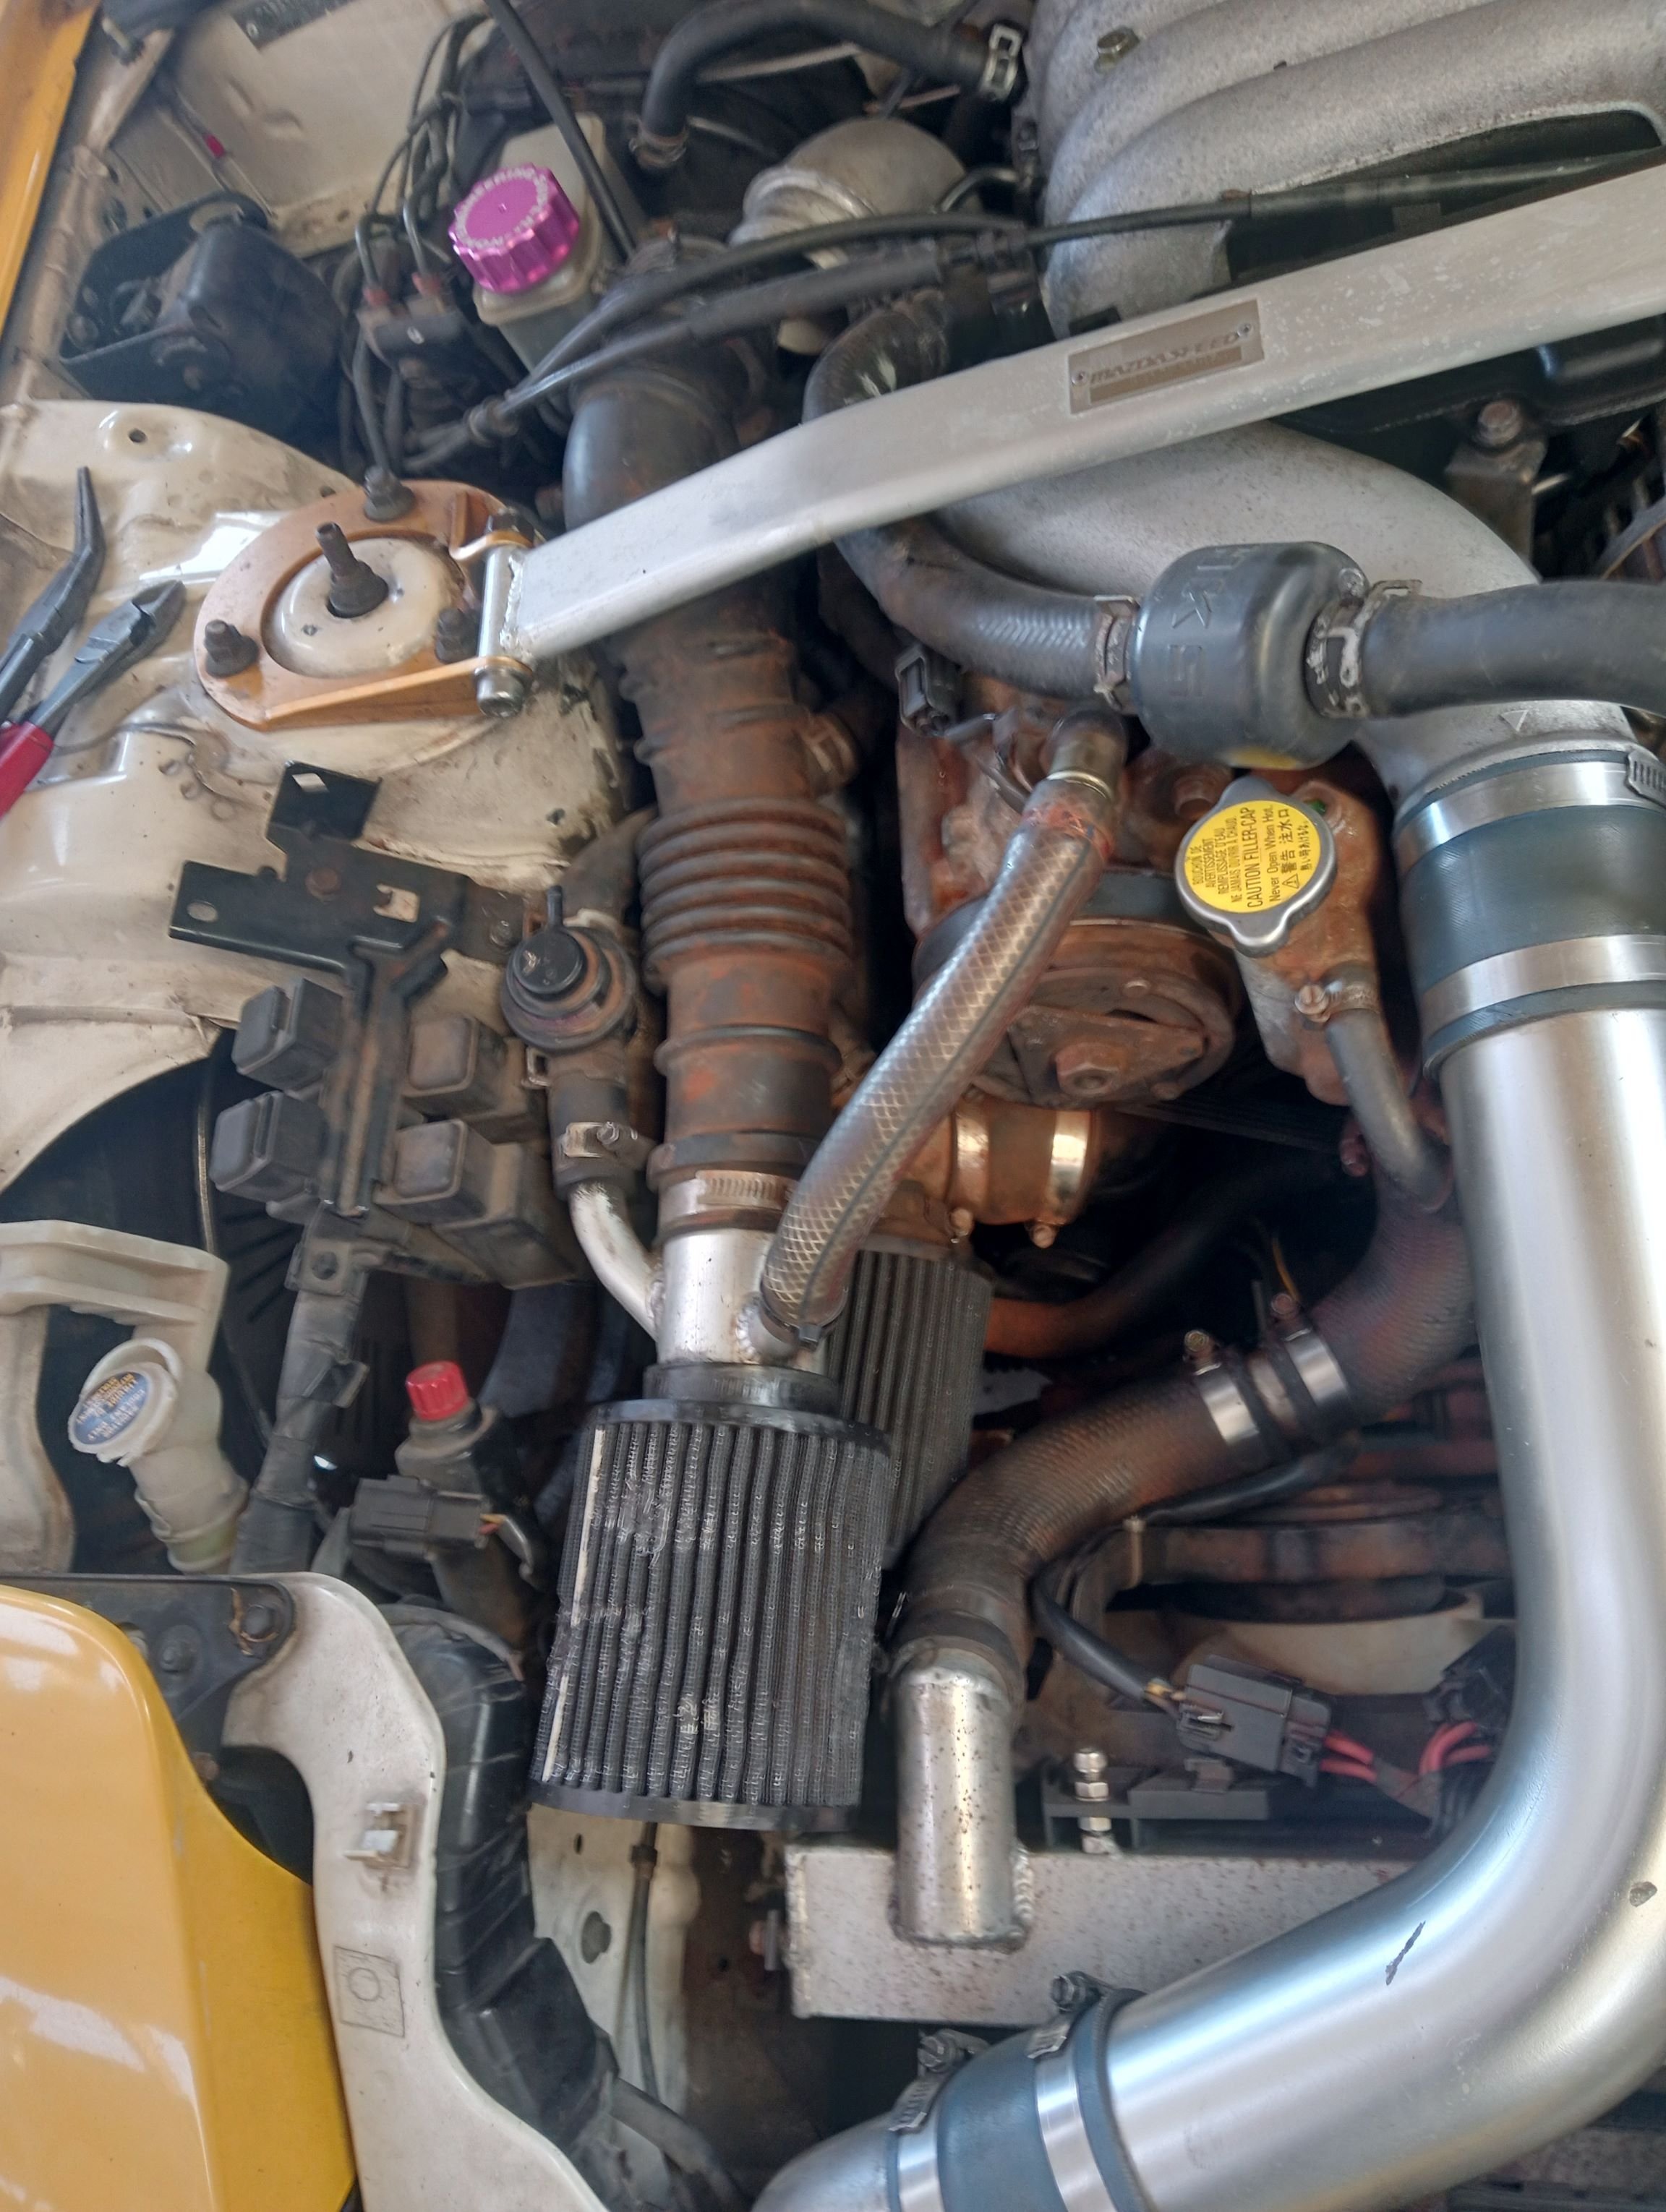
The rusty shit is definitely concentrated around the coolant filler cap, someone's taken it off when the engine was hot for sure, but that could've been anytime really, it was a bitch to clean it off off Finally bought it home and after seeing it the wife has come around, big time. In her words "I just assumed you'd bought another absolute piece of shit"1 point
-
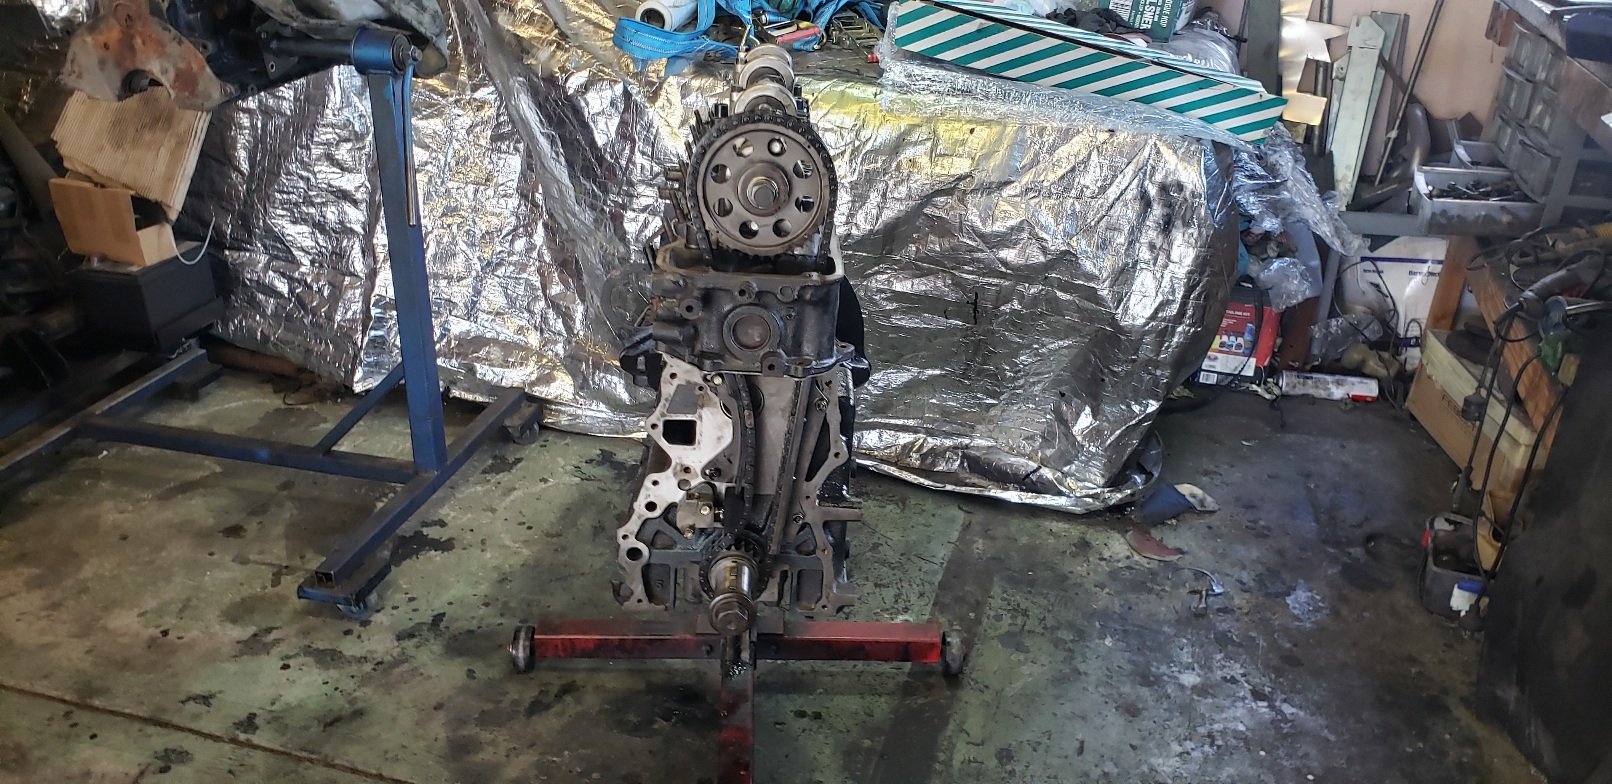
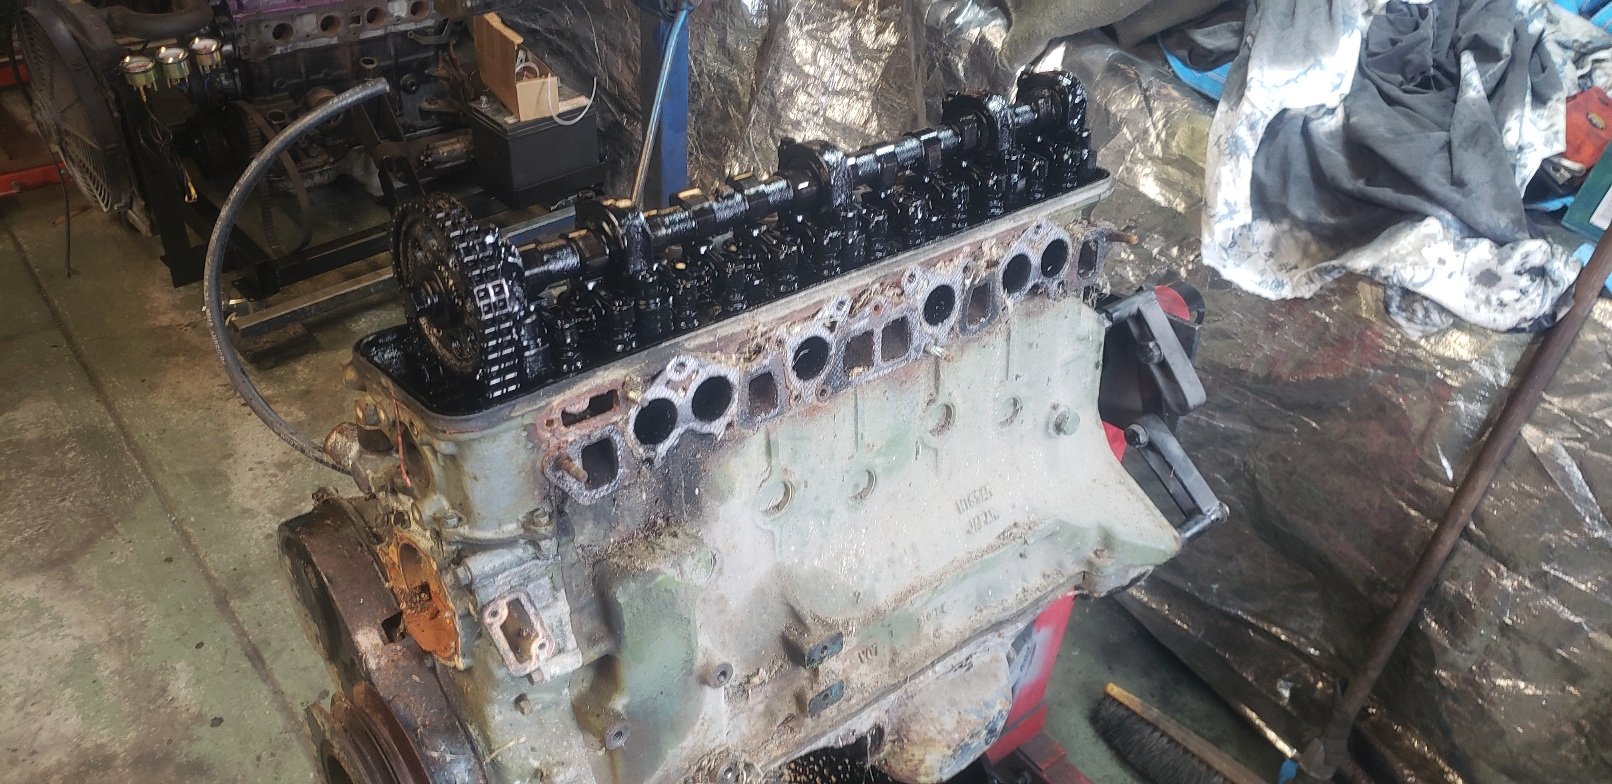
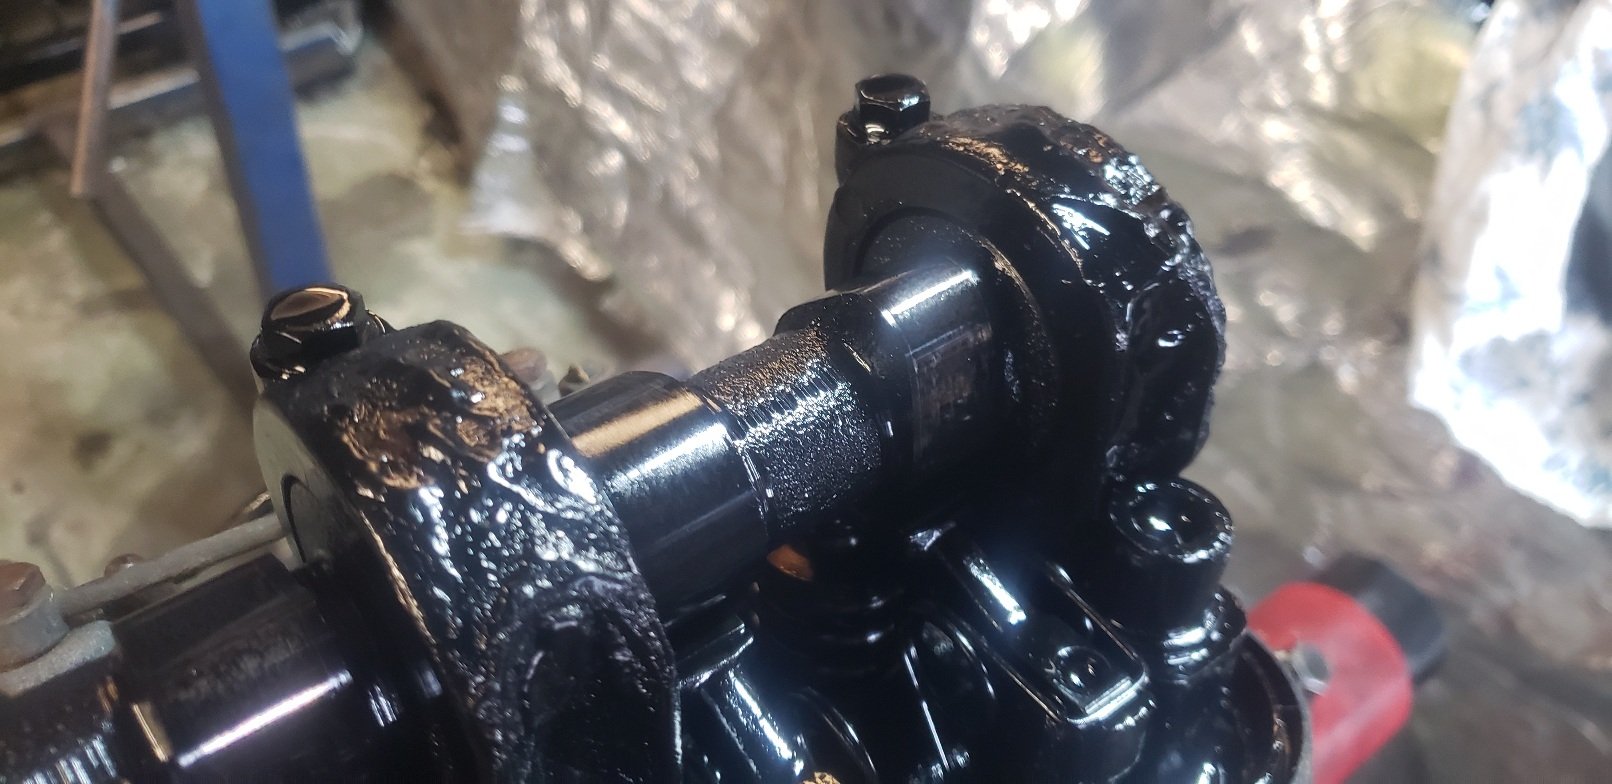
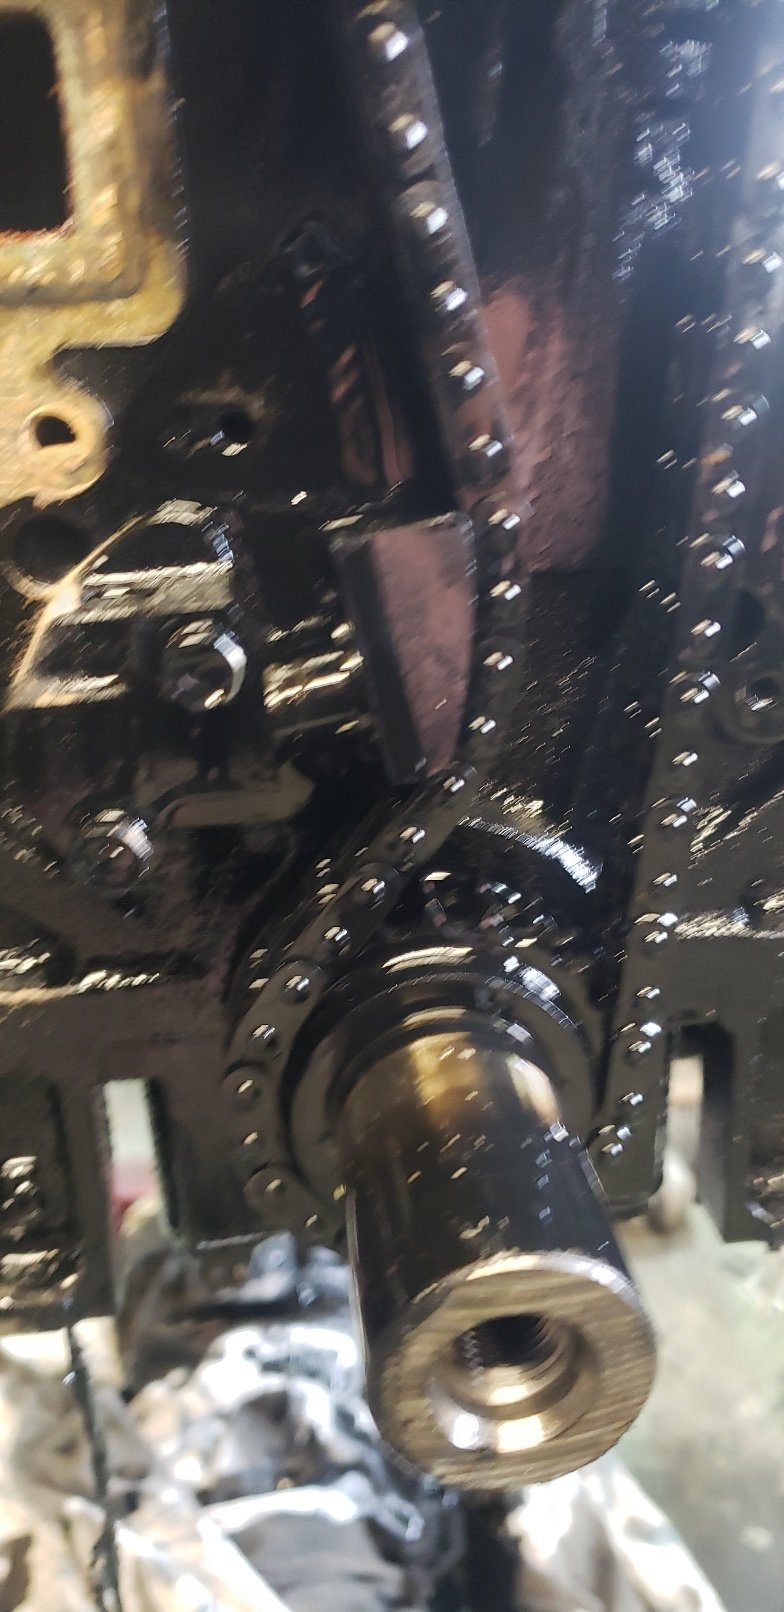
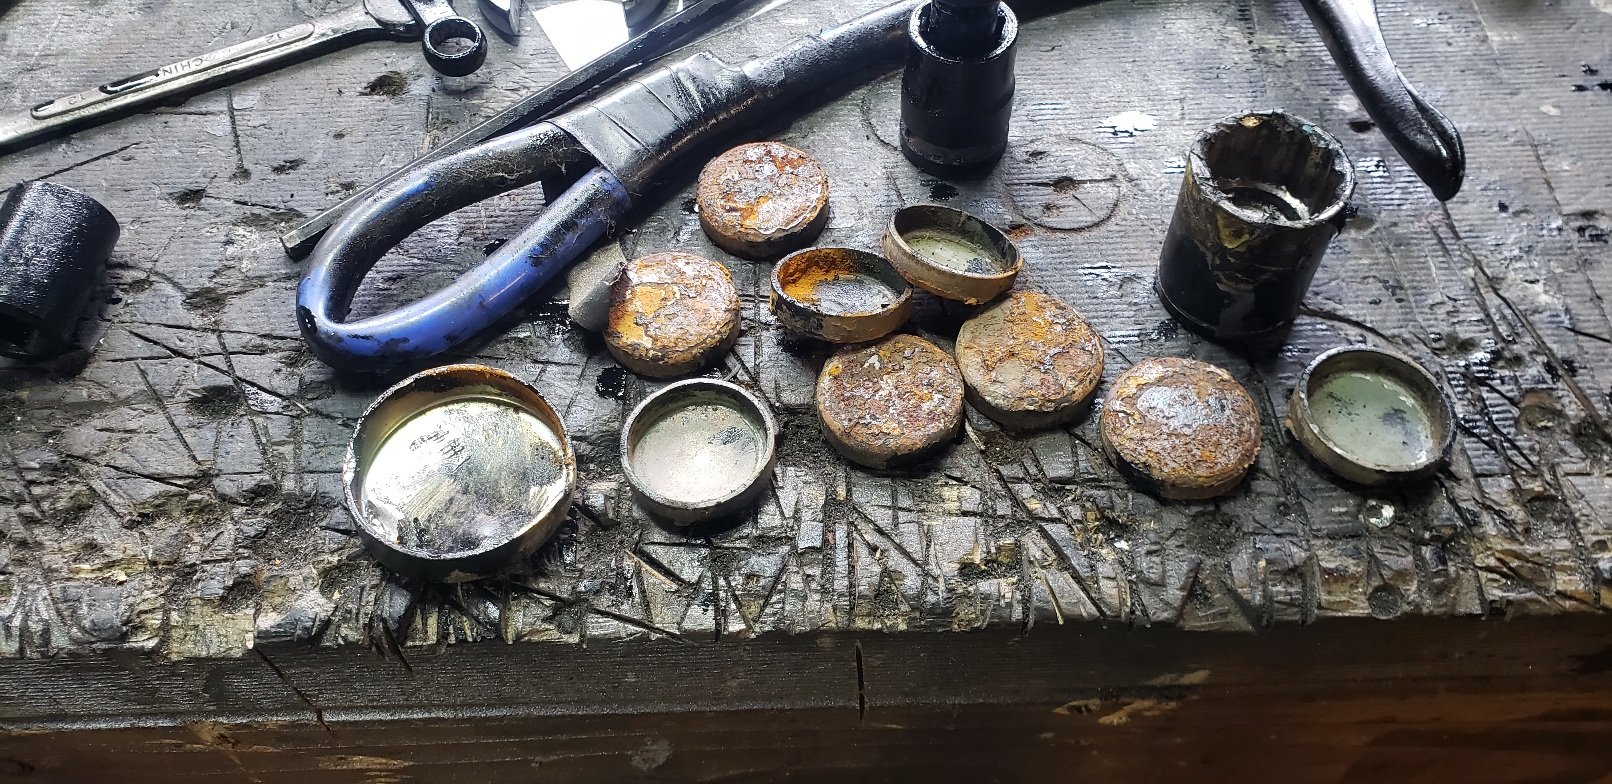
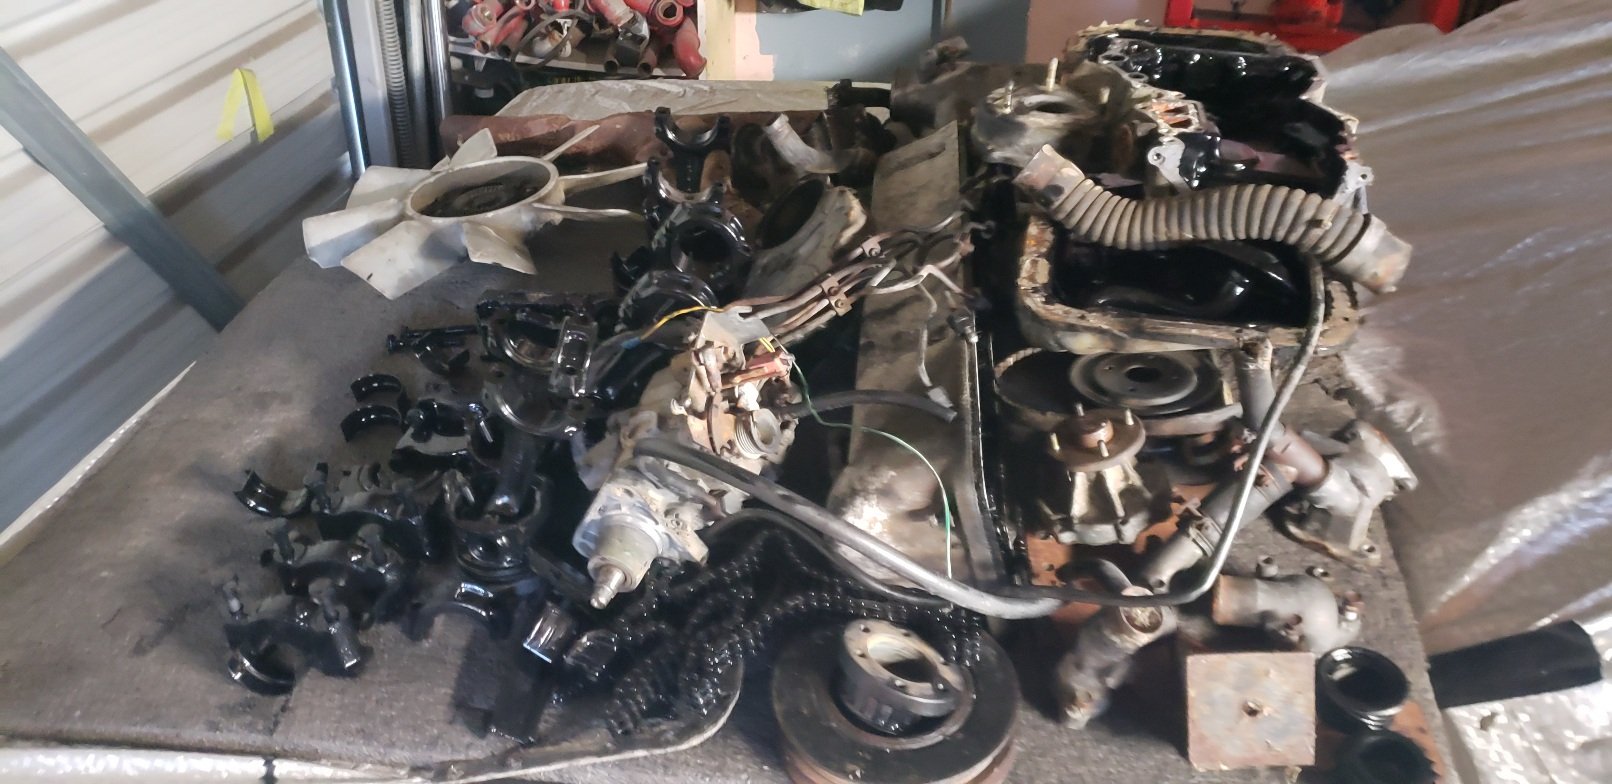
Dirty shitty fucking black mess .. thats how I would describe this motor. But original And well worn... the chain tensioner was almost all the way out and the chain just slipped off Motor is full of rust but no way ner as bad as the last bloody and the frost plugs hadn't rusted through....thats a good thing But shitty fucking black mess every where.. Will give it a good clean tomorrow maybe and check for cracks.
1 point
-
You haven't mentioned what it's like to sleep in? Or is the wife ok1 point
-
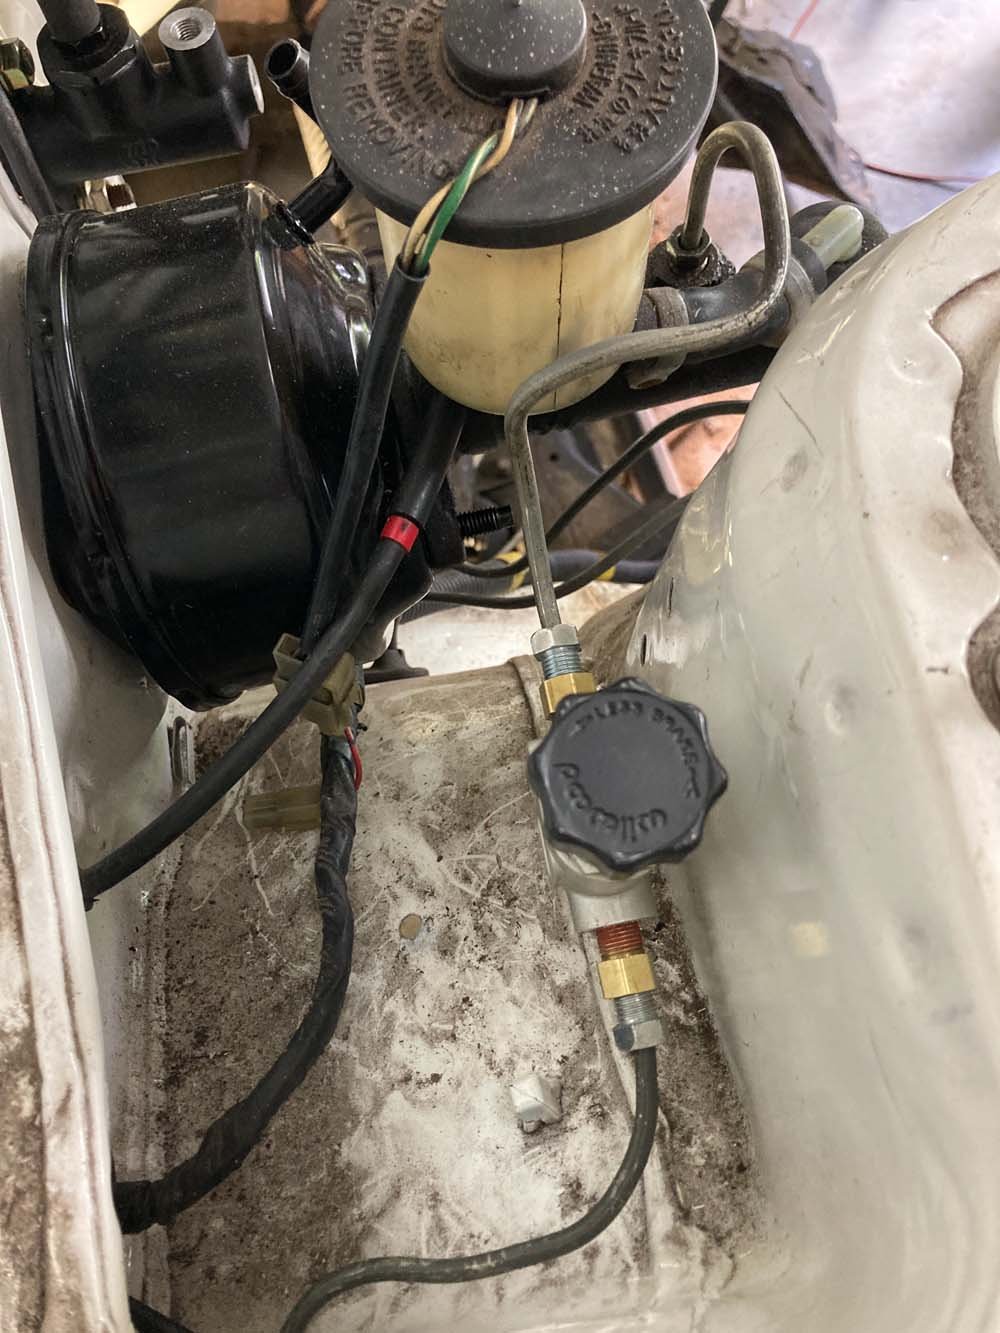
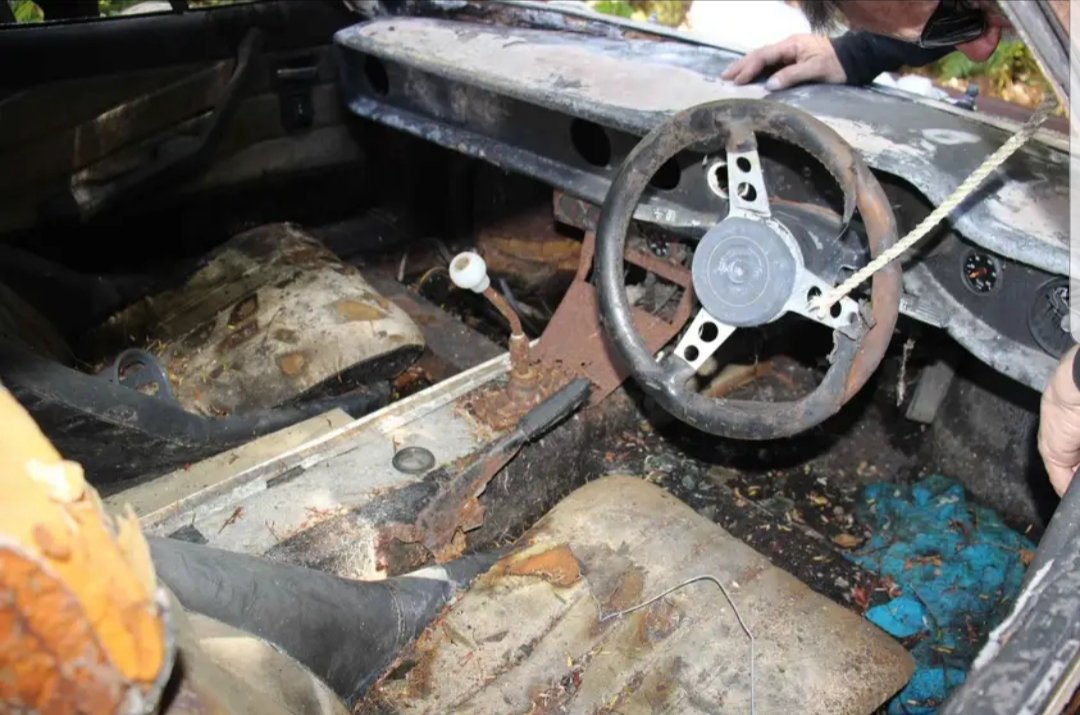
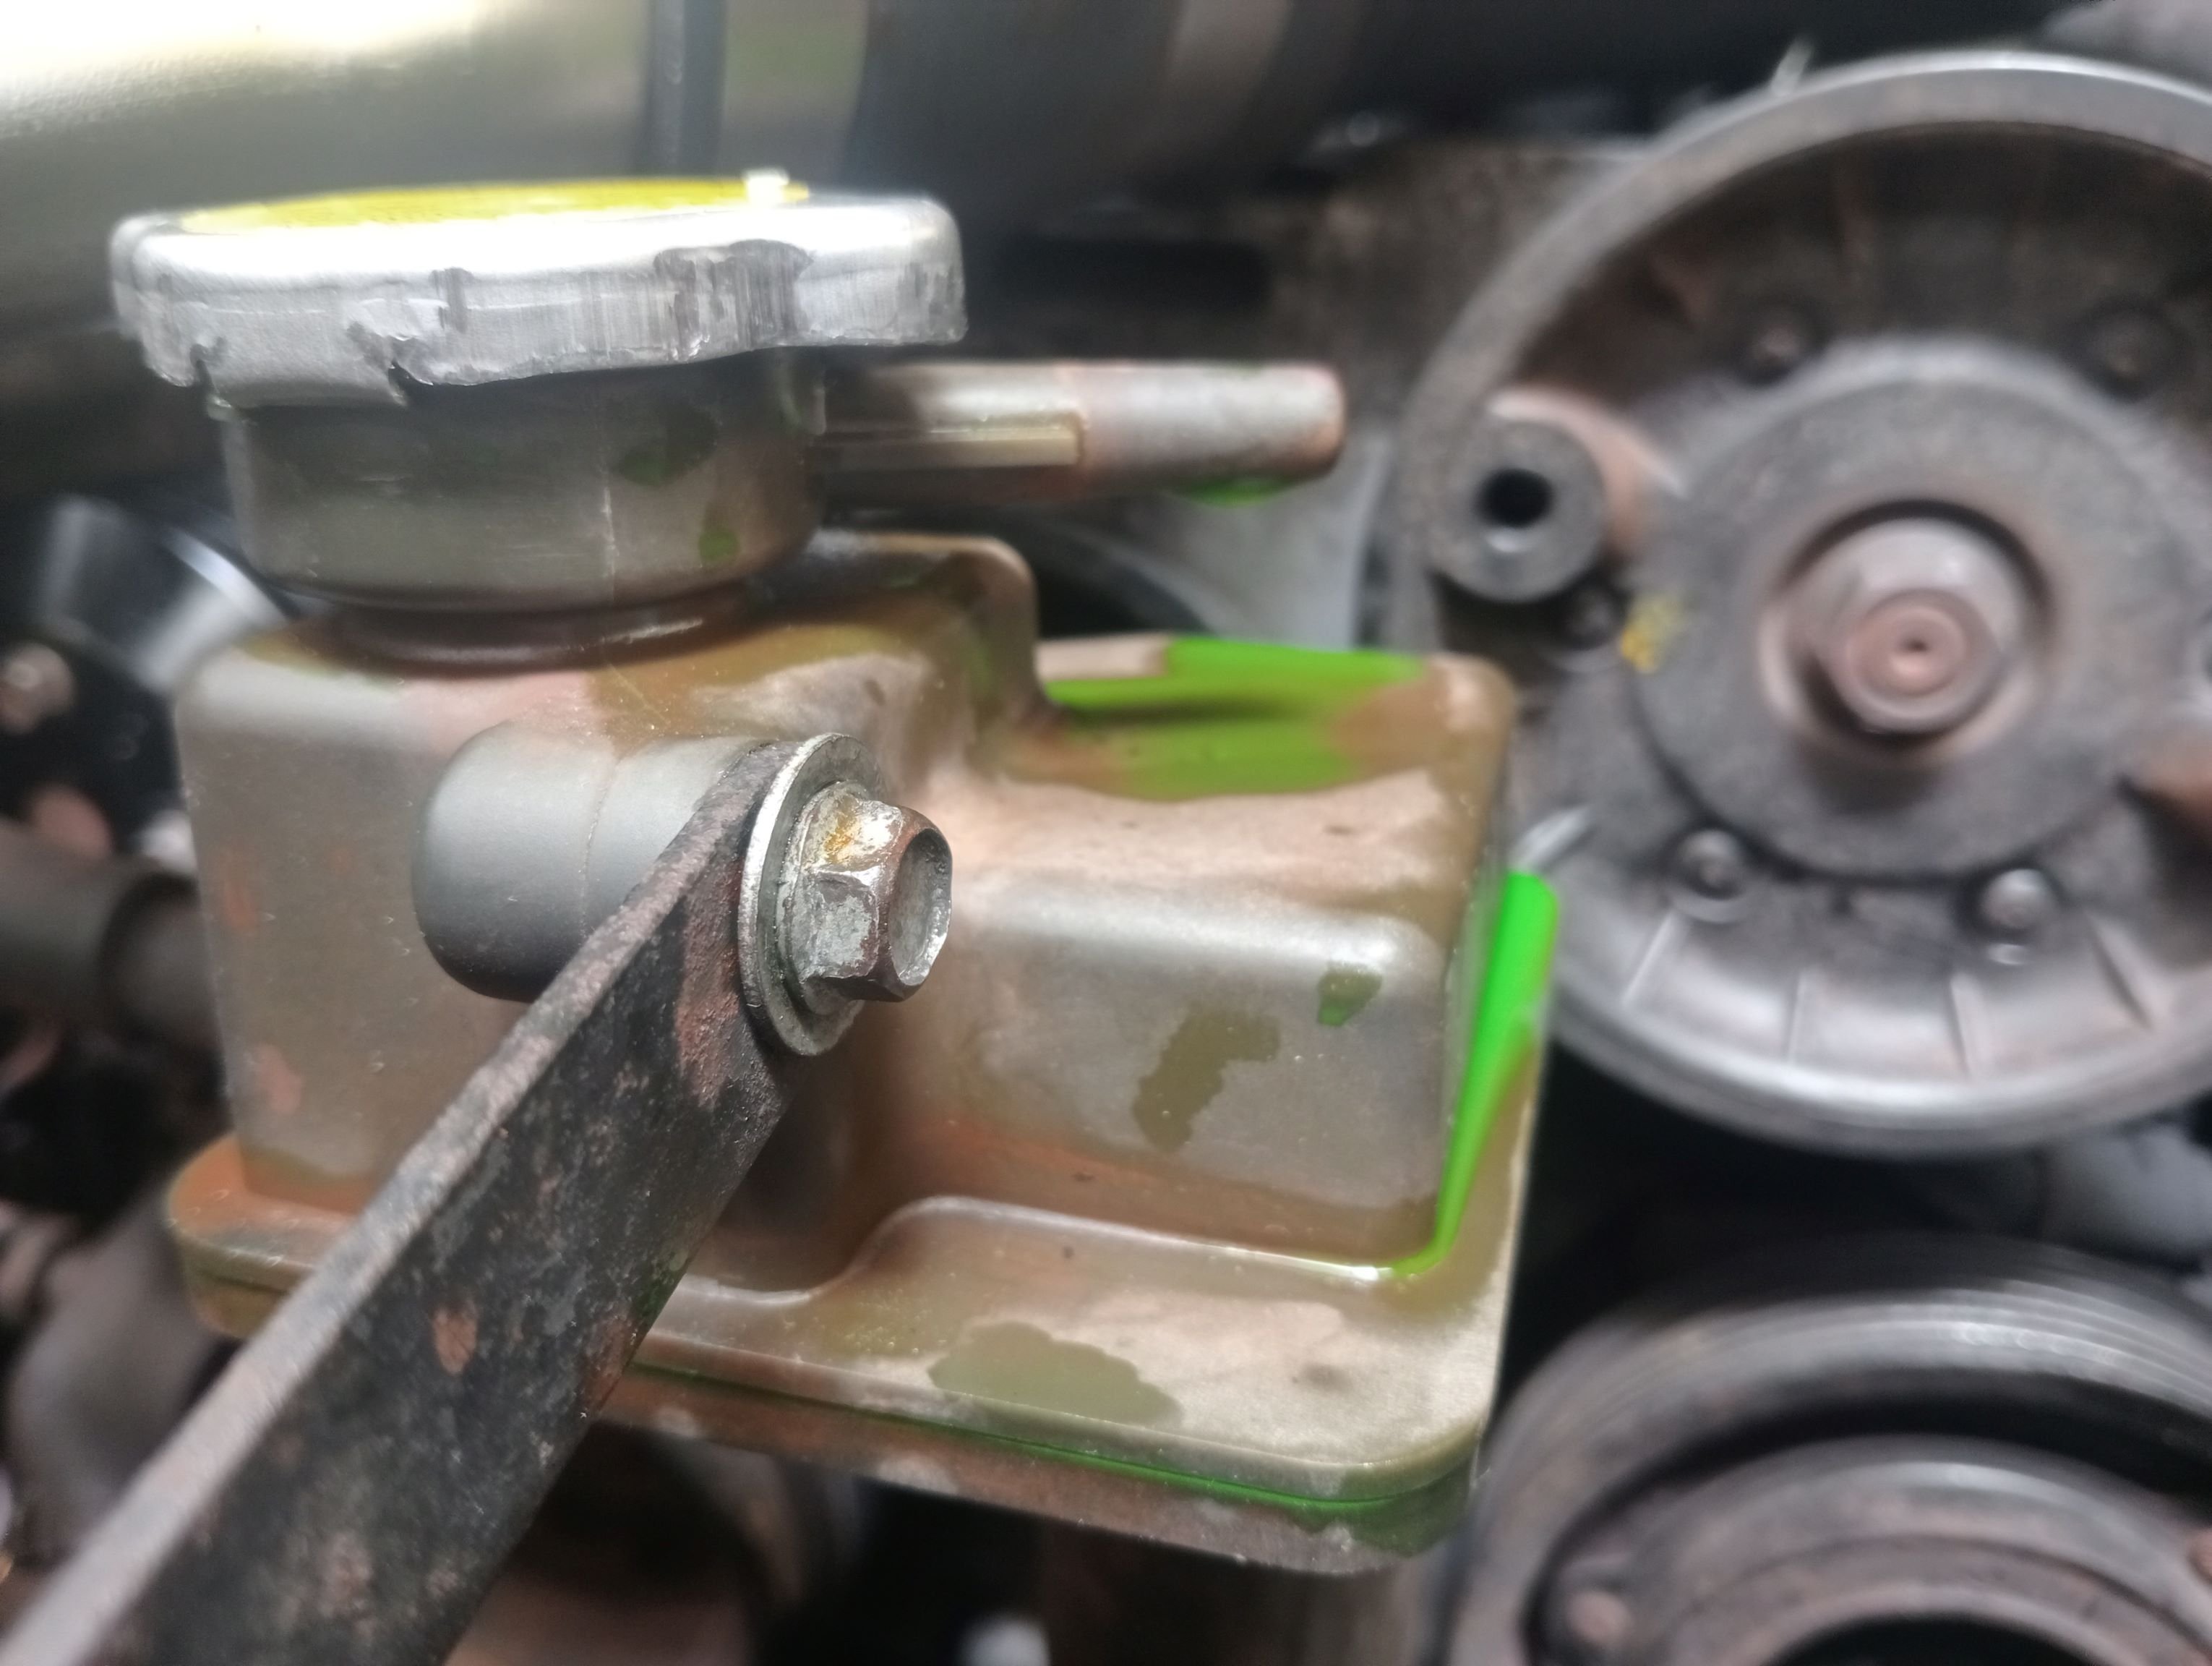
Last thing today I took it for a drive around the airport which was interrupted by a BZZZZZZZZZZZZZZZZZZZZZZZZZ which was pretty fucking obviously trying to tell me something was up. the "add coolant" buzzer and light was on and the temp was definitely higher than it should be. I had drained and flushed the coolant a week or so ago and thought I was pretty diligent in bleeding the air out, so I topped it up (and it wanted quite a bit), gave it another run, and... coolant all over the floor, under the overflow bottle. I had admittedly seen a little bit of coolant on the floor after driving it in but to be honest I filed it under "I don't want to see that". So again, another "ohhh that's why it was cheap" moment. bad water seals? is the engine pressurizing the coolant and blowing the water out of the separation chamber? nope, just a bad pressure cap on the chamber. topping up the filler, it was running straight out of here and into the expansion tank. with a bit of heat in it it would've been fair pumping out. a $37 fix, and everything's back to normal Suppose I should talk about how it actually drives? so yes it starts hot and cold (and very hot!) so I think the engine is, actually, pretty good. It's got 78k on the clock which is probably still young enough, certainly for what I paid. If it craps out at 100k that'd probably take me decades to run that figure up. with standard porting and turbos it probably doesn't set the rx7 world on fire, power wise - frankly that suits me. my other cars are a pajero and a triumph, and this is the fastest thing I've driven in quite some time. And it's harsh as well, it's loud and smells like two stroke and the suspension is hard as hell. a million years ago I had two series 1 rx7's, one was bog stock and the other one was more extreme than this. 9 times out of 10 if I was going somewhere I'd jump in the standard one. So I'm super glad that this has a comfortable interior, I guess I just wish it were a little more tame. maybe I'm getting old? Only real plans to come are to hunt down the last bits of interior and get it wof'd ........."shouldnt take much" says the previous owner.........
1 point
-
now the bodykit, I can kinda live without. Initially I went looking for a very stock machine but fate would have it (and not for the first time) I ended up with something very much the opposite. It does look like it'll unpick easily enough if the day comes, although that would mean buying stock guards and a stock bumper and most parts aren't cheap. So I'll stick with the kit for now, the downside of this is that I'm limited to exactly bugger all wheels that will fit. As mentioned it came on Enkei 3 piece wheels which sounds nice, but they don't fill the guards, and sit way too far in (even with the 20mm spacers there's extreme wheel rub if you even think about steering. I thought about changing the lips, I thought about changing the barrels, I thought about how that would mean spending 5k just to end up with some beaten to shit centres just to keep the wheel snobs happy. So I cheaped out and got some 9" -20 Rota RKR's because they're pretty much the only thing that would actually fit, straight off the shelf. Realized what I needed on Friday, found some for sale on Saturday in Cambridge, @RXFORD was coming through on Sunday, they were in Auckland Sunday night, and one of my customers was driving a truck straight past on the way to Whangarei the next day, the system works! (compared to the time I tried to bring a starion engine up from CHCH, which wore out it's welcome with about three different OS members, and THREE YEARS LATER, having never actually arrived here, was sold sight unseen) Despite being only an inch smaller they seem absolutely tiny, it's taken some getting used to. But I can turn corners now. Oh but the previous owner had wandered off with the lock nut key. He sent it up to me but it was too late, I'd already created this piece of art what is it? it's a small piece of pipe with five castellations cut into it, hammered into a slightly larger piece of pipe, and welded up with great enthusiasm and little ability. but it did the job! oh and with a socket welded crookedly on the end because I still had half a rod left and by god I was going to use it
1 point
-
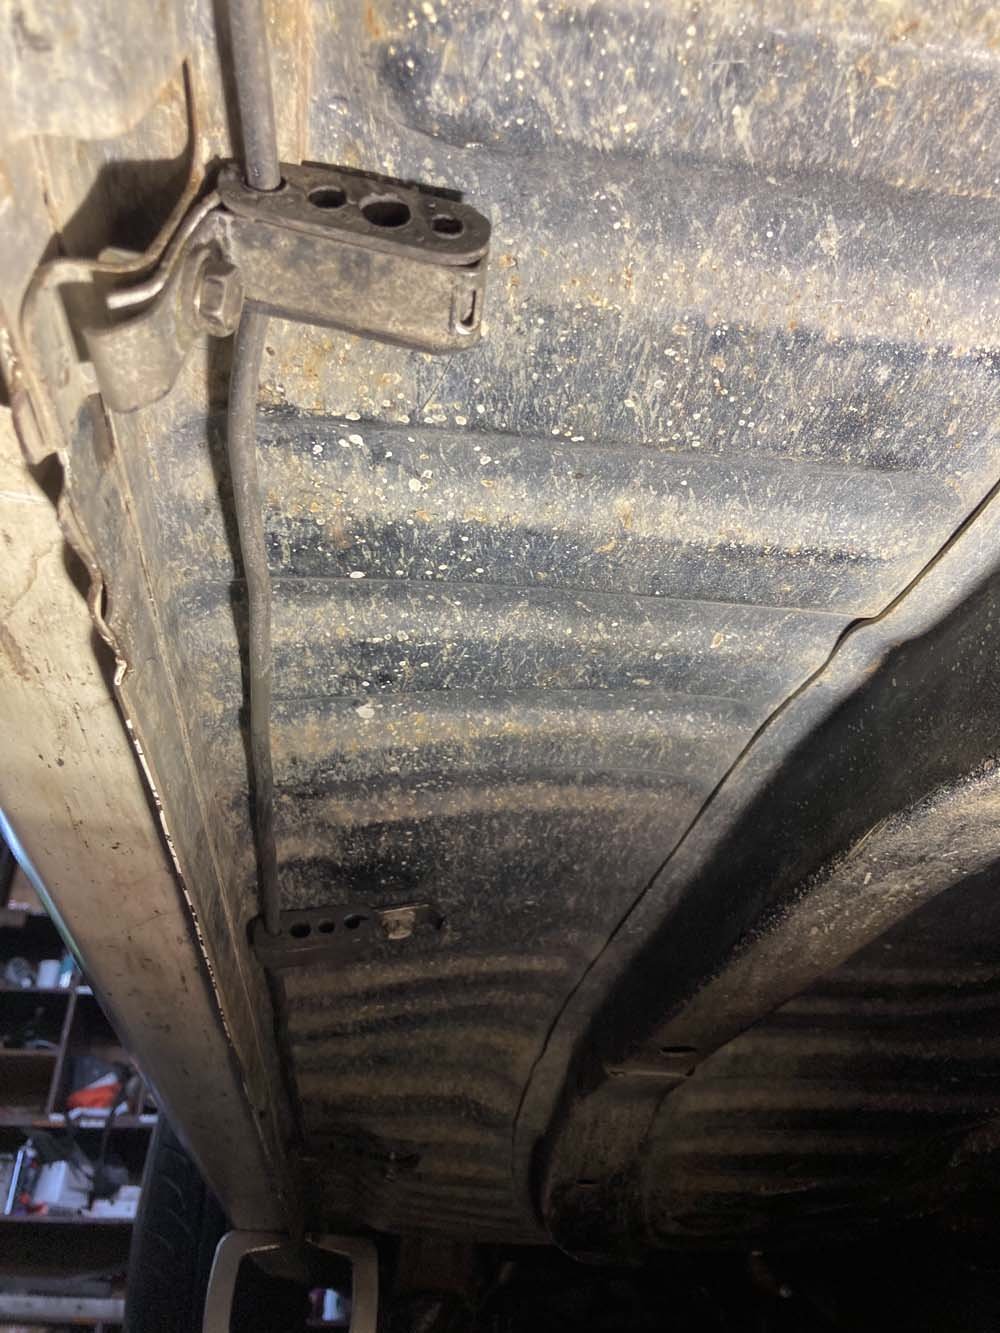
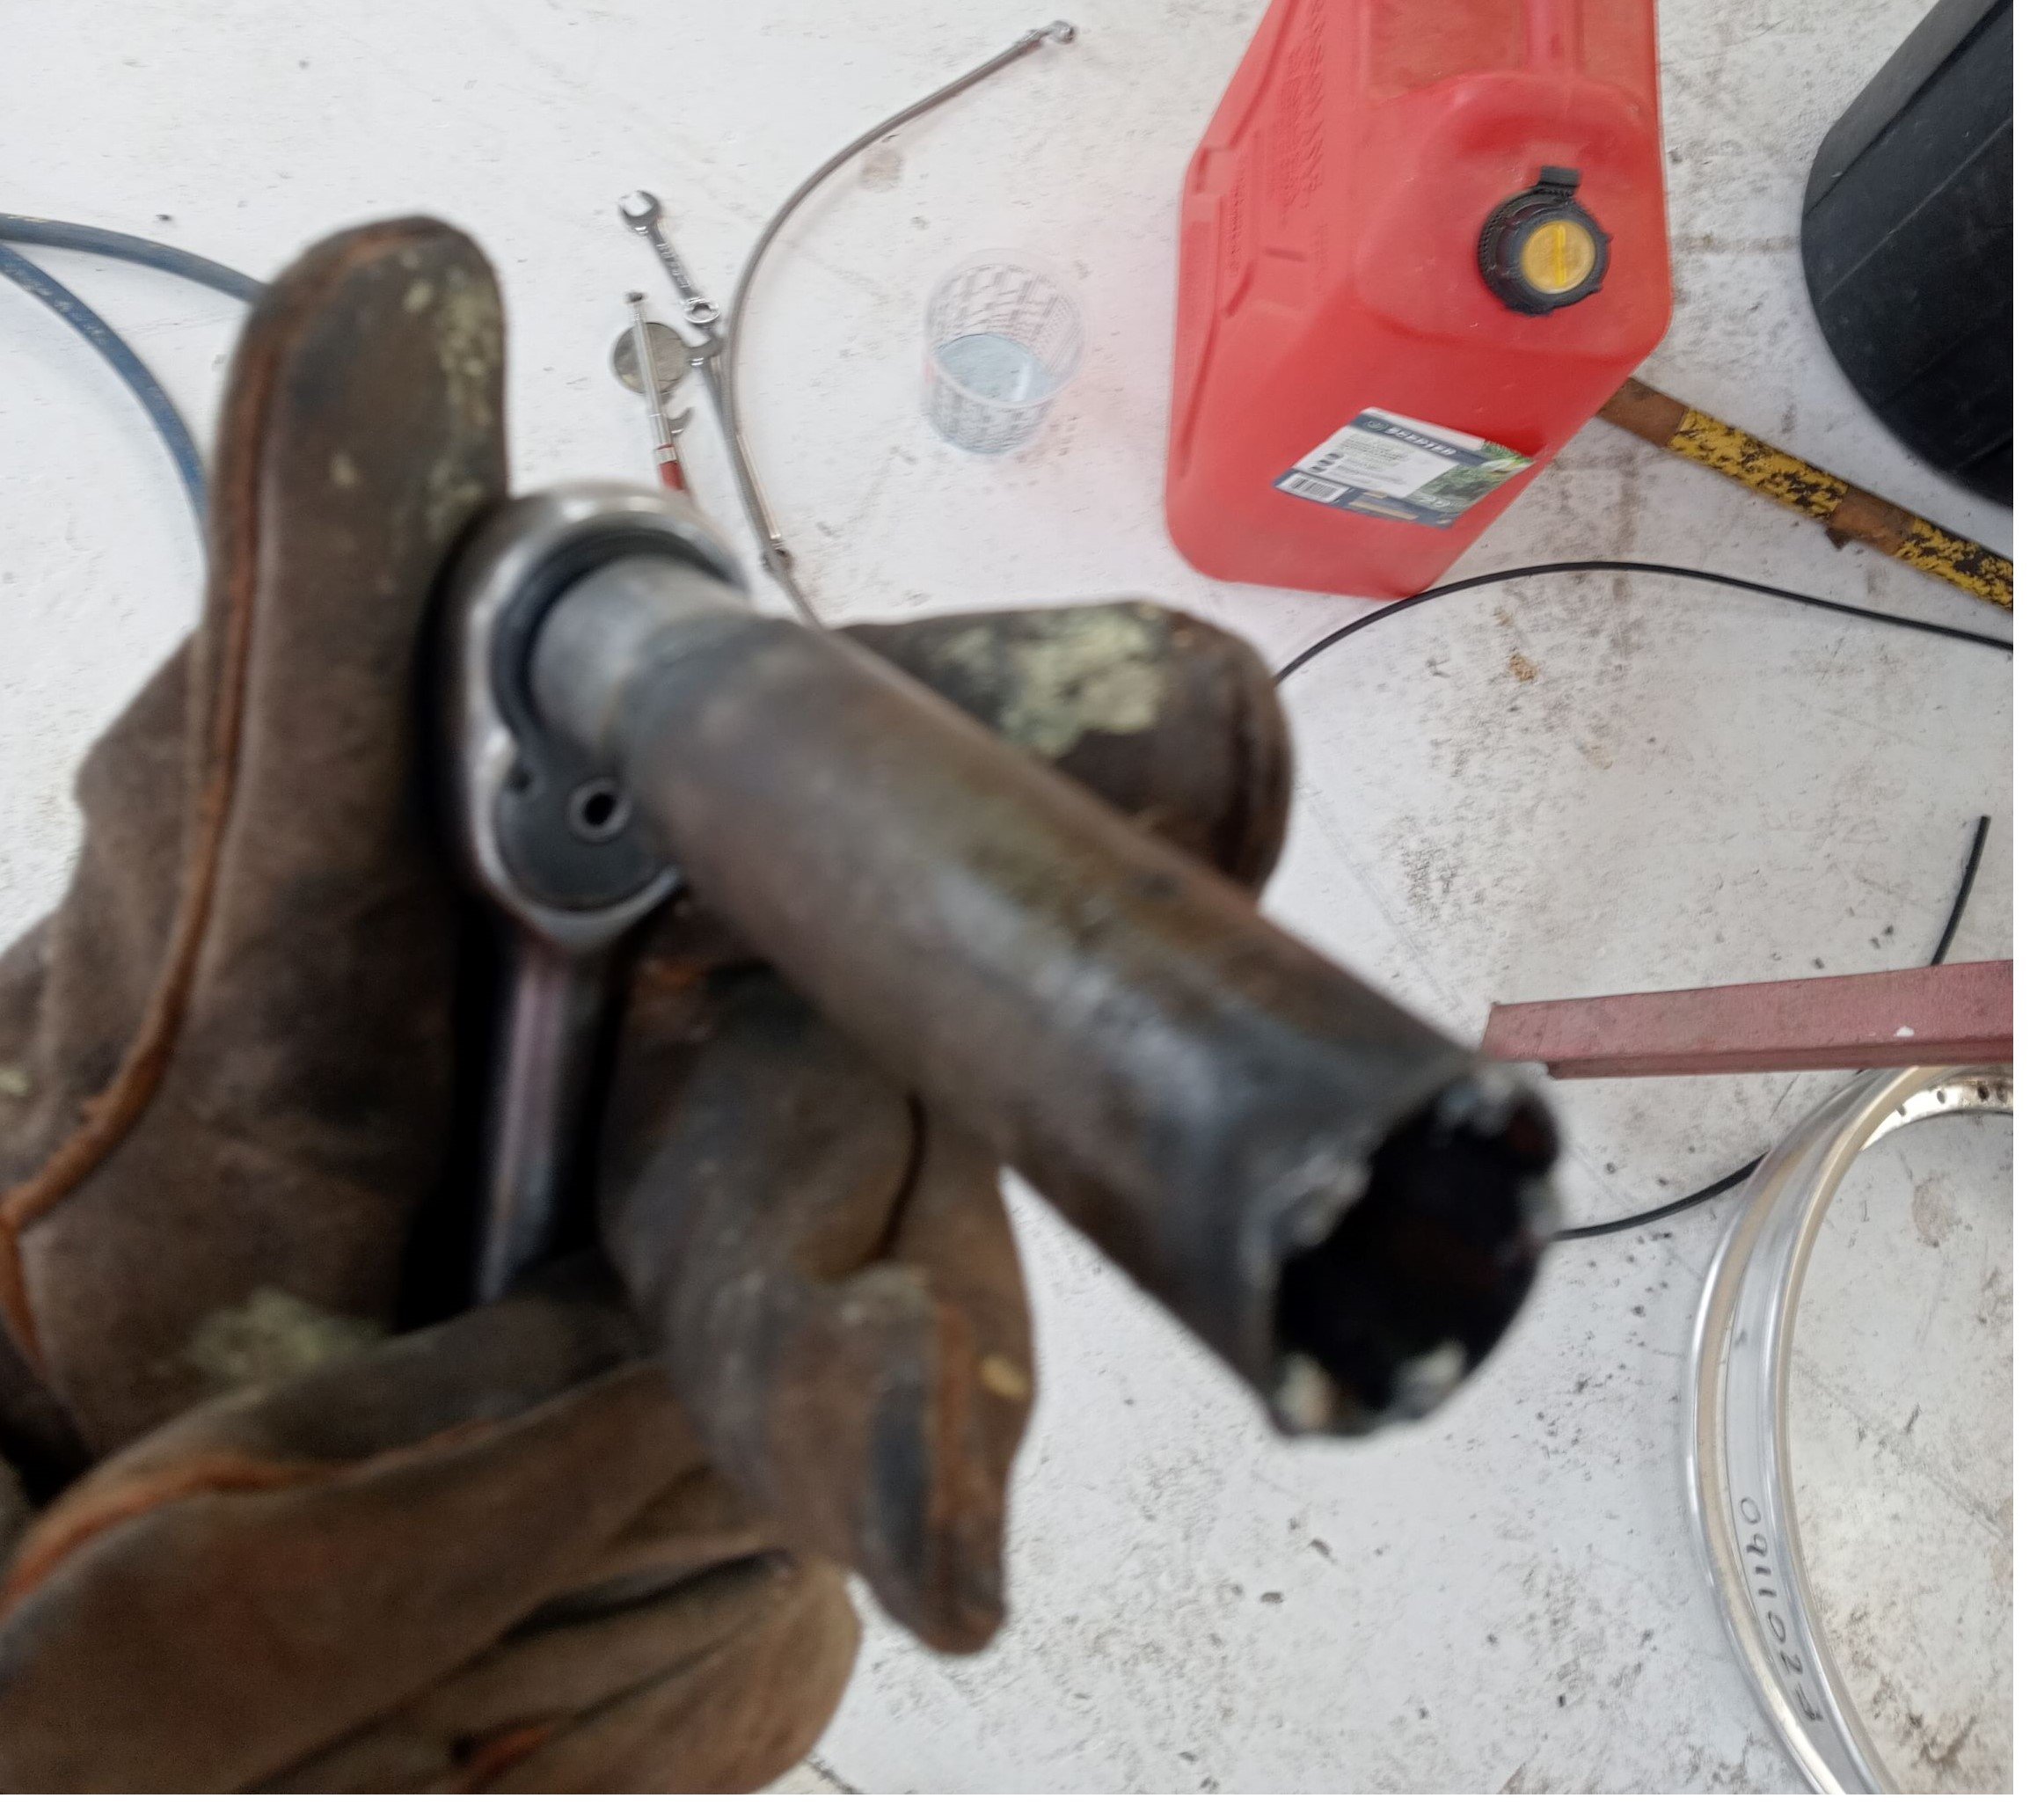
I need to get some more pics but stock photos would probably cover most of this off. Other shit I found, well going back to day one when I jumped in it to fire it up and drive it off the truck, it fired up real nice, except the oil pressure gauge which was cheerily sitting at zero. so I'm sitting there while the towie mucks around getting his ramps lined up, wondering if I'm rooting what's left of the engine, but I figured if it actually had zero oil pressure, the towies would have already blown it to bits when they absolutely would have taken it for a hoon at some point on it's way up here. Turns out the senders are notorious for crapping out, I pulled mine and its resistance range was way out. SO I JUST BOUGHT A NEW ONE AND IT TOOK ME 30 SECONDS TO FIND IT ONLINE AND IT WAS THAT EASY BECAUSE THAT'S WHAT HAVING A CAR THAT ISNT AN OBSCURE 40 YEAR OLD MITSUBISHI IS ALL ABOUT Ventured underneath for a look and found the powerplant frame cracked through apparently this is another very common fault on these cars, this one has an aftermarket Mazdaspeed brace (or a Mazdaspeed badge on a red painted factory brace?) but apparently they're barely any better. Will zap it up where it sits
1 point
-
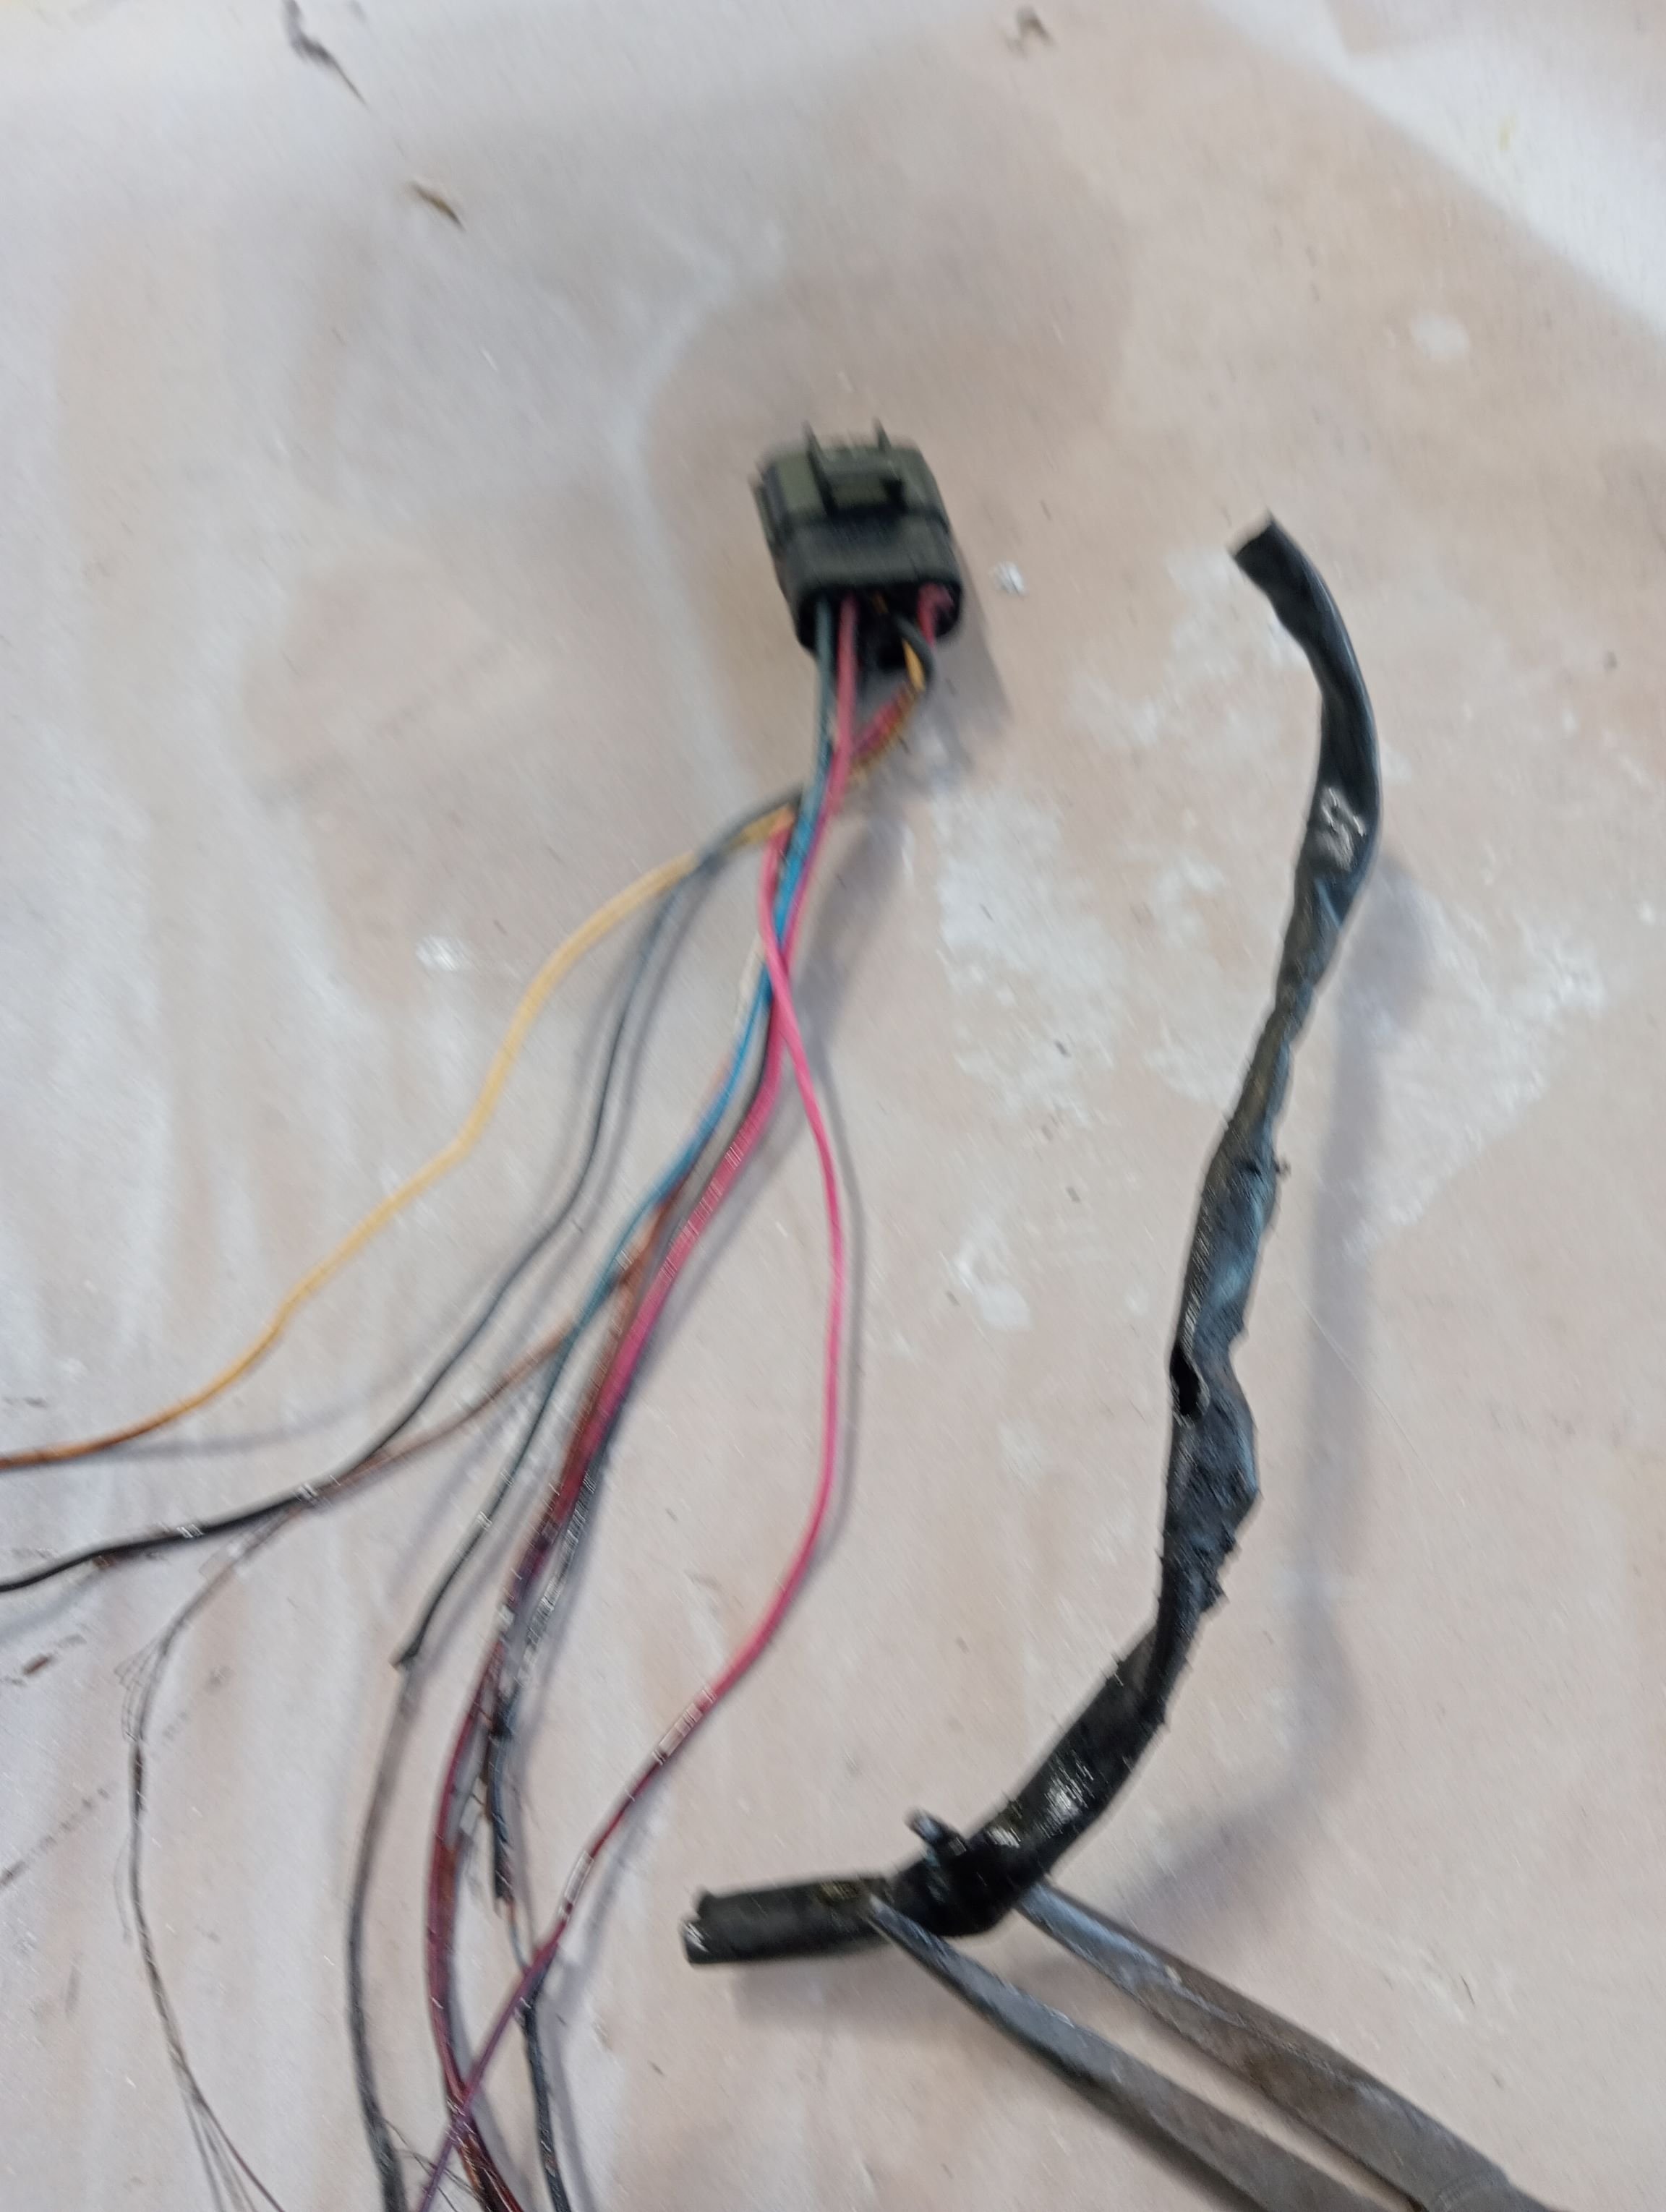
Then I hit the first major red flag - I'd been expecting an "ohh, THAT'S why it was cheap!" moment, and perhaps here it was: Excuse me what the fuck is going on down here? I do not appreciate busted wires and shit. At first I thought a rat might've gotten into the engine bay and chewed through the loom, but I found the rest of the wiring wrapped around the crank pulley shit, I hope it isn't anything importa-aaaand it's the oil metering pump so just to tell you guys how to suck eggs, that's the pump that feeds a wee bit of oil into the chambers to lubricate the seals. Now I did a bit of reading and discovered that the pump on the FD is a stepper motor controlled one, so presumably that means when the wiring got torn out of it, it just failed at whatever flow rate it was allowing at the time, as opposed to stopping working altogether. Hopefully that position was full tit max flow. SO, how long had the pump been fucked? Normally this would throw a fault code, but this thing has an aftermarket ECU so no dice I very politely contacted the previous owner and he said that he'd never seen the busted wires, and frankly knew nothing about it. One interesting tidbit was that he said he had had some boosting problems with the (notoriously finicky) sequential controls on the turbo, had replaced a solenoid, but the problem had come back shortly afterwards, and that that was when he decided to sell the car. Why is this topical? Because when the metering pump loom was torn to bits, it pulled a hose off the vacuum chamber for one of the solenoids! So there's every chance that this occurred pretty much the last time this car was driven. Needless to say it's on premix now.
1 point
-
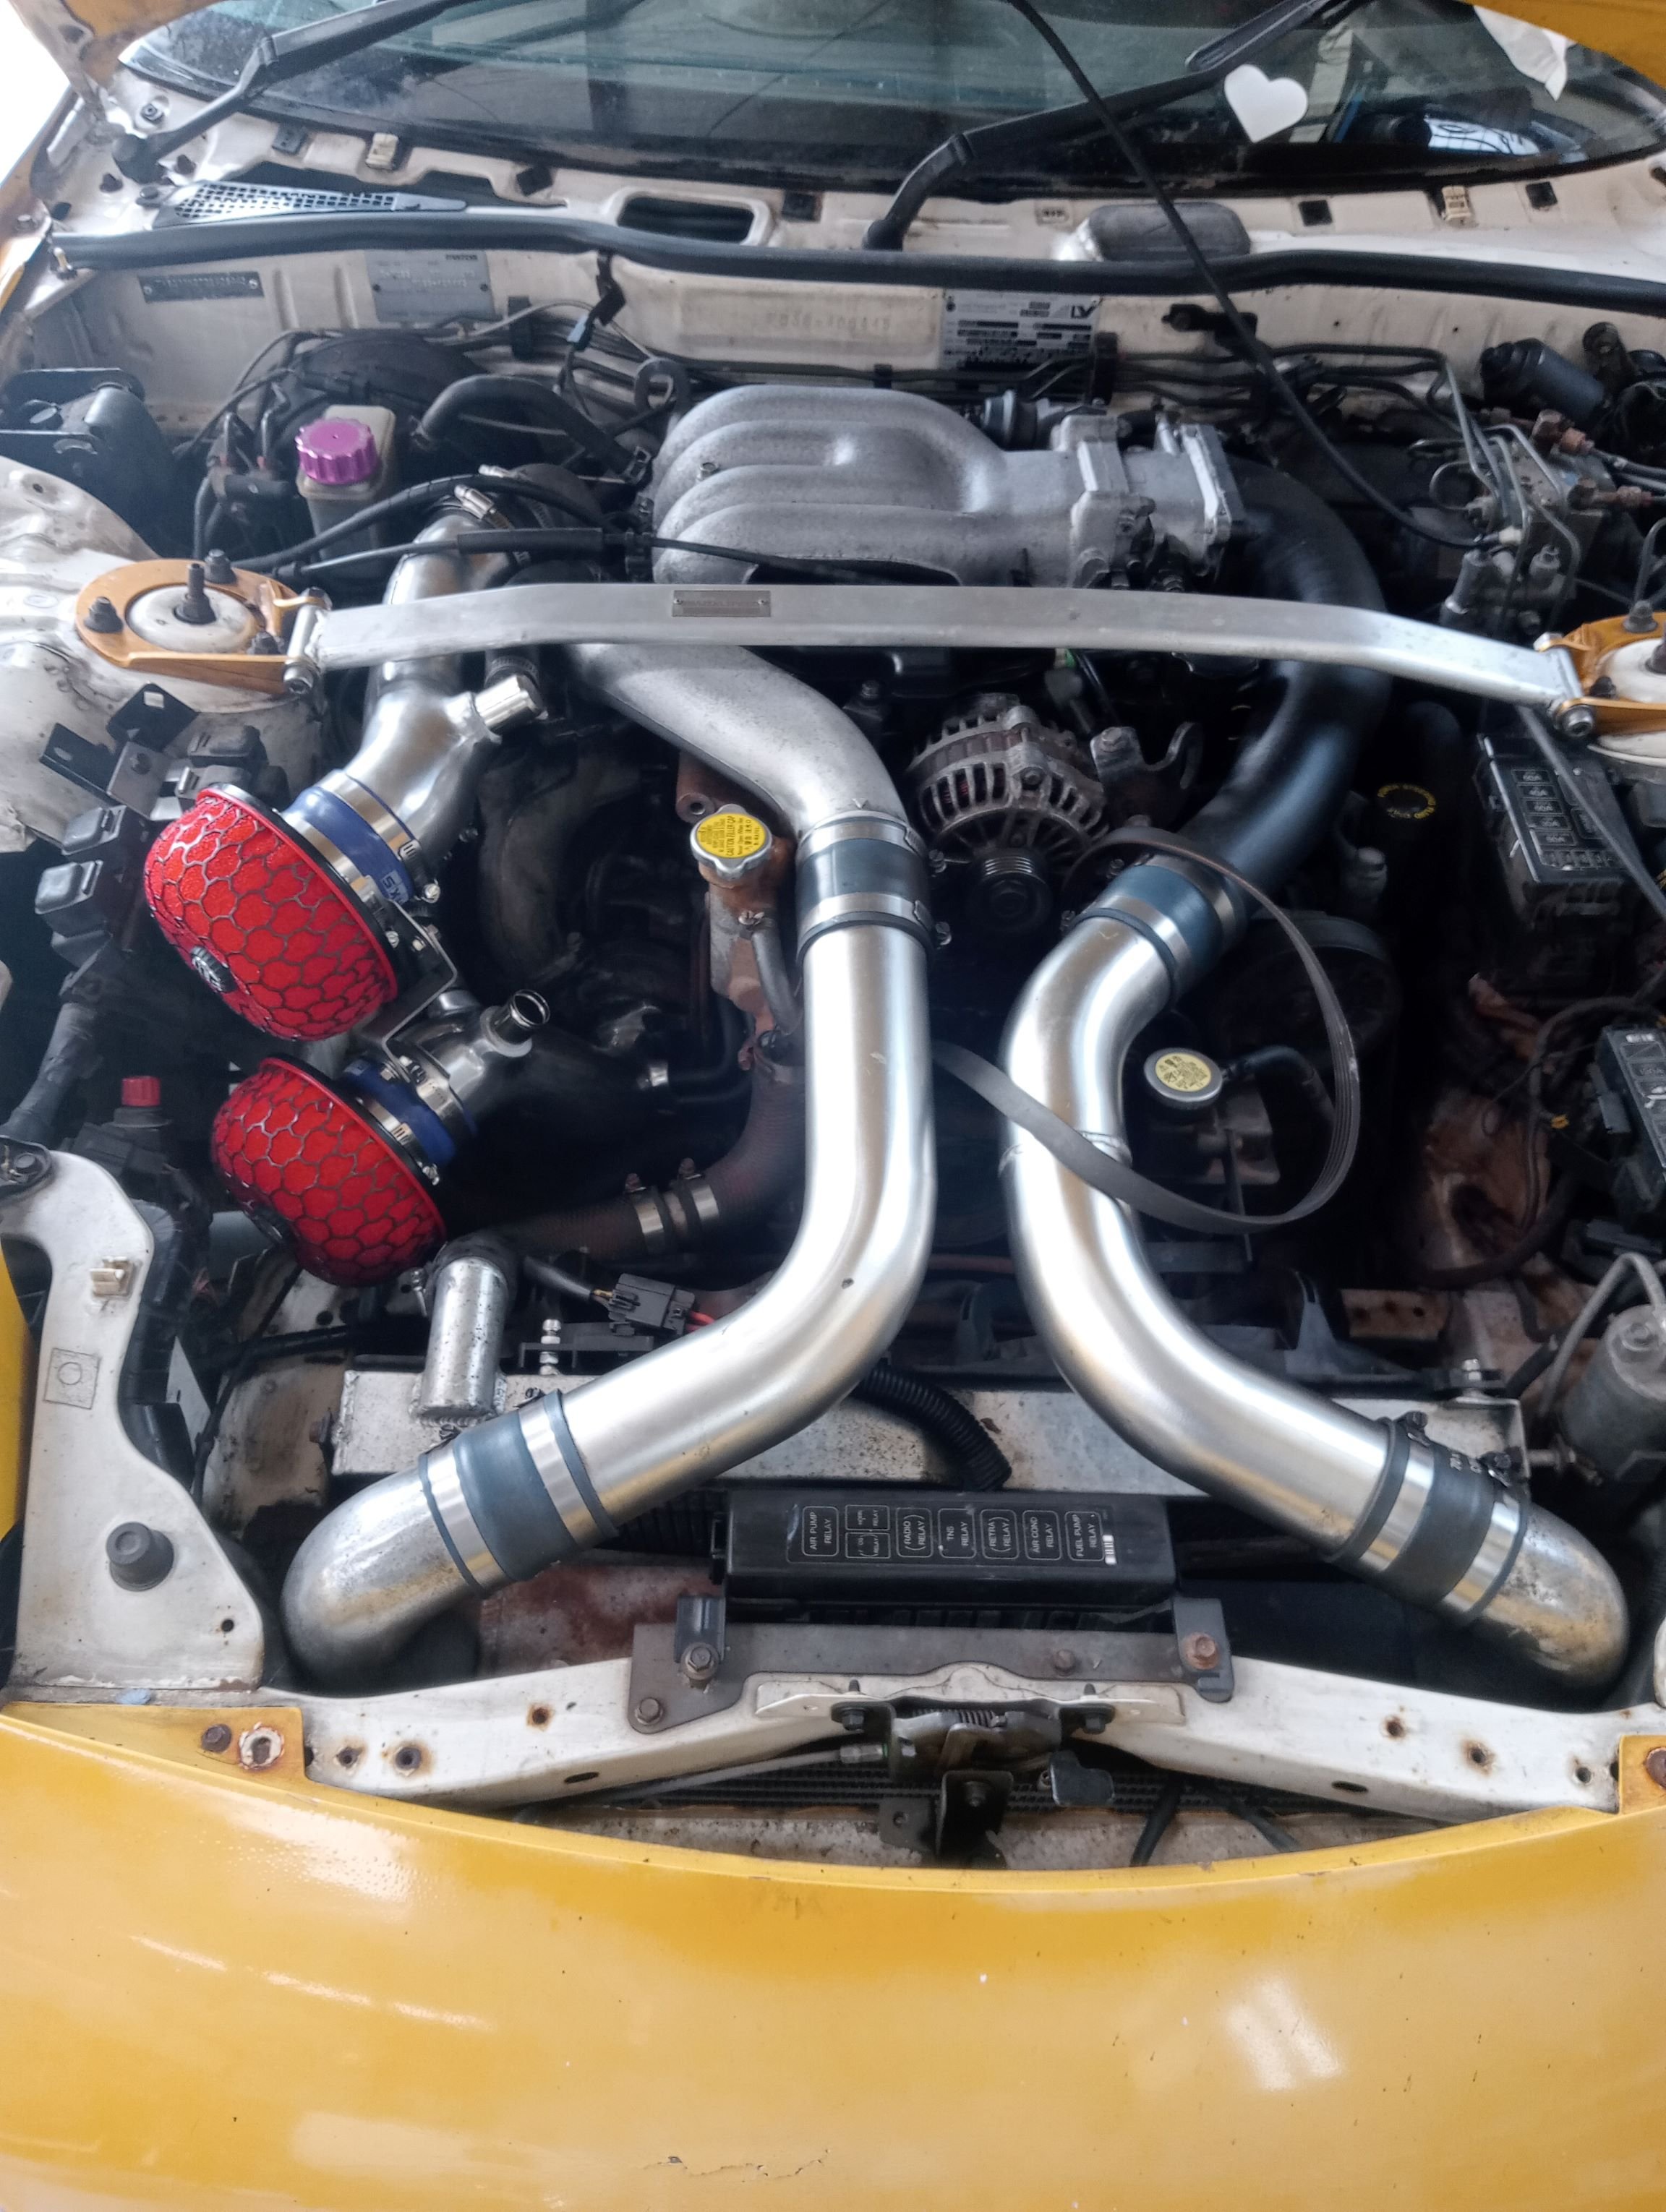
So the car is from the other end of the country, I did zero due diligence other than a quick carjam to make sure it actually existed, asked a few questions, got a few replies, pulled the trigger so first impressions; the exterior has definitely seen better days, the kit is cracked in multiple places, the paint is faded / blistered especially around the engine bay, the spoiler is gone (by request of the previous owner who wanted to keep it, no argument from me) leaving mount stubs all over the boot, the wheels are just there to get it rolling, the offset is totally wrong, they rub everywhere and have been kerbed with incredible thoroughness Comparatively, the interior (which wasn't mentioned at all in the ad and I only got a few grainy photos of) is much nicer than I expected. It has a half cage which I originally planned to ditch on day one but honestly the back seats are completely worthless. The seats are factory, it's got a few extra bits and pieces inside and some carpet missing which I'll hunt around the internet for The engine bay is a bit sad. First up: wedding night surprise, she's not a natural yellow. bit of a bummer but oh well. Still on the factory turbos which is a nice indicator that perhaps it hasn't had too much of an ass-kicking in it's life. Rusty water everywhere which set a few alarm bells ringing. airbox is gone and all that's left is ugly stock induction pipes flapping in the breeze and some chafed through pod filters So I cleaned everything off and spent a few dollars on things shiny and frivolous The stock air pump was sitting there but was unplugged, not sure if the ECU had been tuned for it or not, the previous owner had done some work recently (more on that in a minute), maybe he had left it unplugged by mistake? I got rid of it anyway as I really just wanted to get in and tidy everything up. Pic 75% complete as I had to block up the air pump inlets on the induction and fit a new alternator/water pump pulley and belt with the air pump gone. Tightest alternator pulley nut ever, holy shit
1 point
-
Needed the beefy BW diff upgrade for the power from the super advanced OHC 1750 lump1 point
-
Suspension is all finished and is now at a panel beater in Swanson for the repair certifier to go through and do his thing. The guy was really nice to talk to and was super helpful. Funny enough out of the 5 certifiers I contacted he was the only one to call me and talk me through the process. In this day and age with the economy the way that it is I thought people would be jumping at the work.1 point
-
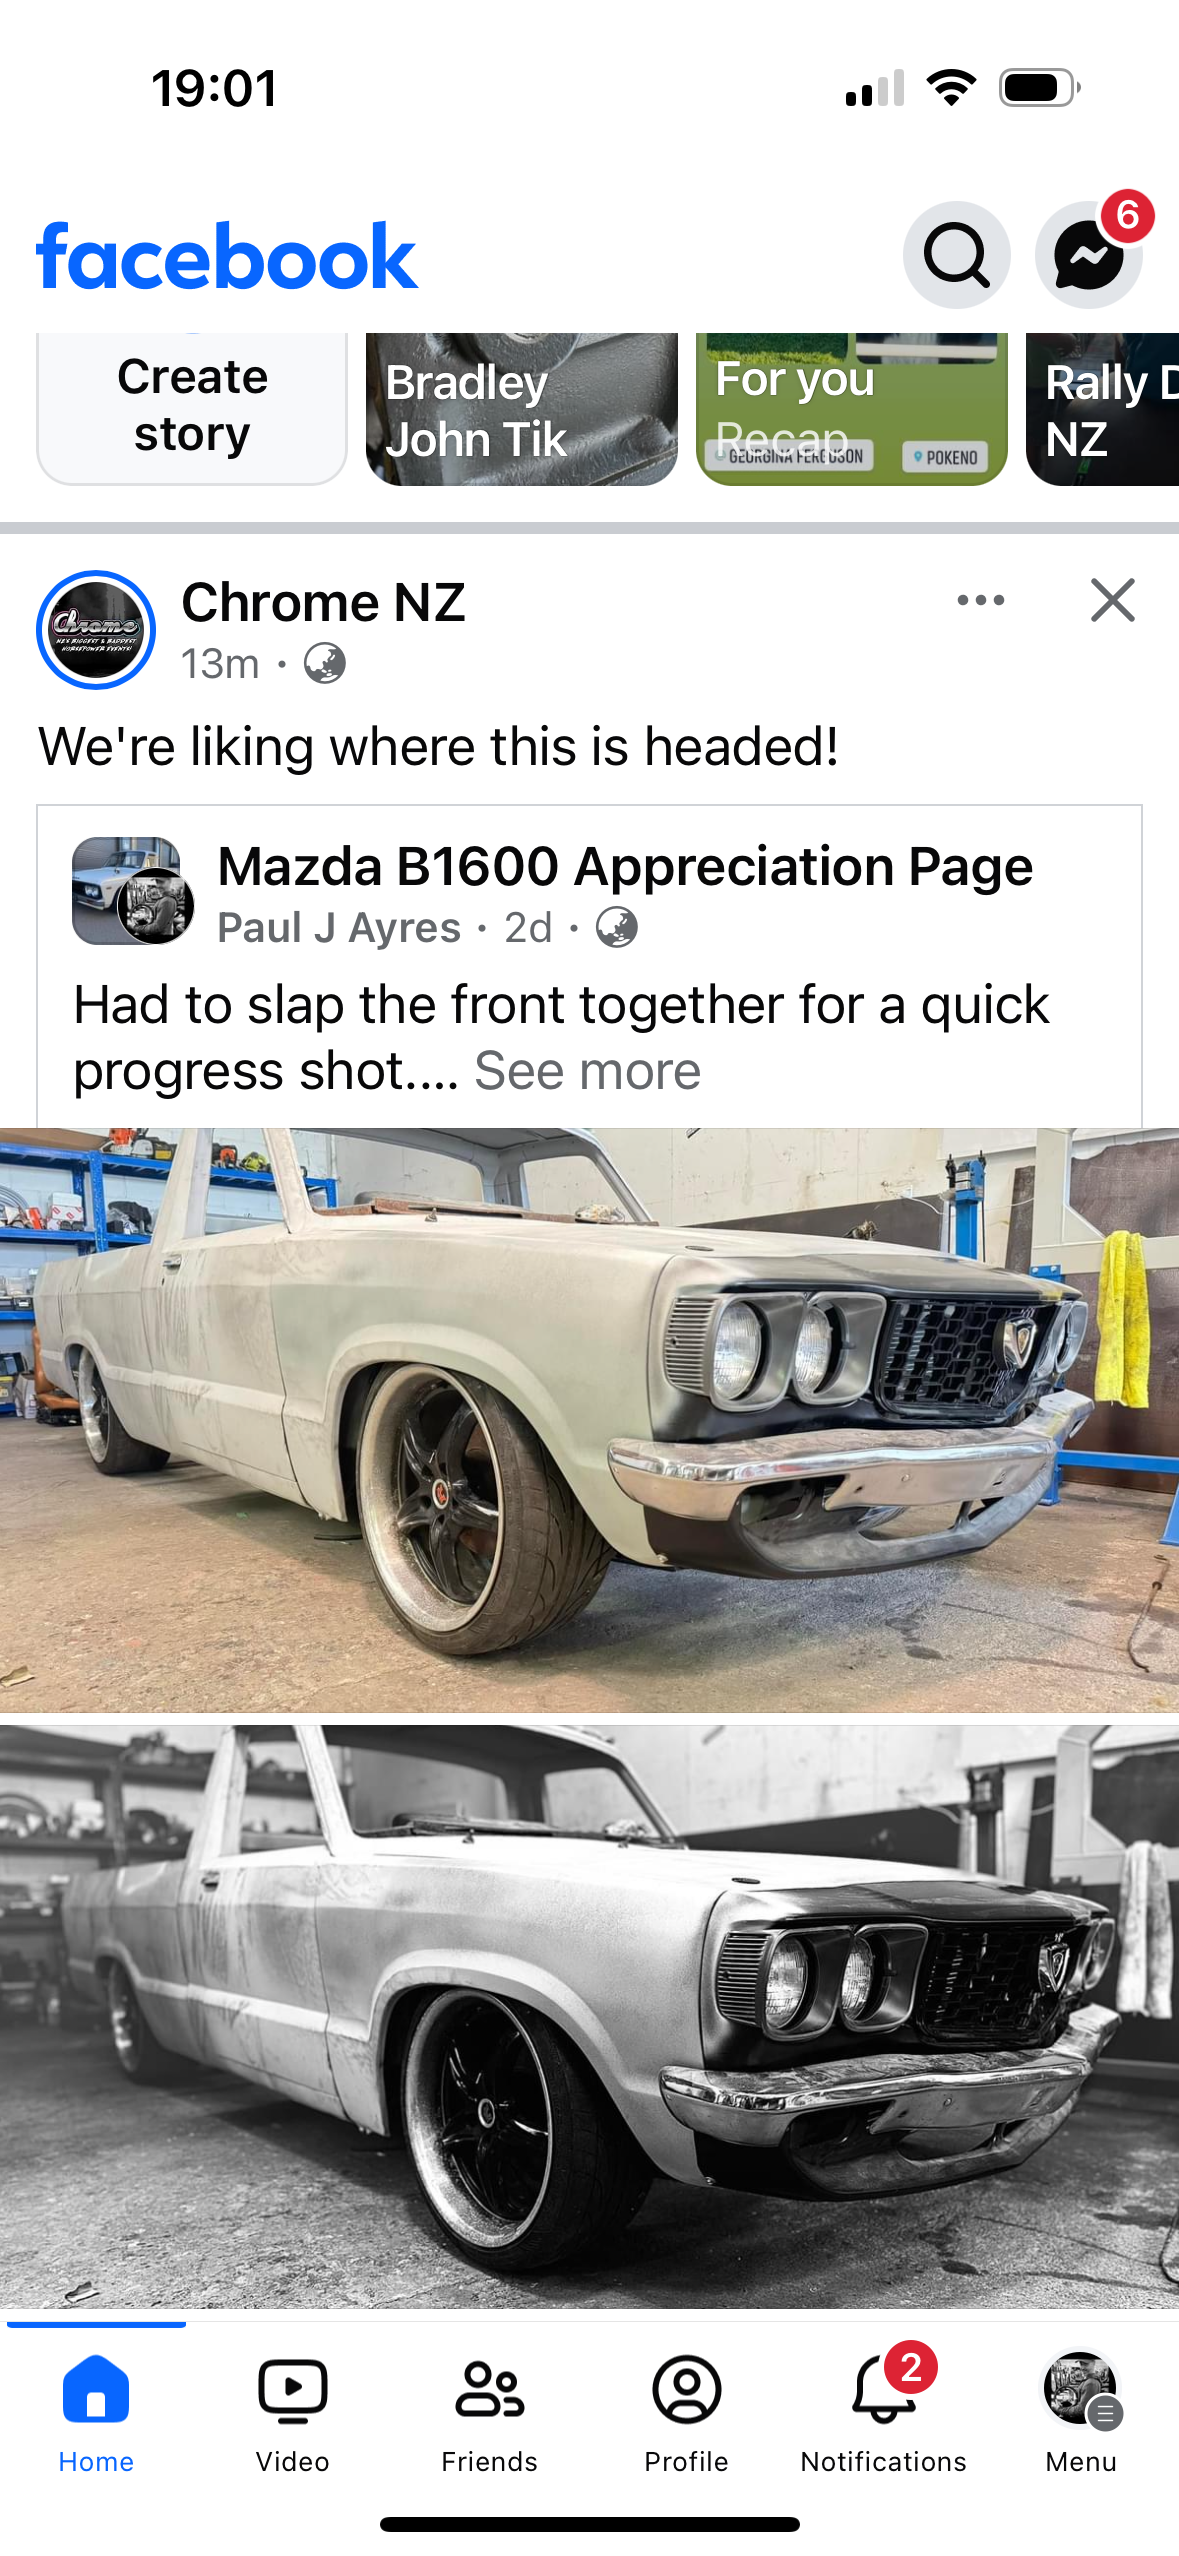
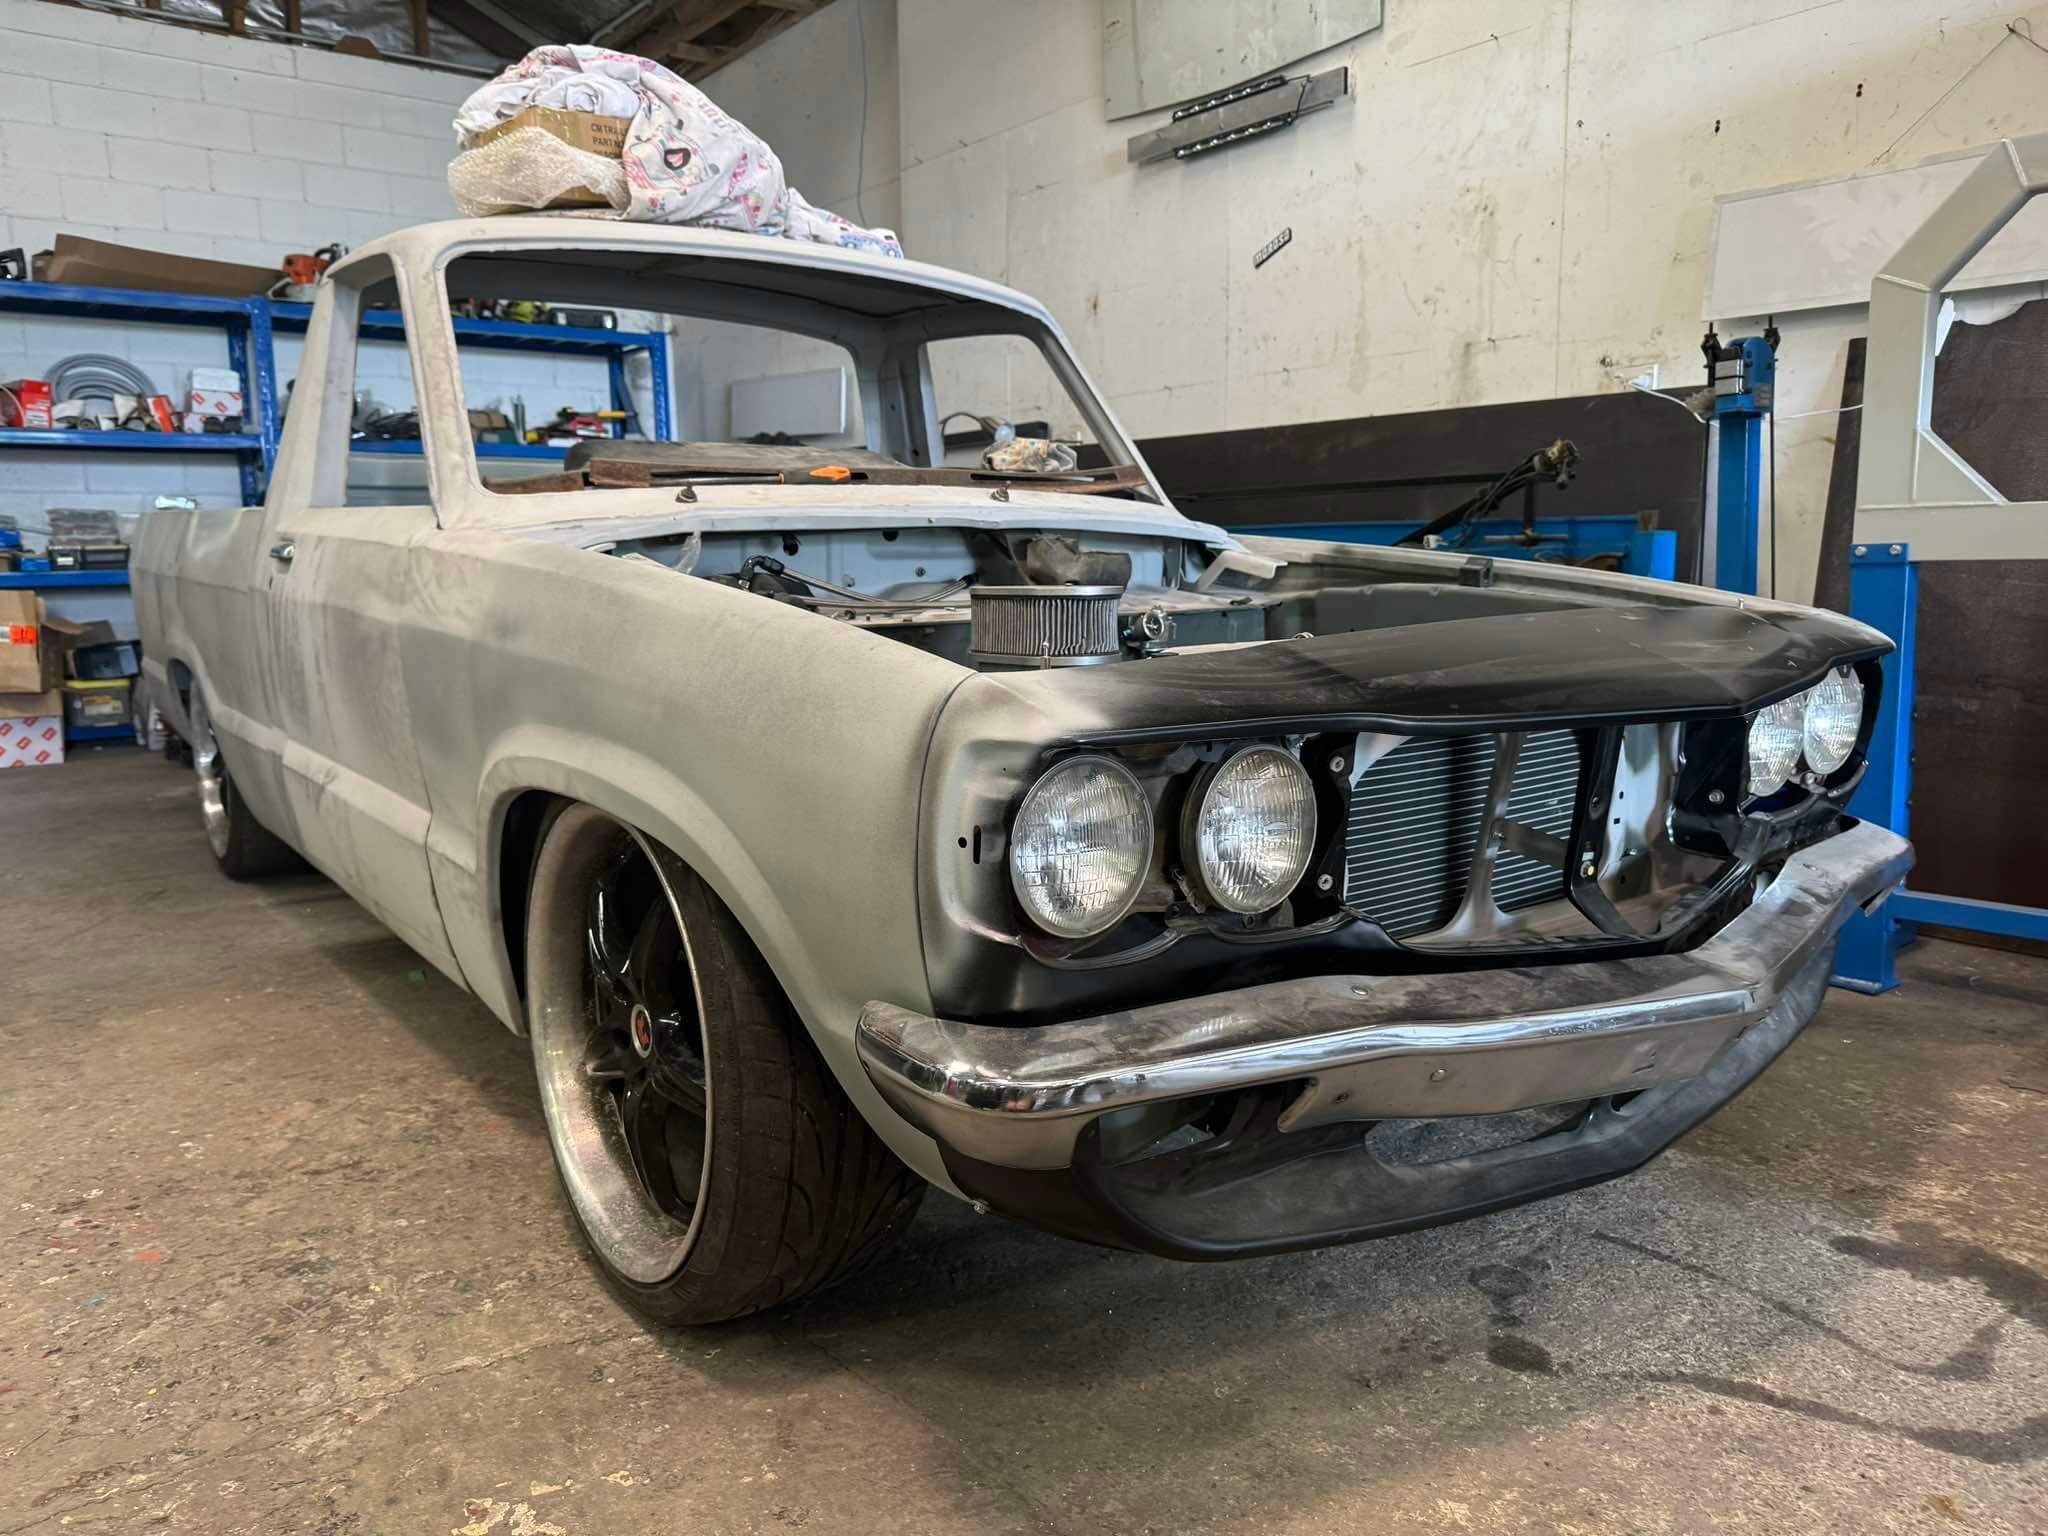
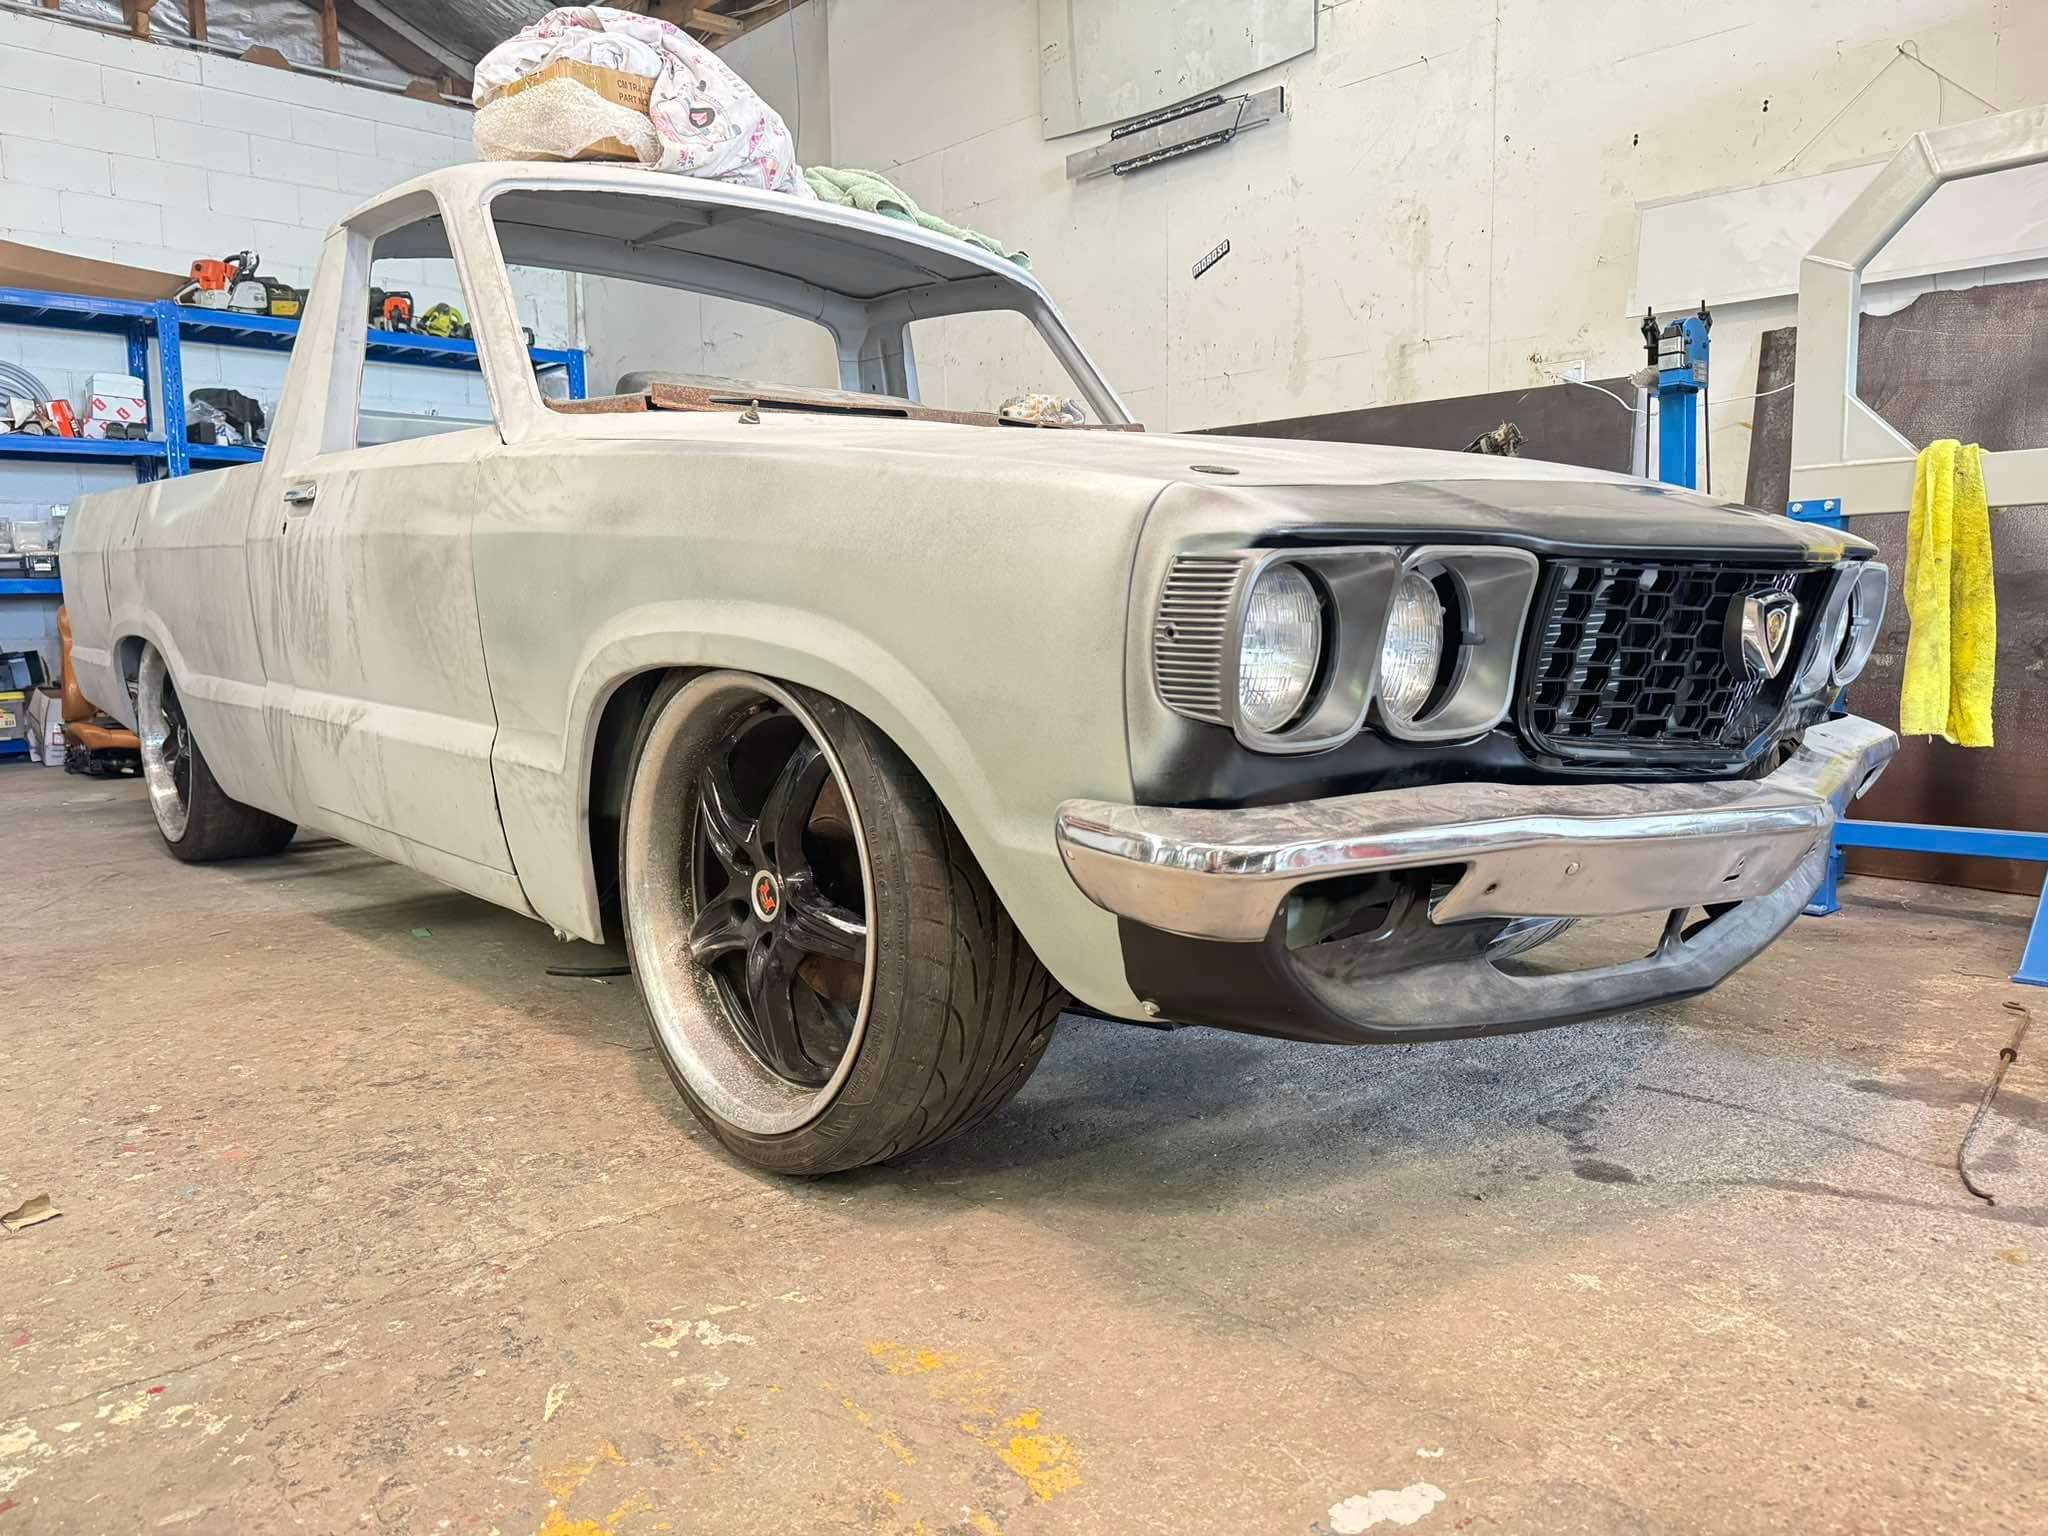
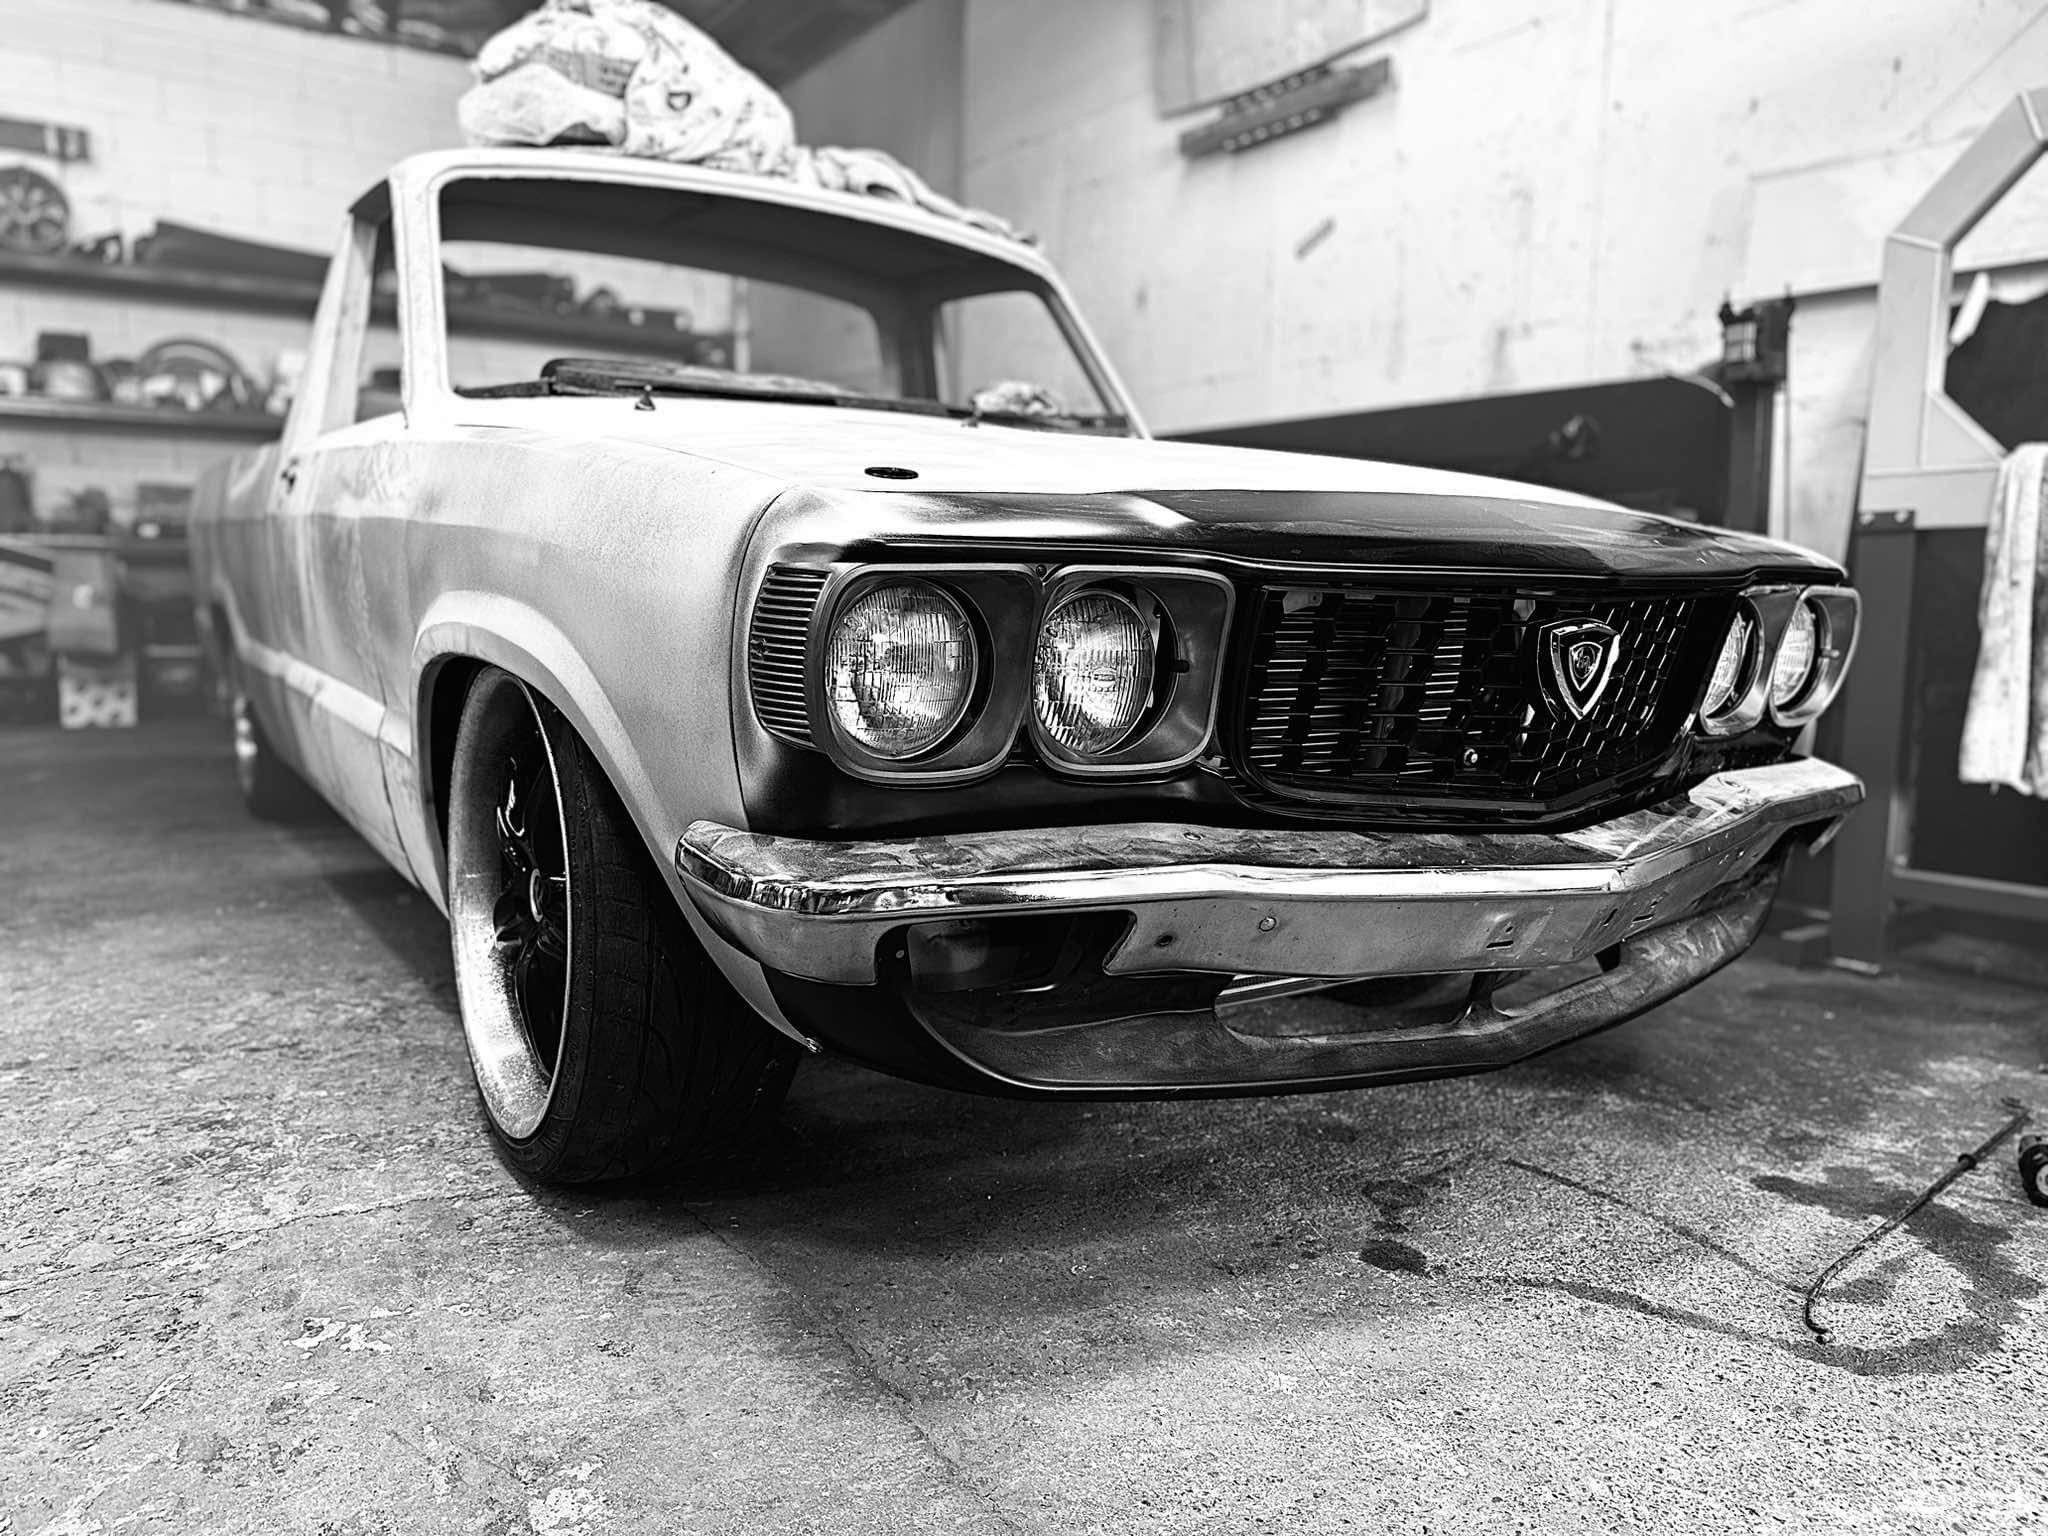
Not wanting to blow my own horn or anything, but I posted the 2 colour pics above to a b1600 page on fb the other day. shits blown up… it’s been shared all over the show, got 1000 likes and have received many PMs about it. don’t even recall seeing a single negative comment. definitely helped with the motivation
1 point
-
Pretty much sorted the oil line dilemma. i will run a 180 off the front cover to a 100mm of hose to another 180 to get the hose to return to the cooler with a 90. everywhere is too tight to run a continuous hose. This route I believe will offer flex when needed. then I set about my list of stuff I wanted to try and tick off today. got the seat base mounts fitted (ready for the next step). then fitted the second 5 stud axle and front hub on the left side. She’s full 5 stud now. fitted the fuel tank and fuel pump. then started getting some final mock up of factory stuff (heater box, wiper motor assembly, dash panels). this way I can sort the wiring out. discovered that I need to swap the steering boxes over as the one in it is too long to run the steering wheel with the column cover. also mounted the park brake lever, decided to keep the factory unit as it’s ready to go, saves faffing about. now that the heater box and park brake is in, I can now design the centre console. ive had an upholsterer pop by to go over the design, just waiting on pricing now. measured the accelerator cable and speedo cable to get remade. marked out the shifter hole for the 12a turbo box. Then chucked the bonnet, grille and light surrounds on for a photo. loving it, but I do need to lift the front 15-20mm.
1 point
-
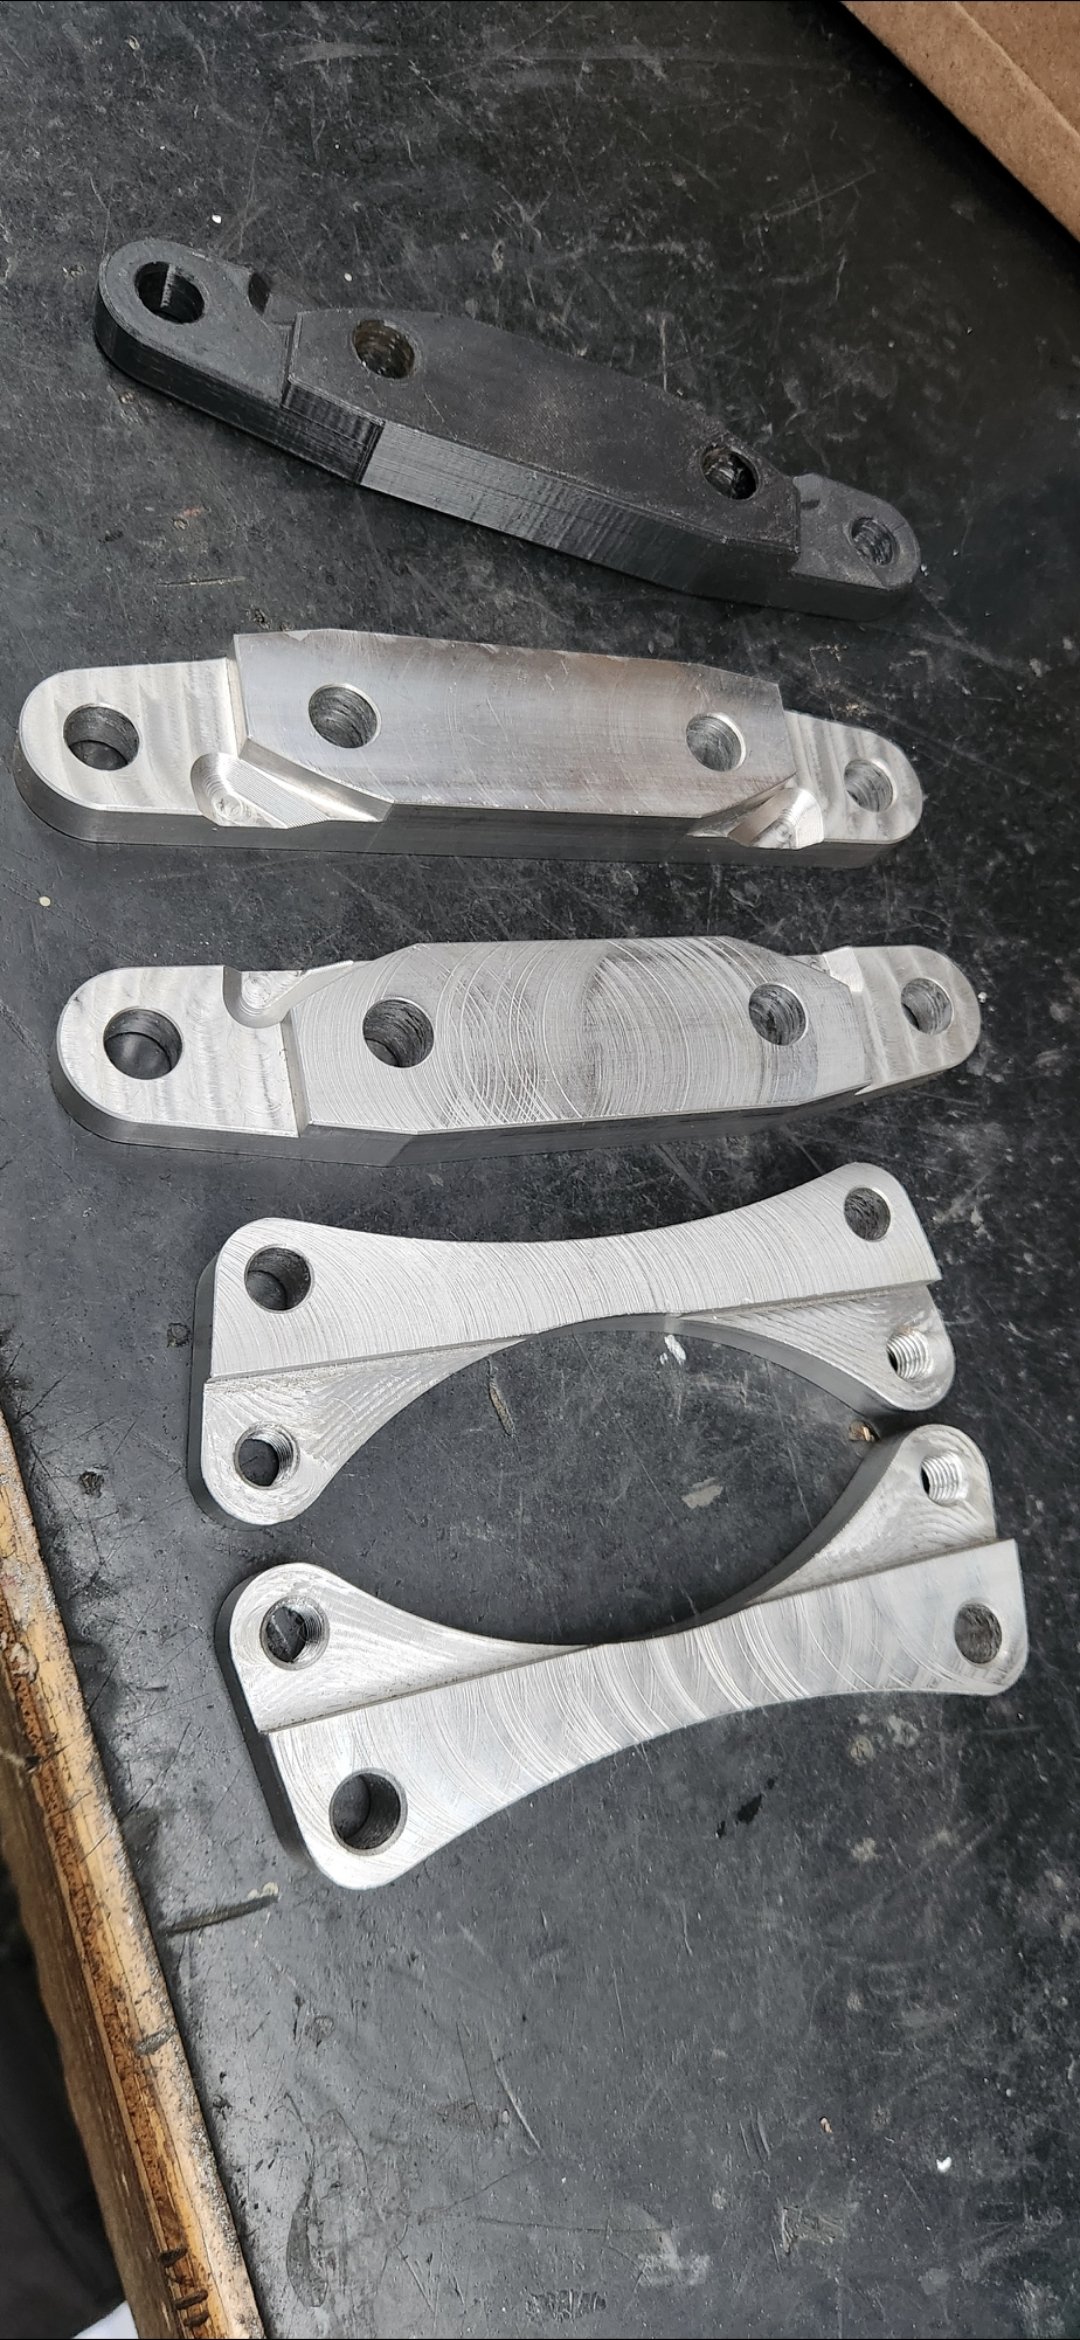
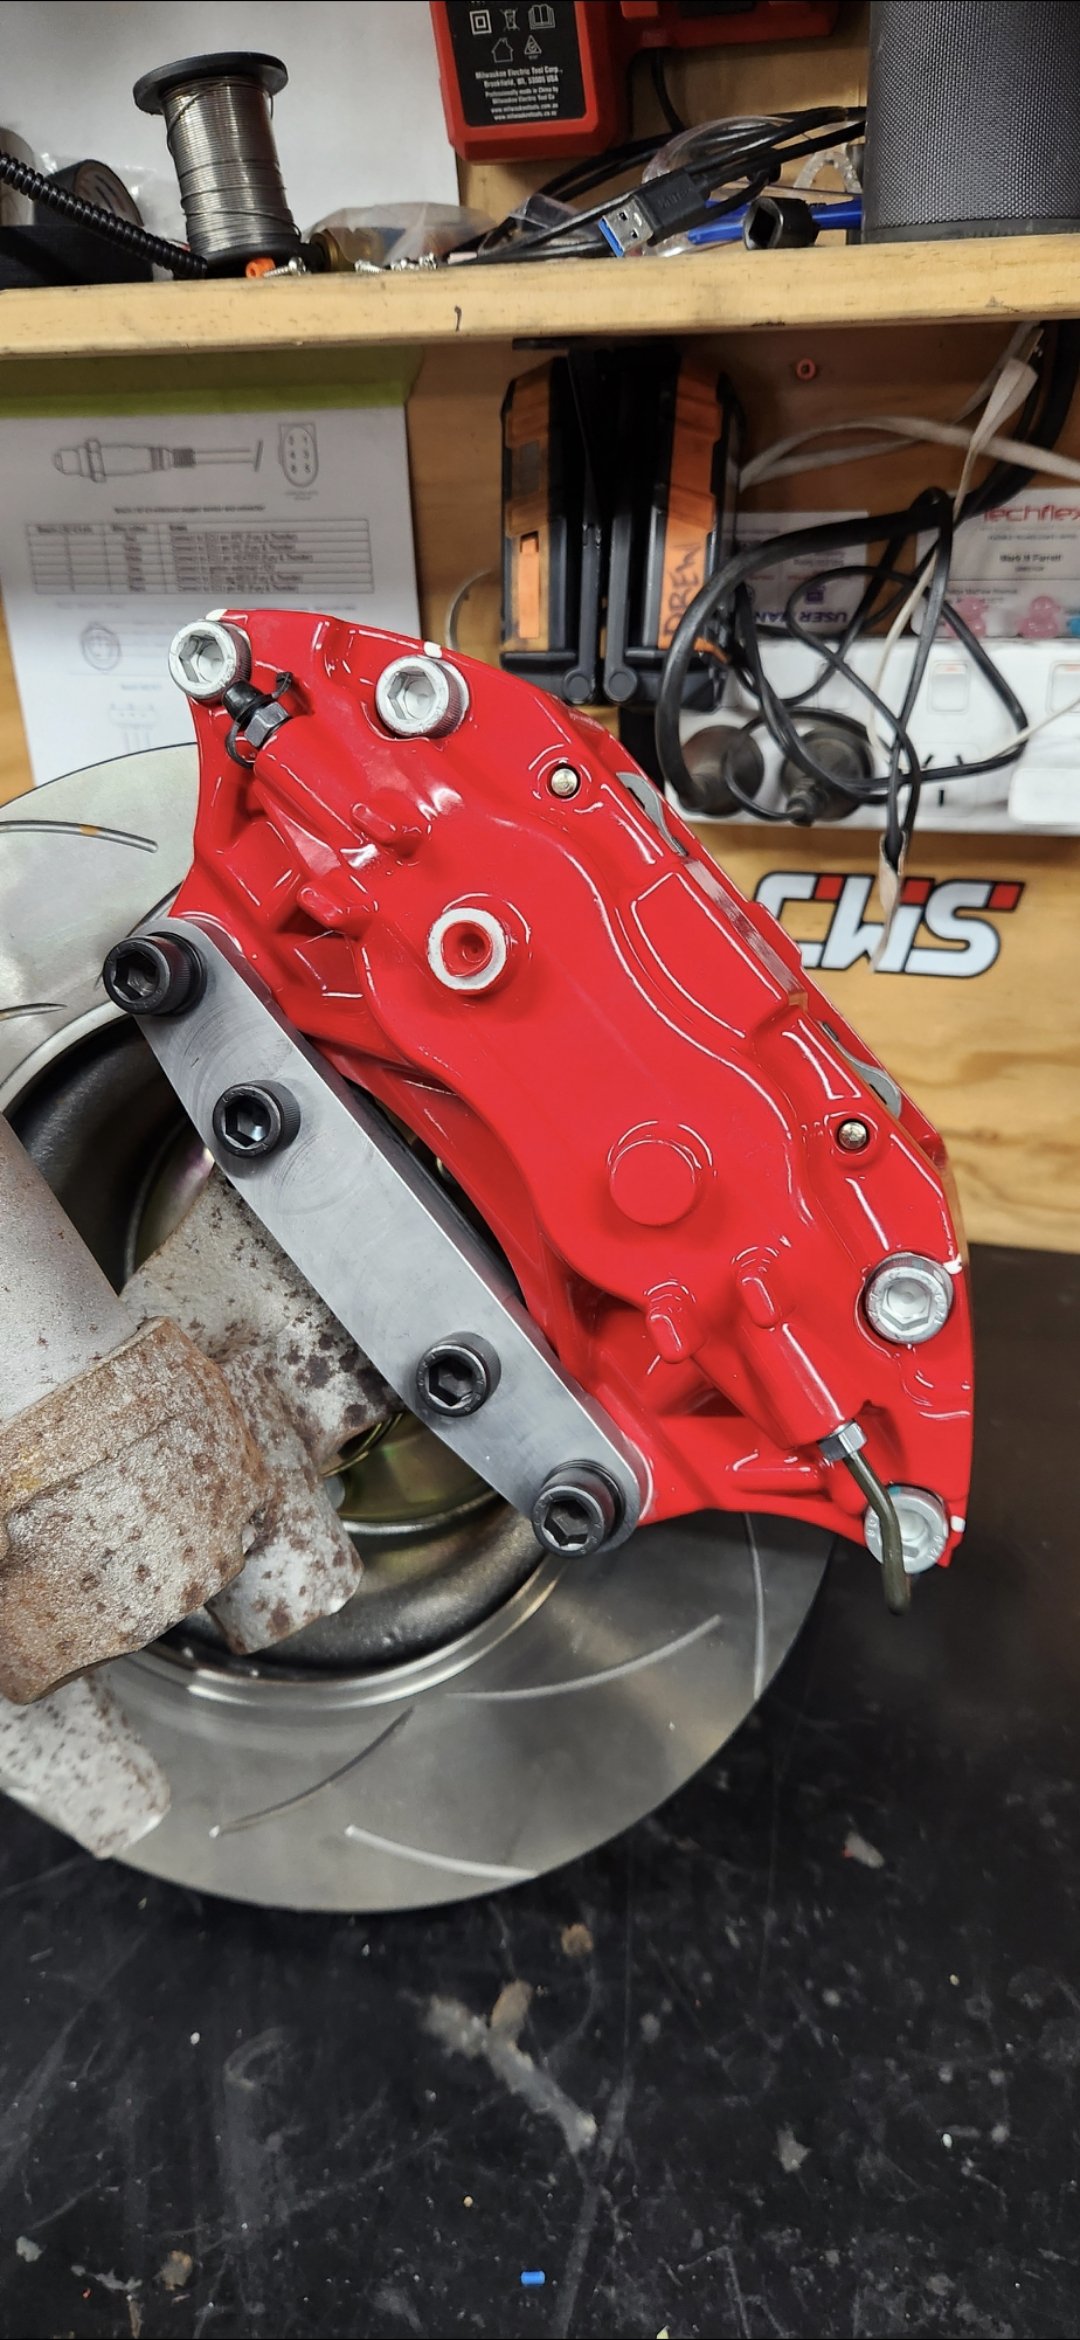
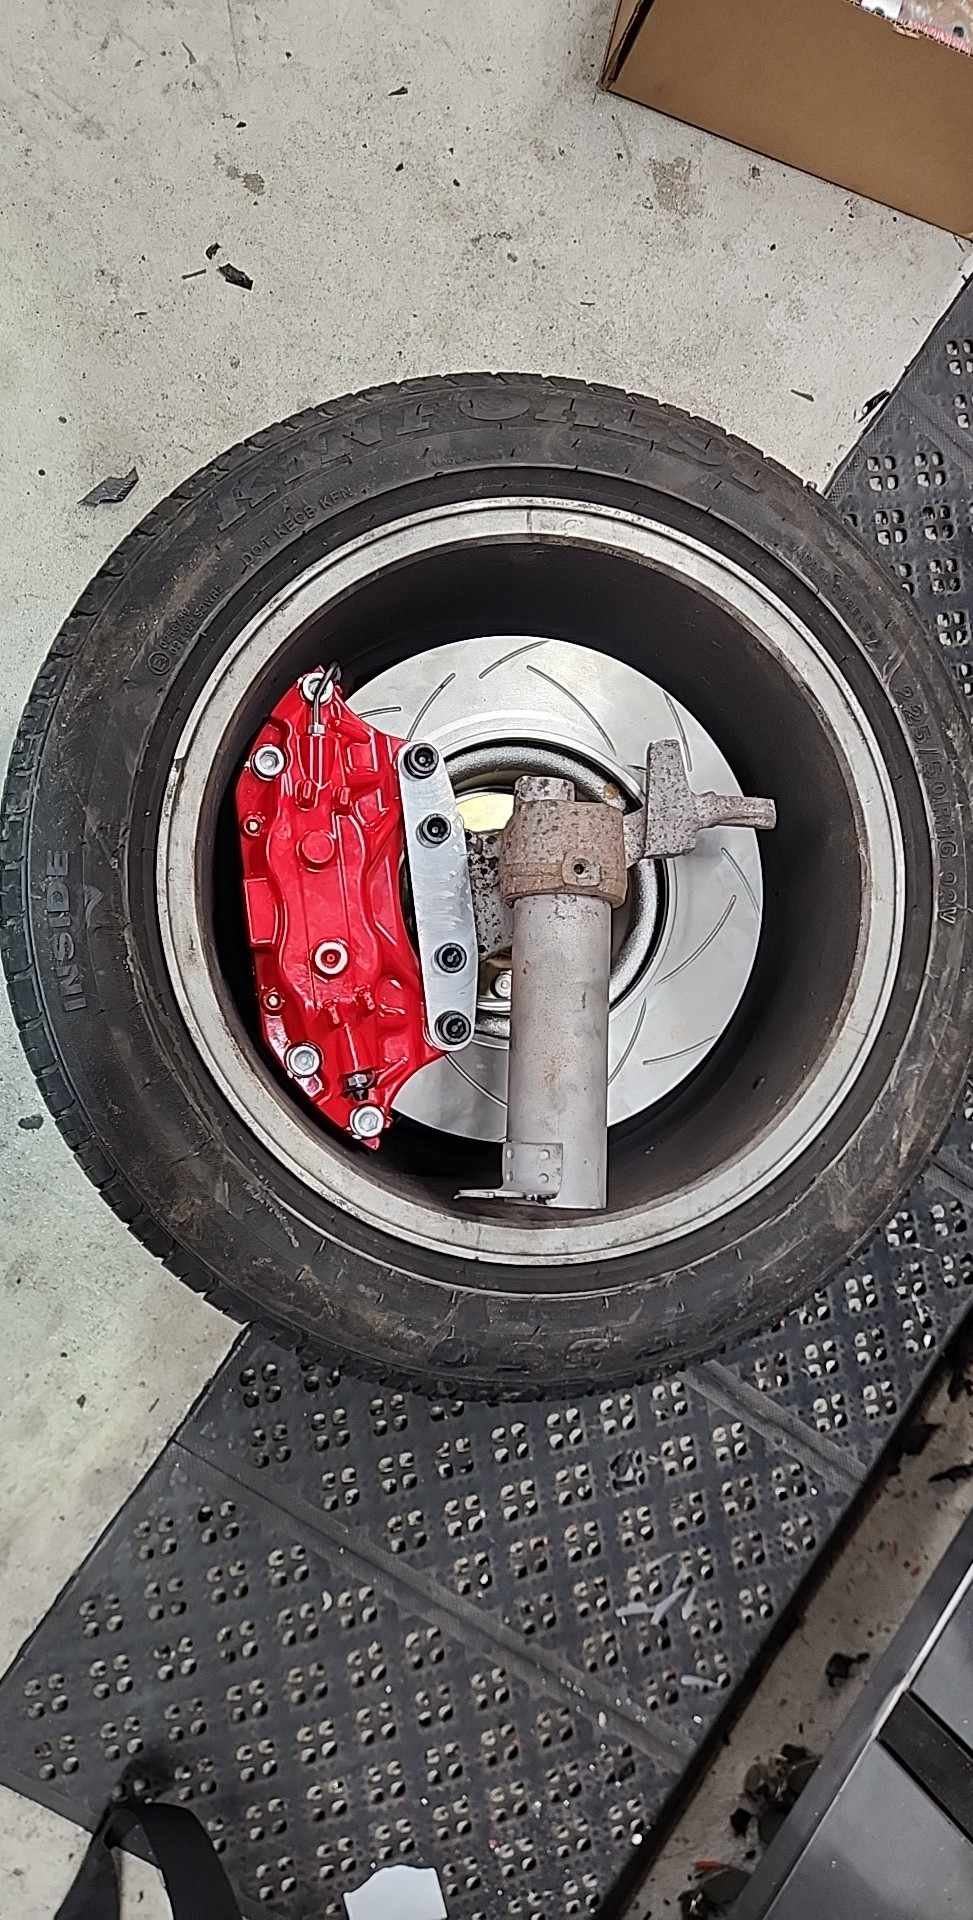
progress on the brake adaptors, a few chunks of 4140 now match my 3d printed models and fit spot on thanks to Moose design for sorting the machining, there's even hope to keep the corvette wheels it's super tight but they do clear in the 16"wheels
1 point
-
further down the money pit worrmhole... got the wheels stripped of the old crusty paint by alistrip, then off to ACP and had them trued up, lips repaired & machined , now to sort out paint & final high polish for the lips. looking so good even at this point in bare metal
1 point
-
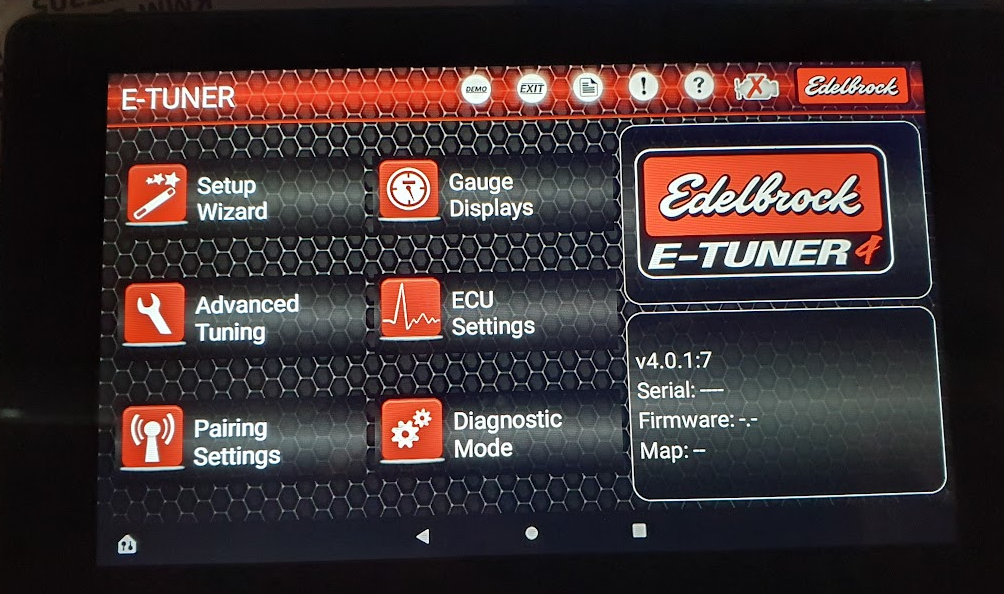
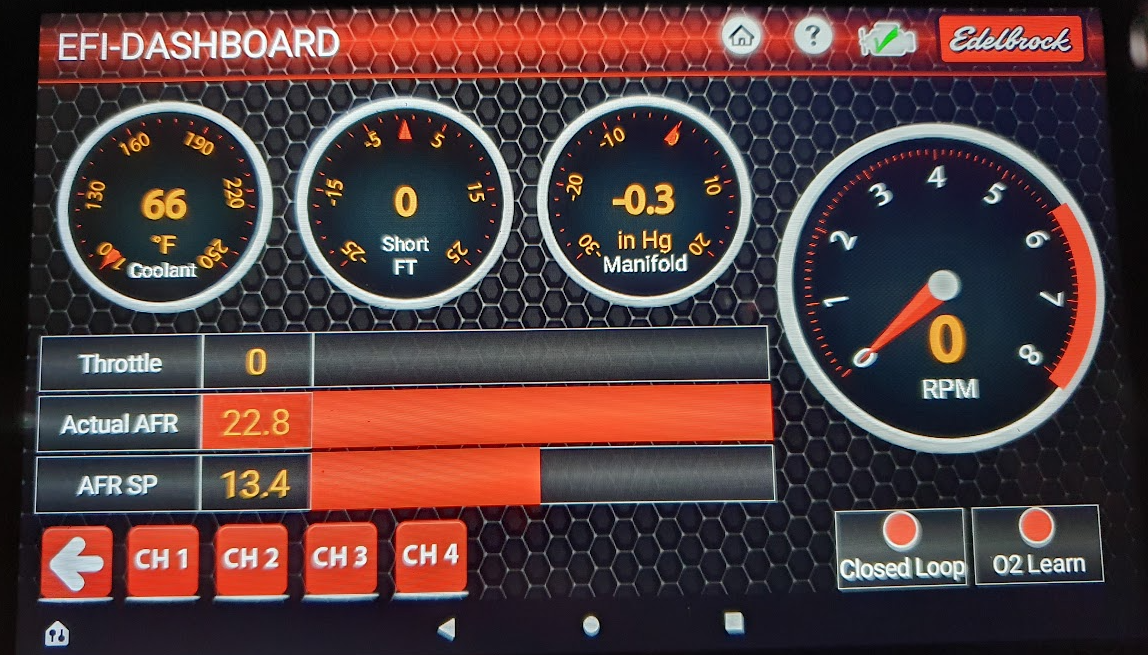
Here is a photo from the other day. It is amazing how the wheel arch trims change the look of the car. I had been playing around with the EFI, it was still pretty much at the default settings. The Edelbrock user interface is really easy to use. I leaned up the cruise AFR and gave the engine some more advance, especially the vacuum advance. Driving on the motorway I had my sone in the passenger seat watching the real time display. (this is sitting in the garage with the engine off) It took about 5 kms driving to learn the new AFR which the target had gone from something like 13.8 to 14.6. I was really impressed. Sitting on about 70 mph on the motorway north of Albany it was on 9% throttle. The other thing I found was the throttle was only opening to where the secondaries on the throttle body just cracked. A 5 minute bend on the accelerator pedal and throttle goes to 100%. Not that a mild 350 Pontiac needs 1000 cfm, it did need more than the guestimated 400 cfm it was getting to. On Sunday went for a drive out to Hunua to see @sheepers and collect a Holden workshop manual. The car is a joy to drive and even gets reasonable fuel economy. Its only going to take 35000 miles for the fuel savings to pay for the EFI conversion. Considering its taken me 28 years to do 17000 miles I better drive this thing a lot more. From a its so much better perspective the EFI is an absolute win and worth every last cent.
1 point
-
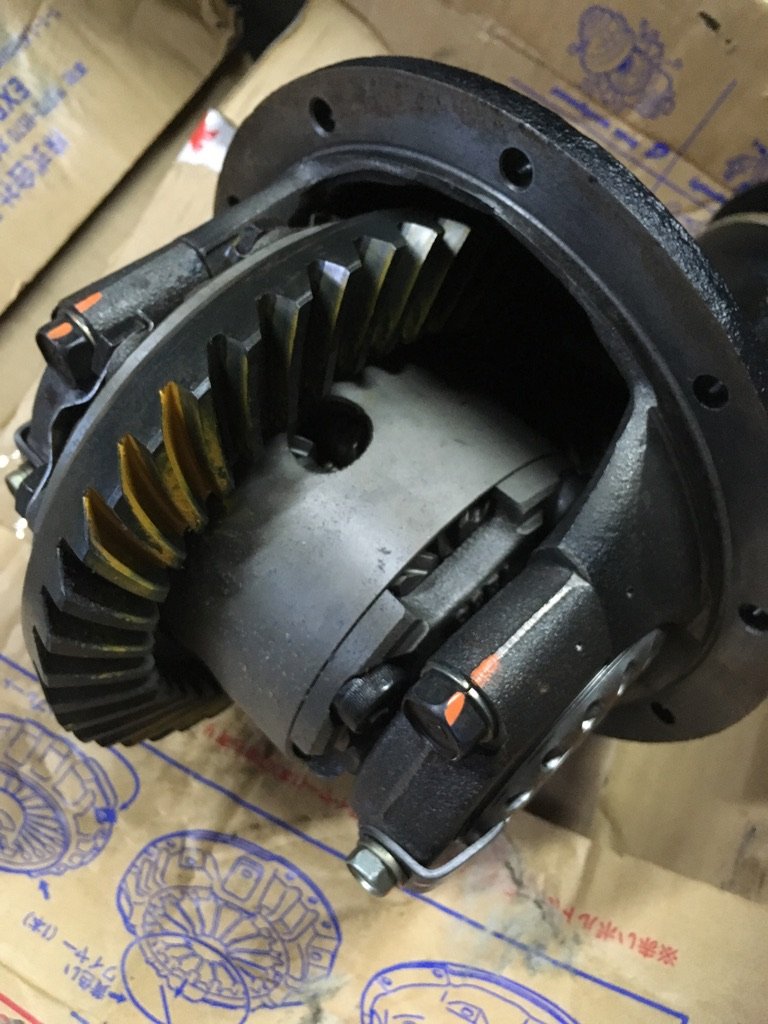
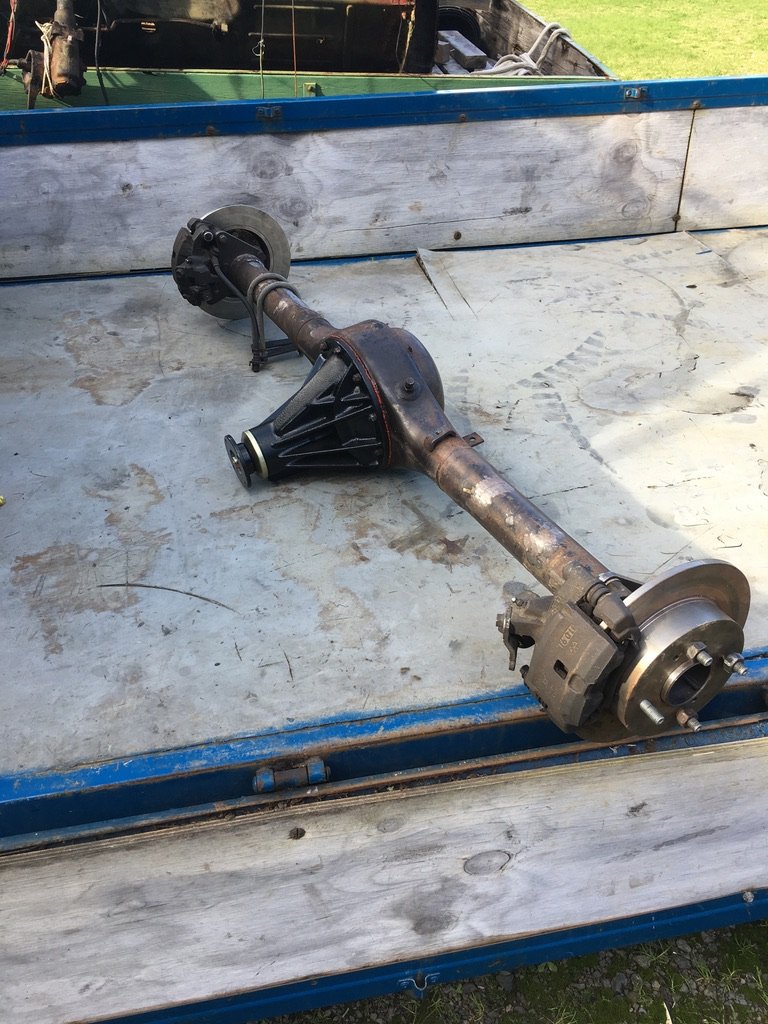
Because I have a spicy brain I'm going to make you all suffer through 12 years of out of order updates based on which photos I find first. The diesel wagon comes factory with a larger s-series diff compared to the normal KE70, but this still wasn't going to cut the mustard because V8 and because I wanted an easy LSD option. I looked at options, first was G-Series Hilux, which I decided was heavier than what I needed, and settled on an F-Series. Now I needed to find one. Some of you may have heard of a Crown foamer called @sheepers, @Snoozin suggested I hit him up about a housing, and he supplied me with an MS85 drum brake diff. Somehow it made it's way to me and I turned it from a 5-stud, 3-link drum brake diff into a 4-stud, leaf sprung diff with AE92 FXGT calipers and S14 discs. We drew up some caliper adapters on paper and got them laser cut (I'll probably make better ones now that I have skills and shit) and an engineer a friend in Silverdale uses welded and redrilled the axles before I chucked some Landcruiser studs in them. The amount of time it took to get the axles done really makes me scared of breaking one, but we will see how we go. The LSD was bought off someone on Facebook and is an Altezza A-series torsen of a forgotten ratio, most likely 4.1, my same SIlverdale friend sent it to our mate Kayne Barrie for a bit of a freshen up and to be put into the Crown carrier. It's got a solid pinion spacer and he has really high standards and attention to detail, so I'm sure it will be a nice diff. I set about making some really ugly brake lines which was a learning experience and I have just recently found out how dumb I am, because they run through where the bump stop needs to land, so I'll probably redo them, maybe even with braided line if I get super lazy. Keep in mind I'm a computer guy, and that this is my first rear wheel drive car.
1 point
-
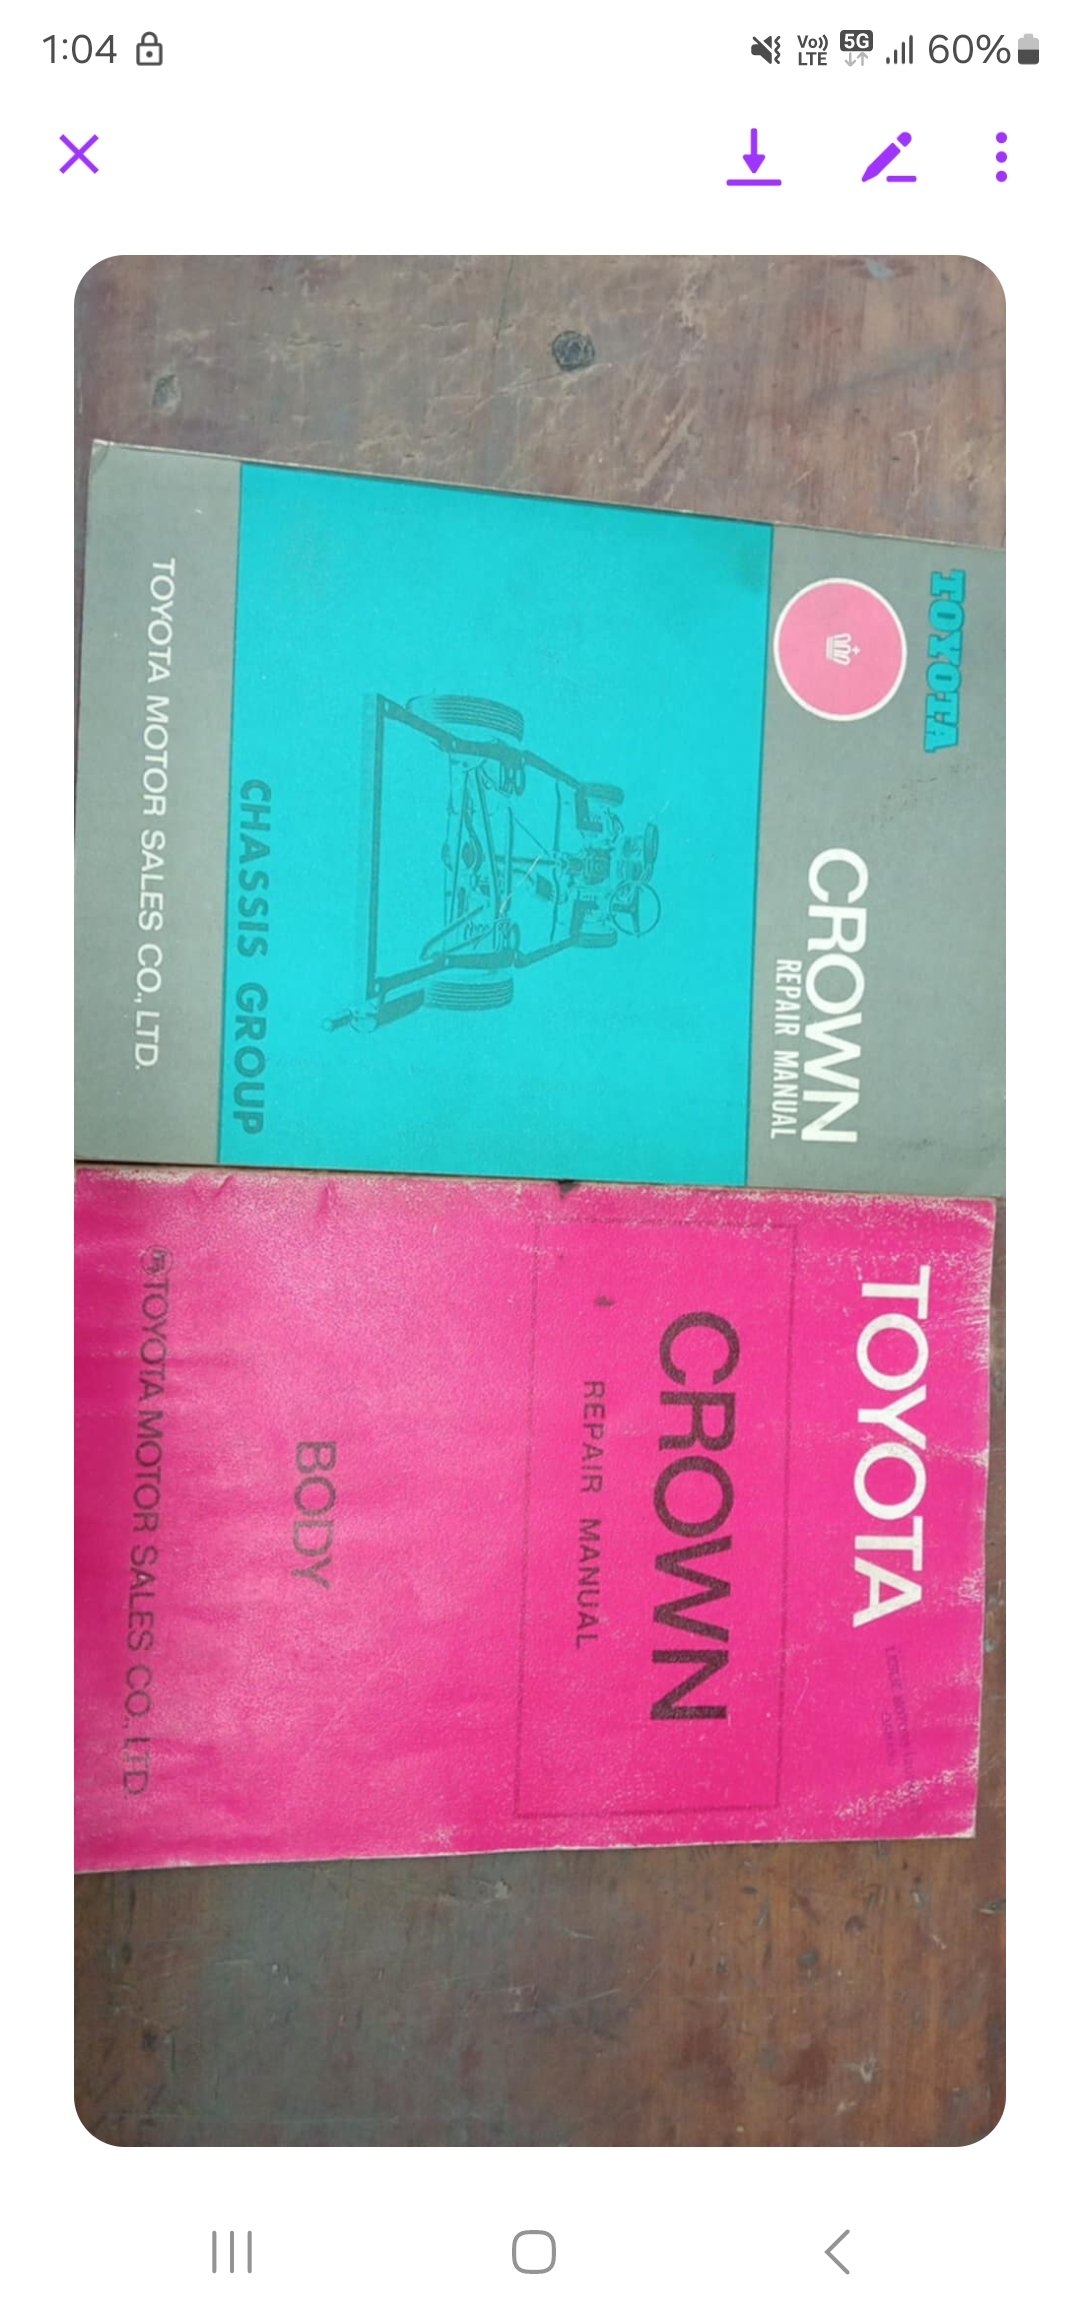
Scored some Crown manuals for free which was really nice of another wagon owner to send me.
1 point
-
That's exactly how I planned it, the kids keep asking me to "Adjust the drift Dad"1 point
-
Greetings from Alexandra, Central Otago. I too have a lo-line tandem that I am restoring. It has been completely stripped down and all chrome parts are ready for a makeover. The frame has been sandblasted and is off to the powder coaters this week. My question relates to the authenticity of these bikes as I have heard/read that some chop shop bikes exist. My bike has two serial numbers on the underneath surface of the BB shell, presumably as the BB shells used were the same as for the lo-line single bikes. Both my numbers are 6 digit numeric numbers. Is this consistent with numbers on your bike?
1 point


.jpg.0321ed4a824f7c705abd7a63492e26e9.jpg)
.jpg.db8424a52635db92c0a5c50ad7a36b16.jpg)
.jpg.87de5cc4791fa95755bff4efcc2e185c.jpg)


This leaderboard is set to Auckland/GMT+12:00