
Leaderboard


Popular Content
Showing content with the highest reputation on 26/03/21 in all areas
-
SOme more things have been done, including all-new loop pile carpet and a nice alloy sealed battery box in the boot but that's not even important. What is important, is the gearbox, which sucks. Downshifting is impossible without a big ol' rev match and double clutch to get it from 4th to 3rd, then from 3rd to 2nd. As the car makes a little bit of a racket, it's quite obnoxious. So I sat down with Earle McFarlane (he's had many many experience with T50s and rebuilding them) and ordered a whole load of parts from Japan. They came in this box. This struck me as odd. Amayama orders are sent to an NZ warehouse then dispatched from there, so I'm guessing this happened locally. 20210325_180028 by Richard Opie, on Flickr And this is what's in it. 20210325_175701 by Richard Opie, on Flickr We have; Synchros for all gears New selector hub sleeves Gasket/seal set Selector hub shift keys Clippy springy things for above Bearings a go-go (all bearings I could possibly get, we need to get the 2 countershaft bearings locally) Some good low km selector hub centers are en route from South Island. Next, I will rebuild the gearbox - well, Earle will rebuild it and instruct me to do some of the easy bits. Then I can finally aim for some twisties and give it a good drive, assuming it all plays the game. Looking forward to pissing around with brake bias, making all that stuff work etc.31 points
-
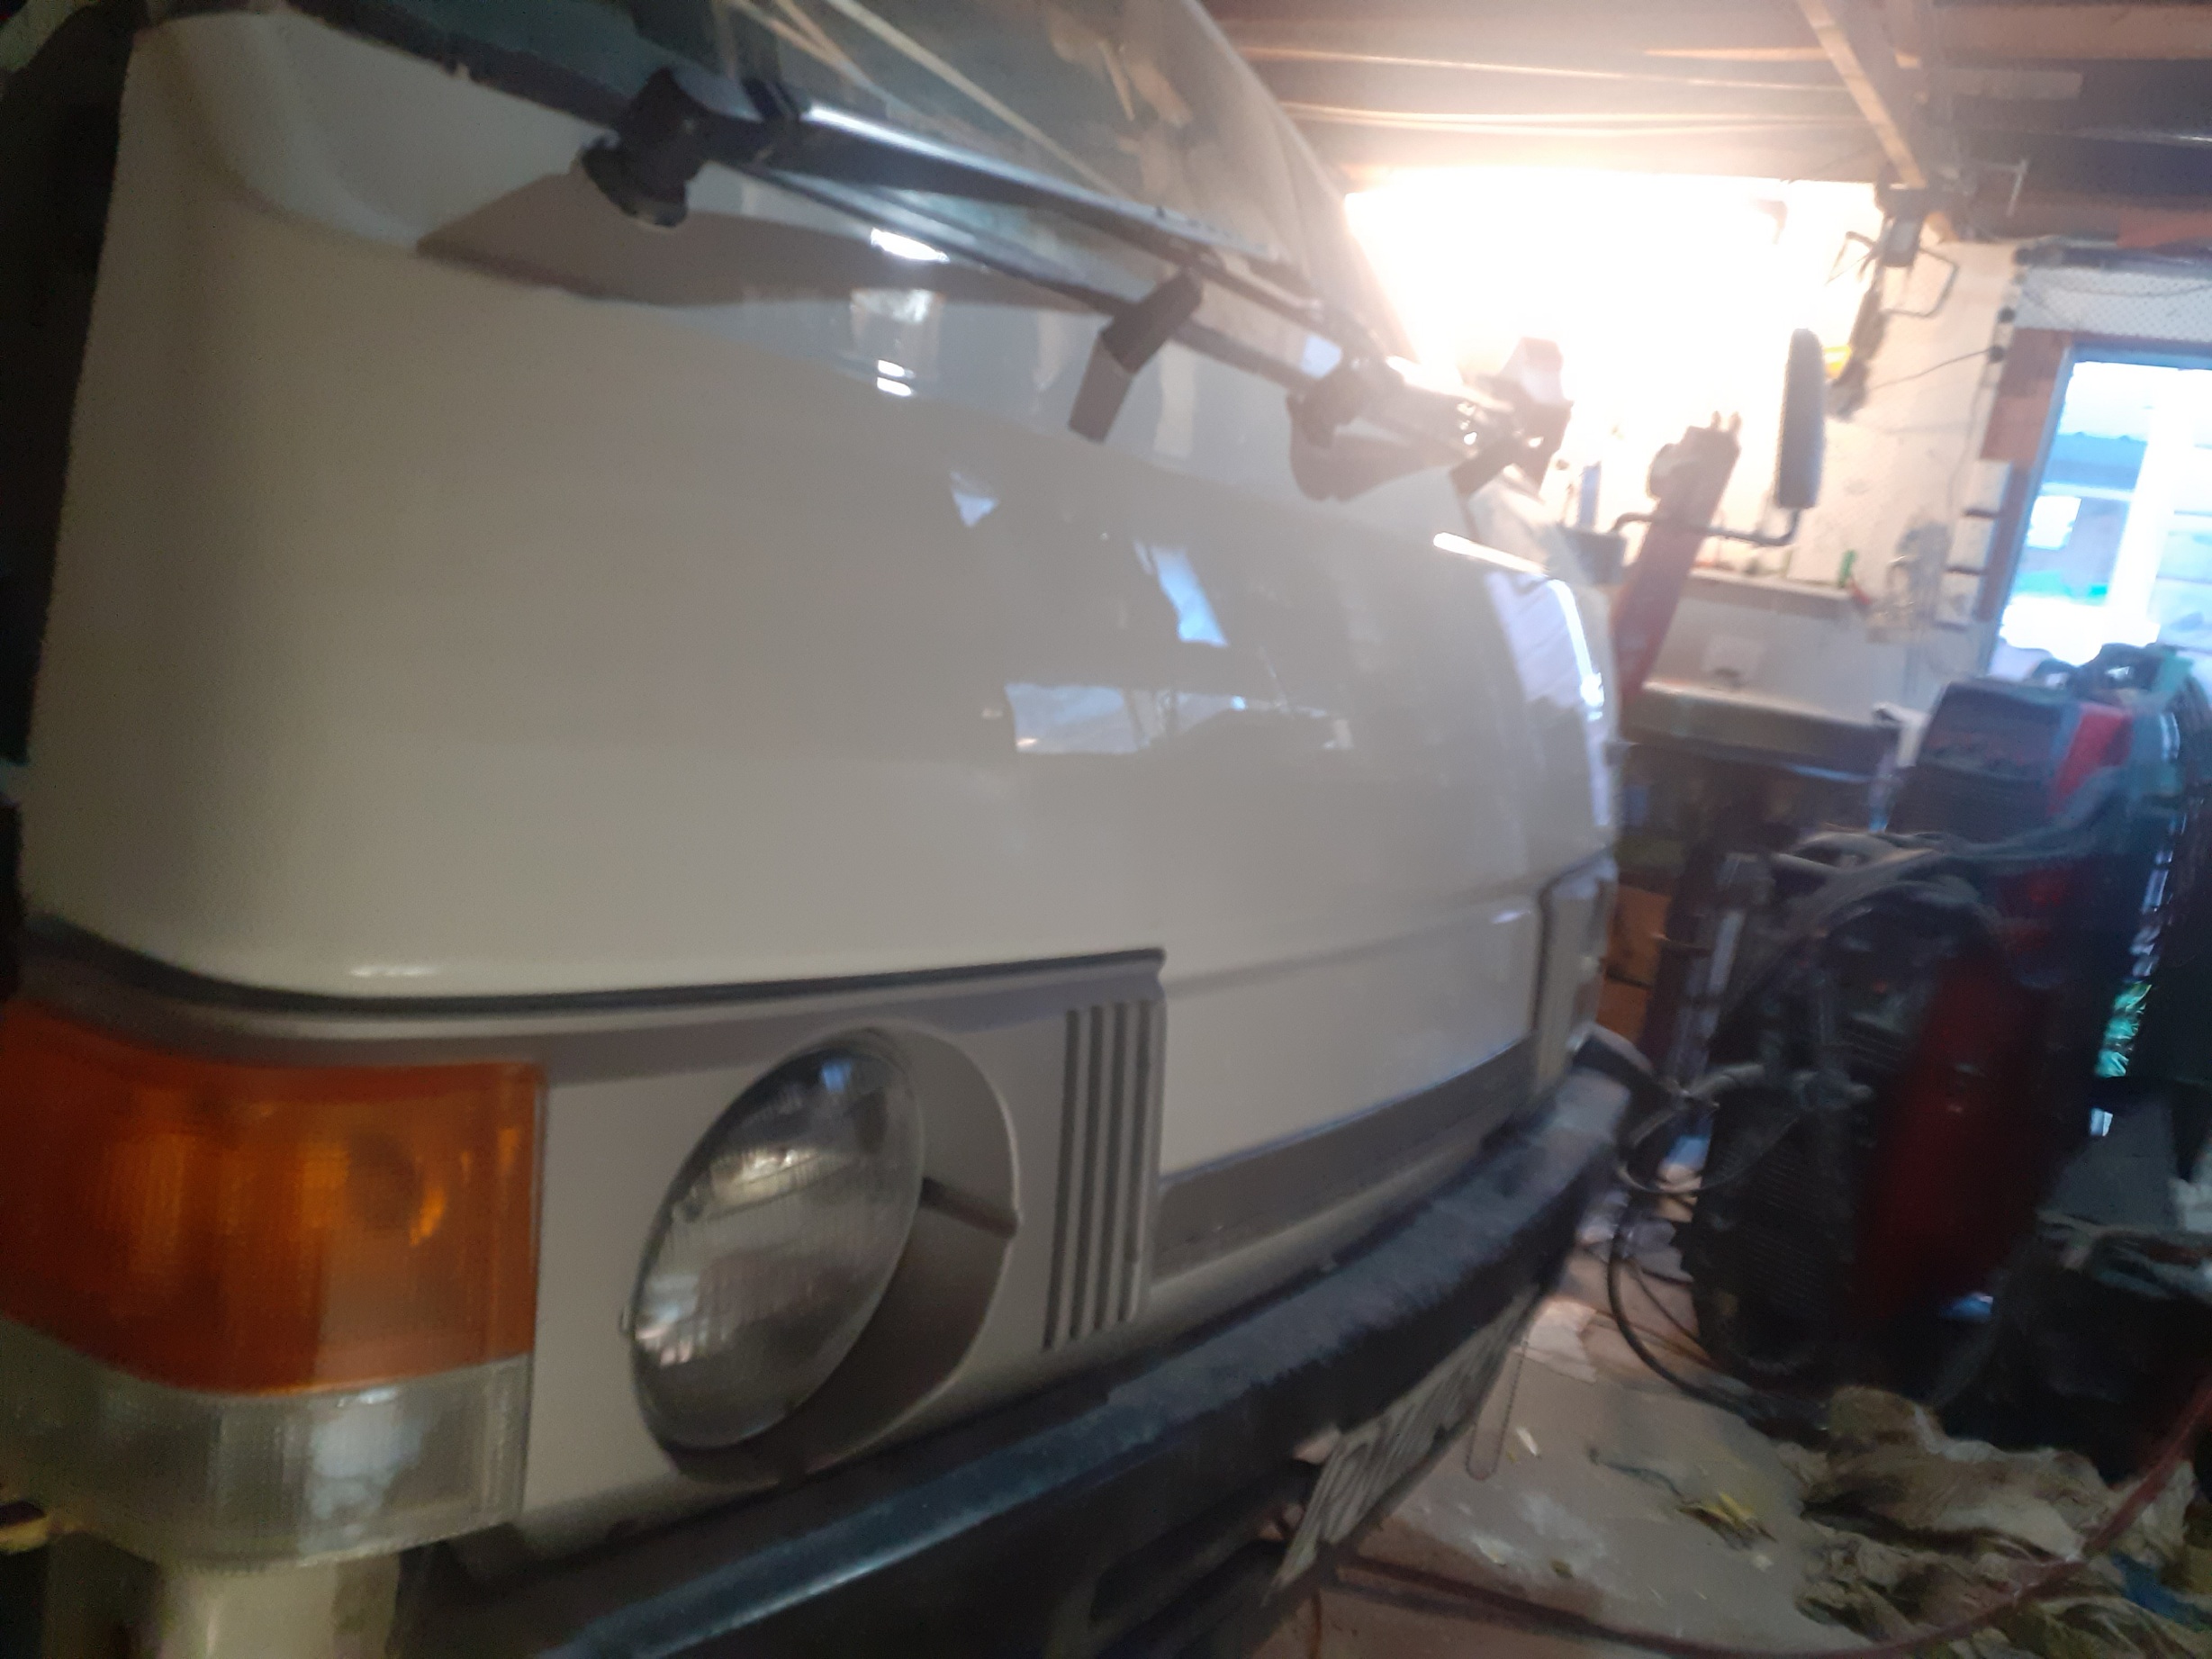
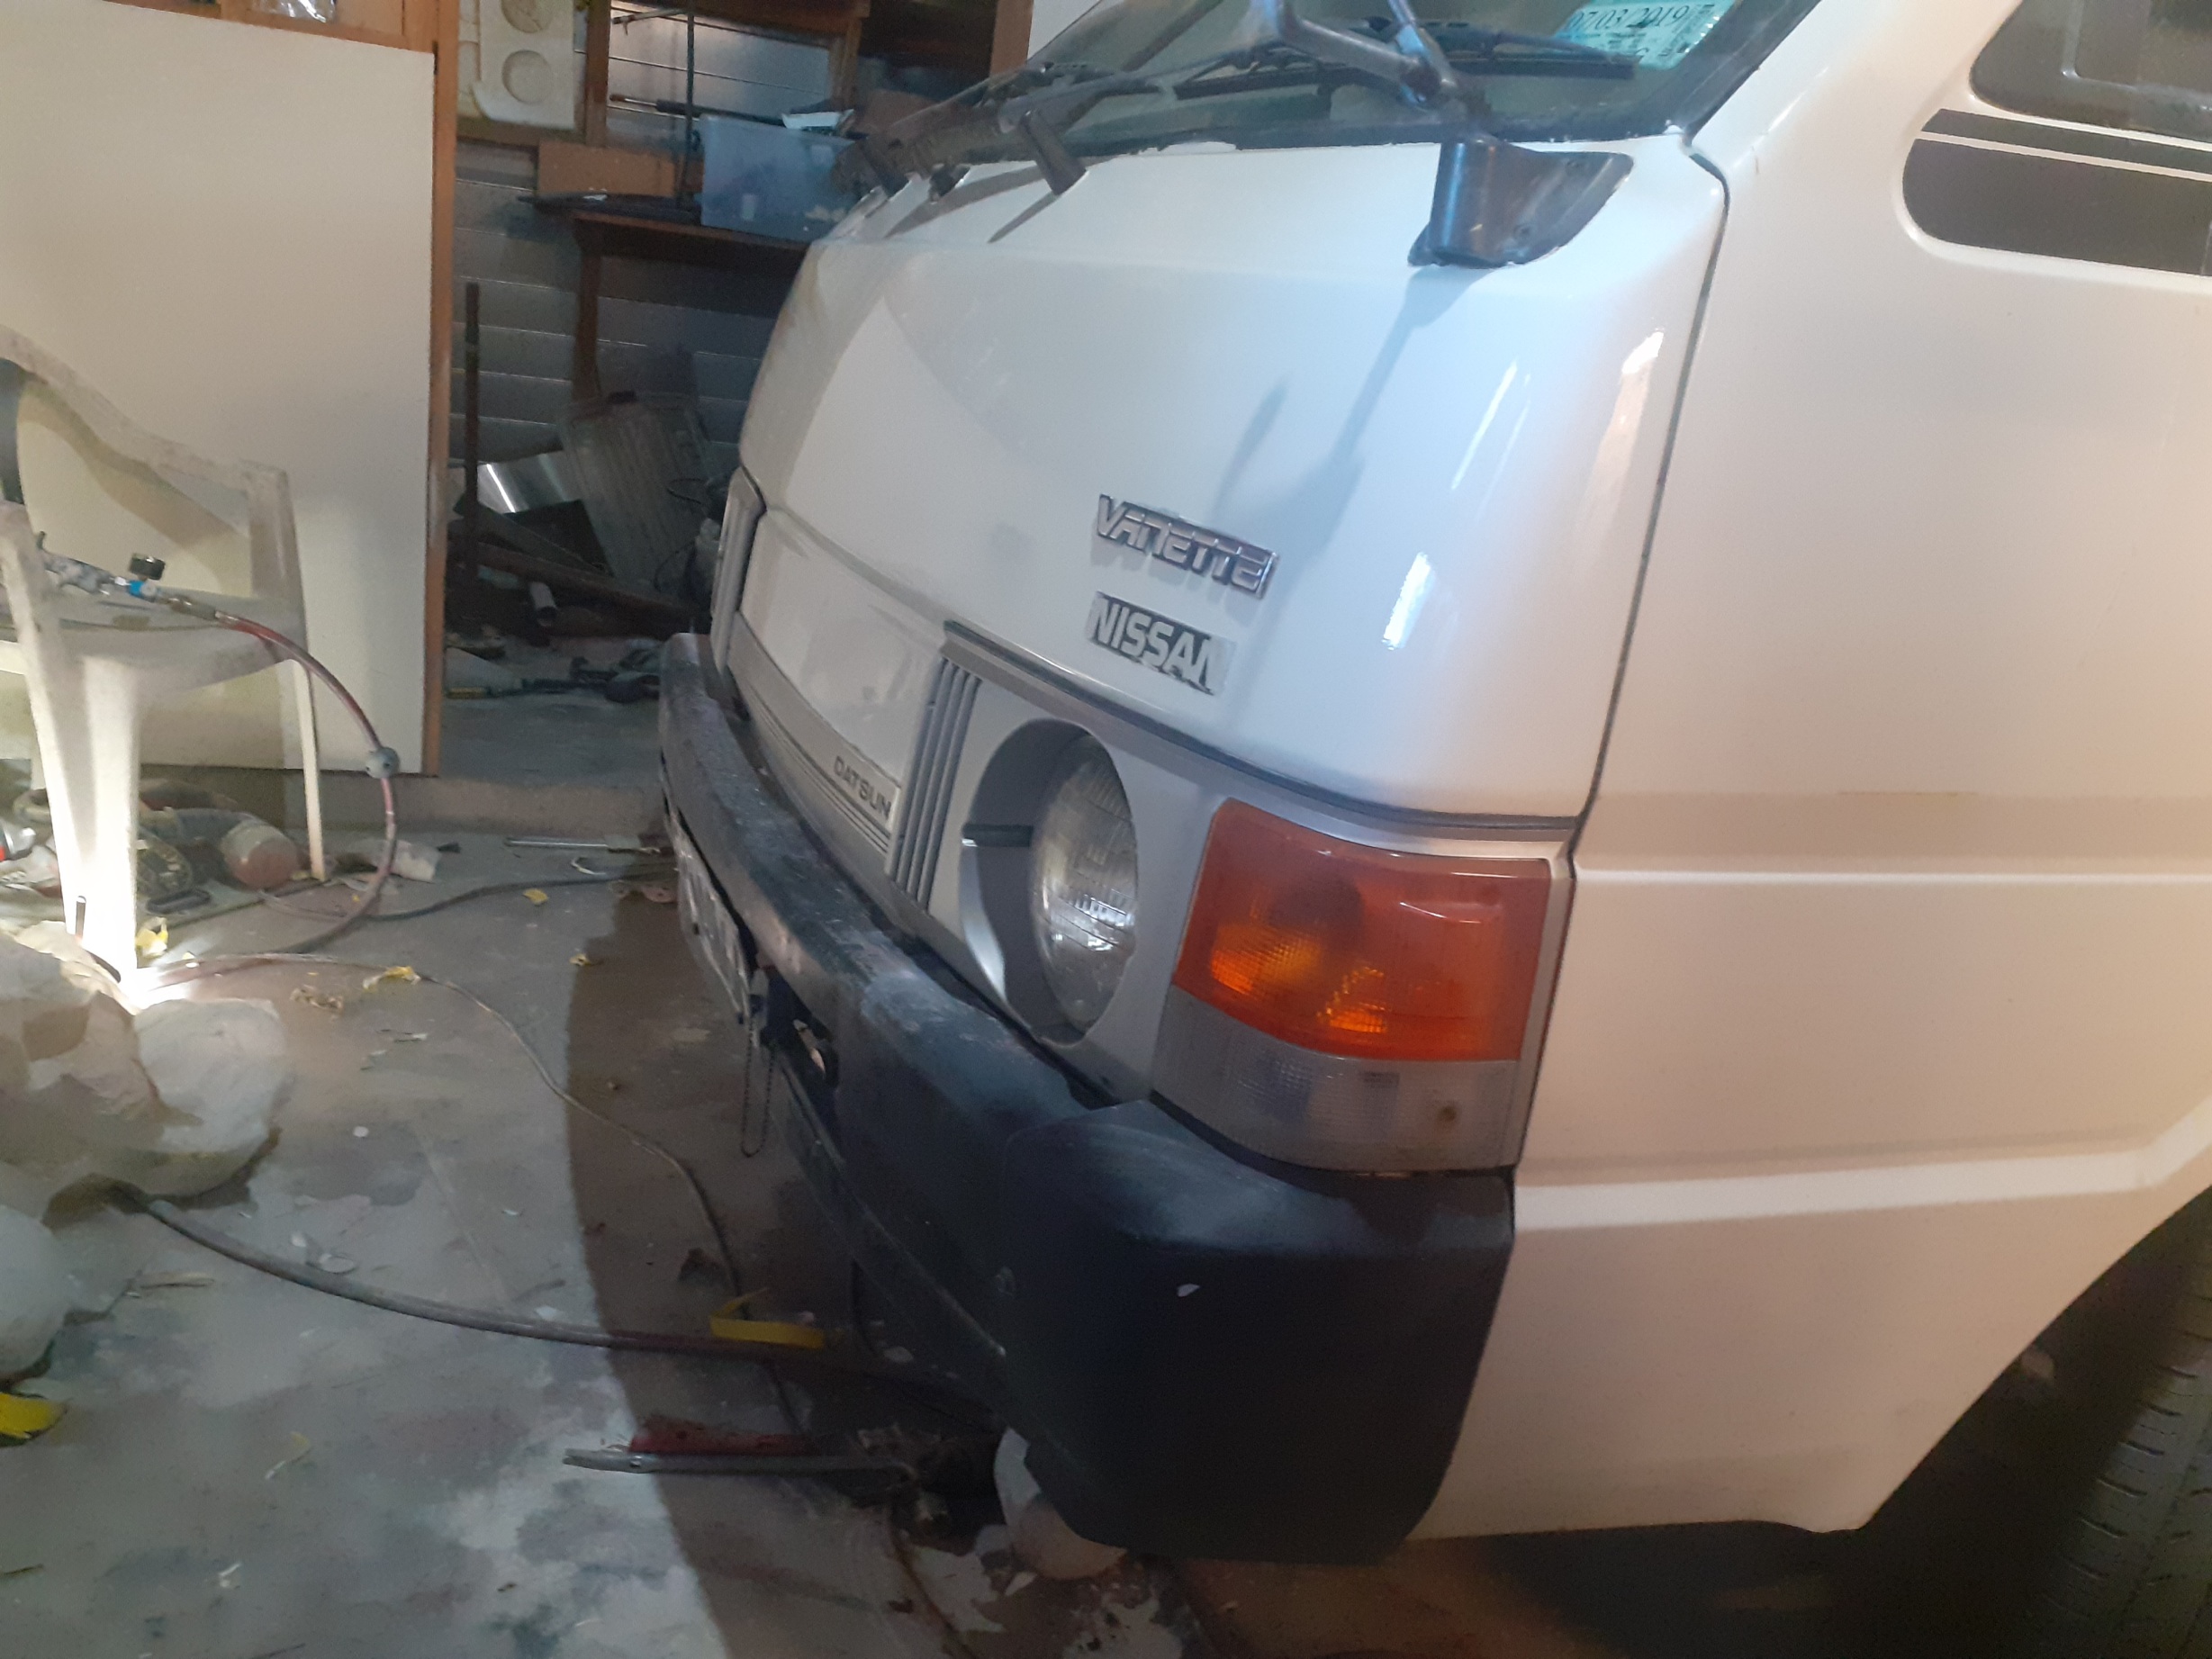
Hey, still got this Honda. I put it in the Ellerslie Classic Car show with the Japanese Nostalgic Car group. Pretty cool to be asked to take it along, I guess it makes all the minting up worth it. Pulled the front off, polished and re-cleared the headlights and generally spruced it up a bit more. Loads more OEM fastners and brackets have made it into the mix under the bonnet. But that's not important. I have a wheel addiction issue, and got these old TE37s off George. I needed to get one fixed, as it has a pretty gnarly bend in both sides (one thing I have learned from fixing bent wheels, is that if one side is visibly bent, then the other side will also be bent, regardless of if you can see it). Here they are, after being made round again. 20210312_074441 by Richard Opie, on Flickr Next, I take these to Creosote Charlie for a spot of acid dipping, and we always have a yarn about some aspect of his XR8 ute, every time I shoot down there to get the paint stripped off wheels. He always under promises and over delivers on the service, usually it's a "they'll be ready in a week" which turns into a phone call the same afternoon I dropped them off or the morning following. 20210315_154335 by Richard Opie, on Flickr And yeah they look nice all raw and aluminium and all that, but I chose to get GT Refinishers to slam a coat of jam on them. This is a close close match to an OEM Rays colour, it's called Magnesium Blue. Cool, in the know kids call it 'Mag Blue.' Haters like Tank will say it's black. 20210323_175153-01 by Richard Opie, on Flickr 20210323_175213-01 by Richard Opie, on Flickr 20210323_175236-01 by Richard Opie, on Flickr It's got a pearl in it that goes pretty flippin' hard (see what I did there?) in the sun. Now awaiting gen-you-wine deckils from Japan, and some proper Rays blue valve stems to finish off the resto. Looks beaut I think. Expect photos some day. I might stop buying wheels.14 points
-
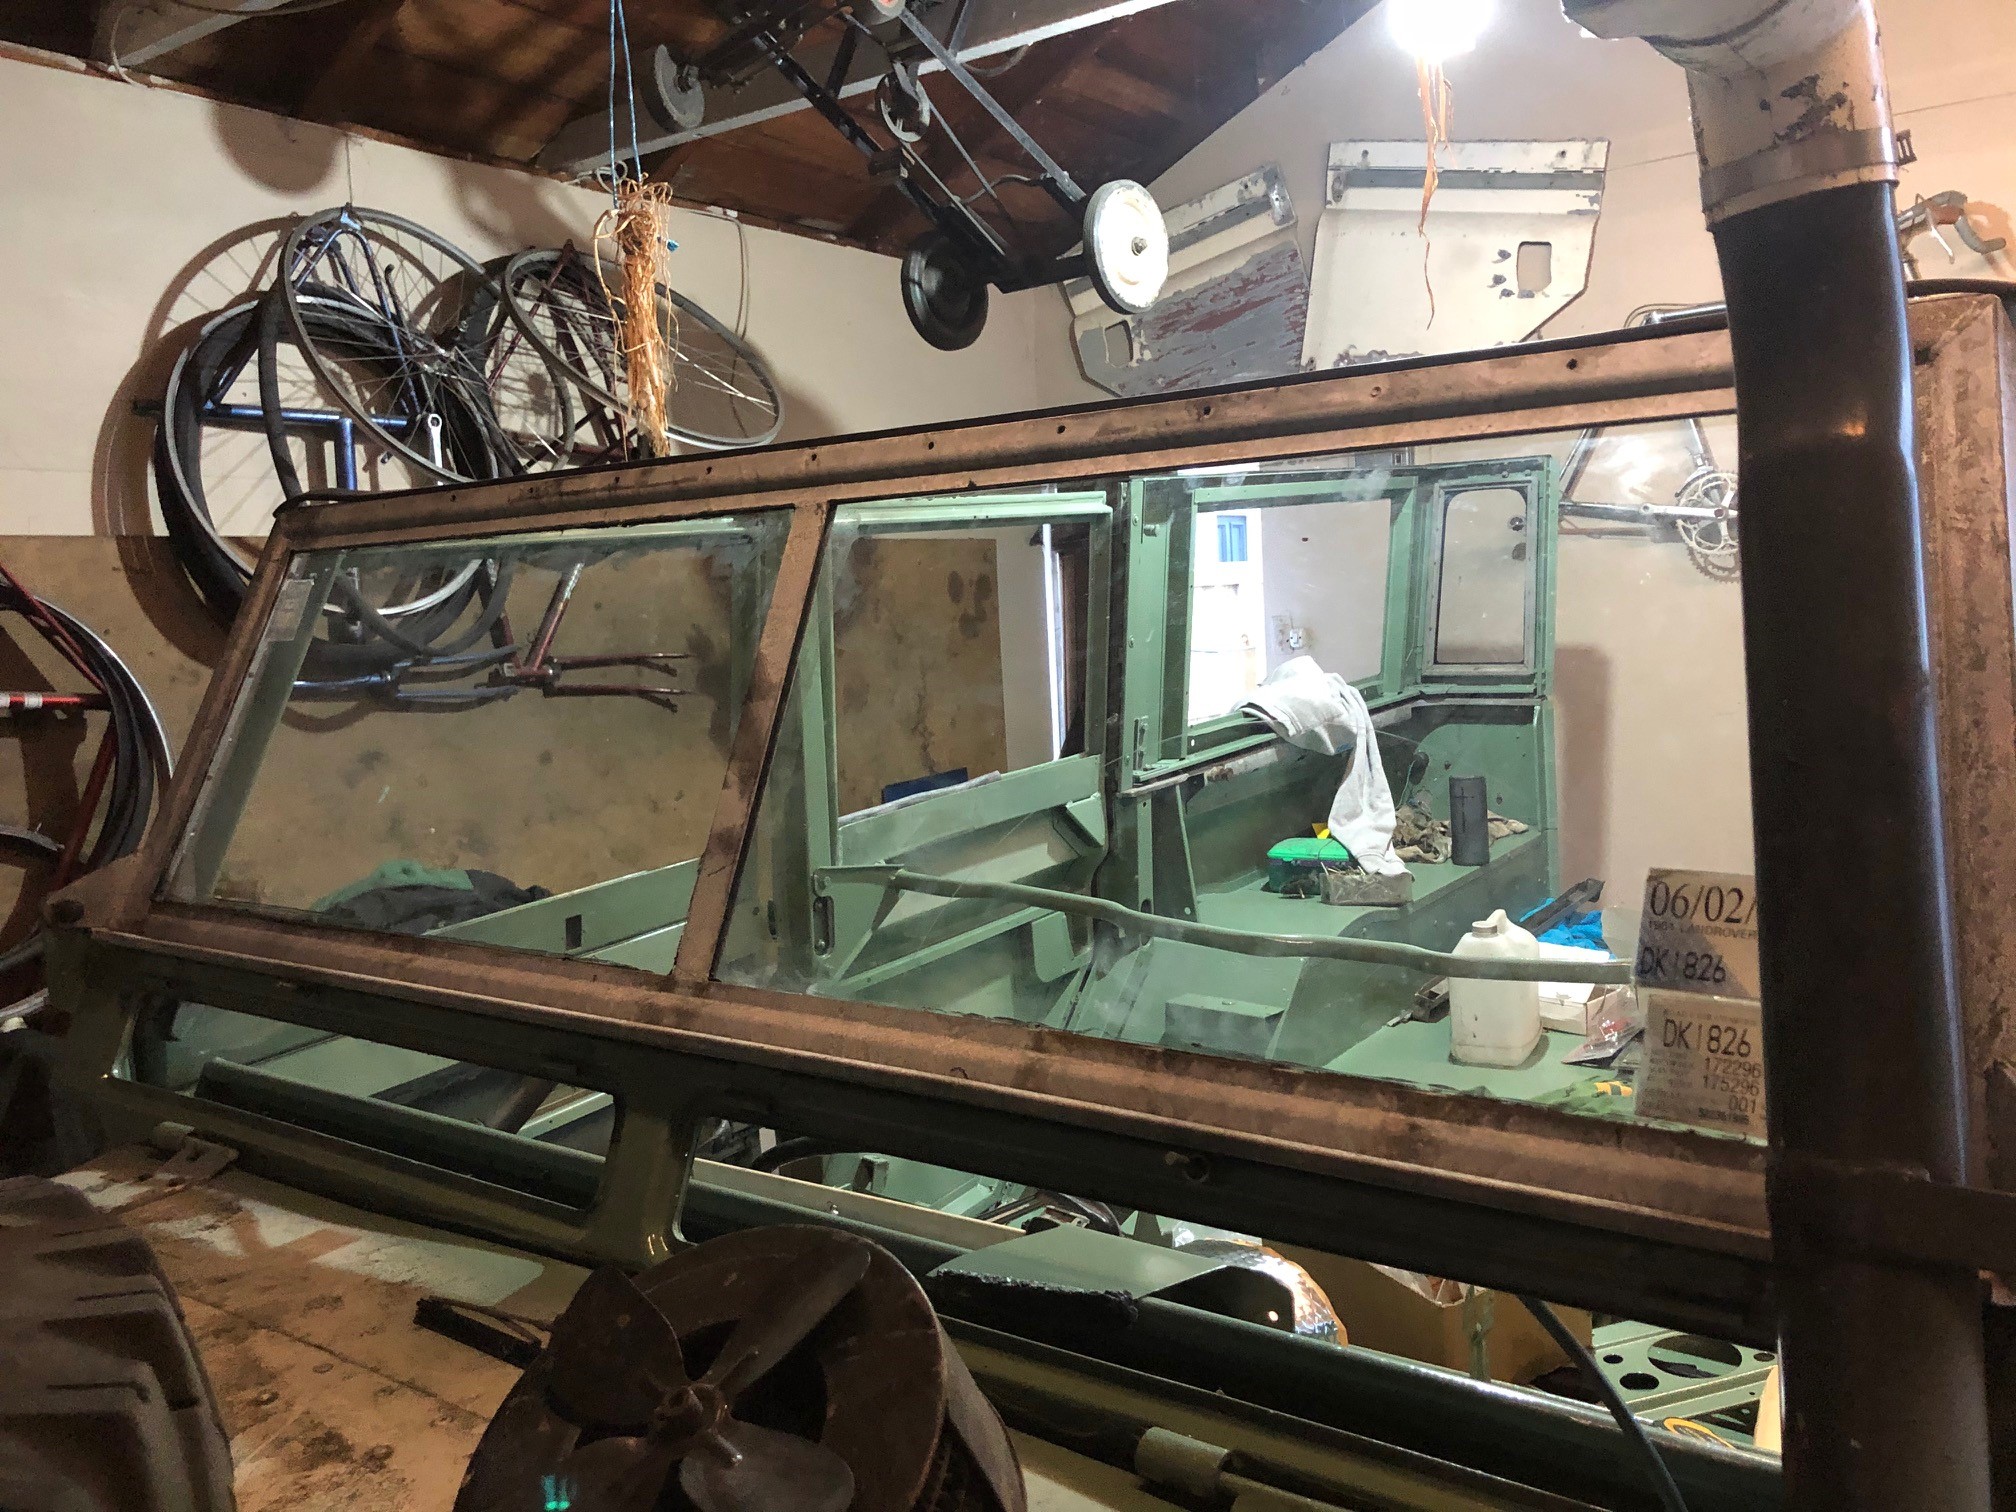
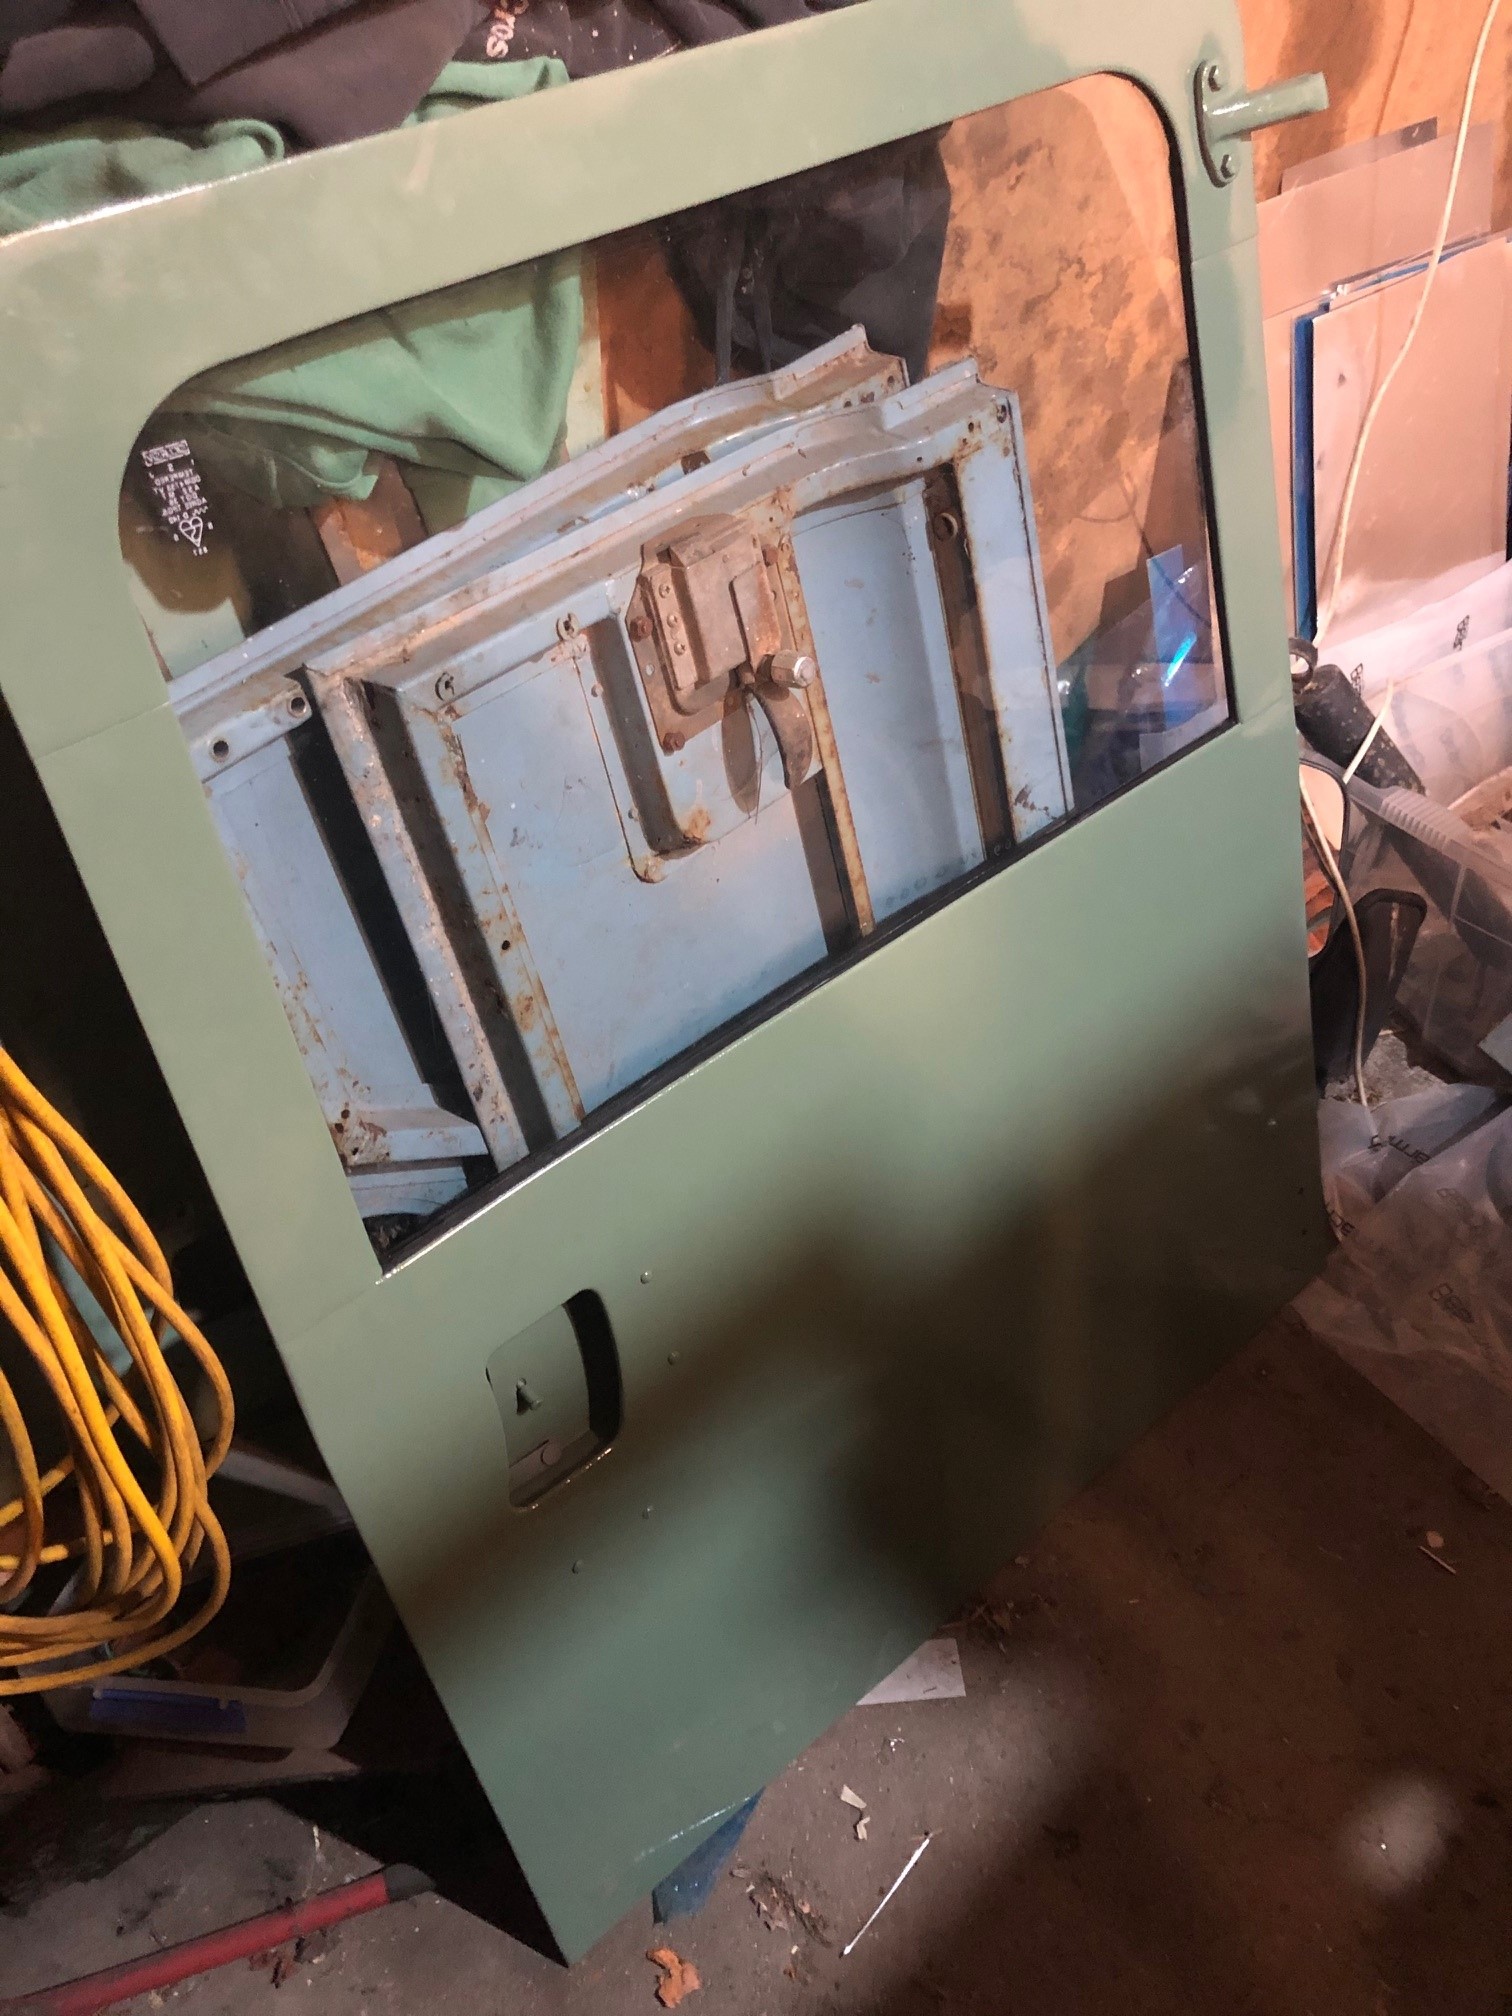
Crikey its been a while since I updated this thread. Quite a bit has been built since the last update, in between customers jobs, mucking about buying old Bedfords, playing with bicycle builds and general enjoying summer stuff. Now that its 'late summer' here in the Tasman region and its starting to get a little bit chillier in the evenings we have been cracking into the build so we can hopefully move out of the cabin before spring Autumn arrives. Our bay seems to have a bit of a micro climate and ignores winter here, going straight from autumn to spring and frankly its more nicerer that way I still want to be living in the shed though- its gonna be nicer all round and I might actually then do more work on the Imp 911! So last time I posted we had sort of started the building of some walls upstairs. We got sick of the mess and clutter downstairs and once we had the wall up in the lounge we carted all the boxes of car/bike/workshop related stuff upstairs and stacked them in the lounge. Then we took down the old shelves that all that stuff had been on. Moved the washing machine, folder, guillotine out of the way, put more burly posts up and built the store room. I didn't really take any photos of the process but you can see it in this photo... Its about 1.6m wide and spans half the workshop. Really good amount of space to store lots of boxes on some shelves we built up there. With all the stuff shifted up off the workshop floor we could now make the most of the extra space. We shuffled things around, measured, schemed, planned, deliberated and pondered the layout. Still wanted some shelves but not as big. We ended up with it looking like this... Much better. Really happy with that. Those shelves will soon get cluttered up with a variety of Nissan micra bits as we do that planned swapsies game. Now back to work upstairs. Speaking of stairs...we got sick of clambering up and down from the lounge area using a step stool so we made these... I built them to replicate the main stairway. We picked through the largest bits of pine we had and created some sweet steps. Really stoked with how they came up once varnished. There will be a handrail on the wall side to add in the future. We bought some things. We've never had a new mattress. Time to splash out and get a decent one... (another reason for wanting to shift outta the cabin asap- the cabin only has a double bed and it gets crampped when we have to share it with a big fluffy cat) Also started hunting for chest of drawers etc. Found these slightly art deco styled ones cheap at the recycling centre - $40. Nicely built from solid Rimu. Hannah sanded them and varnished them... We kept plodding away at the build. Annoying when we had to stop to do customers jobs but hey that's life. Walls and ceilings went up. Some free insulation from local friends. Hannah painted some of the walls. Yet to decide on other colours to be used. Bought a nice second hand full HD projector and a new 130" motorised screen. We had deliberated about going the projector route or just get a large telly. Projector won and its amazing! Installed the lovely large 'fill the room with deep smooth base' speakers we had been gifted. Made some burly speaker stands that replicate the posts holding the mezz up. Screwed them to the floor because earthquakes.. but also make sure nothing moves but the speaker cones. Gawddamn its a mighty nice setup to watch movies in now- exactly what I have dreamed about. When I spot a 65" etc TV in the shops now they seem so tiny. Viewing a movie on a projector screen also seems much easier on my eyes than looking at a telly screen. I added more circuits to the breaker box and ran out all the wiring before the walls went up. Always so fun to turn new lights on and have wall sockets to use rather then trailing extension cords. I have a local sparky mate who will be checking/signing it off etc when finished. Get all our bits at trade from him too- LOL at the markup on electrical stuff !!! Pics... Spot the vent added in the top- without windows it was a bit hot up there. Vent works well! Need to make a pretty porthole window to cover it. Some nice carpet will be laid on the lounge floor (oatmeal/Kevin coloured - bloody fluffy cats....) I had posted up some pics in the shed thread of this happening a few days ago... Wow- I wish we had done that earlier on. We've had a window to fit in this spot for ages... My brother had spotted it at the Blenheim recycling centre. $50!!! All cedar sashes and lovely Rimu frame, solid brass mechanisms. Couldn't believe our luck. Hannah cleaned it up and painted the outside in dark 'Karaka' green to match the other windows/doors on the shed. Here in primer... We needed flashings. I didn't want to deal with the main Nelson crowd that we'd used and been mucked about with before. We had a load of brand new gutters that had been left in the bush by the previous land owner, still in the plastic wrap and in the exact same Karaka green we needed. So I decided to use them as material to make our own flashings. We needed a folder. So I built one... It folds 2.4 metres. No good for heavy steel but fine for shed steel, car steel. It will be a handy thing to have for future jobs so it made sense to but a little time/money into making one. It fits neatly onto a large mobile steel bench. Made flashings and fitted windows. Then had coffee looking out into the bush... We will be chopping down heaps of the Kanuka trees we now look at- the block the evening sun that comes through the window and there lots of really nice ferns that we'd rather see come up. So that's firewood sorted for another few years In the last few days we've been adding trim, making another bookshelf to mimic the one we'd made earlier on the other side of the lounge. Wanted some nice timber and found a large plank of what we thought to be old pine. Turns out it was Macrocarpa so that was a nice surprise... Finished that book shelf last night and Hannah varnished it this morning... We uncovered the remaining Rimu stacked outside and brought it up to the shed to process... Quite a large amount left. Most of it cleaned up nice... Now we are machining it down to a variety of shapes for trim, skirting boards, corner cappings, railings. We really need to make the bannisters before someone falls 2.4 metres to the concrete floor below. Wow. Wall of text. I'll try to post up more often so its not such a mission to write/read. Really looking forward to fitting the kitchen/bedroom windows soon and then start building the respective rooms. Then we can move in. Then I can tinker with flat sixes till late and know my bed is only a flight of stairs away - not a cold walk up to a cabin. Alex14 points
-
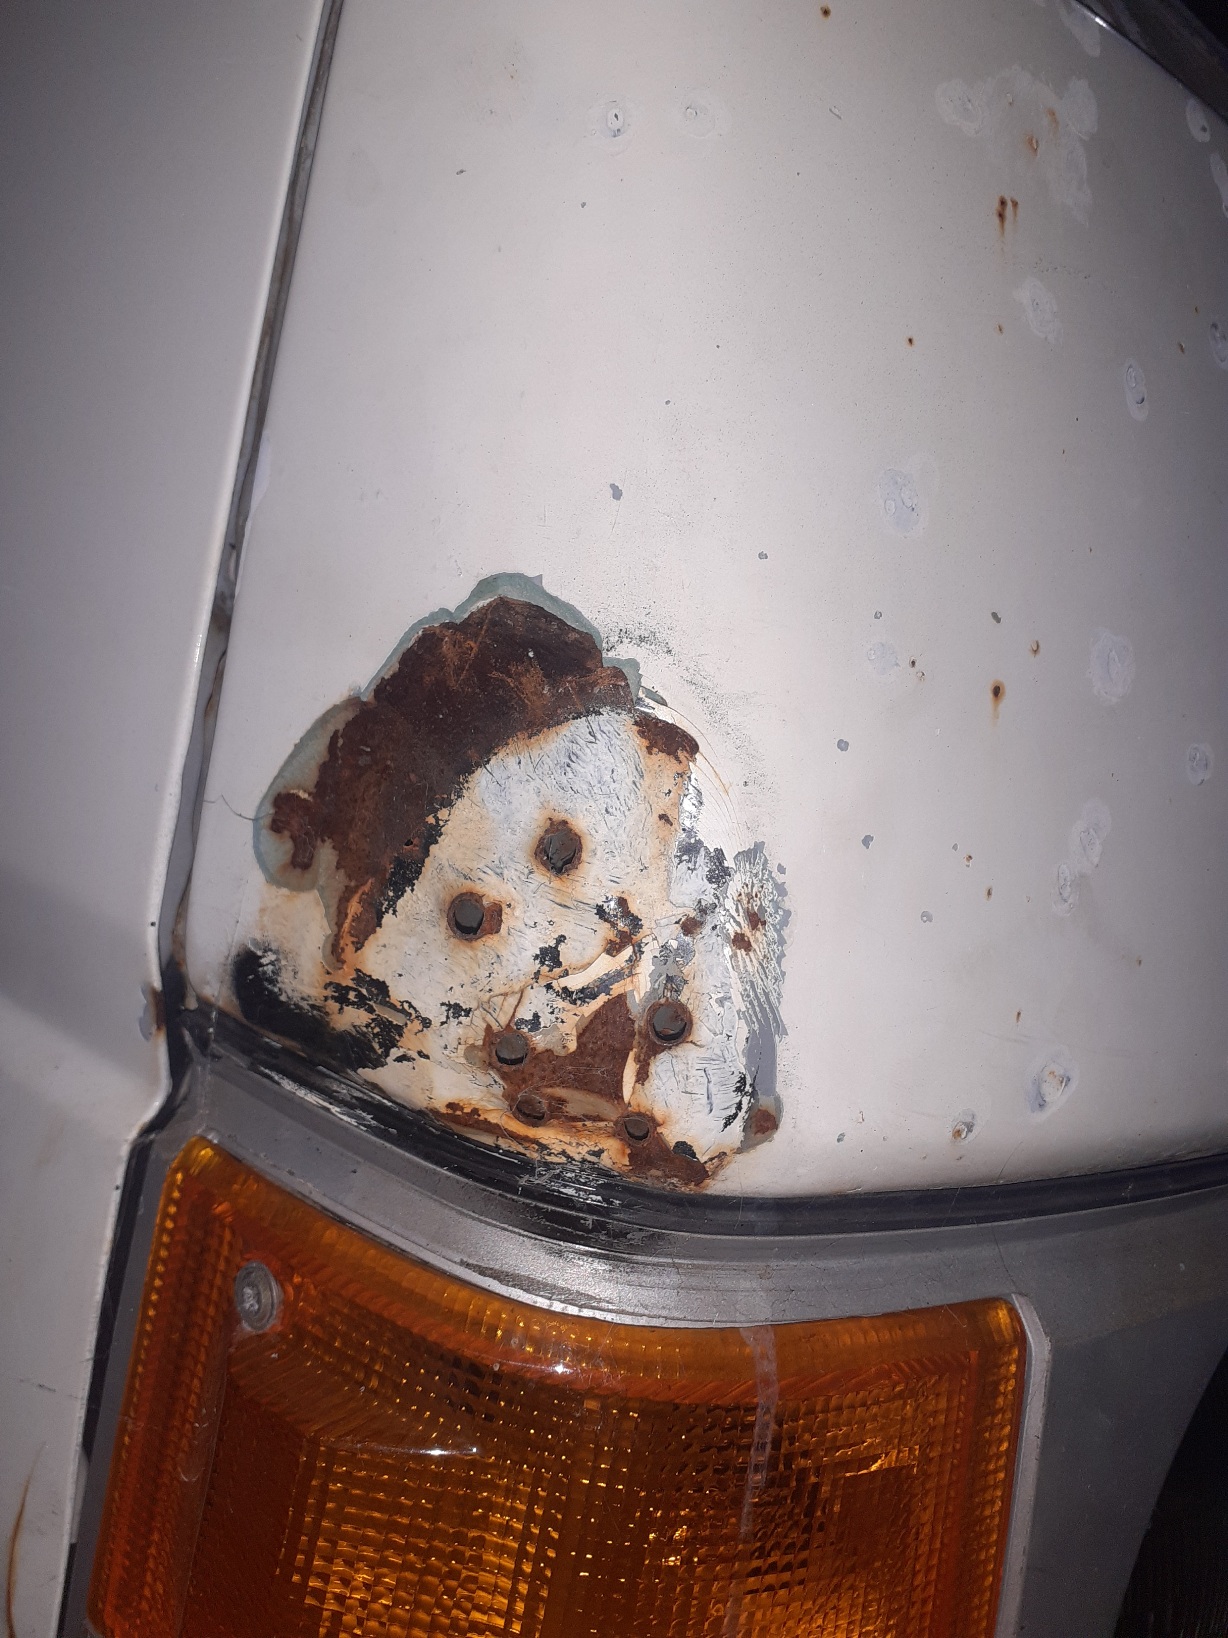
Better than this anyhow Also have painted the light surrounds, they are just resting in there, still to be screwed in yet
 11 points
 -
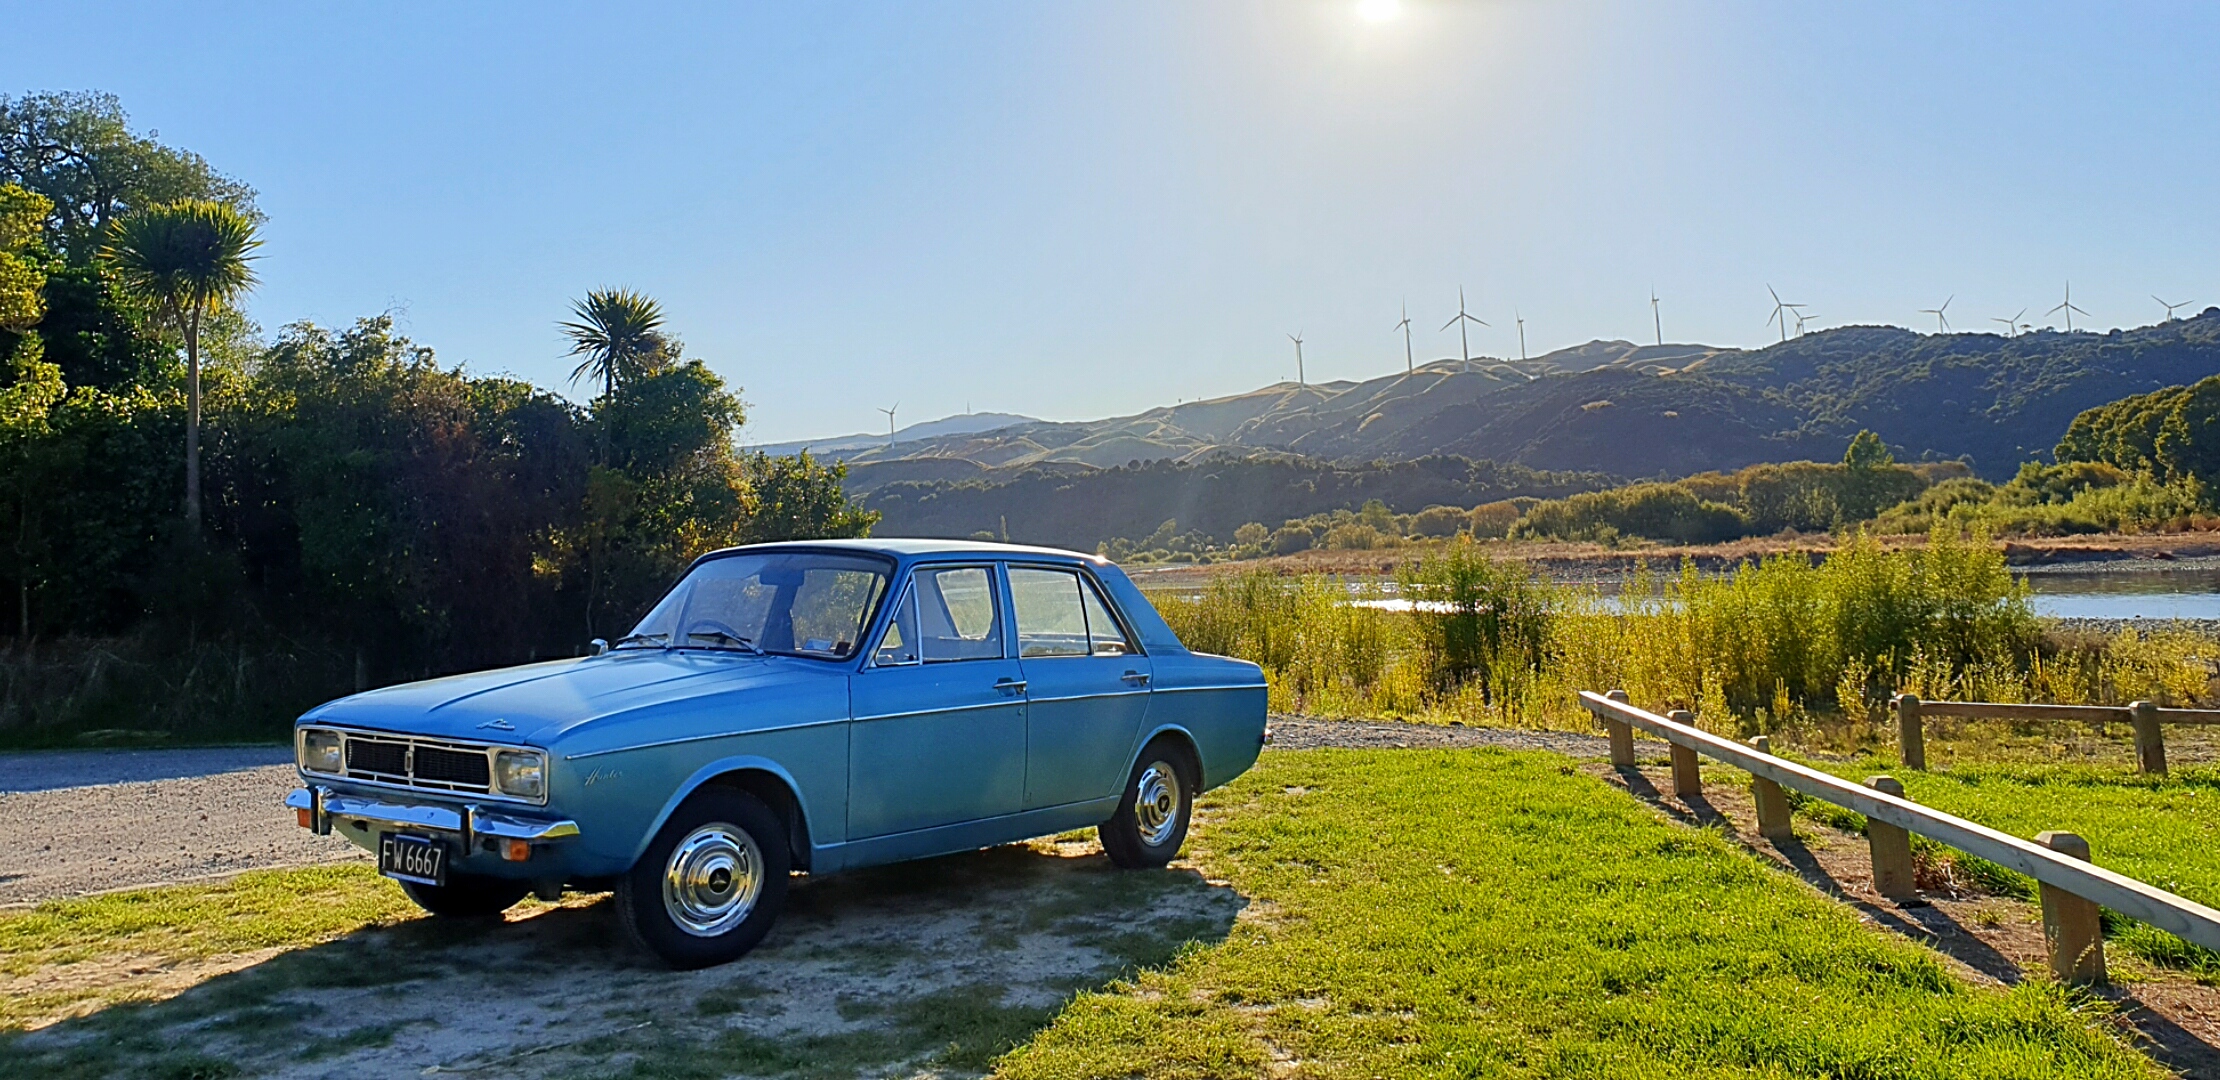
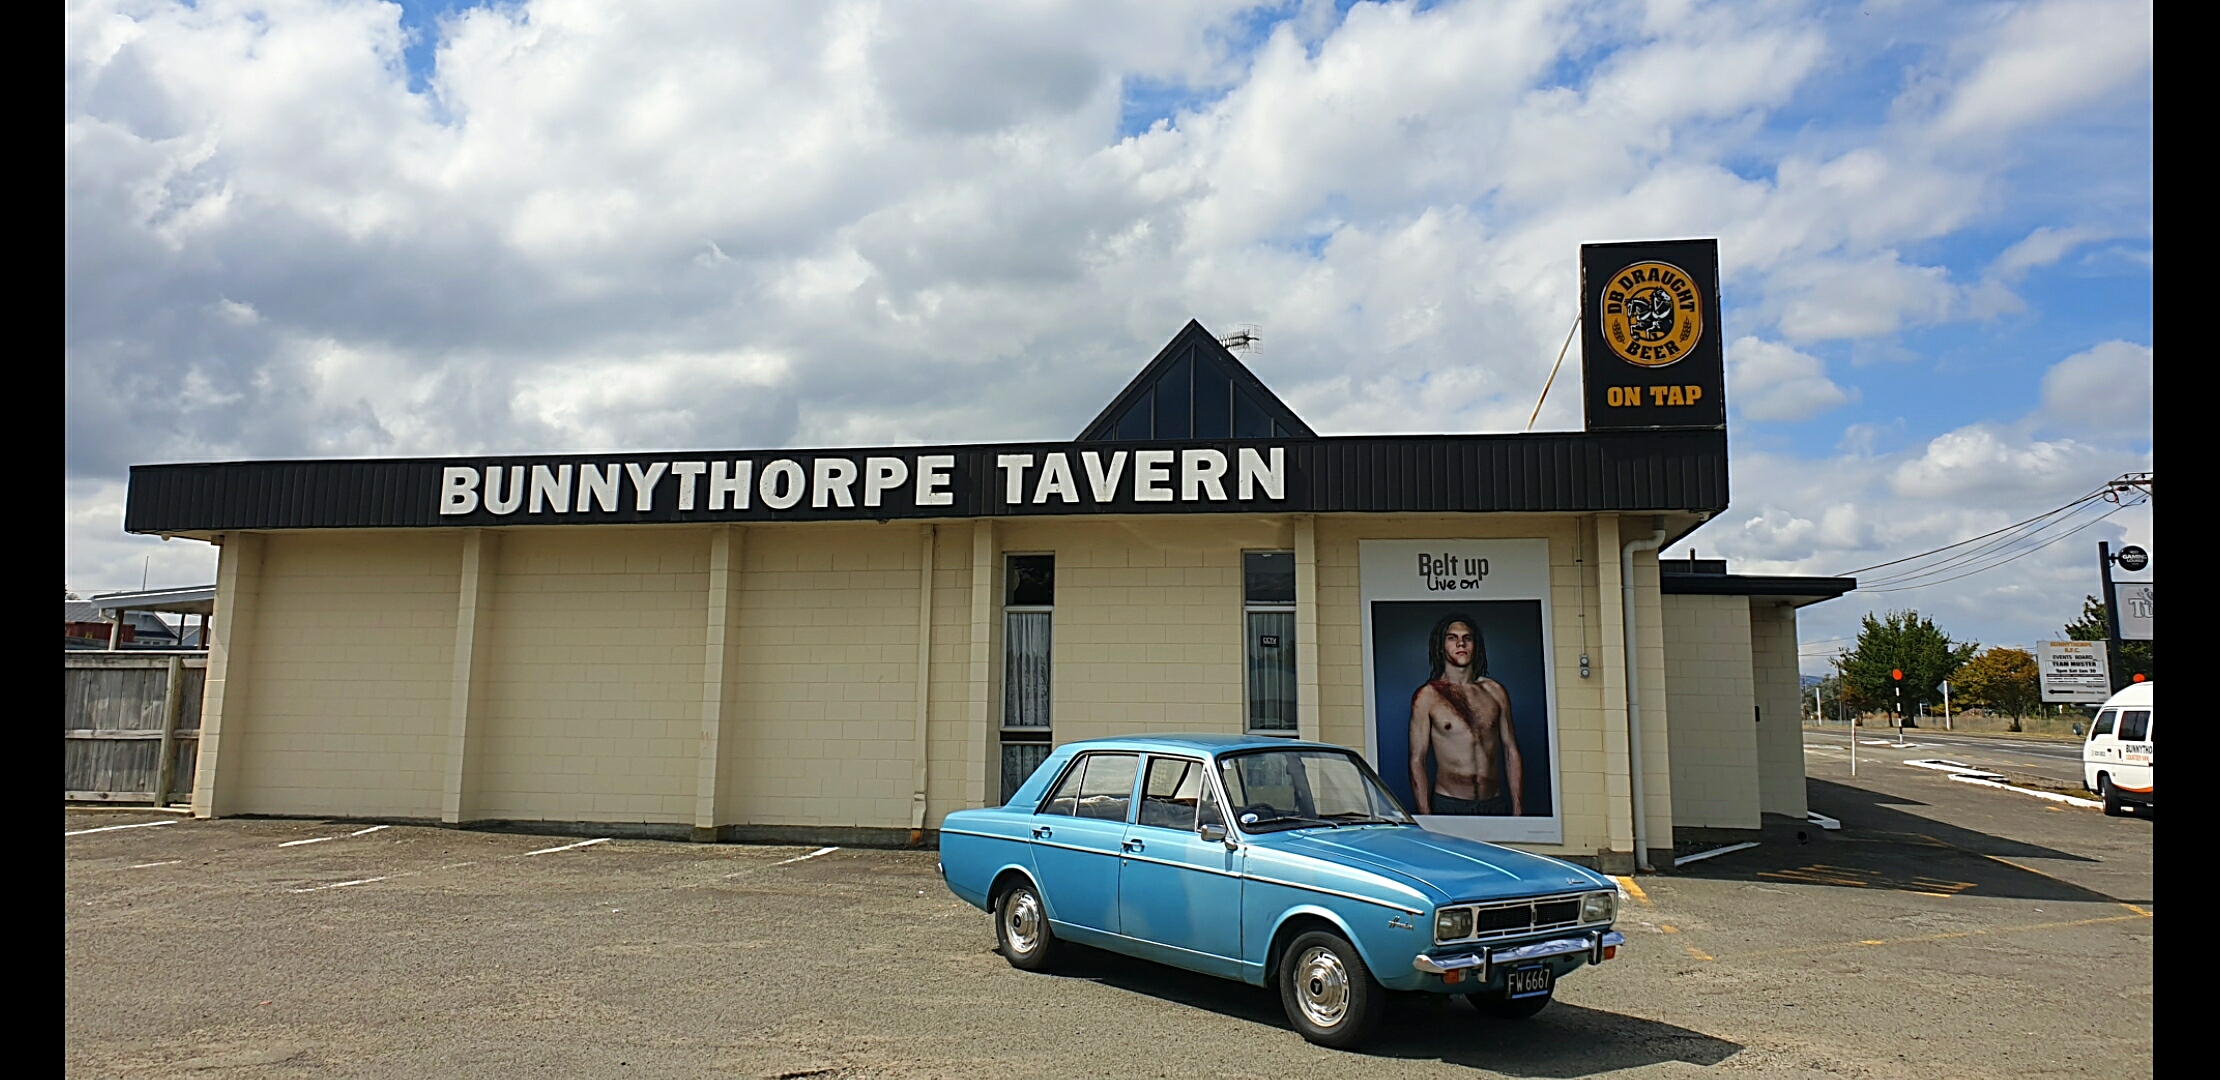
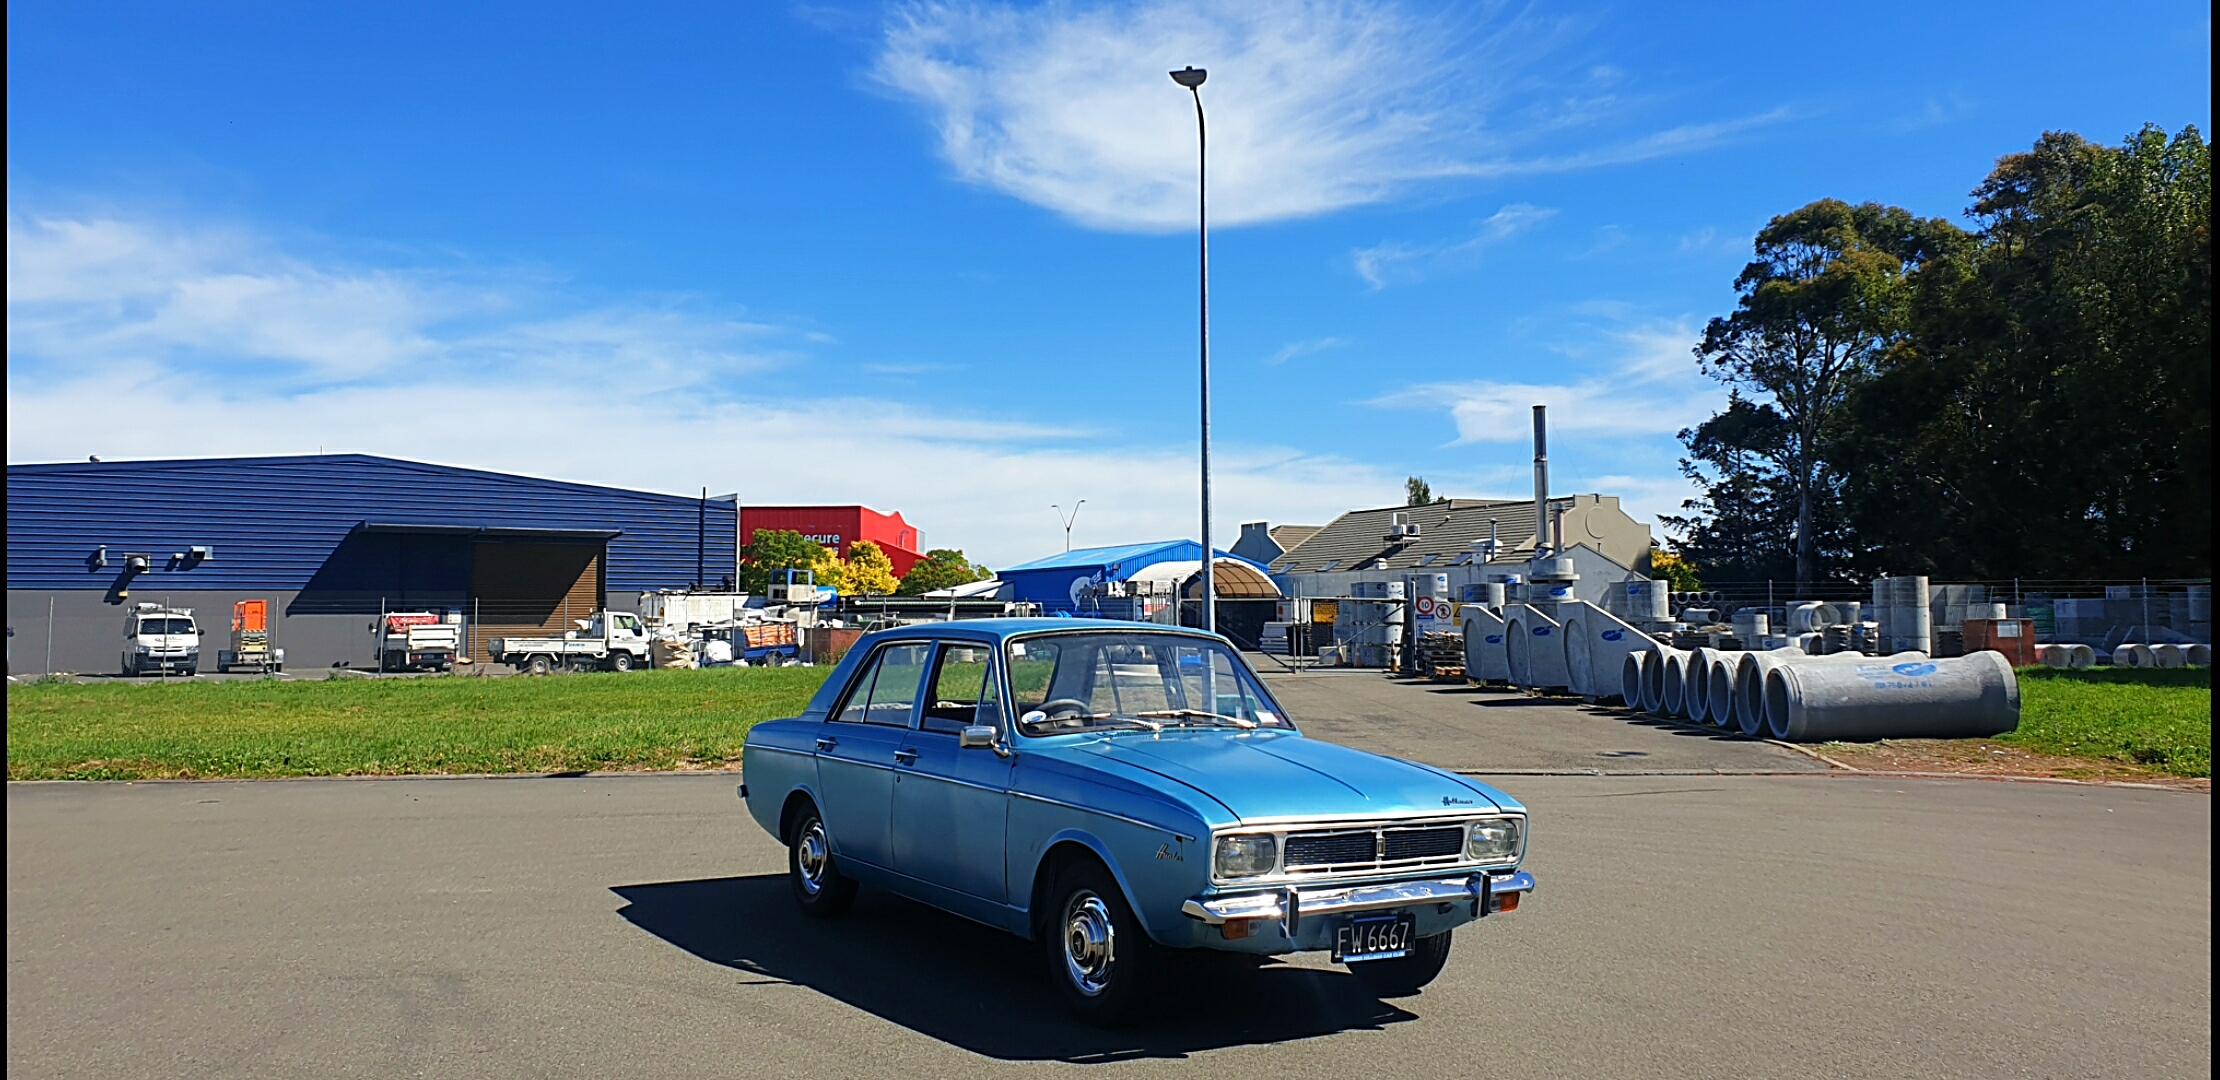
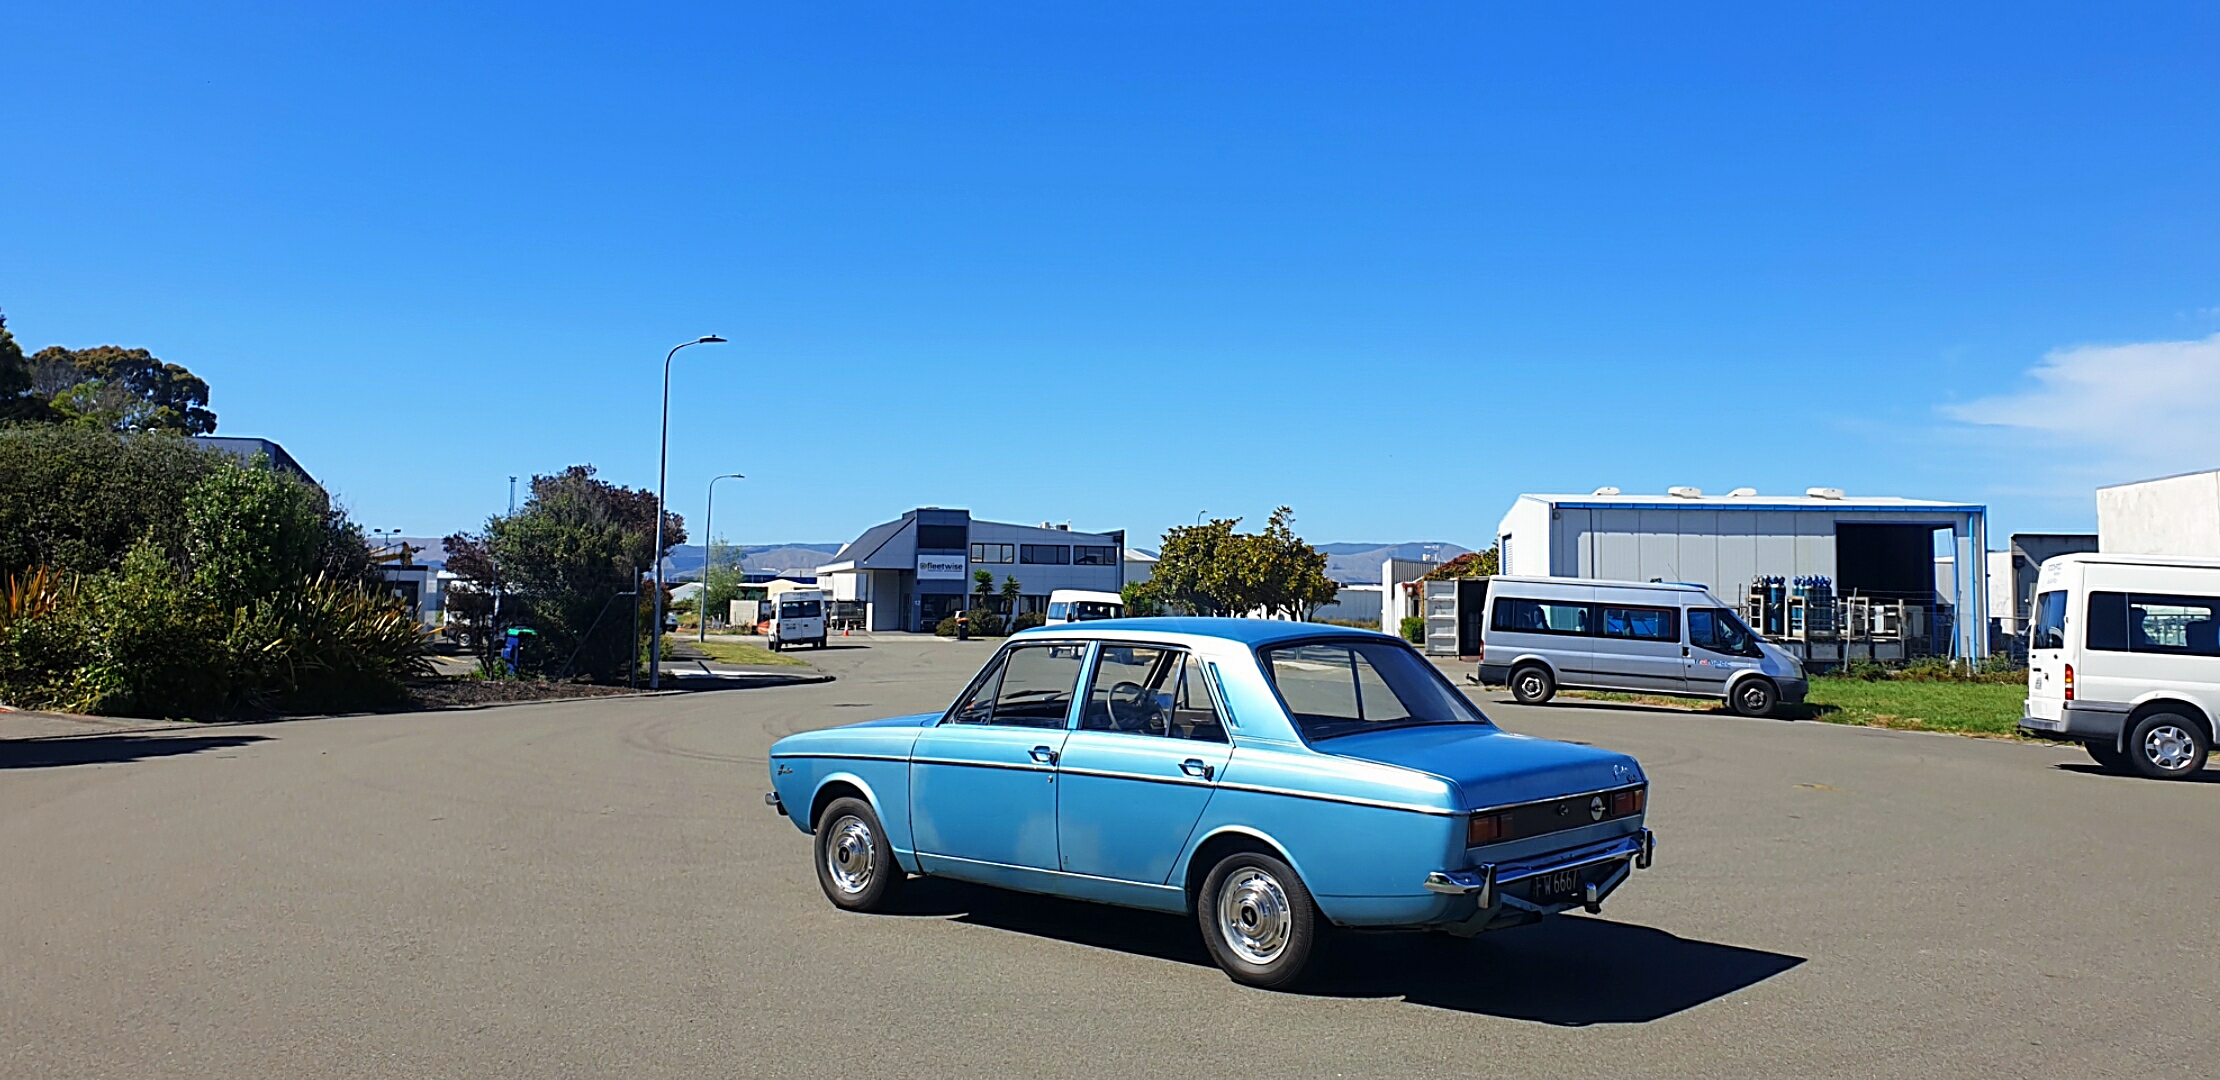
Day off Friday. Palmerston north droped kids off to school even in the ol hillman the. Then to ashurts back roads to bunnythorpe back home to palmerston north. Never got hot or played up prety happy with its effot
10 points
-
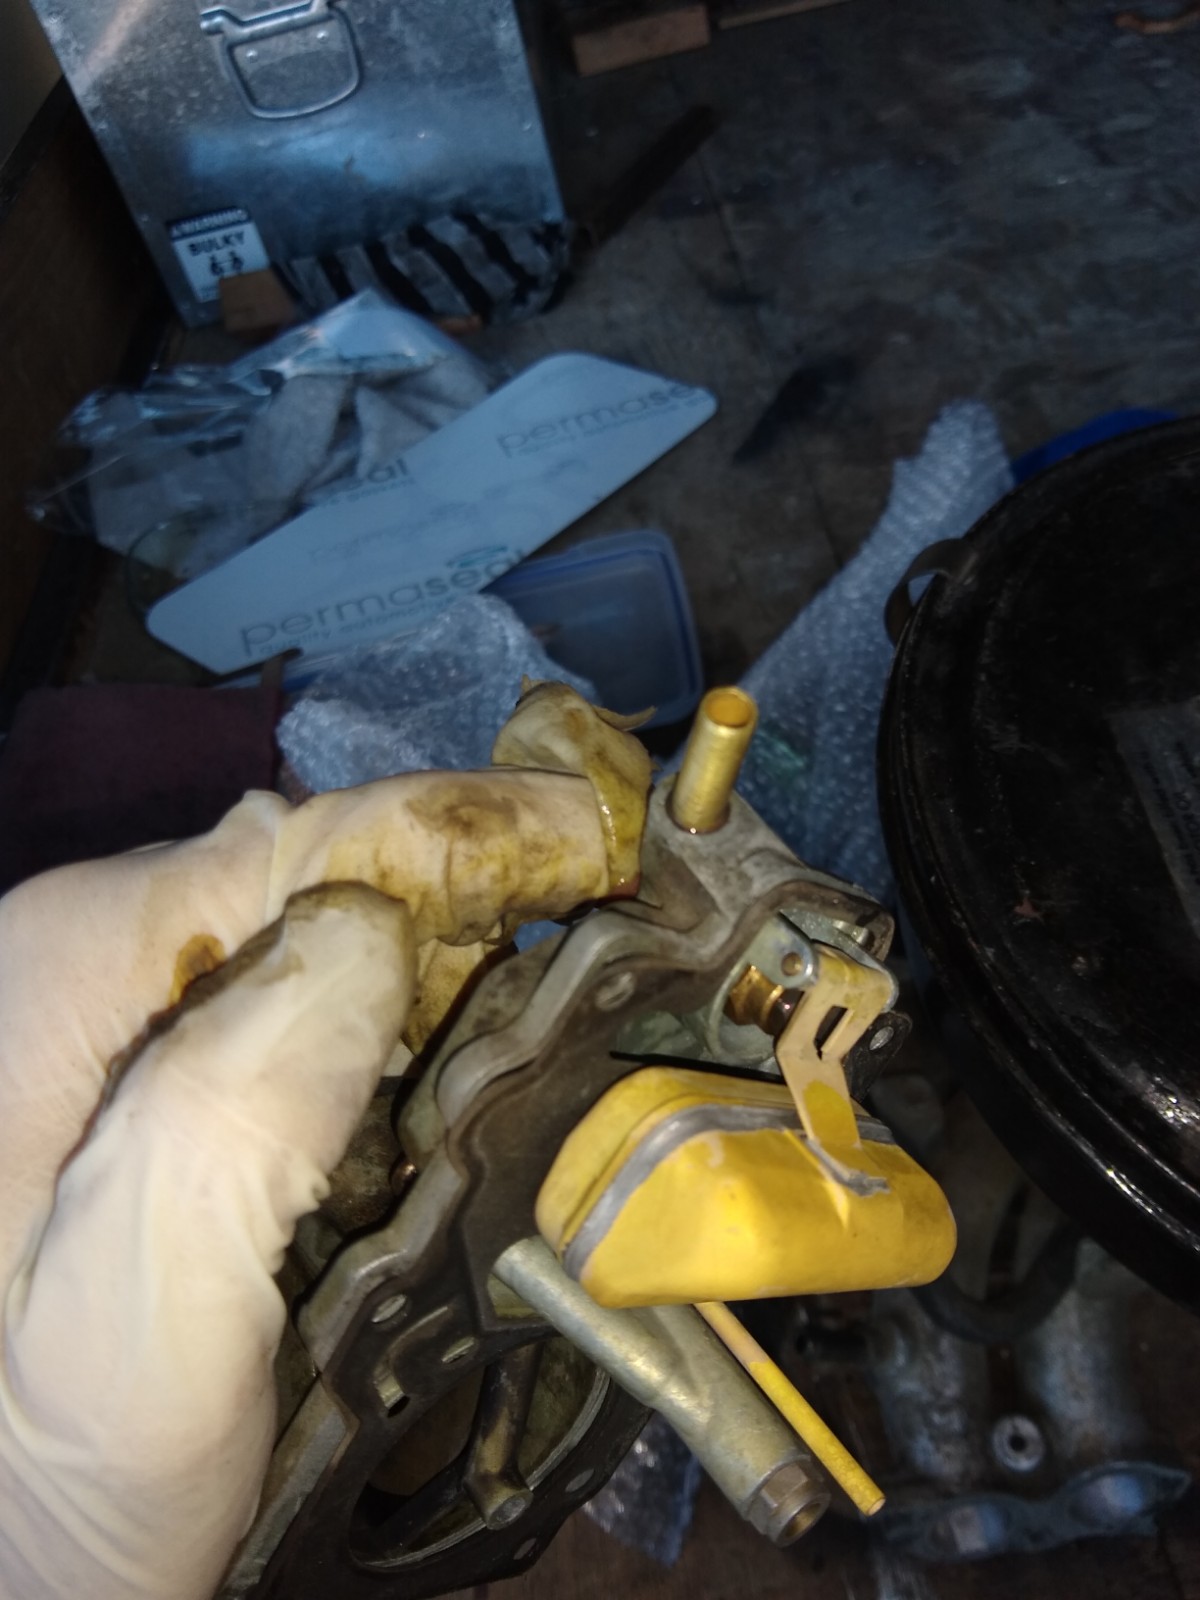
The car was running super lean this morning and I needed to use the choke the whole way to work. So I did the good old carpark in the dark 8 minute carburetor rebuild. There was a piece of glove in the jet. It seems to be fixed now.8 points
-
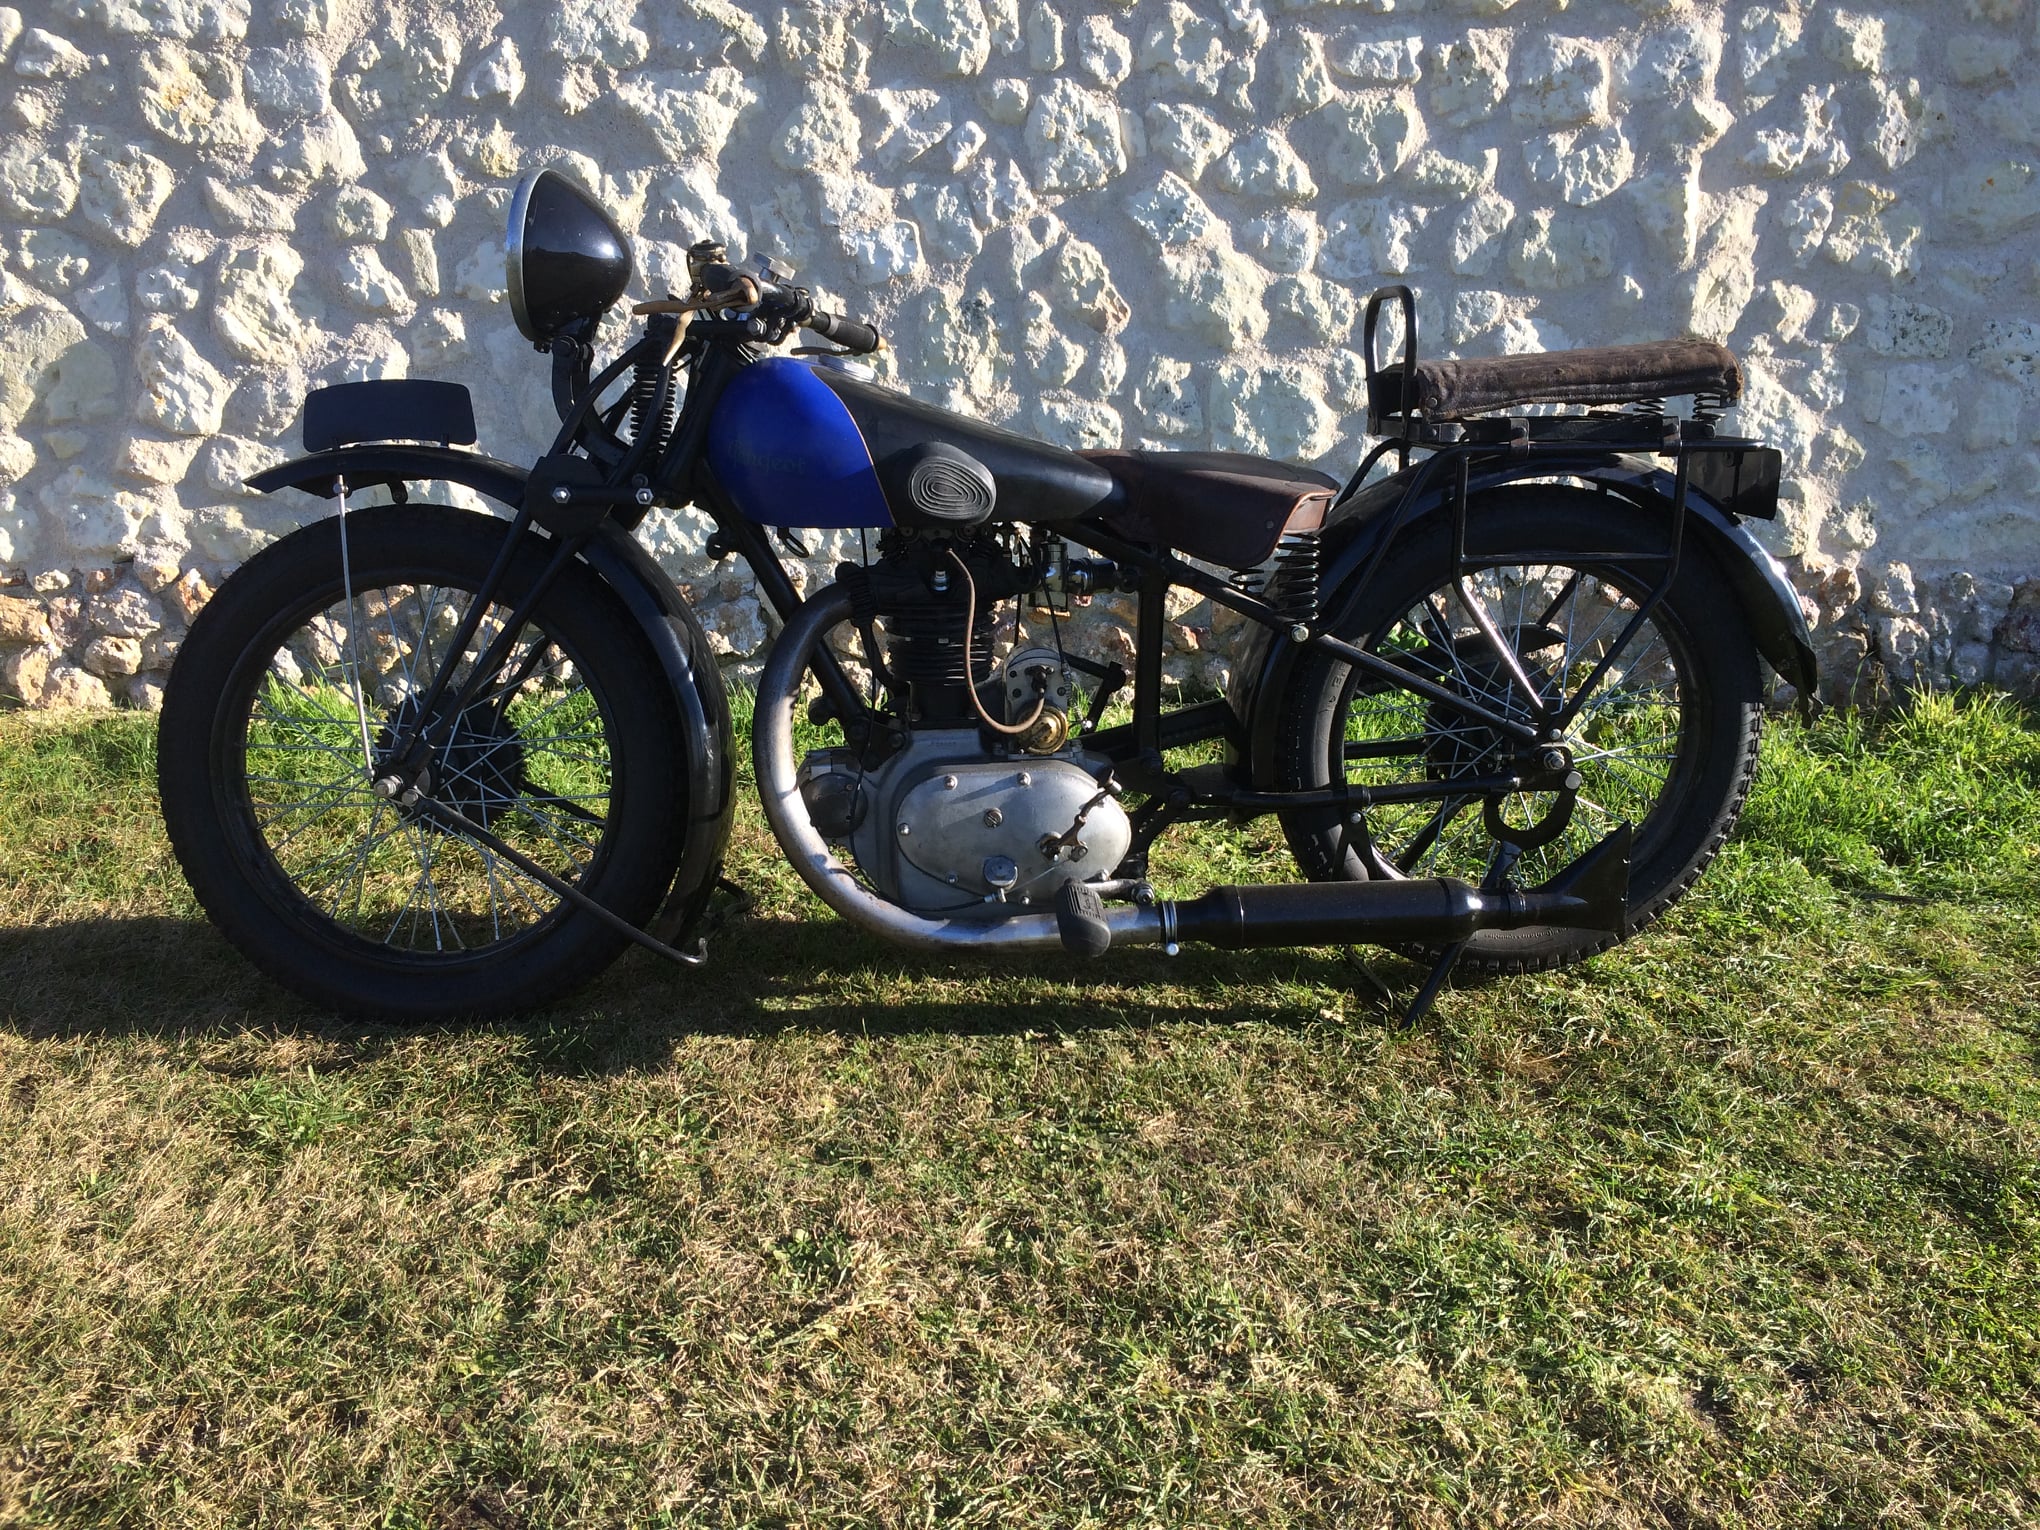
Long time listener first time caller. I am "one of those kiwis" who is living overseas at the moment and yes i am missing NZ very very muchly for many reasons that are probably clear (cough cough, corona lock downs) BUT there is always a silver lining rite?! Because we are not allowed to travel and every social event, Motorsport meeting, music festival and swap meet have been cancelled for the last year I've had a bit of time to save some cash that would have otherwise been spent on said activities. The plan was to continue my "invest in future fun times" thinking which actually kicked off a couple years ago. This accumulated, at the time, to a point where now there is a Trabant 601 S station wagon patiently waiting in my mums (thanks mum) garage for when i eventually come home and finally take it too the next possible old school event! Seen as though I already been there done that with the 4 wheels I figured this time i ought to go for two. Now not having a motorbike licence here or in NZ did cross my mind but yea that's a small detail which can be sorted out later. Somehow i had always melted over super old pre WWII motorbikes at shows and swap meets, mainly for the fact that they are just pure simple mechanical machines and i knew i would have a great time flexing my knowledge to simply maintain such a machine. But somehow it had never occurred to me that it might be possible to own one for my self.... until it did occur to me. Thus, following this thought the next 6+ months was spent, at a level of addiction i don't think i have yet experienced in my life, following every single possible classic motorbike out let in Europe learning everything possible about which bike is which and what i liked or could possibly afford . I had a bunch of small details that i wanted the bike to have and finding a bike that i could afford with all the details was the tricky part, if i had 20-30k Euros then i would have had a bike in a week. I got really lucky to have the first say on this bike which i was offered from a semi professional collector from Holland who did regular trips to France to buy old bikes. I got in contact with him about another one of his bikes and after a very long talk on the phone (he turned out to be a GC who liked my story) he said he was picking up a special one in a couple months time and maybe i would like it, but he only had two photos of it and not much more information. He said it was the son of the owner (now dead sadly) who had owned the bike for many years, who was selling it. It came with french ownership papers which i found is quite rare and saves me heaps of paperwork in Germany as i now have the papers i need already to get it into NZ. So yea the bike basically ticked all the boxes and yes of course it was outside of my budget but i made the stretch because yolo. I brought it totally blind only had these two photos of it but i really fell in love, Its no where near the condition i would have liked for the price but i now realize that my standards were totally noob spec and now i'm really happy with what i managed to get my hands on. She is 92 years old after all. Its a Peugeot P105 Which at the time was the top of the line model. With 350cc and very modern overhead valves it was by far the most expensive Peugeot from when it was released in 27/28 until 34 when Peugeot brought out a 500cc Version with the same engine concept. For a 20's bike its really quite advanced when you consider the Hemispherical combustion chamber, over head valves, gearbox and engine sharing the same housing with a totally sealed automatic oiling system (most motorbikes still had hand pump 100% loss systems) and the oil breather port it directed at the drive chain so that it is always automatically lubricated. But it still has cool stone age shit like the hand operated gear shifter, Thumb lever throttle, Manual timing advance and retard, girder forks, hard tale, the valve drive terrain on the outside of the engine and the speedo (which is missing) Is driven of a massive toothed wheel on the front hub. So yea of course got a big list of stuff i need to do already, it does run but not properly it needs a full go through and adjustment of everything. I also have already got a shopping list lined up but i will purchase these things slowly as as i find them and or can afford them (while keeping the missus happy too!). I have a lot of time this will be a slow progress thread up until i find a way to get this thing back to New Zealand without buying my own container again, that was bank account killer last time.
7 points
-
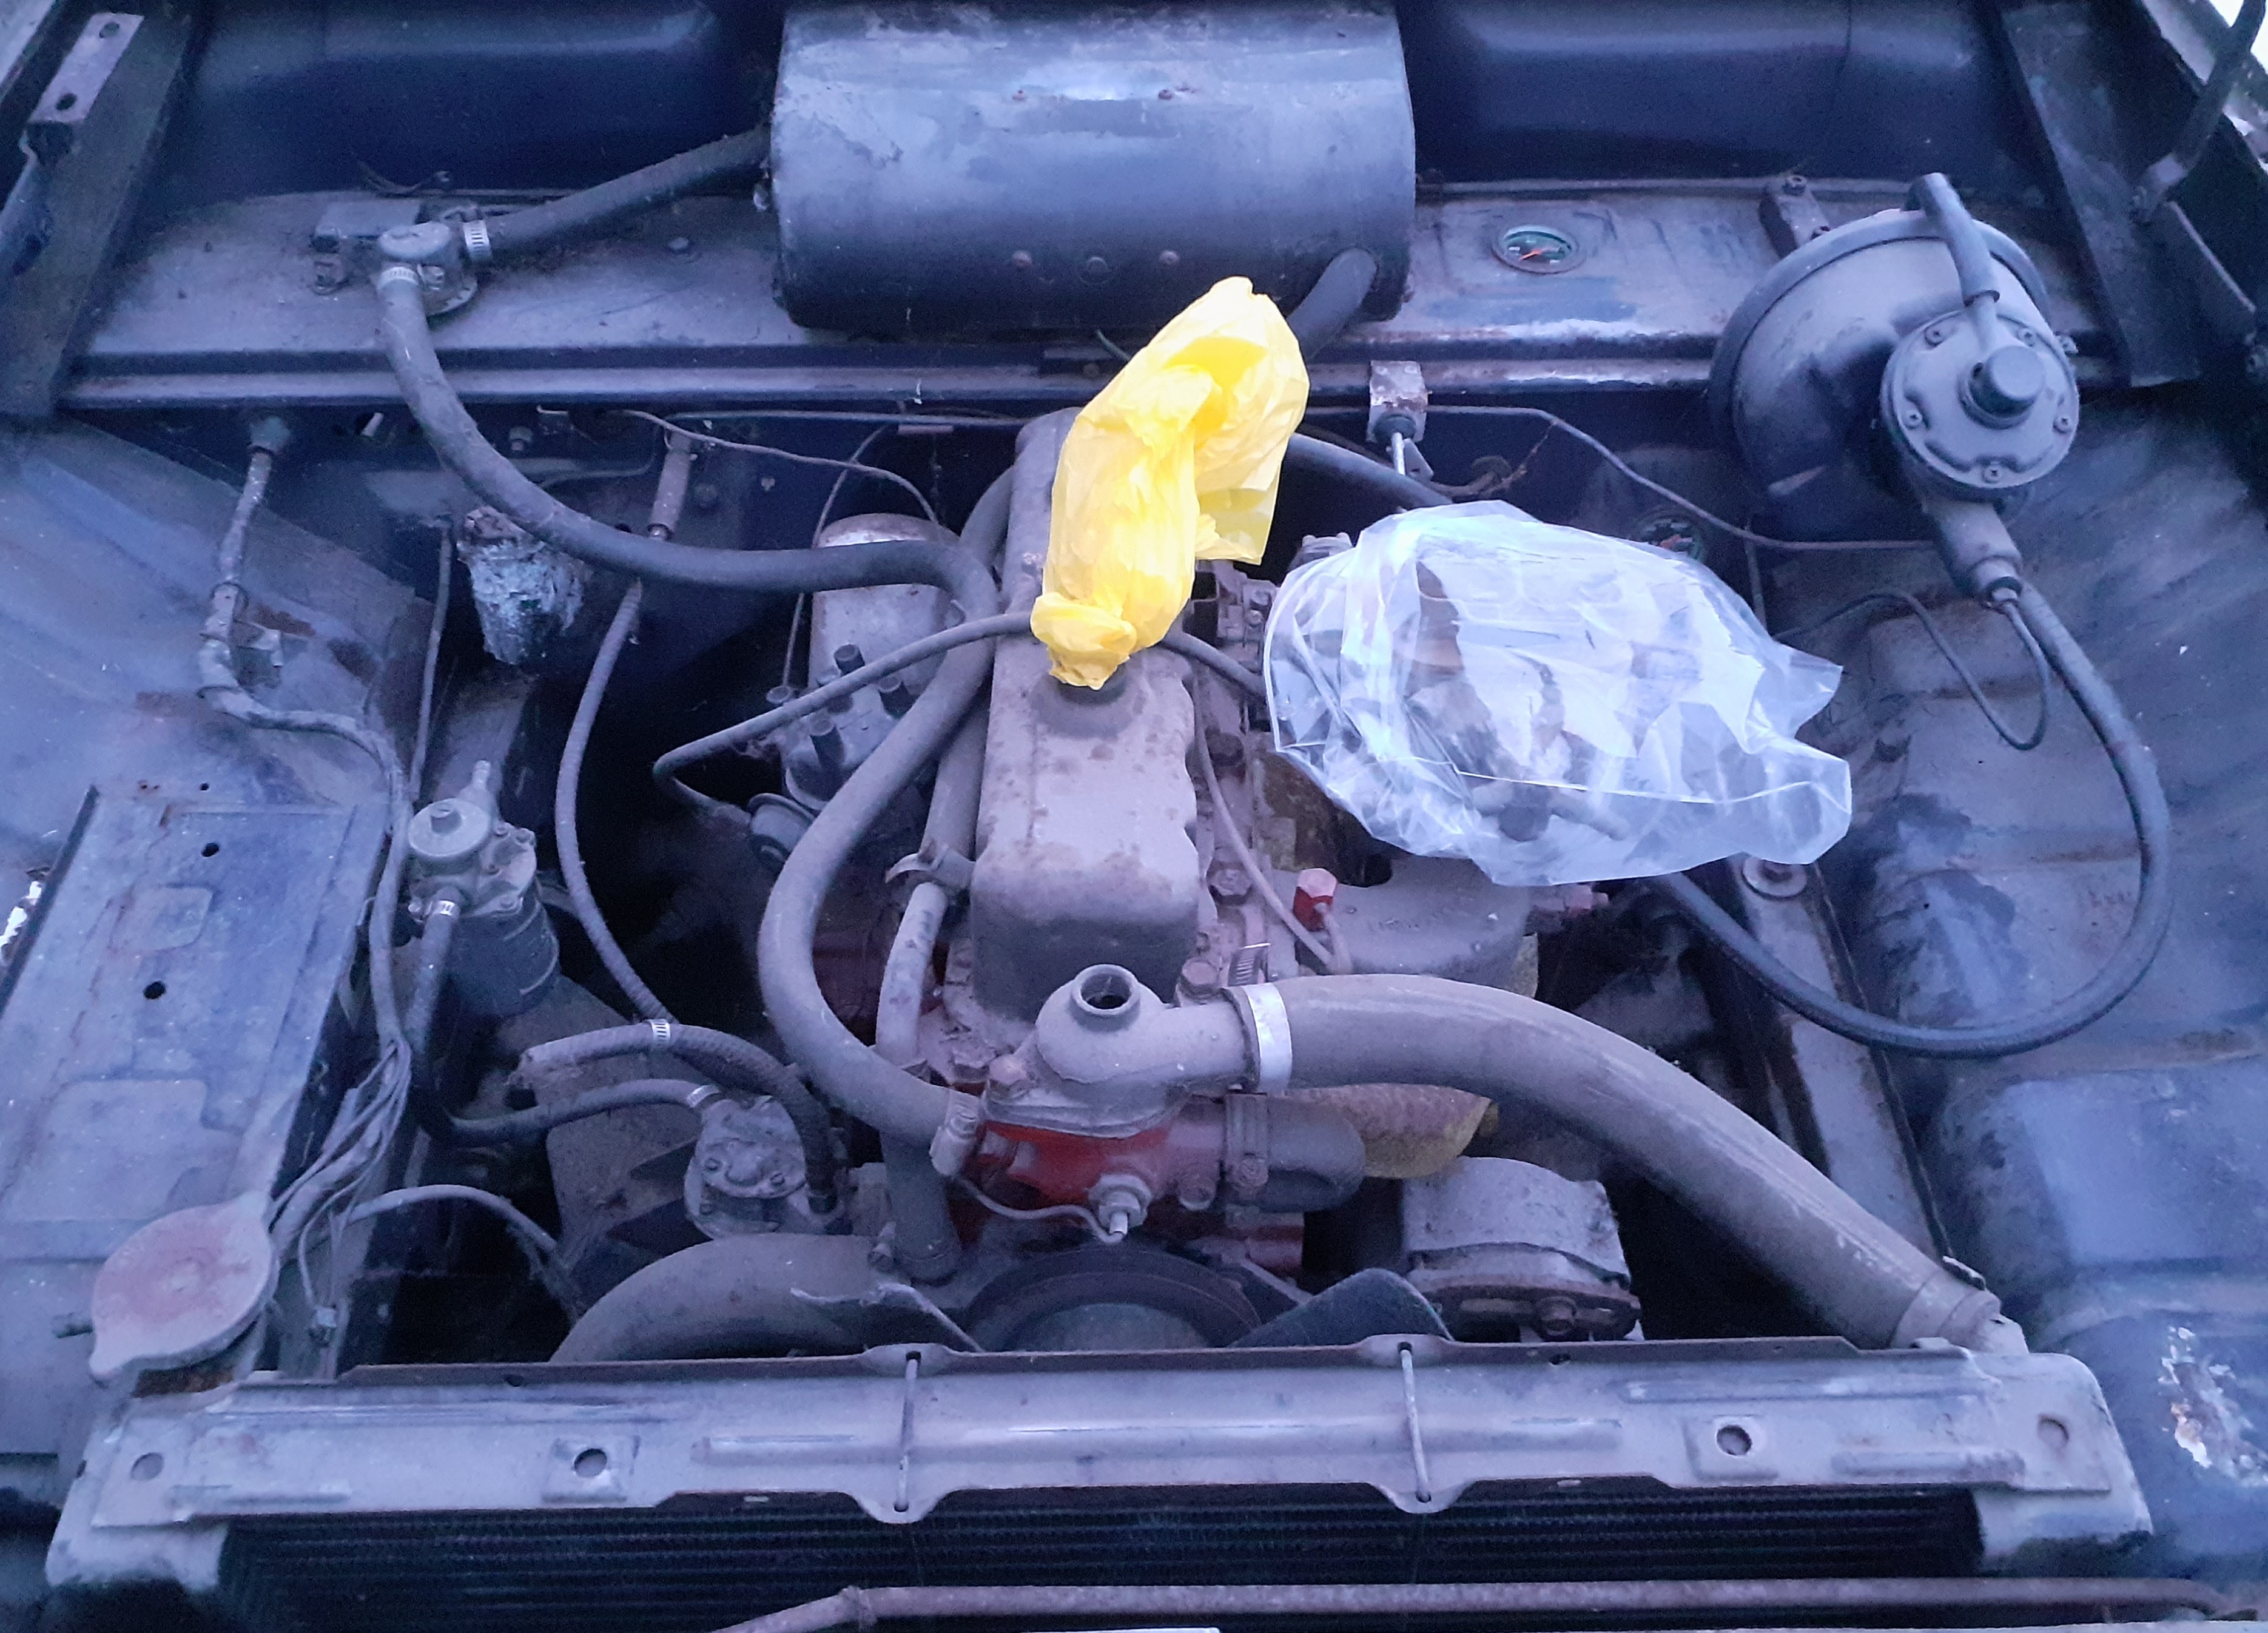
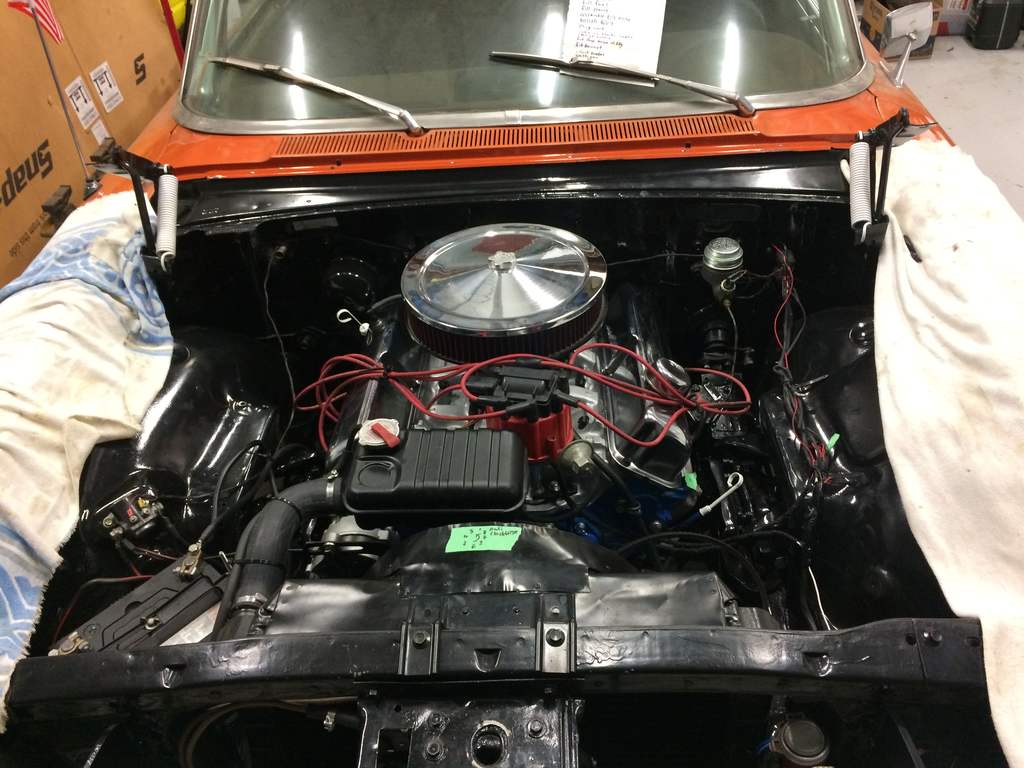
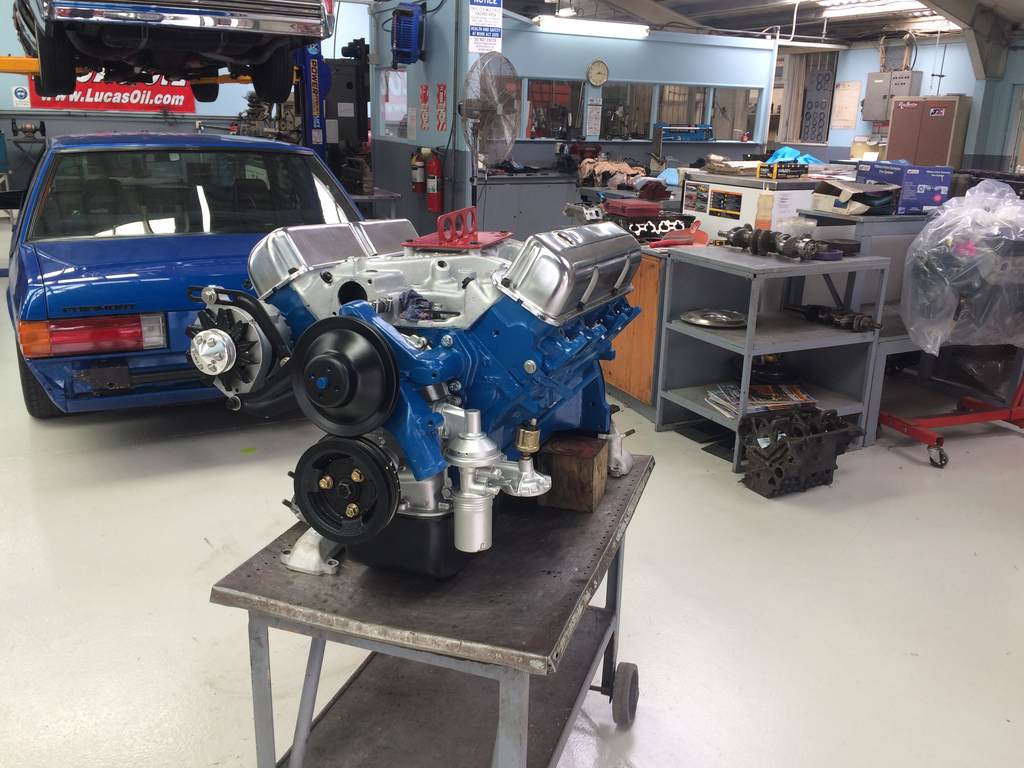
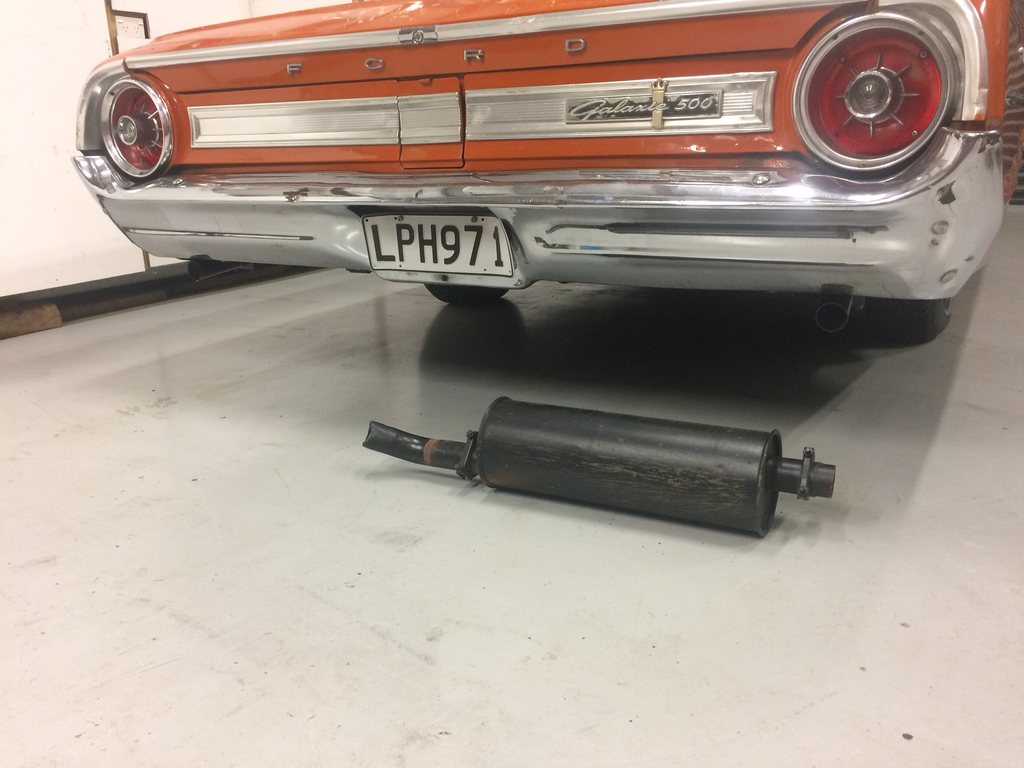
Cleaned up the engine bay. You wouldn't know it but the engine was fully rebuilt and tickled up a bit 20 years ago and never run. I have started it and it purred like a kitten haha. Will put an exhaust on it before l run it again so l can atempt to run it in. I took the rocker cover off and its like brand new in there. Also has a brand new 32/36 webber, starter and alt. Dizzy has had work too with all new bits.
6 points
-
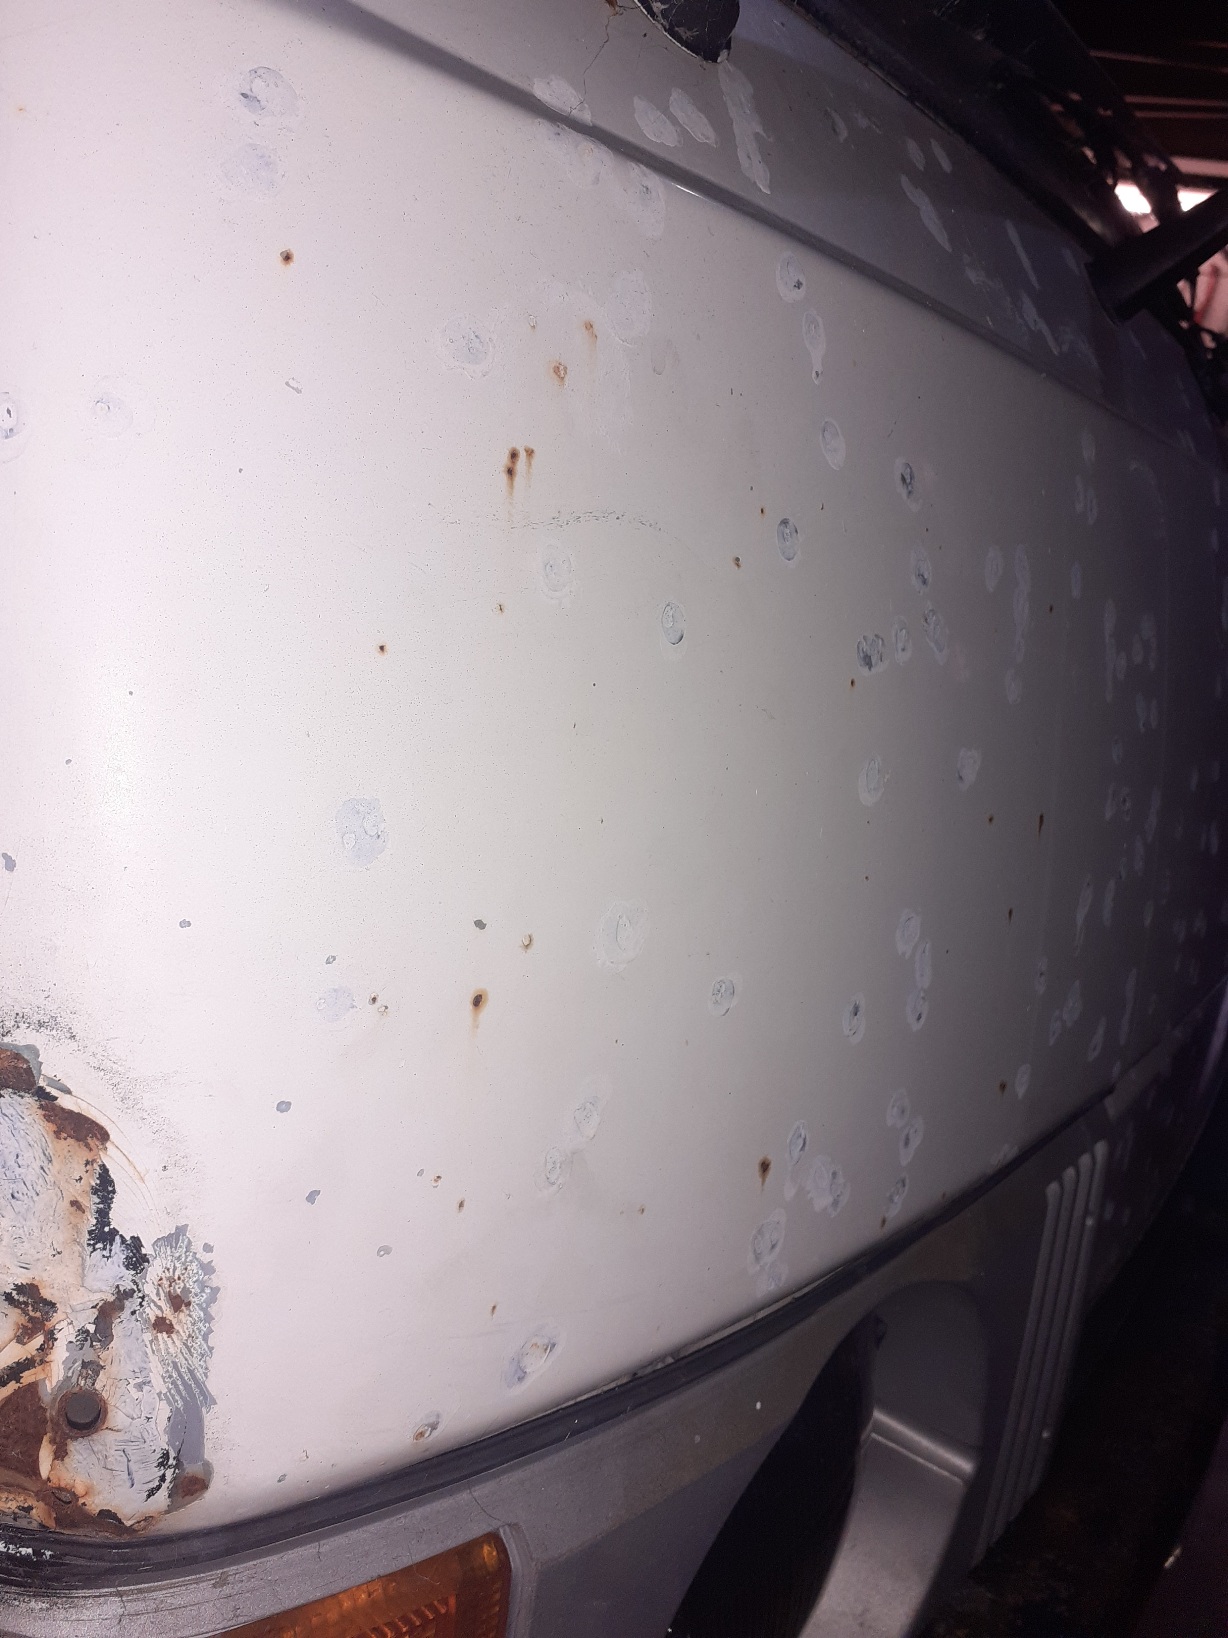
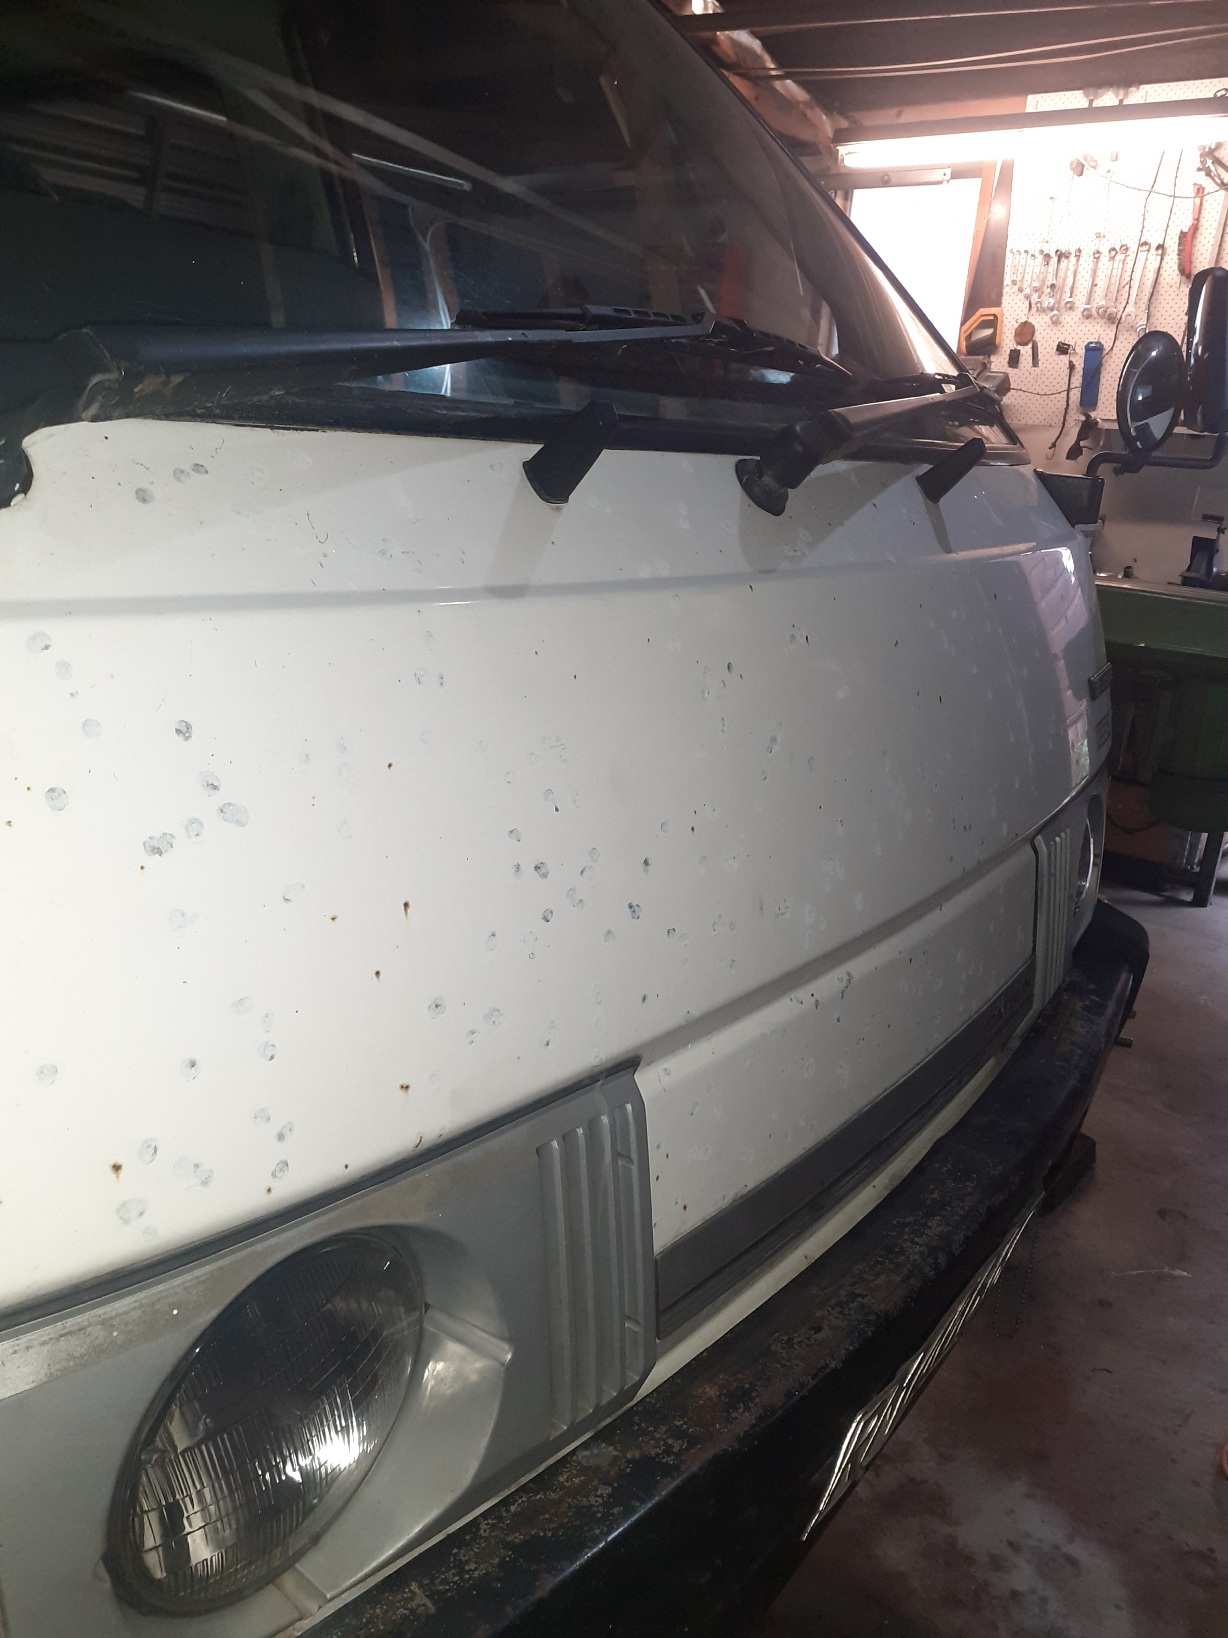
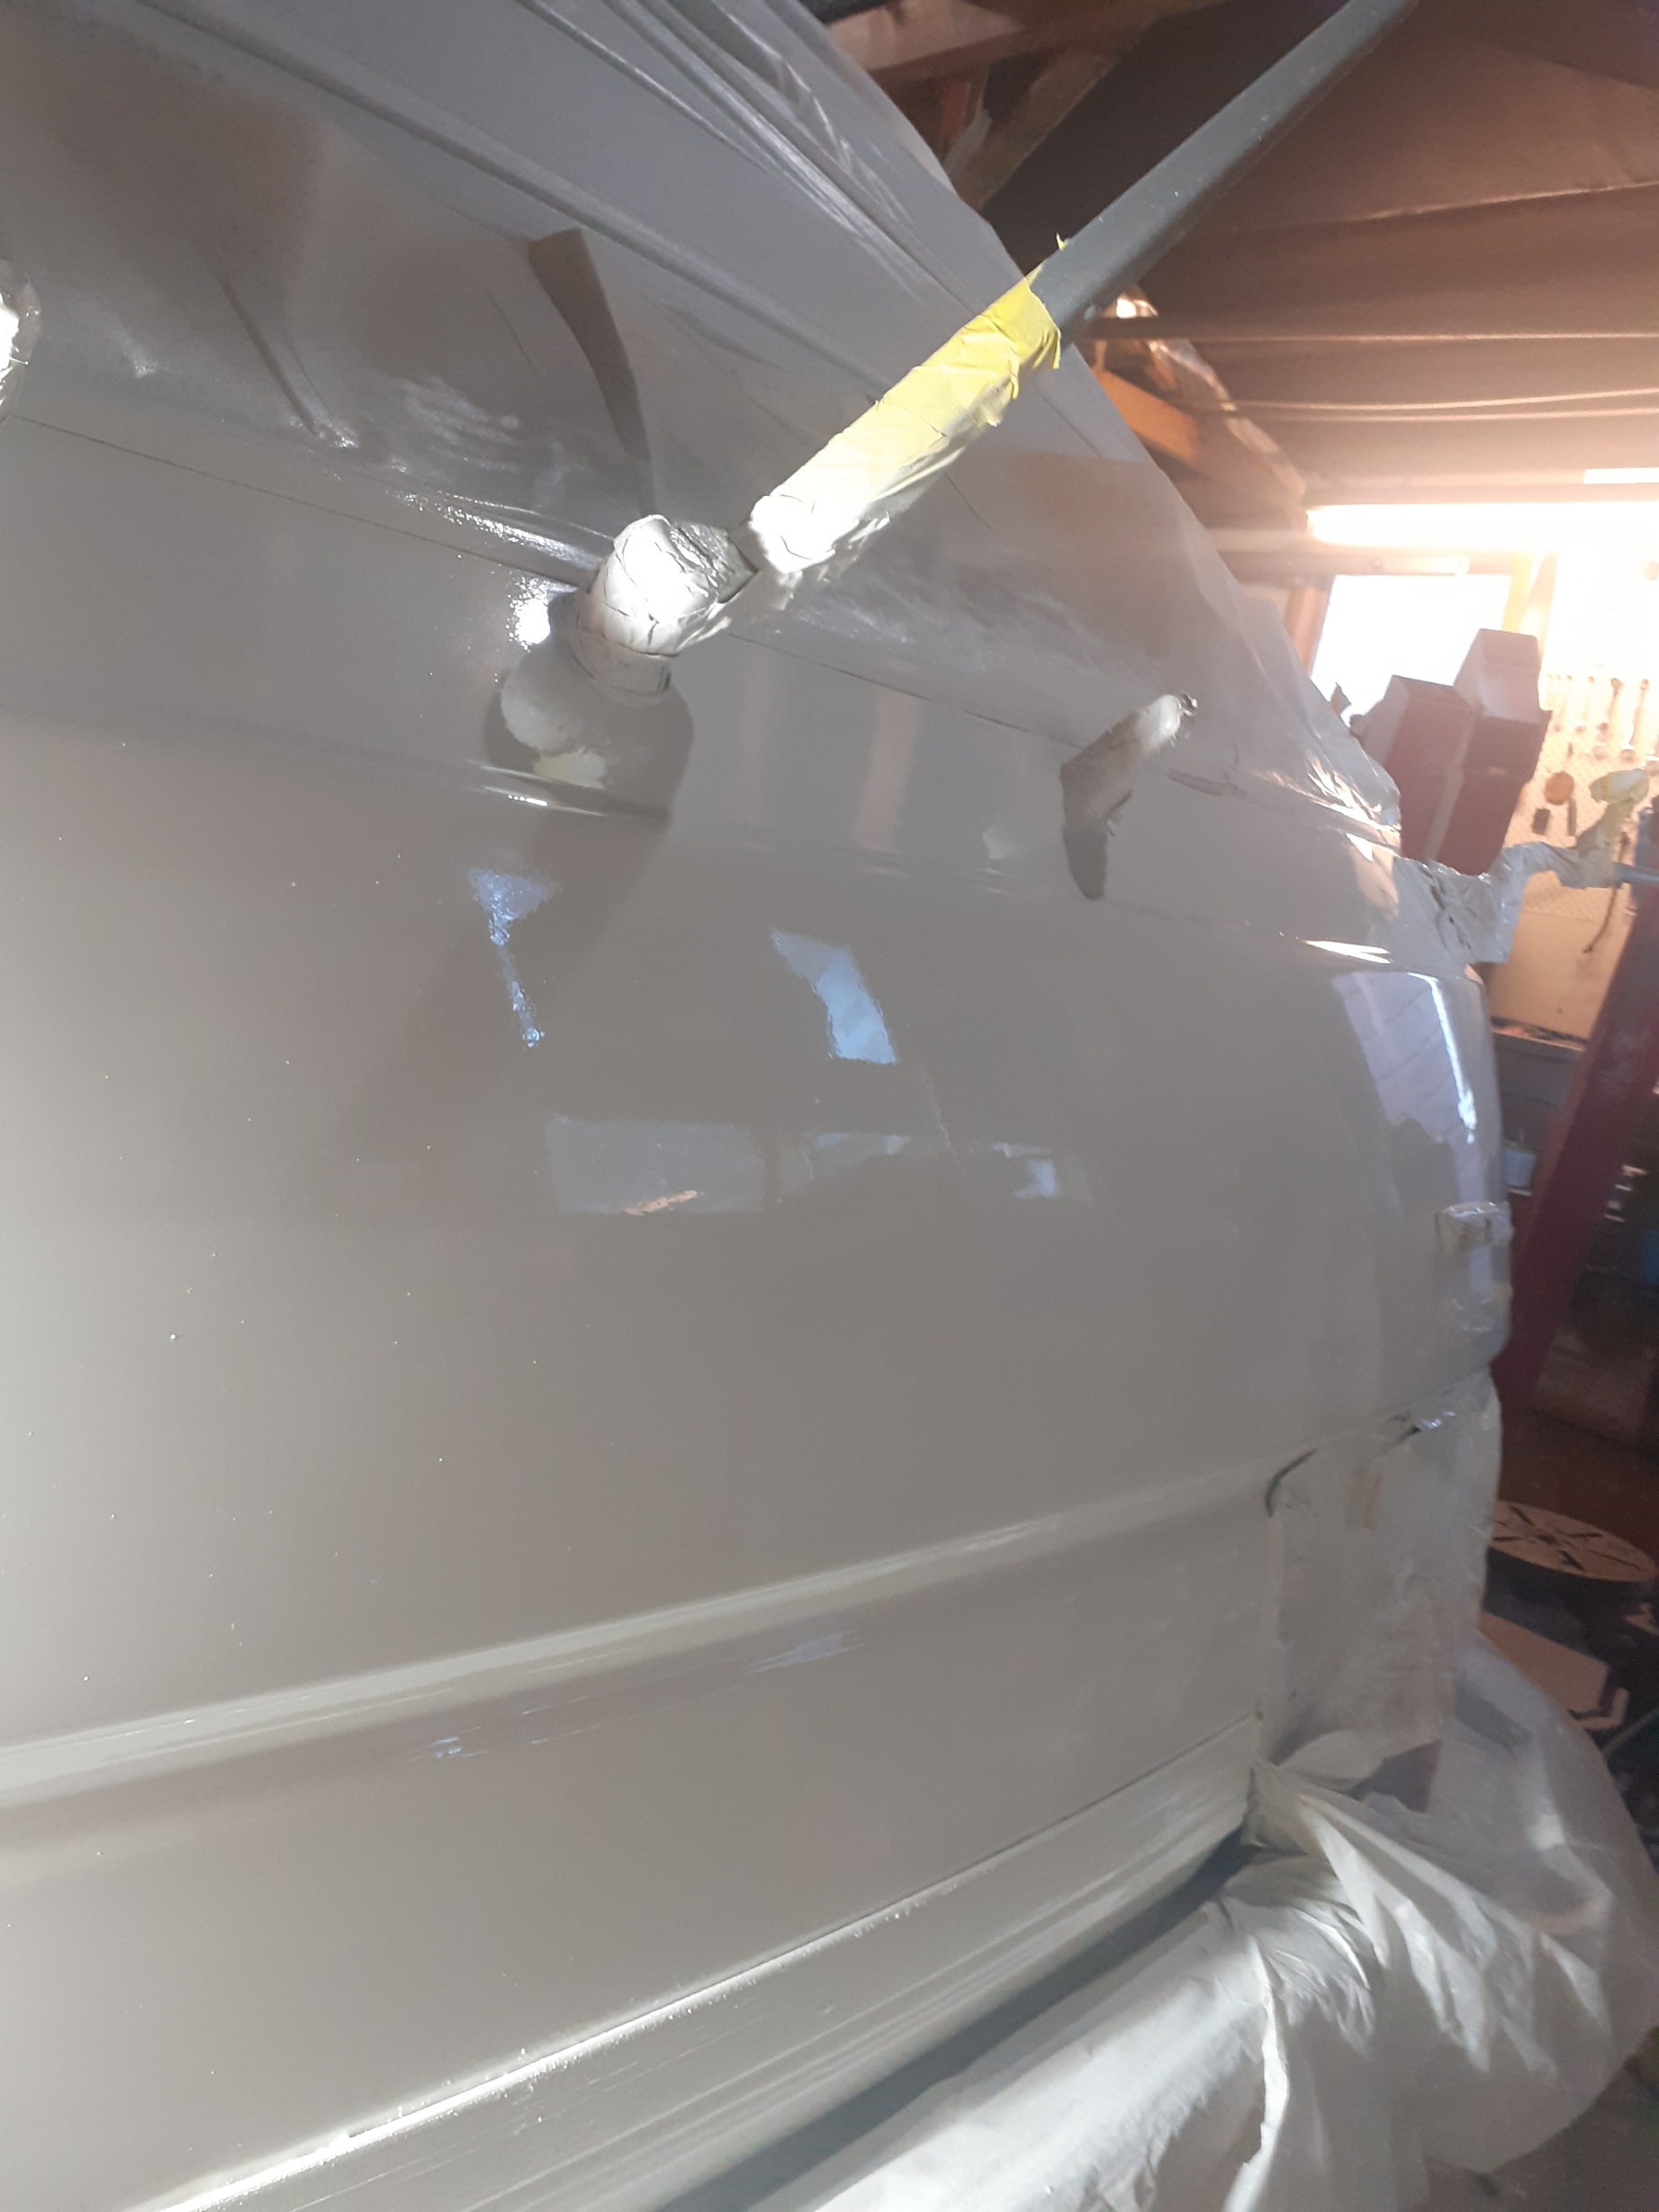
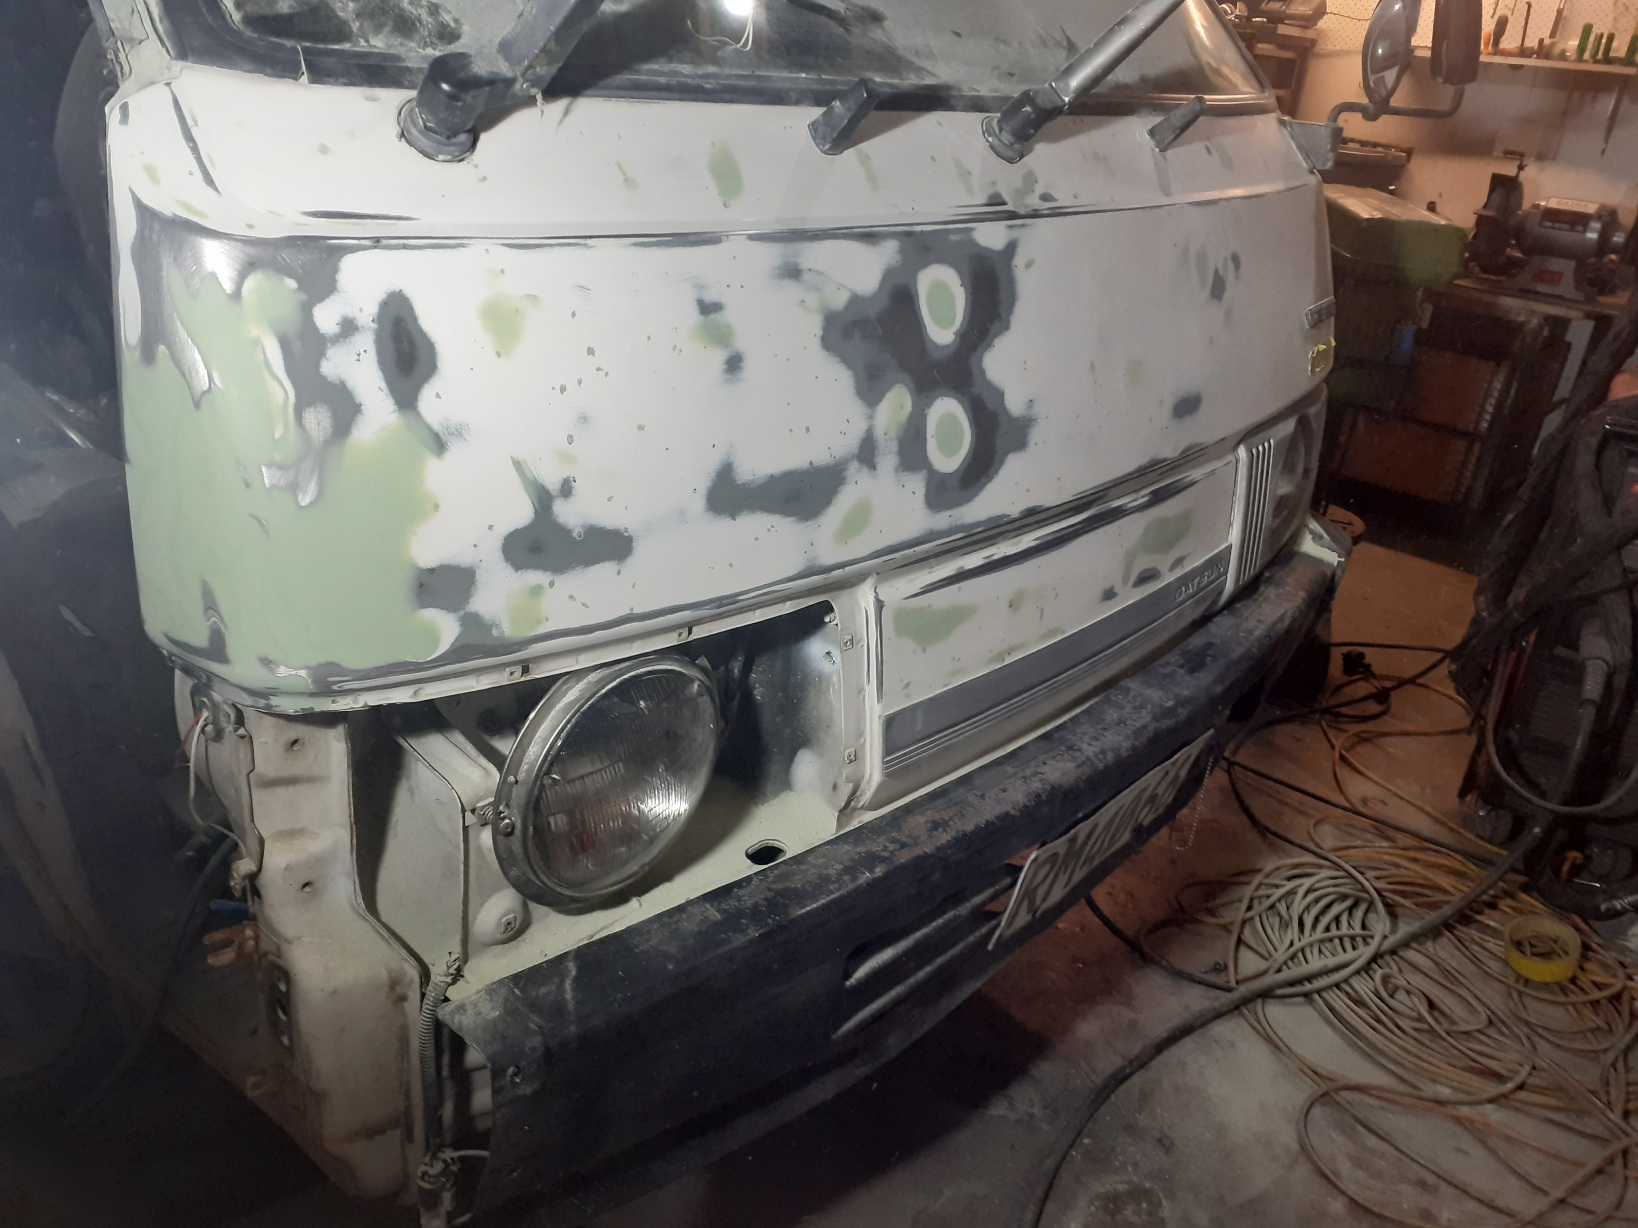
3rd times a charm, if anything the previous runny attempts have provided some extra thickness, taking off the masking was the best part, some light polishing will take off the bits of dust on the surface and this part is done. Overall it's really straight and even
5 points
-
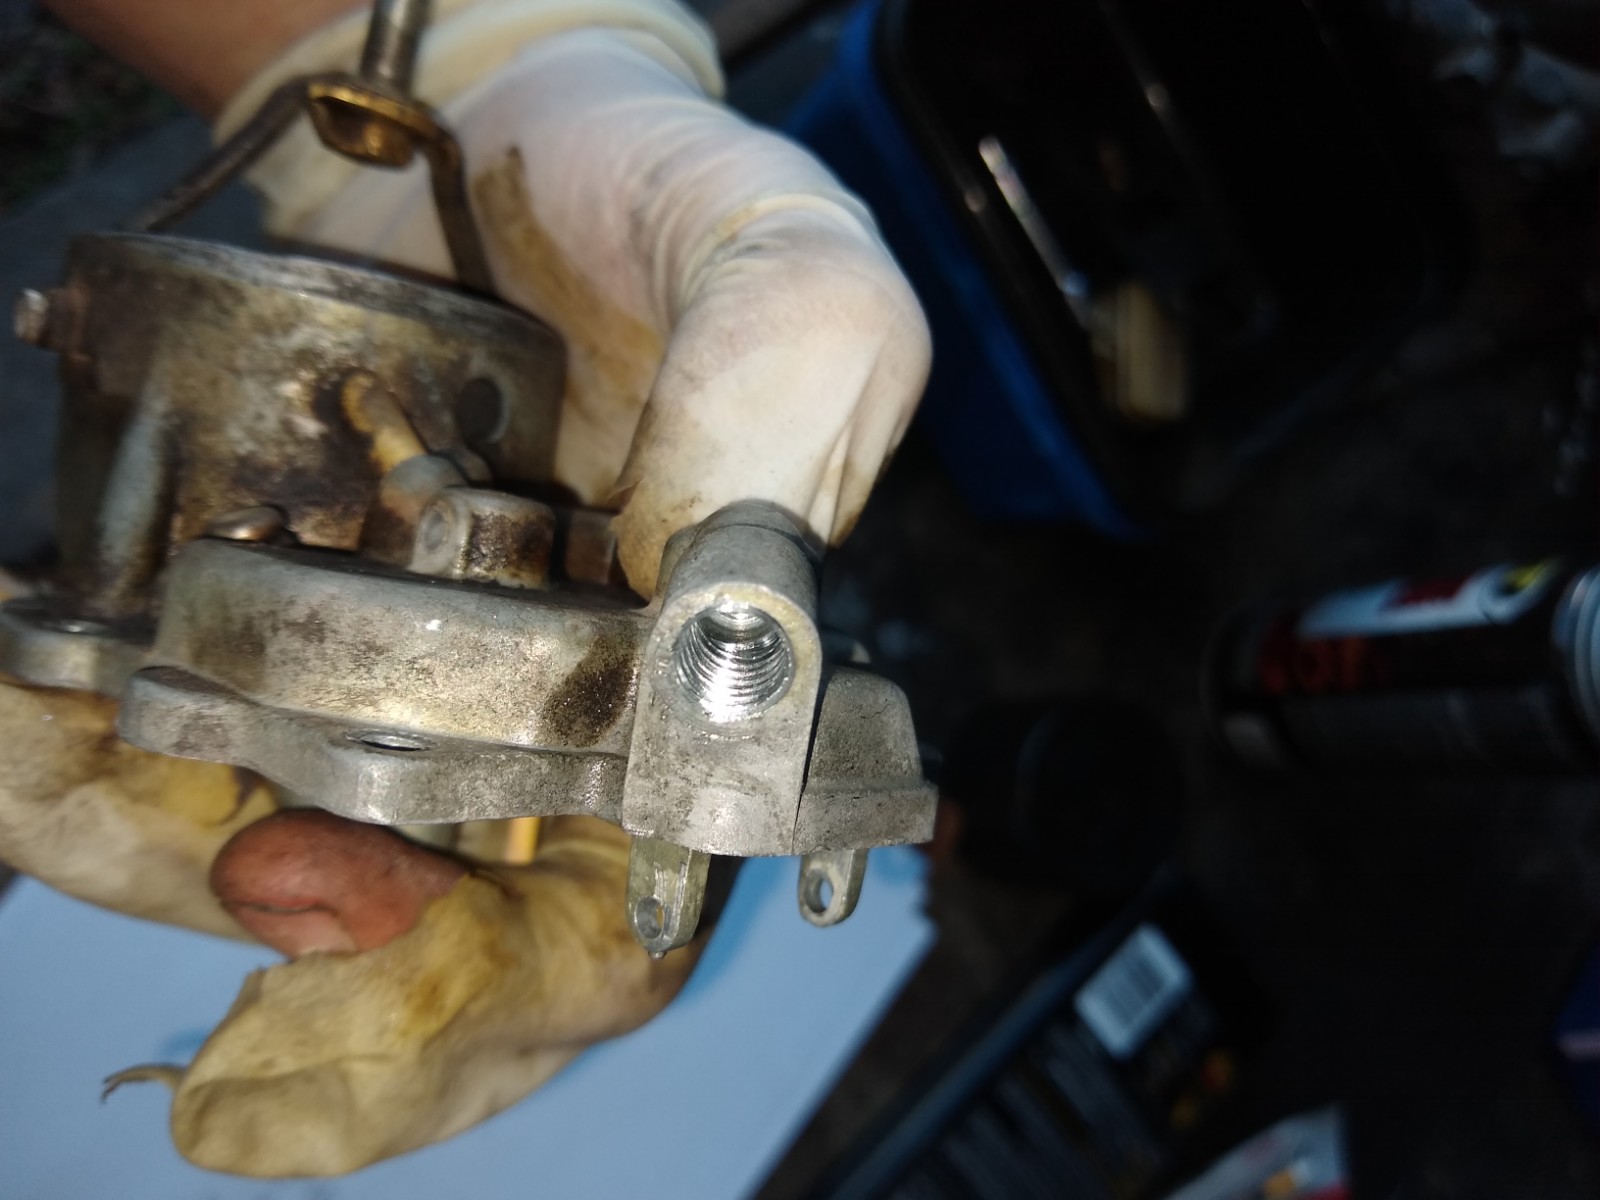
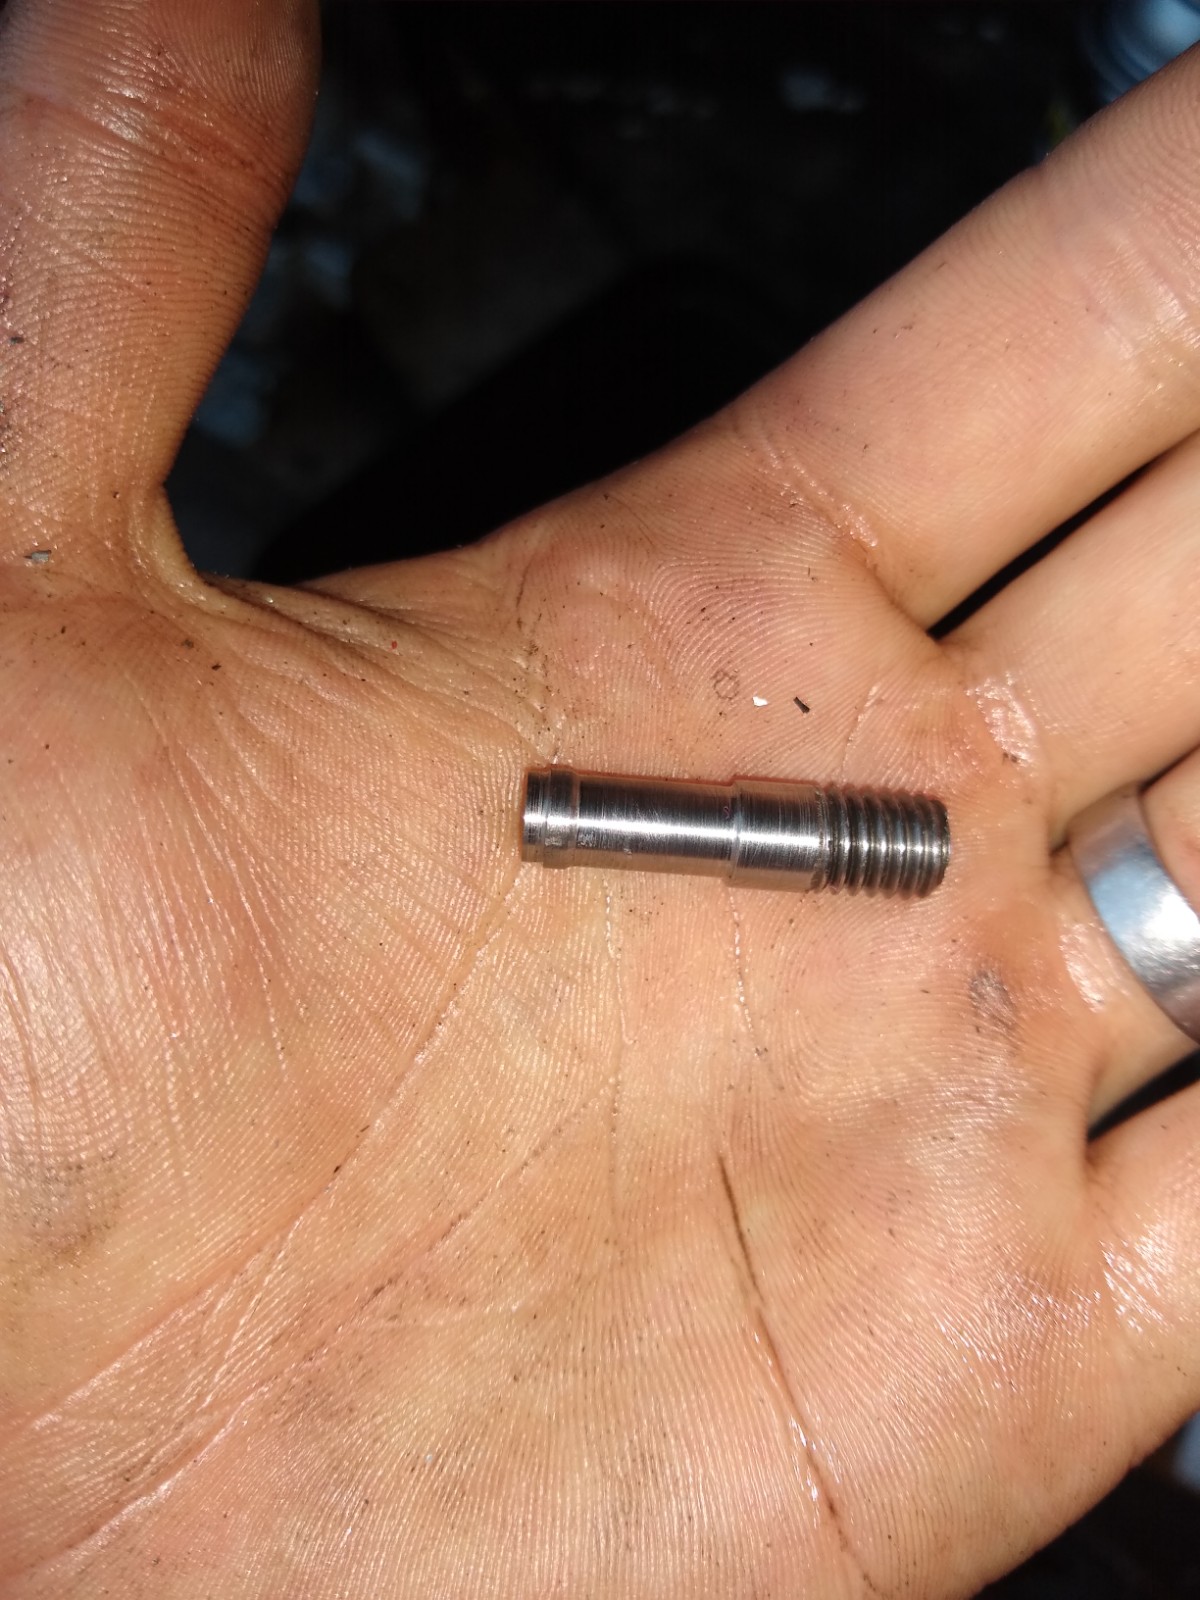
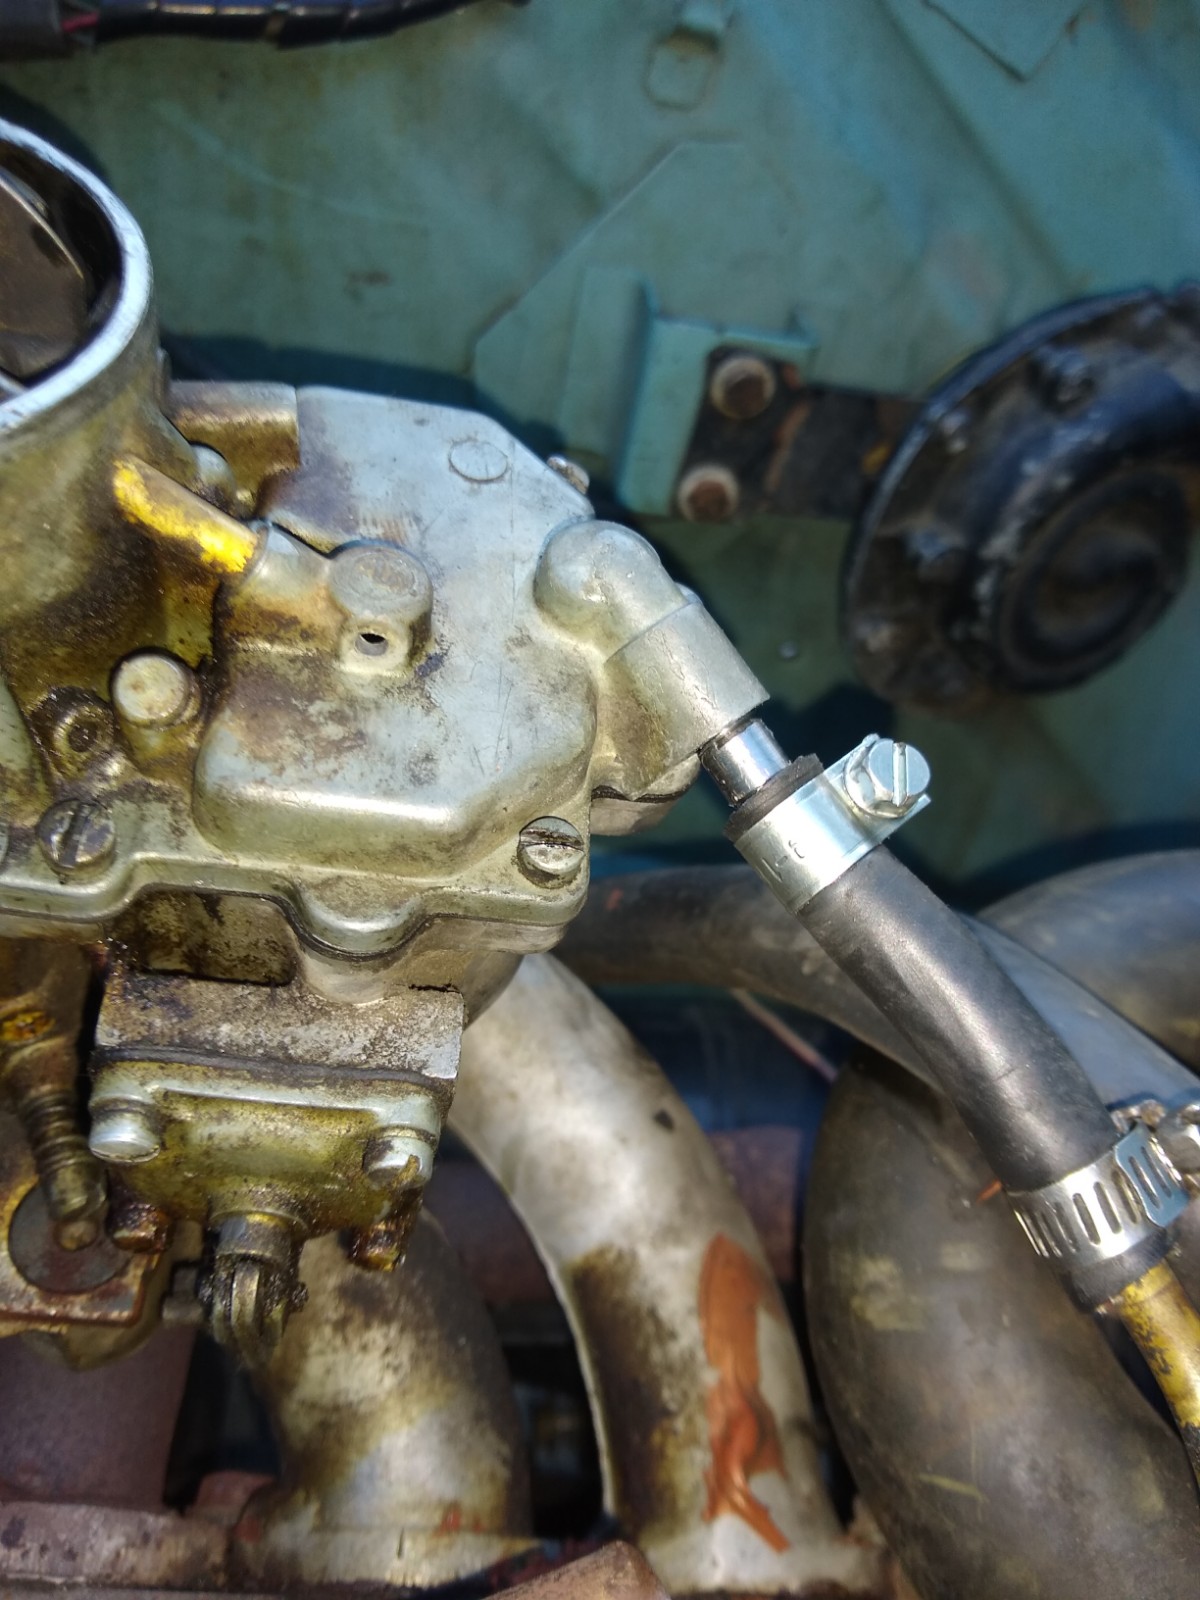
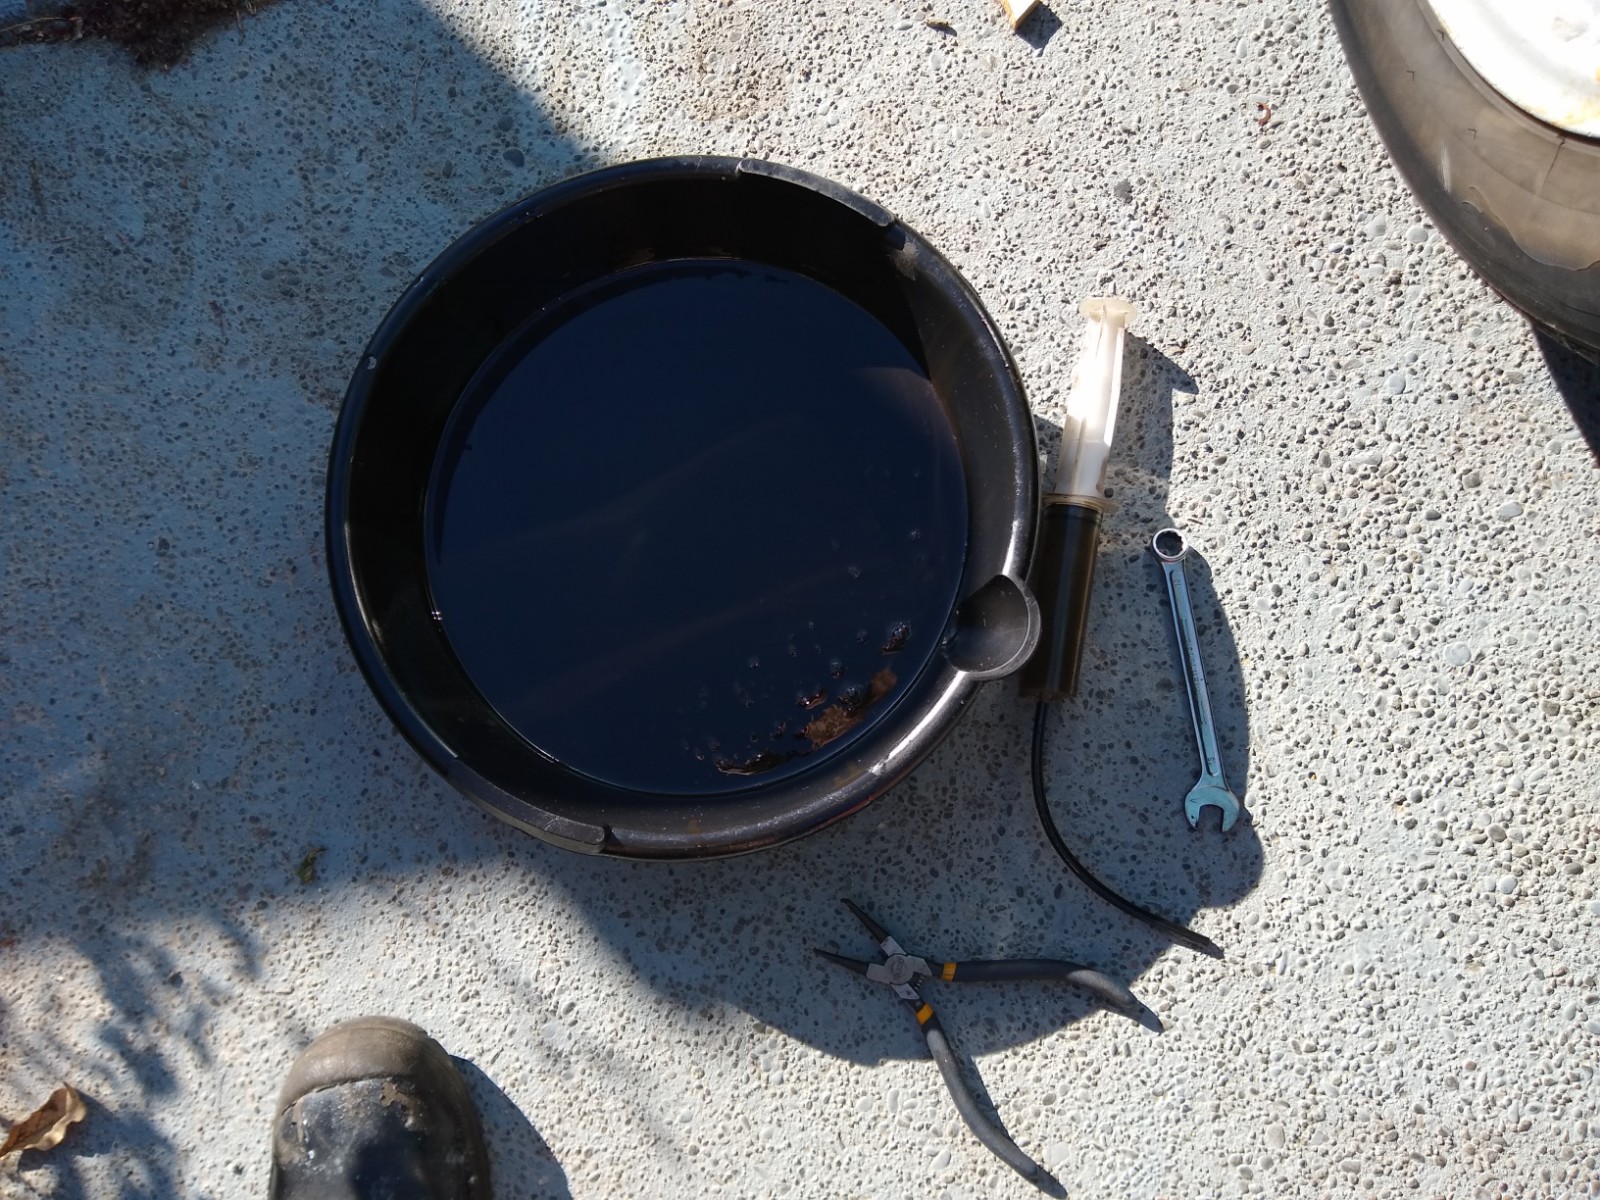
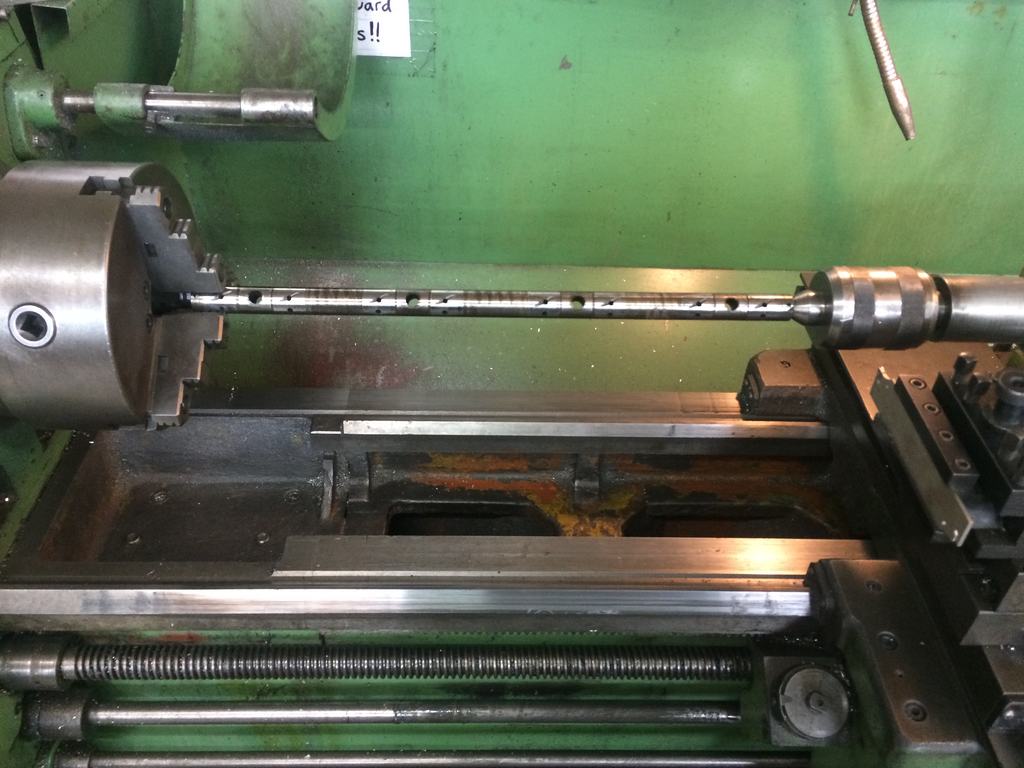
Gave this thing a good tune-up today. But before I go into the details, I would like to publicly shame the place that gave this car a WoF last week before I bought it. Nothing against Felixx, it's the WoF shop's job to ensure something is safe. Harewood Vehicle Inspection Centre - 580 Wairakei Road. They should not have given this vehicle a WoF, there were two serious safety problems that they missed. The first was the serious brake imbalance - the car would pull hard to the right under heavy braking. The second was the substantial fuel leak from the carburetor (straight onto the exhaust manifold). After my engine fire, I have no tolerance of any kind for fuel leaks. I've fixed these now, but I am seriously considering reporting the testing shop to NZTA. There were also a few other items that are dubious, but they aren't safety concerns so I'm not really worried about them. Anyway, back to the scheduled programming. This evening's plan involved adjusting the valve clearances and changing the diff oil. In preparation I decided to get a new valve cover gasket, so I figured Butler Automart would probably be the place to go for old stuff like this. The guy behind the counter knew the part number off the top of his head and sold me a gasket for $13. I was pretty happy with that. I adjusted the valves to the following specifications on a reasonably warm/hot engine: IN: 0.009" EX: 0.017" A few of the exhaust valves were slightly tight and one was really loose. That would explain the flutter I could hear while driving. Most of the intake valves were fine, a few needed a little adjustment. I also hammered the valve cover bolt hole areas flat to try and minimize any warpage. I didn't use any sealant on the gasket, I'll see how it goes. I also gave the cover a quick lick of paint. While I was adjusting the valves I thought I should probably look into the rather petrolly smell that follows this thing around. I saw the side of the carburettor was completely soaked in fuel. The fuel hose was so loose it was practically flapping in the breeze. I tightened it up, but it still leaked. So I replaced the section of hose. It still leaked. I tightened it more. It still leaked. At this point I got a little concerned that the carburettor might have a crack or something, but just to be sure I pulled the top off and checked the gasket - it was fine. I then put some soapy water around the inlet pipe and closed the float valve then blew into the inlet. Bubbles were coming out around it - I had found the culprit. Some pliers easily removed the pipe. Not wanting the screw around too much and being on a rather tight schedule (Jane needs the car to drive to band tonight), I decided my most reliable solution would be a complete redesign. I drilled the hole out for an M8 thread and used a taper tap to thread it. I then jumped on the lathe and made a new fitting out of silversteel then applied a little loctite and threaded it into the carburettor top as tight as I could. Note the new fitting has a barb, this should hopefully help hold the fuel hose in place. My 4K carb was giving this thing the death stare the whole time. It looks like it would probably fit on reasonably easily, but the Anglia doesn't use a throttle cable - it has one of @yoeddynz's favourite types of linkage systems. Anyway, I put it all back together and checked for leaks. It seems to be fixed now. After that photo I hit the carb with a little brake cleaner to tidy it up. Hopefully the thread doesn't start to leak. I probably should have peened it in place after threading it in. While I was in the engine bay I decided I would try and get the vacuum gauge connected again. this involved replacing a couple of sections of vacuum hose and fitting the T connector between the distributor and the carburettor. The distributor rotated about 40 degrees while I was pulling the old hose off - it obviously wasn't clamped down. So I reset it back approximately where it was then used the timing light to check the approximate timing and set it to about 10 deg BTDC at idle. It doesn't seem to ping and runs a lot better at the current setting than it did before. I also tightened the clamp. Now onto the diff oil change. It turns out that the British motor industry was way ahead of it's time - using filled for life diffs. There is no drain plug, yet they expect the owners to top the fluid up every 5,000 miles. These things must leak a lot... Also, the fill plug is a male 1/2" square. I ended up just using a syringe to suck as much fluid out of the fill hole as I could. At one point the hose fell off of the syringe, inside the diff. I had to use circlip pliers to fish it out. After that I filled it up with some Penrite GL5 gear oil until it started to flow out of the fill hole. Should be good for another 5,000 miles I guess. The result of all of the above work is an engine that runs smoothly now, doesn't smell like petrol, doesn't tick like a clock, and a working economy gauge. I'm pretty satisfied with the outcome. Next jobs: -driver's door latch -clean all that red RTV off of the random shit in the engine bay -maybe replace the muffler that has heaps of rust holes -clean the inch thick layers of grease off the bottom so I can figure out how bad the transmission and diff leaks actually are -fix the heater system -bodywork? -computerised ignition? -better lights behind the speedo
5 points
-
20210129_194419-Edit by Richard Opie, on Flickr Toyota Fest later this morning. Can't sleep. Too amped. Finishing touches to the detailing this evening, then I sat and looked at it for a bit. Man, I am super into this thing.4 points
-
Ok so here's what we do with drum brakes. We don't have a brake roller at work so on light stuff it's purely based on whether it pulls or locks a wheel when it shouldn't. On the heavy stuff that requires a CoF it has to go to VTNZ, which do have a roller. So we take the vehicle for a spin and get the brakes nice and warm. 9/10 times once they're hot, the imbalance is gone.3 points
-
We do all our cars there. VTNZ northwood did not believe car was stock with drums on the front... I didnt touch the brakes from when you test drove her and they were ok then3 points
-
Holy crap dejavu! This is 100% how I pictured the theatre when yourself and Hannah were detailing the plan with us over coffee two years ago, I can only imagine how cool it is for you guys to see it come together! PS, Please hurry up, need more imp 911 updates.3 points
-
Drum brakes are just shit, difference between hot and cold can give imbalance, I wouldn't get too antsy with the wof station over it. $20 on them being out again next week.2 points
-
4 hours later...
2 points
-
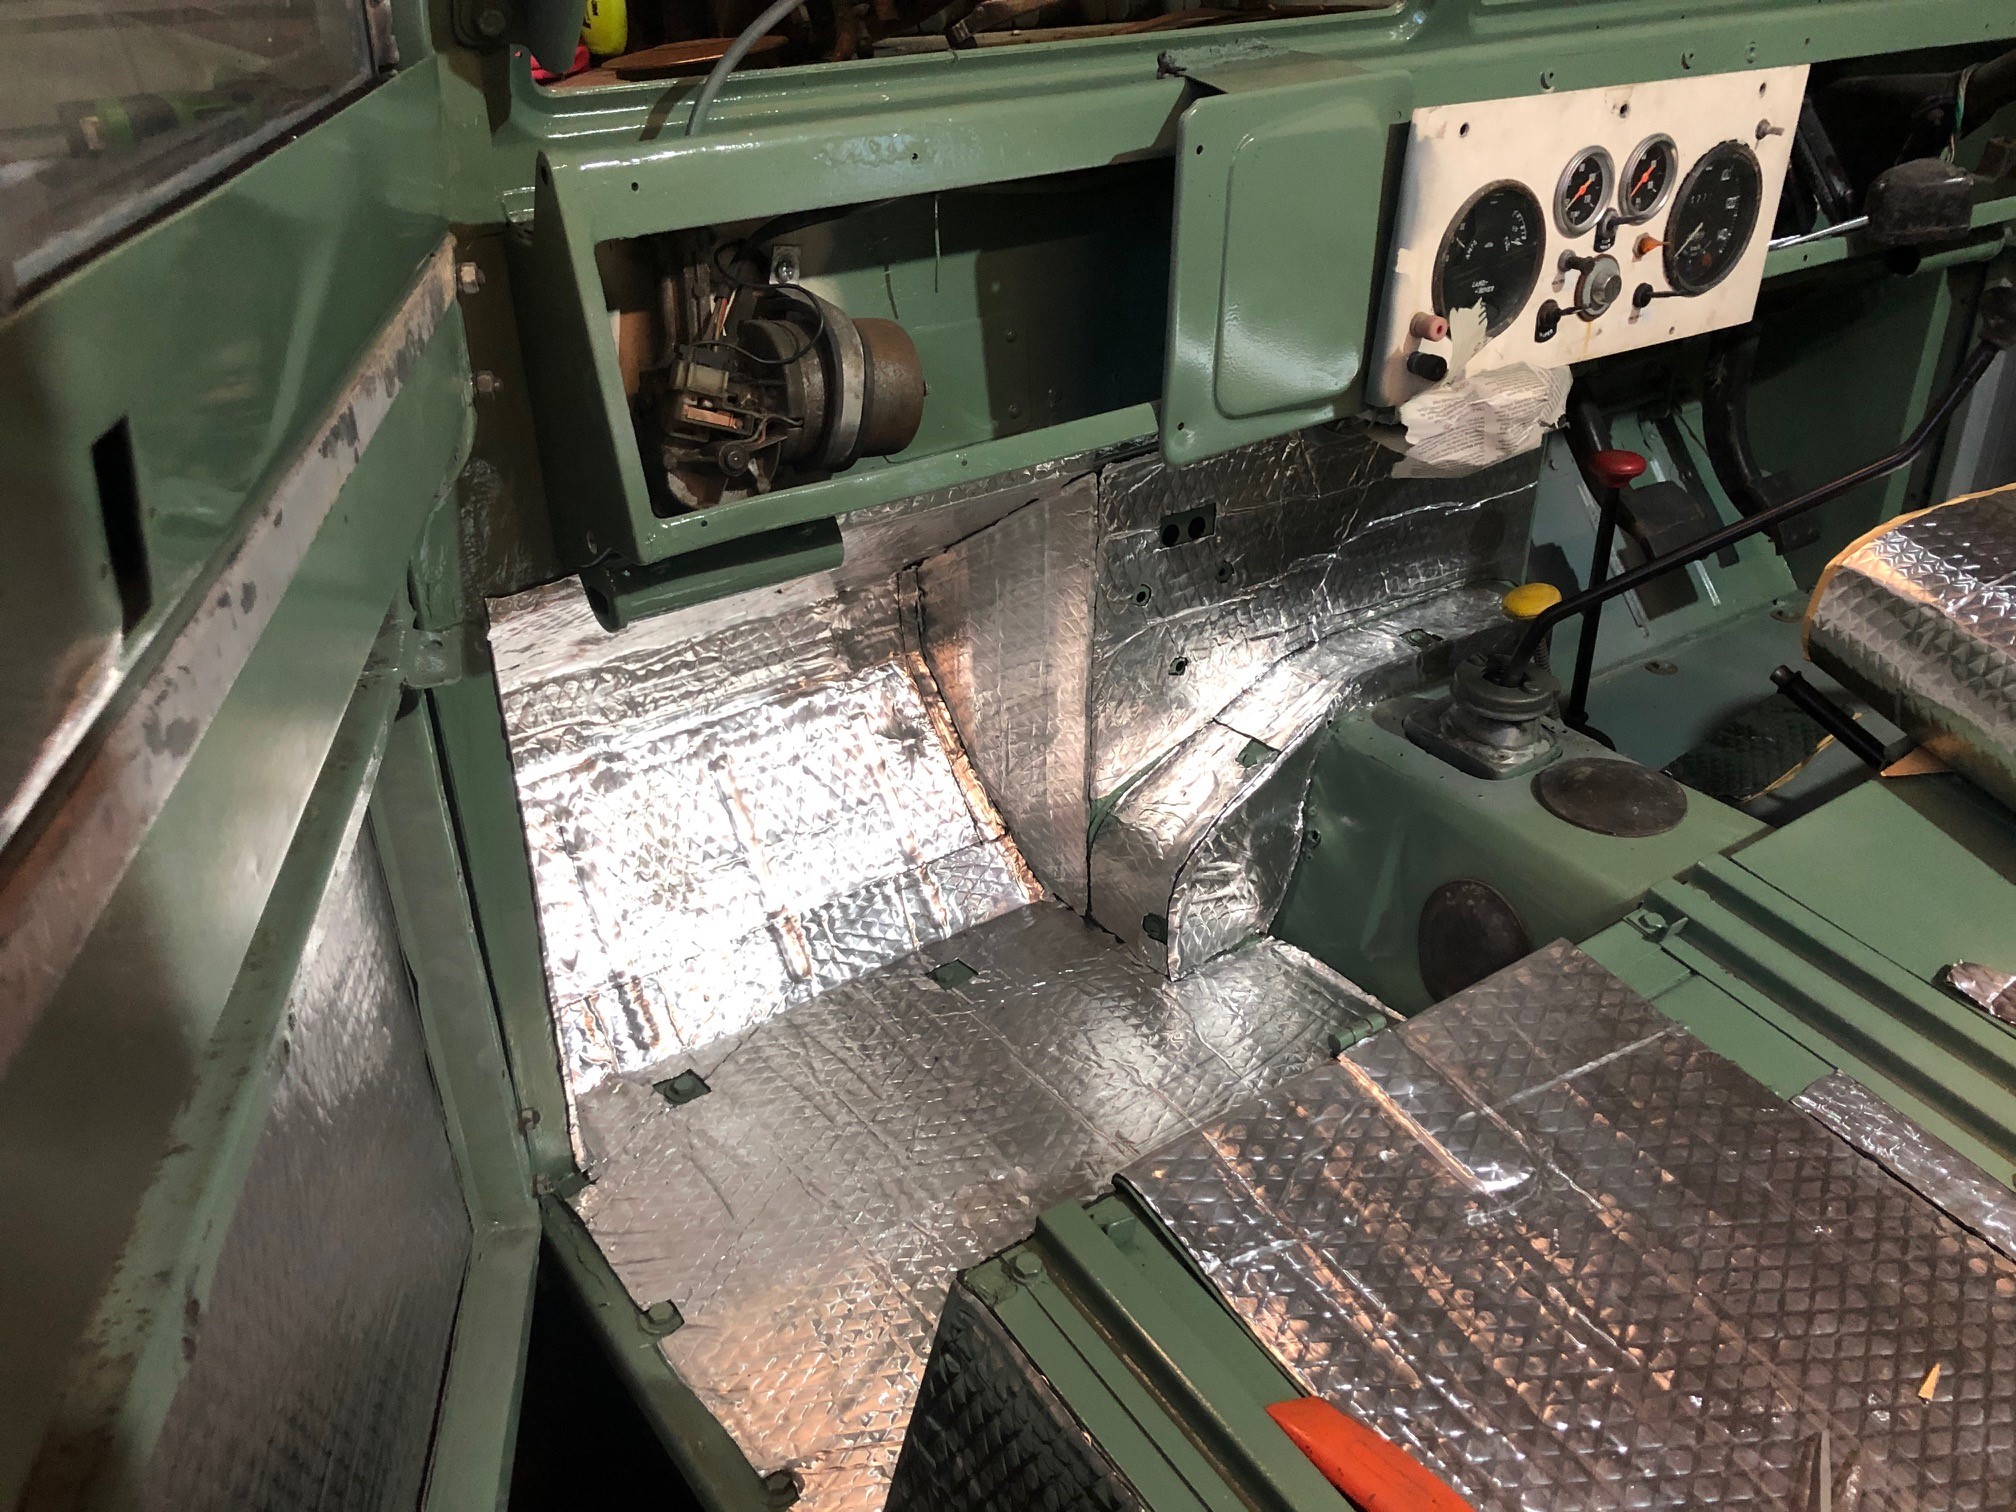
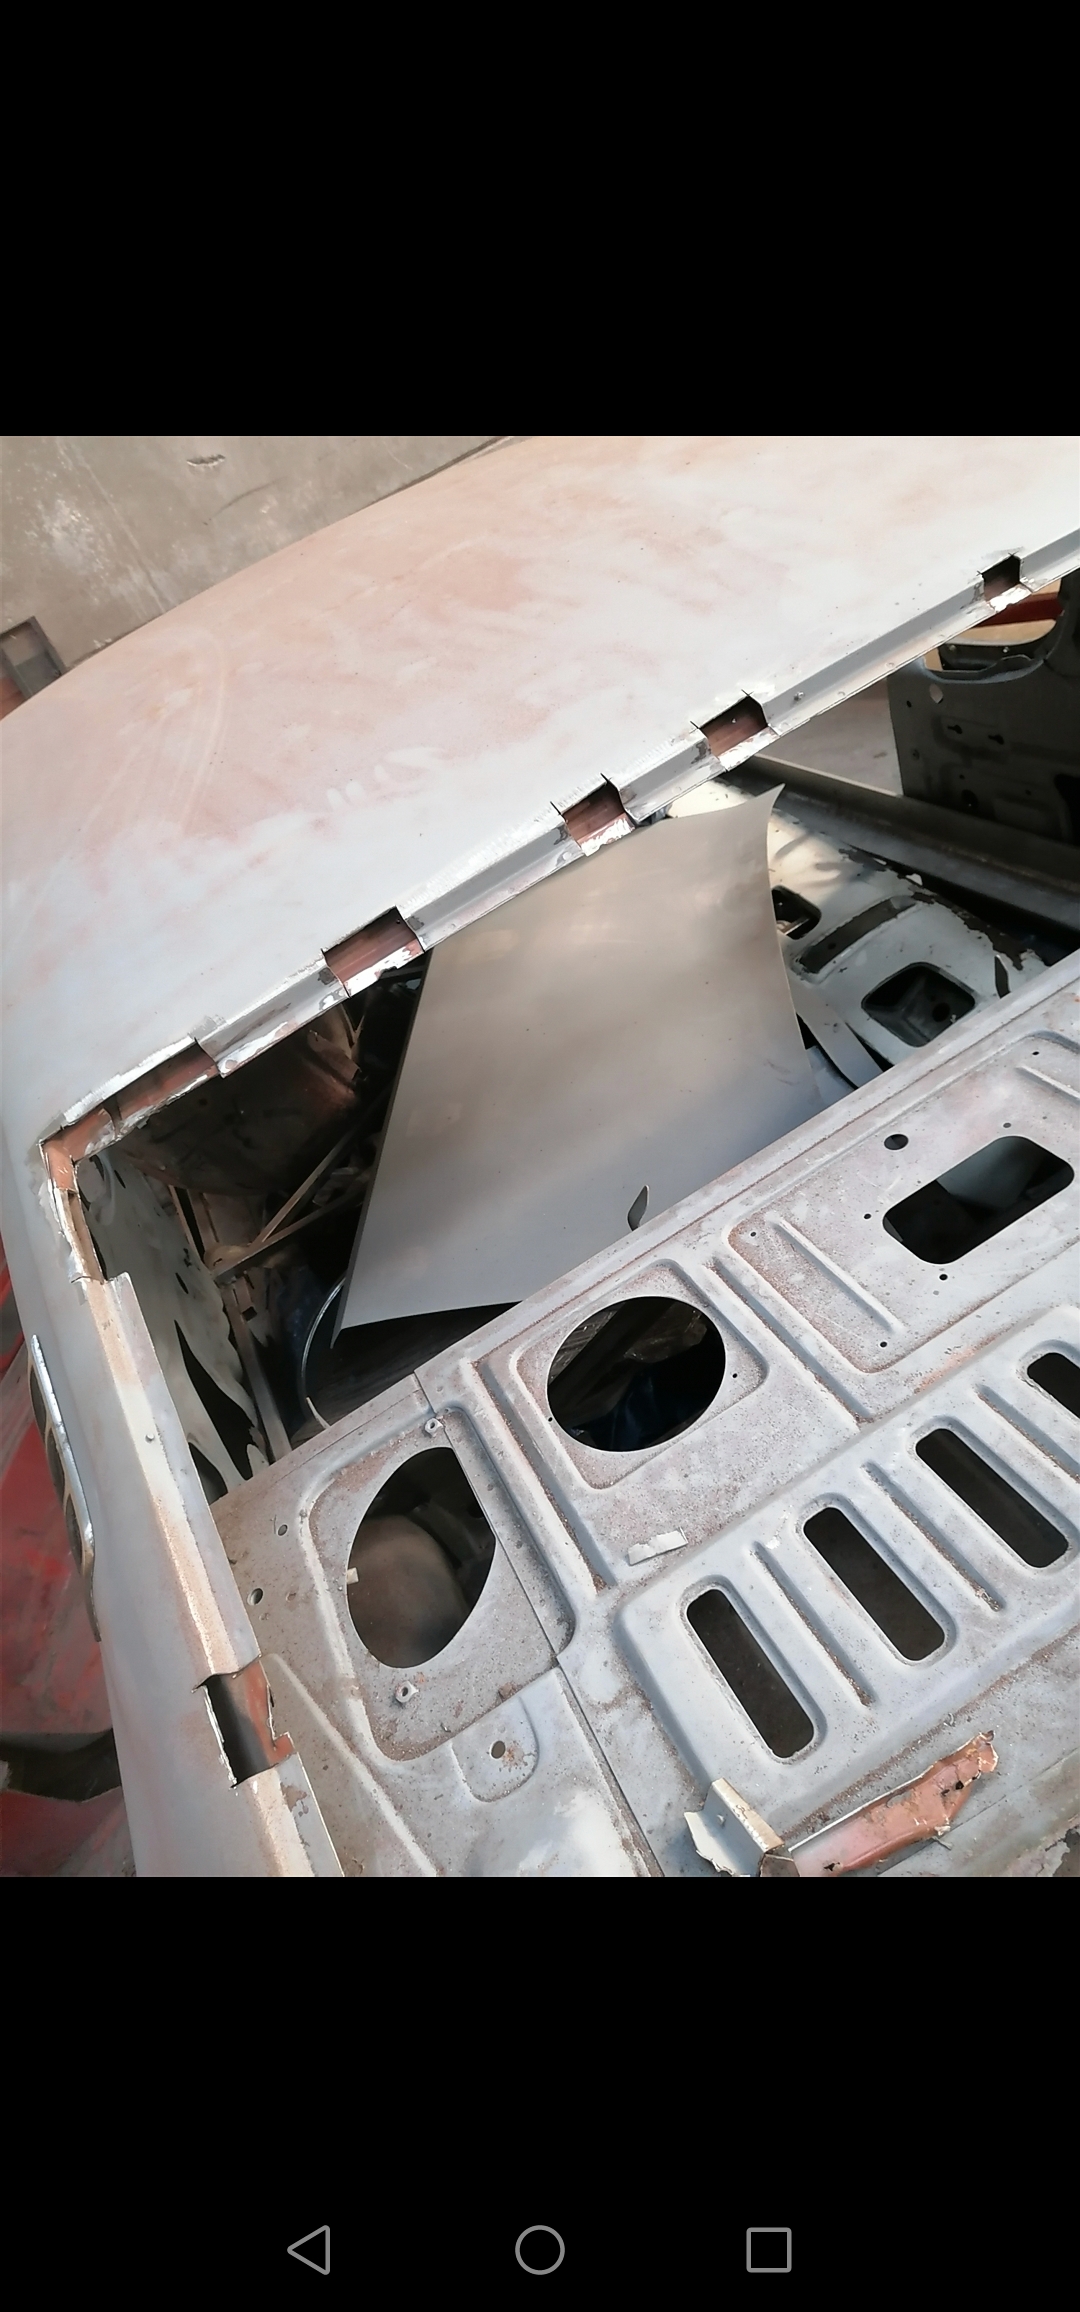
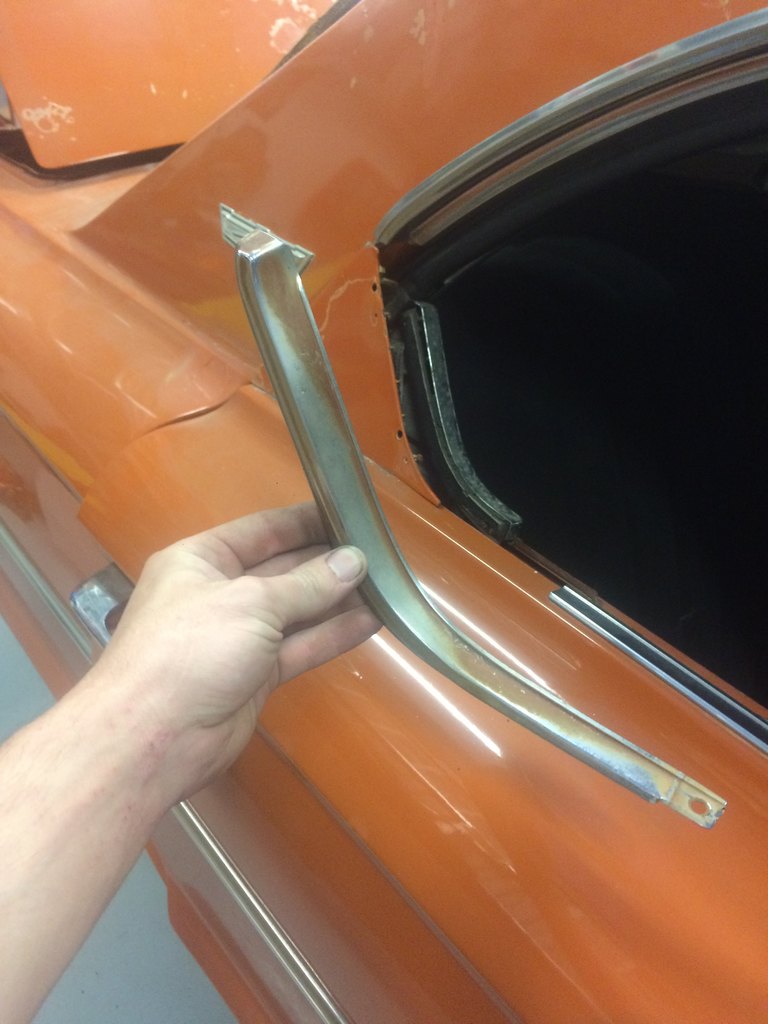
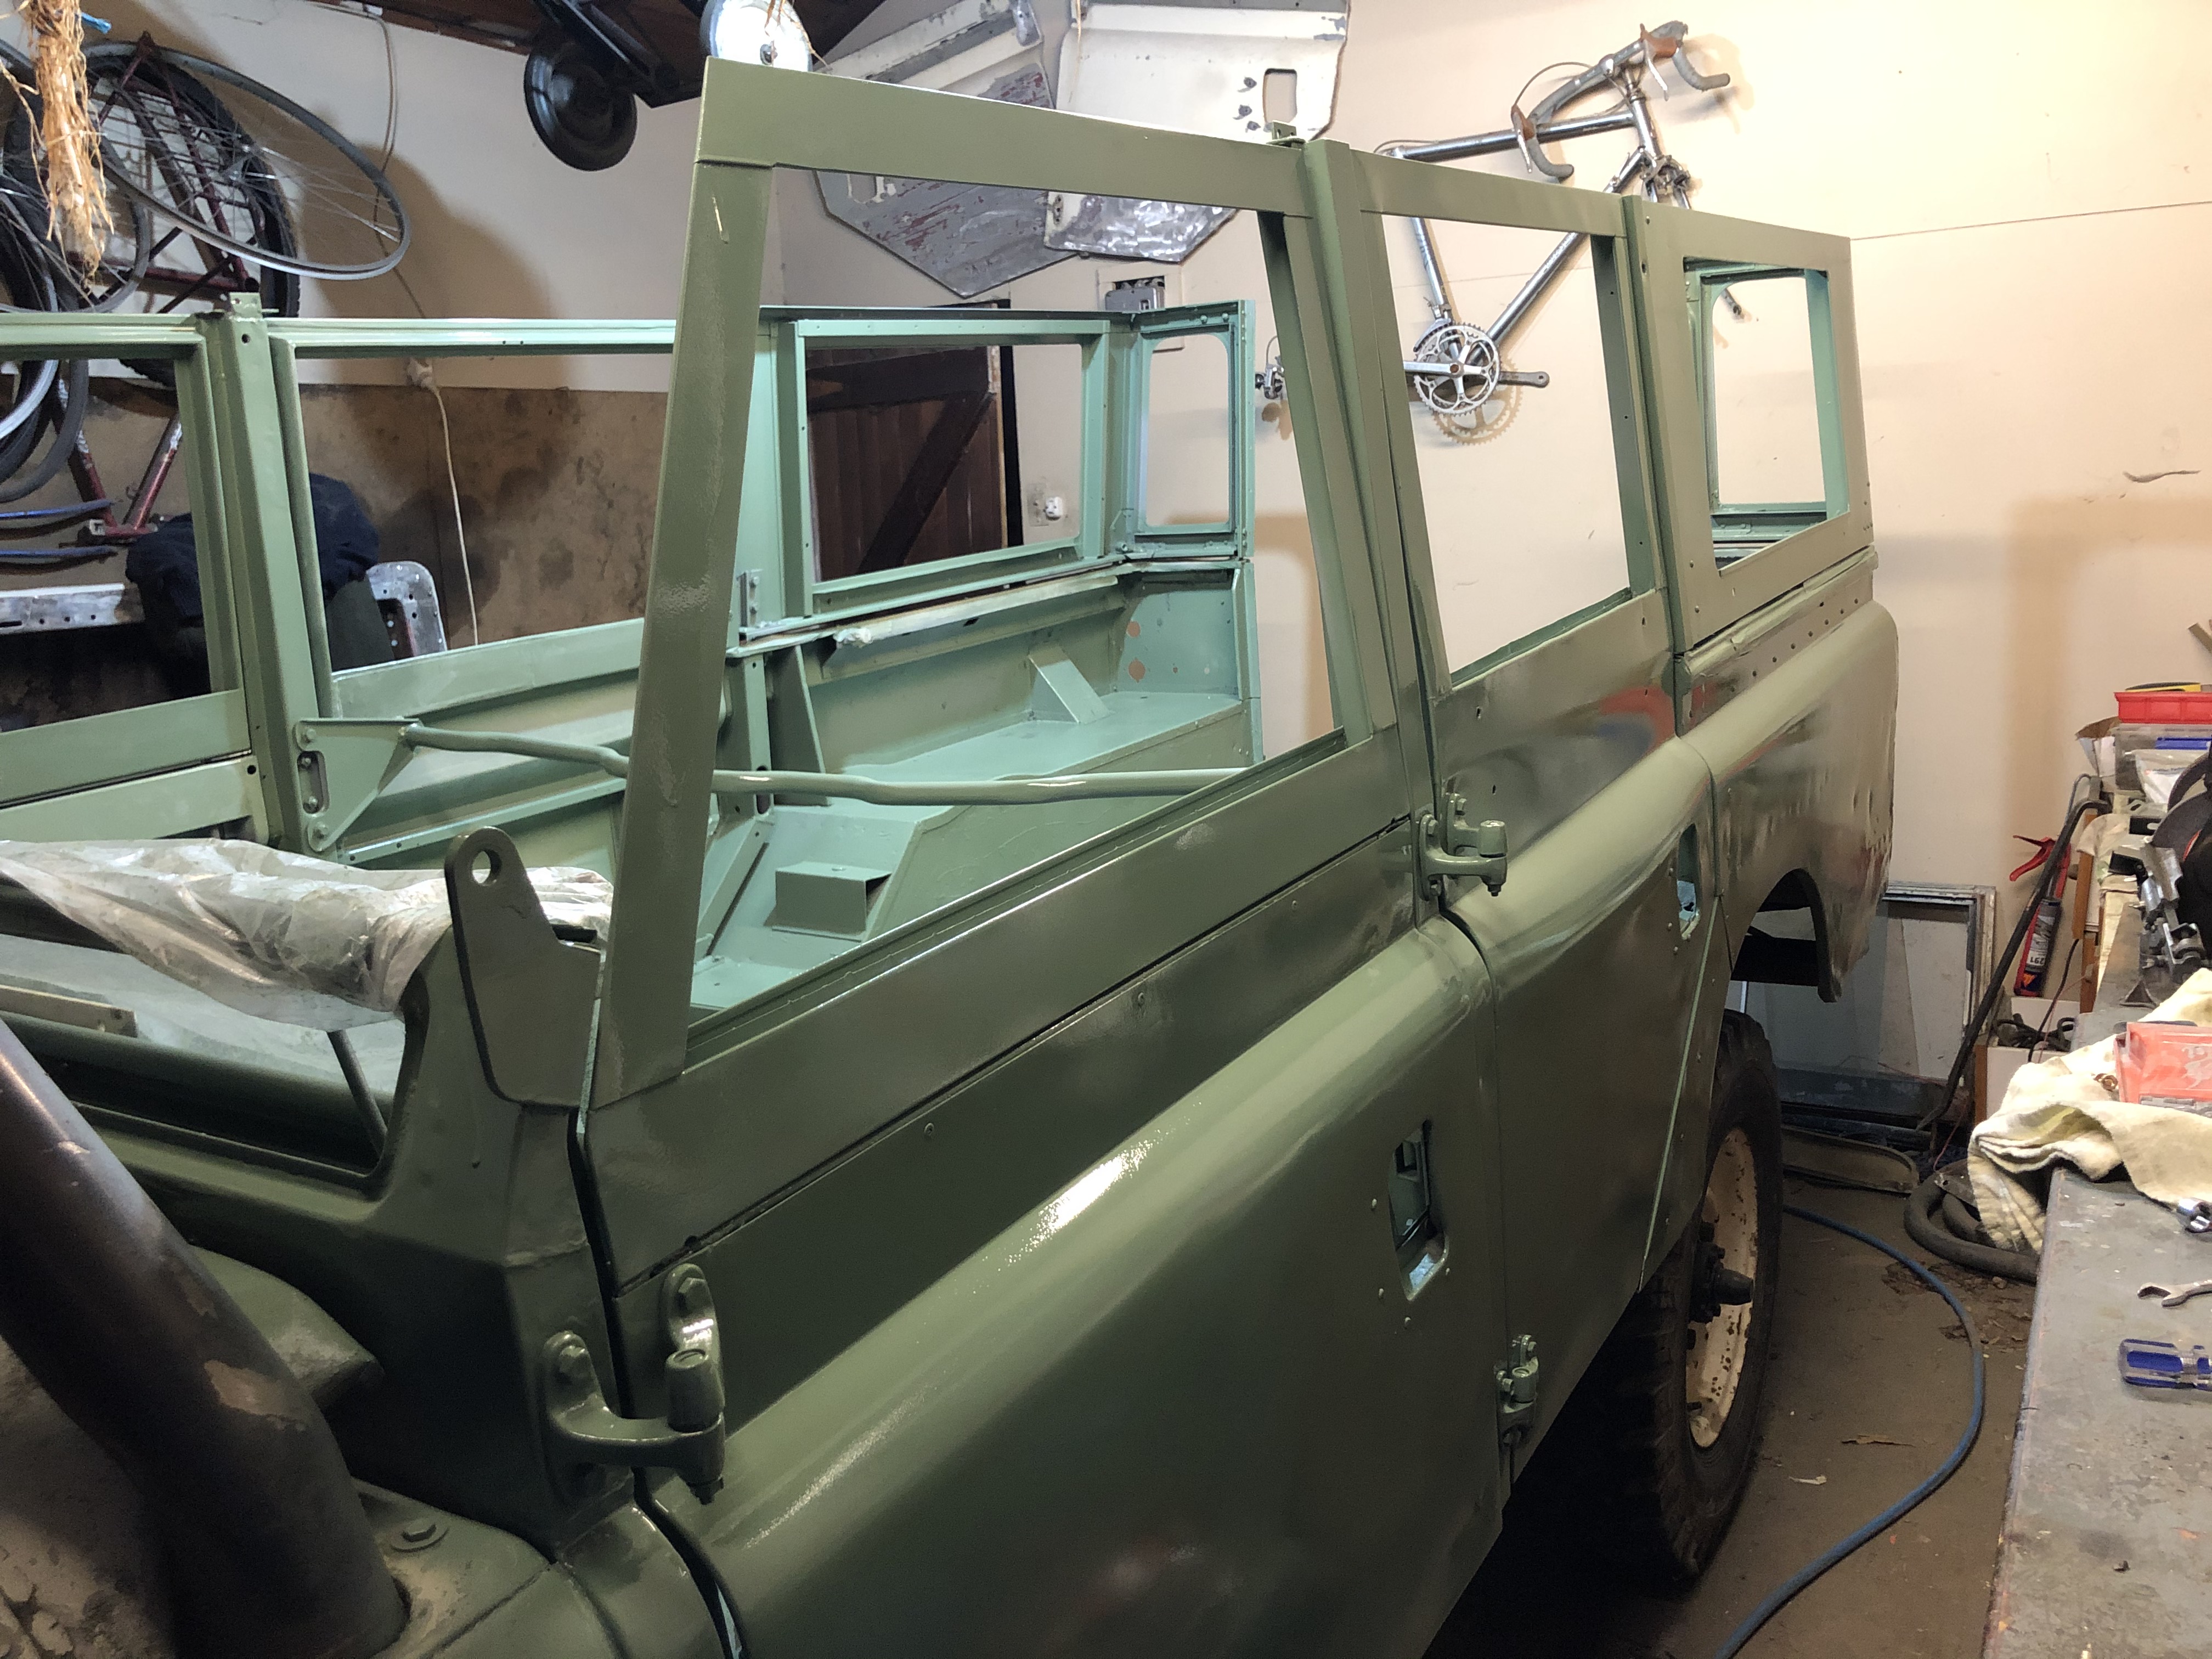
Not terribly interesting but making some progress.. A tube worth of sikaflex to seal up the roof join. Also replacing the rubber donuts for where the safari roof bolts on, hope to get this all in colour soon so I can mount it. Windscreen back in with new seals Going old school glazing with the butyl tape (which I actually like working with) Bought a roll of sound deadening off TM (cheapest option I found) and working through layering all the internal panels. The roll is better than the flat pack as have less wastage.
2 points
-
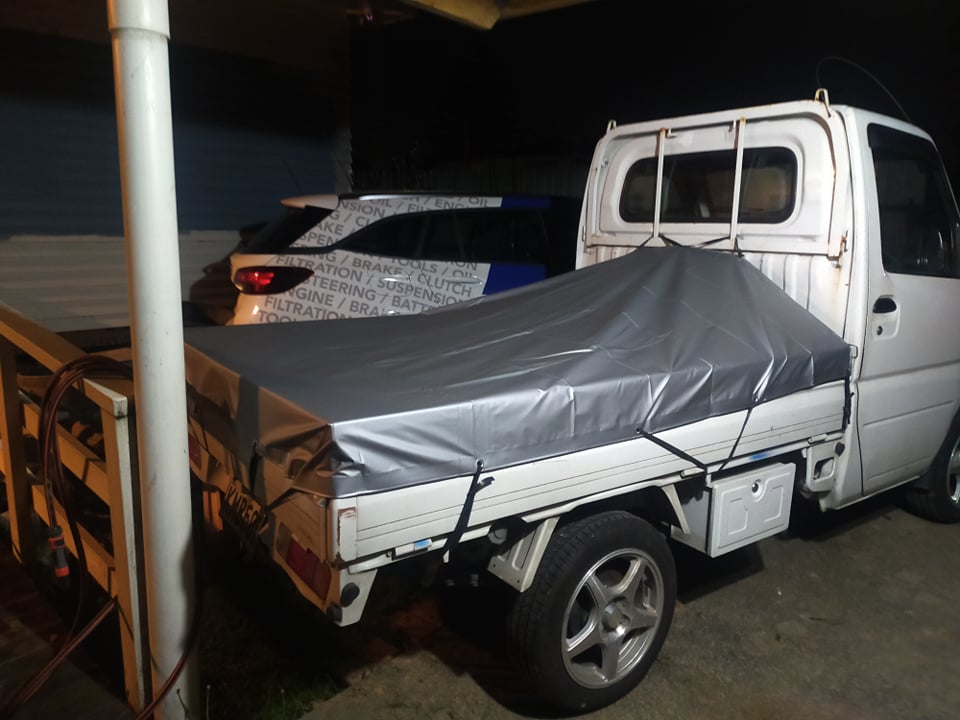
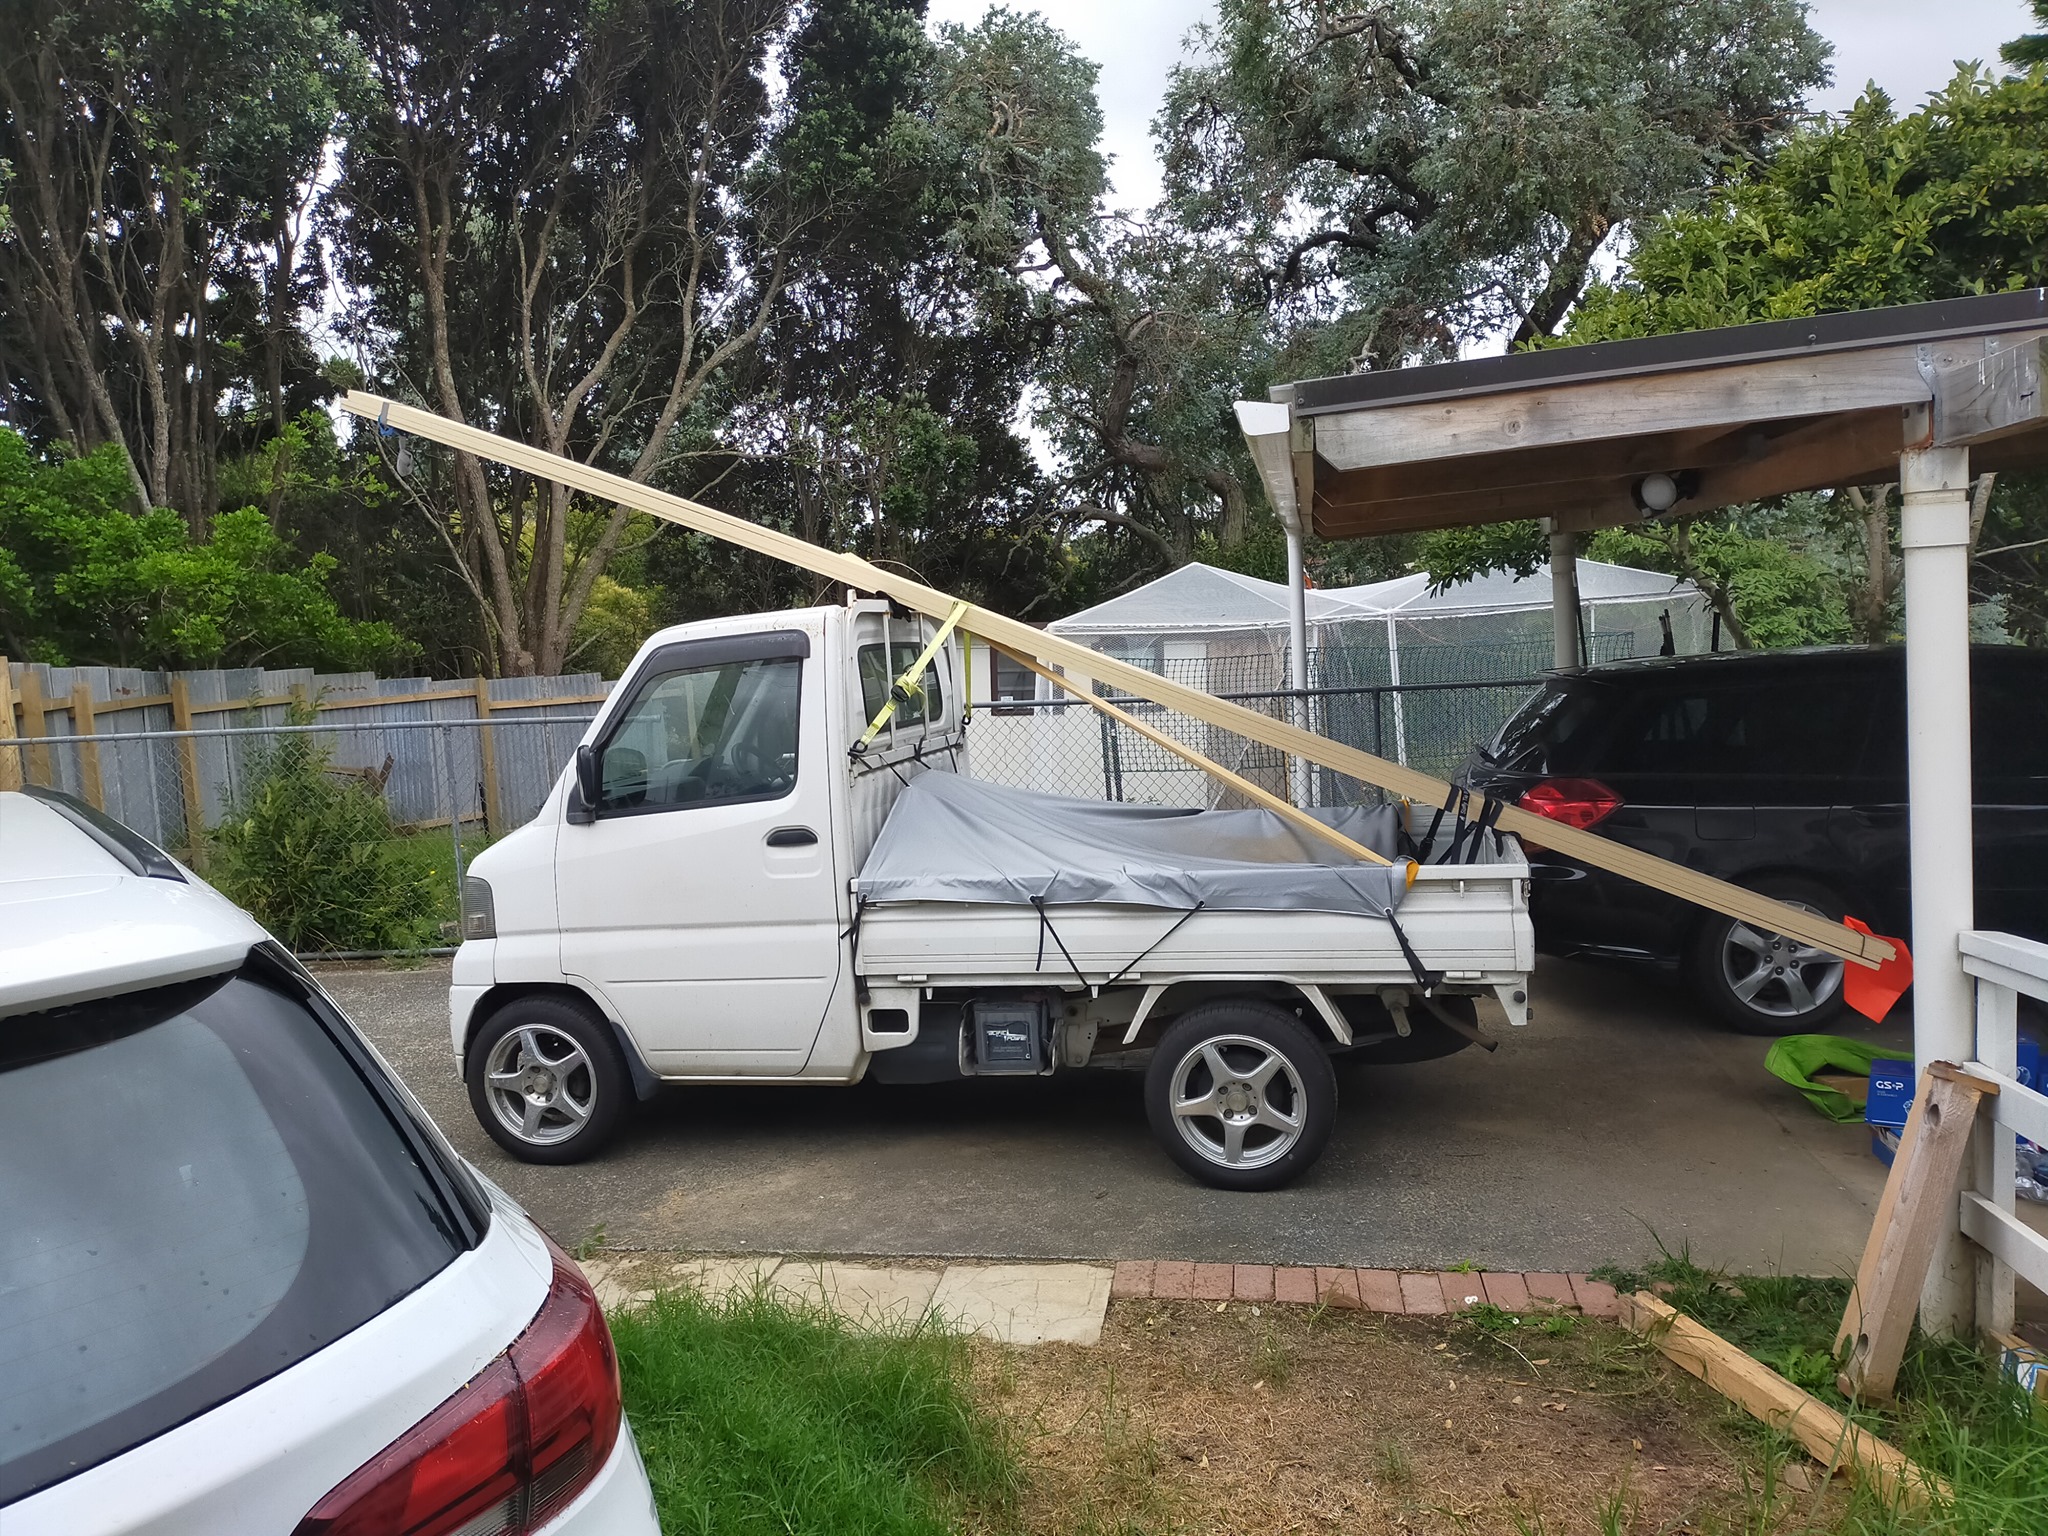
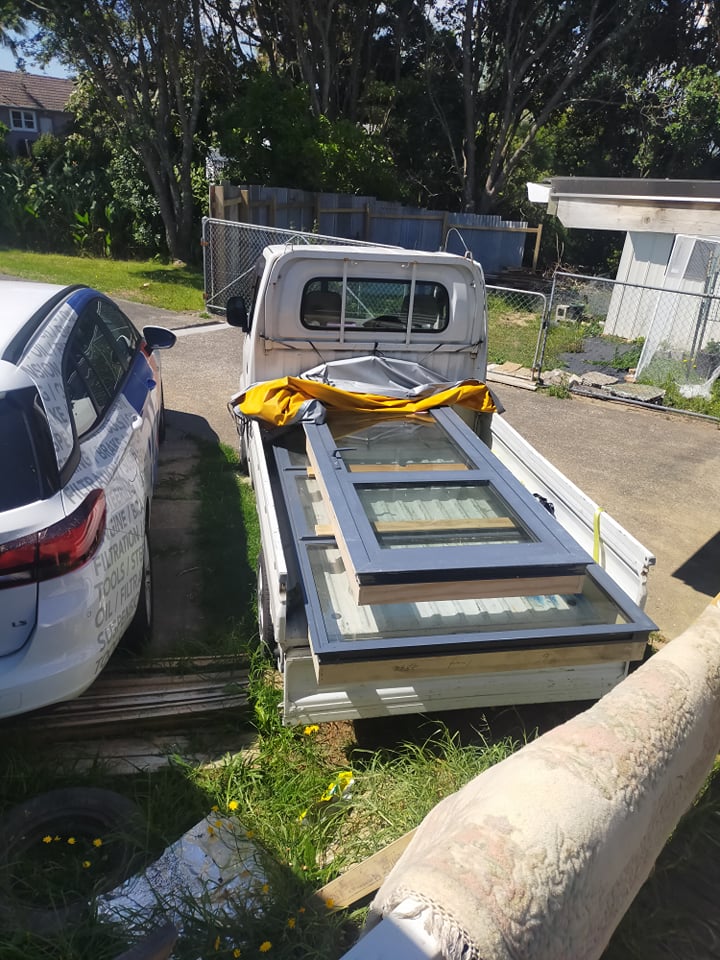
Trucks been doing a fair bit of work over the last year. Taking out a tree for a colleague. Found a tonneau cover that fits very tidily. Found an LSD on yahoo japan, 6" 2-way clutch type 6.666 ratio from a slightly earlier model. Was good that I'd bought it as i discovered the pinion bearing was toast in the original diff while swapping the new one in. Tiny axles on these trucks. Picked up some more windows for the house. And found out that 6m lengths of wood "fit" on it, will be building some front and rear ladder racks shortly. Next mods on the to-do list. -Make the flares out of sheet metal -Fit the new wheels. -Replace the AM radio -Build some limiting straps for the tailgate -Look into importing some lowering springs.
2 points
-
got the bumpers back from chroming. these pictures do absolutely no justice to how good it looks IRL. 2021-03-23_06-53-44 by sheepers, on Flickr 2021-03-23_06-53-54 by sheepers, on Flickr 2021-03-23_06-54-02 by sheepers, on Flickr 2021-03-23_06-54-10 by sheepers, on Flickr 2021-03-23_06-54-17 by sheepers, on Flickr 2021-03-23_06-54-24 by sheepers, on Flickr2 points
-
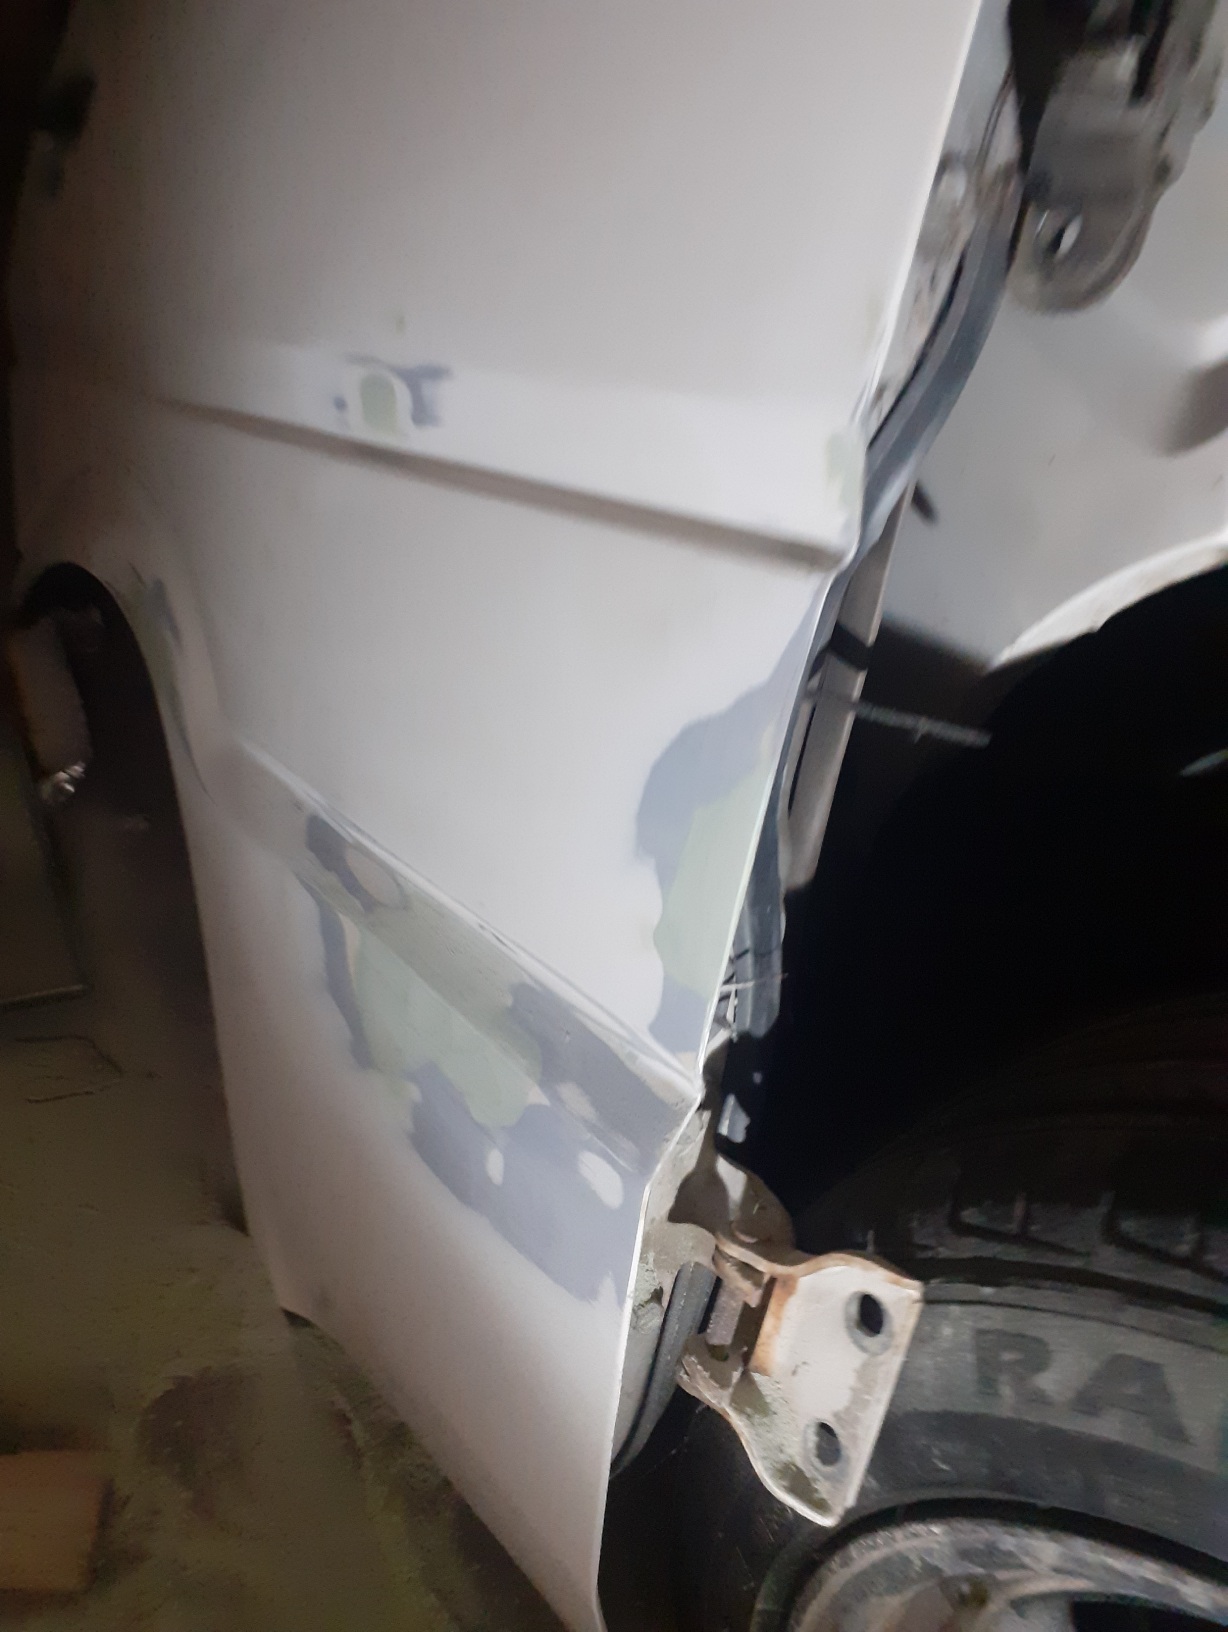
Here's the passenger door after doing the block. I haven't put any effort in to adjusting it. Previously the gap was about 3 times the size and the door would just flop around.
2 points
-
Oh we had our 1st little outta town trip. Just to bunnythorpe and bak down the back way back to palmy behind airport. Never got hot or any issues prety happy. Felt solid.
2 points
-
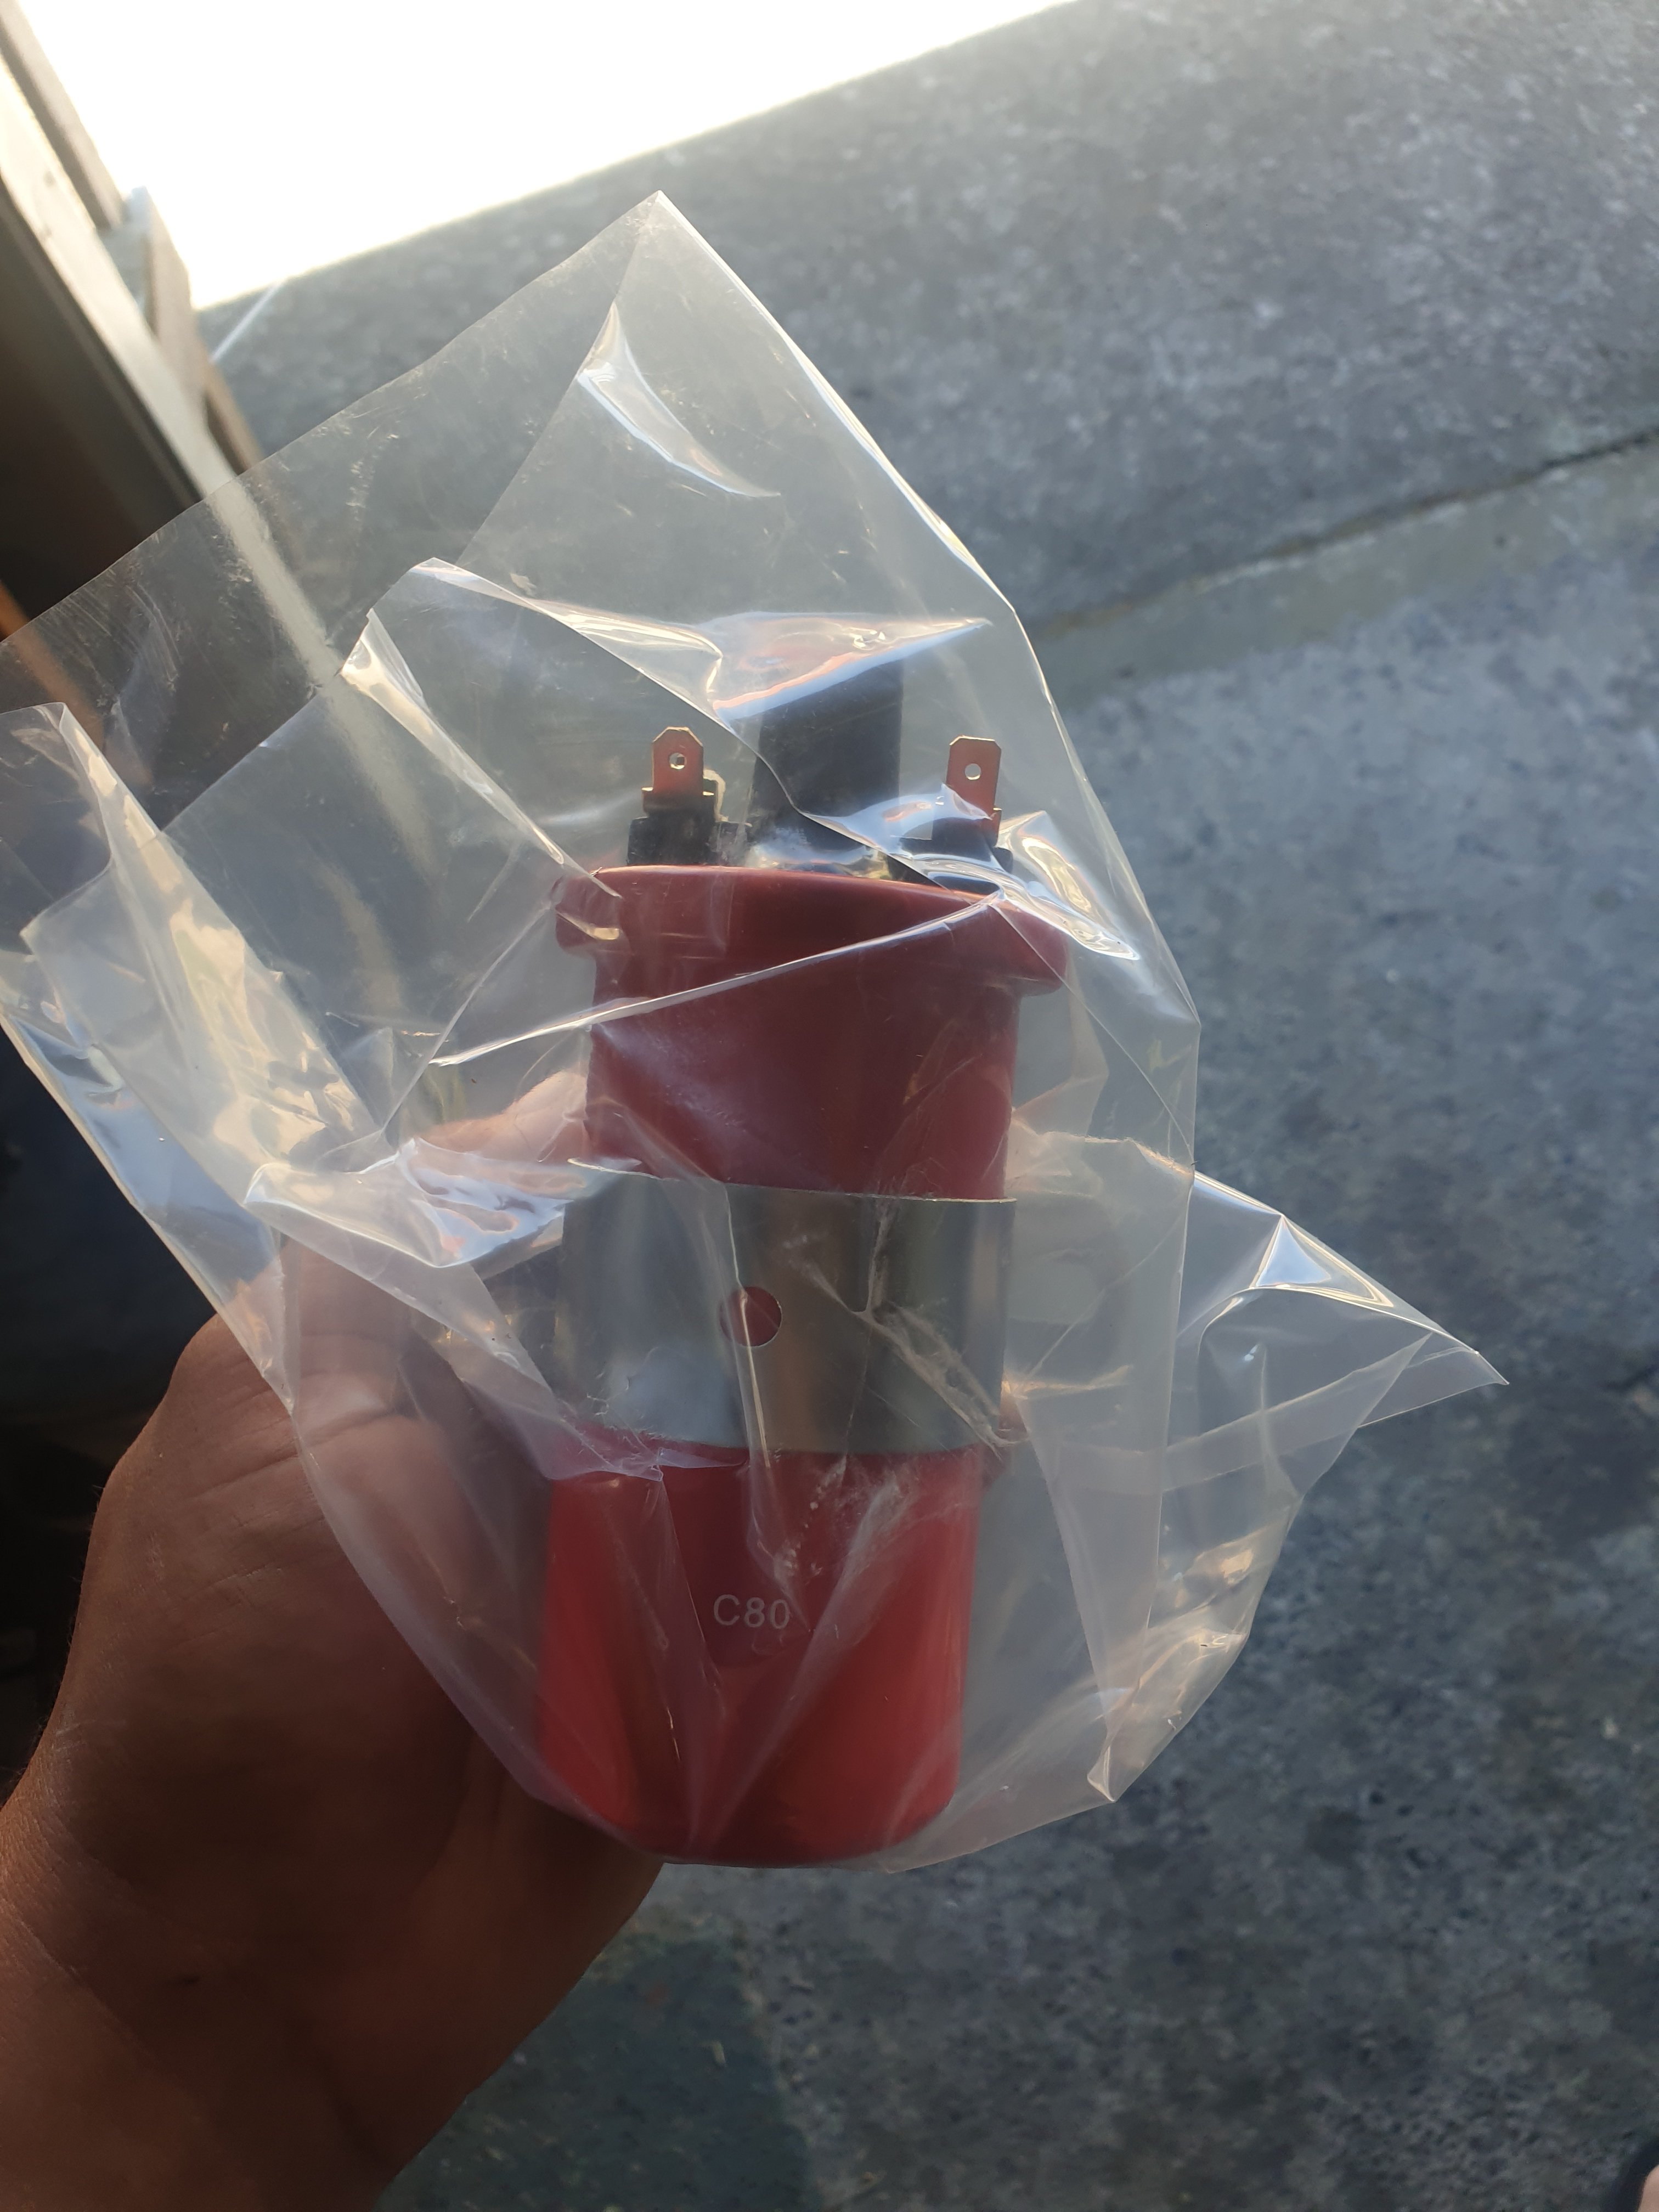
New coil in Just wating on leads to arrive. Shes running realy decnt super stoked. Did a good lil drive today ran well no issues. Needs to do a oil change also
2 points
-
Took it to the drags, ran a best of 14.3 @ 97mph and then a string of 14.4s all day. I think it's got more in it, I just need to not drive like a dickhead. So I gave it a wash (since we're allowed to in Auckland now) and took a few pics of current state of play, wearing the OEM skirts, Advan RGs, Mugen bits under the bonnet etc. 2000 Honda Integra Type RX-1087-Edit by Richard Opie, on Flickr 2000 Honda Integra Type RX-1172-Edit by Richard Opie, on Flickr 2000 Honda Integra Type RX-1096-Edit by Richard Opie, on Flickr 2000 Honda Integra Type RX-1100-Edit by Richard Opie, on Flickr 2000 Honda Integra Type RX-1133-Edit by Richard Opie, on Flickr 2000 Honda Integra Type RX-1139-Edit by Richard Opie, on Flickr 2000 Honda Integra Type RX-1149-Edit by Richard Opie, on Flickr Turns out it's a pretty decent wee car, sort of running out of things to do on it though which is weird. Although there is some signs of the early stages of a common rust affliction on the top of the hatch opening, so I'll sort that out in the new year.2 points
-
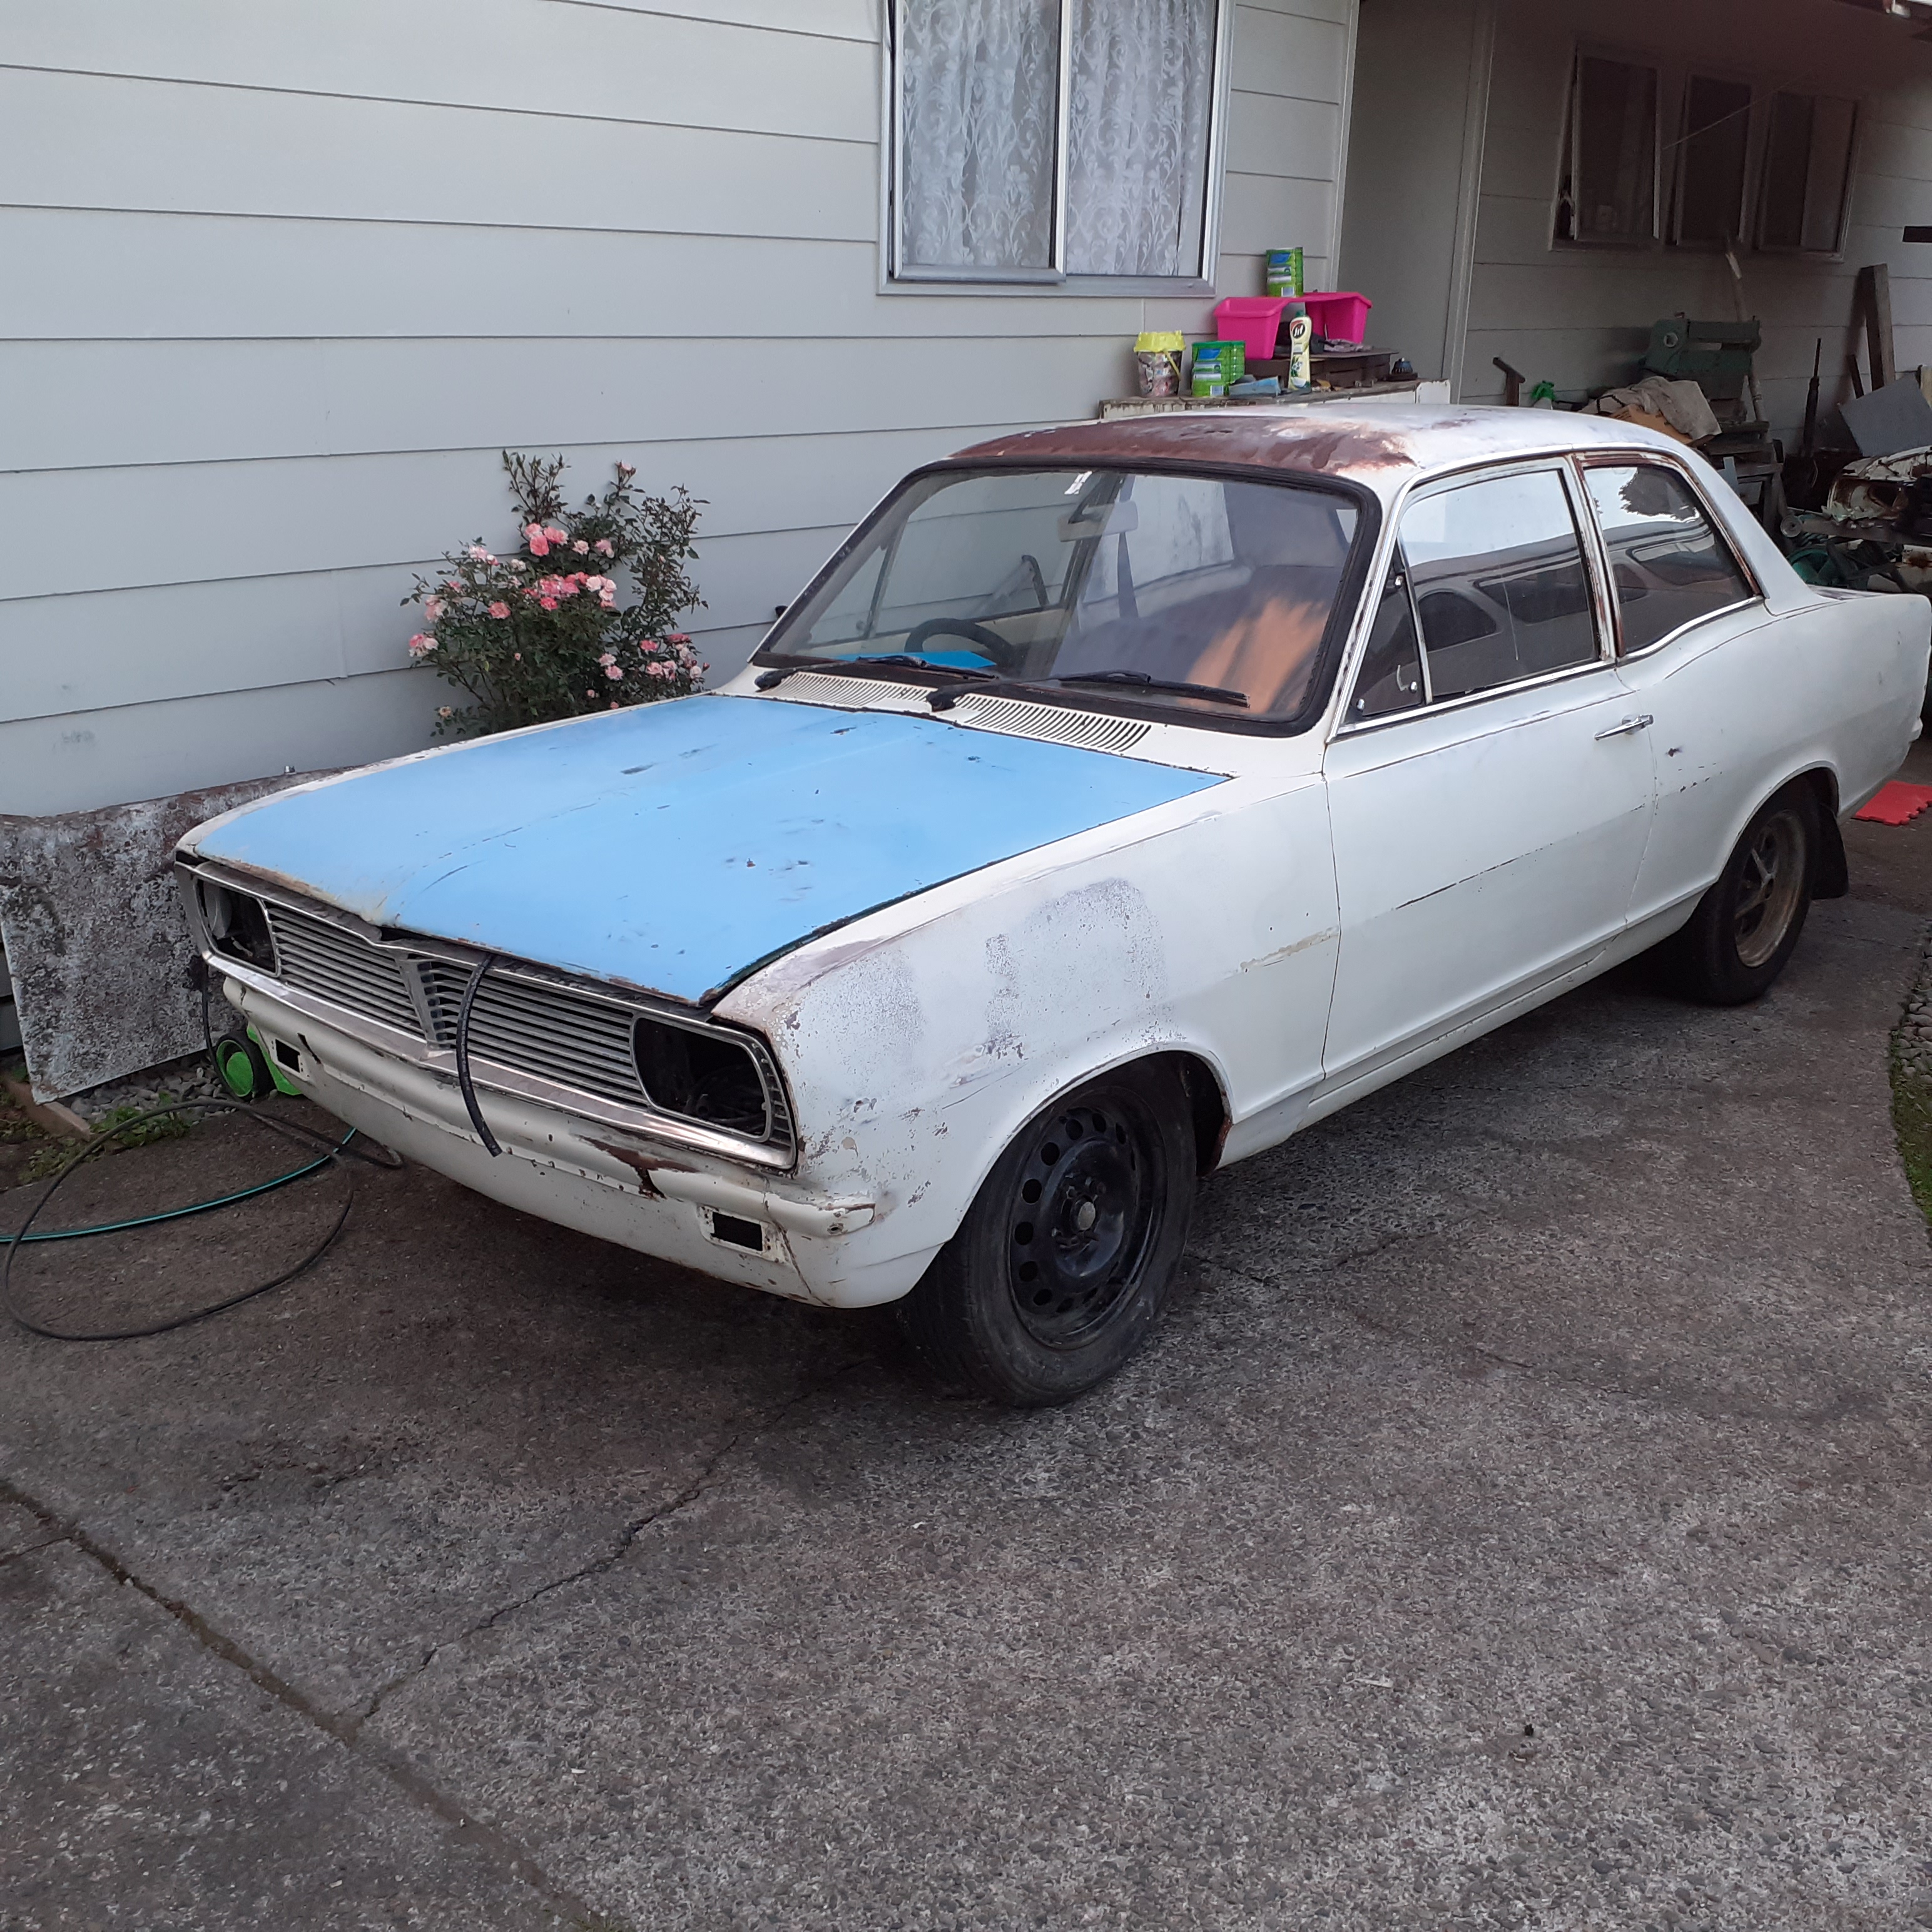
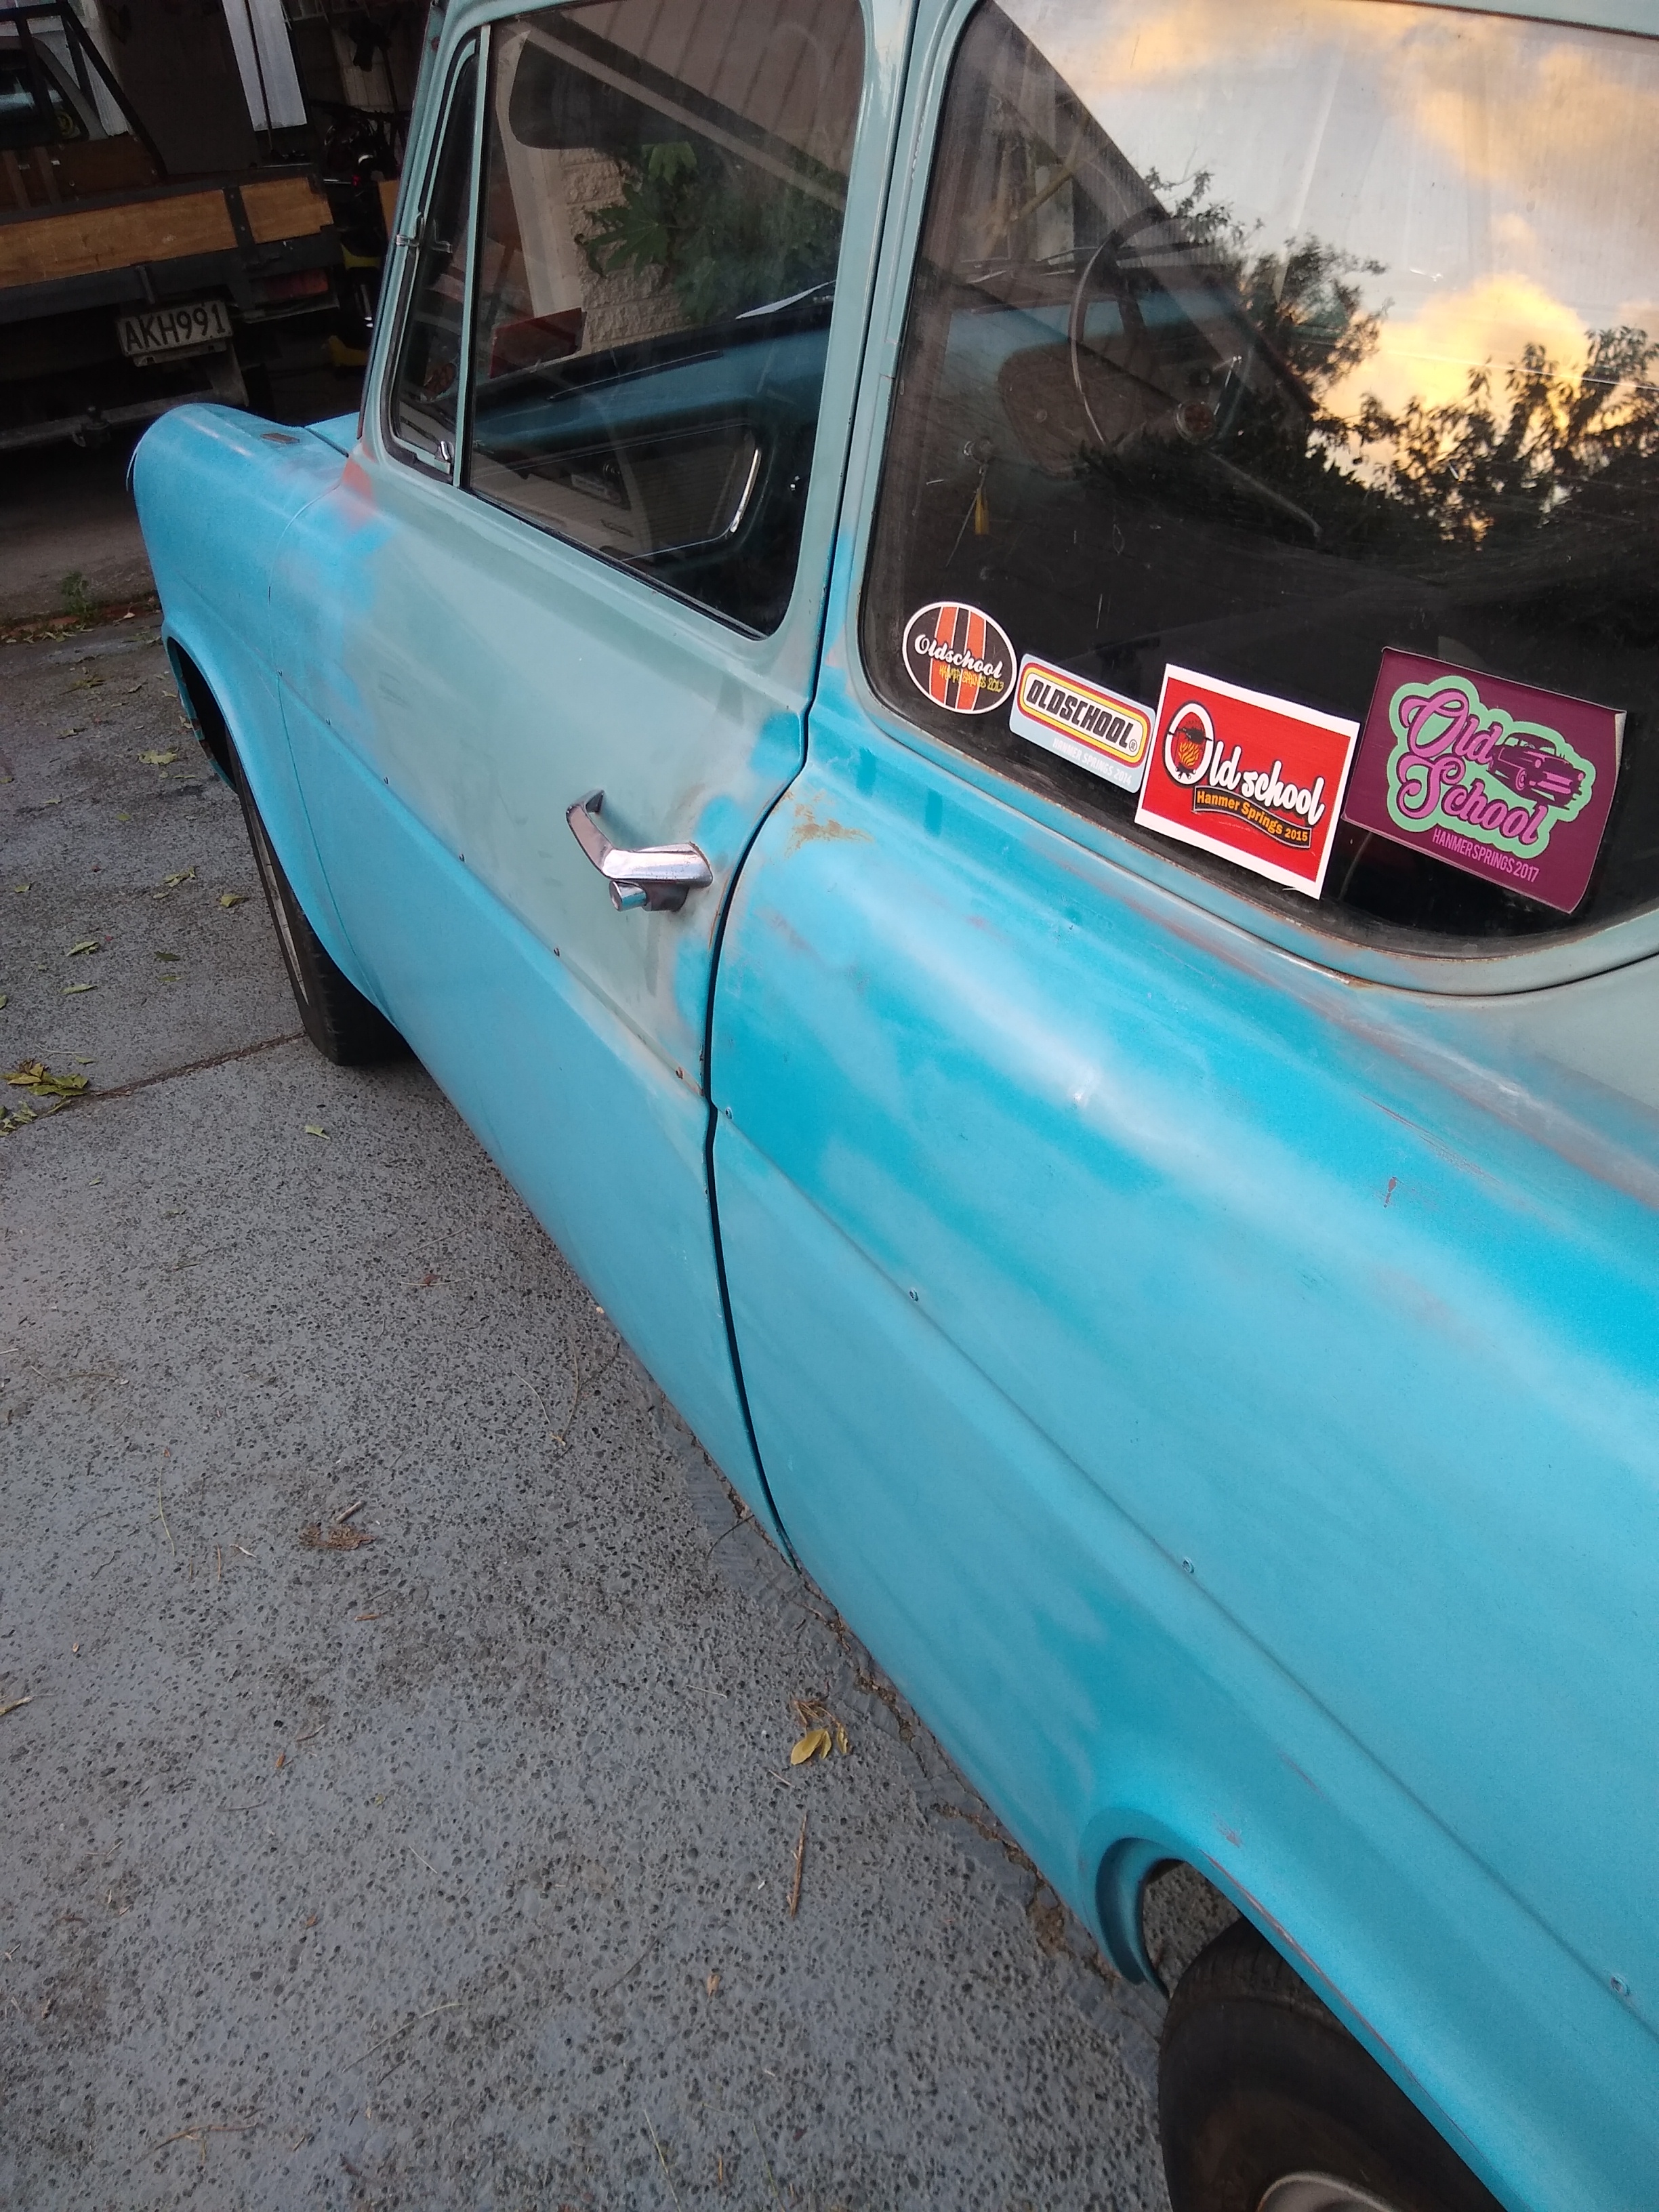
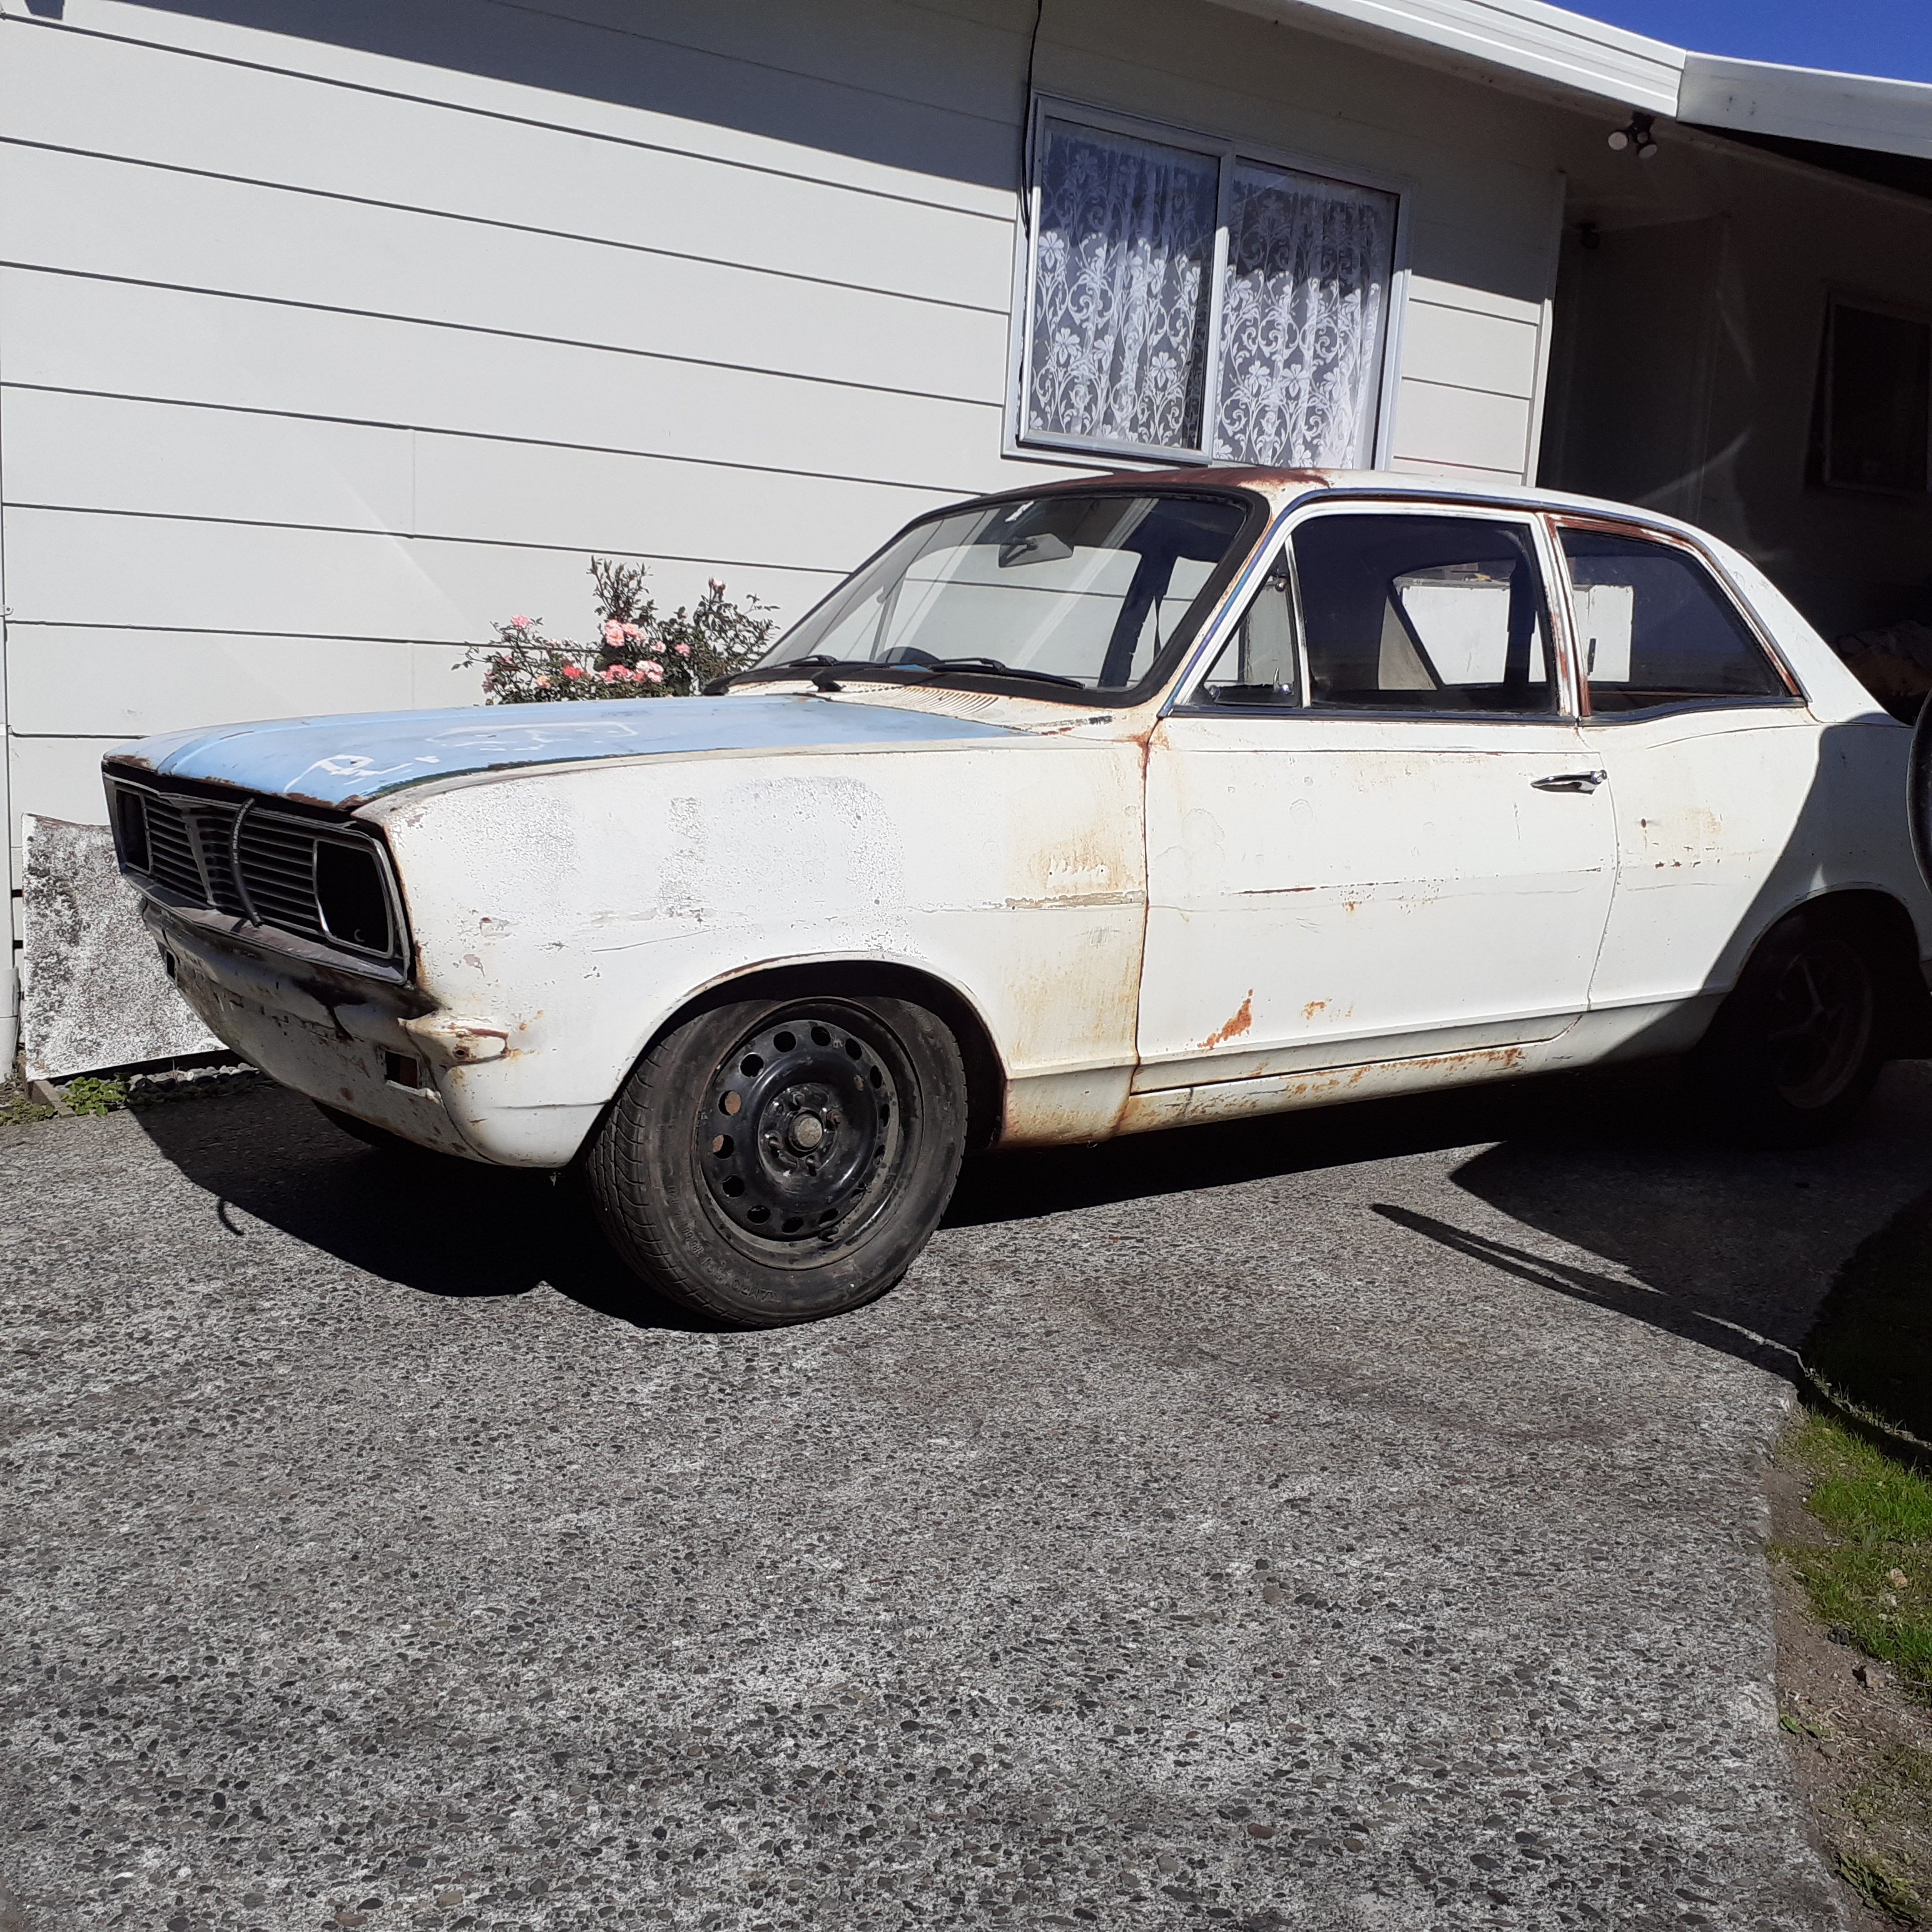
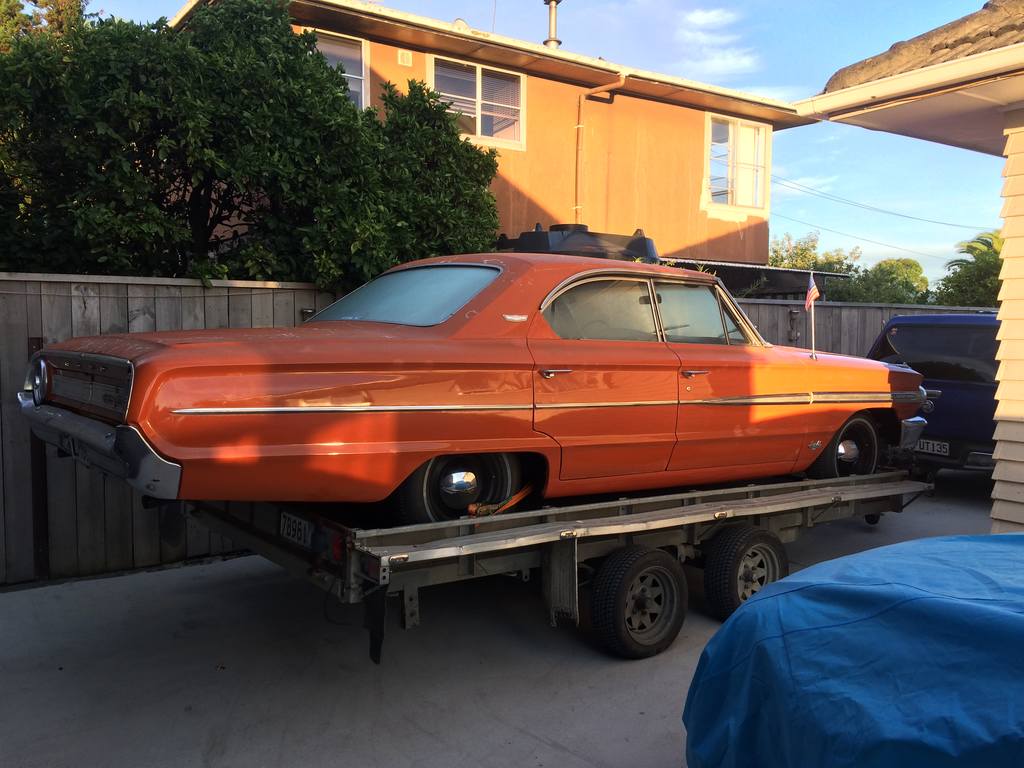
I first owned this in 1996. I put a 283 chevy in it and had some fun. Pulled the engine after a mate crashed his and sold the rolling body to him. He put his running gear in it (1900 Commy engine and magnum diff etc) but never finished it. I had been on at him to sell it back to me for a while. A few months back he messaged me to come get it as he was never going to finish it. This is how it looked when I picked it up
1 point
-
Good to see it's going to get some use again @Hemi!!! I agree with leaving the treefiddy in there, it moves that thing along just fine ay!1 point
-
Hi All, I have sticking brakes in my s-type Everything online suggests it is the booster. So I unplugged it and it doesn't stick anymore. With it plugged in the pedal is like wood. I have a VH40. I was wondering what is the consensus with rebuilding vs buying new. I'm not interested in a knock off. Had one in my old V8 commer and was a pain. If rebuilding is the way to go, anybody know anywhere that does it? edit: Ignore that. Apex up north had them on the shelf for only a small bit more than the rebuild kit. No brainer.1 point
-
this is awesome.1 point
-
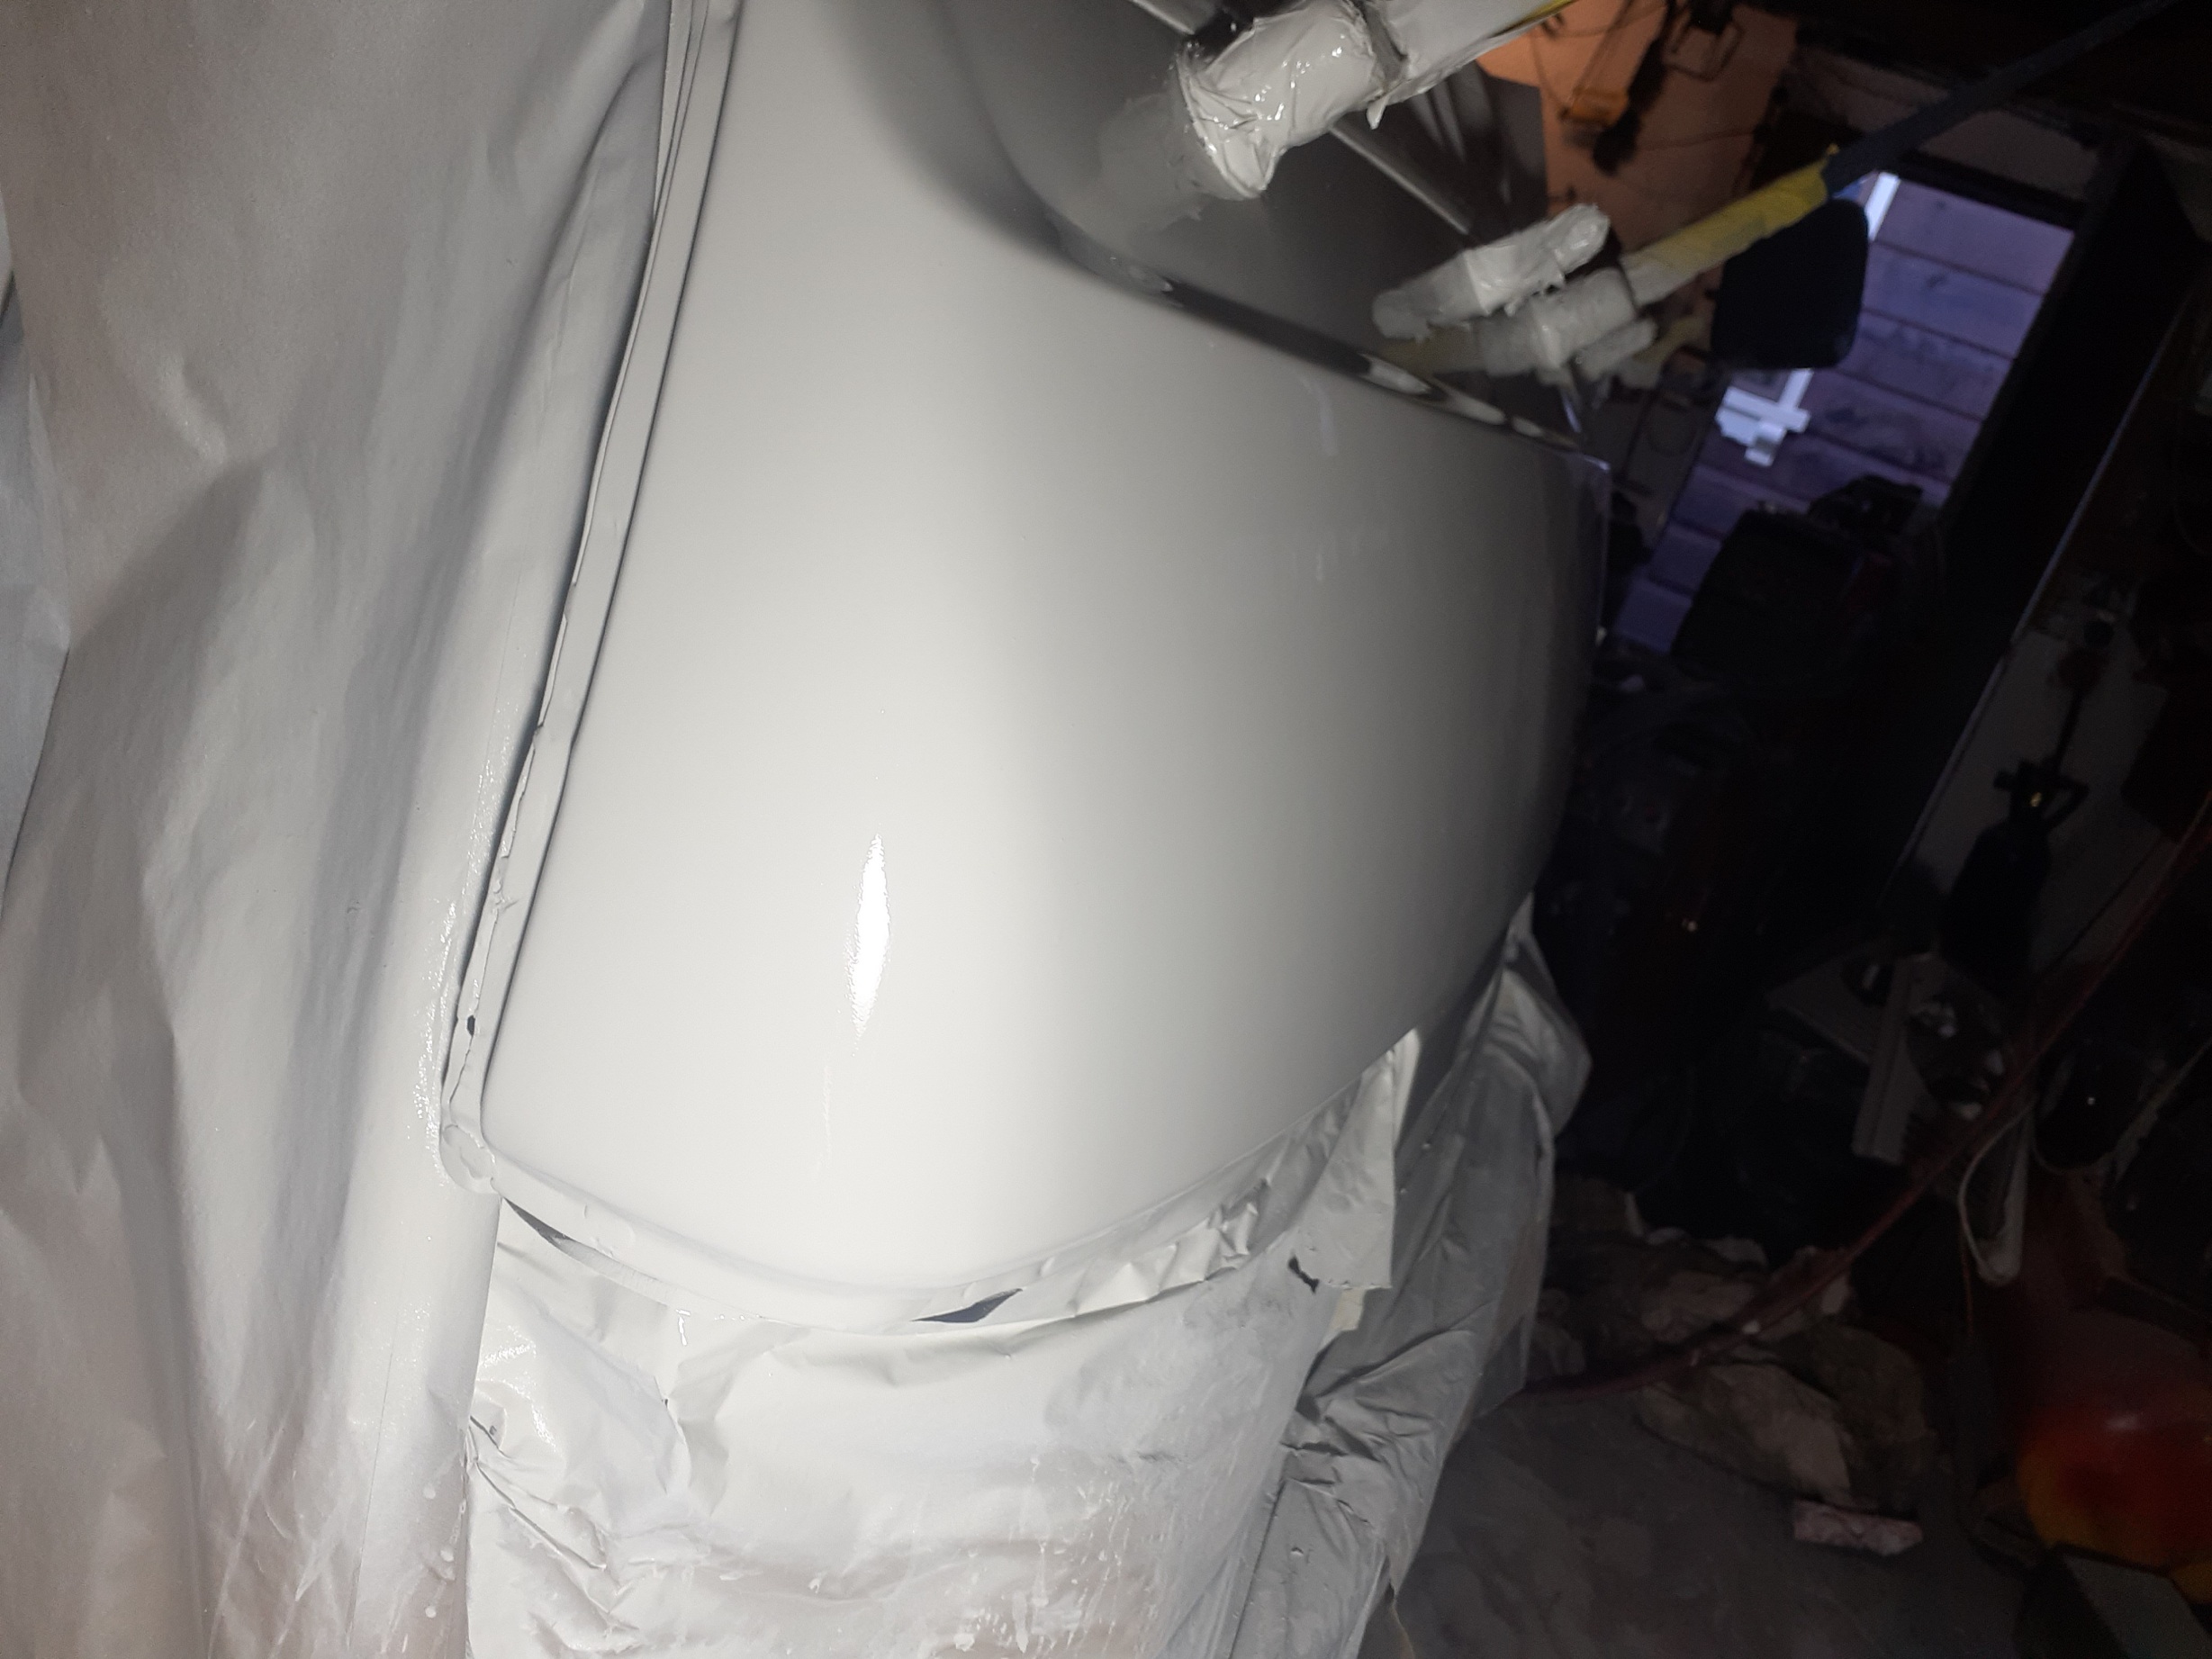
Top & sides of the rear window done.
1 point
-
Gave it a clean...
1 point
-
1 point
-
1 point
-
And the back1 point
-
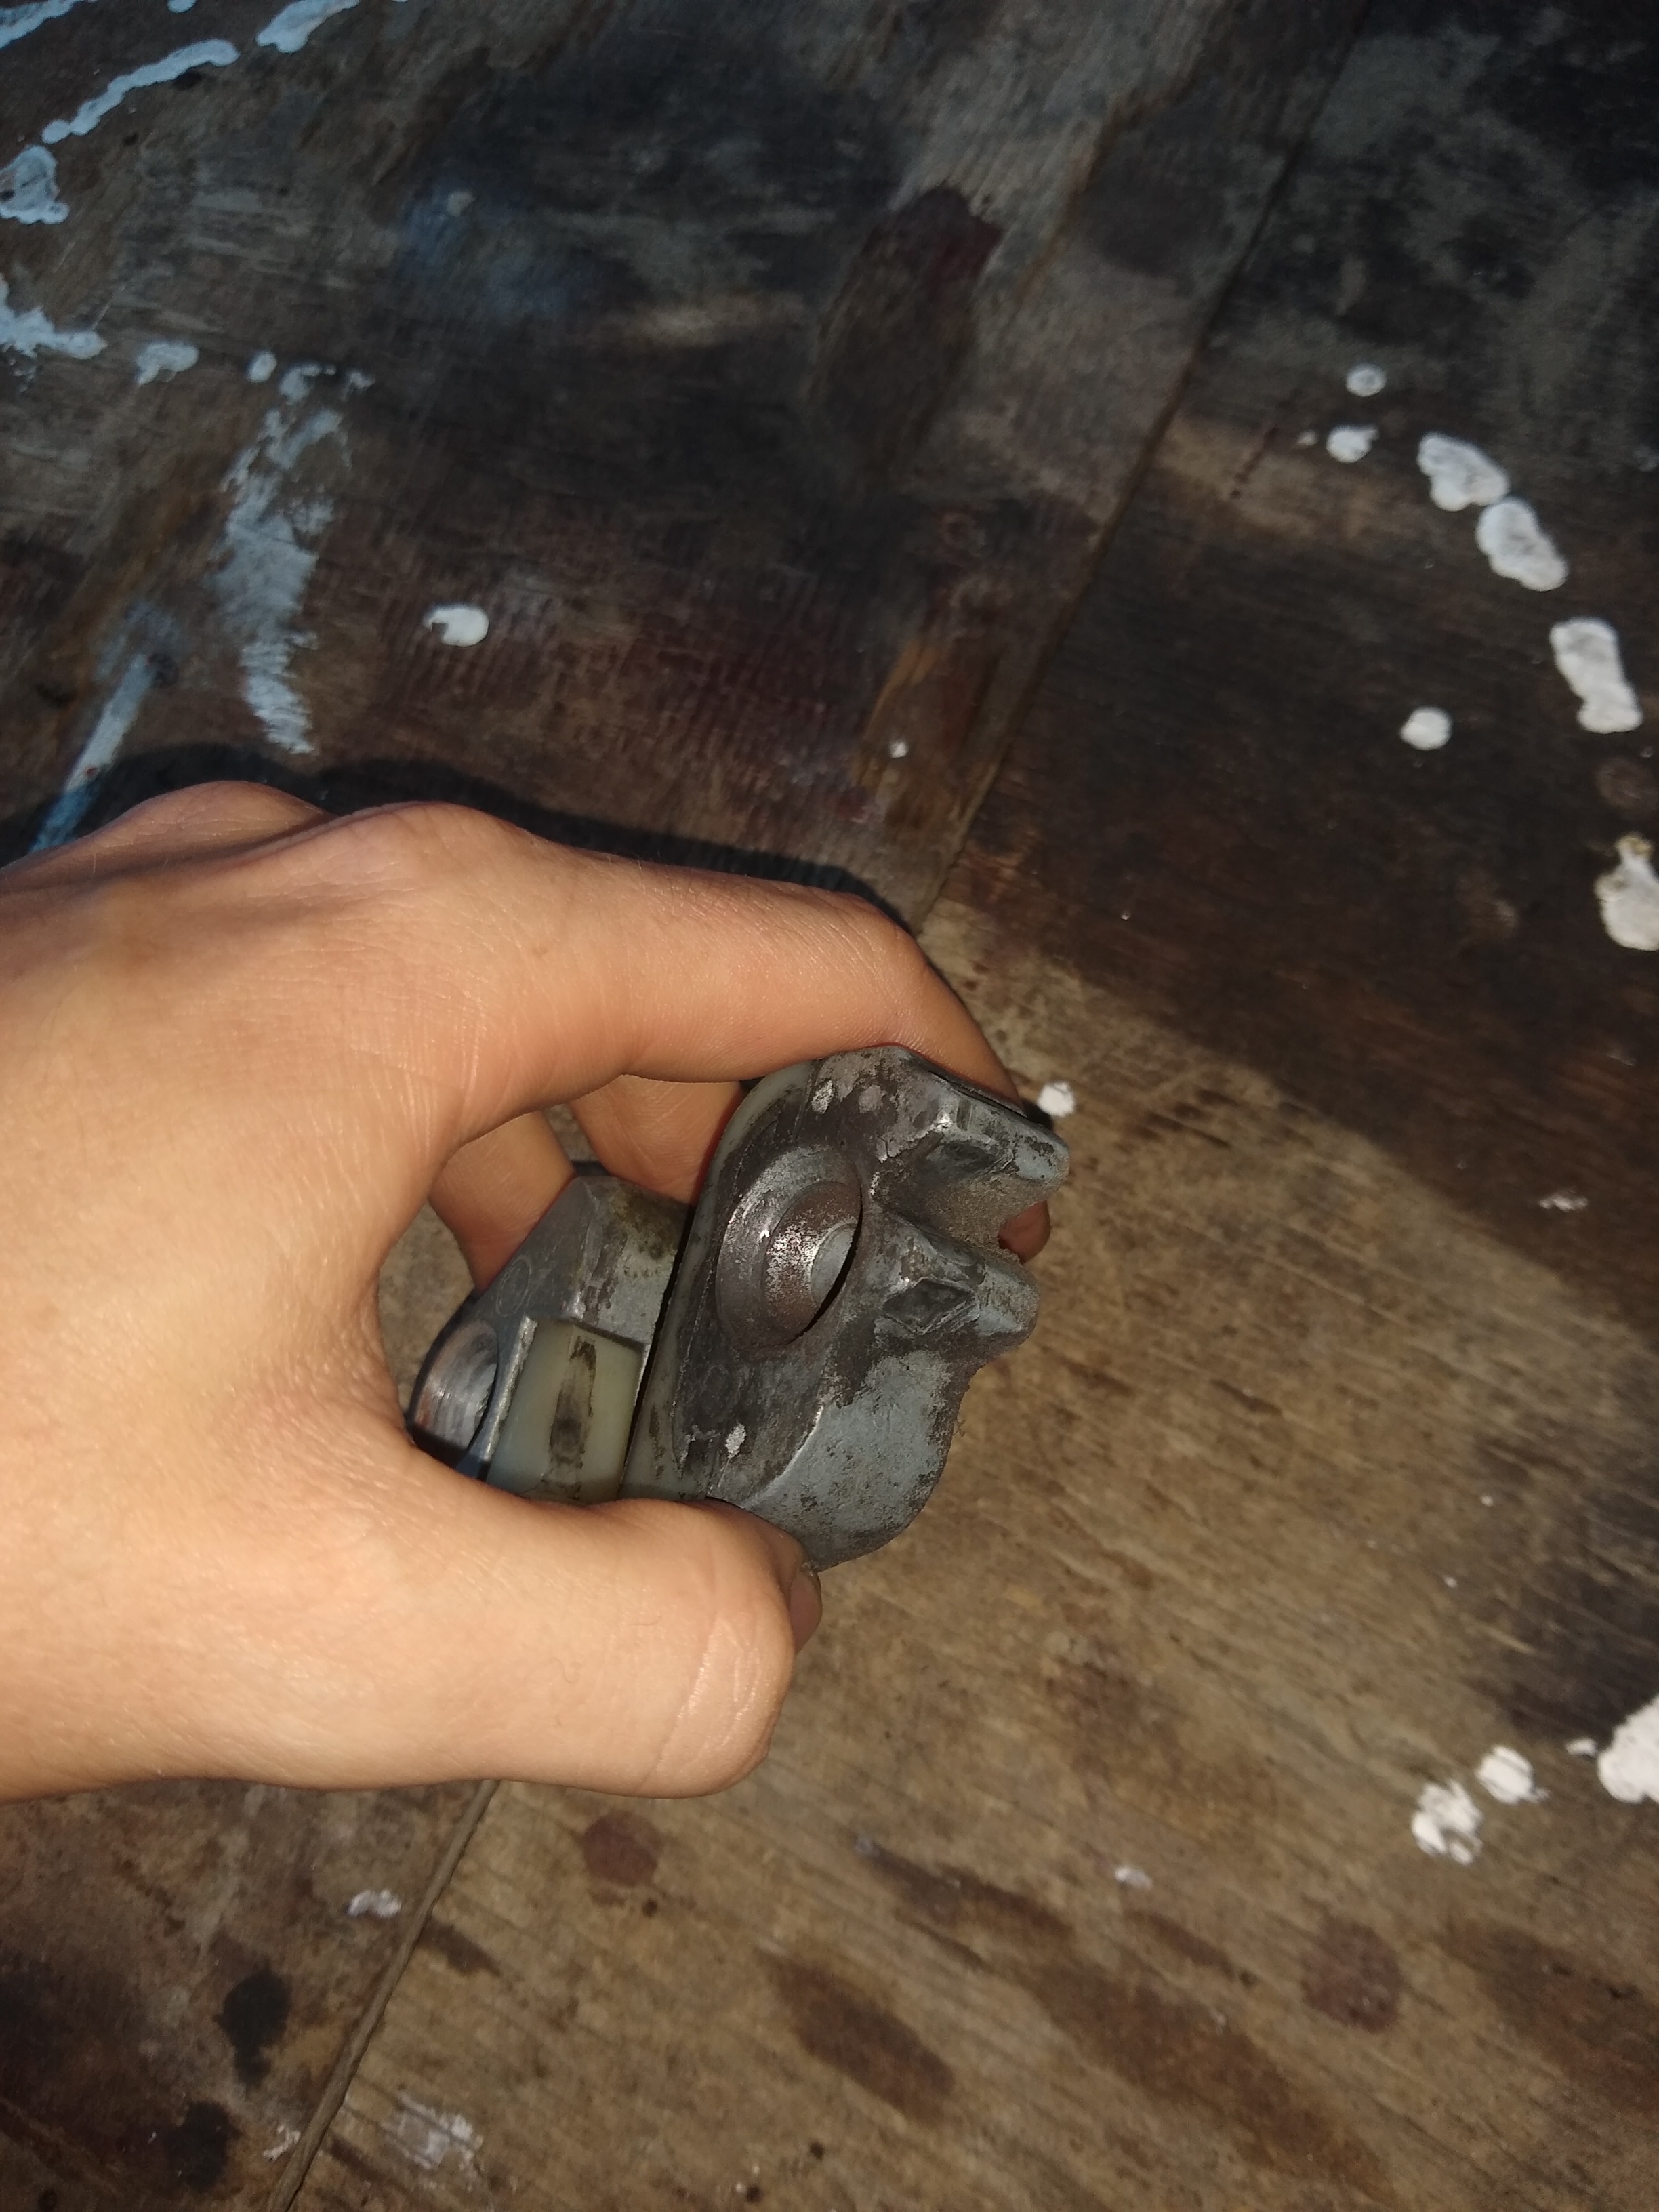
The doors on this thing sit at least half an inch away from the body when closed. The culprit is worn latch blocks on the pillar. Following some Barry info from the internet, I pulled off one of these blocks and used some 'steel' knead-it type epoxy to build up the worn areas. The epoxy stuff doesn't seem to be quite as hard as I would like so I might have to do something else in the future. Or it will cure more over night. I wonder if I might be able to space the star wheel further from the door so it runs on the unworn parts of the latch block. Upon putting the latch block back onto the car in what looked to be the factory position, the door instantly closed reasonably well. A little adjustment and it might just do the trick. I'll do the driver's side next. Also, the WoF shop that gave this thing a warrant last weekend deserves a pretty thorough investigation. The brake imbalance is/was atrocious. It would pull hard to the right with a decent application of braking. I pulled the left hub off to inspect the brake and all looked good so I gave it a good cleaning and scuffed the shoes. I then regreased the bearings and reassembled it. I didn't have a quarter inch spanner so I couldn't adjust the brakes. After a few hard stops it seems to now stop in a straight line. I made a tool with a quarter inch square hole this evening so I will be able to adjust the brakes tomorrow evening. Hopefully I can get them in ship shape. I'll also grease the drivers side bearing and clean that brake too while I'm at it.
1 point
-
Spent a couple hours sorting the front brakes. Yeah the pistons are siezed solid, as in i had to bash the caliper off with a mini sledge. tried to free them LOLOLOLOL NOPE. so now the front has no brake pads, PROBLEM SOLVED. so its just a clean and should be GTG PRetty happy tbh . CHeers @Spencer for lending me some tools and space at your pad. will have to get something for AMy as a thank you haha. Oh and the shower, was getting pretty cold after the rain and stopping moving wow so much water. So stoked the rims and tyres fit , and even better I got +6 positive, which actually works out bang on , still inside the gaurd and give more room for wheels vs chassis. but holy moly , the amount of room under those gaurds is insane. even the rears have like 100mm+ on top of the tyre. so im really happy. Might move the front tyres on and get some in a 60 profile as its sitting up at the front now. but thats miles down the track. MUST GET ROAD LEGAL1 point
-
That’s a balls-deep sorta list. And a good way to spend 4k NZ ive done plenty of little stuff on the car. I spent ages blowing all the crap out of the scuttle/plenum. Was all nice and dry and came out entirely with the long nozzle air gun. Lots of ancient blue tarpaulin strands.. I then poured a heap of rust converter down the grates and what dribbled out the drains got collected and sent back down the top! Que the air gun again and it got maximum coverage. I’ll send some cavity wax down when I do the rest of the car. the current state of the bay. I’ll blast and etch this too. I chucked on my flash looking top arms with new camber bolts then discovered the car was too light with no donk and I couldn’t raise the hub to meet the ball joint lol. Also welded the wee pinholes (went really well) wire wheeled the gas tank and painted in converter.. got home tonight and gave it some hammerite ignore the patches of old sound deadener, gets a new sheet to protect it against the future boot floor then never seen again.1 point
-
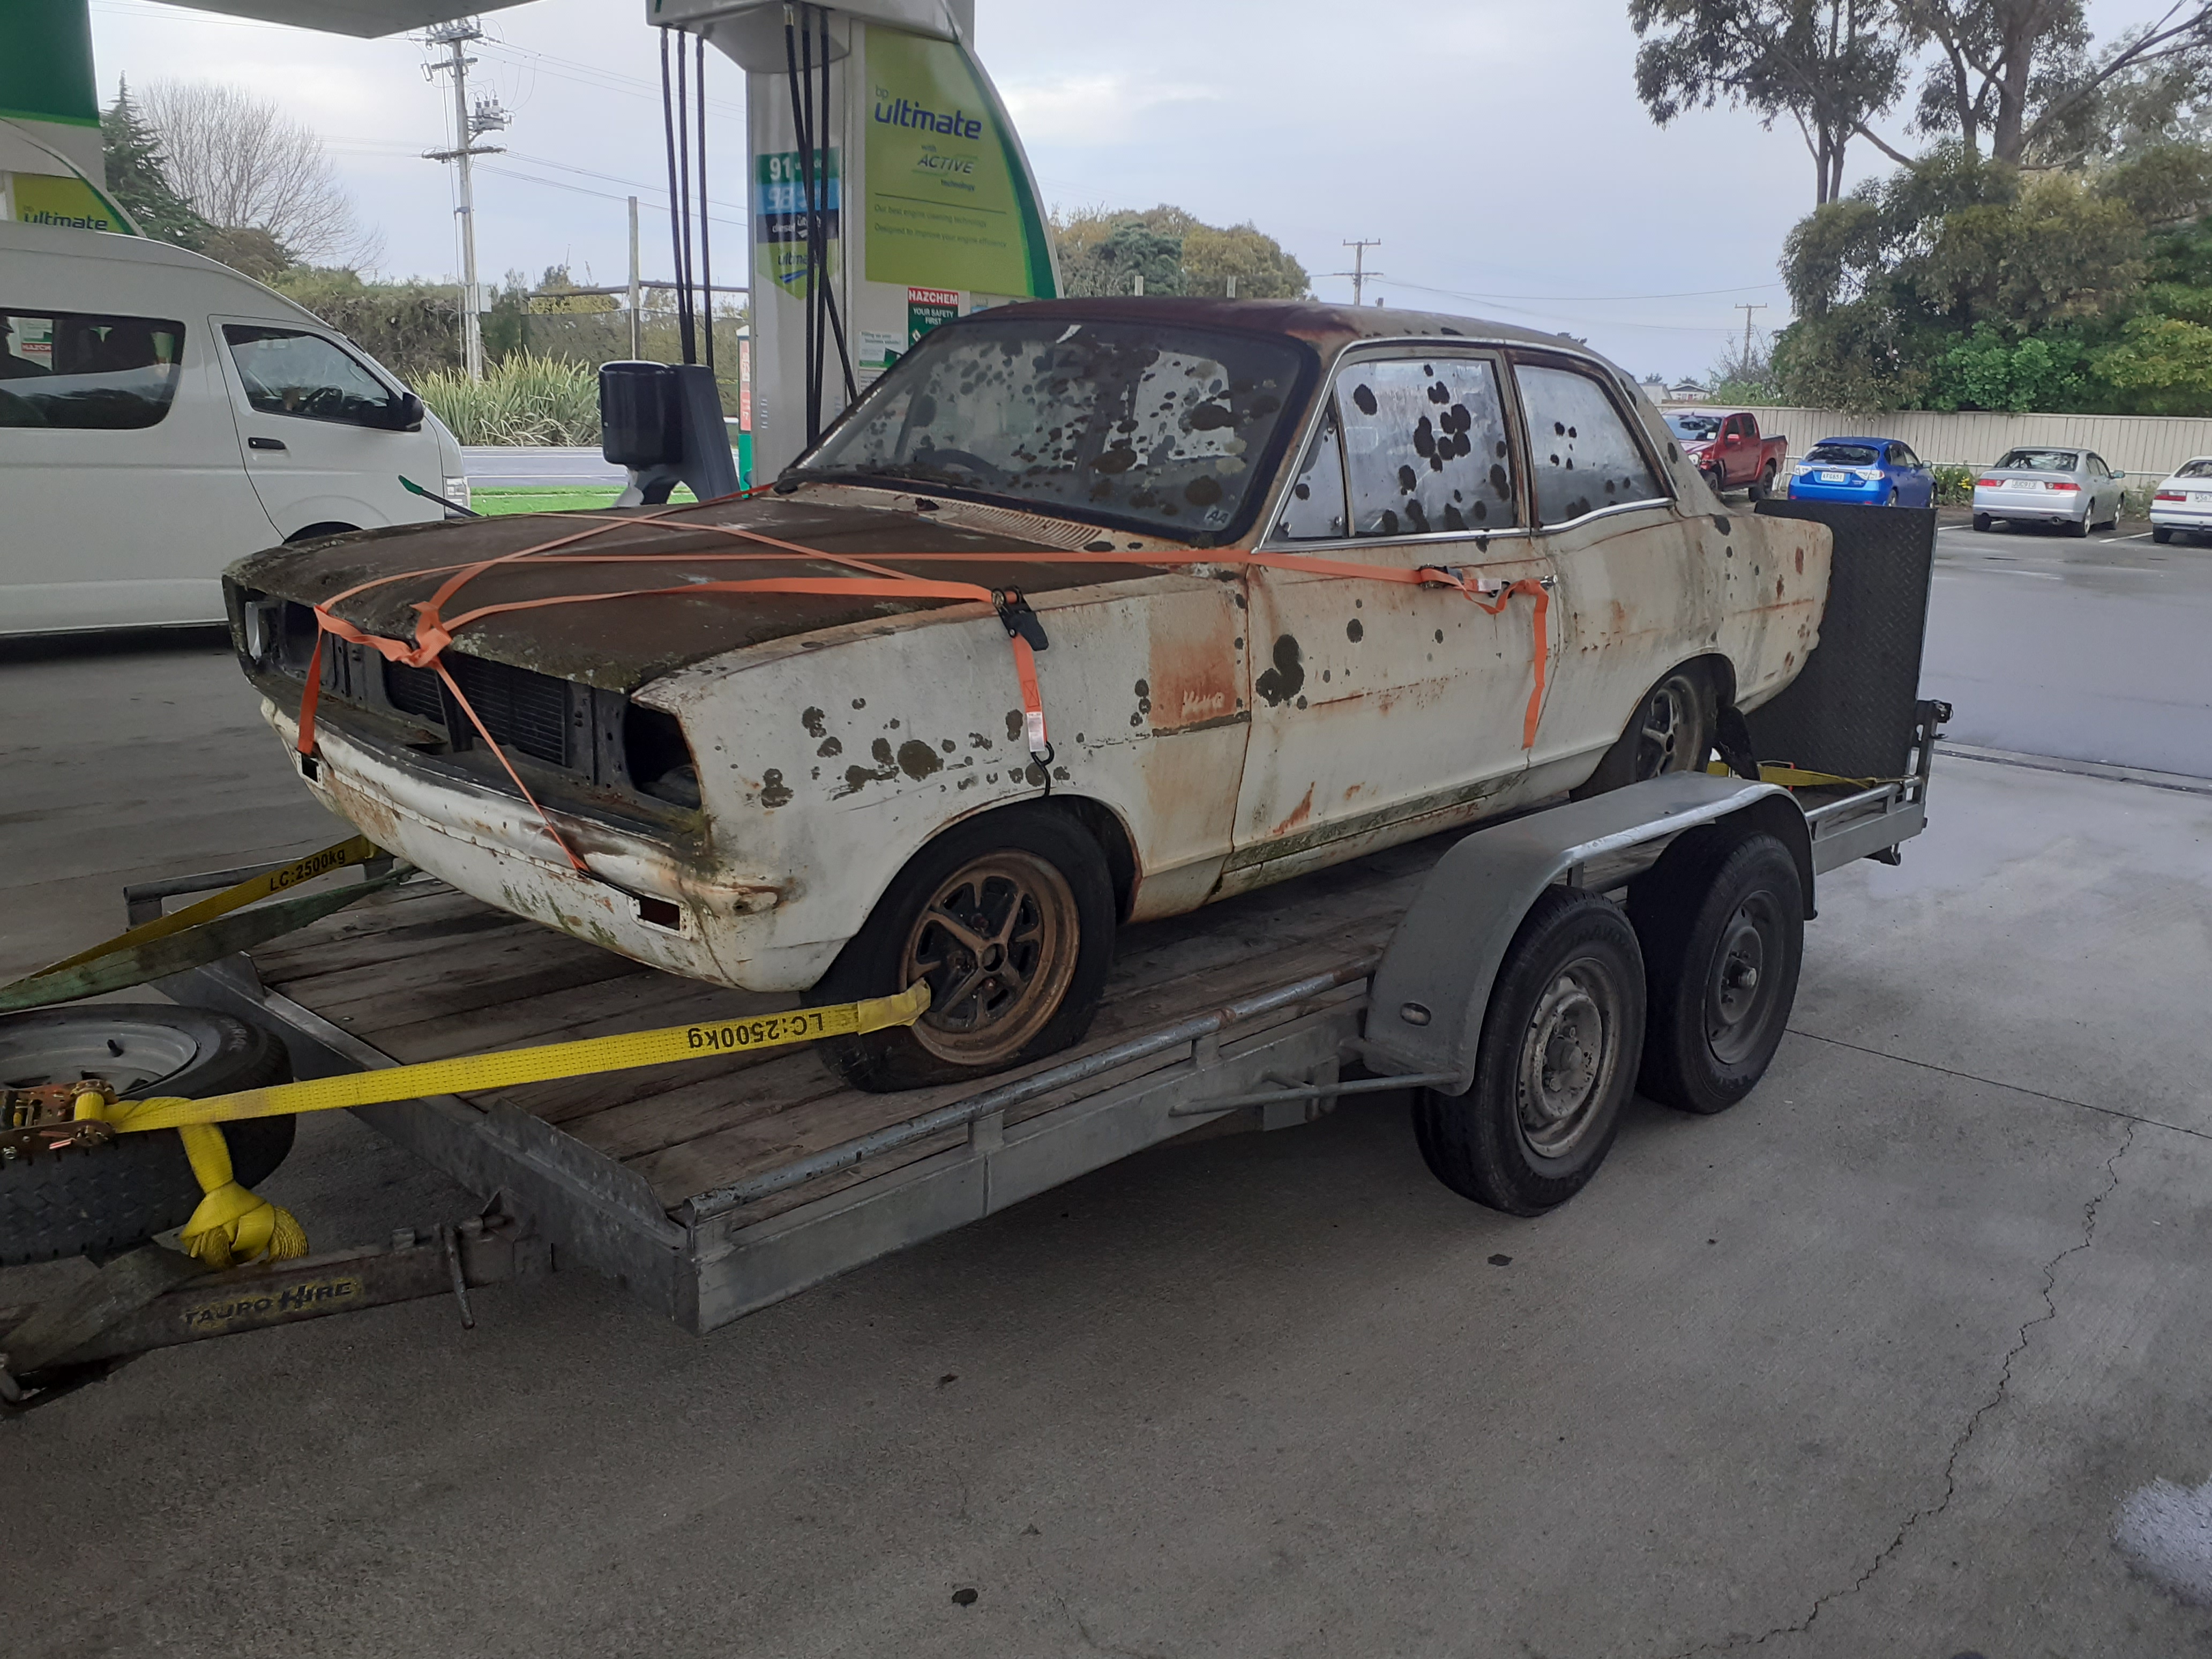
So it got picked up this morning, got into the tow truck with minimal fuss. Then over the course of a couple runs the front brakes seized on sticking it in the middle of the road. Gosh that got exciting , after trying a couple things went fuck out and sprayed some Wd-40 on the discs. Success! Then to make it better the wheels fit! Stoked, do now it's too unseize the brakes and give it a clean. Then it can go on a transporter. Yay. Anyway pics Going on And out side Diddys pad. R Monster truck! Imagine that without dropped spindles or a flipped axle. So keen.1 point
-
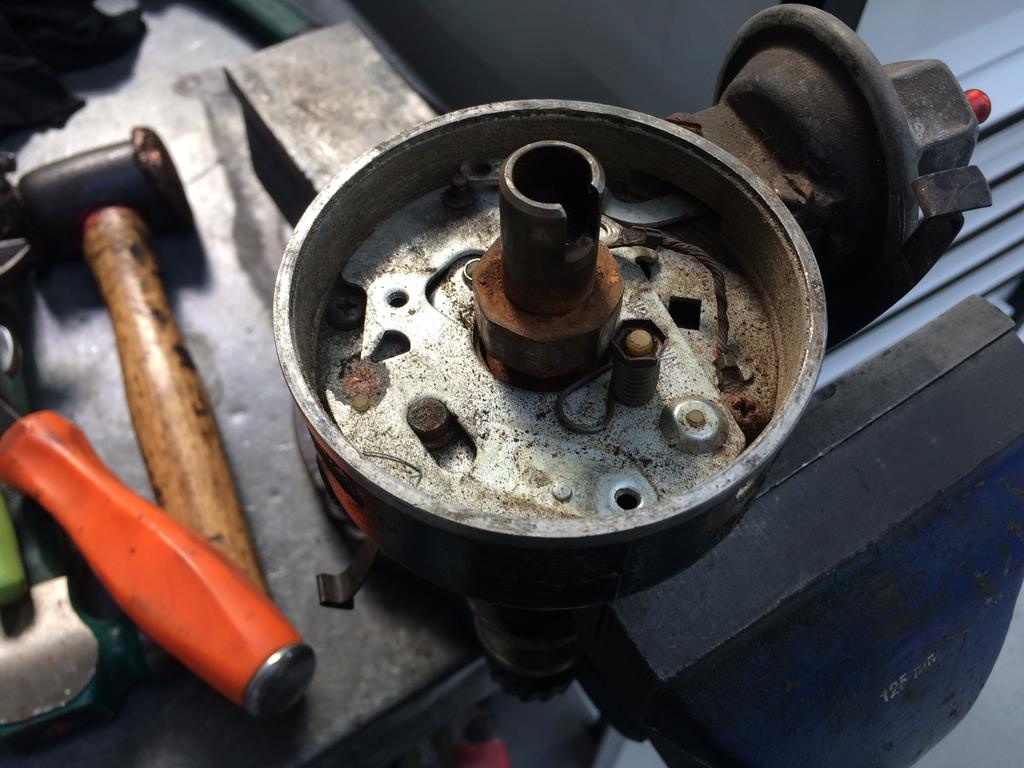
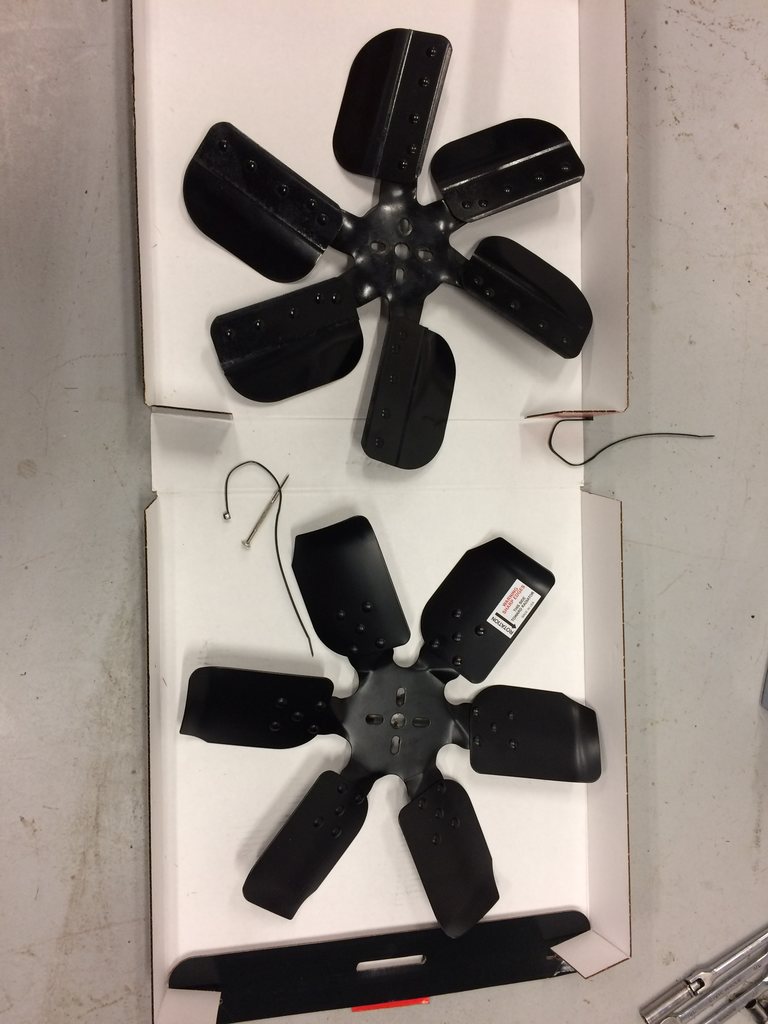
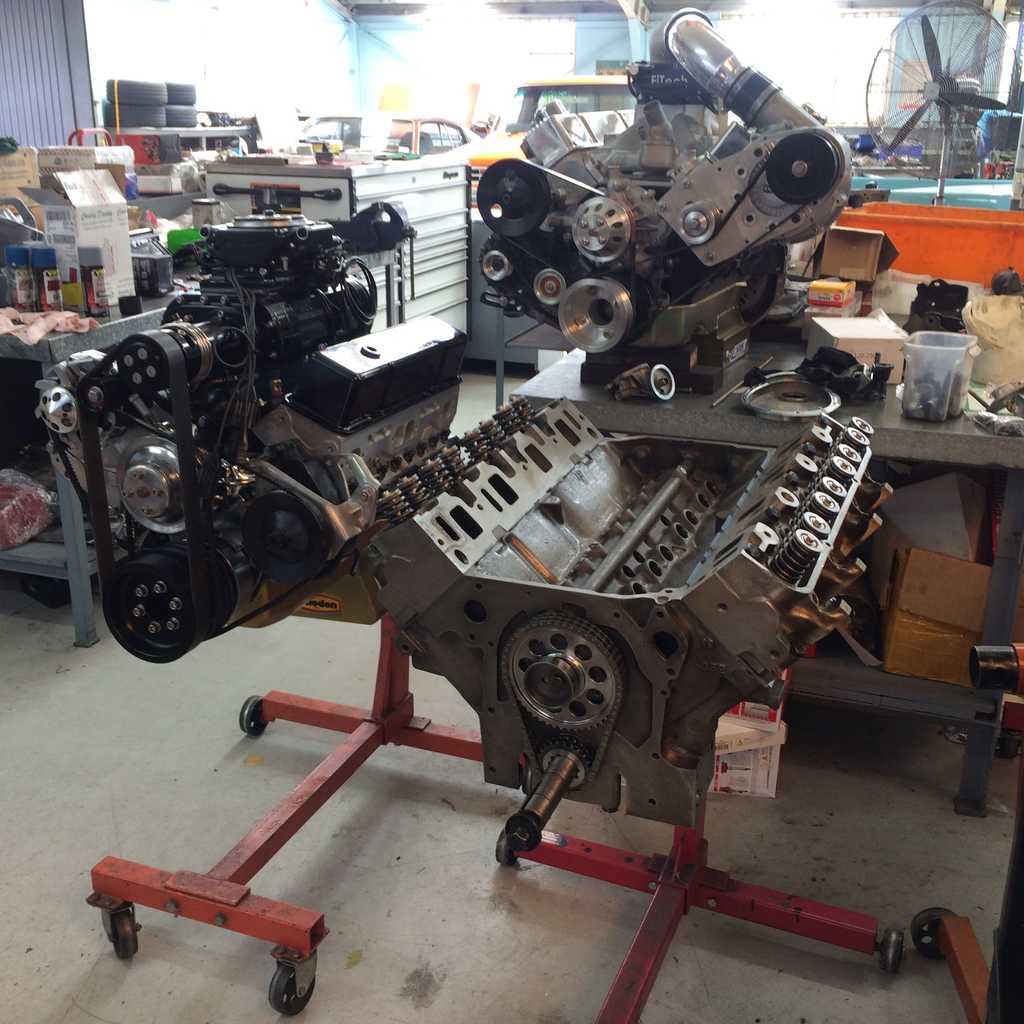
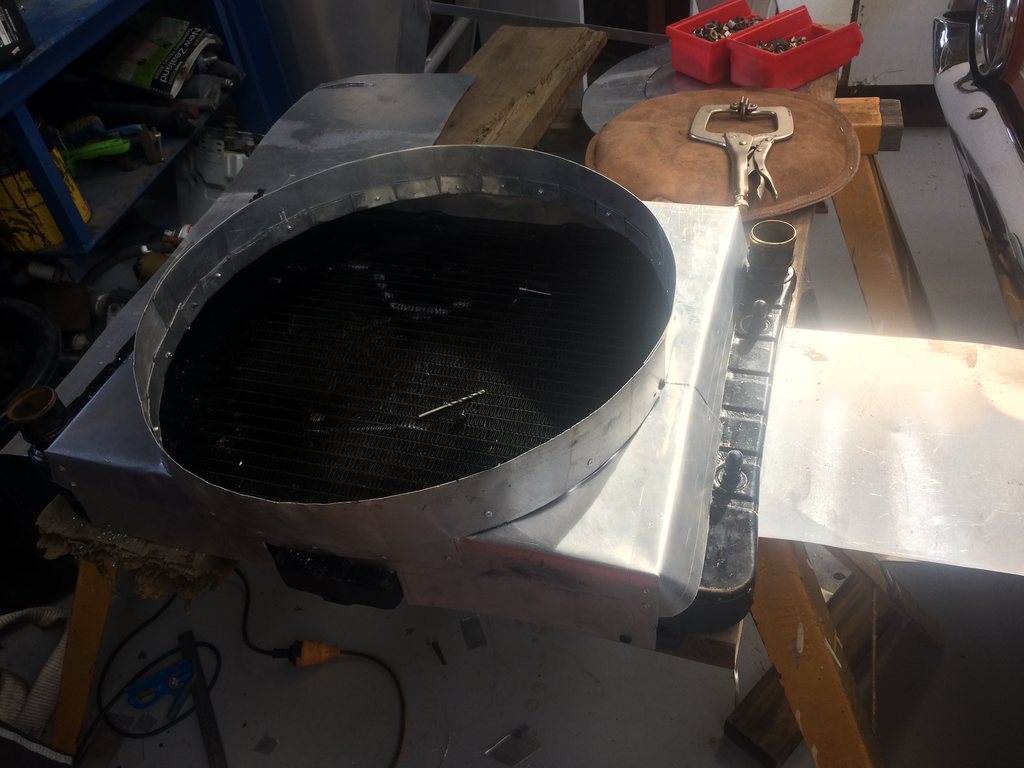
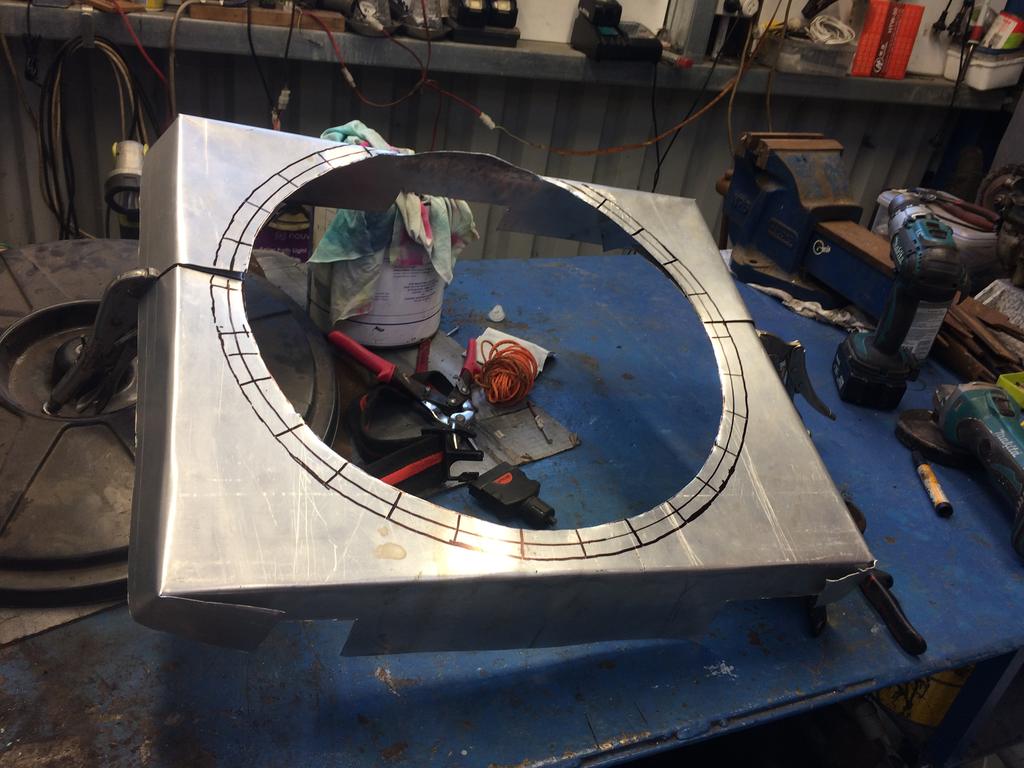
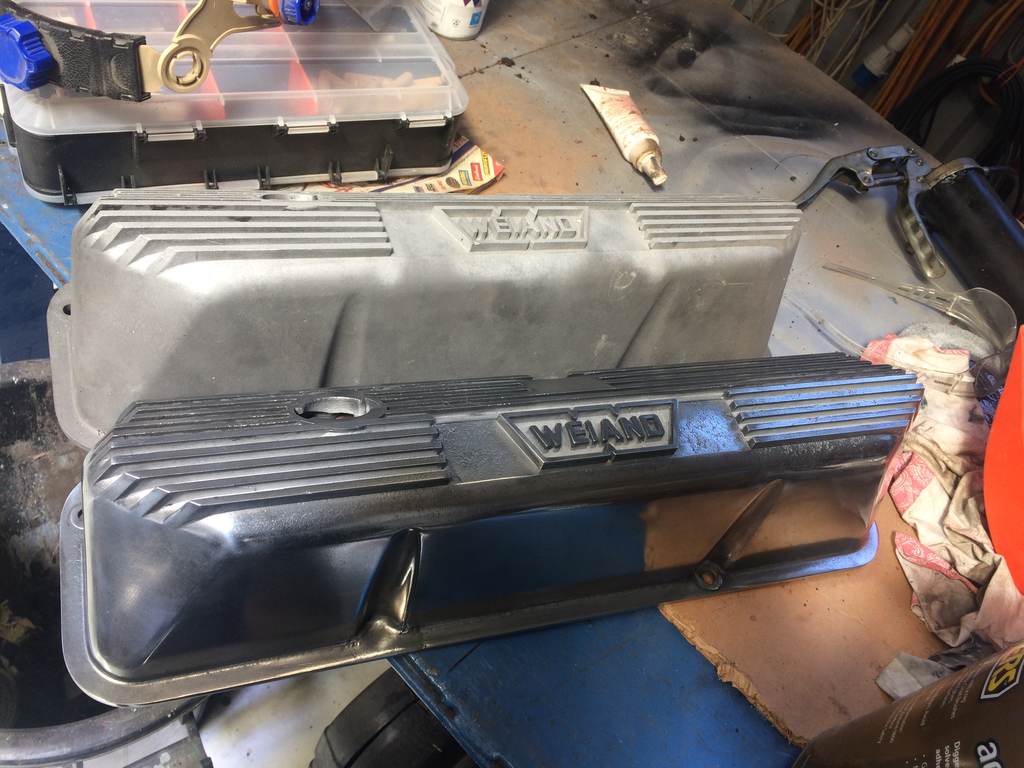
fuck im useless at updating this thread. motor goes and had a few hiccups on the way. Hei dizzy being shit and causing a misfire And me misplacing one pushrod not into the lifter causing one cylinder having no compression and still some overheating problems polished up my rocker shafts and machined the rockers to suit and in the hole. during the engine rebuild i spent some time and made a fan shroud its definitely nothing flash but worked with what i had and my current skills I then loaded it on a trailer to get the cam break in procedure done at work on the dyno. after that i fixed up my old points distributor and got that working as the HEI caused a miss and fitted a new set of ignition leads new cap rotor points and condenser and changed the mechanical fan to one with a better angel which works much better which is actually a chevy one I also got these valve covers as a freebee from work as they required welding as had been broken and customer never came and got them. and sat out the back for years so had them welded and started to polish them up Ive put these on the backburner as spent hours on them and painted one and the paint peeled off and the more polishing i do im still not happy with them as they are not the greatest casting. i suspect these are from the 70s also shows where it got repaired And while i was on a trip in the usa prior to covid i got some needed parts which i still need to fit. also just before i rebuilt the engine i cut off the rear mufflers and straight piped it as was really quiet no v8 rumble at all. then was loud and sounded like a tractor so rewelded them back on. to be continued...
1 point
-
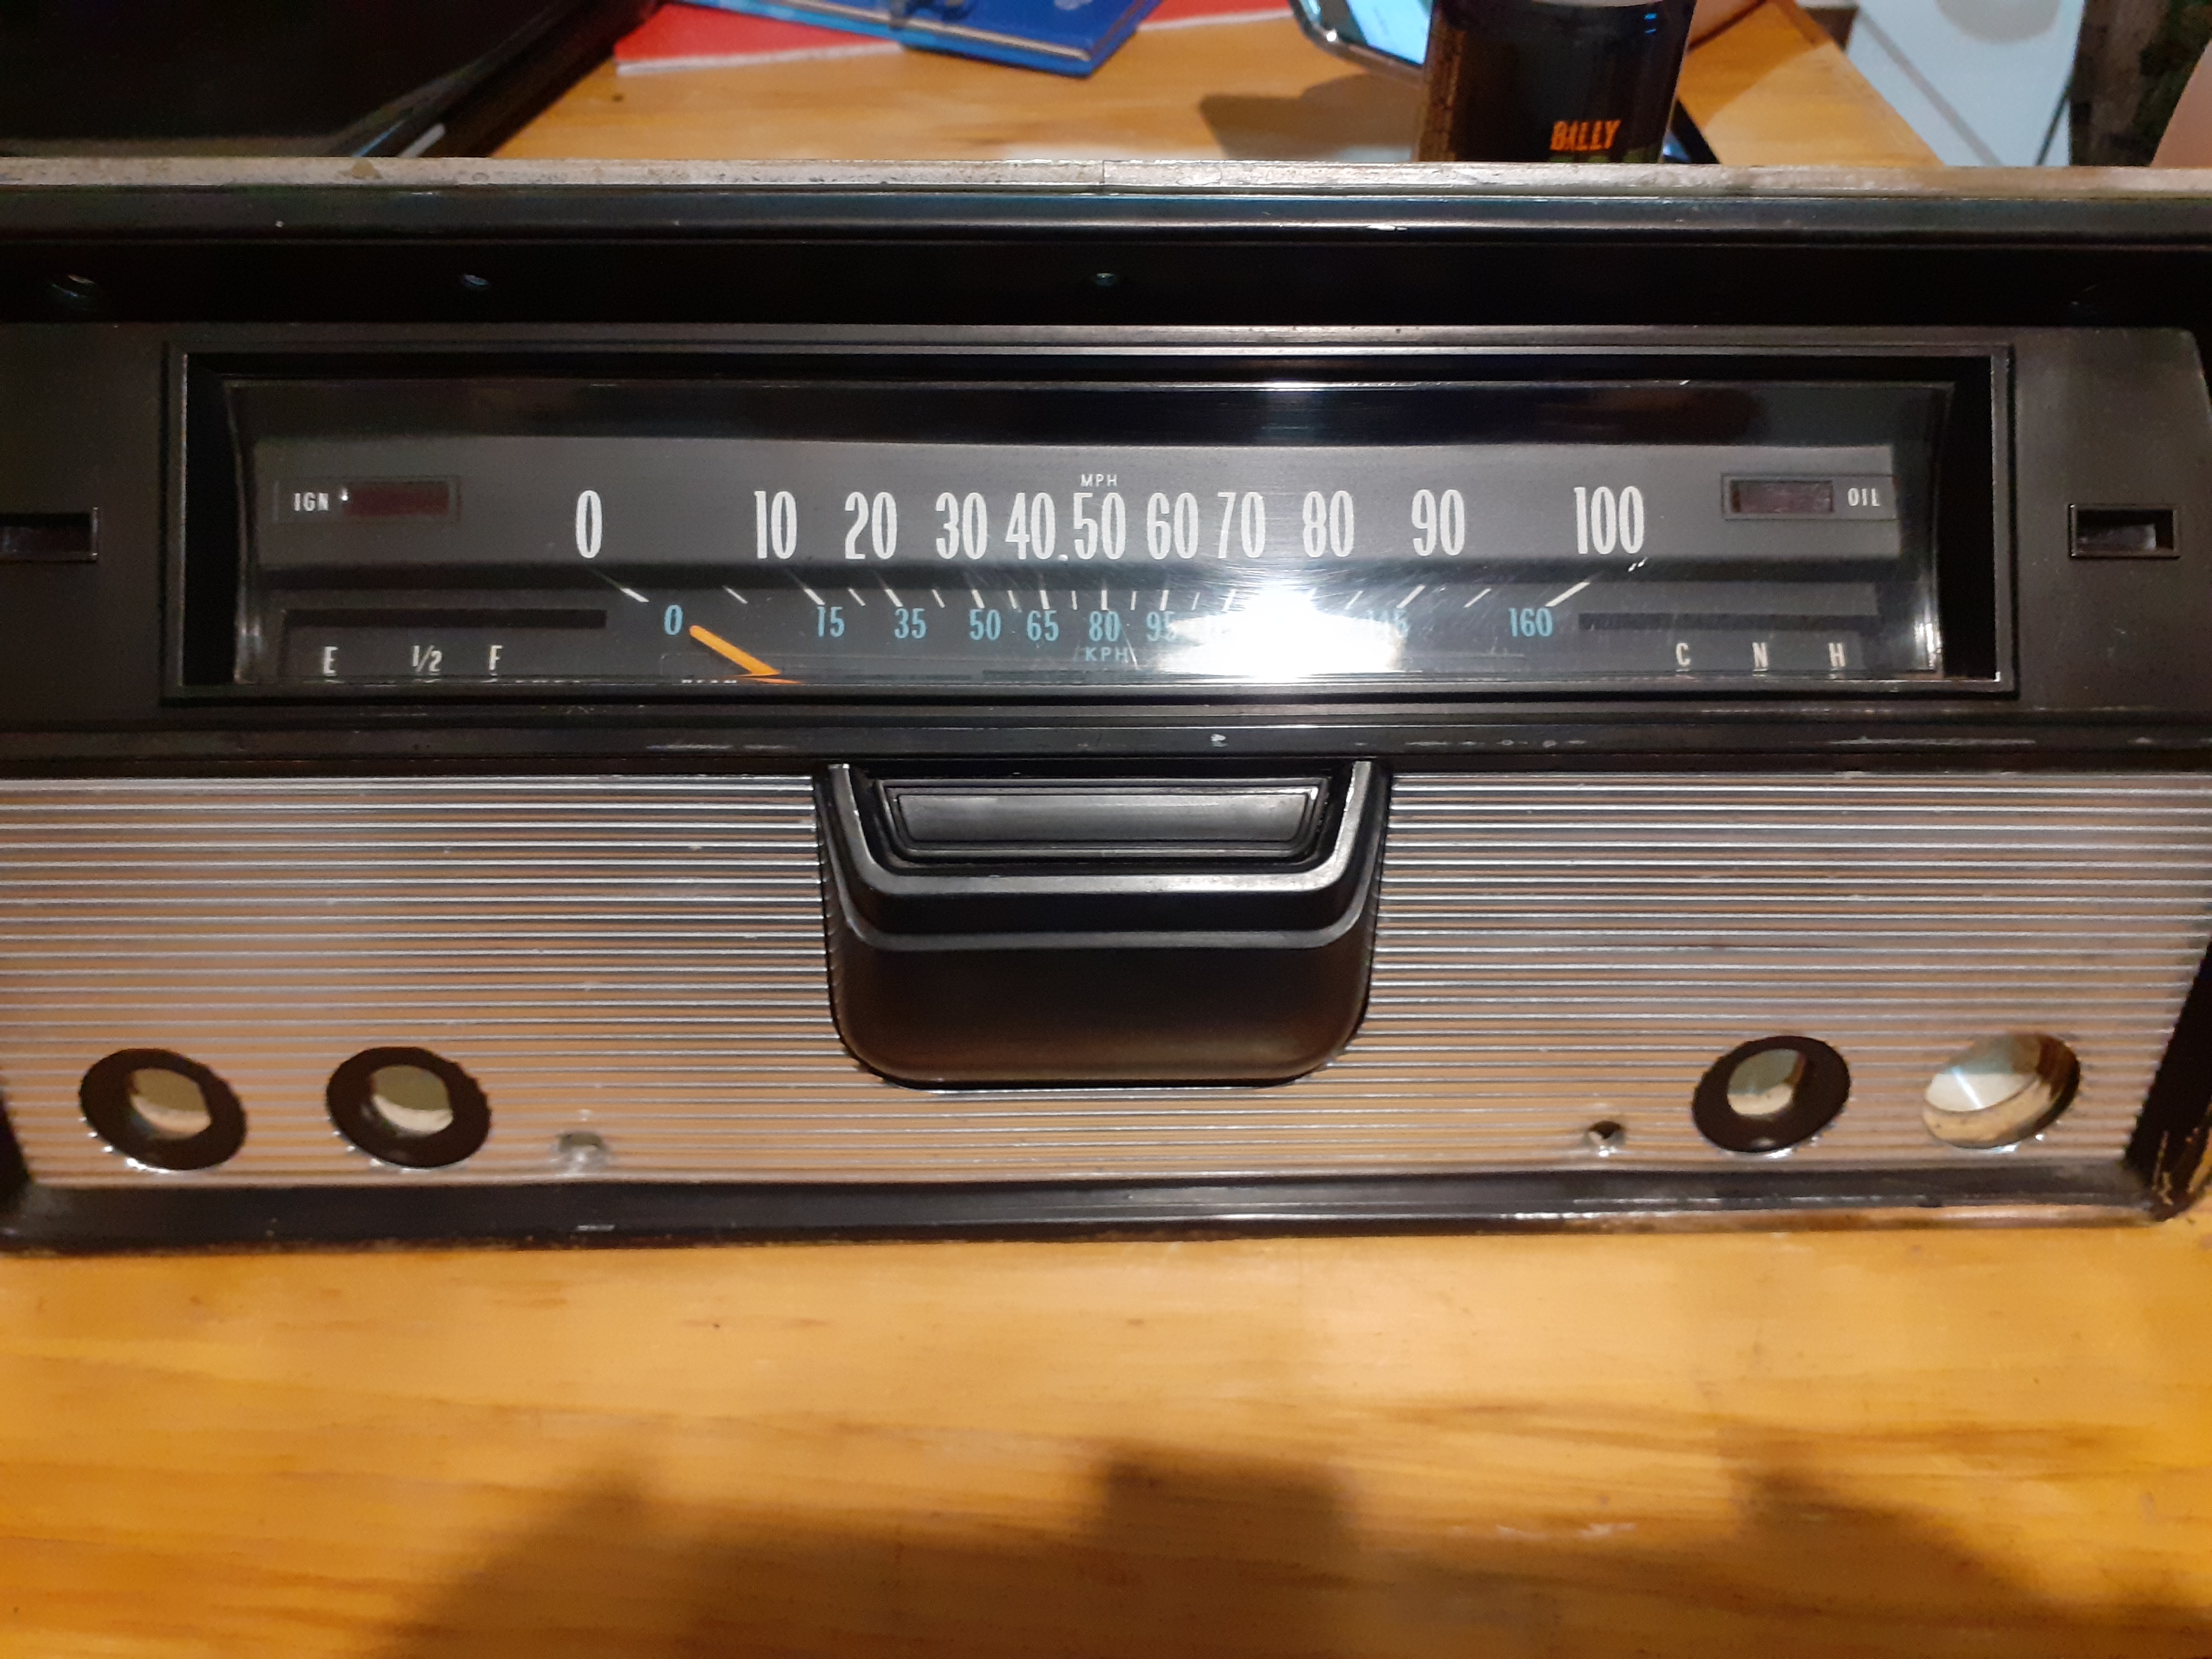
First thing I did when I got home was pulled the speedo cable out and cleaned it. Now the speedo doesn't jump around any more. Second thing I did was drop one of the screws holding that mirror onto the door into the door frame, never to be seen again. Third thing I did was lose the keys and then successfully use the Starlet's key on it. (I found the keys again, but left them at home after) Then I went to the fuel station and found the Starlet key doesn't work in the fuel cap. So I'll fill it up tomorrow.1 point
-
its coming along. im just tidying up all the little things that need doing. ive got some generic belt line rubbers coming for it then i can put the door cards back on. the bumpers are away being chromed and ill get them back in a week or so. not sold on the black center caps and i have another set on order should be here middle of next month. i drove it up the road to get some milk and i fucking love driving this thing, its fucking slow but its cool to just cruze along in and i can see myself doing a bunch of Ks in this as soon as i tidy u the last few things. believe it or not its still got a warrant! 2021-03-18_07-56-27 by sheepers, on Flickr 2021-03-18_07-56-37 by sheepers, on Flickr 2021-03-18_07-56-45 by sheepers, on Flickr 2021-03-18_07-56-52 by sheepers, on Flickr 2021-03-18_07-56-58 by sheepers, on Flickr 2021-03-18_07-57-04 by sheepers, on Flickr1 point
-
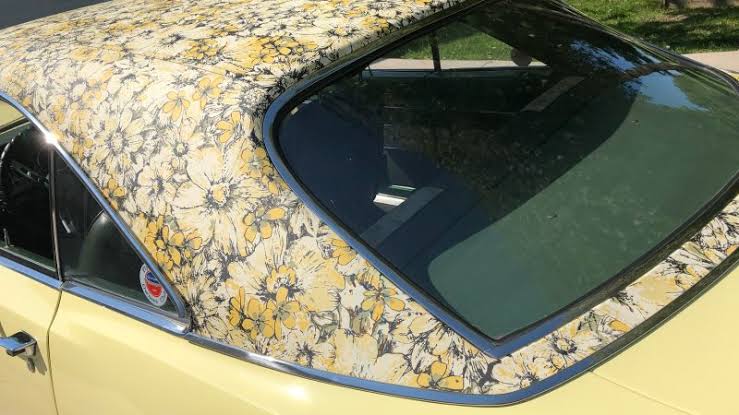
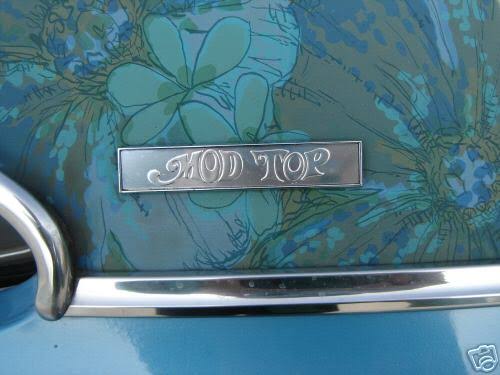
Chrysler rocked the vinyl. Mod tops and floral too!
1 point
-
And the rest....
1 point
-
This stuff takes time when your an amateur haha
1 point
-
1 point
-
Theres an sw20 at takanini pick a part. Just replace it.1 point
-
Rimu dust is pretty toxic. It's noted for being particularly carcinogenic1 point
-
Yesterday, I put the intake. There were no tears, copious swearing and ALMOST one snapped bolt. But not quite. 2000 Honda Integra Type RX-955-Edit by Richard Opie, on Flickr The garage is only wee, so this is a door-up jobby. Yay for a break in the weather. 2000 Honda Integra Type RX-957-Edit by Richard Opie, on Flickr Car goes up, bumper comes off. More stuff needed to come off, too. How easy is it taking off a modern car bumper. This appears to be attached with 2 self tapping screws, 3 push-in clip things and a 10mm bolt. And maybe a hearty splurge of hopes and dreams. 2000 Honda Integra Type RX-962-Edit by Richard Opie, on Flickr The old intake arrangement consisted of this piece of convoluted hose feeding the original airbox. In the interests of total originality, I still have the big resonator that sits up in the guard and all the pieces required to reinstate to OEM will be kept. 2000 Honda Integra Type RX-963-Edit by Richard Opie, on Flickr The airbox has to come out. Along with the radiator overflow bottle and it's bracket. And the support bracket for the airbox. And you also need to undo a stay that connects the clutch flexible hose to the hard line. This becomes evident later in the swear-fest, after Richy says "surely I don't actually need to remove that part." 2000 Honda Integra Type RX-976-Edit by Richard Opie, on Flickr Next, we attach this wee stainless bracket to the bellmouth part of the kit. 2000 Honda Integra Type RX-981-Edit by Richard Opie, on Flickr Then, you slide the bellmouth into the OEM intake arm. You'll see there's a wee spring on the end that goes around the circumference of the arm. This keeps enough tension on the joint to prevent slippage, in lieu of some ghastly looking hose clamp. 2000 Honda Integra Type RX-985-Edit by Richard Opie, on Flickr THEN, oh boy, what a humdinger of a step... the wee bracket bolts onto the mounting tab vacated by one of the three bolts that secured the original airbox. MAGIC. But yeah nah, it located perfectly. 2000 Honda Integra Type RX-991-Edit by Richard Opie, on Flickr The filter - a K&N item made specifically for the kit - then slips onto the bellmouth. It's a pretty tight fit, so it stays put. For now at least. Until the next step. When it seems to be a real sausage in a hallway situation right when you don't want it to be. 2000 Honda Integra Type RX-994-Edit by Richard Opie, on Flickr Unfortunately, I had to use all 7 of my hands to complete this step, so couldn't document the in-progress part. That's a big V-band clamp at the wide end of the airbox. After you have successfully managed to spend most of your life maneuvering the airbox into general position - I took the headlight out also to help - you then have to deal with clamping the bellmouth, filter, and airbox together with this big clamp. Now, the filter loses any conviction whatsoever to retain its interference fit to the bellmouth flange at this stage. This results in MUCH fumbling, and I'm pretty sure one of the instructions in the manual was "say FUCK a lot," but I don't read Japanese so I'm unable to confirm. So yeah, it's quite a challenge to ensure the clamp, er, clamps all three of the components. Often times you'd be like "YUS GREAT SUCCESS" only to realise the bottom (which is totally inaccessible) wasn't properly clamping. 2000 Honda Integra Type RX-995-Edit by Richard Opie, on Flickr Anyway, after saying 'fuck' about 589 times, it paid off and I got it all clamped up. I also added the trumpet to the bottom (fixed in place with aluminised tape) and fixed the bottom snorkel part with the supplied bracket. No pics, cos it was dark and I was mainly fumbling about trying to finish it off. 2000 Honda Integra Type RX-1018-Edit by Richard Opie, on Flickr The next day, the all important task of fitting the sticker was on the agenda. I struggle to attach a WOF sticker without it being 78% air bubble, so trying to place this no doubt expensive adhesive thing was slightly stressful. But we got there. 2000 Honda Integra Type RX-1009-Edit by Richard Opie, on Flickr Final step! Stand back and admire the view. Took it for a test doort round to sheepers place, seems to have fattened up the midrange noticeably in conjunction with the headers. And there's heaps of noise, so this unequivocally means it is faster. Thanks for looking.1 point
-
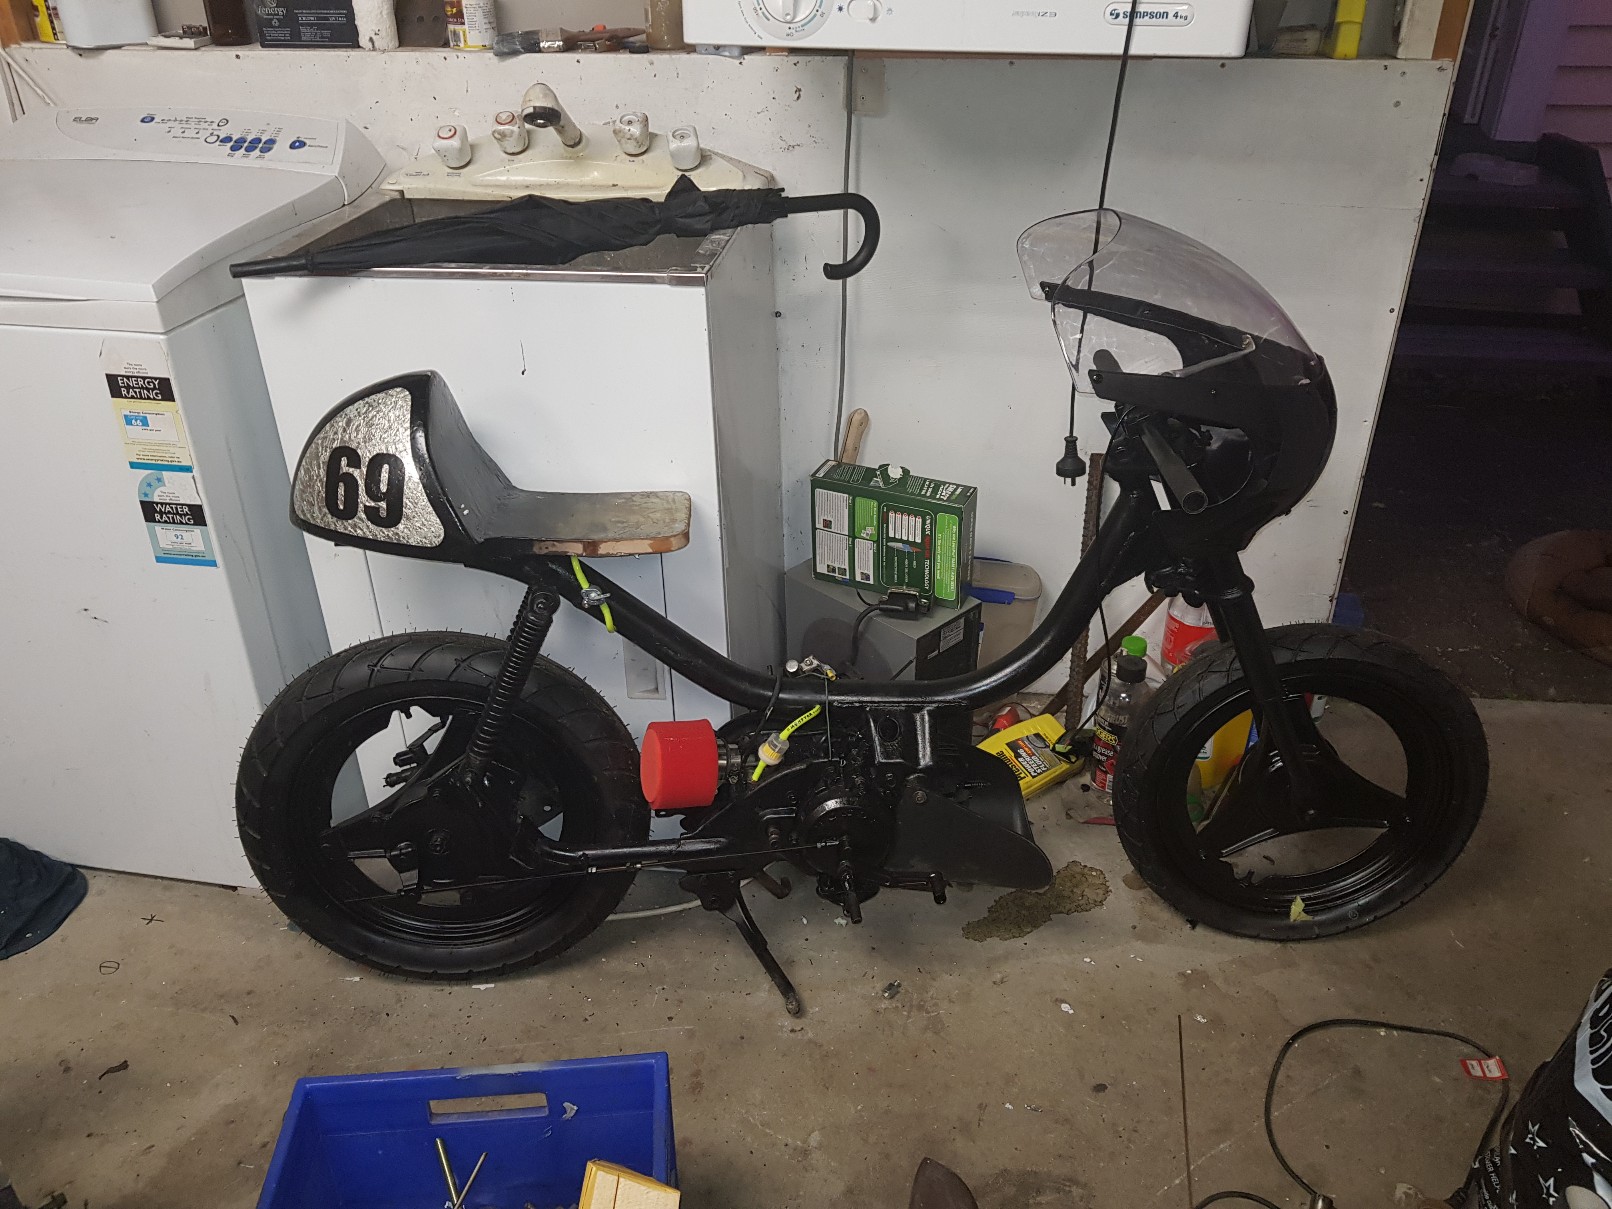
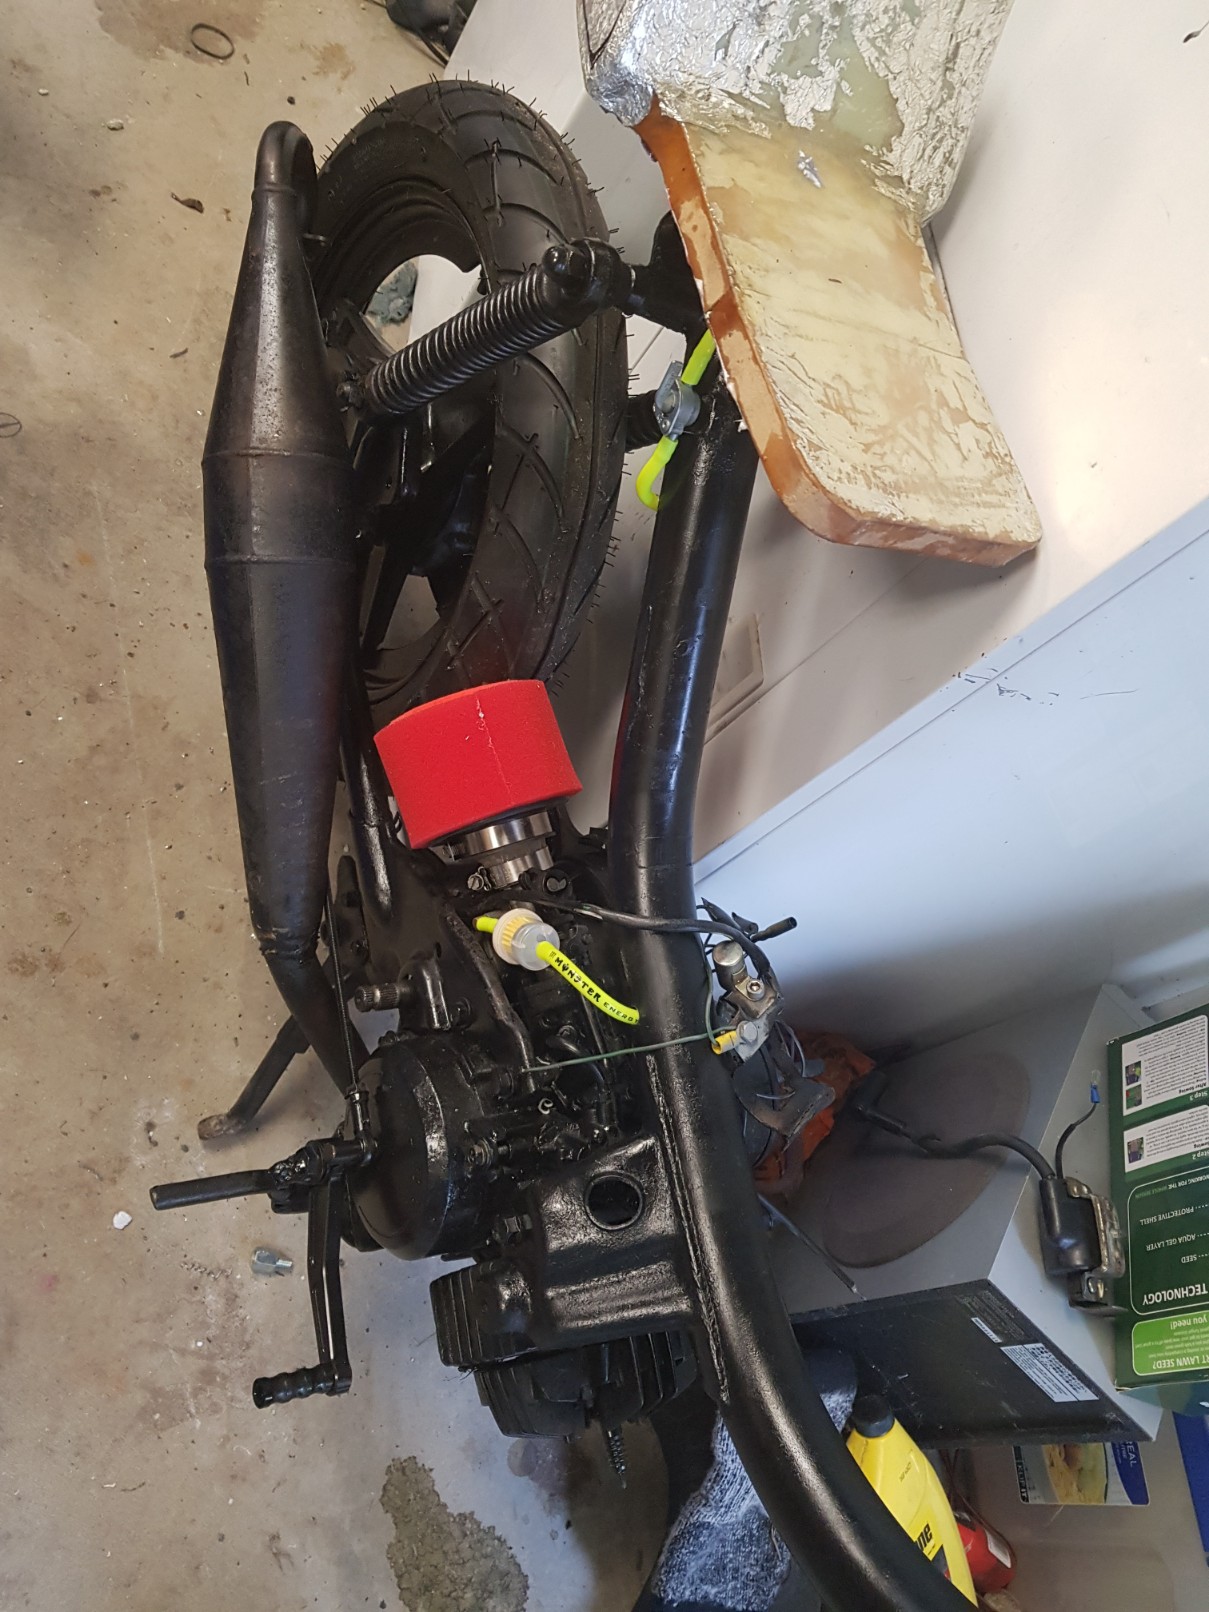
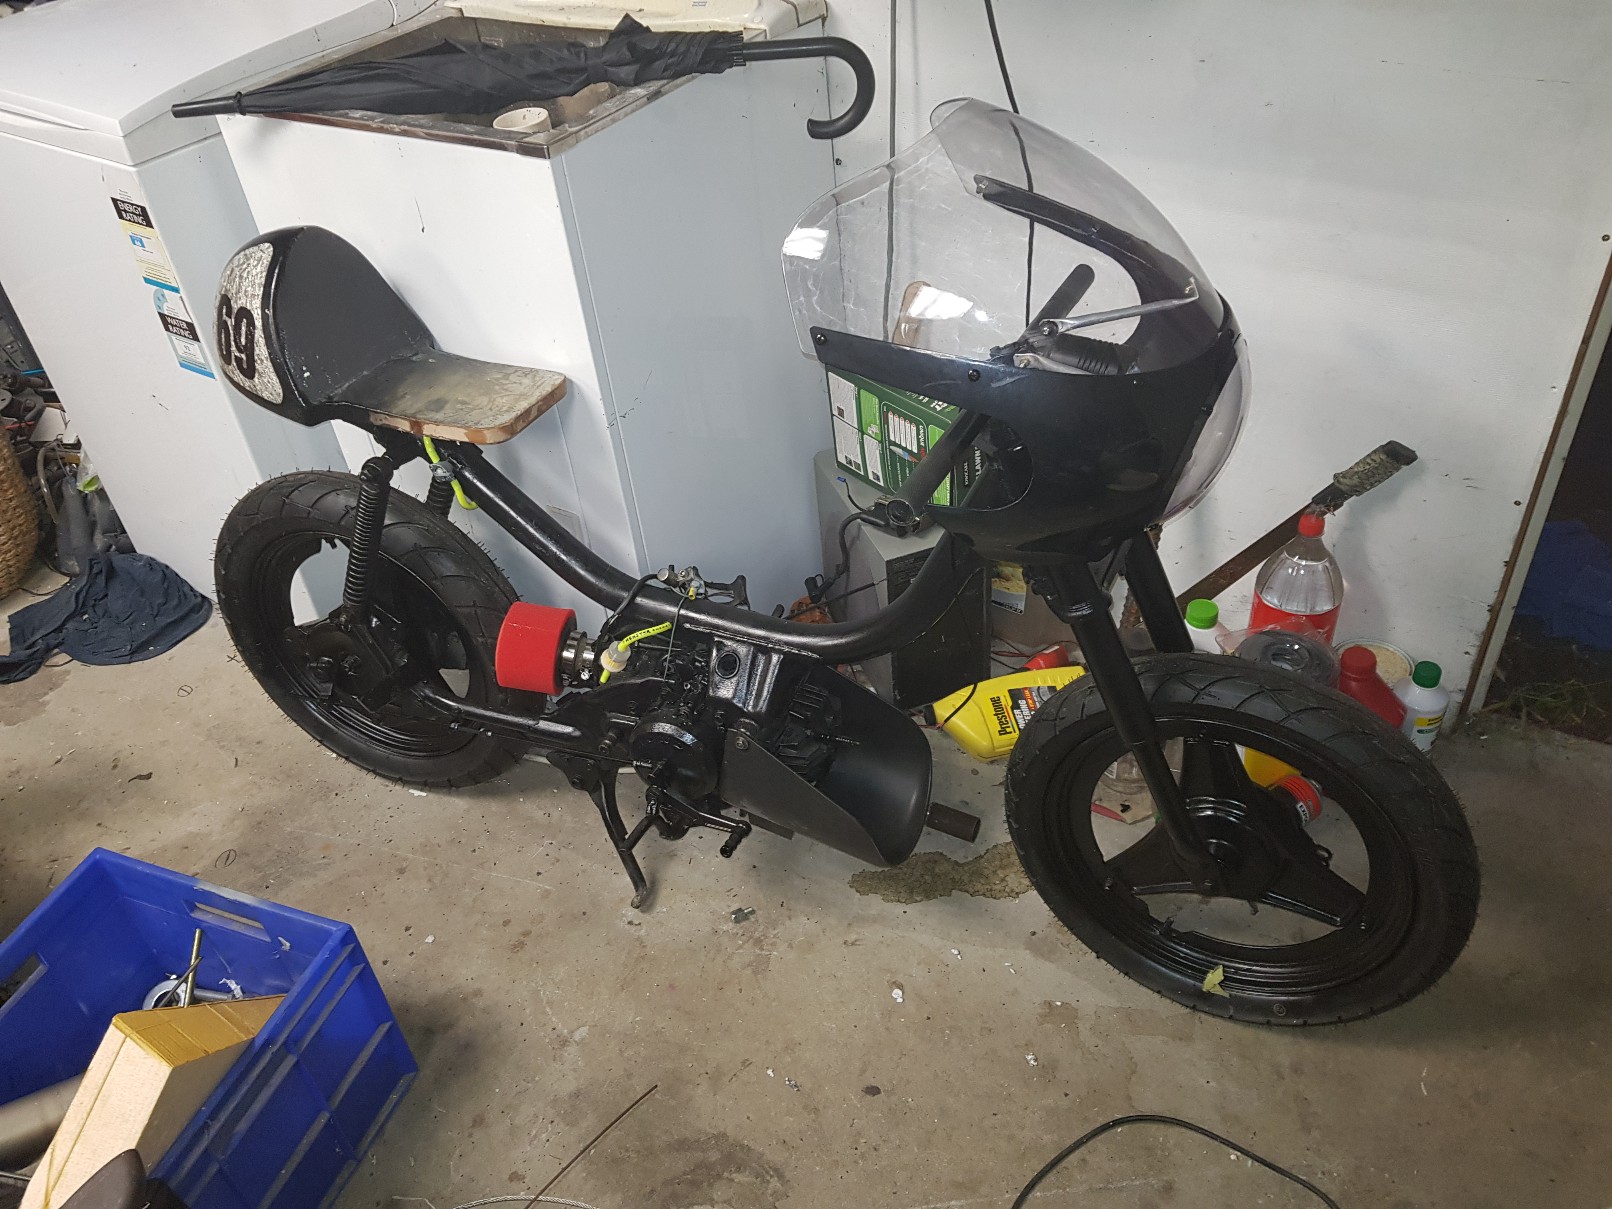
This is getting pretty darn close. I decided to go with a normal hand throttle and hand front brake. I got a nice throttle grip assembly off ali express which ofcourse doesnt fit my current bar diameter. To rectify this i ordered a piece of straight carbon tube from AE I have painted the tank using masks from @Archetype (i may do some pin striping yet), made a fiberglass airfilter adaptor (my air filter is sized to suit an aftermarket carb which i do not have) and ran my fuel lines/ installed a tank outlet fitting. The feont lower scoop/ lip thing is from a cut down 10$ welding helmet.. tacky but i think it works? I knew i wanted a lower lip thing and stood in my shed staring at the walls until i found something easy and available. I also need to cut down the front fairing as it presently extends too far rearward - i want to be able to tuck behind it
1 point
-
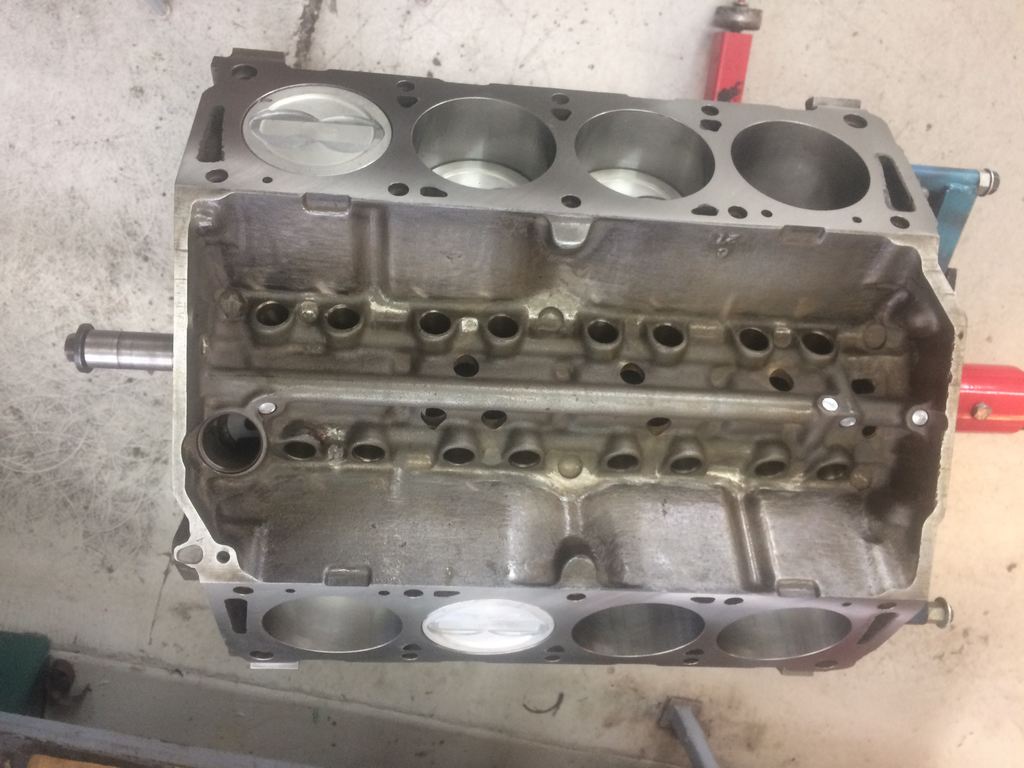
Once the engine and interior had been removed from the car I started stripping the underseal. Used a heat gun, scraper, hammer and chisel. In hindsight I should have used dry ice but I didn't know about it at the time! Next time I will definitely build a rotisserie as chippng this stuff off while lying on your back on a concrete floor is bloody awful. As to be expected I uncovered a few bits of rust but not too bad overall. Before I bought this car I had another that I was going to rebuild but the state of the shell meant it made far more sense to repair this one. Shell stripped and ready to go to the panel beaters. The panel work is being done by a friend from the car club. He has done top notch work on lots of the club members cars so I wasn't going to turn him down when he offered to complete the work on my car.1 point
-
Man it must be great being able to whip things up on the lathe like that! Also interesting re the testing station. My brother took his Surf there a few months back (32s, 2" lift, spotlights etc, nothing out of the ordinary) and they went to town on it. Wanted proof from Toyota that the lift wasn't more than 2", made him take all the stickers off the side windows, also wanted him to remove the lower half of the dash to prove there wasn't an odometer switch in there etc. Won't be going there ever again.0 points


.thumb.jpg.b5491dbec1053270a4d99ed376fc2c36.jpg)
This leaderboard is set to Auckland/GMT+12:00