
Leaderboard


Popular Content
Showing content with the highest reputation on 07/02/20 in all areas
-
18 points
-
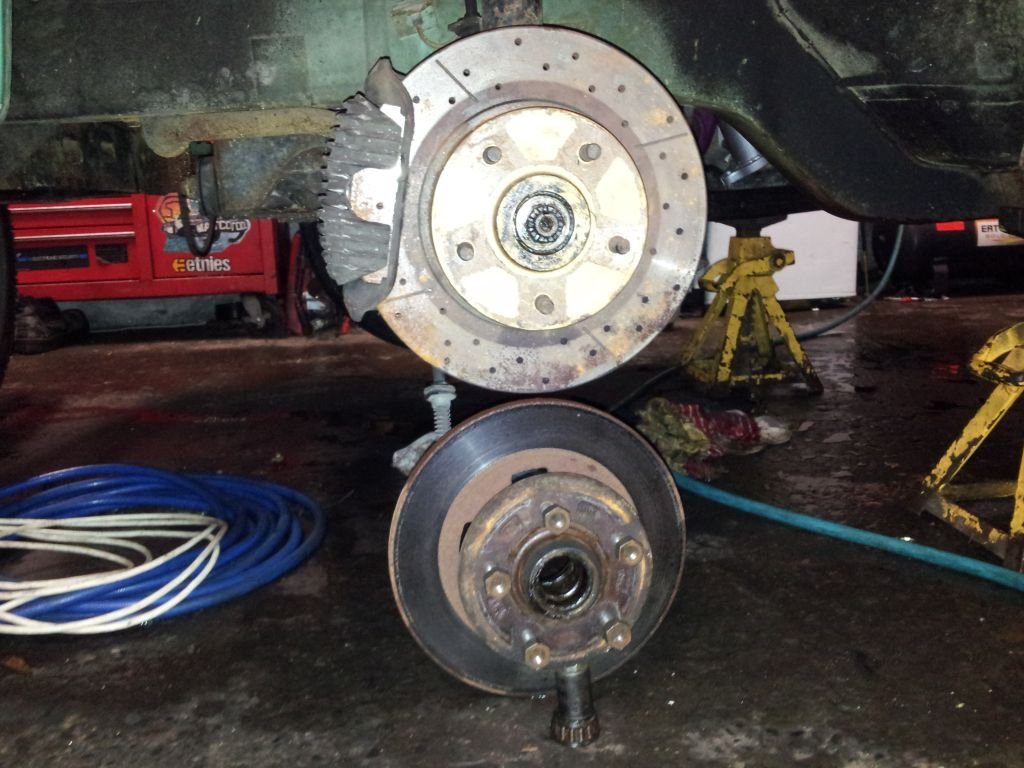
With show day now only a couple of days away, the rush was on. I had a car on stands, with a diff on the ground. Not ideal. Having found the shims to be ruined in the last post I ordered a set with a few different sizes from SNG Barratt in the UK, which arrived in record time. At the same time, I also decided that since the diff was on the ground, and I didn't want to have to pull it out again I would (stupidly) replace the diff output oil seal as that was leaking a few drops every now and then, so ordered a set of new seals. You can see the aftermath of the seal leaking here. All down the side of the diff. Also note the sweet two battery method for supporting the diff. This thing weighs a ton, so making sure it's well supported and stable is important. I did a lot of research into disassembly and reassembly of the output shaft, but by far the best resource was this Youtube video. The output shaft takes a bit of work to remove. After draining the diff, remove the lock wire and then the bolts holding the flange to the housing. With them removed its a case of using a soft hammer and a pry bar to lever the output shaft assembly out of the housing. I found it easiest to rotate the assembly and lever off the ears with the bolt holes. Eventually it will pop out. Looking a bit gross It looks like oil was bypassing the O-Ring, and leaking from the shaft seal. Disassembly of the assembly isn't hard. If you want to reuse the bearings and crush tube you will need to mark the nut and shaft (the shaft is SUPER hard and instantly rounded off the end of all my punches) and count the turns as the nut is removed. This is so you can tighten the nut to the same preload. Next tap down the locking tab, and remove the nut. The nut is HUGE and will be tight. I used a massive adjustable spanner. The nut requires a 1-7/8" or 48mm spanner. I happened to end up with both. The ring spanner is a couple of foot long. With the nut removed, its time to tap the shaft out. Support the assembly upside down (studs pointing down) from the mounting flange. Now carefully tap the end of the shaft with a soft hammer. This should start by freeing up the inner bearing, which can be removed, and then, in theory, should push the shaft out through the outer bearing, taking the seal with it. In my case this didn't go as planned, and the outer bearing more or less exploded and all the rollers decided they didn't want to be part of this anymore. This ruins any plans of reusing the bearings and crush tube. So with that in mind, I shot off a quick order to my Jag parts suppliers (Rodney Jaguar Rover Spares) and ordered some new bearings and a couple of crush sleeves. It turns out this bastard is the reason the bearing came apart That old crusty thing is the dust shield over the oil seal. Both that shield, and the oil seal were thoroughly rusted in place, so of course couldn't be popped out with the bearing as it should have. You cant see the state of this with the shaft/flange in place. I used a chisel to remove both One warning, that dust shield is obsolete now and unable to be supplied. After much research I'm of the opinion it's not needed, hence why Jag stopped making them and no one remade them. Some other models that use the same diff, and some later cars, don't seem to use them either. I guess if you can reuse yours, use it, otherwise I went without. One last thing I needed to do was remove the outer races of the bearings. I used a punch to tap these out While I waited for parts everything got a good clean in the parts washer. I didn't bother to strip off the old paint, as I wasn't going to do the rest of the diff either. A couple of days later, with new bearings and seals in hand, I set about refitting the new bearings. As mentioned in the video, I too ground down the old outer race and used that to press the new race in. This took off just enough that the old race wouldn't stick in the housing. I taped the race to a big socket and used this in the vice to press it in place And the inner race Next I packed the new outer bearing and insert it into the housing Followed by the oil seal. This was a prick to get into the housing. And then the shaft gets dropped through the bearing and seal, and then it needs to be tapped through the bearing. This takes a bit of whacking. It pays to check against the other output shaft as to how far you need to tap it down. I found it needs to go further down than you would expect, but if you don't go far enough it will upset everything from the flange outwards (brake disk sitting central in the caliper, and camber). If you go too far I suspect you will get binding on the housing, so take care. Once the shaft is in, flip it over and drop the new crush tube down the shaft and then the grease packed inner bearing goes in, followed by the locking plate and nut. Now its time to crush that tube. This takes a hell of a lot of force to do. The spanner I had was too short to get the required leverage, so I used my jack handle instead by placing the nut in the vice and using the studs on the flange to turn it. I protected the studs with some tube offcuts. In terms of setting the preload I will recommend you watch the above video as he goes into how to correctly set it, using a spring scale. Its not rocket science, but easier to just watch him do it. Once the tube is crushed and the preload is set, lock down the nut, install the new O-Ring and you're done. Reinstall the assembly in the diff. This will take some force with a soft hammer to tap it back in, just make sure the splines line up first. Now it was time to look at the nice new shims. Mmm, clean. They come covered in oil, but I chose to also slather them in copper grease to help stop them rusting or sticking in future. I went with the same stack on the right side, which was perfect for disk placement (central in the caliper), but the left side ended up needing another 0.10 shim to align the disk. I'm not sure if maybe it wasn't centered before I pulled it apart, or if the new rotor is slightly different. I test fitted the disks with the new shims and still got great runout readings, so proceeded with installing the calipers for the final time. I'm pissed off I have to reuse the old rubber flexi hose. I have a set of nice braided lines en route, but they have gone missing somewhere between the UK and NZ. They'll probably show up tomorrow... And the handbrake calipers went on next. I had some nice new brass springs to fit but I just couldn't free the old ones up, so gave in and fitted as they were. I did replace the two pins that were fitted dry as they had pitting and scoring. New locking tabs were fitted also. Now it was time for one of the worst jobs I've had to do on a car for a long time. Reinstalling the diff. If the exhaust hadn't been designed by an idiot it would have been fine, but instead, it had been built in such a way that there isn't quite enough space to slip the diff with brakes fitted between the two pipes, and it has no flanges, and the two pipes are welded to a bracket.... but we had to try anyway. On the jack it went (for now) And into the boot went a bunch of weights (to try and hold the back of the car down since there was no weight in it anymore) And then the struggle began. First, we tried to just lift it into place. Nope. No go. Wouldnt even get under the car on the jack. After much pissing around (including taking the diff off the jack, and realising we couldn't get it back on the jack under the car) we eventually wiggled it in on an angle, from the side, on the jack. It got pretty hairy. Then I tried to lift just the front so I could get the front mount in and use that to pivot the rear into place. Nope. Started to lift the car off the axle stands. Not good. We had been at this for a couple of hours now and getting pretty tired of it. Everything was fighting us. Even the damn arms were getting in the way. This one ended up being held forward by an axle stand and steadied by a couple of bungee cords attached to the house. Finally, plan B came into play. I tried to resist, but it just wasn't going to happen otherwise. Out came the reciprocating saw. It was cutting time. With the exhaust now in two pieces, things were looking up Now we had ample space for the brake calipers to clear the exhaust, and without much more faffing about, the whole lot slid nicely into place. Unfortunately, we kinda ran out of interest here, so sorry for the lack of photos. We bolted everything back together, and I sent my awesome helper/wife out to get some exhaust sealing tape and cement. She's a keeper for sure, not only did she return with what I needed, but also brought back some much needed sustenance. The idea was to use a clamp I purchased earlier for this purpose (always have a plan B), and clamp over the exhaust tape. The tape was to seal the gap, and the clamp to support the pipe and hold it in place. This plan worked well, and it seems we have an exhaust that is in one piece again and doesn't leak. The longish term plan is to have the exhaust redone anyway as it sits way too low, its too loud, and doesn't link the two banks so sounds weird. So, with everything buttoned back up, diff full of oil, rear brakes bled, it was time for a test run. The brakes are a little spongy, I suspect there is air in the front (the master cylinder level got a bit low in the couple of weeks of sitting without brakes), so will bleed that tomorrow, but the shudder is completely gone. Just smooth (if vague) braking. Obviously the worst was in the rear brakes, but I still need to replace the front rotors as they have worn undersize and still have excessive runout. Plus, who doesn't want flash slotted rotors? Everything seems to be working as it should too, which is promising. At this rate, it will be a push to get the car ready for Sunday, but since we are rolling, and driving again, that's a big weight off my shoulders. We can do it, it's so close.9 points
-
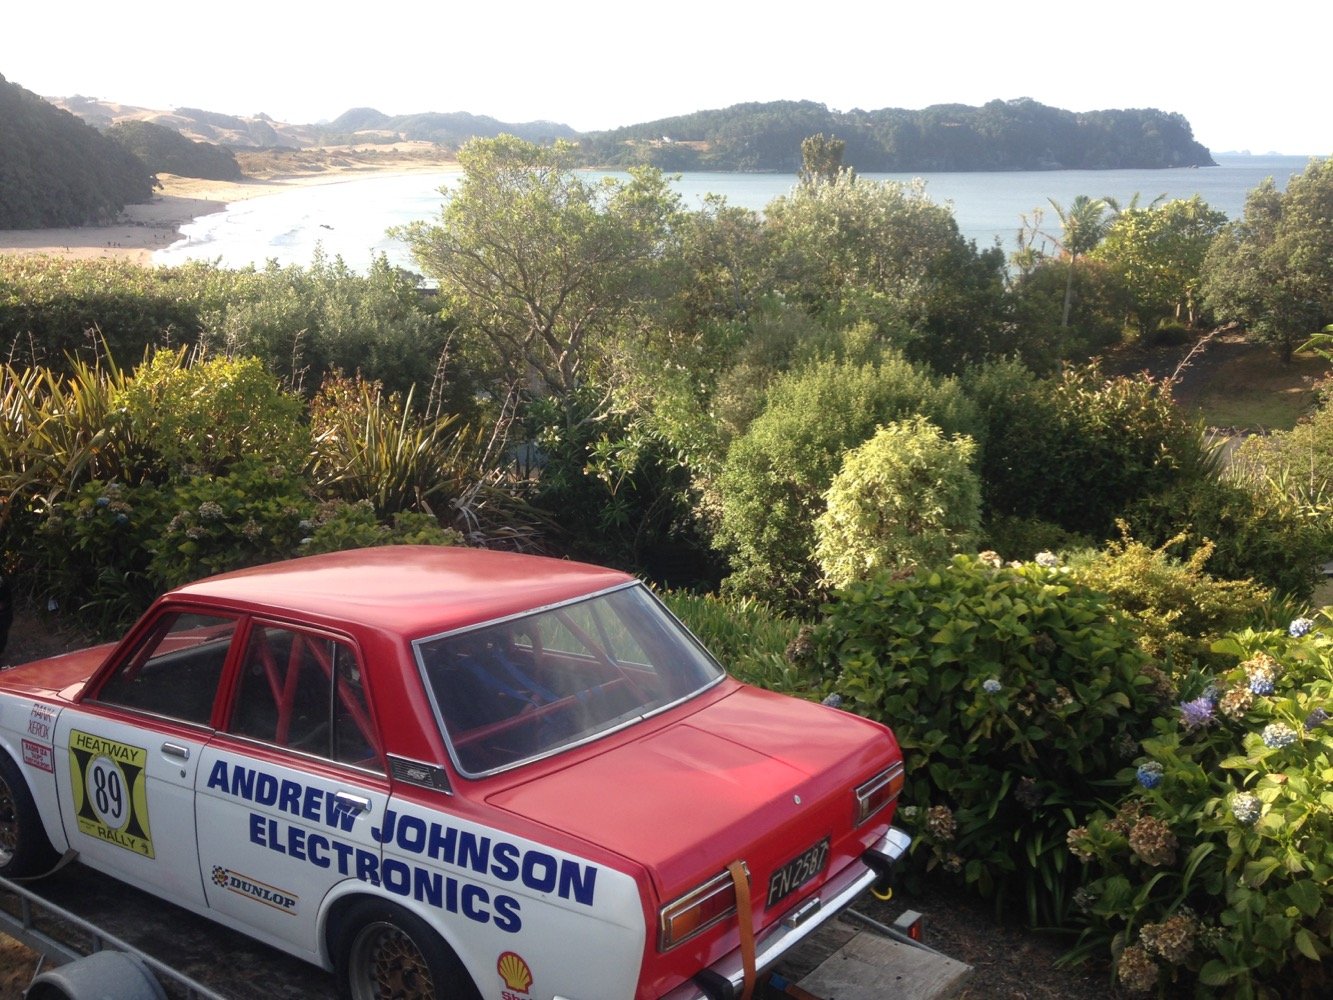
Arrived into Hahei this evening, all set for scrutineering in the morning then an afternoon looking around, much fun ahead.
 9 points
 -
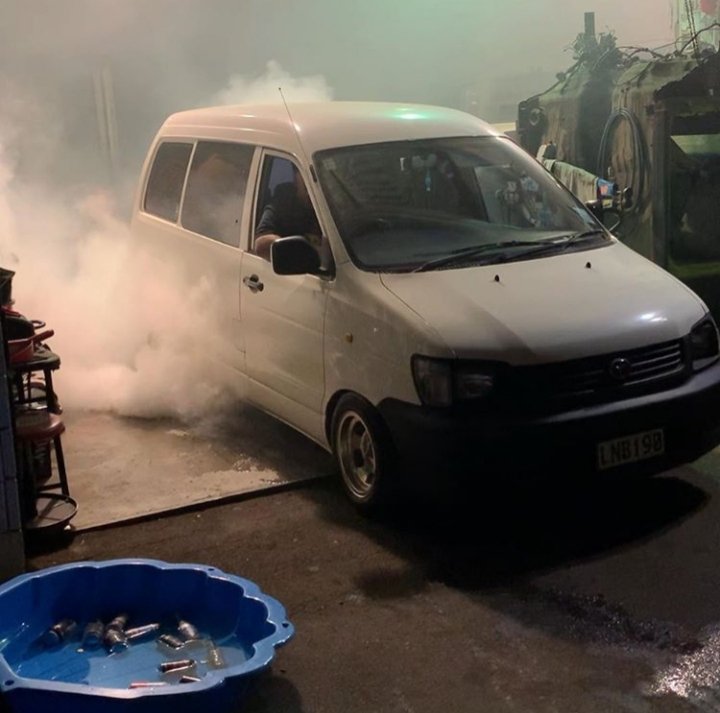
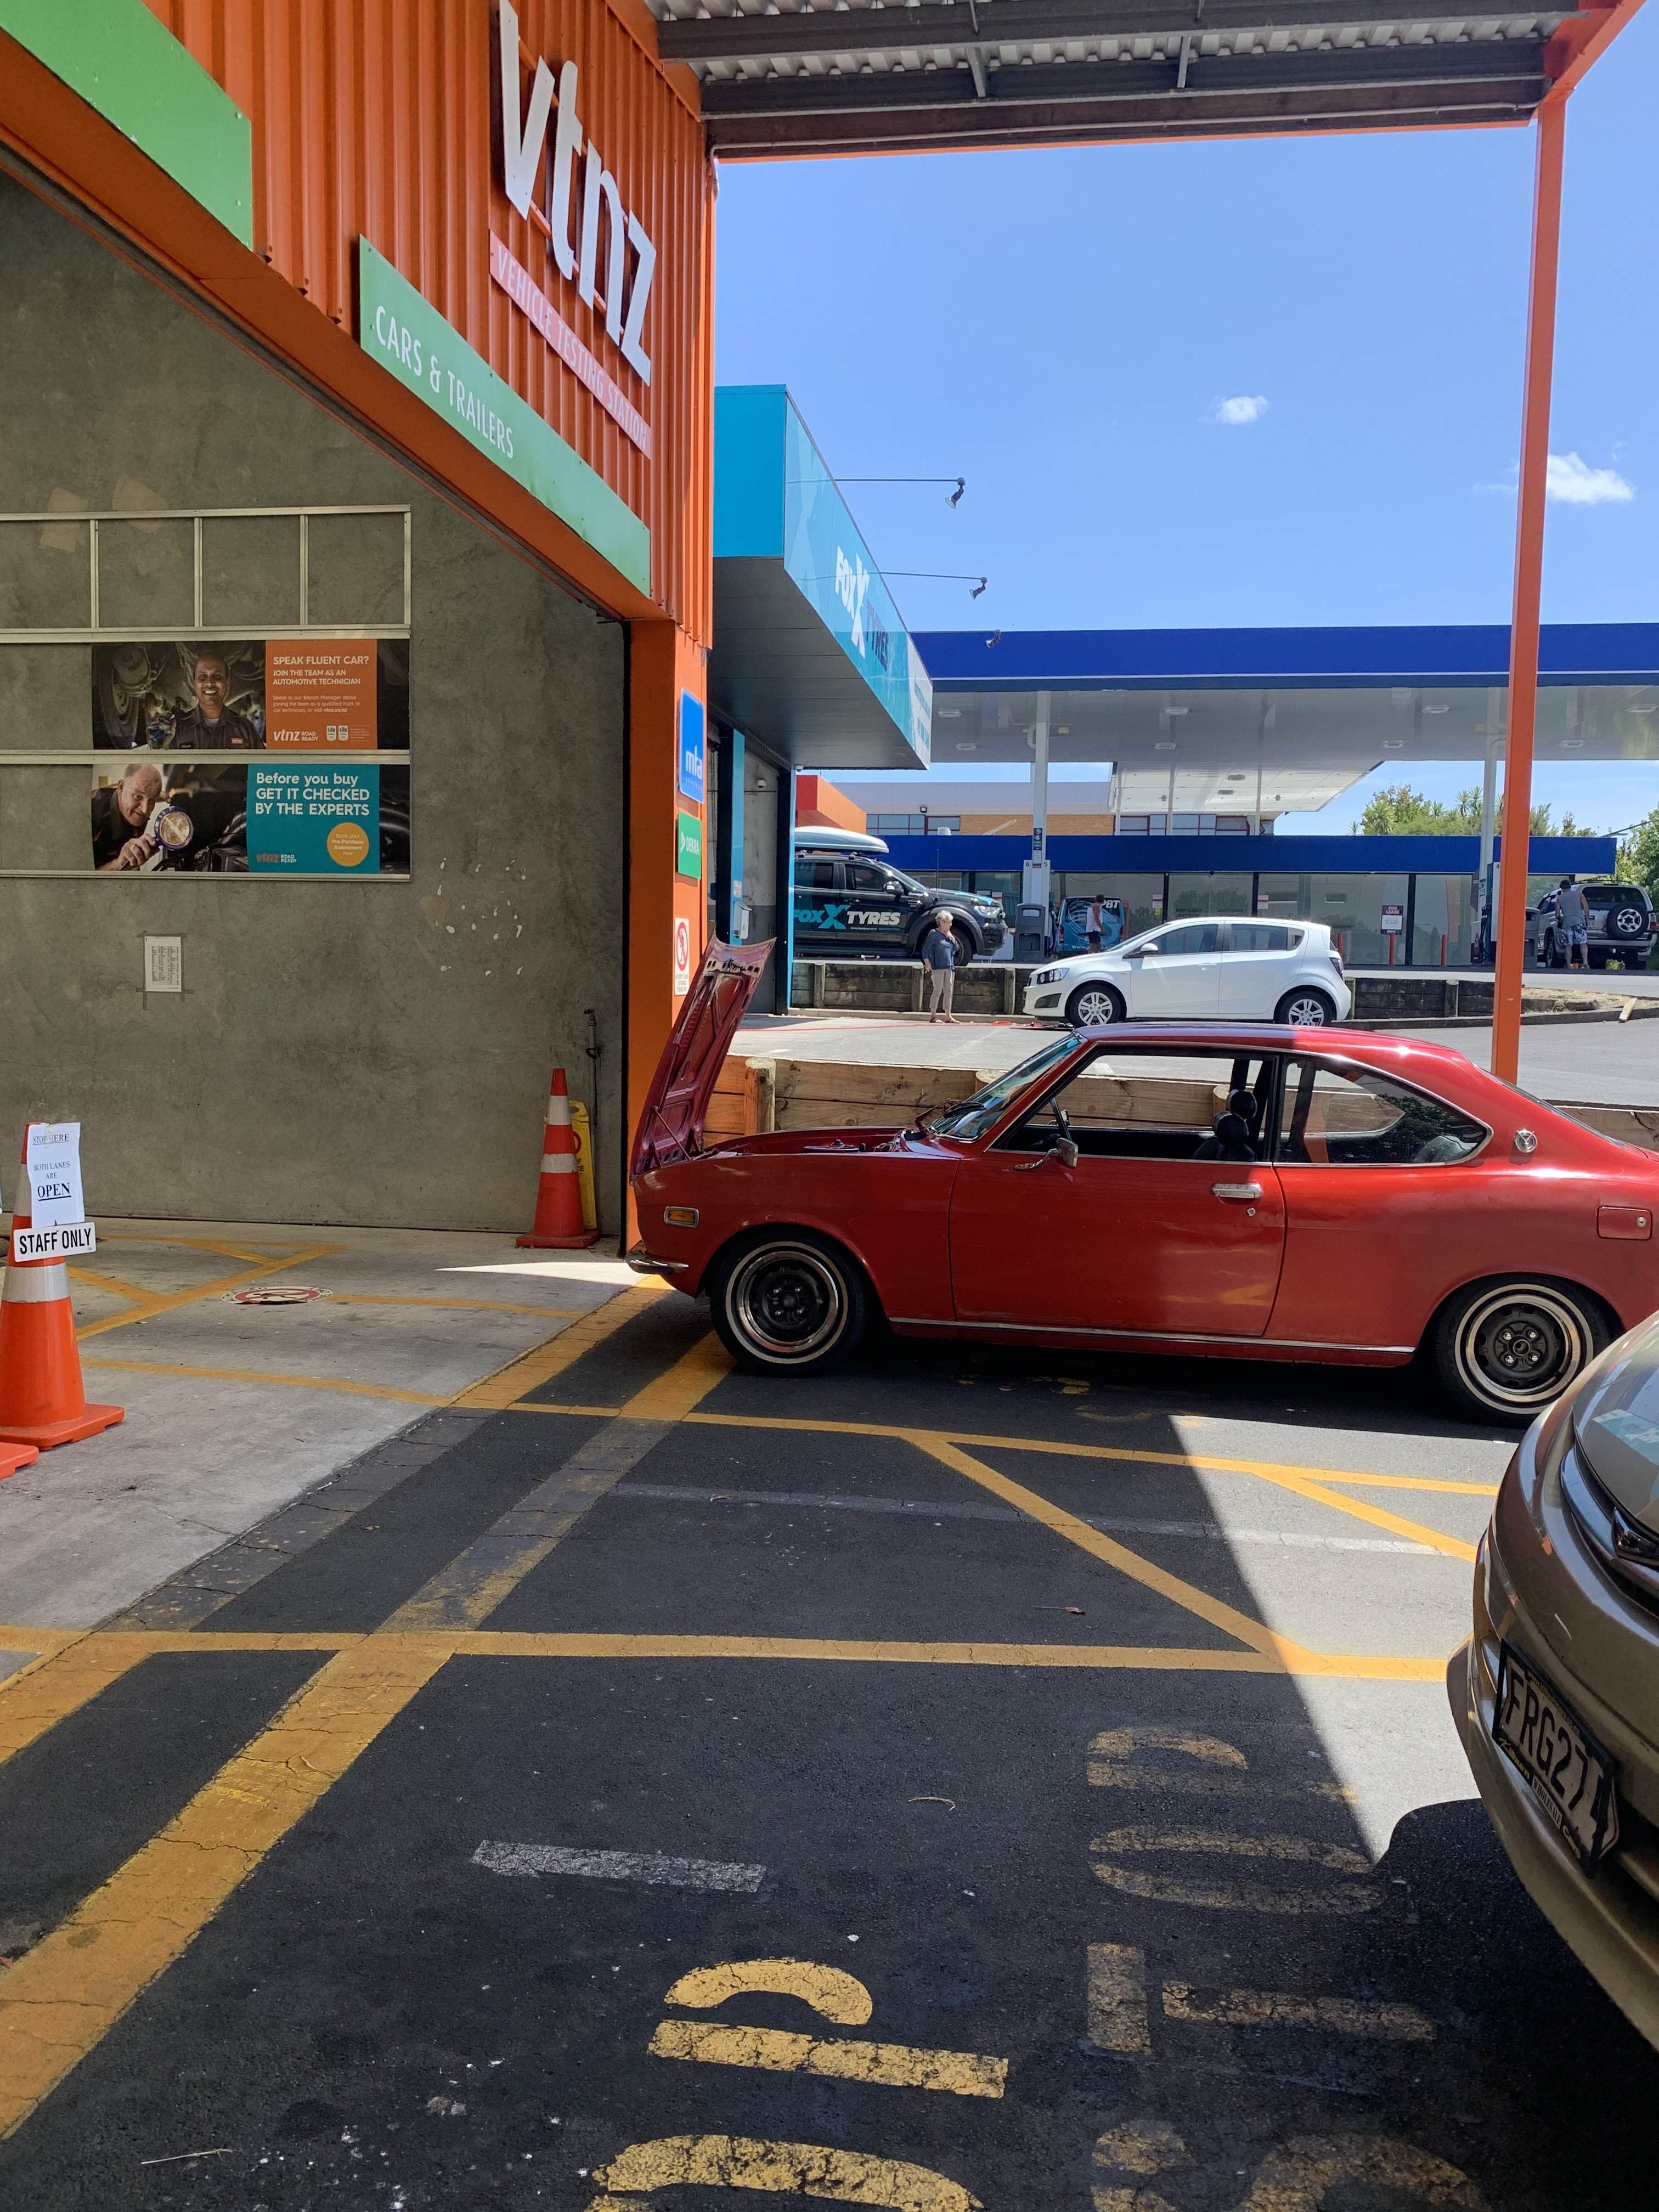
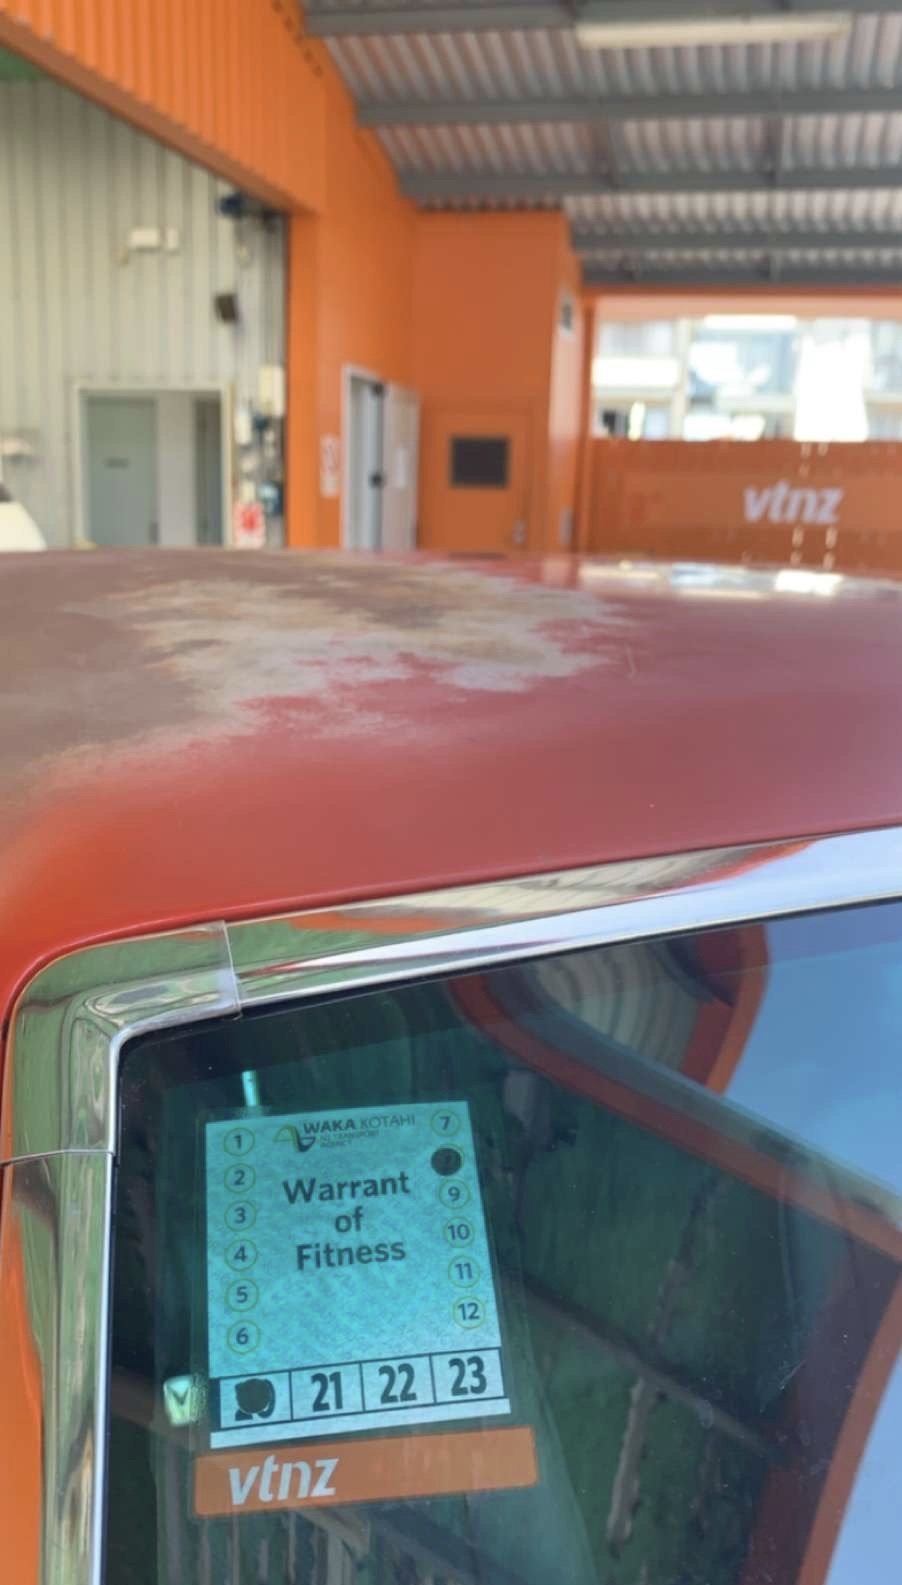
Update - rod tune complete and now the 51 IDA is singing. If anyone is off to Reunion next week come say hi - I’m there Friday to Sunday. The brake master sht itself and leaked on the RH chassis rail.... I ordered another master (Mazda 808) and we bled it last night. That and found that I was missing a lower rear calliper bolt so I’ve replaced that. fresh VTNZ WOF today.
6 points
-
The rules say you cant have individual wheel control, and you have to have a pair of valves for each bag basically, to prevent the air transferring across when you go around a corner So the problem with that is it's quite difficult to get a car to come up level every time when the switch for up or down operates both valves at the same time. In theory it works if the lines are all the same volume but in practice it doesnt The best system I've seen is the e level one that has the height sensor that attaches to the suspension rather than the pressure based system. Even those have a few issues at cert time, mostly around the controller The rulebook really needs an update, its 12 years old now and air suspension systems have progressed a bit from when it was written5 points
-
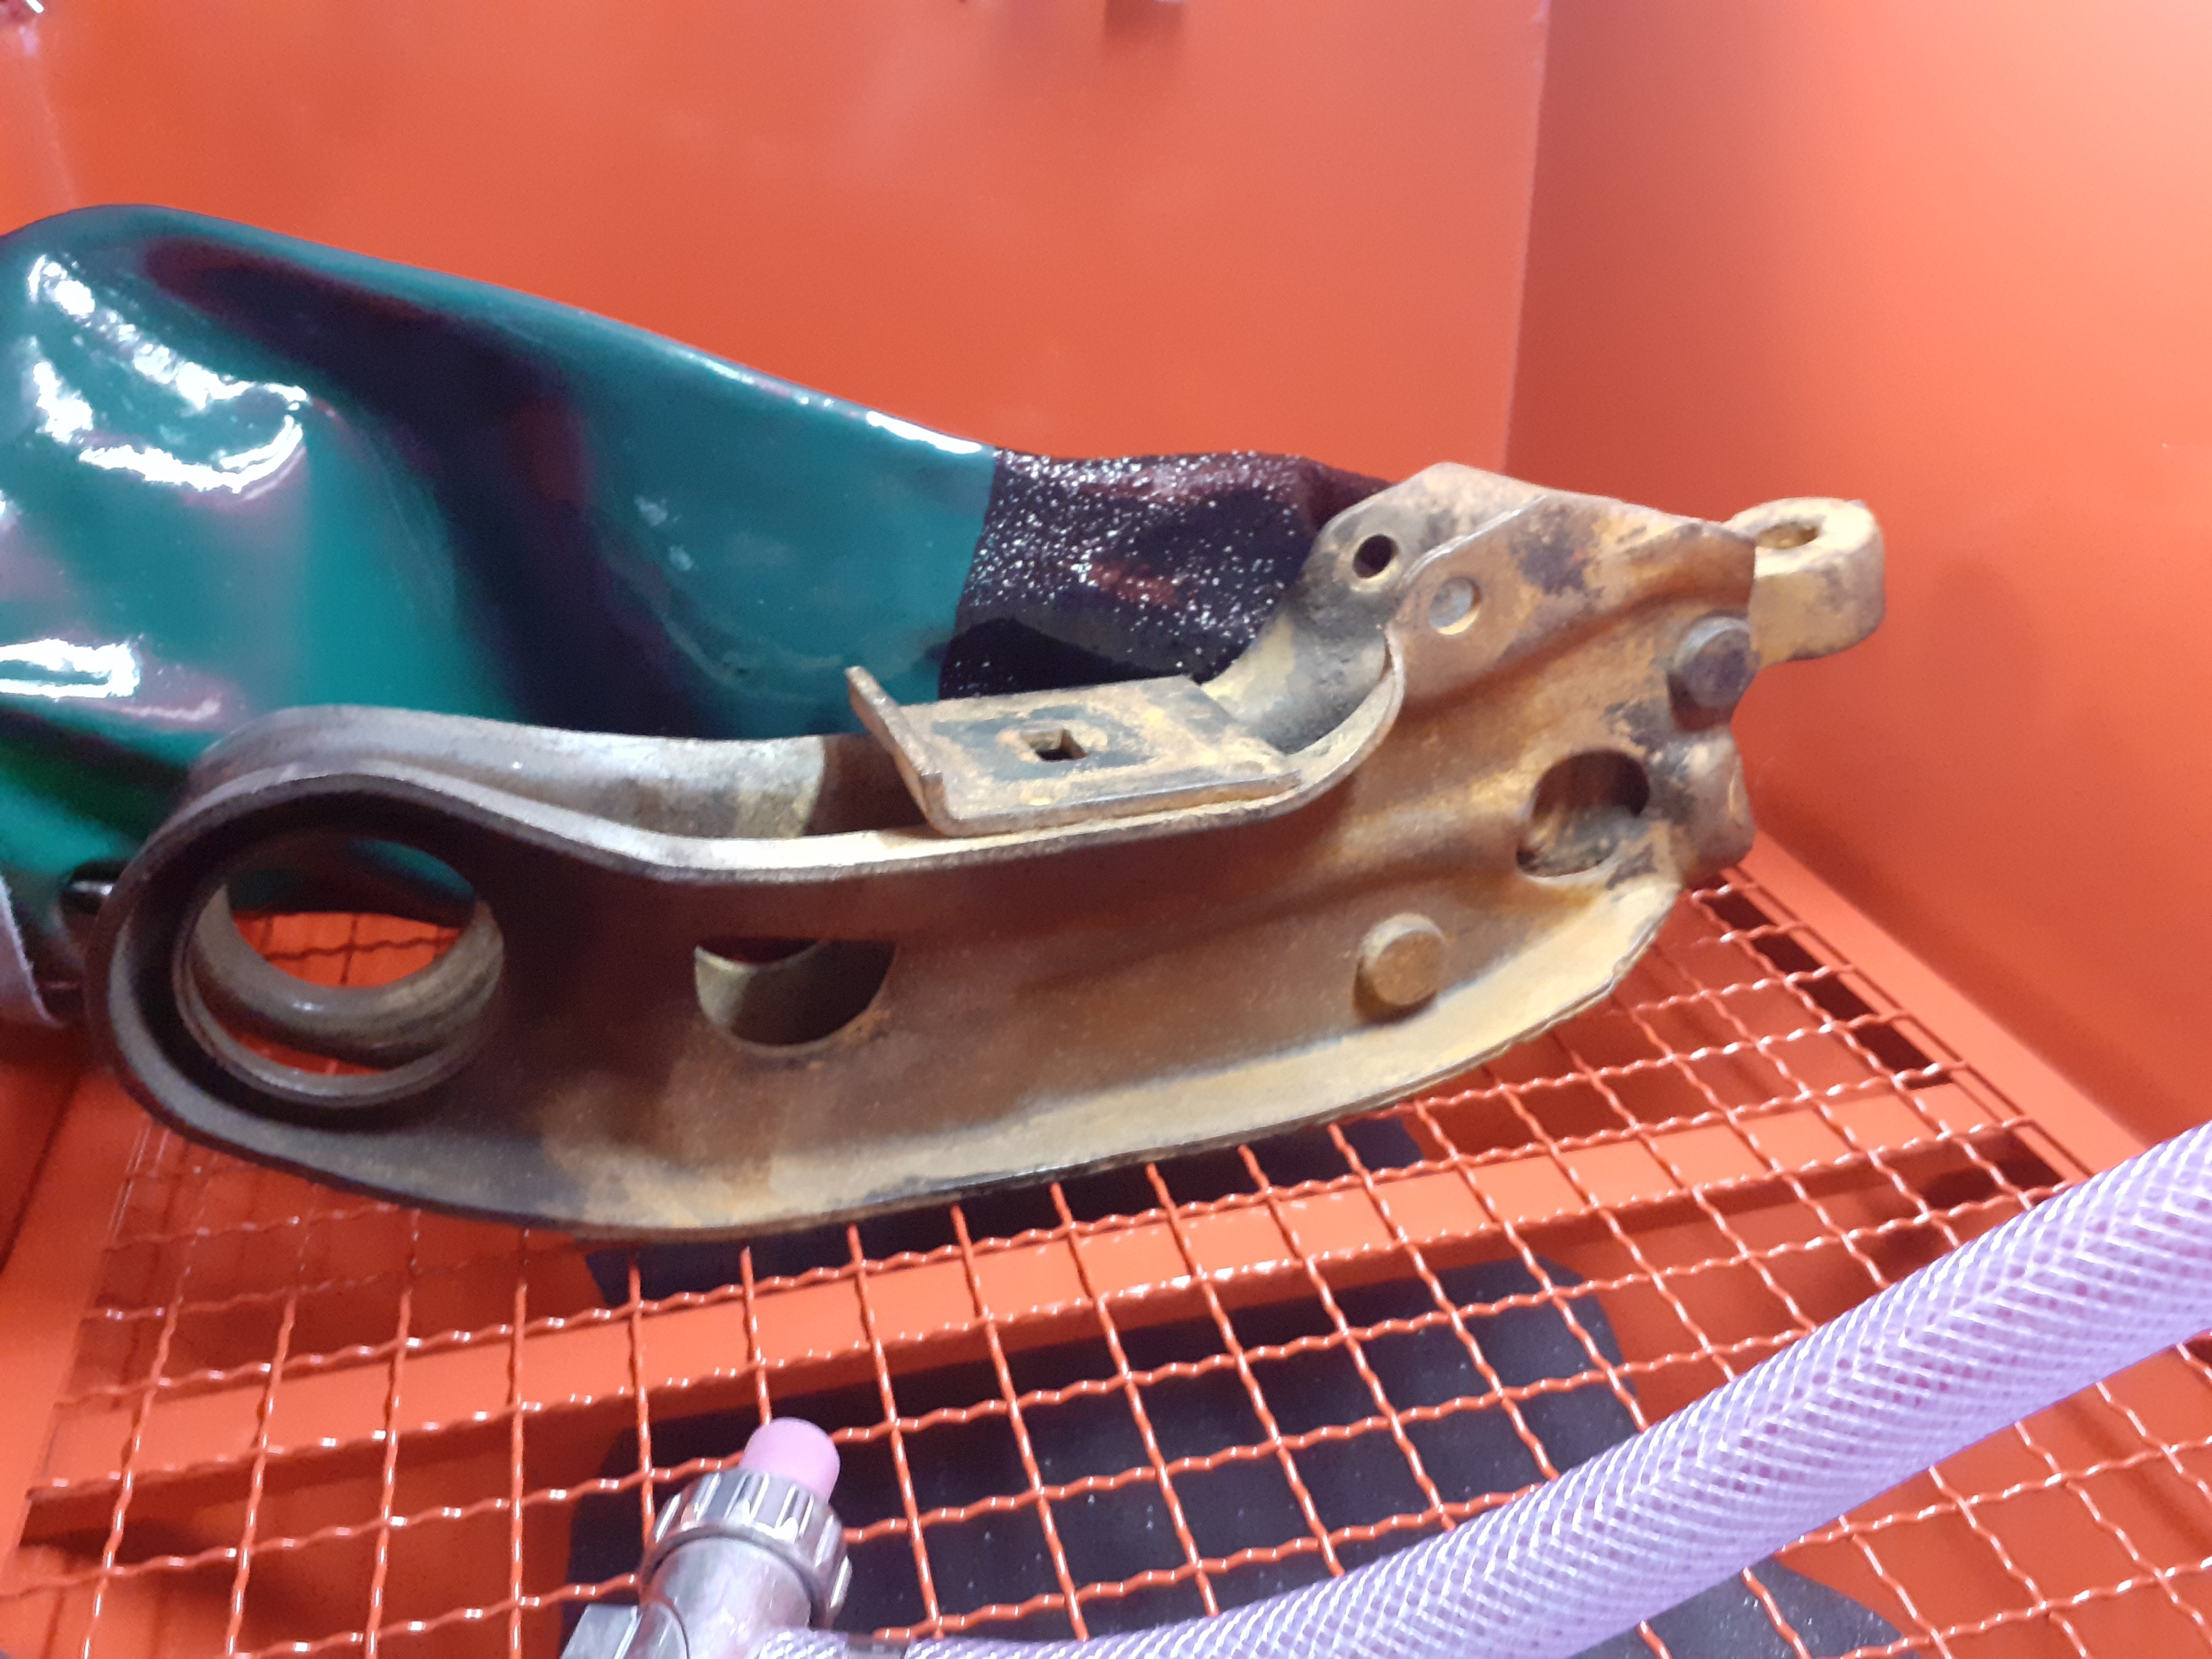
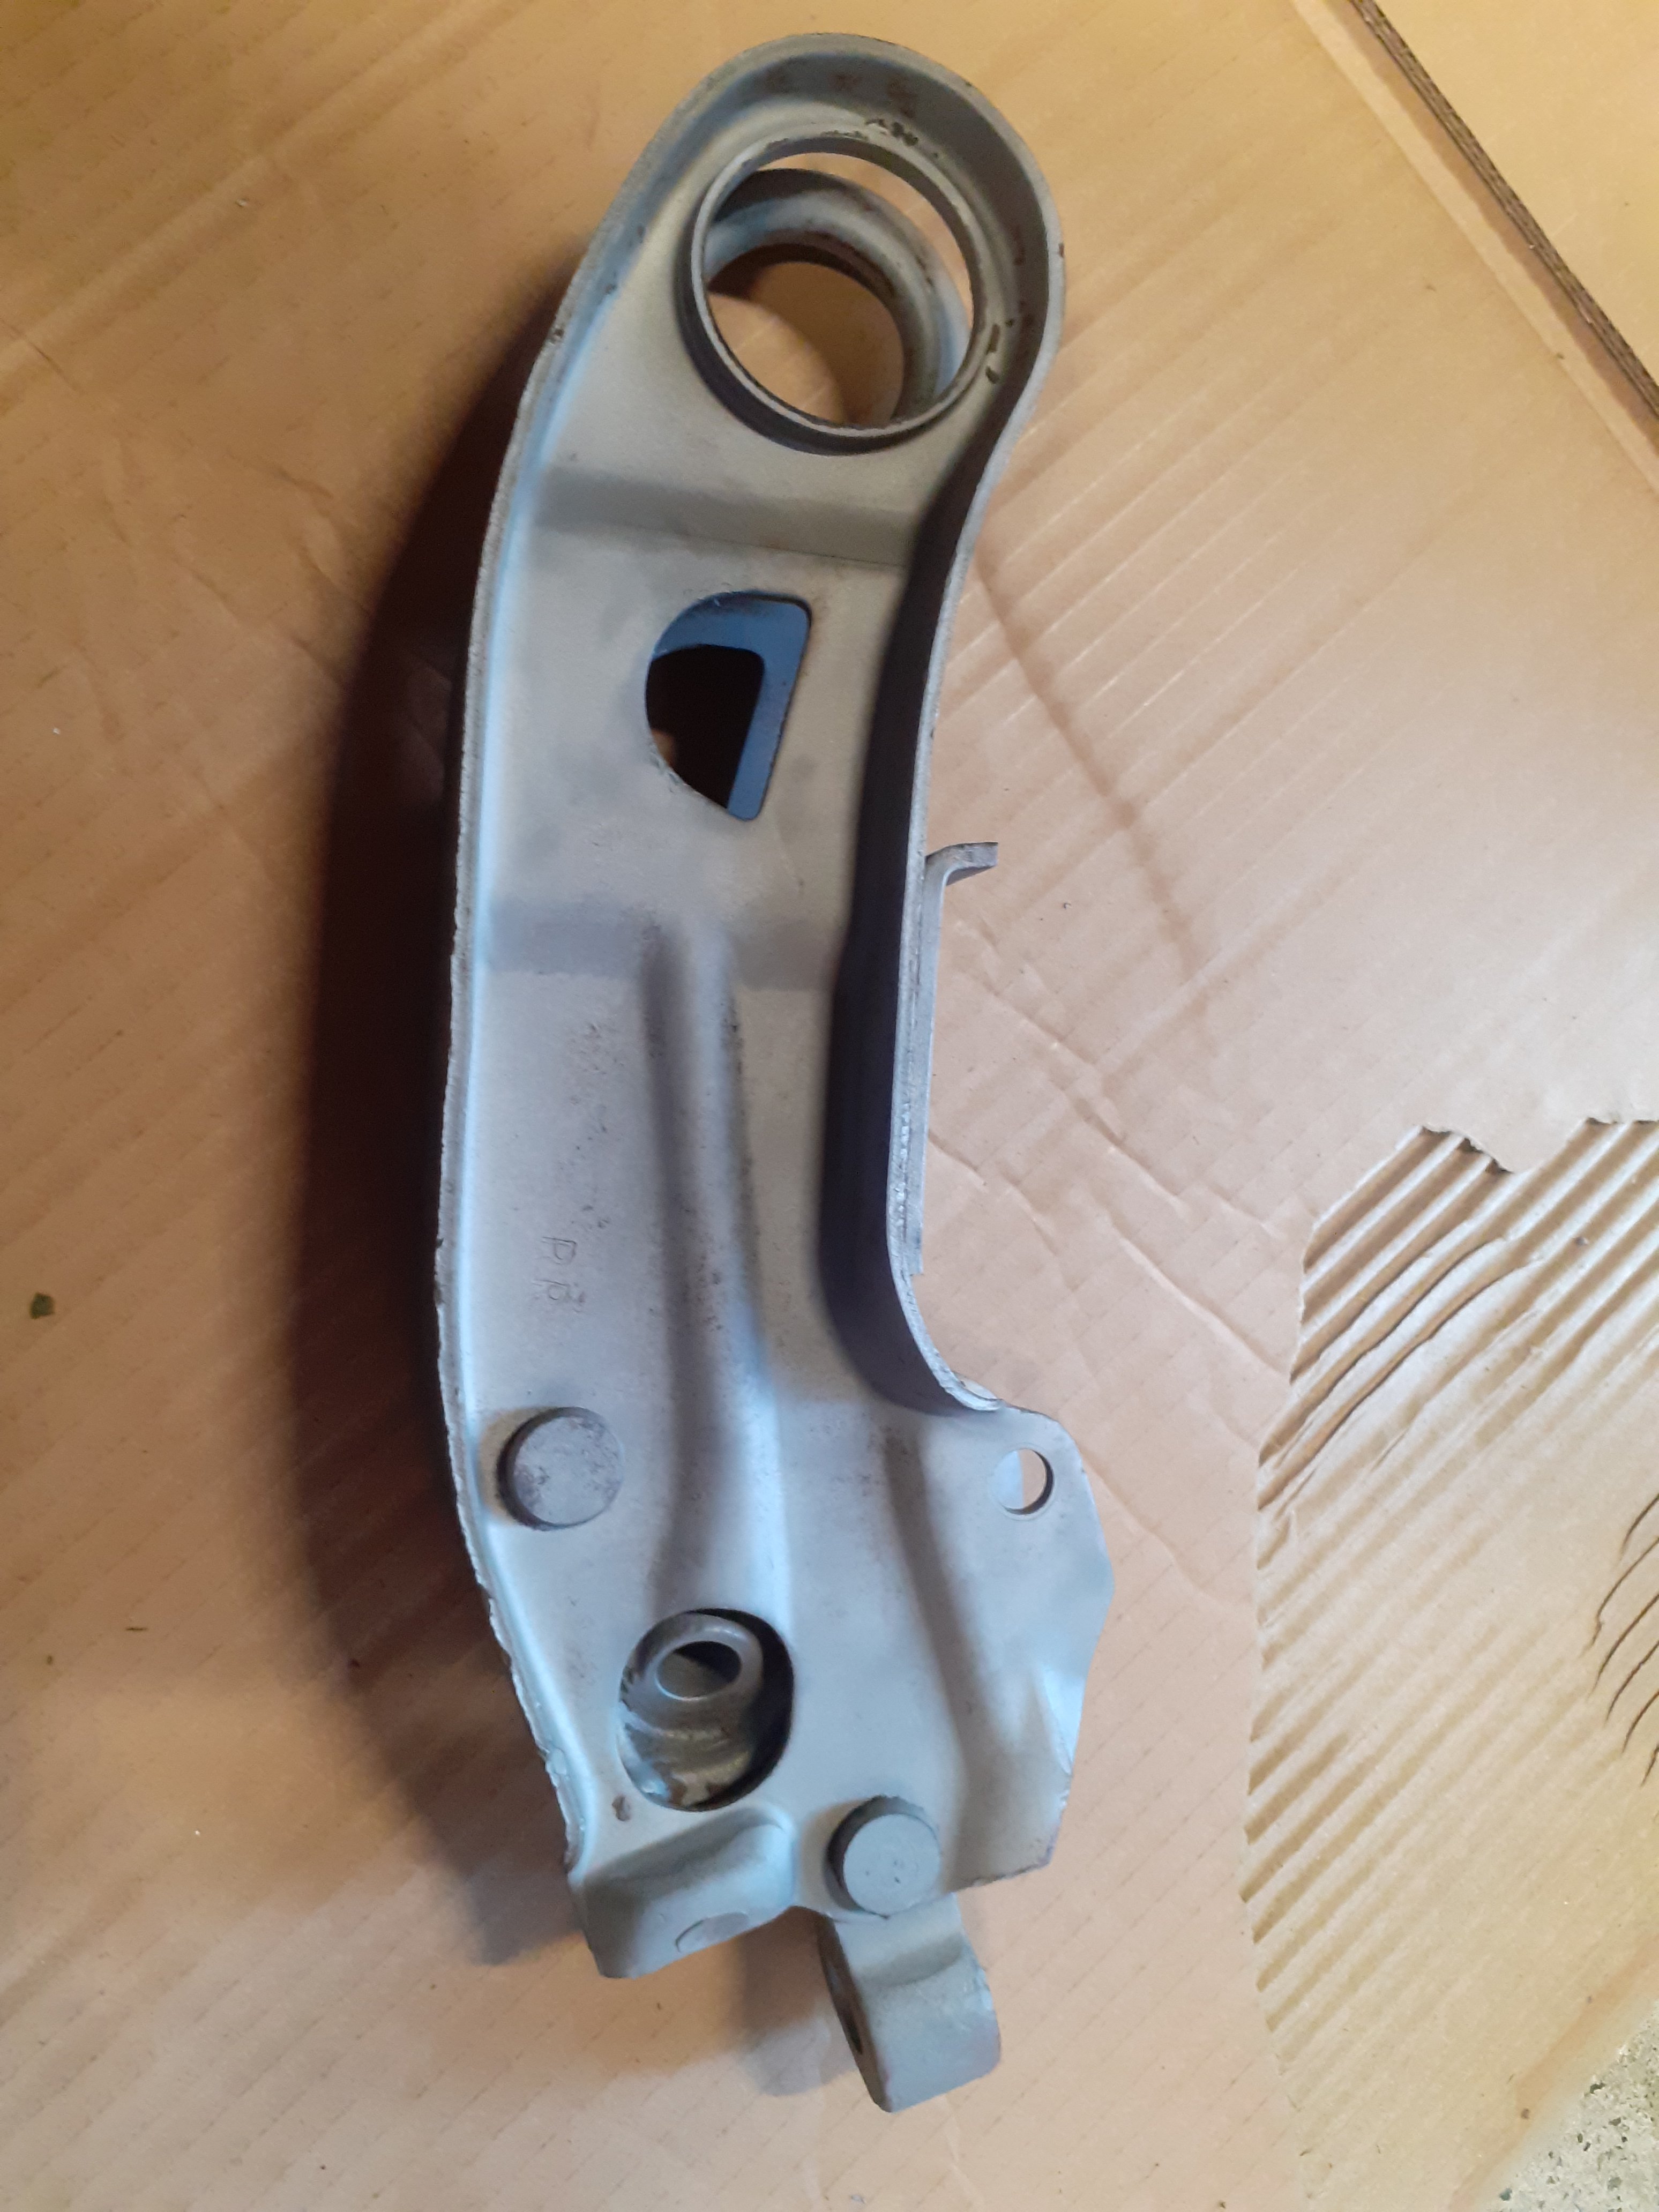
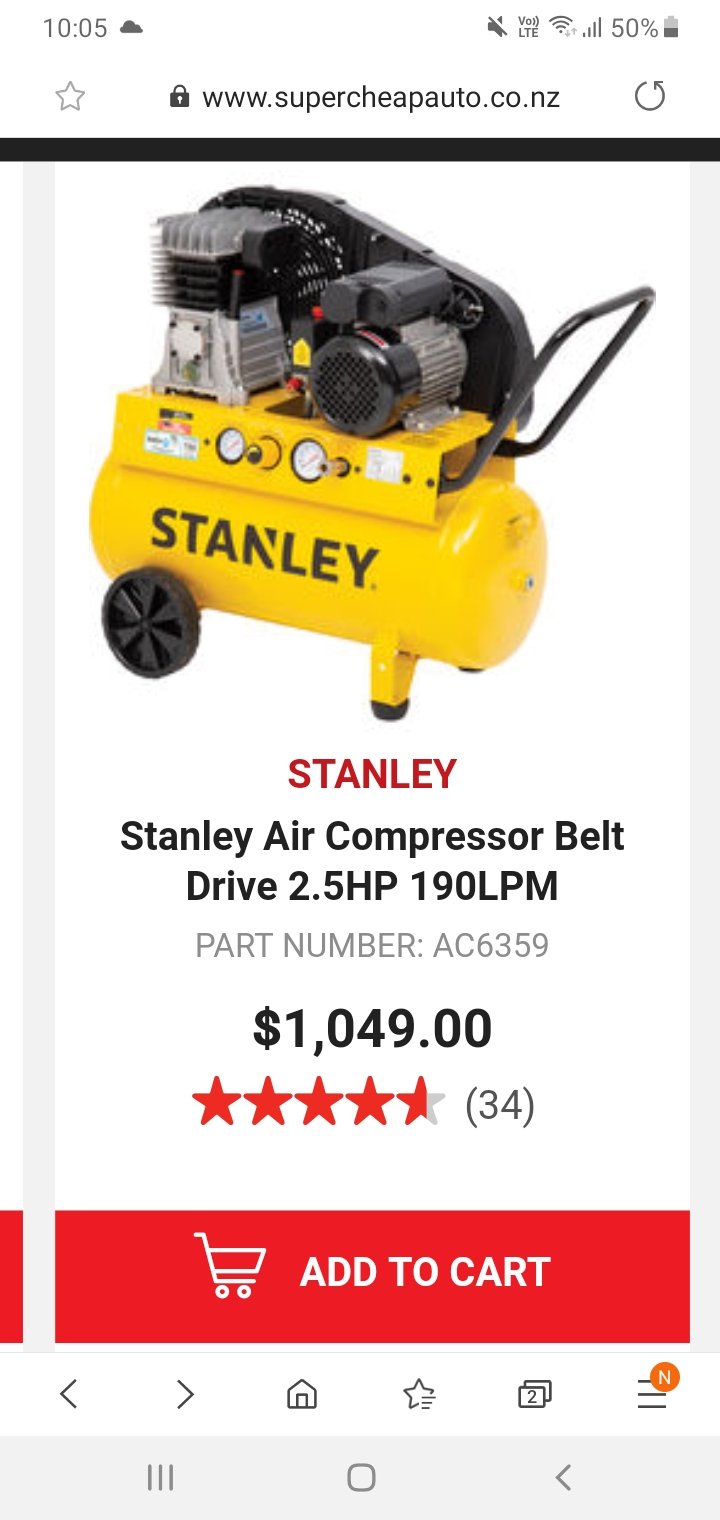
Thanks to @Raizer 's tip on sandblaster cabinets being cheap at the moment I went and got one today. Makes cleaning up crappy old parts easy I had to get a bigger compressor as well, supercheap has a special going on those at the moment too, $550 including an air hose
5 points
-
Sounds good thanks Mark! Lee went for a bit of a reccy down at Matata today and after a bit of a chat to the camps down there, we have decided that although id said Murphys Motorcamp it isnt the most ideal spot for the overnight stay and apologize if anyone has already booked there but we are going to use the DOC camp right in Matata itself. https://www.doc.govt.nz/parks-and-recreation/places-to-go/bay-of-plenty/places/matata-area/matata-campsite/ The camp caretaker is happy to rope off a whole corner of the camp for us to have to ourselves and its only a couple of mins walk to food/booze etc Its only $8 for the night pay when you get there spec and hot showers/proper toilets but no cabins so its gunna be camping/sleep on the groun, I believe there are a couple of options for indoor sleeping within Matata but if you want that its upto yourself to sort that. It looks like a lush spot to stay Corner of the camp for us: We are putting together an entry form which should be out this weekend to get a gauge of interest4 points
-
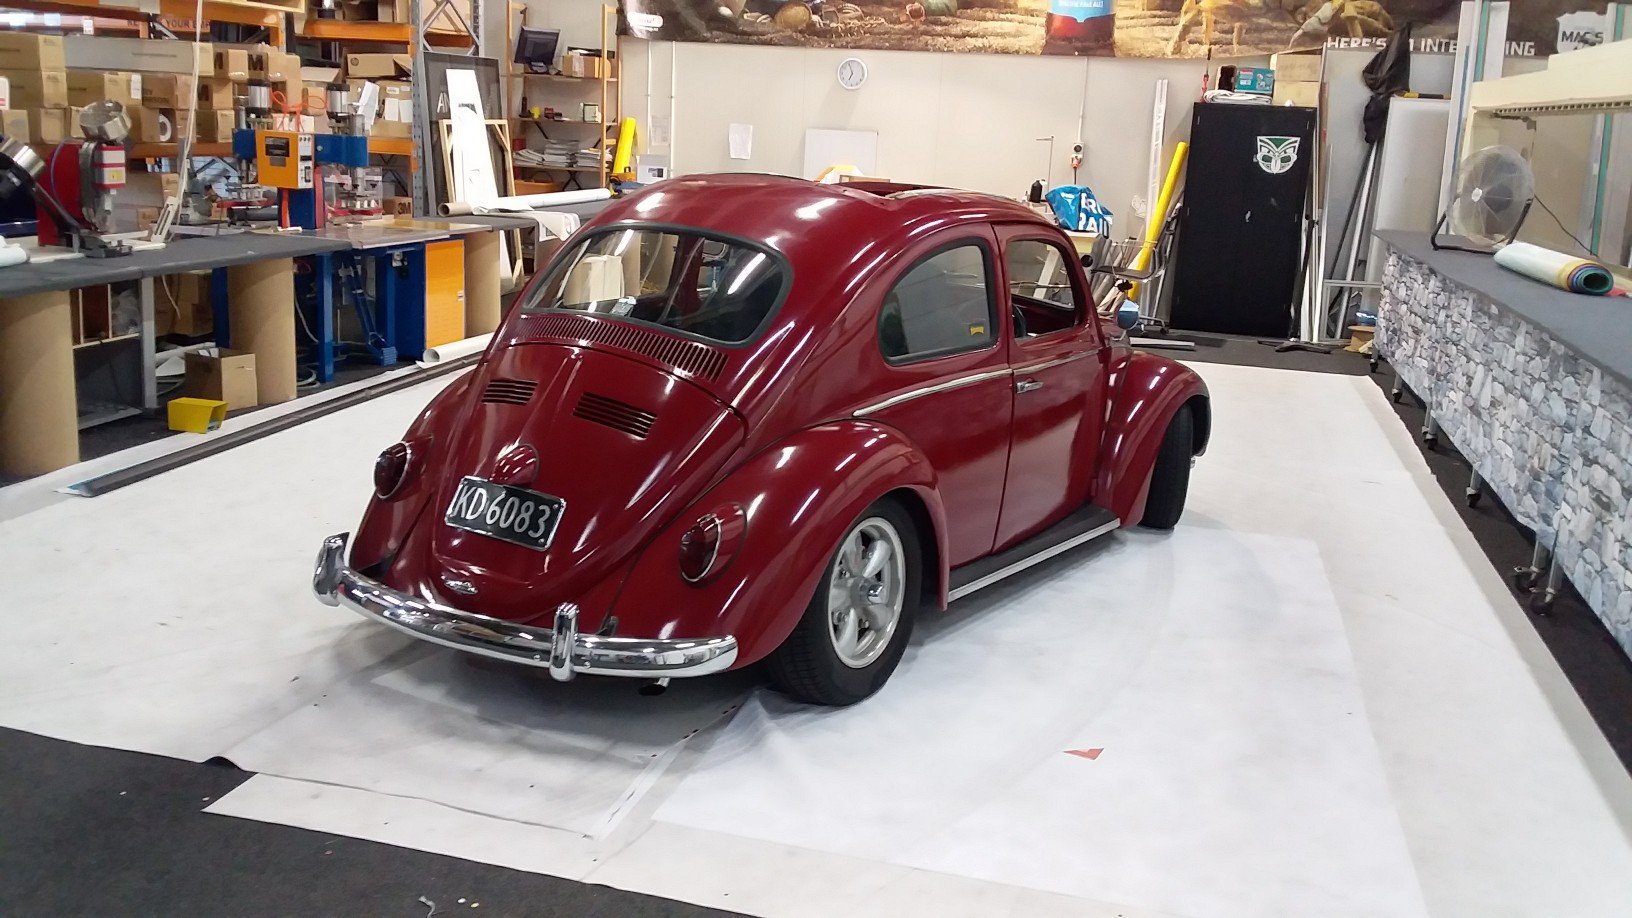
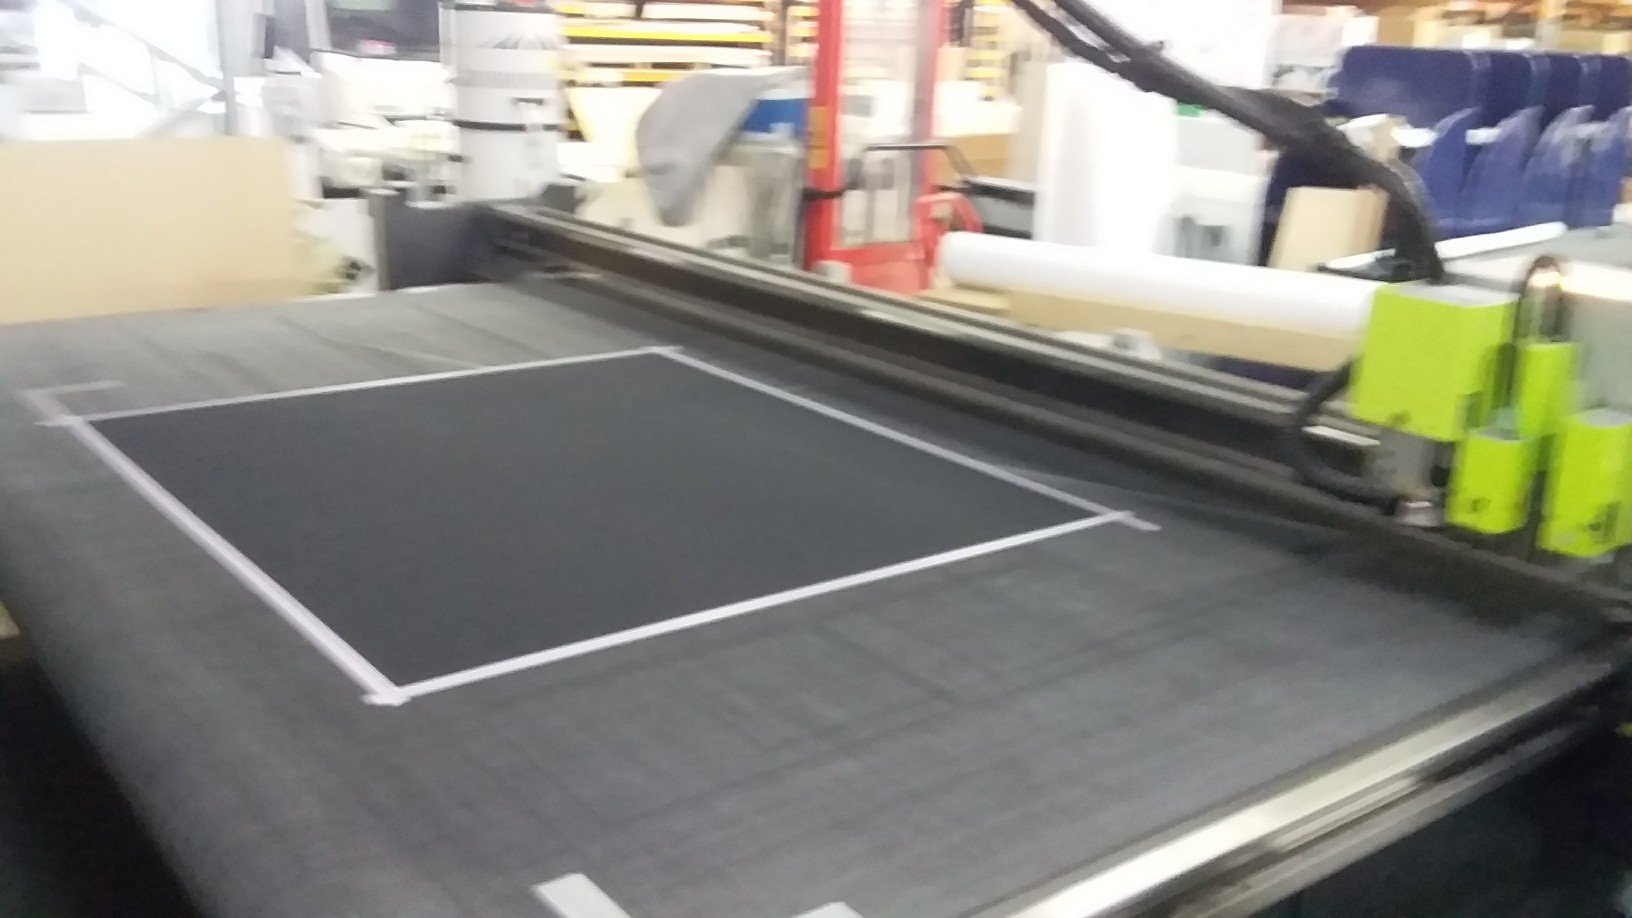
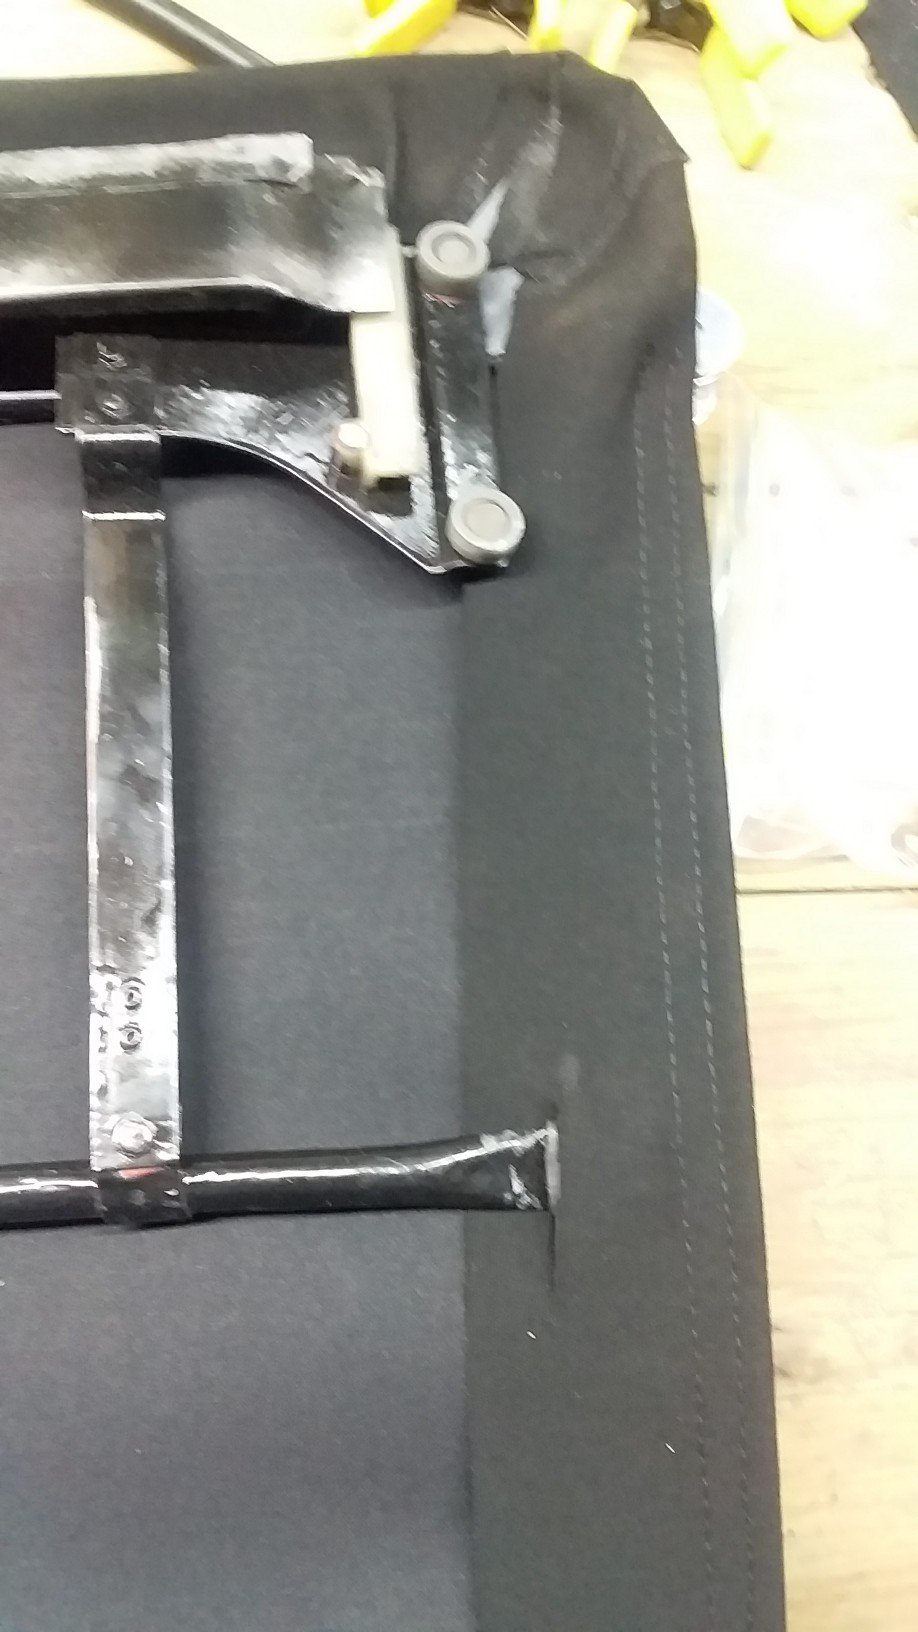
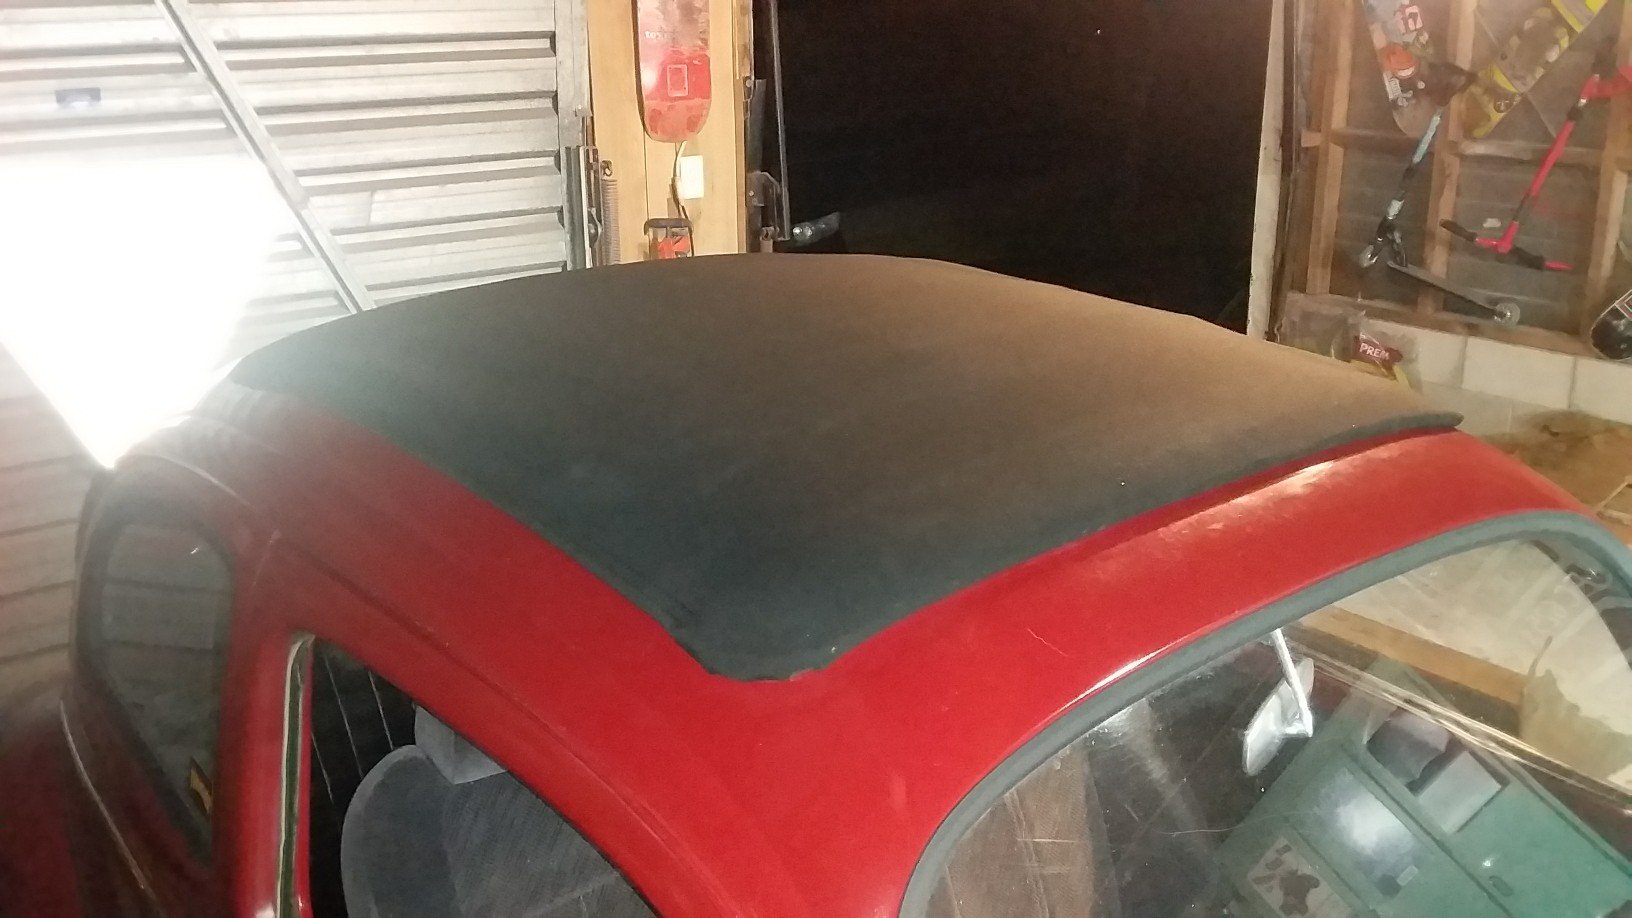
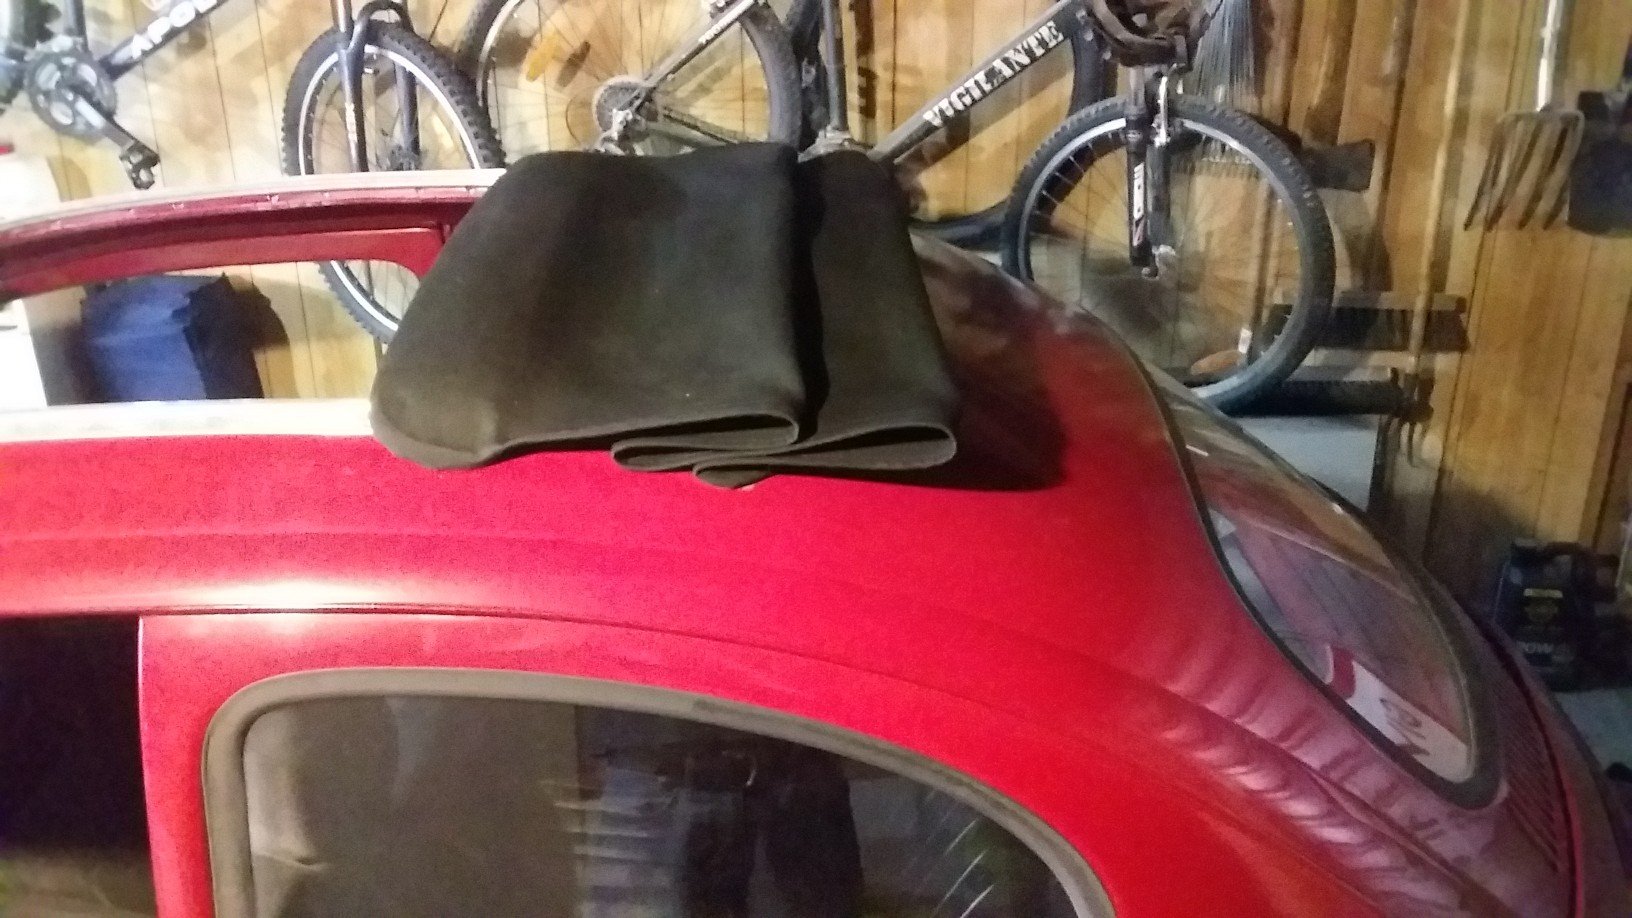
New ragtop cover for the ragtop time. Brought the bug inside work, took the old cover off and had fun removing all the sticky duct tape glue, fuck that stuff. All the parts layed out. Cut the new cover on the esko, perfectly square cad cut. Sewed the hems over and added slits for the bow to sit inside as factory, the old cover didn't do this so you had to be careful not to end up with a parachute attached to the roof. All mounted, I added some thick felt to the front bow, not sure I like it, if it doesn't pack down I might remove it, looks to chunky. Looks sweet folded back. Will now start thinking about the inside headlining.
4 points
-
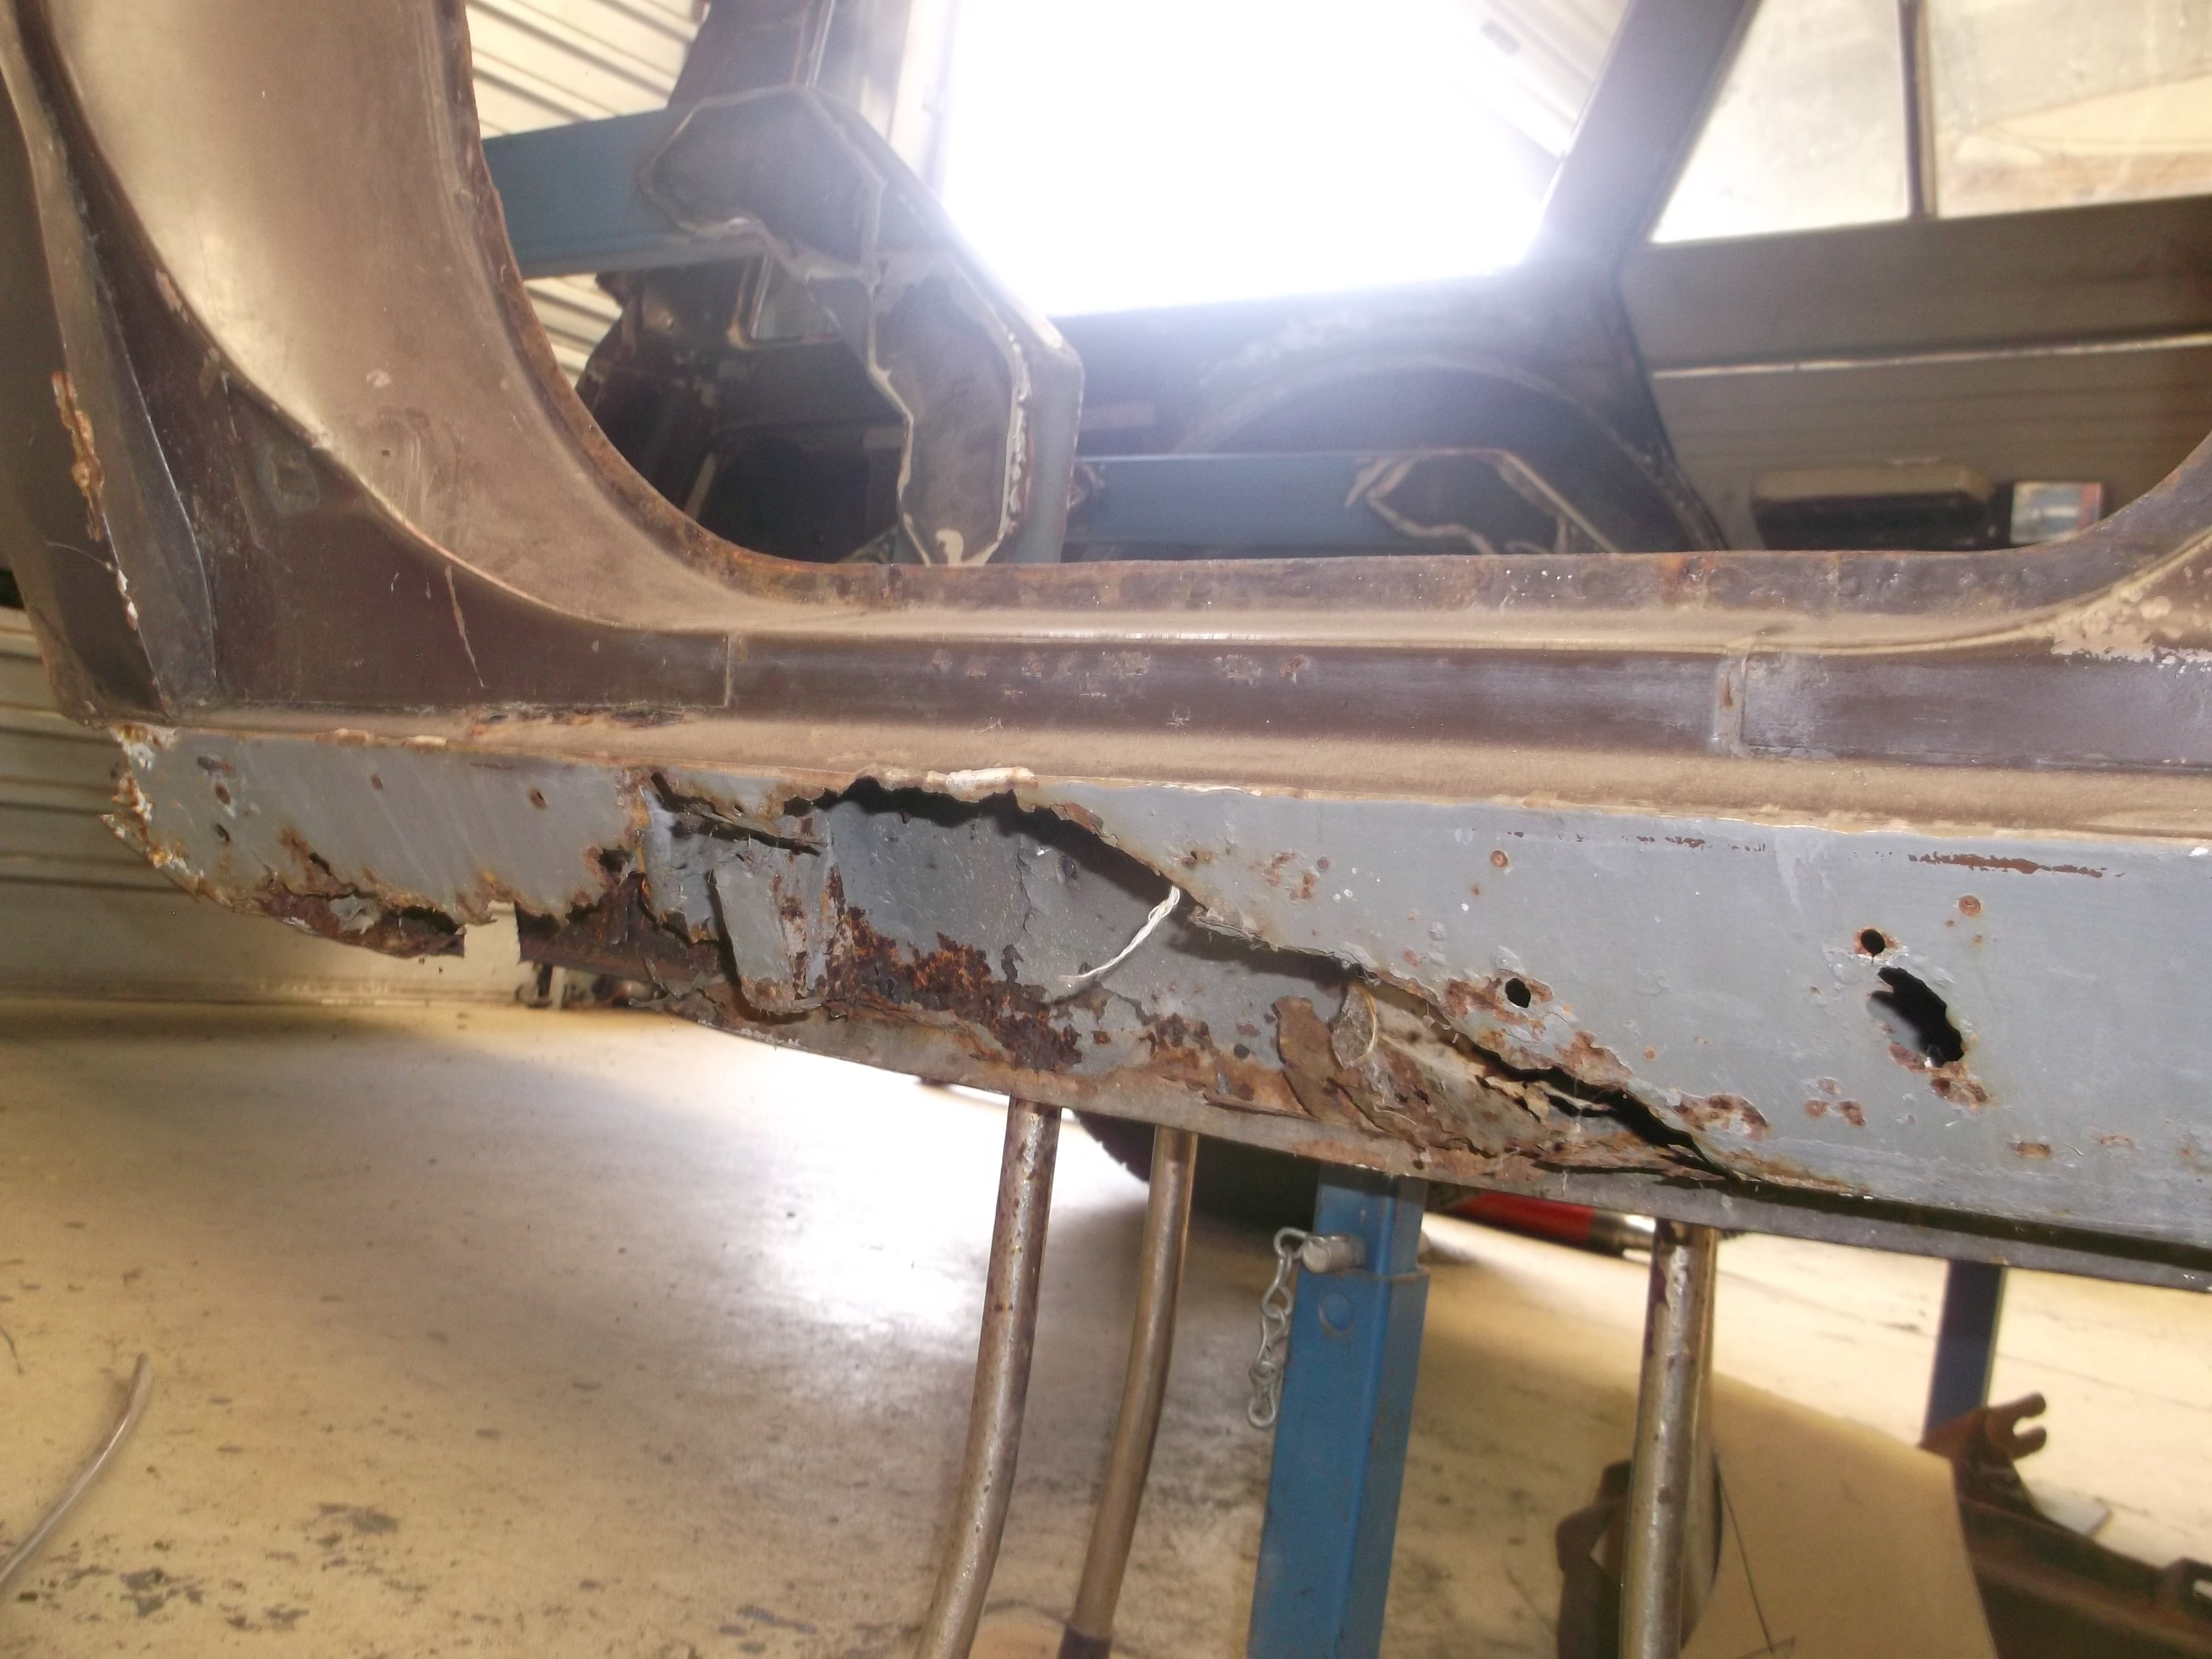
hope to get on to fitting new sills this weekend , mine have a few little holes
4 points
-
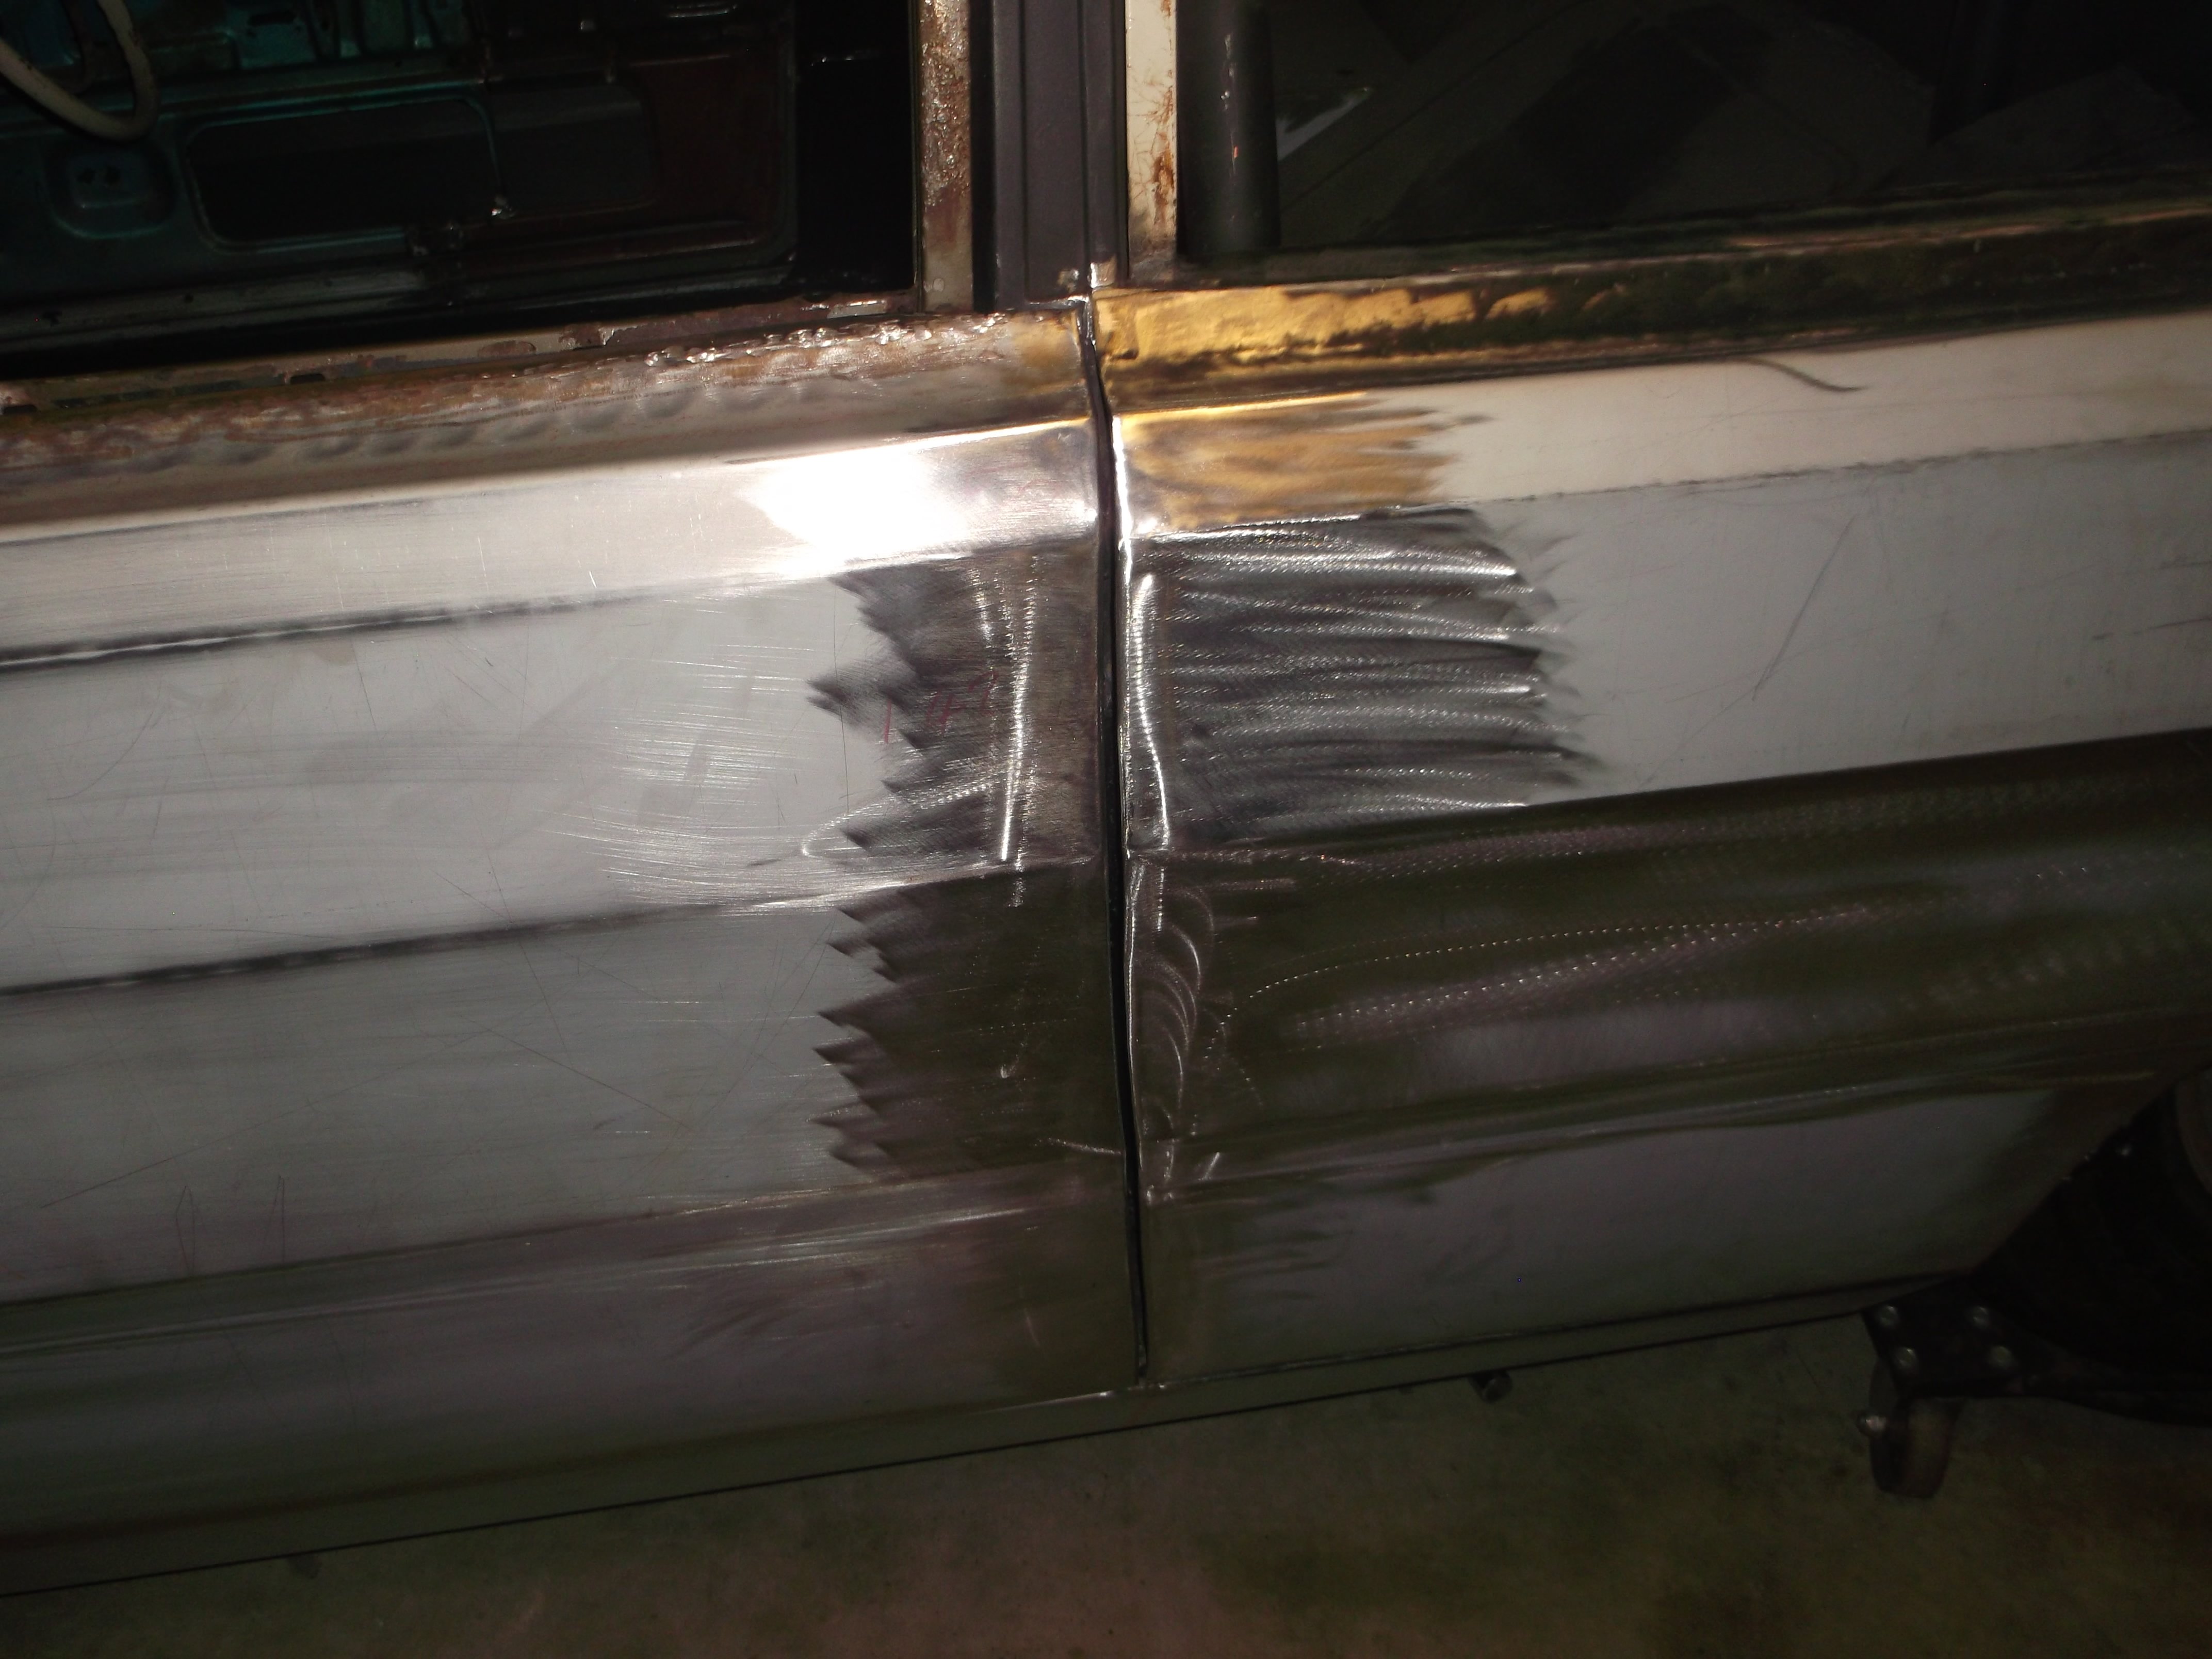
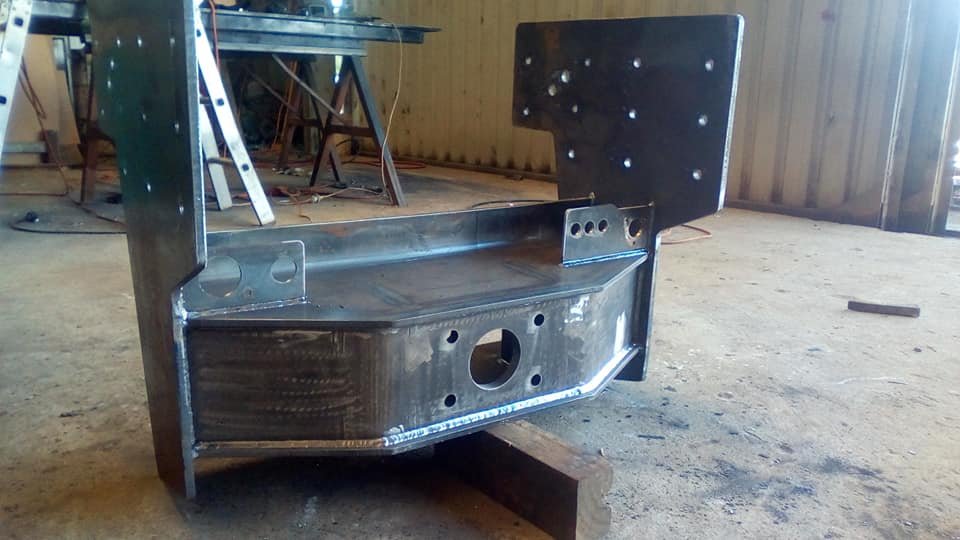
rear guard welded on fits great
4 points
-
Bought a 80's Sunny / 120Y Haynes at the recent Wheels with Attitude event 1st guy with a bunch of books wanted $5 each Guy next to him with more books and organised aphabetically found the Datsun manual "How Much?" $20 "would you take $10" maybe $15 he says mad dash back to cars to raid coins sorted /sharn also Found an hour yesterday to tinker with Carby now I had skim read the manual found a wee pool of oil (blow by / return?) in the mani : I figure thats normal (I'd already fingered it at this stage of taking a pic) and here's the ALi-Ex deal bolted on and oh boy we have a new car! cant wait to drive it after we fix the Alternator now it's not charging LOL (Battery Light on) it was on before I touched to too btw3 points
-
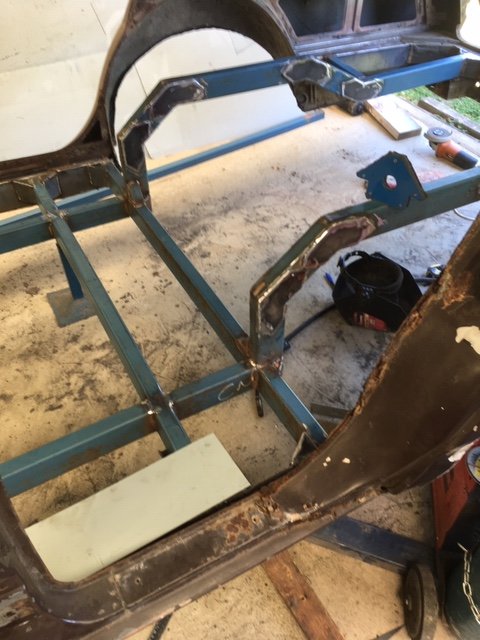
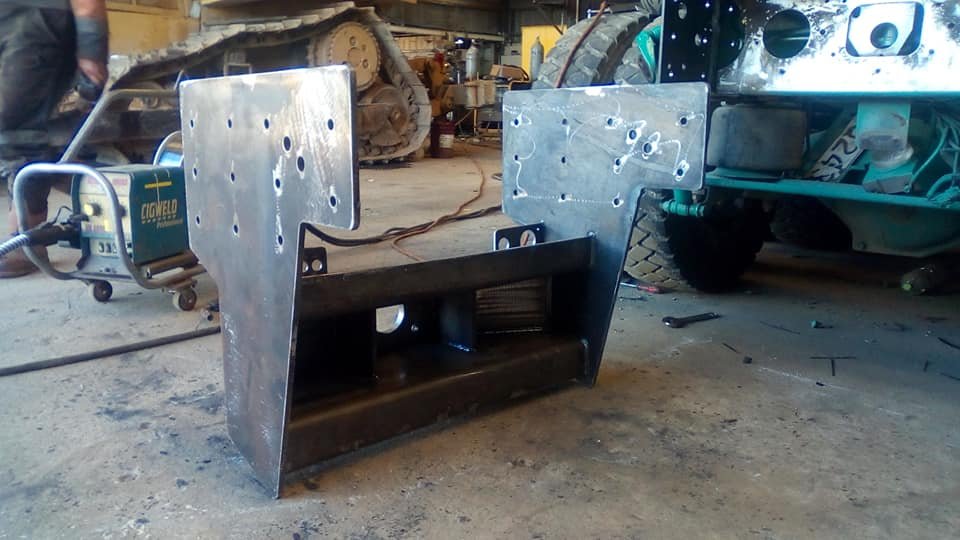
chassis work
3 points
-
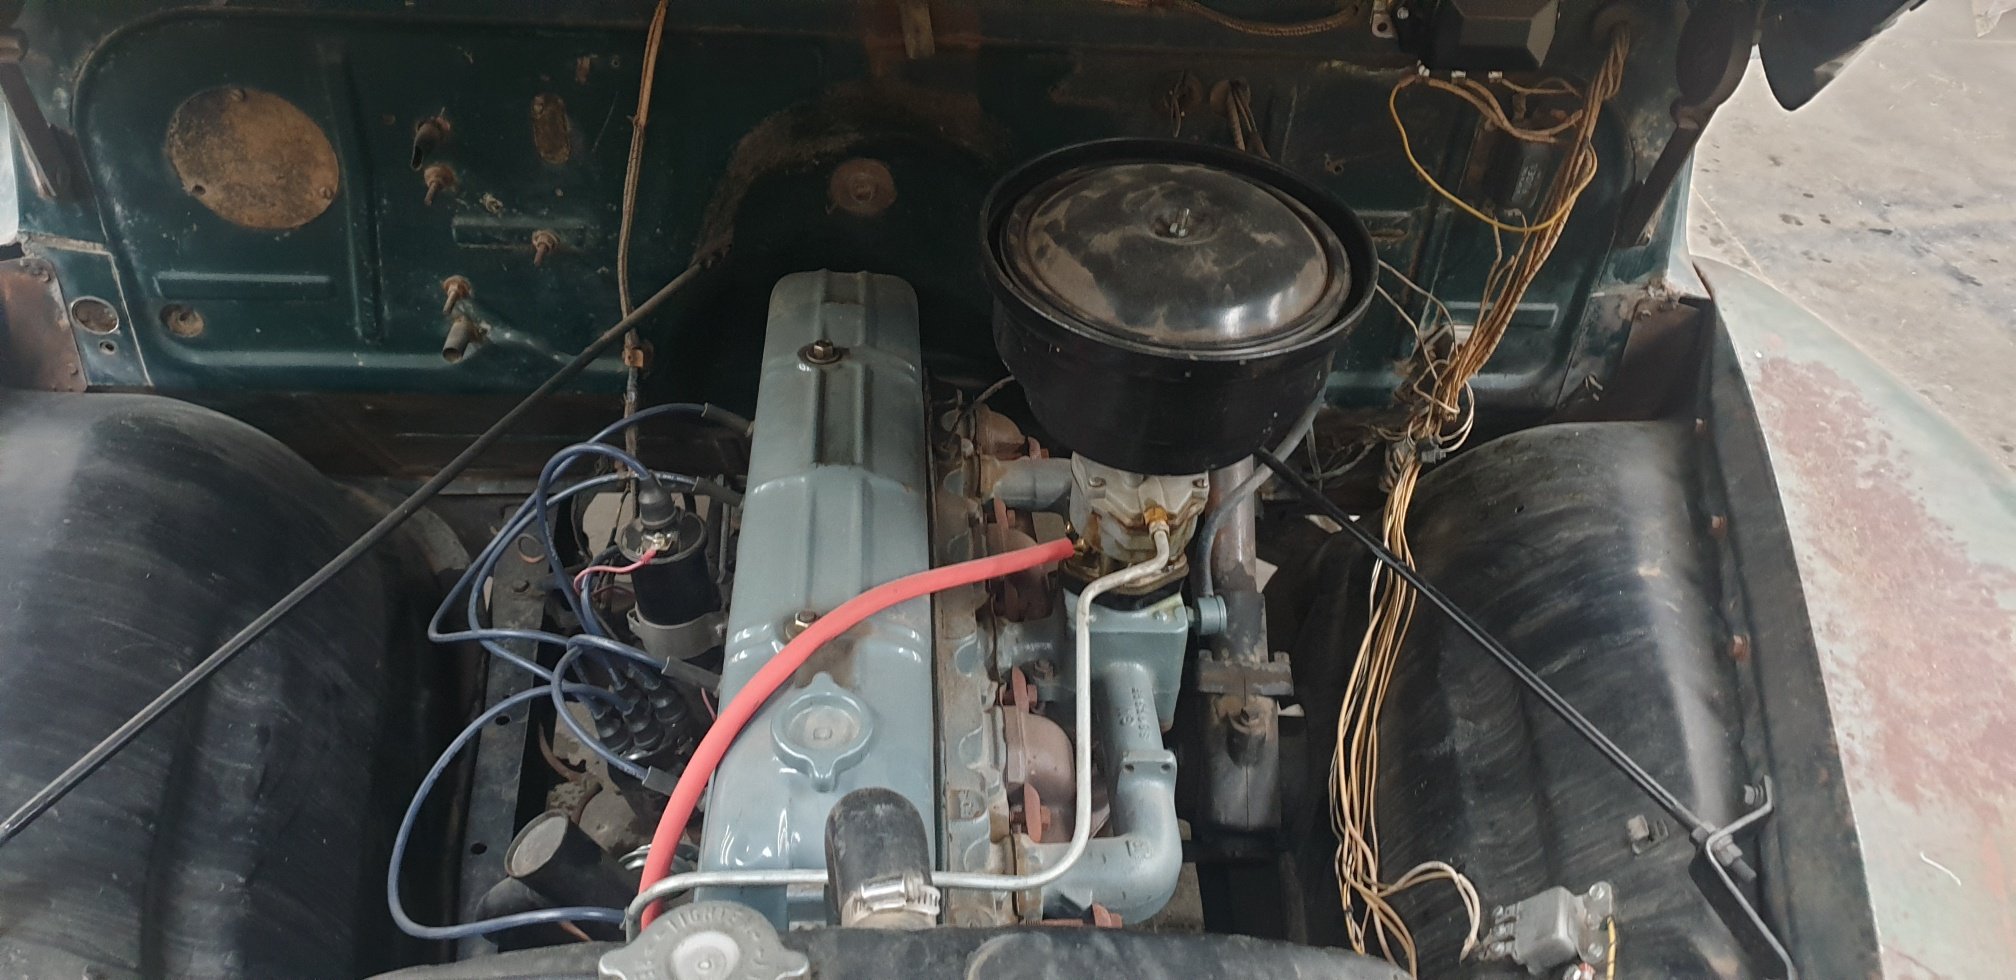
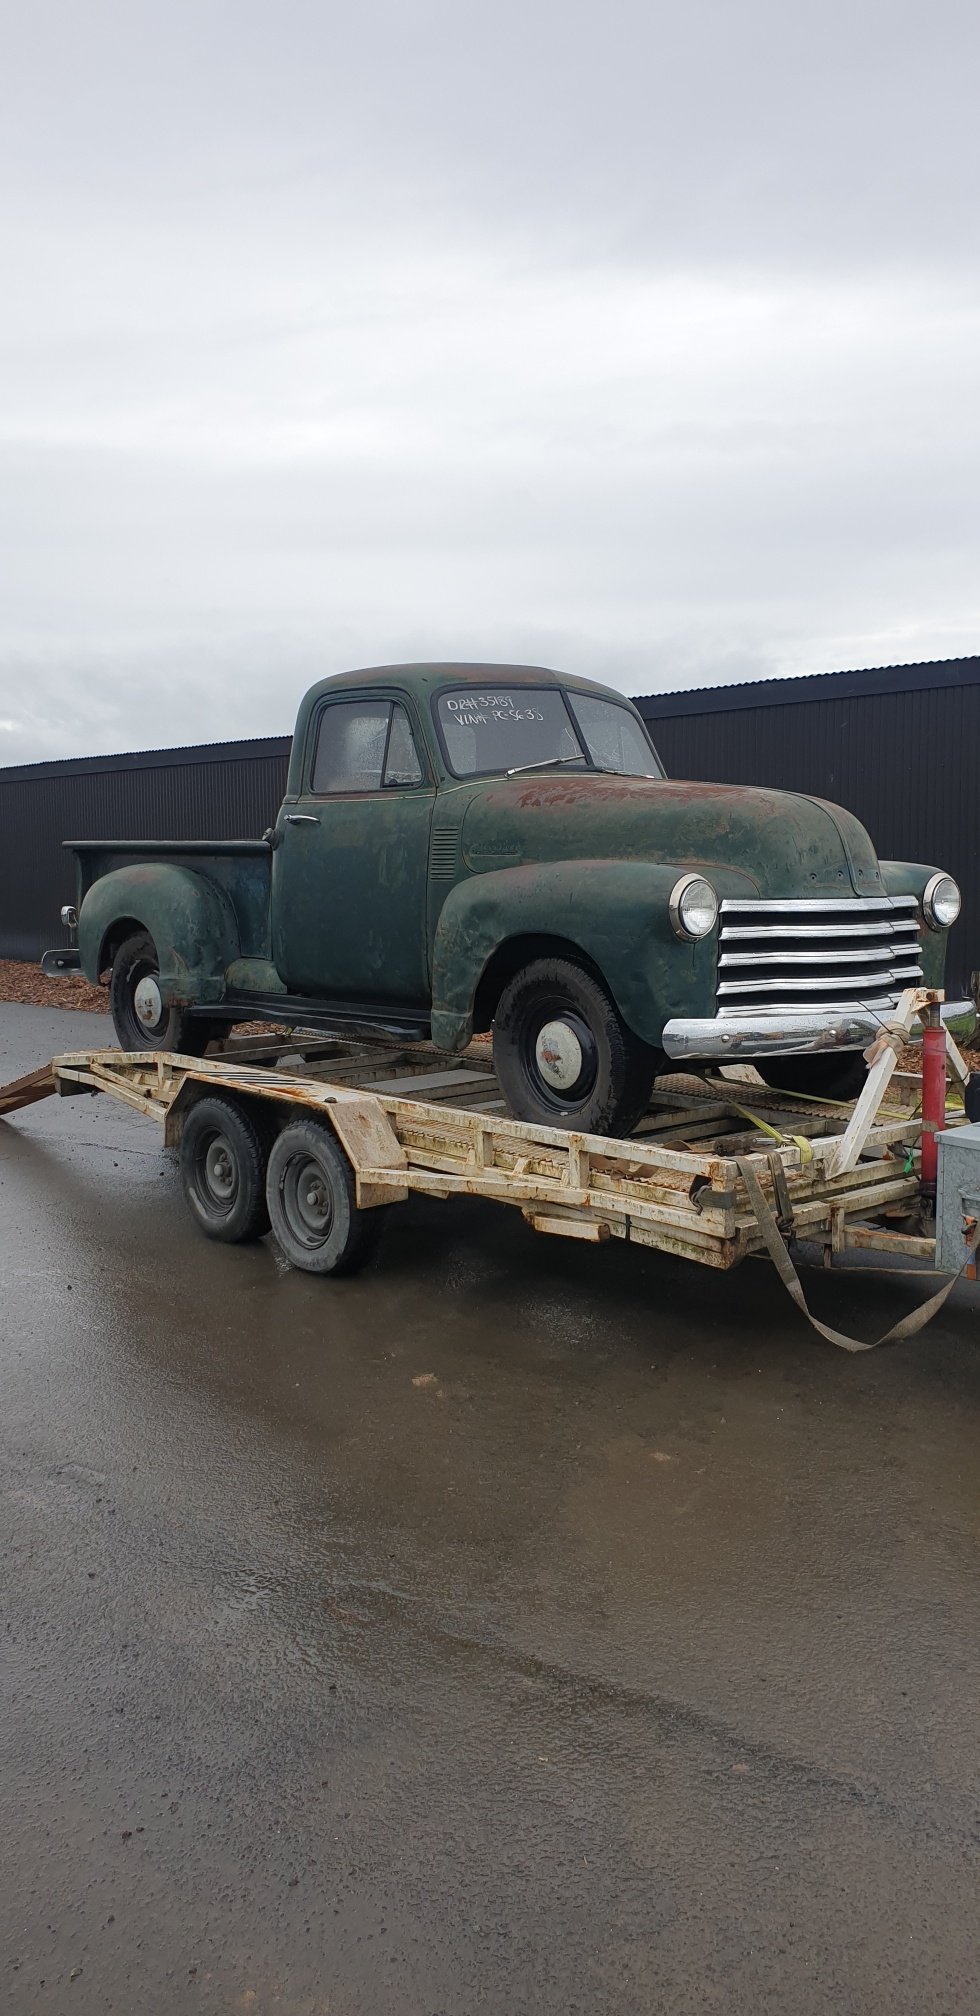
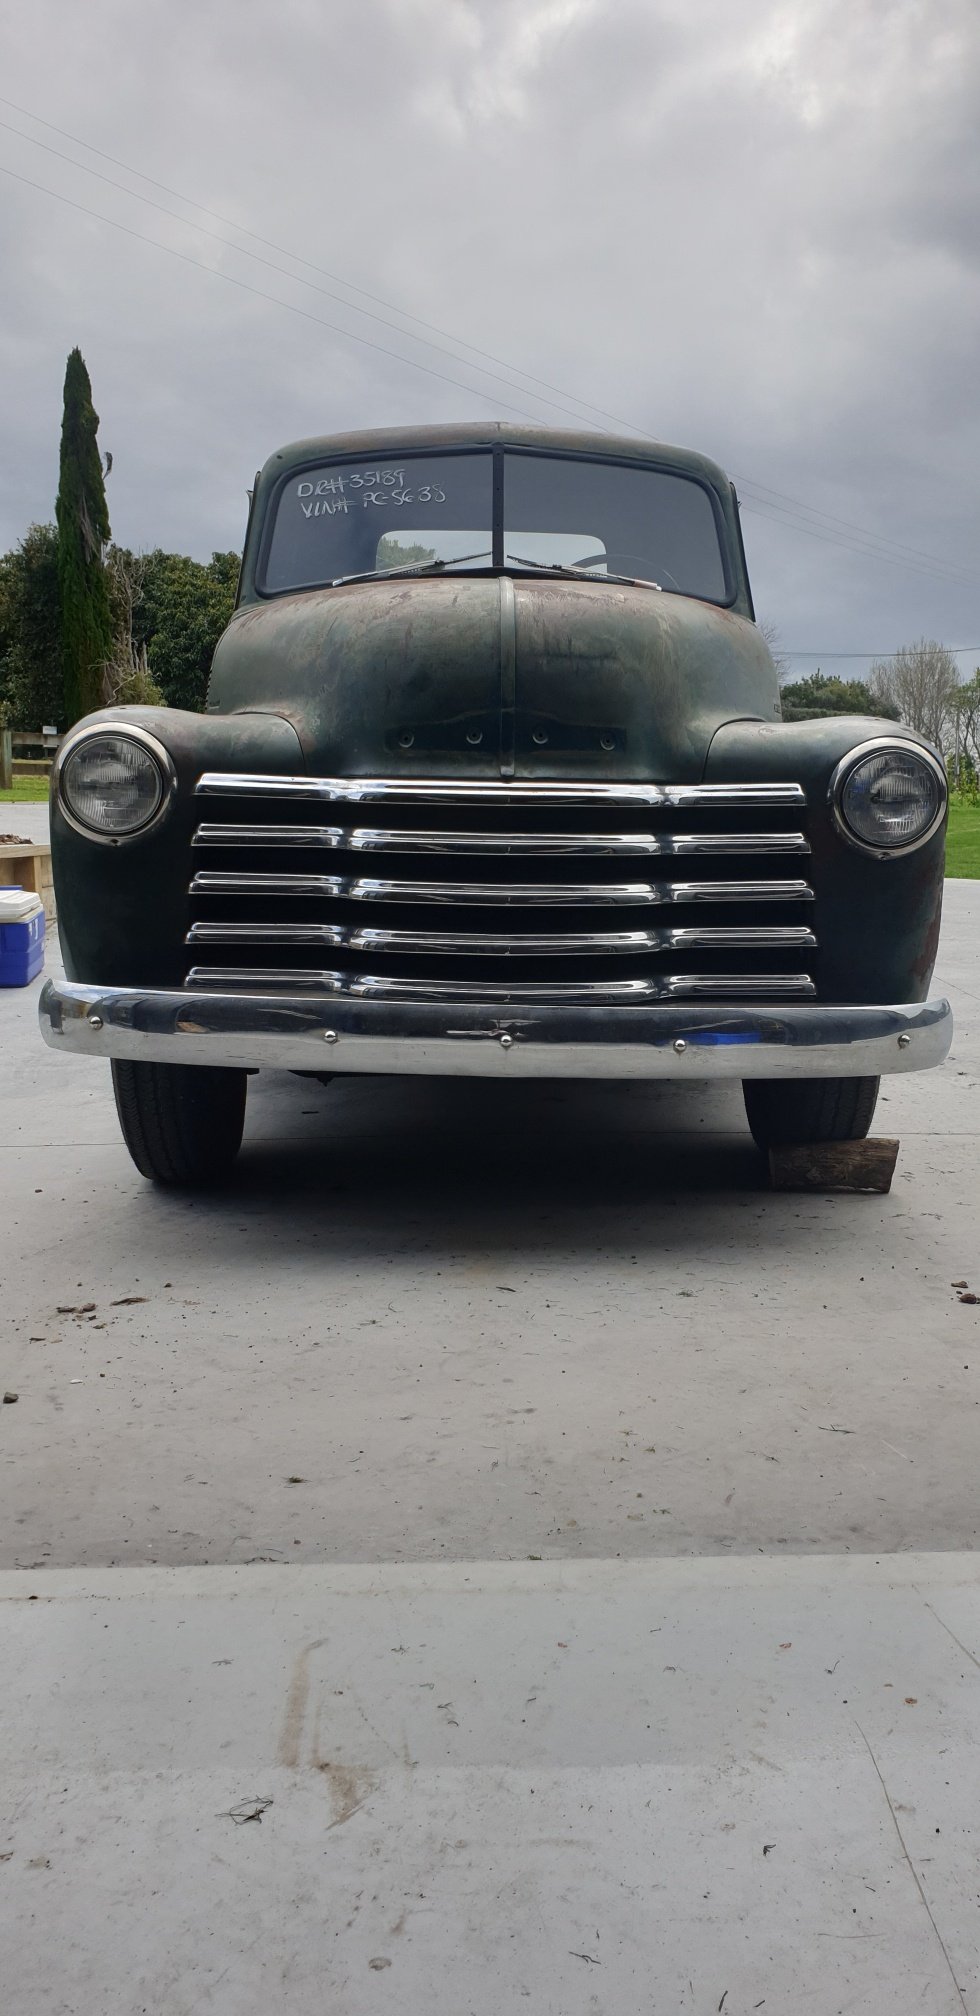
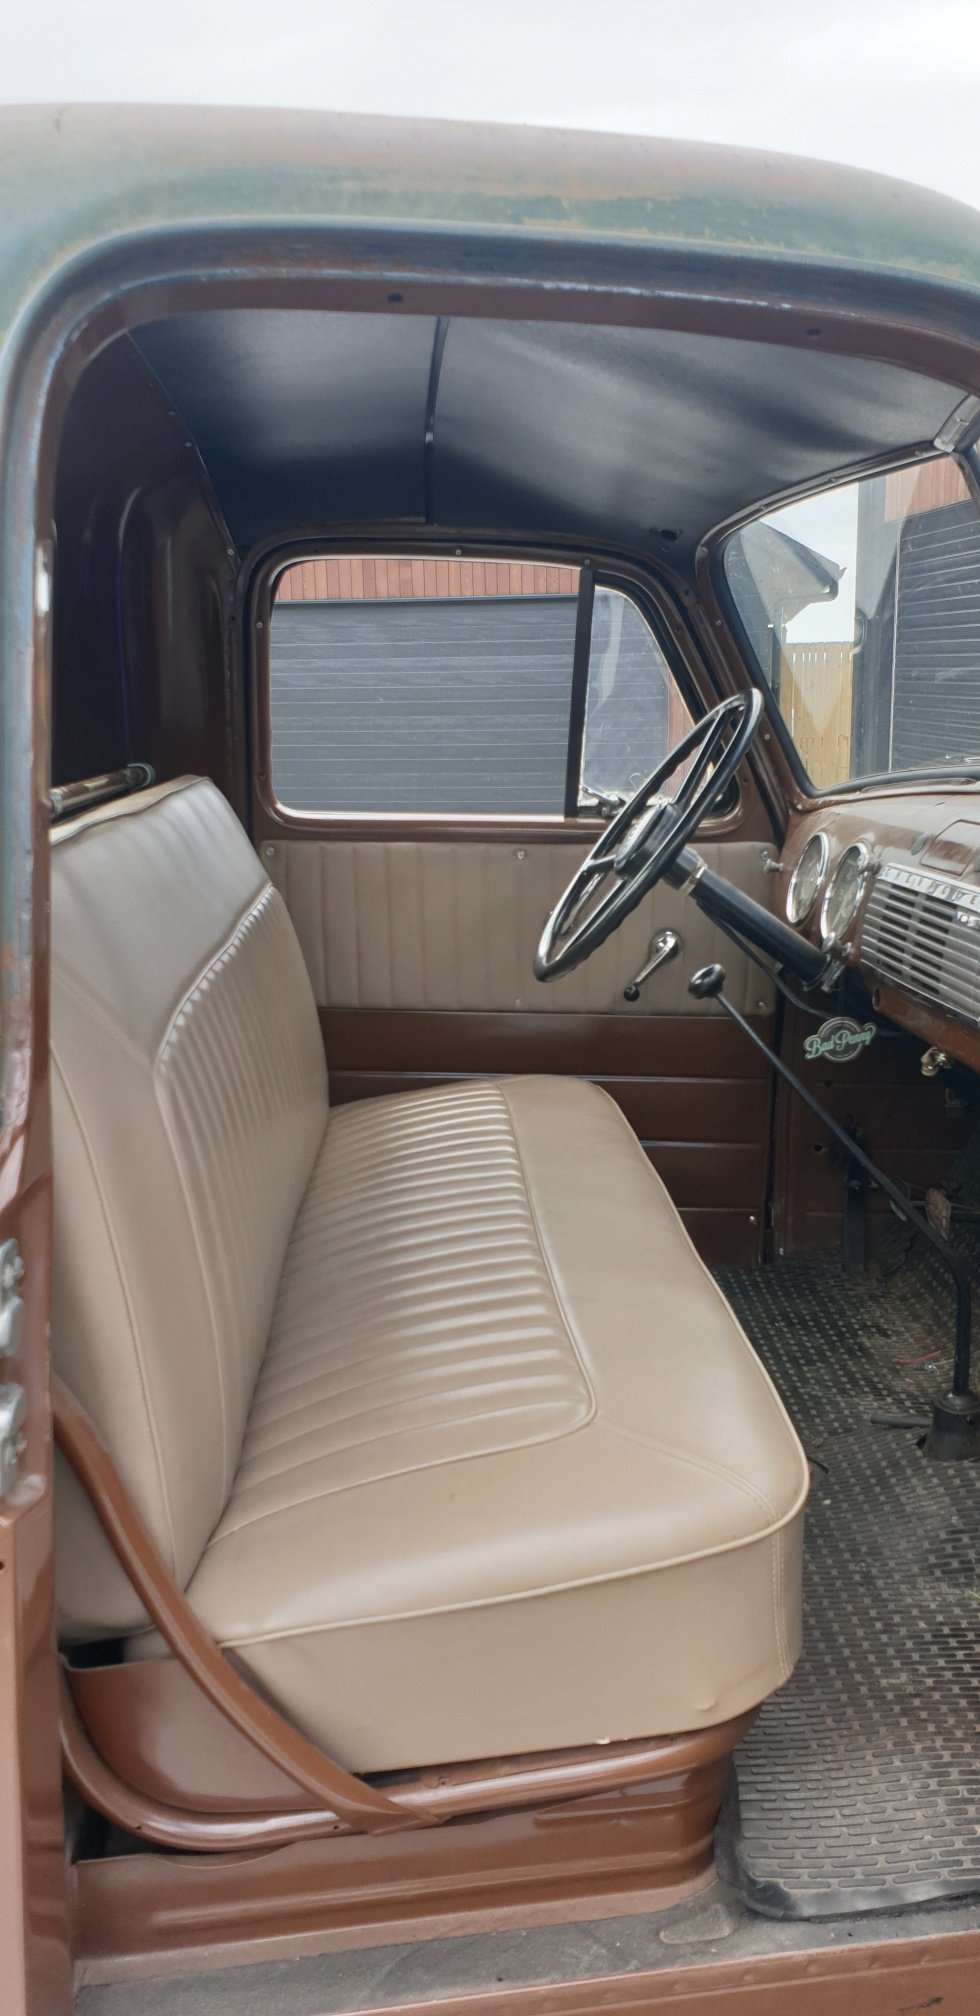
Havent been on here for a while but in the mean time have picked up a 52 Chev pick up that the plan is to have going for Beach Hop 2020. Running the OG 216ci straight 6 and 4 speed on the floor. Solid original truck with only a couple of bits of minor rust, A heap of newish chrome was on it, interior has been redone at some point and truck was more or less running and driveable. Stage 1 plan for it is: - Rust & Bang a few dents out - New timber deck -Artileries & Big whitewalls with new hub caps & beauty rings -Fulton Visor -6V to 12V Conversion -Heap of minor badges, mirrors etc -Slam -Vin -Roll 2020 Beach Hop Pics of when i first got it.
2 points
-
Just did a clean up of all my posts and copied all the images from photobucket and re-added them as attachments on OS. FUCK YOU PHOTOBUCKET!!!! In the process of stockpiling parts for the 304. - video for parts reference for me later on. Reminder for later - thanks @64valiant Turned out the brand was kilmat and it was a crap load cheaper than dynamat. For example there is a dynamat kit on trade me for 369 for 3.3 square meters so around 110 a square meter or you can get kilmat for 43 a square. Or I paid to have it fast freighted and it still only cost me 58 a square.2 points
-
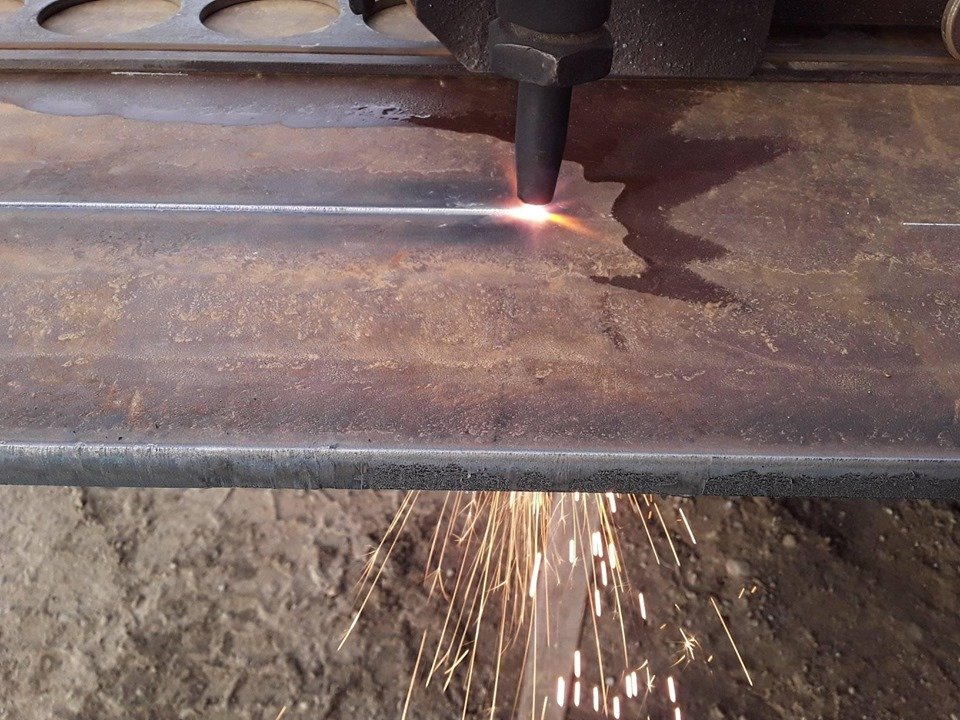
some gas cutting if needed t took 500mm from the sides Well you get the idea . So any leads would be appreciated.Thanks2 points
-
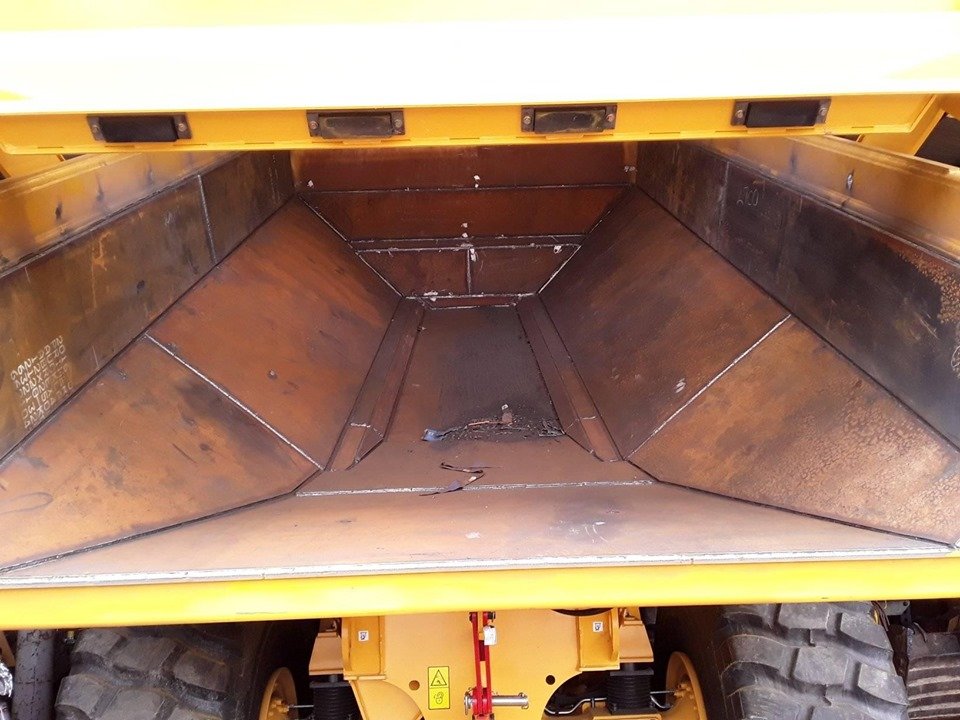
Shortened truck.This was a neat job2 points
-
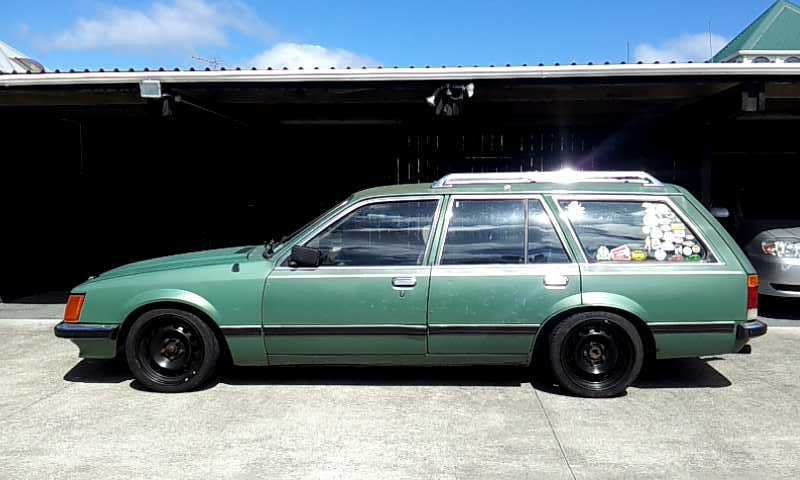
Hey man, Just stumbled across this thread, that's my old car! I owned it from 1998 till about 2004 I think. One of the only photos I have is this one from about 20 years ago which was taken just after I rebuilt it (new interior, paint, w58 conversion) You still got it?
2 points
-
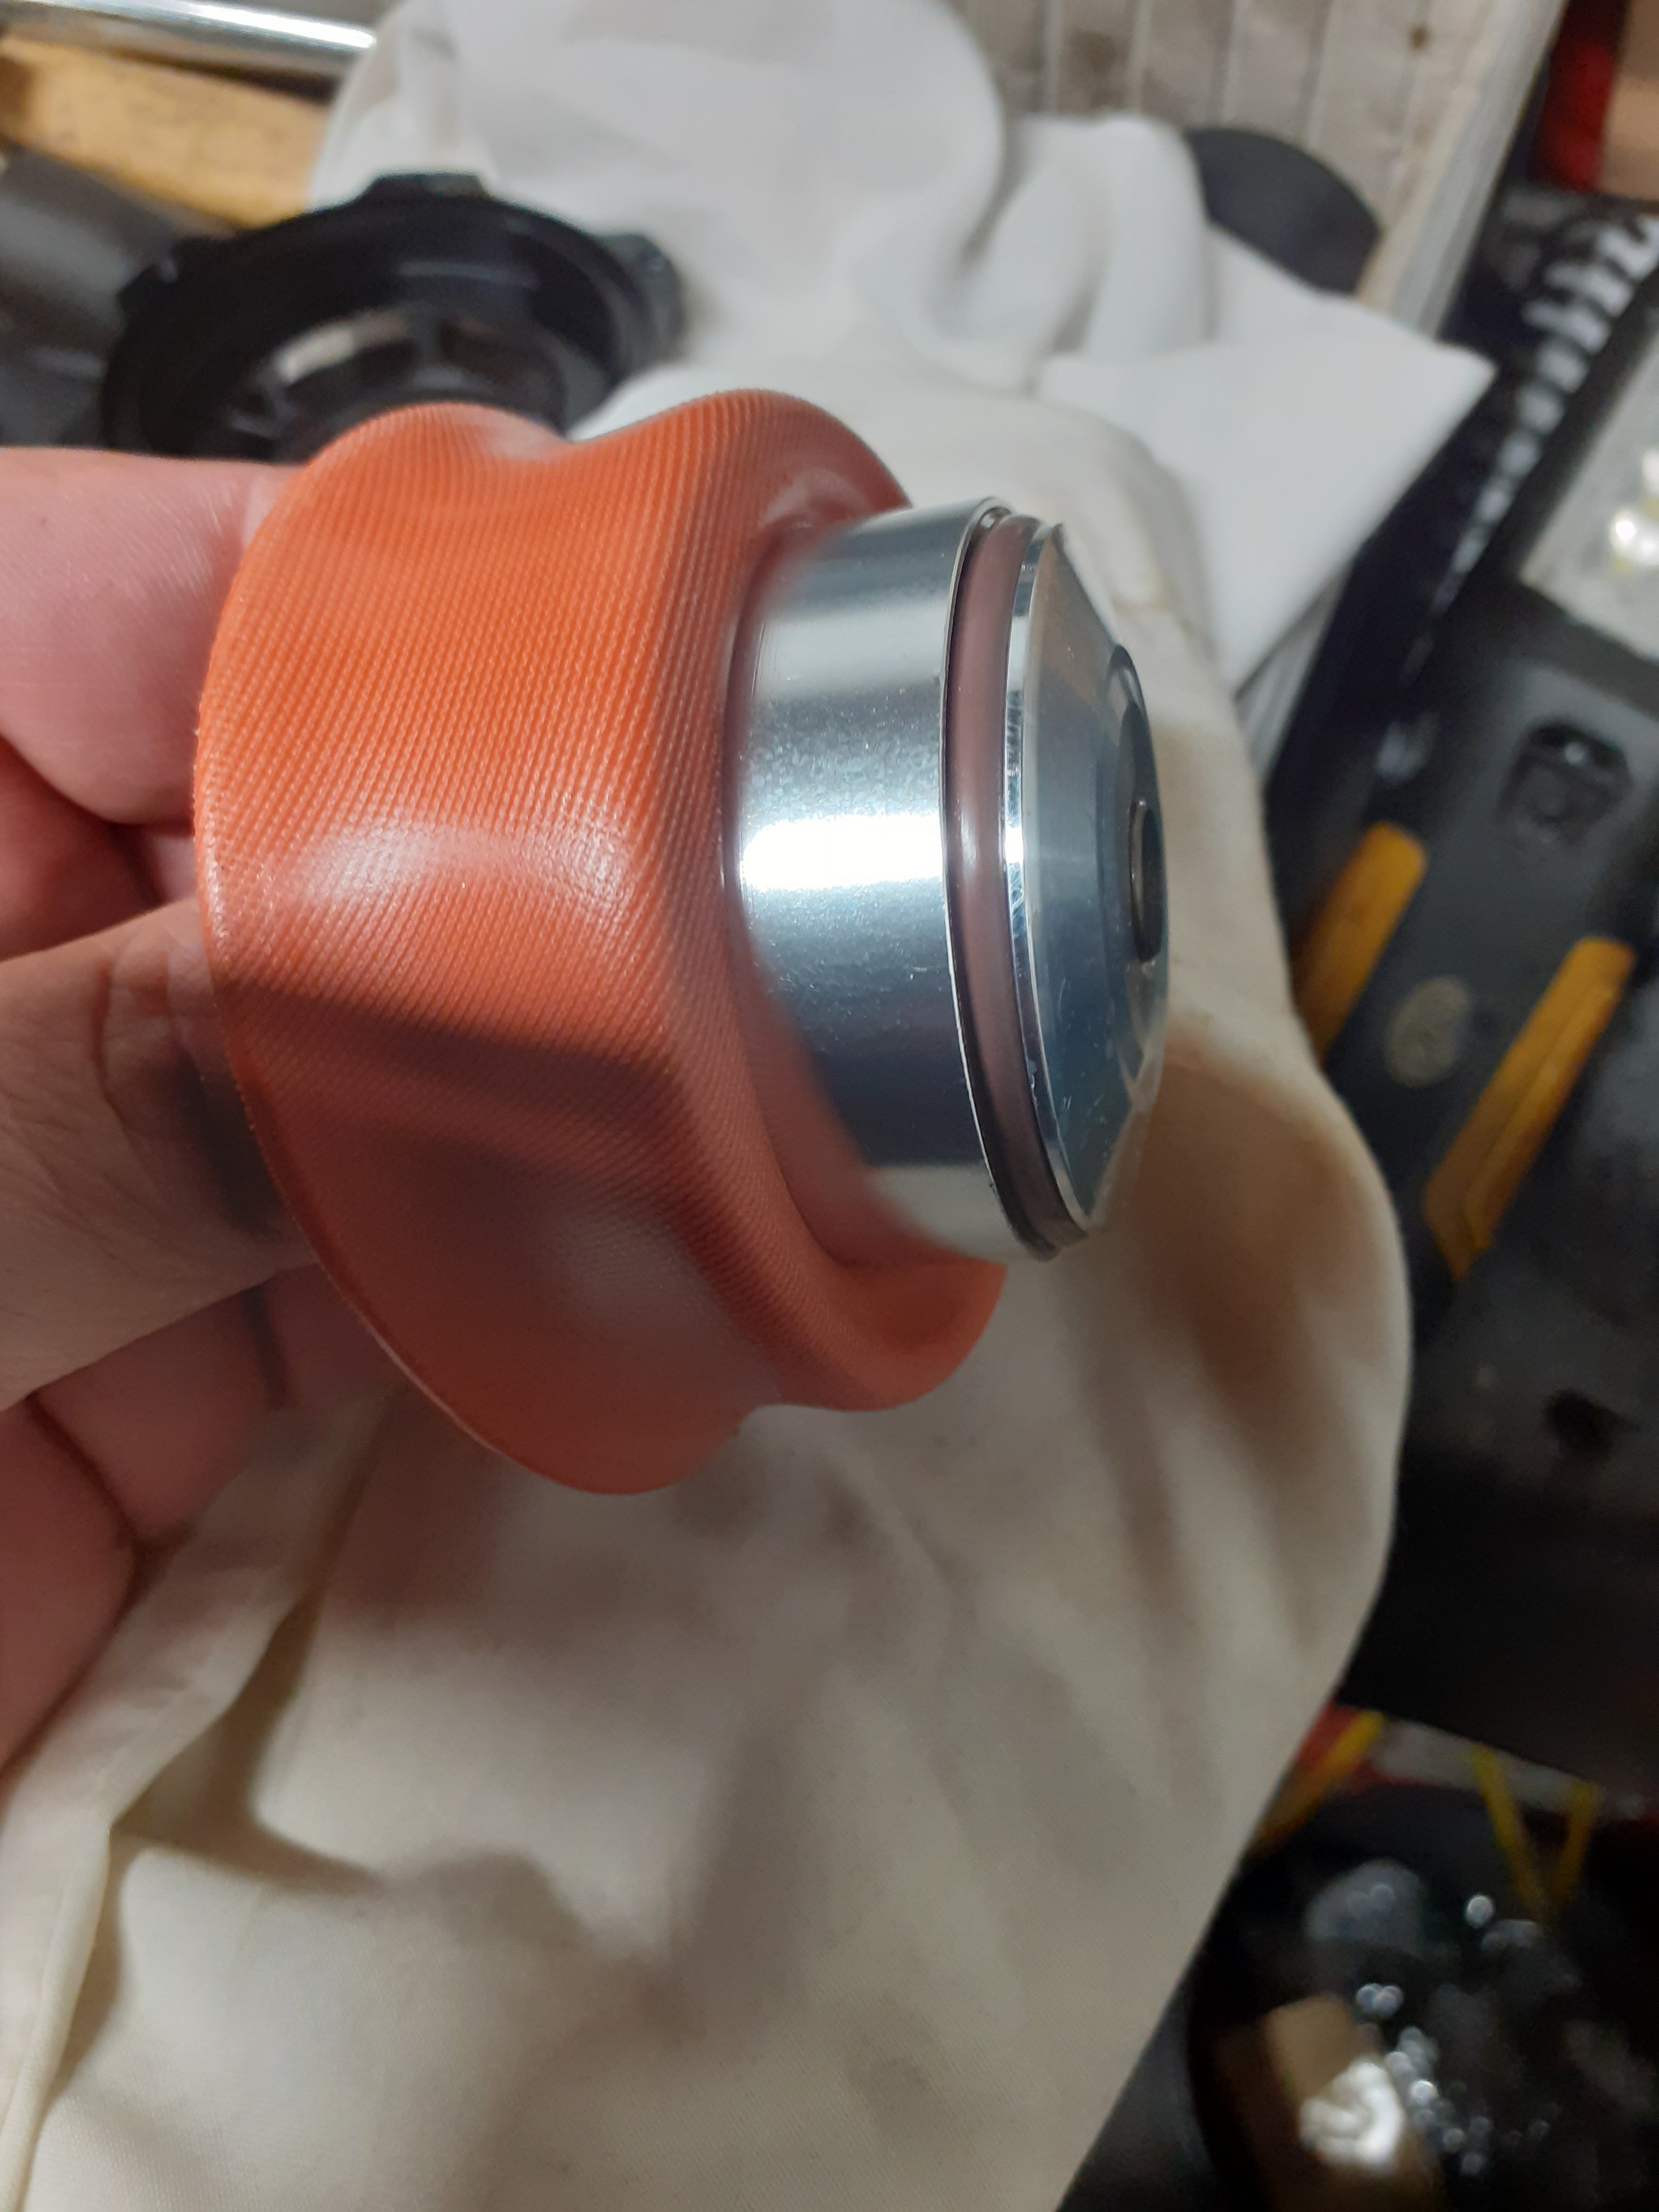
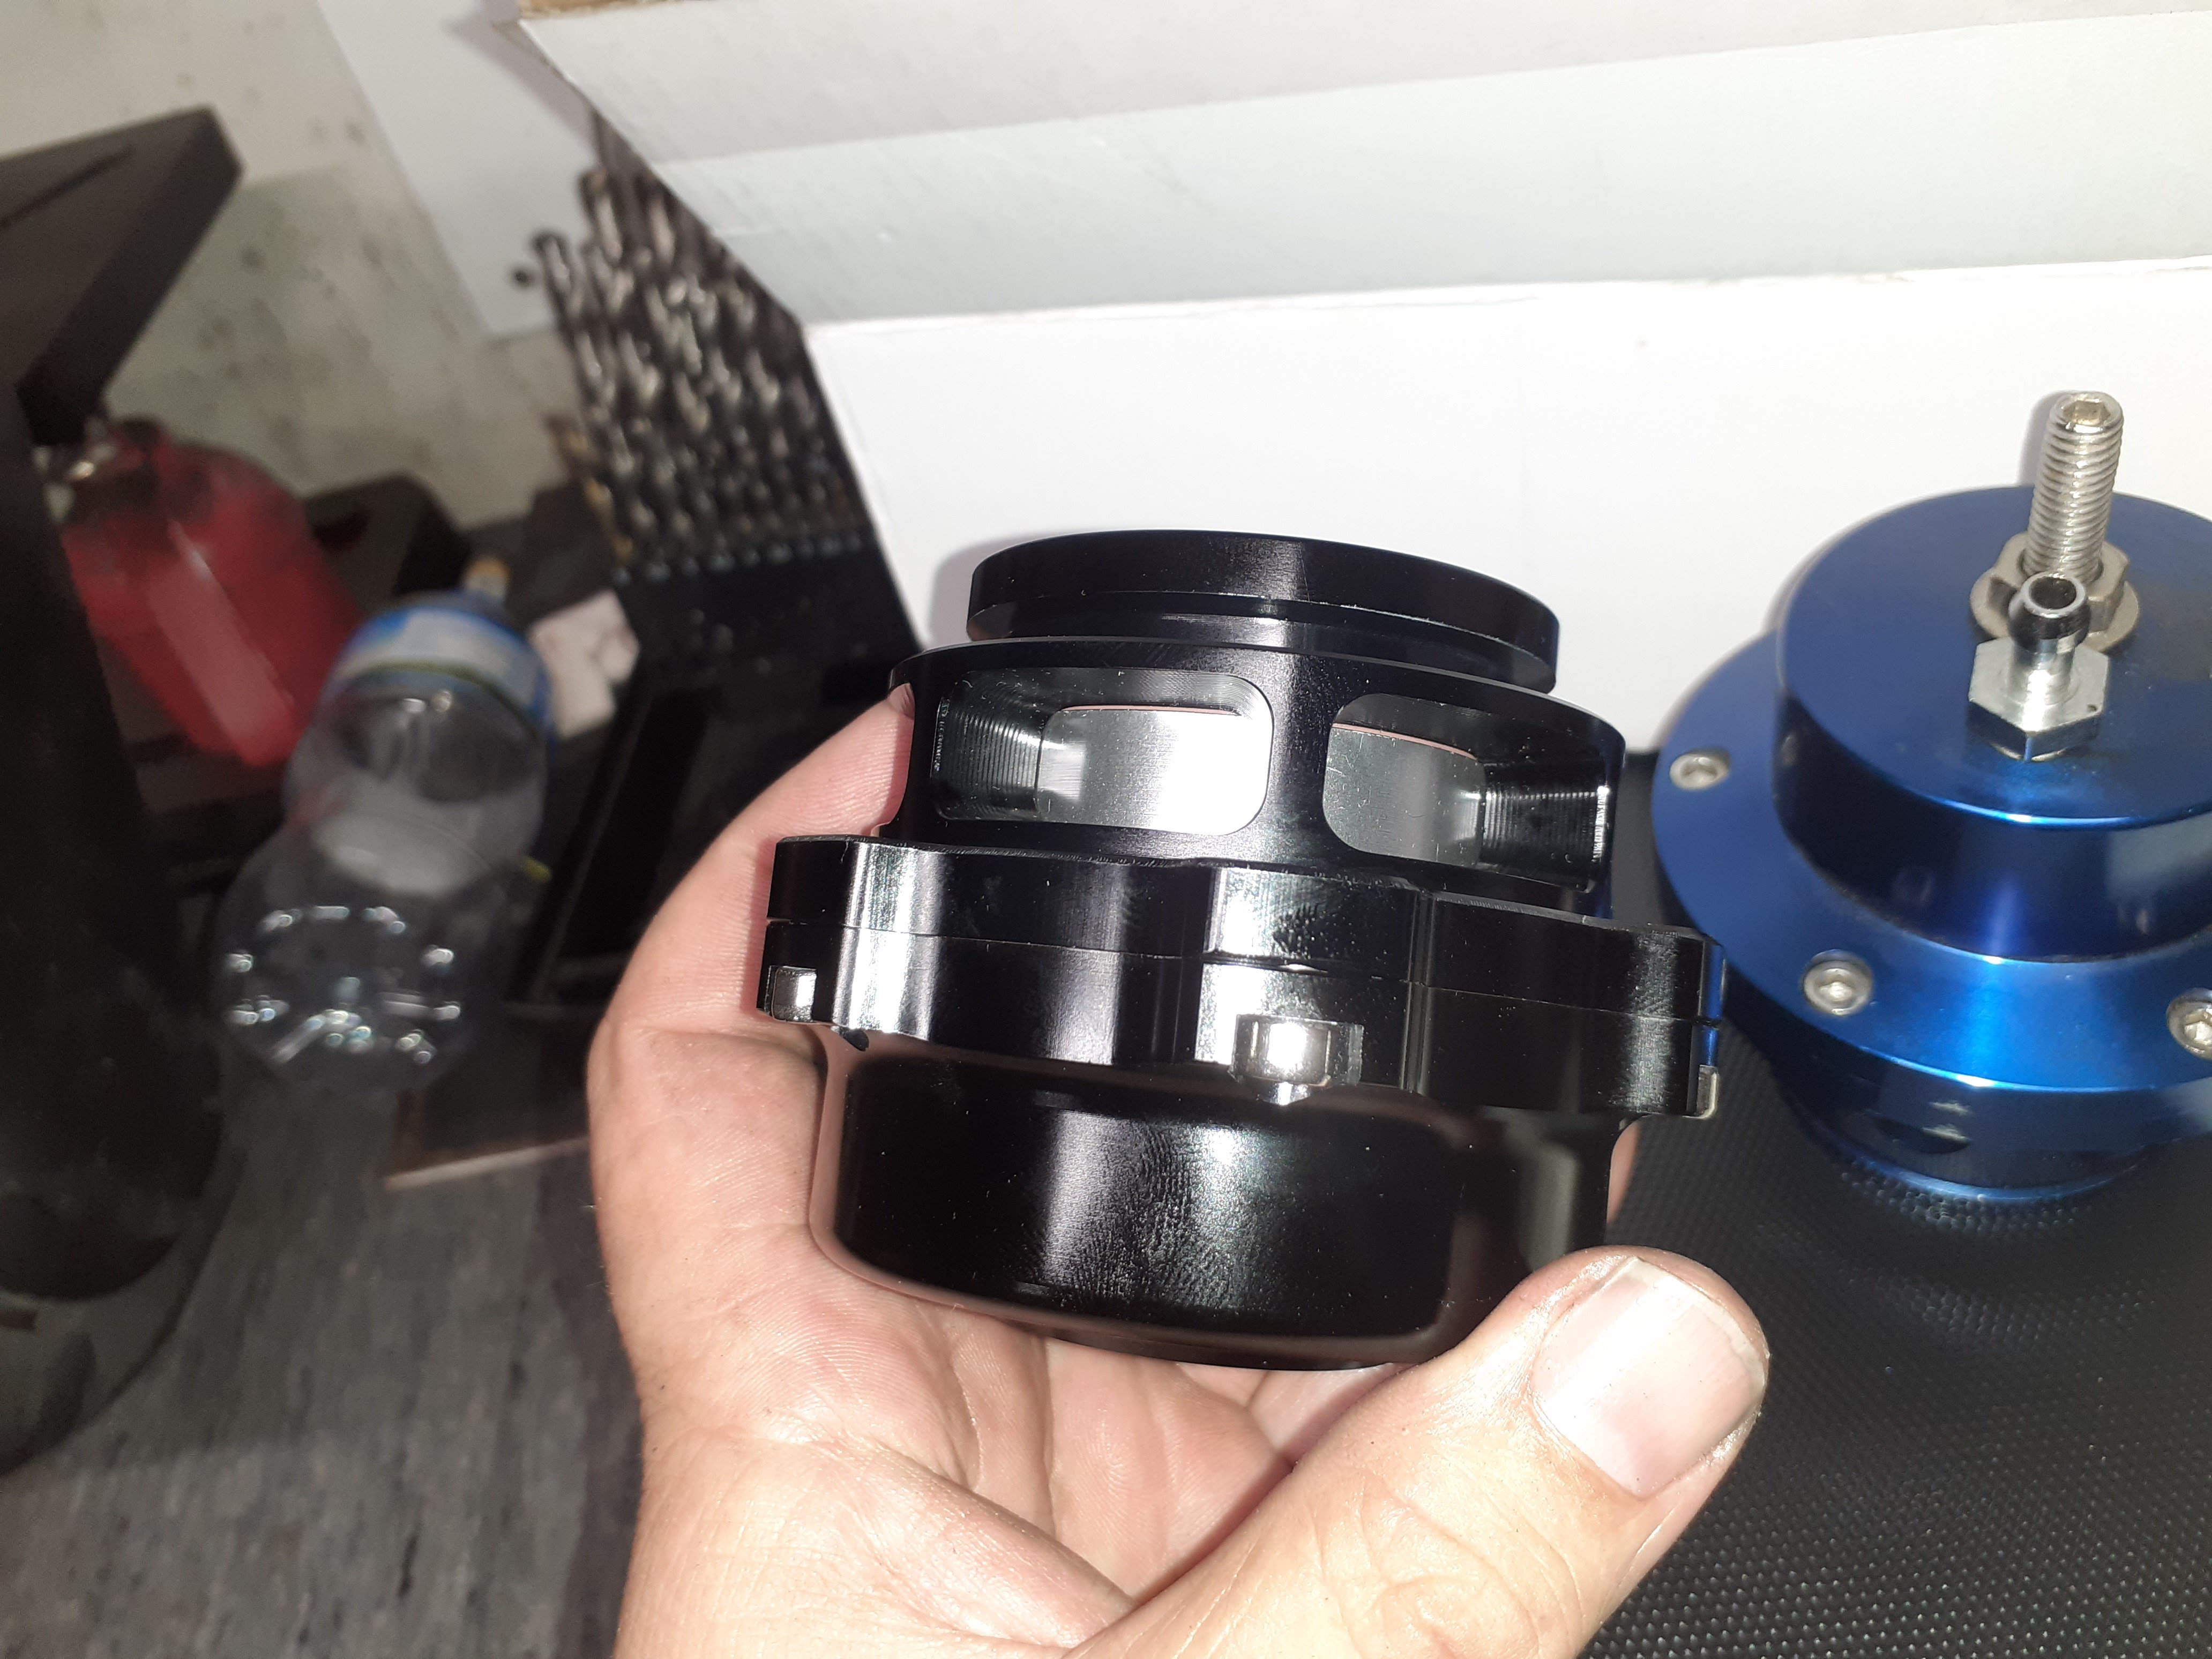
Anyhoo I'd already pulled it apart and ol xin p. ling at the blow off valve factory has been putting the wrong size o rings in, got a couple of new ones and tried it, now it seals pretty well
2 points
-
Still own it, still clean it. Took a photo with another cool Honda. 1996 Honda Accord Super Tourer HART001 (3)-Edit by Richard Opie, on Flickr Also did some more work/doing some more work so will update soon times.2 points
-
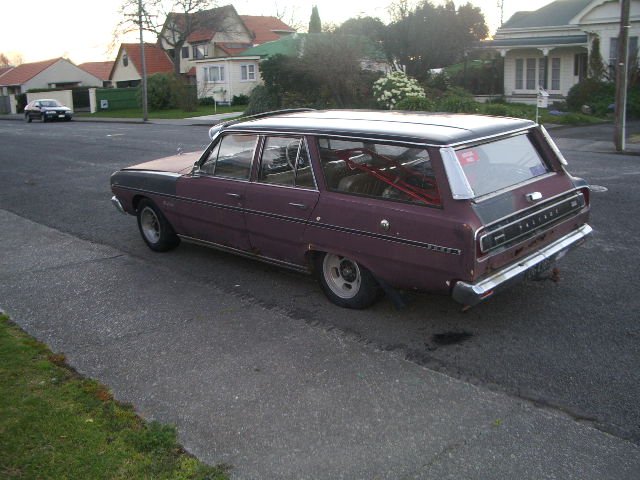
few pics of my new build, this old wagon has been siting here behind my shed for 10 years , so time to do something with it , too rusty to fix for the road so drag only
1 point
-
that looks lush as fuck. self sufficient man camp for all1 point
-
Lush. Camping will be sweet if we have support vehicle space for tents etc. I'll probably roll a bivi bag and have a spare if anyone wants to borrow it.1 point
-
Ive handed in my notice and not taking it back this time. I would like to find a place that works with new builds (tho will look at all options available ) hes a few more pictures .Also have been thinking if there would be the work for a one man band with mobile workshop?
1 point
-
Awesome datsun mate, do you any pics of the interior of the car?1 point
-
1 point
-
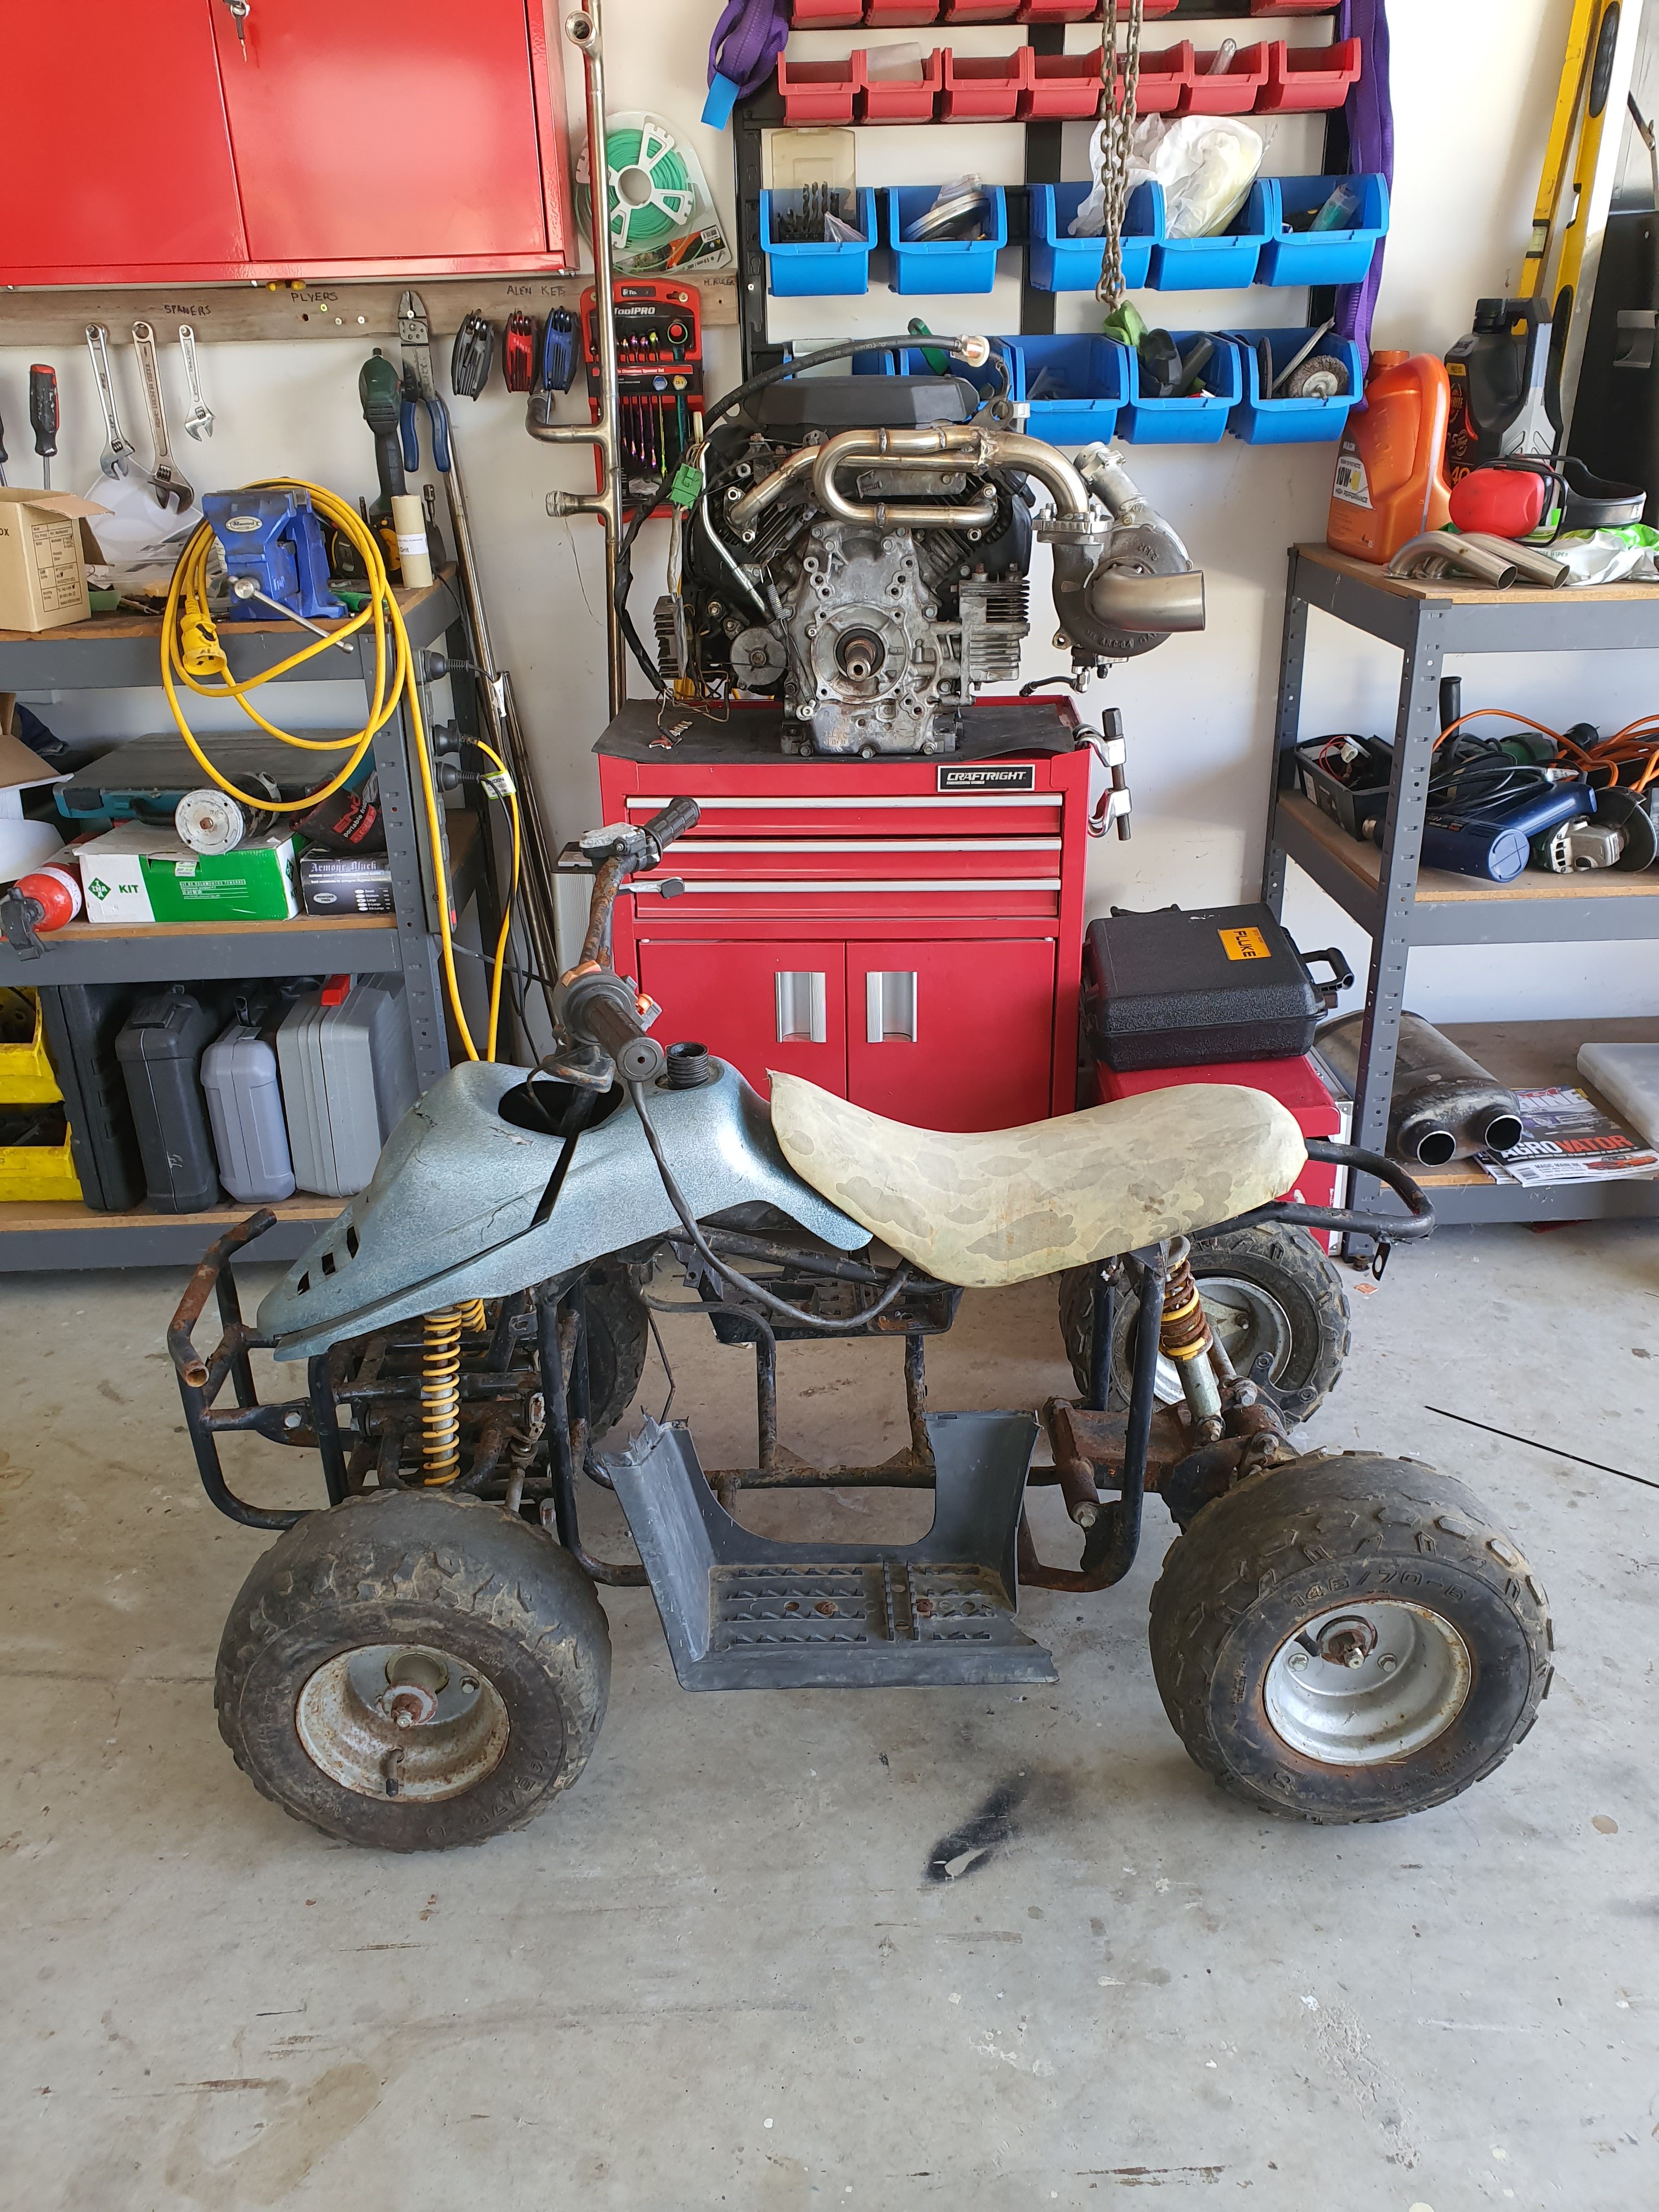
Only wanted the axle for my sons motorised mobility scooter thing.... This could work.
1 point
-
Fixed my compressor, wish I'd got a blasting cab years ago!!
1 point
-
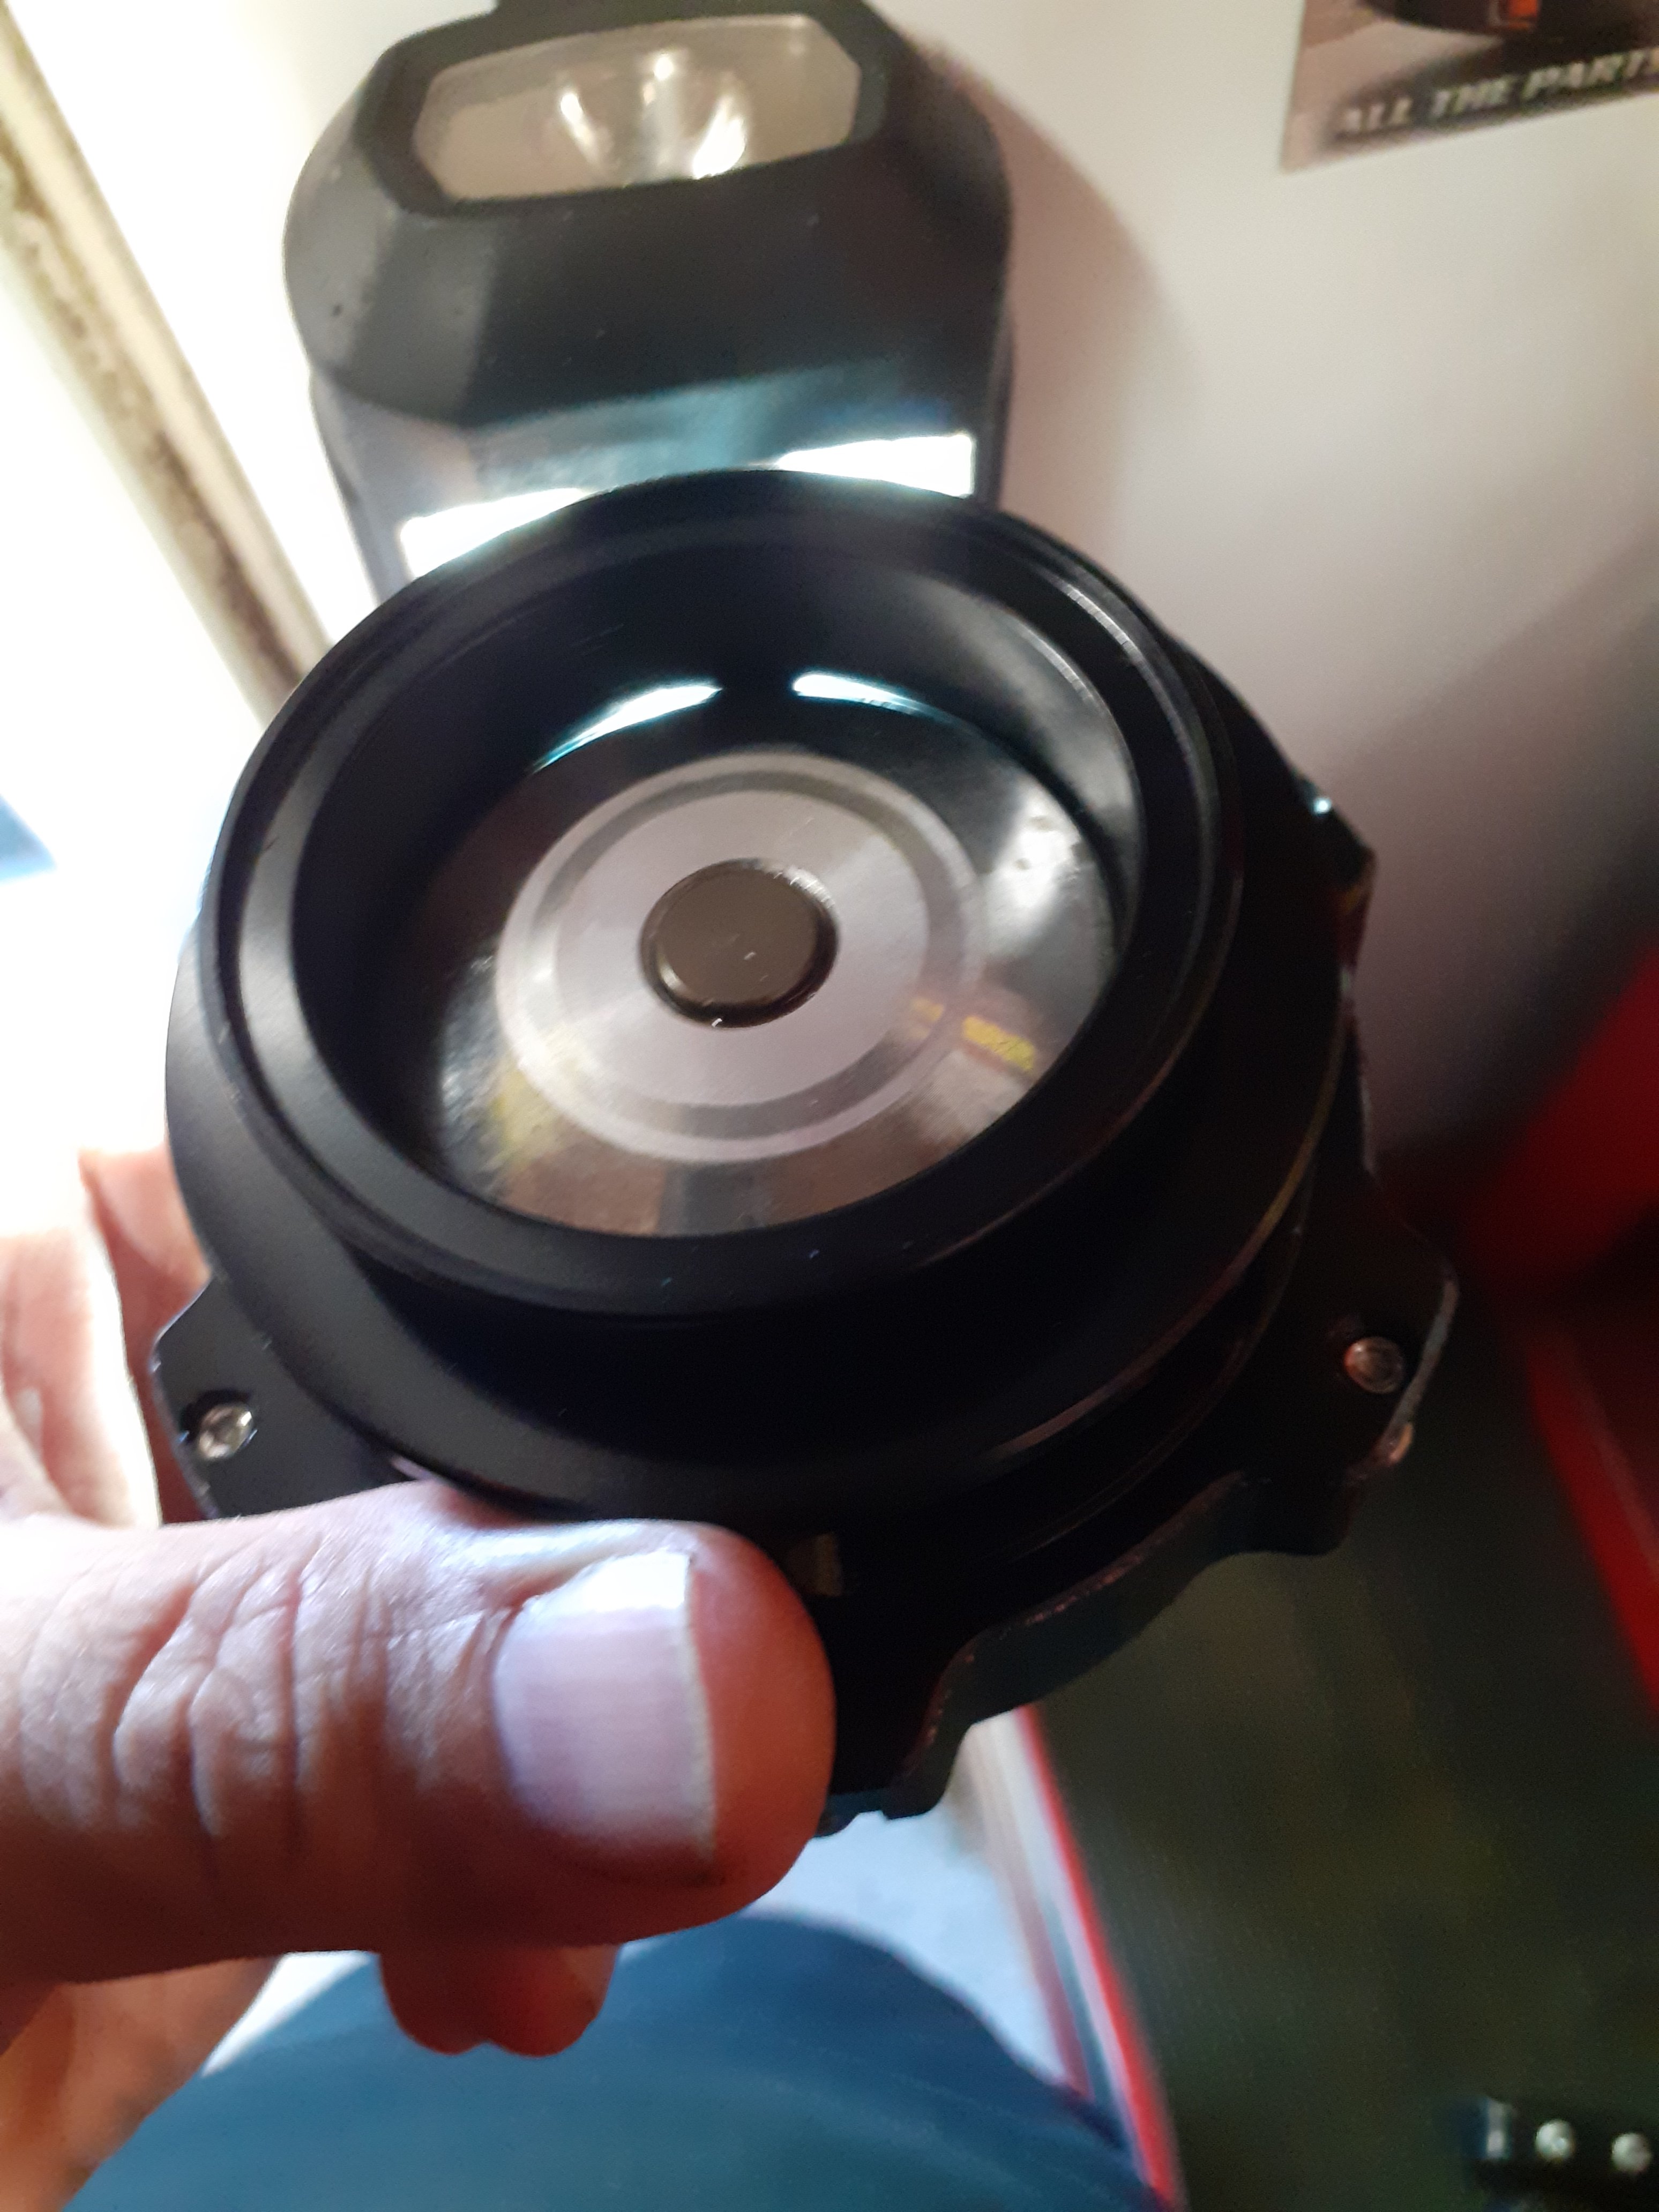
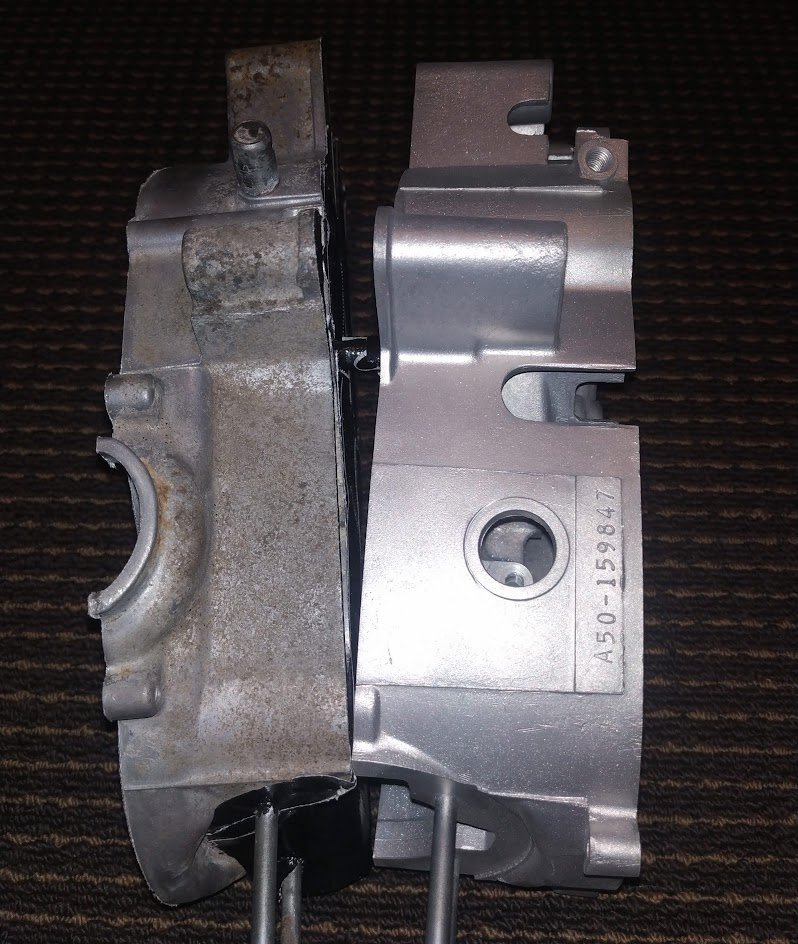
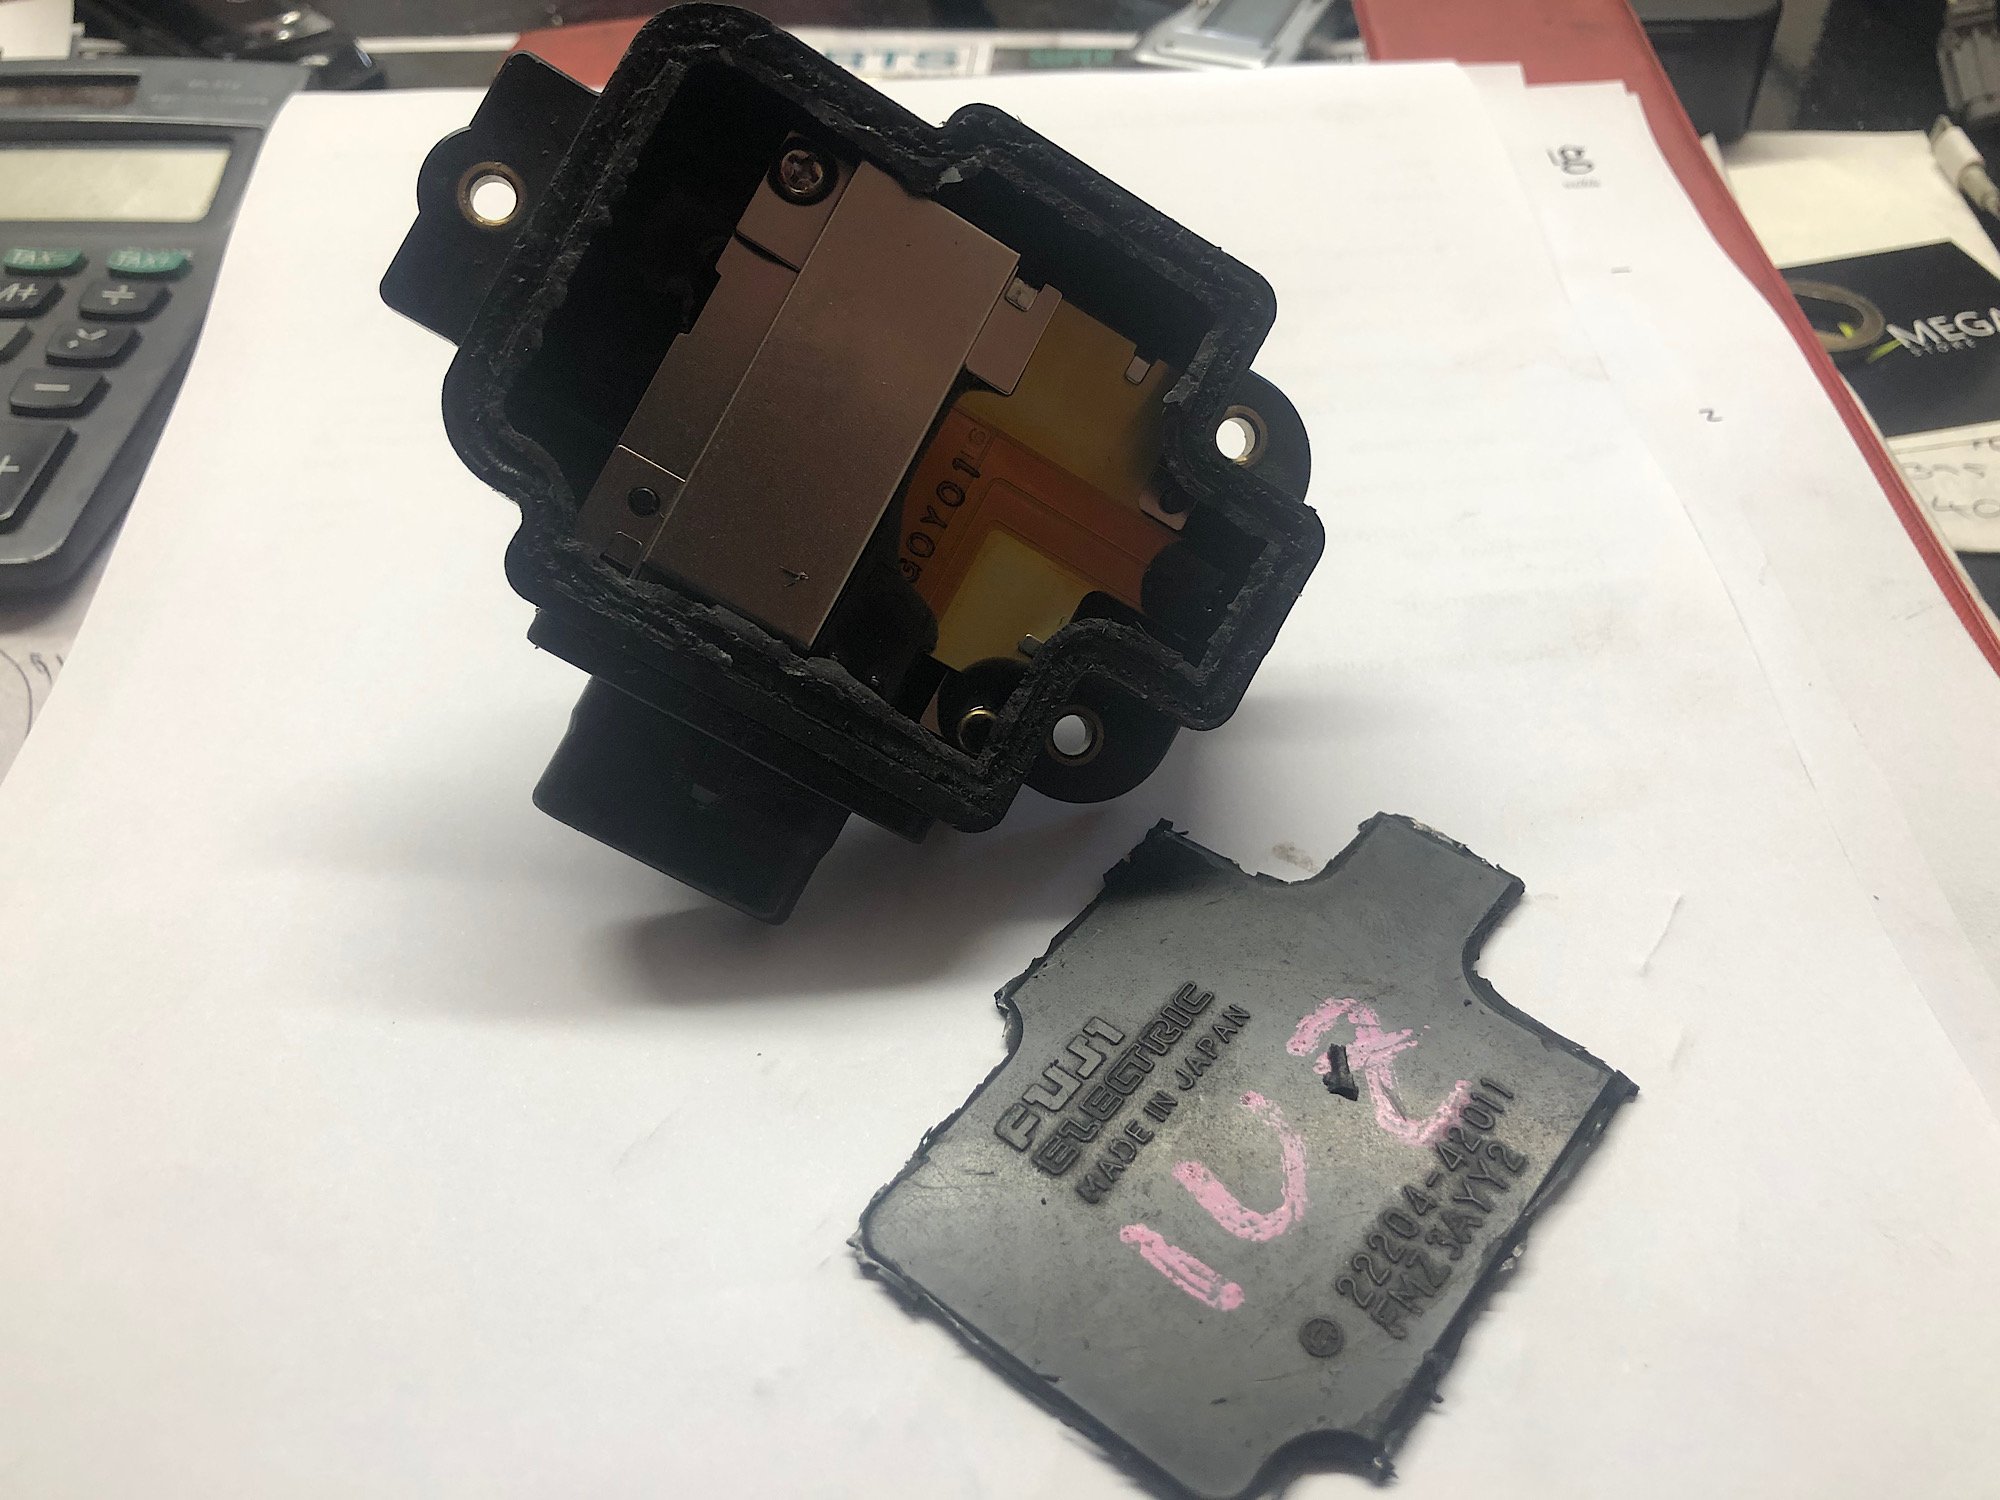
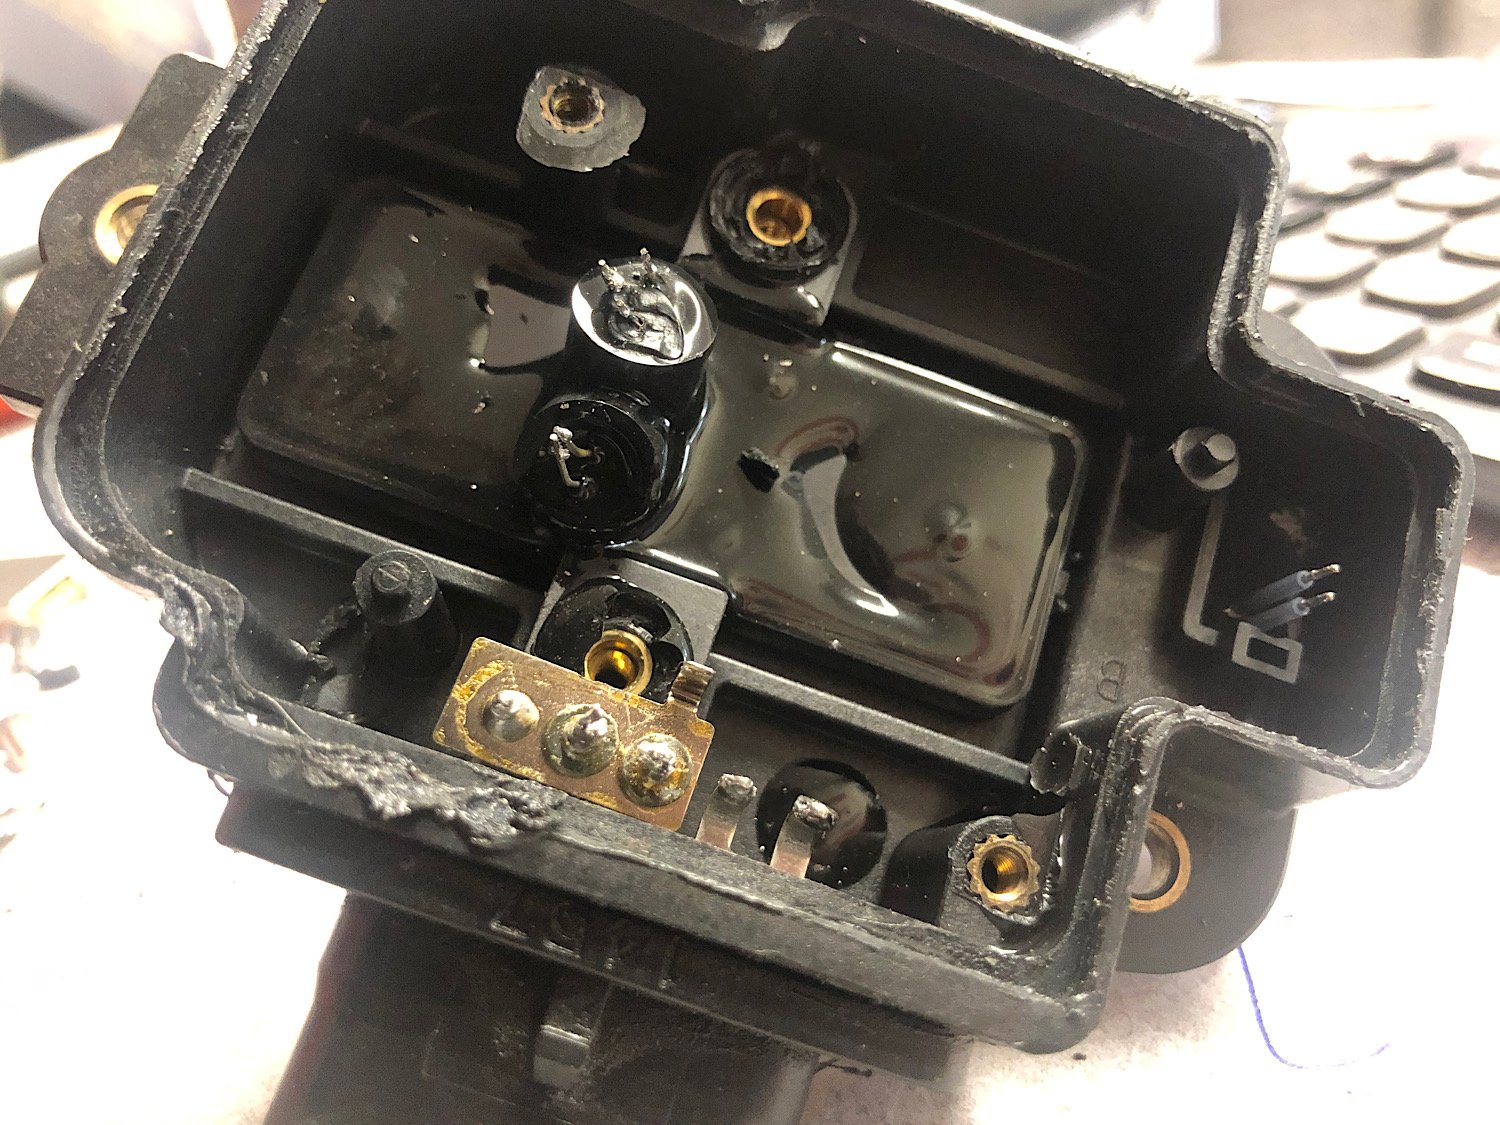
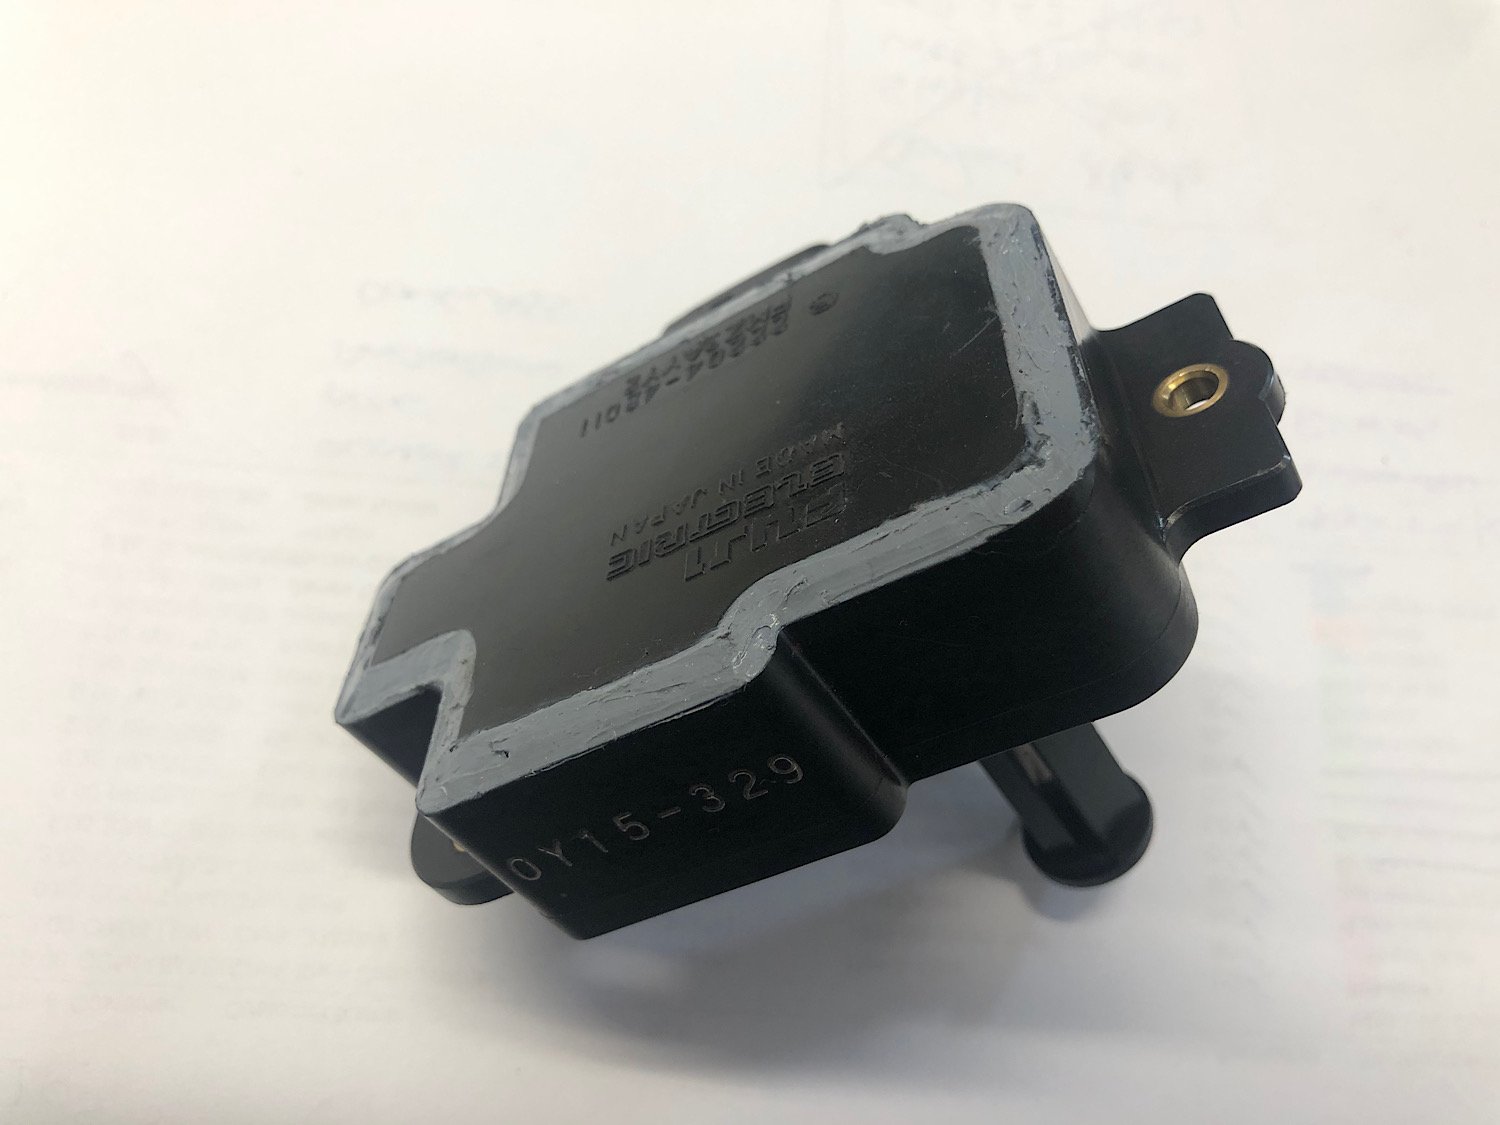
My options were Ali Express special at $60, genuine new for $470 or get some guy in Aus to rebuild it for $600. I wasn’t going to risk second guessing my diagnosis with a cheap part, but also keen to save some coin where I can. I wasn’t going to make it any worse, so it’s worth a shot to see if I can fix it. Lifting the board off and cutting open the main section reveals the tiny reflective metal diaphragm that two diodes stare at to work out air flow. Nothing appears broken, but the diaphragm is a bit sticky and stained. I polished it up and cleaned everything as carefully as I could, then put it all back together. I popped it back in and fully expected to have killed it, but I now have a perfect signal from idle! It runs smooth as silk and the o2 sensors are reading a nice lean mix at idle. Stoked with that.
1 point
-
Factory ecu wiring into old junk.. Is this fairly straight forward? I'm looking at a b6 mx5 conversion for the hunter, and cos I'm so cheap I'd like to keep the original loom etc. I don't think these have any immobiliser components in them. Goal is to keep the smoke inside the wires1 point
-
new rims
1 point
-
I saw a falcon that had the rear mufflers like this but they were mounted at 45 degree angles and the pipe went in the rear then out the front and then the side of the car1 point
-
Sounds like it, I am sure they make those separatetors from something that crapps out faster1 point
-
Installed the new CD and it didn't fix the problem but got put in contact with a guy who runs an audio shop who sed he has fixed this problem 3 times by replacing th GPS CD ROM witch is infront of the driver. Missis wants to give up on the car but I will show her how I will fix it even it it costs a huge amount1 point
-
bust out the epson salts and if that dosnt work slam the battery on the ground a few times1 point
-
1 point
-
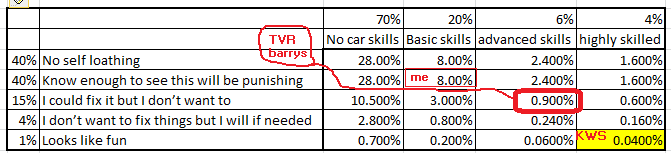
So, ages ago, I used to buy really shitty cheap cars for daily drivers. I would think "Well, I've got the skills to fix this 300,000km old shitter. So if something goes wrong I wont need to pay a mechanic!" Having this attitude skews the risk/reward equation (as I would later learn, unfavorably towards myself) when factoring in if a particular car is a good idea to buy or not. A major "aha" moment in my life, was where I realized that having additional skills can empower you but also lead you into unique sorts of traps too. I've missed so many weekends of my life where I could have been doing fun stuff, because knowing how to work on cars, meant I navigated my life into the situation where that's what I needed to do a lot. Like, isnt that strange? Instead of skills giving me extra options, they took away the option of doing anything else. Now, pausing to consider this idea for a moment. The skills trap is what is so fascinating about this project. In order to even consider taking this on, you obviously need to be incredibly talented beyond the level of most across a broad range of topics. But that's not enough, you also need to be confident and willing enough to be able to fix the potential issues, even ones you currently have no experience with. Yet, paradoxically, someone like this also has all of the requisite skills for assessing whether this is a good idea or not. Which, I would wager, most people, regardless of skill level, no offence, would say sight unseen purchasing an old TVR is "not". Not even the TVR Barrys sat on the required part of the skills matrix to get this car going. I applaud your efforts. WOF is an amazing milestone. If not for your efforts I doubt this car would have ever seen the road again.
1 point
-
I will check tonight where it broke, the 1st time it broke I replaced it but the 2nd time it was tig welded, my bike had the horn and ignition switch mounted to it, I lost the horn1 point
-
I have had 2 of those steady's snap lol1 point
-
Wow a good 5 minutes use from a brand new seals beam, that’s good going
1 point
-
The Kumeu AMP show is coming up soon, you could go to that instead?1 point
-
No they can cause a misfire sometimes that comes and goes, mine would play up some days or not at all, the replacement was about $280 I cannot remember what brand it was1 point
-
I don’t think you could realy test the module, the problem would only show up sometimes, you could test the fuel pump with a pressure gauge?1 point
-
And they have a baking comp this year so that’s a another 25% less cars1 point
-
Fuck I am over kumeu now, been going almost ever since it started but it has crapped out so bad1 point
-
I had the same thing in my Telstar, would develop a misfire sometimes and almost cut out, and it was hard to start1 point
-
Works in reverse tho, shit is going into the inside of the filter
1 point
-
I found if you cut open a Fram G12 in-line fuel filter you can jam it in your sedanent glass
1 point
-
1 point
-
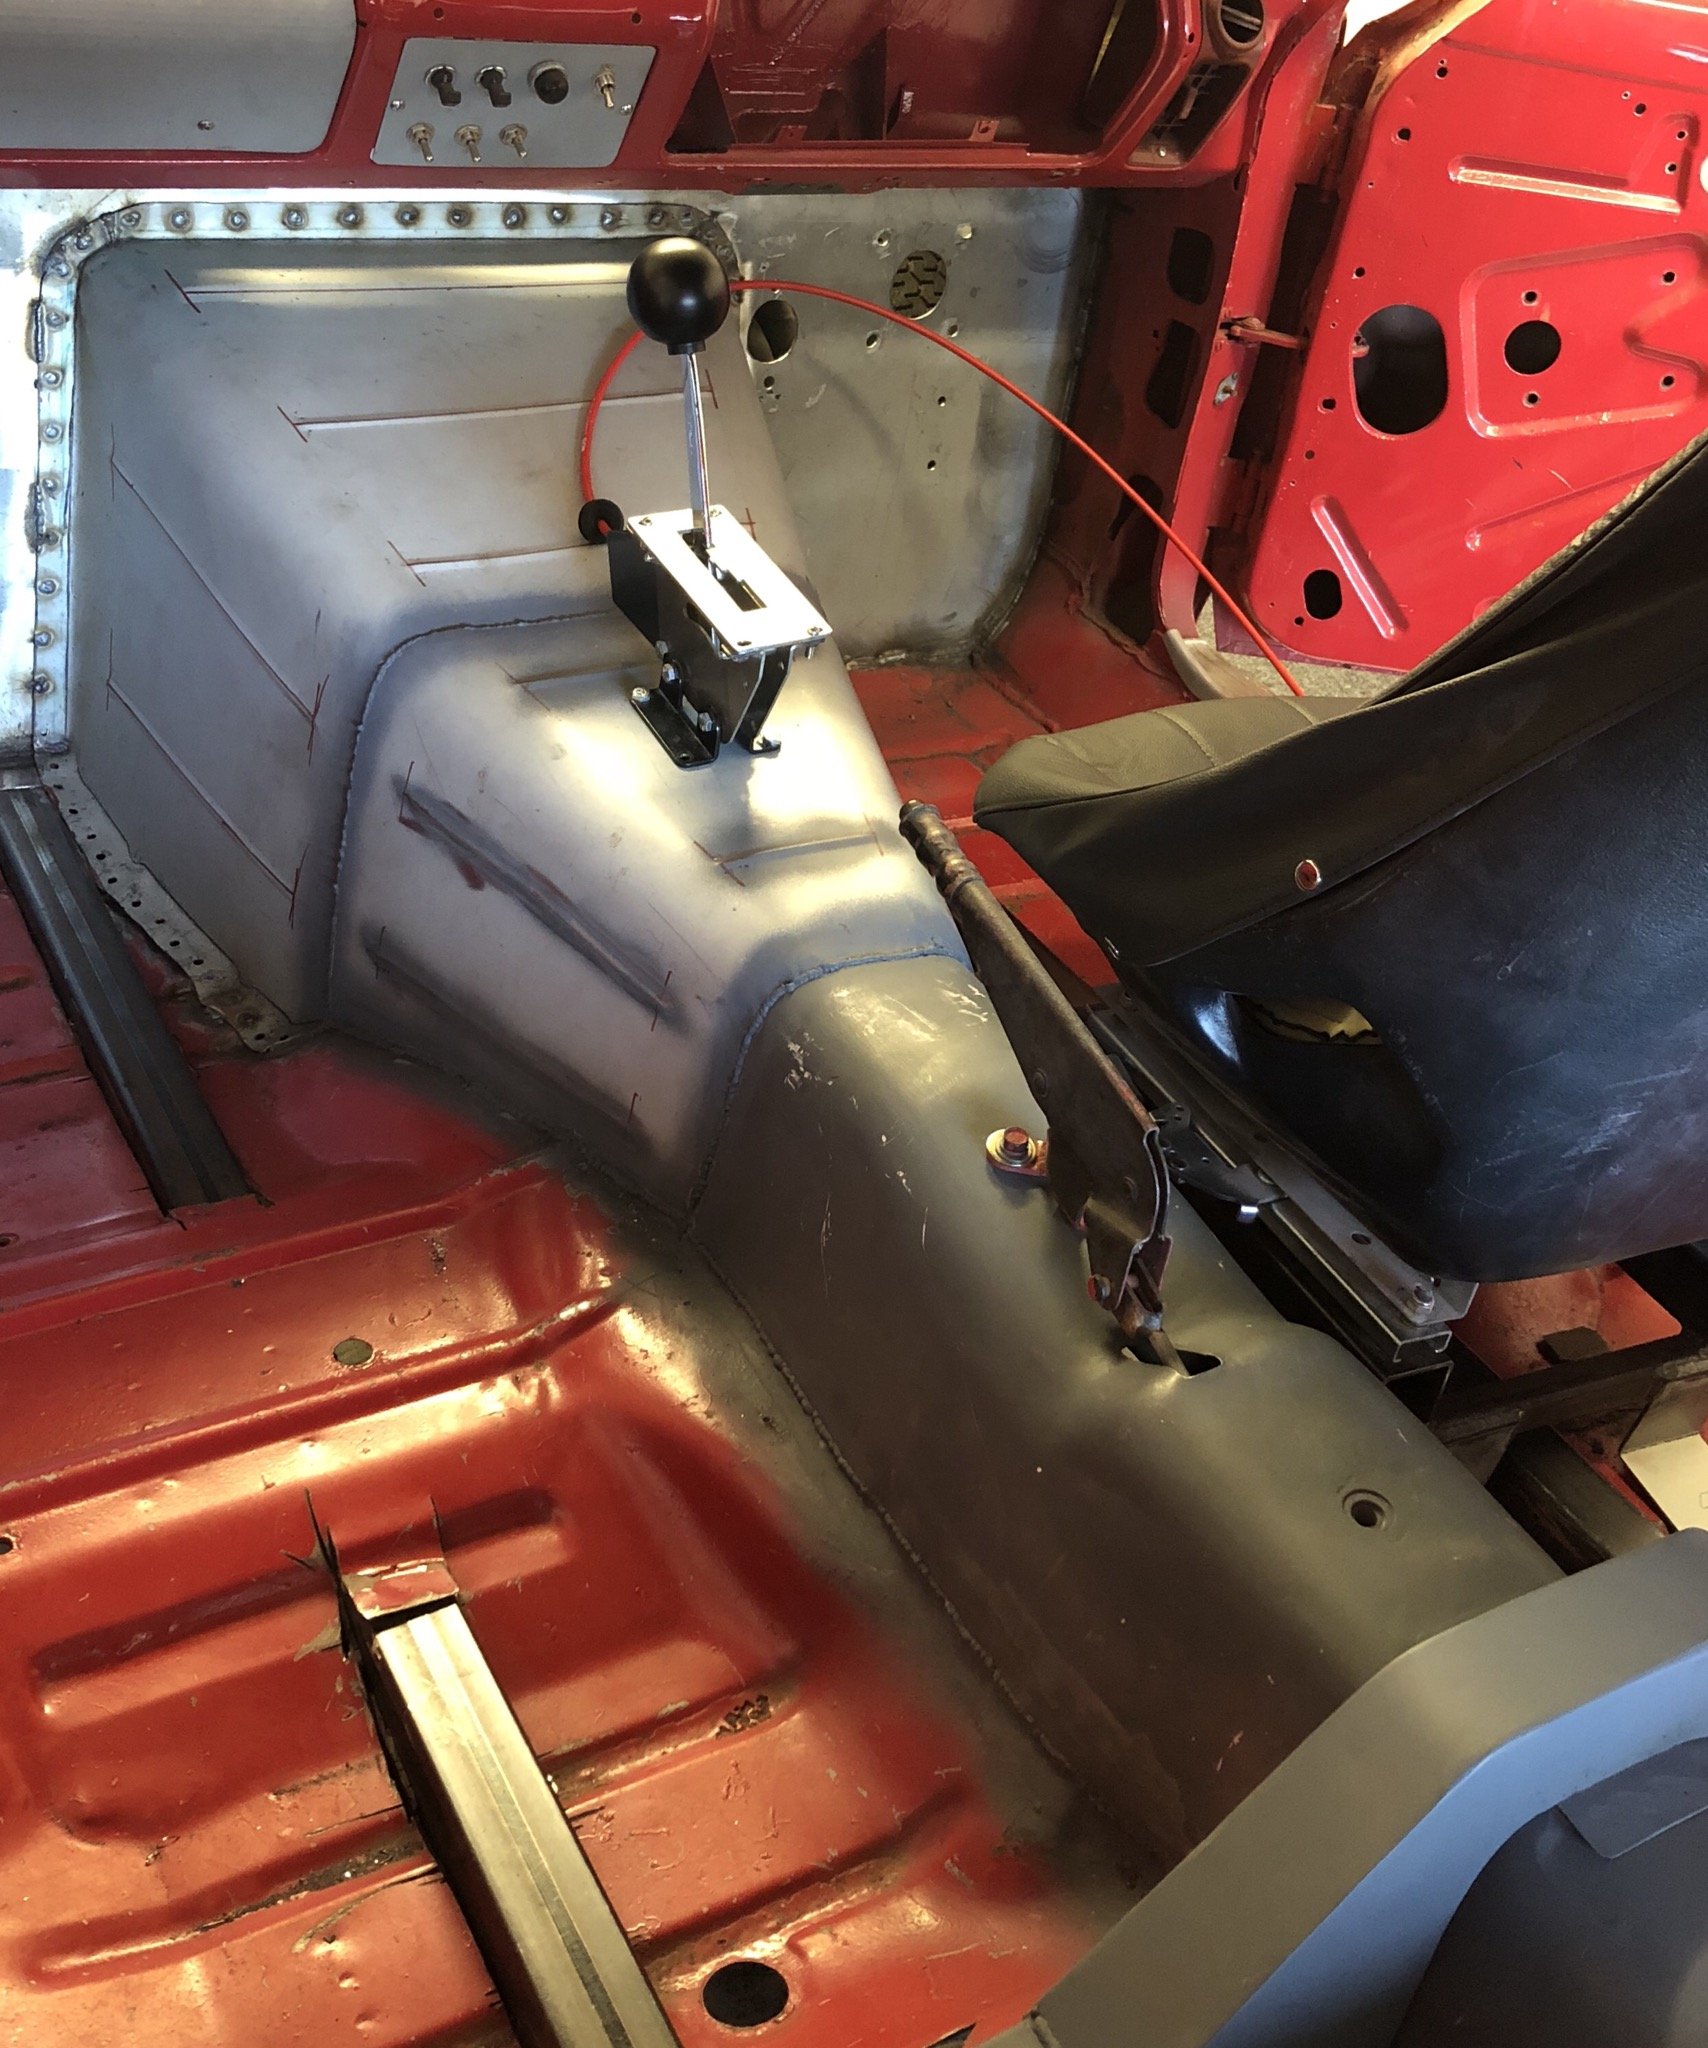
I hit a bit of a brick wall with progress because at some point I want to paint the engine bay and underside, and was trying to do things in a way which meant I could get that done, get the engine sorted and painted and in for good and then do things like make the exhaust afterwards Then I realised that was stupid and I was wasting time mucking around trying to figure out things with the engine on the stand, and whacked the motor and box back in . I need to get everything done then I'll take it apart for paint last Shifter mounted, i wanted it up high so it's not far from the steering wheel to the shifter, @RXFORD/matt from tin tricks helped me out again with that by folding up a shifter mount and putting some fancy holes in it And put the carb and hat on, the bonnet doesnt shut so I'll have to figure out what I'm going to do with that
1 point
-
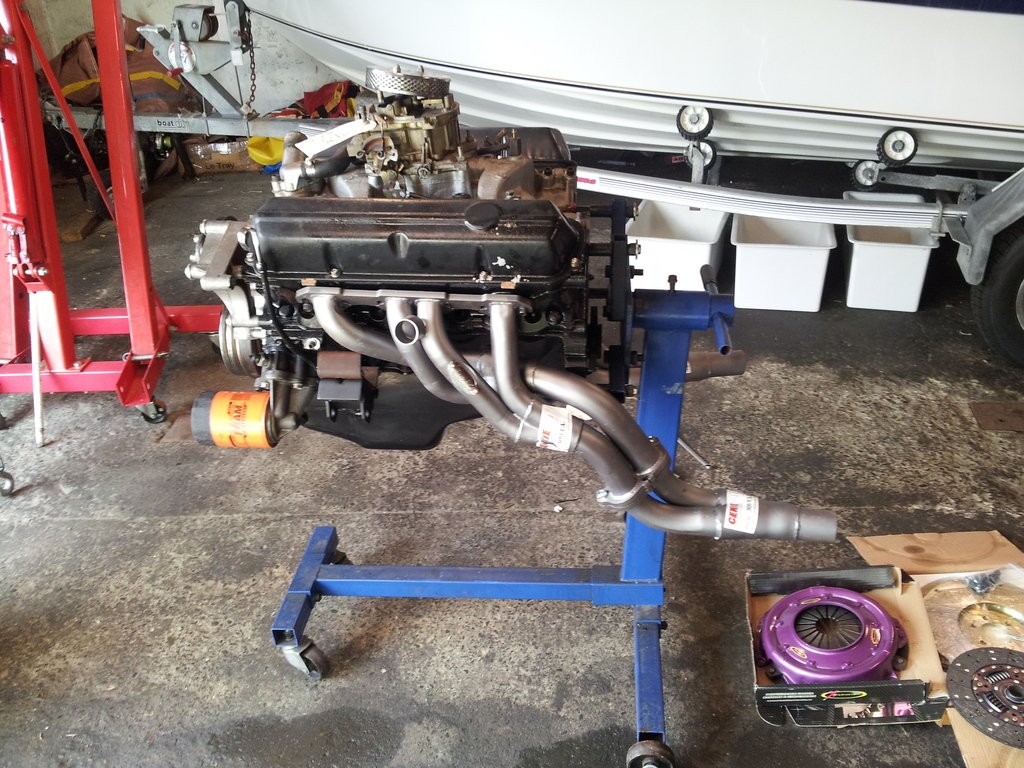
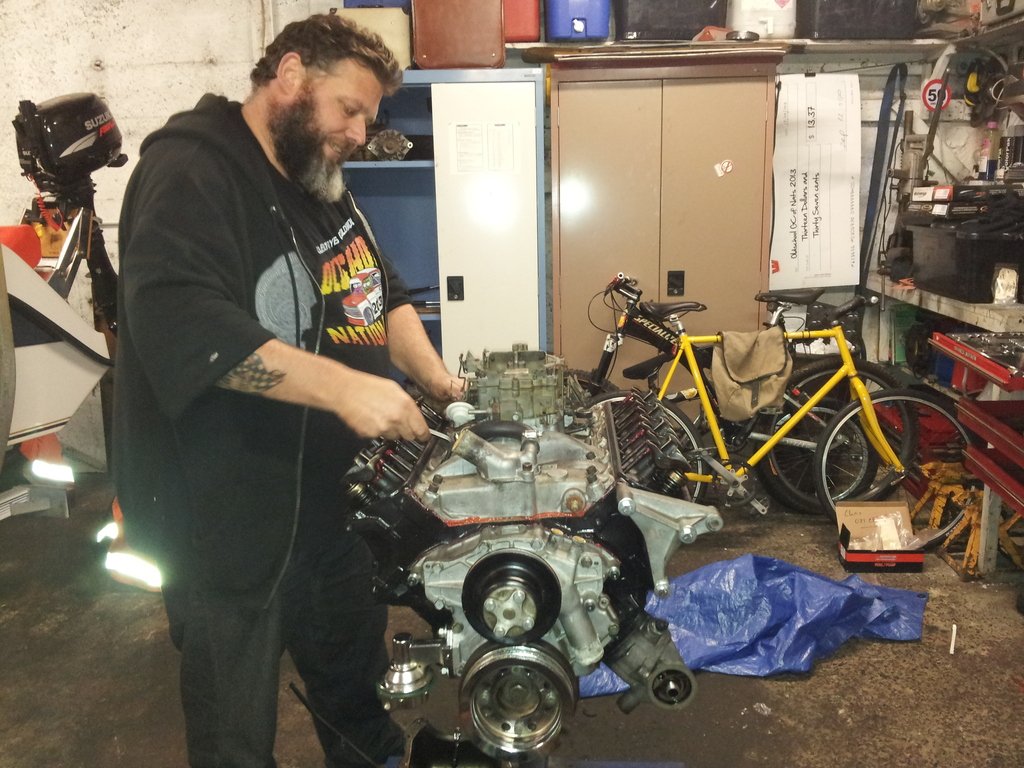
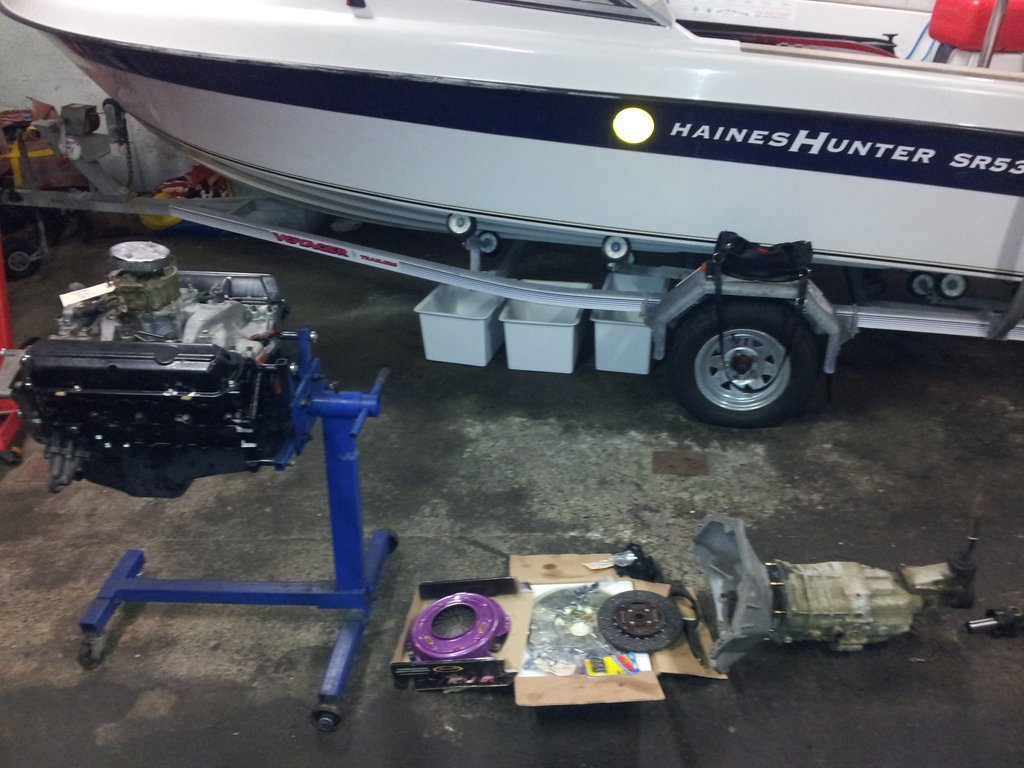
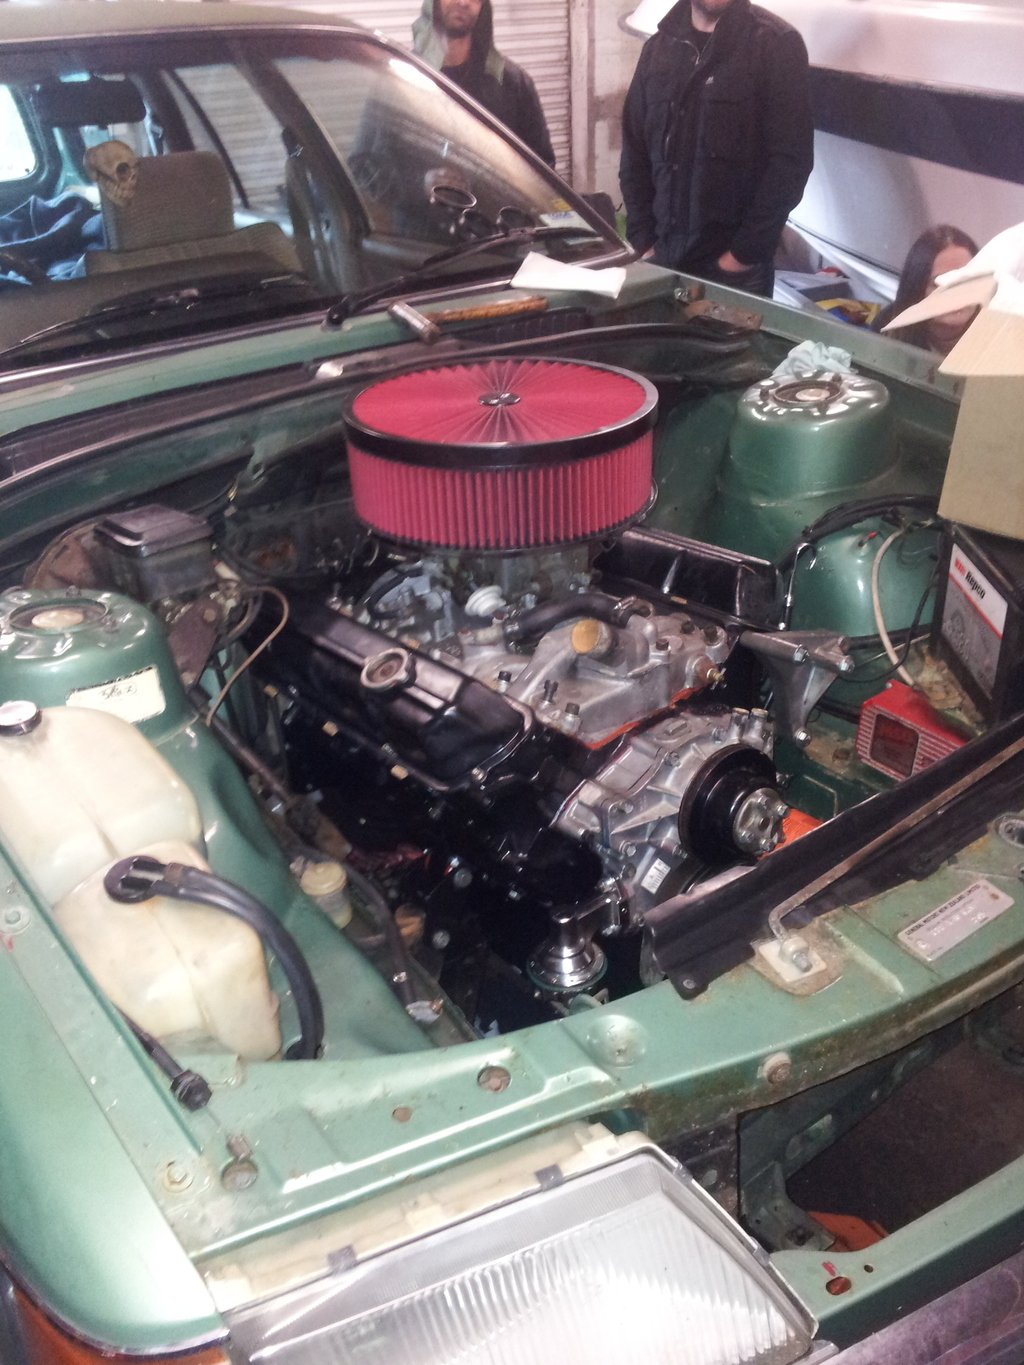
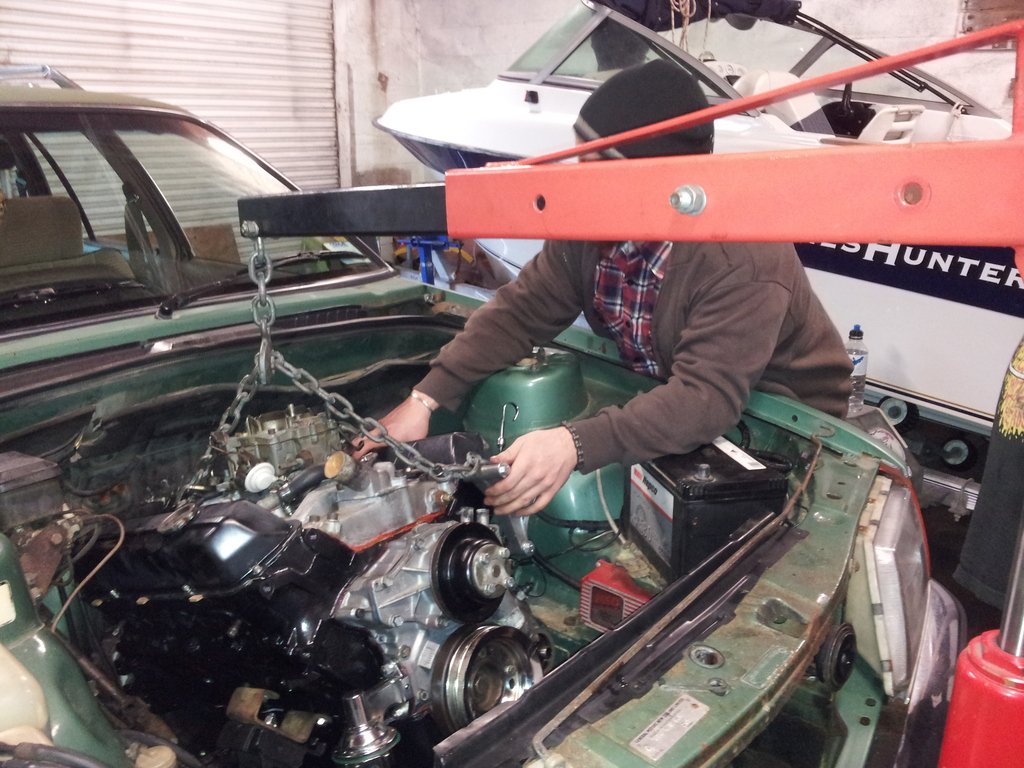
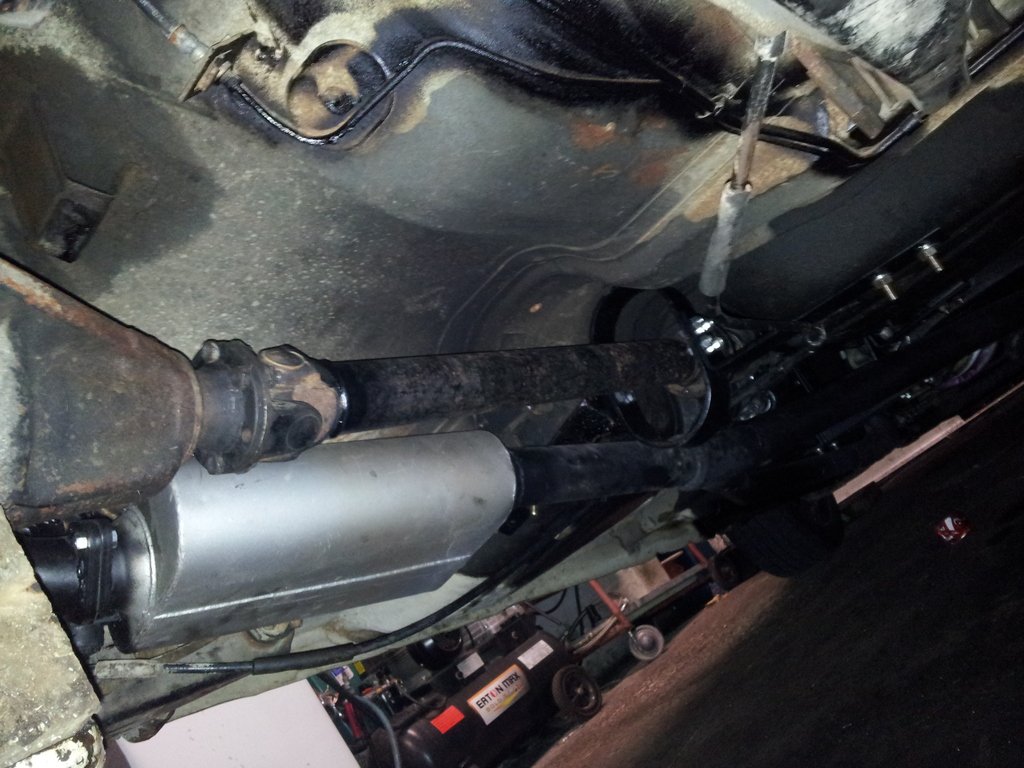
Then around early 2012 I started having a hankering for a bit more power and a V8 started preying on the mind. Originally I was tempted by a 1UZ and even purchased a UZ conversion motor and manual gearbox etc for it and spent 6 months trying to find the motorvation to do the conversion part. End result was I got this 308 and I talked myself out of the fuckaround that would have been doing a 1UZ conversion and into a nice simple 308 conversion. Spent the next few months buying more parts for the conversion and come Queens Birthday weekend I ripped into it. Long story short the conversion cost me a LOT more than I thought once I threw a few new parts at the motor and bought all the little bits I needed. Well over $10K now - so don't let anyone tell you a simple conversion is cheap. Here's a basic rundown of the conversion in pictures but from the day I pulled into the lockup to pull the motor out to the day I had a WOF (albeit a little dodgy with no cert plate) was 8 weeks. Dopey driveshaft loops, bigger brakes etc (all the essential cert work was done for the WOF but before the cert as checked) Had to chuck some different rims on as the stud pattern changed going to the bigger brakes. But the steady formula of black steels stuck.
1 point


This leaderboard is set to Auckland/GMT+12:00