
Leaderboard


Popular Content
Showing content with the highest reputation on 08/23/19 in all areas
-
ho ho hoooo park your peepers to the 500m mark and check out the latest edition of RX125 escapades As previously mentioned, carb has been doing mega wees out the overflow of the carb bowl, and i set out to rectify this problem. Well fuck me dead this drove me up the damn wall. no matter where the floats were set, it would leak out the overflow. i had two carbs to test out, and both leaked when i put fuel through them. There's not much information on these bikes on the innerwebs. seems they have been forgotten/no one gives a fuck about them enough to put any decent info up online. the closest spec i could find was 21mm float height. After setting both carbs to this height i was still getting wees all over the motor. adjusting the float height either way by bending the brass tab was not changing anything. Only way it would stop leaking was if you set the floats so high that the needle valve was closed all the time. This should have raised alarm bells to me... turns out the overflow tube in the float bowl was loose - meaning any amount of fuel in the bowl would wee out the overflow. perhaps in the ultrasonic clean this had been rattled loose or it was like that beforehand. I guess the other carb i had had a fucked needle/seat which was giving me a false negative type set up. So yea have a video of it running nicely all on its own, no choke no leaks! it does a tiny dribble out the overflow which can be solved with a little fine tuning of the float height, but stoked that its holding its fluids like a big boy. NANGS Can someone whos not a spoon like me embed it haha Only a few minor jobs to do - free up sticky throttle cable - fit joiner elbow thing to airbox/carb and tune properly - get all lights working properly etc - get a mirror - take it for a decent spin - revin!3 points
-
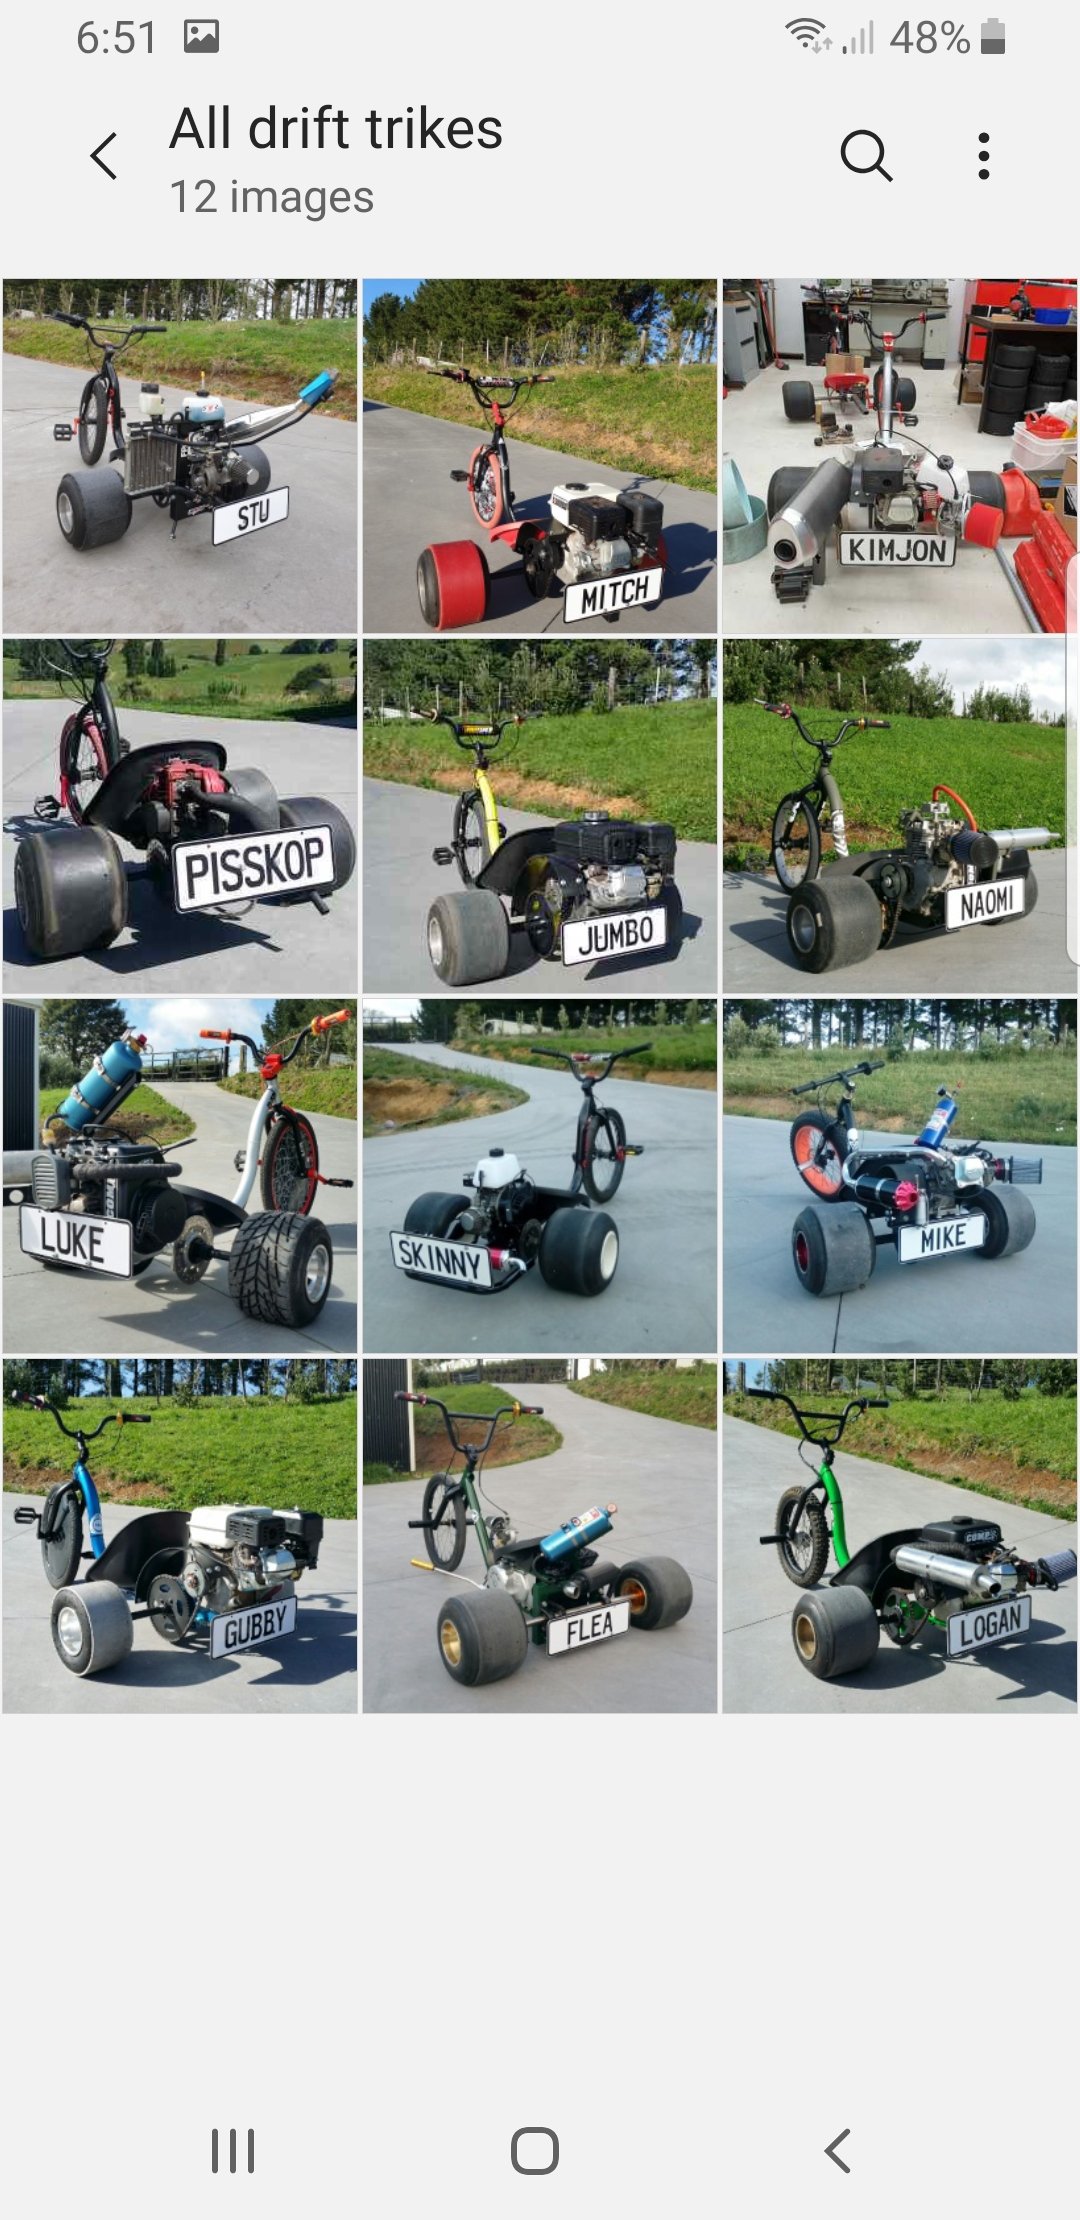
We had a testing session tonight - epic!!! The trikes there were all humming along, many with bigger carburetors off pit bikes now fitted and doing wonders for these motors. The latest trike is insane once it clicks into powerband! It's all on tomorrow!
 2 points
 -
I will have pricing to zinc arc spray my projects' chassis and deck etc tomorrow, I can let you know how it stacks up.2 points
-
Eventually got tired of the high life and found some cheap Hayashi Street CR mags with good tyres. Found springs at zebra that fit result: I think I'd like to bring the front down some more, the back sits just a little lower. I found some unknown mitsi shocks for the rear, and had bushings machined to suit. Such a huge improvement from the boat-like handling characteristics it previously represented. I just installed standard front shock inserts to get the front stiffened up. New Nolathane went in all round, too. On the lookout for a diff, this one has done nearly 300K and it makes some pretty terrible noises, not to mention both wheel bearings need replacing. The plan here is to sort another replacement diff (E312), new brakes and bearings/seals/clean and then install. To keep me busy until I sort the diff, I went ahead and tracked down a 1G-GE, courtesy of a fellow GX enthusiast. Sold in an unknown cond. I didn't really know what to expect. This should be a big improvement from the asthmatic SOHC 1G, having double the valves, bigger ports, and a cross-flow head. Although it won't be as simple as cleaning it up and putting it in, as it turns out it ran bearing number 2 and churned the metal filings from said bearing around the engine. Thankfully, the leaky SOHC 1G I pulled out earlier has put its hand up to donate the crank and rods. They have the same sized mains, too. (later 1G engines had different sized main bearings). That's all for now. Once the SOHC motor is pulled down and the crank and rods are test fit I'll send the block off for a dip and the head to be machined.2 points
-
I'd suggest you call the lvvta number and have a chat.1 point
-
Only first registered post 1 April 1994 will have a VIN. I would have though that a chassis number would be OK for certificaction?1 point
-
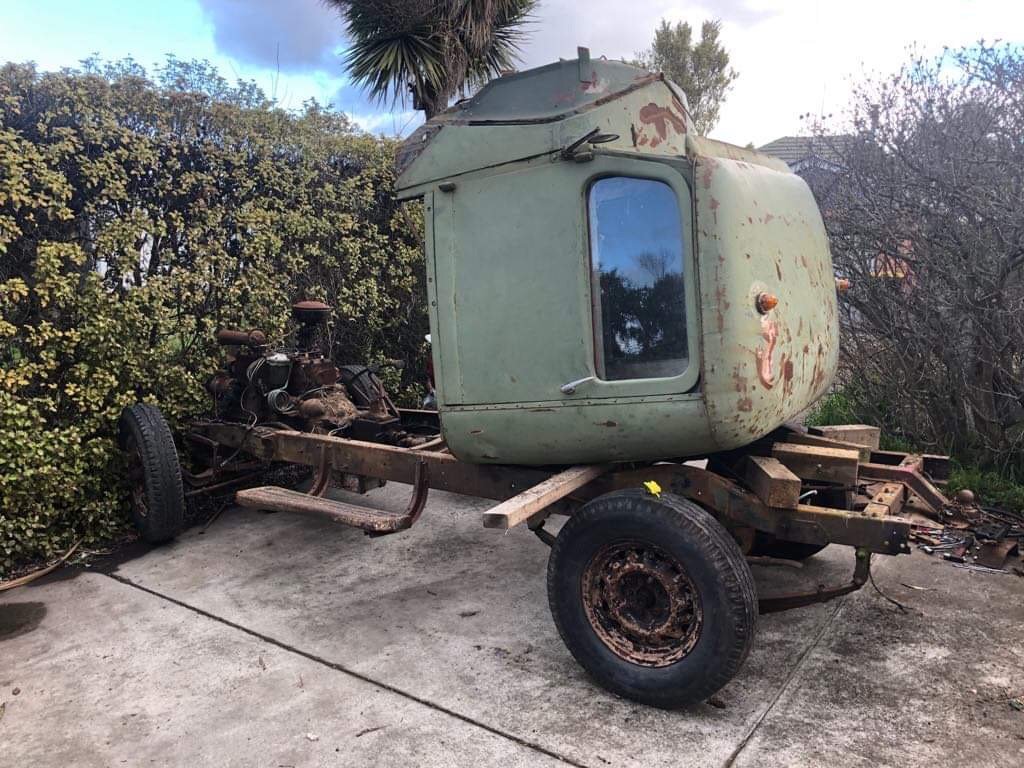
Hi All, I'm struggling to find the VIN on my Commer Van. The engineer needs a pic of it for LVV cert. I can find it on carjam and I can find the chassis and body number but the VIN is eluding me thus far. If it turns out I can't find it, am I going to have to drag it down to VINZ? Lord help me...1 point
-
1 point
-
Another good monthly meet even with the short notice. Good to see all the normal faces out and new ones inc new cars. Lets do it all again next month.1 point
-
I used Automotive Blasting in Pukekohe a few years ago to do a car for me. Worth talking to as well. Nothing wrong with Autoblast, but heard from a number of people he's bloody expensive.1 point
-
Just discovered today that this rim will accept the tyre off a cessna 152 and the width is ok to clear the frame. Will try it and decide if it's worth doing is a pretty big baloony looking thing but would be similar size to front wheel....1 point
-
From the way the tach' drops, providing the video is in sync' with the audio', there's an electrical supply problem, possibly a short circuit. Is it possible to wire an alligator clip from the battery straight to the coil & see if it's some kind of dead short like an immobilizer?1 point
-
Full face mask with the right filters would be the go. I just brush mine on outside, don't want my garage stinking. If you have the coin, have someone blast the chassis and 2 pot epoxy it. Ready to go.1 point
-
5 or 6? Left a trail1 point
-
Getting more bang for my buck All parts from classic car parts in wanaka except the colortune.
1 point
-
Got a little bit more done. Got an out of date unused 6 point harness, modified it to be 5 point, and fitted that. Just had to make a mounting bar for behind the seat. Then I got a small car battery (will have electric reverse + winch + lights in the future, so didn't use motorbike spec battery) and set about making a shitty mount for it. It used to be in the nose, but got the bash, so I've mounted it on the side. I might have to make a cover to stop it getting owned by debris in the future. I recycled a bit of seat belt and buckles, but couldn't get it tight, so changed it to good old fashioned rods N nuts. I also put a speed sensor on the front wheel for the trailtech dash. I just have to reroute some wiring and mount the magic electrical boxes, and it's ready for a gentle shake down run, hopefully this weekend weather permitting. If all goes well, I'll make a new front bash plate thing, as the old ones a bit rooted, Then paint all the bits that need painting (probably just rattle can it, as shit will keep getting modified) then start fitting all the alloy panels. I also have to make a dash that the bonnet will join up to. Hopefully the next post will have evidence of a successful test run. Regards, VG. XOXOX1 point
-
more progress during smoko and lunch today. building a race car at work rules. cut 100mm out of the top of the firewall and made two cuts down each side of the tunnel roof, pushing the tunnel up. once i know the engine fits the holes will be patched up. should make installs a breeze. came across the first real issue too. the exhaust manifold foul on the frame rails. i can notch these out enough to clear i think. however the drivers side manifold dumps right onto the steering shaft. flipping the manifold looks to be an option, and im contemplating the option of bringing the drives side exhaust around or under the engine and merging with the passengers exhaust, or crossing back under the trans. ill clearance the frame rails and see where that leaves me i think. not quite in, but its getting lower in the engine bay! should go down and back about 3" both ways any ideas, shoot them my way! gotta say, i thought id be swinging a sledge hammer pretty early on to make this fit, so im pretty stoked on how its fitting, and can see why LS swaps are so popular in the states.1 point
-
So yeah it's pretty much finished, except... Bathroom: First idea was to flatten out some copper cylinders we had to line the wall, so after scraping back all the insulation and probably getting a mystery disease in the process, then cutting them to tiles, we decided it didn't look great. So instead used one of the best looking pieces as a feature in the bathroom cupboard storage area. And subsequently lost the cupboard storage area as it looked too cool to cover up. Bought a concrete pot plant thing to use as a vanity, painted the inside black, but didn't like that either. Bought railway sleepers, but cutting them up seemed like you would lose the point of them being sleepers. So we have a sink, pot, and sleepers just hanging out here now. However, we did definitely want exposed pipework, so got the external copper pipe bent around which looks fantastic against the black wall, and my flattened copper. It finishes now where it will eventually be behind a "floating" mirror, and down into the valves and taps. The old stool is the makeshift bathroom shelf, it's helped paint and waterproof the place, oh and I have successfully managed to kill that plant now. Stephen even bent the original pipework from the bathroom into a towel rack which looks sweet And finally used some leftover pipe to create this vision I had of a hanging rack for my favourite rally jackets. Stephen's dad referred to the place now resembling a second-hand shop. Which is perfect by me. I want to end up wrapping the rack around the wall and including shelves for the huge collection of Mazda shit I own, but we are waiting for the concrete dudes to come back and coat the walls prior to making it a better fit. Other than copper pipework and my rally memorabilia, the interior has been gradually added to downstairs, but gets changed around a lot as things move on or come in. The plinth was made for the Sachs rotary bike, but has now ended up as the desk upstairs which is far easier. And that brings me to the rotary storage... it was meant to be for the RX2 Coupe as a priority. But I ended up storing my 808 here for a while, which was bloody cool to wake up to. However, we have managed to break Stephens 808 after a mission to the snow on Friday that ended with a tow truck from Smash Palace to Auckland, arriving at midnight on Saturday. So it's temporarily a piston workshop but it might need an engine upgrade so might sneak a rotary in while it's here as payback for dropping petrol on the concrete and stripping a circle of coating off. (have managed to get rid of most of that stuff on the left now so it's getting tidy) Also birds on tin roofs are hilarious. This little guy smashed his apple core on the clear-light but it bounced back and spooked him so he's left it for the rest of the bird bro community. Hopefully next time we will have a bathroom sink...1 point
-
Temps are surprisingly good, warmer than outside. Concrete seems to hold the heat well, and the clear-light pumps the sun through all day. If it's a good day (weekends) then the roller door goes up and traps the warmth in even more. depends if @Alistair is around or not1 point
-
Update on the open chequebook: It has been up North getting work done for compliance, and so far has 15mm to go until the chassis is completely straight, and the front inner guard has been cut off to straighten out any creases caused by the impact. The creases were a fair bit more than thought, up under the strut tower and the engine bay was pretty bent, but it's had a massive weight attached to it and pulled the creases out where possible, and then will be softly hammered with Billy Mavs back into place. But the headlight surround area is too smashed, so a new piece will be made and welded in. Coming along nicely, it's just a shame to not have any control of it as a project at the moment. Most of pics go to Instagram as I forget to update here so much. Feel free to follow along @theamyable.1 point
-
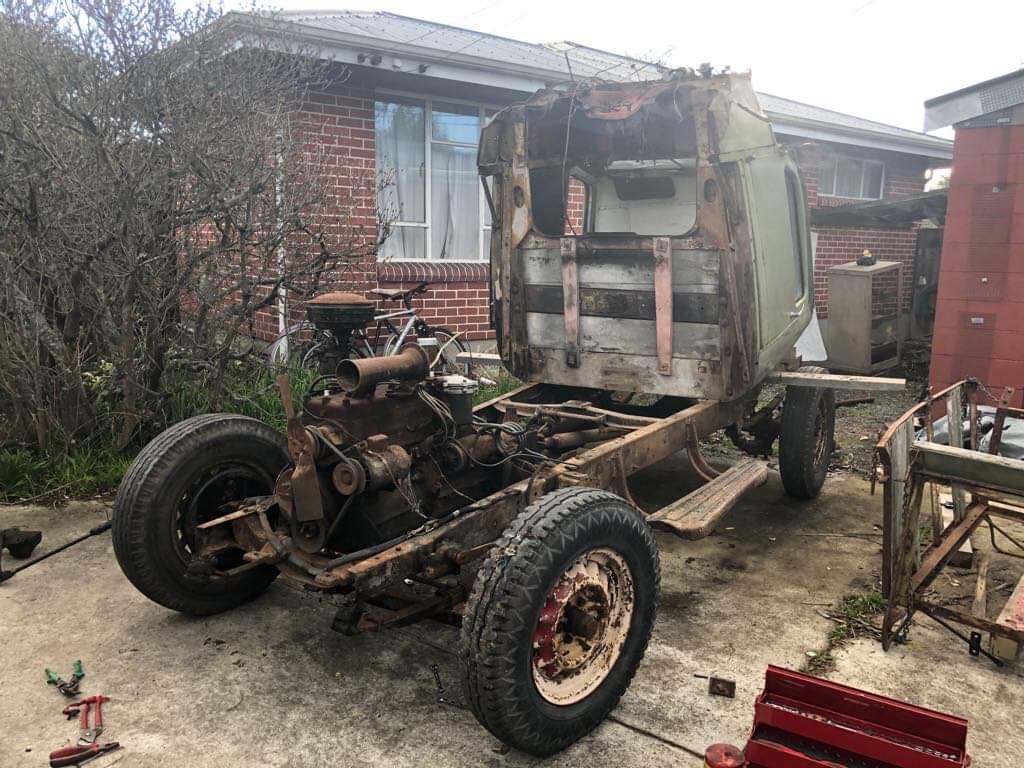
Moving on with our leisurely pace, we removed the rear deck and lifted the cab off. So much wood in the body! It will make rot repairs easy, but I really hope we have no issues re-registering it. From memory if we can prove it was on nz roads long ago enough a wooden body will be fine?
1 point
-
hey also, here's a technical tip for those of you interested in the finer details of auto trans setup, if you want it to not leak fluid out the bottom, do up the drain plug. you got that?1 point
-
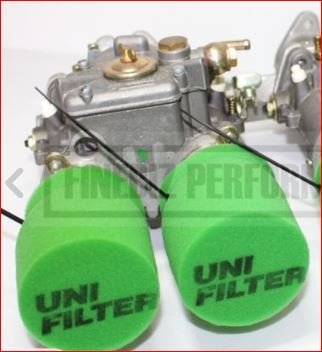
not much of an update really.. been waiting on an airbox to arrive from nelson, has only been 4 weeks.. but I ordered some uni filter trumpet socks for when it finally arrives. green socks just came in stock, more suitable than the red ones. also need to do a few laps around the block with the brakes dragging before I take it in for a wof and hope it doesnt need anything else..
1 point
-
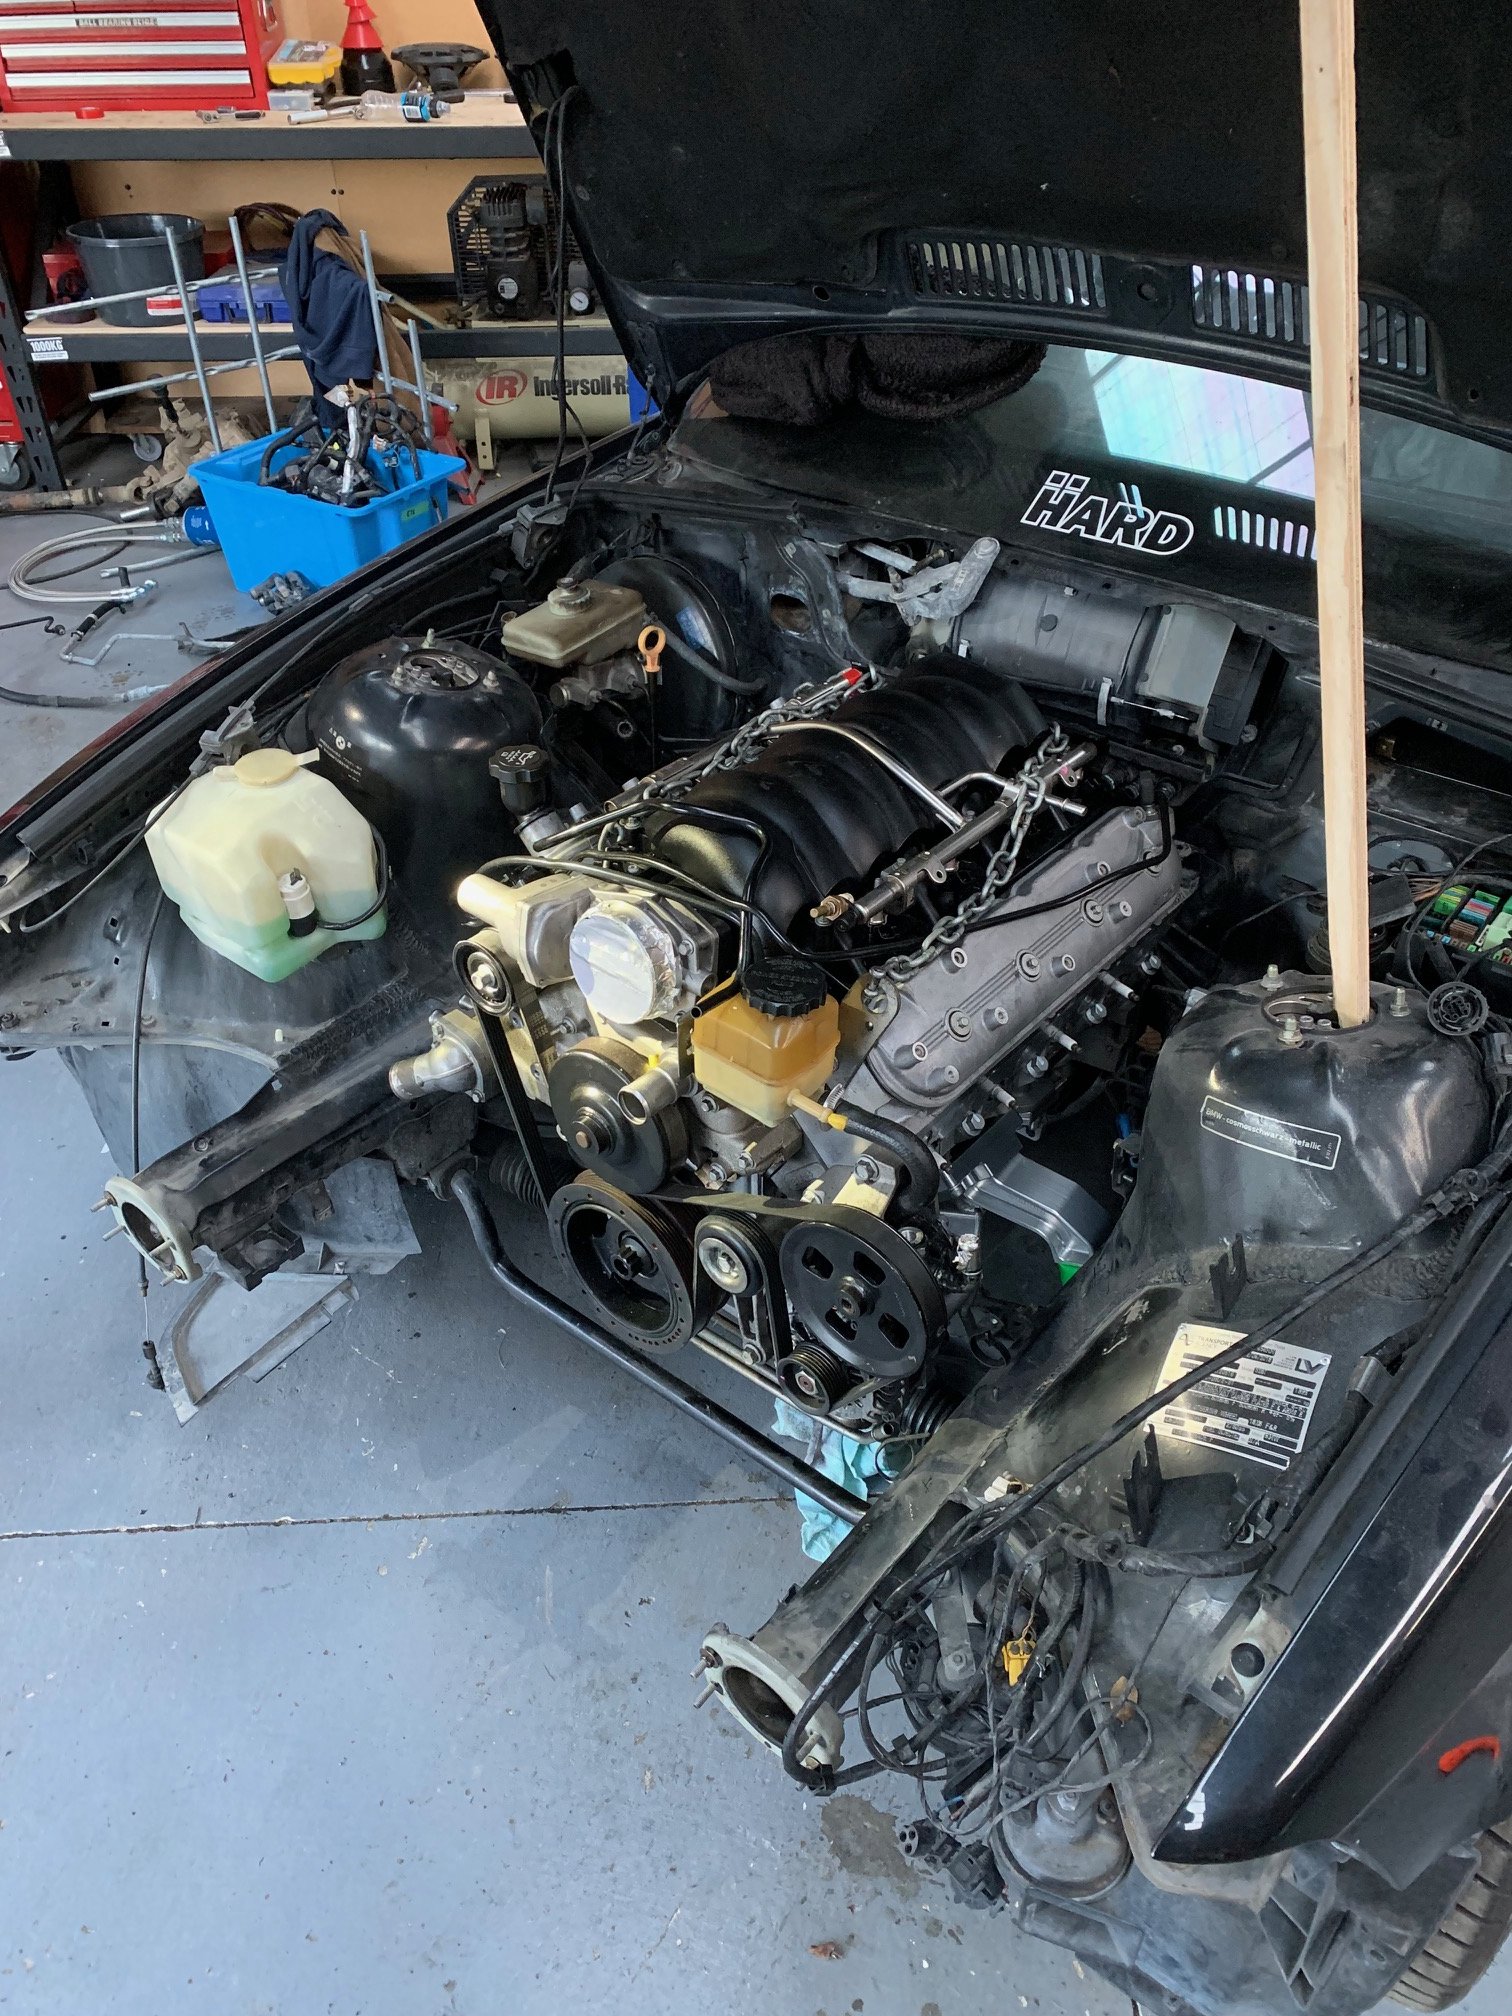
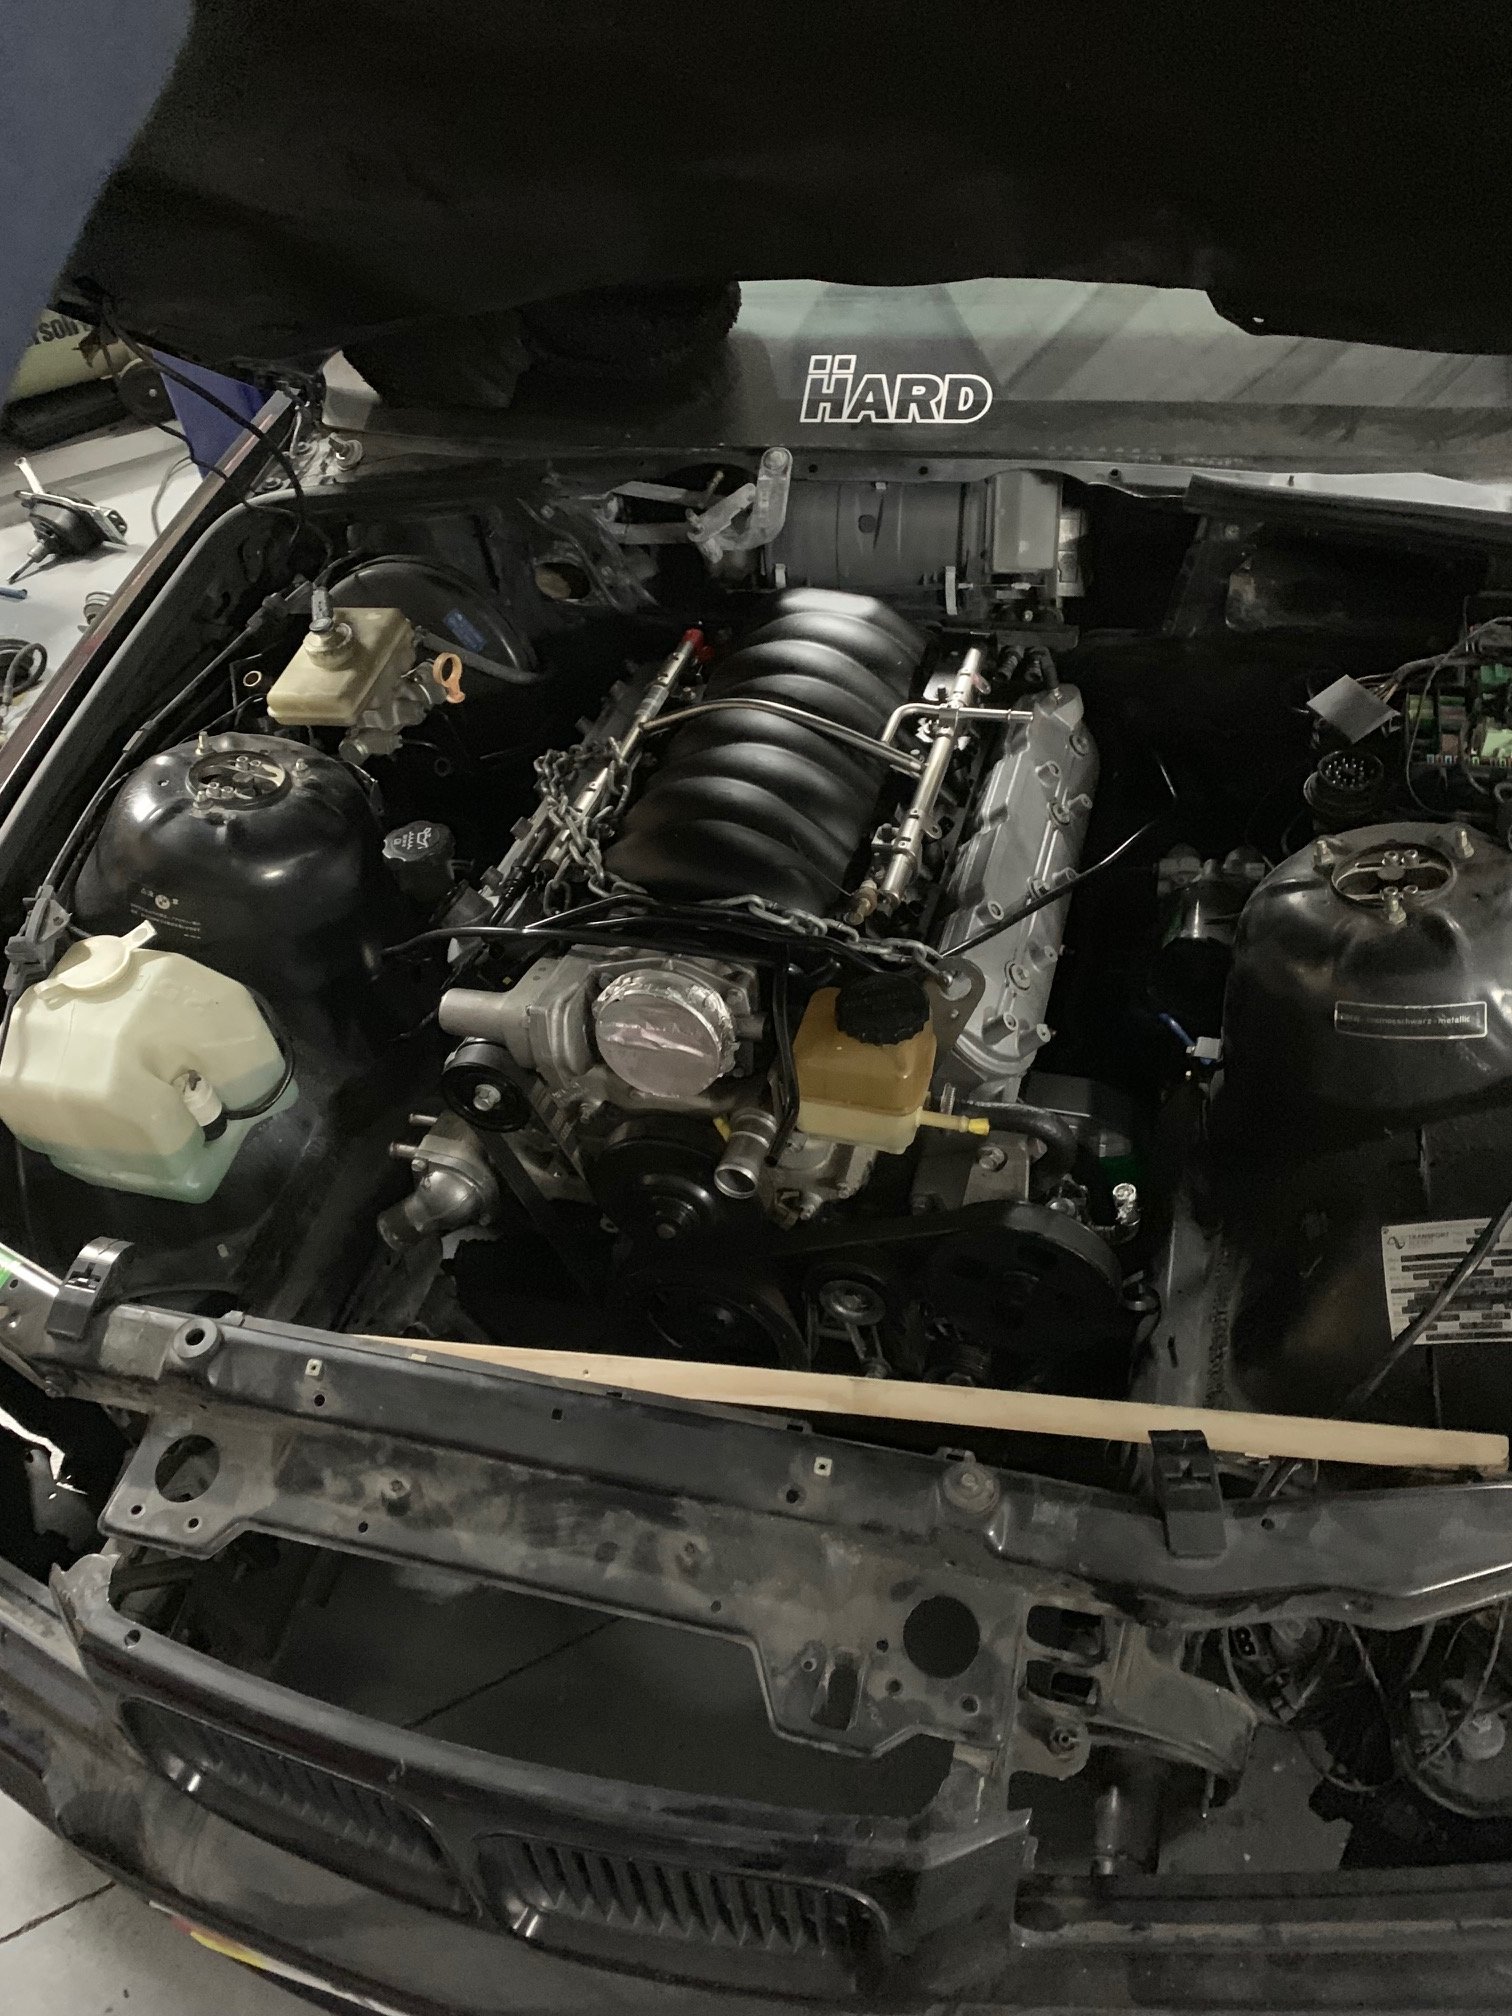
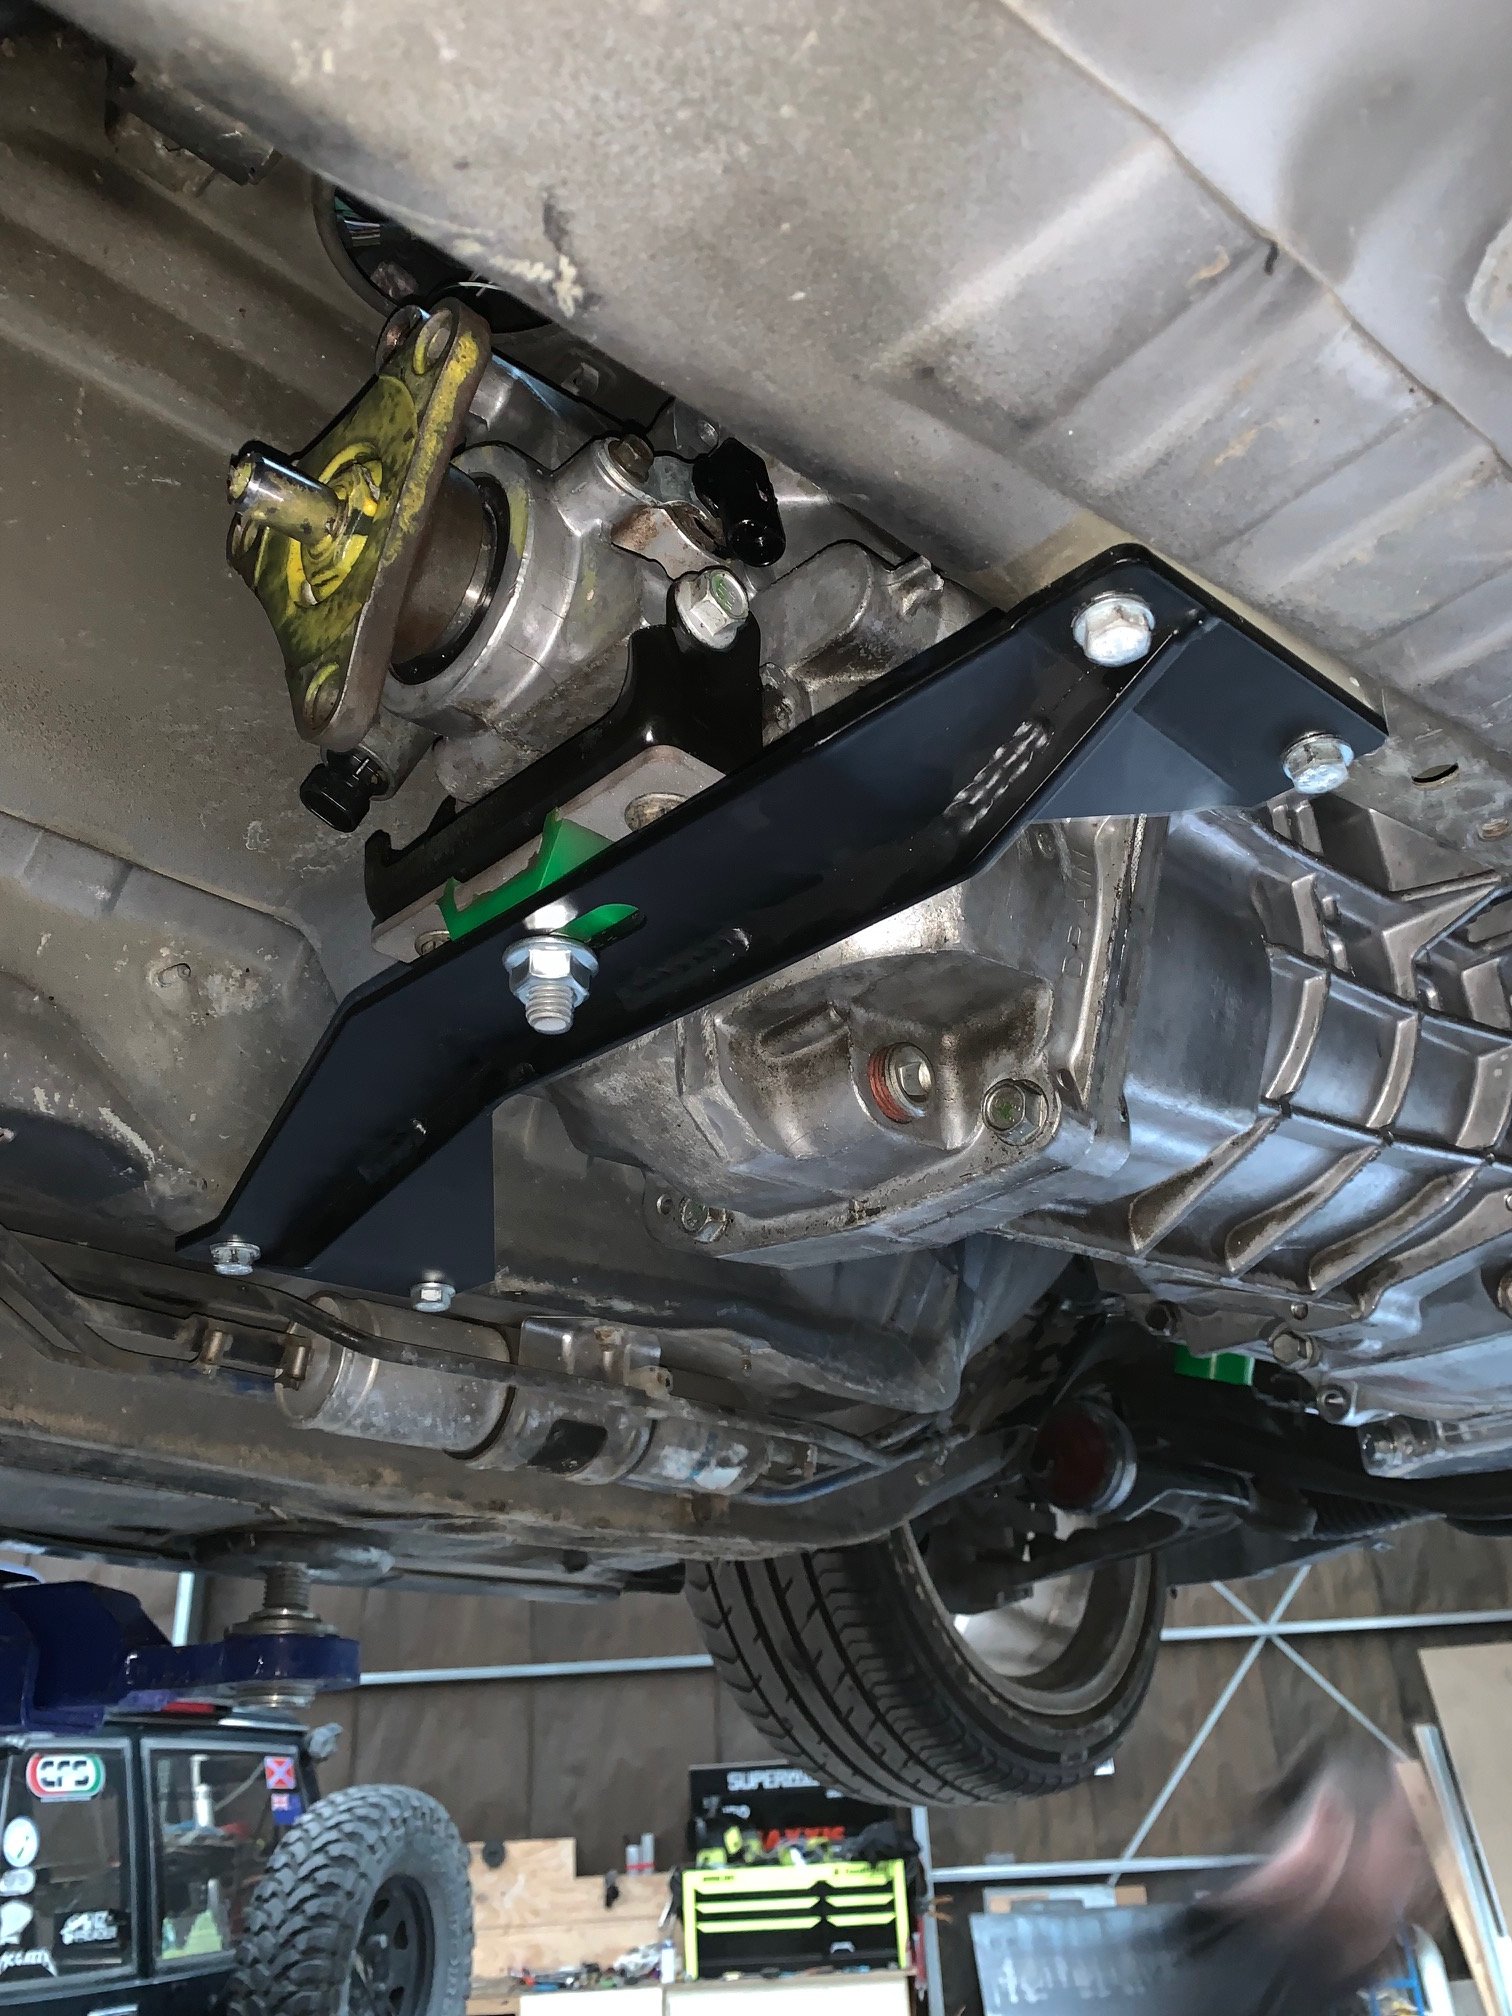
Yeah it’s mental. At the top of fourth it finally gets its legs and snaps your head back in the seat! It’s a weird sensation when something pulls harder and harder through the gears. Especially considering it’s got fuck all lag. Anyway today was a good day! Engine and box are sitting in the car and fit well. Gearbox mount is for a T56 but fits close enough. Will space it up so gbox sits a lot higher. Shifter will be a bit of a dick so I’m going to have to fagricate up a shorter mount and linkage. I think standard position sits about 5” back from the current hole. I was tempted to move the hole but then have to ruin trim and move my hydro and handbrake back and I want the interior to look pretty standard. best thing is the huge amount of room available at the front! I have a Fenix M3 radiator coming for the gap, straight bolt in... and that should provide heaps of cooling. It’s what all the USA people are using (M3, not Fenix) with no trouble. I’m not keeping AC and theres a big daddy oil cooler to compliment it. Still weighing up an oil thermostat but almost think the added complexity isn’t worth it. Headers on drivers side are going to be a real cuntflap. Writing this in the bath, hoping I don’t drop the phone. Too many diesels! Nek steps are to make new steering shaft, move ABS pump or delete it, get driveshaft made, and send loom off to the pros. I’d really like to sneak this up to Raglan but it’s not old and won’t be finished! Wish I still had an E30
1 point
-
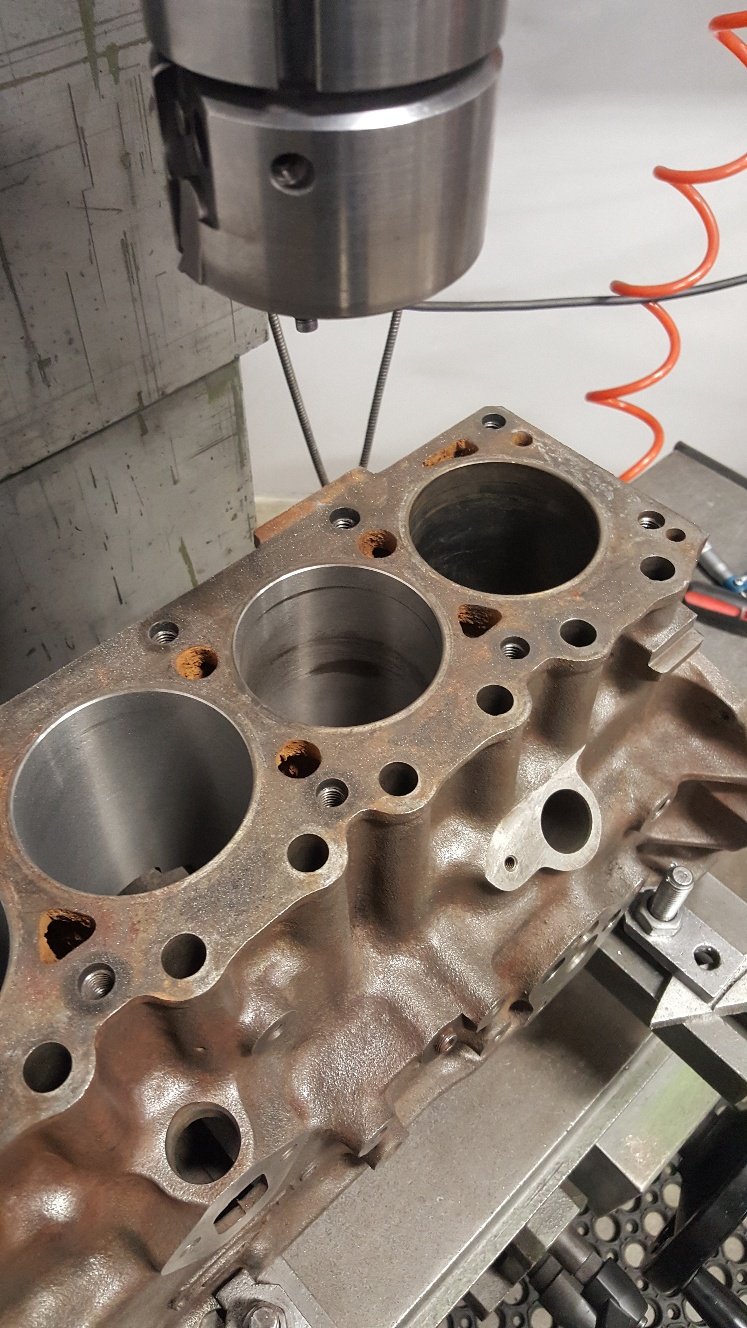
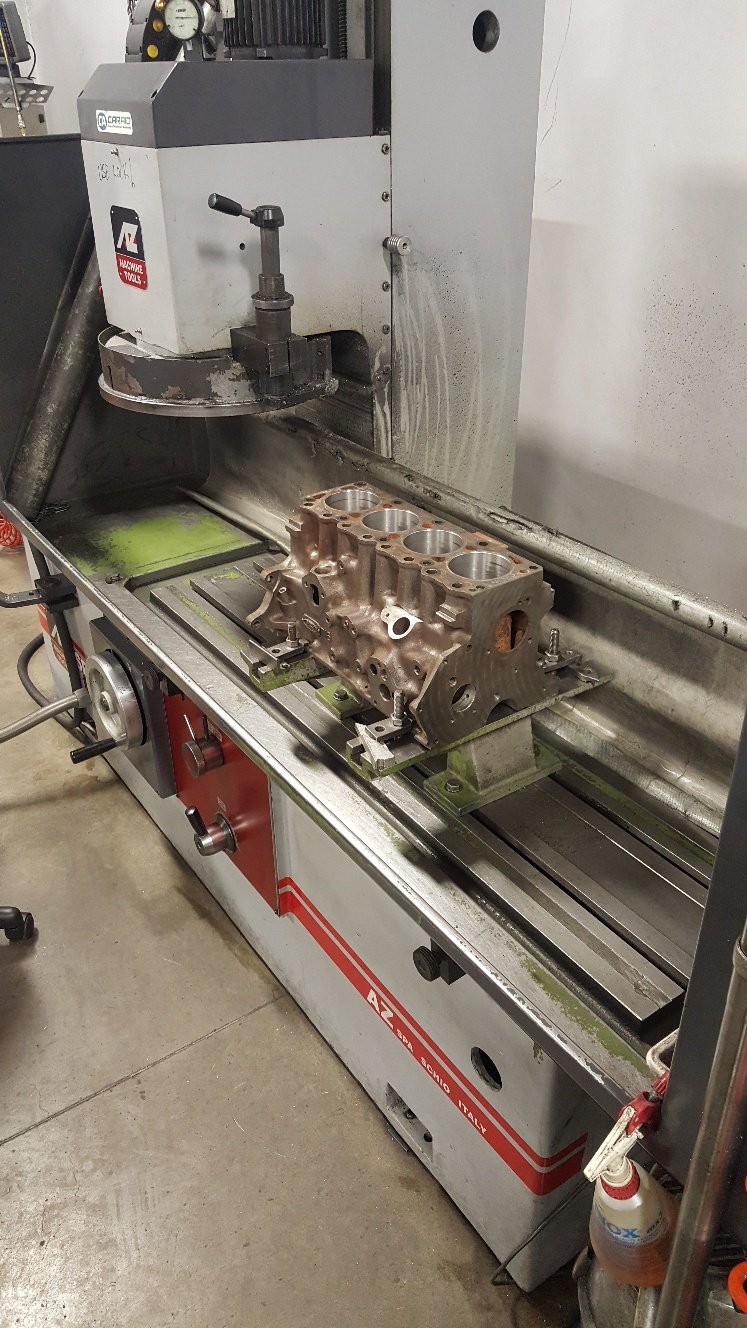
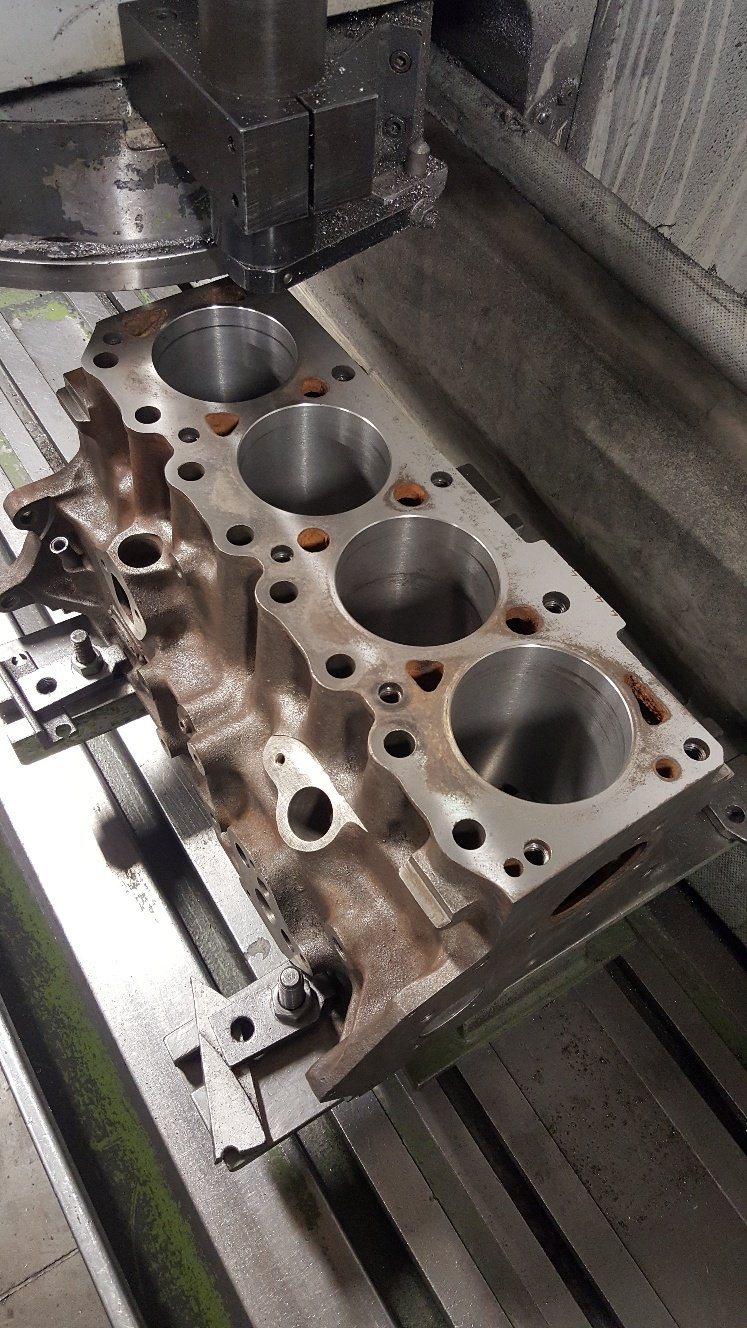
So I got the block into the boring bar. It's pretty straight forward boring a block. Doing a cylinder liner is a bit more involved as far as the boring bar is concerned. This block is at 30thou over or .75mm in metric. I have bought 40thou over or 1.mm pistons. It has a bit of wear. But hopefully it's should clean up once it's honed. This picture is of a test cut. So you dial the boring bar head into the bore. If you have a decent amount of wear it pays to slightly offset the bar towards the wear so you clean all going well at the next oversize. So in this picture you can see the boring bar hasn't totally cleaned with this size cut. I have only set the bar at 81.90mm. So I have .1mm or 4thou to hone out to get to our finished size of 82mm. We generally like to leave this amount to hone to achieve good rk rvk this is the depth of hone pattern. I'll go into that a bit more once we get to honing it. Once we've finished honing we normally go to the surface grinder. The top of the block is a little corroded so I'll probably take a few cuts to clean it up. So I've done a light cut to see how it looks You can see it still needs more off it. In this case it's not a issue to take more off the deck. When you are dealing with a late model diesel or performance engines that have been set up with good tight clearances it pays to watch how much your removing as you may have to detop your pistons as they may start getting to close to the head once assembled. Also valve reliefs can also need deepening. But this is more so a issue in extreme cases. This good old xflow should be fine. But i will be checking all this later once i can dumby the engine up
1 point
-
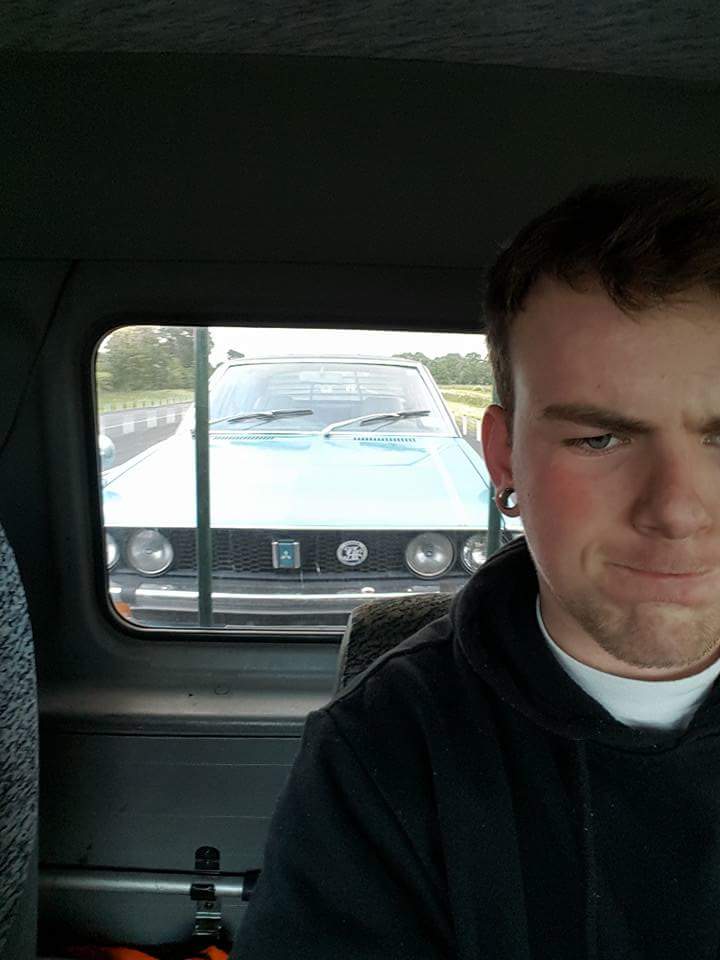
Made a MASSIVE rookie mistake yesterday, drove from tauranga to Hamilton without checking the oli before i left so the car started making some horrific noises before i pulled over and put oil in (were i found it was bone dry) but the damage was done and we broke down about 3 times trying to limp home but barely made it out of Hamilton before completely shitting out. So ending the day on the back of a tow truck and now i have some trouble shooting to do to find out whats really gone on and to decided on what is the best way to get it back on the road, be it fixing it or engine swap (but with what!?) //oldschool.co.nz/index.php?/topic/54160-greenies-mitsubishi-galant-sigma-discussion/
1 point
-
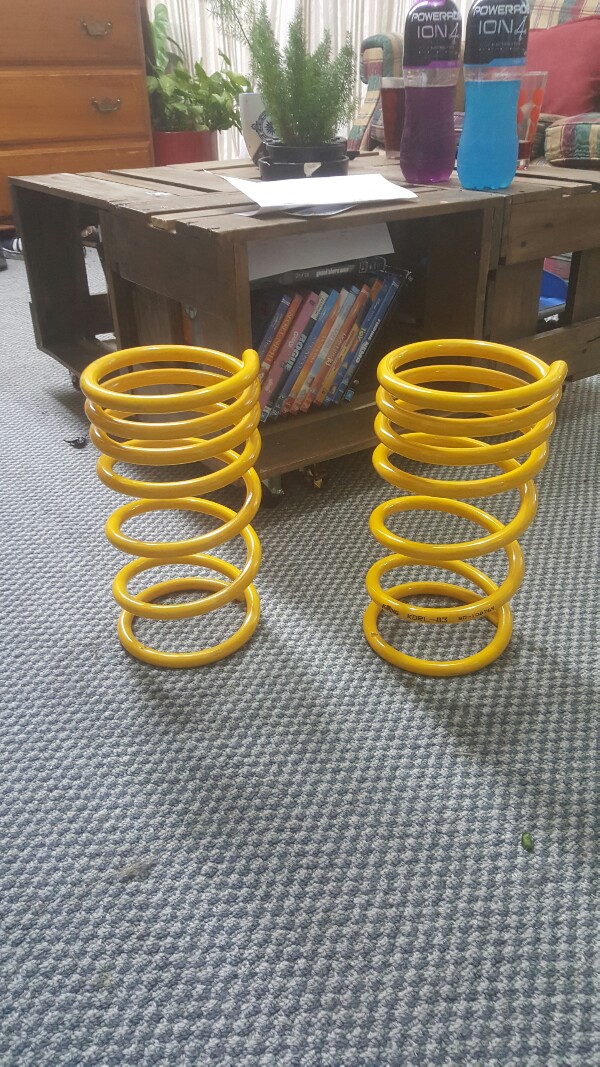
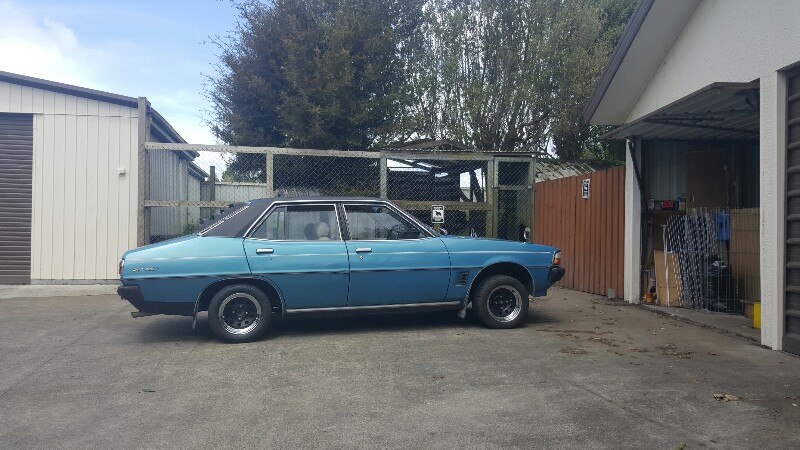
Okay so i picked up my rear springs last week and even tho it was raining sunday i convinced dad to move one of hes cars out of the shed so i could work inside, and after it taking me less than 5 mins to do the rears it took me about 6 more hrs to figure out the fronts as removing the front strut out of one of these is not as straight forward as anyother car ive seen.. but in any case its done. Its still not as low as id like but its a solid 30-40mm lower so cant complain. Might look into getting the springs compressed later but for now itll do Discussion here //oldschool.co.nz/index.php?/topic/54160-greenies-mitsubishi-galant-sigma-discussion/
1 point
-
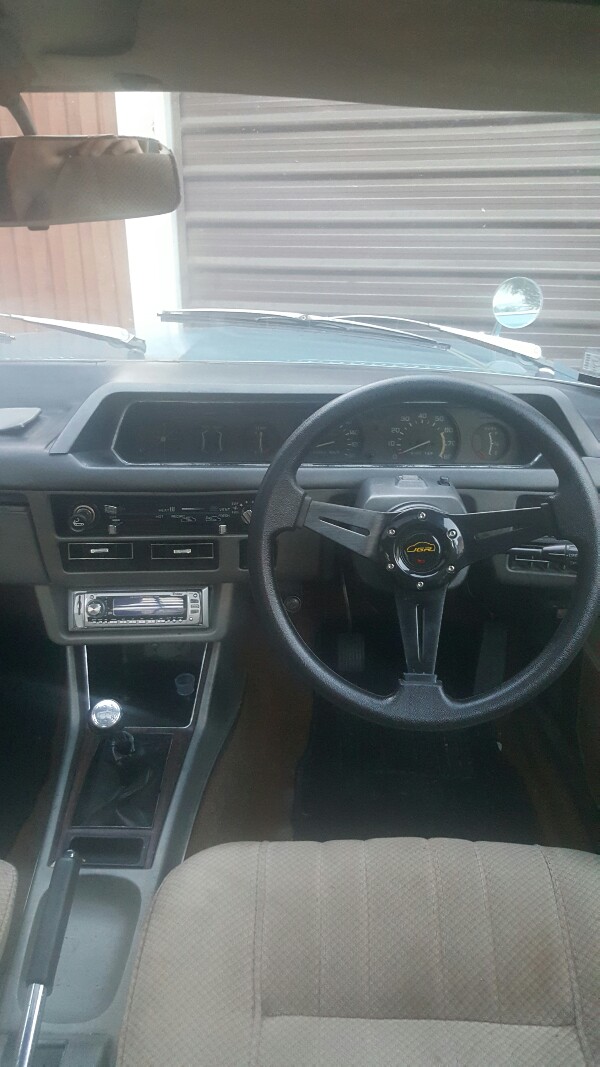
Right, only a small post today but ive had a few things arrive. My ebay steering wheel and boss kit arrived (cheap,nasty and fast delivery, cant go wrong) As well as my front lowering springs which will go in once the rear ones turn up. Thats all, thanks all //oldschool.co.nz/index.php?/topic/54160-greenies-mitsubishi-galant-sigma-discussion/
1 point
-
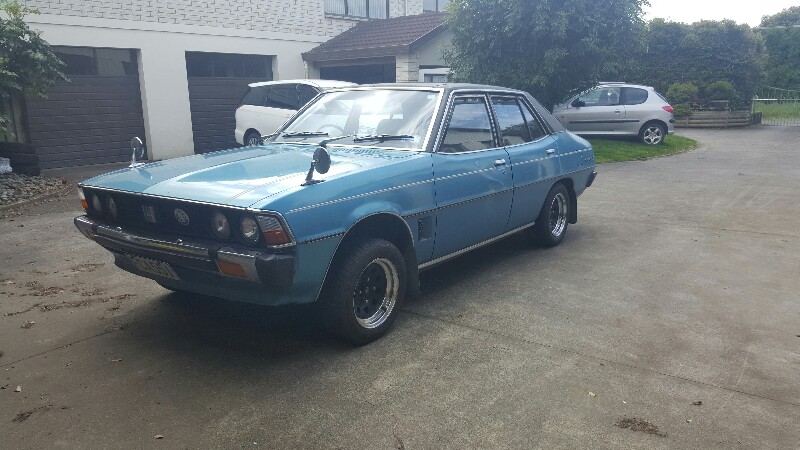
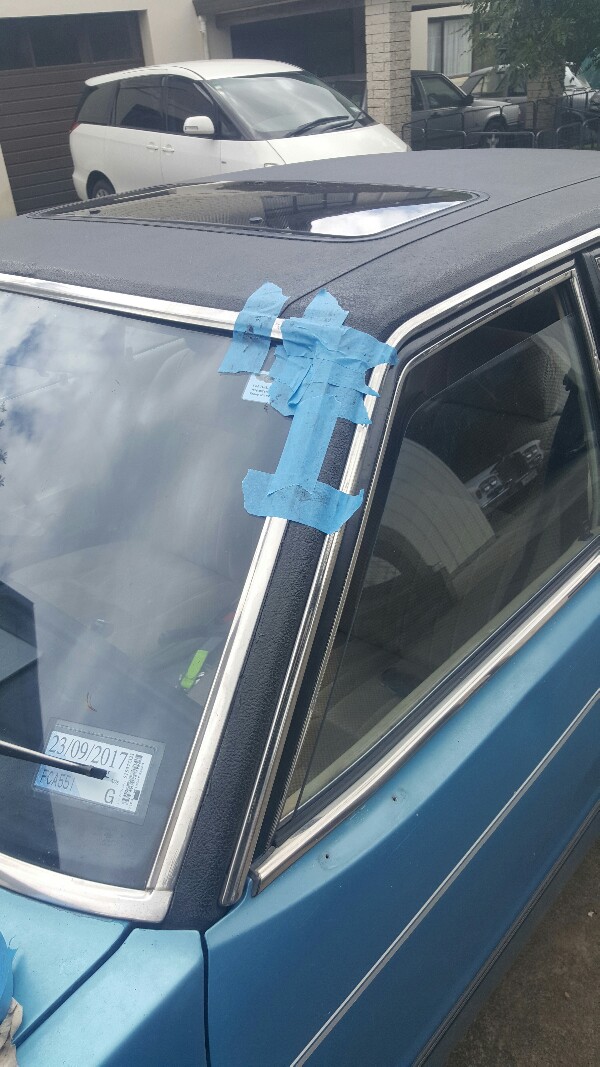
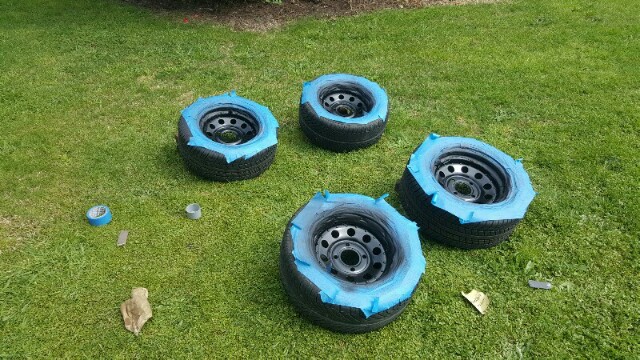
Right so with the lack of funds this week just decided to do what I could with what I had, so I managed to move the mirrors around and put them up the front, I re glued the chrome strip round the top of the windscreen, and also replaced the starter motor as the one that was on there was getting little tired. So starts first pop nowith:) Was also about to paint my rims and stick them on although now I am in desperate need of lowering
1 point


_sedan_(23230030334)(1).thumb.jpg.34d765361d66c78db614bae6ea2c156a.jpg)


.thumb.jpeg.384ff72c8d2b0ee0d34a7bdedb55bdcf.jpeg)


.thumb.png.46e518f714cdc319554c389f990e75a4.png)

This leaderboard is set to Auckland/GMT+12:00