
Leaderboard


Popular Content
Showing content with the highest reputation on 06/28/19 in all areas
-
so @Mrs 64valiant sent me more photos to use in the post above so here are some of us putting the upholstery in. me sitting at our table beth laying on the bed for scale me, beth & boobs now on the bed. we went to raglan and had fush and chups for our 1st meal in the kombi. ft potato cam yeah cool story bro. I plan on taking a week and a weekend off for my 30th and driving it around the north of the north island so the goal is legal and 85% of its problems sorted by then.15 points
-
so we had a few problems. the engine in wasn't a straight in job. 1st we had the wrong thrust bearing, so back to the vw shop sorted out that the other one didnt go over the cone. rather annoying. now we can chuck the engine in. hold up why isnt this sliding on the last 5-10mm!!! ahh right back to the vw shop grab another clutch set up. at this point this is far more annoying than the wrong thrust bearing. so my kombi is one of those cars that is a silly year of cross over. nice ah even better this one doesnt have a clutch alignment tool, some tape on something that came off a sewing machine later and wabam tadaaaaaa on. this thing slid in with no issues at all now Now that thats in i had to make a few more little things work so we could make it run. Fuel, spark & something to make the batter keep charging while running it. had that all done and then we moved it a few times now that its running i wanted to bleed all the breaks now that we have vacuum on the booster as well. Well fuck me, tried bleeding it several time and having no luck, @flyingbrick was been a huge douche and a smart ass and trying to troll ( i ended up offering him to fuck off or ill punch him in the face ) he chose neither surprise surprise. out some the cylinder and i dropped it off for Paul to have a look at. He tried to bleed it and shit was fucked so pulled it apart put new seals in it and again, back it went and we then bleed the system up. Perfect breaks are now working!!!!!! working that good they are staying on. FUCK Right. priced up some that would suite drop spindles and fell off my chair. so apart they came. top one in this photo is cleaned new seals and pistons and in she went. and then we had breaks that were still staying on. this time due to this little spring missing and the piston not fully returning. and this one is still wrong but i modified it to work. left and drive bus problem in a right hand drive world. any who i needed to put the number plate on it so thought id drill the hole out for that. lol ill just tap that bog out shull i number plate on and i also put the headlights in as well as put the surrounds on the front. holly shit the headlights work. wonder if they tail lights work shit even the number plate light does. now lets put some upholstery back in it. door cards 1st. Underlay in before them to deaden the sound and cold factor Before after and now the door card now the wooden floor. it was resting up on a seat mount. so yeah fixed that issue rough and ready drill holes around and then jump on it. FIXED! (ps i don't care i have a kombi and i wanted it driving and carpet in it fast. i didn't want to try fuck a spider) also this ply was already cut and came with the kombi from purchase. at this point i wonder what i have under the bench for carpet turns out i have some black carpet at this point @Mrs 64valiant turned up and we put the rest of the upholstery in the back she had buggered off by this time of me sitting here having a drink to myself just been so chuffed that i was finally sitting in the back of our own kombi, Life clocked the next day i was going to @mark105 place to have a few drinks and probably not be able to drive home..... Beth was also not going to be in town, so guess what. well i had this small cut out where the spare wheel goes for my bed and well that was going to be uncomfy so lucky i know a guy who does upholstery right? found a peace of foam i had laying around and cut it to shape hey presto proceeded to a party were i slept well even more happy. so at this stage i had been driving around and this was my key haha not dodgy at all. even had a guy at the bakery see me use and said "you fully stole that didn't you" my exhaust also was pumping straight into my back bumper and was getting a bit black, so i needed to make a tip for it, i was hoping super cheap had them but yeah i dont think the love heart one was going to work. so i had this pipe i got from @Fuckedifiknow cut it a bit more and welded it and then put a nice taper on it. cleaned it up welded it on same day i done my roof racks in the 2nd half of the pop top. started with a walk over to bunnings to grab some timber slats walked back with a pool fence and some door stops? the door stops are to hold it off the roof and act as spacers. the pool fence? squash the ends this is going to work so well man this is brilliant while that was off i also changed the shitty screw holes to riv nuts lets see what else have i done lights work really well i got hub caps I had to steel this ignition out of this kombi and then u put the key part mechanism in mine as i broke mine to 100 peace's and then put a key in mine i actually needed the key part to see what barrel i needed for the wiring, one it plastic and one is steel. the one i needed was plastic. replaced the lock and handle in the sliding door as i didn't have a key and it was a prick to lock from the inside have been driving it and testing it which has been really good, beth is actually sitting in the bus in this photo also dropped off the old bus yeah. I went to drive it to work been a Friday and the battery is dead flat?! so it has something draining the battery which is great. and that is my story for now. Peace dudes & dudettes12 points
-
And the Ute and trailer are both legal Tegal! No issues, no dramas at all. I did put new tyres on the rear and raised the height of the Ute so that it would pass.11 points
-
so a small update. yeah the kombi has had all my attention over recent times but i also got the dream plate that was listed here for sale. for scale this thing is huge. but pre bay windows are also quite small vws also added the bottom of the caravan also added some strength across the roof, so now have three bars from side to side. it had been a while since picking up the welder and i had to put this up against the bench so i could stand on it, on top of a box As of yesterday i got some motivation and done some more work. Cut the side door in and then i added some braces to the caravan. old mate @Geophy came over to drop some steel over and i was like hey hold this. so i welded the base of the up rights for the door, then cut the center. needed the strop in the center so i could get the grinder in. another strop here in this welding action shot. this time holding the peace of steel up. This thing looks like a caravan now. pretty happy to see a door cut out in the side. i now need some right angle for the floor and need to put some triangle braces in some corners and im pretty keen to get some paint on it this month. getting pretty annoying in the shop.10 points
-
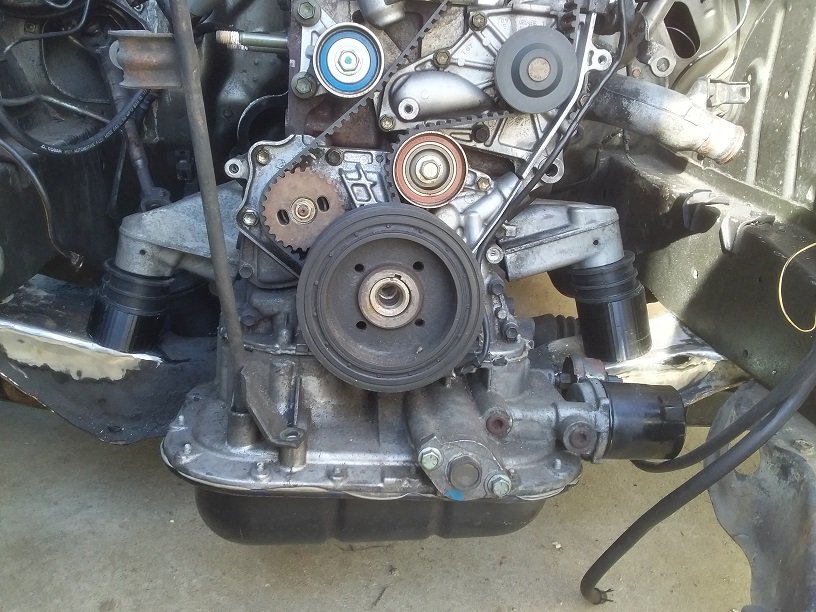
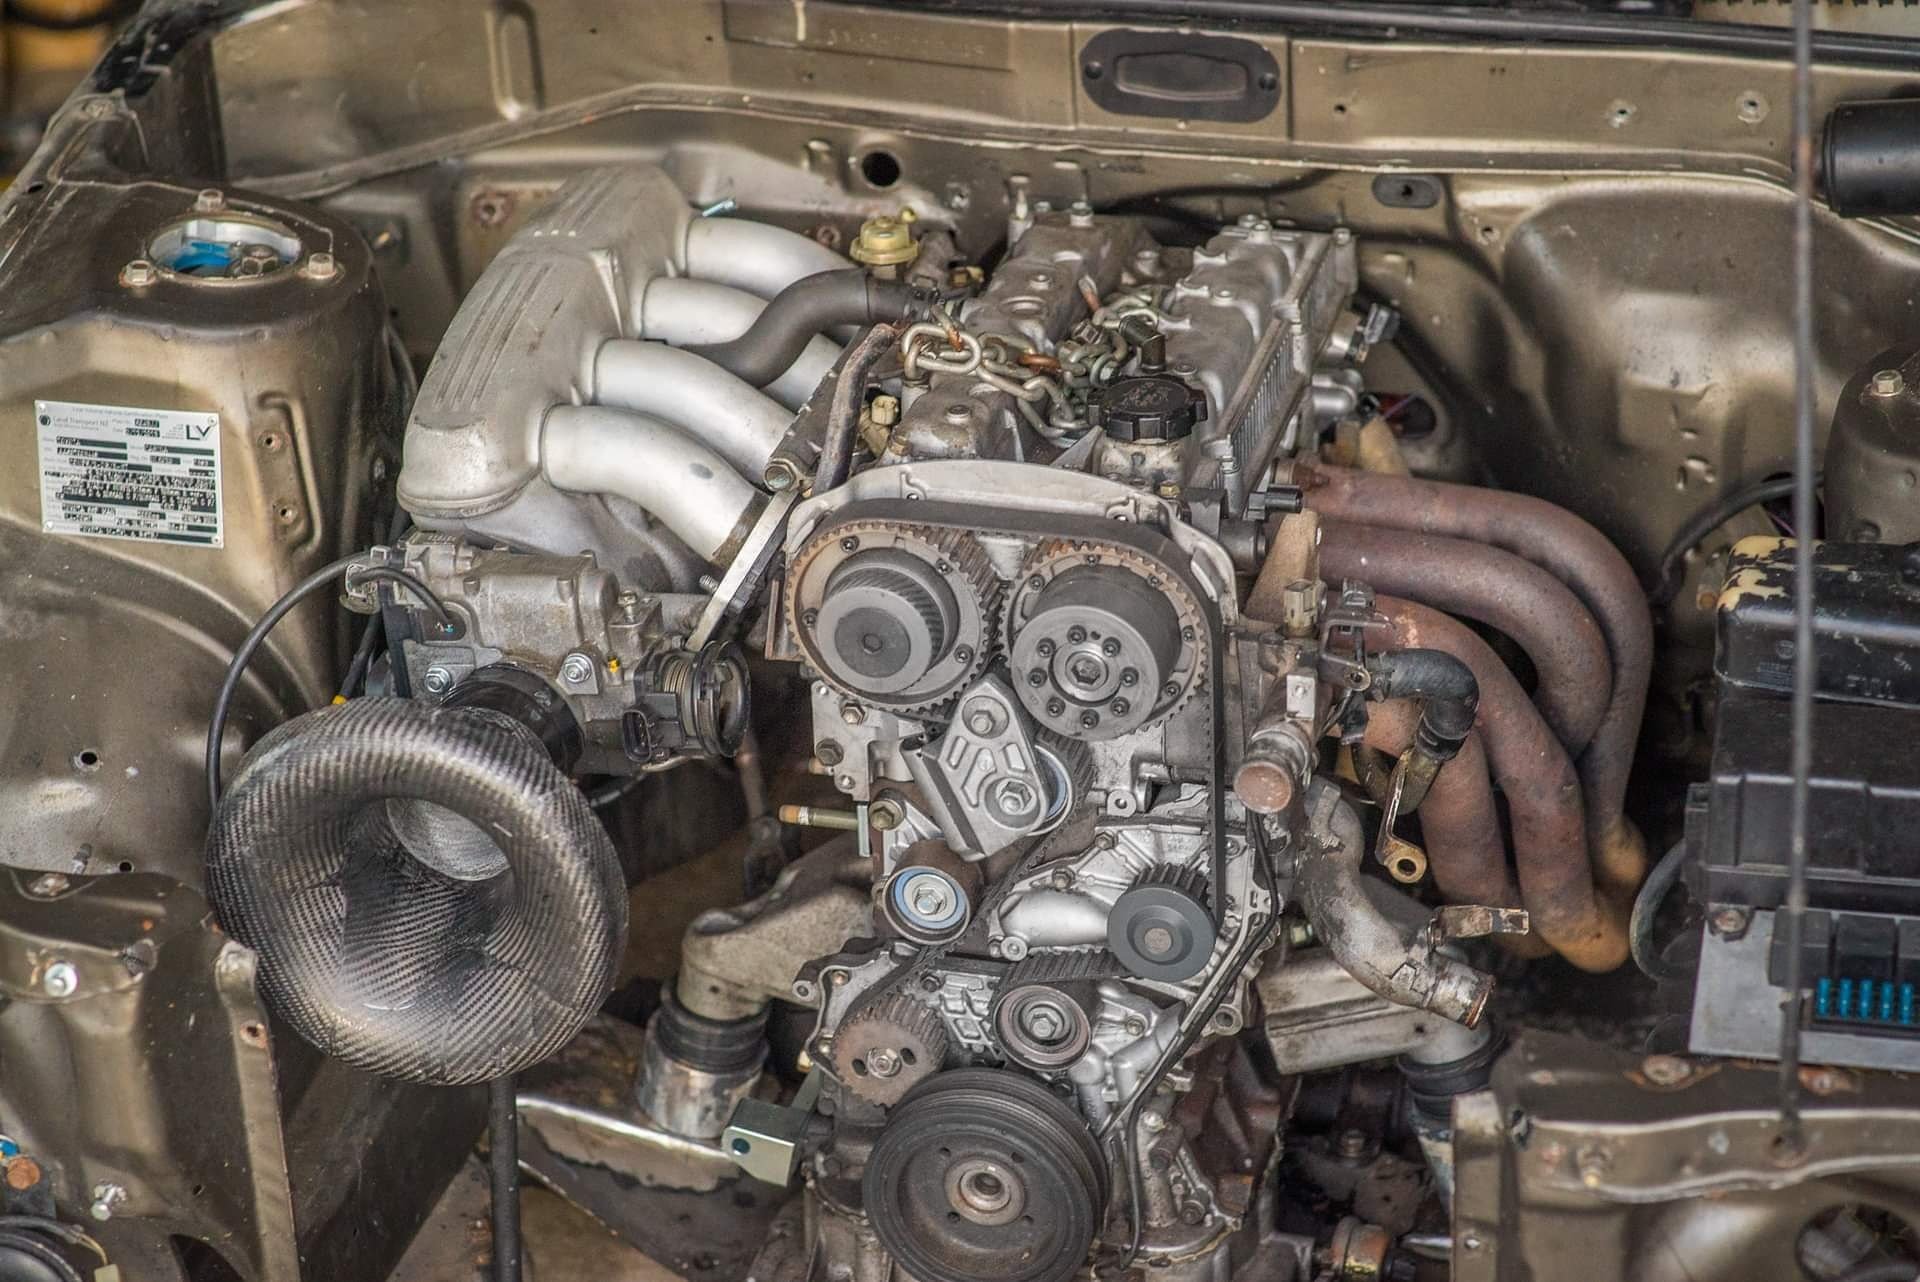
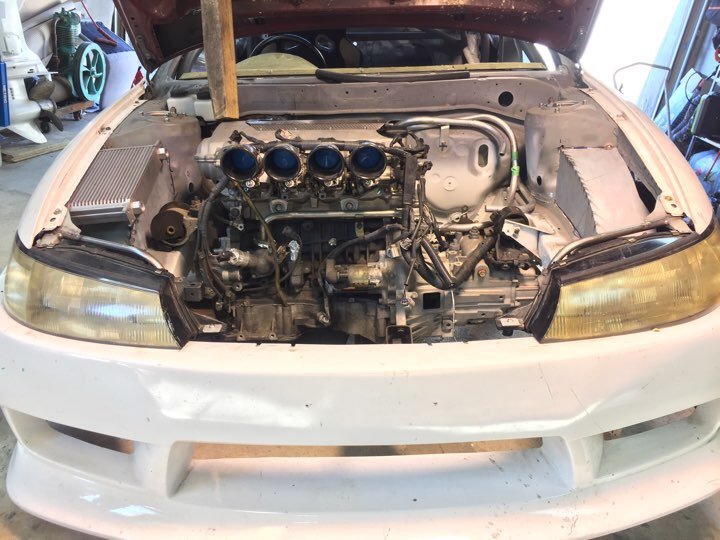
Next thing - My redtop engine has finally started to make an engine rattle that I cant diagnose without taking the head off - and I cant take the head off without taking the cambelt off. I cant take the camblet off, because I've ugga dugga'd the front pulley onto the crank because I stripped the threads on it doing something stupid. So this is all a big enough clusterfuck to warrant switching over to the dual vvti engine that I've had sitting in the corner for a while. Putting this in has a few advantages, that I think I've already blathered on about. It's lighter, more powerful, tidier, and less complicated. win. Redtop engine had sentimental value as it's taken a hammering for a long time but it's earned its retirement! Rather than just doing a basic engine swap and getting the car running with minimal effort, (pfffttt) I've scope creeped this into oblivion by deciding to push the engine back as far as I can in the bay and will remake new engine mounts, gearbox mount, exhaust, driveshaft to suit. This has a bunch of benefits, mostly to do with weight savings: -I can ditch my gigantic heavy swaybar for a normal one, so no big loop around front of the engine. -Oil filter will finally fit properly! This has annoyed me for at least a decade. -Switch to alloy Altezza mounts which save a fair few kg over the utterly shit spec factory 1S mounts. -Switch to a pedal box so I've got space for the intake scheming, and get some better brake balance at trackdays. -Tip the engine slightly to one side, so intake is lower and exhaust is higher. so both fit better. -Engine as far back as is practical without cutting firewall etc. -Less engine rocking with some much better mounts, so clearances can be a little tighter. (Better road clearance to exhaust) -considering using a FWD sump with the motor tipped slightly (say 10-15deg) as this would allow the motor to sit a little lower, and the front part of the pan is much further back. -I could now make a strut brace that's dead flat across the top rather than having to bend up over the engine. -Much better alternator location, and a few kg lighter with the SQ engineering kit to use the Vitz alternator. I'm copying Truenotch by using the Landrover mount rubbers, and for now I've 3d printed some upstands while I fiddle with the engine position to see what I can get away with. Hopefully this weekend get some metal mounts made up, and since I live in the Waikato now (morrinsville) hopefully find someone local-ish who can weld the steel ones in place for me. (Should really learn this for myself one day...) Then work on the gearbox crossmember, then I can finalize dimensions for the driveshaft so I can go get a brand new one made up without having to worry about shitty old UJs breaking. The basics of the car will be largely the same, but just pretty much fixing up shitty things I did 10+ years ago when I had much less patience.
 8 points
 -
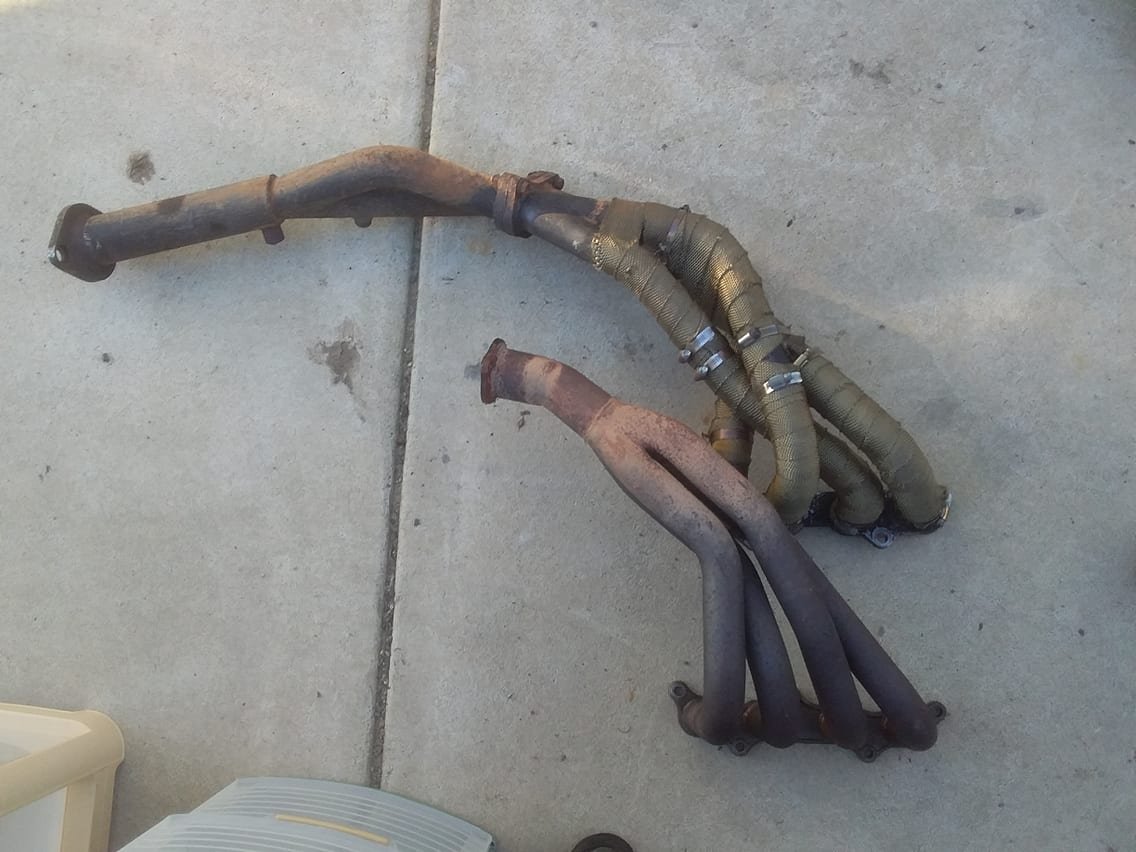
Ramble #3: Since forever, I've always had this exhaust manifold on which is a copy of the HKS 4-2-1. Altezza manifolds sit super bloody low when swapped into different cars, so fitting the likes of the beautiful TRD pipes is problematic. With the HKS pipes, the 4-2 section finishes right down by the firewall, which meant I (by which I mean someone competent, Denham) could cut the 2-1 pipes and reangle them to suit. I've always wanted to see how a 4-1 manifold would respond in comparison but I've always thought there's no chance of making them fit, and it would be difficult to modify. But since I'm currently redoing the engine mounts, I could tip the engine over to suit fitting factory Altezza options, and then I'd have more things to play with. So had a look around and I found a shitty looking second hand FGK 4-1 manifold. The FGK site says that over the factory manifold, dyno back to back swap to standard. It gains 7hp and more torque at a lower rpm. When I went and picked it up, I chortled at how bloody tiny it is! It's only 7kg and has really neat cast flanges which dont have any material where it doenst need to be. Ideal. The HKS 4-2-1 vs the FGK 4-1: The 4-1 isnt even as long as the 4-2 section on the HKS one haha. So I can have a nice transitioning bend to the under the car part, rather than my 2-1 section which has been chopped and angled about 10 degrees maybe, right by the flange. probably not ideal. The weight difference is massive though! I'm going to design my mounts etc so that I can fit both. So I can do some comparative nerding and see whats best. I'm thinking that perhaps with exhaust side VVTI now, some of the downsides of a 4-1 design (narrow high powerband) can be mitigated a little by moving the cam around. It will be interesting to see if any improvements to the powerband from the exhaust, happens because of better cylinder clearing of exhaust gas, or other mechanisms... If it's better clearing residual gas, and allowing more fresh air in, then I'll be able to quantify the differences in powerband from each simply by looking at which gives higher airflow numbers at full throttle, via the MAF sensor. I've never had any changes to the exhaust side while I've had this ECU so it'll be interesting to look at what changes. (or not)
7 points
-
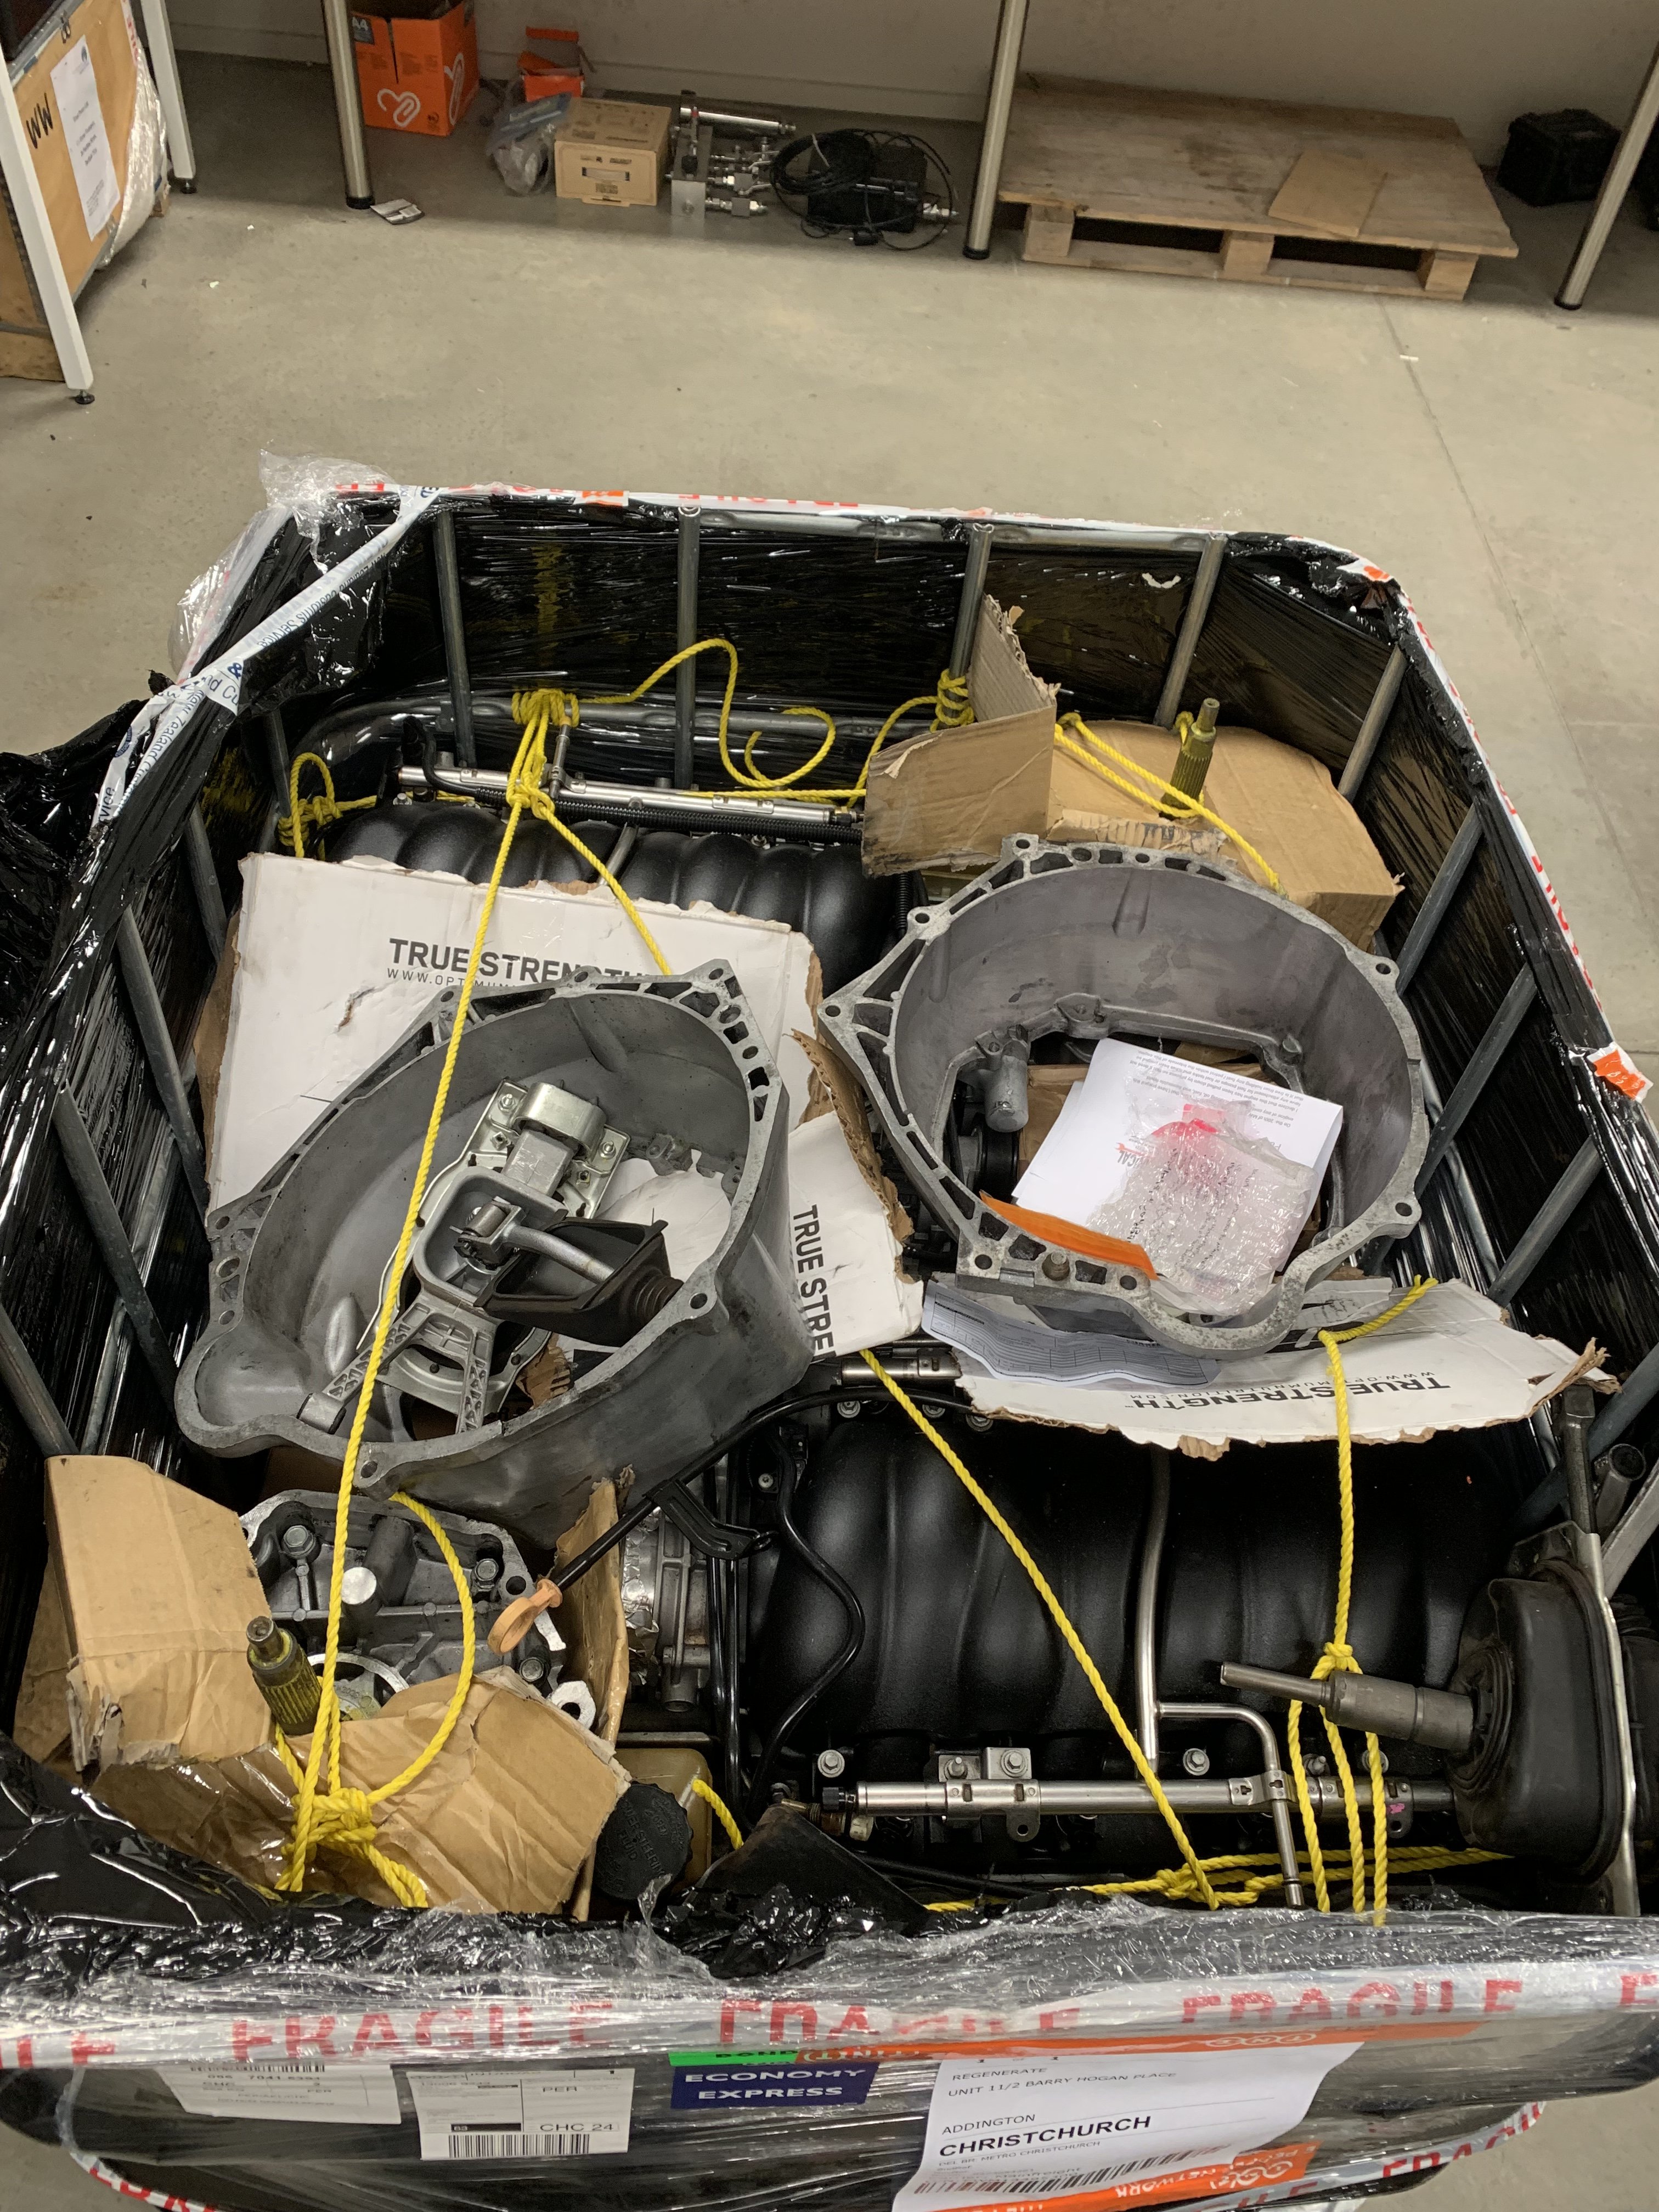
Unpacked engines. They look brand new so I’m stoked about that. This weekend is the big push to get it sitting in the engine bay. I’m assuming this is gonna be the first of about 20 install/removals of it so may as well get good at it! Also took the convertible out for a track day. Got it pretty sideways for heaps of laps. Eventually it went into whiskydick mode so I went home.
6 points
-
Well that was easier than expected. Massive thanks to @kseries.rookie for sorting me out with some gear so I could get this done today.
5 points
-
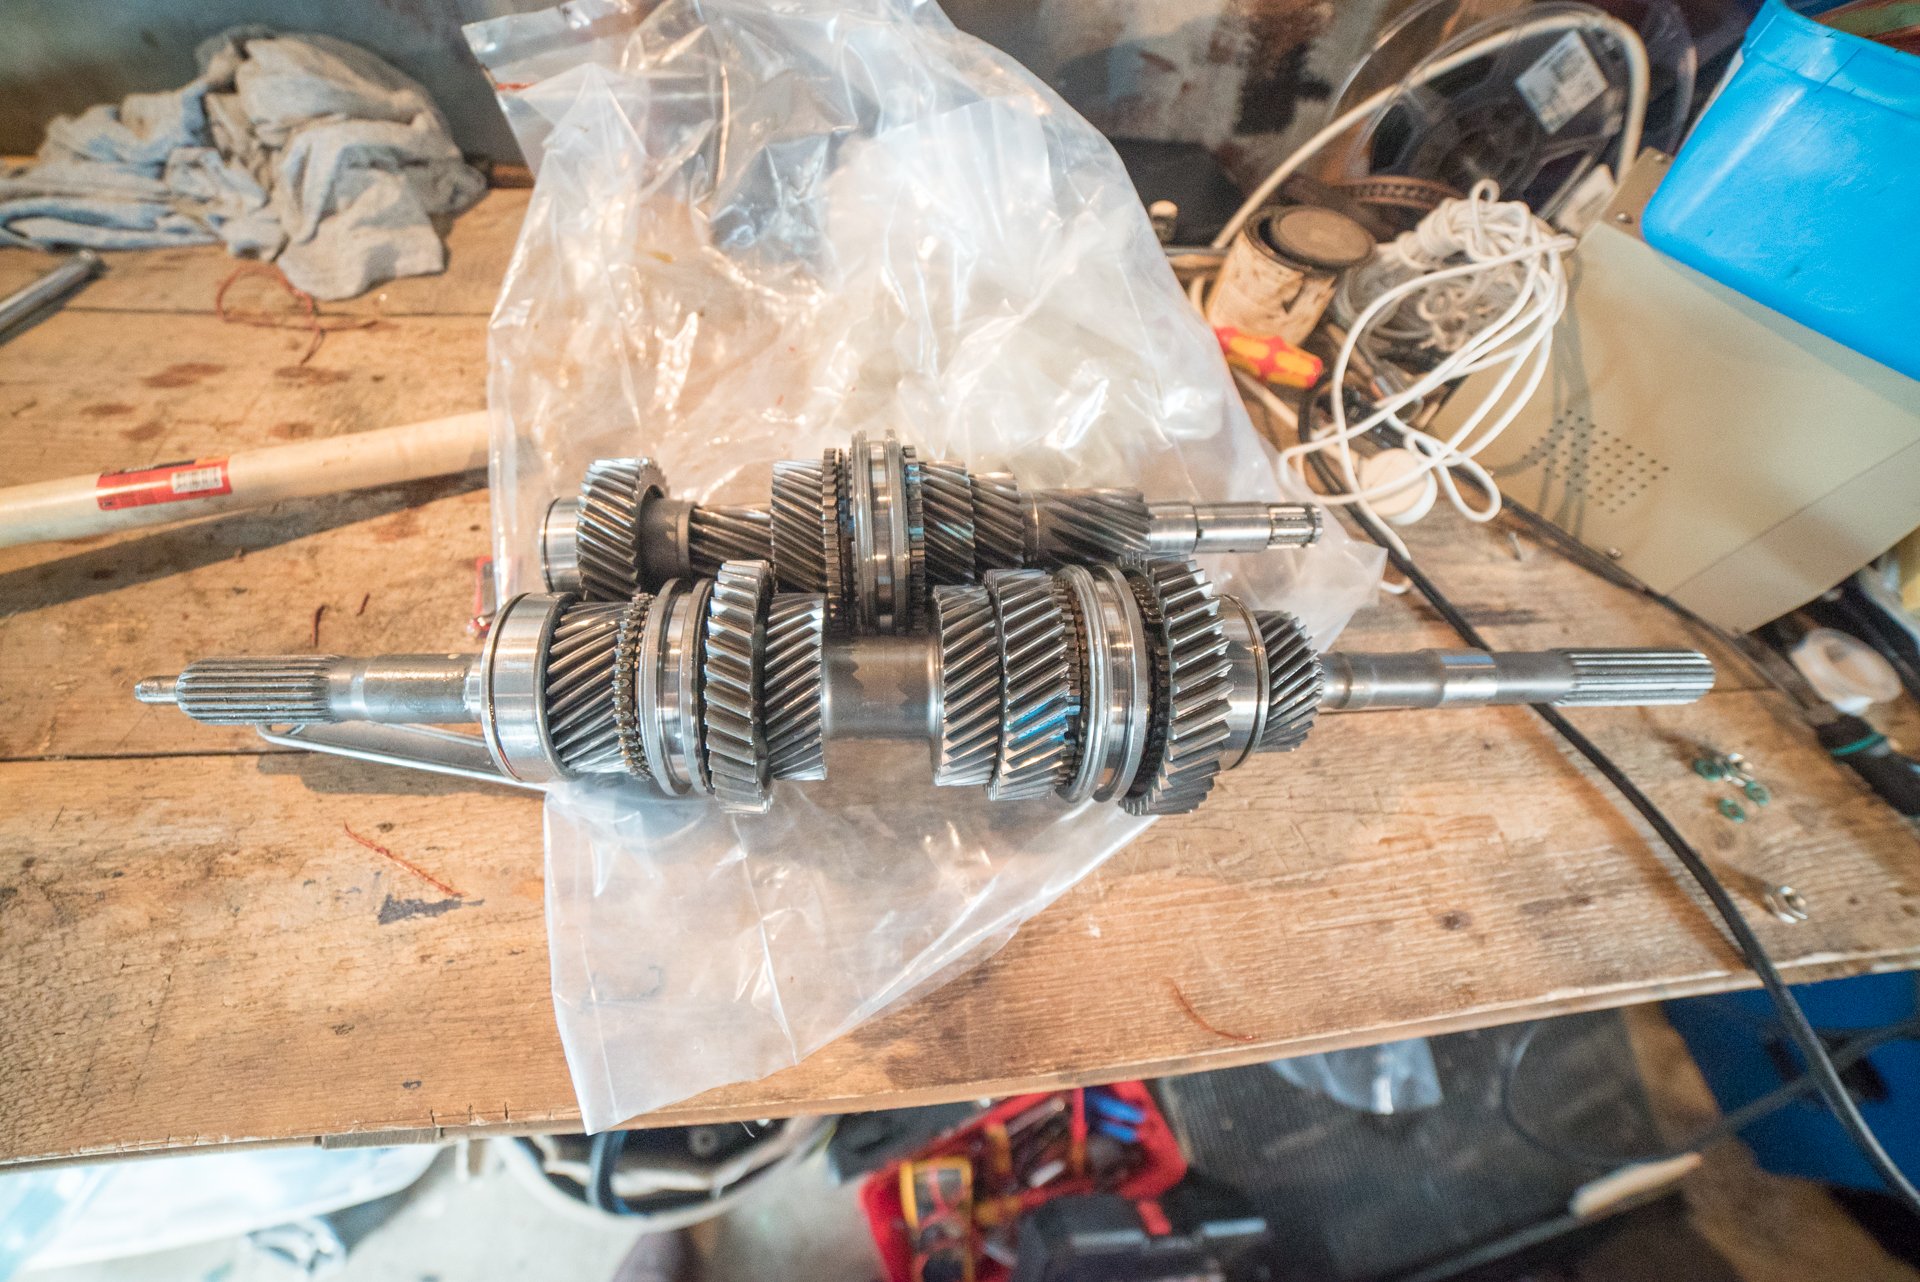
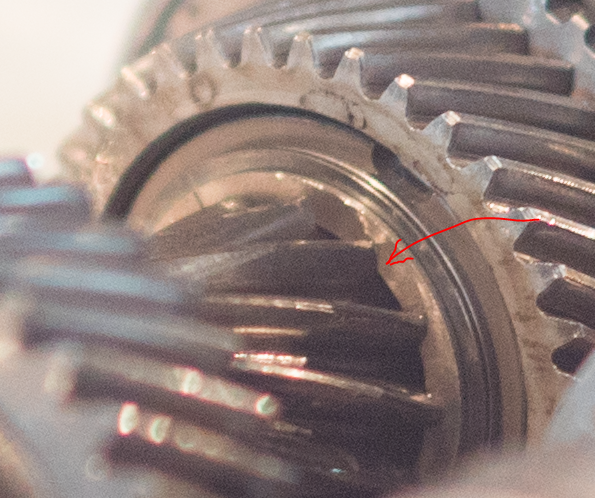
A few different yarns here, start with the gearbox. 12 or 13 years ago, I bought, attempted to repair, a virtually brand new Altezza gearbox. It was pulled out of a car under warranty when supposedly it had only done 30(!) kilometers. Or something to that effect. The only catch - reverse didnt work, and I could never get it working. So after a bunch of frustration and dissapointment, I sold it on. Roll on to a few weeks ago where I'm moaning about how most 6 speed boxes are high kms junk now, and I remember back to this gearbox. I track down the gent I sold it to, he's still got it... it's just been in dry storage all this time, and I can buy it back! awesome. So I've stripped it all down, no faults found but I've got the service manual and more patience so I can check every single thing for the right amount of clearance, play, etc. The difference is that now I've got a full service manual with instructions for reassembly, and a lot more patience that's come with age. So I'm confident I'll get it working. Even if it takes a few attempts and part swaps to isolate the issue, it'll be worth it for sake of having essentially brand new synchros and bearings, and awesome gear shifts. It's also going to get some treats in the form of a Silvia 6th gear, and I might fix the "fourth gear circlip issue" as pictured below: What happens is imagine that the gear in the background, when the helical gears get loaded up with lots of torque, it pushes the thrust washer onto the side of that smaller gear in front of it - Which is only resting up against the outer half of the teeth on that gear. So give it enough torque, and the teeth break off that front gear and it blows itself to high hell. So some people weld that clip in place, or cut the groove deeper and make a new one, or, whatever. Apparently fixing this more than doubles the torque holding capacity of the gearbox. So I might do something about it while it's apart, maybe. Also, I bought another low km gearbox that he's had sitting in storage for 10+ years too. So that'll go back into the car in the meantime while I fix up this one. End of gearbox yarn. (for now)
4 points
-
Yeah thankfully I've got the full manual now which spells it out, and I've also got a second gearbox that had noisy bearings which I've pulled down too. And labelled all the parts and put in boxes and bags. So I'll hopefully have enough of an idea for putting it back together. Looking forward to it. I remember ages ago looking at all the detents and shift forks and so on, having no bloody idea how any of it works. But feel a bit more confident now.3 points
-
Happy to do weldy things when you come over for beers and zorst chat. Just mark up the location and what you want the mounts to look like and I’m sure we can make them with minimal effort and a few beers. And header mods easy as too just know how far you want the finish point to move.2 points
-
Hell yea.2 points
-
Pity bout the bloke who owns them! :-p2 points
-
Given its been 10 years since the last update I figured I would add another one. The initial inability to use the original plates has been overcome and after a succession of emails back and forth to Tania Taite and reuseofplates@nzta.govt.nz, I have been given the all clear to reuse its 1963 issued plates. Interestingly, in none of my correspondence with the NZTA was there any mention of a Gloria (as the car is a Prince and the registration papers simply say Prince Saloon) however she came back to me saying it was registered as a Gloria at some point, only one of my documents mentions Gloria so I knew the mistake existed but it also means that despite this being deregd since before digitization, they obviously do have records of it (even though previously I had been told there was nothing and the only chance of getting the plates would be personalisation). Interdasting. Anyway. I also bought this for it (thanks to @RUNAMUCK and @vivaspeed) Stay tuned ten years down the track for the next update. Disco link because it's been ten years and it was broken2 points
-
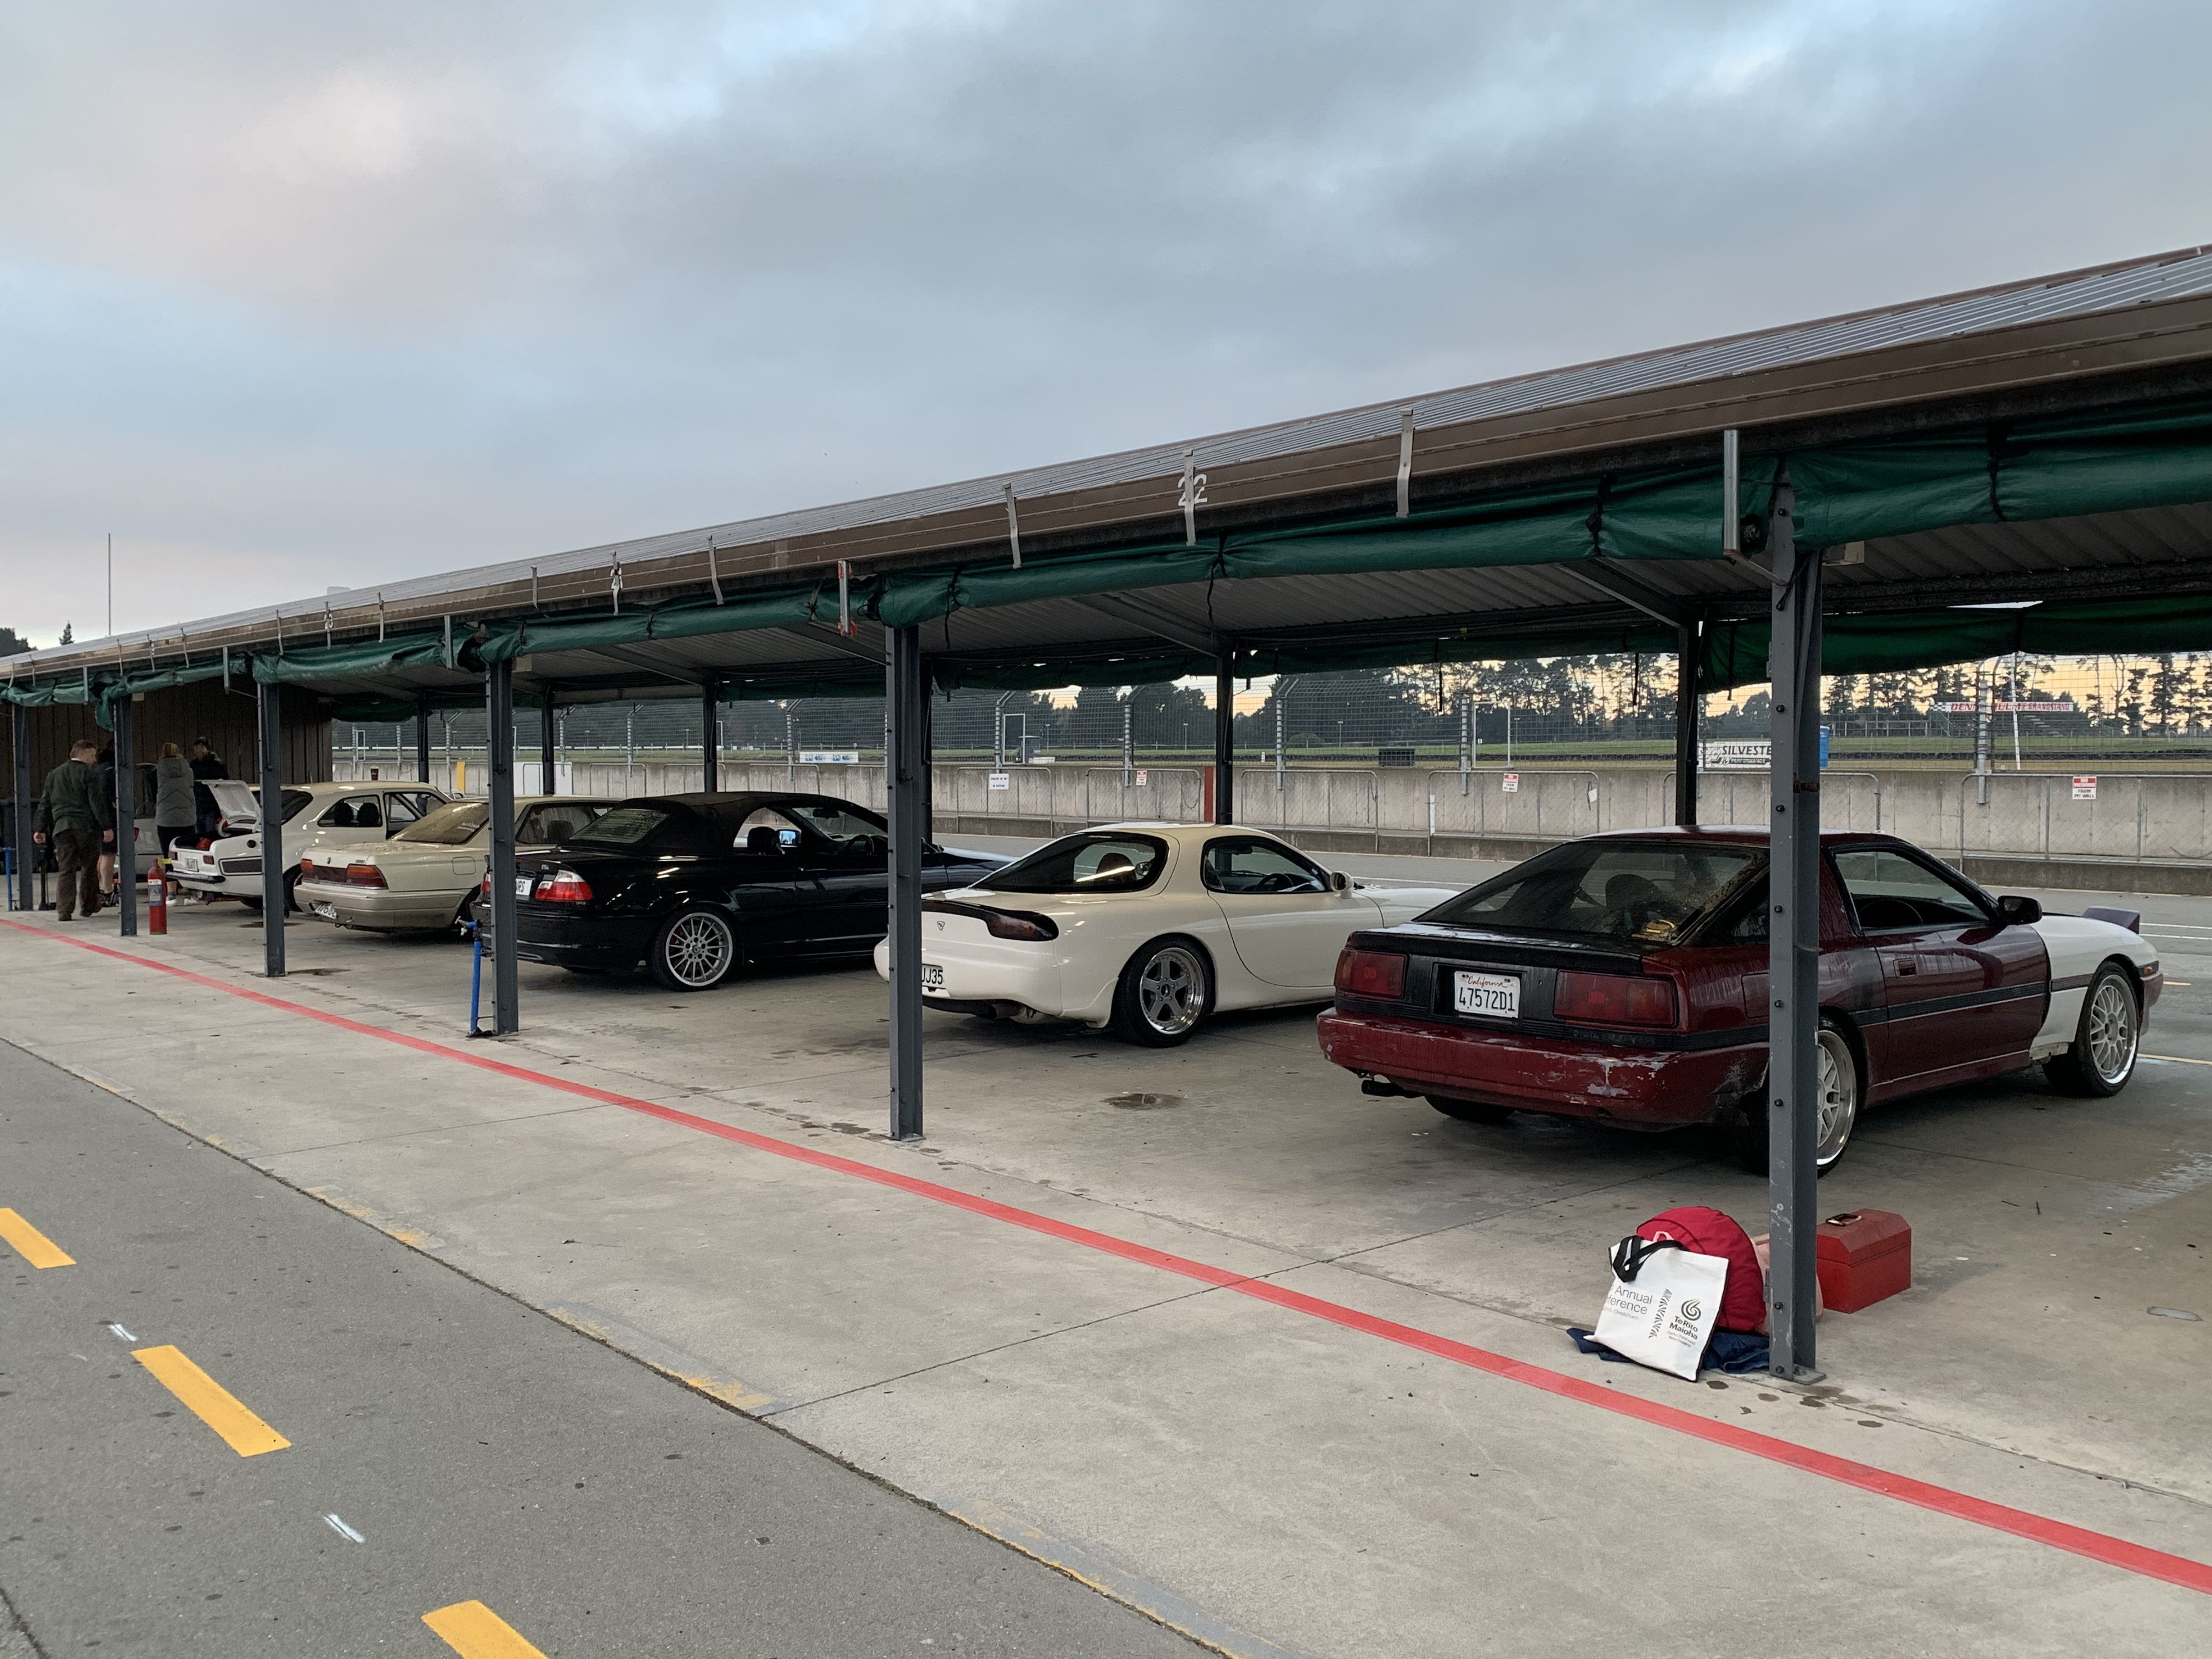
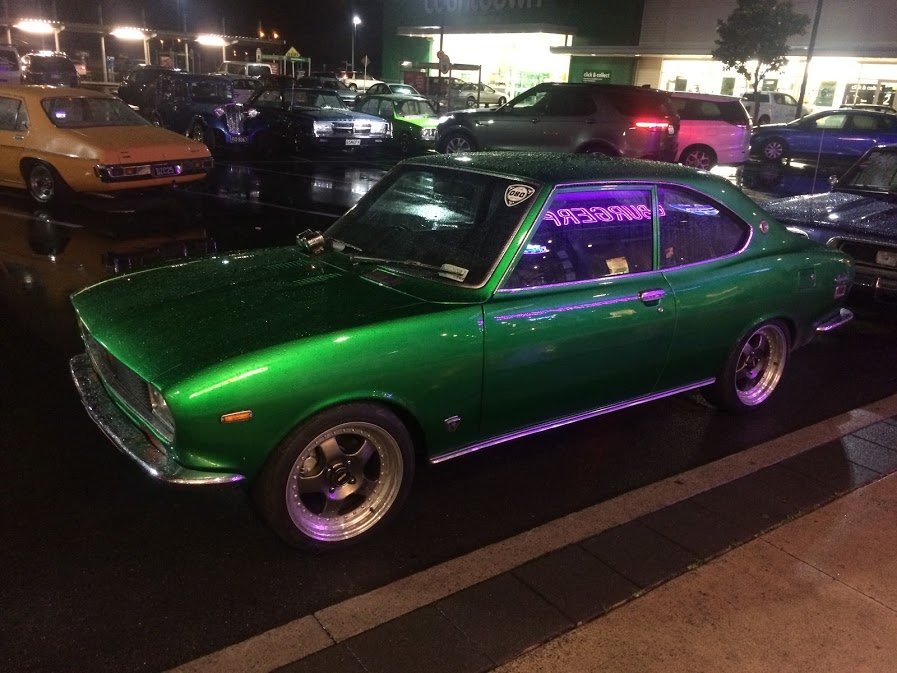
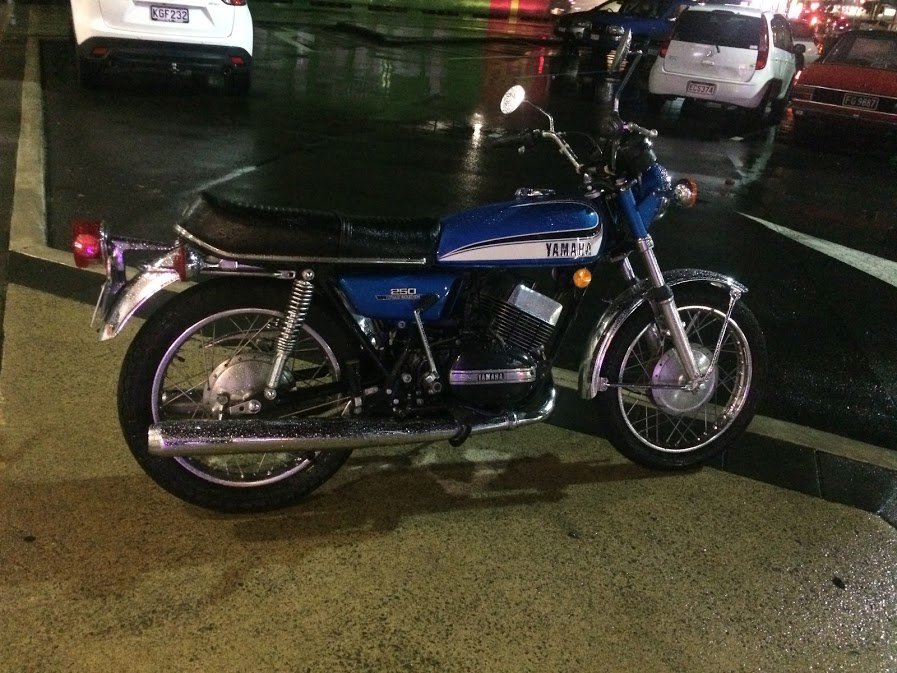
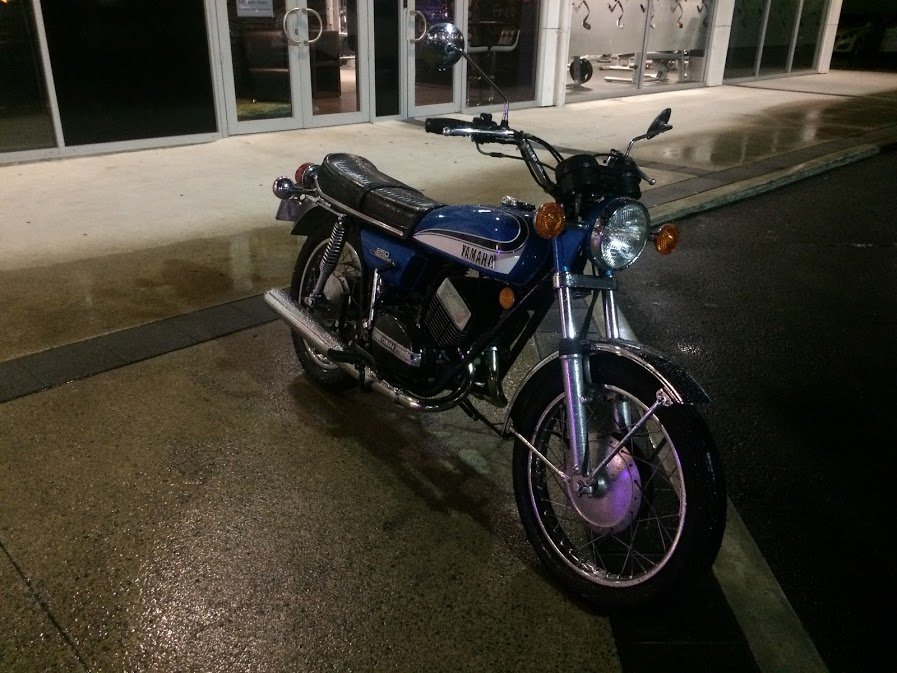
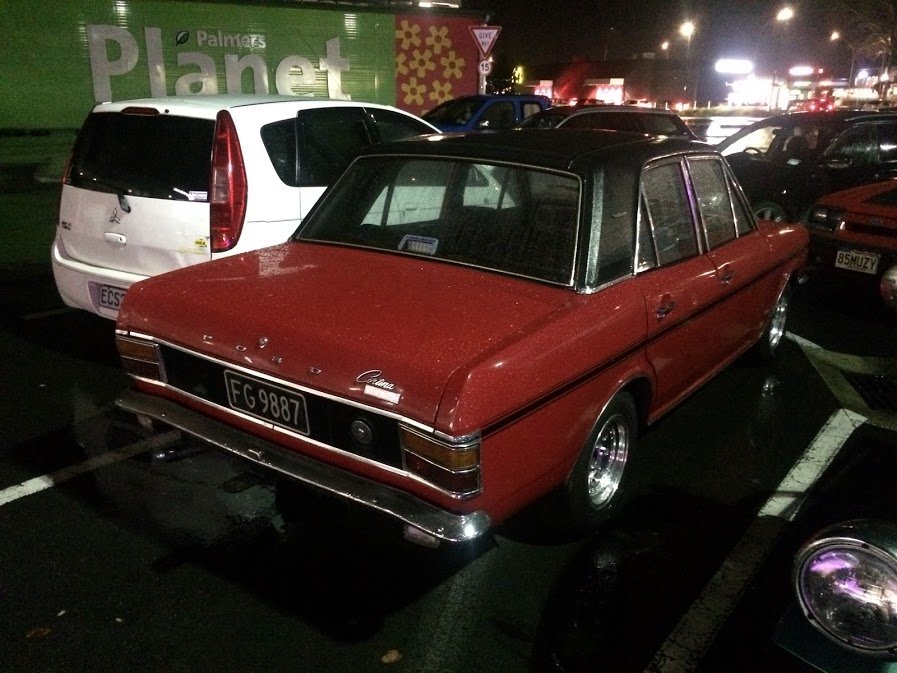
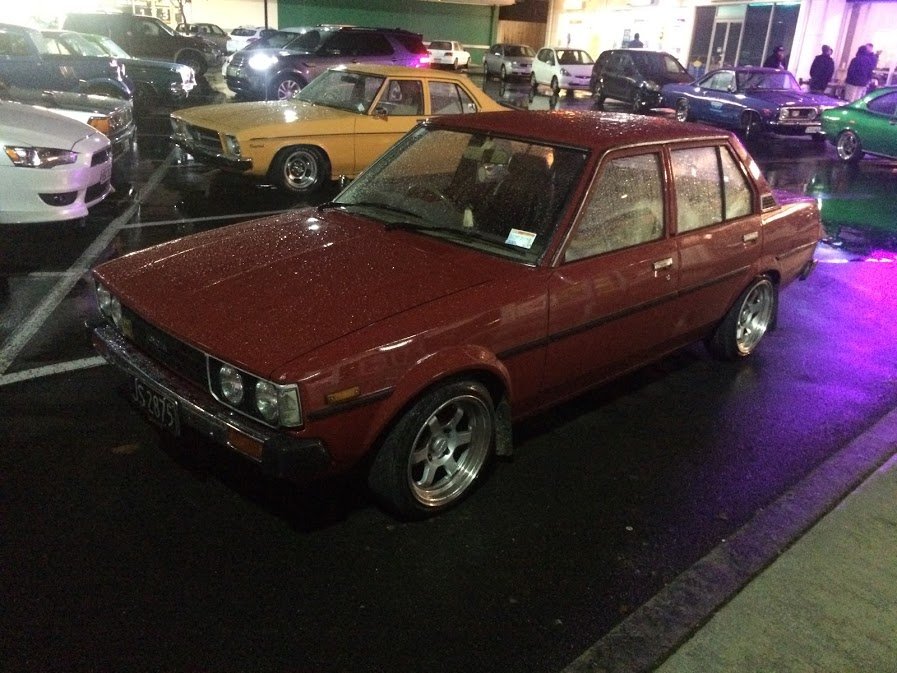
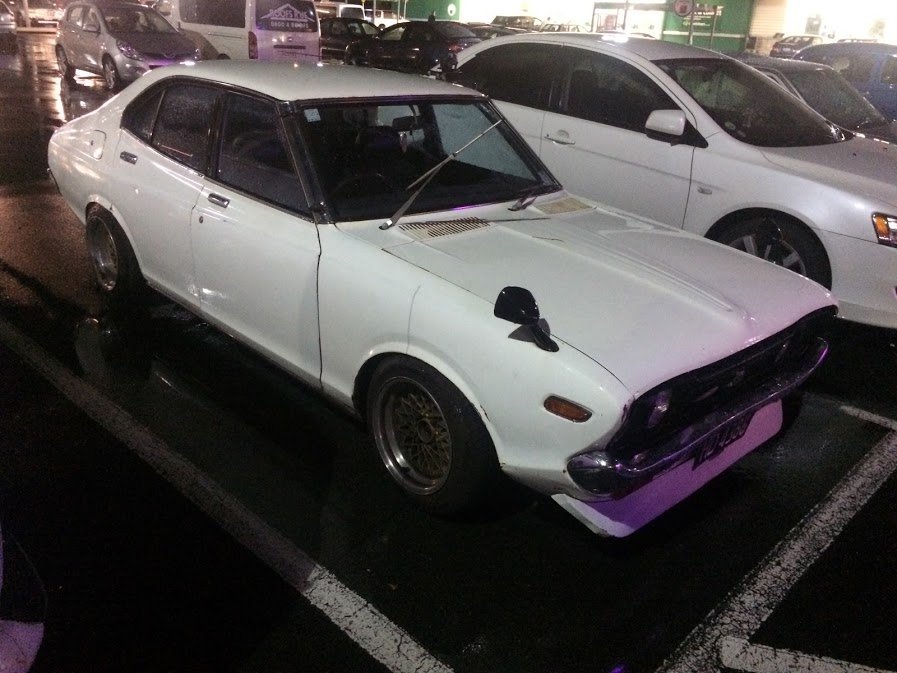
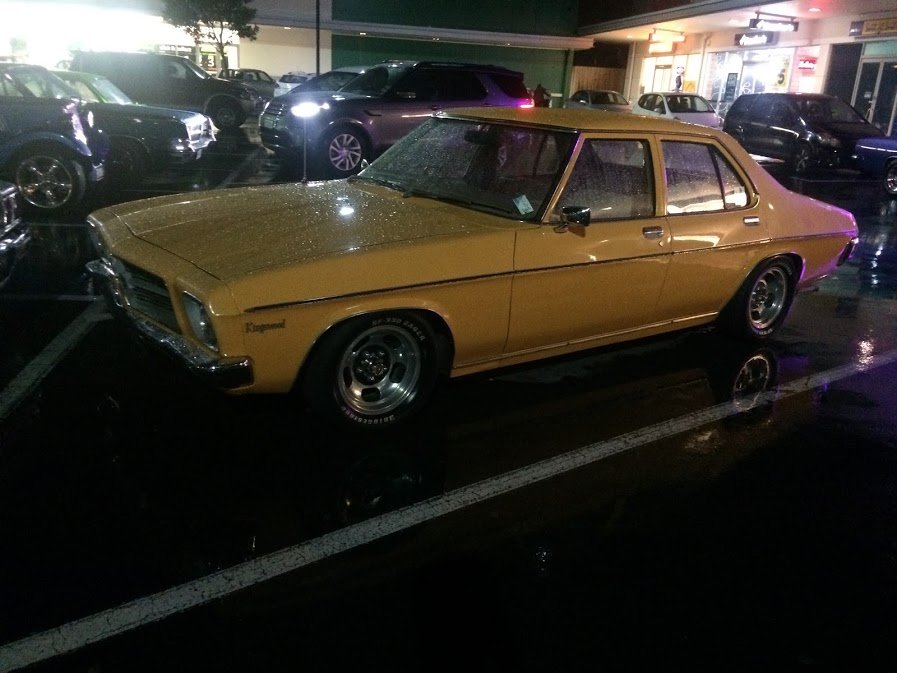
A few snaps from Thursday night. There were more cars earlier on that I missed.
2 points
-
right i am meant to be cleaning the work shop right now but i kinda cant be assed and i feel there are a few people that would like to see the details on what its taken to get the bus driving. we left the detailed post at i was off to get my flywheel skimmed up. there was a lip on the other side but for some reason it seemed to have been a sleeve on it or something and i had planned on having to take that to old mate geofphy to get cleaned up but it kinda just fell off when i picked it up. job done. Paul was busy on the phone again but it was sweet i still had jobs i could do, so i proceeded with putting the head studs in want to know why there are three different sizes? well in this photo there are four but dont look to close the longer 8 are for the bottom four on each side, we then have two short short ones for the middle on each side at the top, and then we have two medium size ones for the right hand side of the motor and now we have left is one long and one short for the left hand out side. here is why we have a long one. the casing nut is really far in the block so this is why we need the long one. i went over a few of these with a tap as some were a little funny but most of these were finger tight. and that's a photo of the finished result i ended up lock tightening this bad boy as it was pretty much finger tight and was very lose he holds on the fuel pump btw looks some what like this, thanks to google you'll see this in photos to come. next was the pistons, now on the top of the pistons you will see an arrow, that arrow goes to the fly wheel, and well if you are rebuilding an engine you might not be able to see the arrow so on the bottom of this you will see the little bulge on the piston, that is the equivalent of the arrow. and always place out your circlips with your pistons so if you lose one, you should be able to tell now, top tip. don't do this drunk cause things will go wrong and you'll have to do this again tomorrow. Pauls friends learnt this the hard way you can kinda see the little bulge on the right hand side piston where the vivid mark is now if your clever you put the inside circlip in so you slide the gudgeon pin in with out having to go through the head studs. i guess you'll do it a few times before realizing how much of a retard you are and figuring this out. i probably would have done this tbh. we also put the oil pump in and torqued that up, also put goo in it to oil doesn't come dripping from it. i got told off for been to efficient and maybe putting the studs in a tad to far for these bolts to go on. but hey they worked right..... perfect if you ask me. next day now, time to clean the heads. and what do you know bloody norm (parts lady) has packed the wrong heads so i go back and yell at paul, who yells at norm and i yell at norm and well then norm gets the other heads which she got told to grab to begin with. lets see if my new barrels fit in this lot huh. hey hey we have a winner. time to clean these. and then back to the hot water so it can evaporate even thought they wont rust. it was at this stage i got shown this cool two peace crank hows that for cool........ it even drove broken. just made a funny sound. ok time to get back to the engine. time to put all the studs in the heads for the exhaust, intake and the rockers. all done. before i knew it Paul had slid the barrels on and i was over here putting the new oil cooler together now this isn't a factory oil cooler for a standard fan shroud which you would see on most beetles and early kombis. this is what they call a dog house. a dog house fan shroud works a little different and instead of the oil cooler been in the middle and the heat from the oil getting pumped onto the left hand side cylinders it gets air pumped out the back and the air just disappear not heating up those cylinders. here is a photo of one in the shop that paul used and showed me. note the oil cooler there out the back. and here is a photo off google showing you with the extra tin wear on how it works now i asked Paul should i have one of these. he answer was yes. but not cause i said yes, yes cause..... and then explained what i just explained. it was a pretty no brainier why we should be putting one on the engine. i just come across this image as well you might find it help with my bad explaining here is a standard one and the oil cooler usually goes between the letters a and b pretty much and the heat from your oil just gets spun around and onto your cylinders ok so i also had to change the oil cooler bolt. from a standard one to what we are now usuing. doesn't it look so cute. the one on the left is the old guy. we went to see if my windage pus rod tubes would fit next fuck me i just wrote this next section out twice now and hit ctrl z to go back one steep and lost it all fuck me i'm not doing this again or i'm not going to have a fucken computer come tomorrow!! FUCK back to my windage tubes. this is the difference between standard and windage tubes well yeah the next photo is of mine cut down to standard lenght haha this isnt that funny after writing it the 3rd time now ok so now that they are done time for the heads to go on now. and my next job was to do some more cleaning, im getting pretty good at this cleaning stuff now. so cleaned they were and paul chuck the rods in and bolted the rockers up and checked the tolerance and put them at 6 thou while i was off next door doing something else. i asked oh nice were are your feeler gauges, he point at his tool box and said some where in that thing if you want to find them and check. i ended up asking how on earth did you work out what 6 thou is with out using them. his response was when you have cars driving from hours away to your shop and you burn your god dam fingers from checking tolerances you sure as hell learn quick how much 6 thou is and its _____ amount of turn from touching. ok so yeah i didn't check this guy knows whats what. next is the rocker cover and gasket, now what we do here is we smear a little grease on the asked both sides and then slap the covers on. want to why we put grease on the gasket? well the detergent in the grease eats the cork gasket and glues it together so they dont suck in or fall out of place. wish i knew this when i had my 1st bug after it happening so many god dam times on my way to and from leadfoot. old @Archetype will be able to tell you about this experience as well. was not good. so the engine now looks like this as you can see we now have the alternator stand on, yup an alternator not a generator, those can go in the fucken trash. one less thing to fuck out, these things are self regulating as well. next is the tin wear. that wont be hard its all brand new and will just screw right on i laugh so hard!!!! this is what people must think when they but kit set upholstery haha. yup had to modify these peaces to fit. i think it was a total of 5 peaces i cut or modded to fit. and then i took this photo for the Instagram people i really like it. and it was also the end of that day. another day now. next on the list was making the intake bolt up and work. but firstly this bus has vacuum operated boosted breaks. and the vacuum comes from the intake. these intakes come with a little hole in them that we plugged up as its to small and kinda in the way once you try and put everything else there. so we have to drill a new one and find something to make it work as these hoses are huge. drill said hole here. you can also see the black grub screw that was filled. time to dig around in this and we came up with this tapped the hole and put some cement around the fitting before we put it in. call that job done. its at this point its fucken great that Paul has a shop like this with all these little things laying around and taps all different sizes. shits pretty legit now yeah that didnt fit as well, the runners on the intake on the left hand side was a little long, so Paul used and hack saw which would have been as sharp and a bread knife to cut it down to begin with and well yeah had to be cut down some more, i used a grinder with a cutting disk on it i proceeded to ask if he wanted it cut straight or on the piss like he did, got told to shut up smart ass and cut it, and cut it straight! haha bolted it all up and put the carb on as well. time to slap the exhuast on. 1st job 1st j pipes. but wait a min. lets cut some more tin wear haha. these are j pipes btw. they go from the rear of the engine under the block and out the front to meat the other half of the exhaust, factory ones of these have big fins on them and a box around them which heats up and that's were you usually get the heat from for a beetle or a bus in side the car. here is an example of what factory ones look like now the moustache bar. now i know your asking what on earth is that? well this bolts to the engine and acts and the engine mount to the body of the bus. looks like a moustache doesnt it? now for the front half of the exhaust. these usually have heat risers on the top. The heat riser forms two important functions. It prevents ice forming under the carburetor (caused by the fuel evaporating and cooling the inlet air below freezing - icing will eventually block the manifold and stop the engine. (straight cut and paste from google here) but mine were blocked off. they do serve a good purpose. me and my friend grinder sorted this out also Paul put the alternator on at the same point i was doing this. he asked me if i wanted the flash nut or the standard nut, i said whats cheaper, well standard nut it was...... only until he found i had a flash nut for my main crank pulley, but he put a crap nut in there to match my cheap ugly bolt up the top. we now had to put an oil filler neck on this. these come straight for difficulty or bent for a bit easier. guess what guys, the straight one comes black and the nice shiny looking one comes in bent..... well fuck me ok put the bent one on but if ya god dam doing that put the shiny bolts on, so old crapy bolts off and shiny ones back on. this is what im talking about here. these go on the alternator stand this is the straight one and black well now thats on lets put some oil in it time to put it on the engine stand shull we. and that's the night we started it. ( i also just copied all this and put it into a word document in case it didn't save and i was going to be pissssssssed off )2 points
-
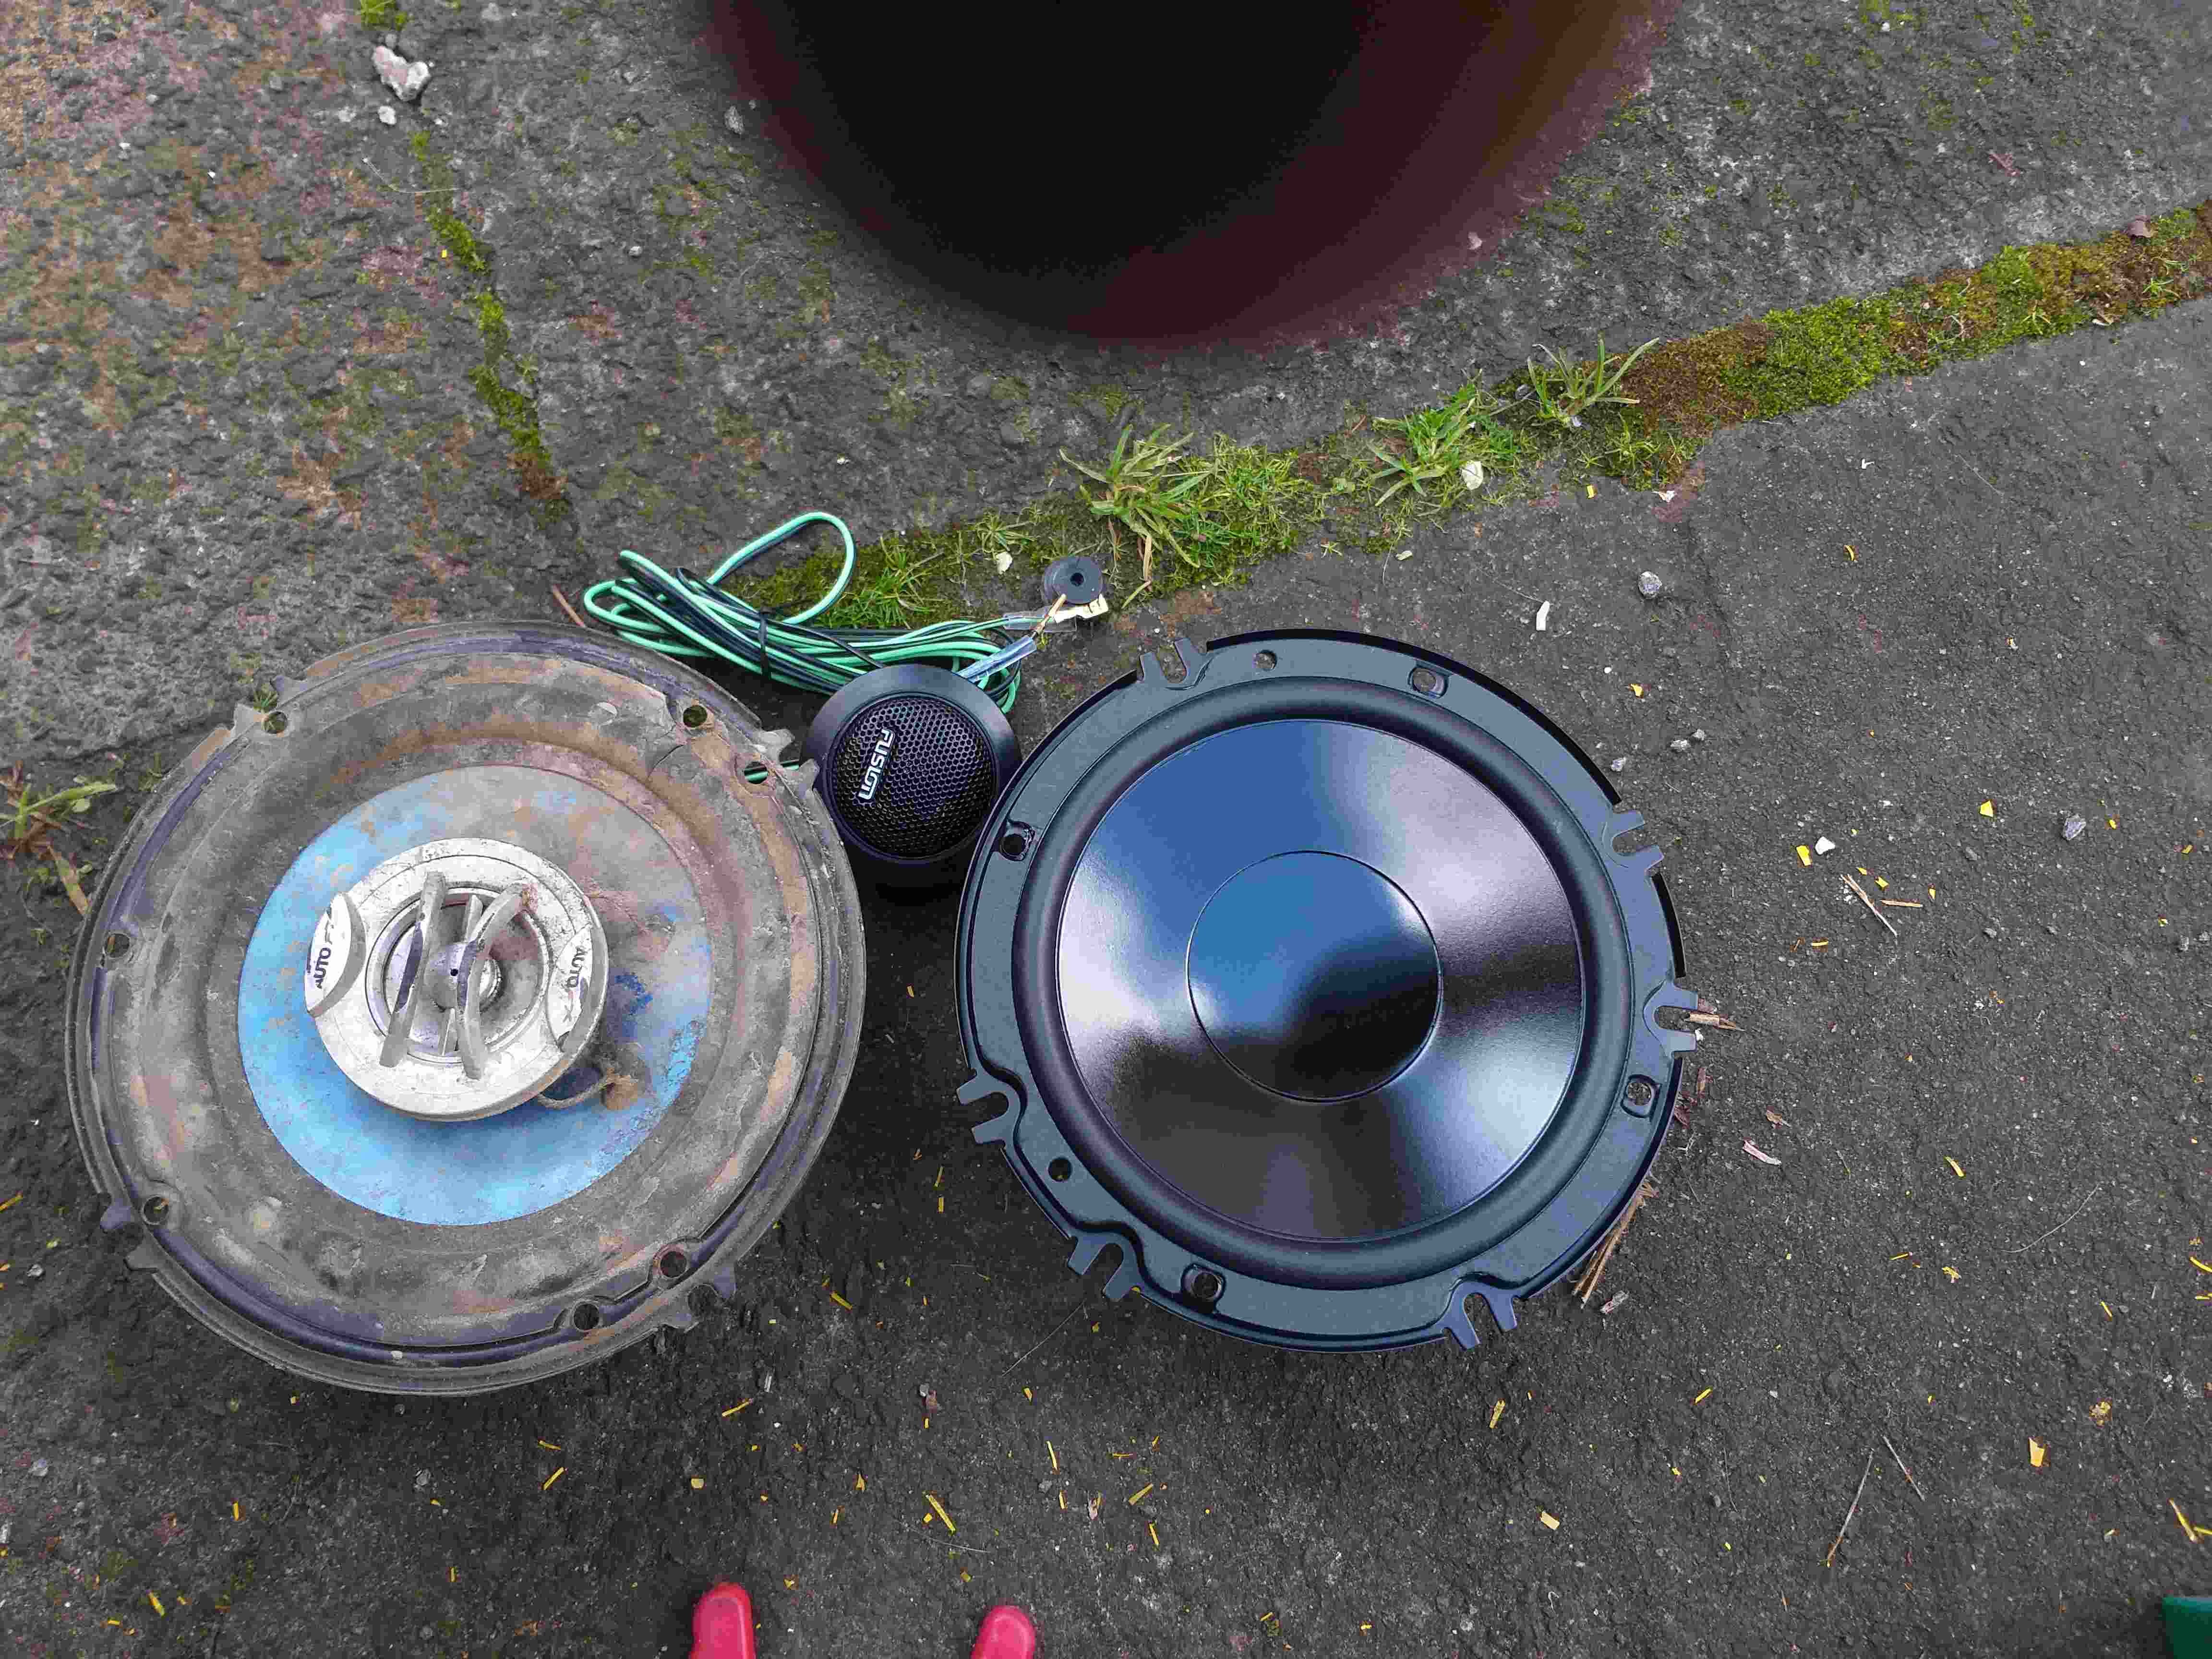
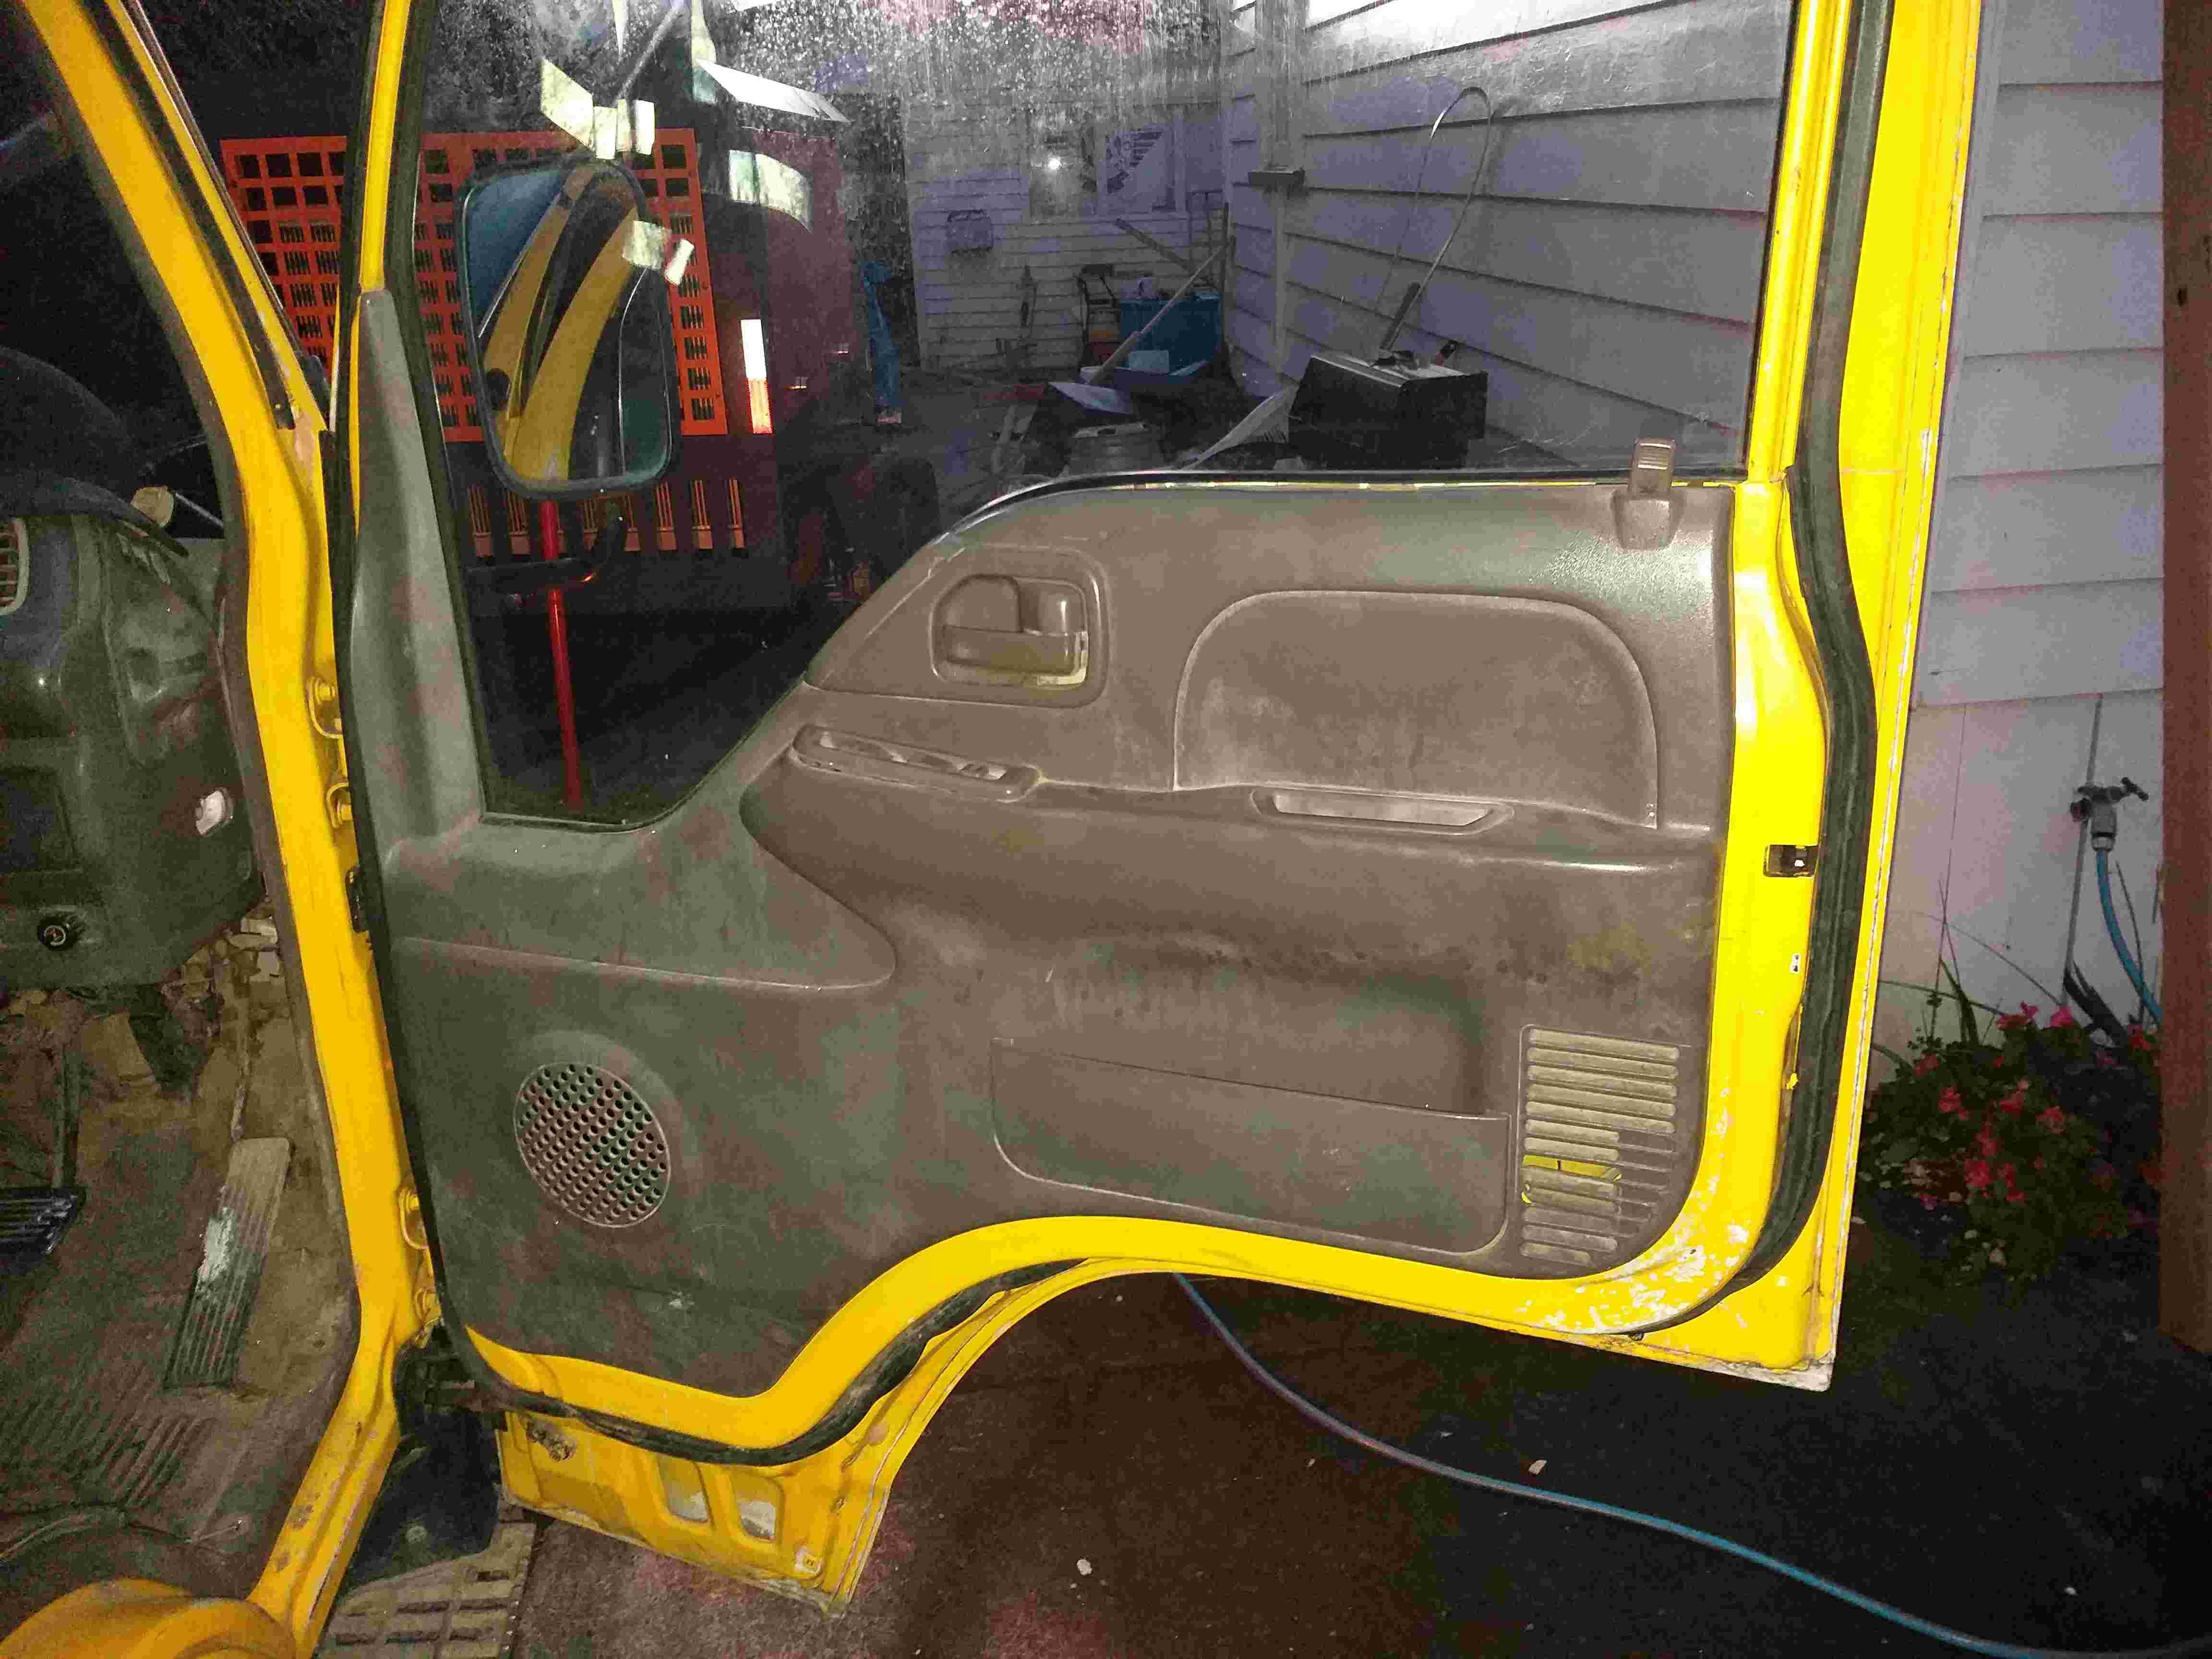
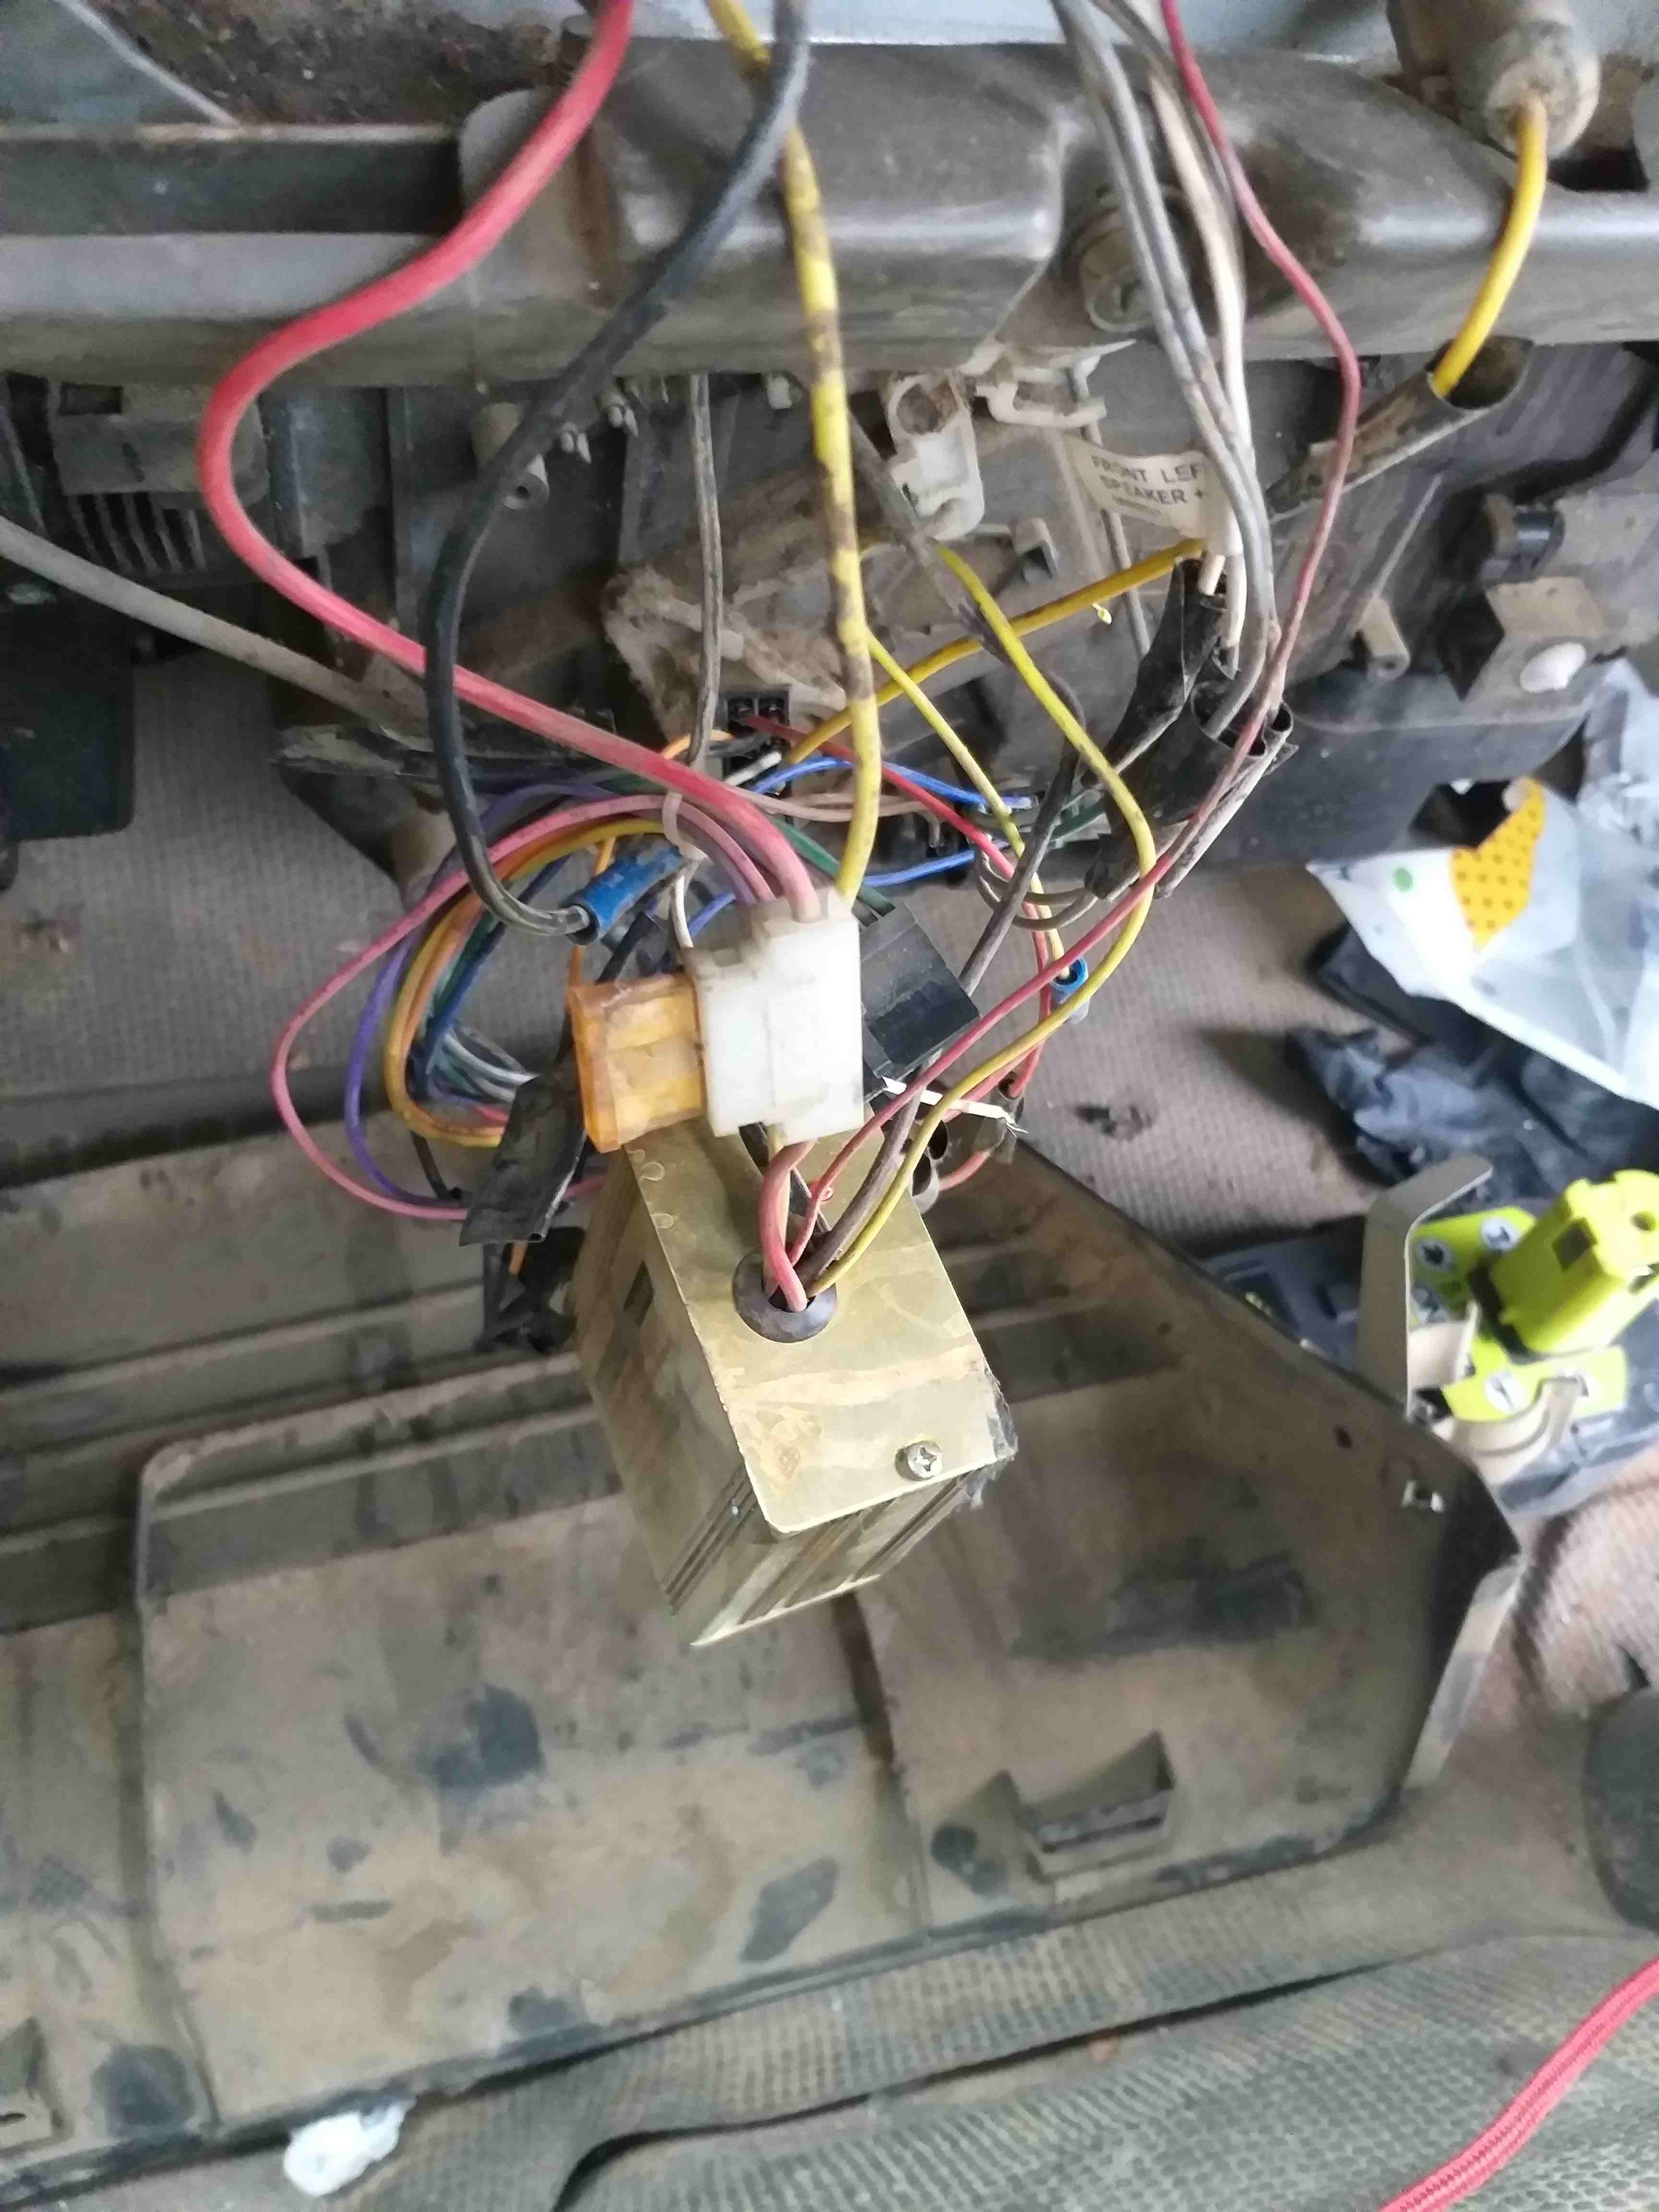
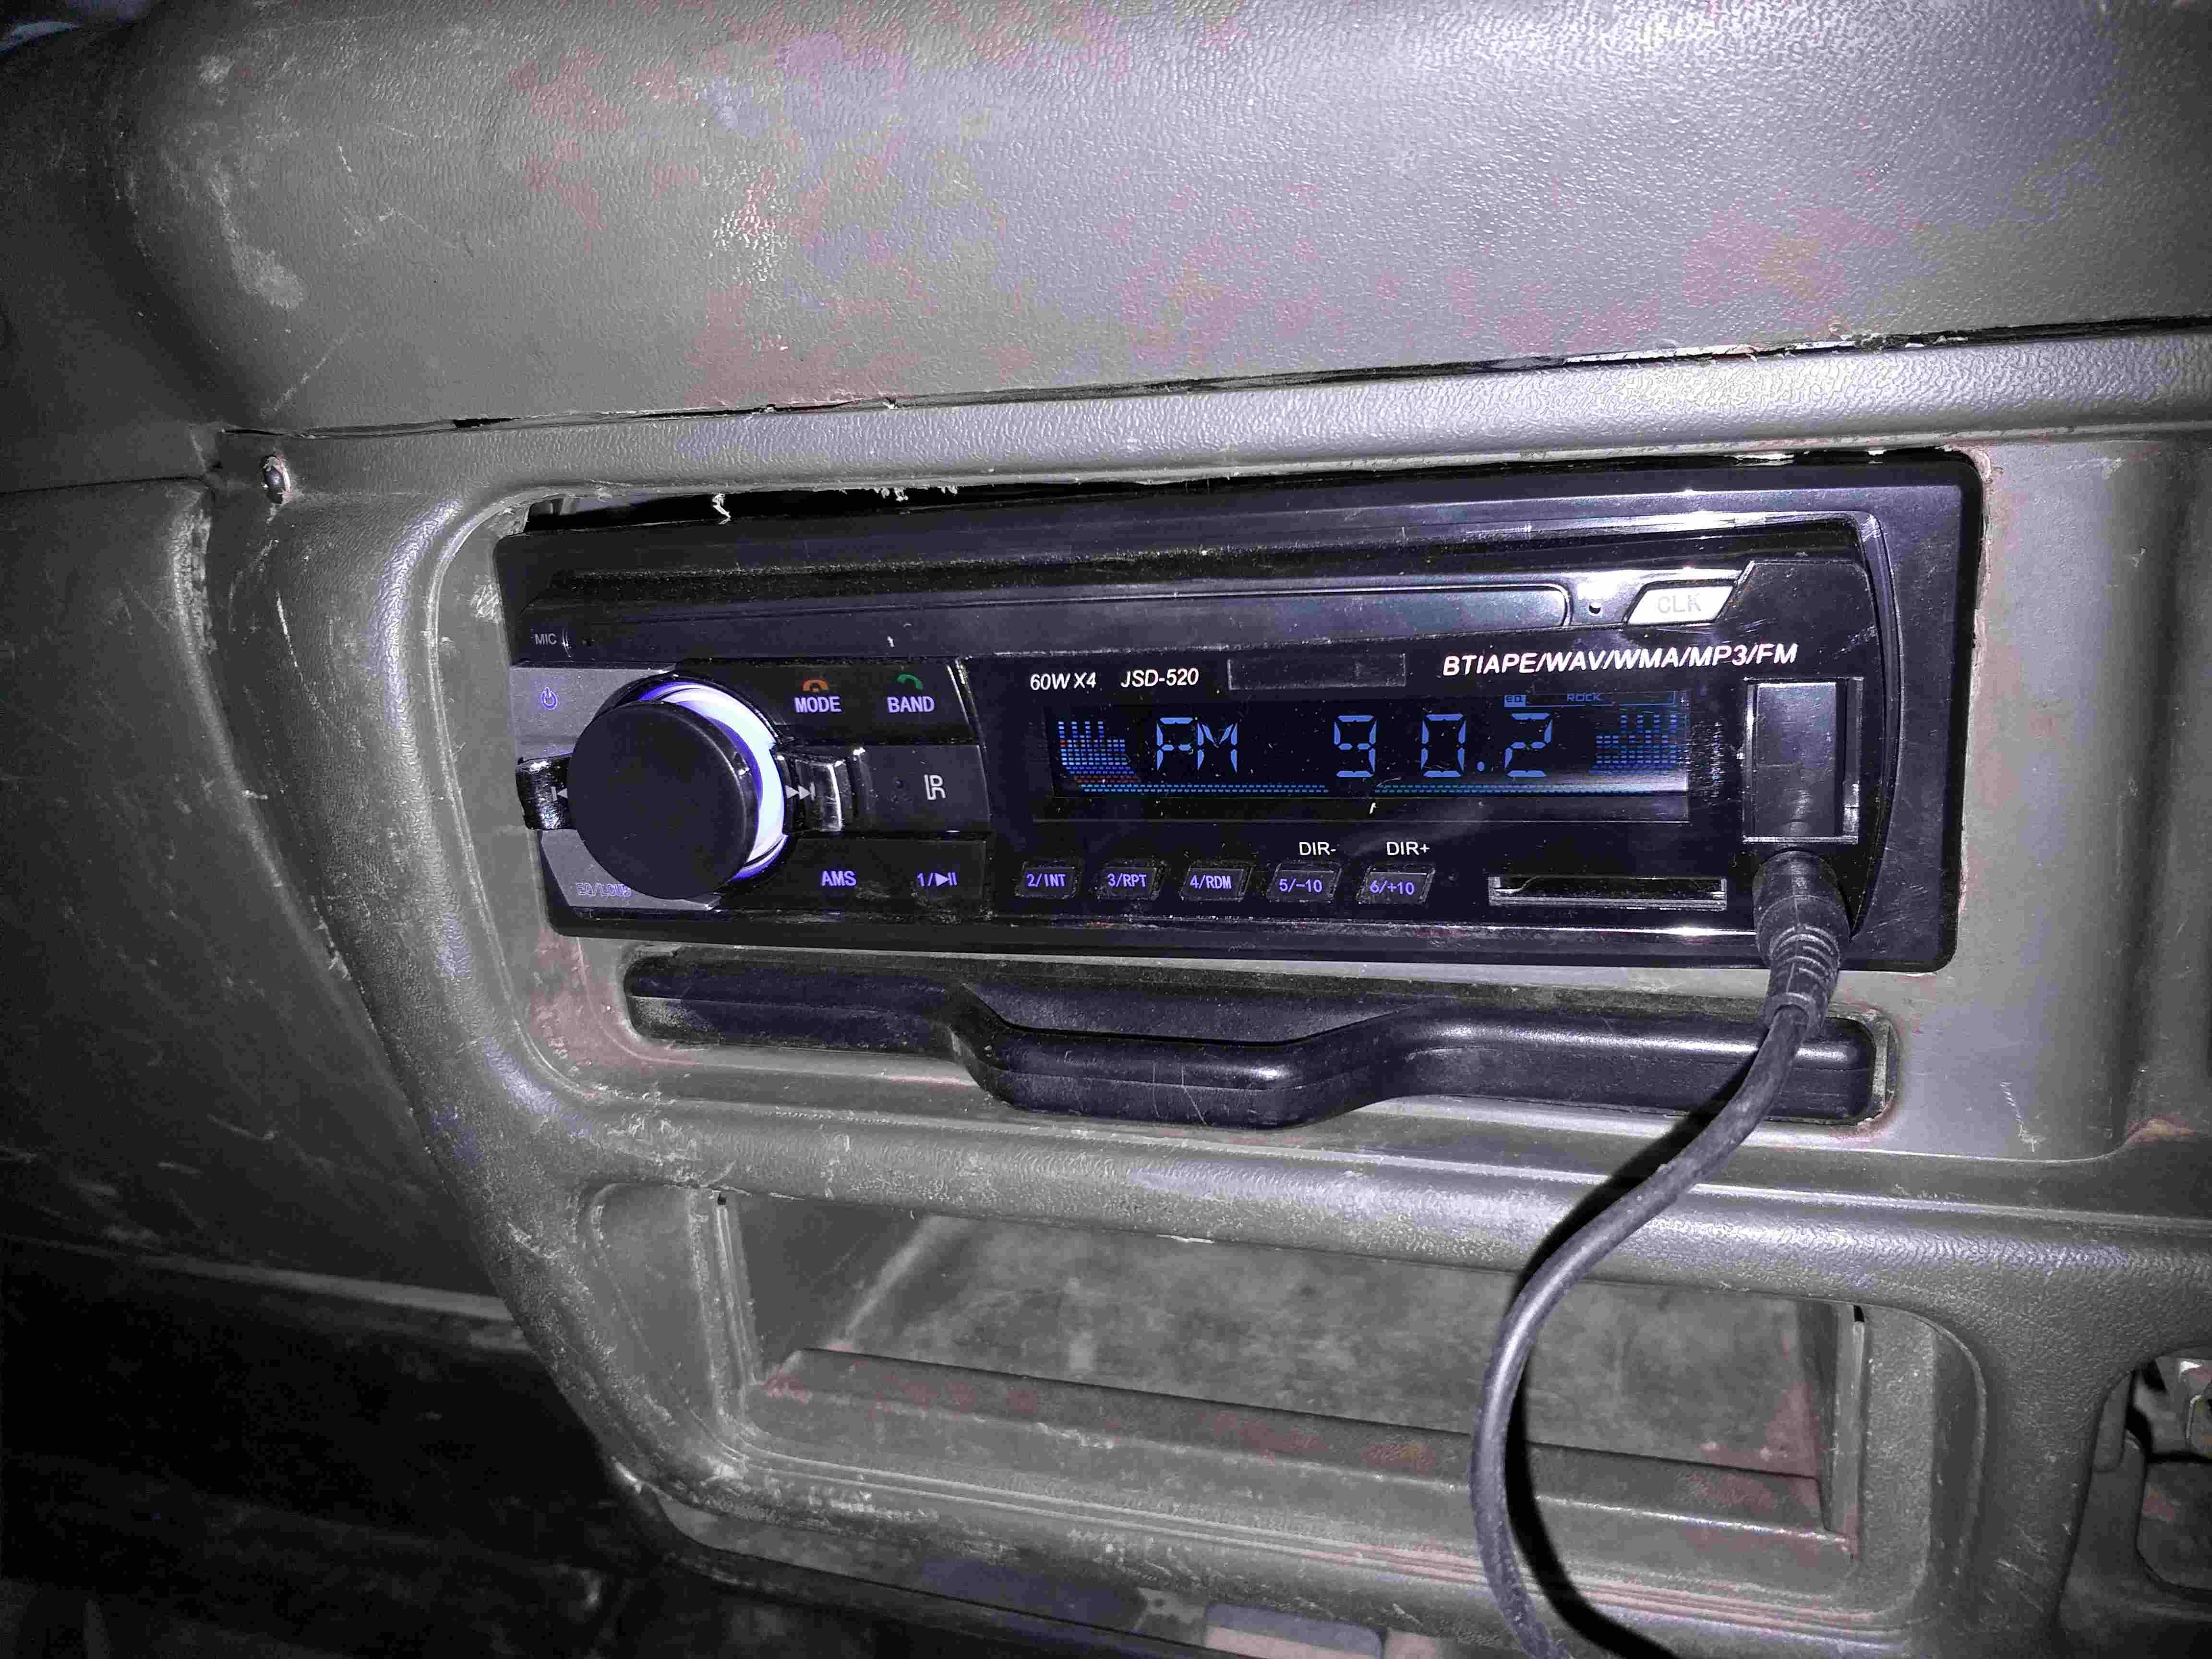
So today I got cracked in the head buy a rampaging concrete drill as I was making a big hole is a wall. Got sent to the Doctor and he said go home an rest, but don't go to sleep. My standard mode set so if I stop and simply lounge around 8/10 times I will have a nap. So I decided to make a start on the truck. a set of fusion component speakers arrived this week. just 58 delivered of the tard. out with the old and in with the new. when j pulled the door panels off I found all but 2 clips wer missing or broken. luckily I brought a a bag random clips off ali. will be very handy. boring pic but I'm stoked the door is back togeather and the rattles are gone Got a cheap $30 radio offAli. Found a 24_12v reducer under the dash. good to have but the radio I got is 24v so pulled the reducer hoping it may stop my battery drain issues.
1 point
-
That white FD on G7s looks sick.1 point
-
Vct is awesome. Fg falcon will do 60 degree swing on intake and exhaust, there is a silly trend going around that you throw ~30 degrees or more overlap (there is a simple overlap table in the ecu) to make 'ghost cams' at idle.. I would like vct on my b18c or give it something in the midrange but may settle for some mild cams because stock(ish) ecu life.1 point
-
I'll have you know my other cars are genuinely interesting also!1 point
-
My father actually ordered them from Australia to cover all his collection, i'll try to remember to ask next time I chat. A quick google brings up a few on ebay so there should still be a few about.1 point
-
from the cam timing testing ive done (need to revisit on dyno) can get pretty aggressive on the overlap, inlet advance and exhaust retard. gain a stack of power everywhere usable under peak, with minimal if any loss in peak power . side effect being power drops fairly fast after peak as can see in my dyno sheets. going the other way it will try hold onto that peak power for another 500rpm or so. Inlet had most effect. exhaust done similar but maybe only half or less effect so yeh pretty much nothing new there ^ . if you have vvti /vvt you can have your cake and eat it too. many years ago i attempted to retrofit a vvt pulley off a 20v onto a 16v, its possible but gave up on the idea.1 point
-
@Roman Dave found this article that claims the effect of variable valve timing when combined with header scavenging waves can be up to 4% https://www.mdpi.com/1996-1073/11/6/1545/htm it discredits the gains as not substantial which I think is incorrect. Another 4% just from correct vvti tuning on 140-150kw is a massive gain! Enjoy1 point
-
16 Valve club for lyfe. @Stu
1 point
-
Haha, yep, I read that last night. We need a dyno...1 point
-
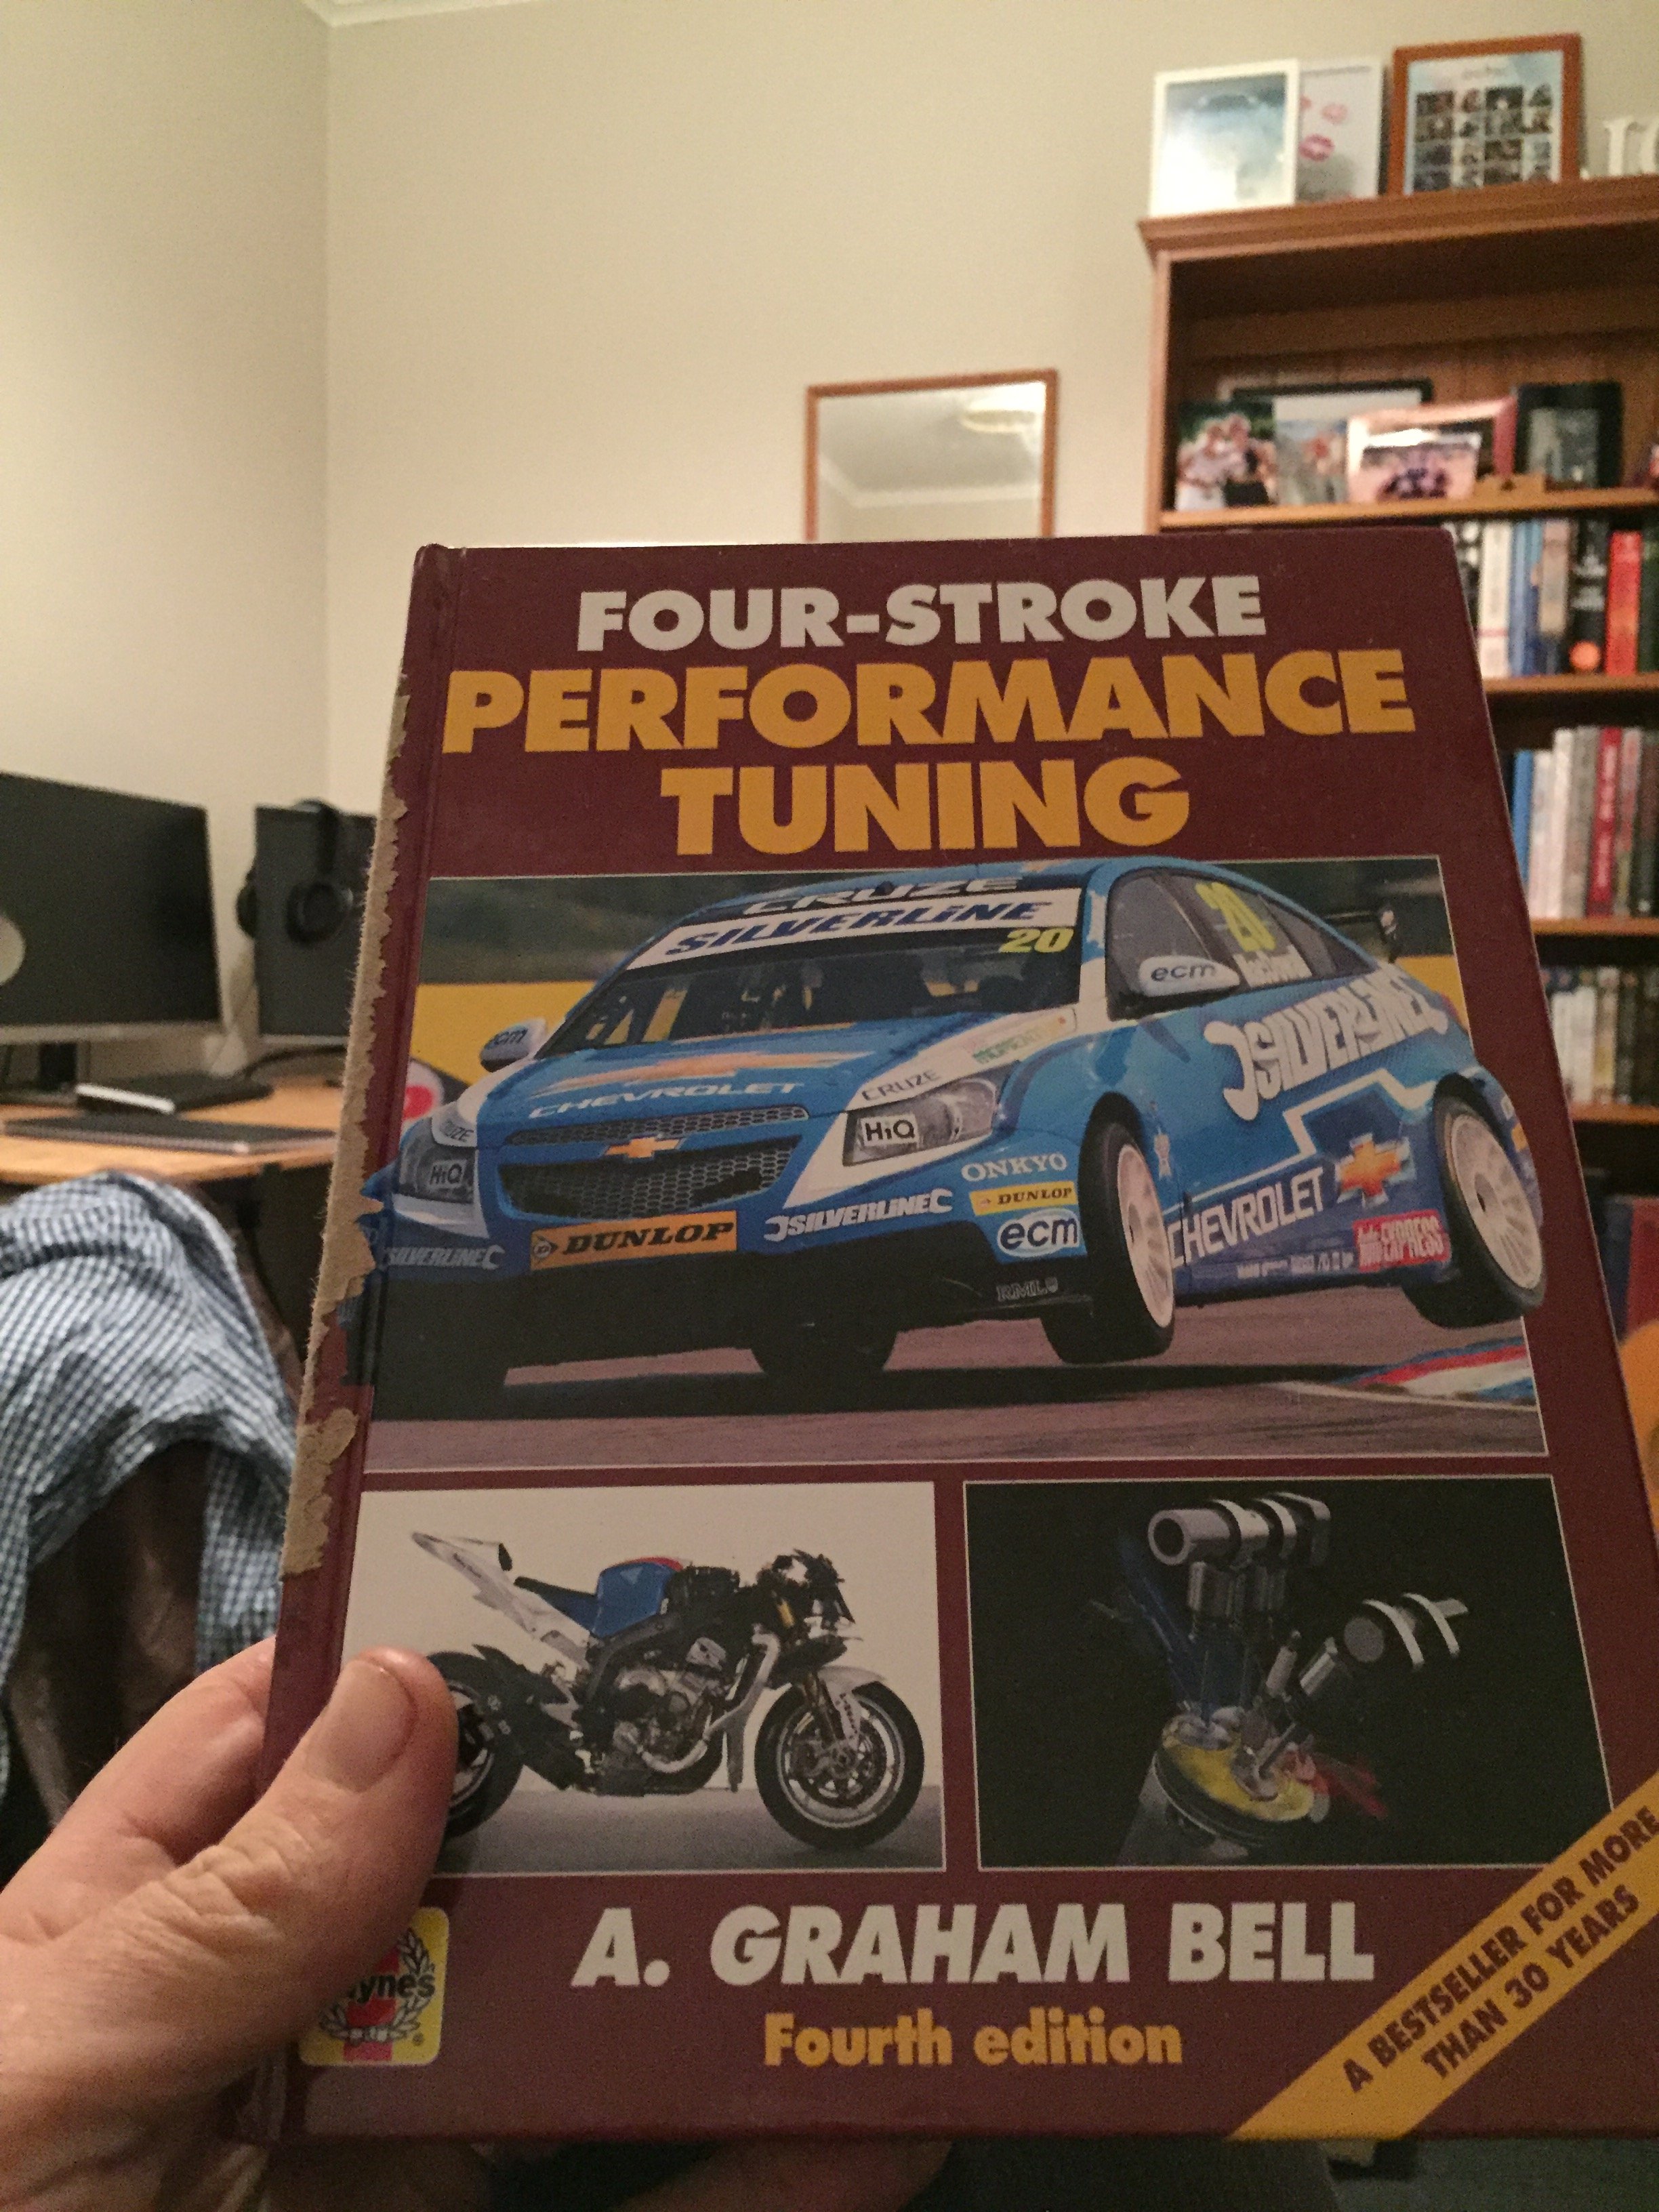
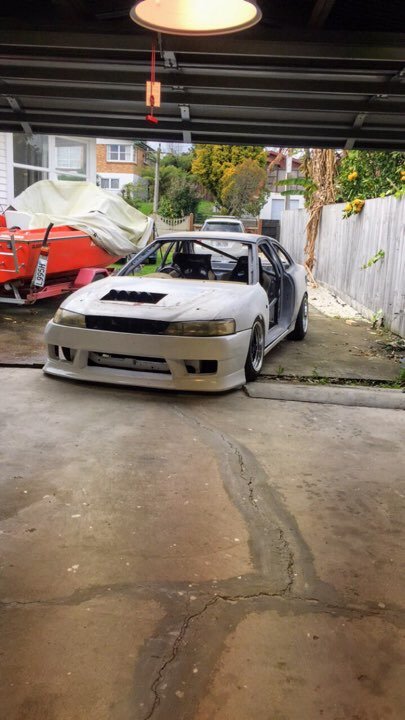
Thanks Markku. Yeah agree it’s the first time I’ve really seen it all together and it blew me away how low it was and how unlike a teenagers-first-car spec it is. Very motivating. In other news I’ve been doing some reading of this book that arrived. Interesting read even though some of the data/engines are old it’s still very relevant. Interestingly after a bit of ready I’m leaning towards a 4-1 stepped header instead of a 4-2-1. Not as much info on expansion chamber design as I’d hoped though. They damaged the book in transit so I’ve got a replacement on the way if you want it?
1 point
-
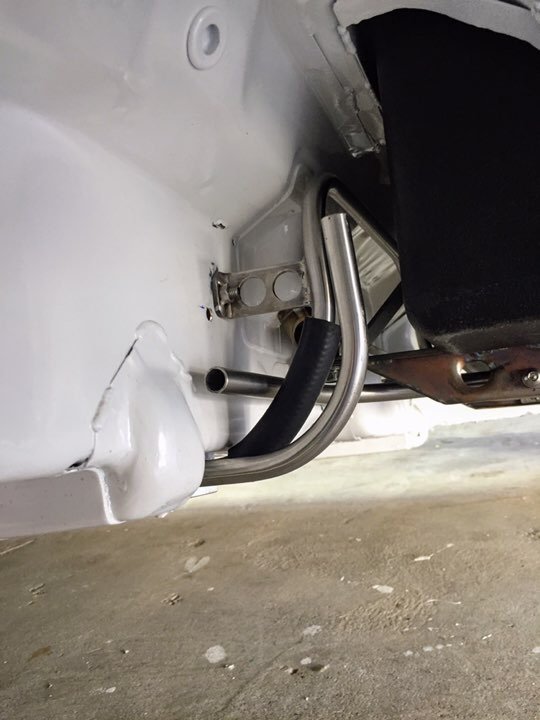
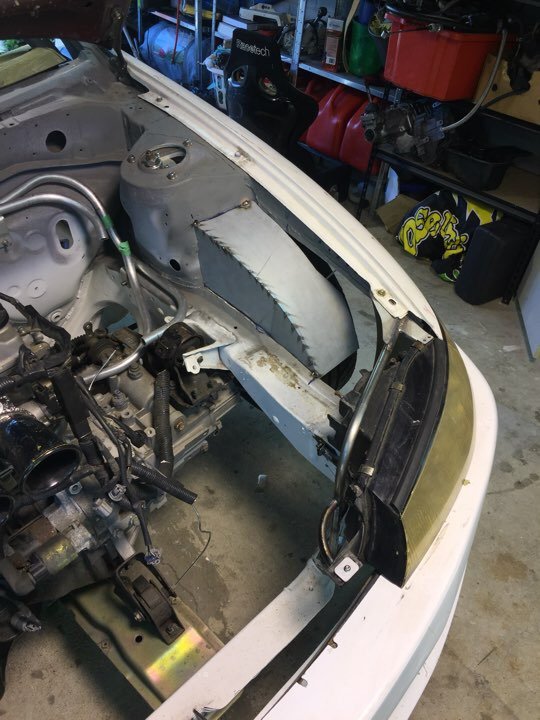
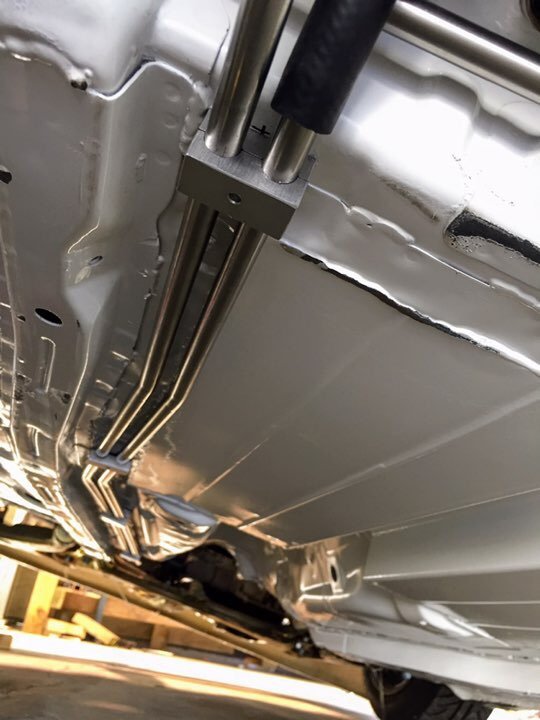
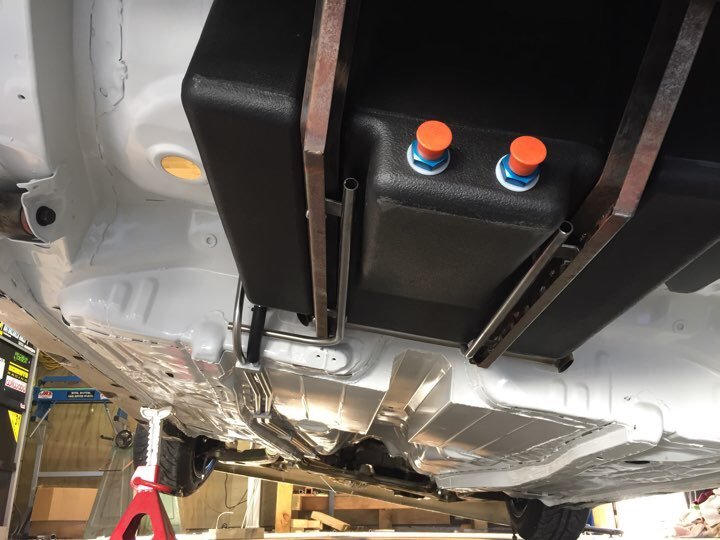
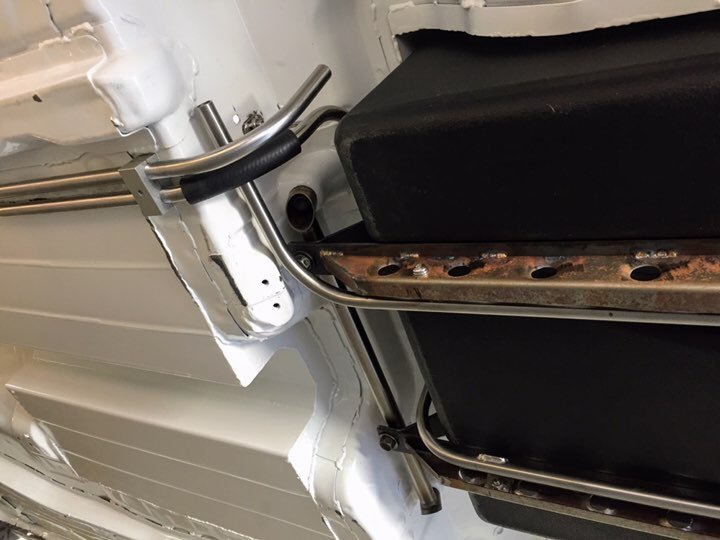
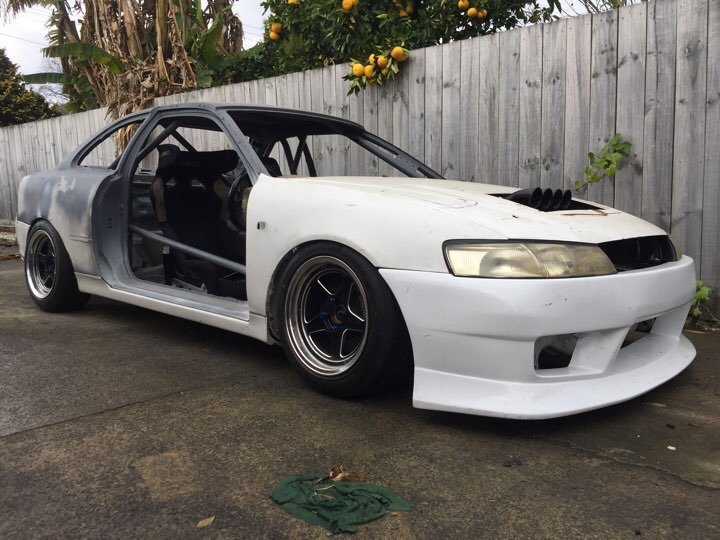
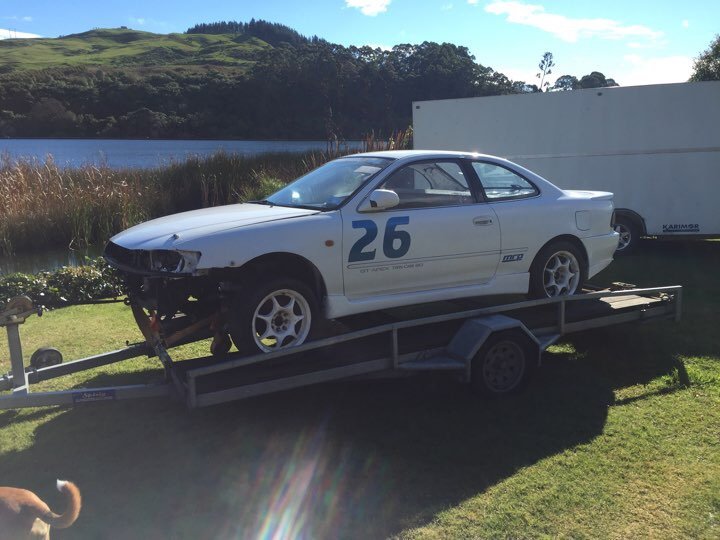
Been chipping away at this even though work has been crazy busy the last few months. Competed the front passenger tub and headlight tubeframe. Have left the inner quarter panel for now due to: a) I didn’t like what I did on the drivers side and need to change it and b) I couldn’t figure out the best solution here so will move on and come back to it when I find more enlightenment. So so much room for activities up front. Airbox is guna be huge!! so I bought my old road car back as a rolling shell that I sold to @Robbo a few years ago. I know it’s a tidy shell and still certed etc. don’t know what I’m guna do with it yet but for now it will sit in a shed at the farm just need an engine so may slap it together for something like 24hrs of lemons or other endurance racing event/get it back on the road and do some doorts or just keep it for when I eventually write off this shell (it will probably happen one day) Had a real lol moment when the strop broke and it rolled off the back of the trailer in the middle of Rotorua! Haha it came with a fibreglass bumper the same as the one I have for the racecar, spare facelift side skirts and most importantly a bumper support so I can mount the racecar one without more fab work woohoo! result is the front end is together for good now. Going to be challenging to drive anywhere on the road at this height (not a bad problem to have) while waiting on more materials for the exhaust I started ironing out my fuel supply pipework. Have used 1/2” stainless tube as an alternative to braided lines as I hate smelly fuel lines inside the car and the ID of 1/2” is the equivalent of -12an or something stupid so will be plenty big enough. Made some fuel line clamps lamps from some Ali I had lying around. Very happy with the result. any recommendations on fuel pump/filter to use? Want something reliable with a no-bleed back feature so I can run two pumps in parallel. Dont need much flow approx 200lph will be ok I think (need to check calcs) I’ve seen too many fuel pump failures at the track or beginning of stages that stop people completing events. Not going to take that risk.
1 point
-
Been quite busy working on this at the moment. Dropped it off to Pitstop Kapiti to get the exhaust sorted as it had a pretty nice split in th exhaust plus I had the rear section replaced and also extended Then it went to Kapiti Signs to get rebranded with my company details on it which is subtle and has come up really well! All the original decking timber had been removed ages ago and with the new Vitex we cleaned it all up, trimmed the two outside pieces down by 10mm per side and we were away! We oiled the wood first and man it came up well! 144 holes drilled, counter sunk, and fittings later... very tired hands. Also did some work on my BBQ trailer while I was at it. I had a sheet of Acacia left over from out showroom shelves from my day to day job so I cut that up, oiled it and added it to the trailer. Wouldn’t expect it to last long but time will tell. Looks nice and tidy and will look good behind the Ute as I tow it to functions. It’s a converted JetSki trailer. Ute is attempting to get a WOF today. I’m hopeful though as I’ve done heaps of work on this recently and it’s current WOF only expired last weekend. Matt1 point
-
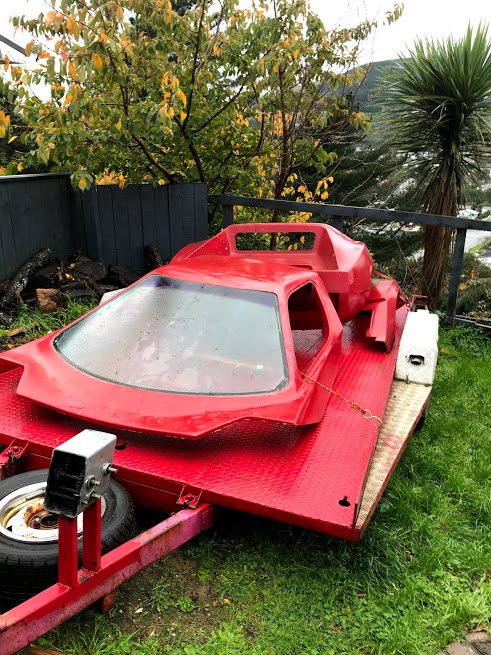
Got some very useful bits. The roof is a life saver, the glass is cracked but I knew that already. Also got a front lower section, rear lower section, the top front and rear which is supposed to be one piece but that bit has been cut in half and missing big parts. It was going to be lengthened and put on a ladder chassis but that project didn't go ahead. I mainly need the roof and the bonnet. But the other parts can be used as a mold to fix my front section. Also got a new bonnet and rear engine cover. Looks like the vw engine type cover.
1 point
-
ive talked to J5 about these, they have also added a waikaremoana loop which uses some of the roads we will be on. it confirms there is Fuel at ruatahuna hald way on the first day as well as at waikaremoana too
1 point
-
https://www.remotemoto.com/exploration-routes/wairoa-motu-opotiki-explorer/1 point
-
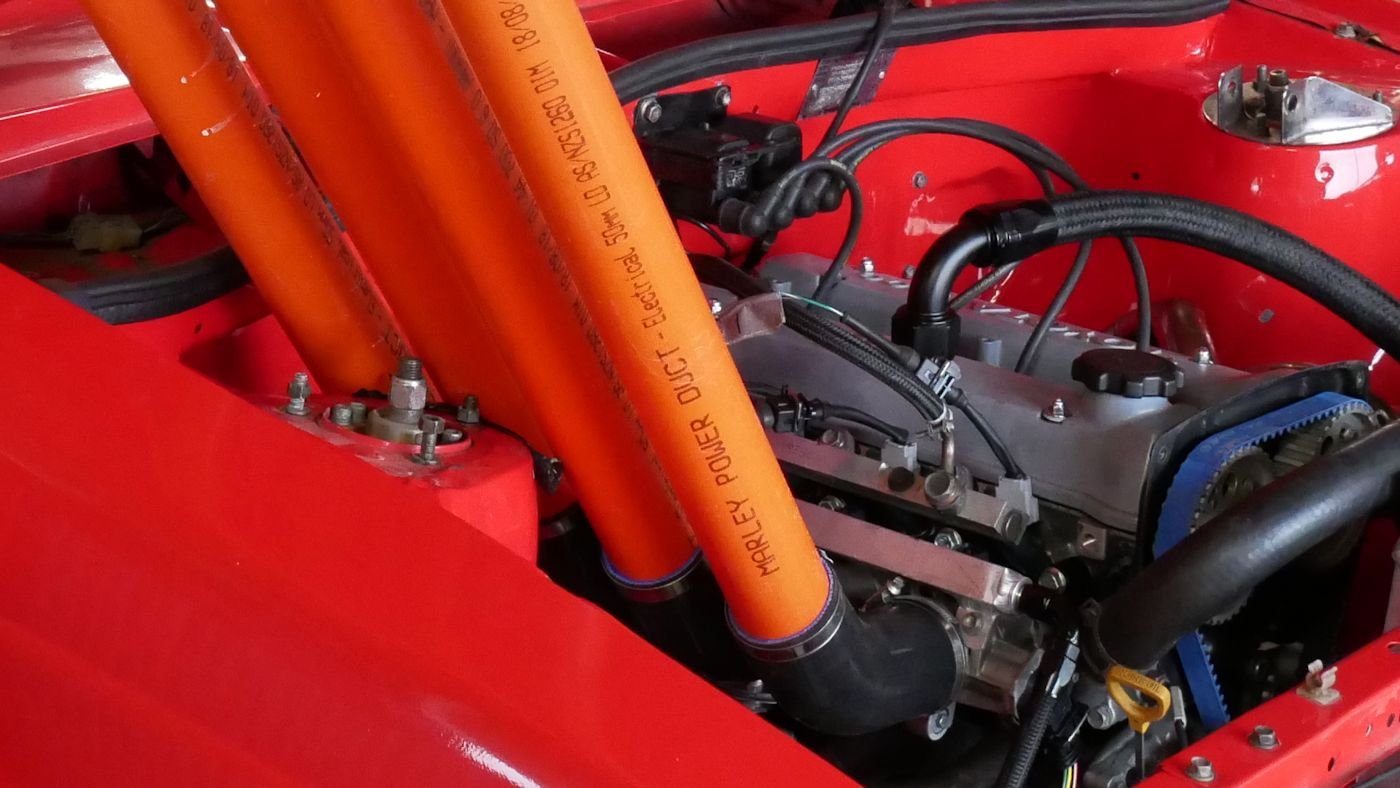
POWER DUCT. all the hype. none of the powa
1 point
-
Finally, engines have arrived!
1 point
-
Source : https://www.facebook.com/Tui/photos/pcb.438873429992186/101563176864938371 point
-
Today's events went really well. Had @Geophy and @flyingbrick over today help out. Pretty excited about the following weeks. Ah yes we have an Instagram page for Greg's ice-creams now as well. this is for the people who cant view Instagram or also don't have it.1 point
-
Bought a house : moved one of the important things in on the weekend both the House & car built in 1976! Some sort of fate / meant to be eh?1 point
-
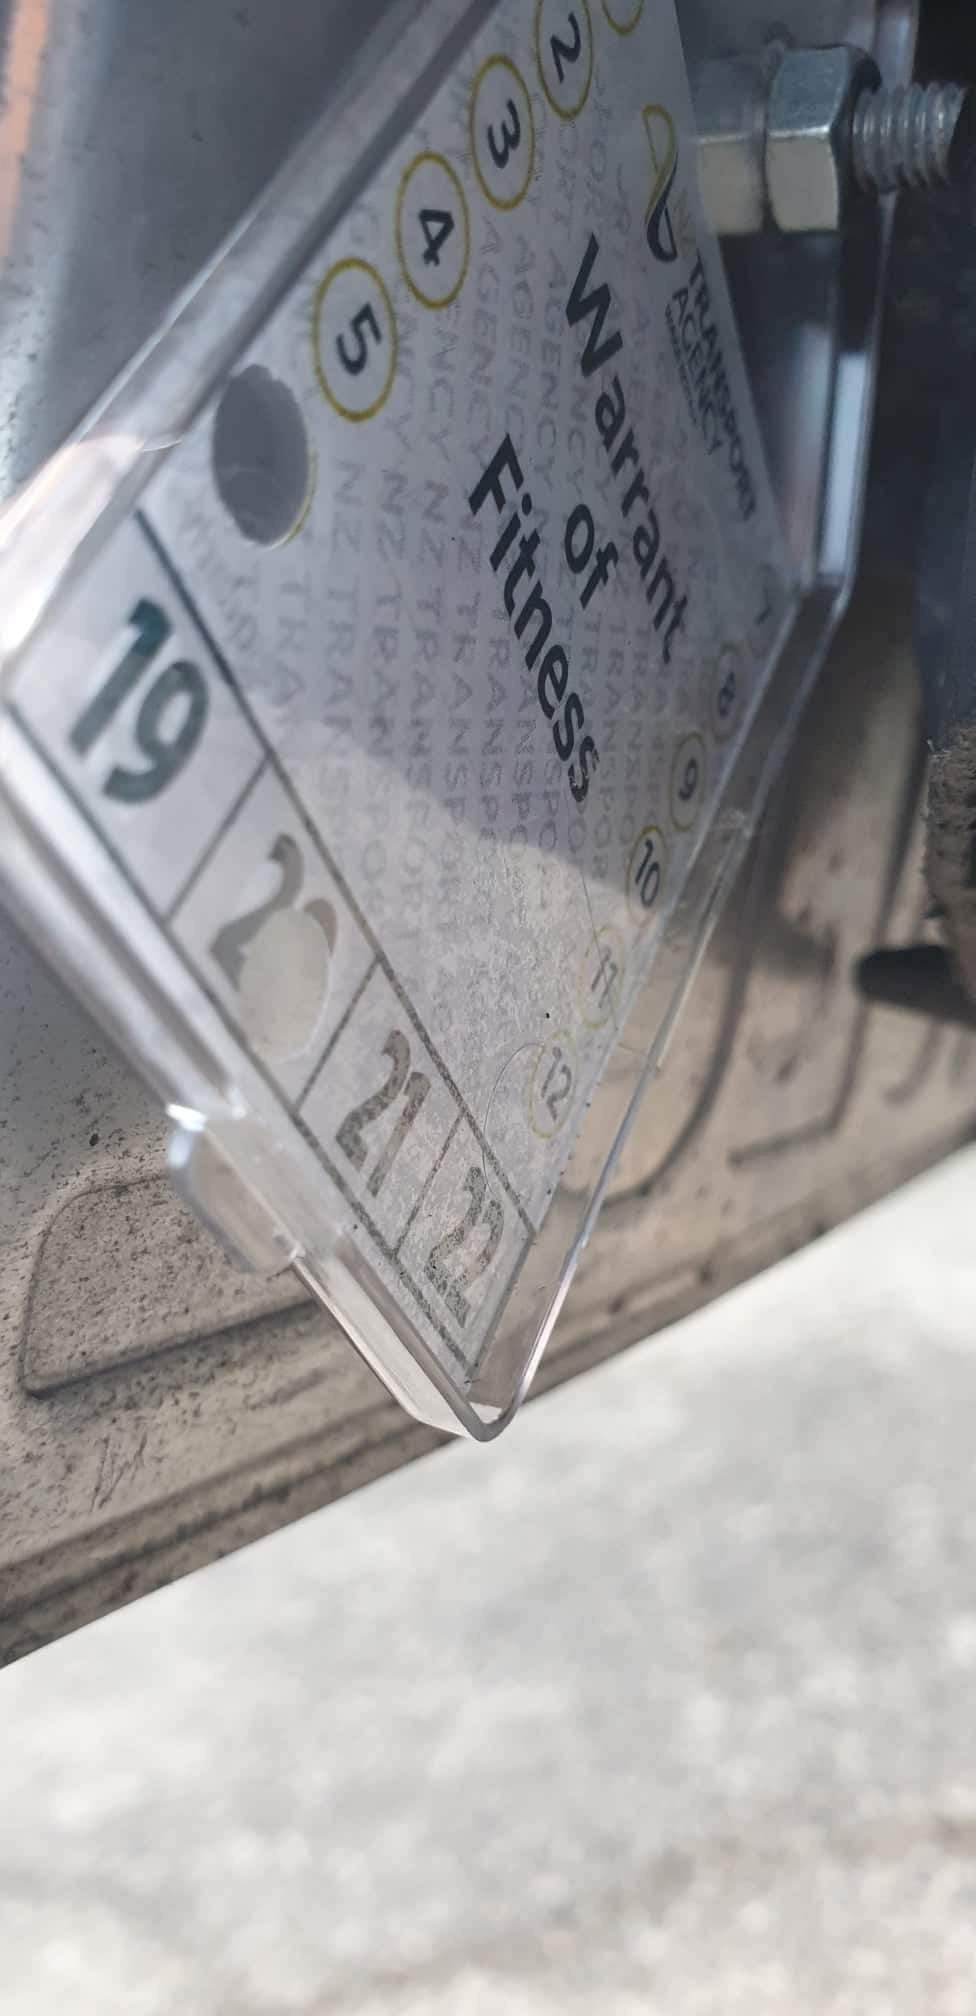
well then, 3 years has flashed by. in that time the 51 has been in storage a bit and ive driven it a bit. done a few things to it but nothing major. it continues to run well despite it having a 4M for an engine. things done to it are, re-valved the shocks to give a better ride (was a bit "bouncy" before) rebuilt the driveshaft uni's because they were fucked replaced the front tire that had a lump in it and caused a vibration on the motorway. new set of plugs coolant flush the standard oil and filter changes new battery and thats it. drove it to leadfoot over the weekend and it went perfectly. here are some pix of the adventure. last minute warrant, 2019-02-05_07-29-27 by sheepers, on Flickr played chicken with a truck, 2019-02-05_07-29-36 by sheepers, on Flickr 2019-02-05_07-30-00 by sheepers, on Flickr 2019-02-05_07-30-16 by sheepers, on Flickr 2019-02-05_07-30-28 by sheepers, on Flickr 2019-02-05_07-30-58 by sheepers, on Flickr1 point
-
Still nothing notable for the thread today was the Dannevirke Wheels With Attitude :1 point
-
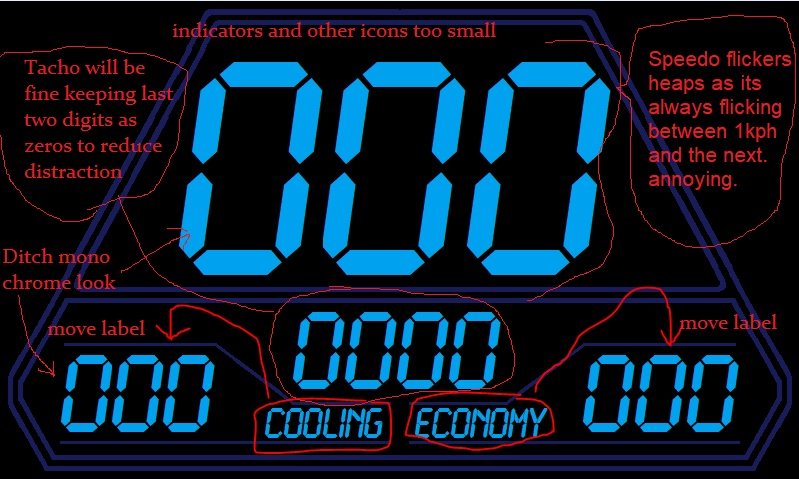
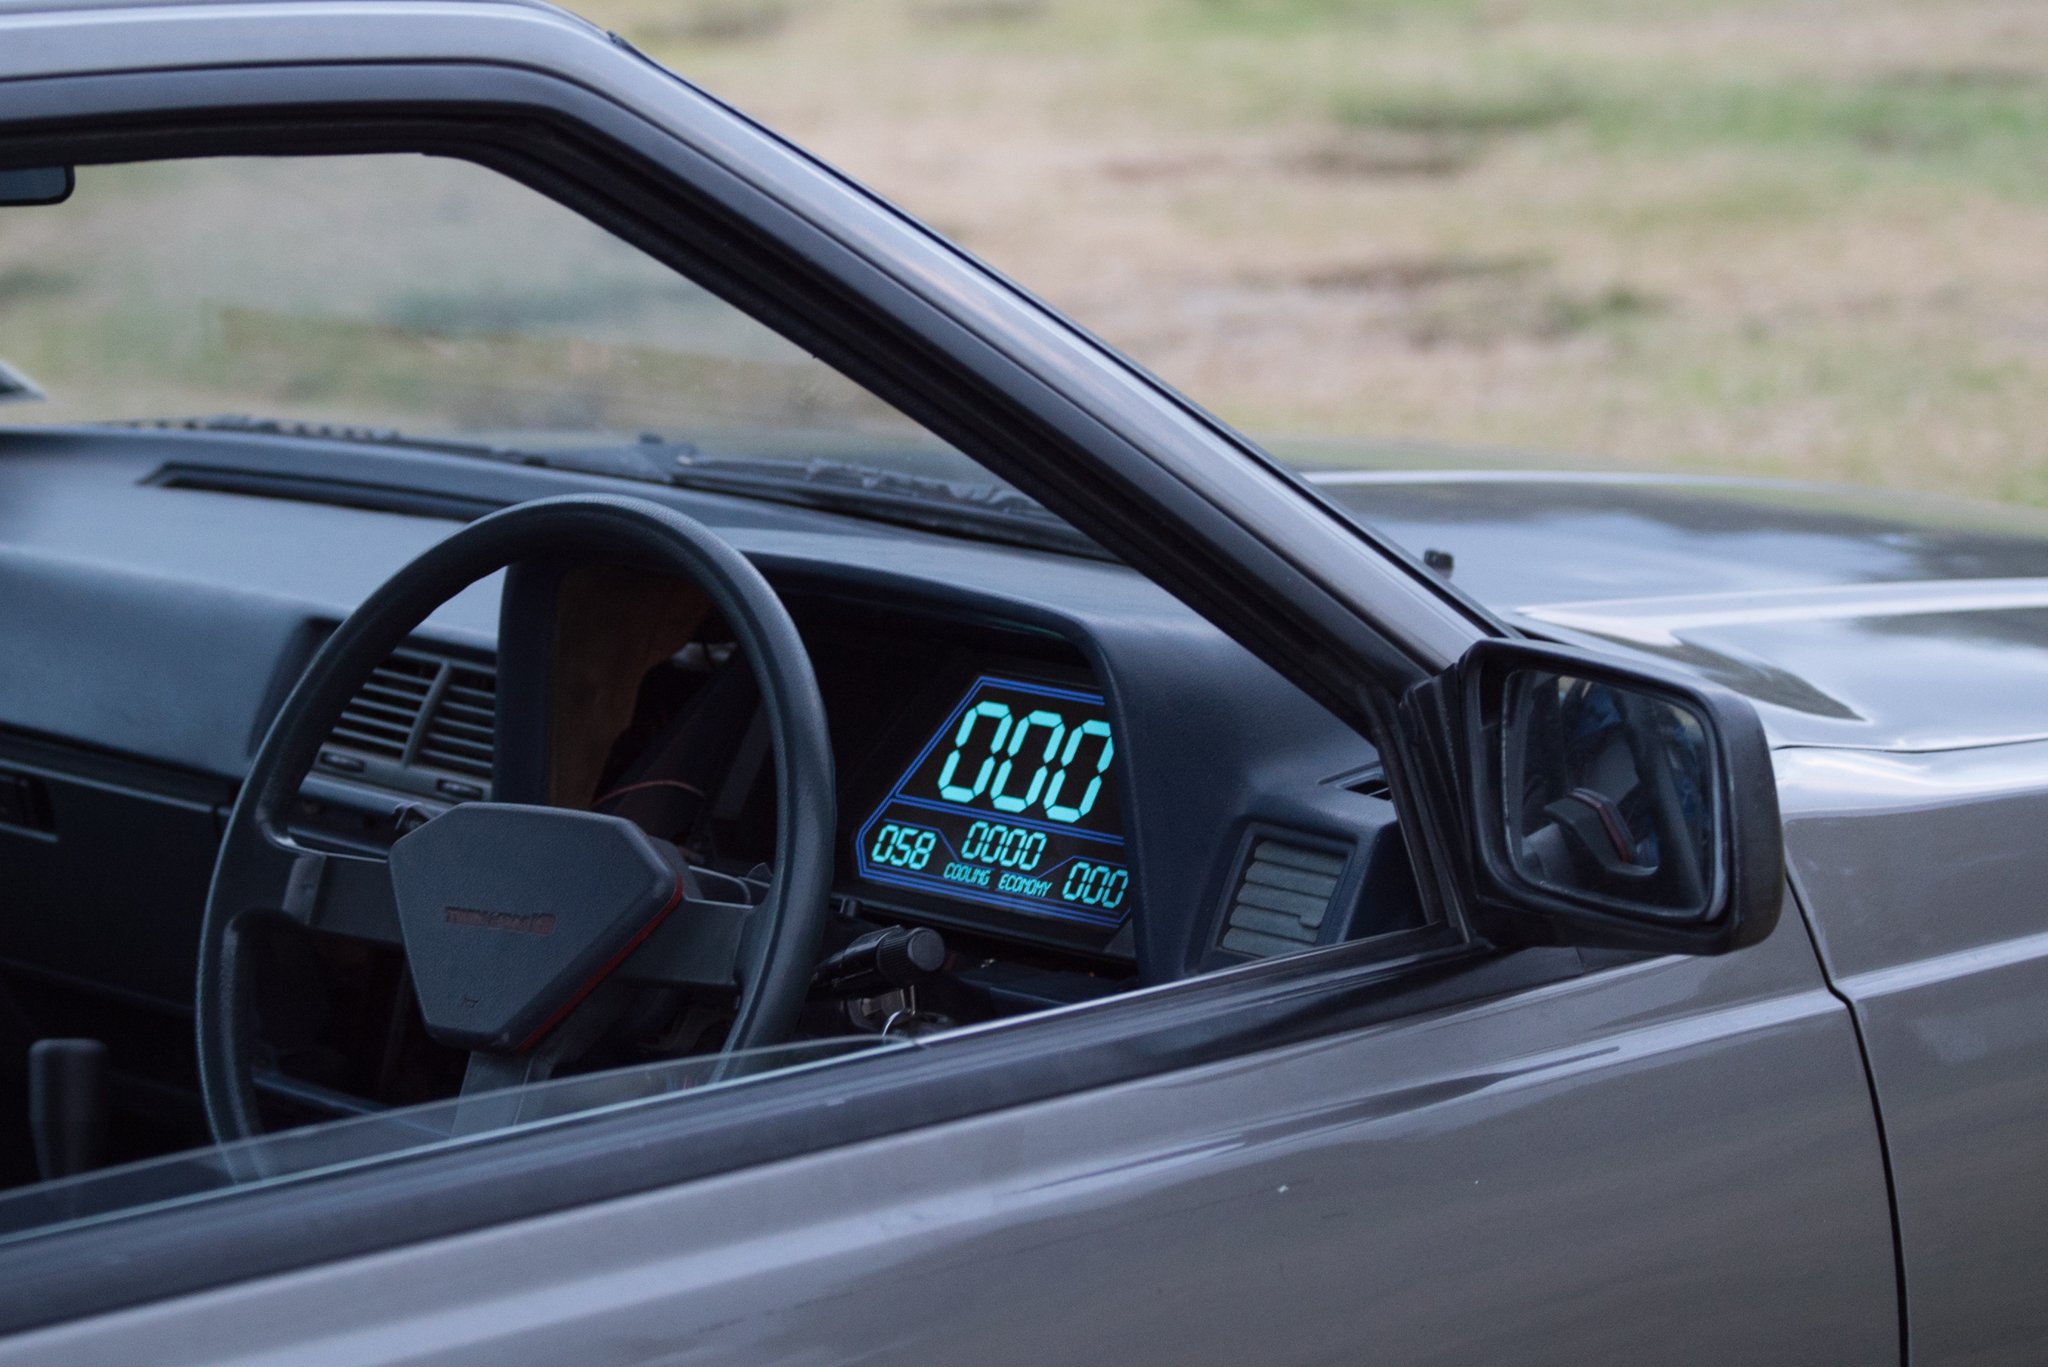
Got a driveshaft sorted until I can get something made up, so went on a roady to test out the dash. Drive up to Uretiti was good! As expected I really need to put some KMs on it and get a feel for what's good or whats annoying or so on. Very quickly a few things became apparent that they are fecken annoying! Also this thread has been severely lacking MSpaint so here we are: So on the plus side, the ~250? Nit screen seemed decent enough even with backlit conditions. I've got a 1000 Nit screen here to try too if I need to burn my eyeballs out! Most of the annoyance came from values flickering. Because you might be hovering on say 89.9kph and then 90.1kph... So it will flicker between 89 and 90. Options here are either that I take a rolling average of the last XYZ amount of speed results and smooth it. Or maybe only change the speedo value if the number goes up or down by 2kph or more. With the tacho, this was annoying for similar reasons in that it can read from the ECU down to a single RPM, so its a constantly moving number which is distracting. I'm thinking that I'll filter it so it only updates the screen in 100rpm increments, so will go 2400rpm, 2500rpm, etc. Because again, does it really matter, do you really need to know that the engine is doing 2451rpm? Not really. Maybe I could make it read in 50rpm increments below 2000rpm or something like that. Also when it was bright you cant actually see any of the outline lines, only the numbers and labels. So will make more sense to move labels closer to the values. I also realised that although a monochrome sort of look is nice. I setup some cruise control displays so that one button goes Red when you've activated CC, and then goes green when CC is turned on. With the colour differentiation you could instantly tell what status the cruise control was in. So I think more colours will make things easier to read. In fairness though this is essentially a low contrast colour scheme that is probably better for night time. Using a white or yellow or whatever text and it's blazingly brigher even with the same backlight settings. I'm also starting to question the merits of having the triangulated sort of face over the screen, when you're driving and it's bright you cant see any of it. Just the values on screen. So may as well just use the extra screen real estate. Good to be making some progress anyway! I'm looking forward to designing some of the more contextually aware screen functions now that the basics are sorted. First on the menu is a secondary screen for when Cruise Control is turned on. Then I'll look at some trackday related stuff and a few diagnostic pages to make life easier. It's cool having all of the standard dash info coming into this, because I can set it so (for example) if you flash the high beams, or push the brake, or whatever, in certain conditions (like while the car is stationary without engine running) you can use those car controls to navigate through menus or switch screens or whatever. Pretty chuffed to have reached that milestone of driving it with a fairly "finished" prototype though.
1 point
-
Wonder if the vw could pull such a thing? Fuckin Sweet! I can't wait see how yours turns out bro, could maybe use the outer edge of a bug rear fender like above?1 point
-
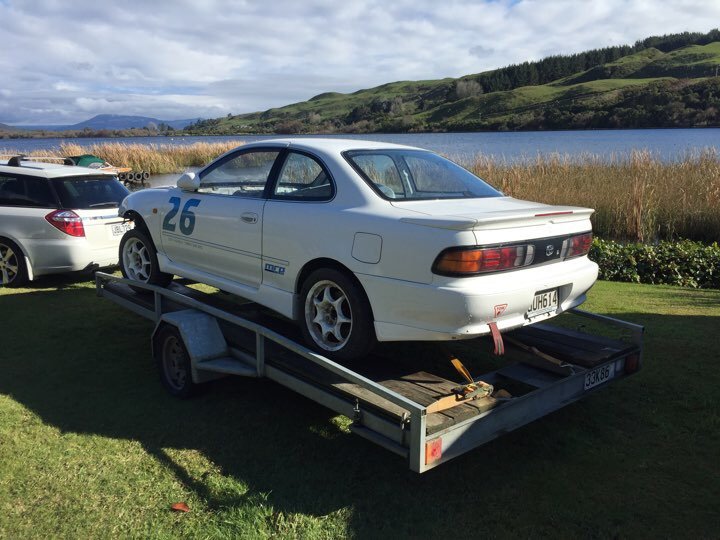
Discuss here : Not much really happening here Just Daily driving 'Red' and today was Rally car Day @ Tui Brewery So got this off the Lawn : She started right up & had to hunt for a set of nuts to bolt the steelies back on, the tires took some encouragement to hold air & semi-fixed the strobe lights (one wasn't responding) 1st to register (of the 3 cars that turned up) and won "Most Original" Rally car of the day, couple of Doz of the Amber Fluid & a certificate #winning? yeah was lowering the tone a tad & here's the other beauties that turned up1 point
-
IMG_0613 by SnoozinRichy, on Flickr IMG_0621 by SnoozinRichy, on Flickr Today we went for a hoon. There were no BHG's. Good times had.1 point


This leaderboard is set to Auckland/GMT+12:00