All Activity
- Past hour
-

Tomble's adorable go cart / distraction / Alto Works
shrike replied to tomble's topic in Other Projects
Hey I really hope I've mis read but did you lap the valves to the seats before you reassembled or did they do that at the shop and had the valves labelled to fit the head? If it came back a bare head I'd be worried about valves sealing to the seats And did you leak test the valves before you put the head on the block? If the machine shop/engine reconditioner lapped the valve seats to remove pitting then just putting the valves back into the head may not seal as well as it should Happy to he corrected and I hope that makes sense Great to see progress and I hope it all goes vaxk together well - Today
-
First job ticked off. Welded up a box for the gearbox cover. The only thing it does is provide access to the selector uni grub screw. Even that's pointless if when taking the engine and box out I slide it backwards. If the engineer asks me to weld it in it wont be a big deal. Just a faff around with making sure it doesnt catch fire. I have to put the rear seat back in sans some springs in the middle. No biggy.

-

Tomble's adorable go cart / distraction / Alto Works
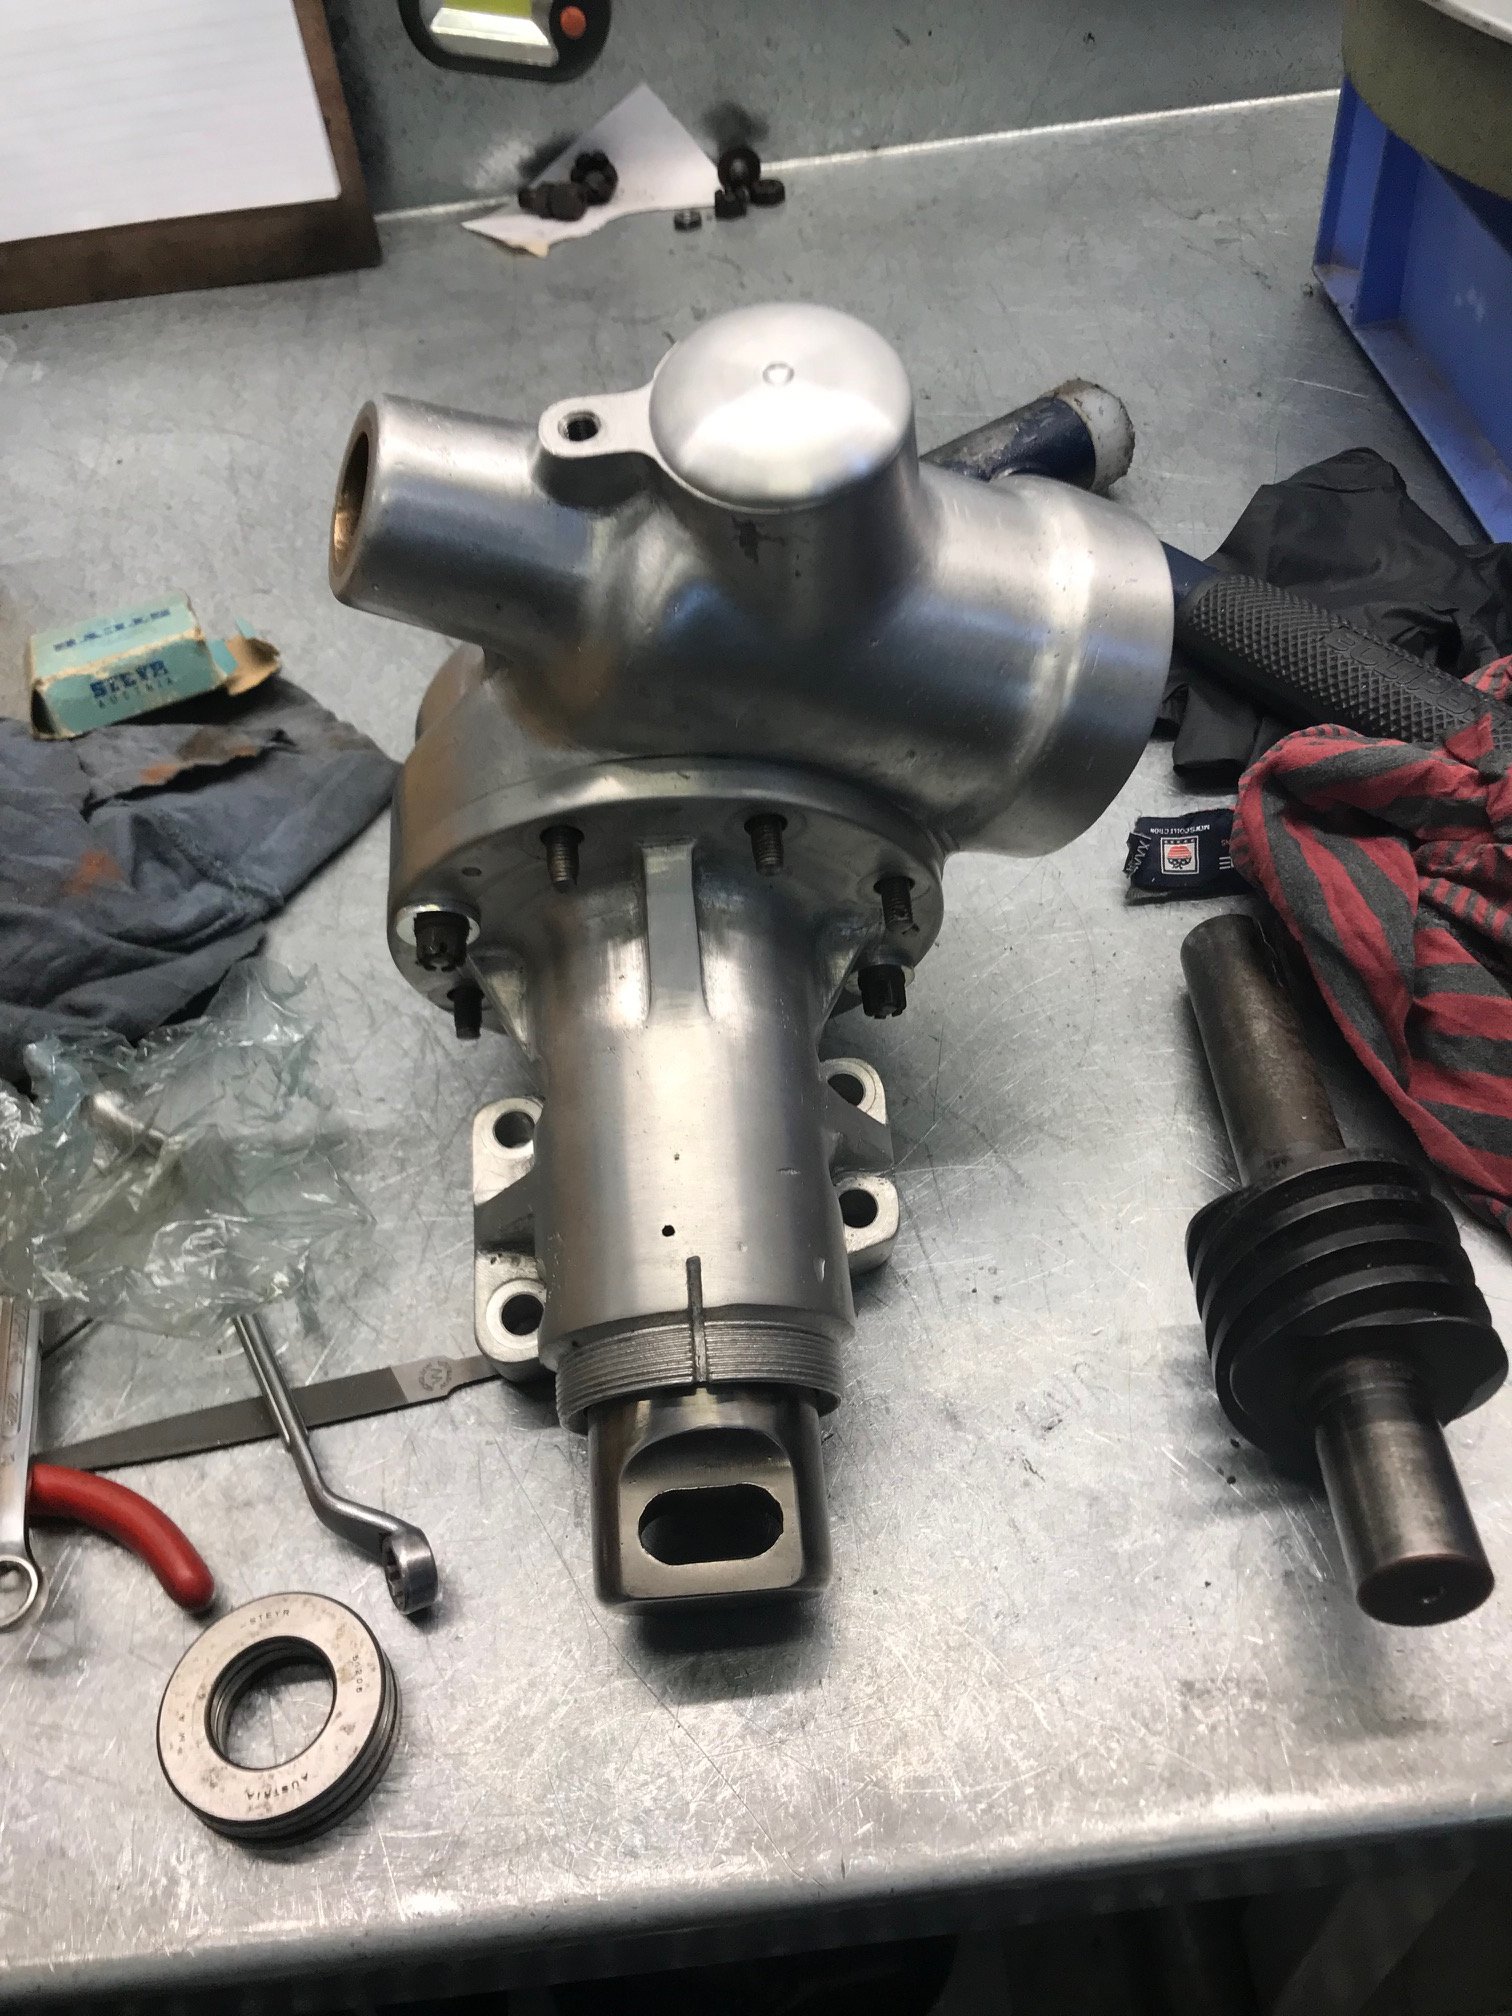
tomble replied to tomble's topic in Other Projects
I picked up the engine wednesday and got bizzy after work. Mmm shiny Outside not so much - I think I prefer this, because it'd fuck with me if I only had some parts that were super shiny on the outside. They skimmed the head, checked for cracks and heat issues, and only found minor pitting on some valve seats which they lapped out. Forgetting that I hadn't done this ahead of time, I went through a soapy water -> water rinse -> brake cleaner -> fresh oil routine to make sure the engine gets as little extra iron in its diet as possible. The valve stem seals go in with a socket and extension + oil... I uh accidentally put a used one in at once (visible at bottom of image above), because for some reason past tom put an old one next to a fresh one... Special tool 09916–14510 Special tool 09916–14522. If I had to change this I'd make it a little longer. The first one went in reasonably easy. I used some shitty aliexpress tweezers (might as well be made of slices of takeaway container plastic) and grease to hold the bingles in place. It made me think that this would be easy... Turns out almost all of them gave me a fight. The bingles HATE going into position and the intake side is even more of a bitch as they need to seat deeper. They'd wiggle free, pop each other out, stick to the tweezers or whatever else I put in there, and just generally be a bit of a bitch. The tool I printed left too short a window on a couple of them to keep a piece of material in there to hold the bingles down. I tried a bunch of tricks, including putting foam in the special tool and in a socket, but ultimately the best technique was to just struggle and eventually get there. The next day we aimed to get the head and the block together. We got the shop to do the rotating assembly and I think it was well worth it. Before we could put the head on there were a couple jobs we wanted to do first. First, the oil seal housing. Some internet sleuthing tells me that Threebond 1217G is equivalent to Permatex Ultra Grey. Special tool 09911–95010 helps get the seal onto the crank. Girlface finishes off cleaning the breather plate and we get that back on too. While we waited for the sealant to cure, we got the engine set up on the hoozitchacallit. Then after an hour we came back and torqued to spec. Wiping down all surfaces with brake cleaner, we busted out the dowels and head gasket... and then the engine got marginally larger! The head bolts are next. We got fresh new ones under the assumption that the old ones underwent enough plastic deformation to be unusable, but I haven't actually checked. 20 Nm, then 40Nm, fine. But then +60 degrees, which introduces unhappy metal sounds and vibrations, which is really disconcerting! And then another +60 degrees which put us completely in anoos puckering territory. Fuck me I'm glad that's over and nothing broke. Today, I set my sights on the camshafts, sprockets, chain and oil cover. I still hadn't disassembled and cleaned the camshaft parts so that was the first job. Gingerly separated the cams from their sprockets in a vice, then cleaned in the parts washer before rinsing thoroughly with brake cleaner and then a further rinse in fresh oil. The exhaust camshaft was a lot simpler to clean The intake camshaft has a bearing at the sprocket end, just the one, I guess because there are some complex oil gallery stuffs going on there. The old bearing felt fine but I grabbed a new one anyway, it's only one size. Then the cams go in! It was ambiguous in the manual whether to use oil on the bolts but I thought yes and the internet backed me up so that's what I did. Kelv later told me his gut said no. So Kelv, if something fucks up here, you were right. It was at this point I tore the garage up trying to find the crankshaft key. It gone . I remember seeing it at some stage so I can't imagine it has gone far but ugghh what a bummer, let me keep assembling god damn it! I kept going anyway and got the chain, guides and tensioner set up per the manual. Before I torqued the tensioner down I tested that everything can be removed with it in place for if I find the key / need to disassemble the head later, so that gets the ol' paint marks on the bolts treatment. The other annoying thing: the machinist said to check the valve clearances due to the lapping. I slightly fucked it up (measured at parallel instead of perpendicular because the above image didn't load first time and I'm a numpty) but I got a 0.2mm in (good) but not a 0.25mm in (bad). I also wanted to get the chain properly set up so I could start rotating the lobes into the correct positions for measuring so that annoyingly threw me off today. I'll find some way to measure those little bastards tomorrow though. I really hope I don't have to wait for new tappets and/or key from Japan... But anyway progress is progress! -
k24 pretty easy to get 250hp at wheels. stock engine with cam upgrade and good bolt on's
-
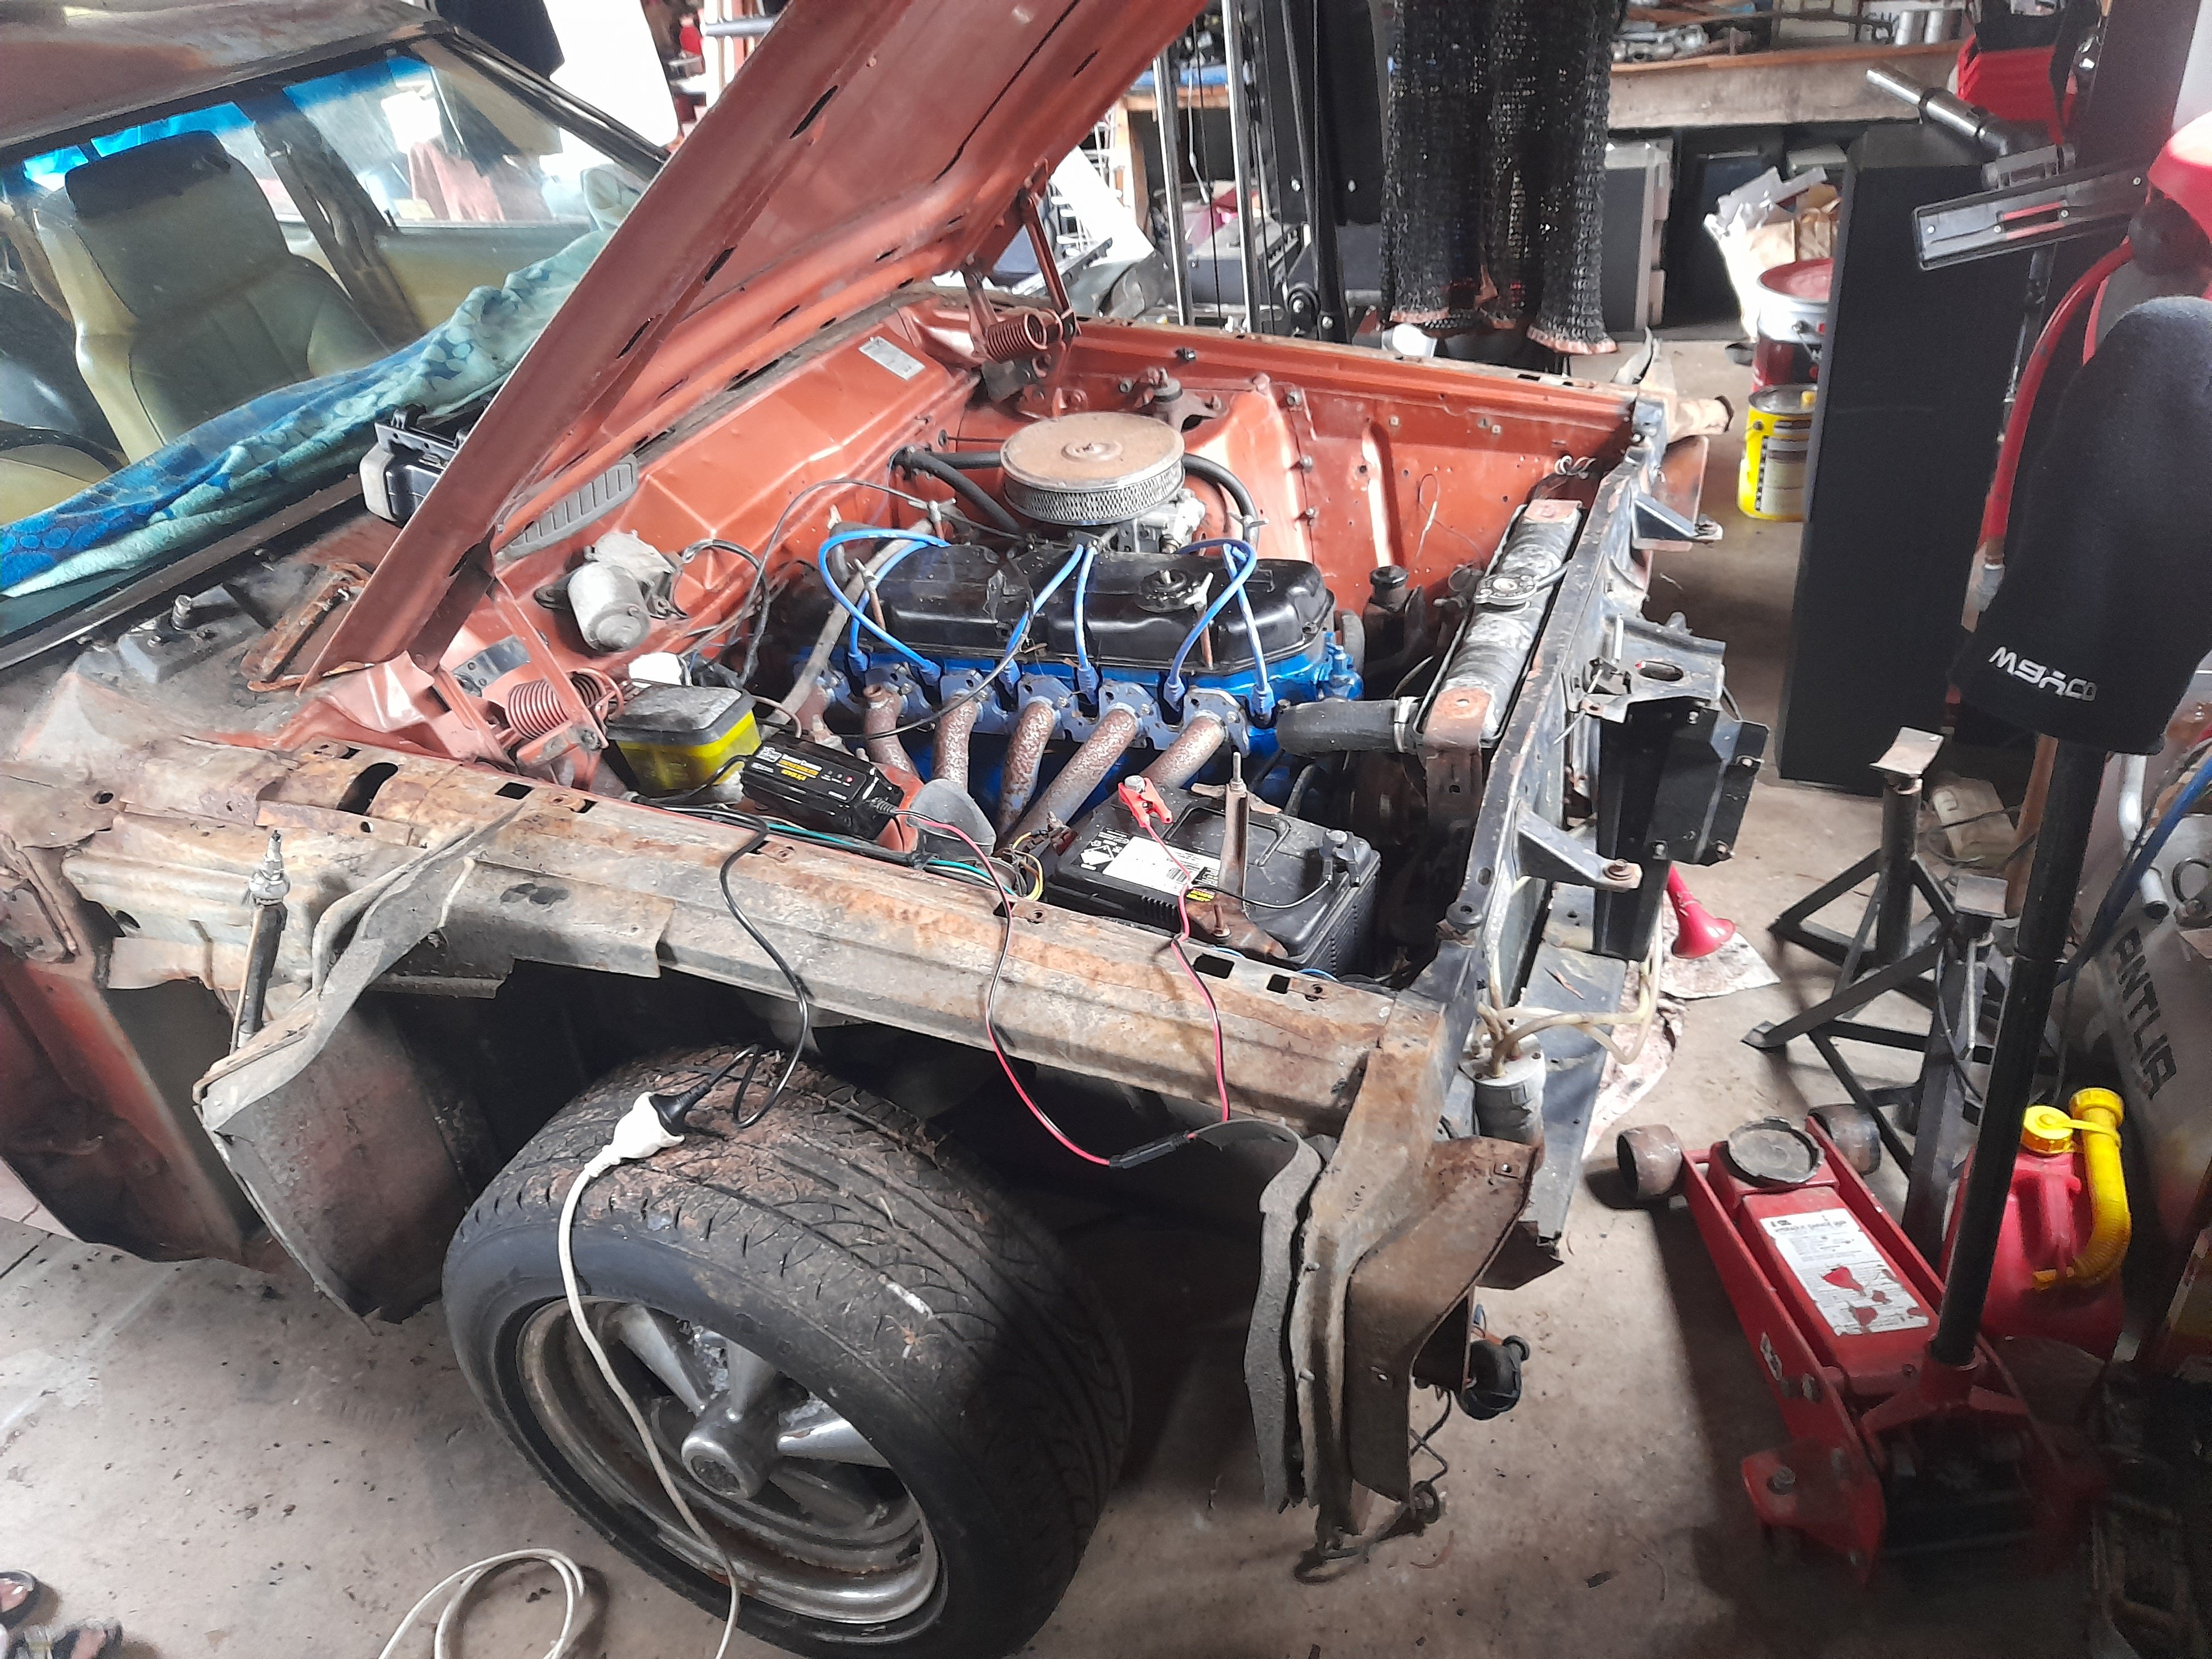
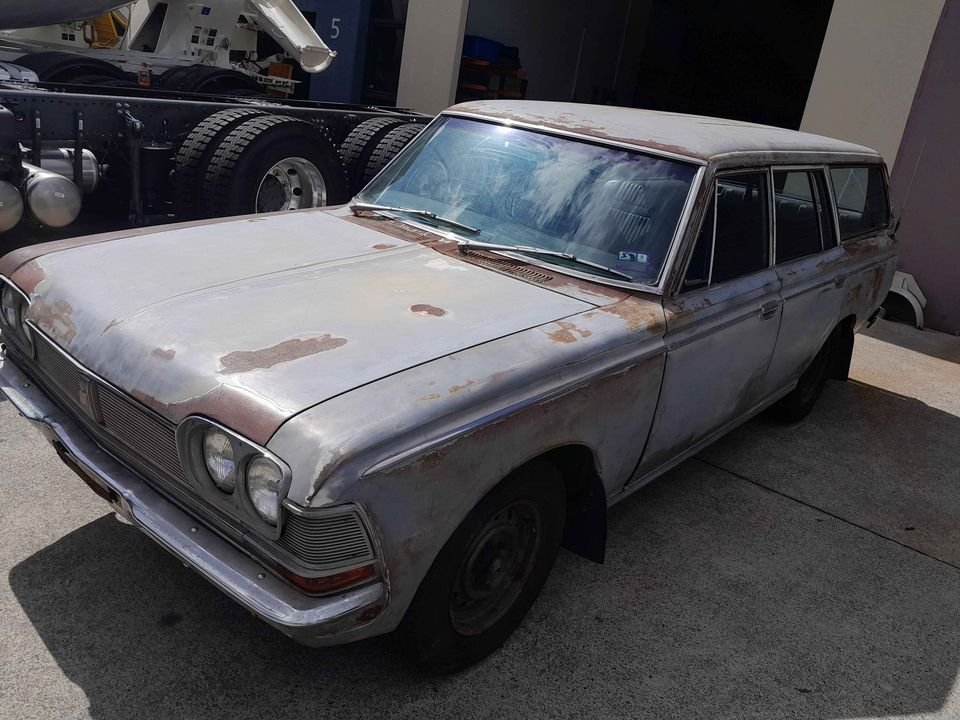
Well its been a while but I am back. Finally got my hands on another old-school car after much going back and forth on several other choices. Car arrives in mid-May. Has a 2M and 5 speed but will be swapping out for modern drivetrain later on.
-
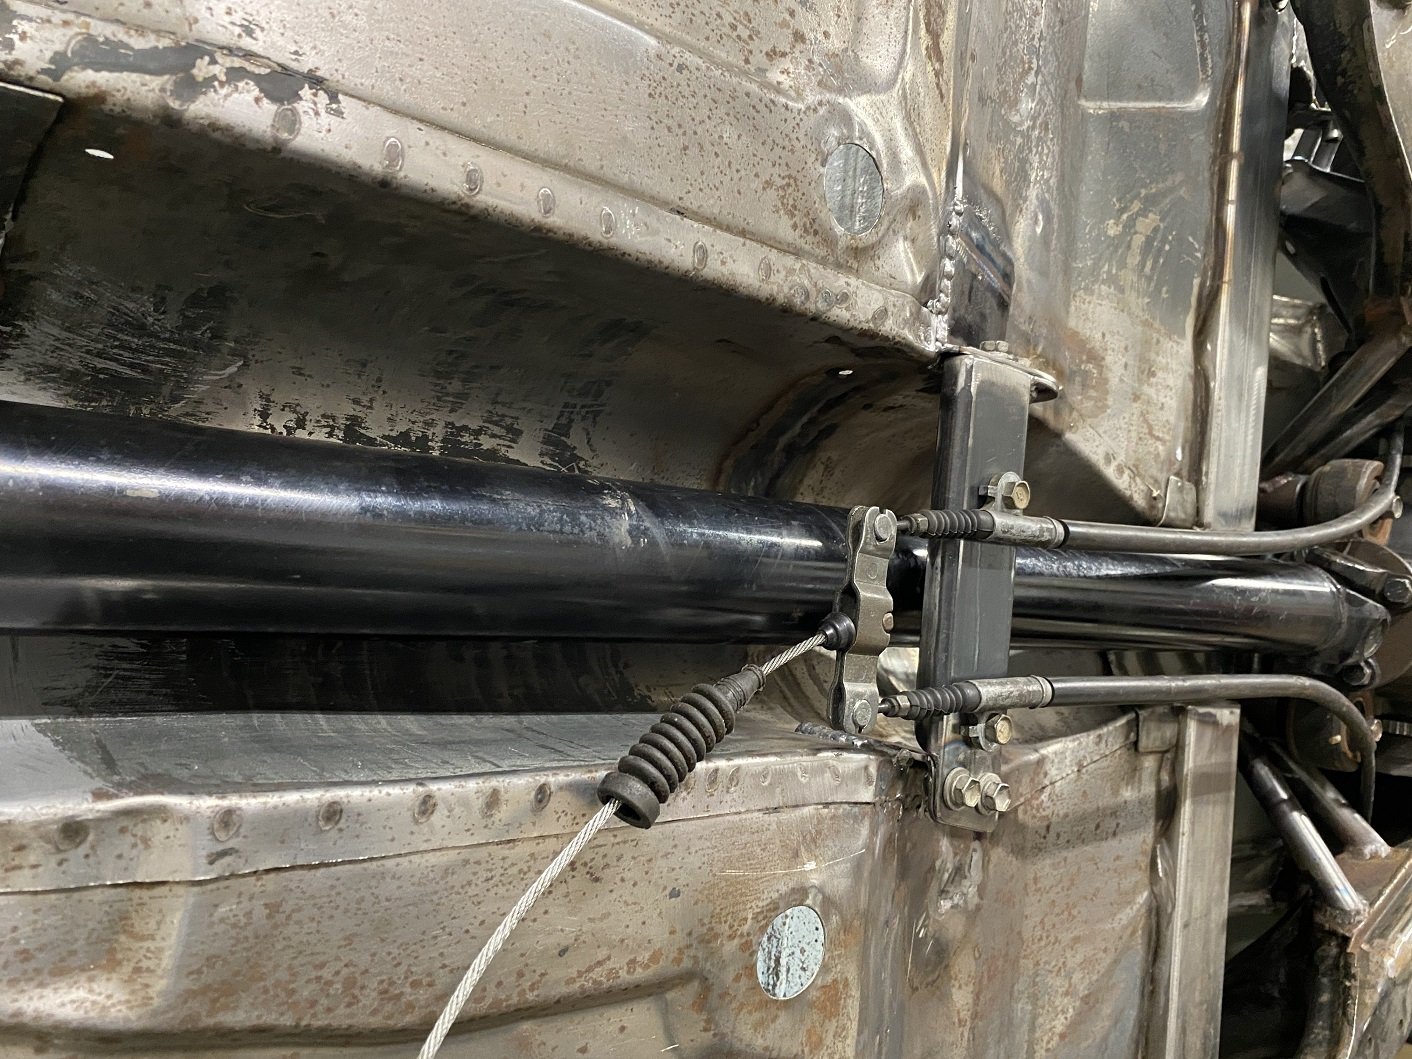
I made the handbrake cable bracket. I can make the cable outer touch the propshaft flange, so I'll make some brackets to hold them away. I'm fairly confident they wouldn't touch by themselves anyway... I must decide how I want to marry the Triumph handbrake lever to the toyota cable so it's still adjustable. The handbrake is offset to the drivers side, so the cable 'just' misses the propshaft.
-
Saw a post on here just recently that hayholes mum does a good polishing service?
- Yesterday
-
Race motor (cnc head, cams, pistons) on npd100 300hp odd (think that was at wheels too) designed for endurance racing, few $$$ involved but not crazy money.
-
Shit yeah great work, what a massive job this is. Can't wait to hear boosted barra harassing other lake goers!
-
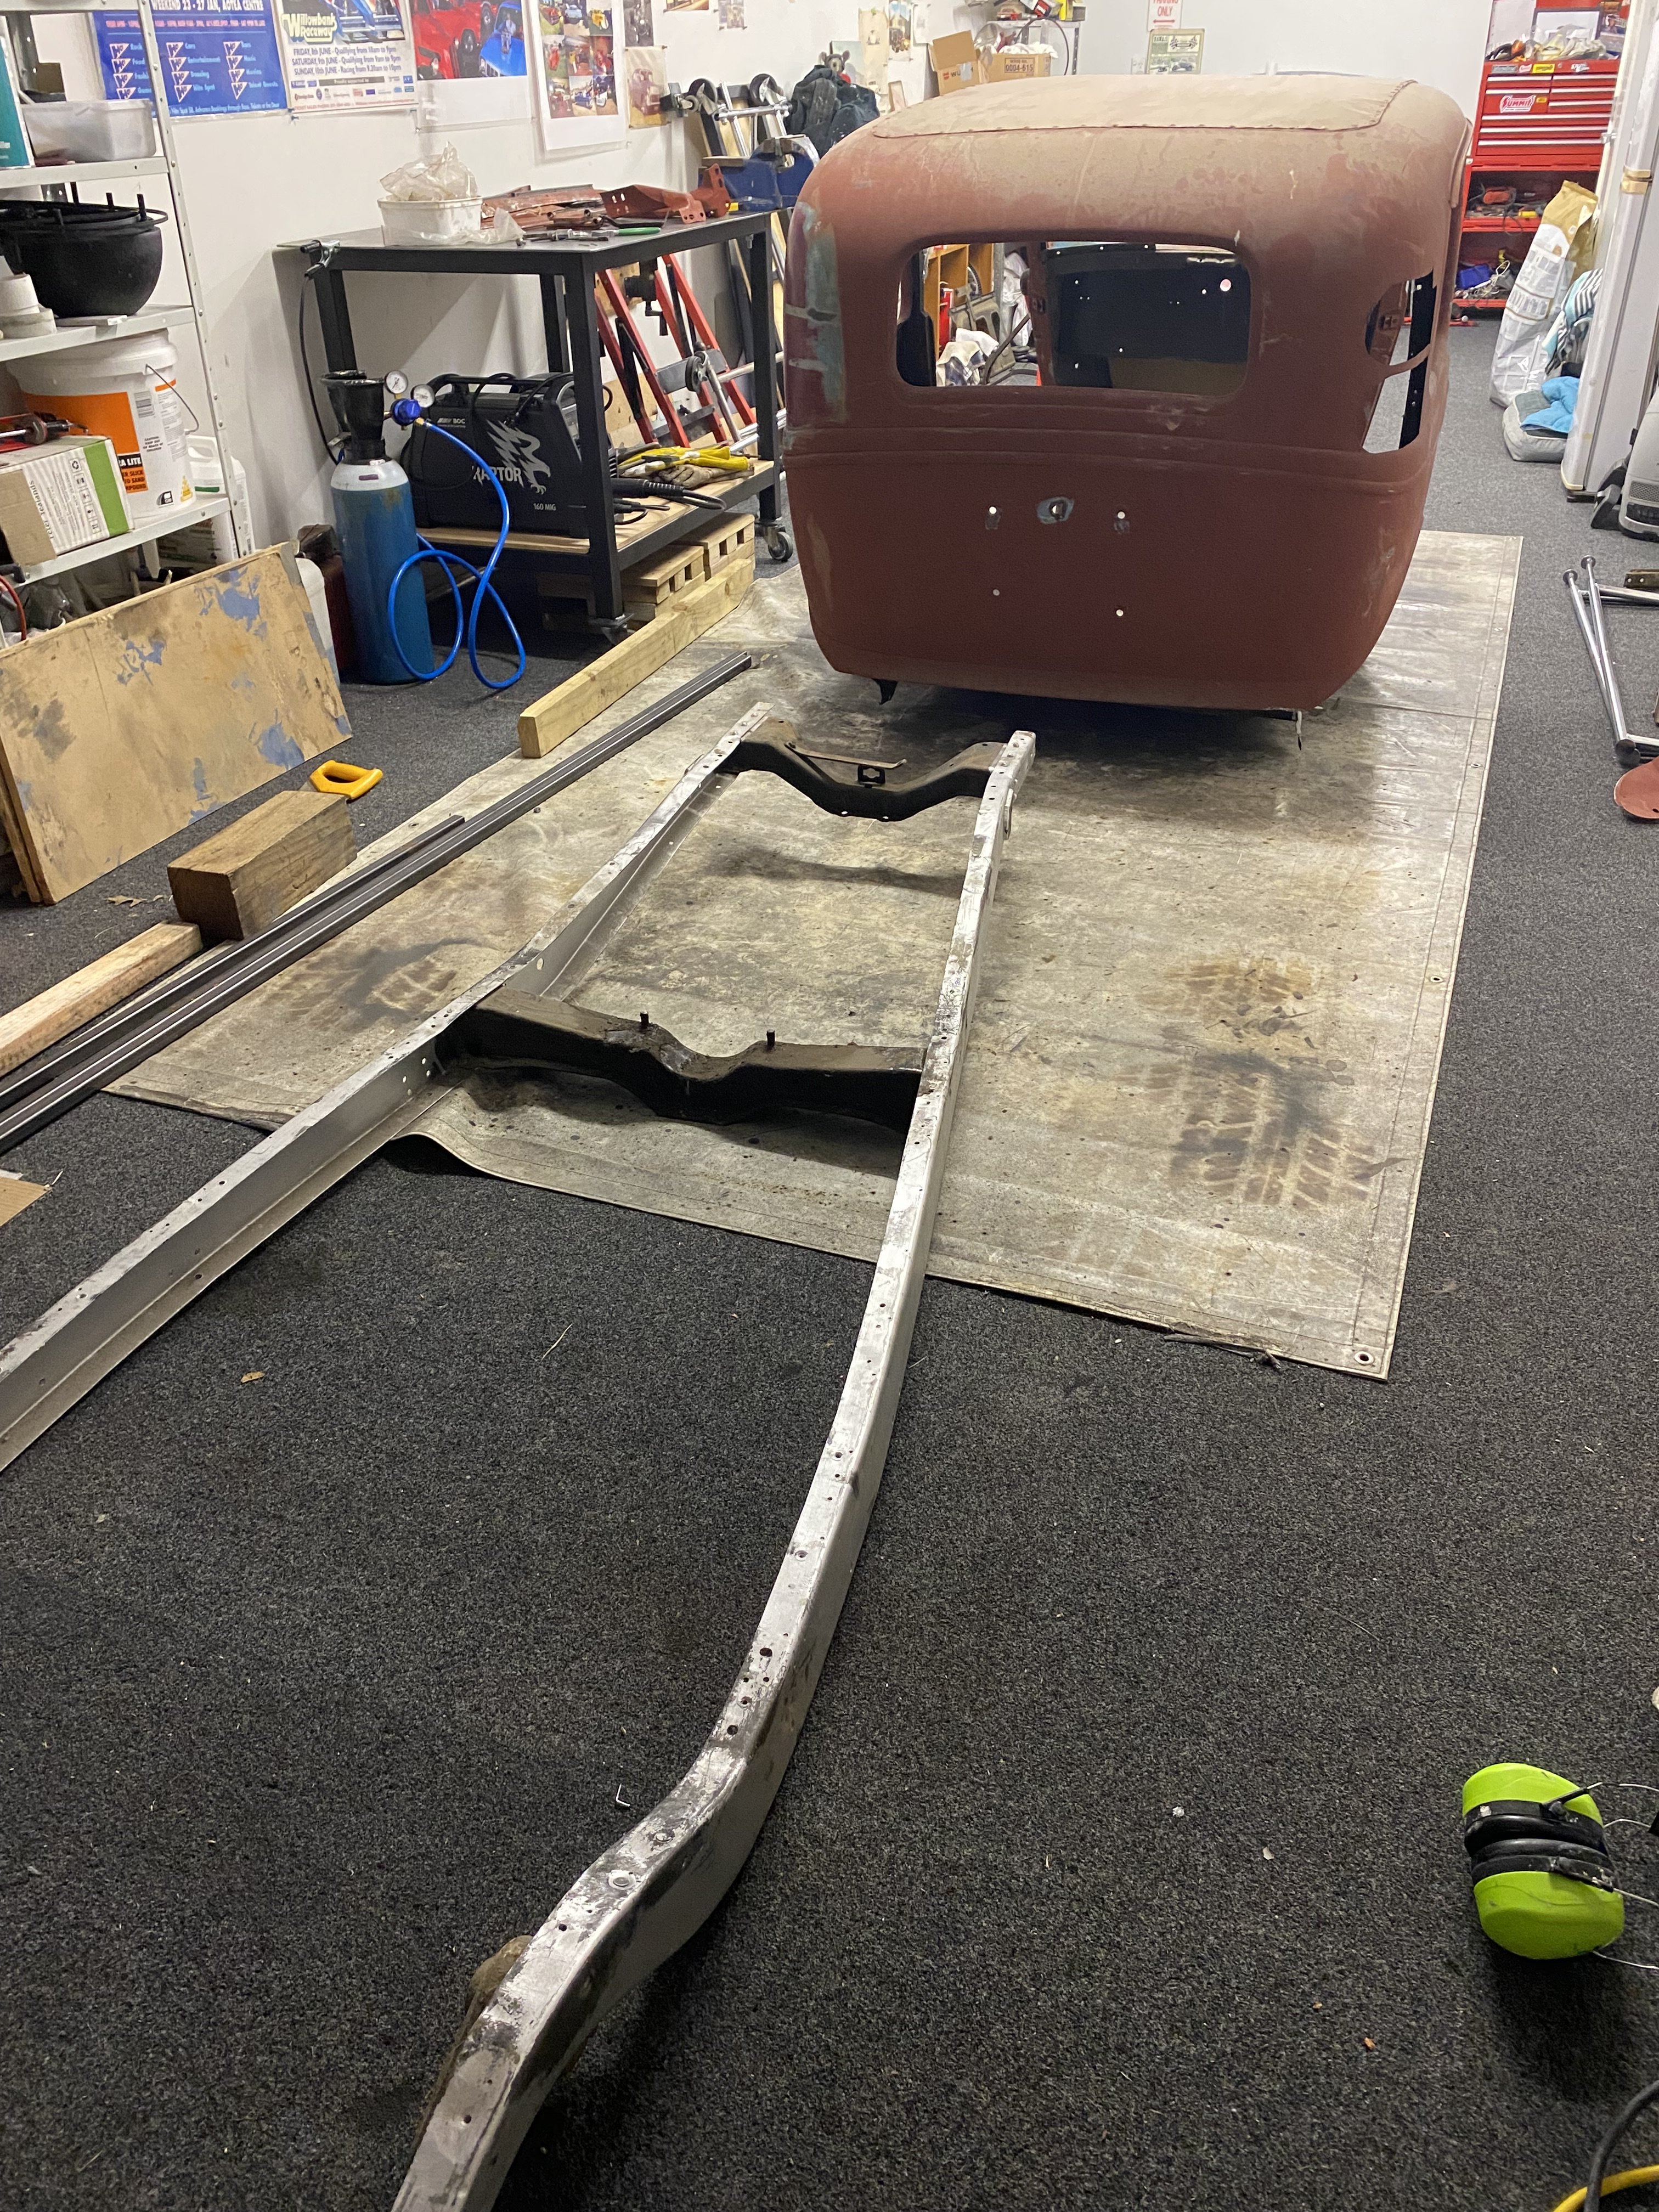
Right then. Booked in for cert inspection in two weeks or so. This is the remaining list which I hope to cross off one item a day.
-
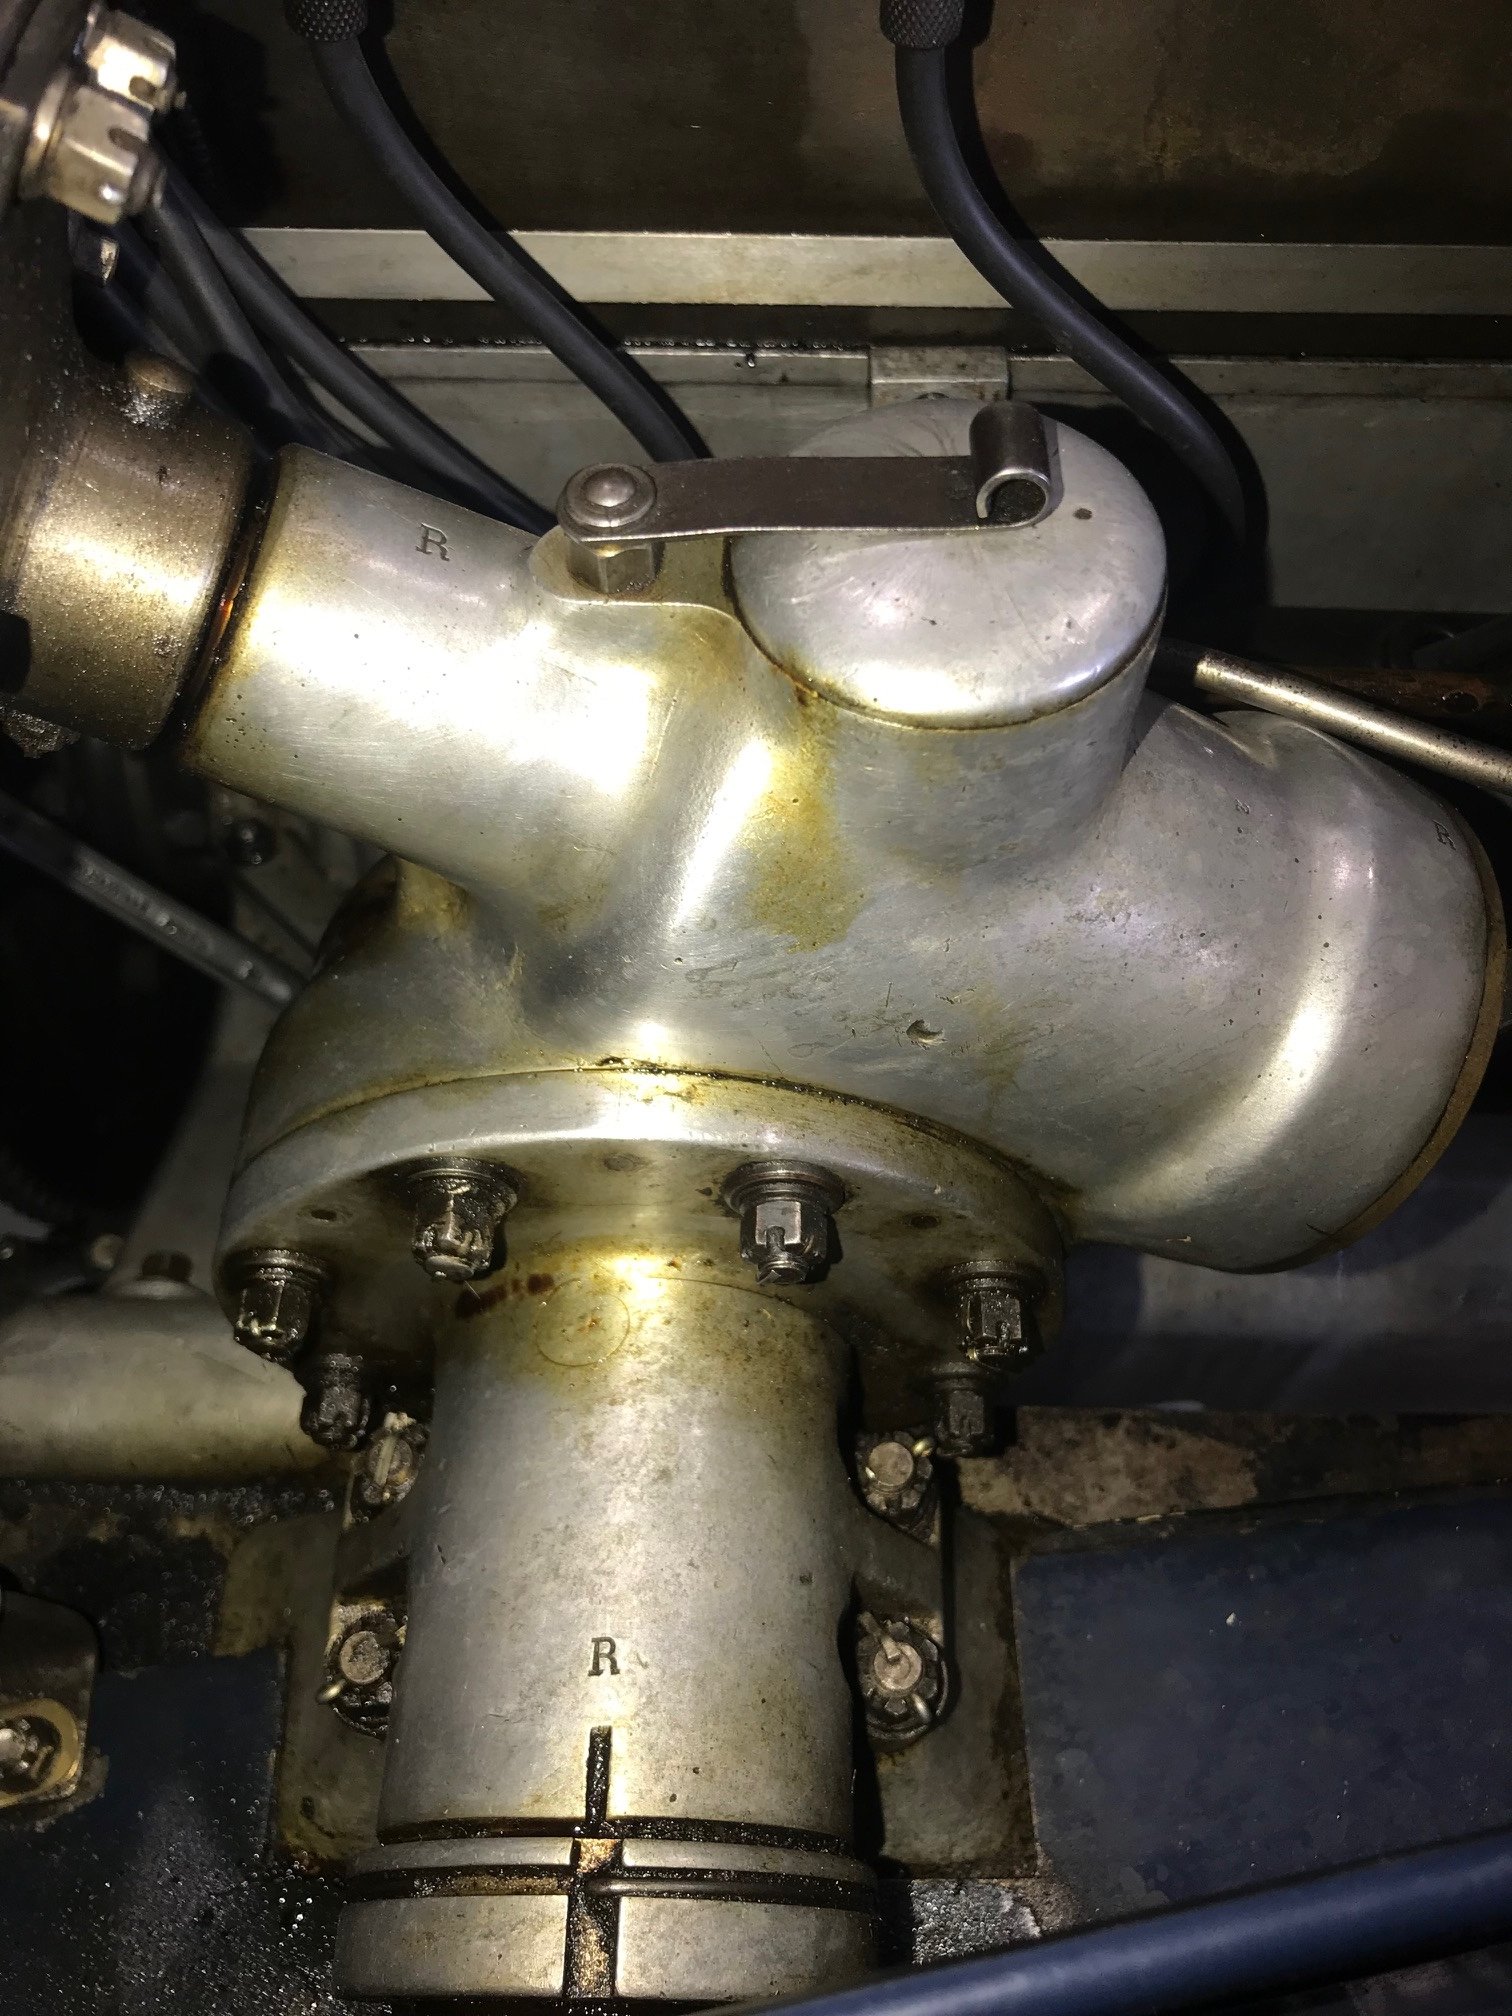
Hi Peter; You mention that you plan to nickel-plate the lovely radiator-shrouding that your Dad has fabricated. My information suggests that Bugatti radiators were customarily finished in an alloy called "German Silver". This may not necessarily apply to the T59, but it may be worth checking out before you get any plating done. The other thing that might be important to understand is that modern nickel-plating is NOT the same as what was used in pre-War Europe (the modern version was invented in the USA, and was only used sparingly there until after WWII). The 'old school' nickel-plating used on Bugattis used a process nowadays known as "electro-less nickel-plating". You should be able to find a workshop in NZ that will still do it. The result is soft and has a satin finish that will buff up quite well, but it is much more durable than the thin, shiny and brittle modern equivalent. You need to specify a minimum coating of 12 microns. The original GP Bugattis didn't have plating on many of their steering and suspension parts, instead leaving the steel in polished form. Die-hard authentic Bugattistes will still opt for this, but you need to devote regular sessions for careful application of moisture resistant coatings to the polished parts, and keep the car in a low-humidity environment. Old school nickel-plating may be a practical option, but - whatever else you may decide - please don't plate your front axle! That would constitute a cardinal sin!!! Your CAD drawing of your proposed steering box appears to differ visually from the T57 steering boxes that I am familiar with - maybe that's the case for T59 steering boxes, but I wouldn't know. The T57 steering box has radial strengthening ribs between the main gear-housing and the attached boss around the drop-arm actuator. I only know this because the steering box in my T49 project is actually off a T57, and it looks quite different to the usual touring Bugatti steering boxes that were fitted to T40, 44, 49 etc., which also look more like your CAD drawing. I'll attach a pic of a T44 and a T57 steering box to show you what I mean. Very excited to see the progress that you're making! Cheers, Michael Anderson
-
Have always wondered about Honda's little L15b engine in the fit/jazz... Or the J series V6.
-
in certain context, lime scooters on a footpath are far more dangerous than say a moderately looked after p10. seen some with absolutely bald tyres
-

Random slightly cool stuff you built but not worth its own thread, thread
h4nd replied to h4nd's topic in Other Projects
Old guy next door who loaned me that big van, died a couple of years ago, and his daughter isn't really coping with home ownership. She's been away ~3 months looking after an ex who was having heart surgery. So I had a bit of time to think as I wombled around doing this, and concluded doing something for a neighbour was pretty appropriate for Anzac day.
- 1289 replies
-
- 18
-

-
It’s at this point you need to take a deep breath.
-
Can see a wideband sensor fitted in downpipe in above photo started installing the unit for that under dash too.
-
Started some wiring fitted looks mint pity you can't see it for throttle body..... suppose that is the idea. More to do just a bit of soldering to finish off and put in braided sleeve so it can shed heat. Discovered the ignition coils could flip 180 degrees bolt straight back on and wiring is basically perfect once unwrapped reaches dead easy and won't melt on wastegate, heat shield will be a good idea though. Airflow meter new location on right side of engine bay set up in photo.
-
I'm all good with the current safety inspection of older cars, one thing I though.... I think there should be slightly more leniency for the testing of brake imbalance on old historic /classic.. I want the convenience of going to a vtnz, but I don't want the ballsache of having to get a 50 year old braking system to be as accurate and repeatable as a modern day equivalent when the car weighs under 700kg and probably couldn't do a 17 second 1/4 mile..
-
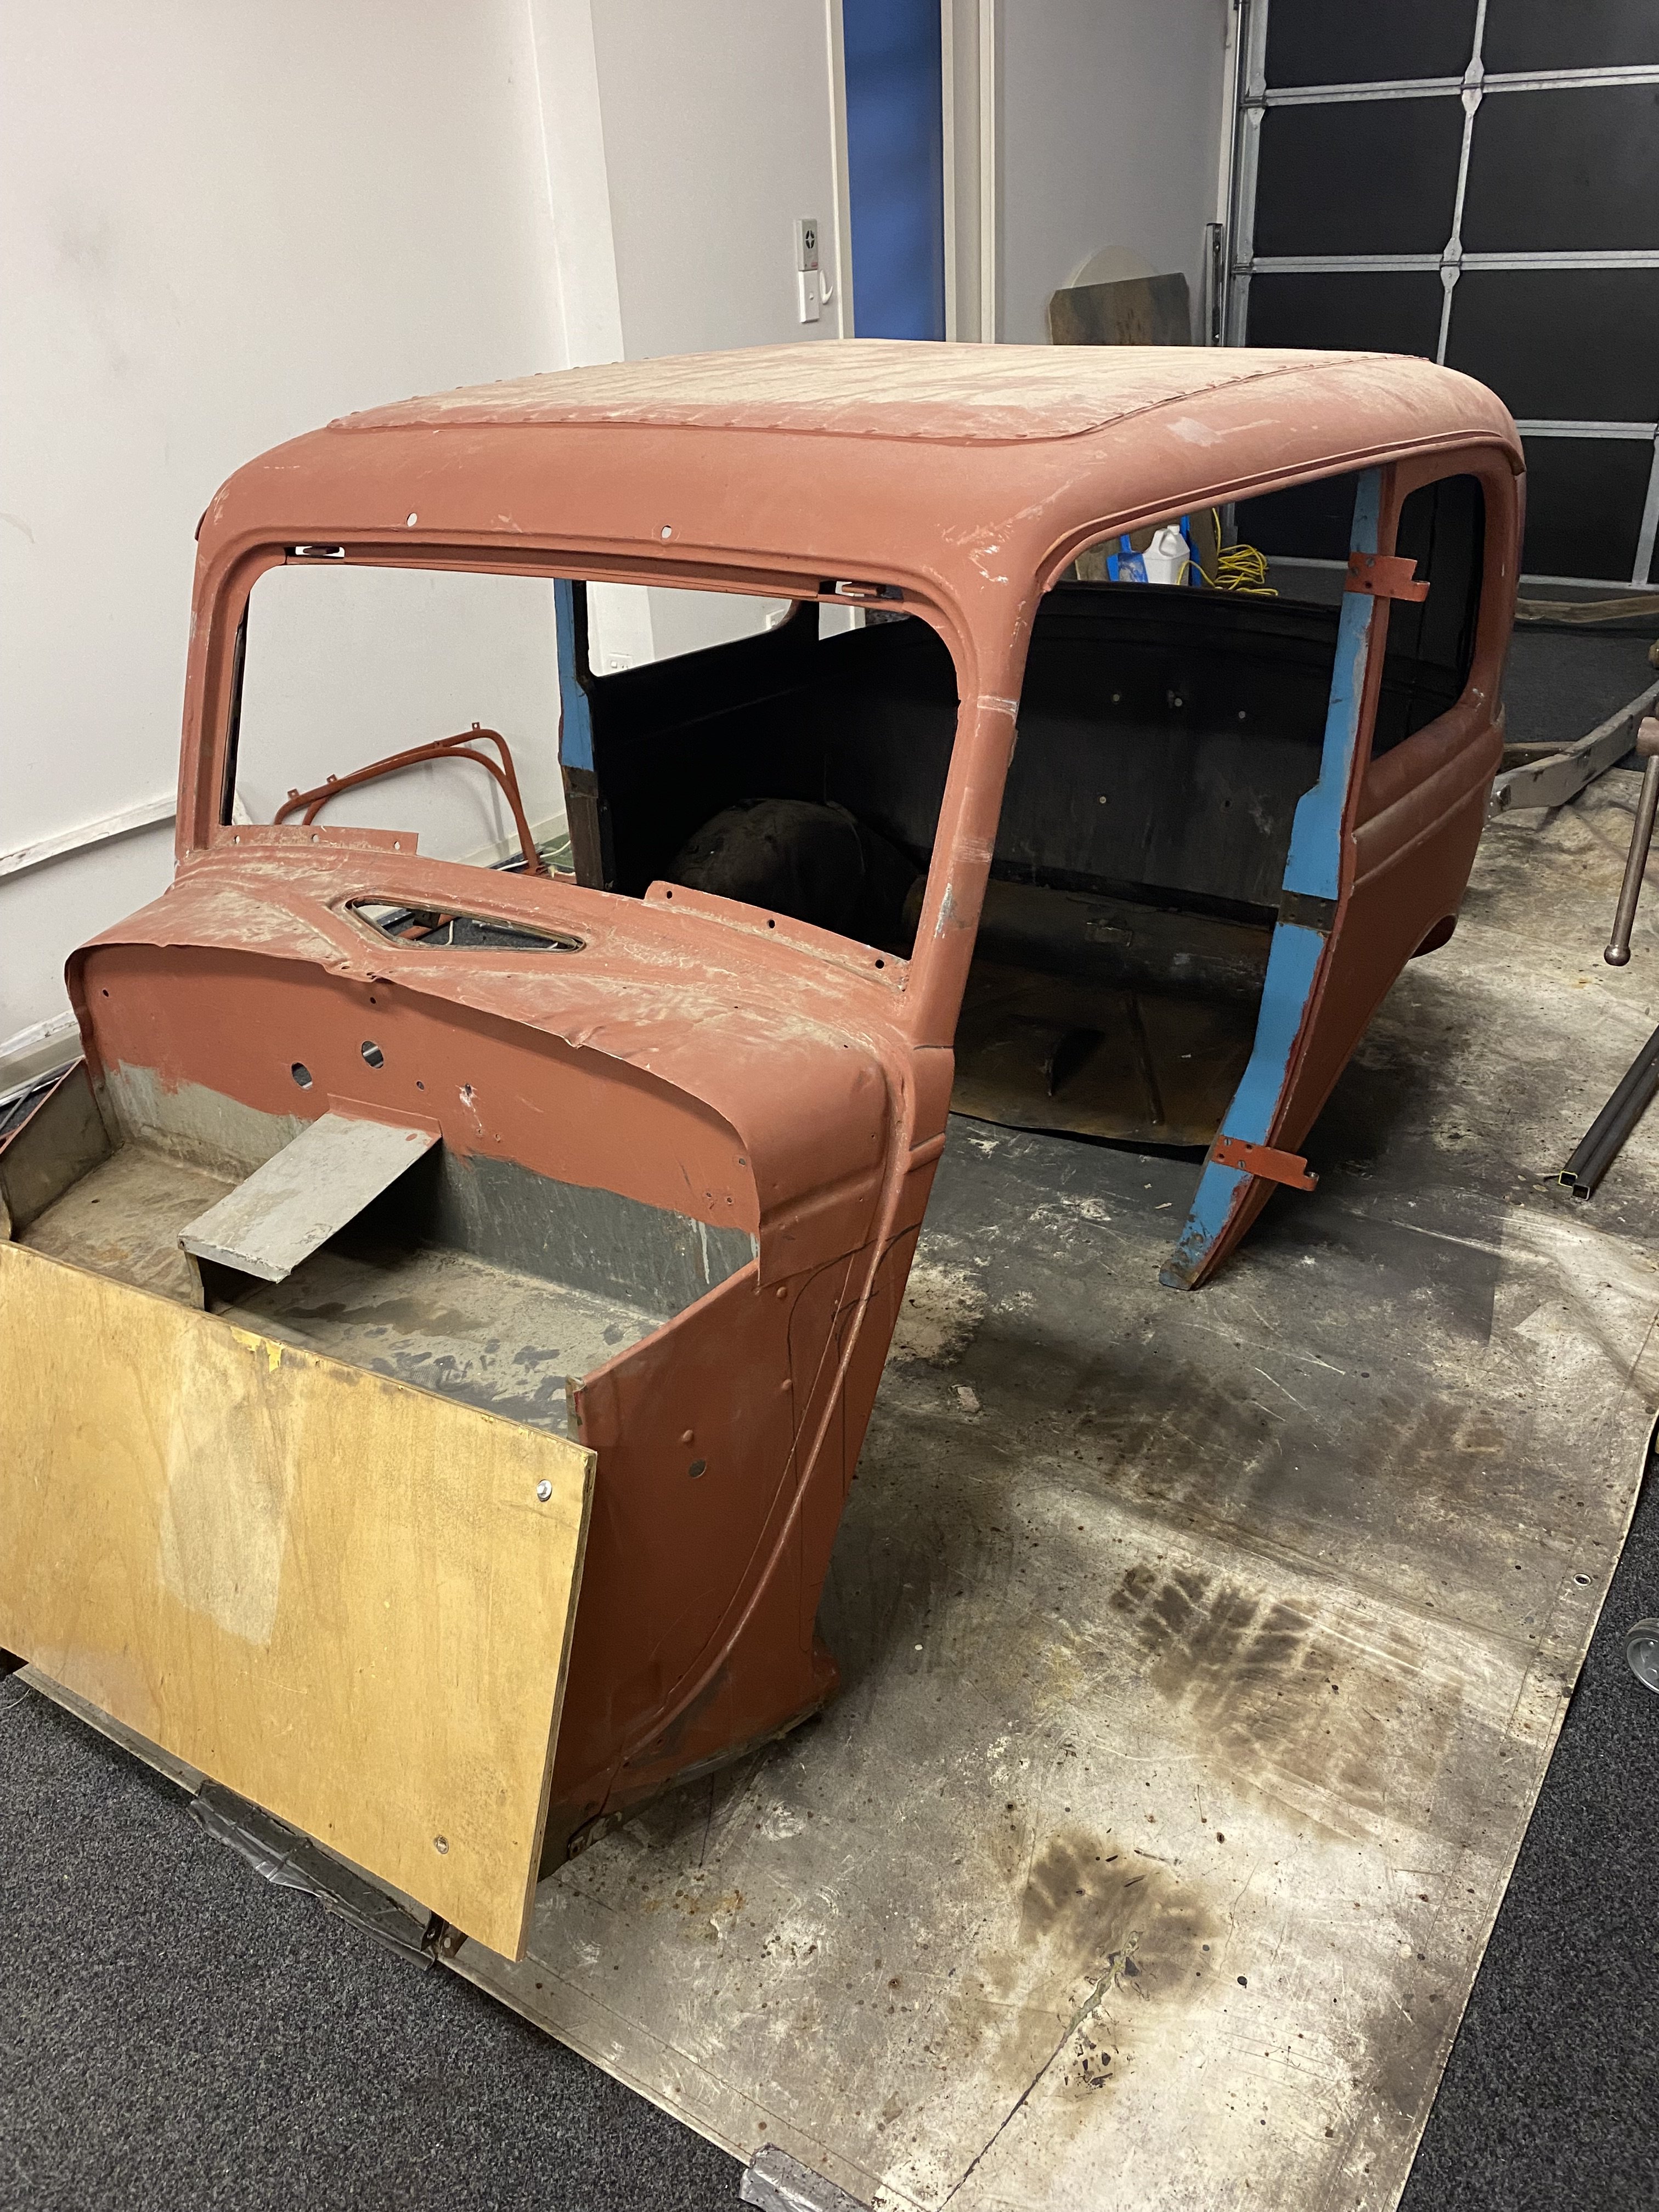
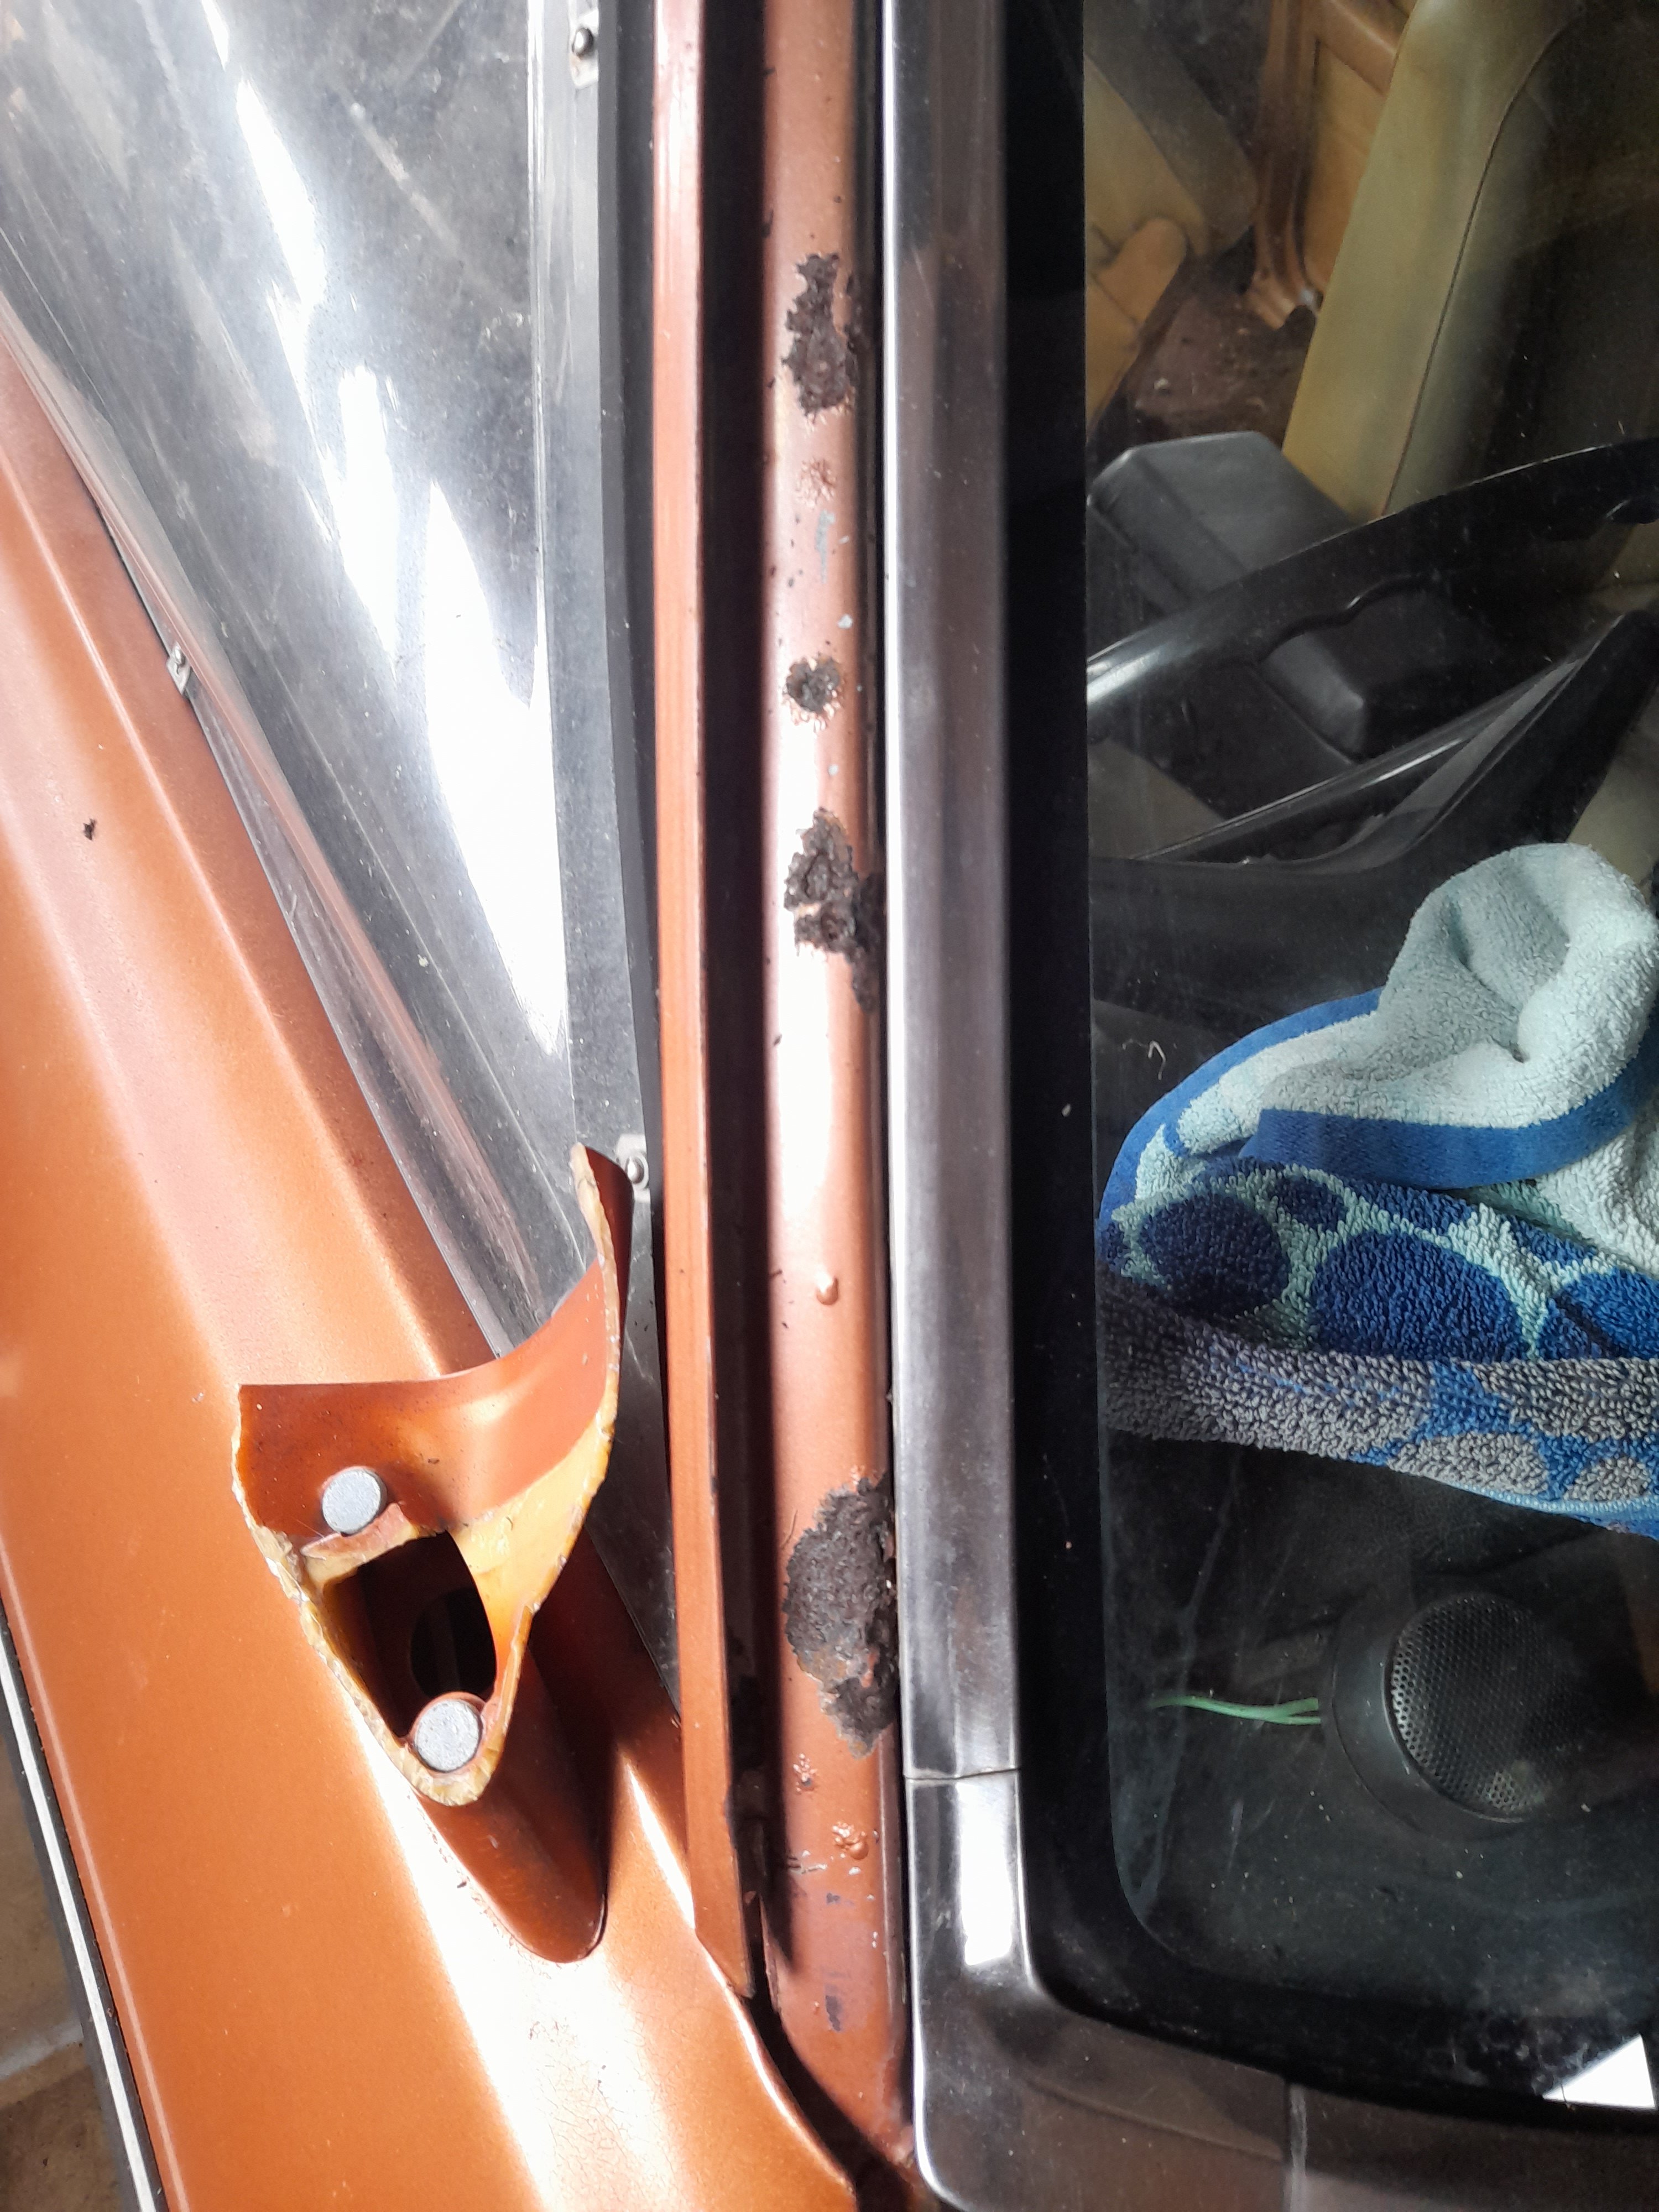
Drivers A pillar is no good. Fixable though. Found a hole under the wiper panel too, will see how bad that really is when i pull the dash out. Not looking forward to it tbh.
-
Went out this morning to pull the front bumper off and check out how things look. Got carried away but at least i know most of the front end is in good shape now.
-
Hahaha yea im just exploring options, give it a good chance to last more then 5000km, though who knows what this motor really went through before i had it
-
I vote no boat hipster stuff till v8 corolla is driving
- Last week
-
Mindless automatons many of them.
-
the simple fact that people can back out of/ enter their garage during darkness, and not pick up on the fact that one headlight has blown, truly fecken astounds me. what other obvious things do not compute behind their retinas


.jpg.c472fa6721301e28f293a24cf337a896.jpg)