
Leaderboard


.thumb.jpeg.384ff72c8d2b0ee0d34a7bdedb55bdcf.jpeg)

Popular Content
Showing content with the highest reputation on 02/18/24 in Posts
-
So I started on the body. Did some CAD modeling, And then started hacking into 18mm ply, Then I took the old temporary seat and floor off, and made a new seat etc. I then started screwing everything together, And where it's at now, The back corners are meant to be rounded, but that's too hard for an amateur woodworker like myself. The floor and firewall will stay on the chassis, and the rest of the body will lift off. The bonnet and front mudguards will be the hardest part to do, but I have ideas, will find out soon if they will work. Oh and I decided to make it a BJ/FJ land cruiser (maybe it should be an EJ?) because the kids cousin has a Jeep already, and because I'm forcing them to like Toyotas, because not doing so would basically be child abuse. Regards, VG.21 points
-
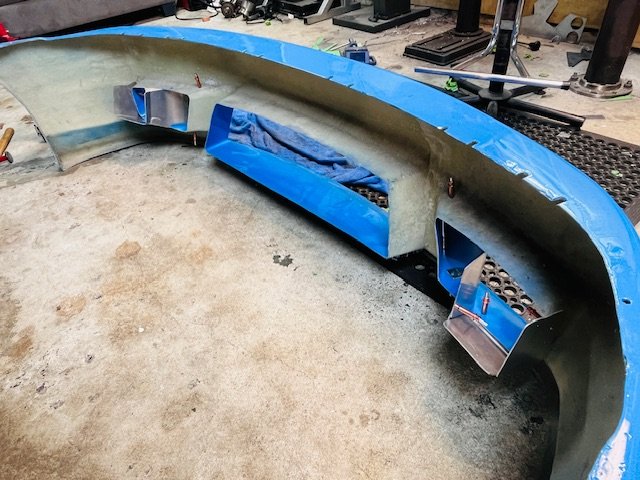
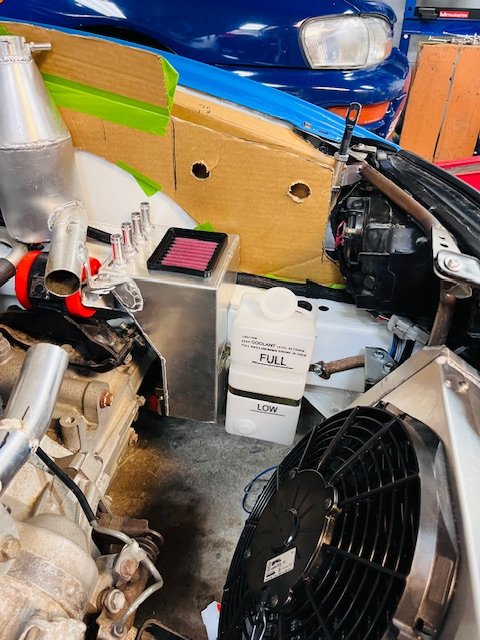
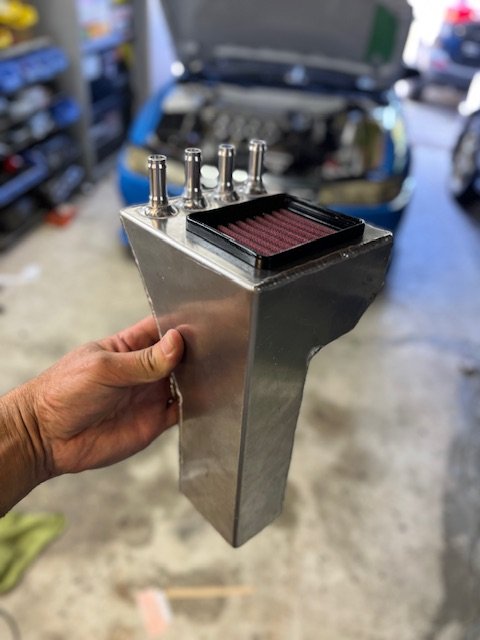
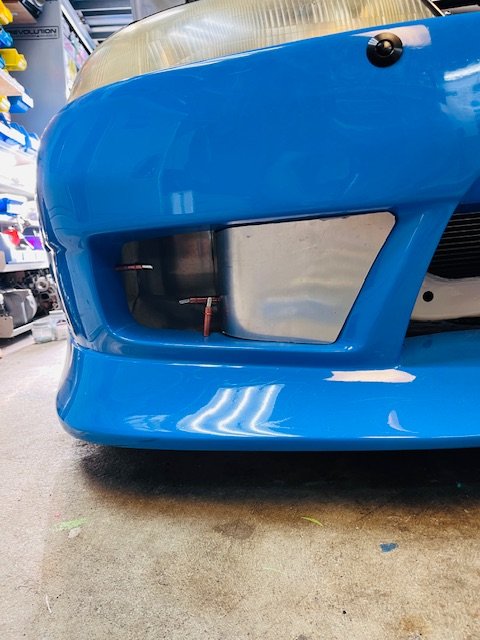
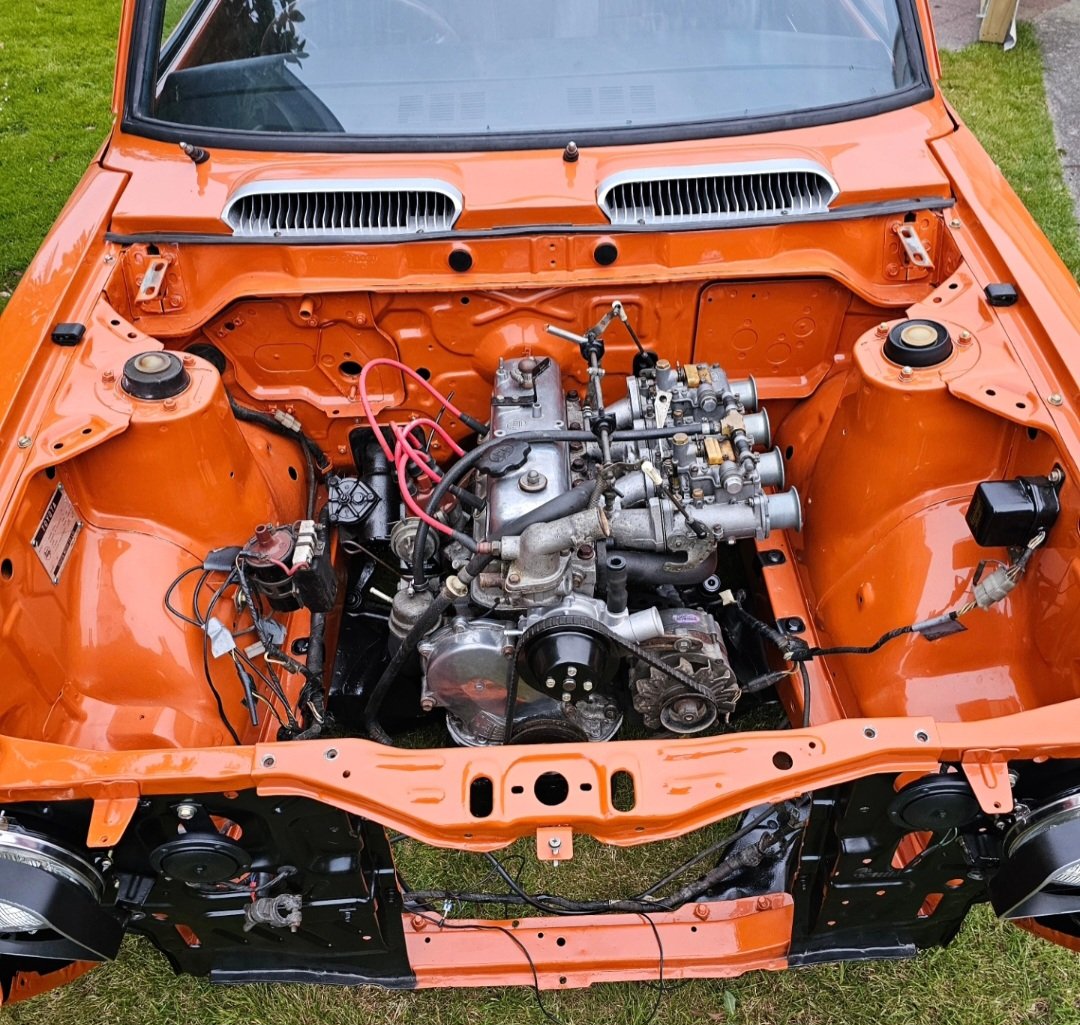
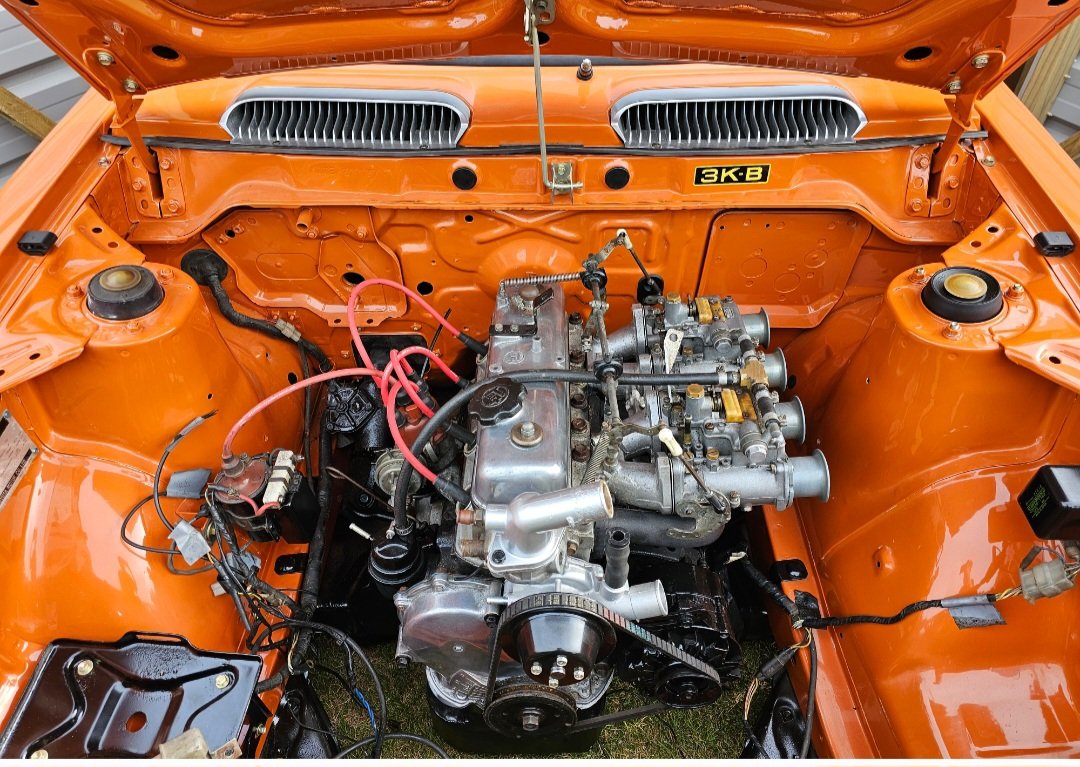
Getting a few loose ends of jobs tidied up before I tackle the last big job - extractors. Starting to look like a complete car. Catch can finished up. Internal baffle, tiny K&N filter from a BMW bike, drain tap in bottom so you don’t need to remove to empty!! Fits very well in the allotted space finished up radiator and swirl pot pipework (pending rubber hose) also finally finished the front bumper side ducting (radiator to come but that’s big job/non important to start the thing) Keep moving forward
 13 points
 -
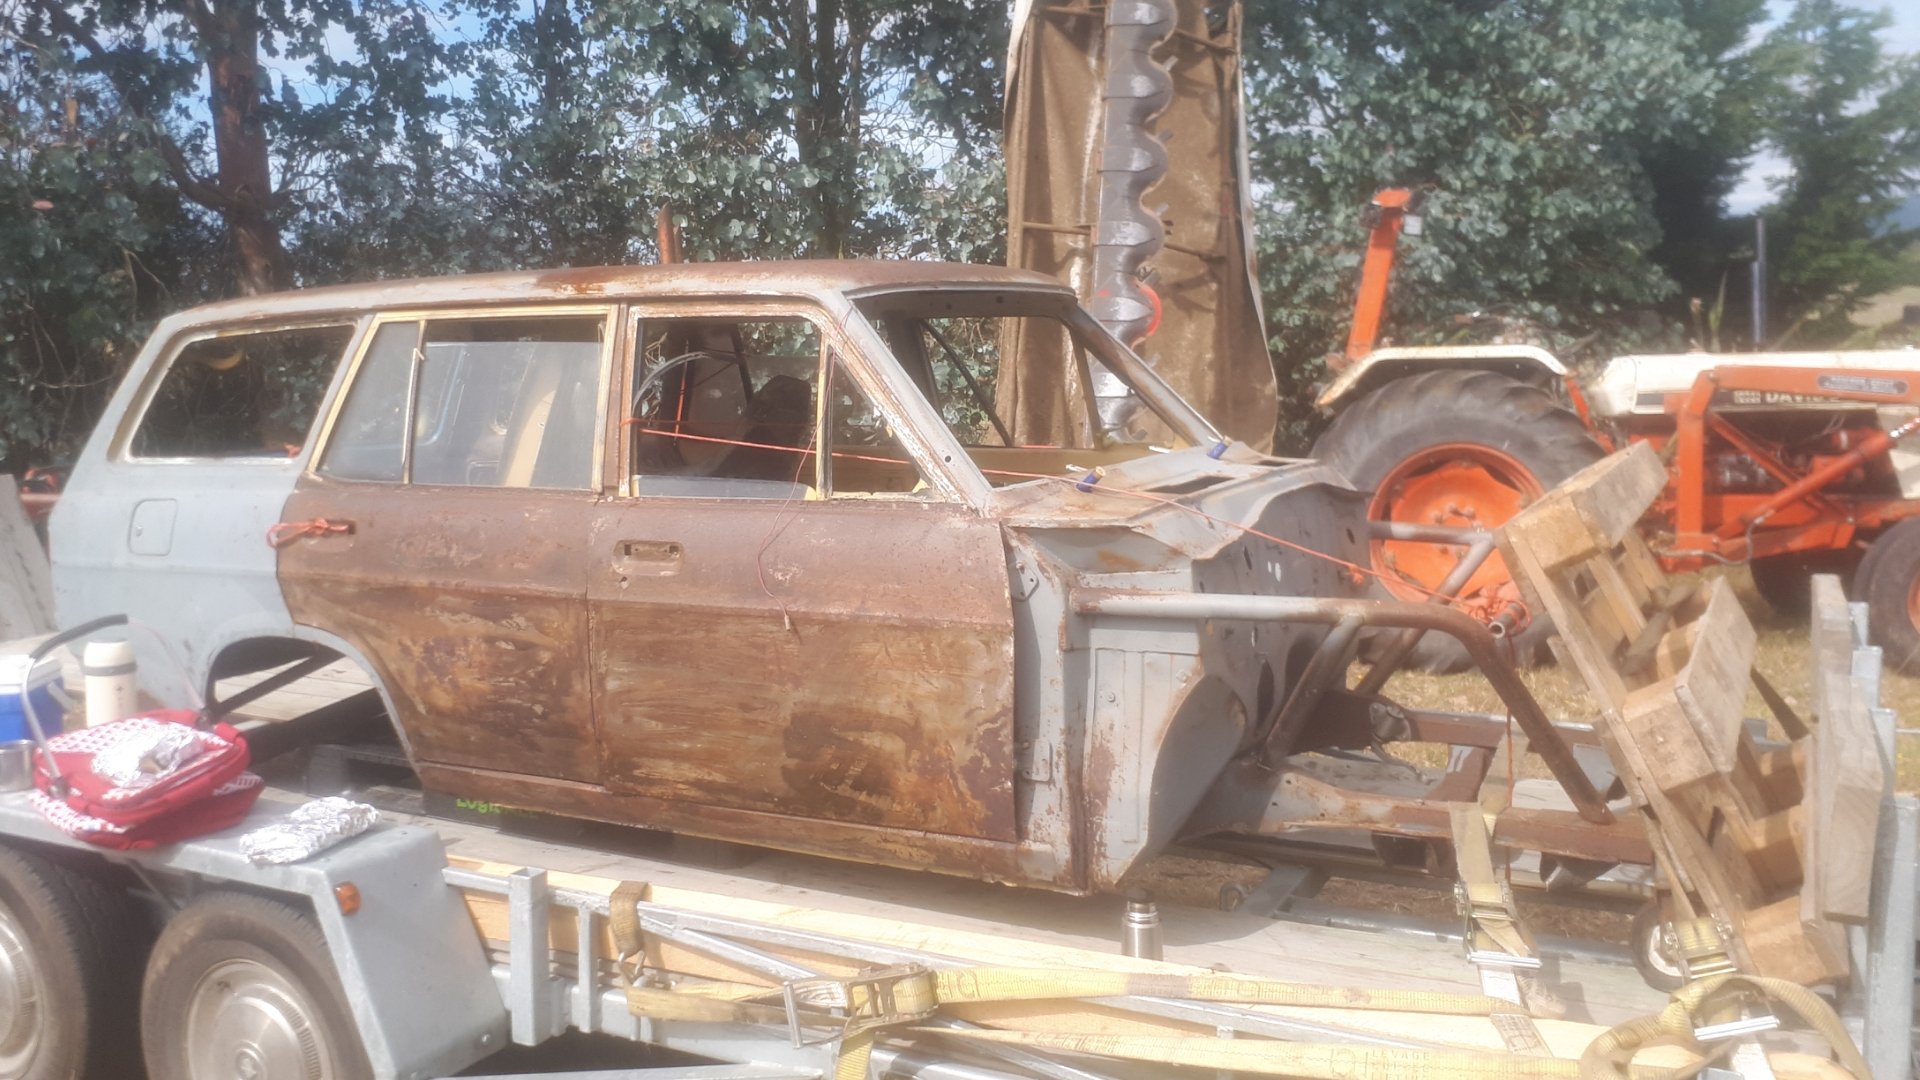
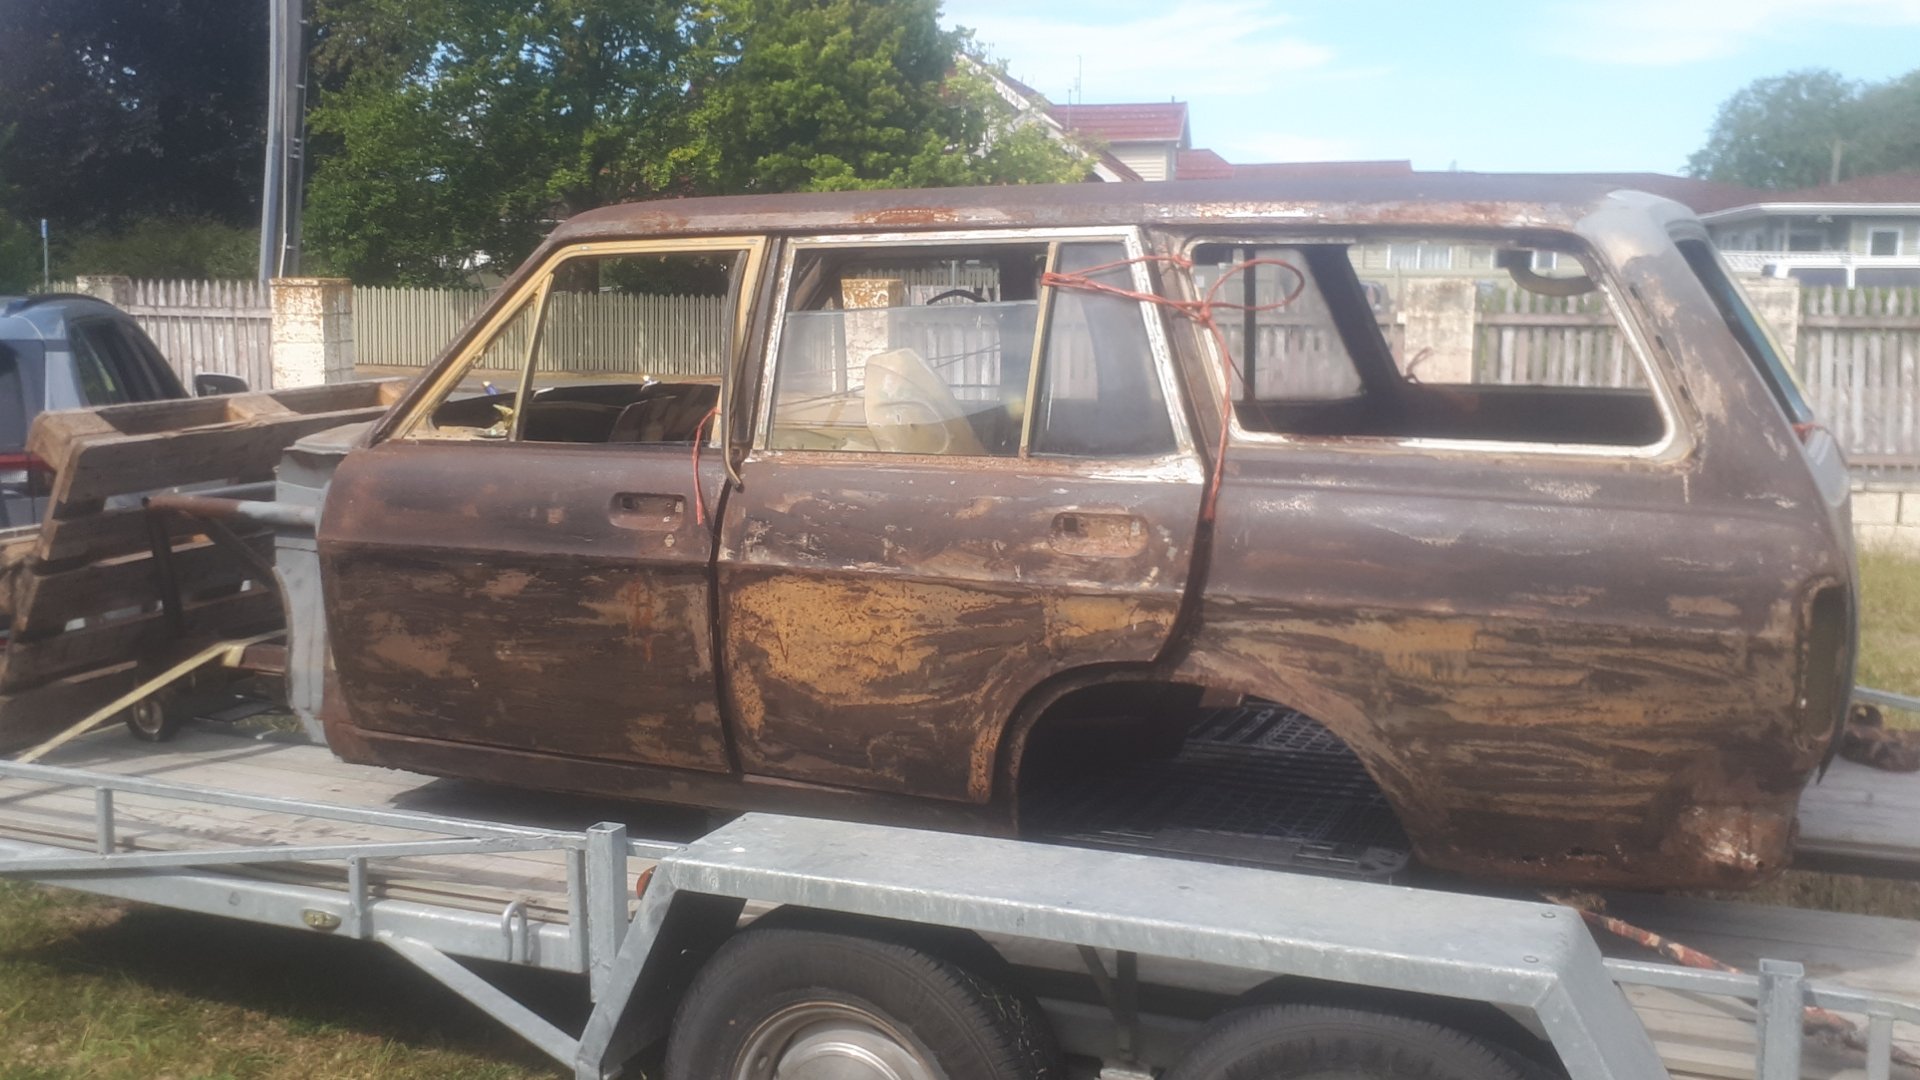
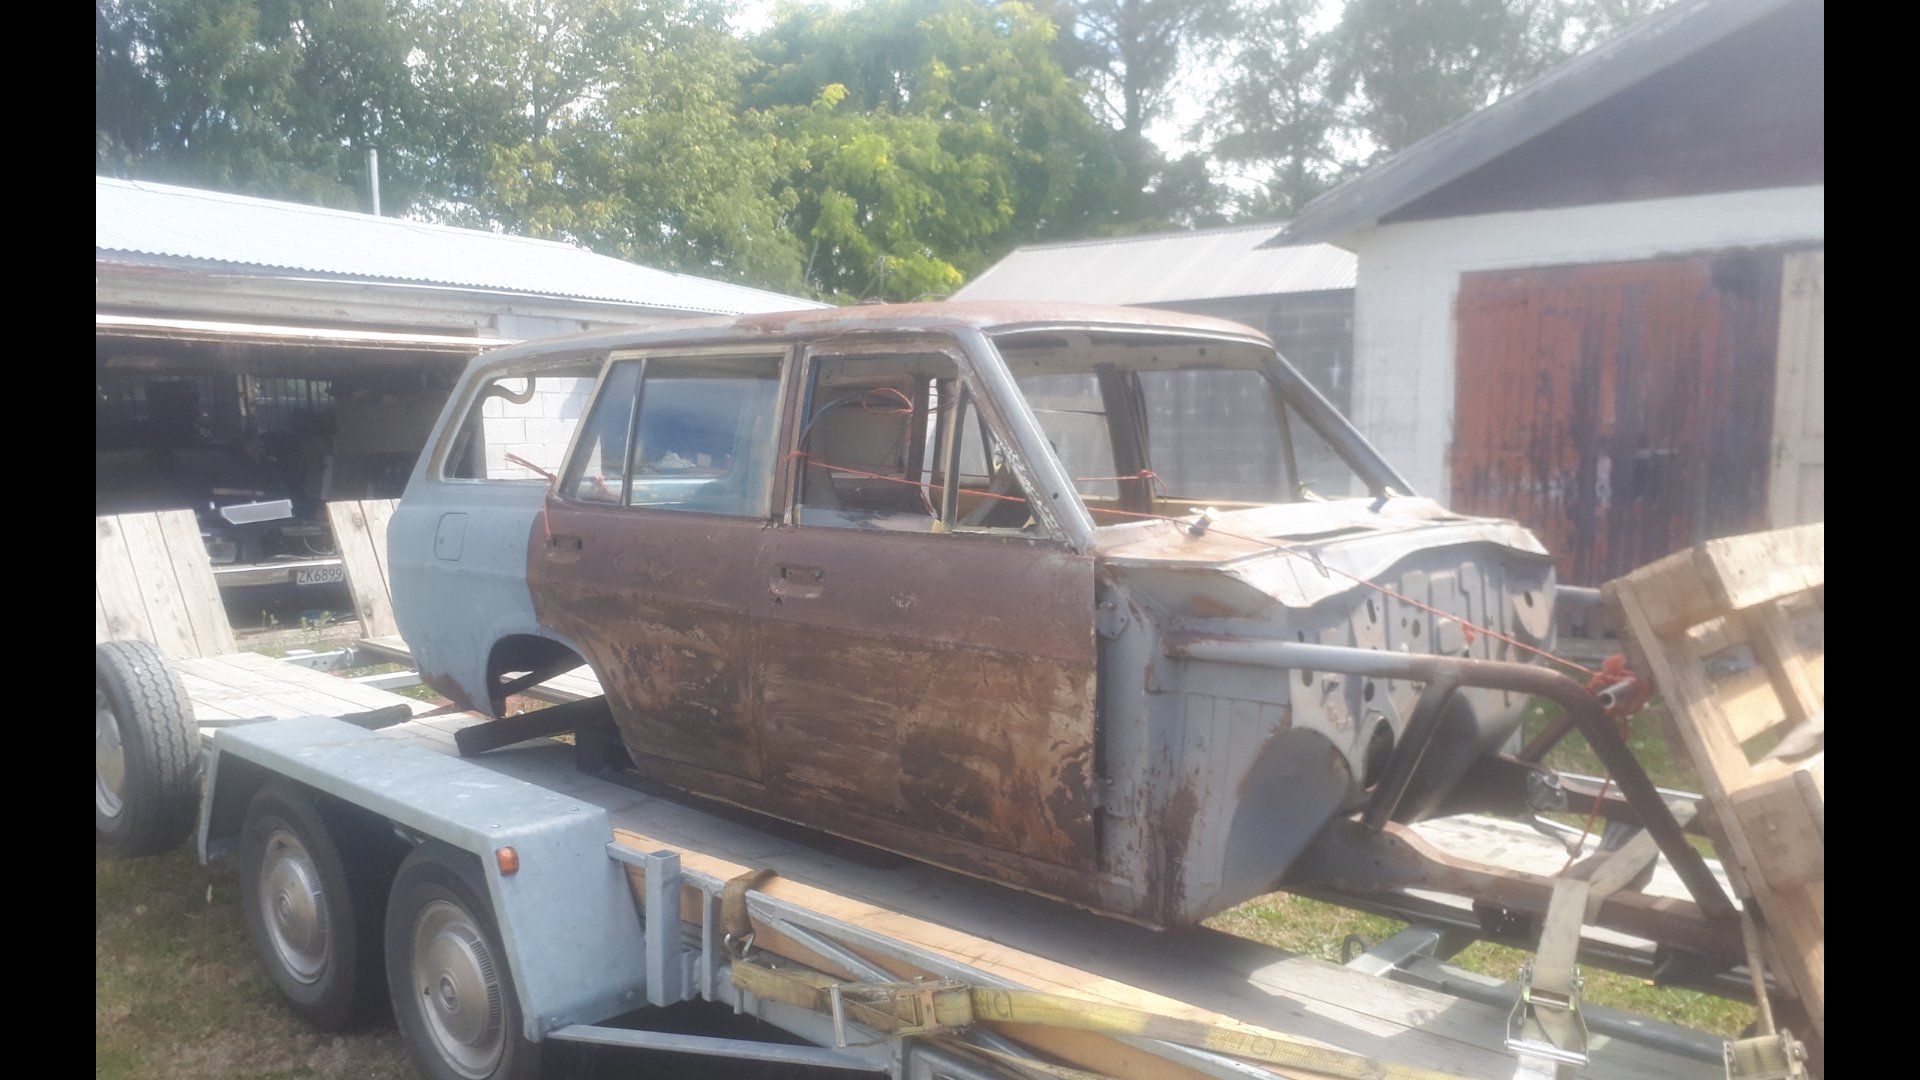
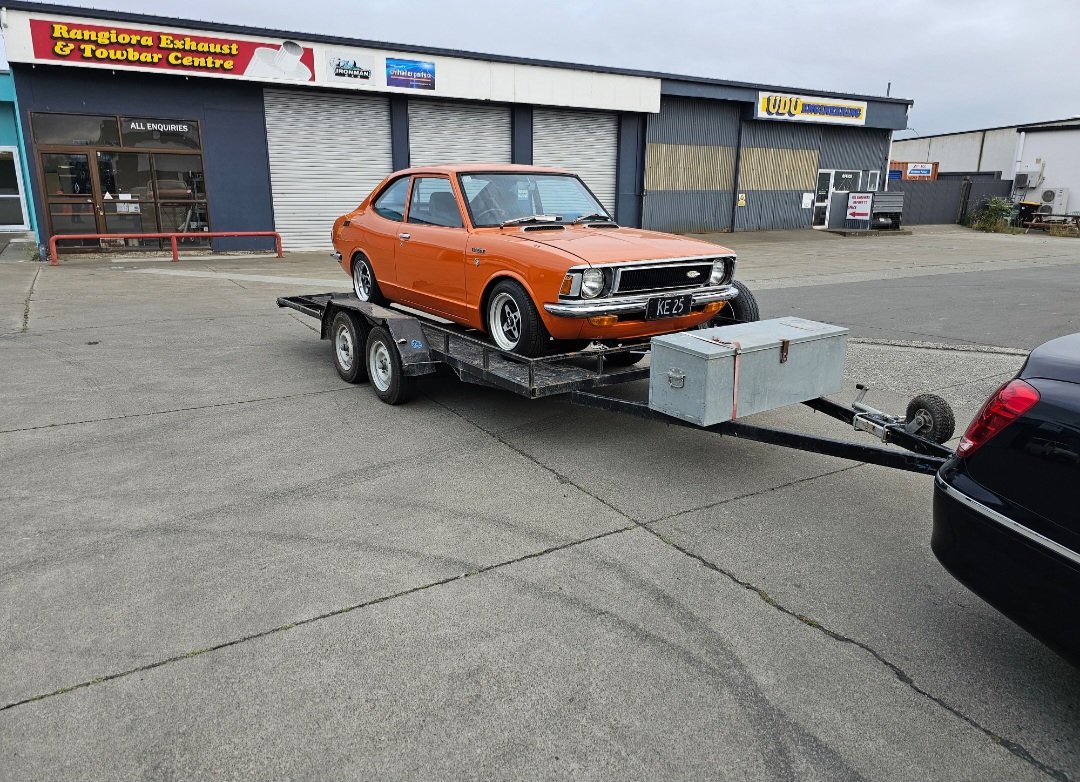
Today i pulled an 11.5 hour mish to go collect this thing. Loading cars that dont roll can be tricky. But it went better than expected. Came with a lot of tidy parts. But theres also a fair bit missing. (Including plates and tag) (the old rego number is etched into the window though. And it comes up in car jam. Theres been more work done to the undercarriage than i expected. Has a full C notch done. And the mounting points for the 4 link look to be there. Theres also lots of extra stiffening done to the floor. And fuck all rust. (For a datsun) it also came with (but not pictured) front guards and bonnet. These have been tack welded together. (The guy was planning a flip front)
13 points
-
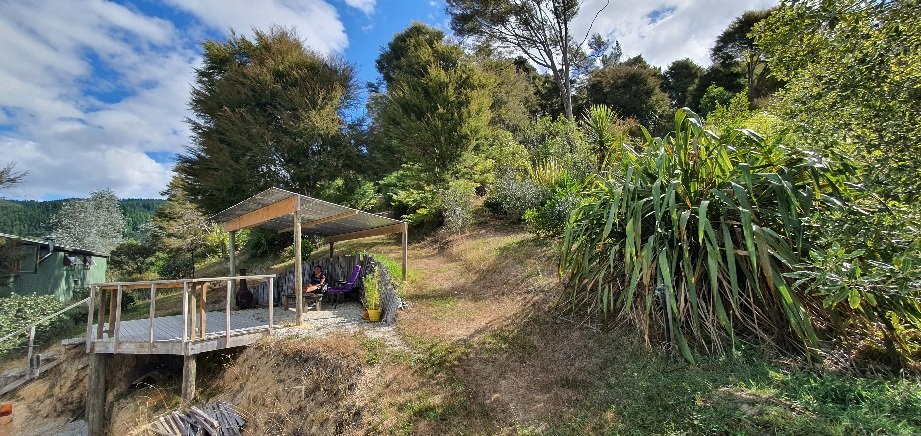
In January 2024 I suddenly needed somewhere to live in a hurry ... so I figured on building something small out of scraps of building materials I already had.. There's no power, water, sewer on the property, but 10 days ago we got most of the driveway in. I'm the kind of guy who thinks a fair bit before I act, so after some further thought most of the scrap timber/plumbing/etc. I had available got pushed to one side as they just weren't going to work. Queue more invoices for better timber (plus freight) I think this project will take until spring 2024 to be weathertight. Shipping delays and huge freight expenses will add to the timeframe and budget. For example I have $500 of under concrete insulation here at the port. The freight bill for that insulation alone was $1,200. The proposed dwelling will be single bedroom and about 60m2 I always start very well but never finish anything. Let's see what happens this time.10 points
-
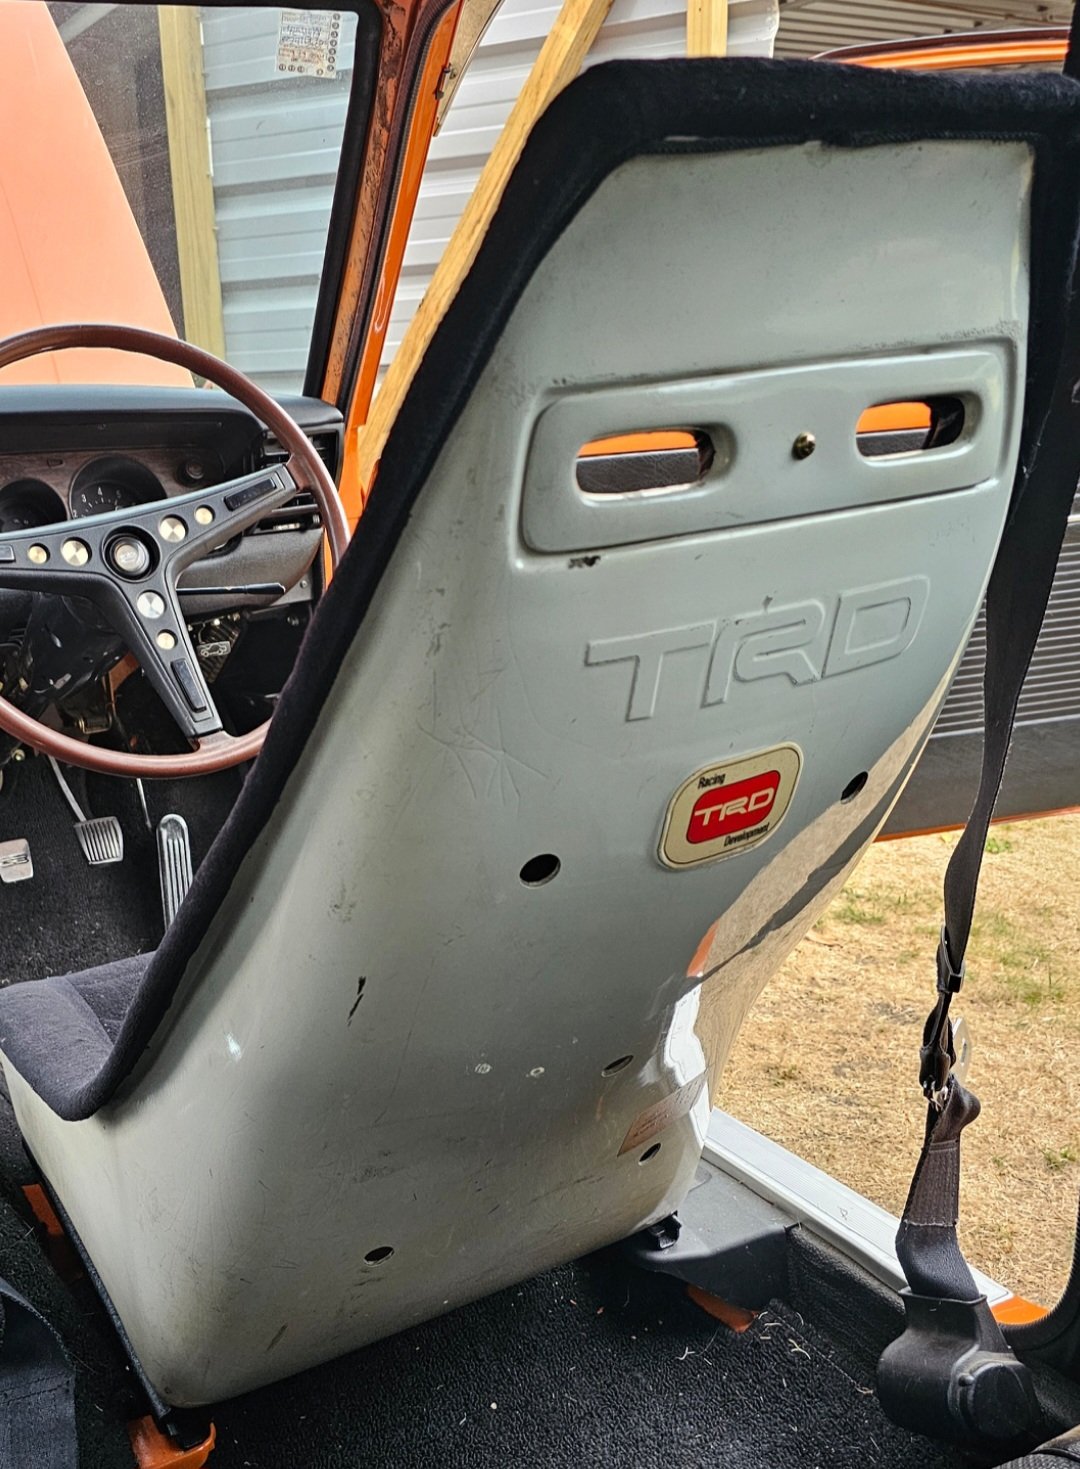
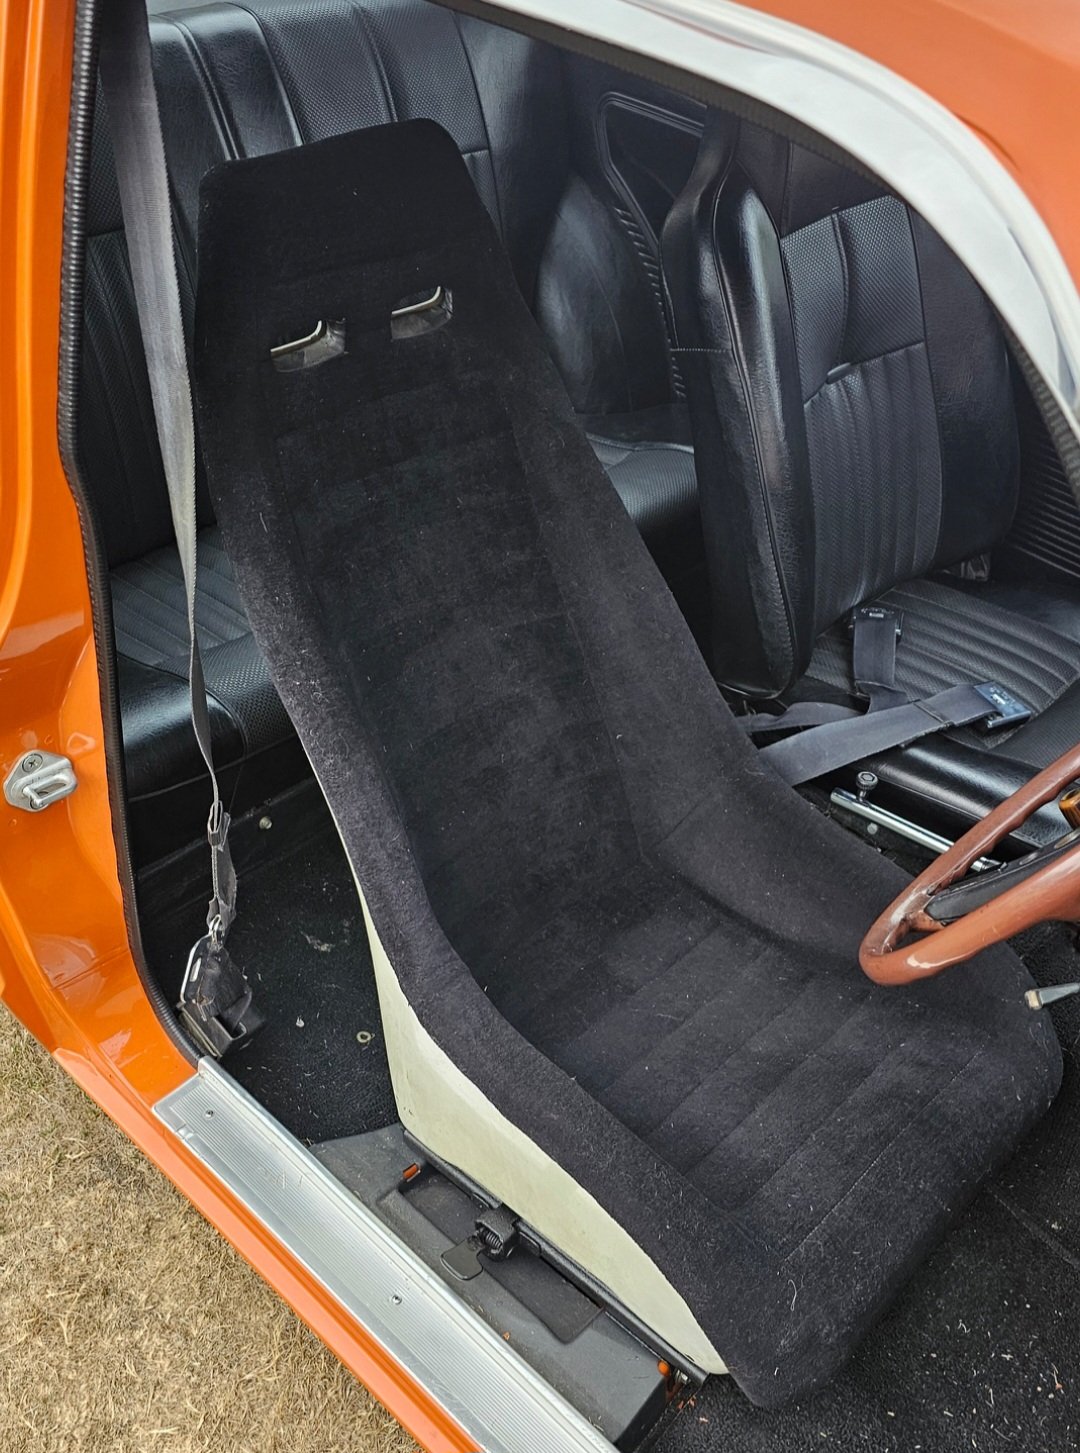
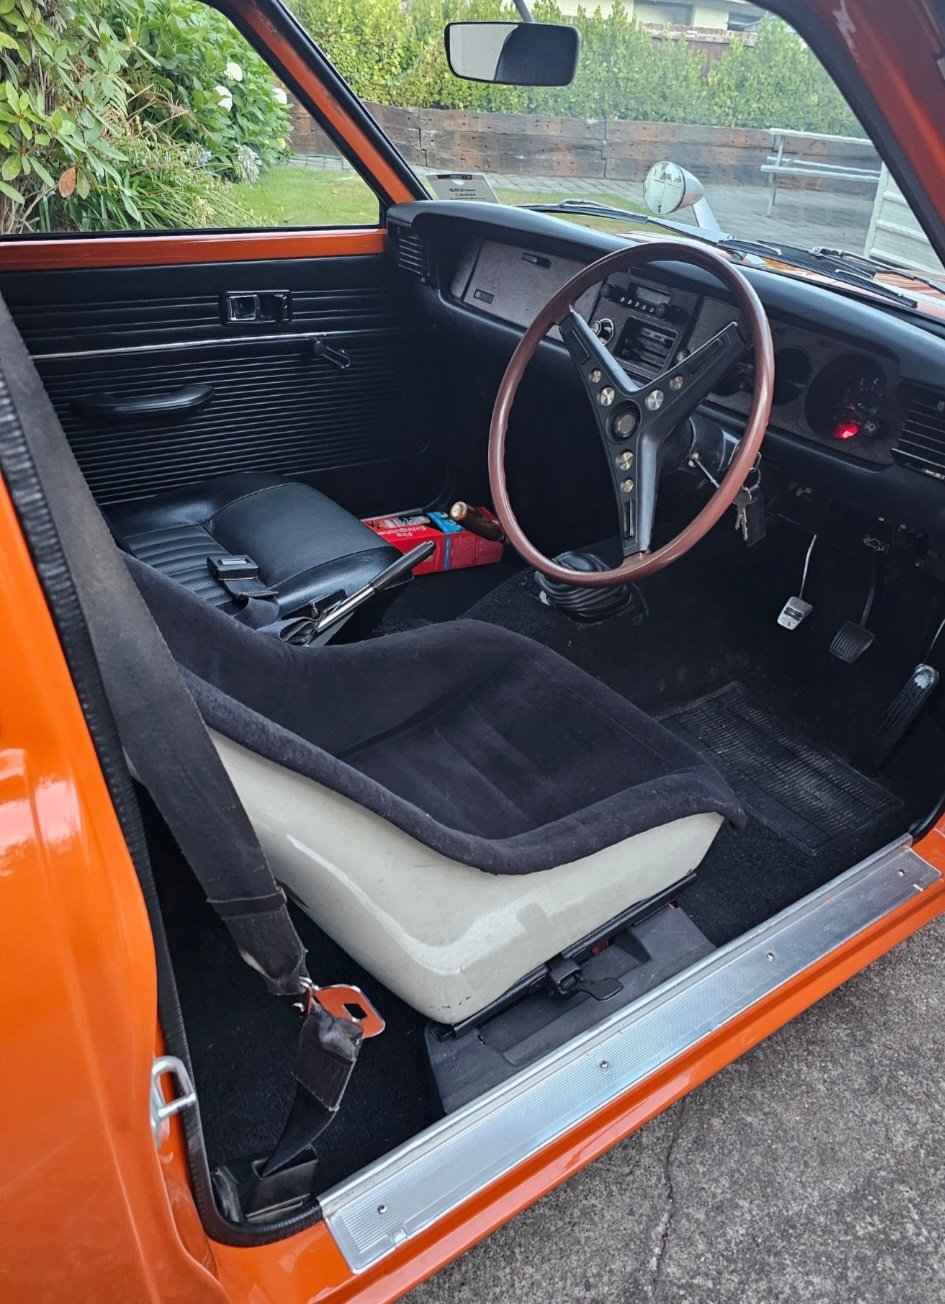
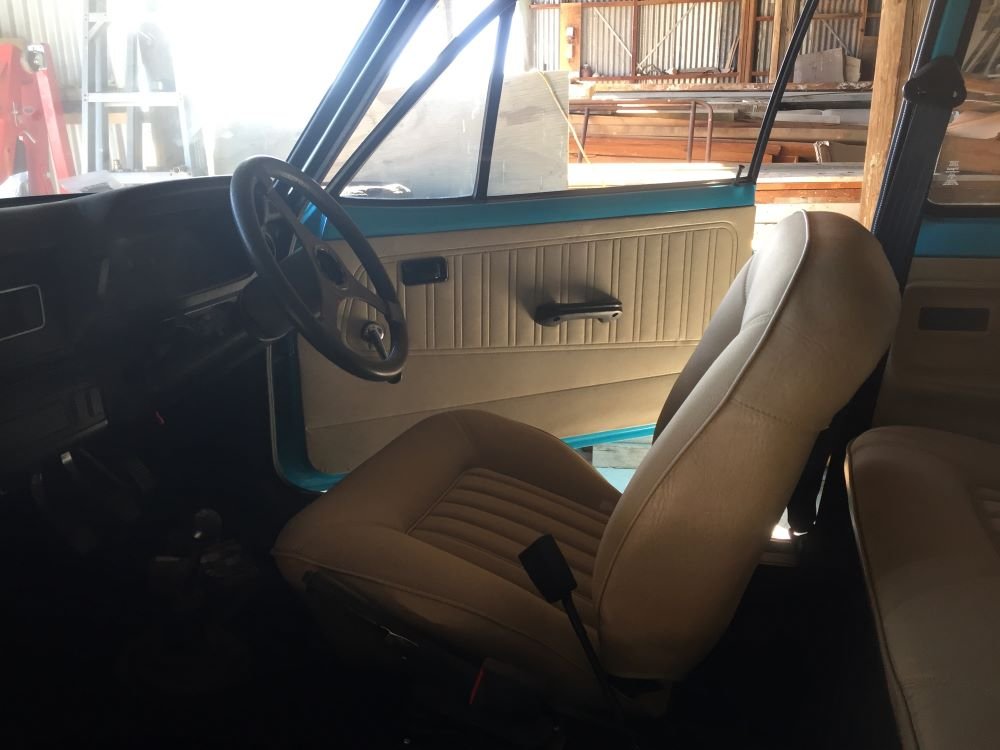
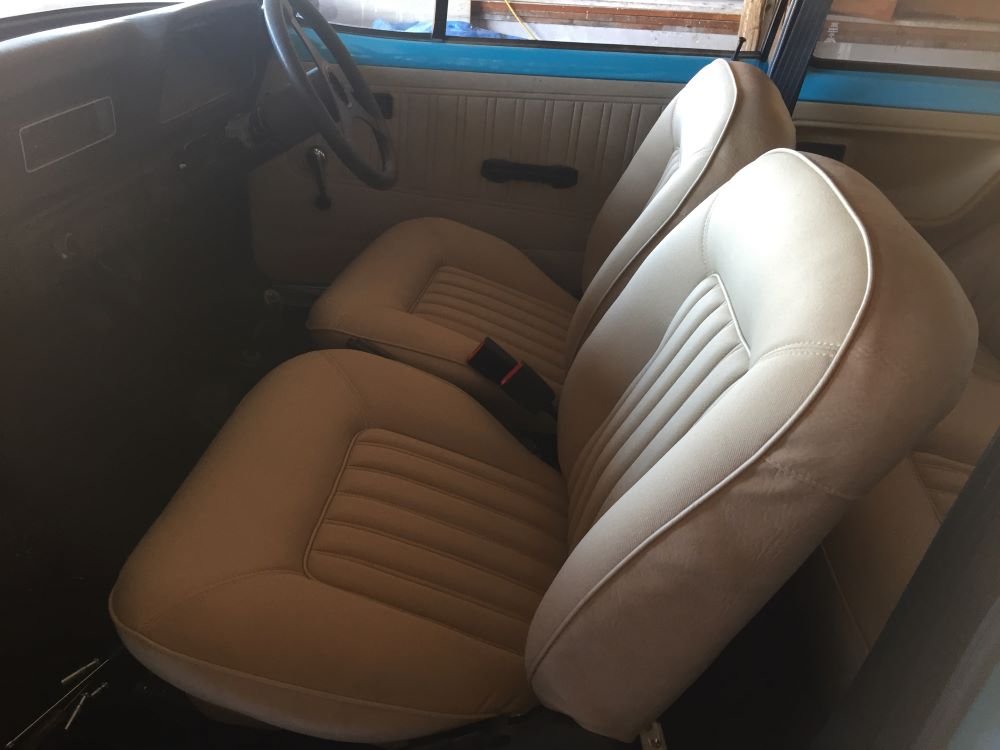
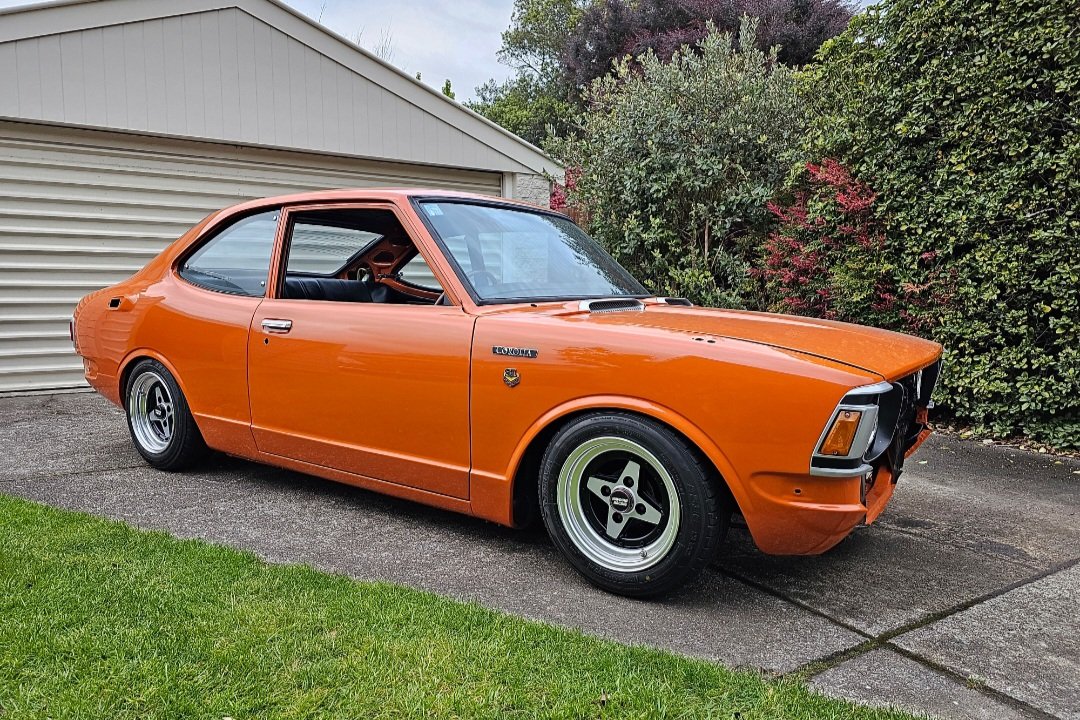
1970/80s trd bucket seat on factory ke25 seat rails
8 points
-
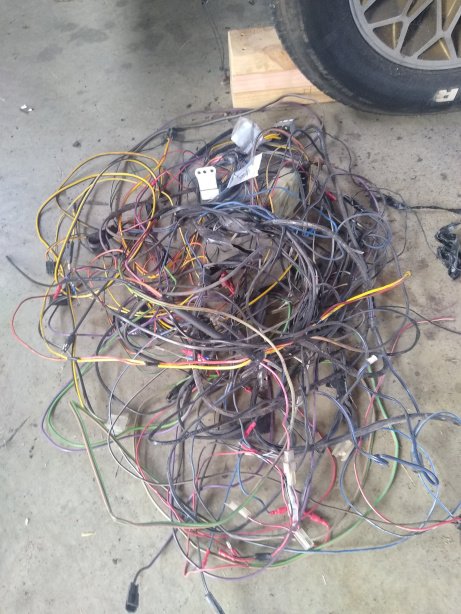
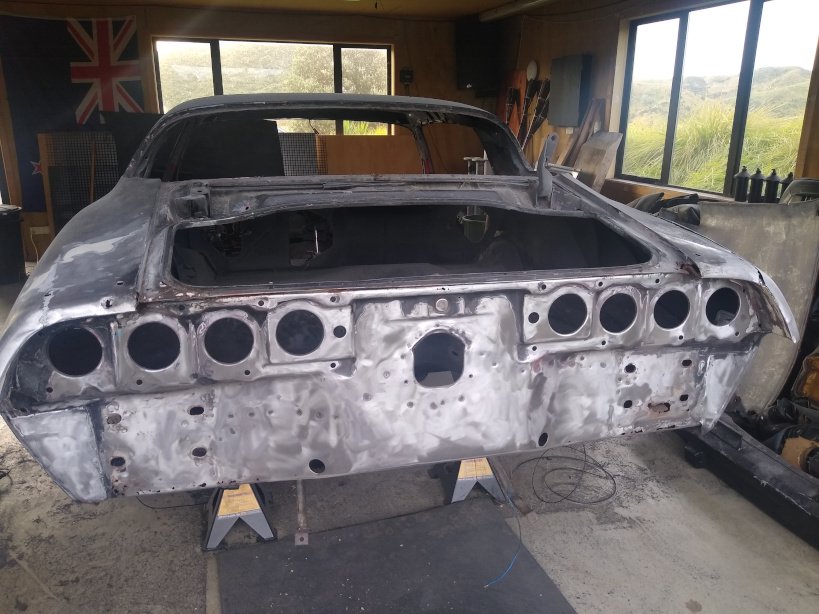
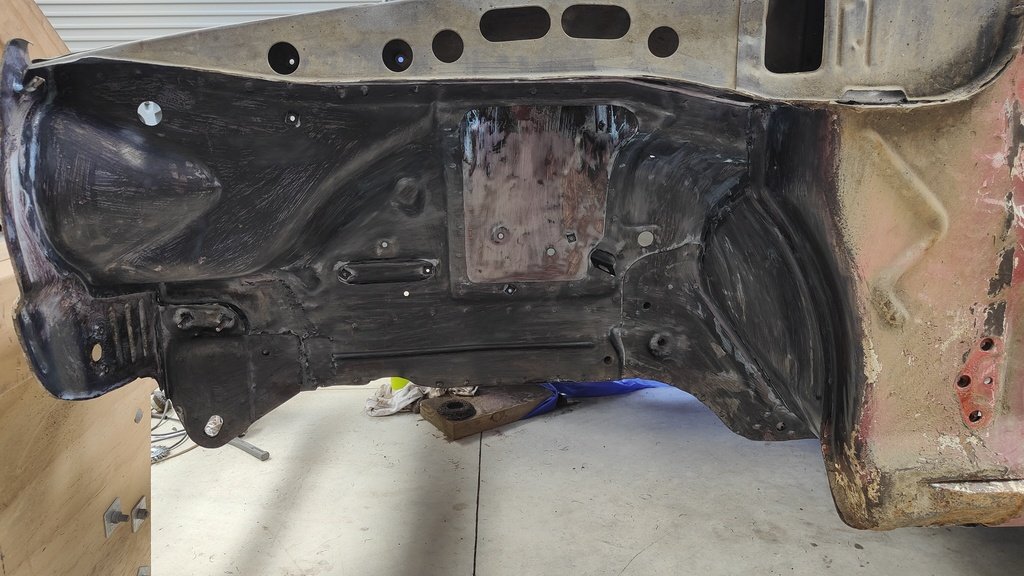
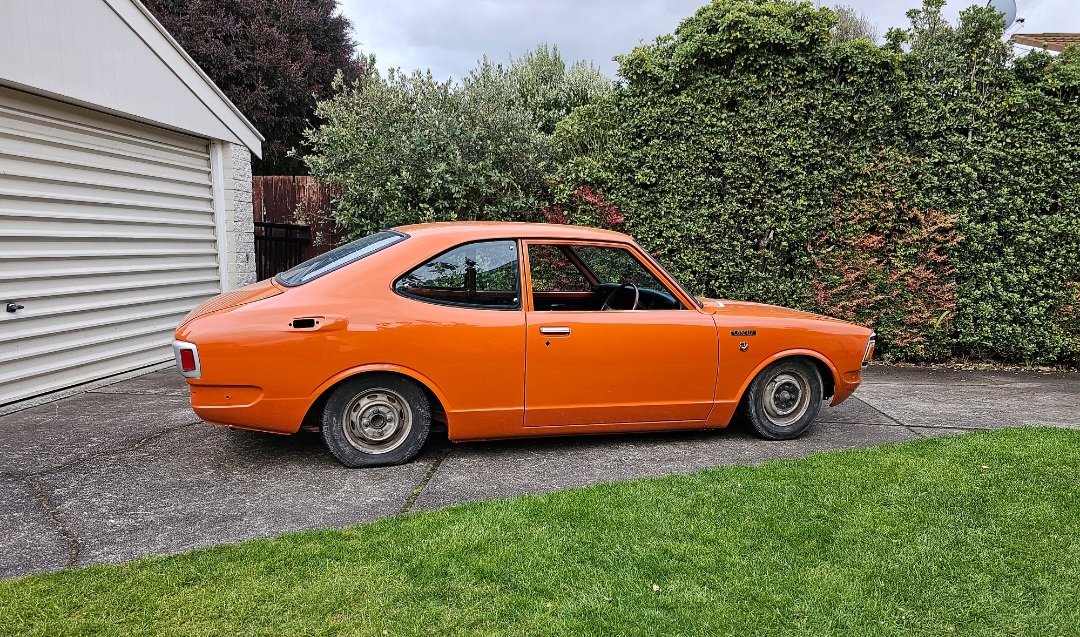
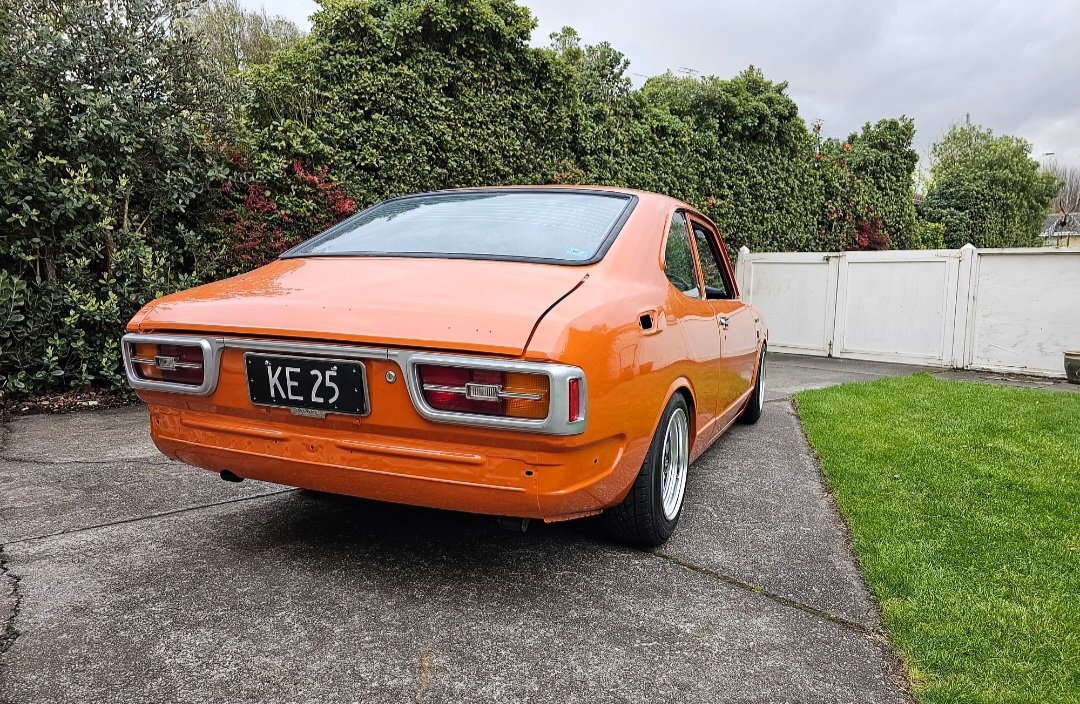
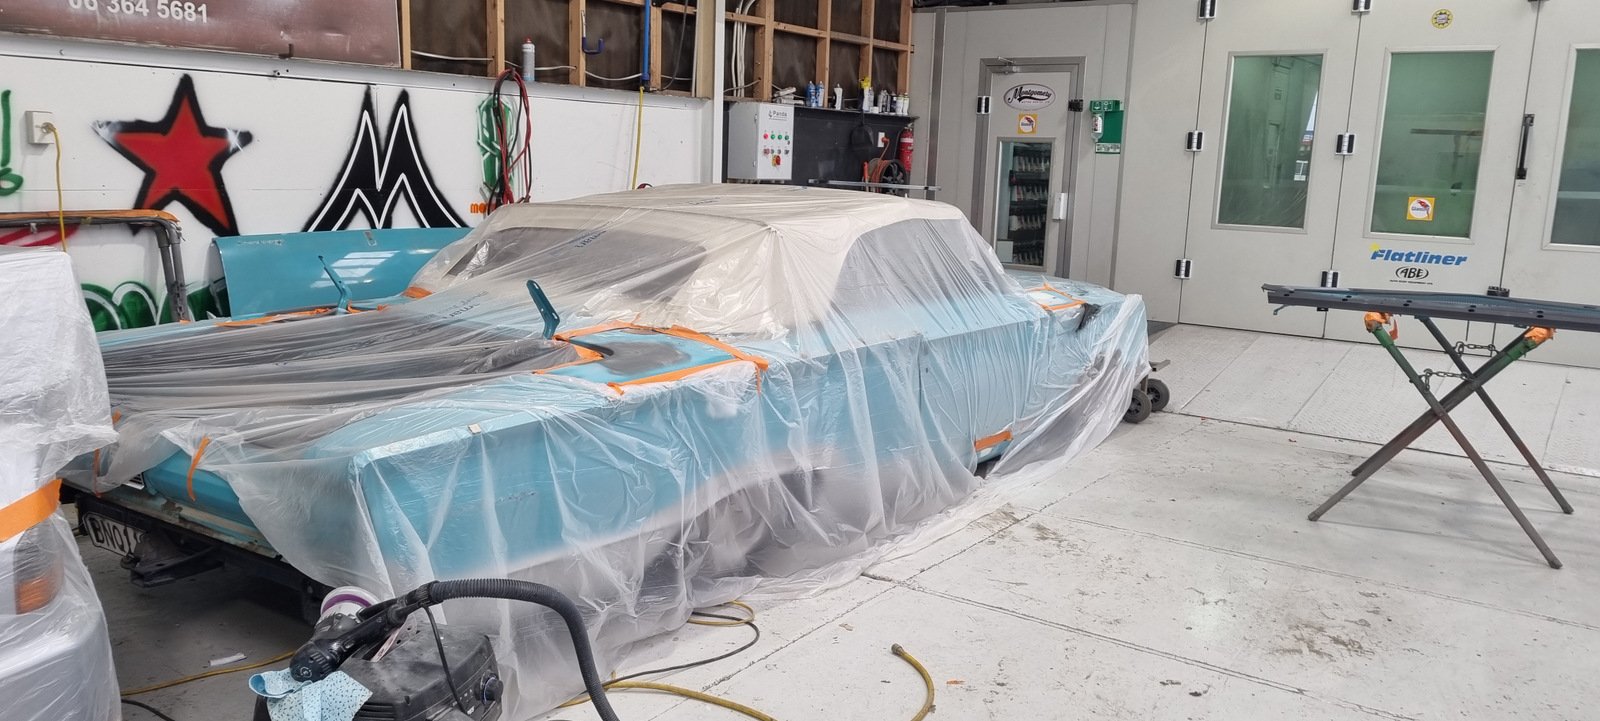
After more summer holidayin' some progress got made. Using some old guitar strings and longer 0.75mm galv wire, son-shine and I managed to get the front and rear windscreens out without cracking them. Huzzah for that because I don't even want to imagine the cost of glass for an older car like this. Found some rust holes in the rear window channels but the front's good. We emptied then removed the fuel tank, fuel pump and then some garnish like wheel flares, door electrical boots, and all the redundant electrical wires that weren't bound up with the main harness wrap. I'm pretty sure the car will start without this large mess of cables, he said hopefully. Then it was stripping time. I'm daunted by a bare metal restore but it's the only way to be sure, play it by ear I guess. I started at the back and boot where the rust is the worst, managed to find some steel under it all. After I've found out the extent of the rust I'll get onto patching in new metal.
7 points
-
Oops. I was just going to post a li'l update since things have slowed down while I wait for stuff, but I now realise I forgot to share some stuff. We disassembled the engine. It's otherwise fine really. The oil pump housing halves look fine fortunately, no scoring or anything. The pump gears themselves are impregnated with bearing material, they still turn inside each other without much resistance but without a reference I don't know if they're meant to be smoother ;). The block's journals aren't happy. You can feel the scoring on two of them, one is particularly gougey and definitely would need a grind, if it can be saved at all. At the time we were unsure if we could just use as-is but since then I've been learning some stuff from HP Academy and uh yeah that wouldn't fly I've dropped the block off to some reconditioners in welly. They asked for the rest of the rotating assembly so I slapped the caps on in 5 minutes in what I hoped was the right order (it wasn't) and went over there with Andrew. One of the first things Engineman asked was "want us to try save the crank?" We just assumed it was toast because of the overheating discolouration. I mean maybe it is, but if these guys can save the crank then that pays for the cost of saving the block! It's great to have "good news" dangled in front of me for once! That said it could easily just go in the other direction if the block can't be saved. Engineman didn't seem too bothered about the damage, but said it might be a PITA due to one side being aluminium and the other side (caps) being steel. We'll see what he says, this is a blocker for plans going forward because if we have to buy a block then it's probably cheaper to buy a whole new engine (which isn't cheap!). A brief diversion into engine swaps. A swift turbo engine swap would be nice, but honestly one of the fun characteristics of this car is its little 0.6 litre engine which somehow manages to make this little thing hurtle around faster than it should be able to. I wouldn't hate a K6A or something in there (if it could fit...), but it's a lot of fun to have this little angry thing make its noises and confuse people when the bonnet is up. ANYWAY. Here's all the bits strewn about. Consolation prize: expensive aftermarket coils. I have since sorted out the mess a bit. Andrew cut open the oil filter I'd put on the car after it had arrived from Japan, the one attached to the engine when it started quacking, and yeah, sparklies. No surprises there. It looked like a pain in the arse but in the absence of anything to do I picked up the saw afterwards and sent it on the old filter that was on the car when it arrived in NZ. Here's @kws's hands modelling for us. Oh my. Okay Heckies So uh yeah I bought a lemon. Kelv cheekily admitted that he was glad that I'd won the car. Fair. That said, I'm strangely not mad. Nor am I put off the car. I just want to fix it and get back in it. That's got to be worth something to find out about your relationship with your daily driver. More importantly it tells me two things 1. I didn't break my car. 2. The question of "how did I break my car?" is no longer present. On the surface this seems like a shrug of a point to make, but it's much deeper than that. If I didn't find this out I'd probably never be comfortable driving this car hard again - or possibly any car. Maybe that's why I'm not mad.7 points
-
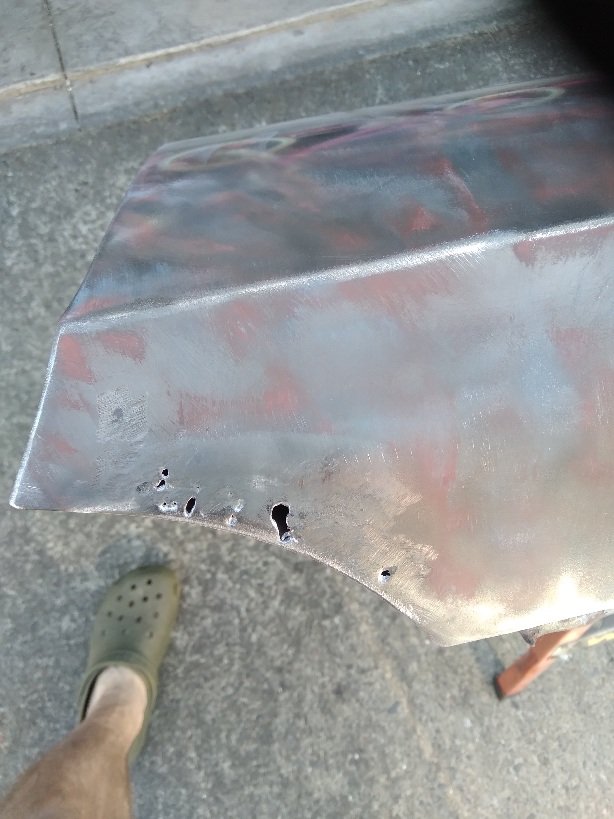
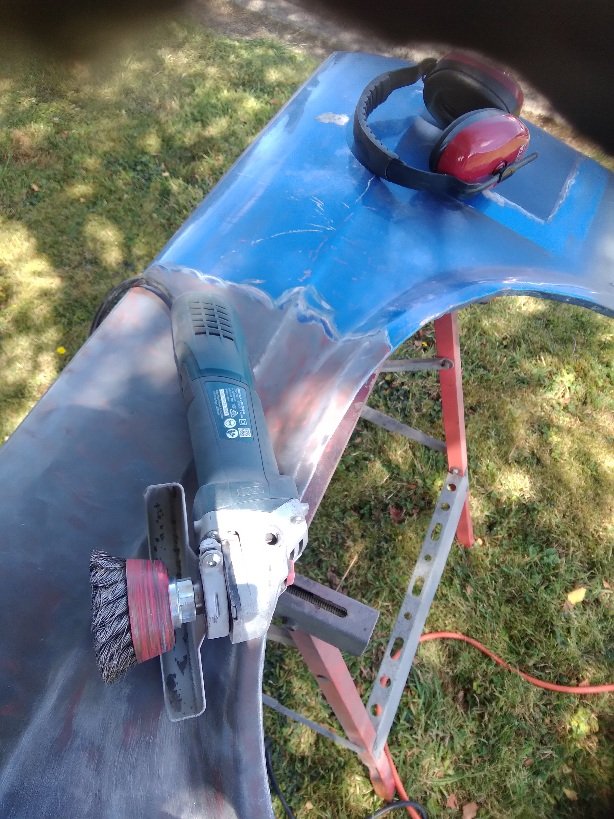
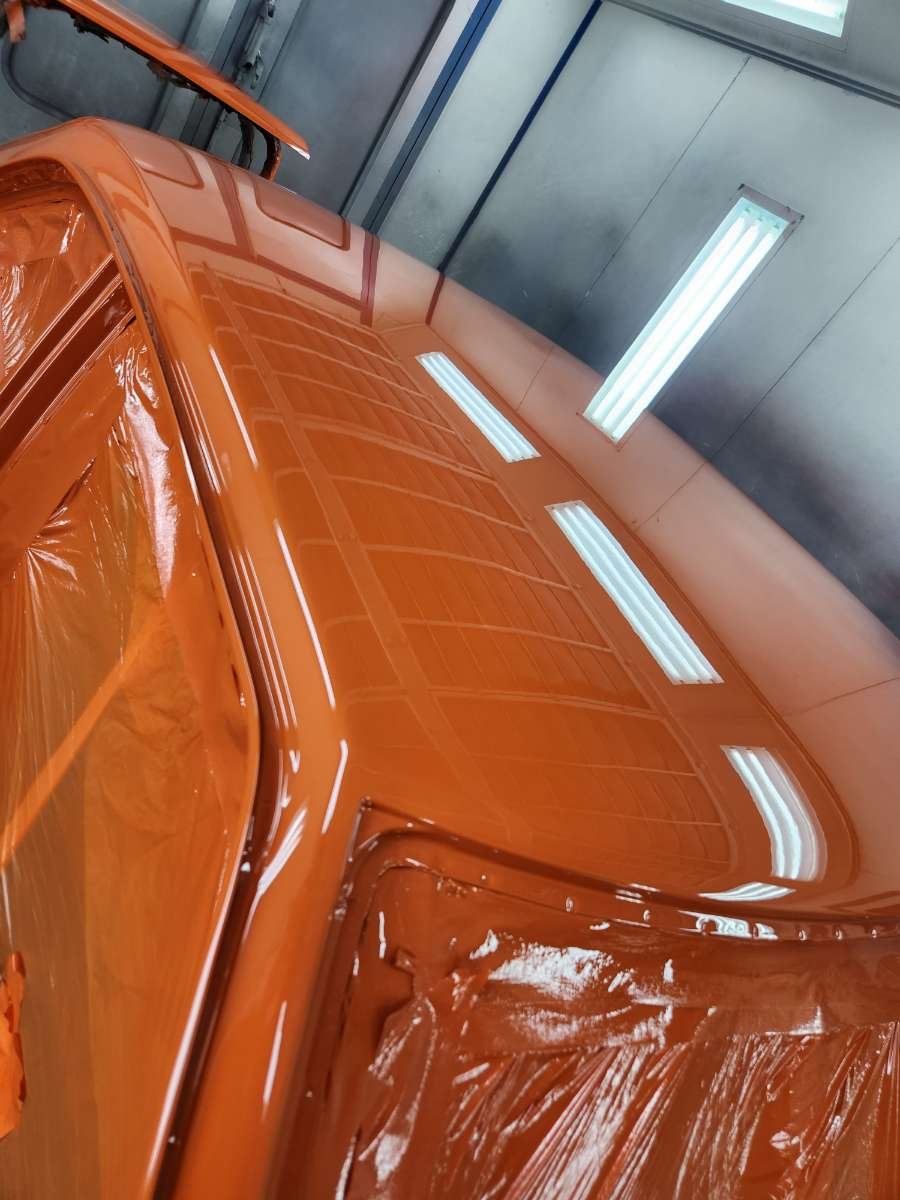
Found alittle rust hole and the panel is pretty lumpy and uneven. I will be smoothing it out with my hammer and dolly but it's only the front half by the bumper that is uneven. Pretty stoked with how good it is really.
5 points
-
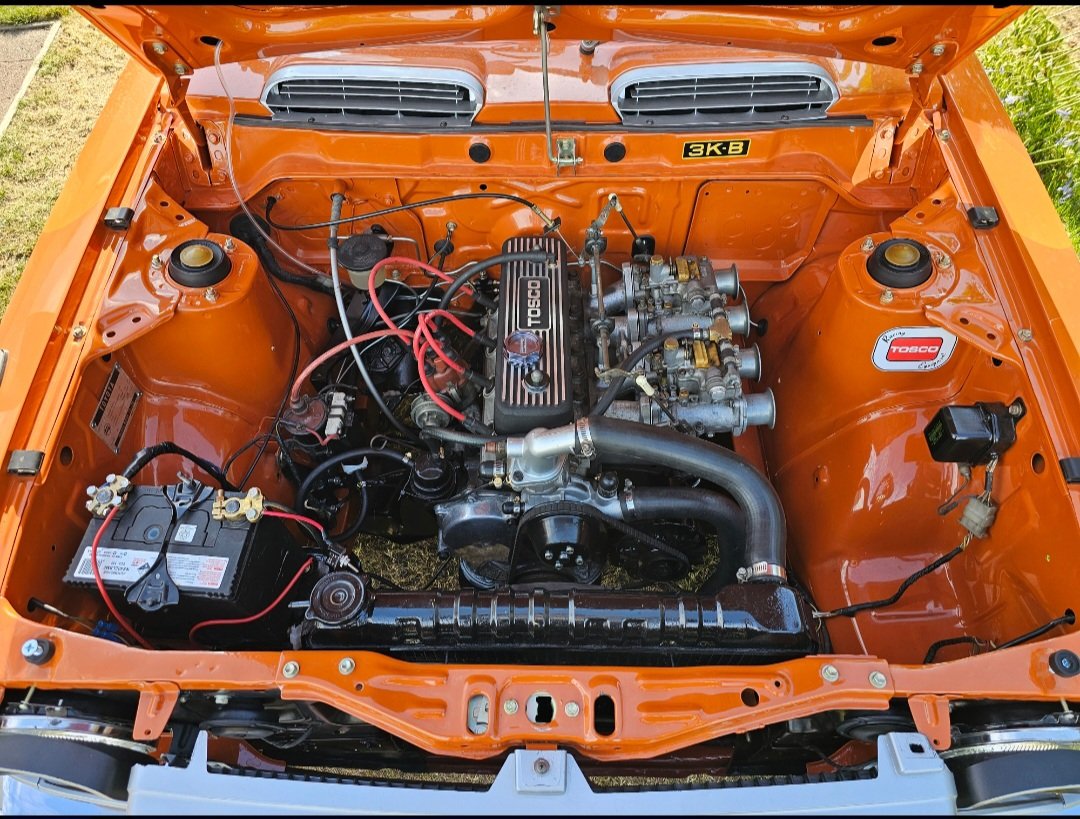
Bspeed tosco cover now on
4 points
-
So ages ago I got an old mobility scooter, with the intention of convert it into a mini Willy's jeep that my kids can blast around in. The donor vehicle was this beauty, in working condition but with no batts. I borrowed some old batteries from my BIL, but they were well past it, so had to invest in a good set, not sure on the range yet, but it will be decent with a couple of 50ah's in there. I then half assedly rearranged it to have a steering wheel from a ride on, and lowered the seat so the kids could drive it. I also fitted a foot pedal accelerator. It was like this for more than a year or so I guess. Then recently I decided I better actually work on making it into the jeep it was meant to be, before the kids get too old. So I did quite a bit of chassis modification to get the batteries back a bit (mainly so there's room for my feet to fit in) I also fitted new black tyres, as the old fronts were rooted. I then widened the front track 80mm to match the rear, not sure why they made the front skinnier to begin with tbh. Then I started work on repositioning the steering to one side. I used bearings and pressed steel housing I already had, and got a couple of sprockets to reduce the steering speed by half, to make it a bit easier to turn with the smaller steering wheel. The center hub slides to tension the chain. The shitty pressed steel housings didn't like having the leverage of the long steering shaft on them, and bent, so I machined up a hub to replace them, it's mint as now. I then whipped up a crappy temporary floor and seat (not finished in pic) so the kids can drive it while I build the body, which is the next mission. Regards, VG.3 points
-
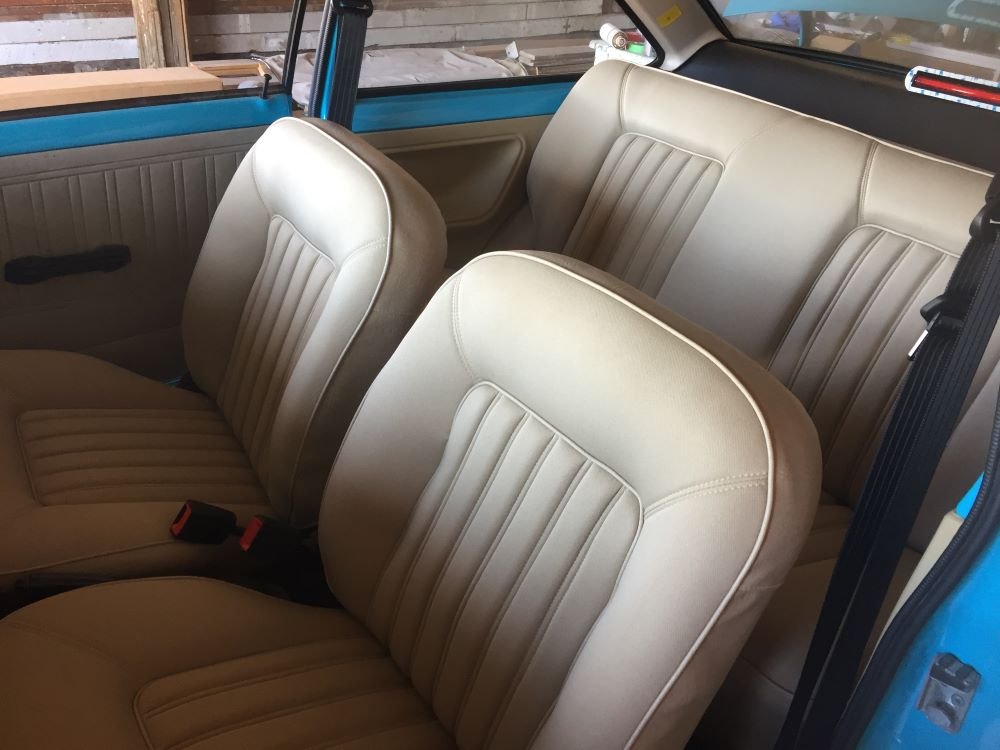
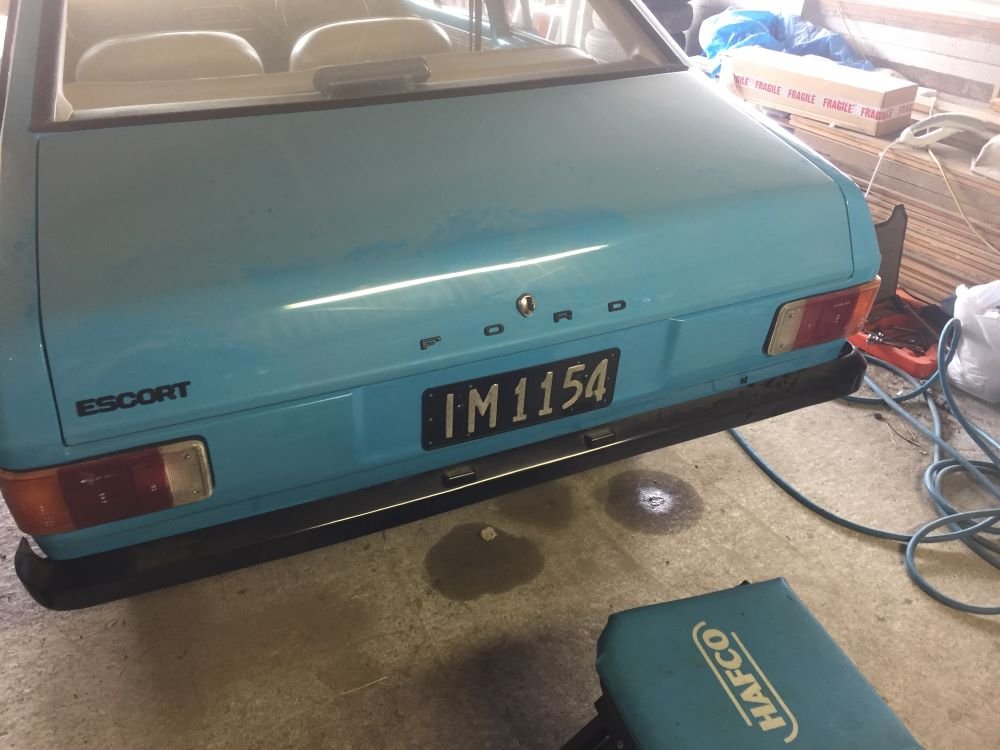
Just slowly picking off jobs as time allows. Fitted the carpet and cut all holes for seats, seeatbelts, gear stick, brake handle. Installed gearstick and rubber gaiter. Next put in seatbelts and also fitted door cards. All looking pretty good. Next in was the seats which took a while as quite hard to line up holes I had cut in carpet. Starting to look like a new car. Next put badges and number plate on rear also mirrors on doors. Time to put some petrol in the tank in anticipation of startup but it all ended up on the ground. Didn't see that coming and had to take tank out to find hole. Rust never sleeps. Luckly had another tank which I checked more carefully. Cleaned, painted and installed. No leaks Result Project Discussion https://oldschool.co.nz/index.php?/topic/84912-petes-mk2-escort-1600-sports/page/3/#comment-2618039
3 points
-
3 points
-
Good work. I look forward to updates on the kittens names3 points
-
Ford Model T carriage lantern: (hopefully those images allow remote linking) Looks pretty similar. There seem to have been a few variations. Looking at the NZ Model T club photos, often the lanterns don't seem to have that red side light. http://modeltford.co.nz/media/1588/img_4080-copy.jpg http://modeltford.co.nz/media/1574/img_4066-copy.jpg http://modeltford.co.nz/media/1578/img_4070-copy.jpg3 points
-
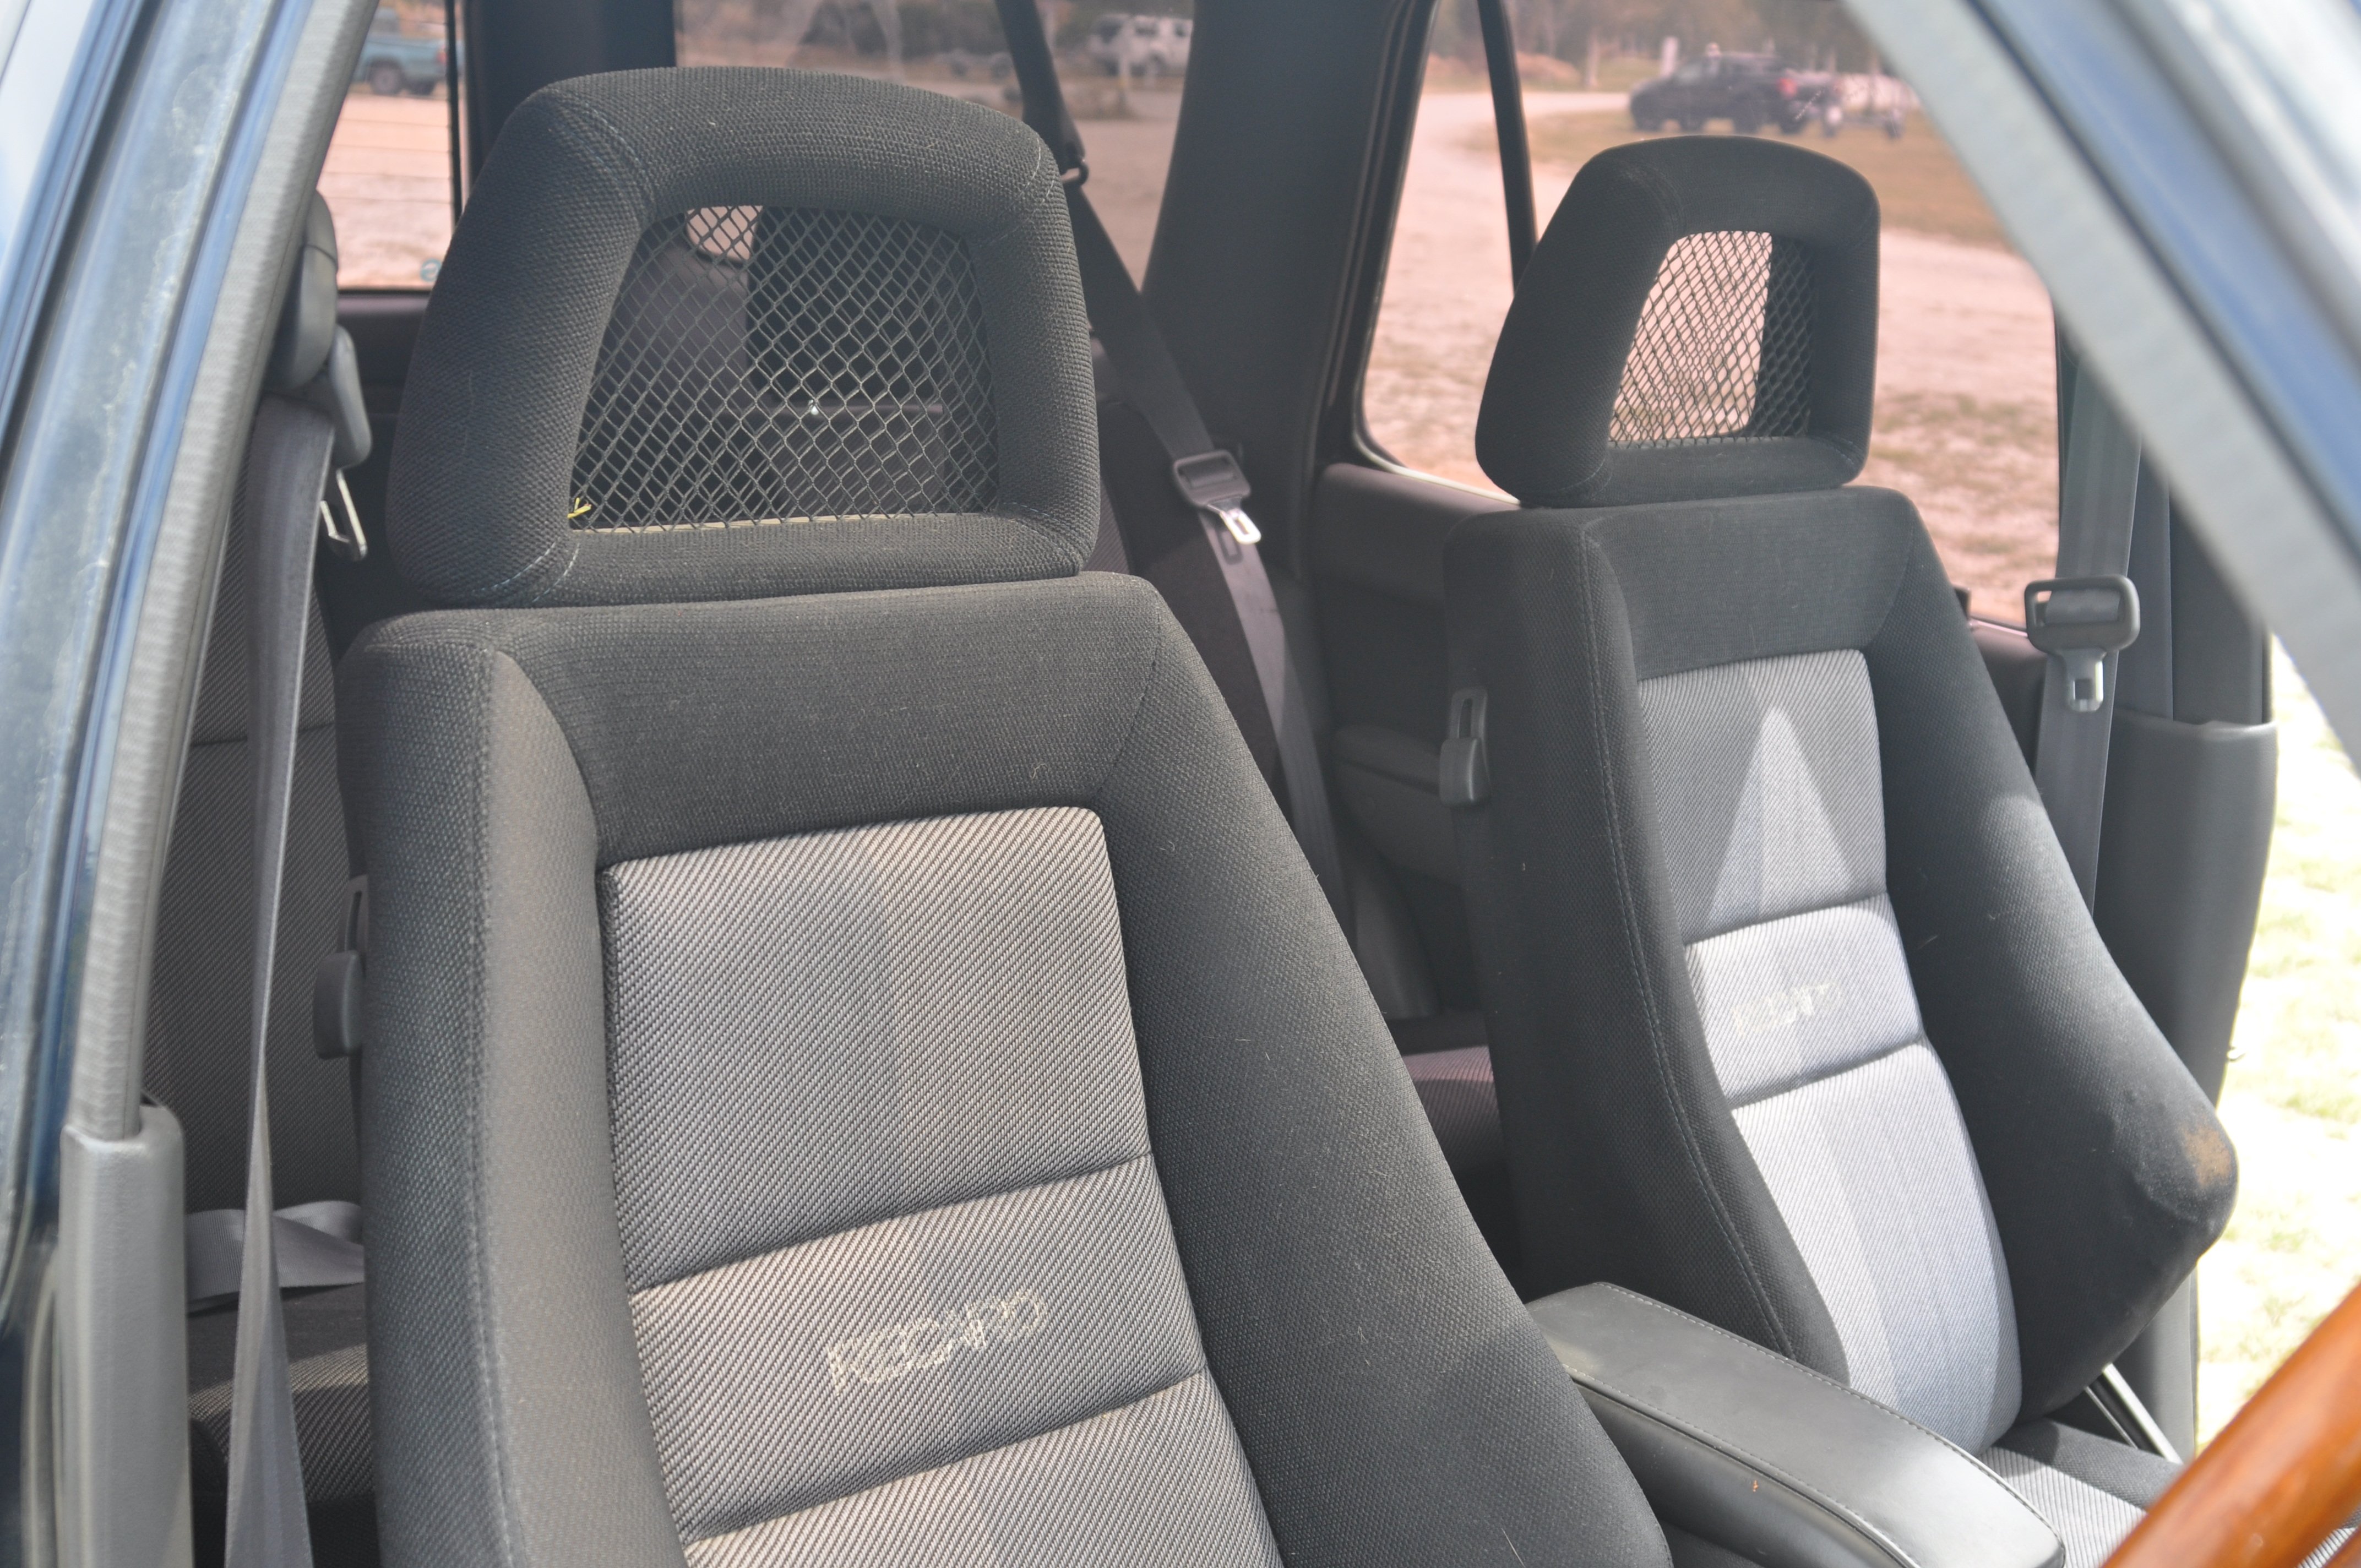
Our Hilux had factory Recaro’s with the rear seats matching. Was super lush!
2 points
-
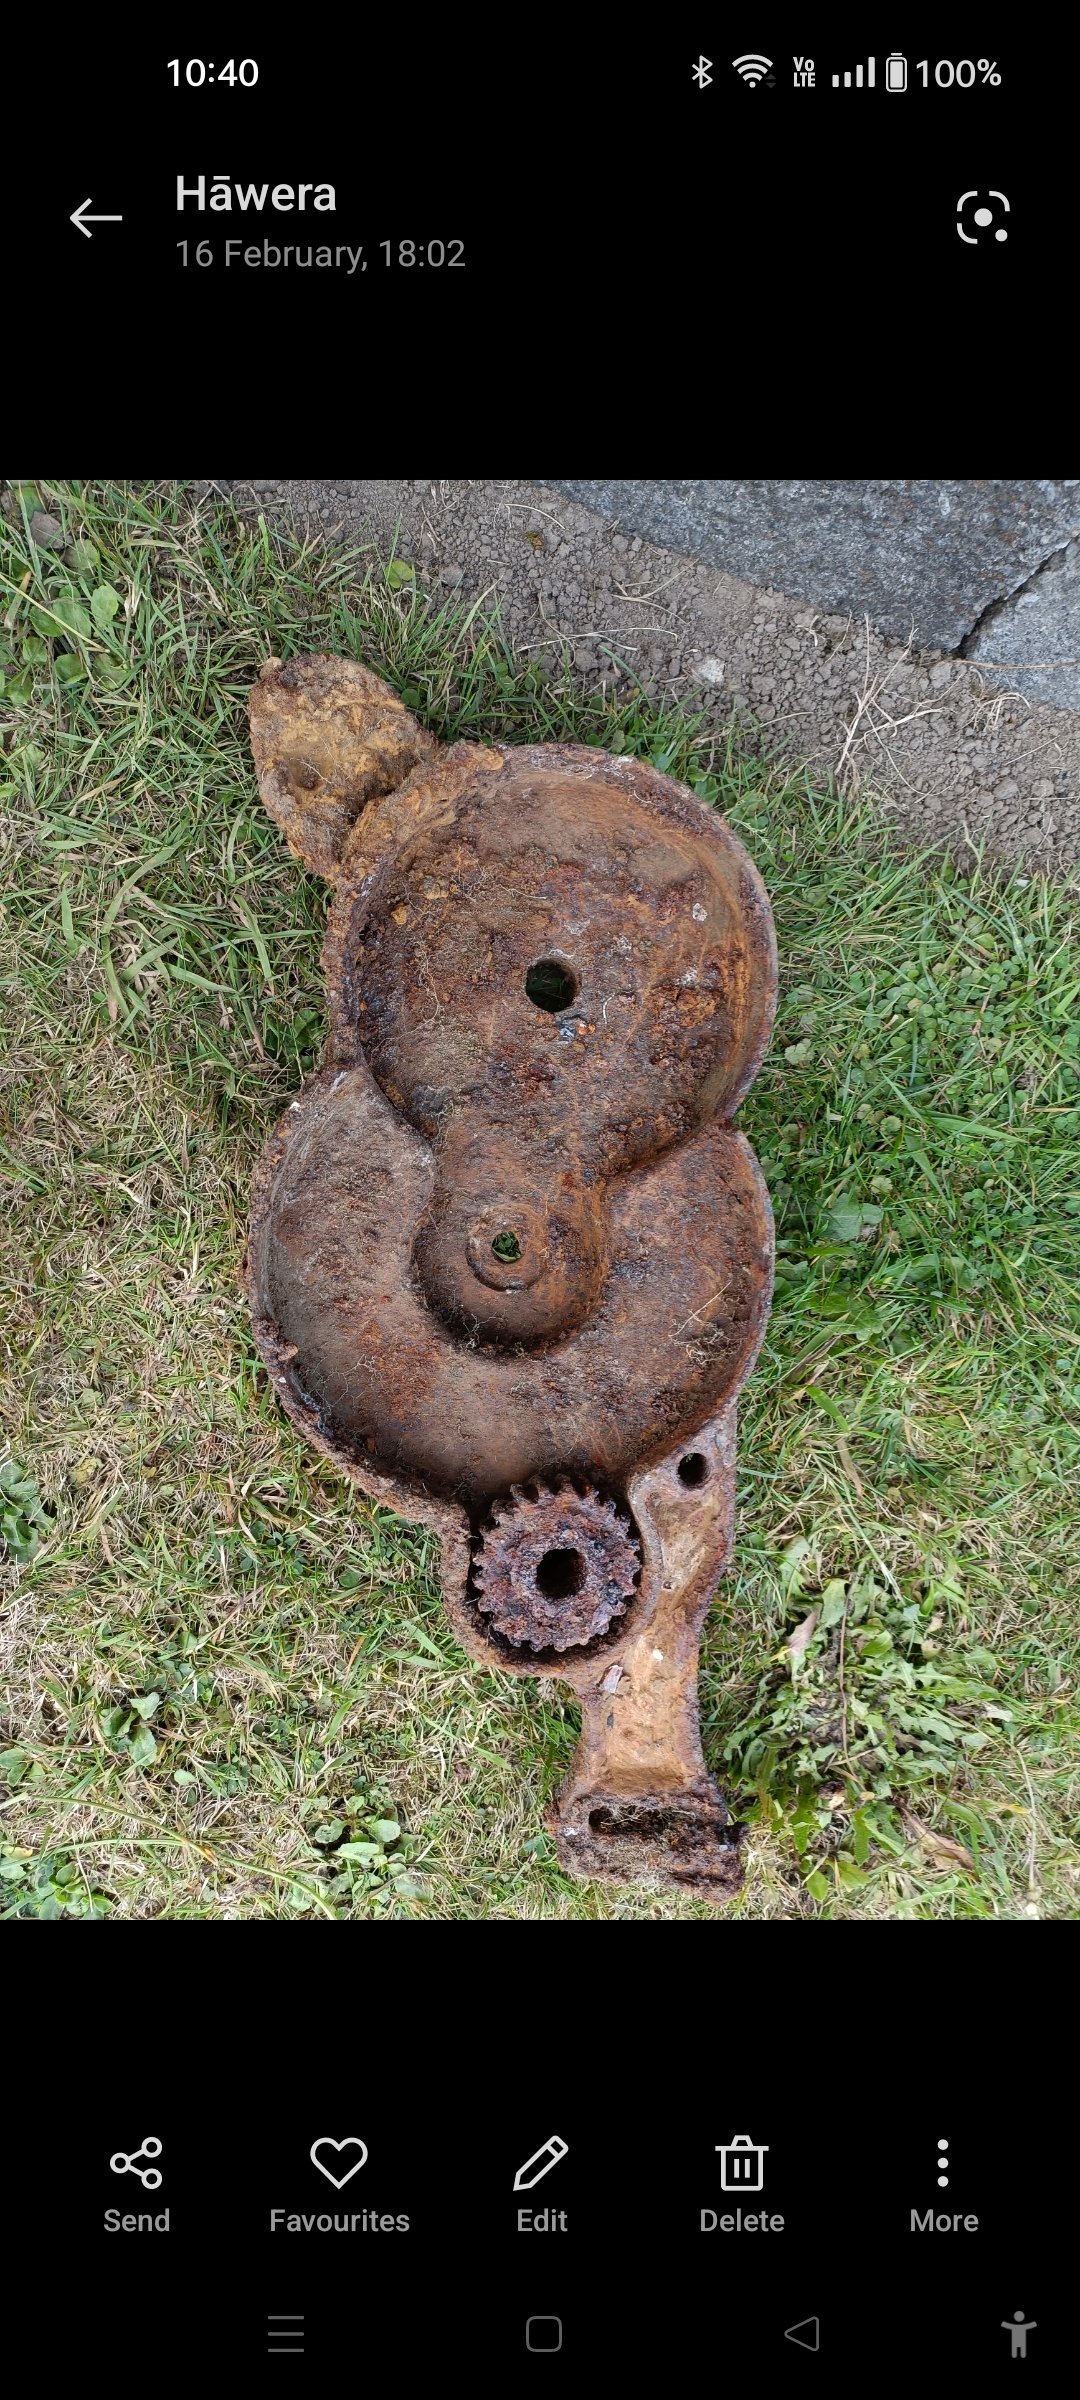
Quite possibly from something like this
2 points
-
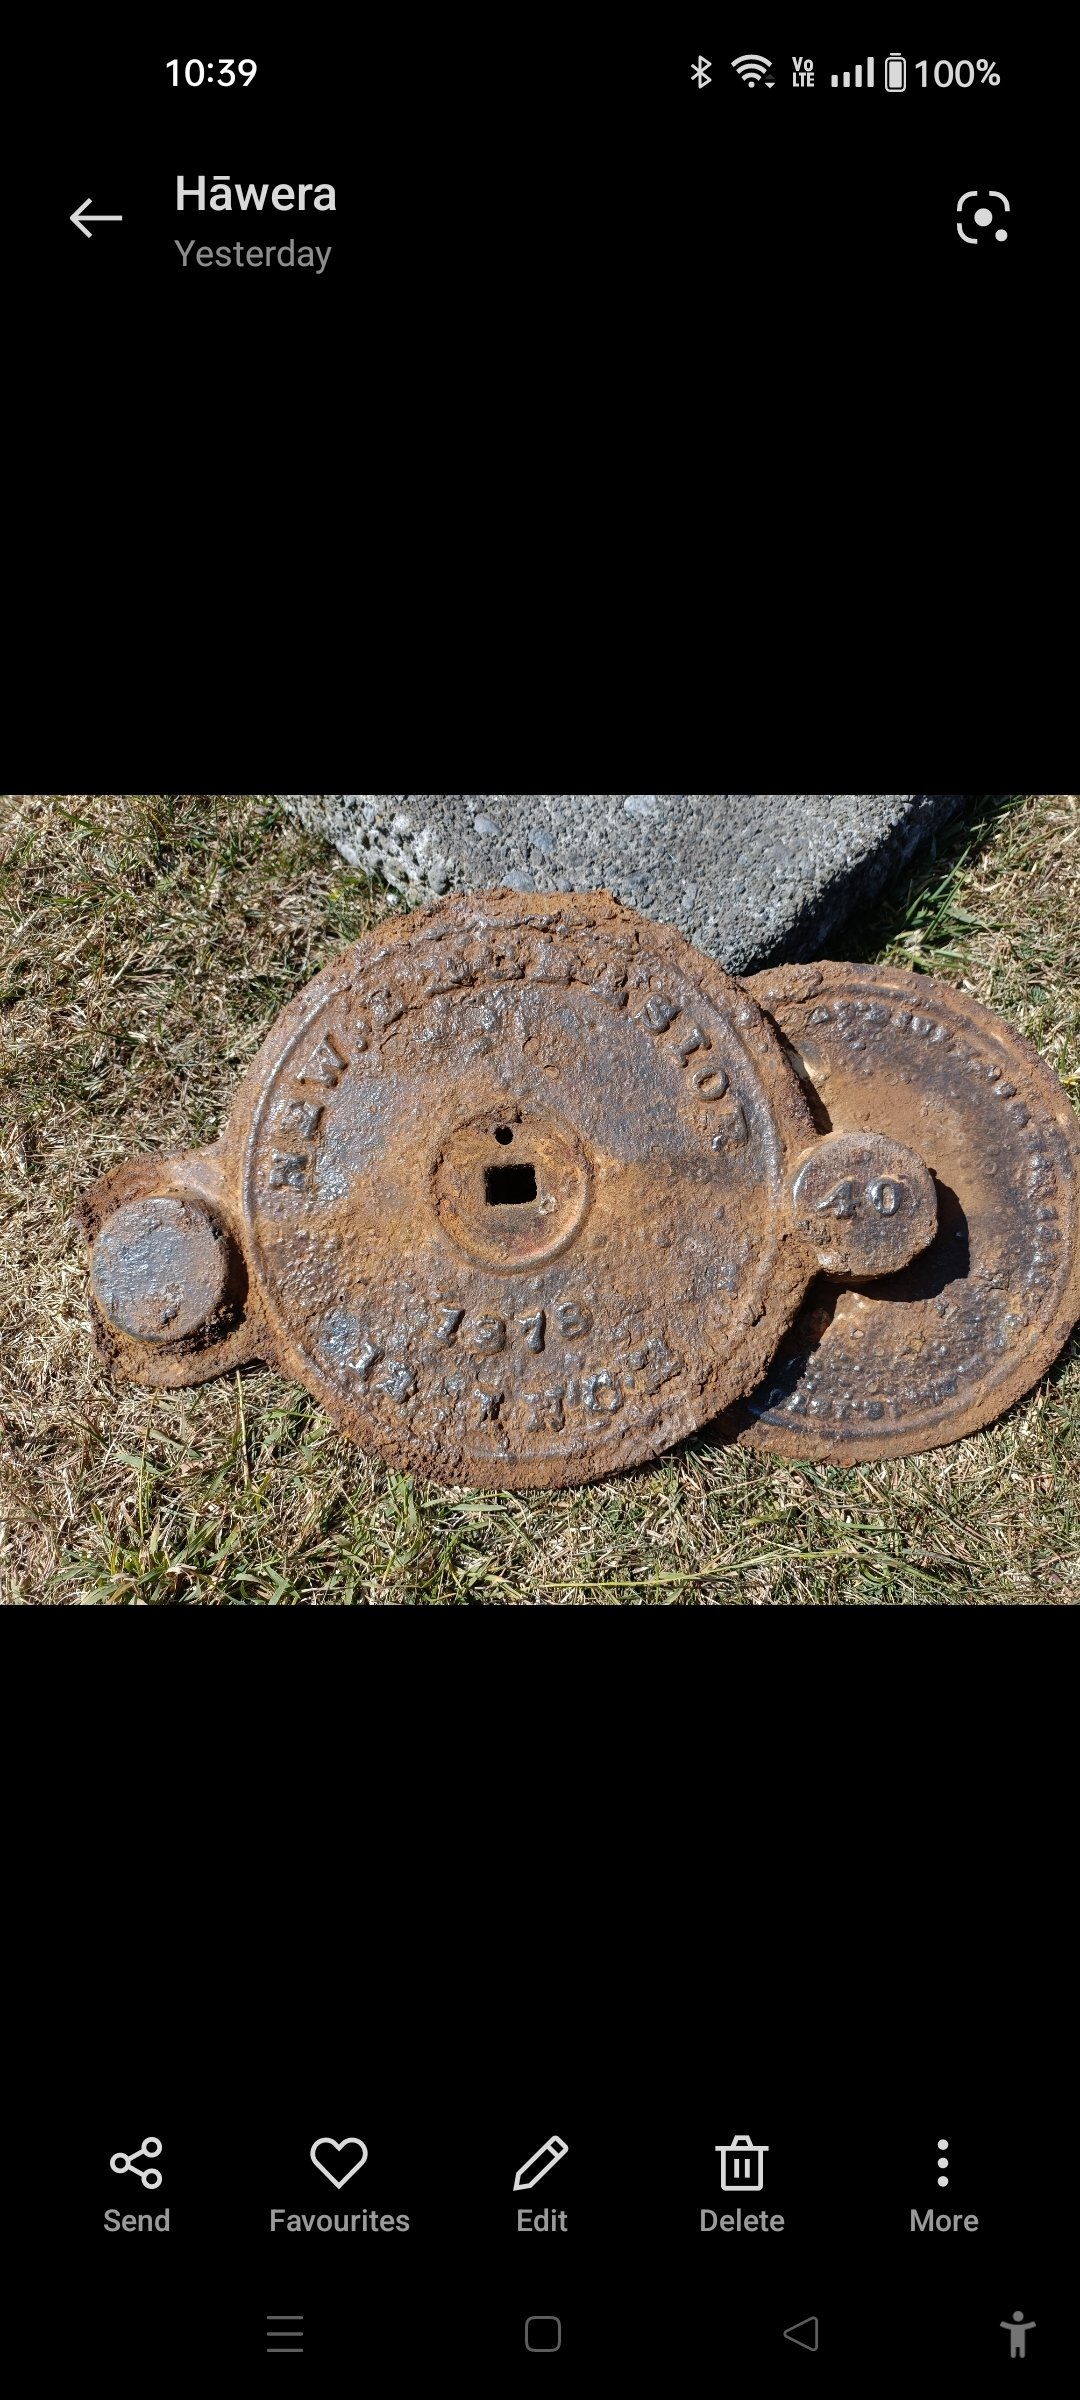
The river bank next to old mechanics shops is always full of a mix of treasures2 points
-
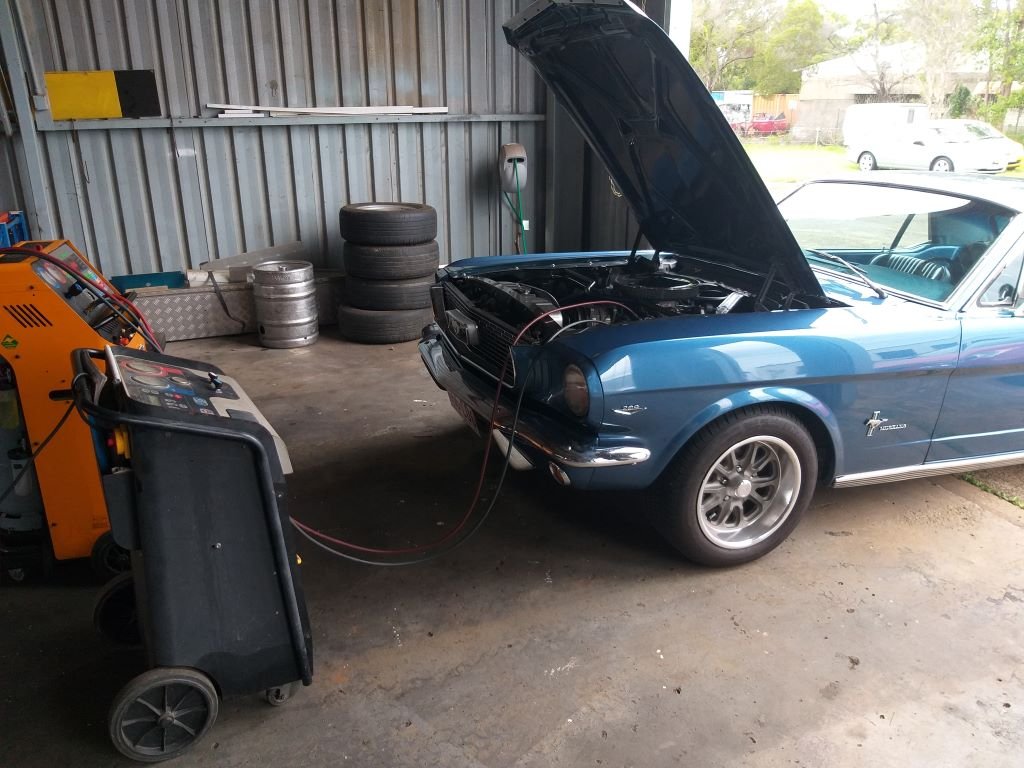
First thing this morning Josh gassed up the a/c which is now back in perfect working order. Hopefully that's the Mustang sorted for the next few months.
2 points
-
Good advice I reckon.2 points
-
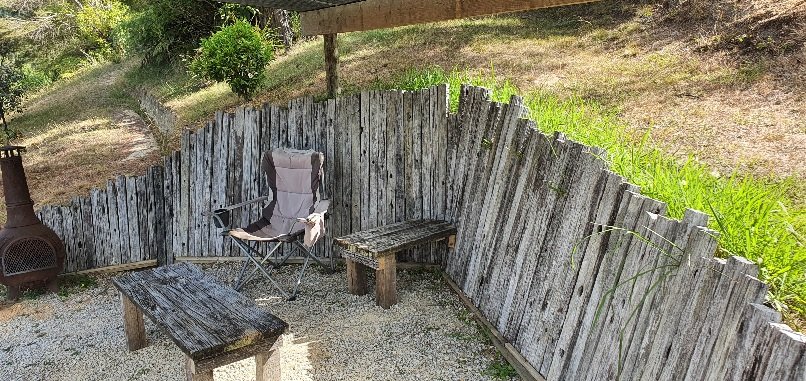
Couldn't stop there. Need a place for coffee mugs.. It's a nice little spot now. We are owed a whole load of macrocarpa from a customer so will soon build bench seating along the back.
2 points
-
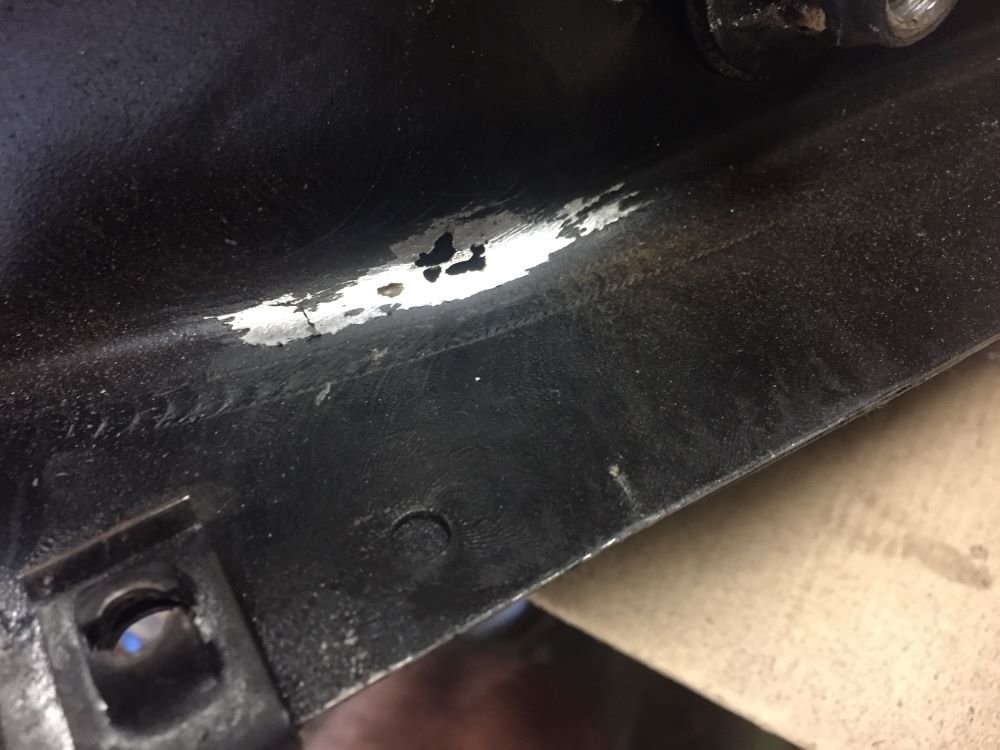
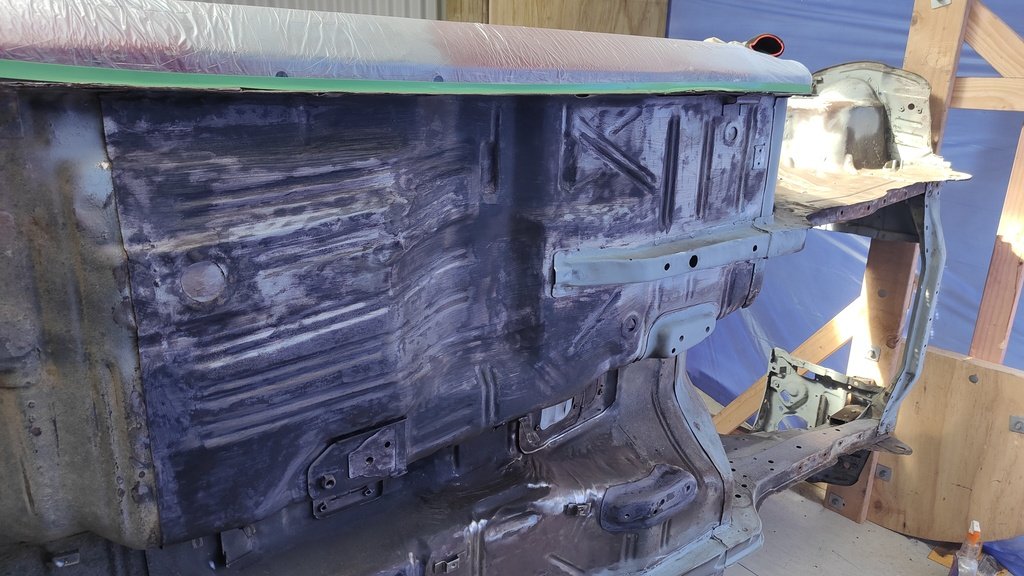
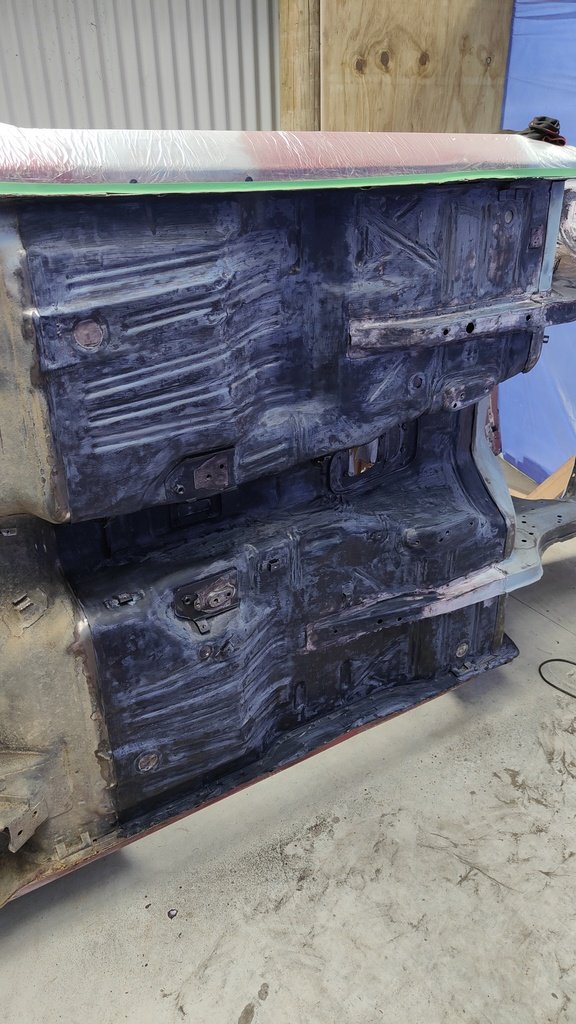
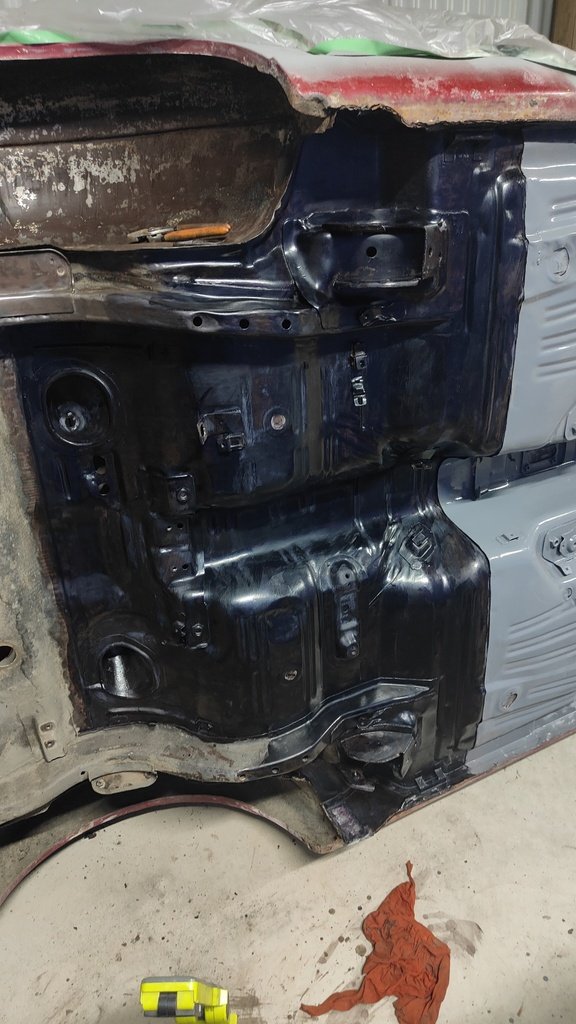
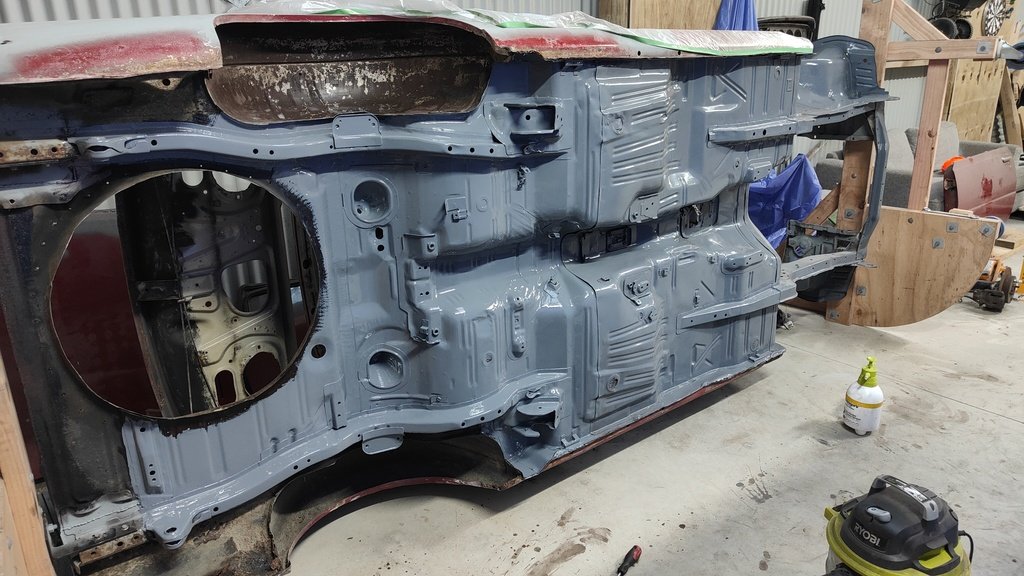
Been a little while since I updated. Made a start on the underside. I removed all of the old underseal and rust converted, it wasn't too bad for rust but a bit of rust converter wouldn't hurt. Once the bulk of the rust converter was done I hit the underside with an epoxy enamel, will then go over this with a textured underseal and seam seal the joins.
2 points
-
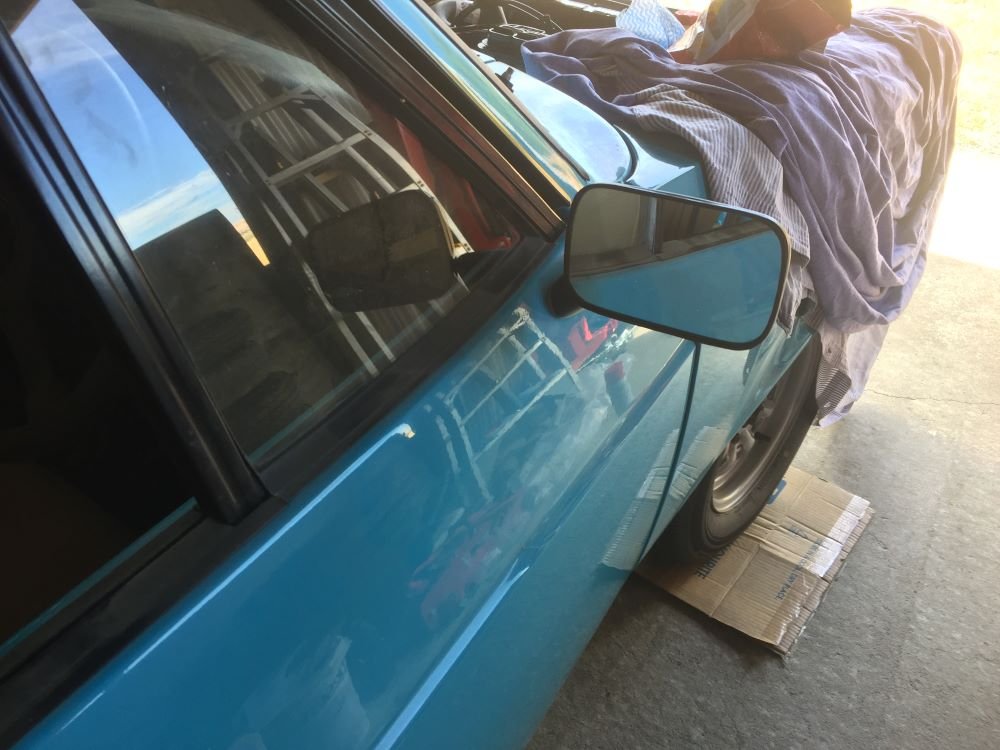
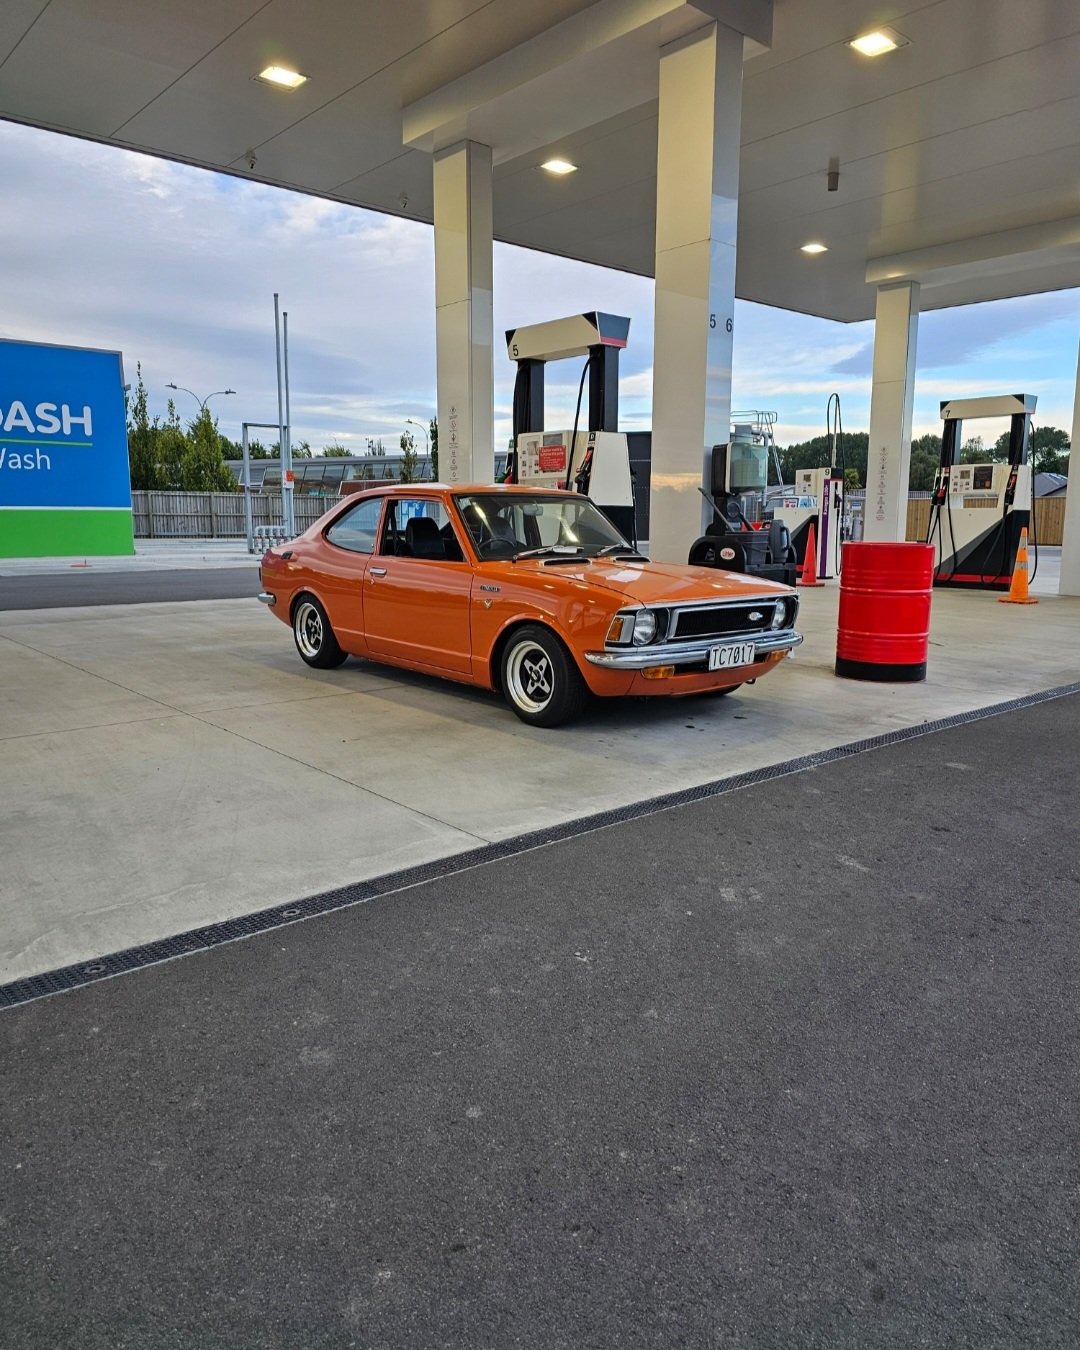
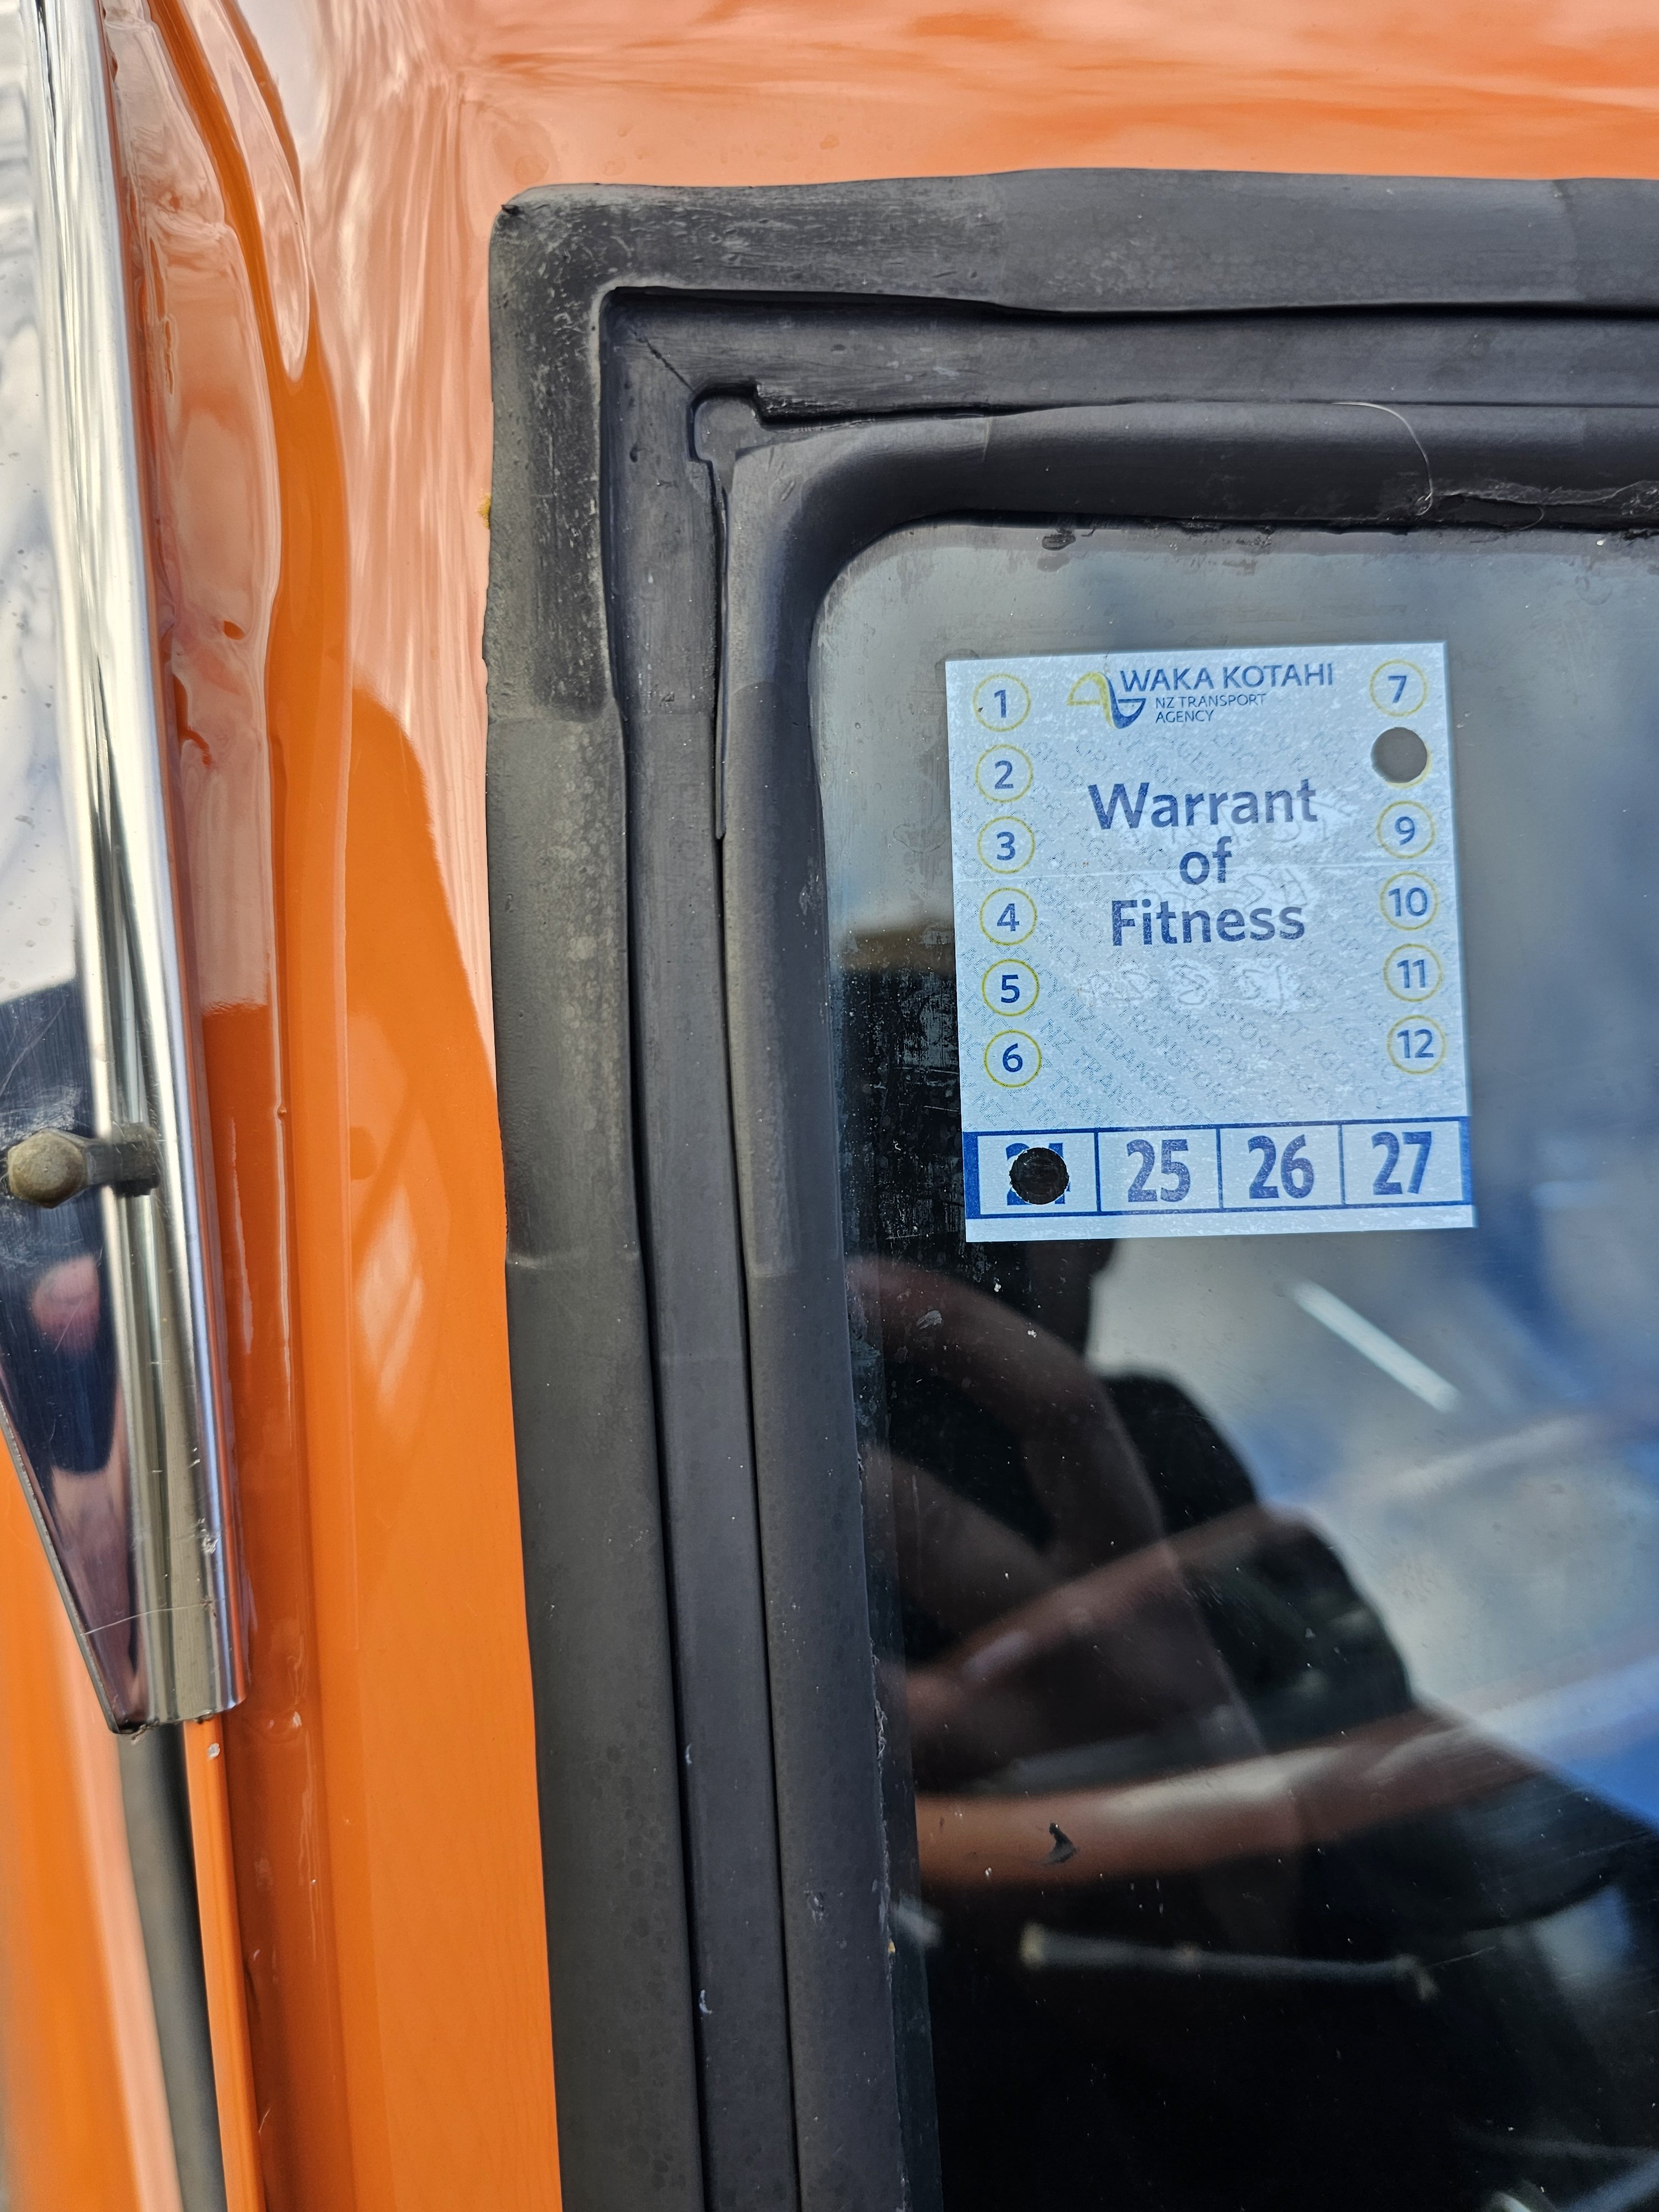
Had my 1st drive of it tonight that where I'm currently upto wof is booked in for Friday so fingers crossed
2 points
-
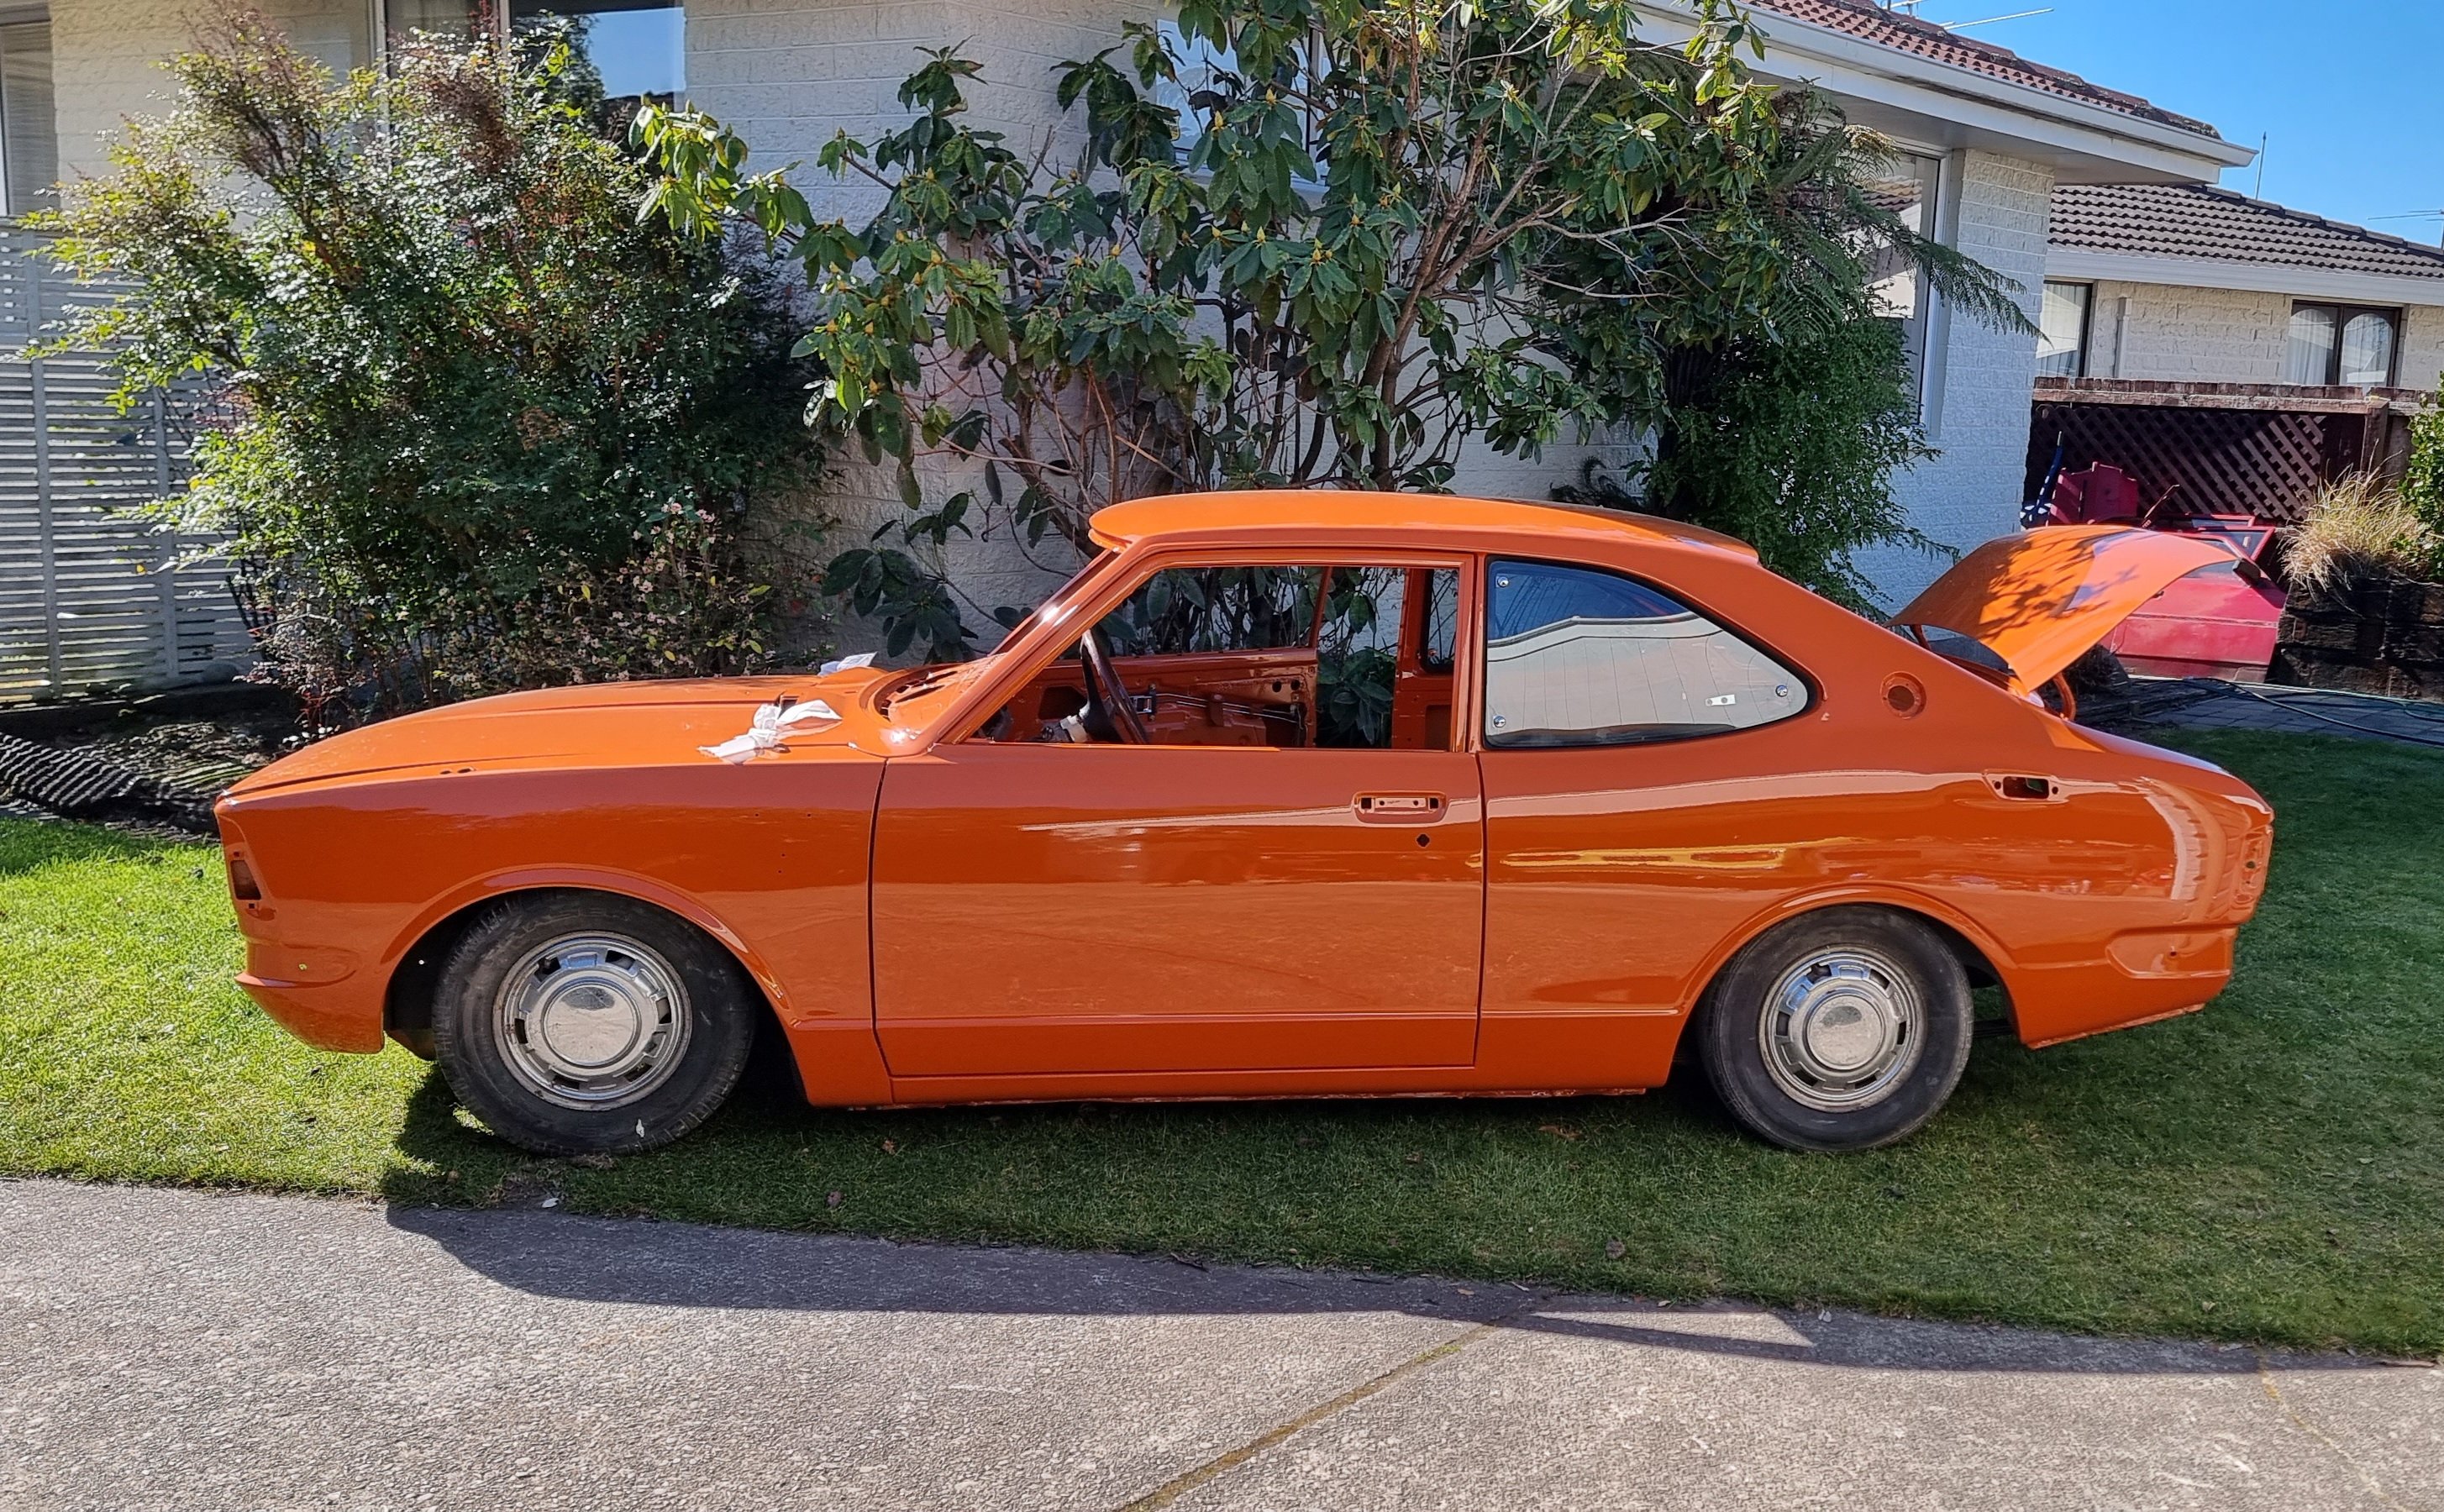
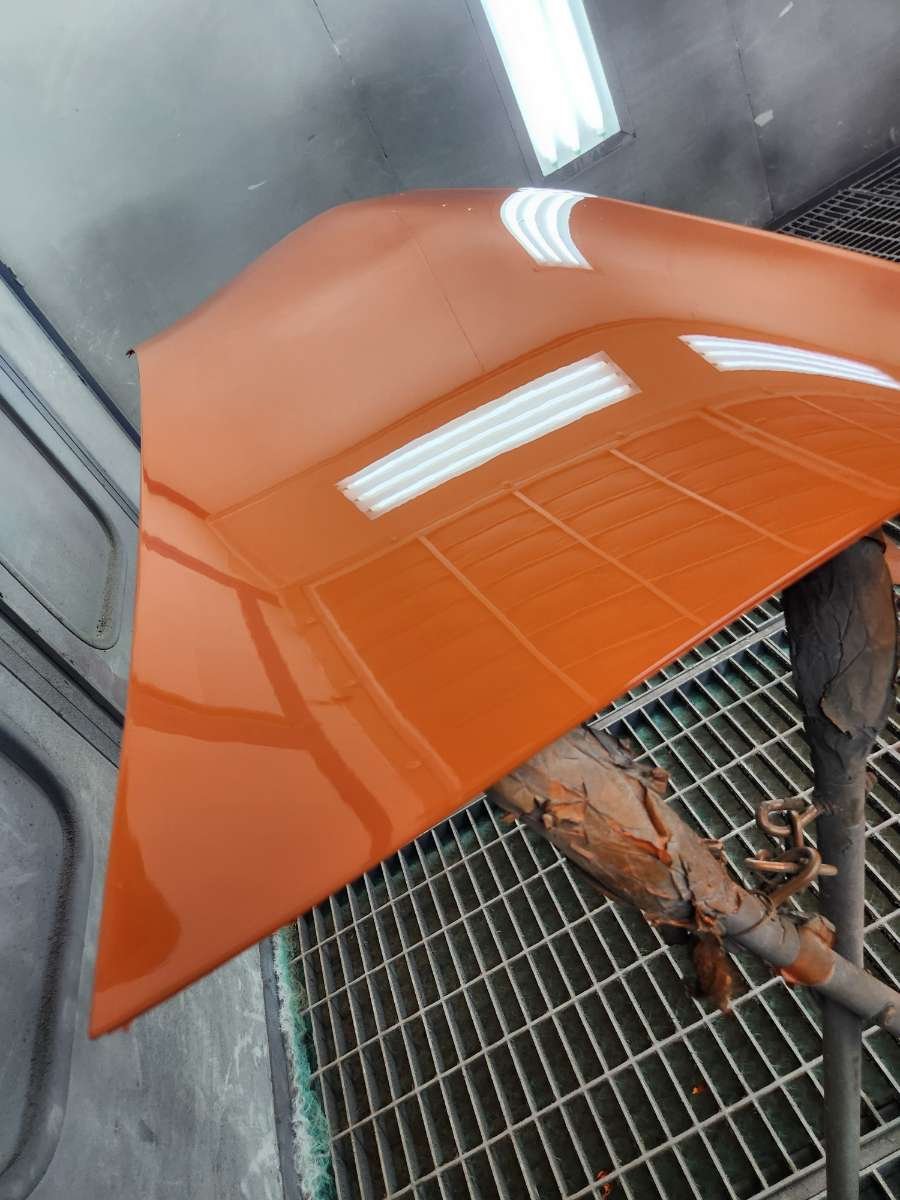
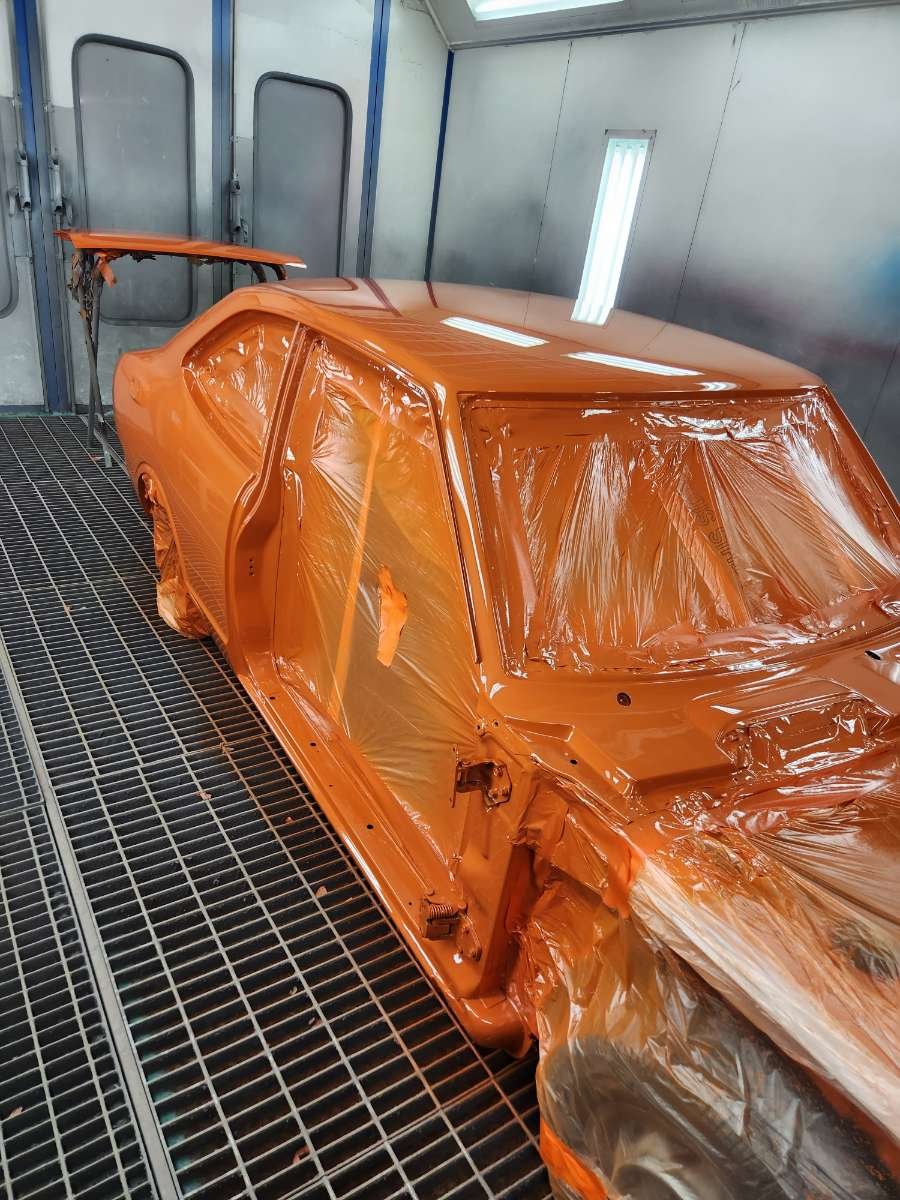
Front end painted and re assembled
2 points
-
2 points
-
Price alone doesn't make you question the quality they could possibly be? I'm just struggling that's all.1 point
-
Looking forward to seeing this on Grand Designs Chatham Islands.1 point
-
Yeah buyee is easier, usually a chassis number works well in searches because they crossover in English and Japanese.1 point
-
Bare metalled the whole guard as I was unsure of the condition of it under all of the bog and paint.
1 point
-
That, or some sort of farm machinery, was my thought also. Too old to be from a car.1 point
-
Correct, have two hood parts so know not just one, also more searching, I now think the part I thought may have been a timing and/or crank case, may belong to an old school lawnmower......1 point
-
That's where they found the remains of Richard Pierce's plane.1 point
-
My bike passed its wof yesterday too! The the "organization committee " have been working in the back ground to try minimise the overall fuck ups etc. (Its a group chat, but we dont wanna run out of BBQ food, or beer)1 point
-
How thoughtful was Toyota to fan force the drivers farts directly at the rear passengers??1 point
-
what next? ive ordered most of the stuff to replace the AC system because it doesn't work as well as id like. coming from rock auto is a new compressor, condenser, TX valve, drier and a full o ring kit. other things to do include a new stereo, full oil and filter change, order a bunch of clips and bits from Amayama, new steering wheel (current one is through to the foam at the top so wont get a warrant like that) probably new front seats? and if i get really carried away i may paint it. i purposely bought a red one because it would be the most sun fucked (read, cheap) and I'm keen to paint something that doesn't require 8 months of rust repairs and panel work before painting. time will tell if i ever get around to doing this or not......1 point
-
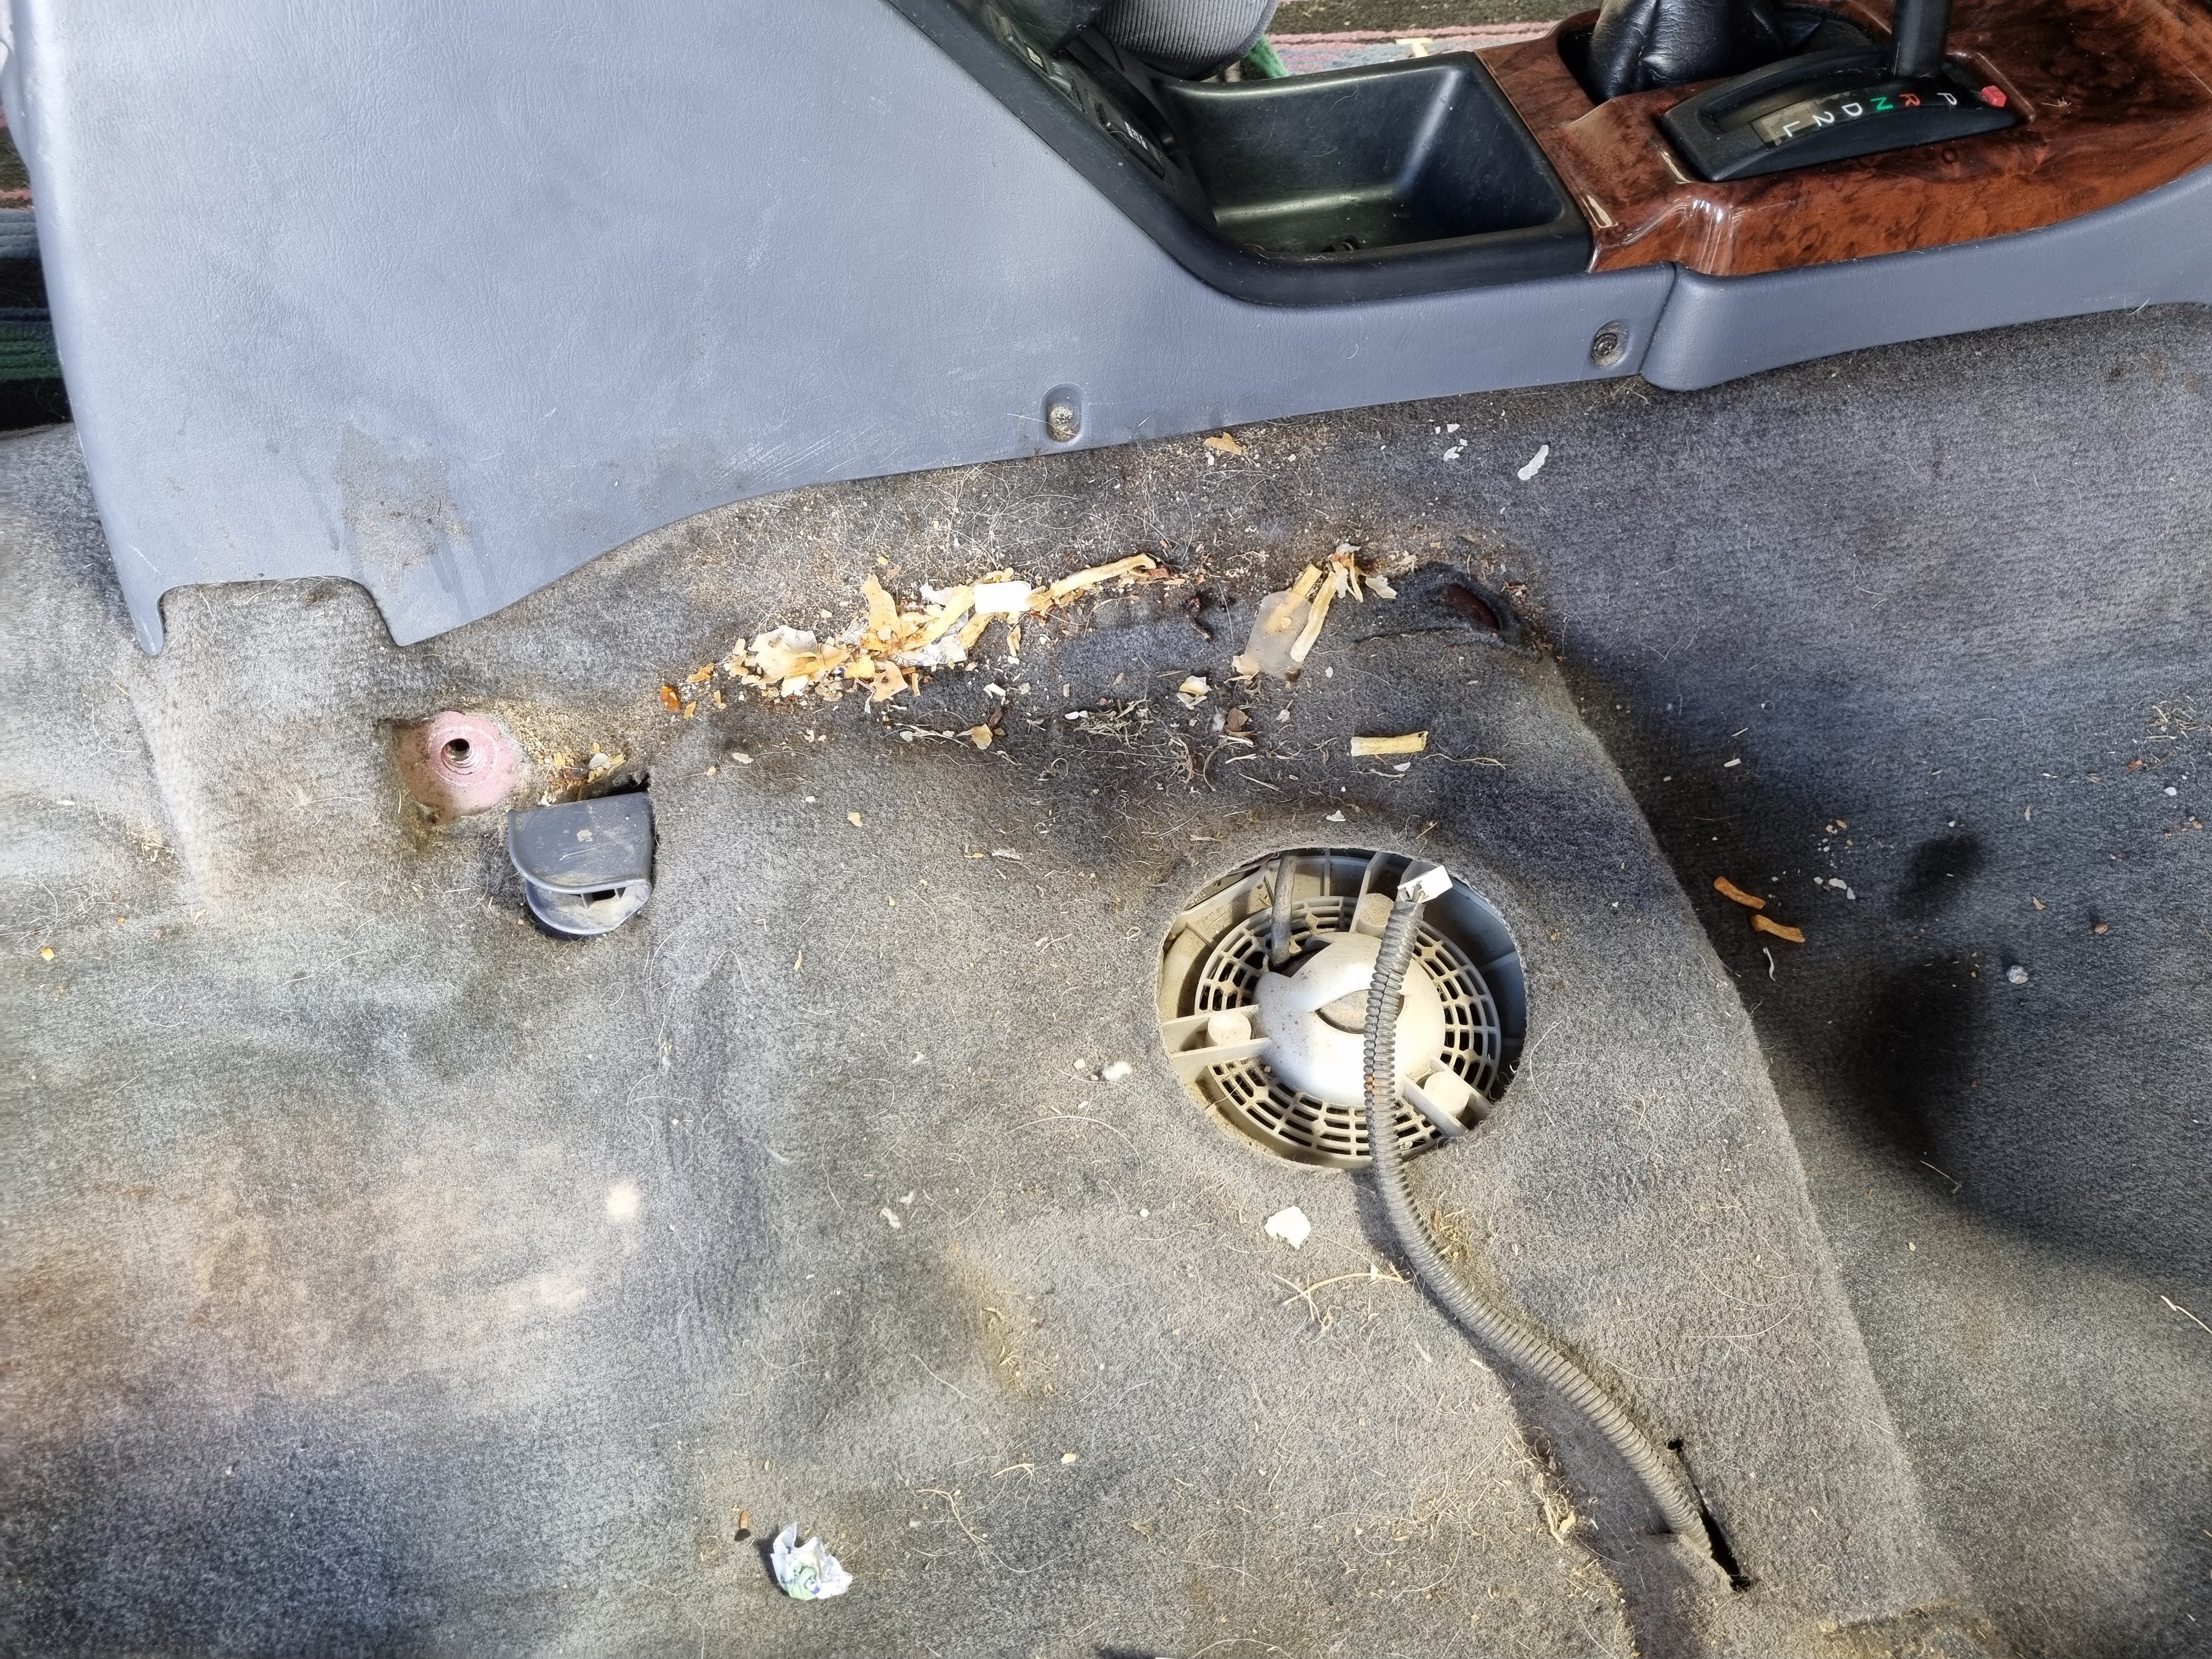
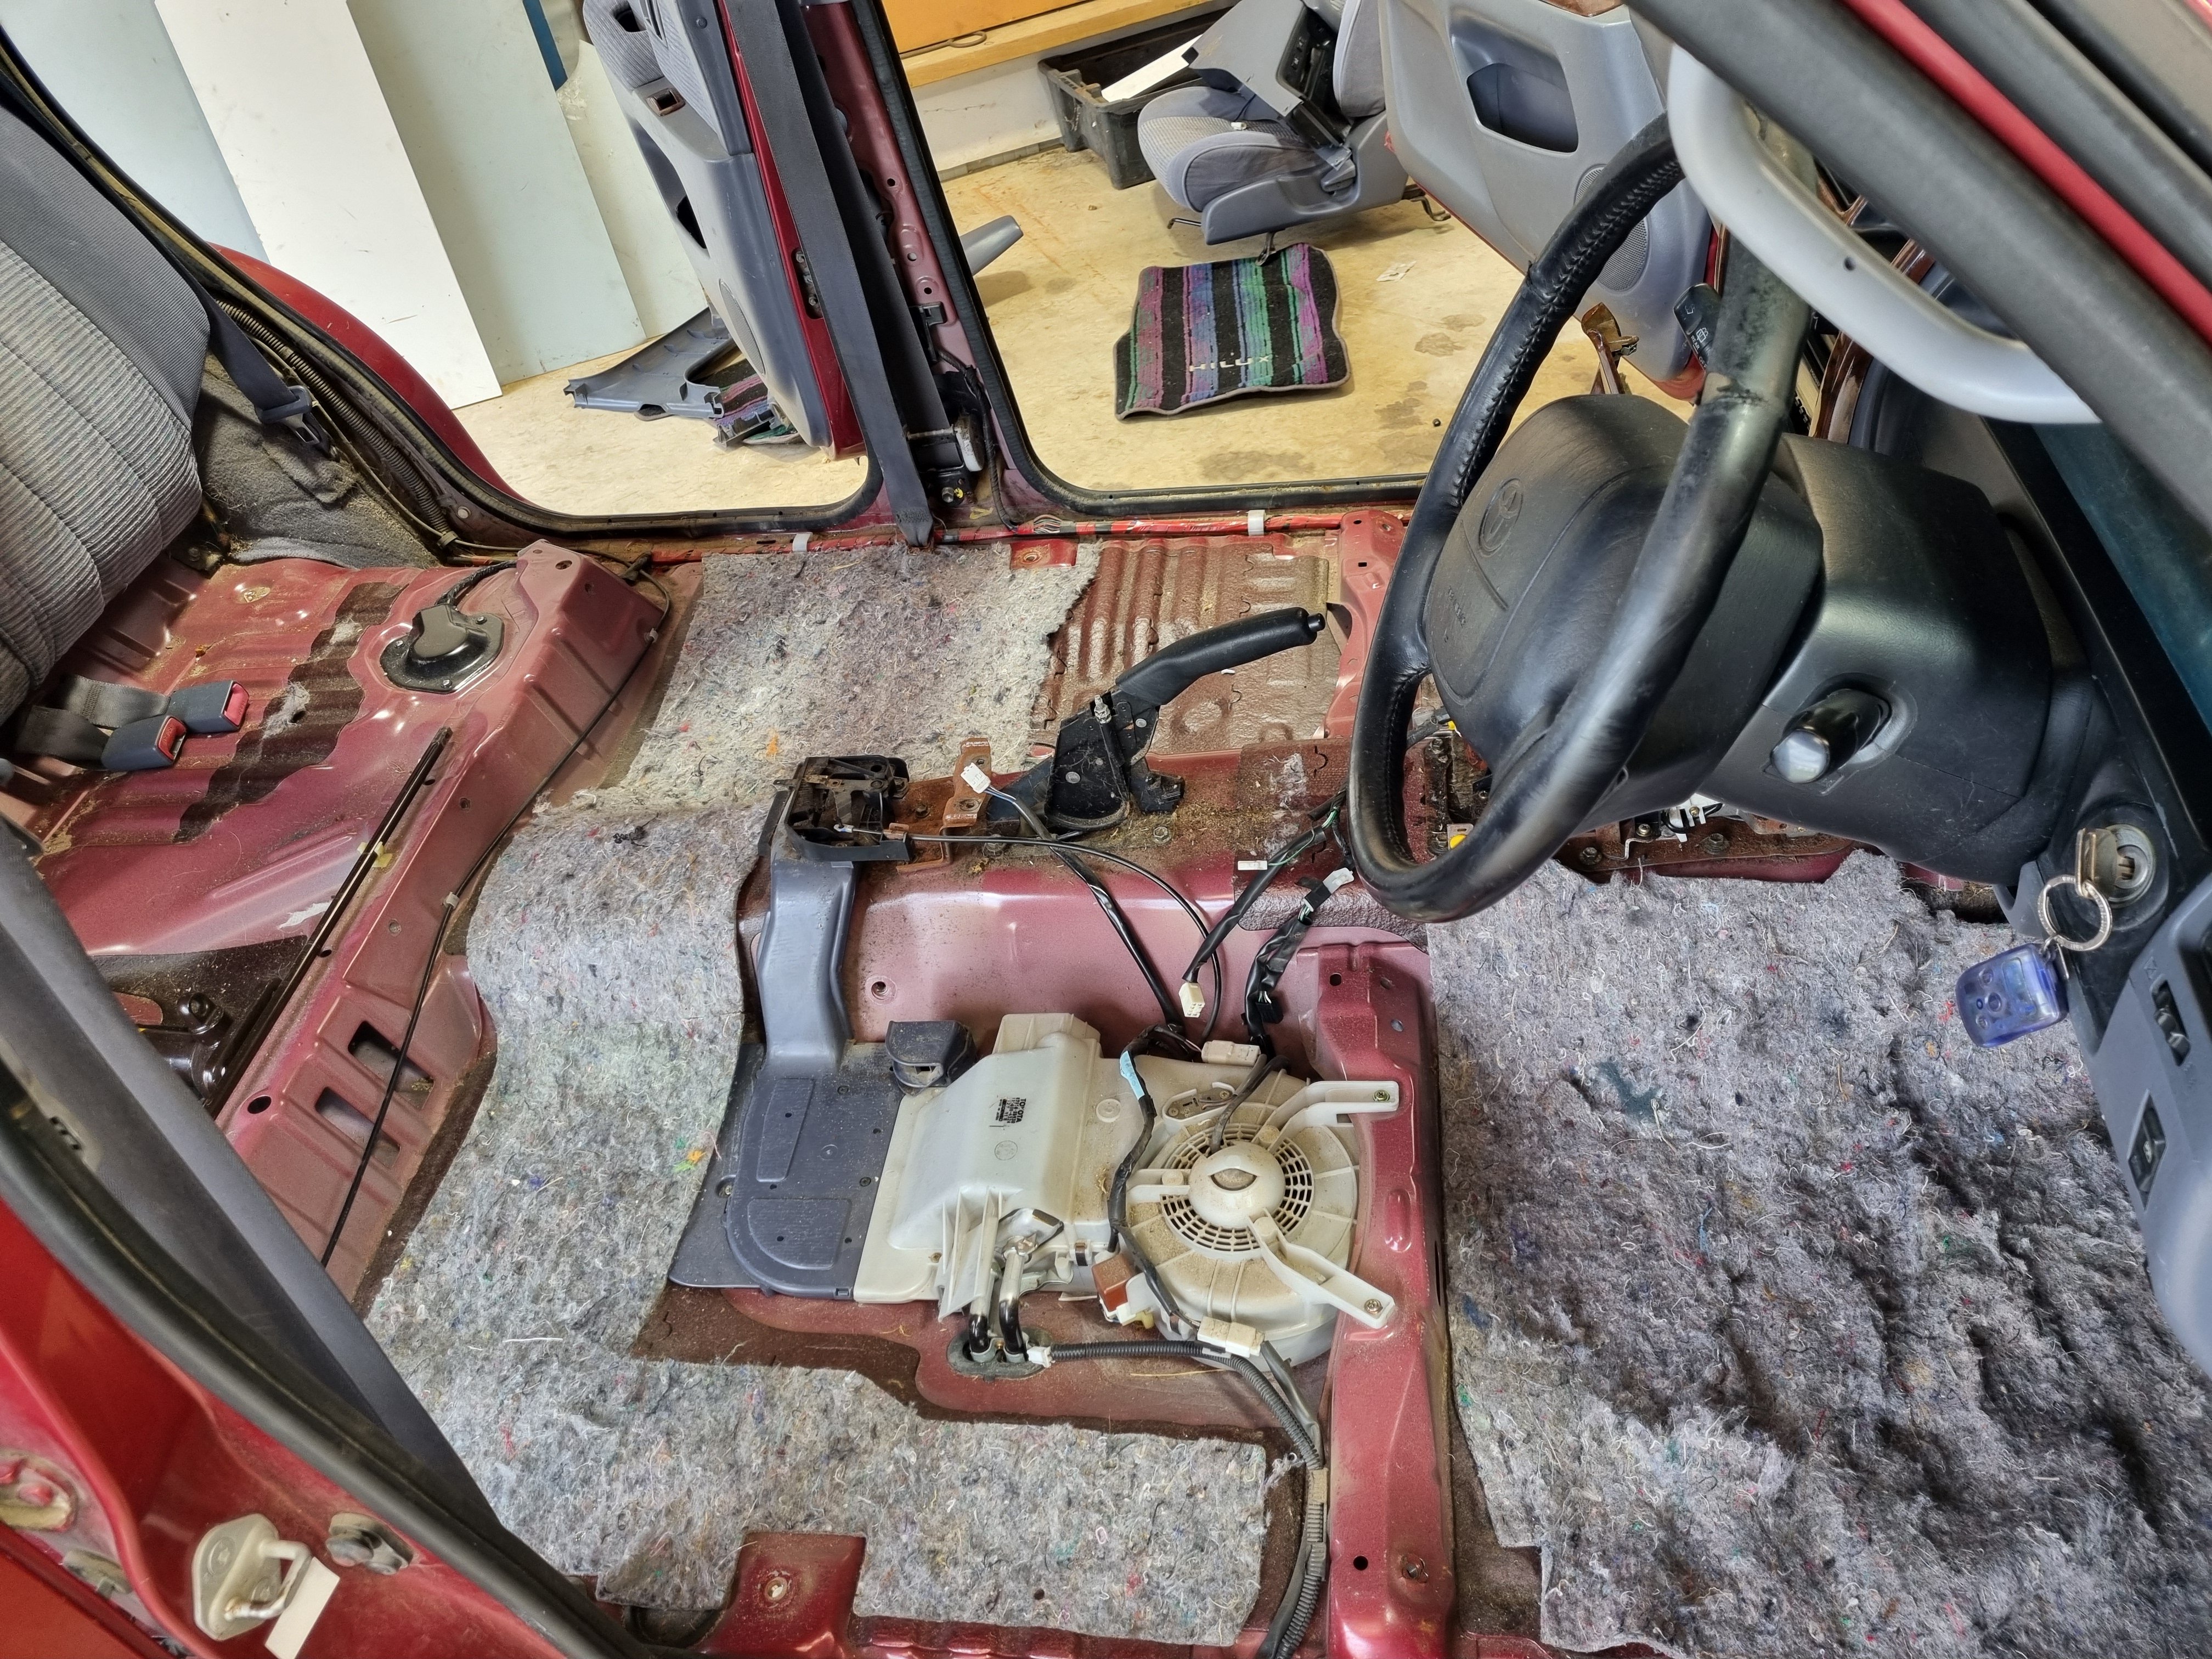
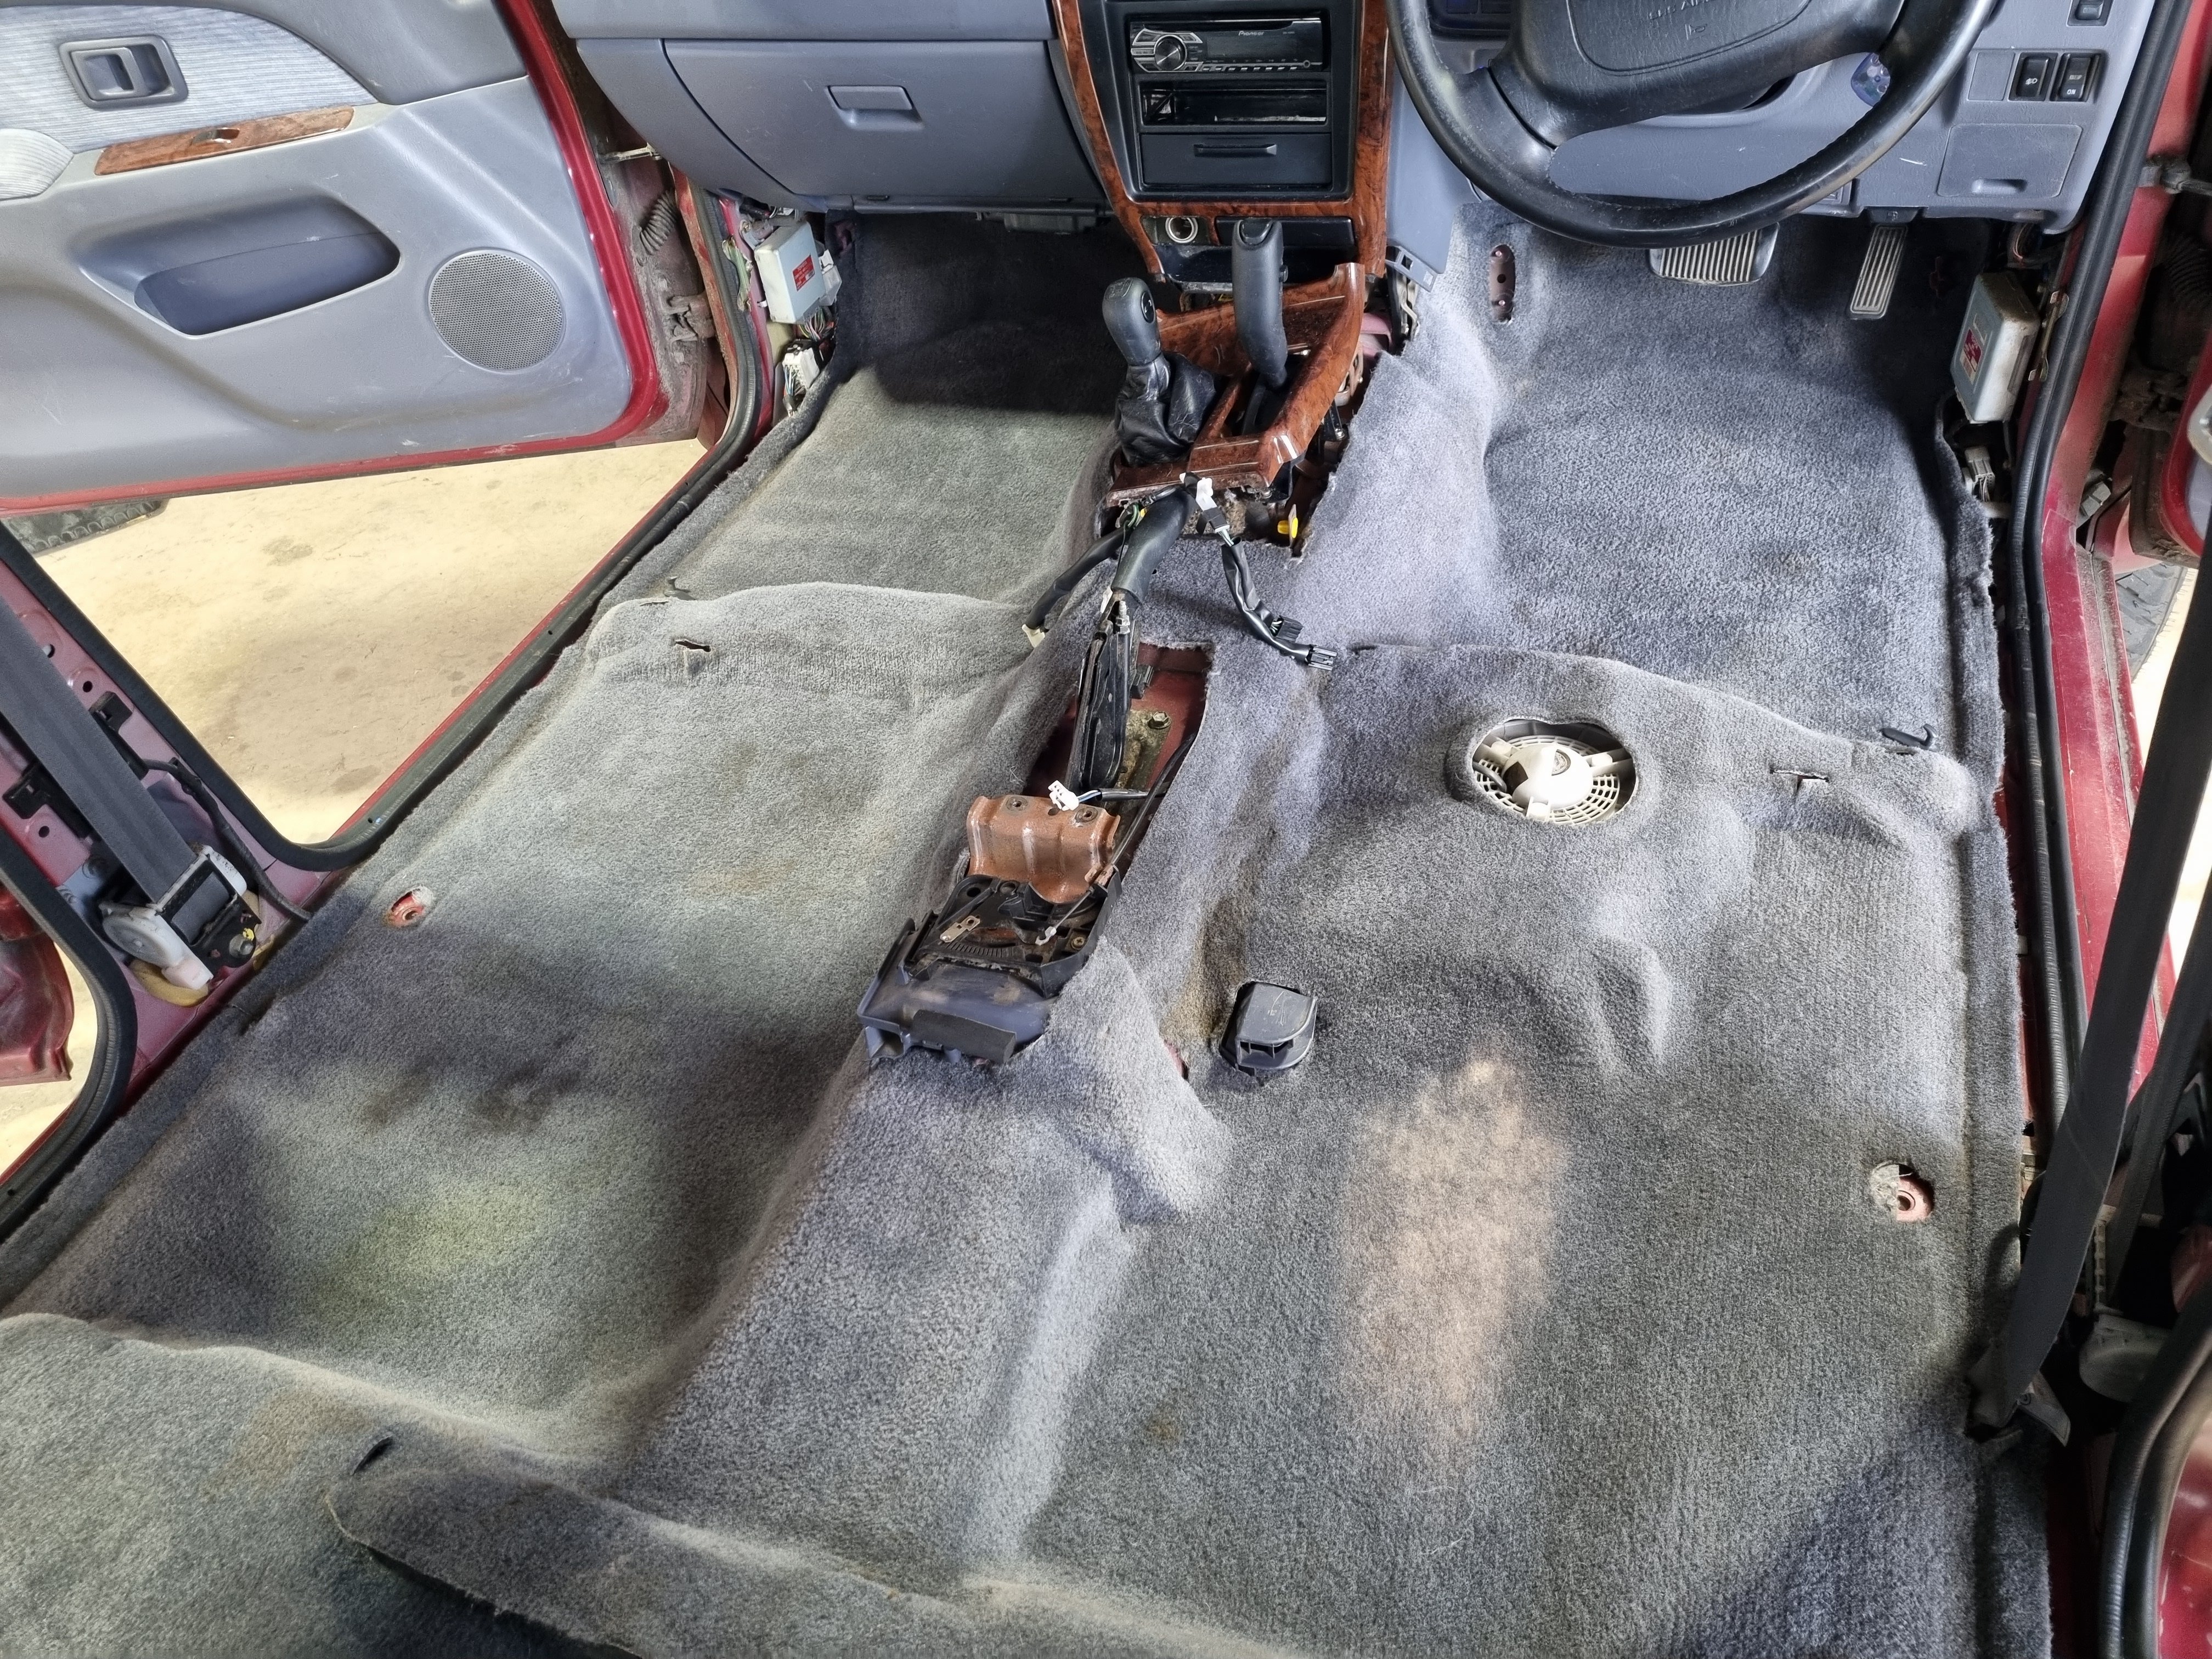
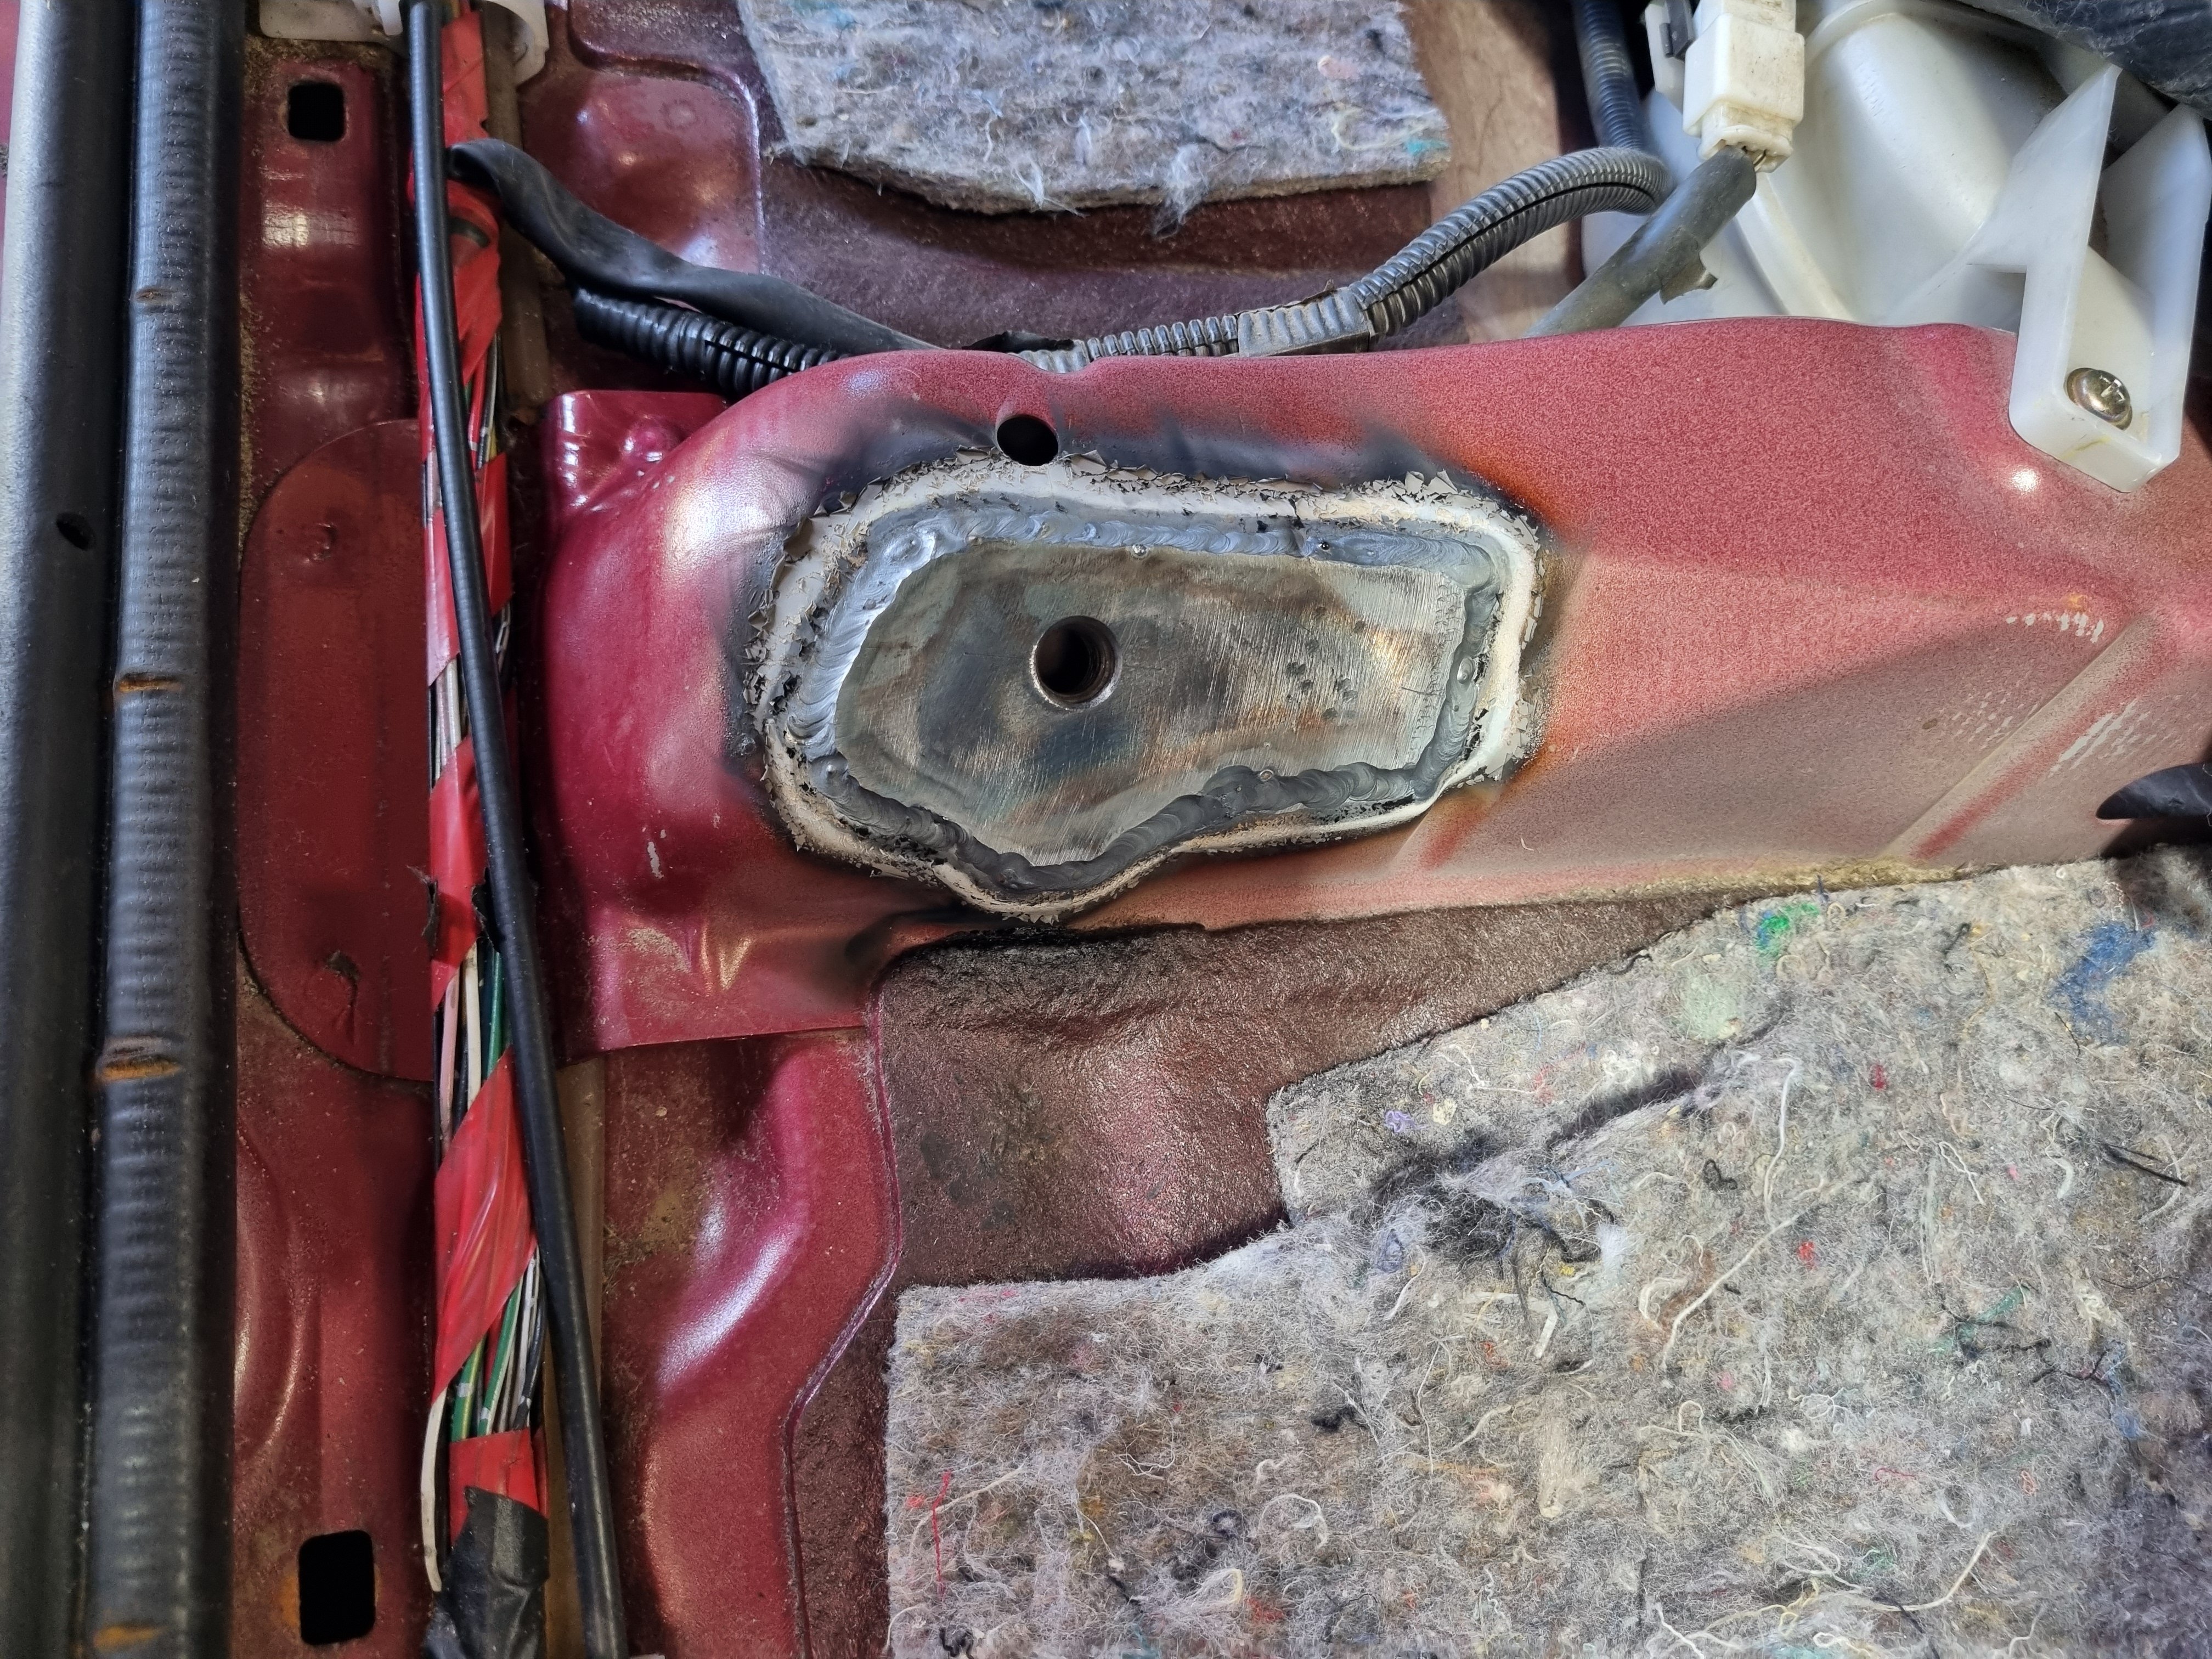
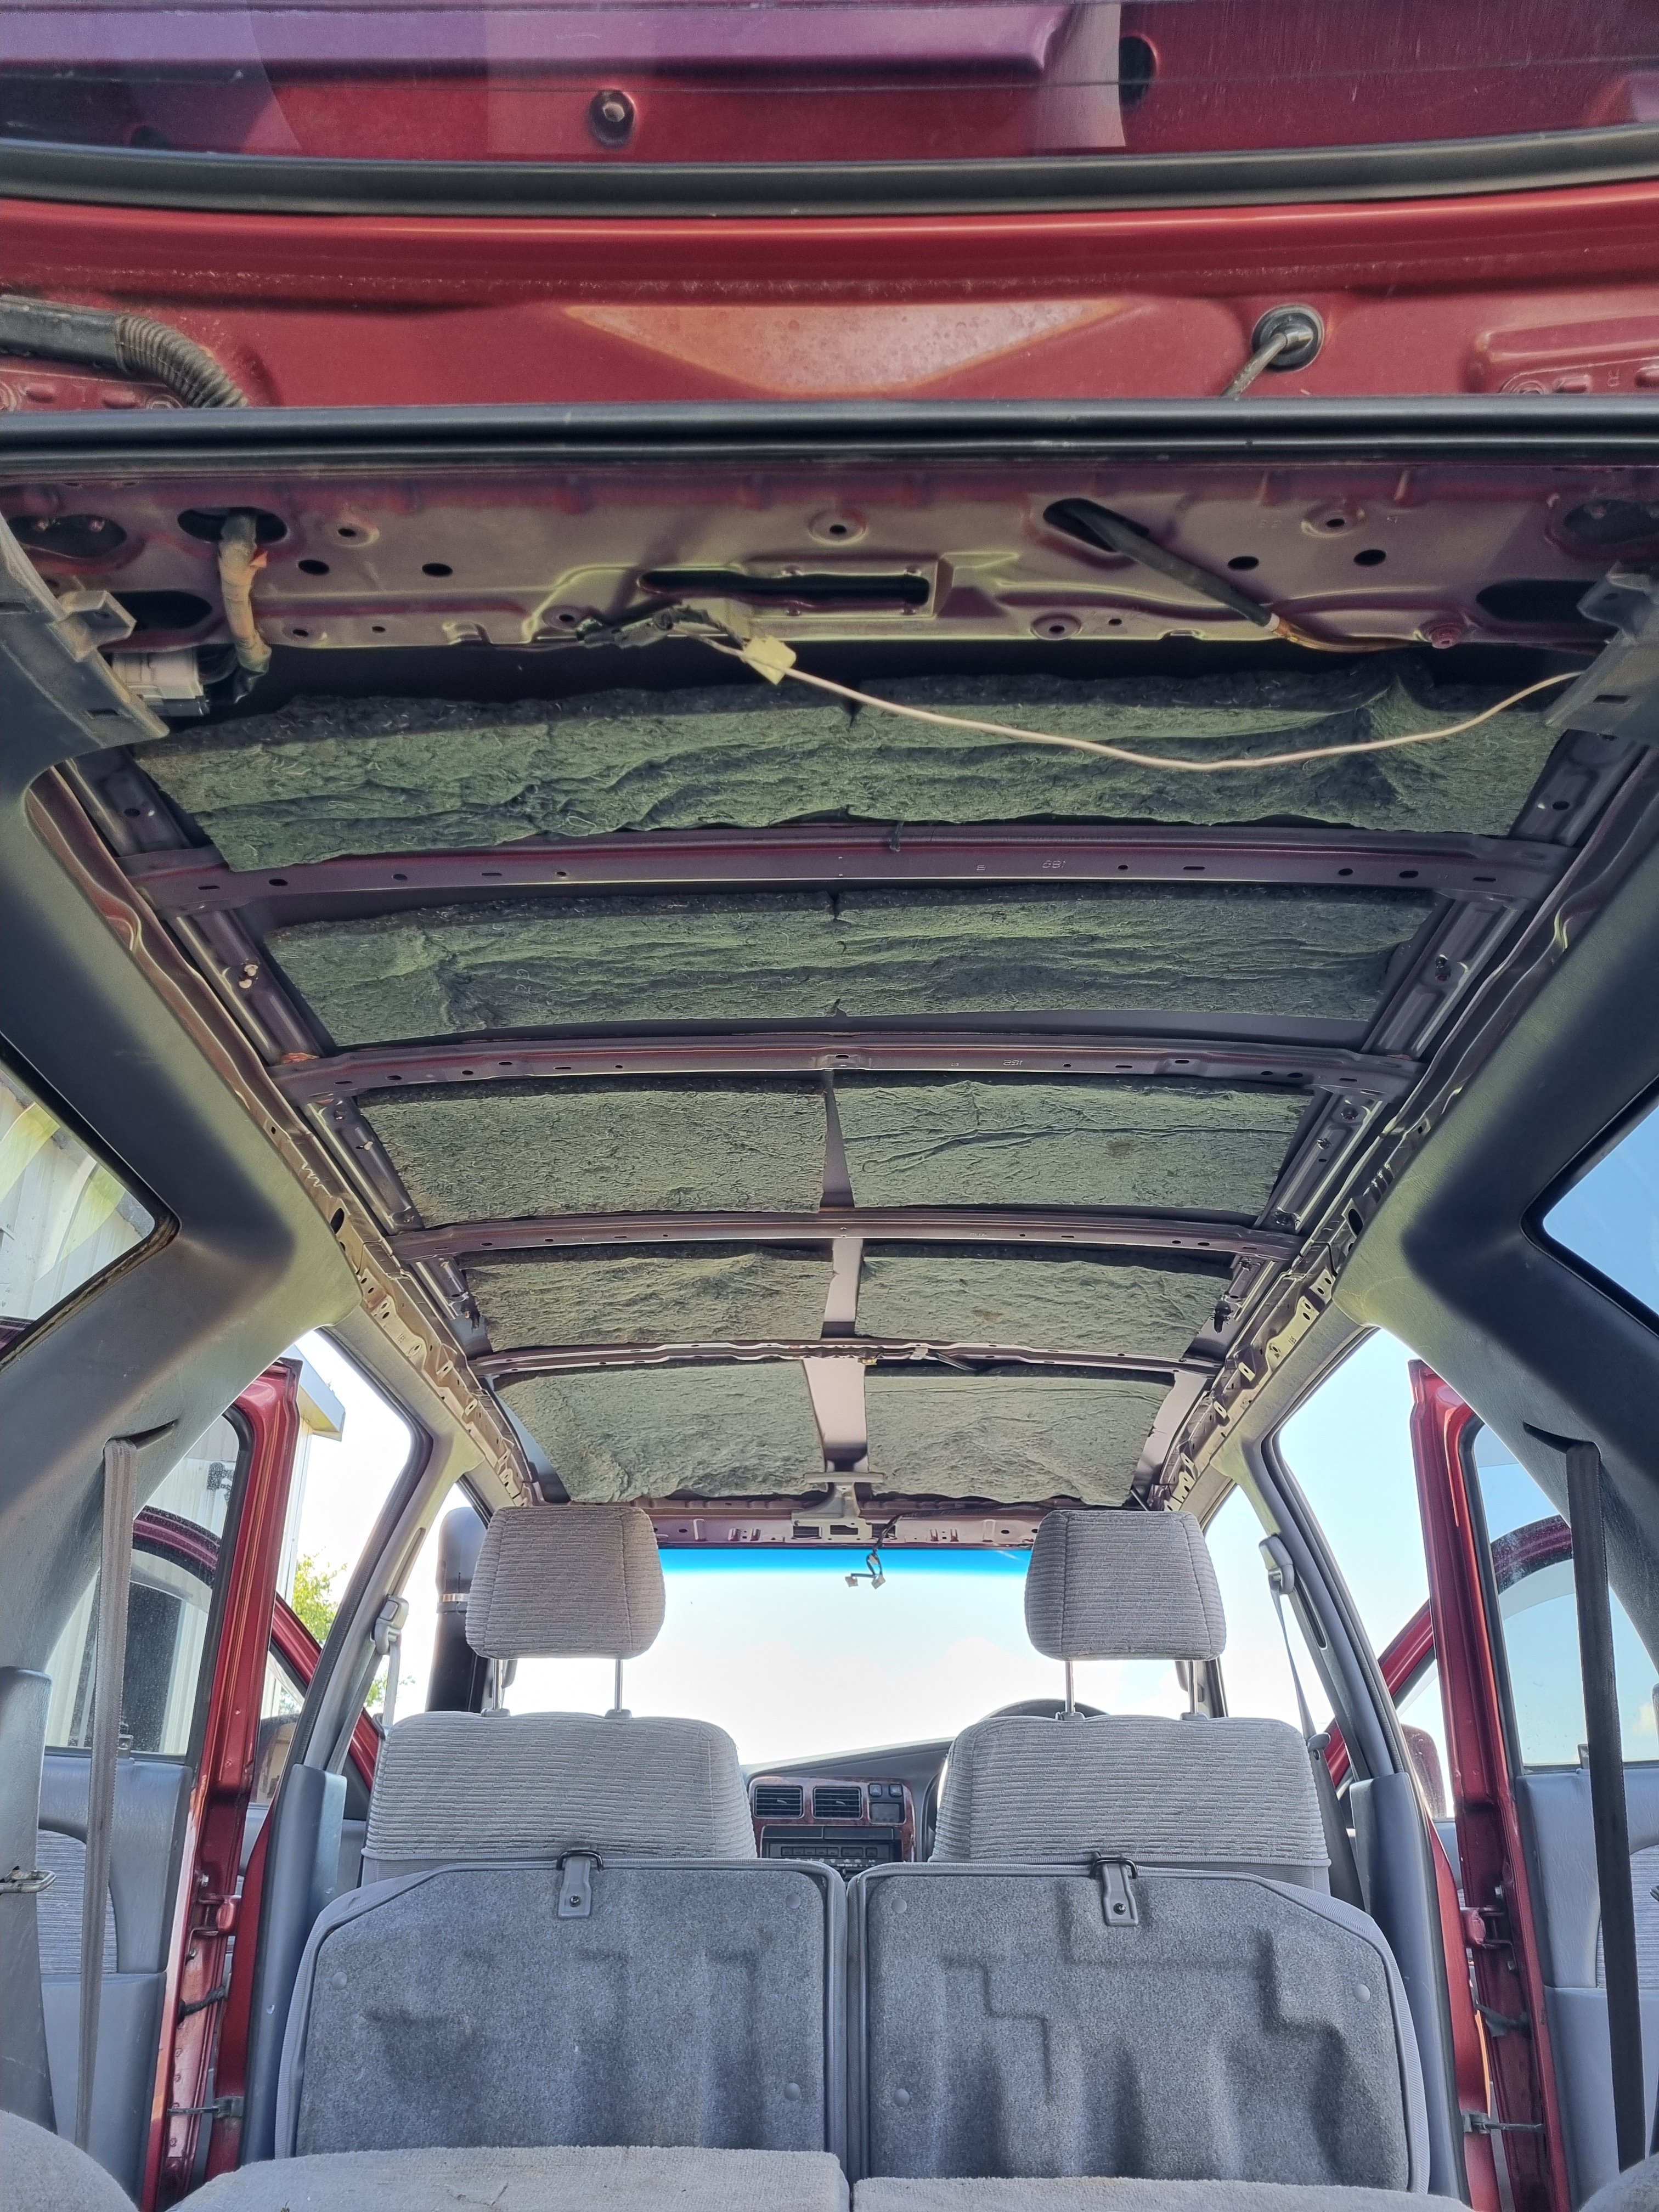
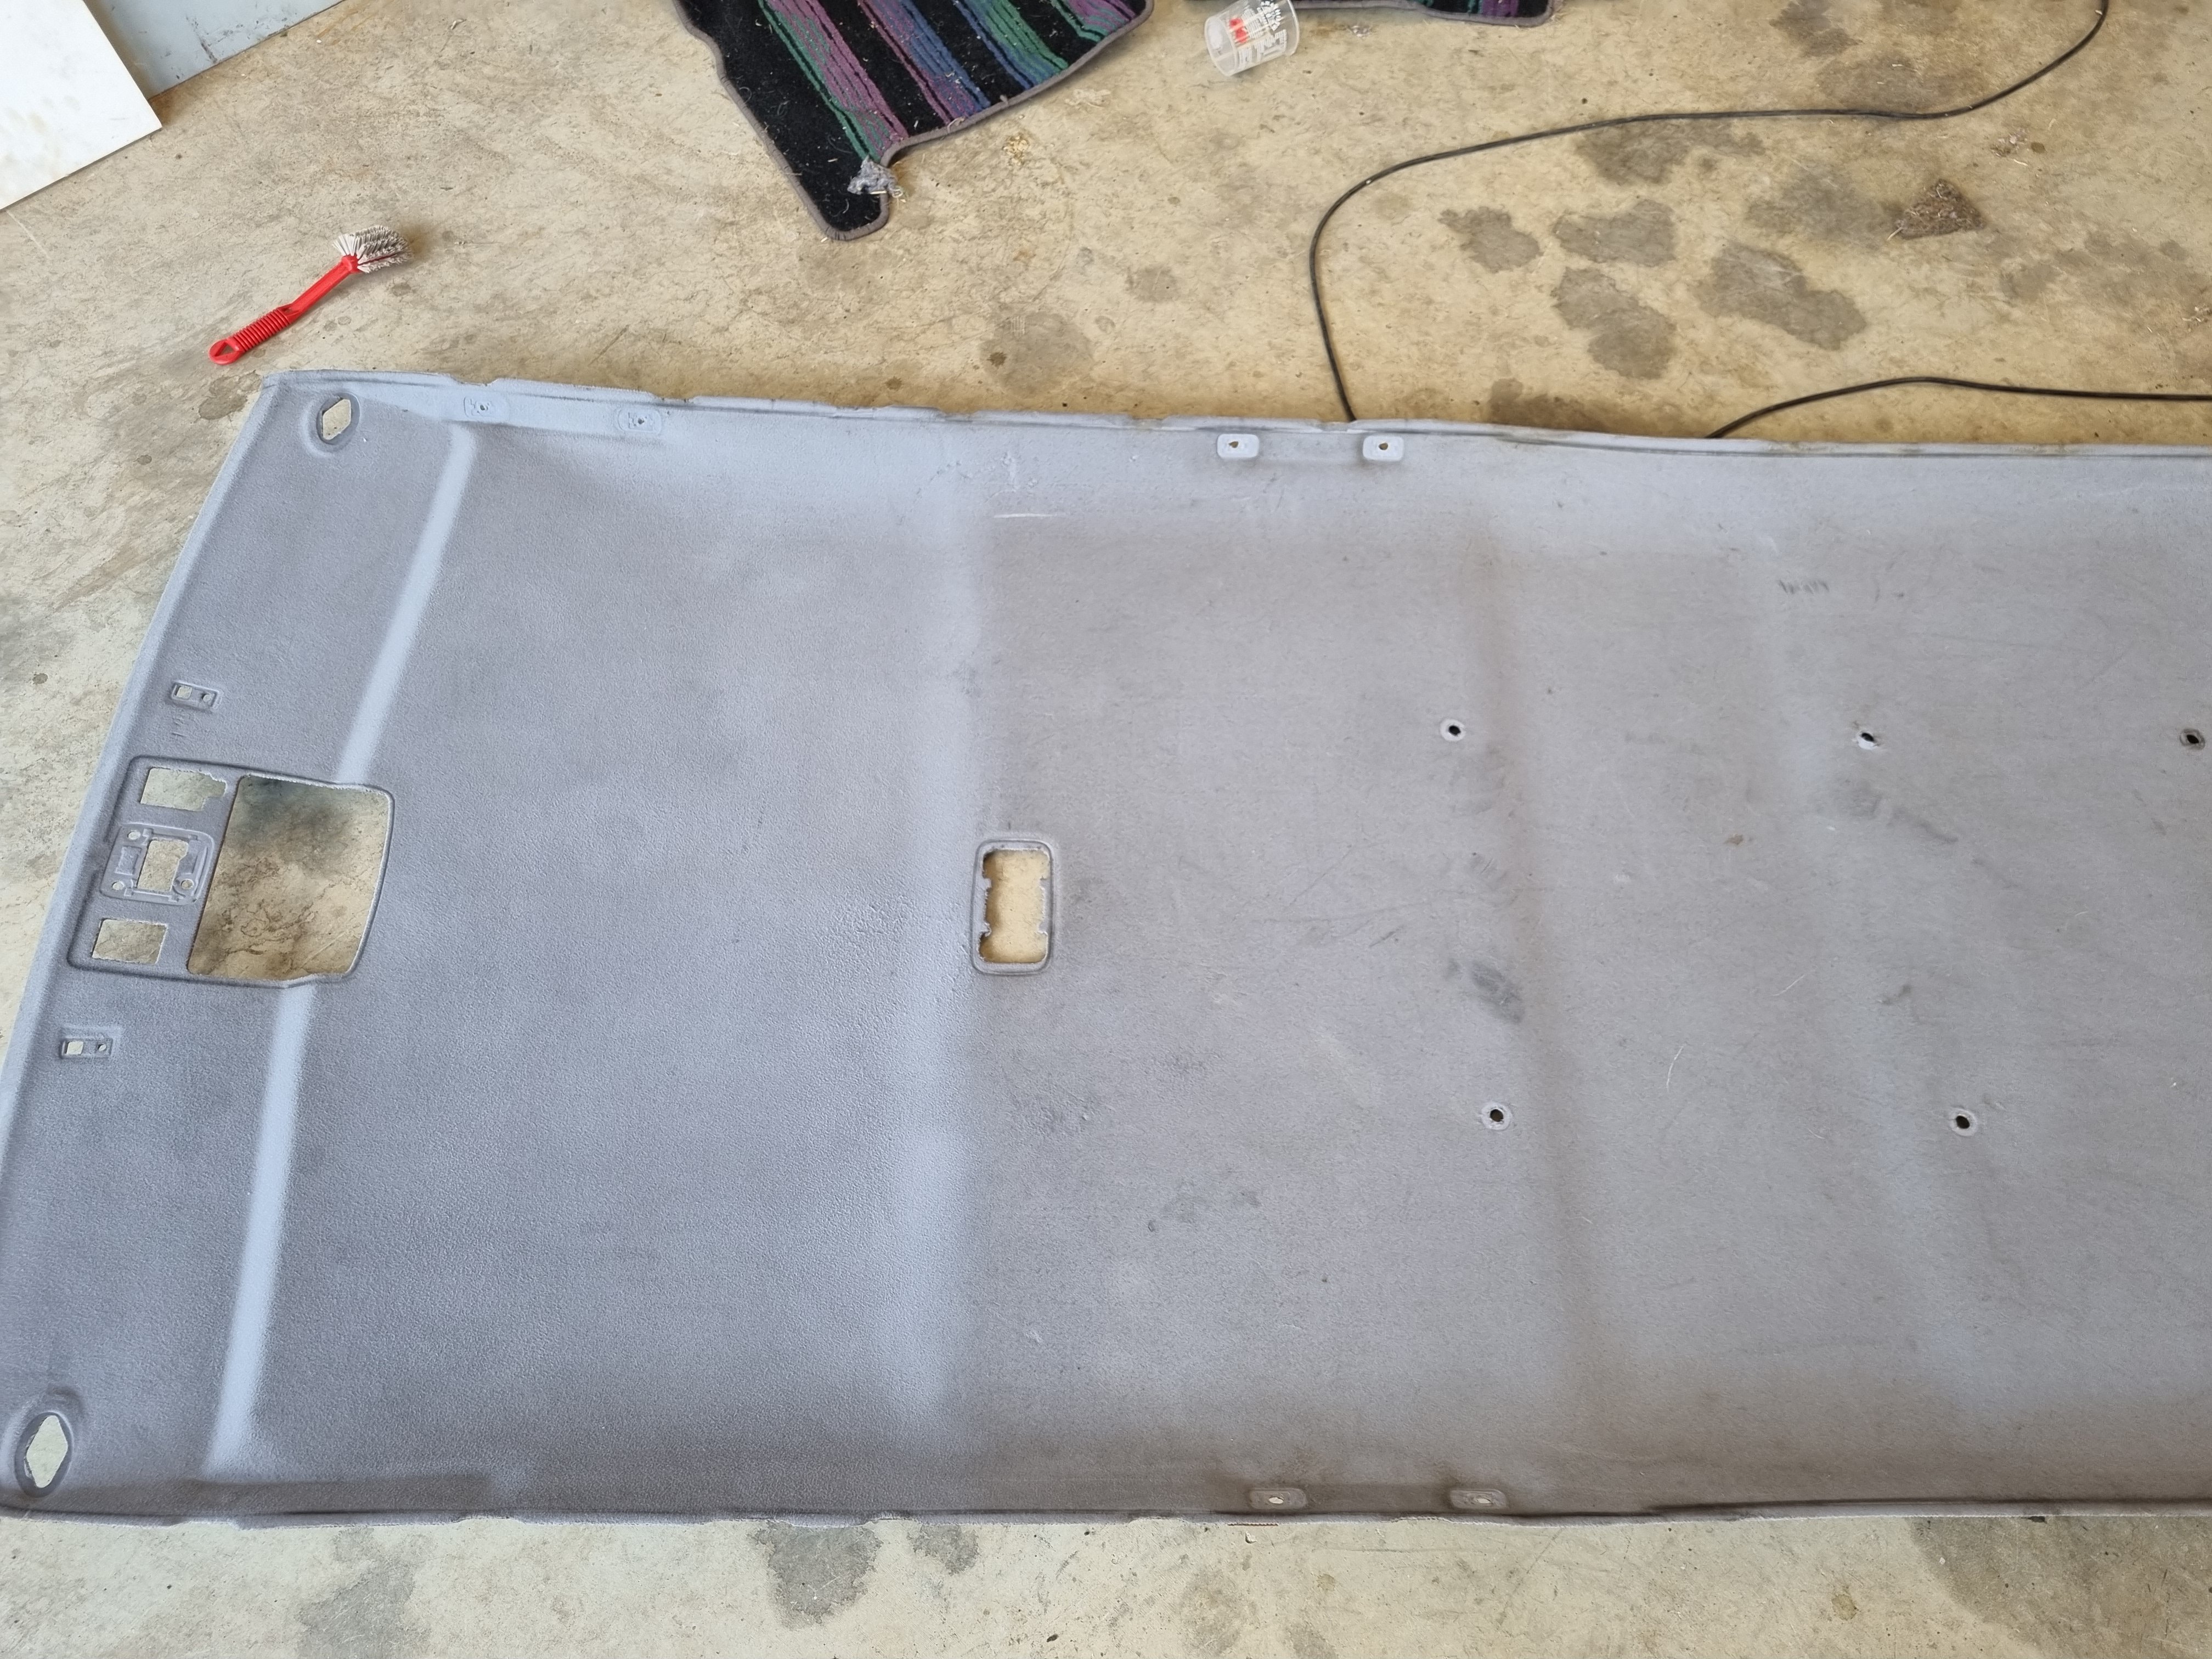
So, what am I going to do to it? First thing I did was clean it because it was fucking gross. Think used chewing gum in the door pockets, center console full of dried moldy coke, at least a full medium fries down the side of the seat and LOTS of dog fur. I took the whole interior out, including the headliner, and scrubbed it. The front seats are pretty bad and I'm trying to buy some others because they're so gross I don't think cleaning them will do much. One of the seat mount captive nuts was broken so I made up a plate with a nut and welded it in.
1 point
-
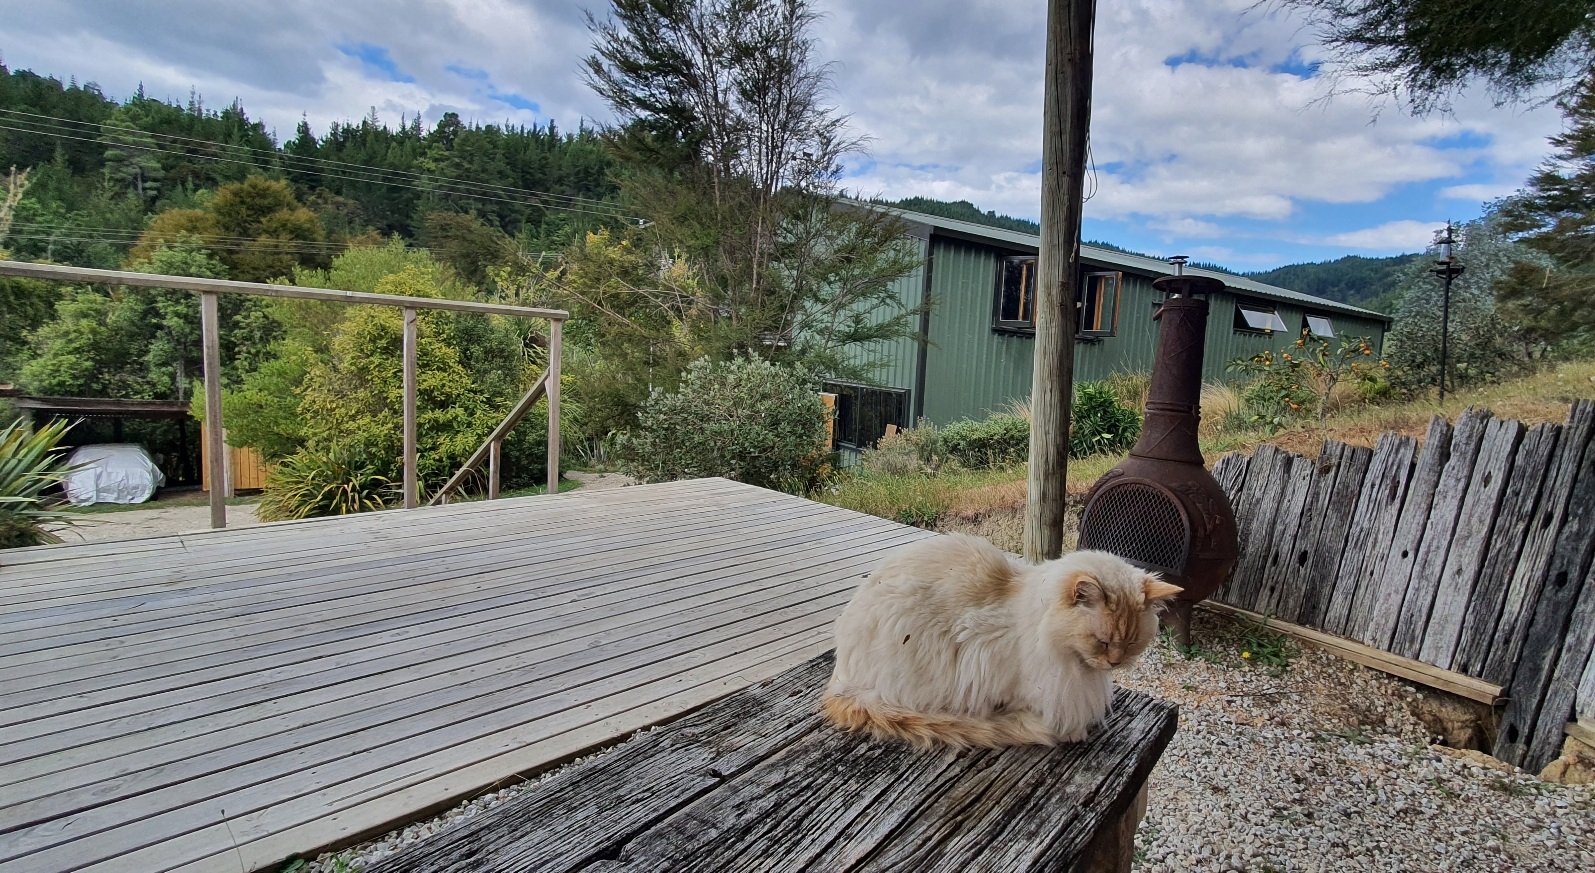
Approved by Kevin..
1 point
-
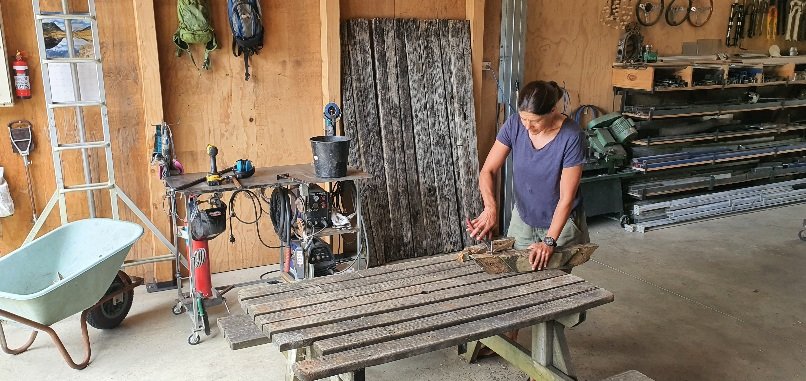
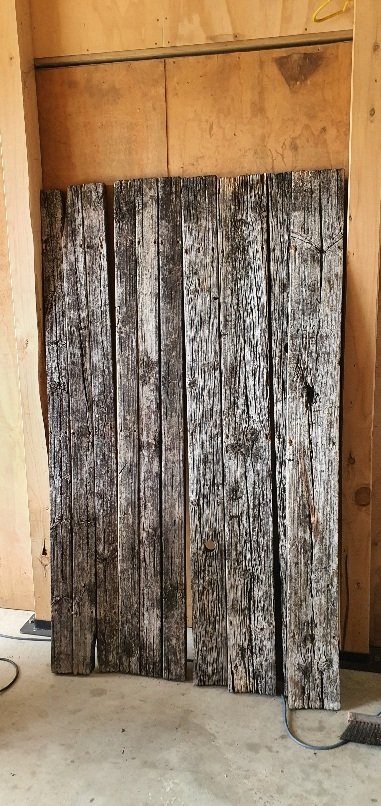
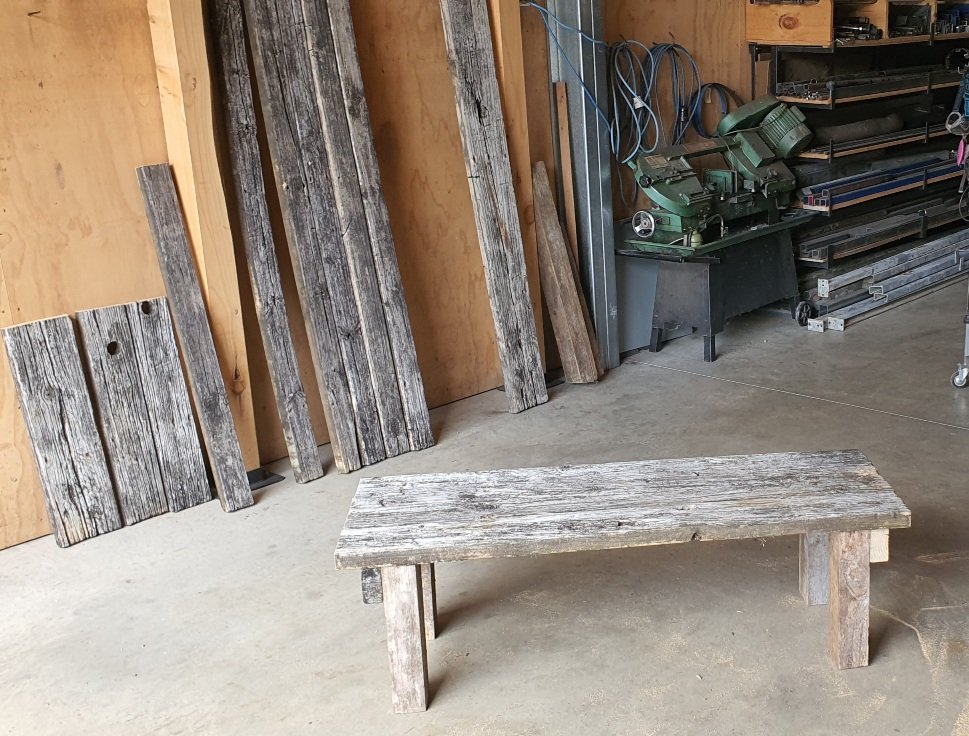
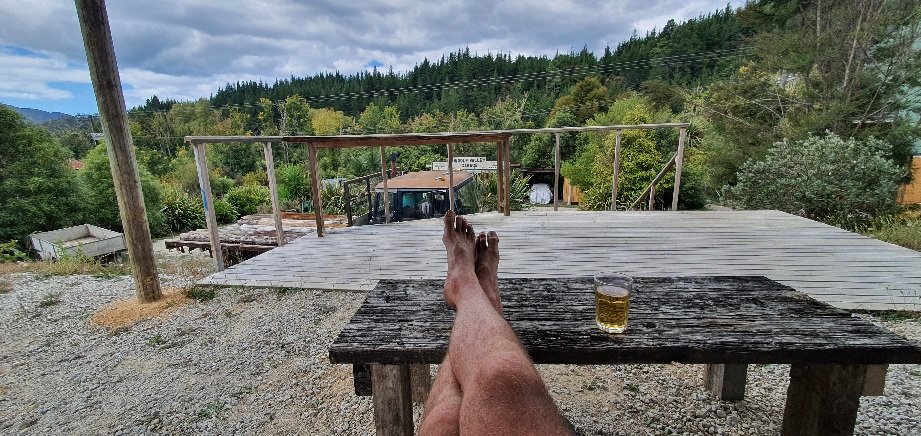
Had this old picnic table for 10 years, was given to us by friends at a campground so it's proper old, bowed, rustic and full of engravings from lots of campers over the decades. But heavy, in the way and not used by us so we chopped it up this arvo. (using our other younger table as today's bench)..
1 point
-
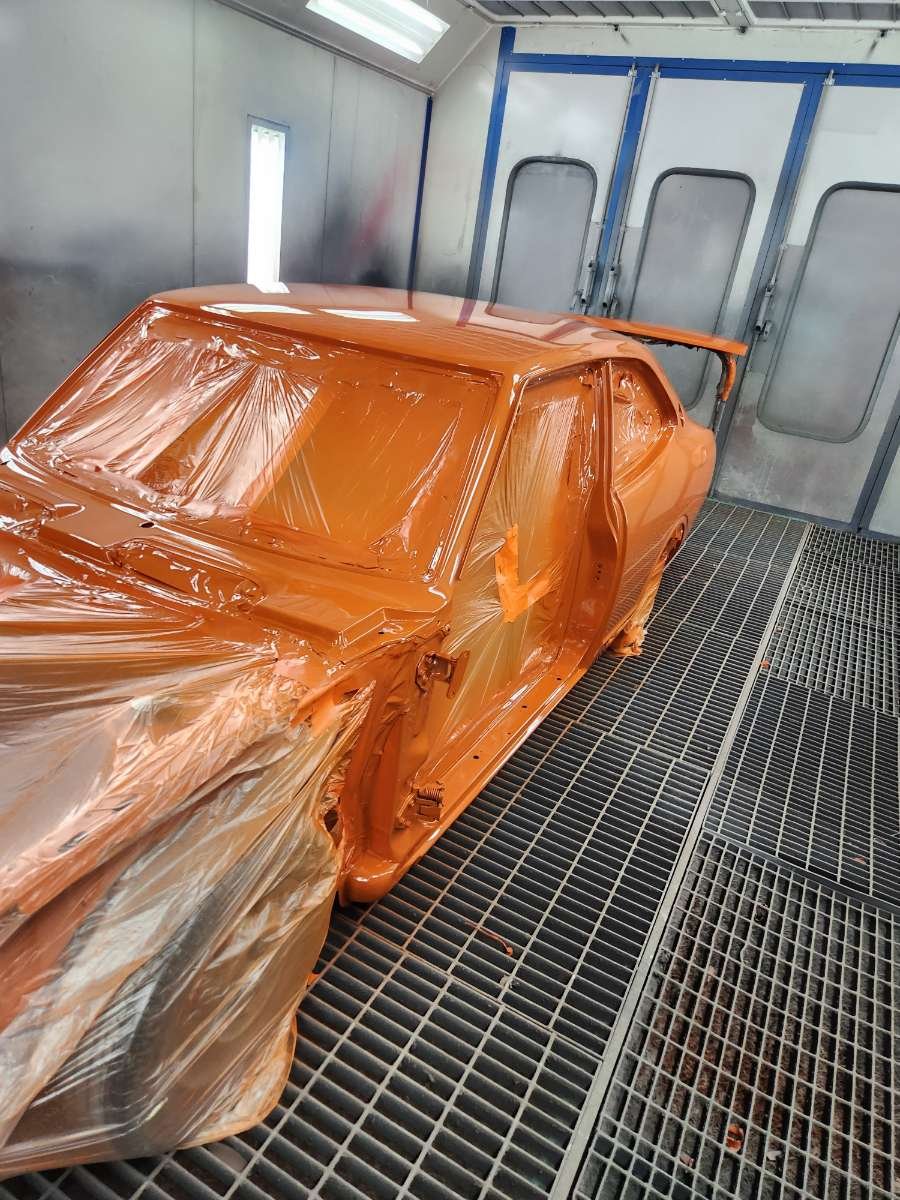
Progressing, should be painted next week.
1 point
-
2024 wof
1 point
-
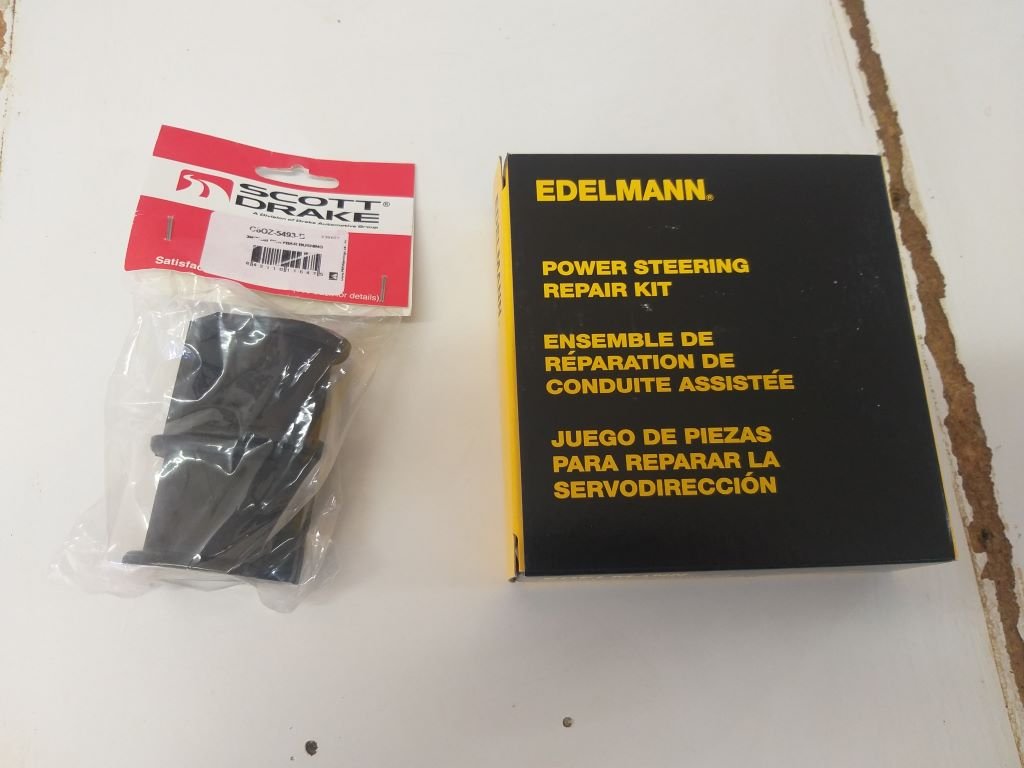
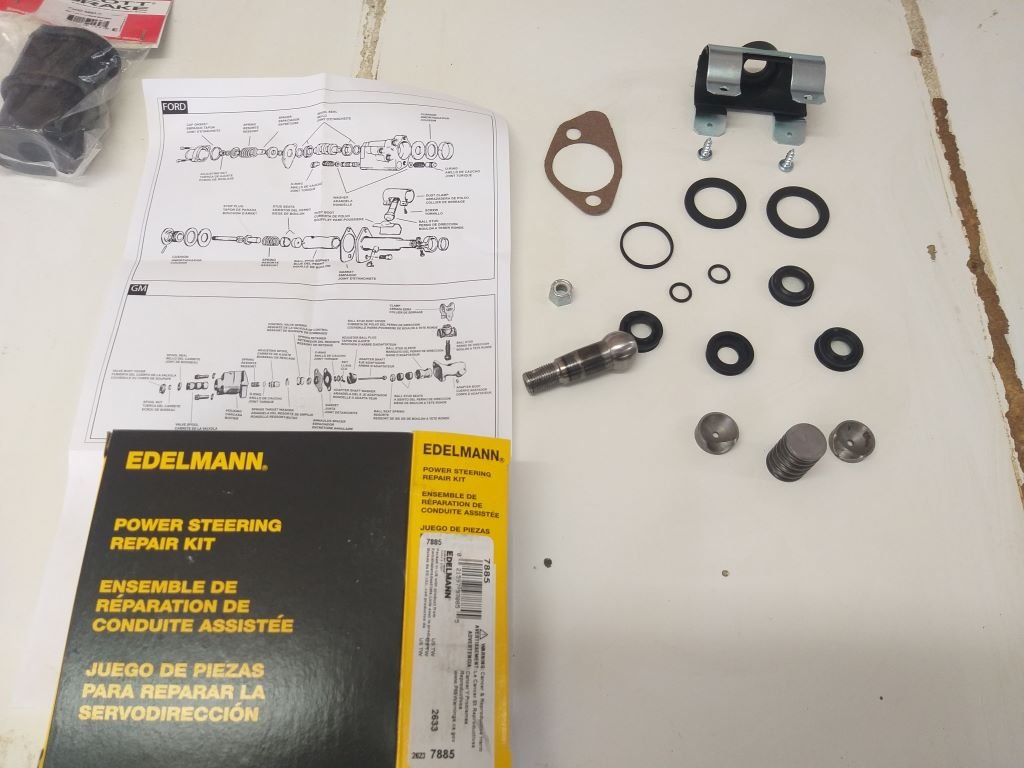
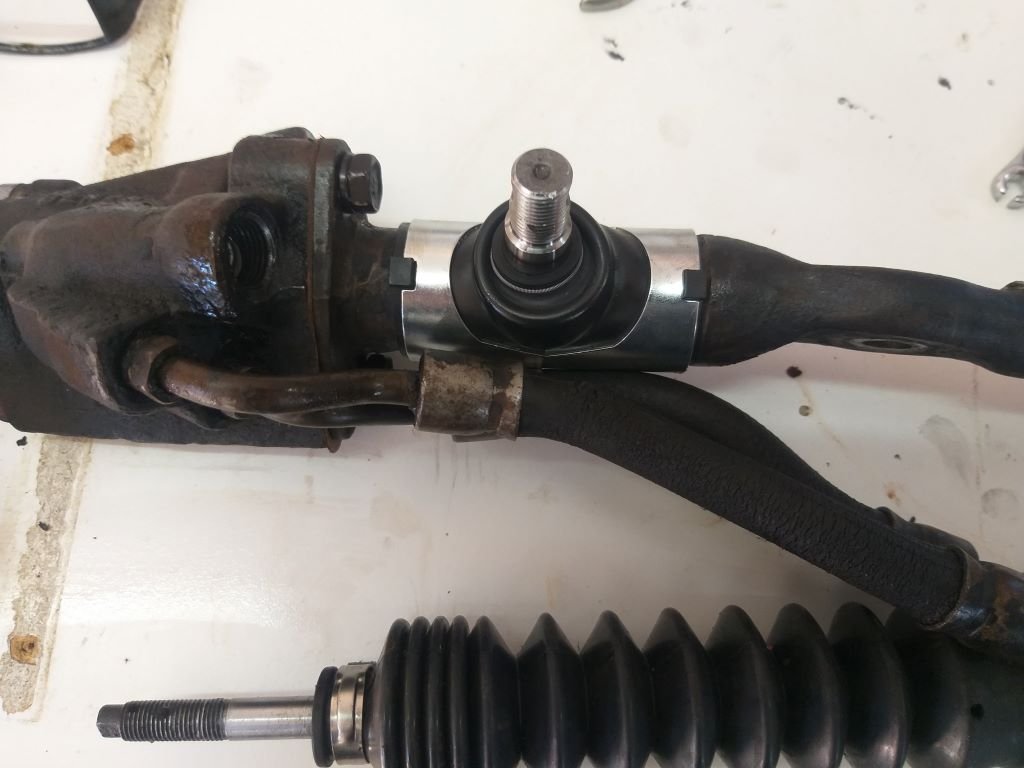
The rebuild kit for the power steering ram and a new set of sway bar bushes pitched up yesterday arvo. So, this morning I cracked straight into it. Nek minnit: Yummy.
1 point
-
Its looking more like a car now!1 point
-
I've read the AU falcon live axle is wide enough to clear the springs (make new spring perches to suit) it's still a narrower diff you you get the benefit of being able to use a deep dish wheel on the back if that doesn't bother you. (many ratios available for this diff in factory form from about 3.08, 3.27, 3.45 but you could get many more ratios if needed. CRS used to make a falcon front brake conversion (falcon discs, kingswood calipers) but not sure if they still do (Australia) and Hoppers stoppers may do something since? (Melbourne Australia )1 point
-
If I just made a build thread for the MG, you've got no choice as you're about to embark on a roof un-cut.1 point
-
Exhaust done 2inch
1 point
-
4k siting in the hole upright
1 point
-
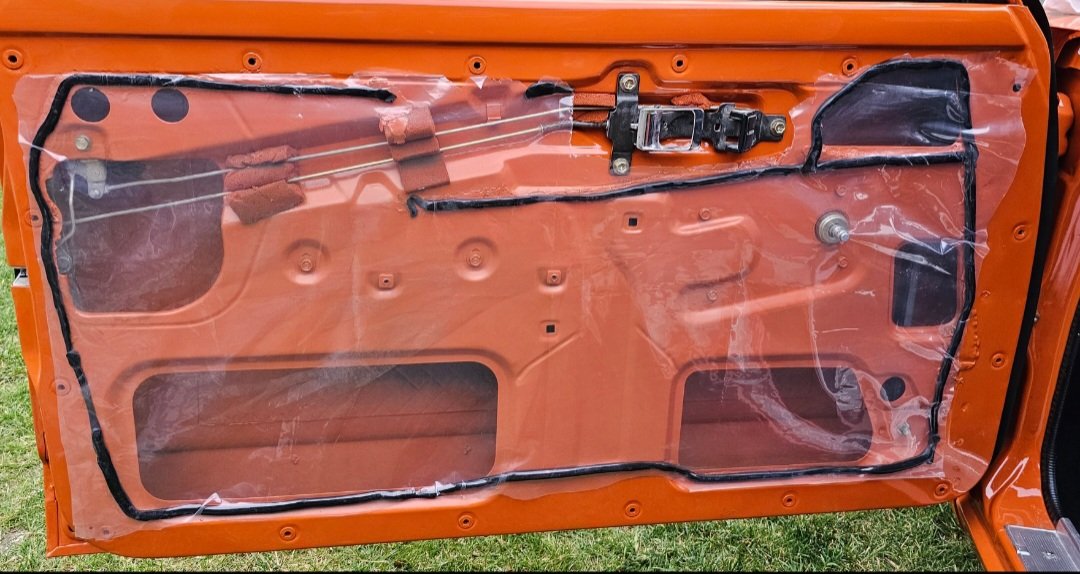
New plastic liner added to protect factory door cards
1 point
-
I'm so glad the combo of MCM and peer pressure ended up in ownership of this absolute BEAUT.1 point
-
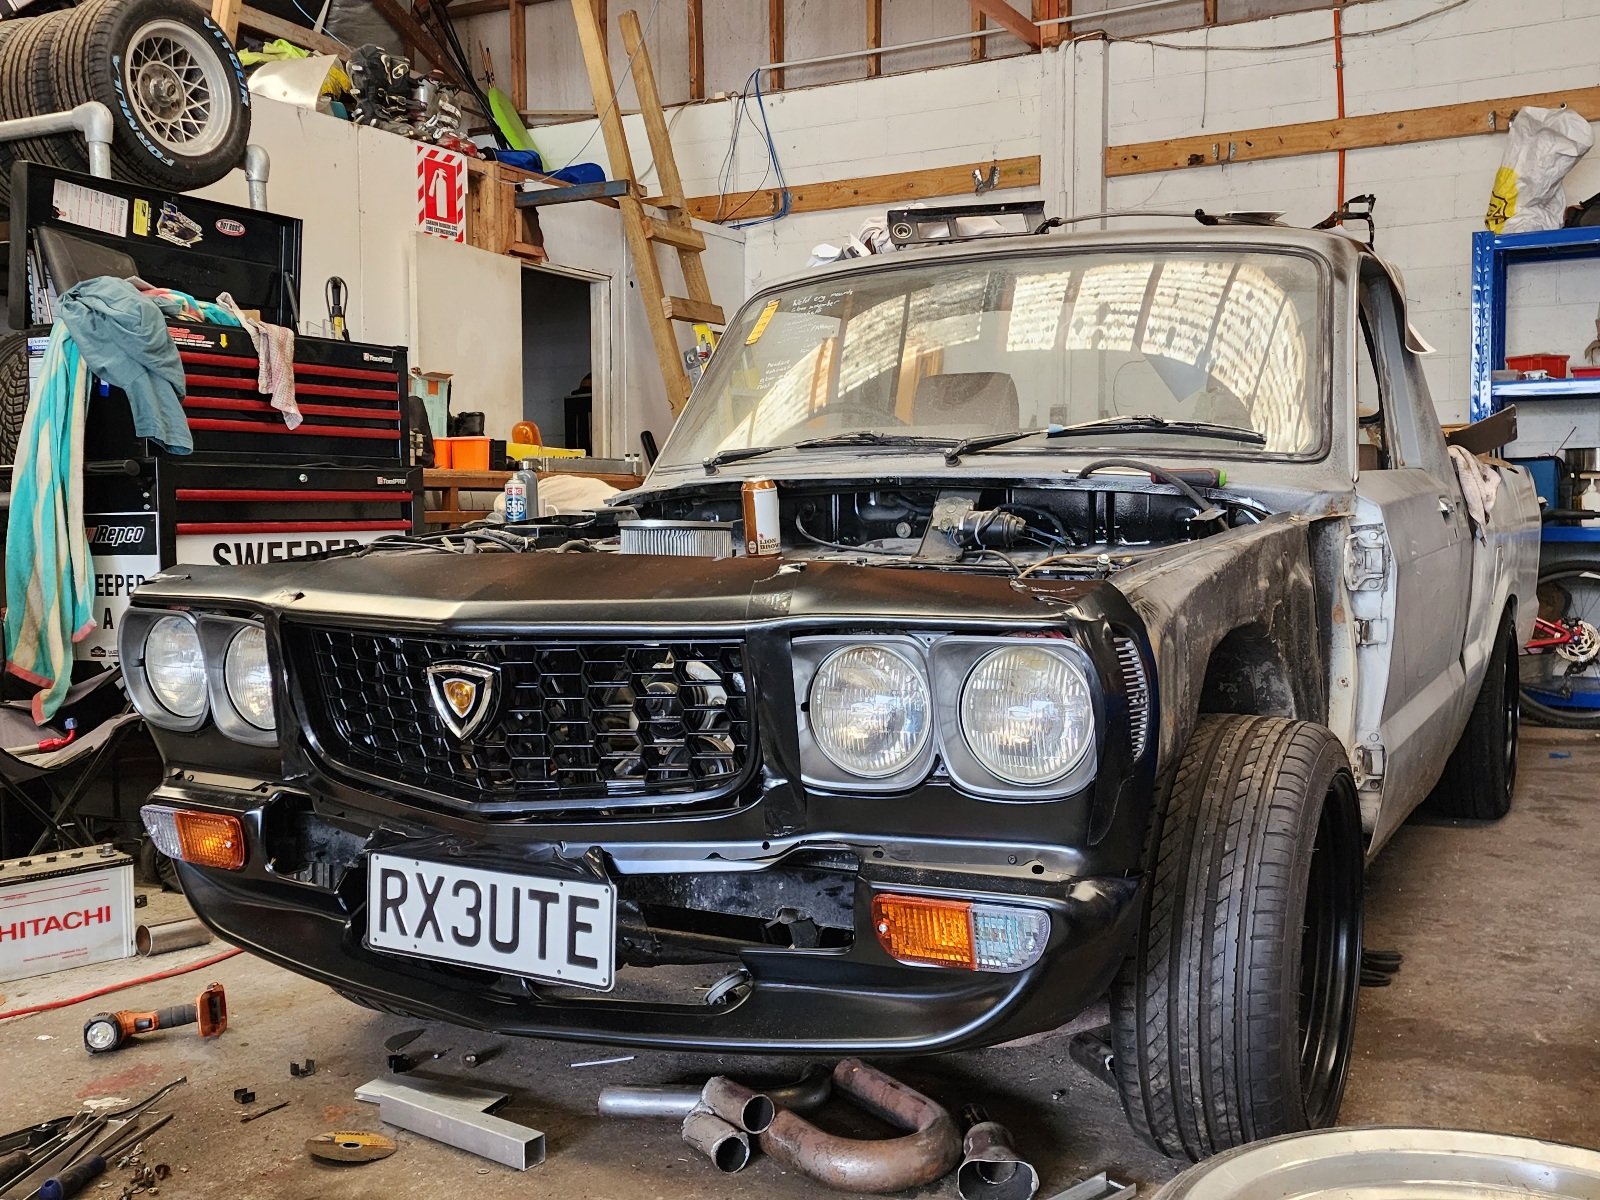
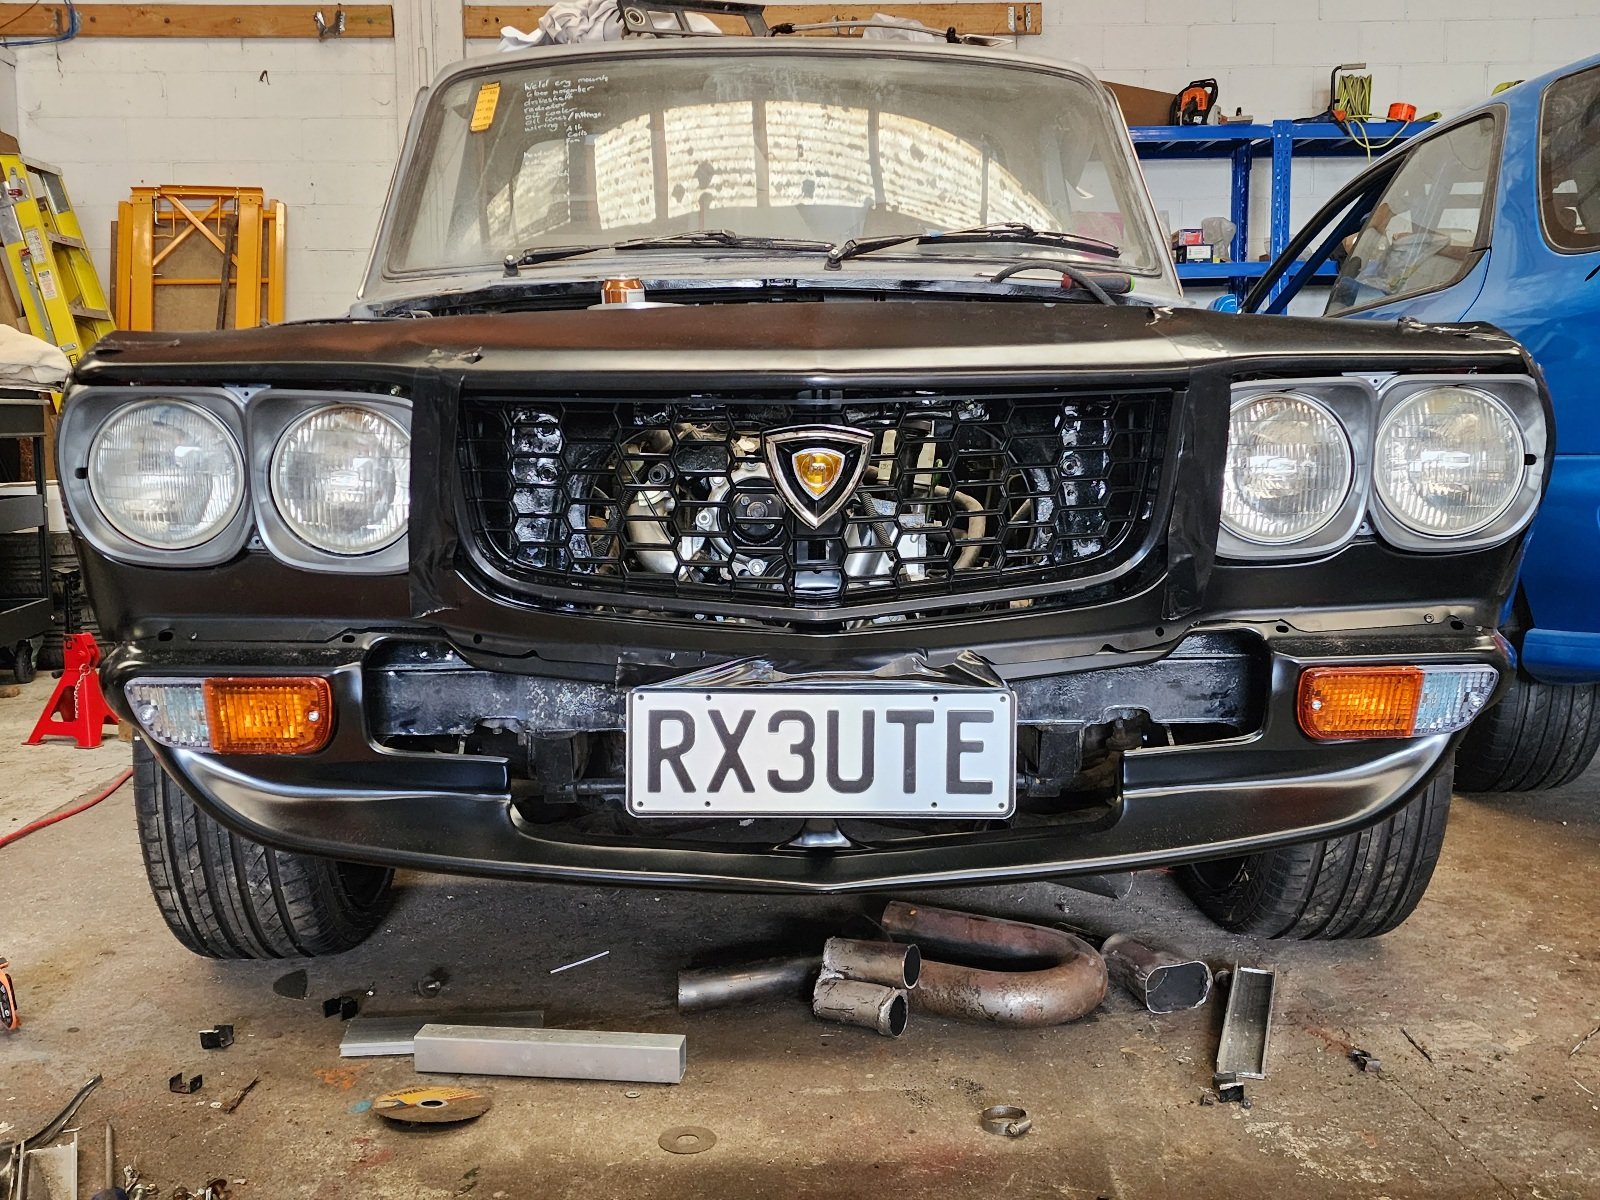
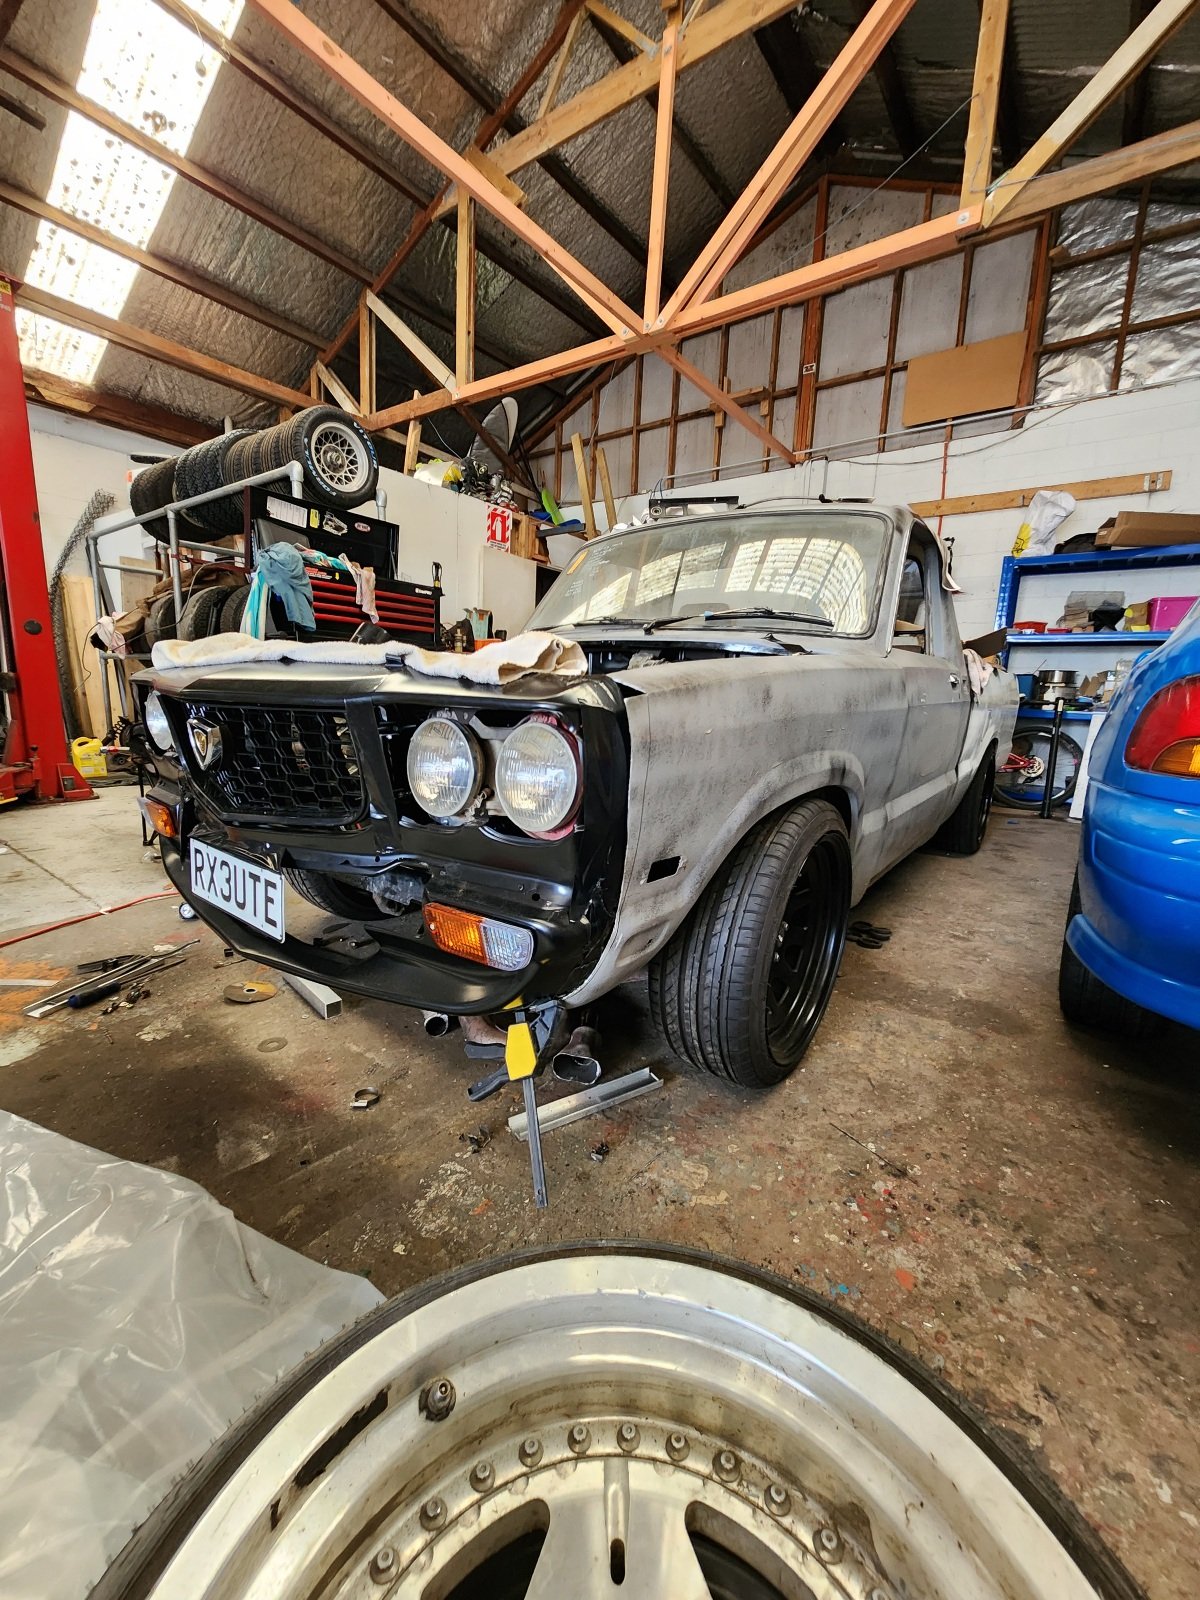
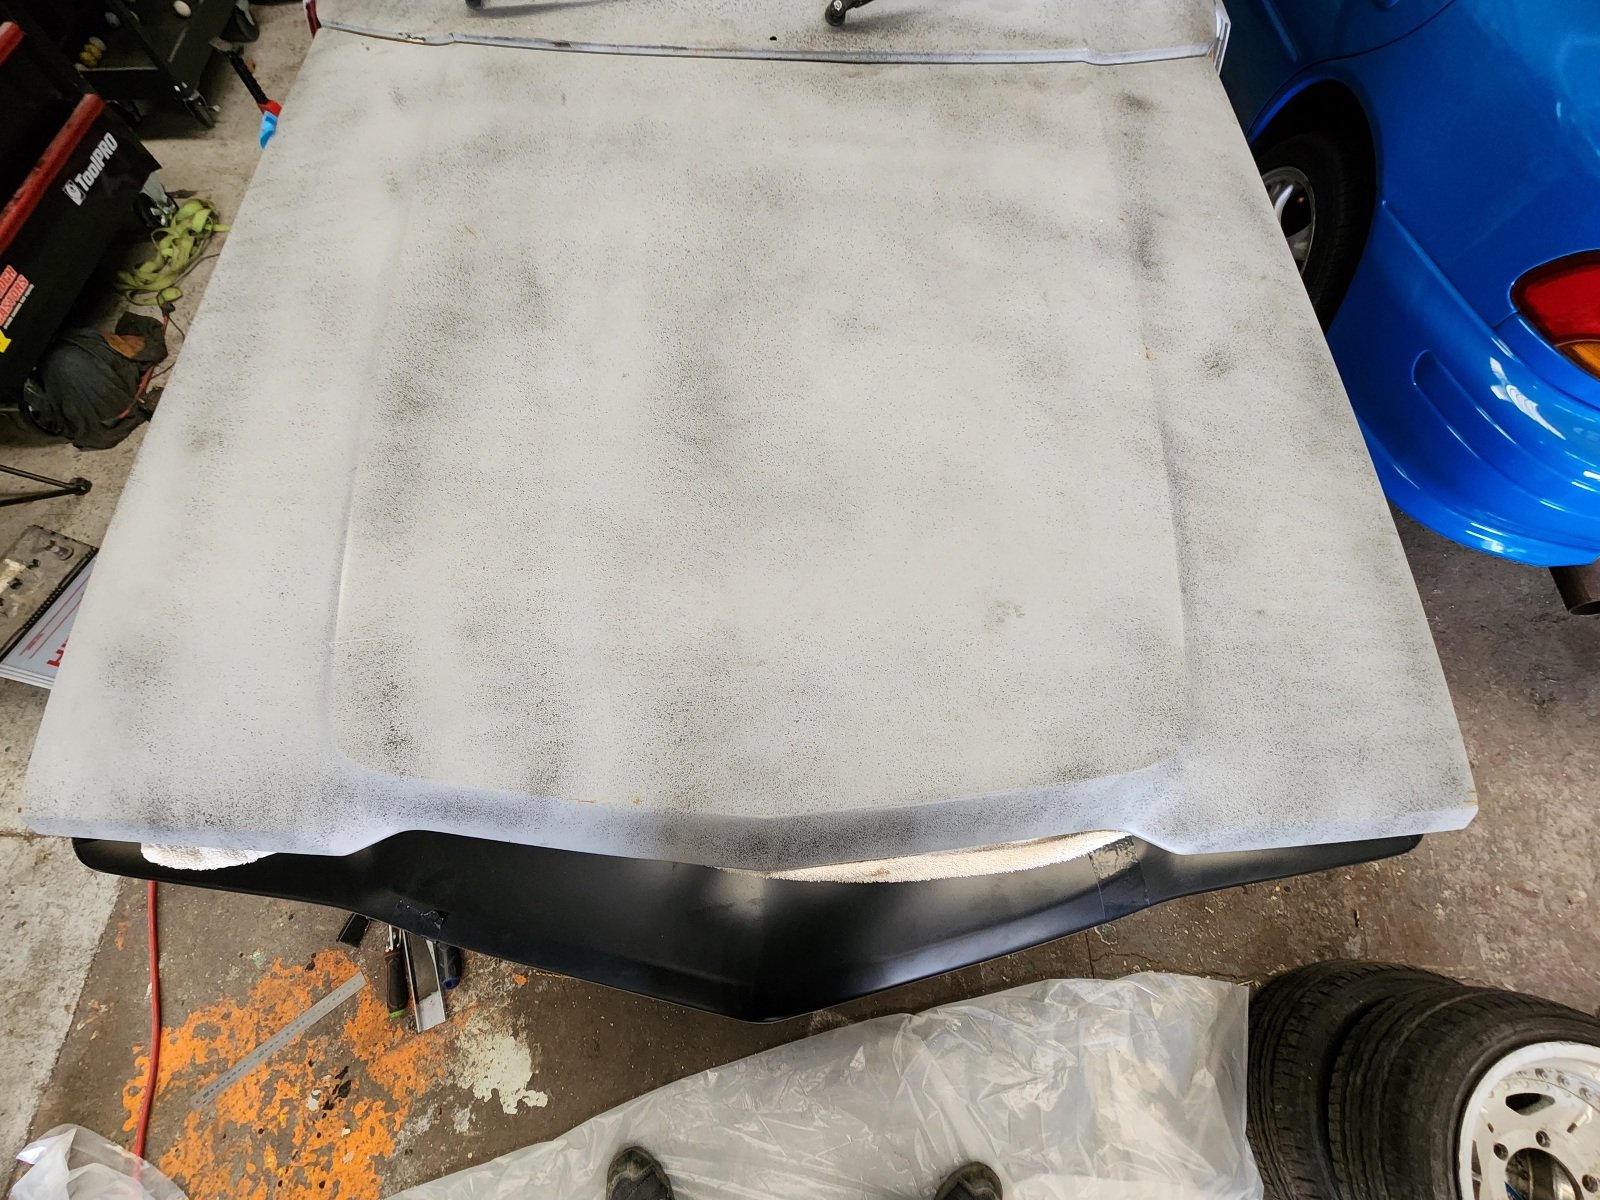
Current state of the conversion. Headlight buckets mounted, fine tuning required post breakdown for paint. Nosecone is 100 percent mounted. There is a small section i had to trim from the rad panel mount..not needed on this. Started trimming a guard to check fit up. Think ive found 2 rx3 guards to puck up on the weekend. Plan is to slice the front half off the rx3 guard and tetris it into place, then massage the b1600 body line to blend in at the top of the nosecone. Sat the bonnet on it to see where what and how. Its uncanny how the b1600 and rx3 body lines fall almost in the same place and a similar nose shape on the bonnet. It is very much in the no going back department now. Really wanna get the original photoshopped to see how itll look black. Im loving how aggressive this front looks. Next update will be the engine and driveline.
1 point


.jpg.4929511e3e3b26082abbfc0132b75478.jpg)


.thumb.jpeg.cba3dbd83fd850104bccdf9537a099b9.jpeg)


This leaderboard is set to Auckland/GMT+12:00