
Leaderboard


Popular Content
Showing content with the highest reputation on 02/06/22 in all areas
-
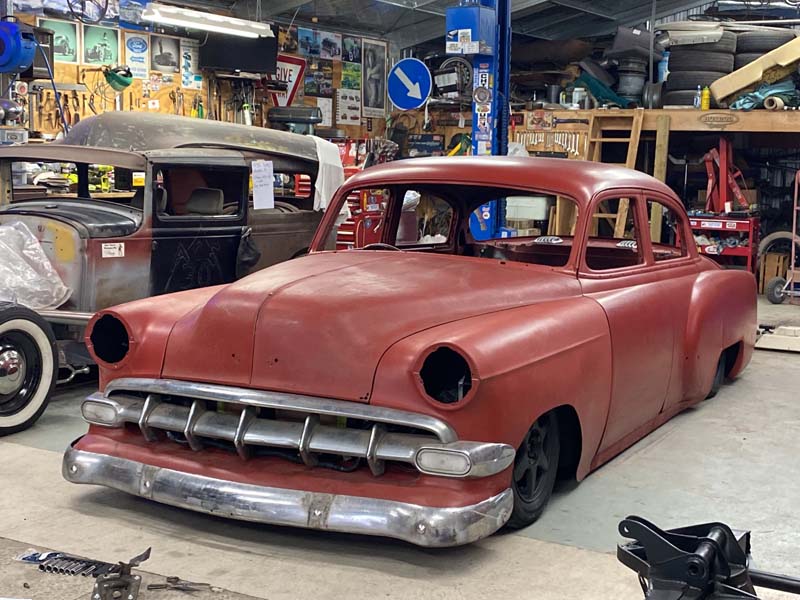
So, riding the high of driving the car, now its time to hit the low of the inevitable.... the rust repairs. I kinda wish I didn't start poking and prying at the plates of tin riveted to the floor, but it had to be done. I've cut it all out now and started to weld some areas back in. I wont post photos of that until the grinder and paint have been along to fix things.5 points
-
So. Having already built a 5MG in the late 90s I already know how fucking garbage they are. What the hell am I doing? The engine gearbox combo in this car is pretty rubbish. A stock 4M coupled with a slush box is pretty awful at the best of times. However this trans has really tall gearing which is great for crusing on the motorway but it's literally dangerously slow when you're trying to pull out of a side road or something. I was thinking about engines for this car and hadn't really come up with anything that I liked, then Brendan told me about a bunch of 7M turbo motor stuff he was getting rid of. Around about the same time I went down to Yowzer's place to get something and we got yarning about a 5MG that he was going to chuck out. So Brendan dumped his 7M garbage in my shed and I bought the 5MG head off Yowzer. My plan is to build what is effectively a 6M. 3 litre bottom with a 5M head. I'm going with bigger cams, bigger valves and high compression. It'll have ITBs and a cool looking exhaust. Don't get me wrong, I am well aware that this turd won't make any power but I've resigned myself to the fact that if I can't make it go fast at least I'll make it look cool. So, I have cobbled together a bunch of new parts for this thing. Major thing in missing is high compression pistons. Can't find anything as yet. I do have a new set of stock pistons which would run about 9.5 to 1 but I want to go much higher than that. So yea, this will happen over the next few months, or however long it takes. Oh, also the car will be manual with this engine.5 points
-
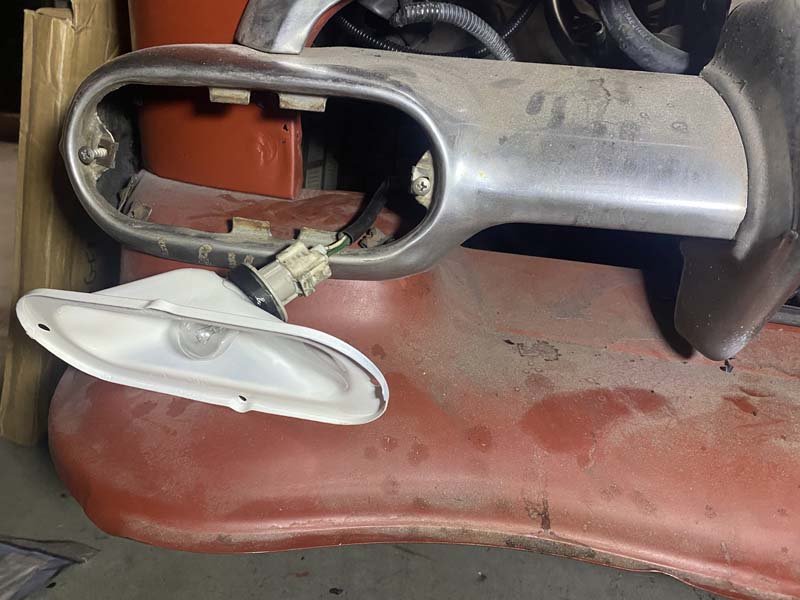
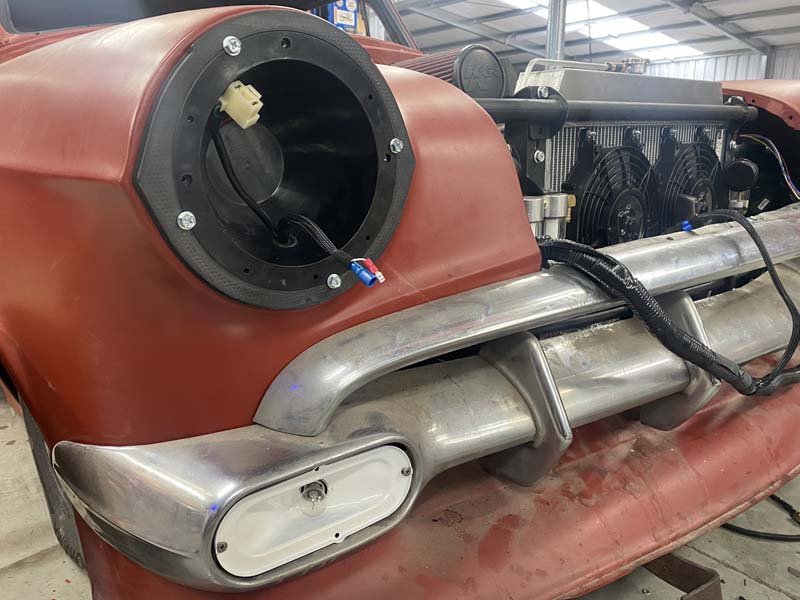
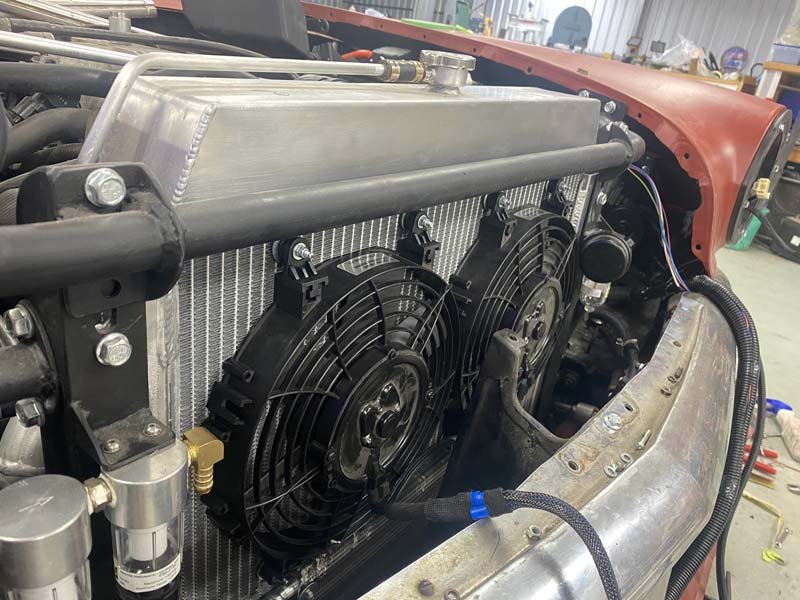
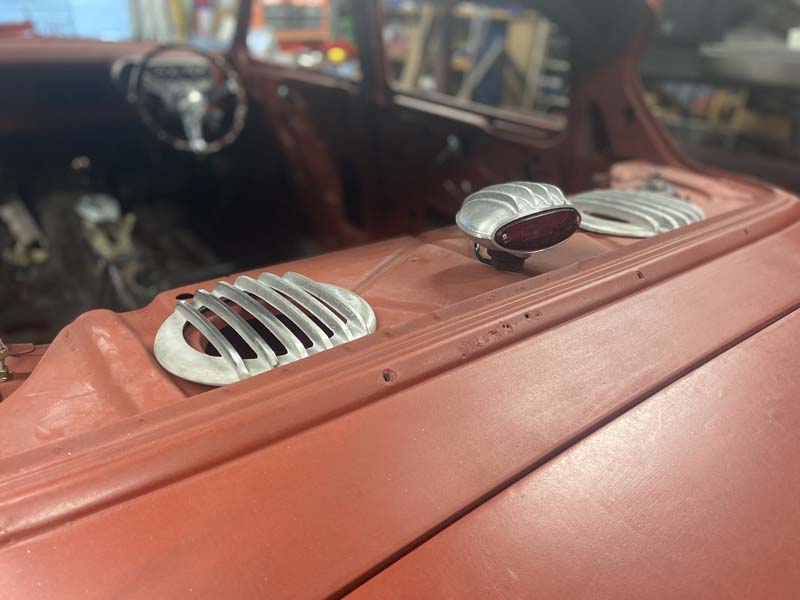
Sandblasted, and painted the Chevy factory park light enclosure. Drilled out the 50s bulb holder and epoxy glued the Lexus bulb holder with plug in. New Park Light lenses are on there way from America. Wired in the h4 plug and pilot light into the Narva 7inch buckets, with their new ABS 3d printed adapters. And just waiting on some pilot light bulbs to fully assemble. Have also Wired the Davis Craig fans into the Lexus loom. And mounted through the Radiator with m4 allthread.
 4 points
 -
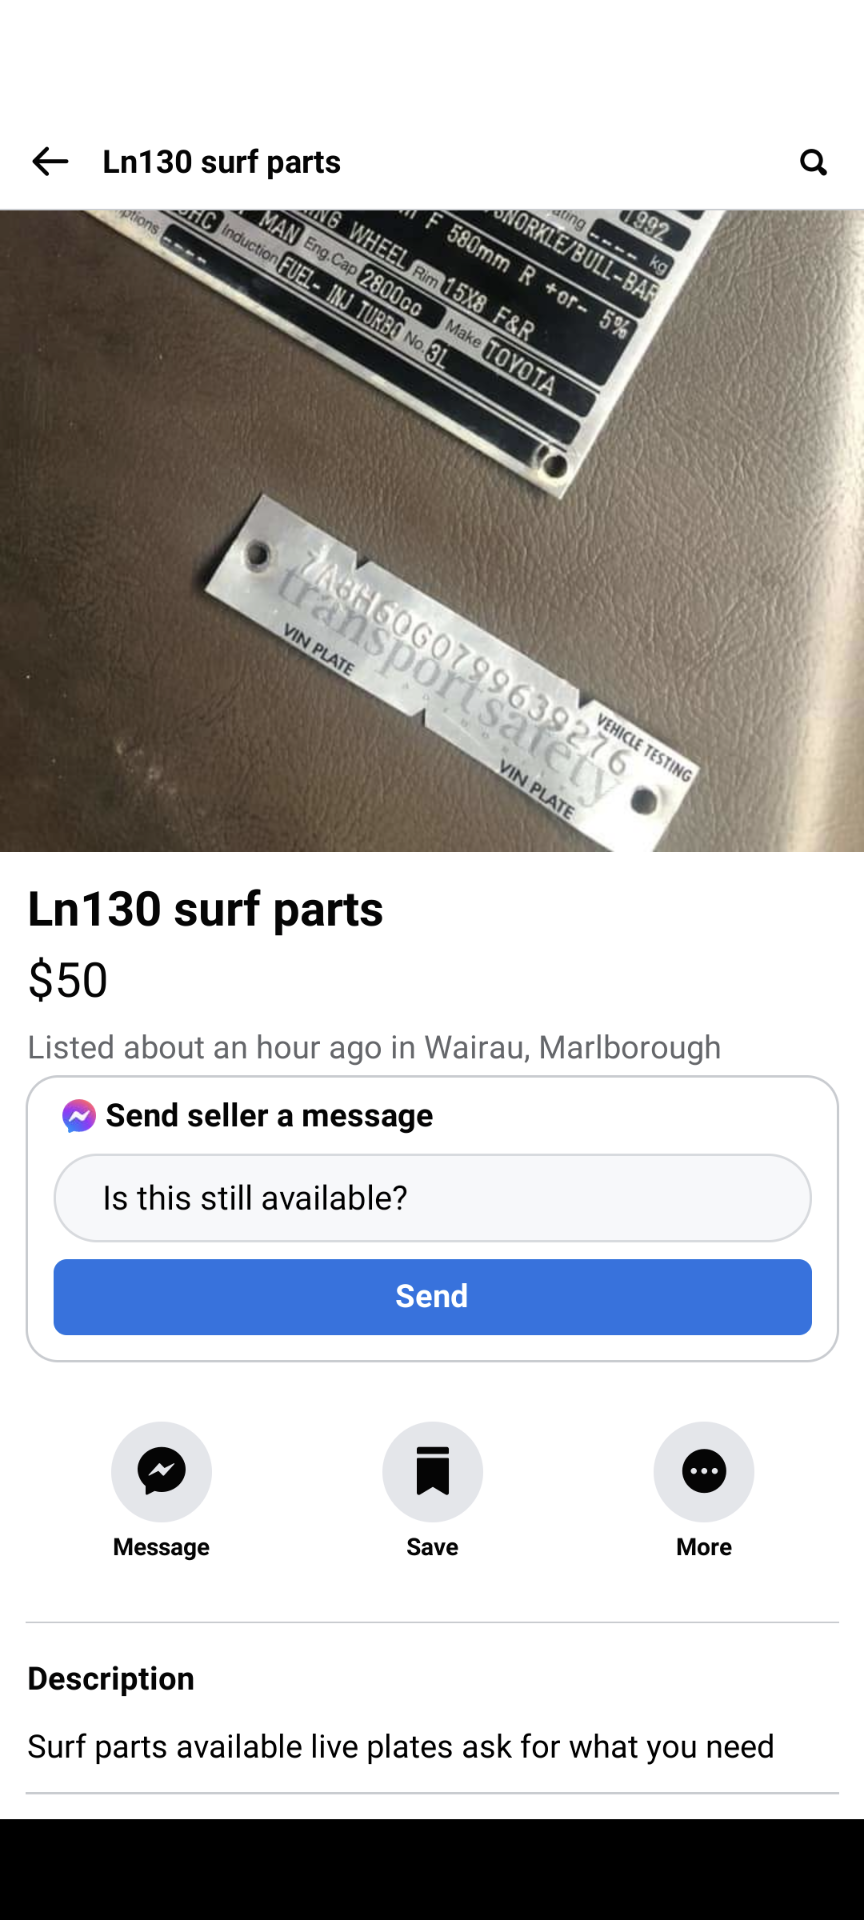
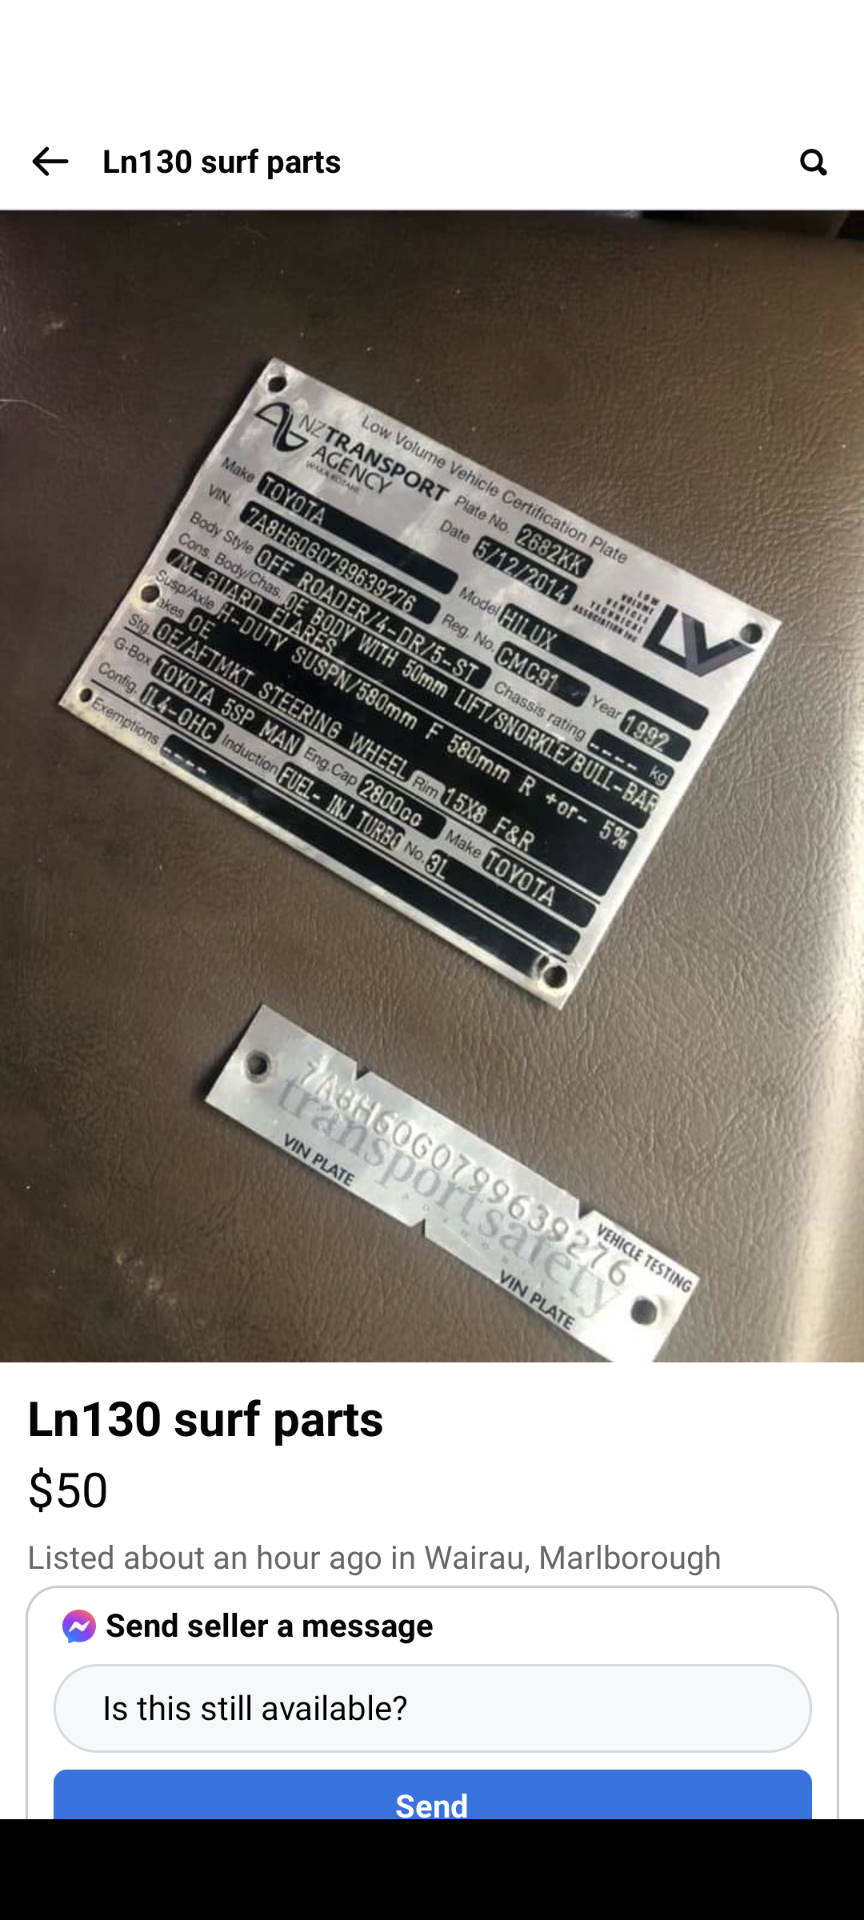
Nice easy surf cert on fb right now Fucking retard
3 points
-
"Hopefully this works." Turns out it didn't. Did a run with the lads at the start of Jan, and couldn't get much over 45ish kmh before it would start porpoising. I came to the conclusion it was the stretched UHMWPE, which had become wavey, which was causing the problem. I didn't want to put a new bit of UHMWPE on just yet, as it's boating season, and it's quite a lot of work (engine out, weld up holes, re drill/tap/bolt down etc) so decided I'd chuck more bolts into the high spots to pull them down. Due to access issues, I could only do the couple of bubbles right at the back, the rest is still wobbly AF. Had to slap a fair few bolts in, as plastic is so thin/bendy (it's meant to be 10/12mm thick, this is only 6mm) Worst bubble with just one bolt, it was about 20mm away from the hull, ended up with 3 more bolts in it. I also managed to get a few more degrees of downward tilt on the trim nozzle too, so have more range to play with now. ANYWAYS, took it to the harbour this arvo for a test run, and shit me sideways, no porpoising at all, totally flipping sweet. It's sort of blown my mind that two little humps in the plastic, right at the back of the hull, were making such a huge difference. Crazy. I forgot to take speedo phone so don't have a number, but it felt like it was going hunnitz. Fully stoked this repair worked! Regards, VG.3 points
-
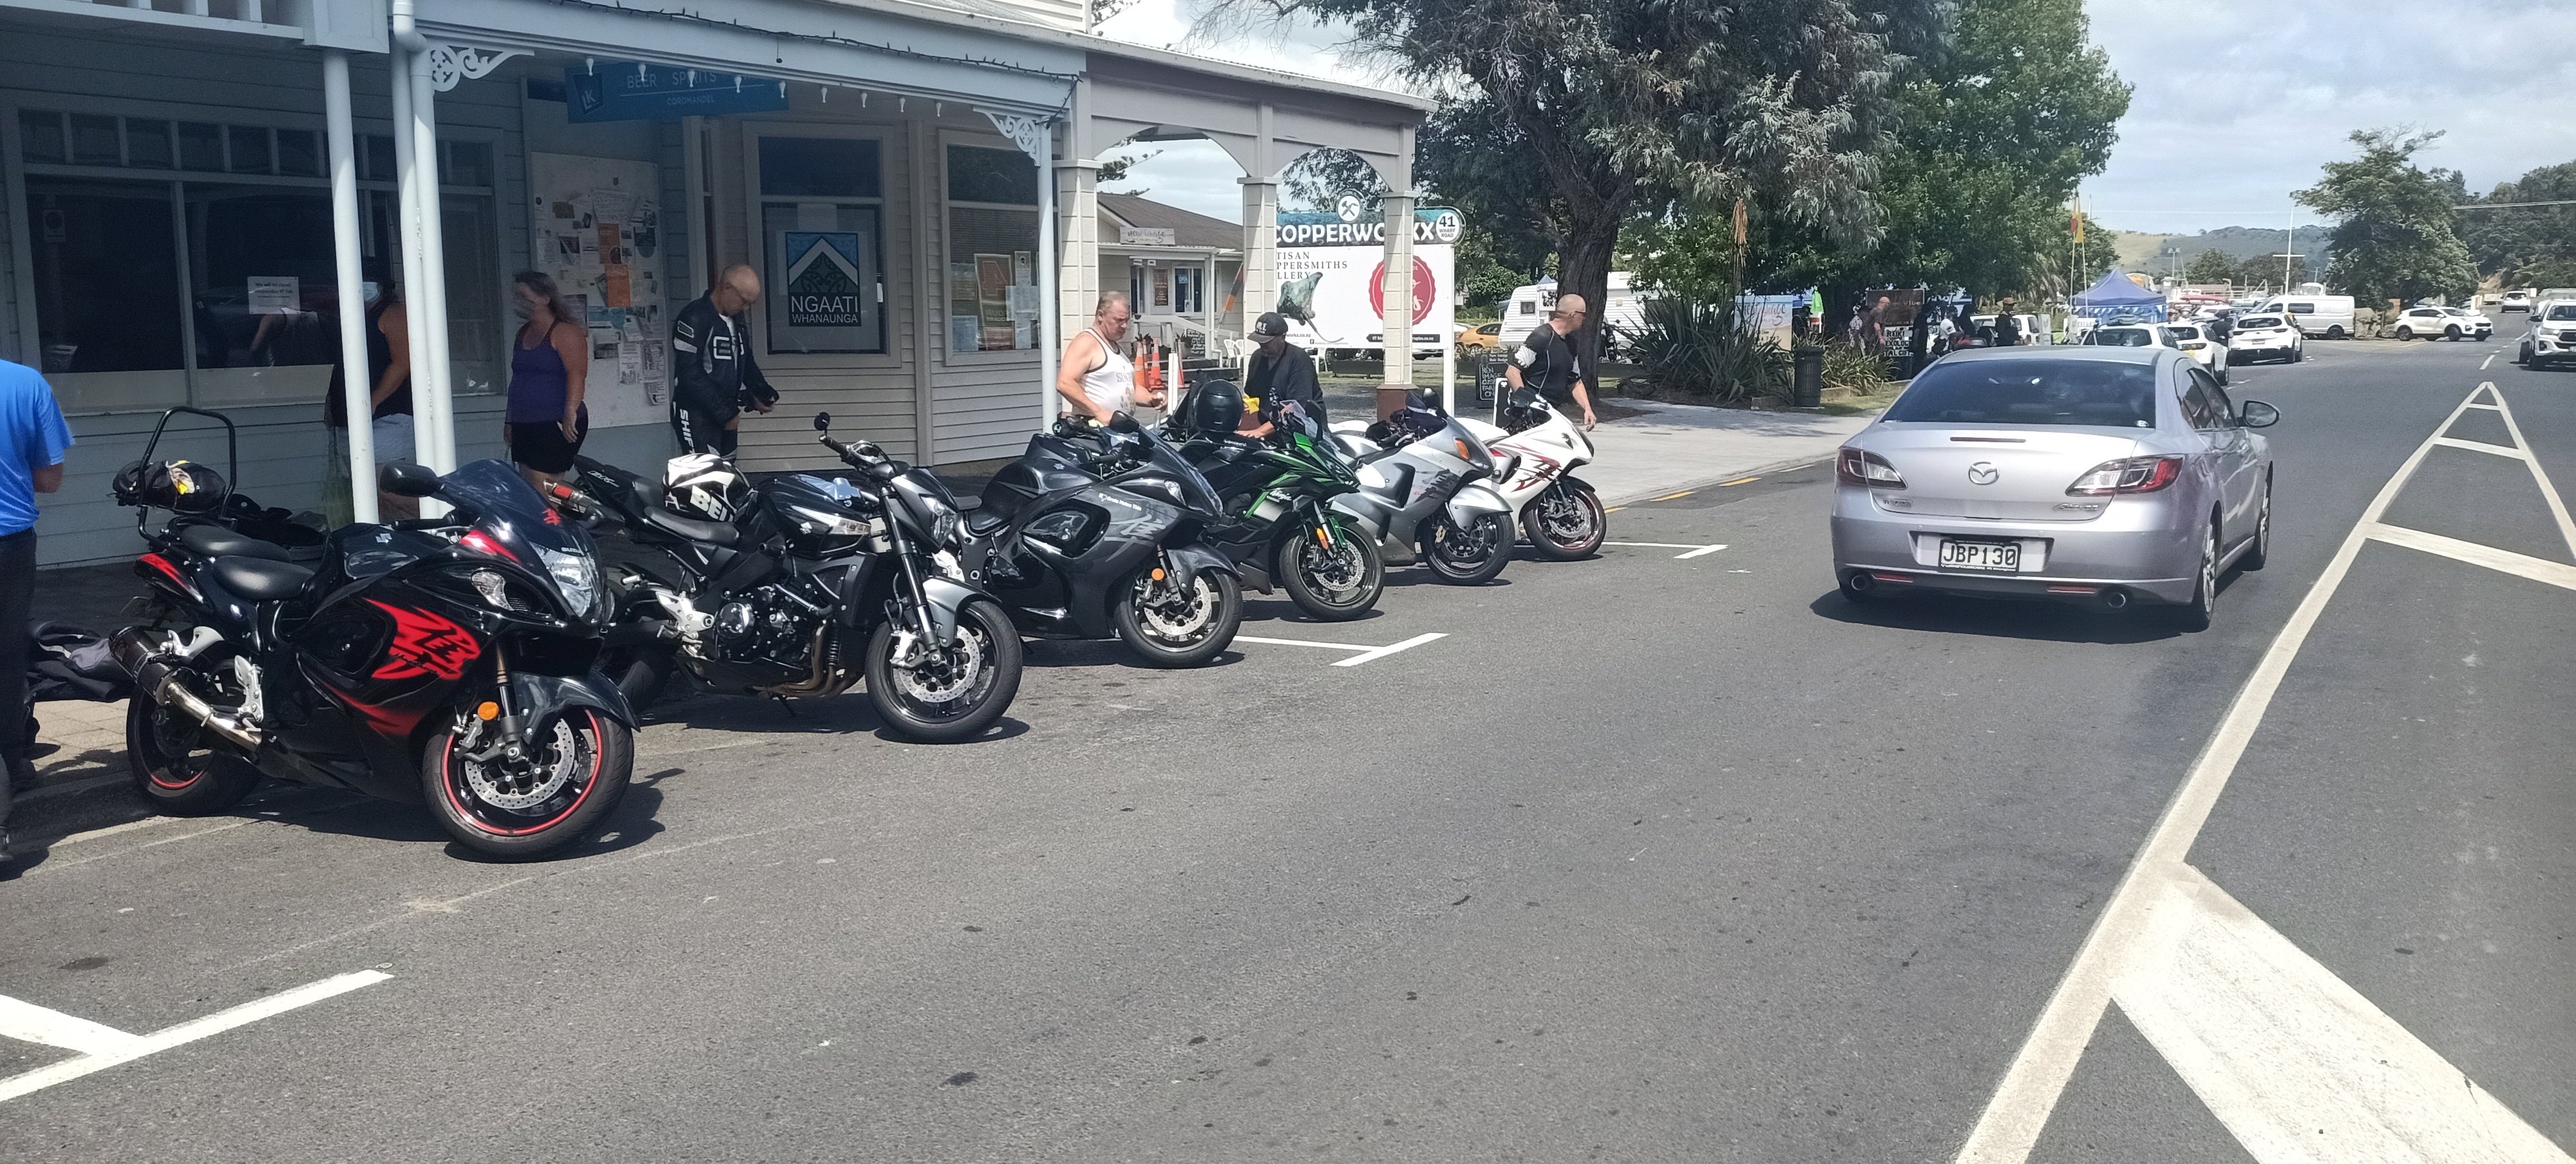
Did the corro loop for the first time.
2 points
-
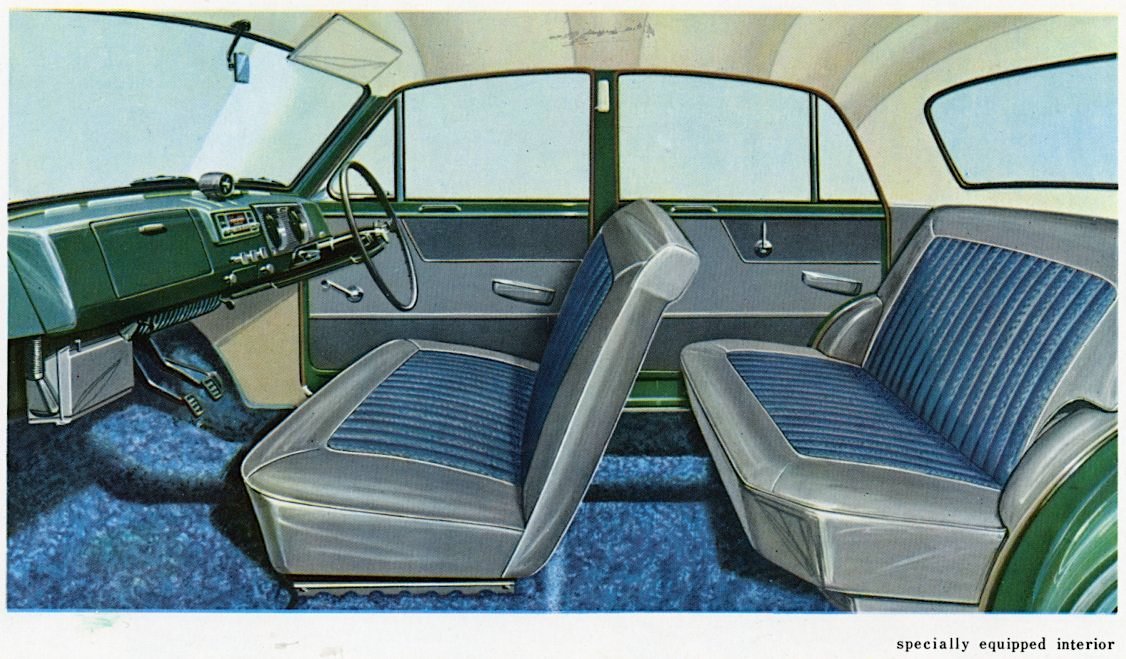
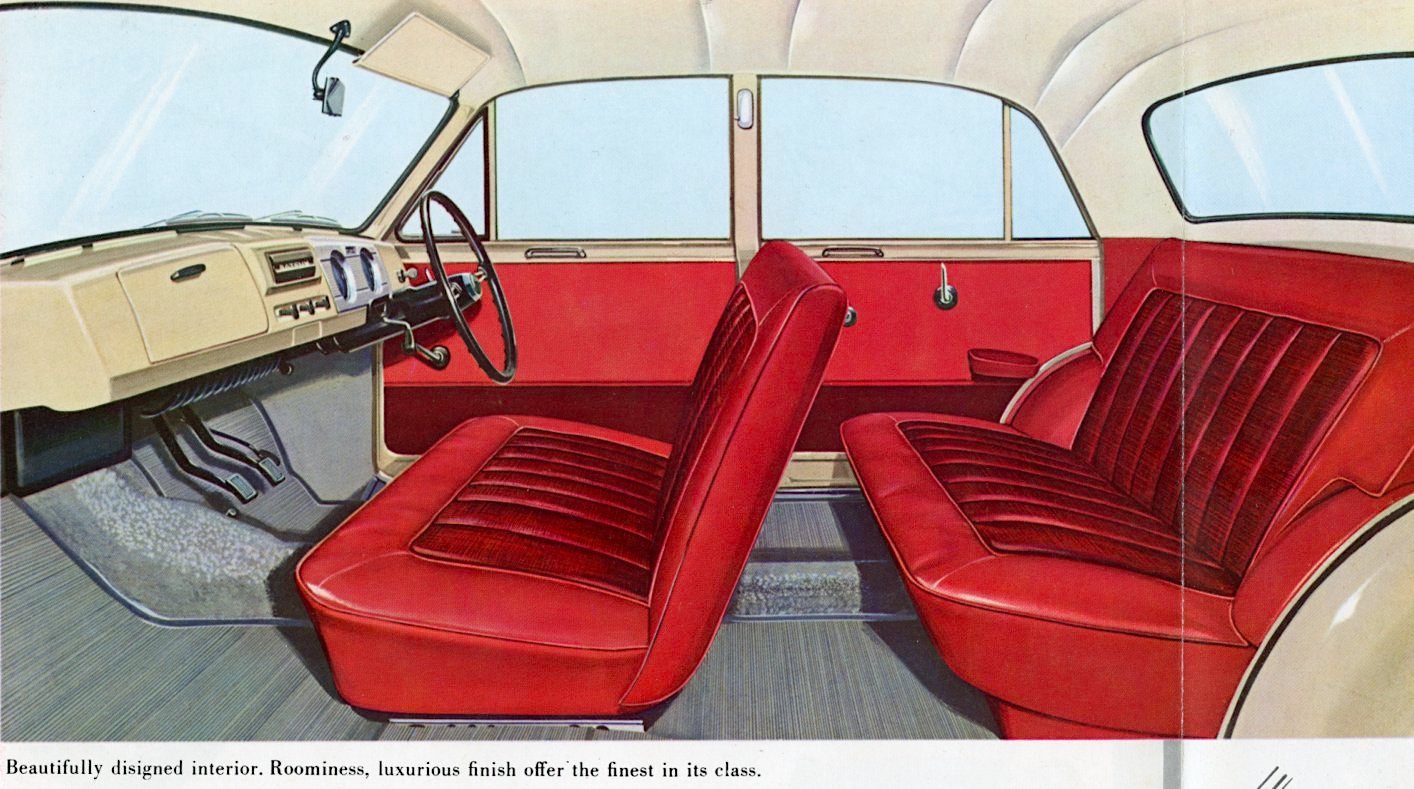
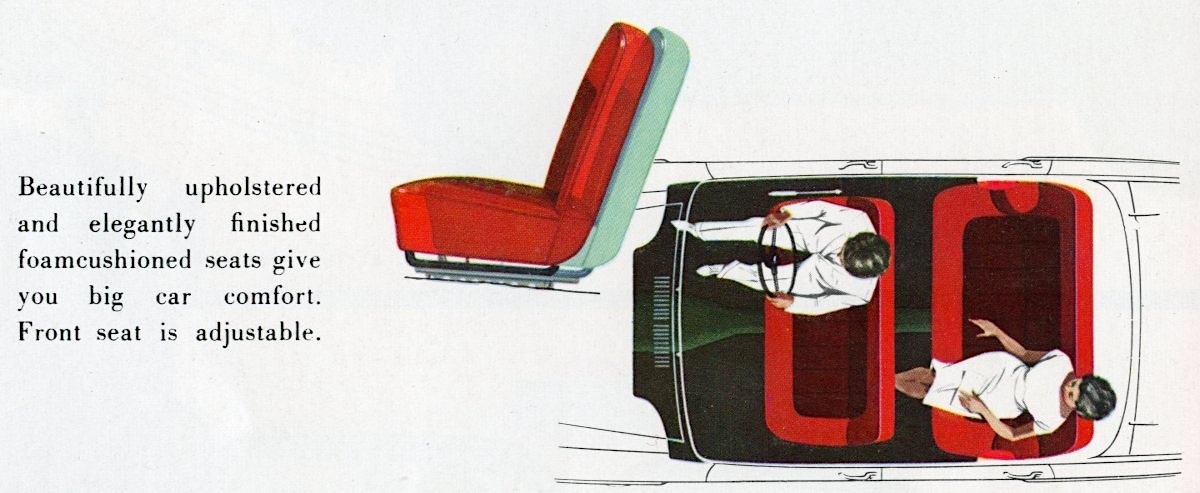
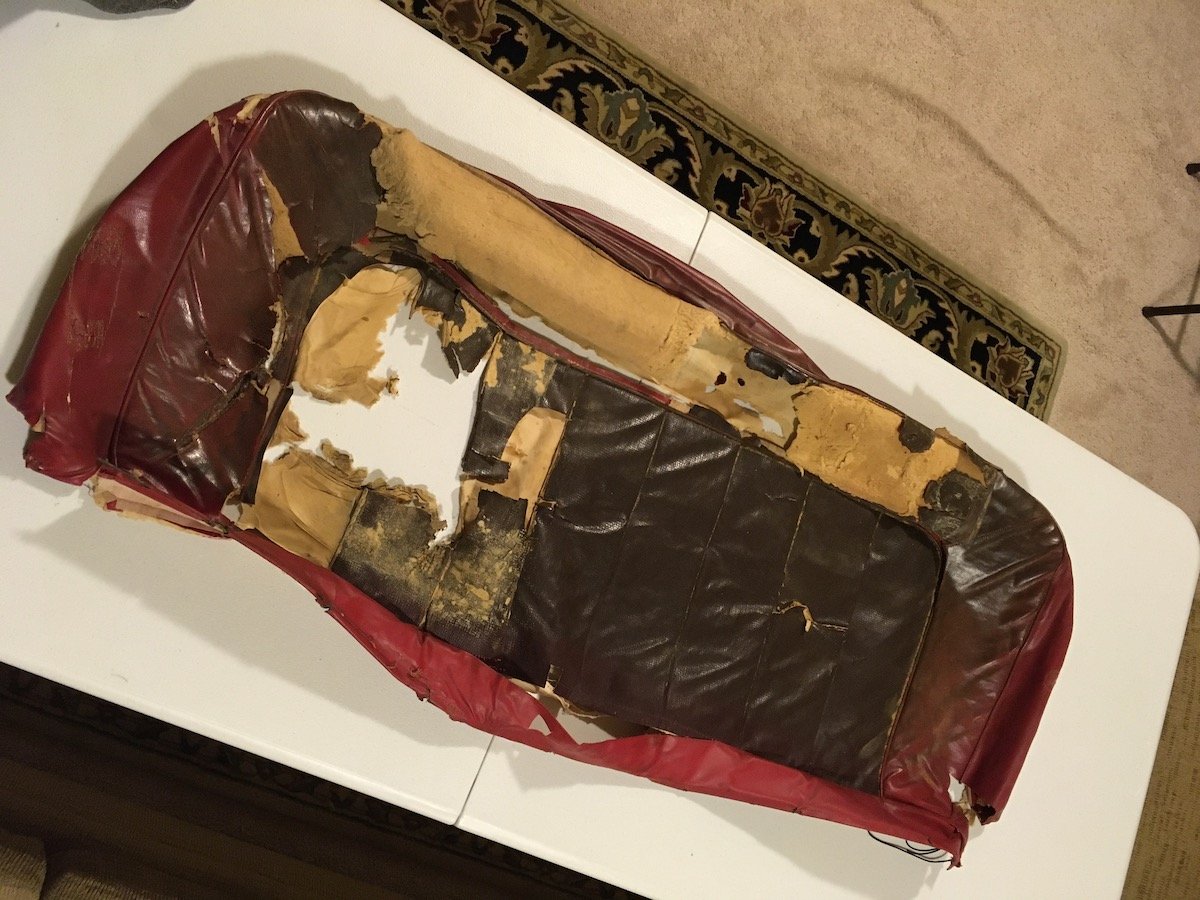
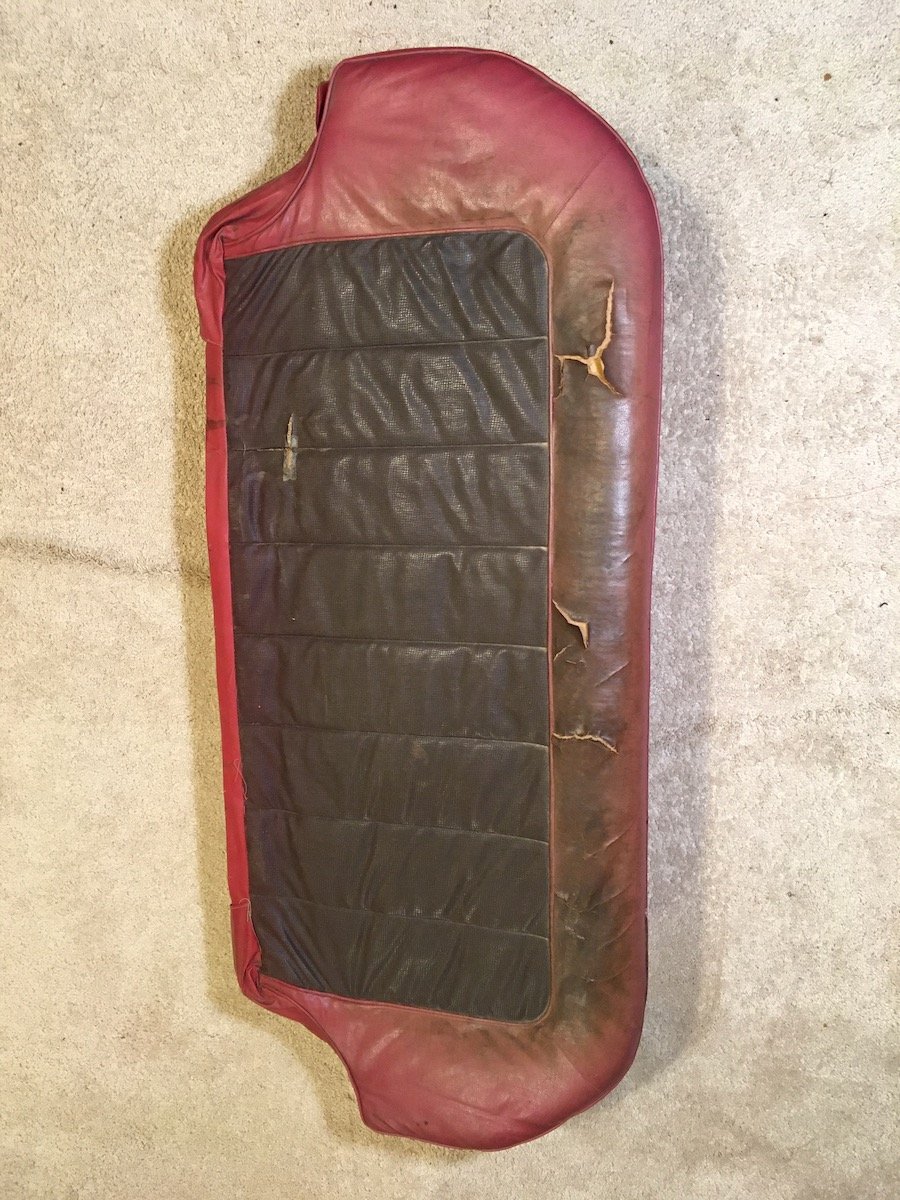
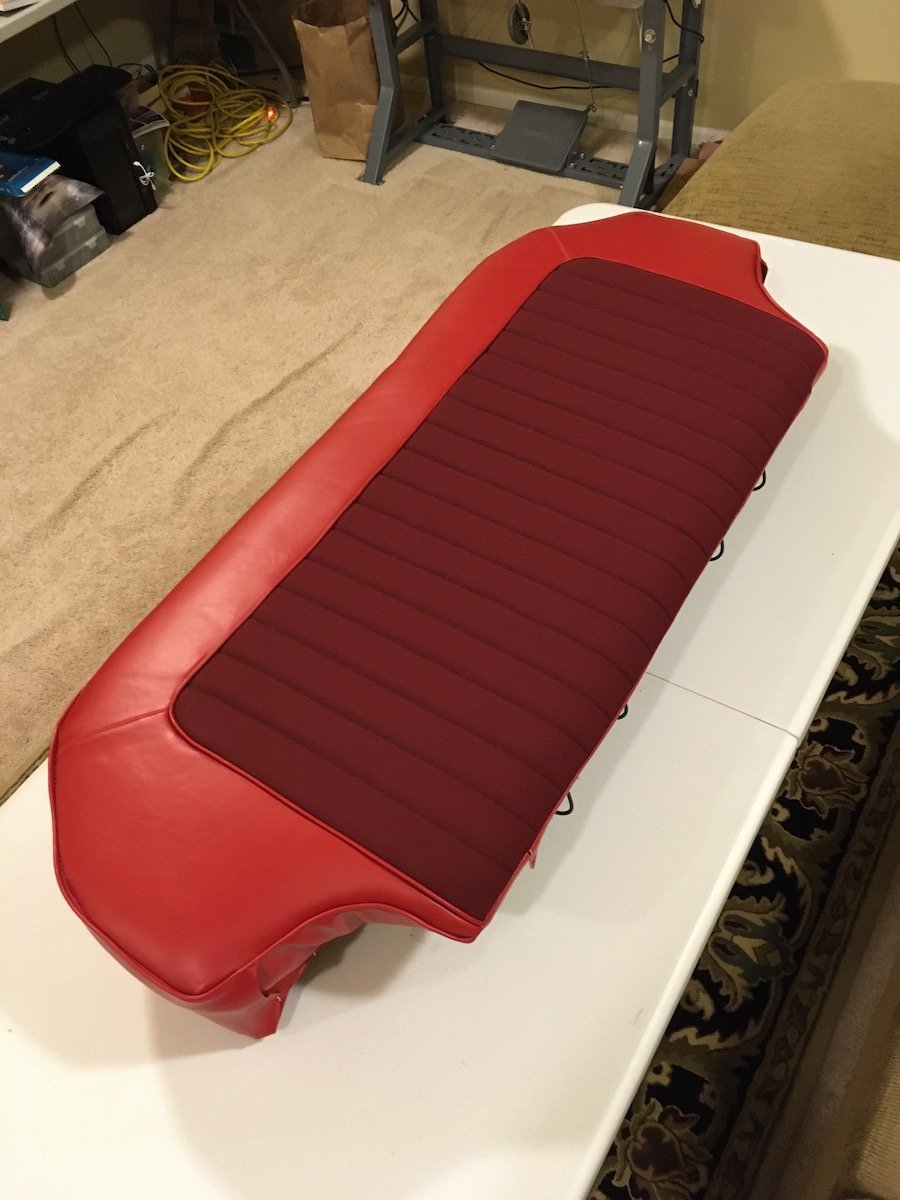
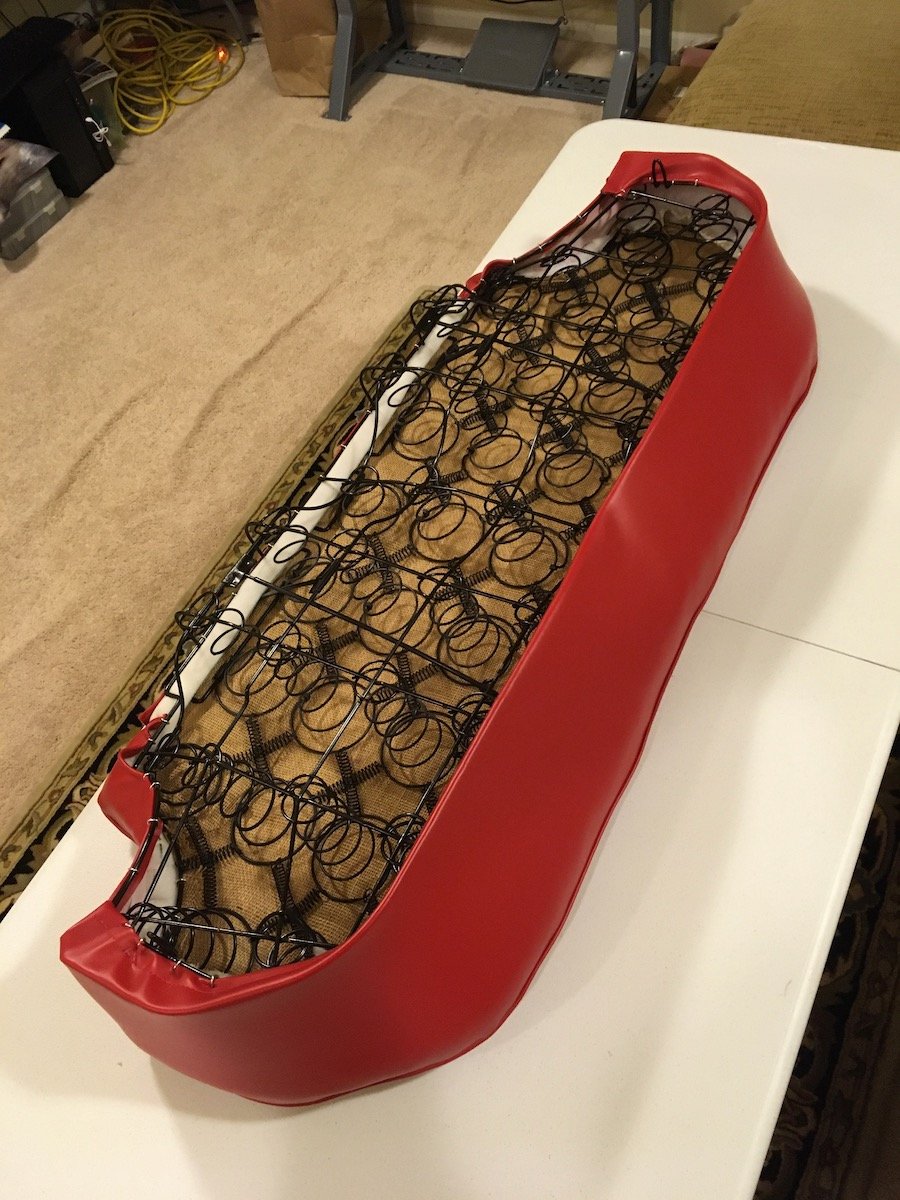
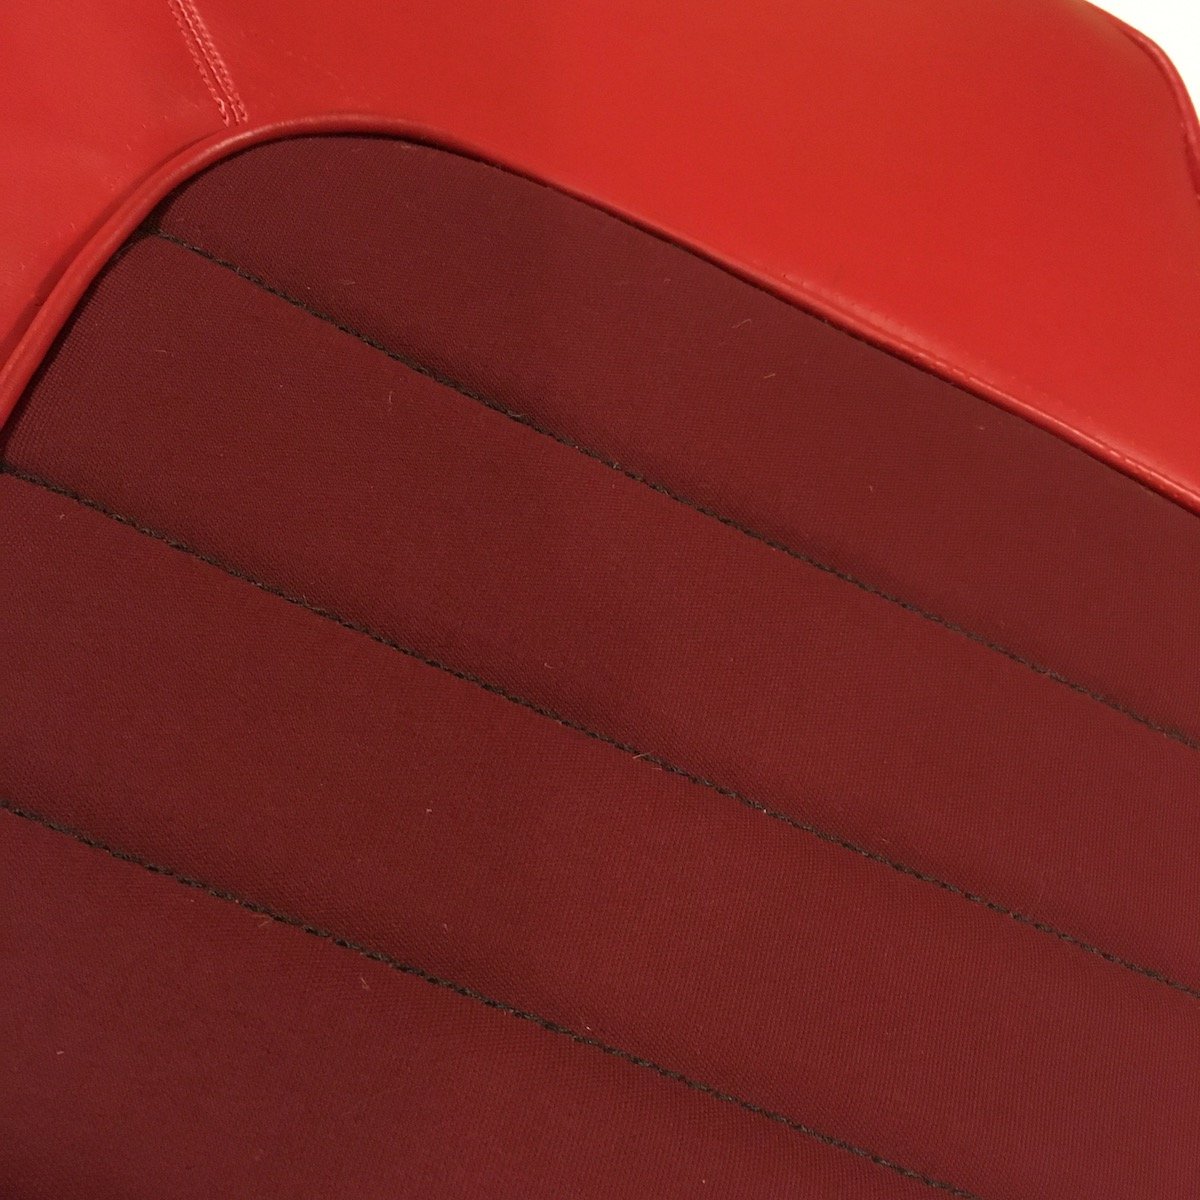
Building the 1961 Datsun 310 Bluebird - Upholstery - Repair. It's been cold and damp outside this winter in the Northwest U.S. so I'm staying indoors and doing some upholstery repairs to the Bluebird. This is my first ever upholstery project with no training or prior experience. I have acquired a capable industrial sewing machine and am going for it with the support of an upholstery book and numerous online videos. My goal is to mimic the original styles as displayed in these 1960 Bluebird sales brochures except I'm changing the original padded inserts from eight pleated vinyl to 18 pleated cloth. This last sales brochure image is the look I'm shooting for. What I started with: The original front seat cover. The original rear seat lower cushion So the rear seat lower cushion is finished. I tore it down to the spring frame, cleaned and painted it, then laboriously built it back up with all new materials by reverse engineering all the bits. Not perfect, I had lots of trouble with the welting, but the front seat should get better as I correct my many mistakes made on the rear. I'm learning as I go. Underside Pleated cloth inset panel detail
2 points
-
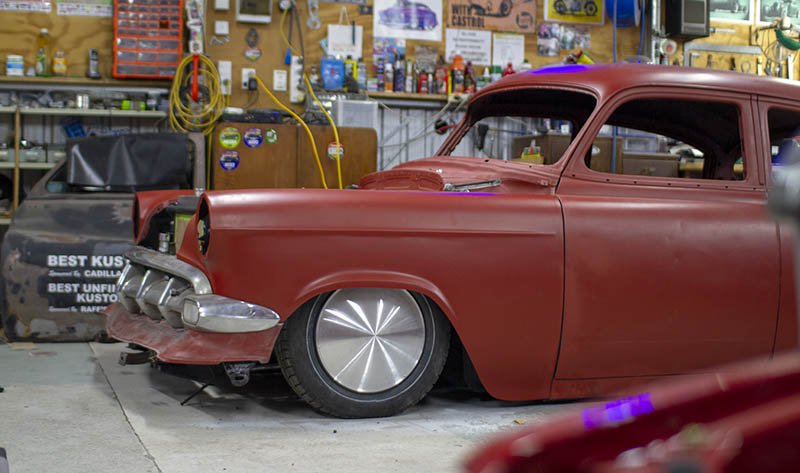
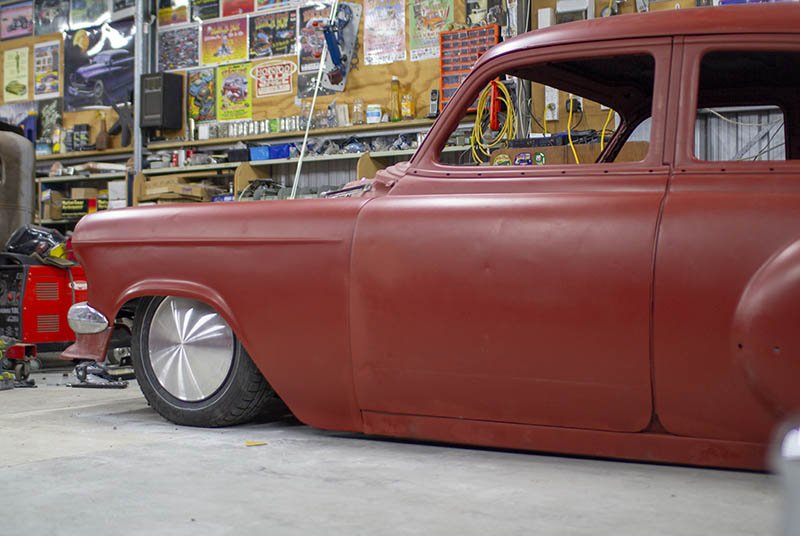
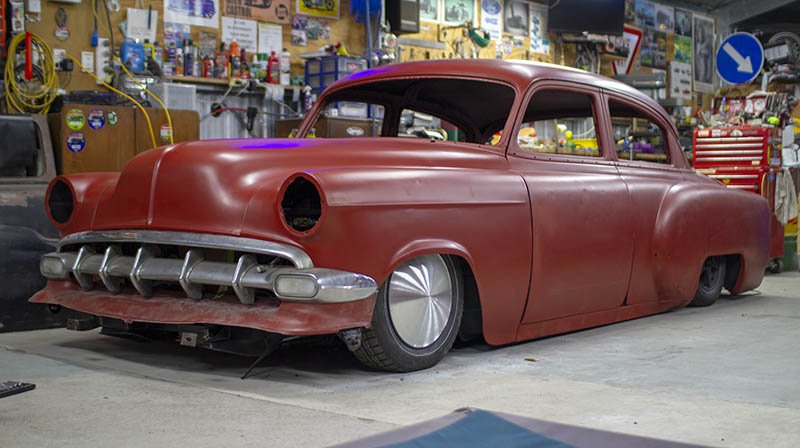
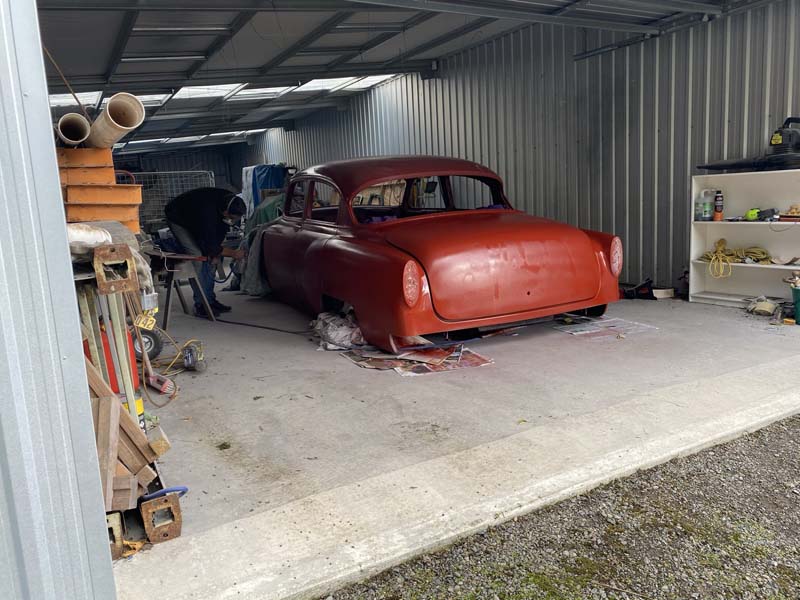
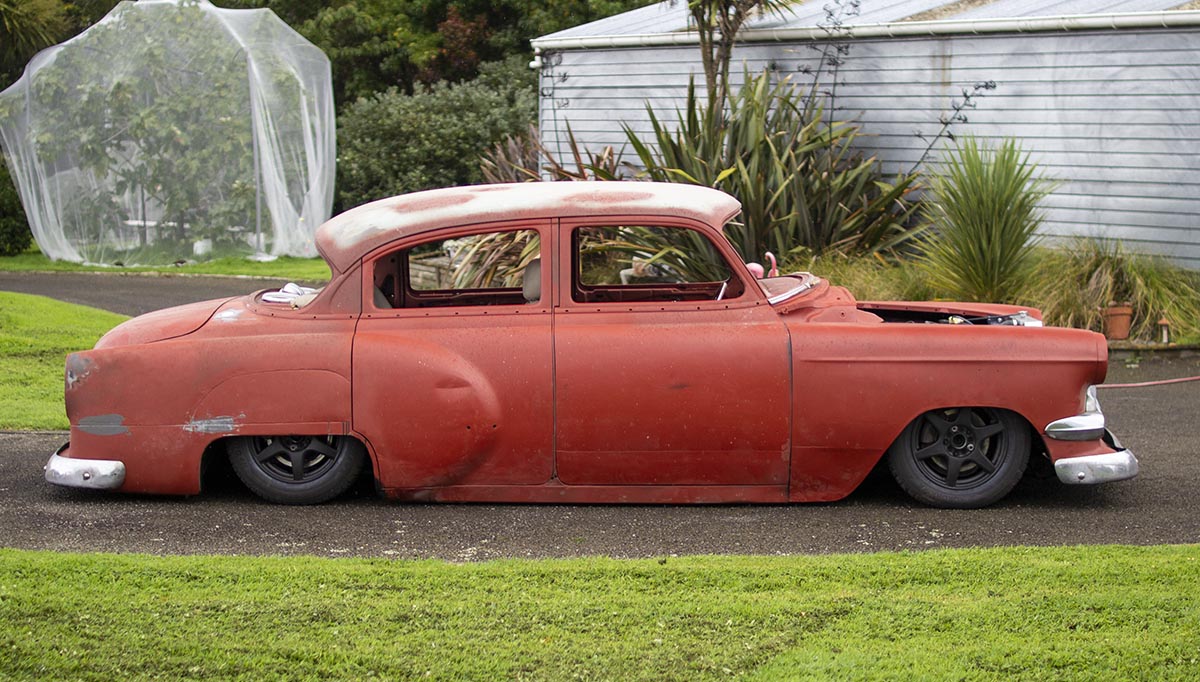
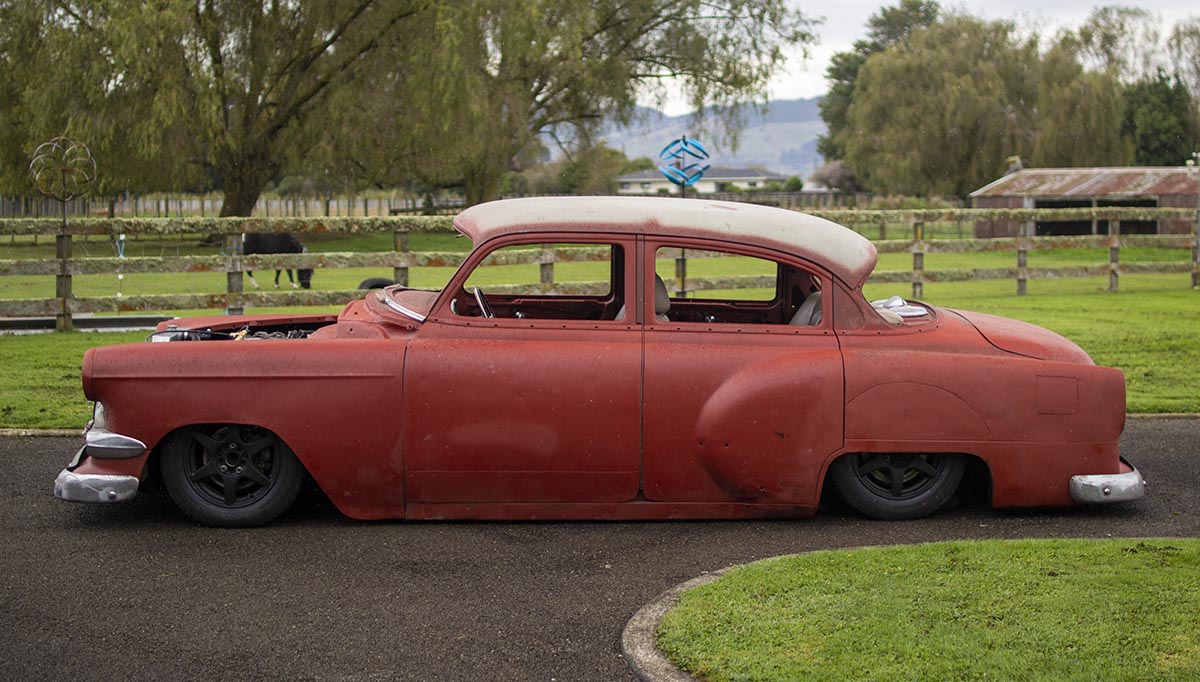
Fenders Painted and Fitted Up. Fitted up a moon disc to the alloy wheel too. And the Painted peaked bonnet.
2 points
-
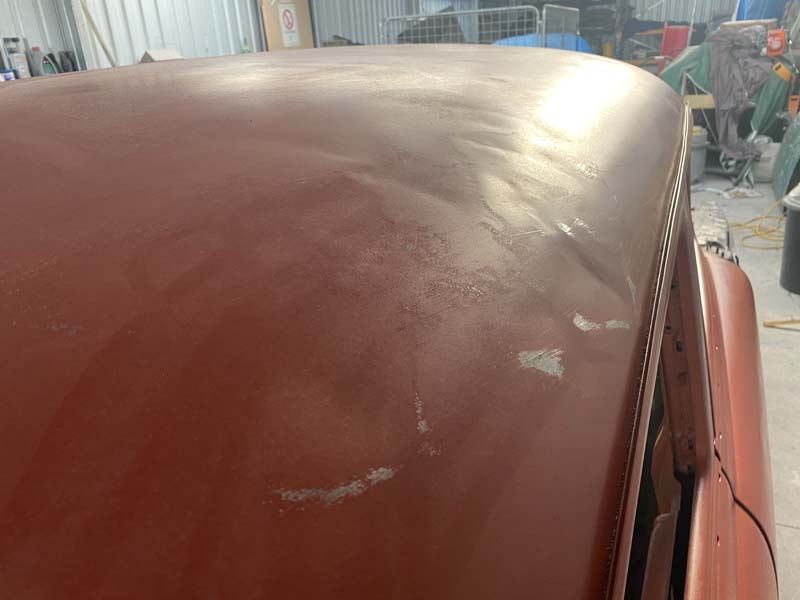
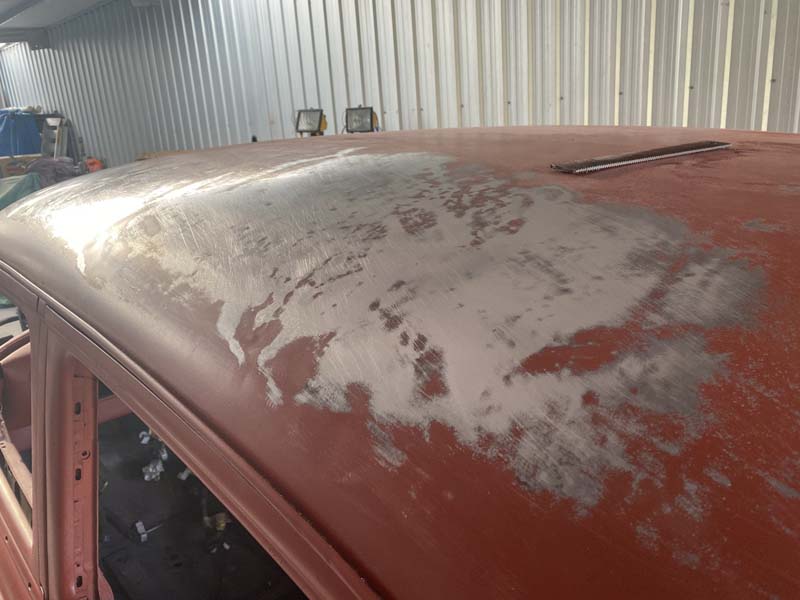
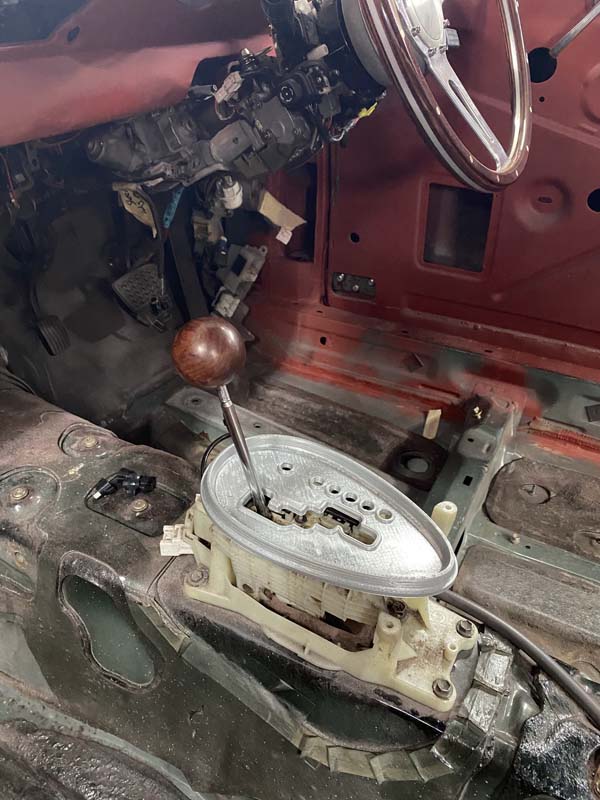
After stripping the roof of filler and many layers of paint. We found it was quite damaged. Matt made quick work of smoothing 90% of it out. We sprayed some more PA10 on And the bonnet almost fitted up. 3d Printed a prototype shifter gate cover. Should work alright once cast in aluminium. Couple of speaker grills and high stop light we cast are almost finalised too.
2 points
-
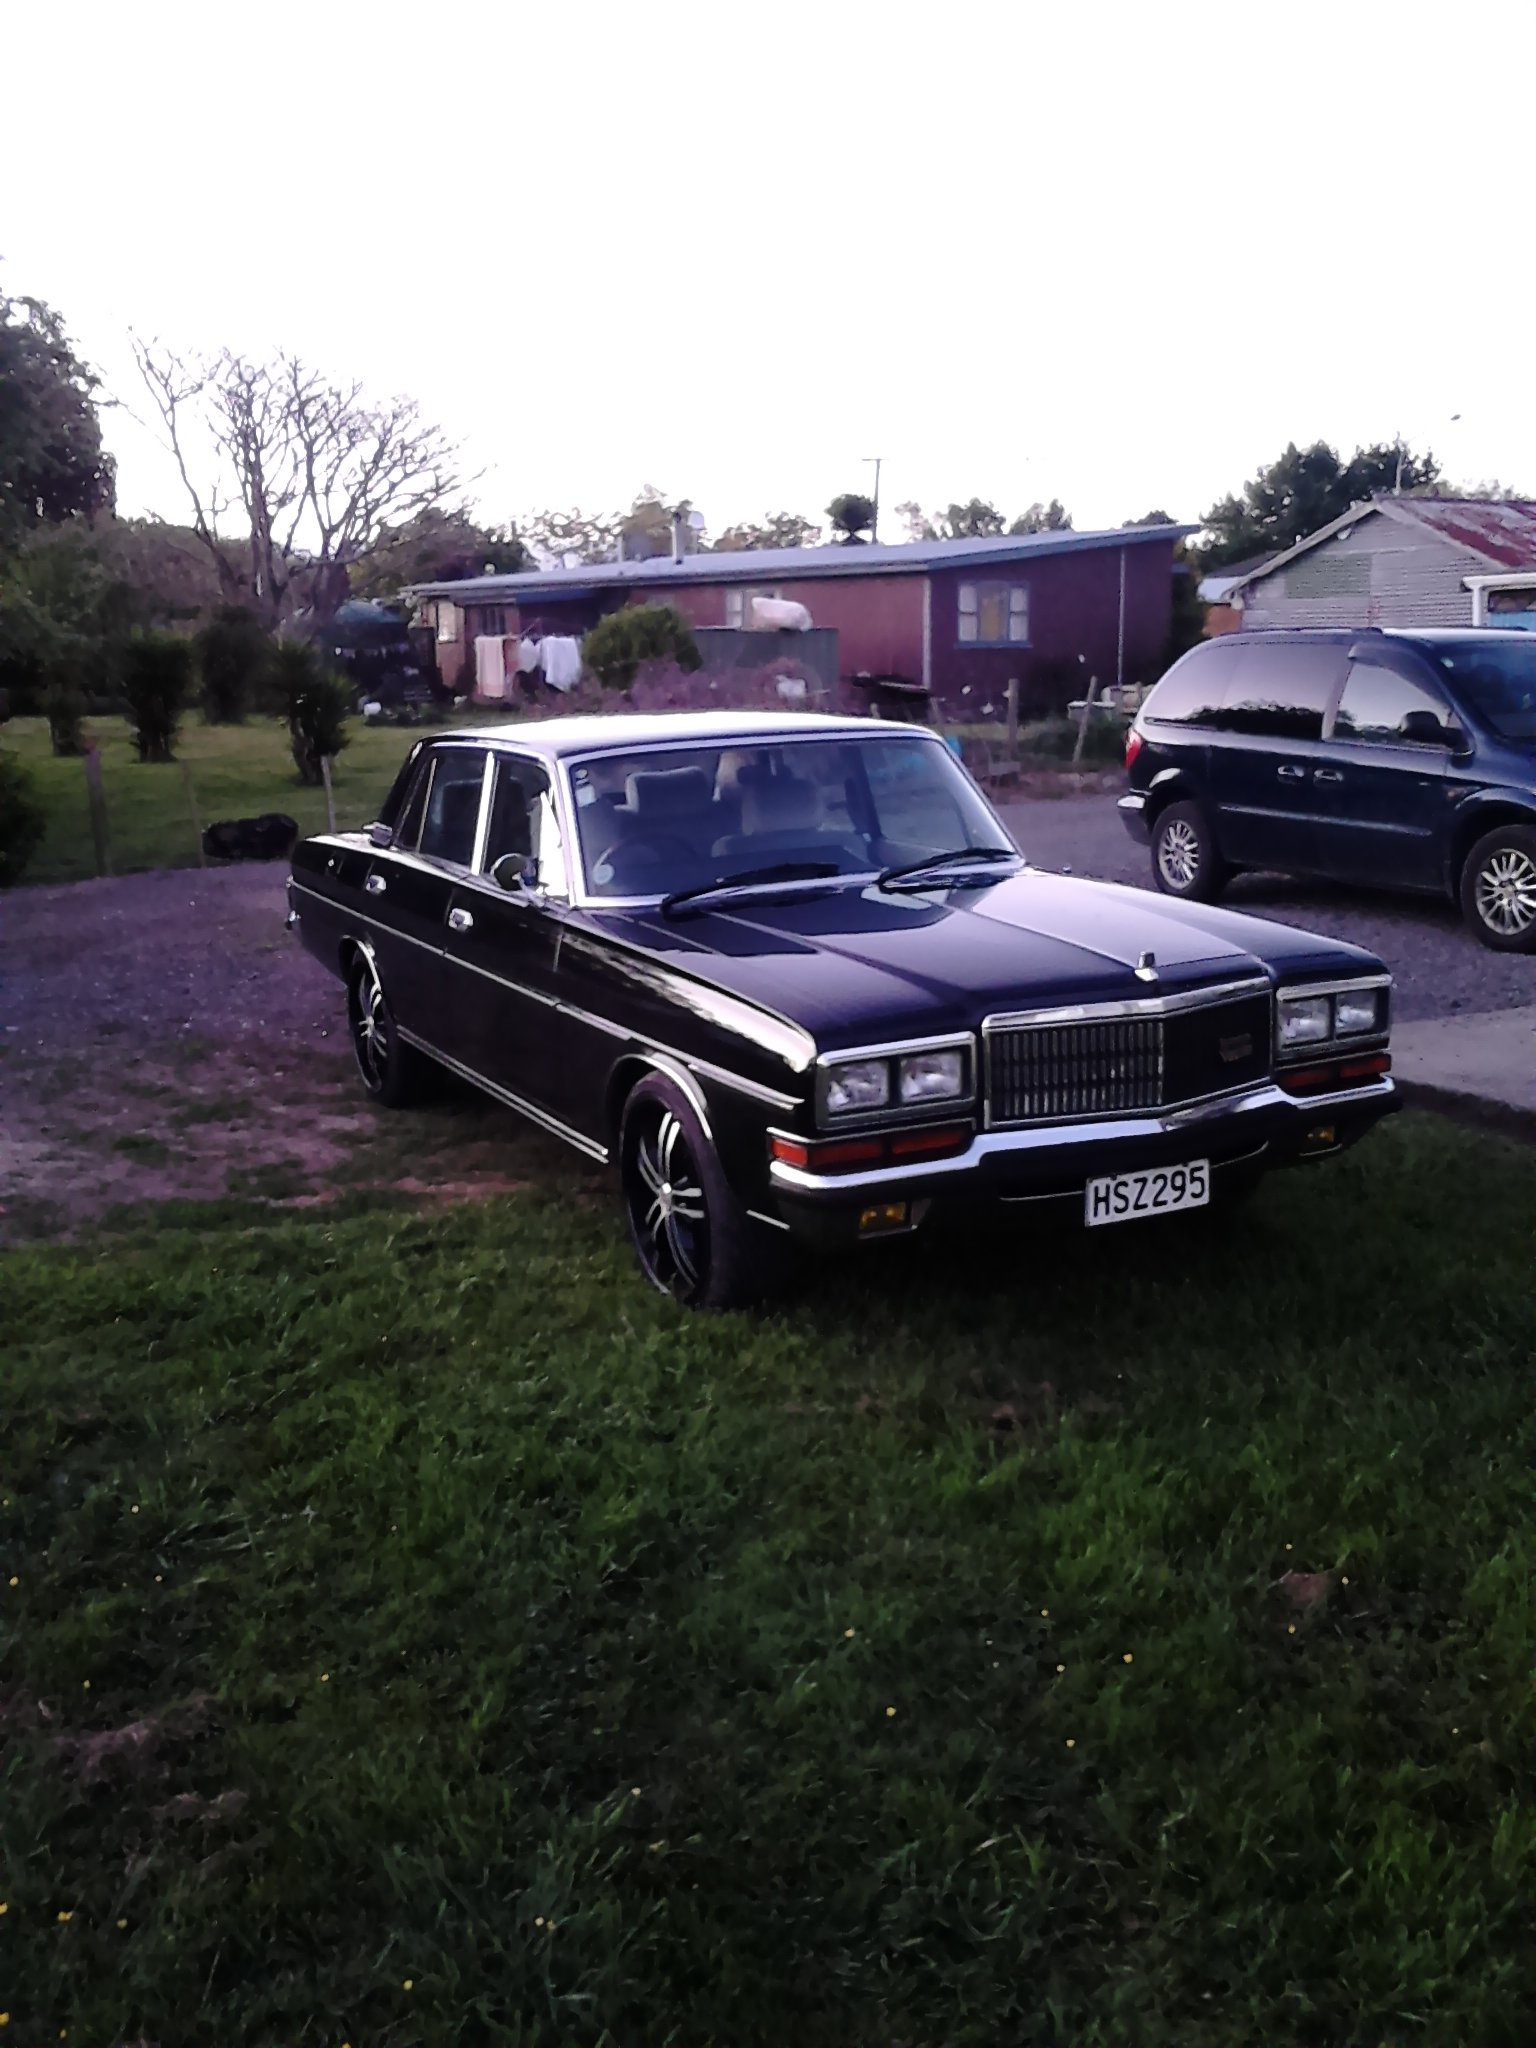
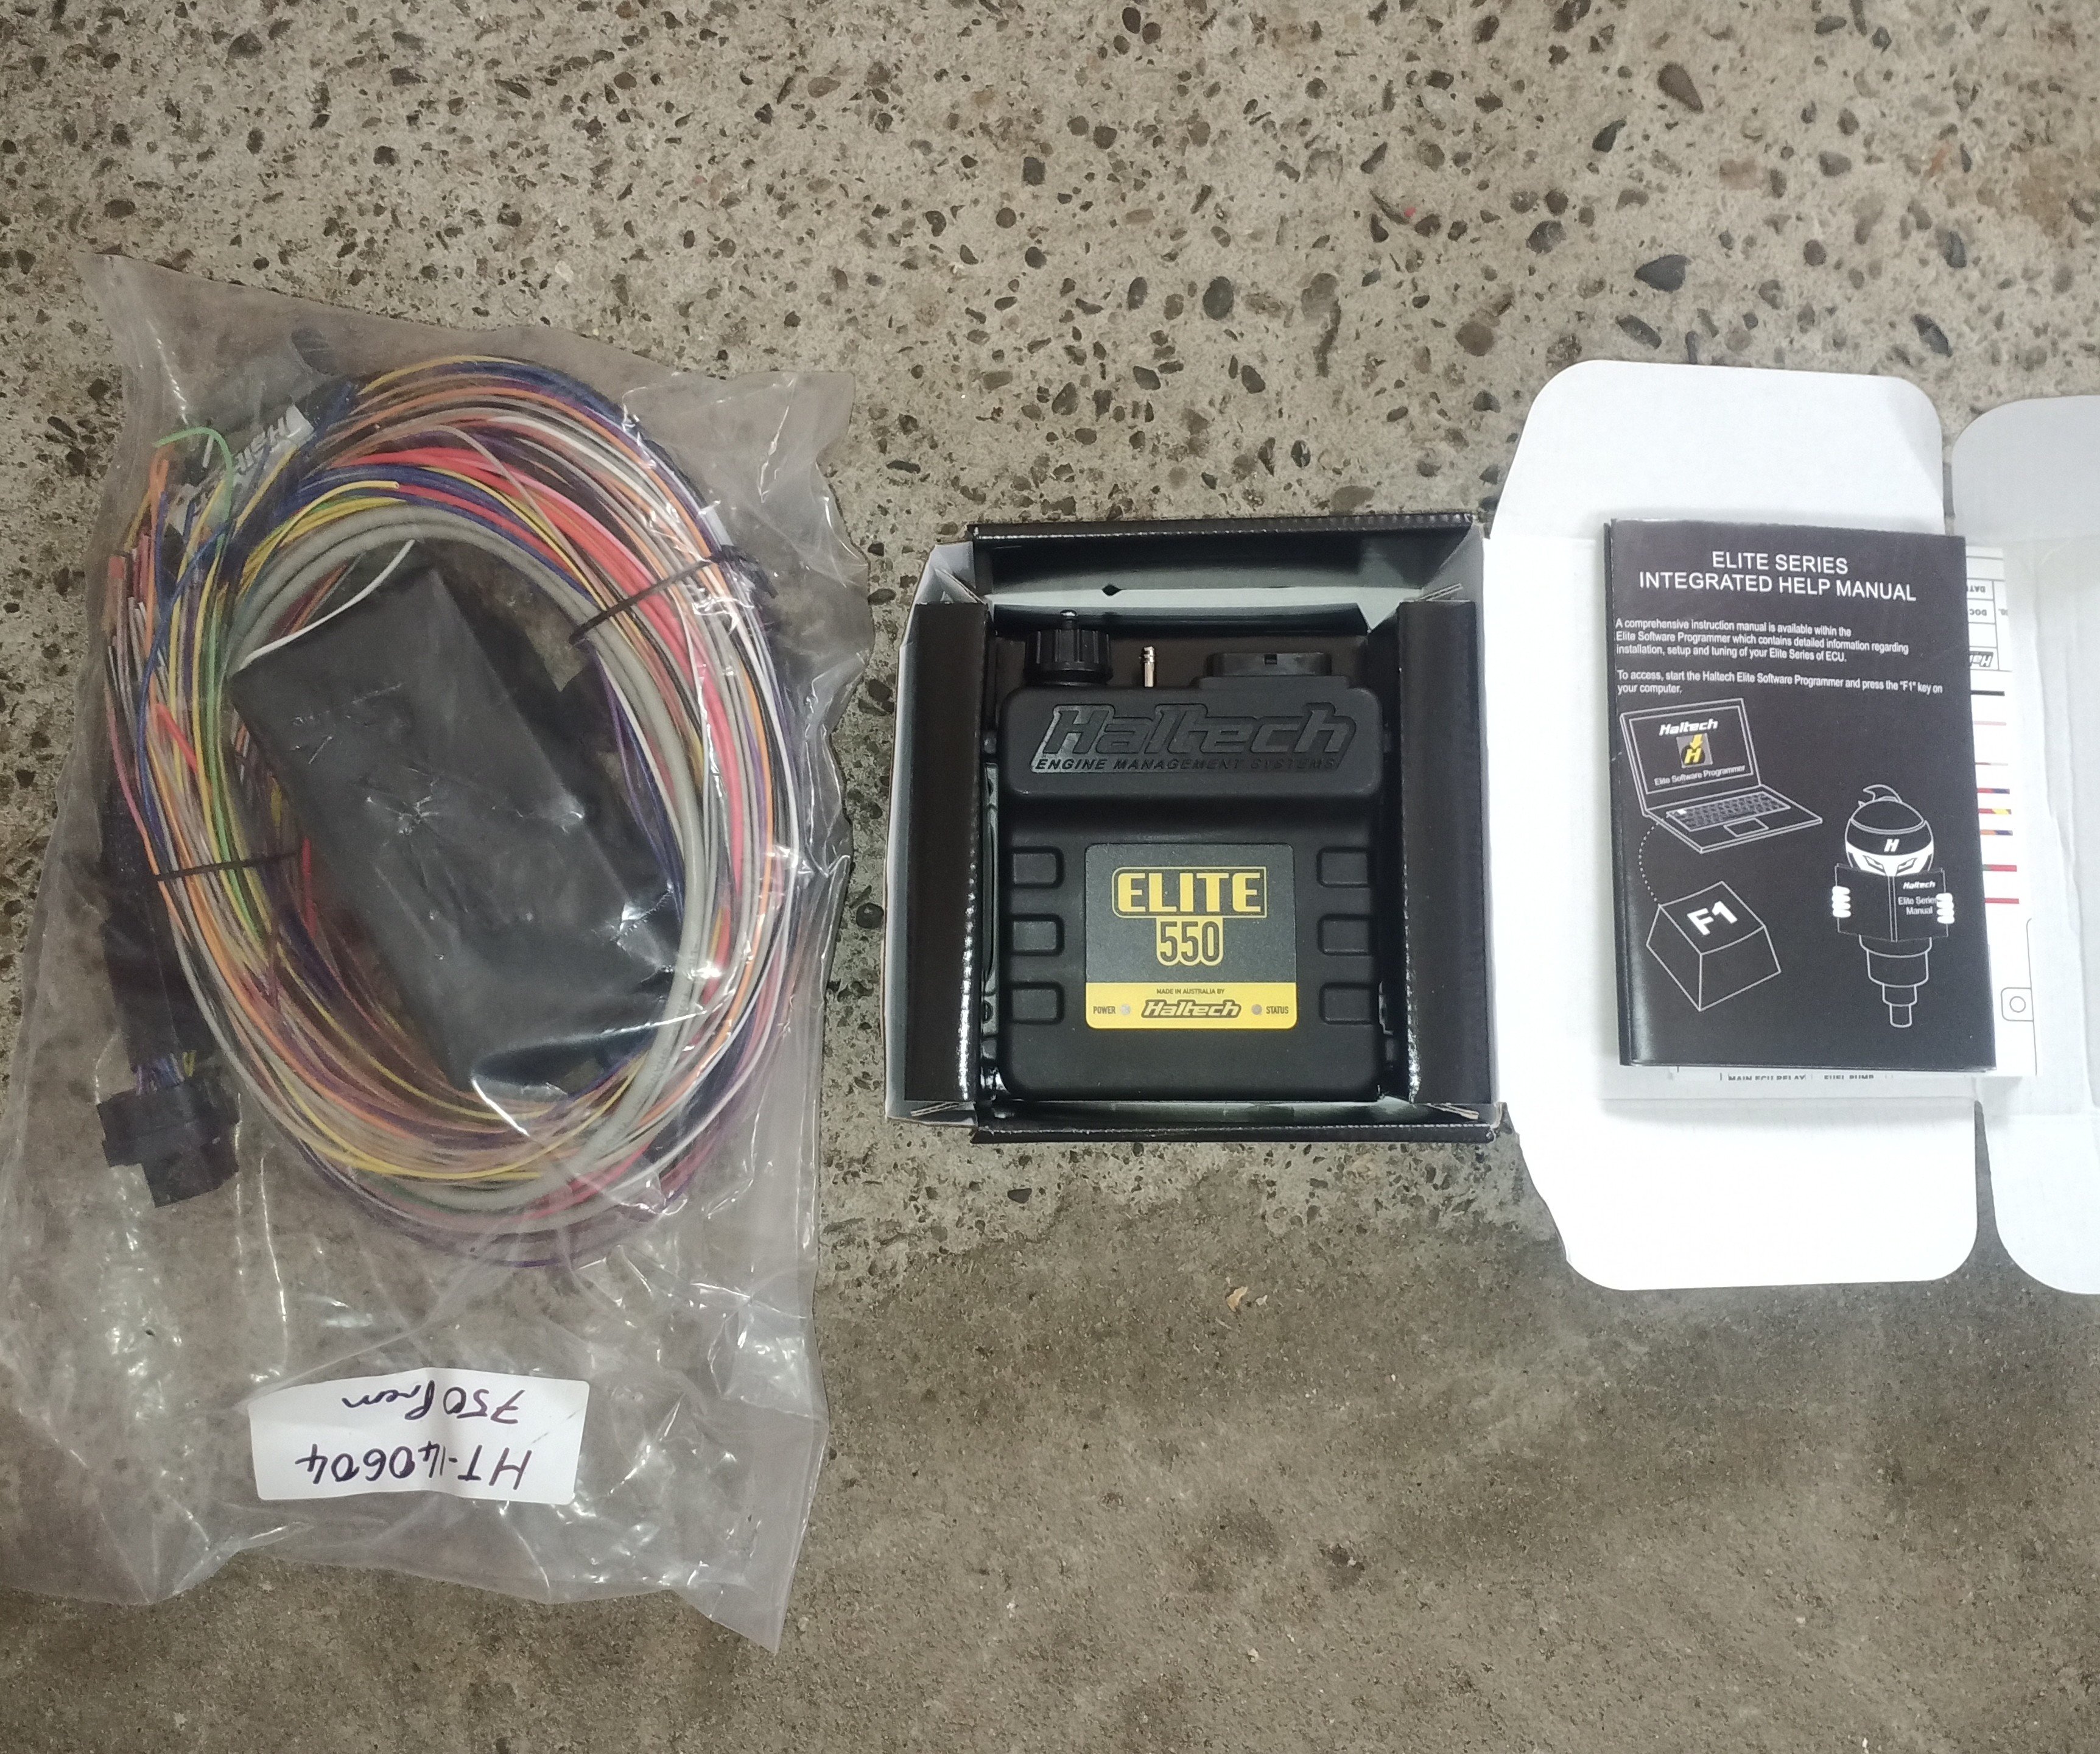
Turns out I only have 3 photos of this on my phone and this is from 2015, but anyway this is my 87 Nissan president Have done a few bits and pieces on it in the time I've had it, and generally it's been pretty unreliable, the latest problem it's got is running issues so a haltech 550 and wiring kit has turned up for it now. Fun fact- I don't know what I'm doing. Next step I guess is to gather some electrical bits like plugs idle control valve and some sensors of some sort. Going to try and follow to a degree what skid factory did on YouTube, looks easy on the internet, what could possibly go wrong?
1 point
-
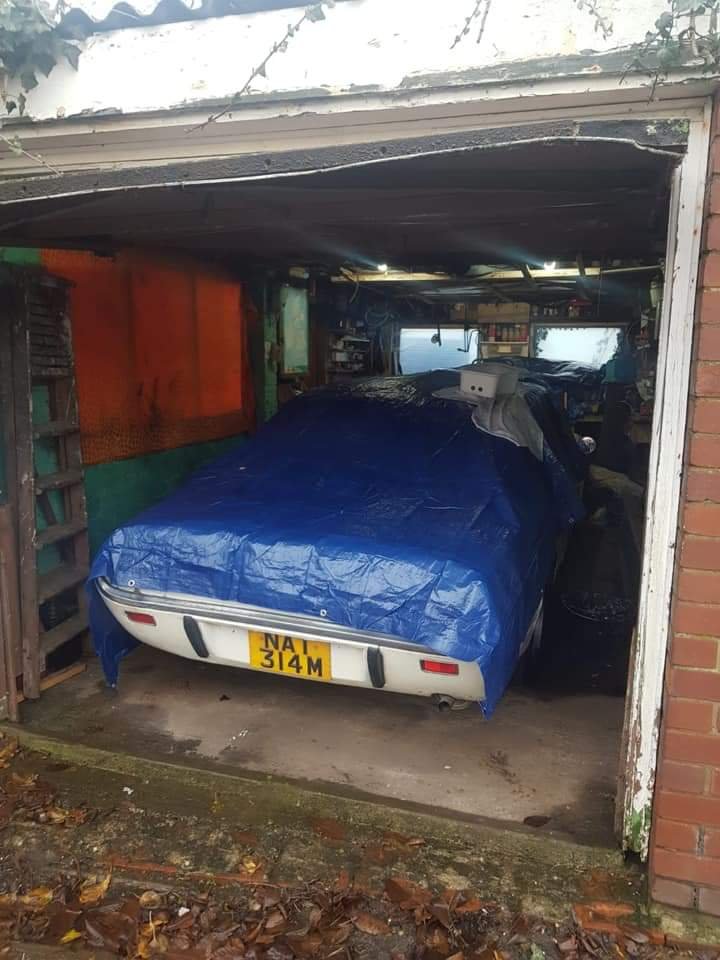
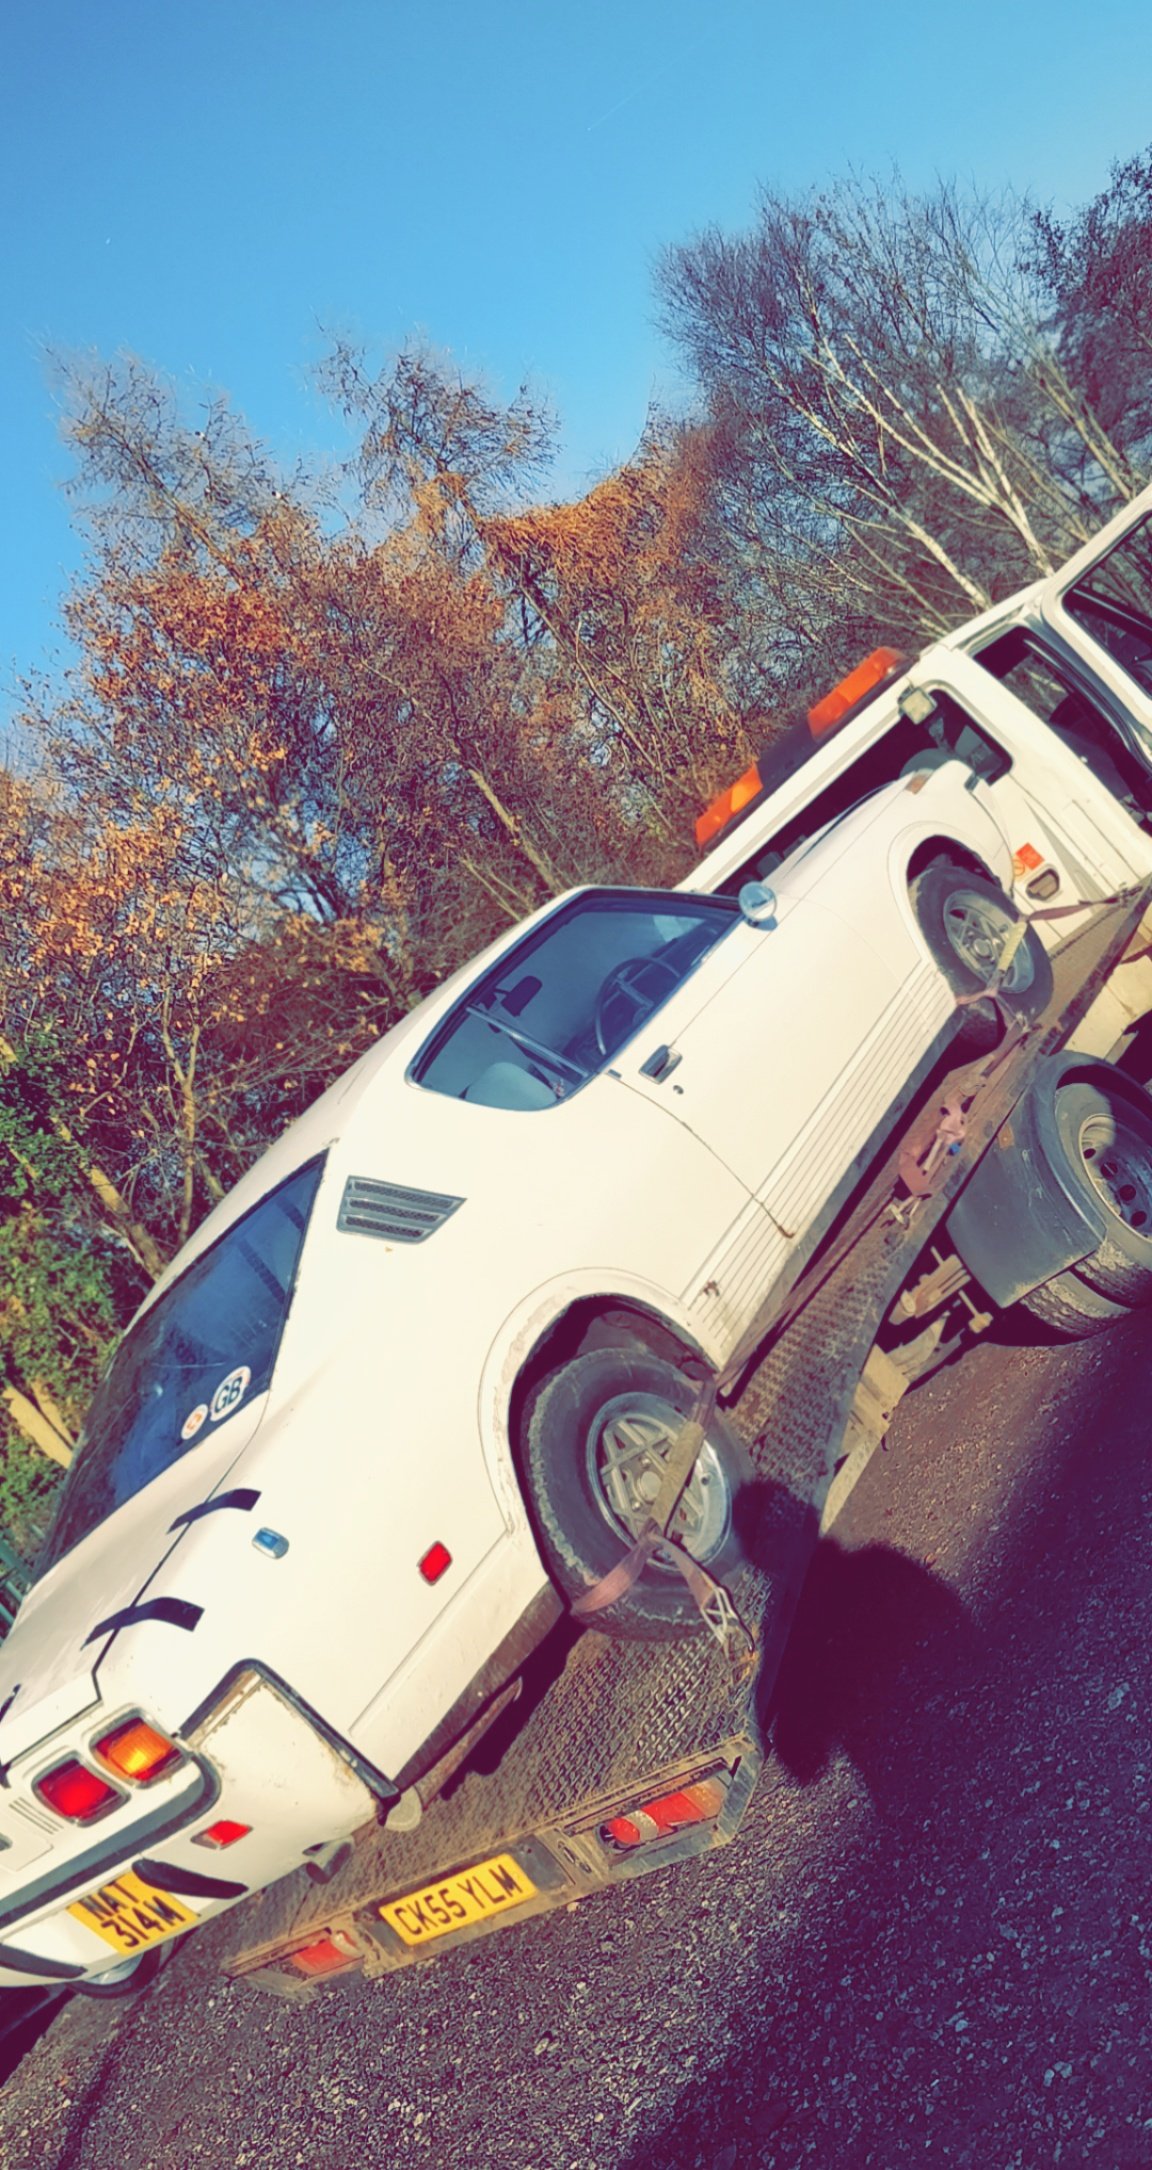
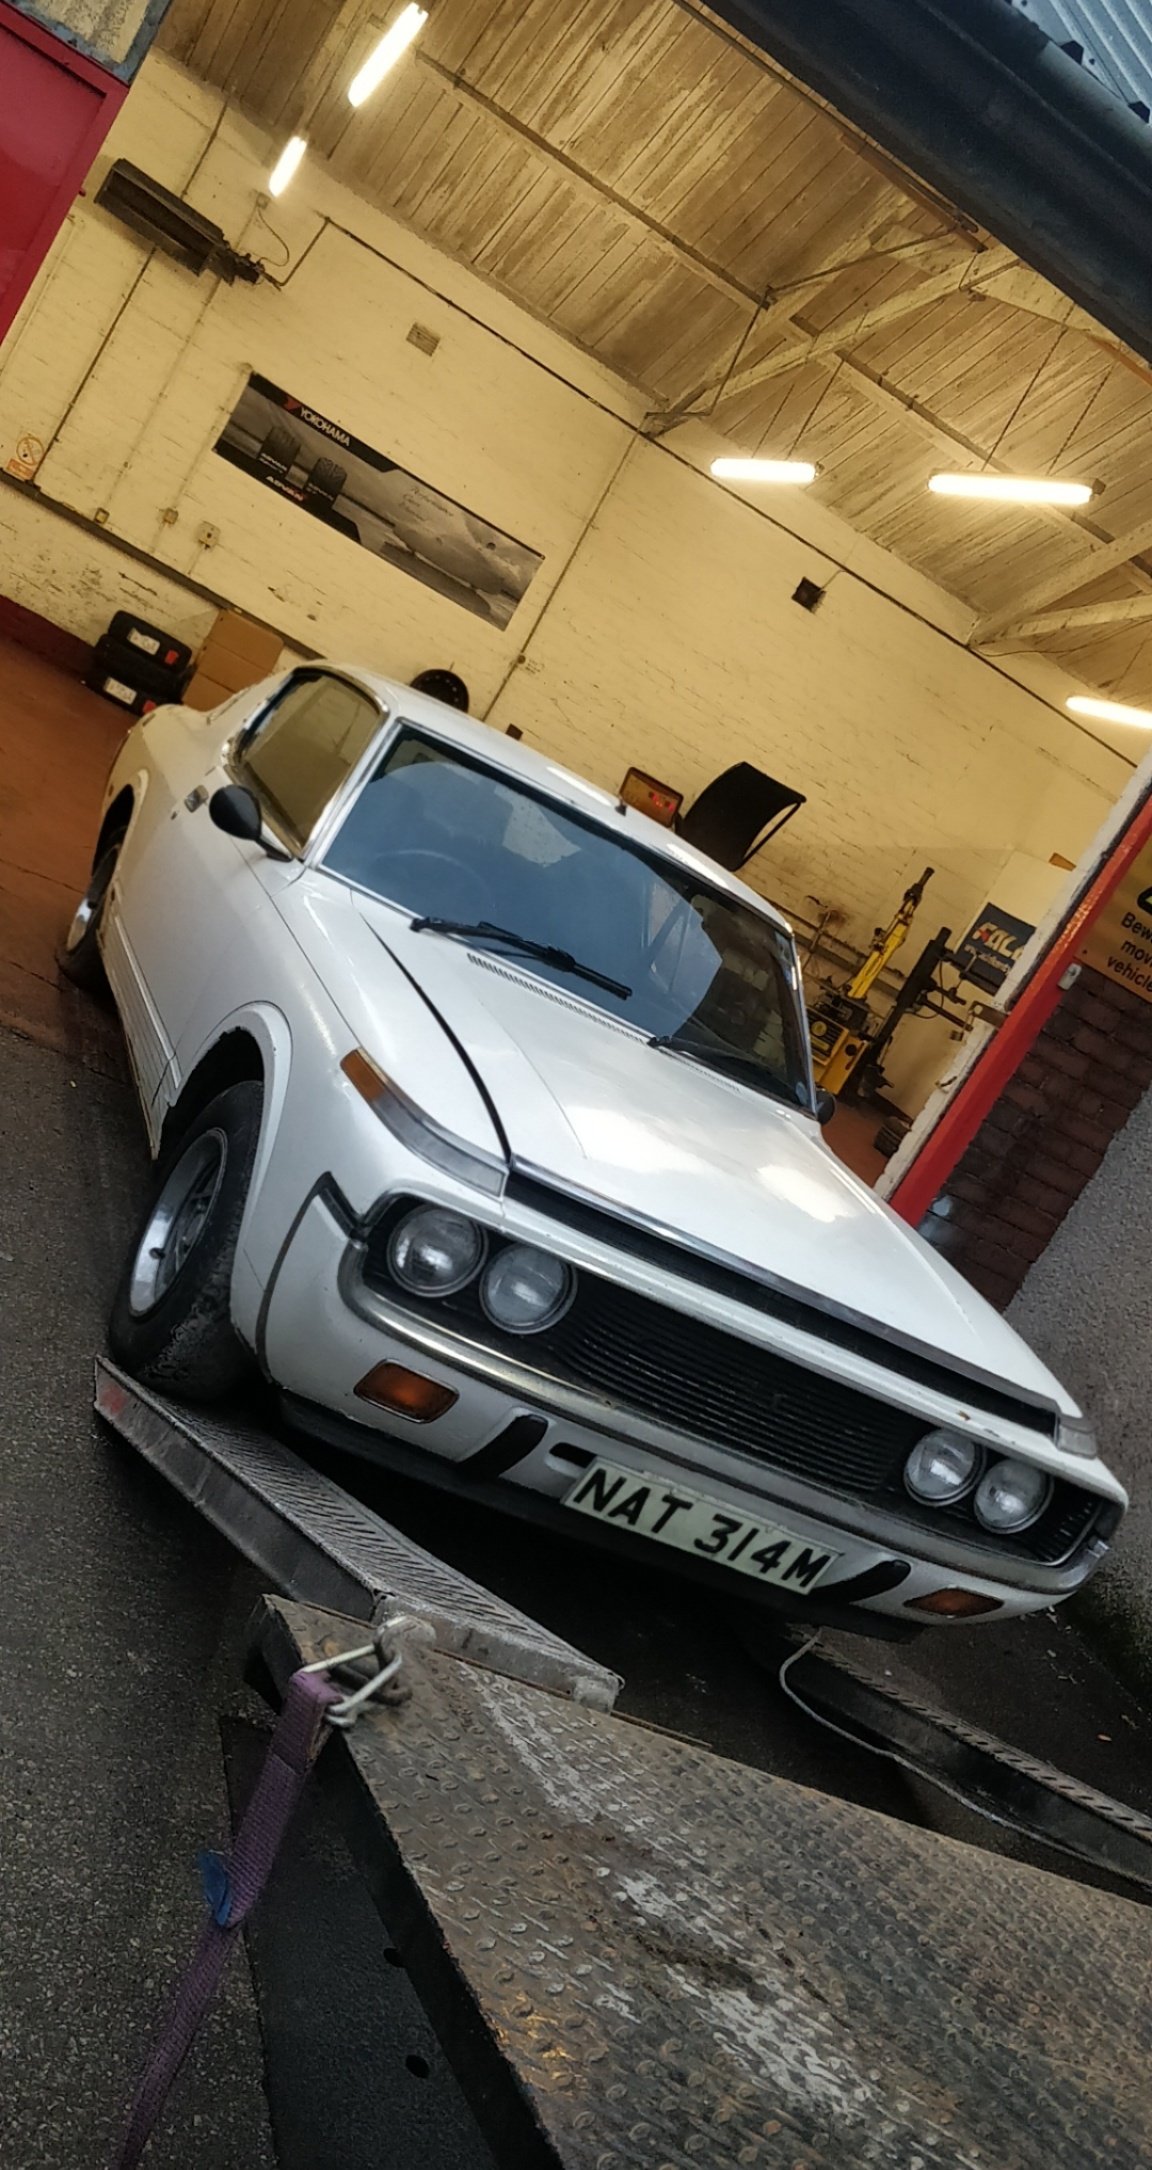
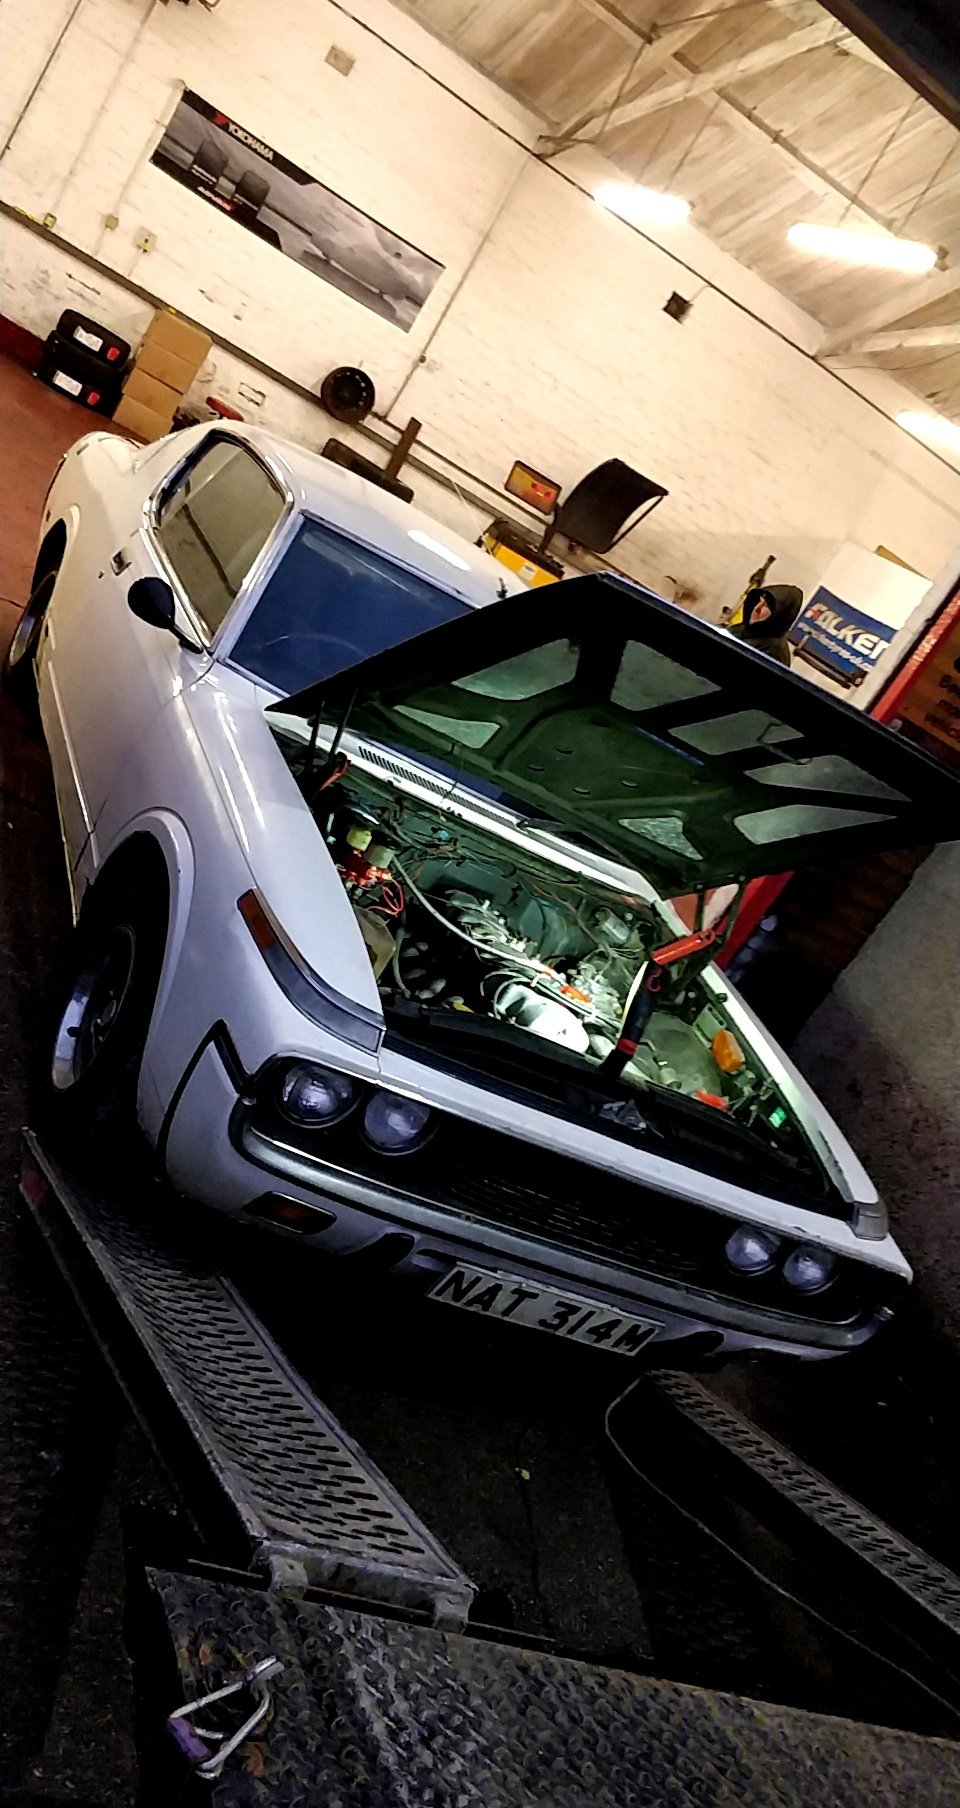
Recently collected my latest project... A 1972 Toyota Crown MS75 Custom Coupe. One of just a few known to exist in the UK. Previous owner had it since 1979, sat since 1990. Aiming to make it useable, then make it mint at a later date. If anyone has contacts for parts it would be appreciated.
1 point
-
Closing again 13th for maybe 2 months1 point
-
If there's someone hardcore from Chch, that would make the trip extra epic!1 point
-
1 point
-
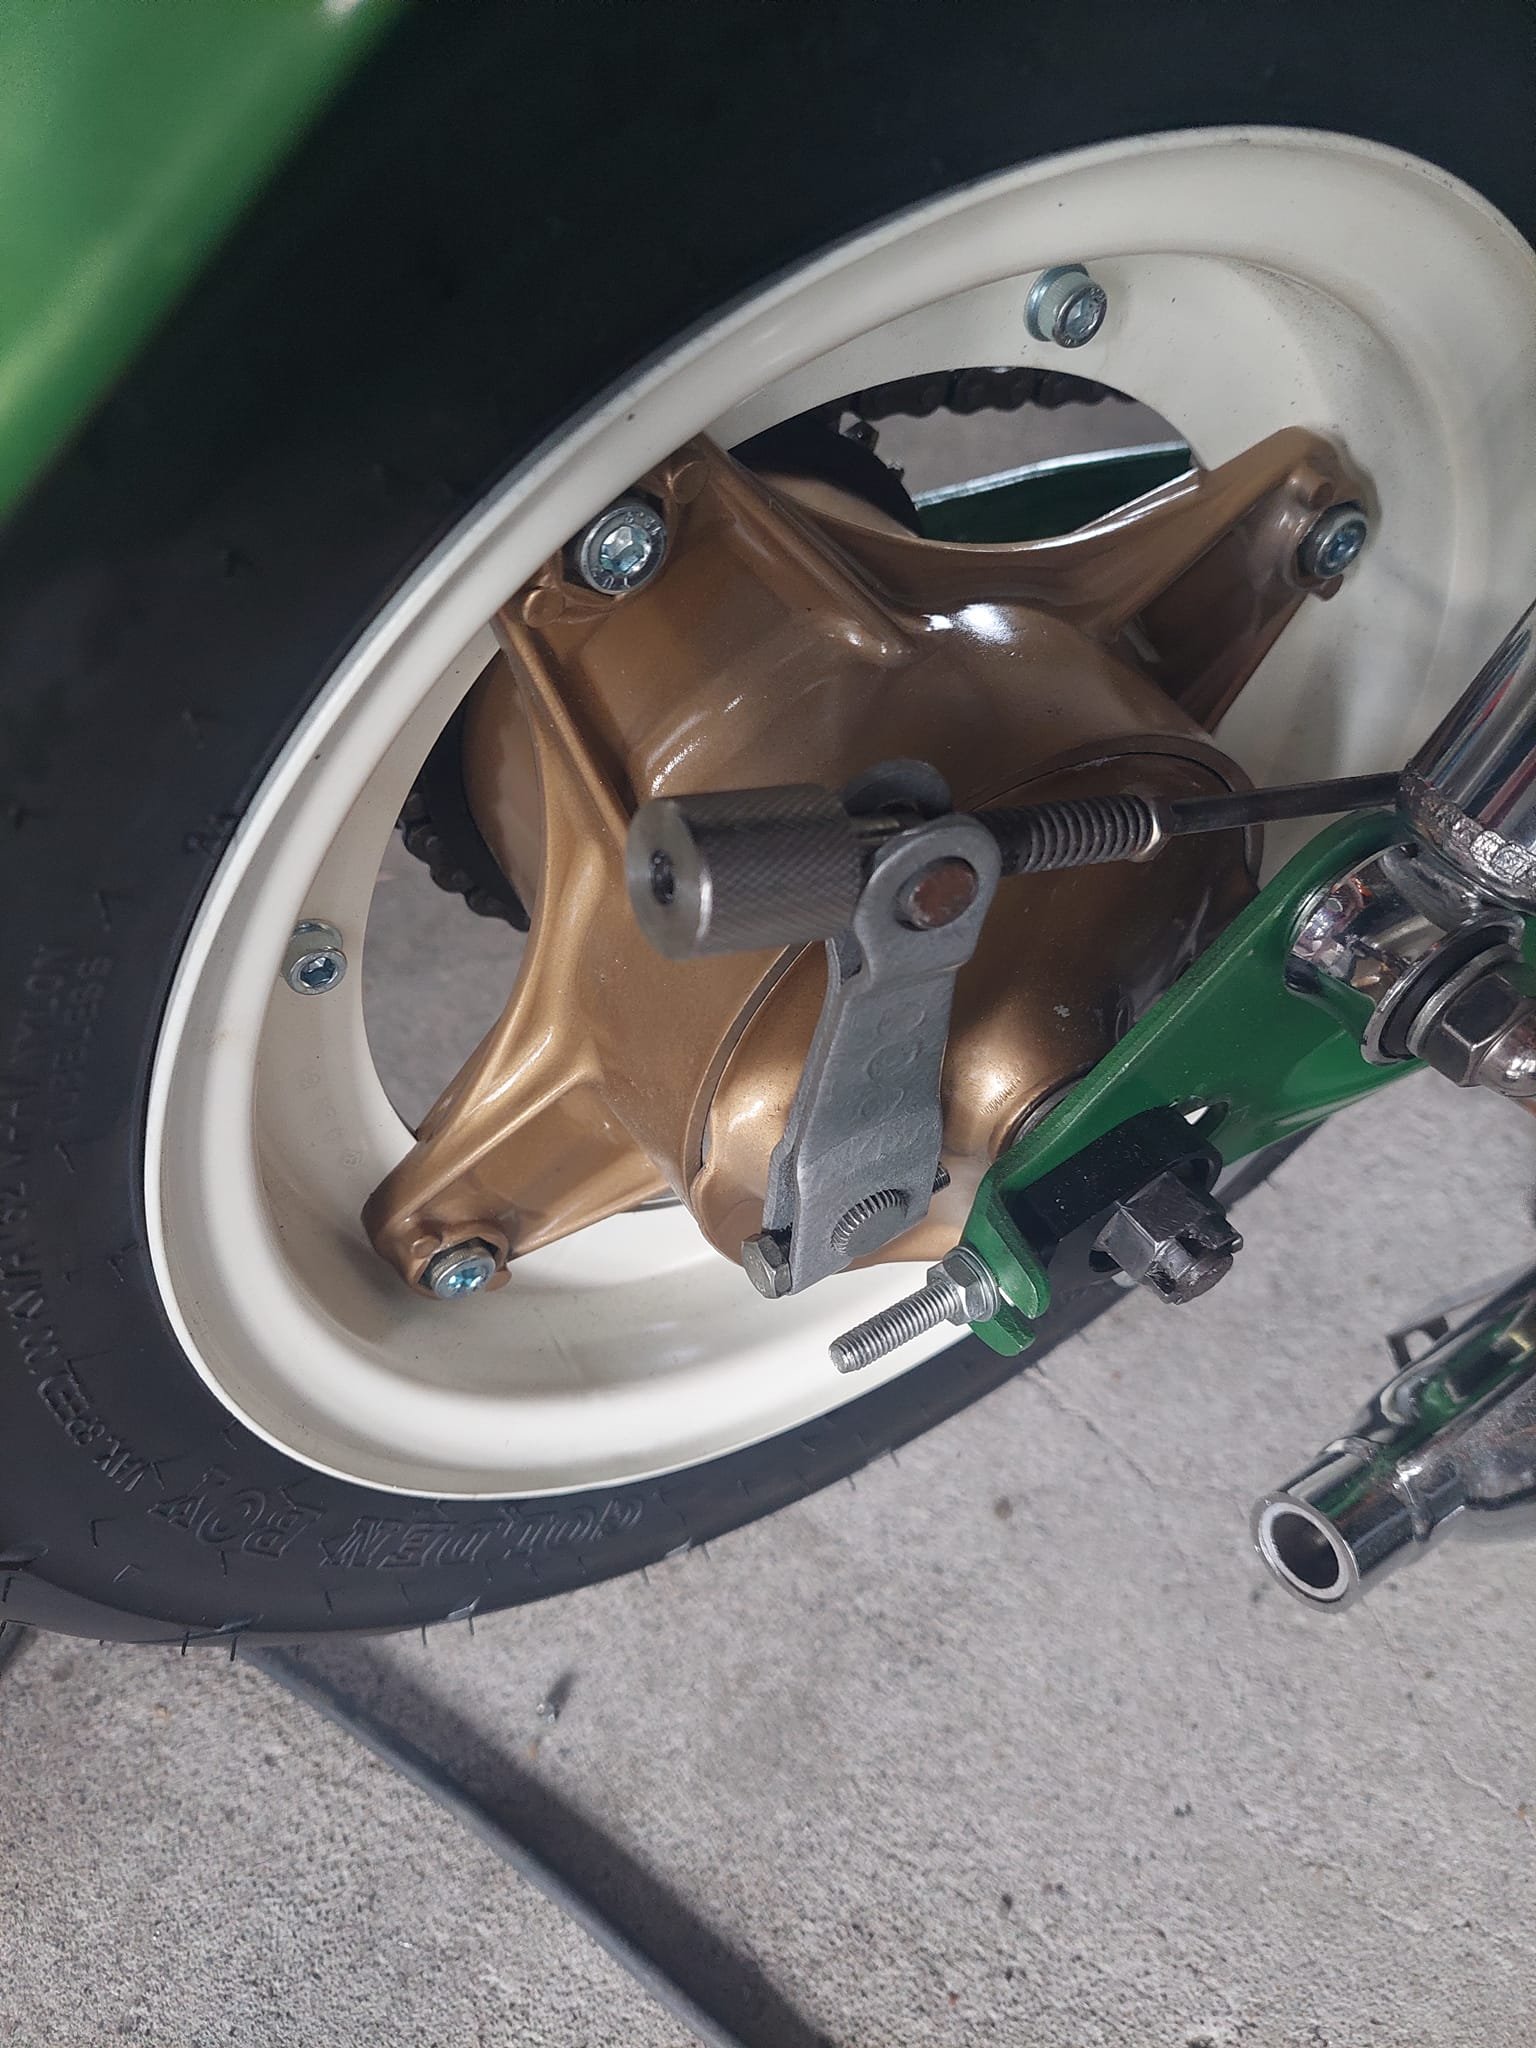
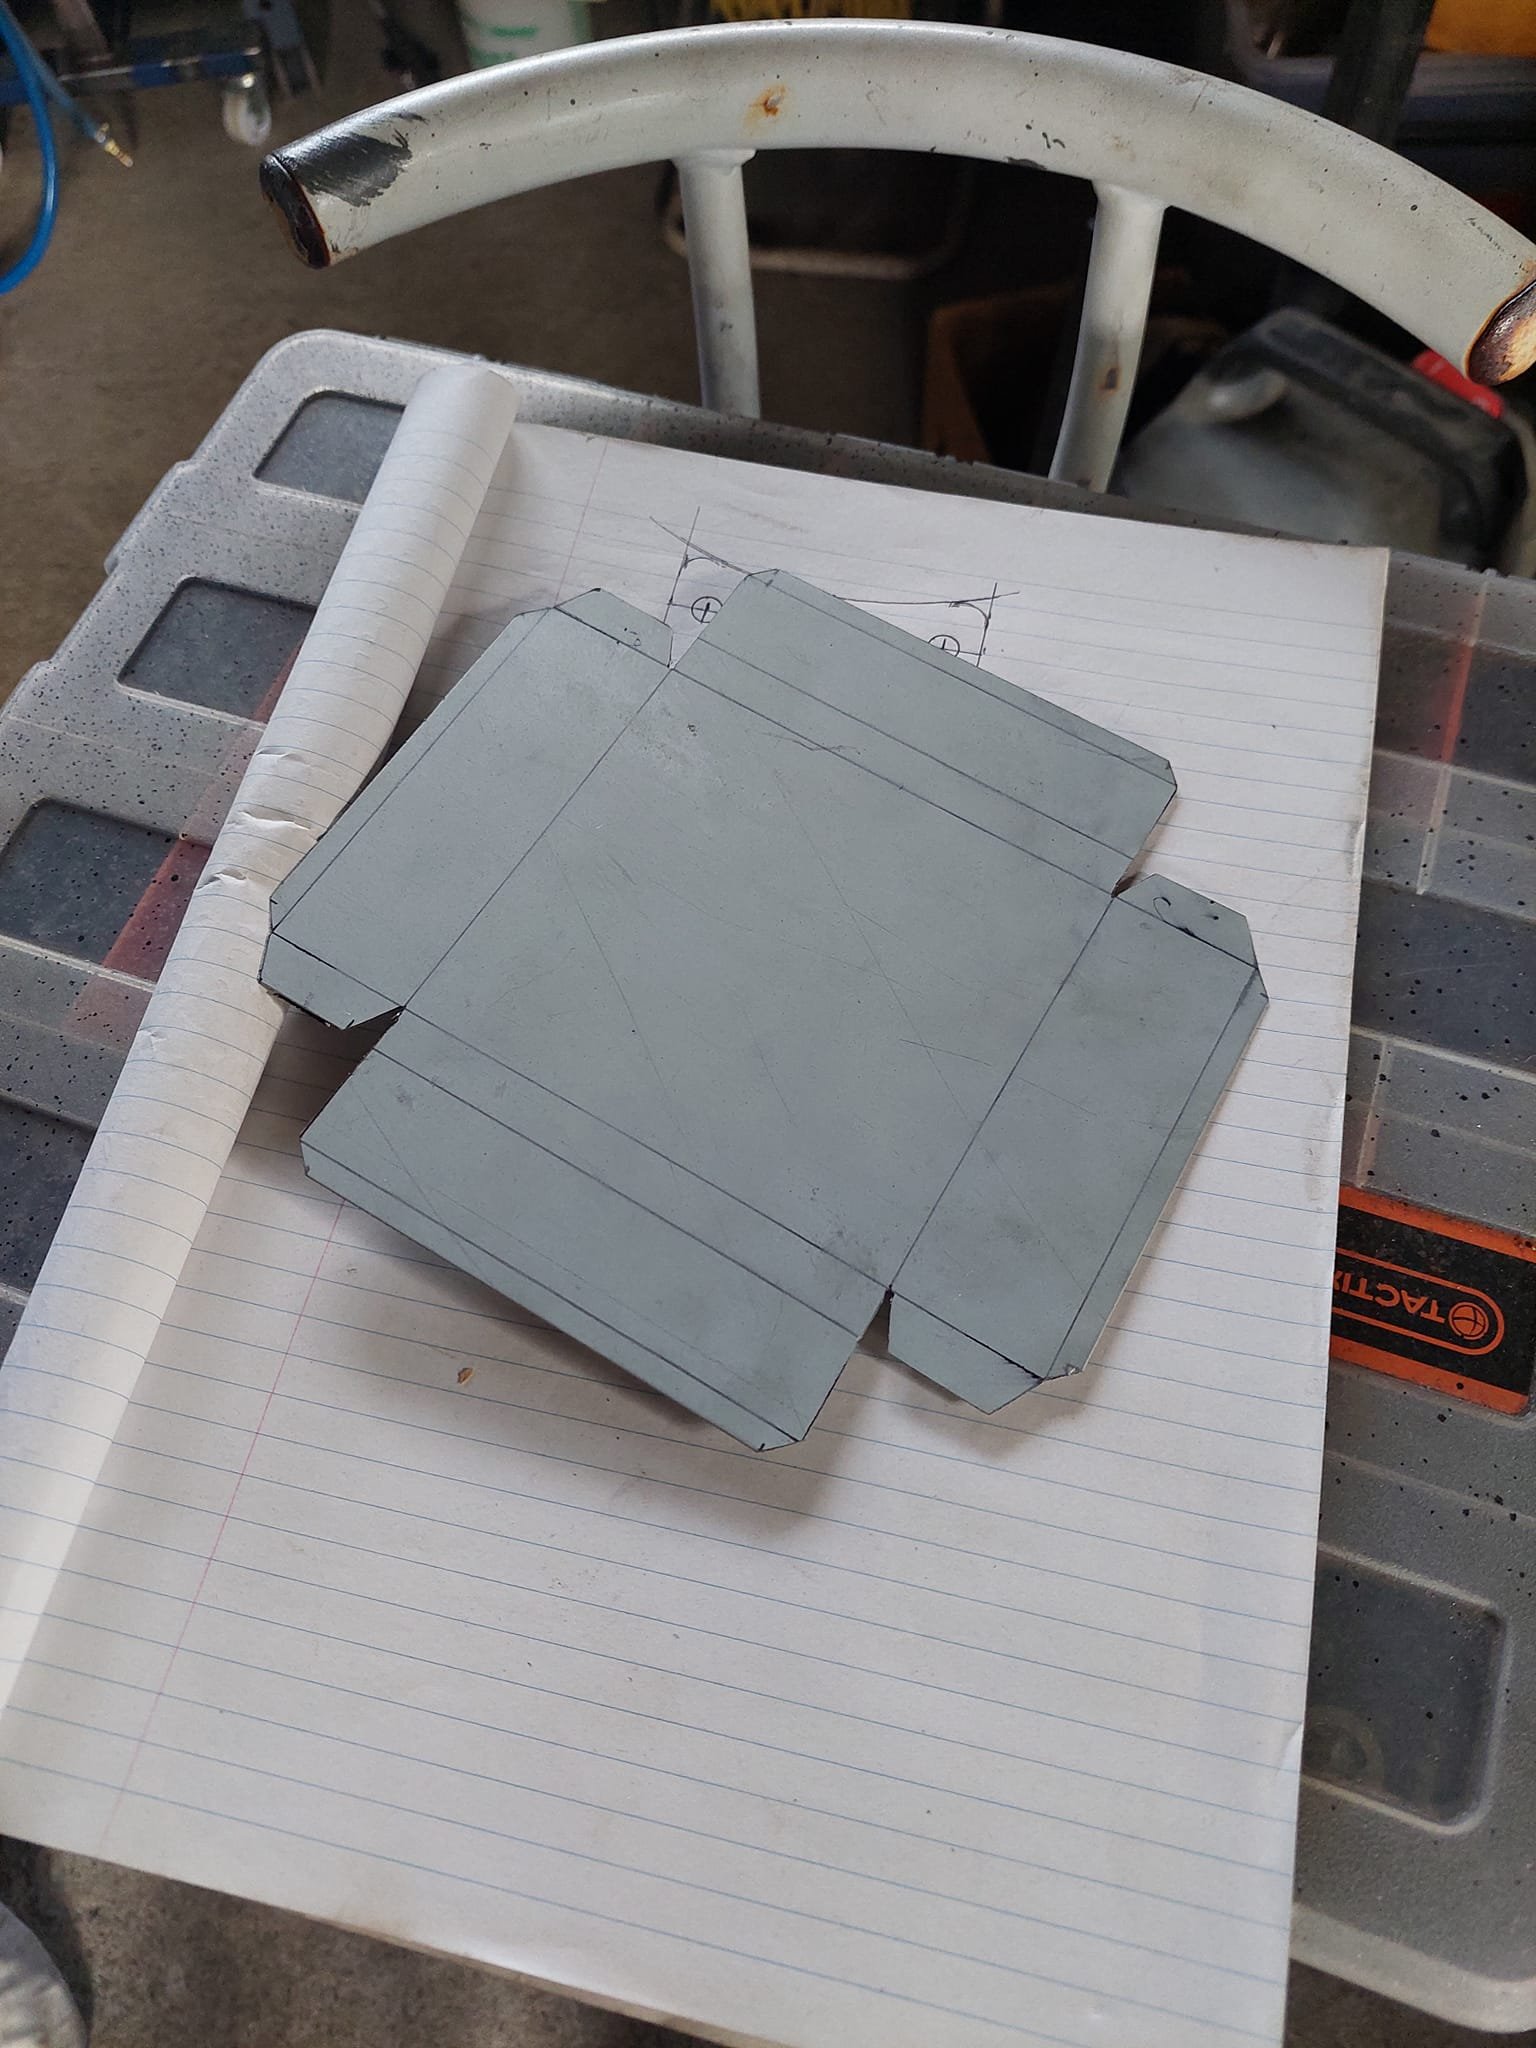
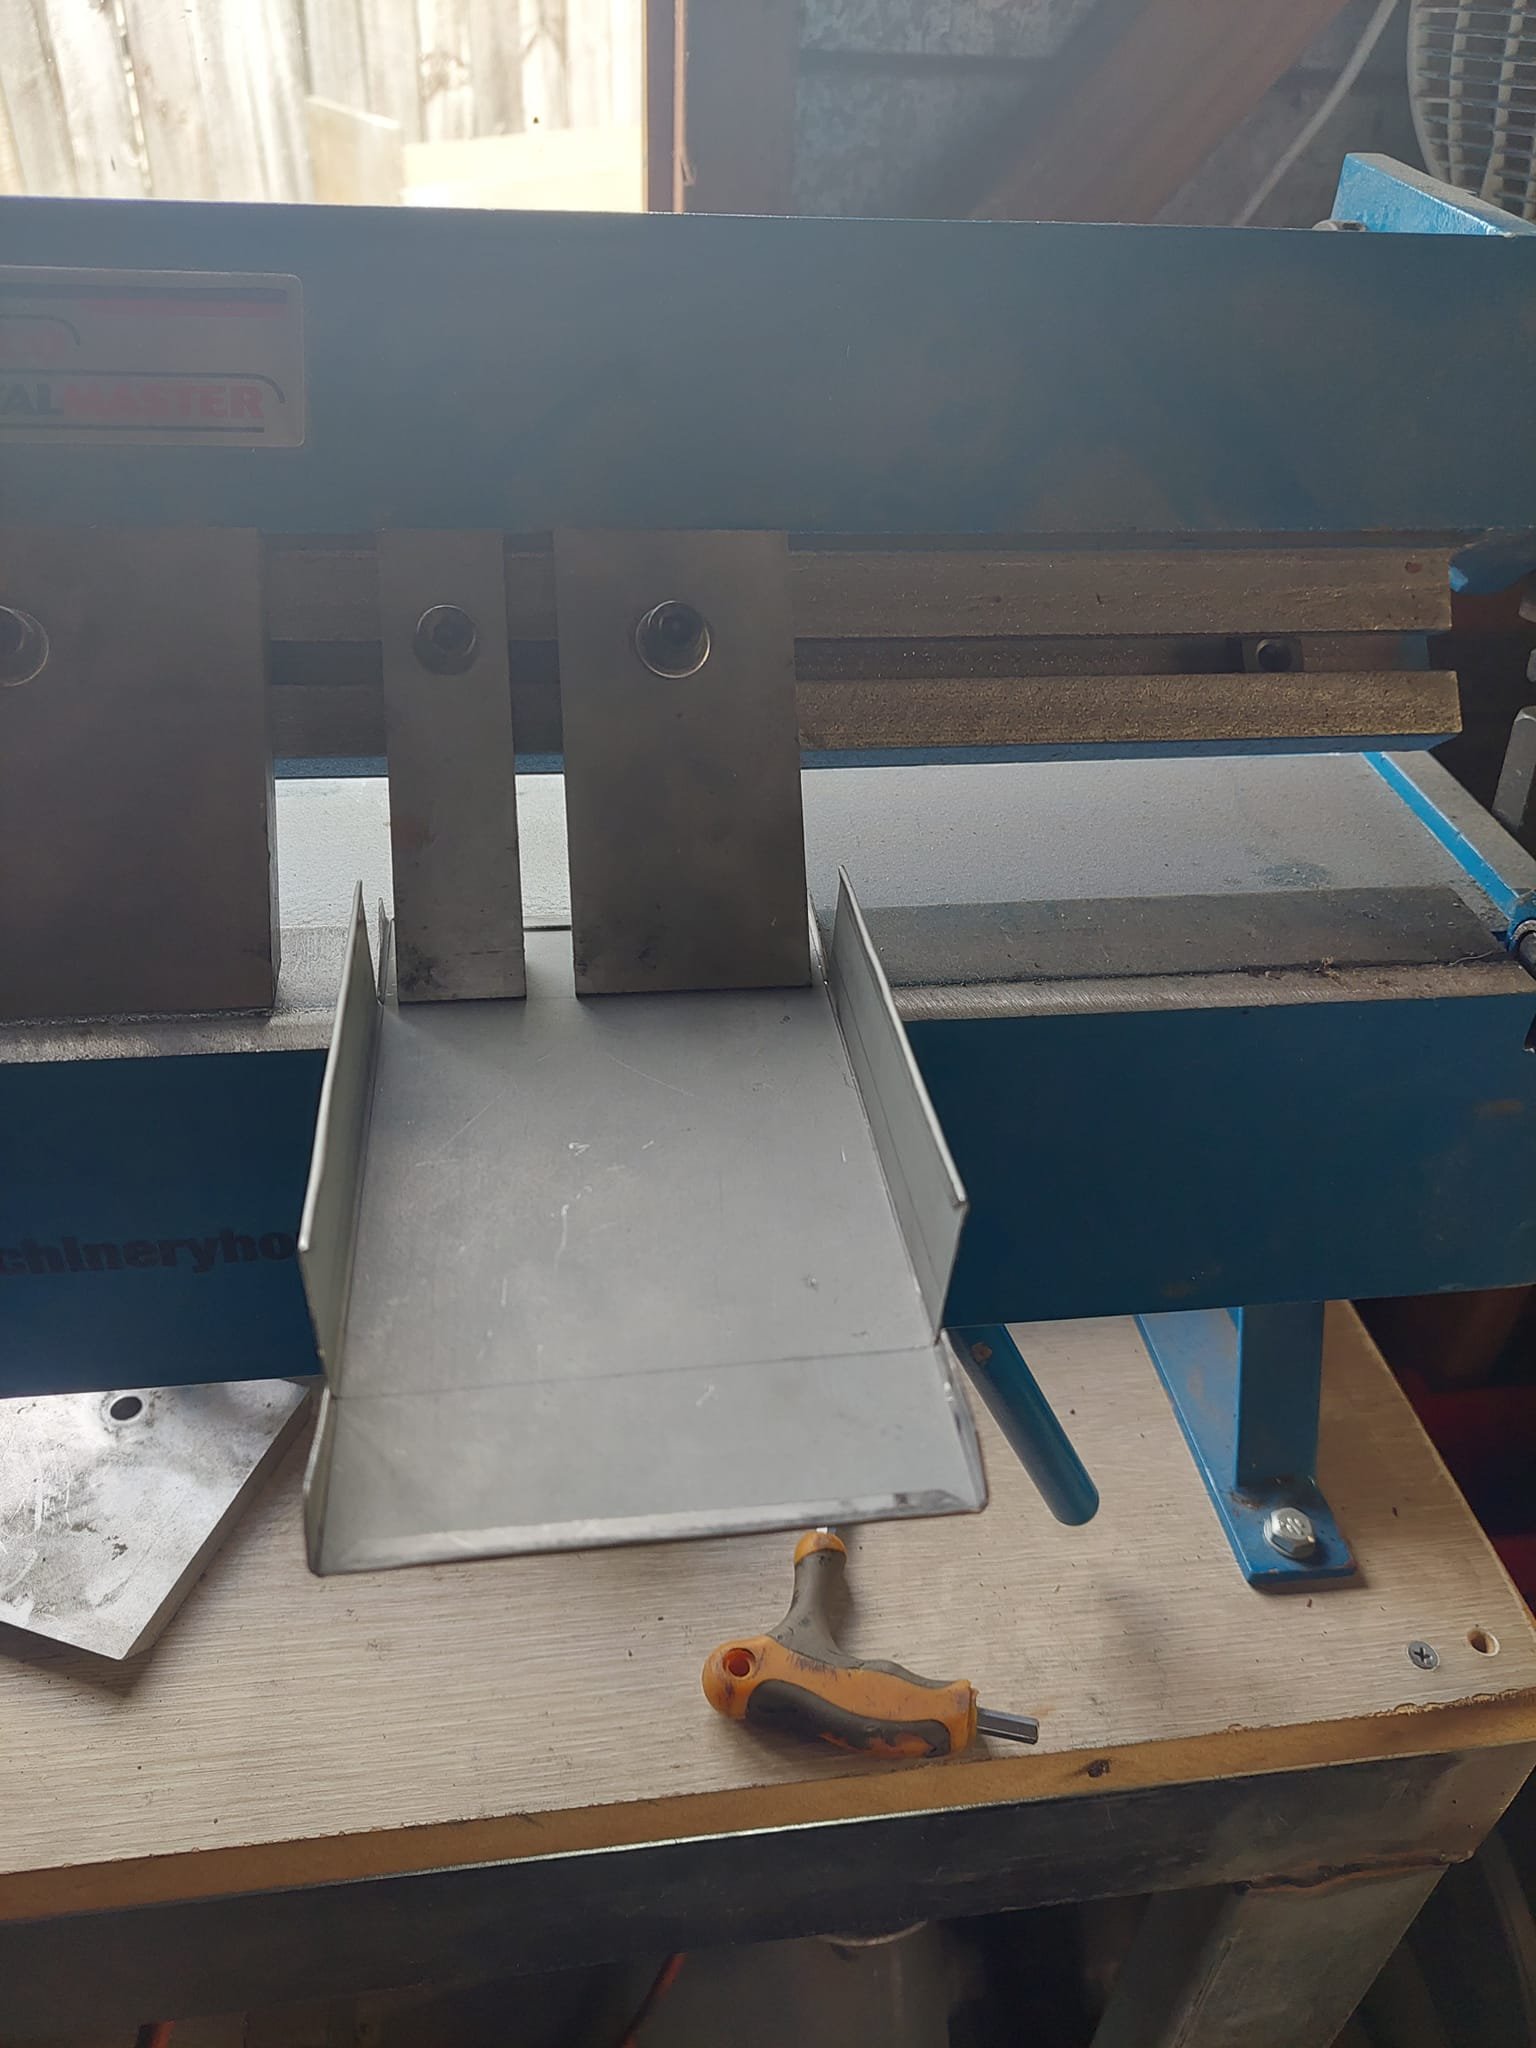
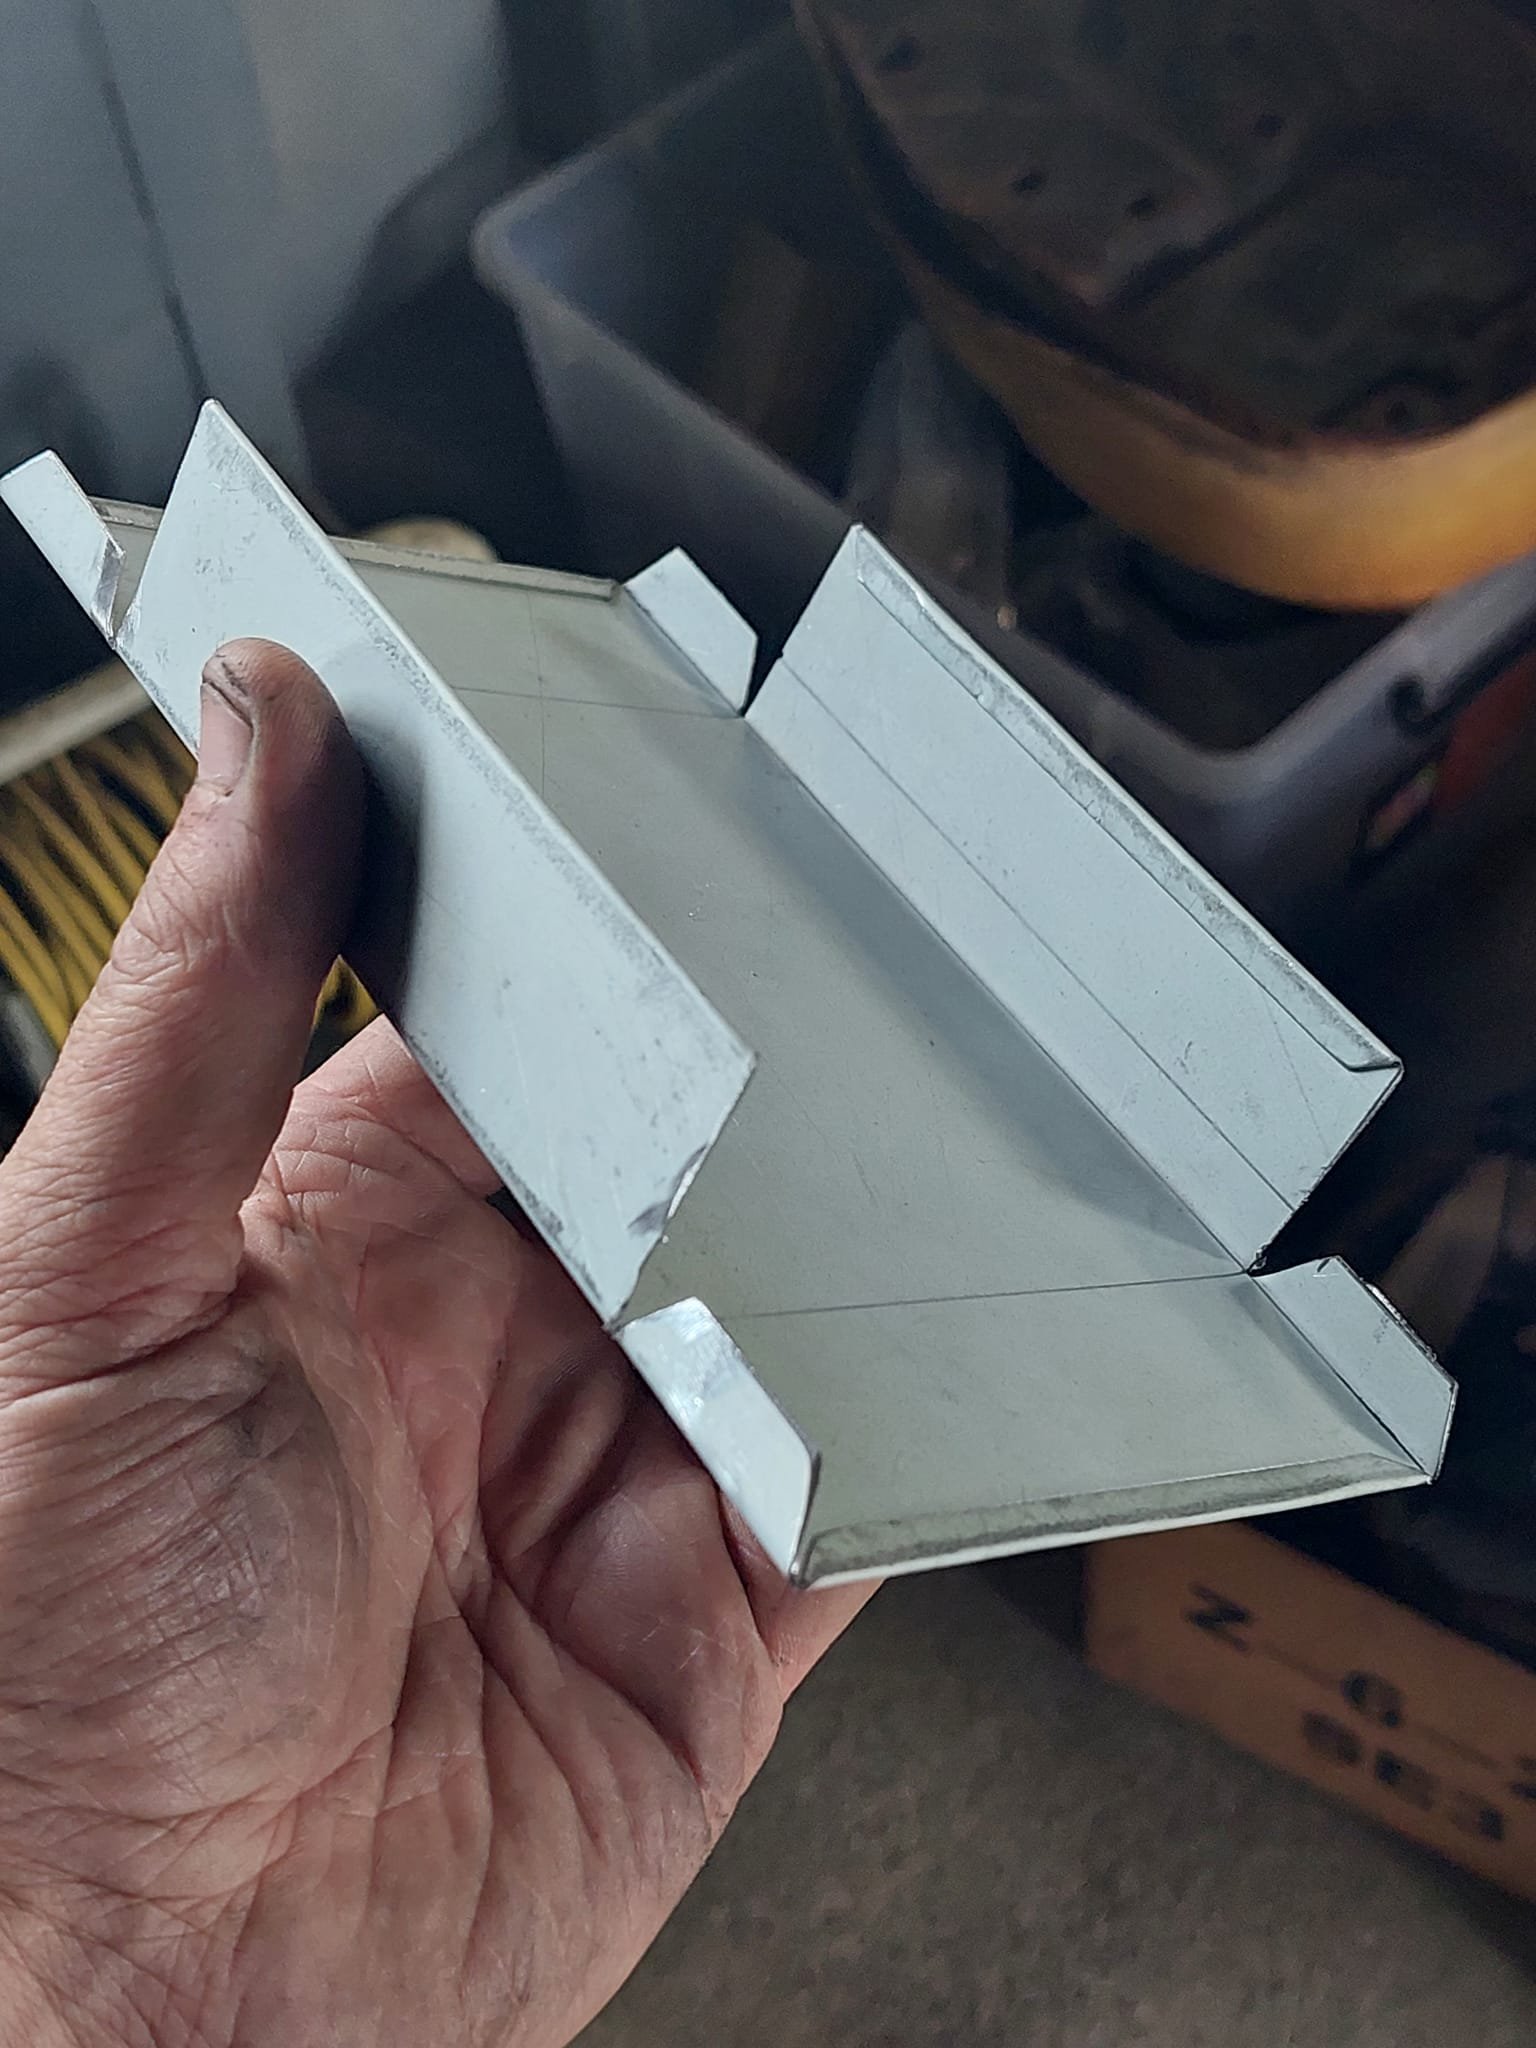
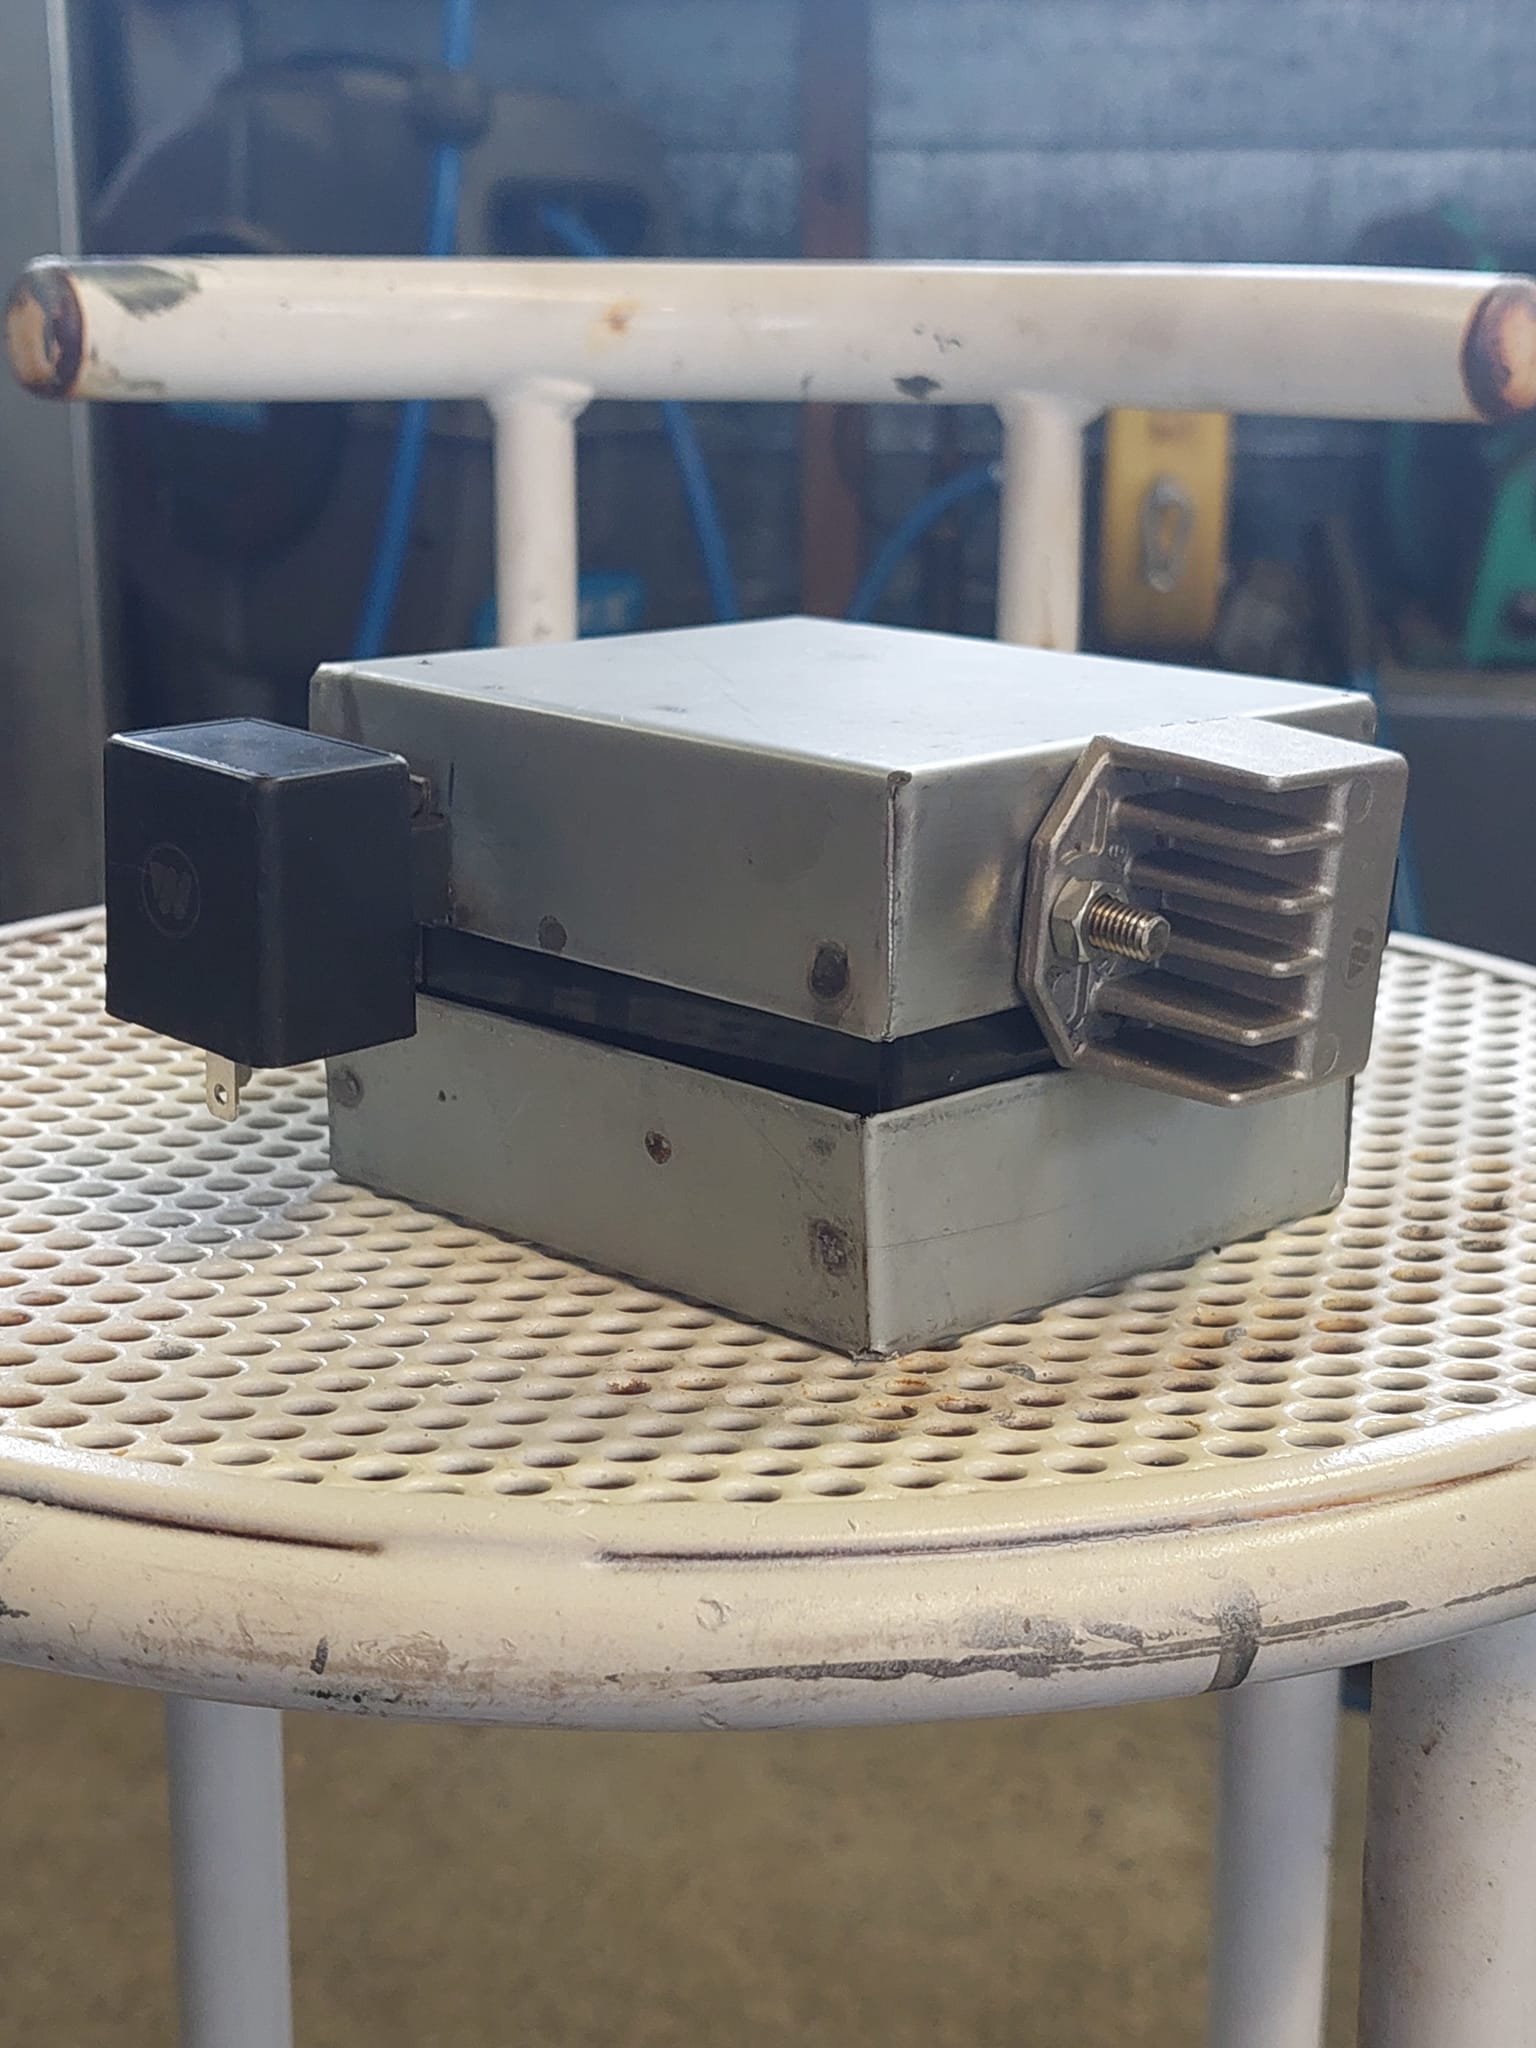
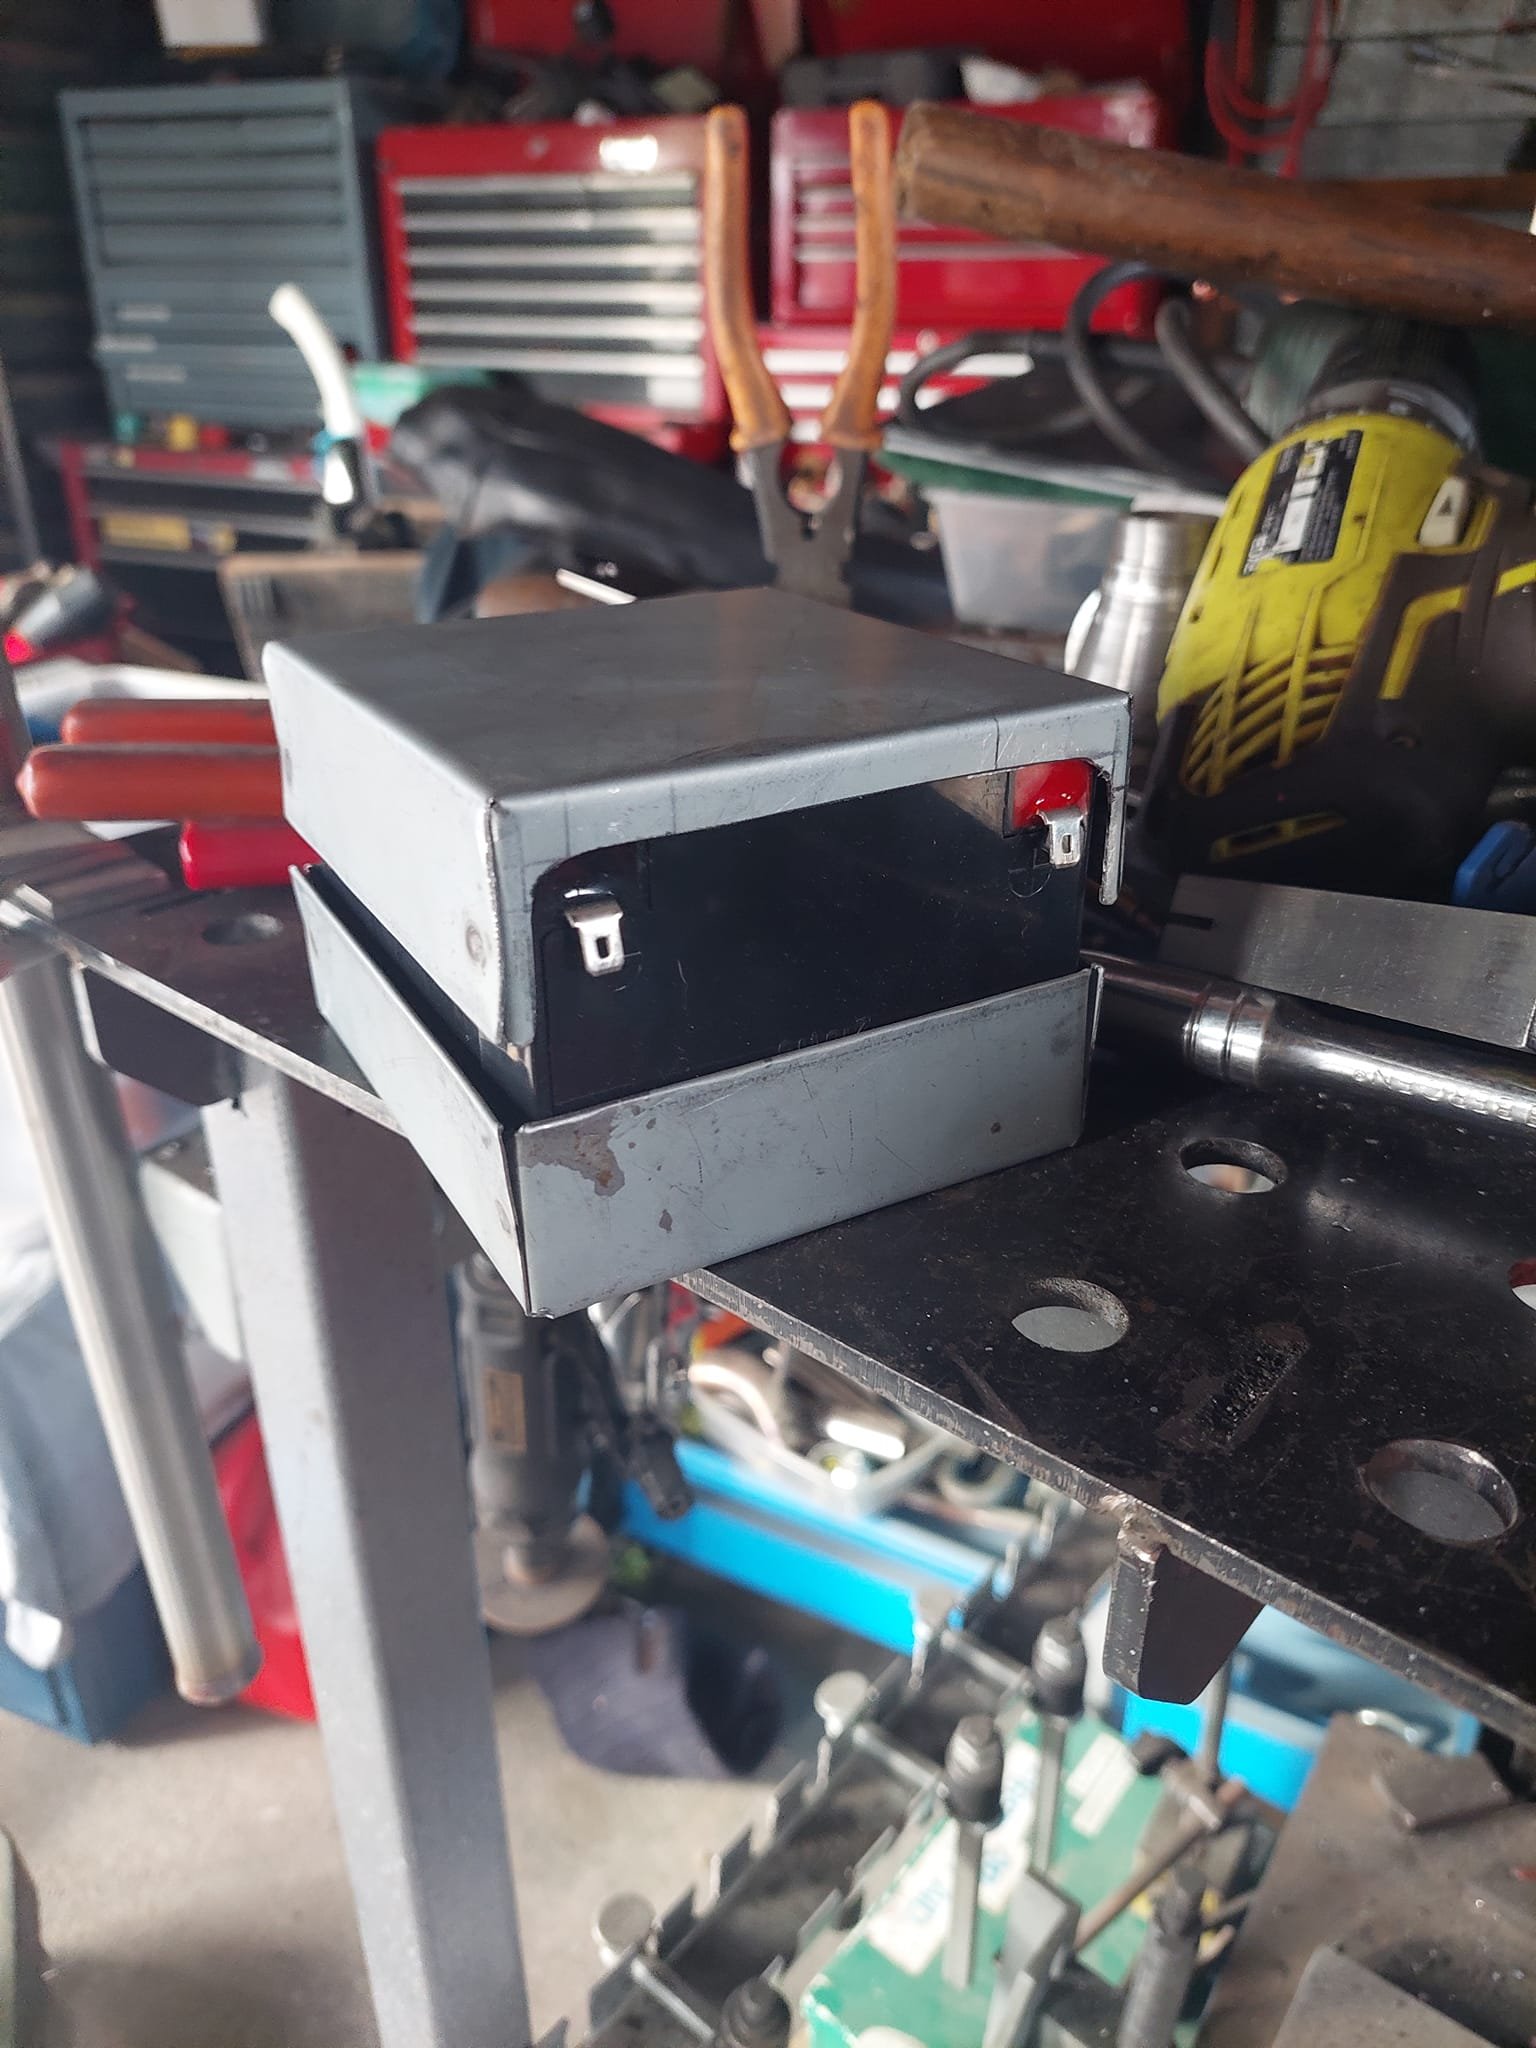
On my lunchbreak at work I knocked up a rear brake adjuster on the lathe, its an old 3 phase colchester and runs like a champ. I made up a battery box that also held the voltage regulator and the flasher unit. I'll get around to powdercoating it at some point
1 point
-
Back to doing gods work
1 point
-
In a couple of weeks, I would have owned the Marina for a year. That's a reasonably long time for me to own a car, so I needed something to mark that milestone. I had a goal. I had some time booked off work for the end of Jan, which was meant to be set aside to get the Marina ready for British Car Day. Since the show was canned this year due to a stupid pandemic that just keeps lingering like a bad smell, motivation to do work on the Marina has been low. All the time the Tomcat has been taking up hasn't helped either. For a car that I had intended to only have short stays in the garage for servicing and minor repairs, that thing sure has wasted a lot of time and money. Regardless, it was time to show the Marina some love. Heck, Project Marina wasn't even on the main page of TLP anymore, that's how long it's been sitting. I last touched the car when I moved the Tomcat into the garage back in November. With my time off coming to an end, and only the Tomcat getting attention, I quickly pivoted and set myself a goal; for my Birthday, I wanted to drive the Marina. Not just back it up the drive again, but actually drive it, around the block. Before I could do that I had to get the car a bit more roadworthy. The first port of call was to sort out the rear lights. I got them going a while back but the electrics were as flaky as anything, the indicators weren't working, and the lenses were full of rubbish. I picked up a spare LH a while back, which turned out to be in better condition than the one on the car, so refurbished that and the old one was used as spares. You can see just how dirty the inside of the lenses are. Unfortunately there are a few cracks too After removing all the screws in the back of the housing and careful prying with a plastic trim tool, the lenses slowly popped off one by one. Revealing the horrors within Interesting to note Lucas painted the reflectors silver, not chrome or polish them The lights have a plastic surround, that used to be silver coated on the inside but had worn away. This was also filthy. The housing after a quick clean. I used a citrus-based household cleaner, a bucket of water and my old toothbrush. I took this opportunity to knock some of the mounting studs out of the spare light unit and replace a couple of broken off ones in this housing. Someone had replaced one with a screw they had glued into place (and since broken free). The studs are pressed into a square cutout. A cleaned lens on the left compared to the filthy one on the right. I'll need to replace that corner lens as it's been glued back together many years ago. The plastic frame cleaned up well too. The missing bits were later glued back into place. The standard bulb holders ground by touching the body of the light unit. If the surface they touch is dirty, you get a bad connection. I cleaned all the holes up with a file and sandpaper After all the components were thoroughly cleaned and dried, the lights were reassembled. A little useless fact; the orange corner lens on these is useless, it provides no light. The housing is marked but not drilled for an additional bulb in that location but none is fitted. This bulb is fitted on some lights, but only in the US market on the Austin Marina, where it is used with a red corner lens, as a running lamp. Some have drilled that hole out, fit a bulb holder and used it with the orange lens as an extra indicator, which I will probably do at some point in the future. In order to make them a bit more future-proof, I ran a #10-32 tap through all the nuts and a die over all the studs. This cleaned them up nicely, removing years of rust and crud from the threads. The next job was to actually fit them to the car. Using a combination of the large washers the lights came with, and some smaller ones that fit the space, the lights were mounted with the best gaskets I had. Now I needed to look into the wiring Ages ago, I did some research into grounded bulb holders and found that some Triumph 2500s use a three terminal, dual filament bulb holder of the same size and style the Marina uses (but standard only has two terminals). The three terminal holders have a dedicated ground terminal, so although they can ground through the housing like the Marina ones, a ground wire on that third terminal ensures perfect grounding to the bulb holder. I managed to pick a couple of these holders up, in good used condition. Example photo, not my hand... To use these bulb holders properly, I needed a dedicated ground. To do this I drilled out an existing hole on the boot catch support And after removing a little paint around the hole, installed a rivnut into it This allowed me to make up a couple of wires which would terminate at this screw After a lot of testing with my test light, and reading of the wiring diagrams, I managed to get a tail light working Which resulted in this lovely lit up lens I carried that same work over to the other side too, and managed to get both tail and brake lights working. Tail and plate lamp (lighting up the towbar) And brake lights It doesn't look it in the photos, but the brake lights are significantly brighter. Next was to fix the indicators. These have a dual filament bulb standard, as one side is used for the indicator and the other for the reverse lights. Once again, after much prodding and probing, I had power but I couldn't get the bulb to flash. It turns out the previous owner had modified the wiring and instead of having one of the terminals to light up the reverse lights, he had changed that wiring to being a dedicated ground... but still using the two terminal dual filament bulb holders, which cant ground through that terminal. I substituted a pair of single filament bulb holders instead. These ground through the second terminal only, not through the body of the lamp. This got the indicators working a treat. They still flash a bit fast, but I will look into the flasher unit later. Better fast than not at all. Next on the list was to finally assemble and fit the cluster. This had been just sitting on place with no surround attached and the feed wire for the tacho running around the door jam into the engine bay, where it was clipped onto the coil with a crocodile clip. I started by running this feed wire properly, using the proper coloured wire (white with black trace). I crimped a terminal on and attached it to the coil And then tracing the path of the loom, ran it into the cabin I also fed the speedo cable into the cabin. Turns out this needs to be on the LH side of the reinforcement in the dash with the three dial cluster, as it moves the speedo to the left. Unfortuantely, I had an epic battle trying to fit the speedo cable to the cluster, until I realised that something was wrong. It just didn't go into the cluster far enough. This is the speedo end of the cable. That grey section should be within the silver metal section... So I thought, maybe the gearbox end wasn't seated properly, pushing the cable up at the other end. I rolled under the car, undid the cable and tried to pull the cable inner down a smidge. Well, I pulled the cable down alright, down into my hand. The square end on the left should be in the speedo drive in the gearbox, the other end should be a long cable that goes into the speedo dial. Damn. It had jammed and twisted completely off. Thankfully a while back I saw a NOS speedo cable pop up on Trademe, so grabbed it as a spare I tore that packet open good and proper Mmmm fresh new cable. The instructions state to grease the cable lightly before fitting, so I pulled the inner cable out and ran a bunch of synthetic oil down the outer and wiped the inner liberally with it. Feeding this through the car and securing it into the gearbox allowed me to try and fit the cluster again. This time it was a lot easier. With the cable on the left, I could reach in through the grille opening in the dash and screw it into the cluster that way. For the first time since I got the car, and for the first time ever, it finally had a gauge cluster, and a triple dial one fitted, at that. I'm still waiting on some machine screws to arrive to screw it in, but that's secure enough for now. Finally, I needed to fit the exterior mirrors. These haven't been on the car since even before I got it. The RH side mirror was cracked, so I had a local glass company cut and fit a fresh new piece of mirrored glass. These need a polish up, but they are a gorgeous period-correct accessory. The LH one is mostly useless, but looks so cool out there on the wing. One final check revealed one other issue. I had noticed the past couple of times I had run the car that there was a noise coming from somewhere a the front of the engine. I had bad thoughts that it might be a failing waterpump or alternator. Nope, turns out the drive belt was loose. Why? The adjustment bolt on the bottom of the alternator was missing. I popped a new bolt in, tensioned the belt, and it's been quiet since. To test this I had to start the car for the first time in months. I reconnected the battery (which has been sitting disconnected but not on a charger). The fuel filter was dry, so it took a few turns, but cranked nicely and fired straight into life and settled into a nice fast idle at partial choke. Sorting the engine grounds has worked wonders, I never could have started it without jump packs and a fully charged battery before. With the filter full, it starts on the button, every time now. So, there was nothing left to do but clear the car off, and get ready to take the car for its first drive in about 27 years. Getting back, my wife said she hasn't seen me smile like that for a long time. There was a bit of clutch shudder leaving the garage, but that seemed to go away with some more use and the bite was nice and progressive and at a good point. Otherwise, the car performed perfectly. The steering is well weighted, if a little off center (needs an alignment), but tracked straight and the suspension felt great; No vagueness, no wandering and no bouncing. The engine pulled down low, but felt a bit flat up top (I haven't touched the carb tune). The gearbox went through all the gears nicely, with only a couple of minor crunches when downshifting, to be expected for synchros that have been dry for 27 odd years. No grinding or hard shifts. The blowing exhaust does make a racket though. Although I haven't had a chance to bed the brakes in since the work I did on them, they pulled up nice and straight and didn't require as much force as I was expecting for an unboosted system. The pedal feel is very good. All the gauges were working, including the speedo with its new cable. You'll also note in the video, if you look closely, that the indicators, front and rear, and the brake lights are working as expected. Words can't express how happy I am with how it drove. I expected it should've been fairly good on the road after all the work, but it blew me away with how good it was. I'm hoping this is the push I need to do the serious work on it; the cutting and welding. With the Tomcat finally vacating the garage, there are no more excuses. She's a keeper1 point
-
Just a heads up if anyone is planning on importing a car or has one here that isn't registered yet April 1st is when the govt starts taxing vehicles for their C02 emissions when they are first registered usually these type of rule changes are based on ENTRY date ie if the car is border checked before x date then its exempt This time it's based on when the car is registered, which means it has to have its repair cert /lvv cert/ pass compliance done before 1st April or an extra tax will apply when it is registered This means that LVV certifiers and repair certifiers are possibly going to be even busier than normal because car dealers are well known for leaving things till the last minute and are also adverse to paying more than they have to so will likely be applying max pressure to get things done before 1st April1 point
-
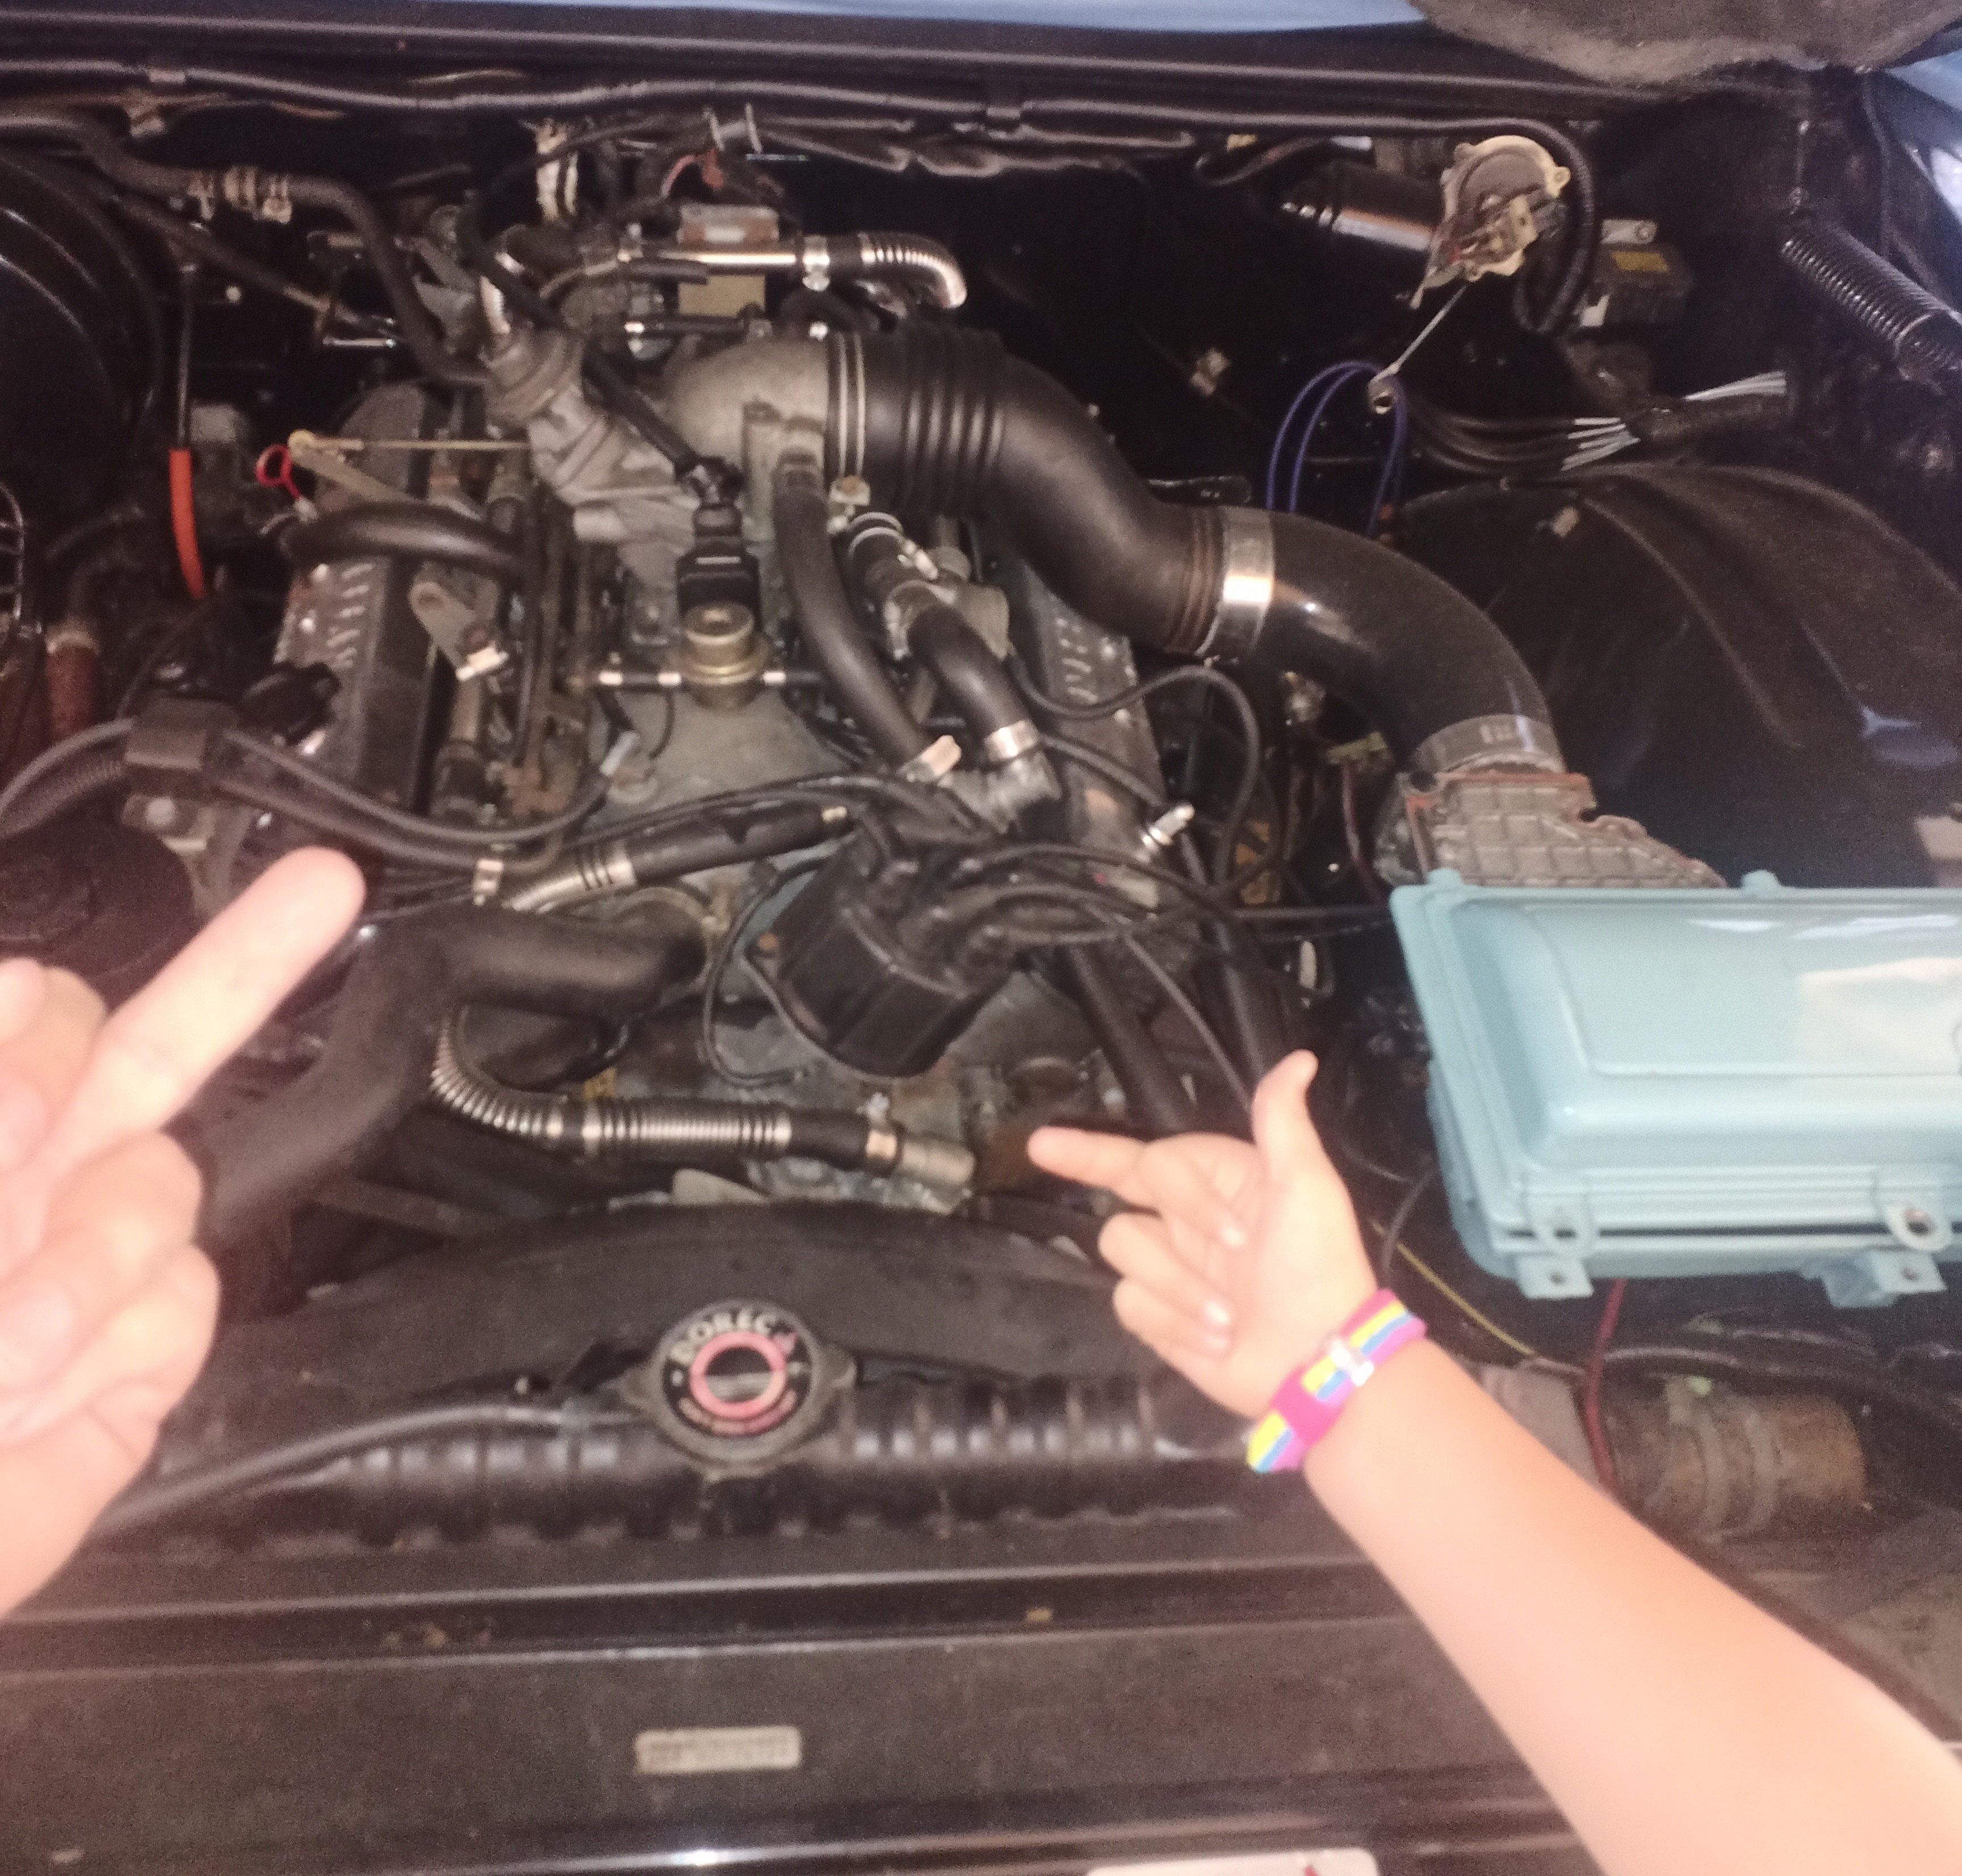
3. Next, they put 8 ls2 coils on that one, so it's cool an all but why? Is it necessary, I don't mint just keeping the top on the dizzy and having less components in the engine bay. I see haltech sell ignition modules https://www.haltech.com/product/ht-020002-dual-channel-oem-igniter-dumb/ I guess you can run a coil of this maybe? I don't know, or any suggestions here? 4. They use a wide band controller because it's better than O2 sensors or something, ok I guess but if so then would or be better to use the wb2 which looks like it has two sensors? they have used a wb1 on their install that runs off the left bank by the looks of it. So it would be pretty awesome if anyone on here could give me some advice on planning this thing out, thanks for looking.
1 point
-
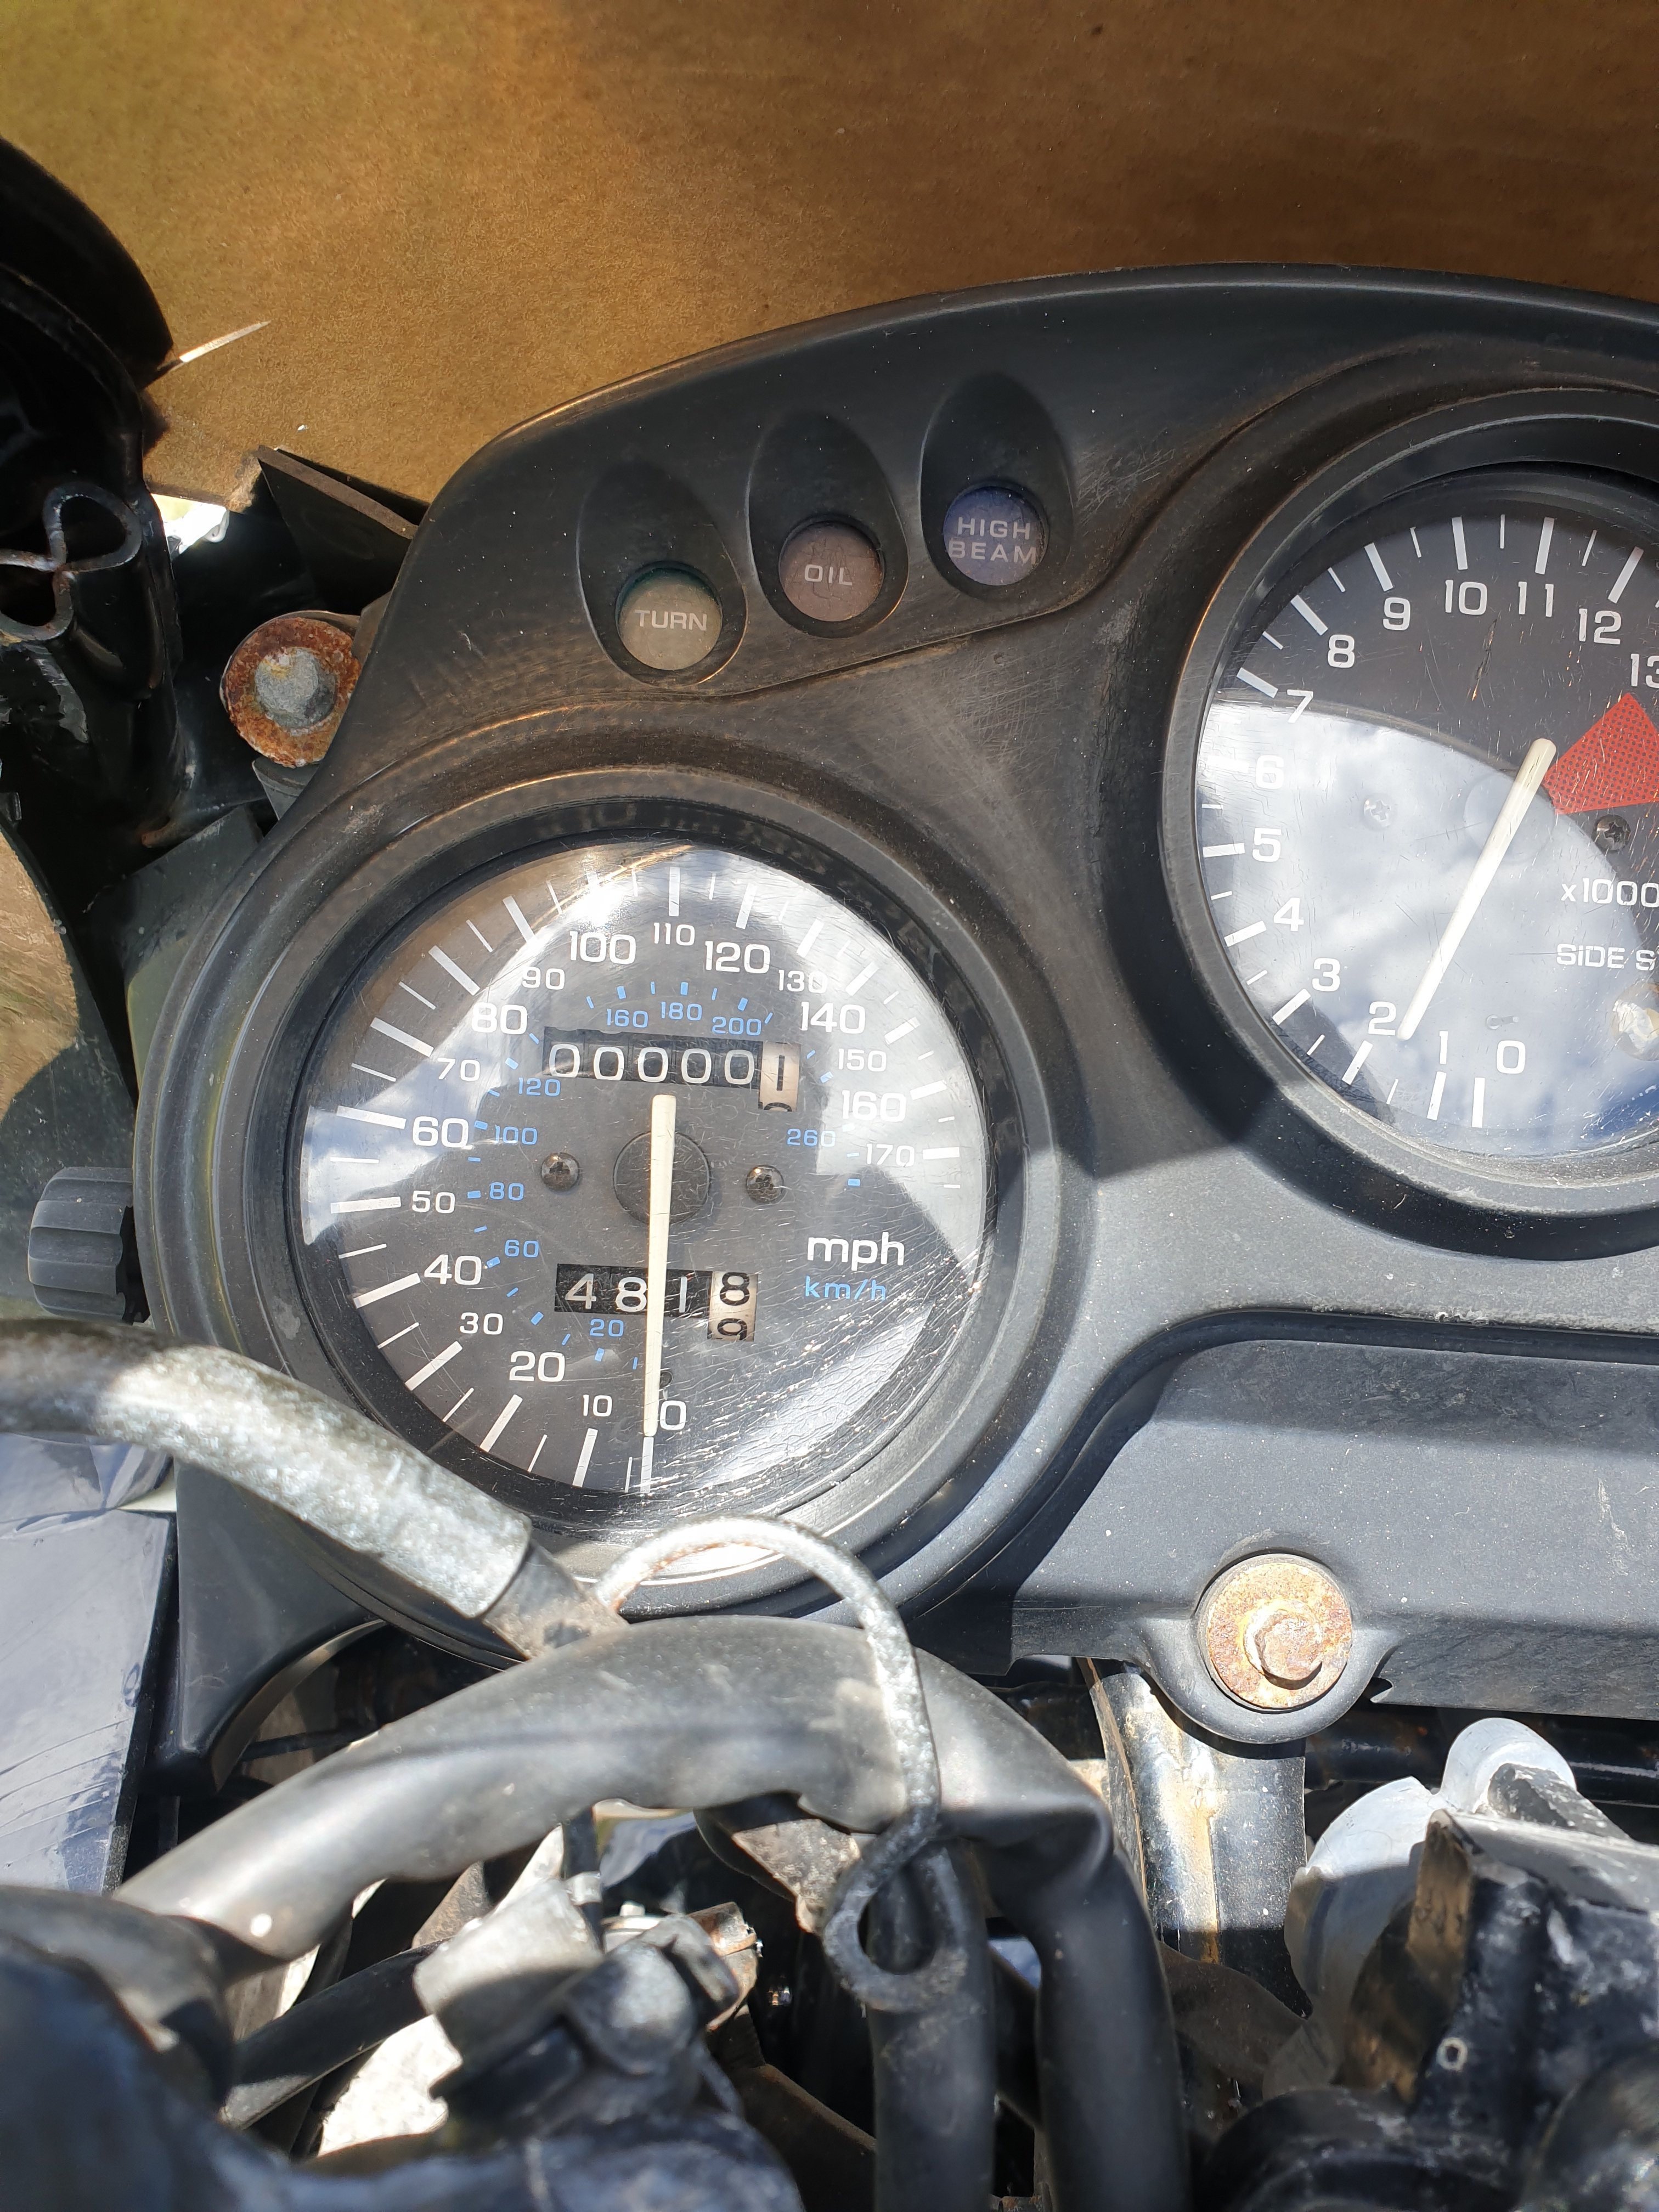
Big day today wasnt gona stop until she went round the clock. Gona keep riding it till weather goes crap again then will give the ol girl a sproce up
1 point
-
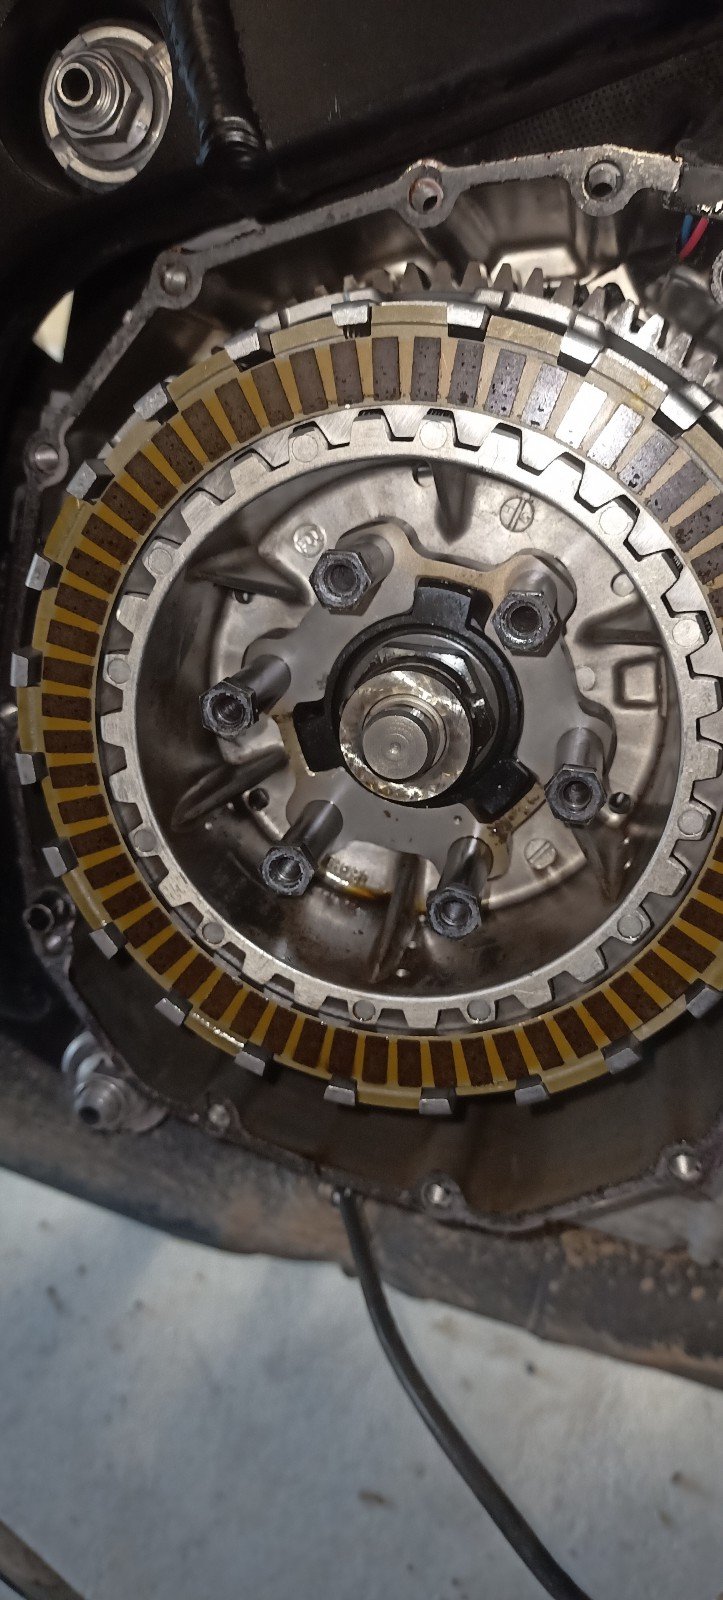
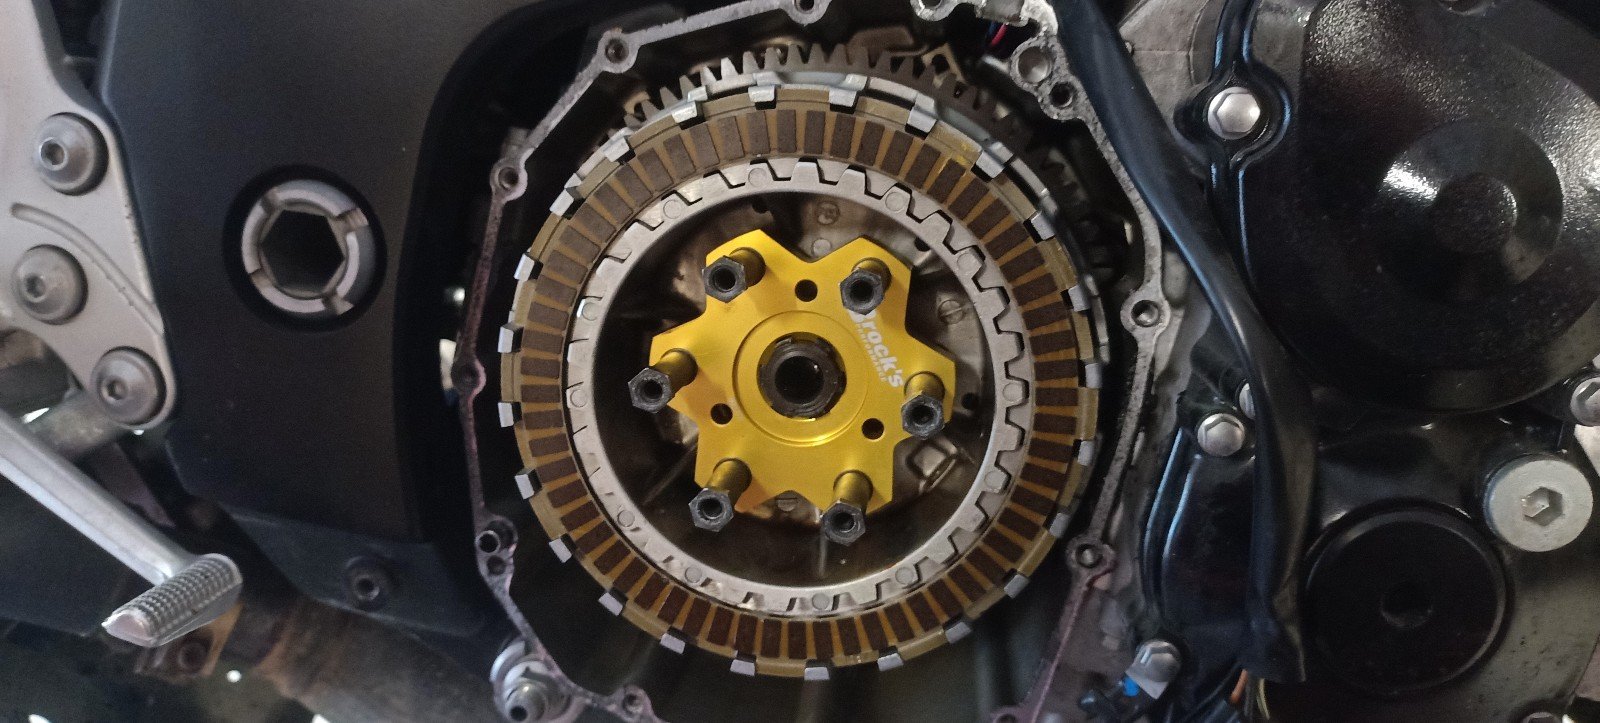
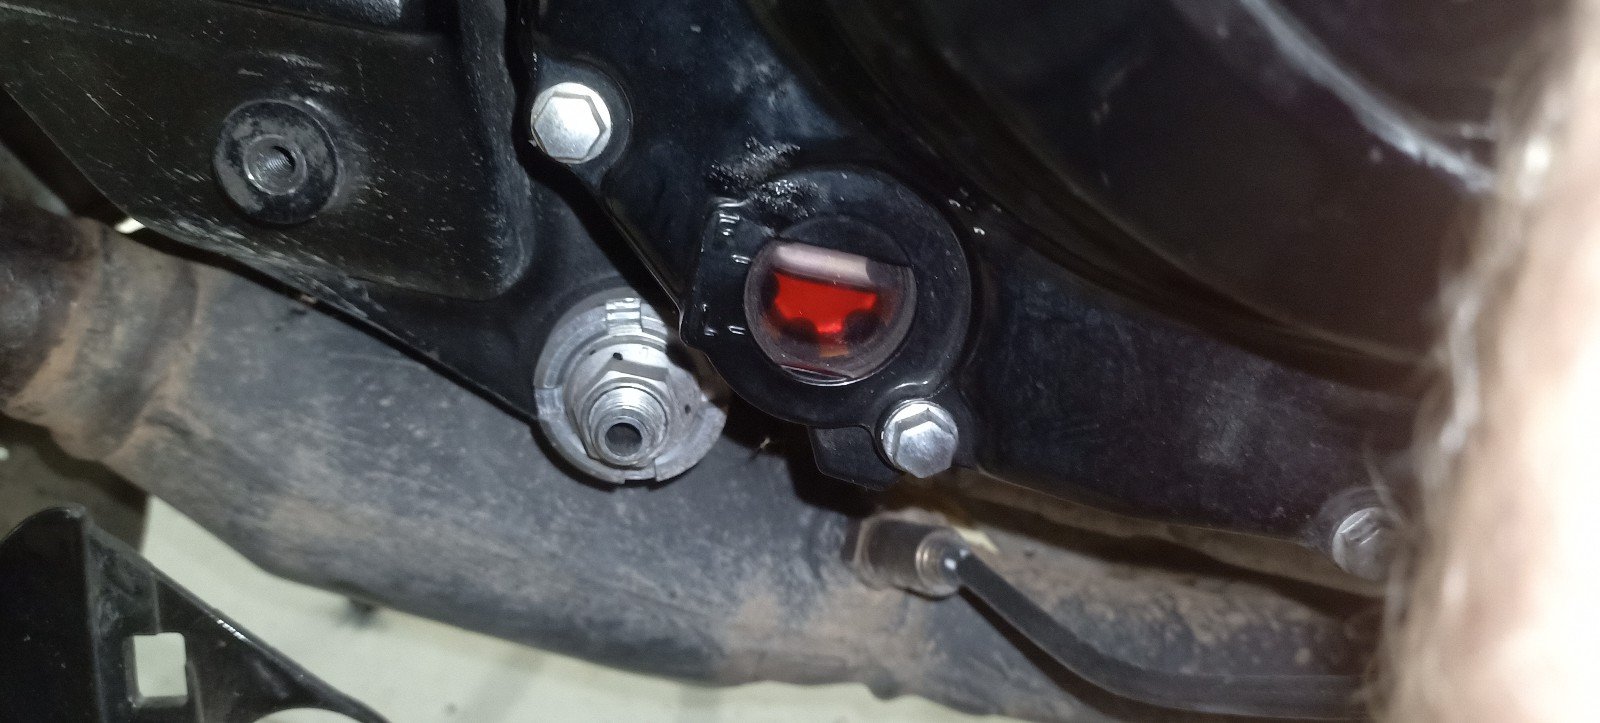
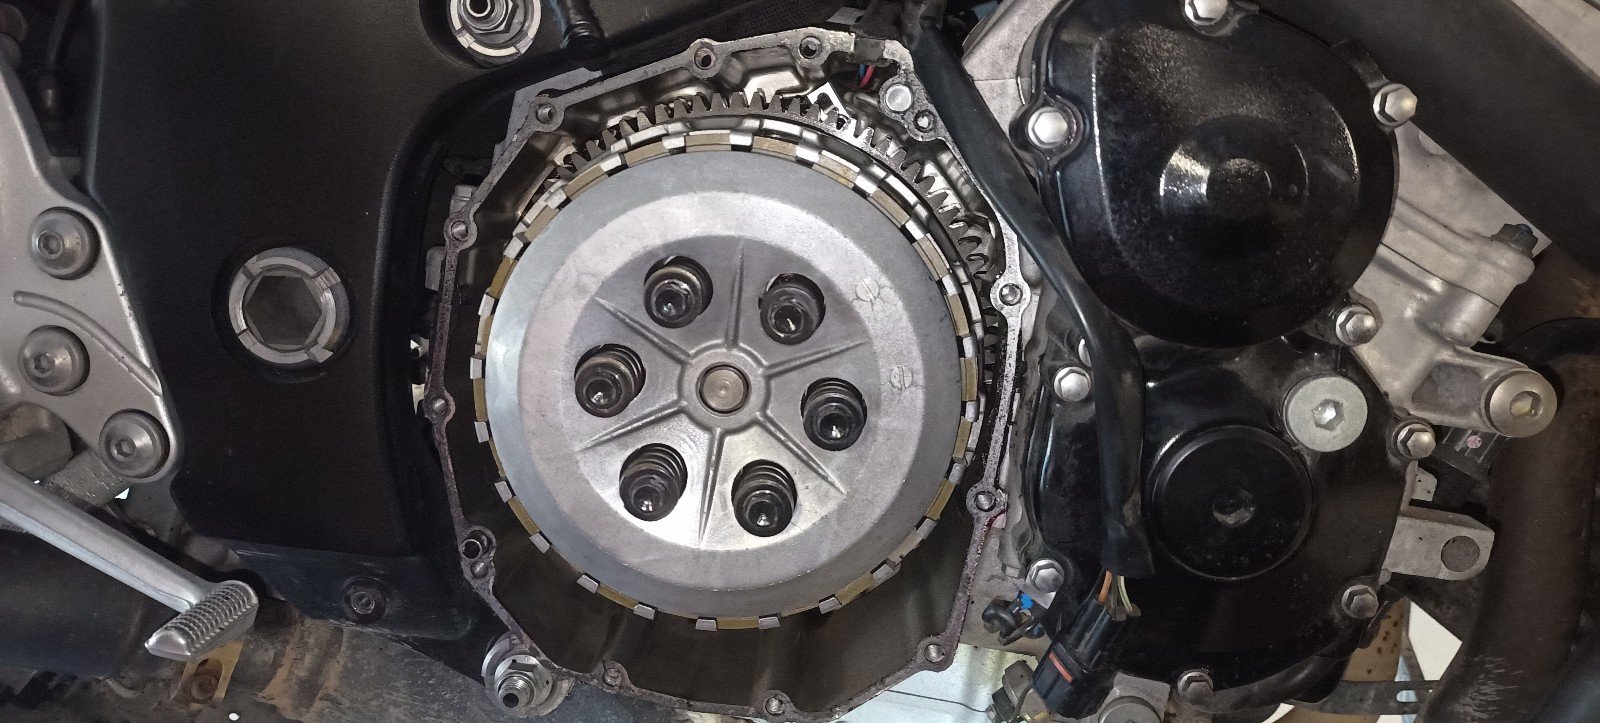
Got a one piece clutch hub Pulled the body panels off and did the clutch slave seal because that went wees everywhere. Then pulled off the clutch cover. And ya undo those screw things and pull the hat off and you can see the shitty two piece clutch hub. Long story but just know that it's there to give you a light clutch lever, and it increases clamp force as torque is applied to the clutch. Ita a clunky horrible shuddery bunny hoppy piece of crap This is much nicer. And put in some nice red oil. And today did about 200km with @64valiant to visit the guys at garlic masters. Such a good improvement, anyone with a gen 1 or 2 busa should do the one piece hub ASAP!
1 point
-
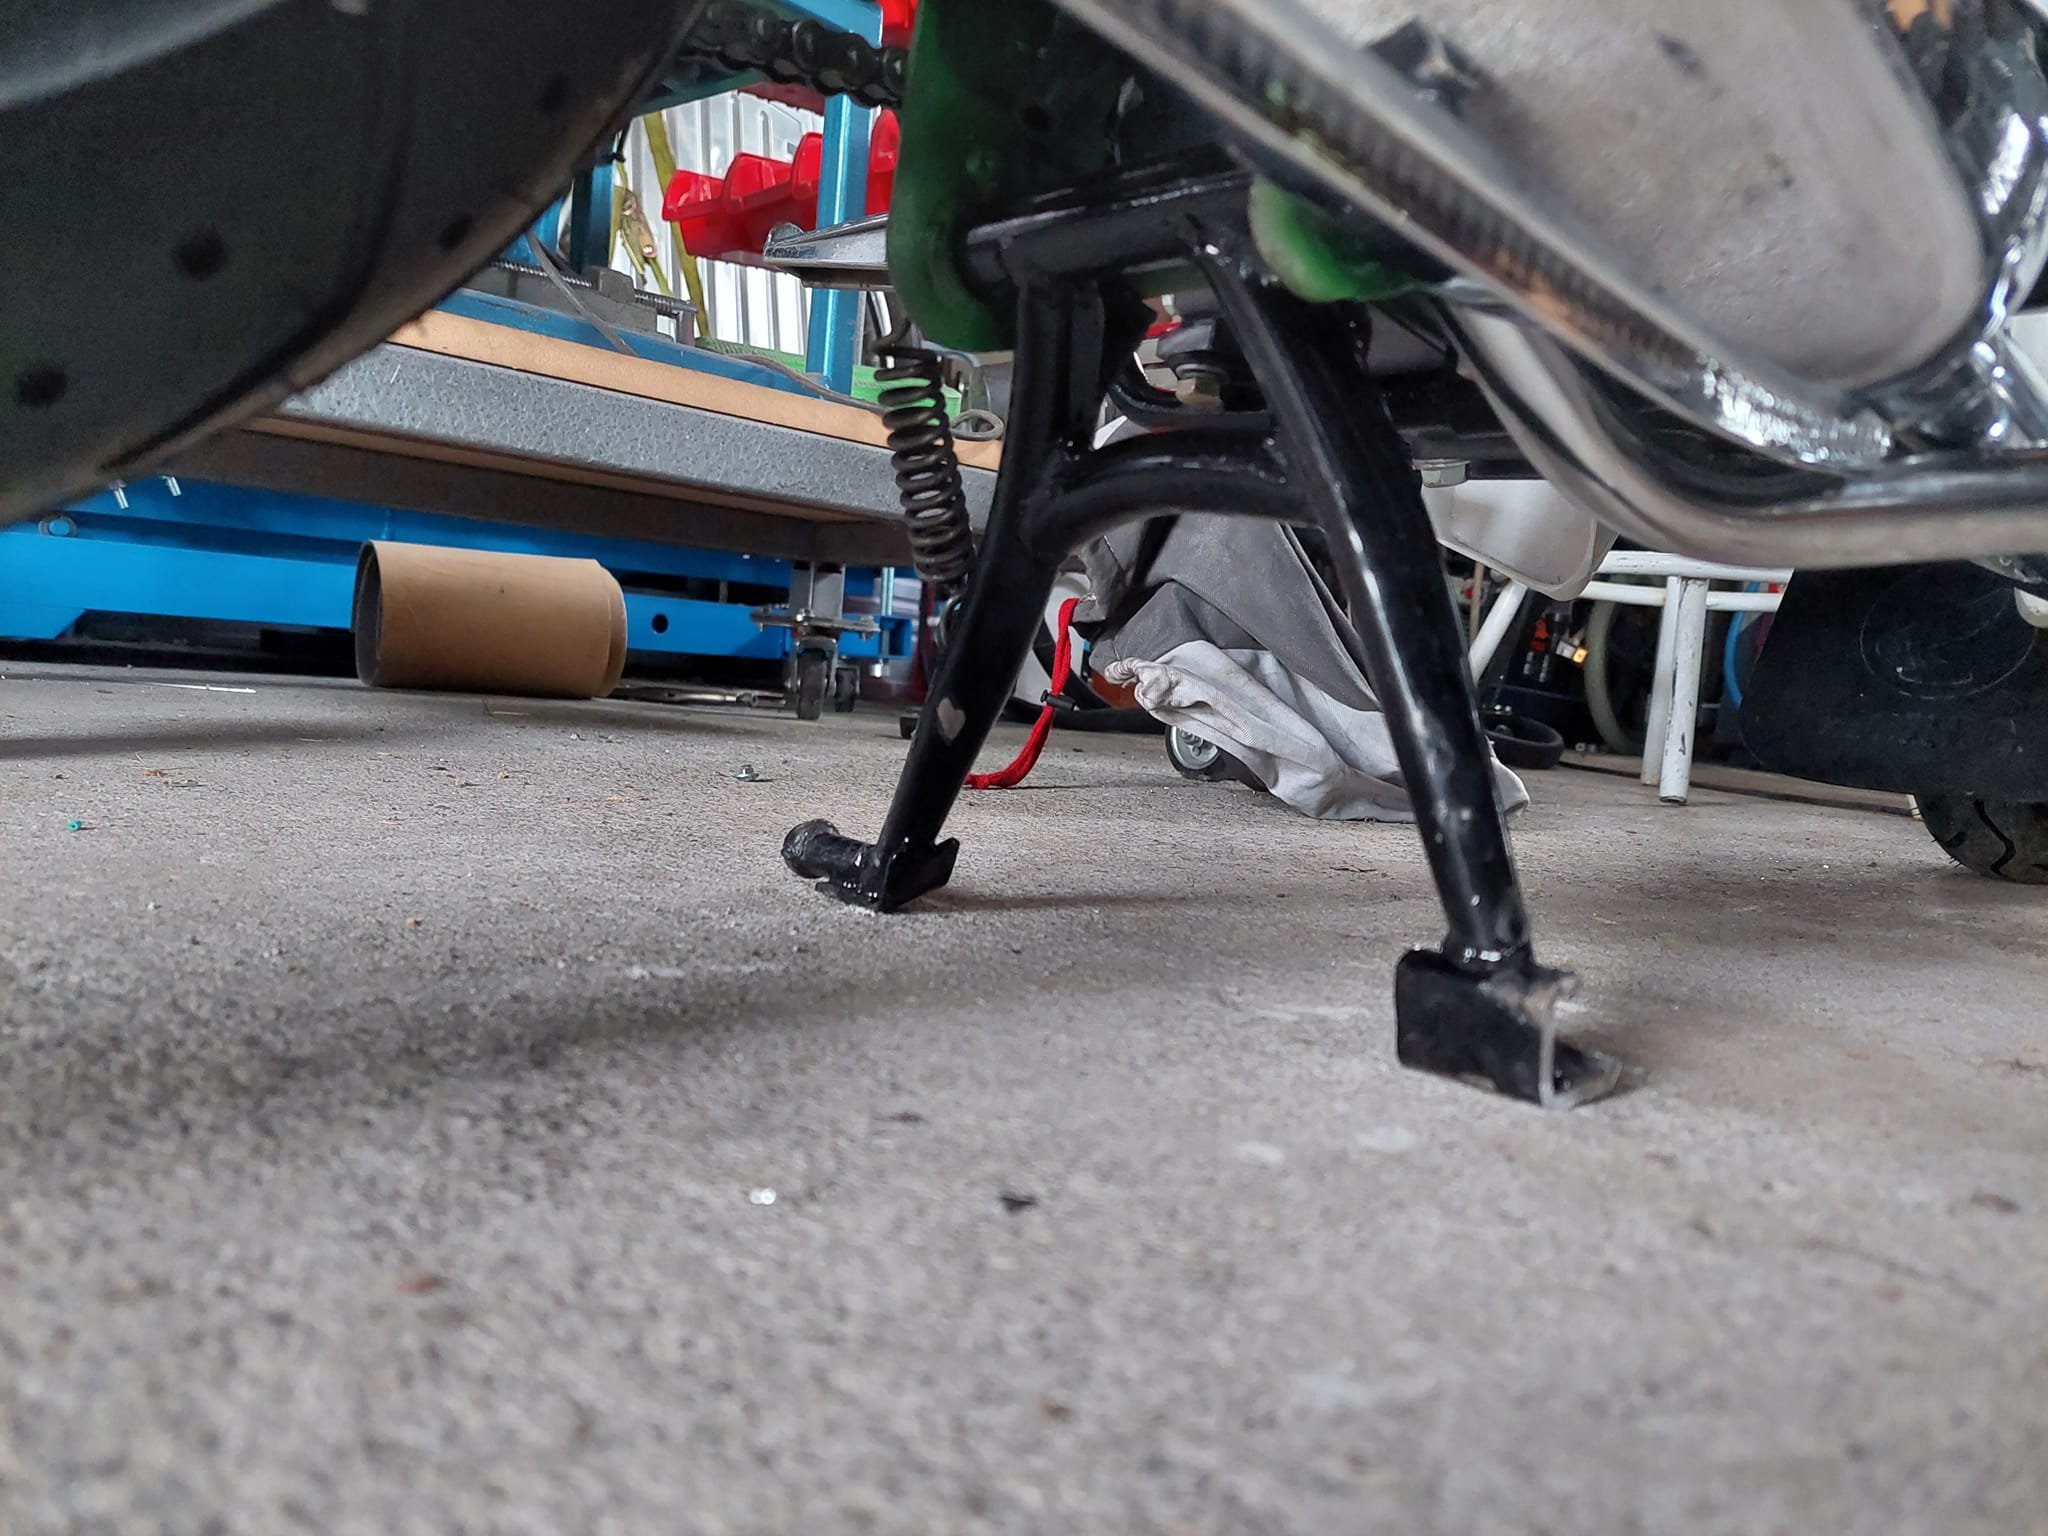
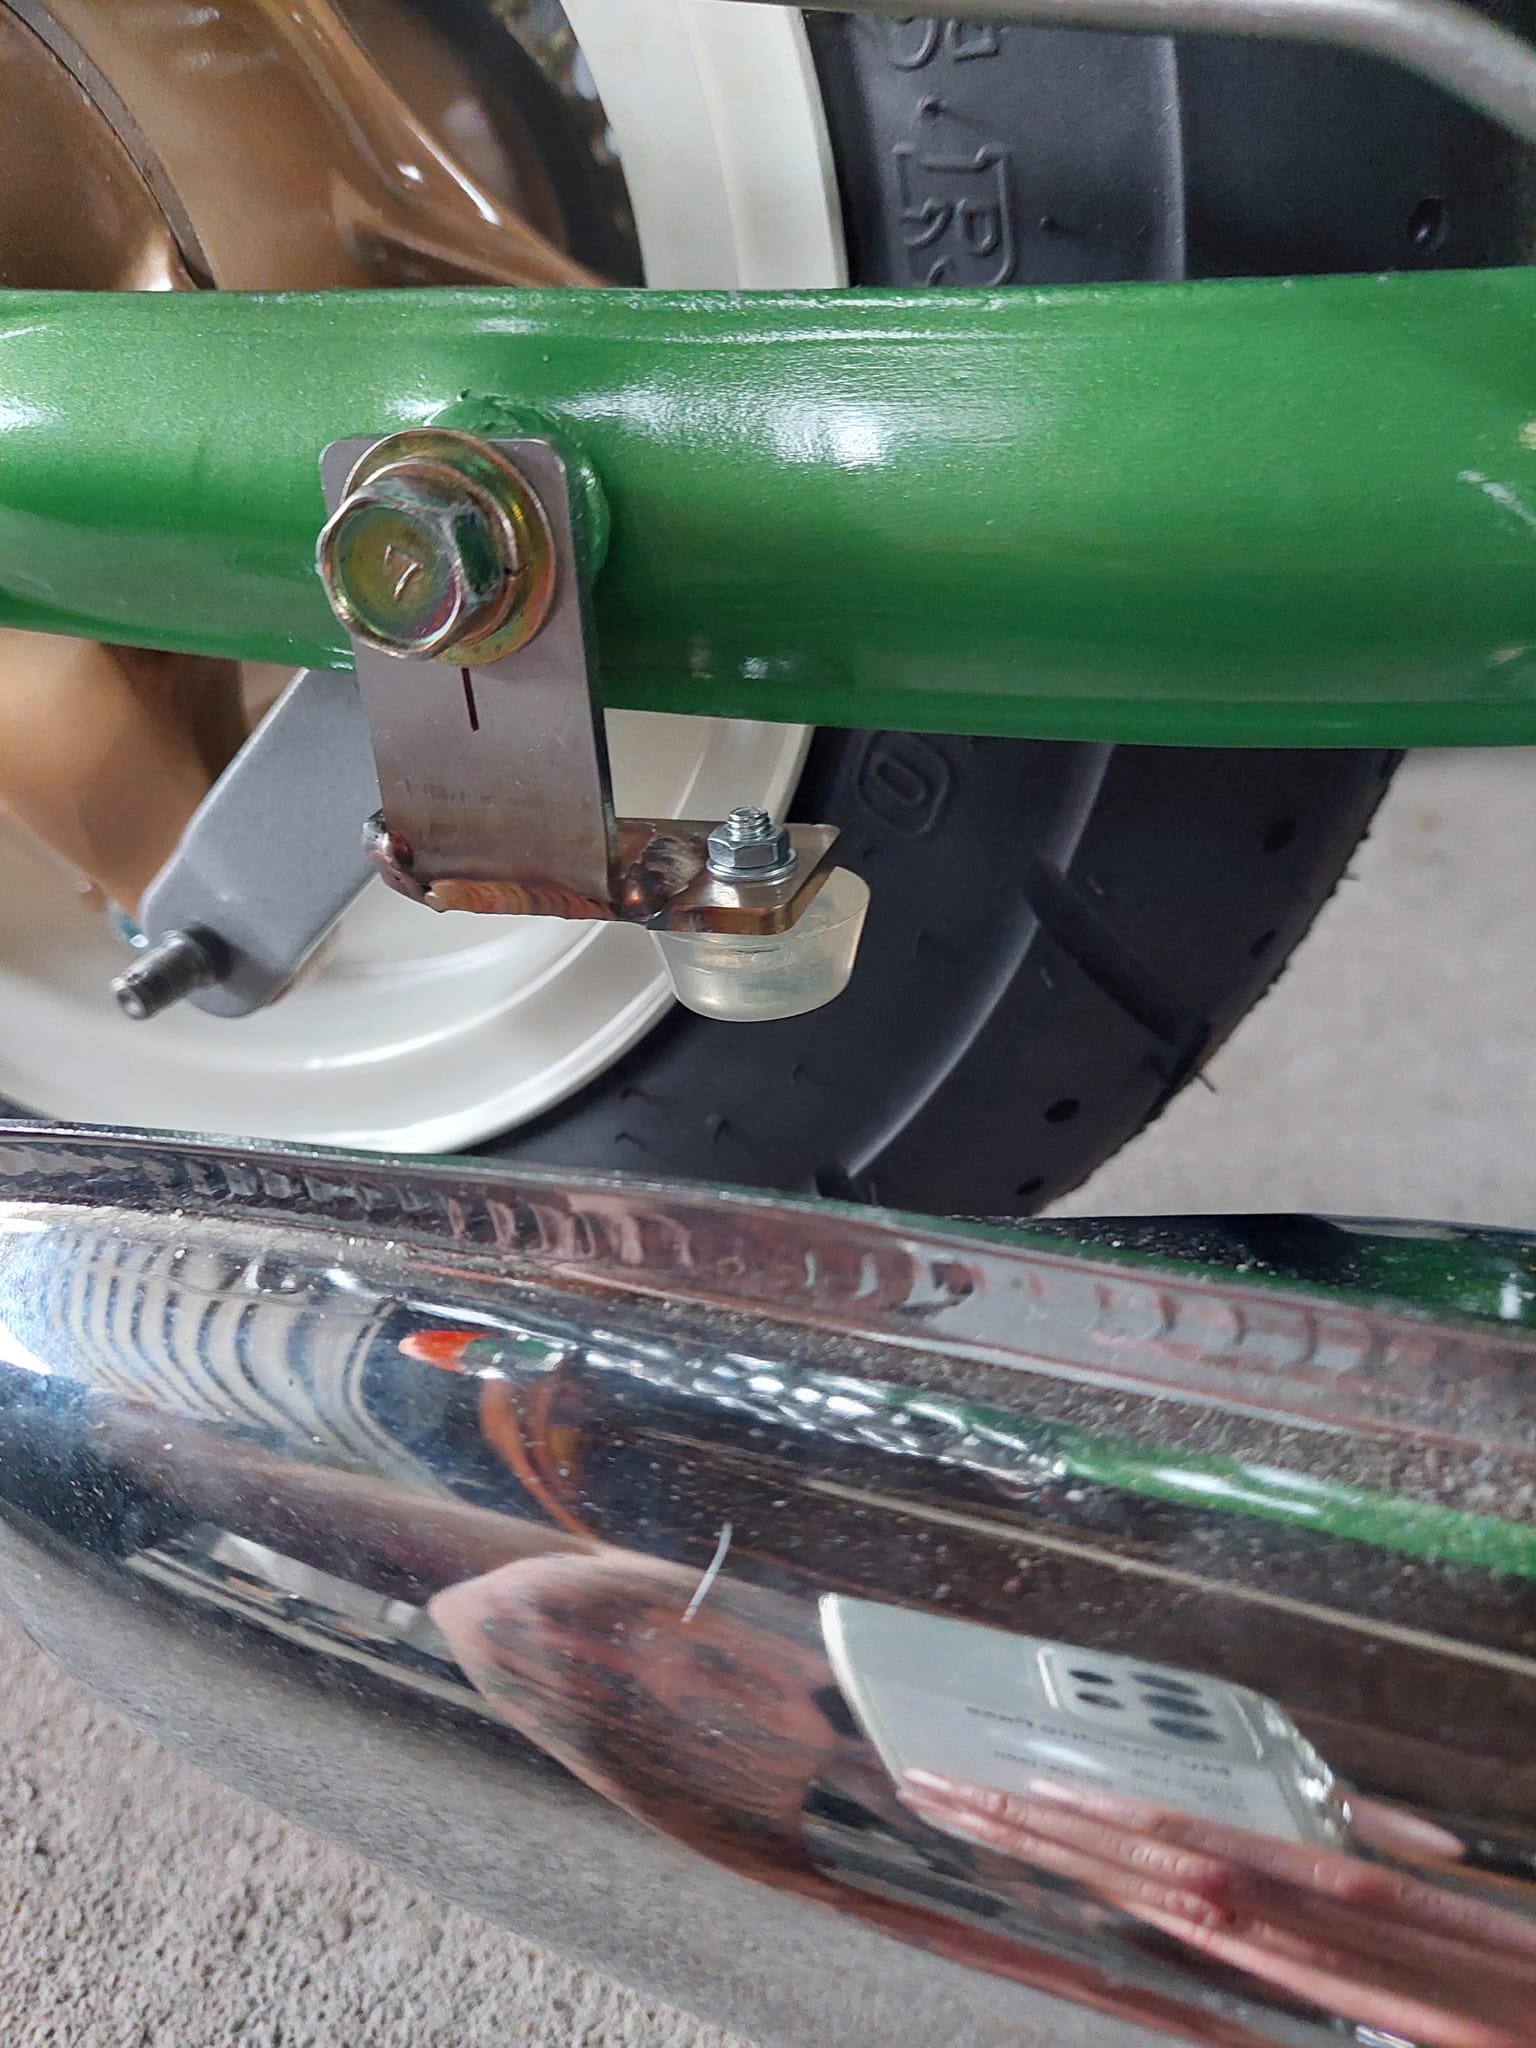
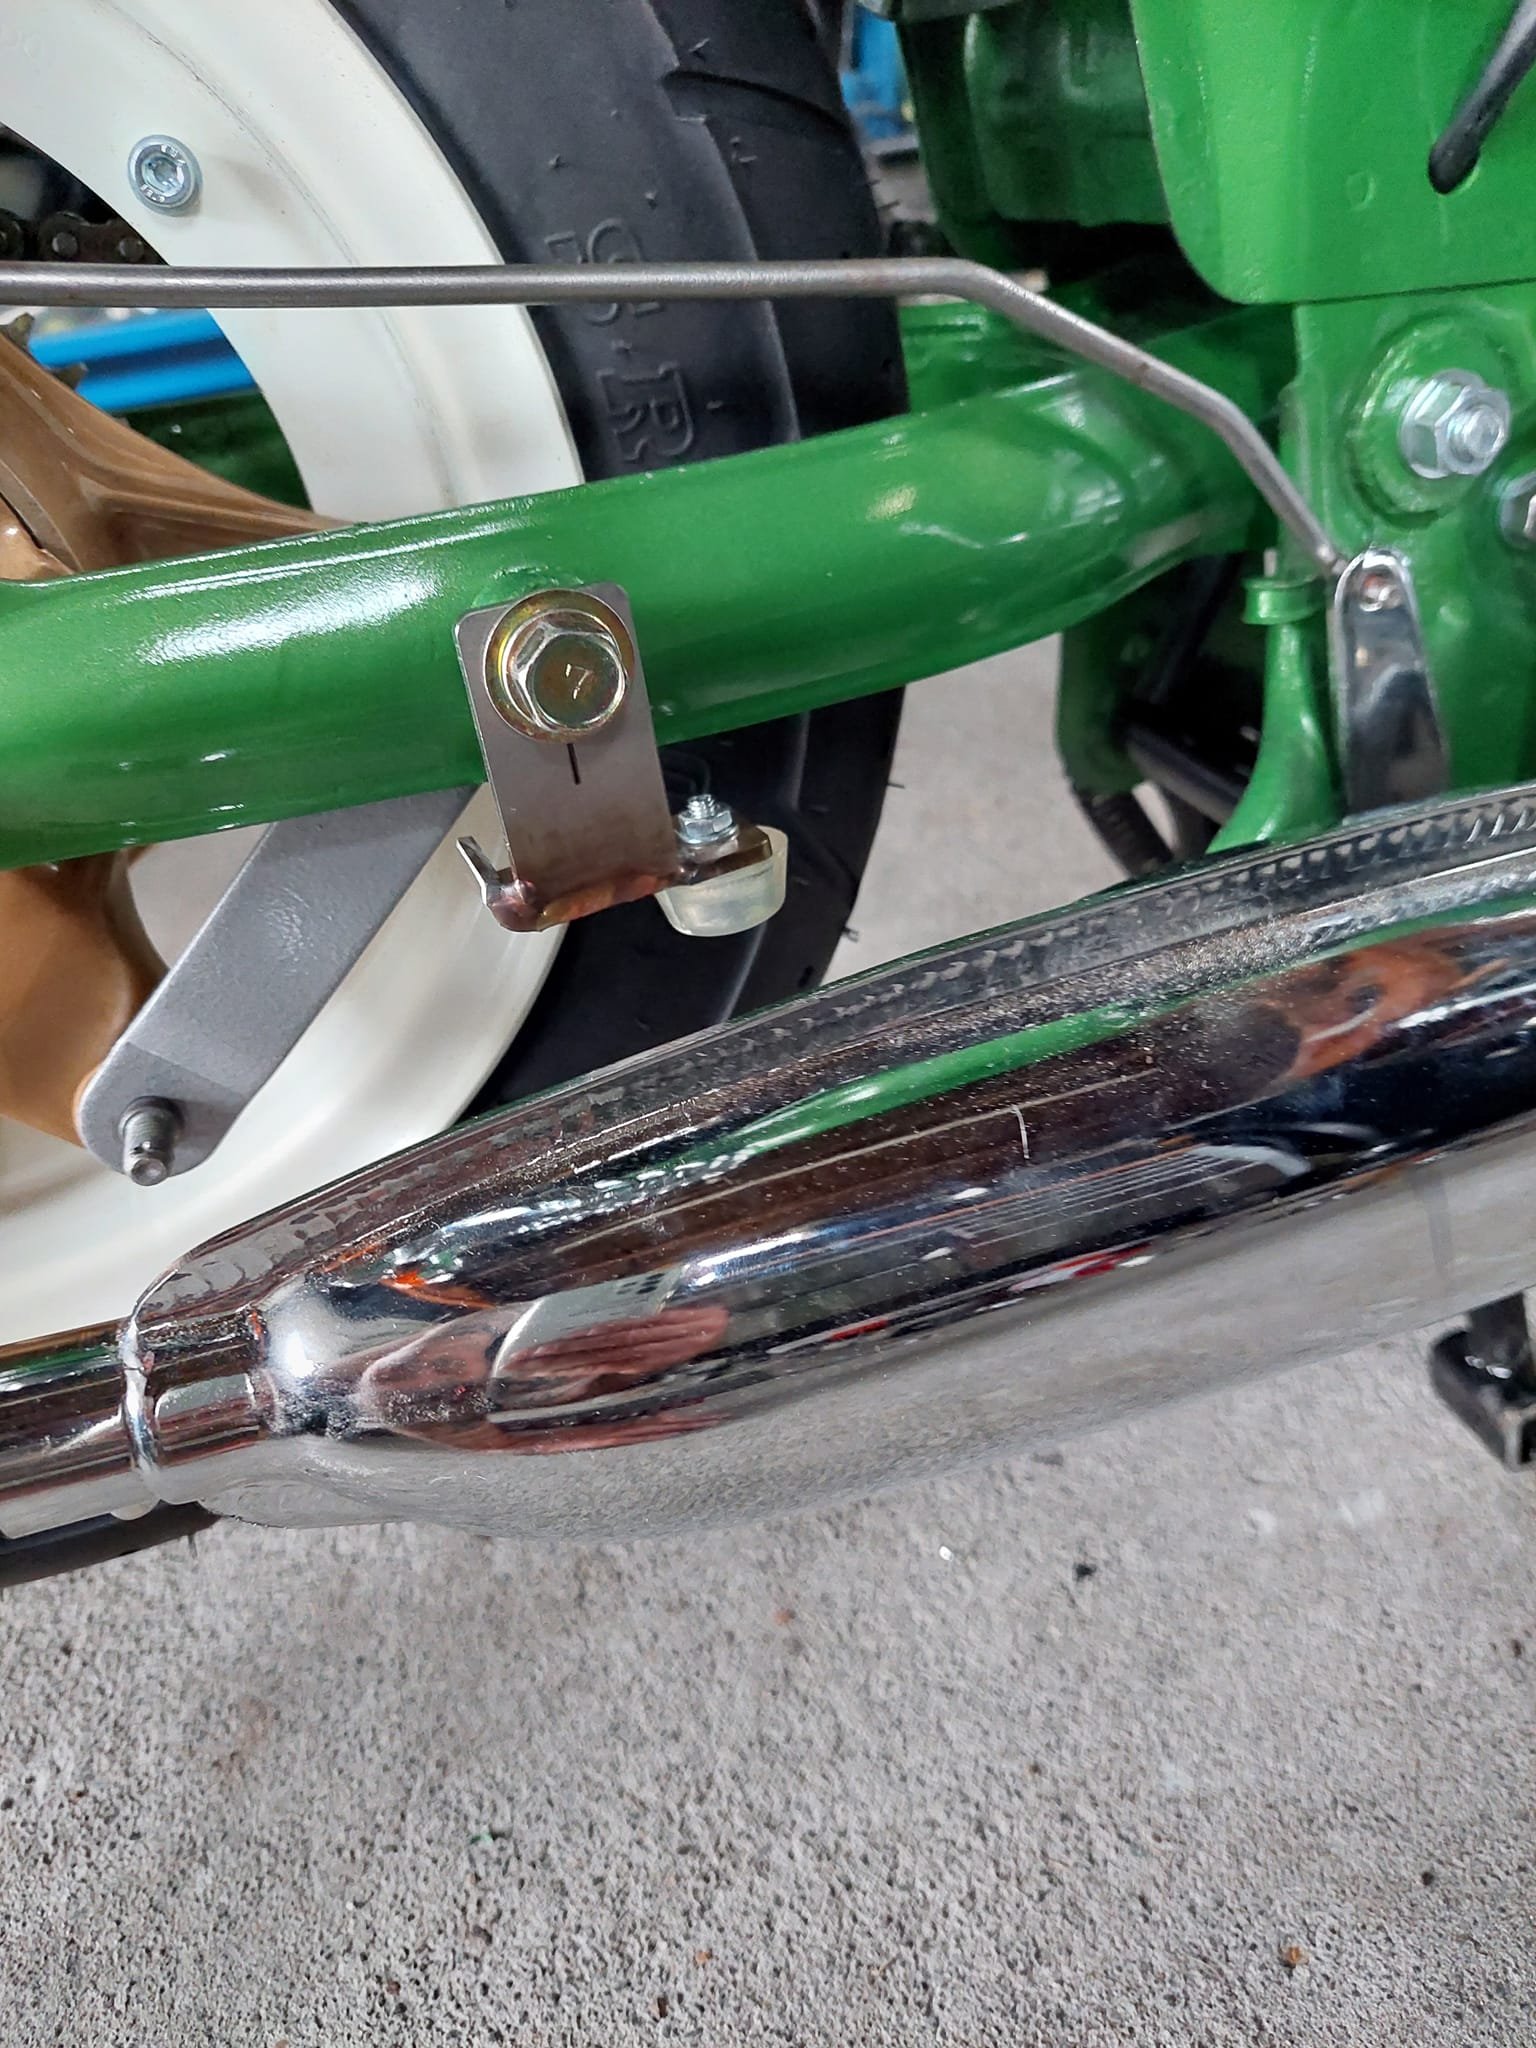
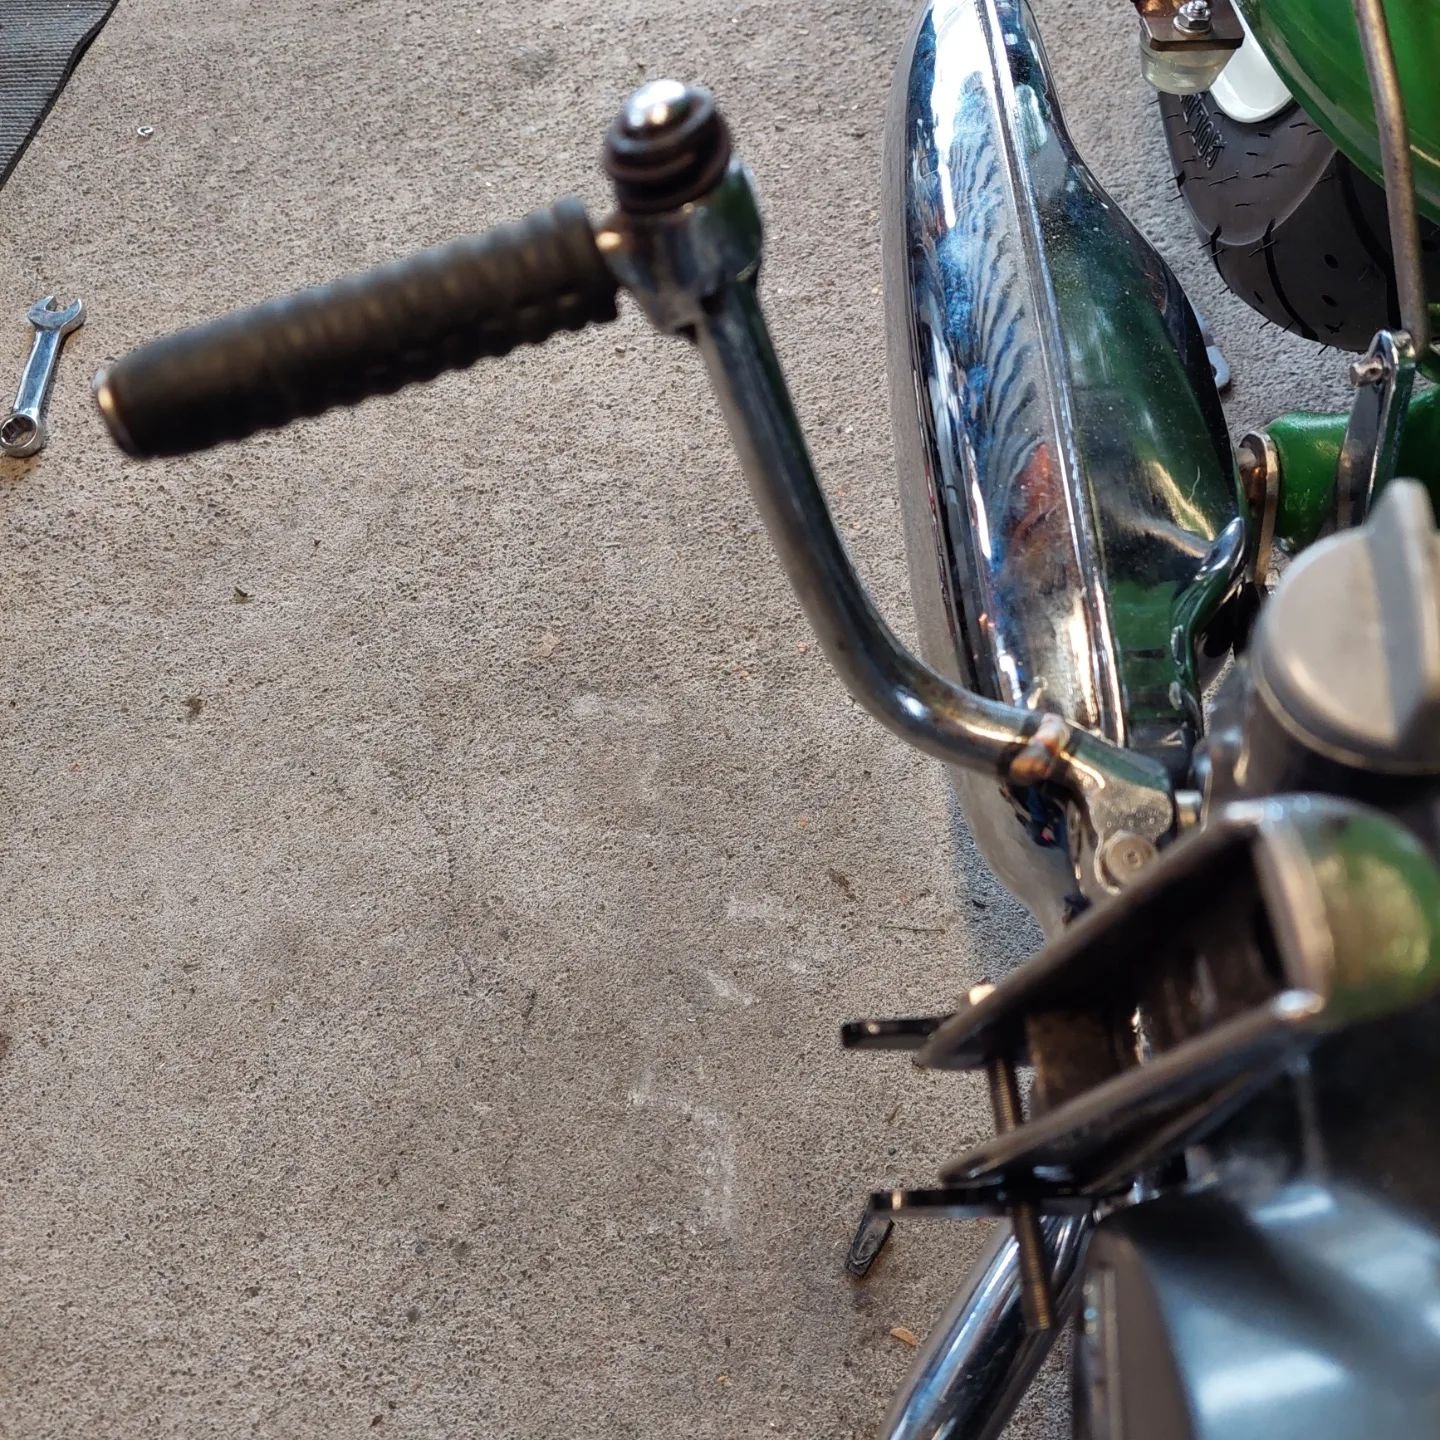
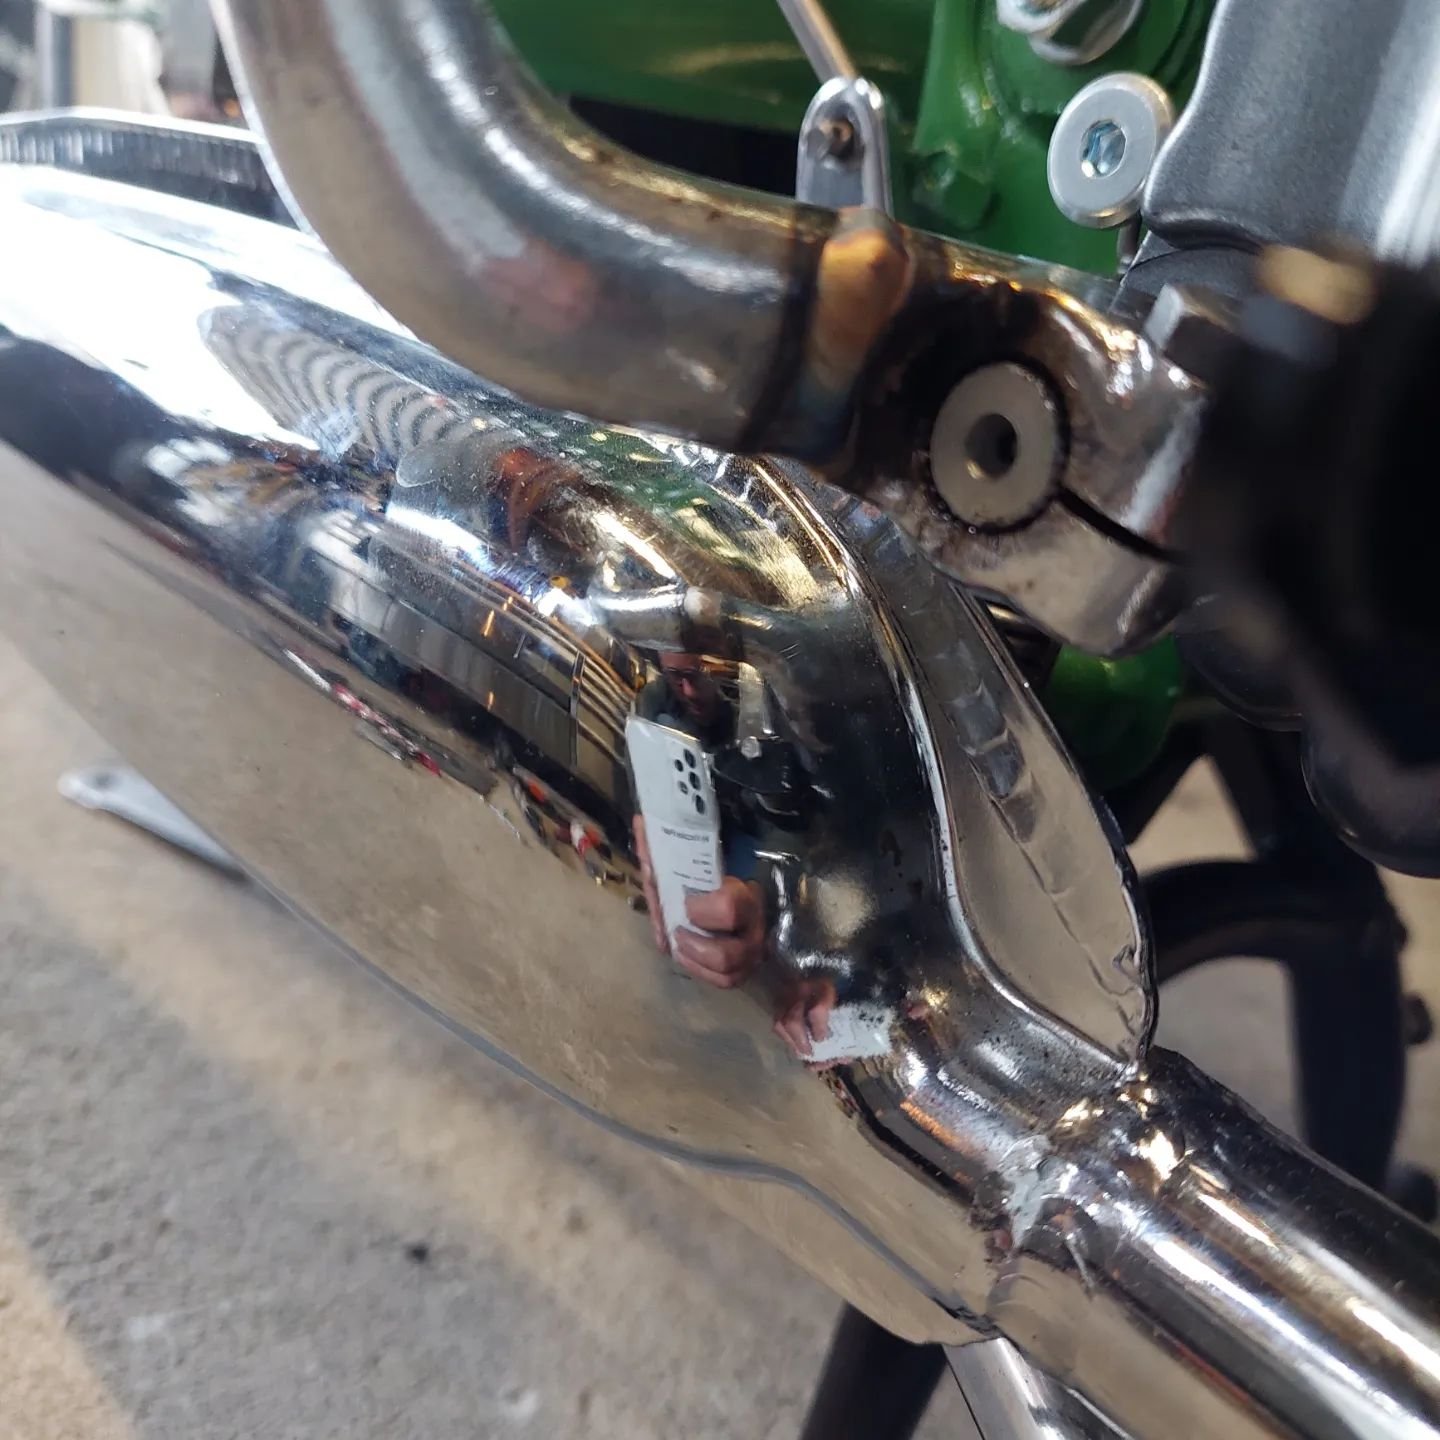
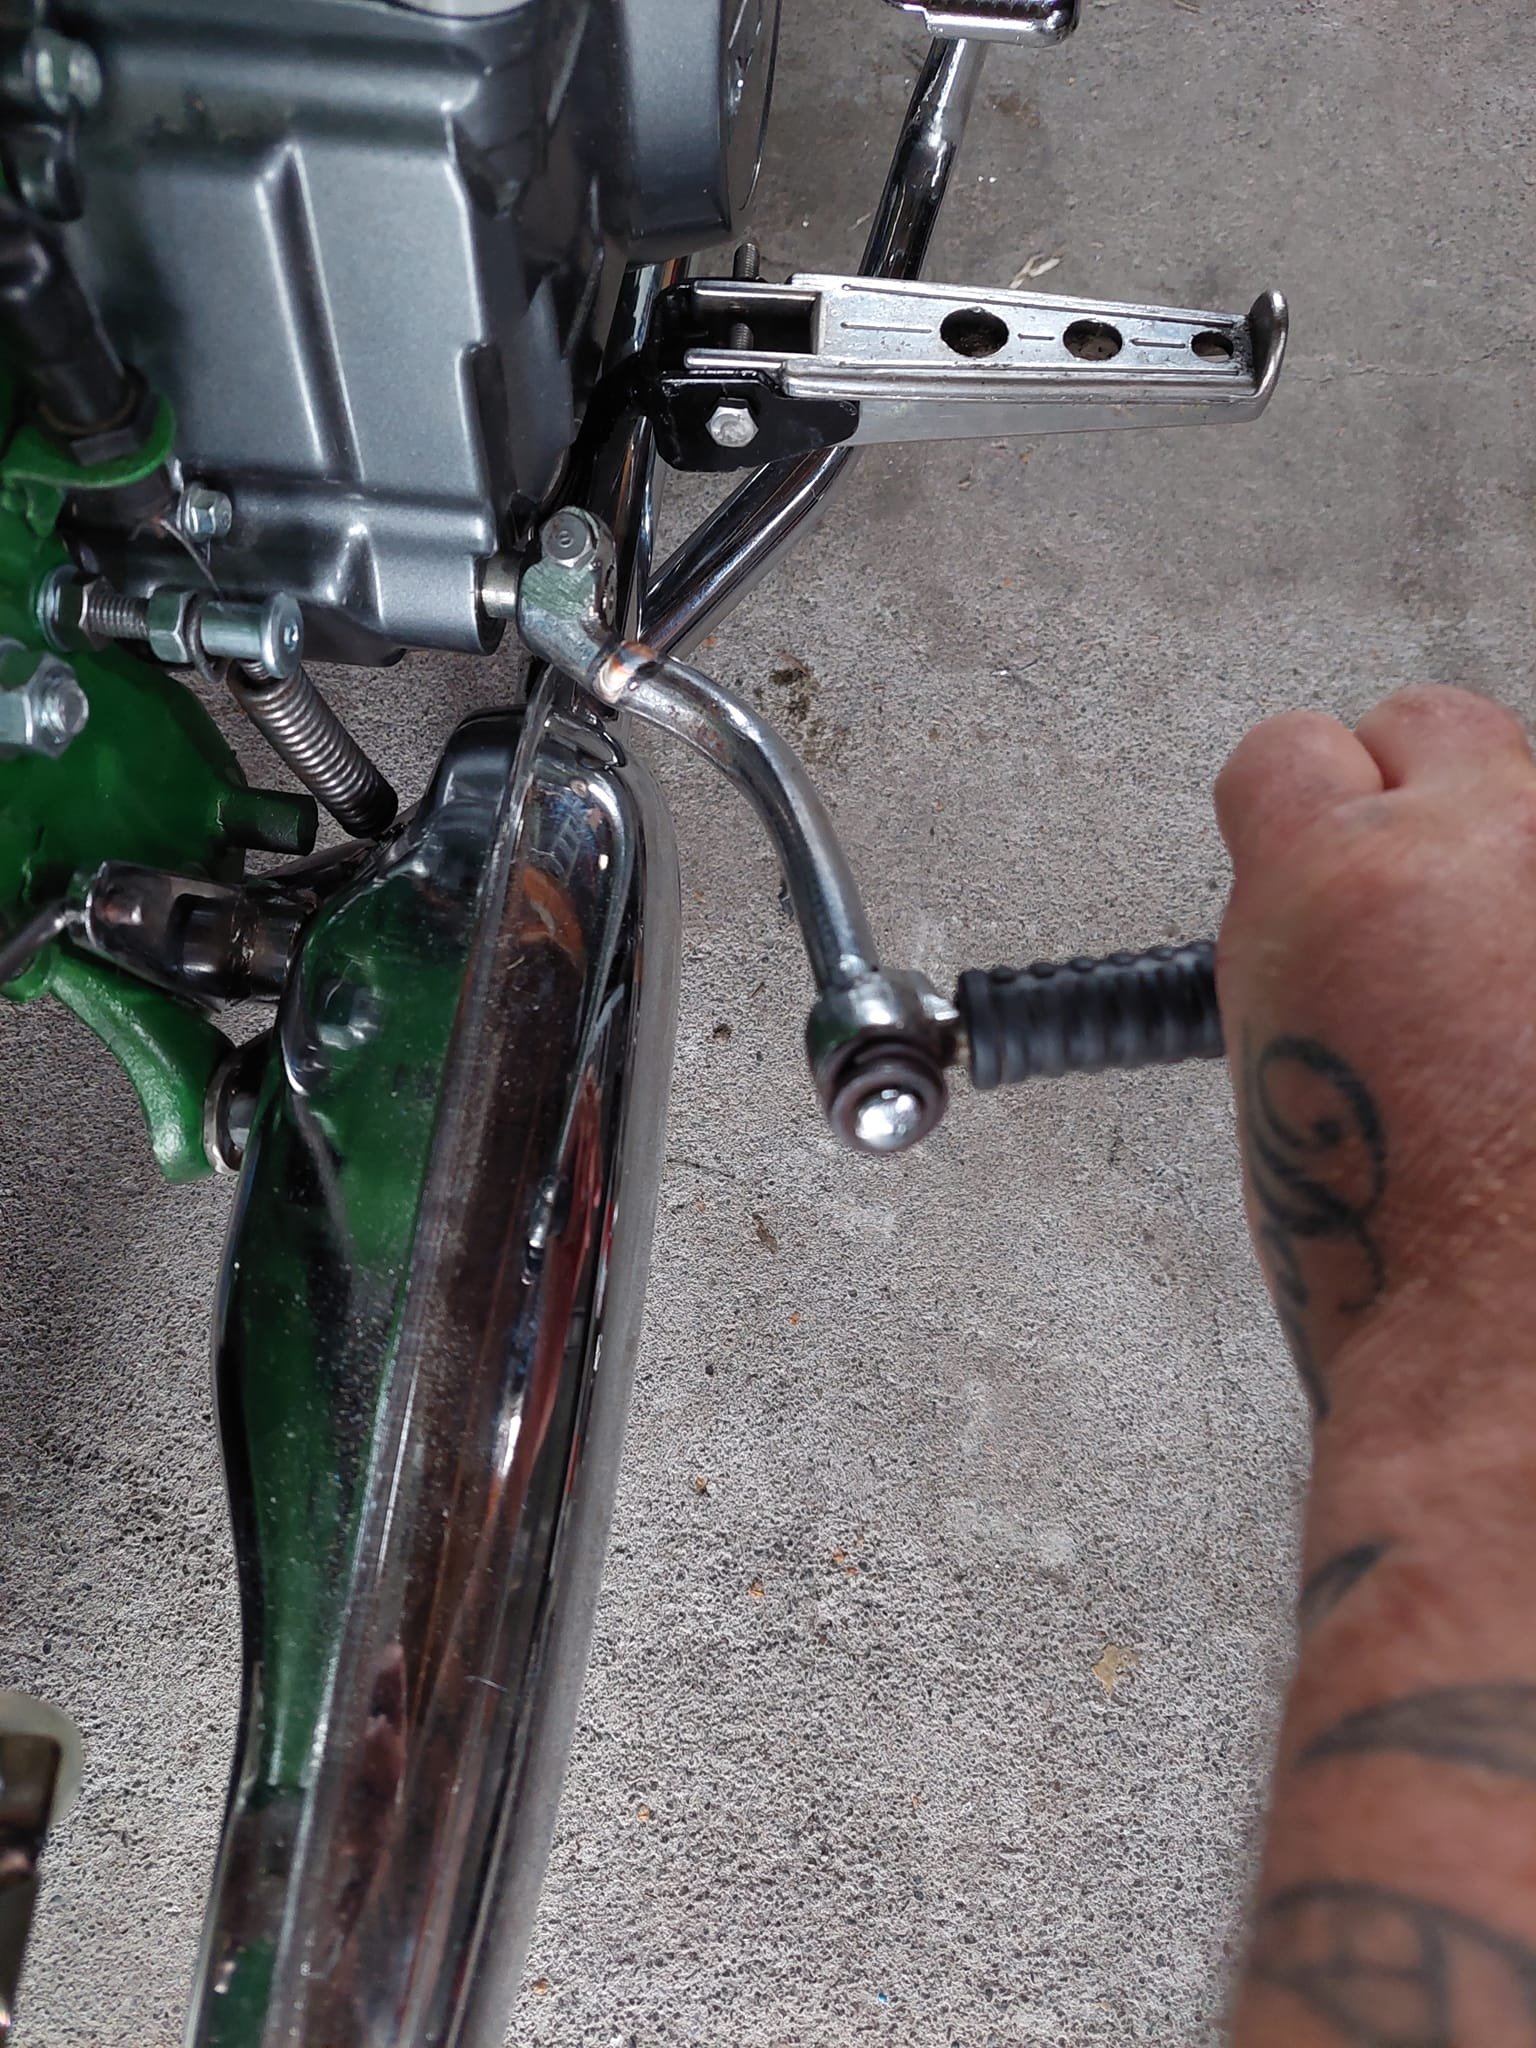
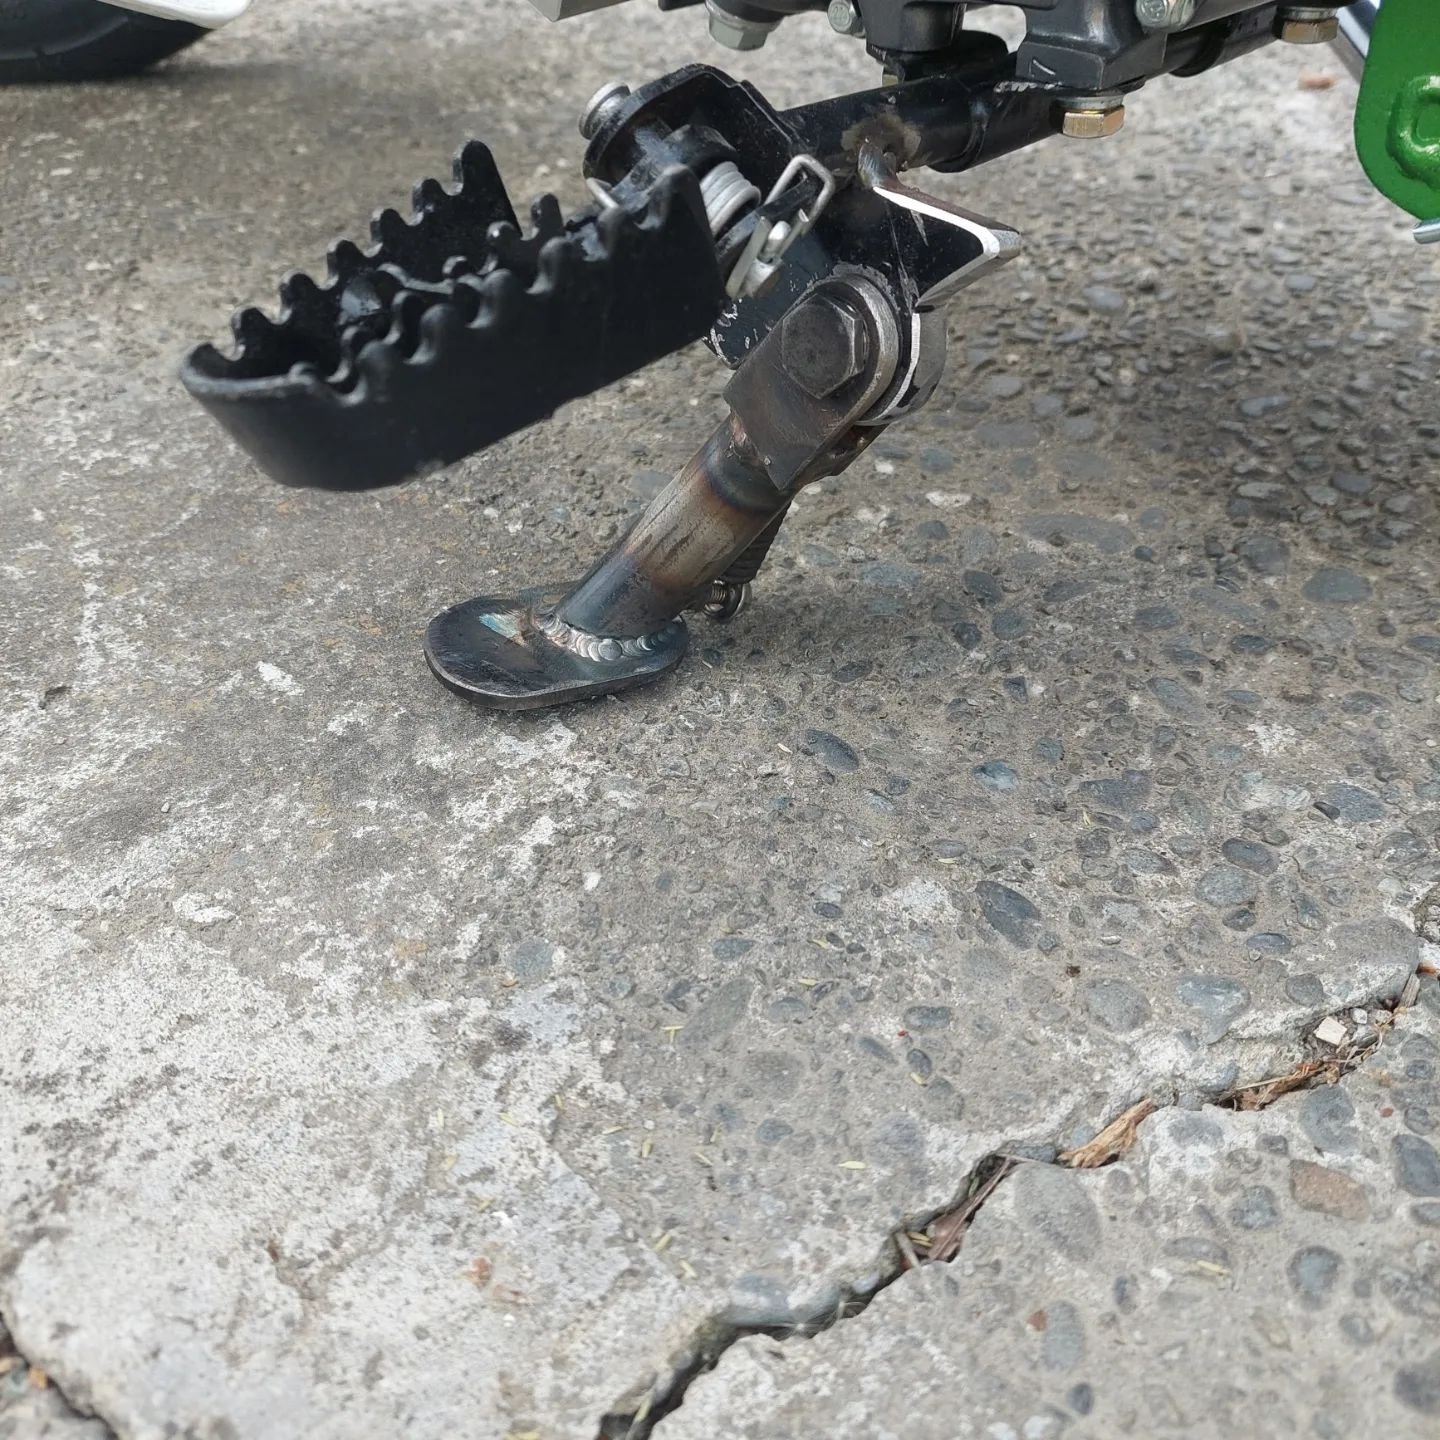
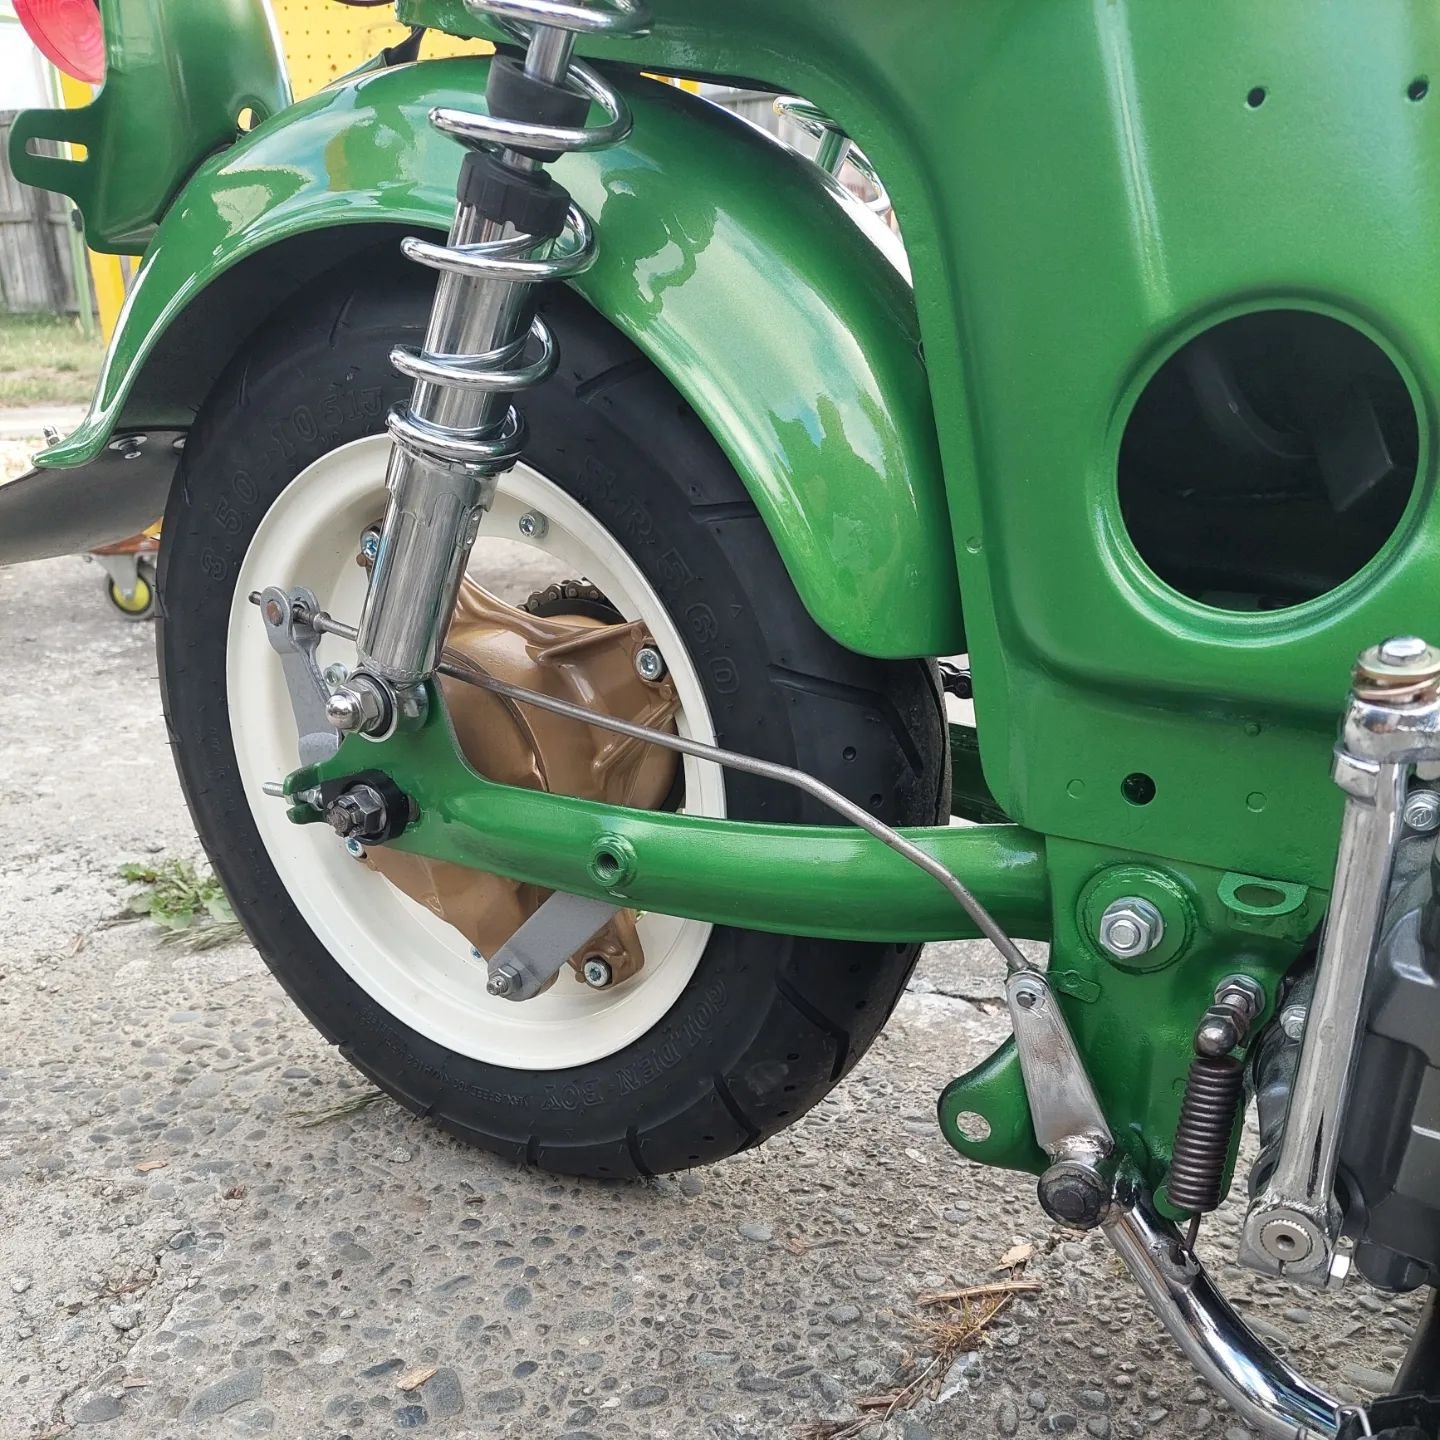
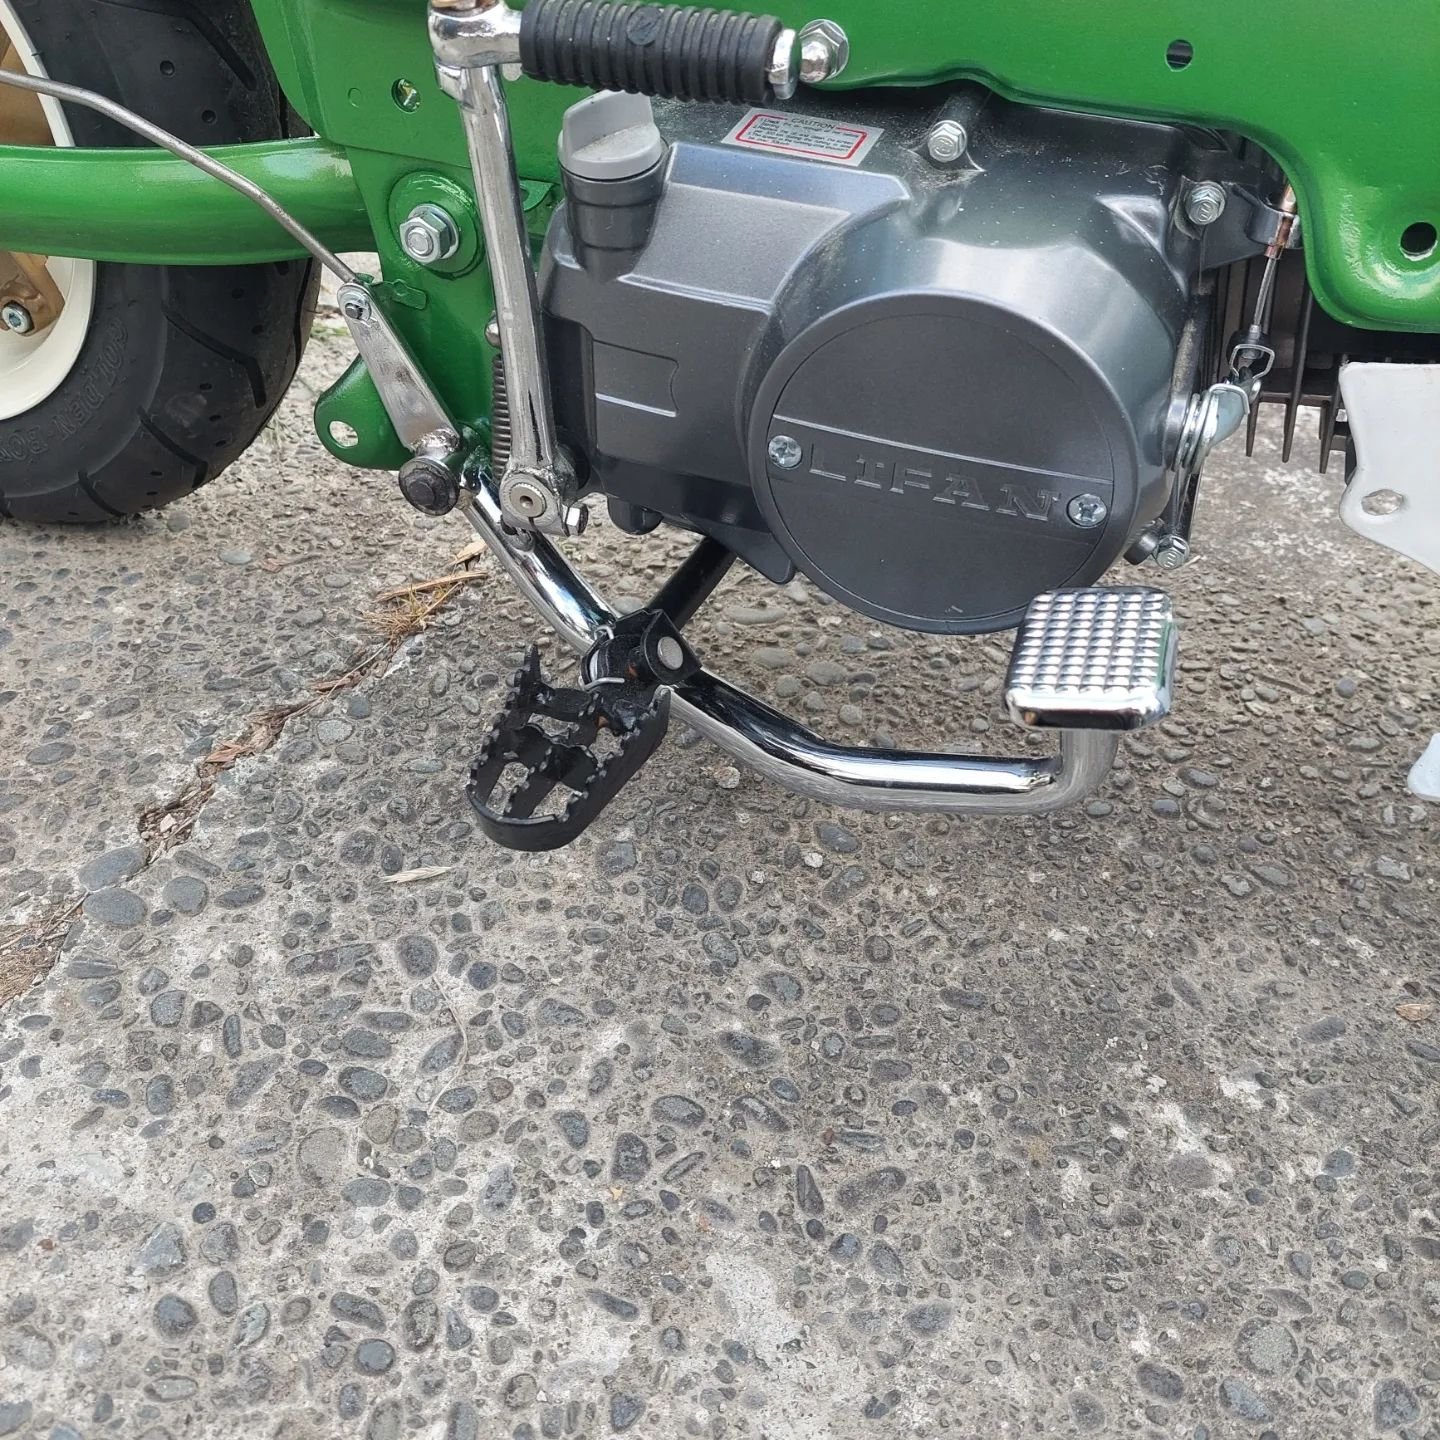
I really wasnt feeling the tiny side stand and it was pretty pointless to be honest. So I opted for the centre stand. With it being lowered quite a bit it lifted the rear wheel so far off the ground it became unstable. I cut off 25mm from the bottom and made new pads from some 25mm shs. I purchased a chaly big bore exhaust from mbike, its for a standard chaly so the rear mount doesnt meet up due to the bigger engine. Other than that it looks pretty sweet. To stop the centre stand from hitting the swing arm and the chain i whipped up a small stainless bracket with a rubber stop and bolted it to where the passenger pegs would go. I tried the kickstarter from my C50 to see what the fitment would be and it was touching just by millimeters. I didnt want it scratching my new exhaust everytime I kicked it over so I managed to get an old c50 kickstarter from my mate Jeremy, pie cut it and bent it forward and tig welded it up with stainless rod. Plenty of clearance now!
1 point
-
I don't often remember my dreams when I wake up. But last night was a good one. It was the east cape ride. My GT50 was running like shit and I'd been fucking about with my gopro, so I was late to the lunch stop. When I finally got there, @HighLUX had shot a deer and was cooking it over an open fire on the side of the road. For some reason it tasted fucking awful. Weird dream, but its got me pumped for this November1 point
-
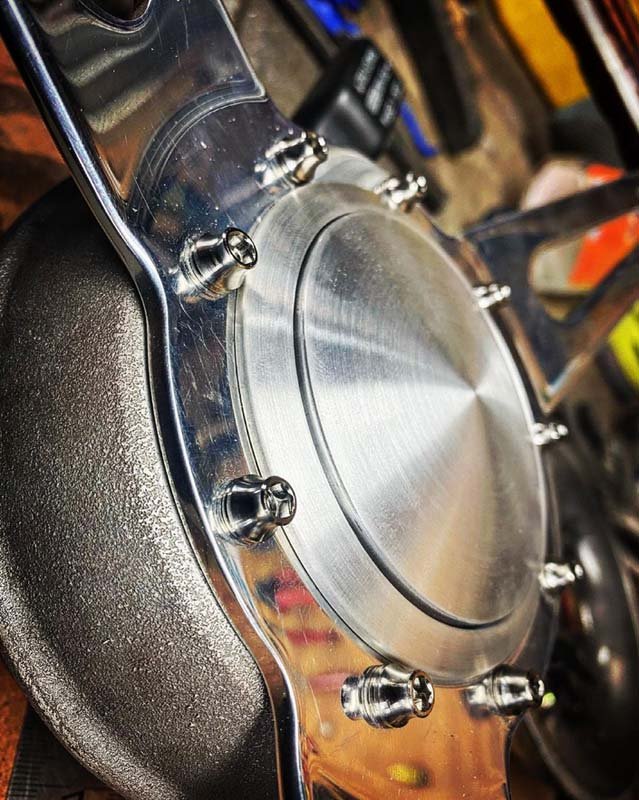
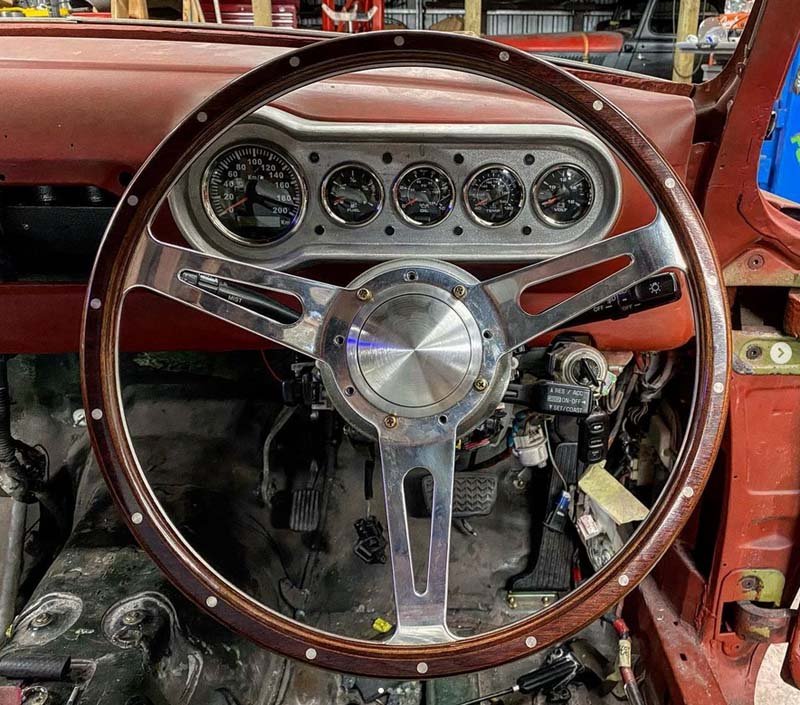
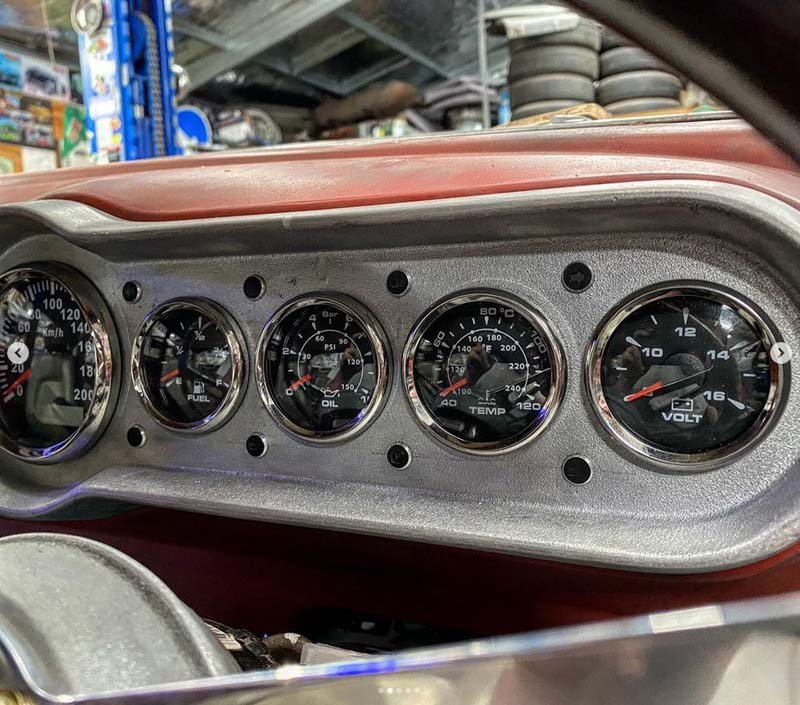
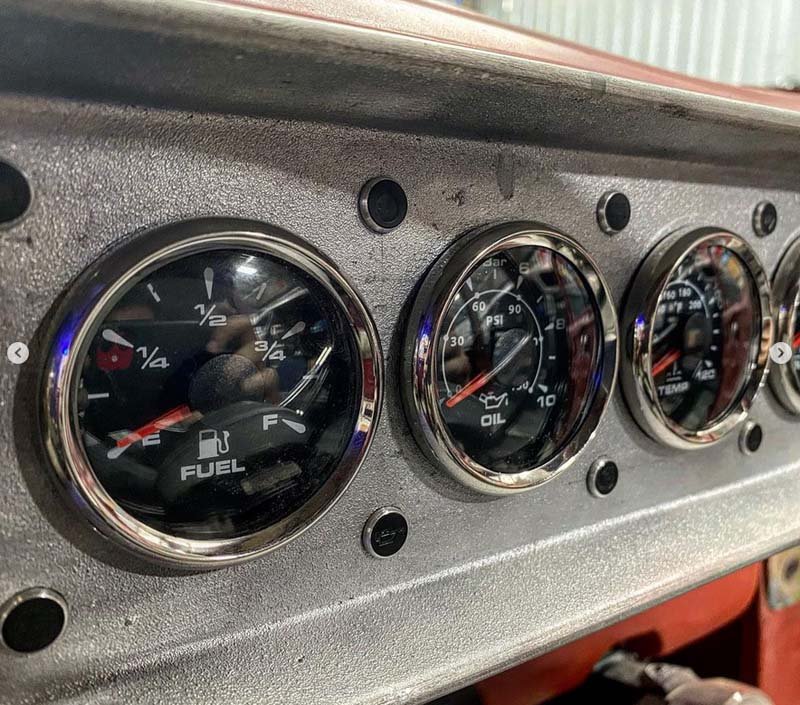
Realized i never put these photos up on here almost a year ago. decided to give some aliexpress gauges ago. Visually they look great. Time will tell if they are any good. Although it seems its not to hard to be better then expensive American branded gauges. Yet to decide what finish the boss kit and dash insert will end up being. Thinking shot blasted or tumbled. Not likely to be polished. Also picked up some titanium bolts for the steering wheel. Mostly due to the shape and finish on them. Heaps of other progress has been happening too since the last update. Mostly electrical stuff that isn't too fun to photograph.
1 point
-
I opened this thread thinking, fuck yeah this is something I need to look into as we have a broken one sitting here.... it was not what I expected lol
1 point
-
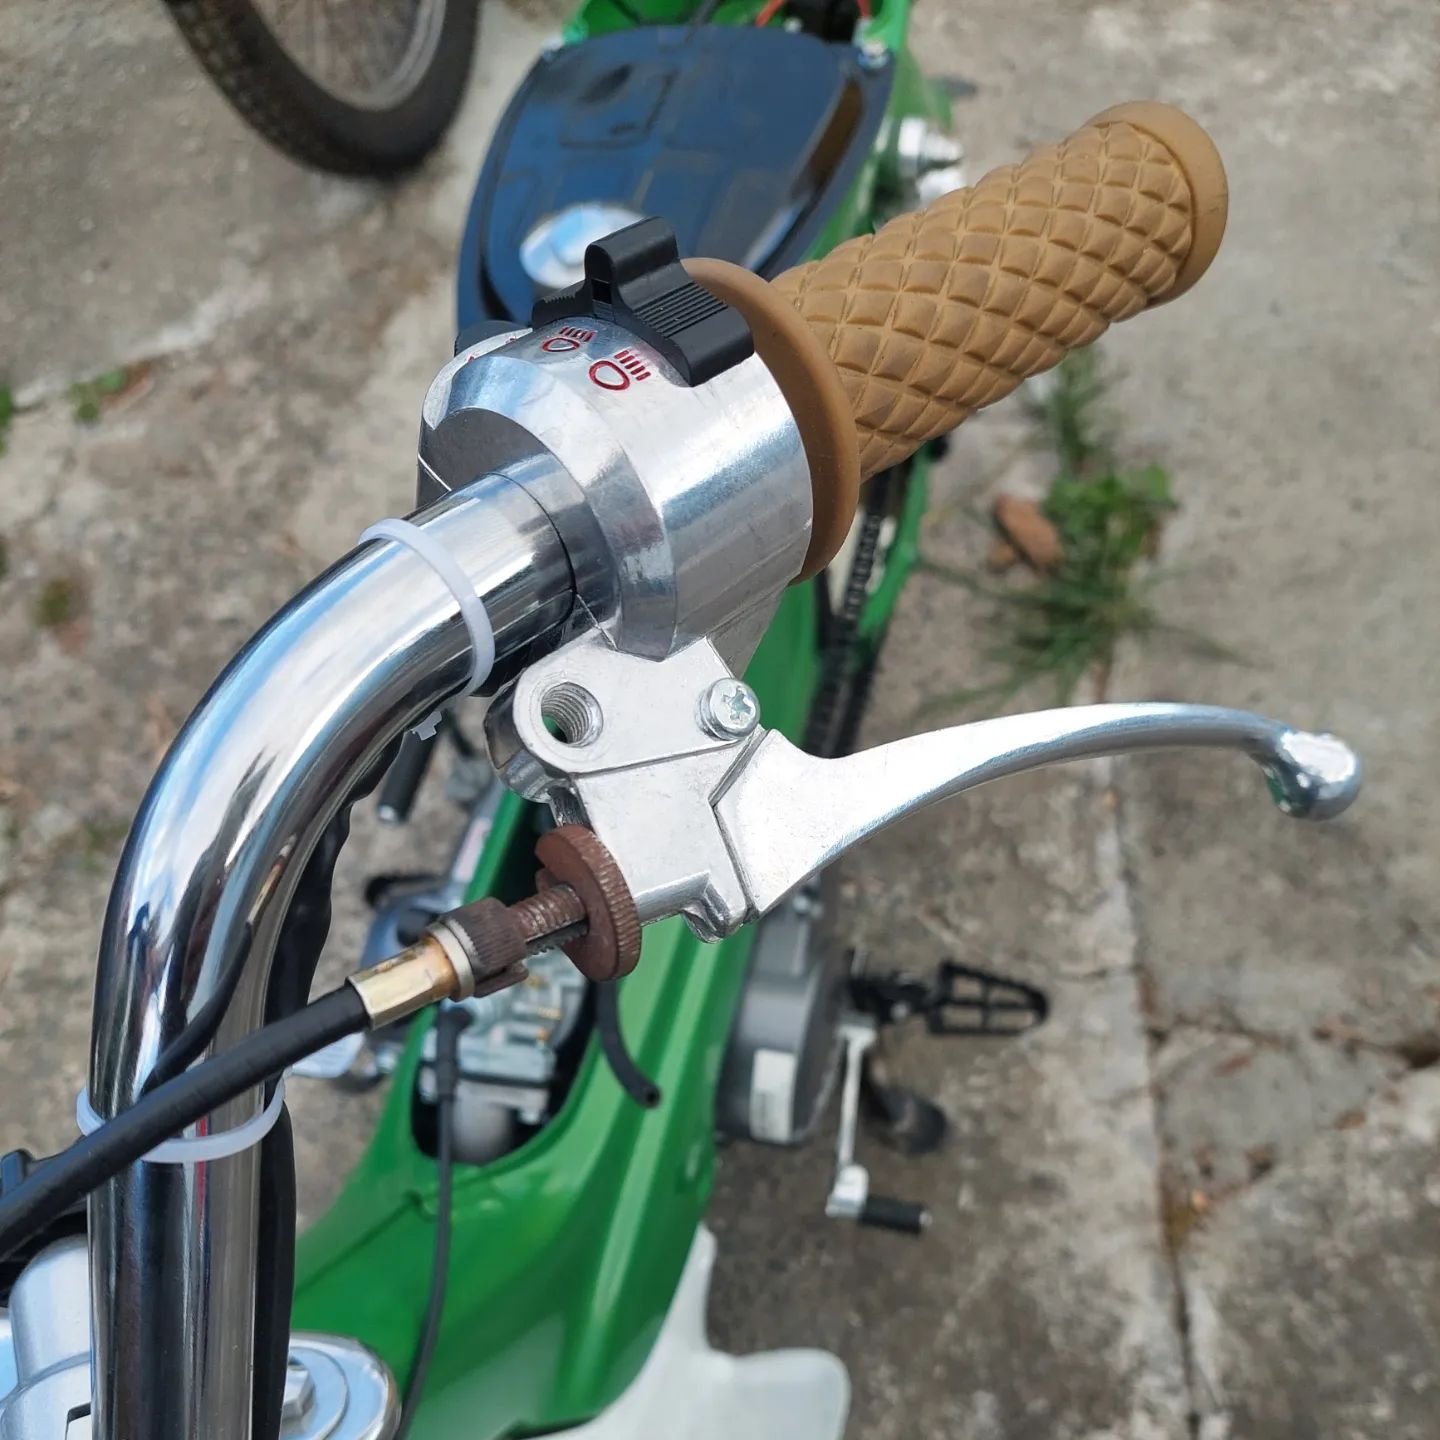
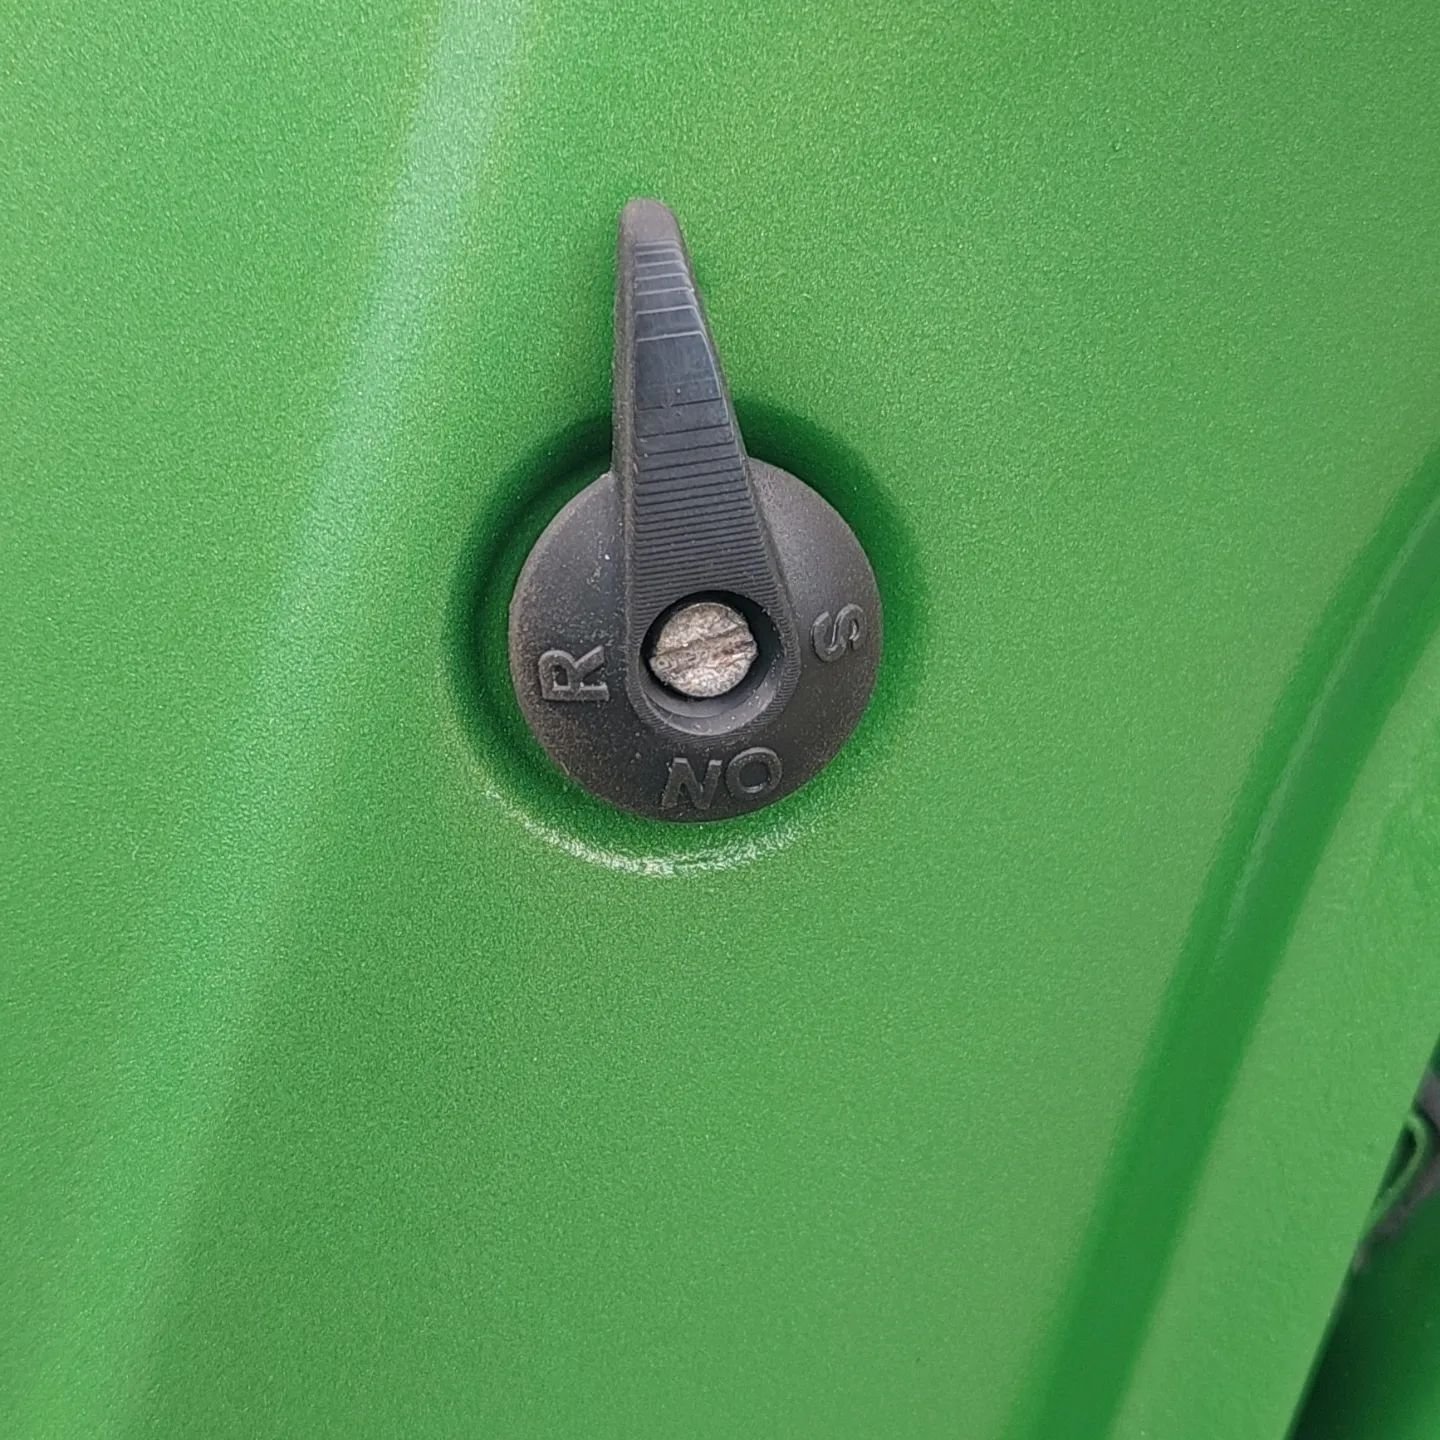
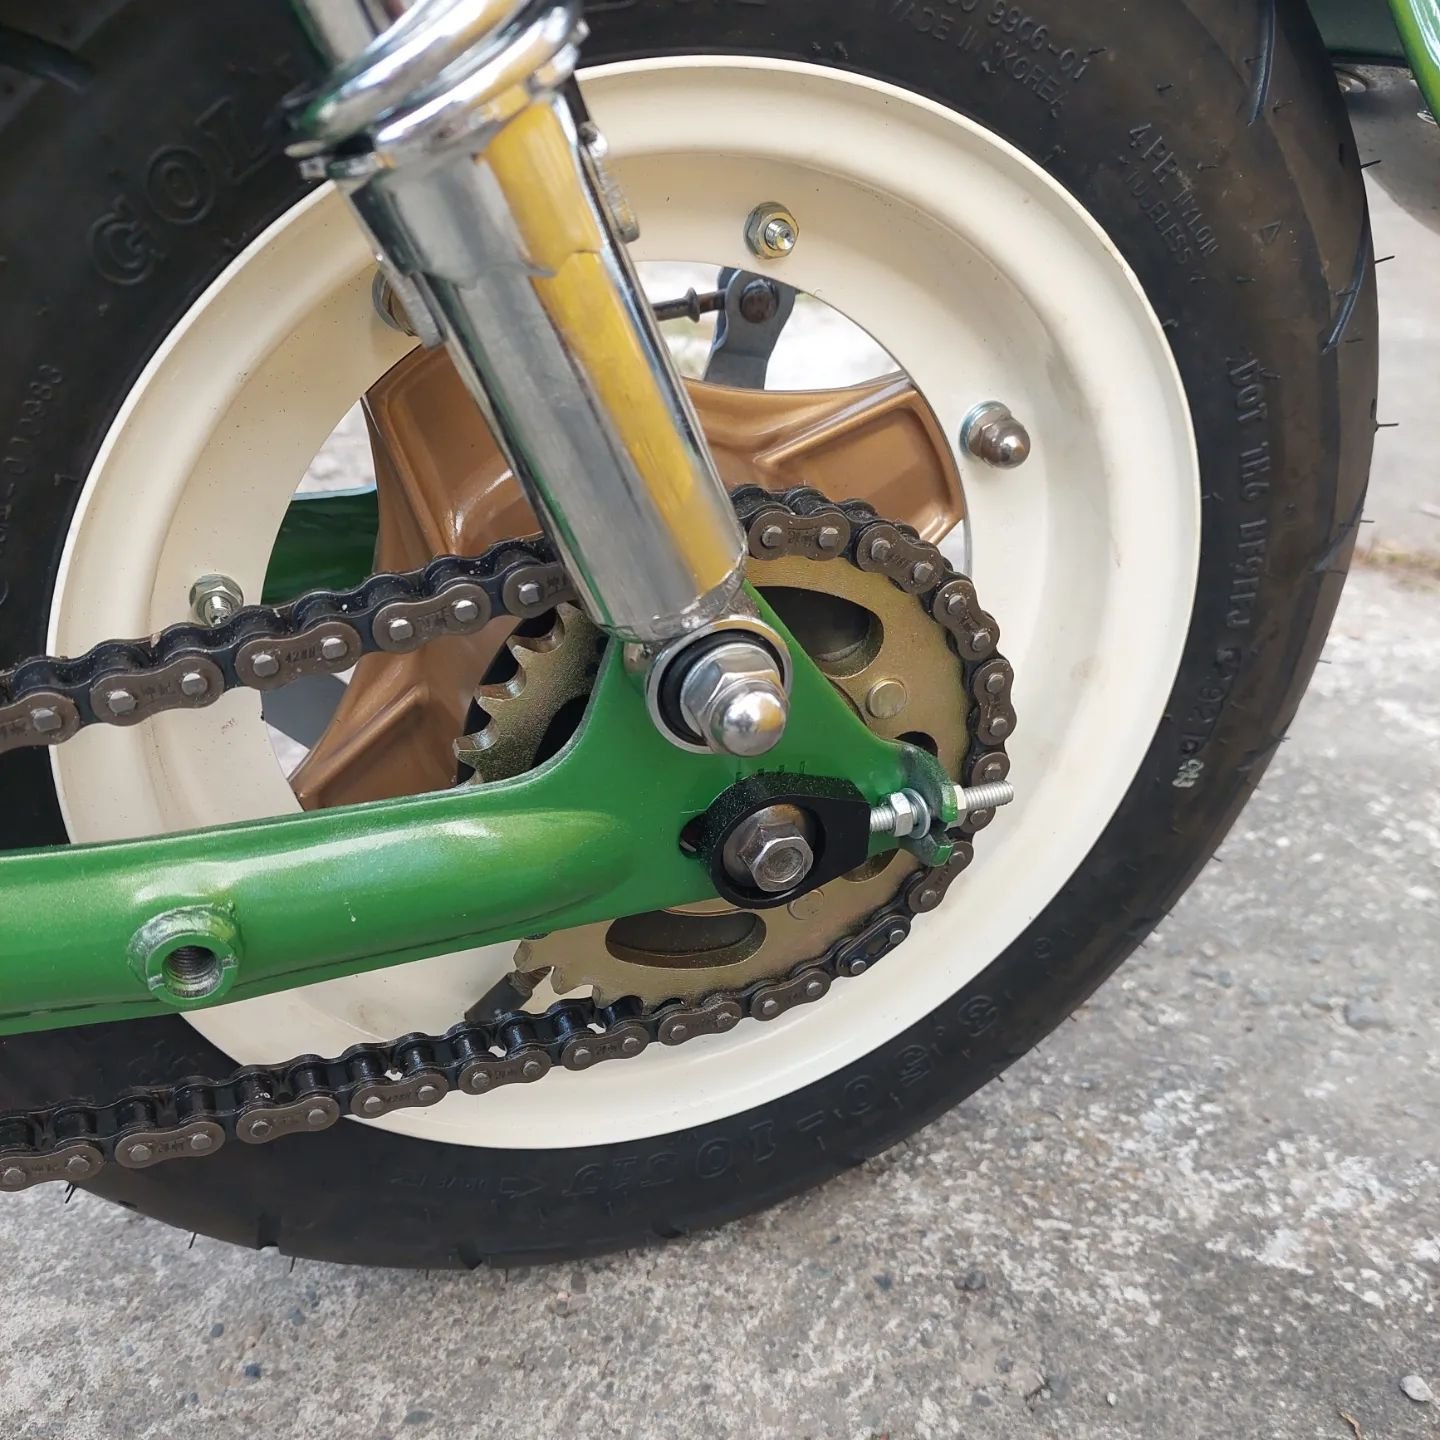
A few more jobs ticked off on the chaly over the past few days. A big hurdle was the wiring as I'm pretty shit at it but getting better, with the help of my dad we got there. I had to cut down the side stand considerably, the footpegs will be changed for Anderson style pegs I had to put an adjuster on the clutch lever as I've routed the cable through the frame and can't access the inline adjuster. New chain, rear sprocket and chain adjusters mounted too. @dvsdev.chaly on Instagram 3d printed me a fuel tap handle which is awesome
1 point
-
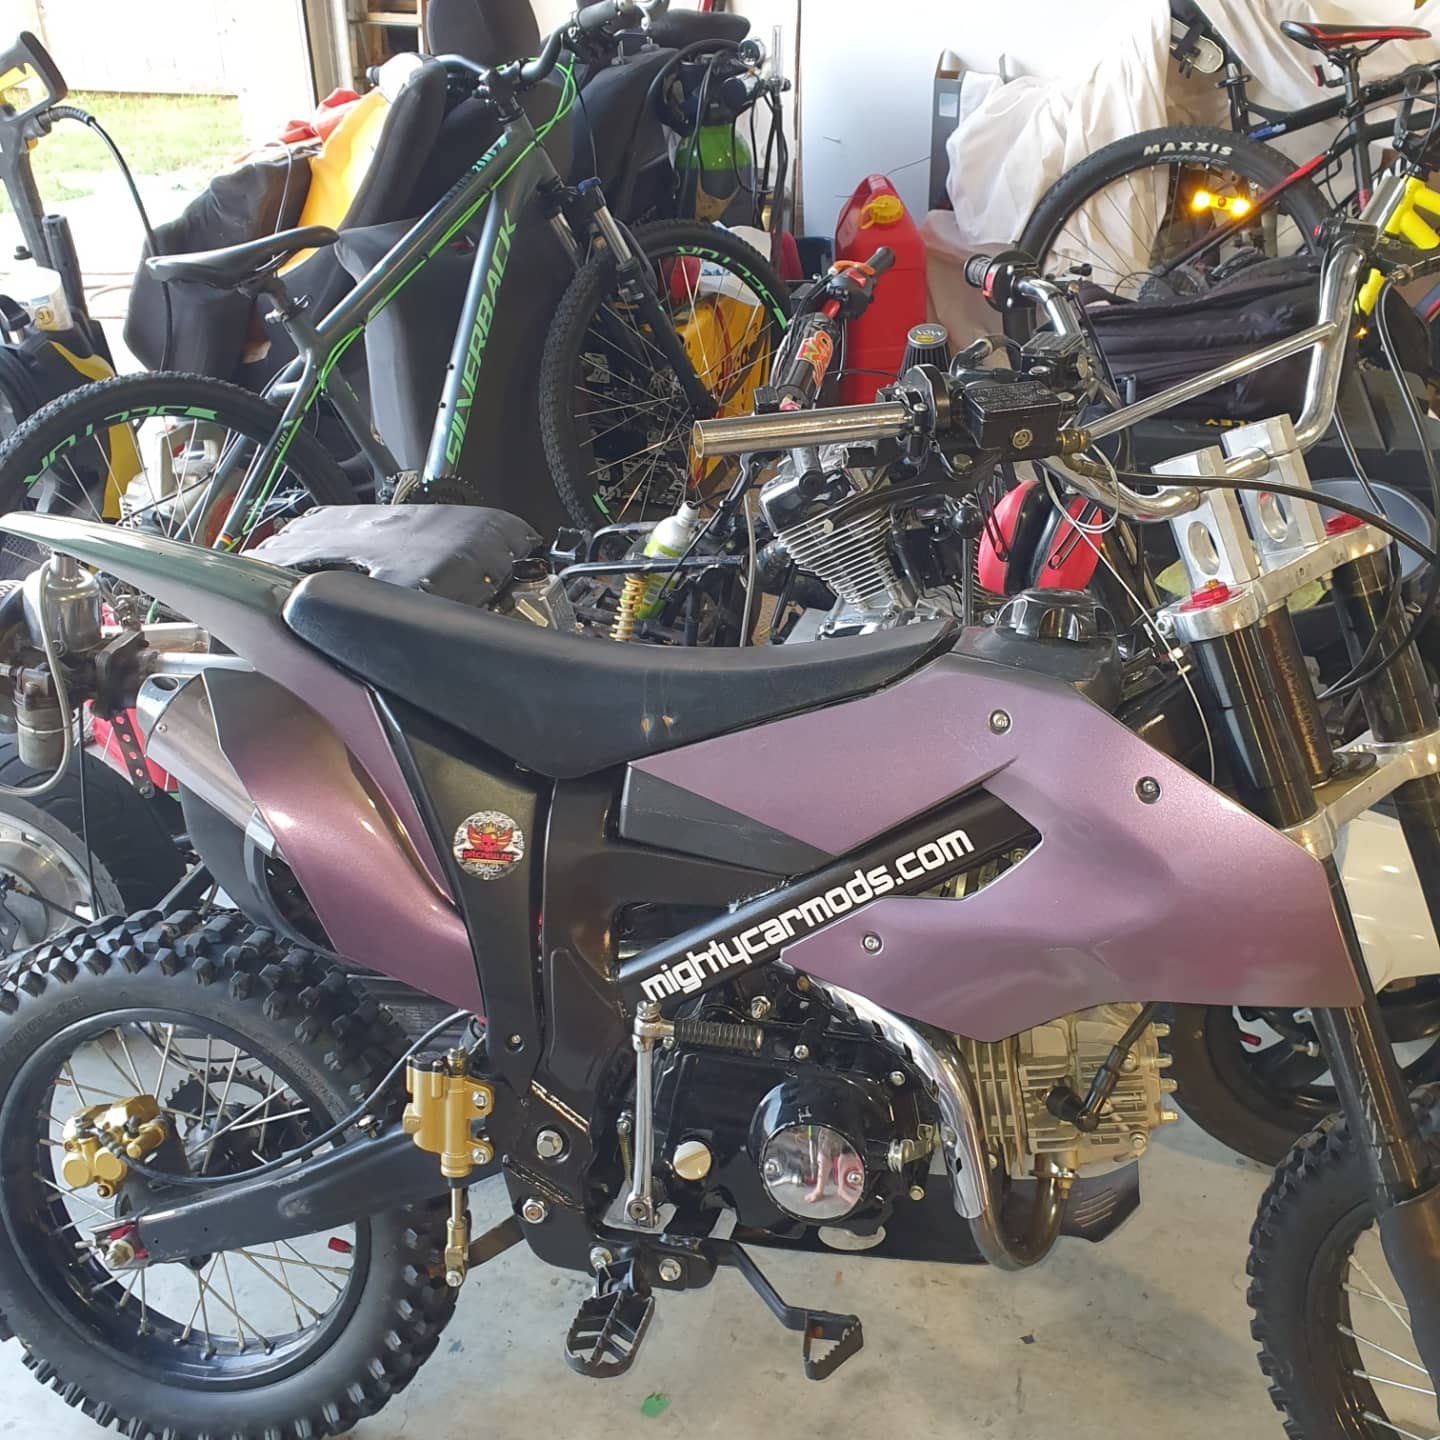
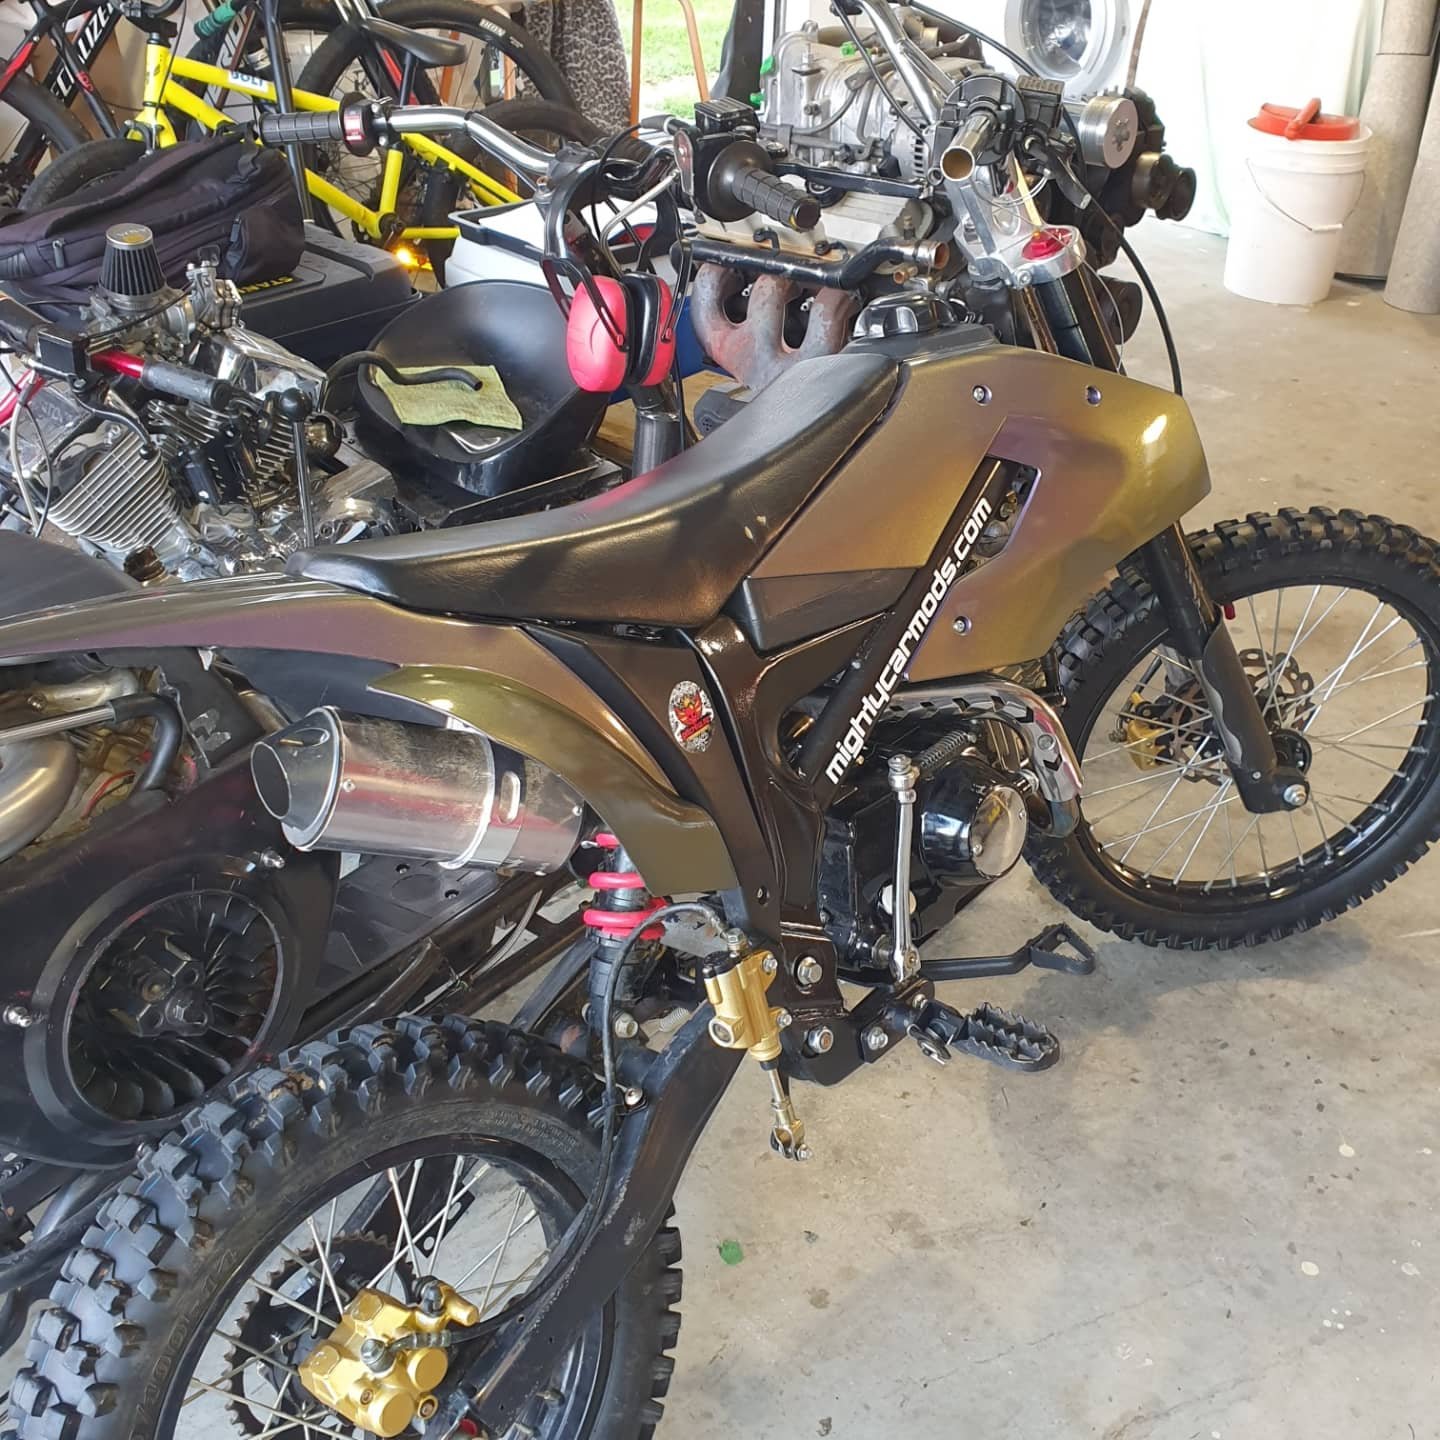
All done frame will get a tidy up at a later date, few scabby areas to touch up but it looks pretty good at a glance, Did a h4 led headlight upgrade on it too no chance of this thing been missed now! Also mixed another batch and resprayed the plastics on my sons dirtbike too I really like it light purple to a titanium looks sick!
1 point
-
FYI Moondiscs are coming soon.
1 point
-
modulistic terror a foul sadistic feast there's only one way out of here going piece by piece to the laundry that is might be able to do some washing soon1 point
-
So anyway. Three weeks on the car carrier saw the RX-7 being dropped off at my mate's car yard in early september 2008. it'd been at the yard barely half a day and someone attempted to steal the MAZDA badge off the front valance. They failed miserably, but ended up breaking it so that it only read "IAZDA" - see photos below it was reasonably tidy in the metal but had some minor niggling/broken things here and there (mostly to do with the interior) - apart from that it showed all the signs of being an authentic 88,000km vehicle (mint headlining, gearstick knob, pedals etc). I guess at that stage it still hadn't fully sunk in that i'd actually bought one after years and years of lusting after the damn things first thing I did was to fix the non-functional dash backlighting, eventually traced this back to a faulty dimmer switch. Amusingly enough, the previous Japanese owner's solution to the problem was to fit a couple of funny blue spotlights to light up the dash... and that ugly faux wood handbrake surround got thrown in the bin pretty much straightaway. I've since spent the last 2 years hunting for a factory charcoal grey replacement Have plans to wrap and store the front seats to preserve their condition. A pair of Recaro LXs are waiting to go in, just need the corresponding rails from Japan. 12A churbo EGI engine, a veritable nightmare of vacuum hoses, solenoids, and things that fail after 25 years1 point


.thumb.jpeg.384ff72c8d2b0ee0d34a7bdedb55bdcf.jpeg)


This leaderboard is set to Auckland/GMT+12:00