
Leaderboard


Popular Content
Showing content with the highest reputation on 26/09/20 in all areas
-
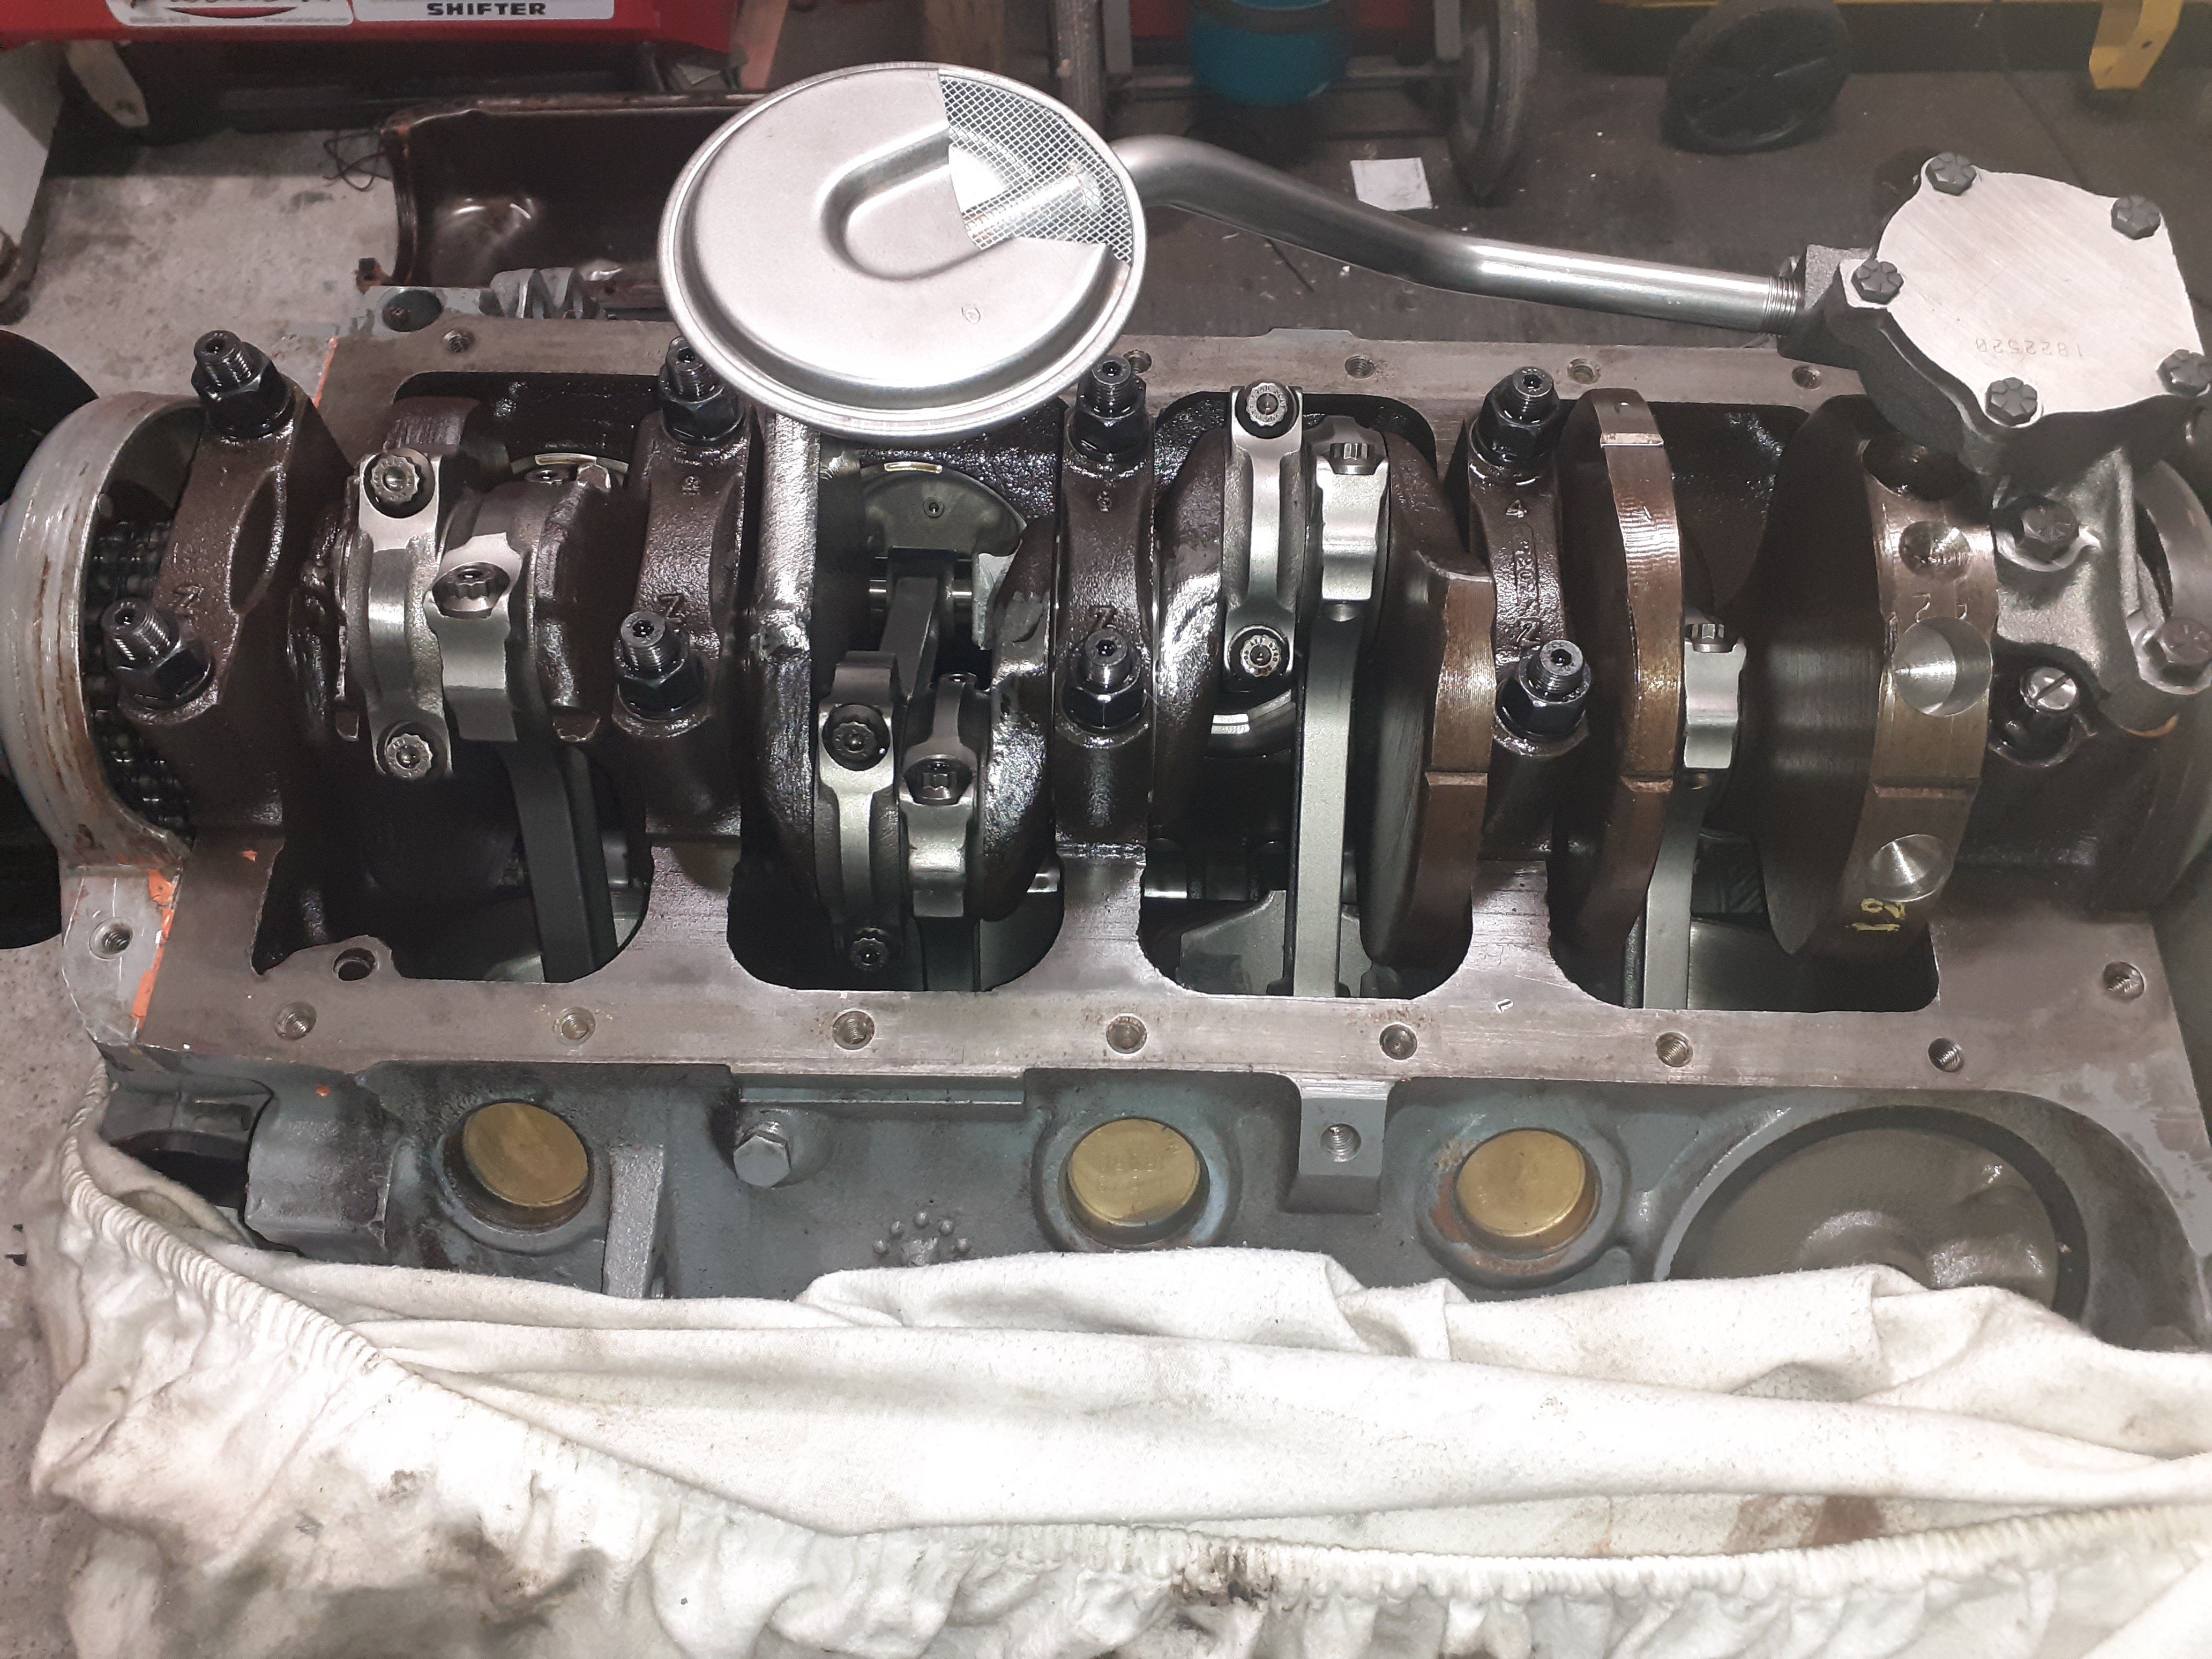
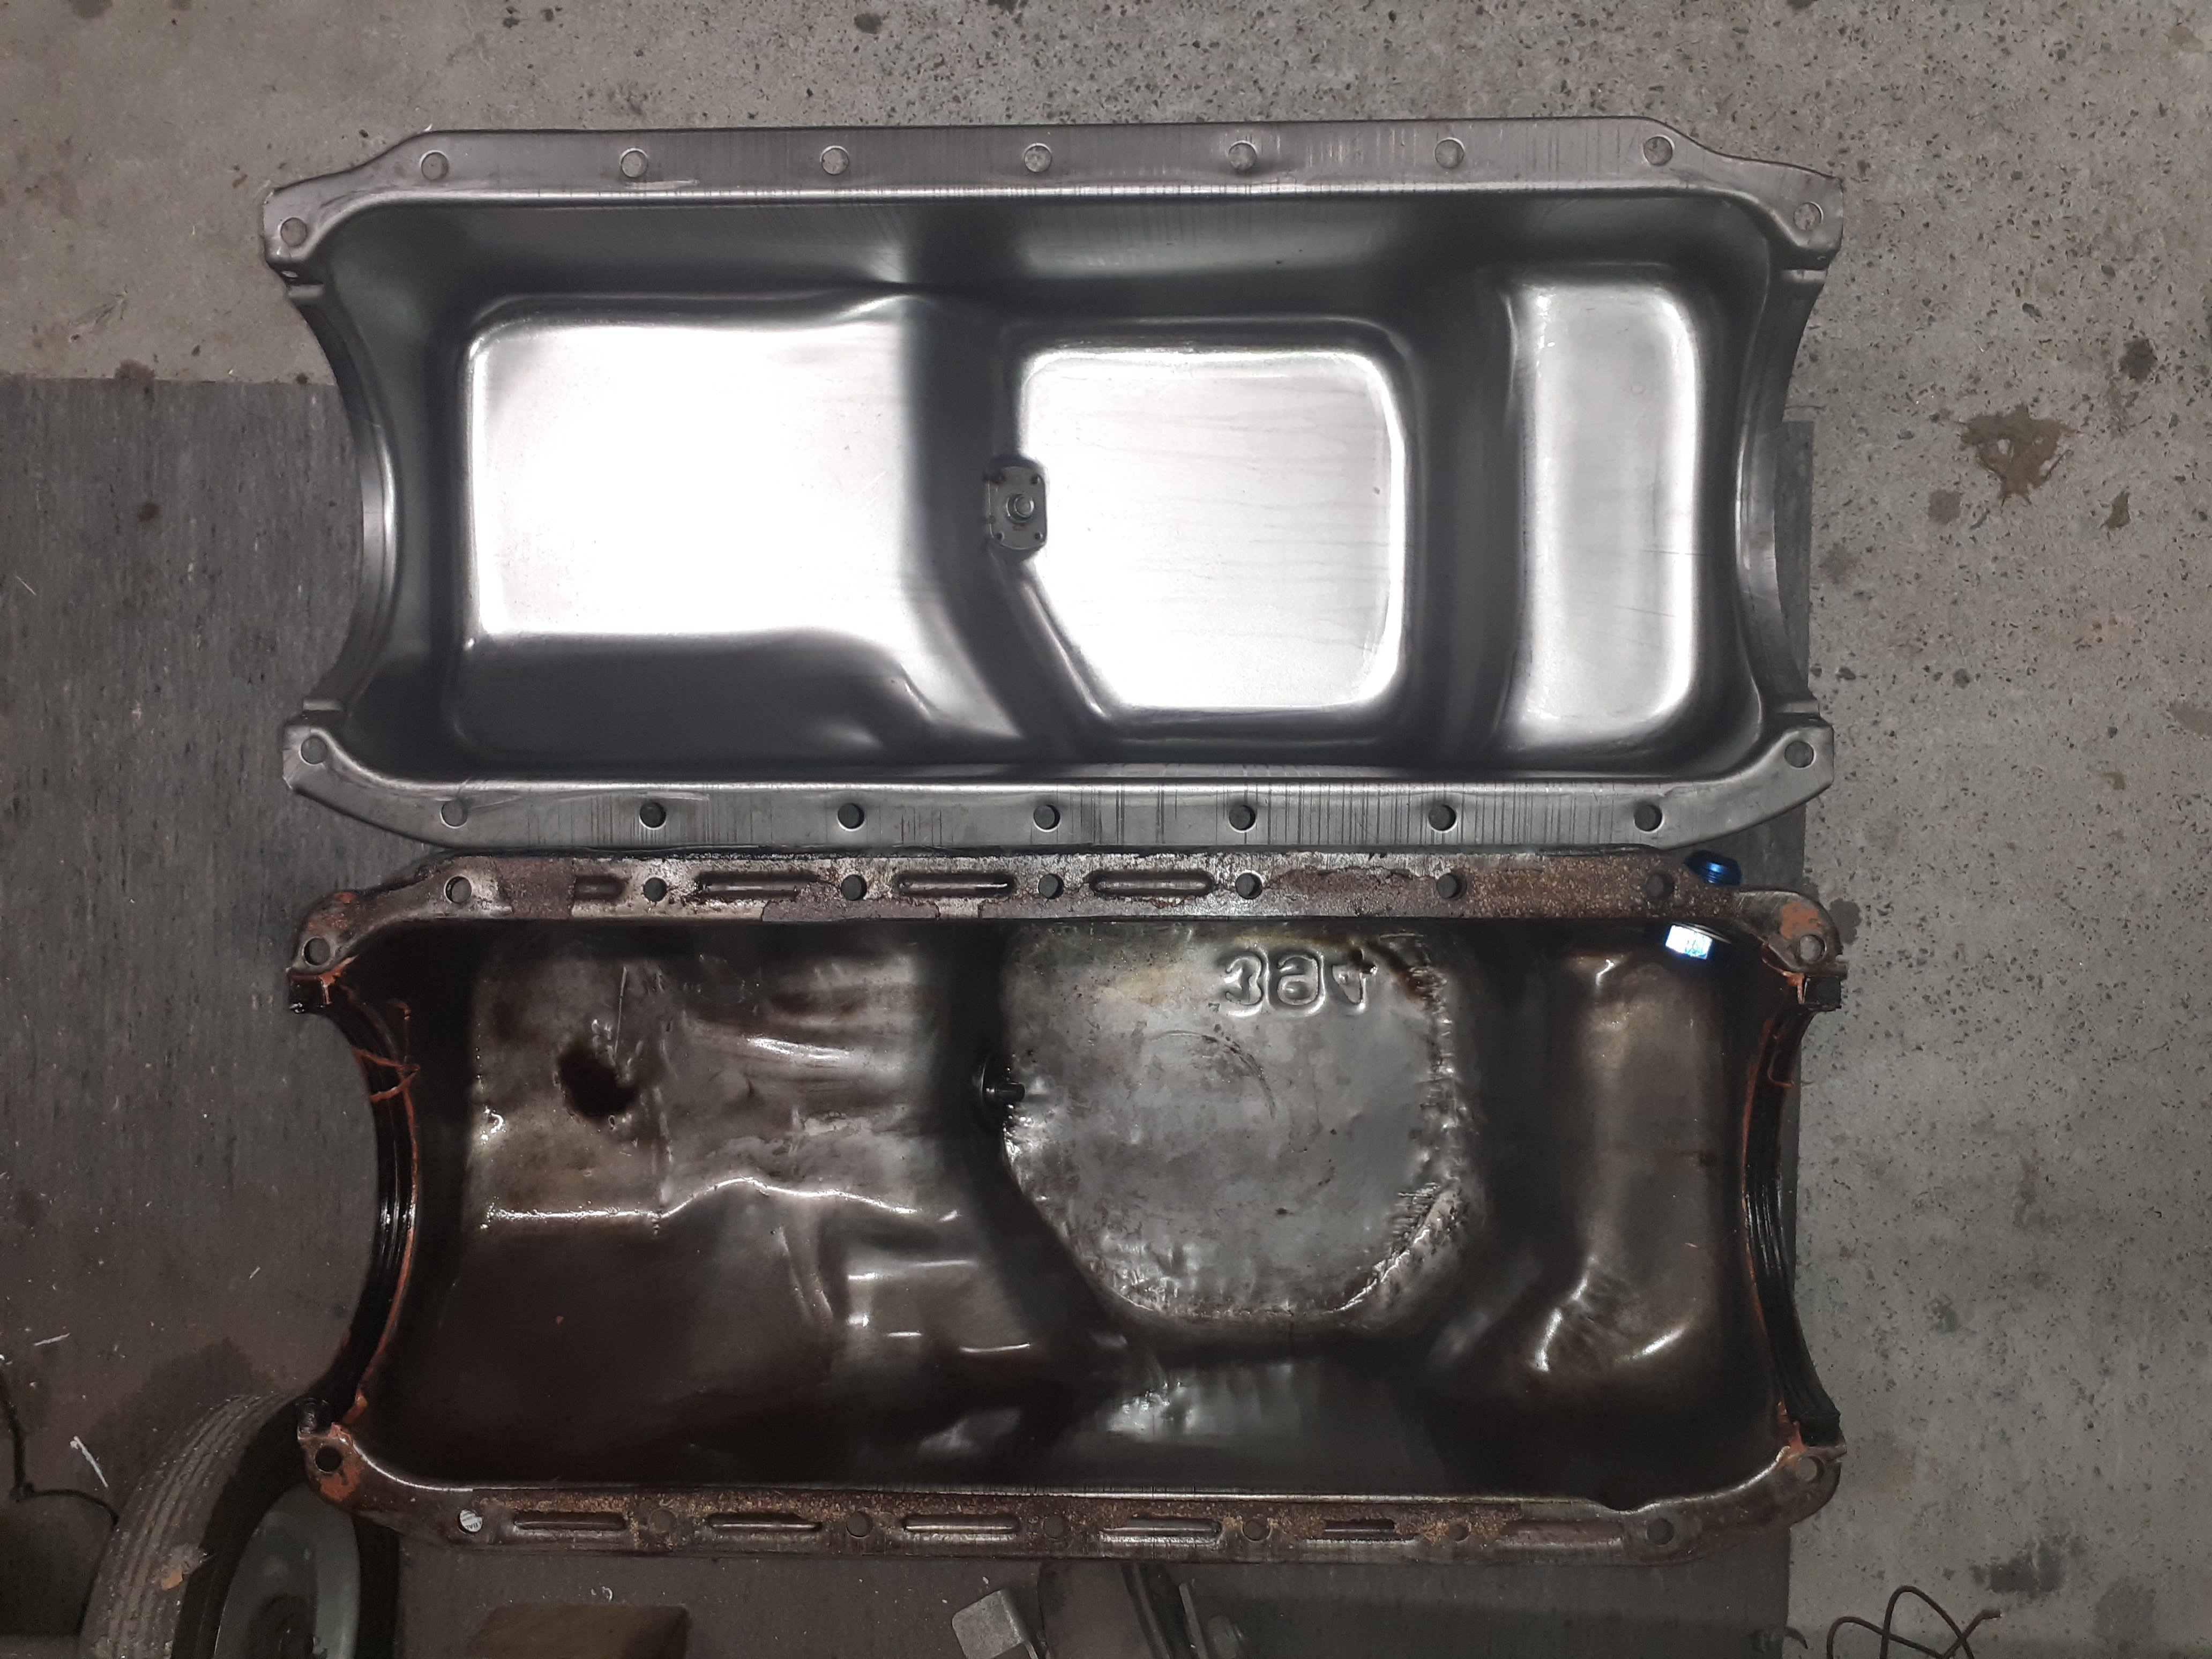
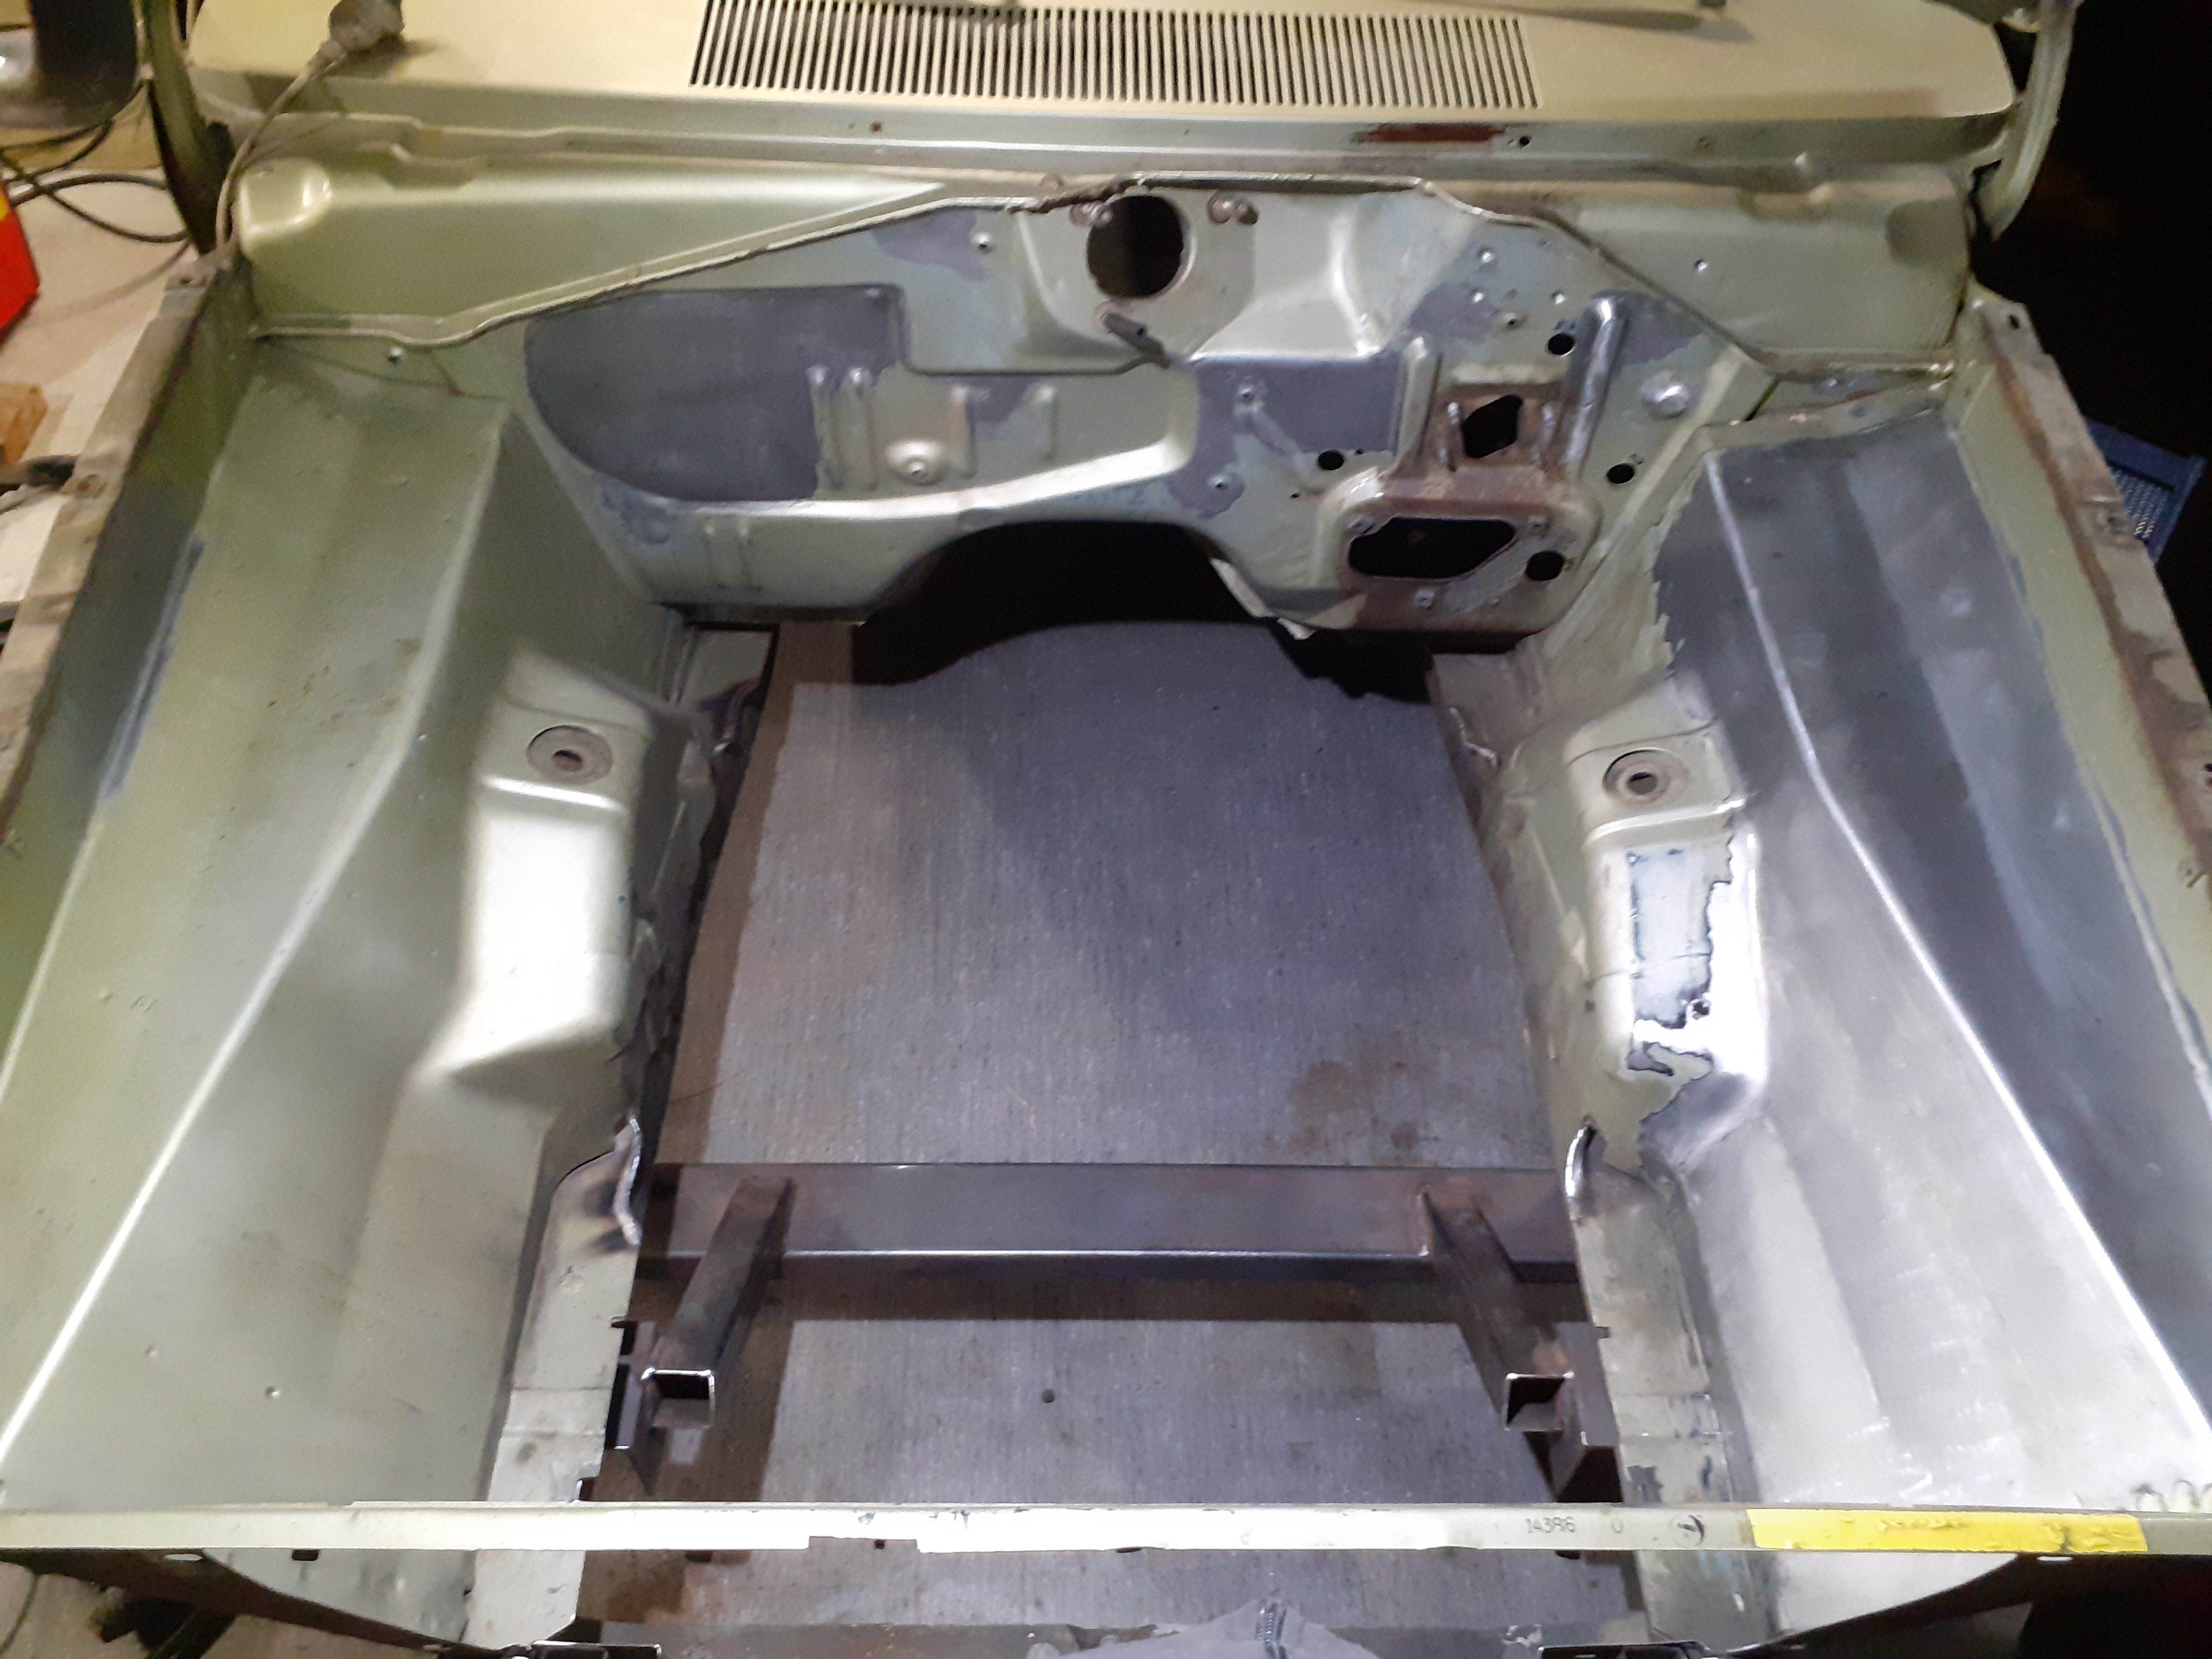
Picked up from autoblast this morning and dropped off for engine bay paint. Looks ok apart from they painted the black parts underneath then primed the engine bay so theres primer overspray on the inner guards and in the tunnel. Which is a bummer as that was the whole reason for taking it to them because I wanted it done nicely. I mentioned it and the guy came out with a rattlecan of black paint and some rubberised underseal to throw on before the towie arrived, which I didnt want on it I didn't want to leave it there for them to fix cause I'd already had to postpone the towie and the booking at the panel shop a week, because it wasn't ready last weekend as per the booking I made 6 weeks ago. So I'll get the painter to fix it, should just need a quick blow over with some more black after hes done the green parts And the hoodlining is ripped for some reason now. Bah. Anyway, I pulled the sump off to change the oil pump and pickup back to a stock one instead of a high volume pump. Its had a couple of times in the past where it lost pressure after a prolonged period of high rpm. I was concerned it was emptying the sump faster than it could drain back, and someone i talked to about it said that on a SB mopar, a stock pickup with a high volume pump can cause cavitation issues. Someone else said a high volume pump is unnecessary anyway as once it gets to x amount of pressure the relief valve bypasses so then the oil just gets whizzed around the pump doing nothing I'll try a stock pump and see how it goes, and also add some baffles, I got a new pan cause the old one has had a few bumps and an oil drain on the wrong side now I got brave and popped a couple of bearing caps off and they looked fine
 17 points
 -
Im just hitting shit with a hammer and its working for once
15 points
-
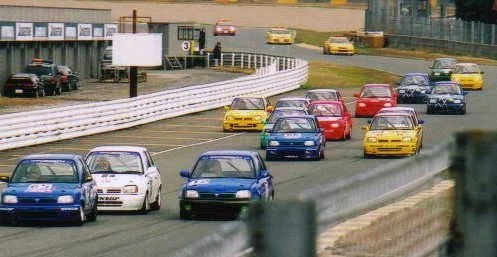
As some might have seen in my wanted advert I've been looking for a Nissan k11 Micra (march) for a while, mainly to have as a daily for when the Imp eventually goes under the knife to get its new flat six heart, but also just because both Hannah and I fancy k11s. There's a bit of history with them for us both and this connection along with just the cute unpretentious little car looks has us hooked. Not to mention that overseas there are some wickedly cool uprated versions doing the rounds. Quite a following for these cars in many countries except weirdly in NZ. When I was living in the UK I'd spot these everywhere. Very popular little cars, but ones that I looked past. That is until Hannah's younger sister needed to buy her first car. I helped them look for one and a Micra K10 came up for sale locally. We knew little about them except that Hannah and her two other sisters both learned to drive in K10s. Simple,easy cars to operate (685kg light too!!) So we Leila bought the little K10 and loved her first car, which became known as the Badger mobile - due to the trips Leila would take in it to Badgermans beach down in Cornwall... Sadly, because mother nature can throw out some right horrid things at us, Leila became ill with a rare disease called Crest syndrome, a type of auto immune thing. It started with her hands and she was unable to operate some items, including the windows. The little K10 became a bit run down and the road salt had done its job. Combined with the trickyness of using cars controls Leila decided to seek out a more suitable car. This is where the little K11 came to reside with Hannahs family. Hannah helped her look for a suitable car and then her brother found one. A four door 1000 facelift in dark blue. It had electric windows and central locking- two small things that made life for Leila show much easier... That little K11 did many missions about the place and the family became quite fond of it. Its also what made me start spotting K11s and becoming a fan. In a horrible turn of events Leilas life was cut short. The condition had continued to worsen to the point where it was effecting her heart. She died from a heart attack in 2017 at only 26. A huge loss to the world. Her little Micra was then taken on by Hannahs brother and he now continues to take it on adventures and the other siblings borrow it. I used last year for the 2019 Retro rides gathering - this being the first time I had ever driven a Micra any real distance and I really enjoyed it. While at the gathering I also spotted and fell in love with this little hillclimb beasty... I was amazed at how peppy it was for a 1000cc car. Its handling was 'floaty' but fun. I could instantly see how they would make a sweet little pocket rocket for twisty roads- in very much the same way as the Imp is. Hannah was also smitten and of course there is the family connection to add. So we would own a K11 one day- that was that! Fast forward to last month. I old my Viva wagon during lockdown and had some cash. I know that the Imp is to come off the road for the transplant. Lets start looking for a K11. There were requirements to be met though. It has to be a manual, two door, pre-facelift (PFL) and ideally would have the CG13 engine- not the smaller 1.0. But we soon found that these combined features are a very rare thing indeed in NZ. Kiwis never got Micras here new. They are all imports from Japan. Most are auto (CVT) with the 1.0 and most are 4 doors. All the earlier pre-facelift models, made up to the change over point of around 97, seem to have disappeared. Weirdly - Australia had them new - imported from the UK! They apparently are all PFLs too! Lucky. We found a very tidy 2 door manual face lift locally- but it stunk of ciggy smoke, was a 1.0 and a couple of other alarm bells rang about the owners and their honesty. They were also asking moon beams for it and wouldn't accept my lower offer. Plus- it was a not so pretty facelift version... Then this 4 door PFL turned up locally, going cheap. After a quick look up on carjam we found out that it was a 1.3! Also spotted in the photos were a rev counter. That rev counter dash is certainly a rare thing here- quite a bonus. With some more research Hannah deduced that it might be a March S. These have a few extras like the rev counter and a split rear seat. I messaged the seller and he confirmed it had the split rear seat. Oooooh we thought! Now a March S is not the same as a Micra Super S- as sold in the UK and Oz. I believe that the Super S has a few other blingy things like rear disc brakes, sportier seats, quicker steering rack and a deep front spoiler with added fog lights. ^Dreams. We went for a look. First thing I checked was the engine number- just making sure it was indeed a 1.3 with all those extra 20 ponies. Took it for a hoon (wow- the 1.3 is way faster ! ) checked some things and made a cheeky low offer. 2 days later there was a counter offer and we bagged it for a nice cheap enough price of $825 Picked it up yesterday afternoon. Bought some engine flush, oil, filter and new plugs. Will giive it a bit of Tlc. Its a bit dented and rough but will still clean up ok. Plans : 1 - look for a tidy 2 door PFL car to swap all the good bits into. Probably will be an auto 1.0. Wont be a quick job this so it can wait till later in summer because there are way more urgent jobs about the place. Plus this car is meant to be a runner to use while the Imp is off the road- not another project..... but hey. How can we not have a play! 2 - Lower it. Most likely using some garden variety 'Makita modified' springs... Apparently one can remove 2 coils and they will remain safely contained. We shall see. 3 - Find some nice alloy wheels. 13" x 6 would be nice. The pcd is 100mm so not too odd. 4 - Hannah wants a yellow Micra. So eventually it will be re-painted the official Nissan custard yellow.. 5 - add a turbo. Maybe. Could be fun. That's a way off in jobs to do here though! So here are some pics I took... The seller had the most amazing jumper on! I'd have been stoked if that came with the car... Before handing over the monies I thought it best to quickly check that the spark plugs were not seized in the head. Not coomon but worth checking to save a lot of aggro... All good! So we paid the man and hooned off into the sunset- me in the Imp and Hannah getting used to 'her' new toy Filled the tank.. Played cat and mouse over our hill to home... I took some quick pics in the evening light... JDM factory crystal for added healing power and bling. Some Marches came with these factory fitted... One key element to a good Micra... Another great thing to have when you're ragging all those little ponies to the point of exhaustion... \ Some service items... More to come soon. Lets see how much money we find under the seats etc14 points
-
Made a small thermette for my sister's birthday.12 points
-
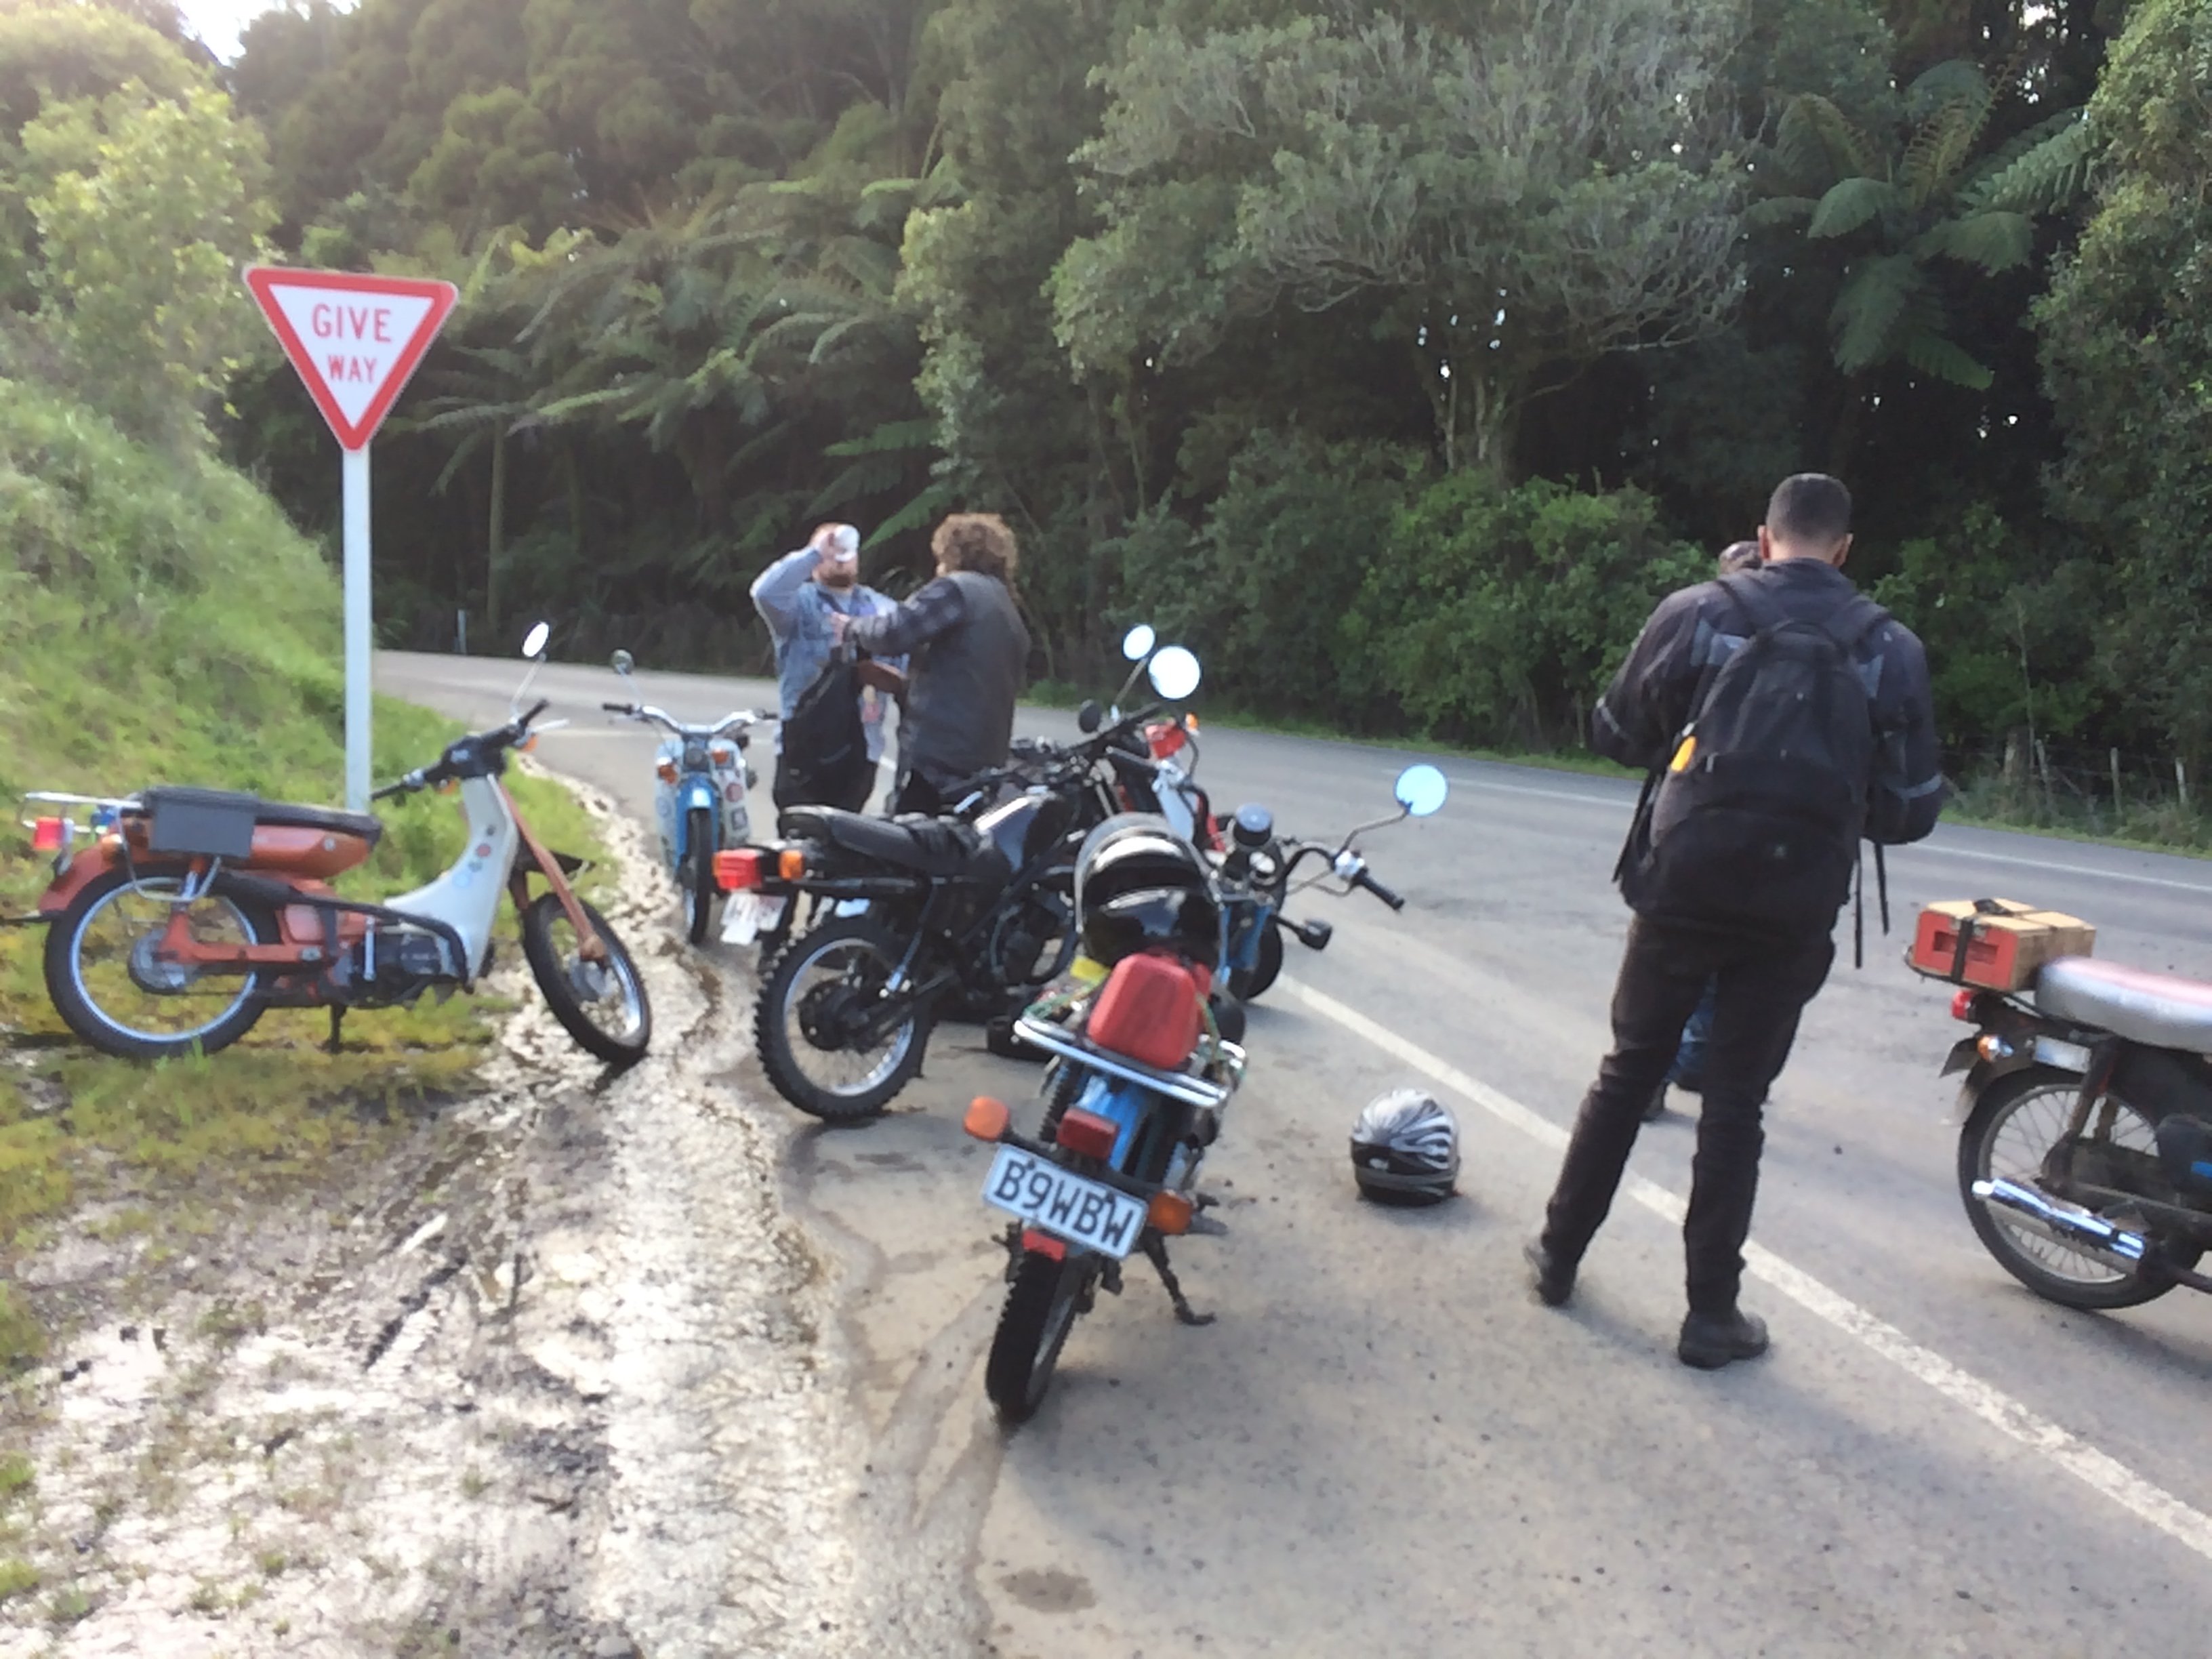
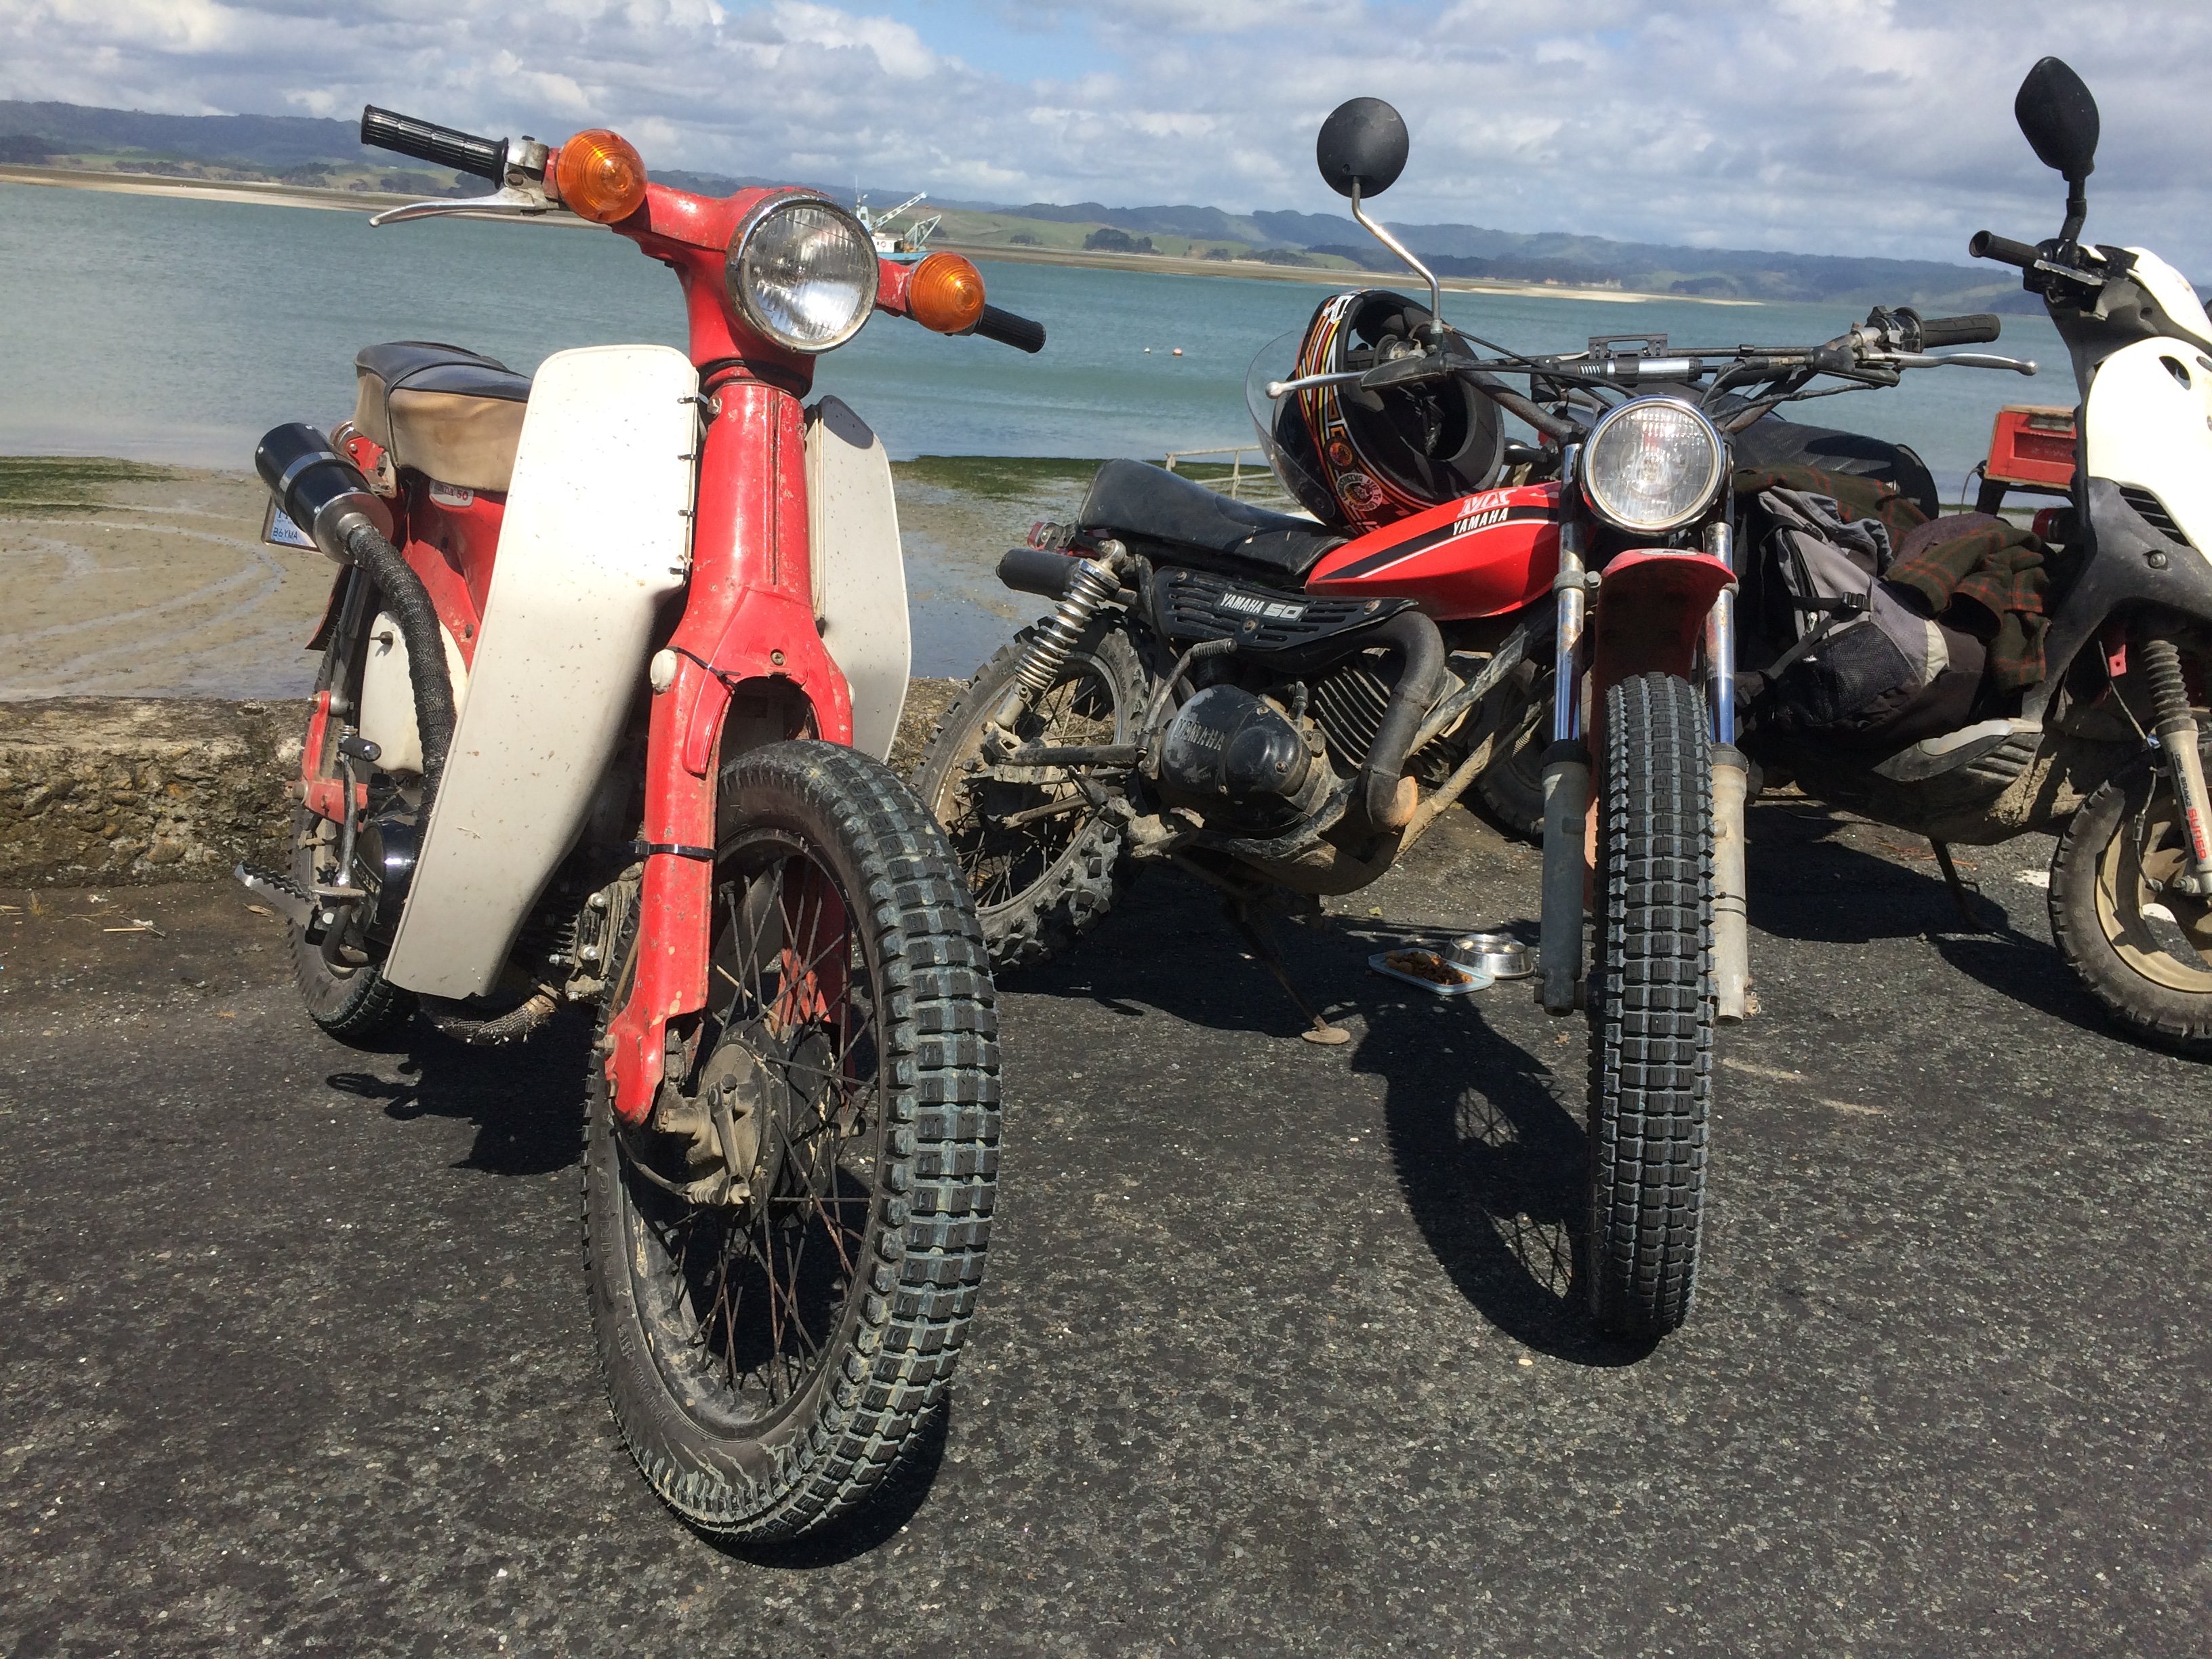
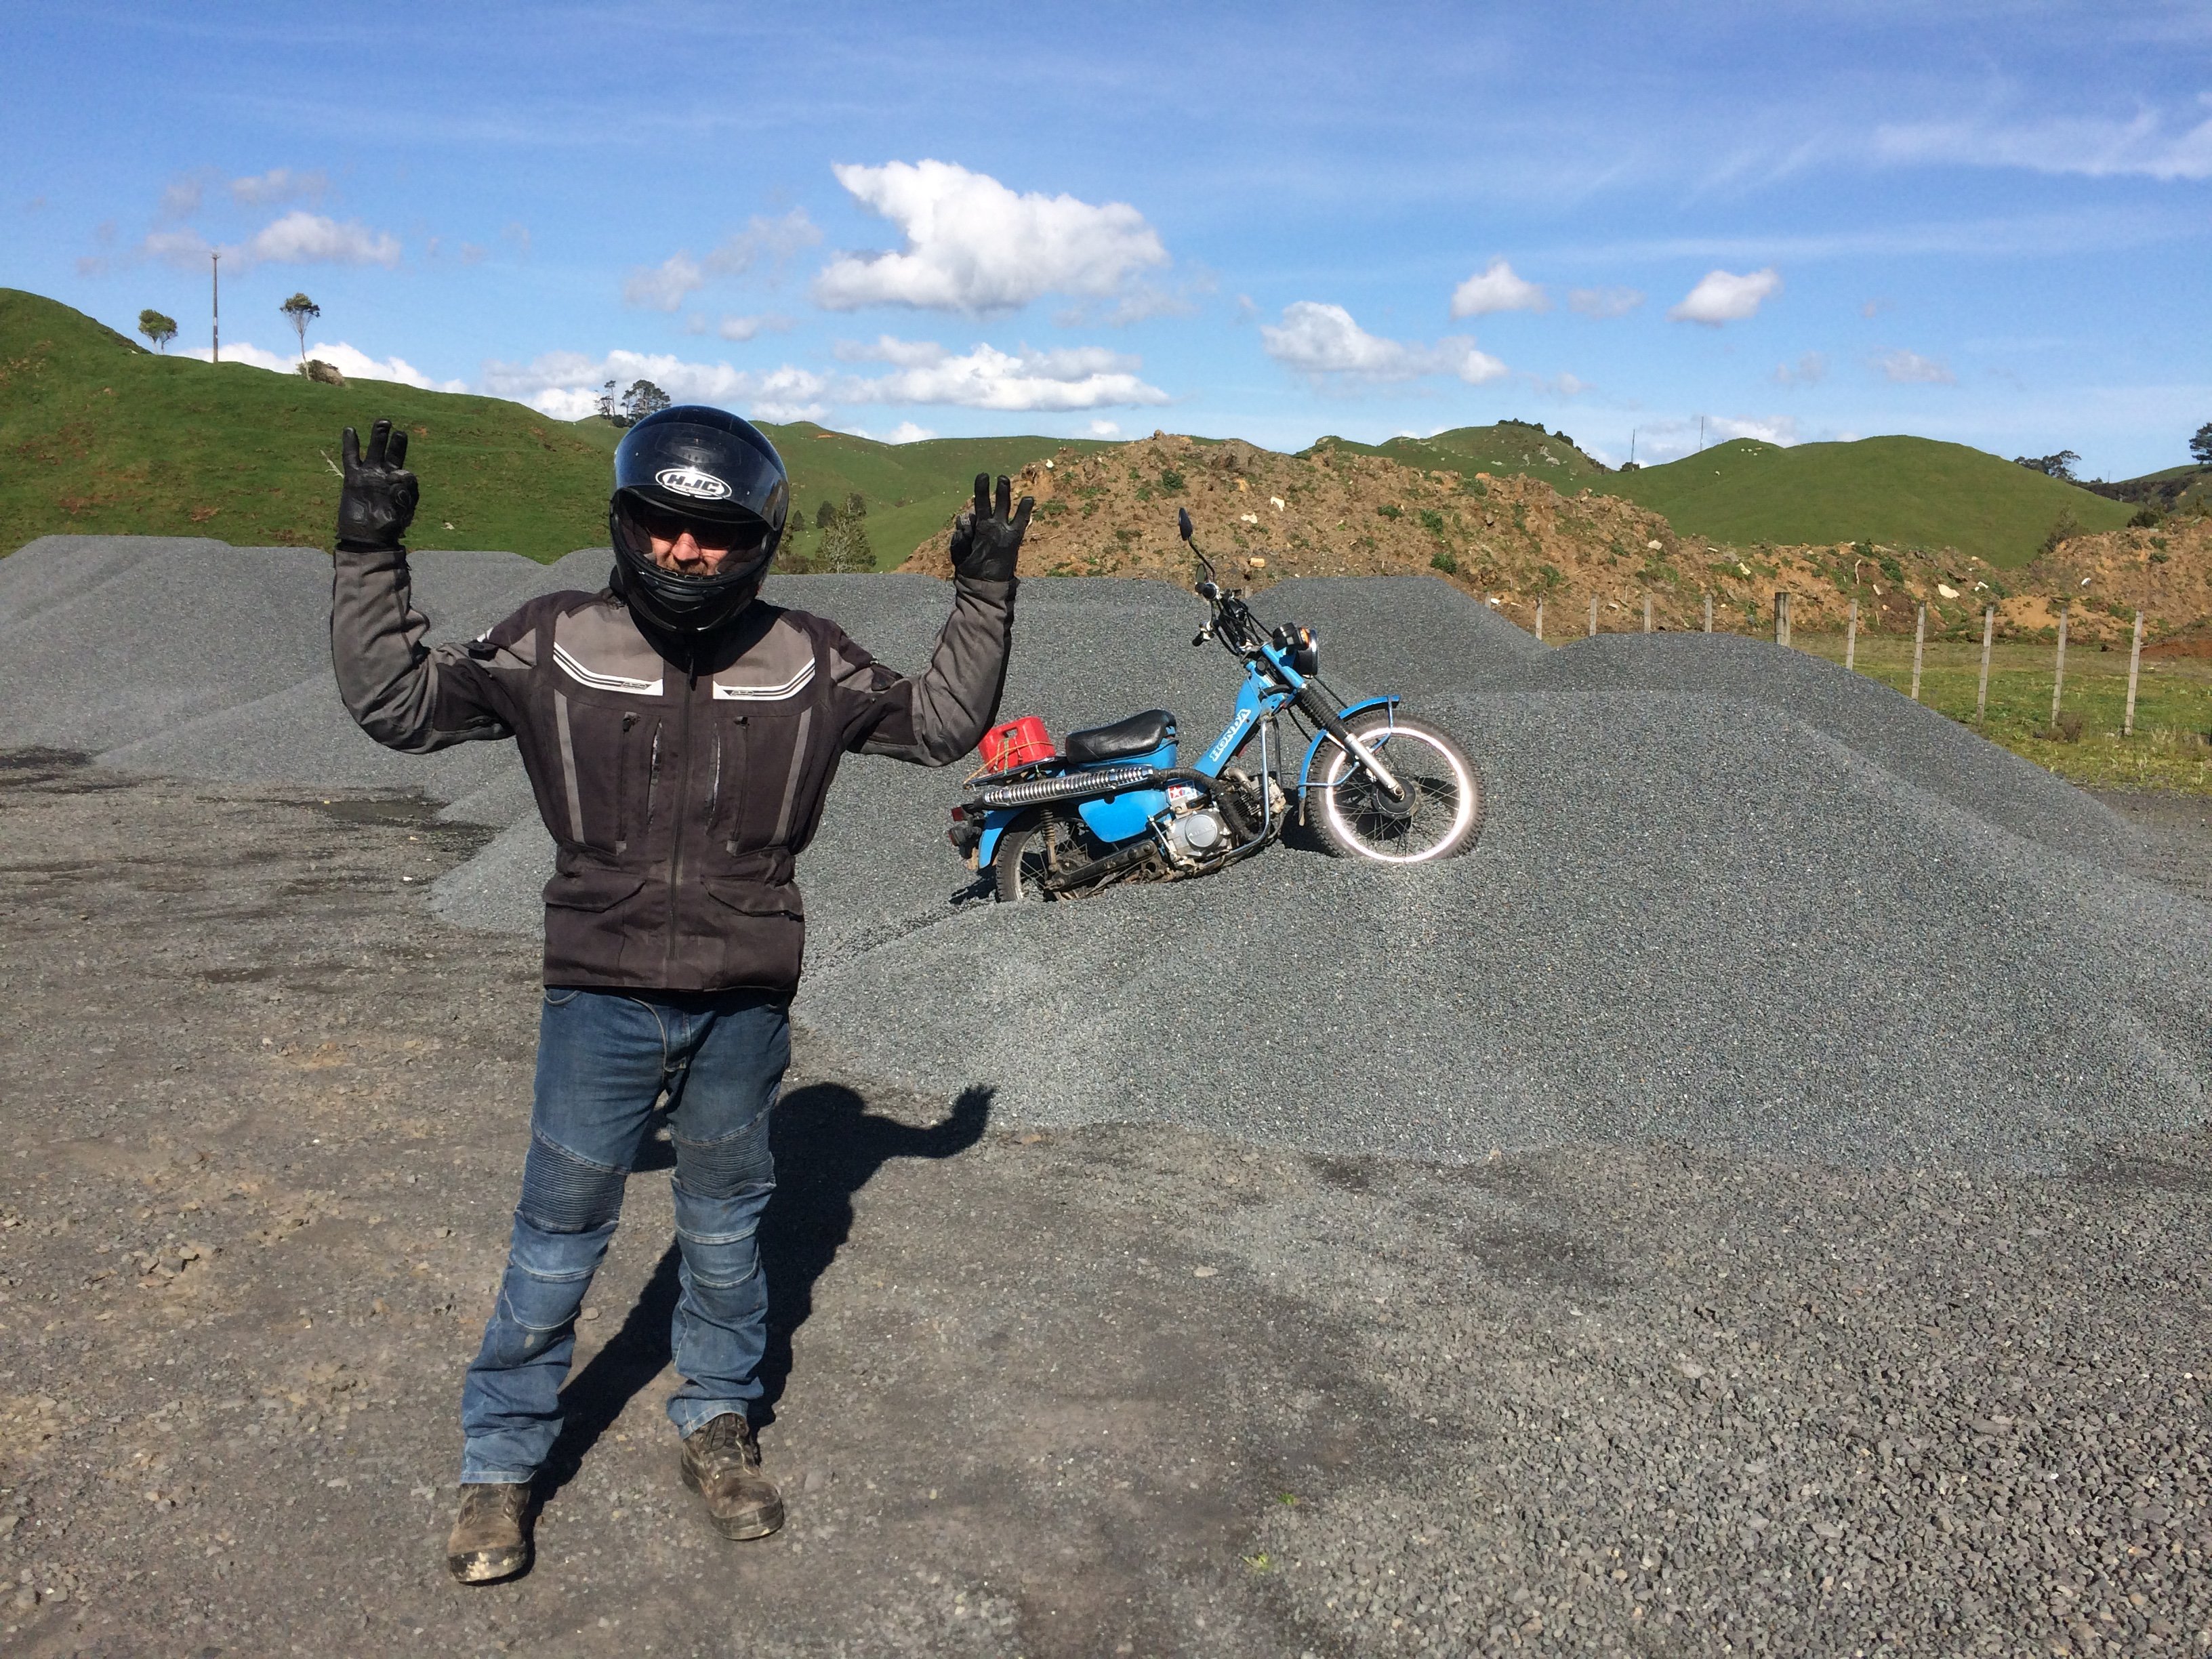
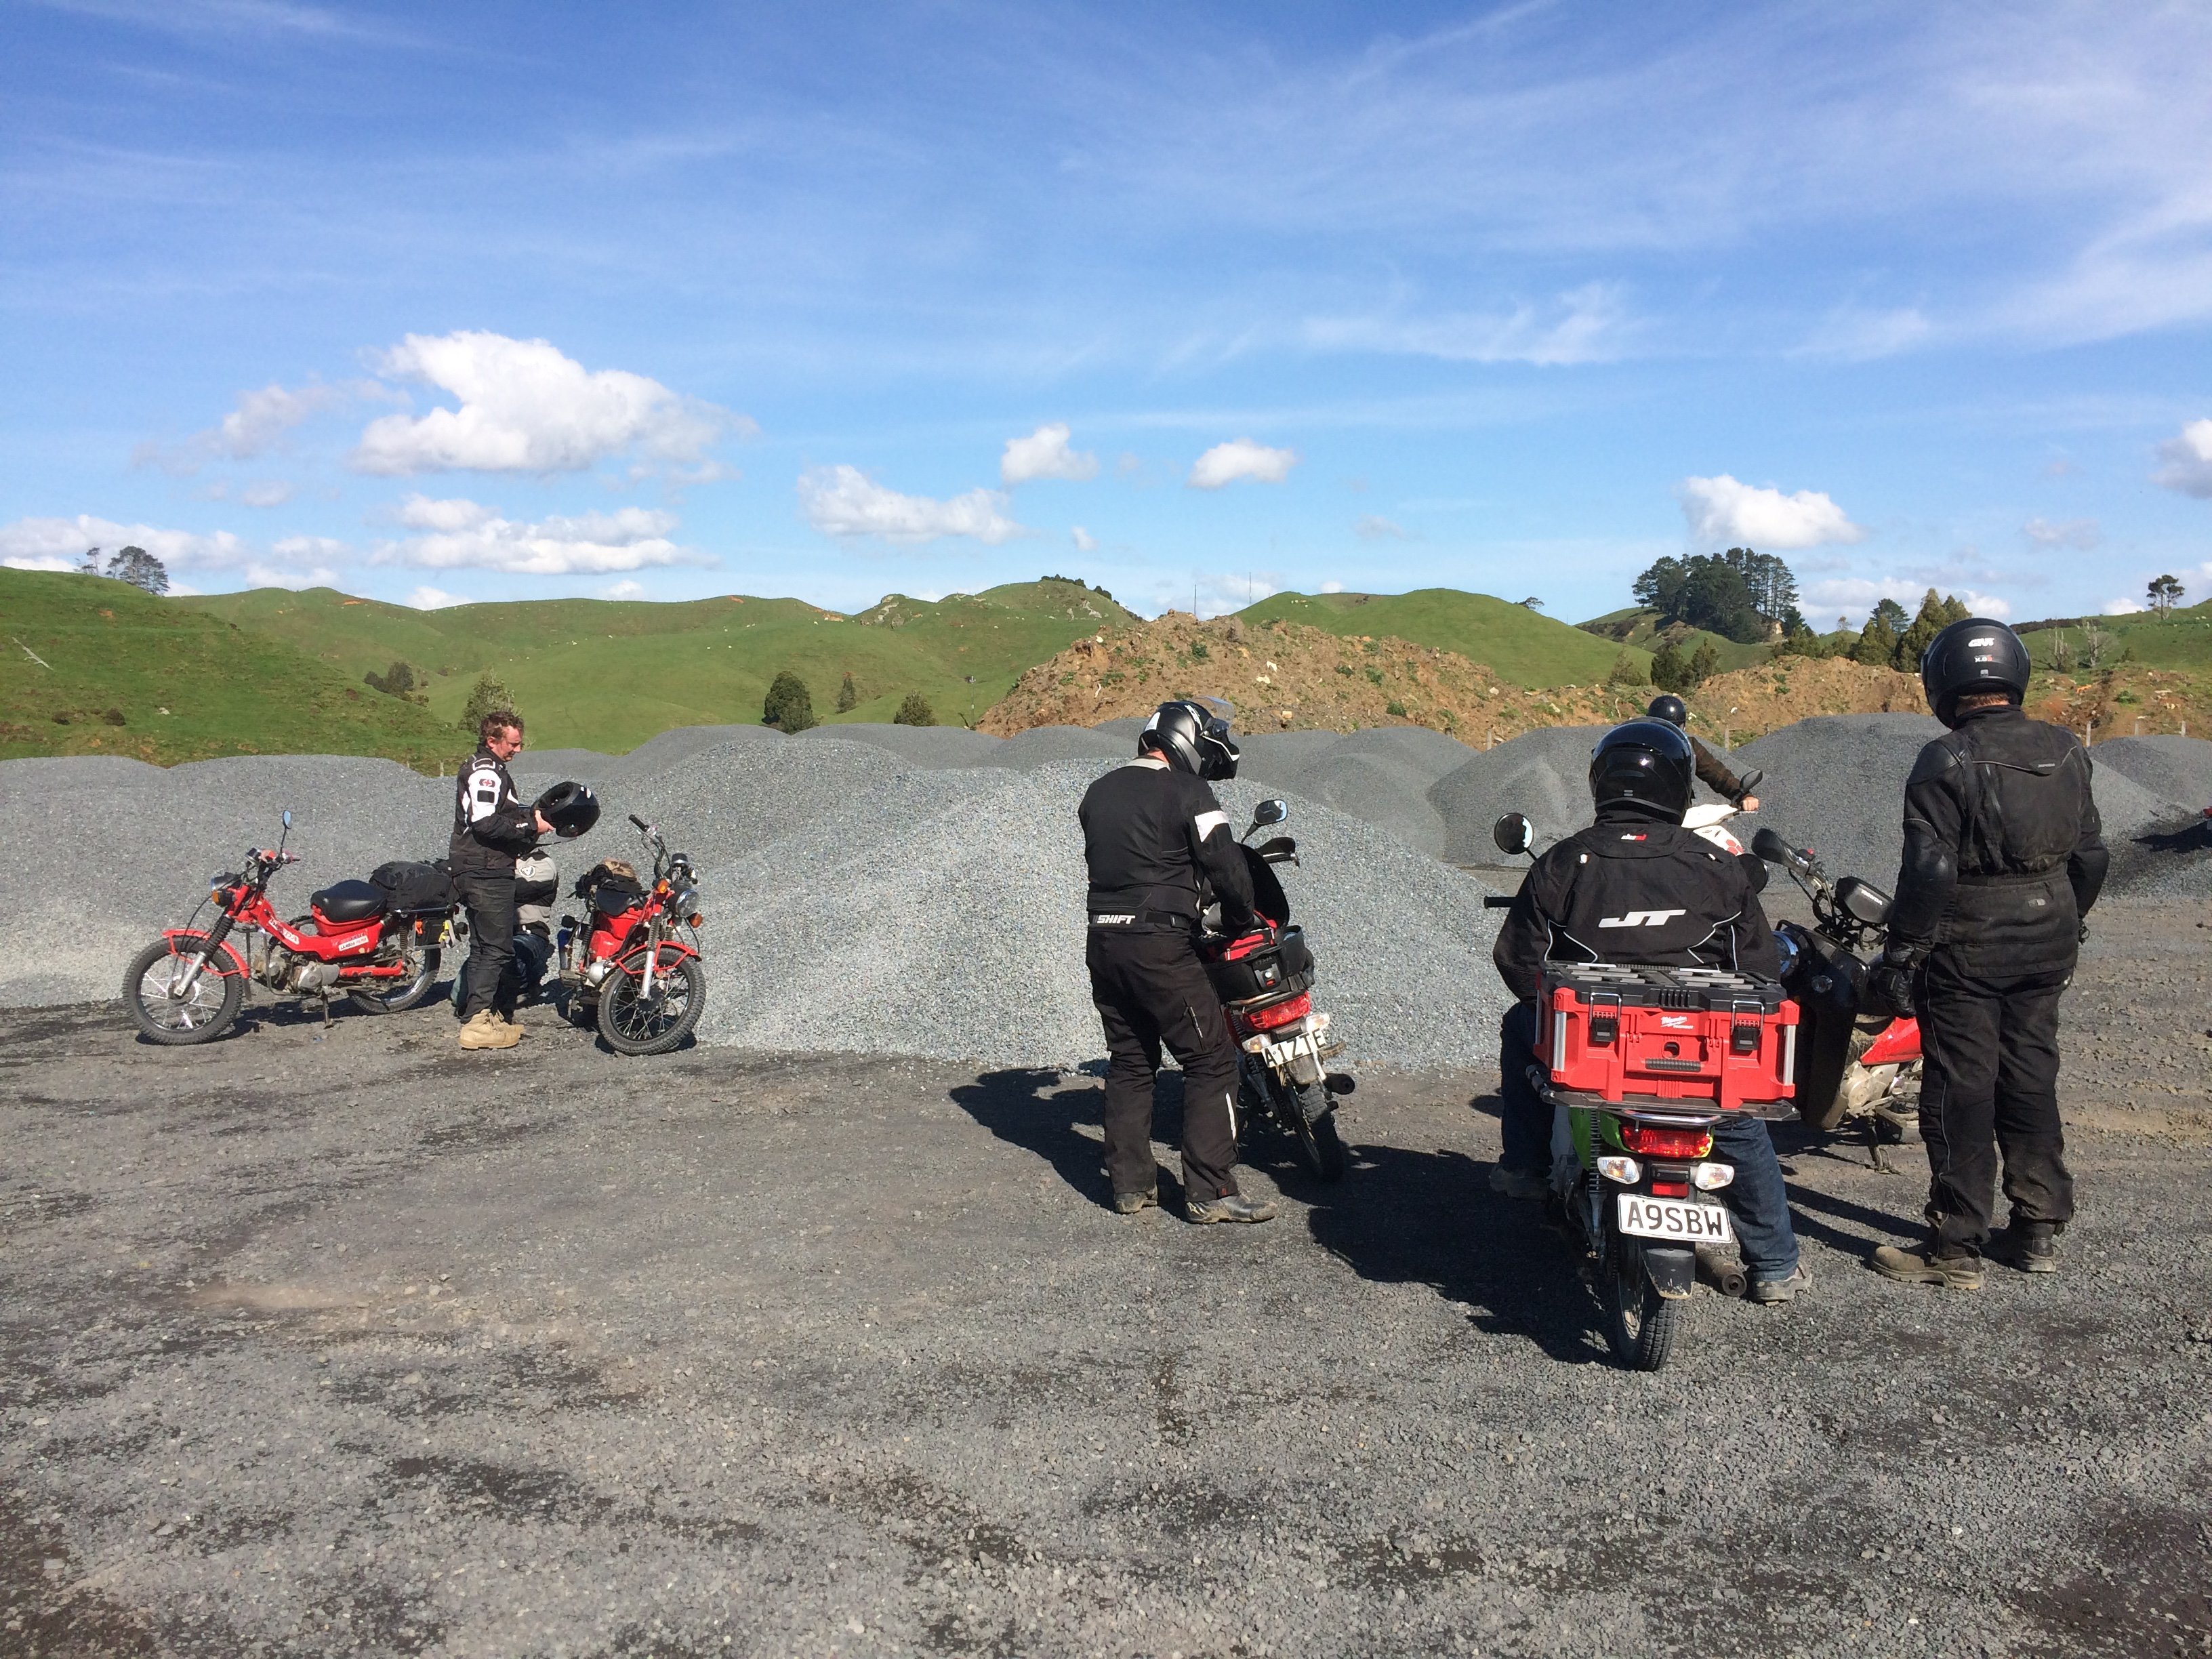
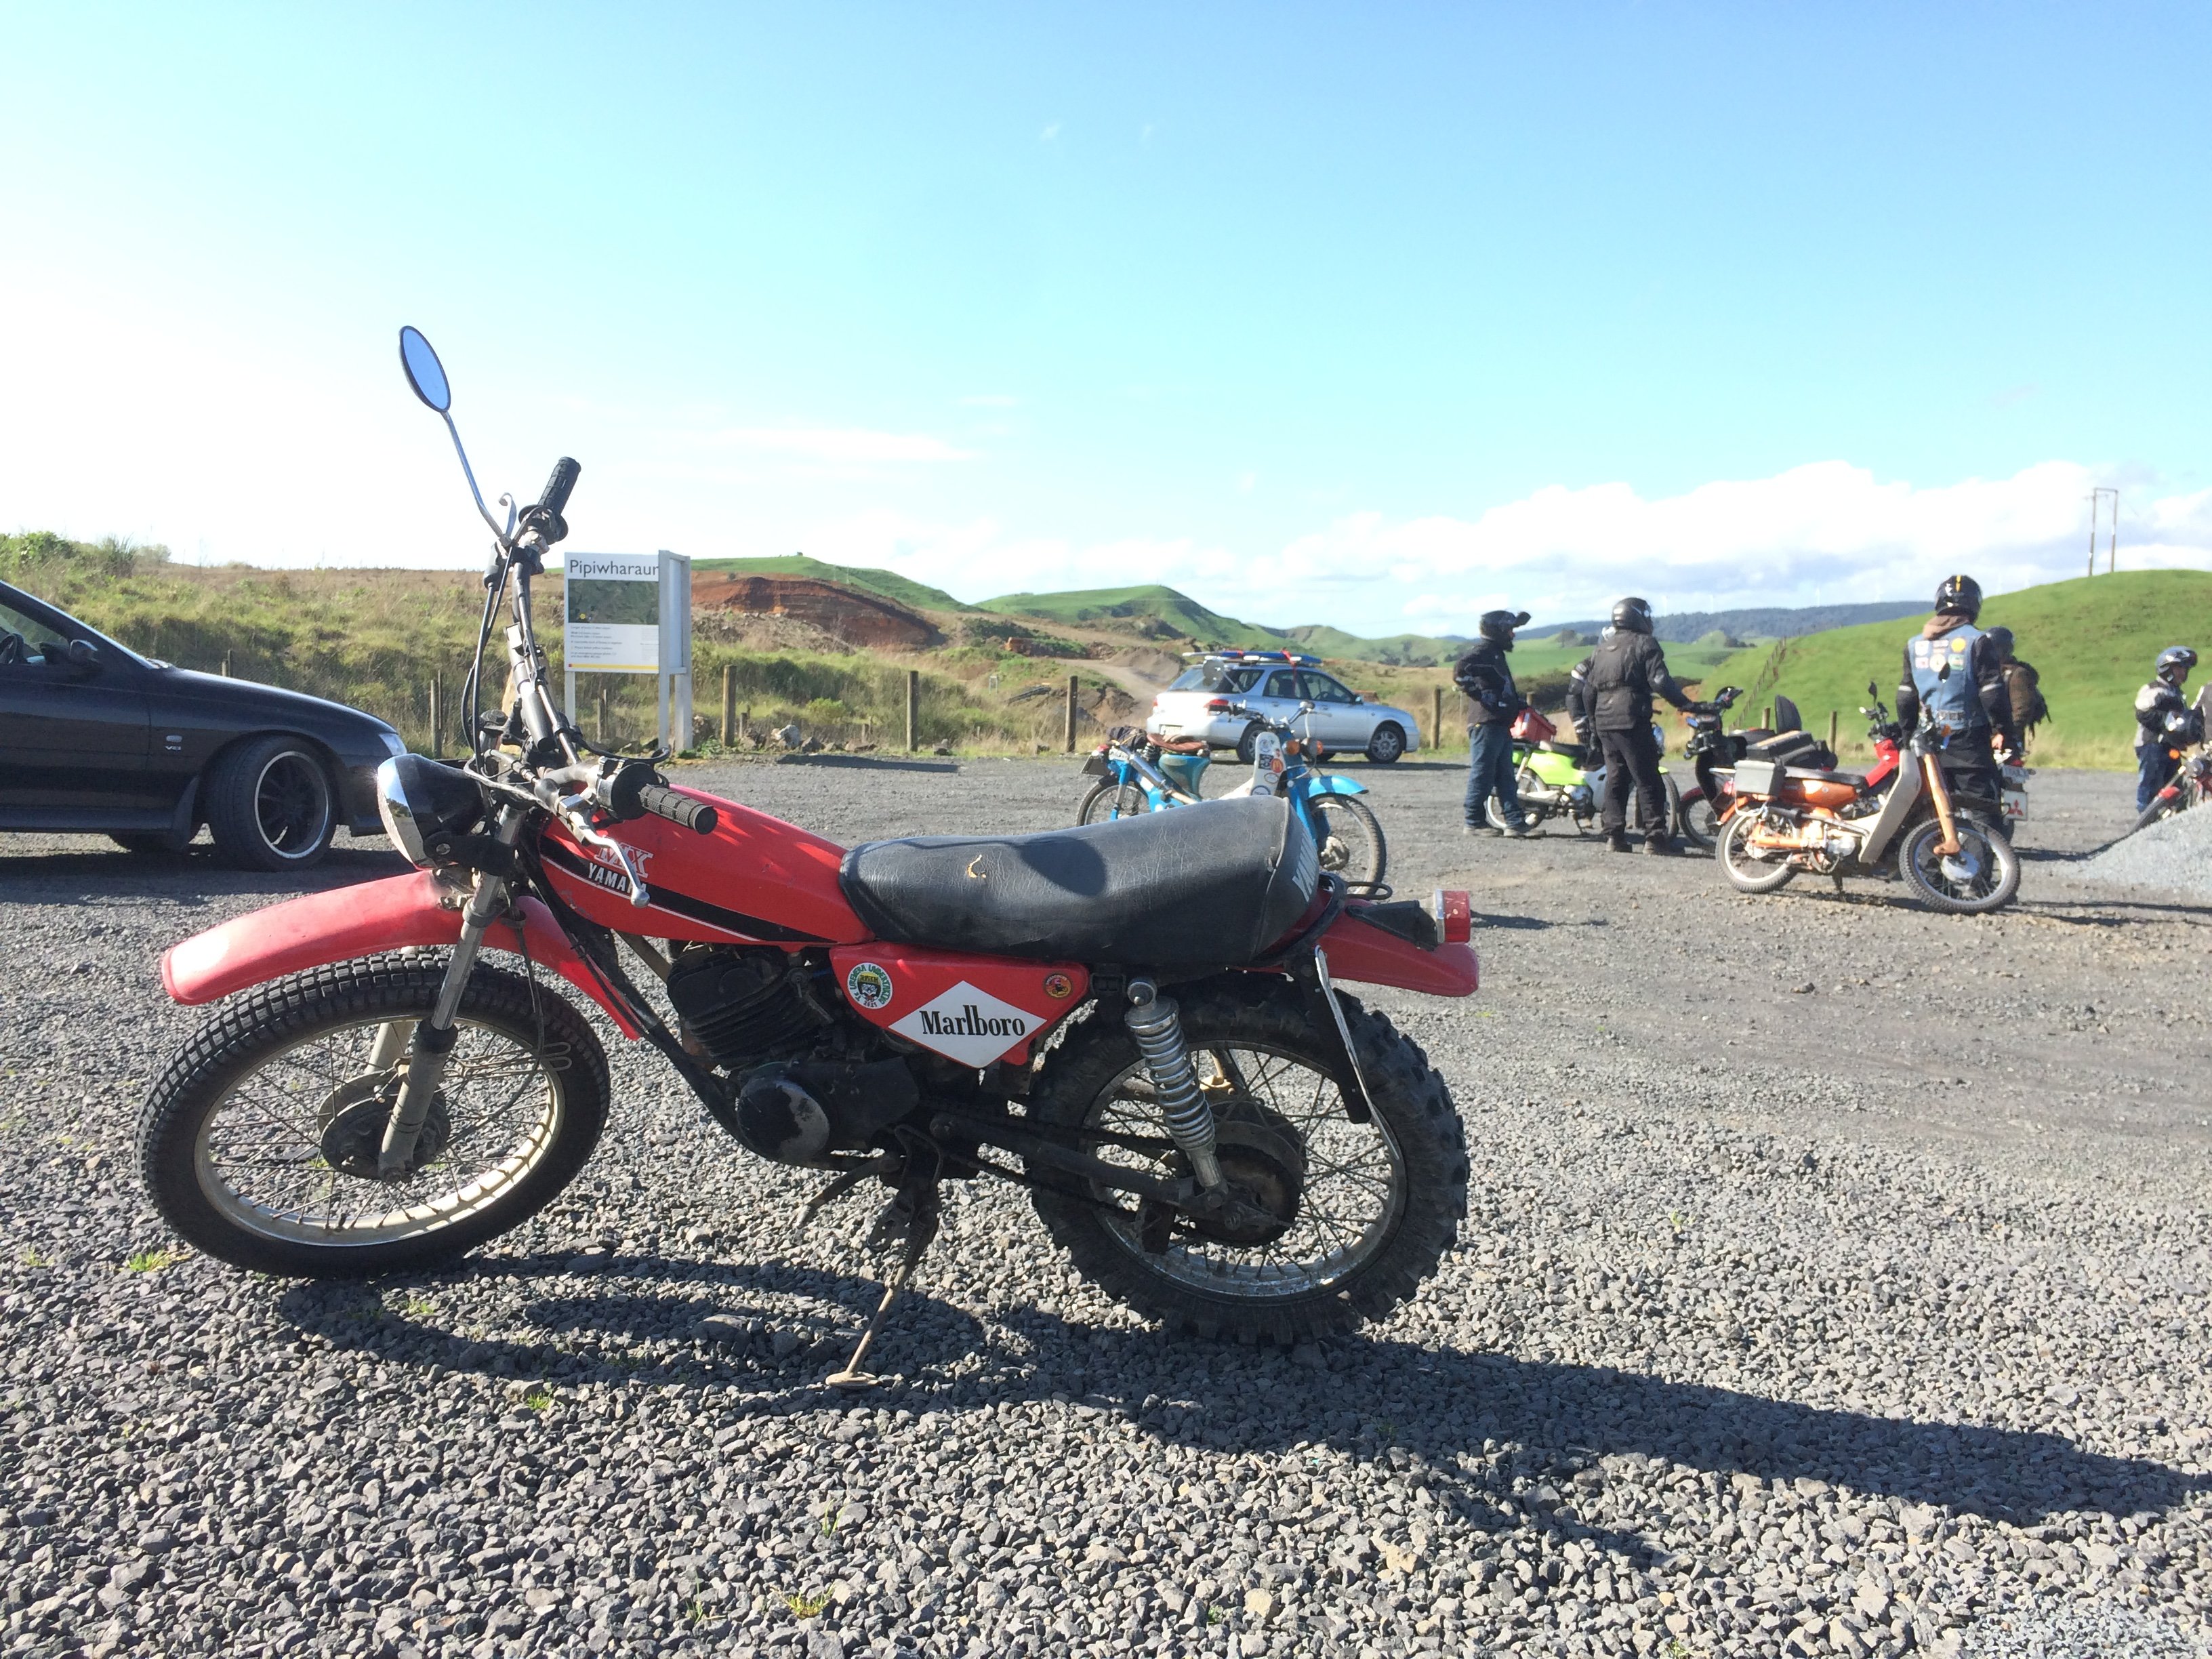
Awesome day! Thanks to everyone involved with organising it. Glad I wore all the gear today and survived my first lowside.... in the middle of nowhere, but directly in front of a a marae where 3 people happened to be working on the grounds! Pretty funny to fall off and hear “YOU ALL GOOD BRO?” from up the hill.
10 points
-
10 points
-
Fluids and filters changed, tank of gas, air in the tyres and off it went for a warrant. I was expecting there to be at least a few minor bugs. But nope. I'm all legal and good to go.9 points
-
I think the standard heads and even the stock manifold can flow quite well. Plus they apparently handle a bit of boost on the stock bottom end ok (if sensible) So this morning I swapped the plugs out. The old ones are certainly old with eroded rounded electrodes but clean- no signs of an oil burner and a nice light brown colour... We took it out for hard trash around 'the loop'.. a good drive if its quiet and no freedom campers sitting on 30kph. Up and down, narrow windy road with a decent hillclimb to finish on before home. Perfect for little cars with big hearts. It pretty fun. Almost forget its just a little 1300 until you hit 6500 and then select third and it falls on its face. Luckily it seems fine with staying in 2nd all the time for the really tight bits. I think the few cars we saw heading the other way must have thought 'wtf! Well look at that Karen- I think those kids are on meth and have just stolen some grannies car for a joy ride' We got some dirty looks Got home and poured some engine flush into the engine and ran it for ten minutes at idle. Never used this stuff before but thought why not- oil on dip stick looked/smelt fairly dirty. Hannah then did an oil and filter change. We'd have used the hoist but someone has thoughtfully filled the floor up with loads of timber for some glorified shelf build. Poo. Sump plug and draining easy to do on the ground. Oil filter not so easy - not when the last monkey had overtightened it. But all good and sorted. Old oil yuck. New oil yum. Engine even sounds a bit quieter. Thought I would check the air filter. Hmmmm. There is no air filter installed! FFS. Luckily there is a fine stainless mesh covering the TB mouth. So a filter is on the list before we next drive it. No wonder the engine sounds so neat. Also- both cv boots are torn so that's another job- especially before we start Colin Mcraeing it on the gravel roads.8 points
-
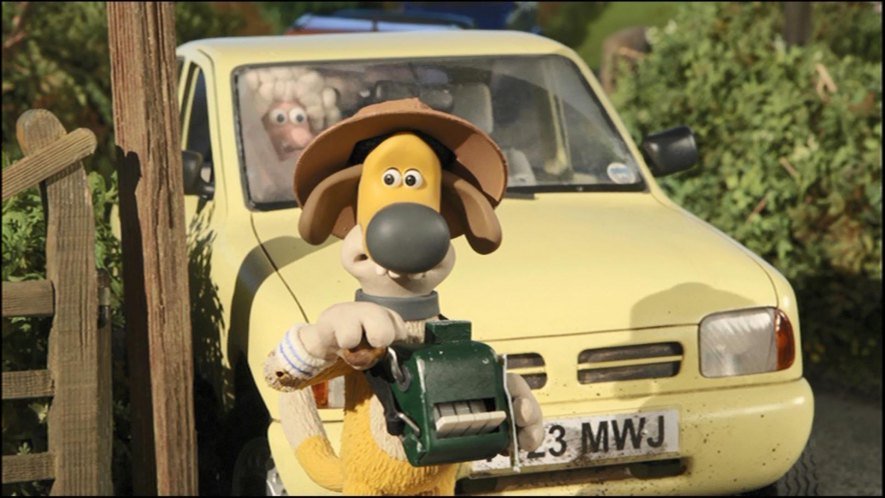
Even Shaun the sheep had micras!...
6 points
-
6 points
-
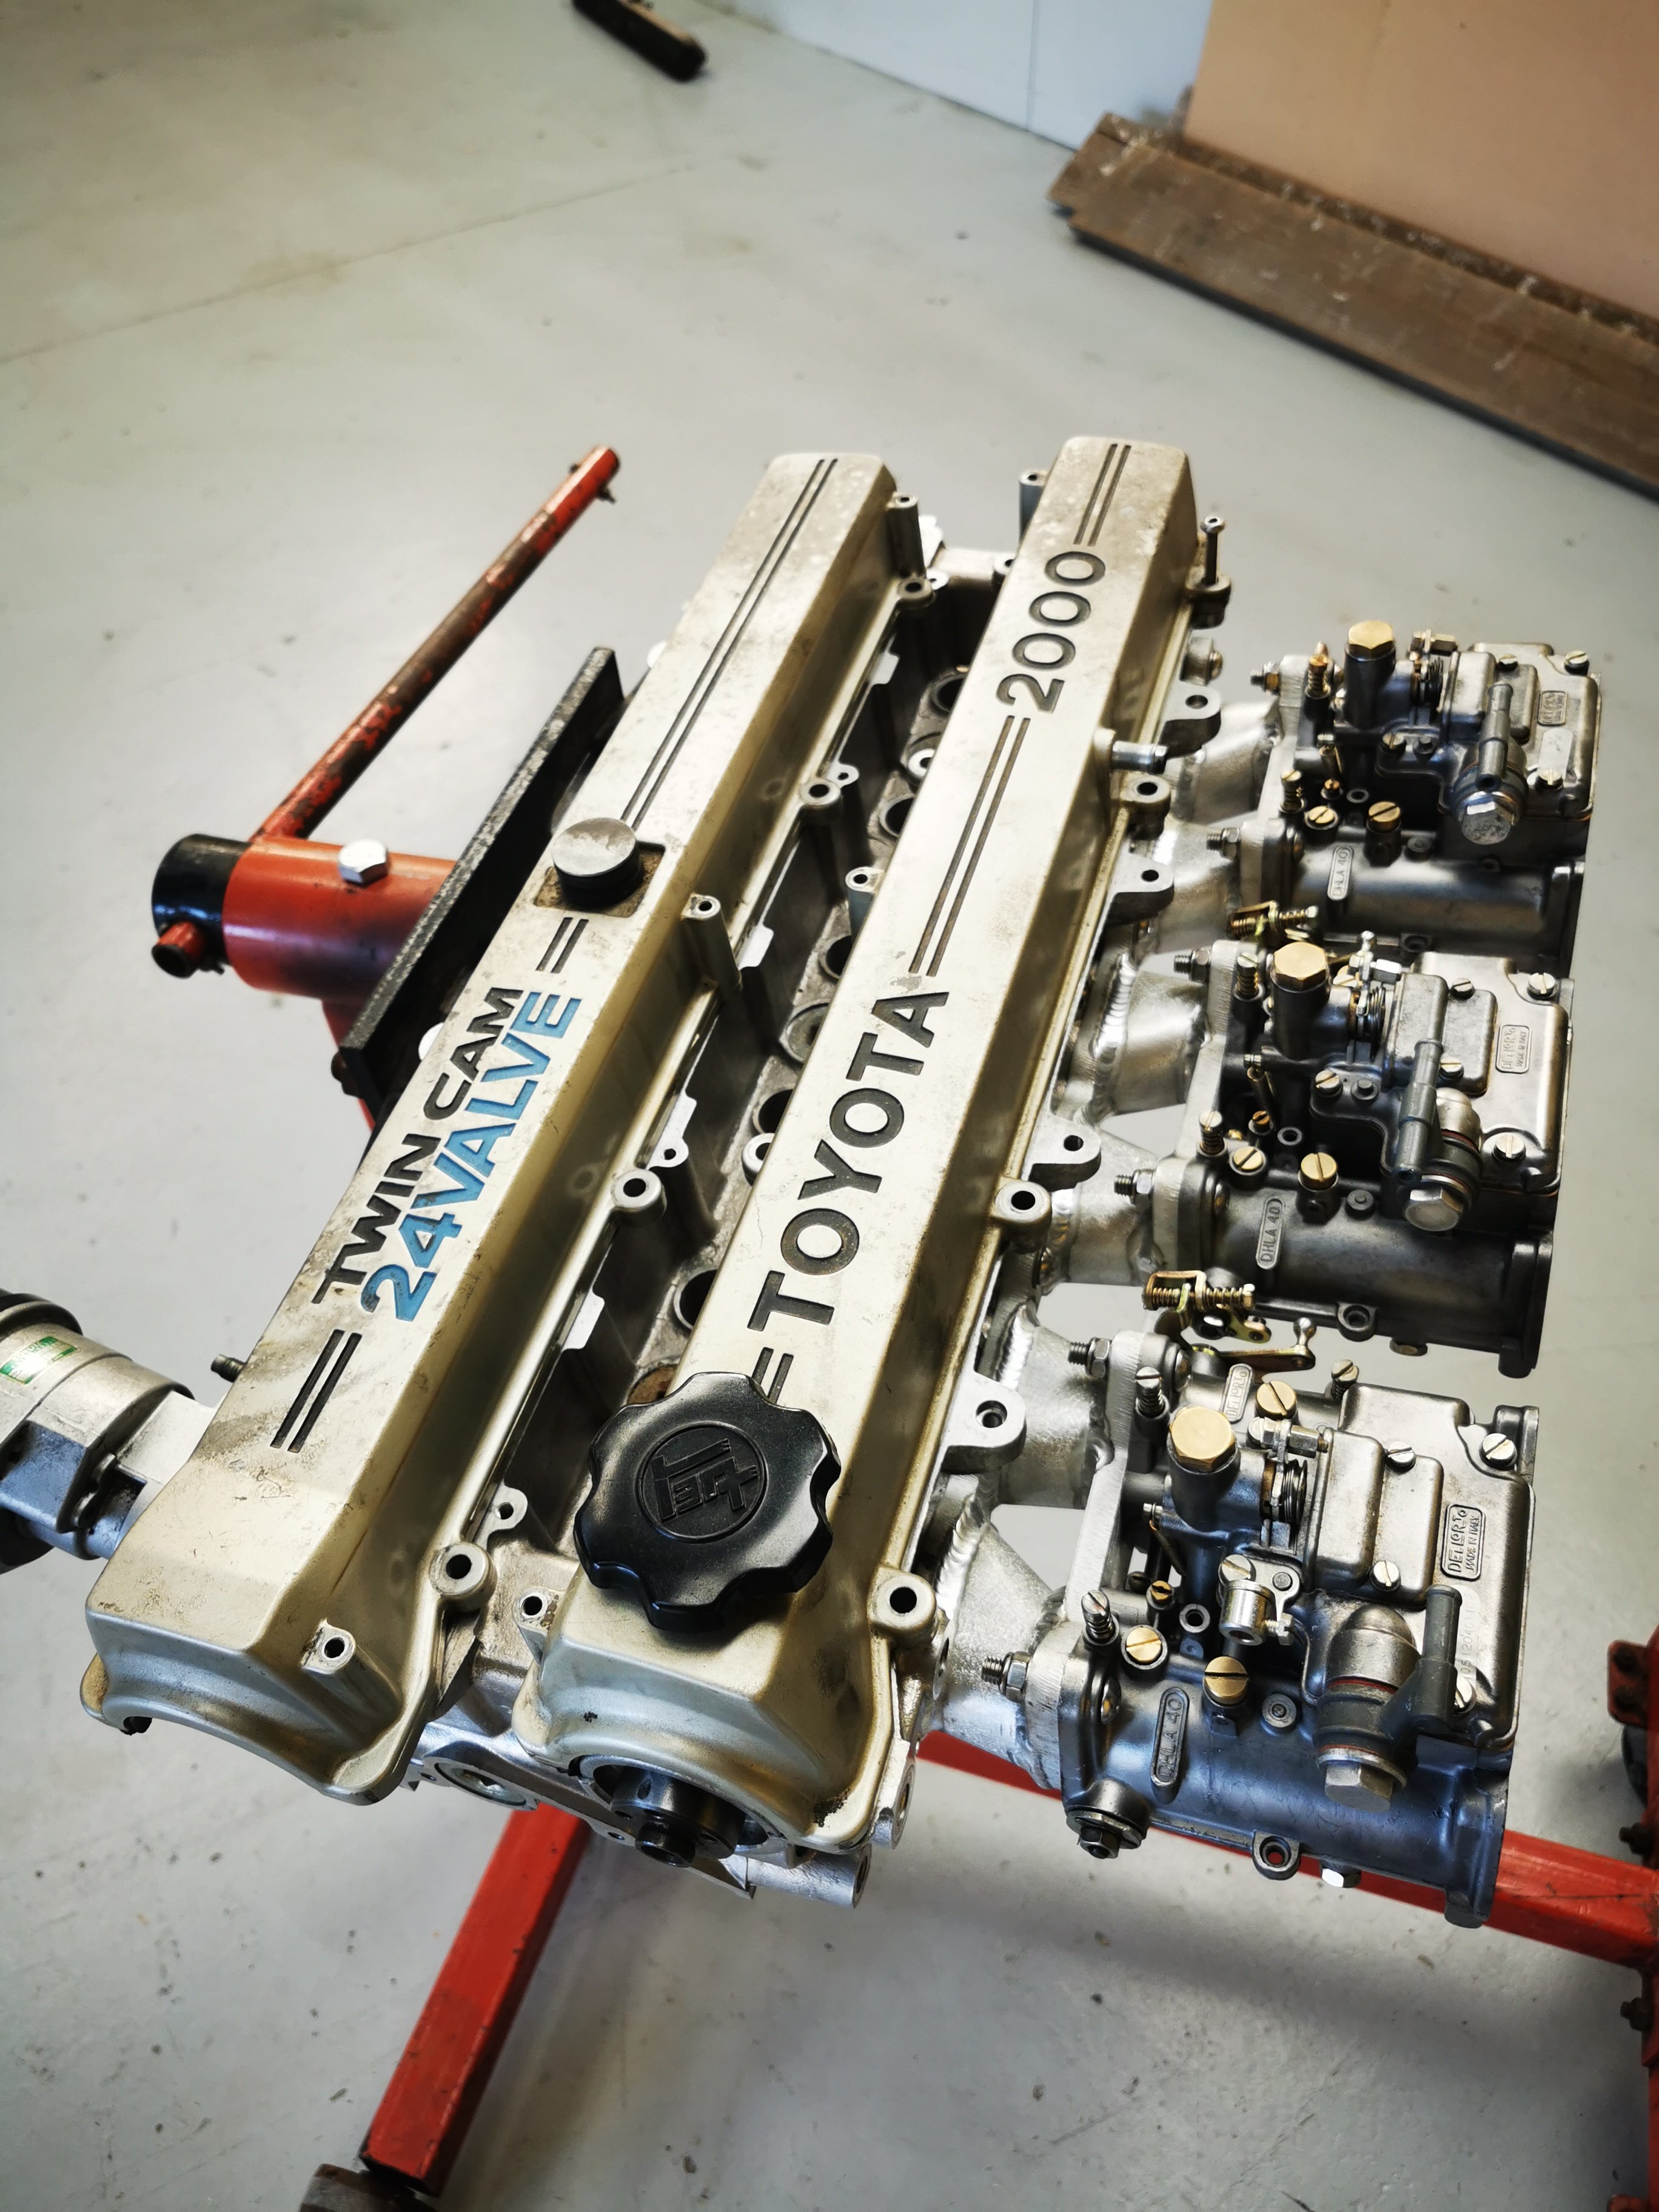
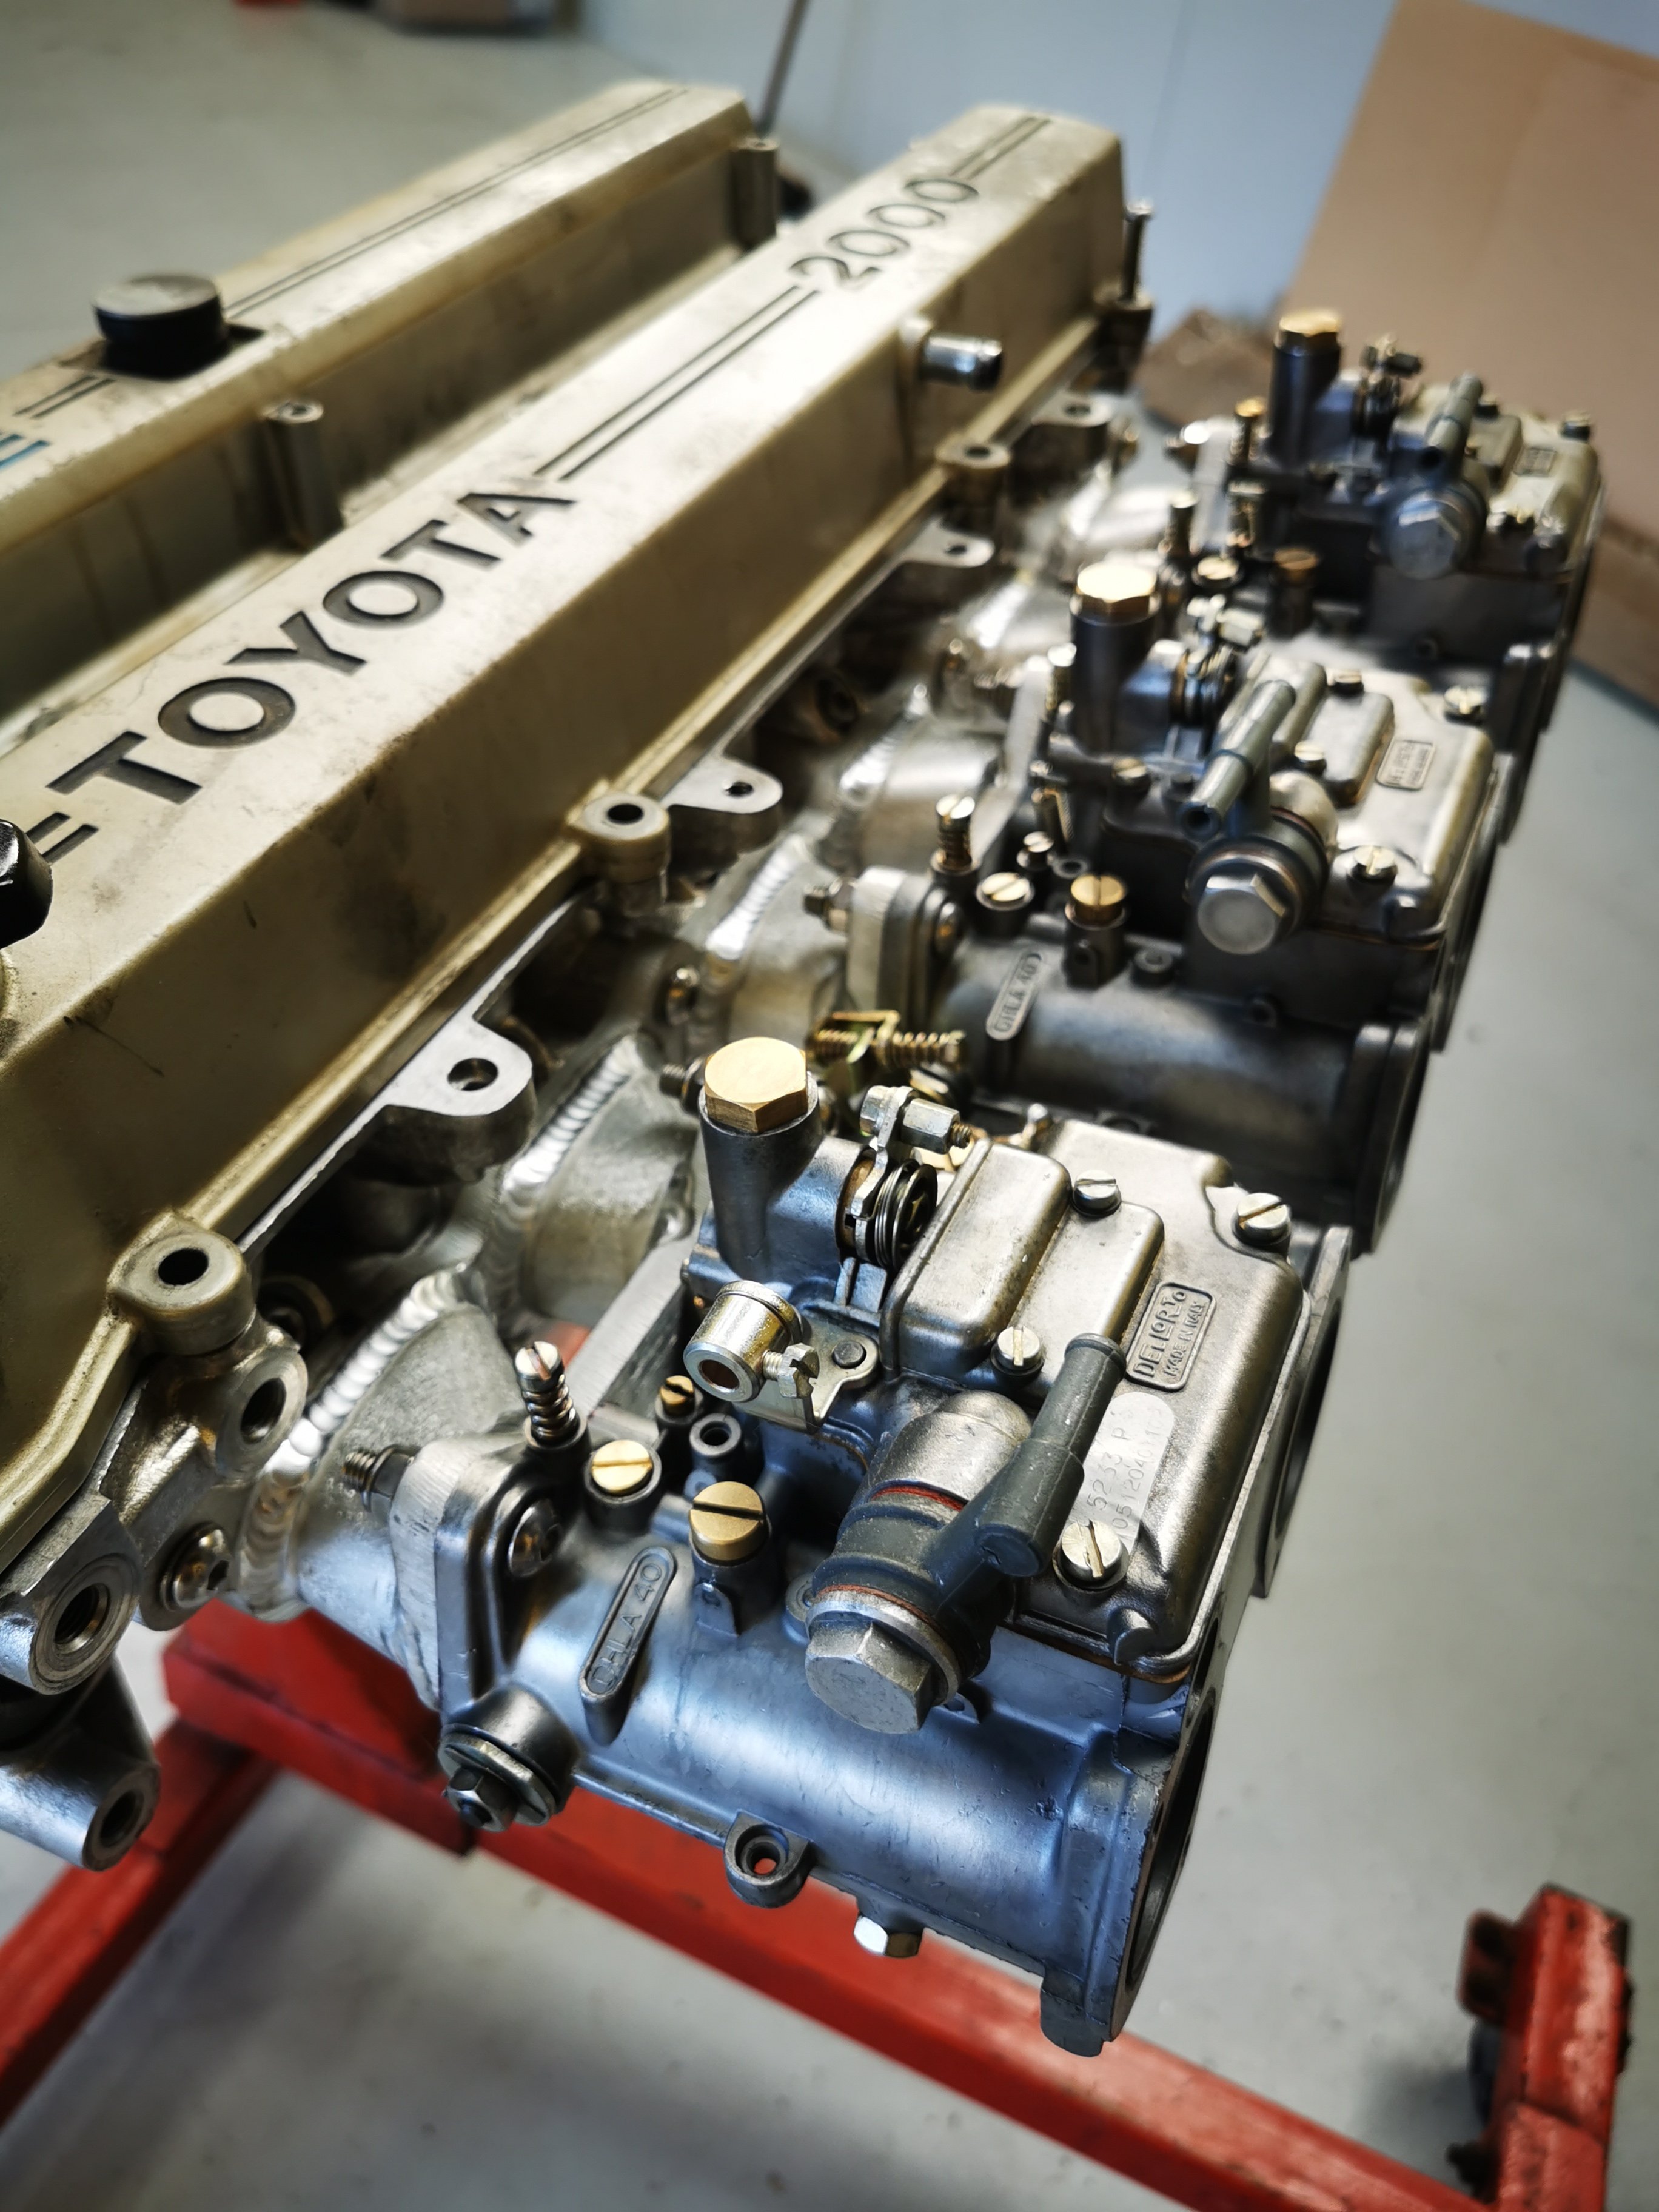
Wowee, Nick at MFS nailed the manifold. It'll eventually get blasted and tidied up a little but it's spot on. Test fitted carbs and some other small wee bits. Will order trumpets and soft mounts etc this week.
6 points
-
Nek minit:
6 points
-
Todays delivery from @sheepers The crowns been neglected while I've built an R34 Stagea, but I should be back on the crown soon.
5 points
-
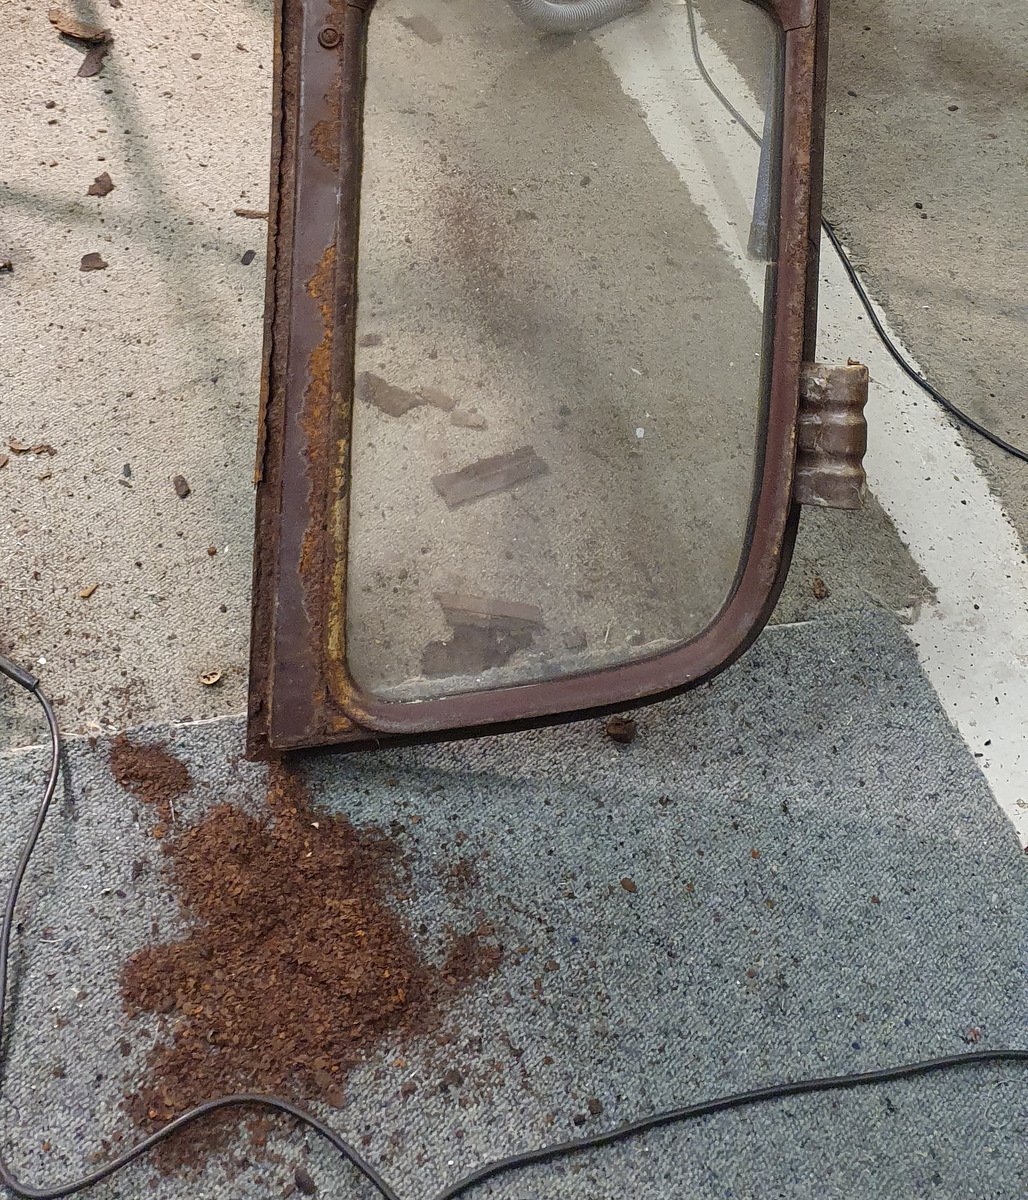
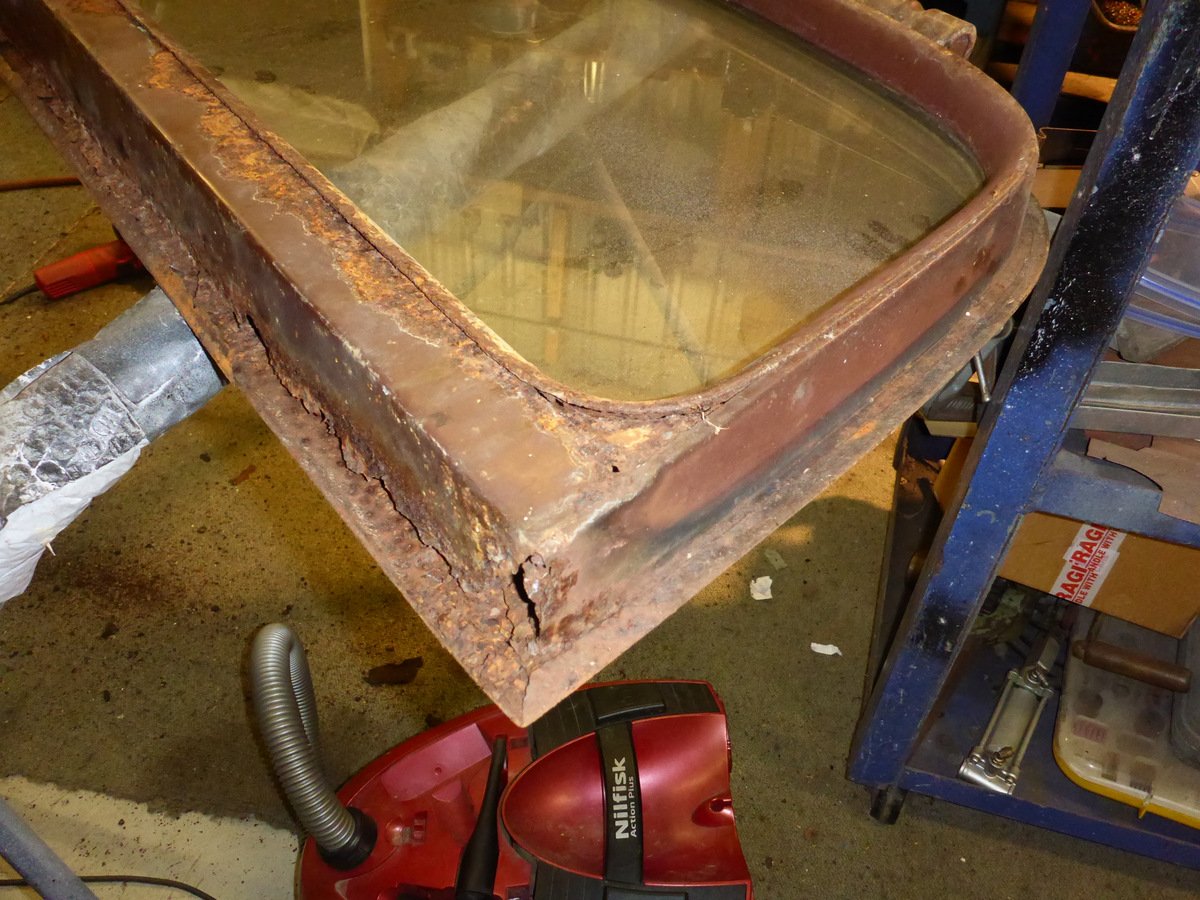
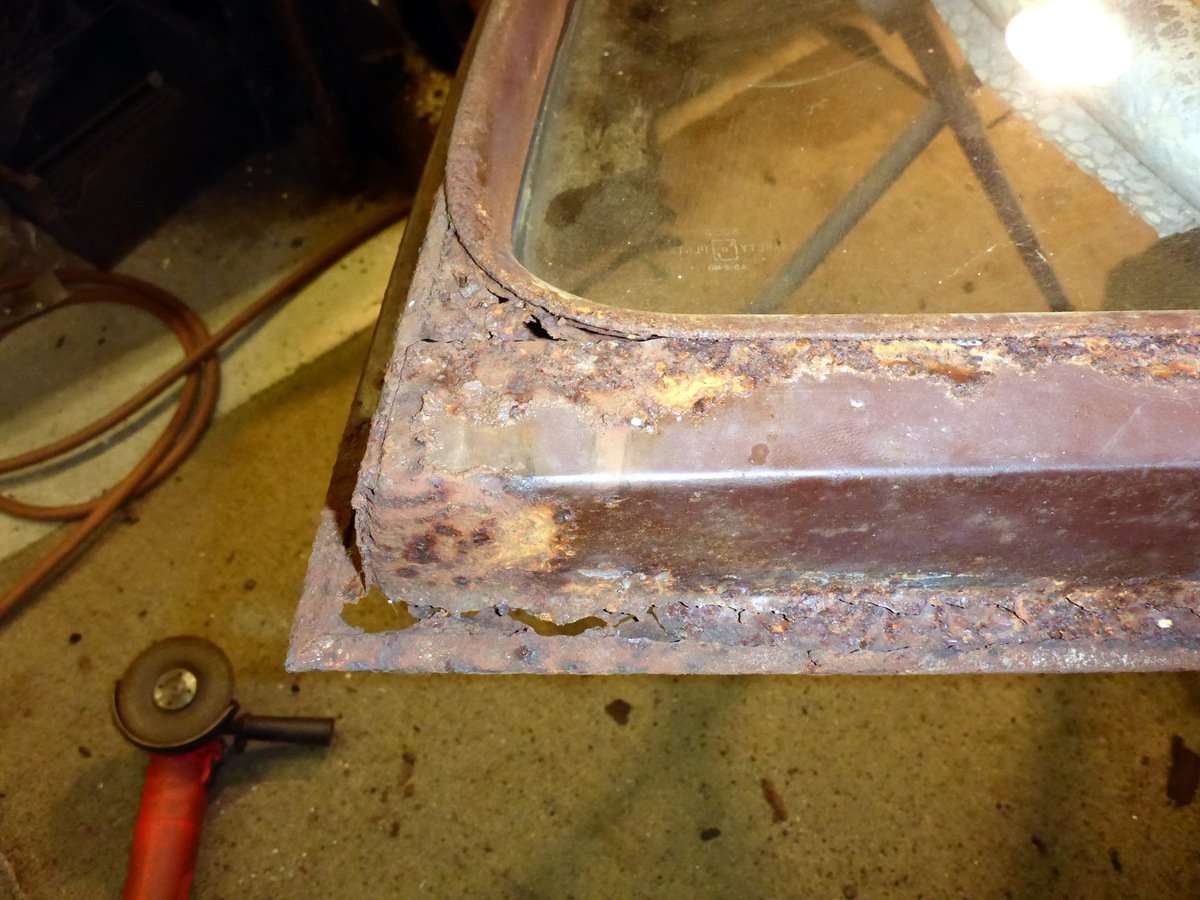
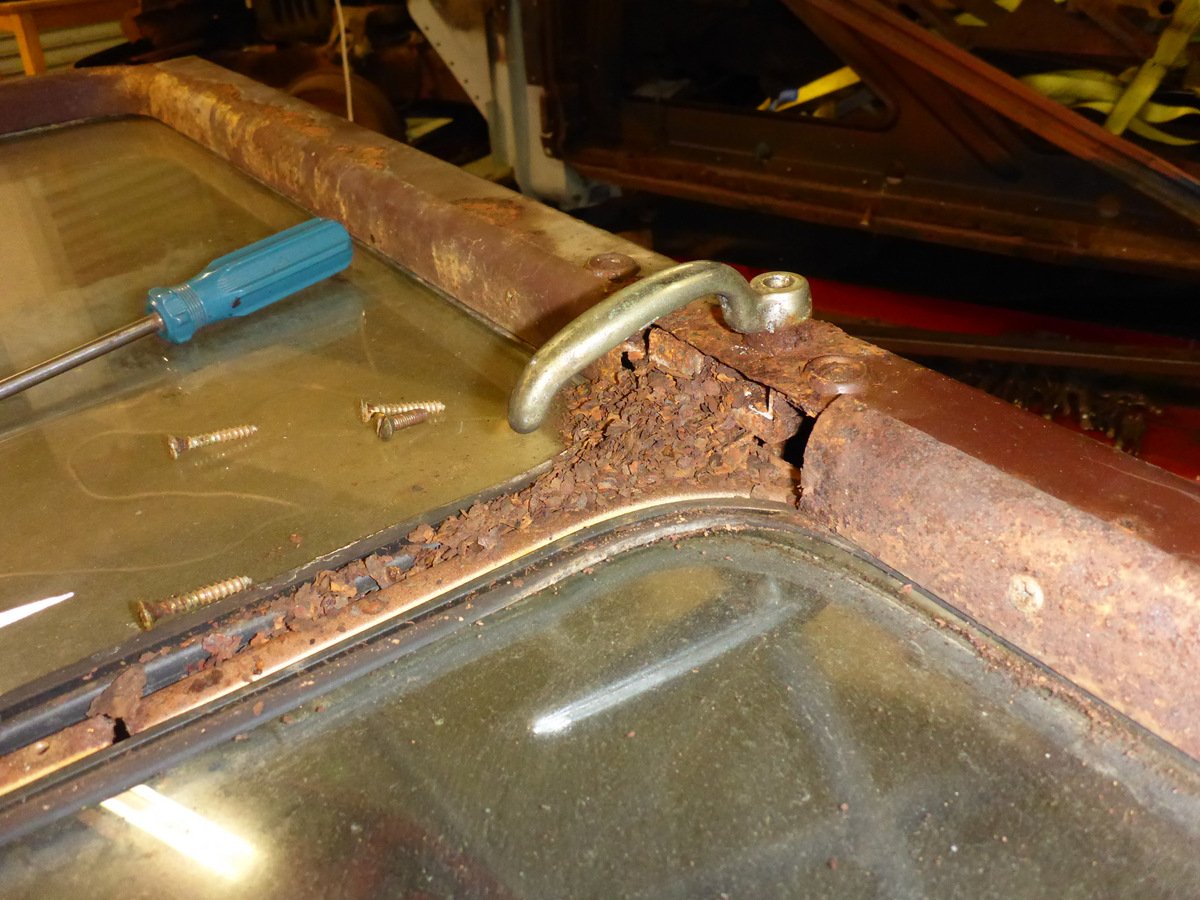
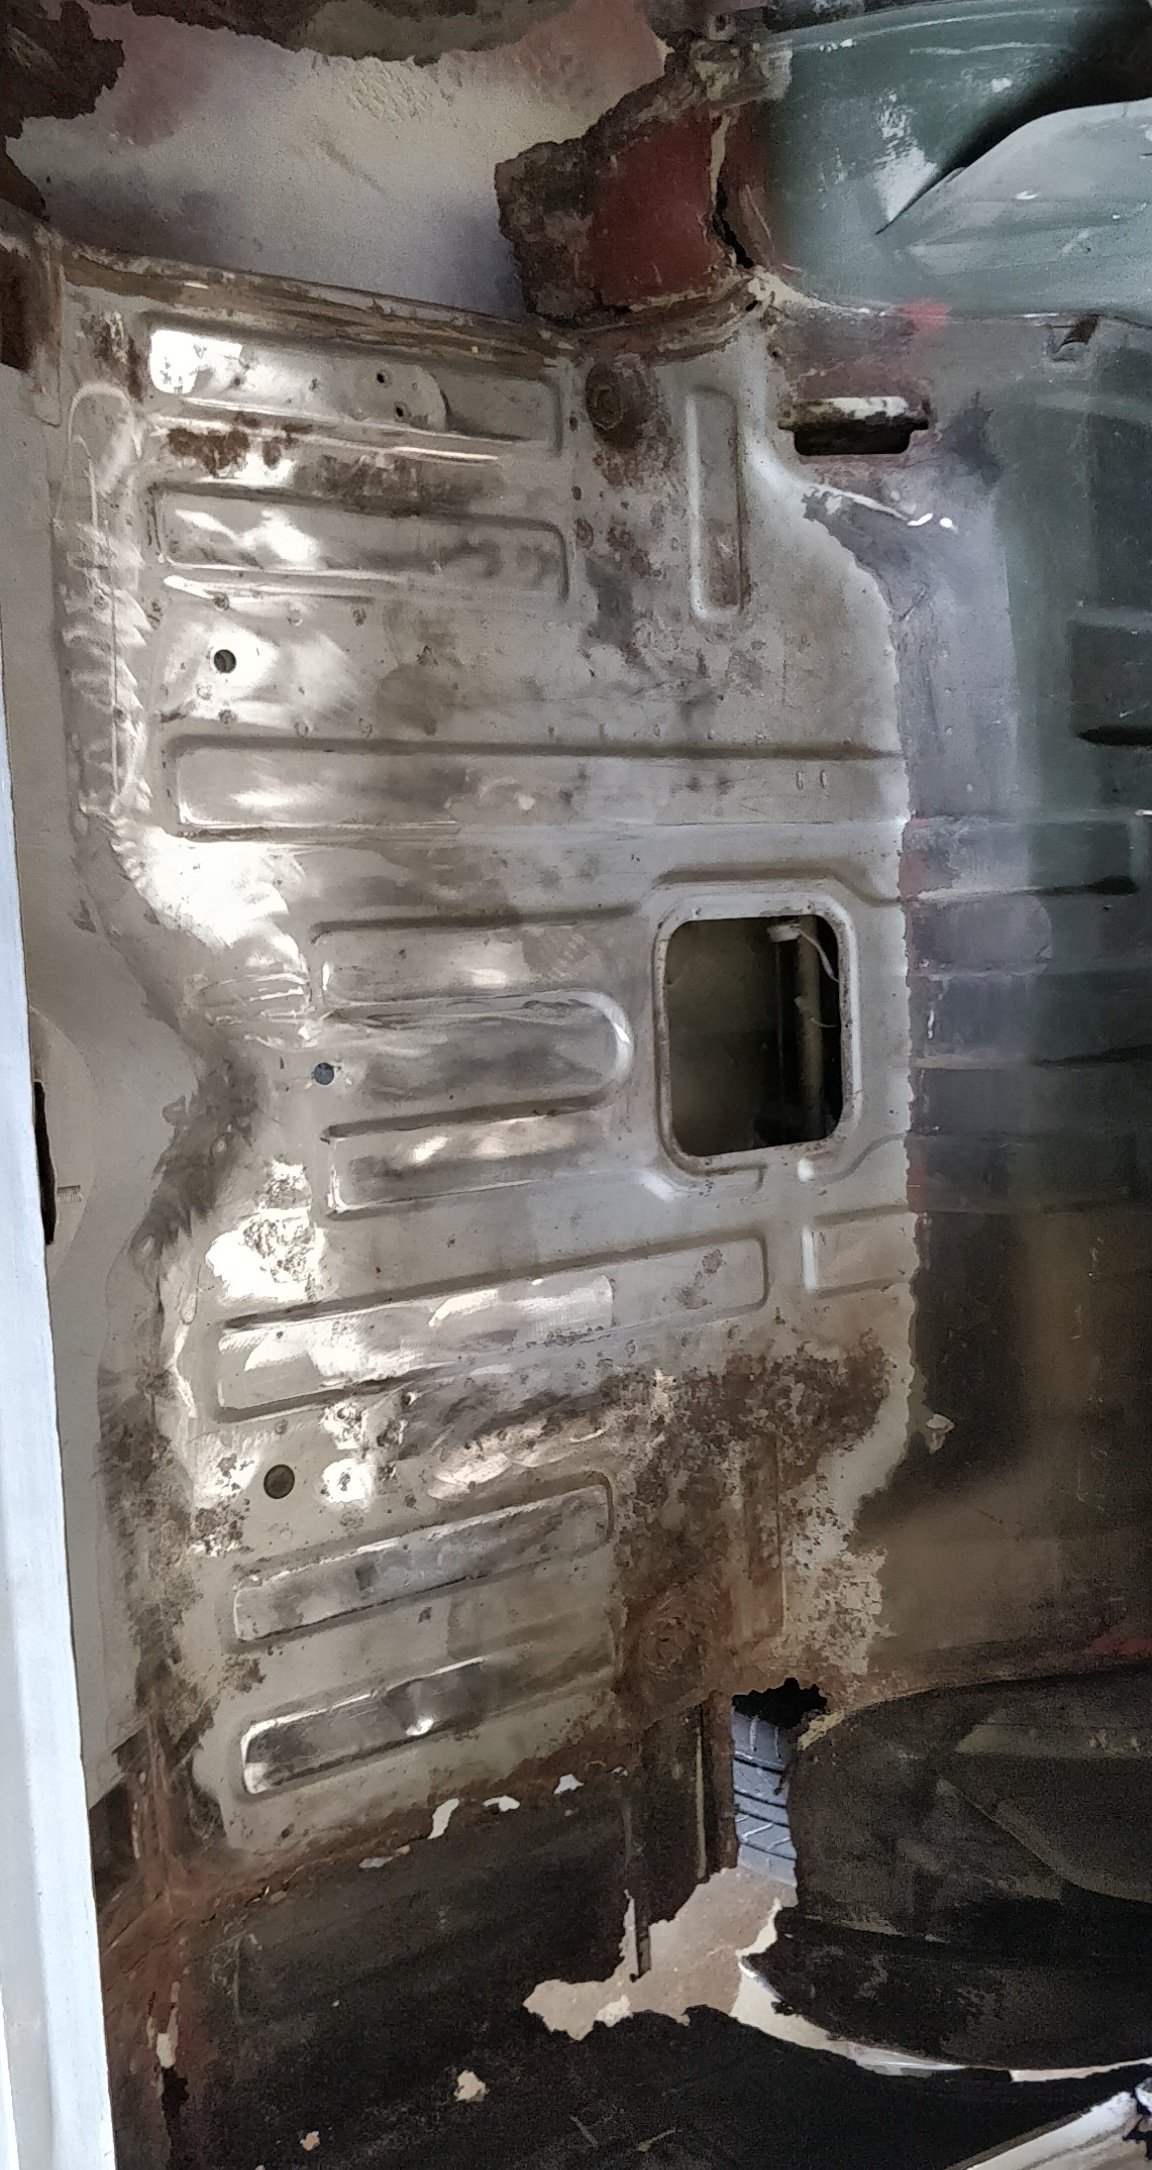
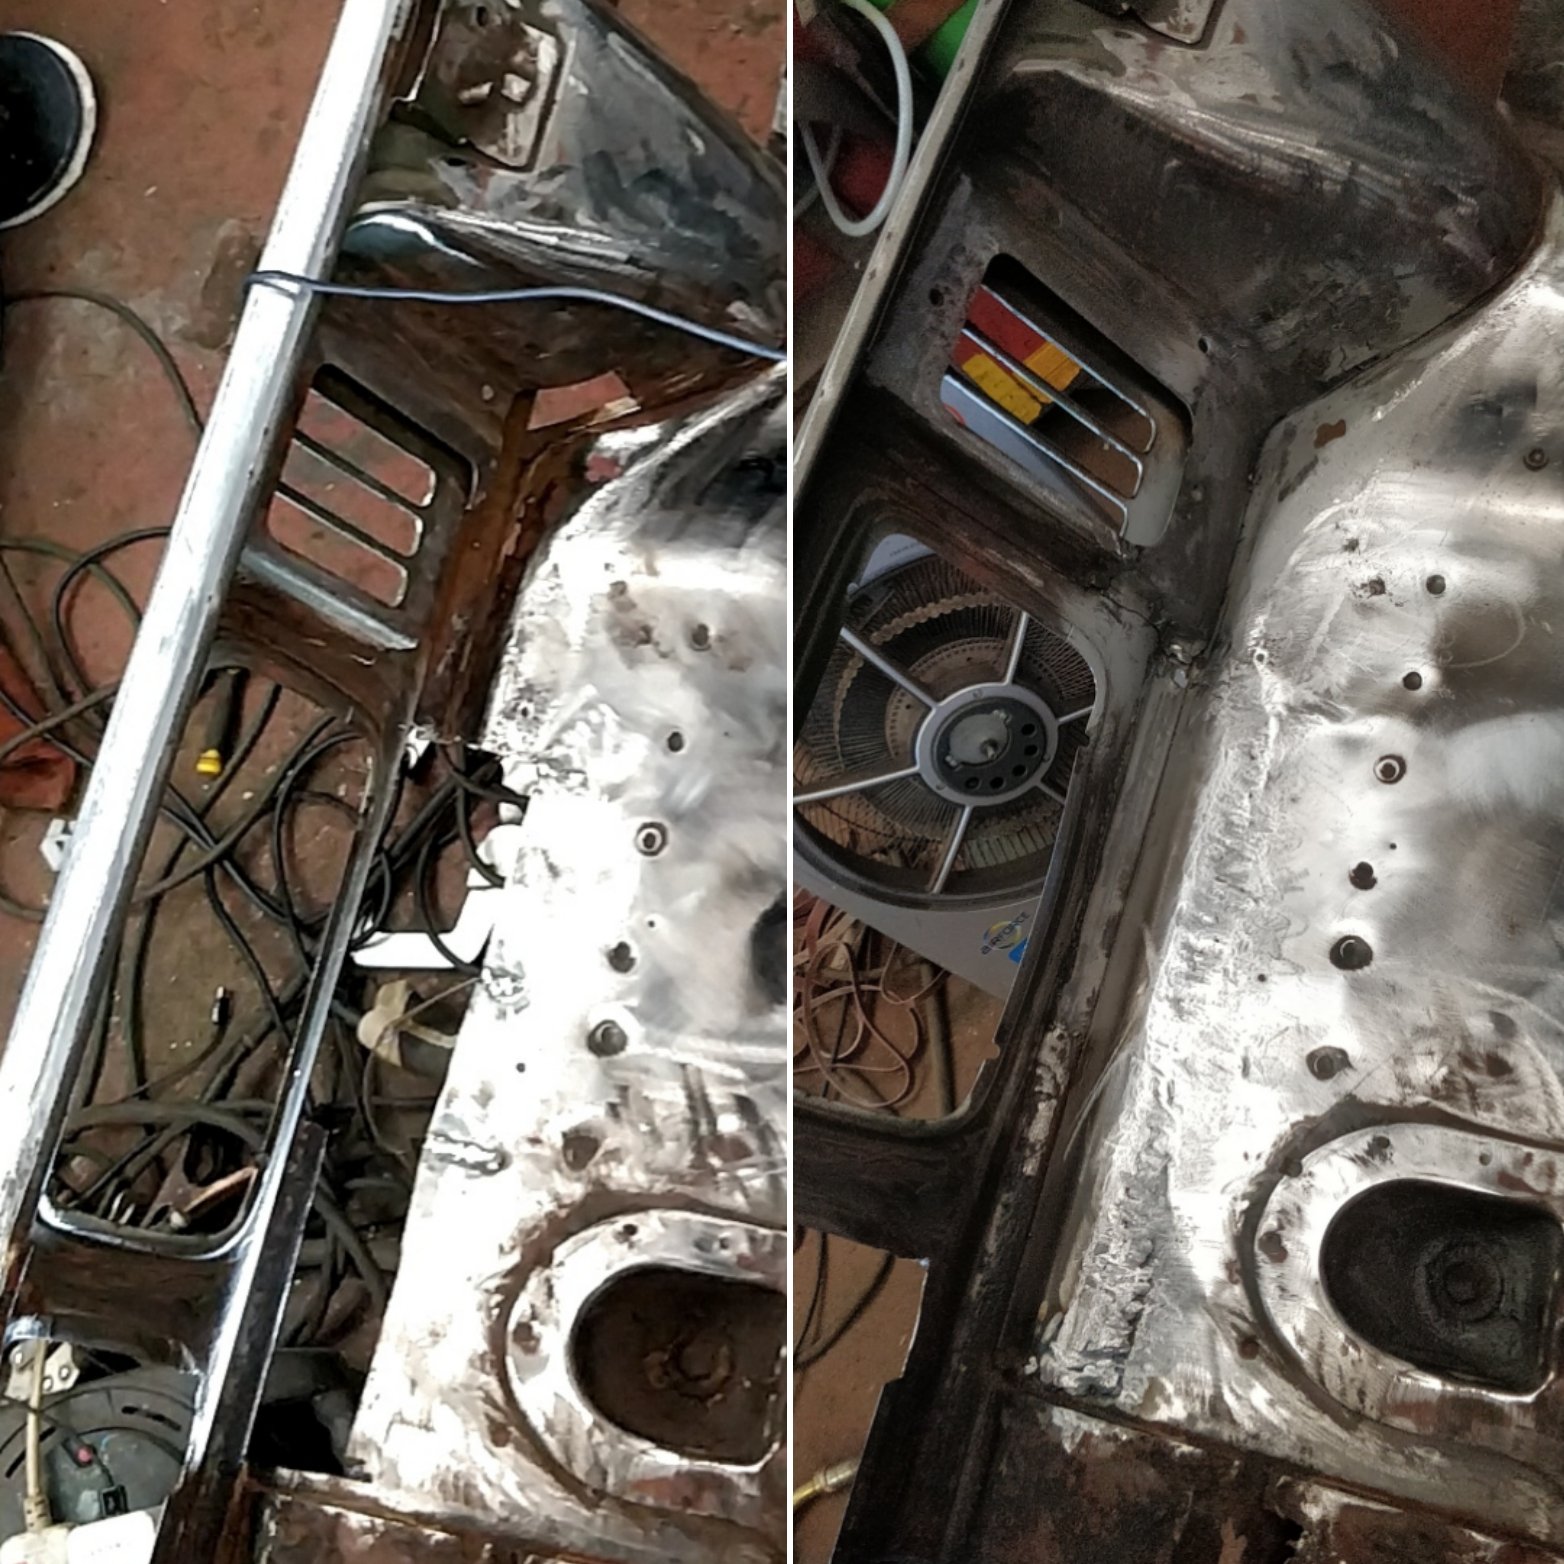
The upper tailgate unbolted easily, but contained a disturbing amount of rust flakes I stripped the garnish mouldings and glass out. Looked pretty manky.
4 points
-
Top marks on getting a CG13 one....did a bit of looking ages ago, they go quite easily into a mini.3 points
-
made lower bracket thing for radiator to sit on main cross bit is made from thin stuff and brackets 3mm. weighs pretty much nothing goes here managed to bend and beat bend into shape. bit more hectic than planned. looks to be working all good, just gotta manage to make 3 more
3 points
-
Matt from tin tricks did some more work for me on the inner guards and firewall so it looks much better . Today it got dropped off at autoblast for underneath and the engine bay to get blasted, primed and underneath painted with 2k epoxy
3 points
-
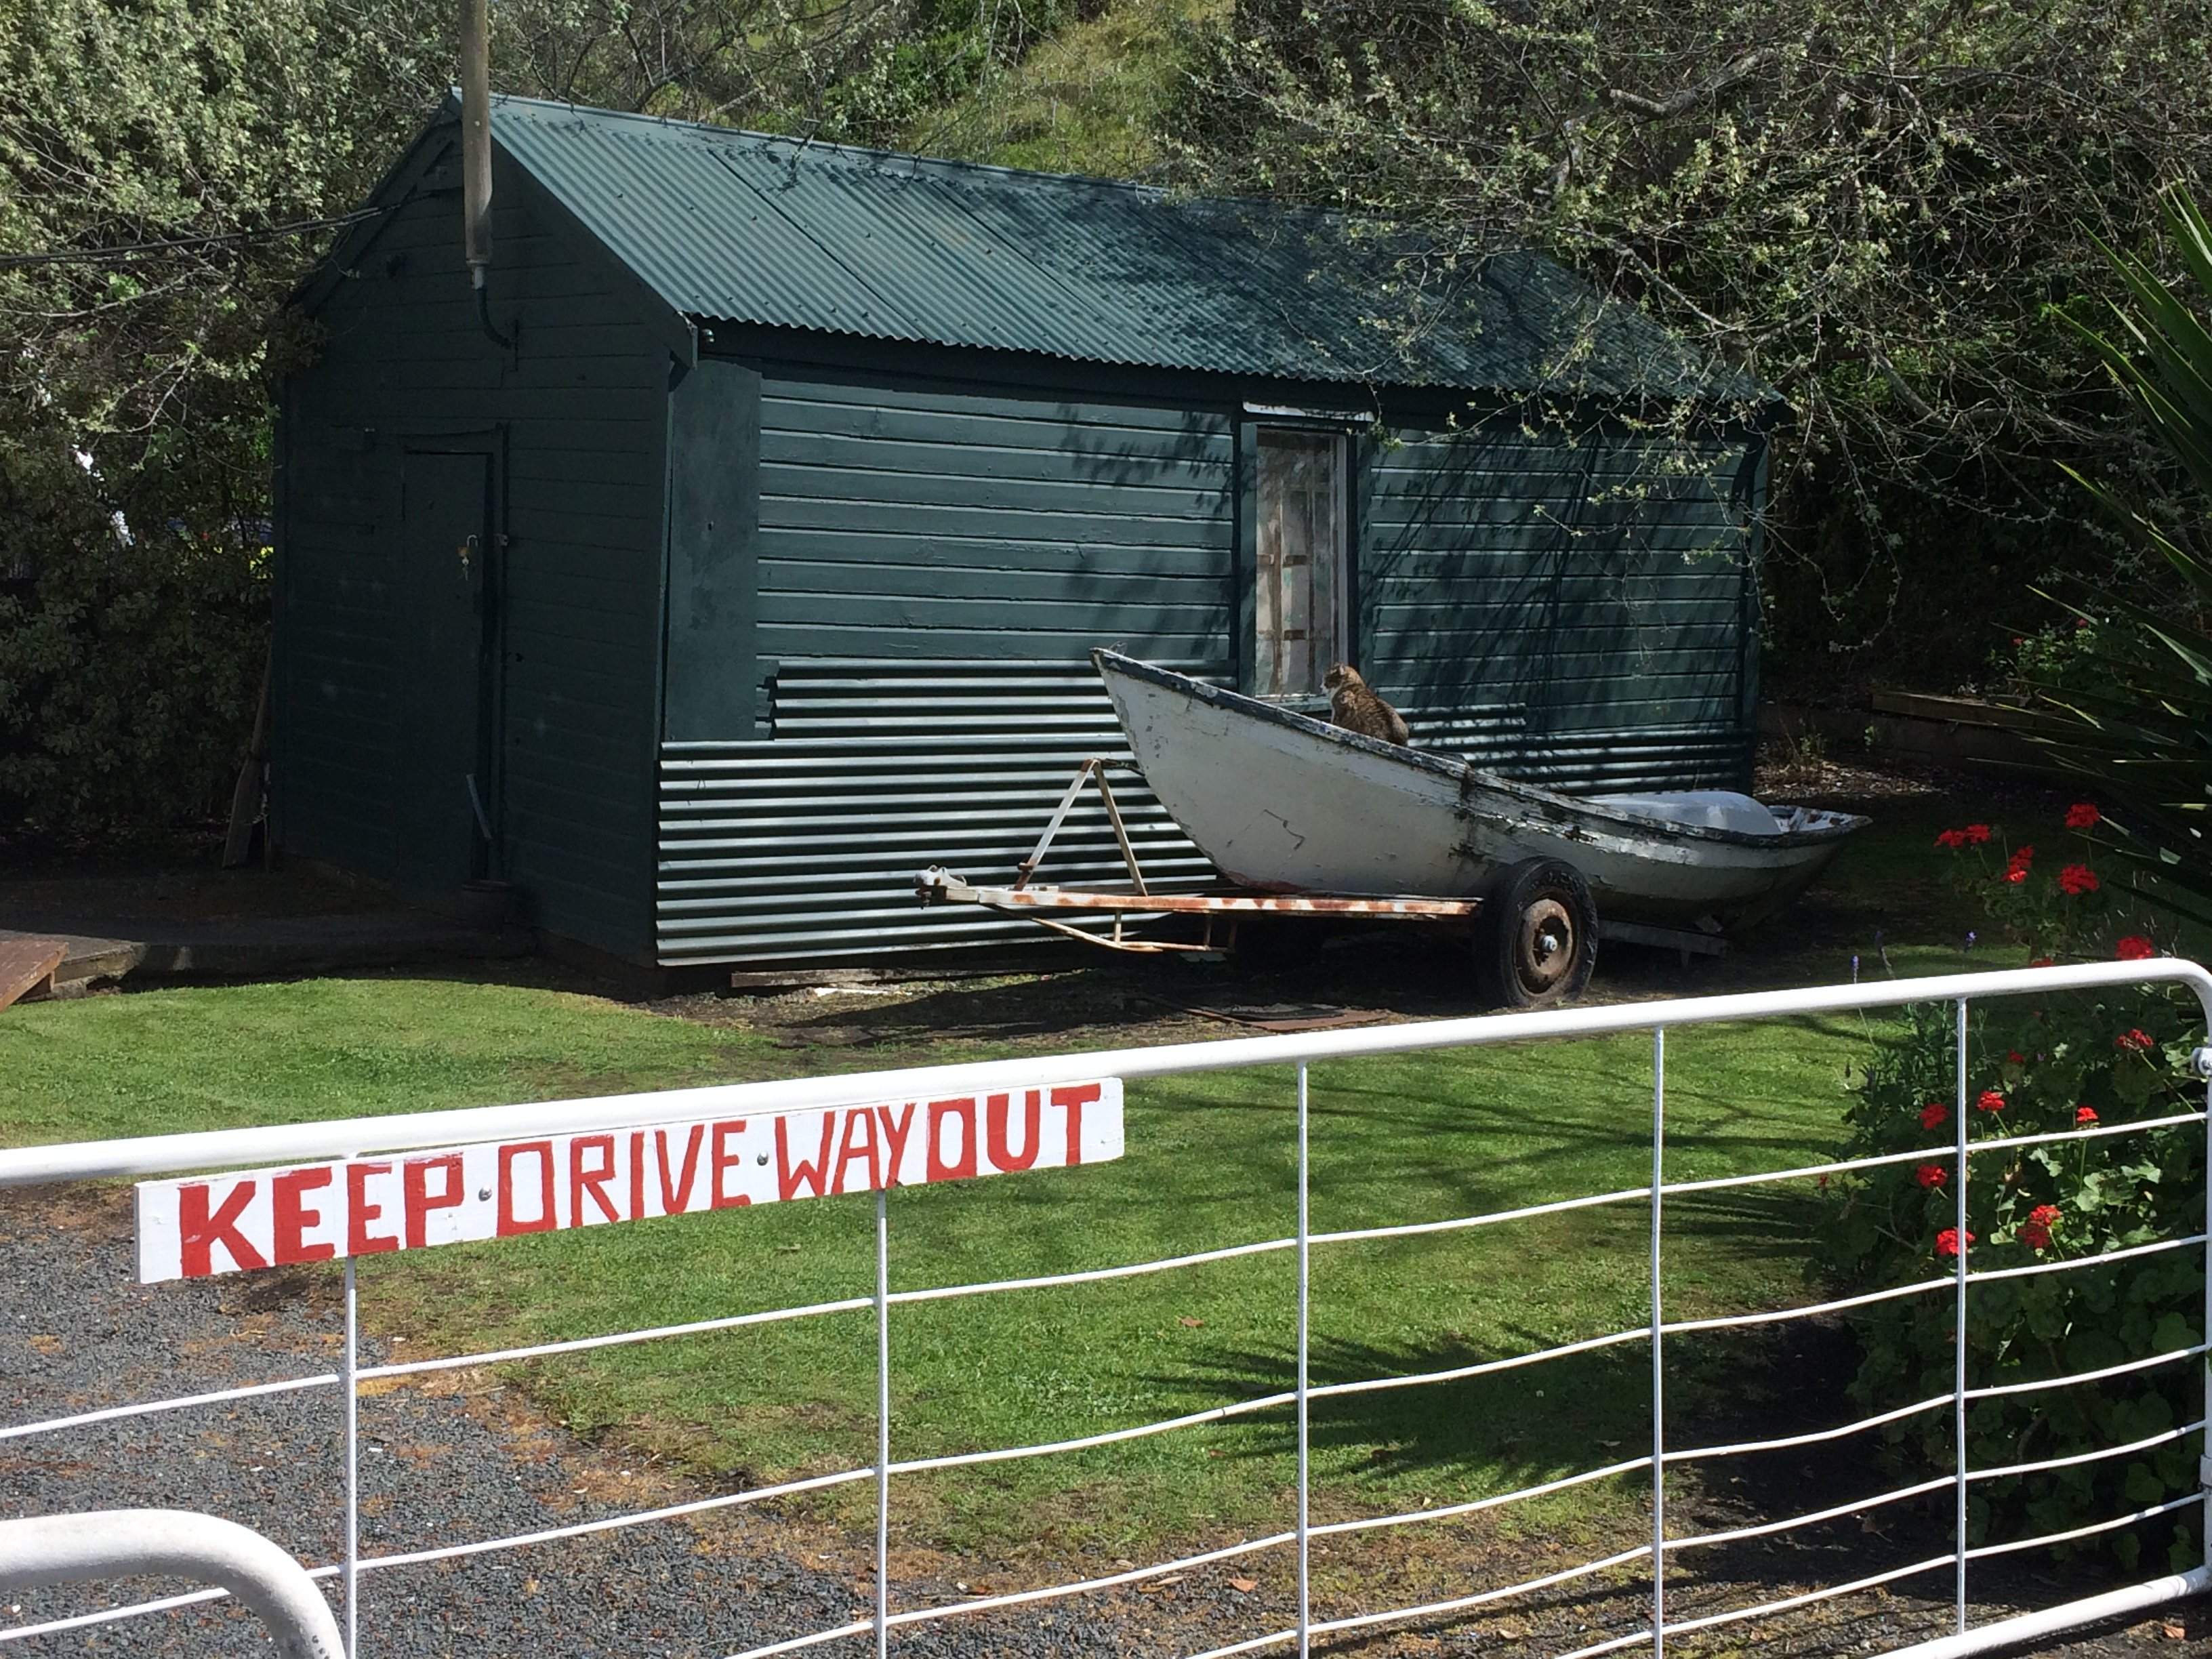
Ginger magnet?
2 points
-
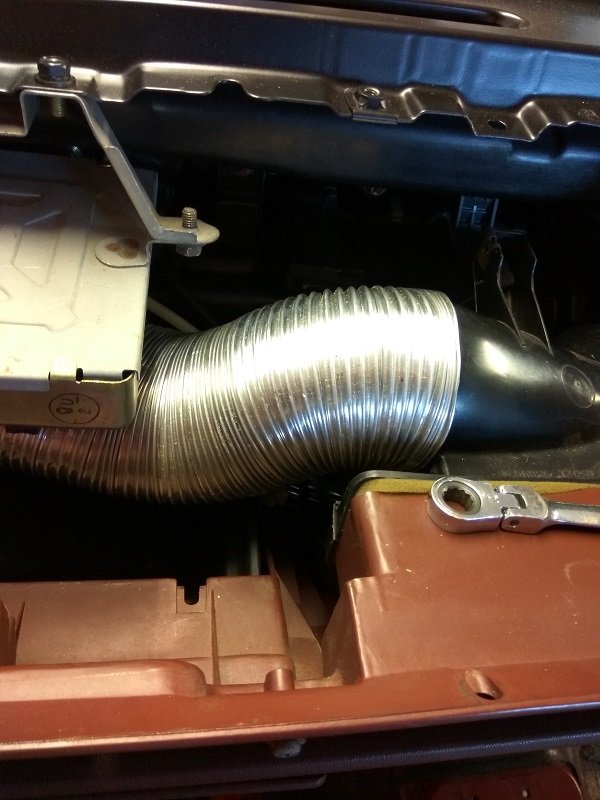
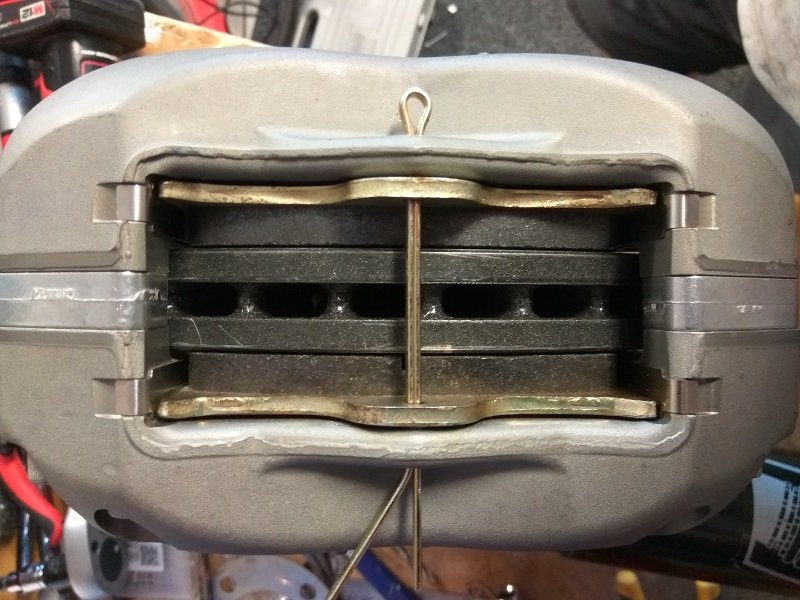
Have been chipping away slowly. Torqued all the the bolts on the front strut's up to cert specs. Then had to pull both struts apart as a ~0.5mm spacer wasn't needed. I had previously found it was needed as one pad didn't fit. This time I found it wasn't needed... so hopefully a drive around the block will sort the slight rub of one pad. Without the spacer plate, the pads have a gap sub 1mm, with one slightly touching, still easy enough to spin so I think that will sort itself after a drive. Installed the diff back into the car, nightmare one man job. Took a lot of pissing around as some of the arms are super tight. Got there in the end. I stripped the surface rust off all the arms and gave them a couple of coats of paint. No pics of this as I spent too long cursing and losing the will to live. Bolted an adjustable MRP panhard rod in for the first time, shocks bolted up. Still need to work out what i'll do for bump stops, not being able to chop some down is a bit of a ball ache. Have left handbrake cables flapping in the wind for now as I need to bleed the brakes first. Drums were completely rebuilt, so that side of things is done. Hoping to get the brakes up and working this week, then I can get it off the axle stands it's been on for months and get it outside. Boring update, but just trying to keep the momentum going. I've also installed the dash back into the car and hopefully plugged everything back in correctly. Brakes together for hopefully final time Heater ducting, couldn't find a duct in the parts pile for this section so made one up with some 75mm flexipipe stuff. Had to flatten it below the emissions ECU as it's a tight fit between that and the glovebox. Hub installed with bolts for brake upgrade kit. Ticked and torque written down so I know it's done. And wheel arch repair. Was the only part that needed replacing, due to a prang which caused it to rust out. The rest of the arch has some surface rust so I gave it a really good clean up and sanded off what I could. Then put some Brunox over it. Will epoxy prime the inside too so that any moisture can't get to the area. It was either that or replace the whole rear arch for the sake of some very light rust between the skins. A: that's above my paygrade B: seems a bit extreme as it won't get any worse. The repair I did took an hour to weld as it's so thin I could only do a couple of spot welds at a time, while letting it cool again. Relatively boring update done, if you made it this far, you've done well.
2 points
-
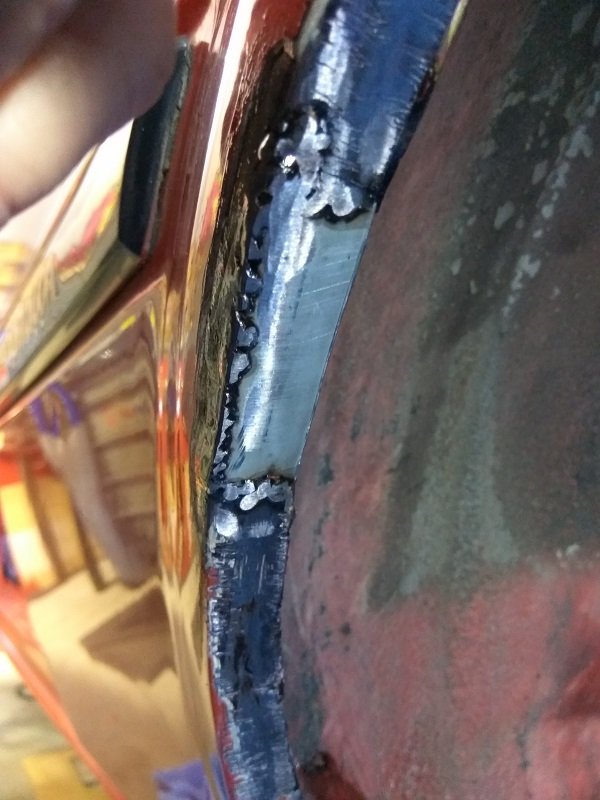
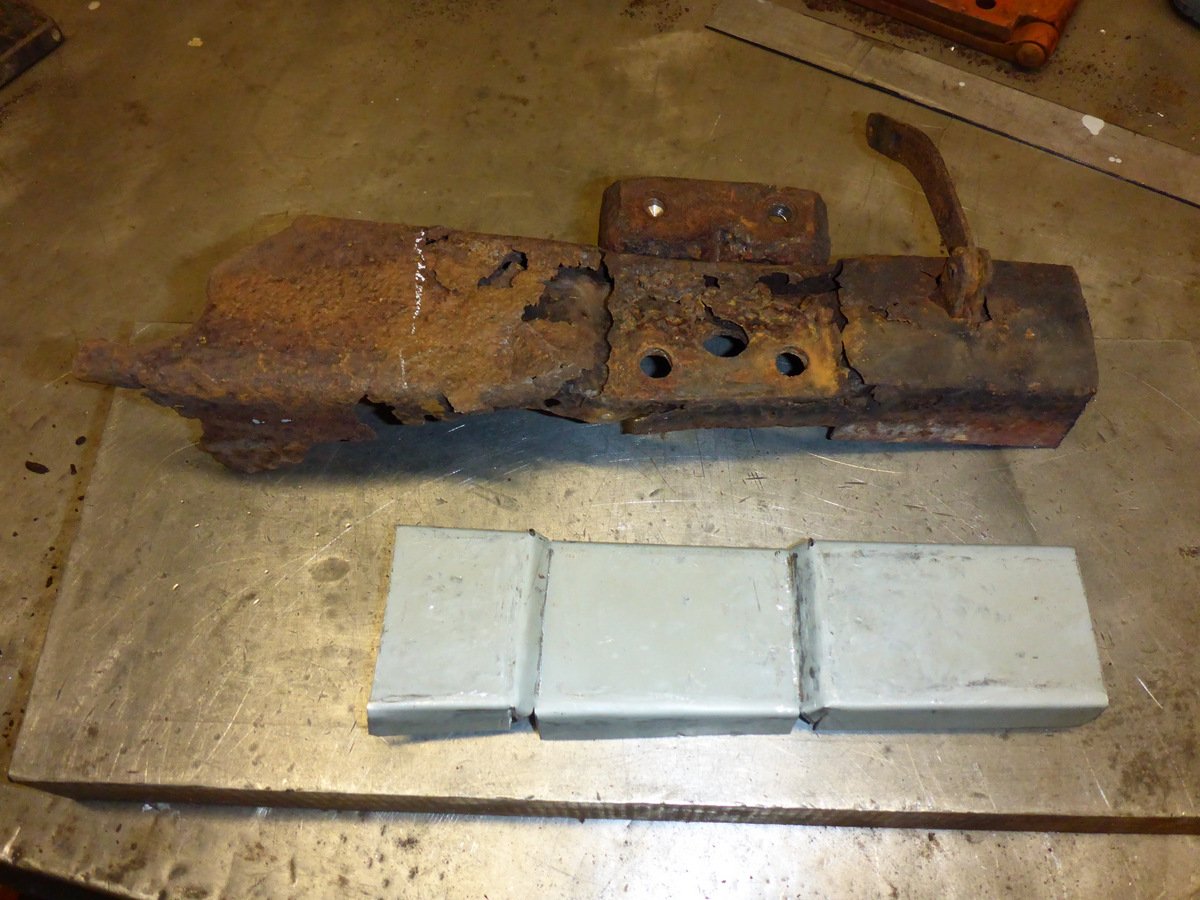
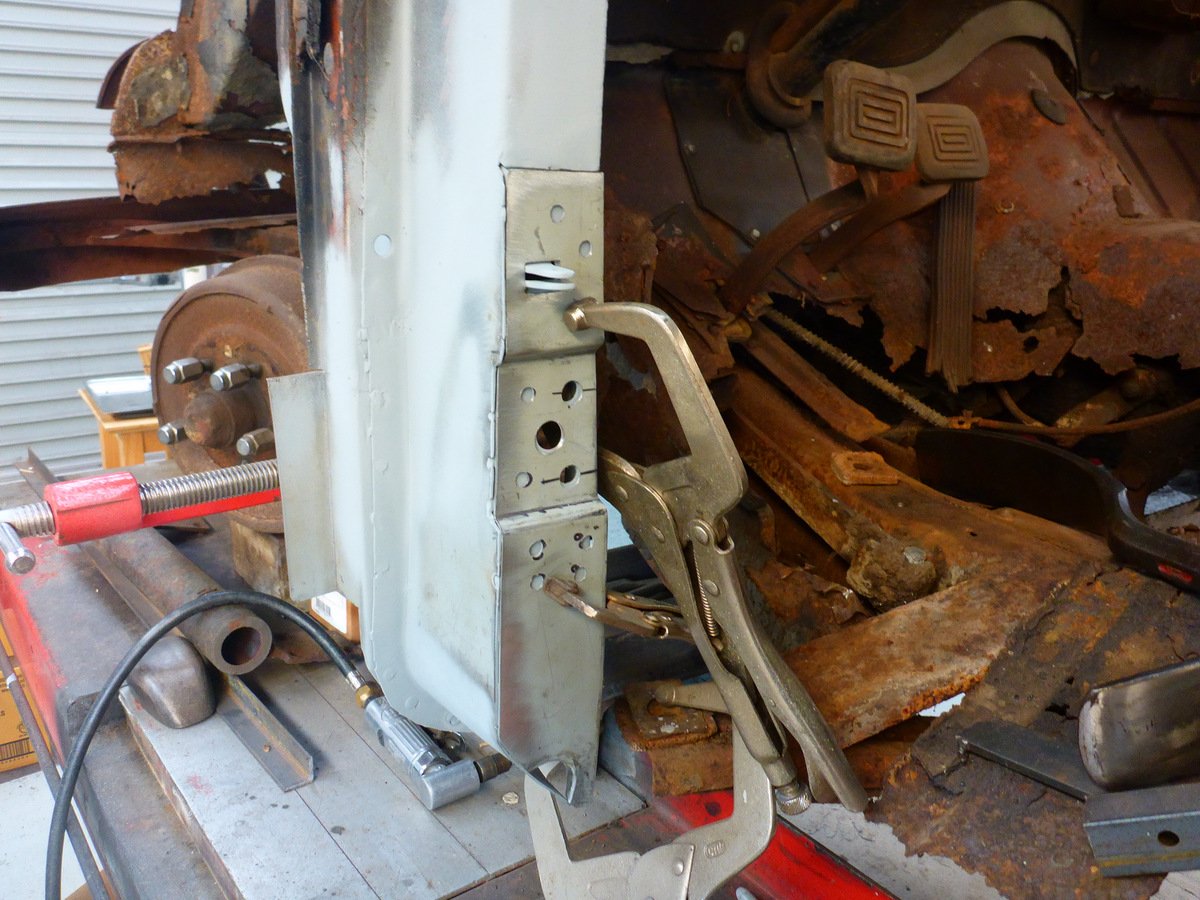
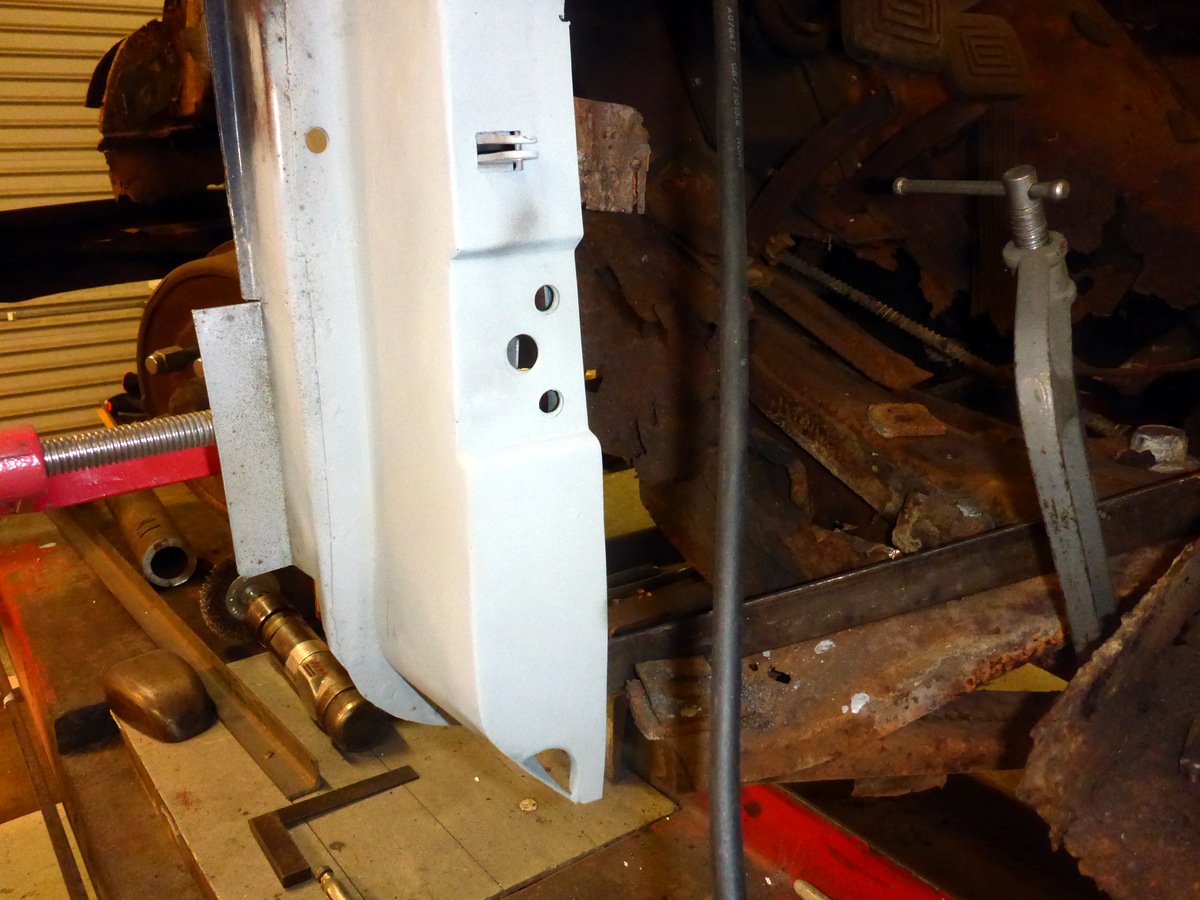
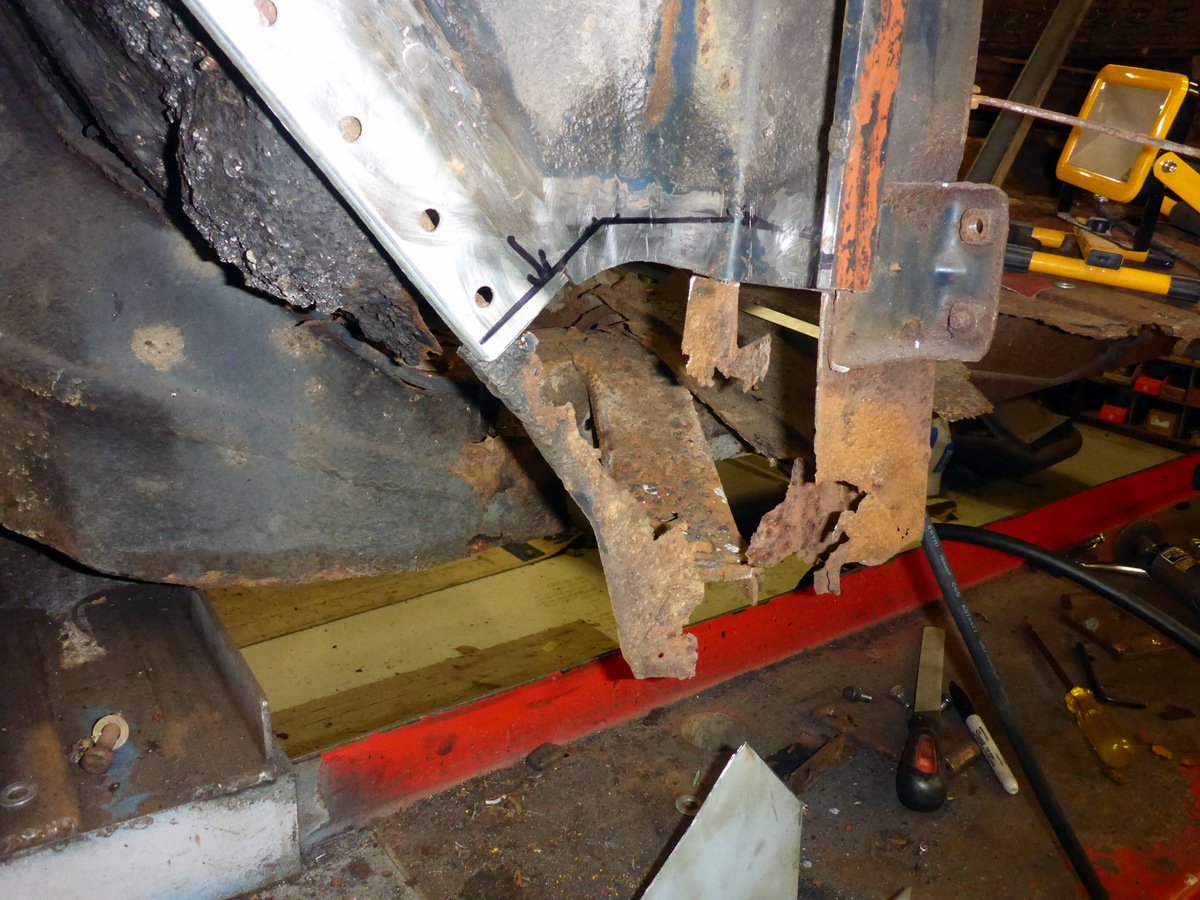
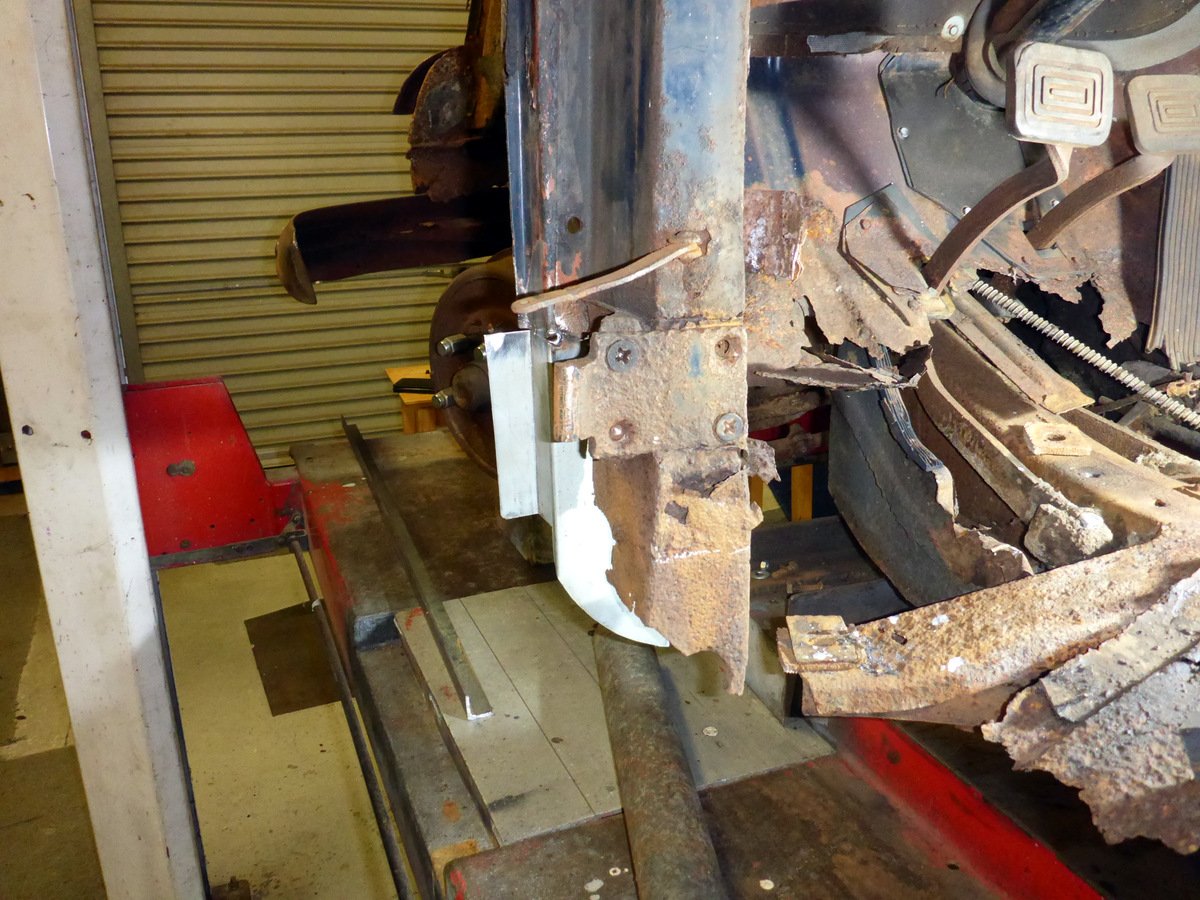
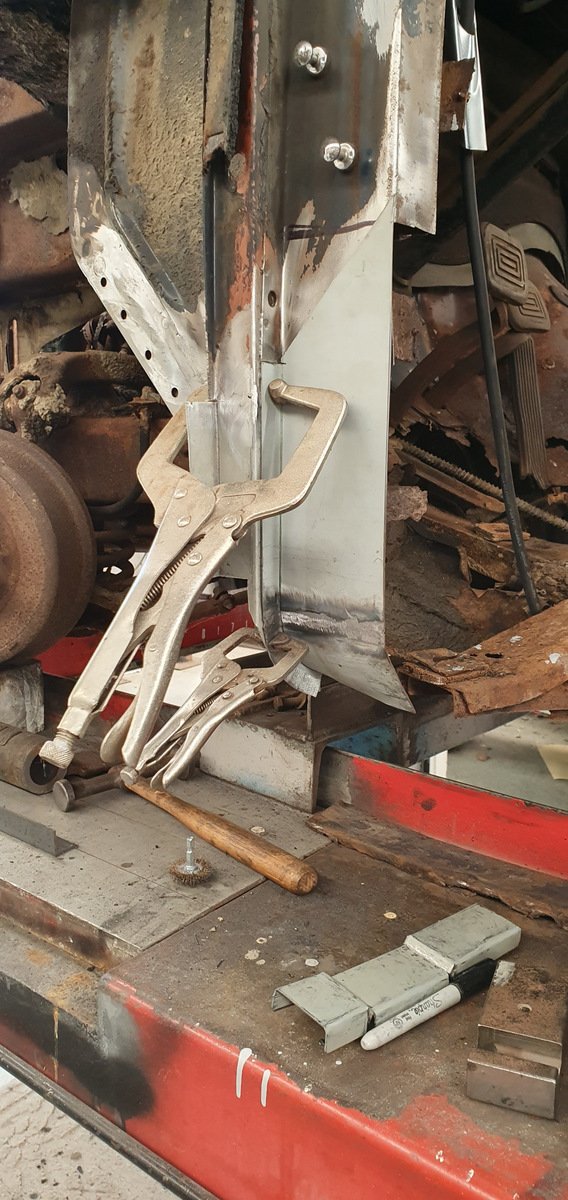
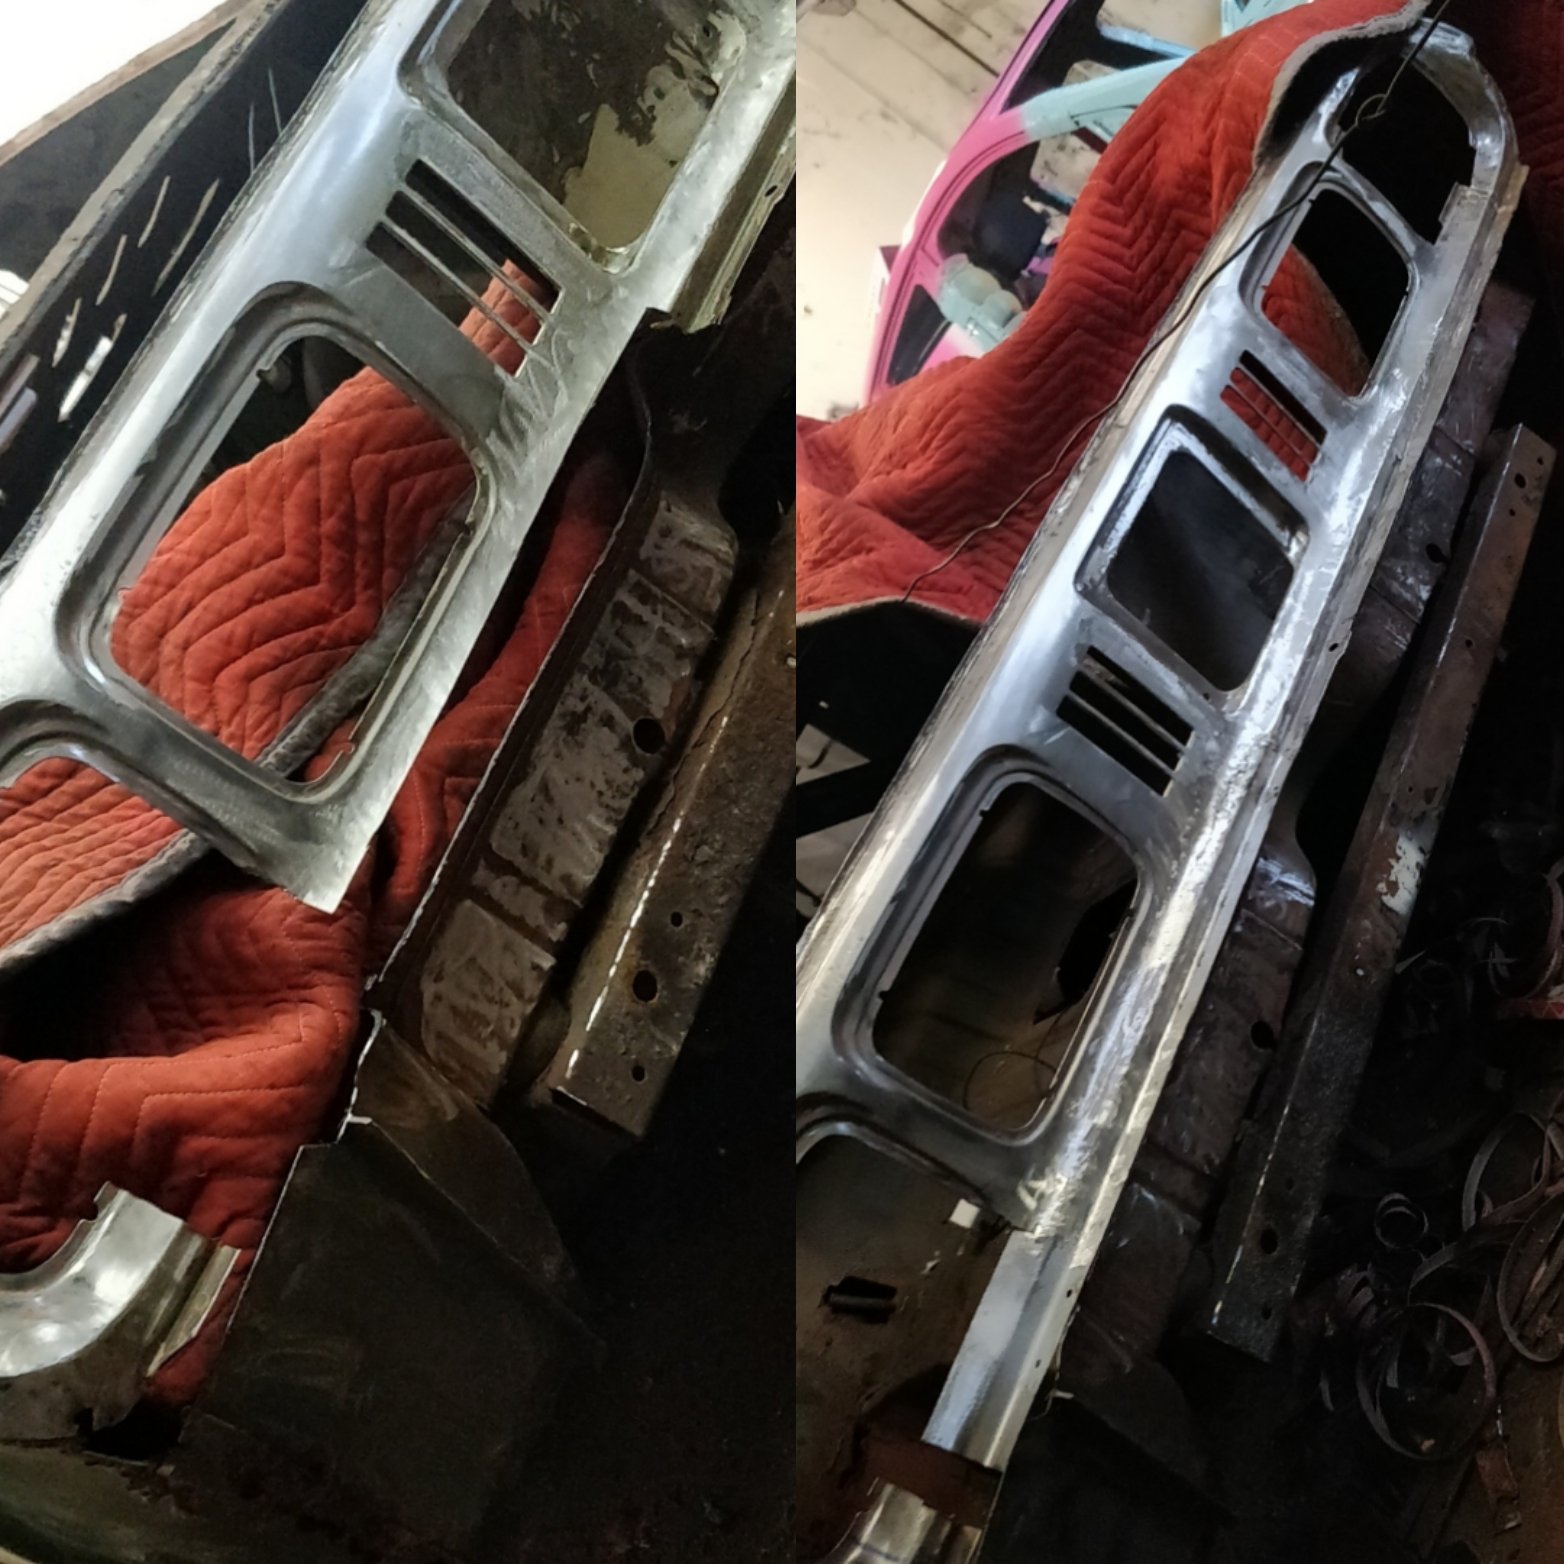
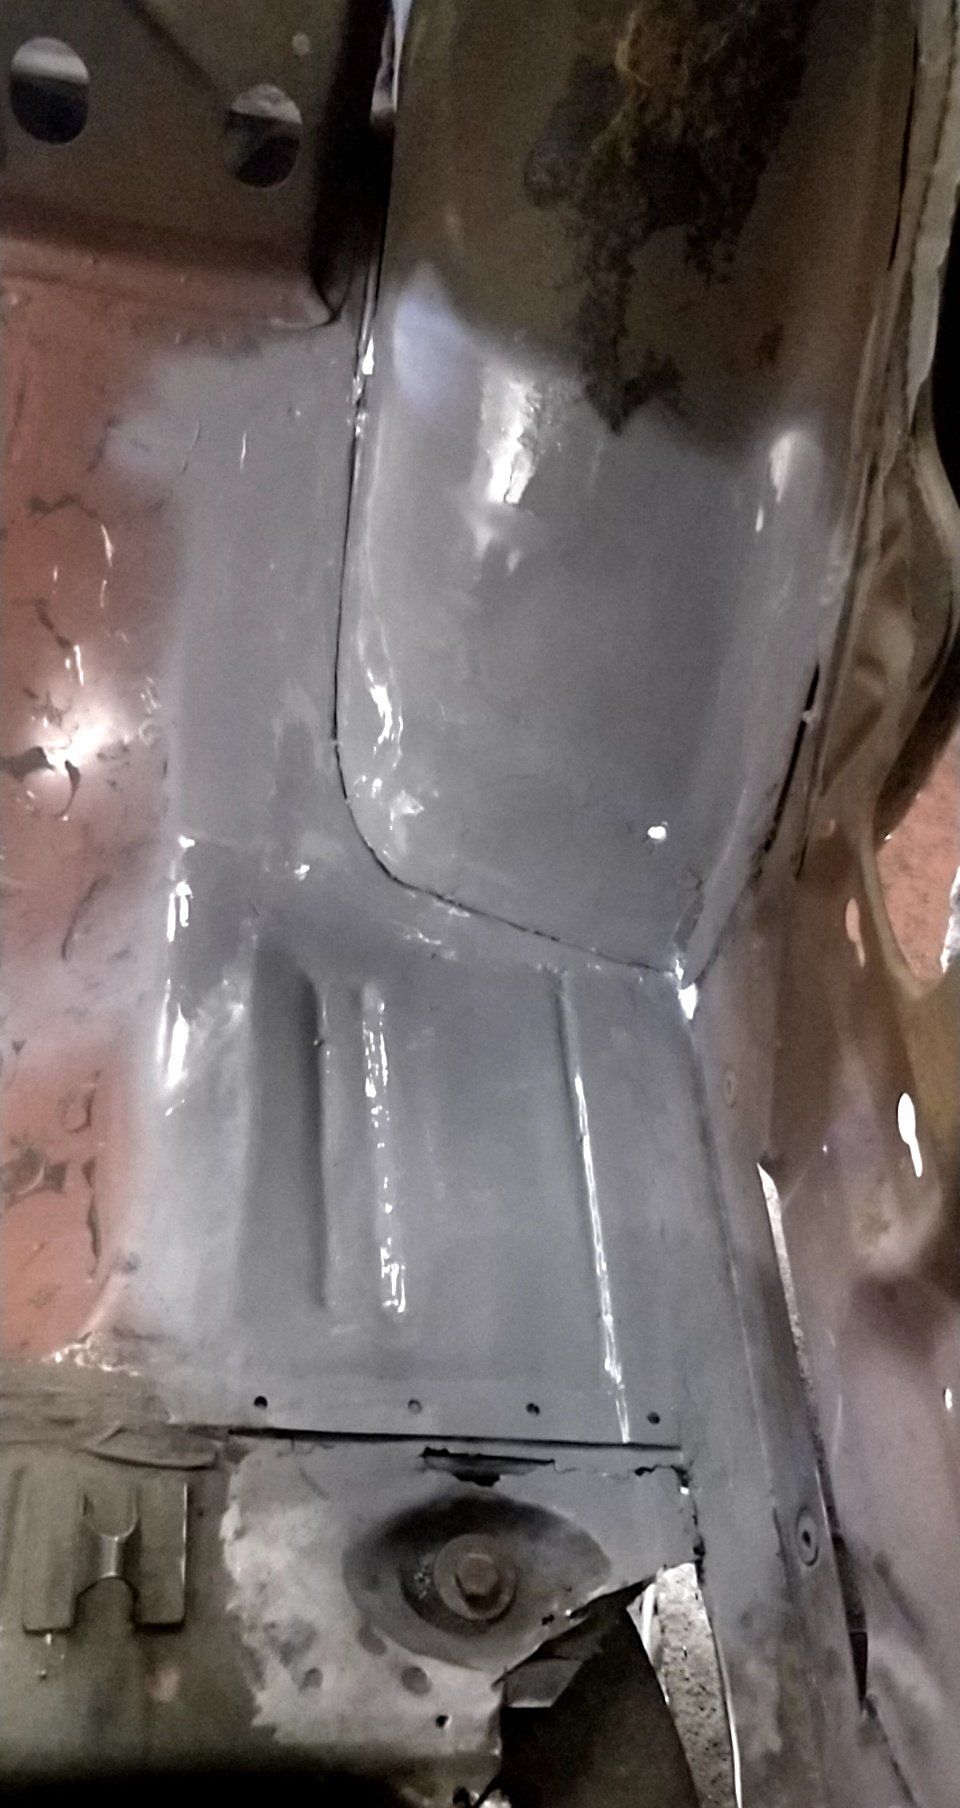
Lower hinge area is a double skinned piece Inner reinforcing section first Then the outer part
2 points
-
Continuing on the door pillar, lower section Inner guard area first Then the pillar structure, piece by piece
2 points
-
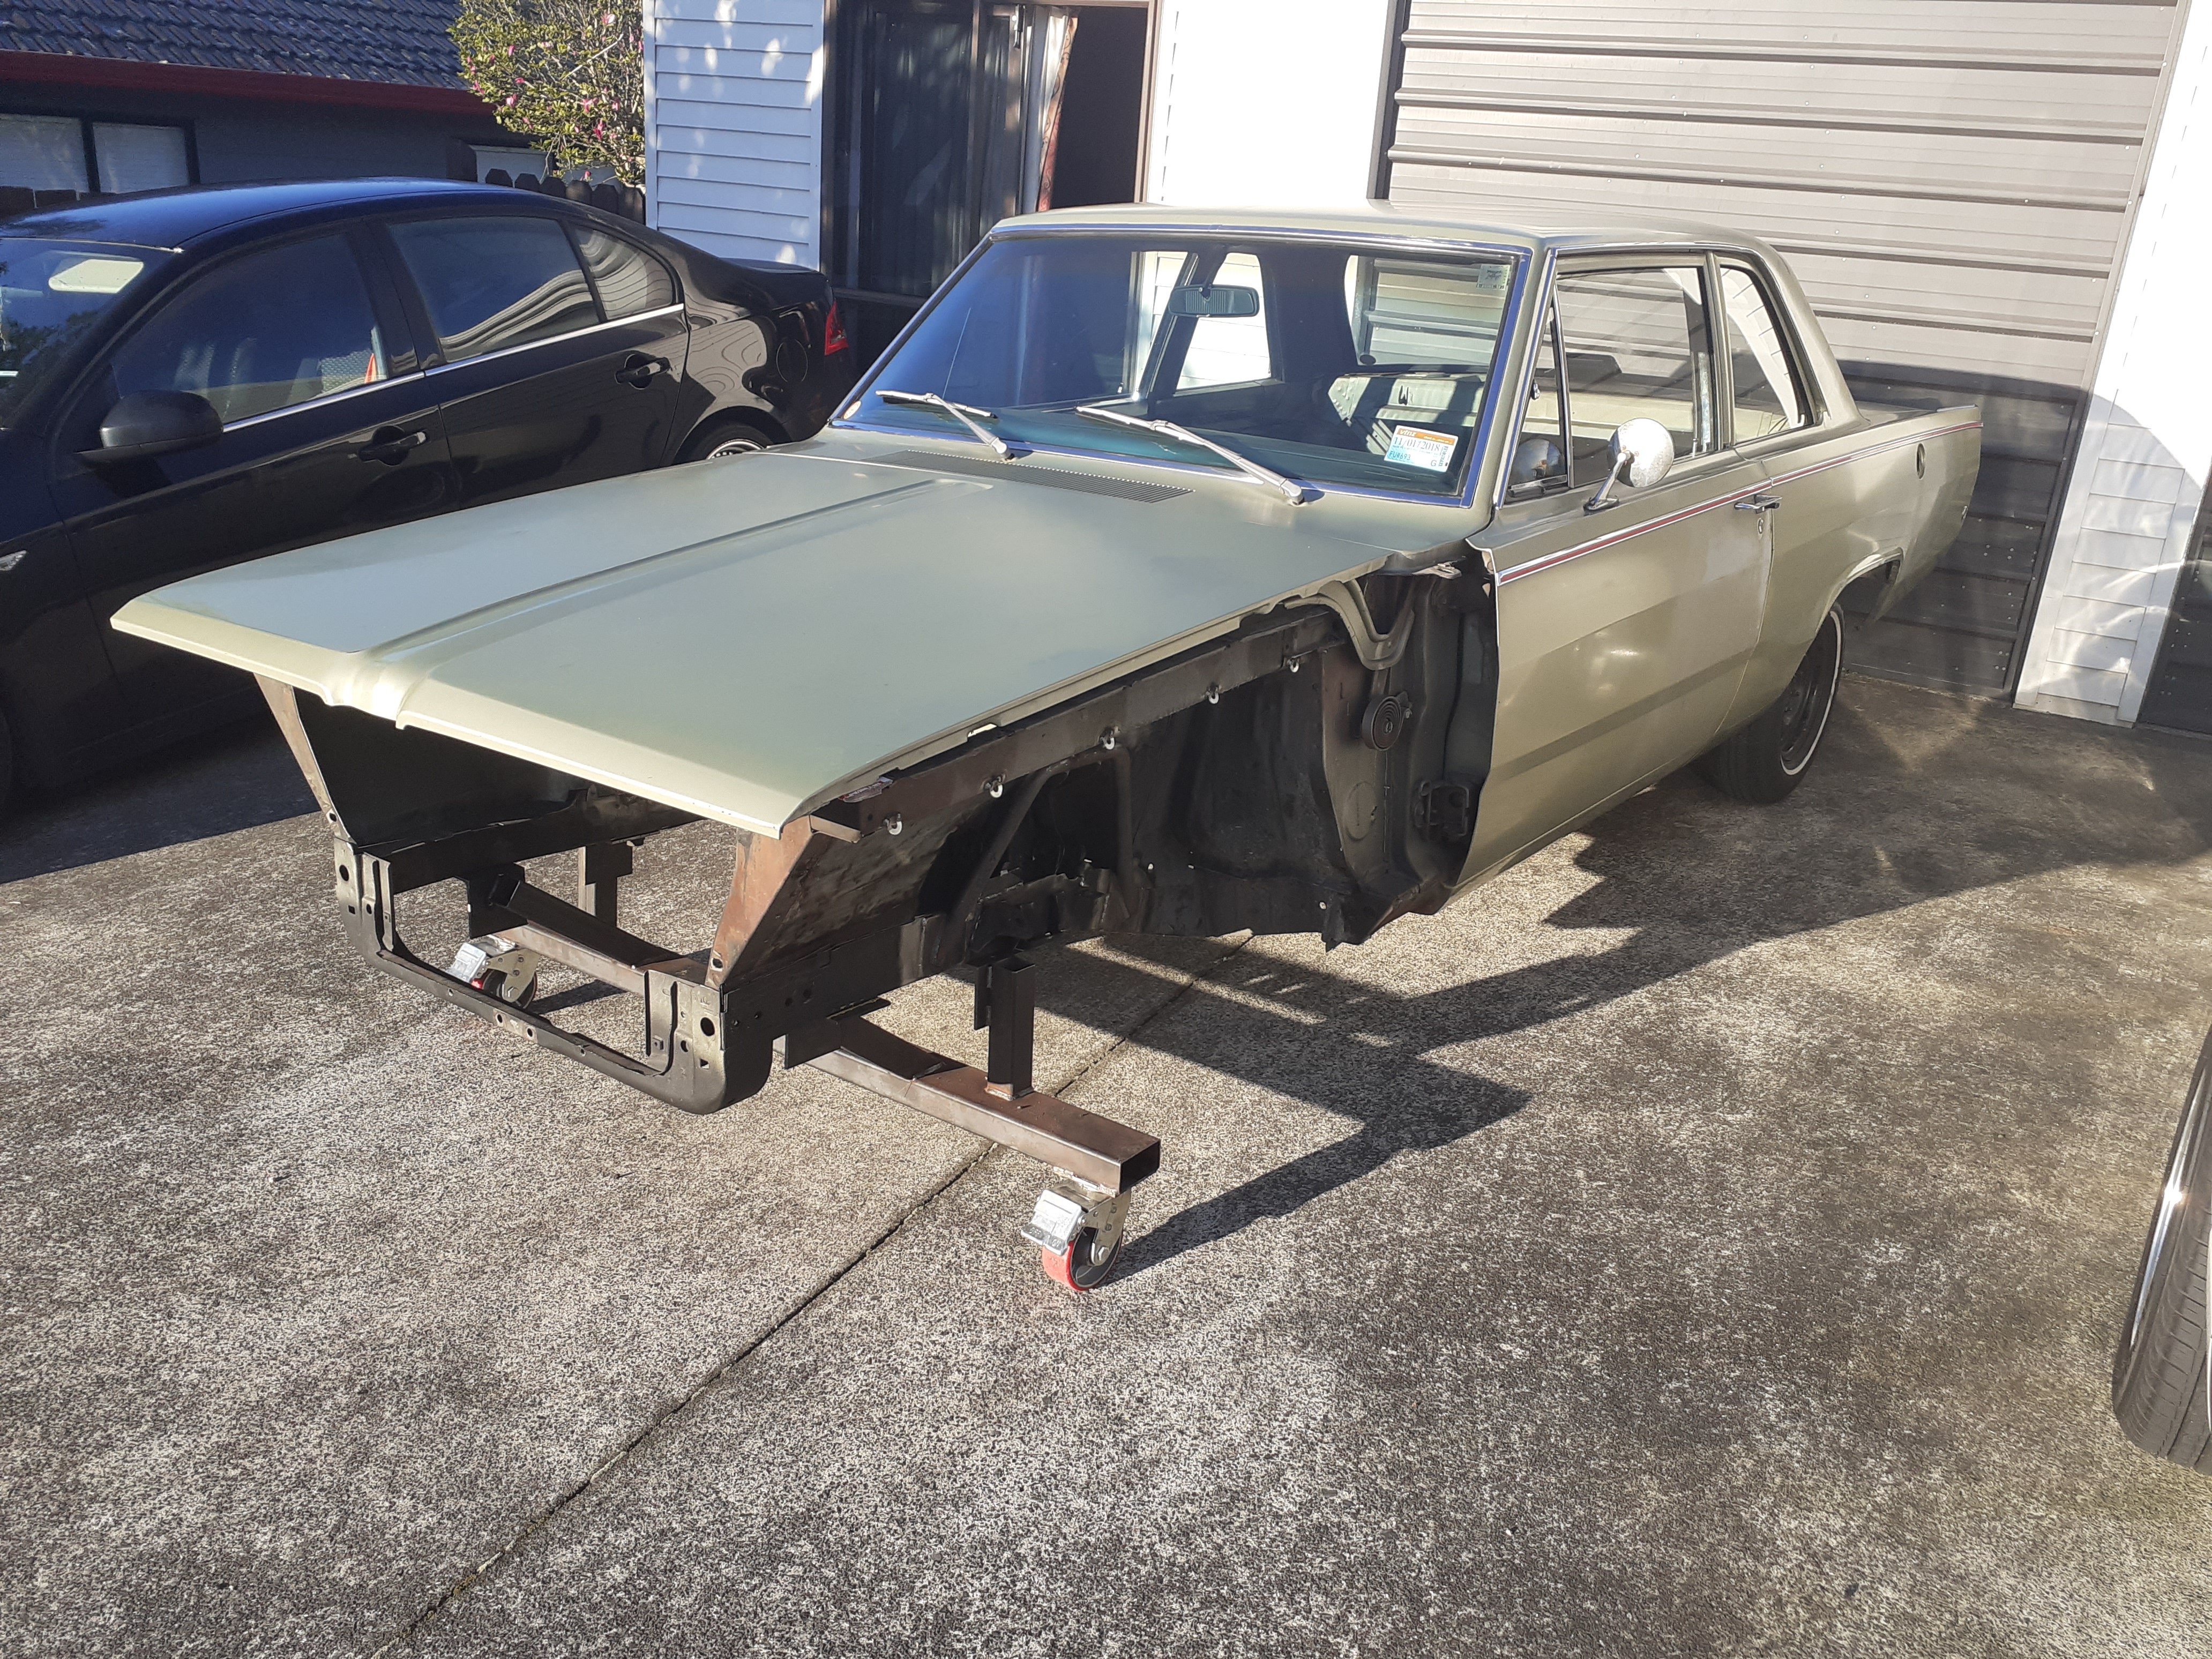
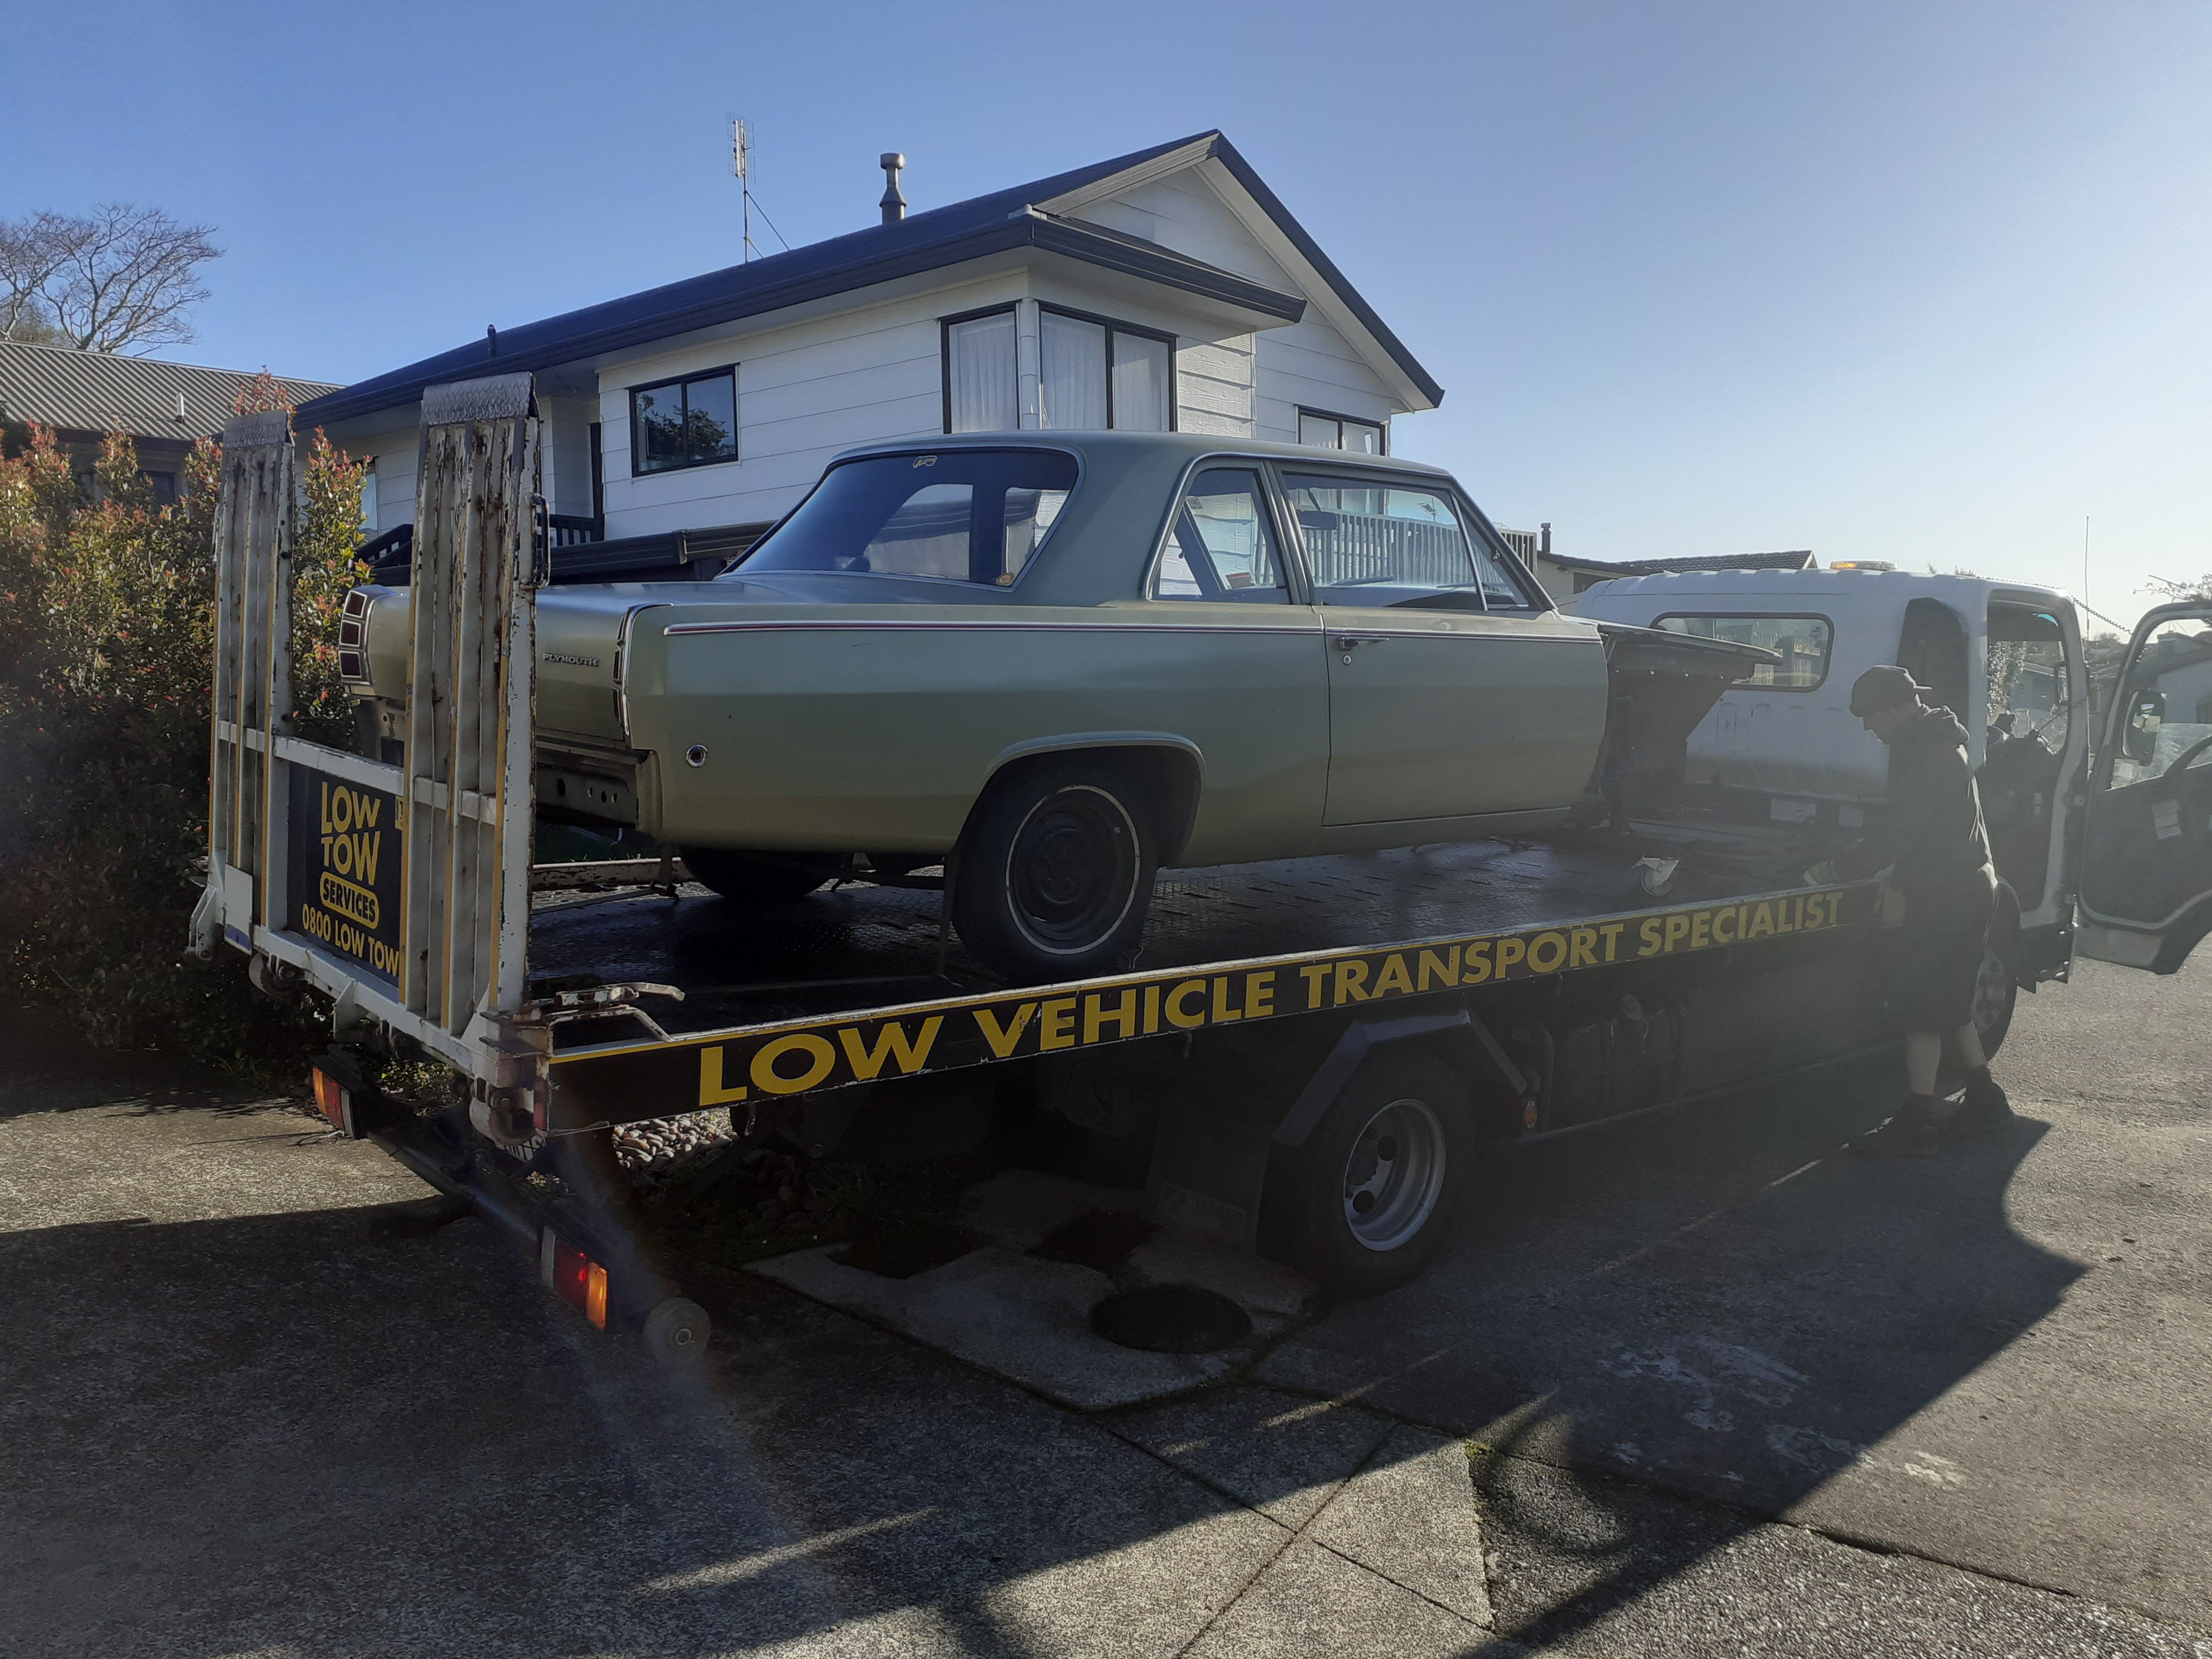
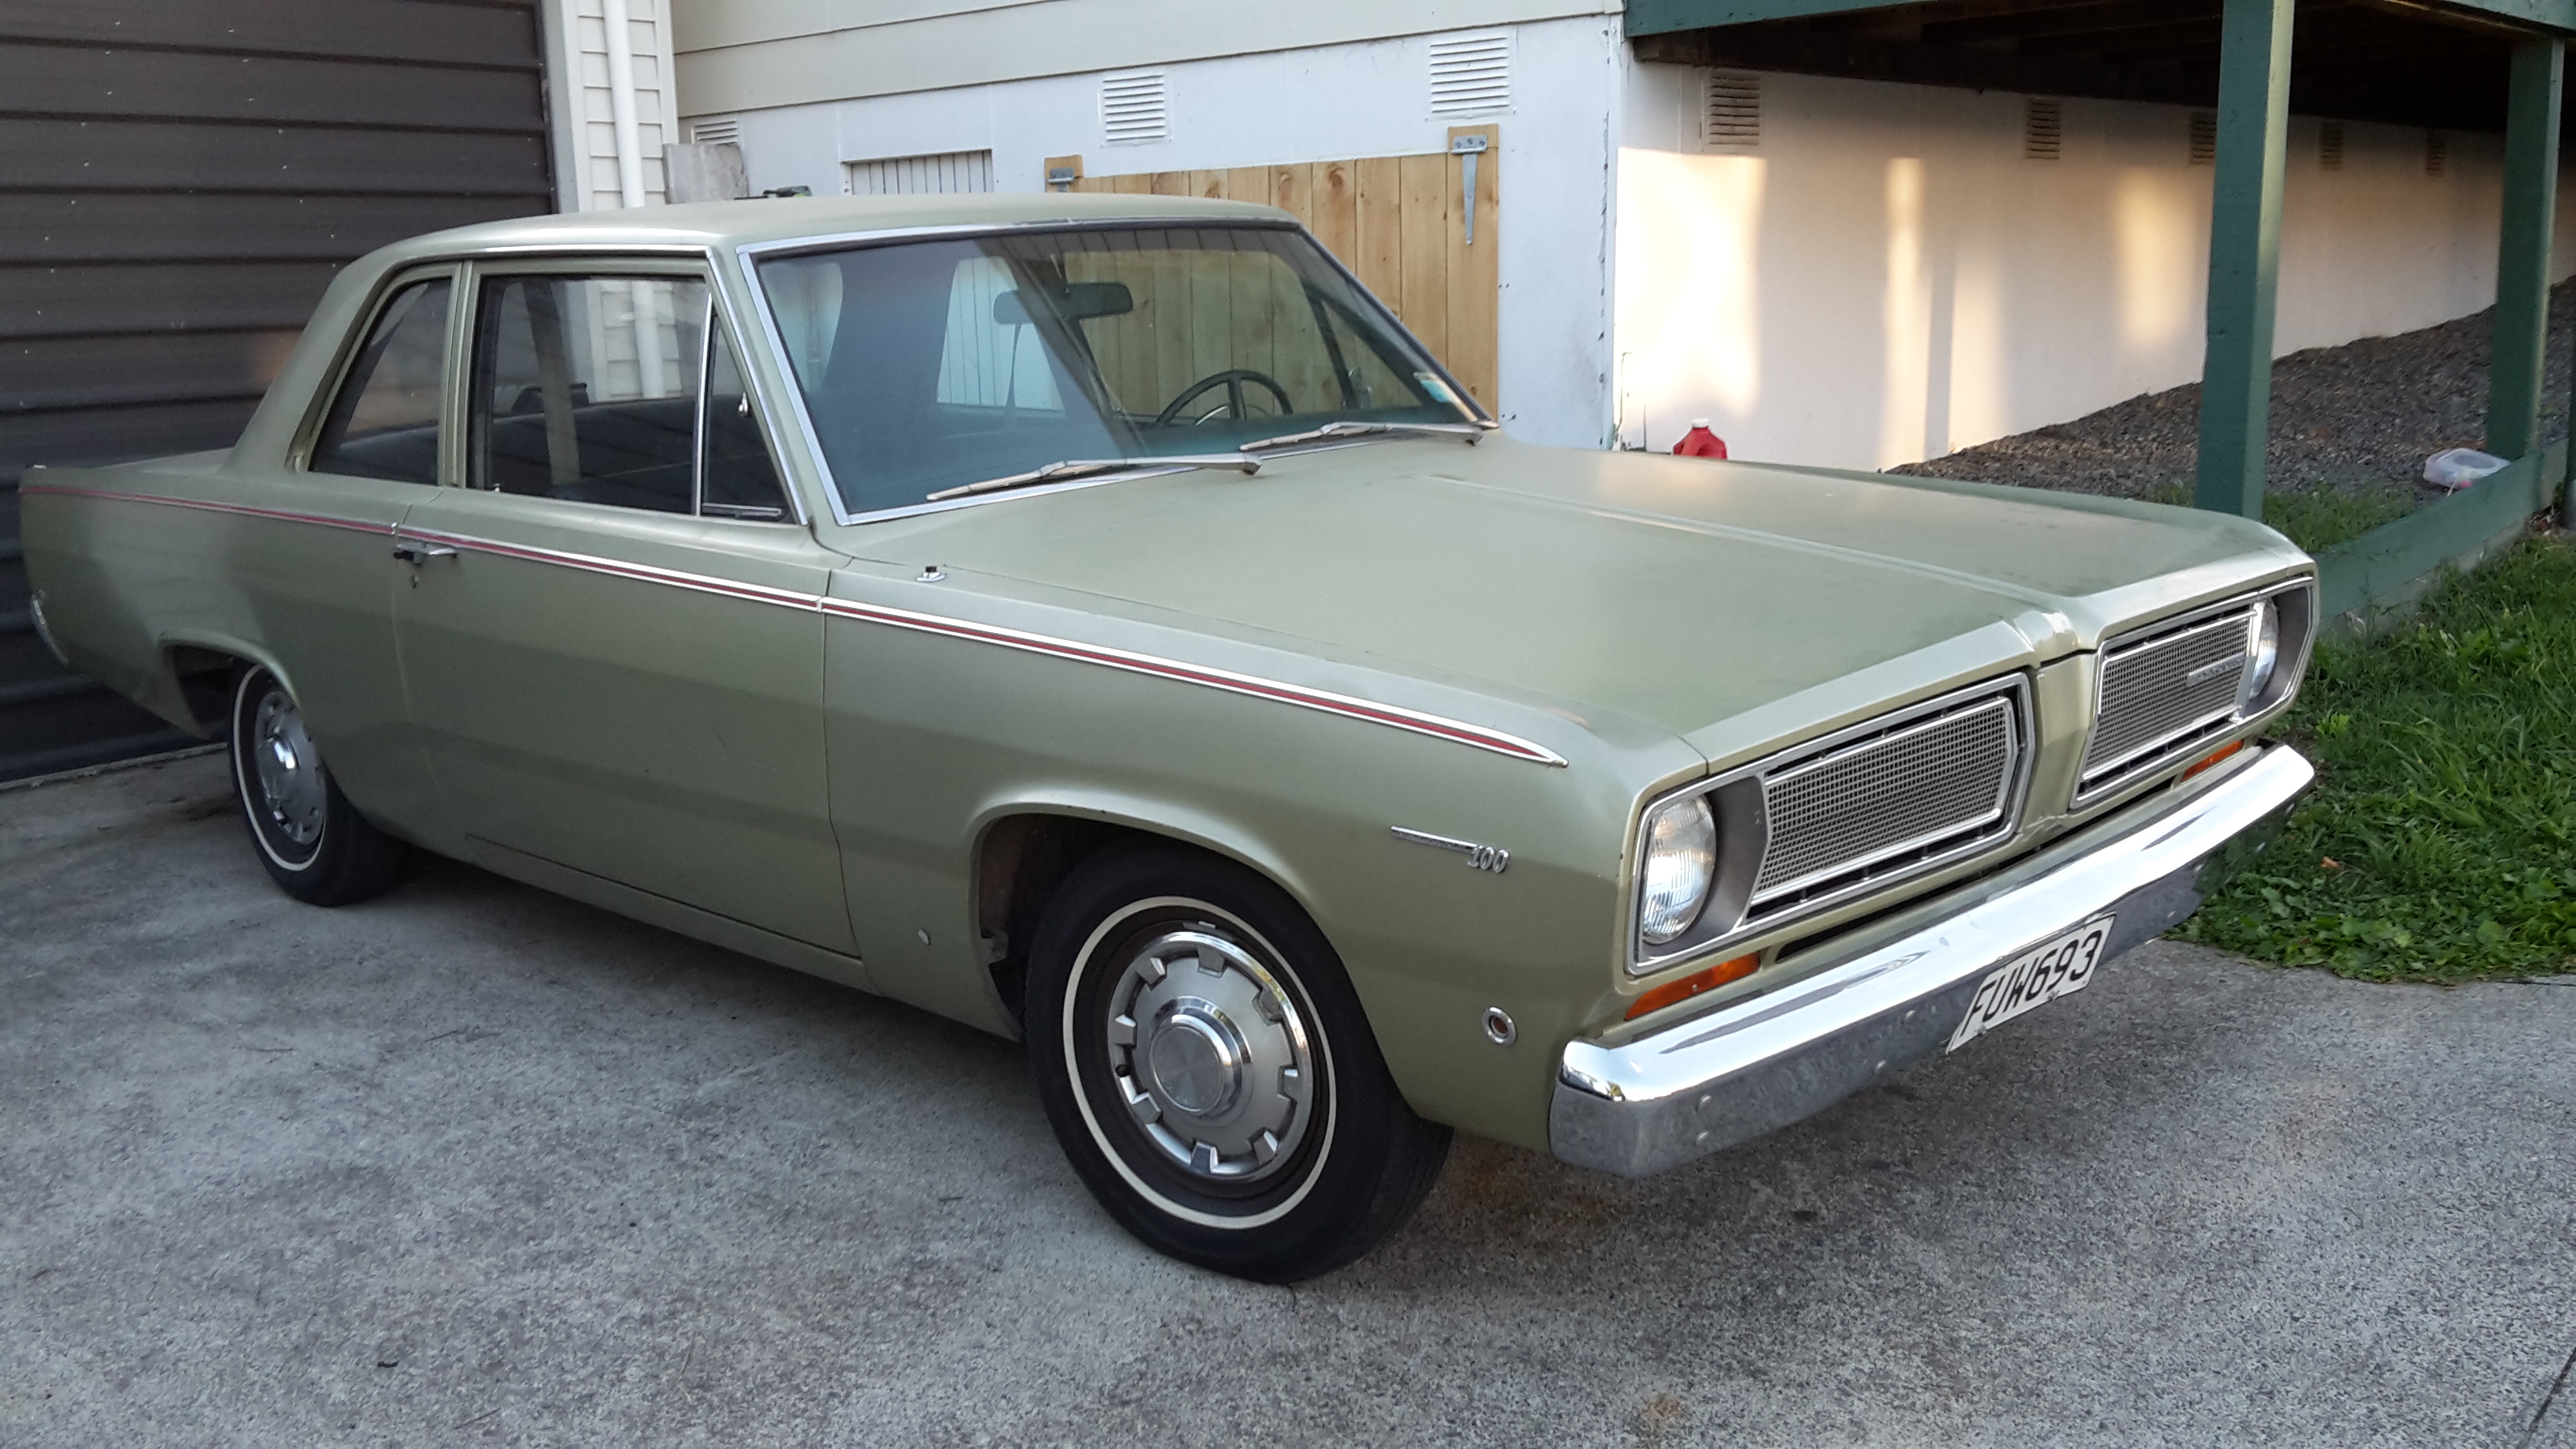
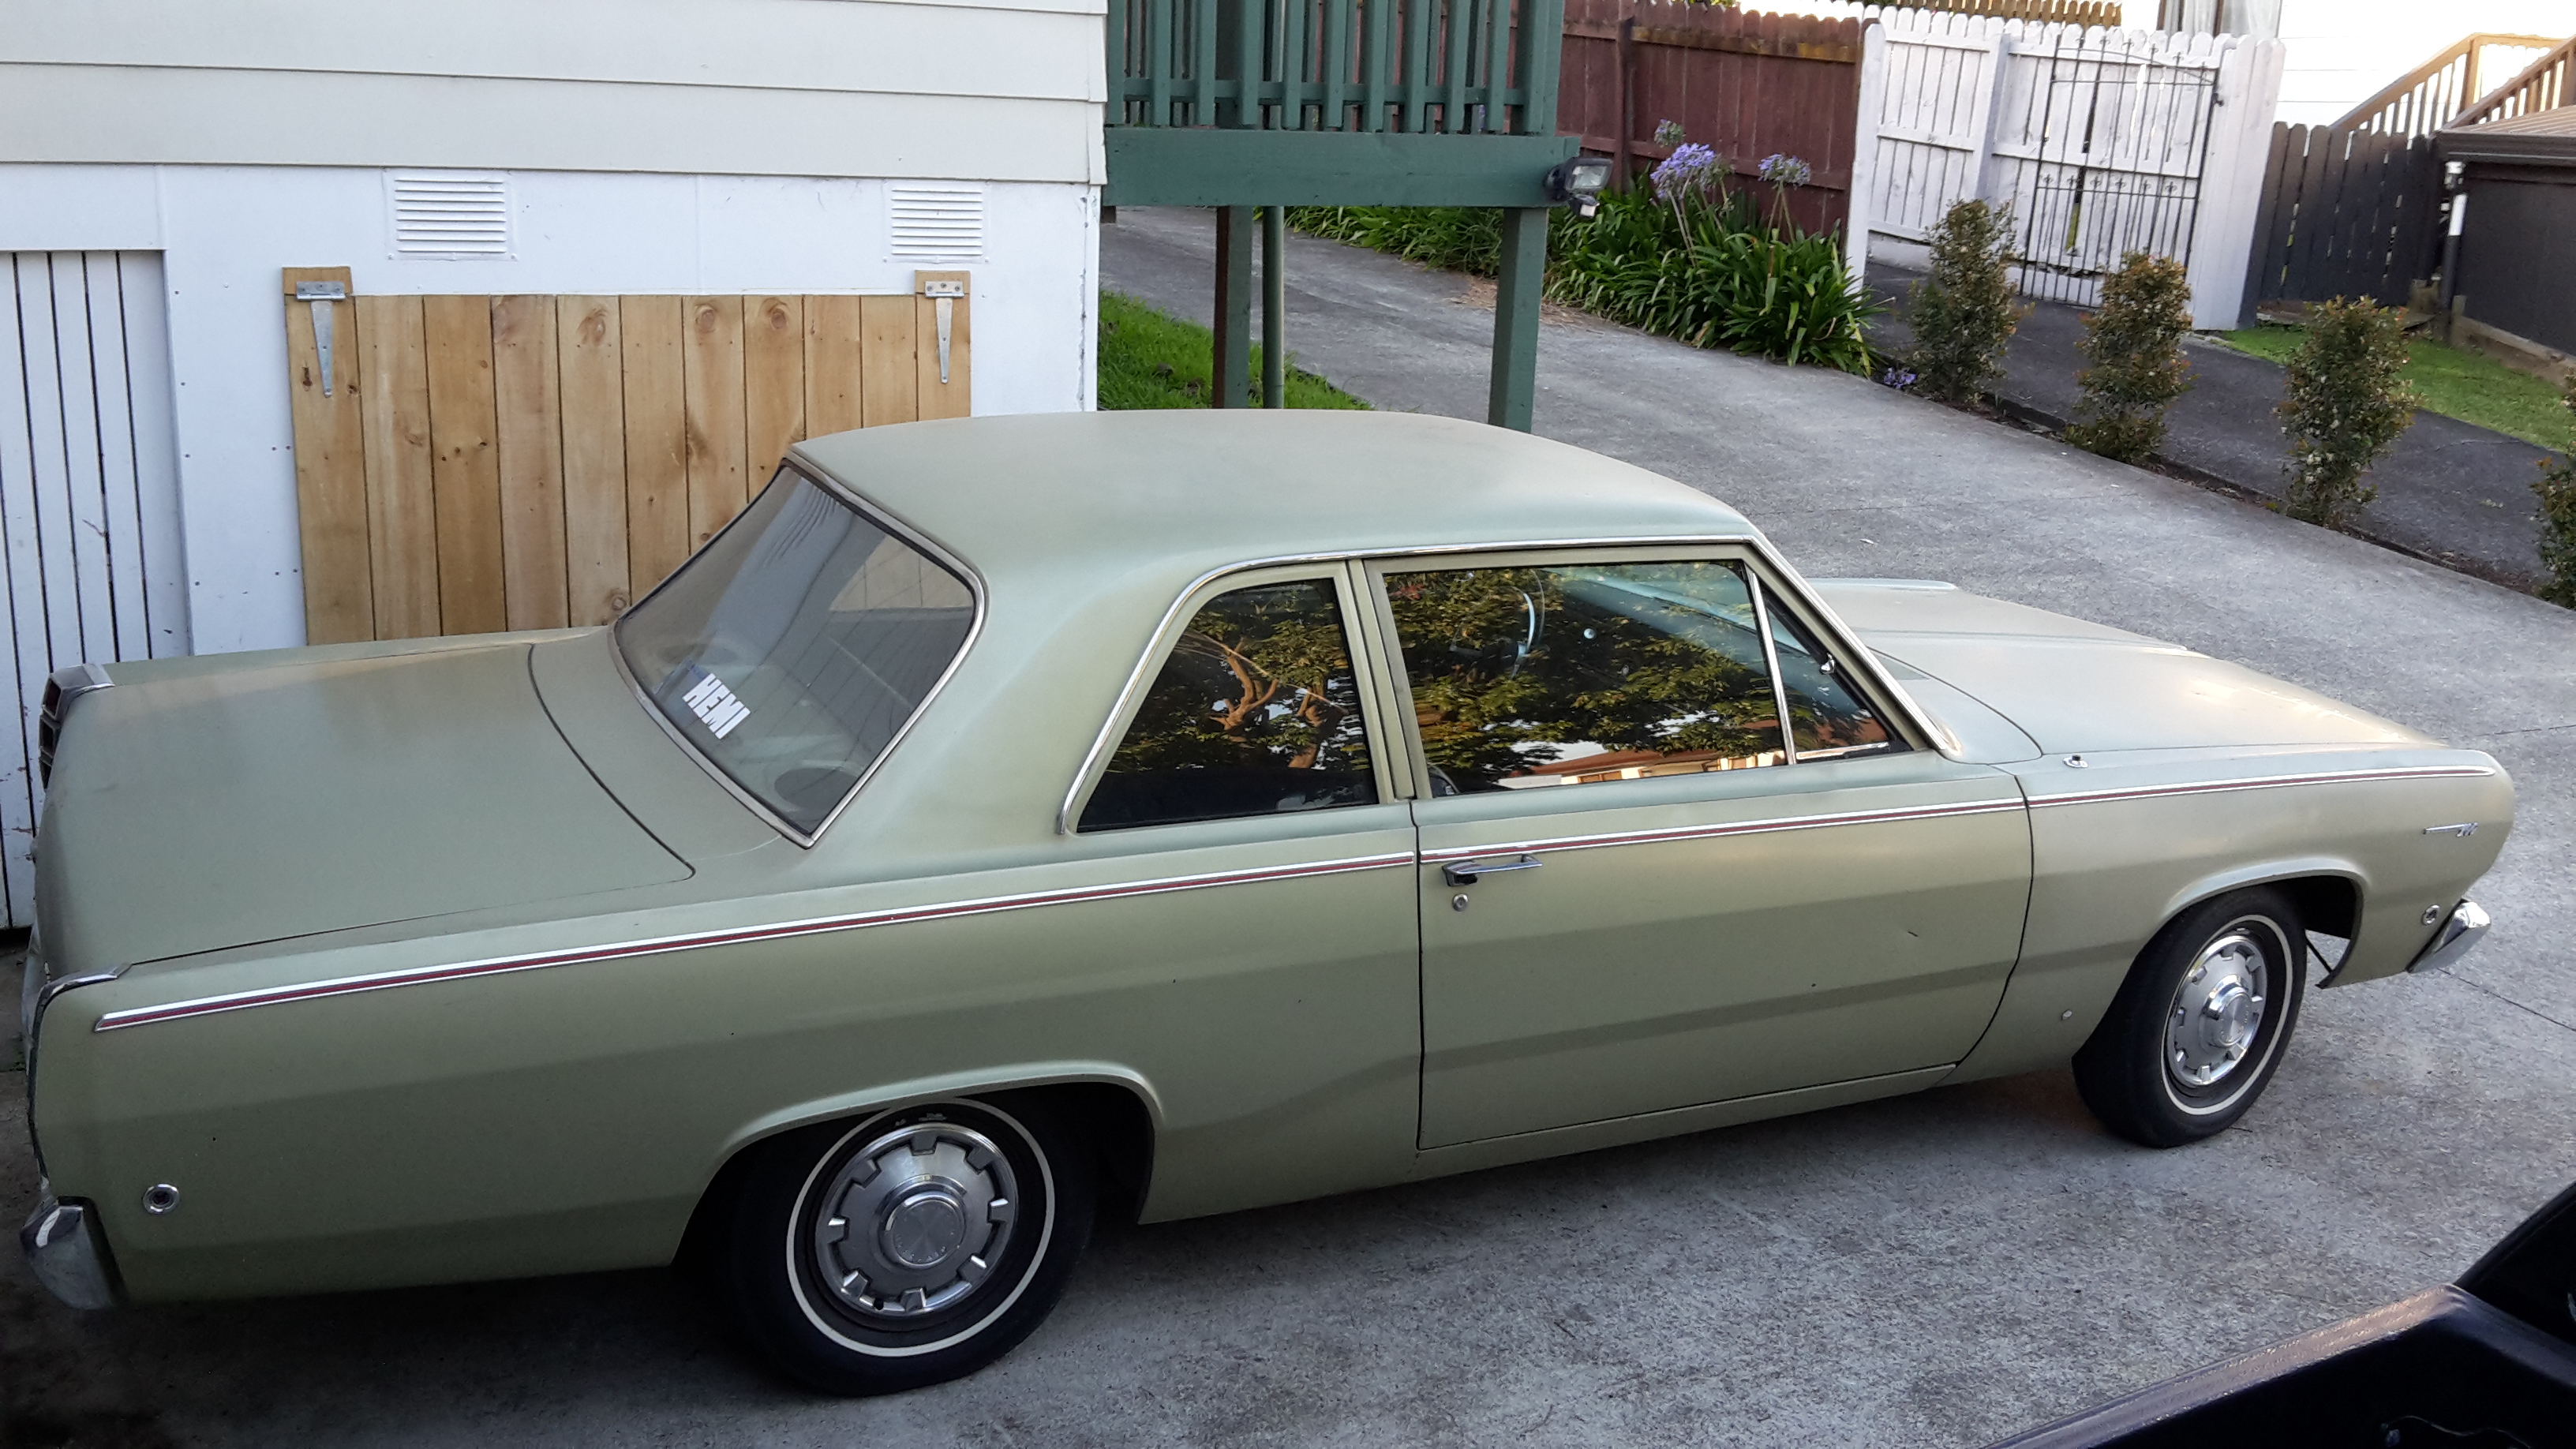
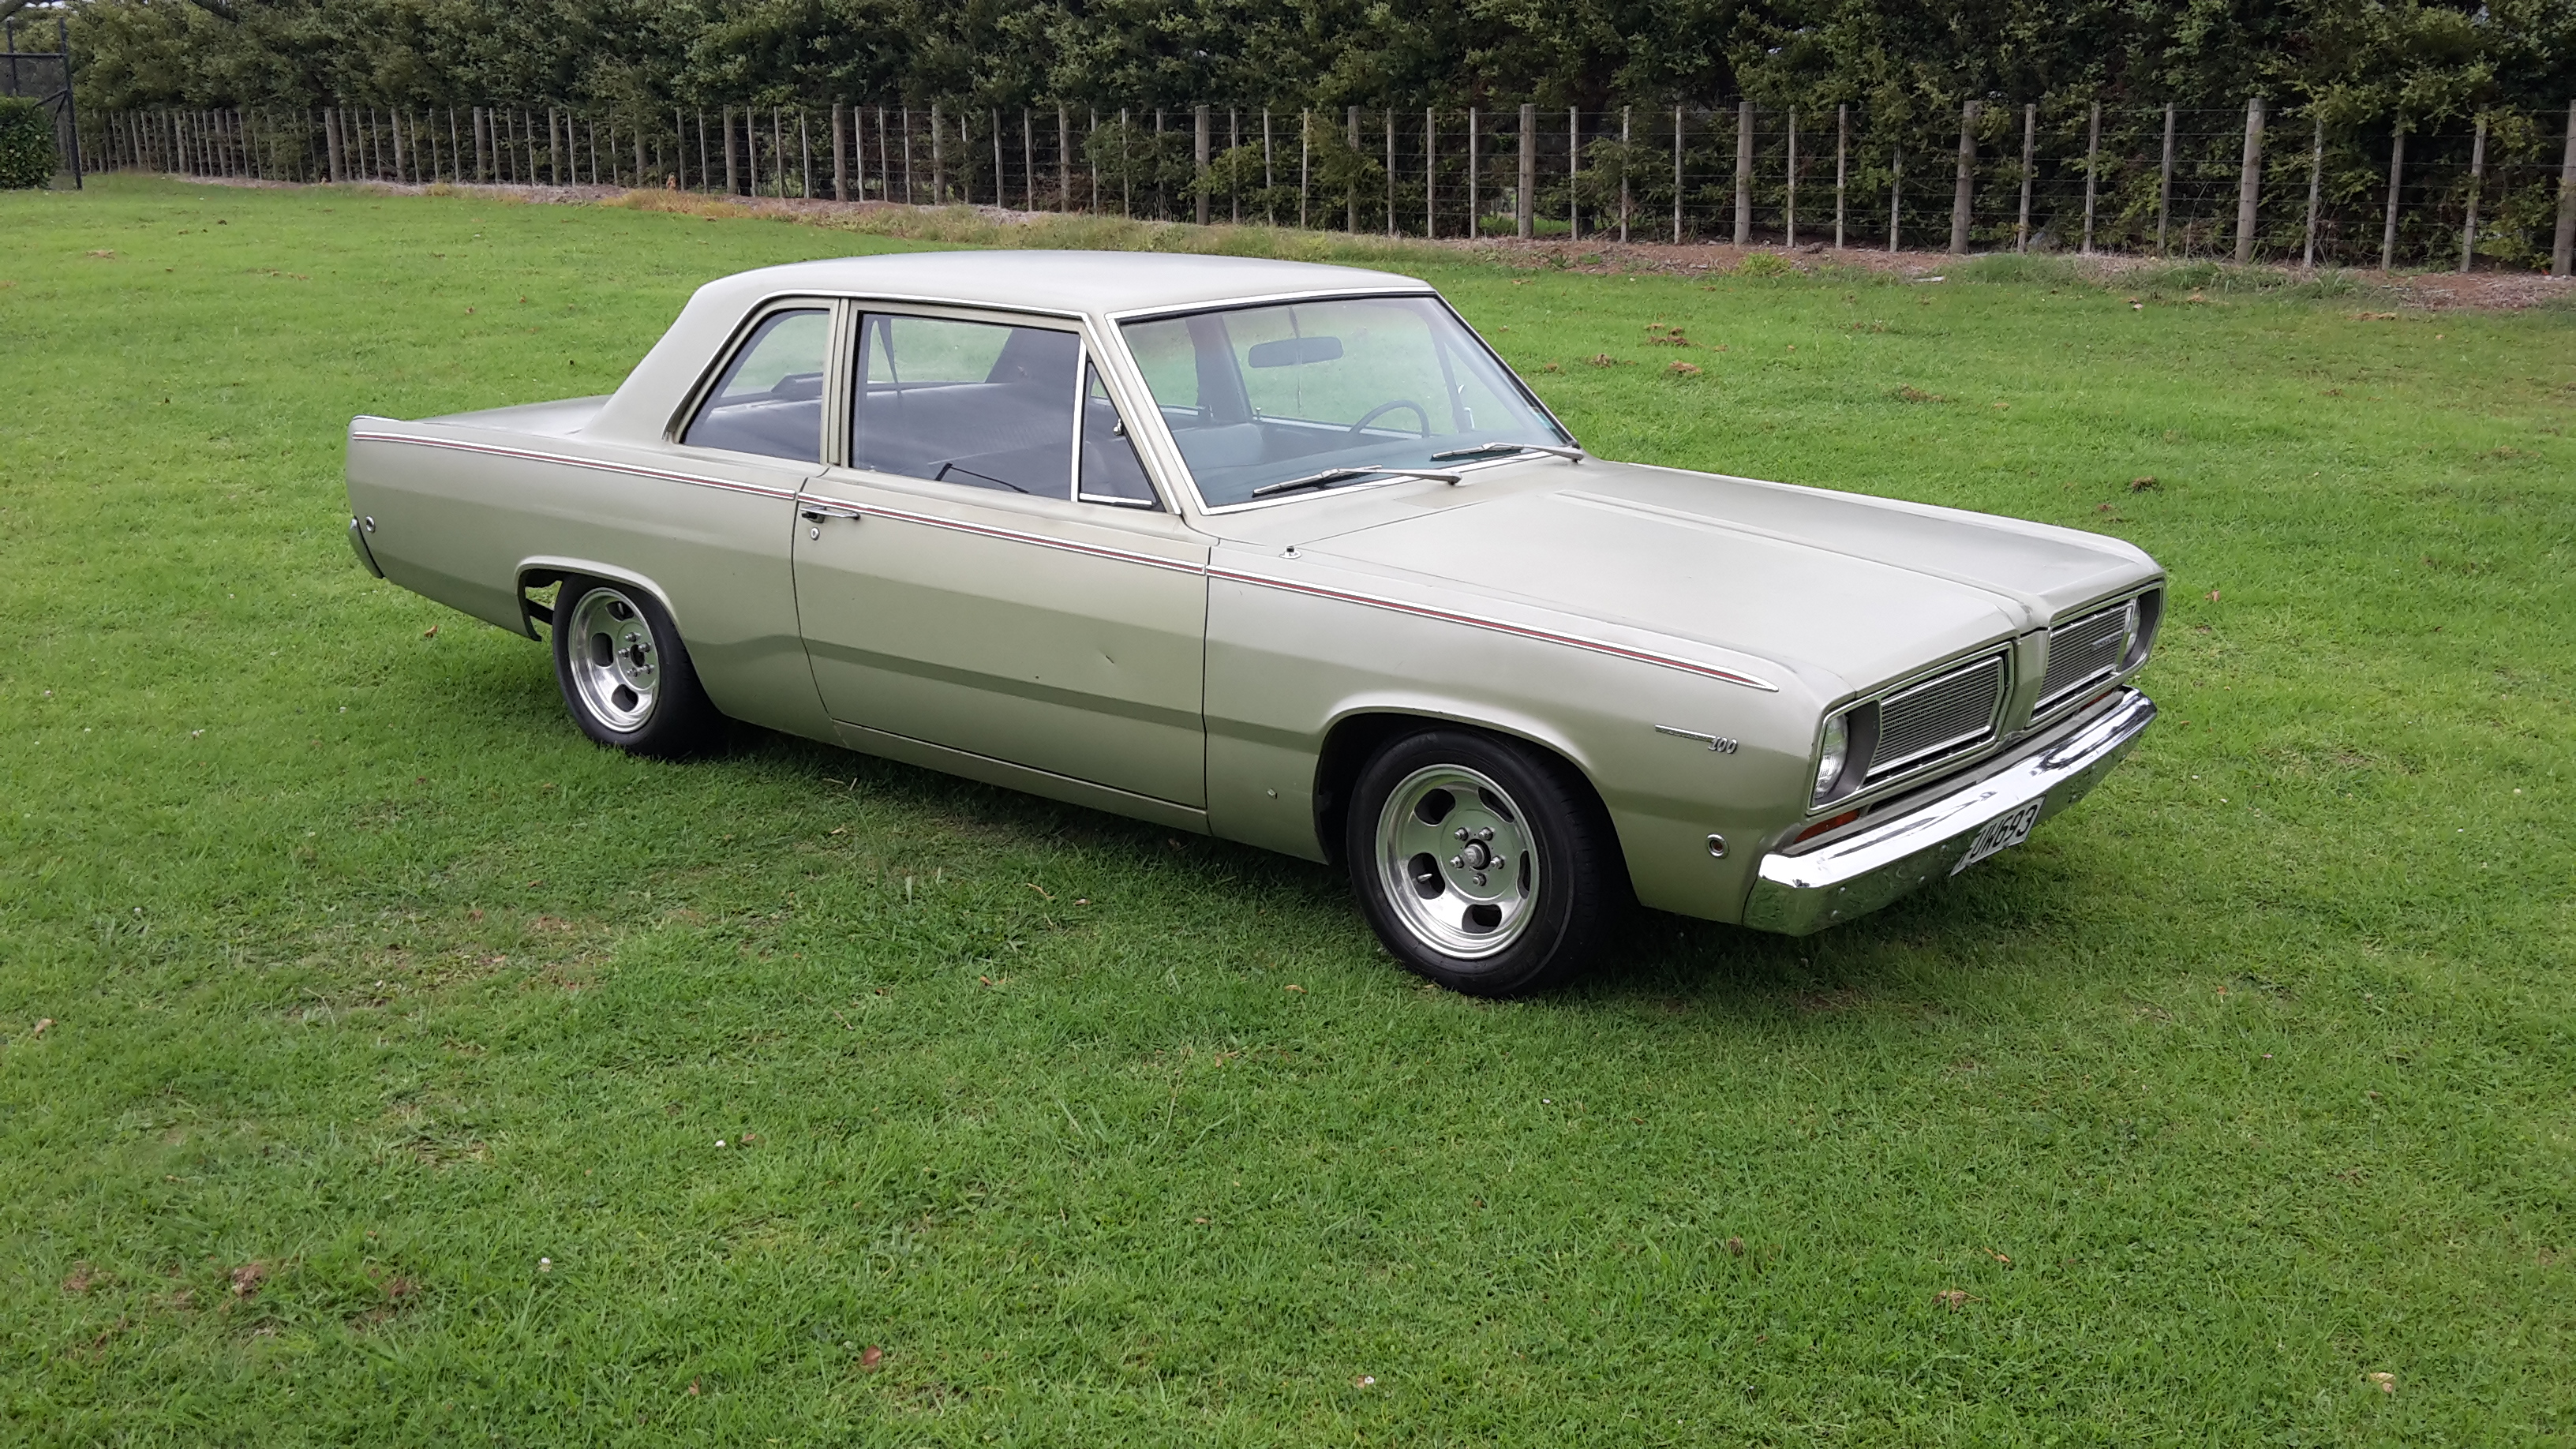
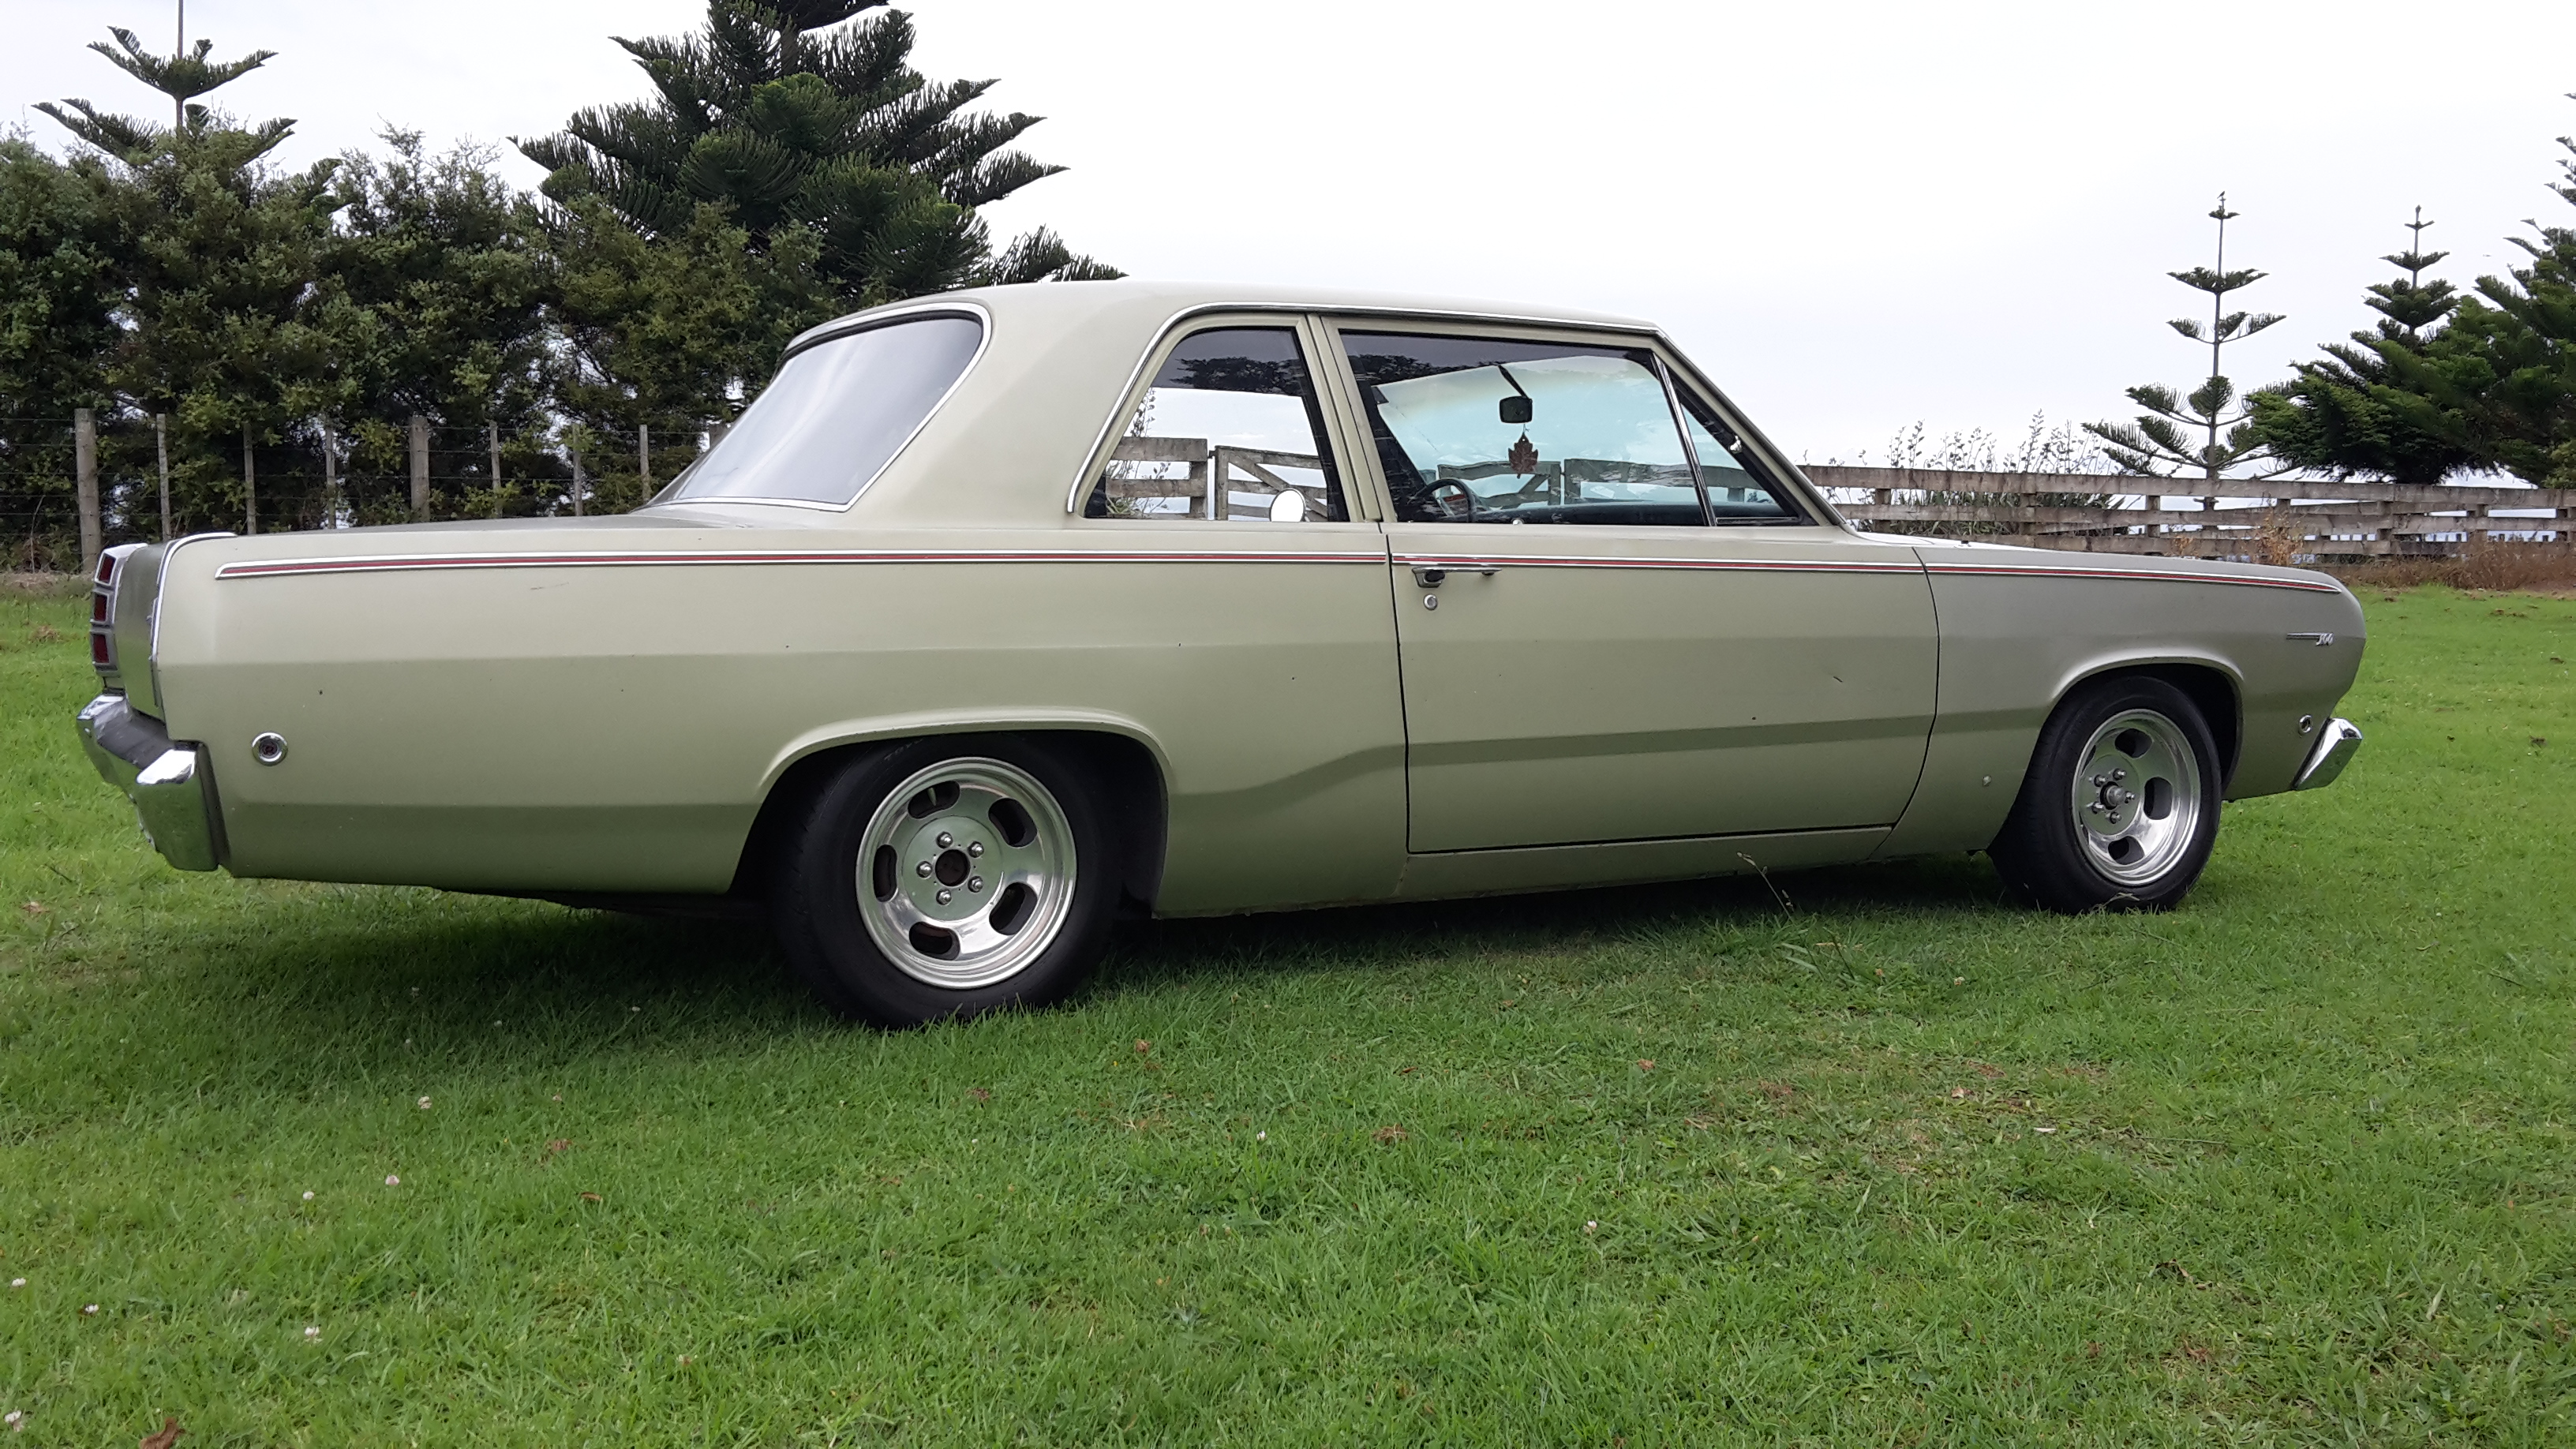
discussion Brought this home today, it's the reason for selling the hardtop. It's a 68 Plymouth Valiant, has a 'leaning tower of power' 225, auto, has power steer, 13" wheels hah, drums all round. Most of the paint is original, it has a couple of bits where it's been repaired that need touching up. I'll probably get it repainted in the same colour at some point. It belonged to a mate of mine that died in 2015. It's a bit special to me because of that, I went with him to have a look at it, had one of the sketchiest rides I've ever experienced when we went for a drive after he got out of hospital and was still on something. He always wanted to put a V8 etc in it but he ran out of time. His family kept it since but decided to sell it, and his mum rang me to give me first option on buying it. They are keen to see it get an 8 so it will get the turbo 318, 727 and 9" I was going to put in the hardtop. I'll drive it for a while till I've got everything ready then bolt it all in. Obviously this one will need a brake upgrade as well and I'll put some 15" wheels of some sort on it
1 point
-
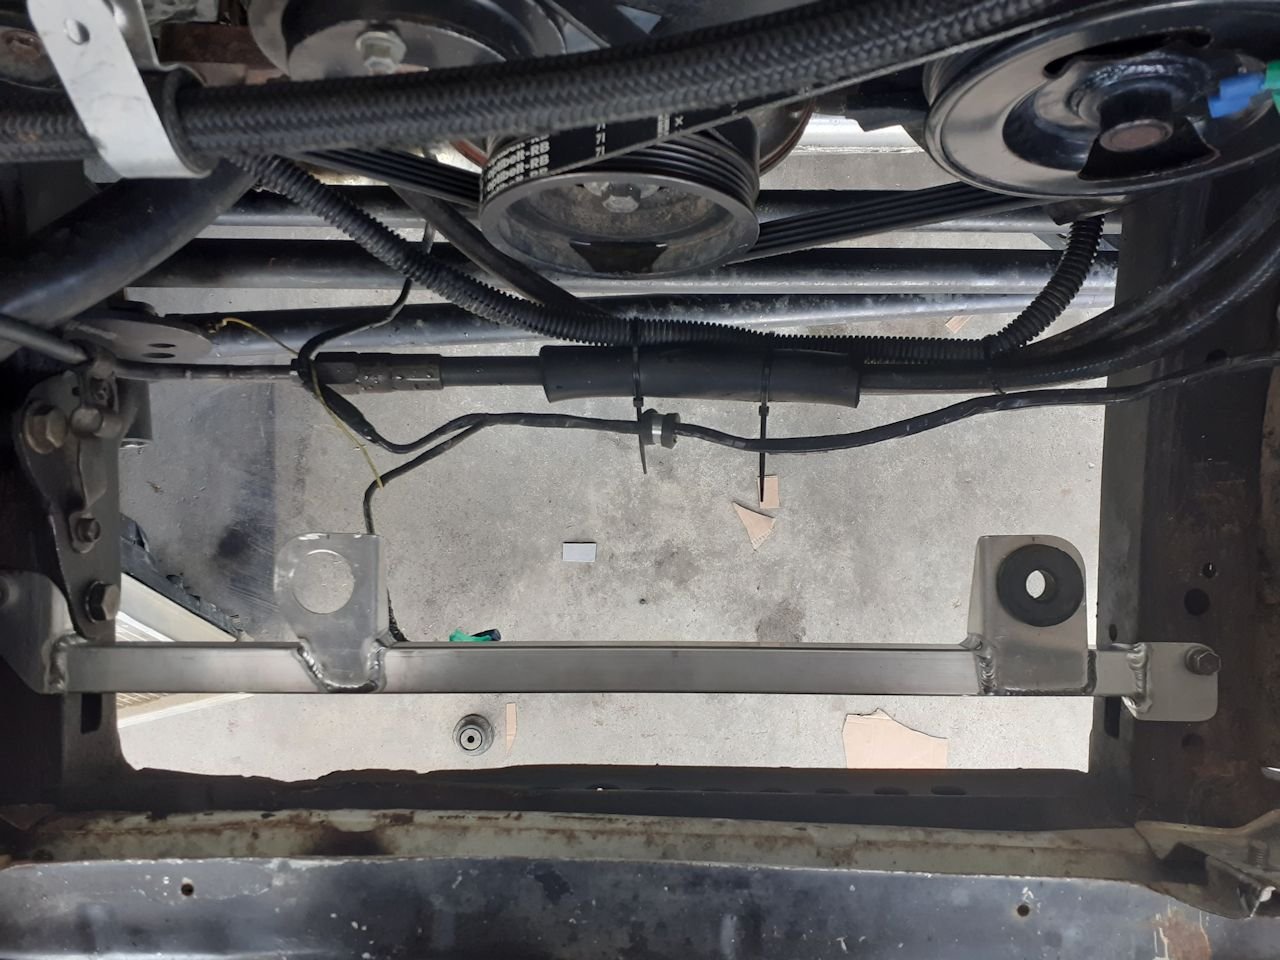
Any airbag related wiring should have a yellow plug. If that black plug is the only wiring going into the seat, unplug it and see if the airbag light comes on. If not, rip that shit out, no problem.1 point
-
Motors assembled now thanks to waer for fixing the helicoil that ger messed up. Rocker cover for the coils is getting some - 10 fittings welded on for the breathees Dropped the flywheel off to sterling to get skimmed. Nah m8 it's broken. I don't remember dropping it at any point, wonder when it happened, it's been balanced too which is annoying.1 point
-
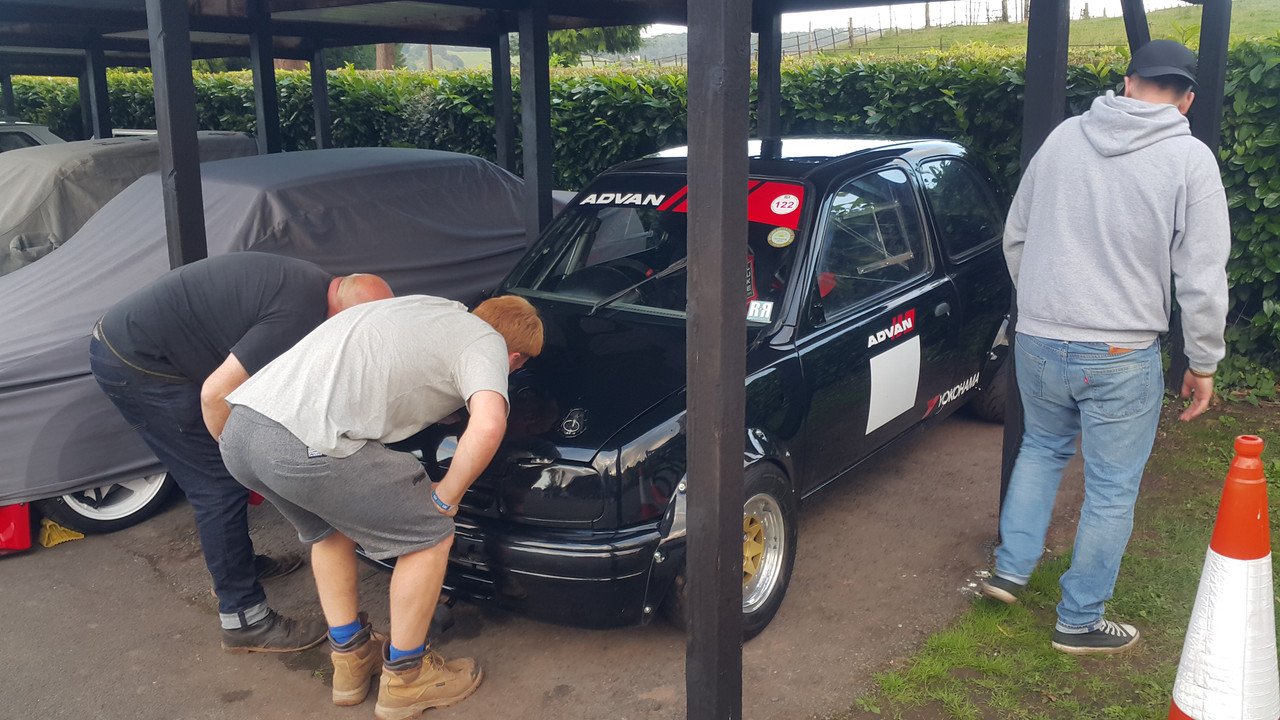
What on earth are they looking at?1 point
-
Might find you'll need to disable the curtain airbags, possibly cert required? If it's a trades van full of tools or gear and an airbag goes off, that gear is going to become a projectile. @cletus may have some insight.1 point
-
Sumps all gooed up and torqued back on fuck I hope it doesnt leak. Did a bolt check of the motor and decided to paint the front bits of the alternator I've marked a reference point in the electric choke housing and rotated it 2 clicks clockwise and see how it goes once I fire it up. Before I put the motor back I'm going to check and make sure all the lights/indicators are still working/replace bulbs, general bolt check all round and put motor back in tomorrow/Sunday Gasket goo says wait 24 hours so I'd better wait that Atleast. I dont want to pull it back out again.1 point
-
1 point
-
Yep, don't let the missus and kid fool you.1 point
-
More wire stuff. So to make an omelette first you must break some eggs. So trials first, glad I did. I have just about completed the first section of the engine wiring. Feeling pumped. Also picked up some weld on AN fittings and top radiator return block from Taarks for the cooling system. More on this later.1 point
-
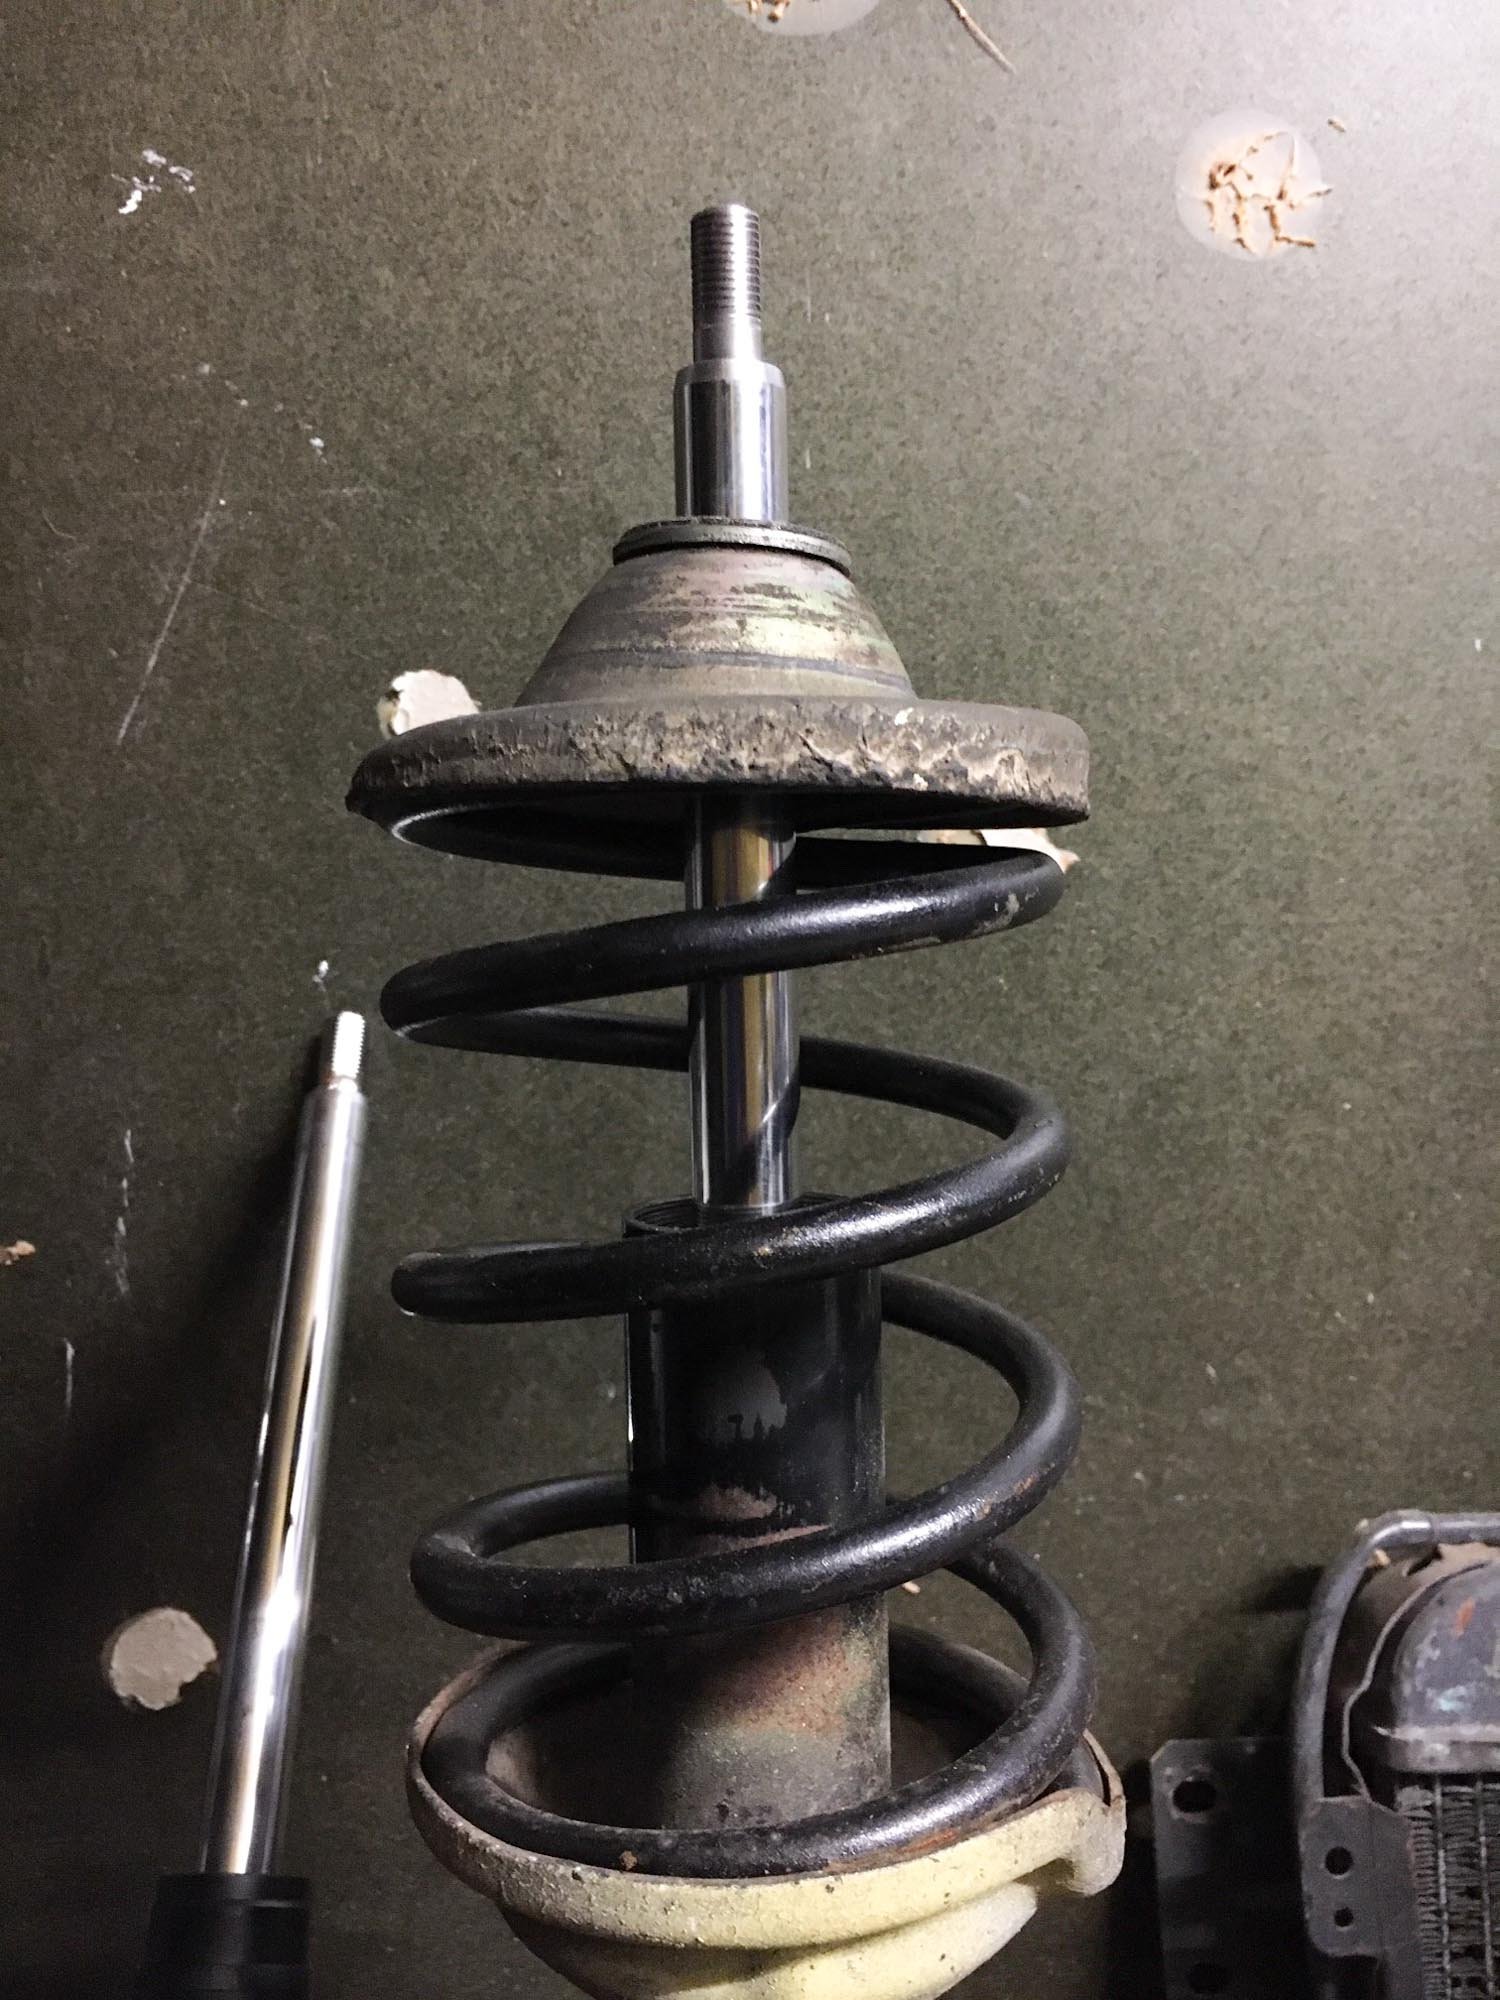
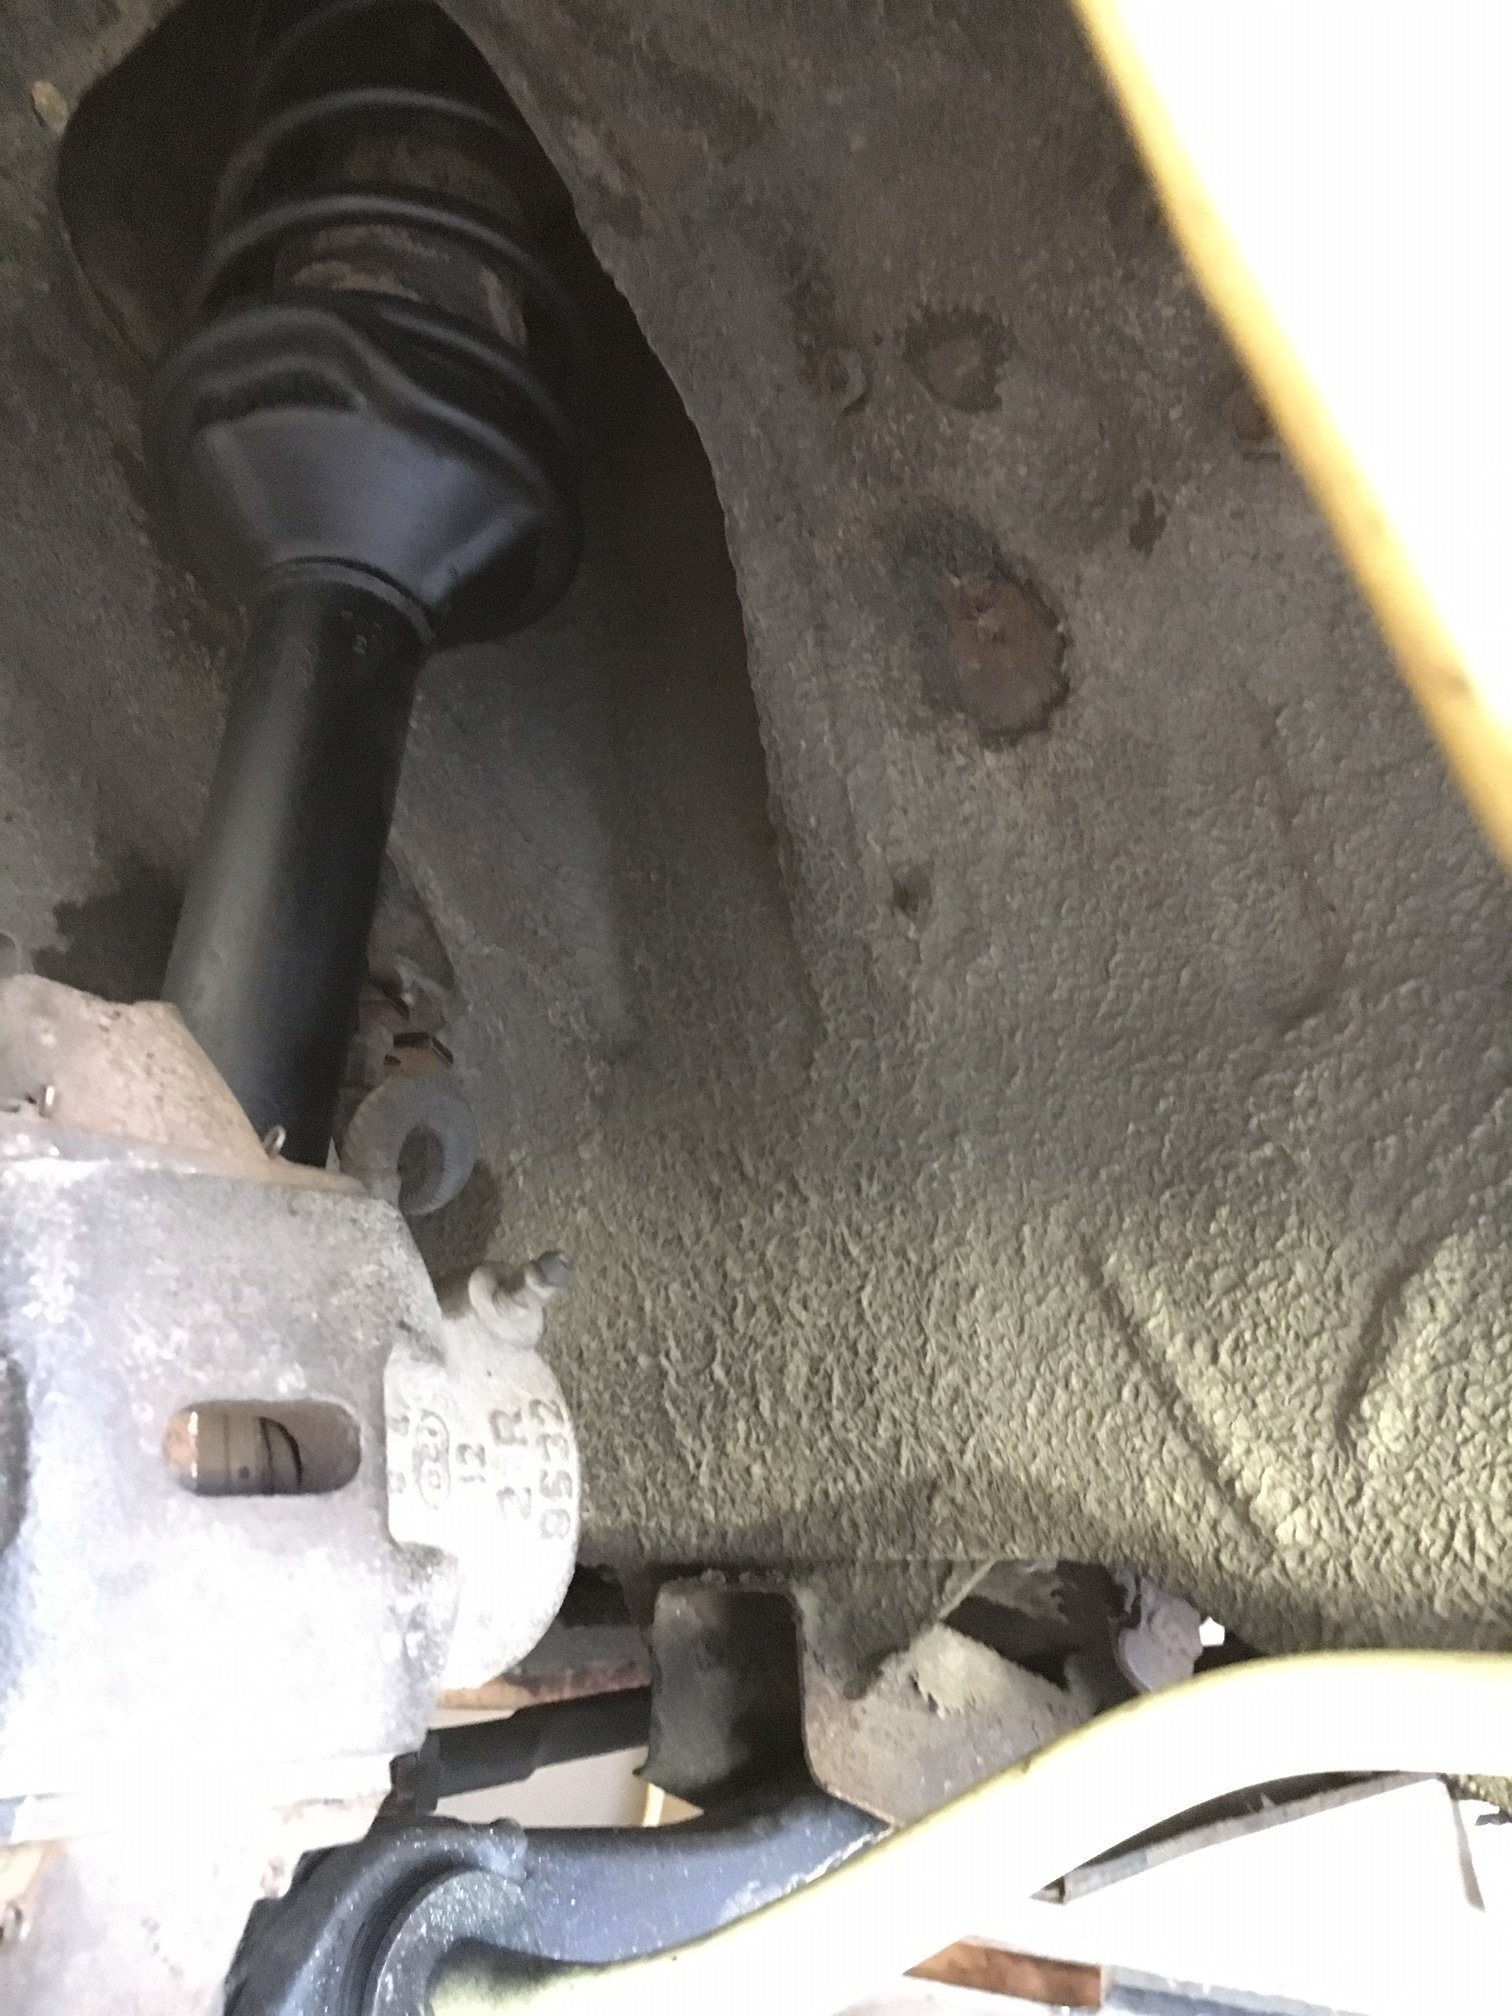
So I didn't end up using the rx7 shock insert, they do however fit the 323 strut, and would be useful for someone not wanting to shorten a 323 shock. Only if they're lowering the car 30-40mm though. Not short enough for my springs. I had myself confused for a bit when I compared the two shock types. I had them side by side and the shock shafts are the same length, but the rx7 shock body is shorter, so in theory if I was to space them up (see my paint diagram below), then there would be no benefit to using them (apart from price). Spacing them 'down' however, with a collar type spacer would work. However, after pulling out my struts and taking a look at the inserts in them, they looked / felt very new, so decided I may as well get them shortened, and sell the rx7 inserts to save myselft the hassle of shortening and making a spacer thing. (reserve met on trademe if you'd like to buy them lol). Had a mate shorten the 323 inserts for me to keep the springs nice n captive, wire wheeled the strut body, dusted them with some black paint, and got them back in the car the other night. Also replaced the rear shocks, cos why not. Have got new brake shoes, cylinders and pads, so will get around to doing that soon also. Will aim to get the car back on the ground the next few days, and hopefully wof time in the next week or two.
1 point
-
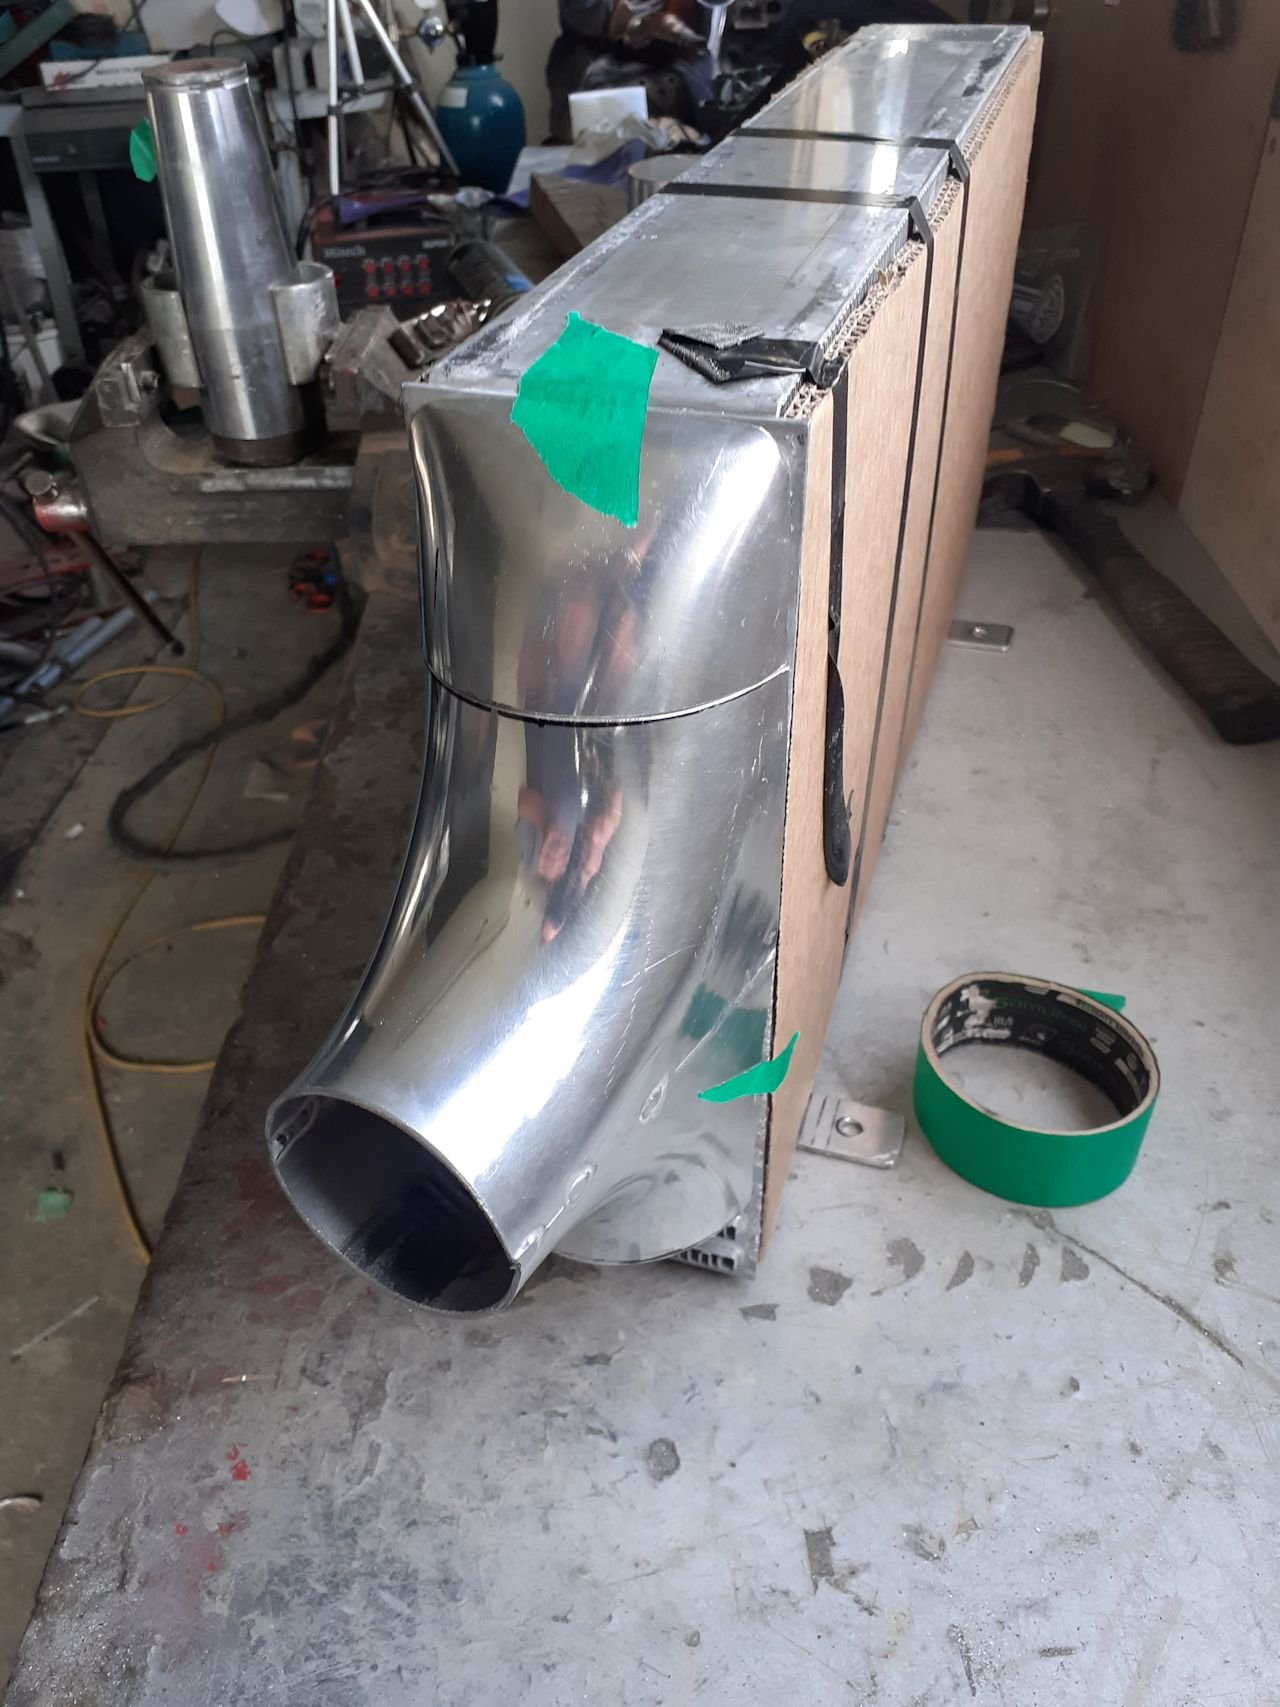
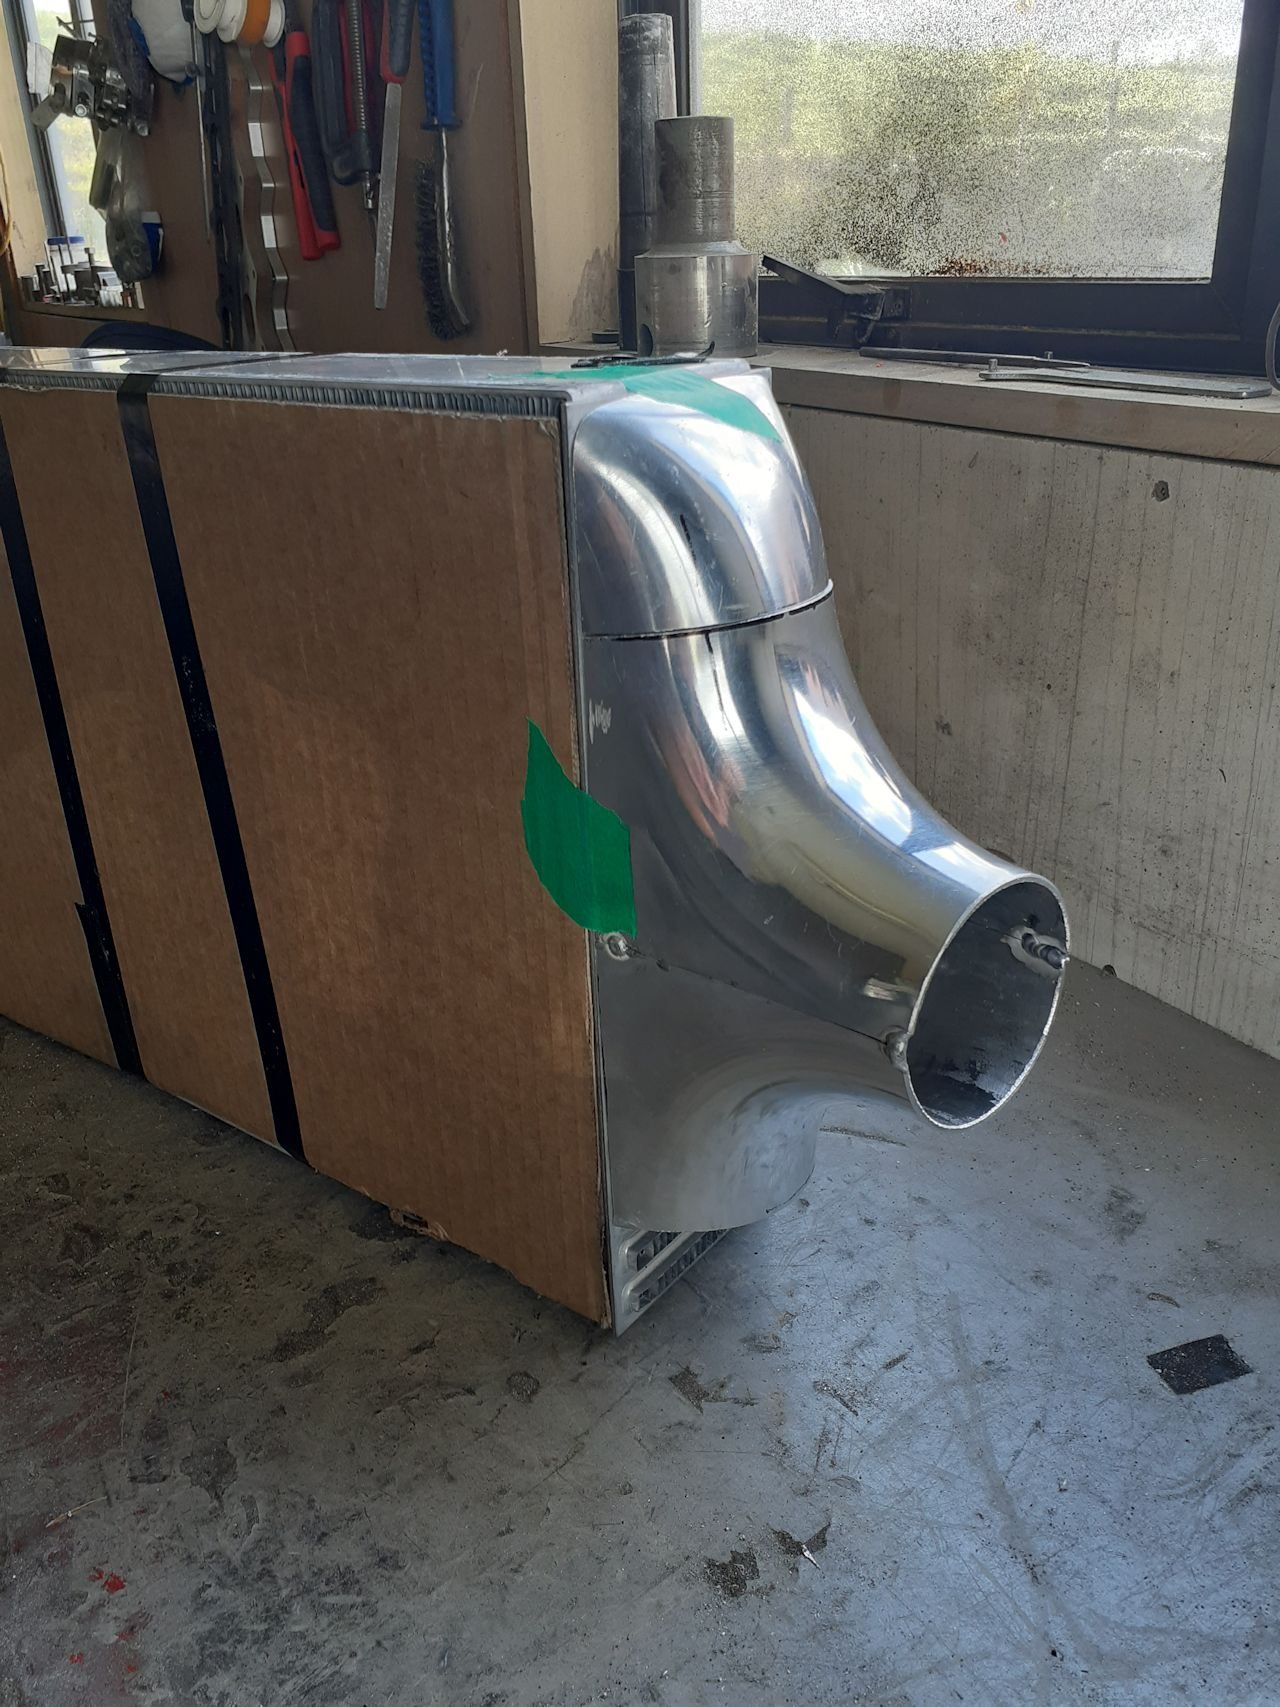
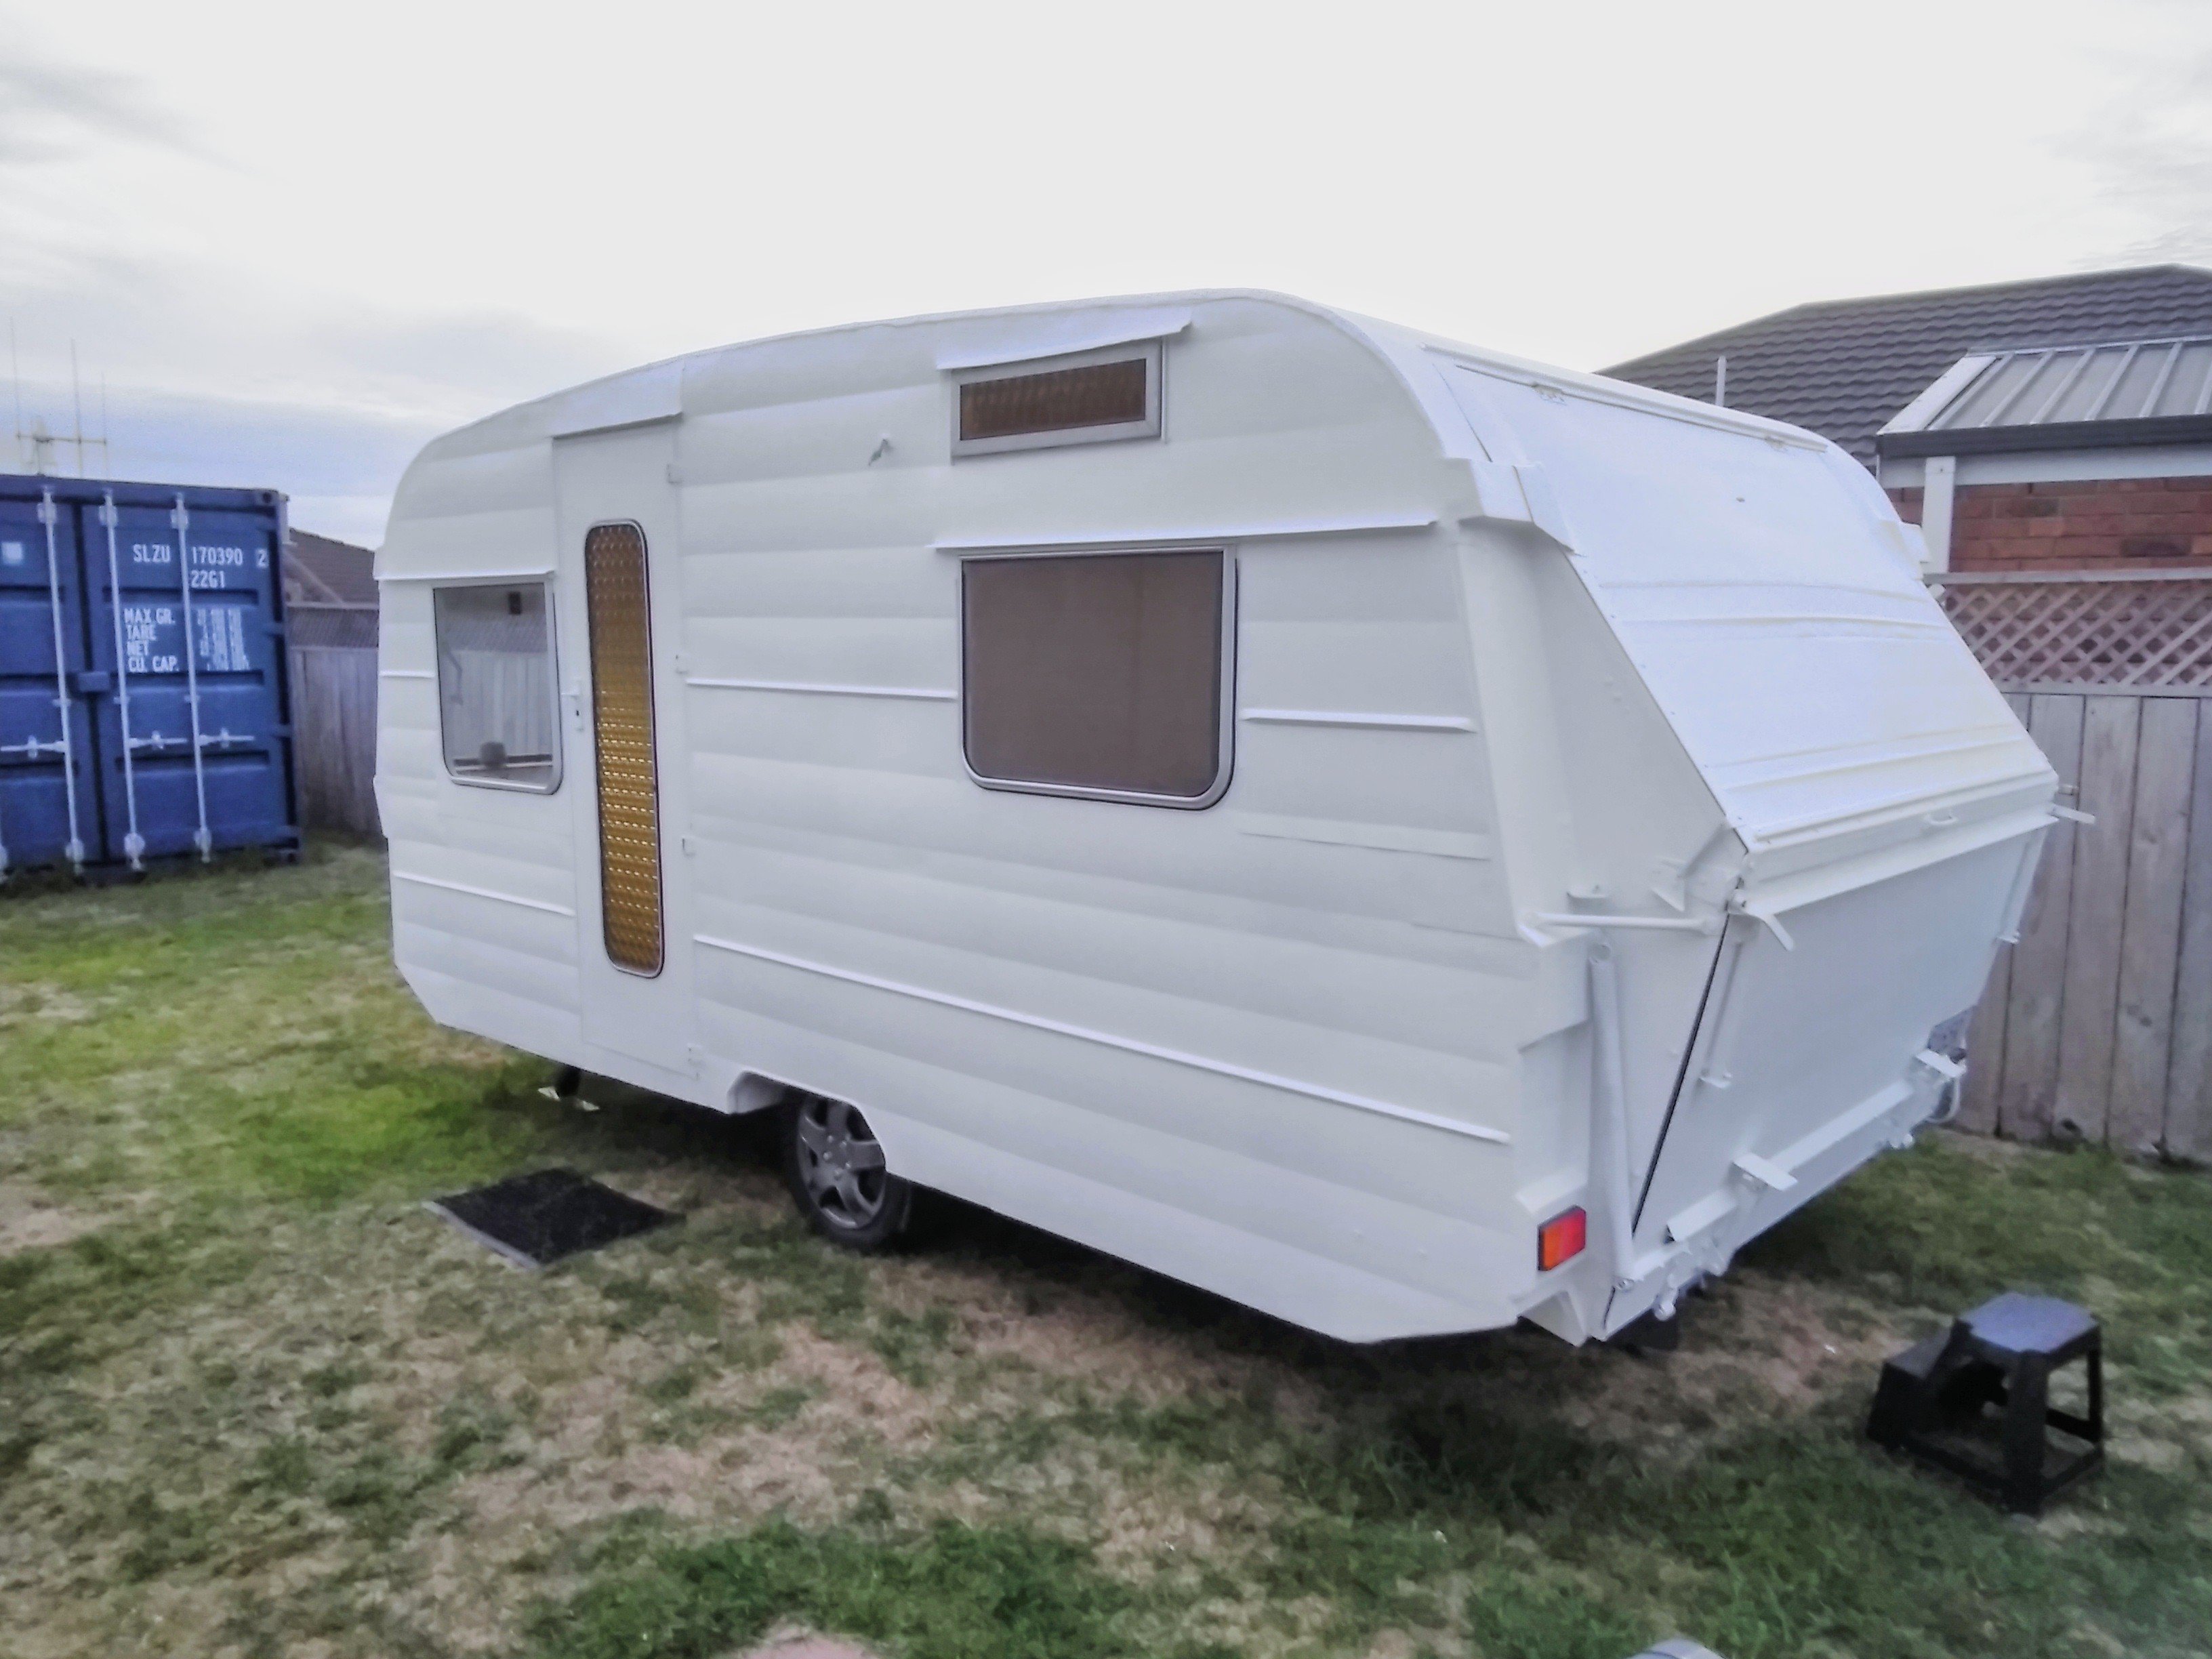
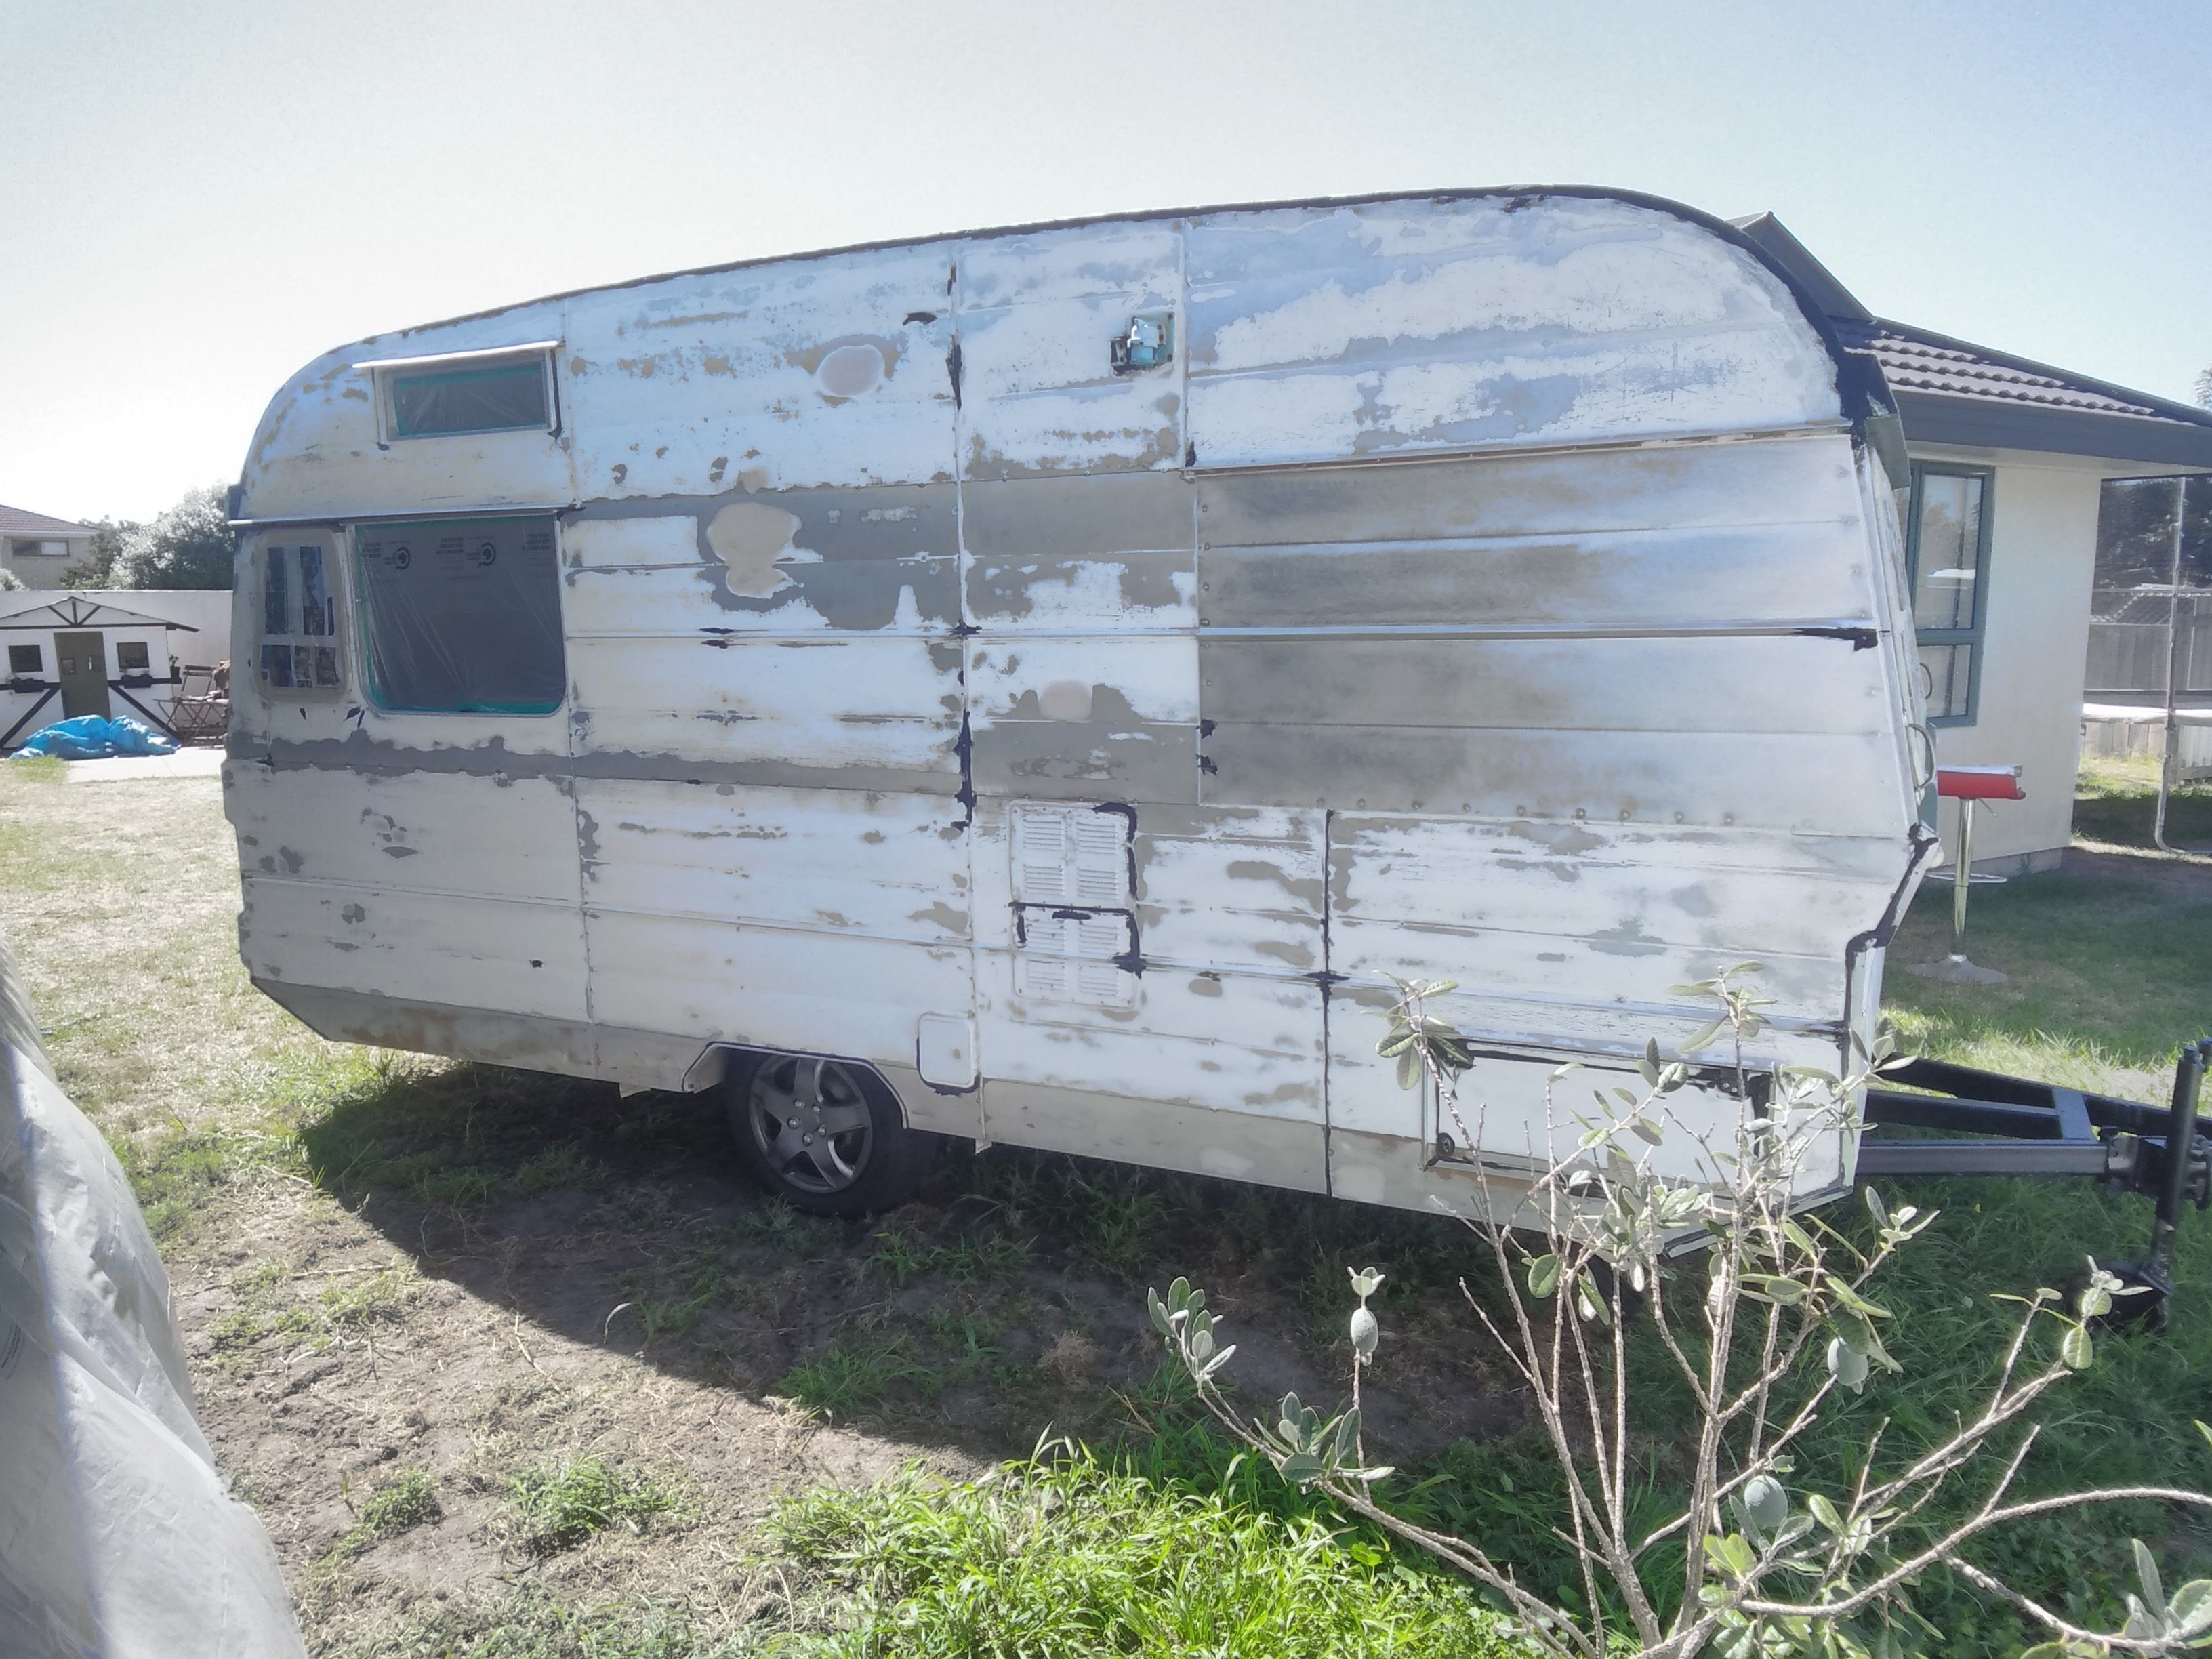
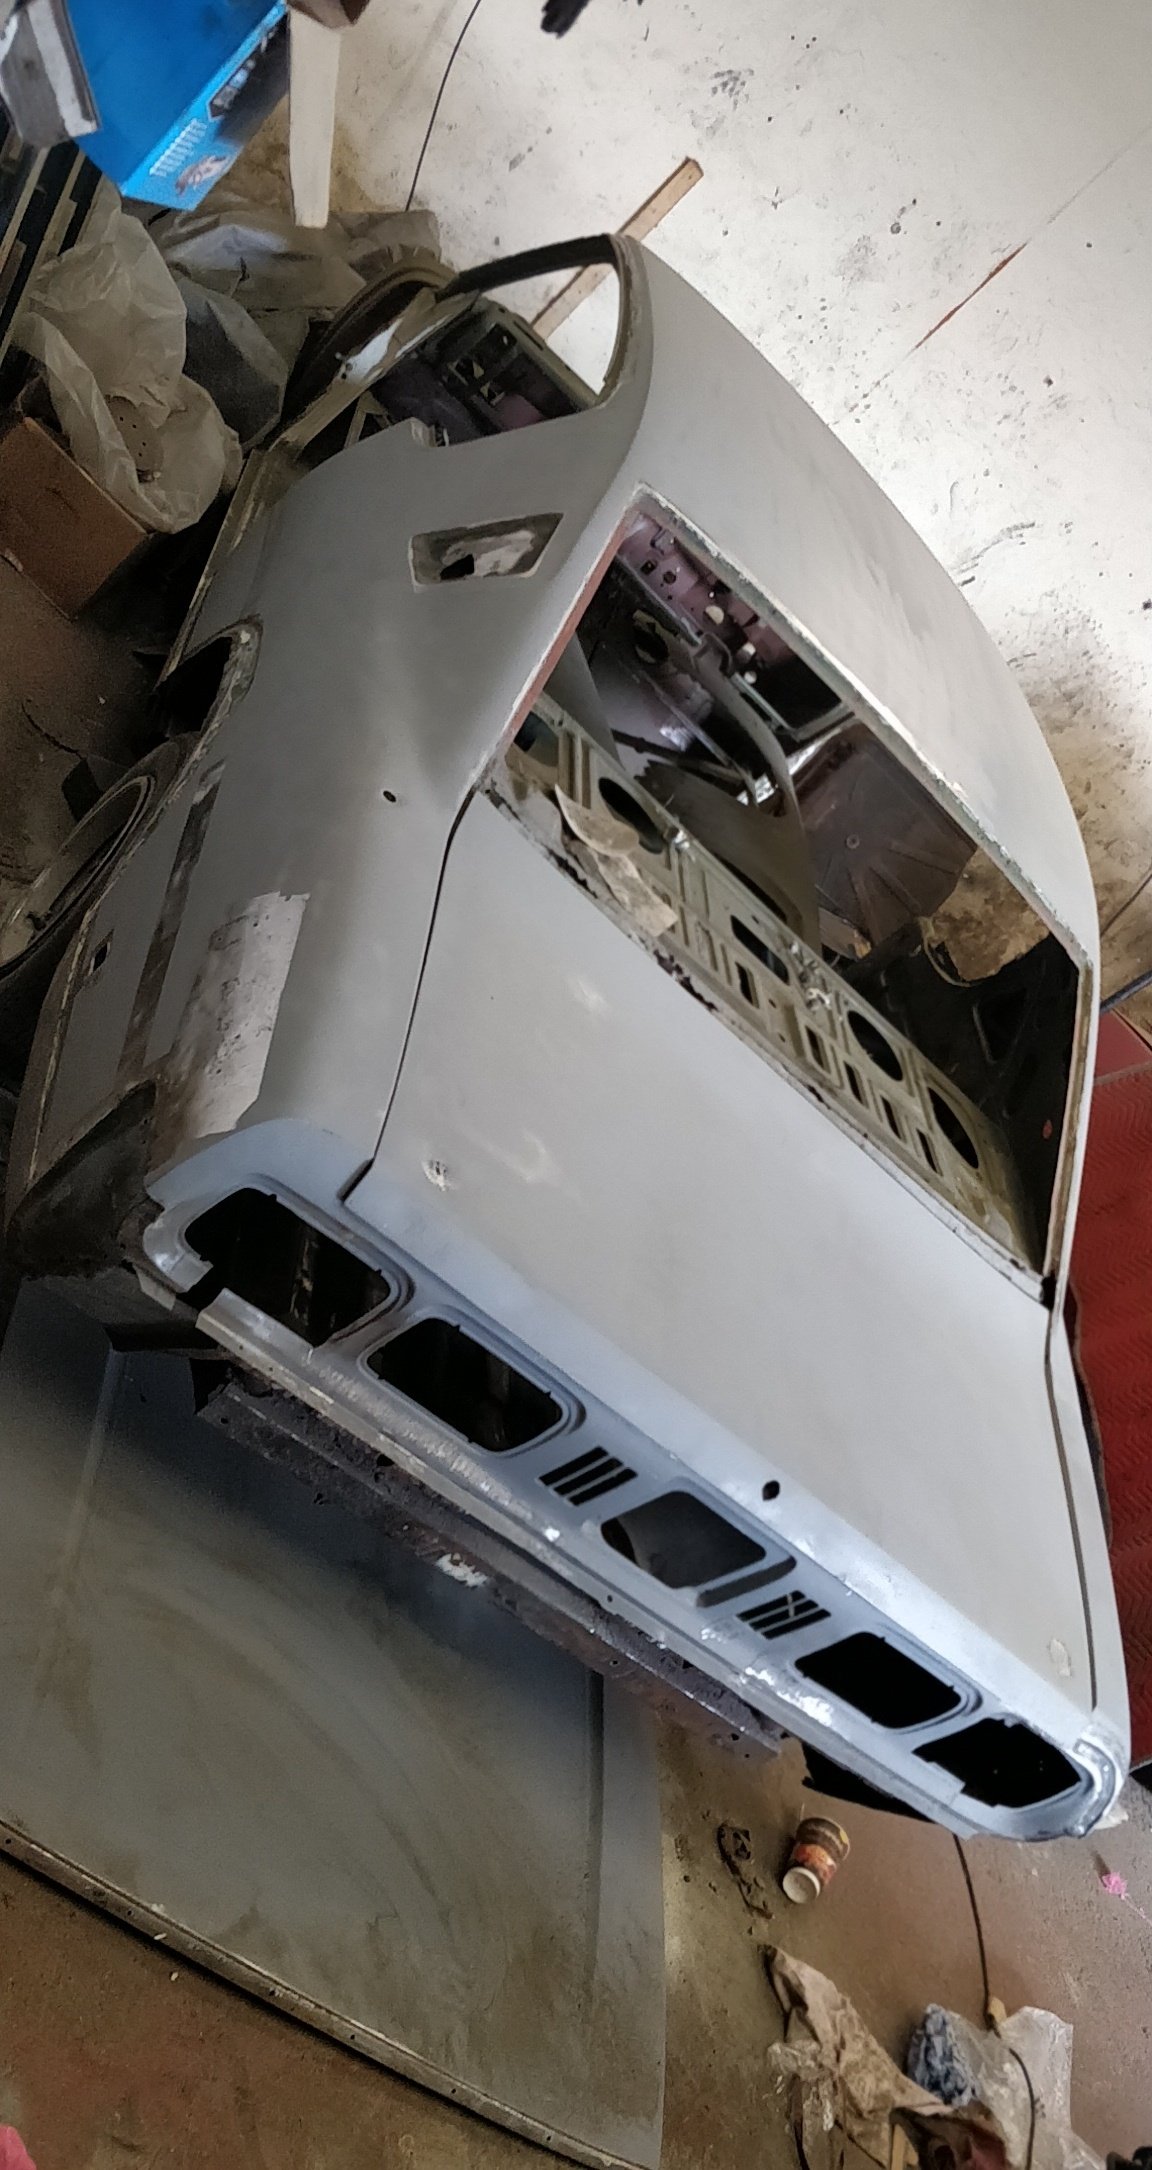
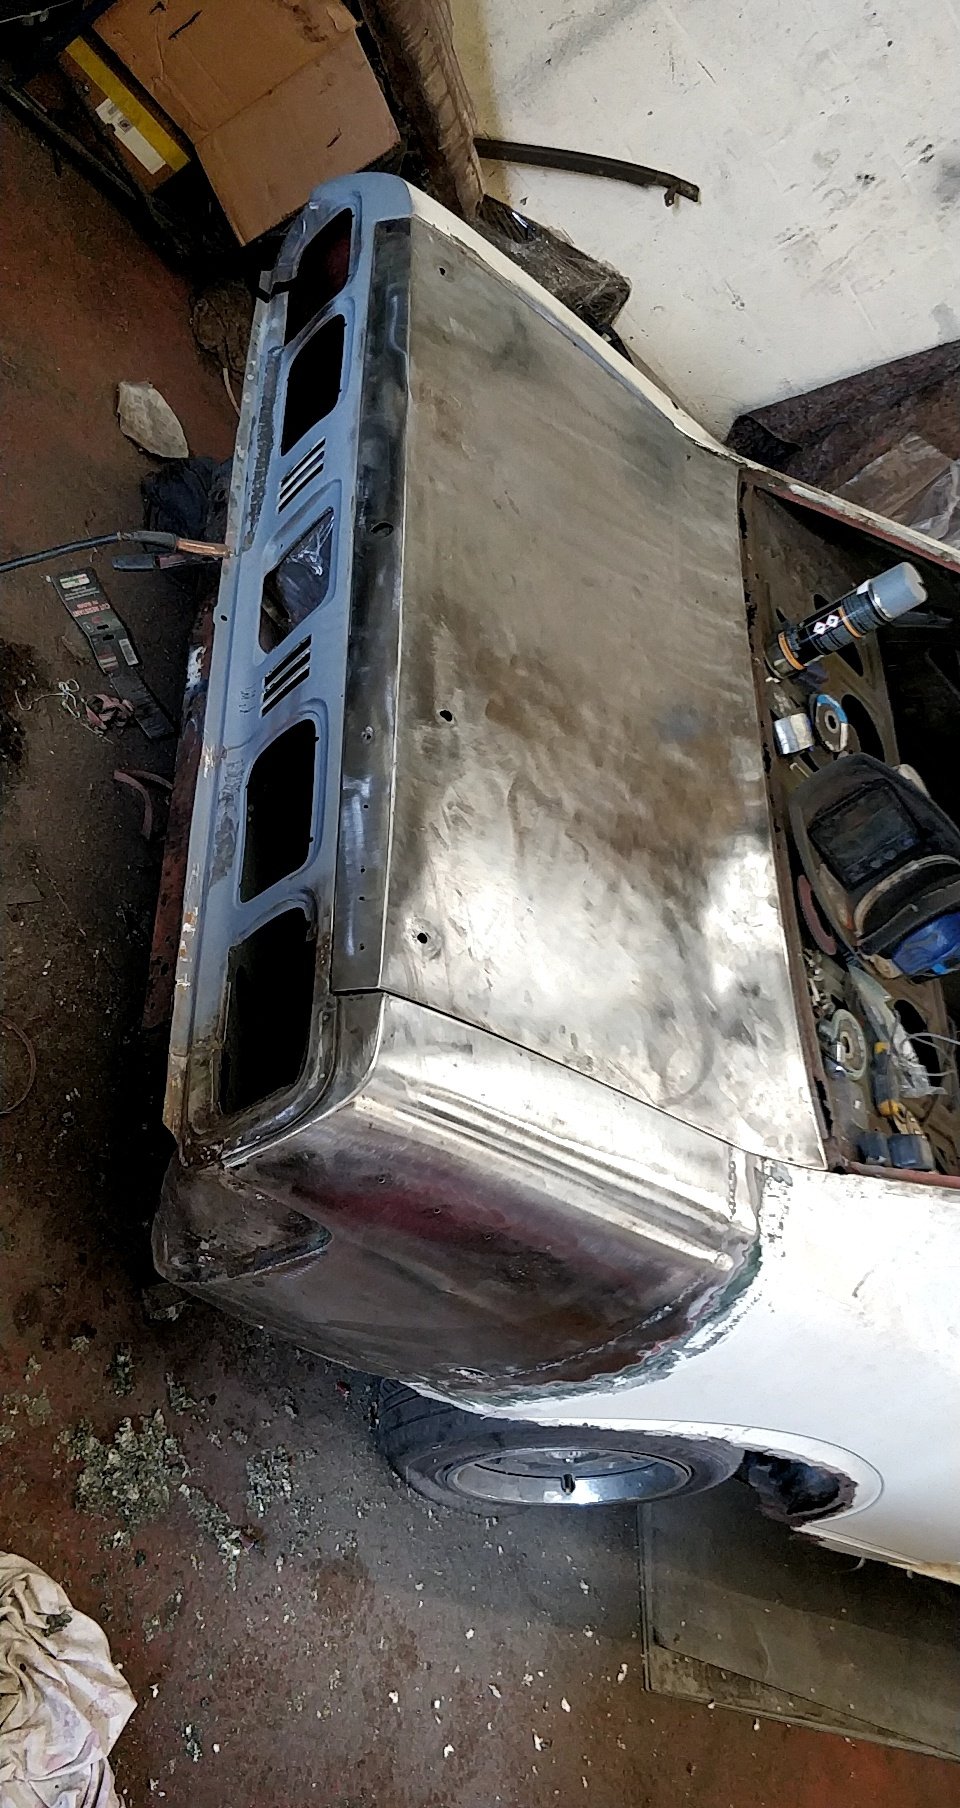
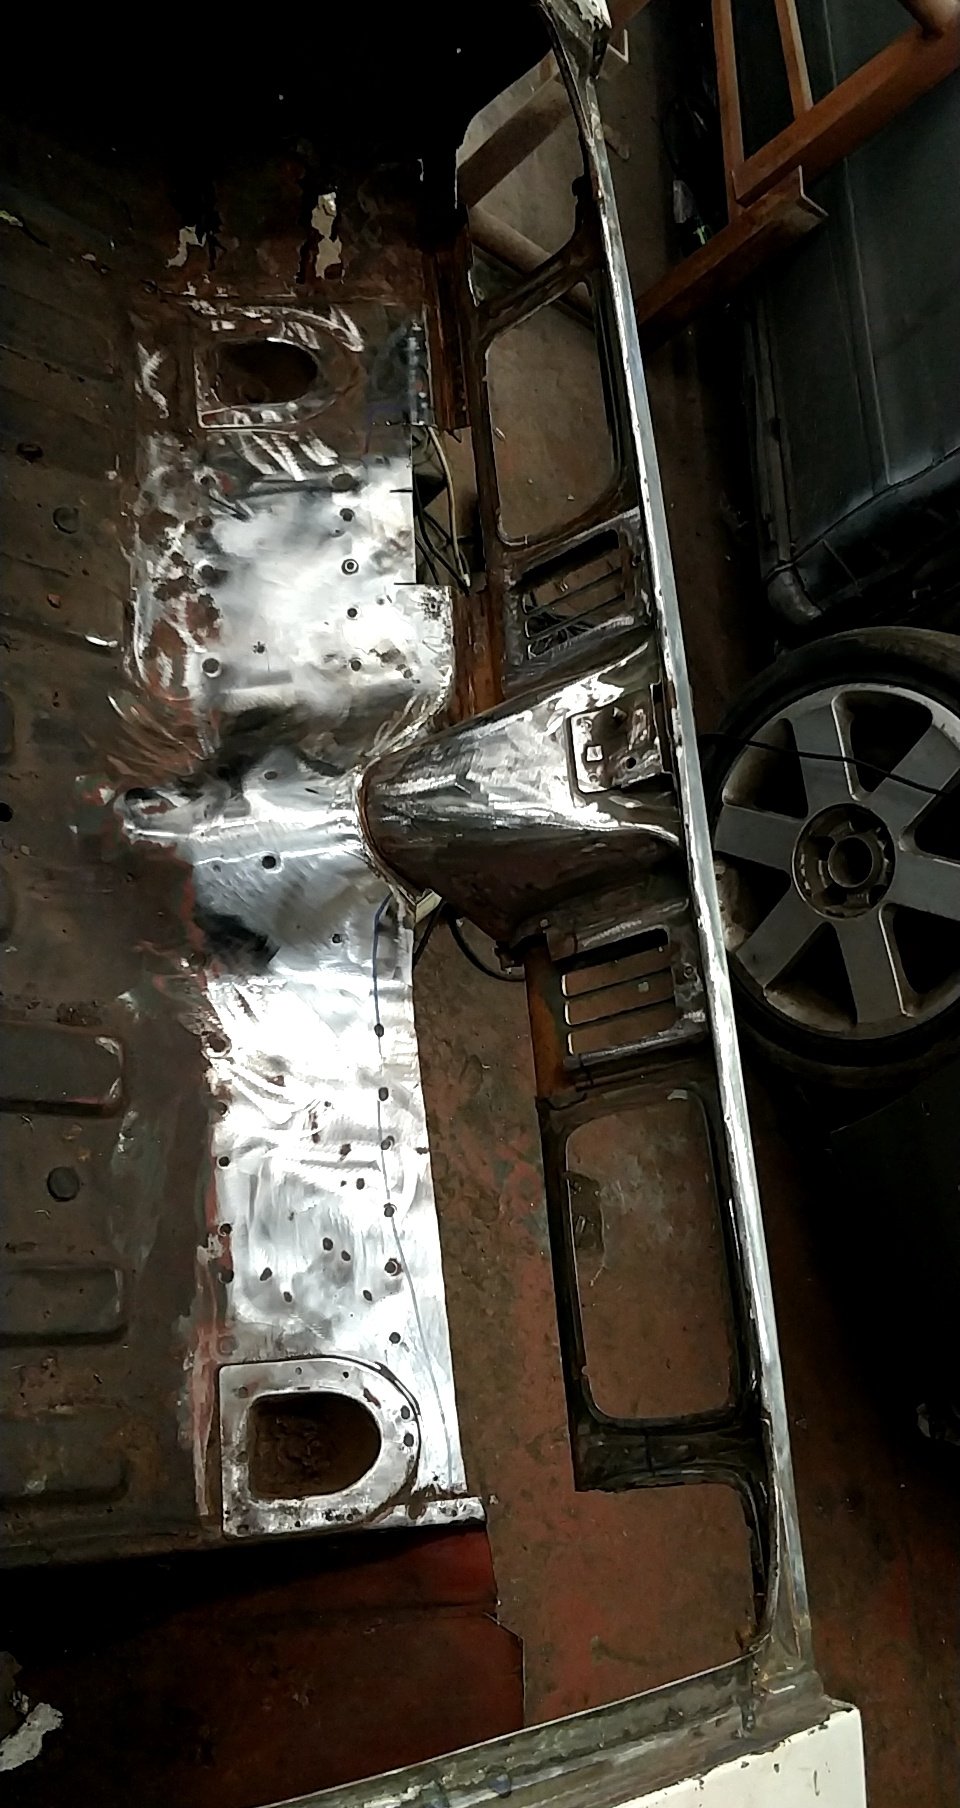
This is about as flat as we got it. Got all the flakey bits off however the height difference between the metal and the paint surface was still quite uneven, quite a few microns. There's no typical auto paint that could look good on that surface - However, the coating system I had in mind was thicker than the micron difference and stuck like high school nick name. I just hope it would work as I hadn't seen it applied to such a rugged surface. Here's a pic of it prepped and waterproofed. We took it camping like this looking all ratty, was crack up watching all the people looking at it in disgust when it arrived at the campground but a few came by to say they thought the opening back end was pretty cool. I was tempted to leave it like this but also wanted to ensure it was waterproof so ended up painting it.
1 point
-
Are there any yellow plugs that plug into the seat?1 point
-
Well rear quarter panels have been ordered and should hopefully be on the way to my shipper in the next week or so. ended up going for Goodmark panels through getallparts.com after a recommendation from an American mopar site I’m on (FABO) so far they have set me back about 790 NZD shipped to my shipper in California, so once he charges me the GST and freight, I think I’ll still be pretty happy with what they cost me.1 point
-
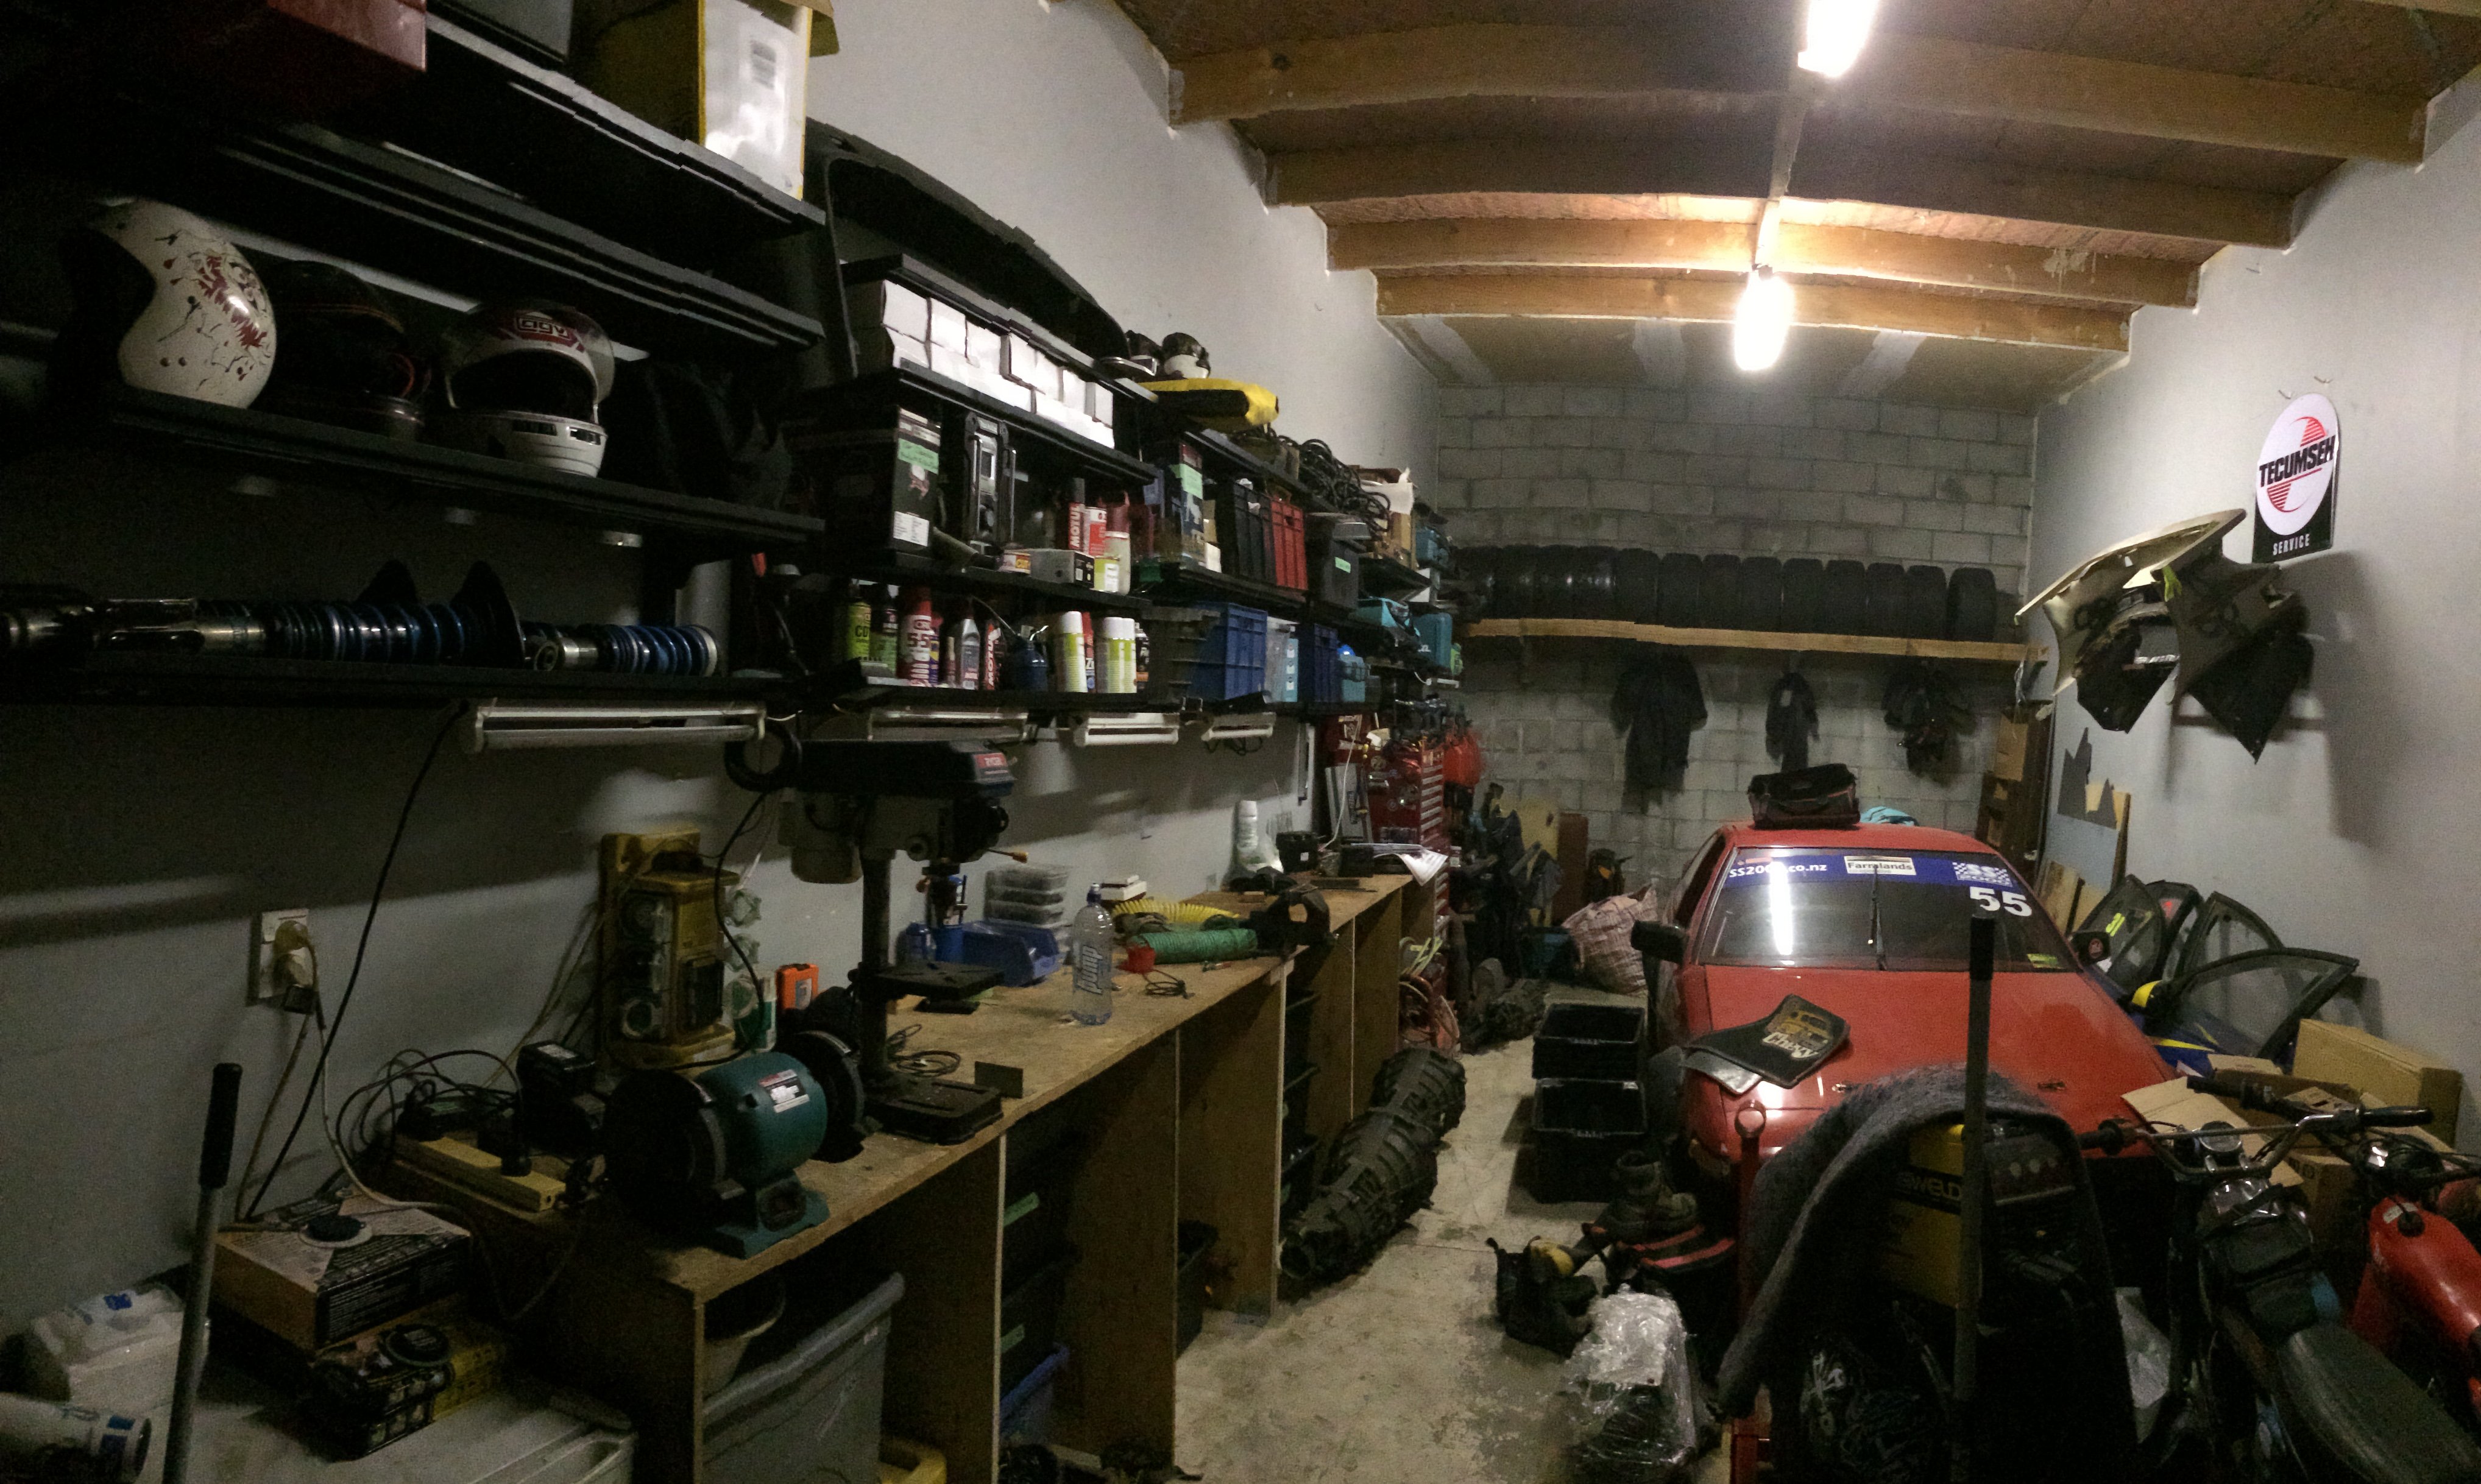
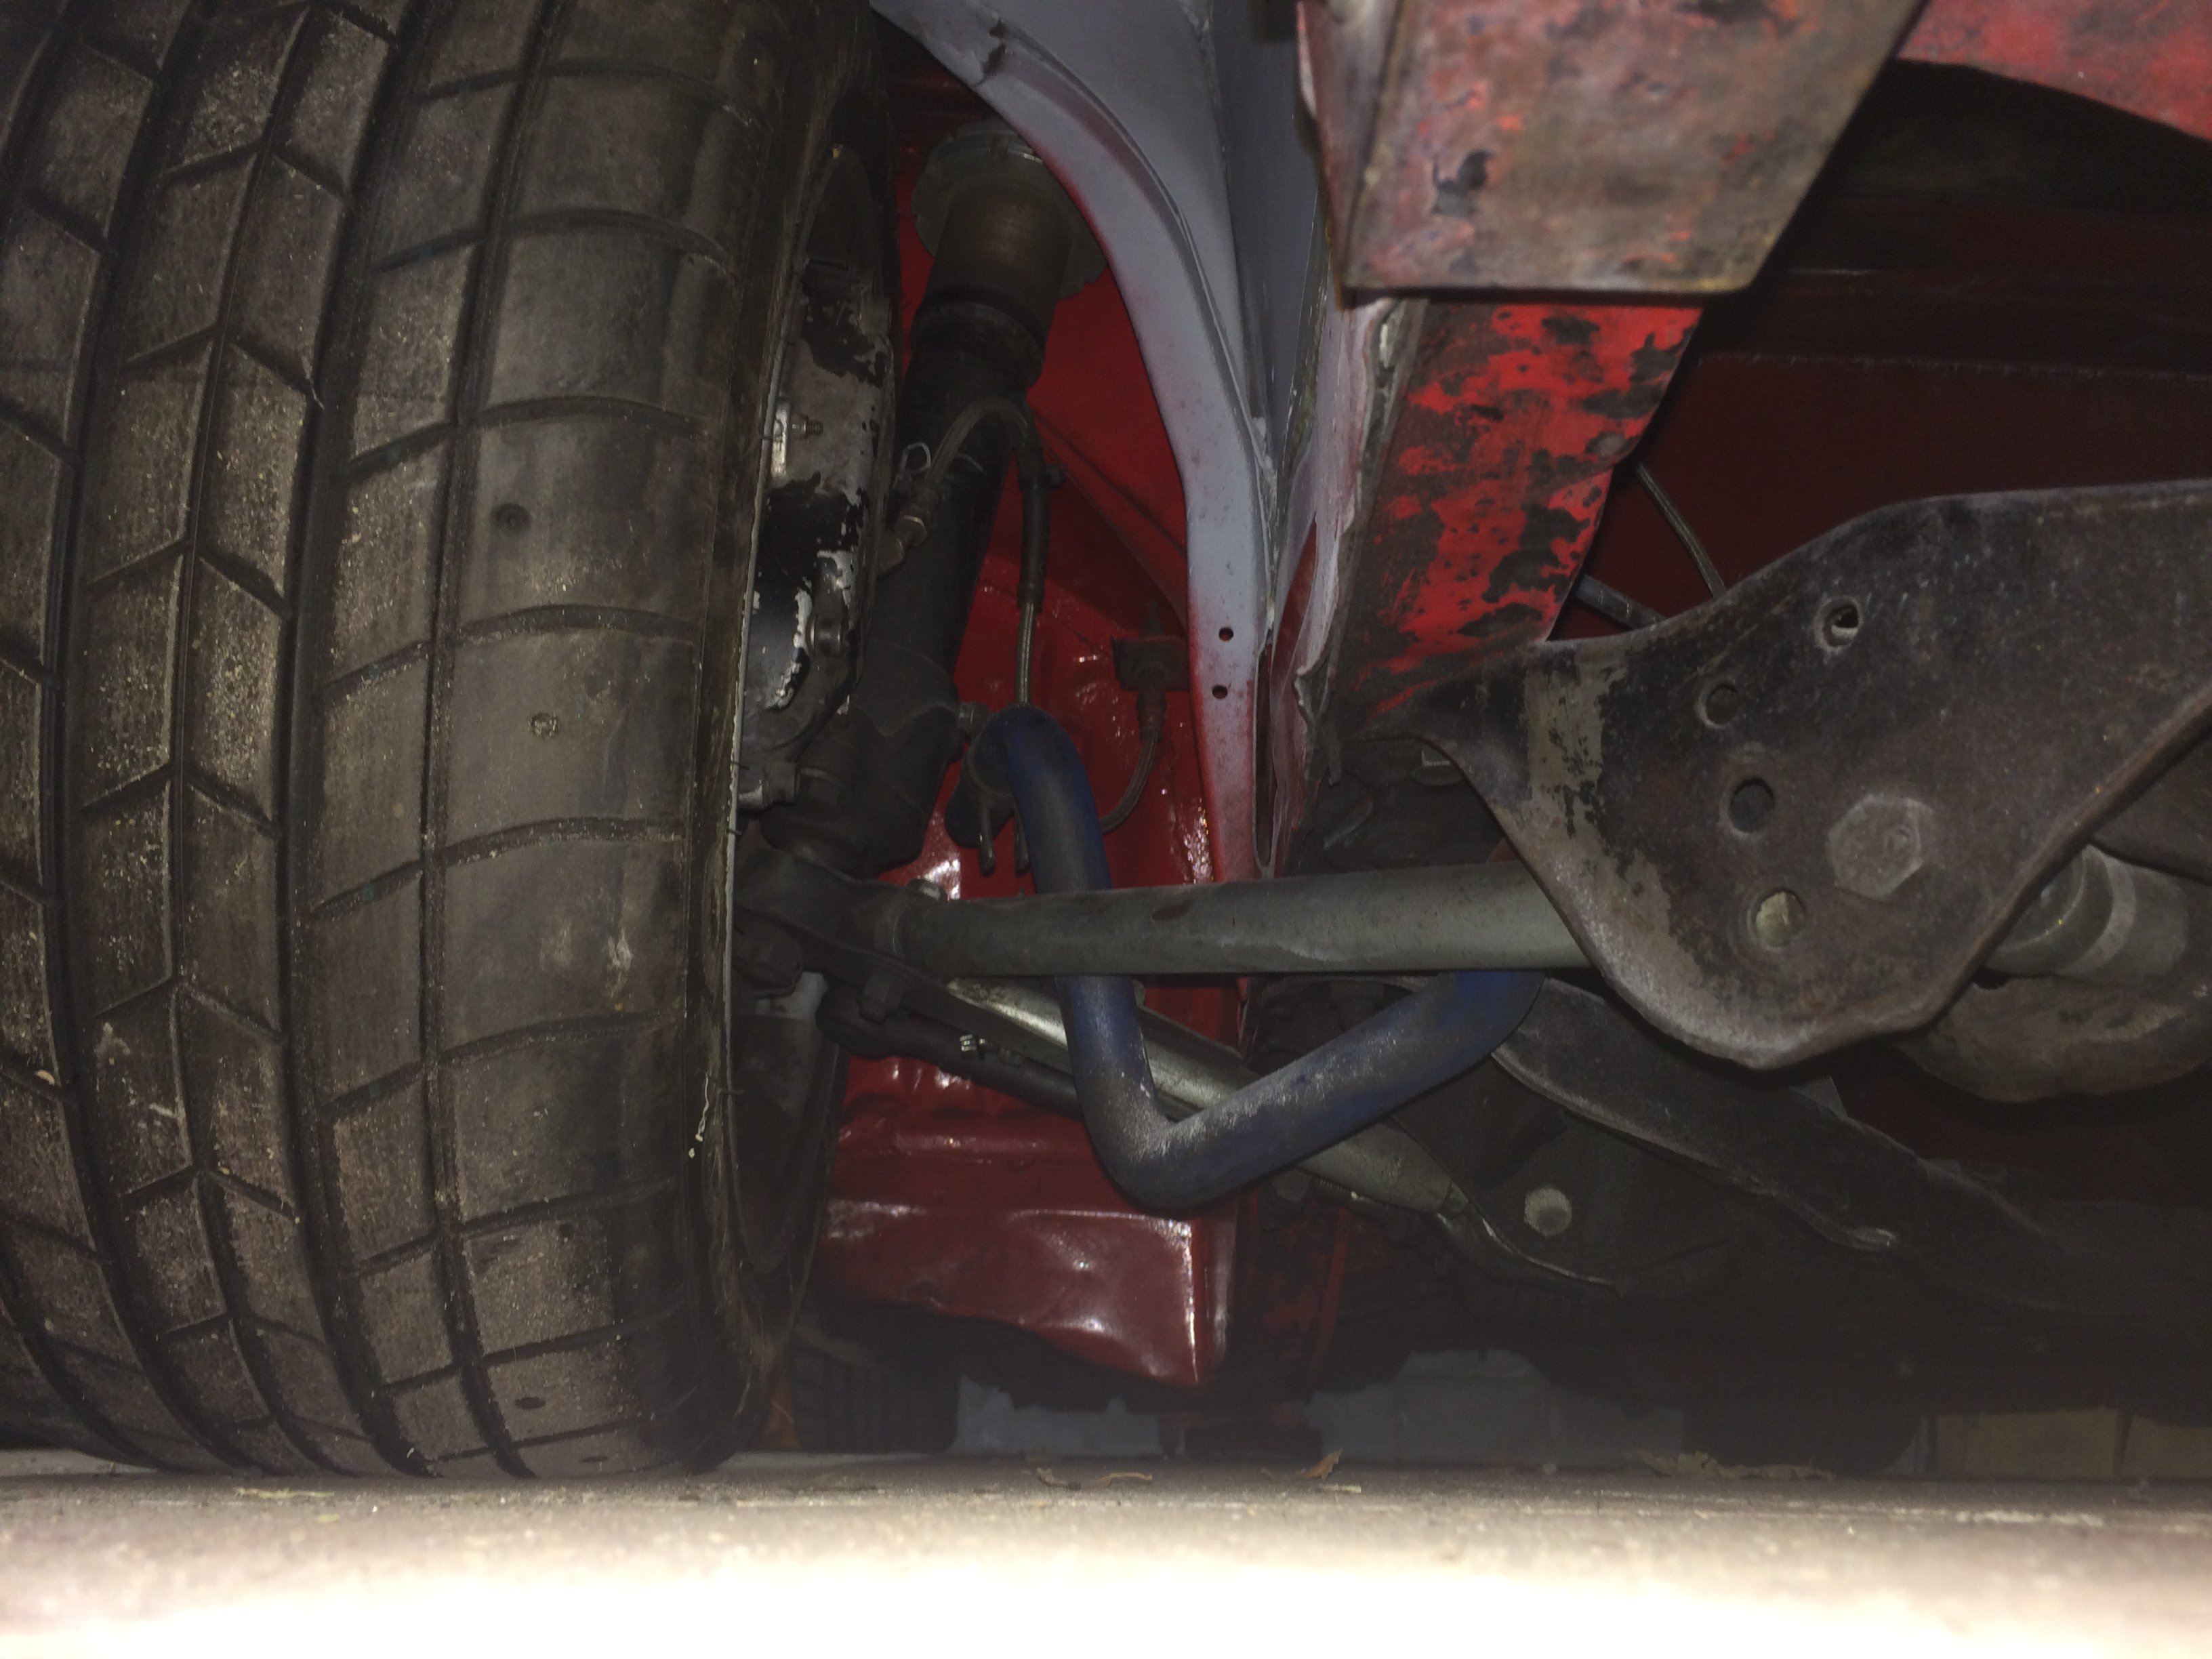
I’ve now made the move to Palmy and have spent this week sorting out the wee workshop I’m renting. I’ve set up a bunch of shelves, built a bench and added a tyre rack along the back. It’s about 40m2 (10m deep, 4m wide) and has a decent high stud so I can hang junk from the ceiling if needed. The unit number will make @kpr jealous: #unit4A Unwrapped my fresh bottom end for the first time... really keen to get the head built now... Then I finished the rear suspension guff from the previous post, removed the springs and dropped it on the ground to see what rubs. The front LCA angles are pretty bad at this height. This is on bumps and I don’t have roll centre adjusters yet. At full compression the front lower arms just touch the chassis and the tyres rub on part of the inner guard (I’ll remedy this before finishing the engine bay tidy up). The lowest point of the chassis rails are are at 35mm or so. That’s with 225/45/15 tyres... probably safe enough to not scrape ripple strips at full compression? It will never run this low, but it’s good to see what the suspension will do over big bumps.
1 point
-
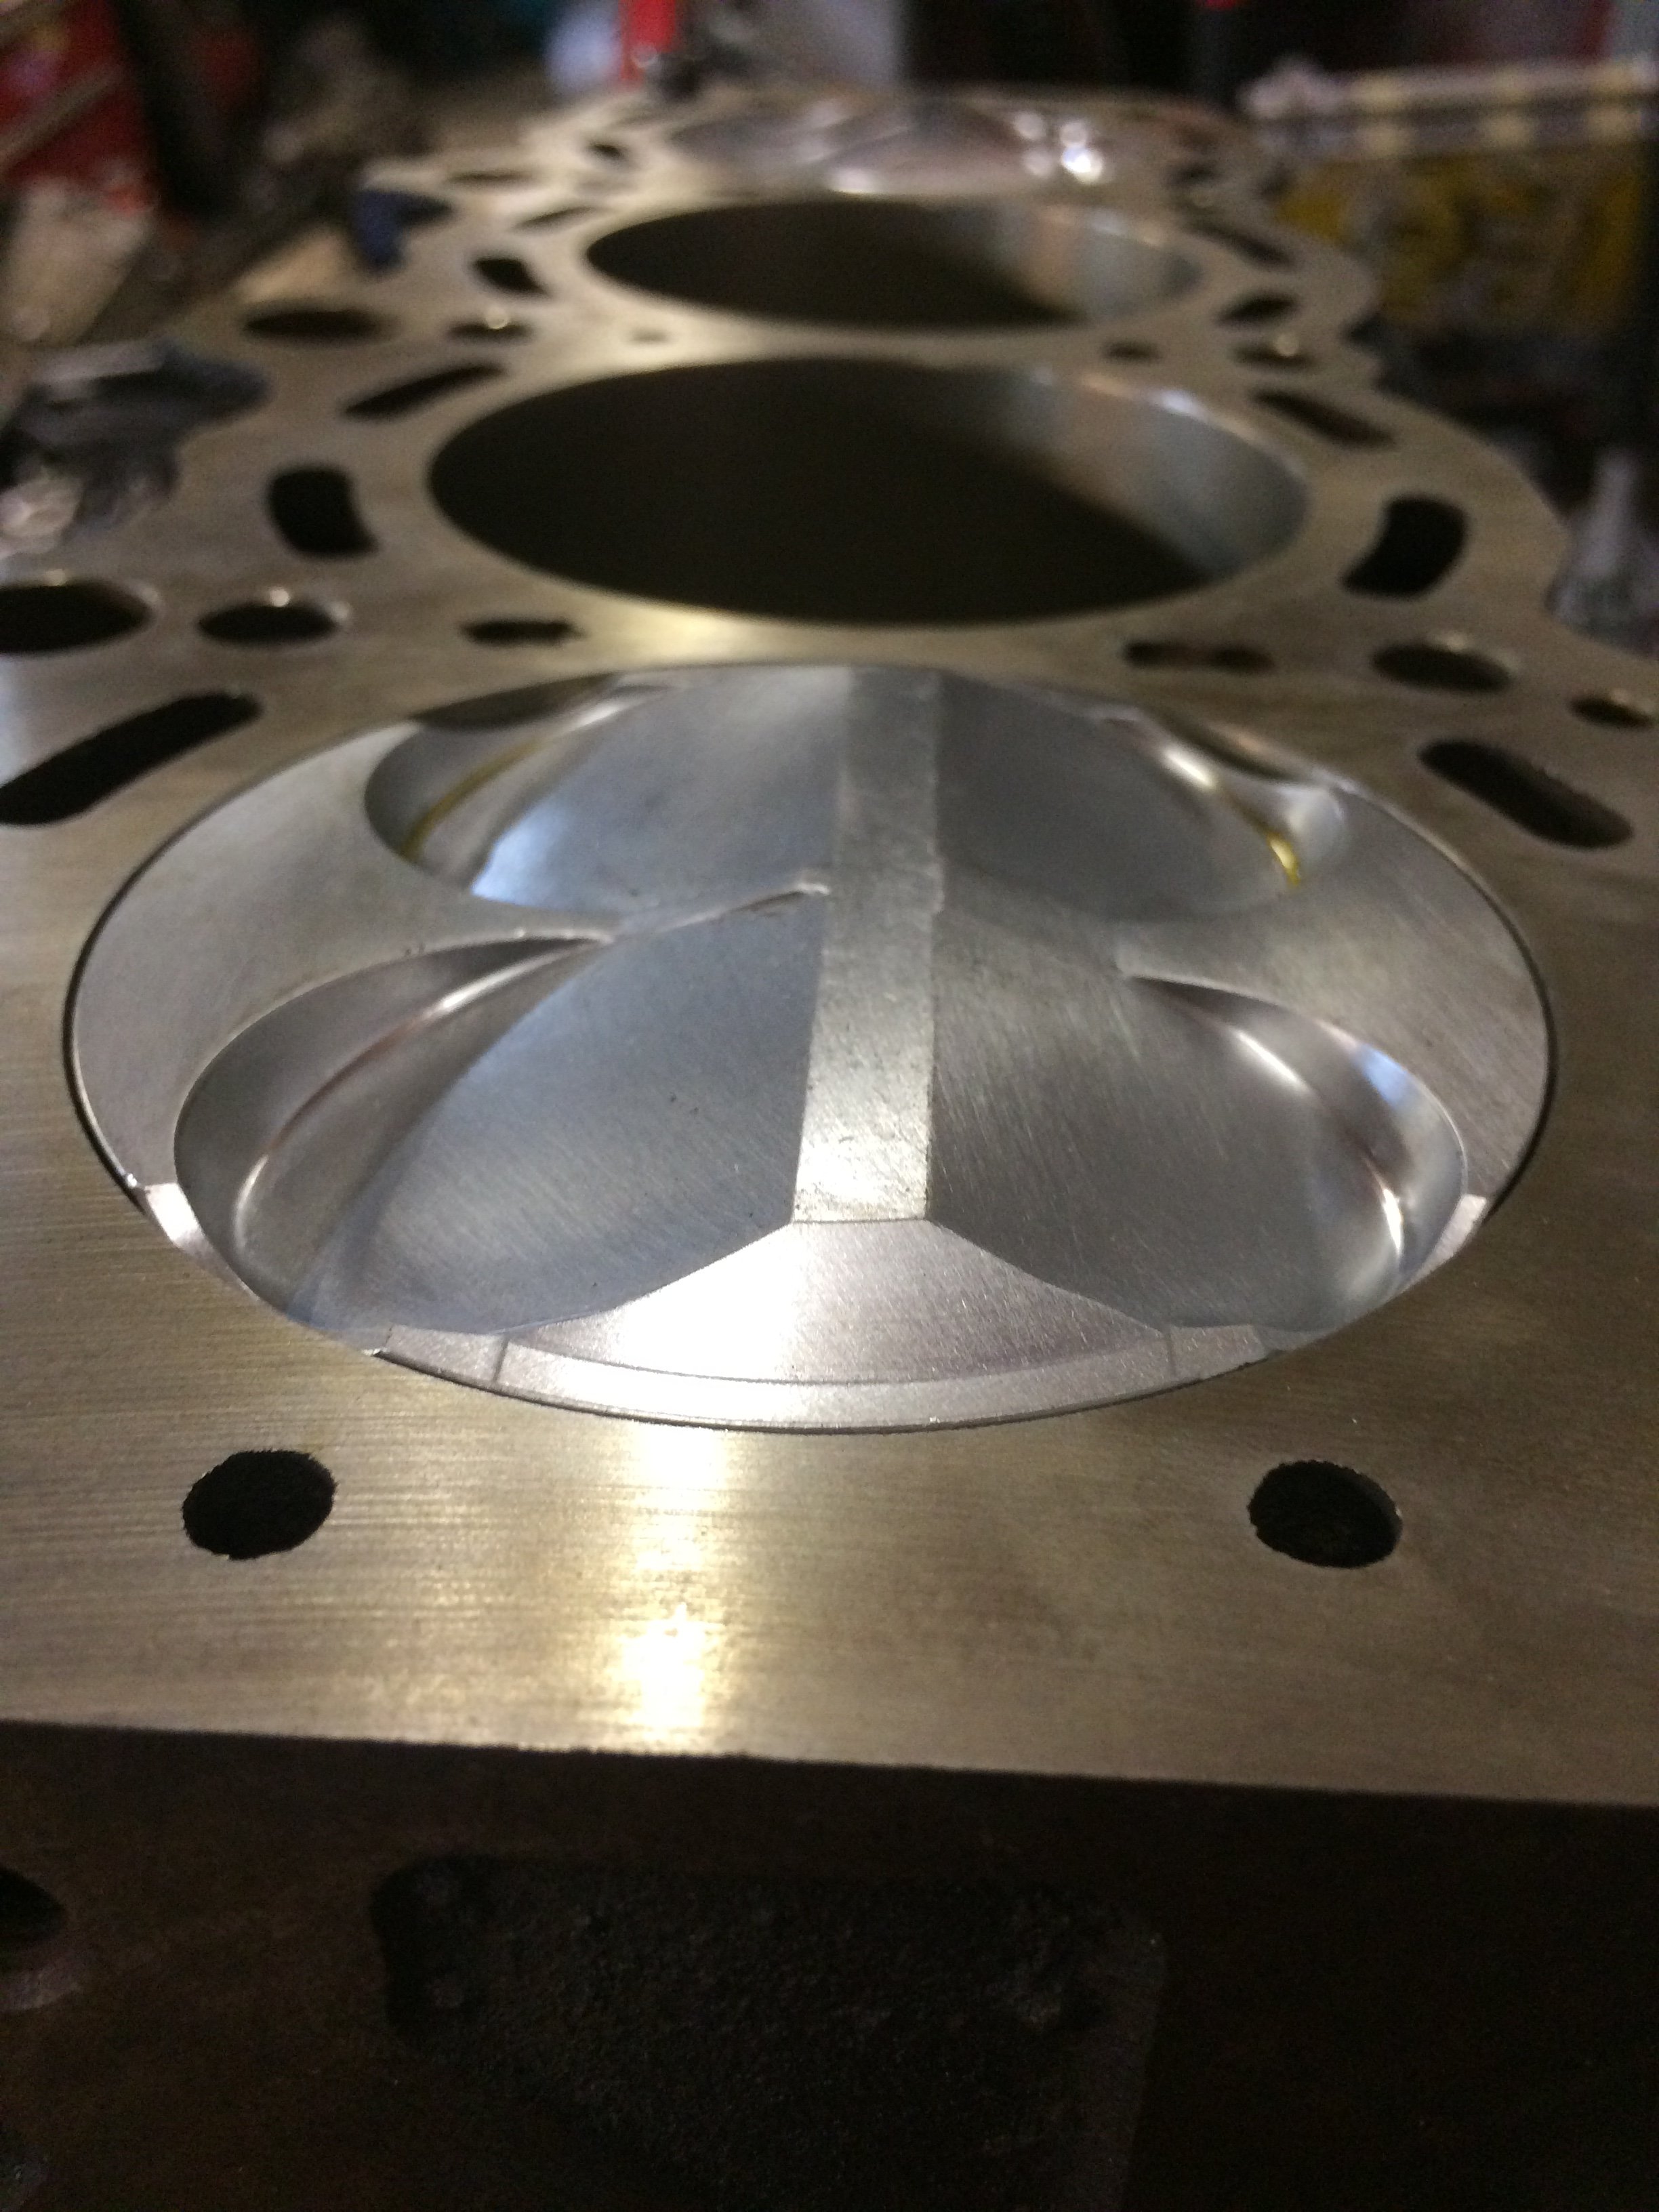
More vac table action. I had to drop the spindle a bit so it was working within its limits which is why the dust shroud is so high. Also some dust extraction happened. I imagine this is all pretty tedious for everyone, but I am loving it.1 point
-
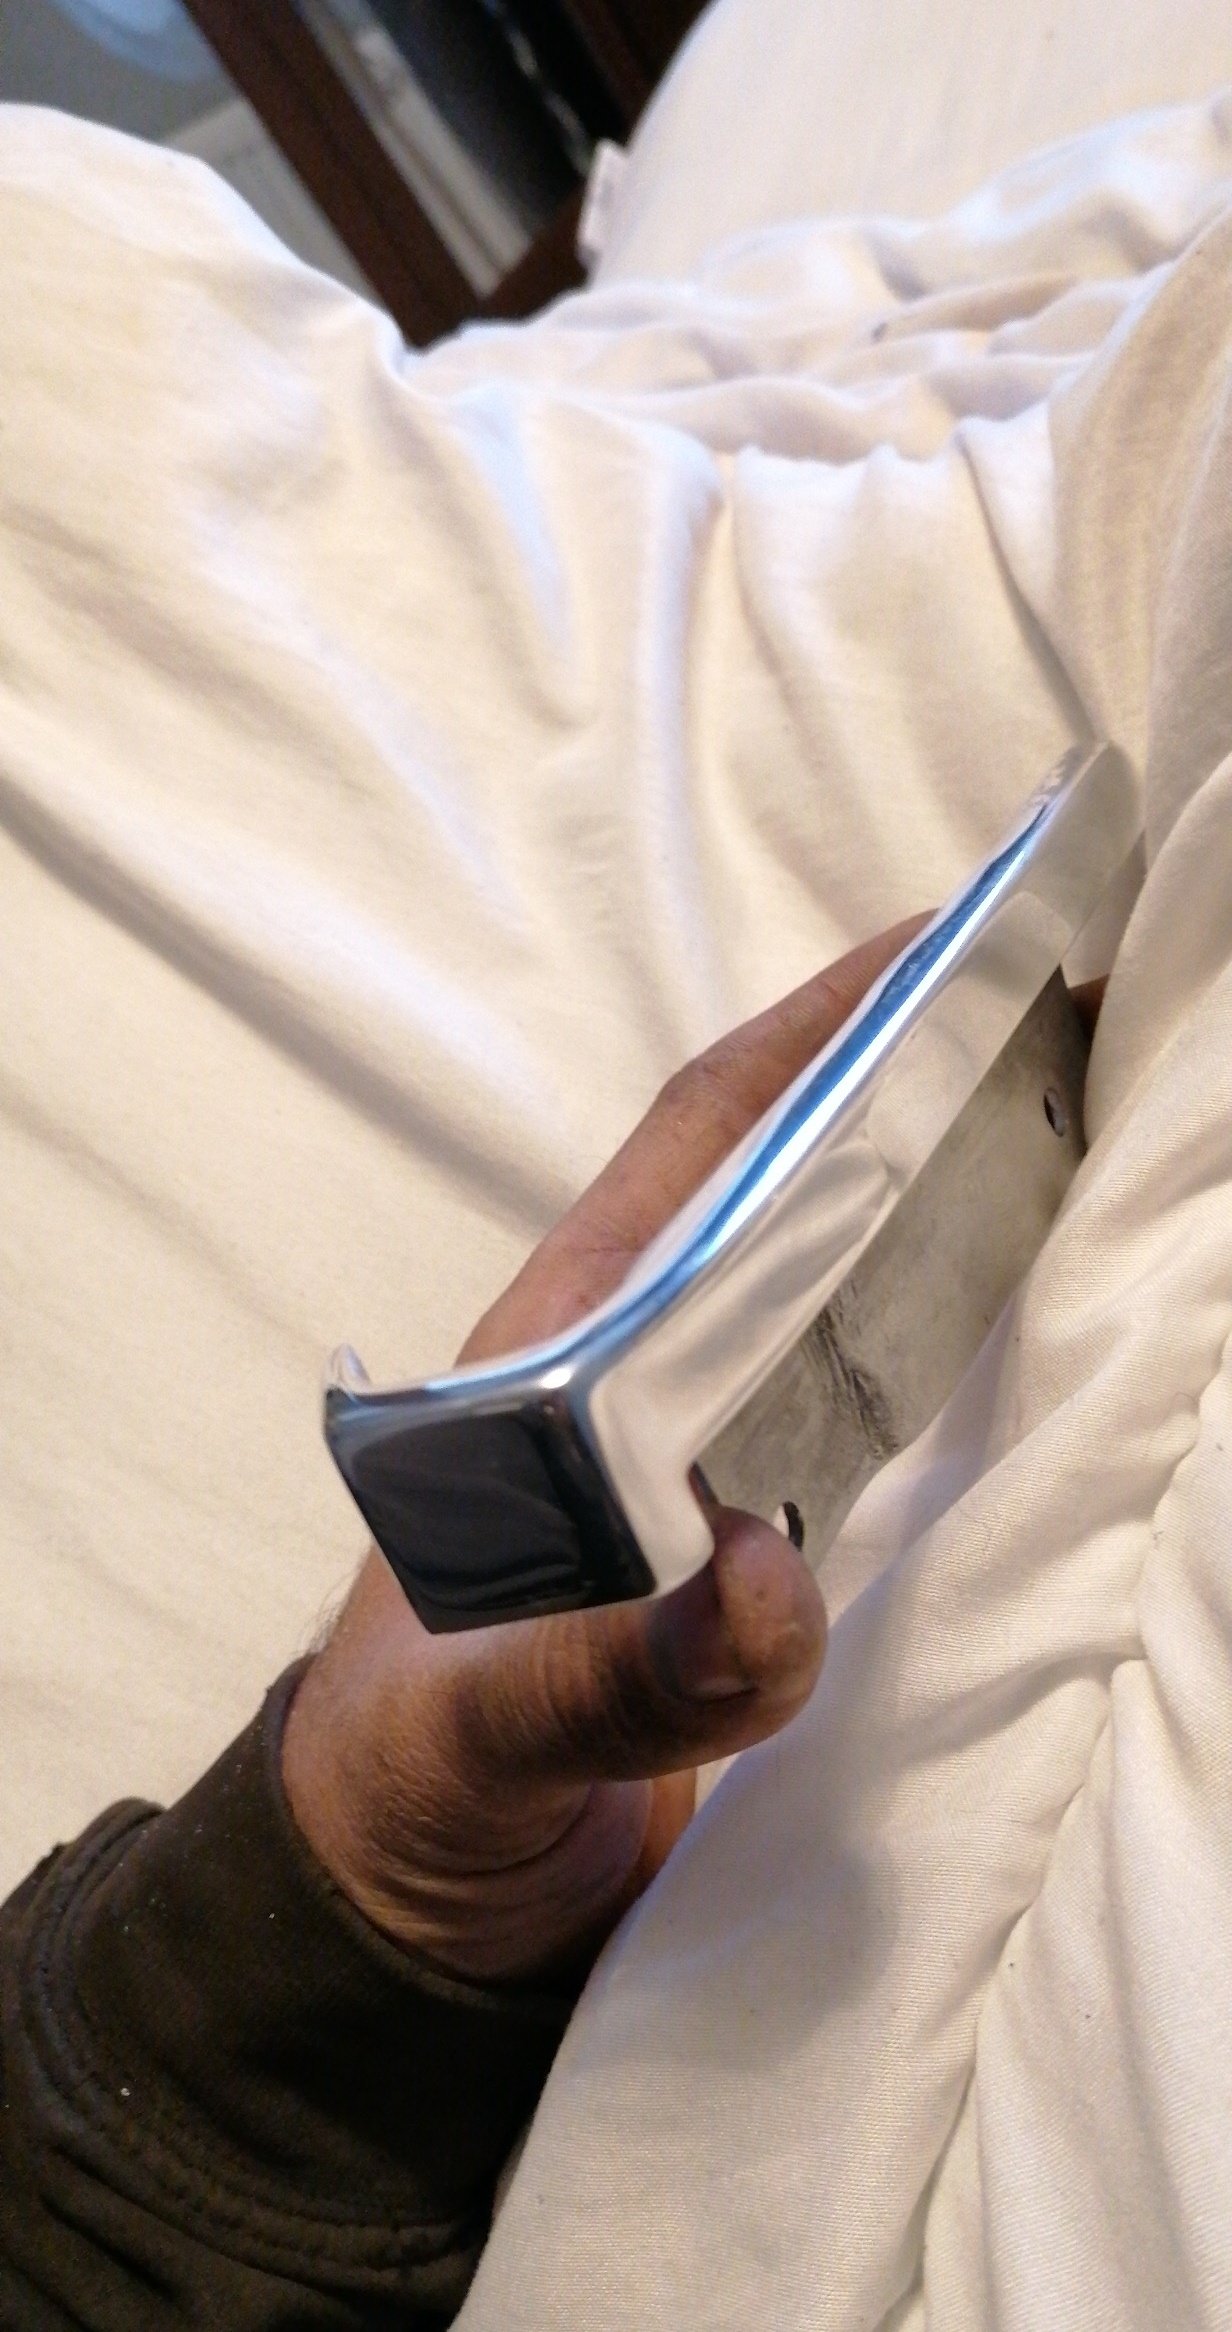
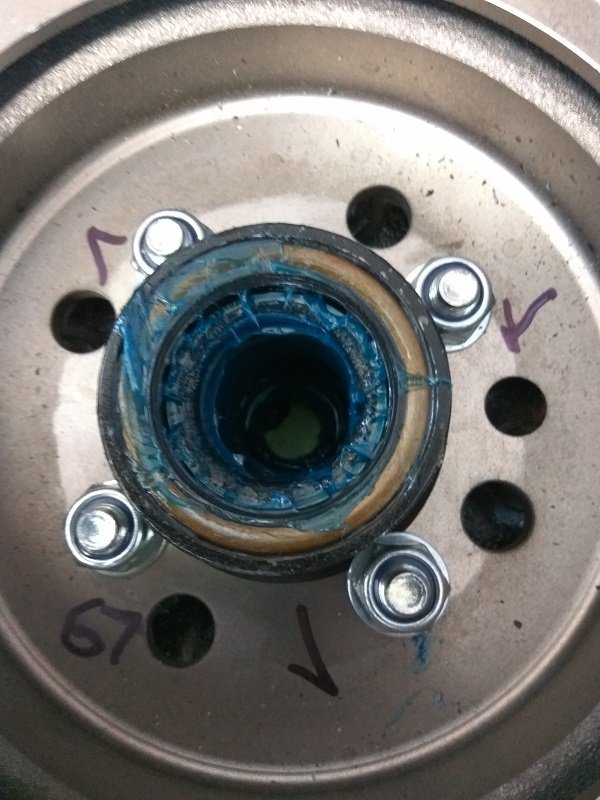
The new m/cyl looks great. Do me a favor and pull the mastervac check valve out, poke the longest finger (or didget!) you posses in there and let me know if there's any residual brake fluid there. if there is PM me and I'll talk you through a booster rebuild or you can bring it (and a bottle) to the world famous sr2 mancave in Milford and we'll do it in person.1 point
-
Looks the part. I haven't got the bill yet1 point
-
Well with being back in lockdown has provided some time (when I’m on my off shift) so I got the engine almost repainted and assembled new gaskets, frost plugs etc Hoist earning its keep again Messed around with a couple of ideas on the rocker covers settled on engine coloured with black fins Ended up with this, still have to do the other rocker cover to match, just waiting on some more paint, I ended up getting VHT early Chrysler blue, it’s a bit greener than I what I was planning on using, but I’m actually happy as with how it has come out! not a bad use of a day off1 point
-
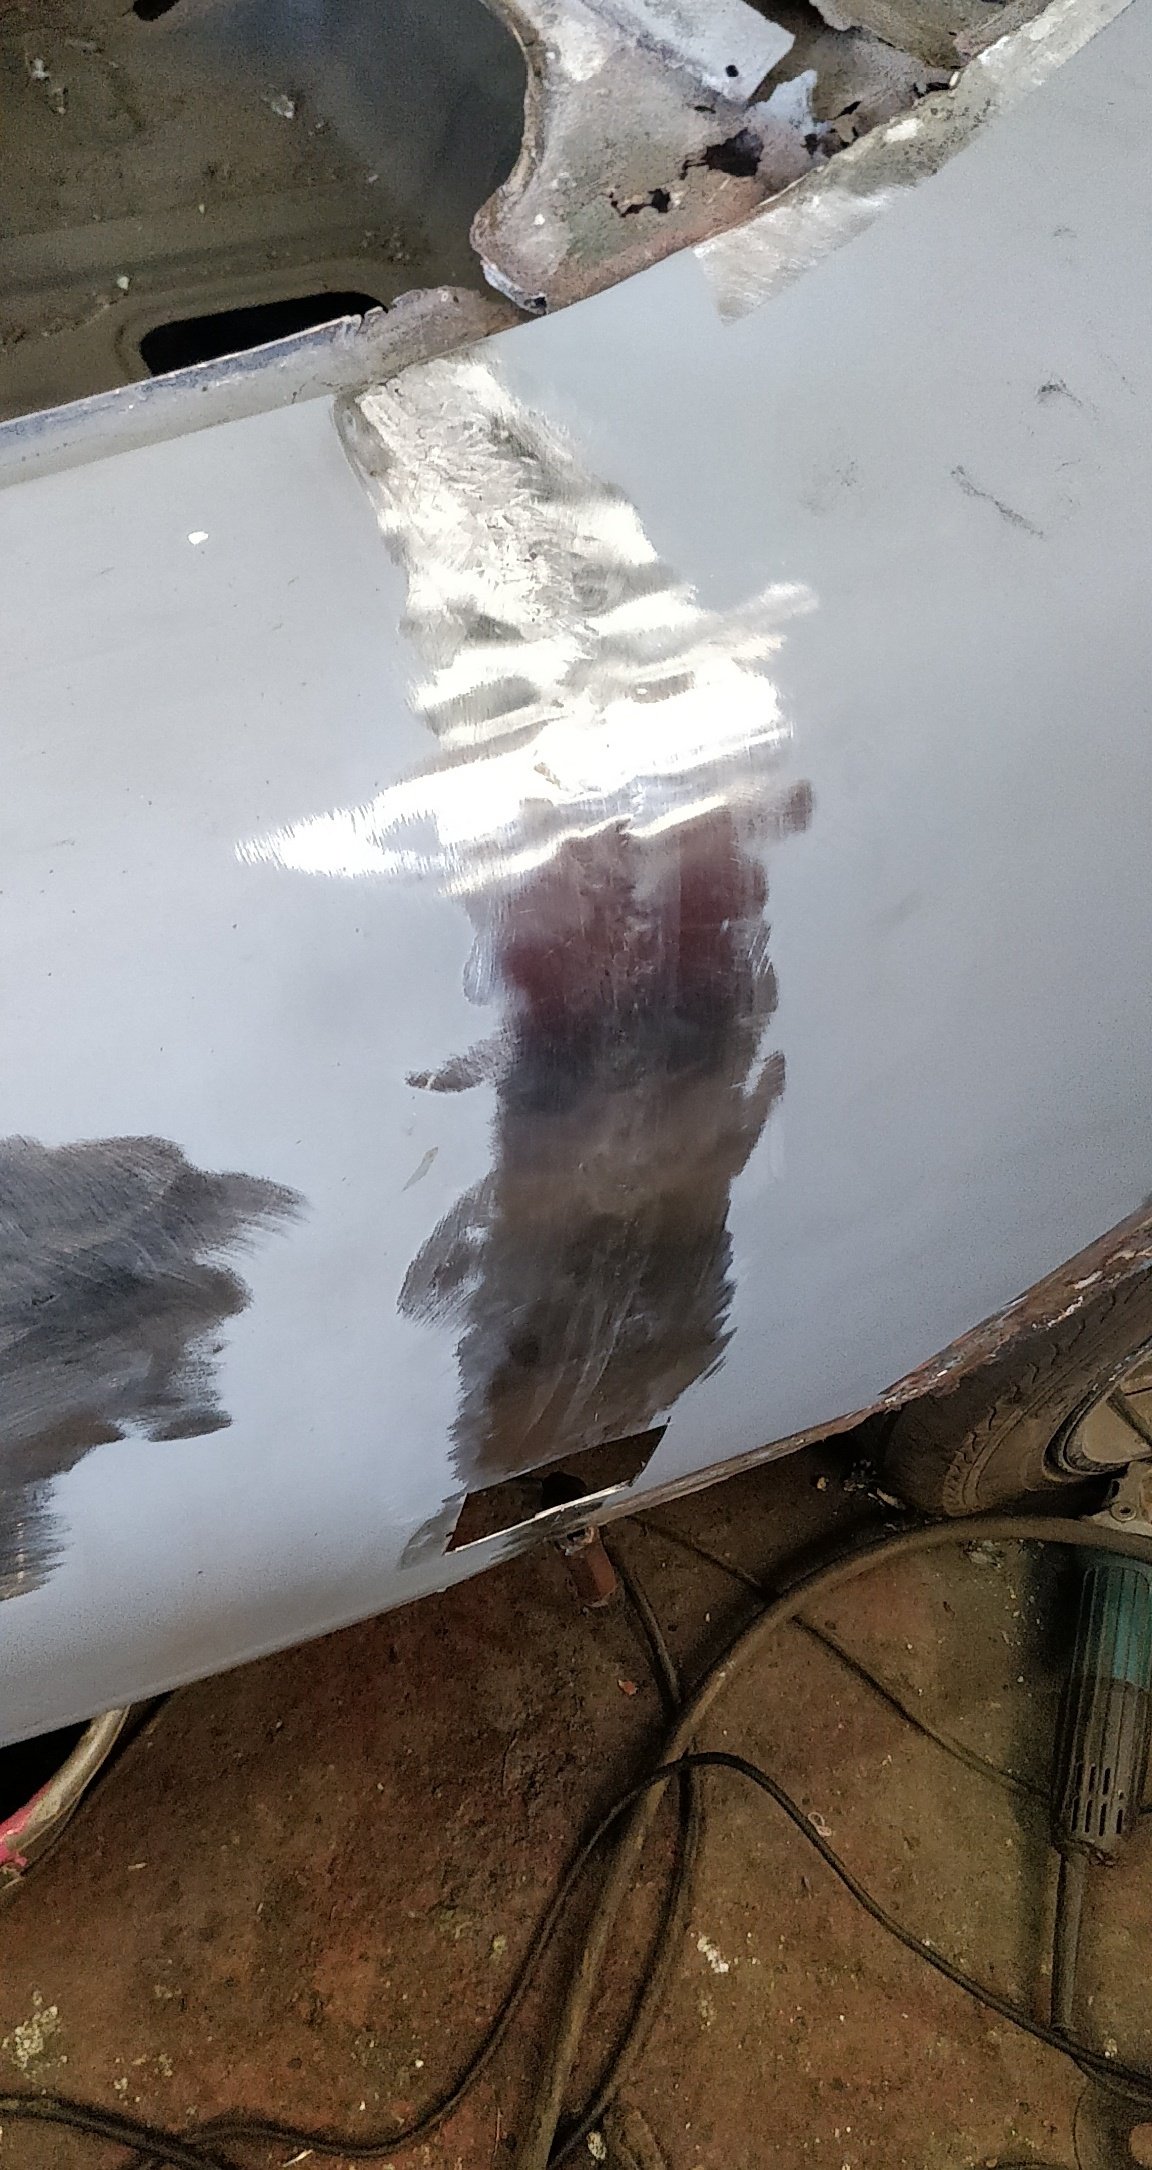
Busy week last week - paint stripping complete on the roof and passenger side: Boot floor shotblasted: Rear quarter repair improvements started:
1 point
-
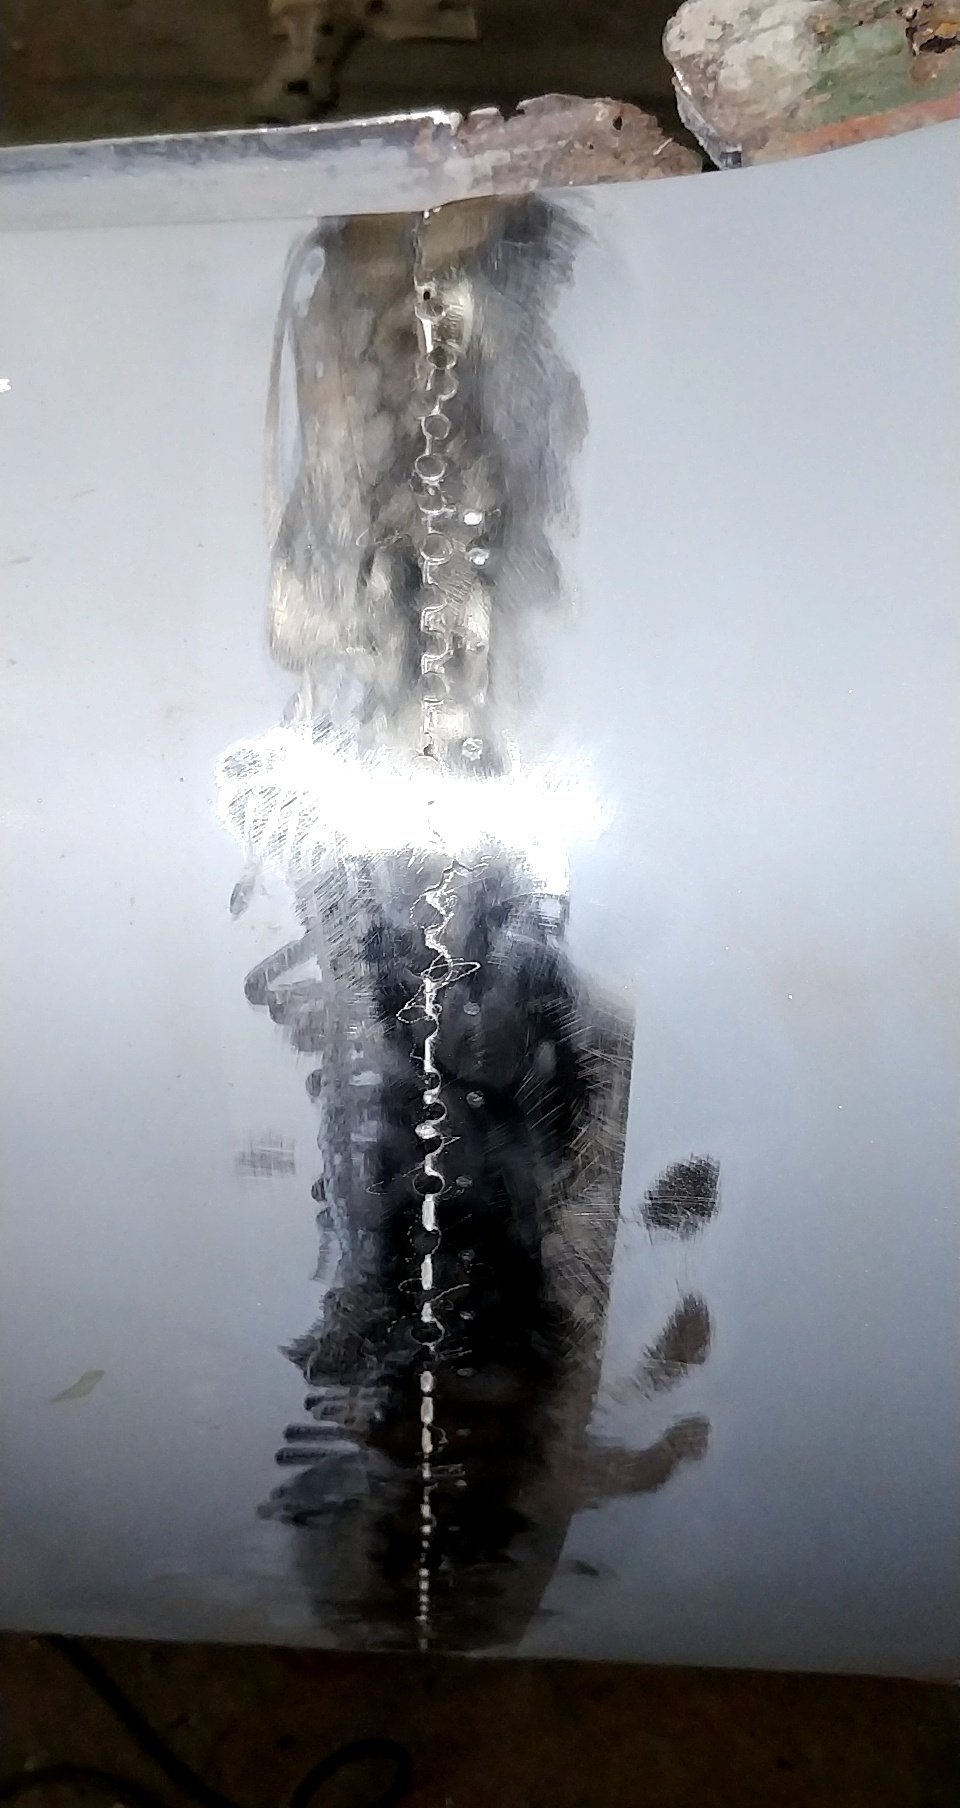
Had a break from the back panel this weekend - boot lid and rear quarter took back to bare metal, surprisingly good condition apart from some holes from the spoiler, and previous repairs.
1 point
-
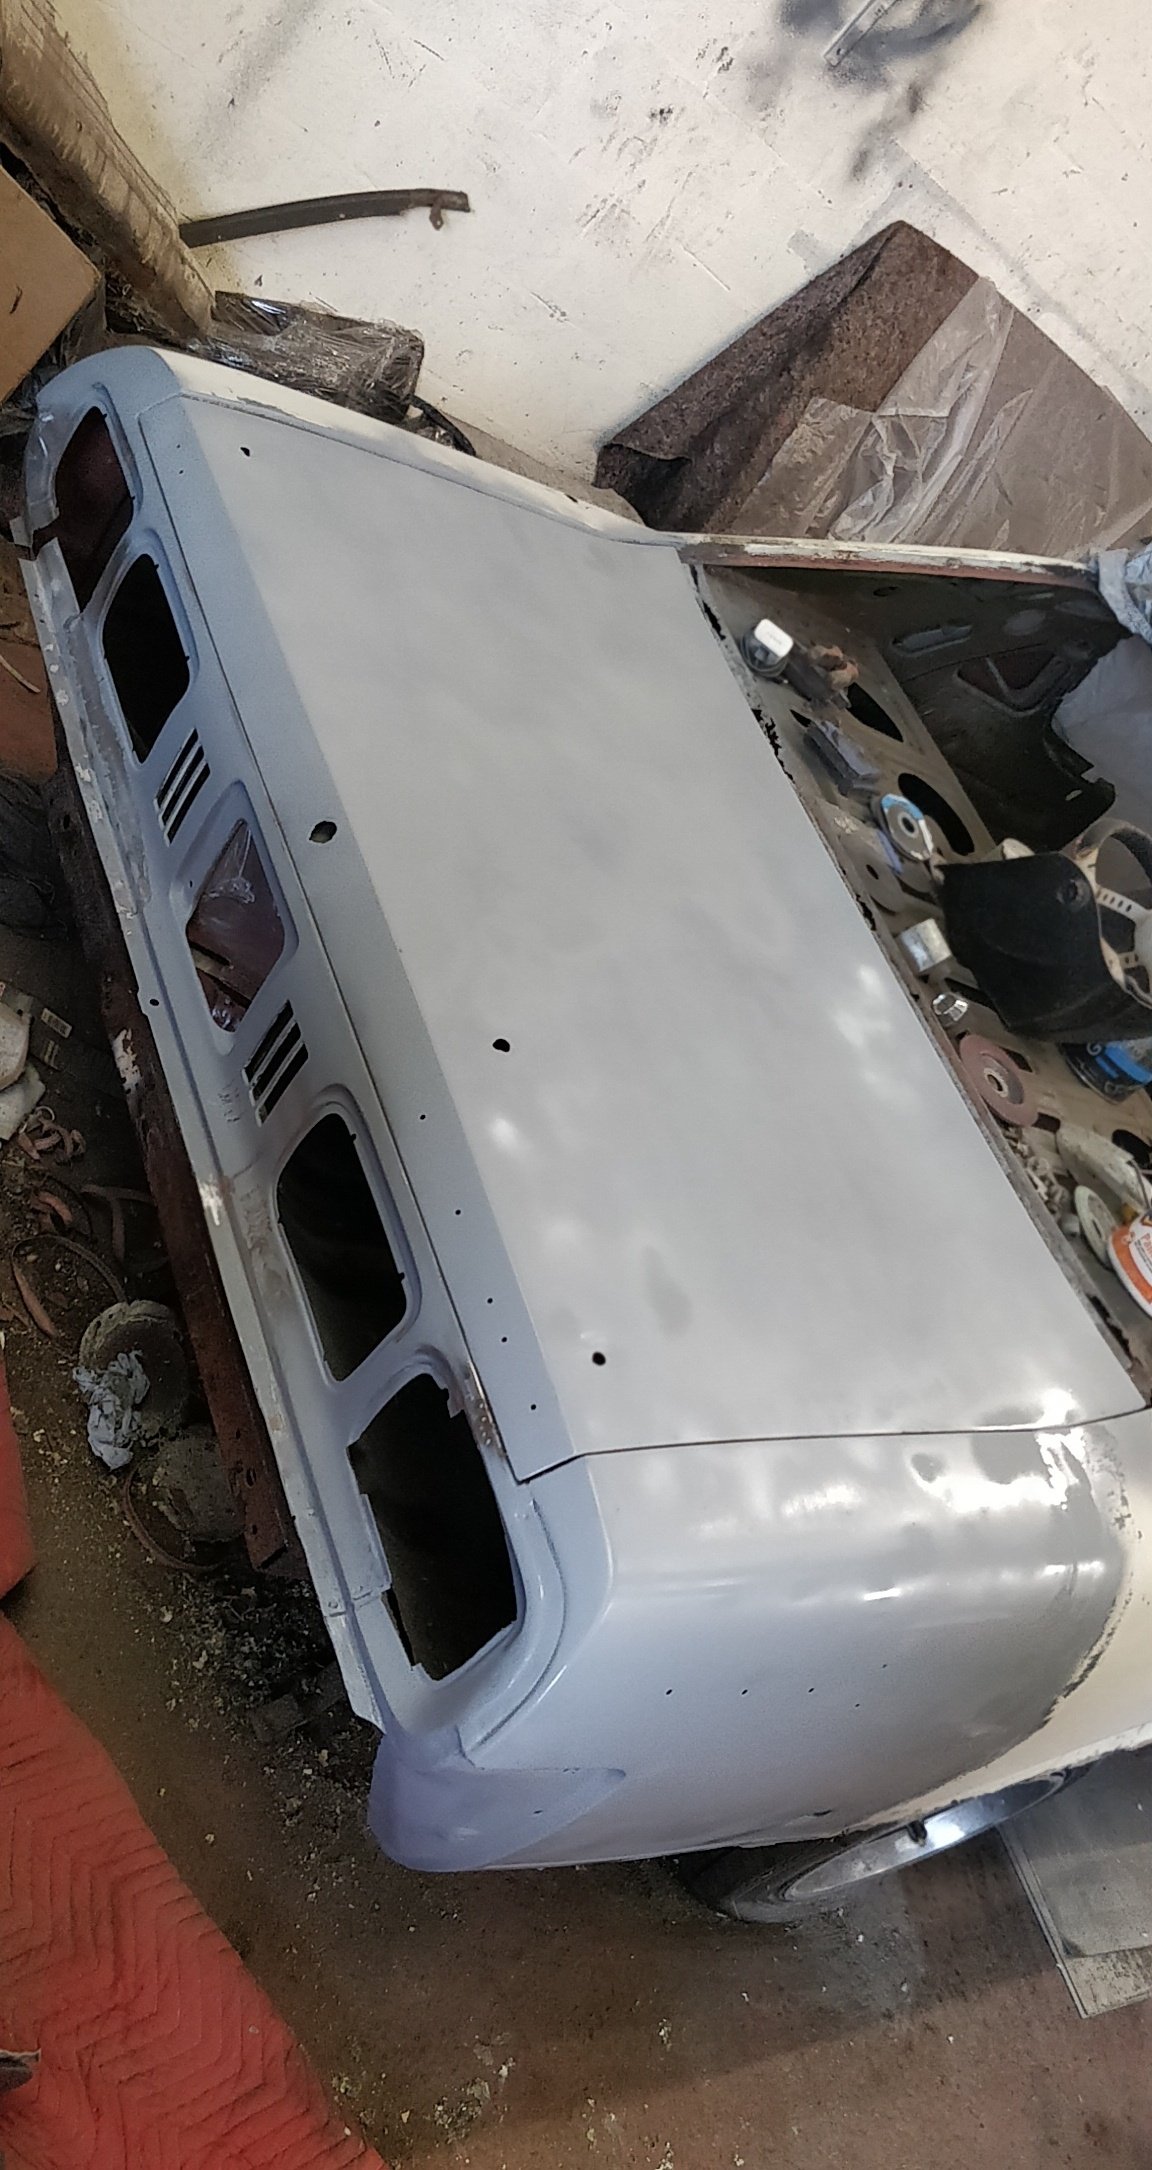
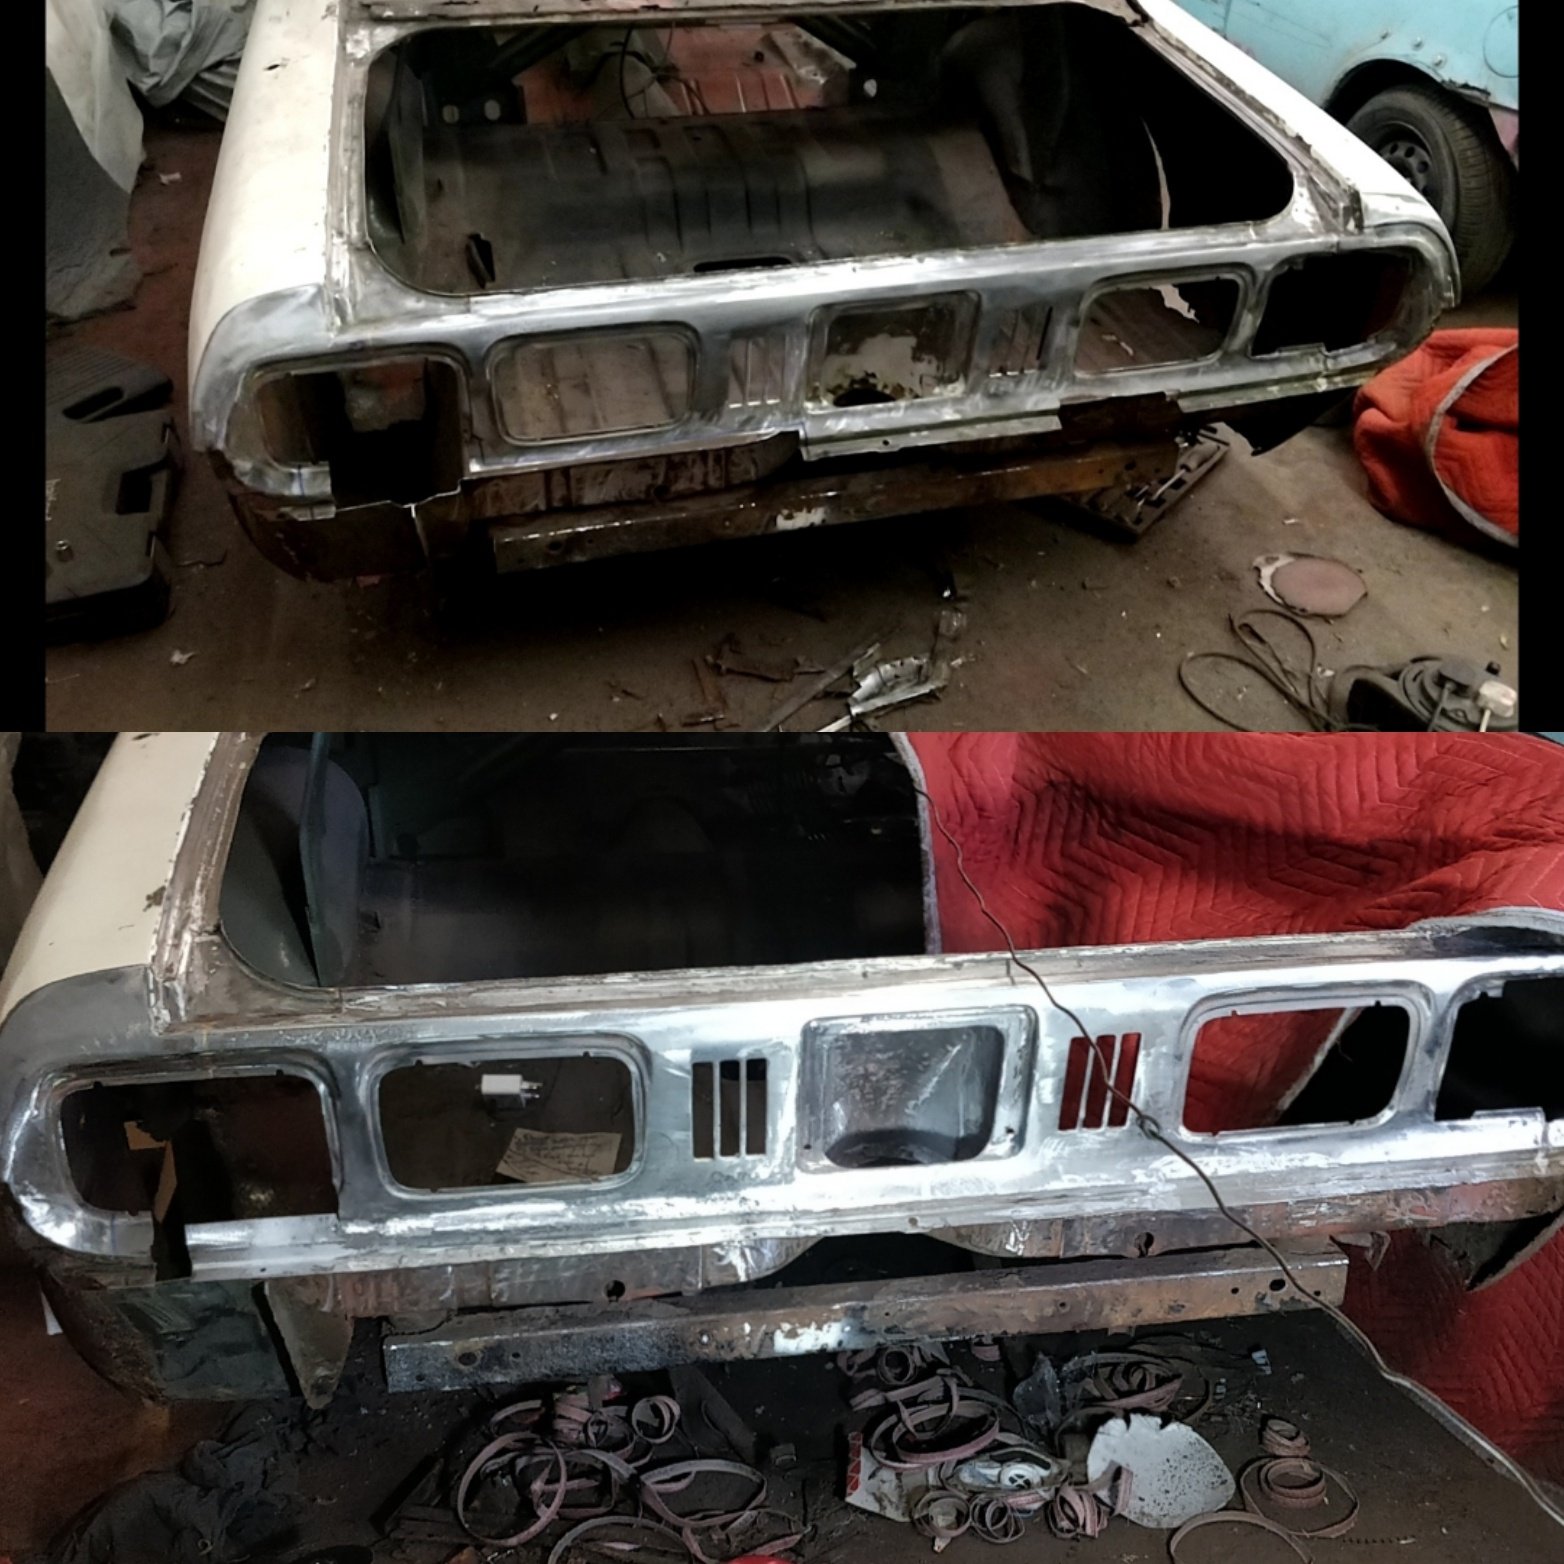
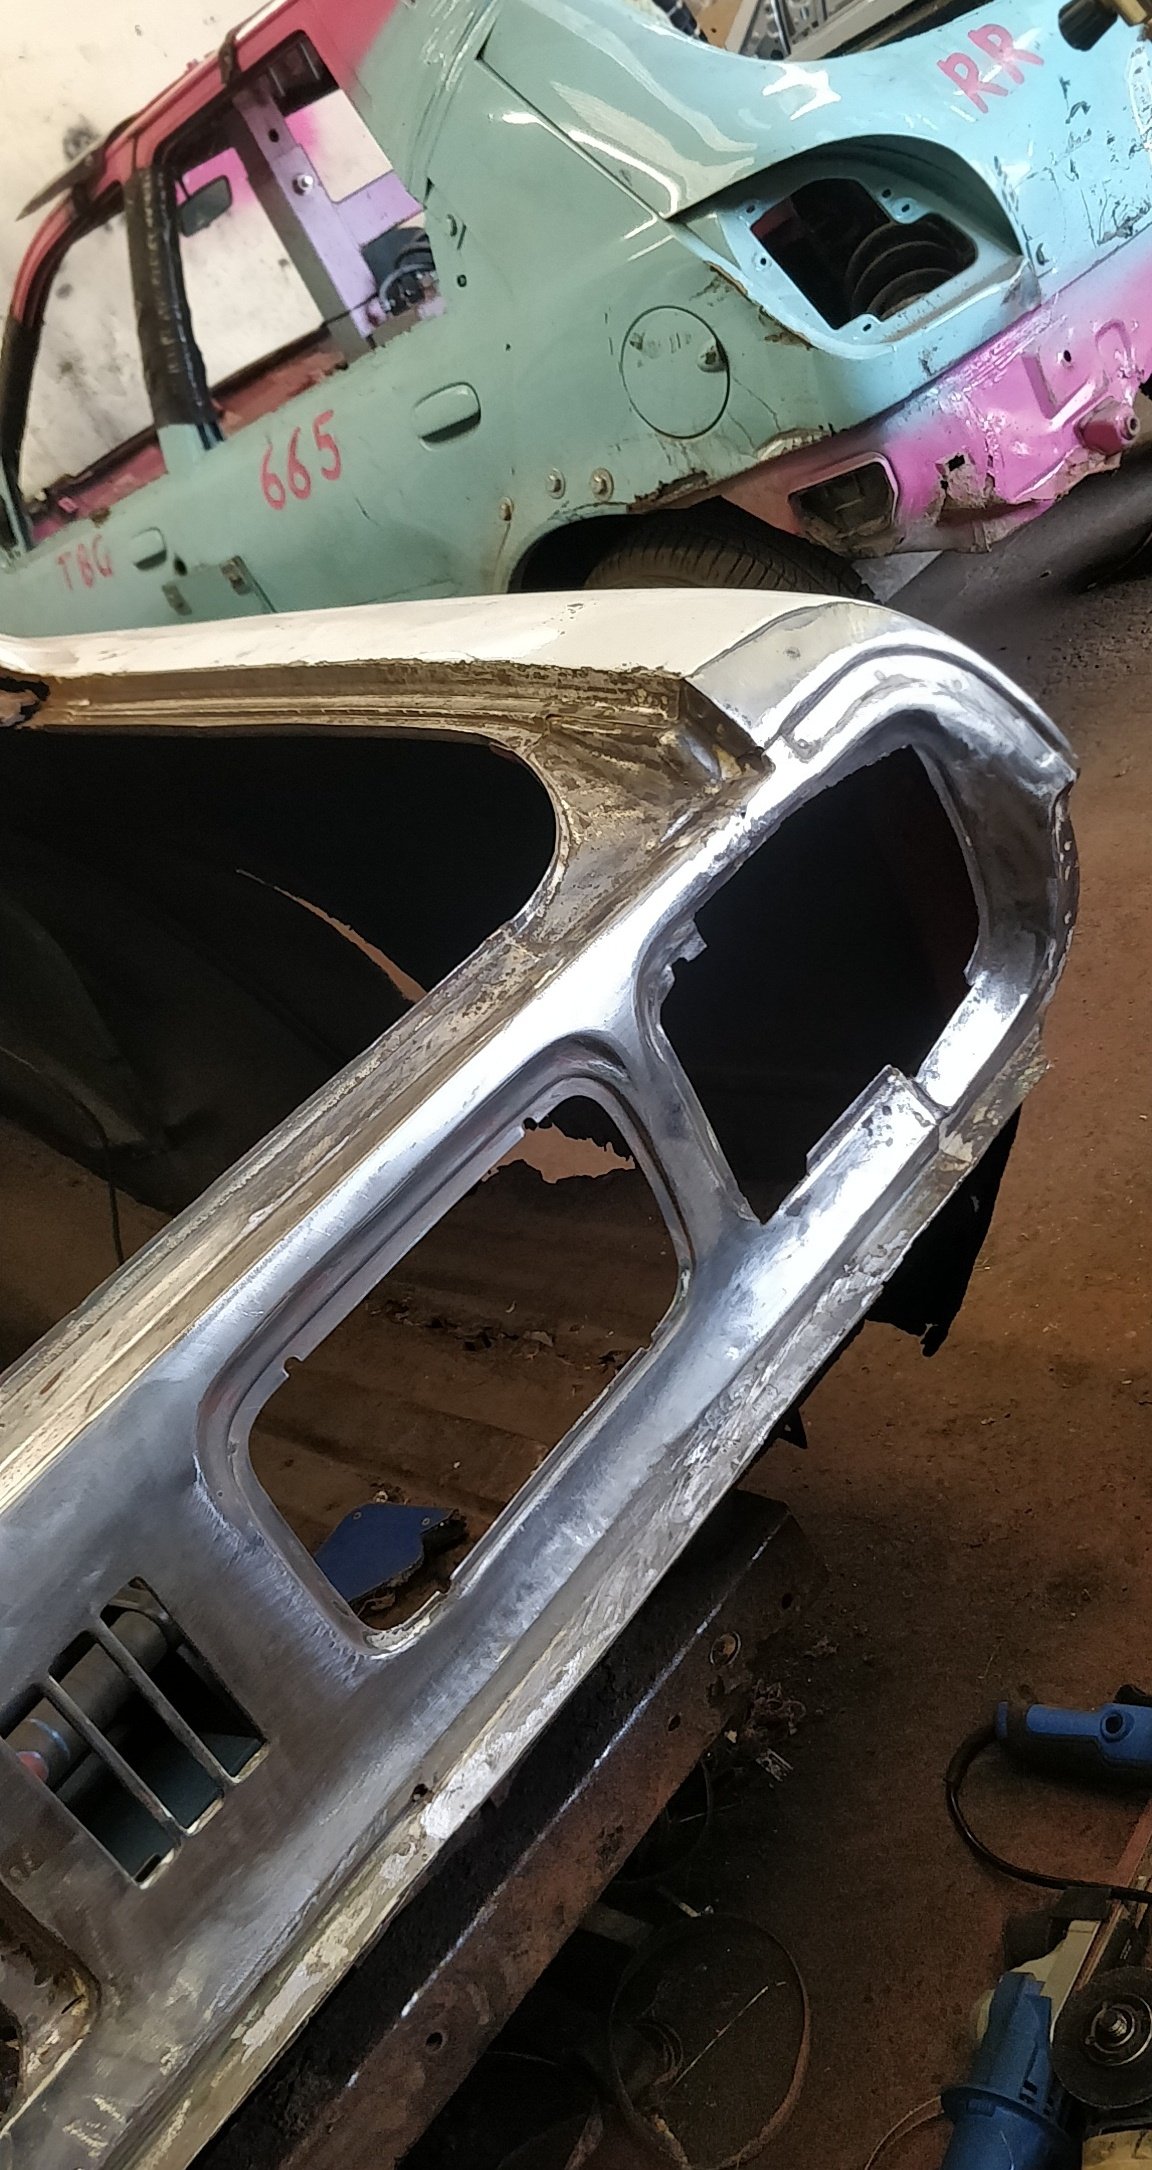
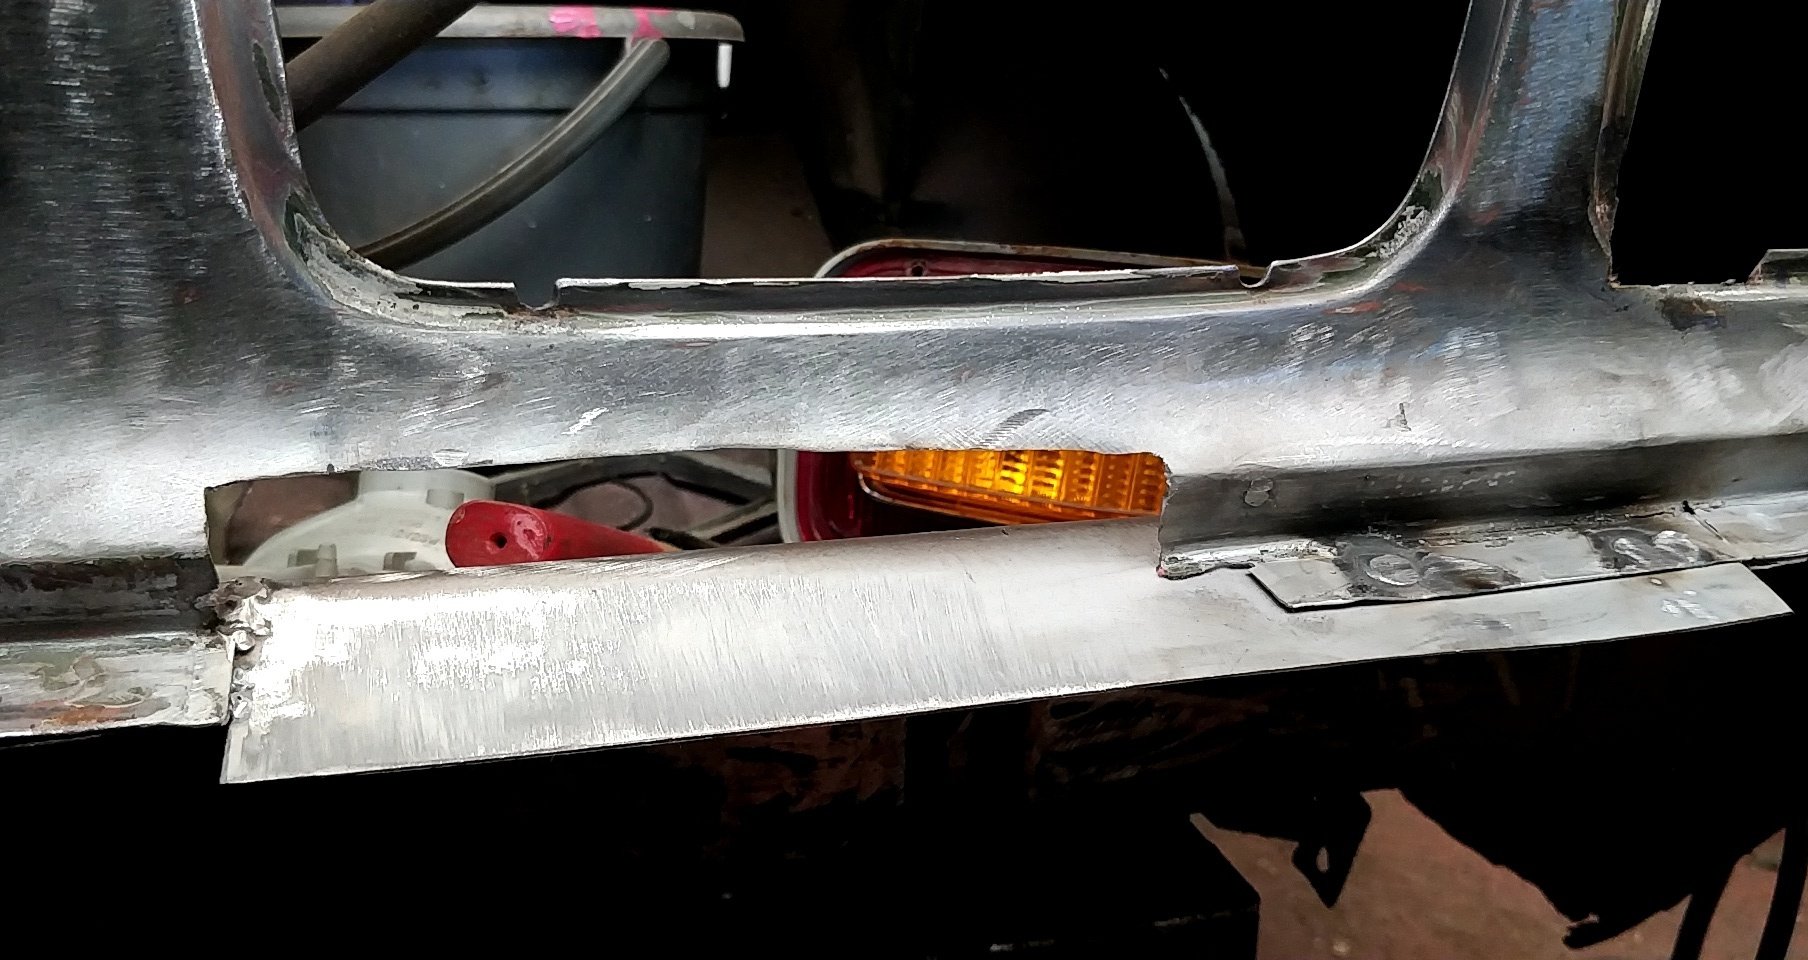
More back panel progress this weekend.
1 point
-
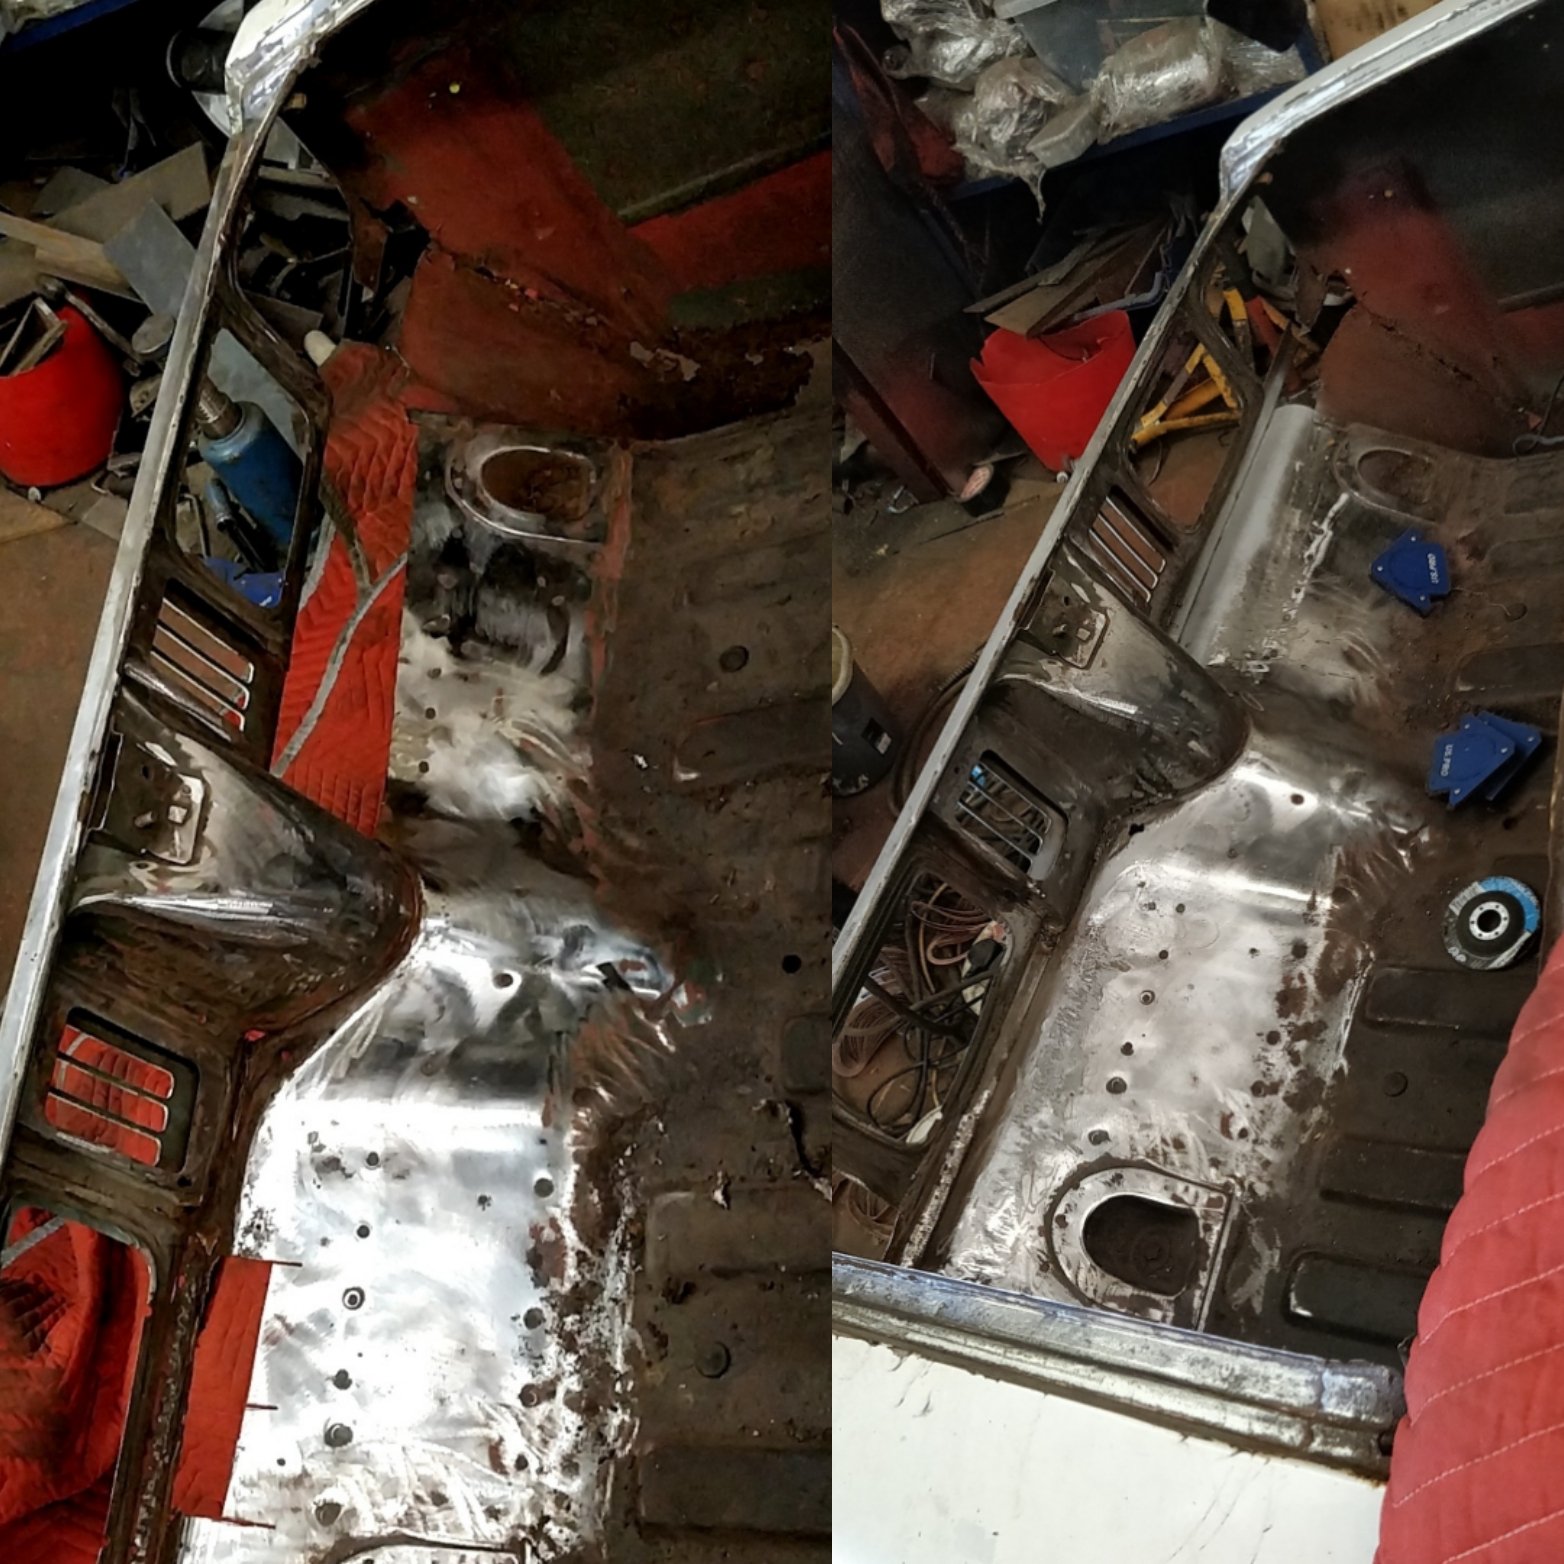
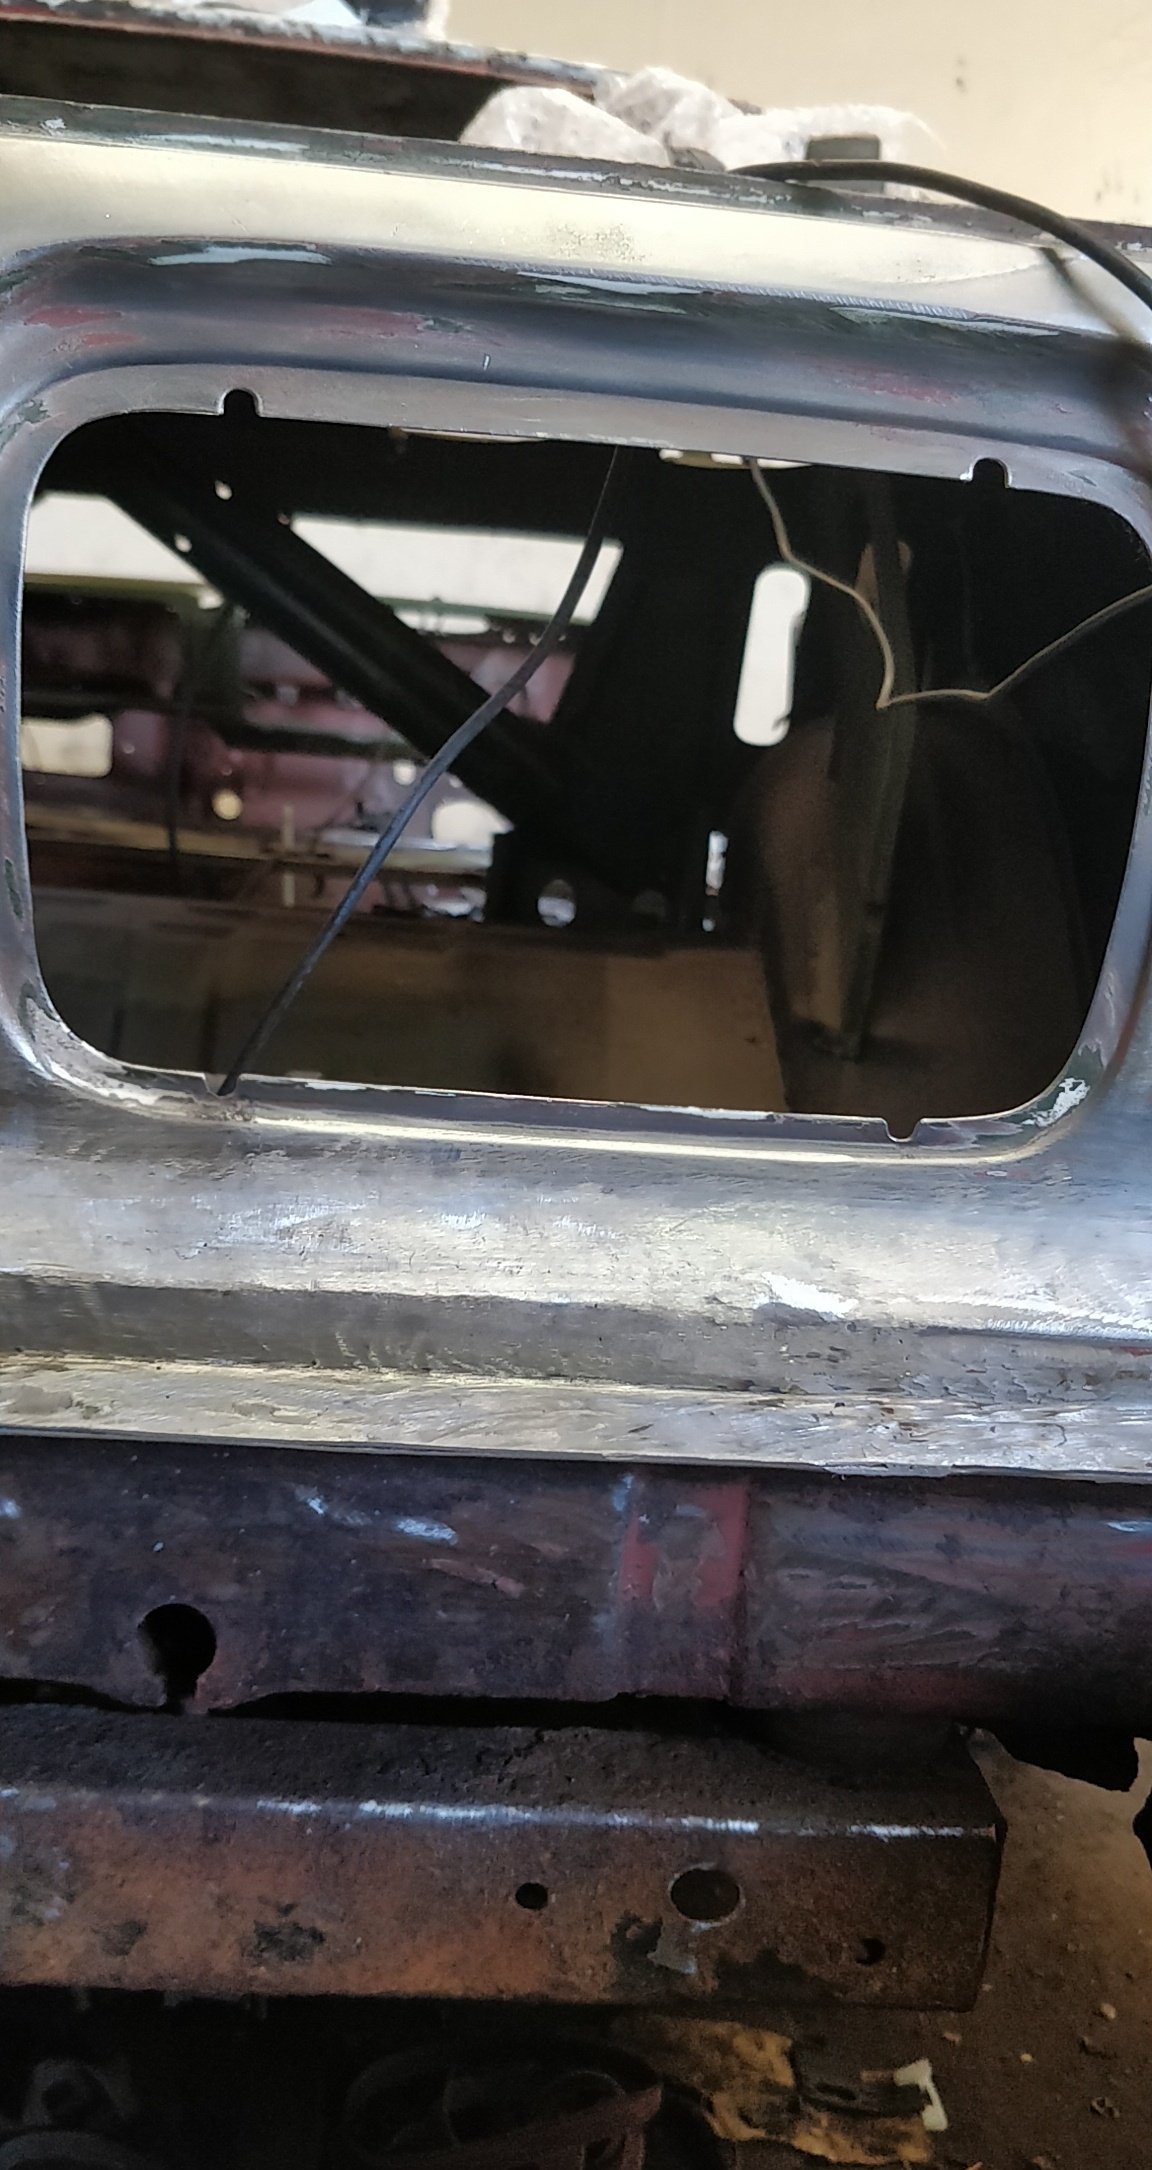
Boot floor, light cluster and fuel filler turret just about finished off. Slow progress with it being made up of fairly complex shapes.
1 point
-
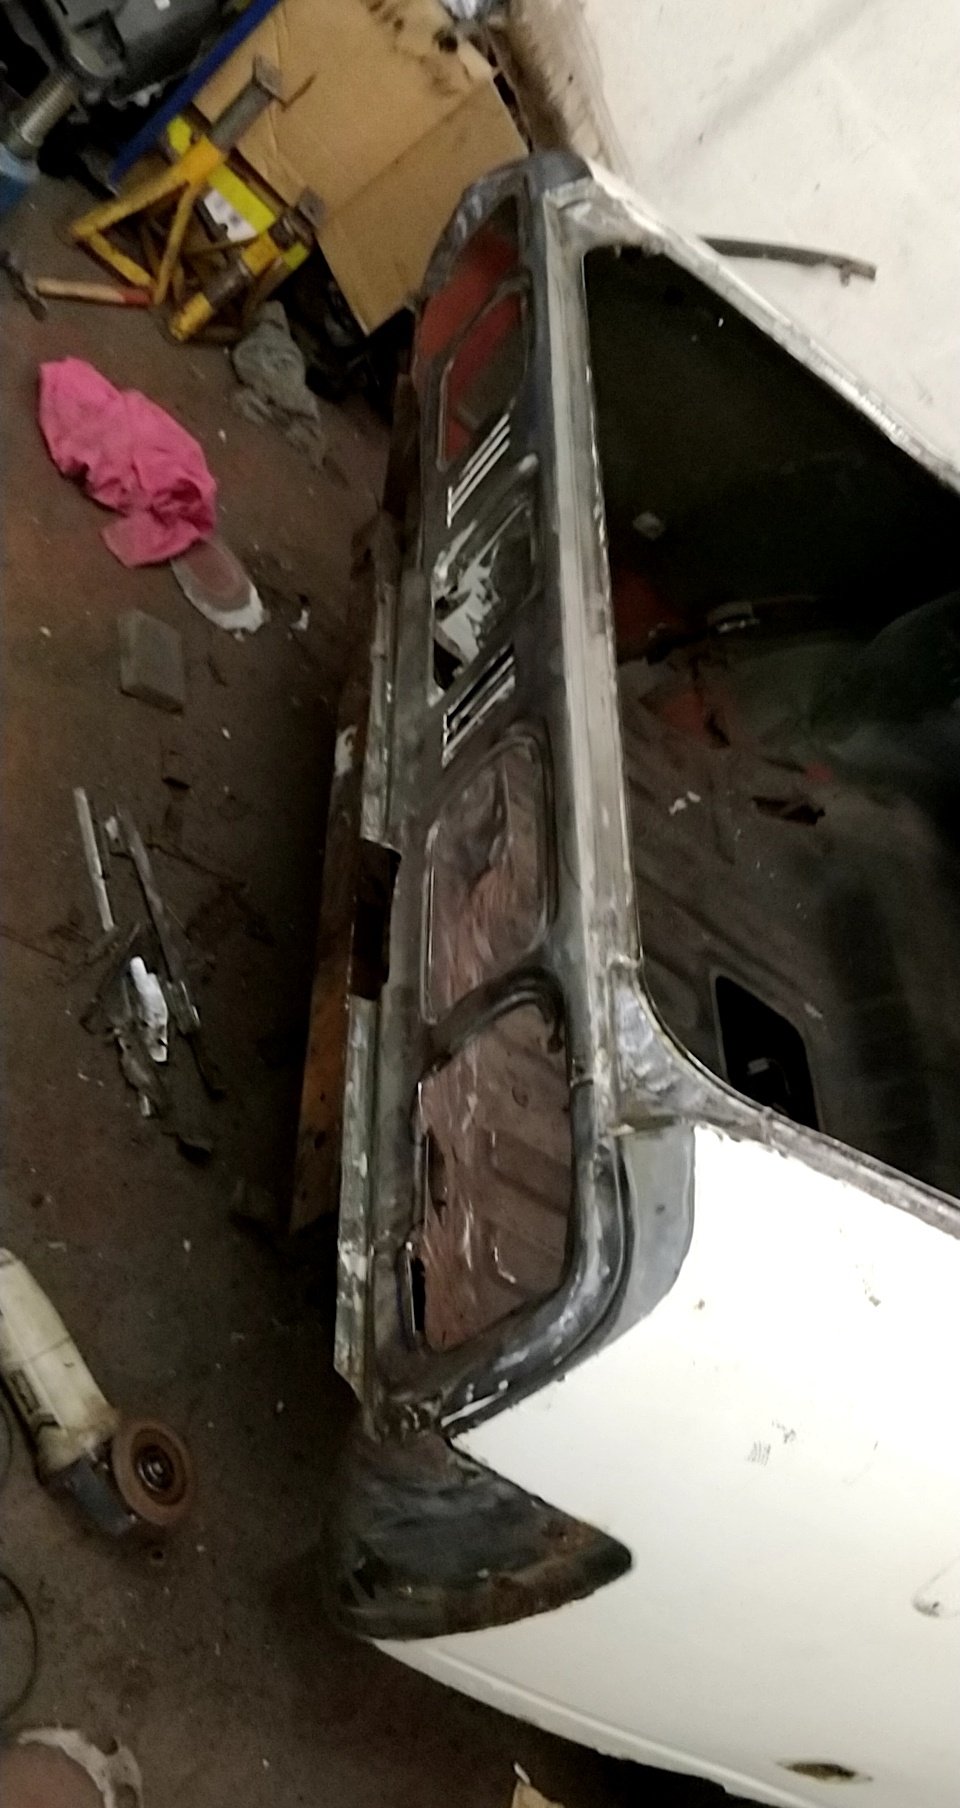
Made a start cutting the rust out of the back panel, ended up with some dramatic holes, but made a decent start on the drivers side.
1 point
-
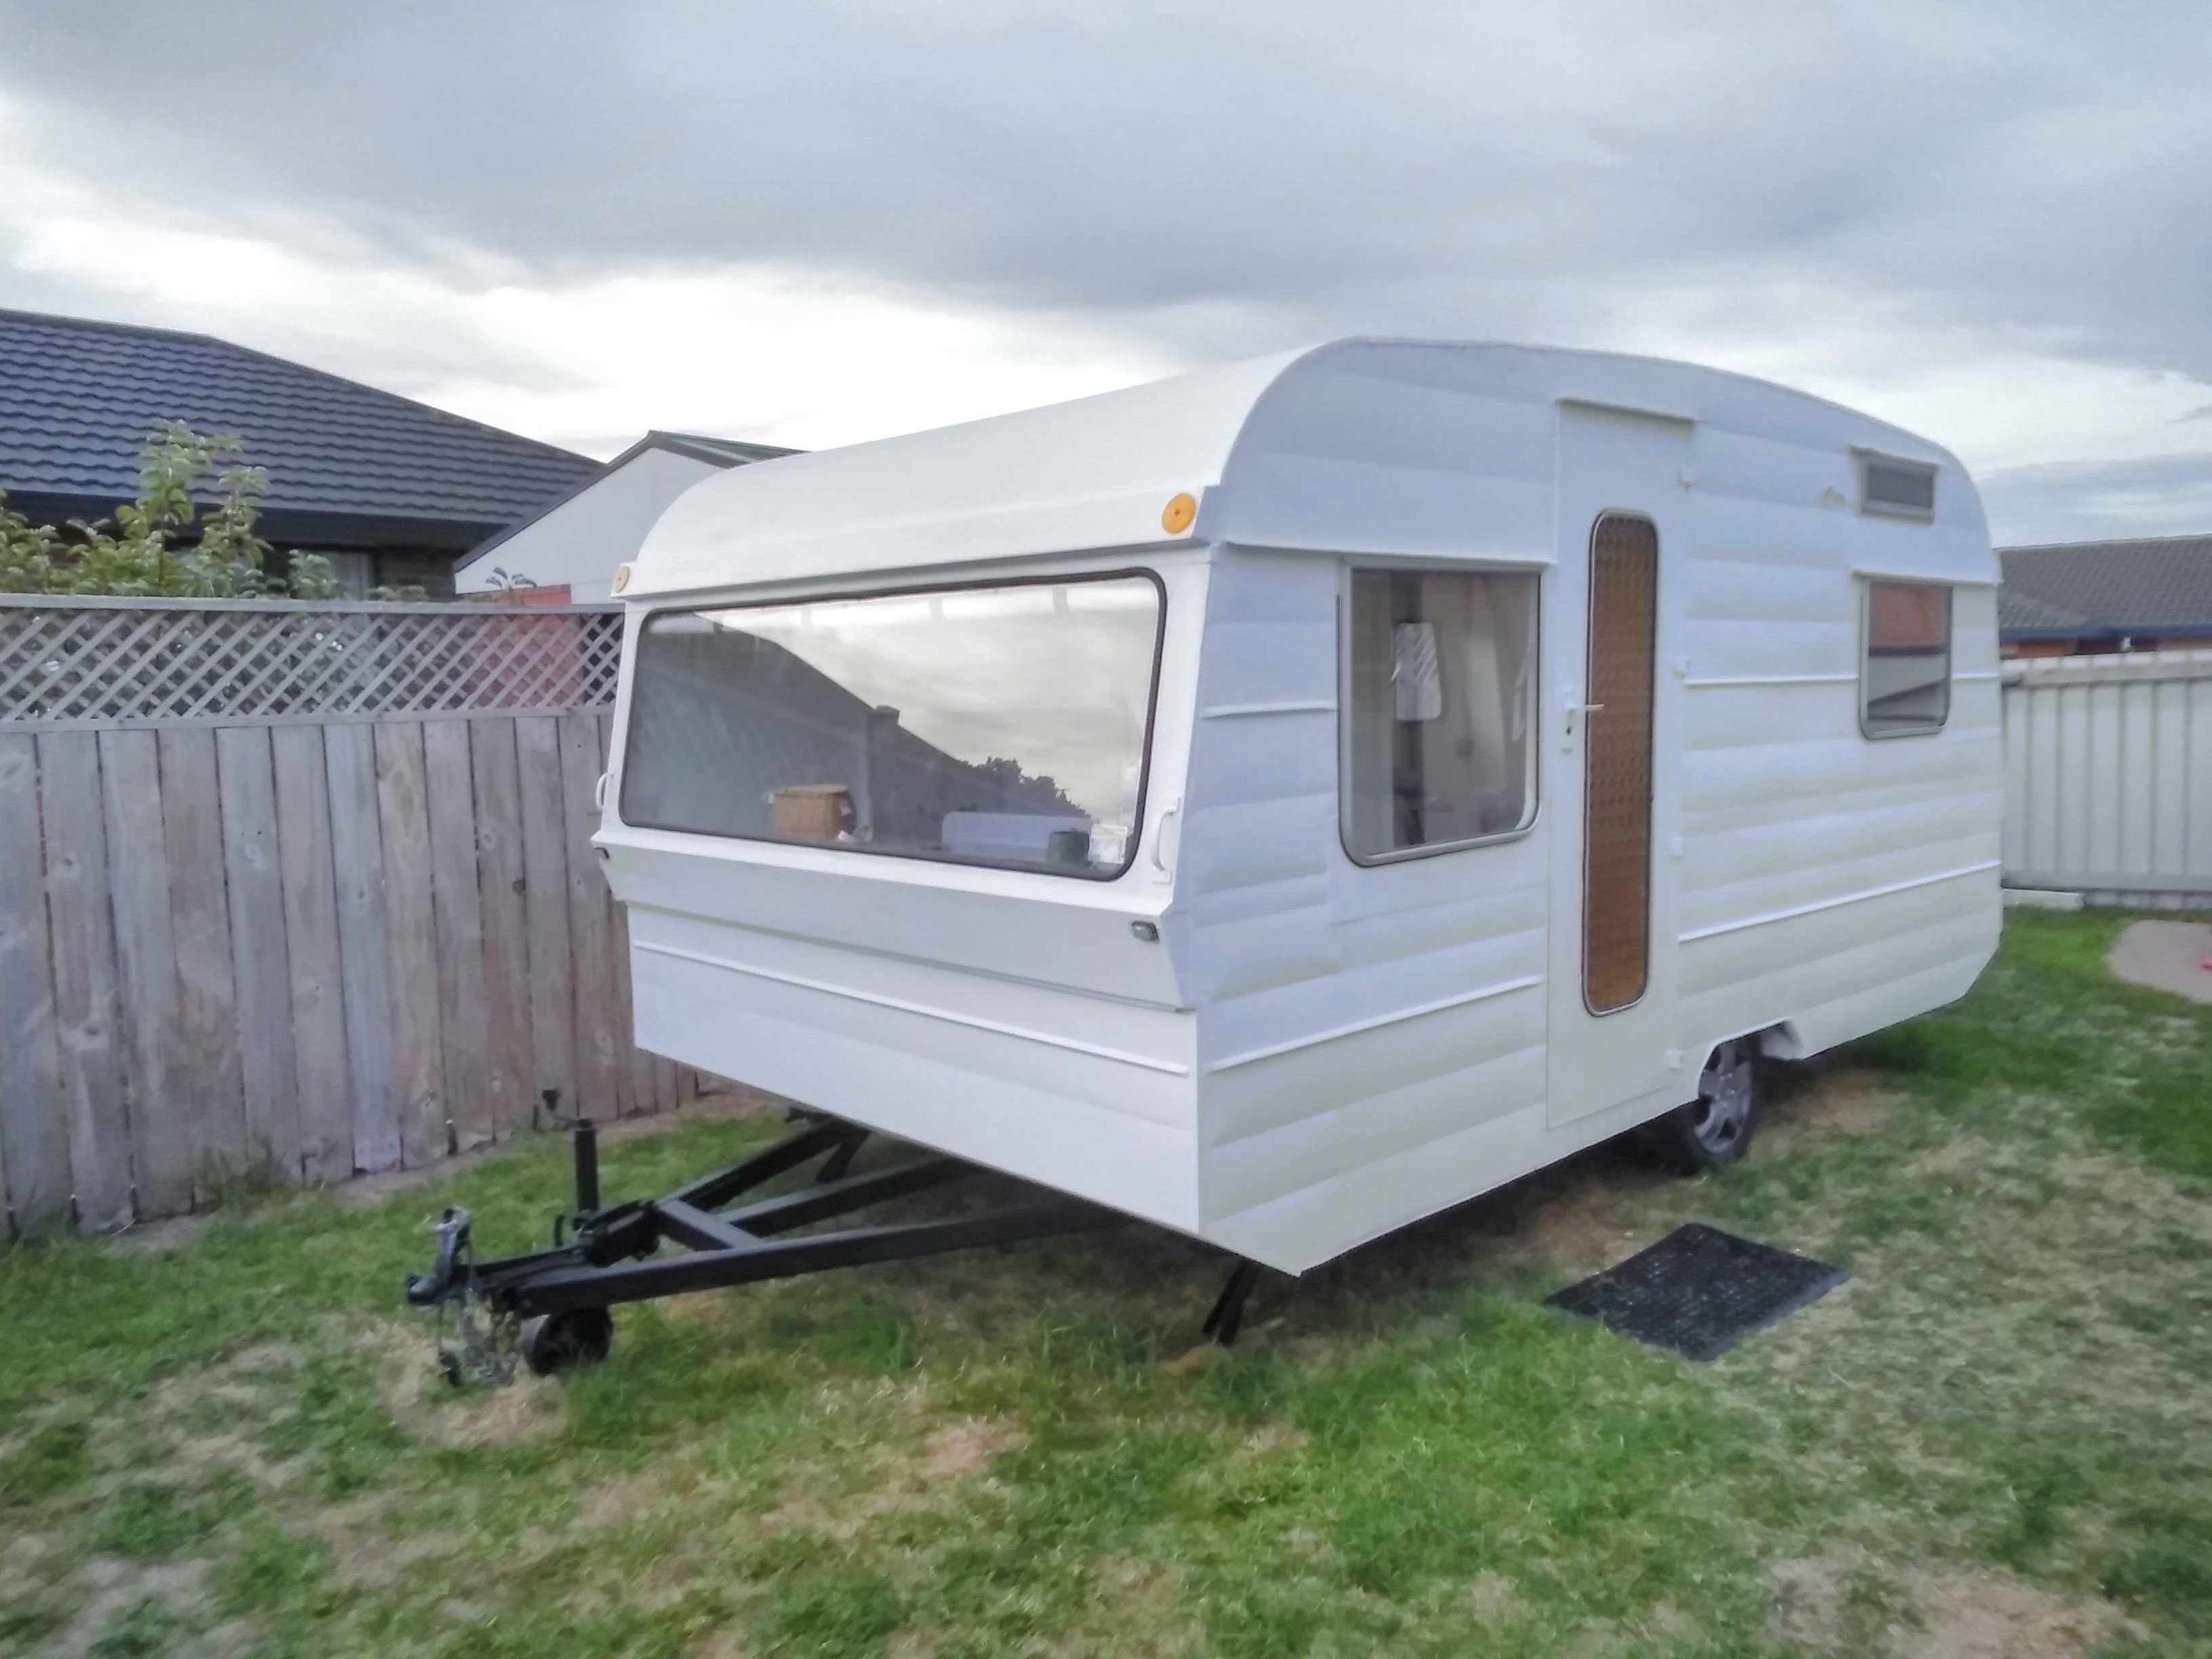
Job done, well happy with how this has turned out.
1 point
-
Some better pics.
1 point
-
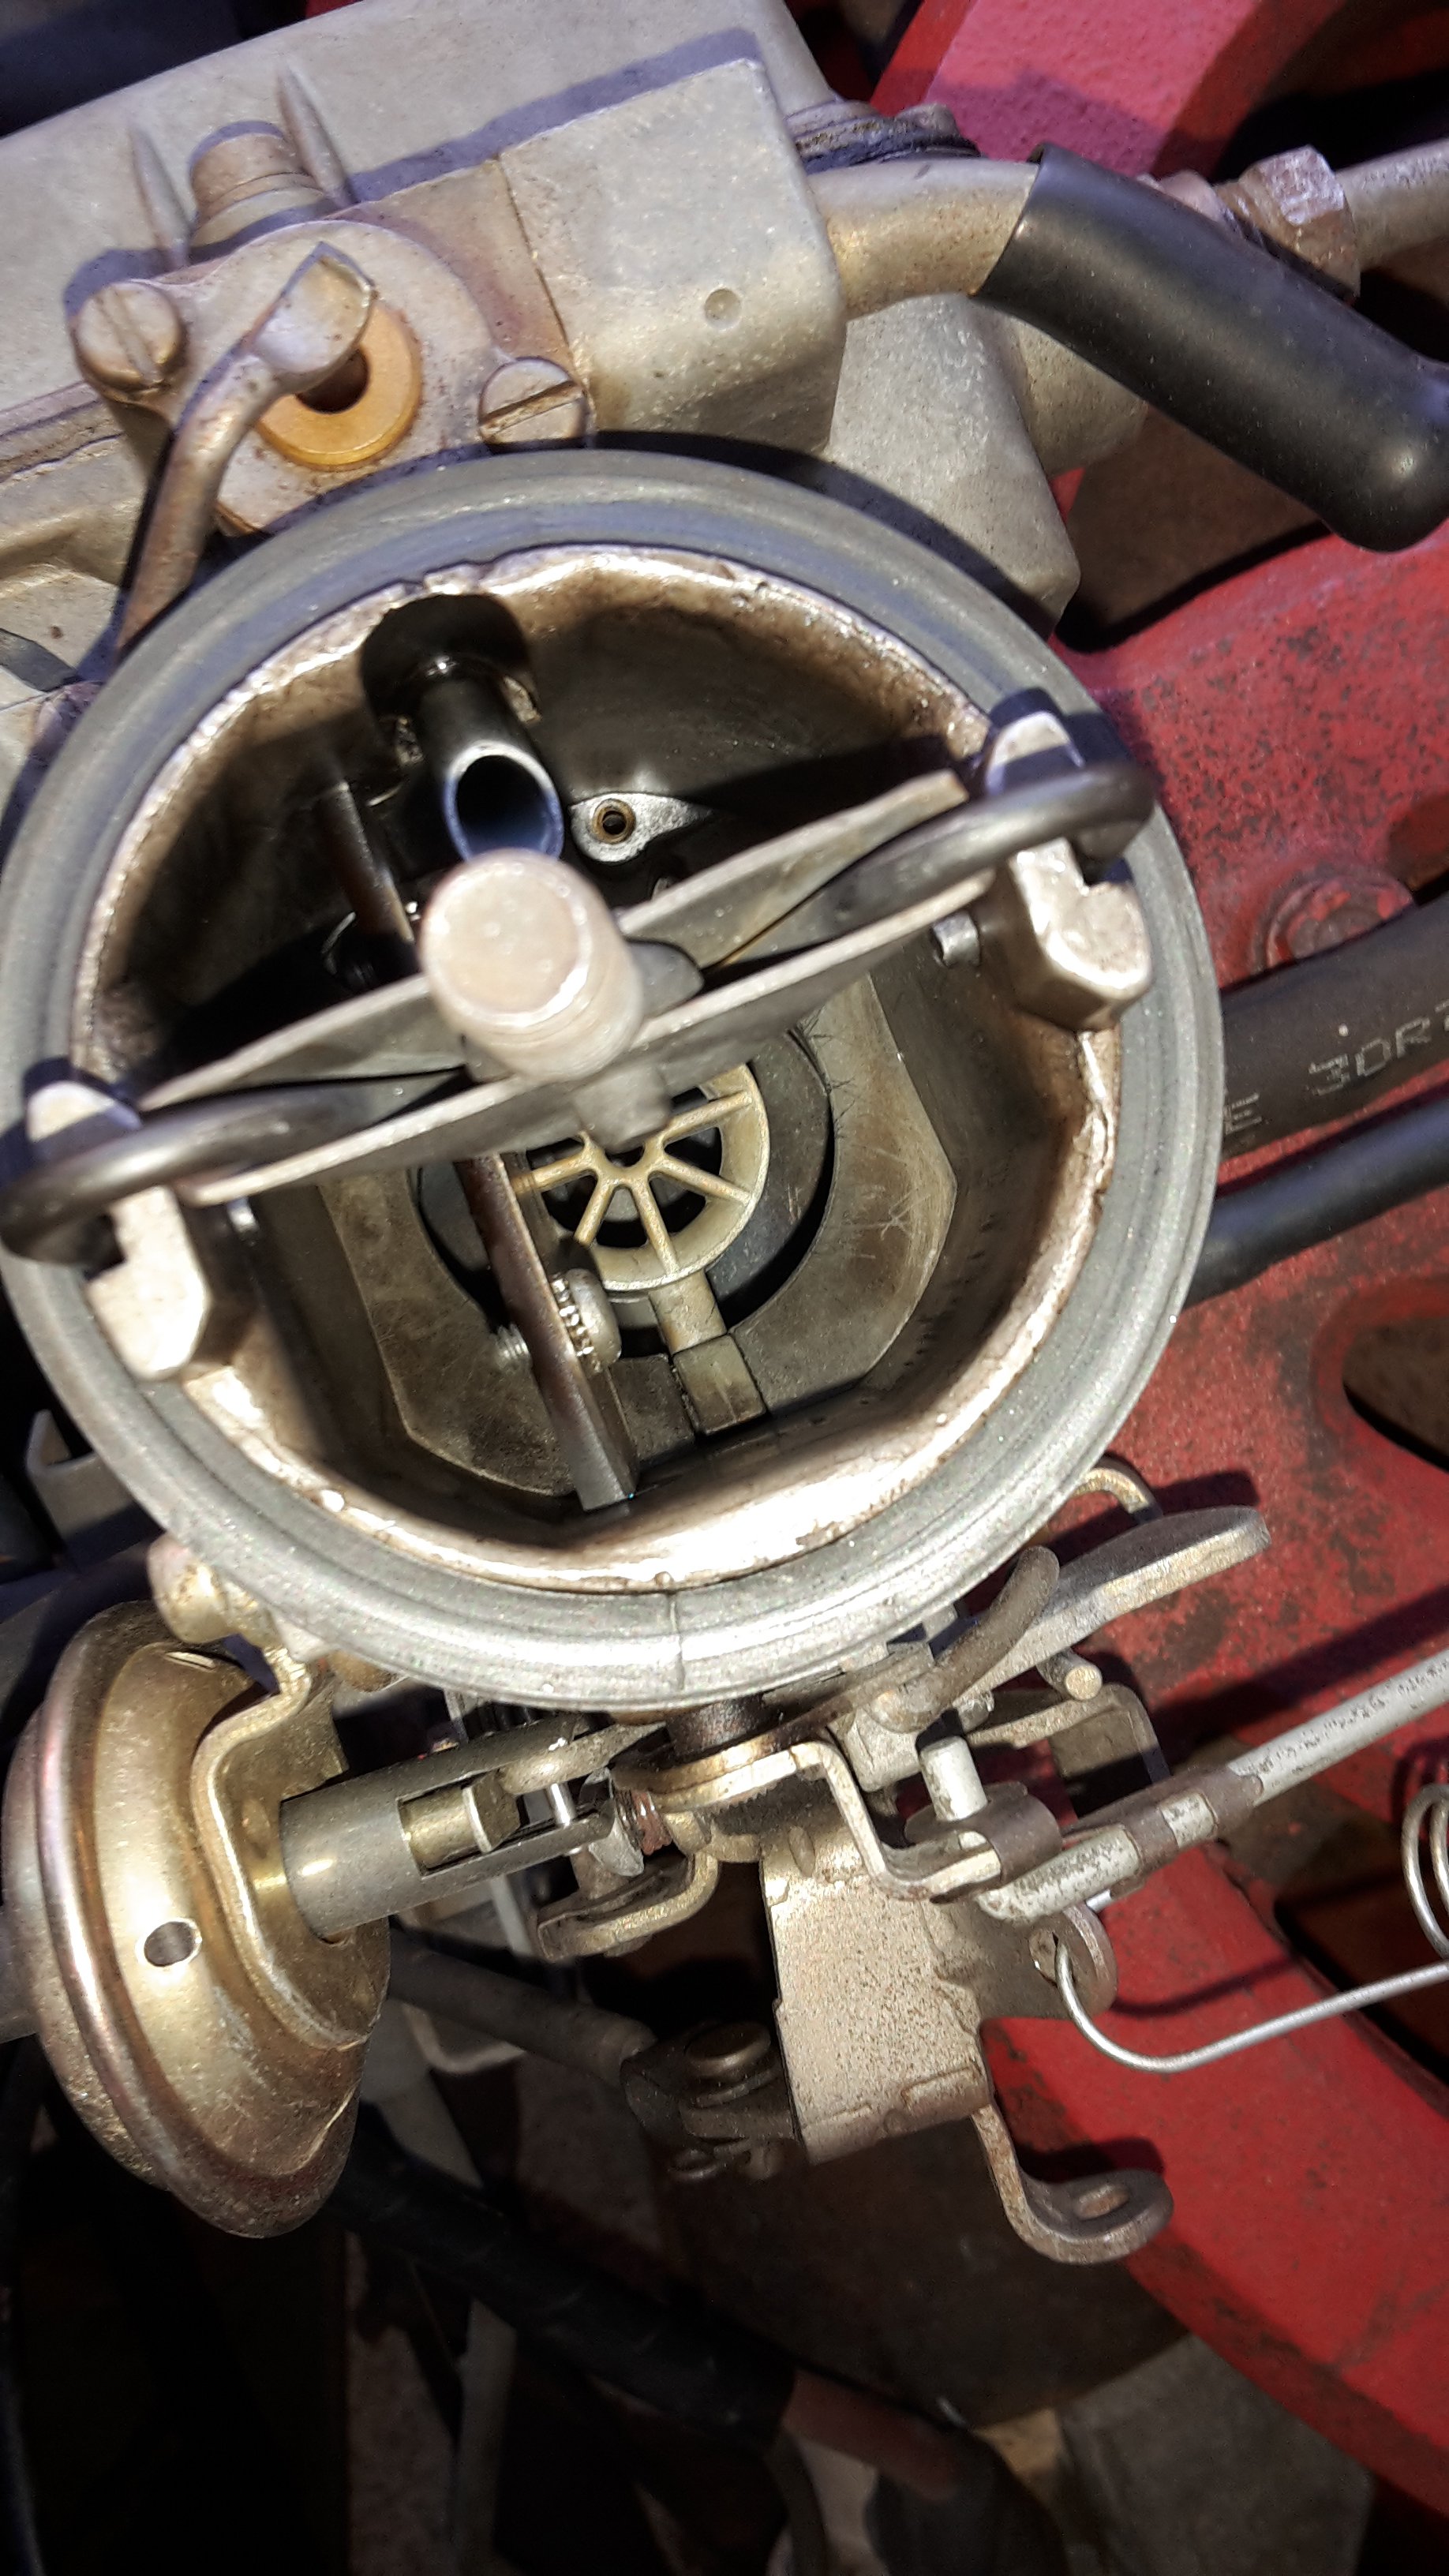
Also, look how tiny the carb is
1 point


This leaderboard is set to Auckland/GMT+12:00