
Leaderboard


Popular Content
Showing content with the highest reputation on 07/08/17 in all areas
-
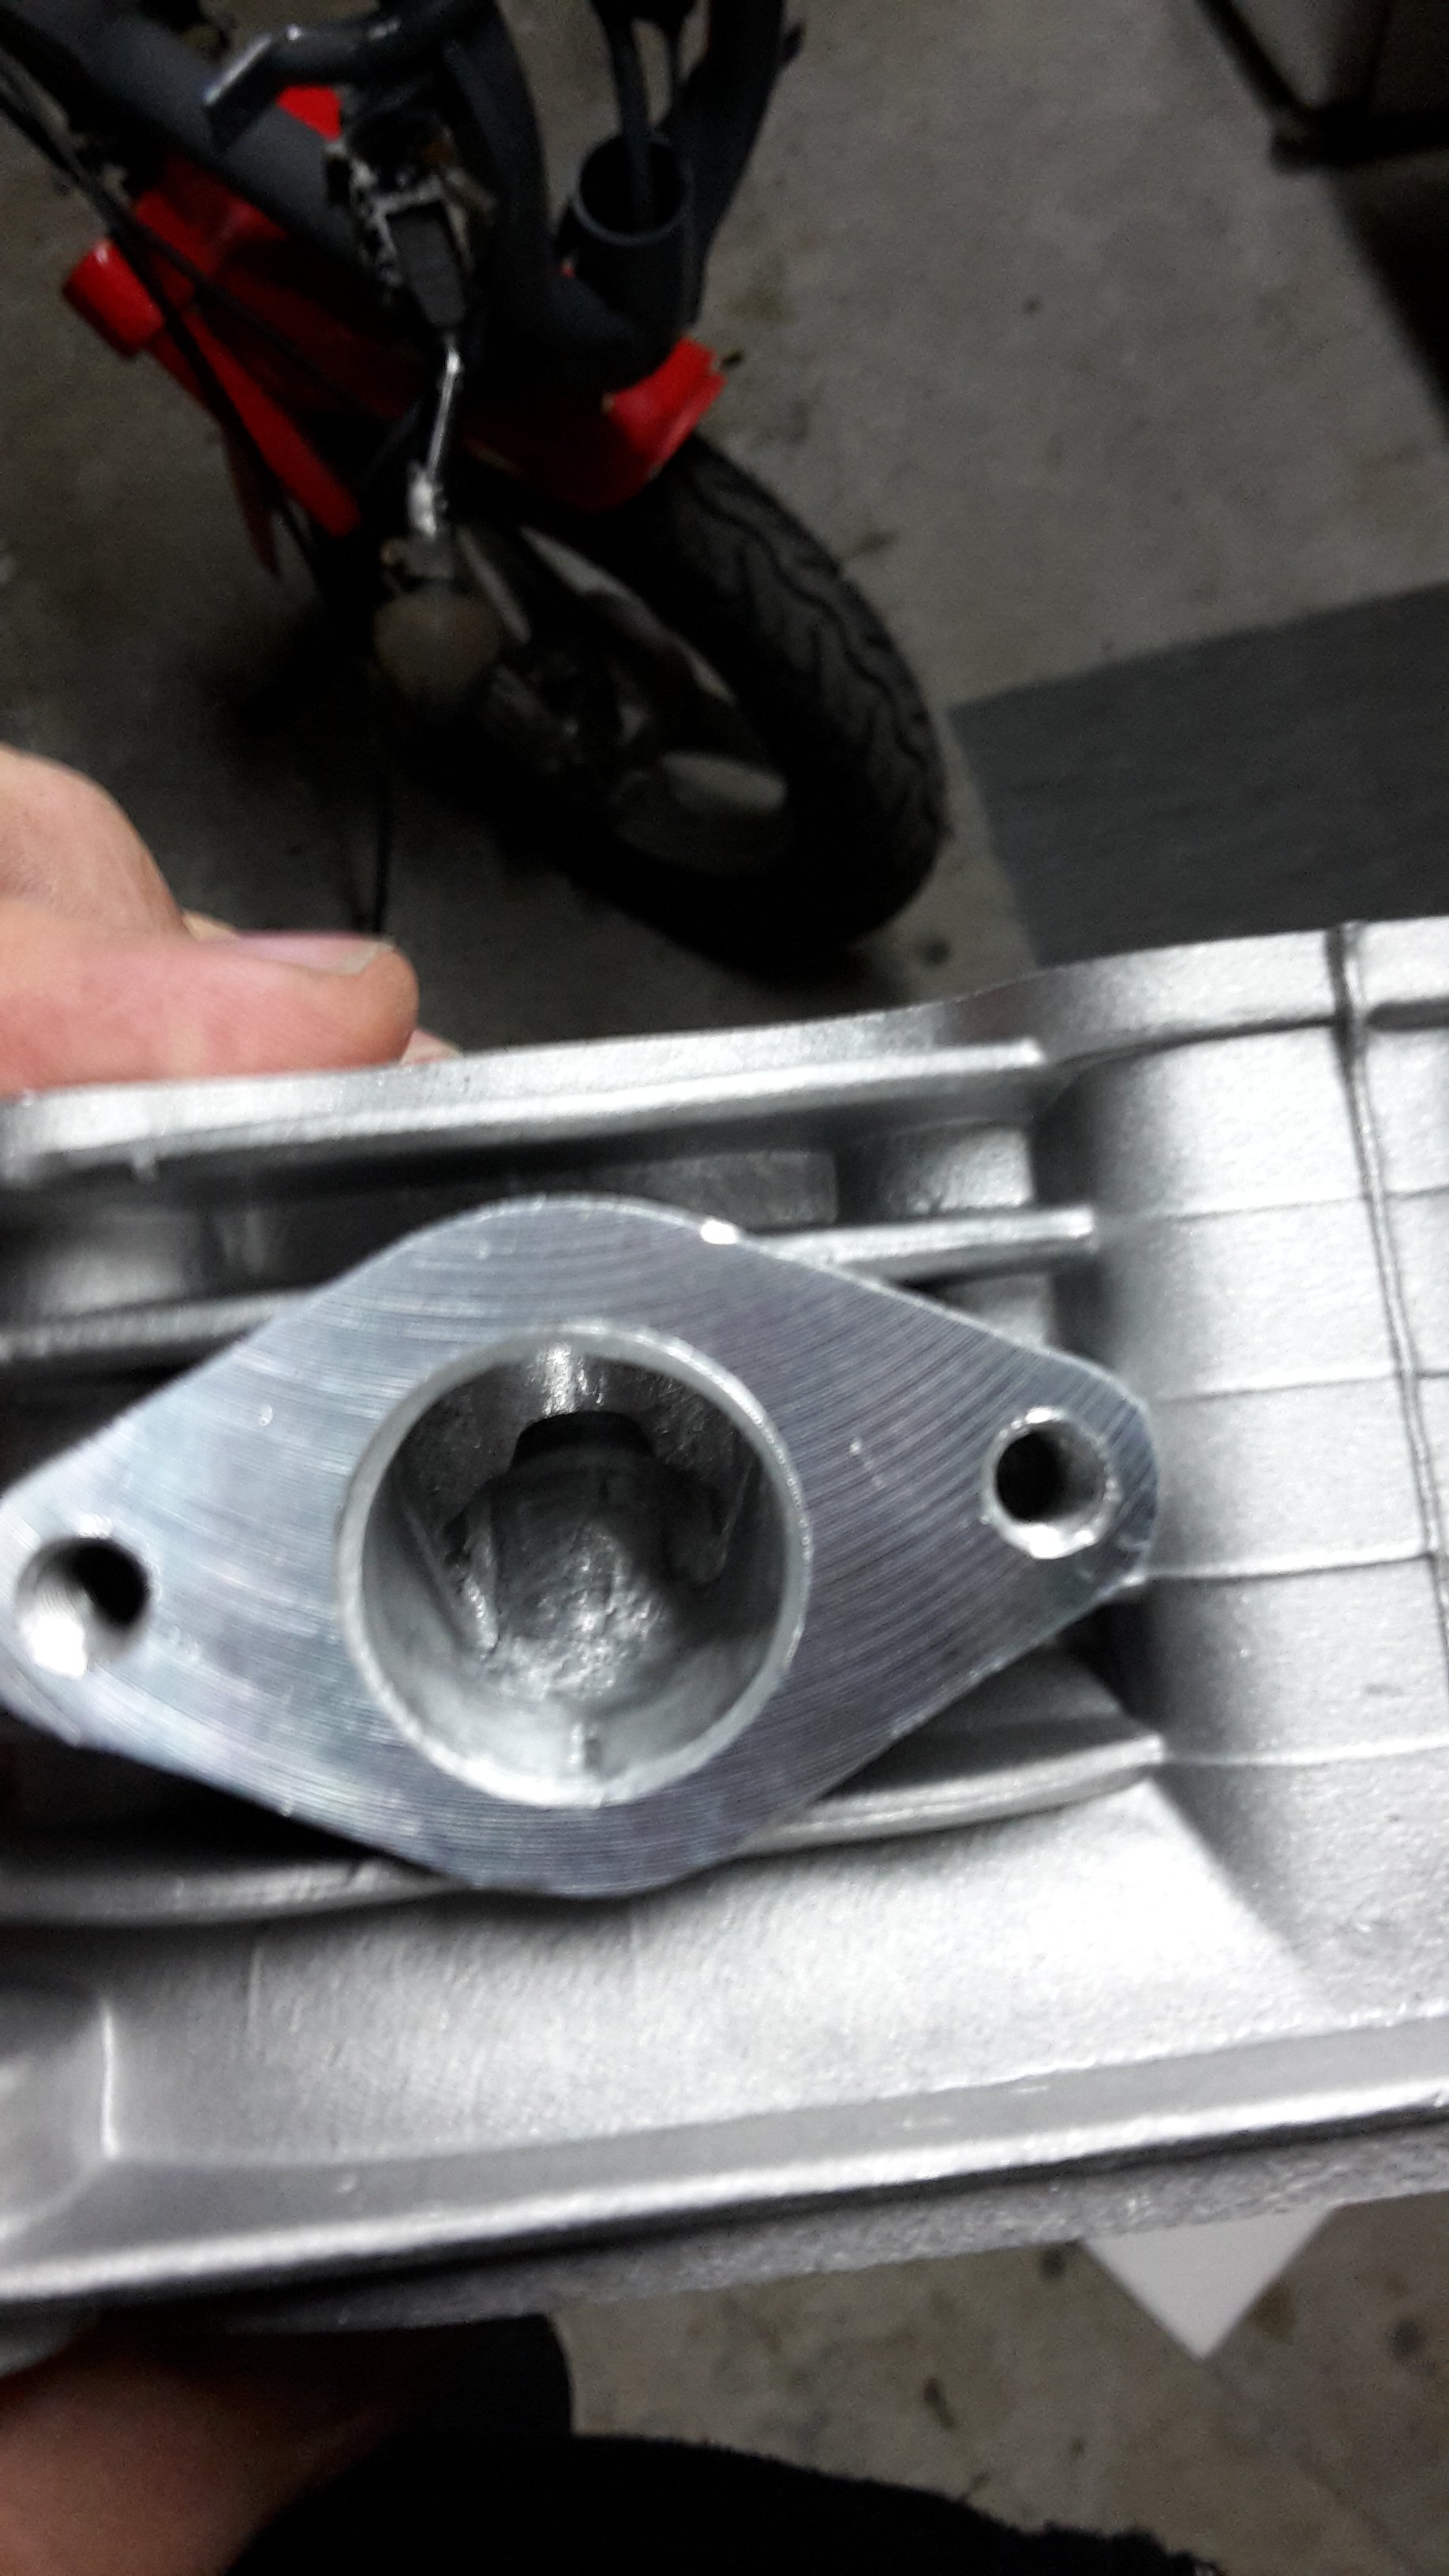
Hah turns out it was already a 70cc and the new piston makes it 84cc, not 100 cc as advertised I see why people mess around with scooters, had it stripped in 30 min. Found some grey paint that matched ok so painted the bits of frame that were modified The variator rollers were worn with big flat spots so hopefully the new ones make that work better .
 8 points
 -
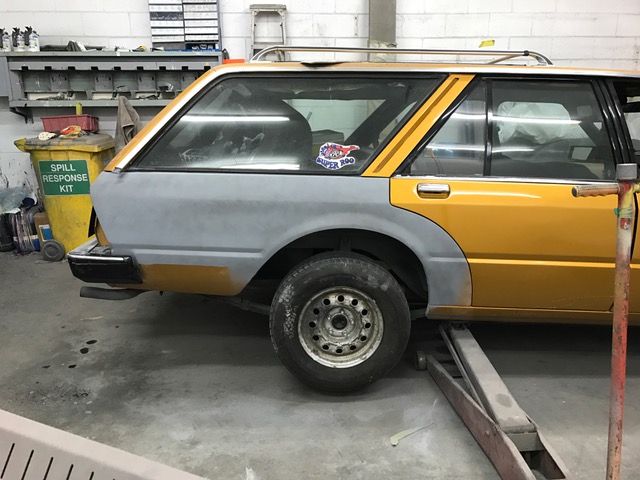
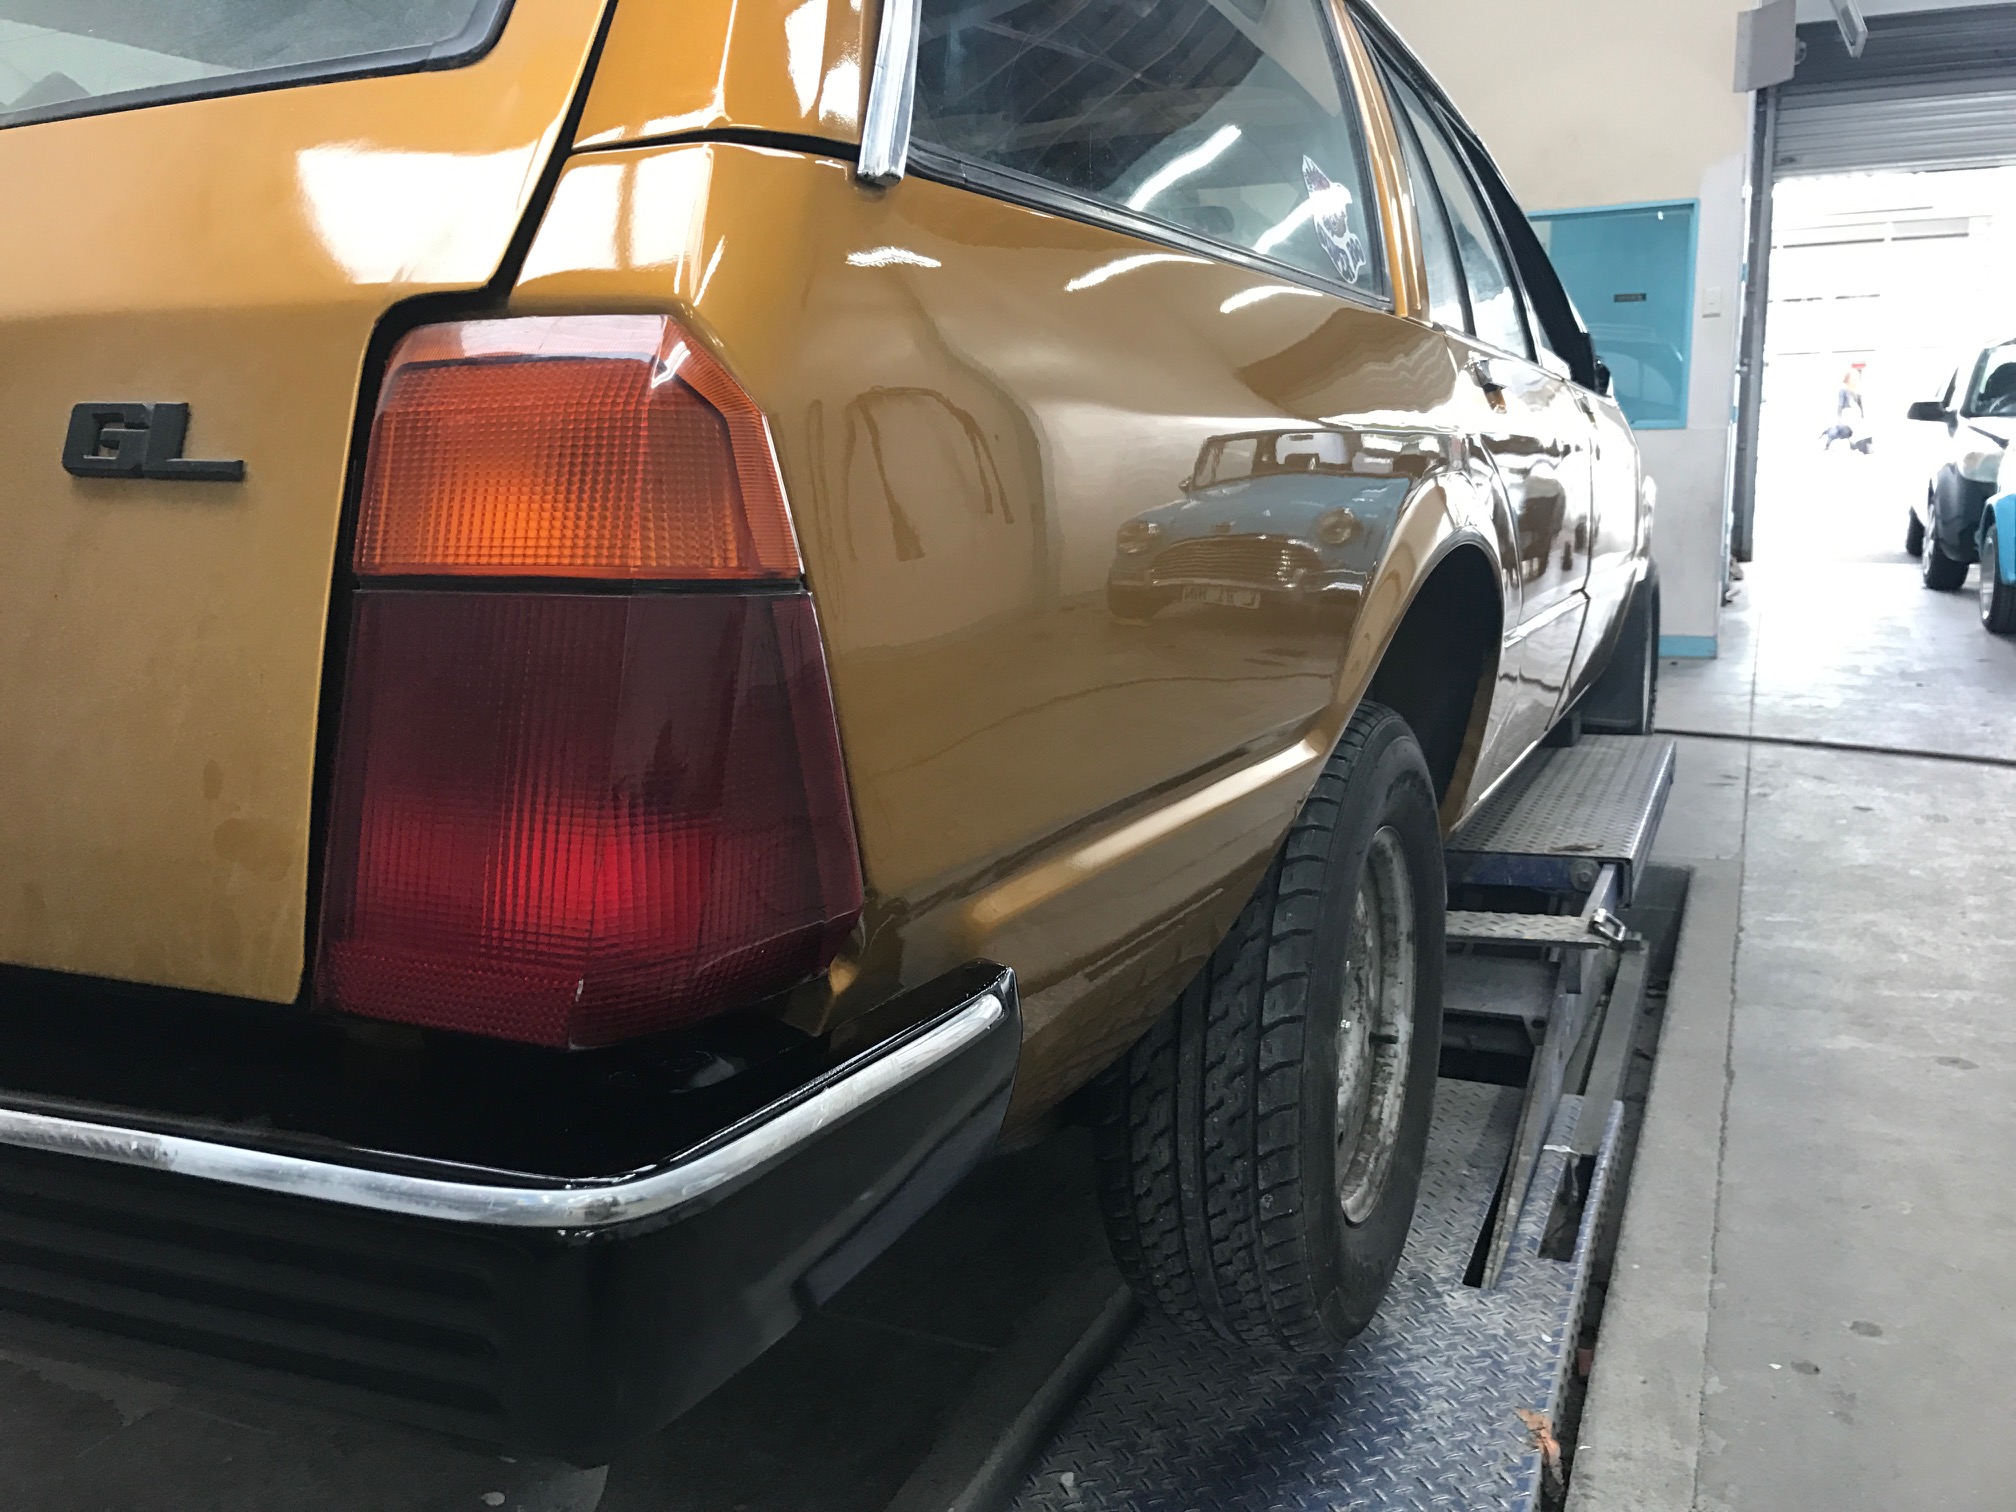
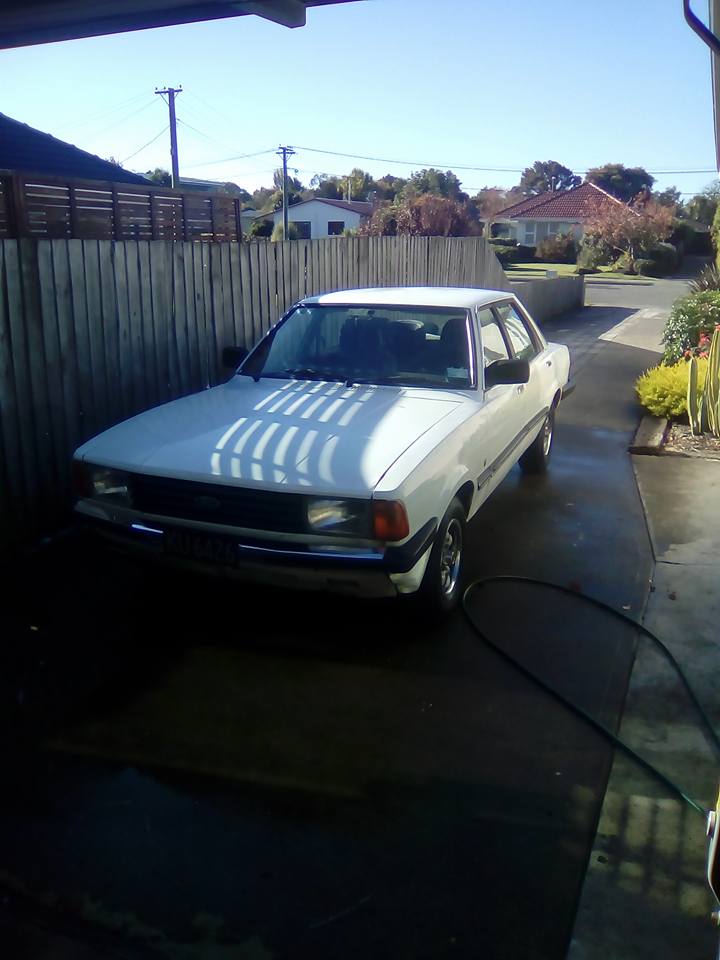
So this is living outside while the 125 sits in the garage with flat tyres Ive put foam floor mats under the carpets to keep them off the floor, but it really needs a roof. Anyway, ive swapped out the old exhaust from under the back seats back. Took out 2x offset mufflers and some patched up 1.75" pipe that both leaked and was quiet, (and fell off at nats!) and put one straight through muffler with 2.25" pipe from the croma turbo. old rubbish on top, new hotness on bottow Sounds pretty good, but now makes me want to do the rest 2x 1.5" secondaries back as far as they will go (currently to the drivers feet area) but will probably pay a guy, cause holy hell exhaust fitting is a fiddly frustrating job on your back in the rain! Also made into a magazine, NZV8 feature on Parked up Out-west from Queens Birthday6 points
-
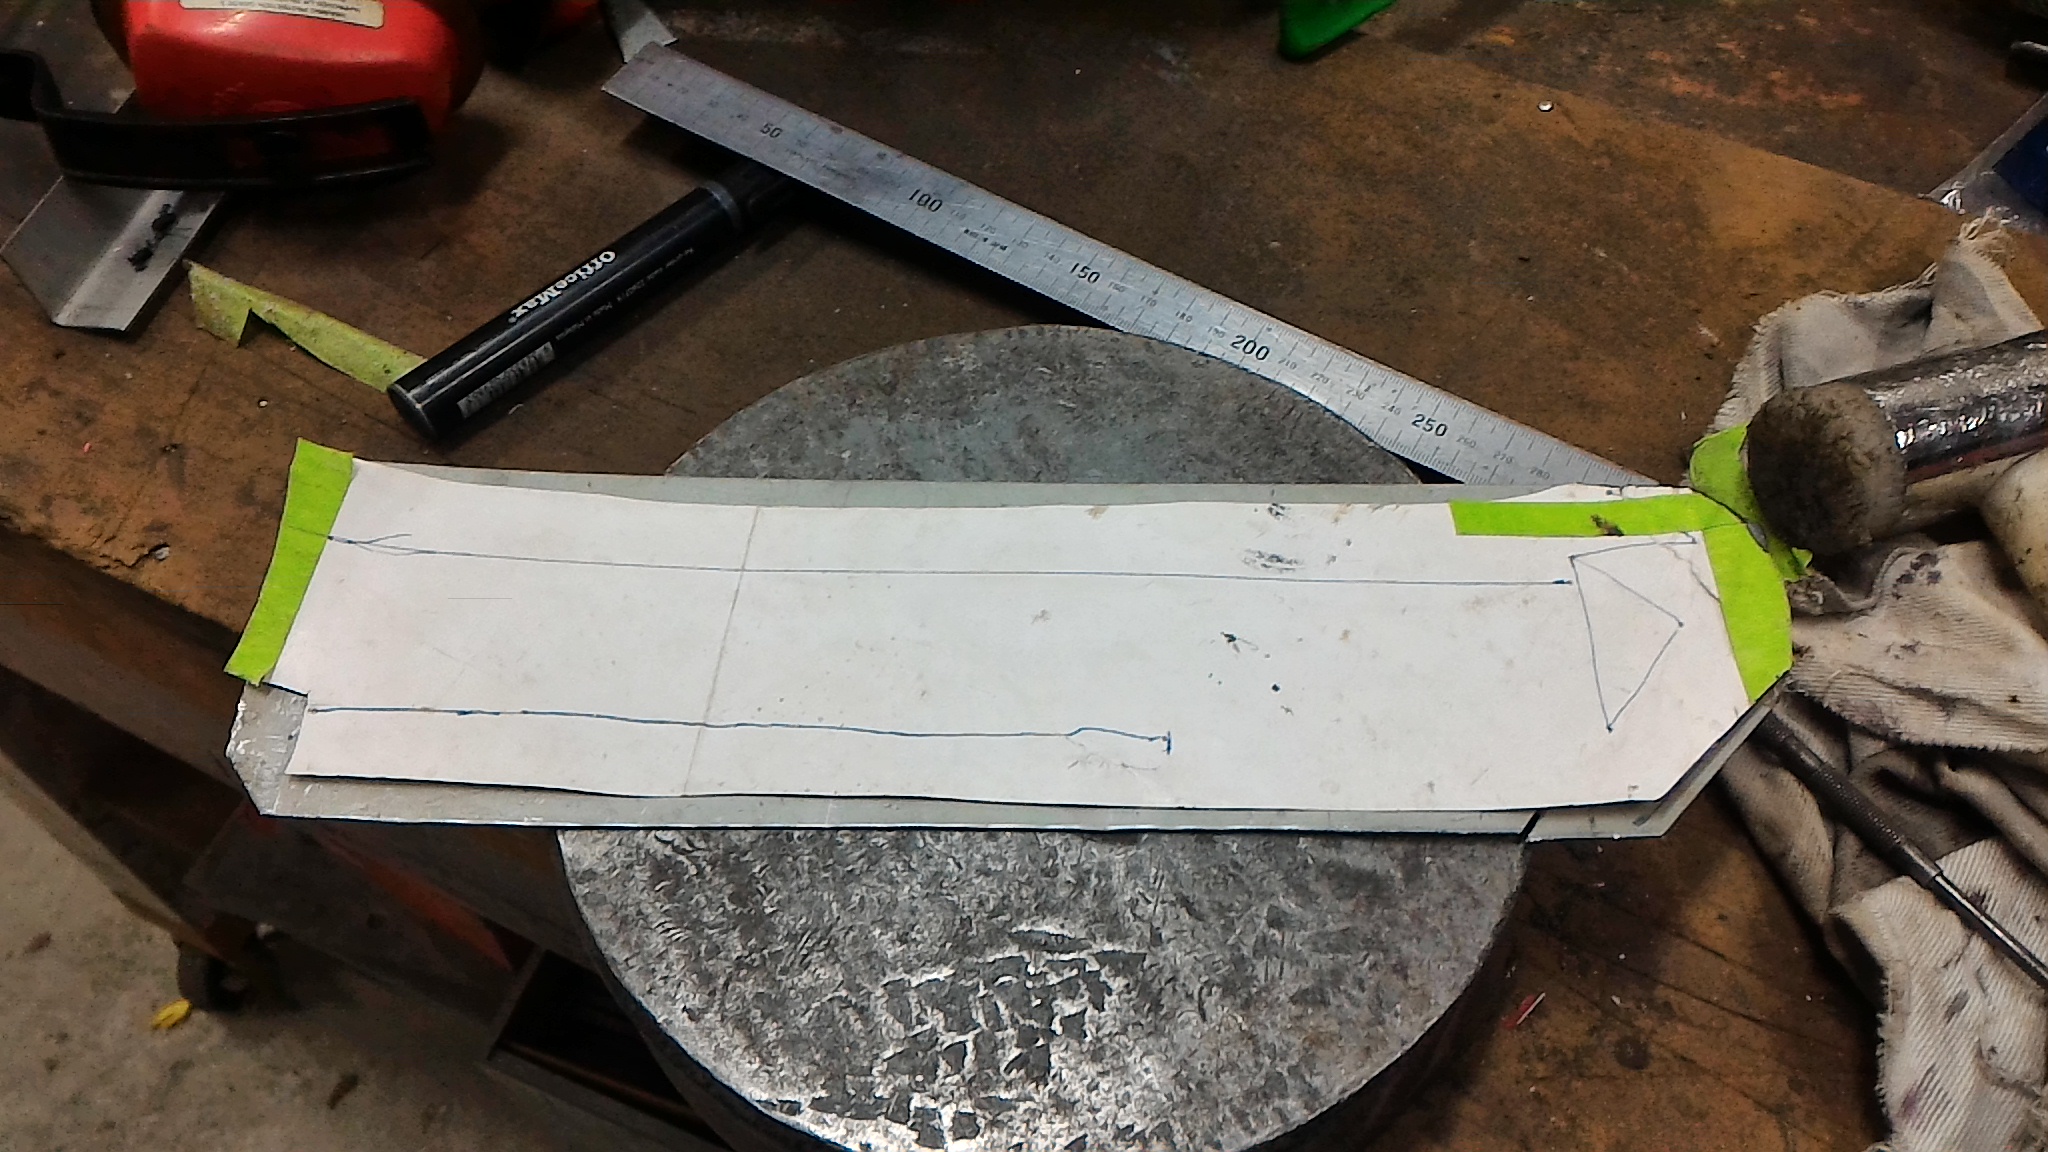
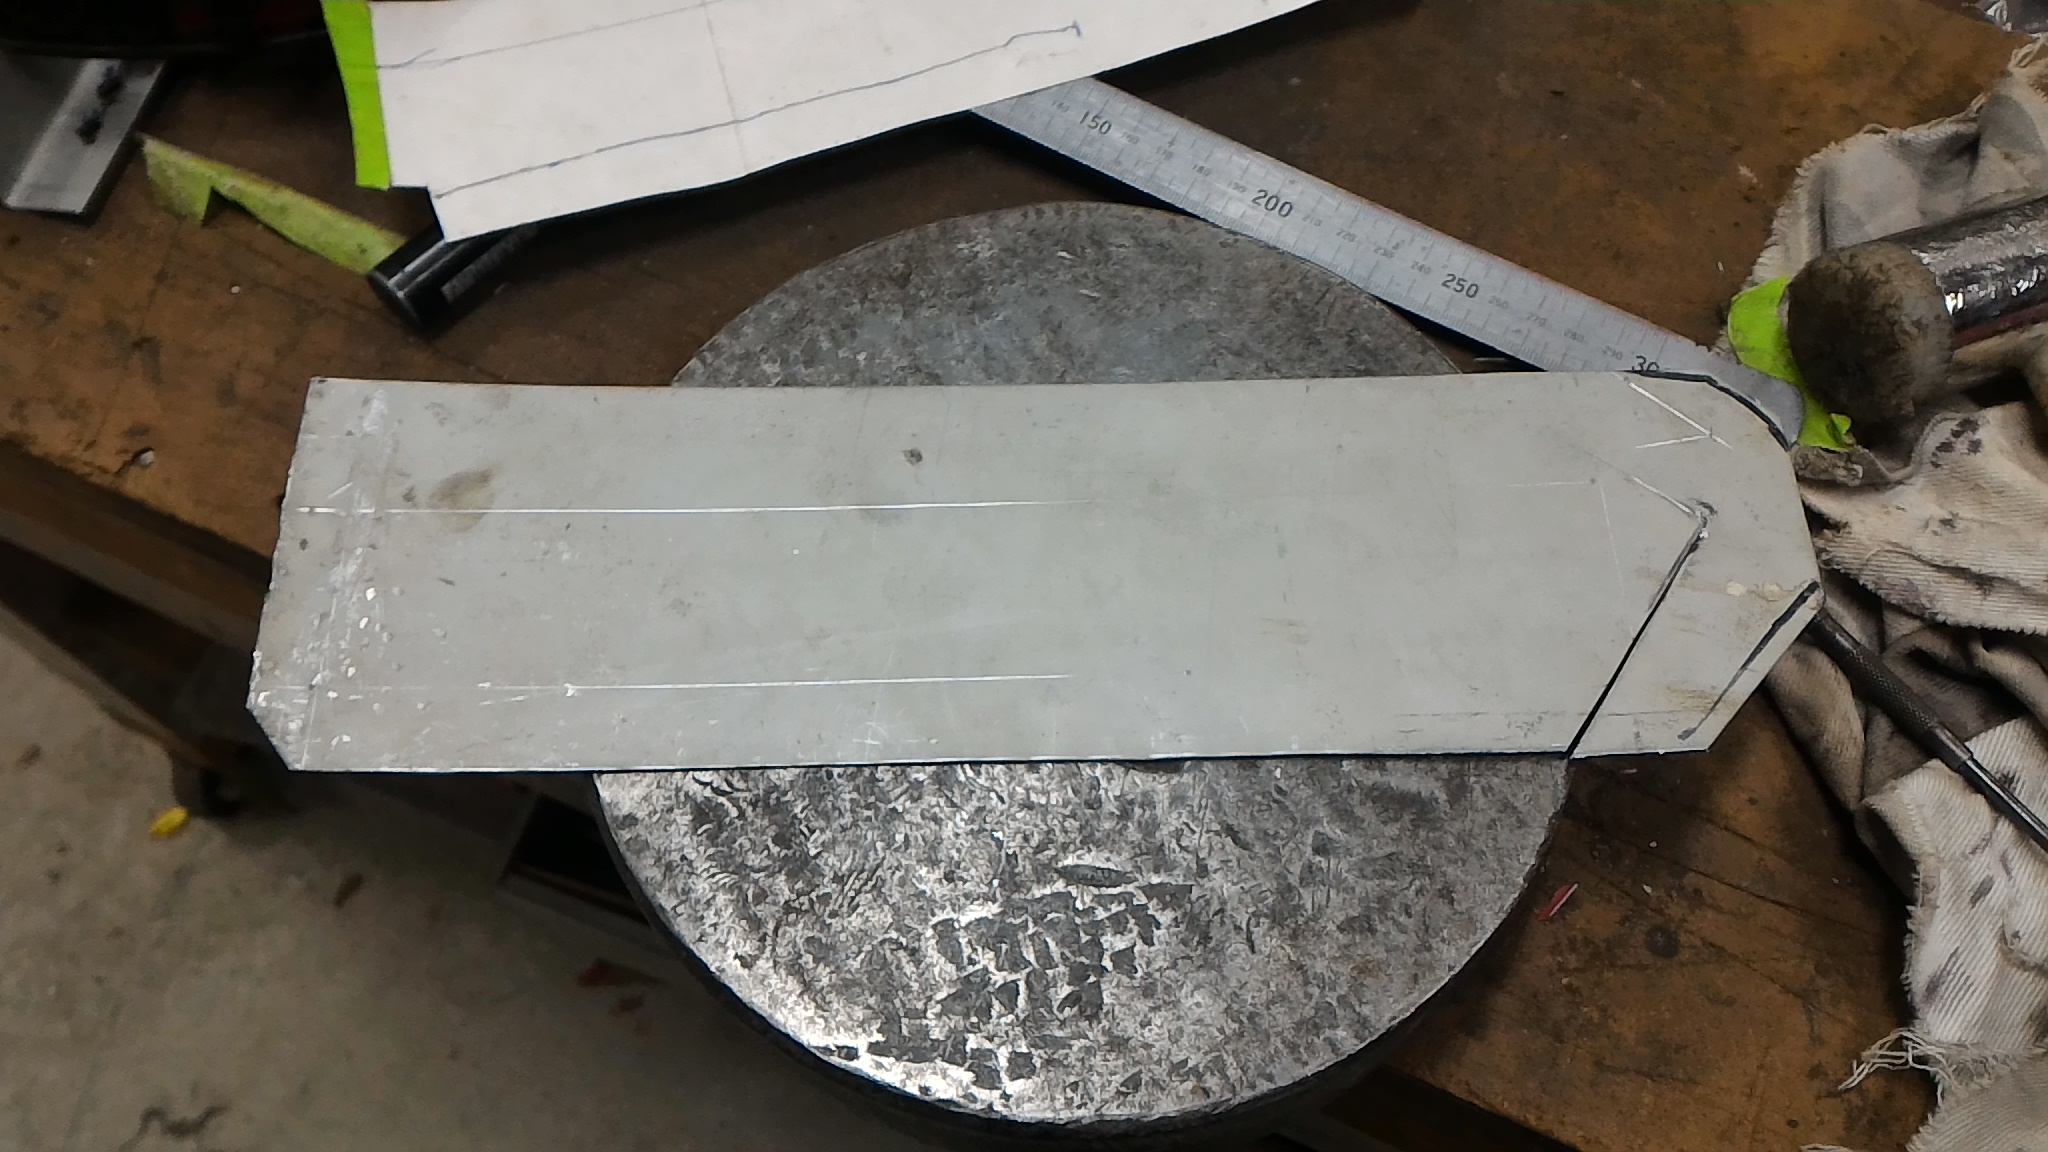
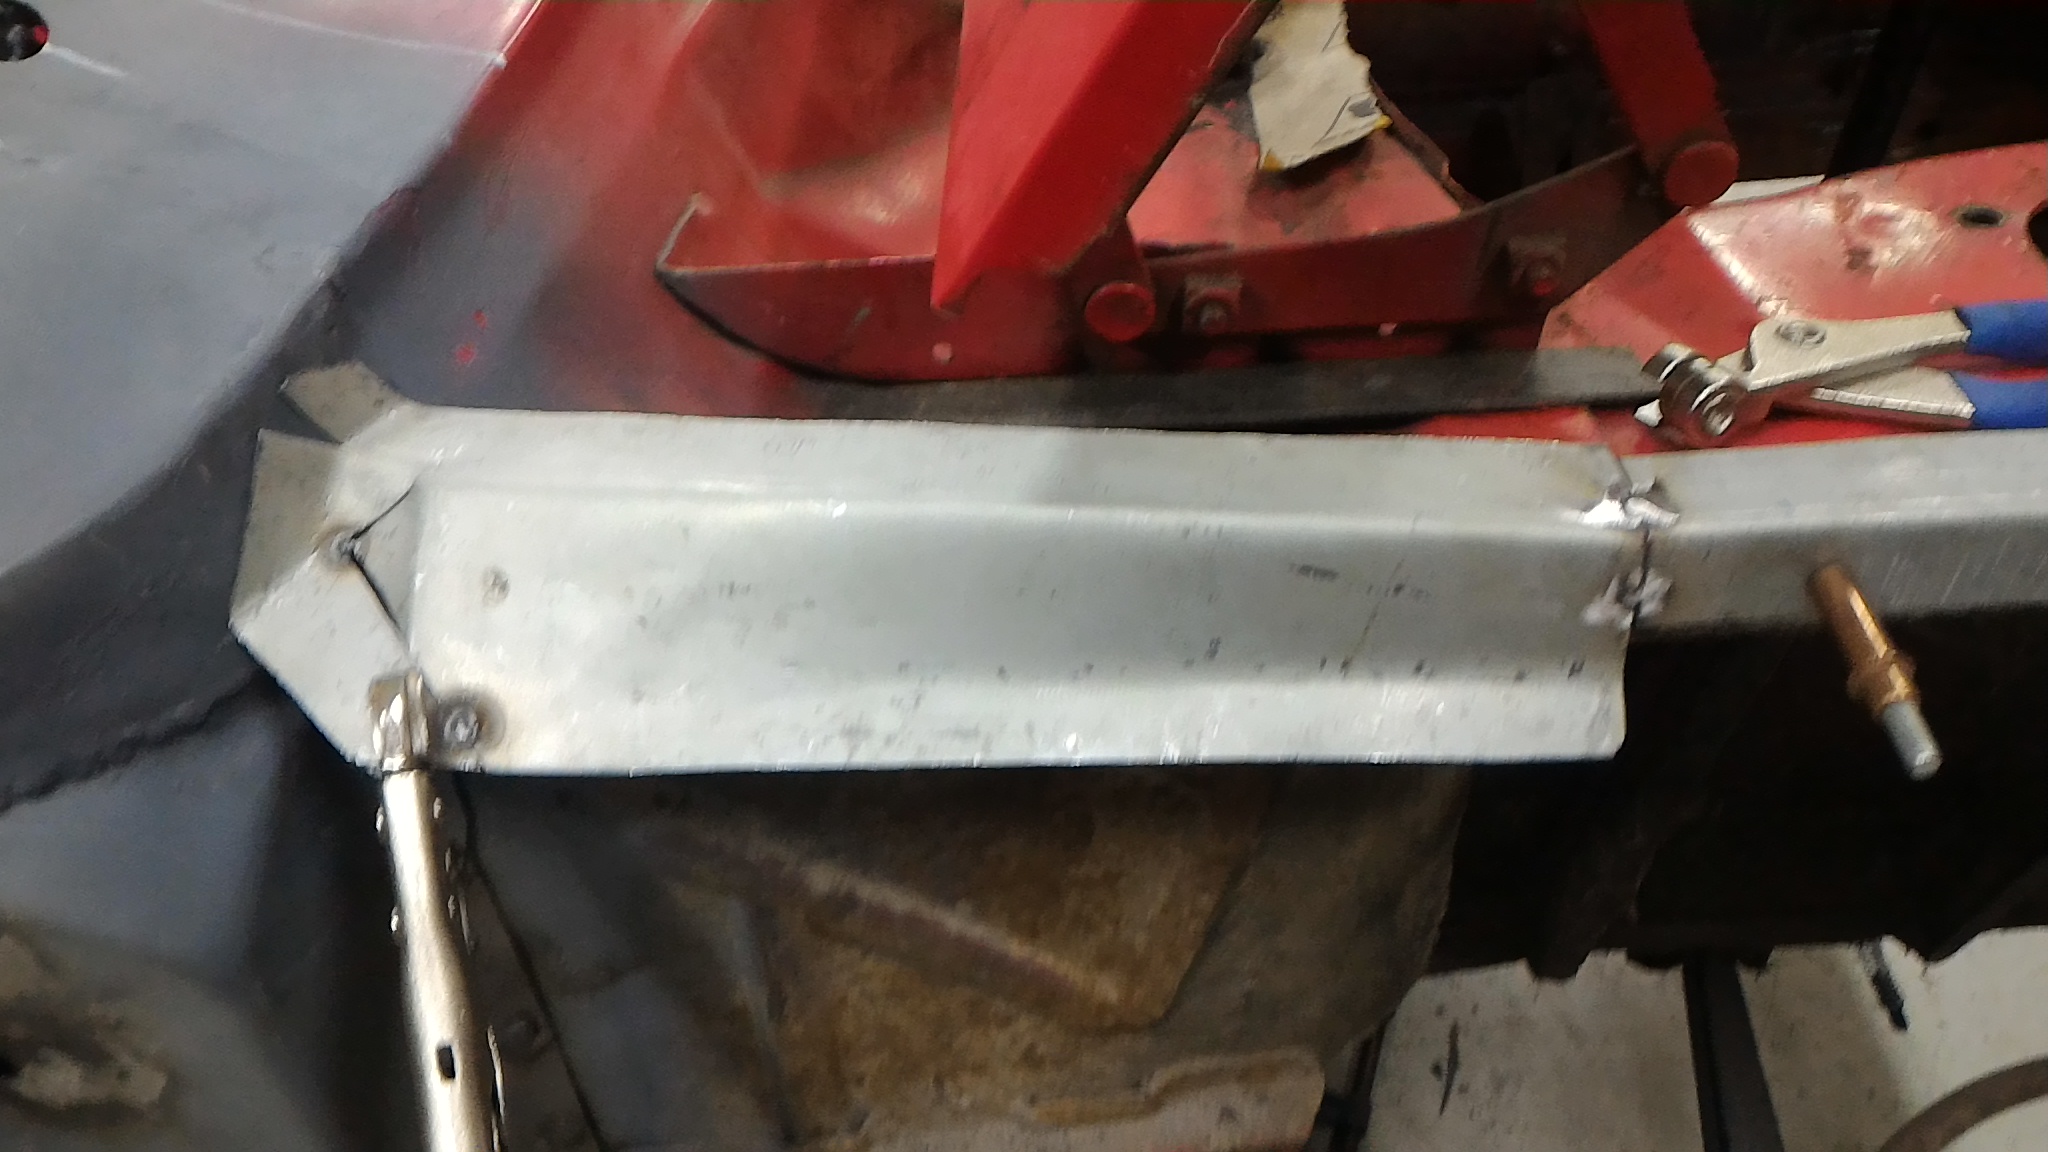
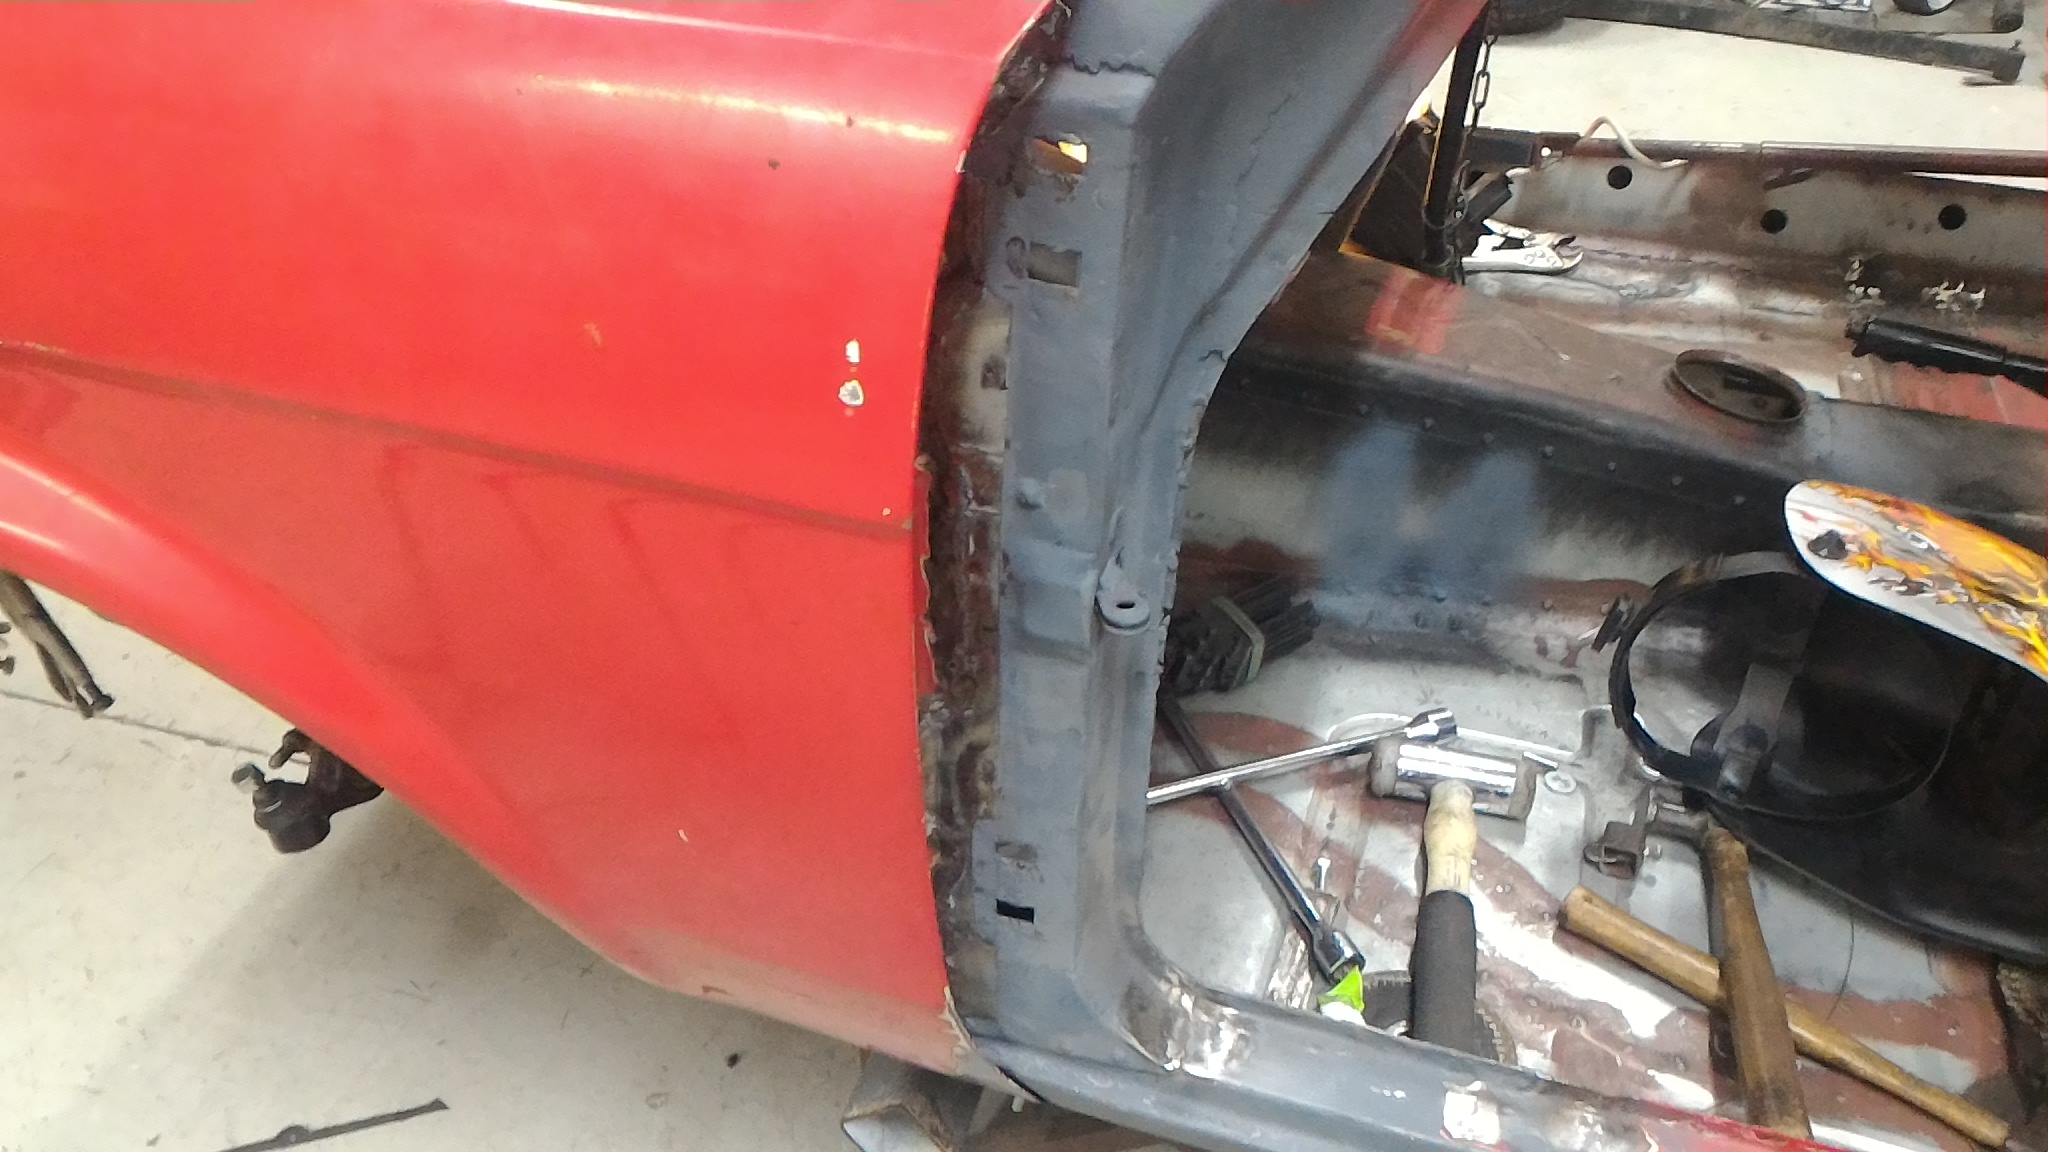
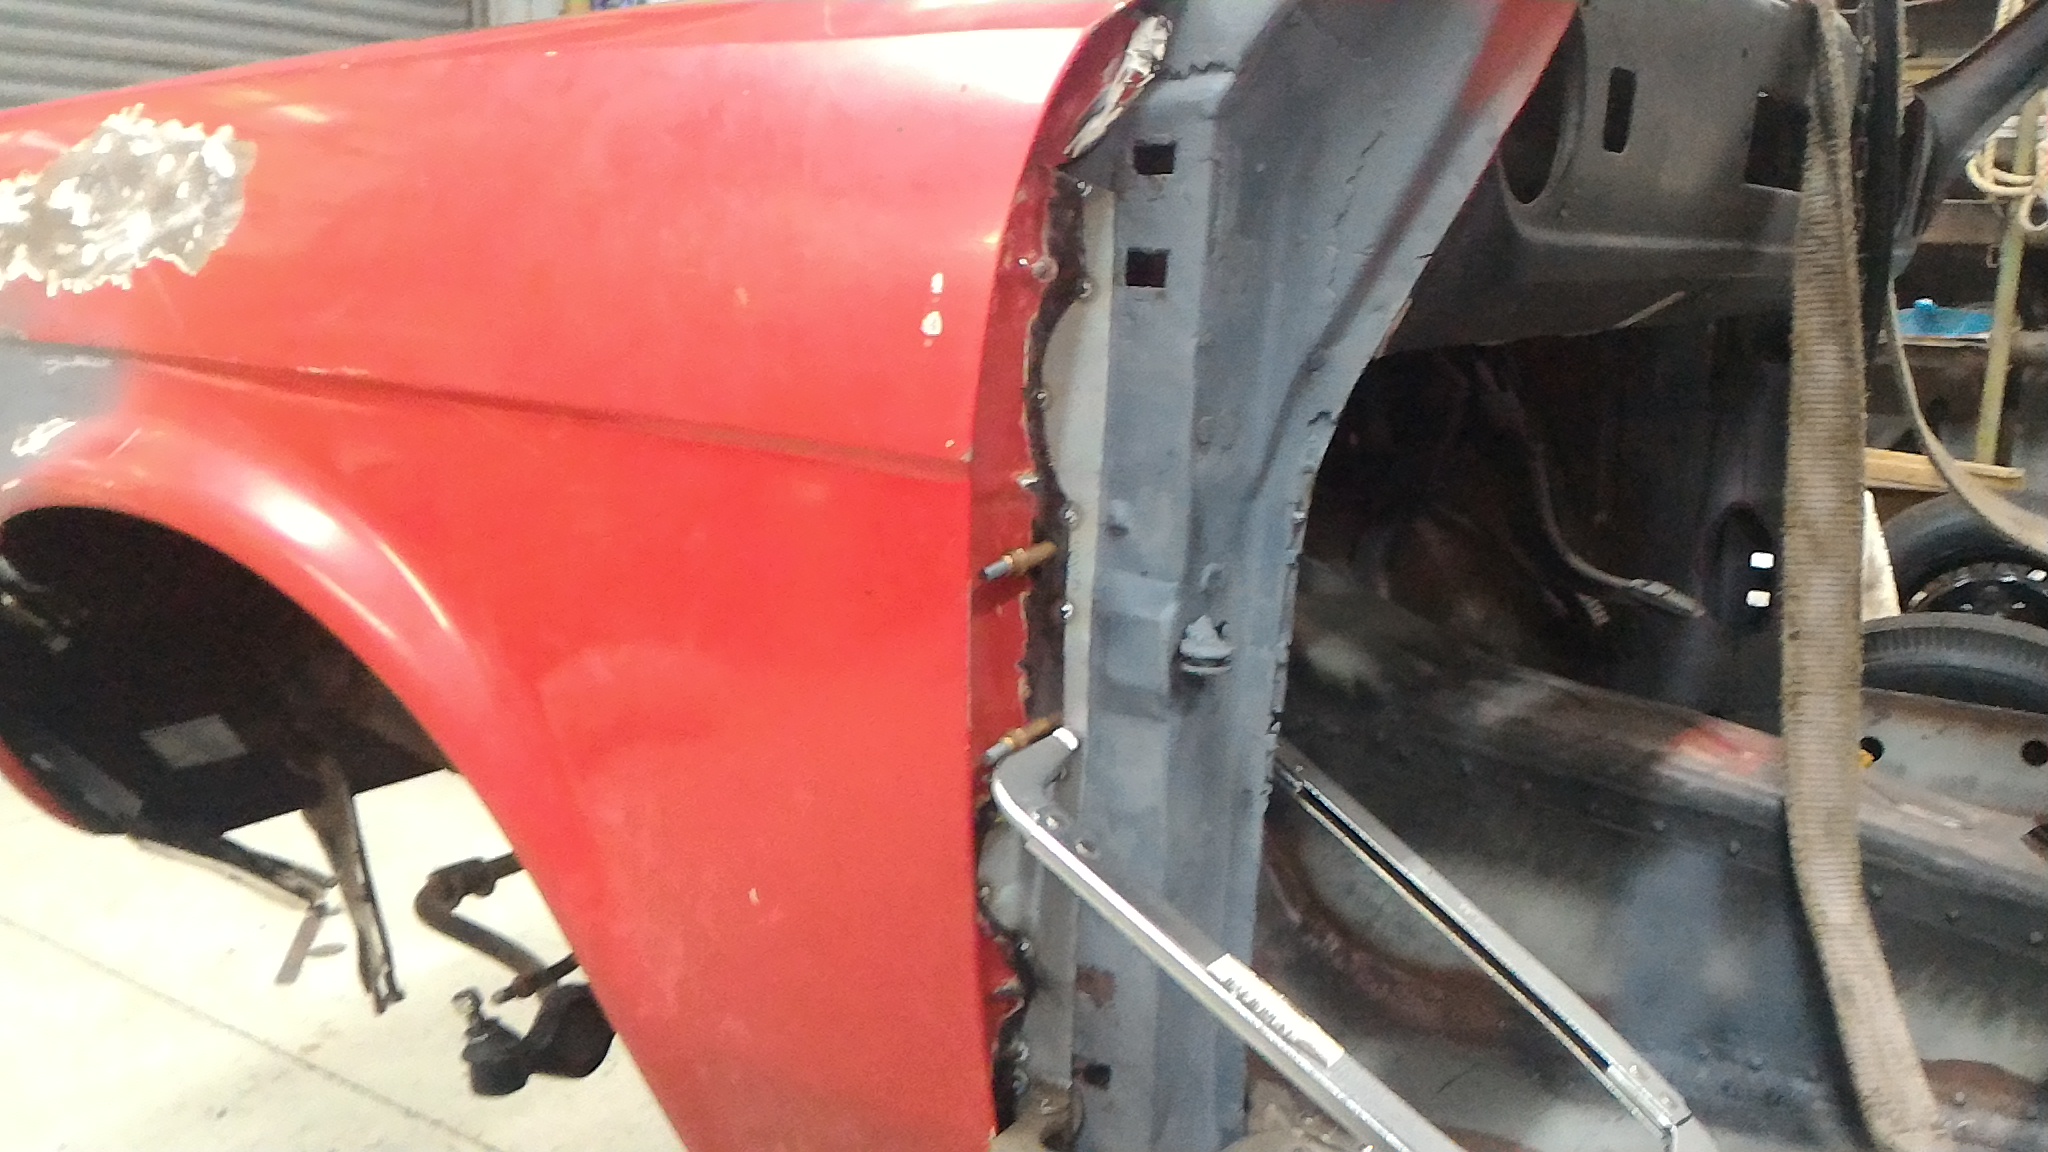
Finally got back into it tonight. Started on the driver's side guard mounts by rebuilding the rearmost part of the inner guard mounting flange. This started with the template I used for the passenger's side (I knew I saved it for a reason) and a piece of steel from the scrap bin. Then I cut it out and made the slices necessary to form the factory pressed bracing structure. Started to form it up And finished forming it up. I've tacked it to the main rail part of the flange for now and that might come back to bite me when I want to fully weld the bracing triangle part up. We'll see. For now though that's it for tonight. Hopefully more to show tomorrow night. As a bonus, here is the panel it is replacing. Hopefully you can somewhat see the resemblance.
4 points
-
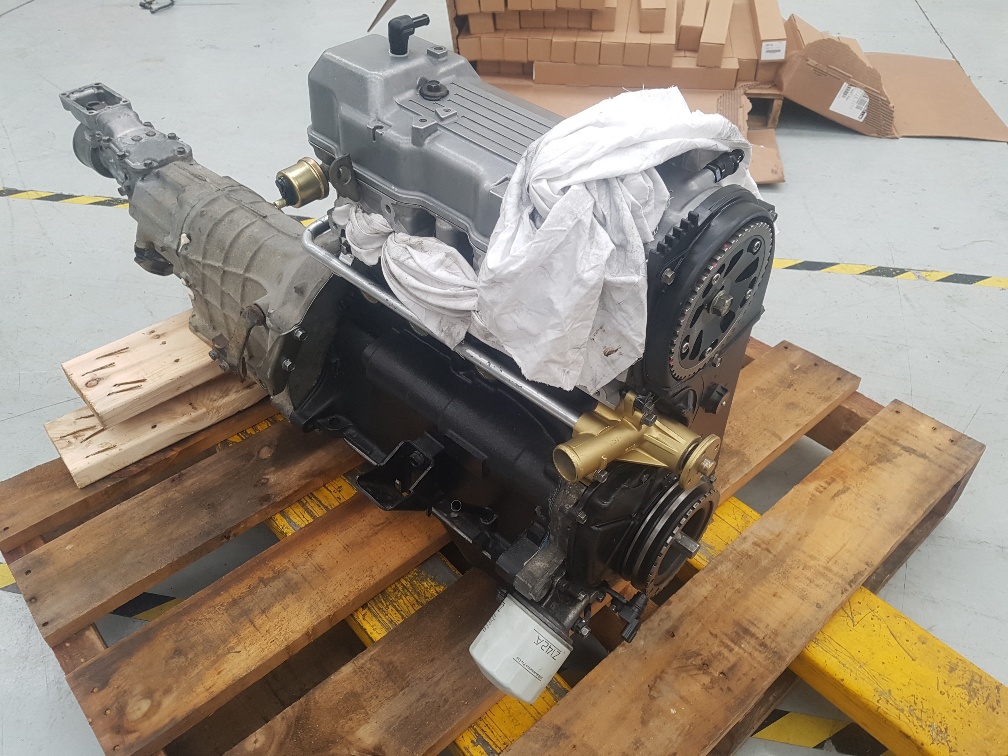
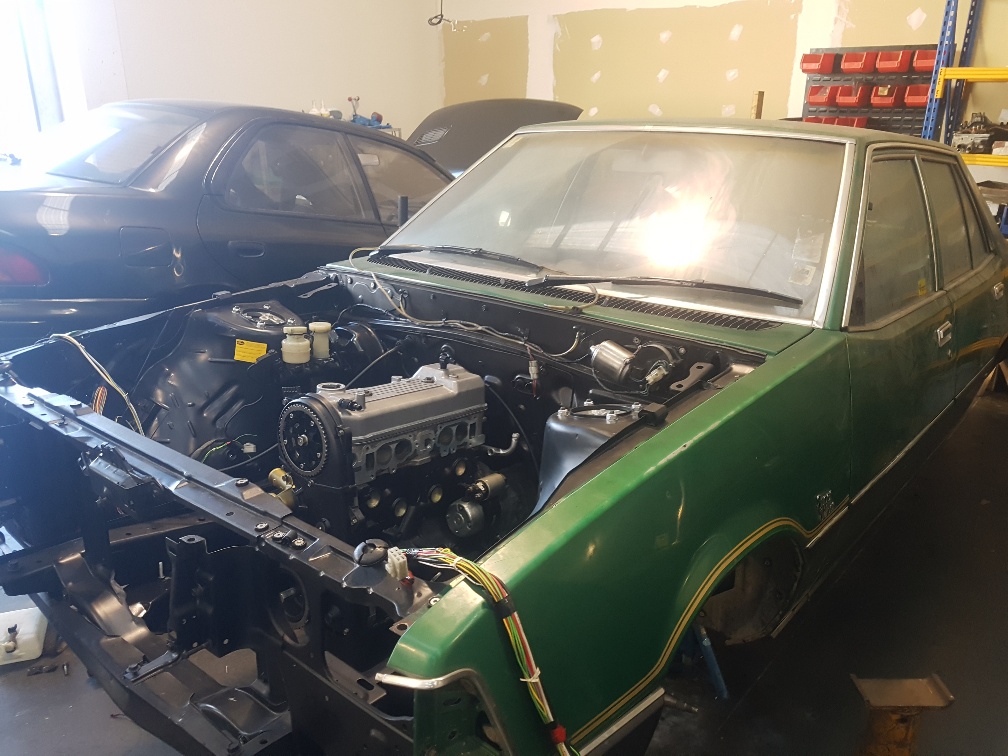
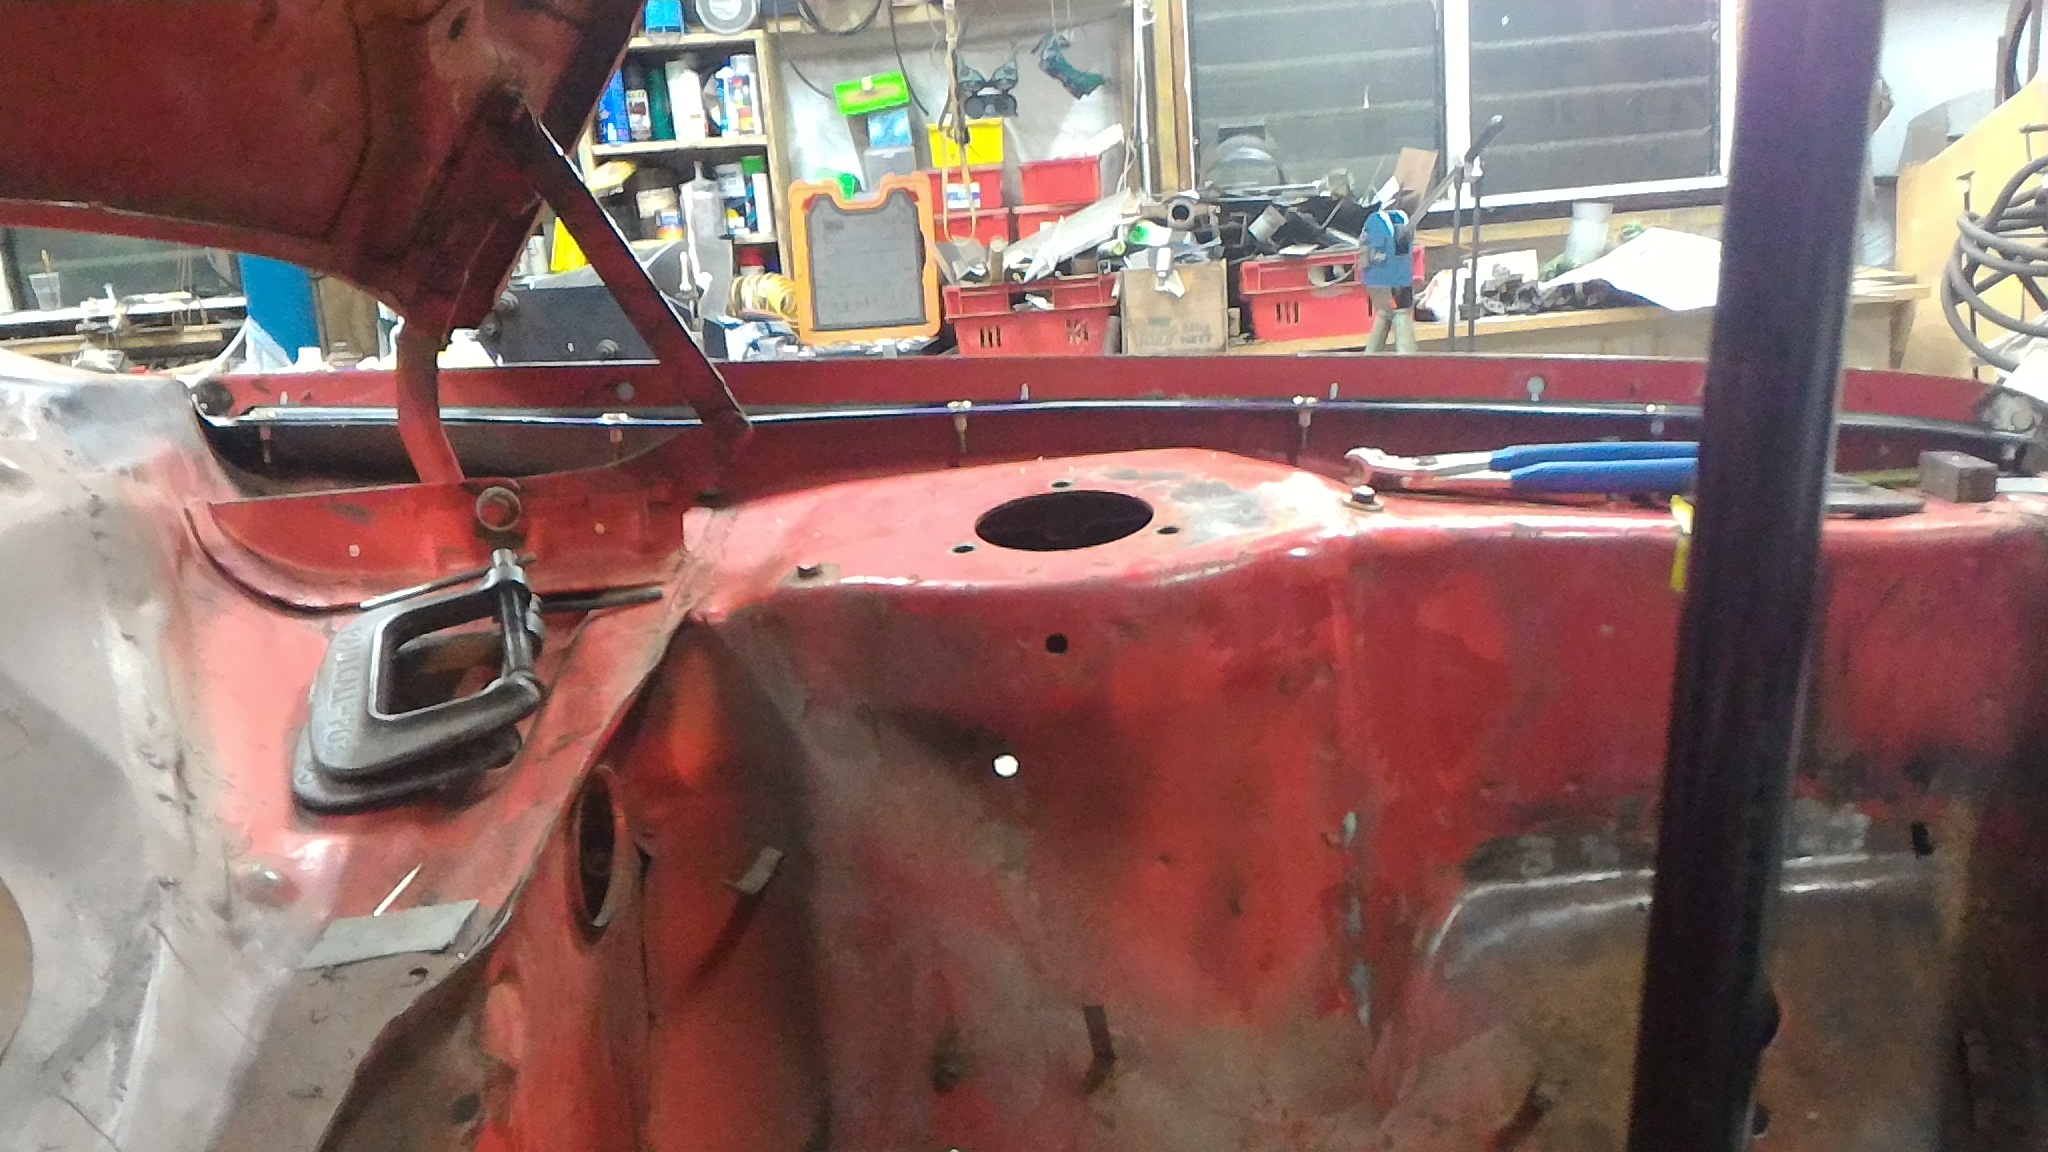
Engine reunited with the transmission and reinstalled in the engine bay today.
3 points
-
So talking to an old Barry from the VCC today and he made me an interesting offer. That If we have a meet the coincides with the Wanaka PH breakfast we can all go back to his place afterwards and he will teach us how to drive his model T truck and let us hoon it around his farm. So I have never personally driven a Model T before but I'm super keen to have a go. Anyone else interested? Again, we are thinking sometime in Spring or Summer.3 points
-
Reposted all my photos in this thread loading them up to OS for hosting.3 points
-
yeah, but il still have a 8mm ish hole in the other skin is what I mean. just plug it full when rejoining?2 points
-
I have a grinder, cover my entry fee and i'll come chop it out for you (I don't lend tools like that, once bitten twice shy). Just find out first if they will let us in with said grinder, as ain't no one got time to drive there and be denied access with it. Reason I thought they might not allow it, is that it's not hard to chop off body parts and bring down a whole lot of paperwork for PAP. I have a small recip saw too, but probably not decent enough blade to cut a crossmember out currently.2 points
-
and thanks to Darrell, his Father, Fatherinlaw and my brother...I don't usually do this butthis guy is a happy ass me!and Felix thinks it pretty cool.It all went pretty smooth, except for nearly smashing the new MC fluid res(which is full of brake fluid now!) with the body and forgetting to move the gas pedal and bending the shit outta it, but no scrapes or dents, the shell is much heavier with all the fenders and doors etc, and I can hammer the pedal flat again.yee haww2 points
-
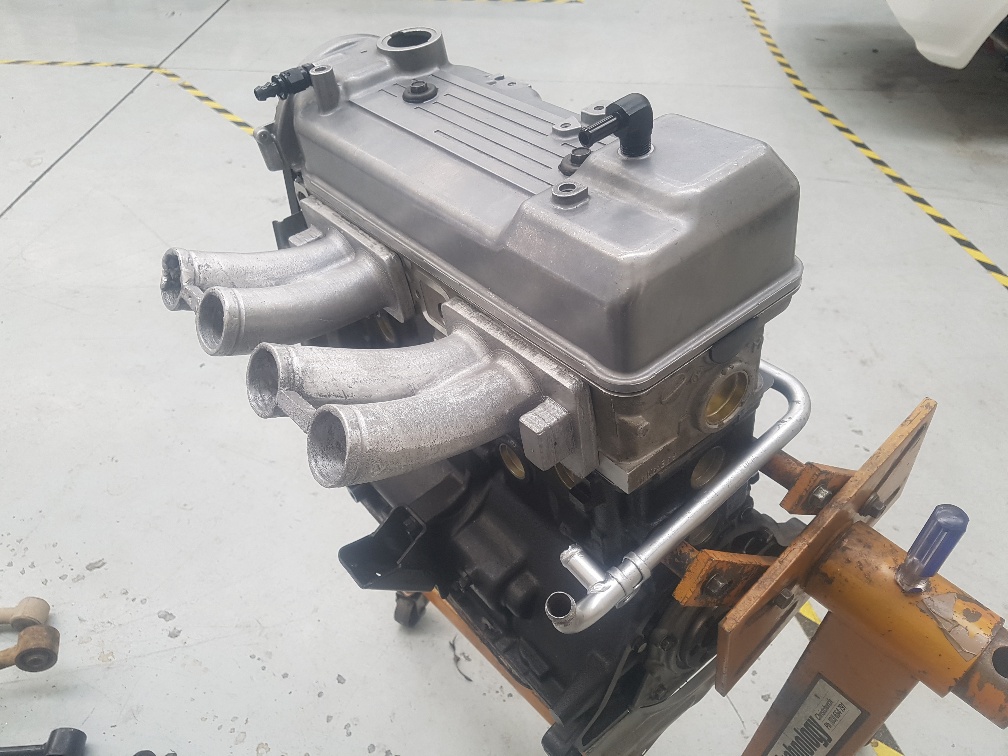
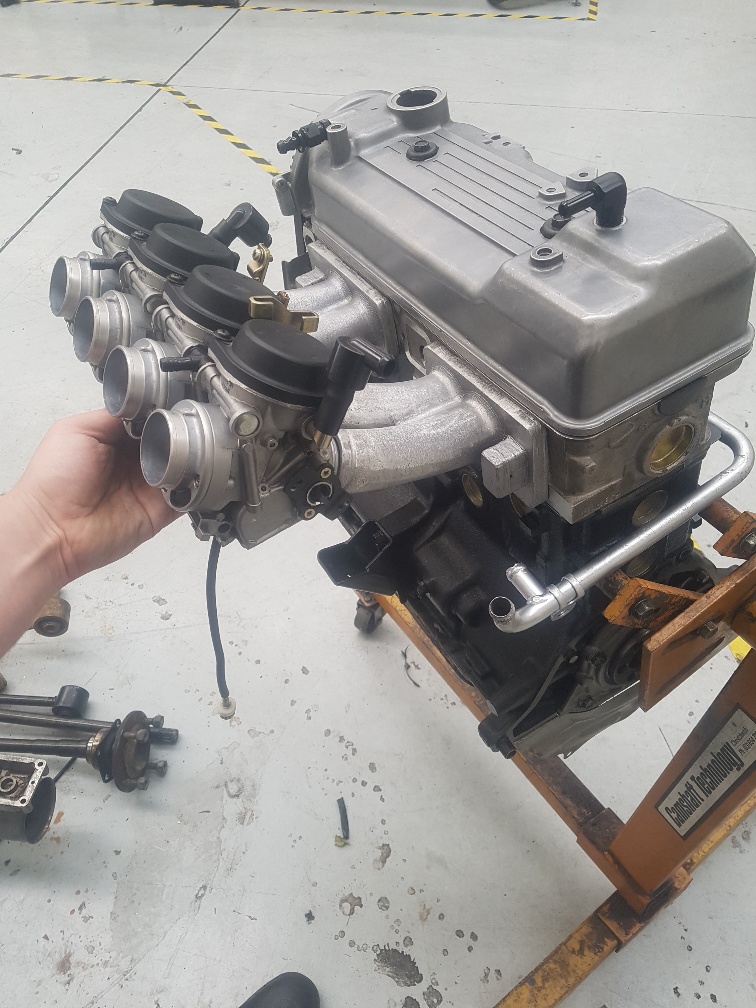
Quick mock up as I couldn't resist. Going to look great and run so much better than standard. Doort Doort!
2 points
-
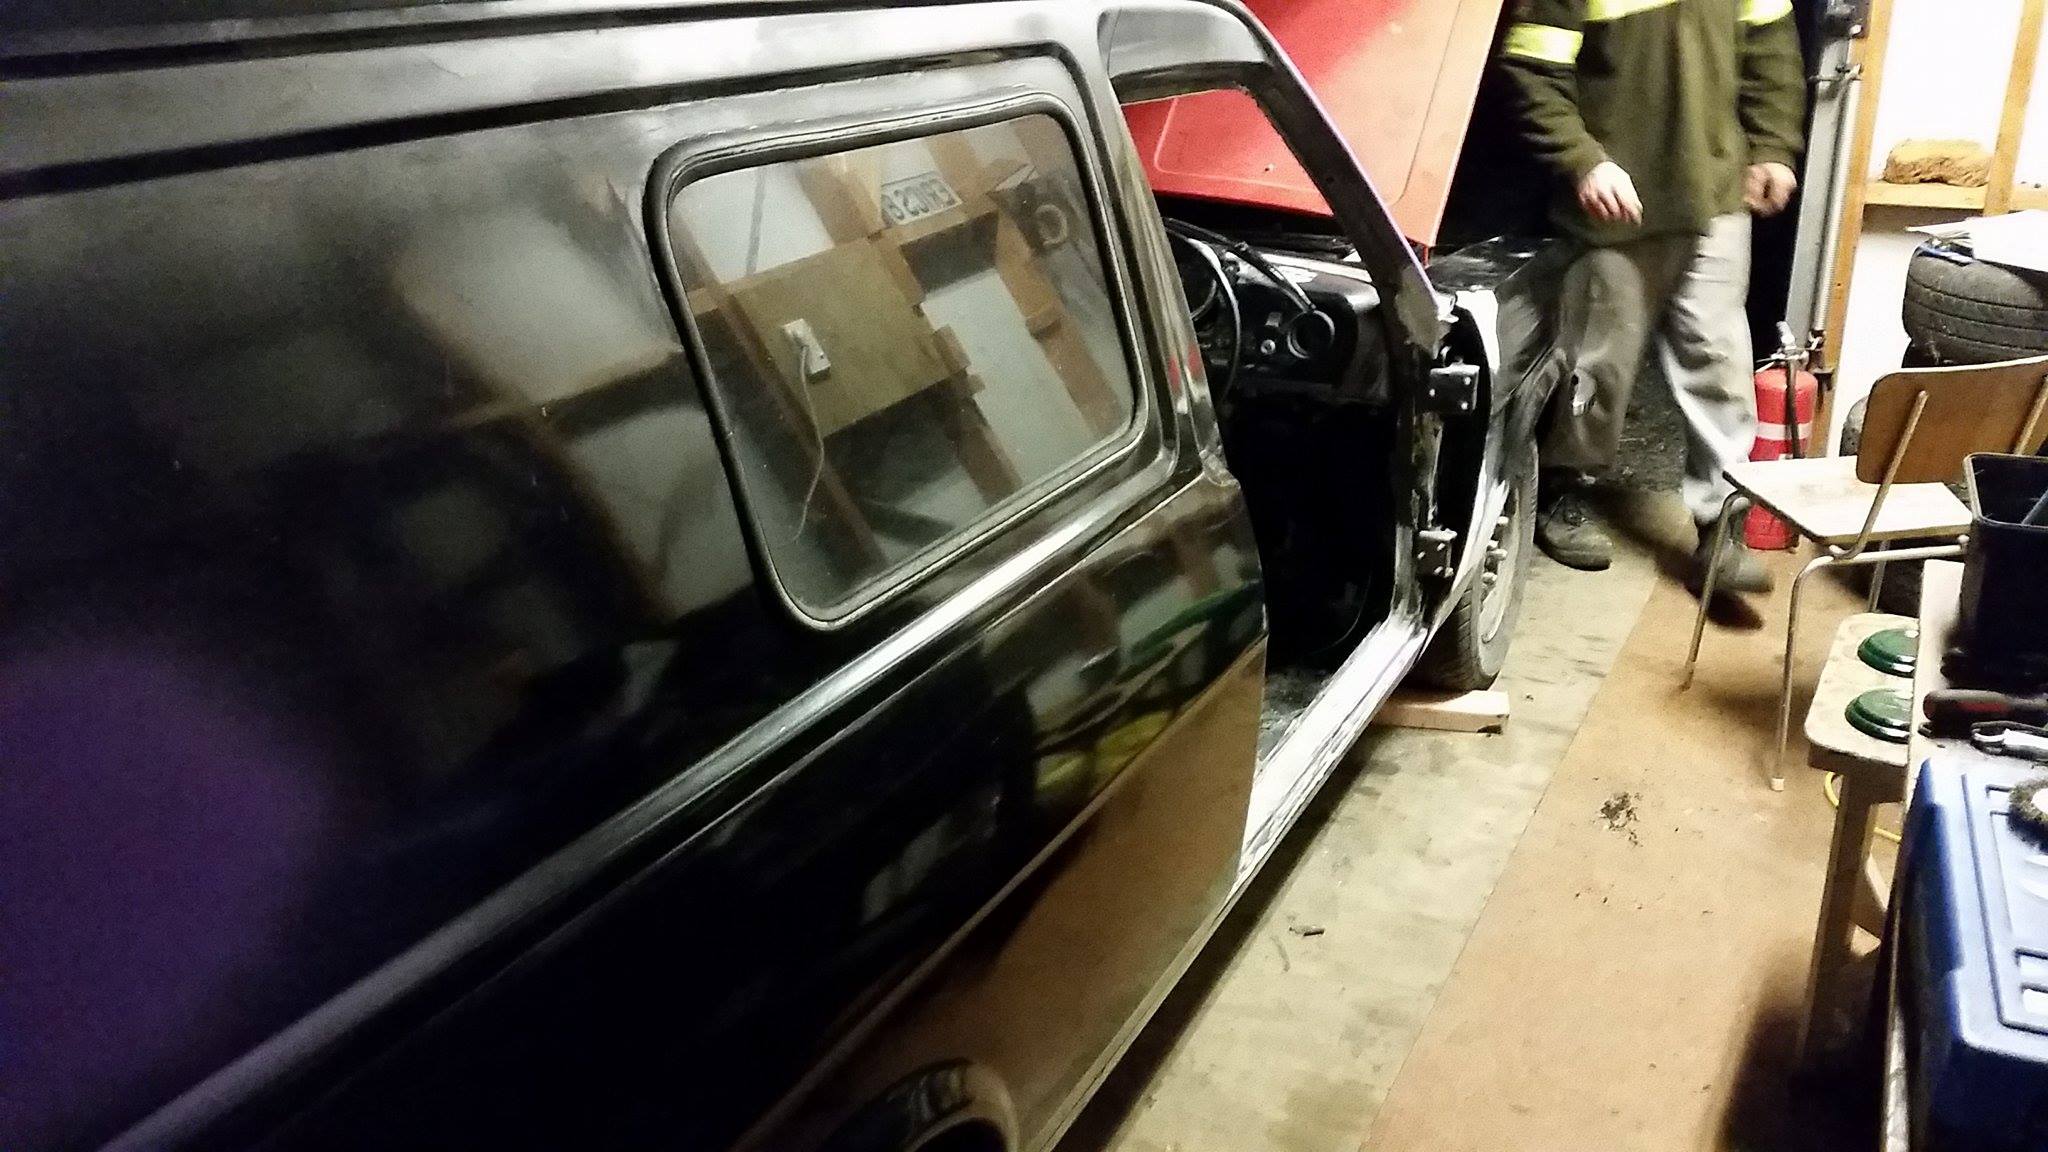
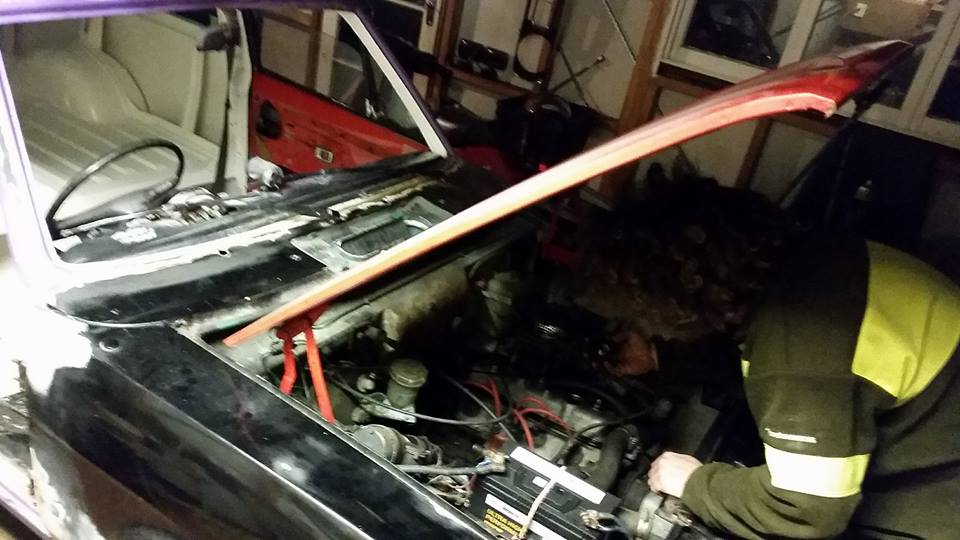
We have a runner! Set, tappets, shimmed up the exhaust, set the timing and away she went, runs nicely stationary anyway. Once new h/brake cable turns up can commence "round the block" testing. Thought for sure i'd have carburetor trouble since the twin aisans have been shelf-bound for so long but so far, so good. Can now hack into the body in earnest
1 point
-
Yeah, I'd be keen on that. Life is a bit up in the air at the moment so couldn't commit to anything close but hopefully will know more come spring/summer.1 point
-
Yep, weld-o-rama.1 point
-
Yea pretty sure you aren't allowed grinders in PAP1 point
-
Overview from behind with new coils fitted. I figure there's no bonnet on a motorcycle; so if you've got to have it, you may as well make it a feature.
1 point
-
Cnt: Hole saw cuts a perfect fit. Welding stainless to mild seams to create a bit of a porous weld, but acceptable. Dry fitted...and I'm happy with the look it gives.
1 point
-
Should put fittings in that beam for engine lifter. Then you can do 2m engine swaps in the lounge while Mrs sheepers makes chicken nuggets and small red sausages etc1 point
-
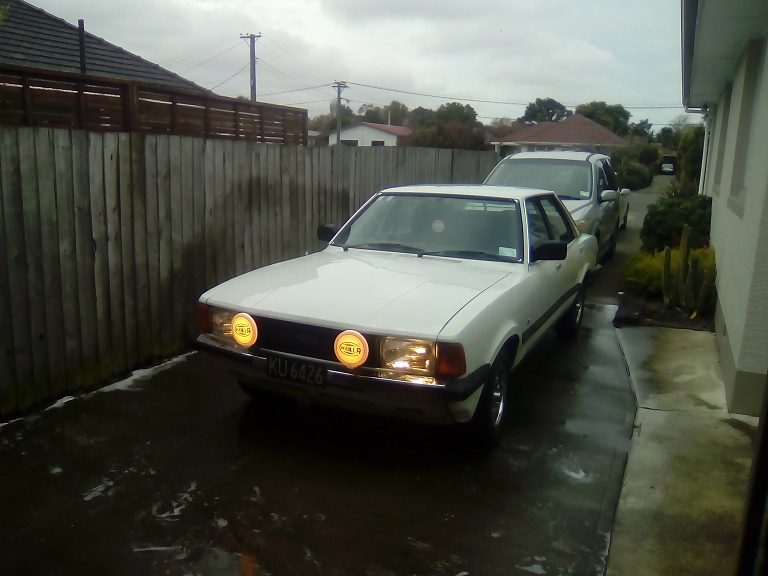
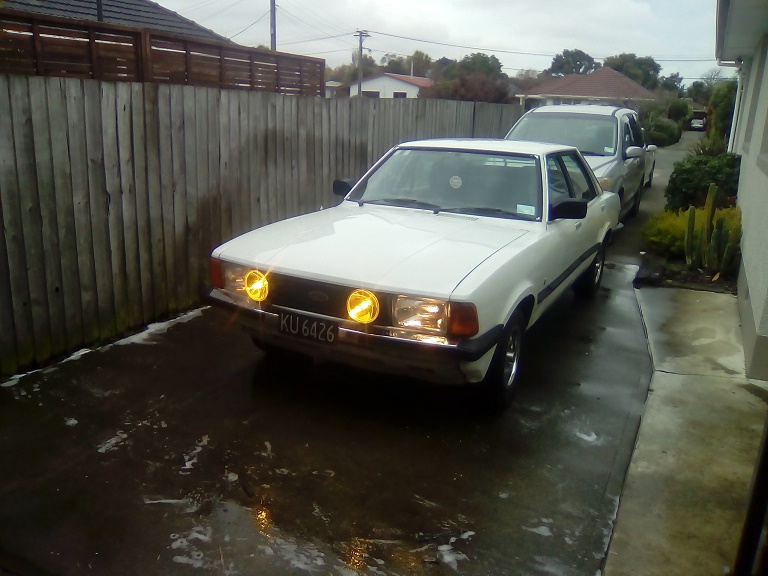
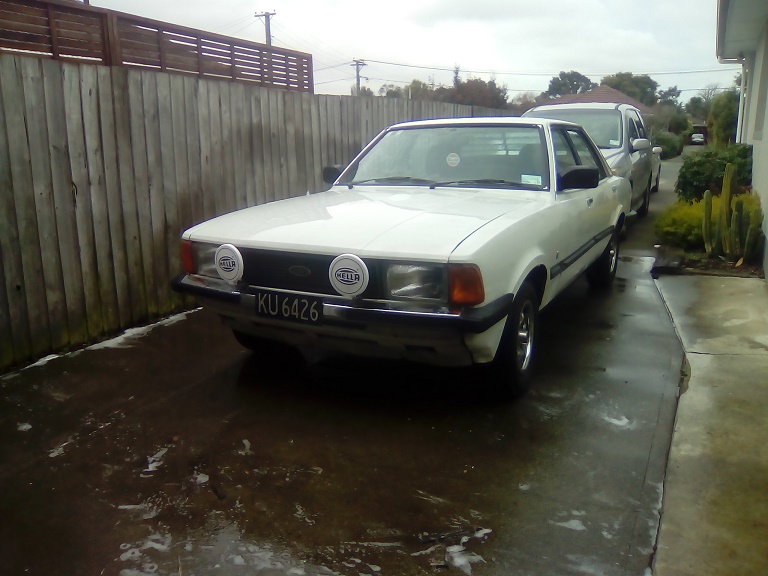
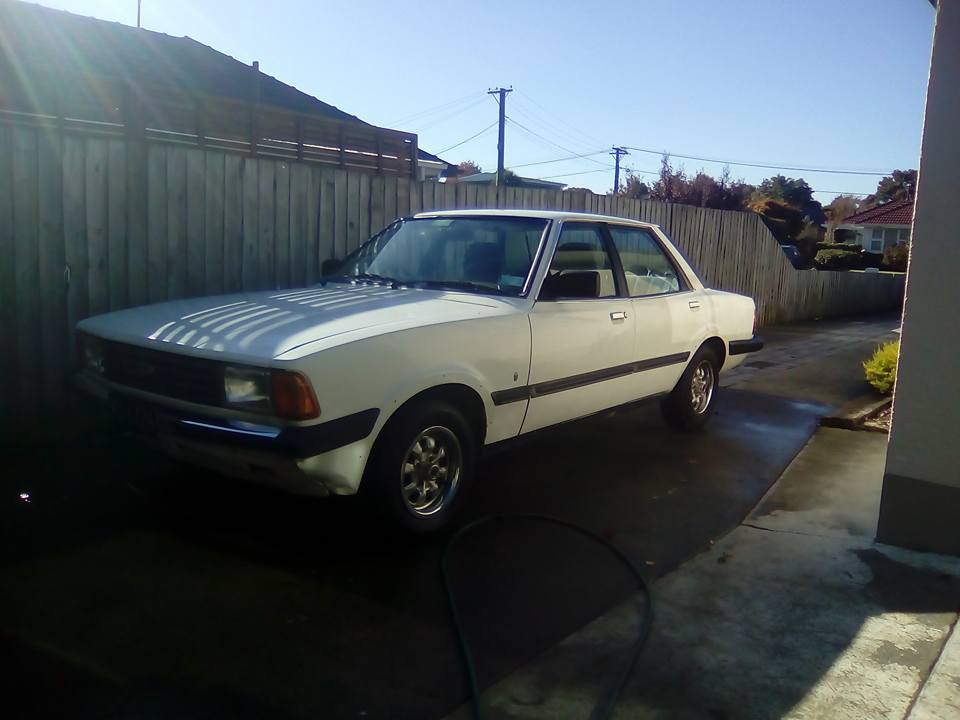
just a quick 1...... passed its 1st WOF in my possession1 point
-
or a drill and a spot weld cutter but the sabre saw is a fact spark free option1 point
-
As far as I know? Says nothing about not being allowed to in their rules?1 point
-
Will they actually let you take one in?1 point
-
1 point
-
It's on the mend - yay insurance!
1 point
-
so while the steering box is getting acid washed, more polishing.more stuff no one will see.buttoned up the tail lightsmore polishing.and jammed it in.more allan nuts.ground control to major tom.Commencing countdown, engines on.Check ignition and may God's love be with you.1 point
-
Now wiring is something I know nothing about, yet.what I do know is this is how I got the new loom from the back of the car, to the front.it was not easy, there is a tight spot somewhere up above the rear seat area, I used alot of masking tape, duct tape and vaseline to get that sucker up to the interior light and snap! went the old washing line I was using to pull it though.Luckily I had run another wire for future rev counting, I actually ended up pulling the loom out of the interior light hole,use the loom its self to pull it though the tight spot, re-tapeing it to the line and then pull it though the A pillar. look how clean that speedo it!!!engine hole.need to clean these up.1 point
-
Yeah converting to foot brake is easy. Make a plate that bolts over the original hole. The foot brake bolts up into factory holes in the firewall etc. And there is already a rubber bung that you remove for cable to exist out. There will even be a piece of loom you pull down that plugs into the foot brake setup for the dash light.1 point
-
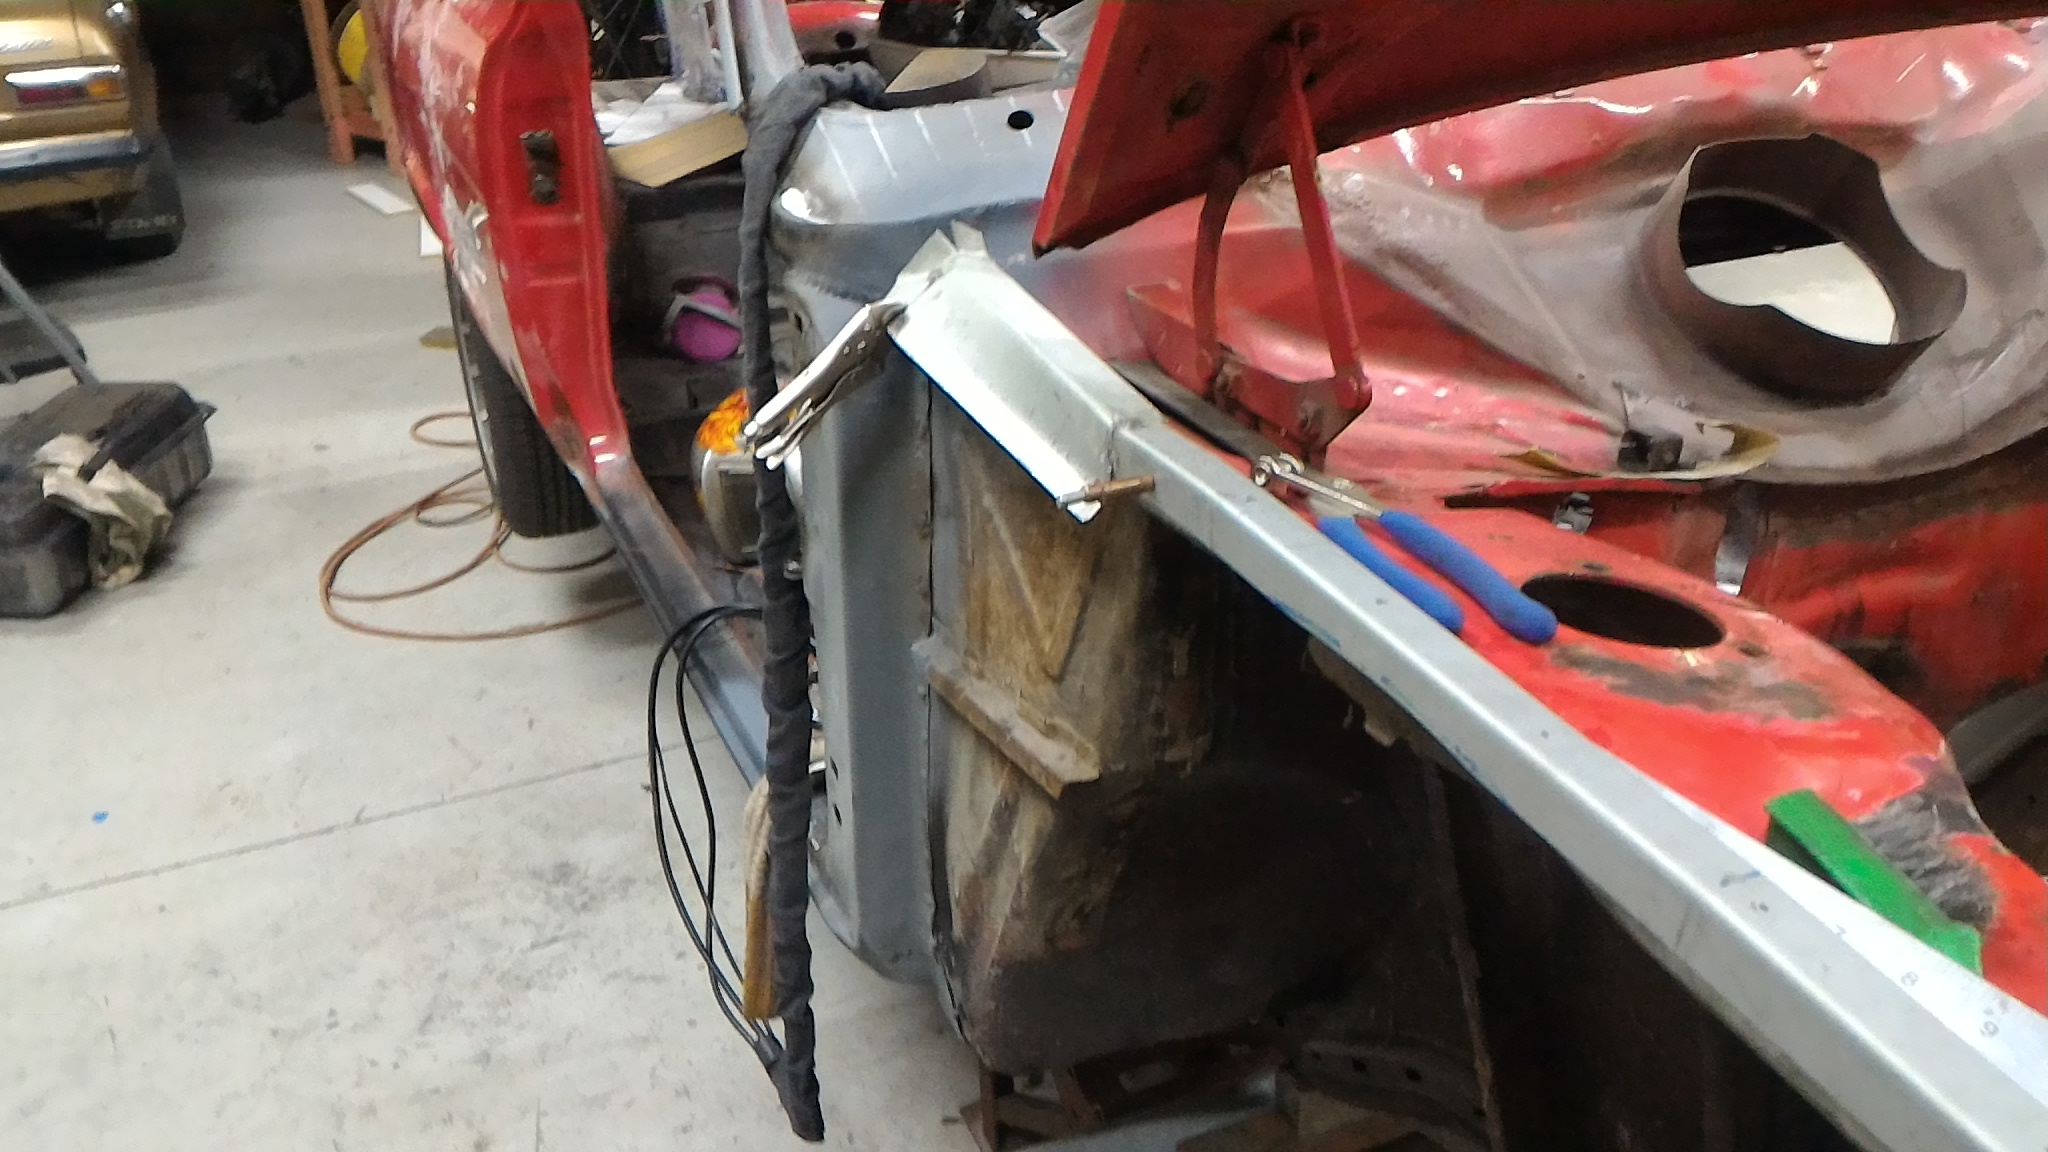
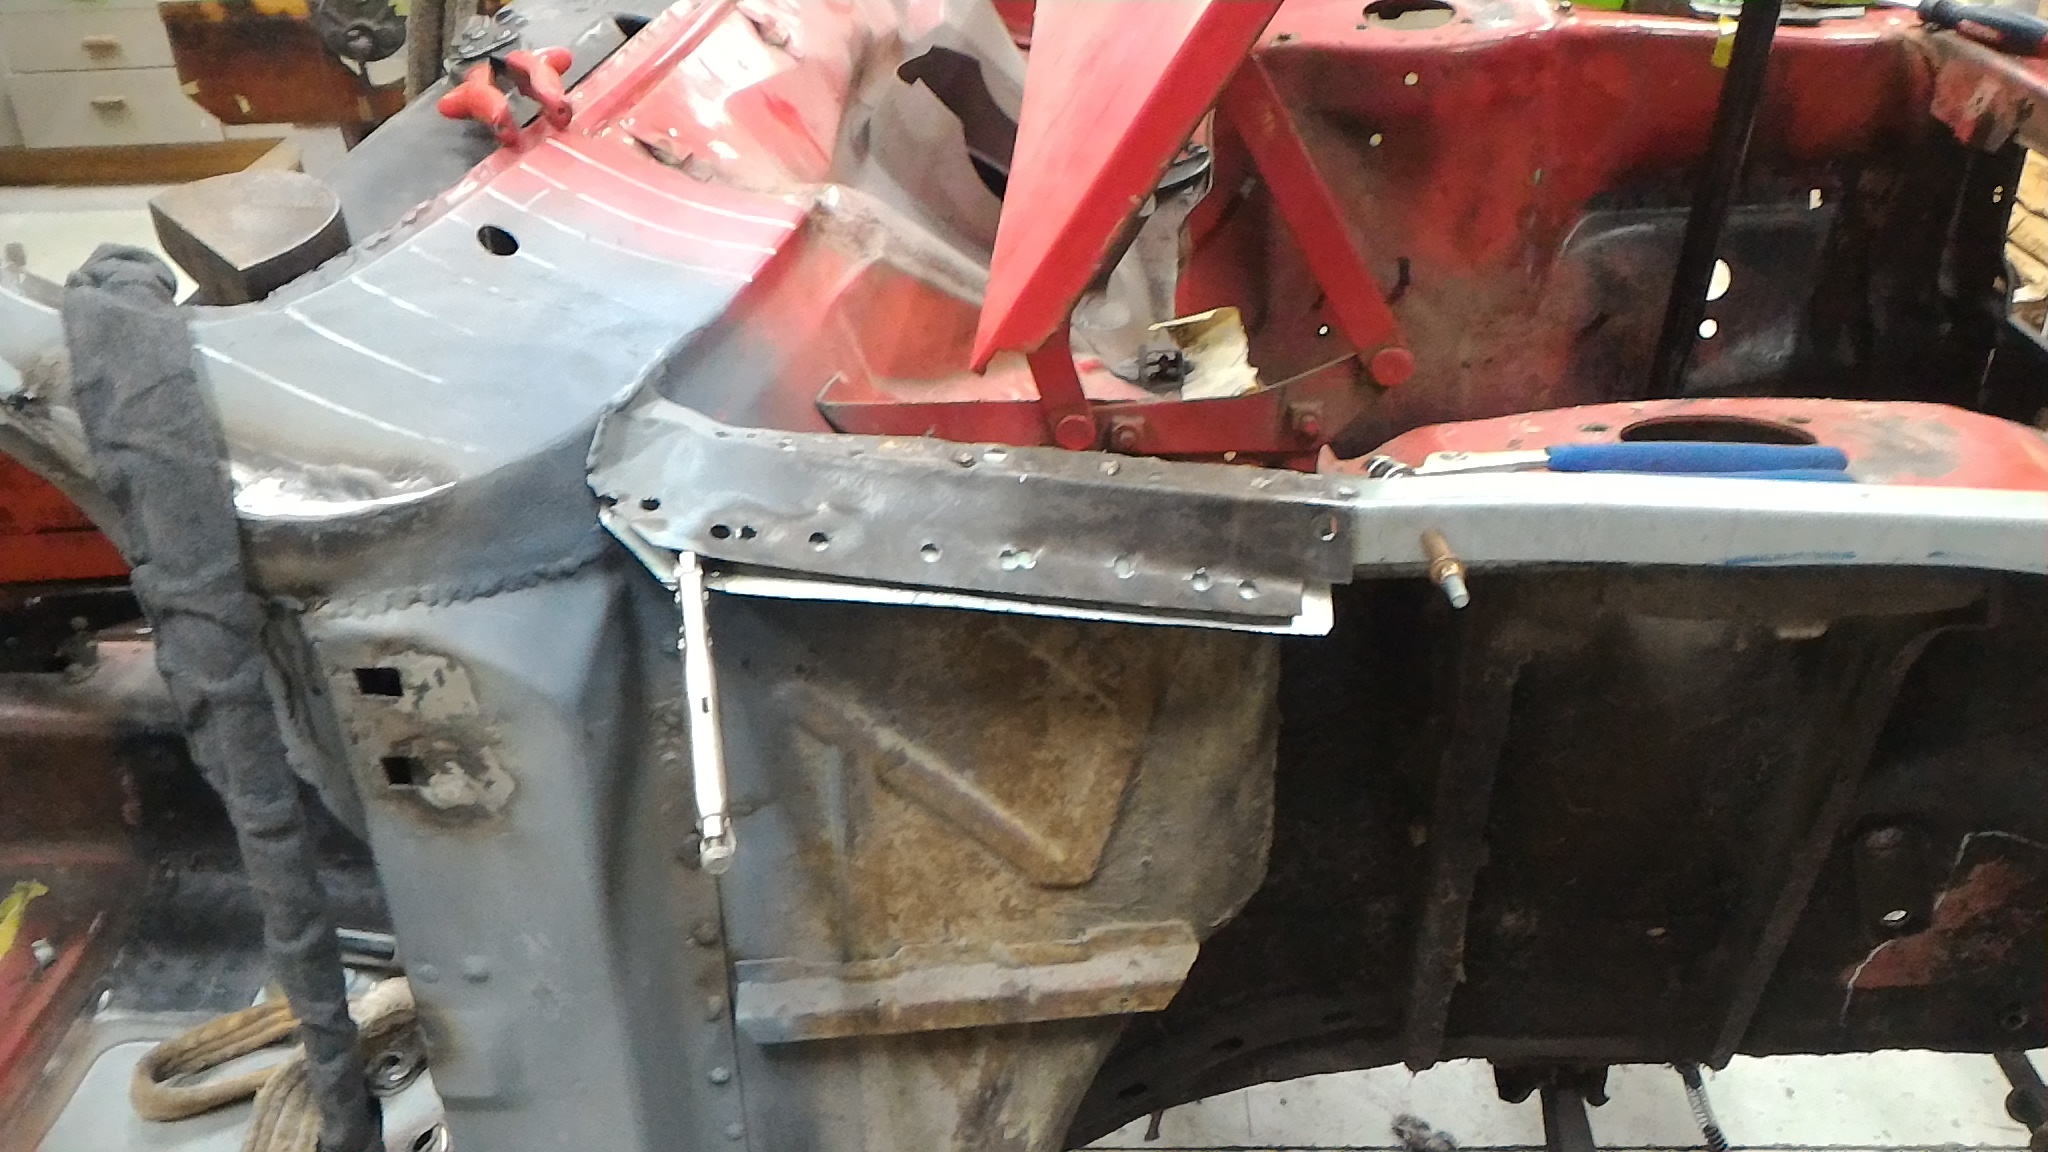
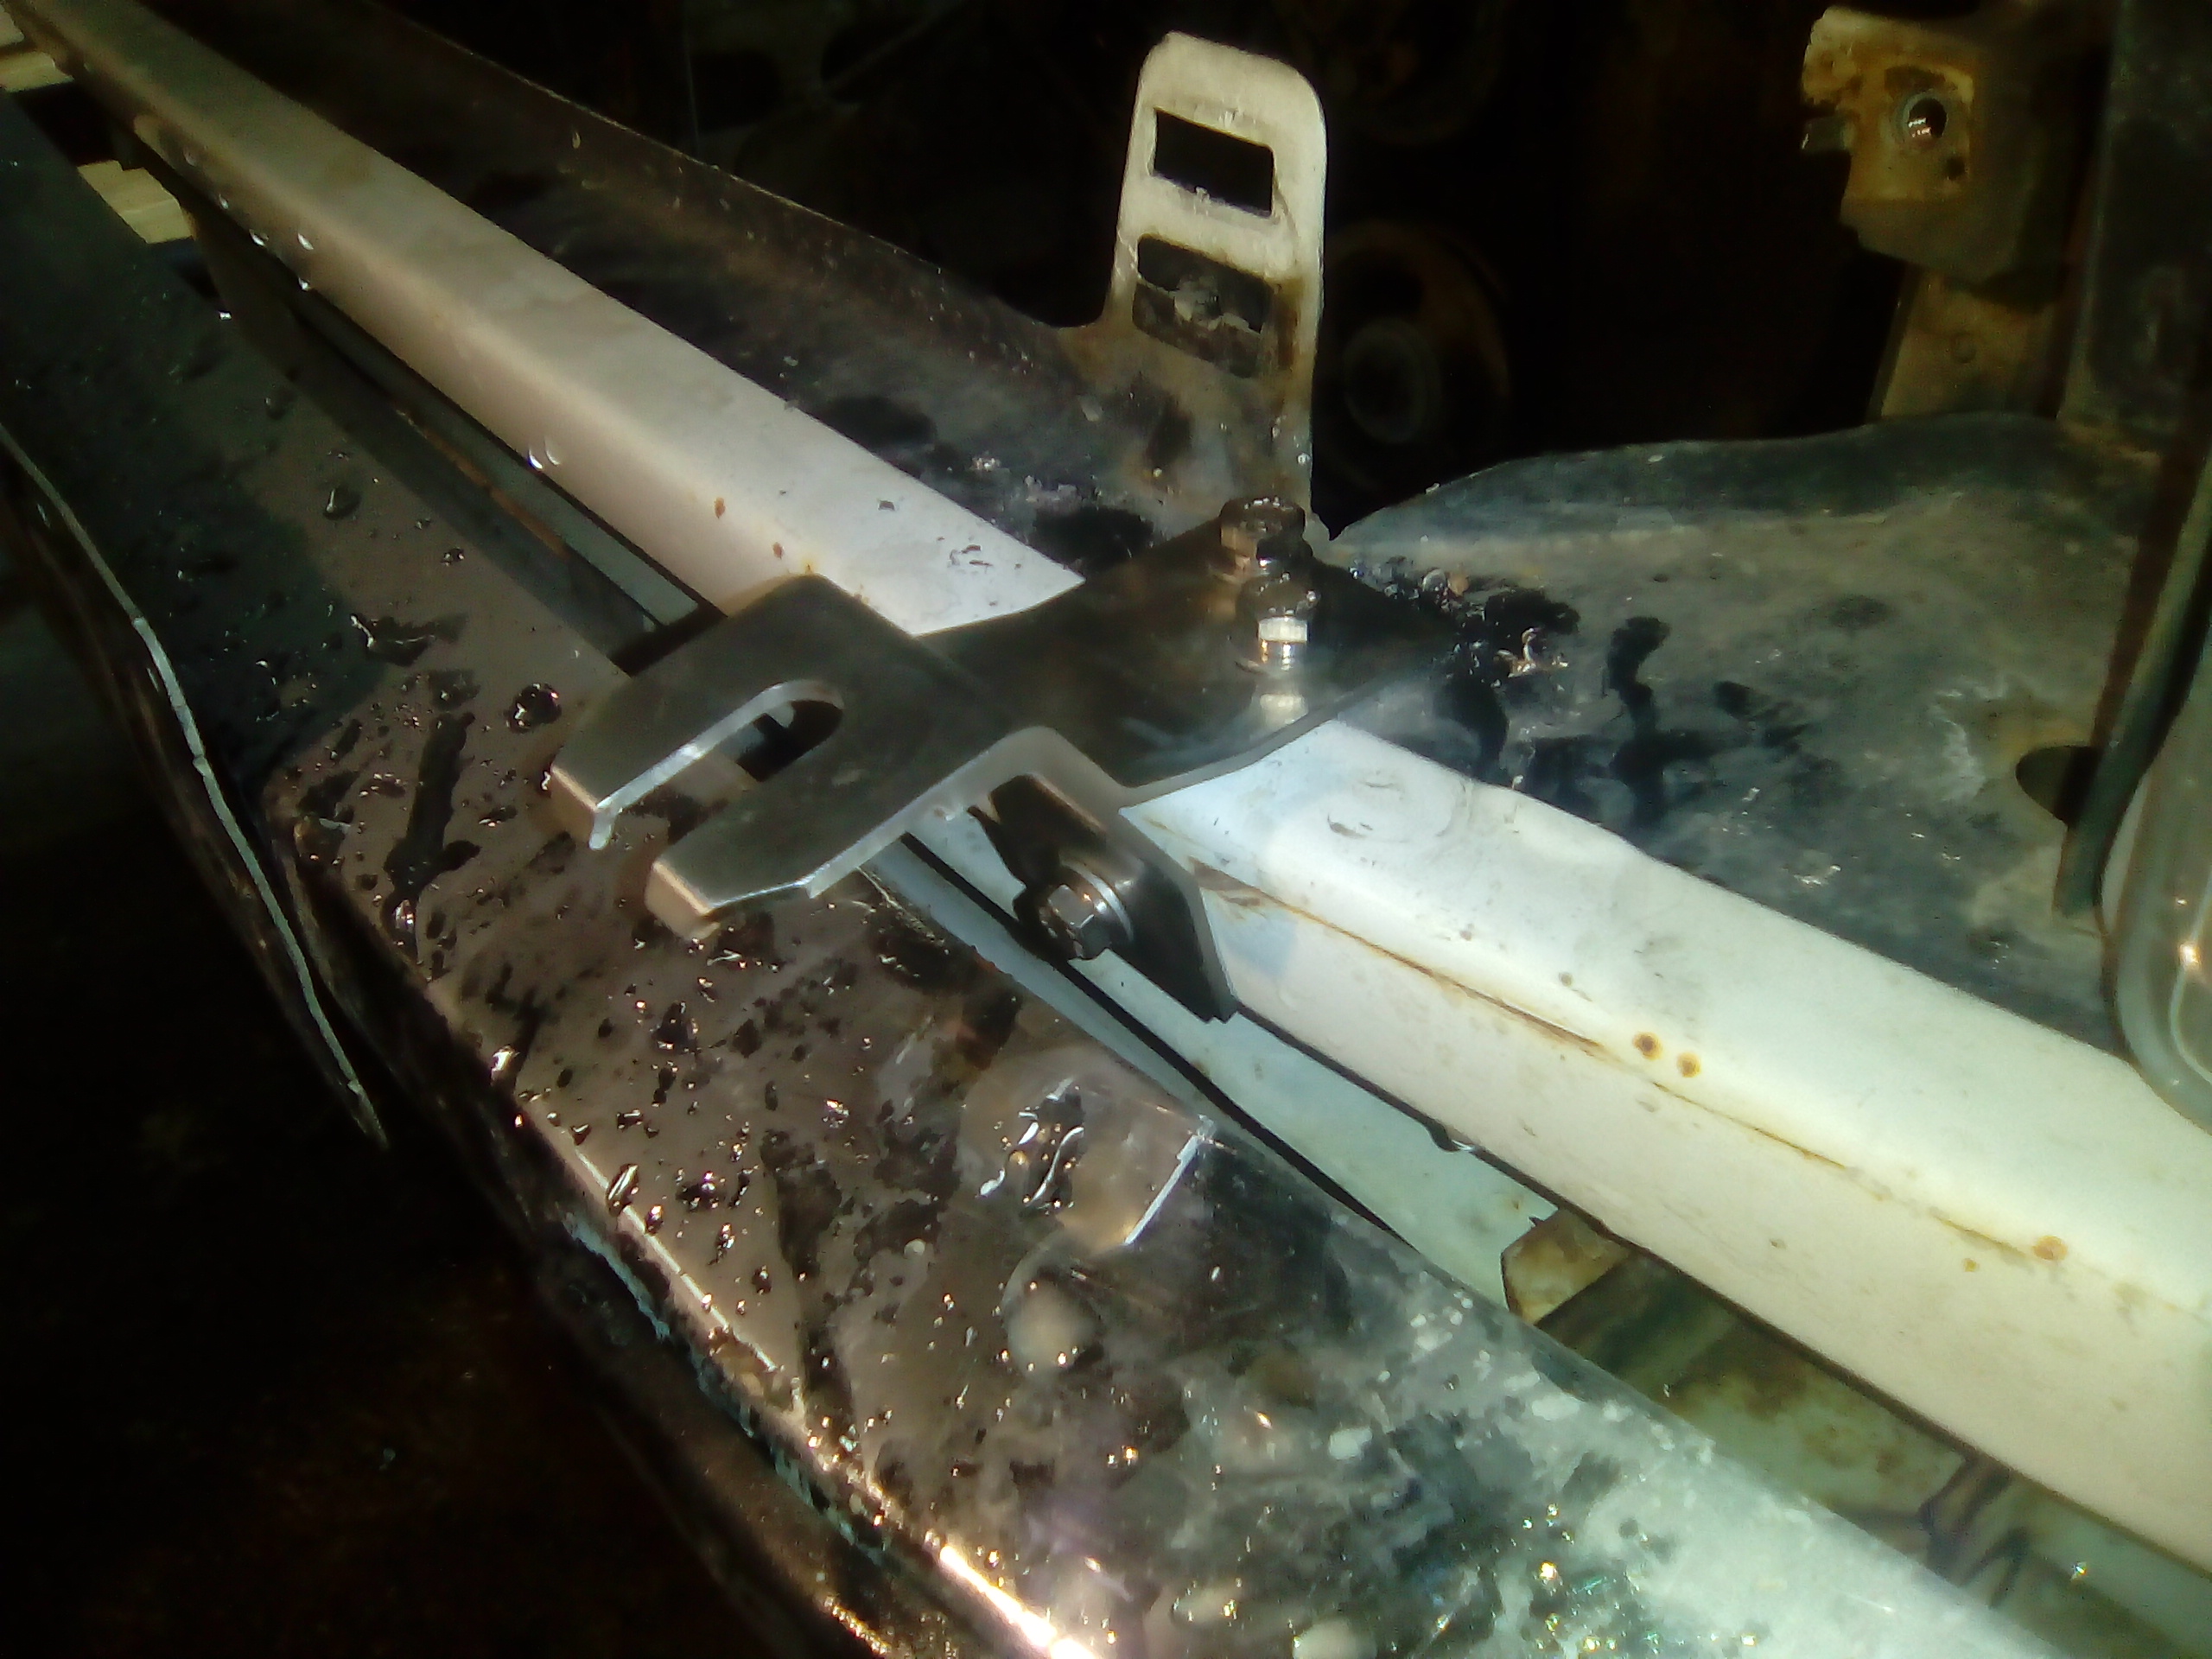
With the front end of the guards all set it was time to sort out the back end. The original welded A pillar mounting flange was pretty buggered so I chopped out all the rot and made a template to rebuild the flange. Then cut it out of steel and tacked it on. Looks good. So I fully welded it on. Then I threw the door and bonnet back on to check the panel gaps Not too shabby. Next was to take the plunge and start putting holes in my panels. I started by drilling a 3mm hole through both top flanges while the guard was clamped in place to ensure the holes would line up perfectly. Then I pulled it all apart and drilled the outer flange out to 7mm and the inner to less than that (I can't remember what it was exactly but it fit the riv-nuts perfectly). I put the riv-nuts in place and pulled them up tight before throwing it all back together with bolts this time to check the fitment. Looks good to me. I learned that the final bolts I'm going to use can be and should be much shorter than the furniture screws I am using to mock everything up, but other than that everything fits up great. I didn't take any photos of making the inner and outer flanges on the top of the guard for this side, but I still have the other side to do yet and I'll be sure to document that when I do it.
1 point
-
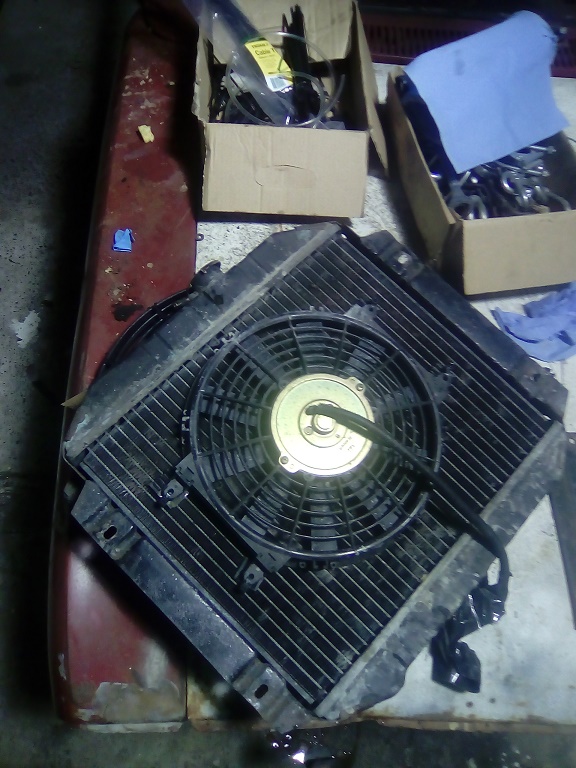
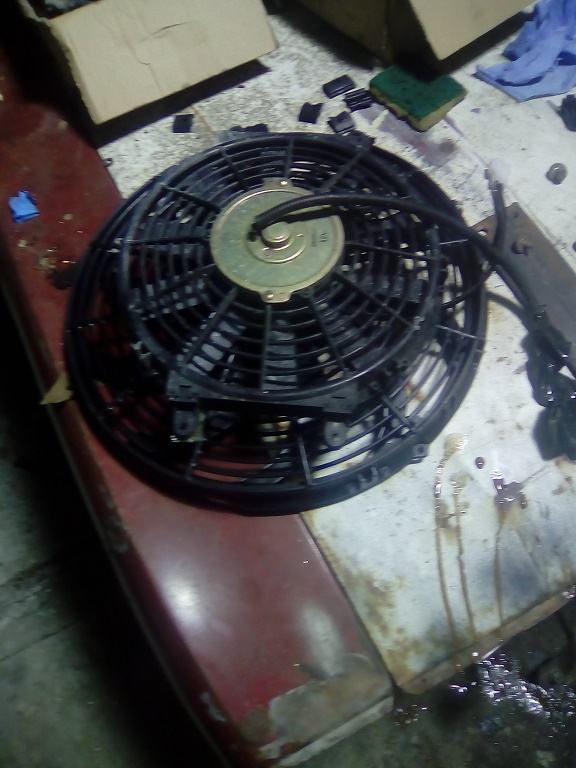
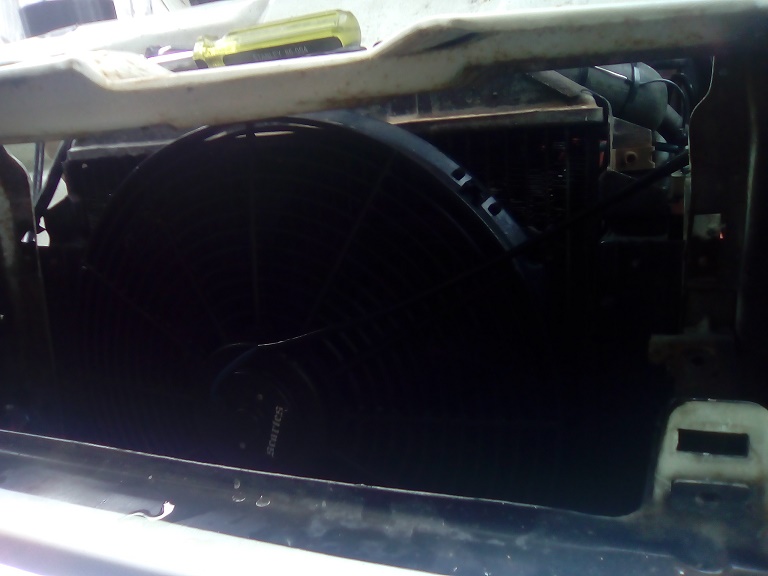
wee up date. i had a 10" fan on the radiator and it was fine but once i hooked the trailer on and fulled the fucker with wood i noticed that the temp was getting higher than it had before.. so i grabbed a 16" fan as it would fit perfectly in the factory shroud but NO!!!!! well it did fit perfectly but even with moving the radiator back in closer it still hit the water pump. so i had to put it on the other side. and fuck me it blows......gets up to temp ...fan kicks in and it turns off withing a few minutes.....(just idling) and then i started on the spot light. (karl pointed out tome one day that there are dimples in the panel for mounting holes) so after drilling them out i mounted the ..............um ....mounts now all wired up and working ......even changed to the mk4 grill
1 point
-
Had to make another steering column tube since the first one was too long and the spline didn't stick out from the end. Also made the slot for the shifter longer so it has more gear selection. Laser cut a mount out of 12mm Ali for the steering column, needs a little bit ground out of the main mounting hole as it's a bit small and the triangles could also be polished more. Have also polished the shifter/indicator part of the column, looks heaps better than the silver paint. The steering columns going to be the flashest part of the whole truck haha. Done a bit more to the dash, has come out really well, very happy with it. Wasn't sure how well this would turn out, but so far it's turned out mint. Can't really see from the photos but I also fixed the left gauge surround, as it was terribly deformed, the front face was flared out a bit/not flat and out of round so the gauges didn't fit. It's pretty good now, just has a small rust hole that needs fixing. Not looking forward to welding it as there's so much!1 point
-
1 point
-
Bit more progress today. Made up some bracketry to mount my generic electric fans to the slam panel, ahead of the ae86 rad. Really fiddly getting them to sit right against the rad without attaching them directly to it, but got there in the end. Even managed to modify the original kp radiator clamps to hold it all in place, pleasing. Also wrapped the exhaust manifold. Needs a bit more wrapping, but waiting for some more steel ties to turn up.1 point
-
after riving this all week the noise from the diff was driving me fucking mental! so swapped the diff out today ...pulled the head from the newish diff and cleaned it all up....used some brand new gear oil and repacked the bearings. also mix matched the best brake parts from both diff and adjusted them so the hand brake only takes 2 clicks......perfect. and oh so QUIET i then bleed the back brakes and the fluid was fucking disgusting ....so i then flushed and bleed all the air and water out of the front and ran some dot4 fluid threw out......much better now. i then had a play with some old cutting compound i had sitting in the garage for about a decade and combined with a buffer and sponge pad ive had since my old man sold his shop..(maybe 15+ years)....the paint is very this and i couldnt go hard out but even getting all the oil hand marks off was a bonus... looks much better now.
1 point
-
Get A-019 tyres plz Semislick spec1 point


.JPG.0a0e13e46133c9cdbdaf431ccd6339ac.JPG)


This leaderboard is set to Auckland/GMT+12:00