
Leaderboard


Popular Content
Showing content with the highest reputation on 03/31/17 in all areas
-
Ok I lied. A few more photos. Rear T57 spring mounts. You can see them in this photo4 points
-
Got my manifold made up, as well as sold all the driveline out of the white car. Am hoping to have all my stuff in this week.3 points
-
You can't just say "build space stuff" then bugger off. SPACE STUFF!!3 points
-
This will probably be my last interesting post for a while. Will be moving to California in a month to build space stuff. Visa came through today after months of paperwork!So good! So making parts will slow down, but hopefully CAD work will speed up! Anyway, these are spring hangers and a trunion hanger CNCd from 4140. Having a mill in your shed is key to building shiny stuff!3 points
-
New gaskets, and engine mocked up.3 points
-
Not as epic as the kids table up there but I got epic satisfaction from this little project. We have a tiny home and it's important to free up pockets of space and remove clutter when possible (I'm not good at this) Greg popped in the other day and suggested I put TV on wall..It's been on the to-do list for ages. Measured wall and tv angles Had bracket laser cut Bend along dotted lines Draw corner of lounge and TV on table and use to get angles for steel (ends are not 45s) and weld Paint and screw onto wall Now just gotta add a power point and white cable so they exit walls higher. @flyingbrick Please rehost images on OS2 points
-
Finished! Bit of machining porn for you!2 points
-
I've loved to piss and moan about how I think these are annoying and a stupid idea. But after having a driveshaft fail at 80ish kph on the weekend, Oh boy am I glad I had these loops fitted! My brake and fuel lines would have taken a hammering if not for these - They are a good idea, even in my case where all factory parts were used within factory power levels.1 point
-
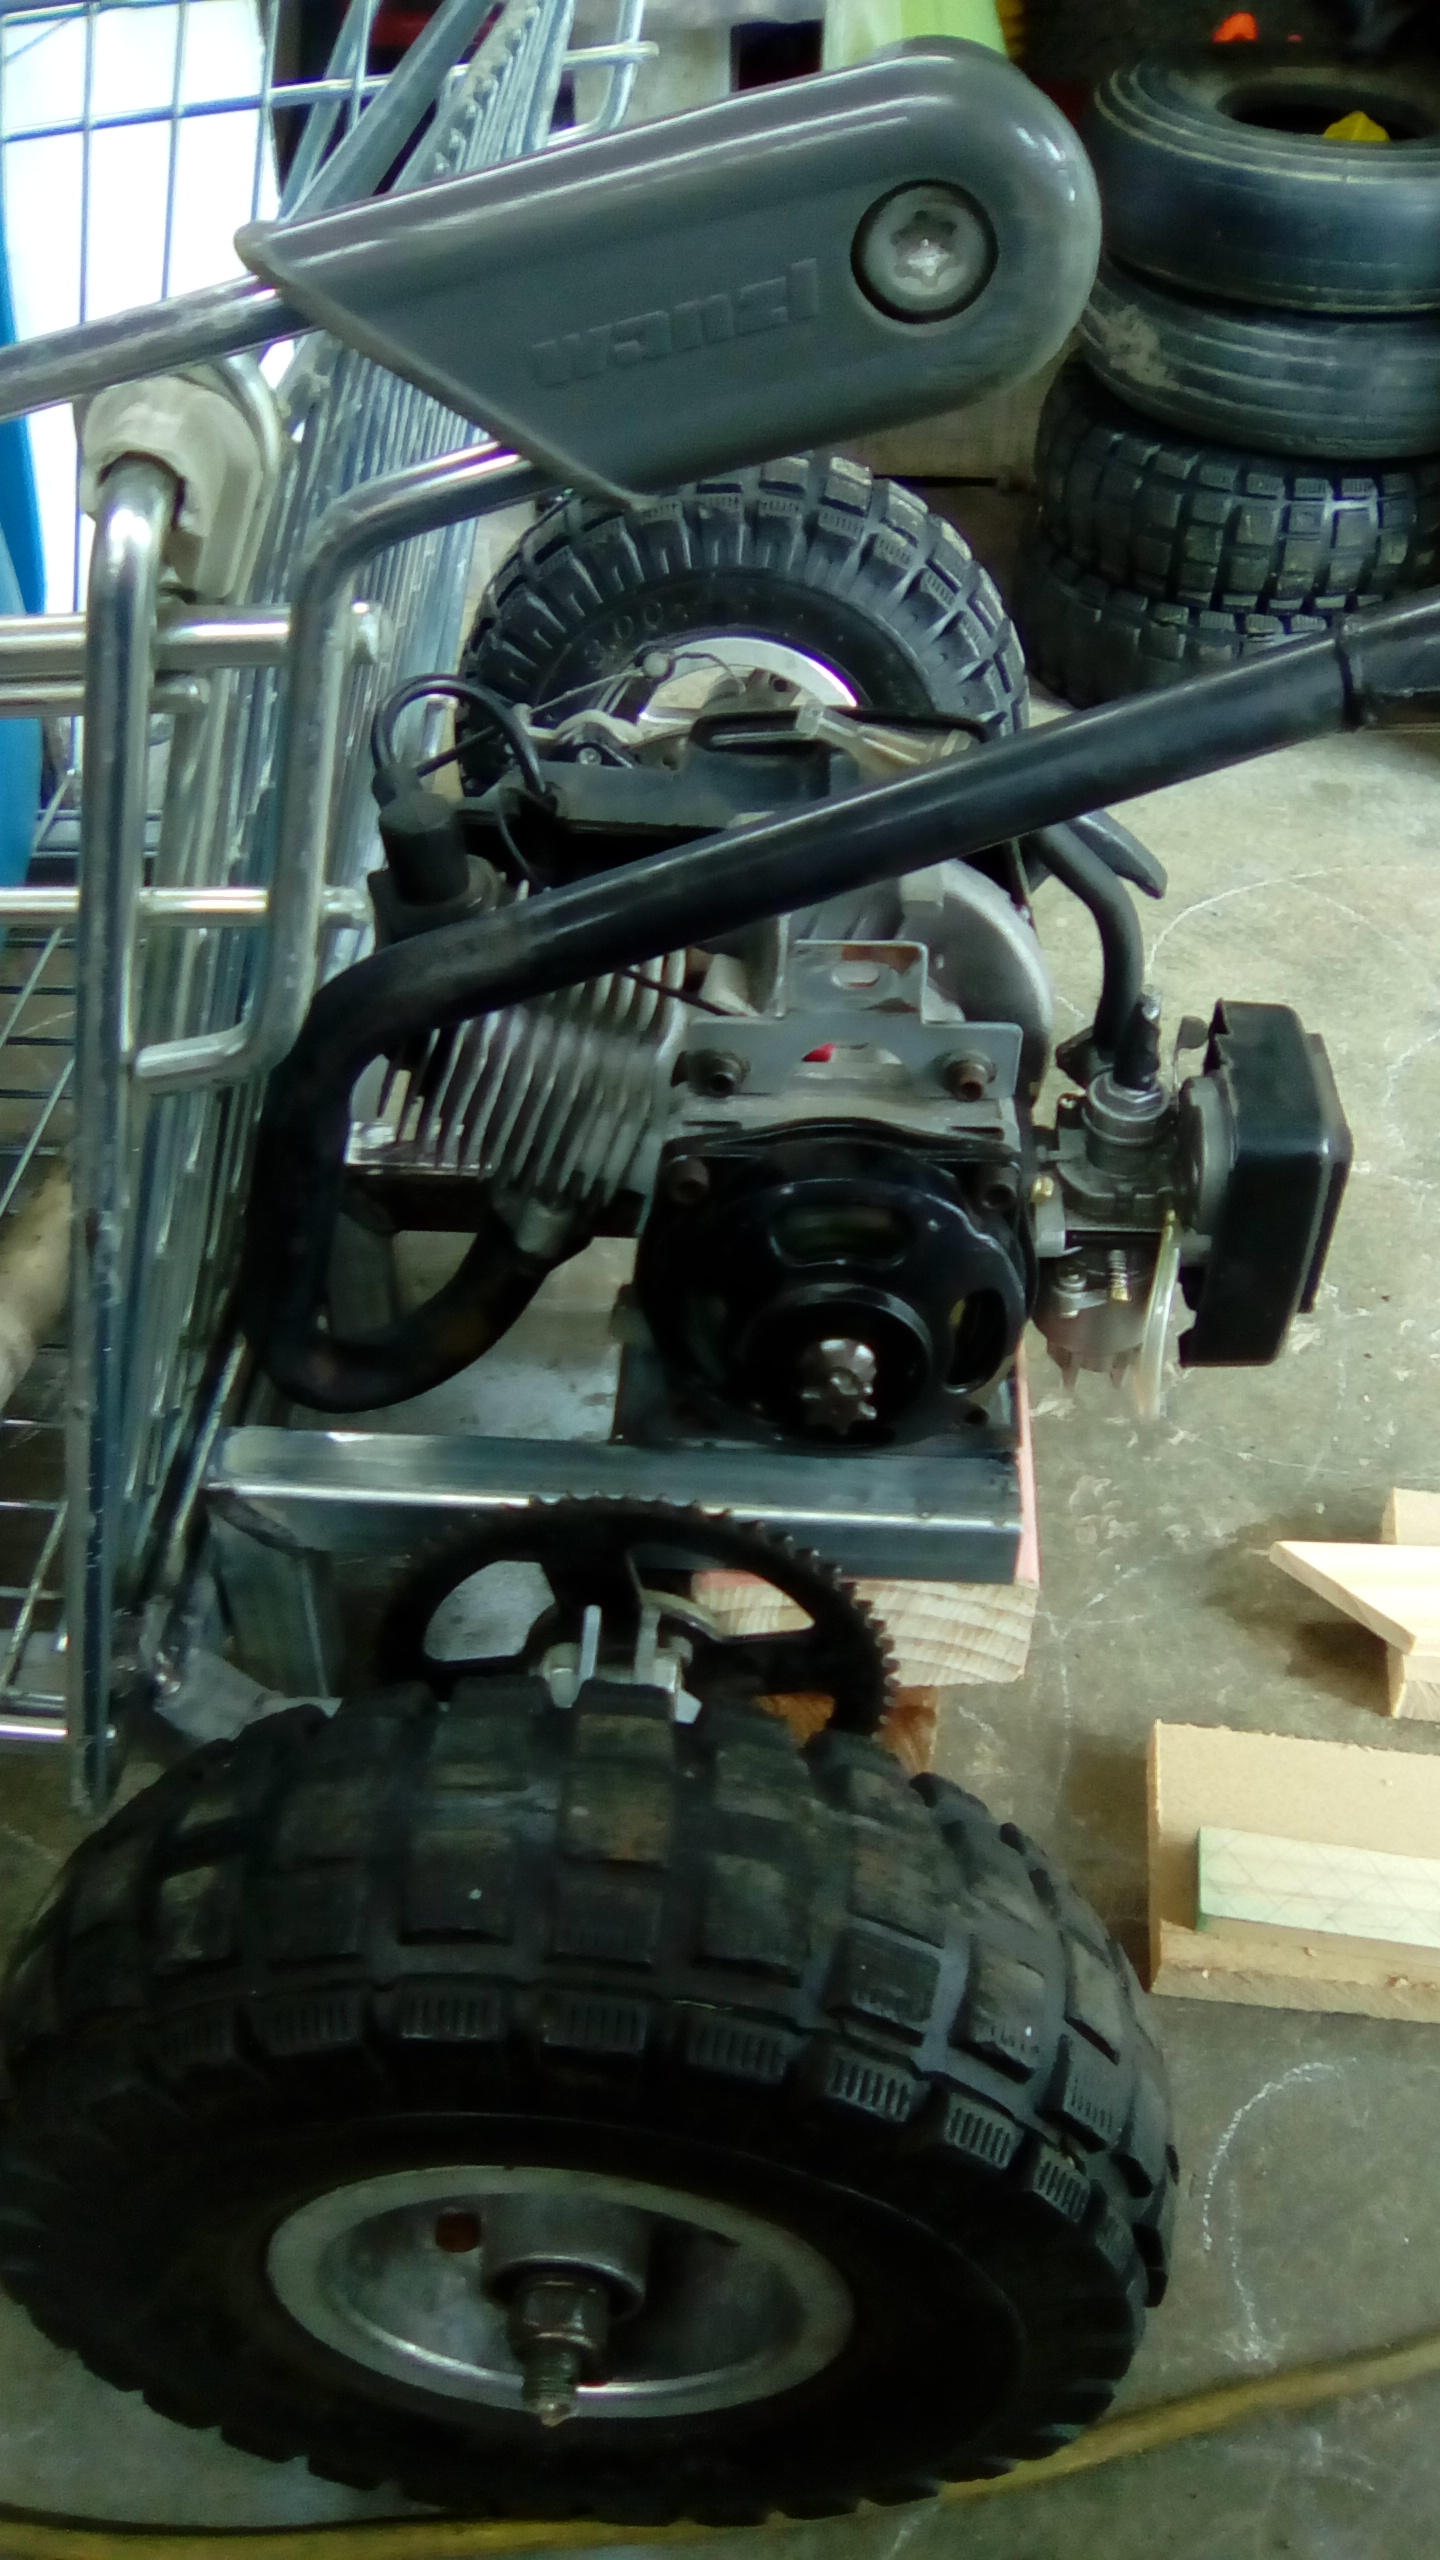
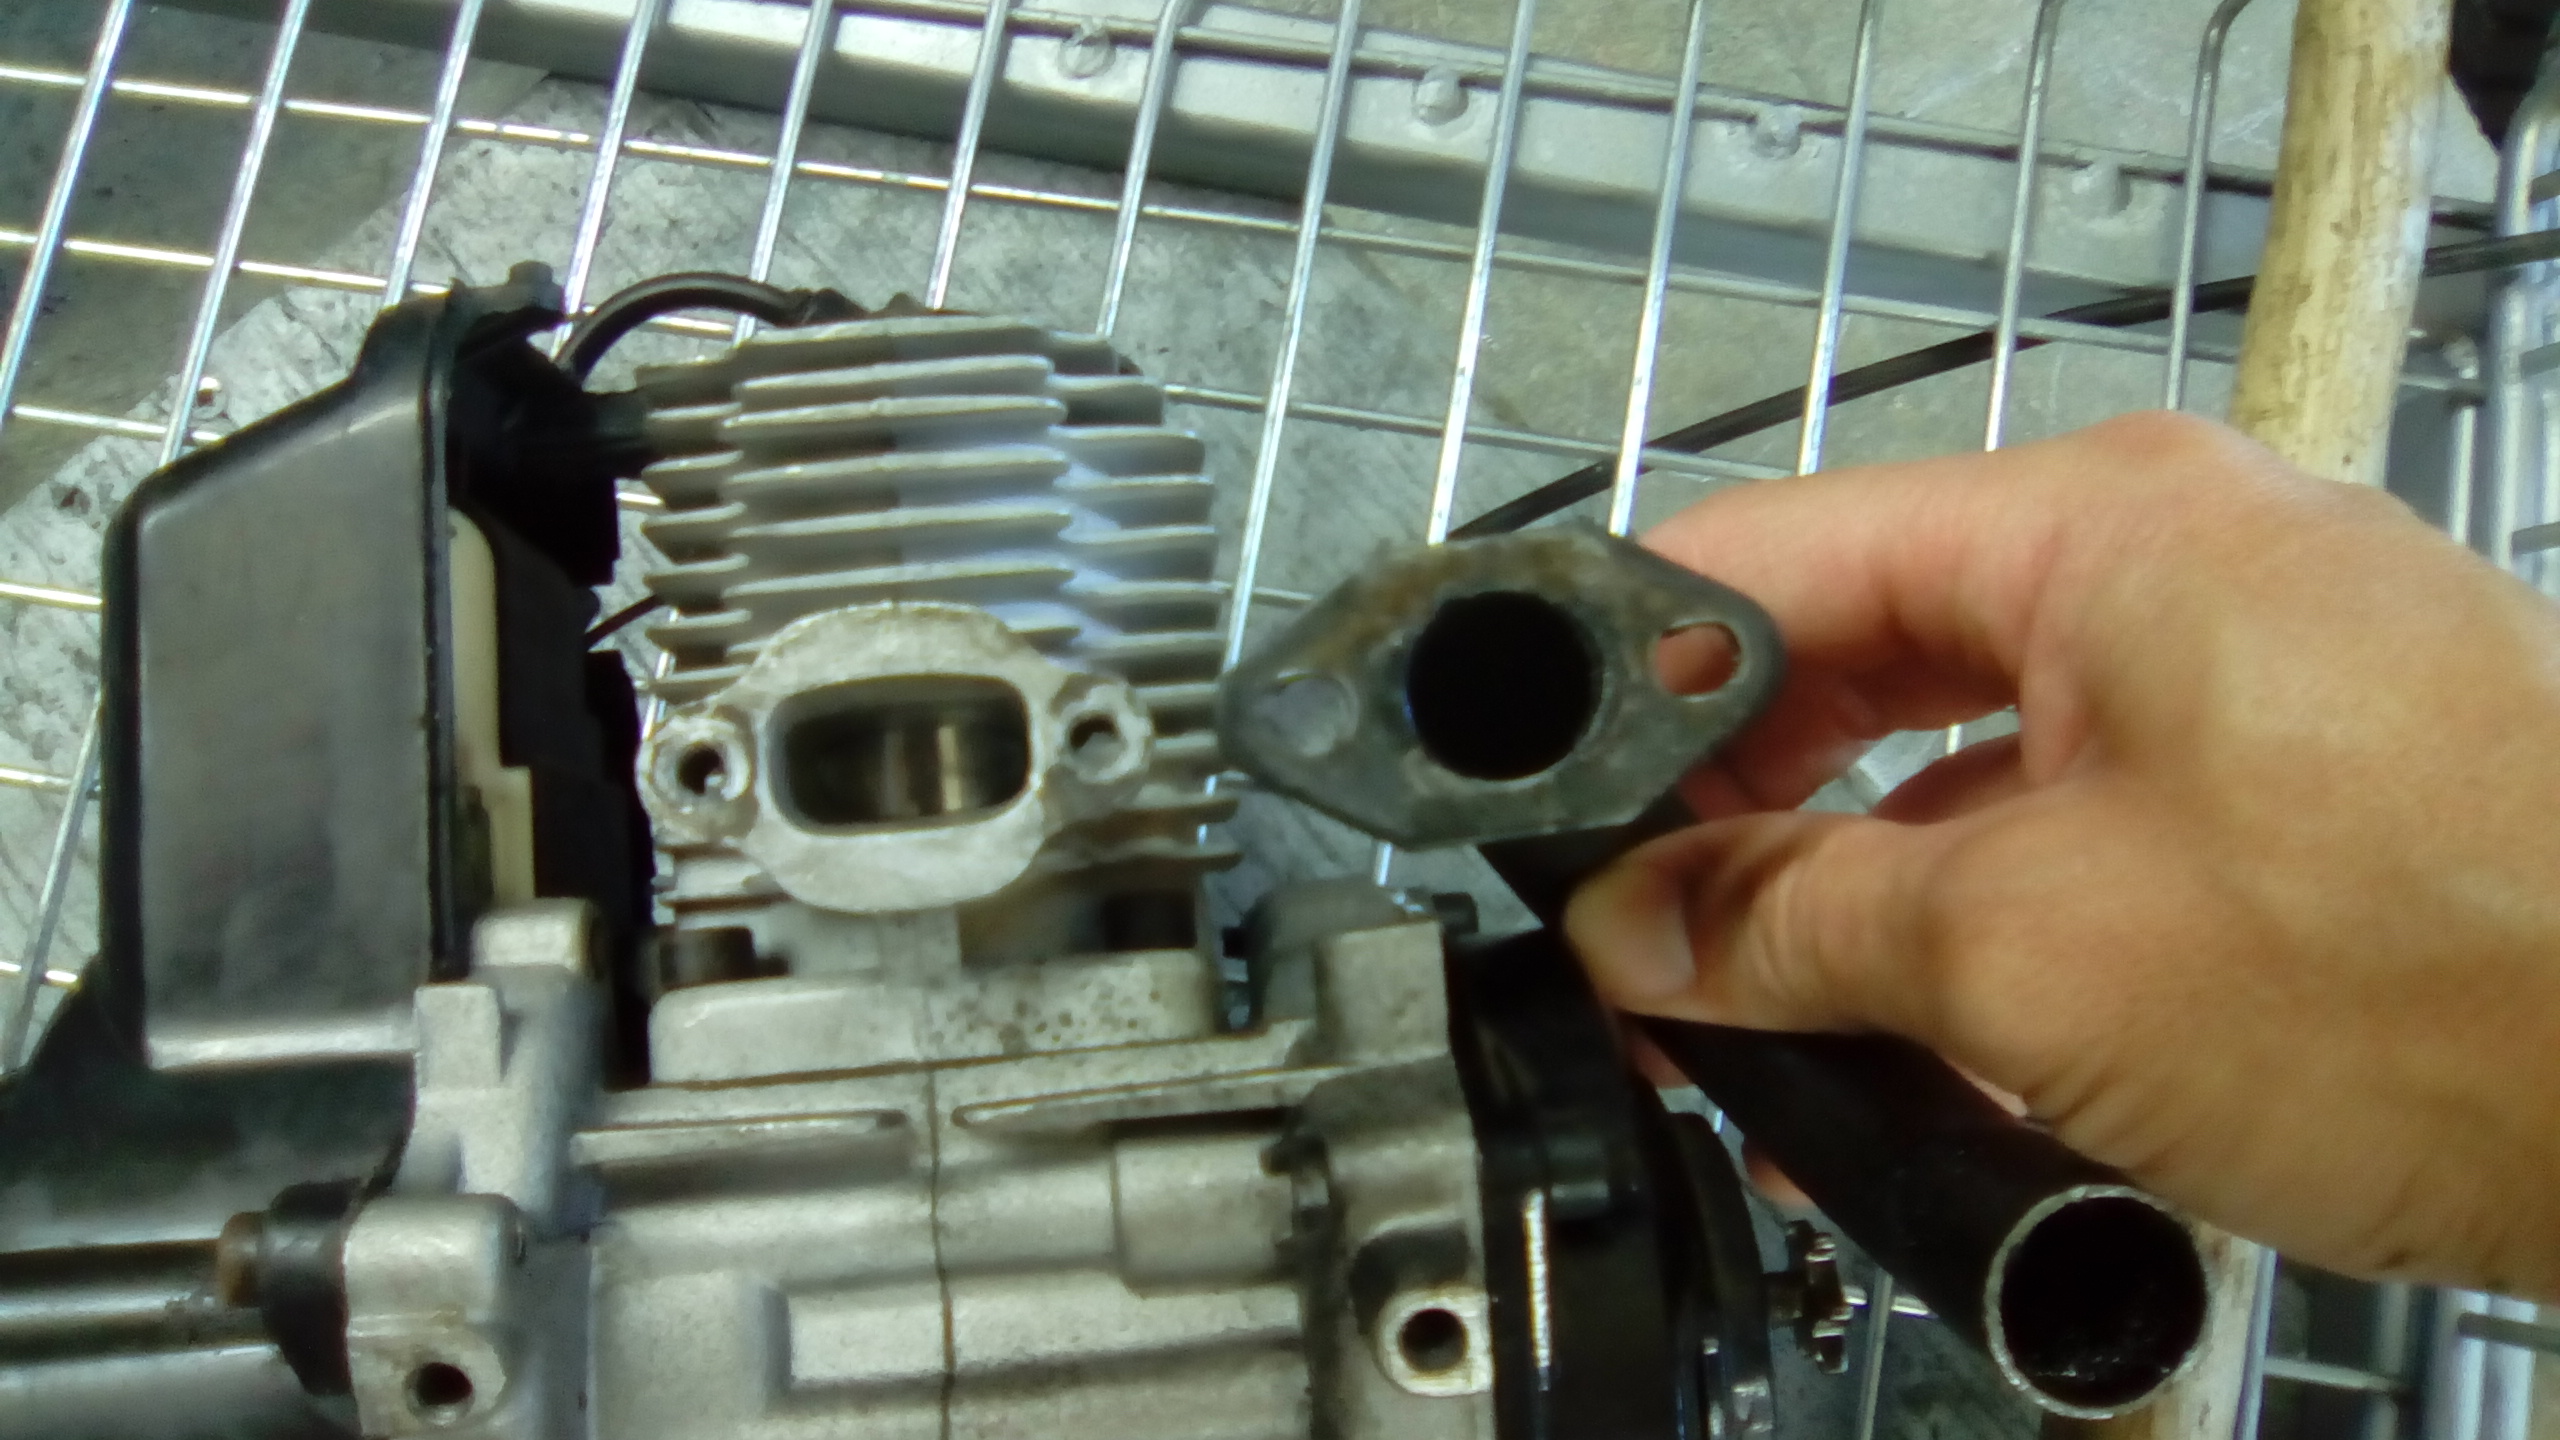
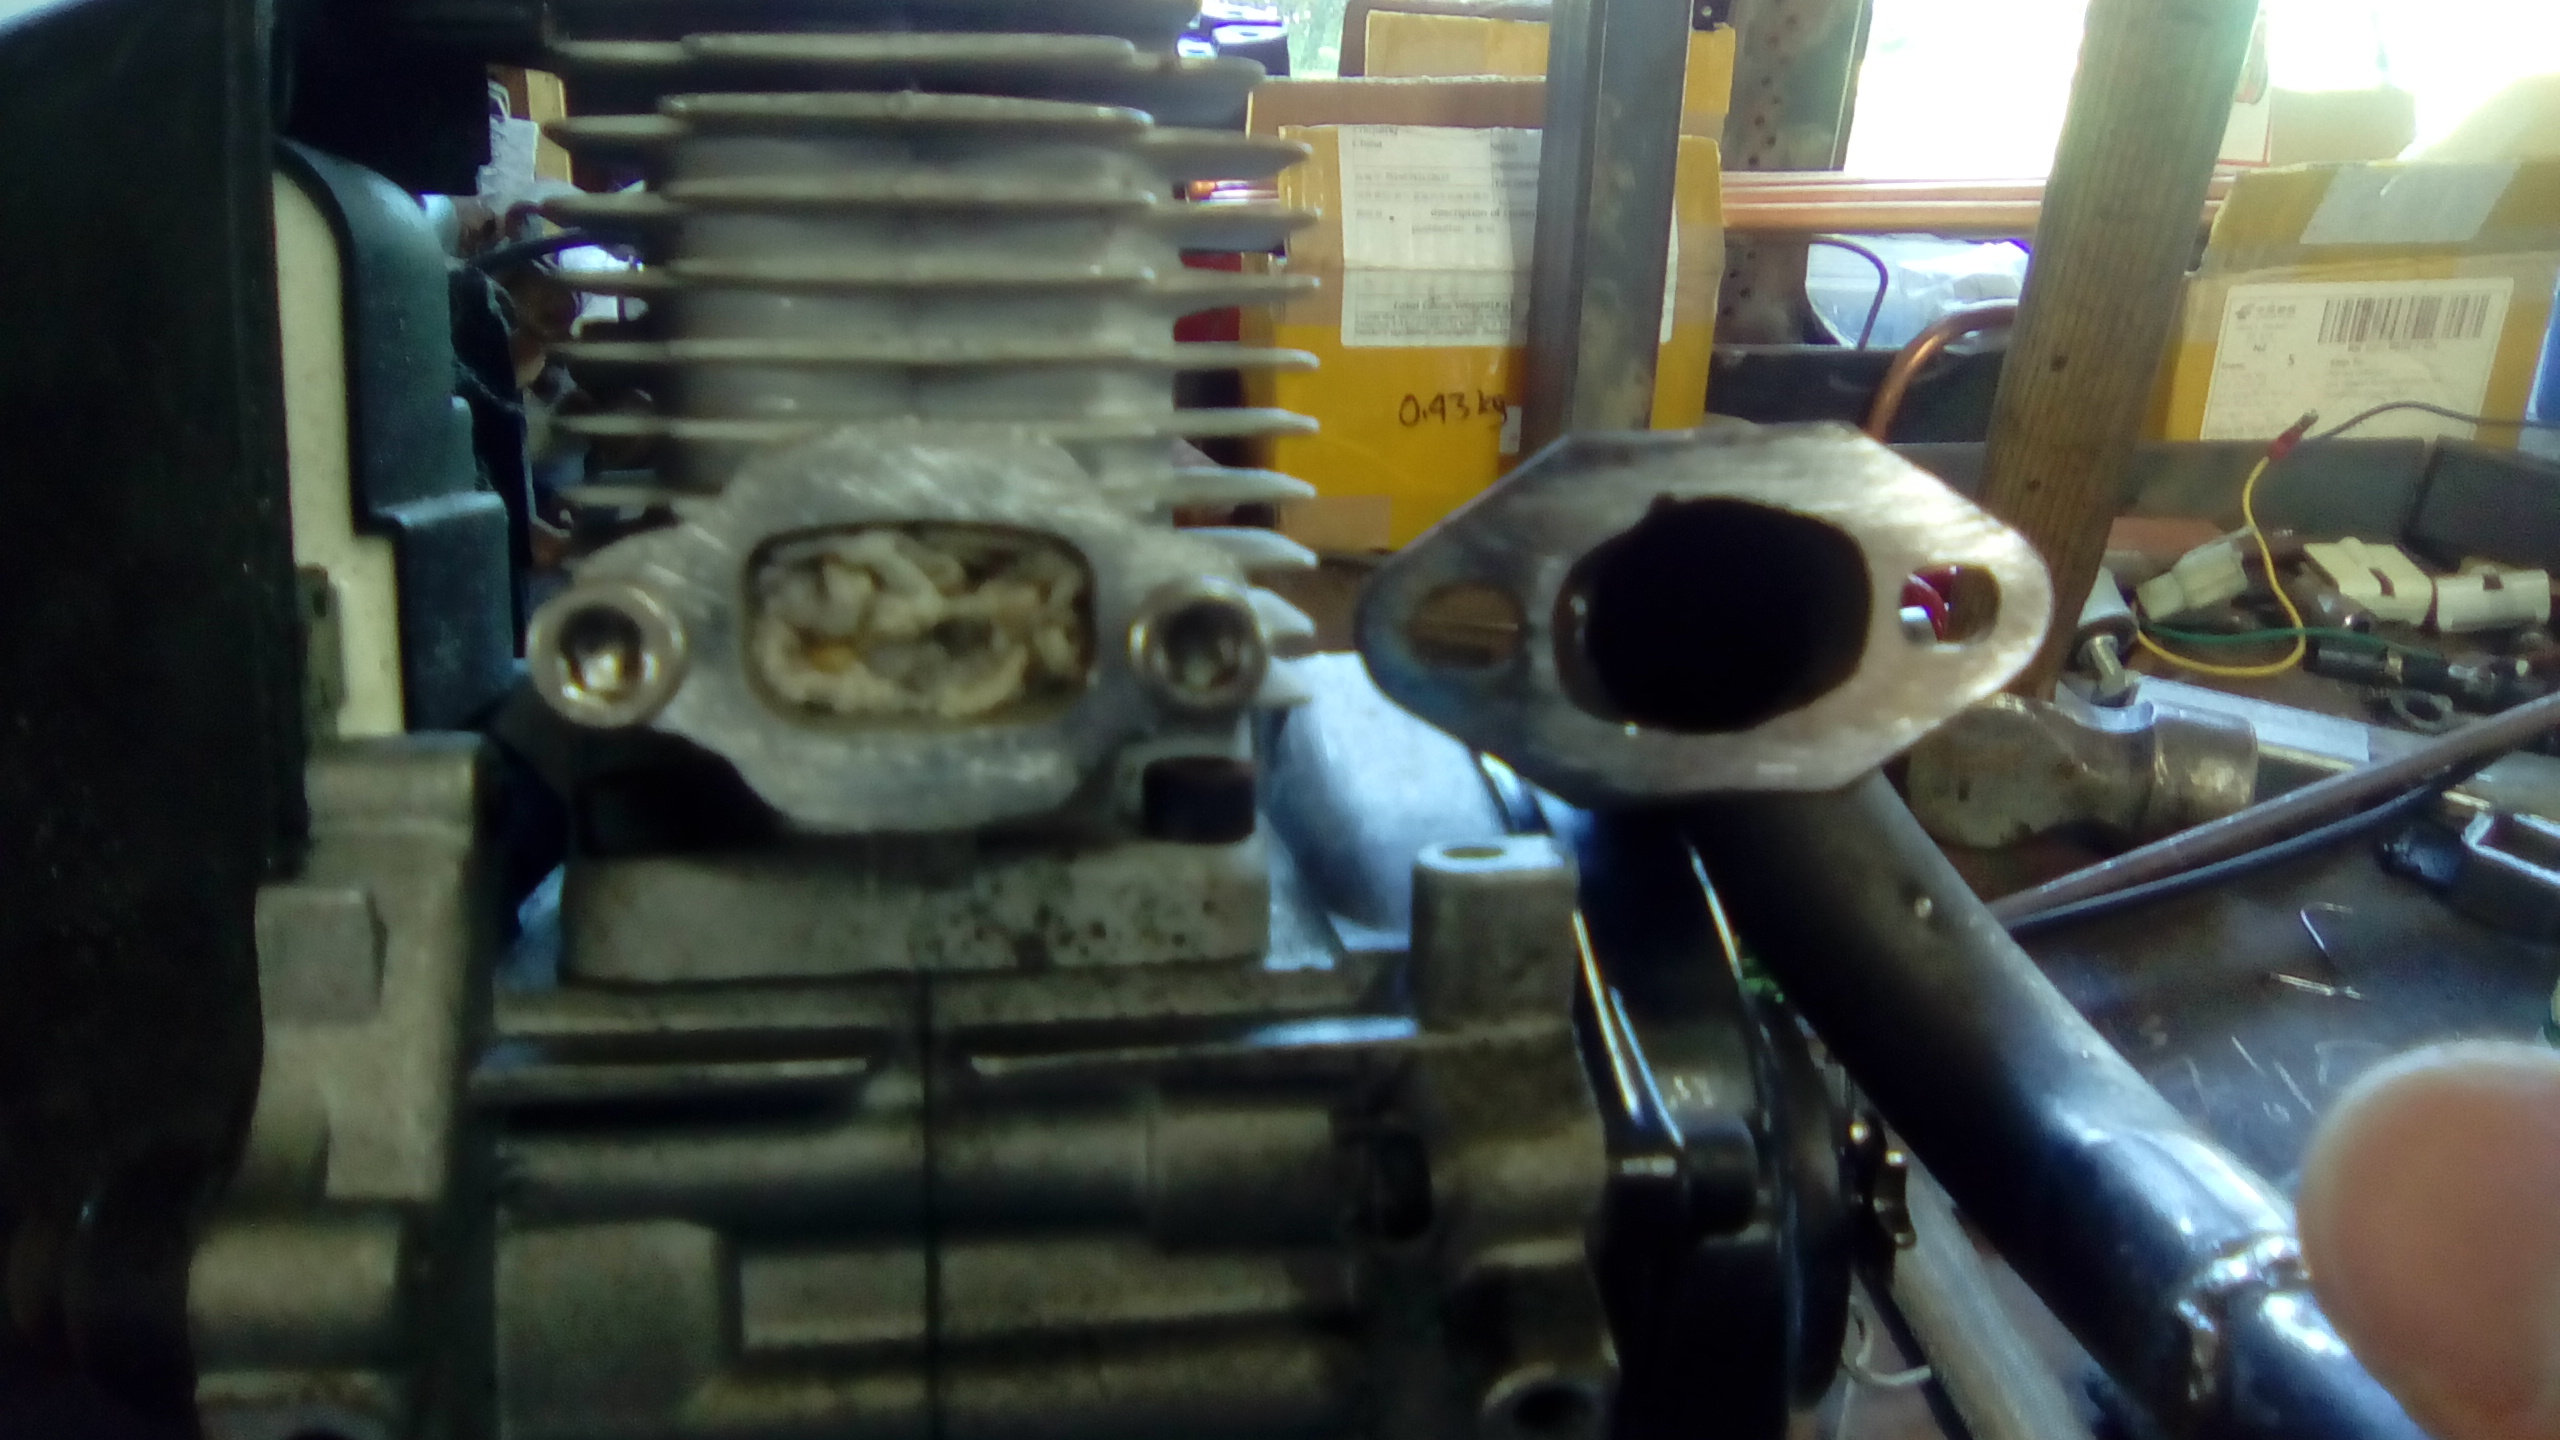
So after a lot of down hill testing while the kids were in bed I thought it was time to focus and chuck the motor on. After thinking how I'd mount the motor out back I was having trouble working out how I'd brace the mount as the axil was right in the way. I finally decided to dig out the motor to see what I was working with. Oh that's right, it's the size and weight of a jandle. More than strong enough. Next up the exhaust had a big bow in the flange where it bolts to the motor, had no gasket material so pulled it off to file it flat and found this. Bit more manual die grinding with a file. While I was at it I cut the tiny little exhaust tip off and replaced it with a piece matching the rest of the pipe. Don't know if 2 smokes like this or not but the boy racer urges were in charge at that point.
 1 point
 -
Did some work on ye olde scootee http://www.tasteslikepetrol.net/2017/03/scooty-puff-jr-small-fixes/1 point
-
Took the Rover out for a Rove today, its driving really well, with only minor hiccups every now and then. Still some ironing out to do in the tune. On the other hand, i filled up today. Spotted this in the owners manual and had a lol Clearly BLMC had some sense of humor back then.1 point
-
Been busy the last few days. Finished up the battery box. Painted it in hammerrite black but didn't take a picture, I'm sure you get the idea. Wired up the charging relay and the disconnect switch for the house batteries. I really like these blue sea products but I was a bit upset these switches don't come with a cover for the terminals so i made one out of lexan. They sit maybe 3-4mm shallow of the mounting surface... Not confidence inspiring when mounting to the body. Ran the battery cables behind the grill over to the left frame rail. Lots of cushion clips and rivnuts. Also swapped the fixed windows for pop out ones and painted the frames (the previous owner had blacked out the windows or something and got black crap everywhere). Would have been an hour job if I didn't have to paint. Used color matched spray paint. Also realized how crappy factory GM paint is, very thin and poorly adhered. More rivnuts Done I also fixed some rust on the driver's side rocker panel and a paint chip on the fender1 point
-
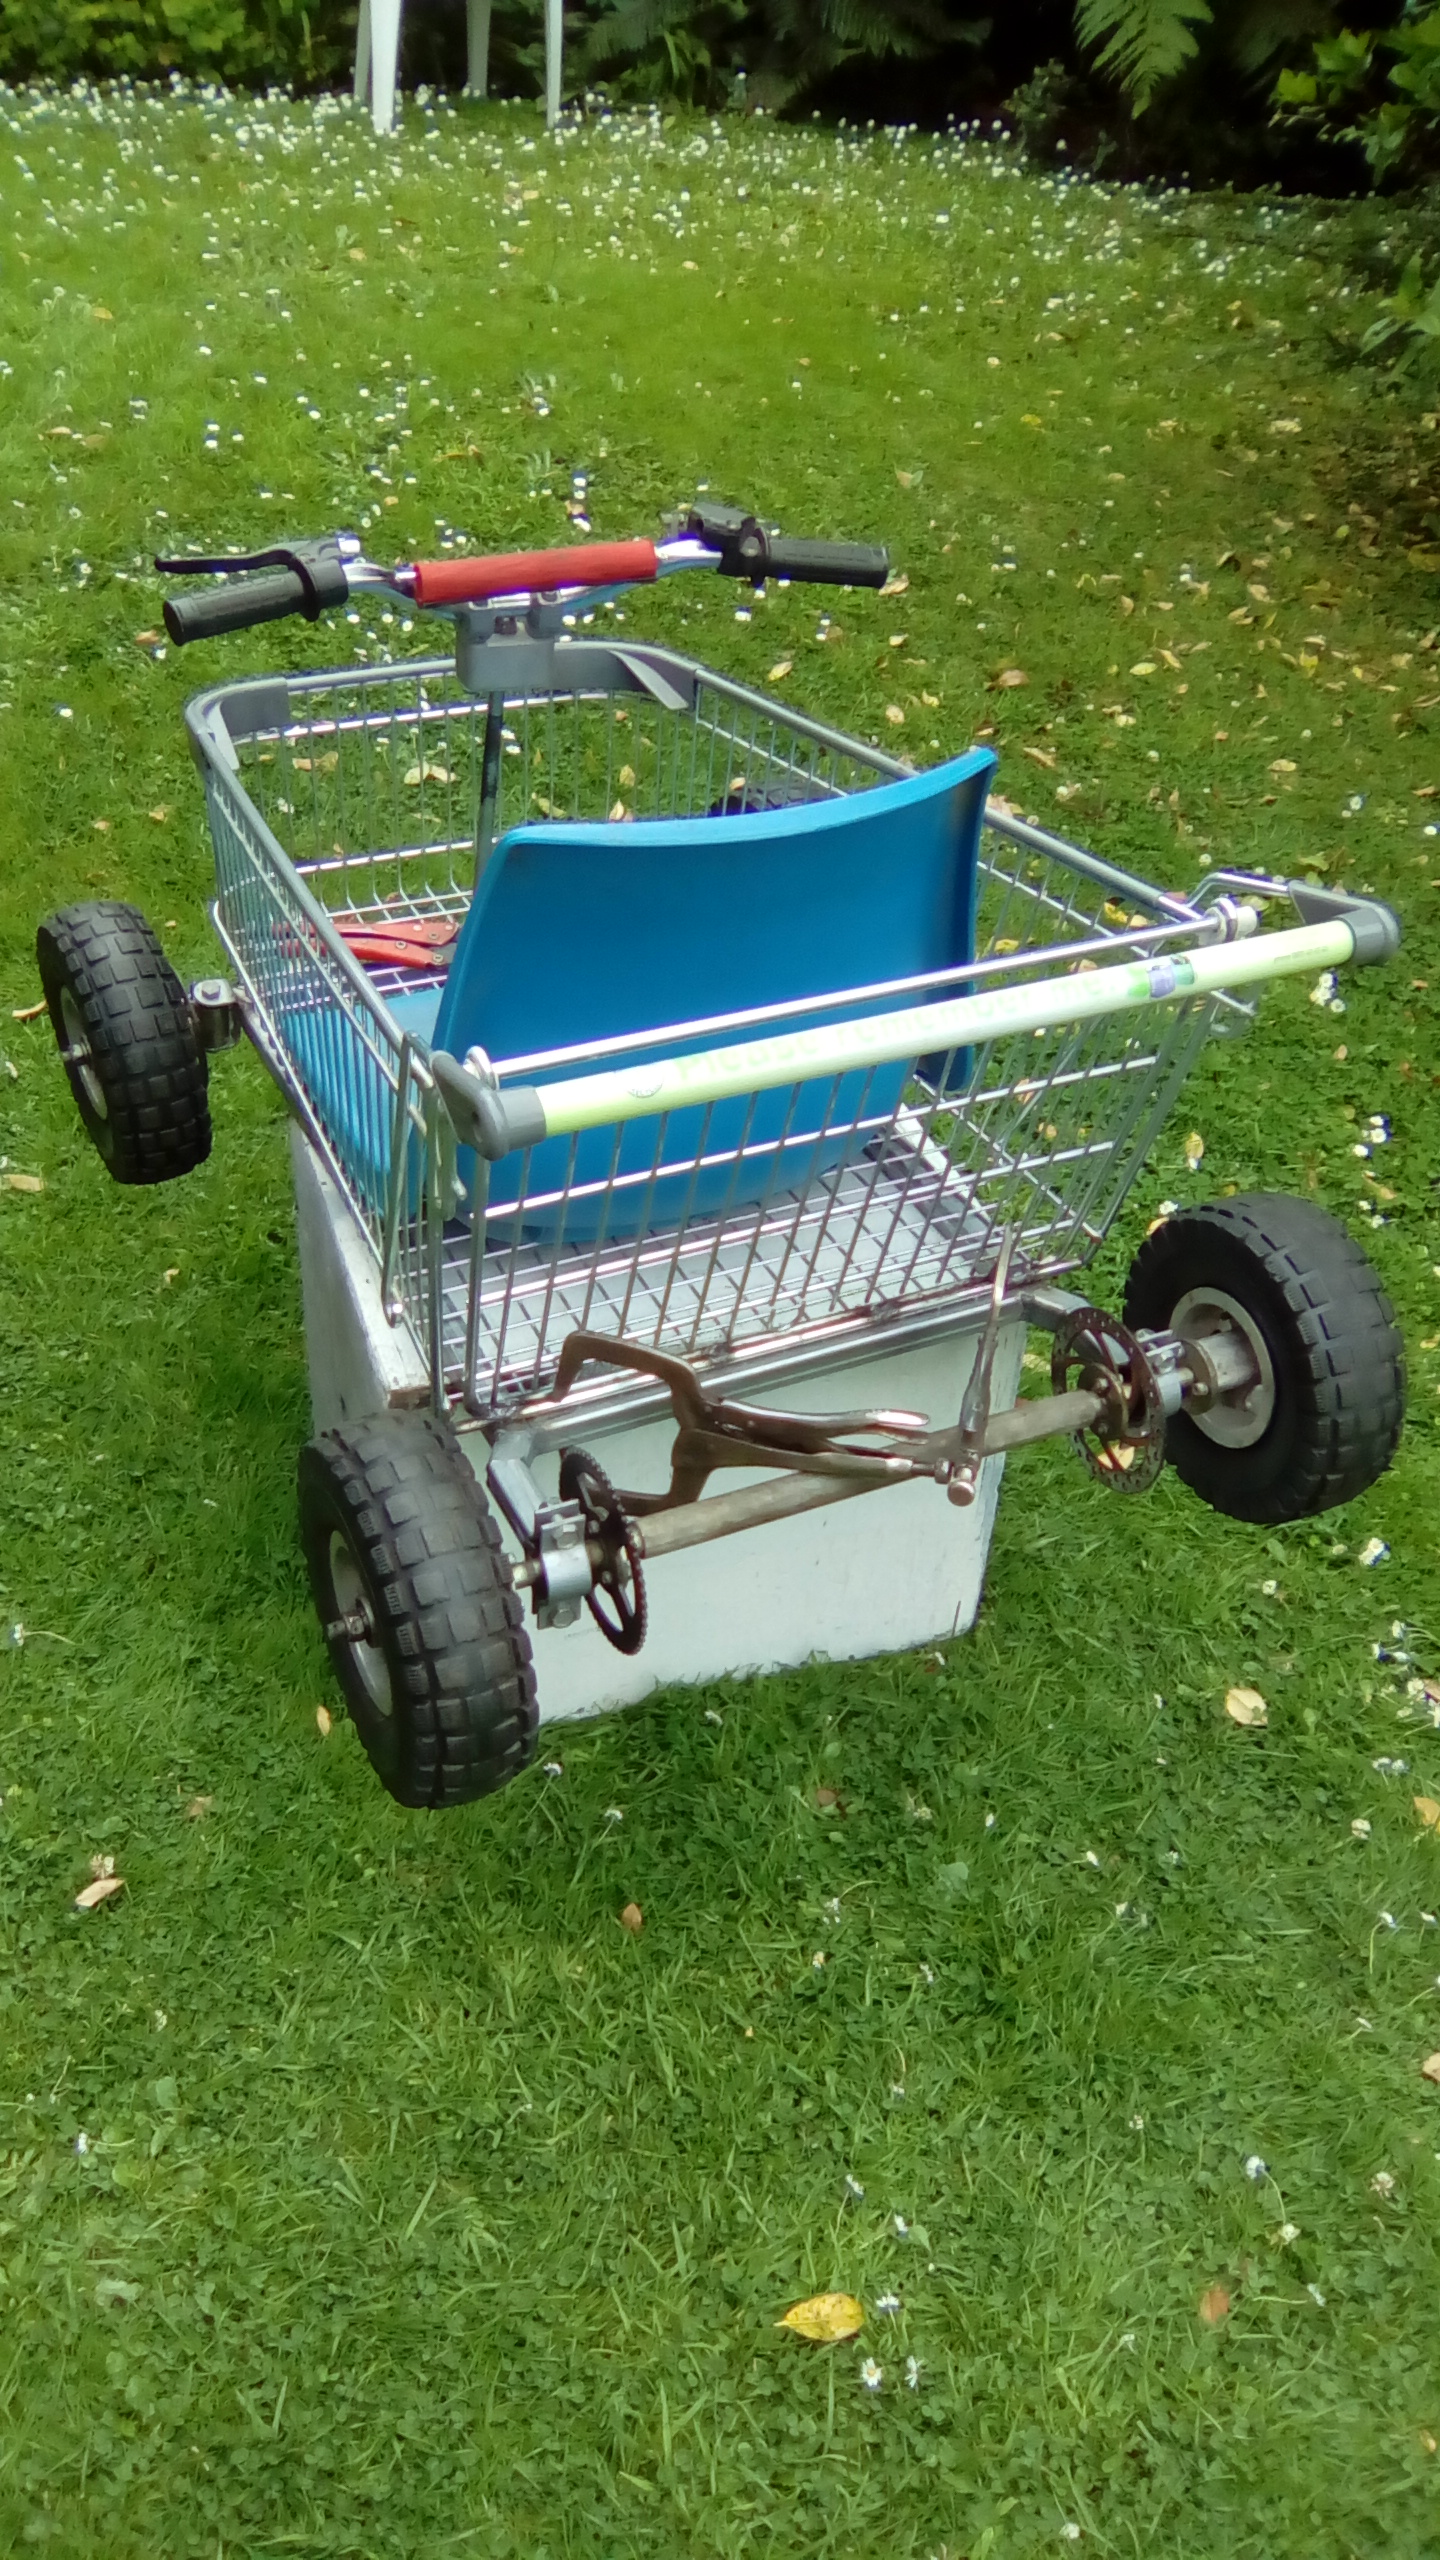
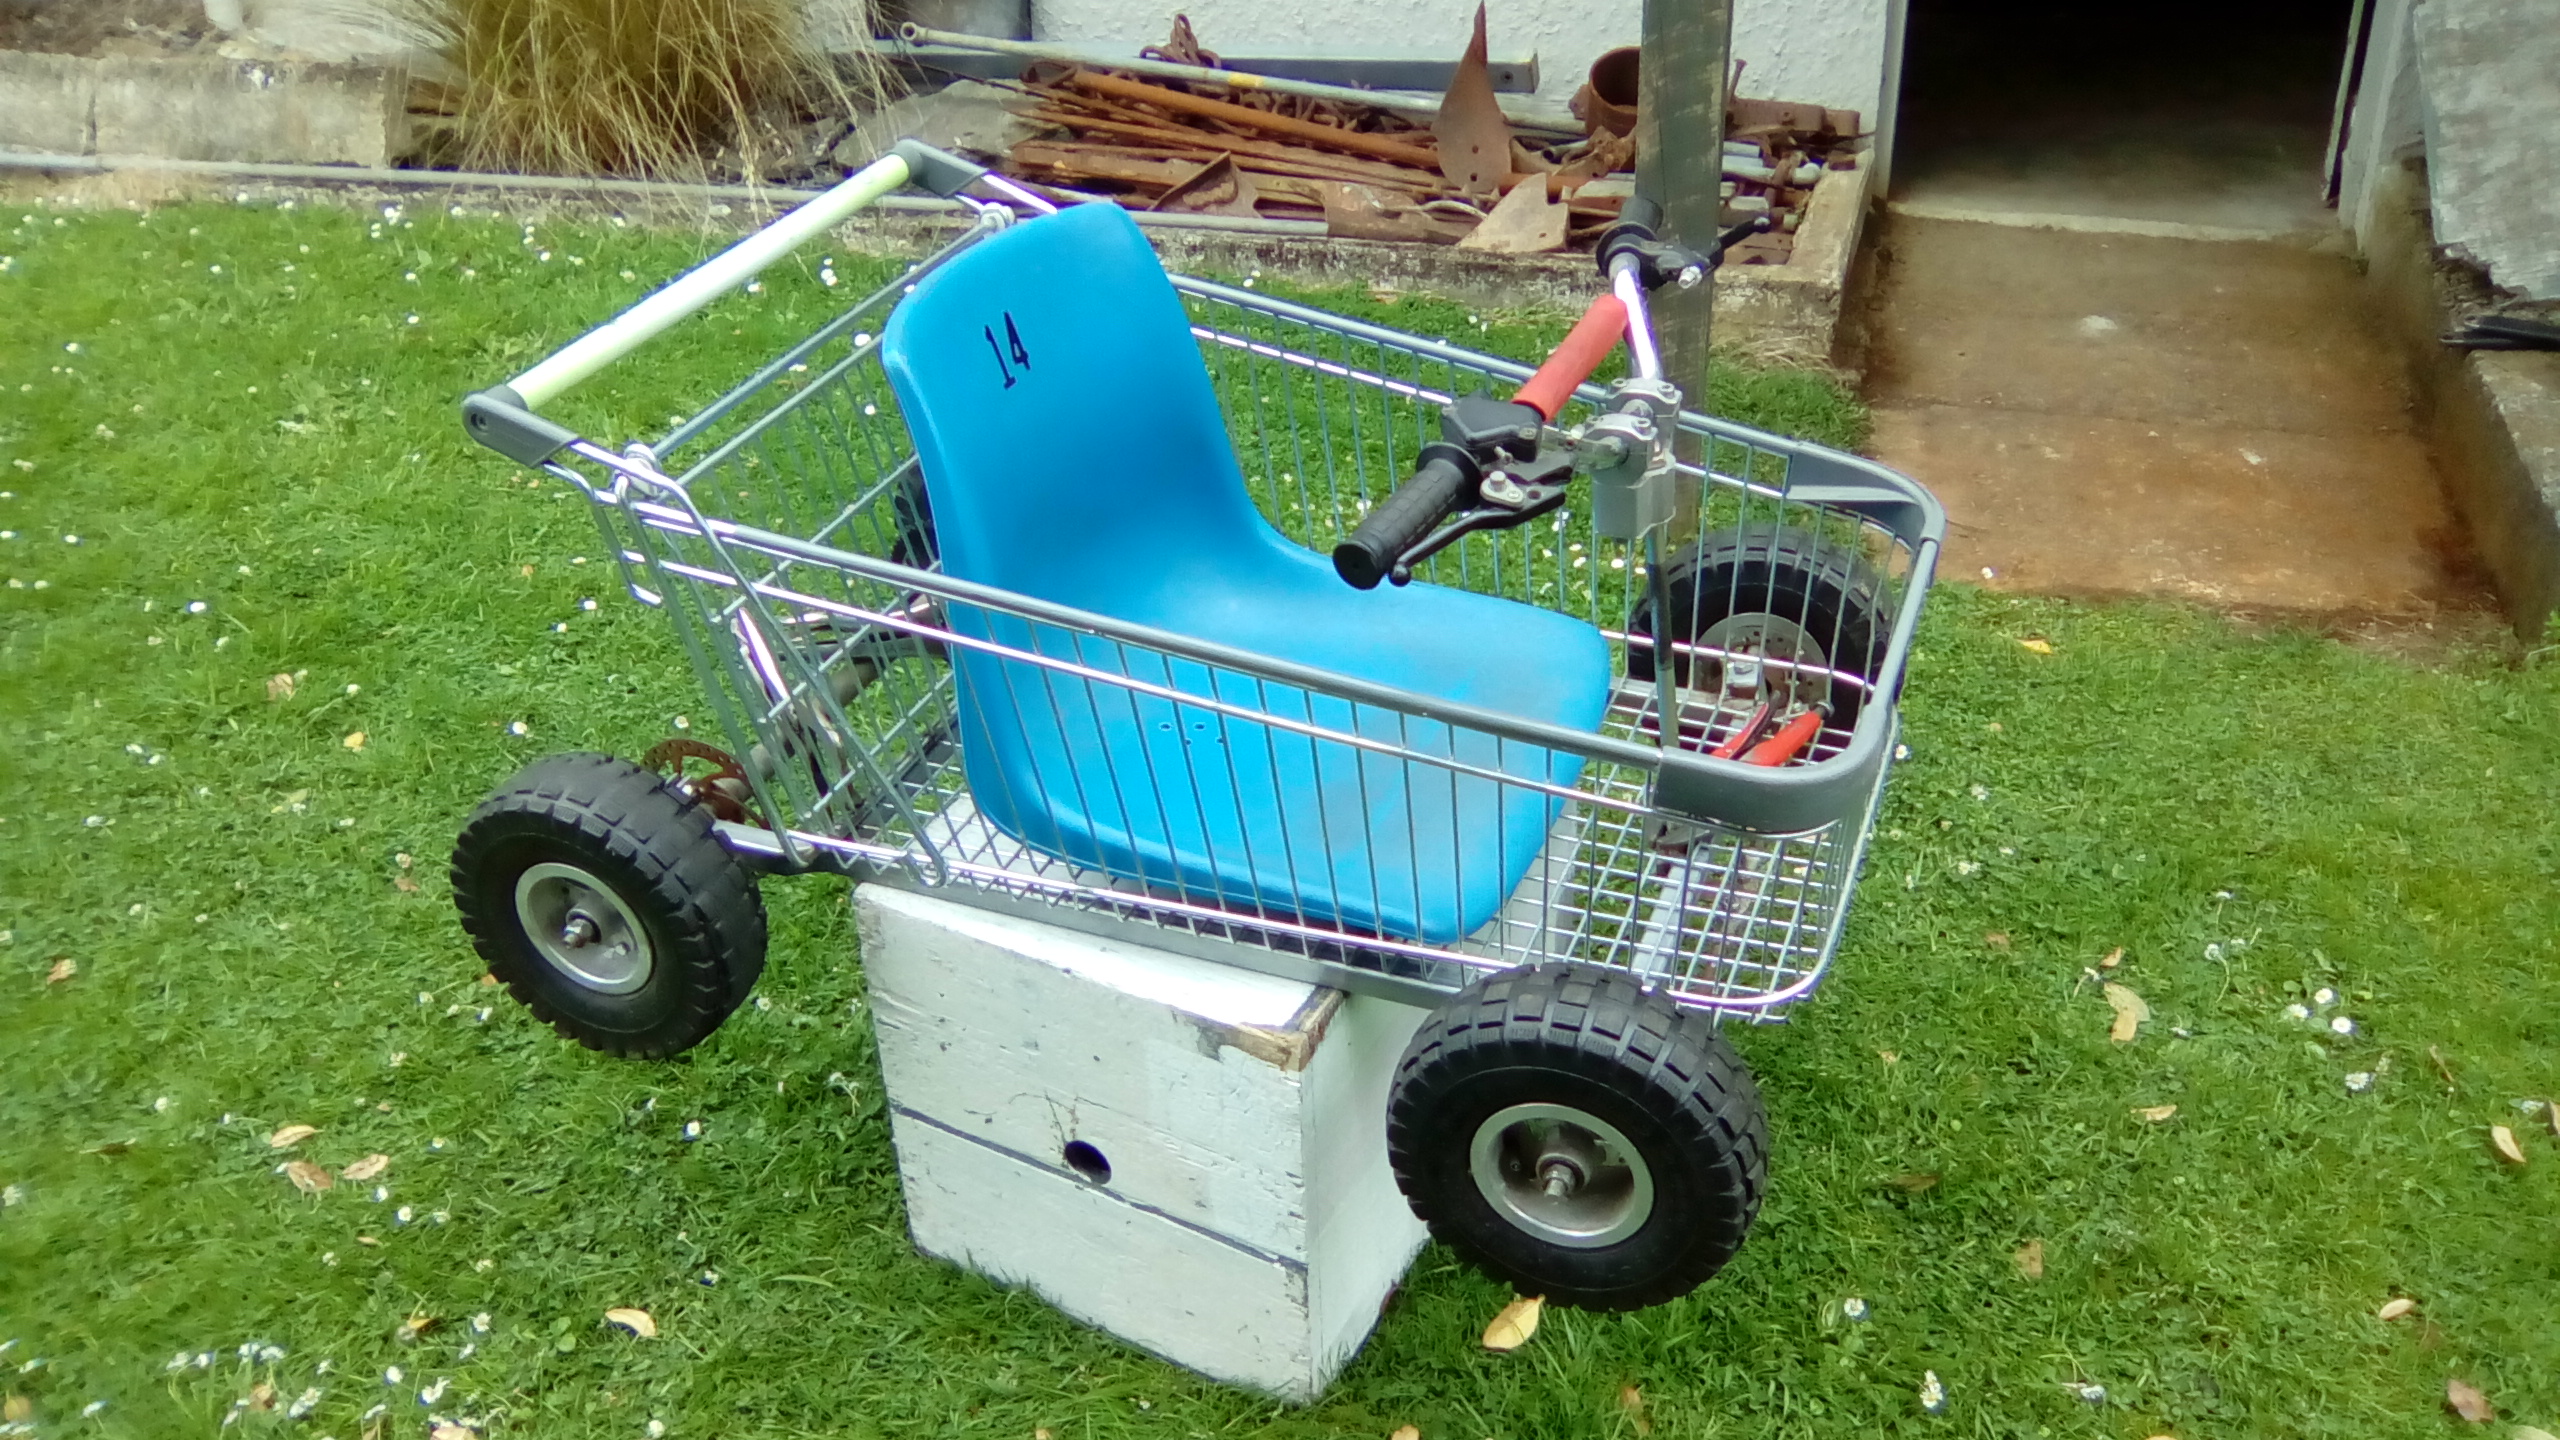
Ha I had to google what that was. Ackerman angles seem to be good enough for me. I went with aggressive castor based on other go kart builds as it lifts the inside rear wheel. My quad has none so when you turn, the rear wheels are still firmly planted and just keep pushing you straight. Anyway this is getting too technical for a shopping trolley. Needs to go, stop, do skids and blow smoke.1 point
-
I dunno mate, I think you need to check the ackerman angles1 point
-
Some clever ideas. I'd over complicate it myself and it still wouldn't work as well as yours. Watching with interest.1 point
-
Chucked the basket on to see how it sits. That's an ex Carisbrook seat so a bit of Dunedin nostalgia right there.
1 point
-
Haha. I work here www.rocketlabusa.com and will be doing bigger better stuff in the US. Bigger better space stuff.1 point
-
I'm sure I can get one of my cars going by then...1 point
-
much better. thanks to i500gt for finding them and cul8r for swapping the tyres over.
1 point
-
I've never loved the factory rear drum brakes; I could never adjust them properly so the handbrake would work, but not drag. So I decided to do something about and do it for basically nothing. I was given some EL Falcon single-piston callipers, rotors and backing plates years ago. The backing plates were drilled out to the 240z bolt pattern, but I still had the rotors to drill. I didn't want to drive all around the place looking for a friendly engineer so I cad'd up a template with the Ford and Datsun stud pattern, taped it to the rotor, centre punched and drilled. Came out radical. Started bolting everything up. The EL Falcon backing plate & rotor work perfectly with the backspacing from the 240z hub face, so the calliper simply bolts to the Falcon backing plate as normal. Then I pinched some longer flexible brake lines from Pick-a-part and made a bracket for the line. Neat! The handbrake bracket required some fiddle to bring it closer to the drum lever. Piece of piss.1 point
-
No photos just quick update. Was doing some little maintenance things on the car. One of which involved fixing 4 leaks in the intake system. Once that was done, the car wouldn't run or idle or anything anymore. Went through so many different things trying to fix (injectors, CAS, replacing AFM, fuel pressure/fuel pump) turns out the guy I bought the motor off gave me the wrong AFM. (I bought one with the same part number) $40 later I had the right one and it runs primo. Replaced rear springs with 5kg rears. Looks like I had 8's in it which is why it was so hard riding. and big news; Cert booked for next week. nearly 7 years and it's almost legal.1 point
-
I've used a Pertronix kit in the Mercury, and the Lincoln before that. It replaces the points, and has a plastic do-dad that pushes down over the cam lobes. Has been working fine for over 10 years. Looks like they do something similar for the Flathead. http://www.pertronix.com/prod/new/details.aspx?ID=1481 point
-
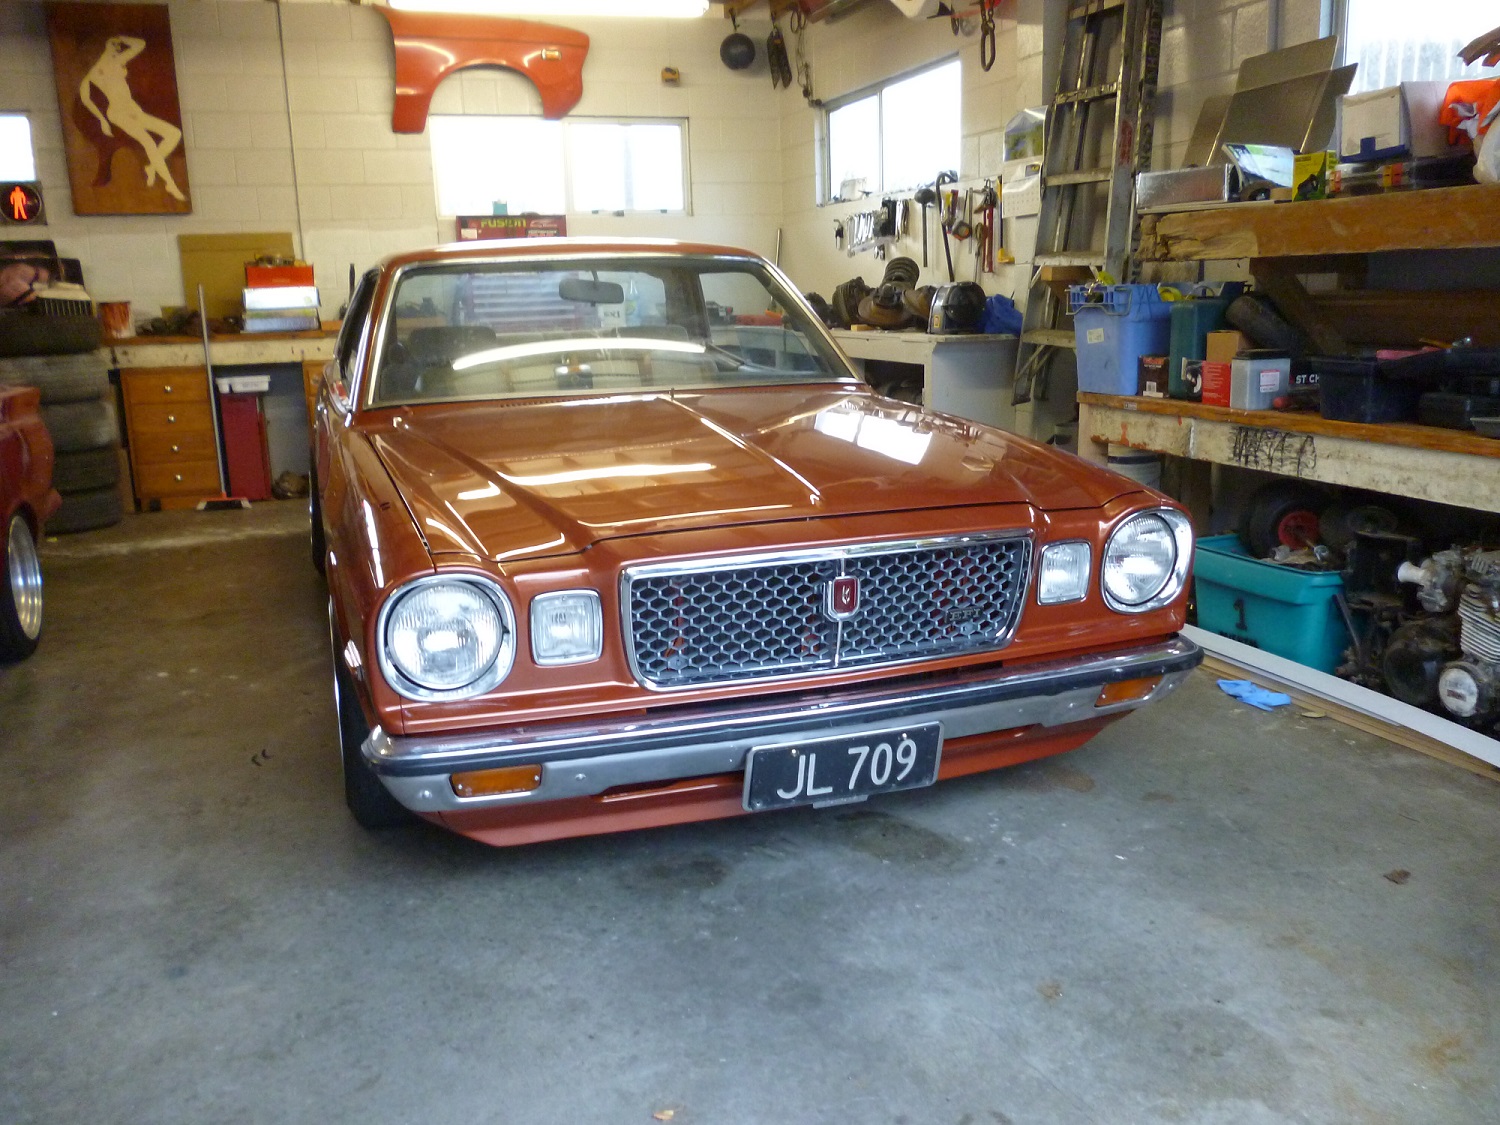
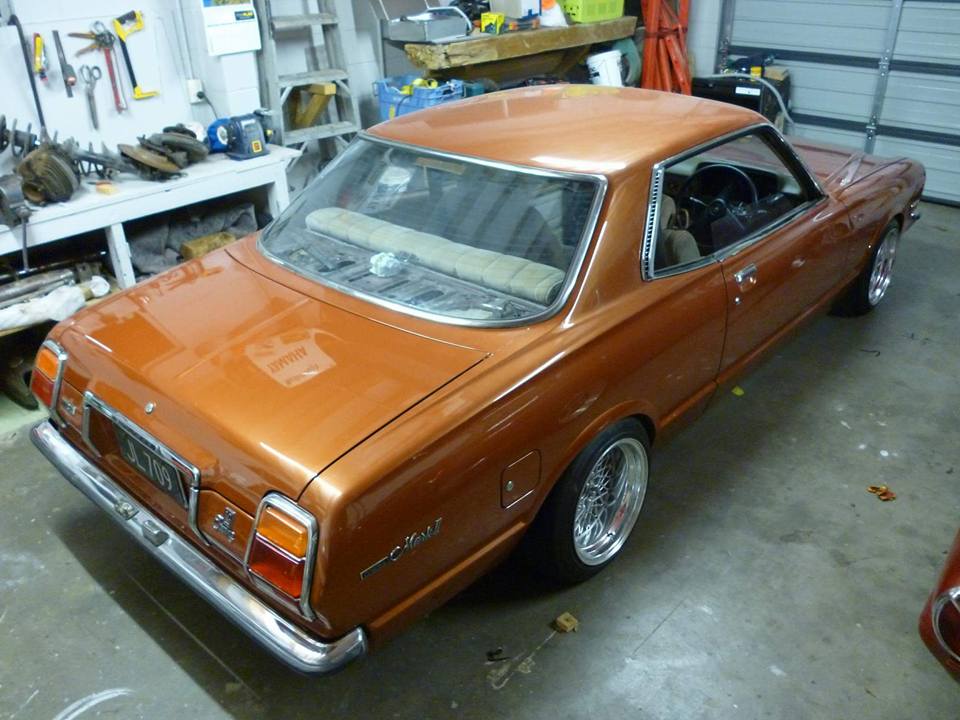
Been sharing these around a bit. Looking forward to a drive in the sun and a spin of the back wheels.
1 point
-
Heater works sweet now. We have been using this relentlessly for weekends and day trips, fuck it is sweet. It is warm, comfortable and spacious for the four of us. I did build a new dismantlable bed at the front, the fold down side one was a pain, and now we use that area for clothes/thermette storage. This works a lot better on all counts. I added some LED lighting strip. This is under the gutter and is completely invisible until you turn it on, then it is like the sun has come up, that is if the sun was a spectral type O and a long thin shape. I got a flat, so I decided to smash some matty B on there while the wheels were off, looks sweet I reckon. COF due this week, hopefully nothing major has gone wrong. The dude at the testing station said he was looking forward to seeing the finished build, so hopefully he is the one who checks it as we already have a special relationship. I got this off a dude for a ridiculously small amount of money, it is an Eberspacher D1LC diesel heater. The current version of these sells for around 2k as a kit, and I am way too tight to spend that sort of money, trust me it was cheap. It has no glow plug so that is coming from the UK, when i am satisfied it will run I will install the beast.1 point
-
This wagon was super amazing.1 point
-
Almost finished! Bores have cleaned up without any defects. Ports look a fraction off on some of the bores though so hopefully I can cut some valve seats that work! Not going to lie, its quite exciting!1 point
-
Sigh* again, not as much as I wanted.. because Old mate from down the road brought his 1964 international round and did a bit of leveling.. in the rain for a bottle of bubbles for his missus. Not a bad job really, little high in some spots and a little low in others but I'm not complaining.. bit of rake work and she'll be all gravy. He bought it from vegas and drove it back to chch, took 5 1/2 hours..1 point
-
Teretonga stalwart Colin Dawson sadly died this weekend of a heart attack. He was the owner of Riverside Rentals and the pilot of a ridiculous fast V8 powered Gen. I Rx7 that I admired for many years. More recently the motor from the 7 was put into his Gen. I Chevrolet Camaro RIP Colin. You provided me personally many hours of entertainment as well as countless others, I'm sure.1 point
-
I attended the British Car Day with my SD1 http://www.tasteslikepetrol.net/2017/02/rover-sd1-british-car-day-2017/1 point
-
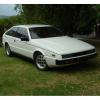
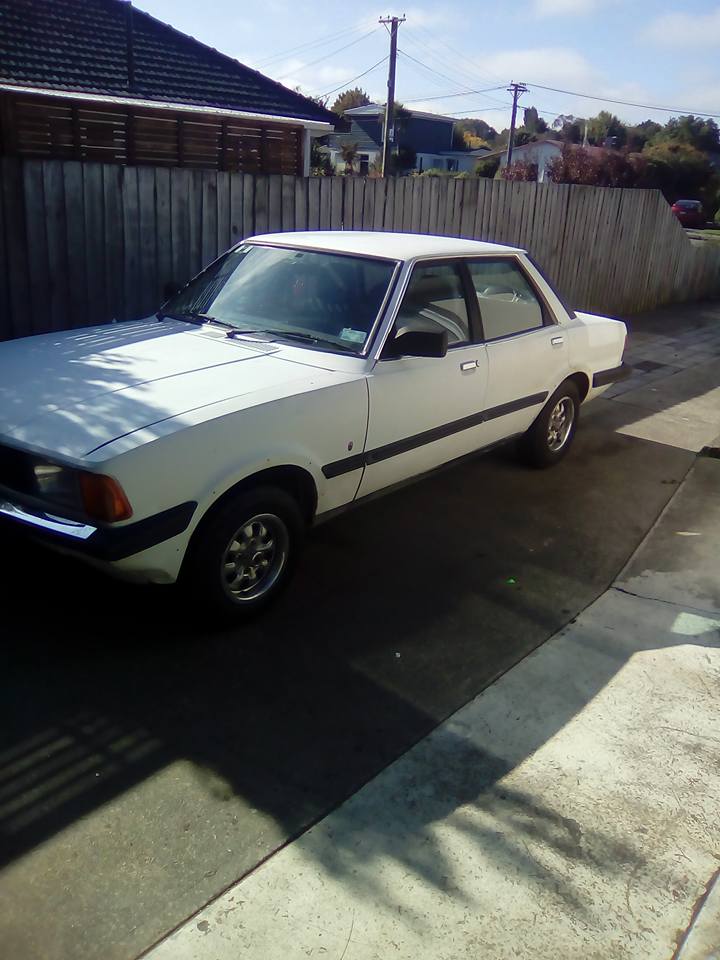
Picked up the new car and threw some of my bits in. Just need to find time to pull all the running gear out, hopefully this week sometime. Also dropped my FCRs off to get a manifold made up, which shouldnt take too long.1 point
-
Got a spare key? Could be immobilized..1 point
-
Well that worked out well! I've just been for the first ever hoon in this car with NO driveline vibration. 240z's are renowned for vibrations as the diff is set too far forward in the car so the axles have to bend in two axes; up-down and front-back. Datsun fixed this in the 260z by moving the diff farther back. So no amount of replacing UJs or making new diff mounts ever seemed to help. Until now! And I hate replacing UJs anyhow so it's great to get rid of them, and get a much stronger axle. There's a couple of little niggles; one of the old Commie CV's is leaking and a steel band popped off another. Also hard on the gas in tight left-handers I think something is interfering with the axle.1 point
-
Tickled? Shit you'd be locked up if you Tickled your Mrs like that.1200 is pretty rough as a pay out. I am hoping mine gets repaired. I went into a couple of panel beaters this morning and eventual got someone friendly and helpful. Someone from alpine happened to be in on his day off and was really friendly. I'll pick up the estimate next week and go from there1 point
-
So not much after my previous post I sorted my hoses out. I've got all the power steering lines, the clutch line and all the brake lines hooked up. Got the heater hoses hooked up. (Had to find a 19mm tail to 16mm tail adaptor that took up no extra room.) Then I broke up with my daughters mother, moved into a new house (again), lost all motivation to work on the car, or anything for that matter. Then I bought a spare parts car, still had no motivation to do anything so I haven't stripped it, or really looked at it for that matter. And now five months later, I did something I put the radiator in about two weeks ago. Had to slot a hole in each of the castor rod brackets and get new rubber mounts for the bottom and made aluminium brackets up for the top. A few days later I installed my Truhart castor arms I had just received (and took the shitty chinese ones out). While doing this I adjusted the left front camber adjustment on the bottom of the coilover )it's got a slotted hub carrier bolt hole) so that the tyre no longer rubs on the spring, and then checked on clearances for my steering. Apparently my right front tyre hits on the sway bar at full left lock. So I'll need to put some adjustable bolts on the LCA to limit the steering movement. Also rolled the rear lips up so my back tyres no longer rub. And cleaned some more carpet. I've gained a little motivation so might slowly be doing more little stuff until I can afford to get the other bigger stuff I need. (rear shocks, battery relocation, engine wired up, driveshaft made) And some photos for good measure. So the few things I need to sort out. How the f*** do I do a battery relocation, and what do I connect it to in the engine bay? Who's going to wire the motor up for me for SFA? And who's going to shout me the KYB AGX 743020 shocks from 'muricaa for me?1 point
-
Just a quick photo from when I had to move house: This is sitting on the front suspension above. Adjustable spring perches in the rear and ROH 15x7 +6 wheels I got of my Grandfathers Studebaker.1 point


This leaderboard is set to Auckland/GMT+12:00