
Leaderboard


Popular Content
Showing content with the highest reputation on 27/12/24 in all areas
-
All back together although with some mishaps... I grabbed a nut to clamp down the alternator battery terminal post and it had a burr in it. This meant I twisted the whole post around a bit, and when I connected the battery there was a dead short causing many sparks etc. I immediately suspected the terminal stud and sure enough when I dismantled the alternator it had munted the plastic and was contacting the alt case. And here is why a 3D printer is absolutely the best tool when you have a shitty old car; 5 mins modelling, 15 mins printing in ASA, jobs a goodun.13 points
-
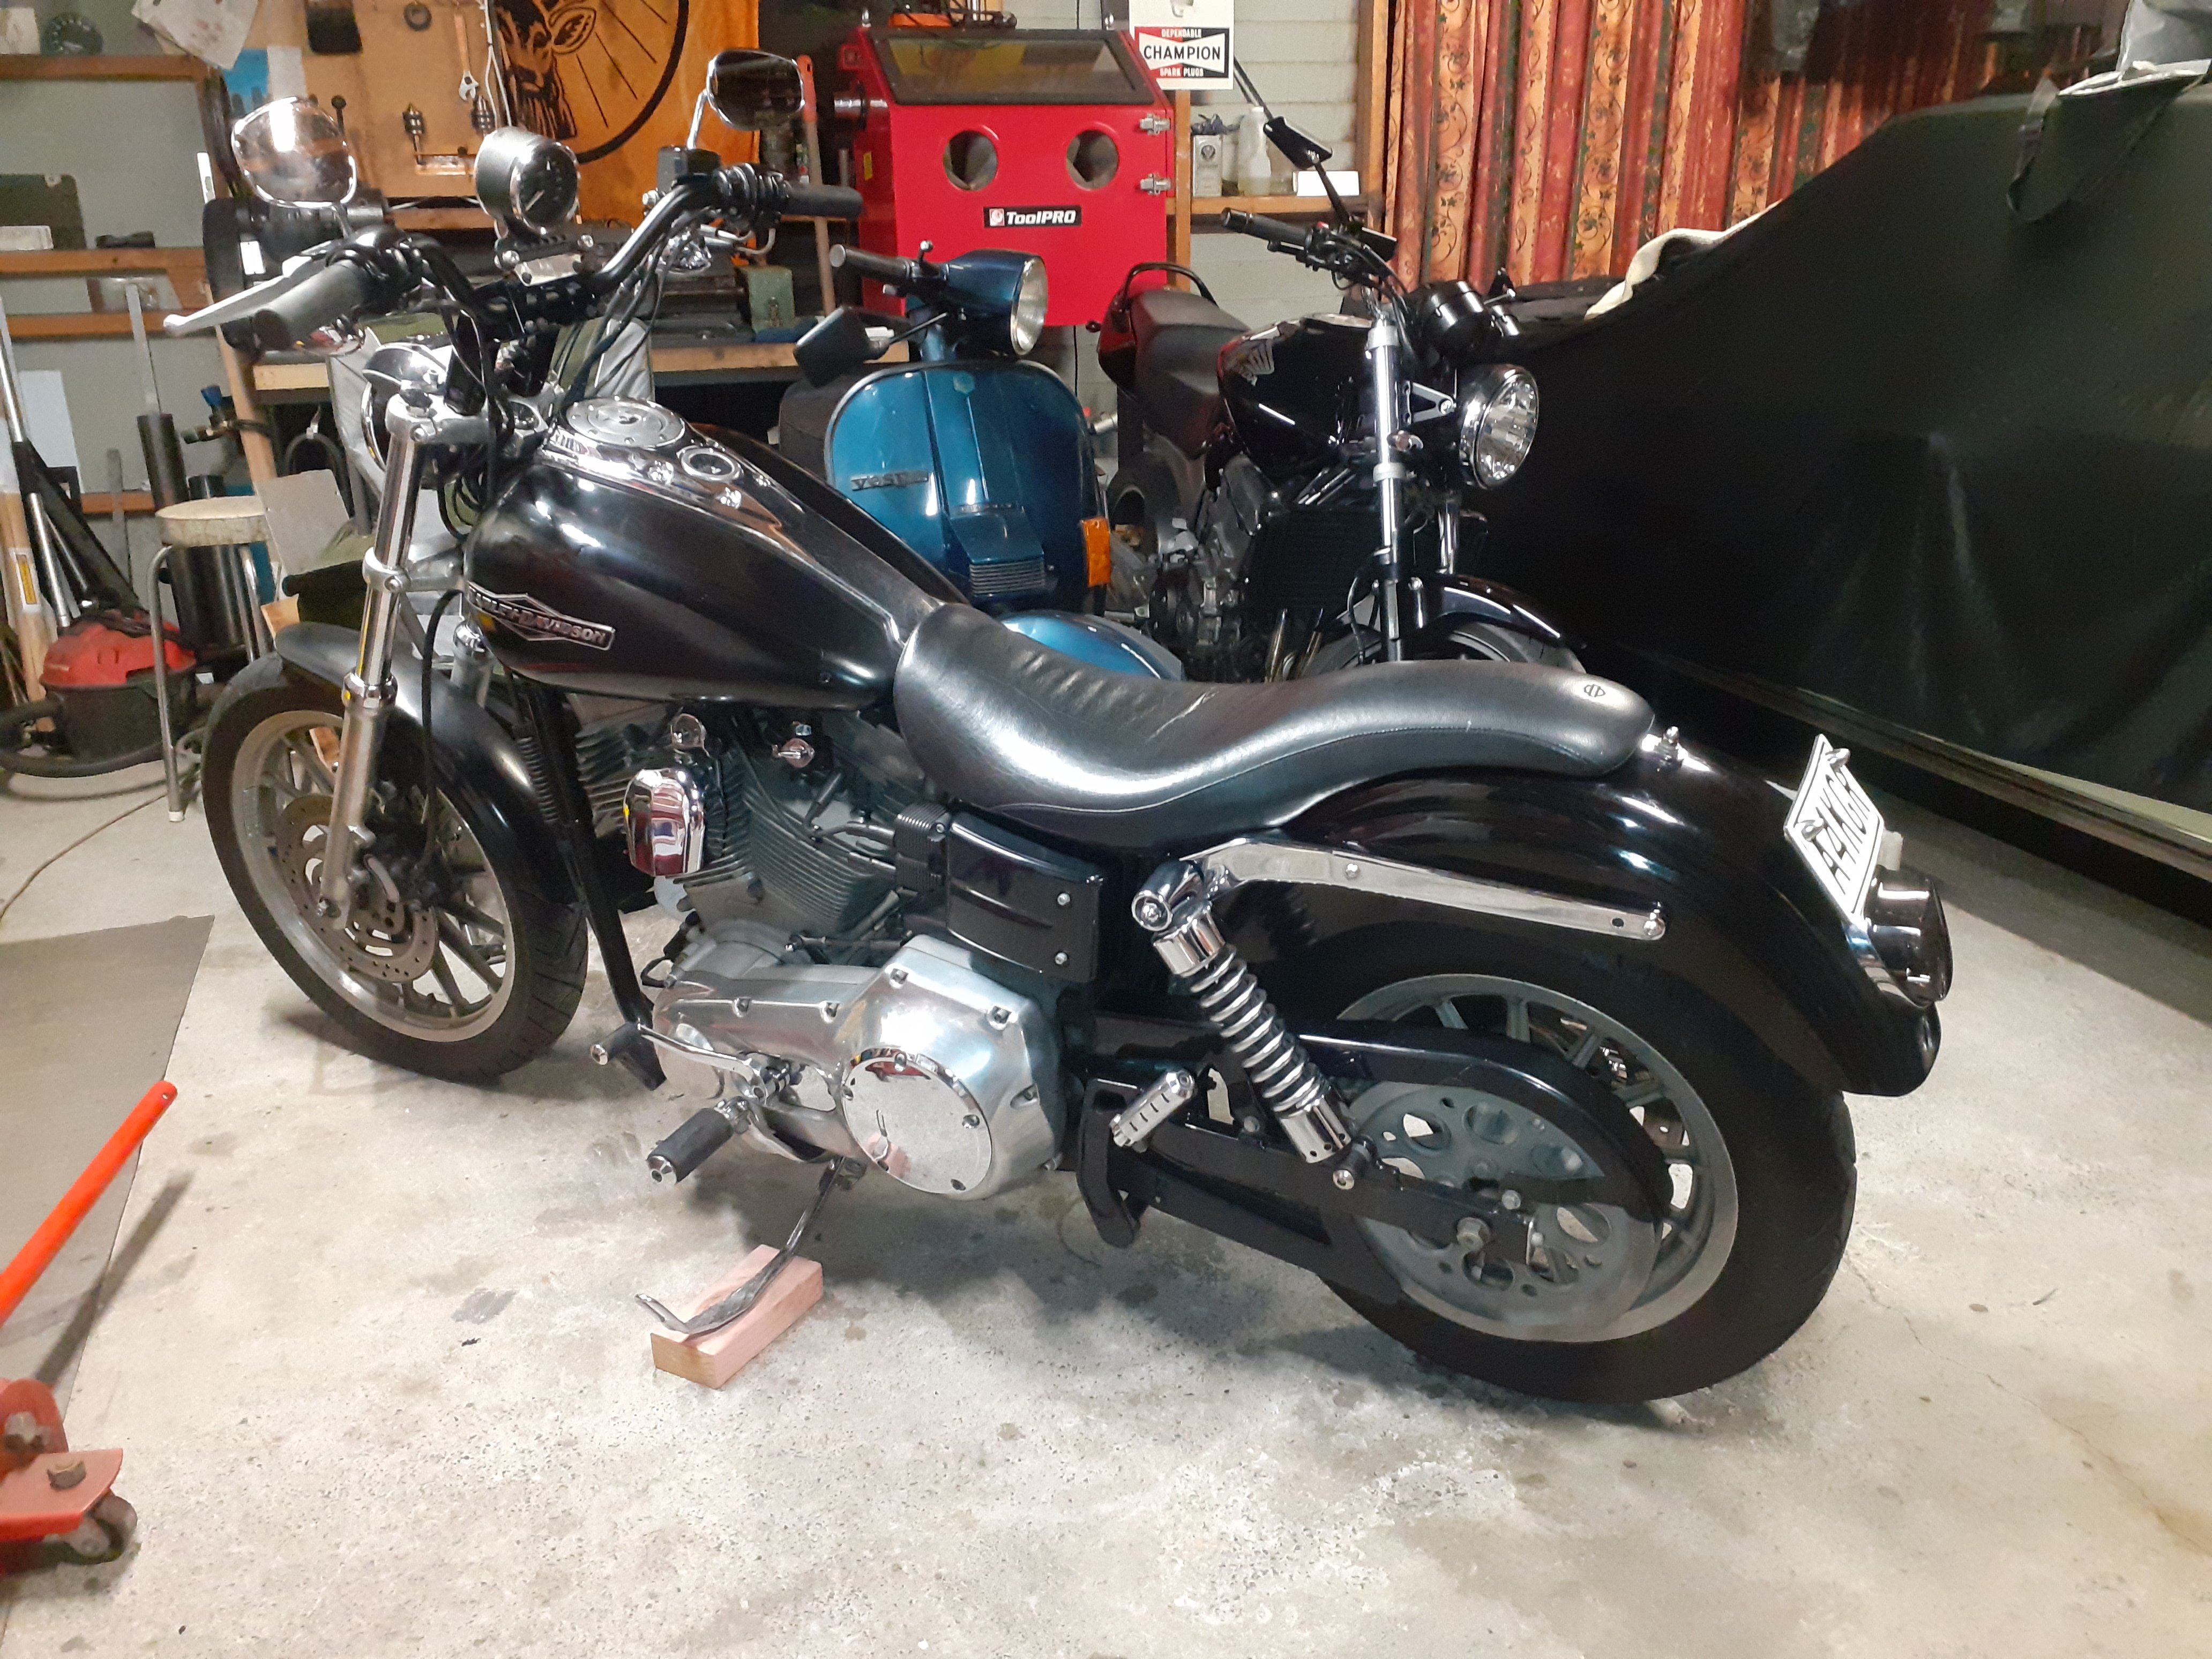
Next side project 04 HD FXD 1450cc, 5 speed, carb. 30something thousand miles It's a bit of a 20 footer , the paint is fucked but I figure it's not a huge deal to get that sorted on a bike. Needs a lot of little tidy ups, it's a bit grubby, gear shift linkage is loose, speedo mount is a bit dumb Seems to run OK, I've only ridden it a short distance but it seems to be a bit slow, doesn't stop great, handles a bit wierd, and build quality not great compared to a honda so is exactly what I was expecting Is all stock apart from aftermarket bars and risers and an led tail light , and it seems loud ish so maybe the mufflers have had a mufflectomy It's very big and heavy compared to what I'm used to, but the good thing about that is it is a more suitable size for me
 12 points
 -
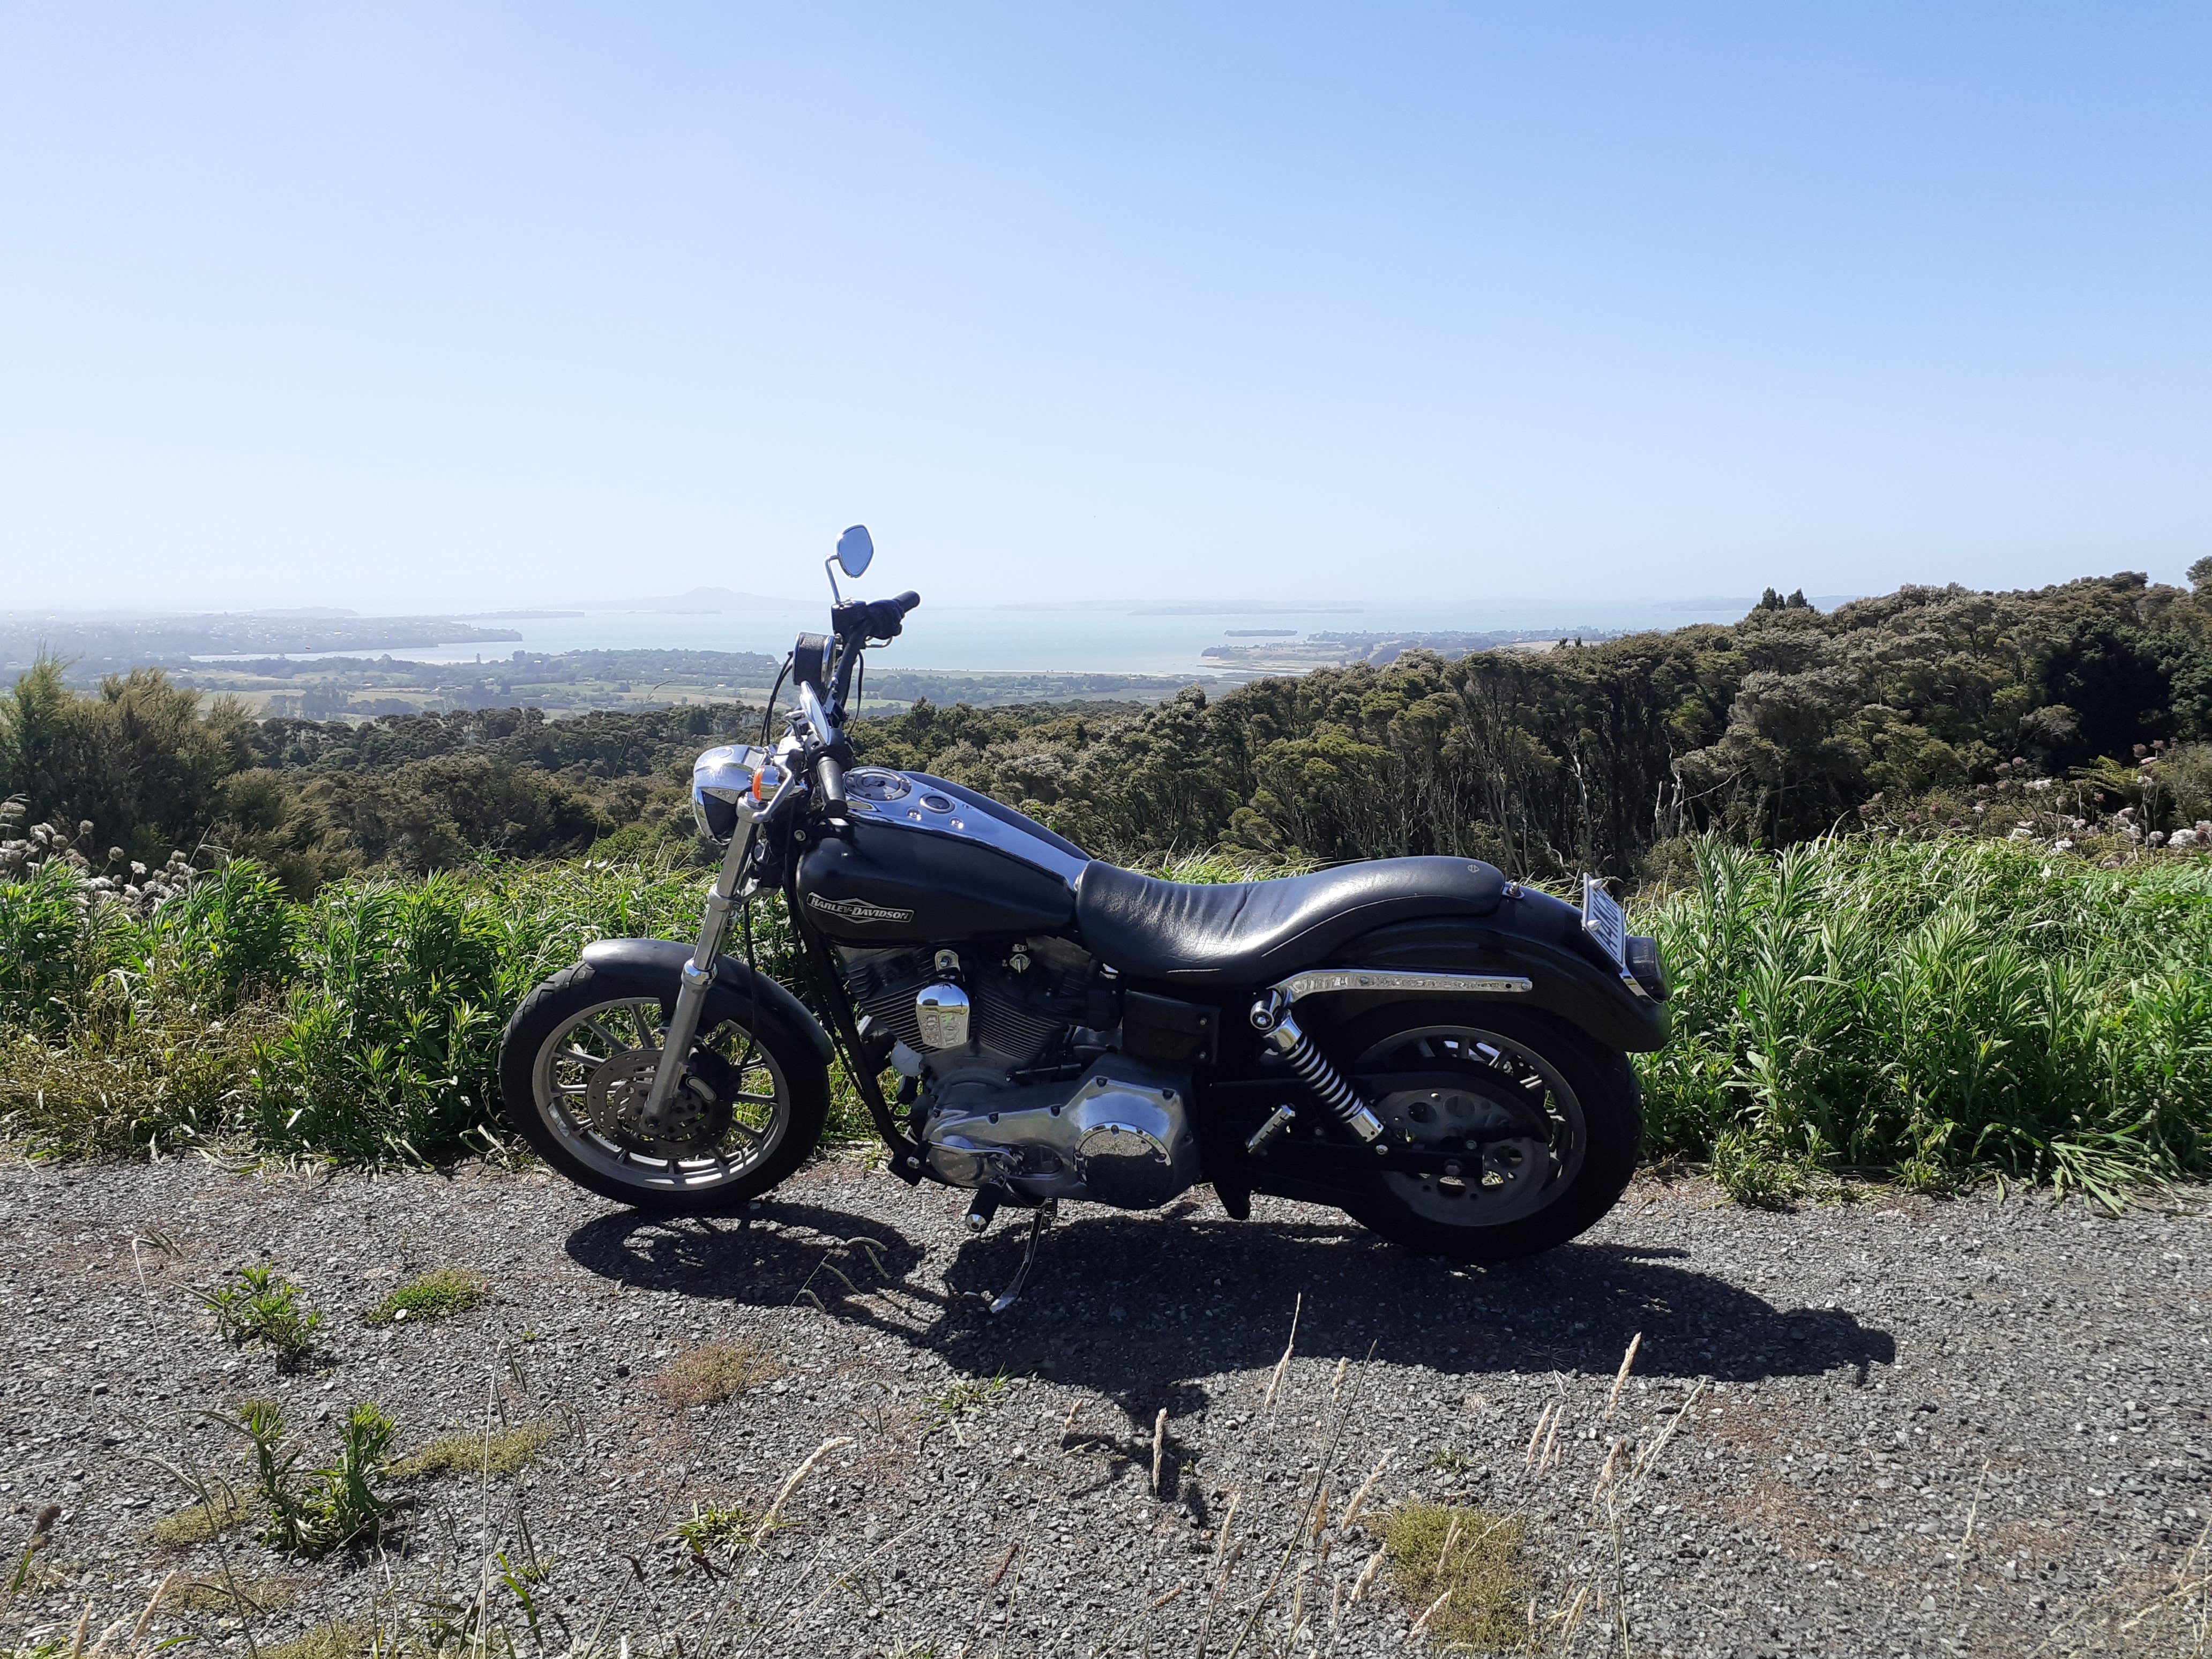
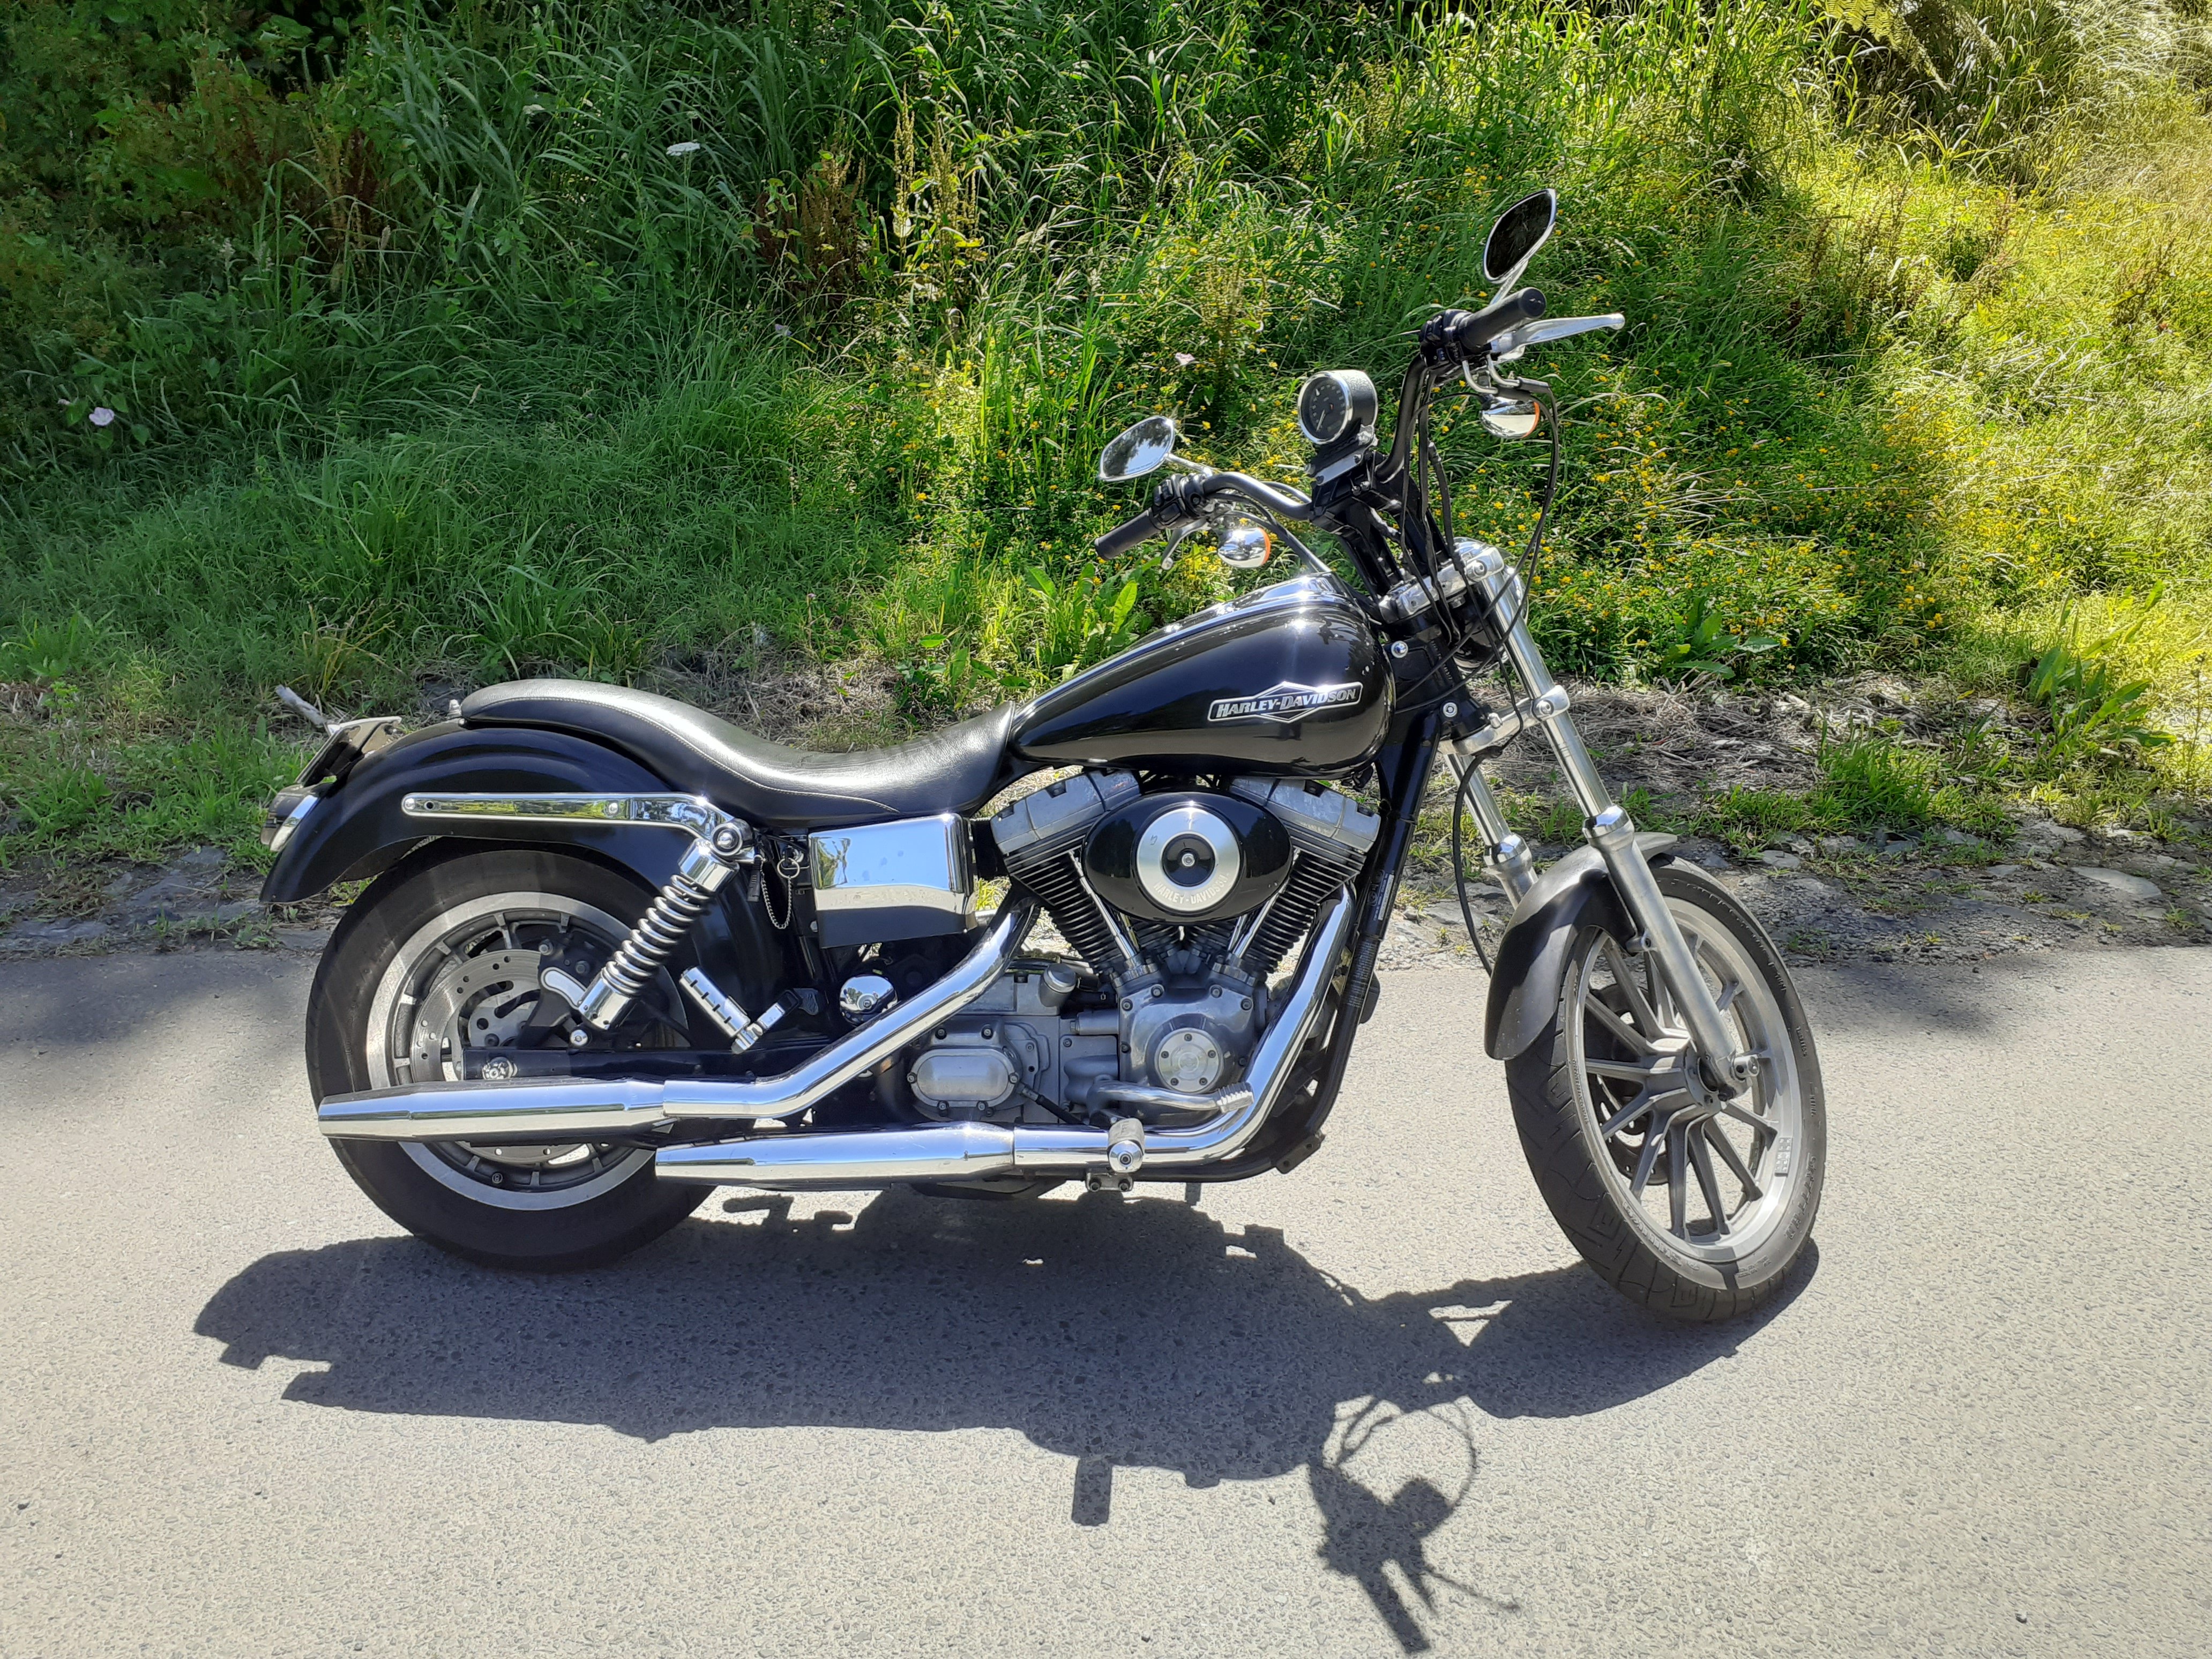
Spent a few hours hooning around on it today on some roads I enjoy on my other bike. The handling is actually a lot better than I was expecting. It's a lot of fun on windy roads it doesn't do anything bad apart from the pegs and side stand hit the ground on tight corners, so you have to enter a bit slower, if you come in a bit hot and the pegs start grinding you're kind of fucked because you can't lean any more This dyna series of bike is known for something called the "dyna wobble" , this is because the swing arm is mounted to the gear box and motor assembly, which is rubber mounted to the frame, so the rear wheel can kind of move around a bit, this is usually when the mounts are a bit chooched. Makes for interesting mid corner handling. This one does not do any wierd stuff so the mounts must be good ish The lack of hp doesn't seem to matter, it has bundles of torque and it goes good enough to get yourself into mischief so I'm not too worried about that Brakes, are not super awesome but are probably good enough, it's a bit odd getting used to how much rear brake you can/have to use One other positive, it seems a bit easier on my back, the amount of spine ouchies was less than on the honda, I wonder if a bit of extra bike weight helps with that? In all, I like it more now after spending a bit of time riding it
10 points
-
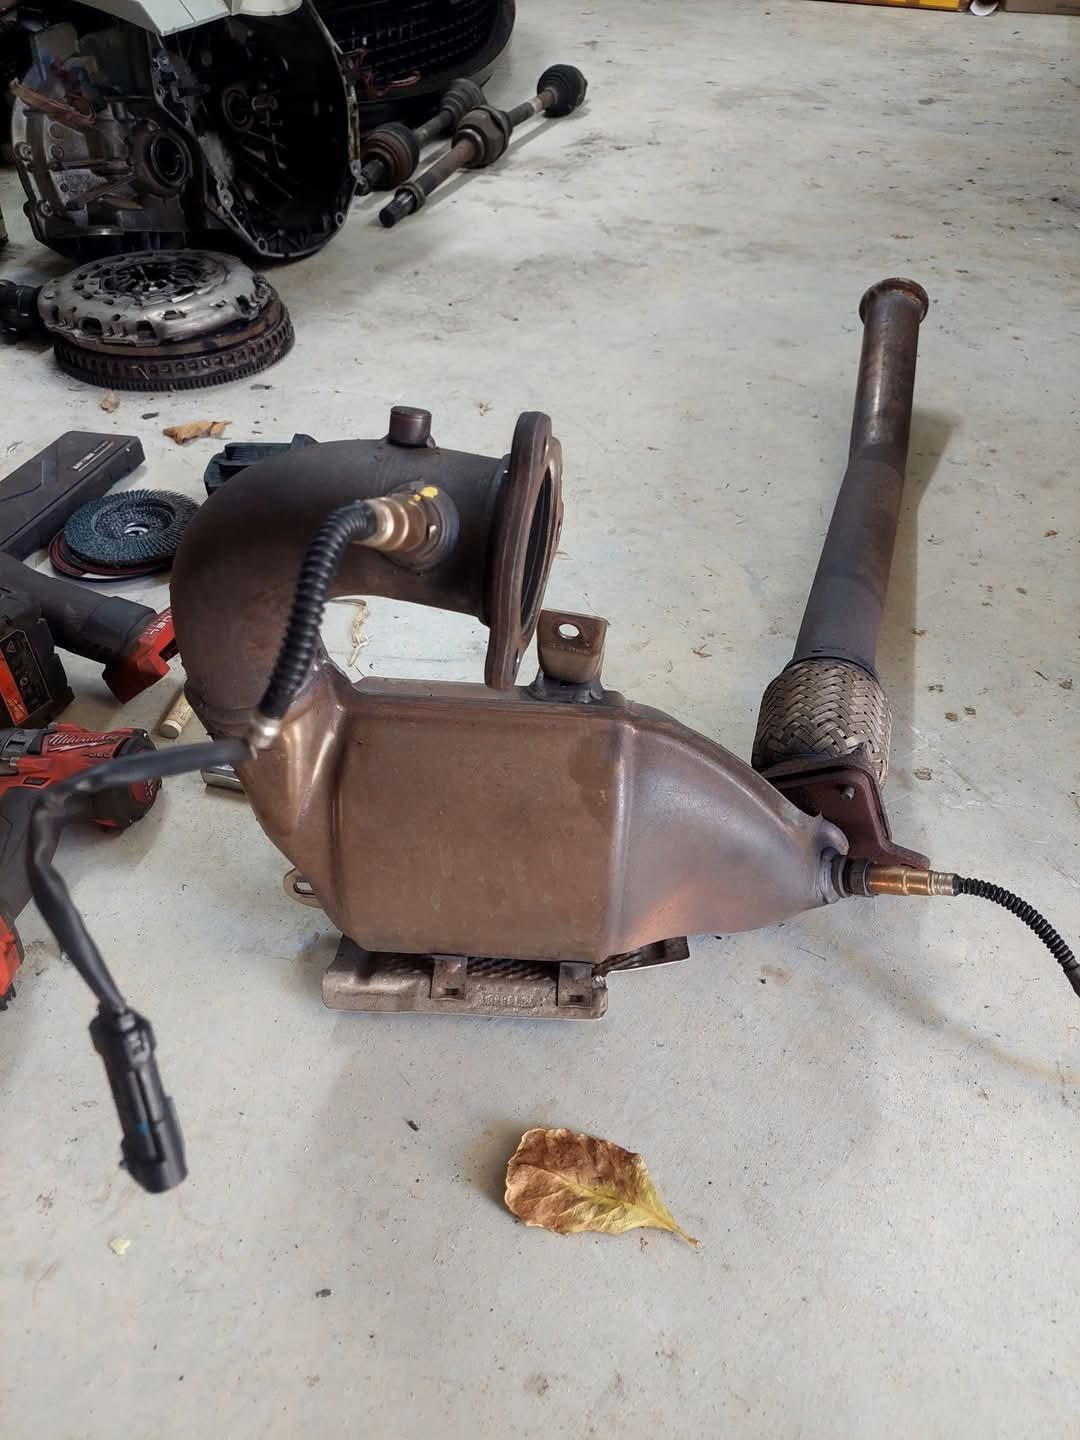
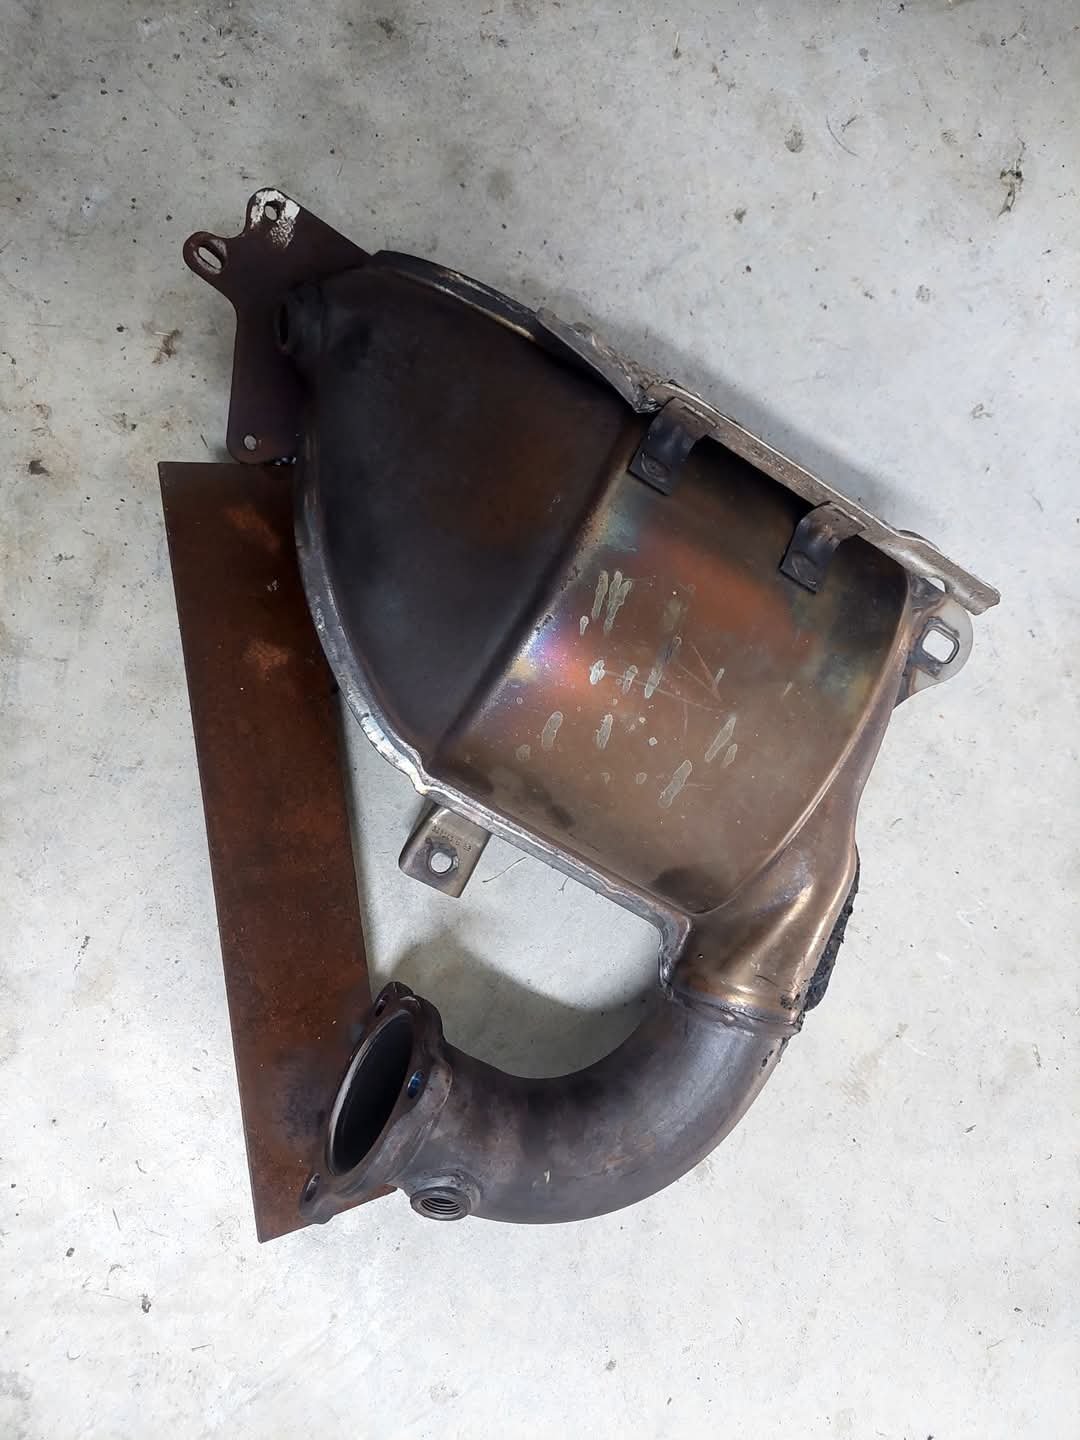
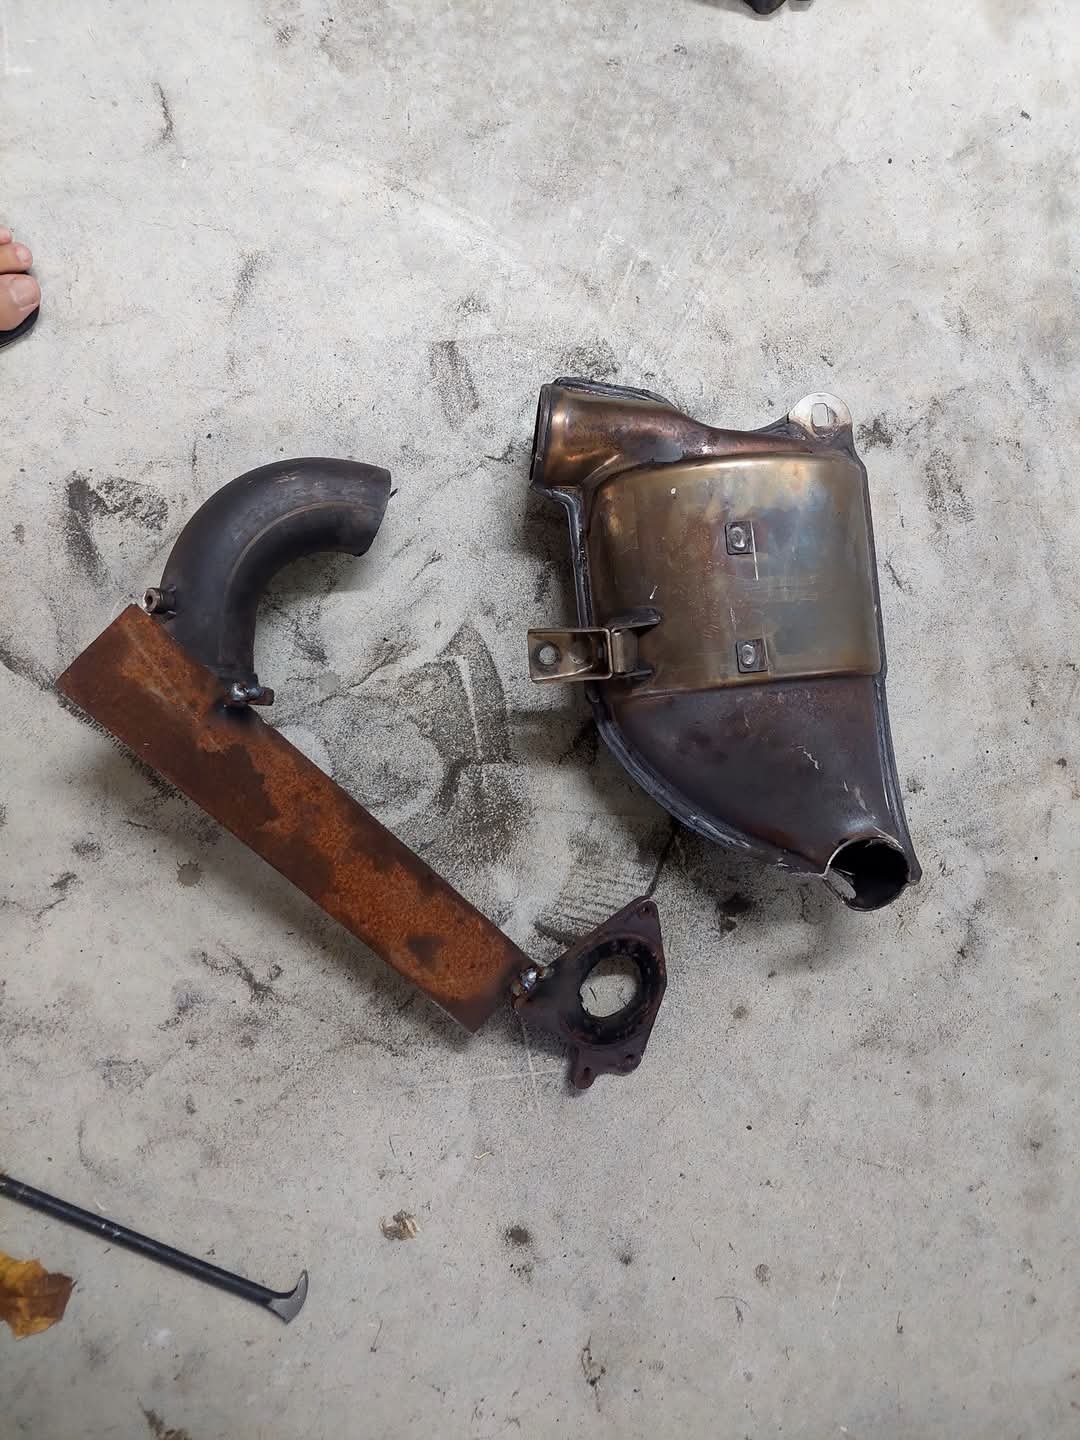
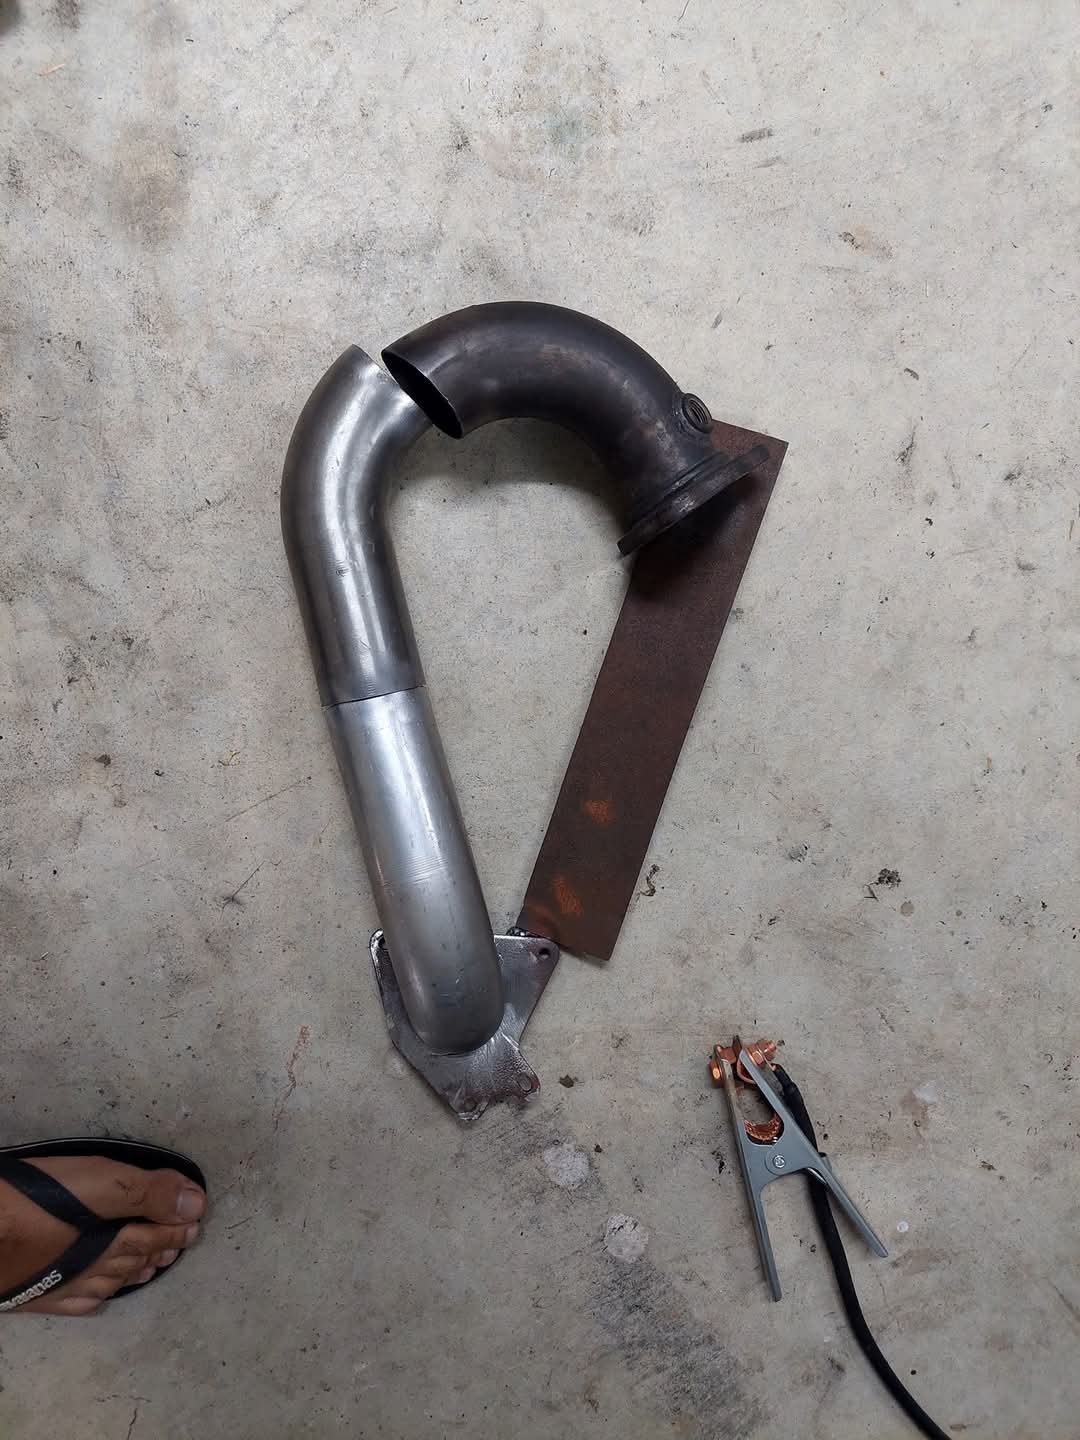
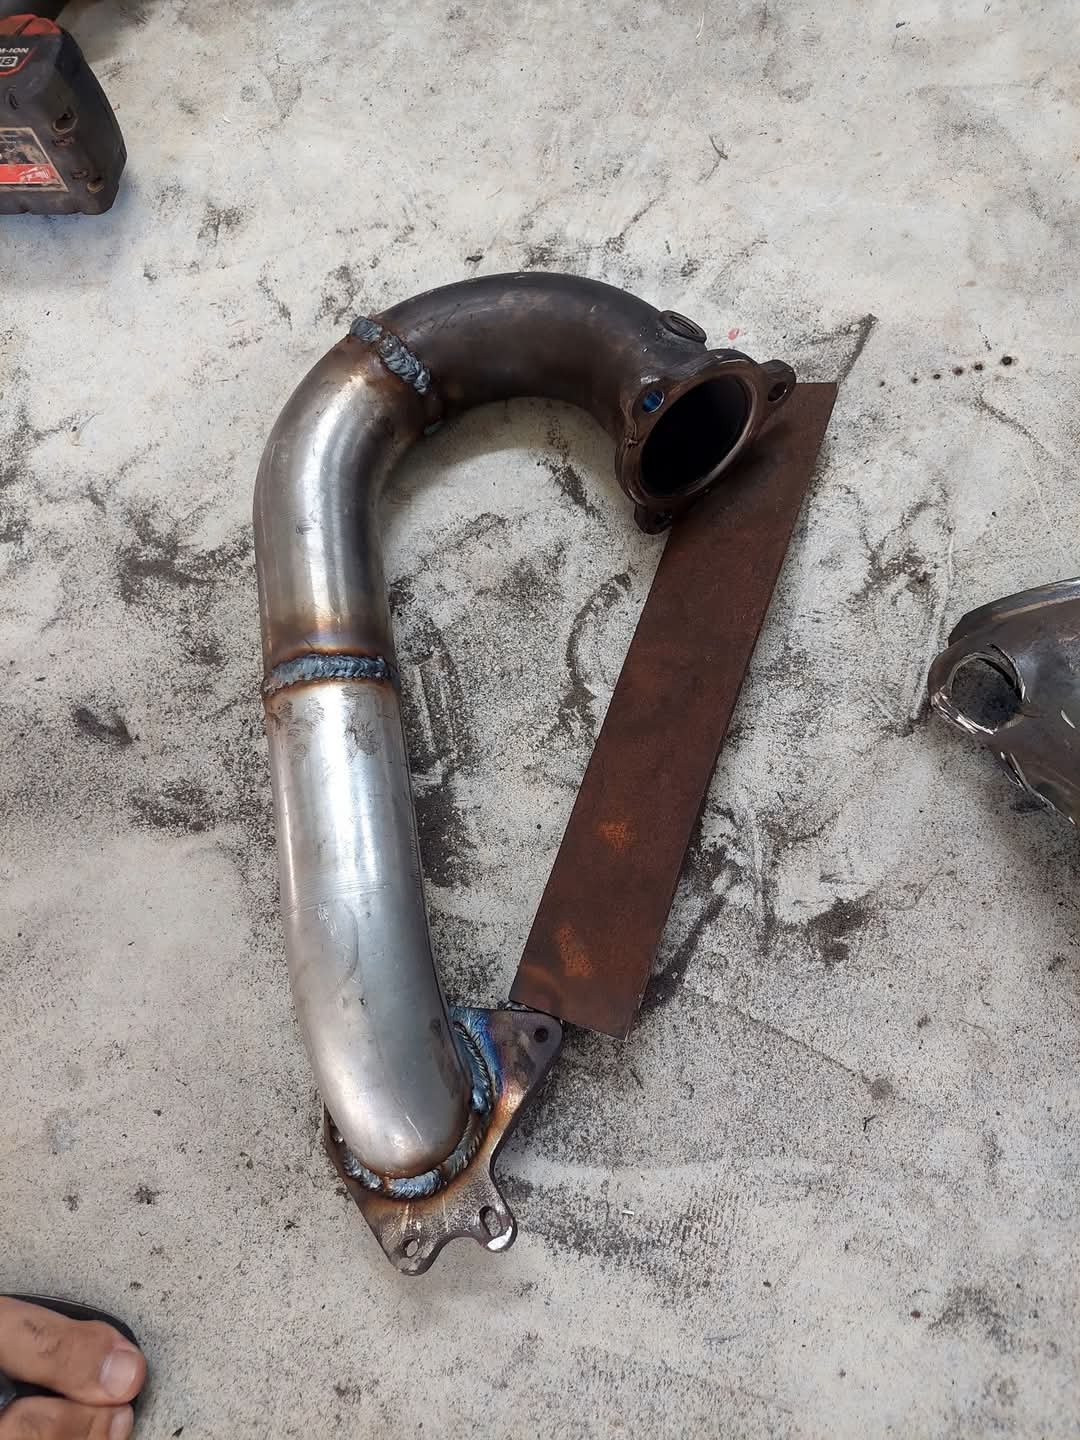
Thought I'd have a go at making a decat turbo downpipe as the factory cat pipe is very restrictive on these. Luckily picked up some 2.5" bends from the only exhaust shop that I could find that was still open a couple days before xmas. Removed the old downpipe, a couple studs were siezed so had to cut and extract them. Welded a piece of flat bar to the flanges for the position. Cut off what I didn't need then cut and welded I'm some pipe. The welding is pretty atrocious but solid enough. Still need to weld in 2 more oxygen sensor bung and I'll probably heatwrap it but it should help it breathe a little. Hopefully have some more updates across the next week. Chur
8 points
-
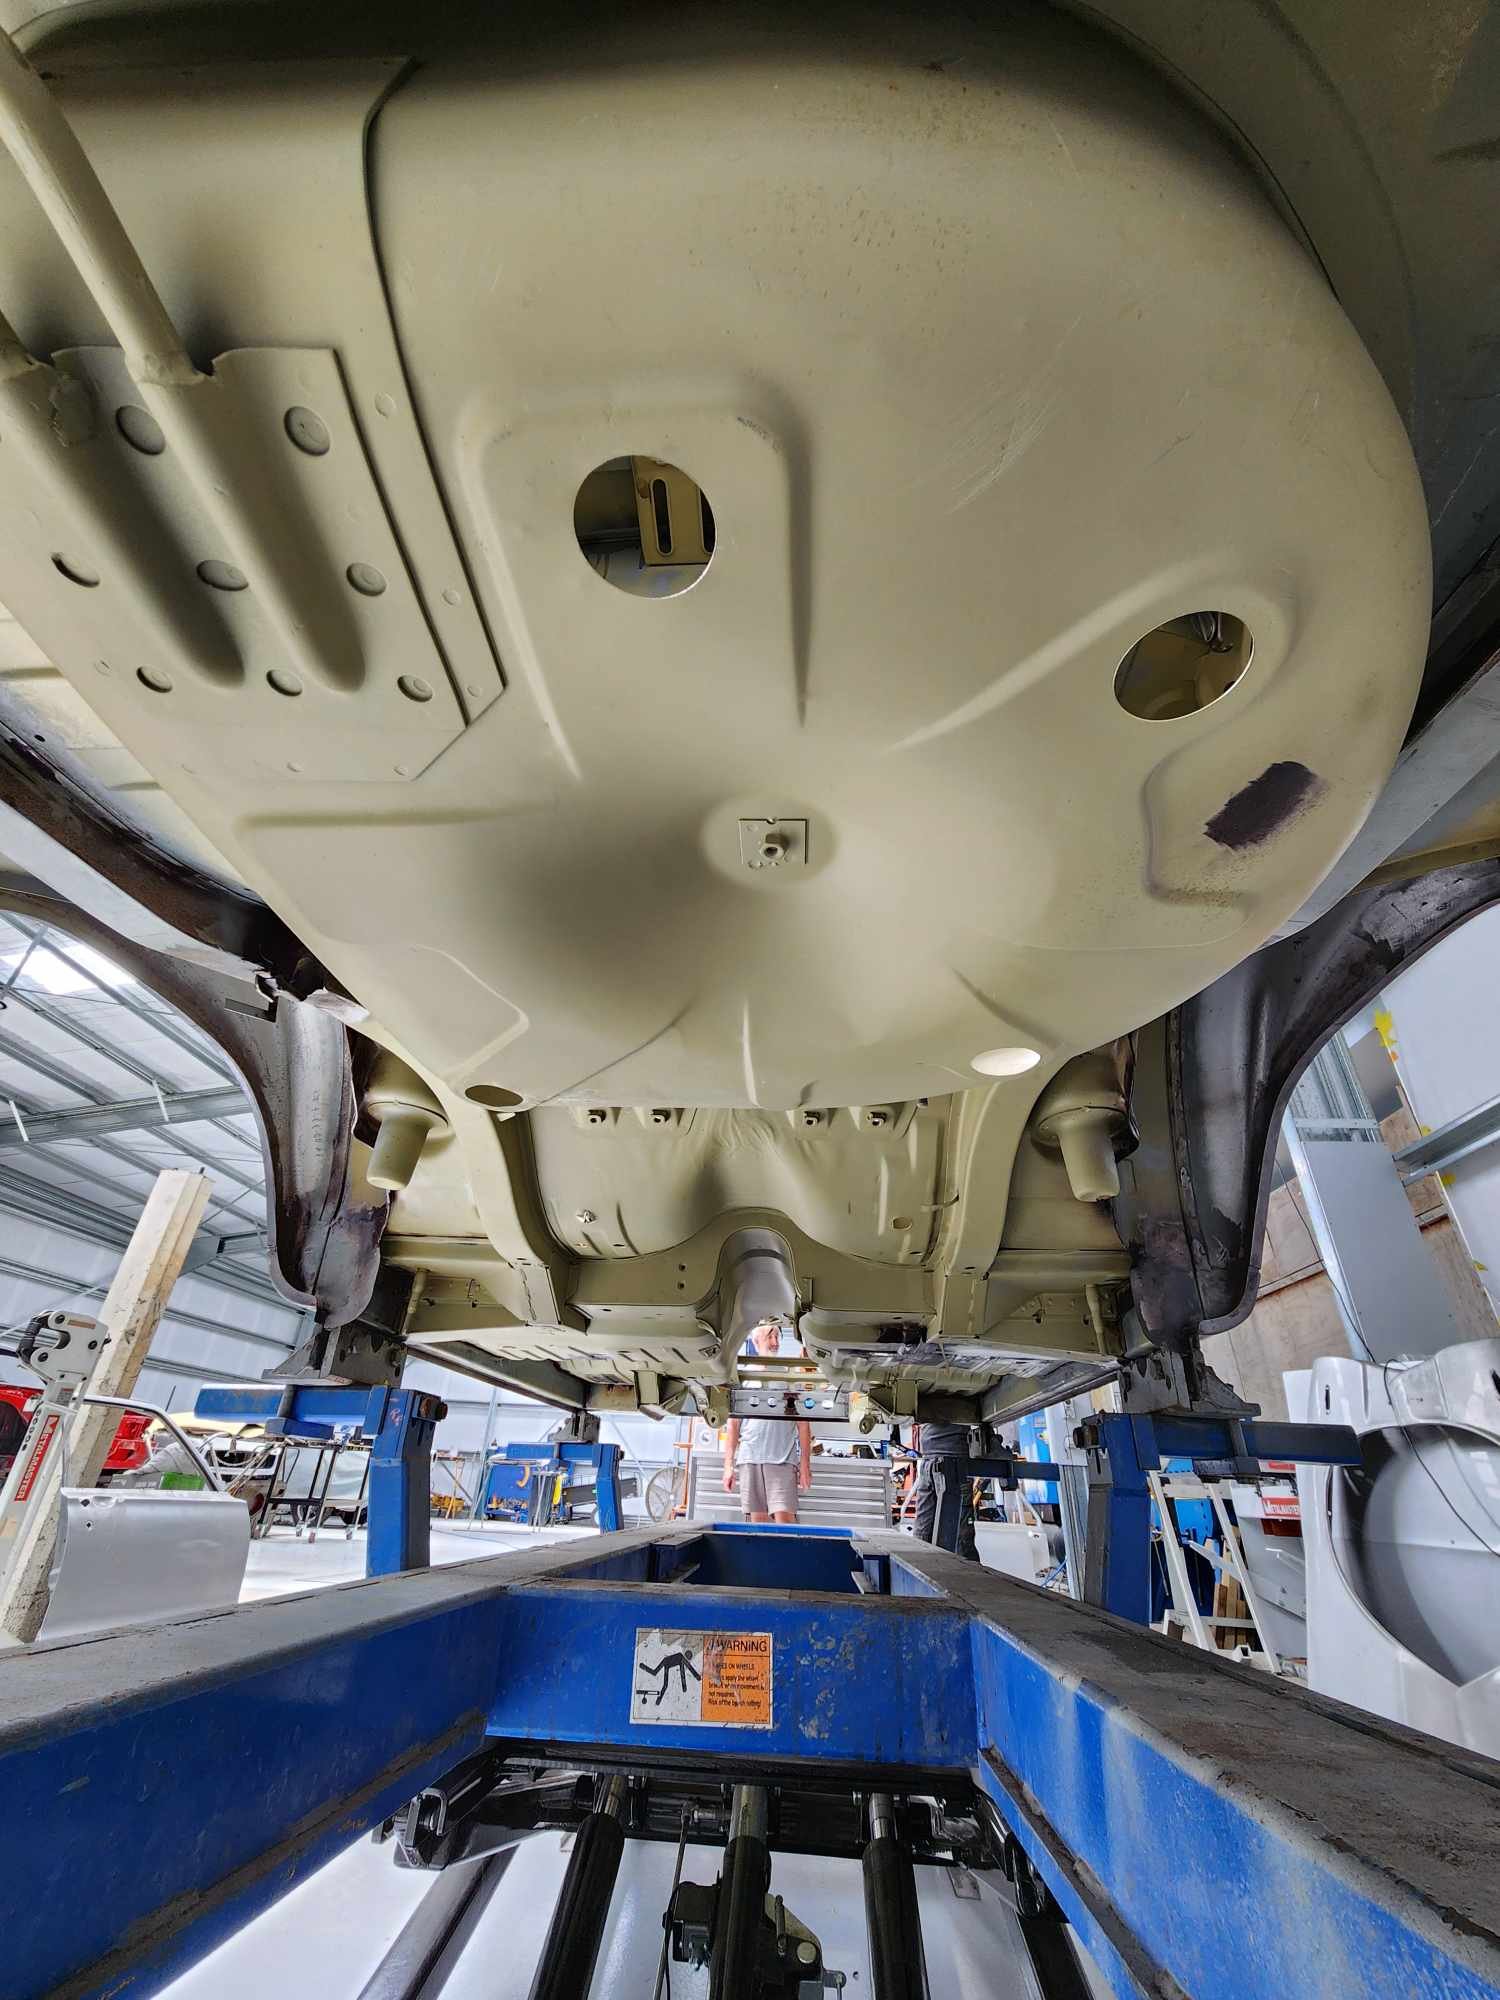
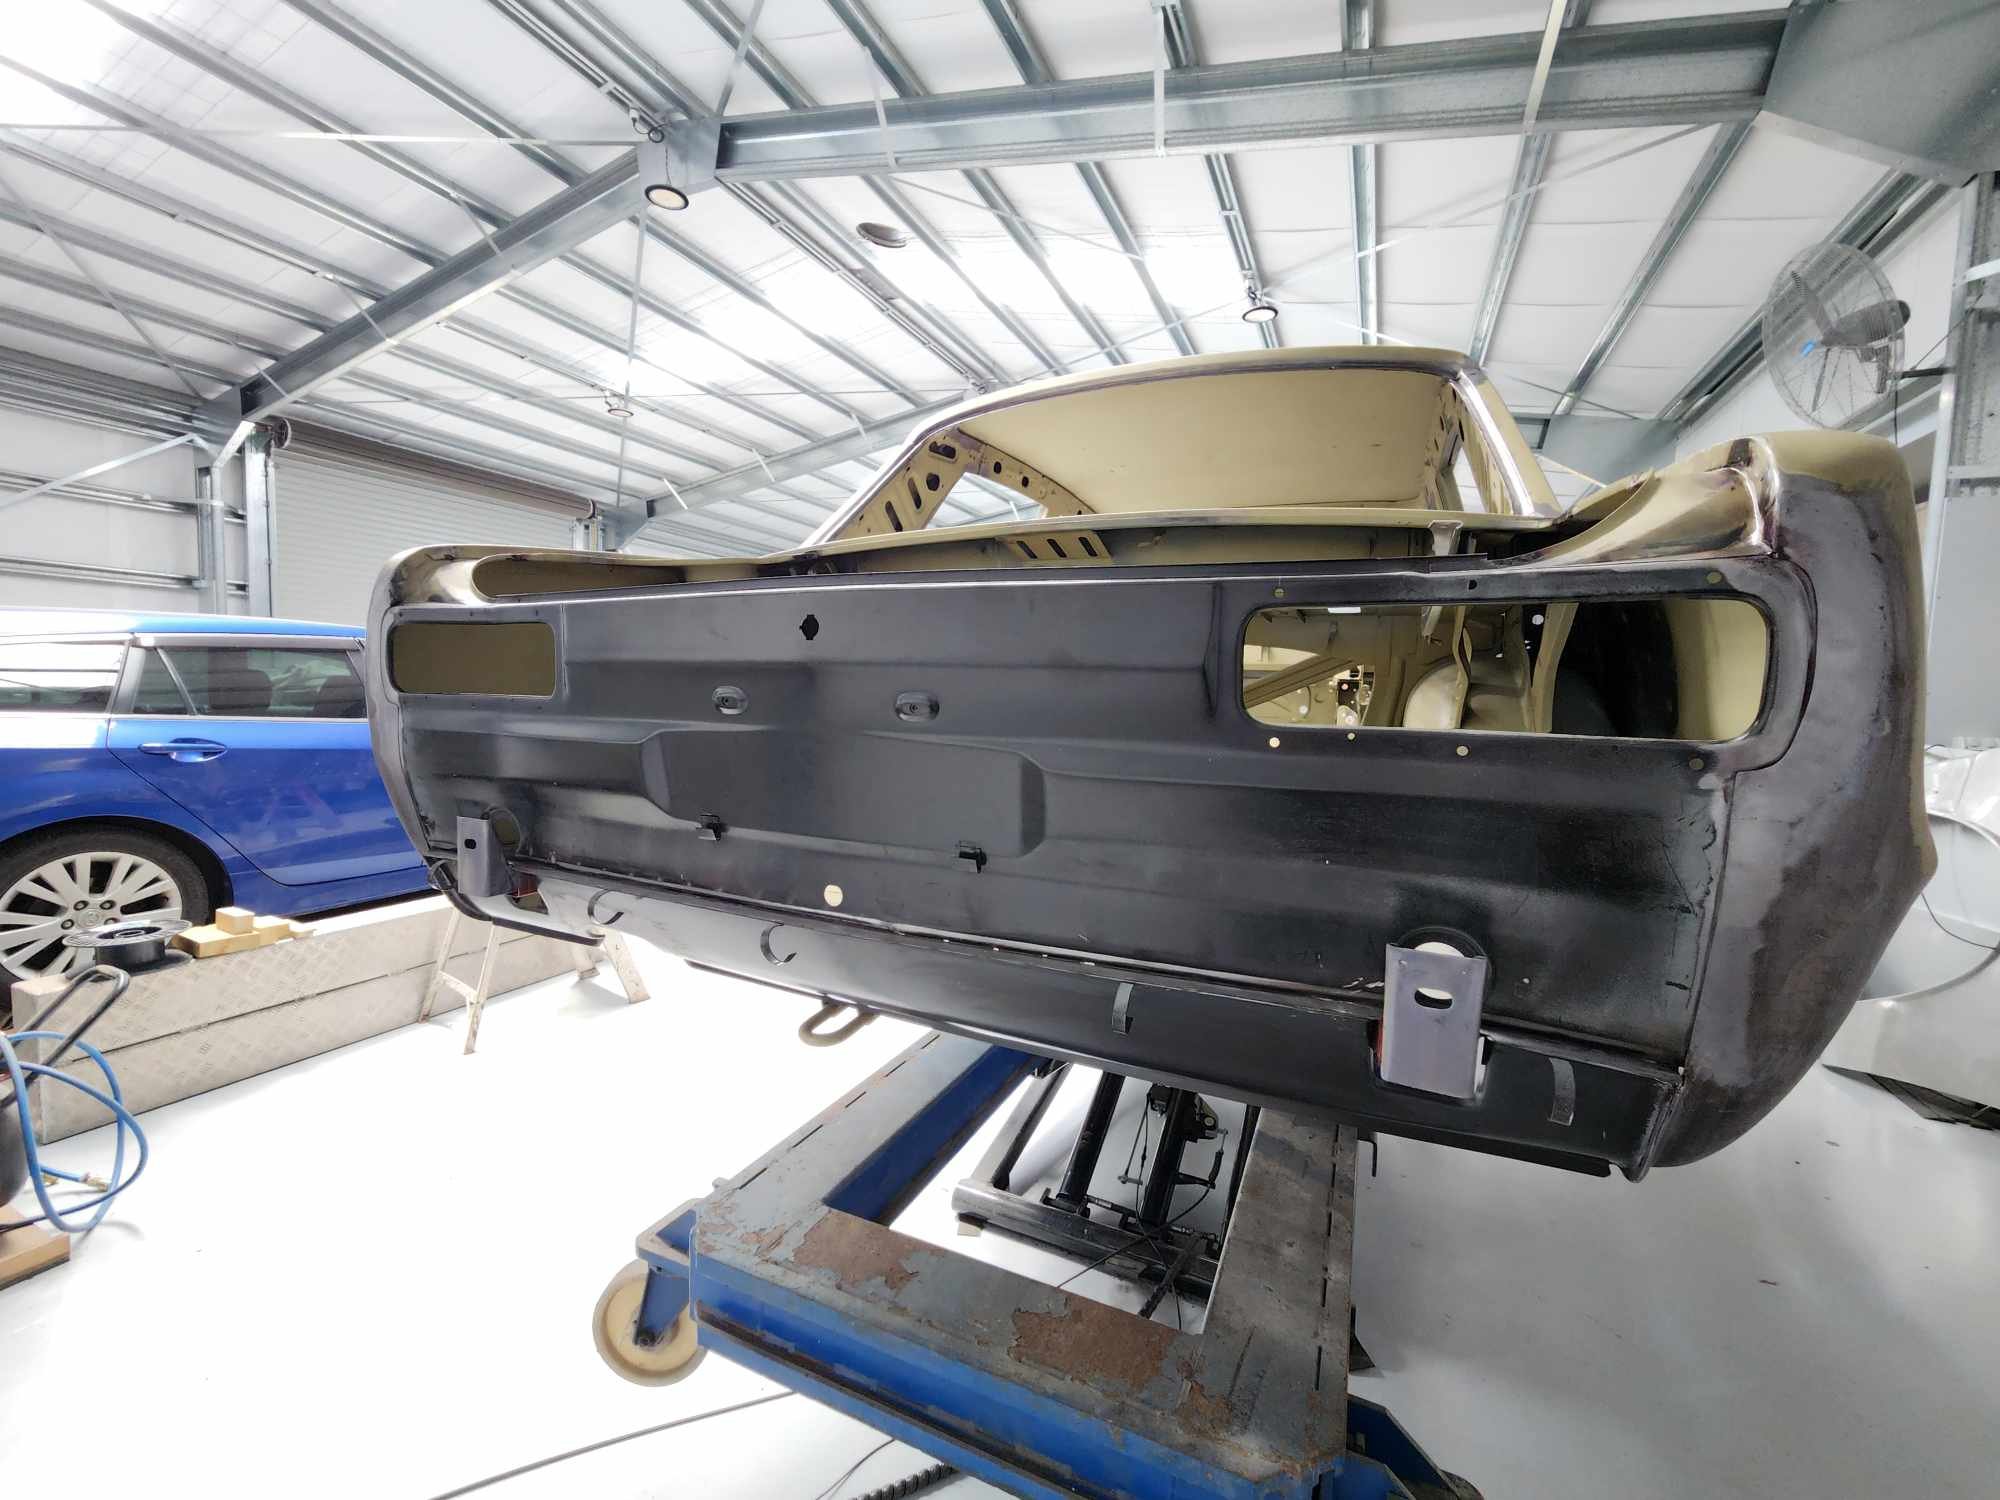
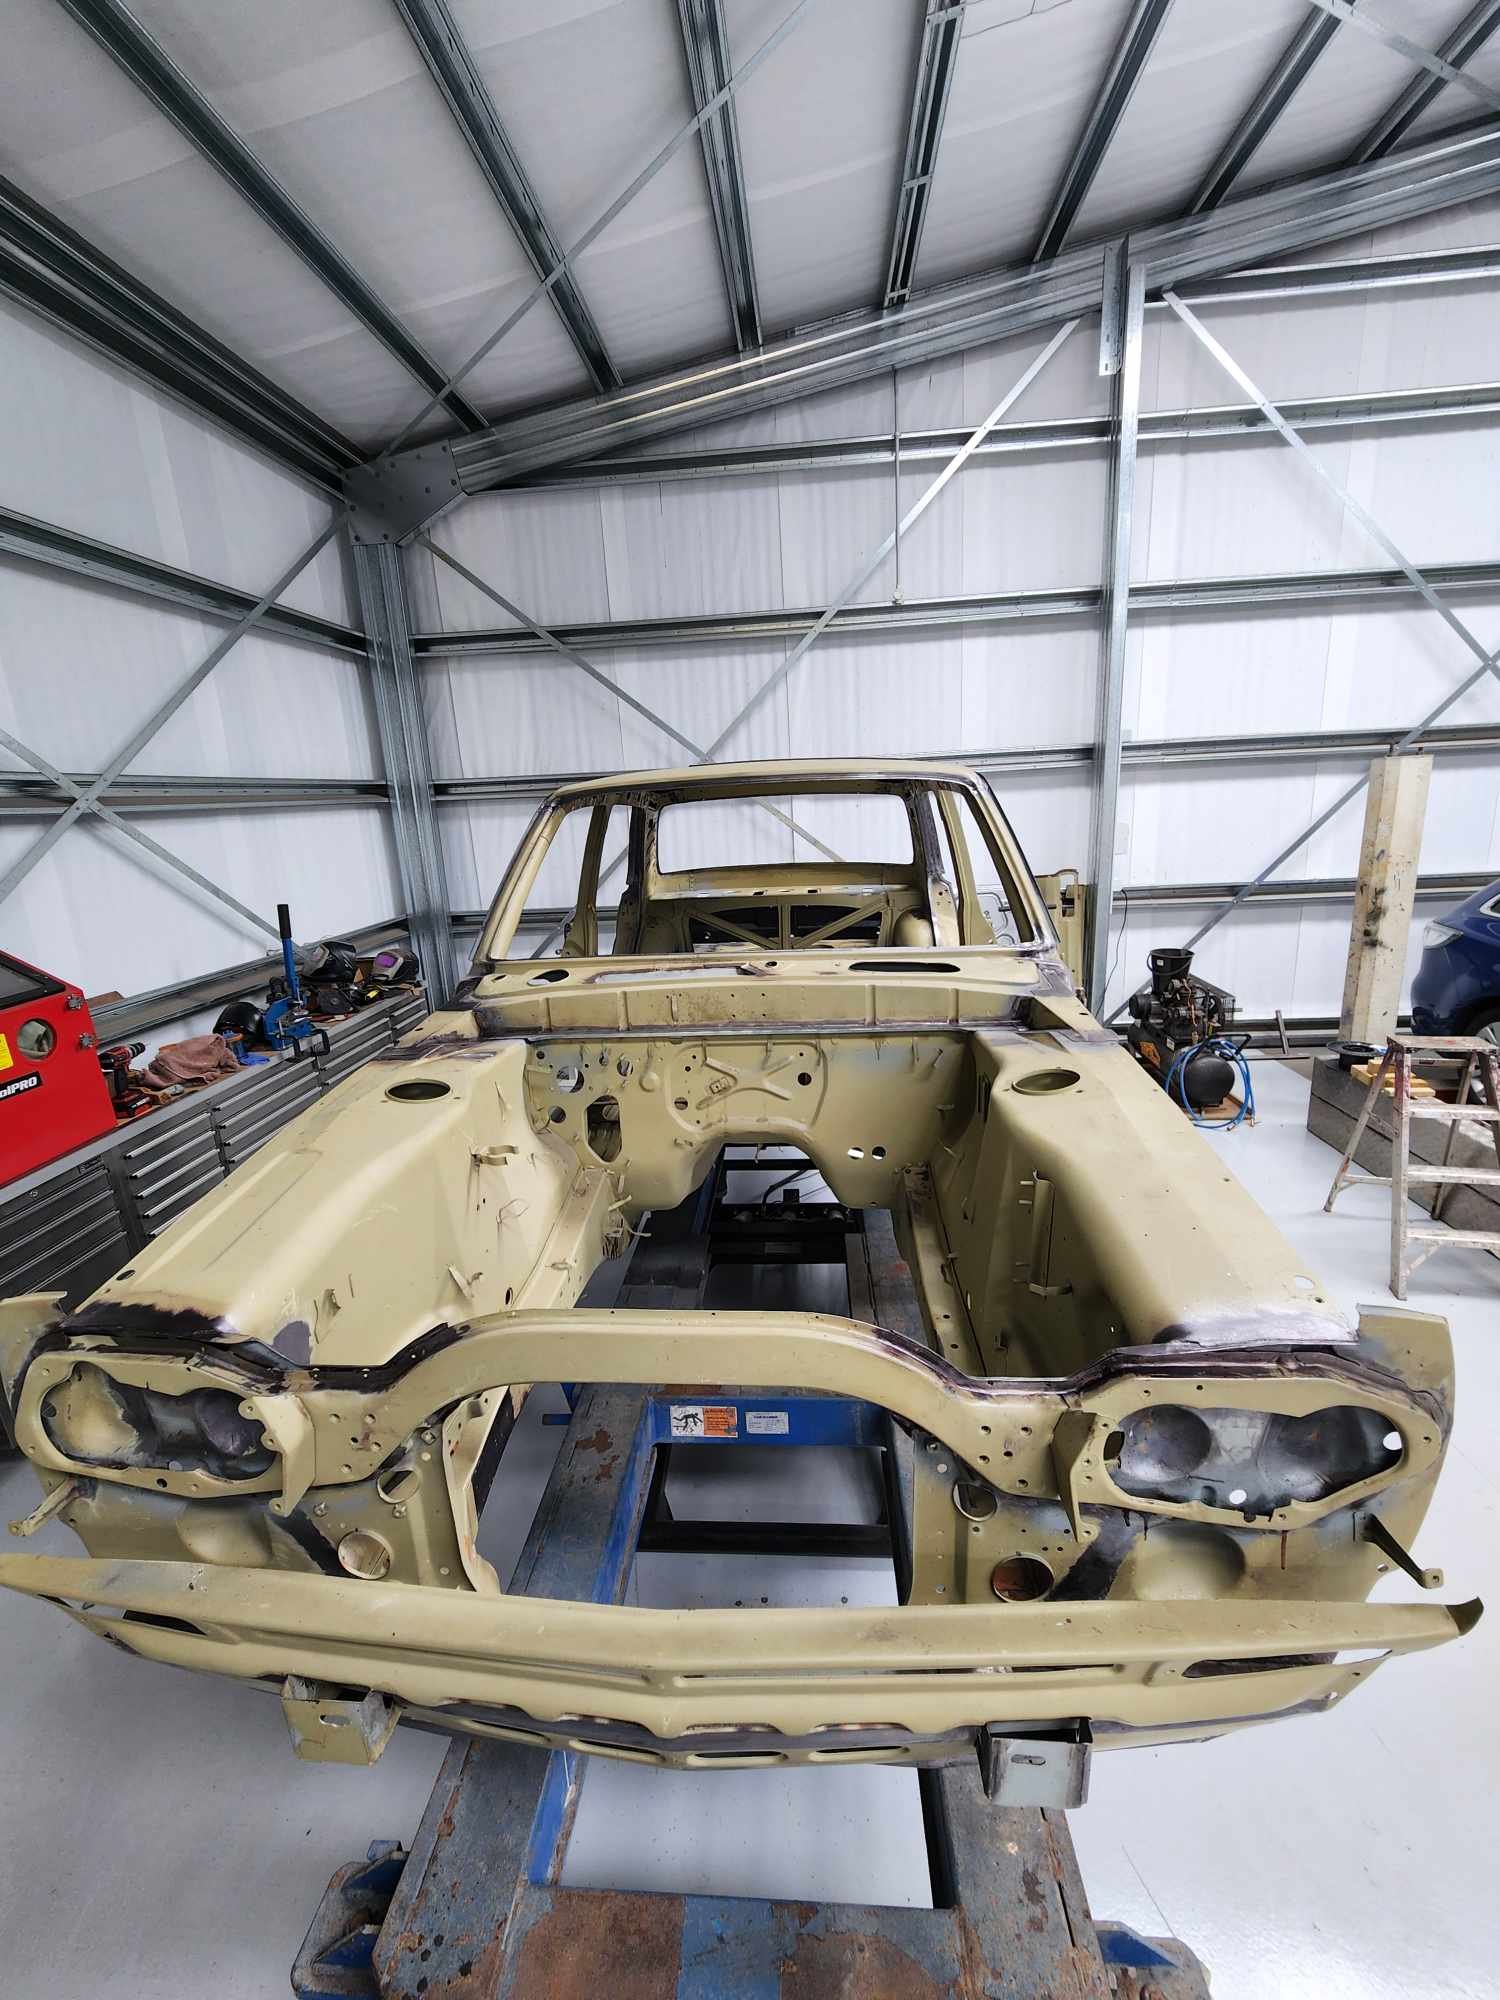
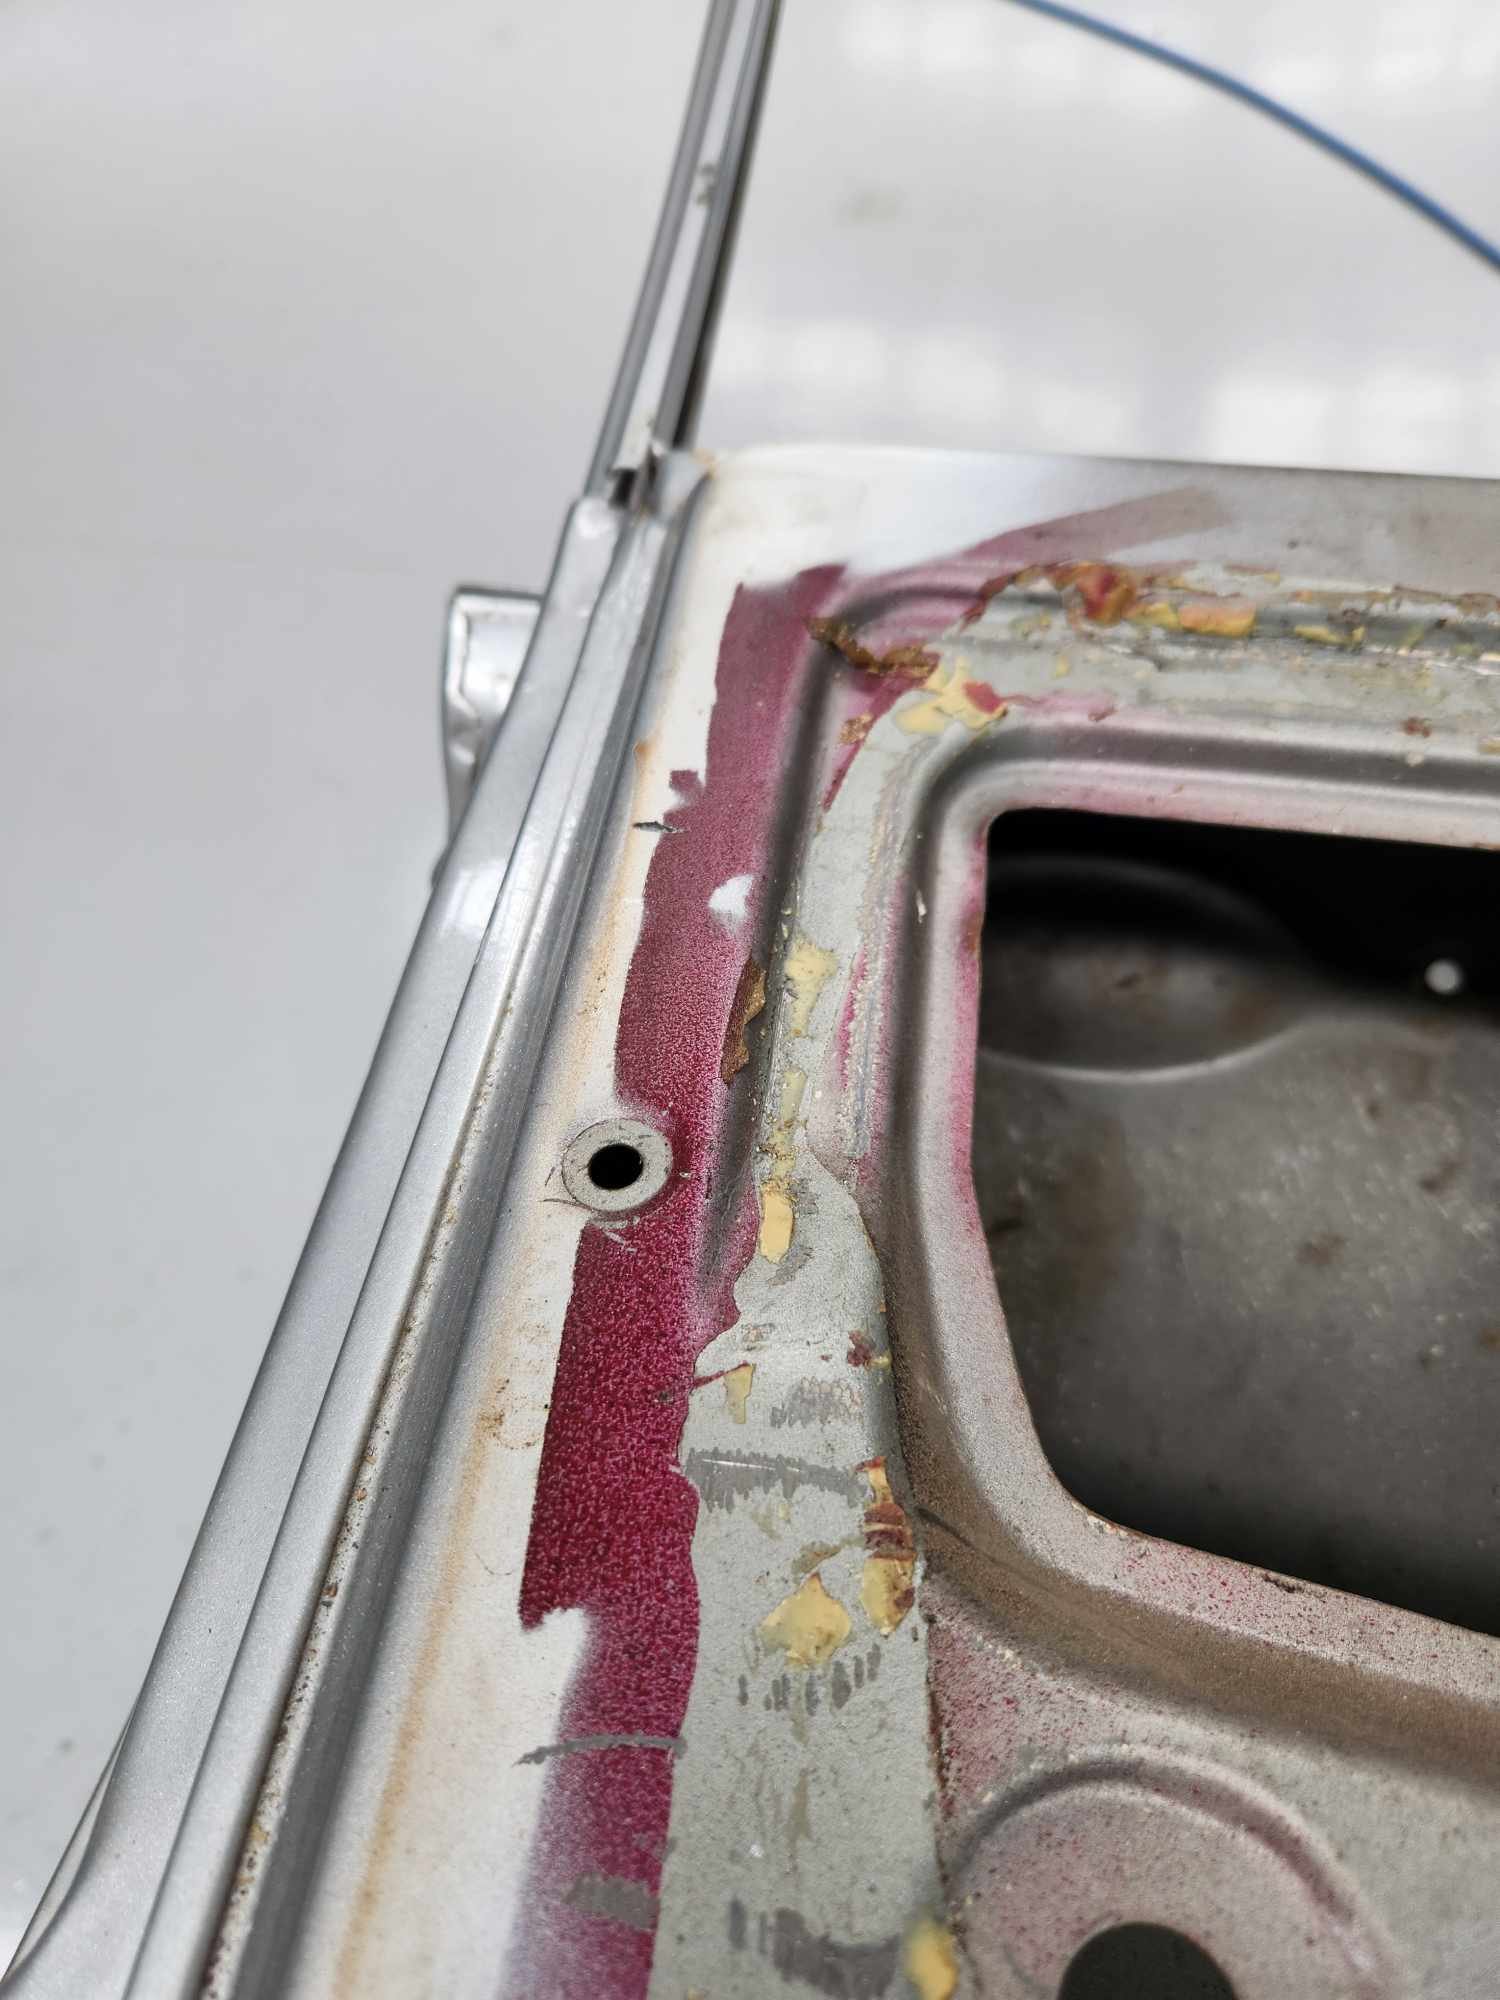
Back in NZ briefly so managed to head out and see the Skyline progress and talk shop with panel Barry. It was great to see up close all the work that’s been done as well as he was able to tell me in more detail about what's been done and what's still to come. As has been mentioned earlier the main welding has been done but the roof still needs to be completed. A huge amount of work went into fully rebuilding/recreating the drip rails as they were all mangled and drilled out as part of the process years ago. A little more finishing of the actual roof attachment and then we are onto the paint preparation panel work. Good news is he can also do most of this so various primer/blocking stages and final fit will be done here as well then for the actual paint application it will go elsewhere but that was something I wasn't not sure about so I'm happy that blank in my knowledge was filled. So for now the boot is OK, the bonnet front edge has some rust and corrosion so will be fixed up but the doors are going to be the next ballache. The most likely strategy will be to dip them but due to them being multi-layered there is strategy required to get the best result. All of this I did not know before today. Still probably at least 6 months before actual paint yarns are on but it's going to be next year for sure. Speaking of paint it's not quite sure if this car was purple originally or white as both colours are showing underneath.
8 points
-
Sweet, the big question is have you decided who you are going to prospect for?7 points
-
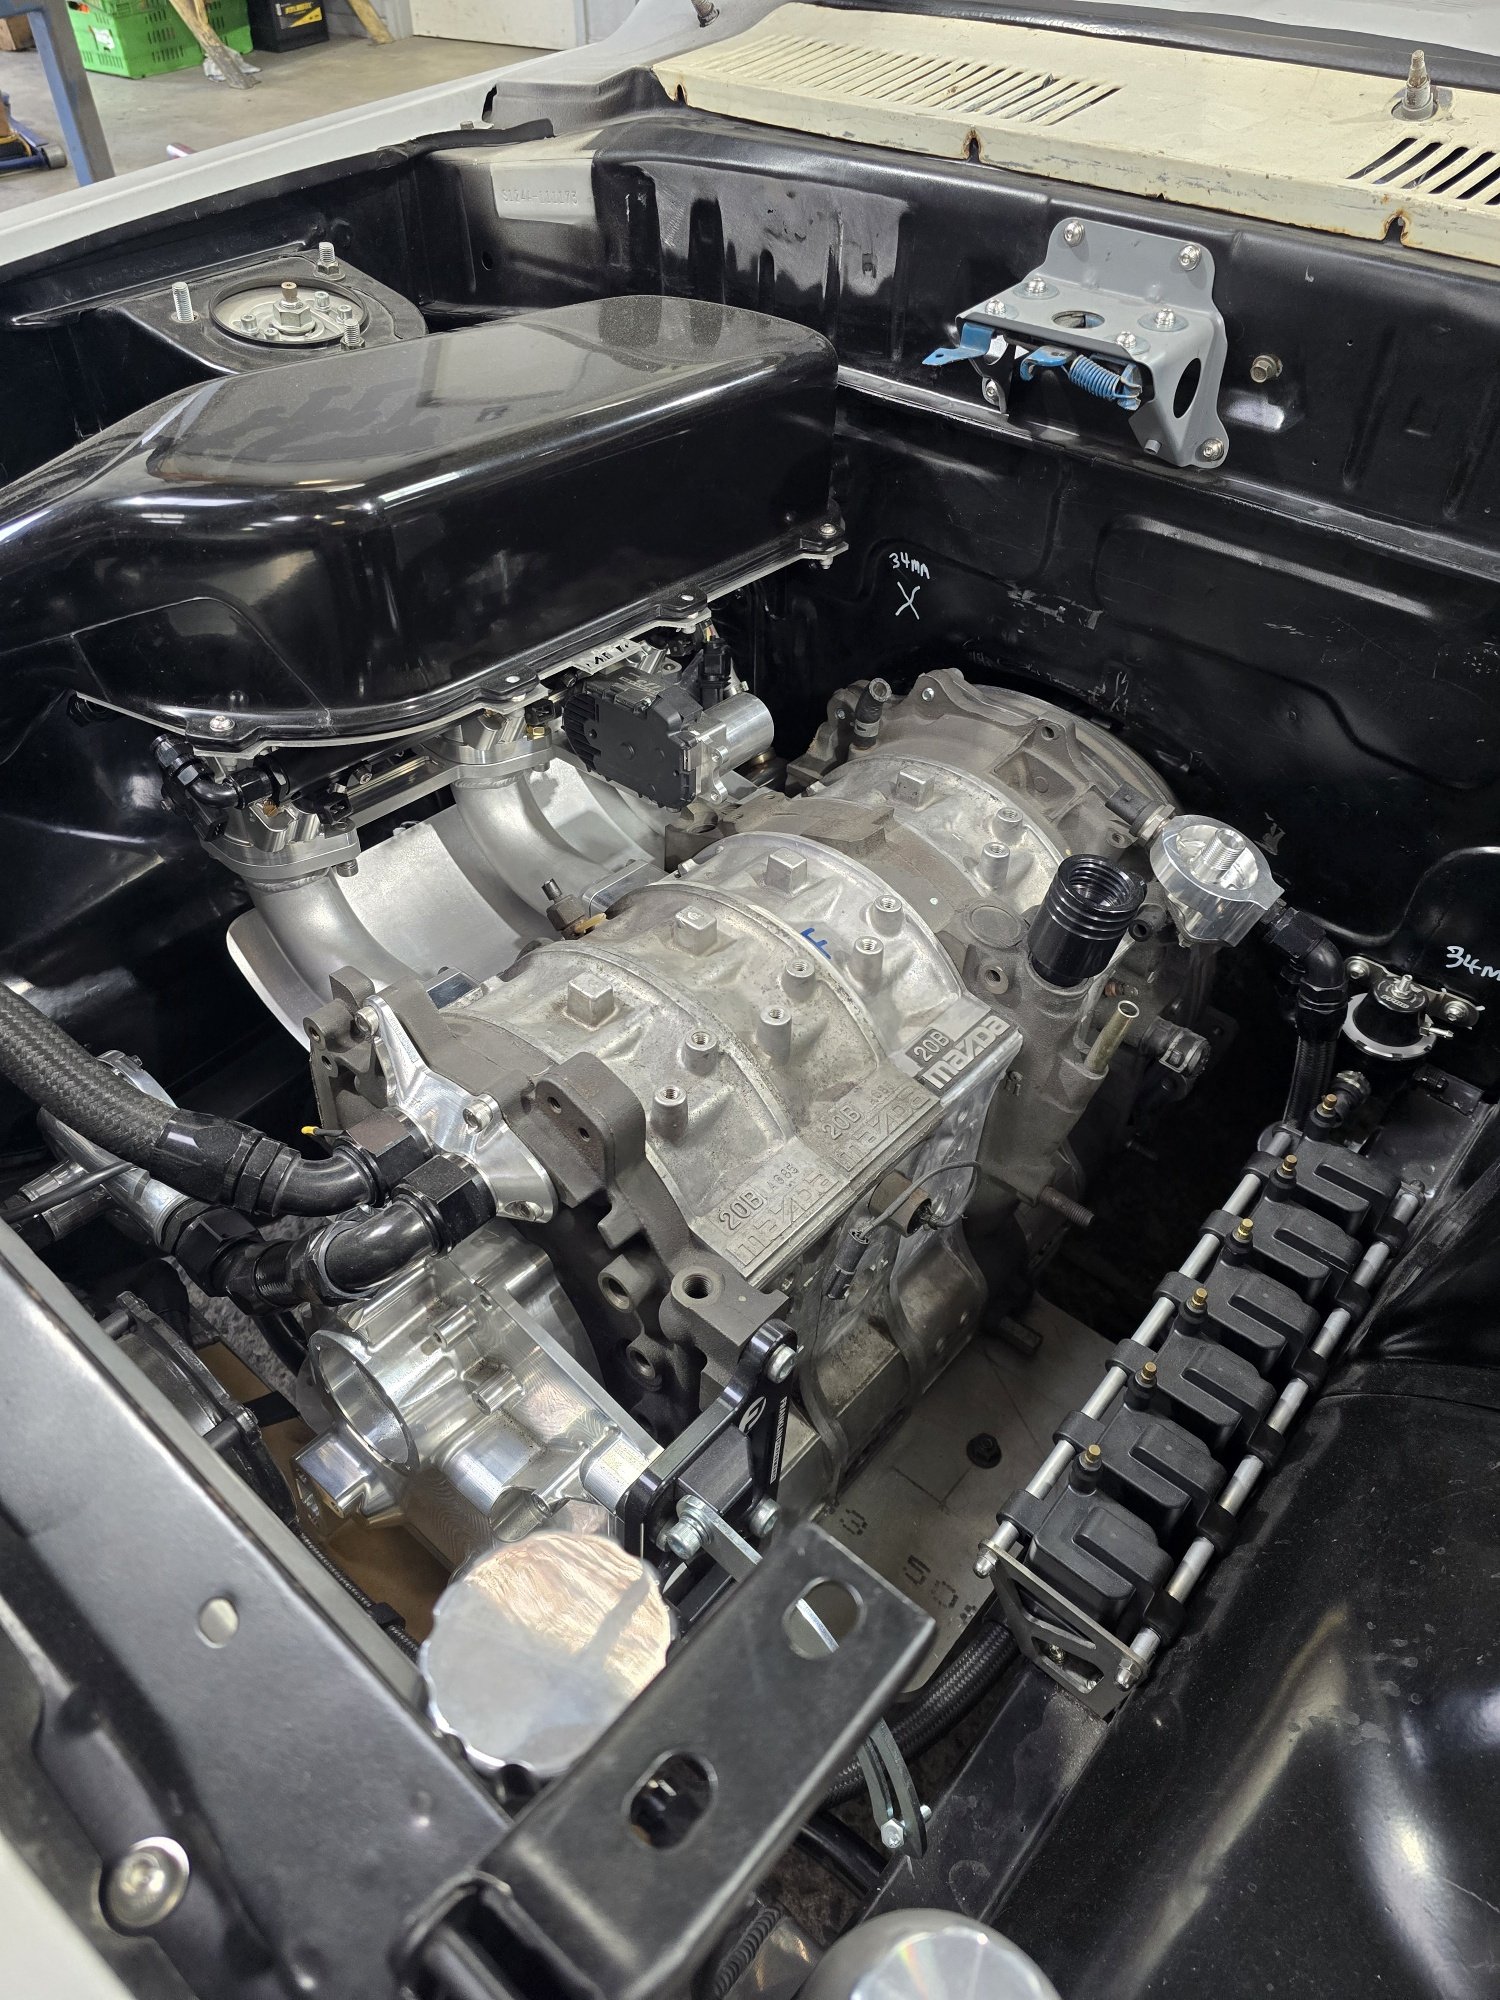
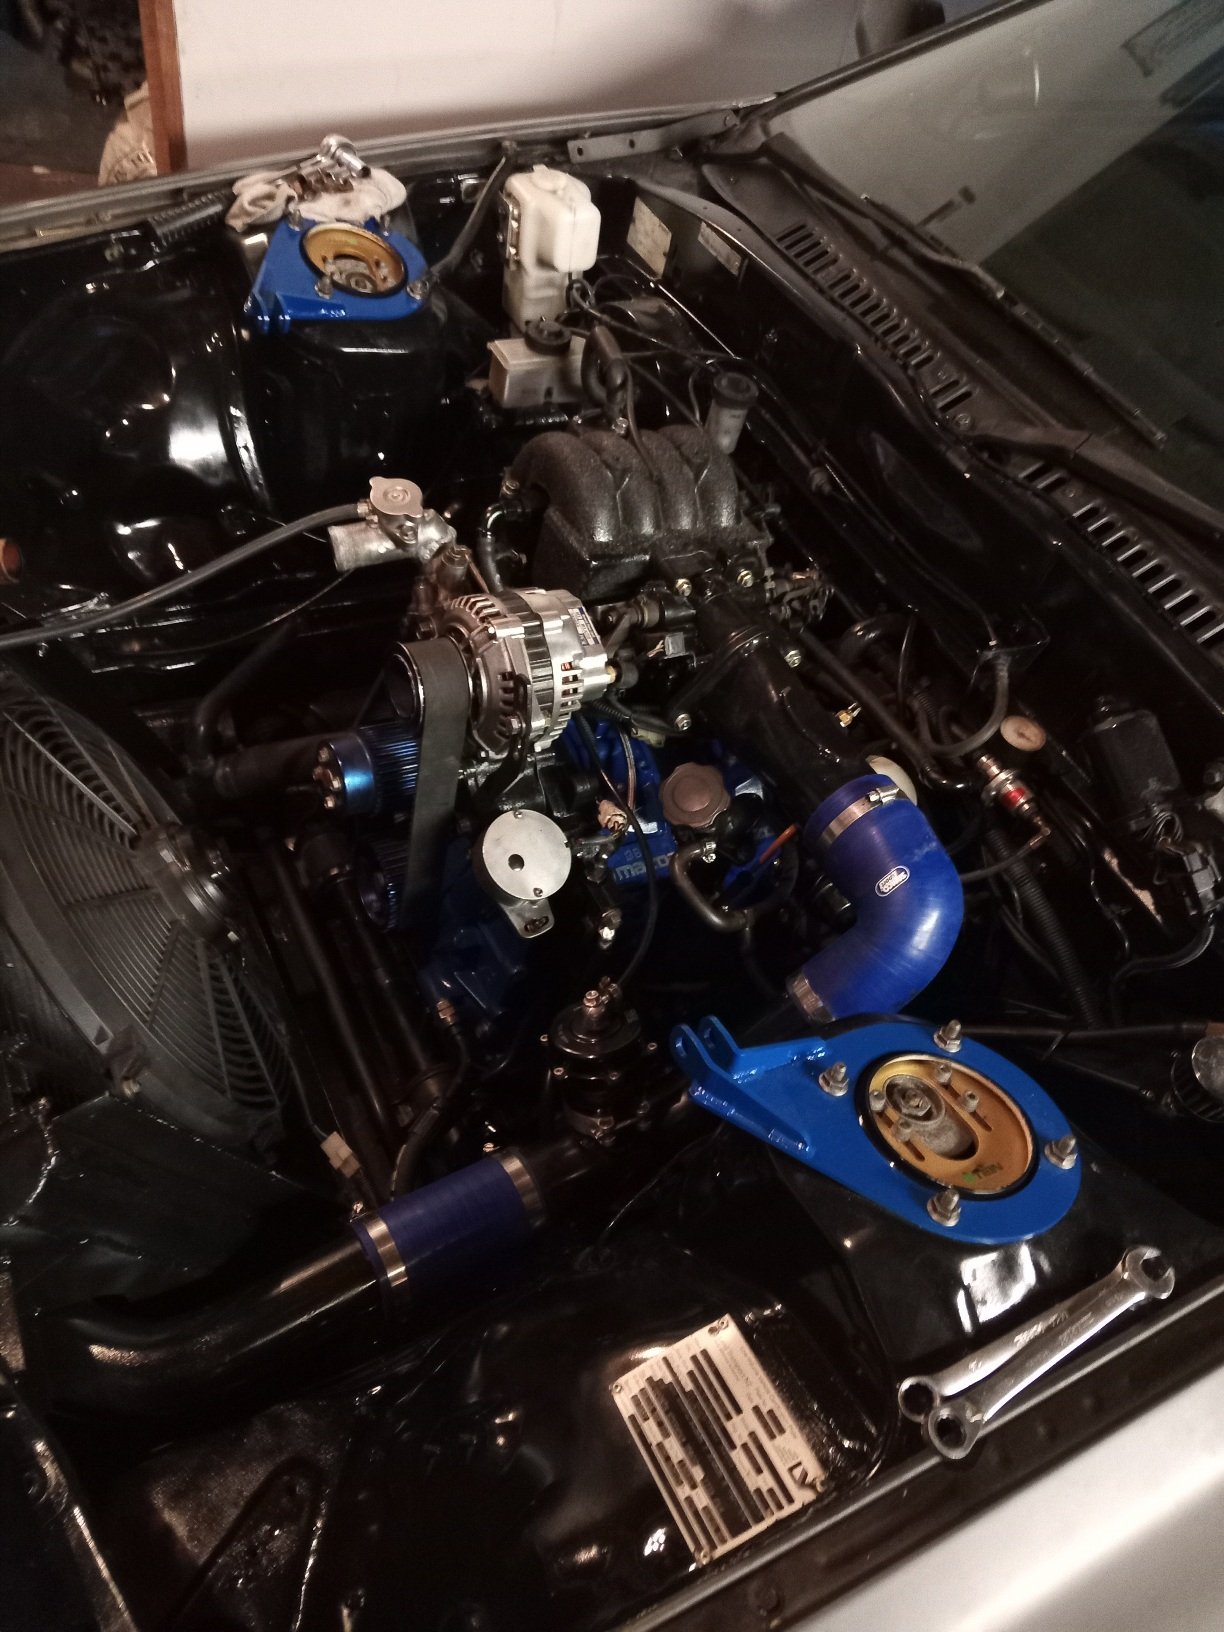
Ok so that took longer than expected, had some issues, some my fault, but we got there at the end, Gavin really did help troubleshoot the issues, I highly reccomend him as a tuner, the problems were hard to pin down, but now the car is running a lt10c microtech ecu. It has fuel, oil and boost pressure safety limits set up, and cold running limits, I have guages for these but if something happens quickly the ecu will protect the engine. Also new coils, leads, and I completely re wired the loom to improve on the old setup, and new injector plugs because the old ones were corroded and in poor condition, the new x4 box that came with the ecu somehow was faulty and that got replaced with the old x4 box. Everything runs great now and a run in tune, making about 385hp at 12psi boost and low rev limit, i believe 7.5k rpm, plenty more to be had but it's really not necessary for now.
6 points
-
Yea so I smashed things out a bit today, basically it is all back in now with a bit more shit to bolt on, which I will sort tomorrow. I then have to wait for either the new valve shims I ordered to arrive from the UK, or to take out the shims and get them thinned at Mean Machine, or for some GC to send me what I need somehow. But all of that is at absolute minimum a few days after the 6th so I guess I will be focused on other things. Anyway it was 10 mins to swap the boxes once it was all out. I pulled off that exhaust wrap, it was pretty shitty anyway and mostly fell off. I was getting bored of it getting me itchy everytime I touched it. During the action I stupidly lay down underneath where I had removed it all from the engine while bolting things on and now the crack of my arse itches. What a twat. I also printed some carb plugs which I thought was better than draping a rag over them. So let me know if you have some Fiat shims, 33mm diameter; 3.50/3.50/3.65/3.75 Pretty please.4 points
-
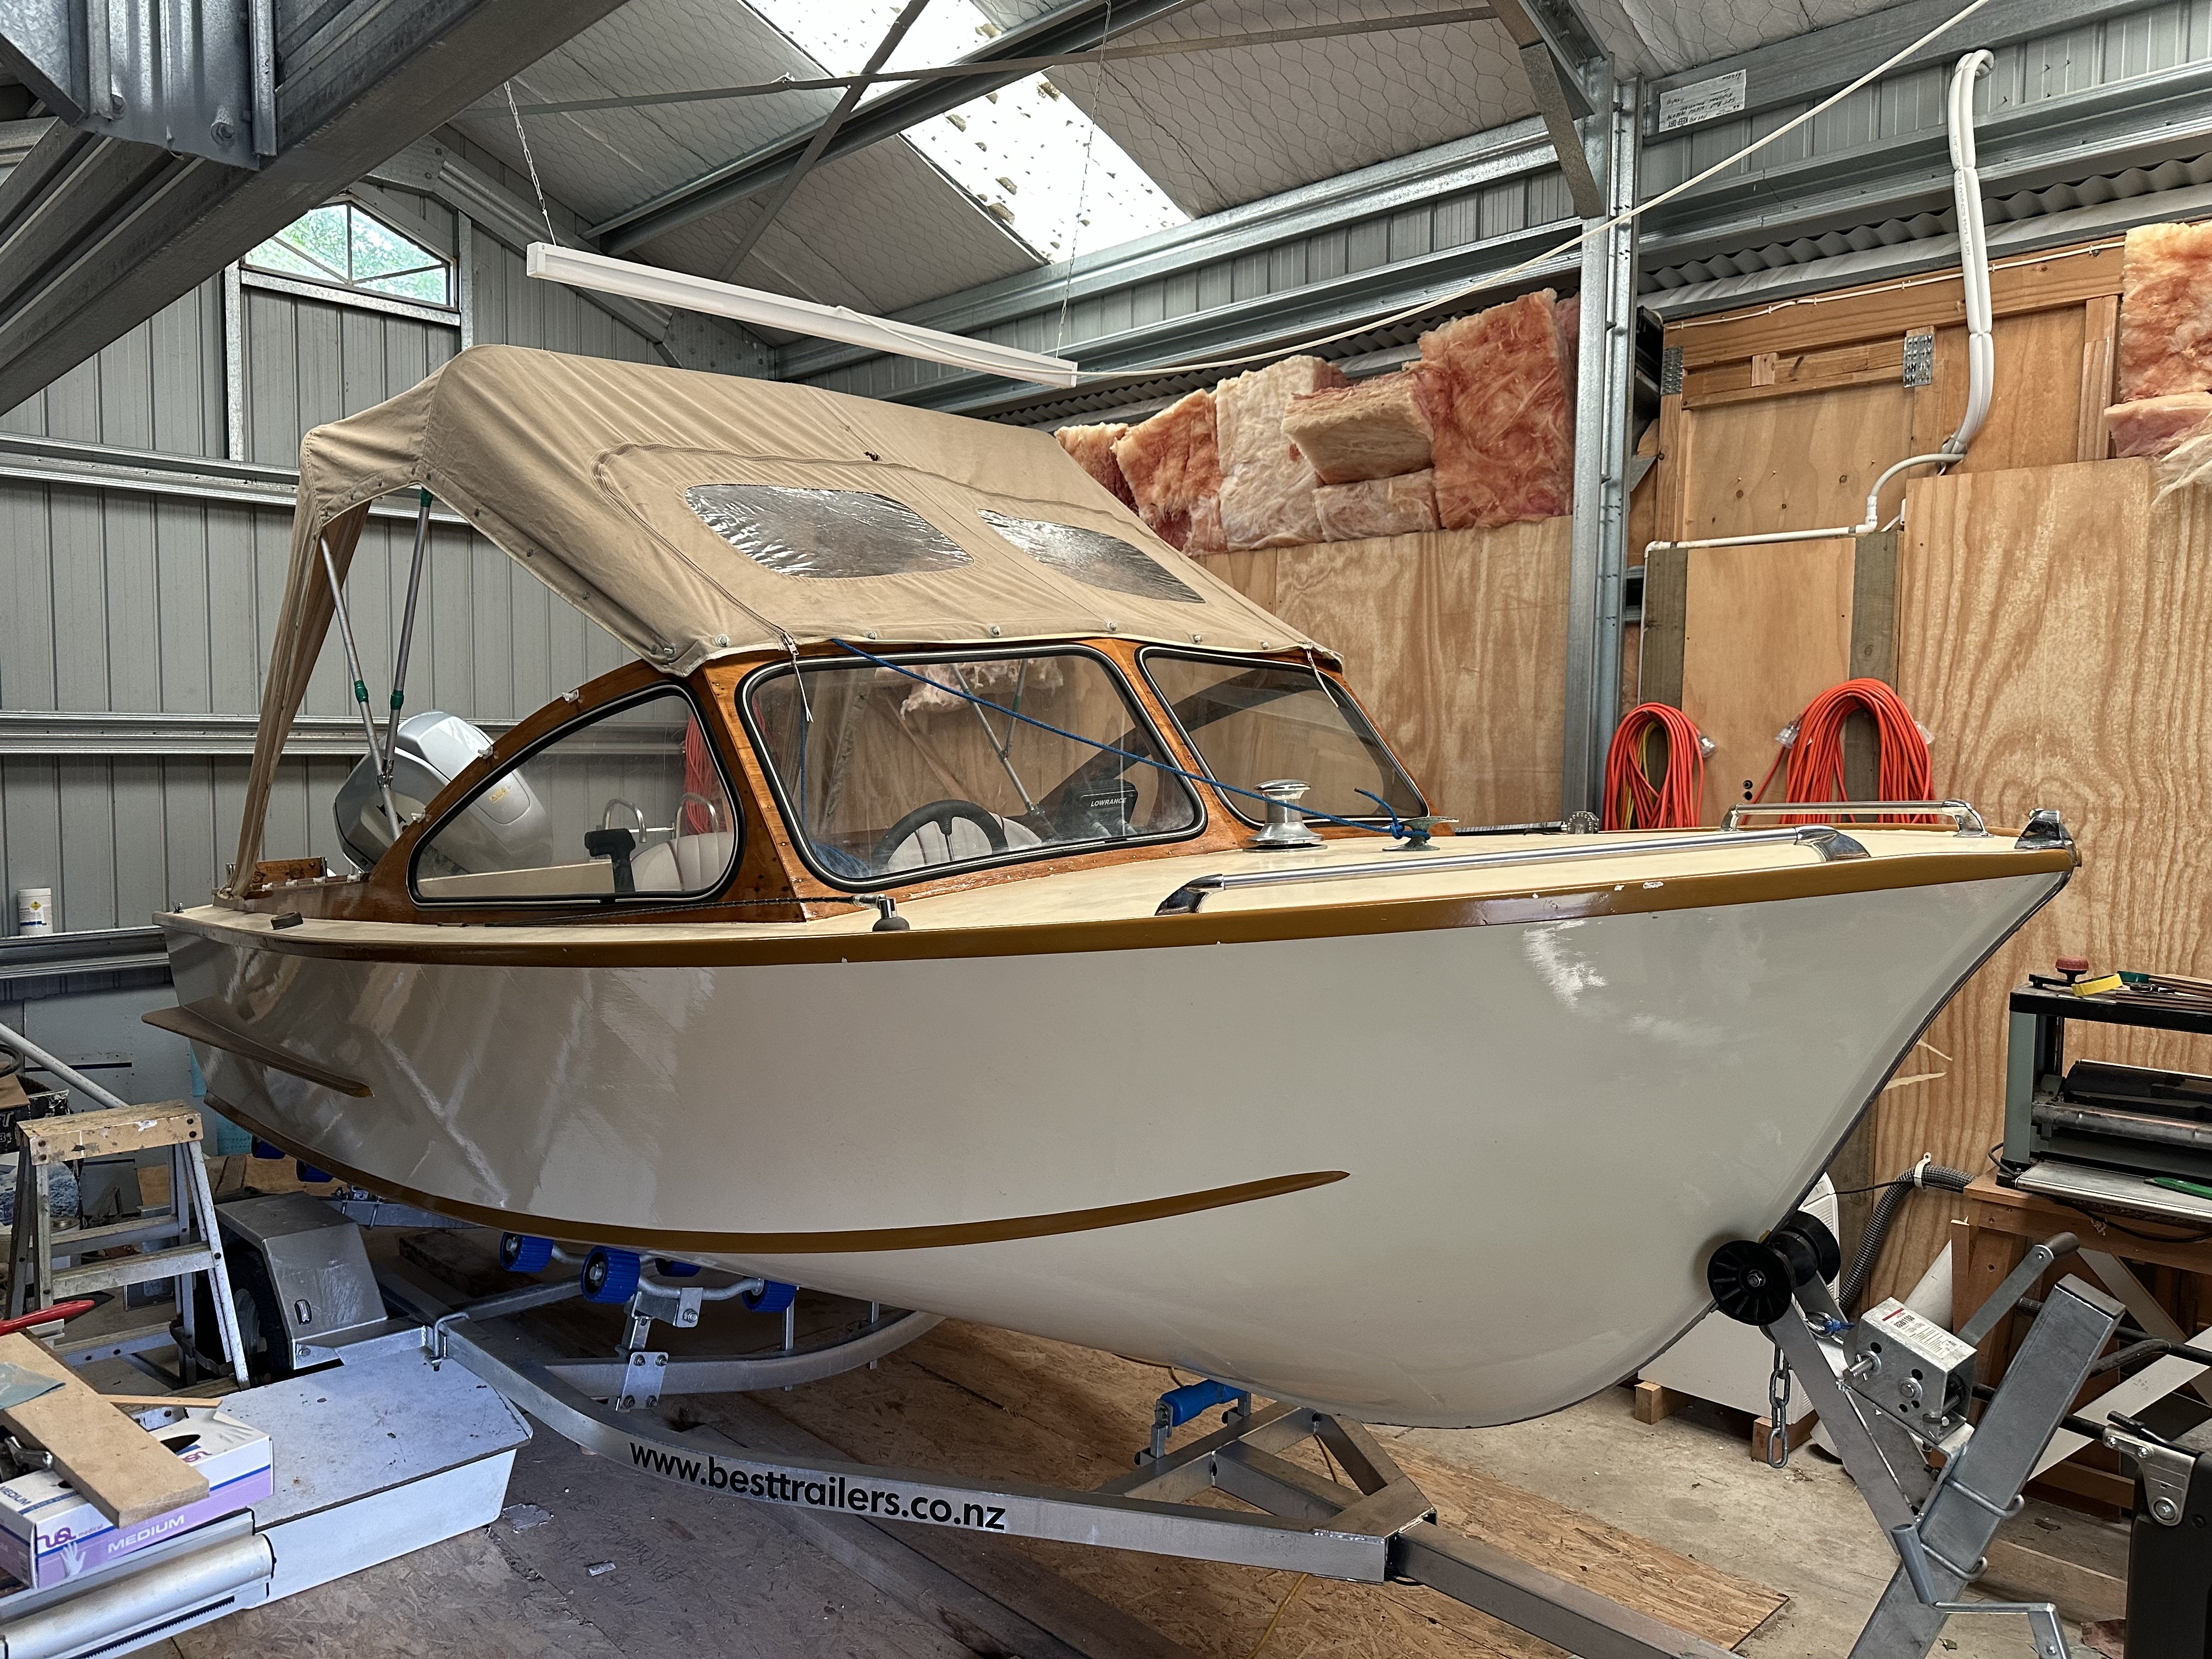
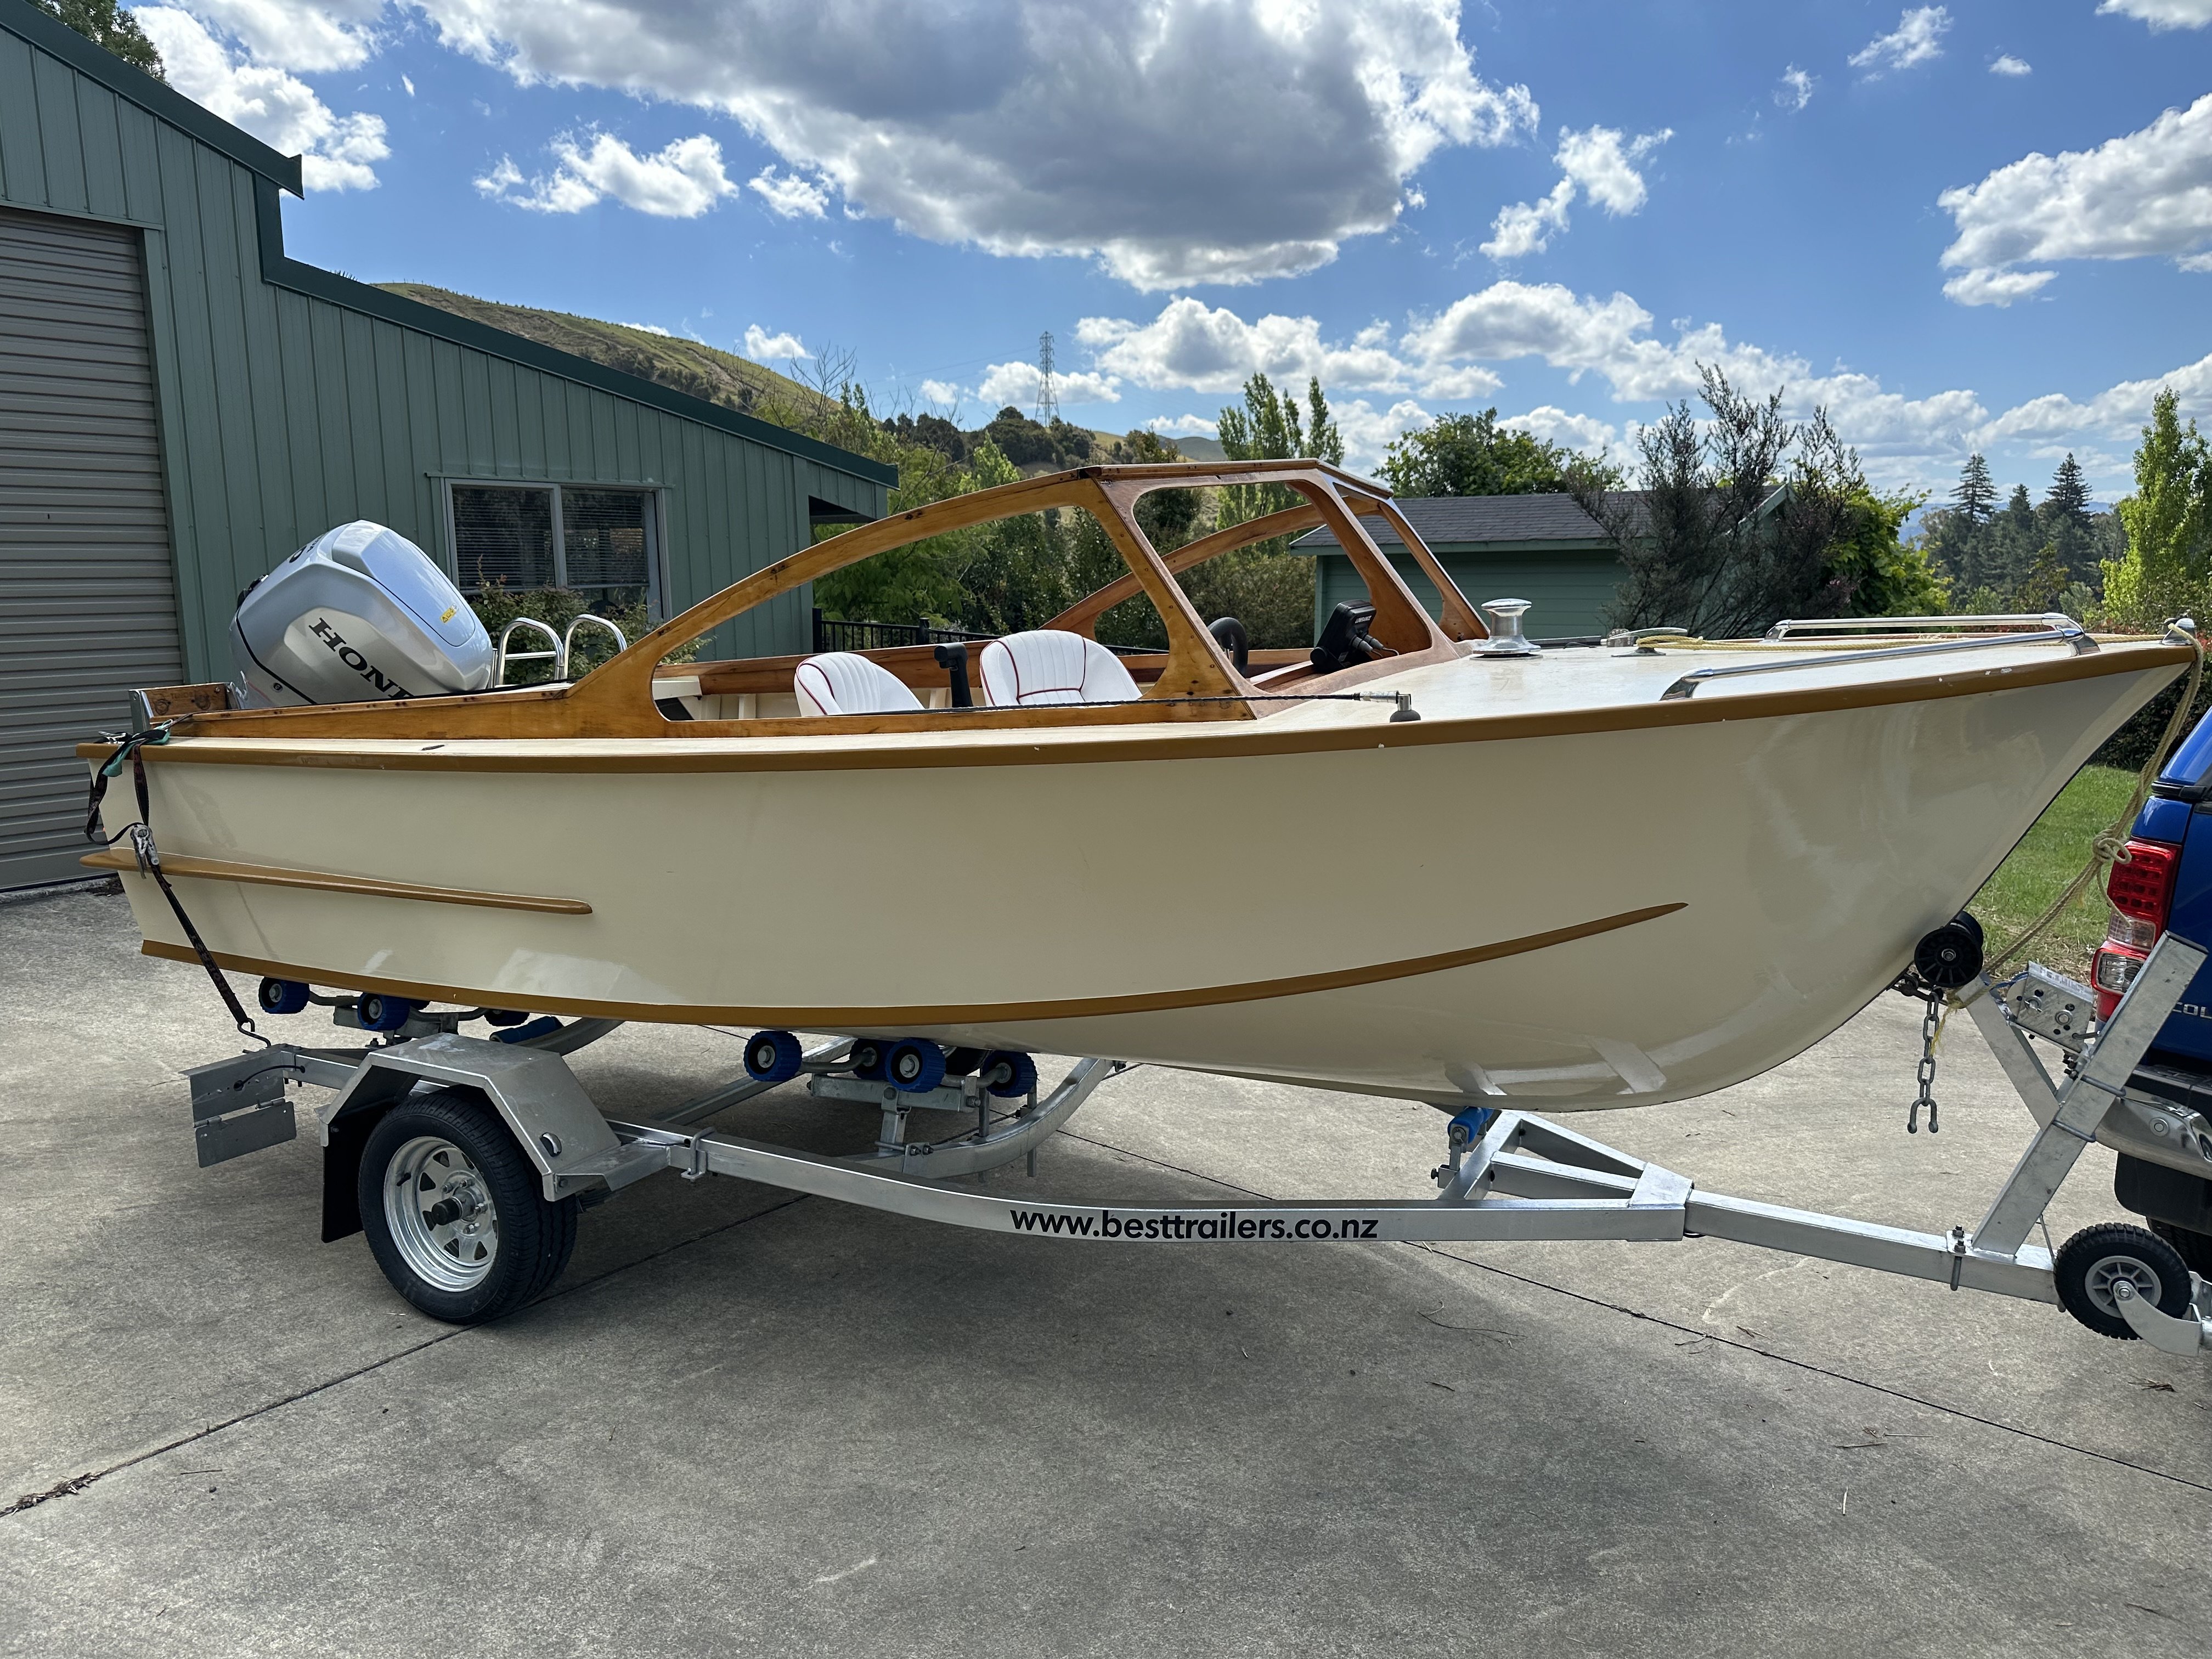
Windows are in and the canopy fitted and it looks like the rats have had a nibble. Little bastards. The canopy has sides and a back that can be fitted. The previous owner must have slept on it as it didn’t have the passenger seat and the bins were a foot longer. Also a lot of other little jobs done. Still a few more to do but we are ready when the weather is obliging.
3 points
-
1450cc and carb eh? What's the static compression ratio on one of these? Do you have a moment to discuss the merits of our lord and savior the belt driven barometric compensator?3 points
-
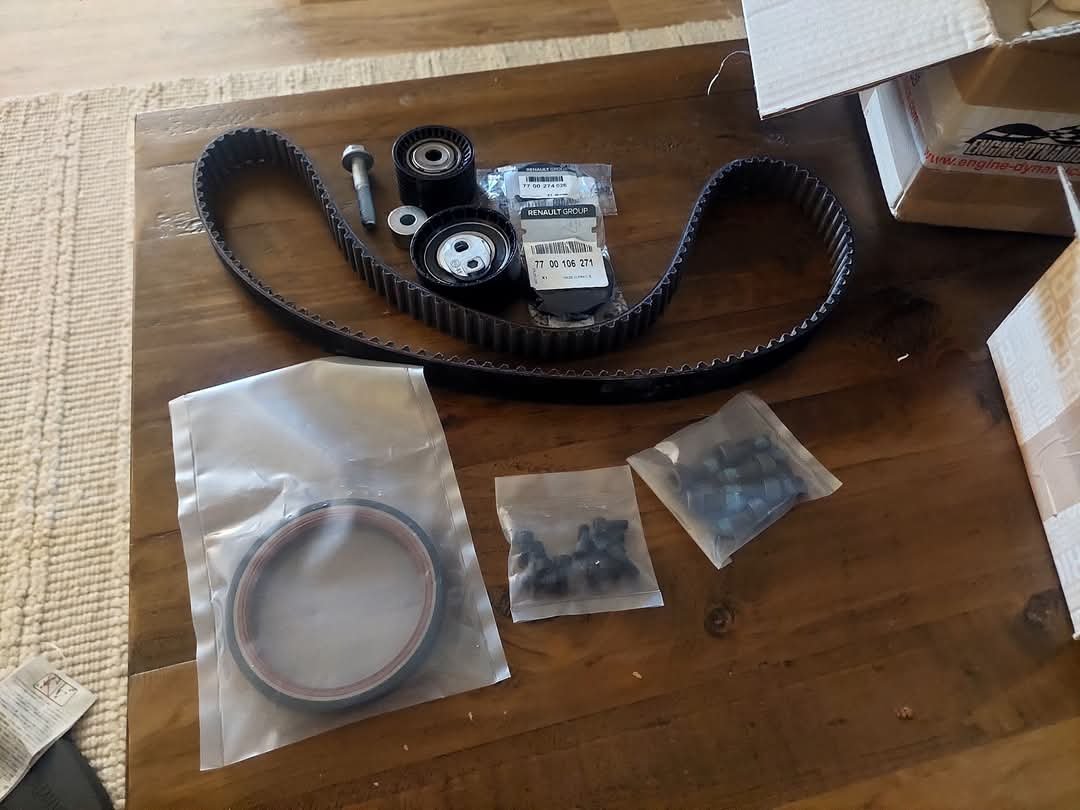
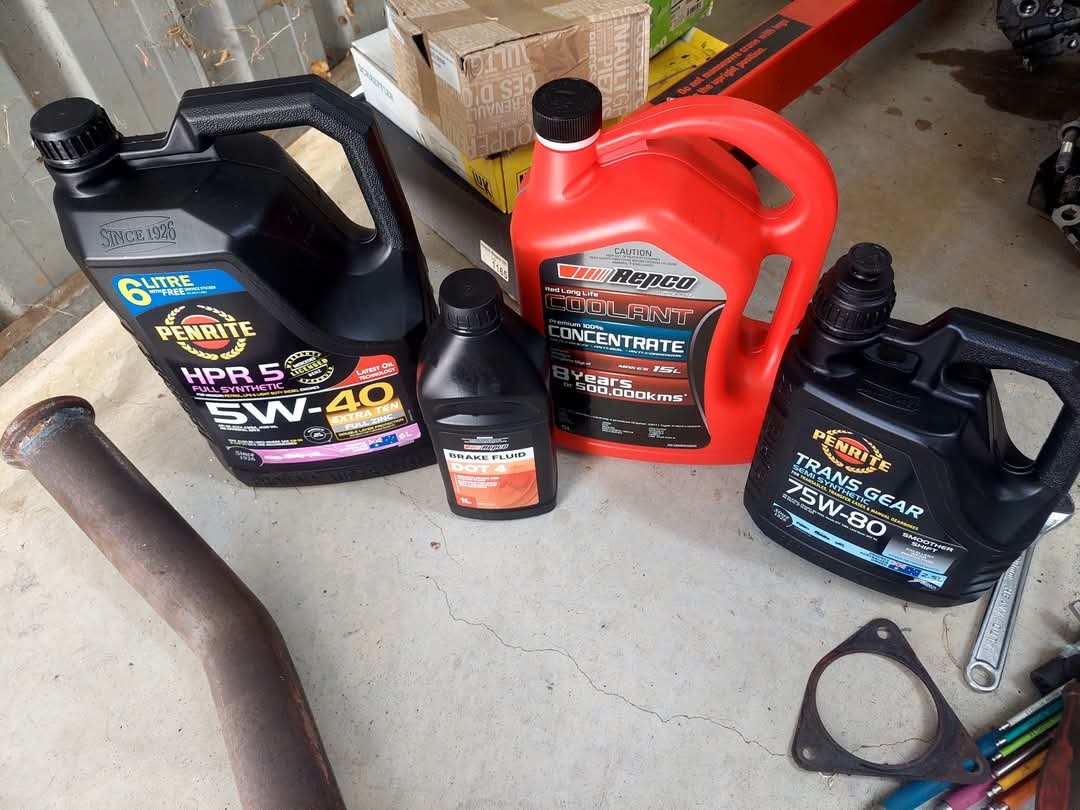
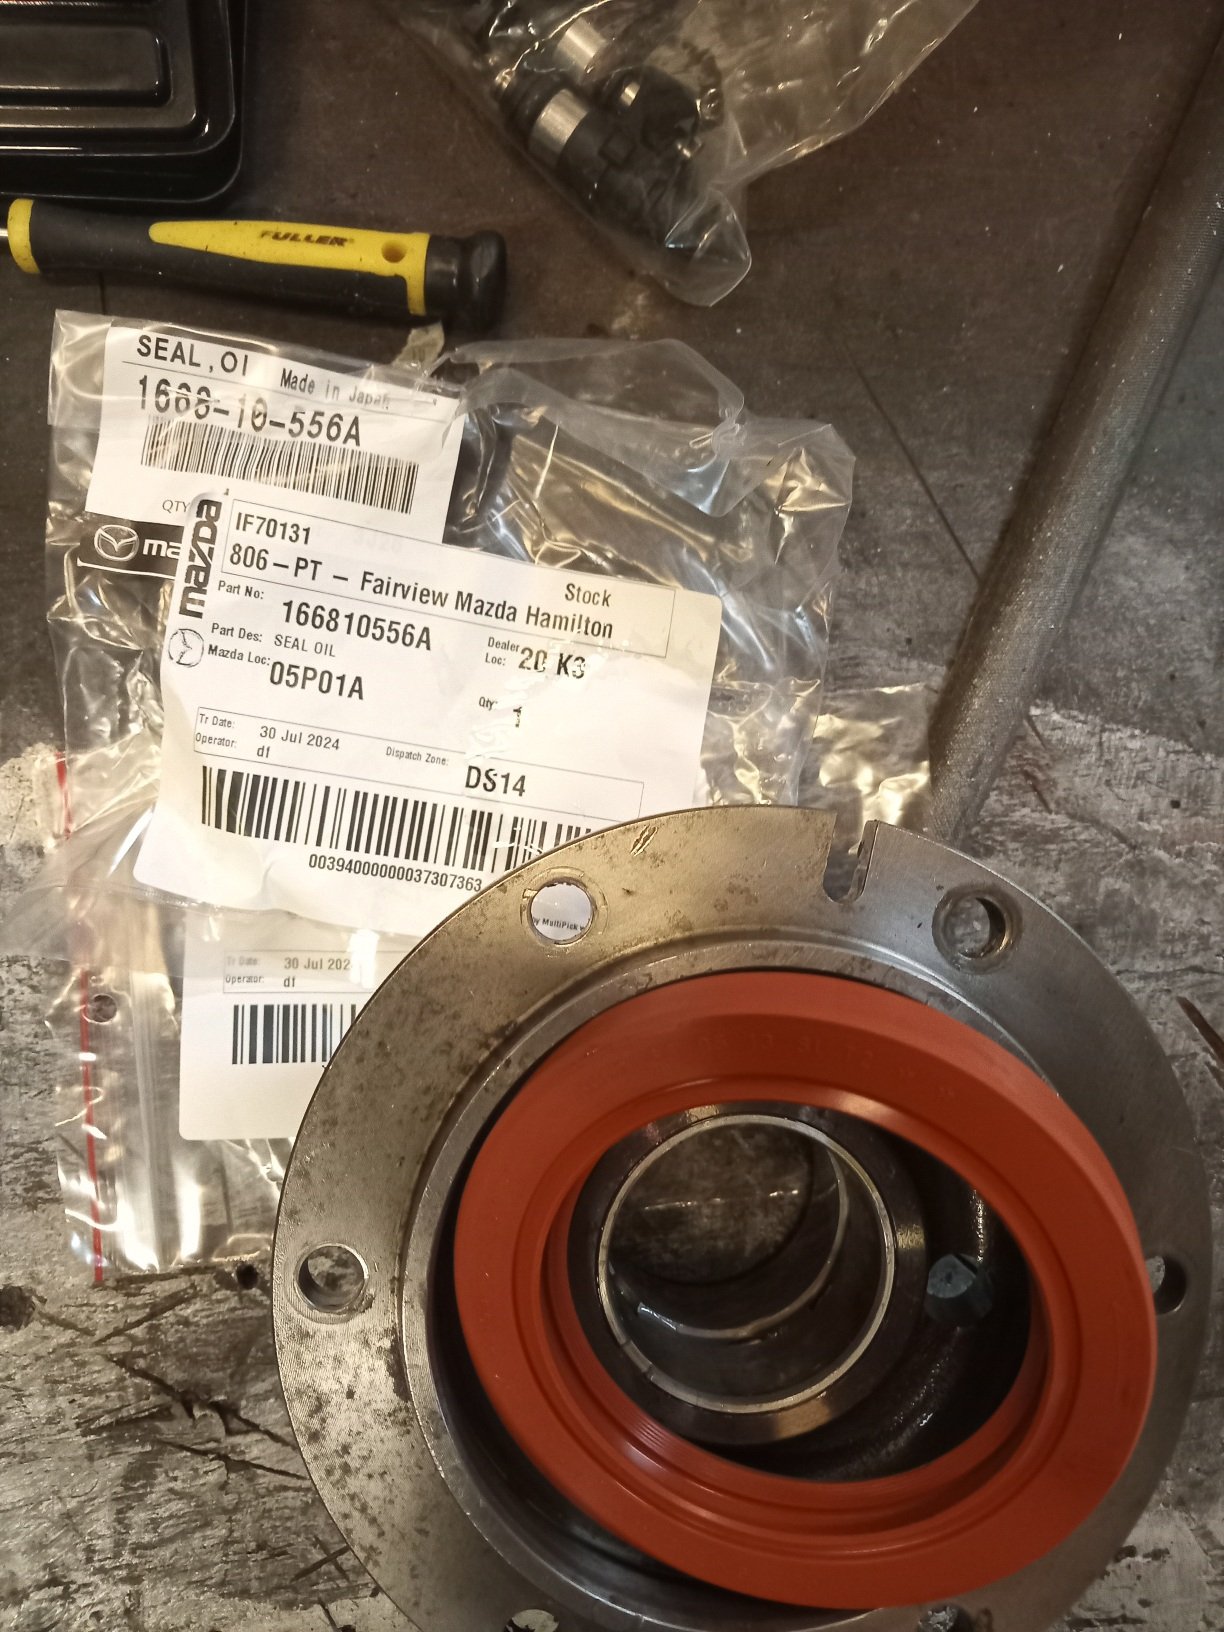
I've been gearing up across the last month in anticipation to try get this thing back together on the xmas/new years break. Parts shipped from rstuning and engine dynamics in the uk, auto Paris and car mods australia over East. Comprised of the timimg kit components, rear main seal, clutch and flywheel bolts, negative battery terminal, engine upper stabilizer mount, engine lower stabilizer mount inserts, rs limited tuning box amd an aem afr gauge kit. Also some oils and fluids from Repco.
3 points
-
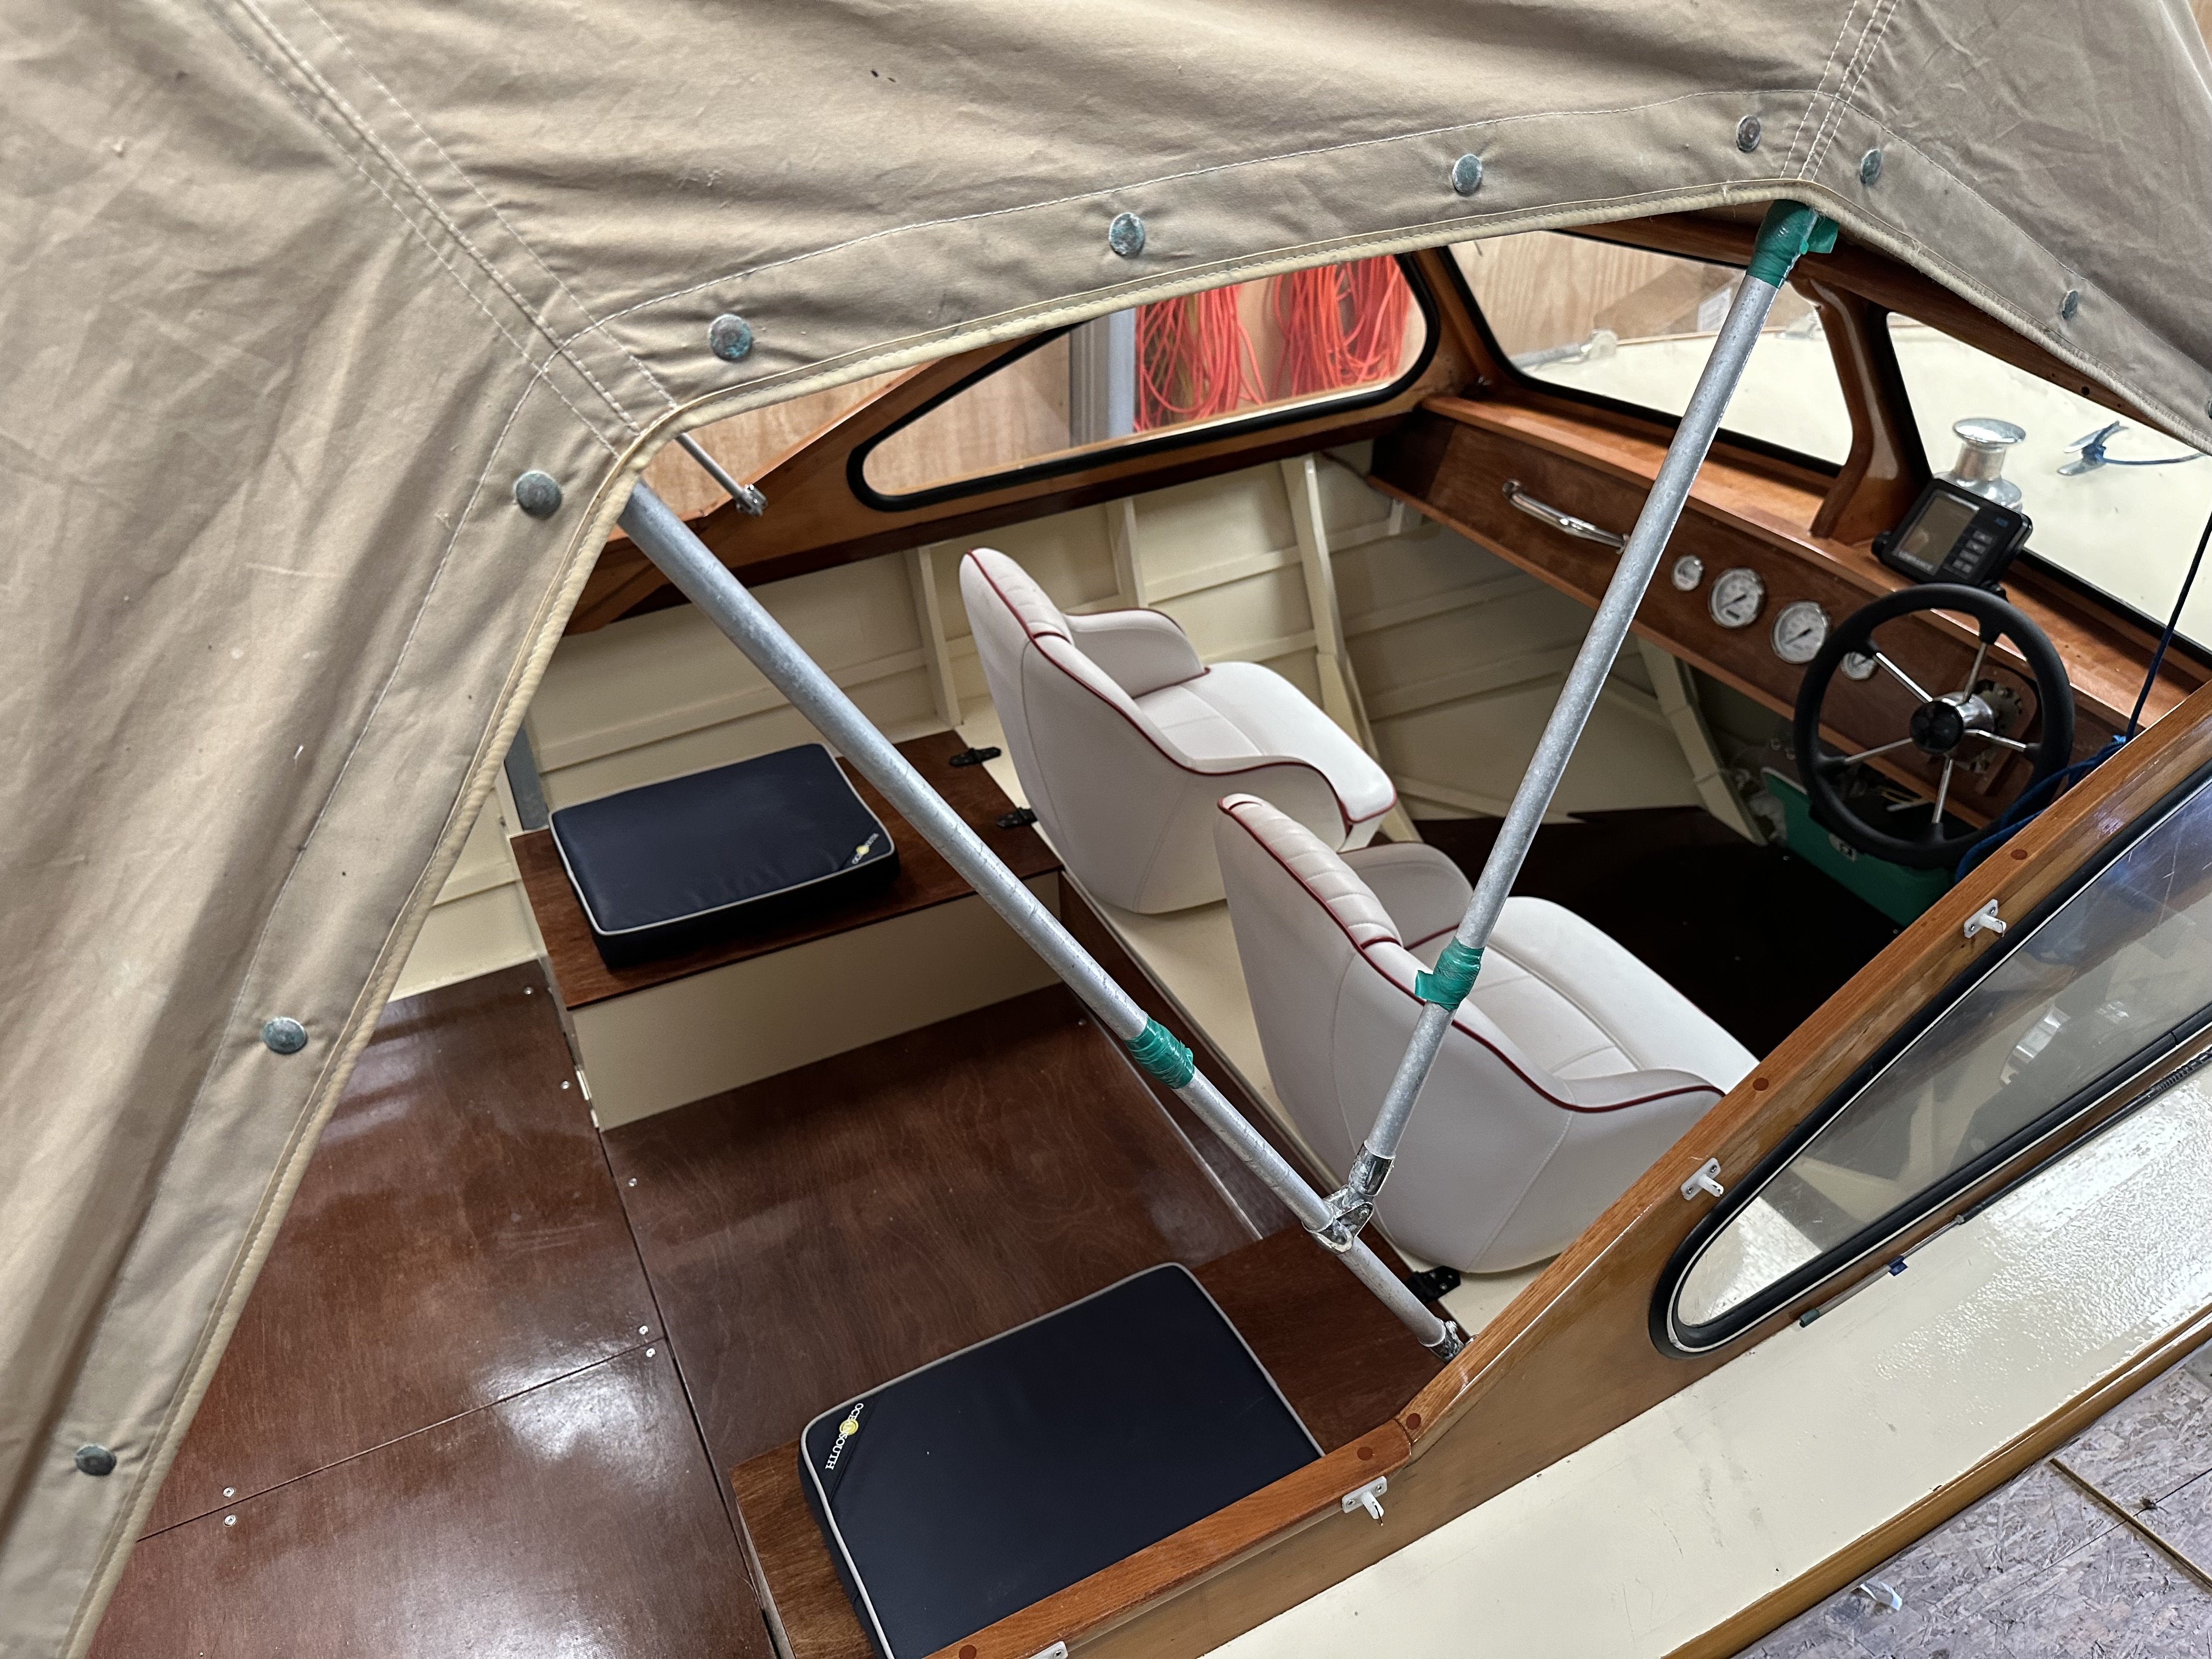
Interior pic. I was going to get squabs made to match the front seats but found these at Burnsco that have domes to hold them in place, so I cheaped out.
2 points
-
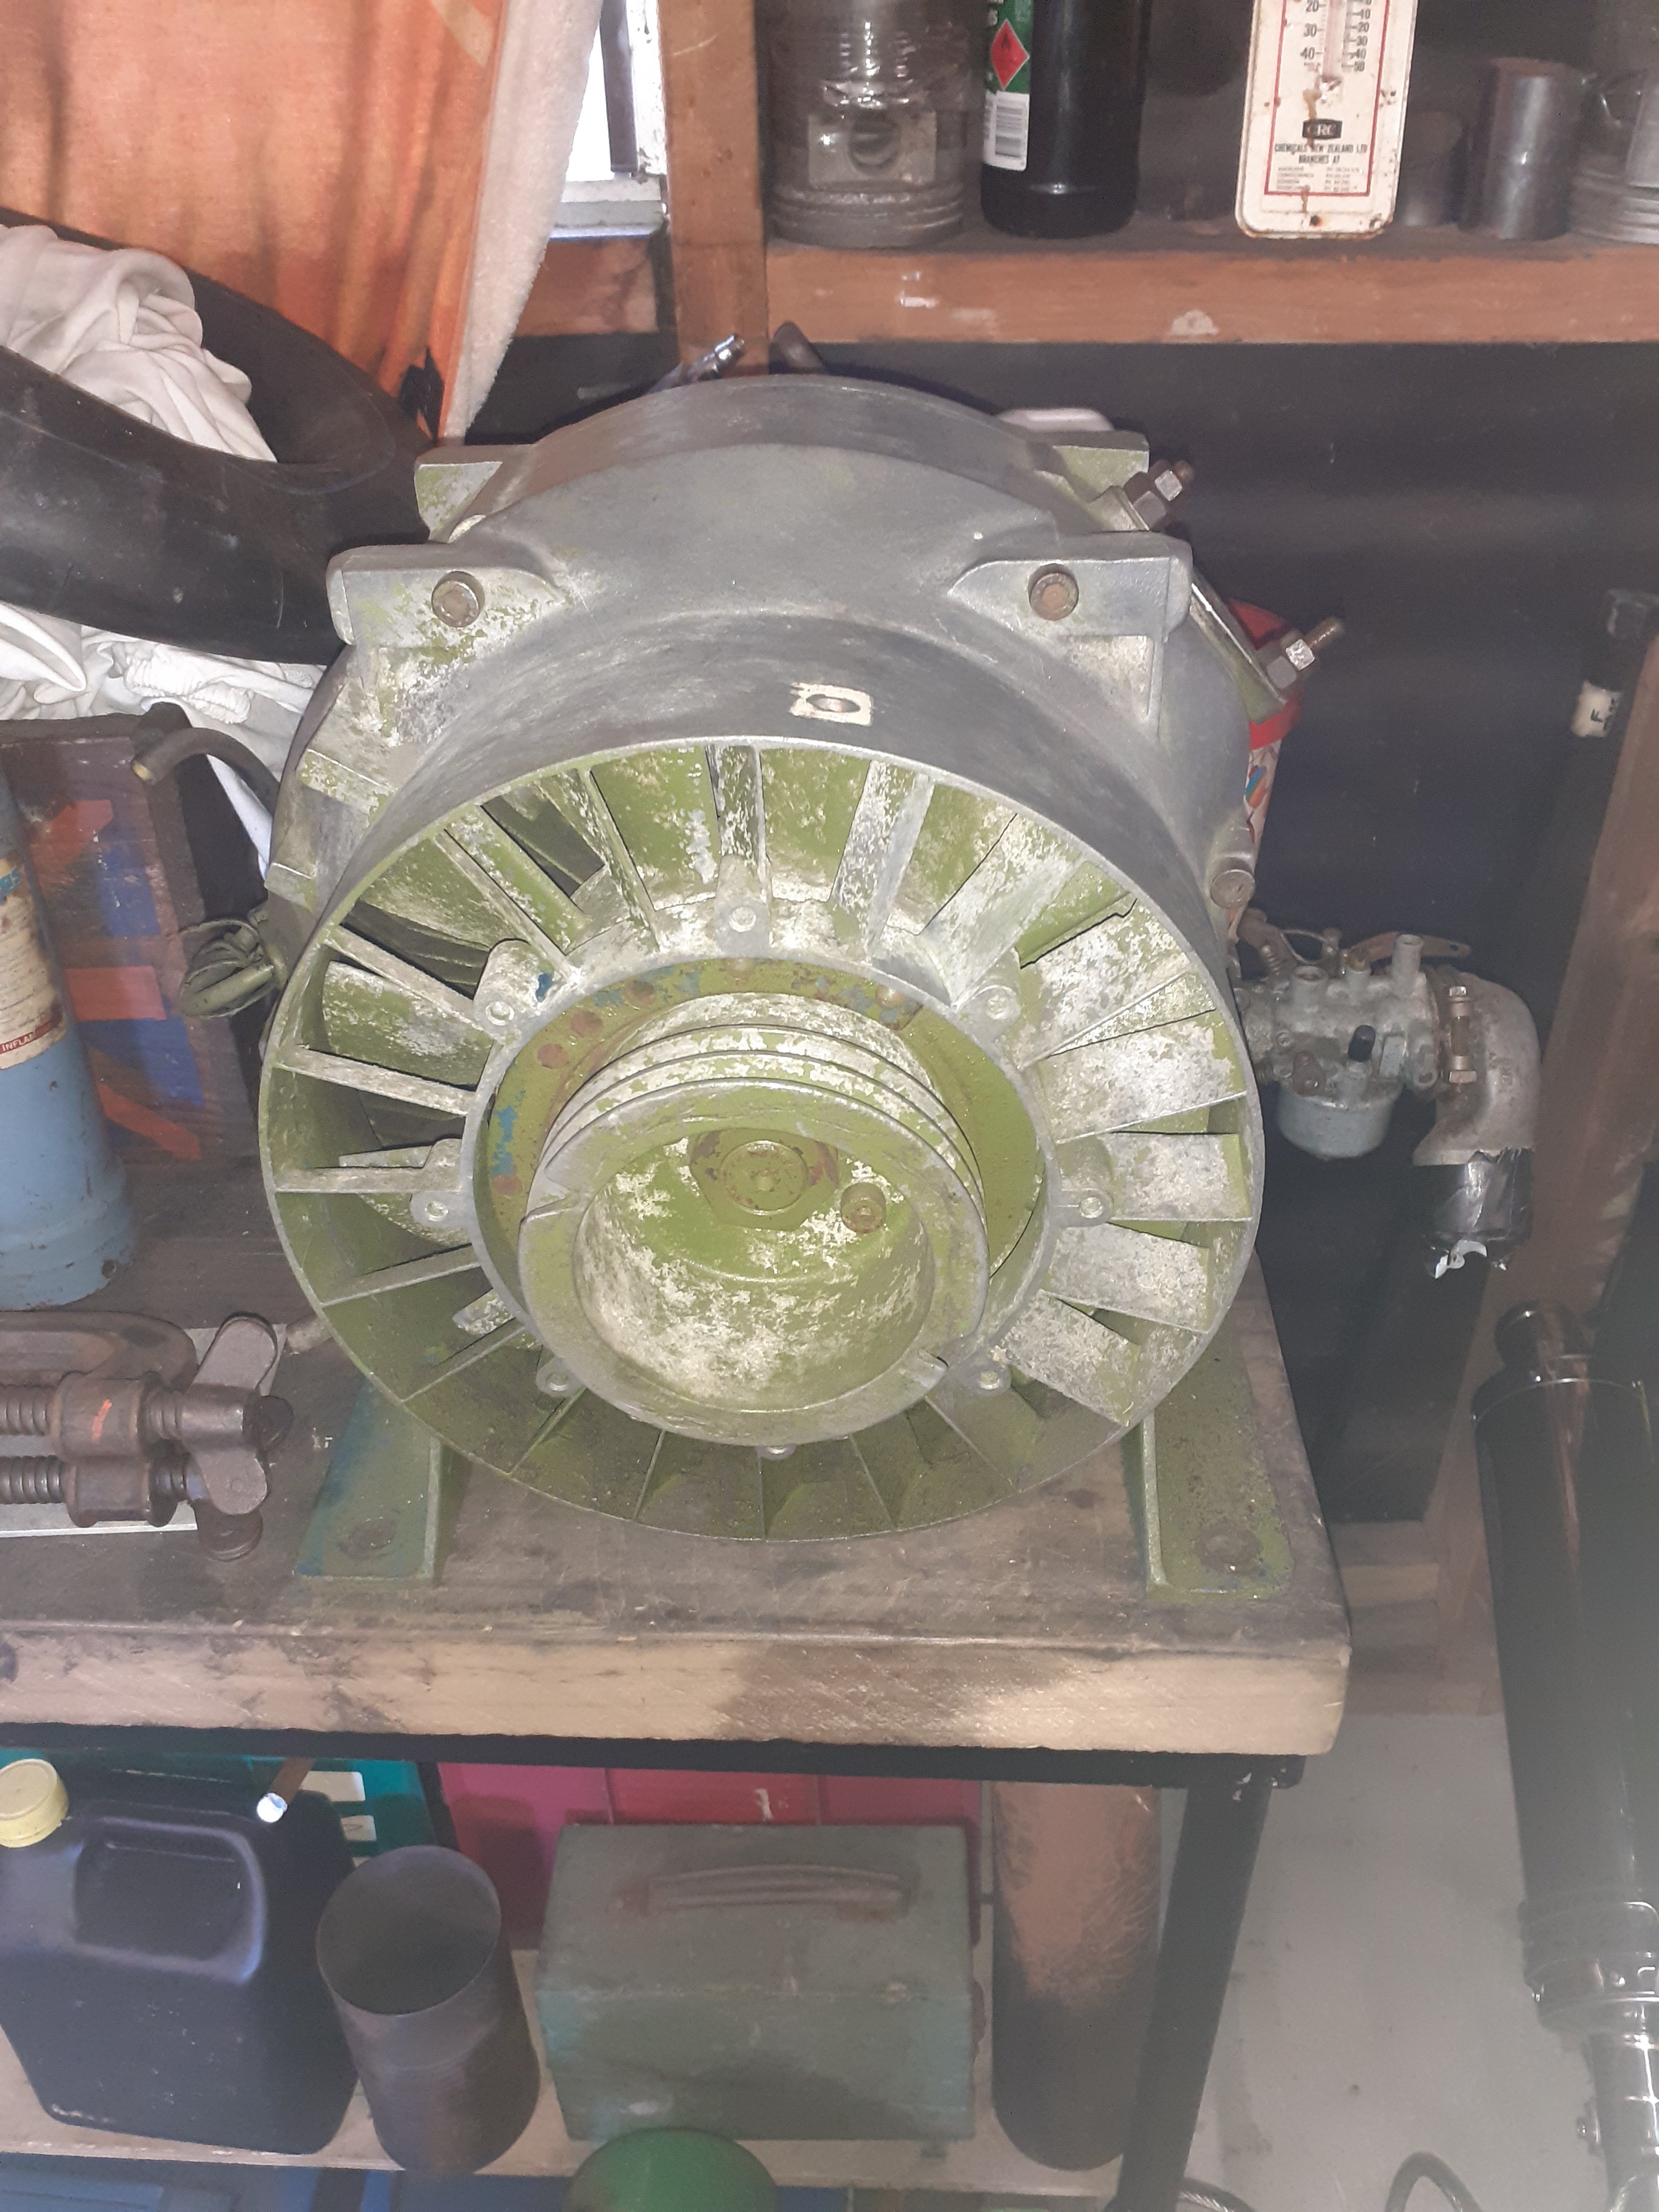
i think some wd40 and some very worn brown scrotchbrite or the fine green colour from a workshop or engineering shop that comes in rolls, will be about the best you will get. they are supposed to be hard chromed but if they are rusted, then i would say there may not be much helping it.2 points
-
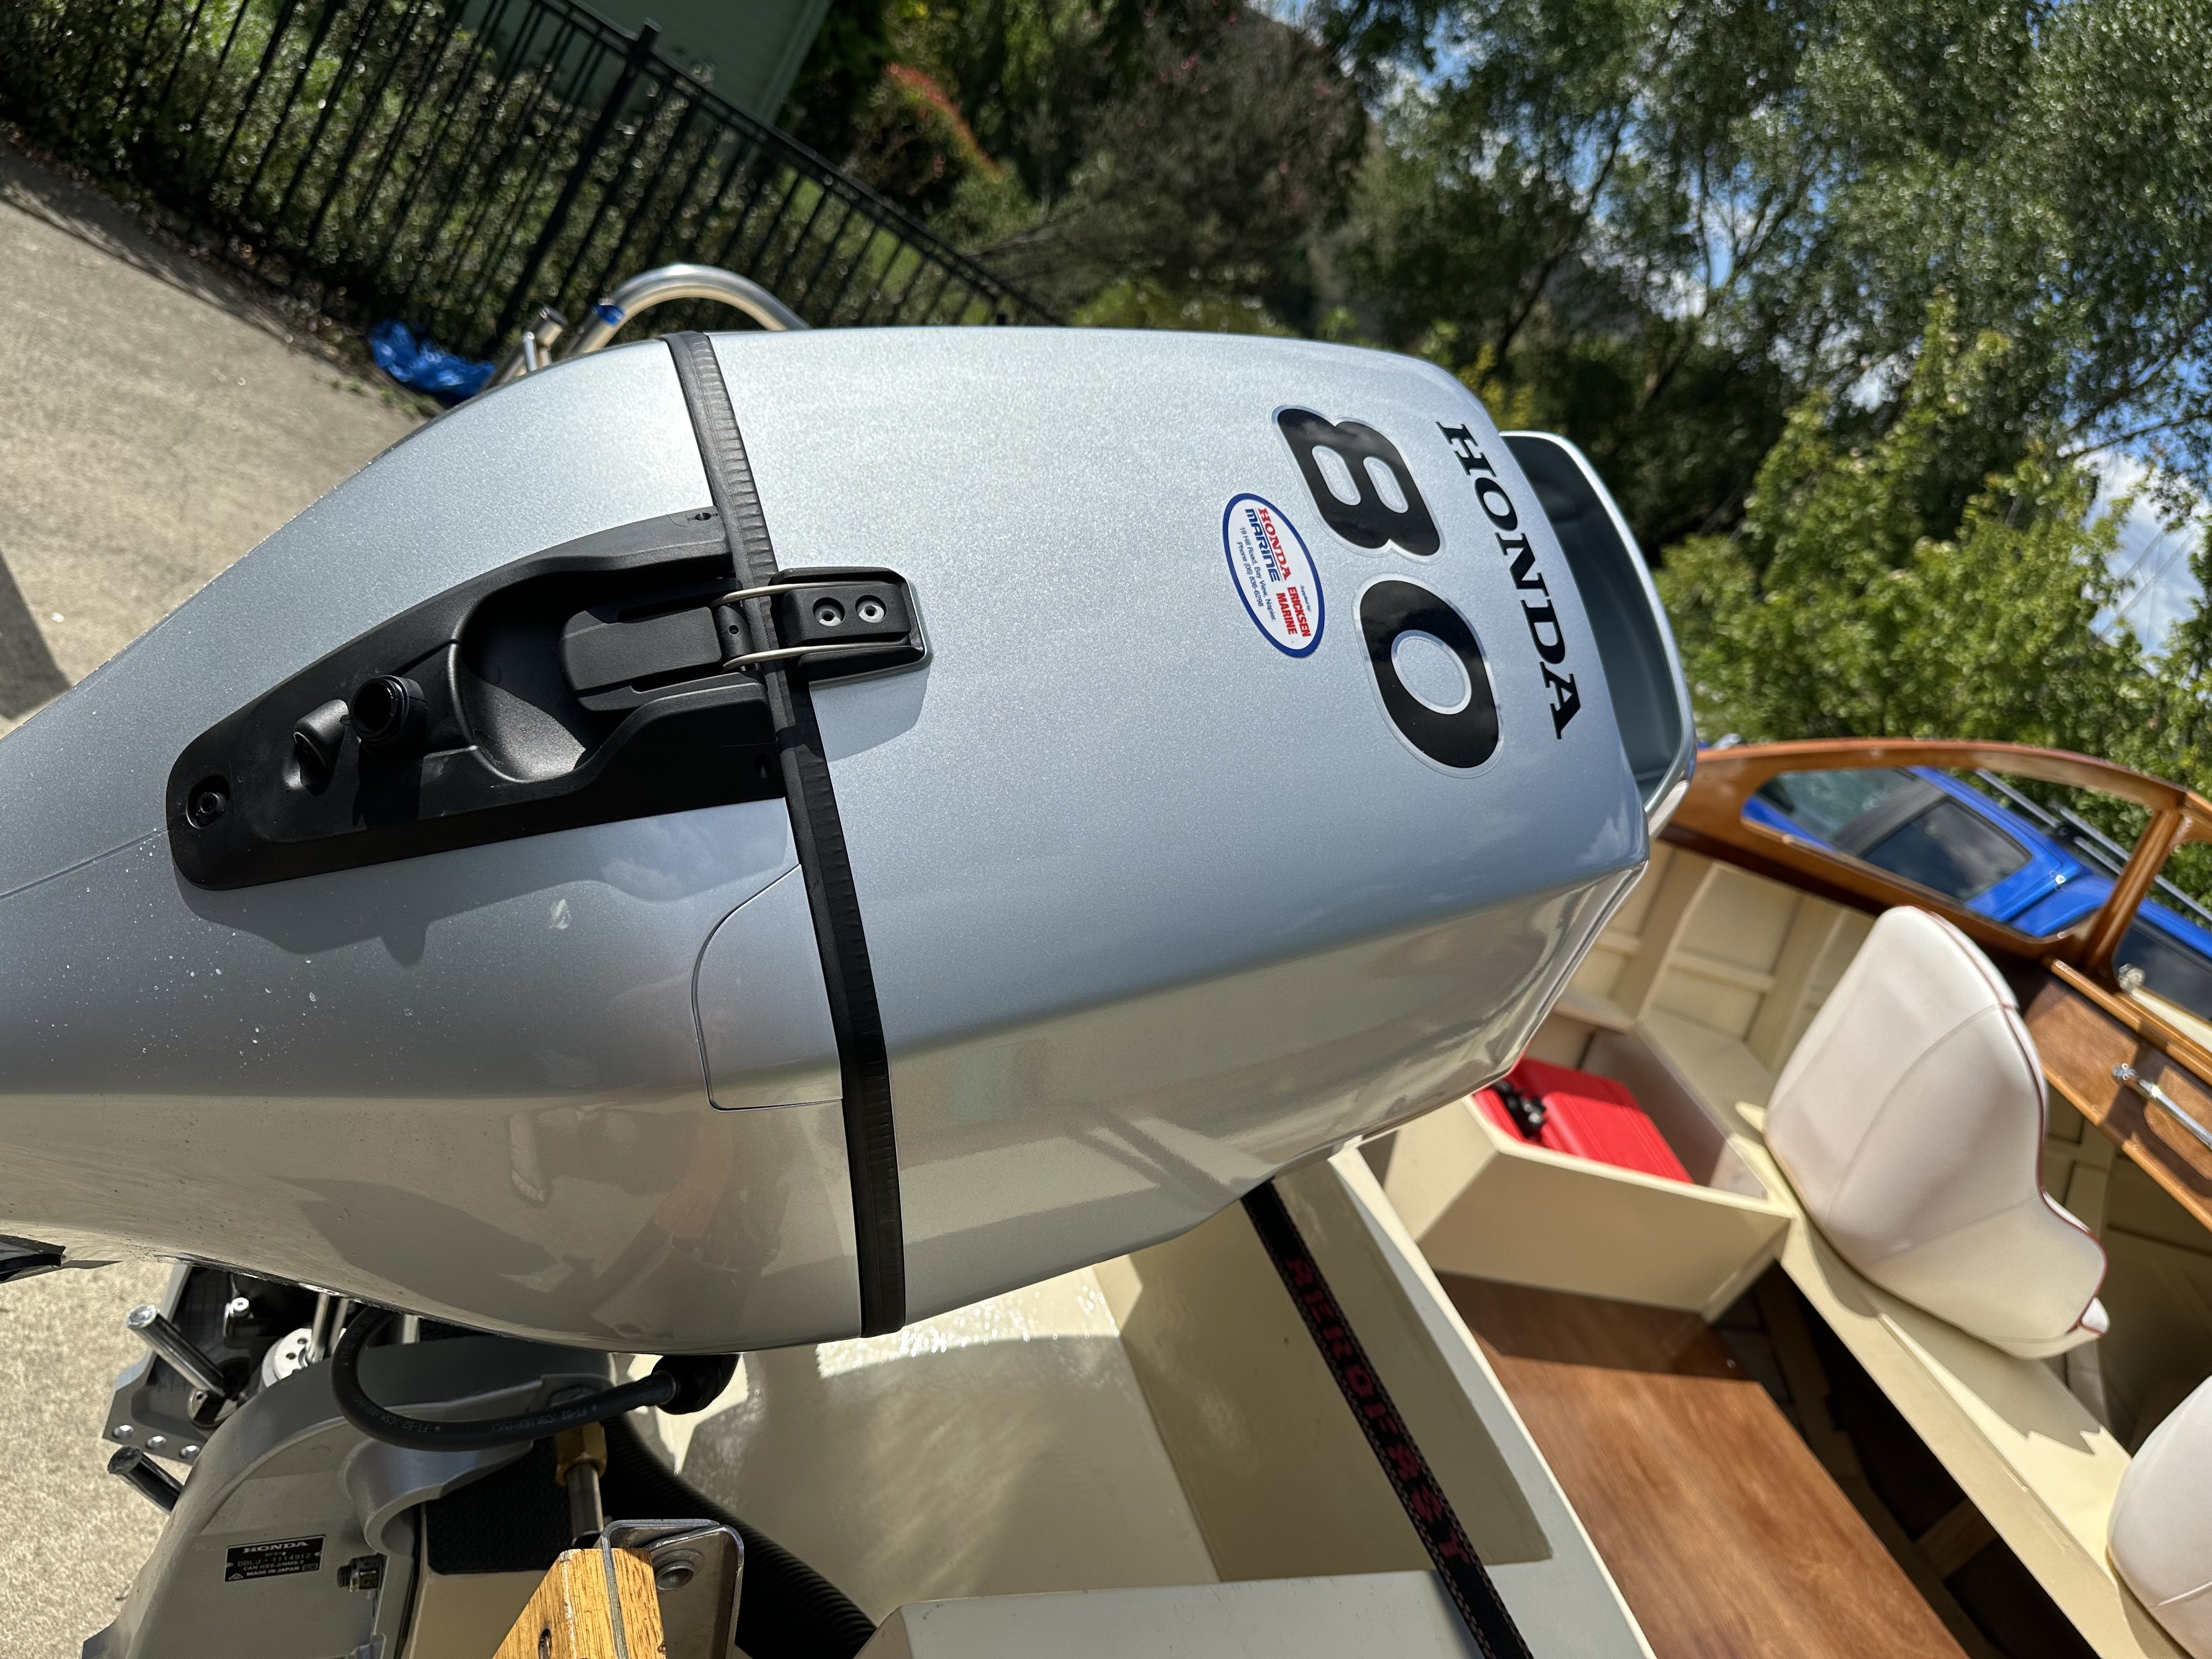
Its back. Ericksen Honda made it happen. Once he found a trailer for it he went to Auckland to get it as it couldn’t be freighted before Xmas. I think he picked up another engine for another boat as well as it wasn’t going to get here before Christmas. He certainly doesn’t muck around. I wouldn’t hesitate to recommend them. Anyway, they took it for a test run in case they need to raise or lower the engine or change the prop. They said with a big grin on their faces that it goes really well and at full power it gets a little bit on the scary side. Now to fit the windows and finish of a few other things before I hit the water. Happy as.
2 points
-
Workmate has a dyna something. He got some mount kit for it to fix the wobble and has ridden it pretty hard 2 up all over the country. I can ask him what kit he got in 2 weeks if your interested.1 point
-
Not sure what comp they are but it's enough to make them sound like they aren't going to start half the time1 point
-
0000 steelwool and petrol/kerosene for chrome rims and motorcycles forks. 2 part epoxy for the pits1 point
-
could be a mix of things, they normally only rust once its chipped through or dents in it and has lifted the chrome. so it could be more filth and grot that looks rusty, unless of course you have already checked it... in which case, never mind but a jolly good scub with some super fine or really worn scotchy and really really soaked wd40 be good for it.1 point
-
Keep a spare known good one or two in the glove box, they've been pretty shit for as long as they've existed.1 point
-
https://youtube.com/shorts/6hPaDBotFME?si=jZJwlUqwGYtoHxpv https://youtu.be/4D4KsOw_sYE?si=HhoGcgXo5Ia-5hLV Also,. Dont use aramex for overseas shipping, took a month to deliver a package1 point
-
I did it once in a honda odyssey at waikaraka park. did the jalopy race going hard in the van and it stopped going on the last lap... didnt quite get to roll over the line and it ended up being i snapped the camshaft right by the spocket. not one dent and was sad i didnt make the derby haha so if i did it again would bother doing the jalopy race1 point
-
I printed some carb spacers for @ynot, he will be able to tell you at some point if they survived the ordeal... Why would I take advice from you when you yourself are so unwilling to accept the clear majority of opinion about the weight balance of the Imp?1 point
-
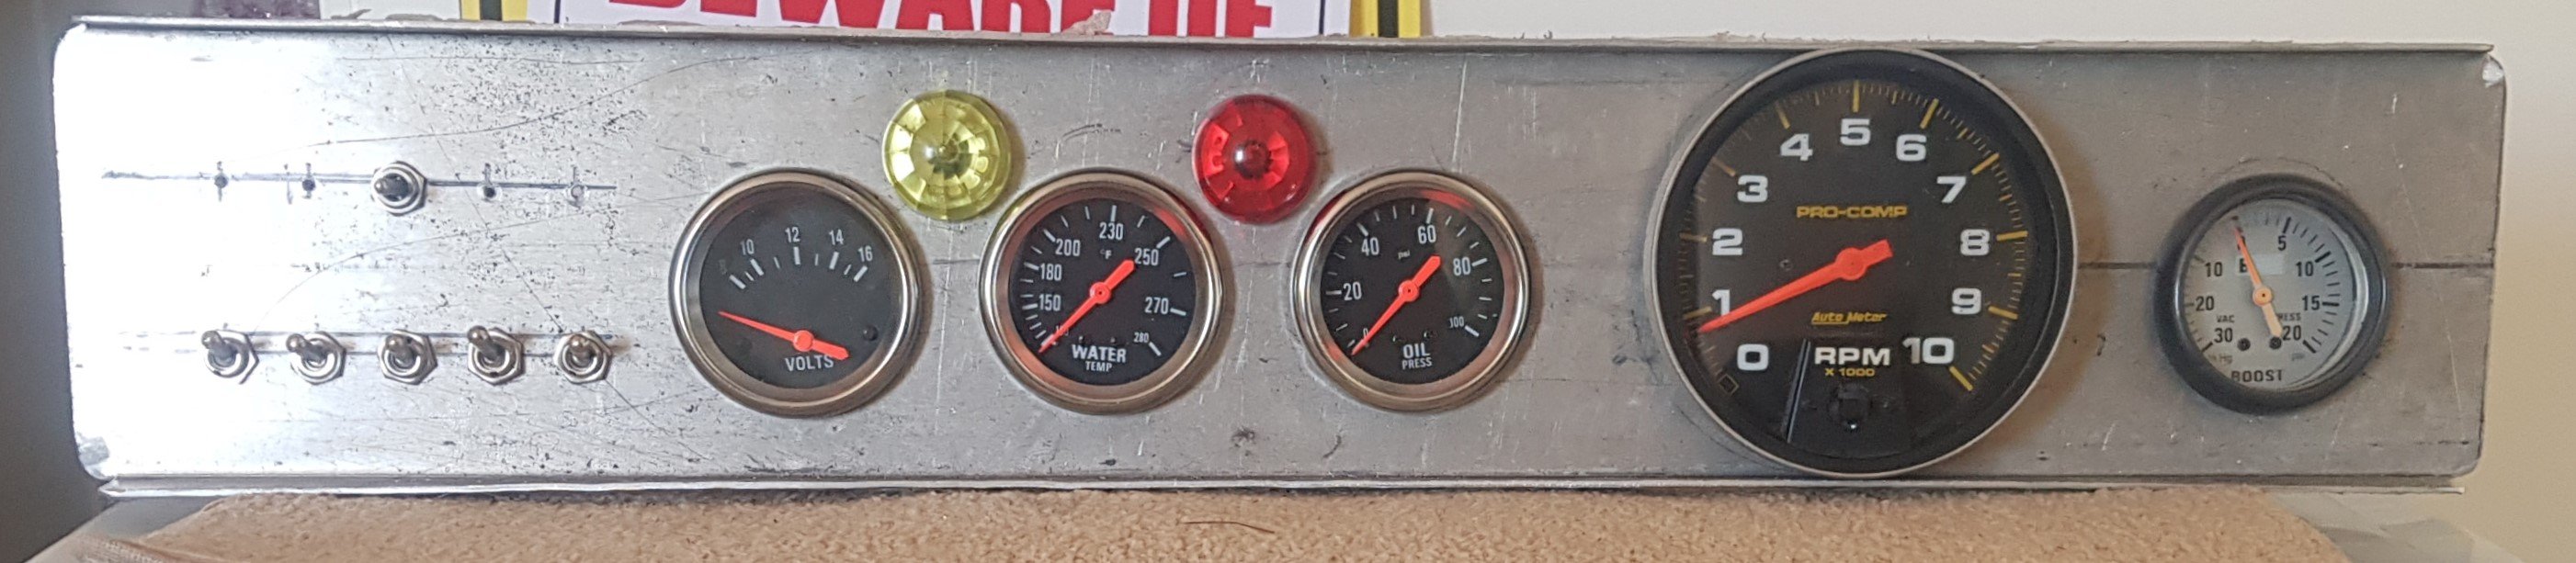
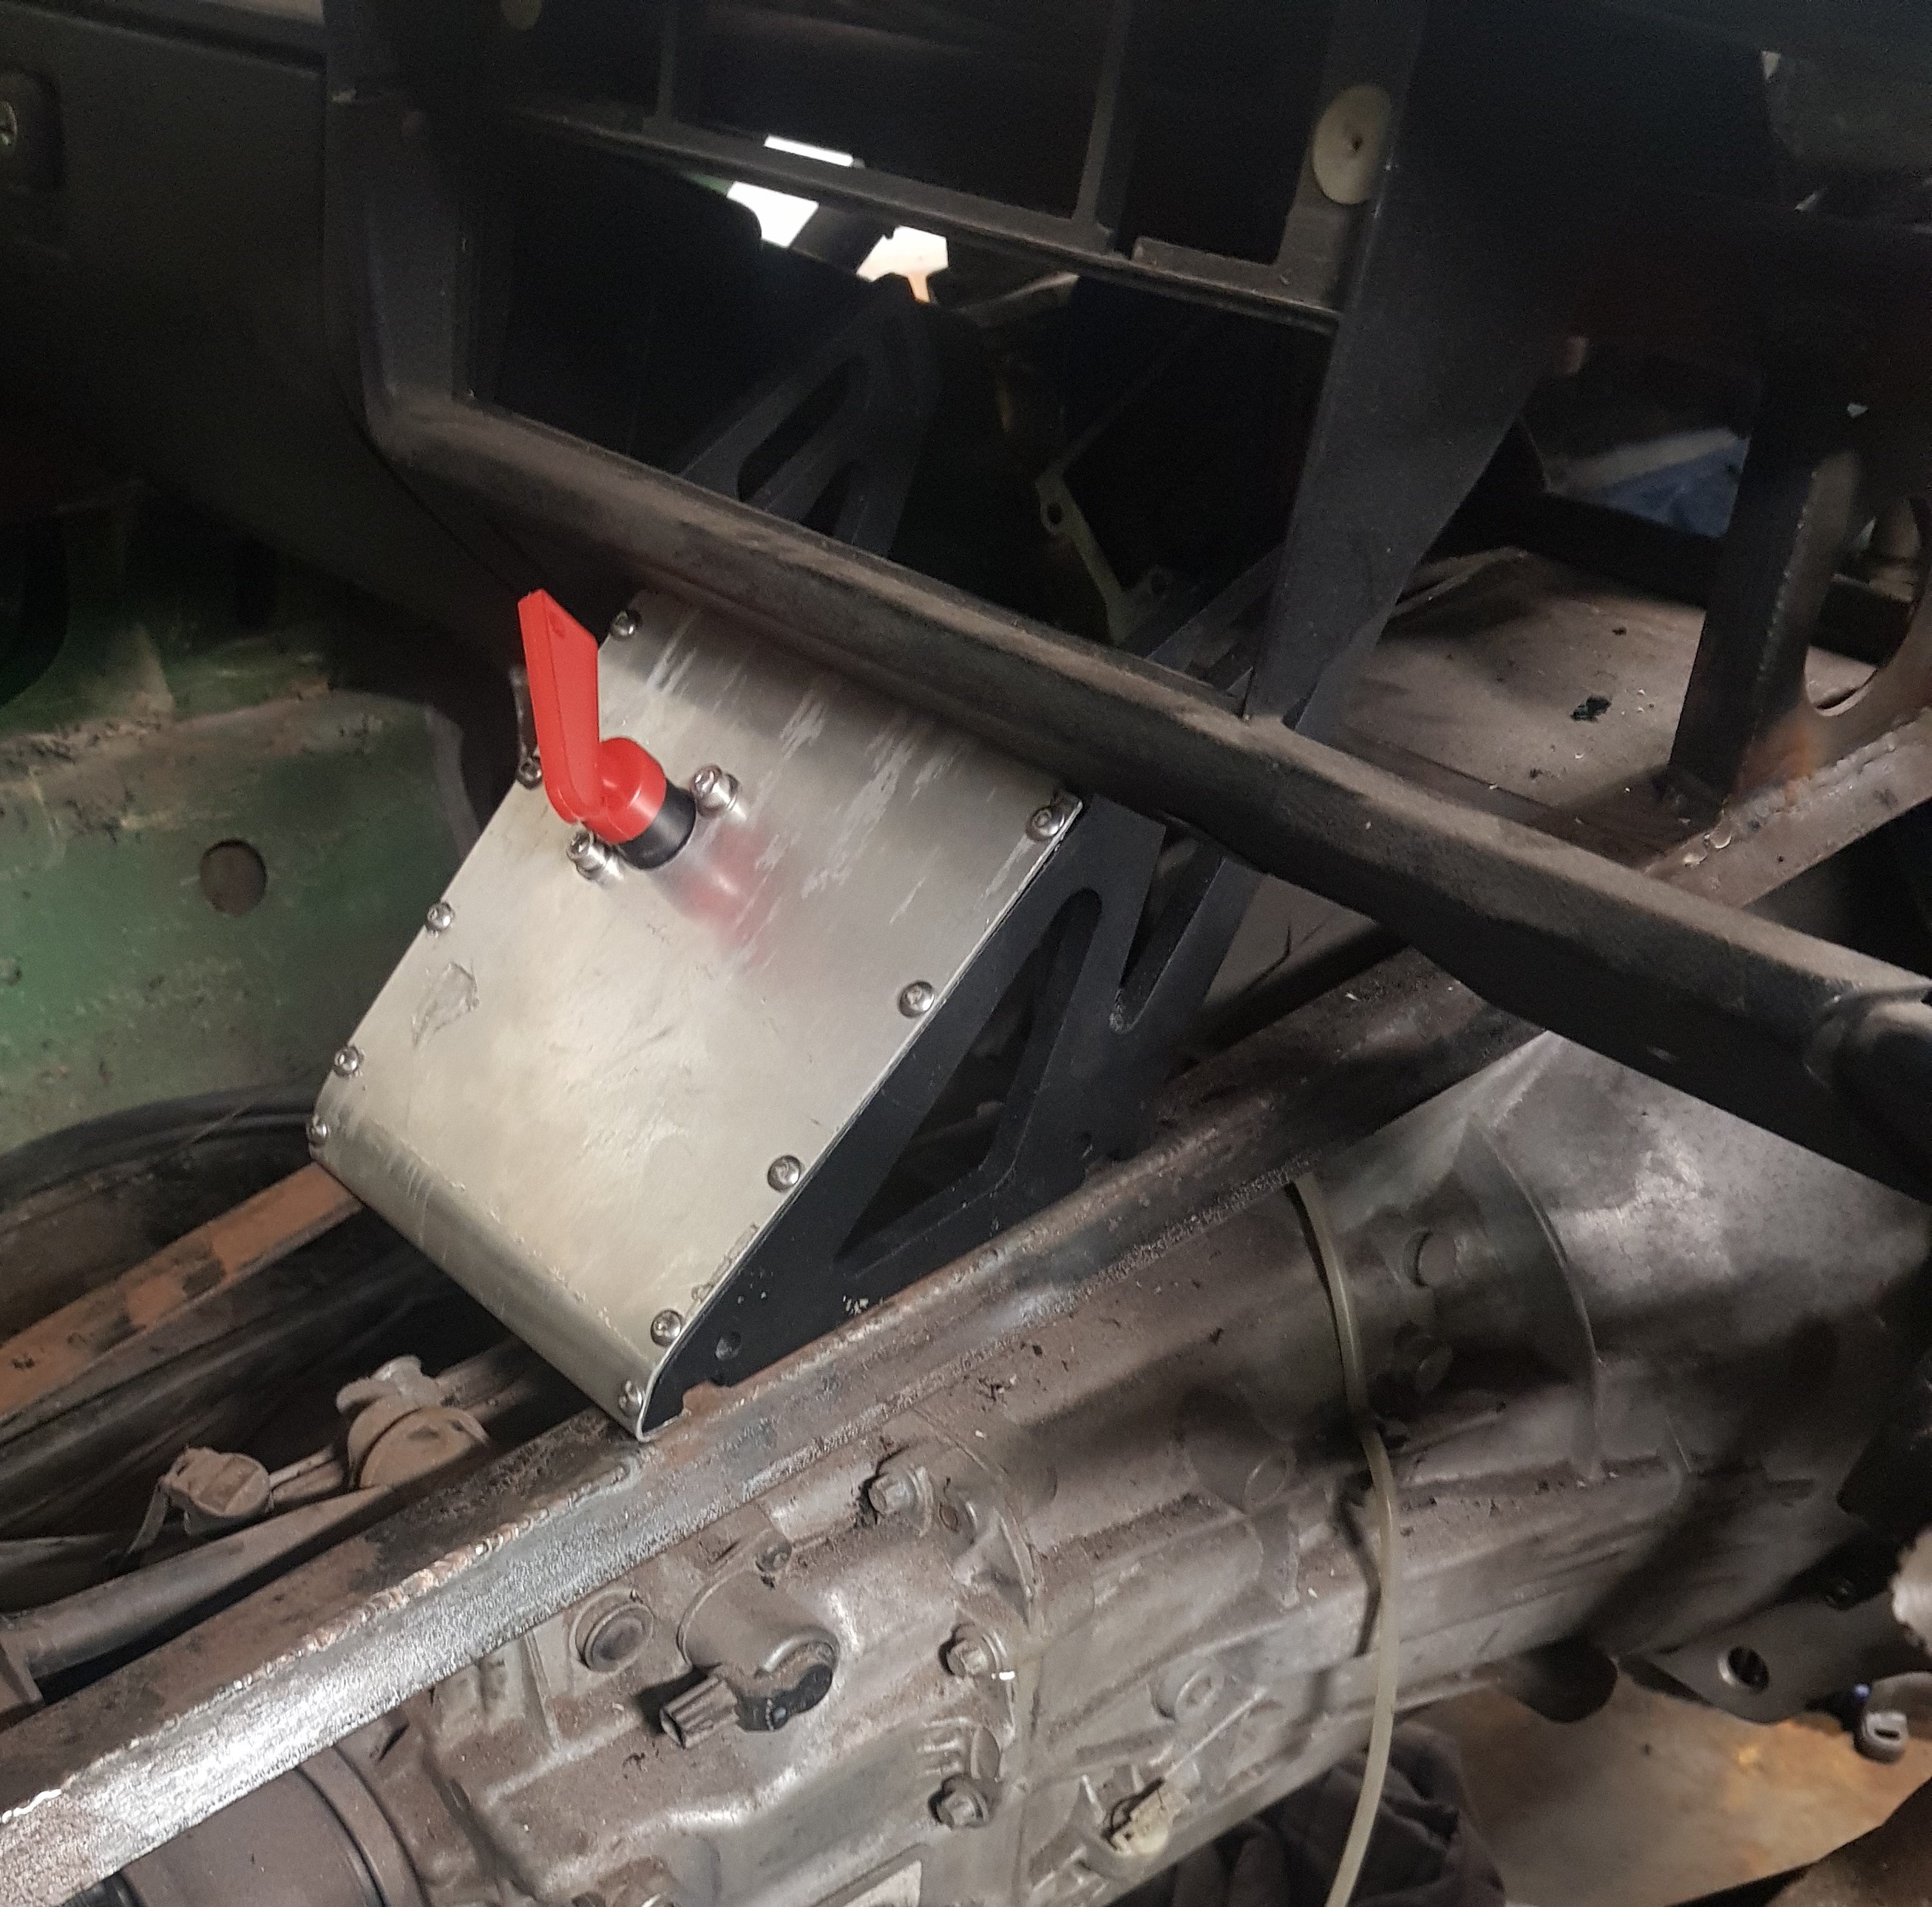
The dashboard is made from 2mm aluminium plate with all of the necessary gauges and non-essential switches: The 'essential' switches (ignition, fuel pump and start) will live down on the transmission tunnel console. This is made from 2 old spoiler mounts and another bit of 2mm aluminium, all held together with M5 SS screws: boot It also provides a good centre support for the dashboard.
1 point
-
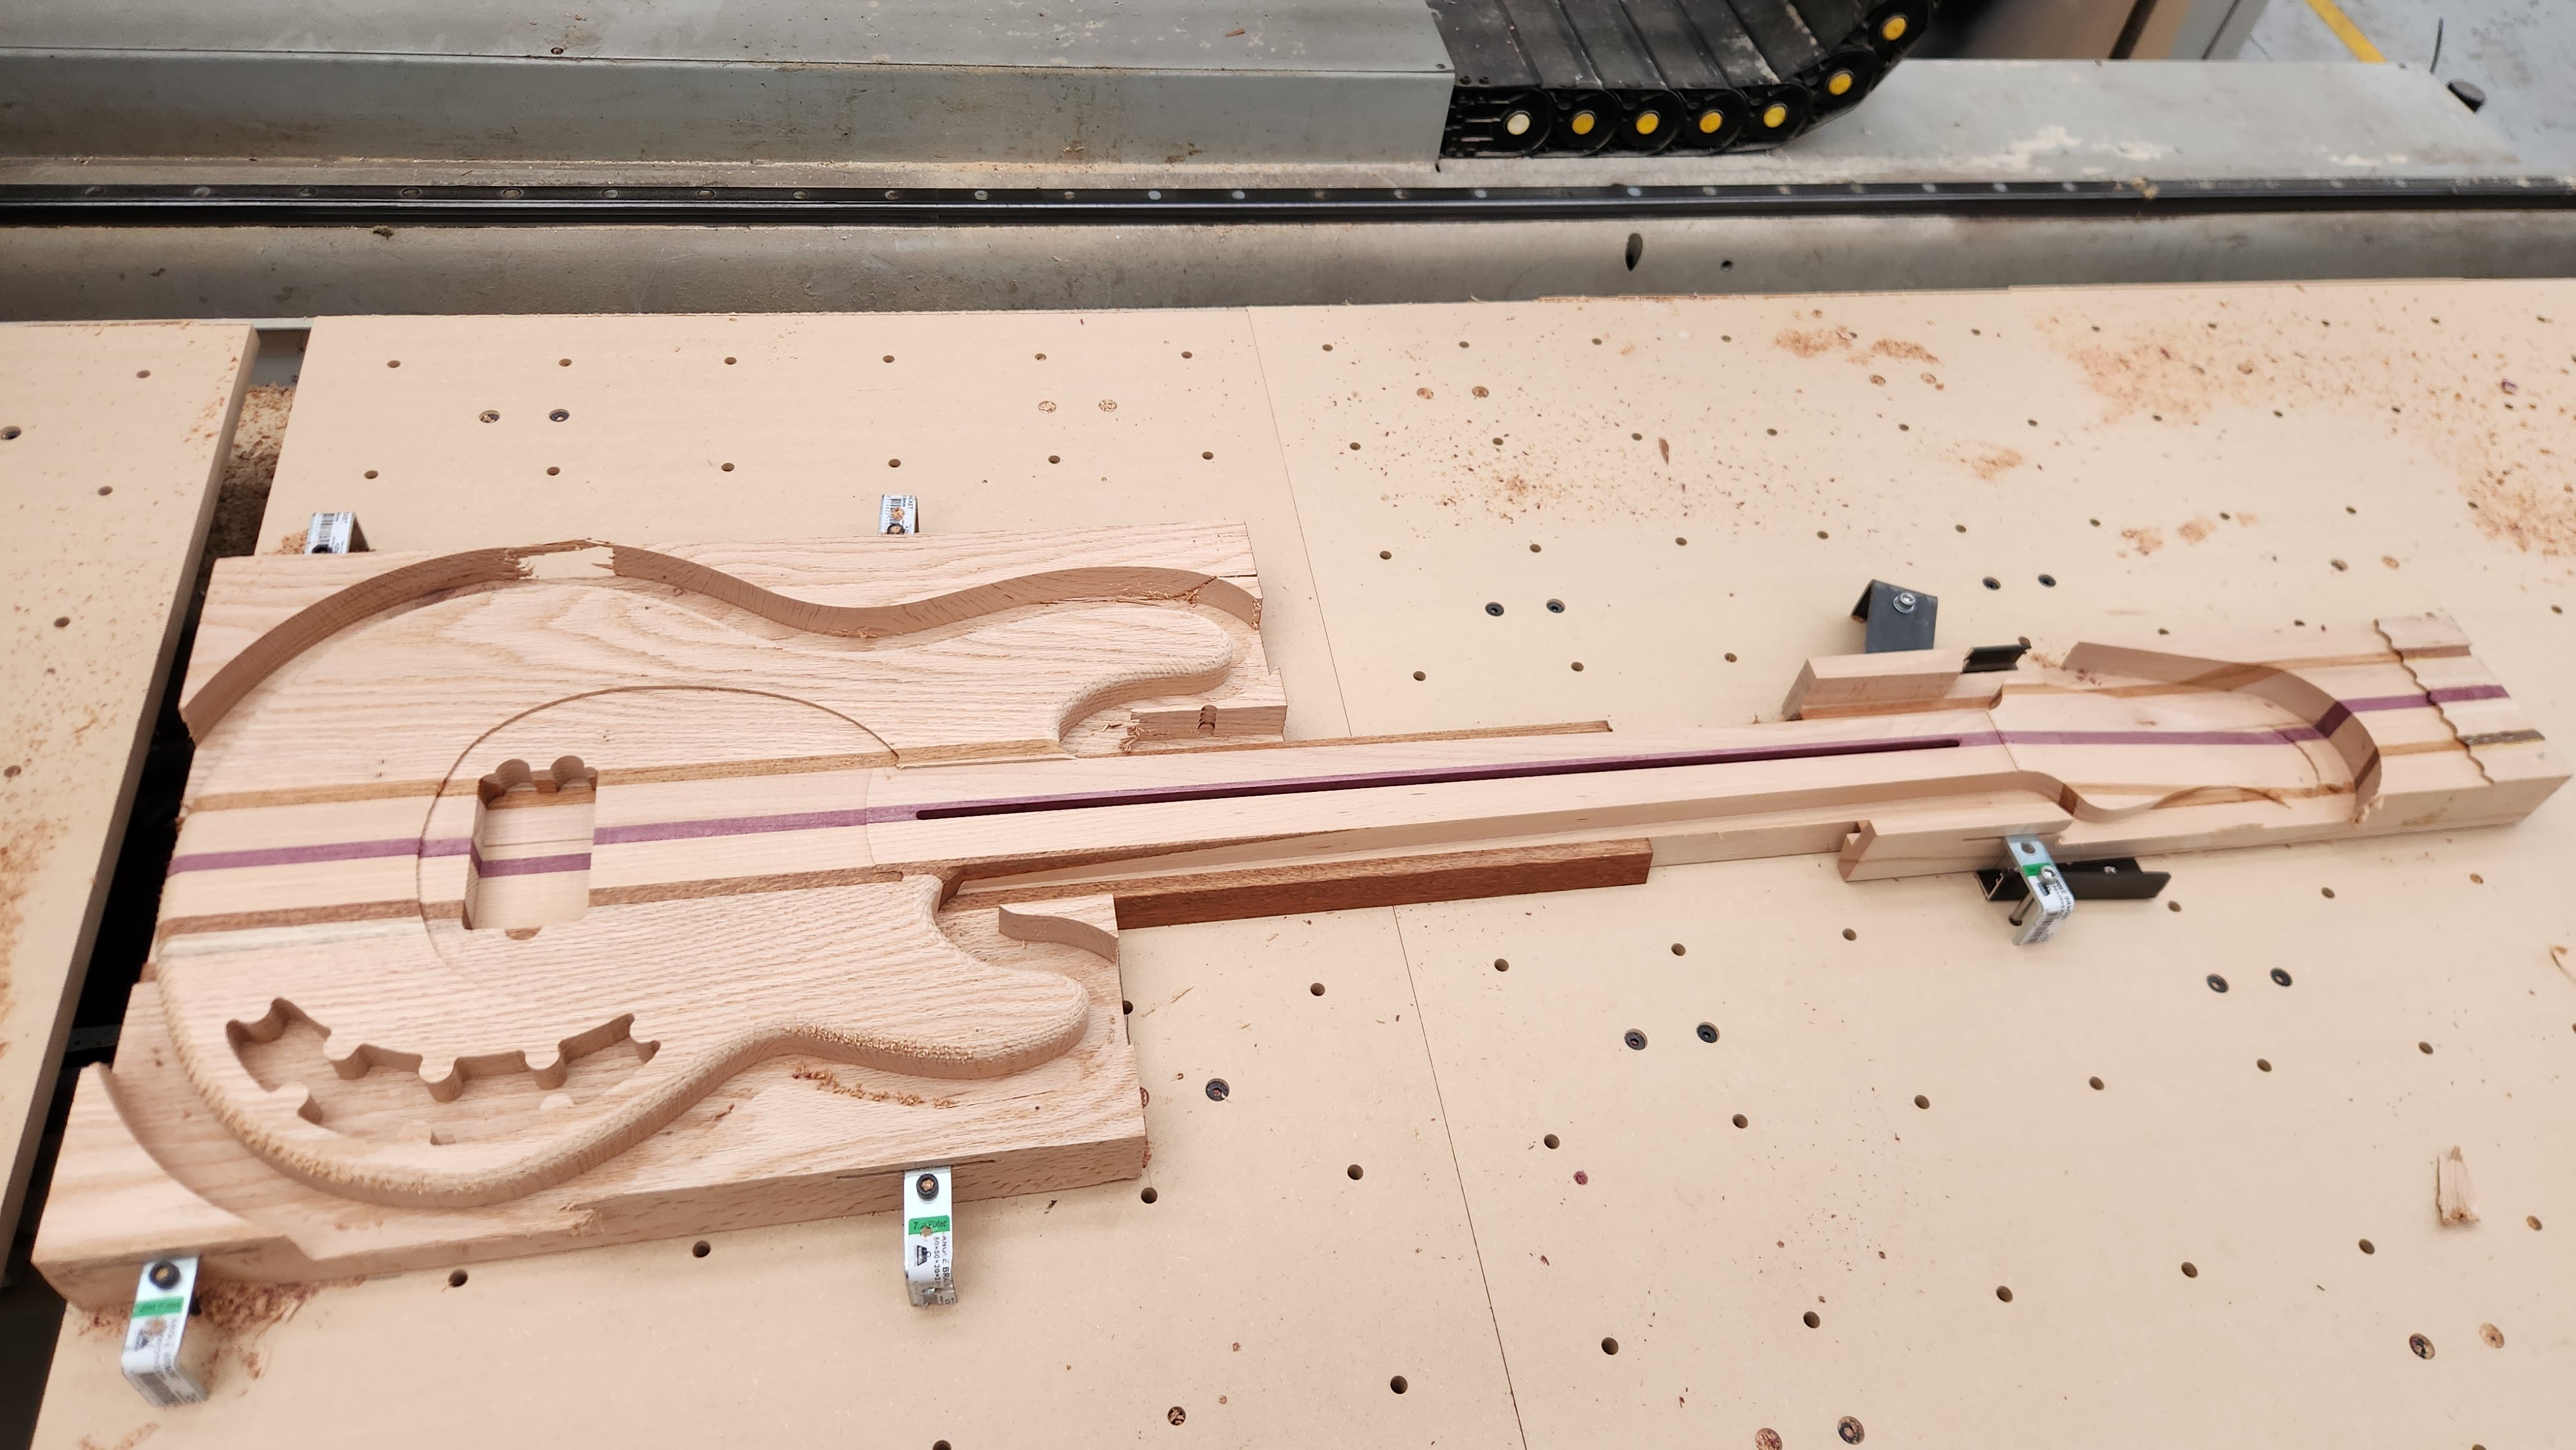
over the last couple of days @NickJ very generously operated his awesome and massive CNC router, aswell as handleing the programming for the cad model i put together for my Stingray. we first cut one out of MDF (which will now make cool shed art) and then set to attacking the hardwood. It looks incredible. i have no words to describe how happy i am with it, and without the help of others, this wouldn't be possible.
1 point
-
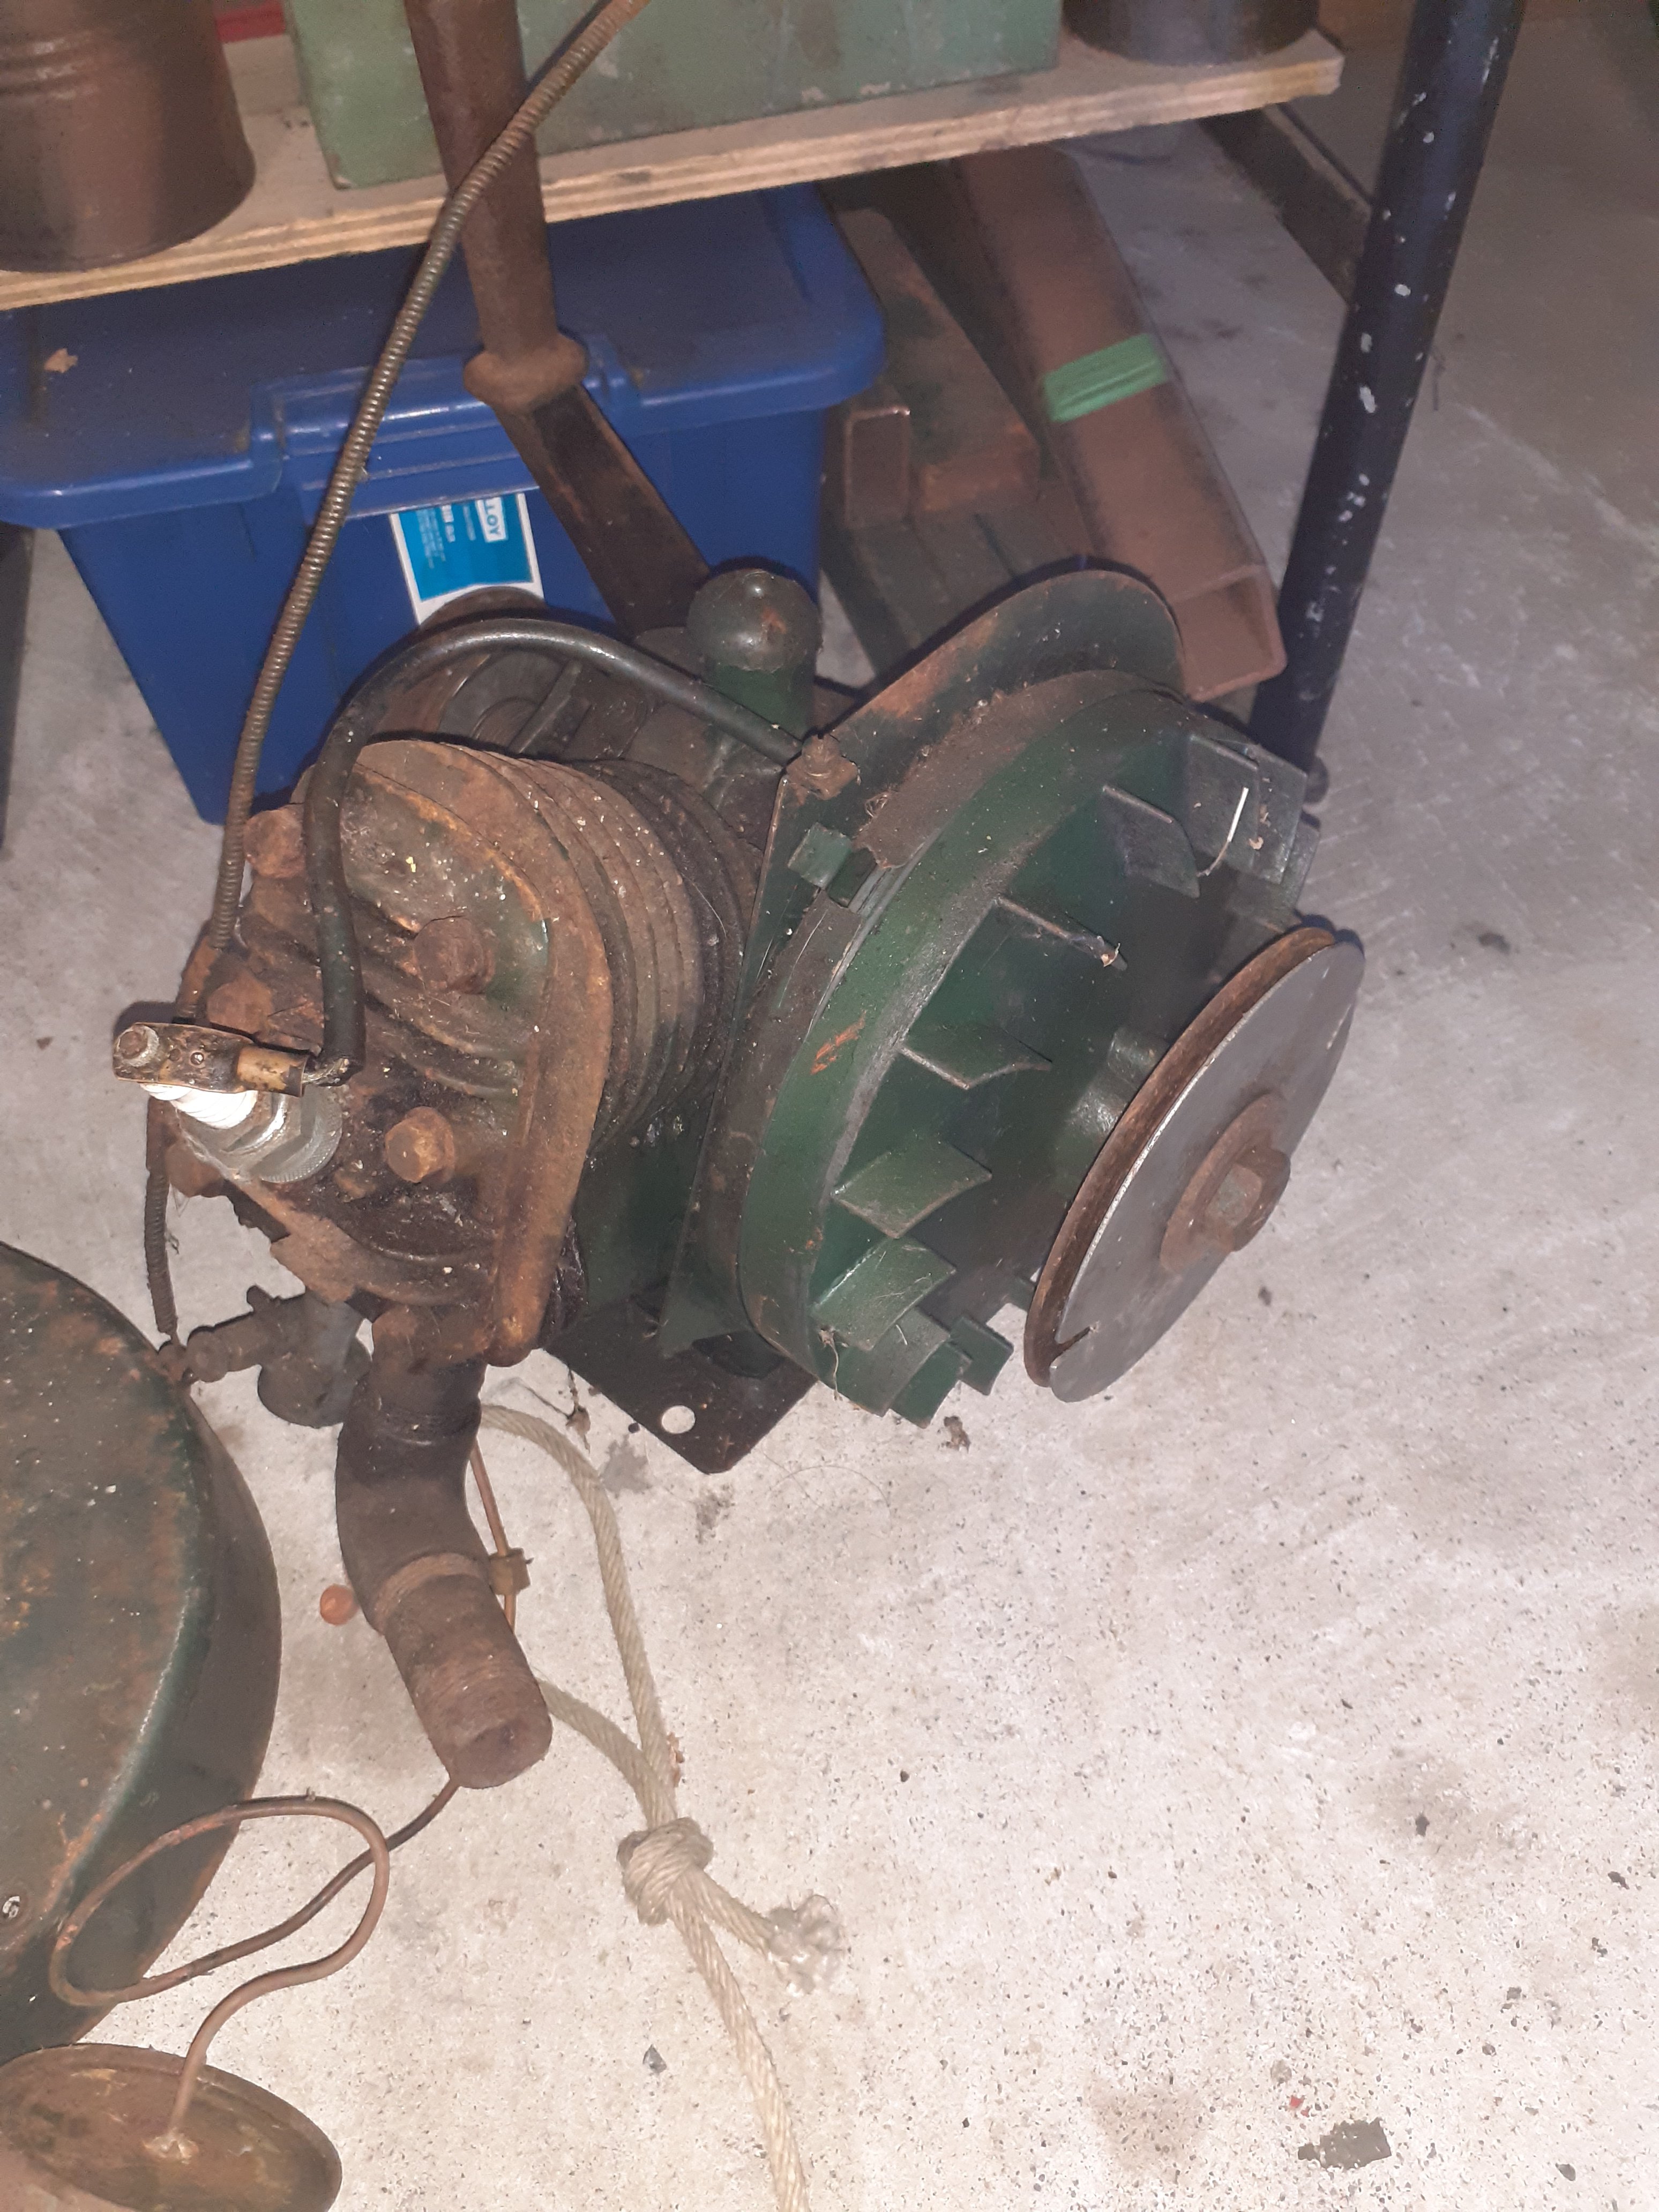
Our youngest and I had a play with this today. Took us a while to figure out which was on and which was off on the bodged up push-pull ignition switch (turned out the transporter driver had left it with the ignition on which explains the flat battery), then a while longer to actually get it going as it had been delivered with about a cup full of petrol left in the tank. Once we gave it some fresh petrol it roared into life and we took turns to drive it around the yard a bit just because we could. Pics to follow. The boy shot a short video but the file size is too large to upload here.1 point
-
Let go of your wallet.1 point
-
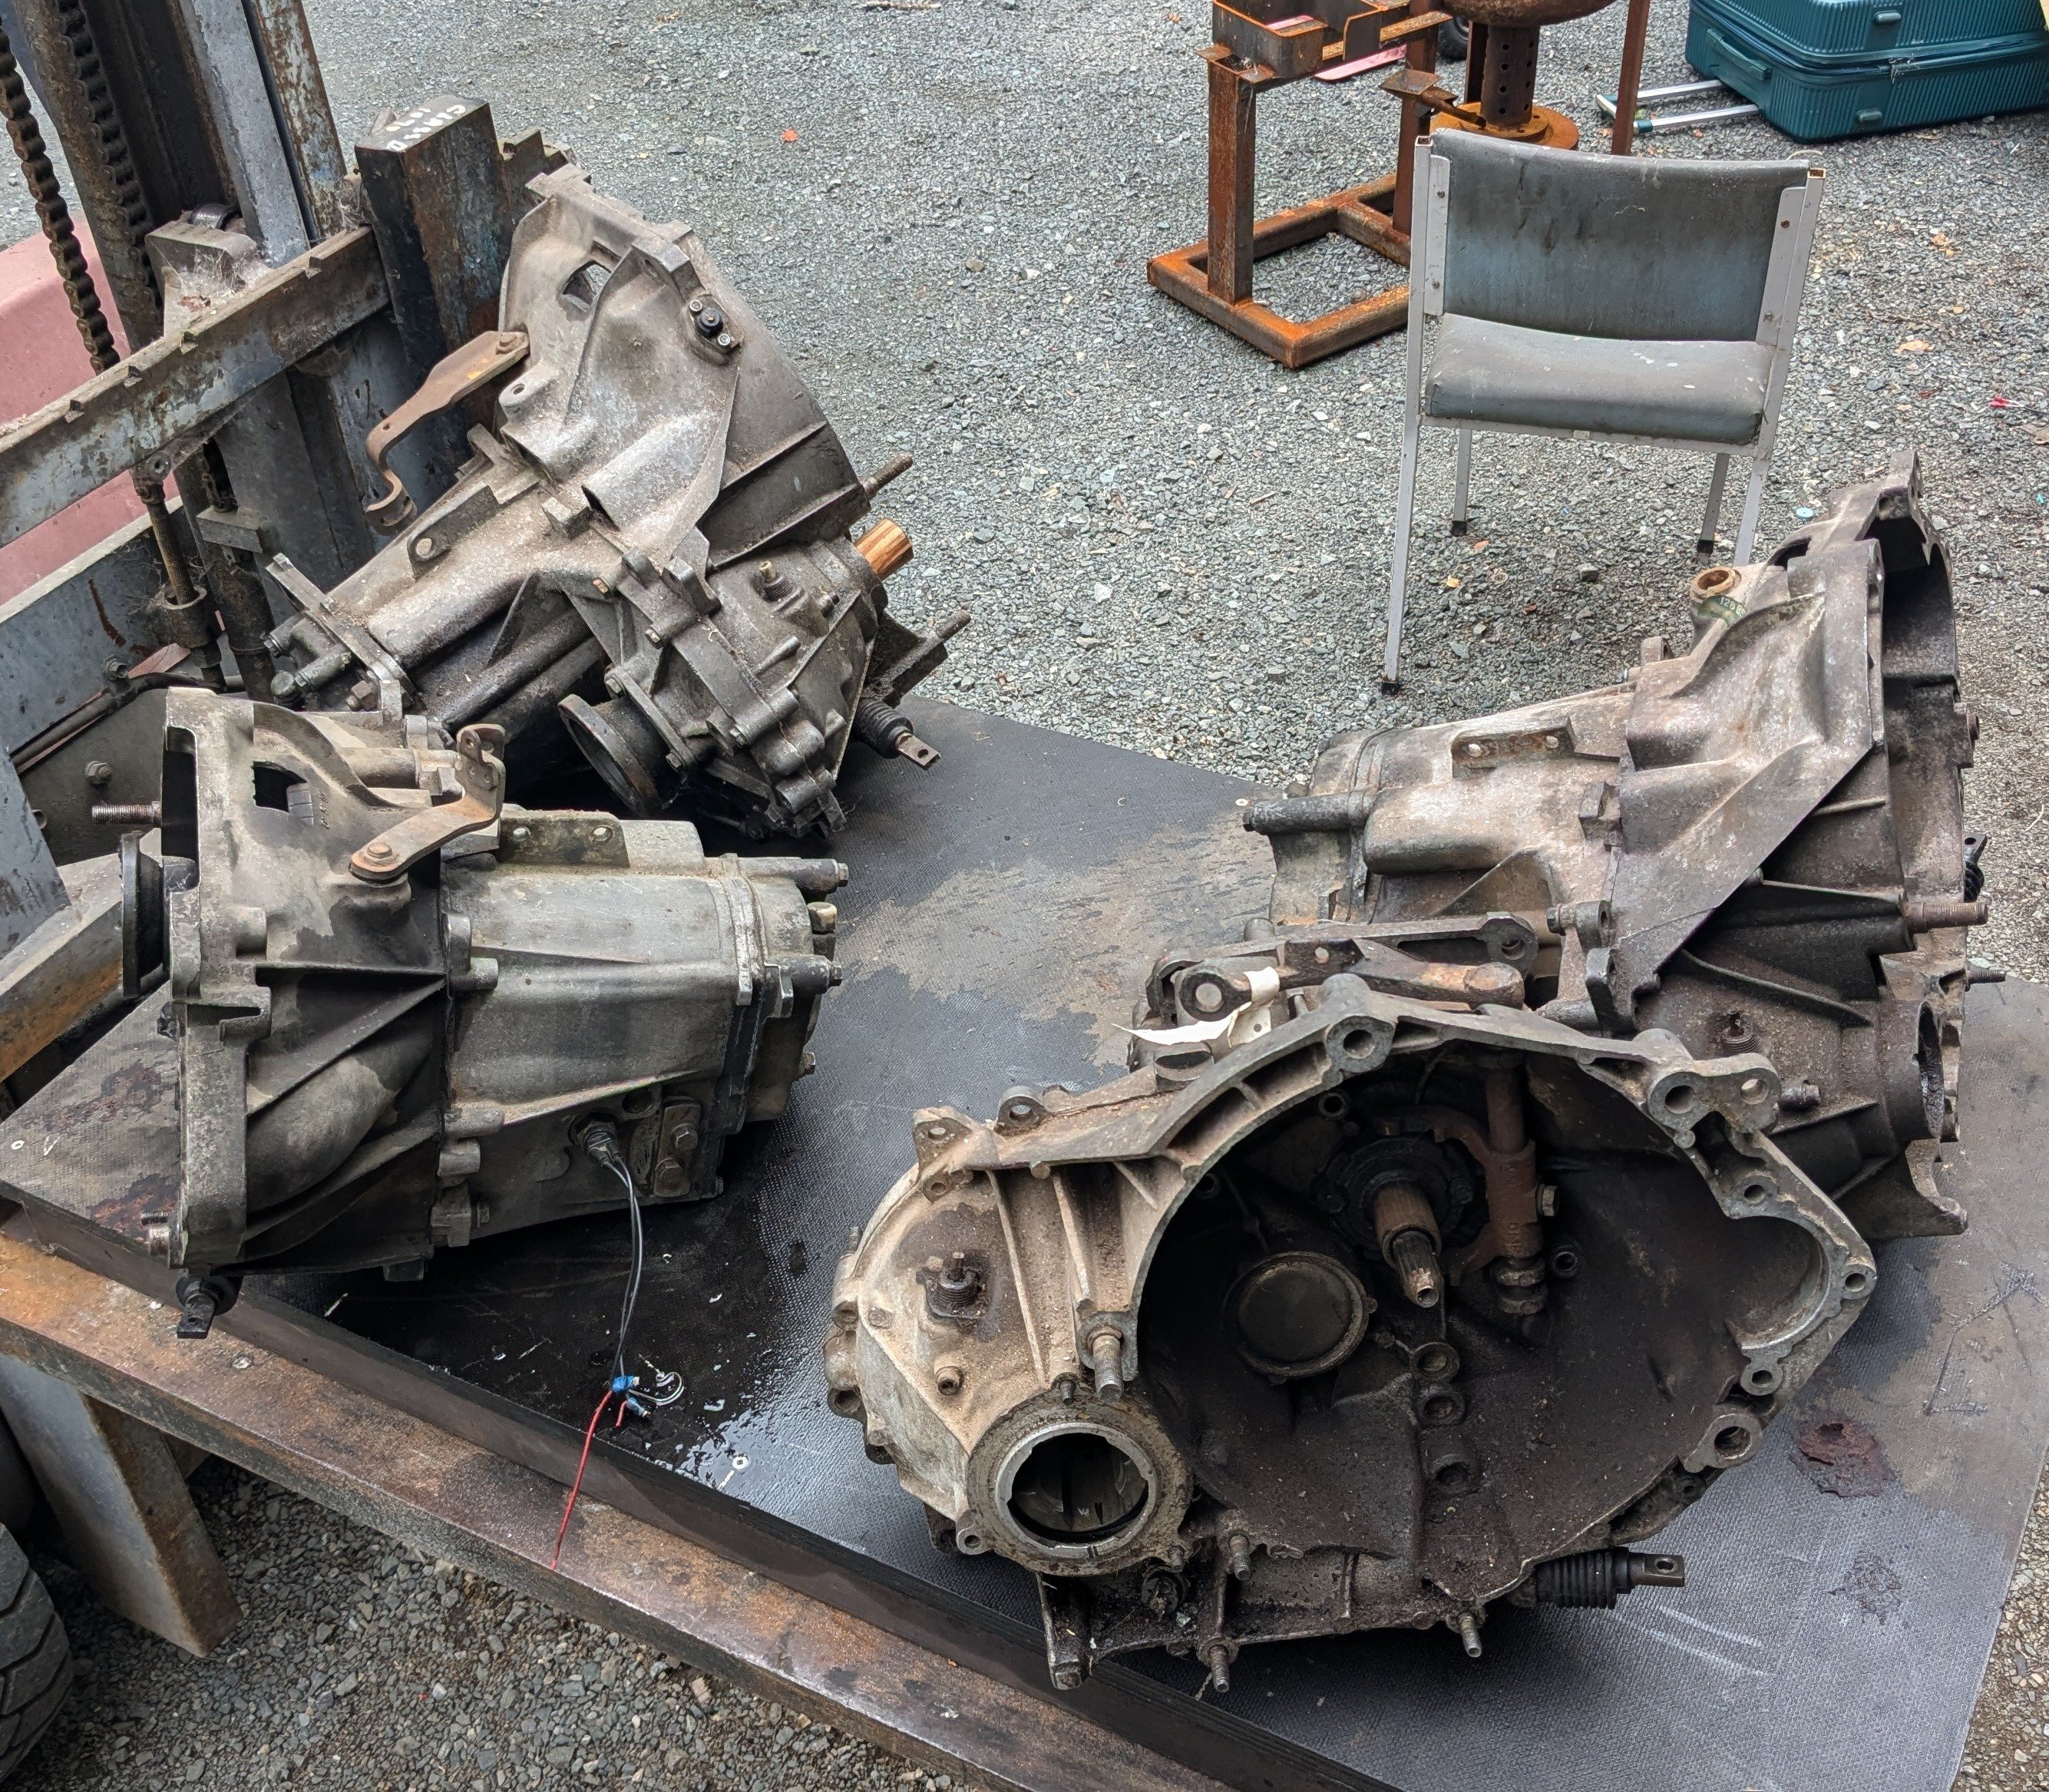
As it's kindof the hols for me I figured I may as well implement my gearbox backup plan, there will be family stuff today, but later this arvo I'll take a situational. Edit; did the deed. The old box casing was still leaking a bit even after Alex welded it, but this was probably my hacked bung design IRL. Then there was the broken keyway situation, so I swapped those bits out of the second spare box. The non broken gear cluster had different bearings but they swapped over fine. I might check the diff backlash but maybe Ill just send it.
1 point
-
Well picked up the car yesterday from Rocket. Dan and the team have done a killer job. Ended up being quite a list of stuff to do: - Modify gearbox mount to suit Tremac TKX gearbox which required raising the tunnel 50mm to get angles right - Raised driveshaft tunnel 50mm to get clearance -Modify driveshaft to suit TKX tailshaft -Raise under rear seat area an behind fuel tank for diff head clearancing -Make intake manifold, with custom DBW mount -Mount airbox and modify intake feed to line up with airbox -Mount pedal box and reservoirs remotely in windscreen cowl -Modify diff and rear shock mounts -Modify exhaust to tuck it more - Few other minor bits and pieces Because we had raised the tunnel and diff head area there wasn't much extra work to allow the car to be a heap lower. So we ended up notching the rear rails, notching the inside edge of the rear tubs, modifying the rear tubs (Factory half the tub is flat and half tapers down approx 3 inch from the centre to the outer guard lip) so its flat across the top. Now have heaps of clearance at the height its at and nothing rubs which is awesome. Really happy with the outcome, car looks a heap better at the height and starting to come together real nice. Few bits and pieces to do over the holidays then back into it next year!
1 point
-
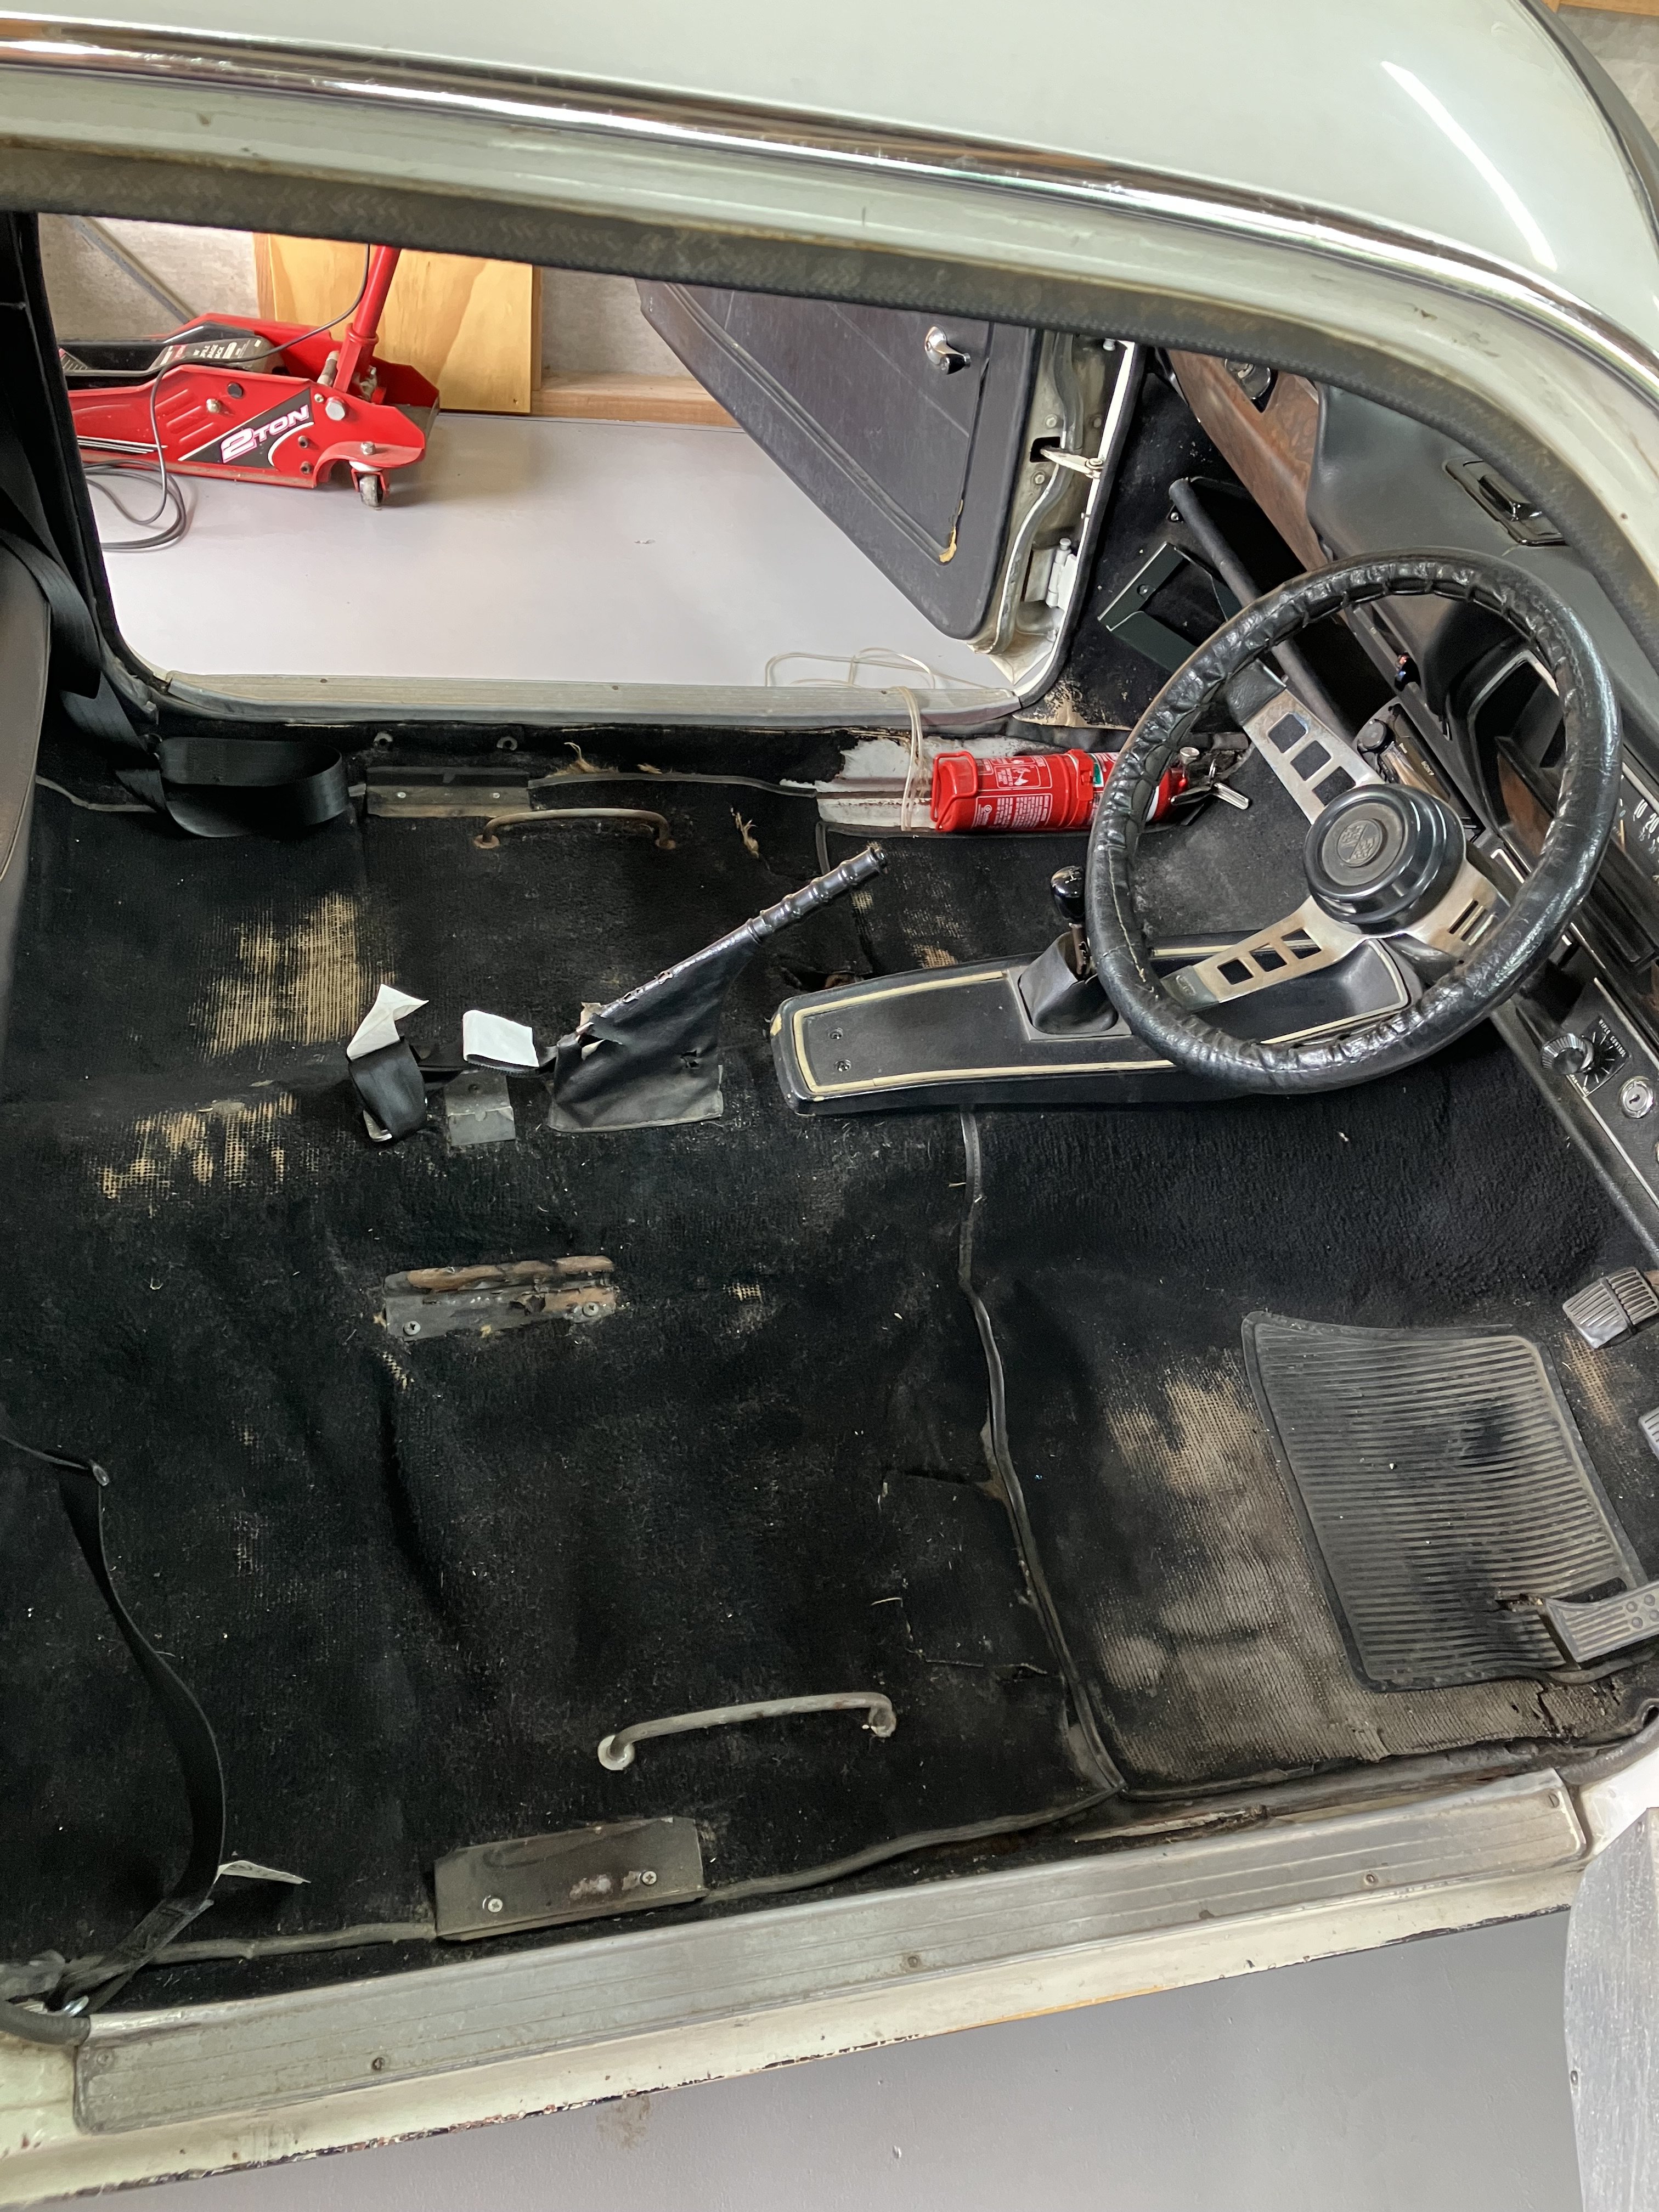
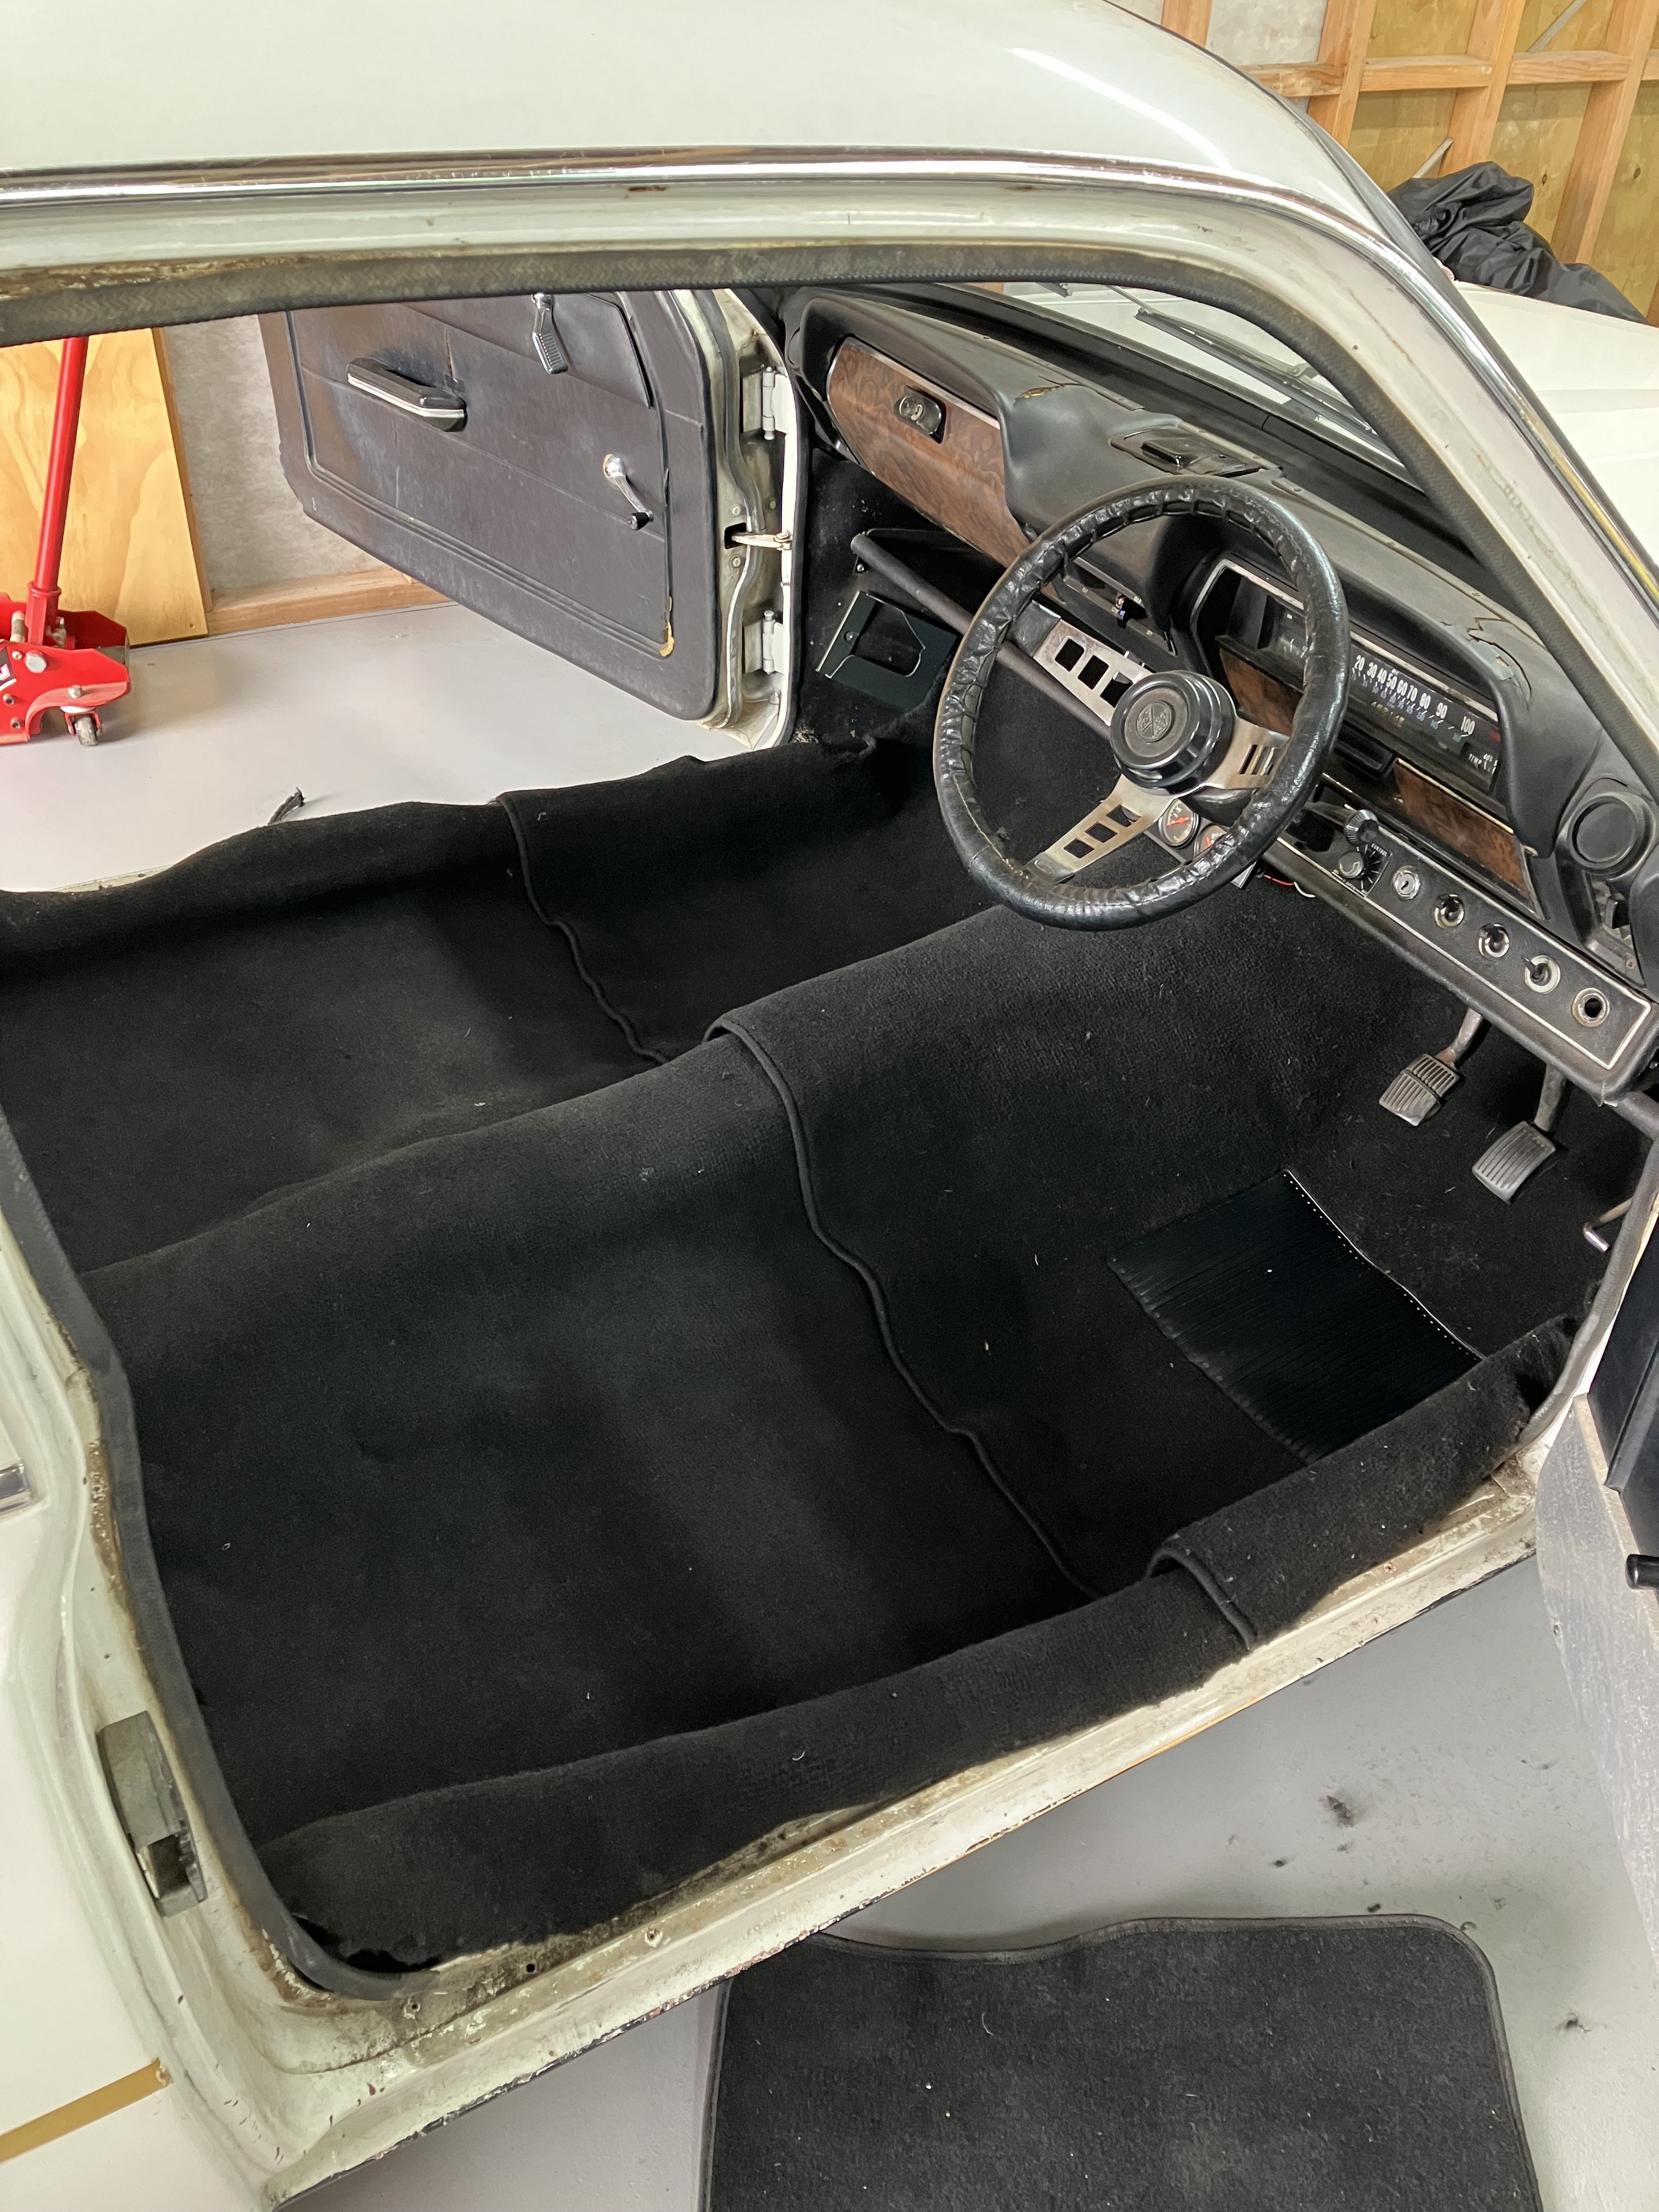
So yeah. I still have this and haven’t done anything of significance to it since my last post. I did convert the old generator to an alternator a couple of years ago. That’s about it. One job I’ve always been meaning to do is replace the carpet. It is threadbare, and the sides are worn so you can see the floor pan. I bought a moulded set from Knox Carpets in Australia because it’s the same floor pan as HB, LC and LJ Torana. It was also a very good price compared to sets available locally. It arrived just in time for a summer holiday project. Remove interior, remove carpet. It’s pretty grot. Cleaned up the floor pan a bit, and then did some test fits of the new pieces. Will need a bit of trimming and fine adjustment, but not bad really. Treated some surface corrosion where some damp underlay must have been sitting, and will throw a bit of paint on before fitting the carpets properly. Then a whole lot of faffing about to get all the holes in the right places.
1 point
-
Meat was ate drinks were drunk sharns were sharned1 point
-
Also Honda NZ had run out of 75hp engines so Erickson Honda got them to supply a 80hp for the same price. So I got another 5hp for free. Yippie
1 point
-
In the same vein, I brought a CNC plasma at the start of the year. In order to get them running really well/cutting clean you need dry air, I went over the top but it has paid dividends in quality (just like painting). I have a really old 3ph compressor hard lined through 2" pipe throughout the factory (id say it's the original compressor that was fitted to the building in 1978 - an old sewing factory). So the whole manifold is like a giant tank, I'm unsure how big but would be at least 300-400l total incl the tank. The compressor runs for a solid 10 minutes or so on startup so generates plenty of heat and moisture. I brought a couple of cheap aliex 230v auto drains, I think they were about $20 each. I put one on the bottom of the compressor tank and another on a low point in the factory pipework, they drain every 15 minutes for a 5 second burst. I never have to think about draining my compressor/system. Ever. I then run a water trap on the inlet side of a $400 refrigerator dryer I picked up off tm (score- a new one is about $2500) I very rarely have to drain the trap on the inlet side to the refrigerated dryer. The tip life on my plasma suggests it's good and dry. The only other thing I could do better to get better air is a dessicant type filter post refrigerator. I painted my digger with enamel and it came up pretty ace. I'm stoked with having nice air, it's a really worthwhile investment I reckon.1 point
-
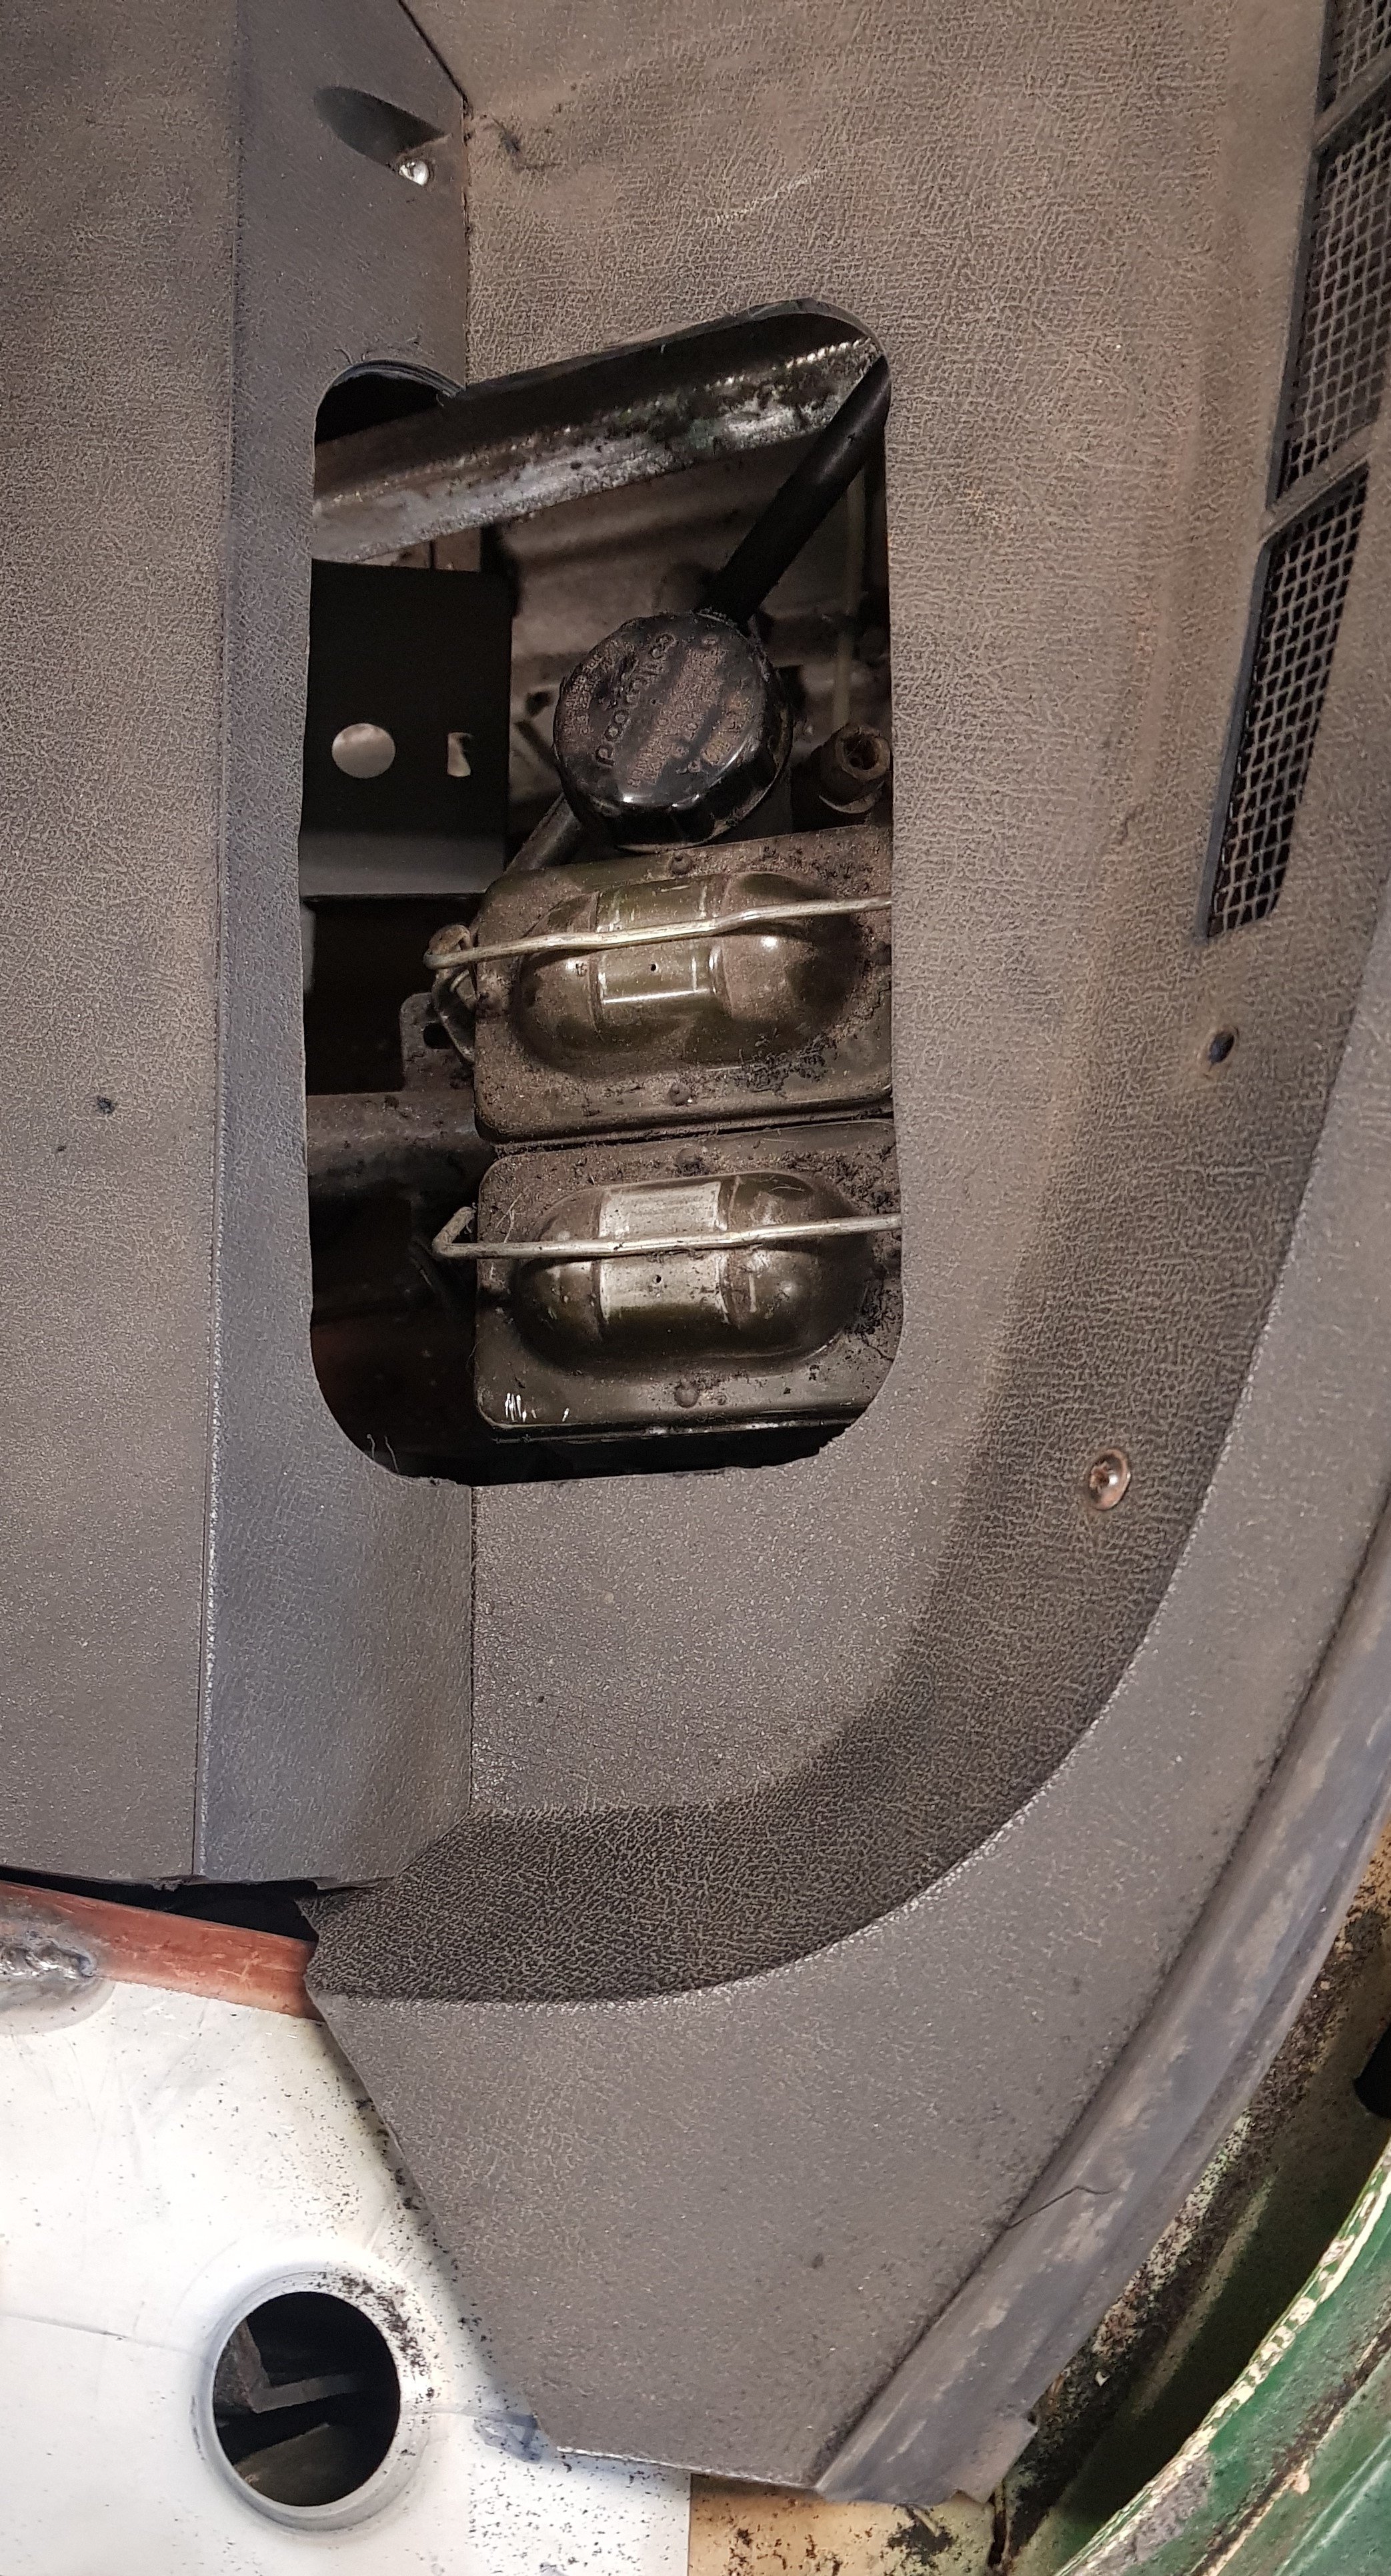
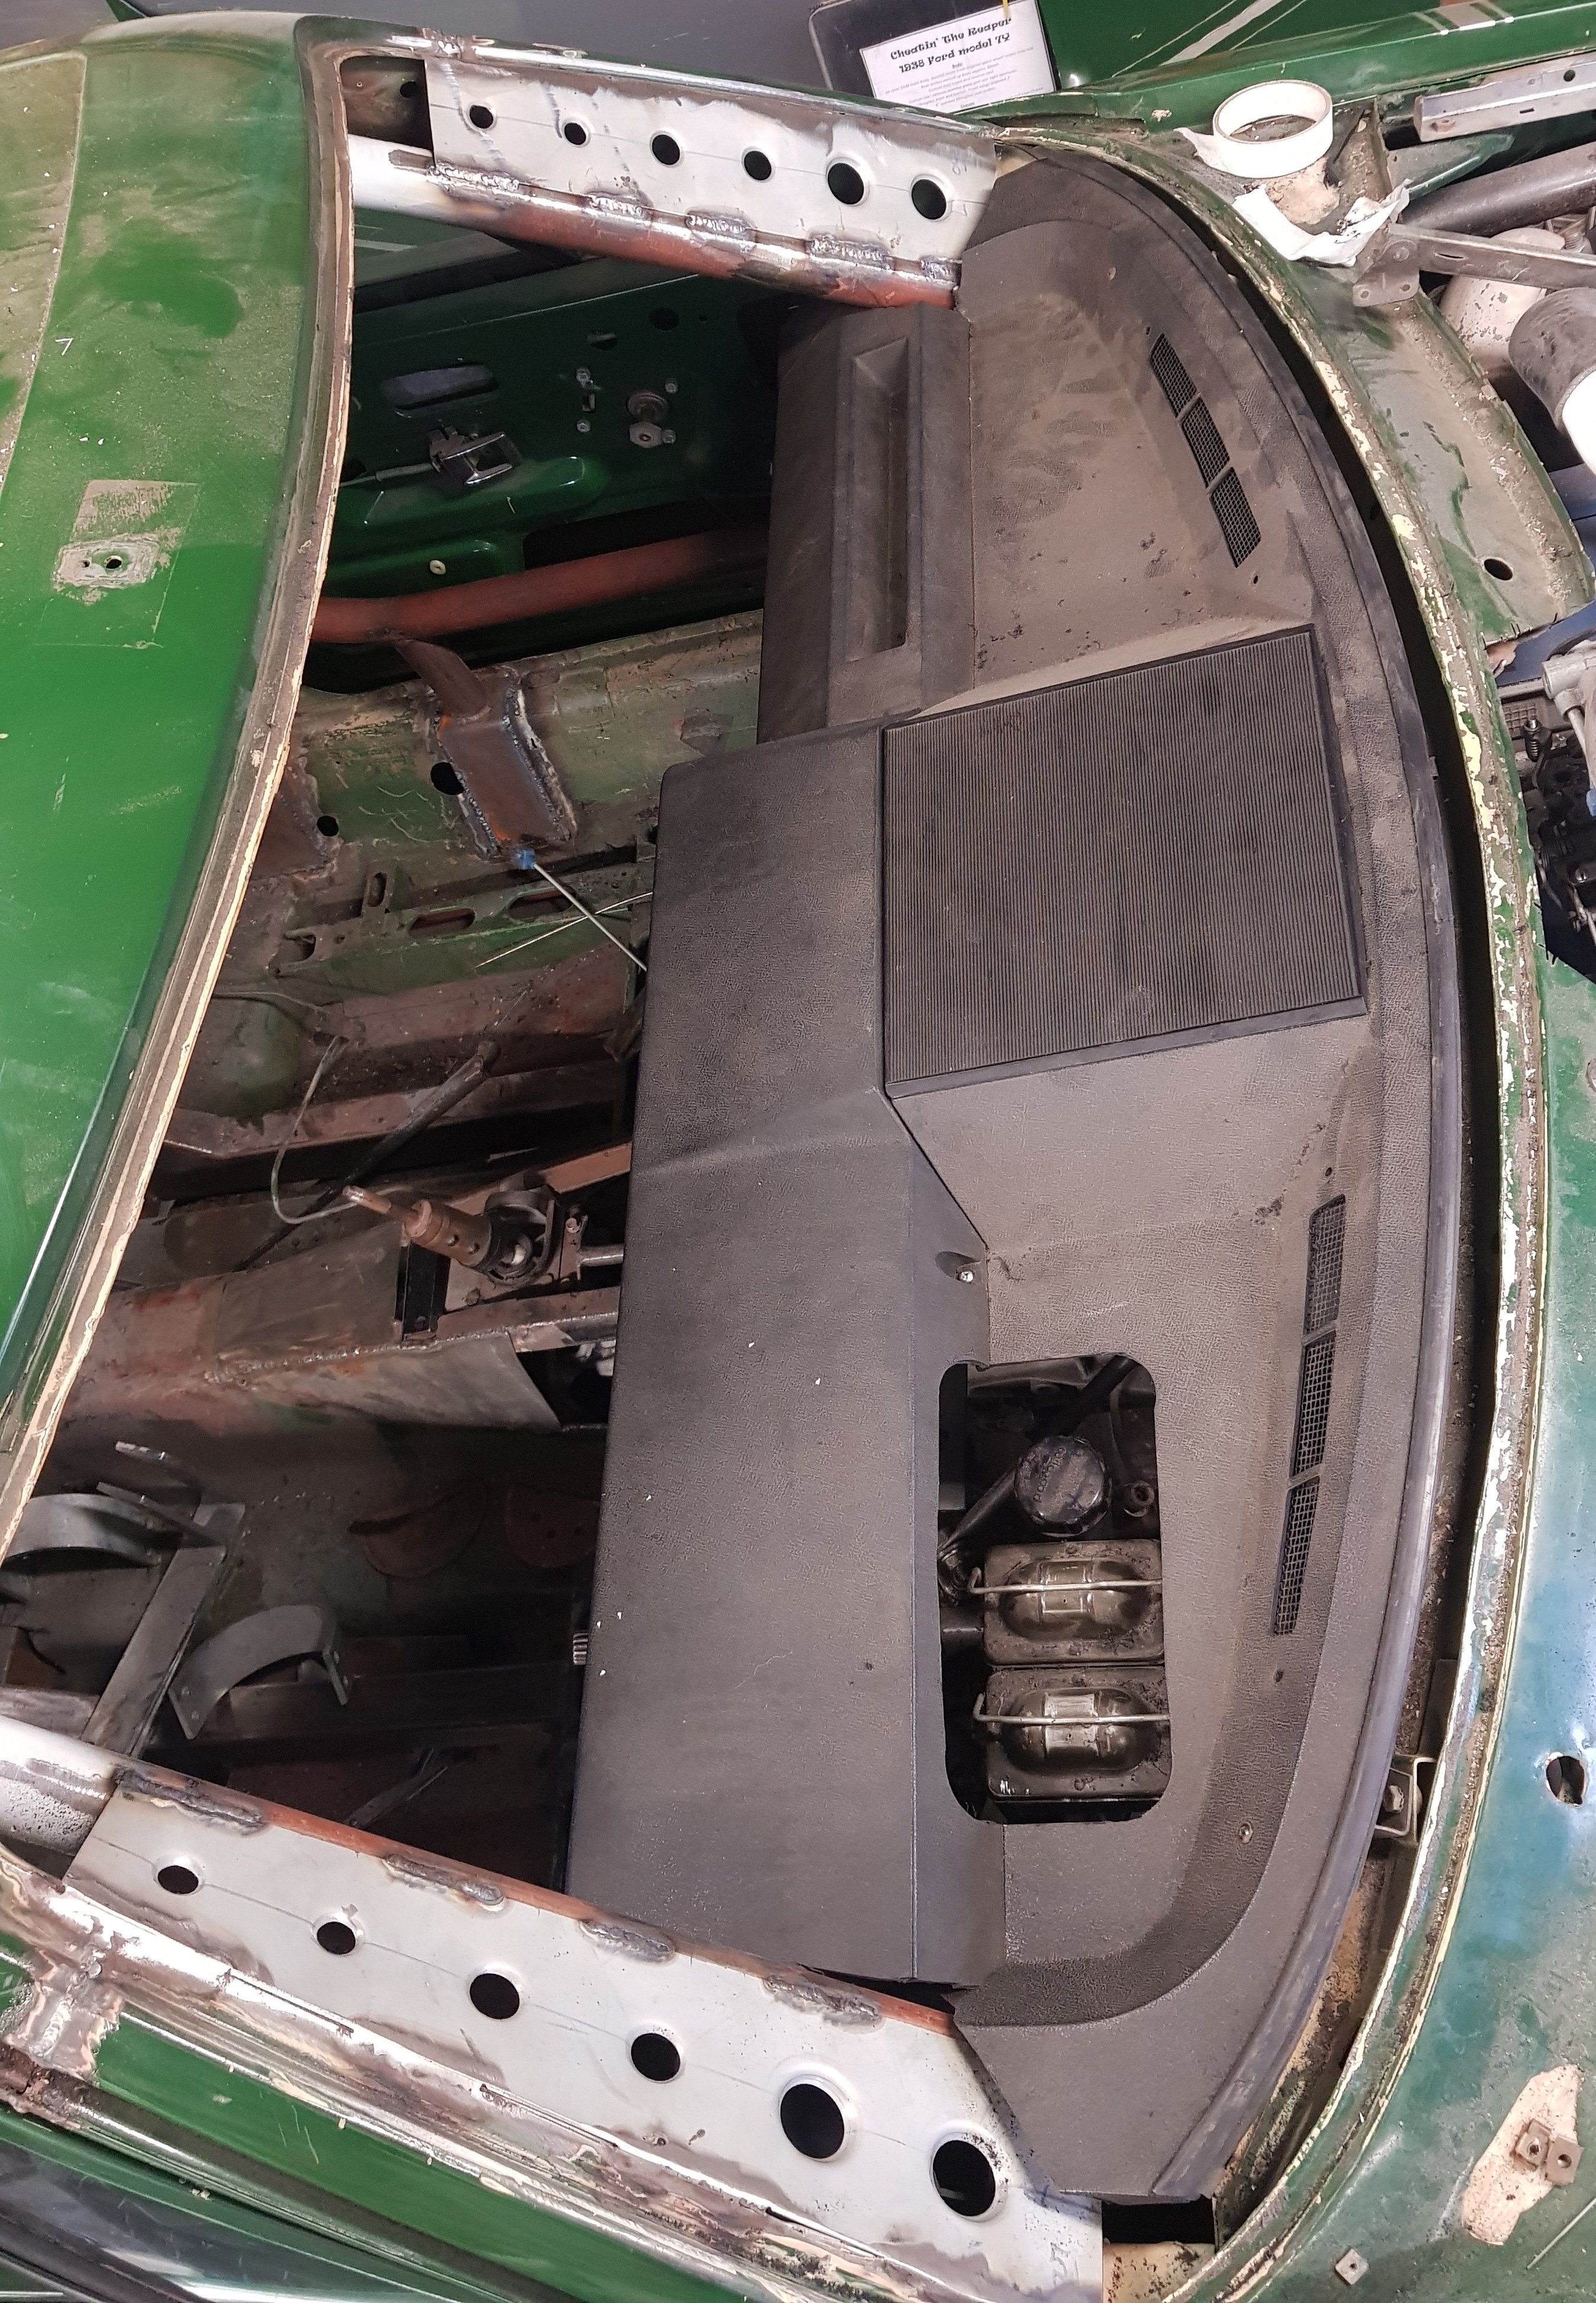
You'll see in the first pic the cut out for the fluid reservoirs: This will be tidied up a bit, and it will have a removable cover over it as I think I'll get horrible reflections in the windscreen. Inside the car all is good. There will be a flat panel with the gauges, warning lights and (some) switches which will cover the whole opening. The dash will need a support in the centre as all of the original brackets were attached to the heater and trans-tunnel but this is already well past the planning stage so may be in the next update.
1 point
-
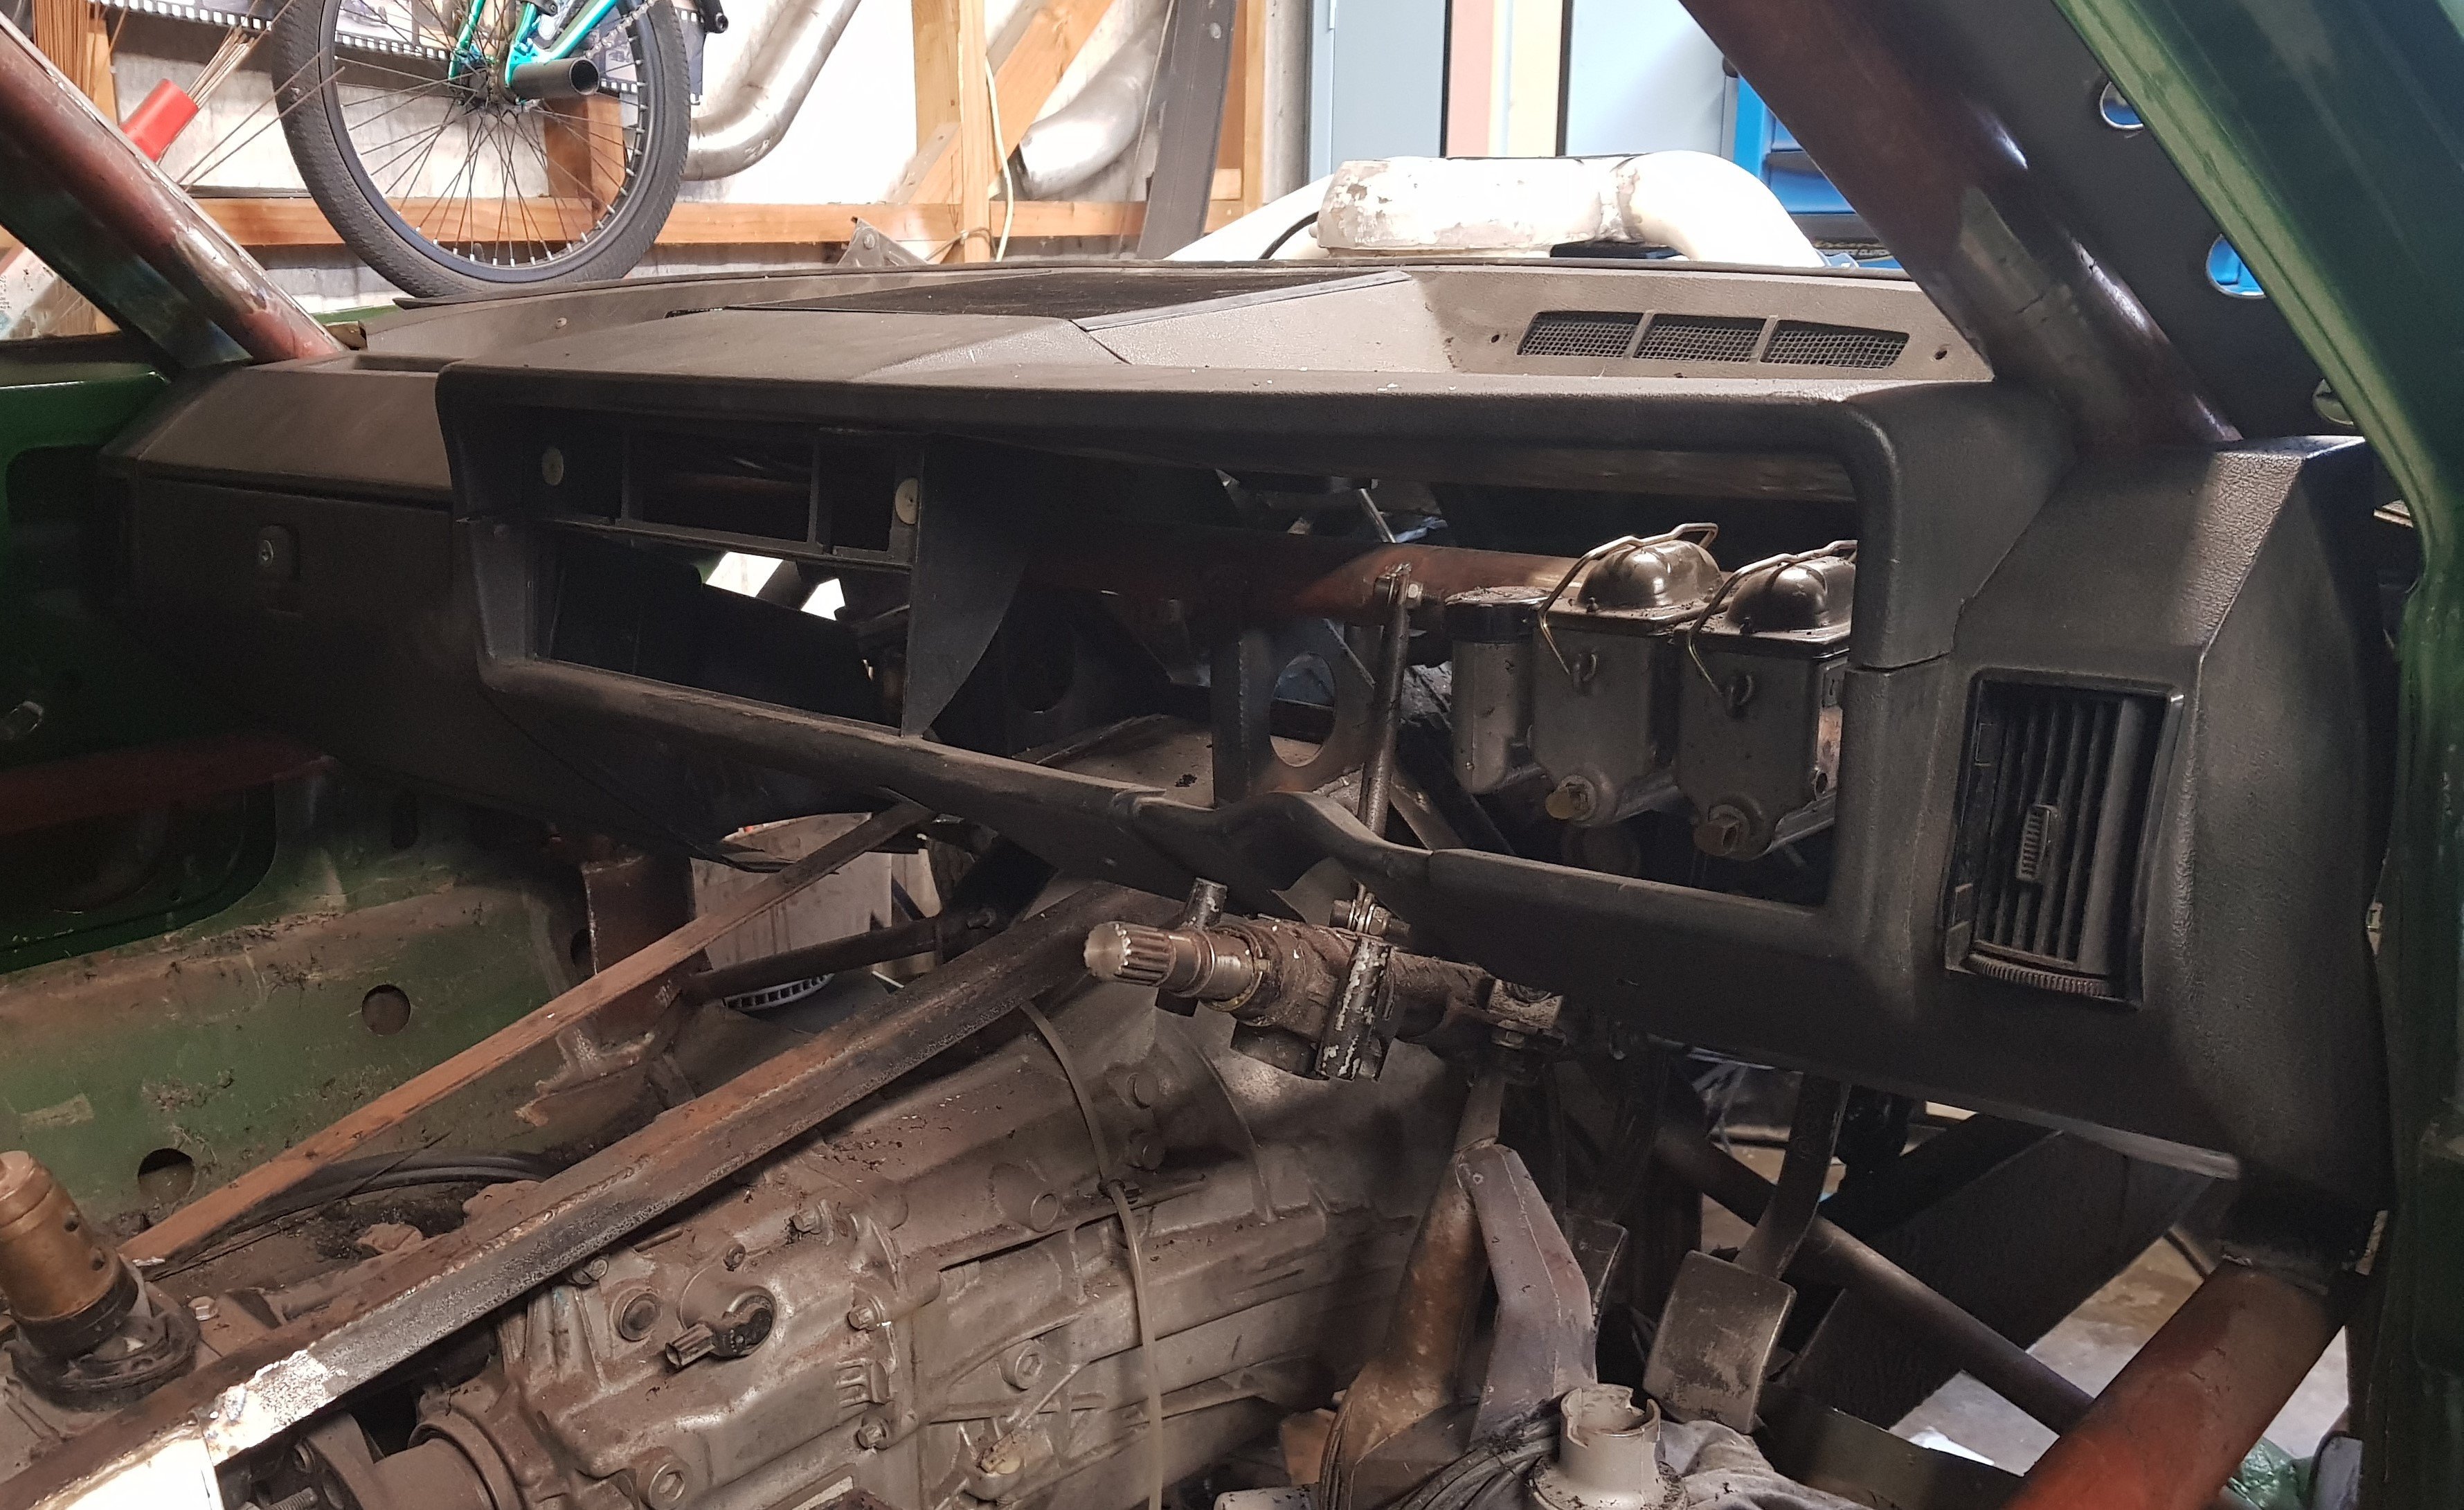
It was always my intention to use the original TR7 dash panel(s) in the car, but in the time between removing the main panel and trying to refit it, I'd forgotten exactly where it sits. I carefully measured between the bottom of the screen back to the rollcage and cut the holes for the cage to pass through. The problem is that the dash panel does not sit at the bottom of the screen - it sits about 30mm up - so the holes I cut were out. A bit. I had to open up the holes backwards a bit. It doesn't look too bad, nothing that a strip of rubber won't cure.
1 point
-
Shame it was such a foggy day1 point
-
Well waterpump sht itself when i first started it,as well as injector o rings, both are new now.... and guess what, car still has same hesitation and problems revving up and going lean revving up, called a tuner, recons my injector drivers might be playing up and this is something microtech ecu does have problems with, new ecu time, most likely link monsoon, but cant afford that right now so its probably going to sit for a while more, not what i needed !!! Reasons for suspecting ecu: injectors are tested and primarys are new, fuel pressures good, as new motor, same symptoms as last motor before it blew after a thrashing, only happens when pushing accelerator moderately, sensors are in spec, everything has been checked, new fuel, good compression, air fuel shows lean Condition upon acceleration and motor stumbles as if no fuel. Im not even going to test drive it, new ecu seems like the best option unless someones got a good tune 13b microtech lt10s i can borrow to double check ...
1 point
-
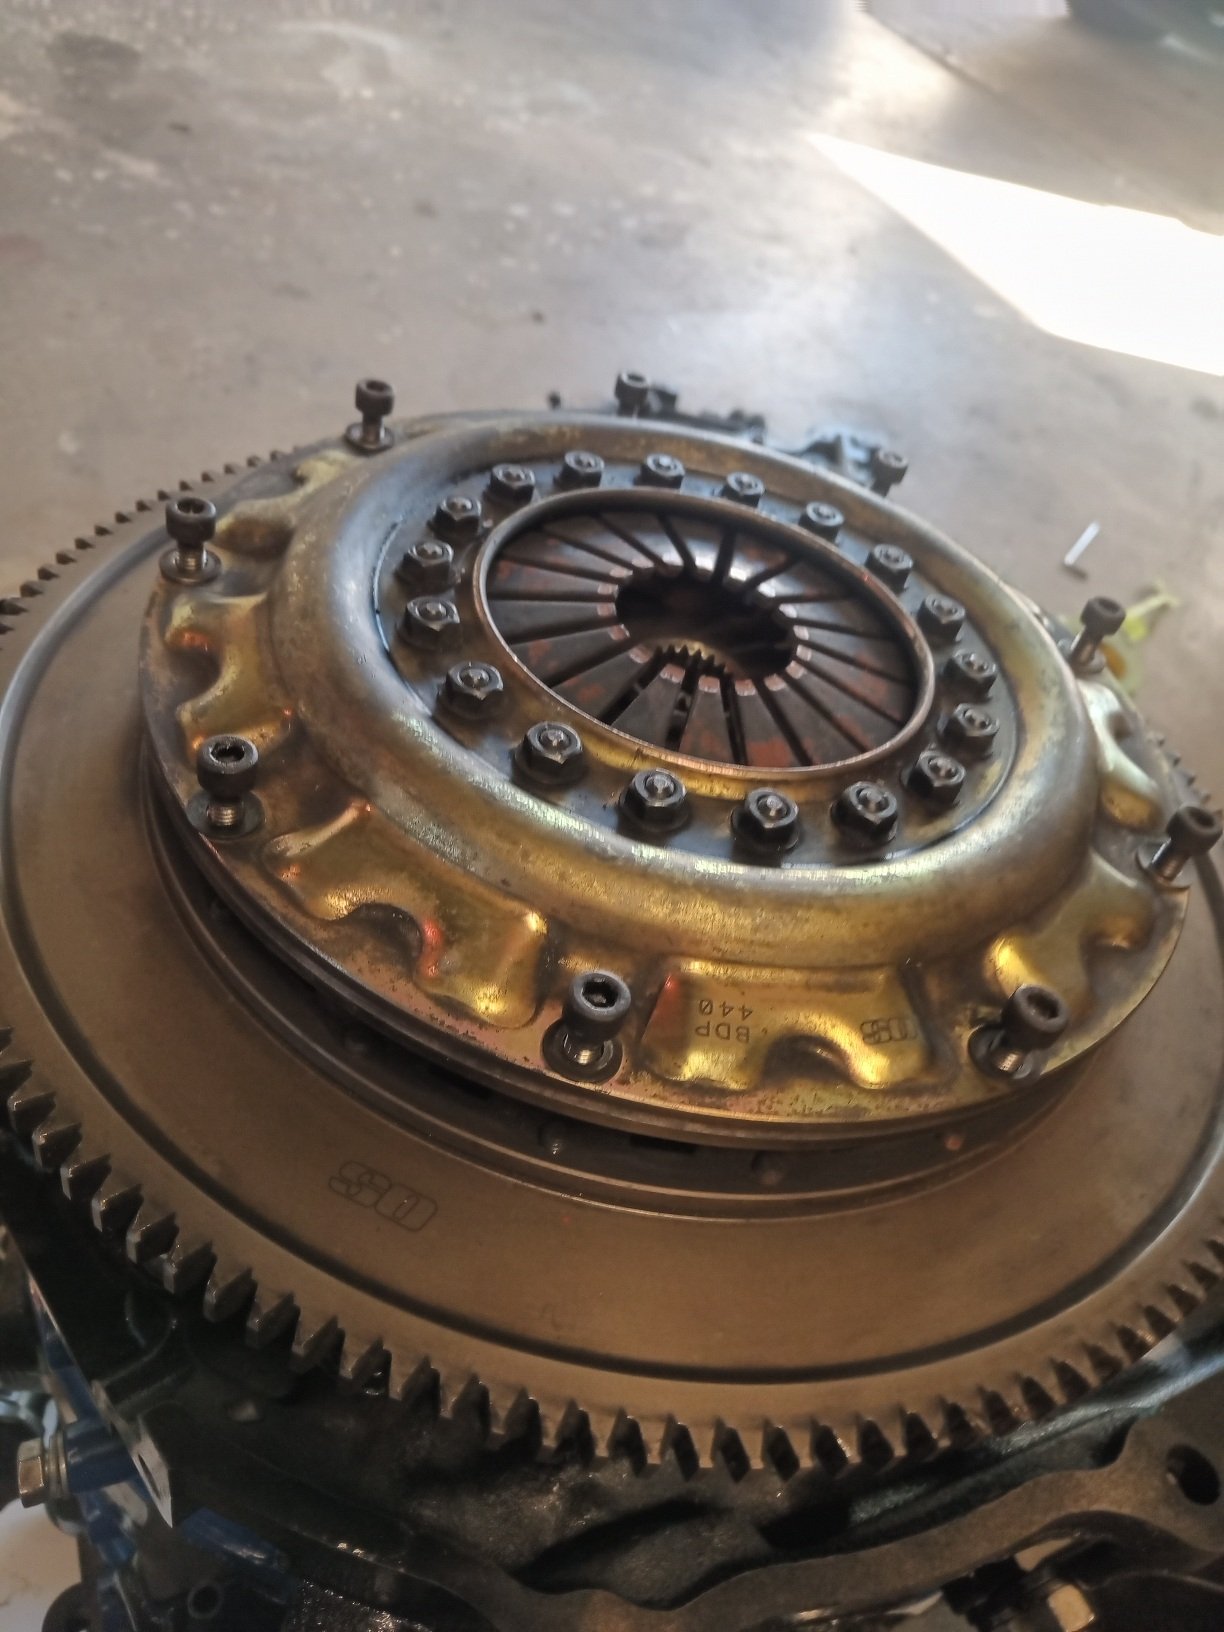
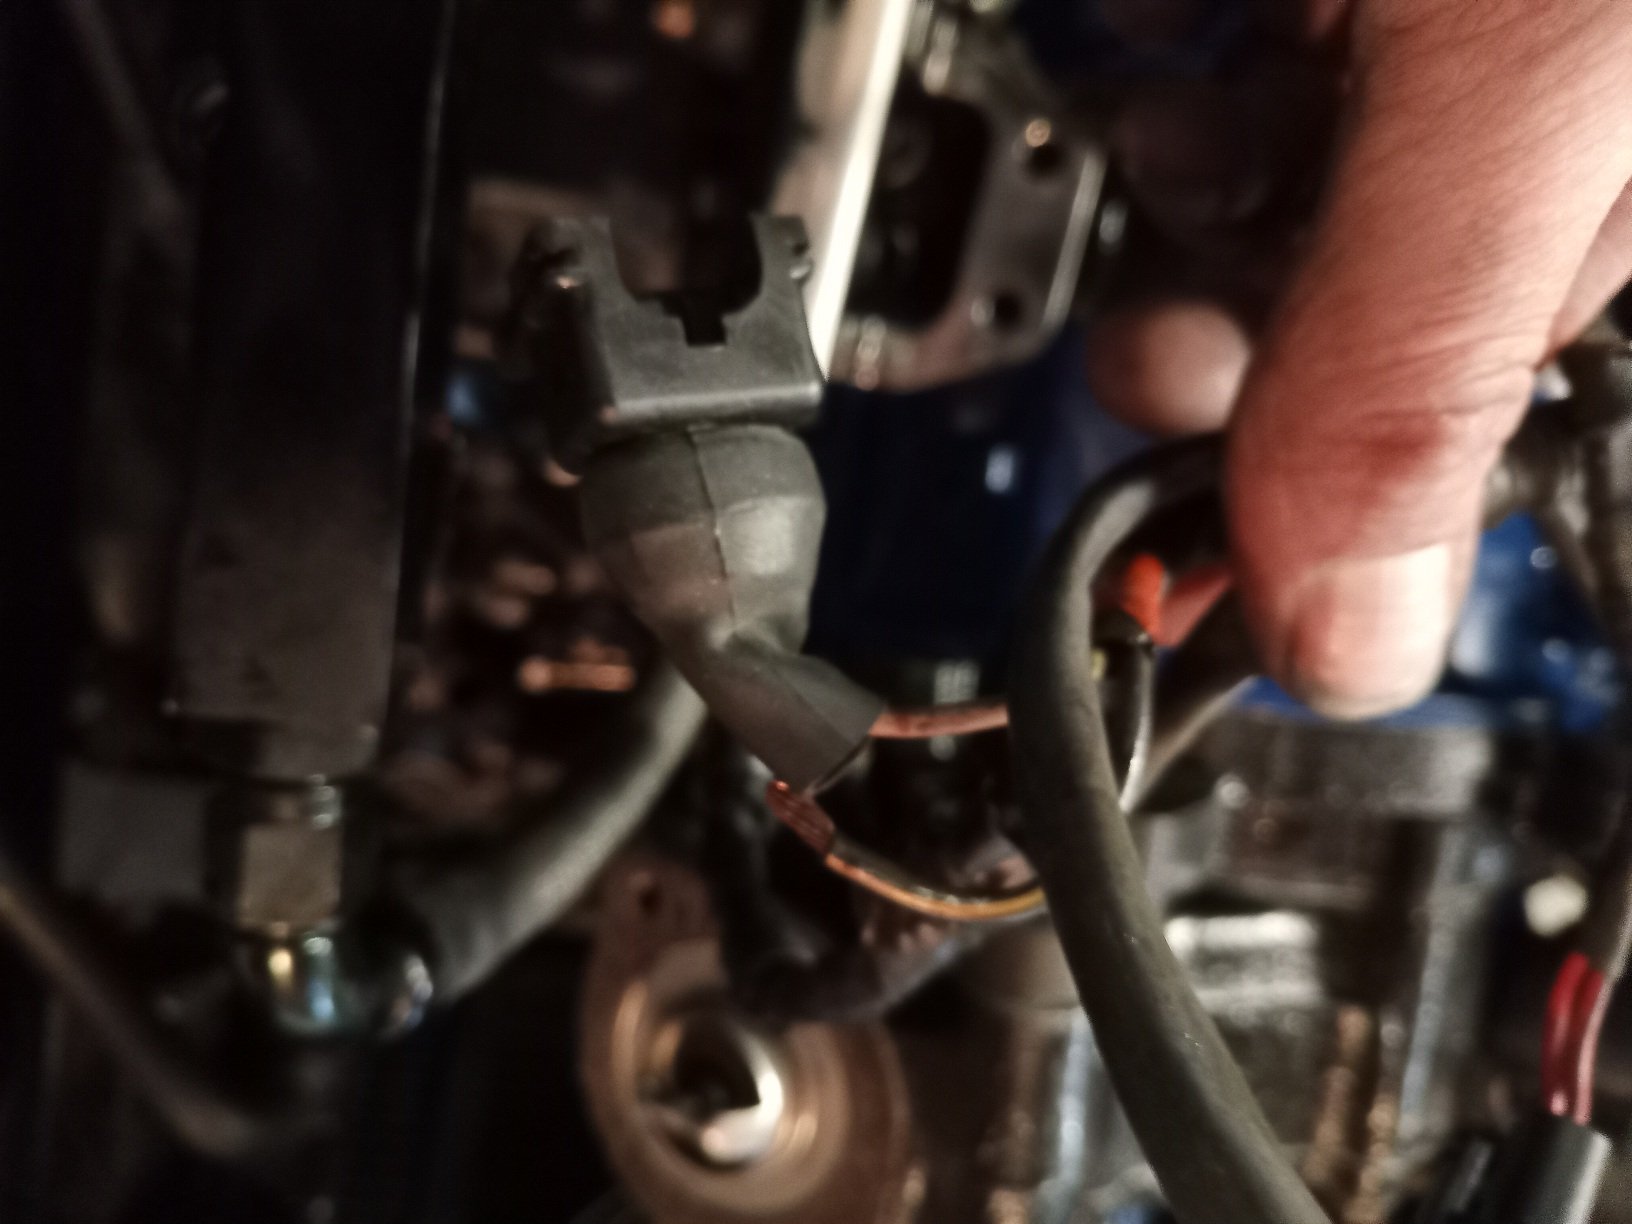
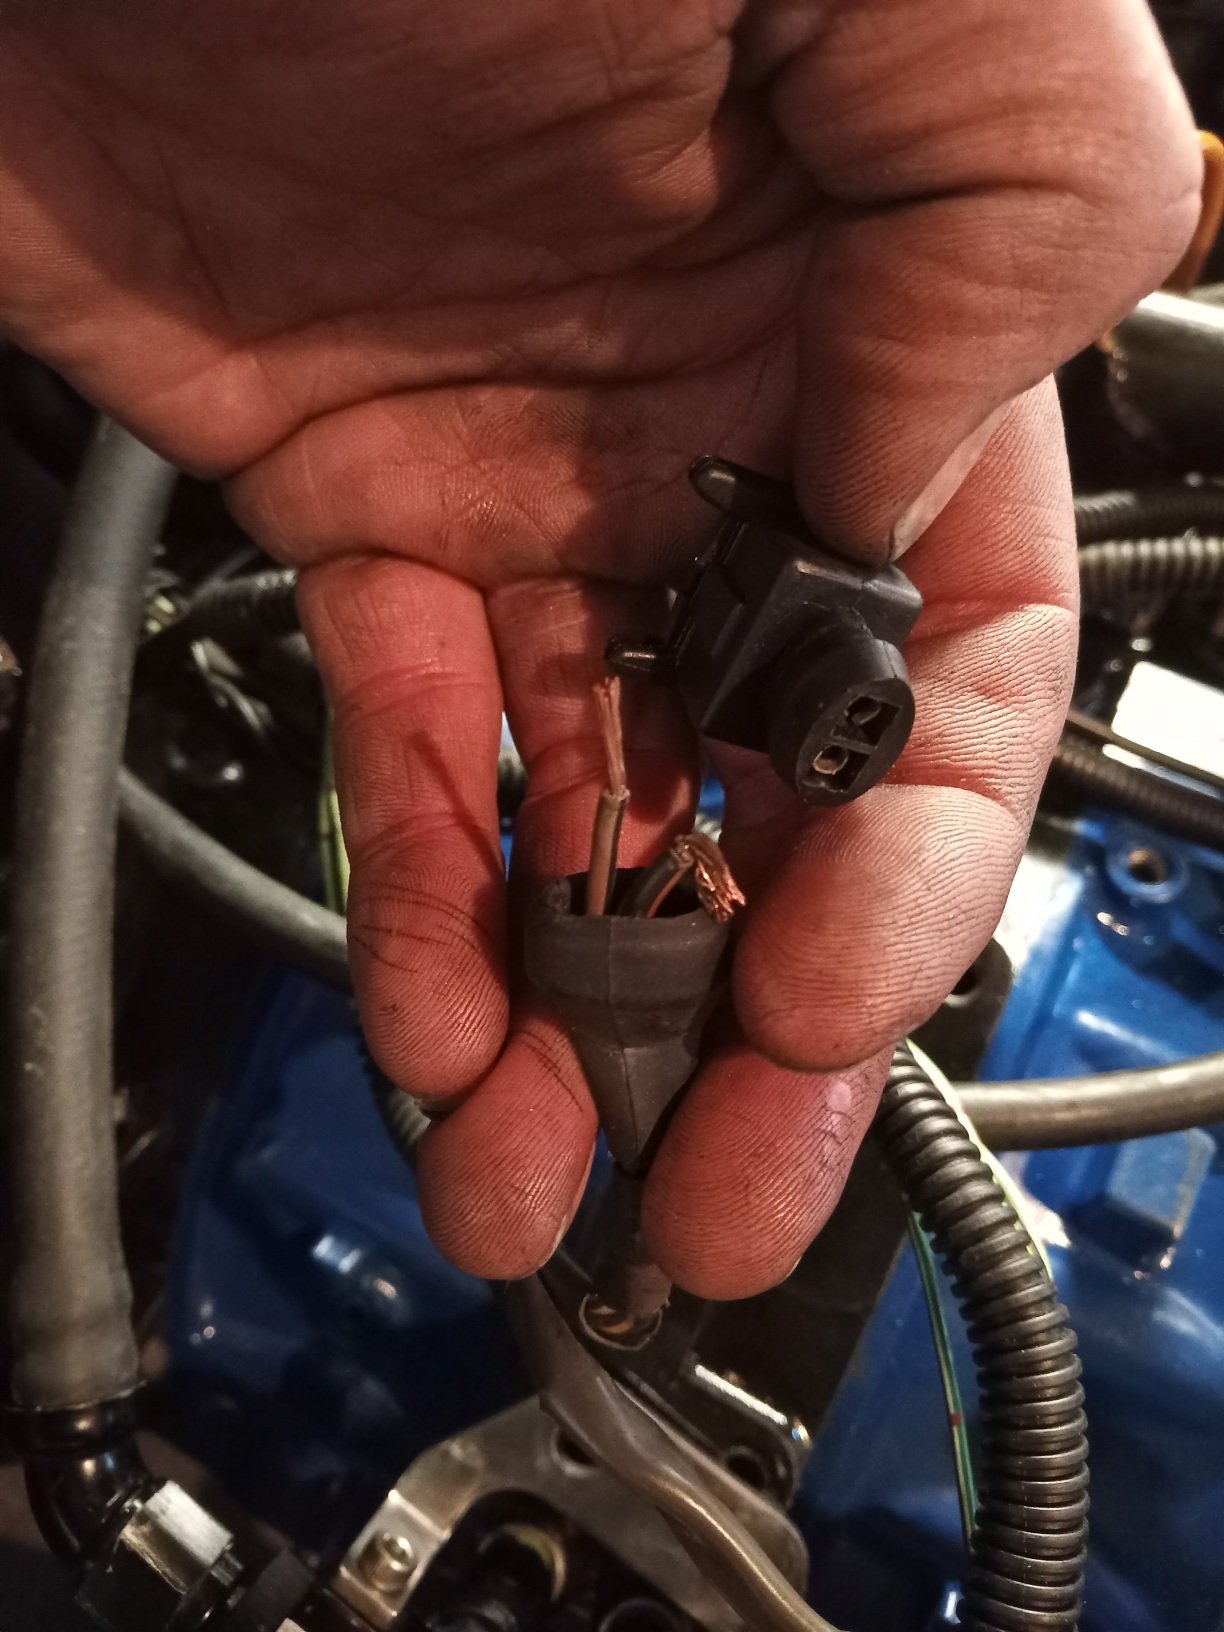
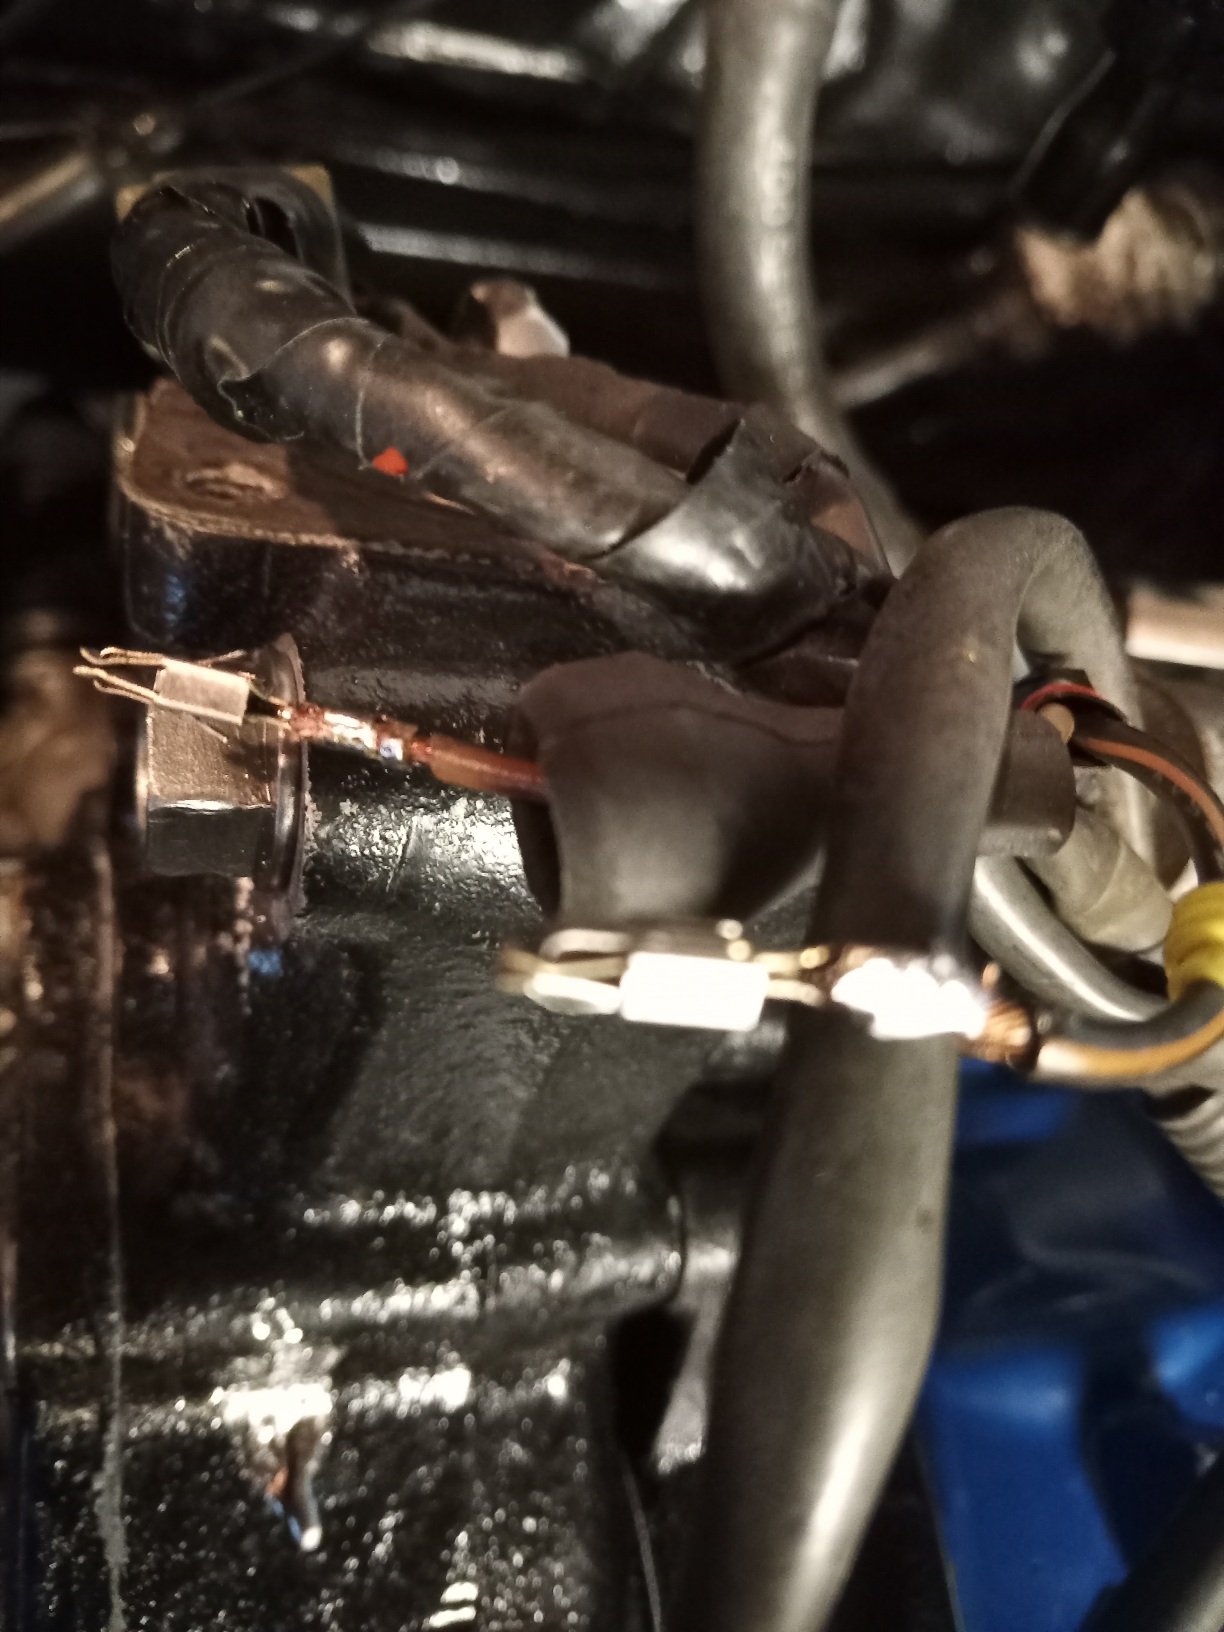
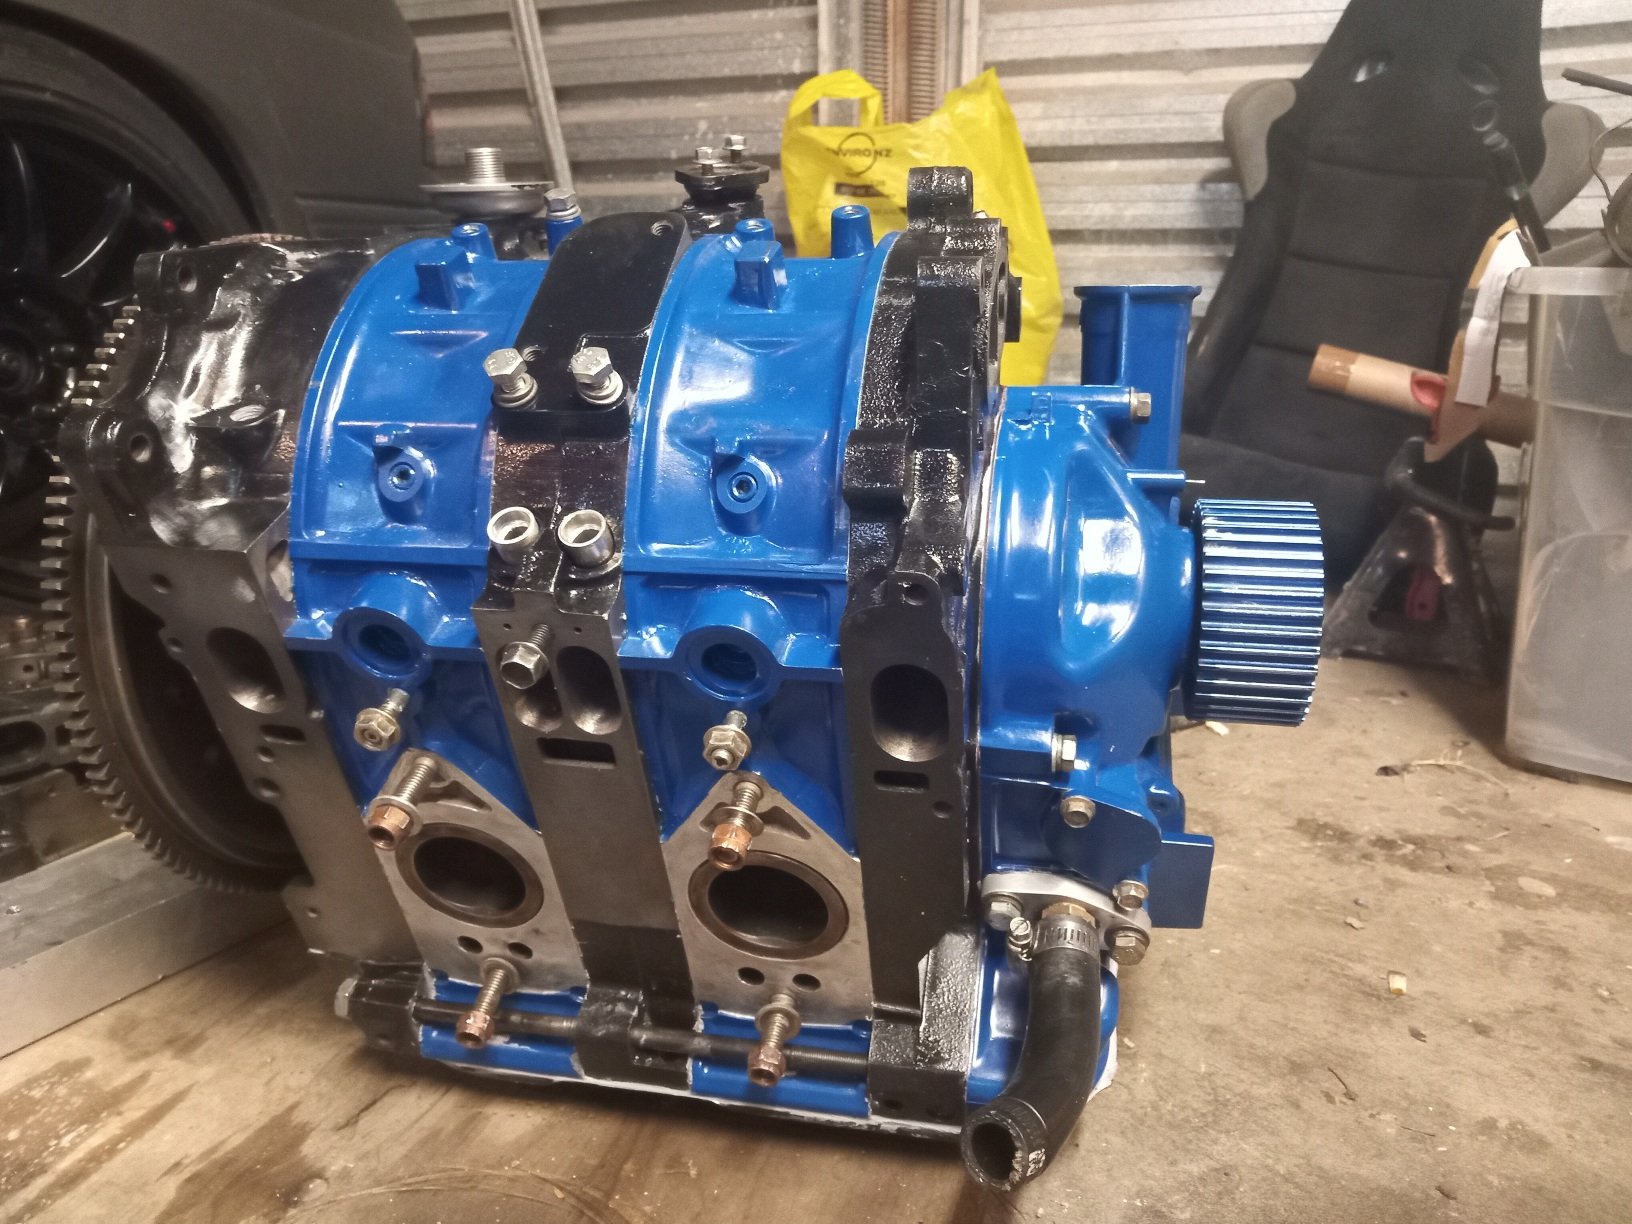
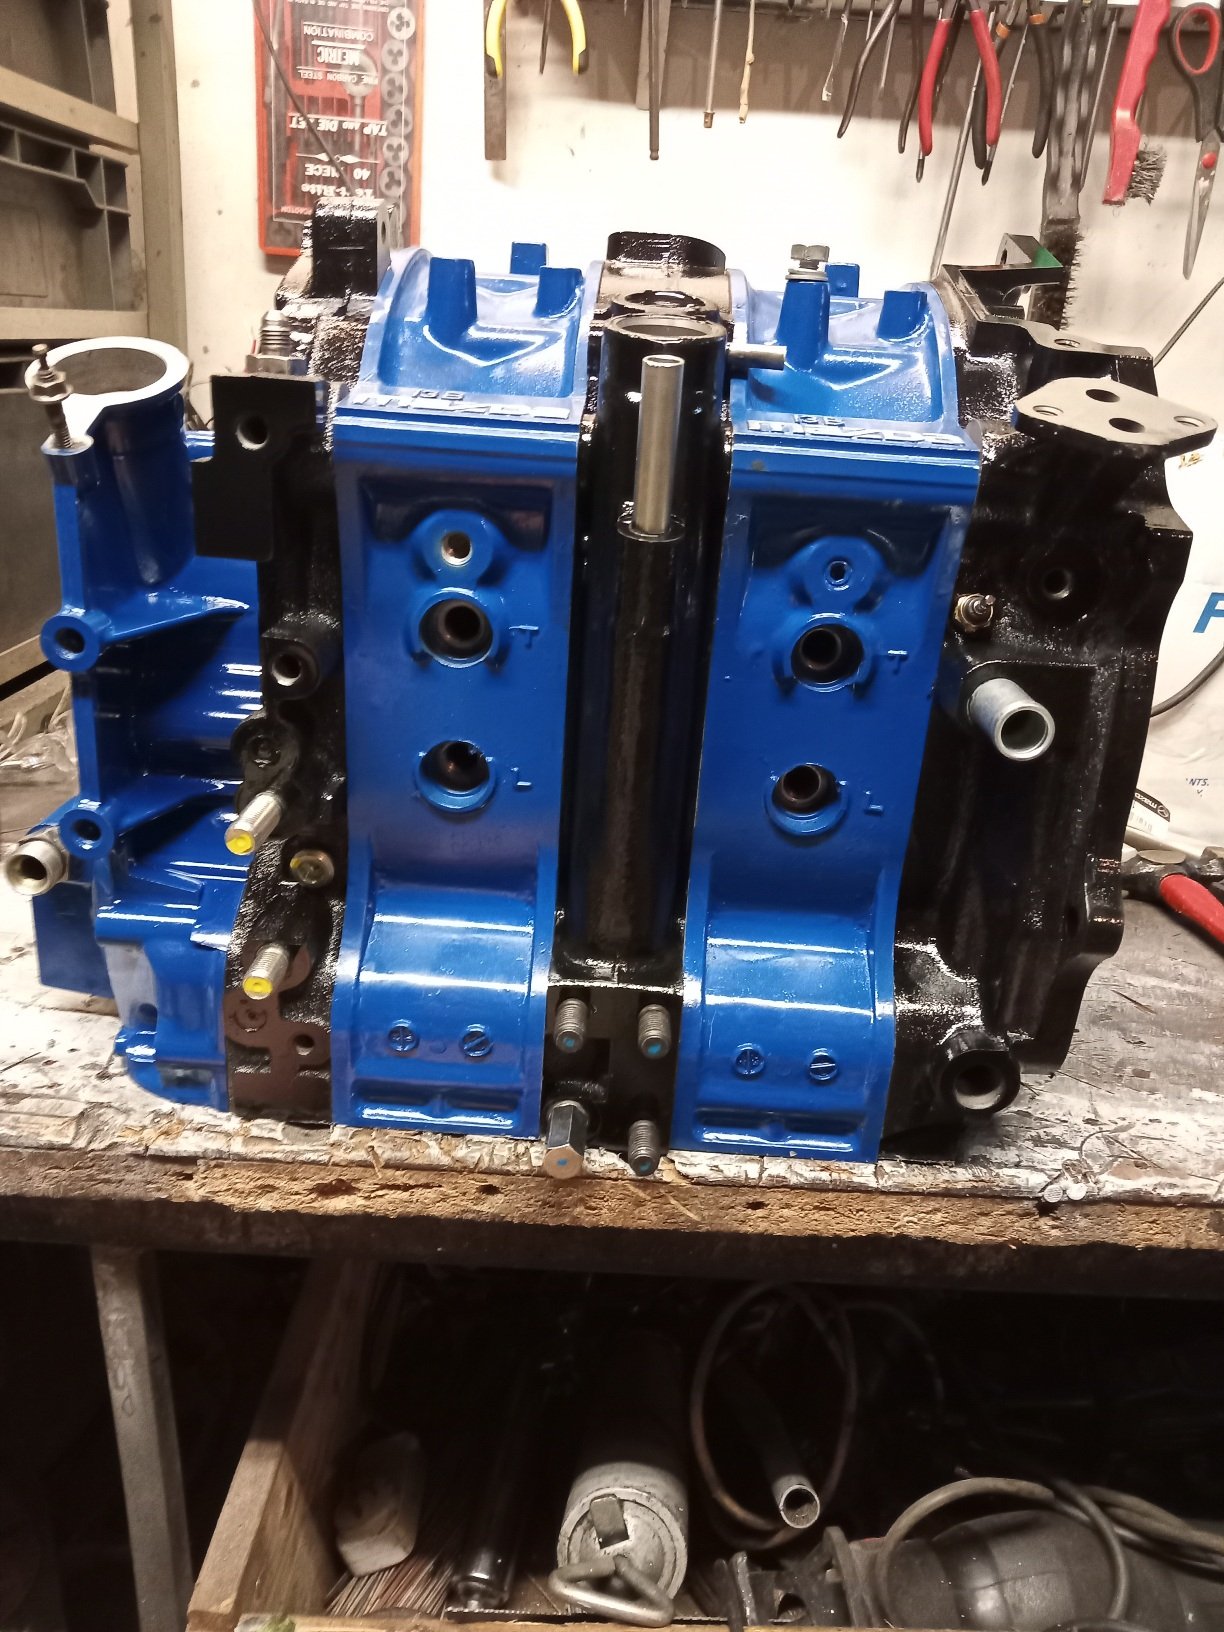
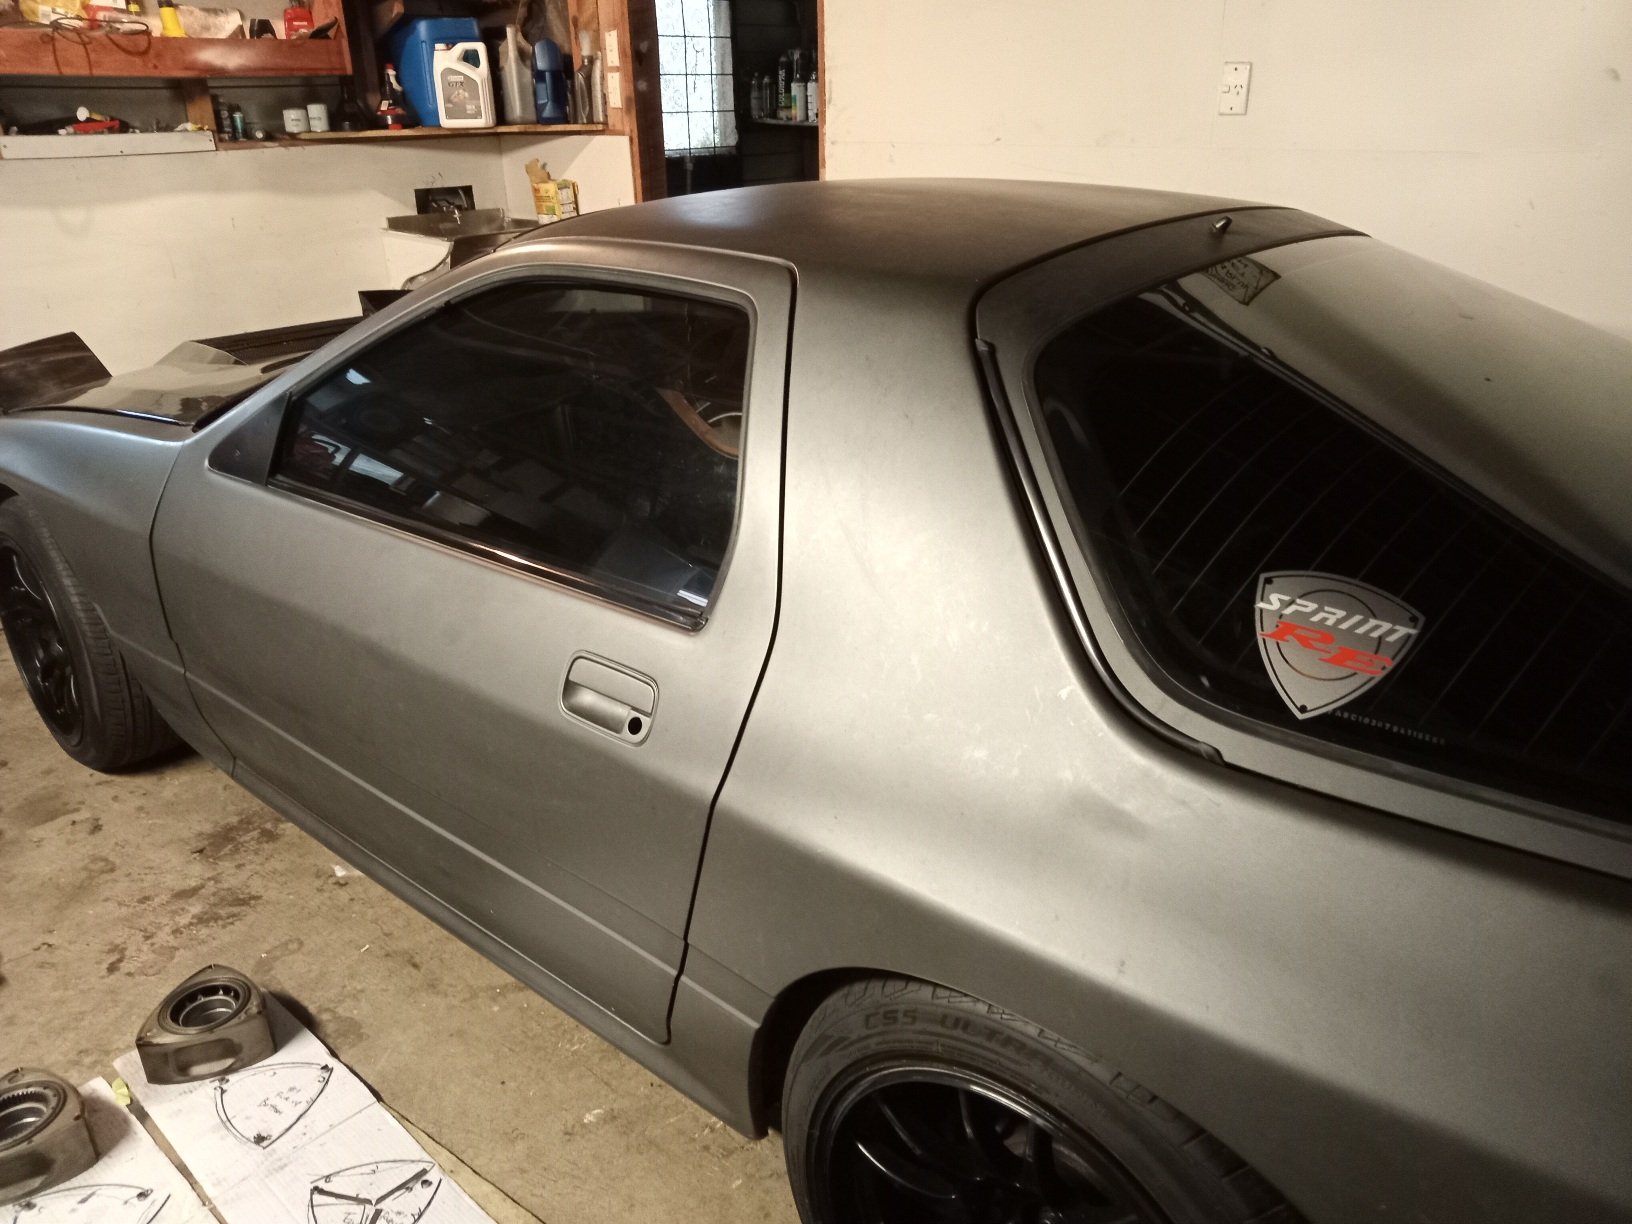
Clutch on today, loctite bolts on, put it in and upon installing injectors one of the wires practically just fell out of the plug shroud and lightly pulling on all the primary injector wires was able to pull them ALL out of the plugs...... im questioning if when it last ran so bad-was just that? As i had removed intake and wiring and reinstalled just before that final start, at least partially that... But anyway i de-pinned the plugs on primaries, soldered the wiring to the pins and re installed them, they should not come out again... Got mostly together, drained all the fuel out the tank to get fresh stuff in there, just building a turbo shroud and then i can put that in , also put 2 new 1000cc primaries in because when sprint re cleaned them one did not flow as well as the other, so 2 new bosch primary injectors, the secondarys tested good so left them . i think its starting to look good in blue
1 point
-
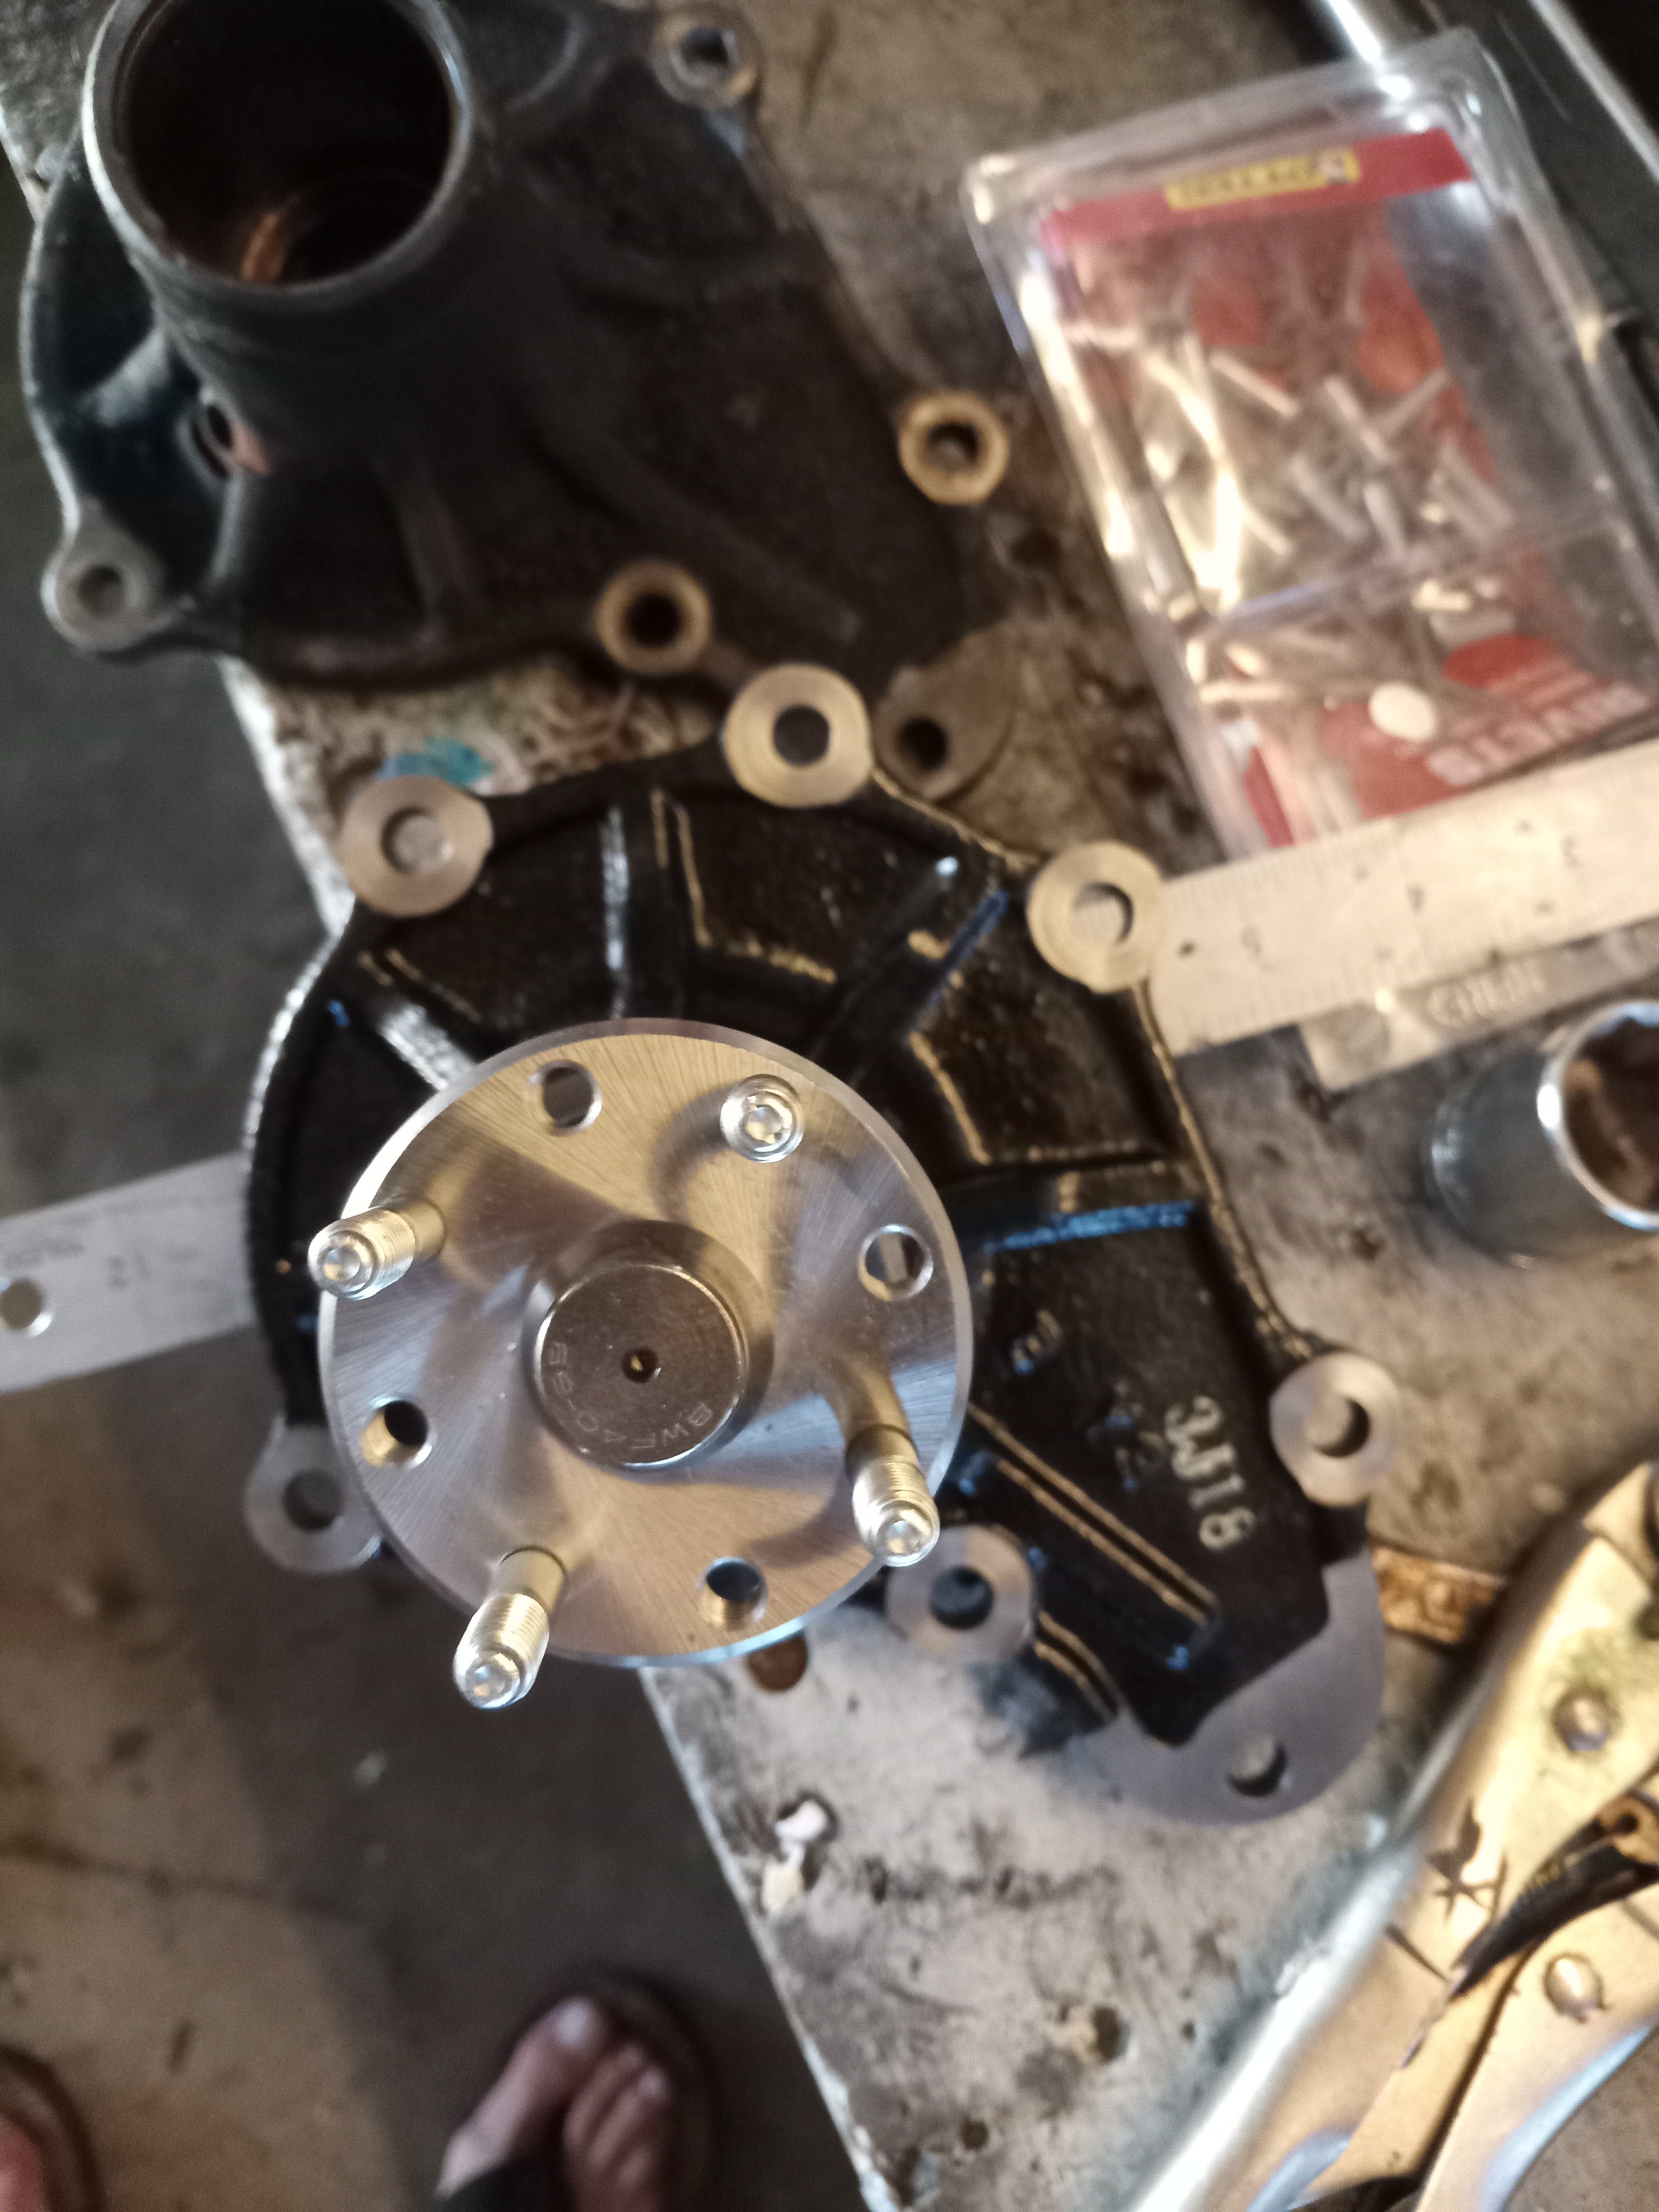
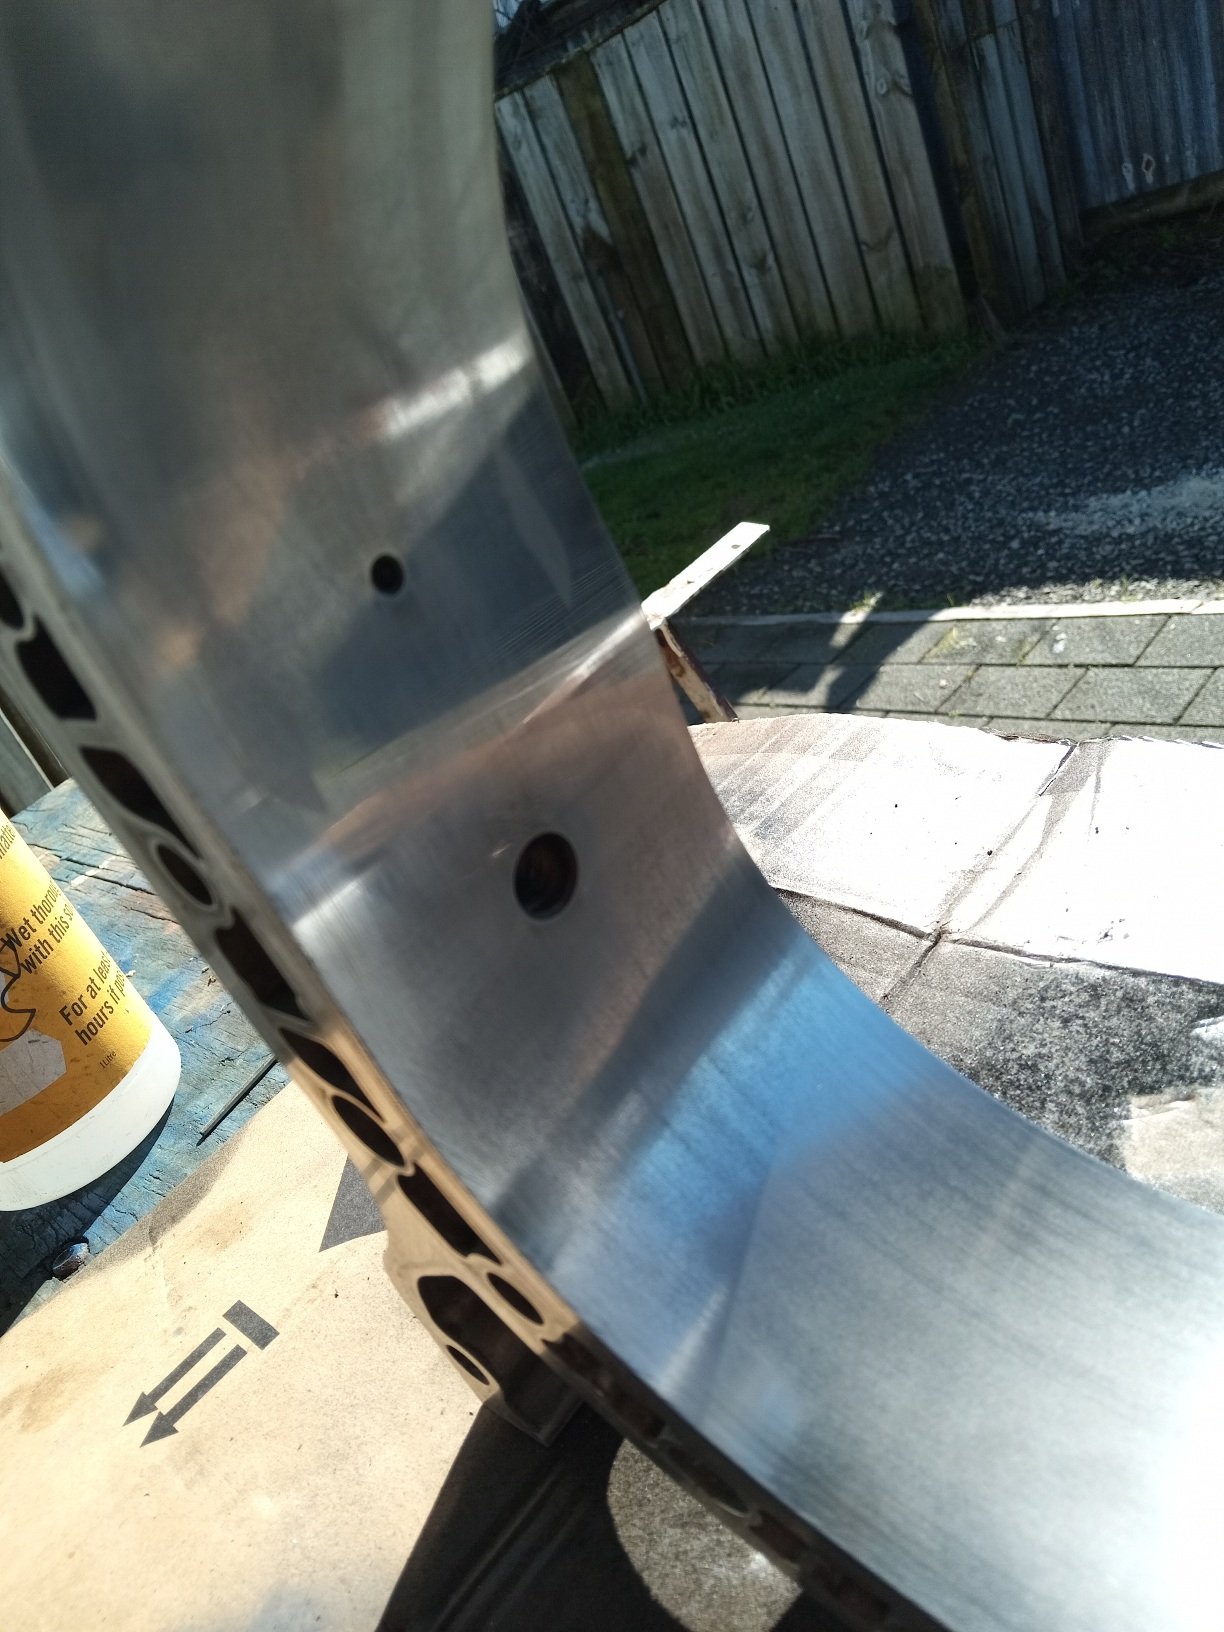
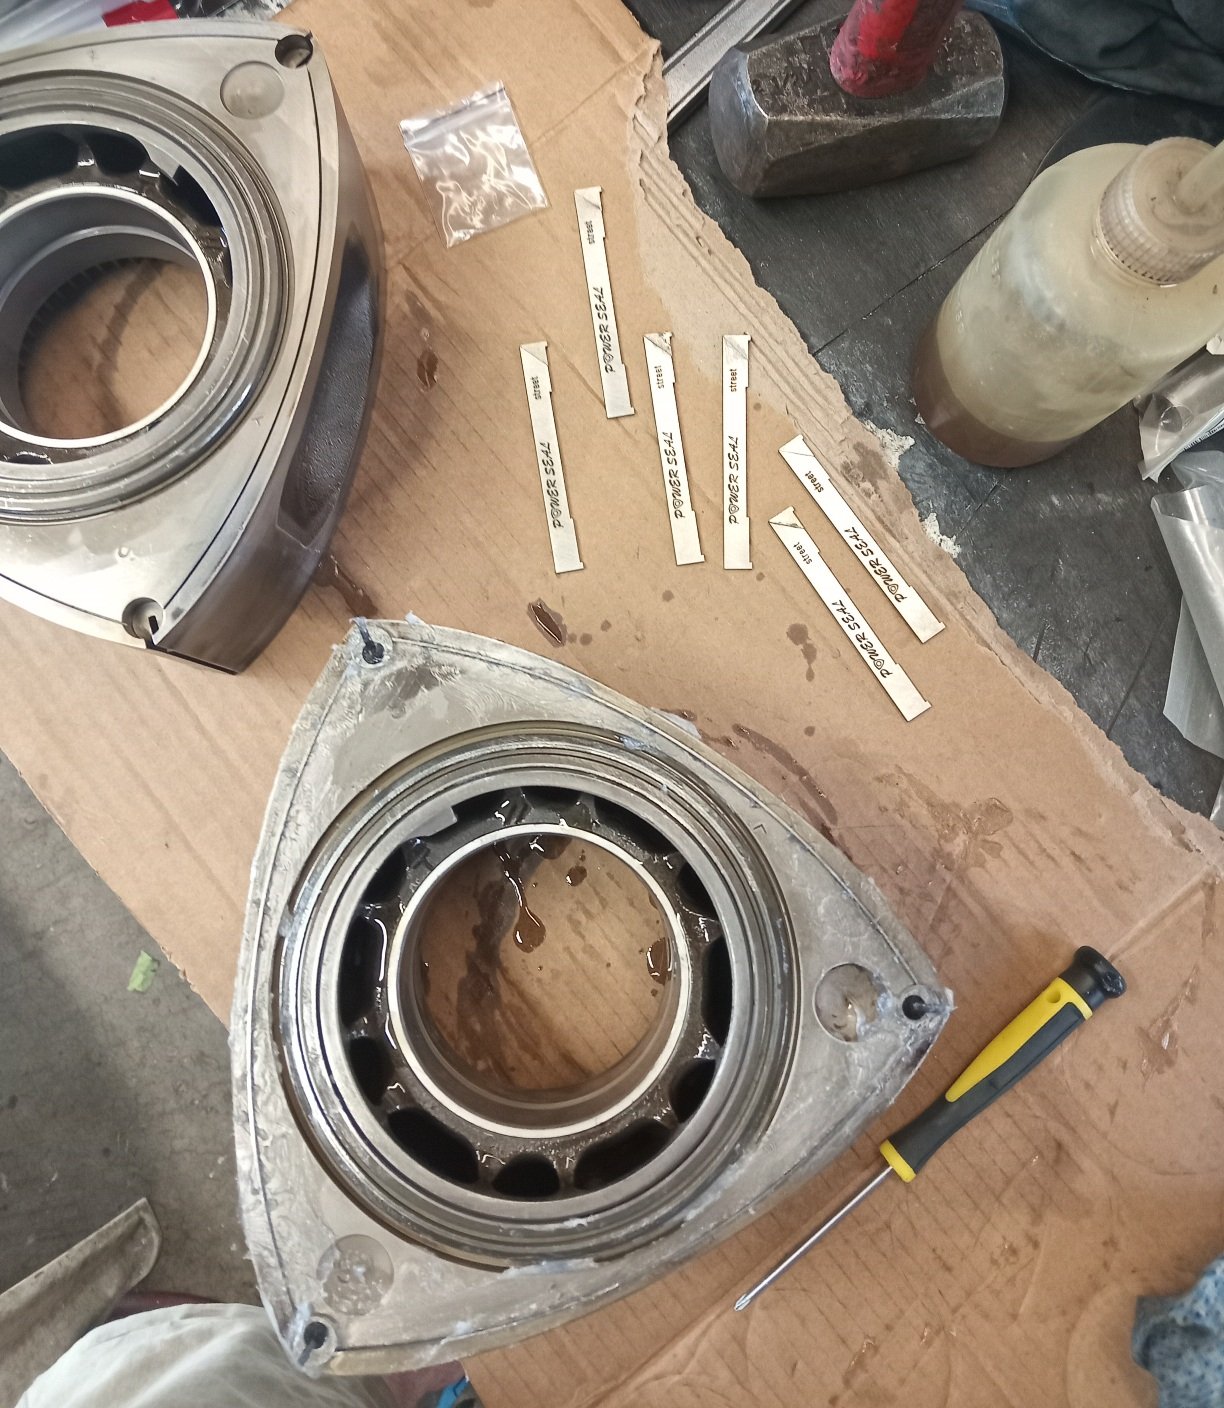
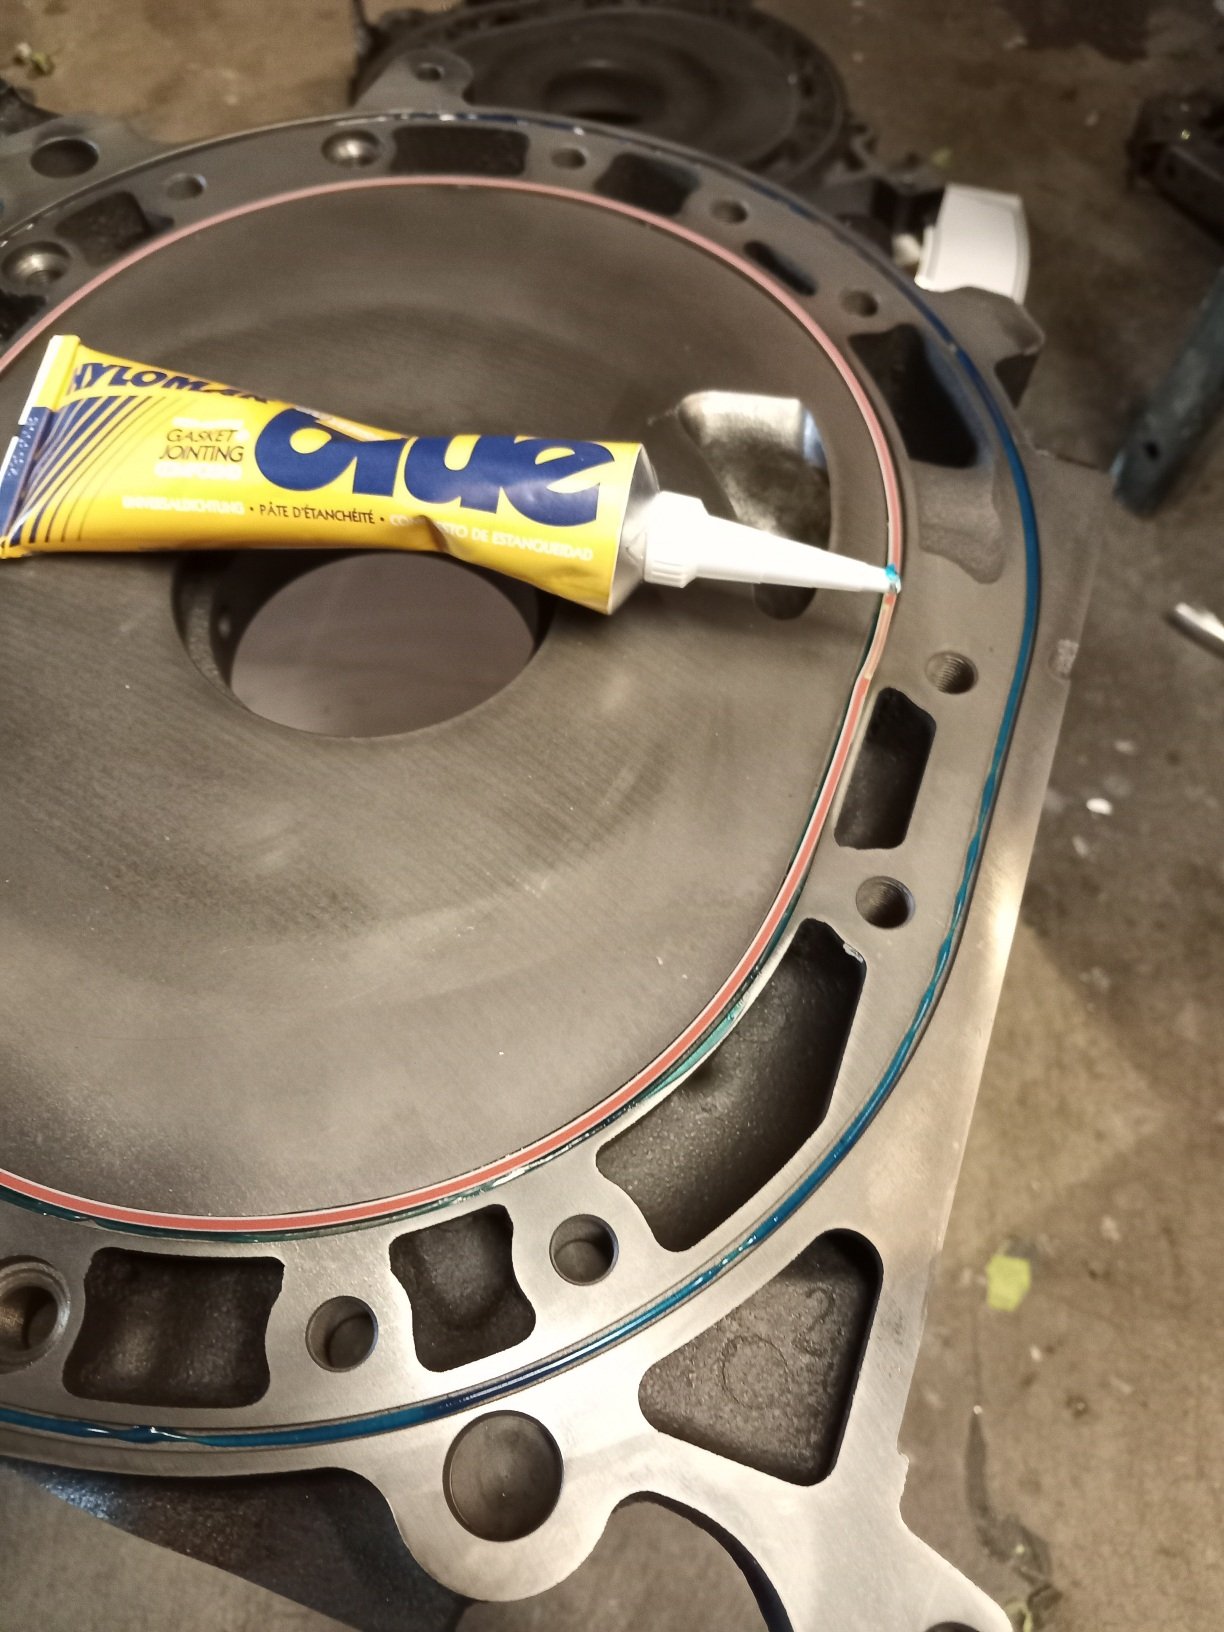
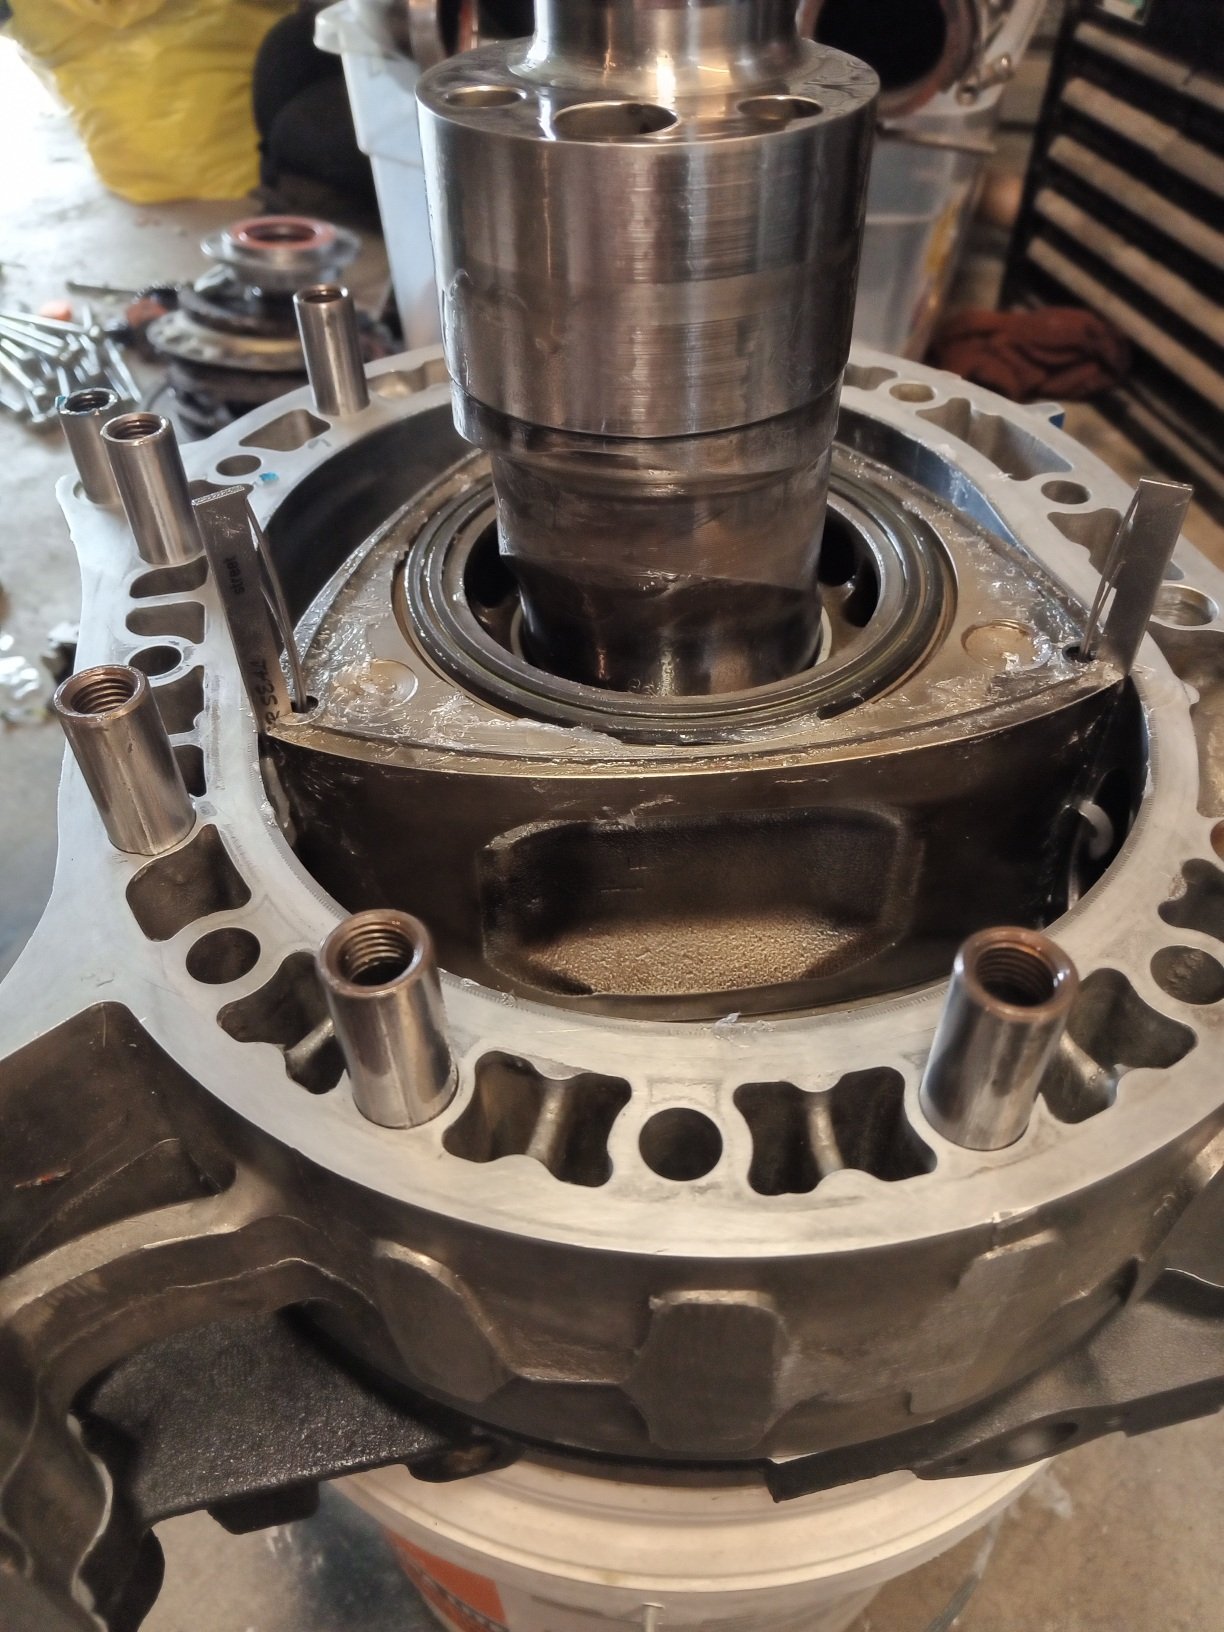
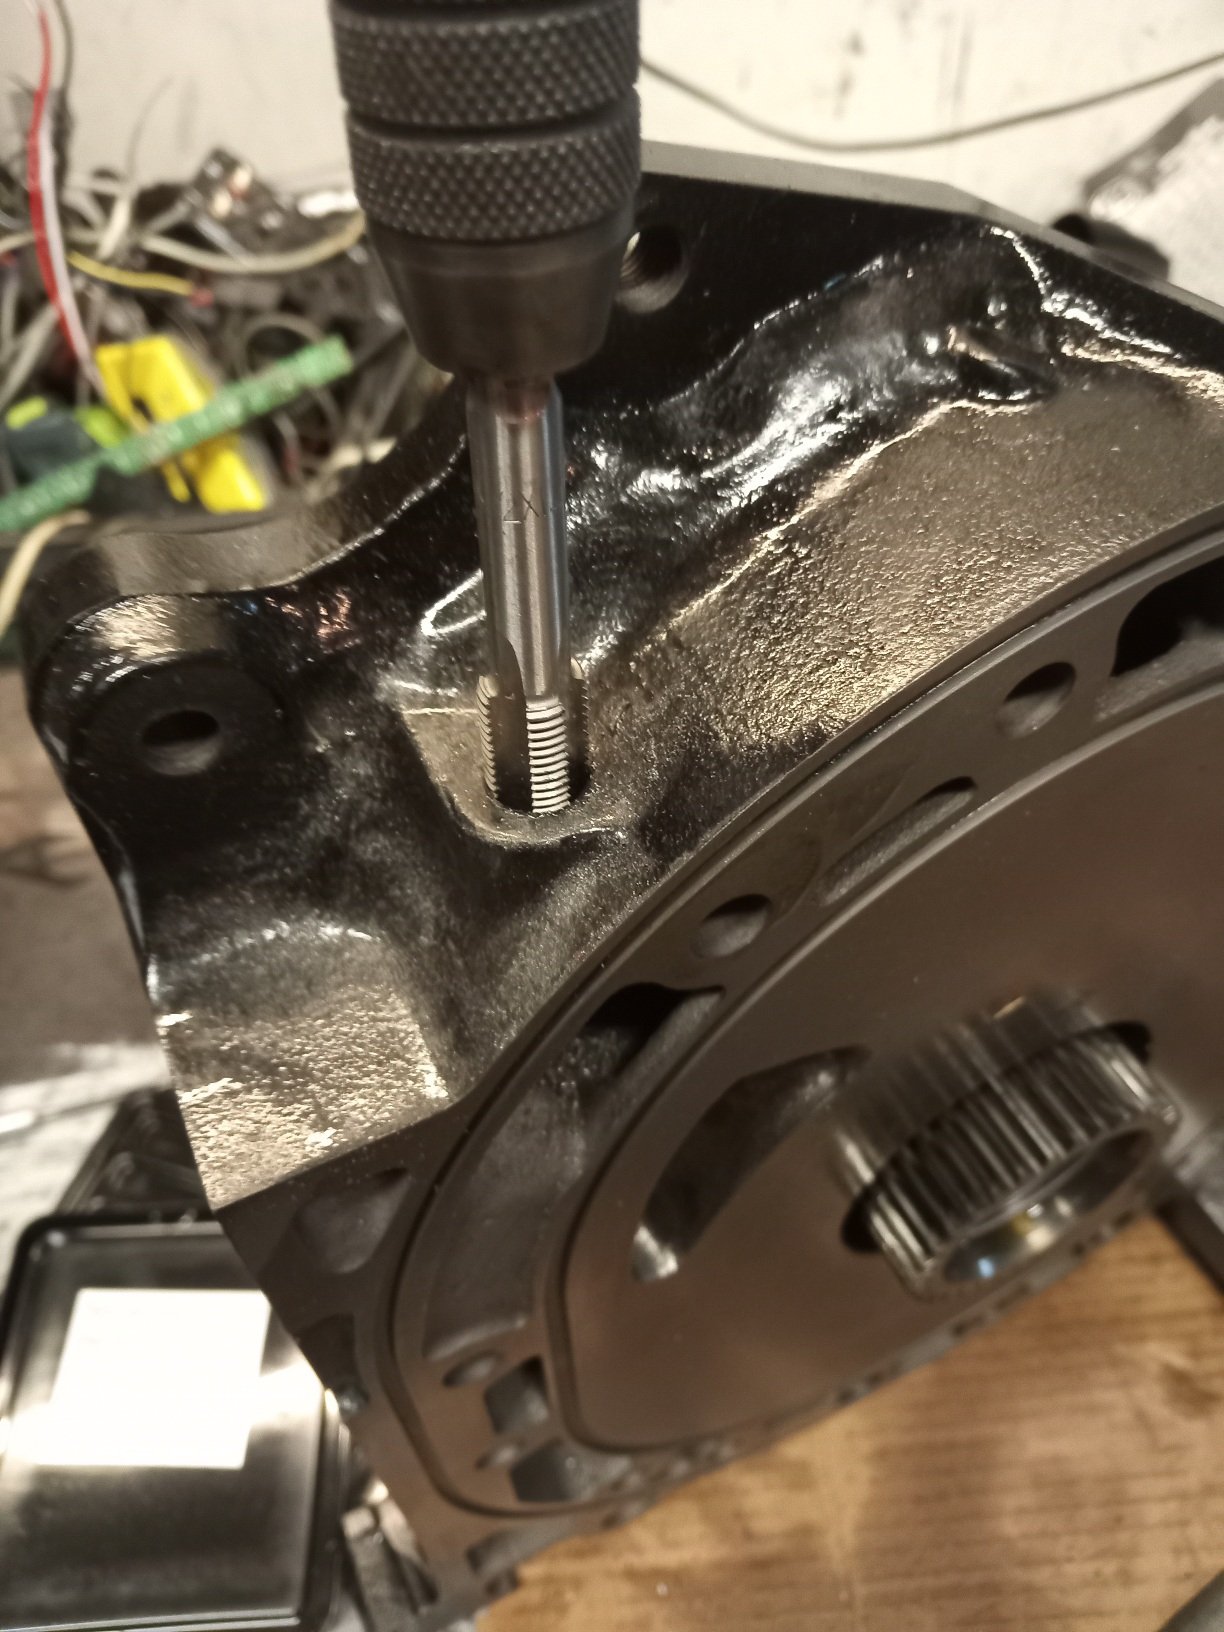
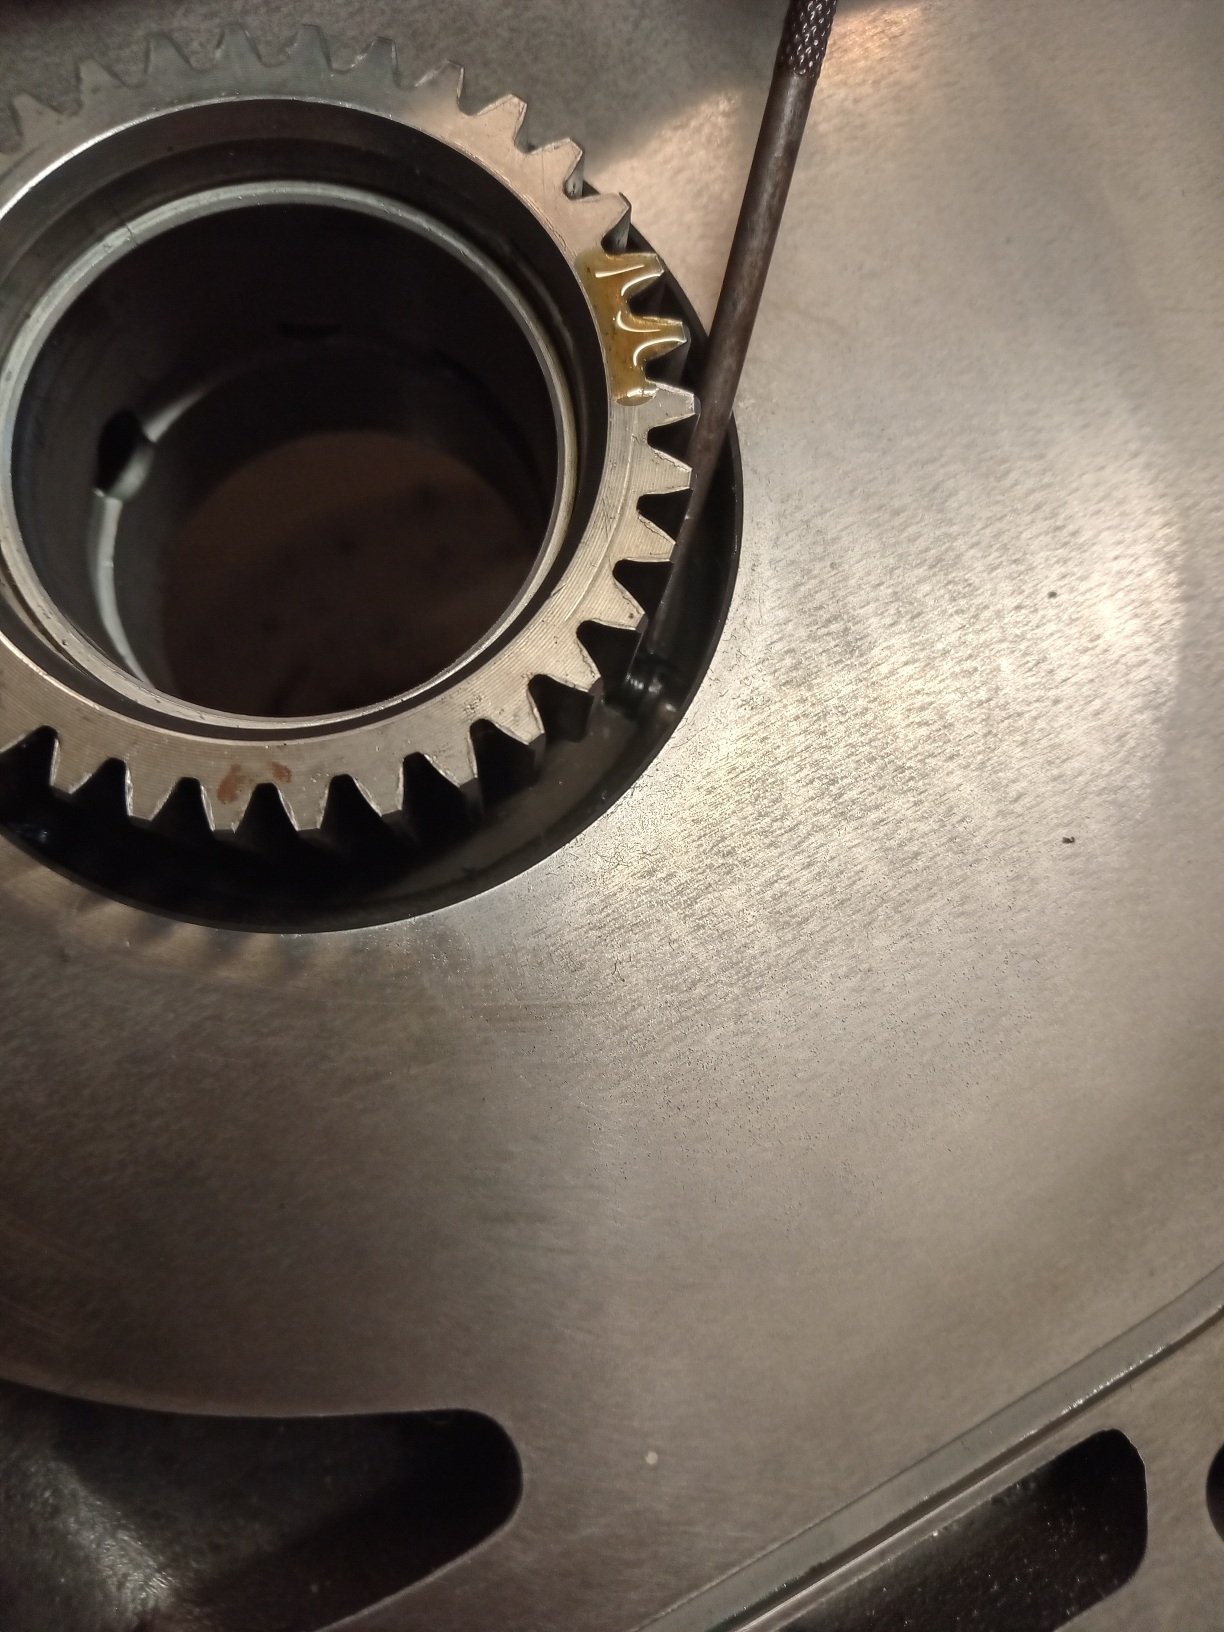
Did a bit of wet sanding in the rotor housings, but they were pretty mint still so only real lighttapped iron for plug.found a screw that had backed out of the stationary gear, luckily caught that and loctite that back in place so it'll not walk out again...new rear main seal as old one was looking a bit oldim a fan of sealants so got some non hardenining hylomar on the seals..superglued the new apex seals together, old ones were slightly warped so i bit the bullet and got some more same brand.put it all together with oil over all plates and housings, vaseline to hold all parts in, hylomar on o rings only... Taking care to install all o rings, seal everything correctly and not exessively, new mazda dowels, corner seals, side seals oil rings and all springs were all in good condition, and intalled with care to orient everything as i pulled it out double checked etc I ended up using super glue to hold apex seals together to install, but then break them off before moving on to the next stage, torqued everything in the right sequence etc ... end play was bang on in the middle of tolerance so that was ideal, all turned good and just inspected through ports to make sure no apex seals were backwards hahah
1 point
-
he should use the sachs for that. "i have a bridgeport lathe" "do you mean mill?" "no"1 point
-
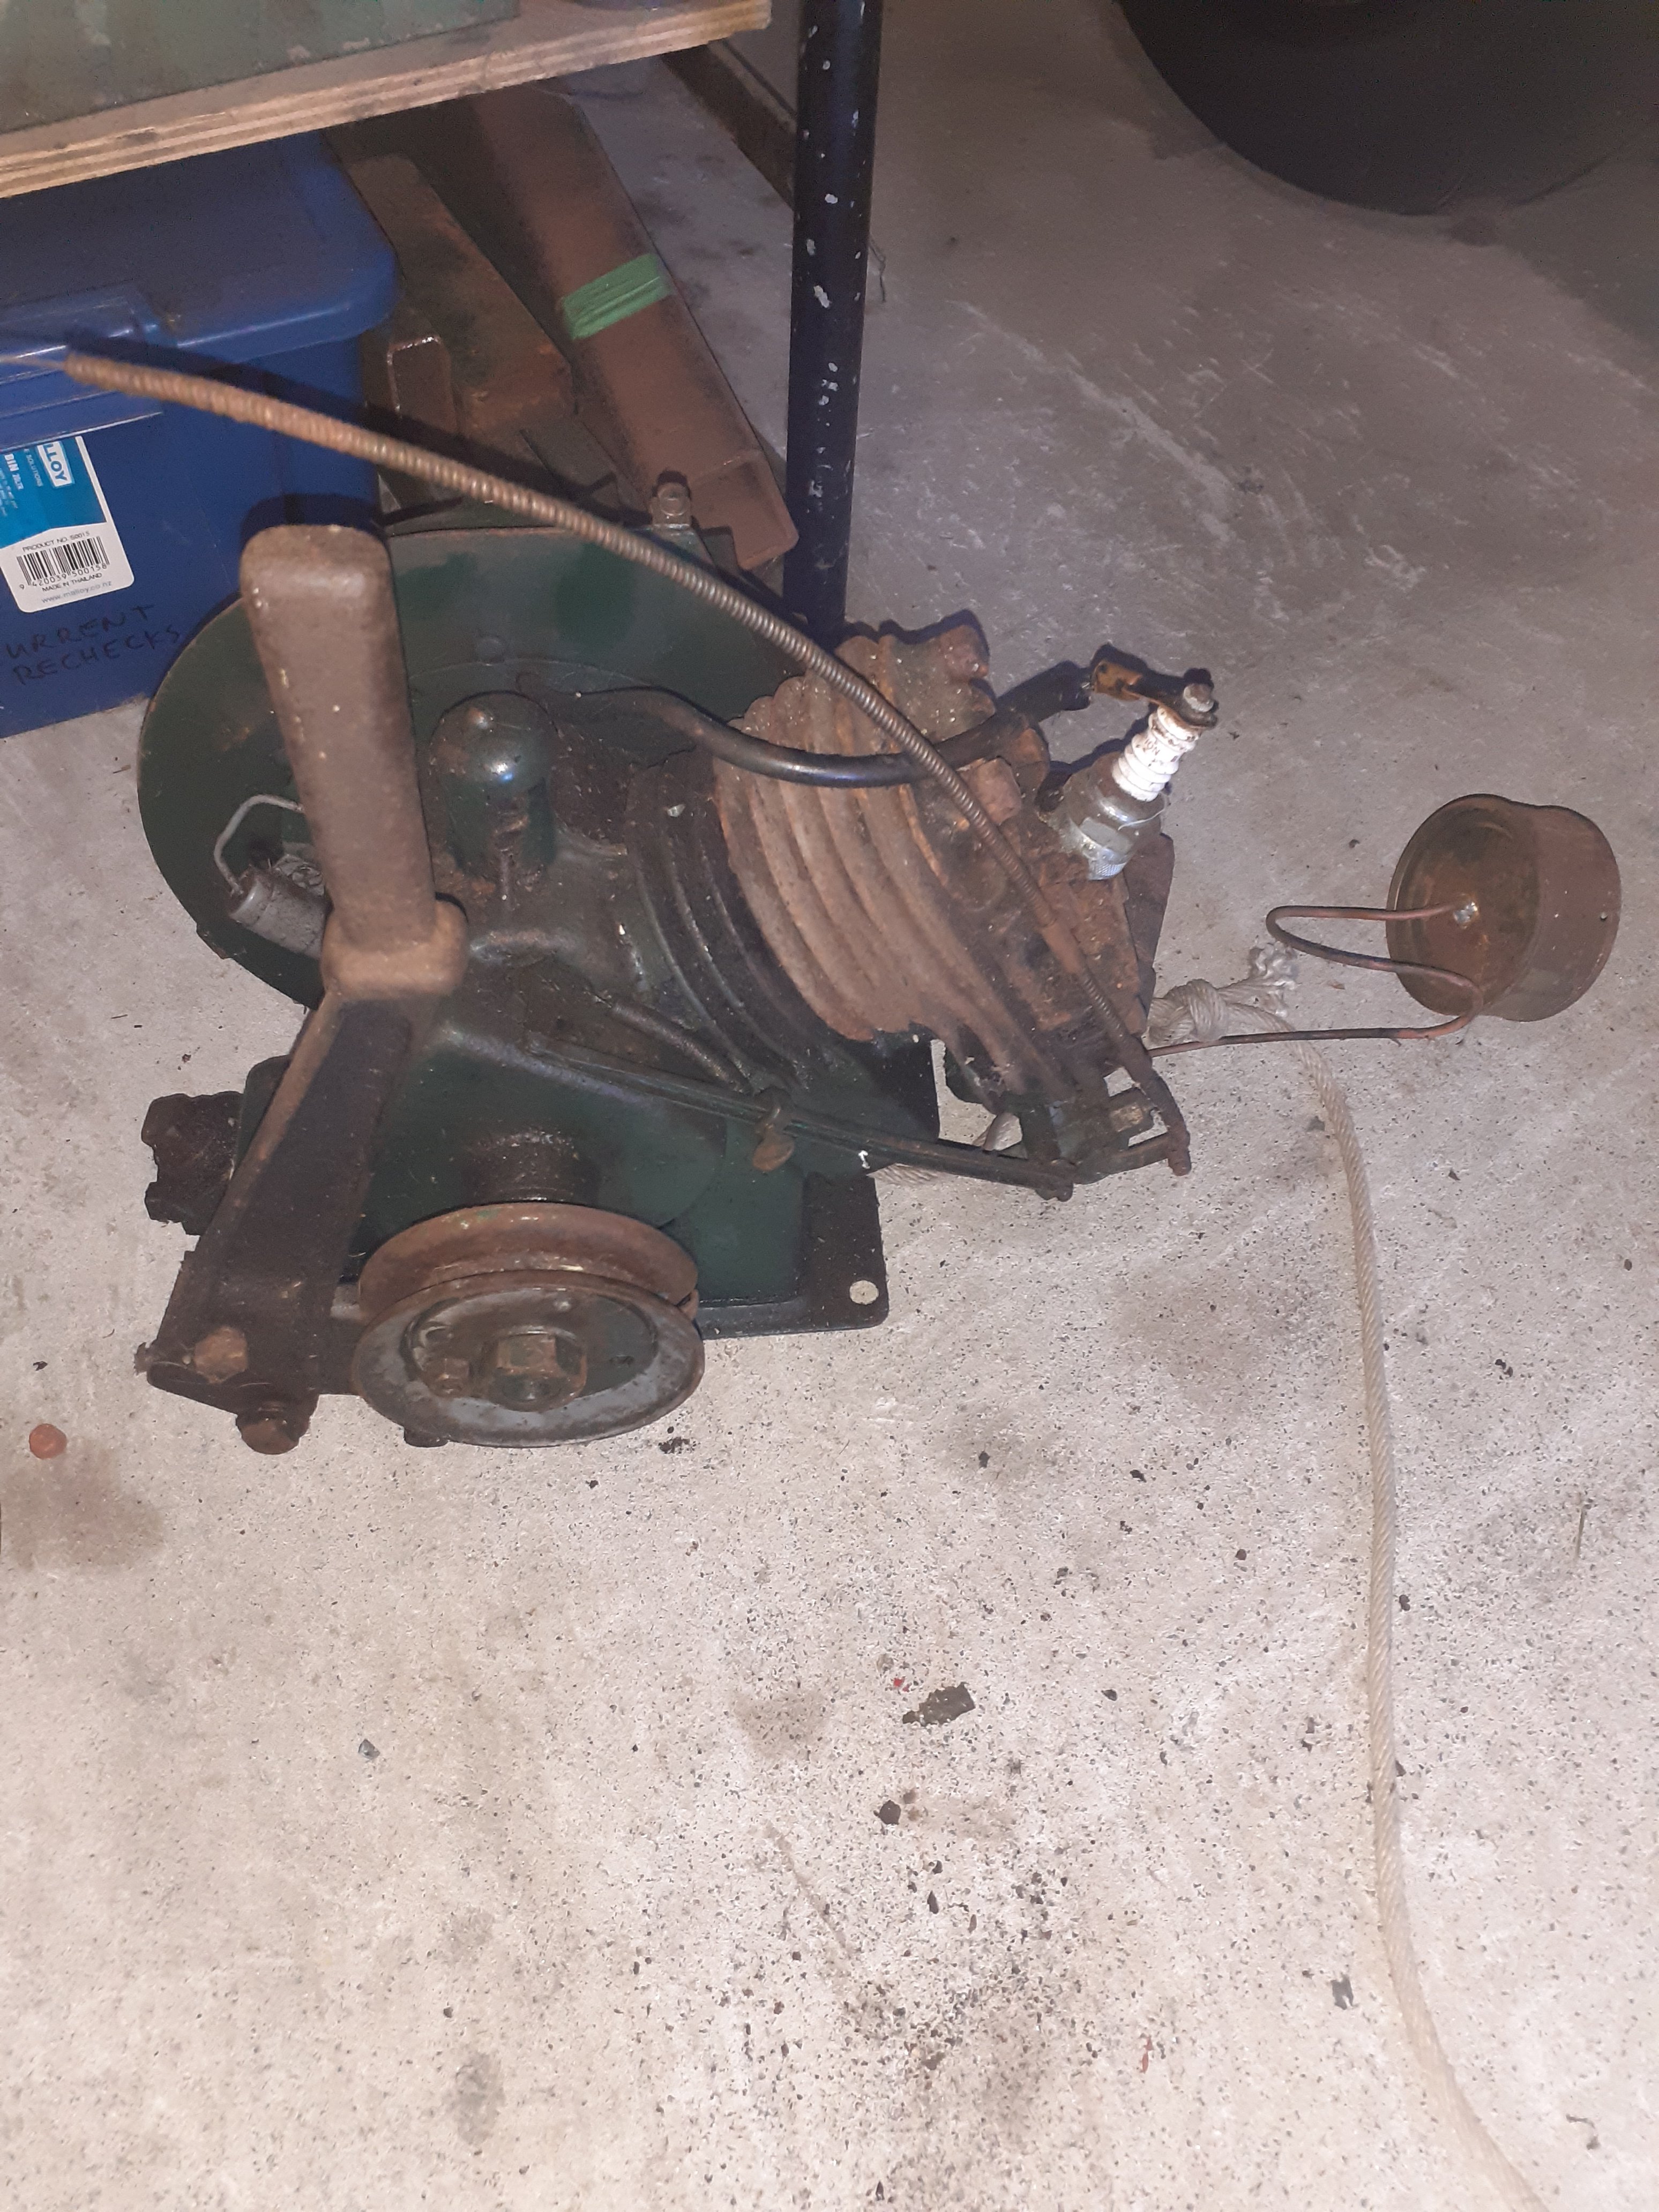
This one I've had running , I've got to make a muffler as it's the loudest thing in the world ever And this one to have a go at next, I don't know what this one is, maybe a generator or washing machine engine?
1 point
-
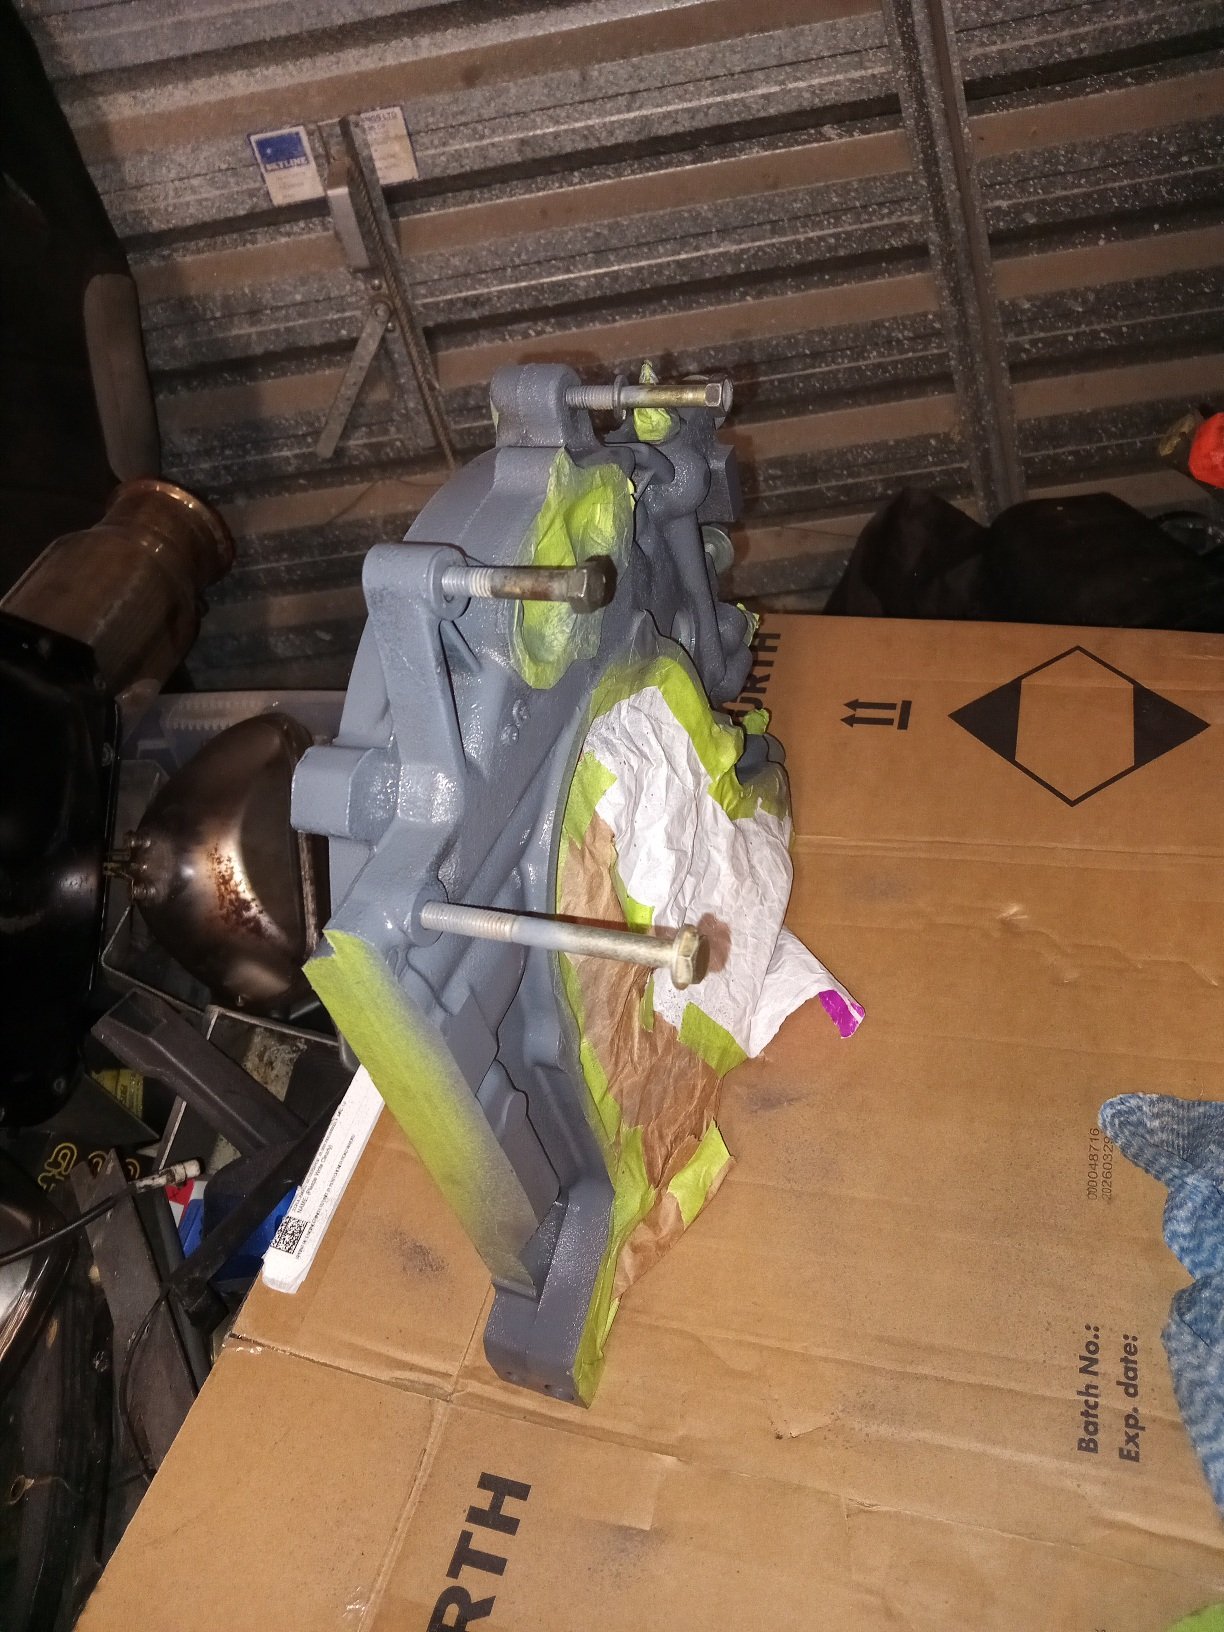
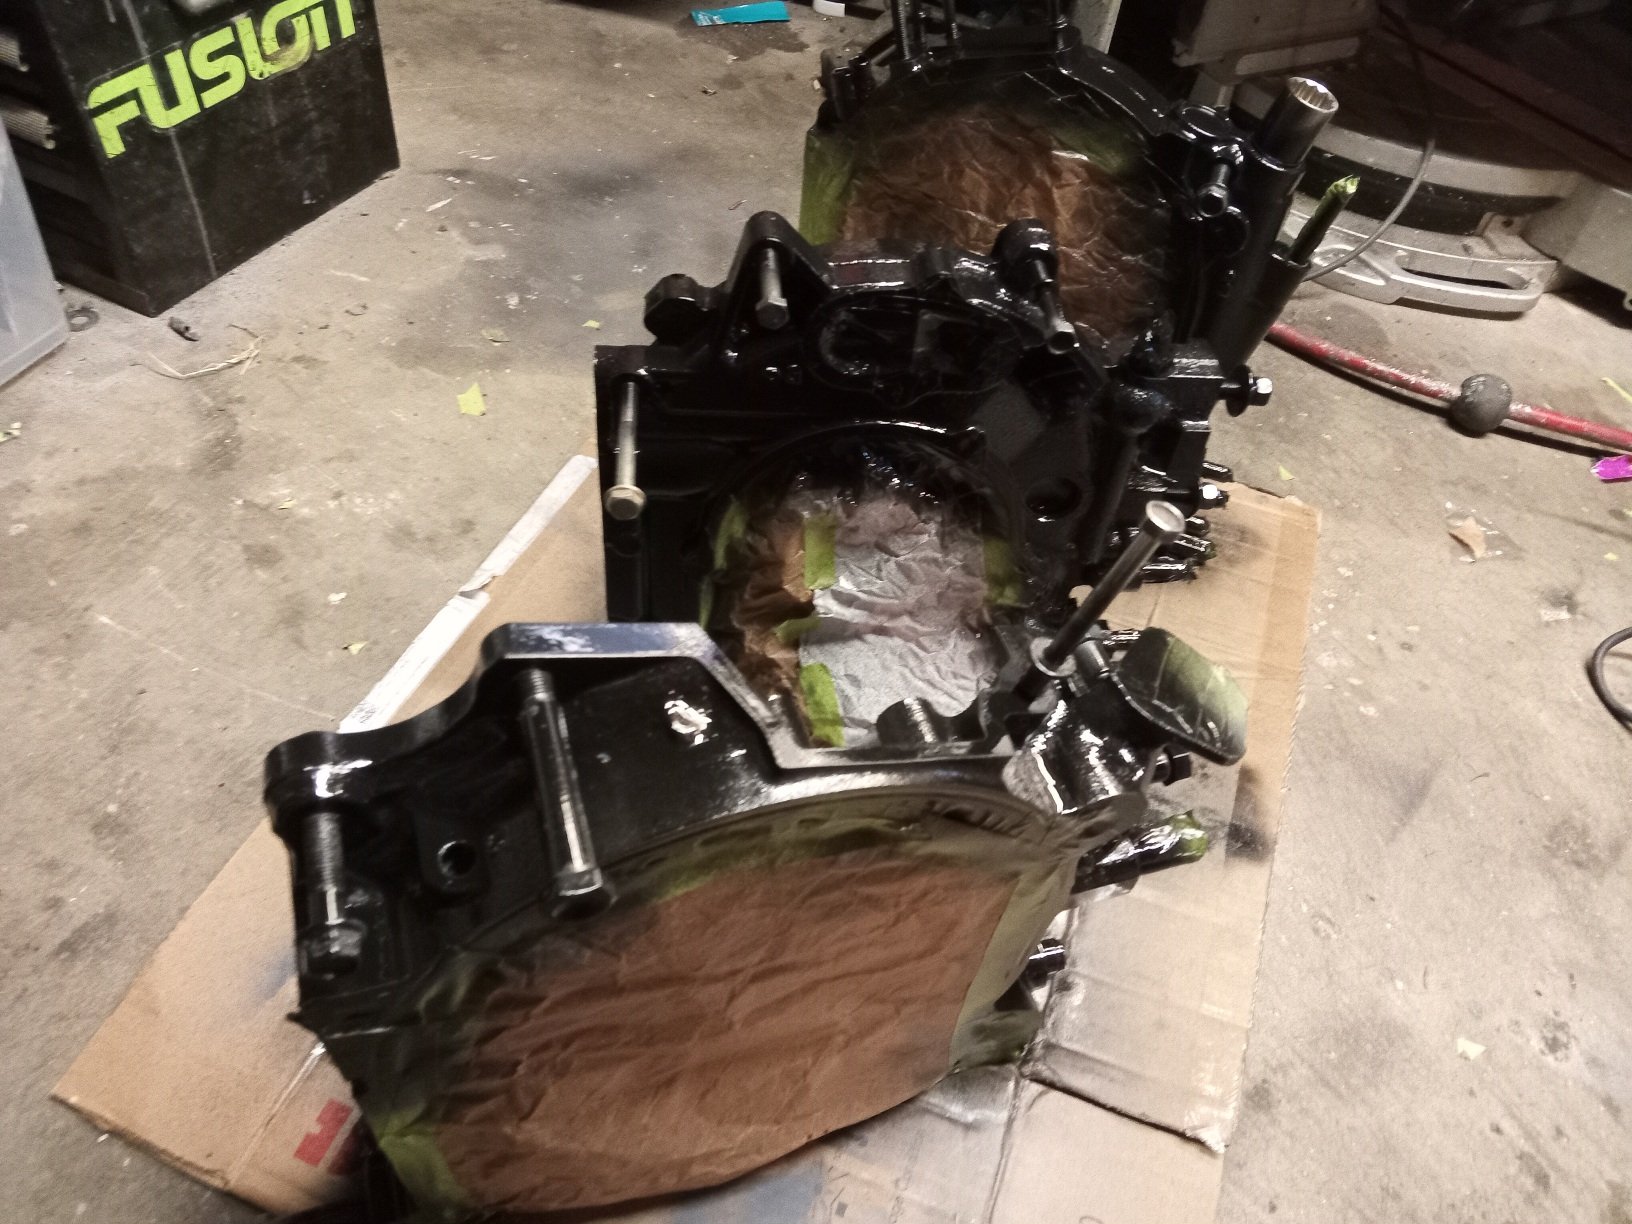
Etch primed and painted in high temp black, looking good..
1 point
-
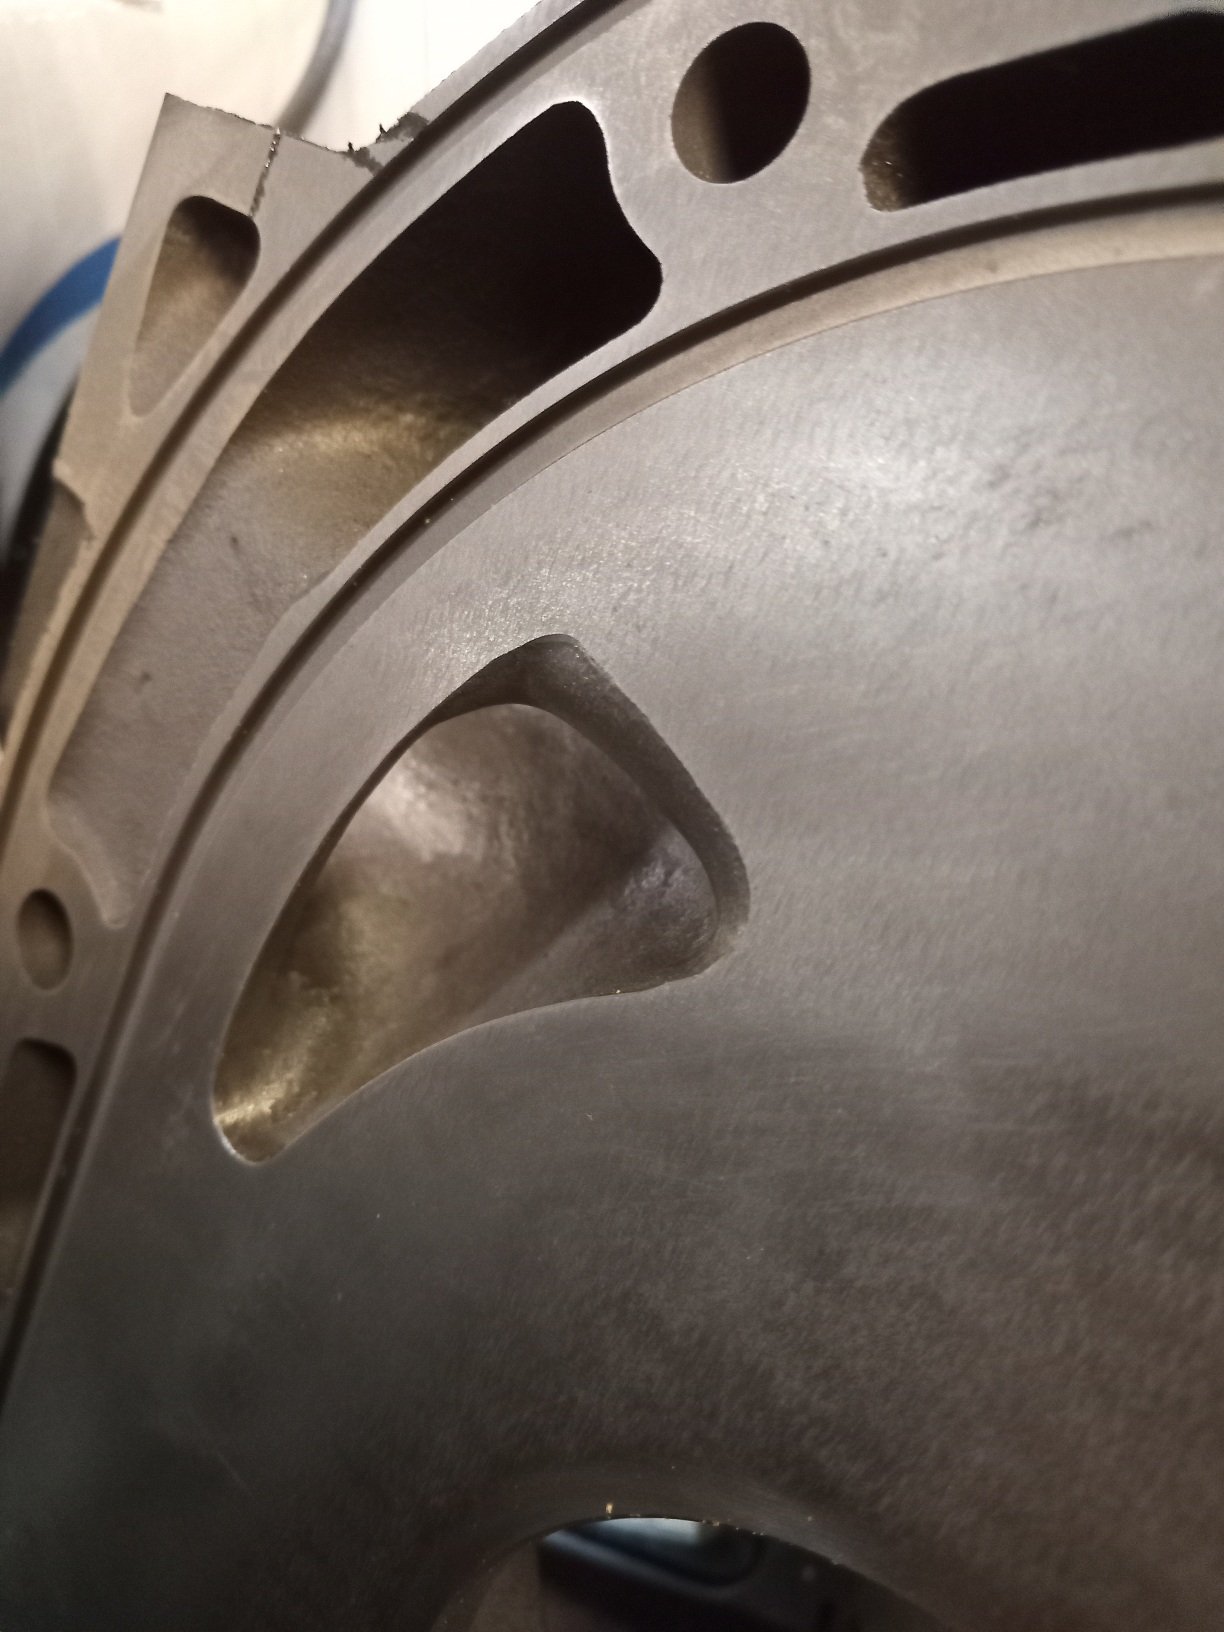
Got my irons back, some really nice porting by sprint re as well as drilled for dowels pretty buisy shop as you can see so happy they were able to get them done in good time, super helpful guy too .
1 point


.thumb.jpg.570970b401ac8d26ce9af7c1bf2bd8cd.jpg)


This leaderboard is set to Auckland/GMT+12:00