
Leaderboard


Popular Content
Showing content with the highest reputation on 25/12/24 in all areas
-
I've been whittling away on various things I wanted to repair or upgrade on the Honda engine before re-fitting it. First thing was the throttle body pulley. Even thought its an off centre progressive design its not progressive enough. So I made another and offset the centre hole a further 5mm. I had to slot the cable outer barrel adjuster bracket further to align the cable entry. I then popped the engine onto the big wheely table. Easy as because I made the engine stand the same height as the table and work benches.. Remember the nice alloy garnishes Id machined to fit on the cam covers where there used to be plastic badges. They looked lovely. For a while. Because on about the 2nd drive the double sided tape decided it didn't like heat and they both fell off onto the road not far from us. I did manage to locate one of them but it had been driven over a few times and looked a bit sad... So I had to machine up some new ones... This time round I painted them alloy silver and then sanded off the tops. They just looked nicer for it. I then glued them in place using some Sikaflex. I don't think they'll fall off now. In place.. Next job was the one I deemed most important. I discovered upon stripping the engine 4 years ago that they don't have very large crankshaft thrust bearings. They don't really need to because there's no clutch forces exerted upon the crank,with the Goldwing clutch unit being on a separate layshaft. It was something I had never thought about before getting the engine and its played on my mind the whole time. I consider it the weakest link. I may well totally be a non-issue but I'd rather see if there was a way I could help it last. There's about .006" of thrust movement stock - measured as such... I had thought it out and came up with a simple solution involving some expensive, hard, slippery engineering plastic designed for high heat. This was sandwiched between the rear engine plate and the back of the flywheel and had just a few thou clearance so being a backup thrust bearing when the clutch is pressed. Help share the load I thought. The plastic thought different. I knew it had decided to leave the party early because I could see its melted edges through the bellhousing drain hole. But how bad it was I wouldn't know until I removed the flywheel.. lol... Ha. So that didn't work as expected then. Version 2 time I've been thinking about this a while. I looked into very large, thin section thrust bearings. Found an ideal item in the UK but it was 1300 quid. Back to my drawing board. I came up with an idea that uses $10 bearings. I needed a big chunk of alloy to machine up. Local alloy stockist no longer sells 16mm alloy sheet cut to size. They want to sell me a square metre. I went to a Nelson based fabrication outfit that has a water jet and the nice fella gave me a bloody large section of 20mm alloy. I only barely fit into the frunk of my imp (so improving the handling no doubt..) Cut it to size in the trusty table saw that has amazed me.. Into the lathe where I created a massive amount of swarf. Milled out some slots.. Drilled some holes. Very critical this one! They had to be bang on. Machined up some tiny pointy domed sleeves for the bearings.. Assembled it (notice I'd even got out my surface table for marking duties) I shimmed it out, testing and measuring until I had about .005" thrust. Just enough so it'll only touch when the clutch is pressed in. Finally in place... The other main job to do was sort out the reason why I had ended up removing the flat six in the first place. That leaking clutch slave cylinder. Even though I had made an alloy plate to support the mounting face it was not burly enough. This coupled with the fact that I had already burst the slave cylinder previous and its was never squished back together as neatly as it could be. So I reluctantly shook the moths out of my wallet and bought a brand new slave cylinder. I than machined down the mounting points I'd added to the Subaru transmission to allow for a steel clamping plate. I don't expect to have any issues with it now ! I then flipped the engine on its end and gave it a clean around the head gasket seam on the oil return galleries. Its always weeped a tiny amount of oil on both sides at these points... Not enough to drip but enough to slowly make a mess and run down the sides. Not very easy to clean and seal with the engine in the car. Now's my chance. I masked the areas.. Then another Sikaflex product was used.. Sealed up.. I'll see how it goes. Another job that I decided to leave was cleaning up the window on the Mandolorian spaceship. Now that's not something you'll hear many mechanics say But its getting a bit oily inside from general fumes, as I expected it might. I undid the machine screws holding it down but it wasn't going to lift off easily. The foam seal has stuck it in place. I knew if I forced it would crack. Maybe a job for another day. ot important now. At least they are still visible and the leds still light it up nicely. Exhaust box had one baffle that was vibrating at idle. Very annoying. So took it apart and fixed it. Gearbox mounts were knocking the subframe so I gave them a tickle with the cutoff wheel and welded them back up. The gear linkage rod linear plastic bush is something I want to improve in the future with a proper linear bearing and some seals. But for now it got a clean and some grease. I also installed a hotter thermostat. Up from 82c to 88c. So with these jobs done and the weather forecast of two days of rain I set about removing the Datsun engine. I timed myself and it took about an hour because the rear valance has to be removed. swapped the driveshafts across. About 45 minutes because bearings need to be swapped too. I might get some new bearings so both axle sets have their own. Then bolted the Honda in place. This took 15 minutes. Smug faced me then realised I'd forgotten to attach the first part of the gear shift shaft. Whoops. Back out, fit shaft, back in. Plugged everything up and went for a starter turn to build up oil pressure. But starter kept blowing the 10amp solenoid fuse (I'm so glad I actually made a circuit just for the solenoid now!) I'm not sure what was happening but I took the starter out stripped it, cleaned it, pondered it, reassembled it and it then worked fine. Now a engine turn over. Whir whiiiiiir whiiiiir whiiiiir. Something wasn't right. It should turn over quicker than that! Took the engine out again. Removed the box. Engine was hard to turn over. Removed clutch and flywheel to discover that the clutch bolts were just protruding through enough to rub the alloy thrust bearing 2000 plate. Whoops. So I clearanced the plate, flap disked the protruding bolts down. Reassembled and all good. Bolted the lot back in, tested the starter and this time its turned over fine. With the clutch bled, the fuel lines etc attached I started the engine. It started up mint just like it was running yesterday. Tested the clutch. The thrust bearing 2000 rollers made a sound not unlike a noisy clutch release bearing and initially I was thinking 'well that won't do!' but they soon settled in. Still a noise but I know what it is and why its there. Better then potentially wearing away the crank thrust bearing So with the engine all back together and in place... So we went for a drive. Coolant still doesn't get as hot as I'd like to see but it could be that the pump controller had reset to the default so I'll have a play there. Otherwise get an even hotter thermostat. The engine runs fine. The new throttle body pulley makes for much easier driving off from standstill and smoother when crawling through our local village with the many speed humps. But the fumes from the exhaust getting sucked into the cabin when we lower a window is terrible. Its the number one fault now. I have tried blocking off the through flow vents sited just above the rear window but its not fixed it. The gearstick base plate has a gap - could it be possible there's a low pressure zone under the car and the gas can creep forwards along the tunnel and enter there? I'm going to design and make a new exhaust muffler setup. I'm still not happy with the exhaust sound and low rpm, it still drones and only really sounds like a flat six when above 3500rpm. I know these Goldwing engines can sound much better. More Porsche. Less Cifero. Possible benefit will be less fumes if I go side exit exhaust. The Datsun has a side exit and its much better with regards to fumage. I'm also not entirely happy with the look of my current exhaust box either. So I have taken some measurements and will start doing some design sketches along with more research.18 points
-
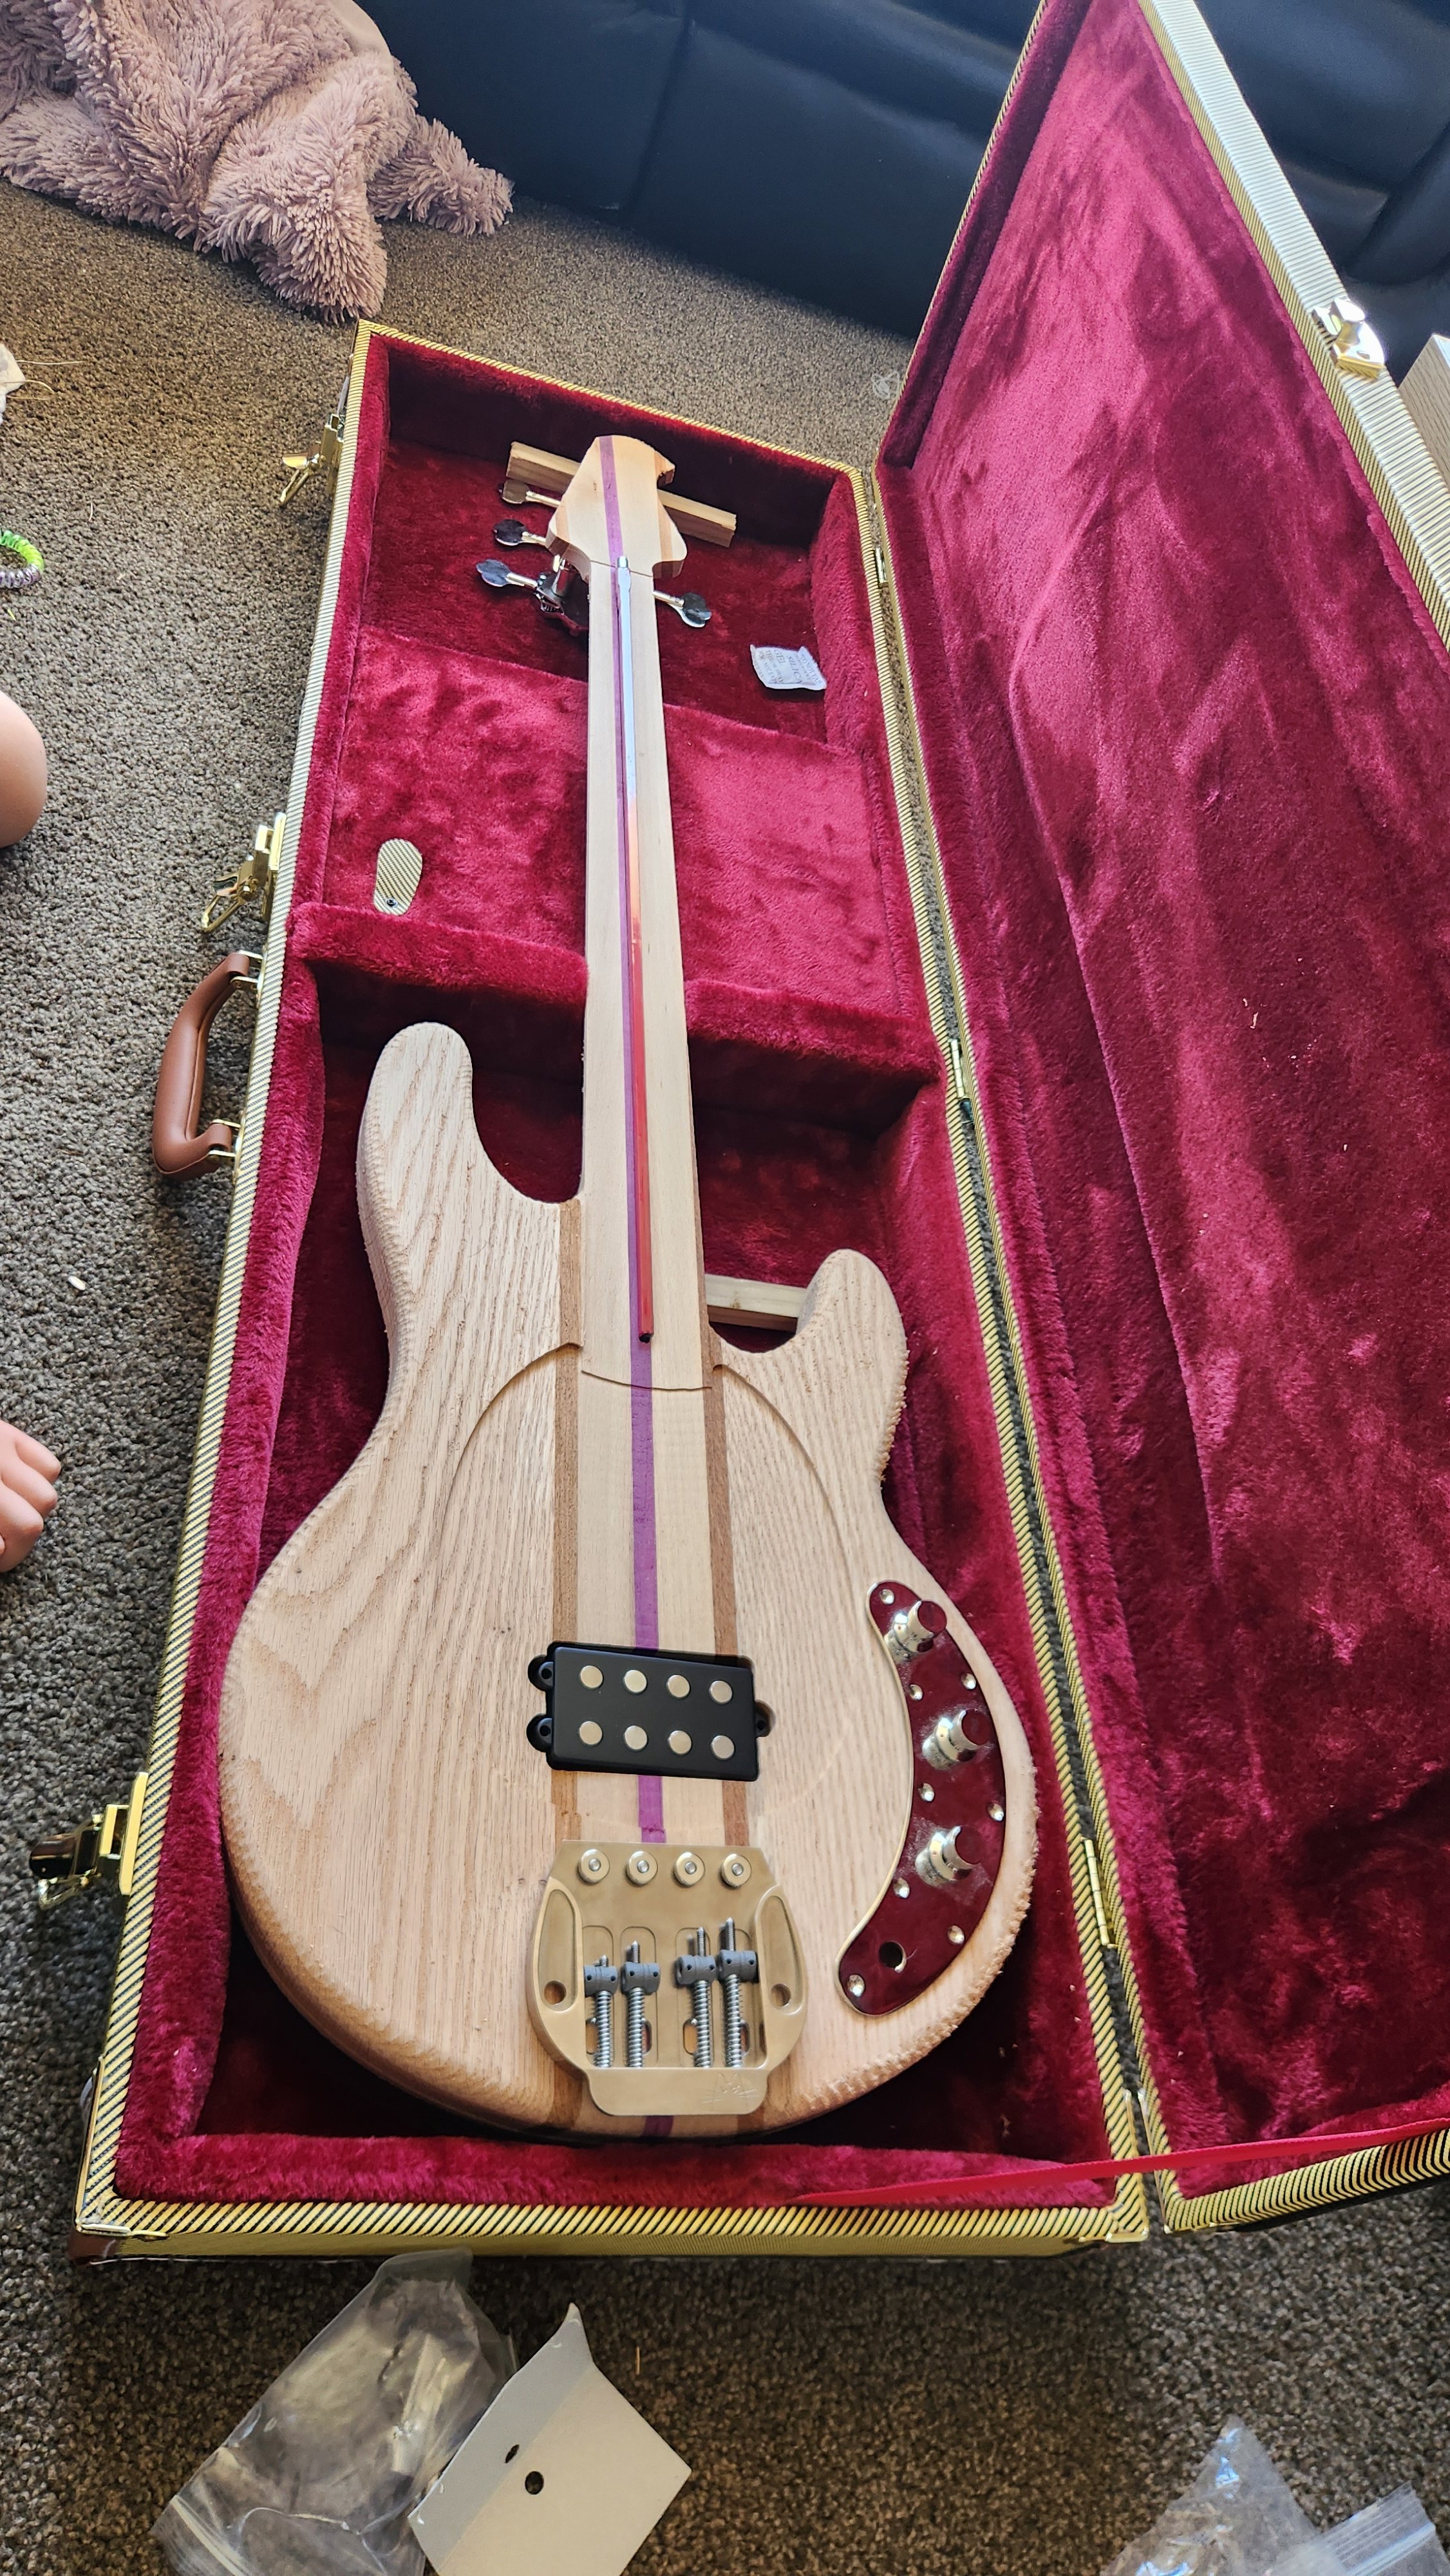
And finished machining, put immediately into its case because im terrified of marking it before the finish goes on. I have plenty of finish sanding to do, and then a lengthy and involved process to apply the gun stock oil i have selected. but i wouldn't want it any other way, something this beautiful deserves the love and attention. I had better get to practicing so that i may actually be deserving of such an instrument. Once again, i cannot thank Nick enough.
 6 points
 -
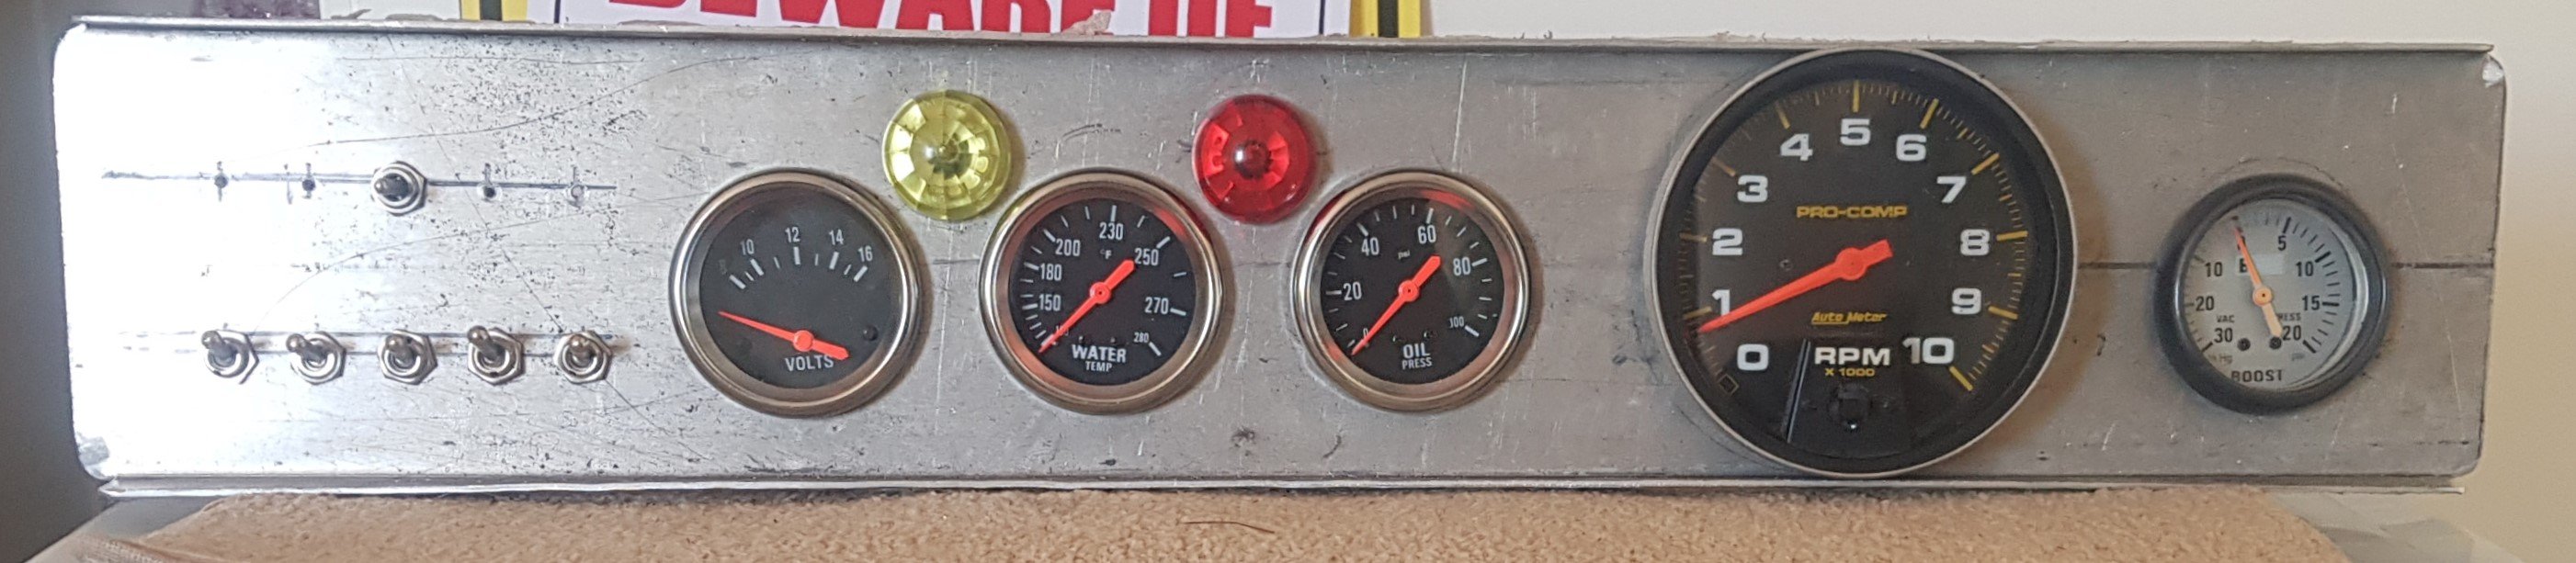
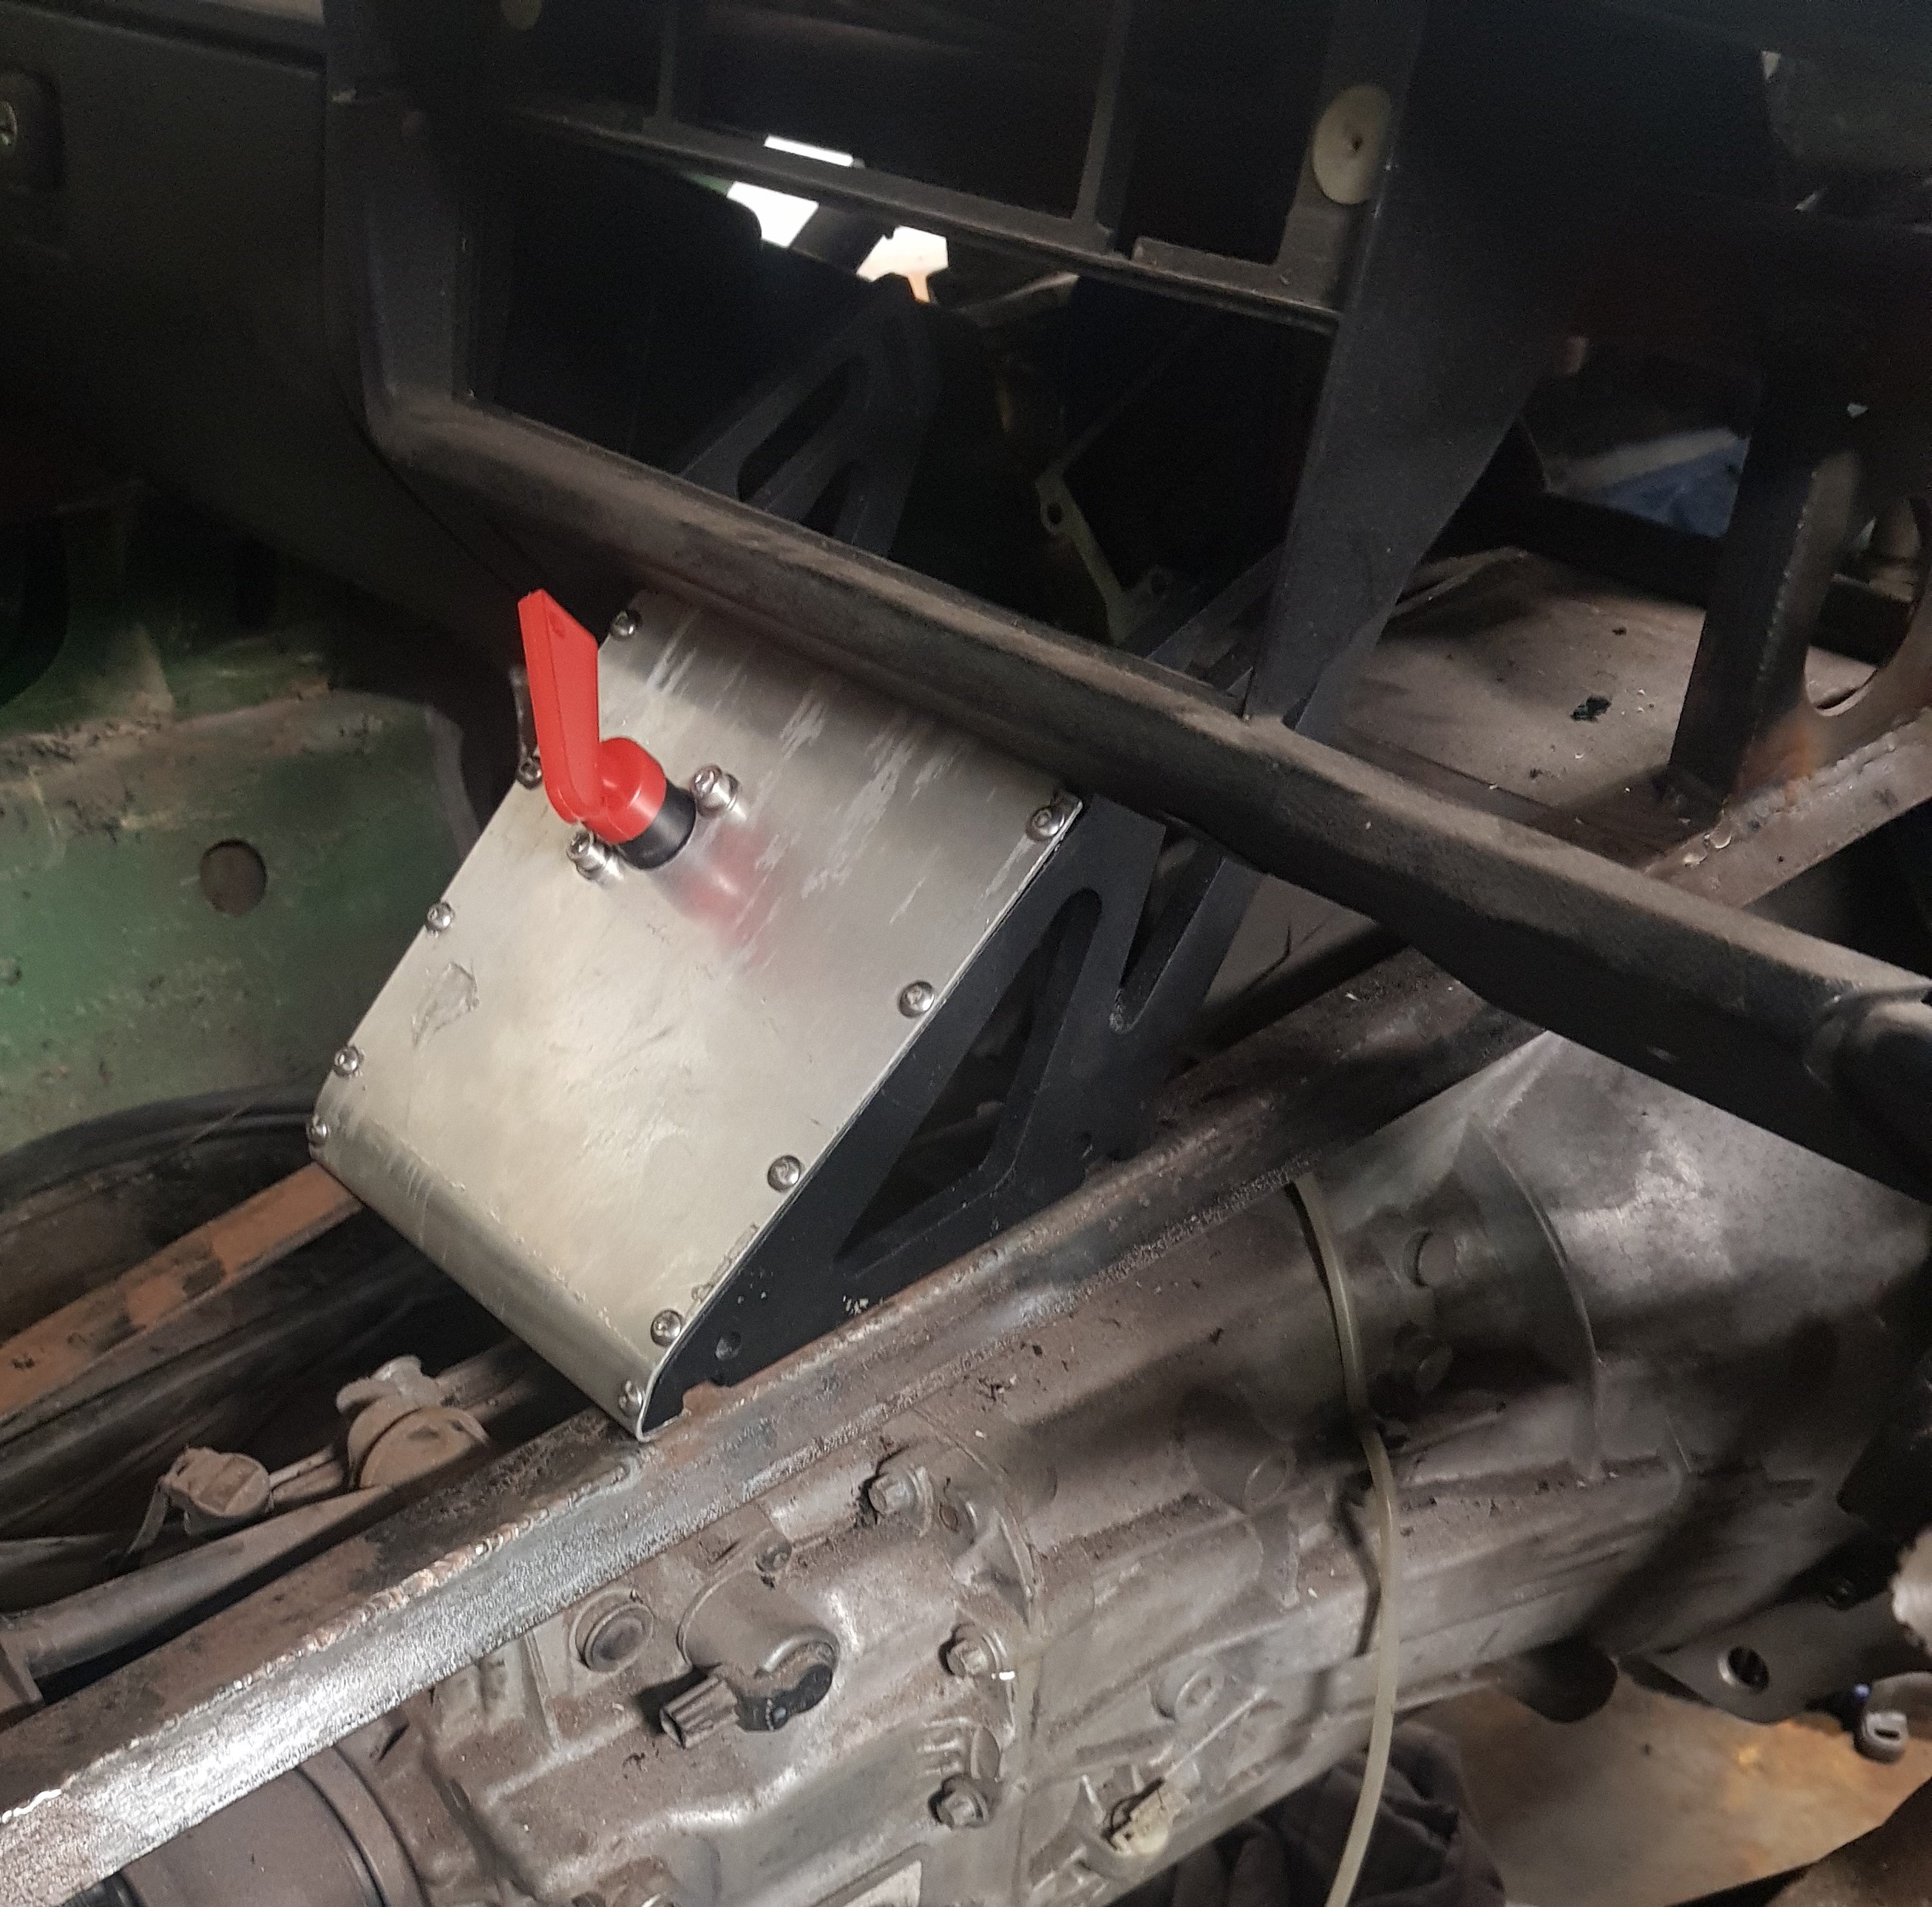
The dashboard is made from 2mm aluminium plate with all of the necessary gauges and non-essential switches: The 'essential' switches (ignition, fuel pump and start) will live down on the transmission tunnel console. This is made from 2 old spoiler mounts and another bit of 2mm aluminium, all held together with M5 SS screws: boot It also provides a good centre support for the dashboard.
5 points
-
Cool - I was thinking about some packing since I have some left over. This 1500 without any mufflers still sounds quite deep and on the bench with some very basic bike mufflers it sounded pretty neat with a bit more over run rasp at high revs.. I'll be building it as the above picture internally but a similar style to my current box externally (so it fits the same spot easily) with a removable lid so I could add or detract some packing. I actually kind of want a smidge more 'tinny' sound.4 points
-
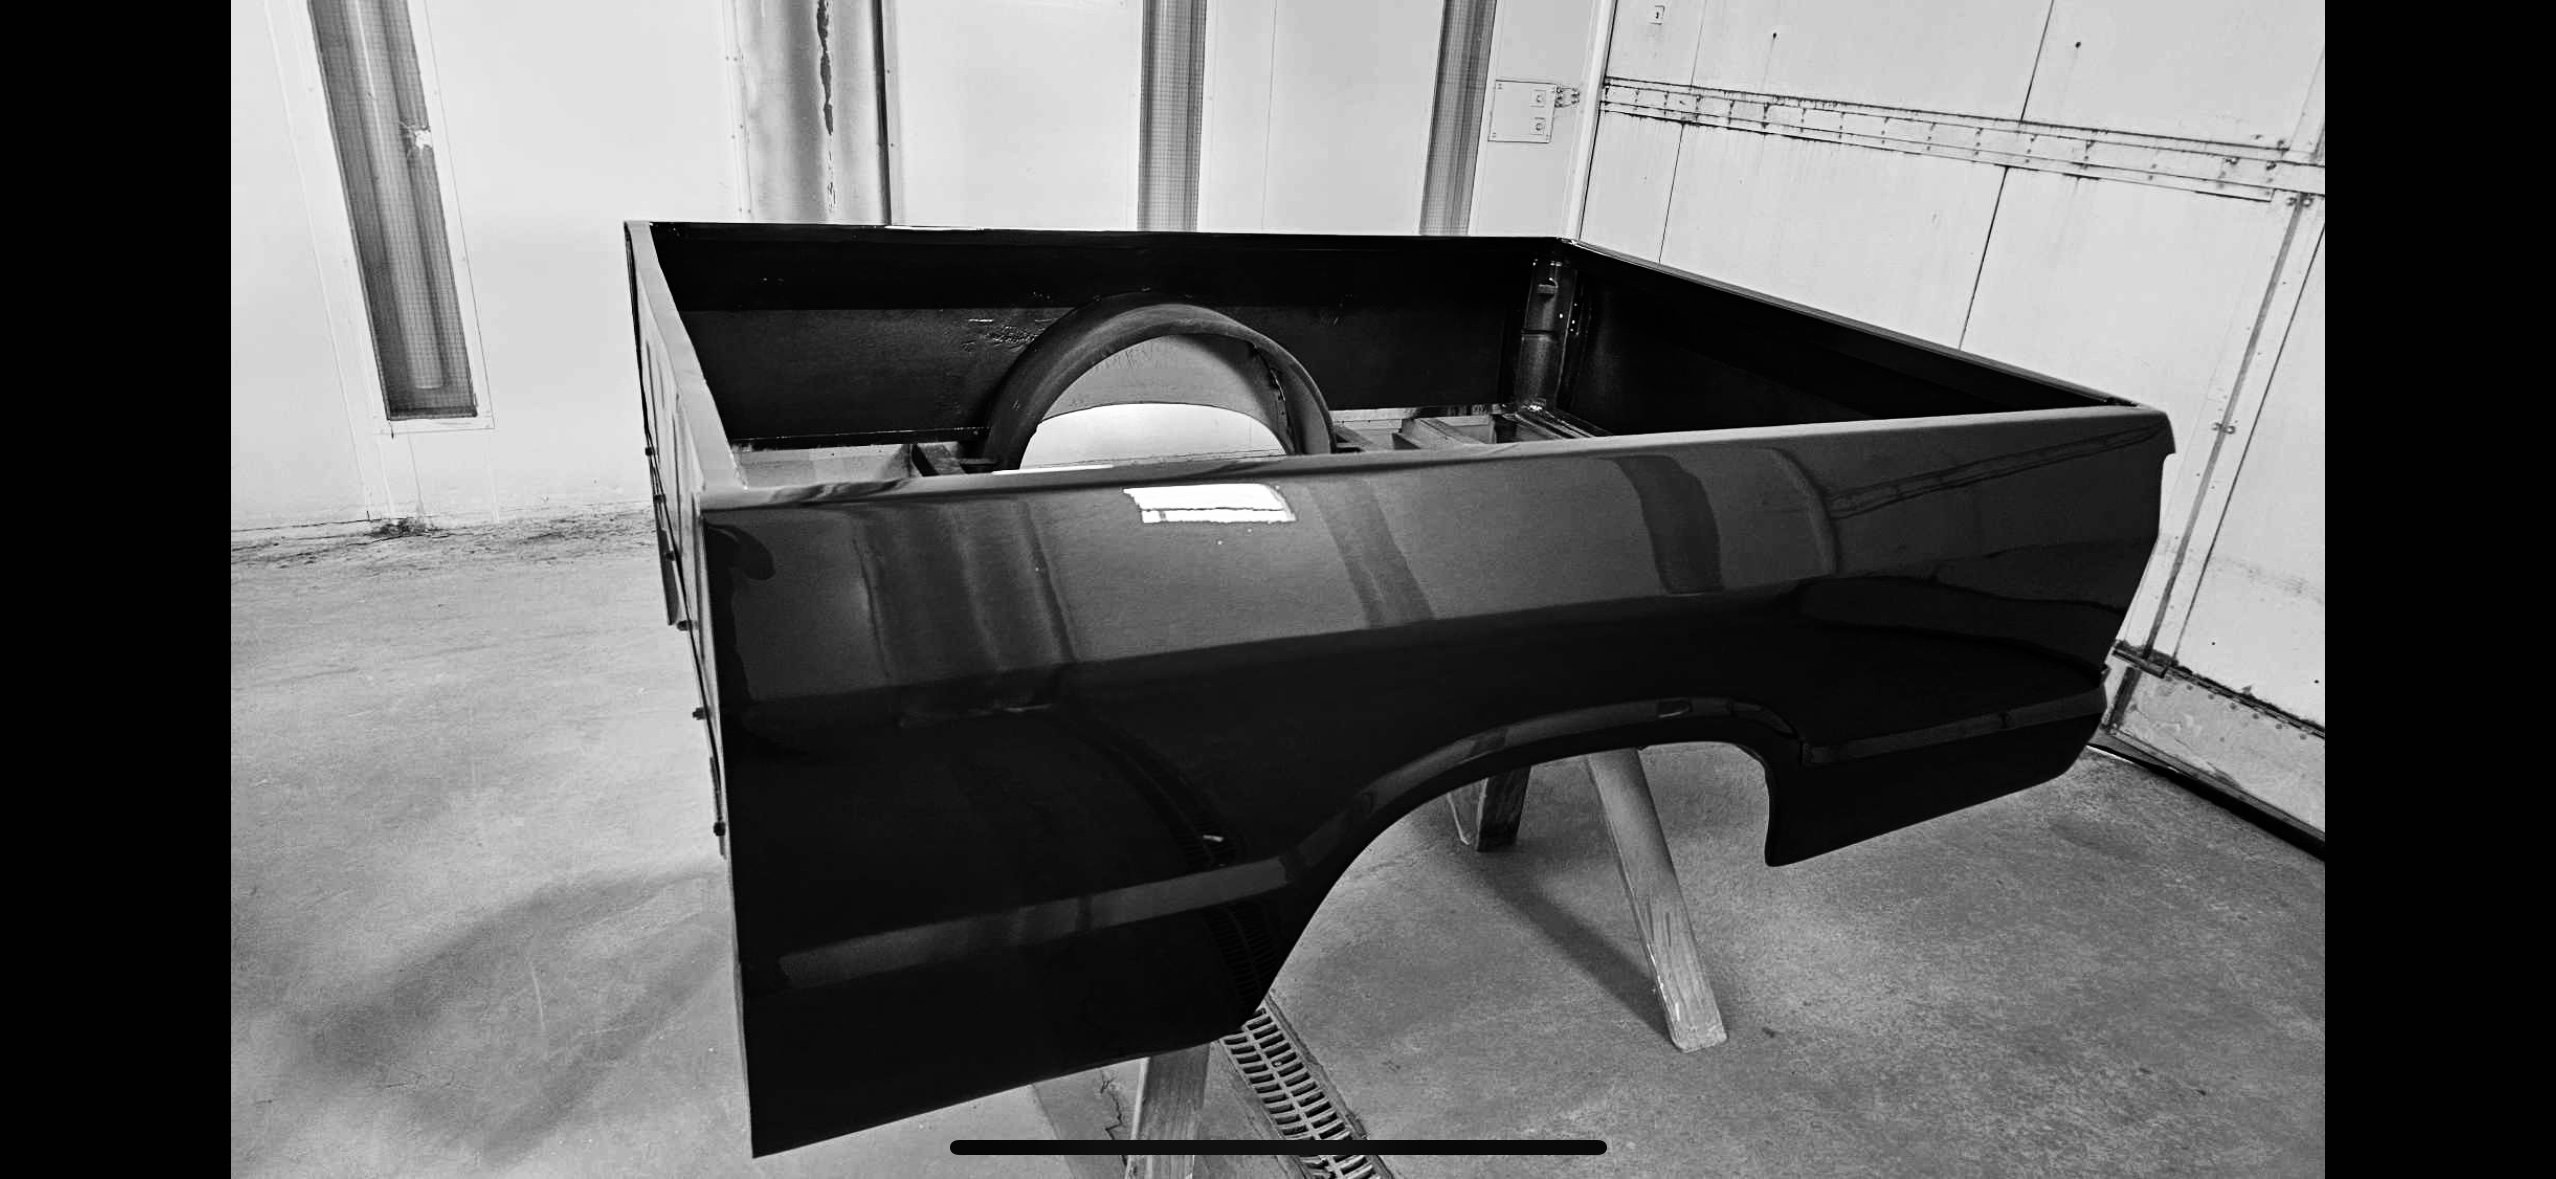
Well picked up the car yesterday from Rocket. Dan and the team have done a killer job. Ended up being quite a list of stuff to do: - Modify gearbox mount to suit Tremac TKX gearbox which required raising the tunnel 50mm to get angles right - Raised driveshaft tunnel 50mm to get clearance -Modify driveshaft to suit TKX tailshaft -Raise under rear seat area an behind fuel tank for diff head clearancing -Make intake manifold, with custom DBW mount -Mount airbox and modify intake feed to line up with airbox -Mount pedal box and reservoirs remotely in windscreen cowl -Modify diff and rear shock mounts -Modify exhaust to tuck it more - Few other minor bits and pieces Because we had raised the tunnel and diff head area there wasn't much extra work to allow the car to be a heap lower. So we ended up notching the rear rails, notching the inside edge of the rear tubs, modifying the rear tubs (Factory half the tub is flat and half tapers down approx 3 inch from the centre to the outer guard lip) so its flat across the top. Now have heaps of clearance at the height its at and nothing rubs which is awesome. Really happy with the outcome, car looks a heap better at the height and starting to come together real nice. Few bits and pieces to do over the holidays then back into it next year!
4 points
-
Ain't stacked dimes but I previously did a pretty shit weld think this will last though. broke it in 2 tidied up with grinder sat pieces together tacked then hit it with Tig at 100 amps. And took opertunity to heat wrap it too as every little bit of heat management helps. Reinstalled and blew a hose of intake on test drive. Then jammed my $3000 cellphone in bonnet hinge... amazed phone is fine and intercooler pipe slipped back on. Thats enough for today before I slam my dick in the door or something.
2 points
-
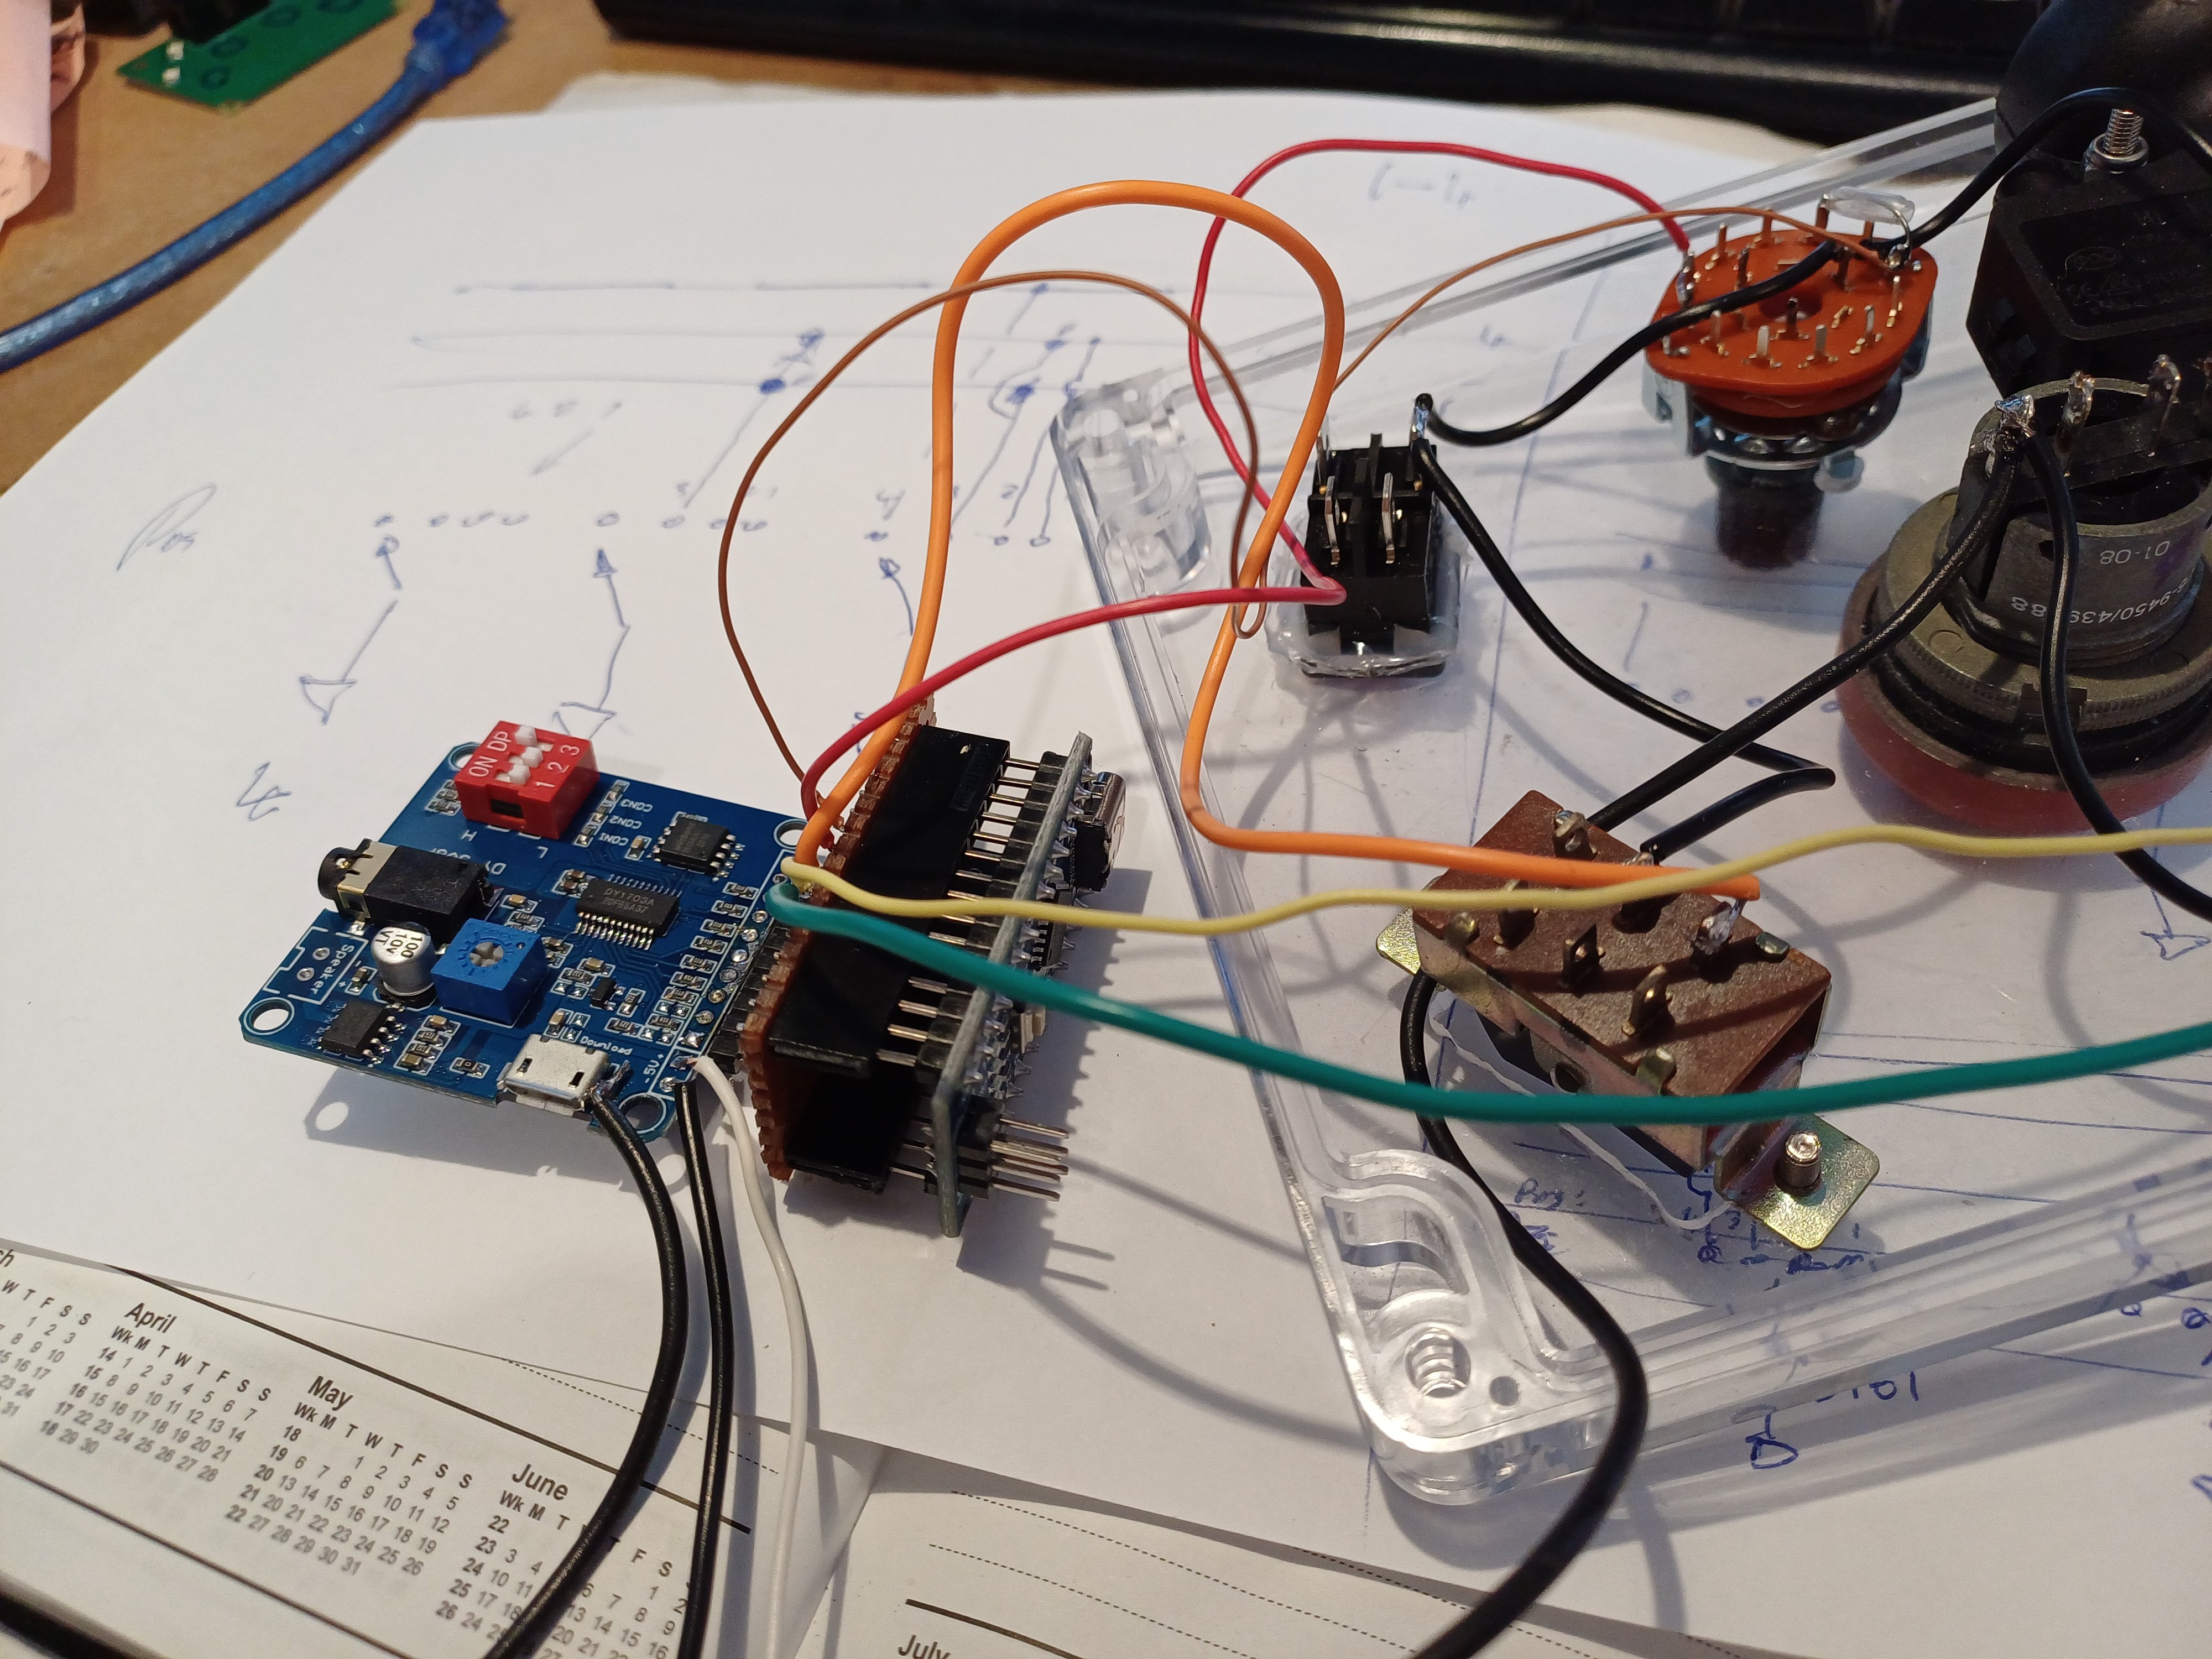
The software the hardware for the software:
2 points
-
It actually won't take too long, the finish sanding is going alot quicker than I thought. The thought and effort that went into your jig paid dividends with only about a half mm offset between sides. With my automotive sanding block, taking the sides down flush isn't a big deal. I'm only sanding at 240 grit at the moment but already the grain and character of the various woods is coming out and holy hell it's going to look amazing when oiled.2 points
-
2 points
-
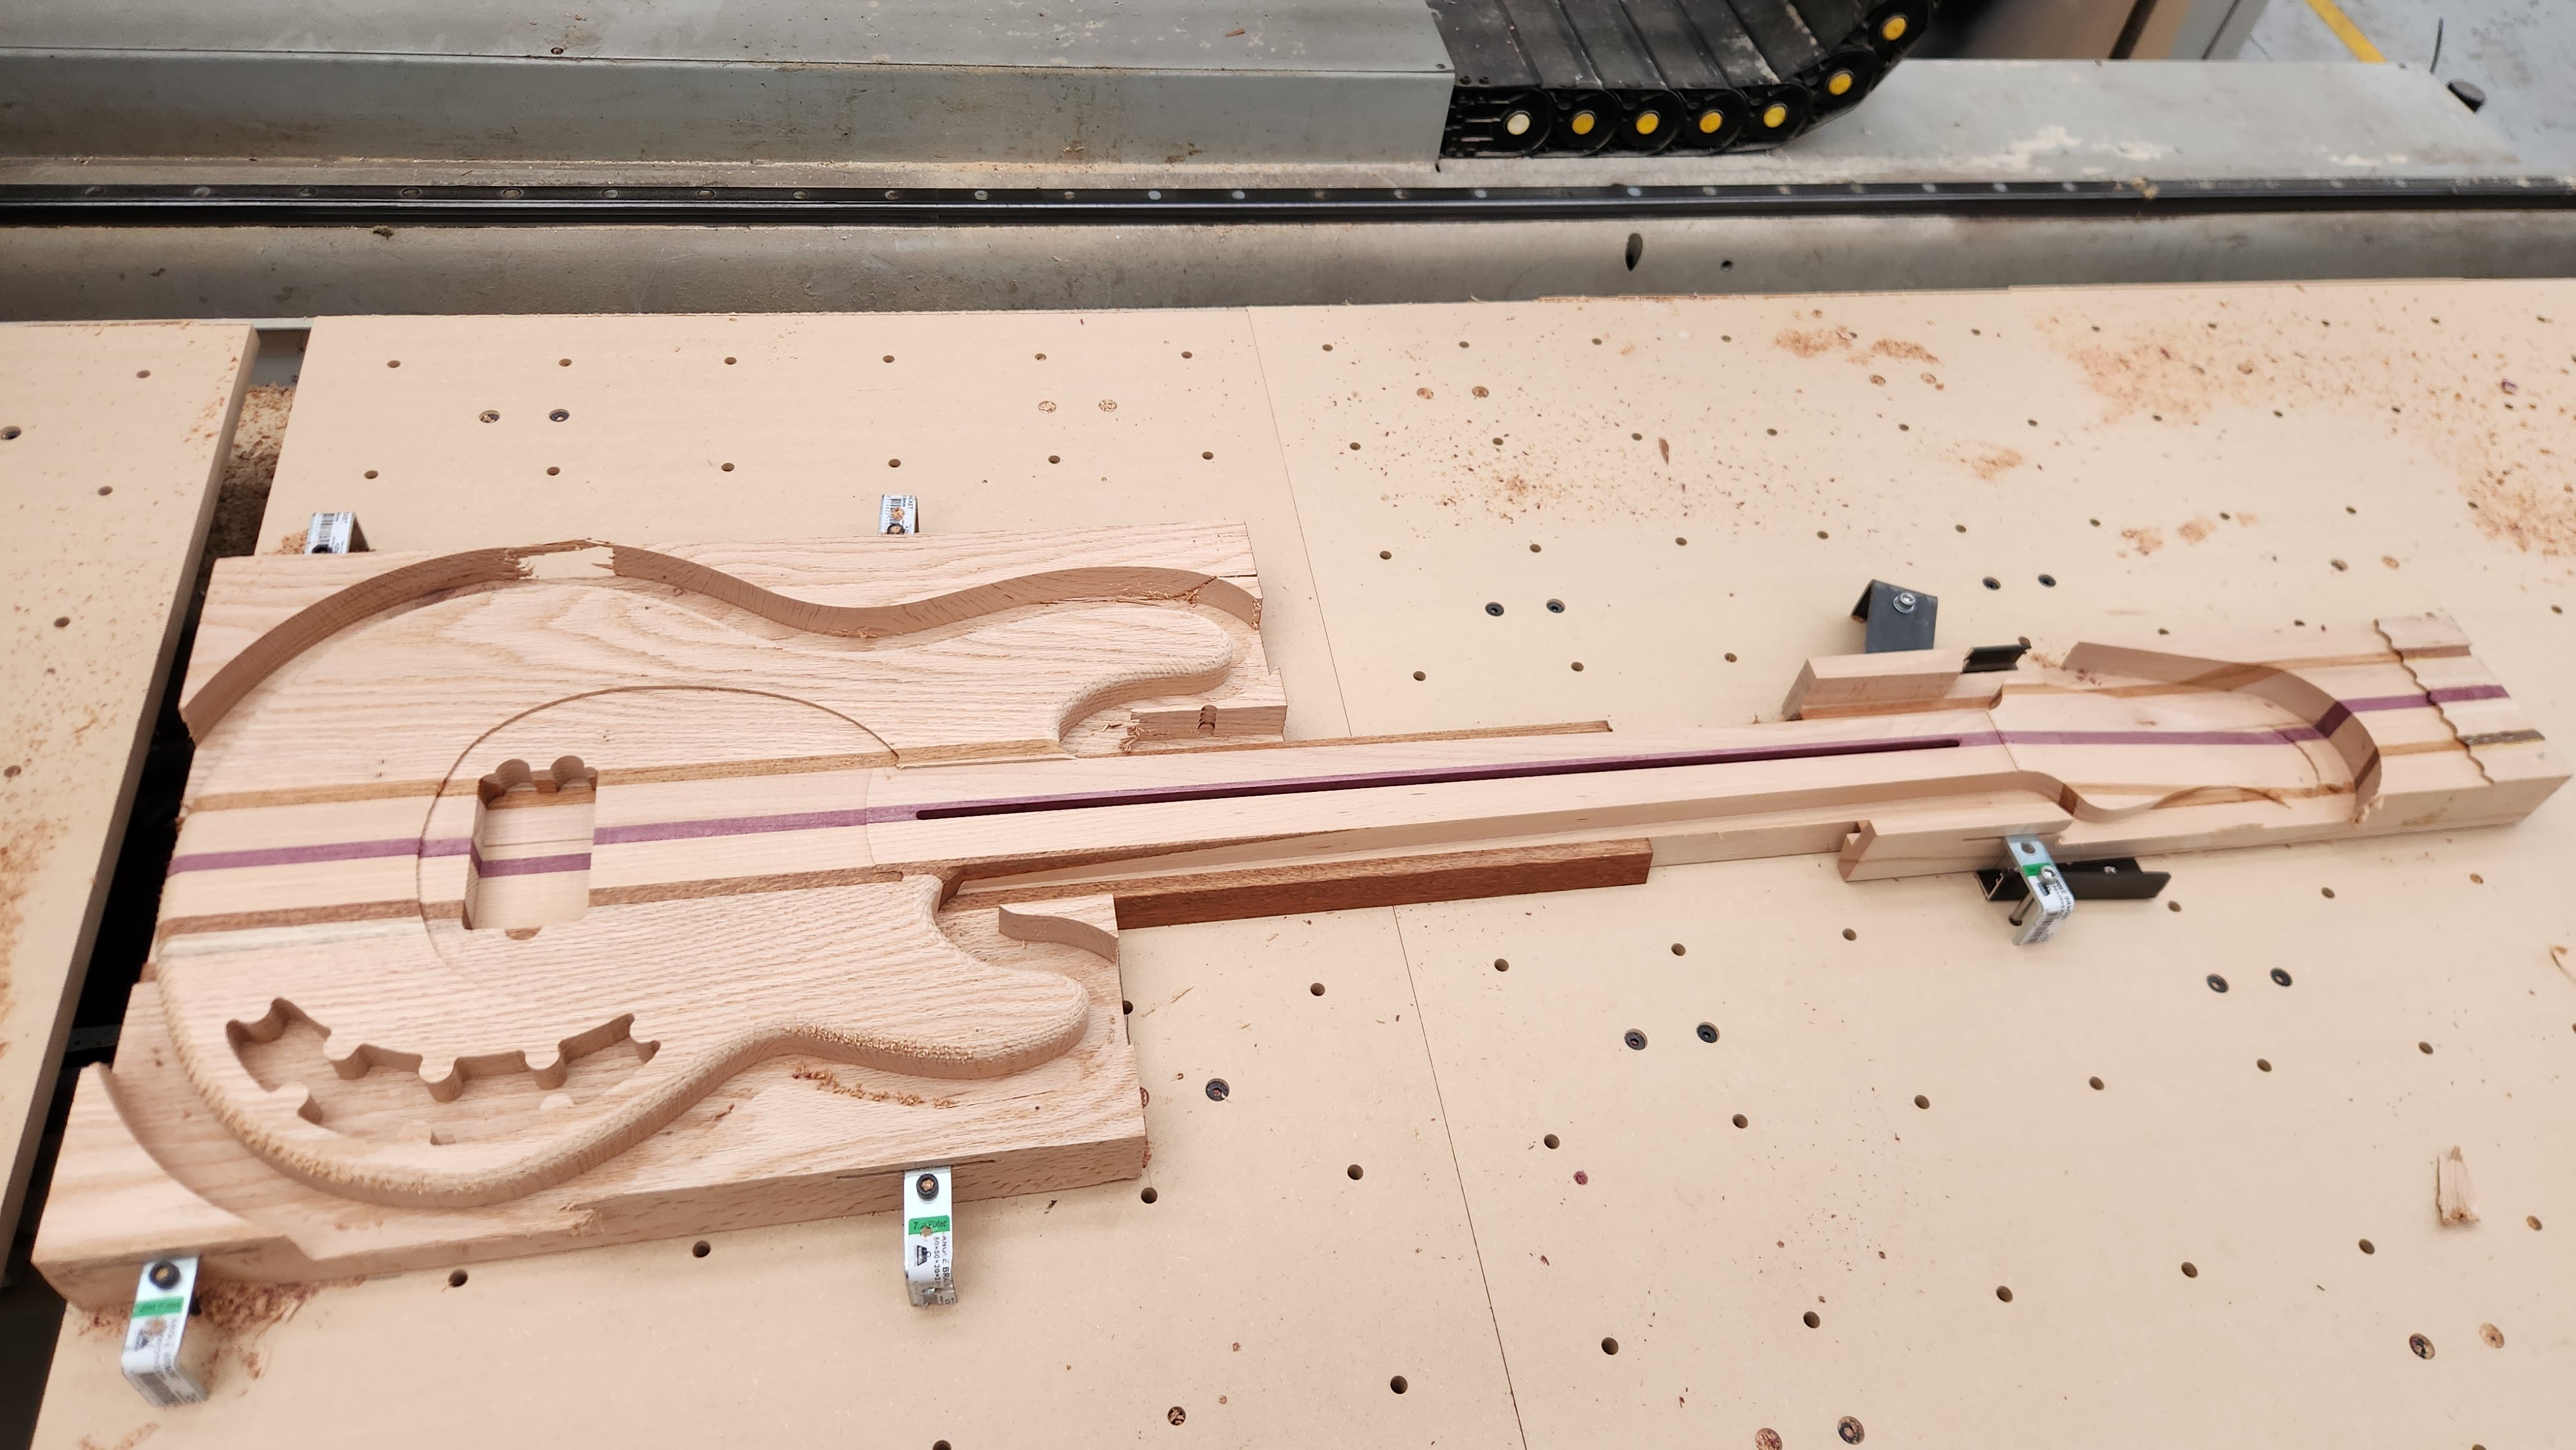
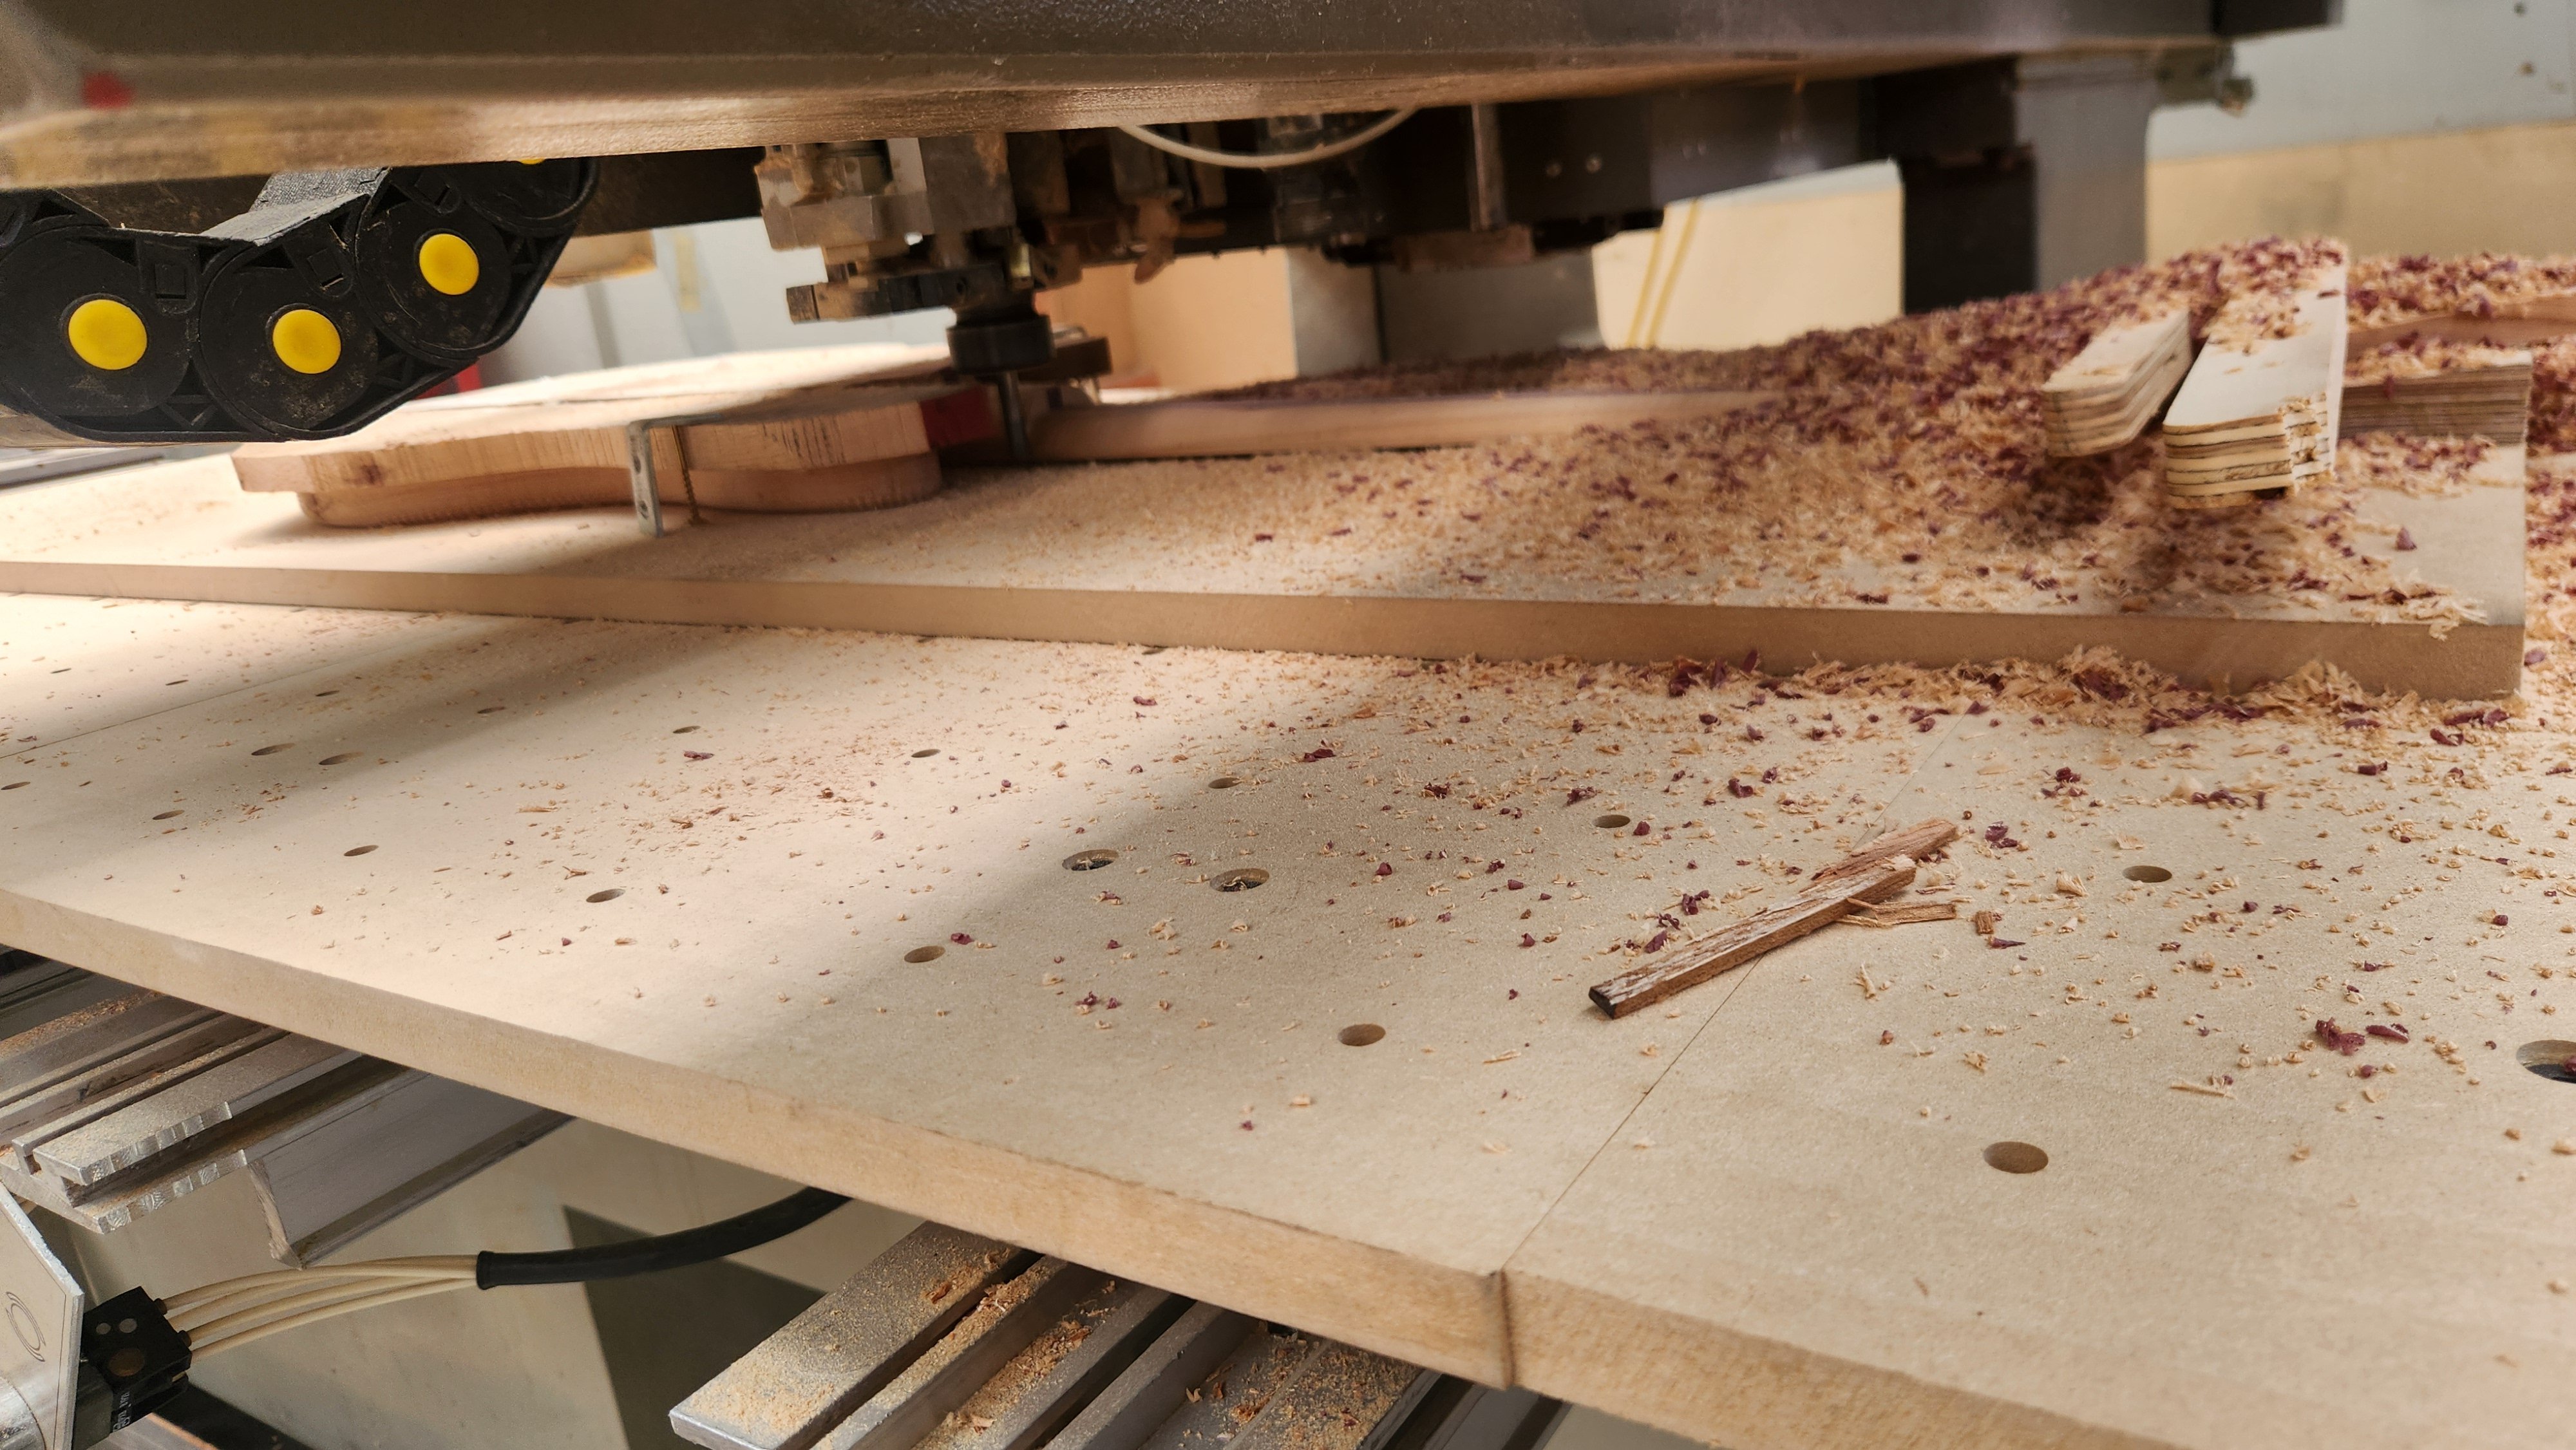
over the last couple of days @NickJ very generously operated his awesome and massive CNC router, aswell as handleing the programming for the cad model i put together for my Stingray. we first cut one out of MDF (which will now make cool shed art) and then set to attacking the hardwood. It looks incredible. i have no words to describe how happy i am with it, and without the help of others, this wouldn't be possible.
2 points
-
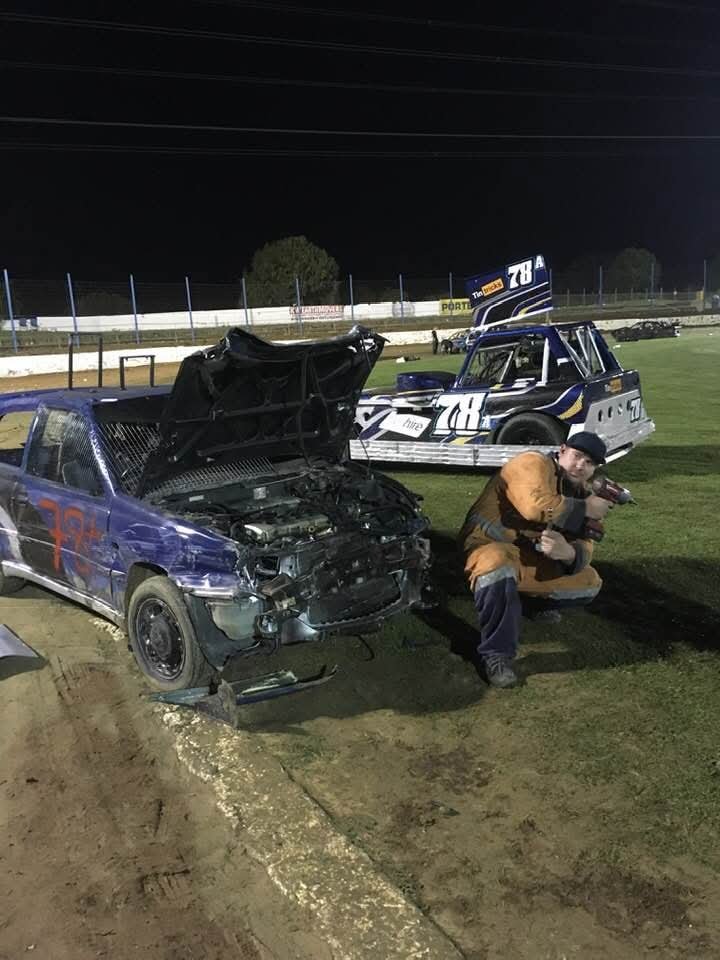
This pic is from the seller's ad on the tard. The water pump leaks a bit quite a lot, hence the drip tray under it. The seller has supplied another (equally old) water pump which is supposedly in good condition. I will fit it at some point. Still need to take a drive to Te Anau to retrieve the loader arms and bucket. Anybody got any helpful suggestions for polishing the rust off the hydraulic ram spears so they don't chew up their seals when I start using them? There doesn't appear to be any pitting, just surface rust. I do have some spare rams off another loader that may or may not be the same so will look at swapping them over if I can't clean up the ones that are on it.2 points
-
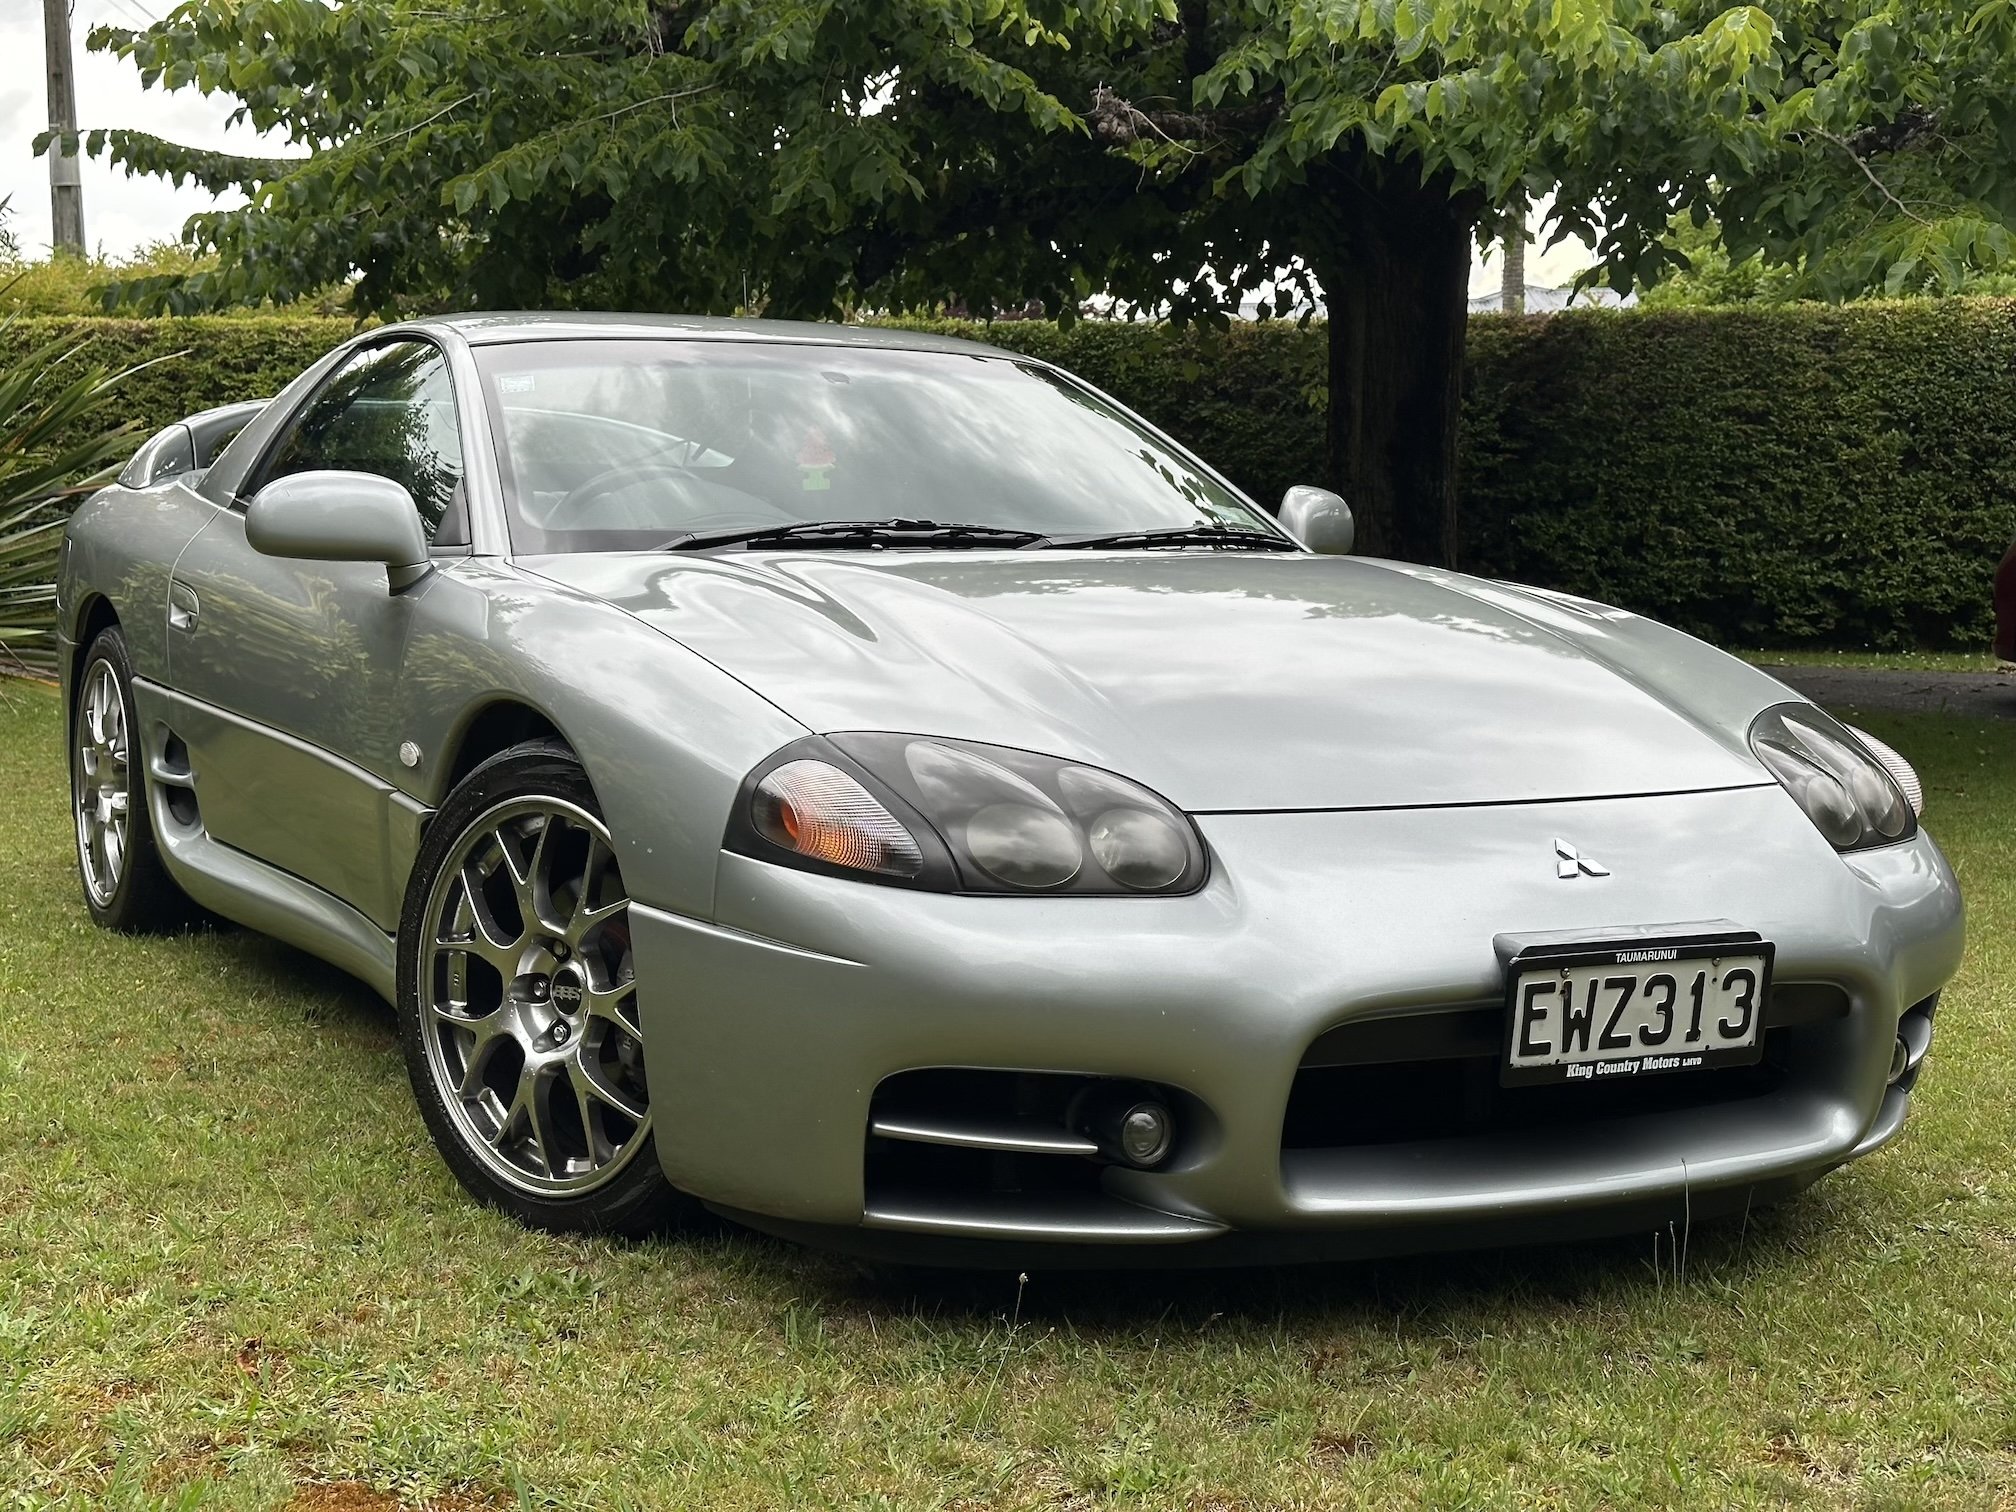
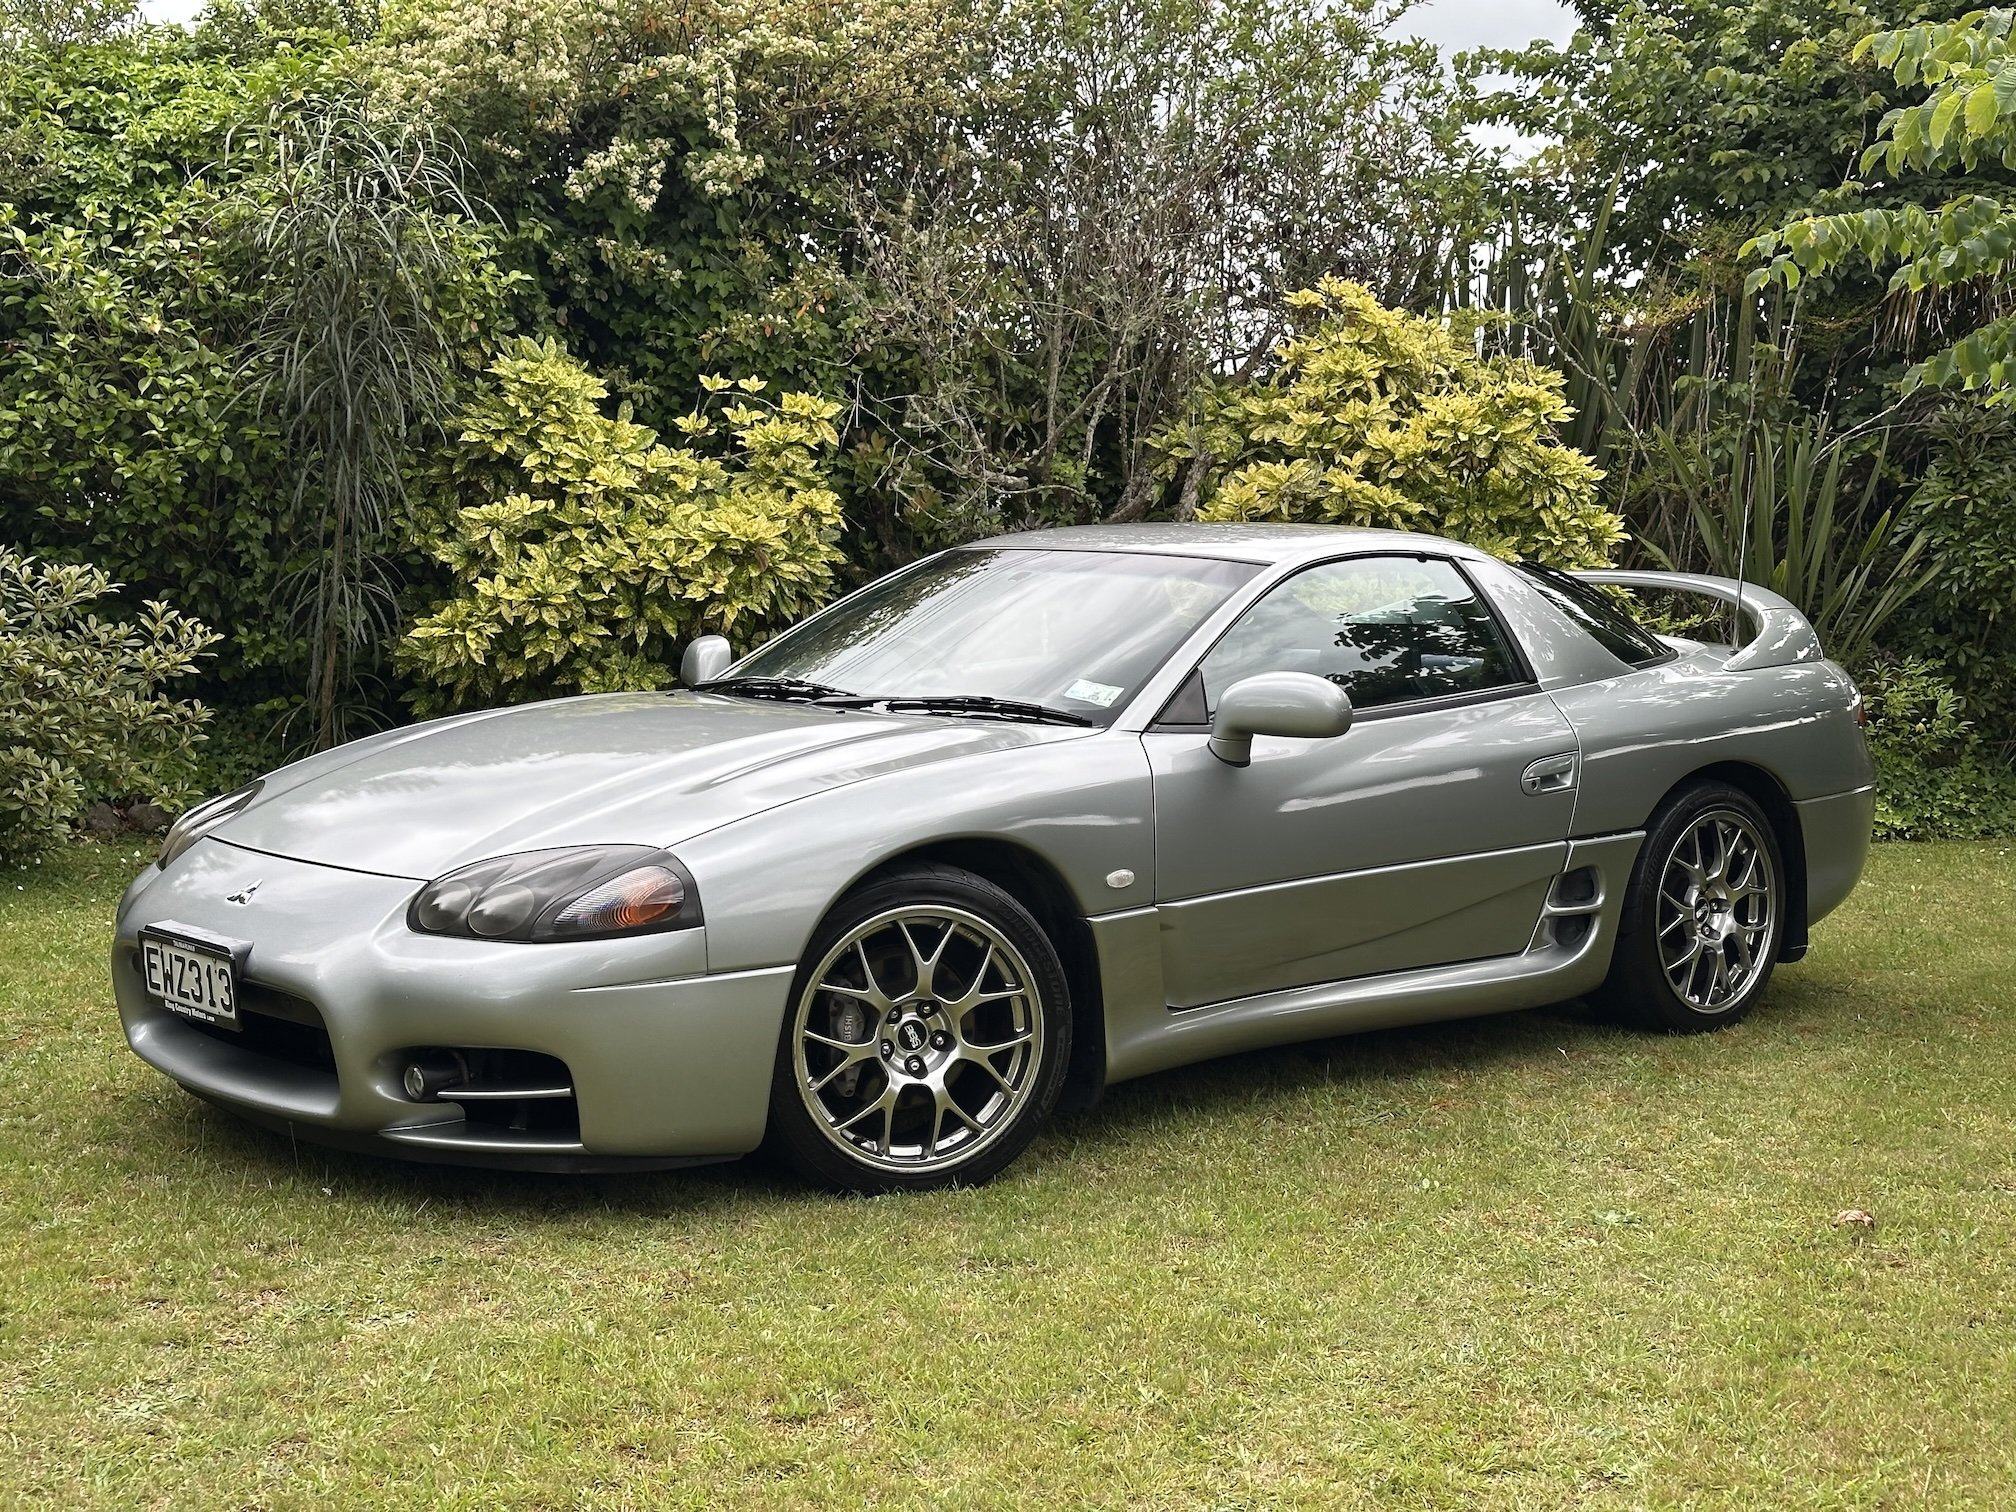
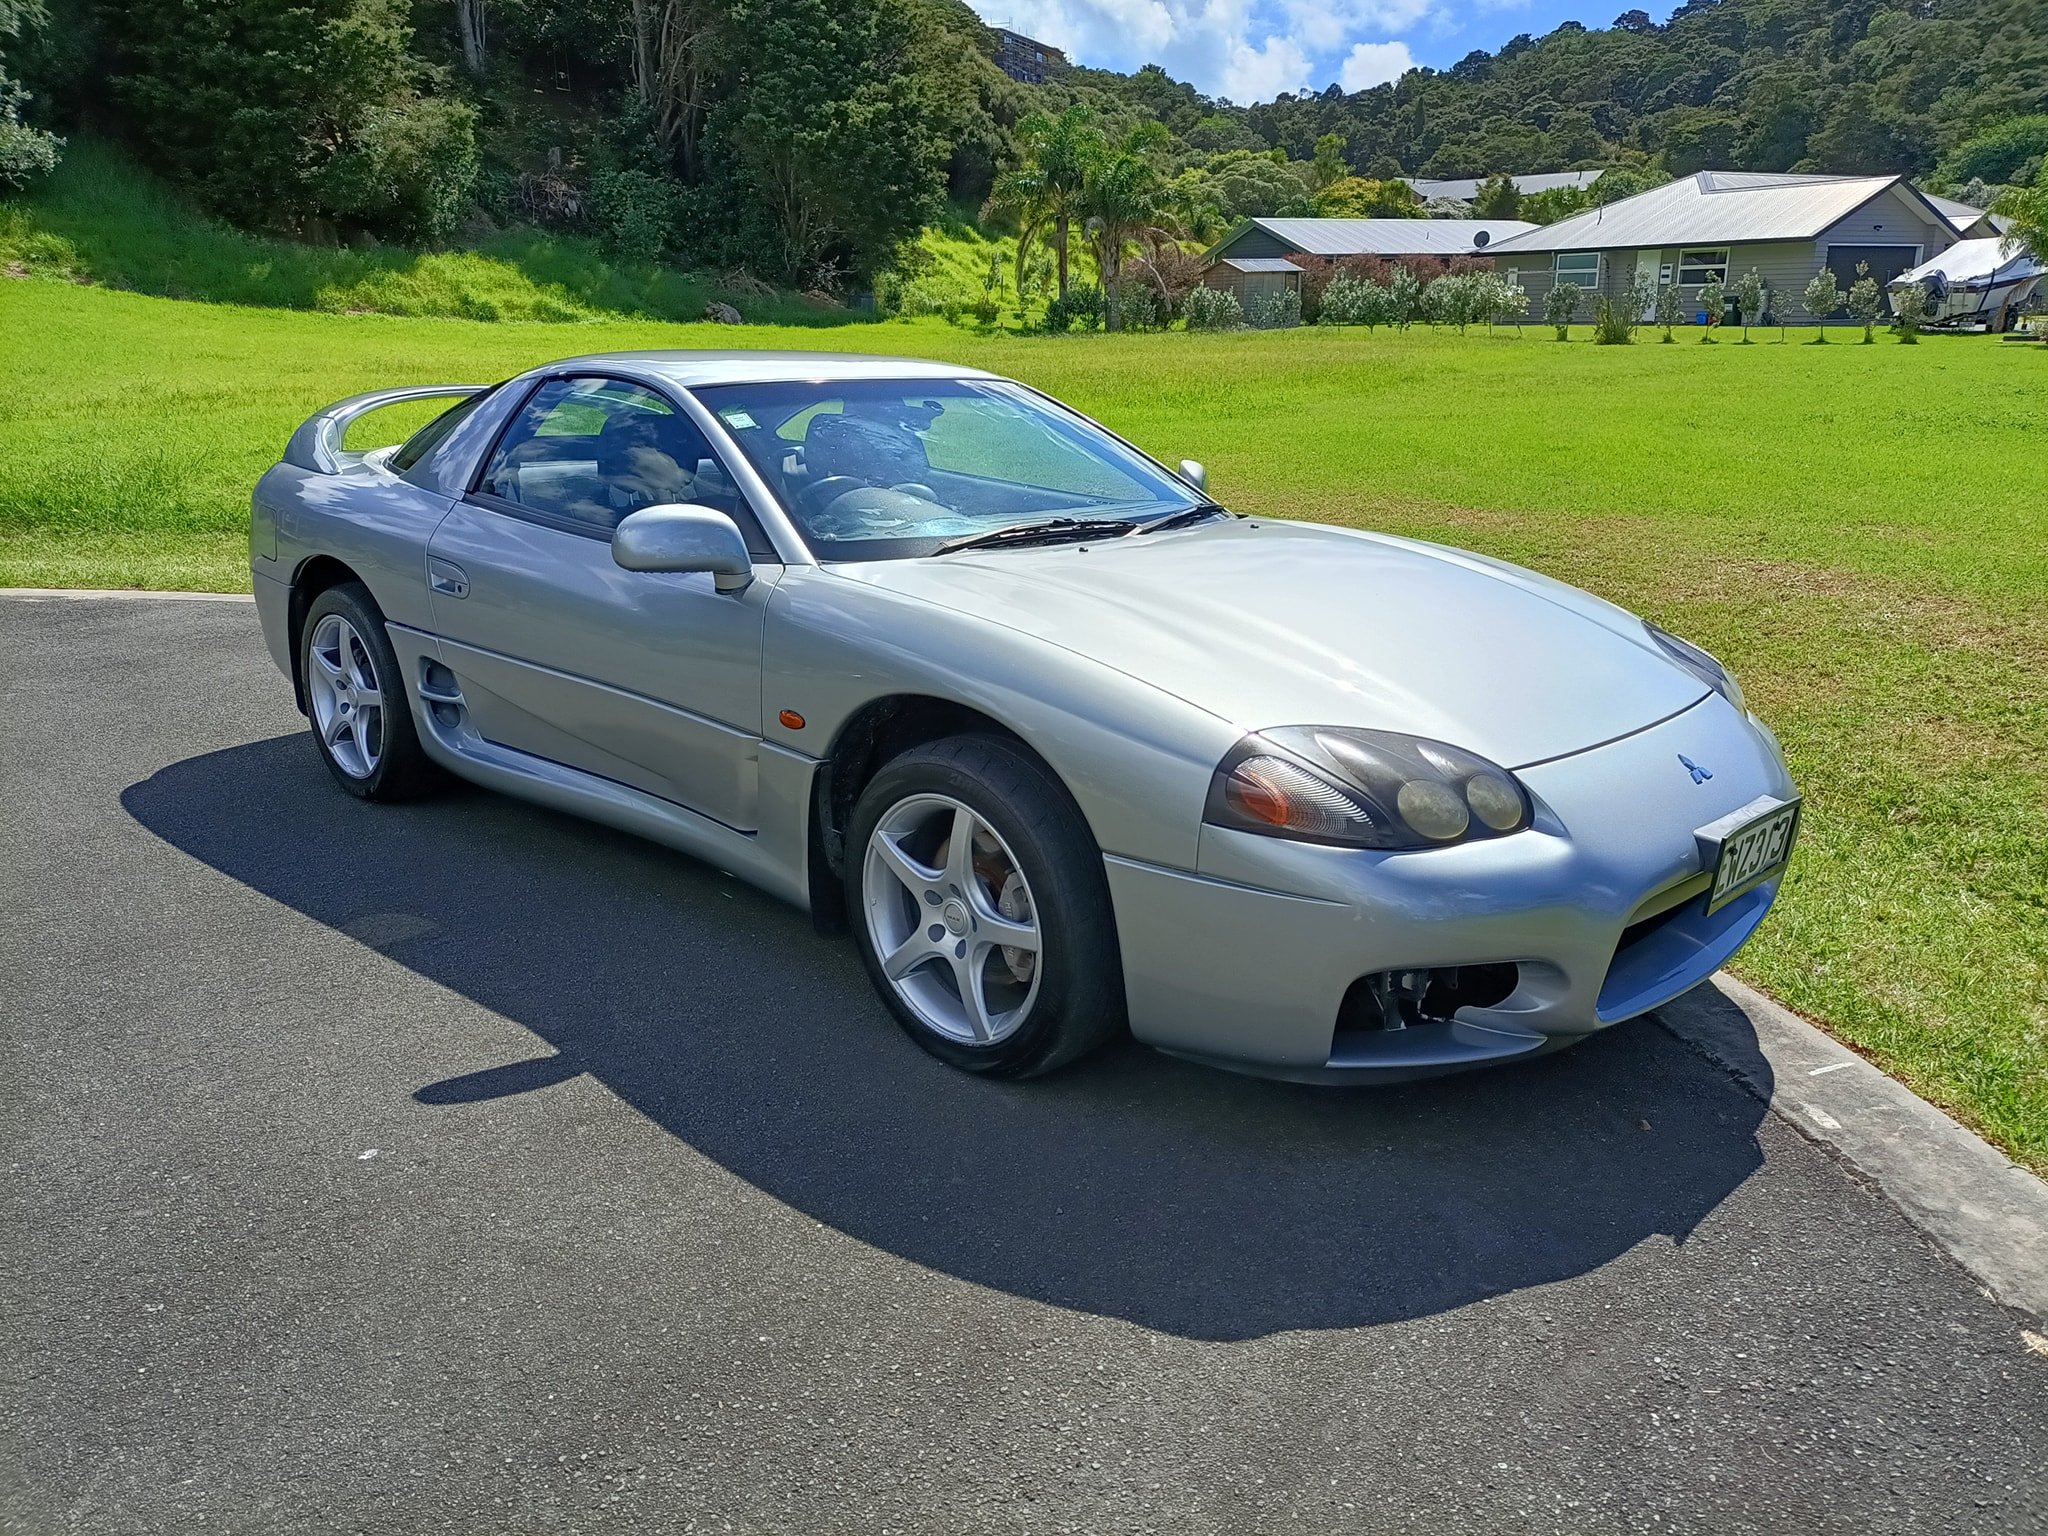
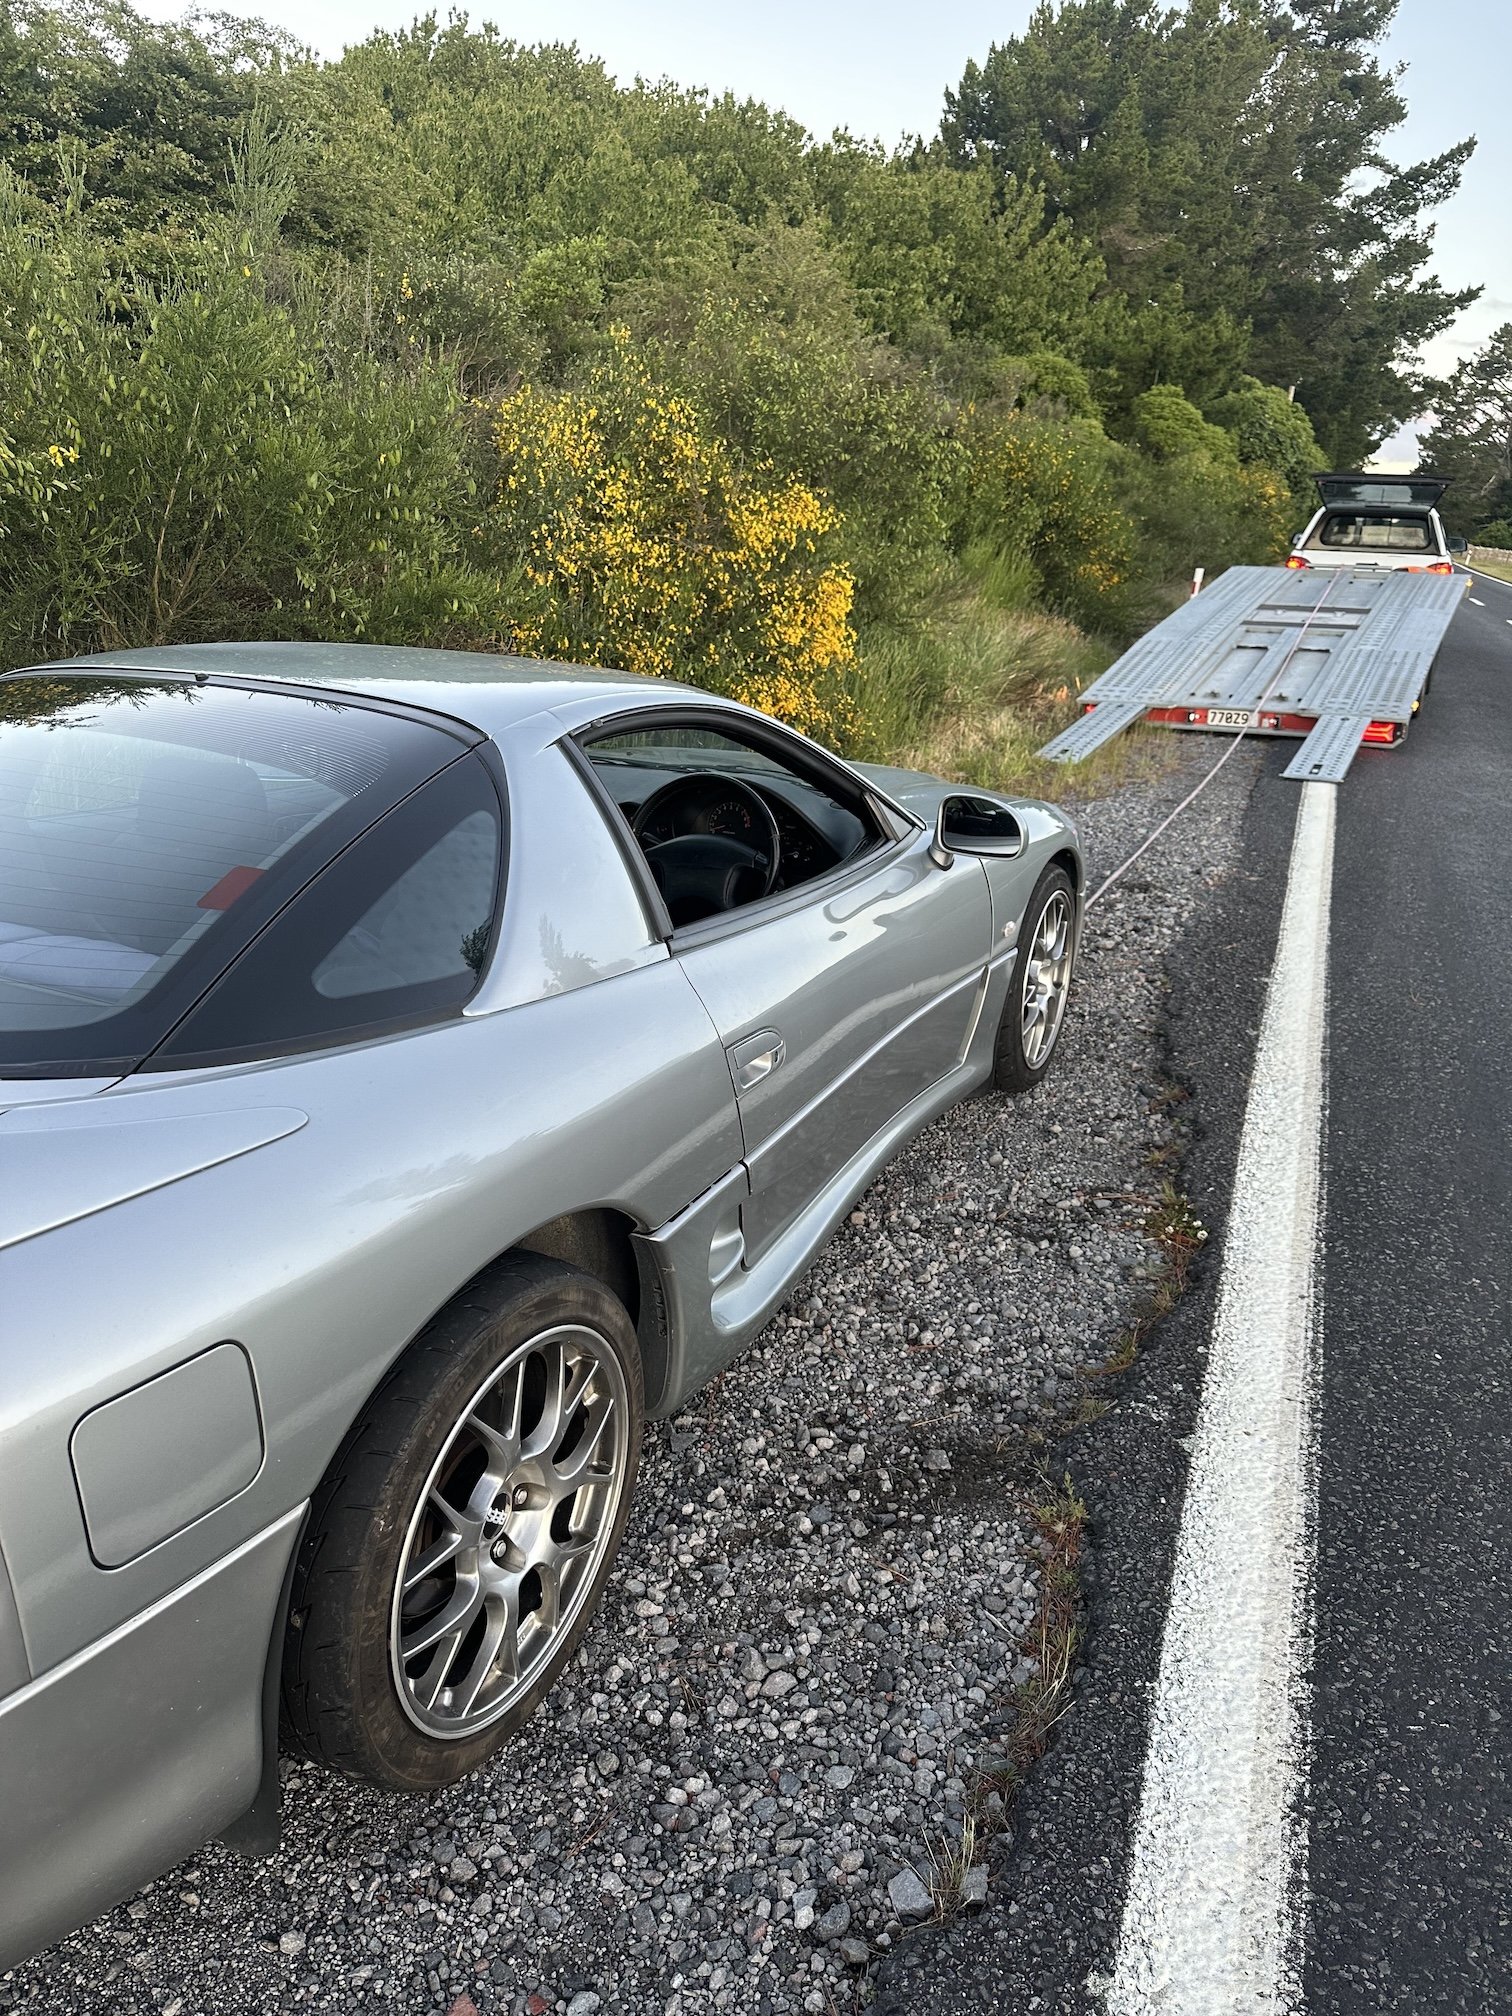
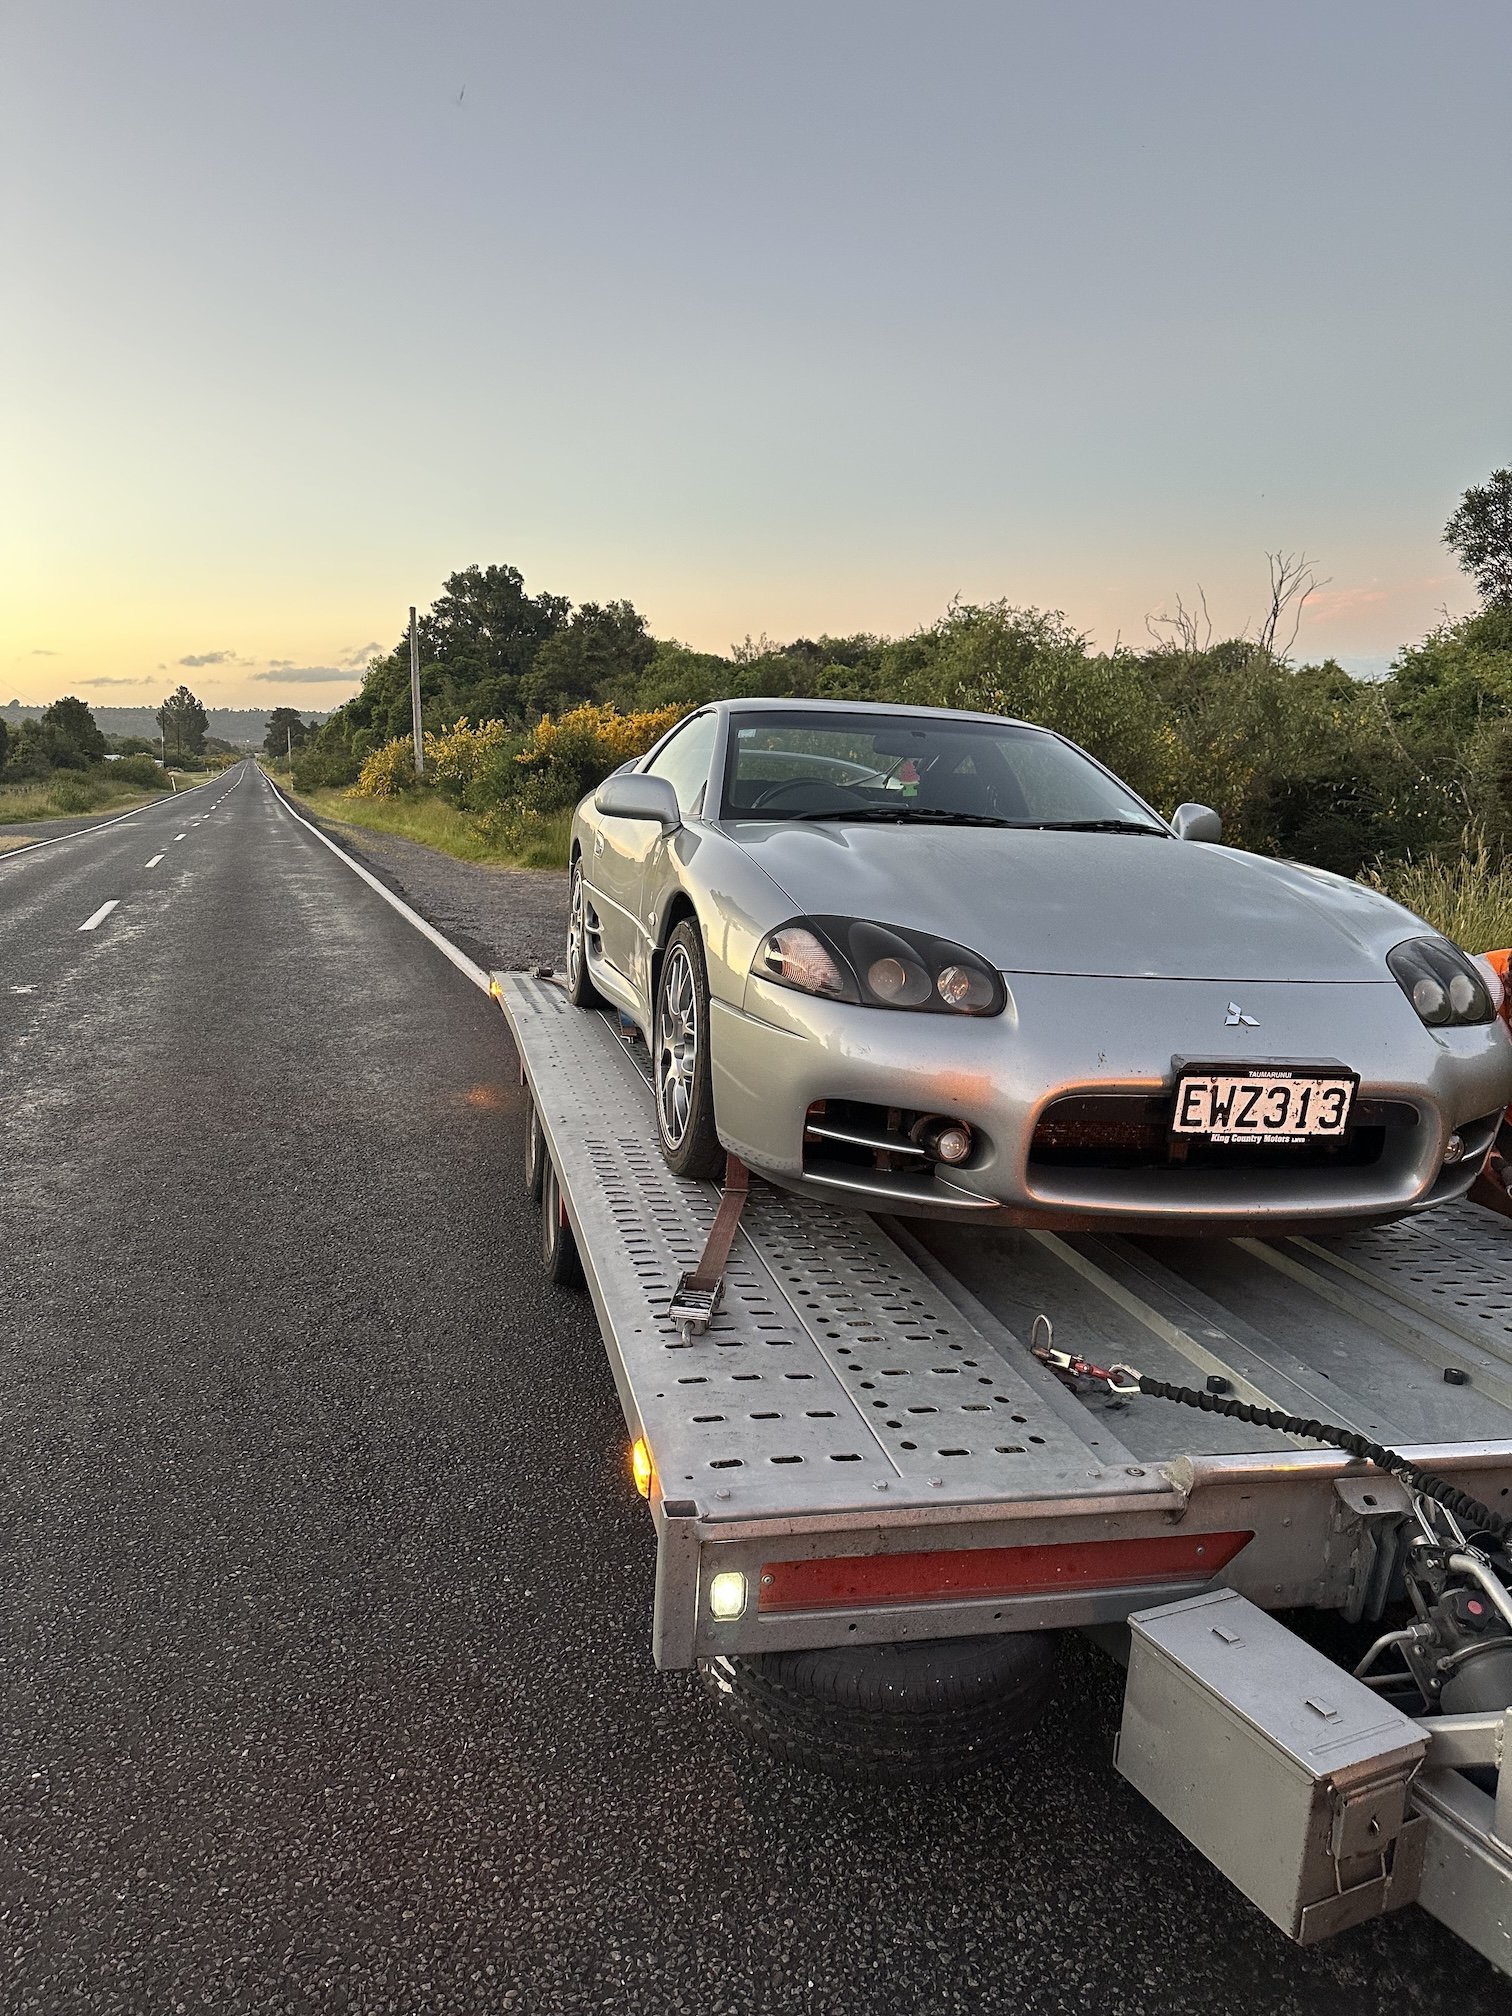
Already have a head gasket set and new valves delivered to me while I'm in Melbourne for the Xmas holidays and will piece it back together when I'm back. A few weeks back I fitted some RS-R 'Down' springs I ordered from Japan a while ago, as well as refitting the missing fog lamps and bumper grills. Not slammed but definitely better than the sky high look it was before, and the ride is much firmer too.
2 points
-
Just gonna leave this here.
2 points
-
haha fuck I always thought that was @fuel!! I got my mitsubishi weirdo's muddled. I can read your threads with some credibility now that I know you aren't the 4 x intercoolers man.2 points
-
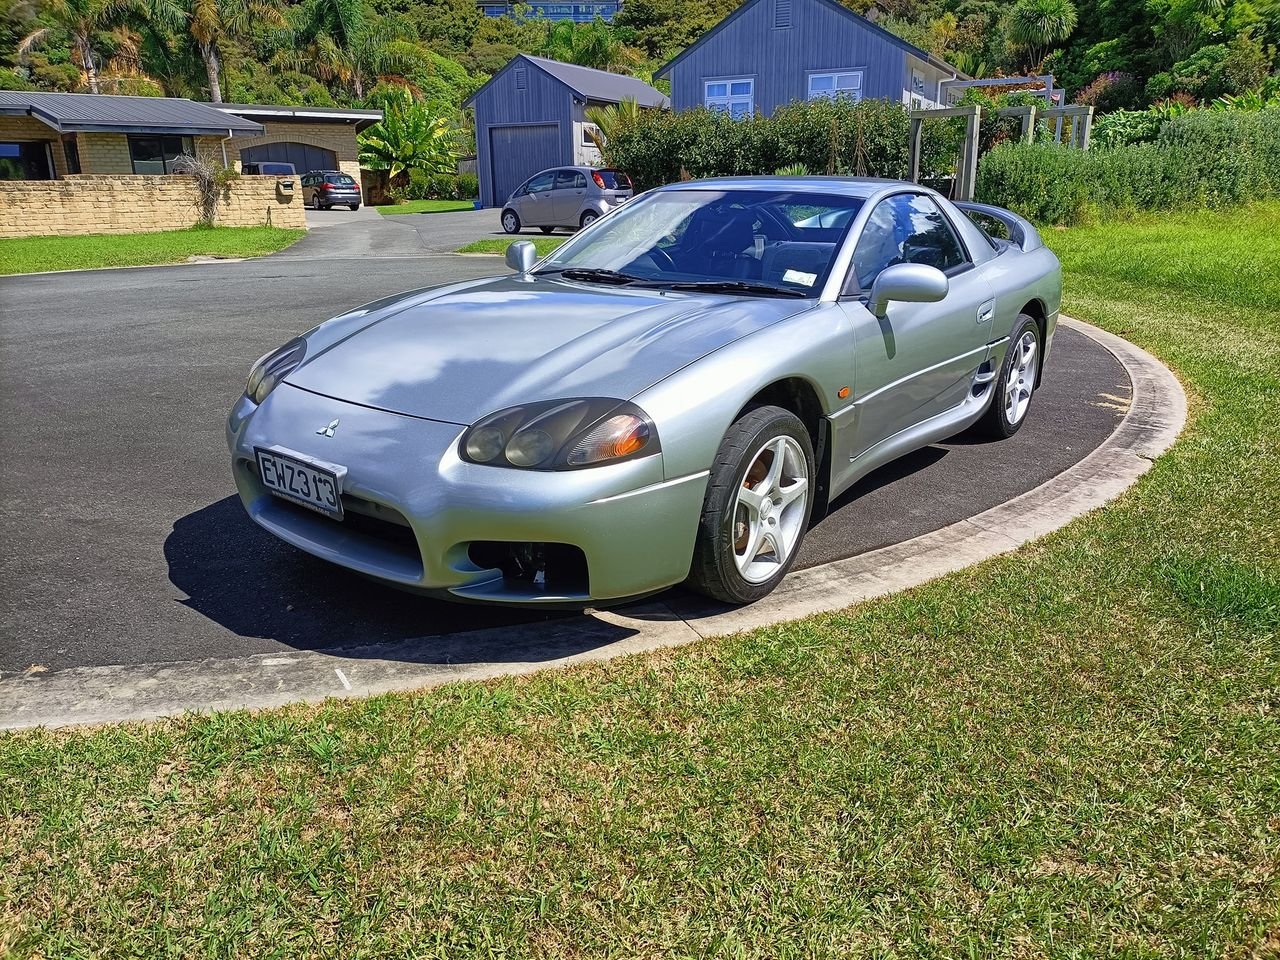
New year new irresponsible vehicle purchase I guess.
1 point
-
I suspect you want the full Kraut heavy Panzer sound......1 point
-
My experience with bike exhausts is that empty chambers with no packing give you a harsh metallic note. I'd be tempted to pack the center chamber with one perf pipe in that drawing.1 point
-
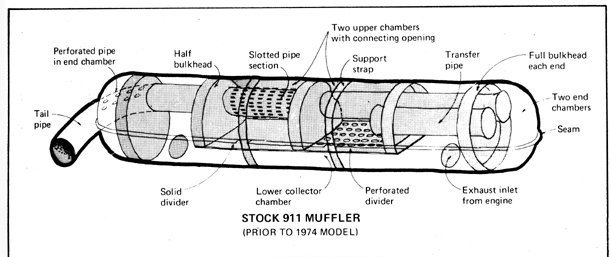
I'm going to make a whole new muffler much like this as found on 70s 911s.... Added bonus is that it has a side exit I think my straight through perforated pipes with glass fibre packing is only removing the high tinny sounds and it leaves a deeper note. Its a very smooth sound but not the sound I want. This is the sort of sound I am chasing. A bit more grumbly and less drone.
1 point
-
Engine sounds better than ever by the way Lifter tick has actually gone away I think this engine may outlive me.....1 point
-
Funny you should say about exhaust fumage. Since I fitted the new exhaust to the Fiat, I get gassed too, especially when the window is open. The stock exhaust exited via an S shaped tailpipe, and I suspect this is for good reason. I just don’t like the aesthetic though.1 point
-
Boost caboose1 point
-
Turbo trailer now?1 point
-
1 point
-
If anyone is interested I can put you in touch with a fella who has a couple of roll bars/belt setups available. We salvaged one from the pulsar I derbied years ago.
1 point
-
It's a very smooth surface. 1040 (iirc) plate steel that I'd given a skim. It'll certainly be very smooth where the bearings run now @GregT I do exactly the same with all bearings I fit to bicycles. Quite comical how lacking in grease some arrive with.1 point
-
This is really impressive, when I think back to all the discussion over gearbox direction, thrust bearings never really made it to the table in my mind, quite a good save and nice solution. Is there a machined surface on the back of the flywheel for the bearings to run on? I guess that contact patch technically should be lubed but in the impossible to keep?1 point
-
Was super fun to do, really sucks how work life kept kicking it down the order. Very glad we had the mdf one to check process on, that really took the stress off after all the effort that went into making the blank. This is by several orders of magnitude the coolest thing thats come off that machine, looking forward to the end result, no matter how long it takes to get there.1 point
-
I'm in the habit of popping the seals on new motorcycle wheel bearings and repacking anyway. Surprising how little - if any - grease you find in some bearings. Put onto it years back by an old bike mechanic I knew.1 point
-
Like the supplementary thrust bearing(s). The devil is in the detail though. There'll be quite a lot of heat sink coming through- which may well melt the grease out of the presumably sealed bearings. I'd have cleaned them out and repacked with HMP grease I think.1 point
-
I couldnt help but lay some of the hardware overtop to see how its gonna look. Bloody amazing is how! i am tossing up very lightly staining the pickgard area before the oil goes on. 50/50 at this point.
1 point
-
1 point
-
Thanks everyone for coming along. It was a great meet. Thinking we can do a mid January BBQ meet again if people are keen1 point
-
Sold the DRZ on the weekend, and went to look at this. I mean I bought it because I'd already sold myself on it, in my mind. Because that's how we emotively buy vehicles. It's a 2019 350 EXC-F. Big tank, switchable maps/TCS, 136hrs, and.... short guy low suspension (there's a theme here). A few other issues but nothing major, just KTM quality gripes and some cosmetic things to sort. Overall pretty chuffed. Goes like fuck, revs to the moon, will no doubt cost me a packet and get me into lots of strife off road. Ideal. Good photos to come. Already ordered a few key accessories and booked in a suspension revalve/spring to suit my heft. 2019 KTM 350 EXCF Phone (5) by Richard Opie, on Flickr1 point
-
You would scarcely believe it but I have a van update. I had a wof booked today, I was going to take my daily ute in but thought bugger it, i'll take the van in - it needs a good run and i'd rather the ute didn't fall due just before xmas. Didn't fly through but pretty good for a 70s BL product that has been essentially parked up for 6 years. Brake lights weren't working - the switch had died during hibernation. It exploded into shards of mediocre 70s plastic upon removing the wires, I had a spare - 3 whole years newer so swapped that in. They didn't like my radiator blanking cap as gas cap - So I guess i'll find a fancier radiator cap, the filler neck is literally a radiator neck - leyland build efficiency. Only other things were headlight aim and front brake imbalance, they are discs with sliders greased & pads changed maybe last year or the year before with practically zero mileage since - I think they just need a bit of exercise. Should get a sticker early in the new year with any luck
1 point
-
1 point
-
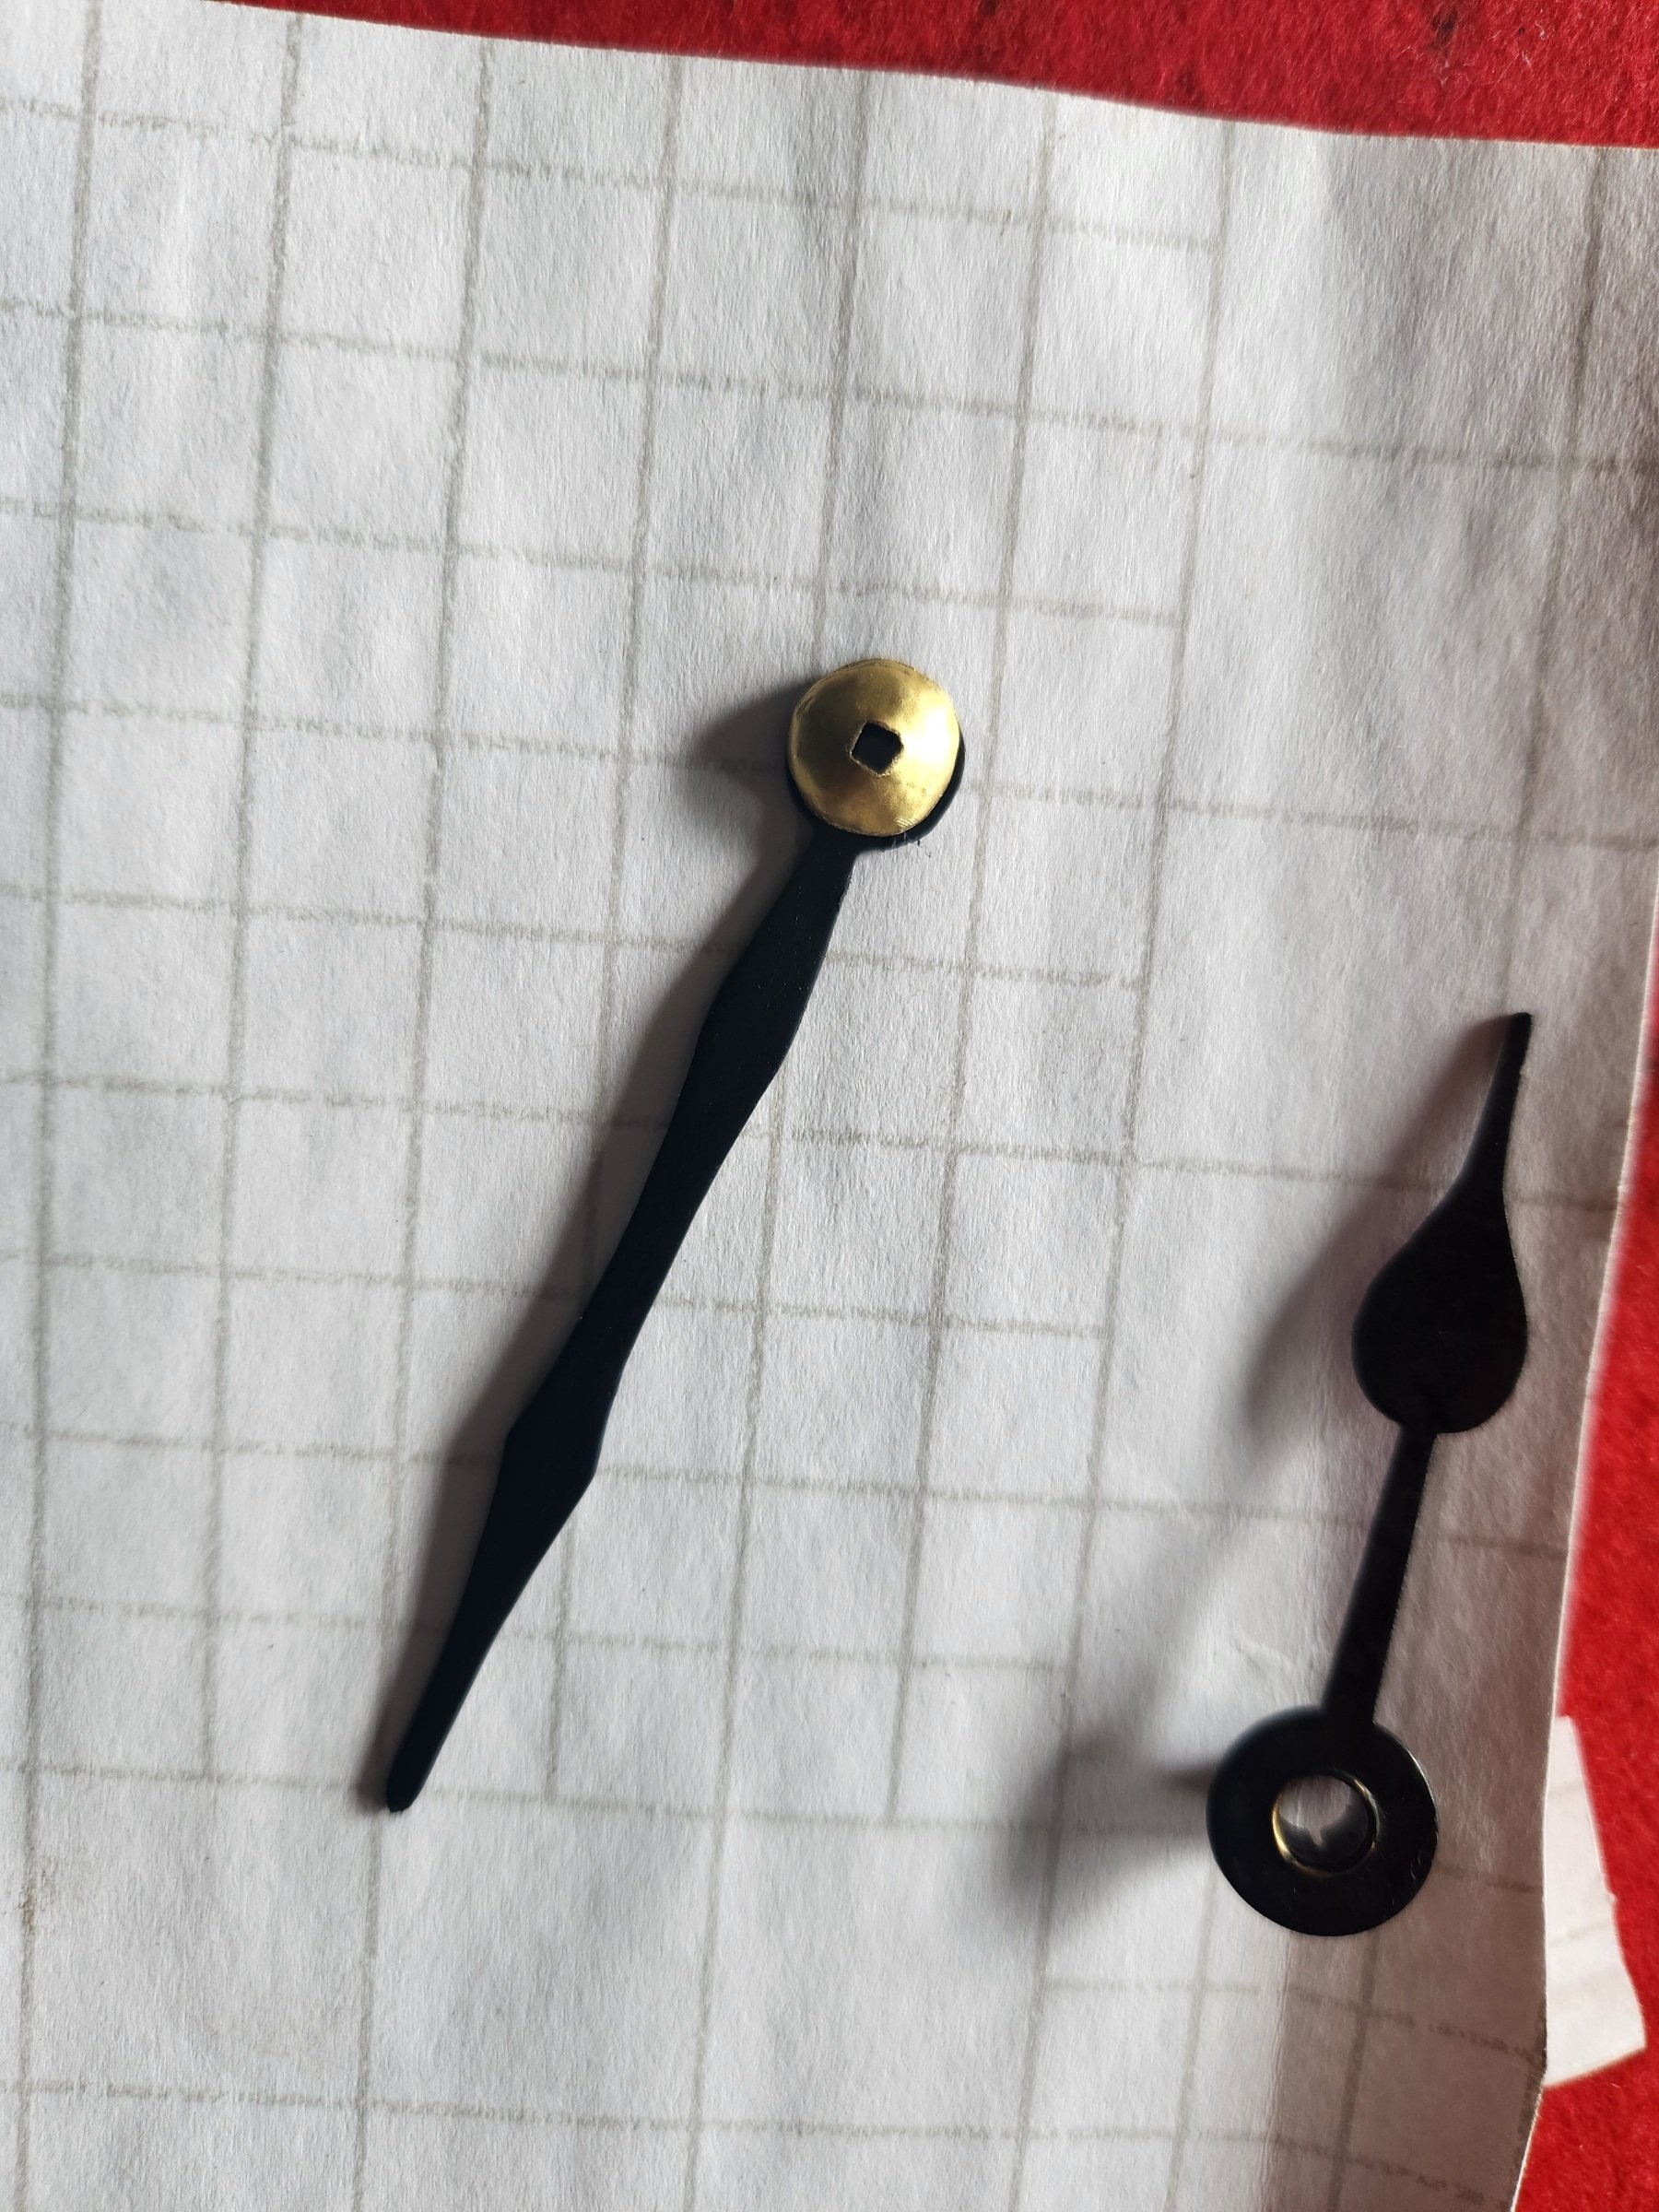
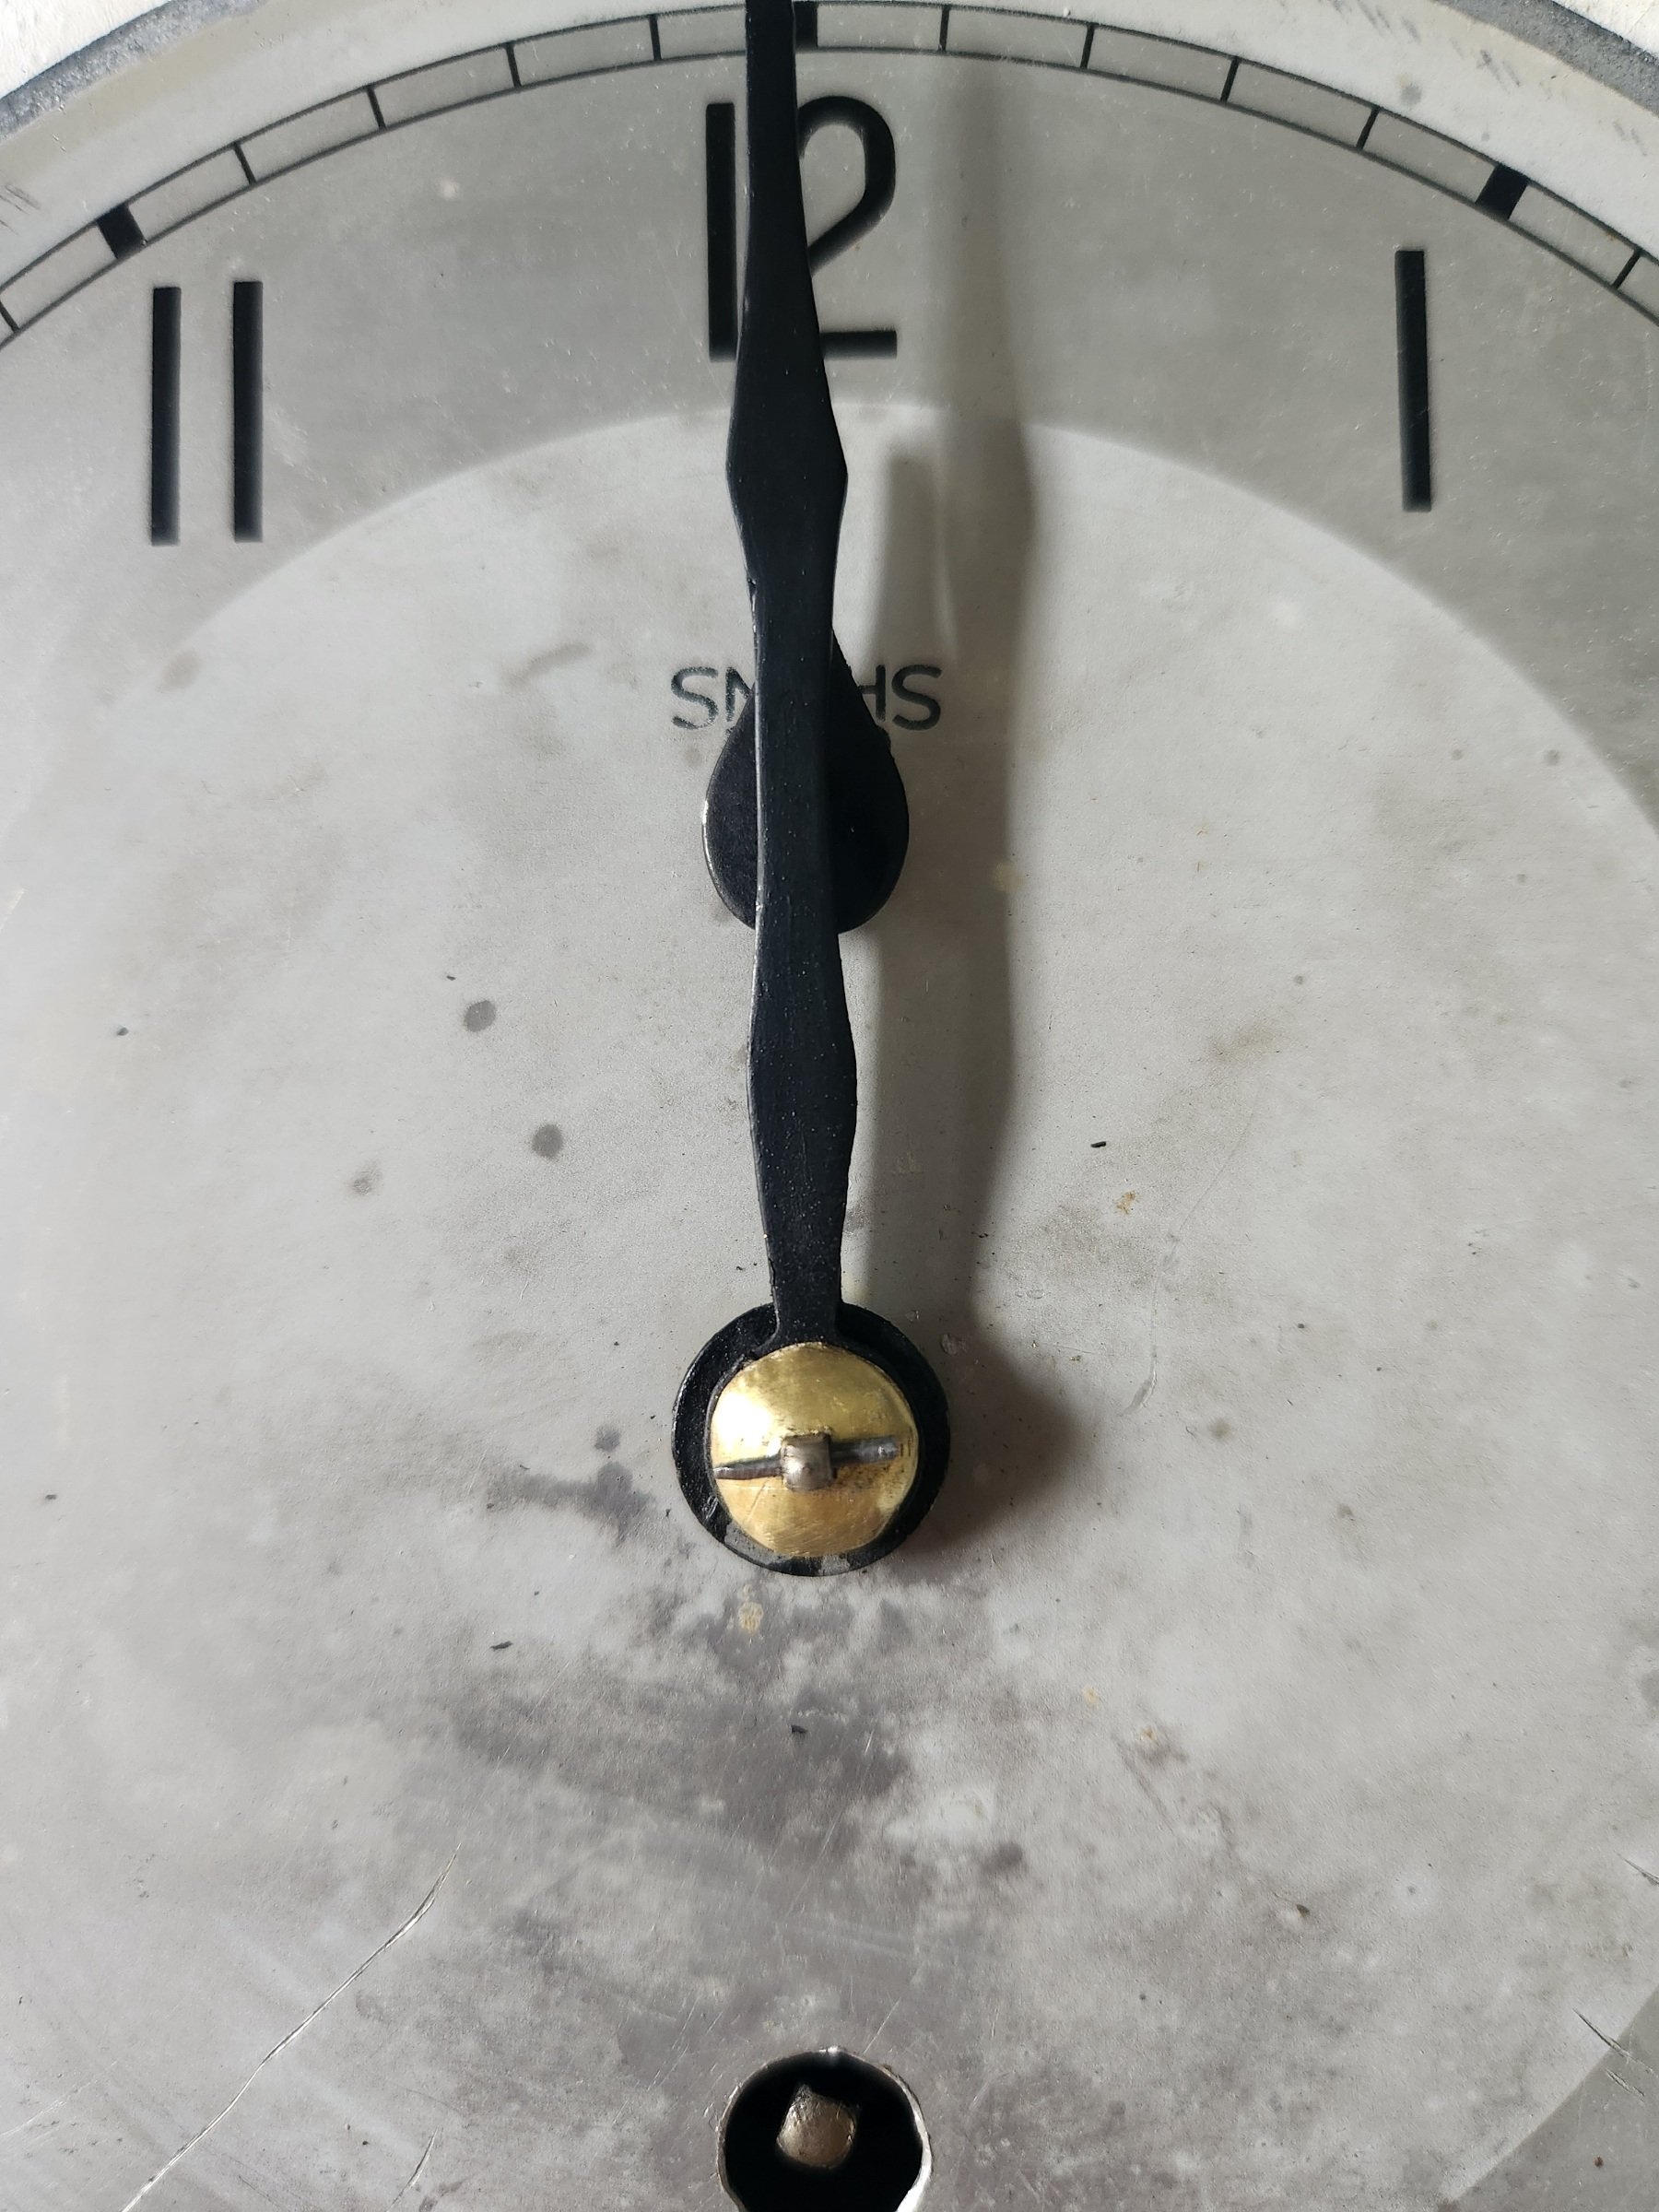
Made a brass dome out of an old solex carb float And fitted with a file tapered pin made from a microdrill shank. Nice tight fit. Clock has been ticking away happily the last few days, with no hands, so will see how it goes now. If the hands don't interfere with each other all good, otherwise might need to space the minute hand up with a tiny shim. Then il go about getting it in time, probably paint that brass bit black to match the hands. And that's it, lovely old 8 day kitchen clock back in service, fixed with junk laying around my shed as is my usual turd polishing way
1 point
-
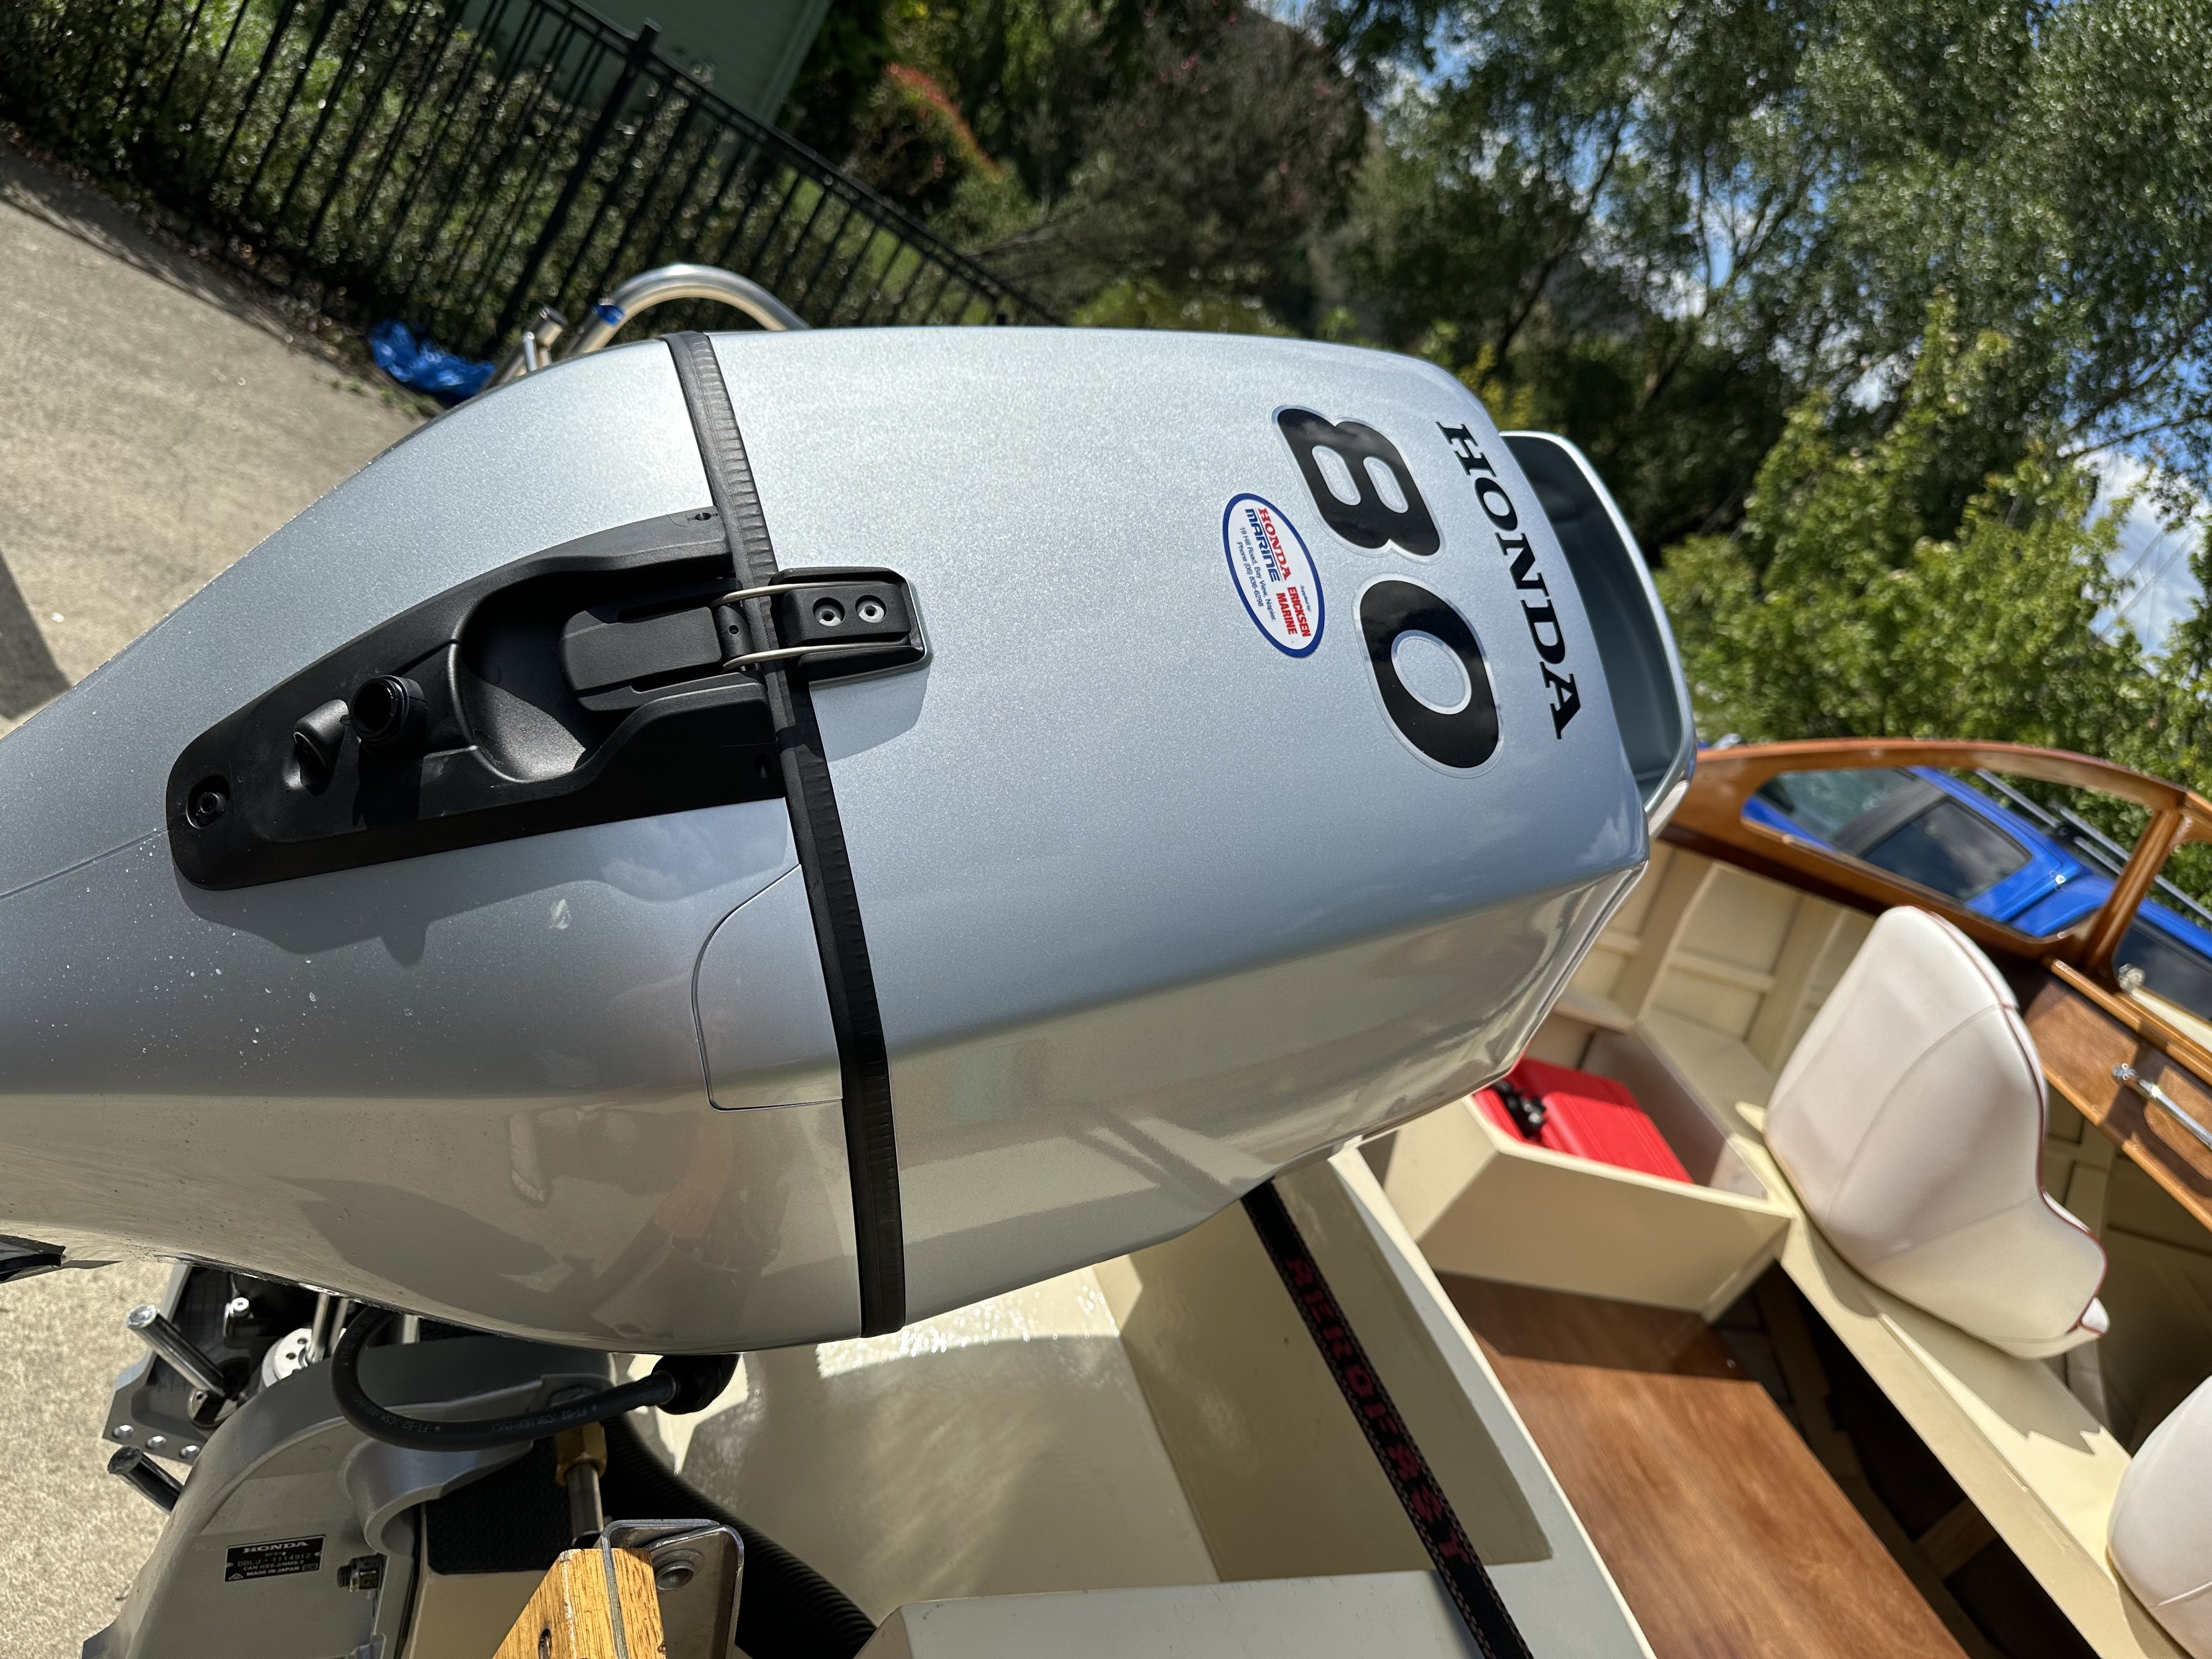
Also Honda NZ had run out of 75hp engines so Erickson Honda got them to supply a 80hp for the same price. So I got another 5hp for free. Yippie
1 point
-
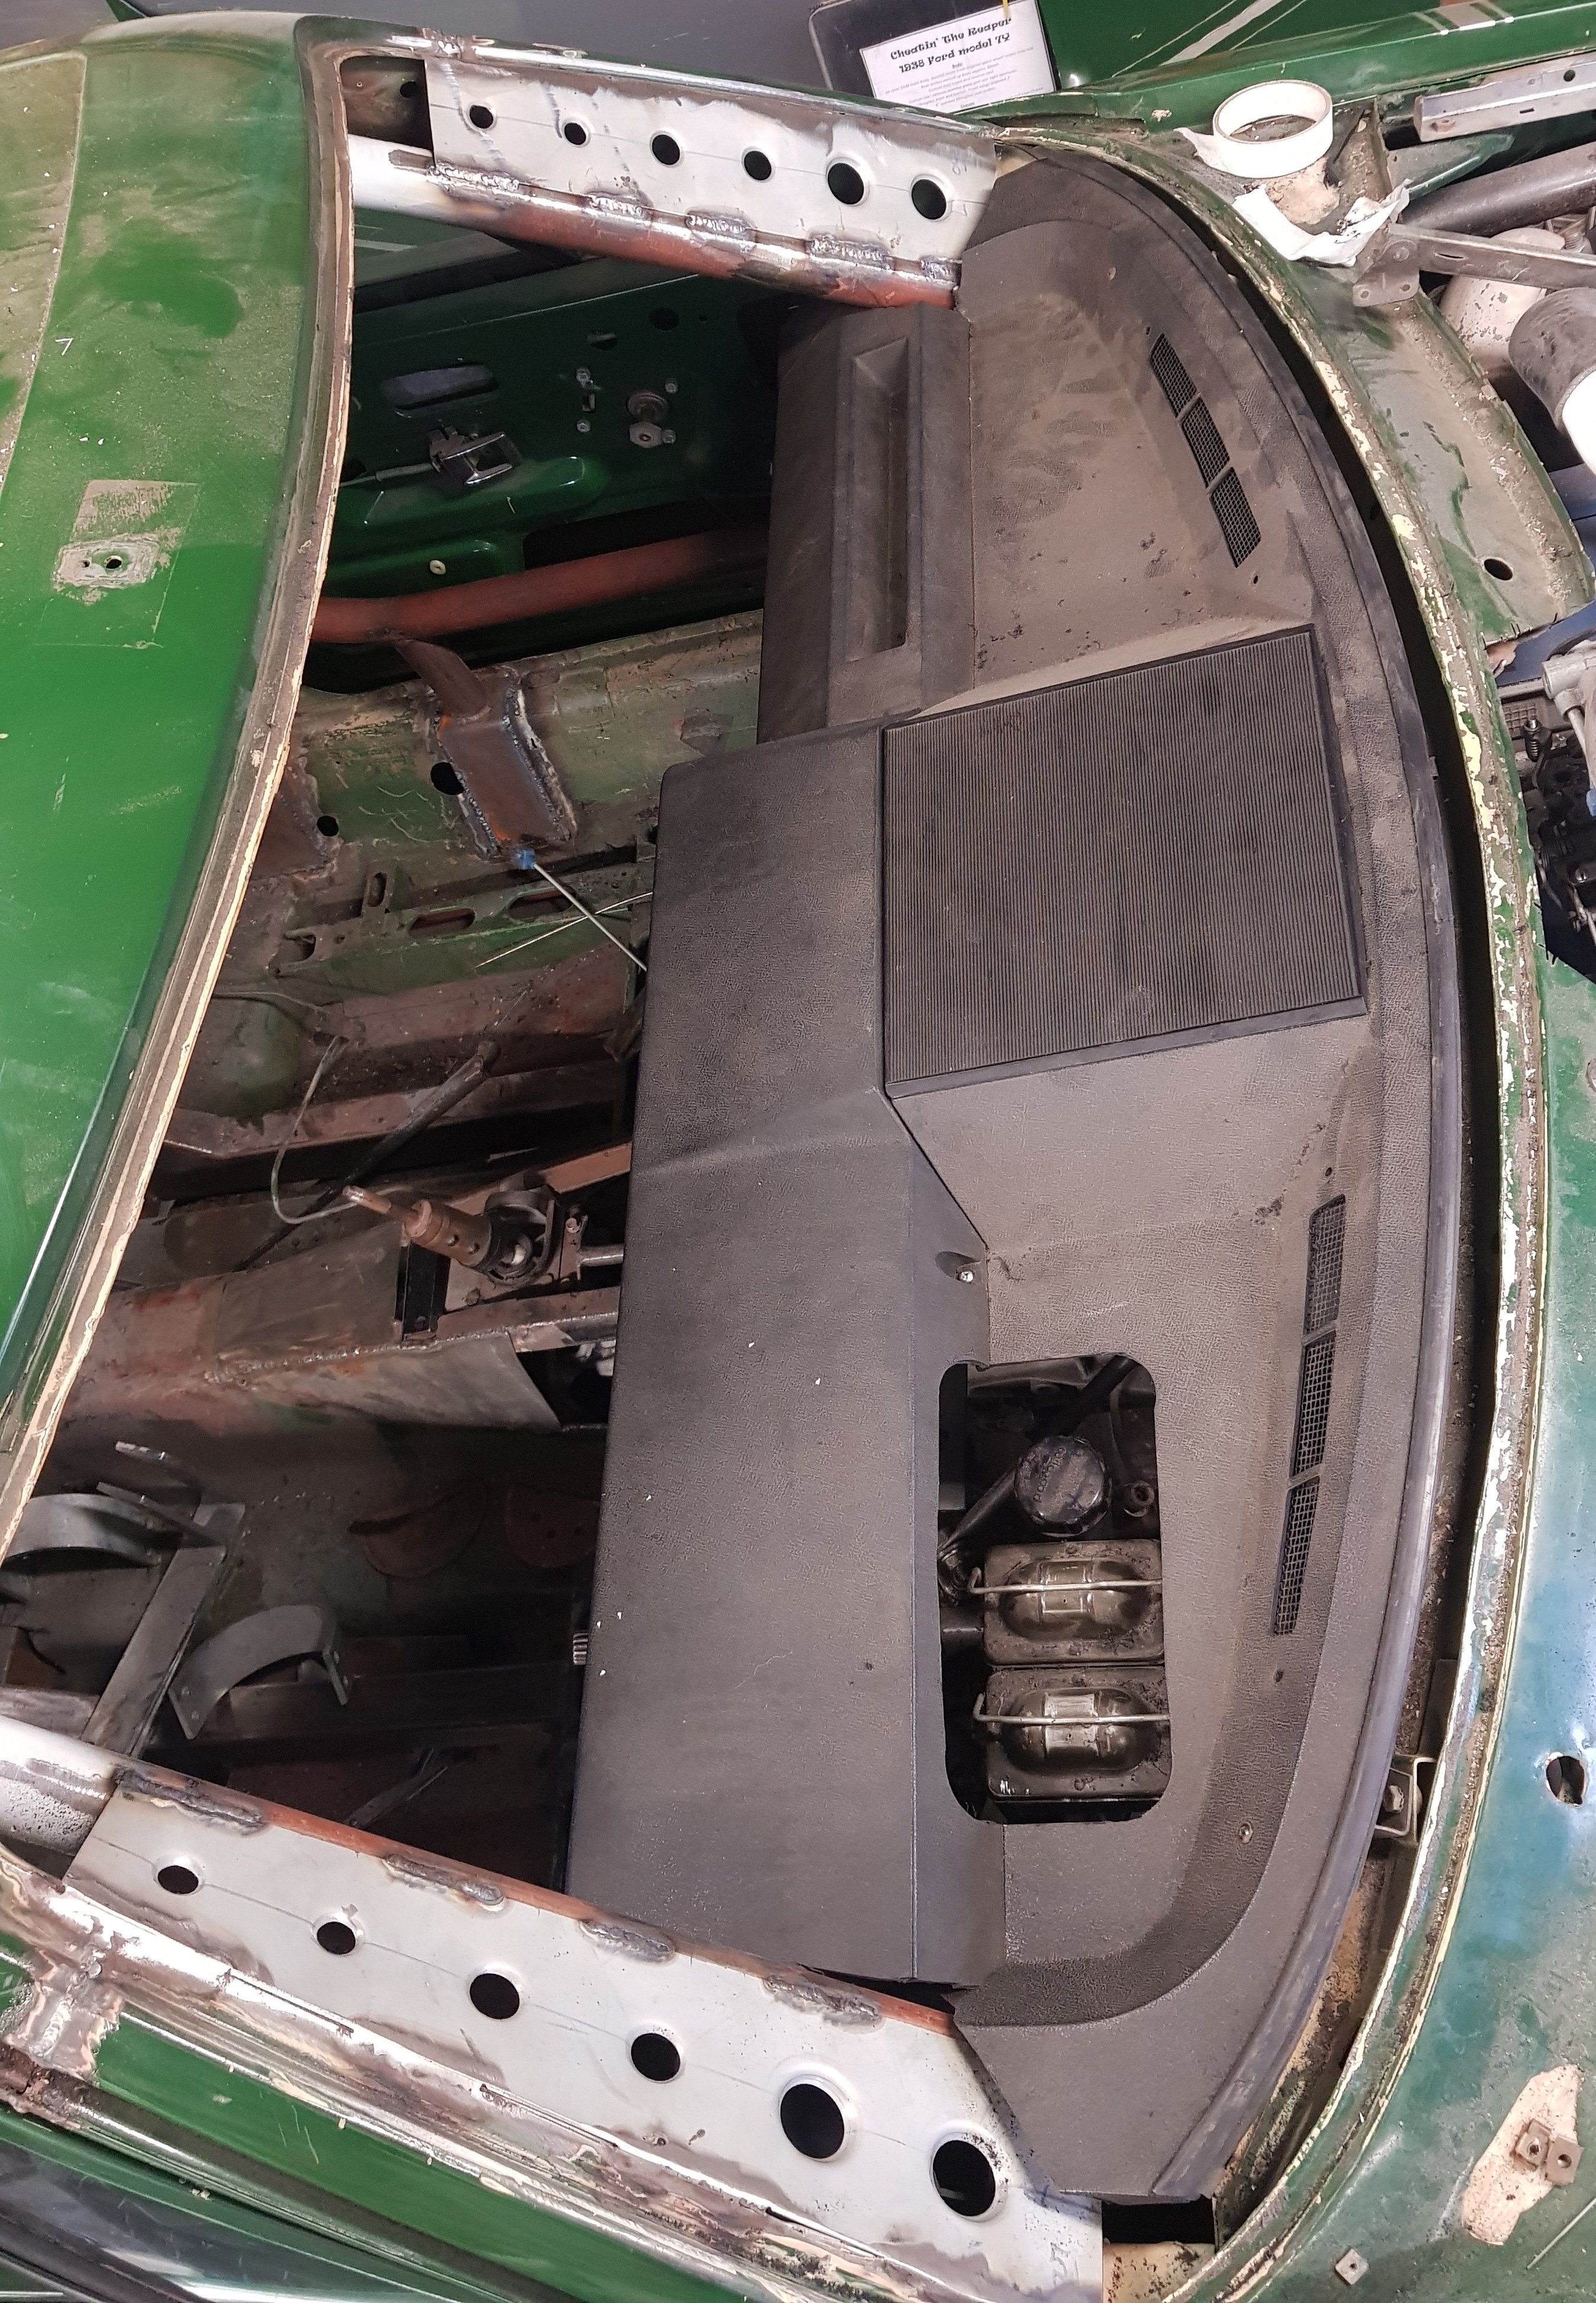
It was always my intention to use the original TR7 dash panel(s) in the car, but in the time between removing the main panel and trying to refit it, I'd forgotten exactly where it sits. I carefully measured between the bottom of the screen back to the rollcage and cut the holes for the cage to pass through. The problem is that the dash panel does not sit at the bottom of the screen - it sits about 30mm up - so the holes I cut were out. A bit. I had to open up the holes backwards a bit. It doesn't look too bad, nothing that a strip of rubber won't cure.
1 point
-
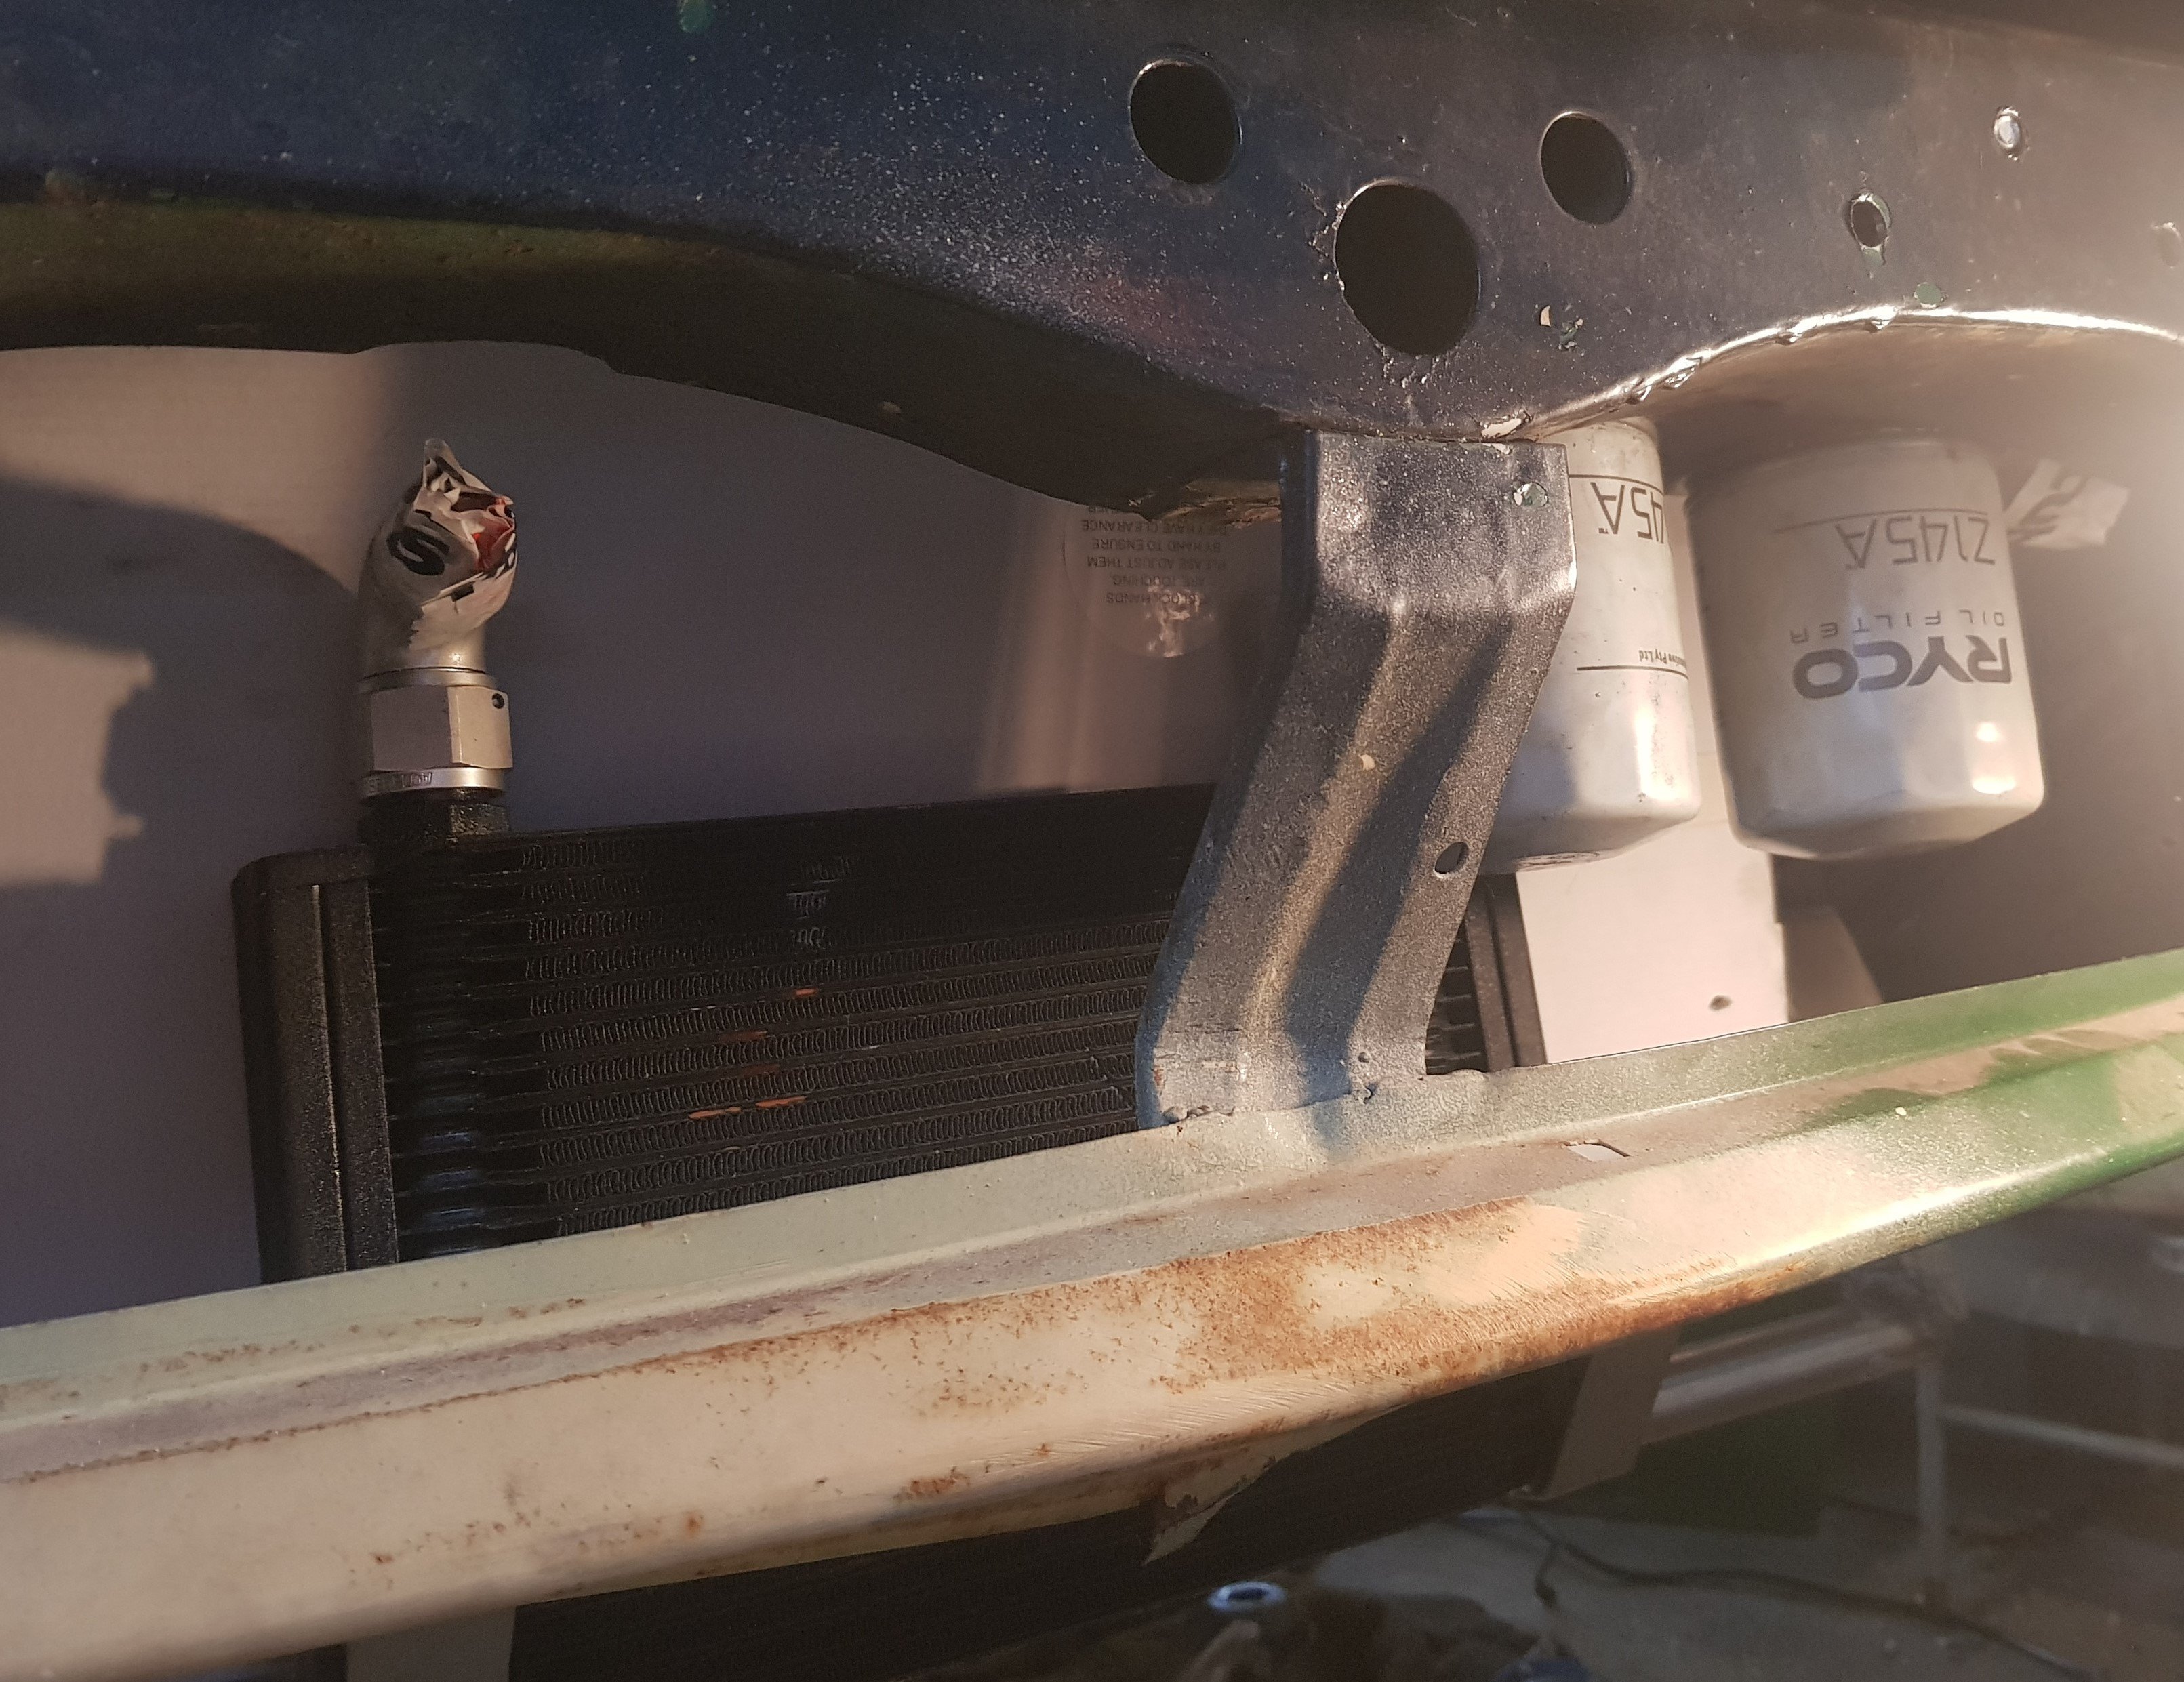
On my previous car, the remote oil filter mount was mounted directly to the oil cooler, but there isn't enough room so they are now mounted behind the front bumper crossmember. High enough to be out of harms way but still easily accessible:
1 point
-
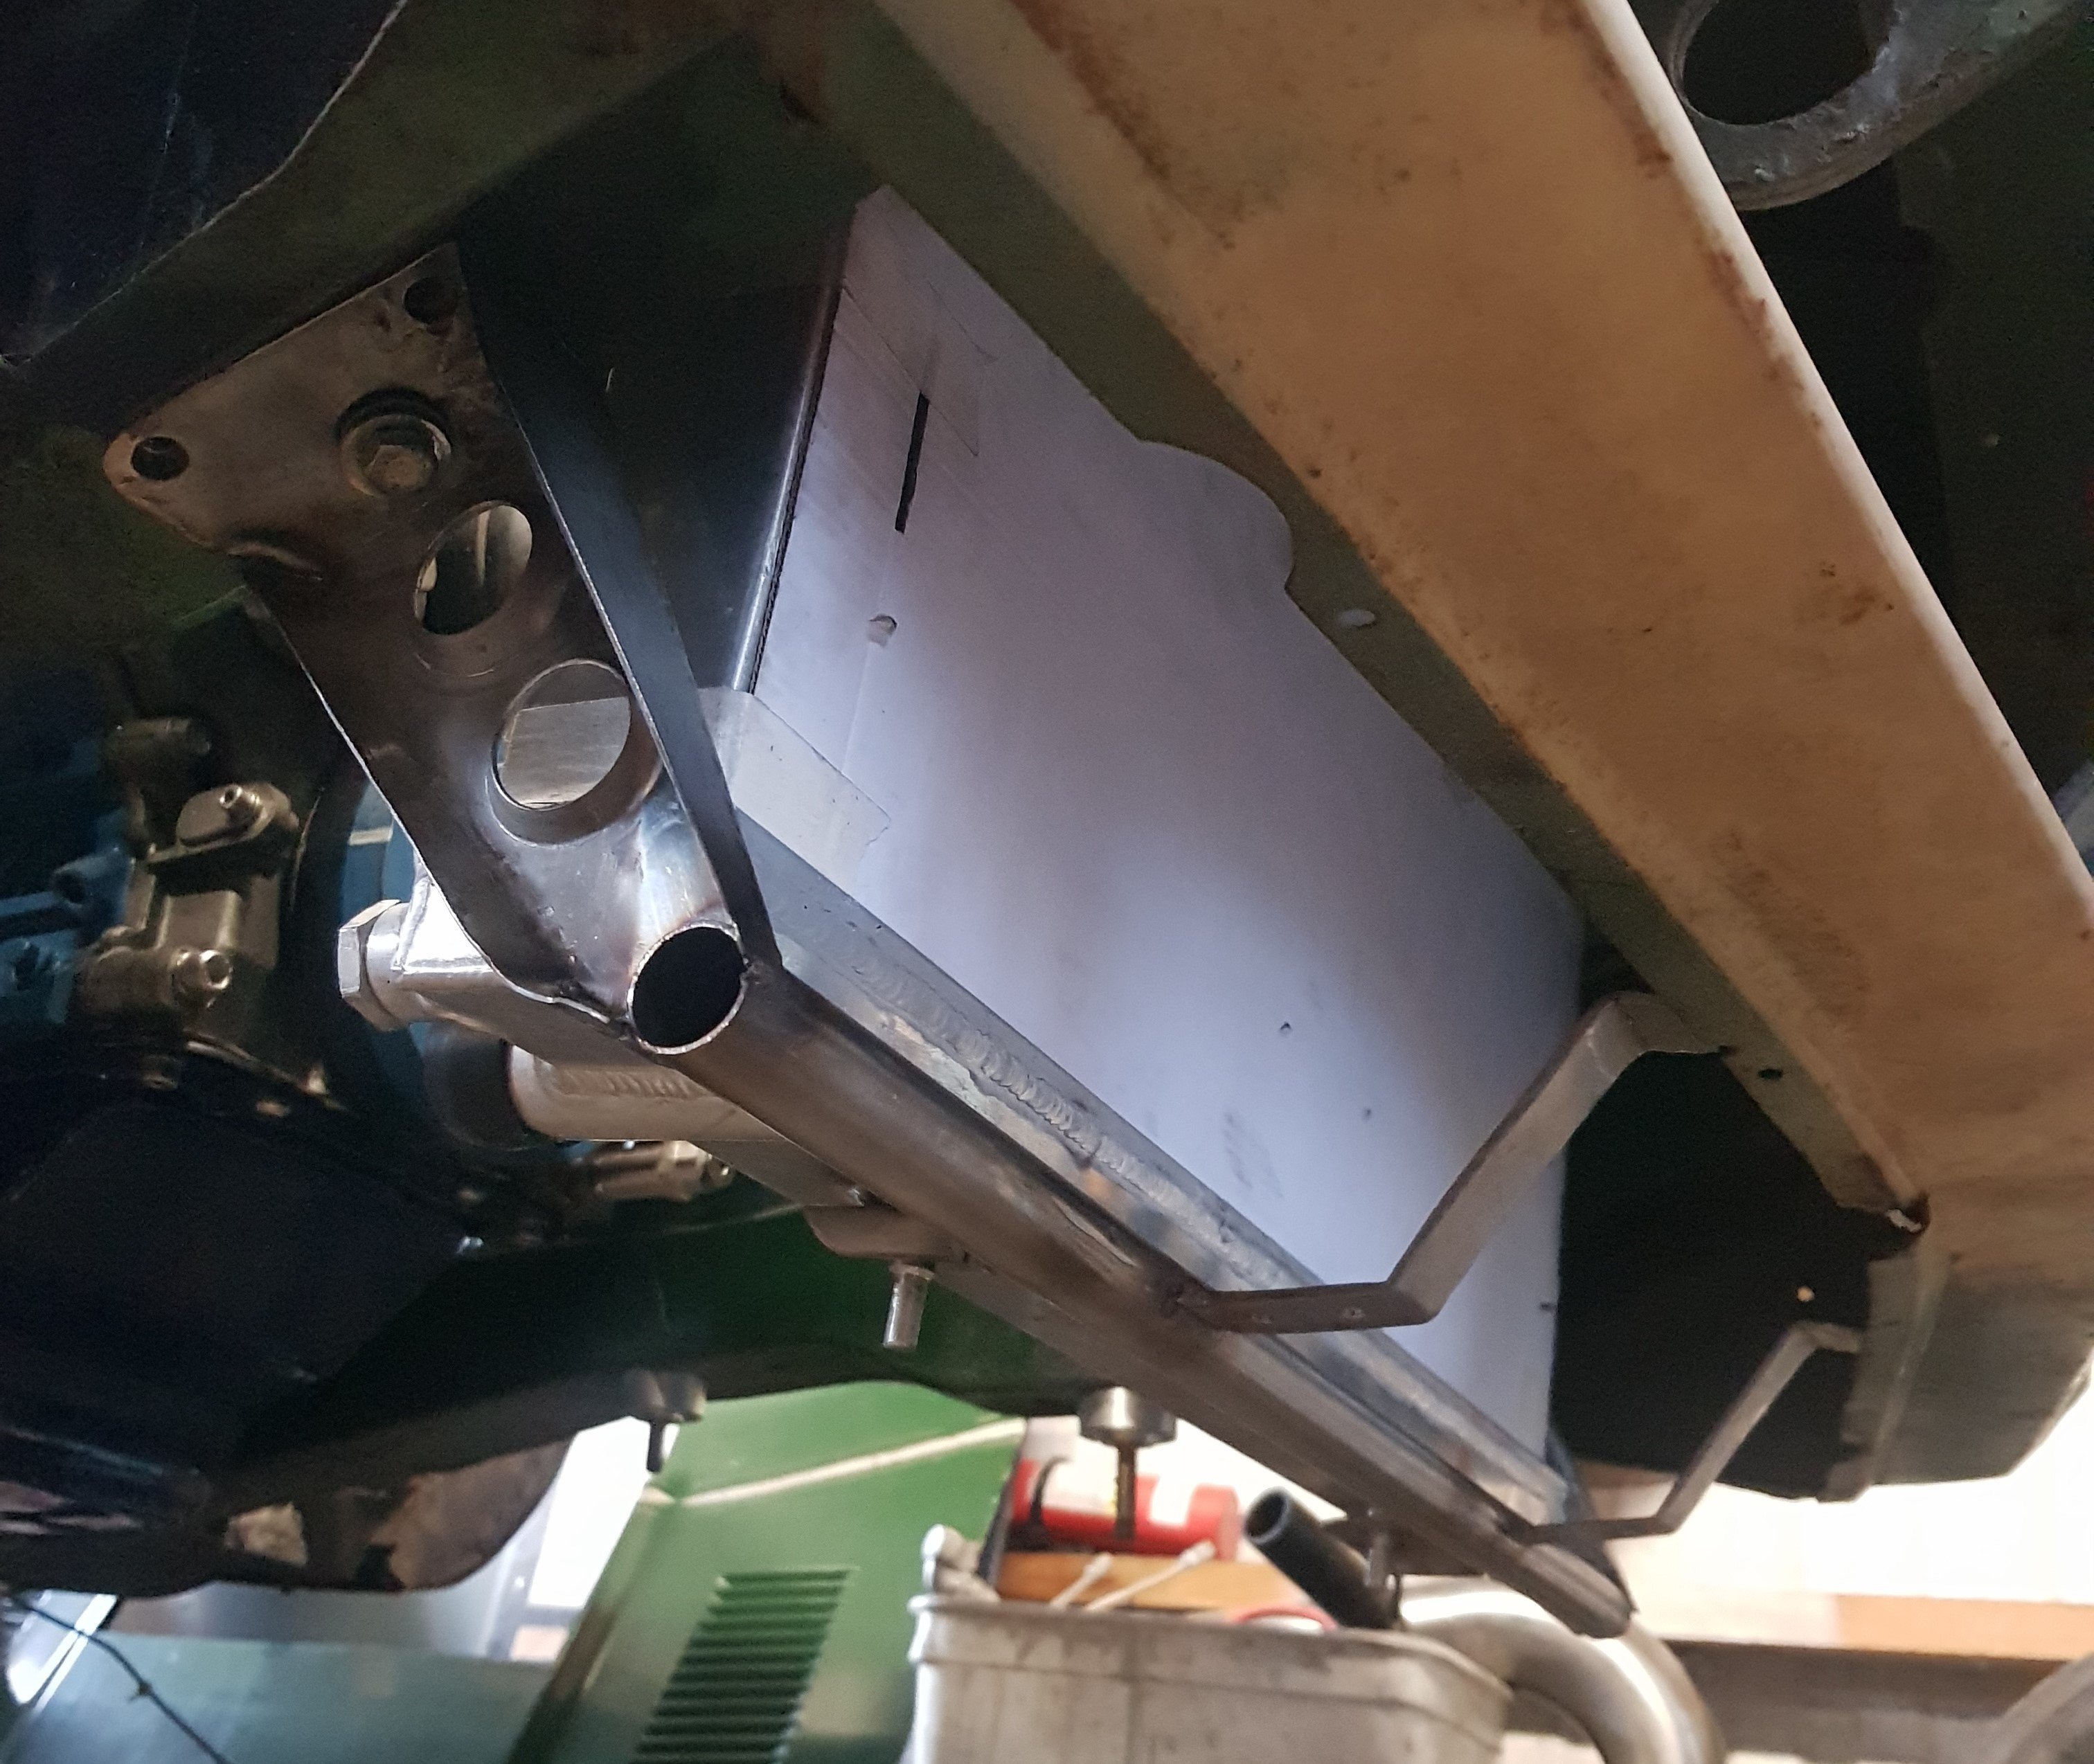
The lower radiator mount is all stainless-steel: Which turned out OK. It mounts to existing threaded holes in the front chassis members. The front brackets come up to the front vallance. Holes in that are for the oil cooler:
1 point
-
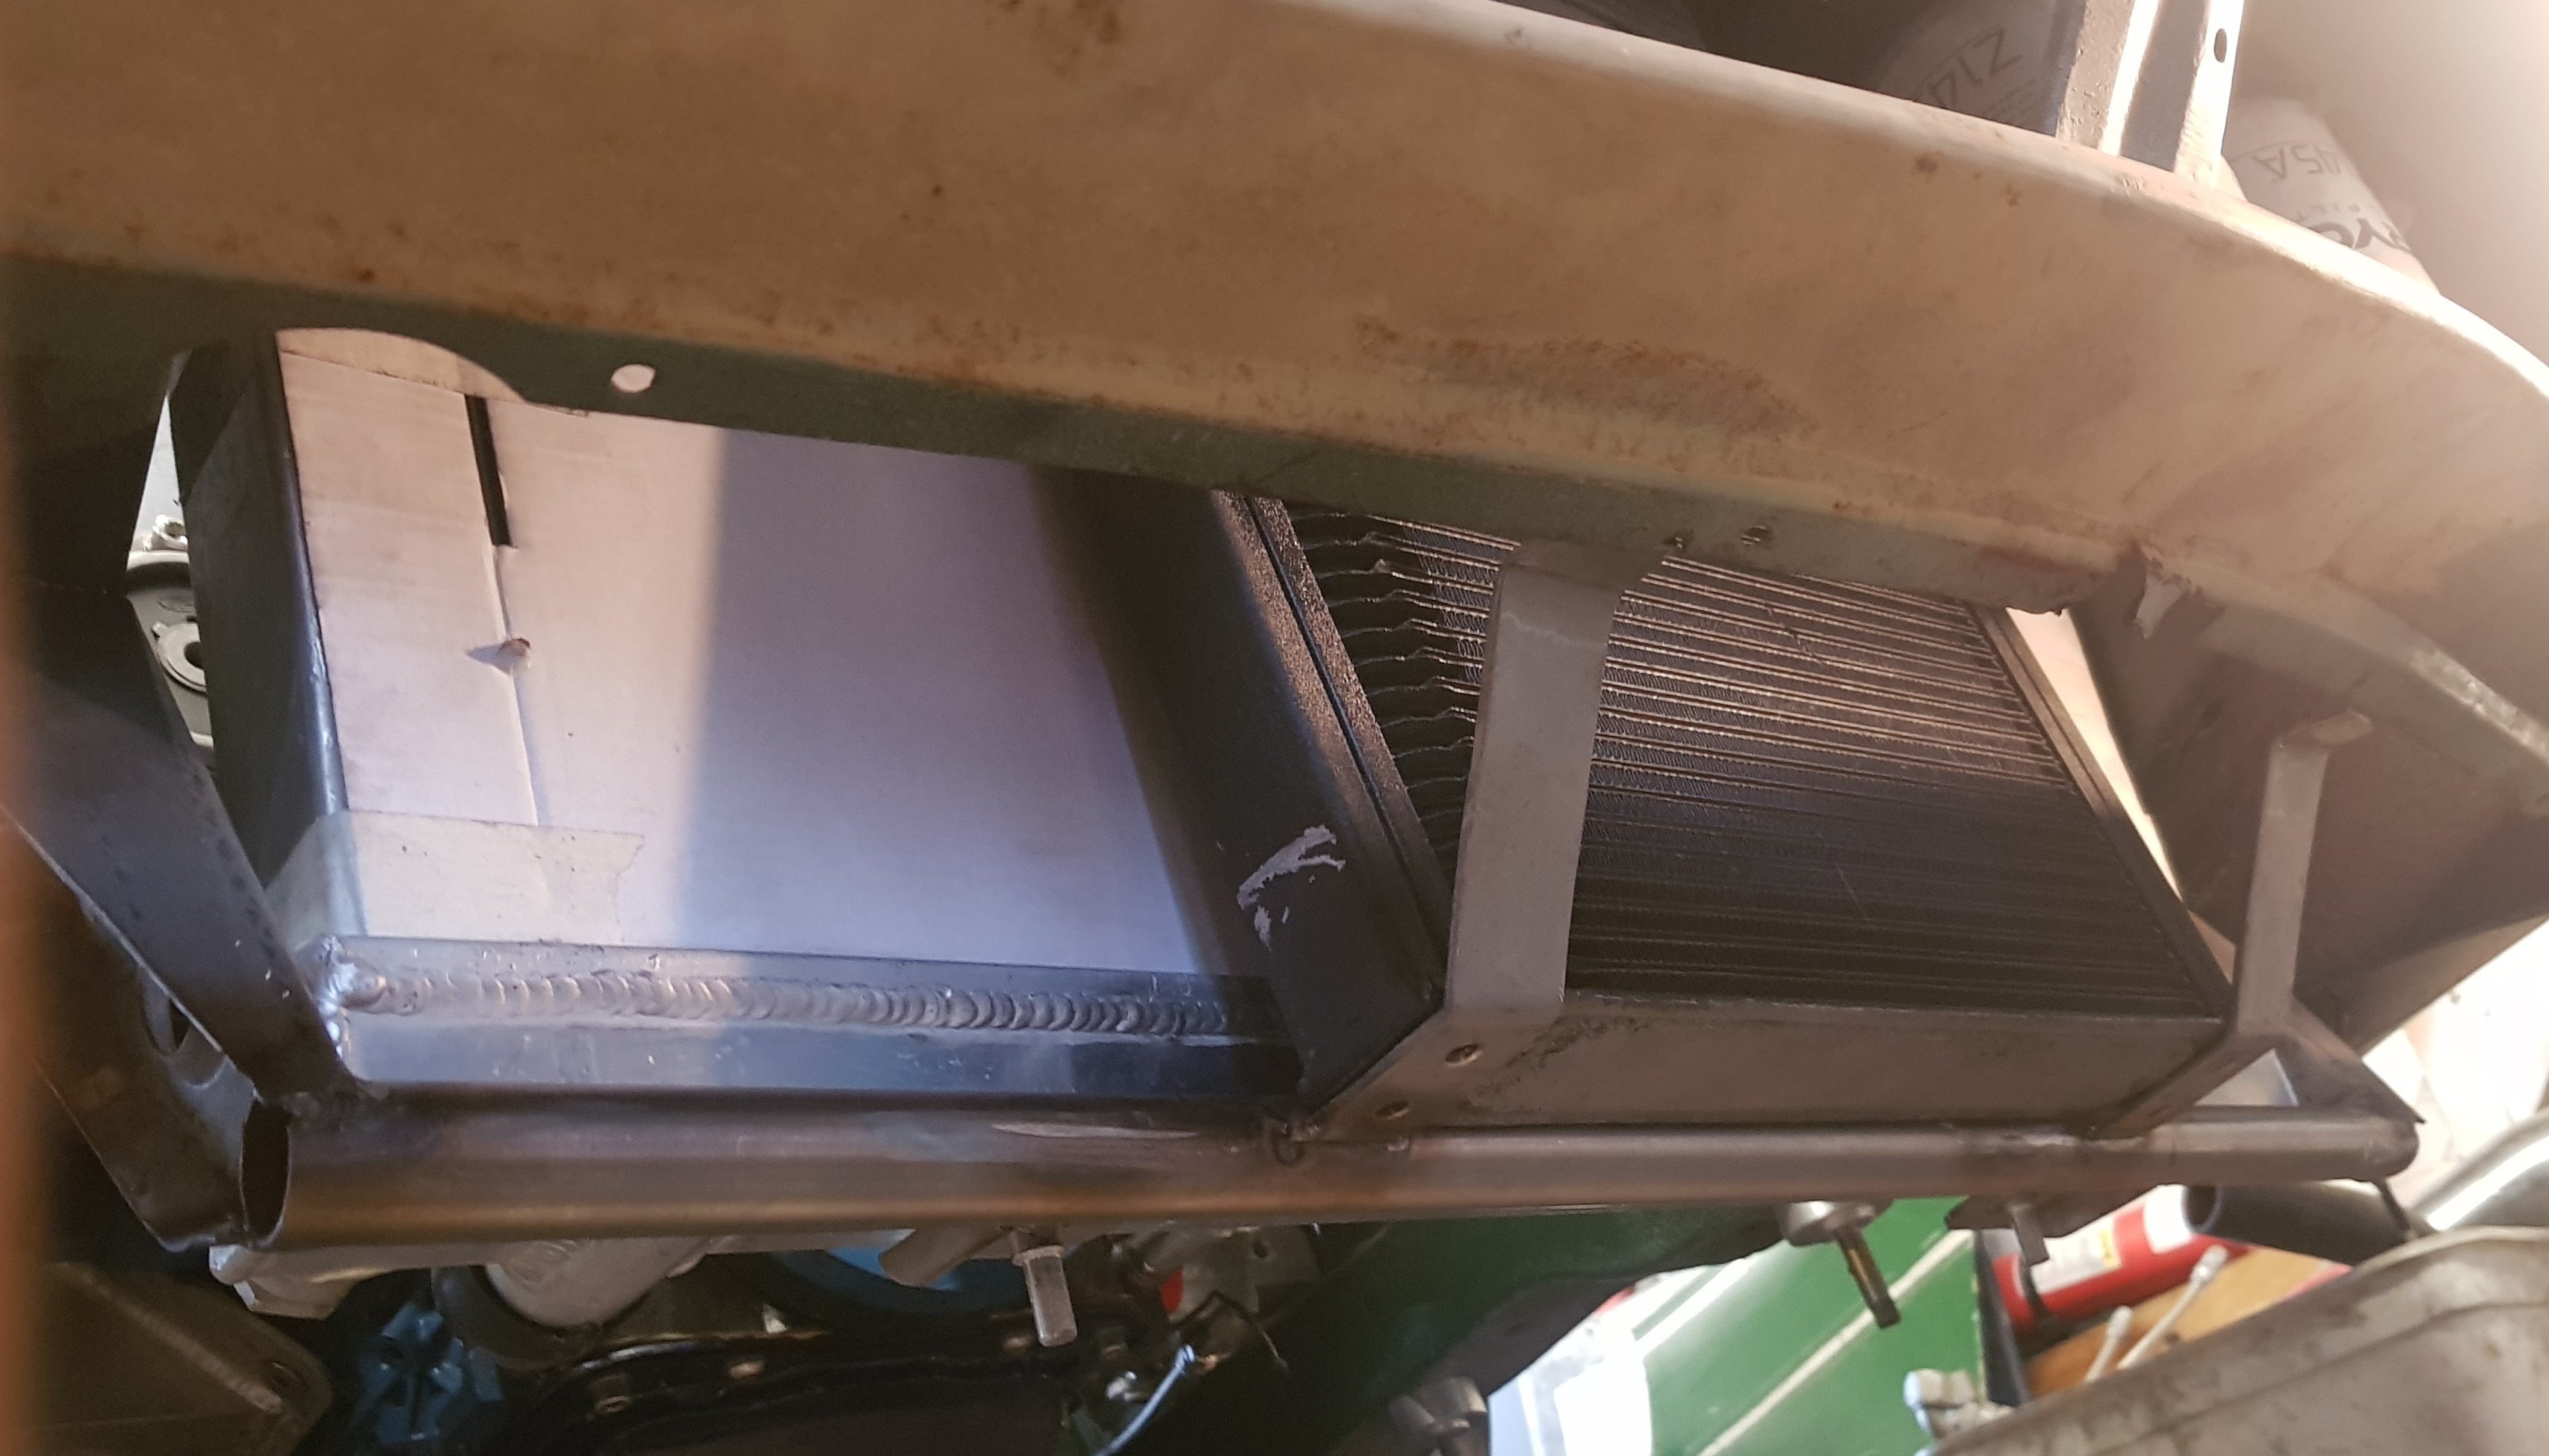
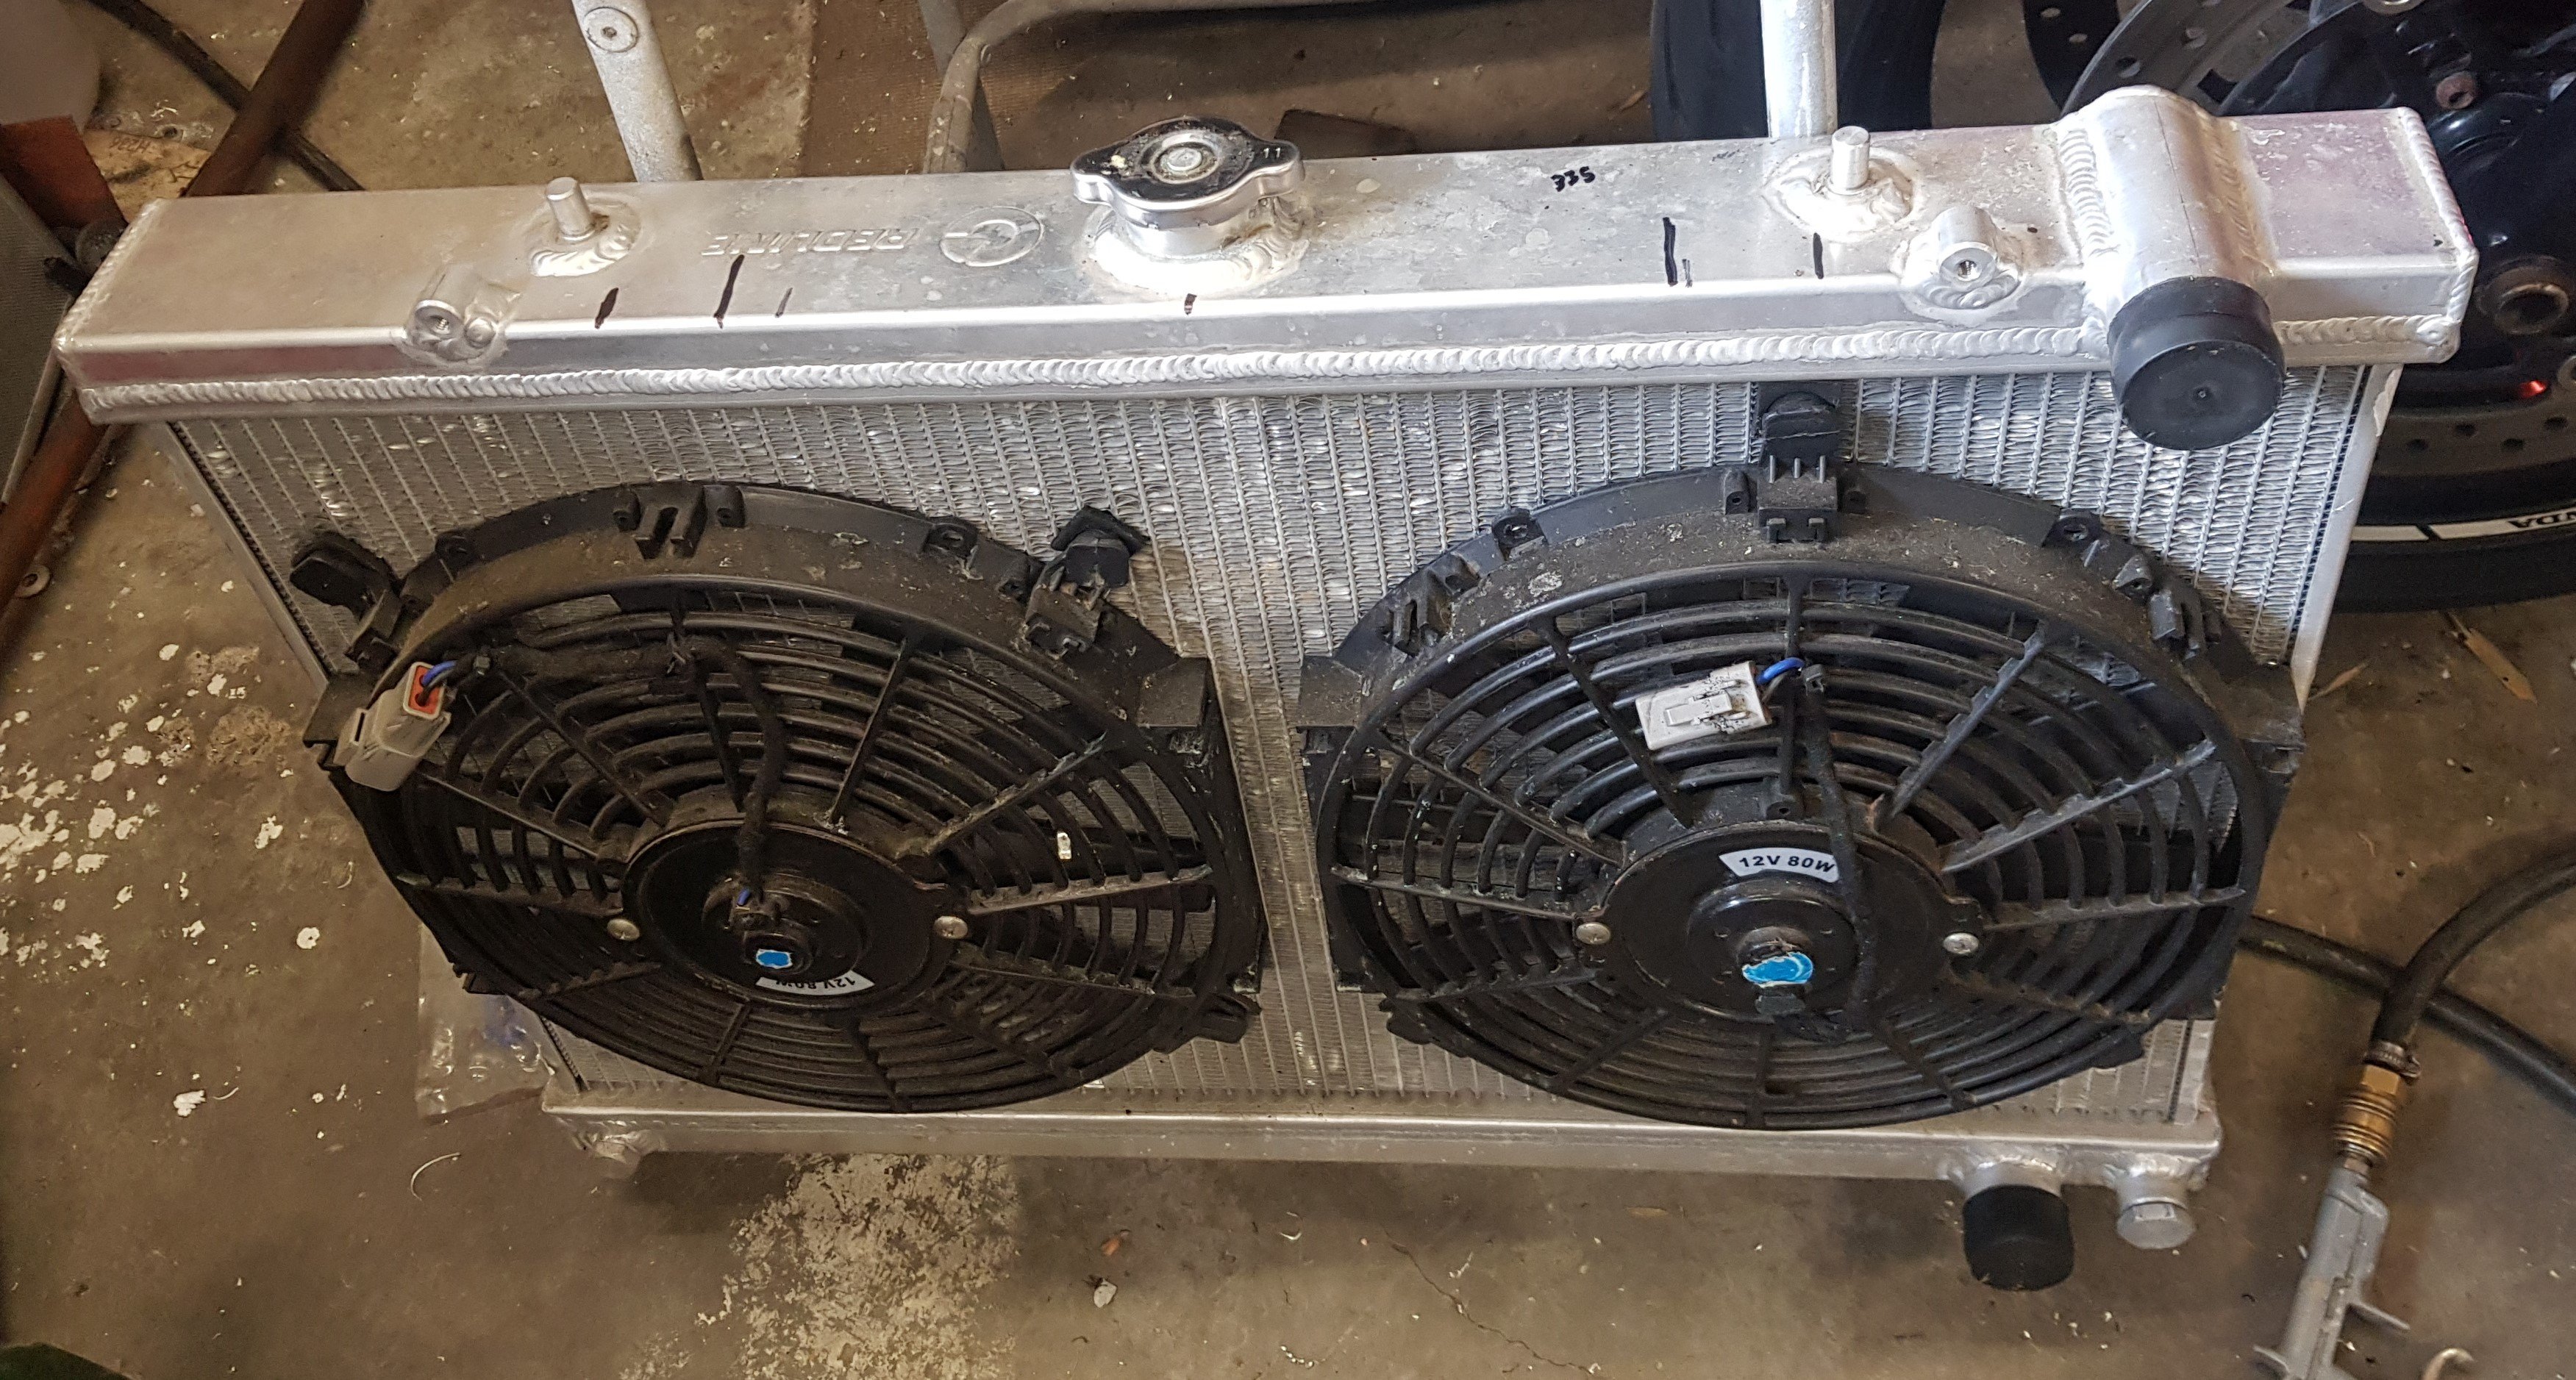
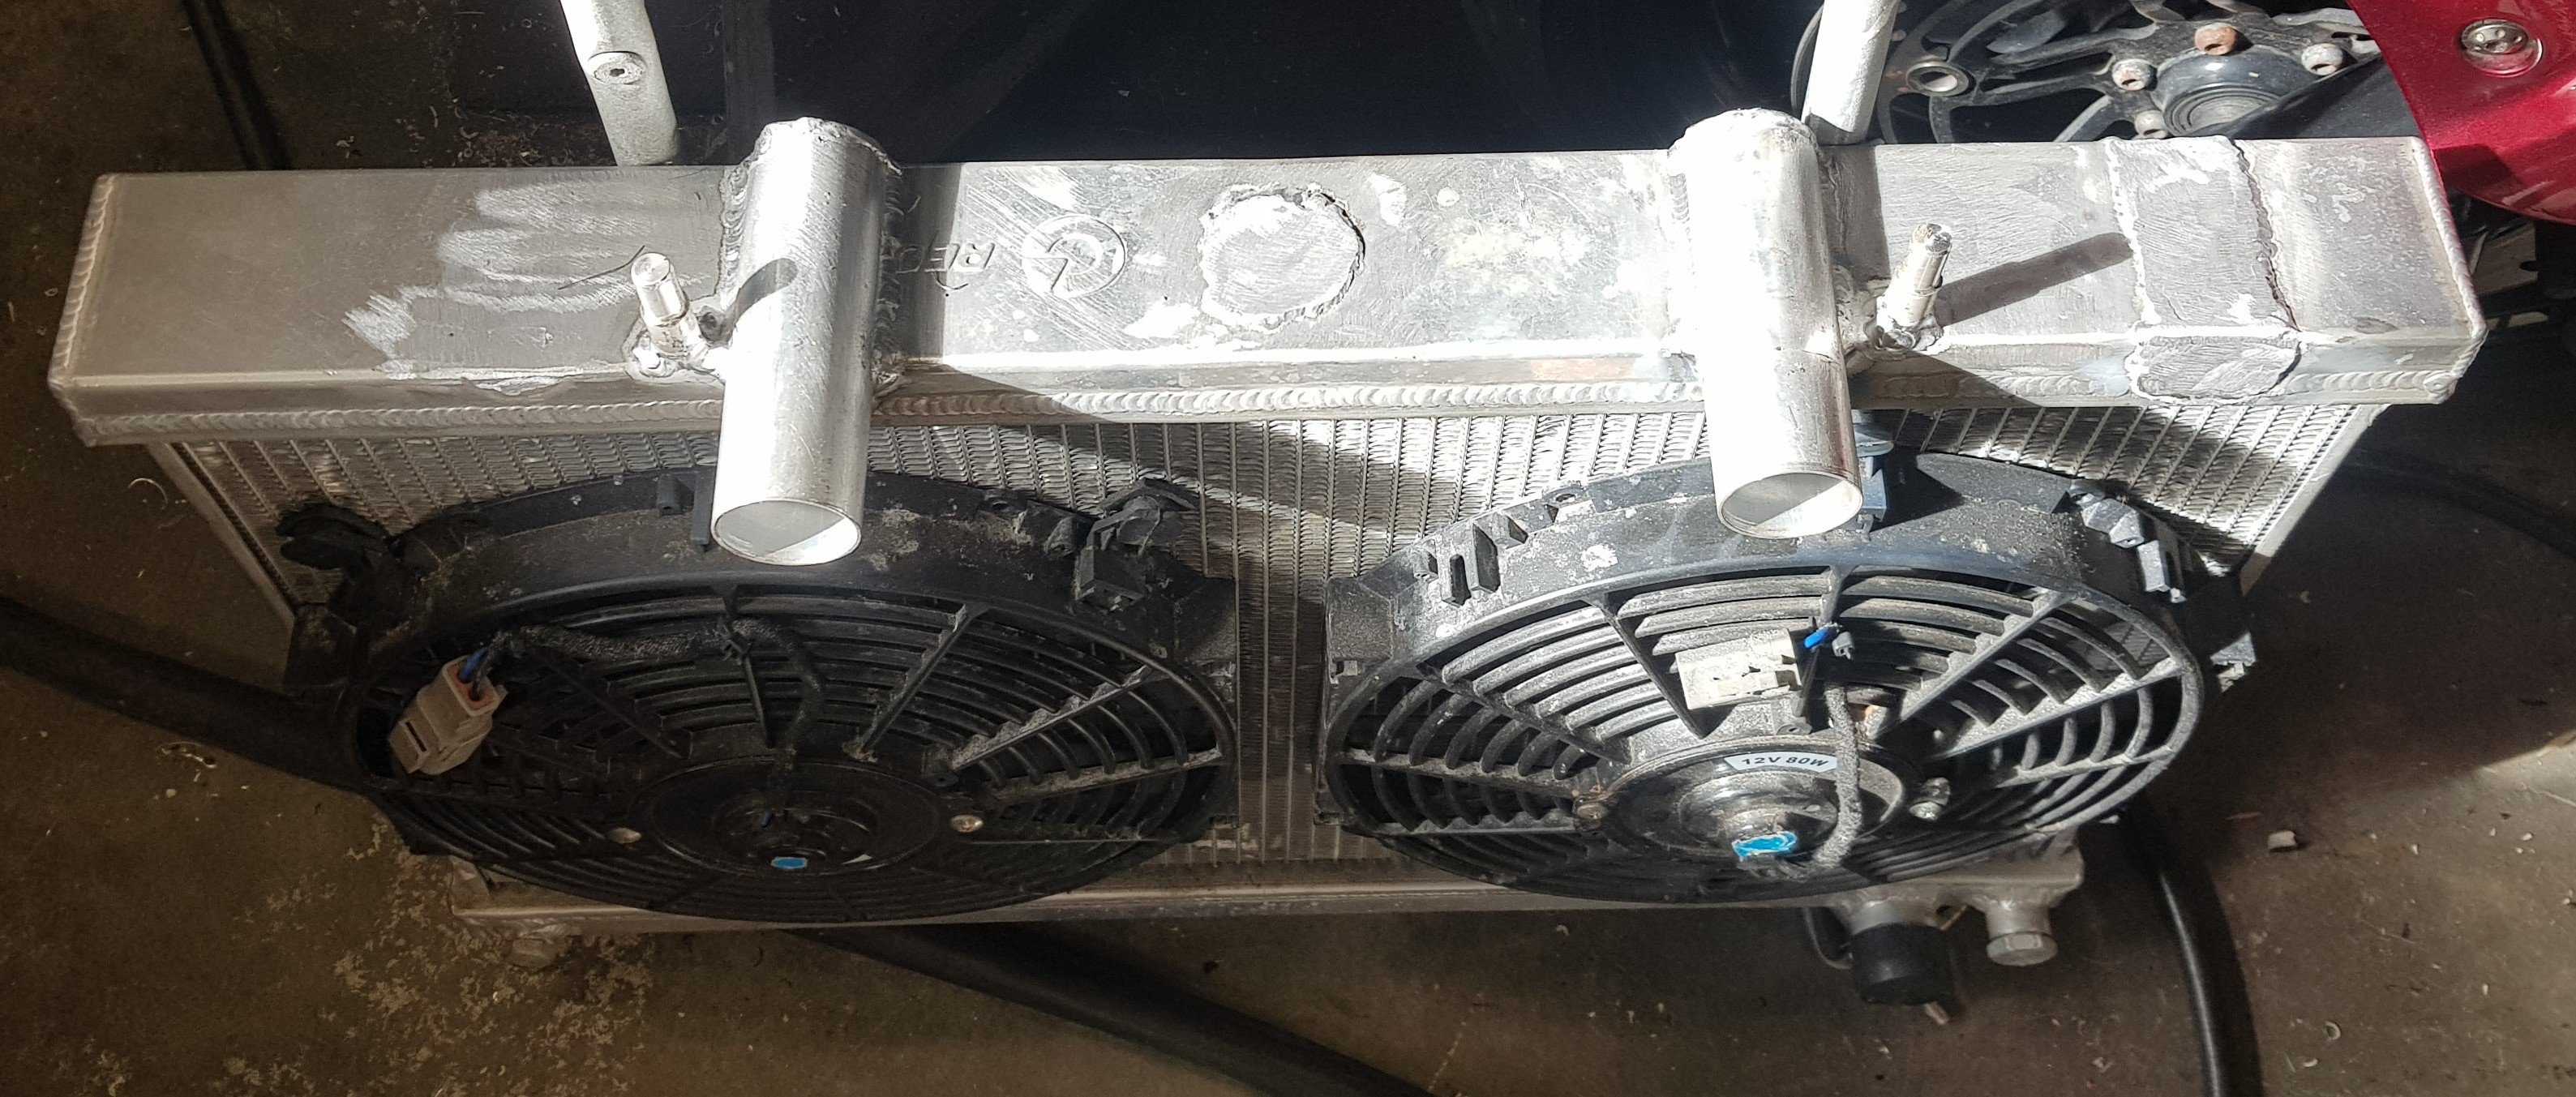
With the back end of the car getting all of the love recently, I thought I'd better do something at the front. I bought the radiator some time ago. I don't know what it's from but it sits between the chassis rails with about 10mm either side. Two major issues though: I wanted it to sit as far forward as possible but to do that the filler would be inaccessible, and the top hose was the wrong size and in the wrong place. The top mounts were wrong too as I wanted to use two existing holes in the front slam panel as the top mounts. No problem, I have a welder and I'm not afraid to use it. The engine has two top hose outlets (one from each head), hence the two tubes. The filler is now at the very top of the cooling system on (what would have been) the thermostat housing.
1 point
-
ssshhhh don't summon him!1 point
-
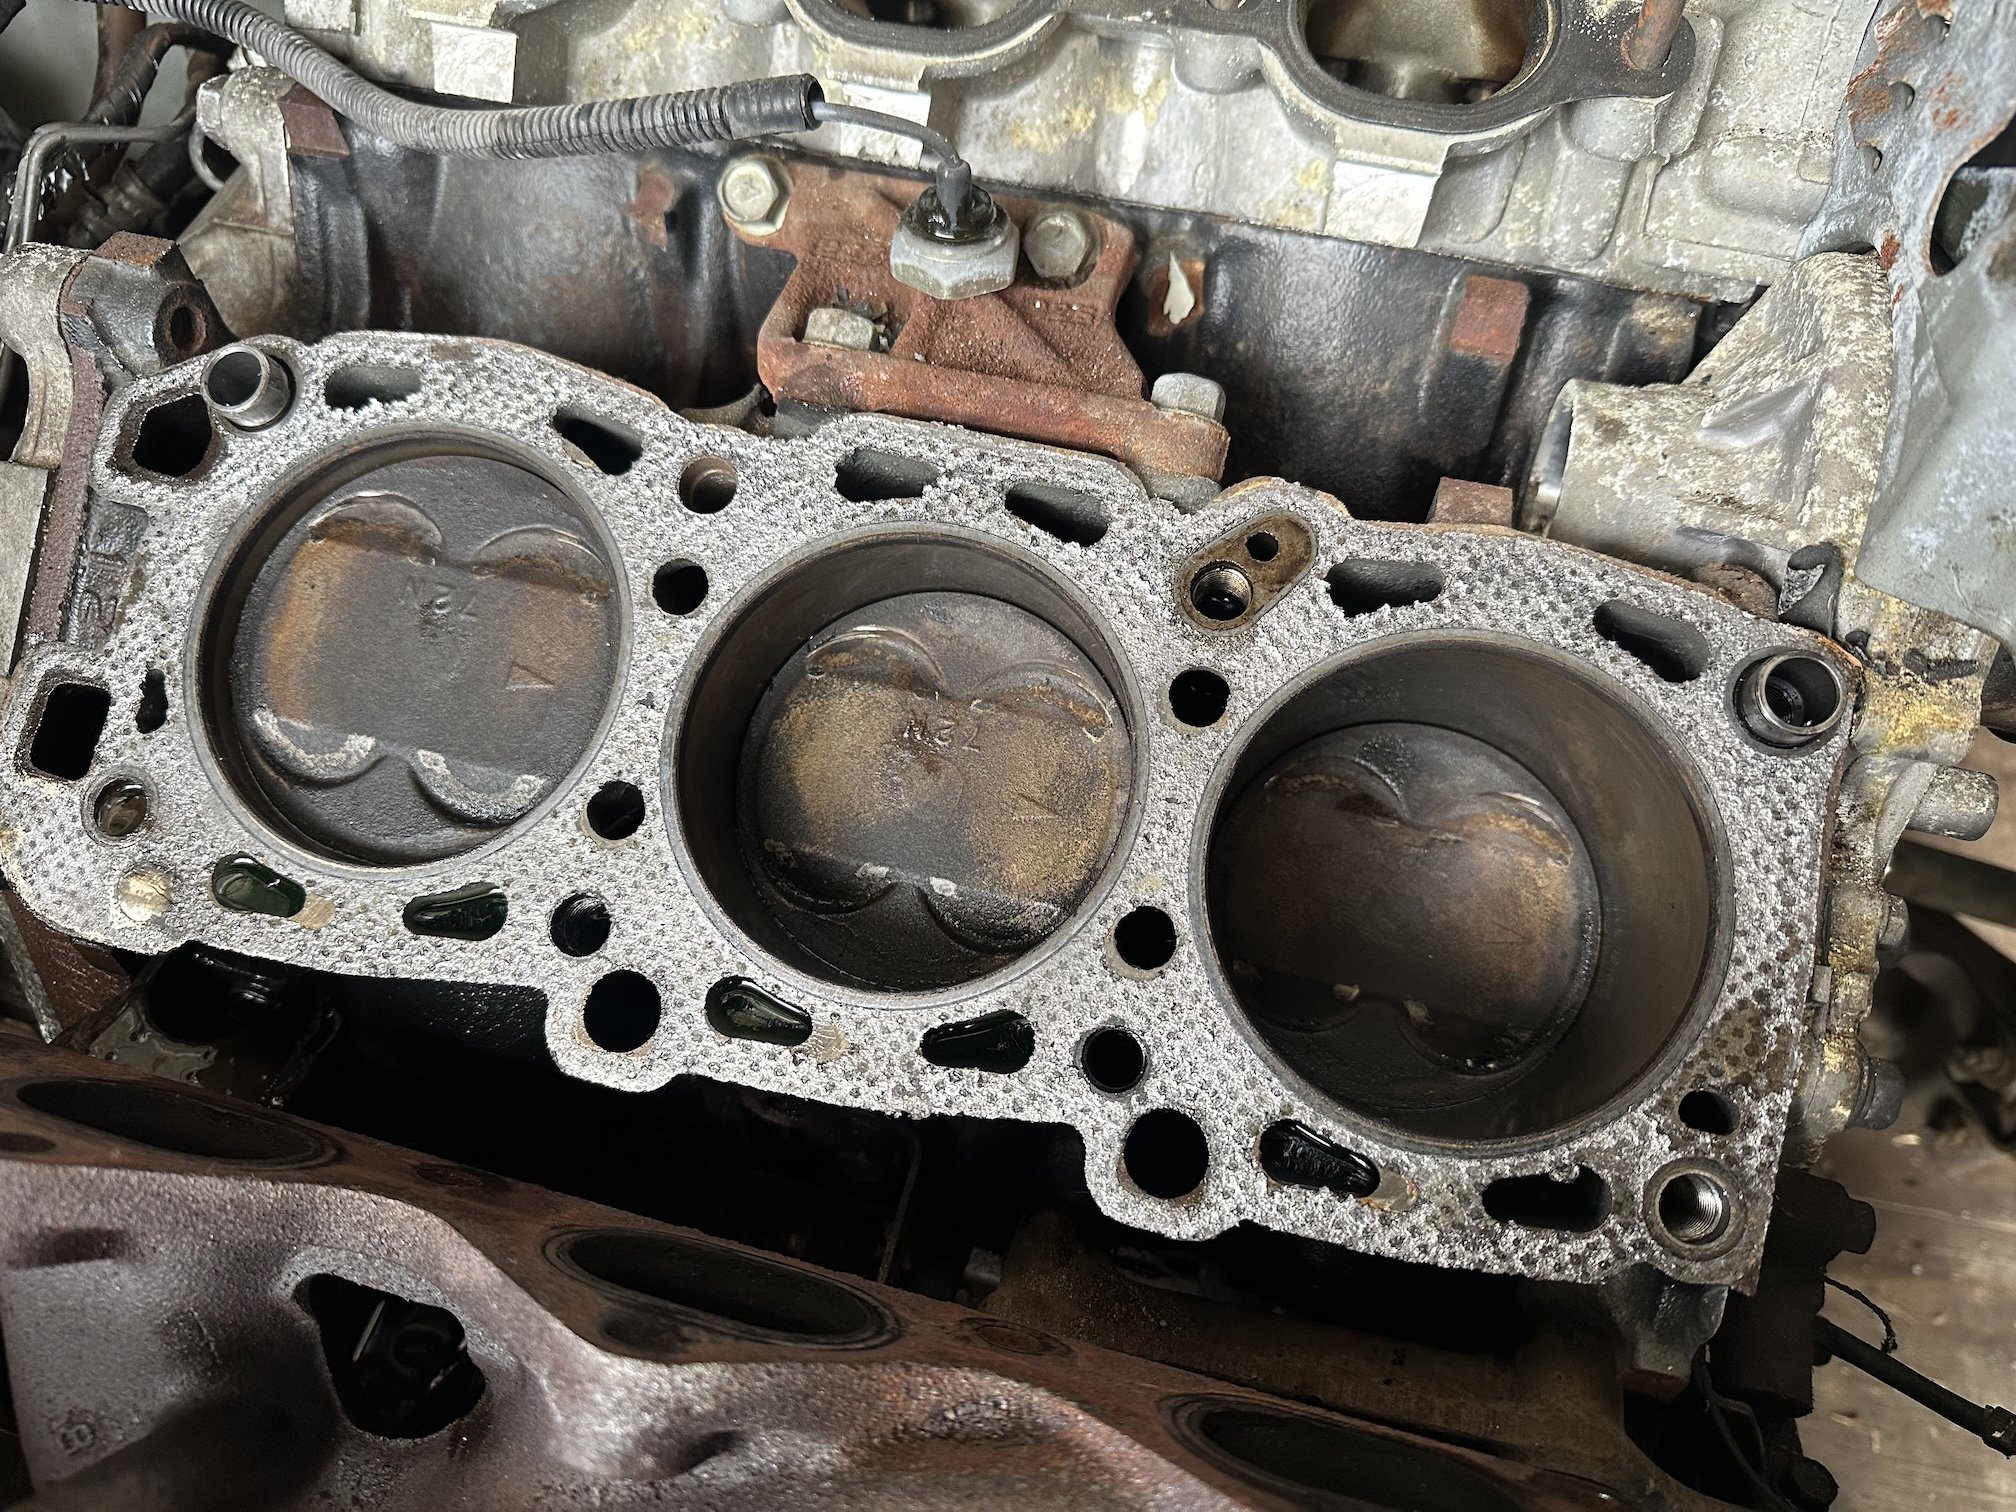
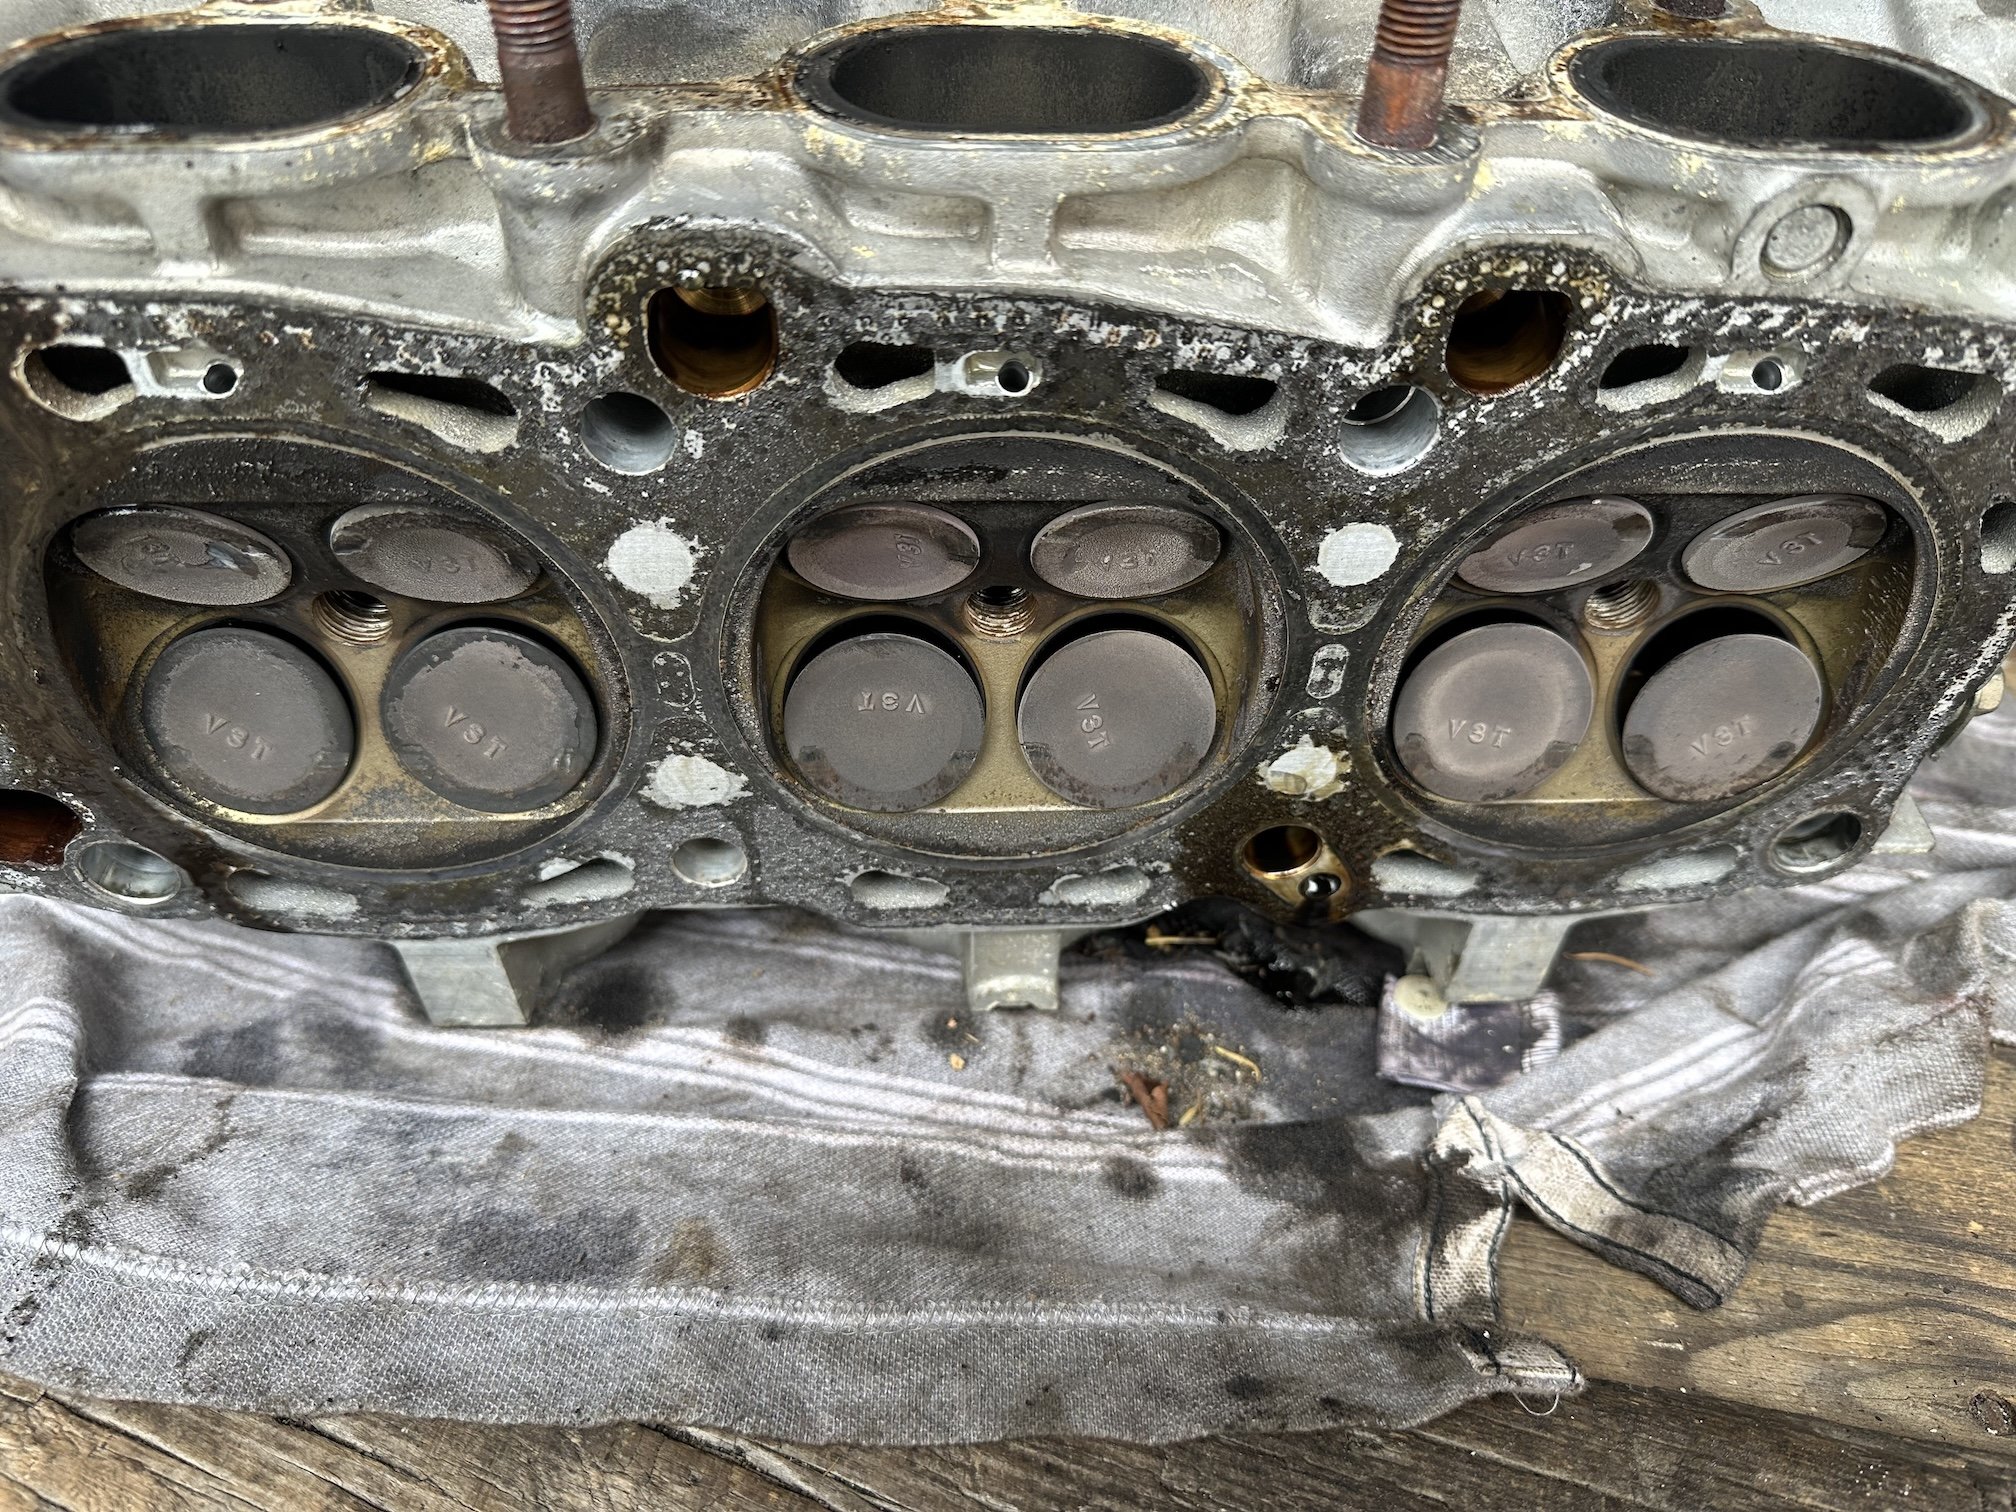
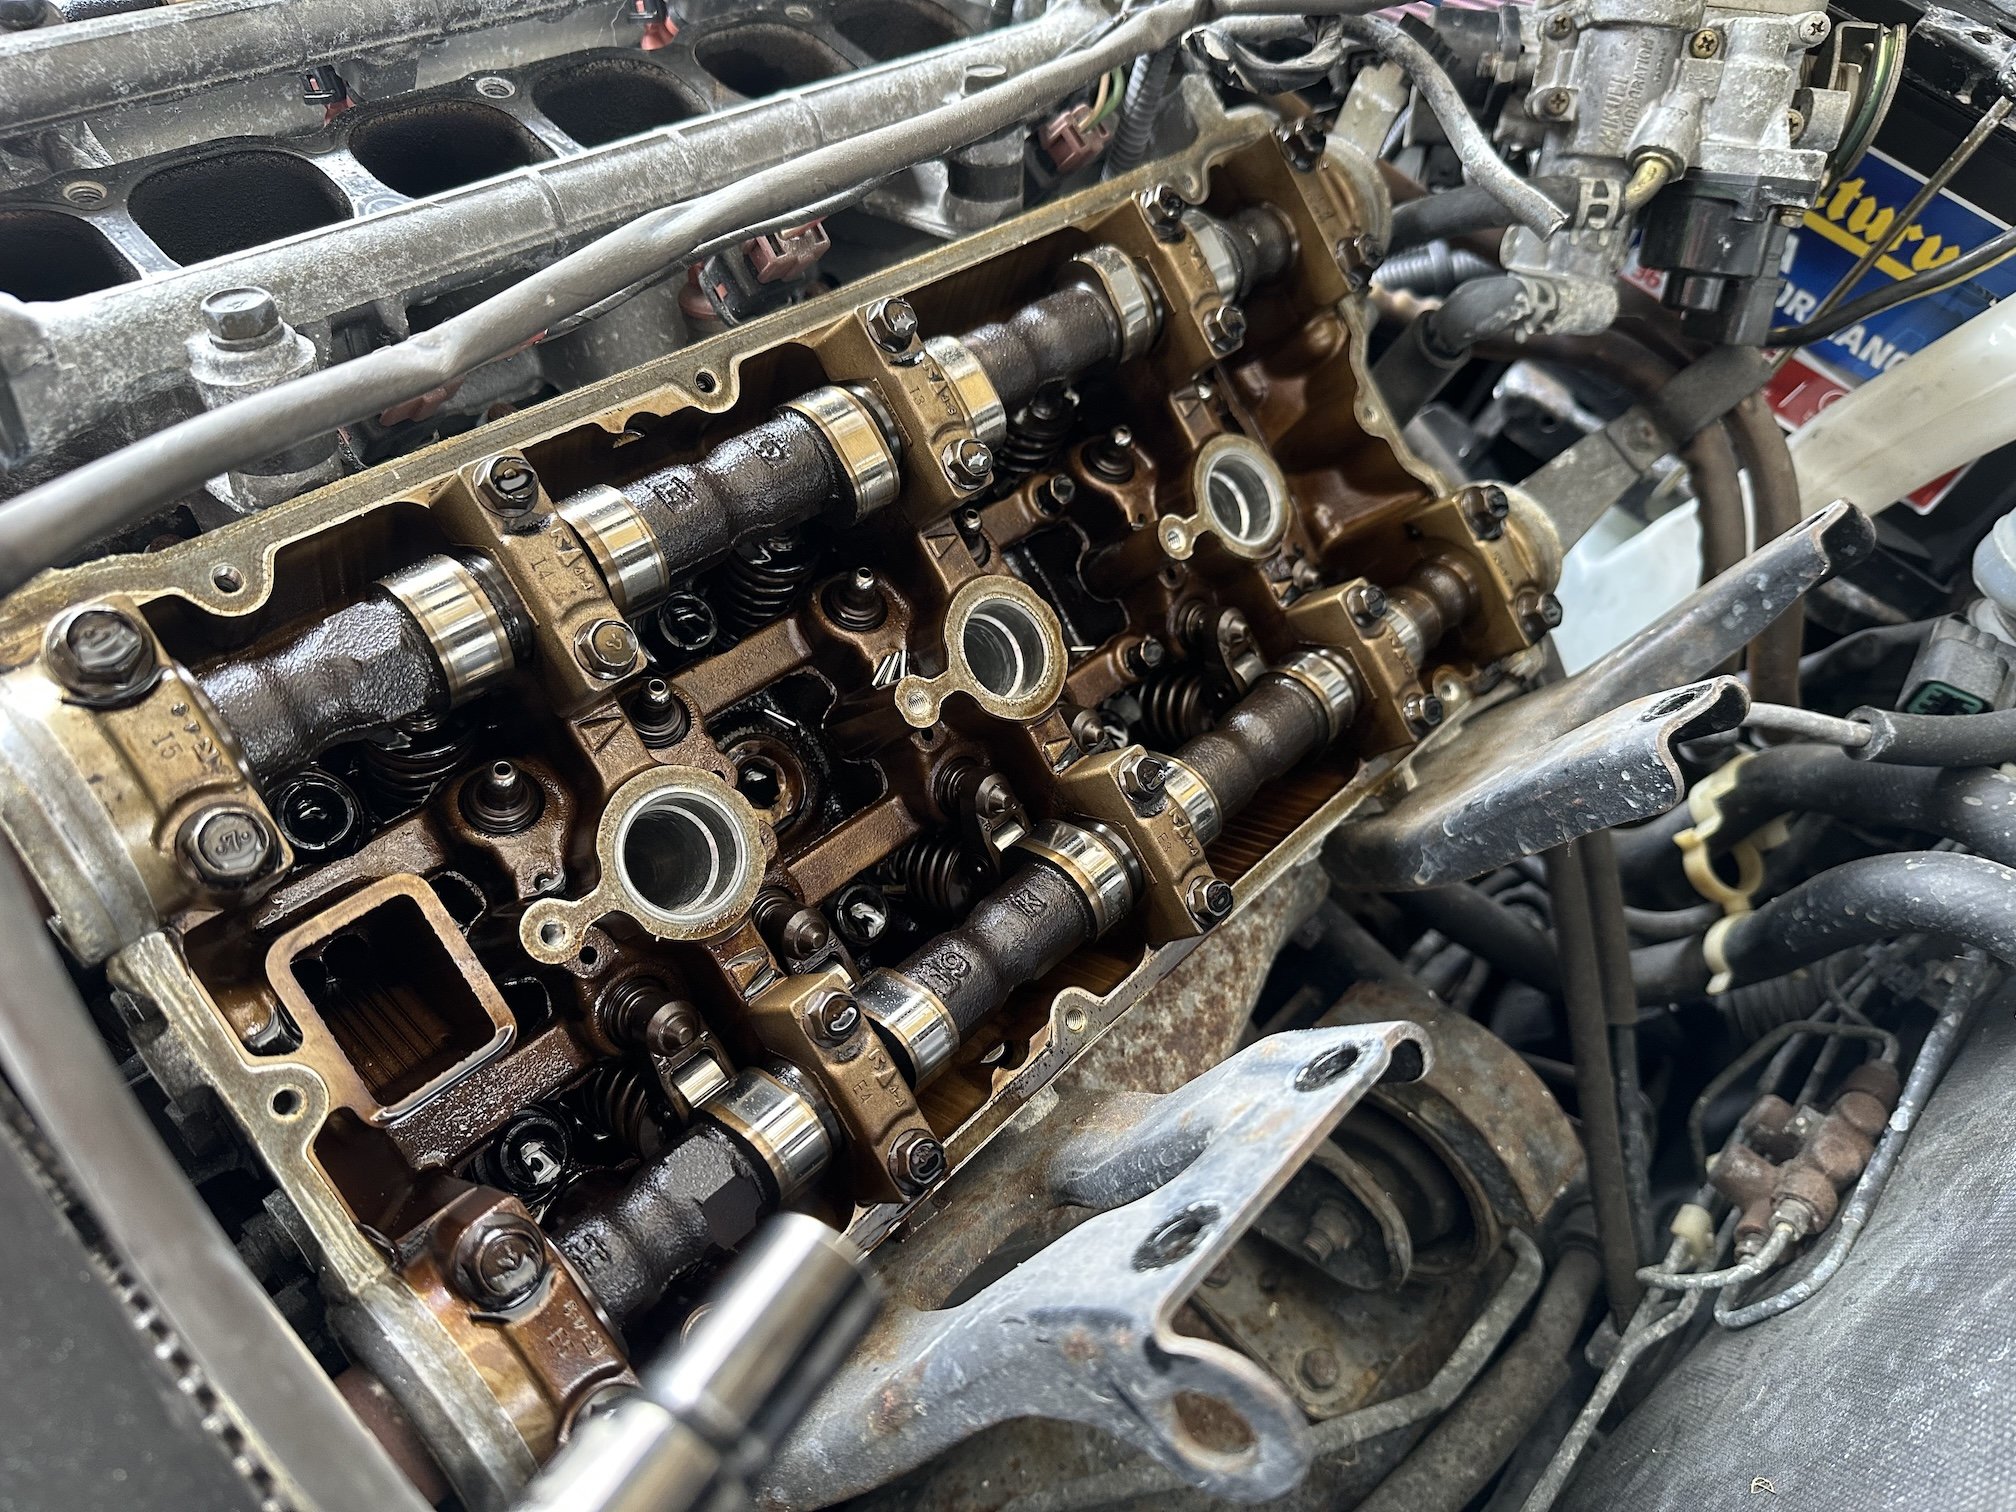
Carnage so far is 24x bent valves (got lucky that the pistons just have light marks on the crowns), 4x damaged rocker arms, 3x head bolts that I stripped or partially stripped, 1x lower timing cover and of course 1x harmonic balancer that caused all this mess.
0 points
-
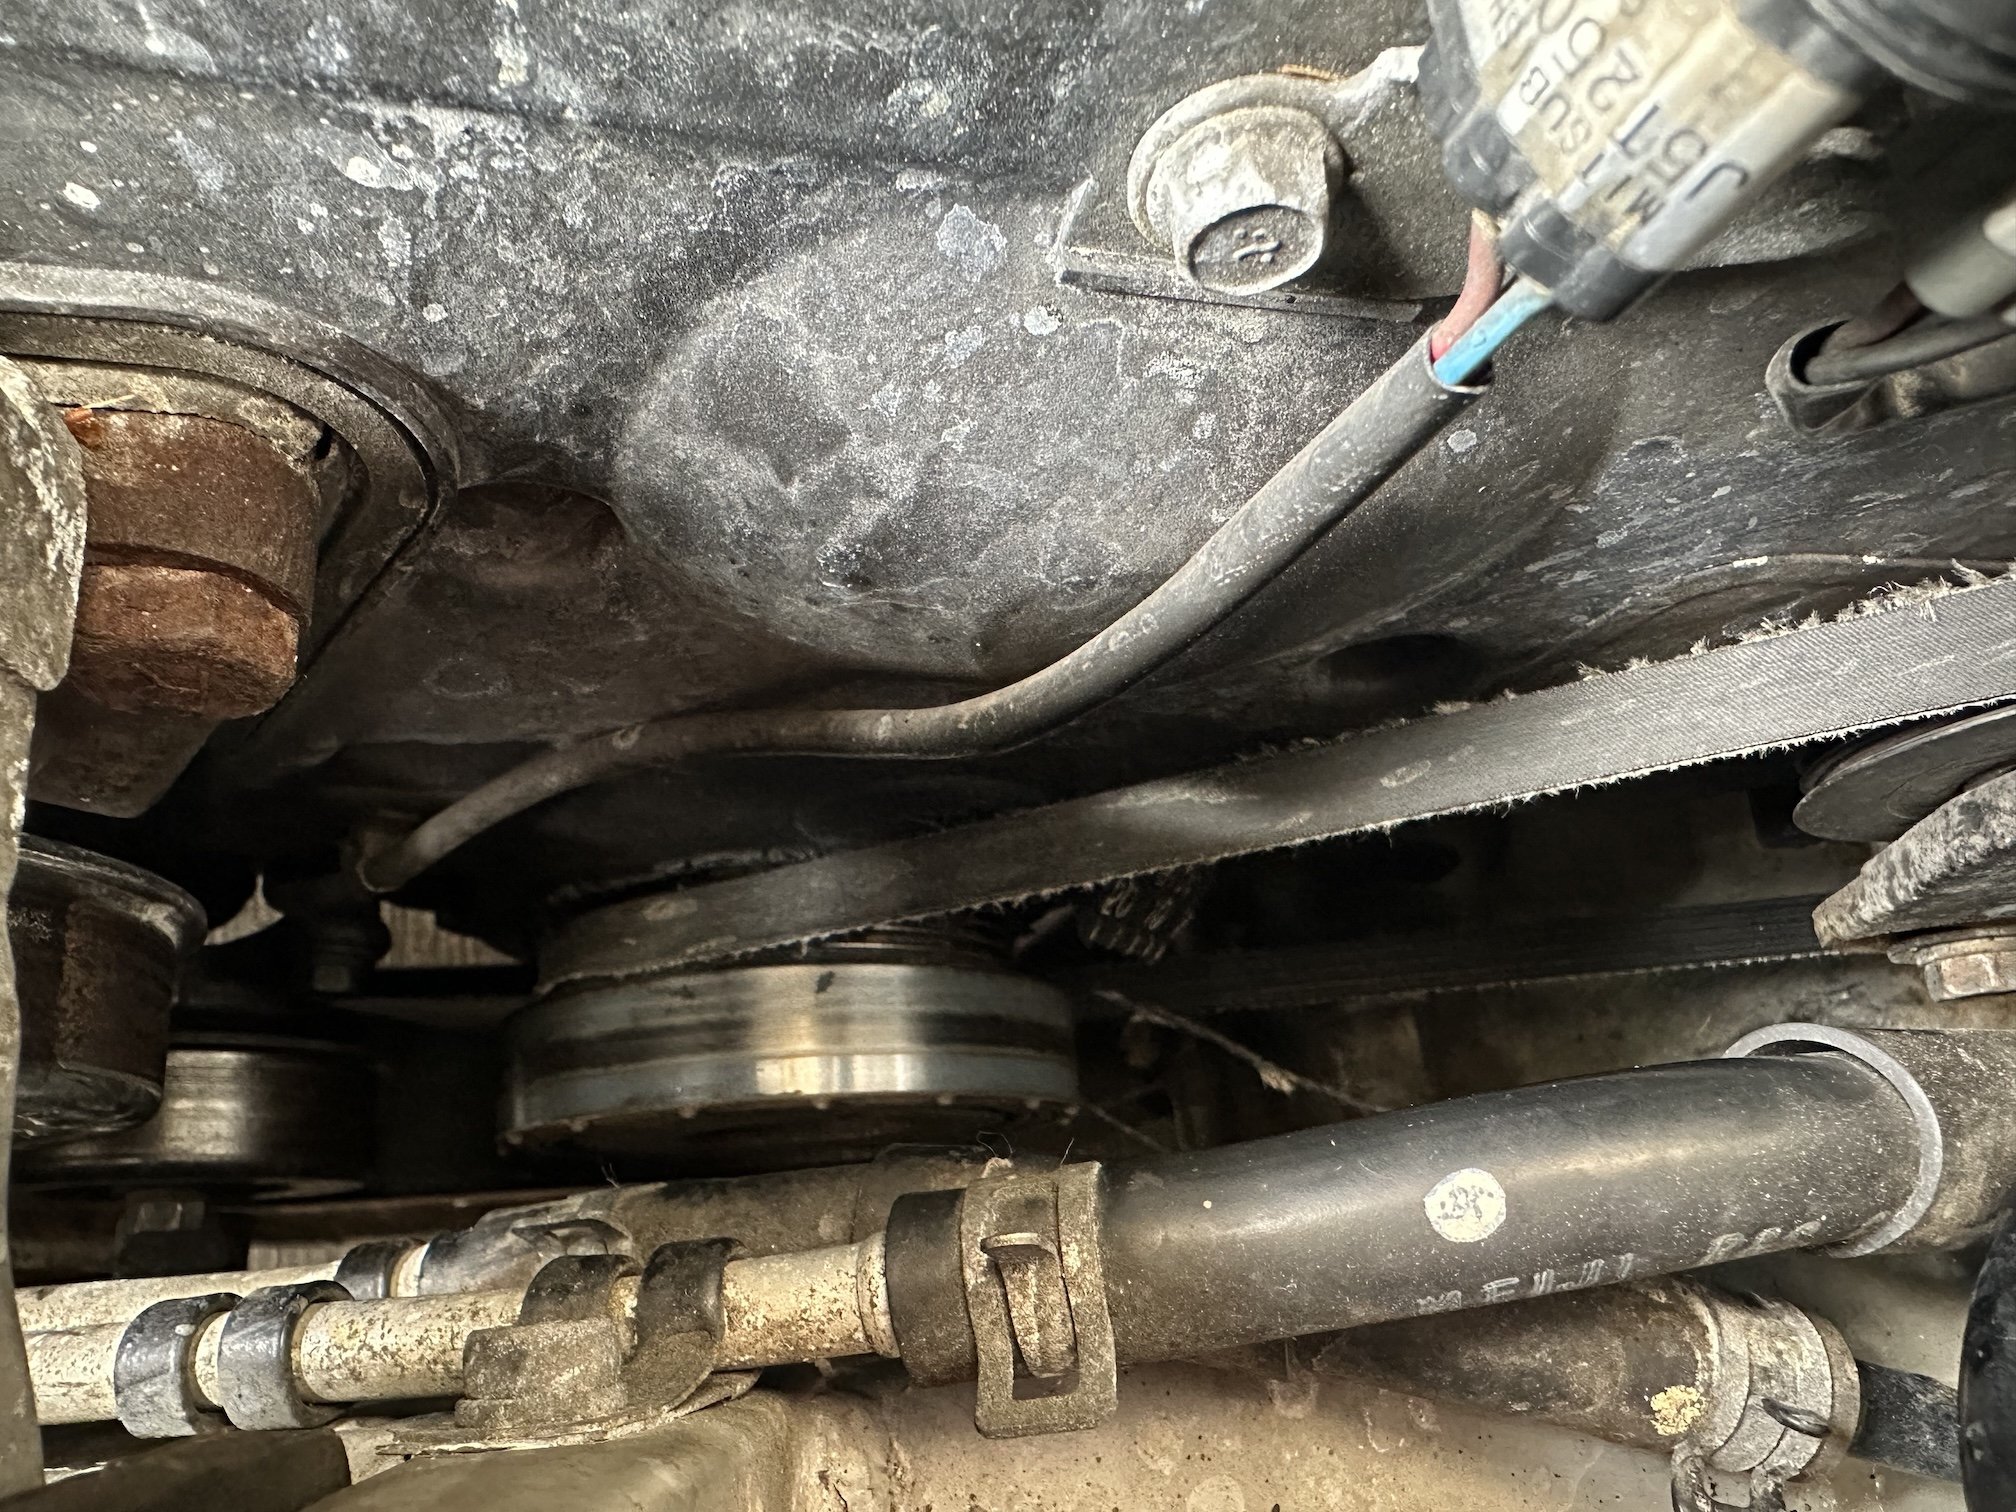
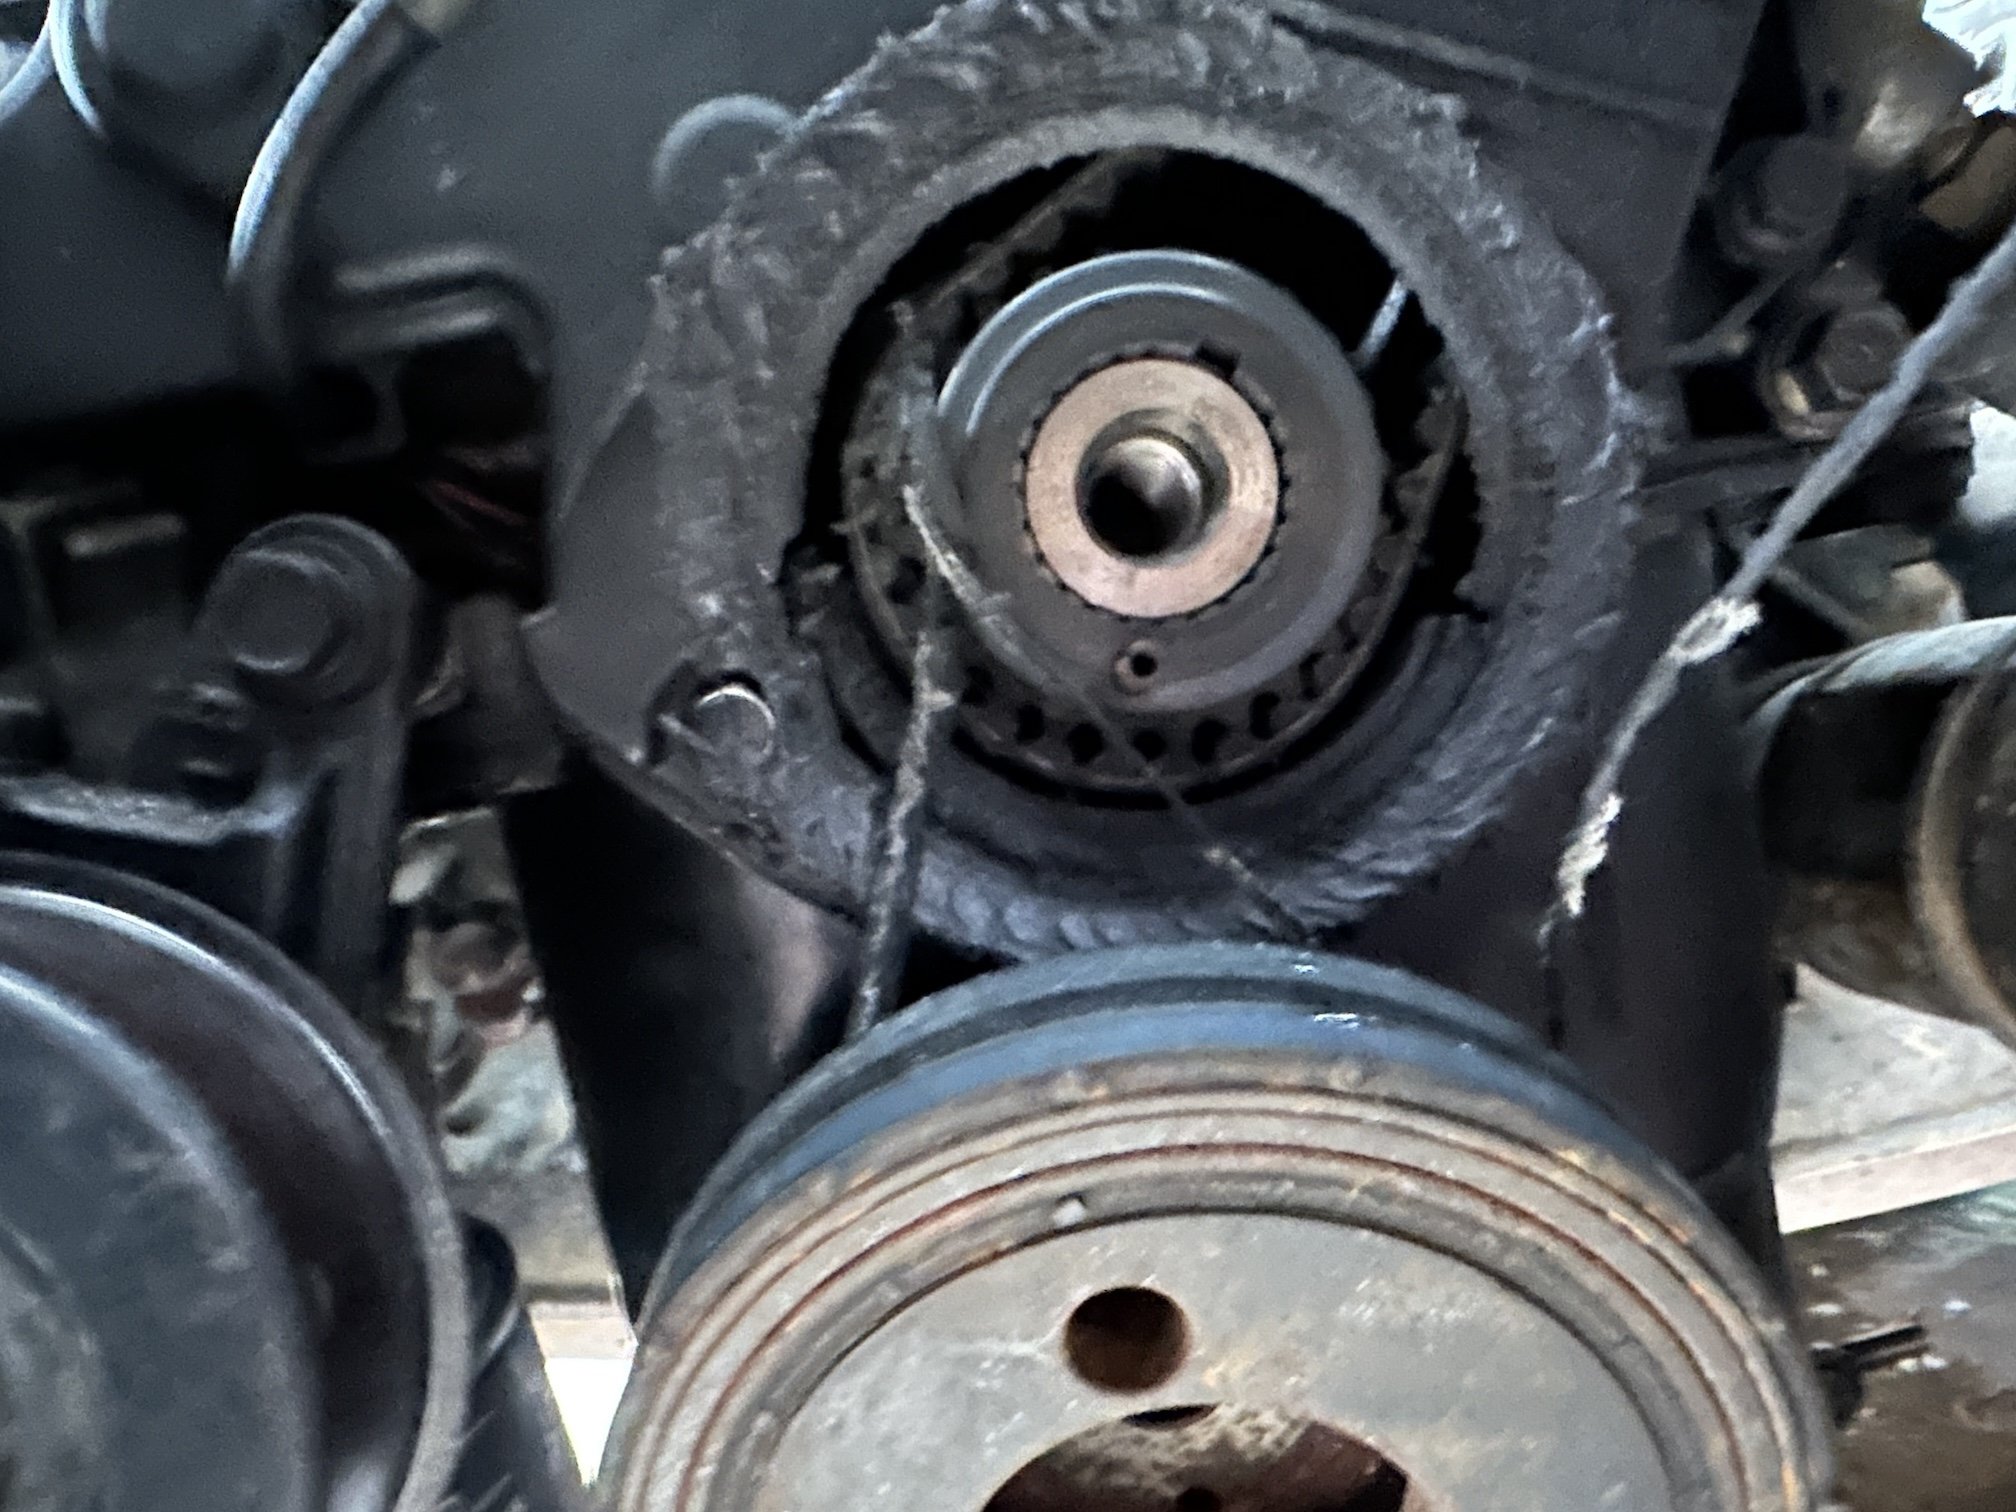
So Santa this year bought me 24 bent valves, by the way of the harmonic balancer coming apart and sending a strand of the alt/AC belt under the timing belt around the crank sprocket. And this was the harmonic balancer that I replaced about a year ago too. Lesson learned - I should have gone with a new balancer rather than another used one which is prone to failure.
0 points


.thumb.jpg.570970b401ac8d26ce9af7c1bf2bd8cd.jpg)
This leaderboard is set to Auckland/GMT+12:00