
Leaderboard


Popular Content
Showing content with the highest reputation on 07/27/19 in all areas
-
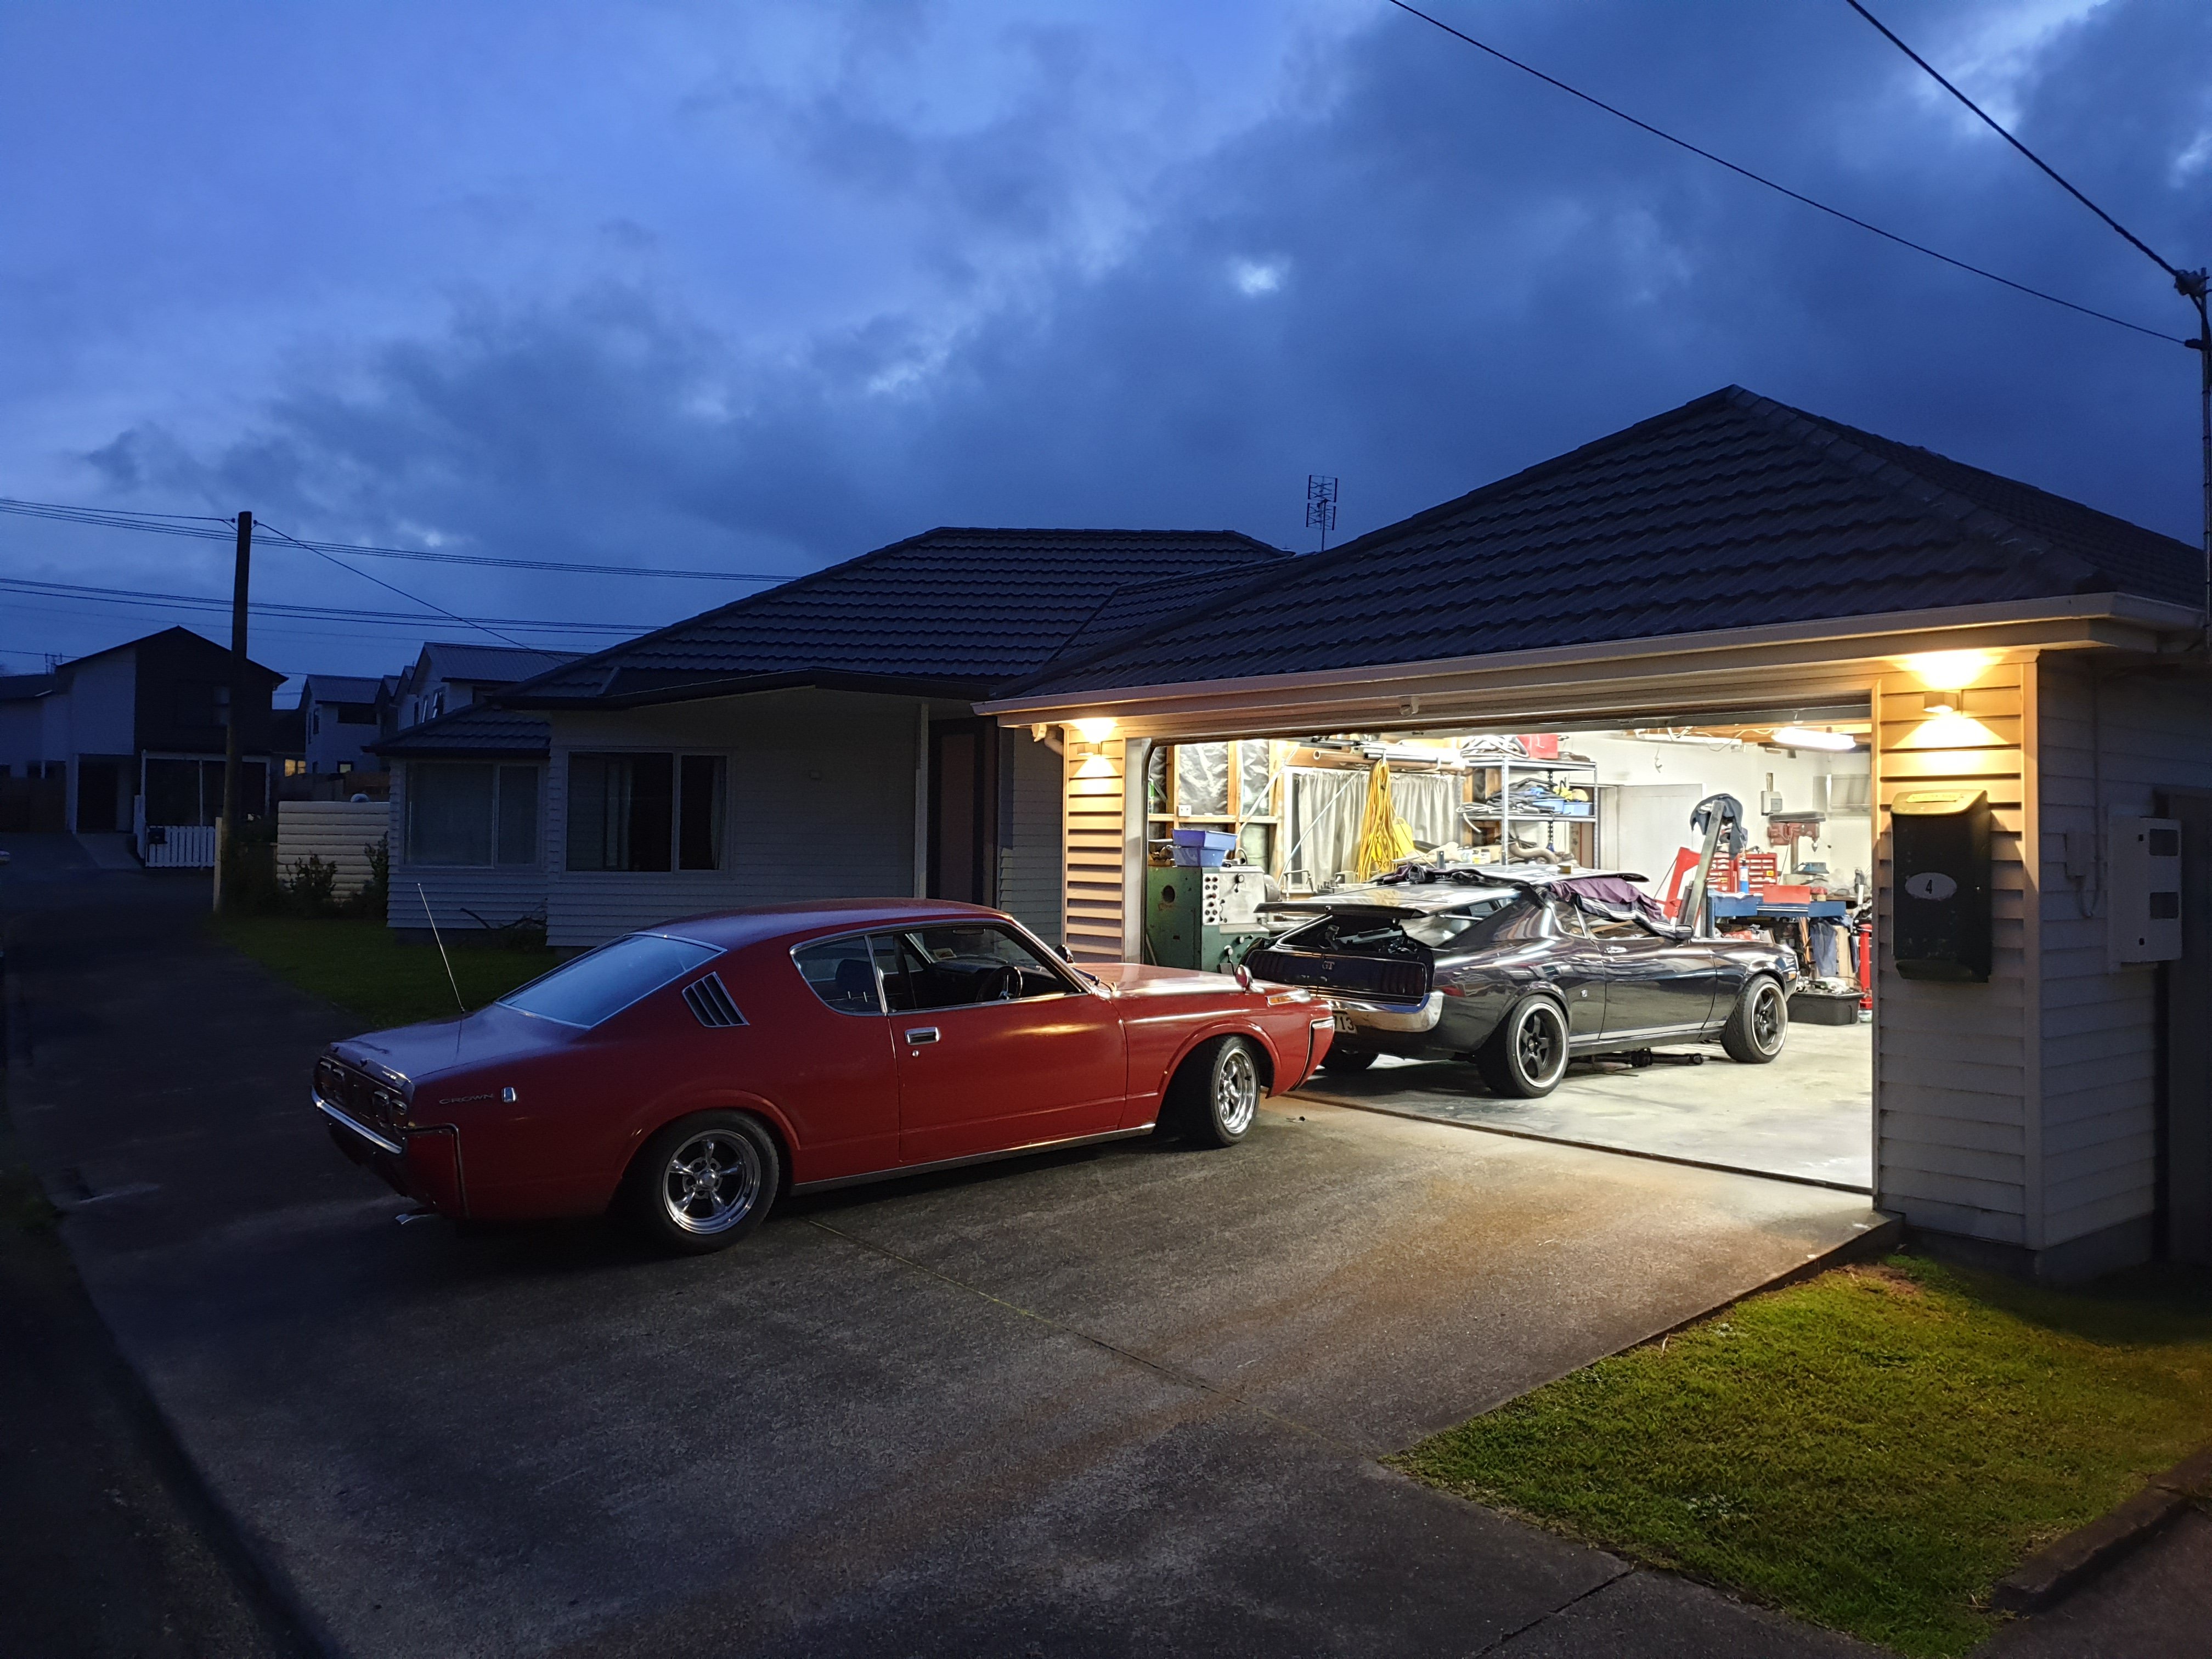
DC2R Phone (11)-Edit by Richard Opie, on Flickr Here's a pic from this evening, it basically looks exactly as it did in post 1. But honestly, I have done a lot of things to it.7 points
-
Suzuki Adventure50 builds coming along well.
 6 points
 -
Have you considered having all your projects in one thread?6 points
-
made a thing to mount the little front amp and the crossovers. it goes under the parcel tray which is above the passengers feet. its all installed and working. 2019-07-27_05-45-31 by sheepers, on Flickr this is the stuff ive used for the soundz 2019-07-27_05-45-44 by sheepers, on Flickr in other news i got the power steering sorted. with parts from @JustHarry and @Yowzer i got all the bits i needed to make it work. i had the pump and the box (which i got rebuilt) but i was missing the brackets and pulleys and shit. all installed and working fucking mint. 2019-07-27_05-44-36 by sheepers, on Flickr heres a tip for anyone doing a manual to power steering swap. the shaft that comes out of the end of the column and bolts to the rag joint is longer on the manual cars. to shorten it you can take it out of the end of the column (a cunt of a job to get it out, it has a swaged over lip that you have to fold back and its fucking difficult to do) once its out you can very carefully drill another hole approx 40mm further down the shaft and move the pin down to shorten it. then cut the end off. job done. the picture should explain this better. 2019-07-27_05-45-10 by sheepers, on Flickr also made a sub box today. i dont like the carpet stuff i used so ill re-do that. 2019-07-27_05-44-50 by sheepers, on Flickr5 points
-
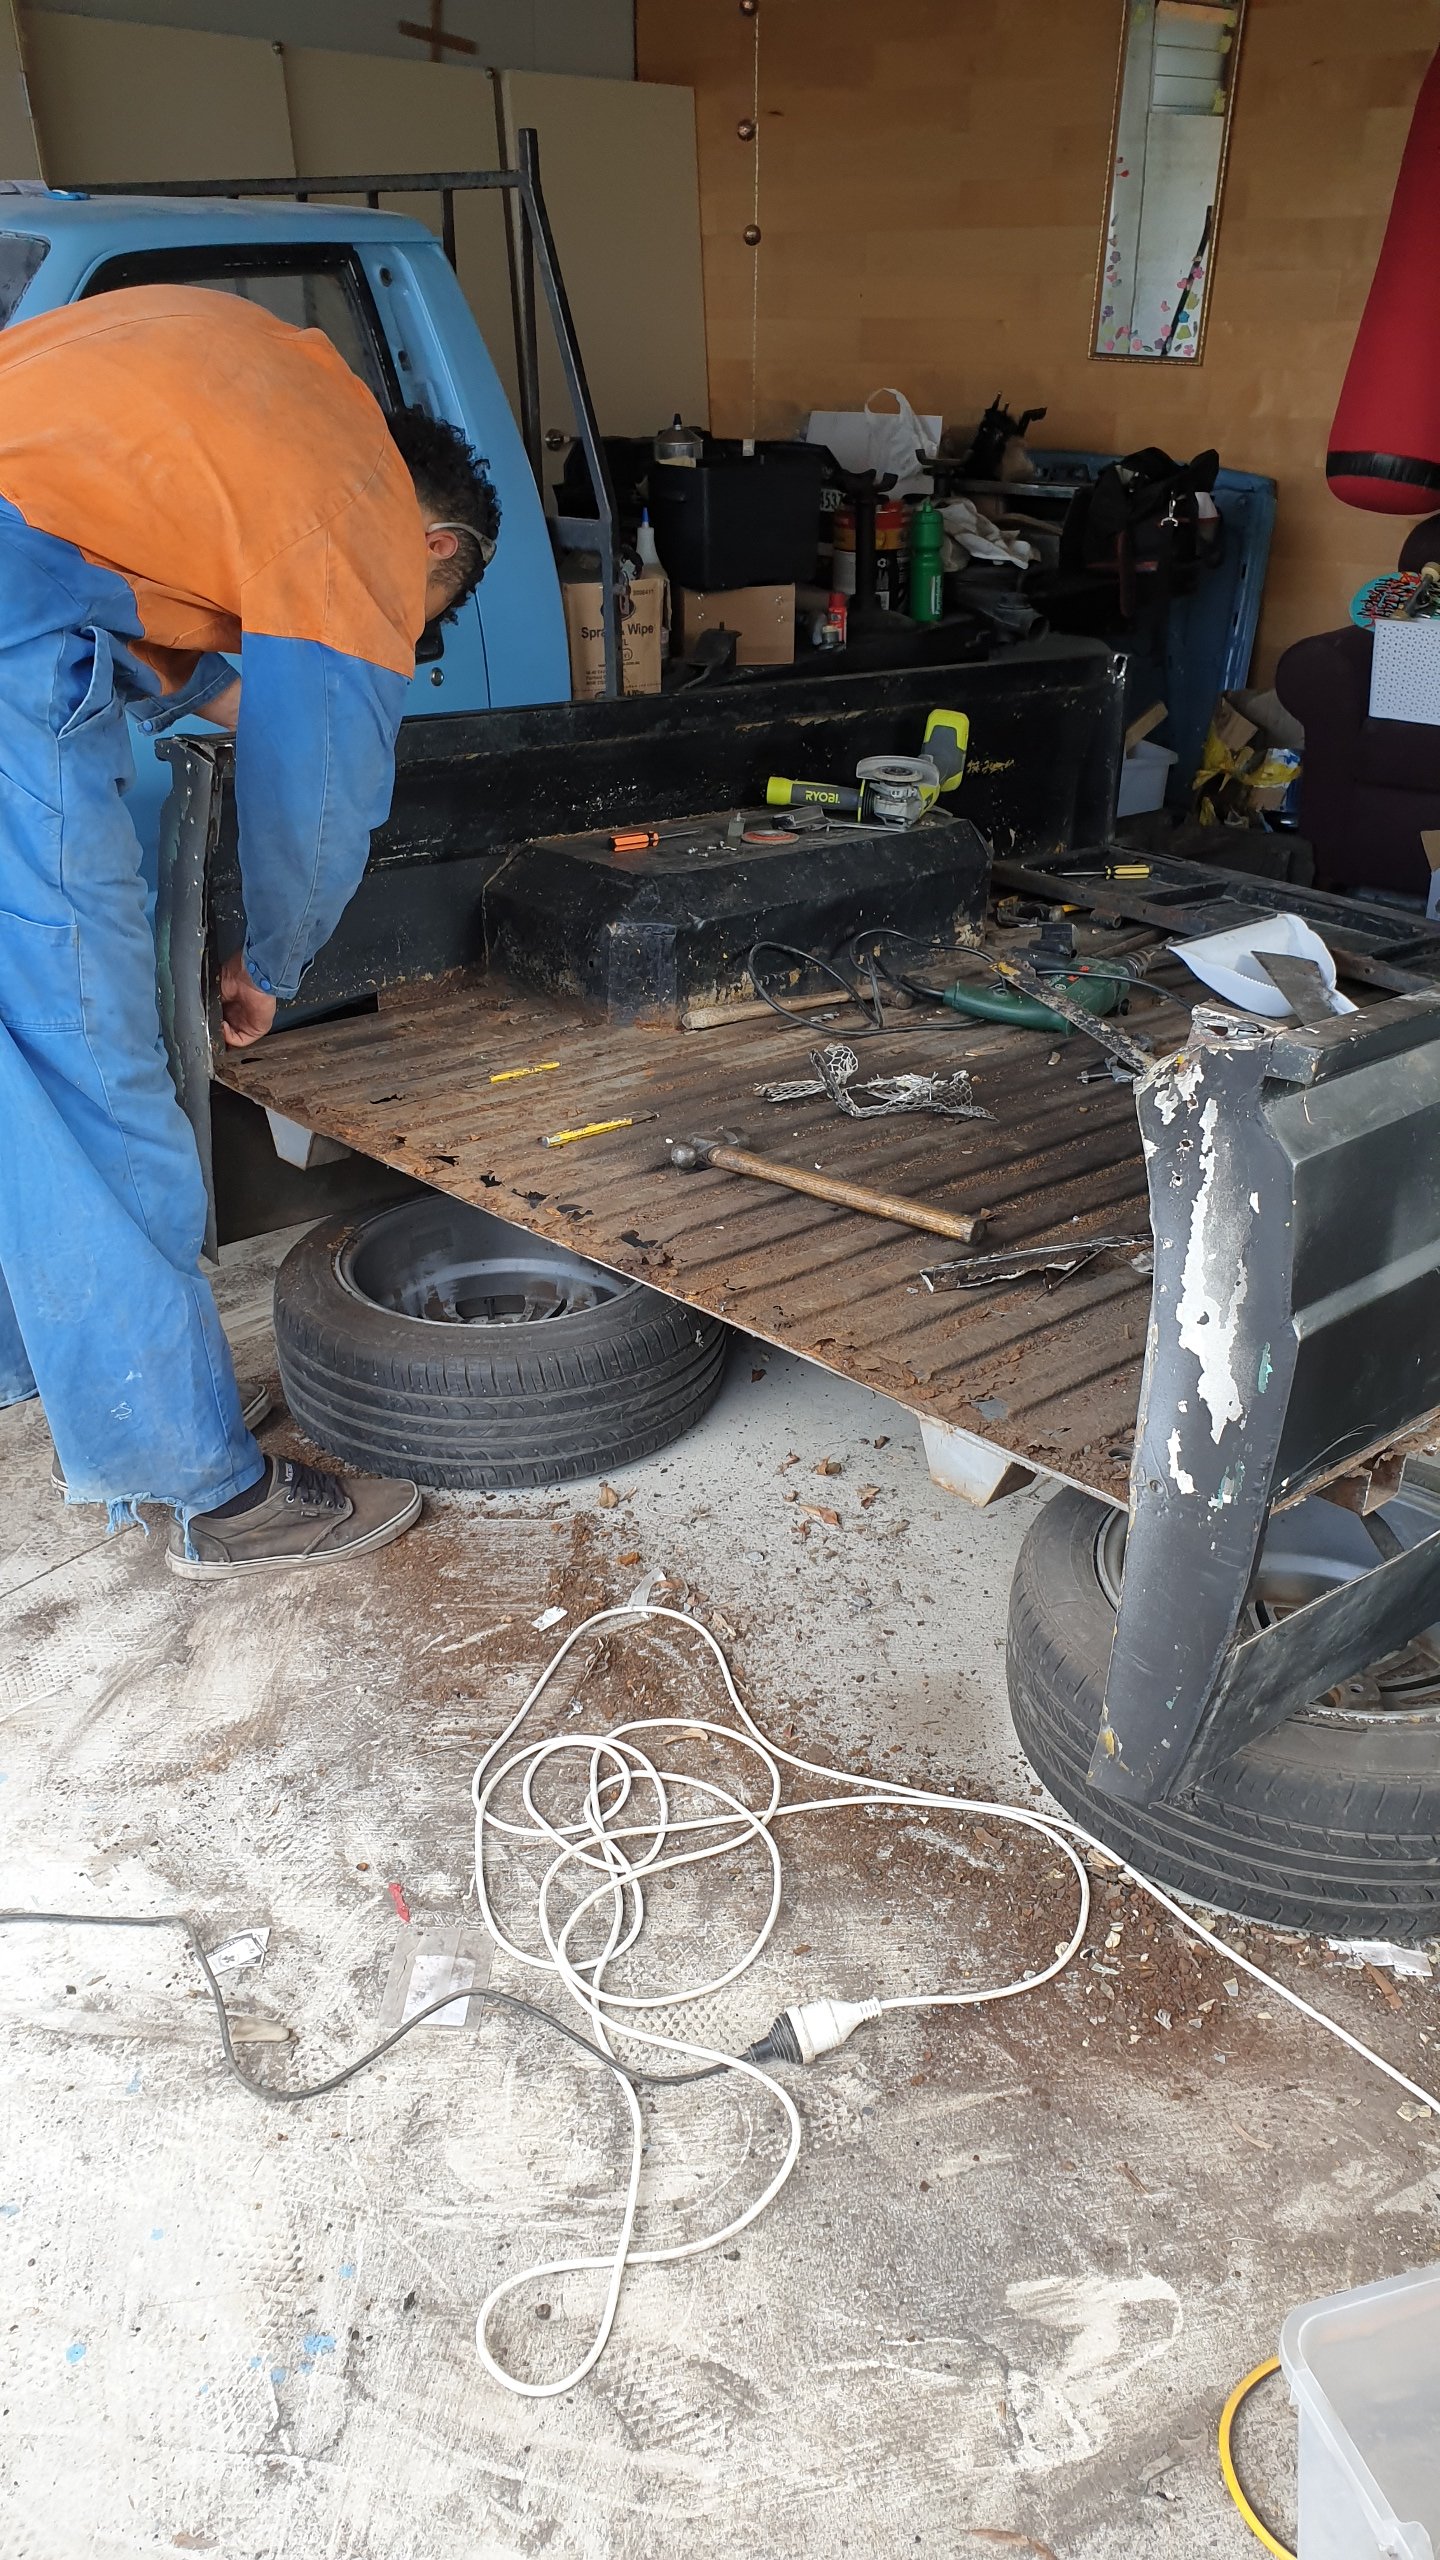
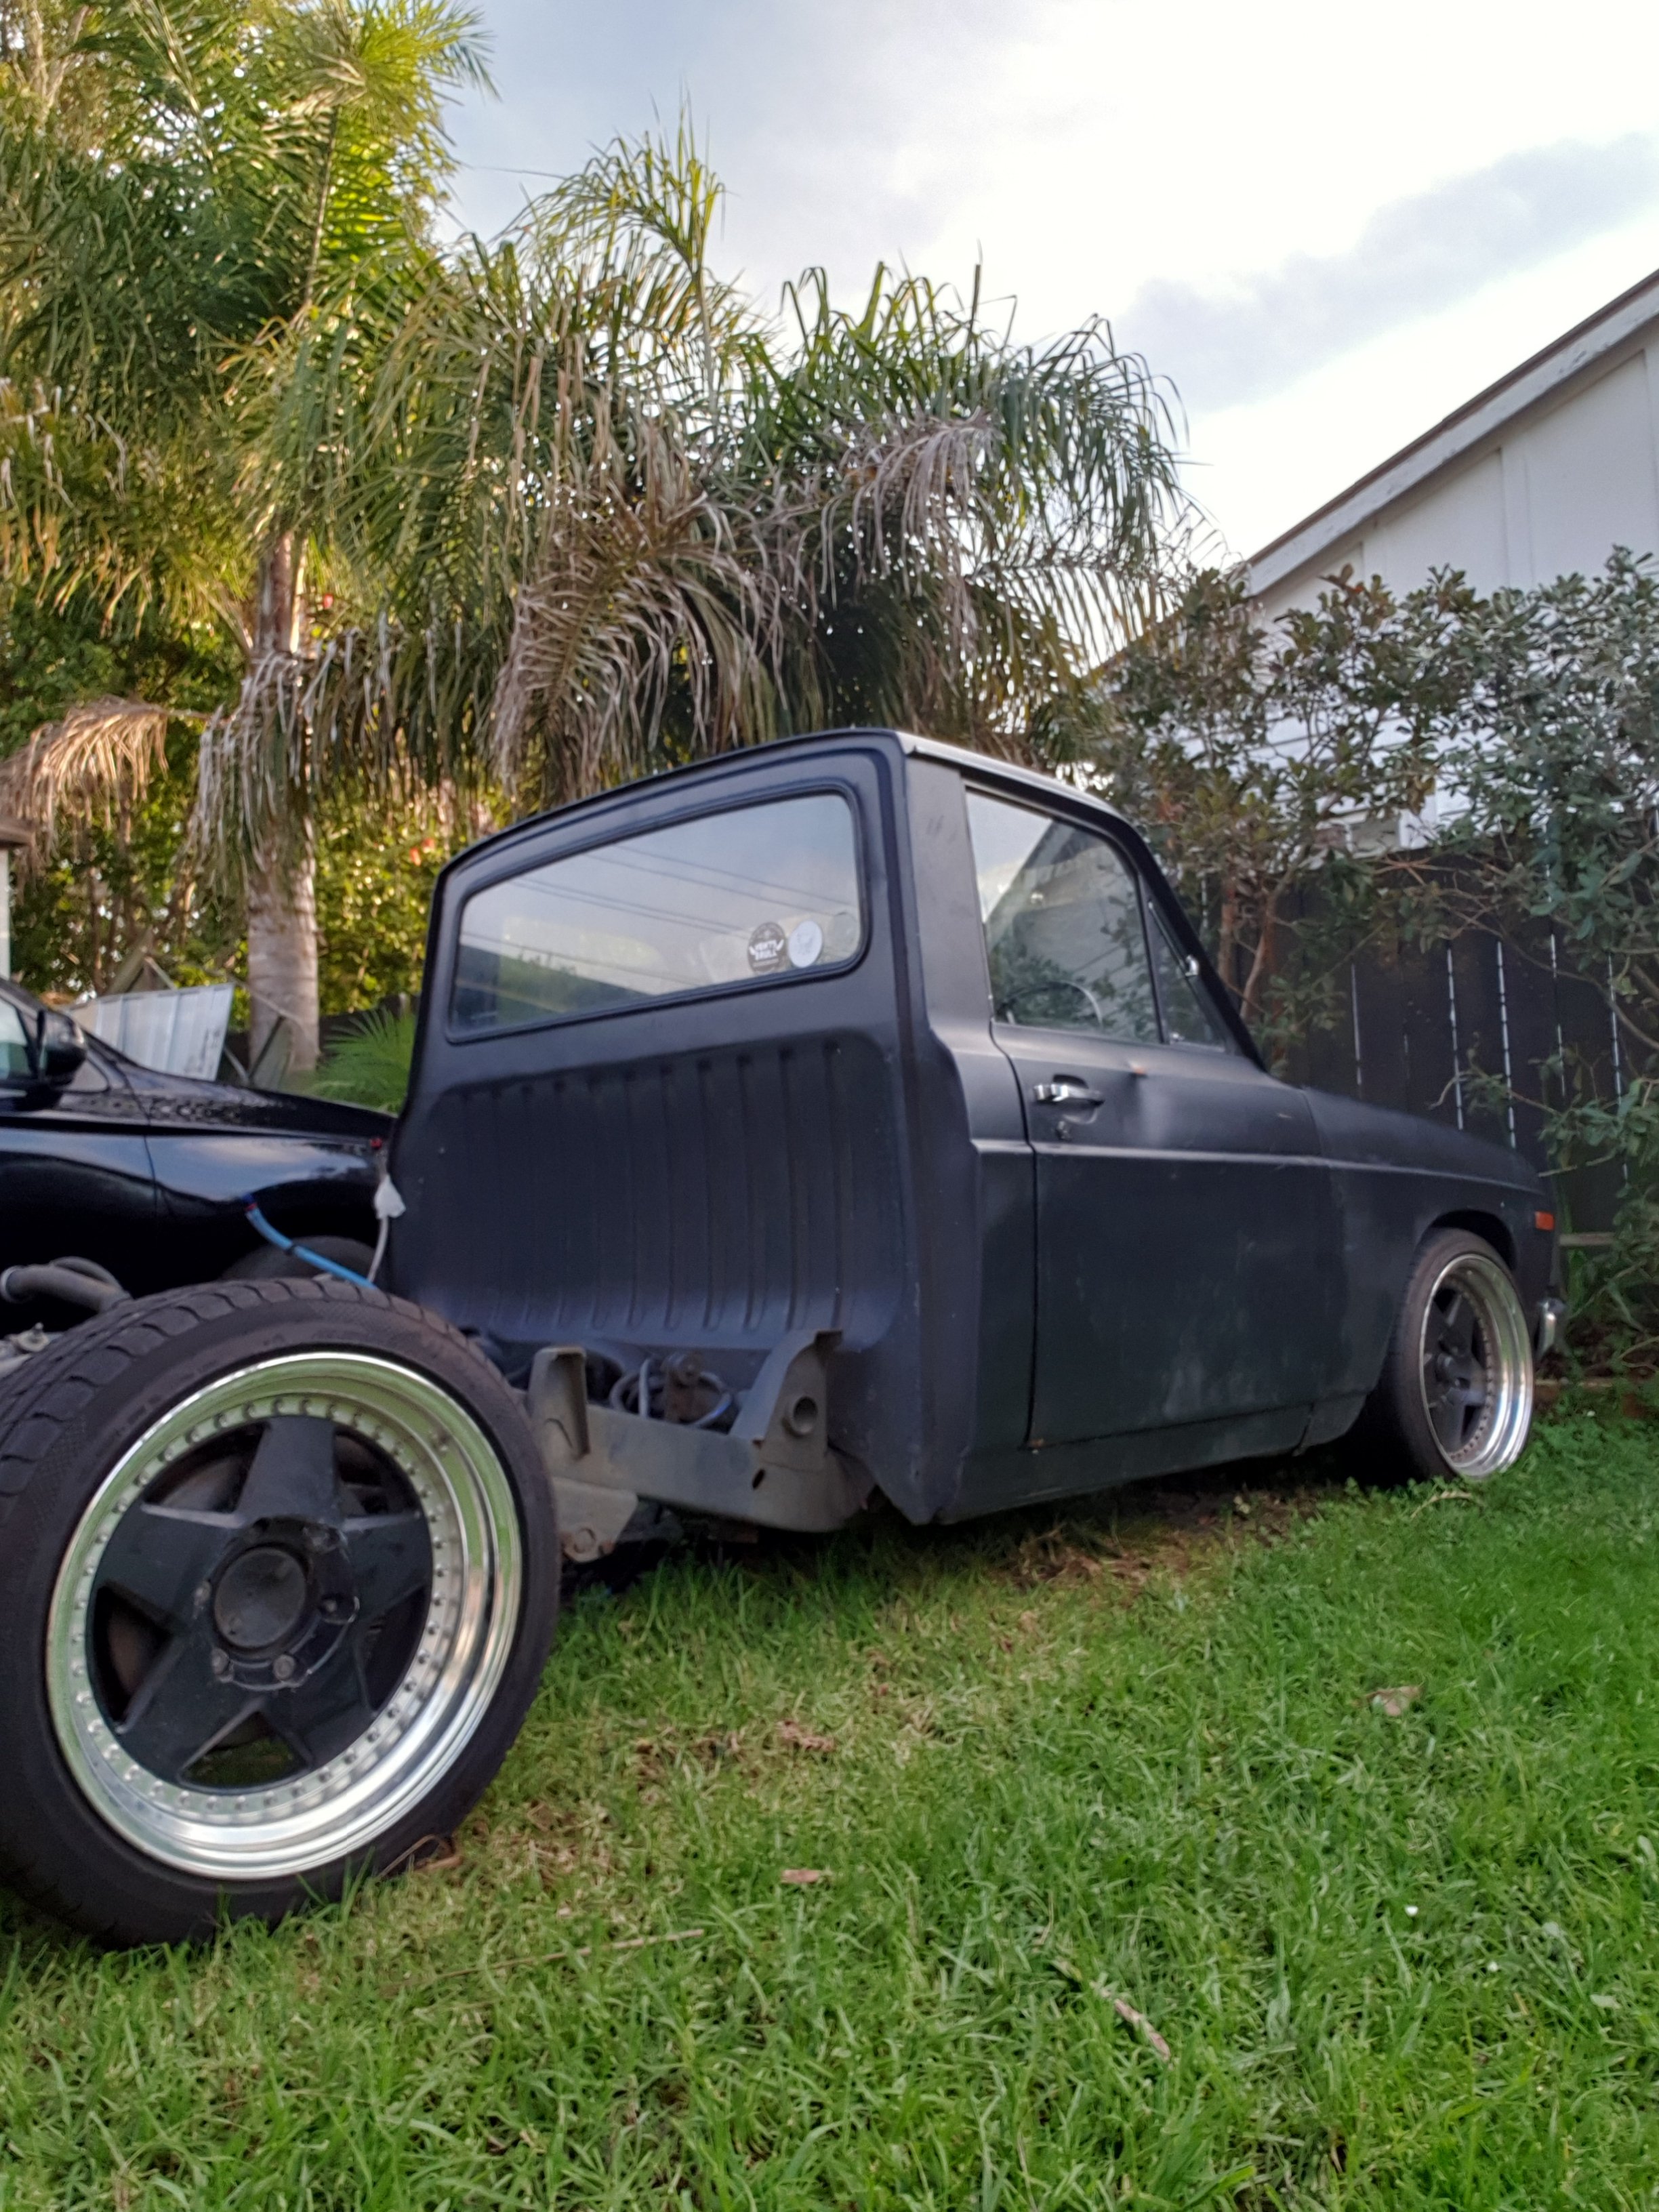
So back is now removed, it's kinda cool to be able to document our progress of this rebuild. More doing it this little page for ourselves so we can look back and be like look how far it has come, but if it interests others then that's great too. Cool to have the NZ car community and the NZ rotary community around.
5 points
-
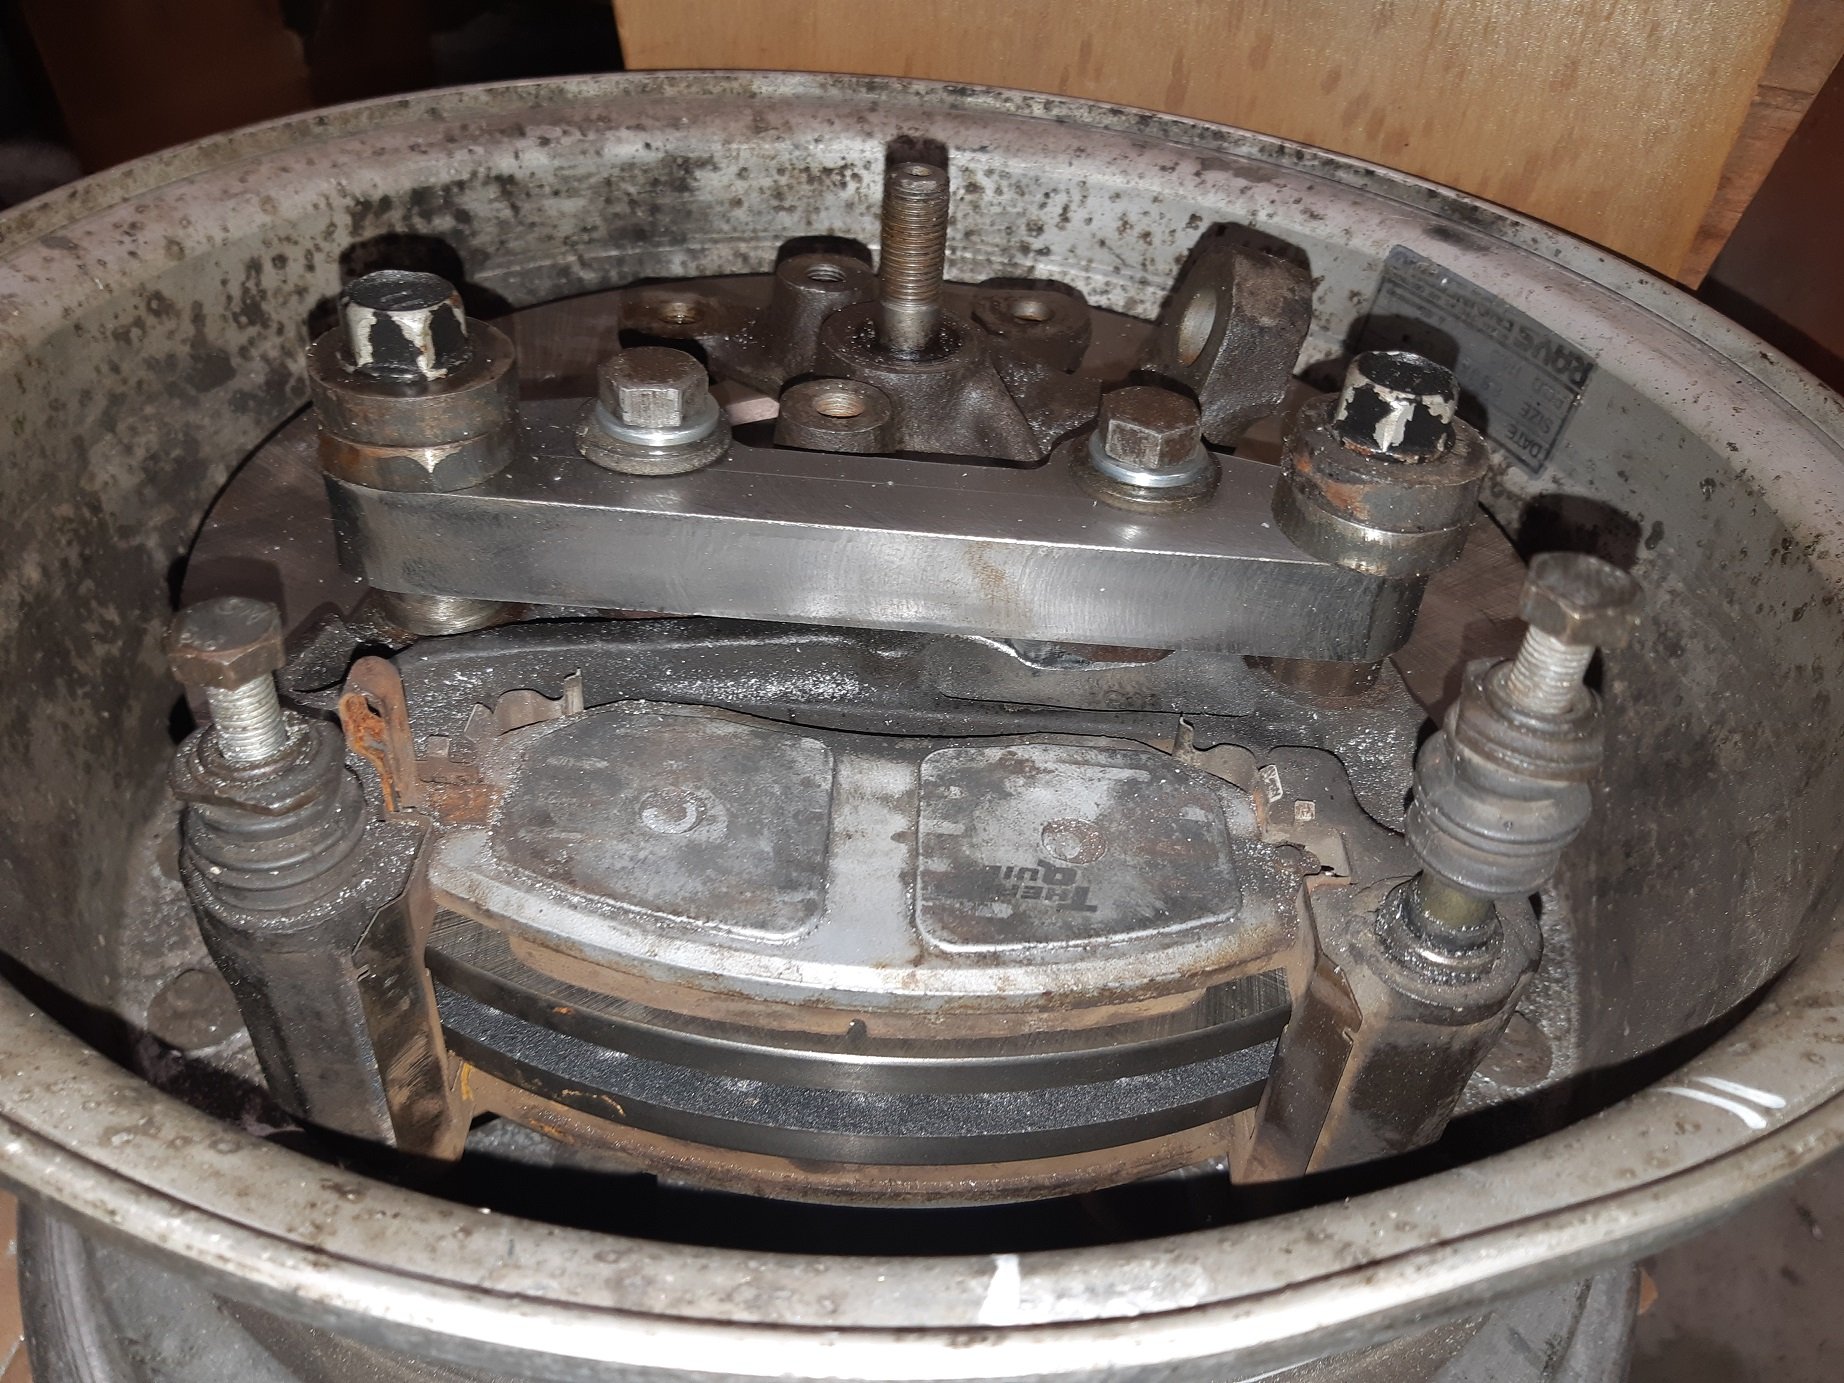
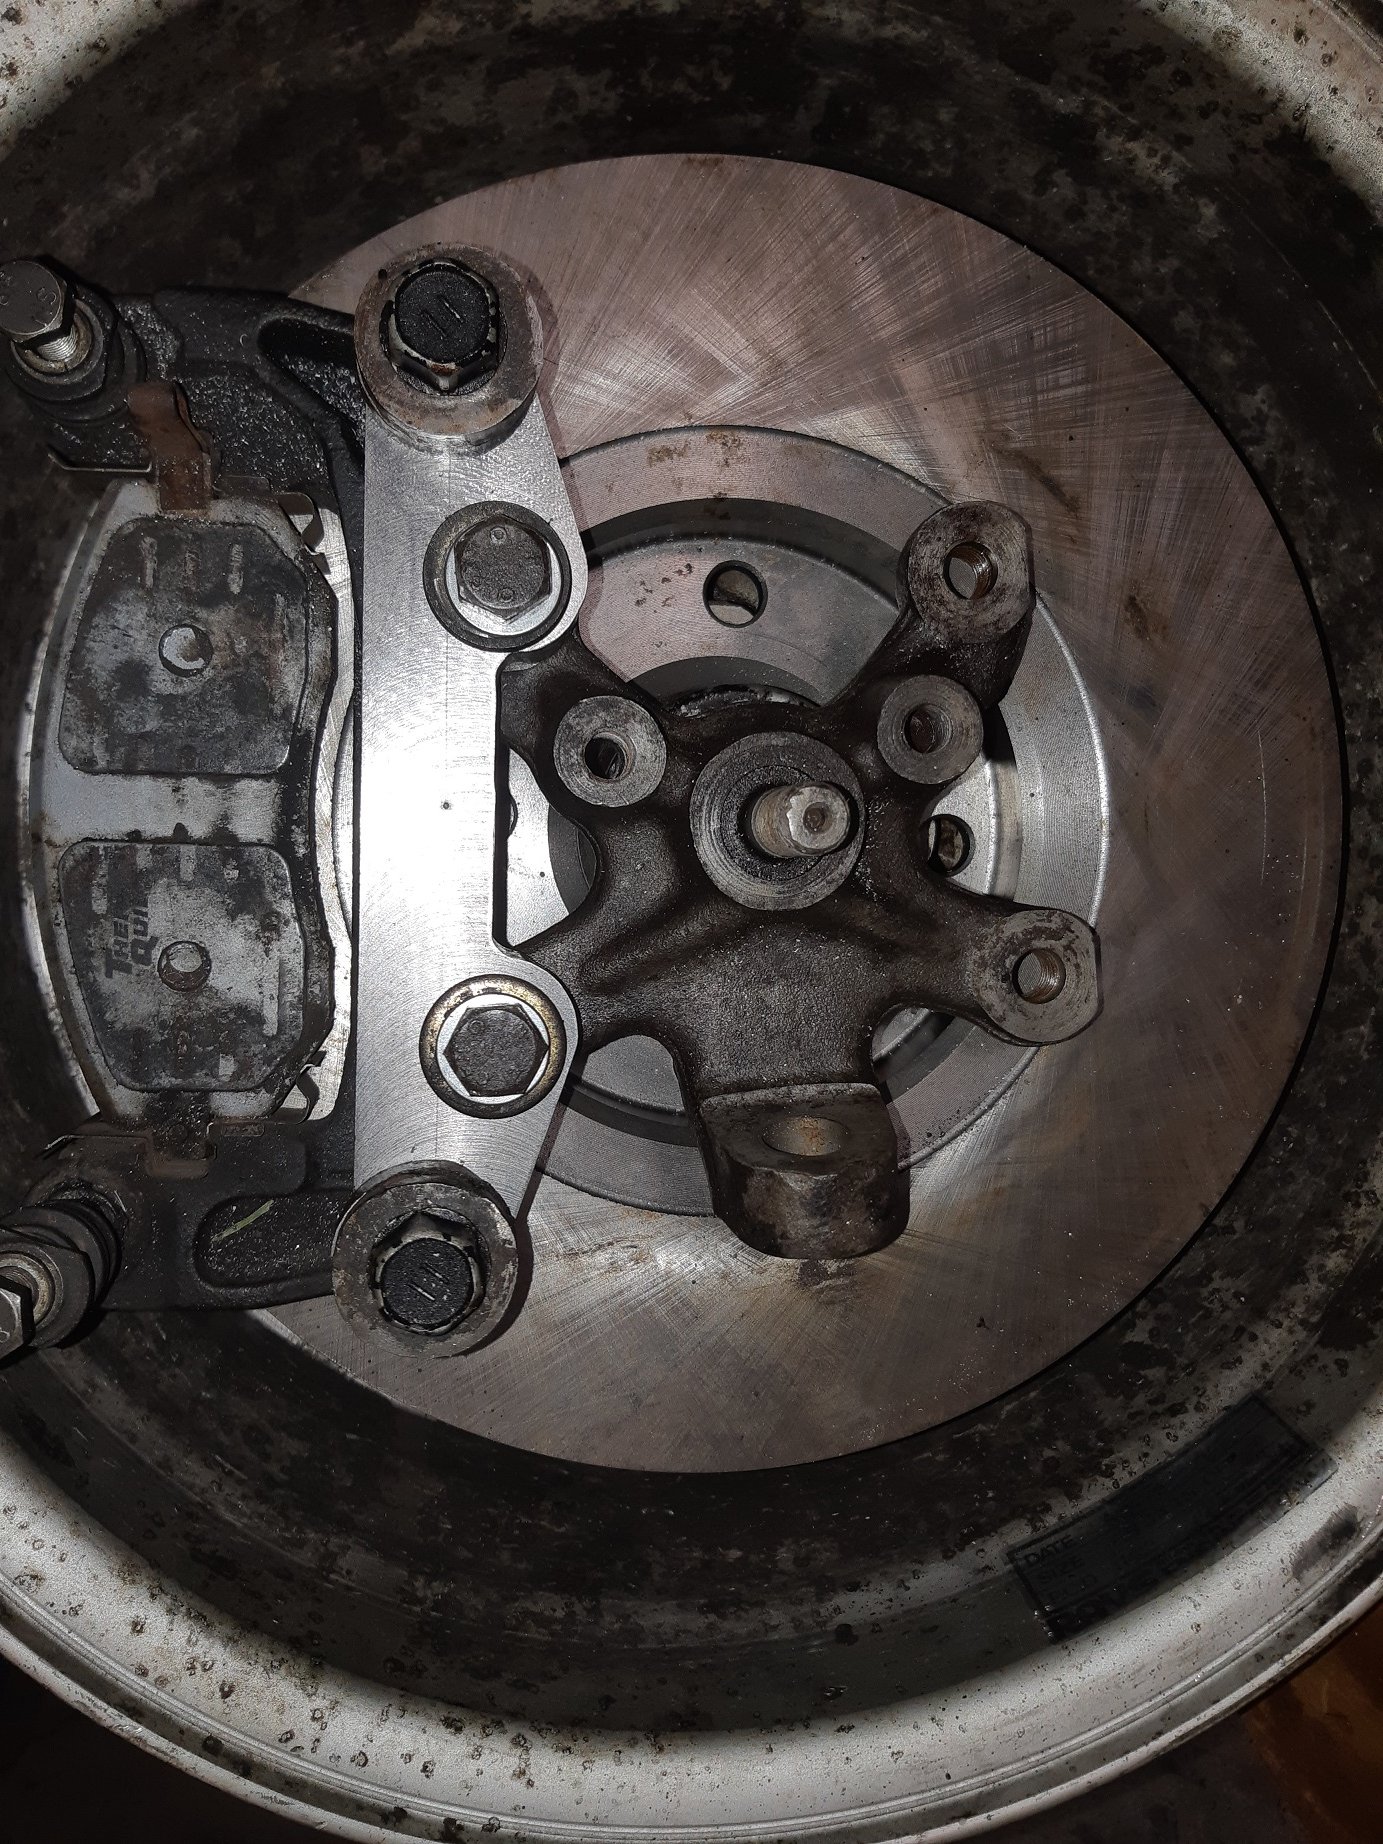
Got some 20mm plate plasma cut. I had a one spare cut in case I fuck it up. I started whittling at it with the mill. Managed to drill 4 holes in EXACTLY the right spots on the first one! I used the dial thingamies on the table adjuster wheels. I still need to machine it down to 15mm, make some 11mm spacers and get some bolts the right length.
4 points
-
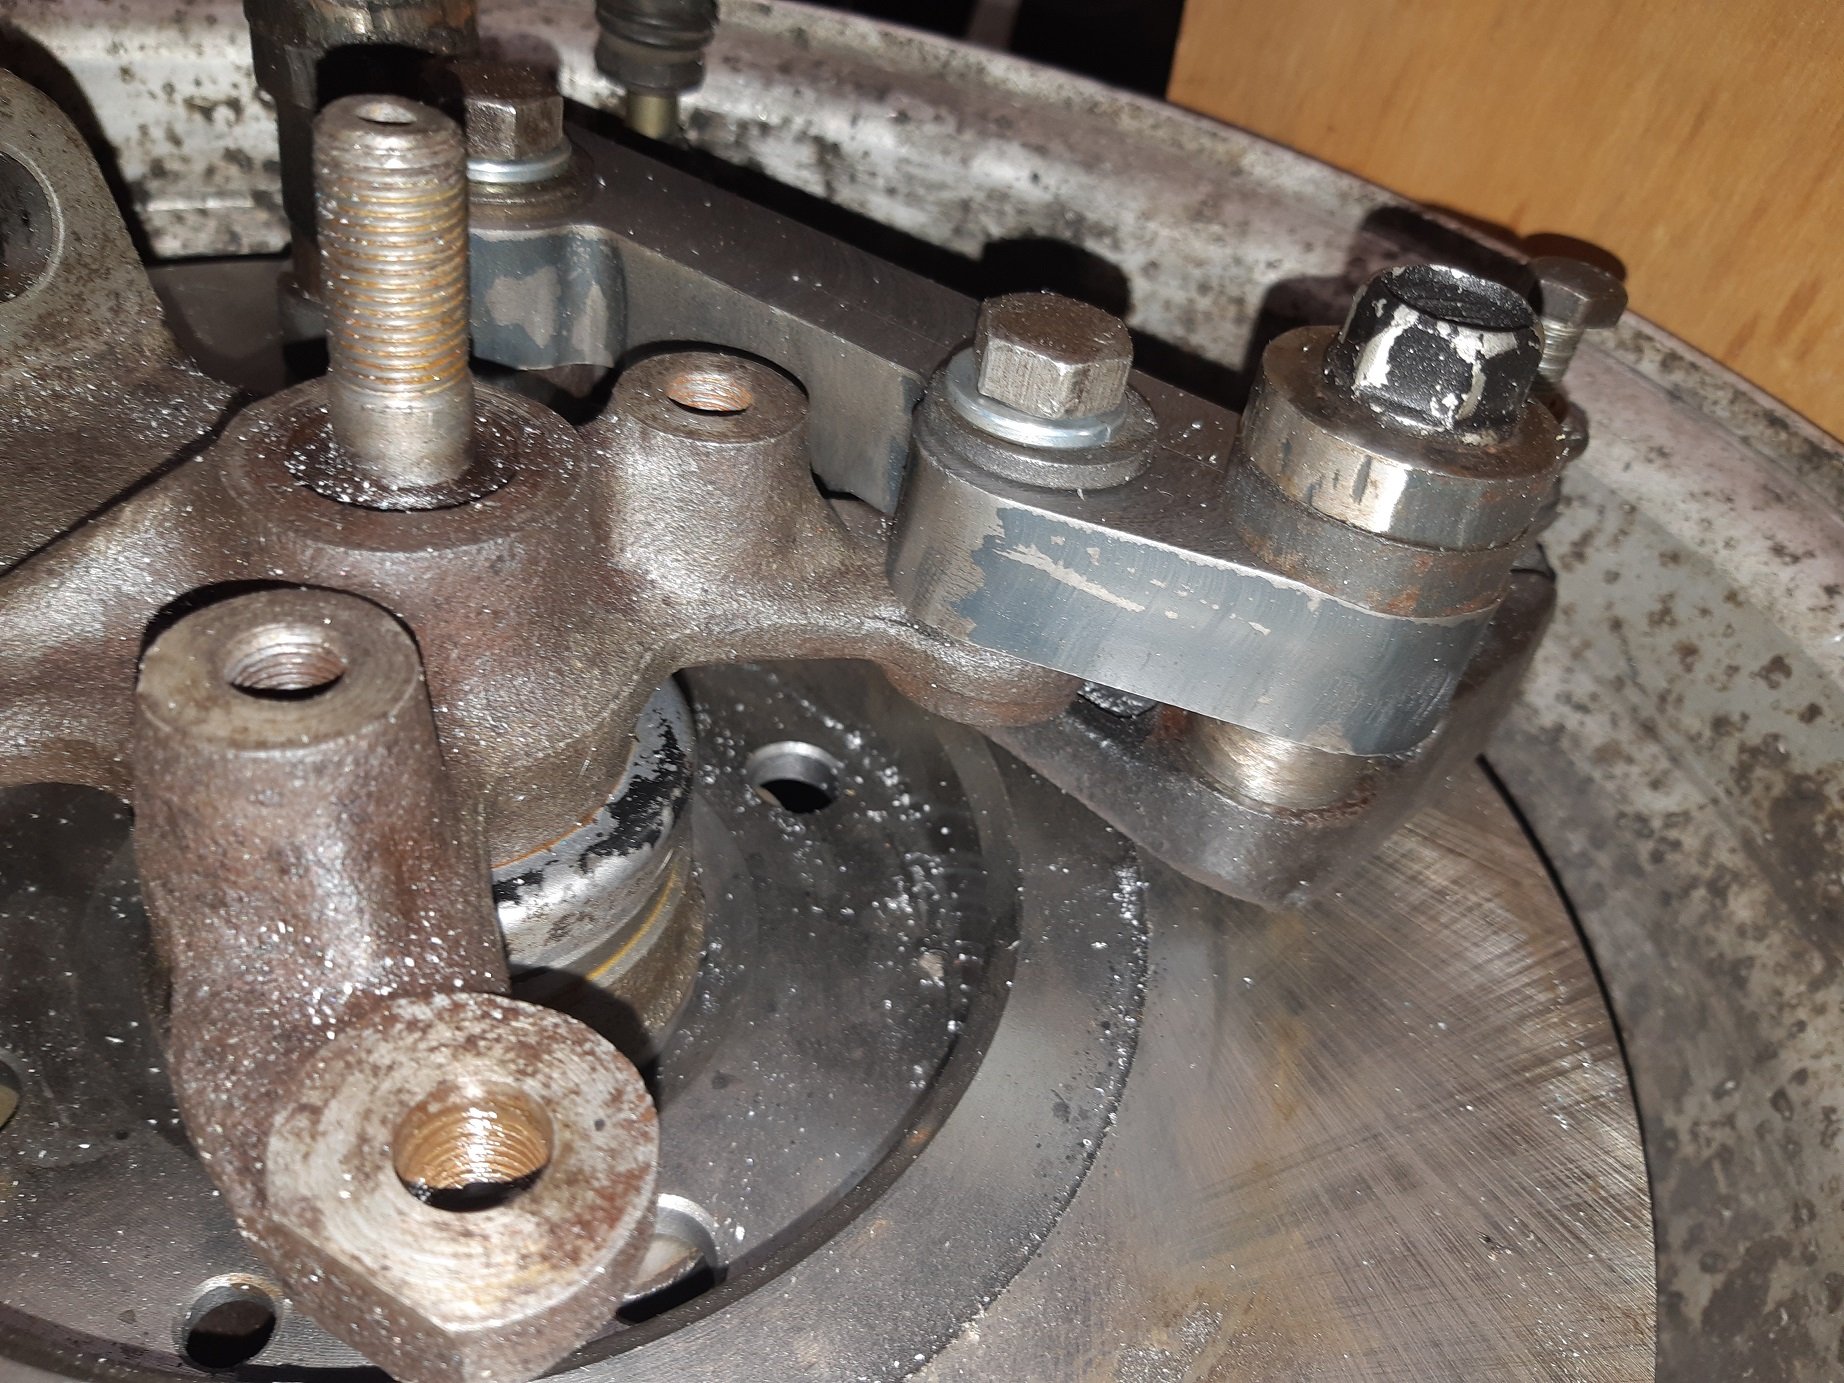
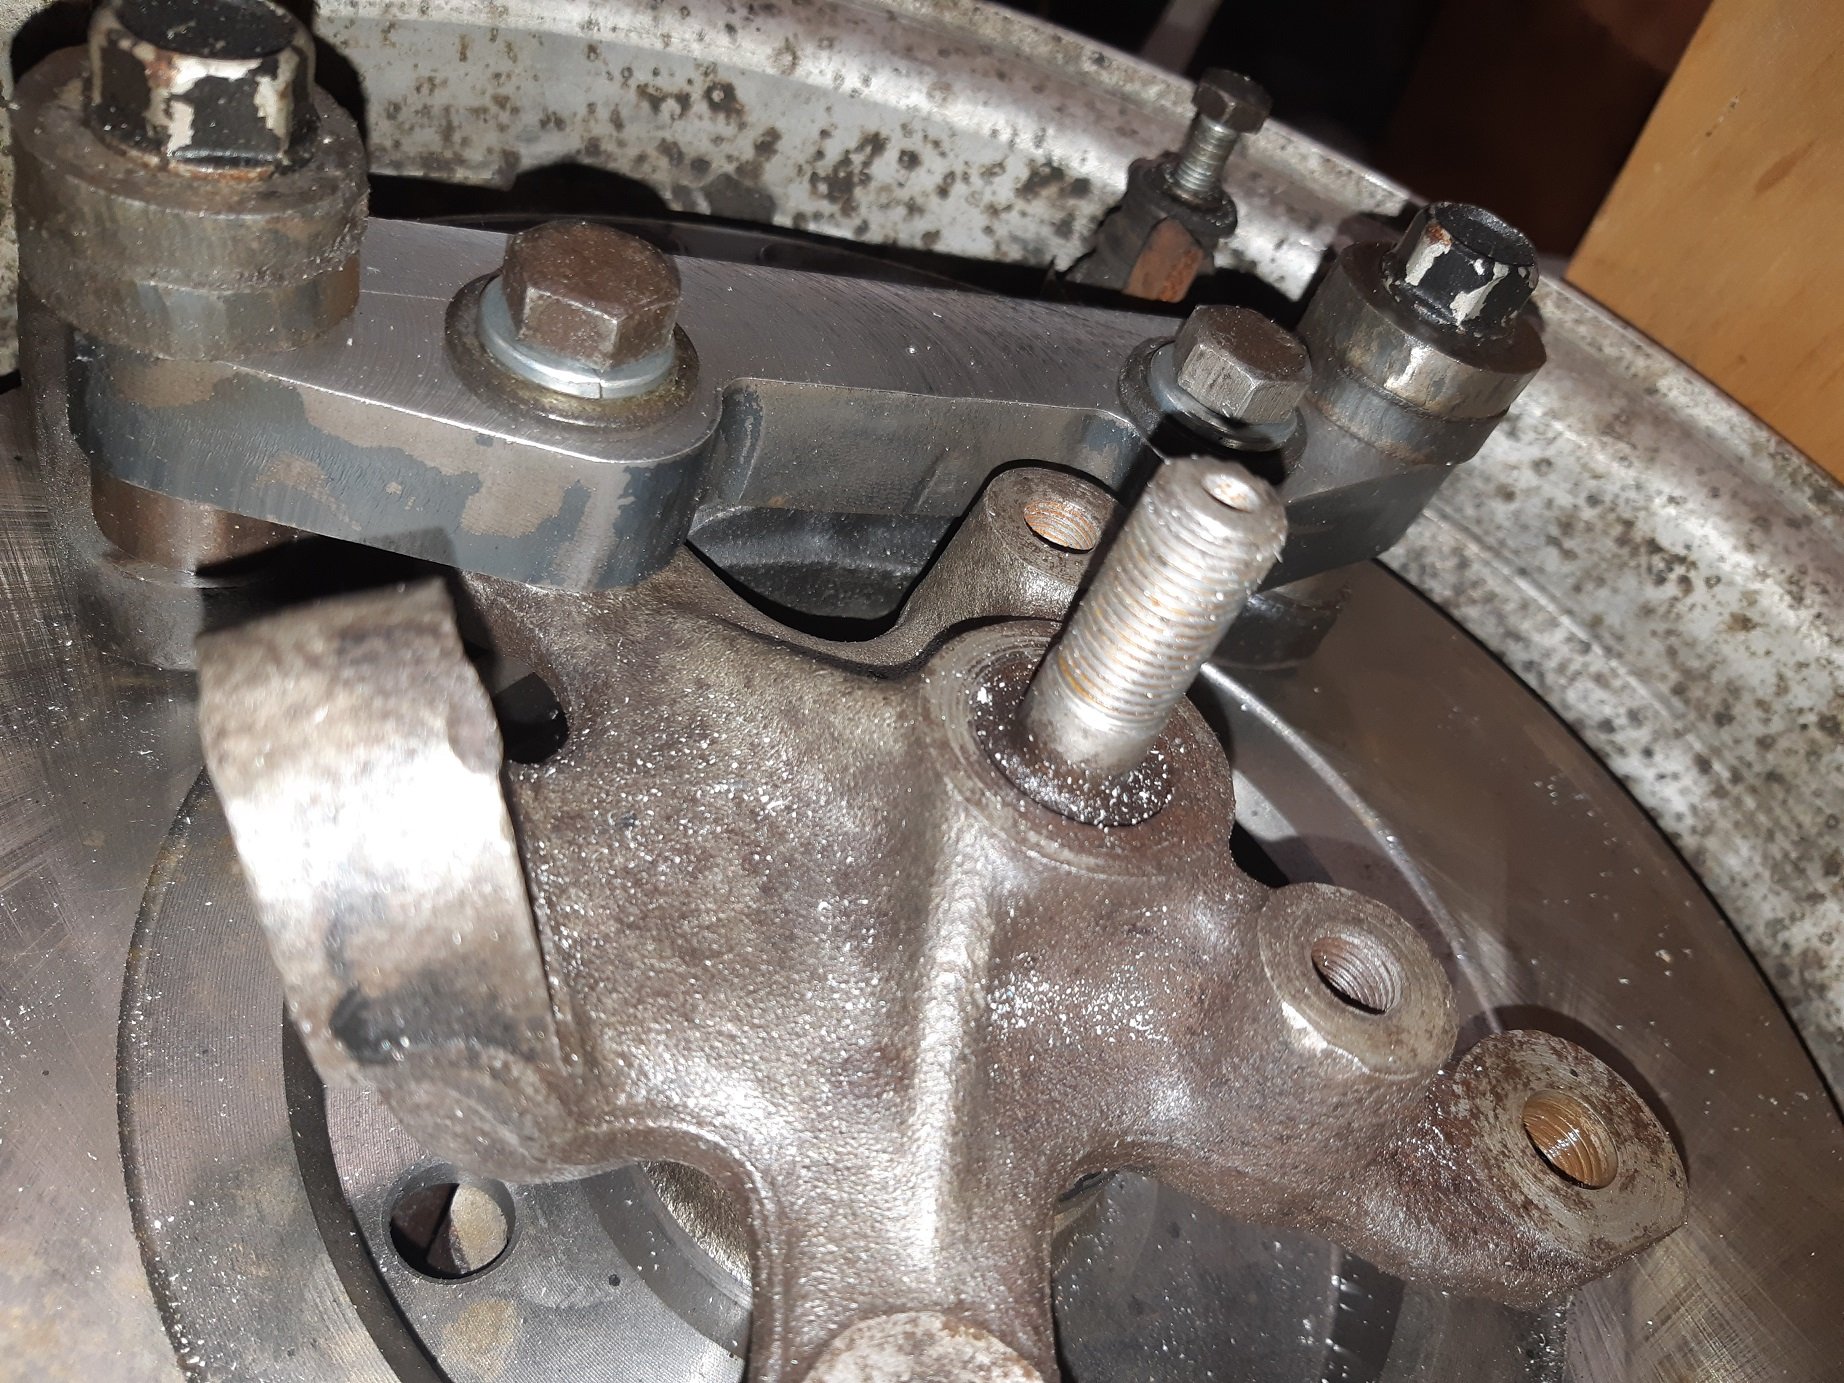
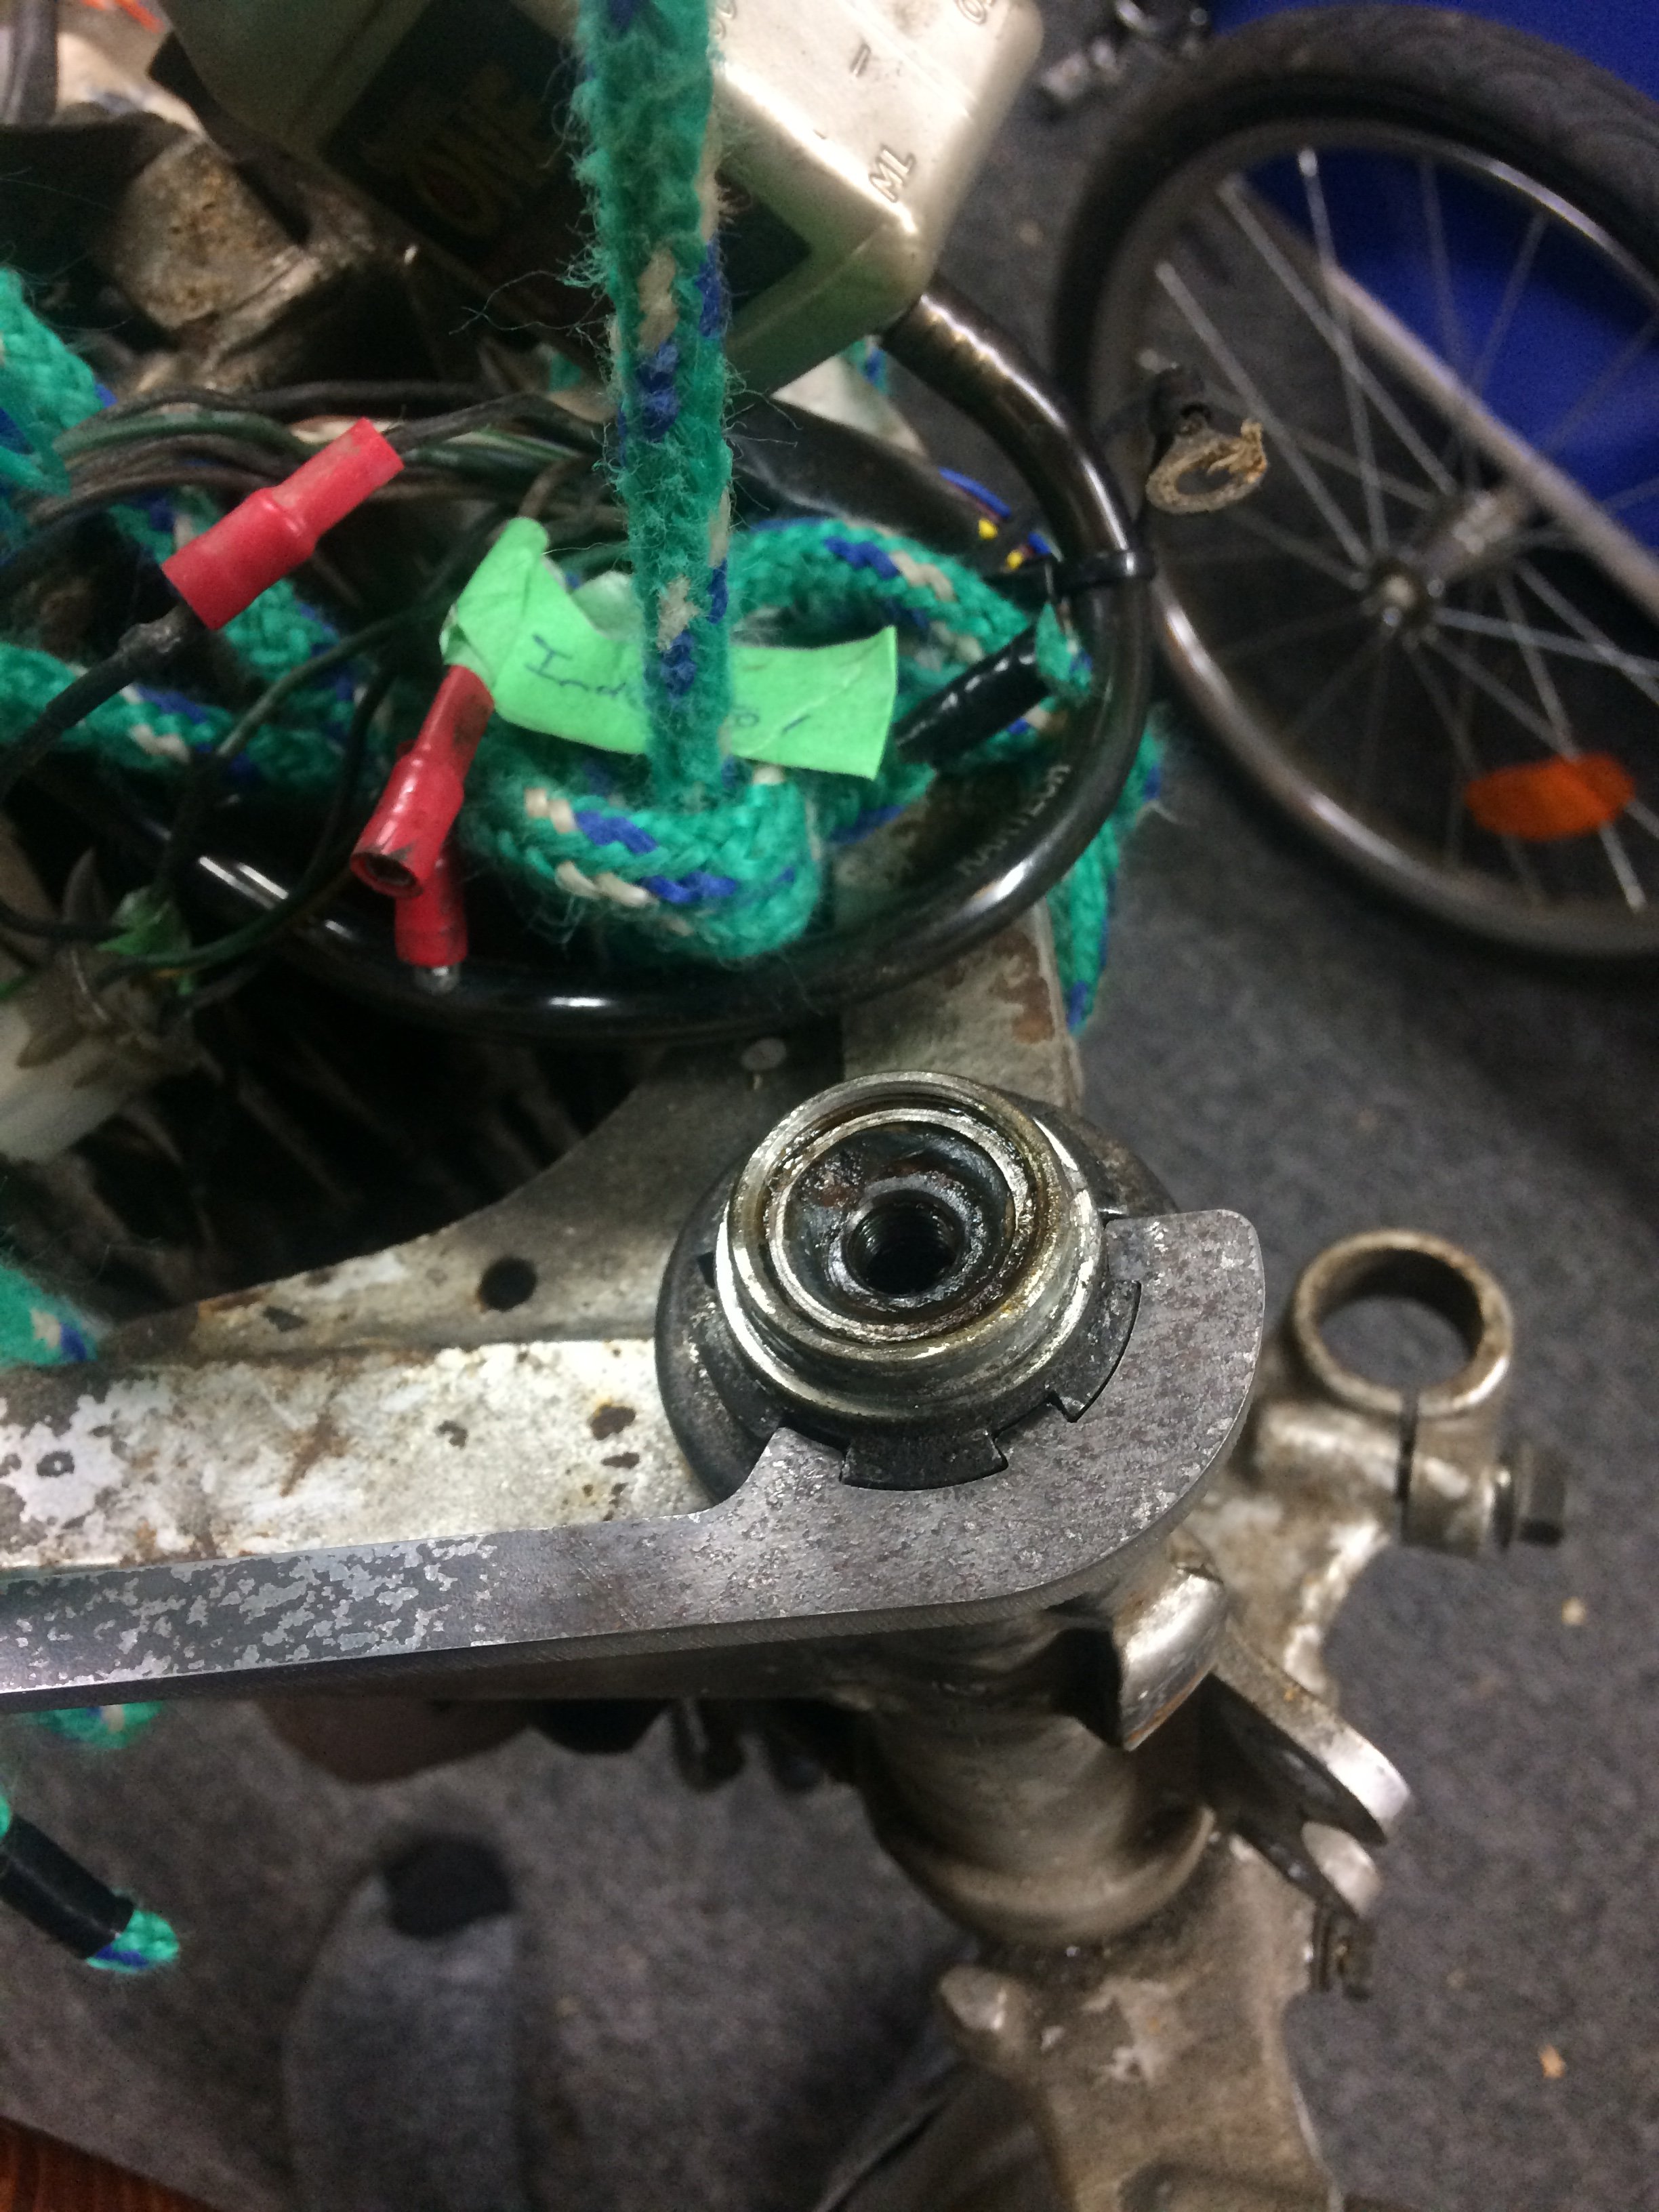
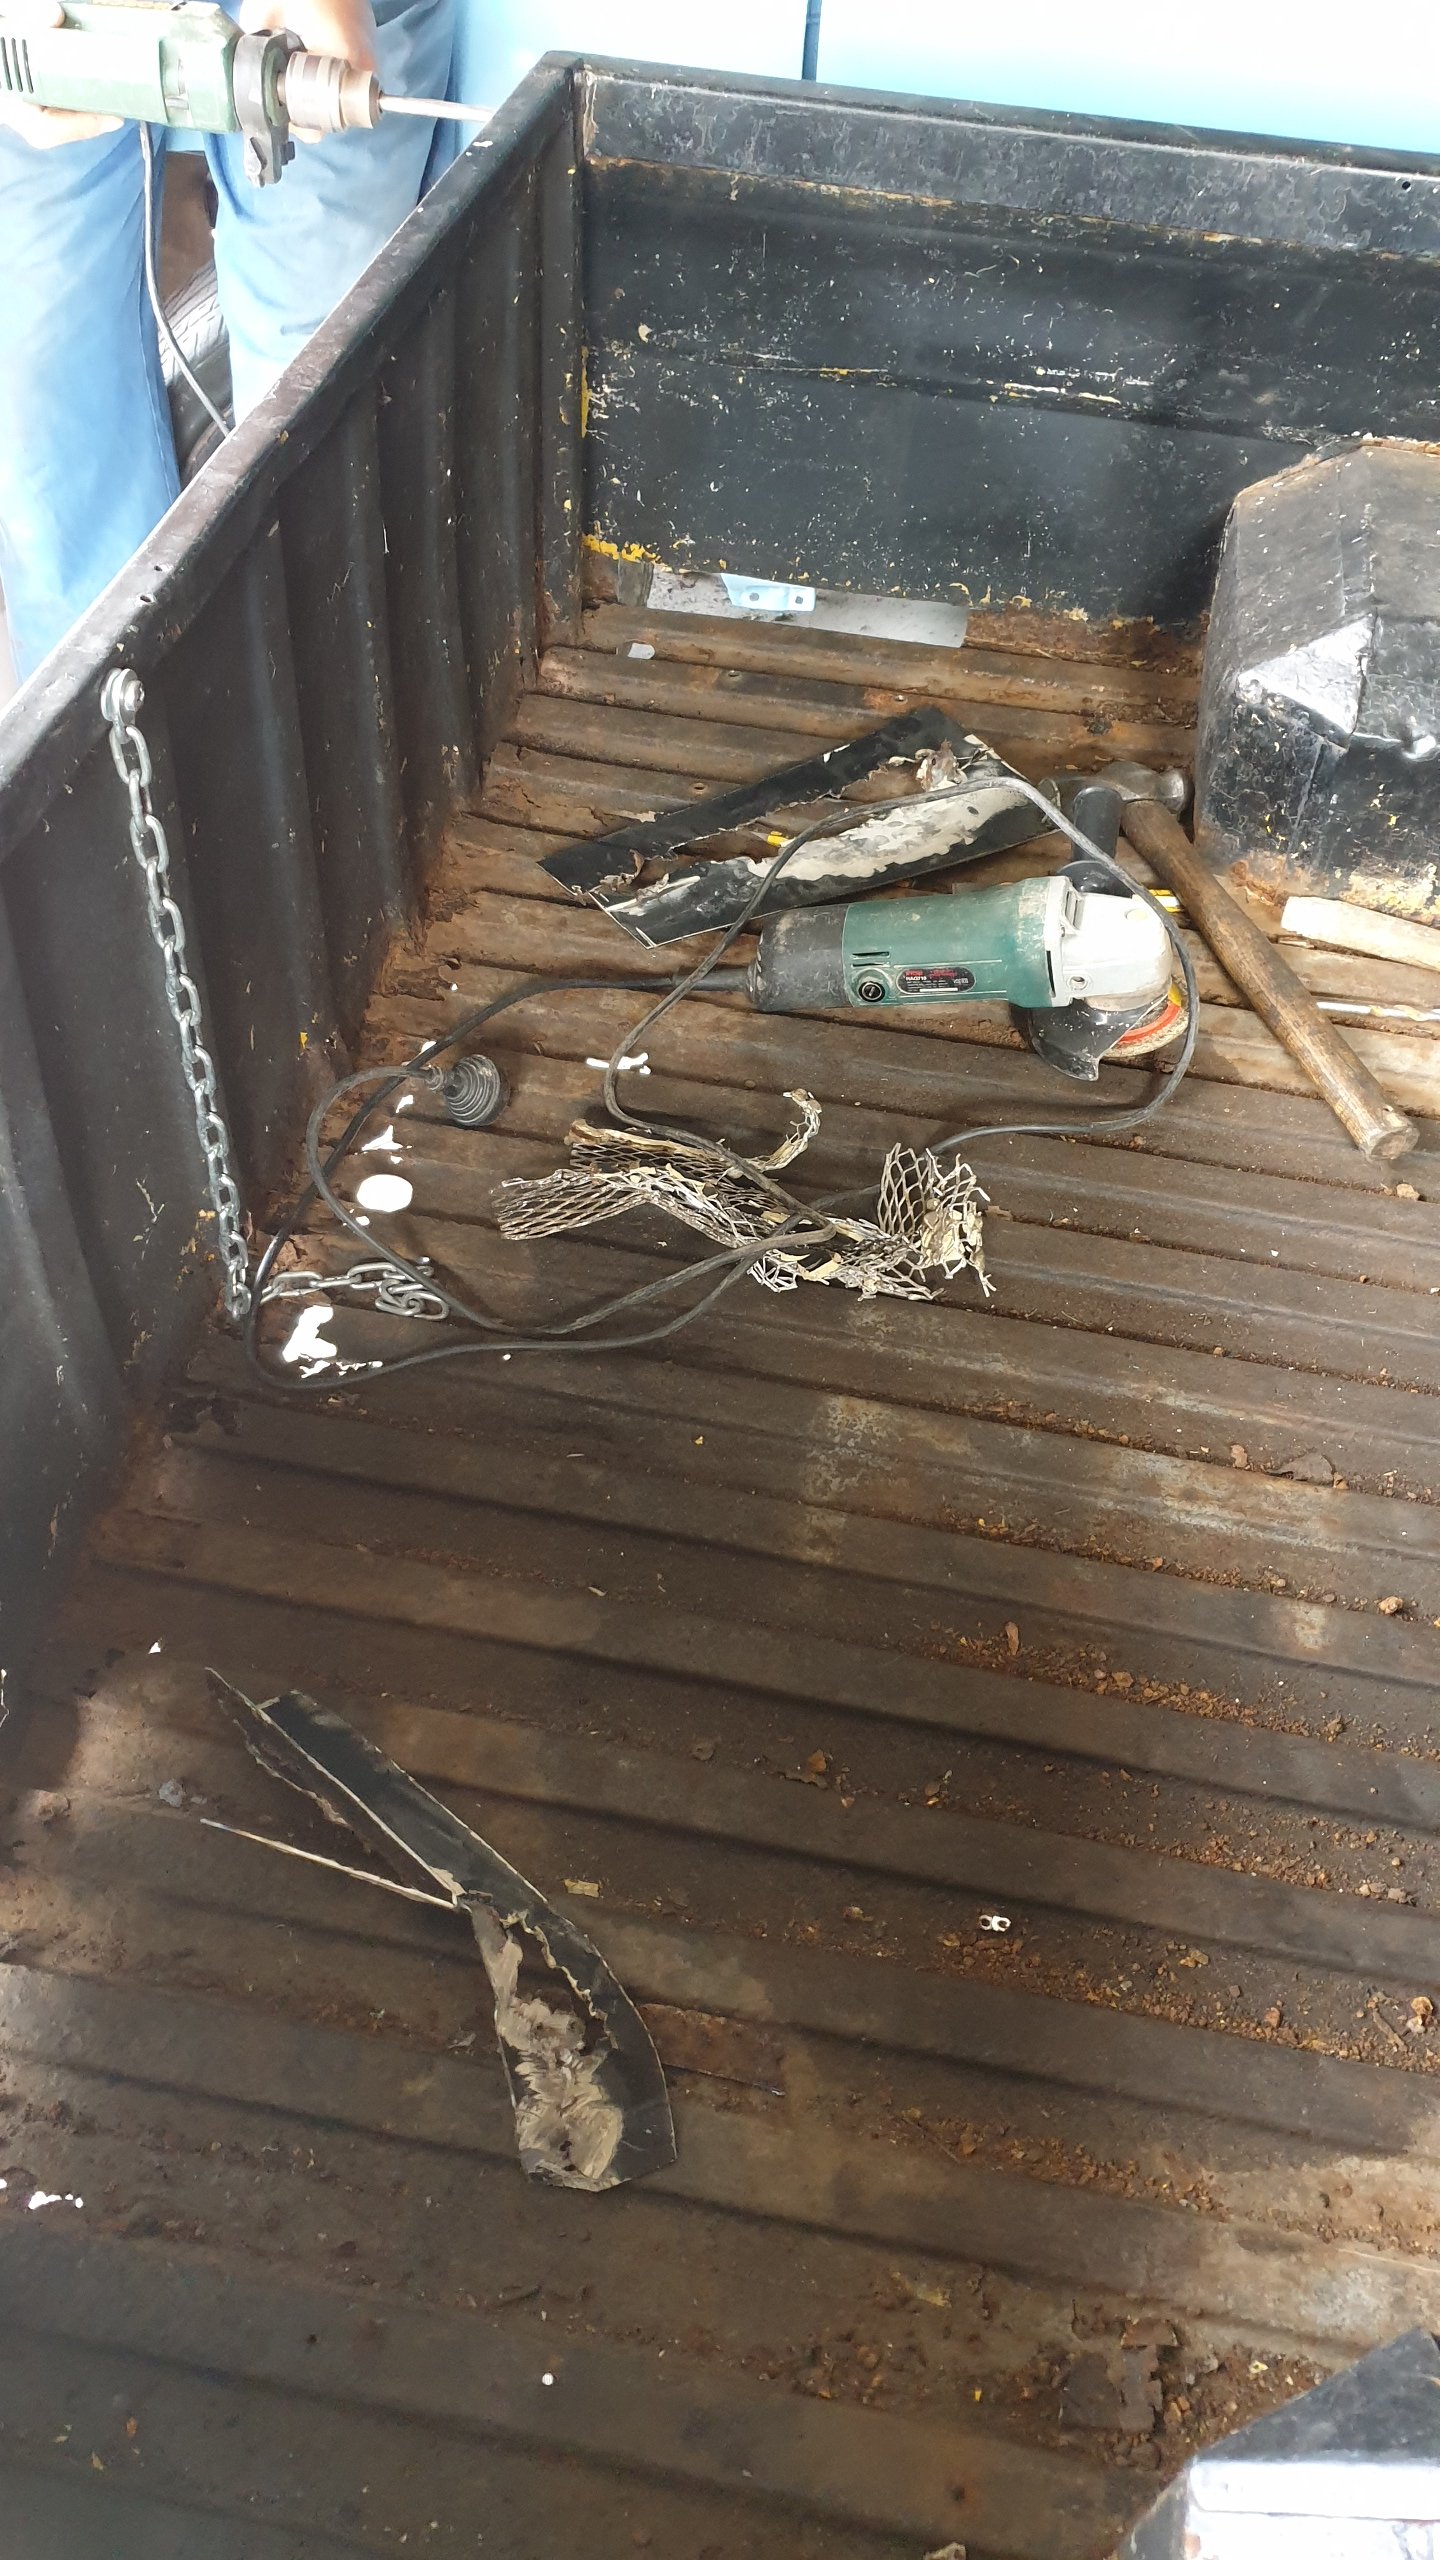
I did a wee bit more tinkering with the Ruby last night. I made a start on an oil change, have drained the old oil out and undone all the bolts on the sump to get at the filter gauze. Annoyingly it looks like I might have to lift the engine off its mounts to get the sump past the front two studs. I might see if I can get the studs out first. Either way, its annoying. The oil that came out, aside from being old and a little sludgy, is in much better nic than I would have expected after being sat for so long. I sprayed a bit of CRC around the front windscreen latch and hinges and veeeery gently pushed it open. Unfortunately the latch mount on the window frame appears to have been made from die-cast cheddar cheese and crumbled away in front of me. So I'll need to manufacture a new one of those... I'm sure (I know) it isn't the only thing like this I also found this funky spanner on the floor under the car. Not sure where its fallen out of, I think maybe its for adjusting the valve clearances.
3 points
-
2 points
-
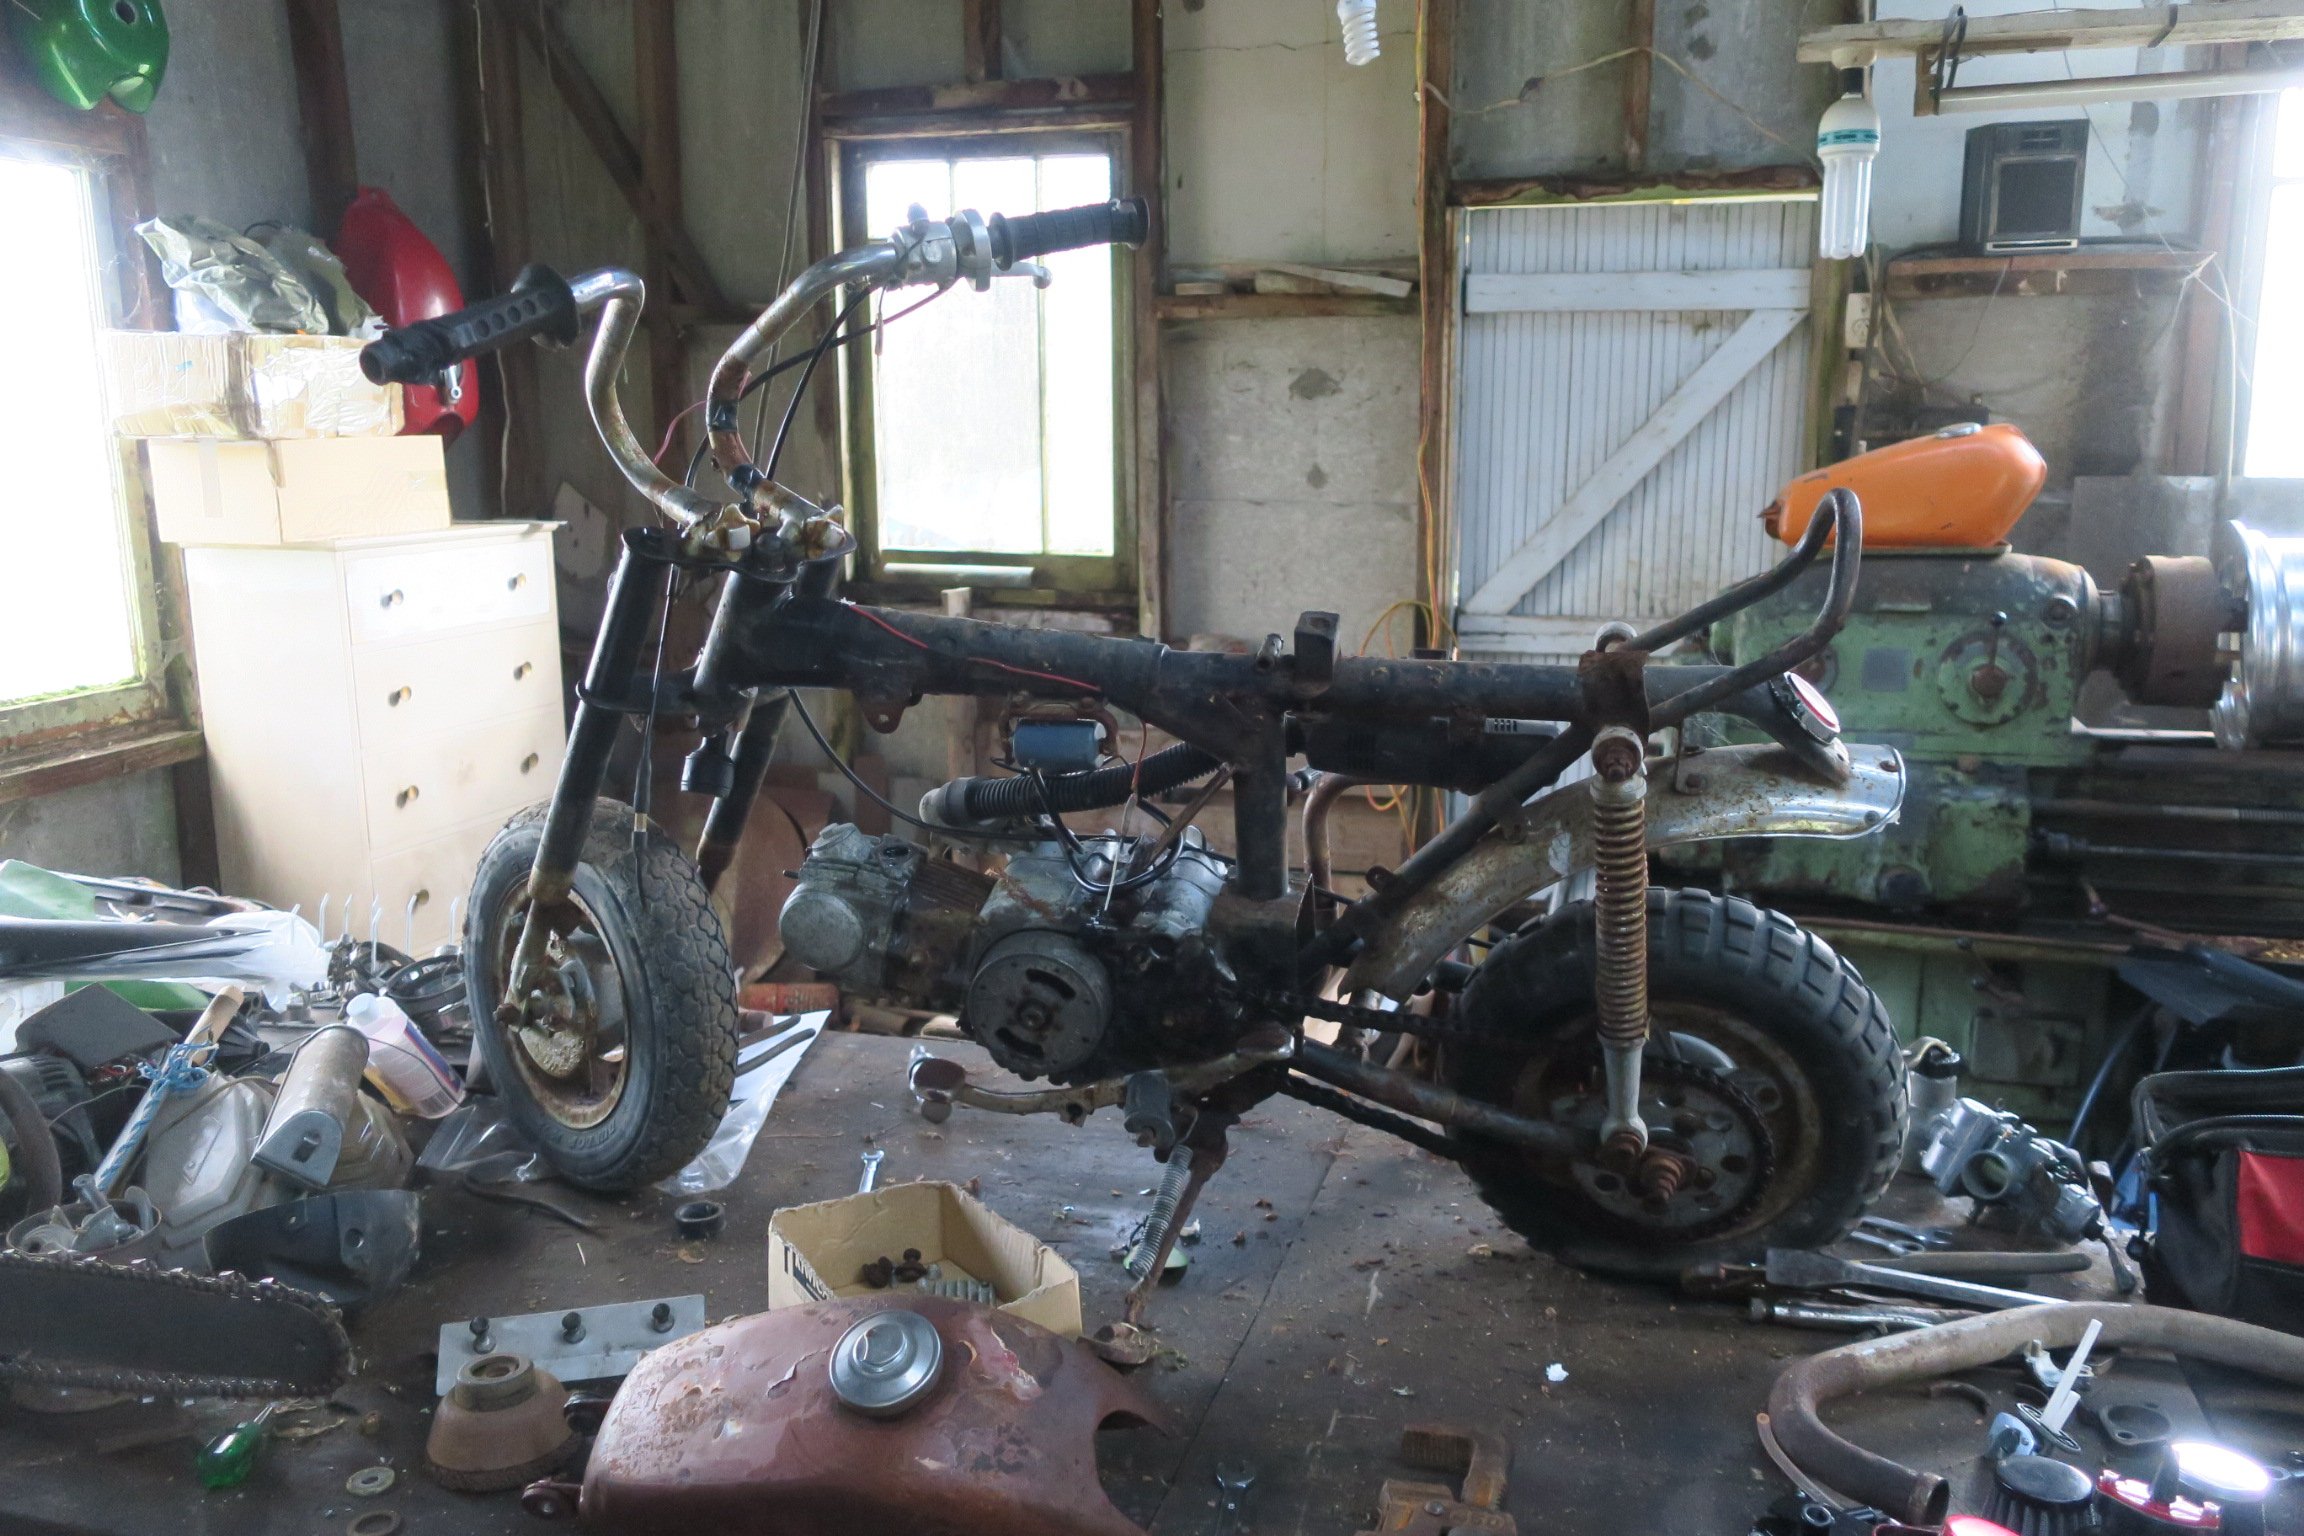
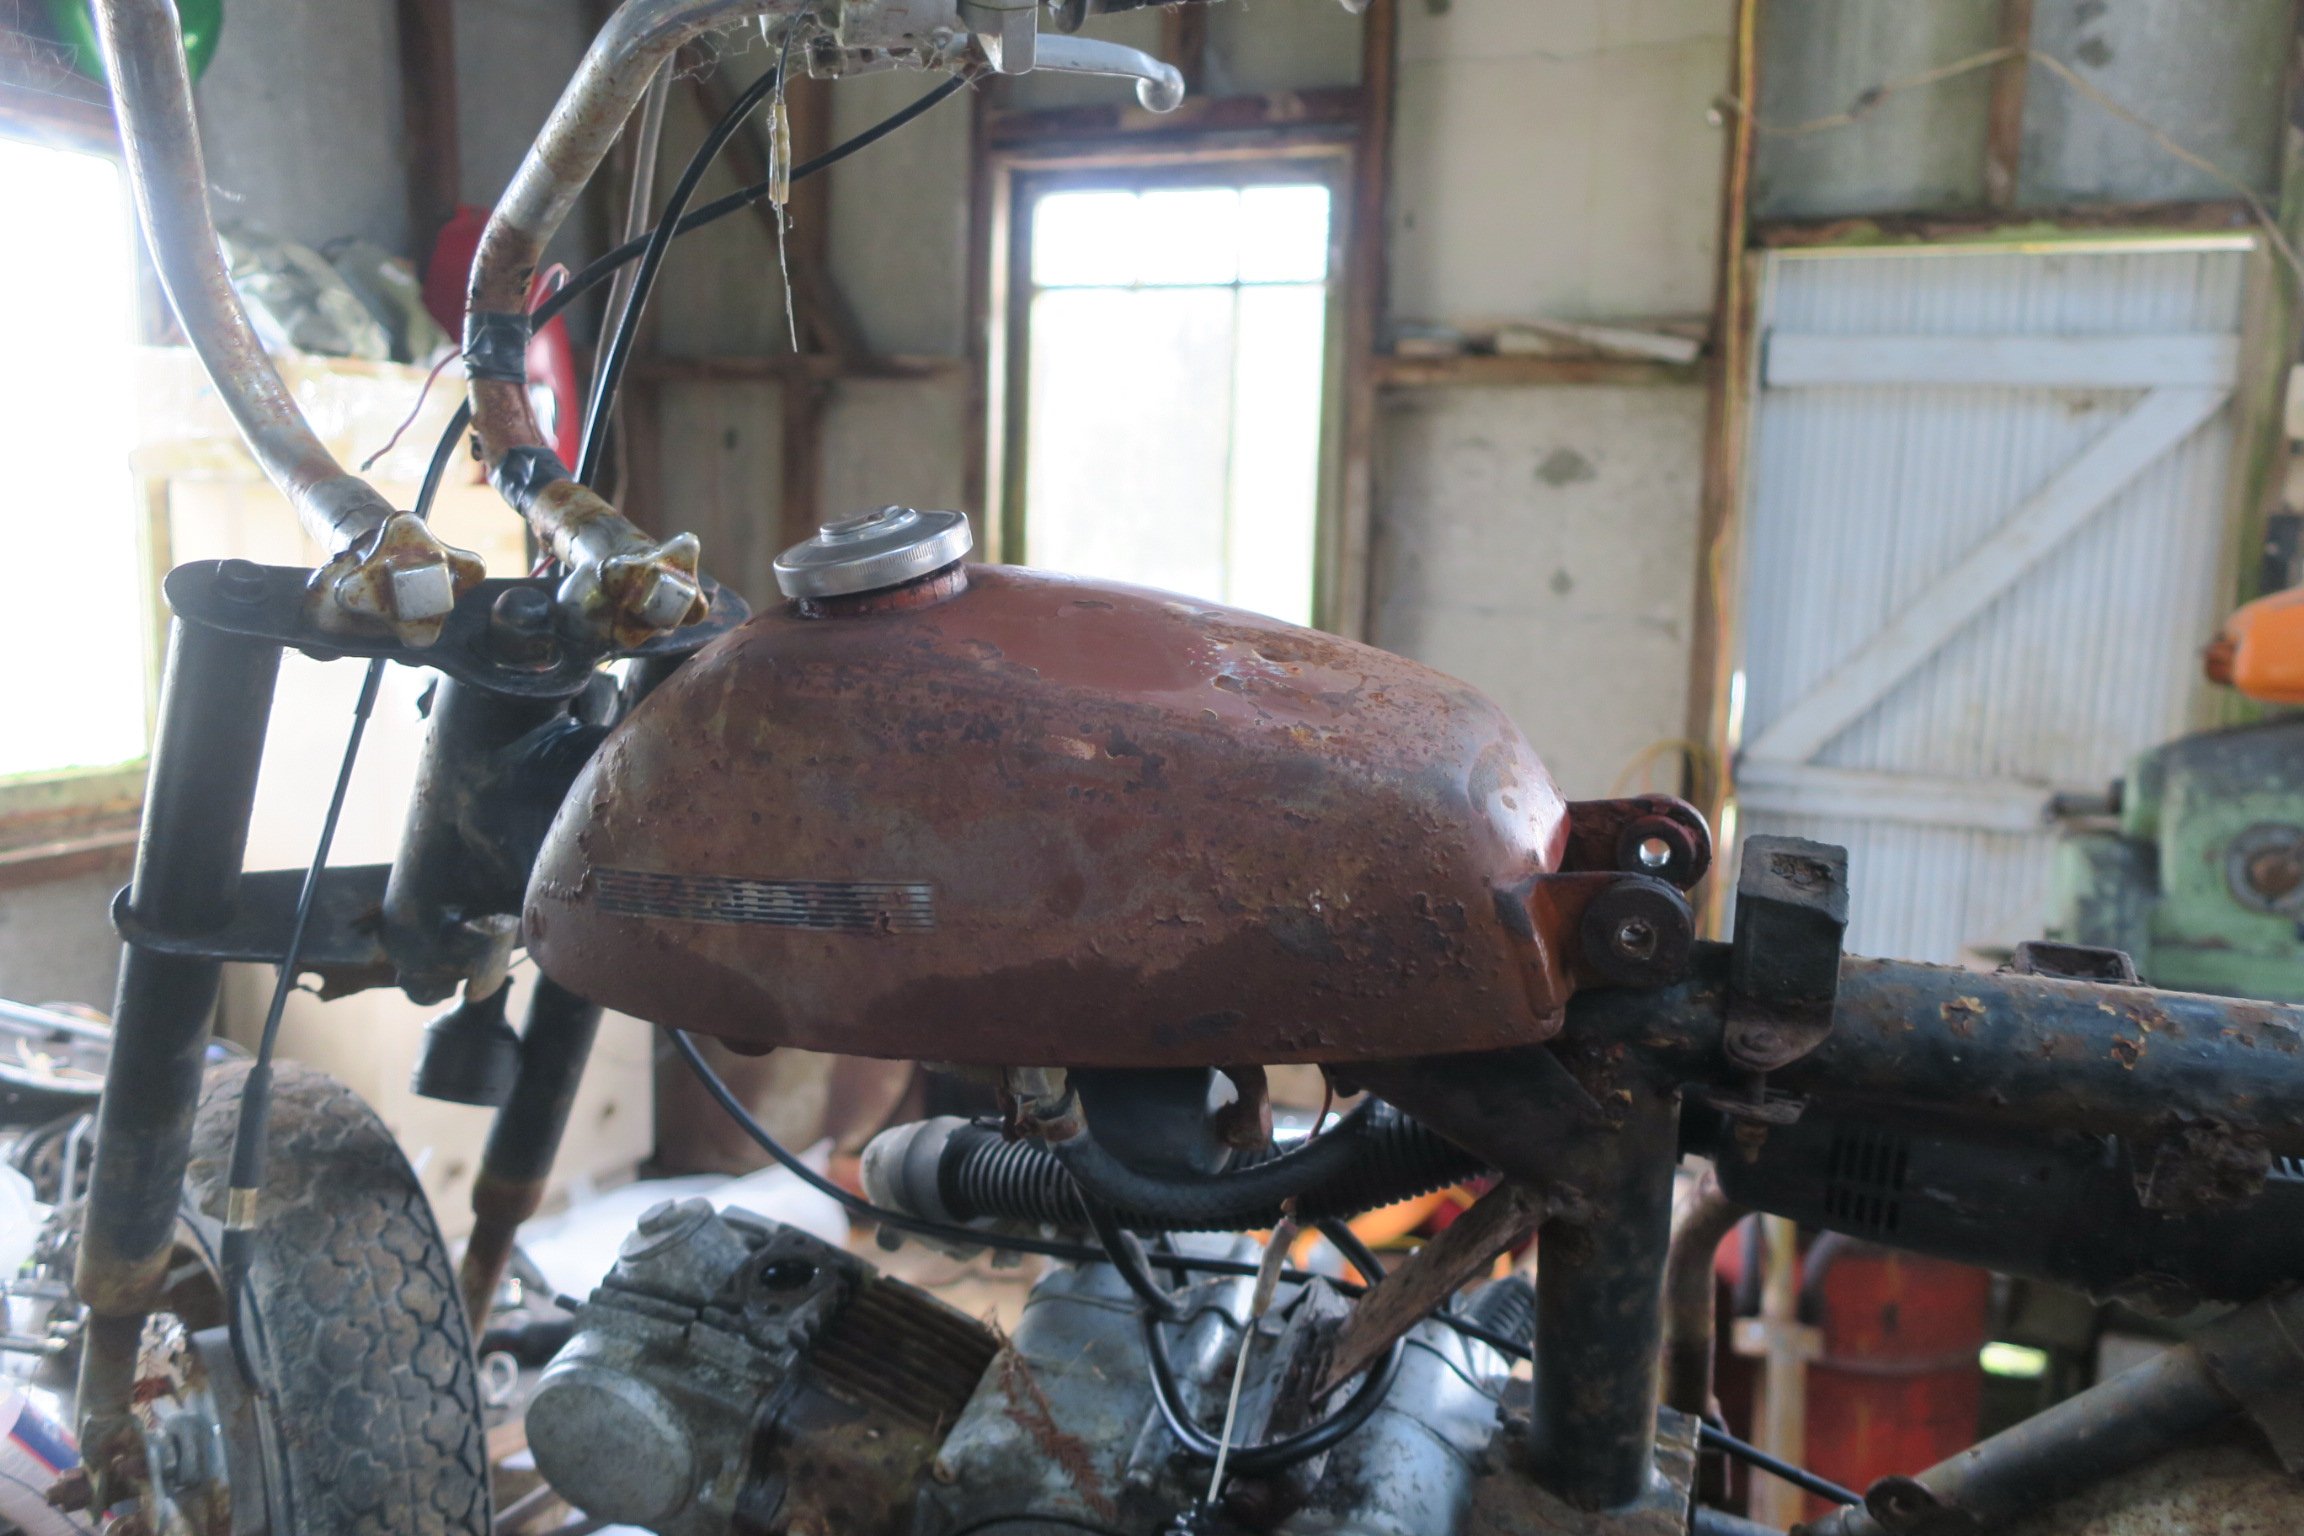
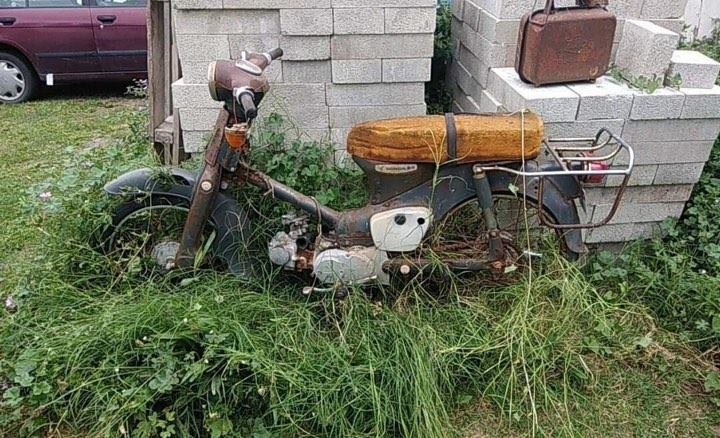
Ohhh god were do i start... So this i beleve is a honda im not sure. Not sure it matters anyway hahha. My friend more or less trew it at me haha. Hadnt gone in a long time. Got home atached a light from my parts box. And a can on start ya bastard down it 2 kicks latter walla. Not sure where im going with this sexually confussed pile of broken but hay. It runs and works so worth a laugh
1 point
-
An opportunity arose to grab a couple rear axles. This is always the hardest part to get (cheaply), and forms the part that everything else hinges off. So: A start was made this morning. The rest will fall into place as my obsession with trademe and car swap meets pays off and I find the parts necessary to finish it (once again, cheaply). Will be similar to the other 12, why change a good thing?
1 point
-
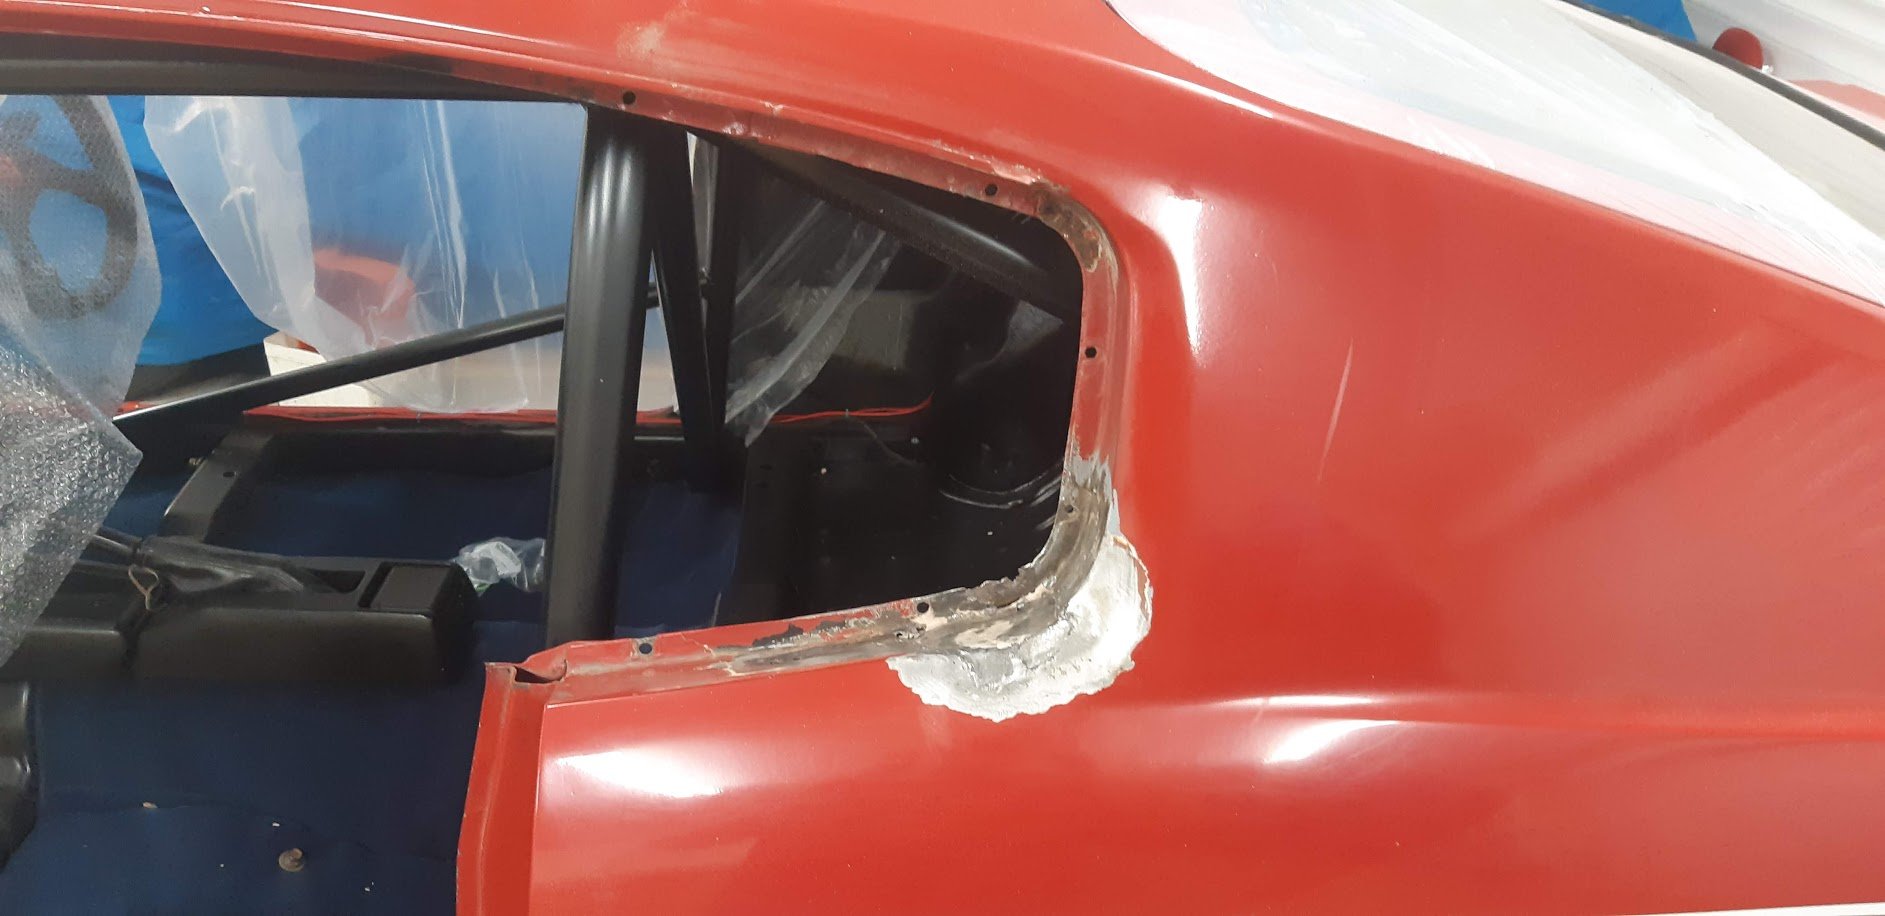
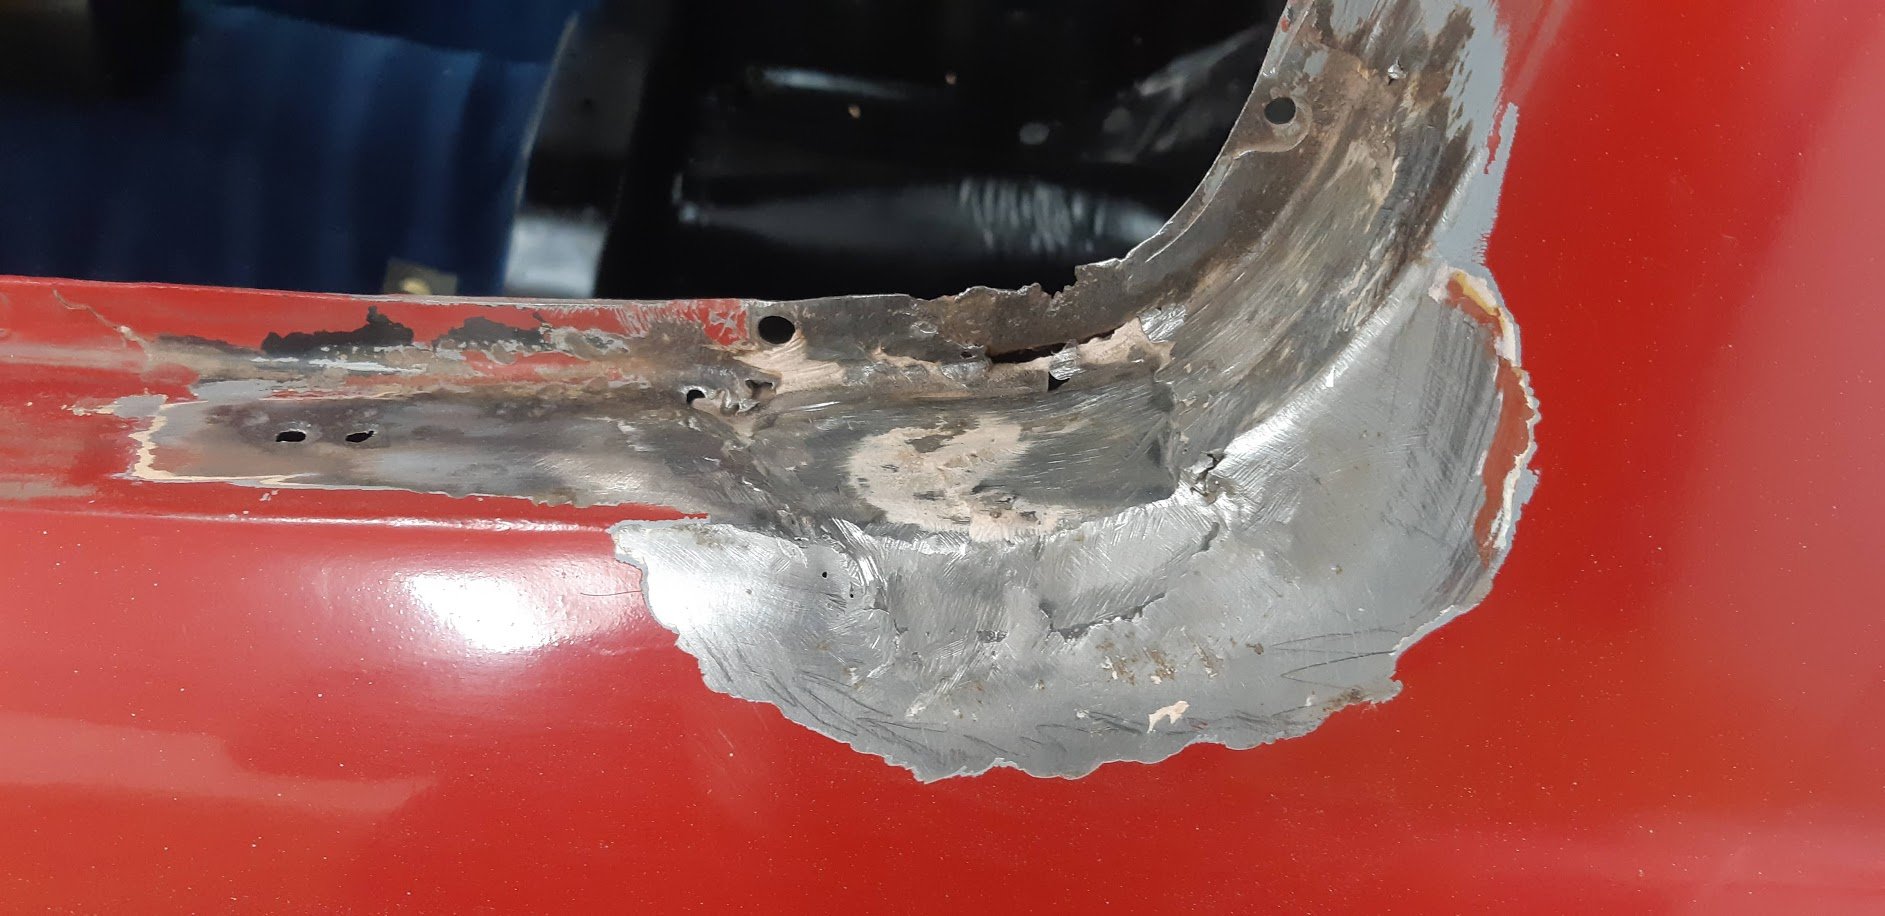
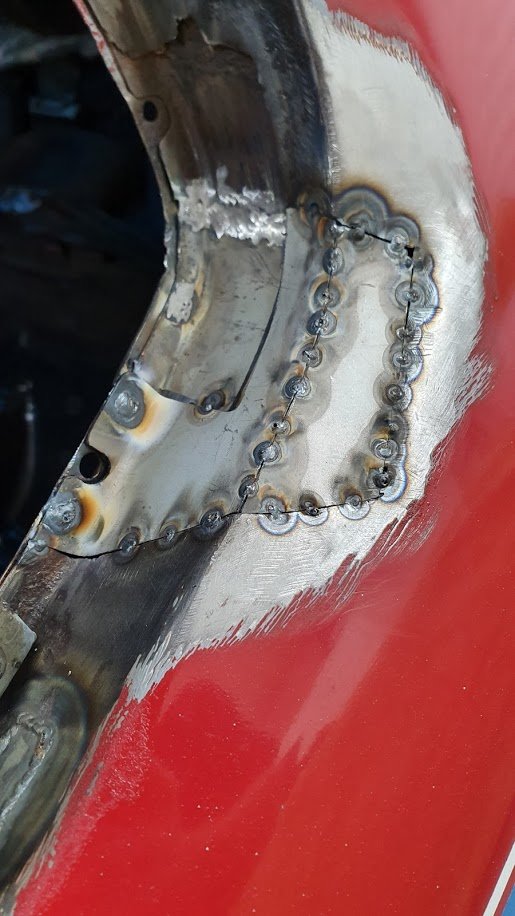
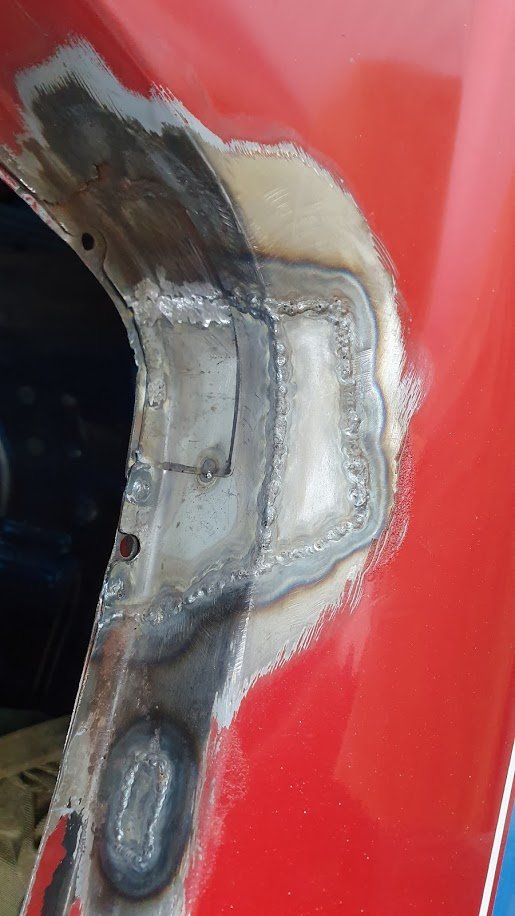
With the welder out for SLEEEK's floor repair, i figured also fixing the other quarter window on the racer was probably long overdue. Some BS repairs from the past that were 90% bog. Repair the inner bit and the reinforcement. Fill other rust holes. Measure and make the outer bits. Glue it up. and 200% betterer...
1 point
-
Yeah, each one is given away to mates I went to school with...theirs to keep. Each year we aim to meet up and have a race, talk shit, get fucked up and enjoy each others company. Not a bad way to spend a day. I think this is number 13? I don't have the energy to make many more, but probably have a couple more left in me. I'm at a point where I'm thinking my time is better spent on finishing some more substantial projects, like my Harley or Impala. But who knows?1 point
-
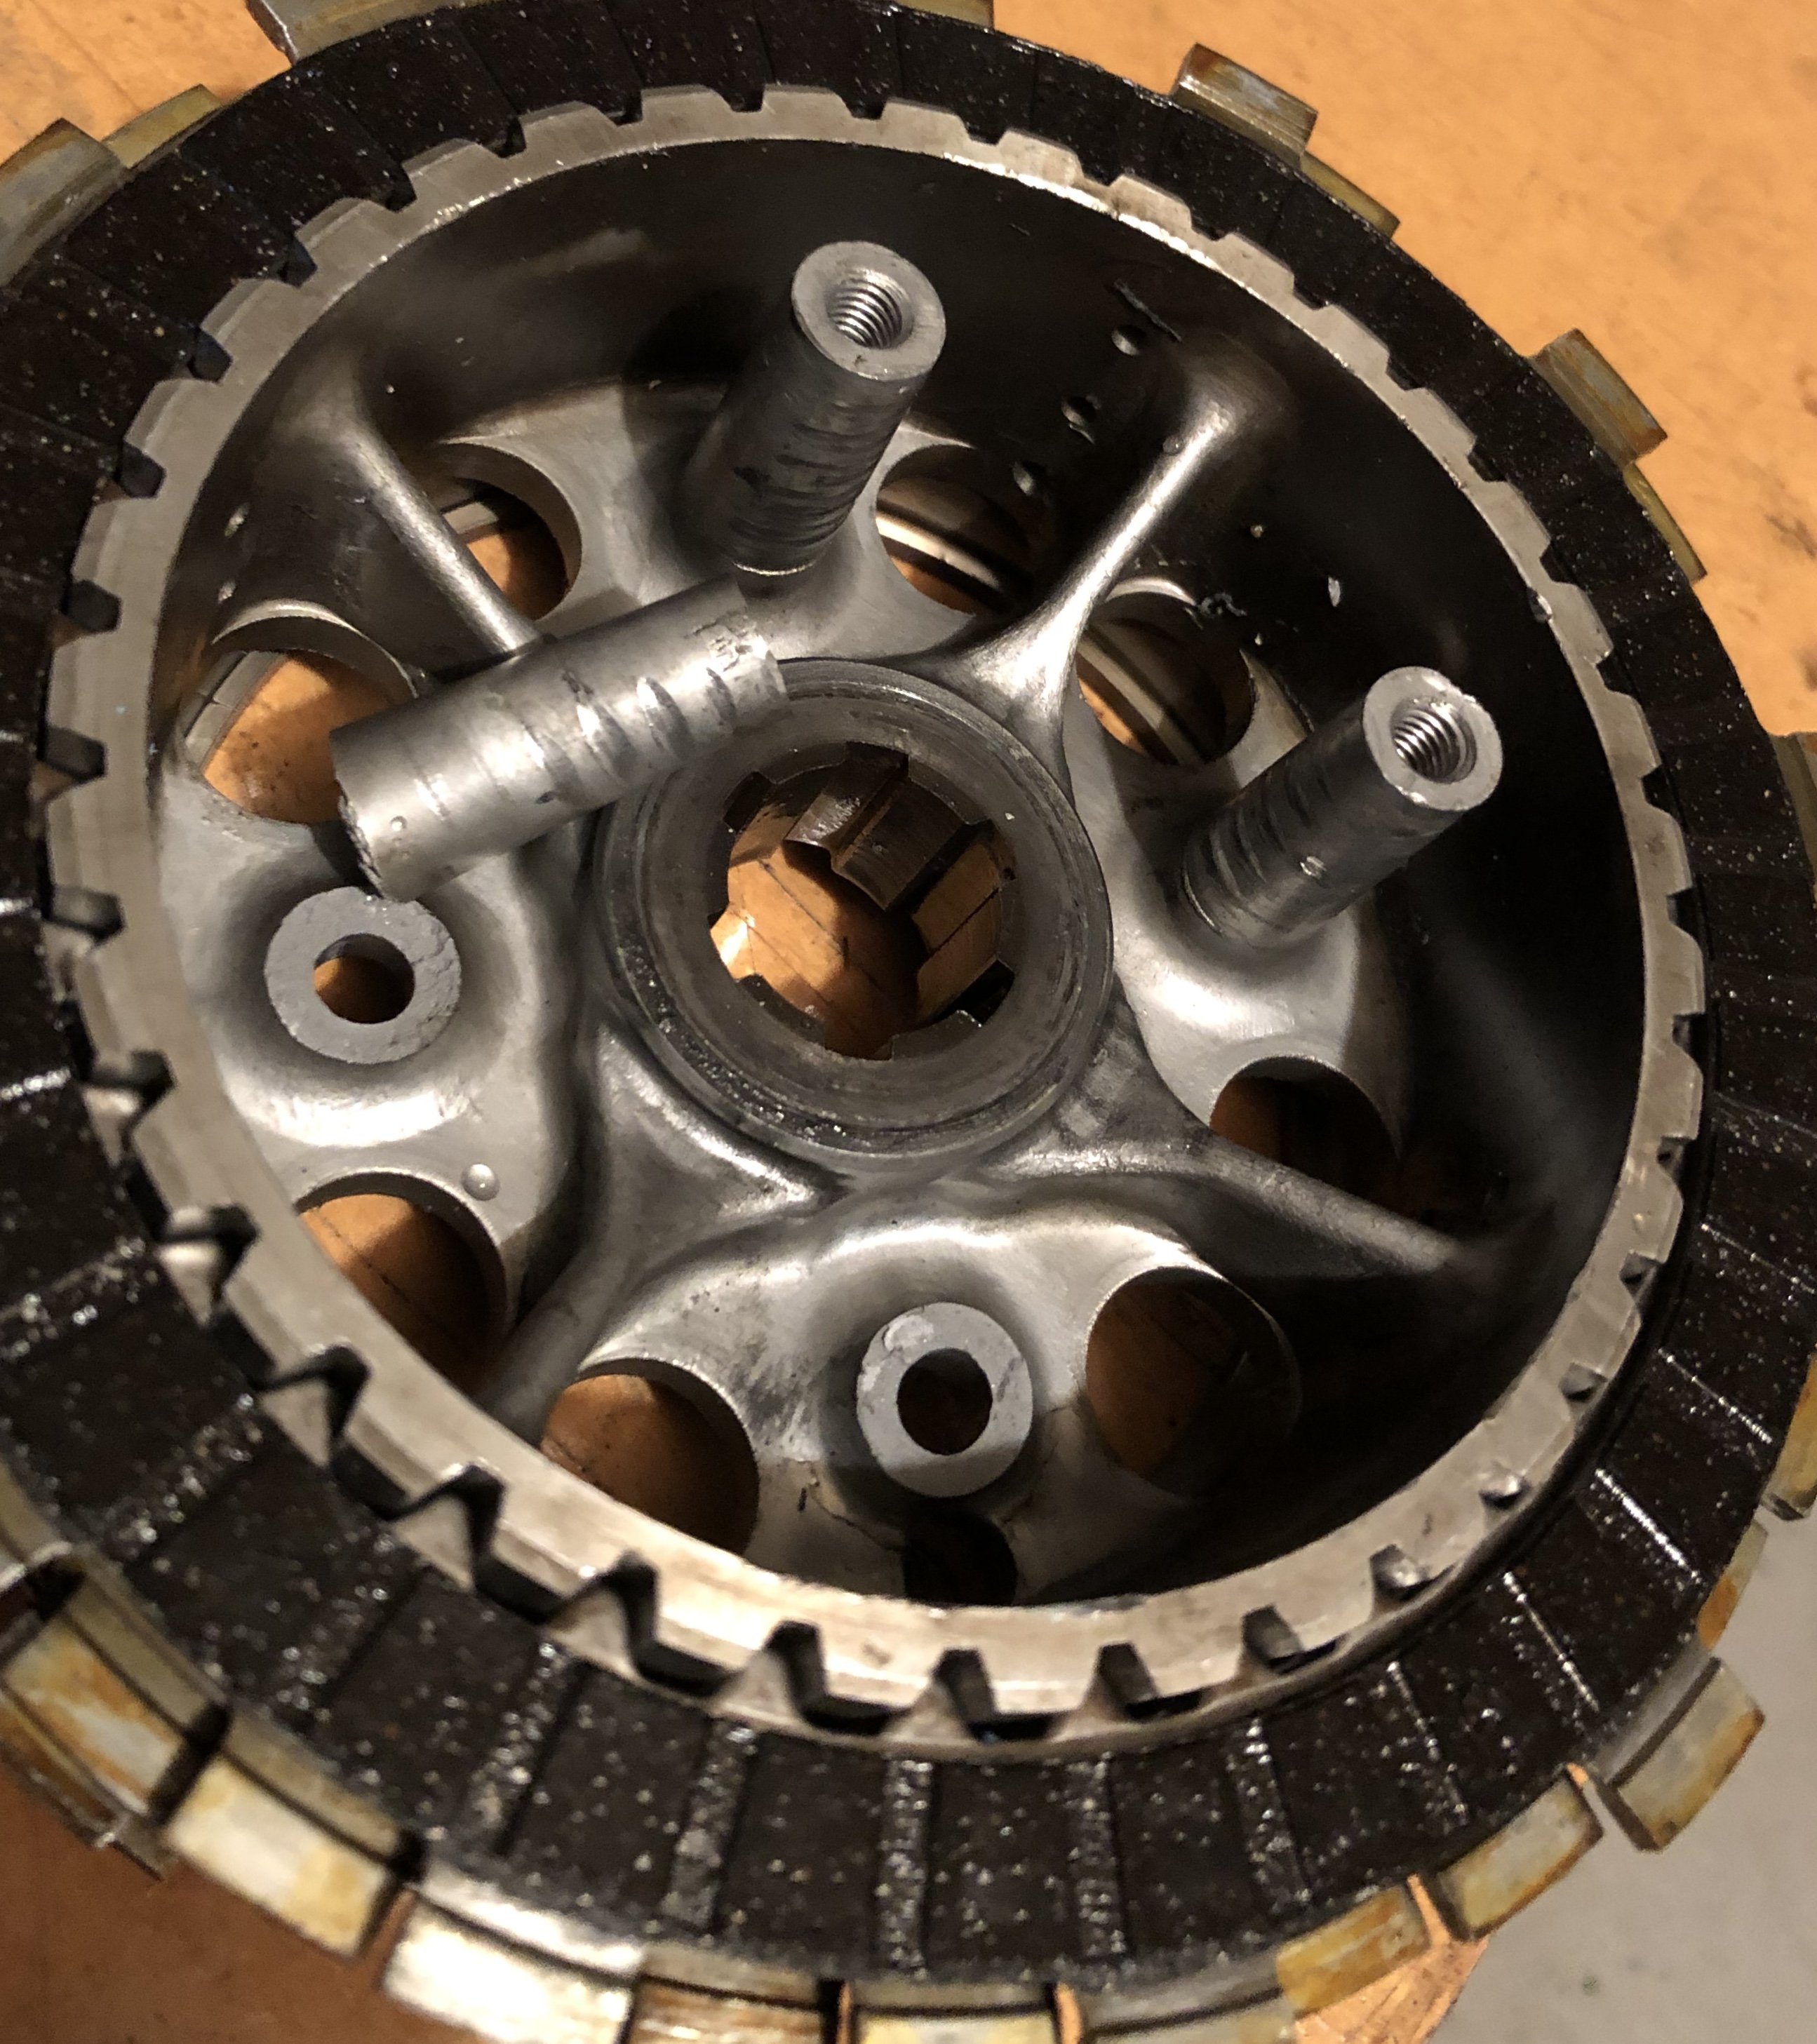
I fixed a Beta clutch basket that had broken one of those clutch spring spigots, made a new one from alloy bar and got it welded back in1 point
-
#z50clone Might call the bike Elsa, cause everything is frozen solid. It's been greased up and reassembled, fitted to the wall as a decorative piece/future project.
1 point
-
1 point
-
this took WAY longer than it should have. i decided to mount the speakers as flush as possible. both Celcia's have sticky out type "pods" with the speakers in them and i have knocked the shit out of them getting in and out of the car with my big work boots on and the speakers have taken a hammering because of it. and i kind of wanted to cause the least amount of disruption to the look of the door cards as i could. so i did it like this. 20mm spacer which has black carpet on it but ill probably put some matching red vinyl on them eventually. while i was in there i ran wires for the central locking and put some sound deadening in the doors. now i need to run a power feed for the small front amp, mount the crossovers and finish the wiring. all the wires are run to where the amp and crossovers are going to be so that should make life a bit easier. i'd also like to get the power steering installed this weekend but we'll see how we go. 2019-07-25_09-12-23 by sheepers, on Flickr1 point
-
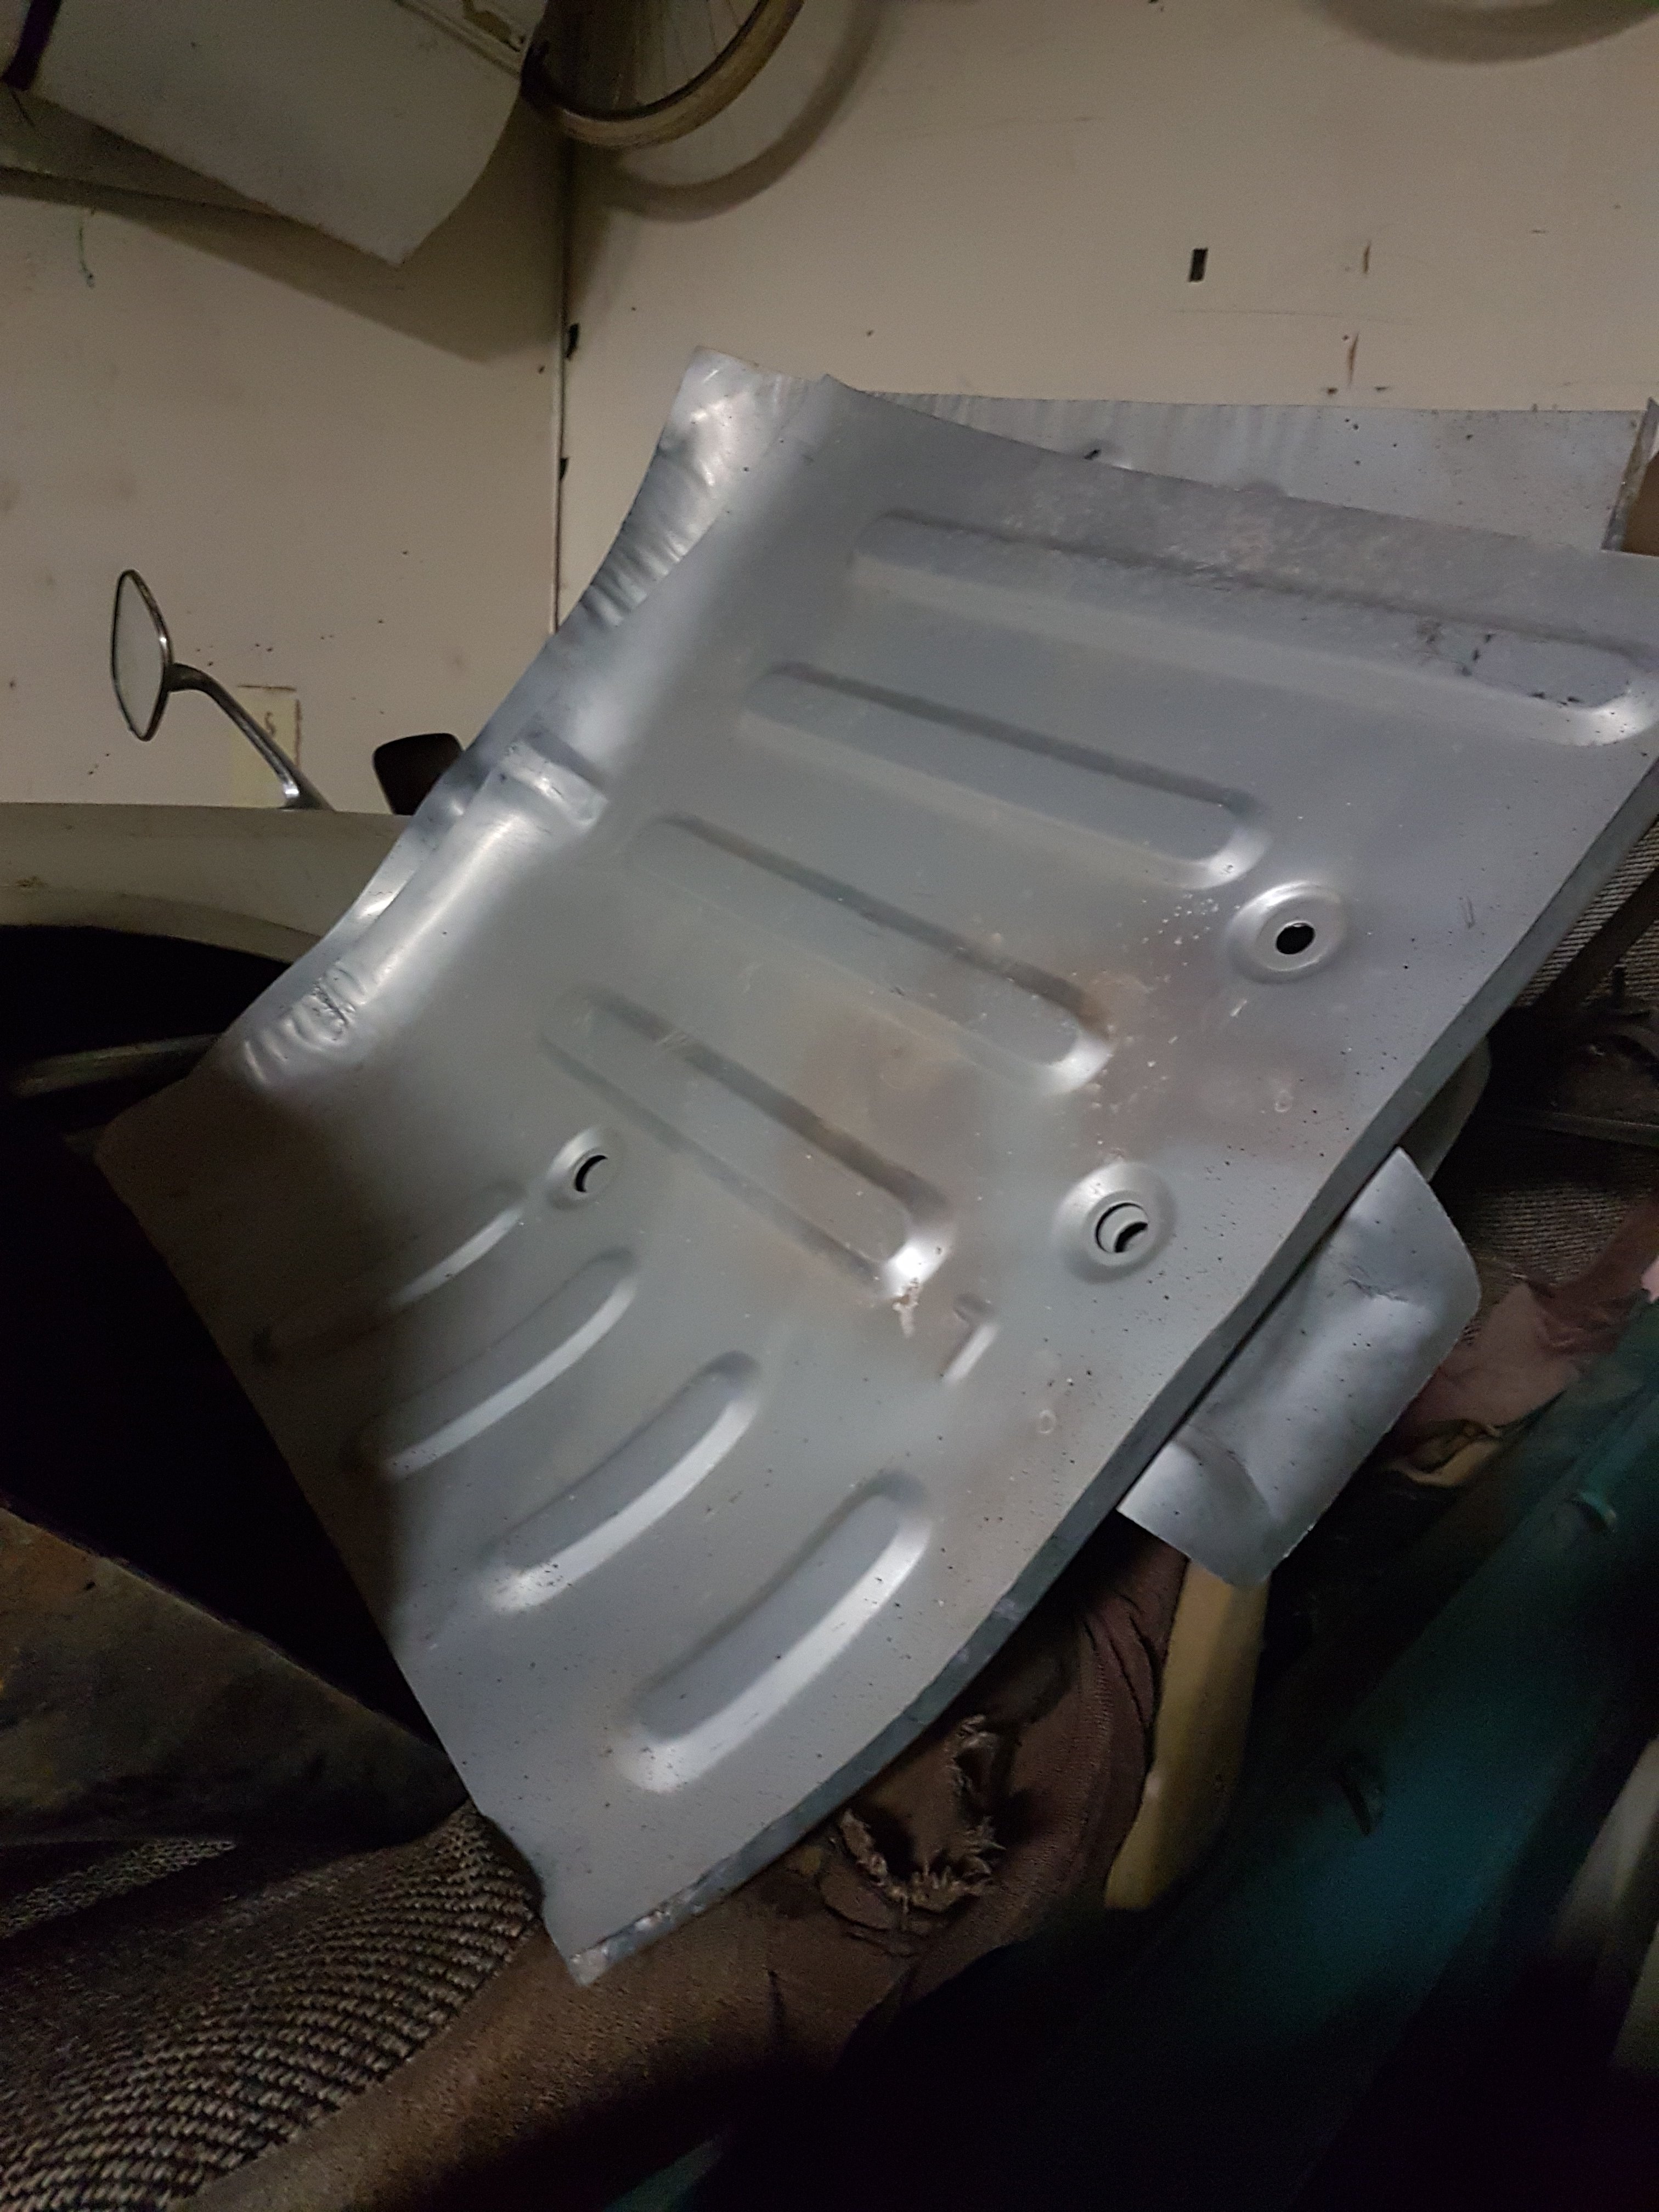
Actually, i did buy some floor pans! Kinda progress..
1 point
-
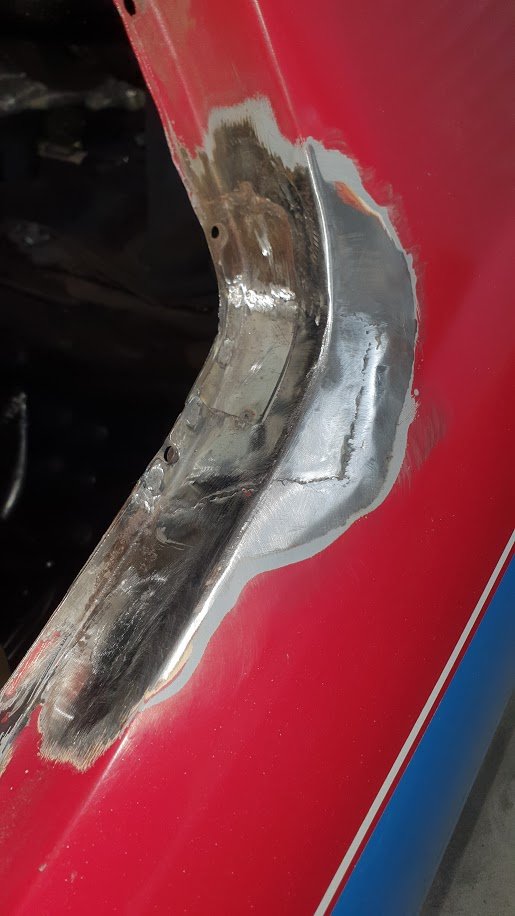
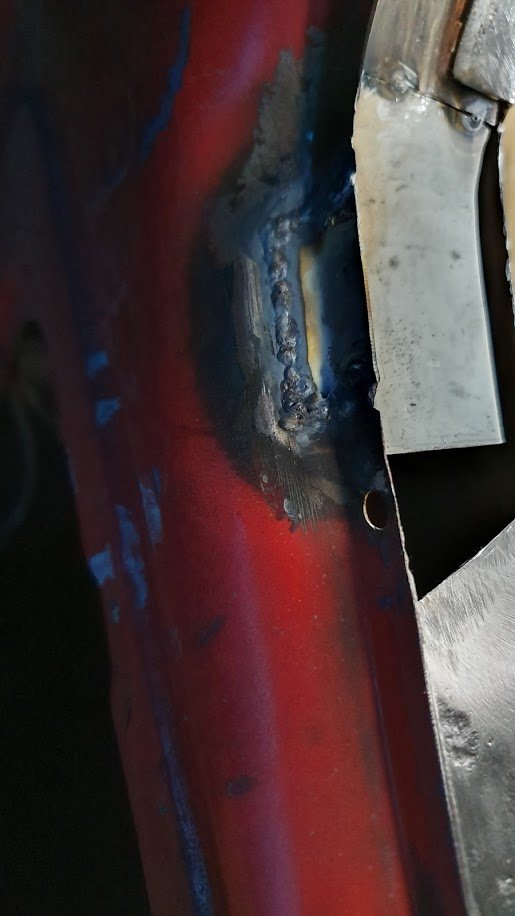
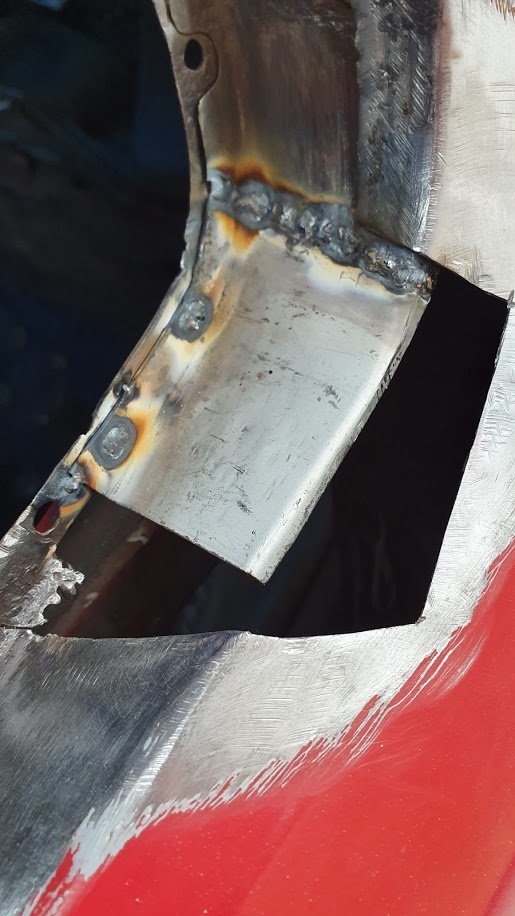
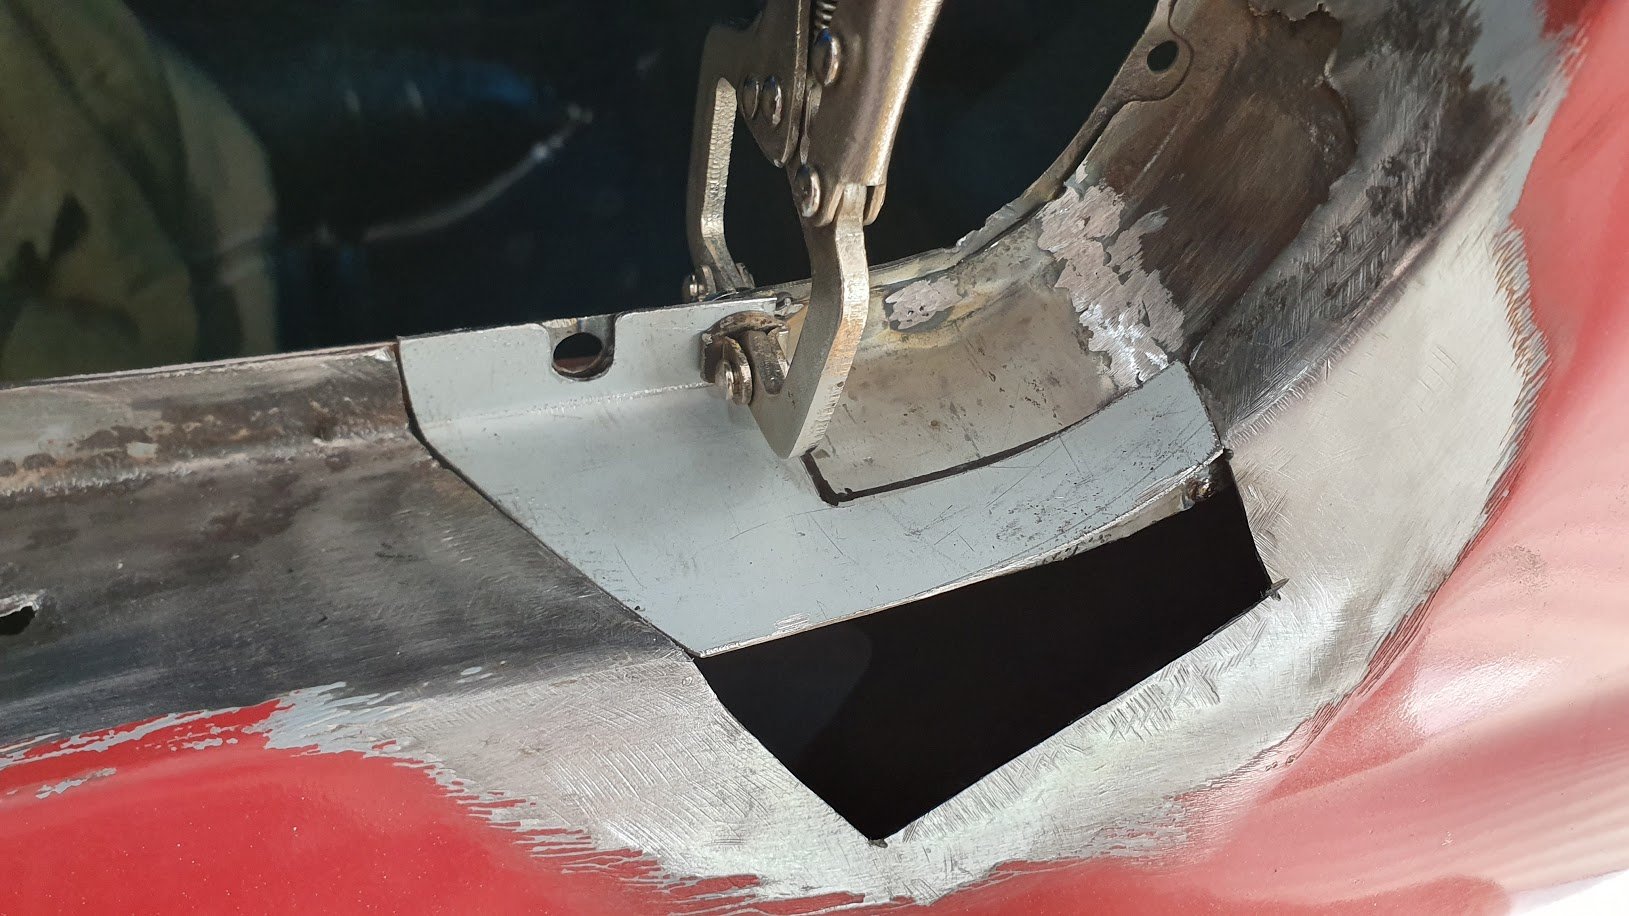
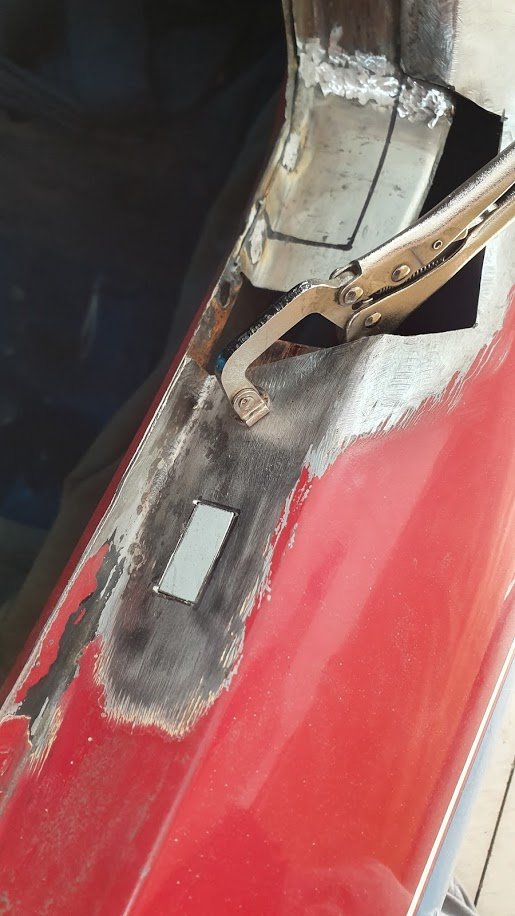
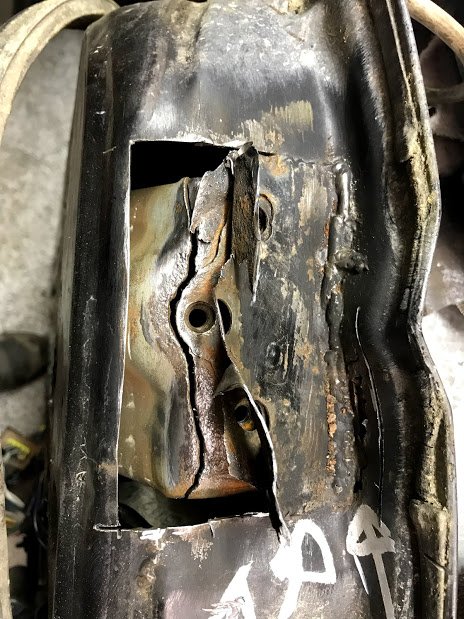
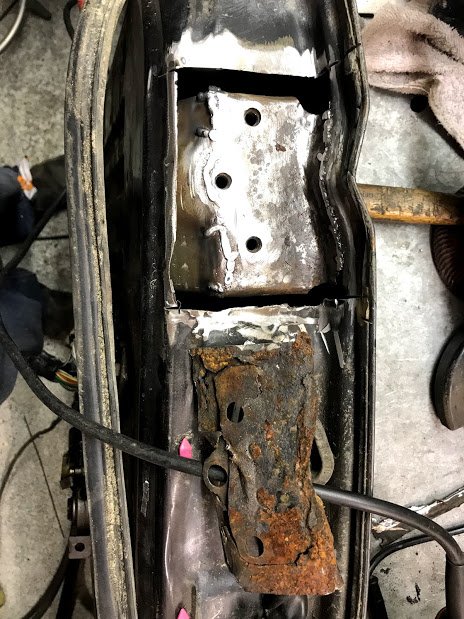
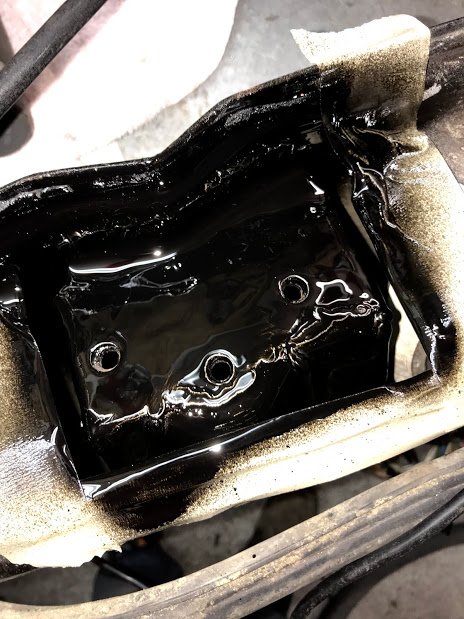
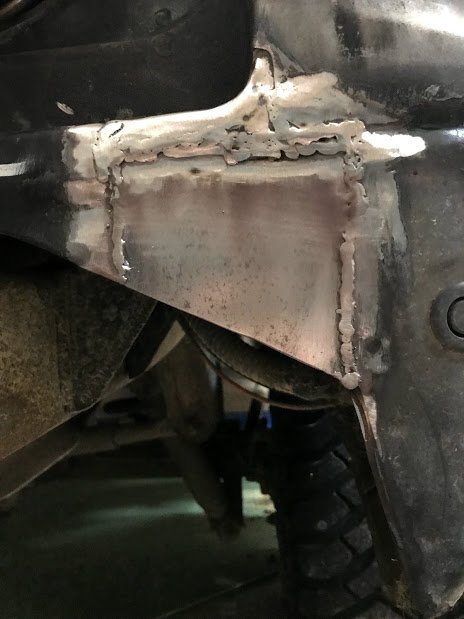
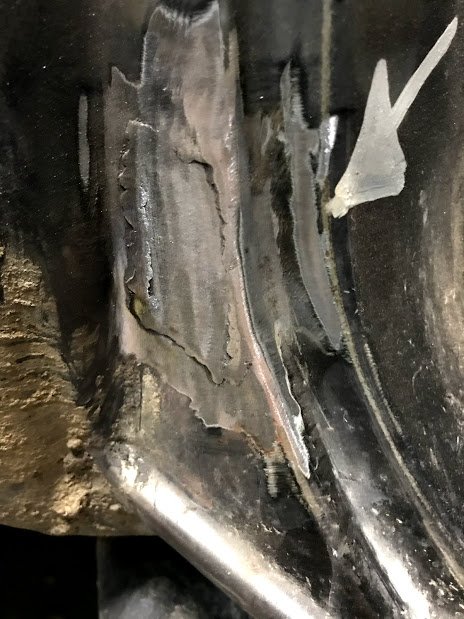
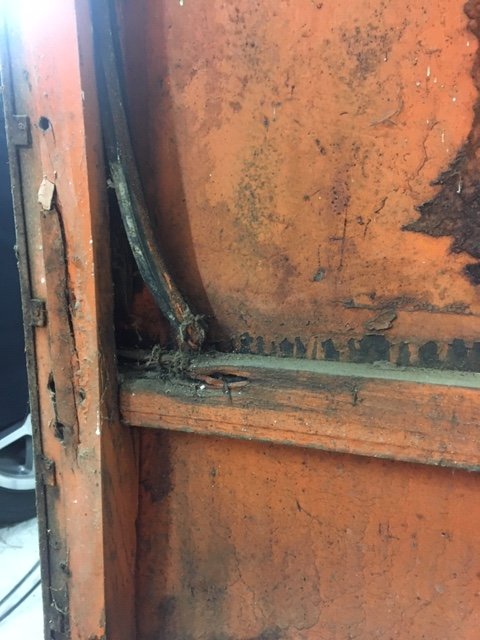
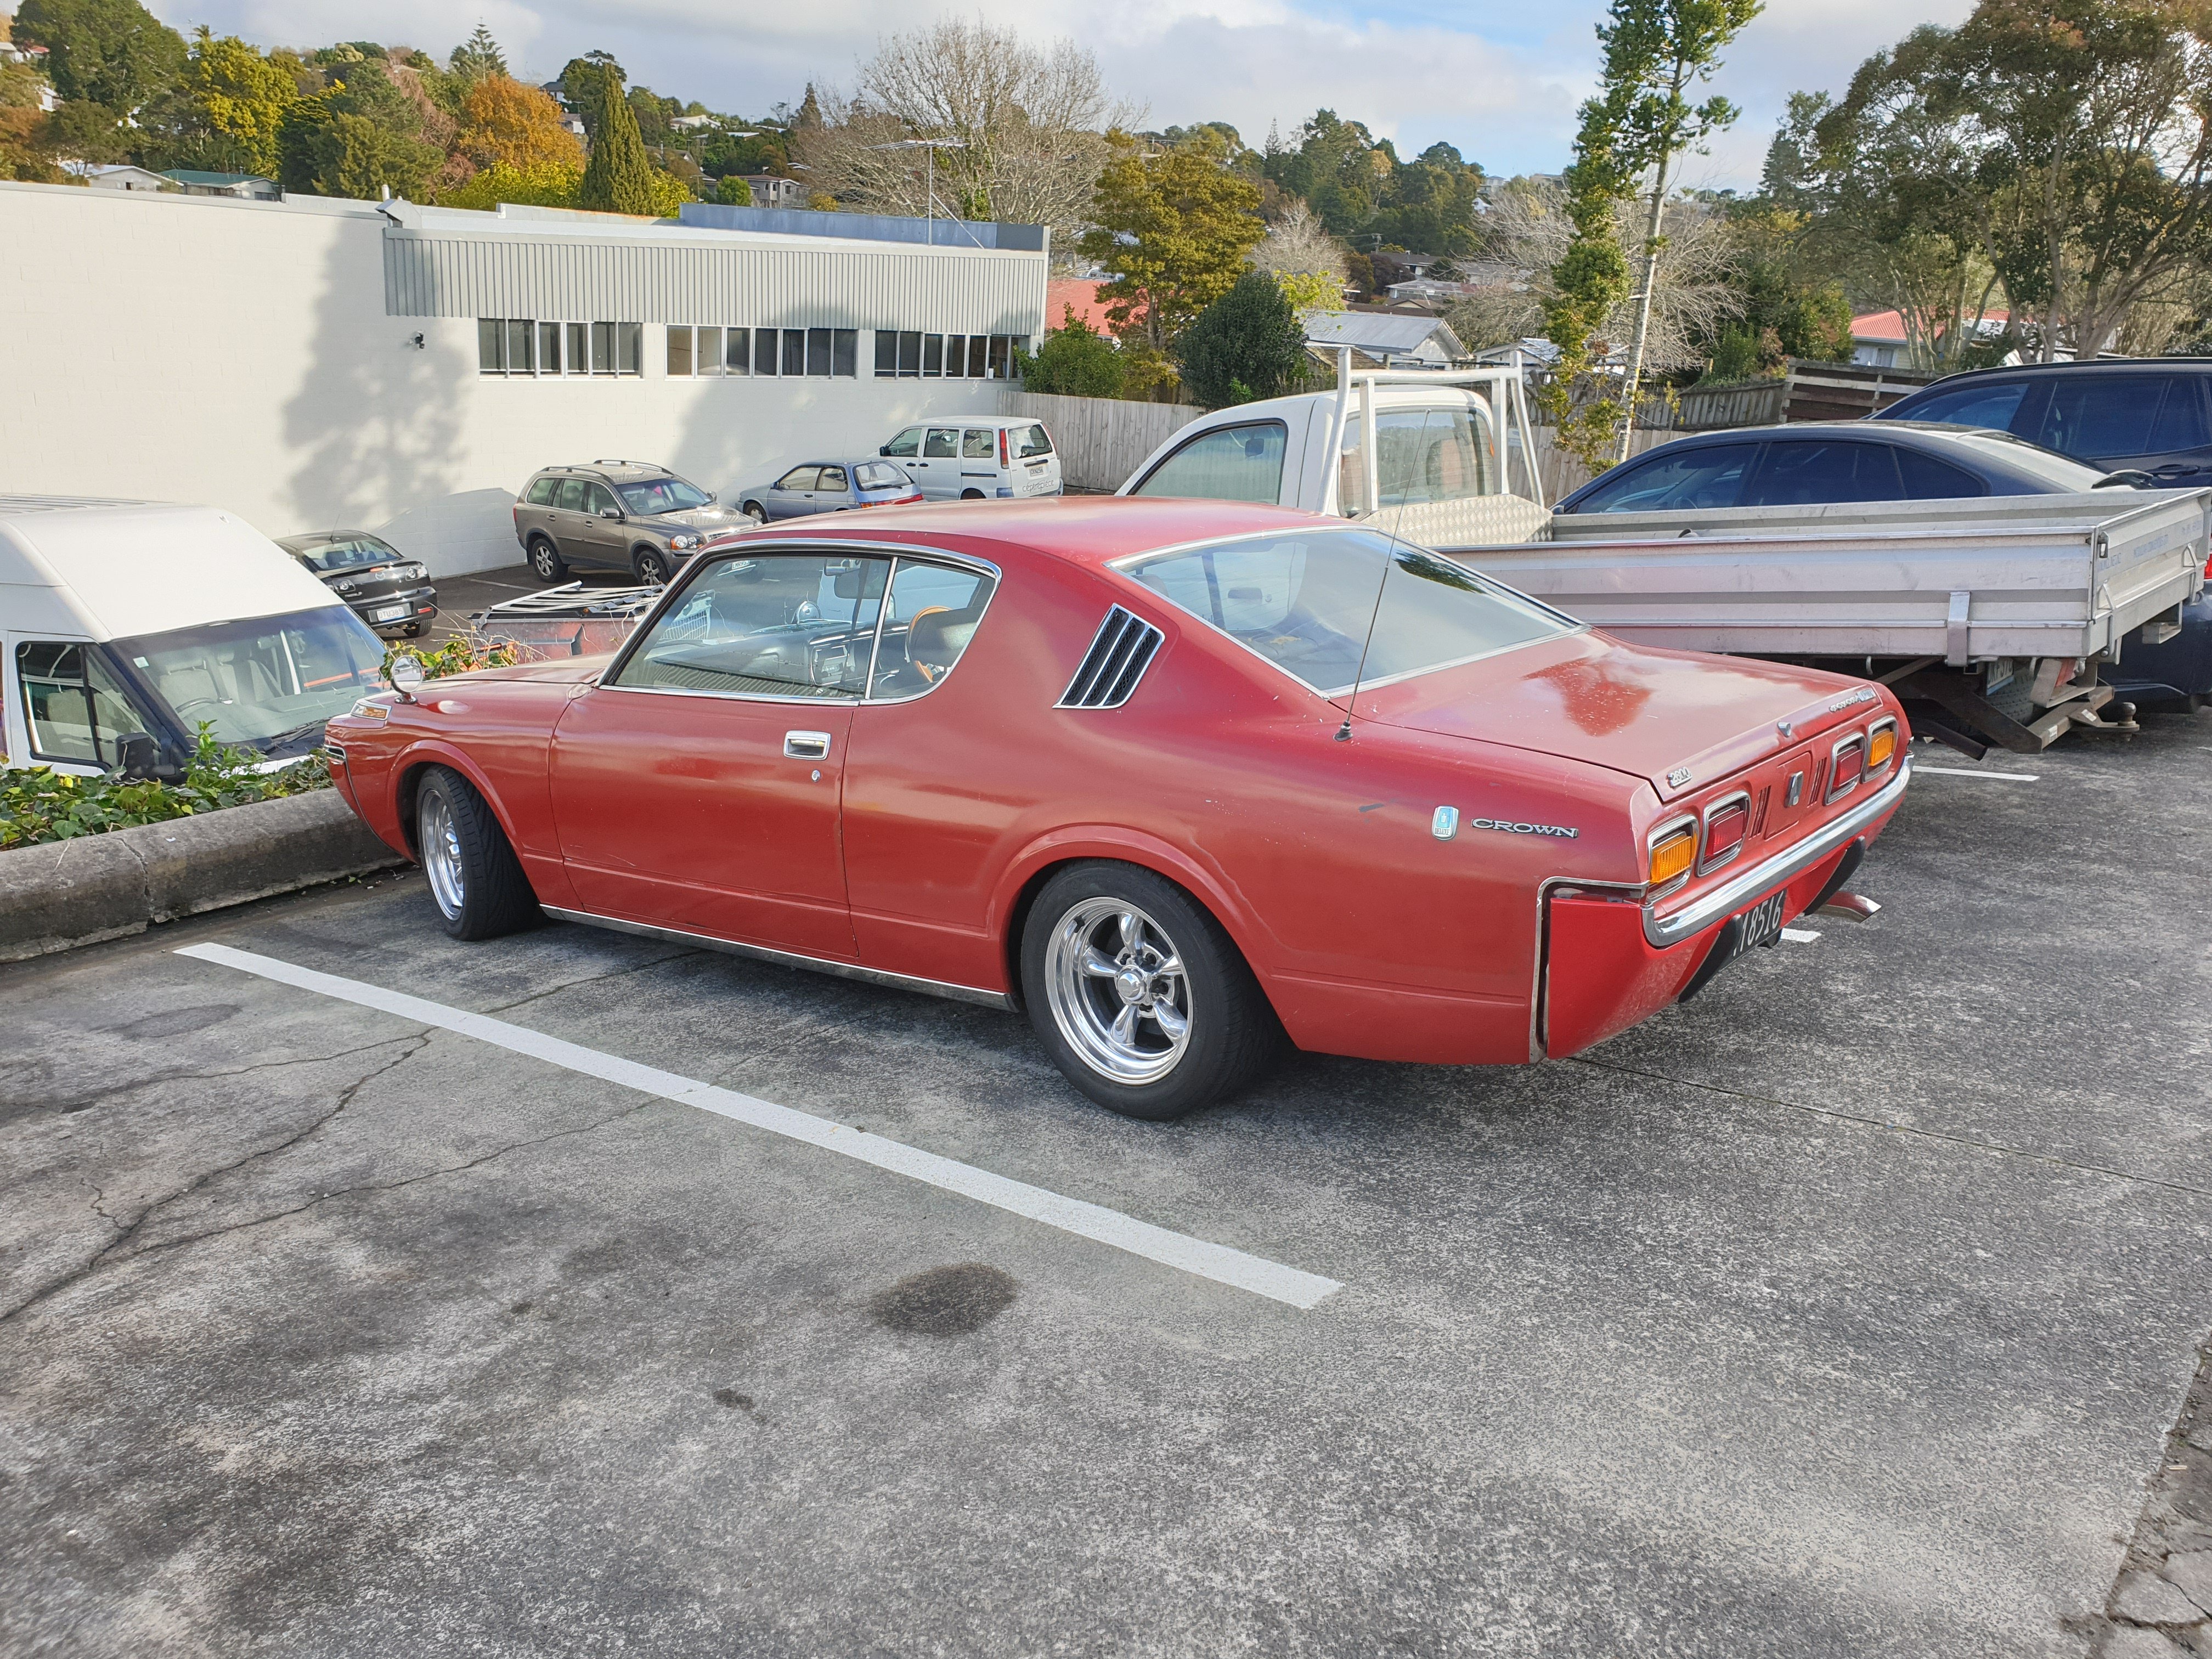
Wof man noted rust, I knew about the bit on the back but had never been a problem. Difficult one was around the door hinge where I hadn't seen it. Looks like it was repaired previously and not rust protected behind the plate. Started cutting it out and found a support behind it which had cracked, strange break... Had a look inside the door and everywhere else is rust free so it was worth doing the work. Arrows from wof man showing rust coming through on the original steel behind the previous owners weld. I've had this 6 or so years now I think and never saw this welded on plate. Then found the support cracked: Once I had a couple of spot welds on the crack I could completely cut out the plate knowing it would all line up again: Bucket of paint on the welded support thing, I welded some ribs going down from the weld figured it can't hurt. Plate welded over the top, bit of a rush job so not my best work but its solid and flat: Removed rear bumper to cut out this section and weld in a new plate, had a couple of reactions with something but again its solid and not a show car lol. Can't see most of it with bumper on anyway: And the rear door jam, this one was caused by rust starting around the plastic screw female insert jobby to hold on the wheel arch trim. Had a look inside when cut out and its totally rust free everywhere else in there which is great. Again wasn't worried too much about finish because its mostly under the trim. Good for another 30 years? EDIT: also failed on door hinge play on drivers door and the rear barn door is fcked from the weight of the spare wheel. Tried some suppliers and that lower rear barn door hinge must be pretty common. No one that I tried had stock, one offered to bring in from Japan but that was a 6 week wait. There's a guy who wrecks Safari's down south, he says he has some with no play. So bought those to get wof. Hopefully they really do have no play.
1 point
-
1 point
-
So I've done a bit more on this dirty Berty. I flipped it over to finish off the frame extension, and cut off a few unneeded bits. Seeing as it wouldn't rev or idle with no choke, I cleaned the carbs out, they had sea weed growing on the float needle things. I also welded up the plenum, and played around with restricter sizing (had to go down to a 35mm opening) this resulted in it running waaaaay better, and revving out like it should. I also removed all the washers that had been put under the needles (they were trying to make up for them not lifting due to lack of vacuum) and it ran even betterer again! I needed some way of mounting the air filter, and remembered I still had some silicon left over from the hektik Hilux, it was perfect, and pretty! Little vid of it running betterer, the linkage was a bit sticky, hence the high idle then dieing out at the end. Then I took the wrap off the headers as it was fucked, and cleaned the headers up a bit. Then I changed the muffler out for a prettier one, it's from a GSX1200, so even though it has one chamber (the other was straight through) it has a larger outlet than the original, so should flow well. I had a sprocket that needed boring and keying, but decided to go with a plate wheel and bolt it to the original sprocket hub. Bit bigger than the OG one. I then put the back end together, and ran a brake line up to the slave cylinder. Got a few hoses from the wreckers, this female - female clutch line from an AE100 Corolla made life easy, used the mounts and all. Then I made a new gear shifter linkage, as the old one was fucking rank. I also moved it forward a bit to suit me. Next was sorting the steering wheel/shaft/rack. This was a bit of a mission, but it worked out well. Managed to mount the wheel on top of the bar it used to be below, and move it forward a bit, so I can pilot the vehicle, with the added bonus of being able to get in and out of it. Also put the front suspension back together, so I could work out the pedal position, and the position of the bar that mounts the steering bearing, clutch and gas cable mounts, and the brake master thing. The brake master has to be in this funny frame thing to miss your legs and still fit under the hood. Once all that was done, I crimped the cables, but they were too short due to me lengthening the frame, so I made little extension doofers out of D shackles. Now the back ends done, all the controls are pretty much done, and it's running better, I'm getting onto doing the front steering knuckles and tie rod ends. Still much to do, but progress is being made! Regards, VG.1 point
-
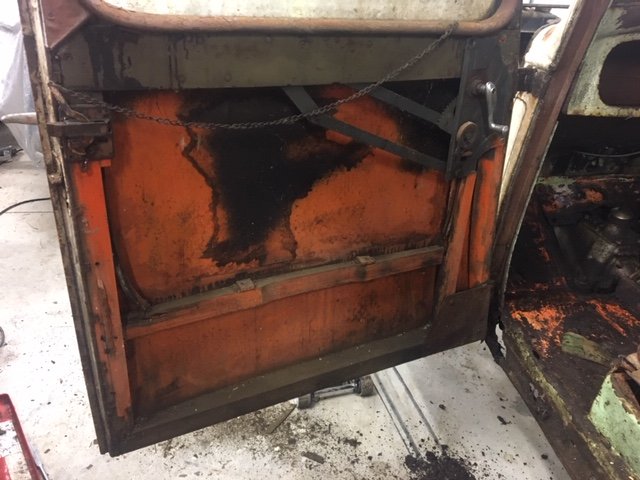
AMAZING AUSTIN FACT #1: The Austin 7 was the first production car to have the controls as we know them today. I.e Clutch -> Brake -> Accelerator etc. AMAZING AUSTIN FACT #2: I learnt this one the other night while pulling apart one of the doors to have a look at its rust... Austin 7's have a wooden frame! The wooden frame thing was a bit of a shock. Here I was one minute looking at the door thinking it should be a pretty easy rust fix, then pulling off the door card off the next minute and finding that it was actually going to be a very challenging rot fix... My skills at steam forming ash timber are fairly limited, and while there are companies in the UK that manufacture the parts, I'm too tight to spend that kind of money. So my loose plan at this stage is to replicate the ash wood parts by cutting and laminating ply. Worth a try anyway.
1 point
-
have begun the process of installing some sounds. got the head unit mounted. next will be figuring out how im going to mount some front speakers. 2019-07-22_08-52-56 by sheepers, on Flickr 2019-07-22_08-52-39 by sheepers, on Flickr1 point
-
Mistakes were made today.
1 point
-
That new spike looks like it could be a pain in the arse1 point
-
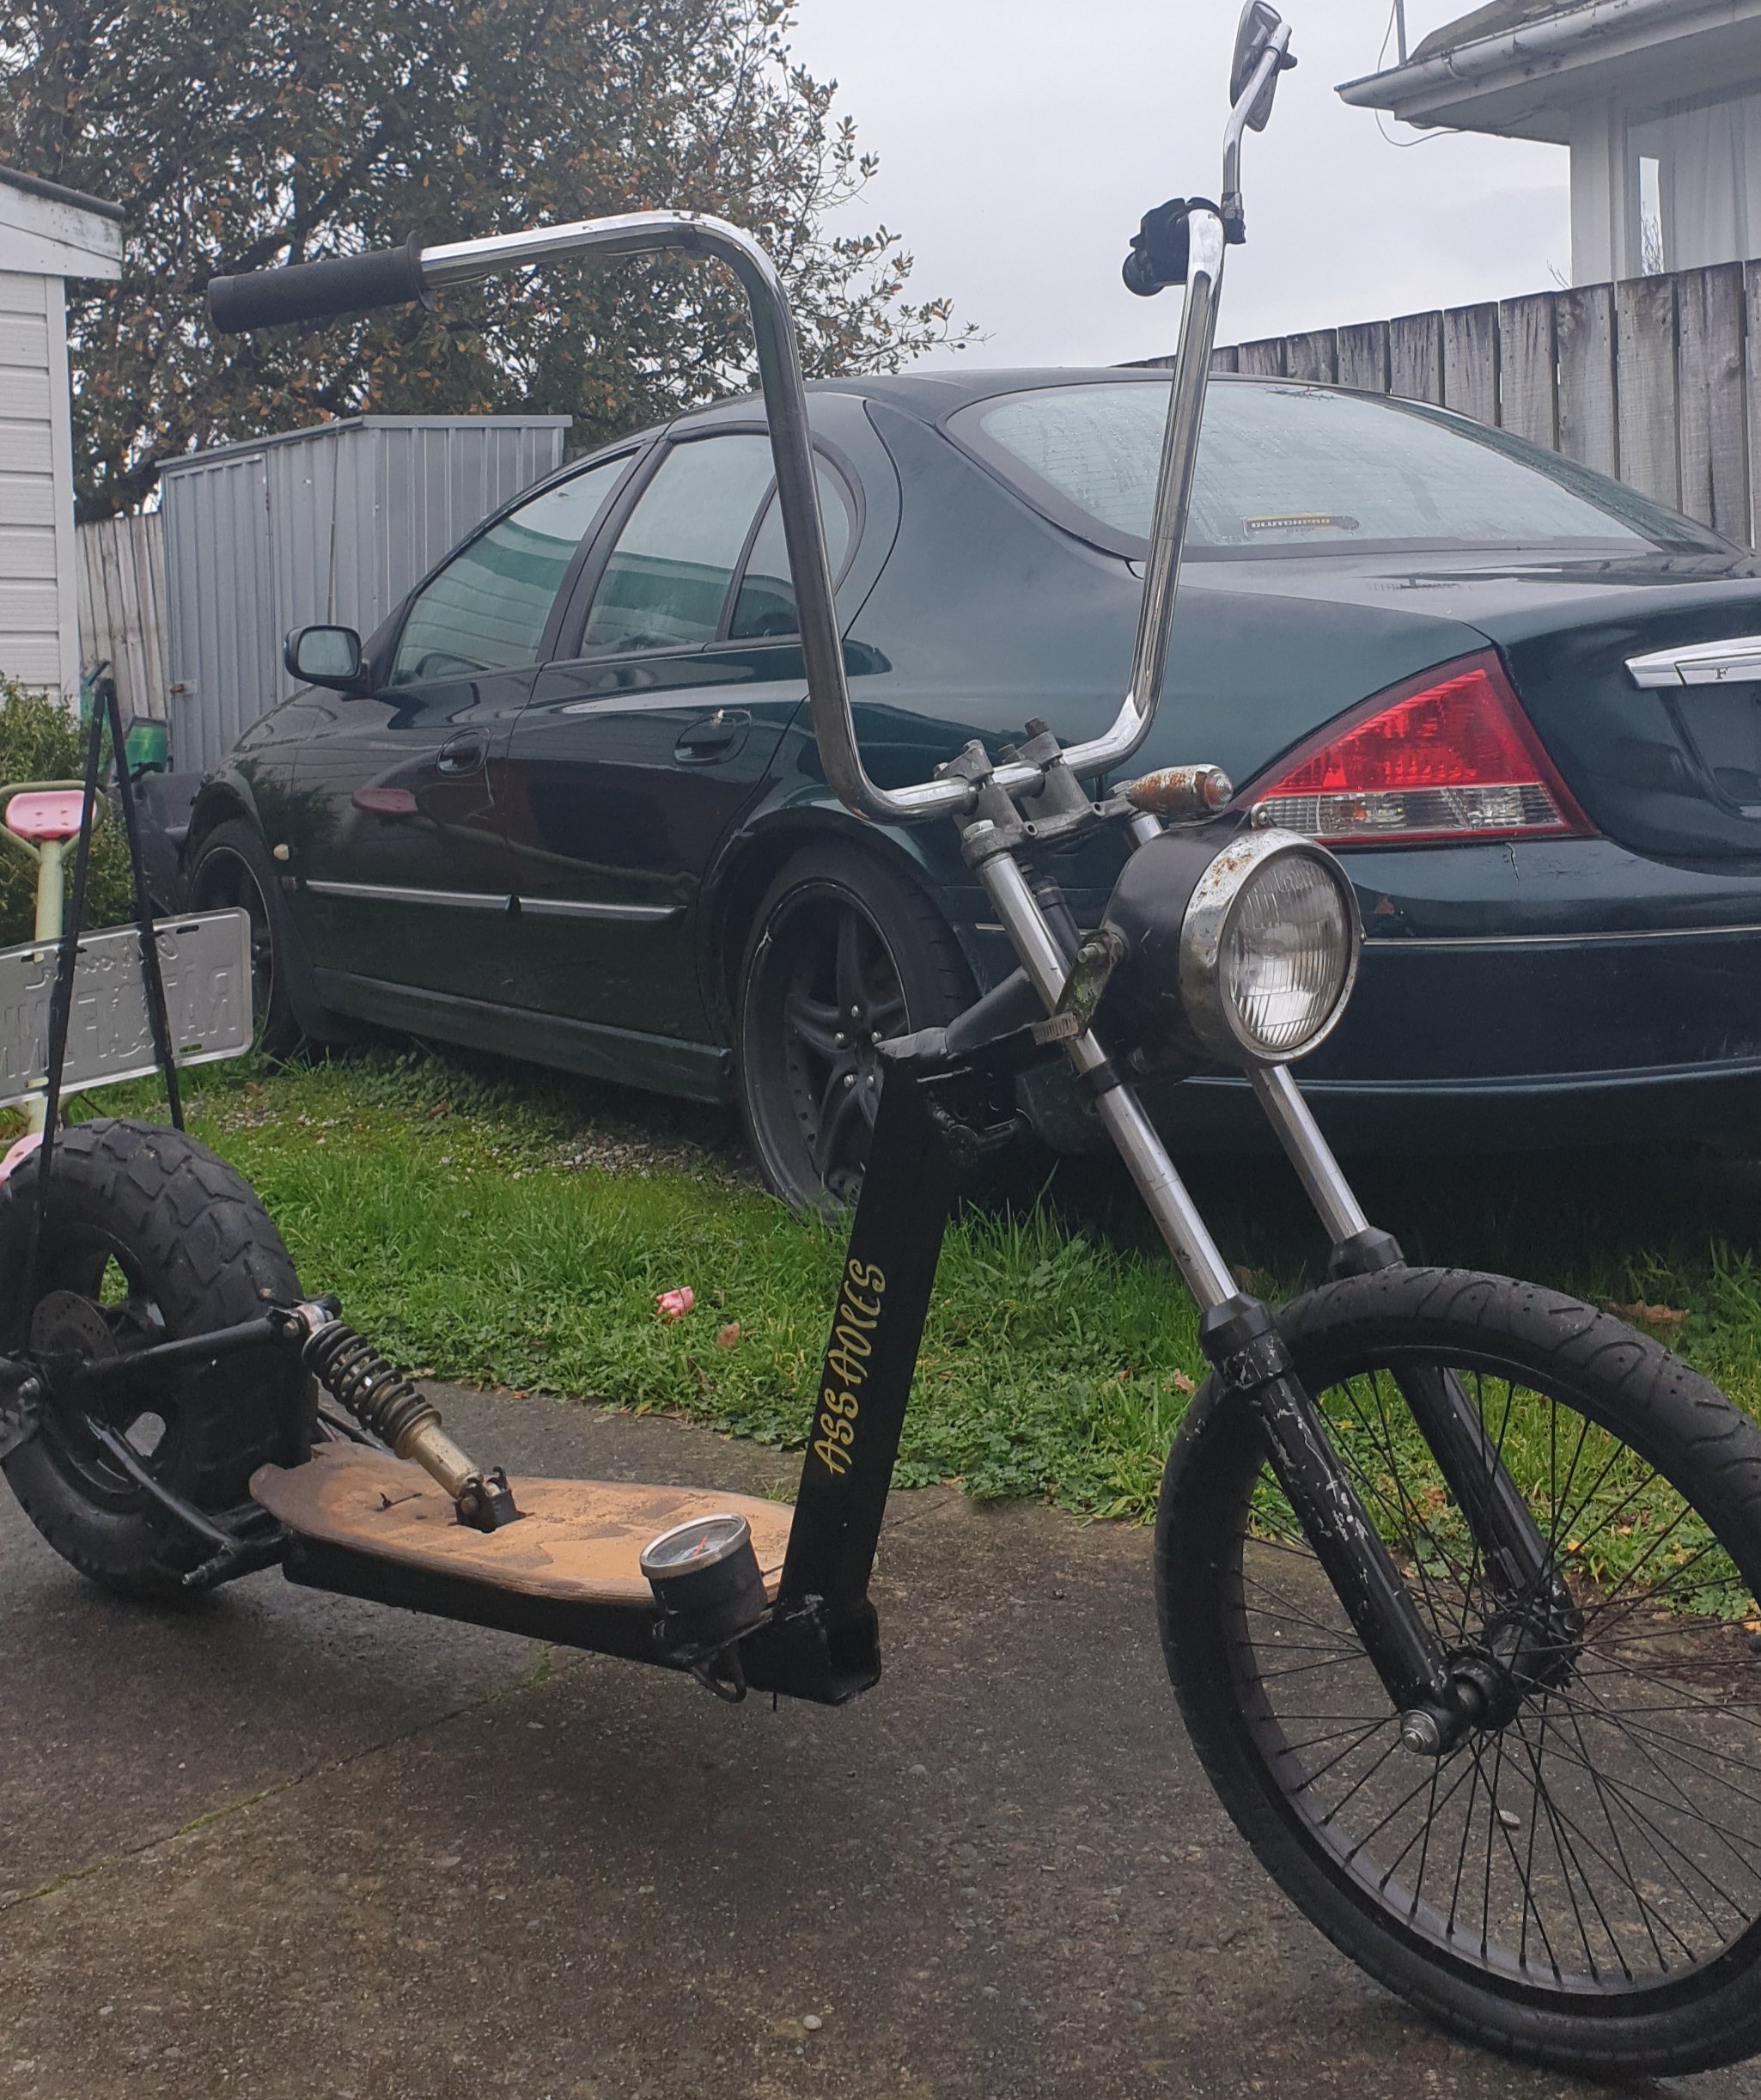
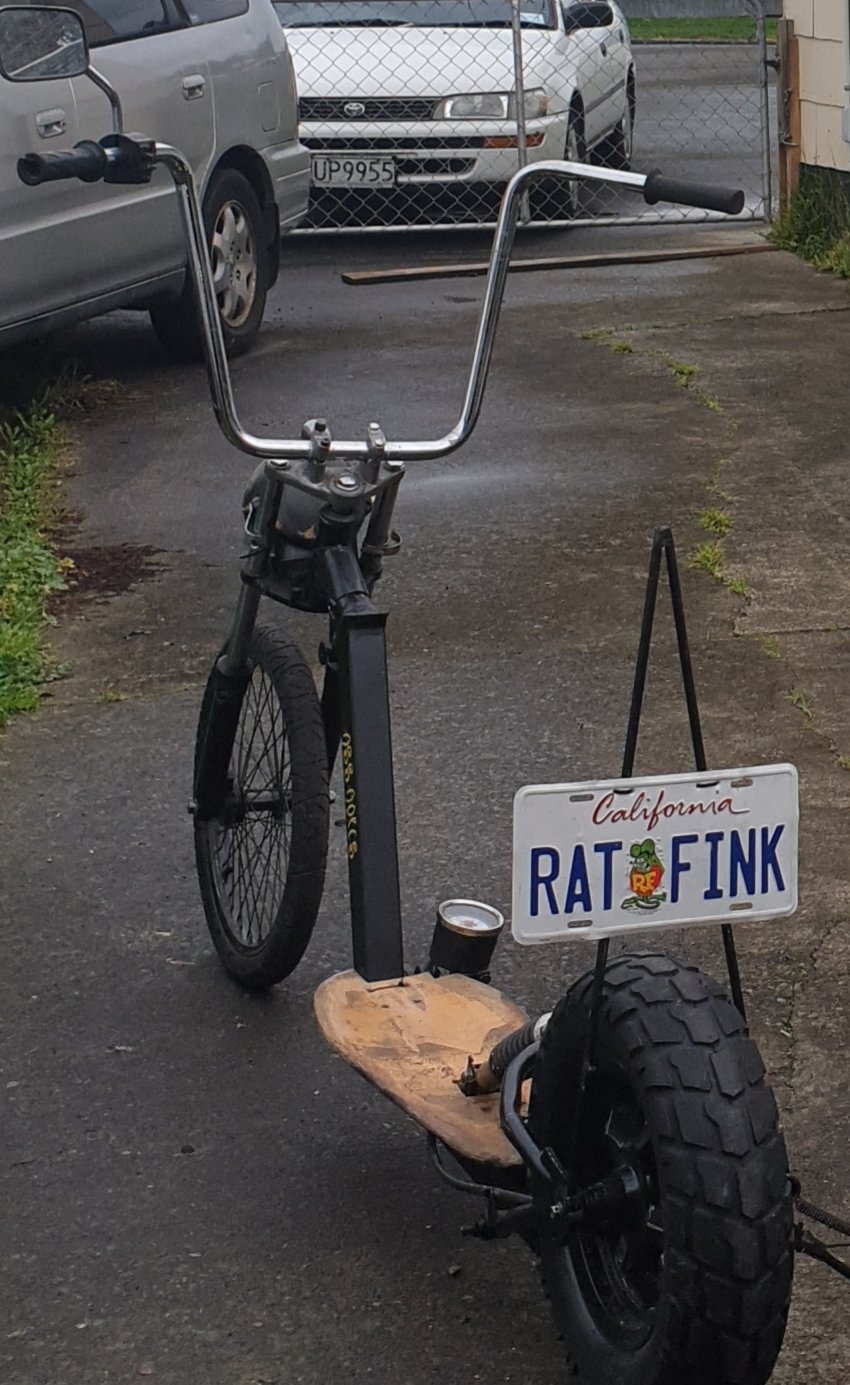
So made my xv1000 a new sisy bar why not put on my mini me chopper scotter thing
1 point
-
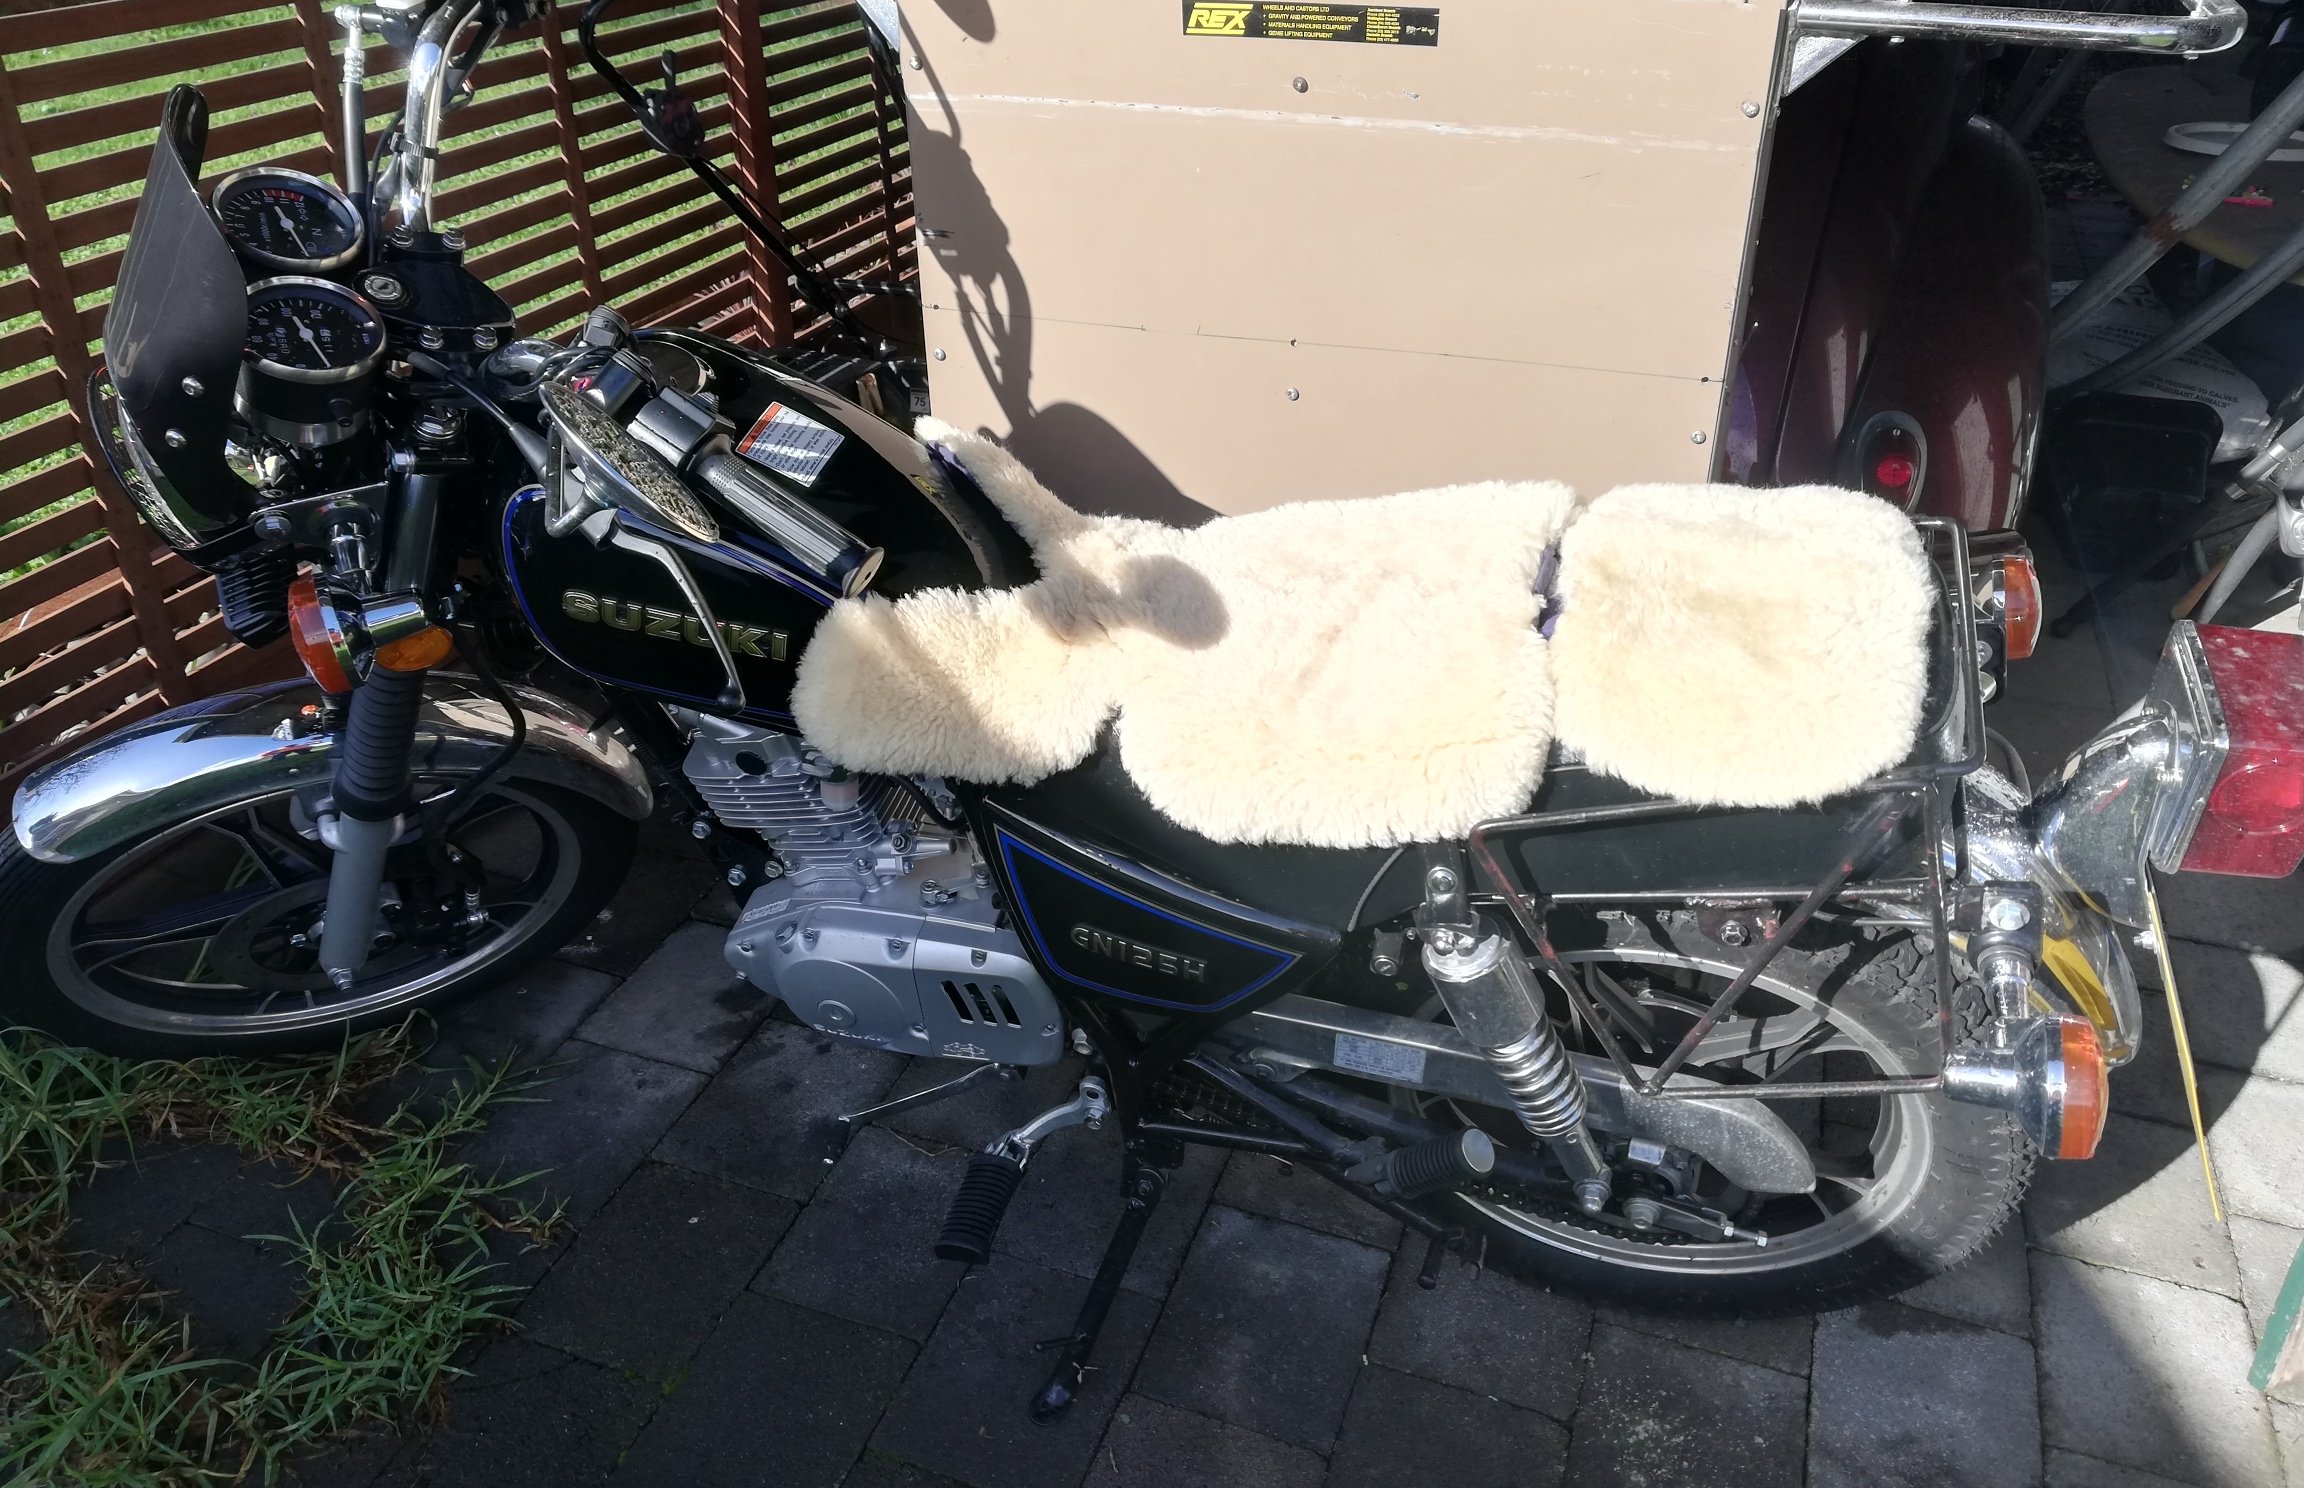
Got a sheepskin pram liner Amazingly it's a perfect fit Head piece is velcro'd on and adjustable. So could use it all in one piece, but I think il remove it and slip it on like shown. Pretty much round the world ready now...
1 point
-
1 point
-
Just hanging out, being cool.
1 point
-
Parts haulin....
1 point
-
Day two. No asplode
1 point
-
I need to flip this thing on it's lid, so I can finish welding up the frame. I got it running, to heat up the oil pre draining, it was running like a hat full of vagina's, but It's probably only run like 5 times in the last 18 years, so that's understandable. When I drained the oil it seemed to be mostly petrol, so I guess a float is stuck. Whipped the carbs off for a clean, hopefully that will help it run better. Regards, VG.1 point
-
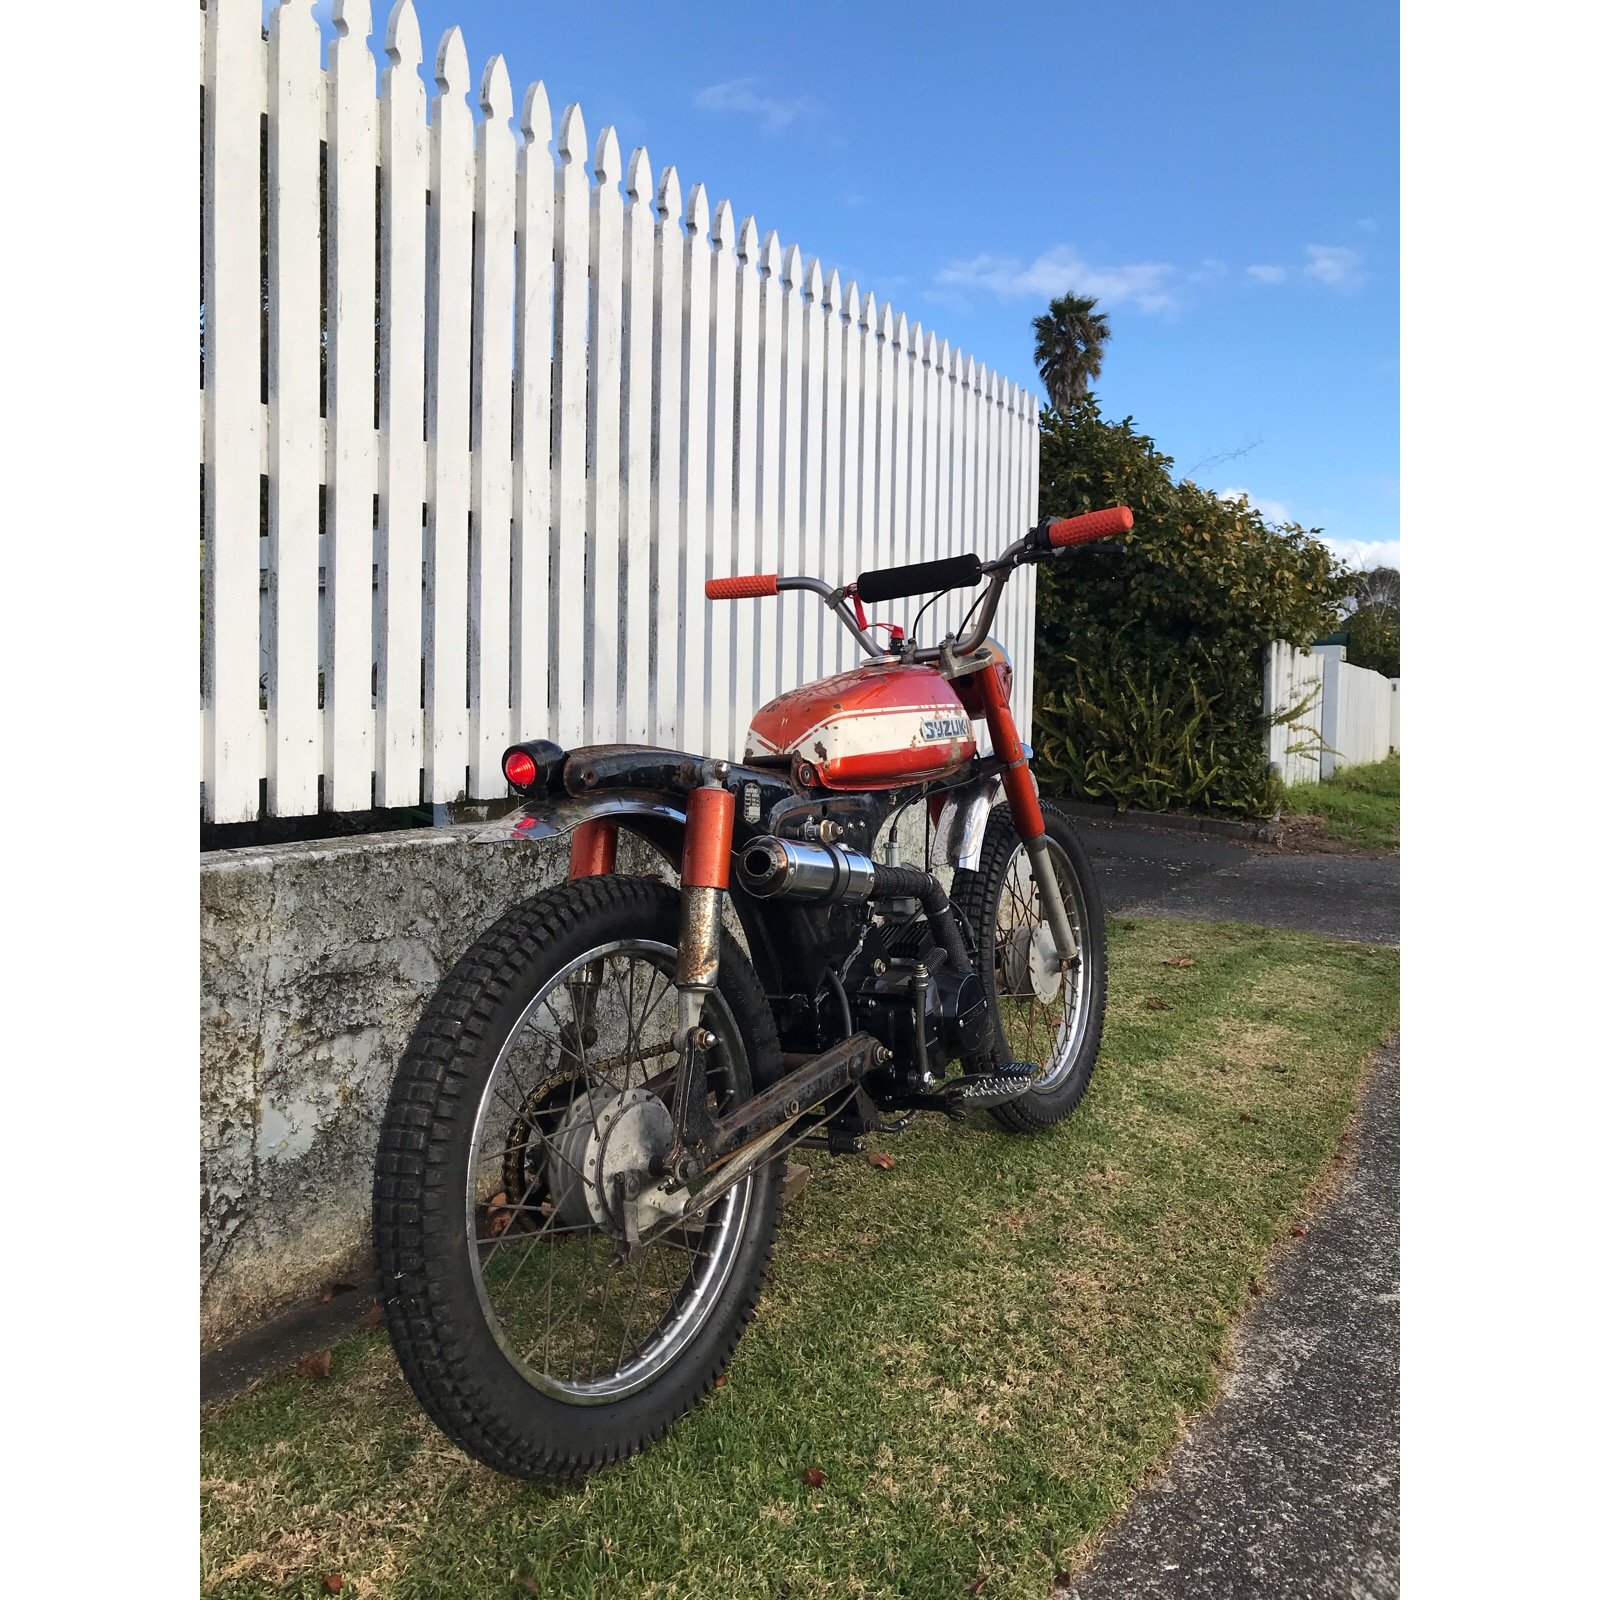
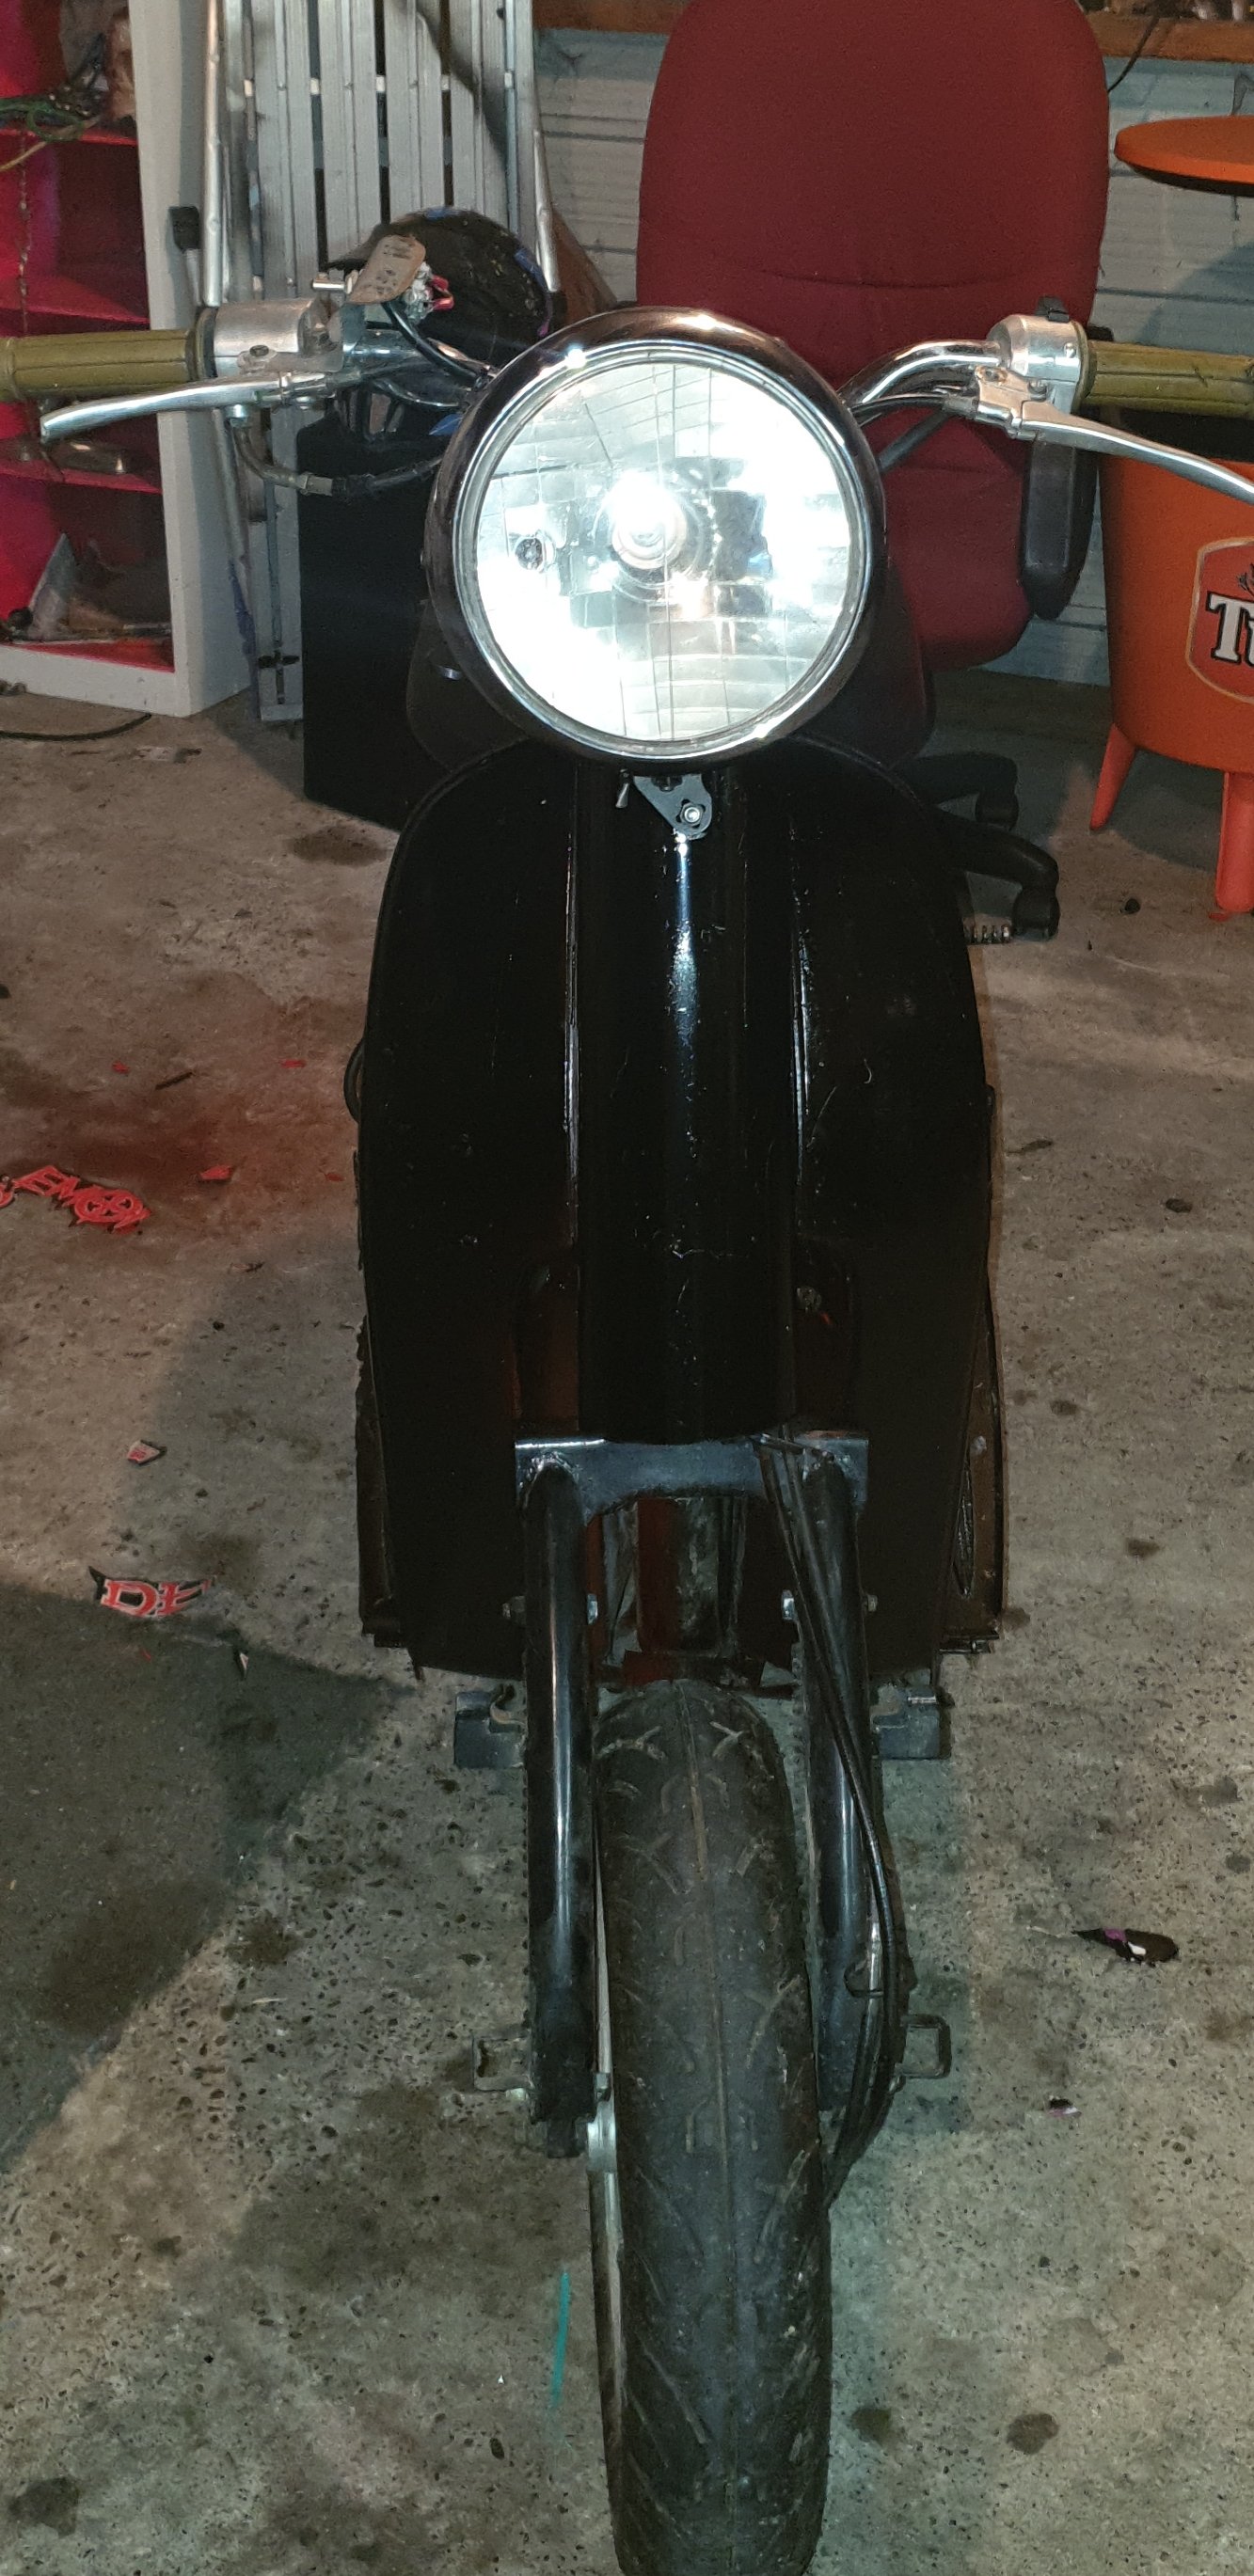
Since 'finishing' it in Janurary, Ive put close to 1000 trouble free km on it. Theres a few things I need to sort (raise foot pegs and replace the brake pedal as its rubbed through from dragging while cornering) but overall Im pretty happy with it. Its turned out pretty much the way I envisioned it. However, I have a couple of plans for changes to be made. Id like to sort the carb issues with its original motor and get that back in, A few asthetic refinements and as I get more confident with welding maybe some wilder bars... But theres a couple of other projects under way in the shed so stay tuned
1 point
-
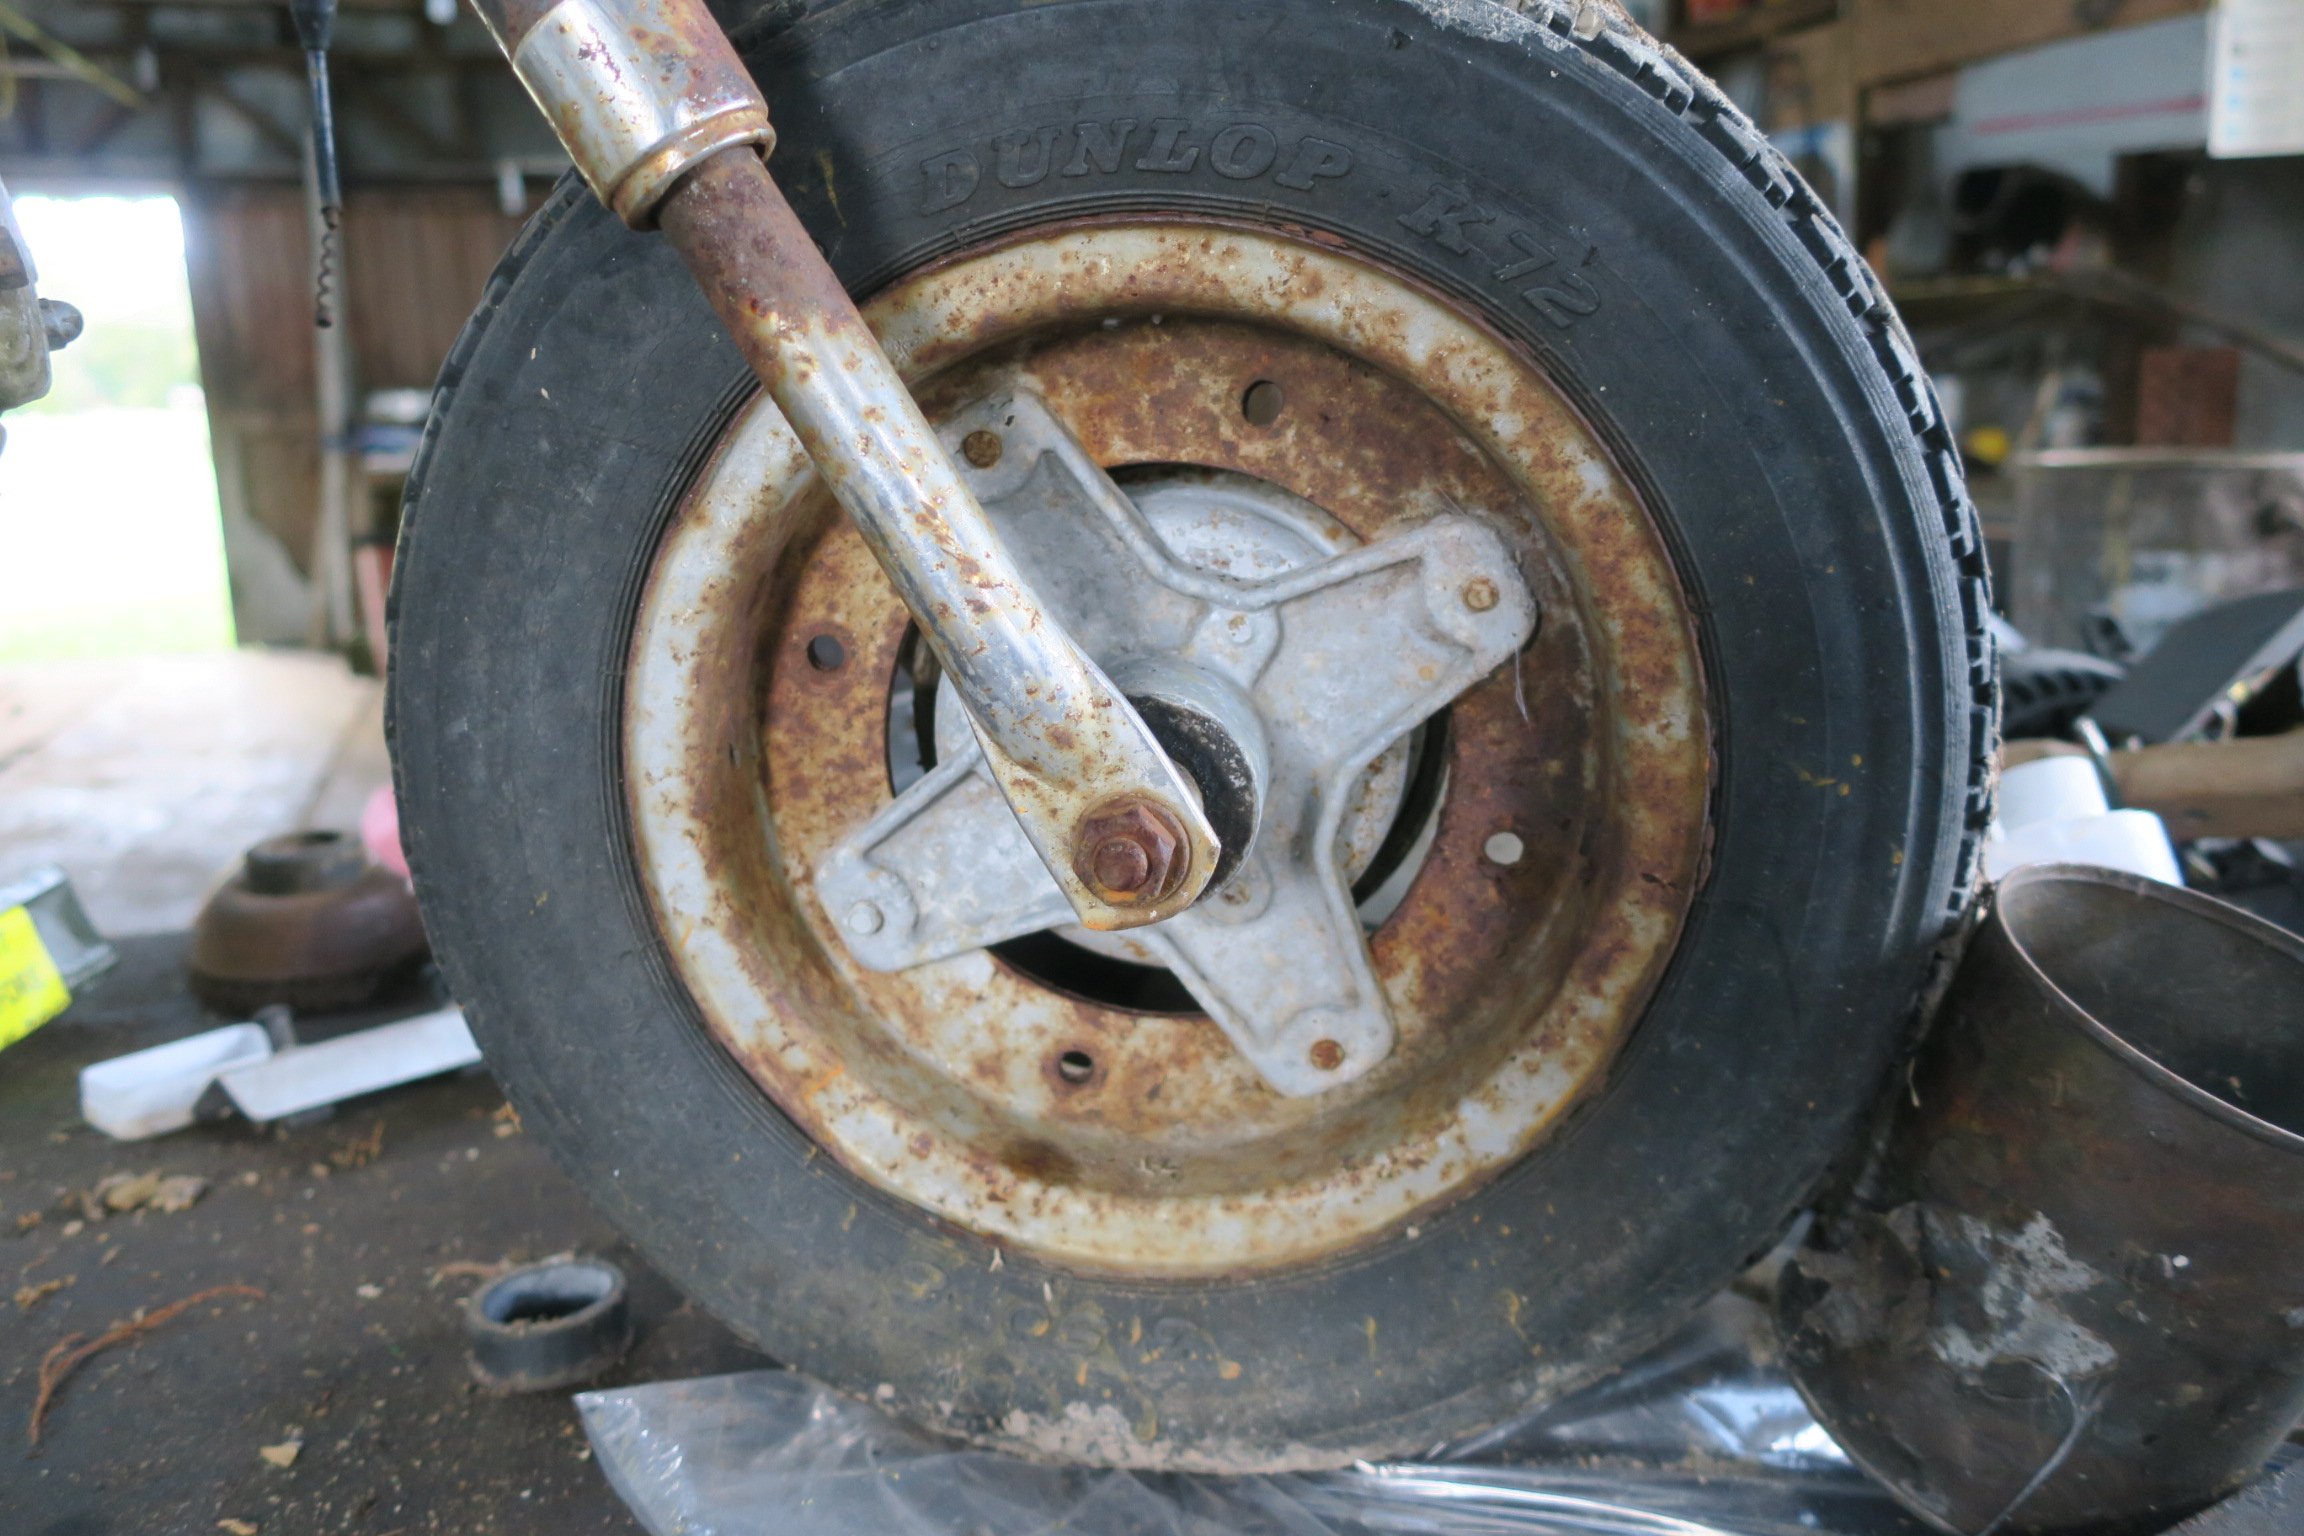
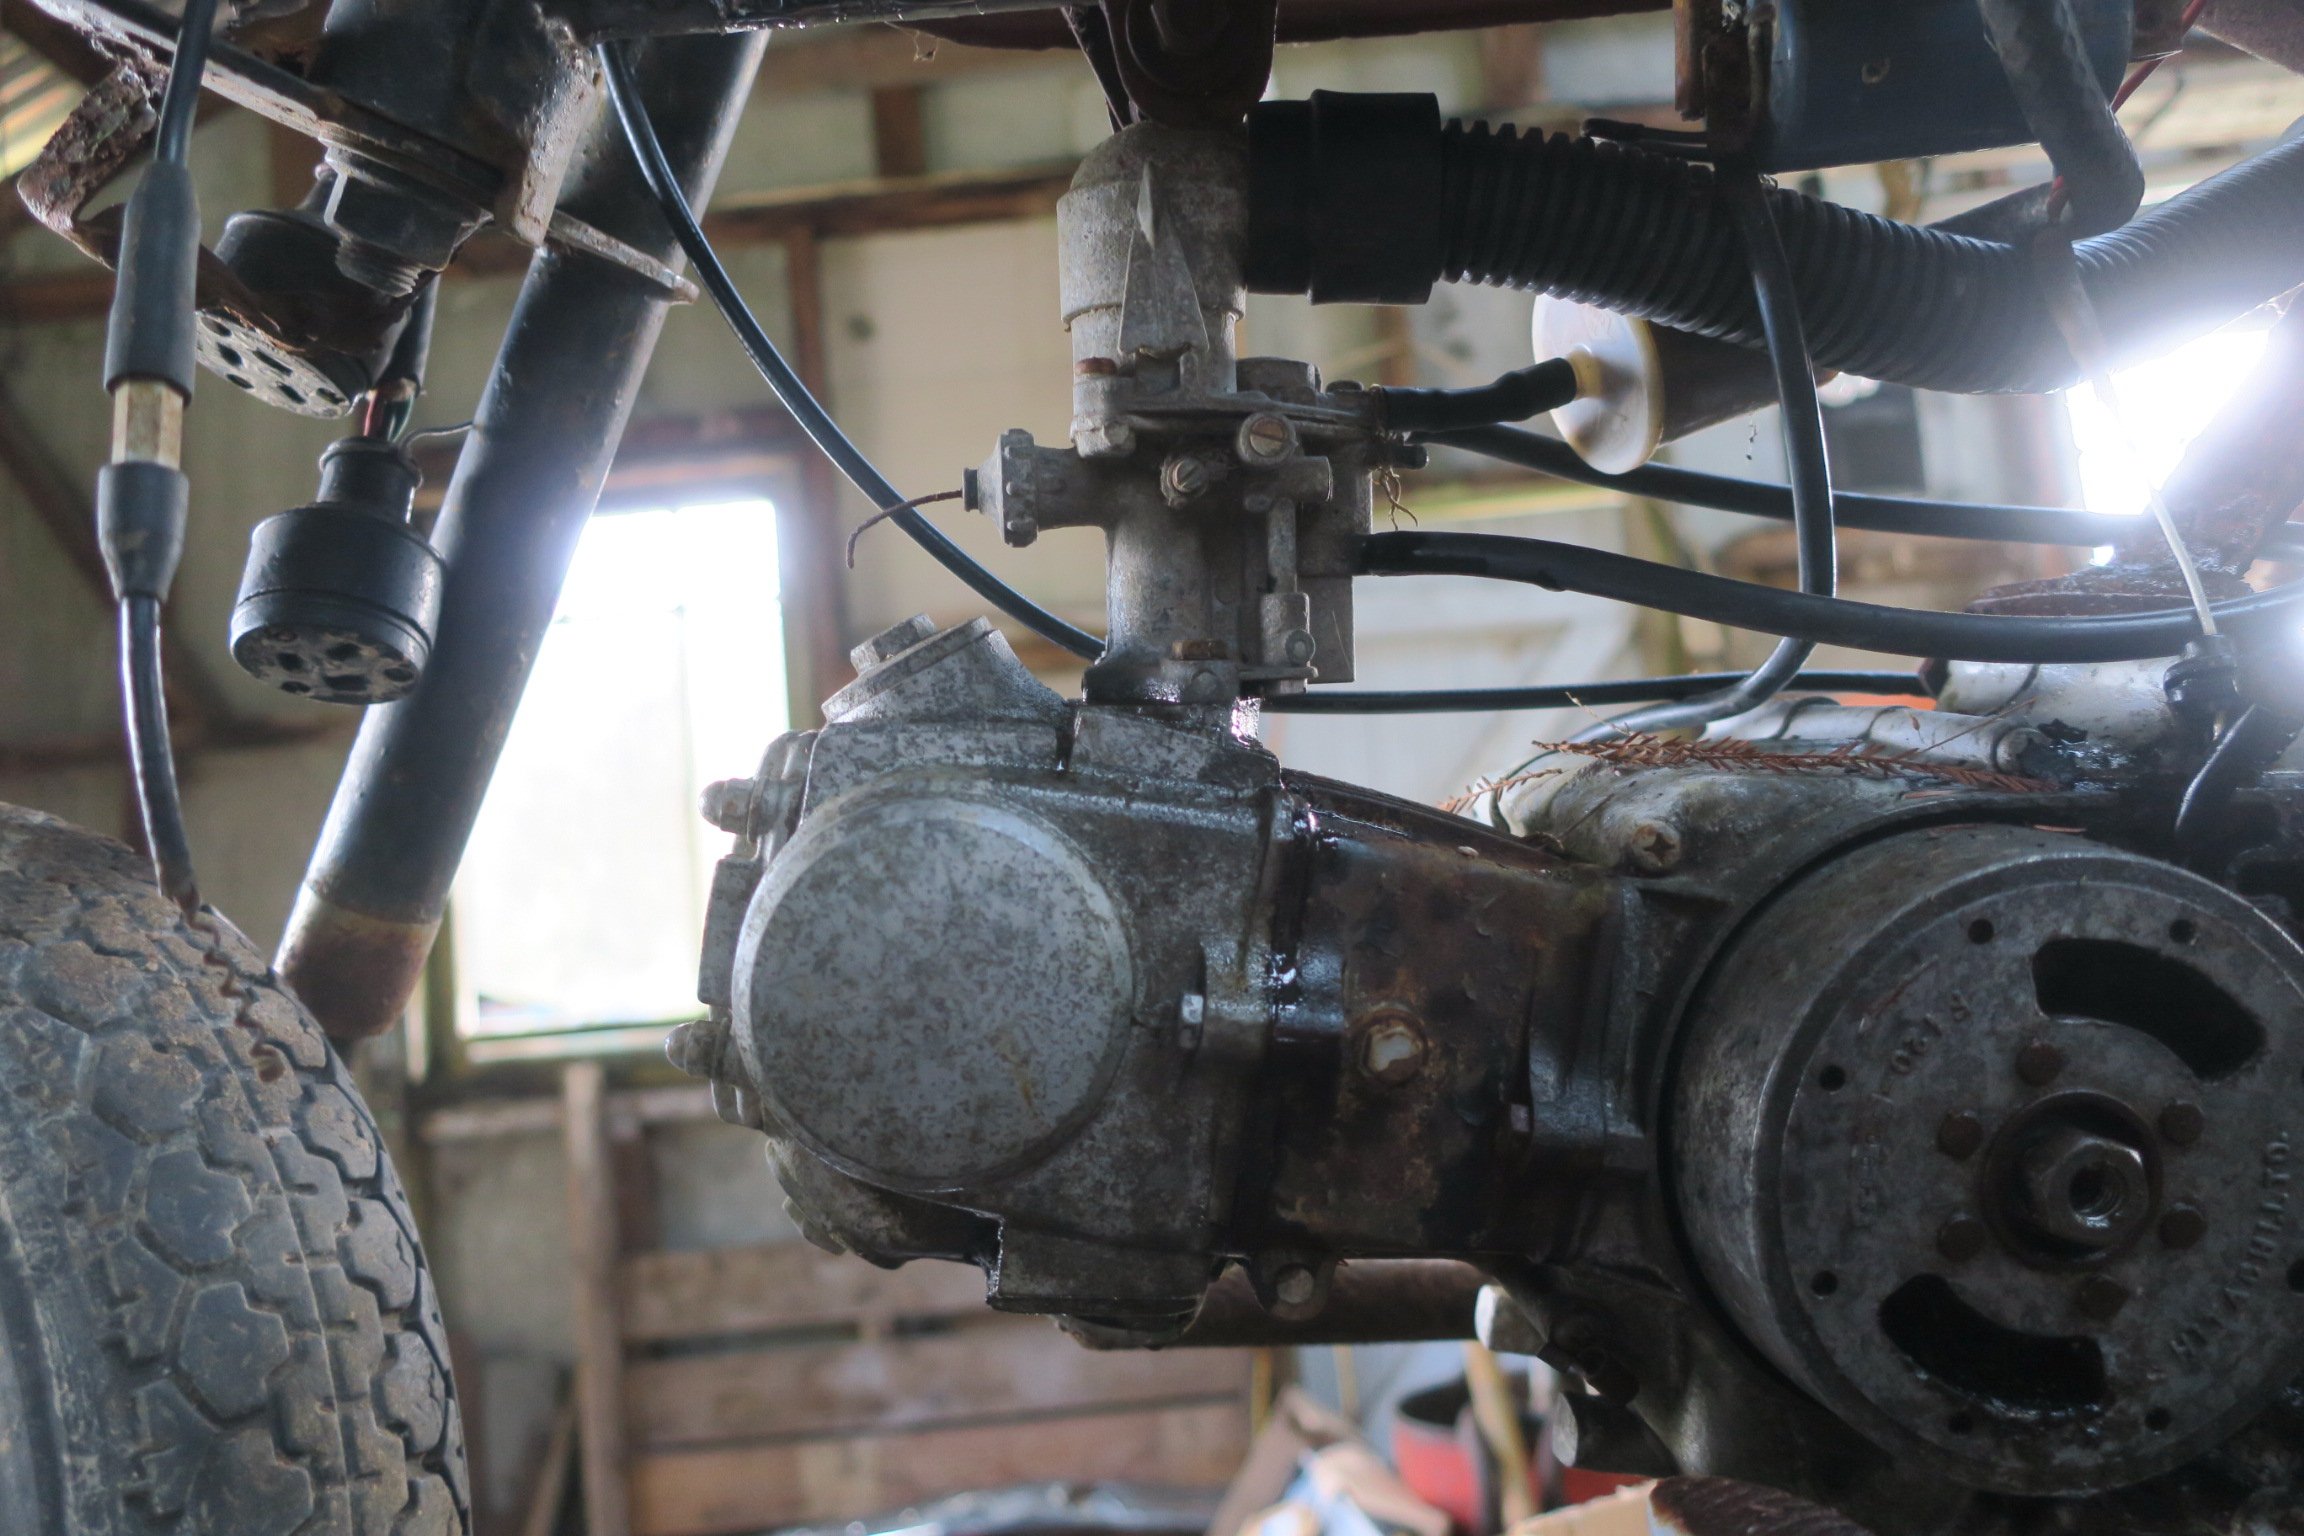
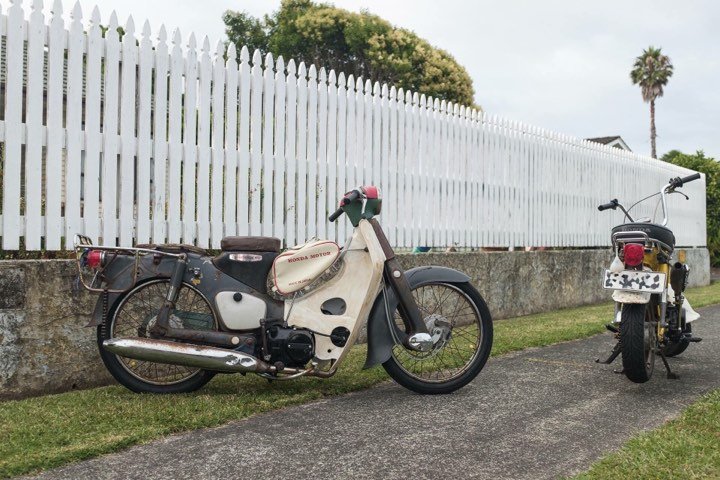
So after getting rolled by the 5.0 on the Chaly, that got its innards stripped to finish another bike. @Raizer found this in a garden in Gisborne, and pulled it from its slumber. It had been sitting under a tarp in the long grass for a while developing a killer patina while actually staying fairly complete with all OG parts, I collected it off him and dragged it home in a 12+ hour round trip from Auckland. The 'GardenCub' Its pretty sweet, fairly ratty and suprisingly solid. The externally rusty wheels were found to be immaculate internally after removing the super cracked tyres. It even had the original, matching patina legsheild. The engine was seized, the carb had an ant nest inside it and the seat base disappeared aftter the strands of foam holding the corroded base together cried enough in the trailer and scattered rust flakes all through the gorge. Id been wanting a Cub since, well, probably seeing QCR on the news / in NZPC and pined over the Peaks Mopeds type style of OG paint, maximum slam and chopped up standard bars. This had been in the corner of the shed, and over time I progressively stripped it down, washed all the gunk out of its crevices, renewed wheel bearings, freed up seized pivots on the brakes, ordered replacement cables, brake shoes, pestered @MopedNZ to find me the style tyres I wanted (He had to get his work to open an account with a supplier just for me <3), put feelers out for a few parts my bike was missing -taillight etc ( hoarded all the old stock parts people were removing to customize there cubs} all while trying to preserve as much of the patina on any externally visible surfaces as possible. I stripped and rebuilt the original engine with a new top end, all gaskets/seals, reconditioned cylinder head and got it running but had a terrible time with the carb so it sat in the corner of the shed while I was caught up with a few other things, Then the chaly got decommissioned so the motor got pulled and Chaly motor swapped into this along with a trailtech, and rewired from scratch. In my pile of other peoples discarded parts I had a spare stock ehaust, so the front of that got chopped off, muffler hollowed and a new header made from misc larger diameter stainless bends to suit the new engine. Handle bars were a spare I acquired to use as a trial for my first attempt at fab work / welding before I committed to butchering the original bars. They've been narrowed about 100mm over stock to get rid of the indicators, aswell as being pulled back and down to match the angles of the legsheild. I also remade the bar cover to follow the lines of the bars while still trying to keep them fairly factory looking in the way they tuck into the switches. I reused the original grips, slide throttle asm, speedo and switch assemblies. They're not as narrow as Id like them to be, but they're the same width as the rear rack, and have super comfortable angles. Fairly happy with them as a first attempt considering at the time I wasnt quite confident enough to go butchering and re making the handlebar mounting points. Bag and spine rack were an ebay special -rate these for chucking drinks/junk in, Legsheilds a repro thats been aged to match the bike as I couldnt bring myself to cut the OG one to fit the carb off the chaly motor, Deluxe fork cover and legsheild clamp are OG stuff pulled from my pile of parts Ive added to add to the OEM+ spec asthetic I was going for. @MopedNZ was kind enough to bring me back a set of Draft Kustom Shop Lowdown links from his previous trip to Thailand in 2018. These are sweet and give a 30mm drop over stock, but that wasn't enough for the look I was wanting so when installing them, along with fresh bushes, They also got the QCR mod done to prevent lift under braking and a couple of other custom touches to chop closer to 60mm out of the ride height to get the guard destroying ride height I was after. resulting in the front guard and fork cover being clearanced nicely by the radial tread pattern of the tyre. PERFECT. The rear got bought down to match via shortening of the factory springs/shocks. Still retains a very little bit of suspension travel which is nice.
1 point
-
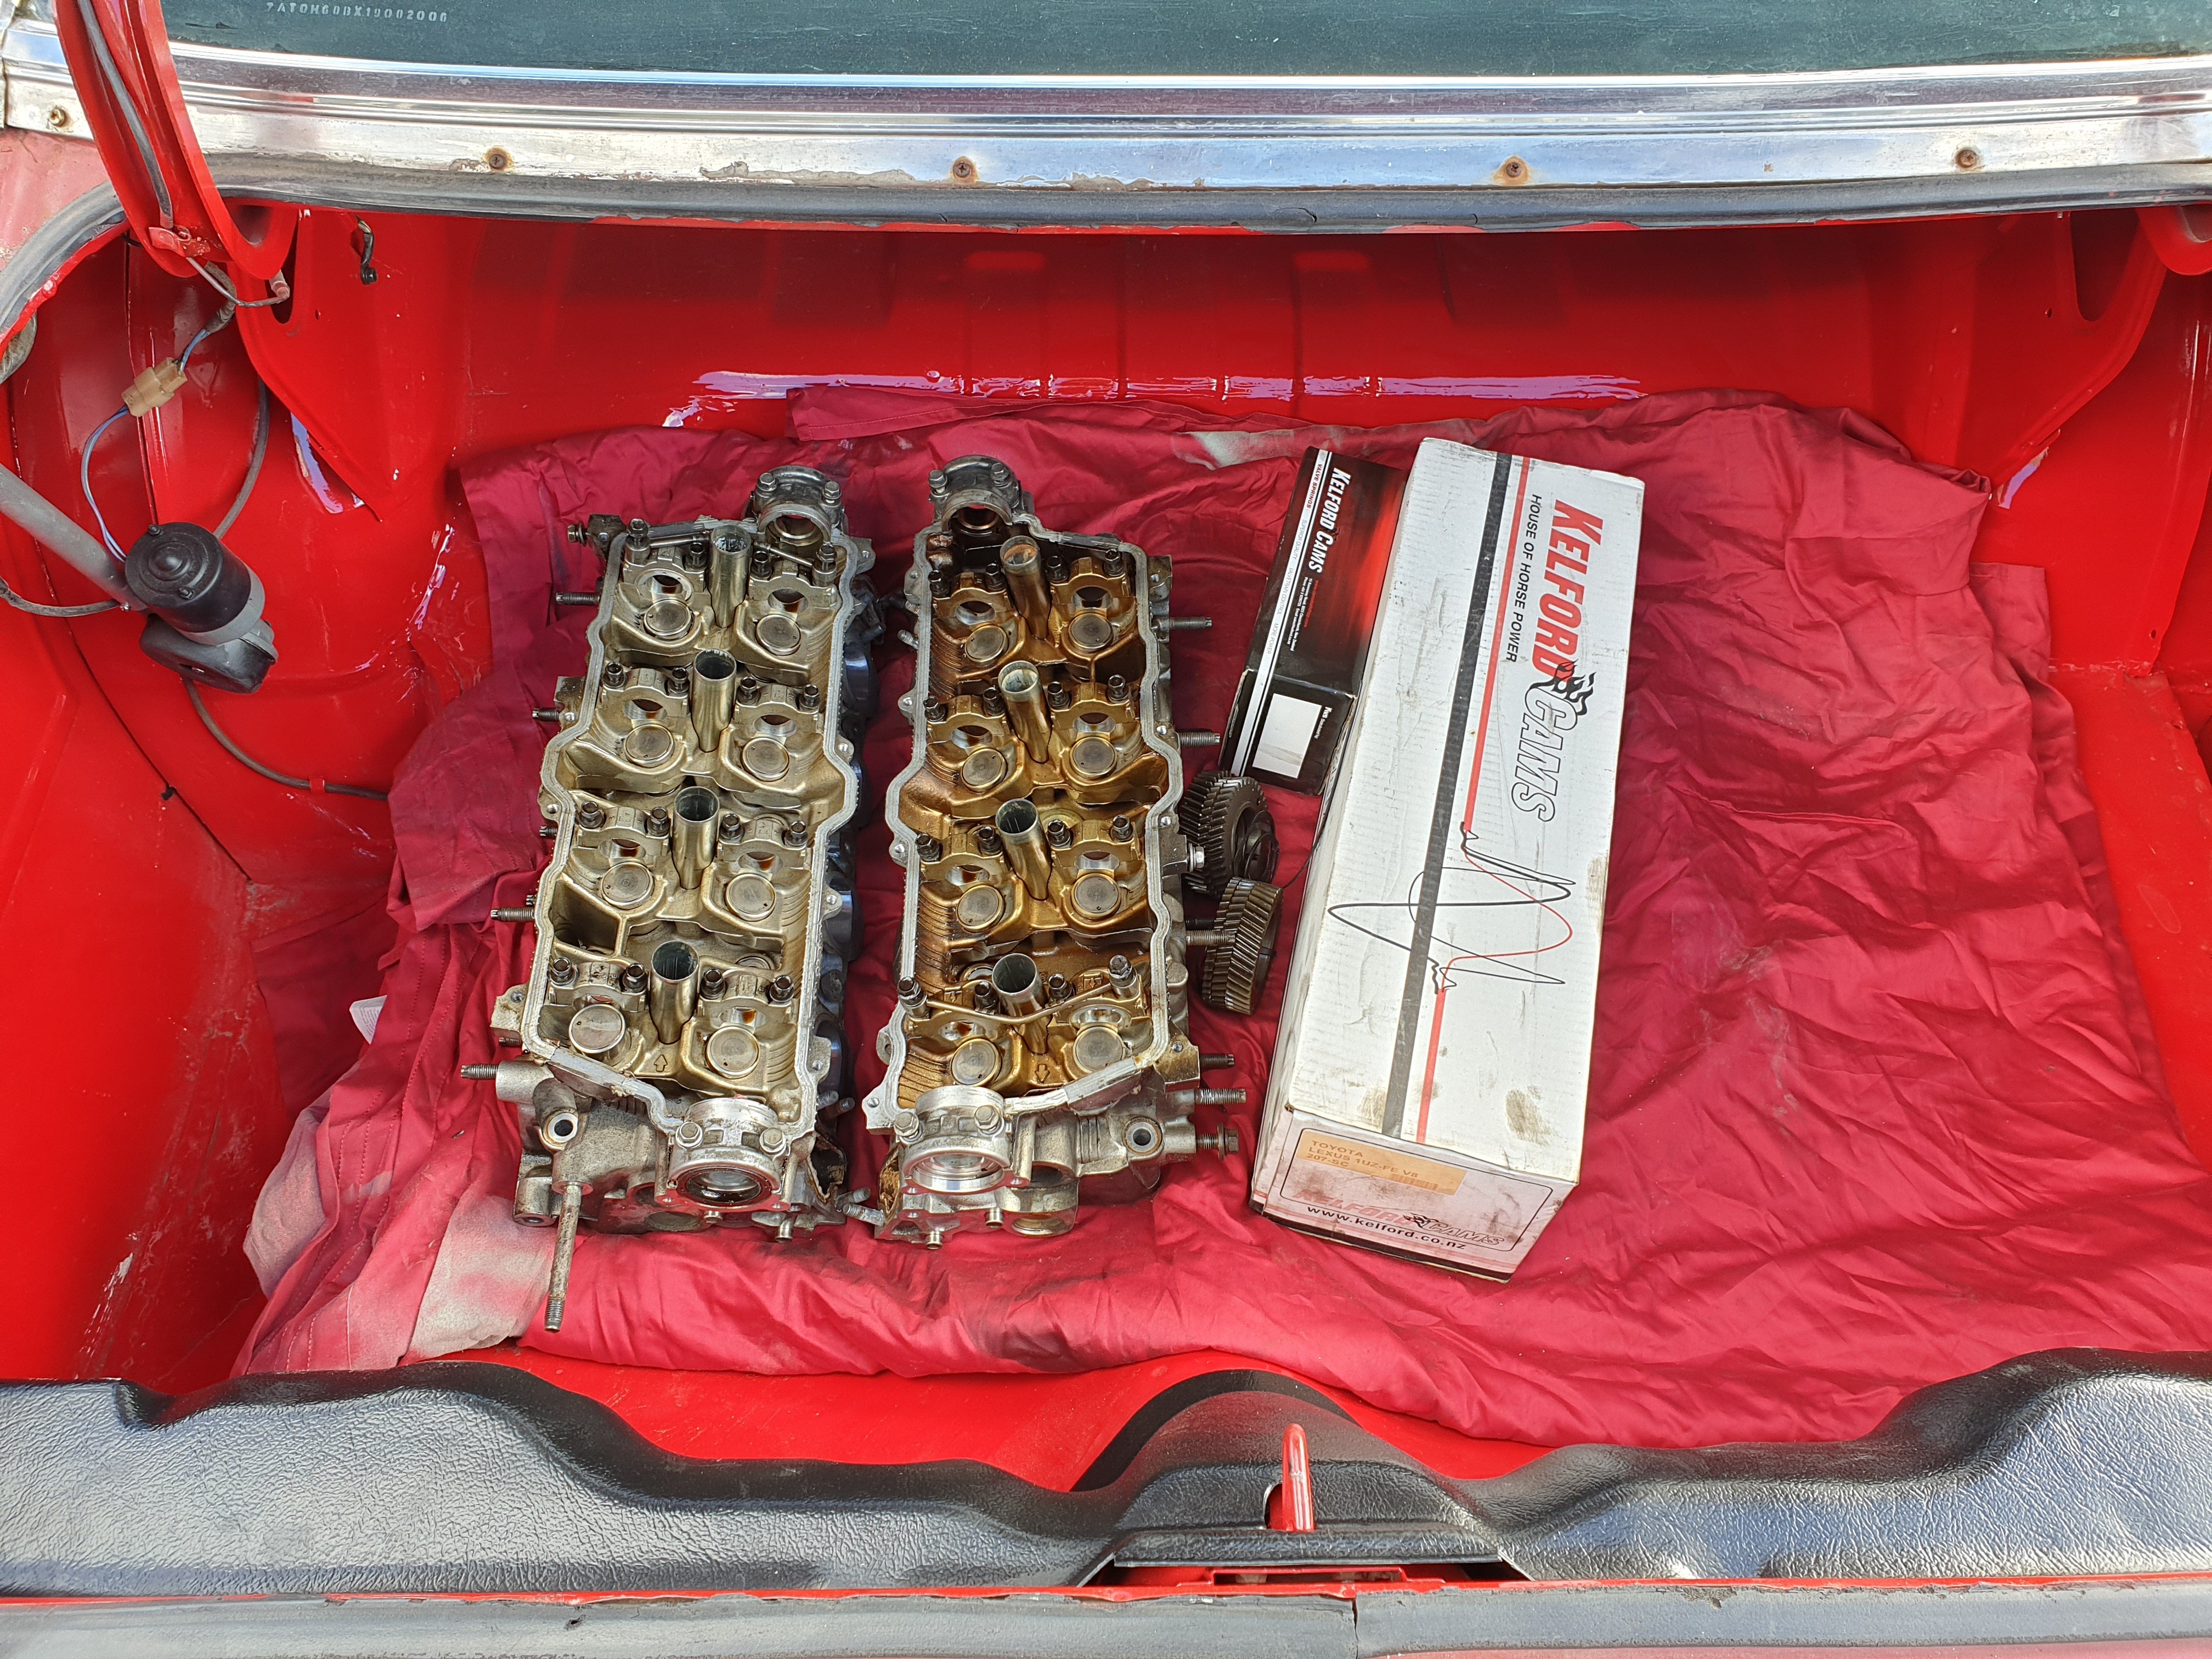
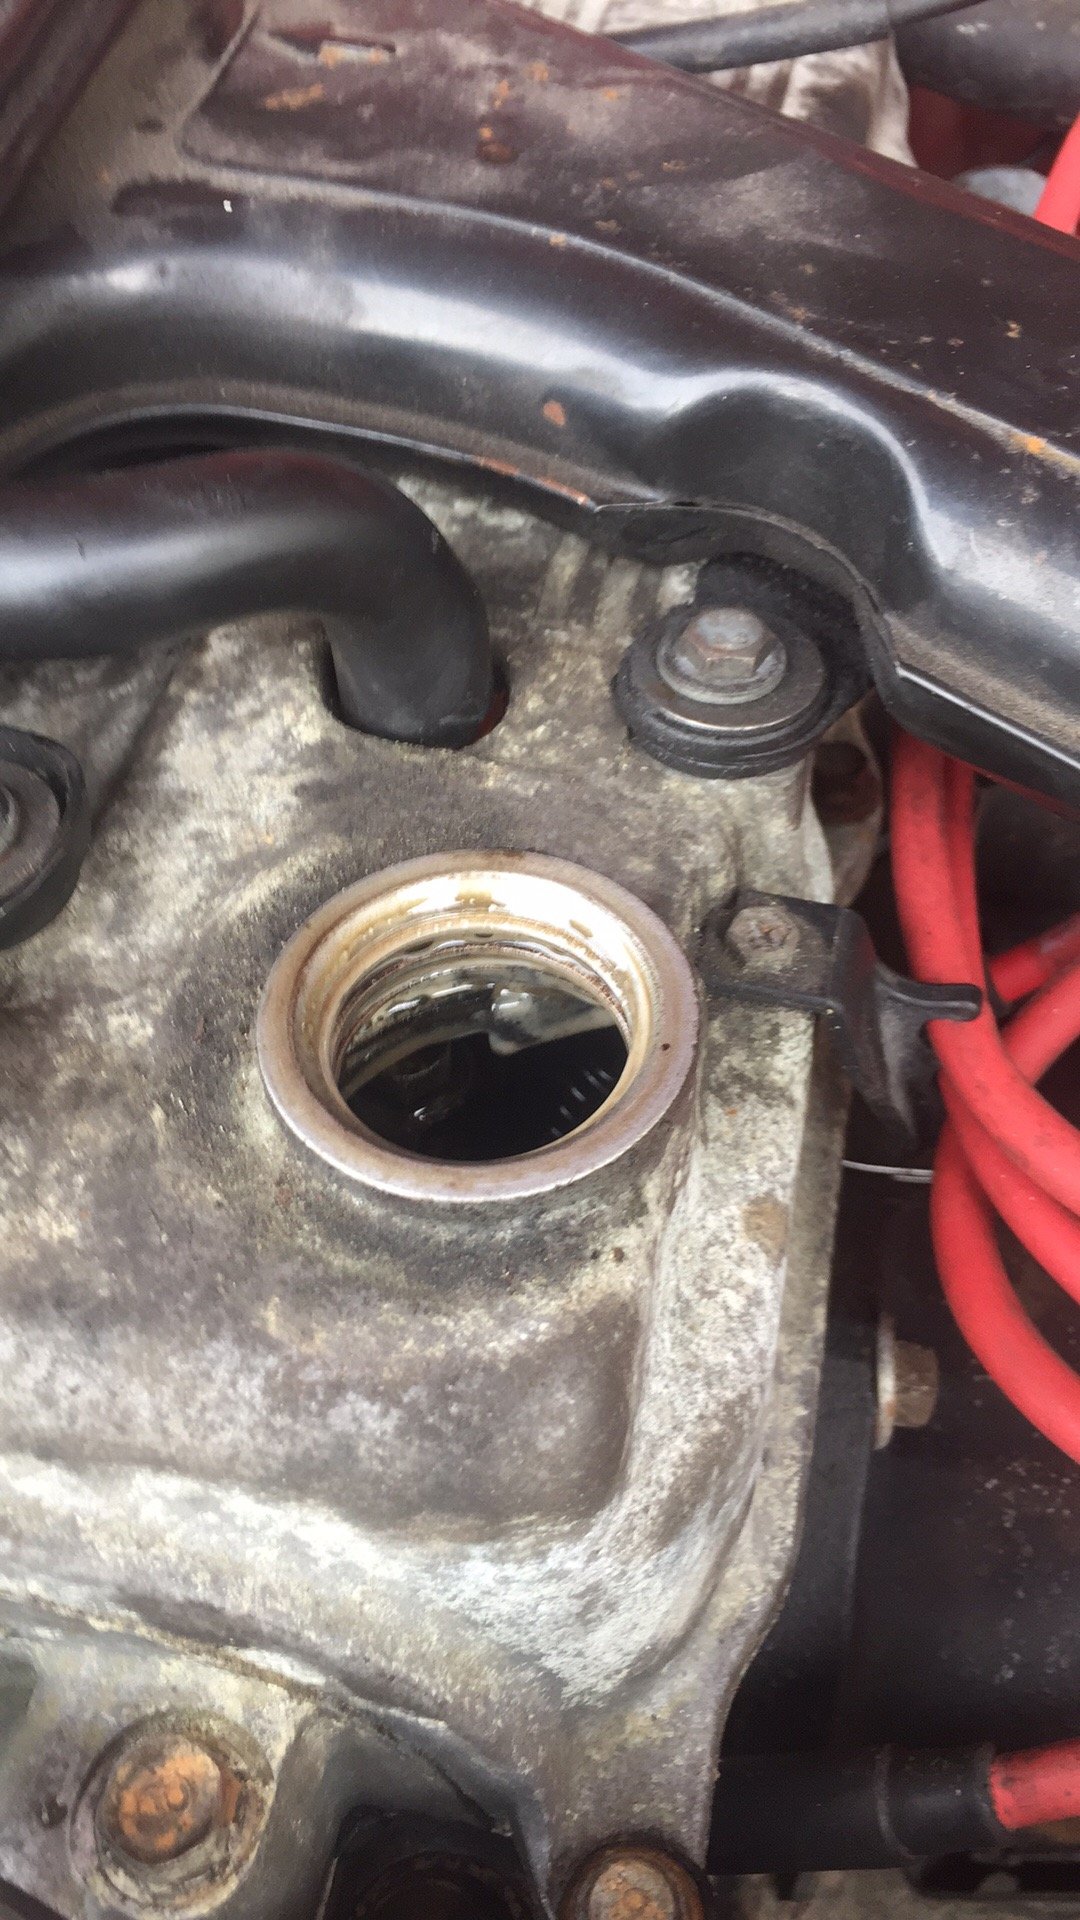
So after a couple days of not fixing the "Universal" Thermostat Housing Gasket. And running not quite right. But Running. I had a couple hours to fix the Cooling system leak. She got hot on the half hour drive to my mums/my workshop and had used more water than she should have out of the small leak. Dip stick looked like this. My milkshake brings no one to the yard. Several fucks were uttered. As well as a handful of other expletives. Fuck it. cheap donor. Getting the original motor reconditioned anyway. Block sealer in a bottle of some description if it works it works. My personal experience with cooling system block sealers is about 50/50.
0 points


.thumb.jpeg.384ff72c8d2b0ee0d34a7bdedb55bdcf.jpeg)


This leaderboard is set to Auckland/GMT+12:00