
Leaderboard


Popular Content
Showing content with the highest reputation on 04/15/16 in all areas
-
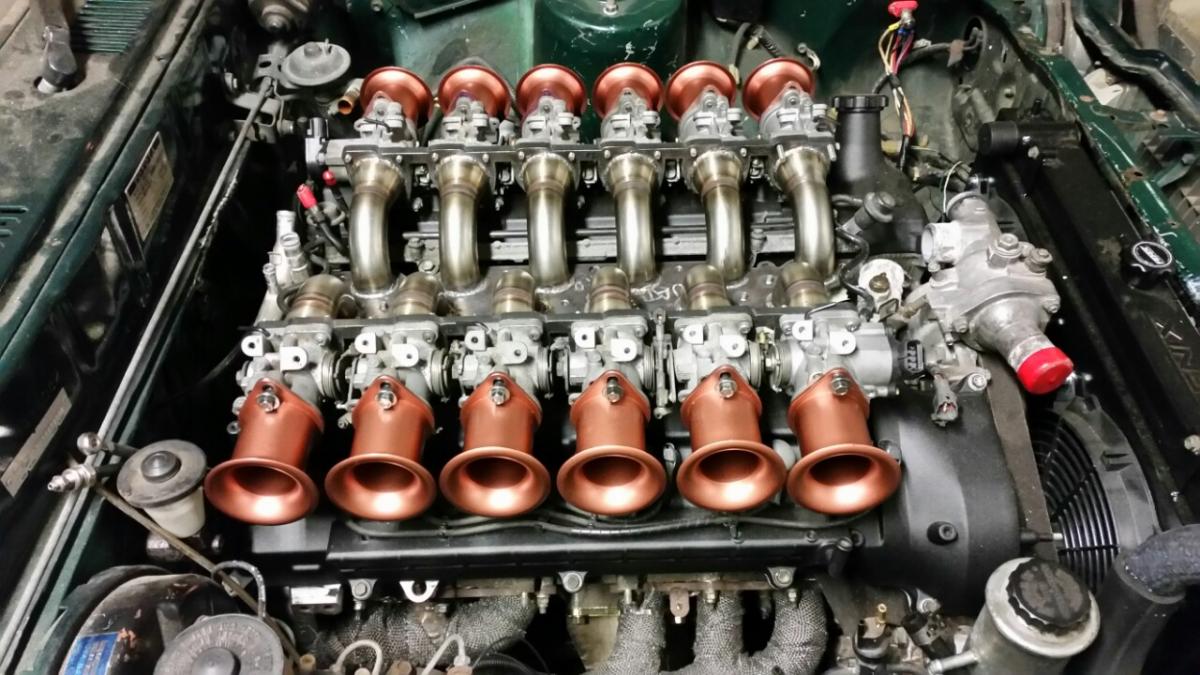
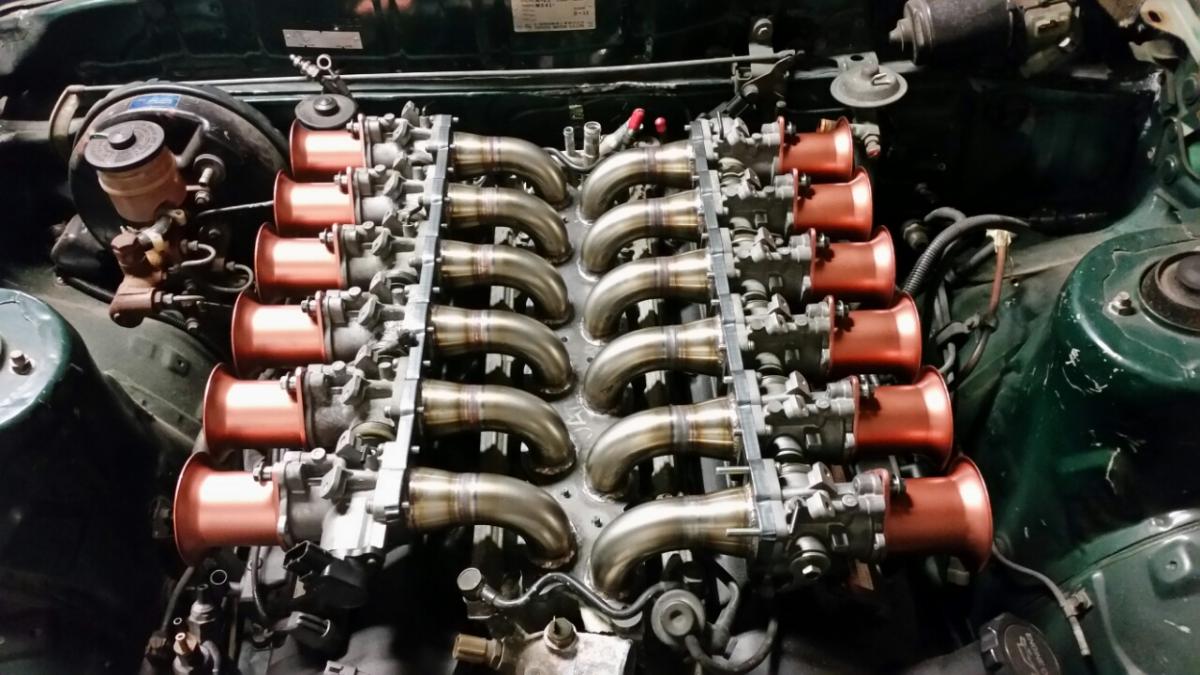
Manifold is all welded up. Everything fits nice. Time to make linkages.
 15 points
 -
So my engine picture broke the social media internets today. Where were we... Right so ordered the linkages today. Should be here Monday.
7 points
-
yea these guys were dumb, like real dumb. the place that the car was backs onto the park and the lady who owns the place left the gate open so these gizz fiends just walked in through the gate and looked in the window. they were so stupid they couldn't open the automatic garage door. that has an illuminated button on the wall. in plain view. right next to the car they were trying to steal. they told the cops that they were going to do a burglary in ponsonby but they couldn't be bothered walking that far. dumb.5 points
-
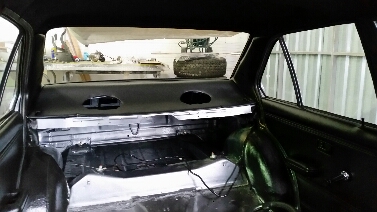
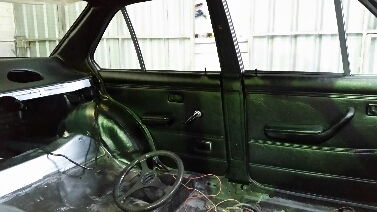
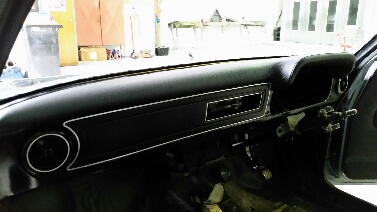
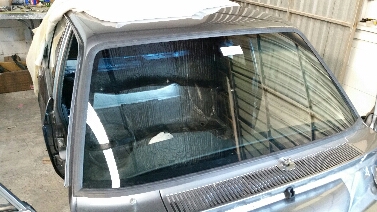
Got the "b"and"c" pillar trims in along with the rear parcel tray Also in went the pedal box, heater box and piping and dashpad. In the middle of tidying up the wiring atm and putting back up under the dash(going to rewire the engine bay new and hide a bit of it too). New windscreen turned up this morning so in it went Bro inlaw dropped off the sump he modded for me too, with the bottom squared off to clear the cross member and a return pipe for the turbo. The old man called today to let me know the pistons and crank were about to go in too! The engine is basically going to be a fresh standard rebuild(with race spec rings and bearings ) for now just to get it running and to tune in the link(will run low boost)and will be building a forged engine later with the 205 sierra block I have waiting...
5 points
-
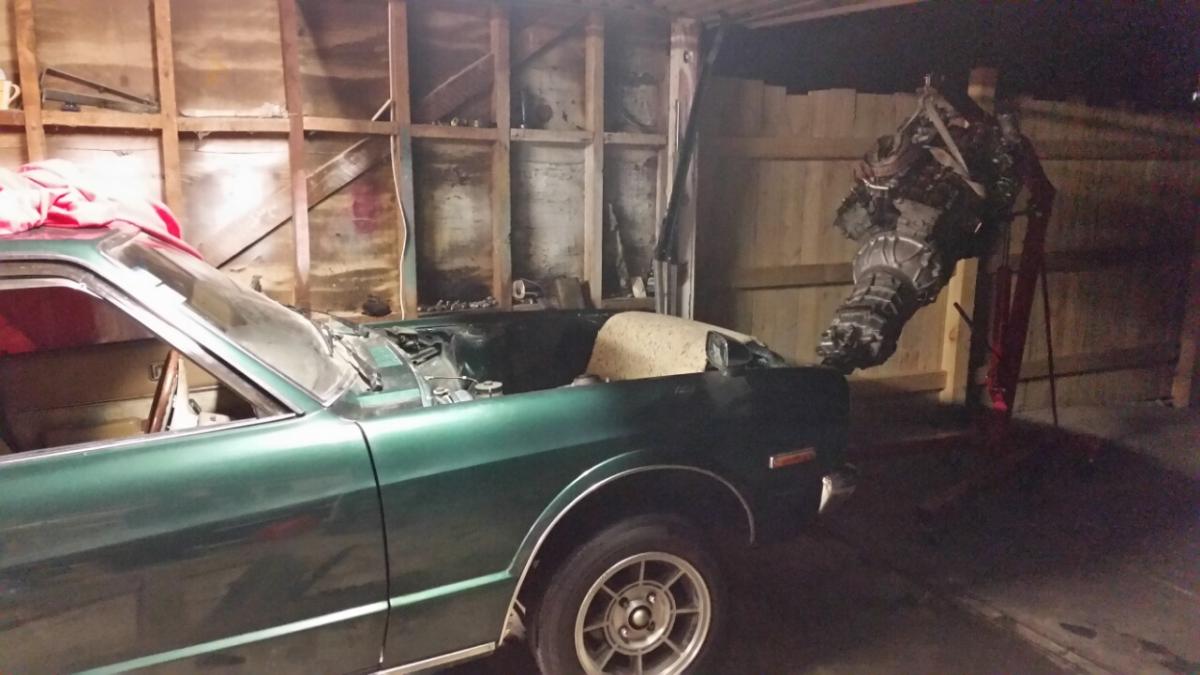
so as i said in spam some cunts tried to steal this car. they didn't get very far, my neighbour stopped them in the street. but - they fucked the key barrel and somehow they managed to fuck the clutch/driveline to a point where there is no drive at all. wont know what they did until i pull it to bits which will probably be in the next week. Swan insurance have been fucking magical in working with me to fix whatever has been done. at this stage paying for whatever it is in the driveline thats fucked is a given but they also want me to pull the motor apart for a bit of an inspection to make sure they didn't ruin the motor in anyway (they had the thing pinned on the limiter for about 2 minutes which is why my neighbour got suspicious and went out to have a look) so im going to pull the sump off and a couple of caps and maybe the head too. so yea, i have to pull it all to bits but it could be way worse.4 points
-
Success! and i only had to buy a whole car to get them3 points
-
I agree with Brdflu. it works for other regions. Somewhere like spitfire square which has parking and has burger fuel, mexicali fresh, subway etc not sure how busy it gets but its on the ring road so pretty easy for most people to get to.3 points
-
I keep reading all this as Lead lighting Which, should really happen.2 points
-
LSD diff head being dropped off on Monday. hot dog2 points
-
pullstring switches all the way.2 points
-
As much as i enjoy trying different pubs round the place should we look at doing a fixed event somewhere like Smash palce just as its central last Sunday afternoon of every month. Then theres no trying to decide on dates and location every month. Then every 3rd month or so go for a little drive as well earlier in the month.2 points
-
Quite curious to see how much difference this engine makes to general daily driving among modern traffic, especially when hills are involved. I fear that my wagon is going to be a bit of a holdup on our local hills particularly if loaded up with bikes/camping gear etc. Hannah got a flash little 'Blydenstein Power' sticker from Bill Blydenstein when she had him do some work on the head from her Victor FD wag. Its kicking about somewhere and we wanted to post up a photo but cant find it.2 points
-
Updating this and . . . the car is still in the shop. Sigh. They couldn't work on it for a couple of days because they suddenly got swamped with jobs. They then removed the fast idle valve and intake manifold to have a look. Intake mani was pretty clean, but the fast idle valve was fairly gunked up, so gave that a freshen up and back on the car. They started it and let it run, and it didn't fault, but since they didn't take it for a drive they couldn't be sure it was fixed. So the guy decided to check the coolant temp sensor by unplugging it with the car idling. It immediately replicated the fault, very rough idle (like an old car on too much choke on a cold morning) and didn't want to rev. So they want to replace the sensor as well, just to be sure. The only trouble is finding one - nobody seems to have one to fit, which is a nuisance. Hopefully a simple solution presents itself, I want my car back!2 points
-
Found an E36 radiator that fits perfectly between the chassis rails so made some mounts and now it's in. Also fitted my engine mounts and adapters. The adapters needed a couple of small alterations before everything lined up 100%, somewhat like a custom-made suit, if you will. Also sideways mode has been activated with the installation of the LSD: I also replaced the center bearing in the driveshaft but the front needs to be modified as it's not the same as the e34 one, meaning it doesn't like up with the guibo. And this one's entitled "A new perspective":2 points
-
Dam, talk about a thread revival!! So Sqengineering put out with the goods, I have been waiting ever since he started talk of the j160 adaptor plate some 2 years ago. Whilst at it, I ordered the water relocation kit, 70mm stacks/trumpets, throttle linkage kit, C.O.P plate & dizzy cover for all the blaang. No excuses now, have basically everything there to mount everything etc. Sweet times ahead2 points
-
It's a few days past yesterday but work got in the way of playtime. Couldn't be bothered sealing the gaps so in it went anyway, I ran it in the drive with everything all assembled and thermostat in there and it is rock solid at 80 degrees so that's nice. I started unwinding tape, gauges, switches and misc wires and removed this stuff that doesn't do anything except make me angry. Next? uhhhhhh probably more wiring. Maybe even have a go at sealing some gaps in the floor/firewall so it isn't 420 every time I drive it.2 points
-
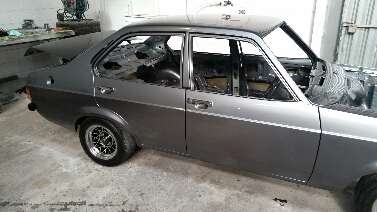
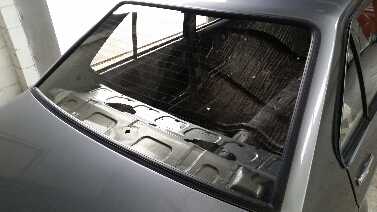
Got the door rubbers on along with the latches, strikers and handles. Then a couple more hours lining it all up properly( new rubbers make this a mission) The problem with a build like this that's gotten out of hand is everything that goes back on has to be new or made look new, so is taking a lot longer than expected. Rear window in Side windows,regulators and new belt moulds and clips Starting to look the business with the new grill in Scored a mint bonnet so that's that sorted and also sent the exhaust manifold,turbo housing, bonnet hinges and latches off to be hpc coated. Engine rebuild bits should be here tomorrow...
2 points
-
yeah but you are both assume that british machining is up to a standard that isn't british........2 points
-
^ when i did the engine thats in my white val now, the block was decked 30 thou, so the intake gaskets didnt fit any more- the fix is to machine the intake manifold. instead of doing that, i found the manifold fitted fine without a gasket, so i used that grey threebond goo around the coolant and exhaust crossover ports, and blue hylomar around the inlet ports (hylomar is petrol resistant) over a year now, no problems2 points
-
2 points
-
It may not be every boy's dream, but I've always fancied a cabin in the woods. As luck (plus planning, decades of hard work, and some determination) would have it I now own 'some wood's. First I selected a site, and then cut down all the gorse. No trees were cut down, but some were trimmed. There may be one smallish karo tree that needs to be cut down later, but I'm trying to avoid it. UJ are kind to nature you see. What you probably can't see is how steep it is. It's steepish at least1 point
-
Went and had a gander at this and put a deposit on it about a month ago, and finally organised myself to go get it yesterday. Formerly owned by ESKIN8R who i think originally chopped it up and put it together and then Zebra Dude, who got it painted and sorted the draw bar etc. //oldschool.co.nz/index.php?/topic/26688-zebra-dudes-esky-van-trailer/ (photos are down) I knew i was in the right place! (you will know their works by the trail of bodies) Needed the lights wiring up, + some beers and Ben didnt finish till 6, so by the time it was ready to roll it was pretty late! Ran the gauntlet no troubles at all, and tows well, will go even better with some weight in it. I also managed to convince Ben to through in some schwweeeet rims. In case you are not a wheel aficiondo, they are * 13 x 6JJ * CHEVIOT * TURBO * Anyway today started getting into it, cut down the roofies from the van ( ) hung a gas bottle from a handy attachment and pondered on how to cram a LWB sized vans worth of camping stuff into half an Escort... Solution - Make the small thing bigger with Extentions! Roll * 13 x 6JJ * CHEVIOT * TURBO * to entice only the hottest classiest babes into the stabbin cabin. Need to buy some hardware to mount the doors then start thinking about the interior. Its basically going to be a bedroom for the boy + bathroom and kitchen that I can tow with the 2300, 125 or my daily1 point
-
I chuckled at hoping for 70hp in the internet world of 800hp engines I'm hoping for 301 point
-
I would be happy with 70 on the DCD. The head is stock apart from a skim but having more compression and a better cam should lift the power somewhat. I would think with a sidedraught it will get more but at the sacrifice of some drivability. Perhaps. Oldschool dyno day needed. Anyone cracking triple digits gets sent home...1 point
-
I once read someone calling it "the factory optioned bitches package", haha. Might have been someone on here. But yes, I agree with you, especially on the Mk1.1 point
-
Us old practical kiwis getting four doors for more whores. But the shame. The two door cars look so much sweeter imo.1 point
-
Tuning woes be gone. As I said above I chucked on the wideband and went for a hoon. I have now got the jetting for the DCD carb off a guy with an identical spec engine build so will compare with my current jetting. From what I've seen mine are a bit too small but I think I knew that already. Jets are cheap and easy to get so will finally do something with it until I can get a DCOE to chuck on it. *picture less update - imagine some carb stuff and jets etc.1 point
-
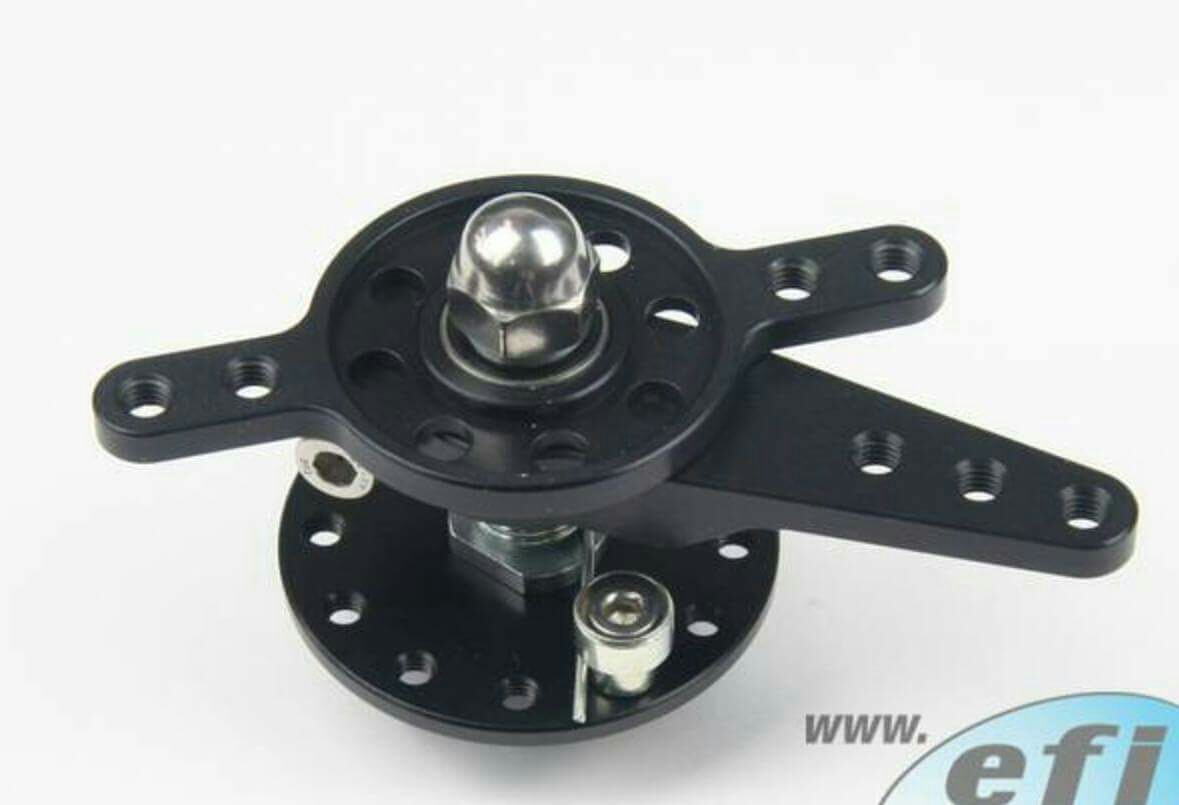
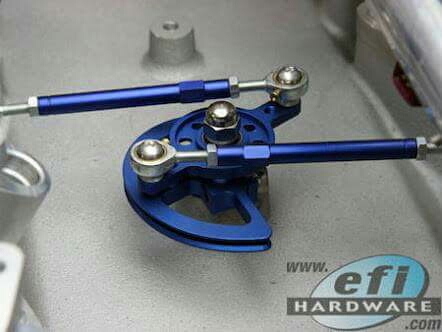
Alex, like these? or these?1 point
-
The bloody 12v LED light bulbs are ball tearingly expensive. They're $35 each. I foolishly bought some 12v incandescent bulbs but then a mate pointed out how many amps a 60 watt 12v bulb draws. The wiring would have to be massive. The incandescent bulbs were cheap though I'll try some Aliexpress LEDs to see just how shit they are1 point
-
That's what the dealers order in for some reason. They believe that's what people want here. It's been discussed a few times on VASK. Just for information, there are a couple but very few mk1 2 doors around, I have an early one myself. There is also actually a 2 door mk1 Jetta which is for sale at the moment. Few more mk2 2 doors, few mk3 2 doors and very very few mk4 on.1 point
-
Bungalow & villa switches are spendy. Look at clipsal heritage series. Might have to get ex Australia though as schneider nz don't carry it anymore1 point
-
Just be warned that AC switches dont like DC. Probably not an issue with low current though.1 point
-
Ta, I quite like the NOS ones though. I'm only going to use them with 12 volt so they will be awesome EDIT: Actually you're onto something there Simon. Thank you http://shop.bungalowandvilla.co.nz/products/product/BAKE55BR?category=NTLXLTLE&1 point
-
OMG. How cool are these light switches! http://www.trademe.co.nz/Browse/Listing.aspx?id=10688636191 point
-
Now, the hinge side of things, bit of a mission. first I had to cut what was left of the old hinge out. I managed to separate the hinge cleanly from the 3rd rivet, and drill a hole through the center of it, which would help in lining the new hinge up in the right place, after much beating and grinding I was happy with how the hinge was sitting. then I made up a patch to fill in the gaps welded it in place and ground smooth. using the dremel on the inside so I could fit another even smaller patch to the inside panel. the steel I'm using is actually a little thicker than the vw stuff, but this is not a area I want to crack in the future. I also stuck a few spot welds between them because I could and just in case. the inside had to be smoothed out so the hinge would sit right and I also welded up the 3rd hole/mess once the hinge could be bolted in place. like this! nearly a door again. stay tuned for next weeks adventure!!!!1 point
-
yep. caught them both.1 point
-
That awkward moment when your speedo drive is too short.1 point
-
Just the tip1 point
-
1 point
-
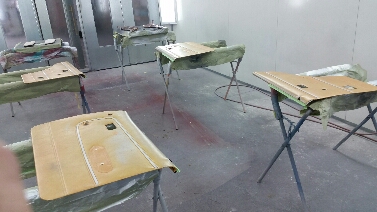
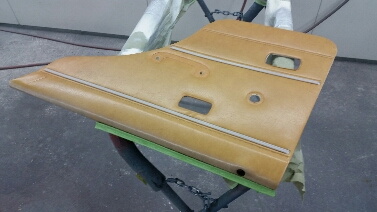
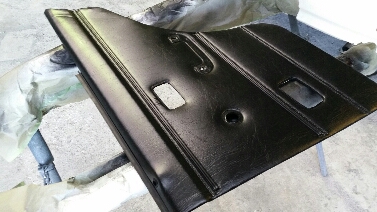
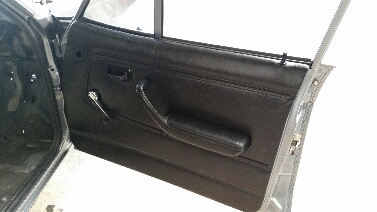
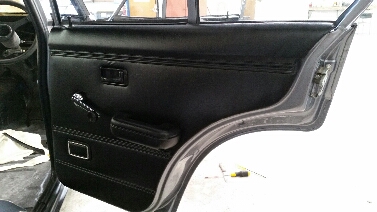
Got a real good set of door trims but wrong color and filthy so before I sent them to be upholstered I thought I'd try spraying them and if that turned into a f up retrimming would be the go. All cleaned up with iso, vinyl prep and then adhesion promoter. Then dusted multiple light coats of the black color coat, and wow stoked as! Look factory as Managed to get a couple on too Will try to get over to work tomorrow arvo to finish up the other two then thats the doors done
1 point
-
Thanks heaps guys . My phone won't let me put bigger pics up for some reason? Maybe cause I'm computer illiterate! I own and operate my own auto painters so the panel and paint hasn't really cost me that much,but really my own time but to give you some idea of the value of the job it's worked out to around the 20-25k mark(panel and paint alone) originally set a budget of 10k finished but blew that outta the water quite a while back lol. Wasn't meant to get this carried away but it just snowballed and now have to carry on1 point
-
I would very much love to come visit when I am next about, if that would be OK.1 point
-
Over a year later, an update. A whole lot of nothing happened because I moved cities. I chucked the new engine in, big thanks to KK and Manu who came over to lend a hand. Really appreciated that. I don't have pictures in progress, but you can imagine what an empty engine bay looks like along with the smiling faces of Manu and KK. Old engine - New engine - Have run it in a little bit (a few hundred miles) but it's not well tuned and I didn't have much time or motivation to sort it out. I've chucked on my wideband now to have a look and the mixture is all over the show, leaning out on acceleration and open road cruising. Rather than mess around with the old DCD, I came up with another plan. I have finally managed to get this bit of unobtainium from the land of hens teeth and rocking horse shit. Took me 10 years of trying to get this off a guy who was never going to use it. A super rare Blydenstein sidedraught manifold. I've only ever seen one other like it, and that was a photo from the UK. It is a combined manifold and rocker cover, but the downside is the engines have two ports in the head for an exhaust pre-heating setup. So, my dilemma is what material to make the gasket from? Standard, they have a cork gasket for the rocker cover and an exhaust gasket type material for the intake. I would use standard gasket paper, but not sure if the exhaust port will cause a problem with that and burn the paper, leading to a leak or some other unwanted events. I'm pointing to the intake port, but about an inch inwards from both intake ports are the exhaust preheating ports on the head. Or should I make the whole gasket out of some other material - like exhaust gasket material - but that would be a bit shit. Another option is to bung up the exhaust pre-heating outlets with a frost plug - although not sure the size would be standard. Give me your thoughts here please -> //oldschool.co.nz/index.php?/topic/33890-vivaspeeds-no2-viva-discussion/page-21 point
-
After a measure up this is where they will end up.. Also got the reducers to go from 38.1 to 50mm purge welded on today. Time to start mocking everything up1 point
-
Some updated pictures I took this morning. Unfortunately a bunch of water got under the clear on the trunk lid and now looks horrible. Luckily it can't be seen on the photos so you guys can just pretend you didn't read that. Coming sideways soon in a hood near you.1 point
-
Bit late on the update but the E28 has been going for a while now. When I first did the manual swap I put the flywheel one bolt hole off (orientation in relation to the crank), and since they take TDC off the flywheel I had to pull it all off again. Only took 6 hours the second time though so no big deal. Got a new black lower center console, made the vinyl gear boot, painted the rest of the center console bits black and got the proper gear knob for it. Just need the emblem now. It's so much better to drive with the manual, just like it should always have been.1 point
-
On her way to get some engine wiring done. Starting from scratch with new wiring and plugs. The start of the Link Fury wiring. Getting to the nitty gritty now.1 point
-
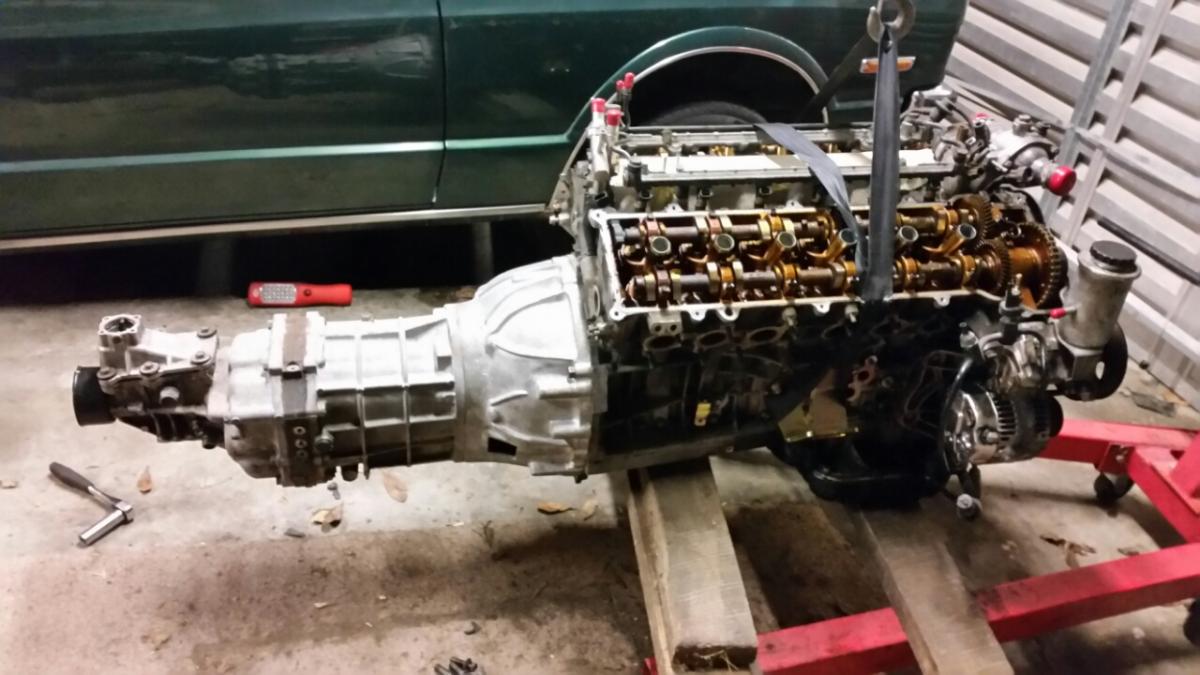
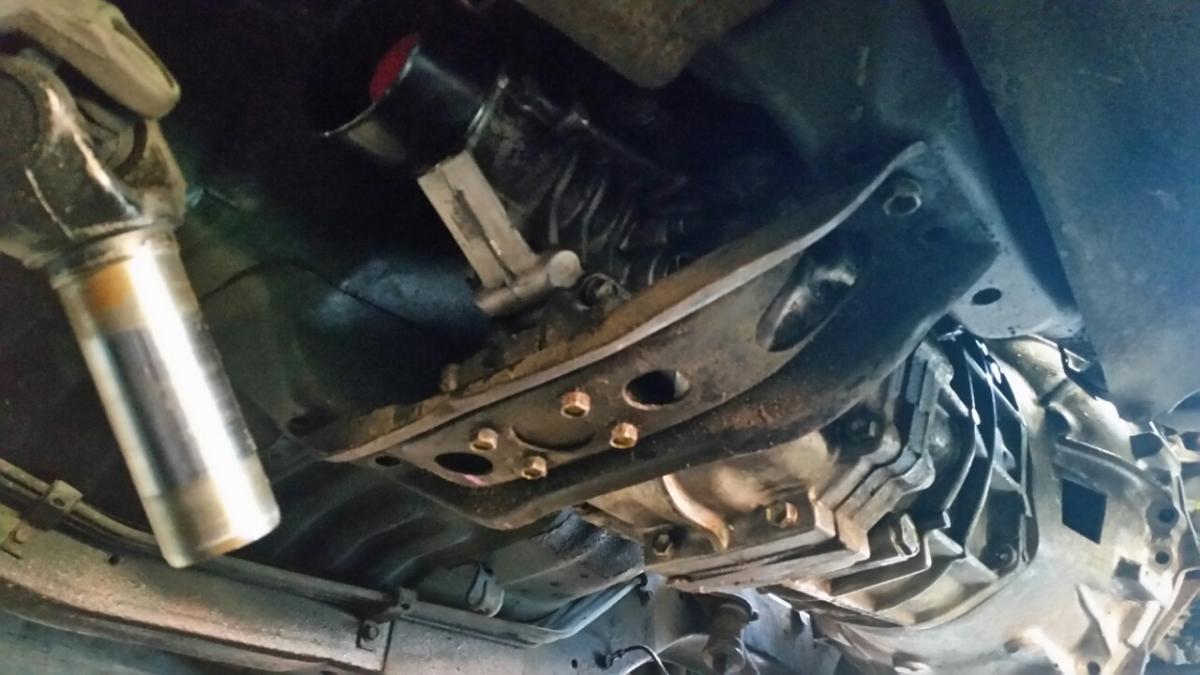
Did a bit of tunnel massage today. Usually it's the bellhousing but this R154 is pretty big in the guts. So up she went and bolted onto the factory gearbox mount. I then lifted the engine to clear the sump from the cross member by about 5 mm. This meant I needed a mount to go from the new engine mounts to the subframe that was 30mm. Made a few calls and looked at a few books and ordered from the mount shop a Land Rover engine mount. It's 65mm round with a stud on each side and is 36mm so I'm happy with that. I will now make a plate that makes the subframe mount nice and flat and will drill a hole right where I need it. Most likely slot it vertically as the engine mount is slotted horizontally. That will give me all the adjustment I need. Once that's done the auto sparky is coming around to start the new wiring. Might also have a play with the exhaust headers soon while I'm putting the engine in and out.
1 point
-
Fixed it up and got it road legal, then sold the wheels as they weren't my style and bought some 16x8 BBS Style 5s. I polished the lips and painted the centers antrachite grey: Put them on, lowered the car a lot and drove around like this for a while:1 point
-
Completely normal to own several variants of the same car- anyone who tells you it isn't is LYING! : ) Love the Vauxhallness of your posts, subscribed!1 point


This leaderboard is set to Auckland/GMT+12:00