
Leaderboard


Popular Content
Showing content with the highest reputation on 12/05/15 in all areas
-
2015-12-05_01-56-19 by sheepers, on Flickr 2015-12-05_01-55-59 by sheepers, on Flickr 2015-12-05_01-55-44 by sheepers, on Flickr 2015-12-05_01-55-35 by sheepers, on Flickr 2015-12-05_01-55-28 by sheepers, on Flickr 2015-12-05_01-55-19 by sheepers, on Flickr 2015-12-05_01-55-03 by sheepers, on Flickr 2015-12-05_01-54-54 by sheepers, on Flickr7 points
-
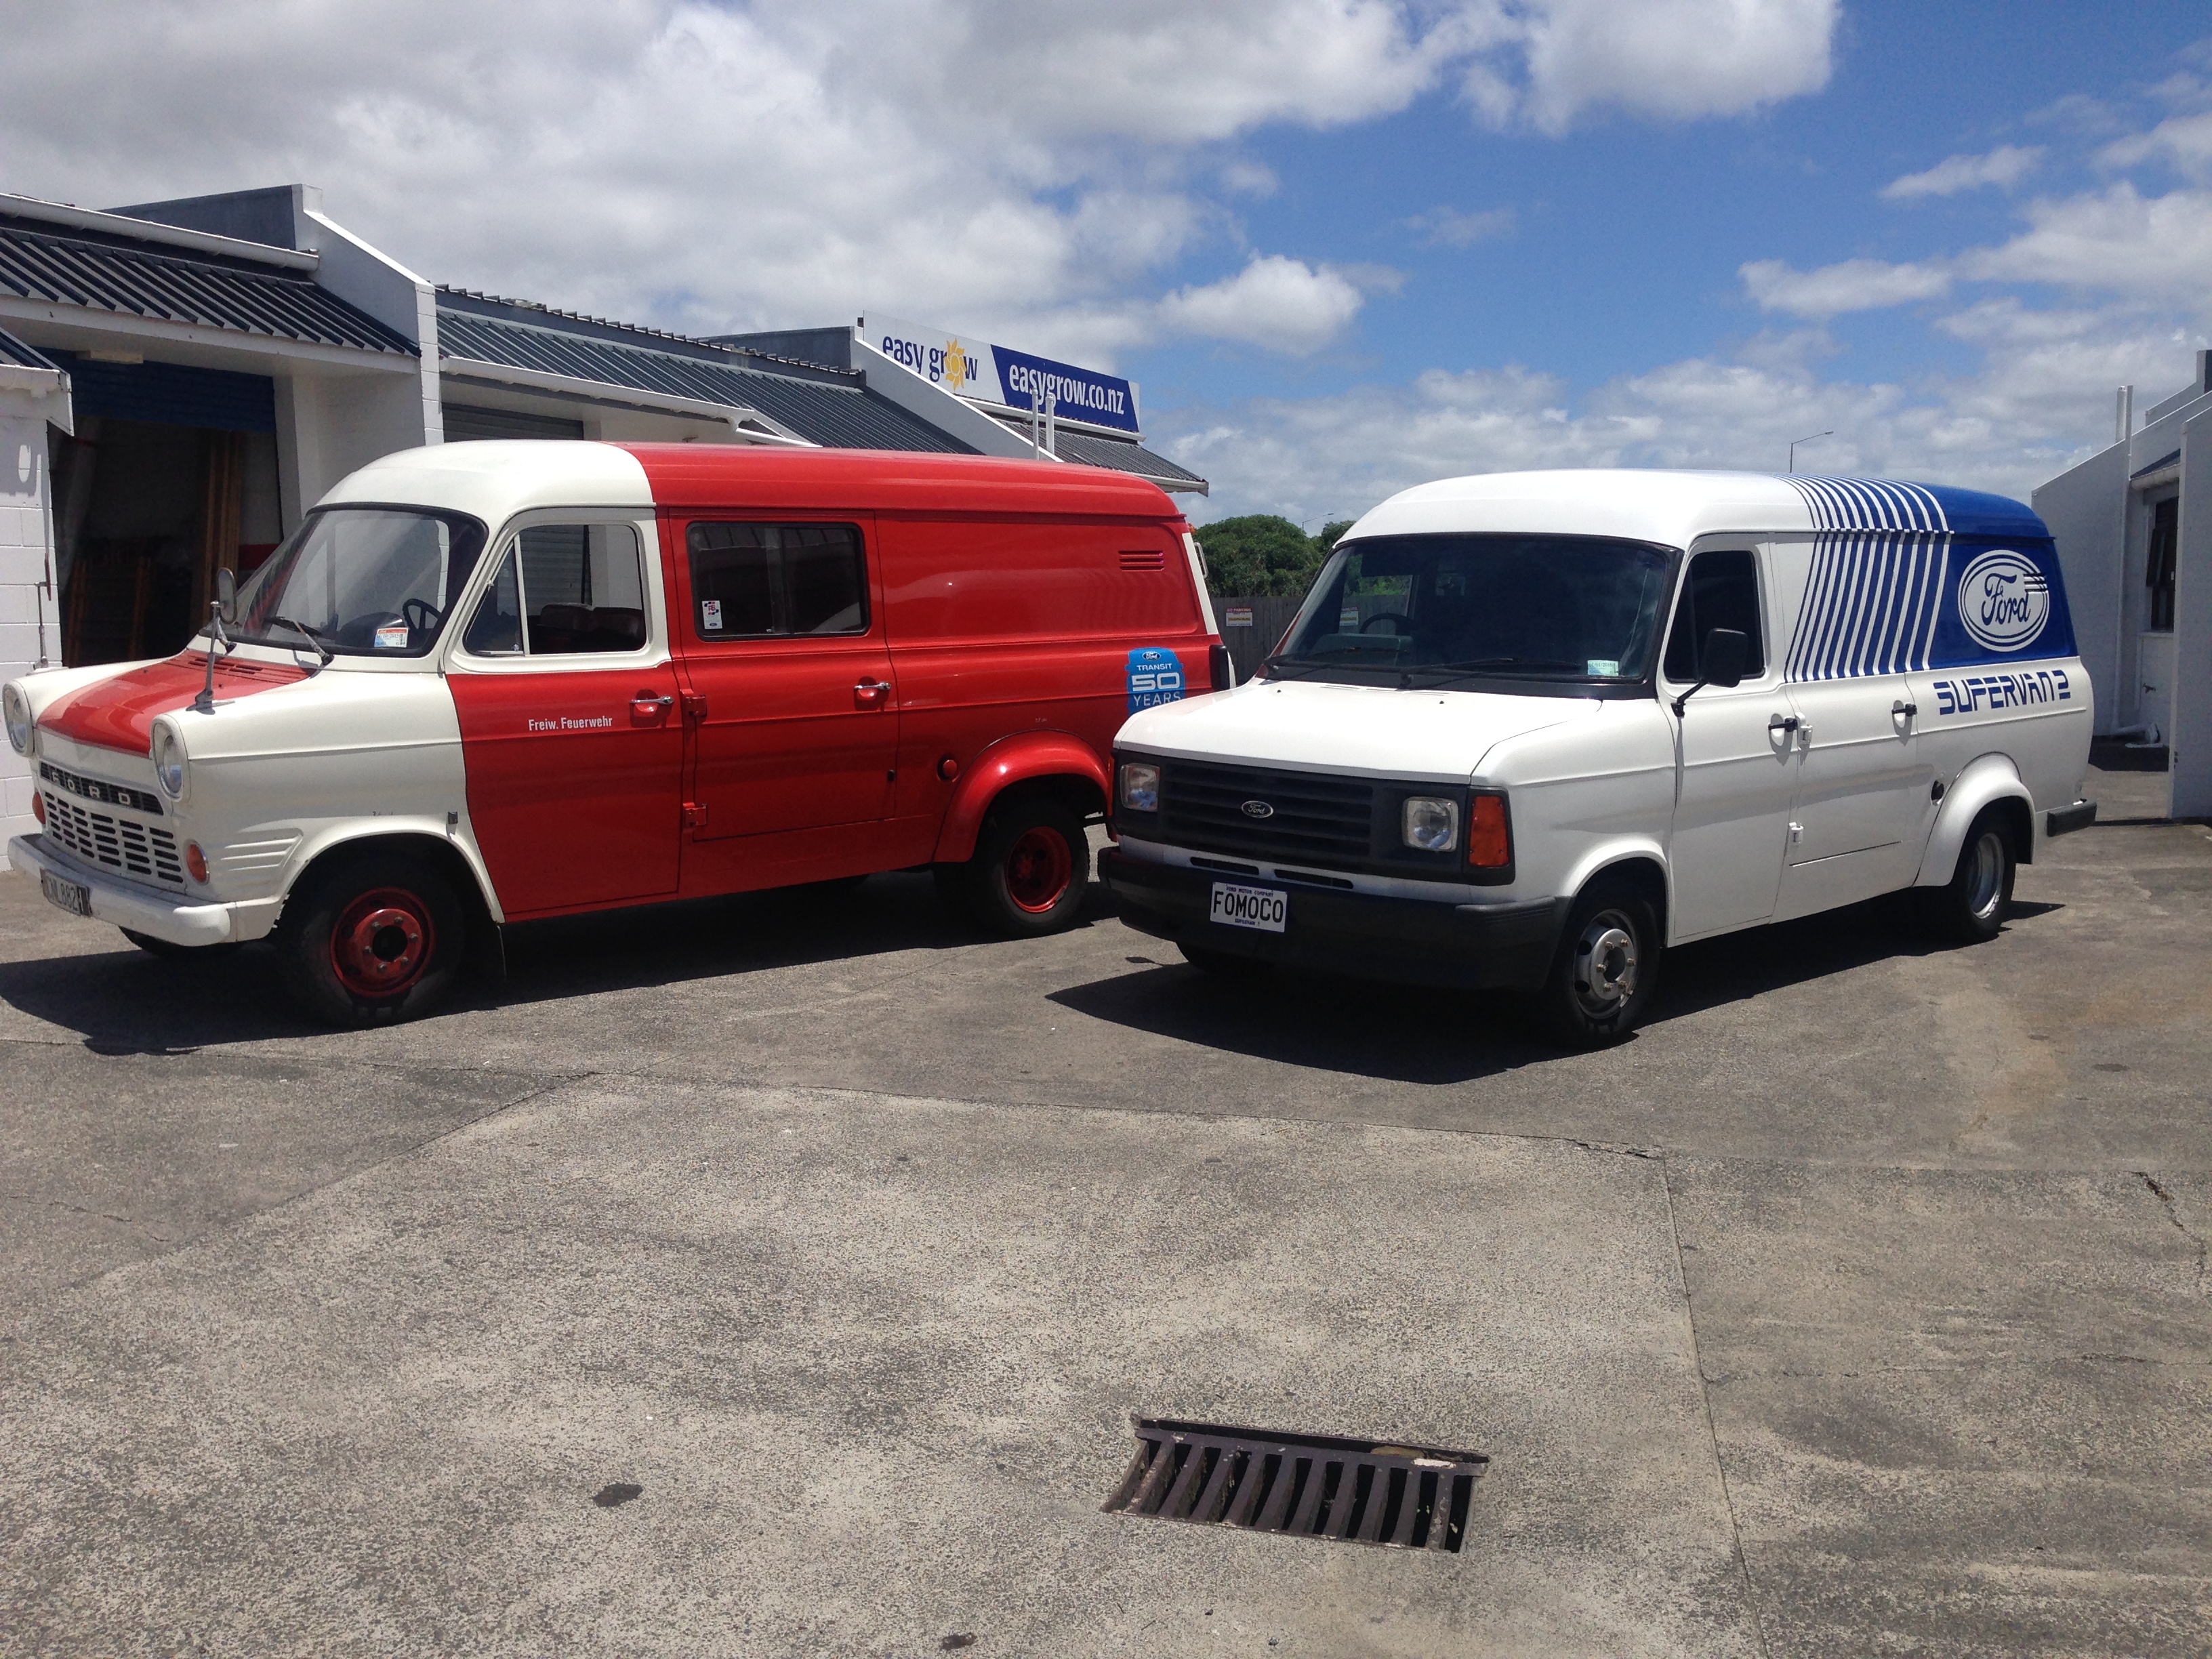
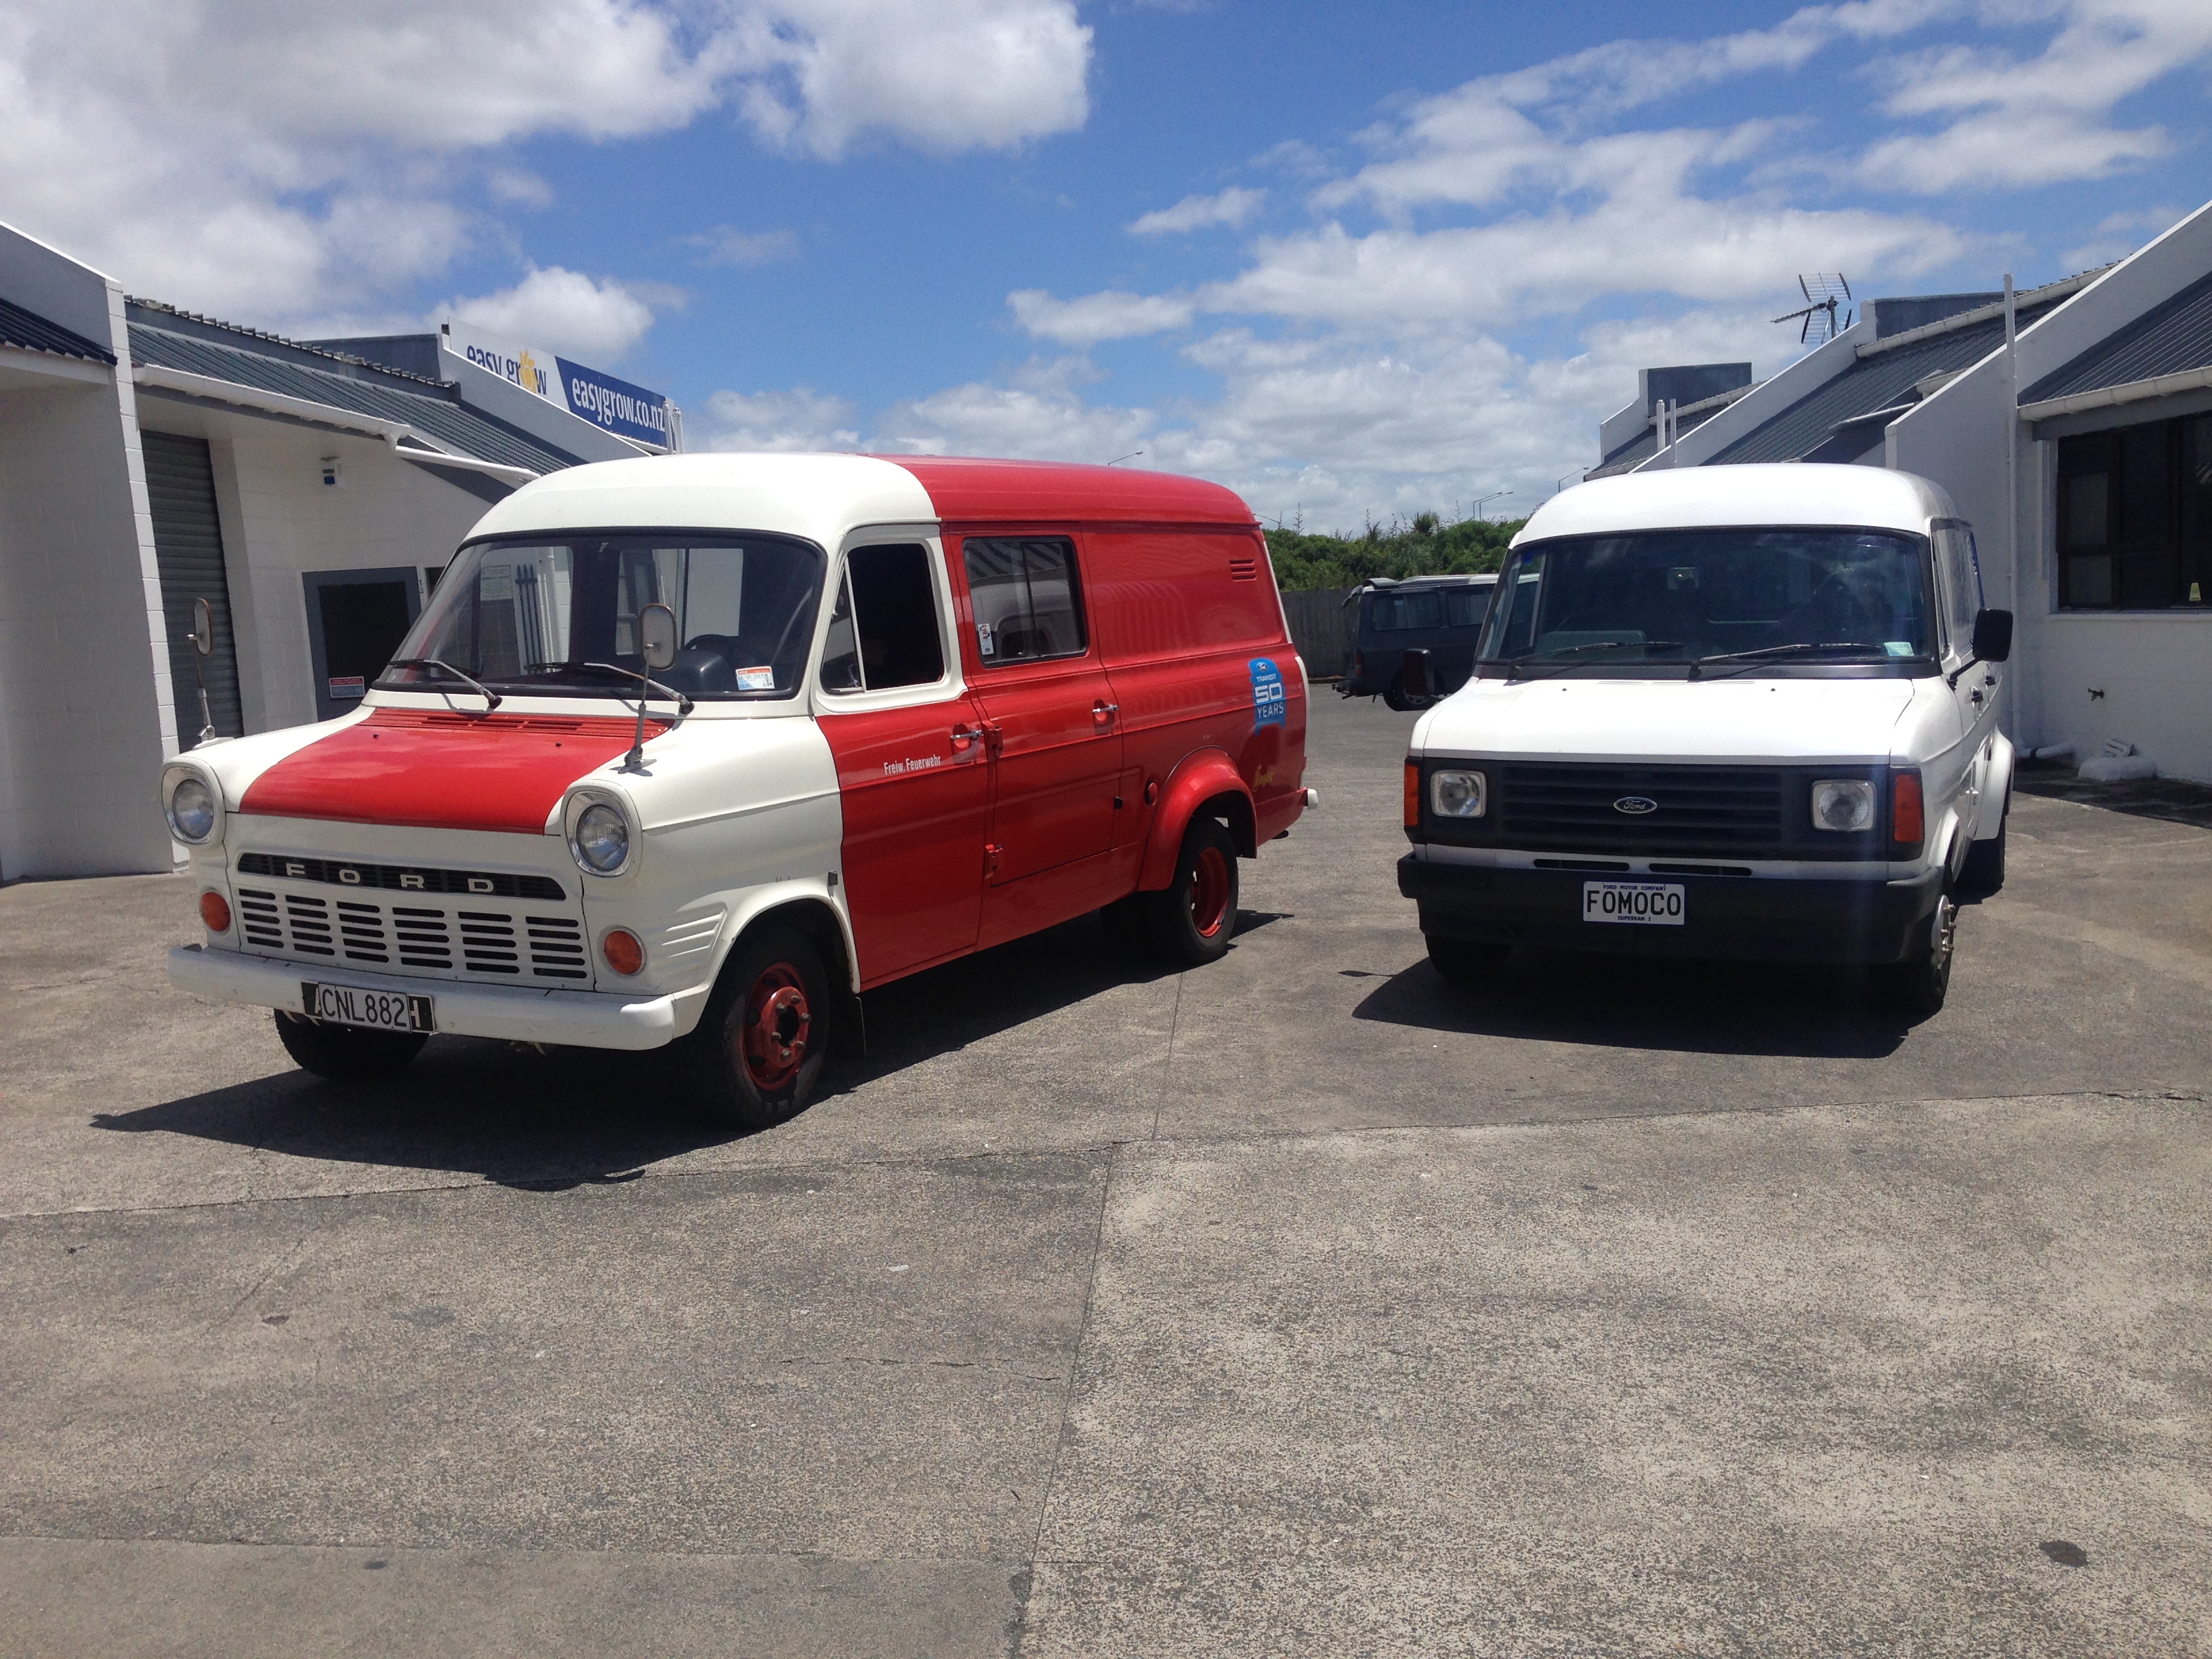
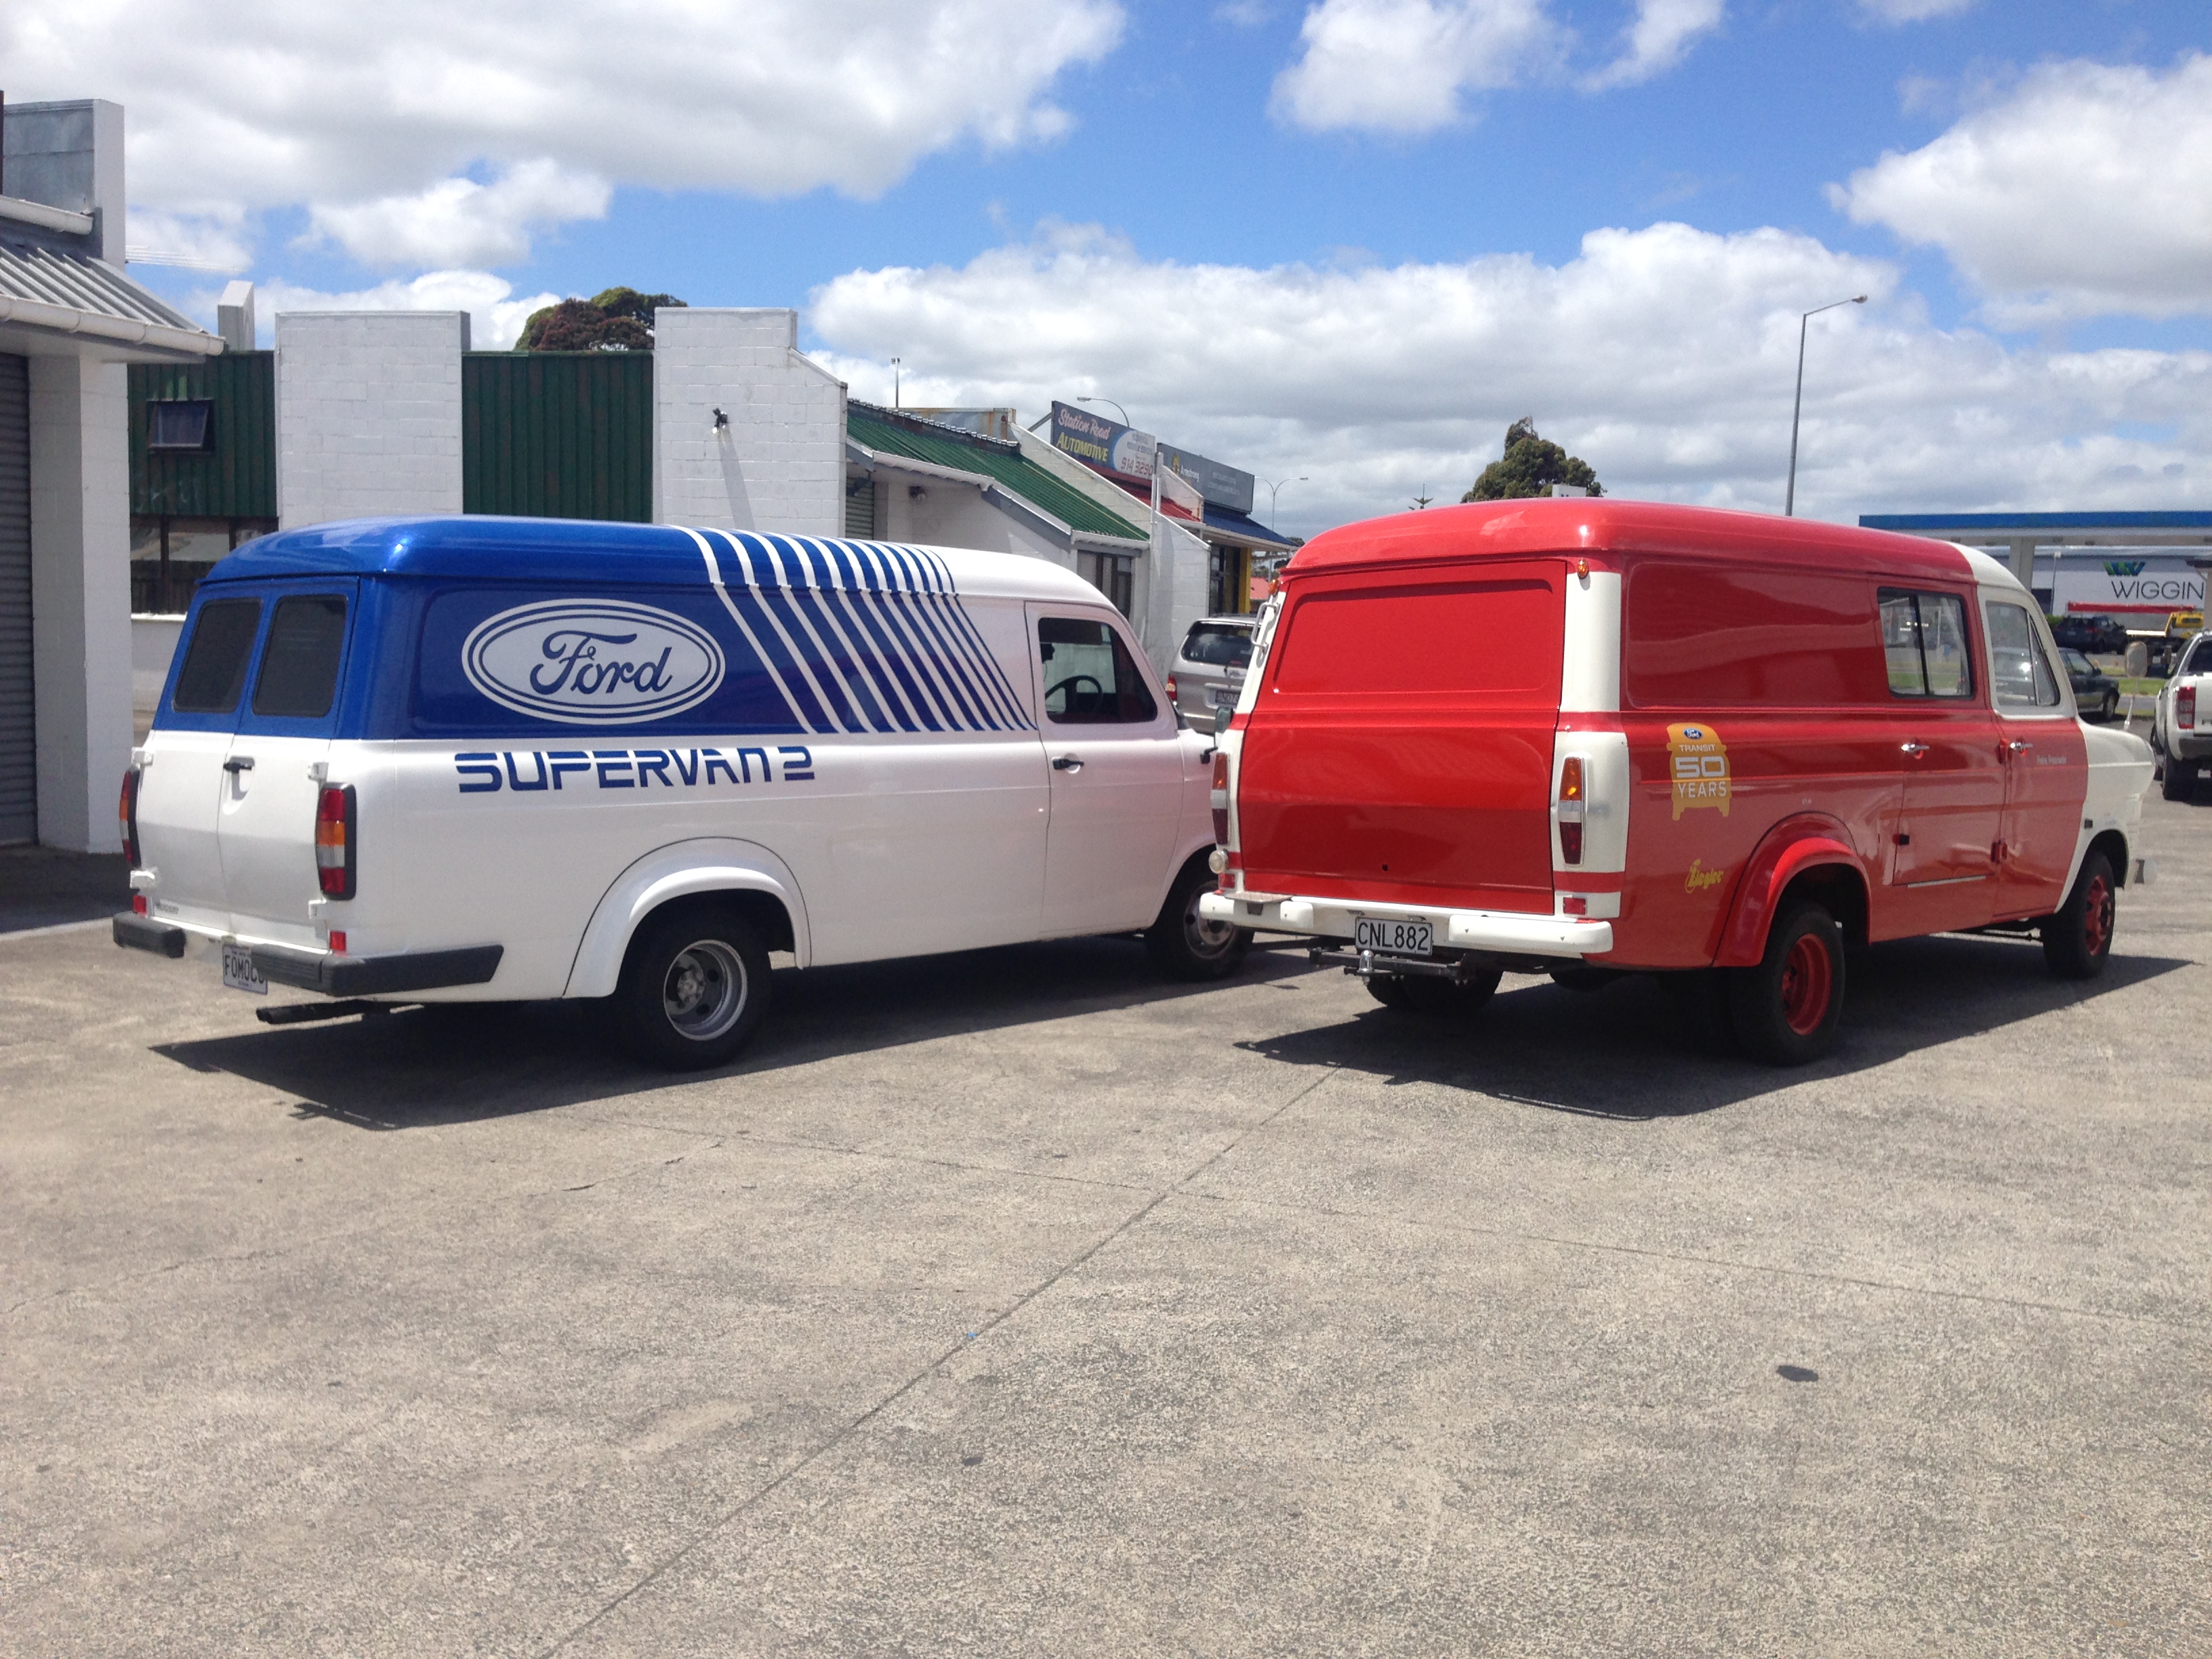
went to friends place to pick up some parts today. He backed out his German firevan so that we could get at the storage area. Thought it was a good opportunity to snap a couple of pics of an early Mk1 (1969) sitting next to a late Mk2 (1985) They are essentially the same van from the screen back.
 5 points
 -
after finishing the sunroof patch in the TA23 i put the driveshaft back in this car. Aiden replaced the front cross because it was a bit notchy and it wasn't a genuine toyota one, he also re-shimmed the back uni to take out a bit of play and its fucking magic. so much better. its like silk. you don't even know your doing a skid. choice.3 points
-
Jealous of my Rover's two gloveboxes eh KK. Both work.2 points
-
I accidentally opened your build thread Neal.2 points
-
Cracked the windscreen upon installation. Check New one on the way. Check2 points
-
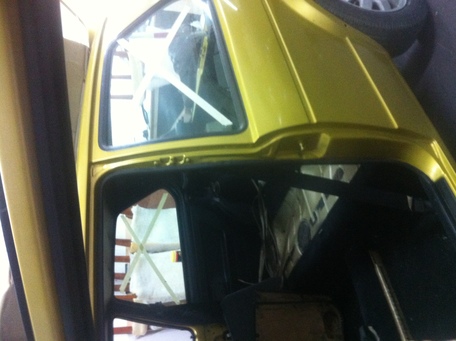
Left to do by christmas. Sunroof to be installed Front windows to be installed Front window runners to be installed Door cards,handles,winders to be installed Seats to be stitched together and re assebled. Reinstall seats Install rear seat belts. Cut hole for sunroof Attach front bumper and rear bumper Quick squizz over for wof check. L outer cv boot Fill it with benzine. So not much.2 points
-
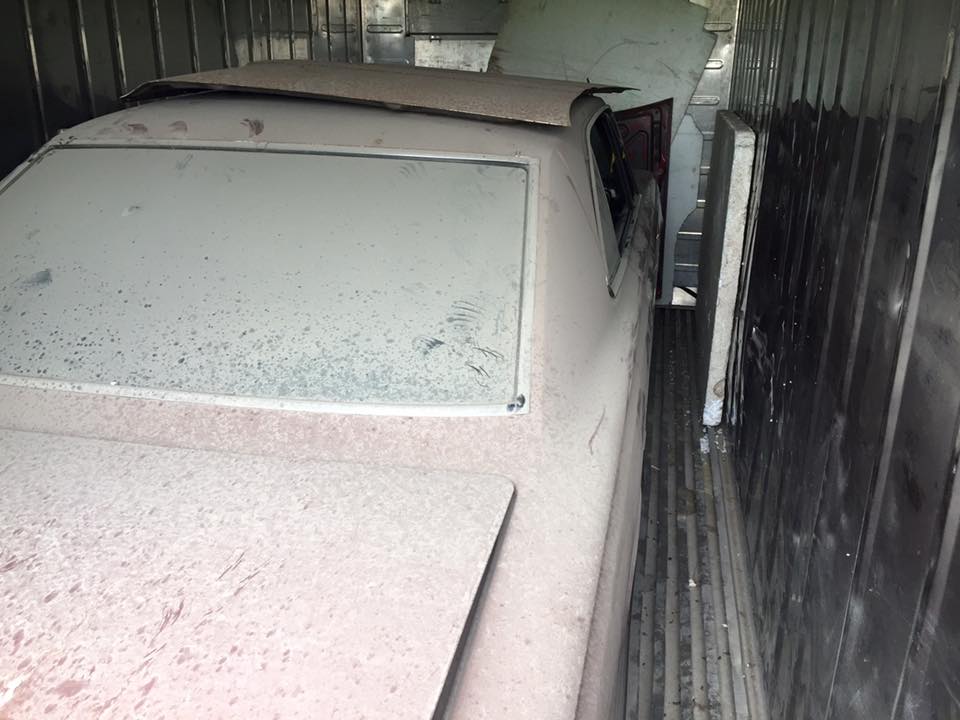
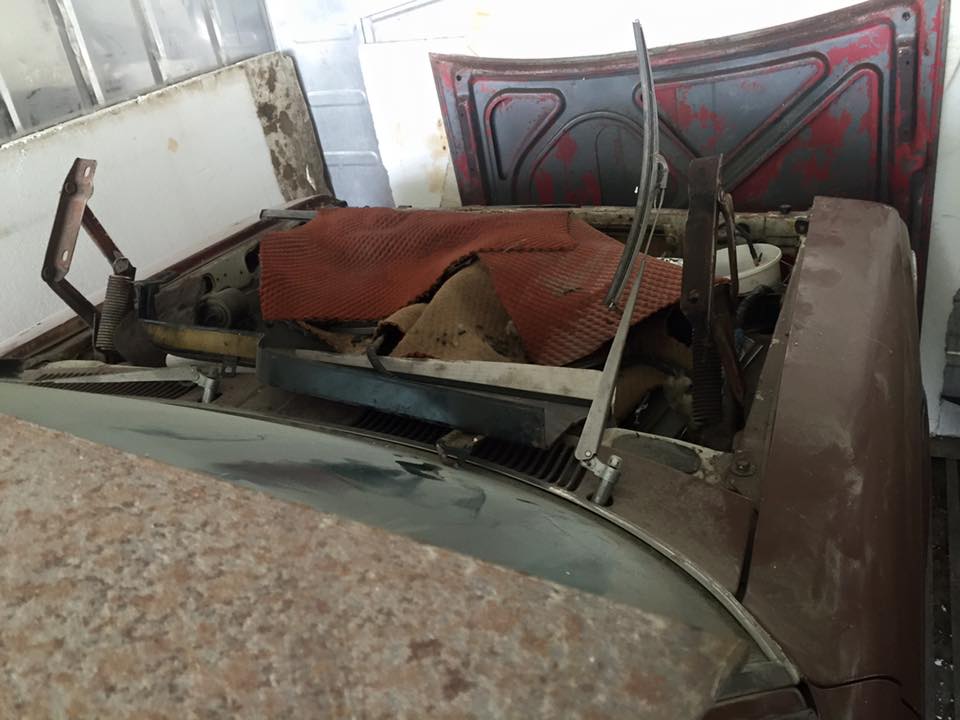
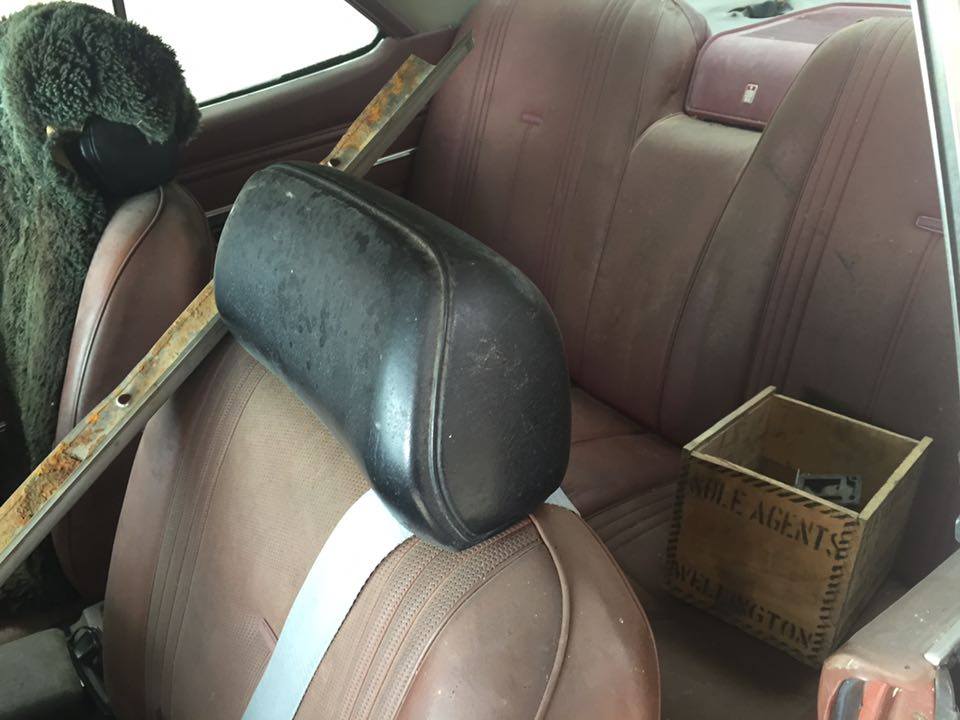
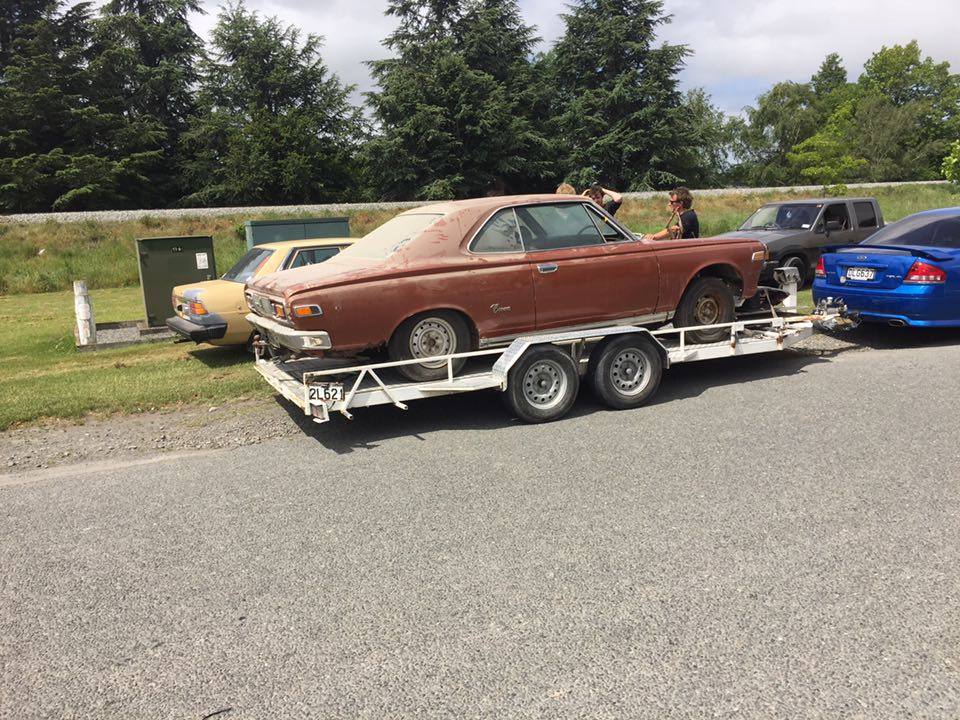
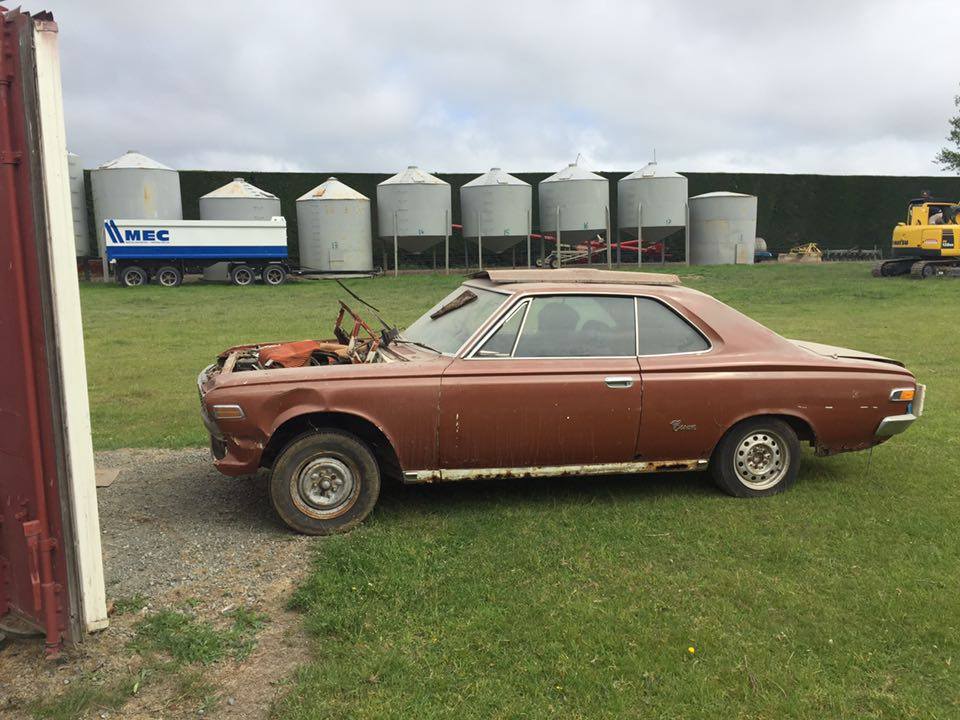
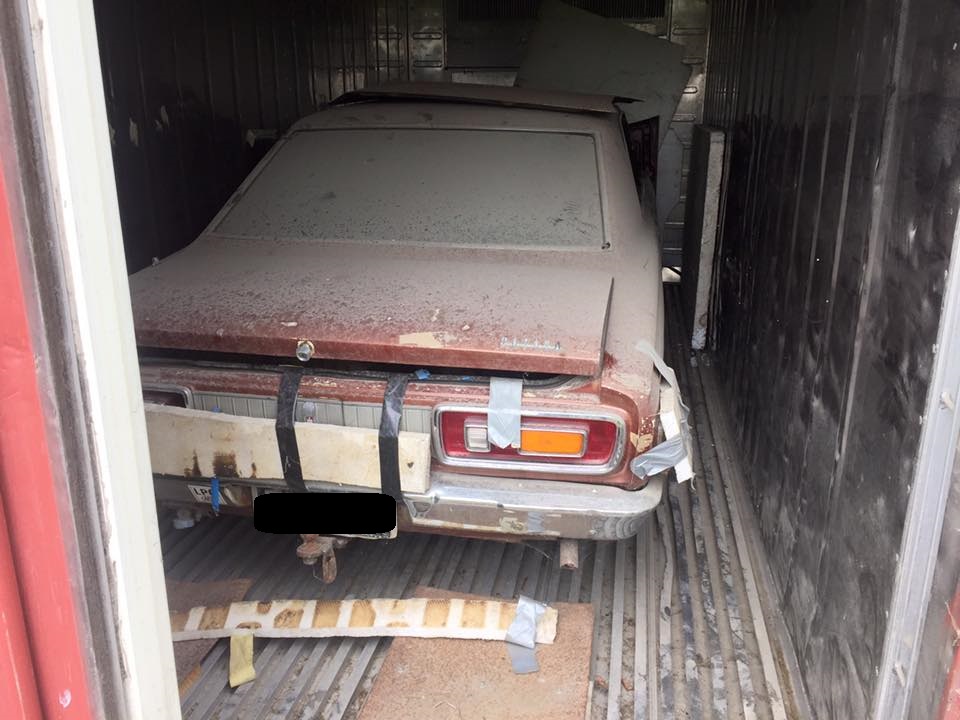
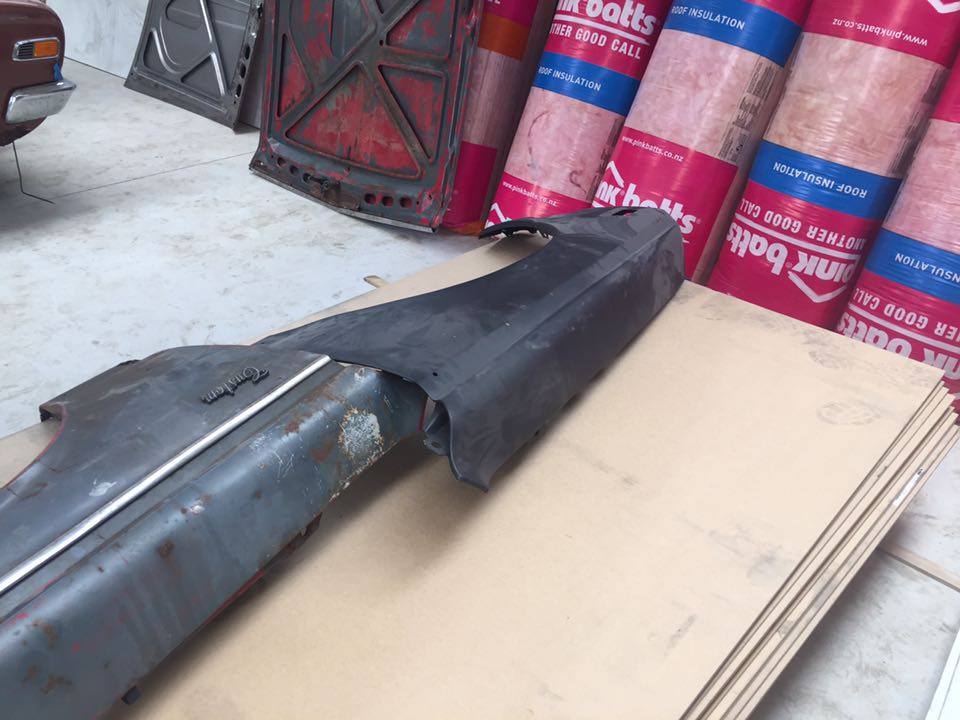
Discussion Thread hey guy just starting my build thread of my 1969 ms51 crown coupe. wont be starting the build for some time. I have been after this crown coupe bran find for over 3 years the guy finally let me buy it, it needs a fair bit of work as its just a rolling body at this stage. dereg and rusty eg sills and rear guards seams to be mostly there apart from motor and box. has been off the road since 89
1 point
-
I'm trying to buy some urethane or nolathane stock so I can turn up my own mounts and bushes. Does anyone have any idea where I can buy some?1 point
-
Can you bring this to kumeu hotrod show and park it with us at the OS area. Just so damn sweet!!!1 point
-
machines ok if you spin it fast and make right shape tool from tool steel.1 point
-
The sunroof patch looks like it went ok, that is a very hard thing to do. I see the guy in the photo uses a slapstick. I saw on the turbobrick fouroms one guy replaced the whole roof just to get rid of a sunroof and even then he used panel bond glue and no welding to avoid it warping1 point
-
Someone told me once to freeze it before cutting it.1 point
-
Na man keep going.1 point
-
hmmm thats unusual , they fitted two because at least one is missing , broken or stuck from new . so yours is unoriginal/modified ...... don't people usually fit toyota boxes .......1 point
-
Have you thought about buying it in liquid form and pouring your own. Not uncommon thing. I have fou.d a supplier in onehunga but can't remember the name.1 point
-
it looks all wonky in that picture but i can assure you its not.1 point
-
Wagon is still in Kelvins hands getting painted I believe, I never owned that one, tho that is my old ms55 in the back ground there.1 point
-
Nah, just stretch fit over the pulleys. Belt is fairly loose as it's the original belt in guessing, but it didn't slip or anything1 point
-
No problems, Happy to share the love x1 point
-
it needs leg guards Bishes will swoon...1 point
-
Diesel mate - Neal Neal one wheel peel has the V8 for the weekend.1 point
-
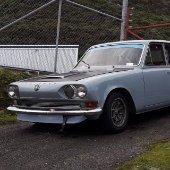
Arts and crafts time again! Something that was bothering me for ages is the N emblem on the front was all faded out. Picked up some basic model/craft paint during the week and thought I'd have a poke about and get it looking nicer. Turns out it looked way nicer just with a bit of a clean with some solvent.. but still not vivid enough for me. It took me ages to work out how I was going to do it with masking off so I could minimise the paint on the chrome. Ended up making a hash of it anyway but this is the first lot I did, and that turned out all good. Then this is the second lot and I couldn't figure out how to mask the inner bits so just gave up and made a mess. Quite a bit of the paint seemed to bleed through that paint tape but I managed to clean up the majority of it afterwards with some ear bud things and solvent. Finished product.. it's not super sharp around the edges but stand a few feet away and she's magic. Just brings that bit of something to the front where it was all silver/black before. Next I have to figure out the best way to refurbish the 2000GT badge on the front.. or maybe just leave it off for a while because I realised painting is quite hard. Also the front lip bugs me. I'm pretty sure it's warped somehow but it is flat on the bottom so hard to tell. Oh well, problem for another day. Discuss: //oldschool.co.nz/index.php?/topic/49704-mlracings-hakosuka/page-6#entry16207561 point
-
few more photos, came with tones of parts that I still have to sort out
1 point
-
It drives really nice apart from the diff whine very low geared 4.7 screams its head off but it loves it. almost got the tune sorted just trying to iron out a rich cruse and slight hesitation off idle but runs great. Suprisingly those lockrite diff lockers are quite streetable does u turns tight corners with no scuffing few clicks but locks well when wanted. just need to glue the rear windows in get me some handbrake cables made and new seatbelts and cert time everything passed crack testing too even the wheels so was stoked with that1 point
-
4mm! that's like a spray putty gun. If it is actual 4mm then its mostly useless IMO.1 point
-
Been lazy, unproductive, busy, unmotivated. All of the above. But got stuck into it tonight. Headliner done, still to cut the hole for the rain roof. Rear windows in. First time doing windows. FIrst time doing windows alone too. Door rubbers on, boot rubber on, boot re installed and speaker trays too. Seats came up mint after a run through the laundromat! Will be giong together this week sometime hopefully. Spent ages sorting through the seat shit. Glued some of the carpets down so it looks neater. Tried sorting the sunroof out but to no avail.
1 point
-
Play a few rounds of "will it compact?"1 point
-
Step 1. Unbolt compactor Step 2. Tie compactor to solid object Step 3. Drive. All taken place in your local refuse contractors yard (at 3am when no one is looking)1 point
-
Real nice van. Someone at Masport must have had fun at the rego office, getting all the J* 780 plates. Jim Donald's BDA Escort had JD 780, and Blair Robson's had JB 780. The Holden V6 traces it's roots back to the '60s Buick V6 (via Jeep), which was 3/4's of the 300 V8 that was derived from the Buick 215 (later Rover 3500). Apparently there are a few Holden seals that fit the Leyland P76. Buick, Oldsmobile, and Holden all did supercharged or turbocharged versions over it's three decades.1 point
-
zorst is now all tacked in place and just needs finish welding. I've made it as close to the floor as i dare and ill be surprised if it doesn't hit anything because its real close but its easier to space it down latter if i need to but very hard to space it up. it goes under the diff just in case your wondering. Untitled by sheepers-ra28, on Flickr1 point
-
nearly there.......1 point


This leaderboard is set to Auckland/GMT+12:00