
Leaderboard


Popular Content
Showing content with the highest reputation on 02/24/24 in Posts
-
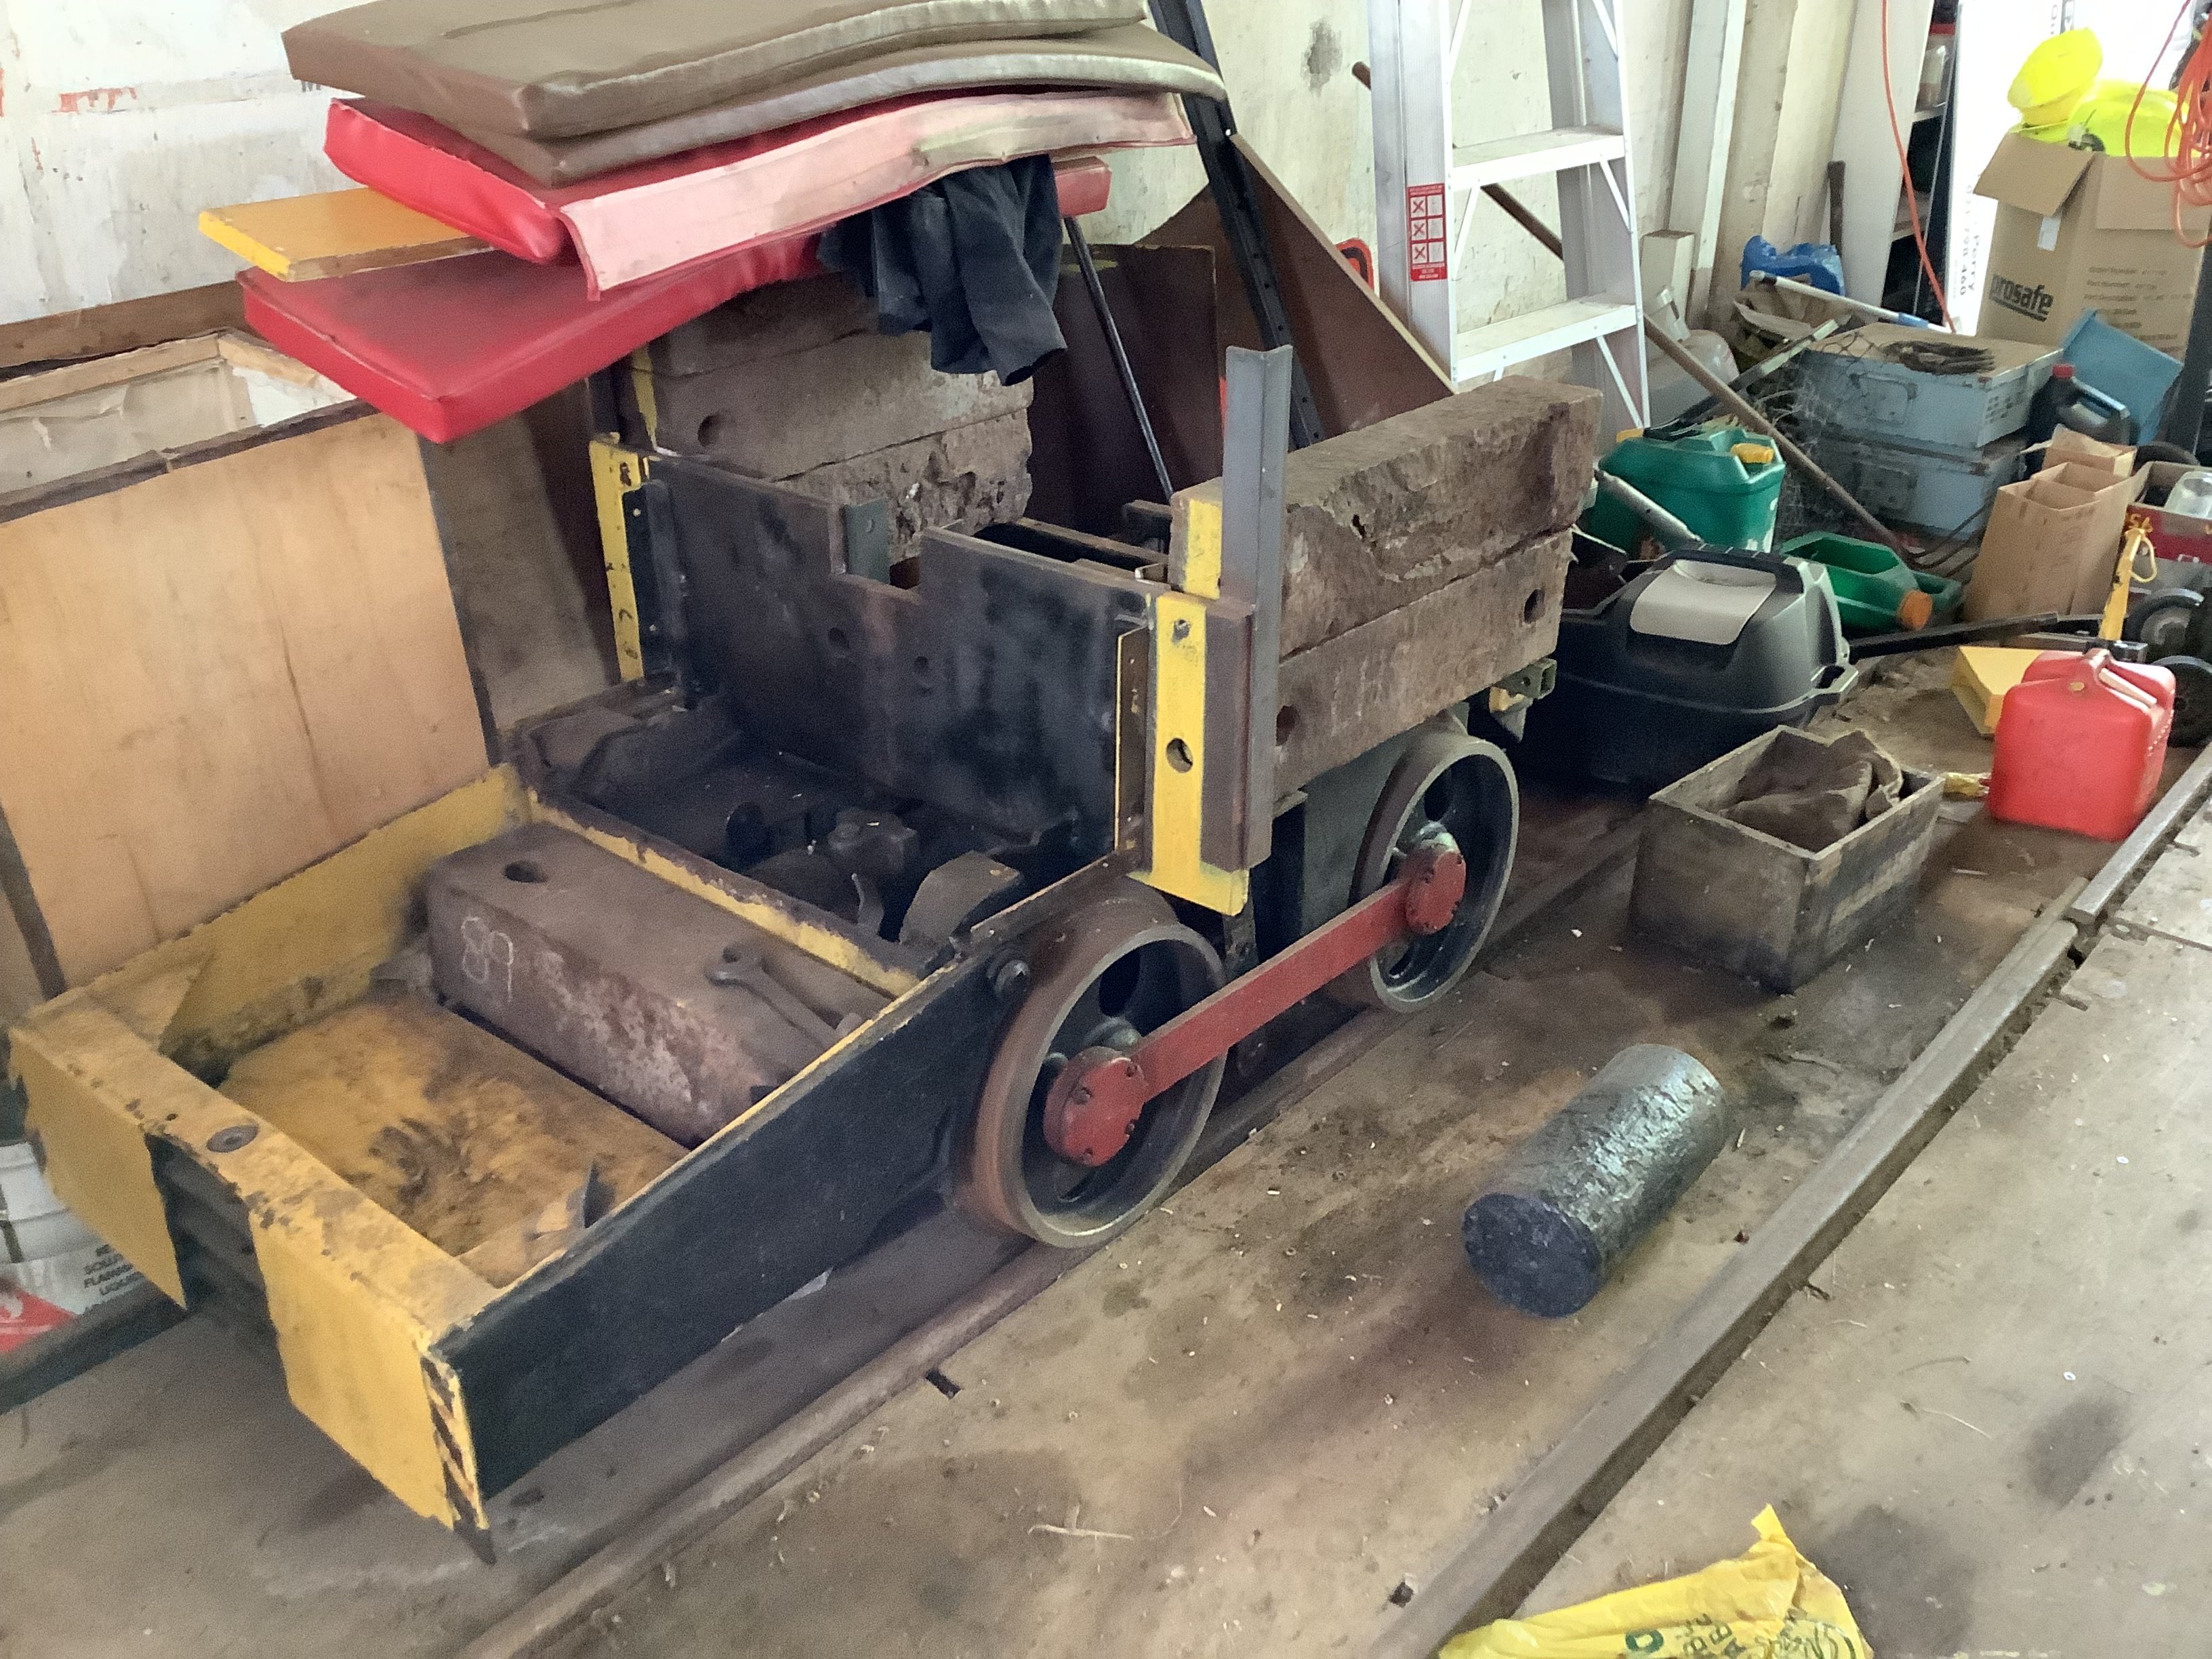
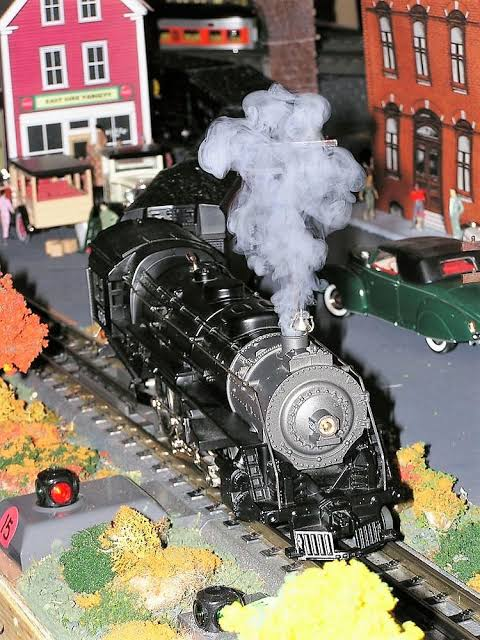
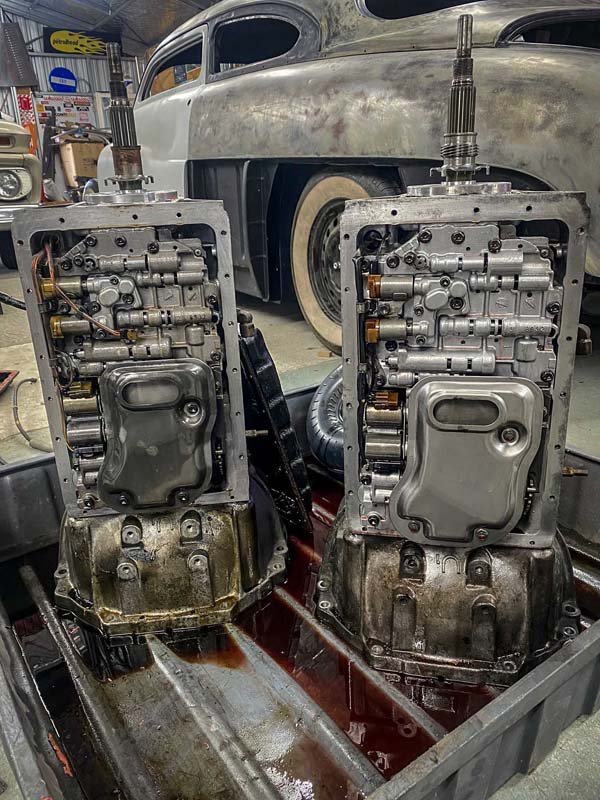
Here is a picture of the complete, identical engine at waikino for reference.
 12 points
 -
@a.craw4d, @yoeddynz , @locost_bryan, & @everyone. thank you for your appreciation. So buzzed up on it, started another. We're off to Italy in late '43. There may be some GC's about. / pic of 15 minutes in... Also, @Indiana_Jones, Stug ?10 points
-
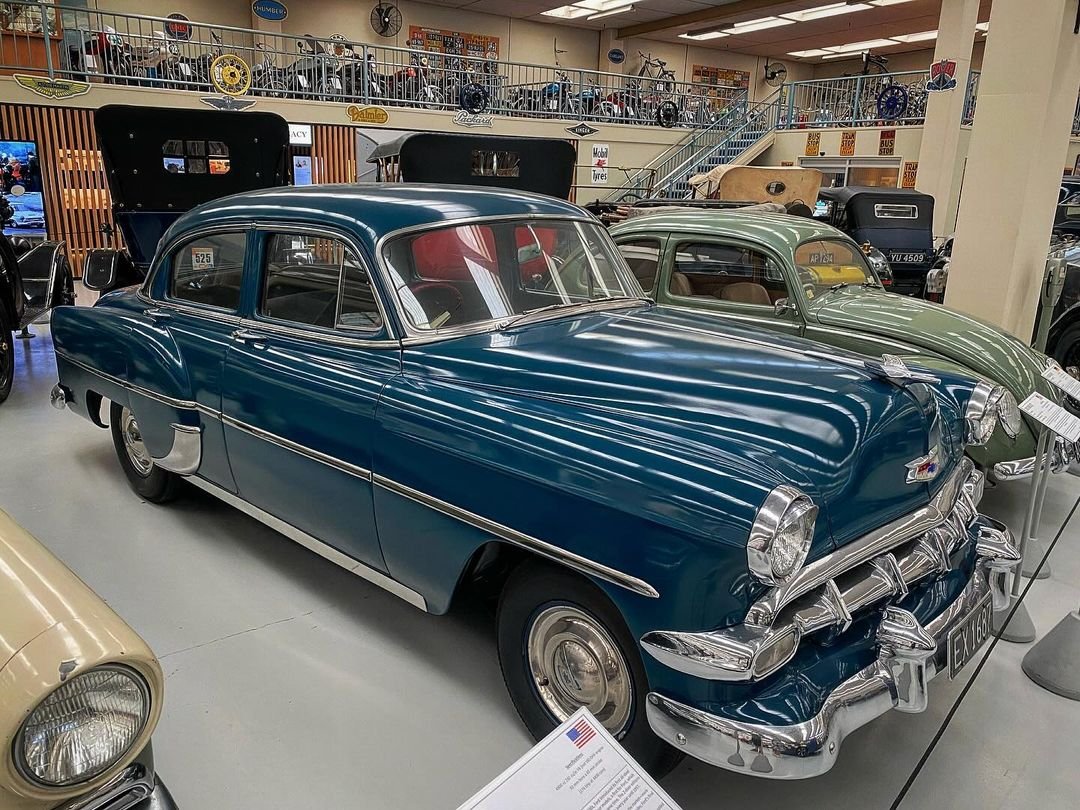
Have being doing a lot of stuff recently to try get this ready for beachop. The doors now open electronically with the small spring loaded knobs next to the window. And lock using the factory lexus Remote. Door Rubbers are all on. Window rubbers are all glued up. Bitumen sound deadening in the doors. Is much more of a pleasure to drive. Even with the door cards off. Reversing Lights added and wired in. Have moved on to version2 of the boss air struts. Such a better product. No welding the bush onto the bottom, they come with a threaded boss on the bottom and a range of Threaded mount options. Also a 1/8 female npt hole for the air supply. Instead of the Hydraulic style male fitting and hose they had before. Made it to the last southwards Cars and Coffee in Kapiti. Excellent morning out with lots of cool cars to see. Matts & mine were easily the lowest cars present. Had forgotten about the 1954 210 inside. Was a nice surprise. Have also put a false floor in the trunk. With a 4 channel amp beneath that. On top of the space saver. Wired into the parcel shelf speakers and ready to wire into the front door speakers this weekend. Have an infinity Bluetooth Amp adapter to wire in, instead of a headunit. (despite costing more than a decent headunit) Also next up is to get some gas struts onto the hood. in place where the springs would of been. As at highway speed the hood likes to lift and float around. And is quite disheartening at 100kmh.
8 points
-
7 points
-
Note to self - the original motor did 2200 rpm flat tack. Thanks british narrow gauge foamers7 points
-
thanks! purchased7 points
-
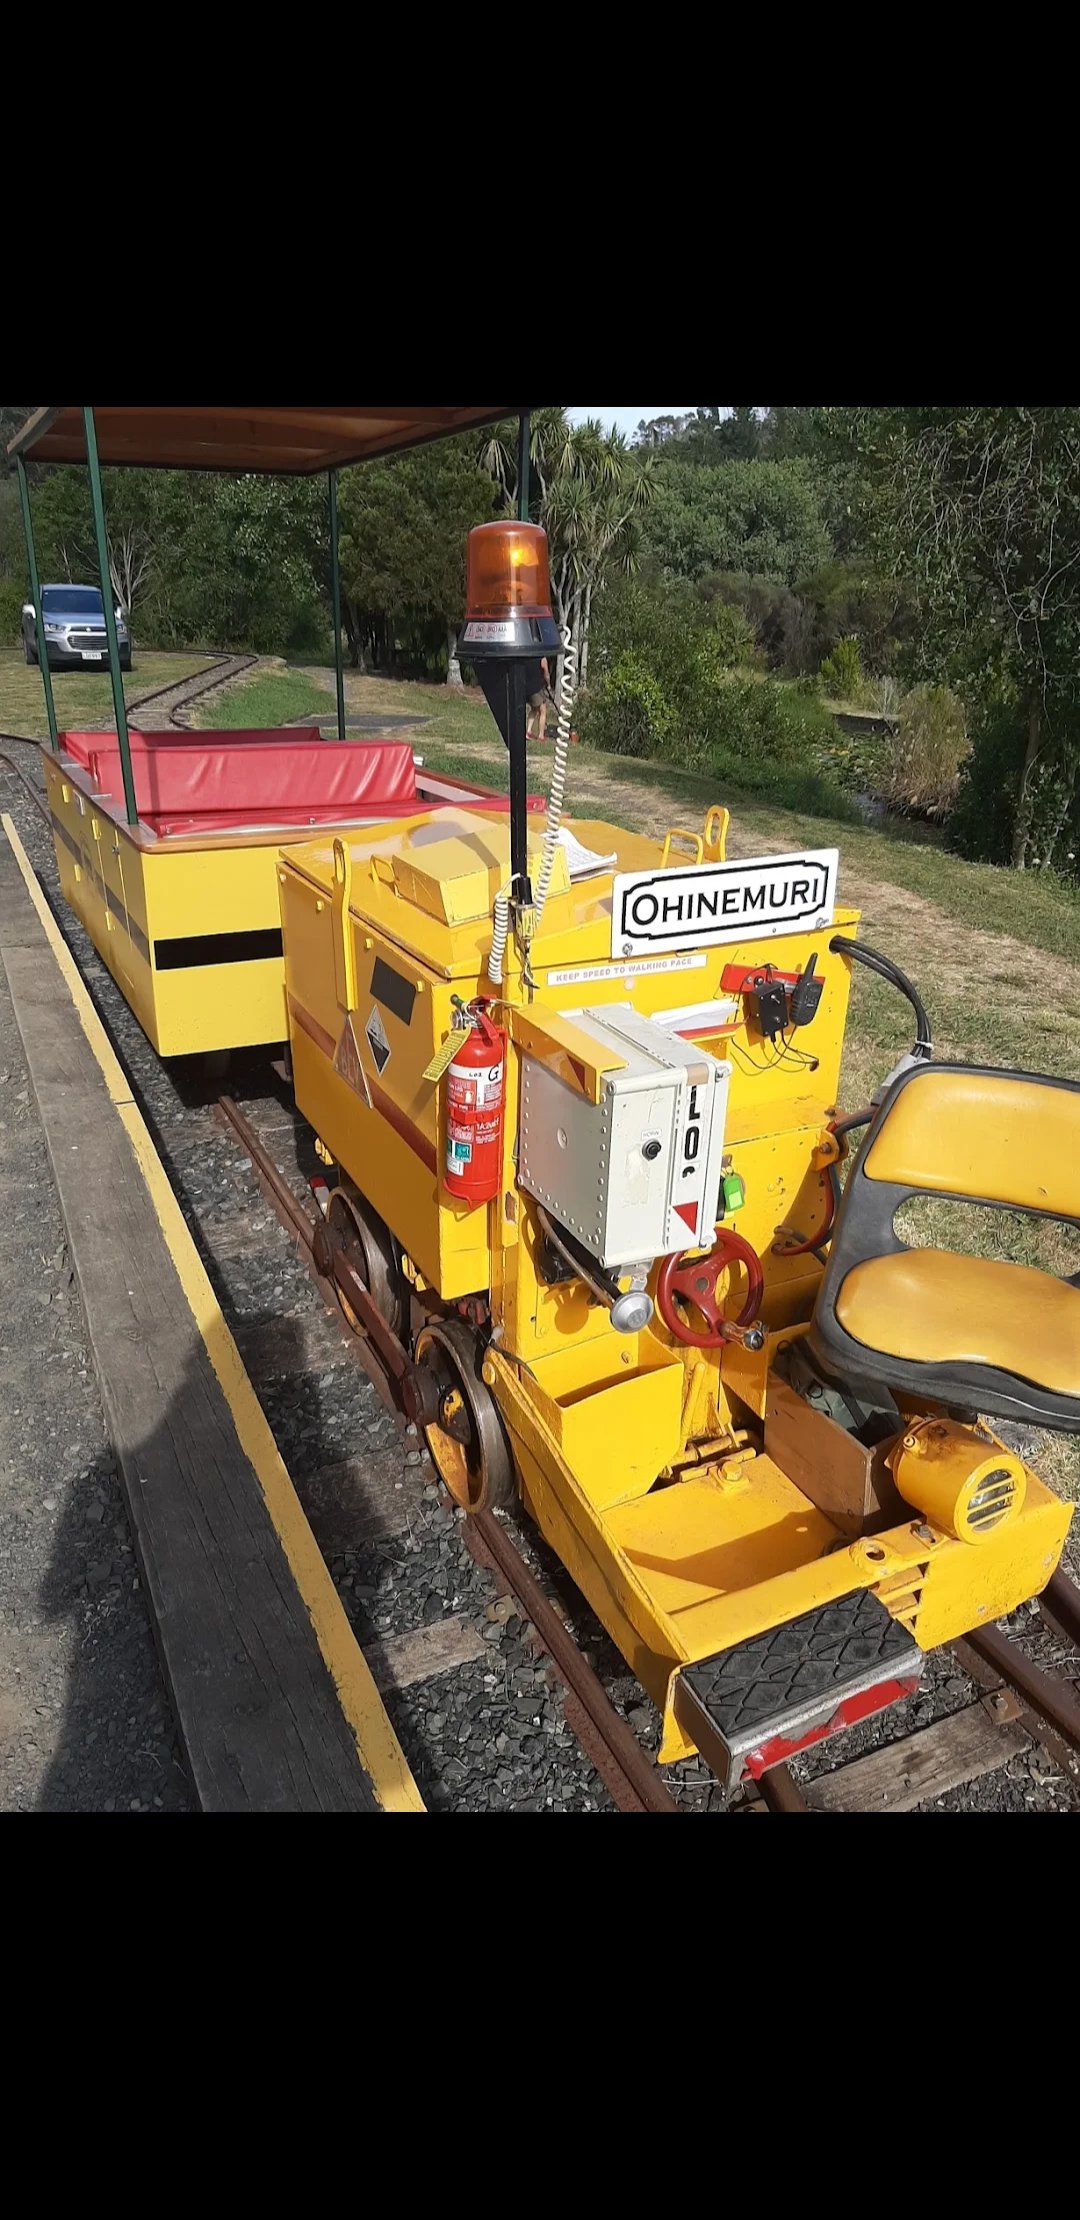
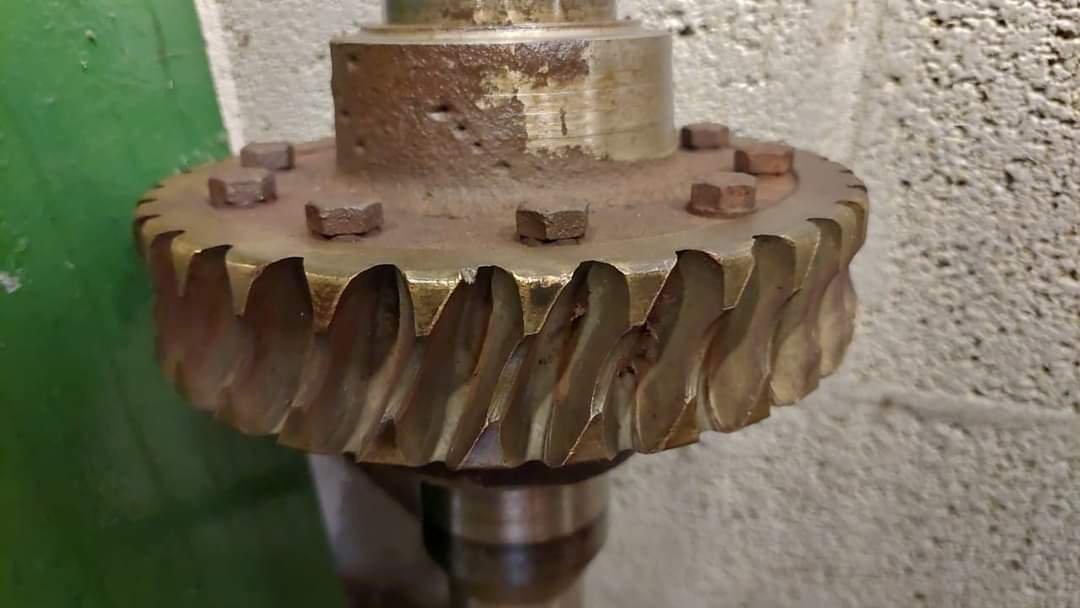
So as was bound to happen eventually in my terminal spiral of railway barrydom, I have scrounged myself a tiny 2 foot gauge locomotive. It is the same wheelbase (and length with the operator stand folded up) as a minecart, so it can be put in a liftshaft in my future illegal underground goldmine. Its a "battery electric vehicle - winstone & rogers model 5" and could have been built anywhere from 1937-1982. It has been stripped of all its electrical gear, and has nothing but the final drive left. The final drive is a worm gear reduction box of unknown ratio. I intend to get it running and stopping, using either battery electric (forklift?) gear or petrol hydraulic. I would rather electric just for the silent operation aside from the flanges screaming and joints thudding at a thundering 3.1mph..
6 points
-
P.S Wednesday night racing still goes hard The 2023-2024 La Vida crew IF any Tauranga OS boes want to come out and give this a go - flick me a message.5 points
-
You have to love the internet, how else could you find the reduction ratio of the final drive of an obscure british mining locomotive in 2 hours from the comfort of the couch. Ratio is 31:1. Now I just have to measure wheel diameter and I should be able to figure out necessary RPM for 3.1mph/5kph, which is plenty for what it is. In its original form this would pull 16.5 ton on the flat, down to 3.7 ton on a 1:50 grade. I'm hoping to achieve at least 300kg towed at 1:20 or greater, the line at waikino is very steep..
5 points
-
100% keen to come do some back breaking labor on some old timey machines in an illegal gold mine4 points
-
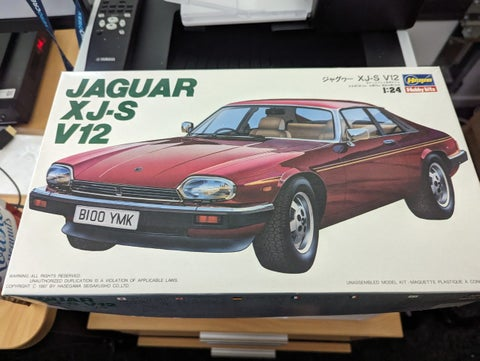
Oooo.. I built a couple of model cars as a kid, and an aerosol of colour-matched paint came with my XJ-S.. But if I can't get around to working on my real car, what business do I have building a model of its V12 sibling? @fuel here's one for you: https://www.trademe.co.nz/a/marketplace/toys-models/models/cars-trucks/classic-cars/listing/45759440074 points
-
I mentioned in my last post that I had new shocks on the way, well, they arrived, so let's get them fitted. I began by jacking the rear of the car up, putting it on stands and removing the rear wheels. This gave me access to the shocks and springs. Both the yellow stripe and the part number on the shock indicate that it was a poverty spec shock from a low spec (not Works) Alto. Note the missing lower rear spring pads, the spring shouldn't be sitting on the metal like that. The spring also had the incorrect colour code, yellow and white, not blue and white like the Works spring has. Other than the paint mark they look visually the same, I don't know if the Works has a higher spring rate or anything. Removal is really easy. On my car the side boot trims have been cut, I believe for the damper adjusters for the adjustable rear shocks the car used to have. This gives me perfect access to the nut that holds the top of the shock in place. Because I didn't care about the old shocks, I used a rattle gun to zip the nuts off. Before completely removing the nut I supported the rear beam with a jack under the spring, so the force of the spring wouldn't ping the arm downwards With the top nut removed, I removed the lower bolt on the shock and removed it. This one was very dead. Because they have gas in them, once compressed by hand they should extend to their full length again. This one had no resistance to compressing it and made no efforts to extend. The other side was only marginally better, where if you left it for about 5 minutes it would have extended in full (it should extend to full in a matter of seconds). The new shock has the correct KYB sticker and P/N on it, but it appears the new replacements don't get paint codes like factory-fitted ones do; the factory paint code for a Works is purple and green. I ordered these from the parts book to Works part numbers, so I know they're correct. With the shock removed, I could push down on the hub by hand and pull the spring out. I then fitted the new lower spring pad, in the correct orientation based on the service manual I then replaced the old upper spring pad and fit the spring The new shock slips into place next The top mount on the shocks is interesting to me. The top of the shock has a captive rubber mount and steel sleeve. There is then a top bush and metal washer that sandwiches the shock tower into place. On the underside of the shock tower there is a metal cup that locates the captive bush Even the top bush is weird, the shoulder goes face-up The washer sits on top of it and the nut is placed on top As the nut is tightened, the bush squishes and flattens out under the washer I guess compressing the bush like that creates a fair bit of tension, so the shock won't be rattling around in a hurry. Other than jacking the hub up to ride height and torquing the lower shock bolt, that was one side done. I copy pasta'd the other side. and then onto the ground it went. With the combo of fresh new zero km un-saggy springs and the lower spring pads being fitted, the rear ride height has increased a touch. It's only a couple of mm higher and should settle a little as the springs bed in. I know why they put the KYB sticker where they did now The Suzuki lineup at work the other day Looking clean sans tow hook now too So, how does it drive now? Well, the blown shocks explain a lot! I thought it was just lame povo spec shocks, but even that wouldn't have been as bad. On the road at low speeds the rear feels firmer, but there is a huge difference in how the car feels on the open road, the rear is much more planted and doesn't pitch and dive so much. In the corners, it's a lot more controllable and the rear doesn't feel like wobbly jelly. I still think it needs the extra stiffening of the rear swaybar to balance it, but cornering speeds can be higher than they were beforehand and the rear follows the front wheels like it should. I reckon it'll be good for a second or two off my laps at Manfield next time, particularly if I can get it to rotate as the Jazz did (no hope for trying to do that when I was lacking any confidence in the rear end). Some more (boring) bits should be with me soon to tidy the interior up further, and other than that I'll just keep driving the pants off it. Should hit a milestone soon too...3 points
-
Have been using the big blue sunshade quite a bit lately and managed to get it a bit salty so brought the sail home for a wash and some minor repairs. A quick run through the bath to wash off the salt Then dried in the sun on the front lawn (which isnt quite big enough) Then taping up a couple of small rips - not sure when they happened but the whole sail is pretty old so getting fragile. There's plenty of repairs in this sail already so a couple more squares of tape won't hurt too much.3 points
-
The run home from Mayor was mint, the wind picked up a bit so we stuck up ol' purple. Need to run the pole a bit higher next time I think. This is such a versatile sail for the wind angles its effective in. I'd been enjoying using our big blue gennaker but its got a very narrow window where it flies well compared to this one. Then when the wind picked up to 15 knots, dropped it and finished the run with the main and #1 genoa up.3 points
-
Did the Mayor island race. There was approximately fuck all wind. Managed to get within 2 miles of the island before we gave up and motored to south east bay for the BBQ Had some beautiful serenity, a few sausages and a few rums then headed home.3 points
-
Looks like you put in a few late nights and got it back together for Americarna. Good effort.
3 points
-
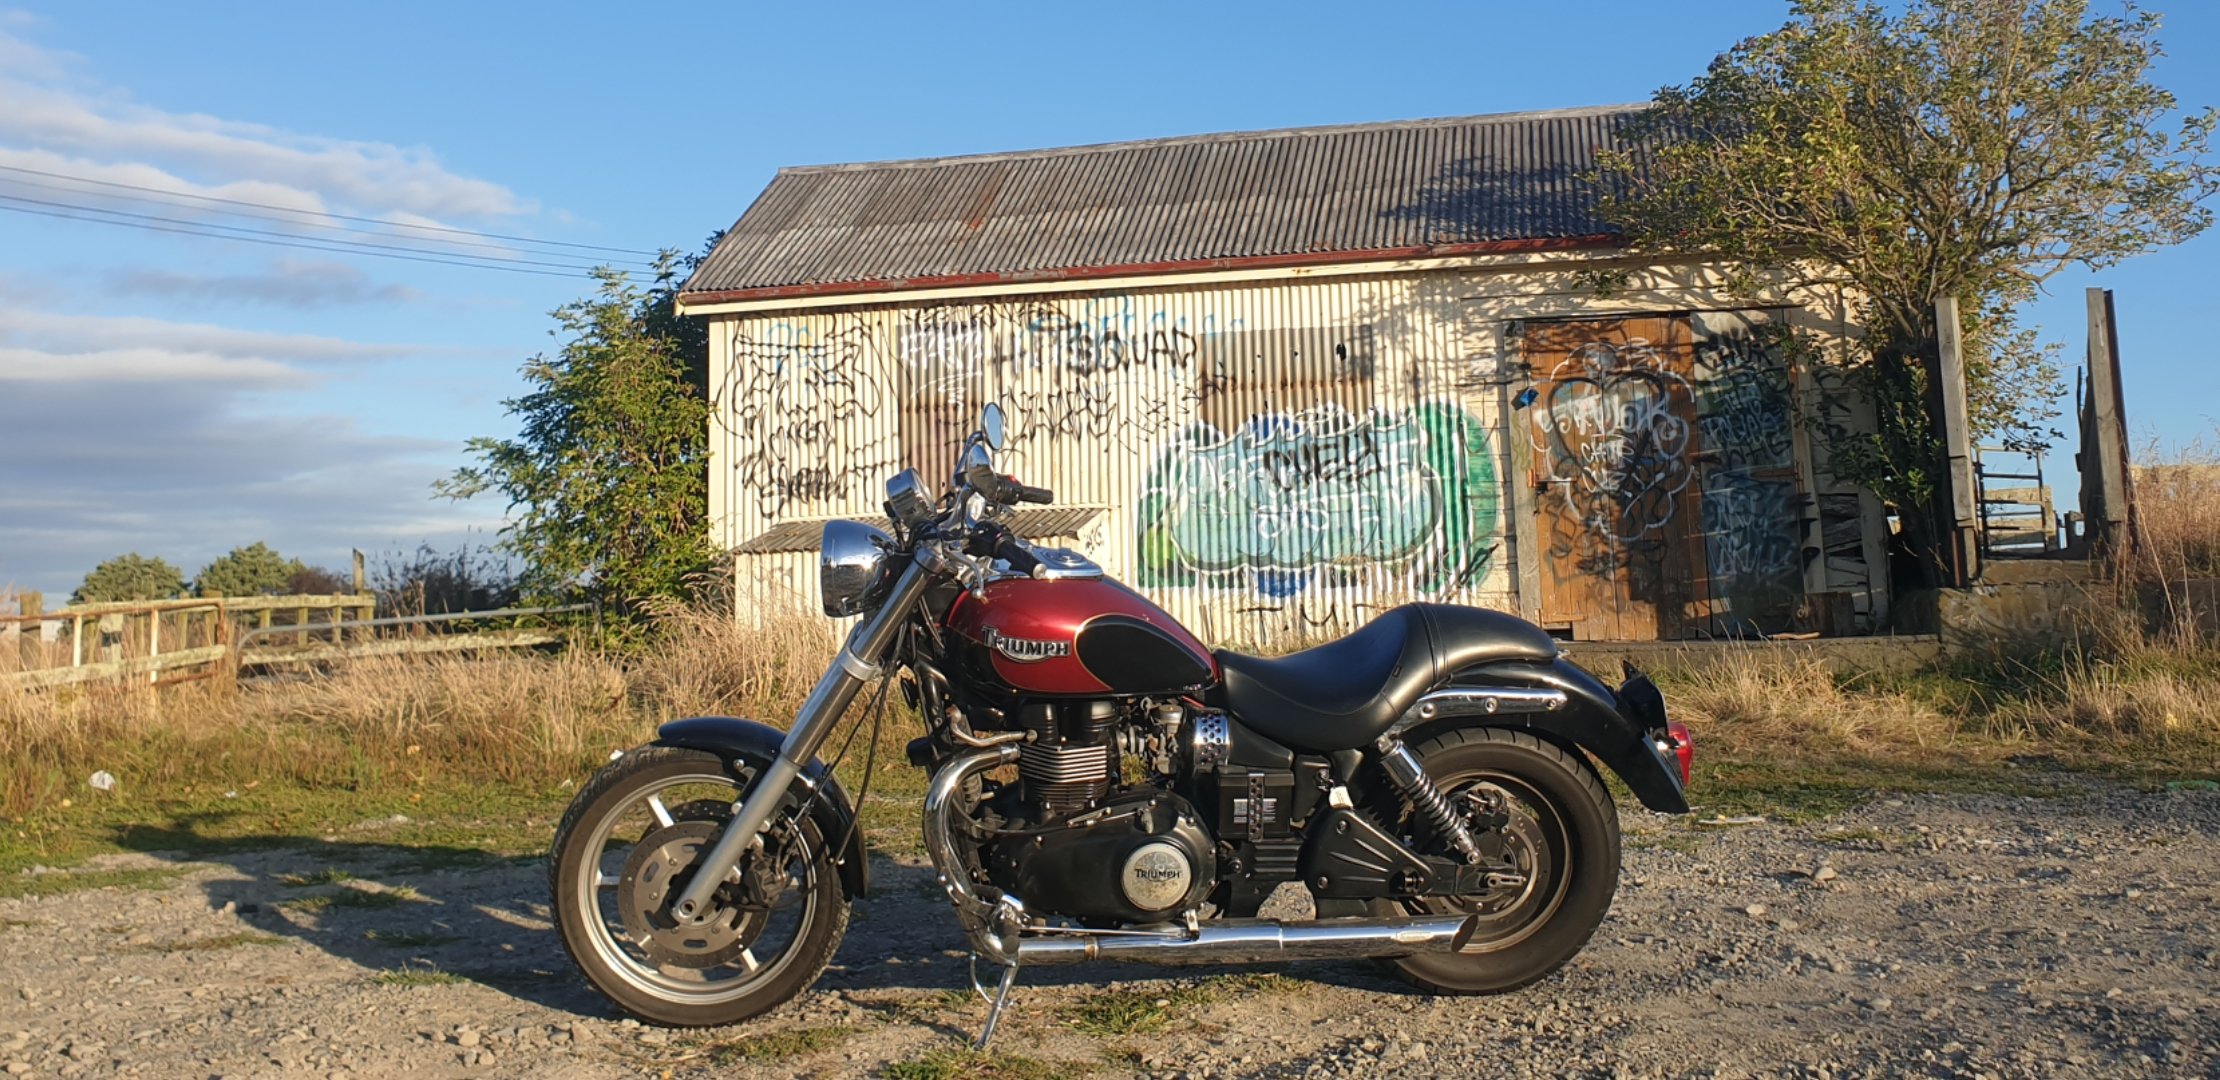
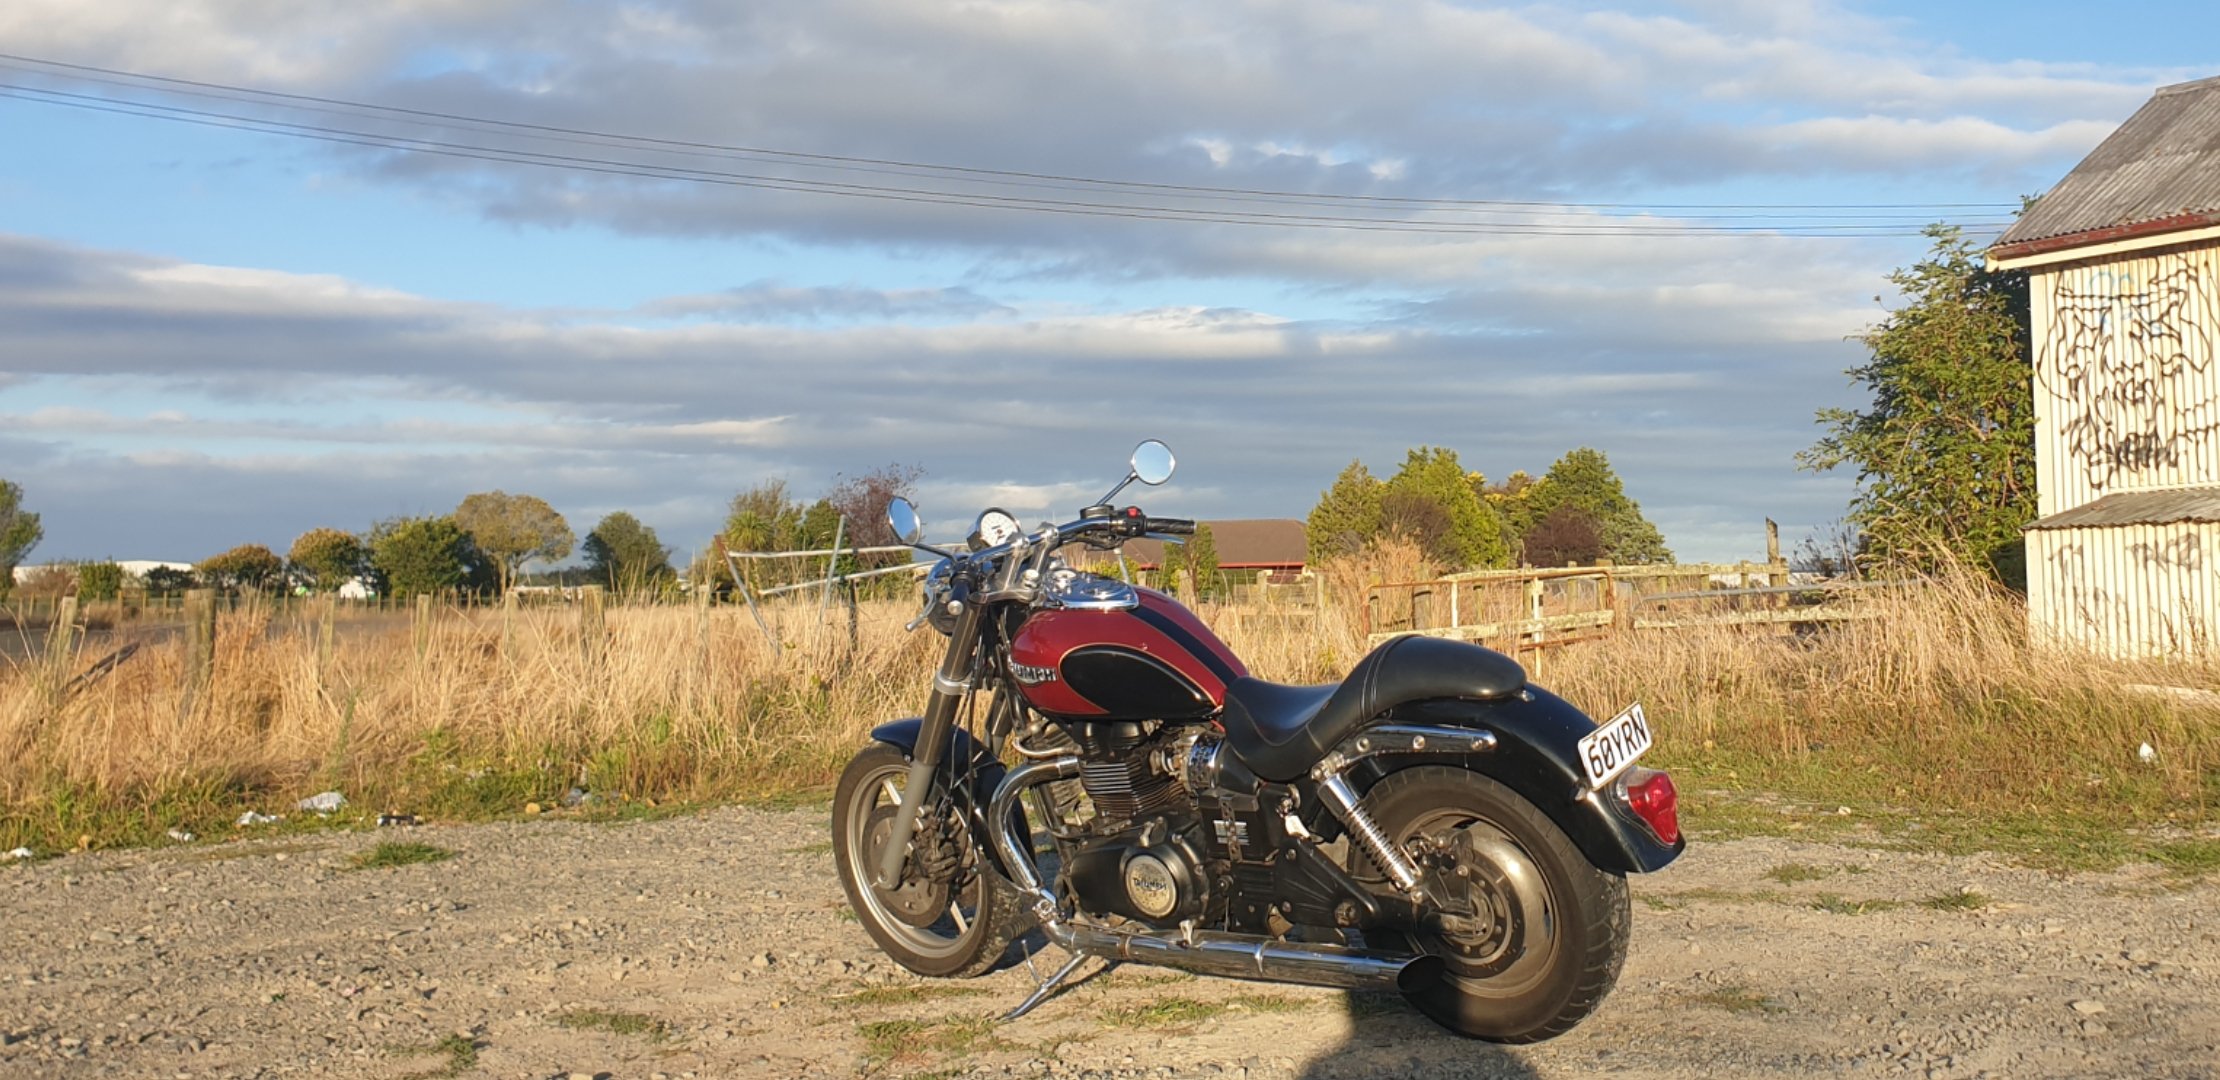
Yea we all know im adhd lol and get bored I got bord and brought a 07 triumph speedmaster goes great mine do small stuff
3 points
-
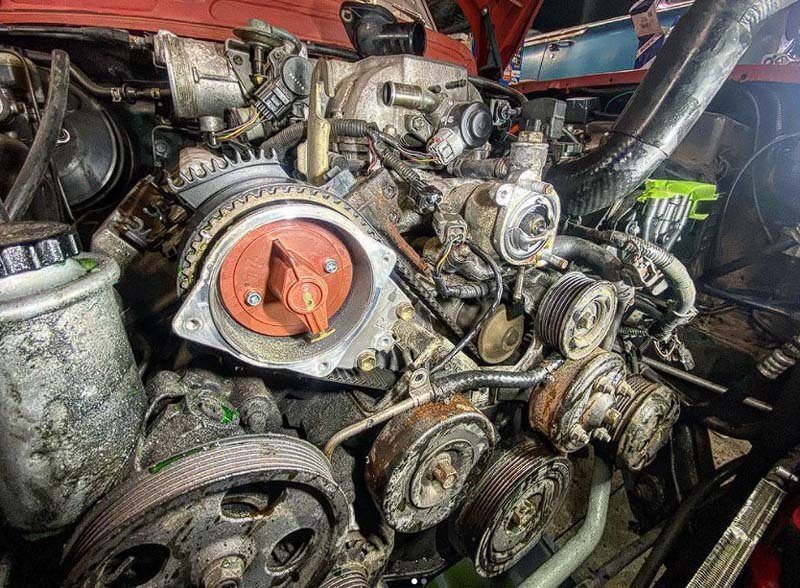
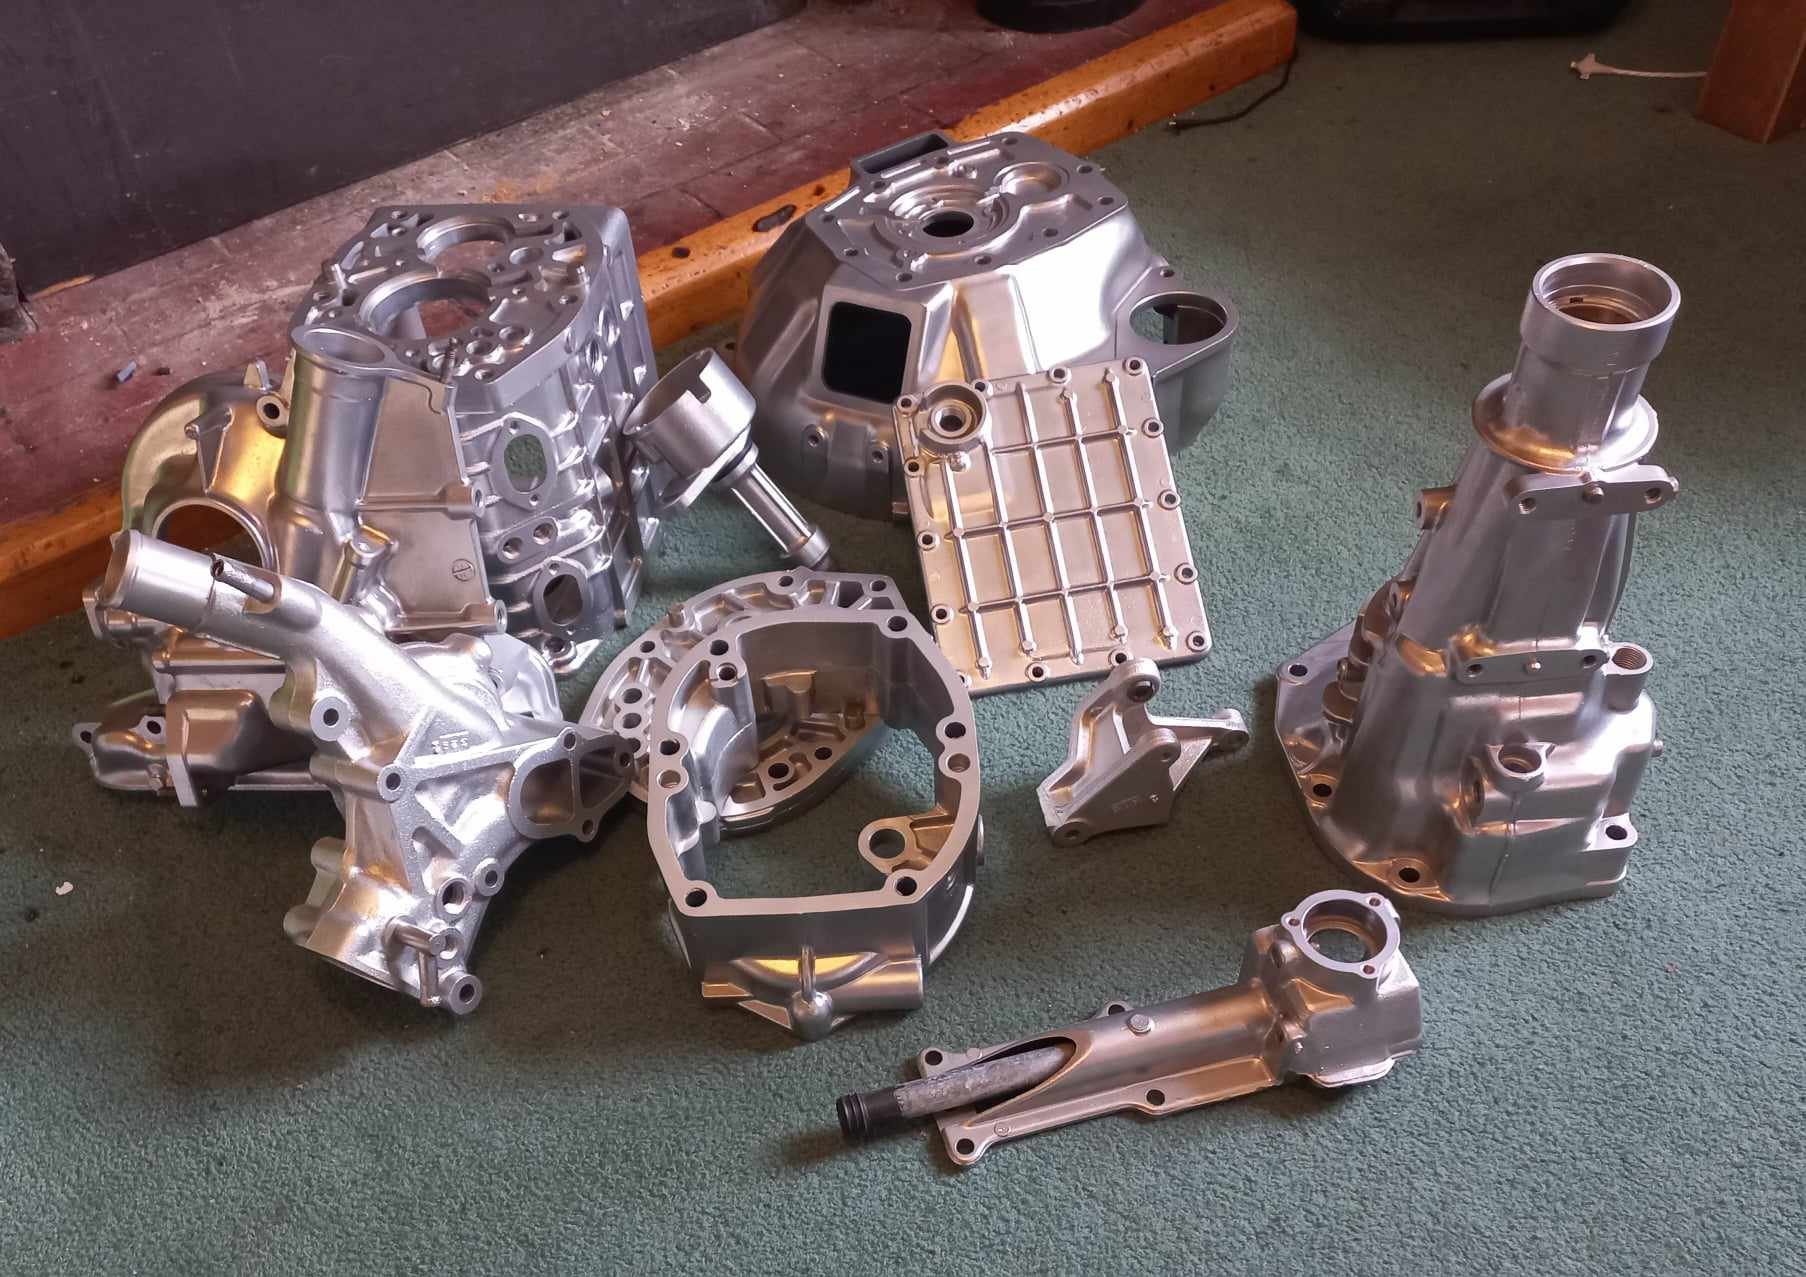
Ha. So pretty much the day after I had cleaned up that old alternator up and got it running on the engine the second hand replacement for my original unit turned up in the post. It came with a 3 month warranty so I'd better check it works before stripping the engine of its ecu etc. Started to fit it and oh.. Poos. It wont fit. So I took it apart, along with the original.. Discovered its just the front housing that's different and I can swap them across.. So while its apart it would be rude not to clean all the parts up and polish it all (tempting fate just a bit...) Fitted to the engine and started it up. Yay - it works and it looks great, which is really quite important given its right there, in the middle on display. I'll keep the other one in storage just in case I need it one day. Now I could strip the engine back down, removing all the cooling, wiring and fuel lines that I had installed just for bench testing. Then I removed the transmission and put the engine back onto the engine stand 2000, stashing it away because its gearbox tinkering time. This Leone transmission has a few little issues that need sorting out in order for it to run in reverse rotation and not potentially turn itself into an expensive insinkerator or coffee grinder. I could probably get away without doing these modifications because the box is overbuilt for the application but I wanted peace of mind. Remember I had acquired the two gearboxes, 1600 and 1800 items, before getting the engine. Ages ago, in fact 4 years ago I think!!! I had wanted to know if it was feasible to run these boxes in reverse. This pic I posted up way back then gives a good idea on what's going on inside... I had already worked out some of the issues back then and knew what I was up for. With more study I found a couple of other areas that need addressing. Here's another bit of wonderful scribbling I did this evening.. The pink arrows show the new axial forces that are being imparted onto the main (driver) shaft and pinion (driven) shaft. The circles are areas that I think needed attention to make sure it doesn't throw it toys from the cot. 1 : the blue circle. Under high torque loads this area could possibly create the sound of nashing teeth but with much messier consequences. The top left one being the third gear driver wants to move to the right and clip the teeth on the bottom right second gear. In normal rotation they would move apart. There's 1mm of clearance there which is probably enough tbh. But I wanted a bit more and had already worked out how I could get it with no other issues and just a bit of tool making. Which is fun. 2 : The yellow circle. This ring was no going to take thrust loading. It is a strong ring and has a deep groove but I wanted to make sure there was no way it could ever shift. 3 : the green circle. In this area there is a thrust bearing that also acts as a neat little oil pump and squeezes oil through the gear hubs/bushes. Under the new loading the thrust aspect is removed but I still wanted to it pump oil and it was going to be the wrong shape to do so in reverse rotation. So I set to work and checked off each job. I made a bolt holder for ease of reassembly - several different sizes and lengths. Once apart I started with the gear side clearance. First off I needed to split the mainshaft assembly down. 4 years ago I had out of interest tried using a puller on the spare 1600 box, which shares the same layout and design but with smaller parts in many cases. The puller didn't work. But this time round I have the rather handy workshop press I made. I just needed some extra tooling to do this job. Starting with some press plates... Allowing me to carefully press the shaft out... Because I'm not posh (or rich) enough to own a surface grinder I needed to make one. Yes its a bit basic but it will work. I made this... Which allowed me to do this.... I ended up with this gear having the 0.5mm more clearance I wanted. Super happy with the result. Now onto number 3 - the little oil pumpy thingee. I went to my friendly engineering workshop in town and got a big lump of 4140 steel. I drilled it out... Machined out a ring which had to be an exact width. Just in case it needed finishing after the hardening process I made an abor to take it.. I carefully machined it to the right profile, cut the sides down and filed the shapes in, just like the original but in reverse. Happy it was going to work I heat treated it. I have not done any heat treating for over 25 years since I spent a fair bit of time in the blacksmith department while doing my apprenticeship. But it wasn't a super loaded critical component and just had to have a durable hard surface. I didn't take any photos. Hannah was there helping as I carefully heated it up with the oxycet to the austenitic stage and agitated it in some lovely rice bran oil (because I can be posh sometimes) then slapped it in the oven to temper it... Following morning I polished it. It came up sweet and the old file test showed it to be as hard as the oem item. You can see the reversed design here... Here's a little vid I took showing it in action... While stripping the mainshaft down I was also pleasantly surprised to discover that this 1800 box has needle bearings in all of the gear hubs unlike the 1600 box which uses bushes on the mainshaft. So oil starvation would not have been as much of an issue but I'm still really happy I did this modification. Last issue to sort was number two - that ring on the bearing. It would hold fine I'm sure but if could make it bulletproof then why not - it's just a bit of extra machining. I started with another lump of high tensile steel and machined out a ring to suit... This fits over the other ring and then the main thrust plate that sits over the bearing was machined out to suit my reinforcement ring. Its all held in place by the end housing which I have yet to fit. All the potential issues covered I set to cleaning out the casing and then started reassembly. In doing so I discovered that the original axle seals are sided on these boxes. They have those helical lines on the lip surfaces which aid in pulling/pumping oil back into the oil side of the lip ( the lip does not actually touch the steel when the axle is moving and in fact runs on a tiny bed of oil) which I had not realised before I'd bought plain lip seals from an engineering supplies. This pumping capacity is shown to be twice as high in helixed seals. Subaru fit left and right handed items. But I'm running mine in reverse. Luckily the originals were in excellent condition anyway so I machined up a stepped tool, popped them out and swapped them to the other side. The diff axle seal surfaces came up good after a clean. Cute little diff.. I'm now about ready to put some 3 bond gloop on the case half and drop the other side in place. Its looking all very nice, clean and shiny in there...3 points
-
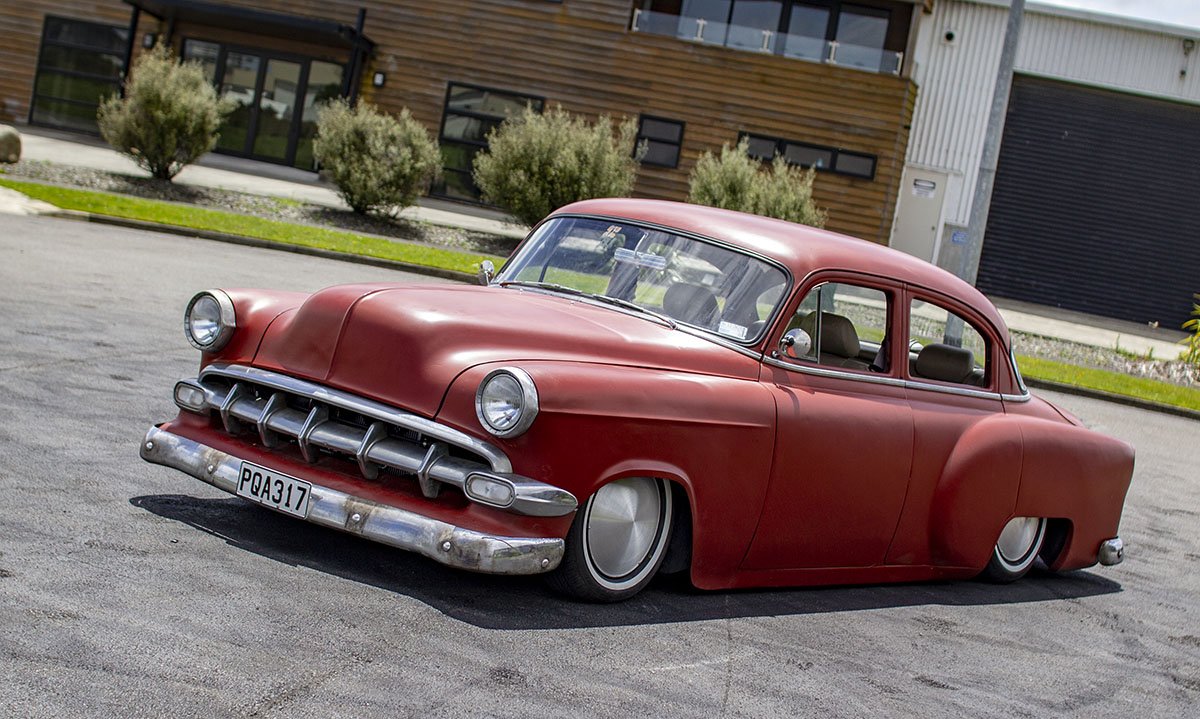
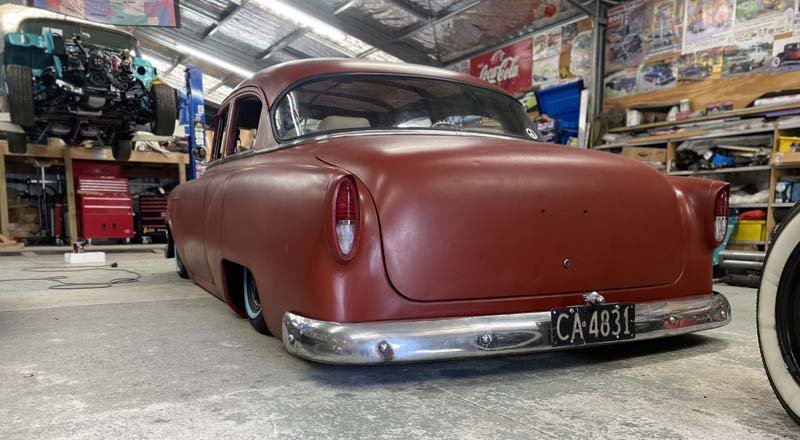
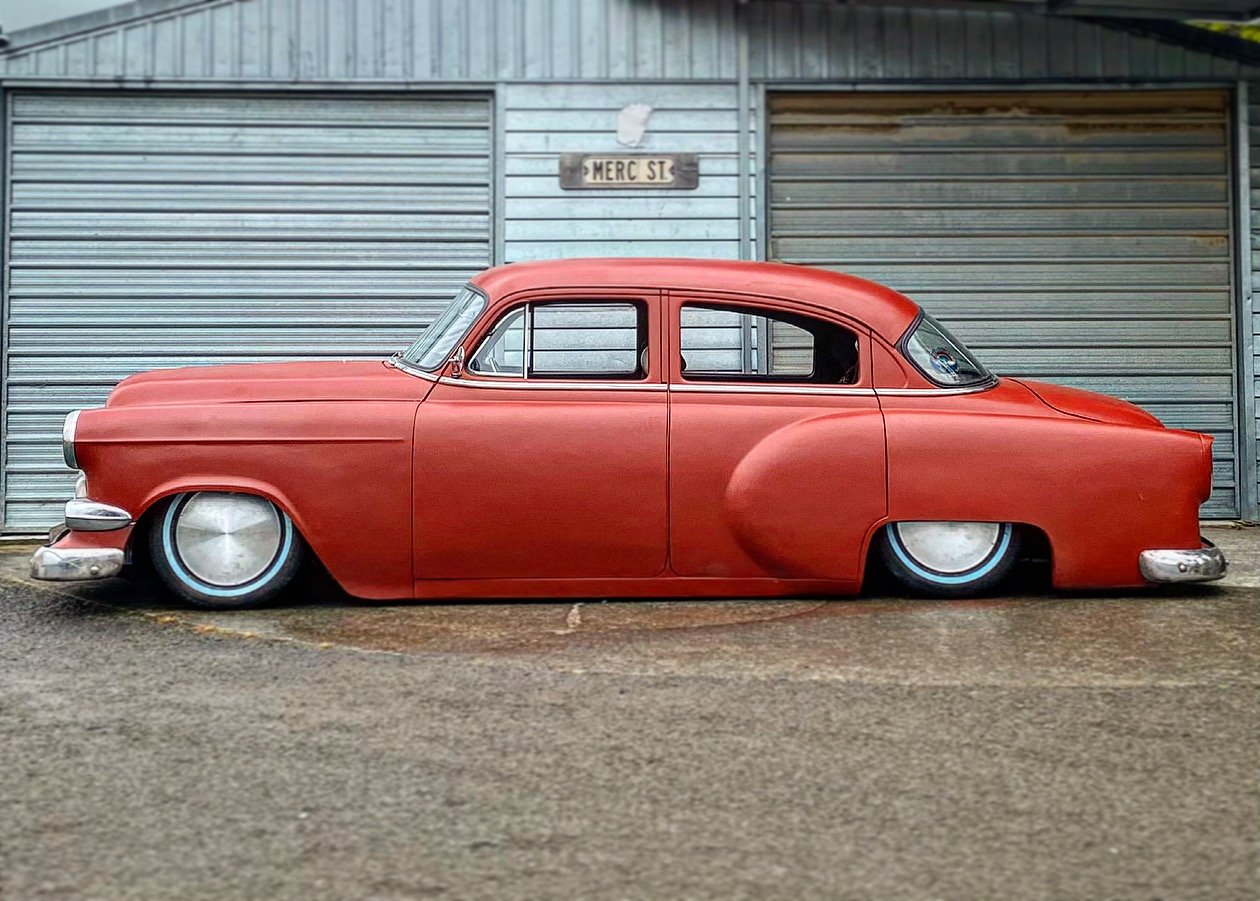
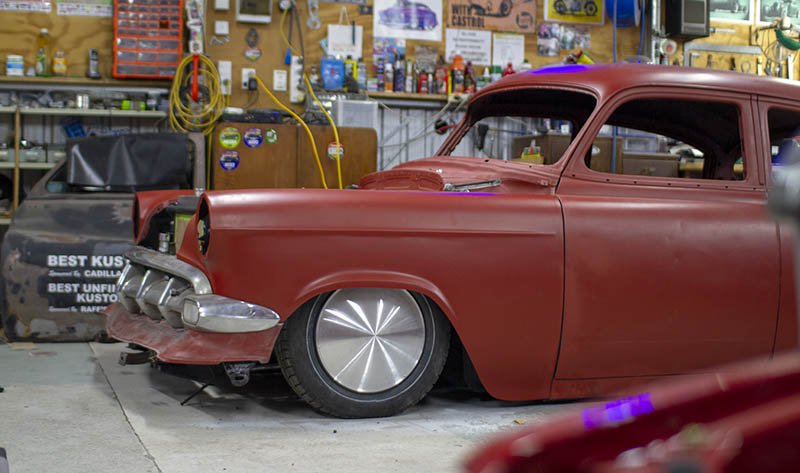
Stage 1 is complete. She has a Certification, 3 year WOF and a Years Rego. Time to drive it. Figure out what needs to be changed. and slowly fix/change things over the next few years. First up will be side windows. and a way to open the doors from the outside. As well as finishing the gas struts to hold the bonnet open and closed.
3 points
-
2 points
-
https://www.trademe.co.nz/a/marketplace/toys-models/models/cars-trucks/classic-cars/listing/4569132446 @Indiana_Jones @Thousand Dollar Supercar
2 points
-
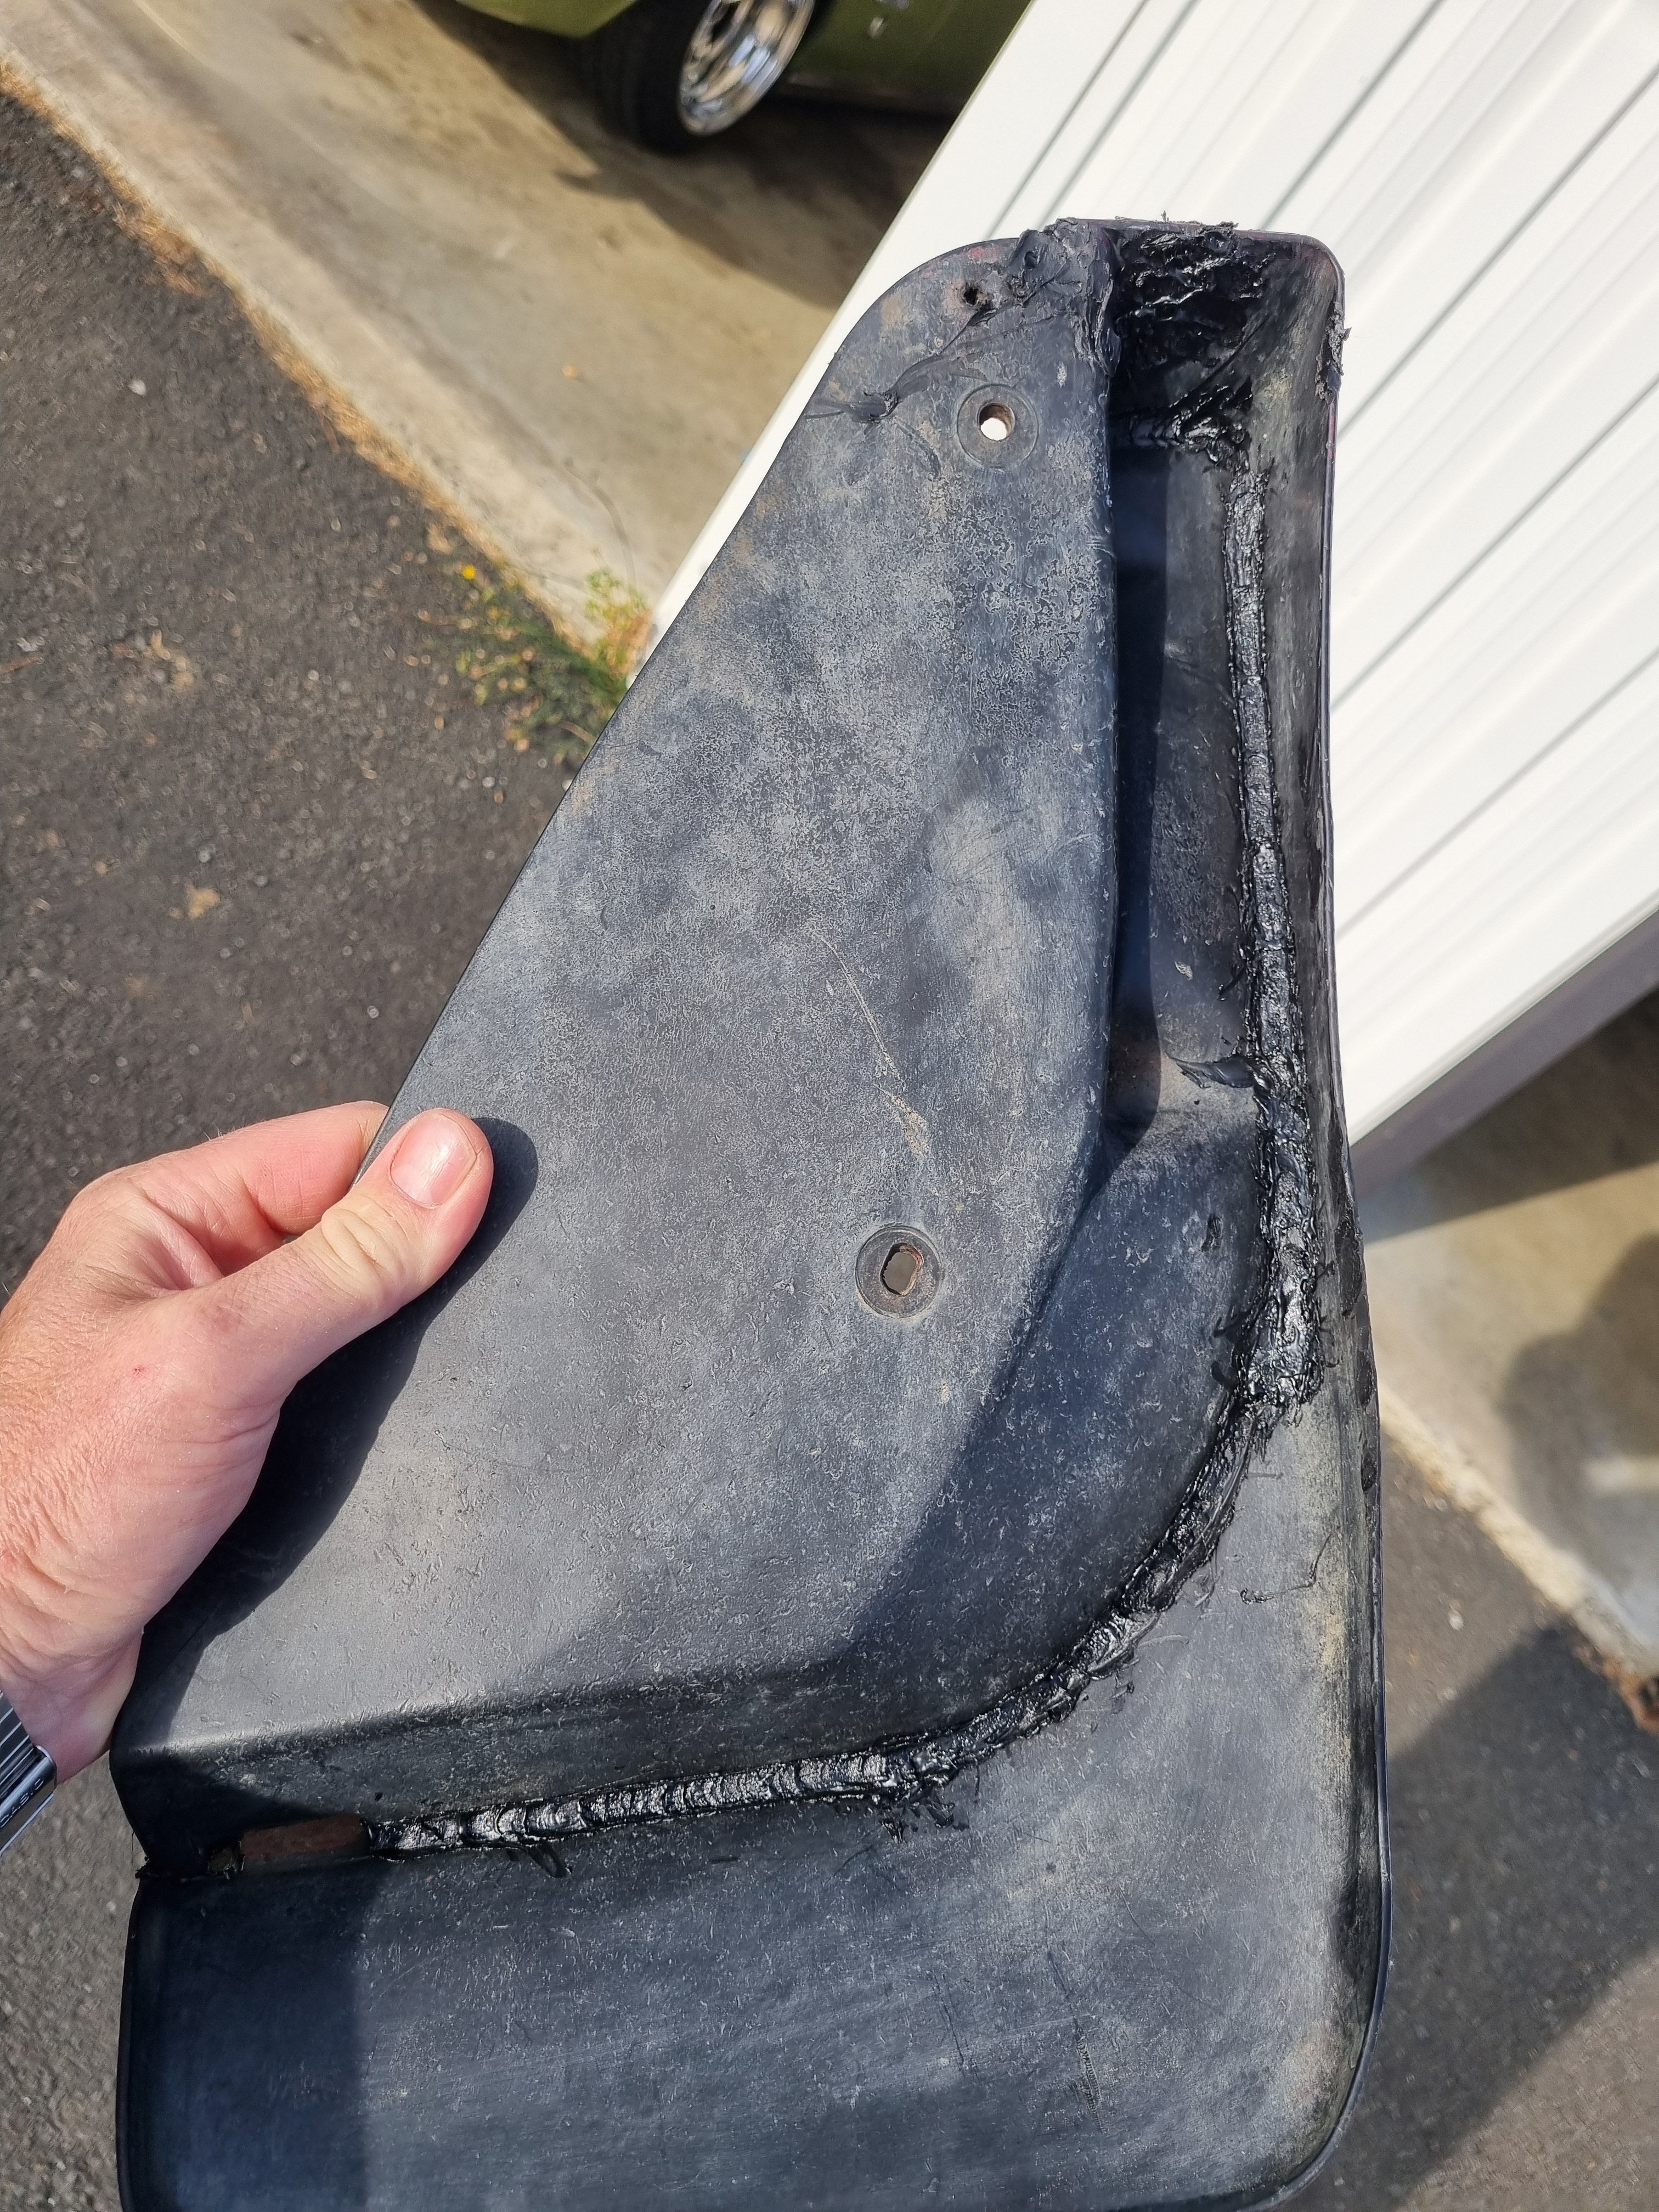
Also shit I forgot to mention that I put the rear bumper back on. This was harder then it sounds but basically I pulled all the brackets apart, soaked them in evoporust for a few days then painted them all. I beat most of the dents out of the side bits and then bolted it all back in. One of the mud flaps was broken in two so I welded it beck together with a soldering iron using cable ties for welding rod. Is it good as new? No. Will it last a thousand years? Also no But it's back on the truck and works until it doesn't so I'm calling it a win.
2 points
-
Back in the country means back in to work on the ol' 86. Firstly, the time has come to get the front bumper repaired. So, off it came and off it went. The plan is just to make it structurally sound again, I think there are too many hairline cracks to warrant a full resto on it. If it's structurally sound and painted, i'm a happy man. The bro's cracked in to it! When i've previously removed the dash, i found it not possible to take out the dash clock surround without breaking it into 30 pieces. This has been an eye sore for years and luckily toyota still make them new Next was to install the JSP coolant overflow/oil catch can combo unit. 10x better than the previous solution. I will hook it back up to breathing back to the engine, I just need to acquire a -10 120 Degree fitting so that it can point down to the ground a bit more as using a 90 degree will make it hit the bonnet Turbo water lines installed. I need to order another -6 90 degree bend fitting as I didn't order enough, luckily I had a -4 premade hose sitting about which works fine, but it's 90 Degree to straight end hence the U bend to where it connects to the back of the head. This will be resolved shortly! Tidied up the NASA heat shield for the overflow bottle, I will get a beanie at some point for the turbo but hopefully this is sufficient for the interim. I've also misplaced some U Channel moulding I was going to install around the folded edge of it so that it wouldn't be possible to cut into the rubber line to the windscreen jets. it'll turn up.. Clean! Gave the interior a clean, still need to address the small rip on the drivers side seat.. I've always wondered where the handbrake light loom was situated in the car, I assumed that it was just that I was missing the wires and it never had them. Turned out in my spares box I had the spare loom, plugged it in and we now have a light. something that isn't that helpful just good small win For 10 years i've put up with using a wooden stick to hold the hatch up. FLOS.ie have new gas struts so in they went. much satisfaction TODO: - Replace oil pump. I'm having lower oil pressure at higher RPM's than I'd like (with a rebuilt bottom end), so i've got a spare oil pump which has the SQEngineering pressure up spring unit to hopefully address that. If that doesn't resolve the issue i'll be getting plasti gage out to measure the cam cap tolerances as I can't think where else I would be losing pressure the way that it is. - Recheck pinion angle since the 15" rims and slight height differences to bring back to 1.5 degrees both sides - Pull out gearbox to replace the output shaft speedometer worm drive. The plastic gear for on the speedo output is stripped, and without knowing what the worm drive it suits, better to pull it apart and replace it with the correct stuff which I now have. - Maybe try cert?2 points
-
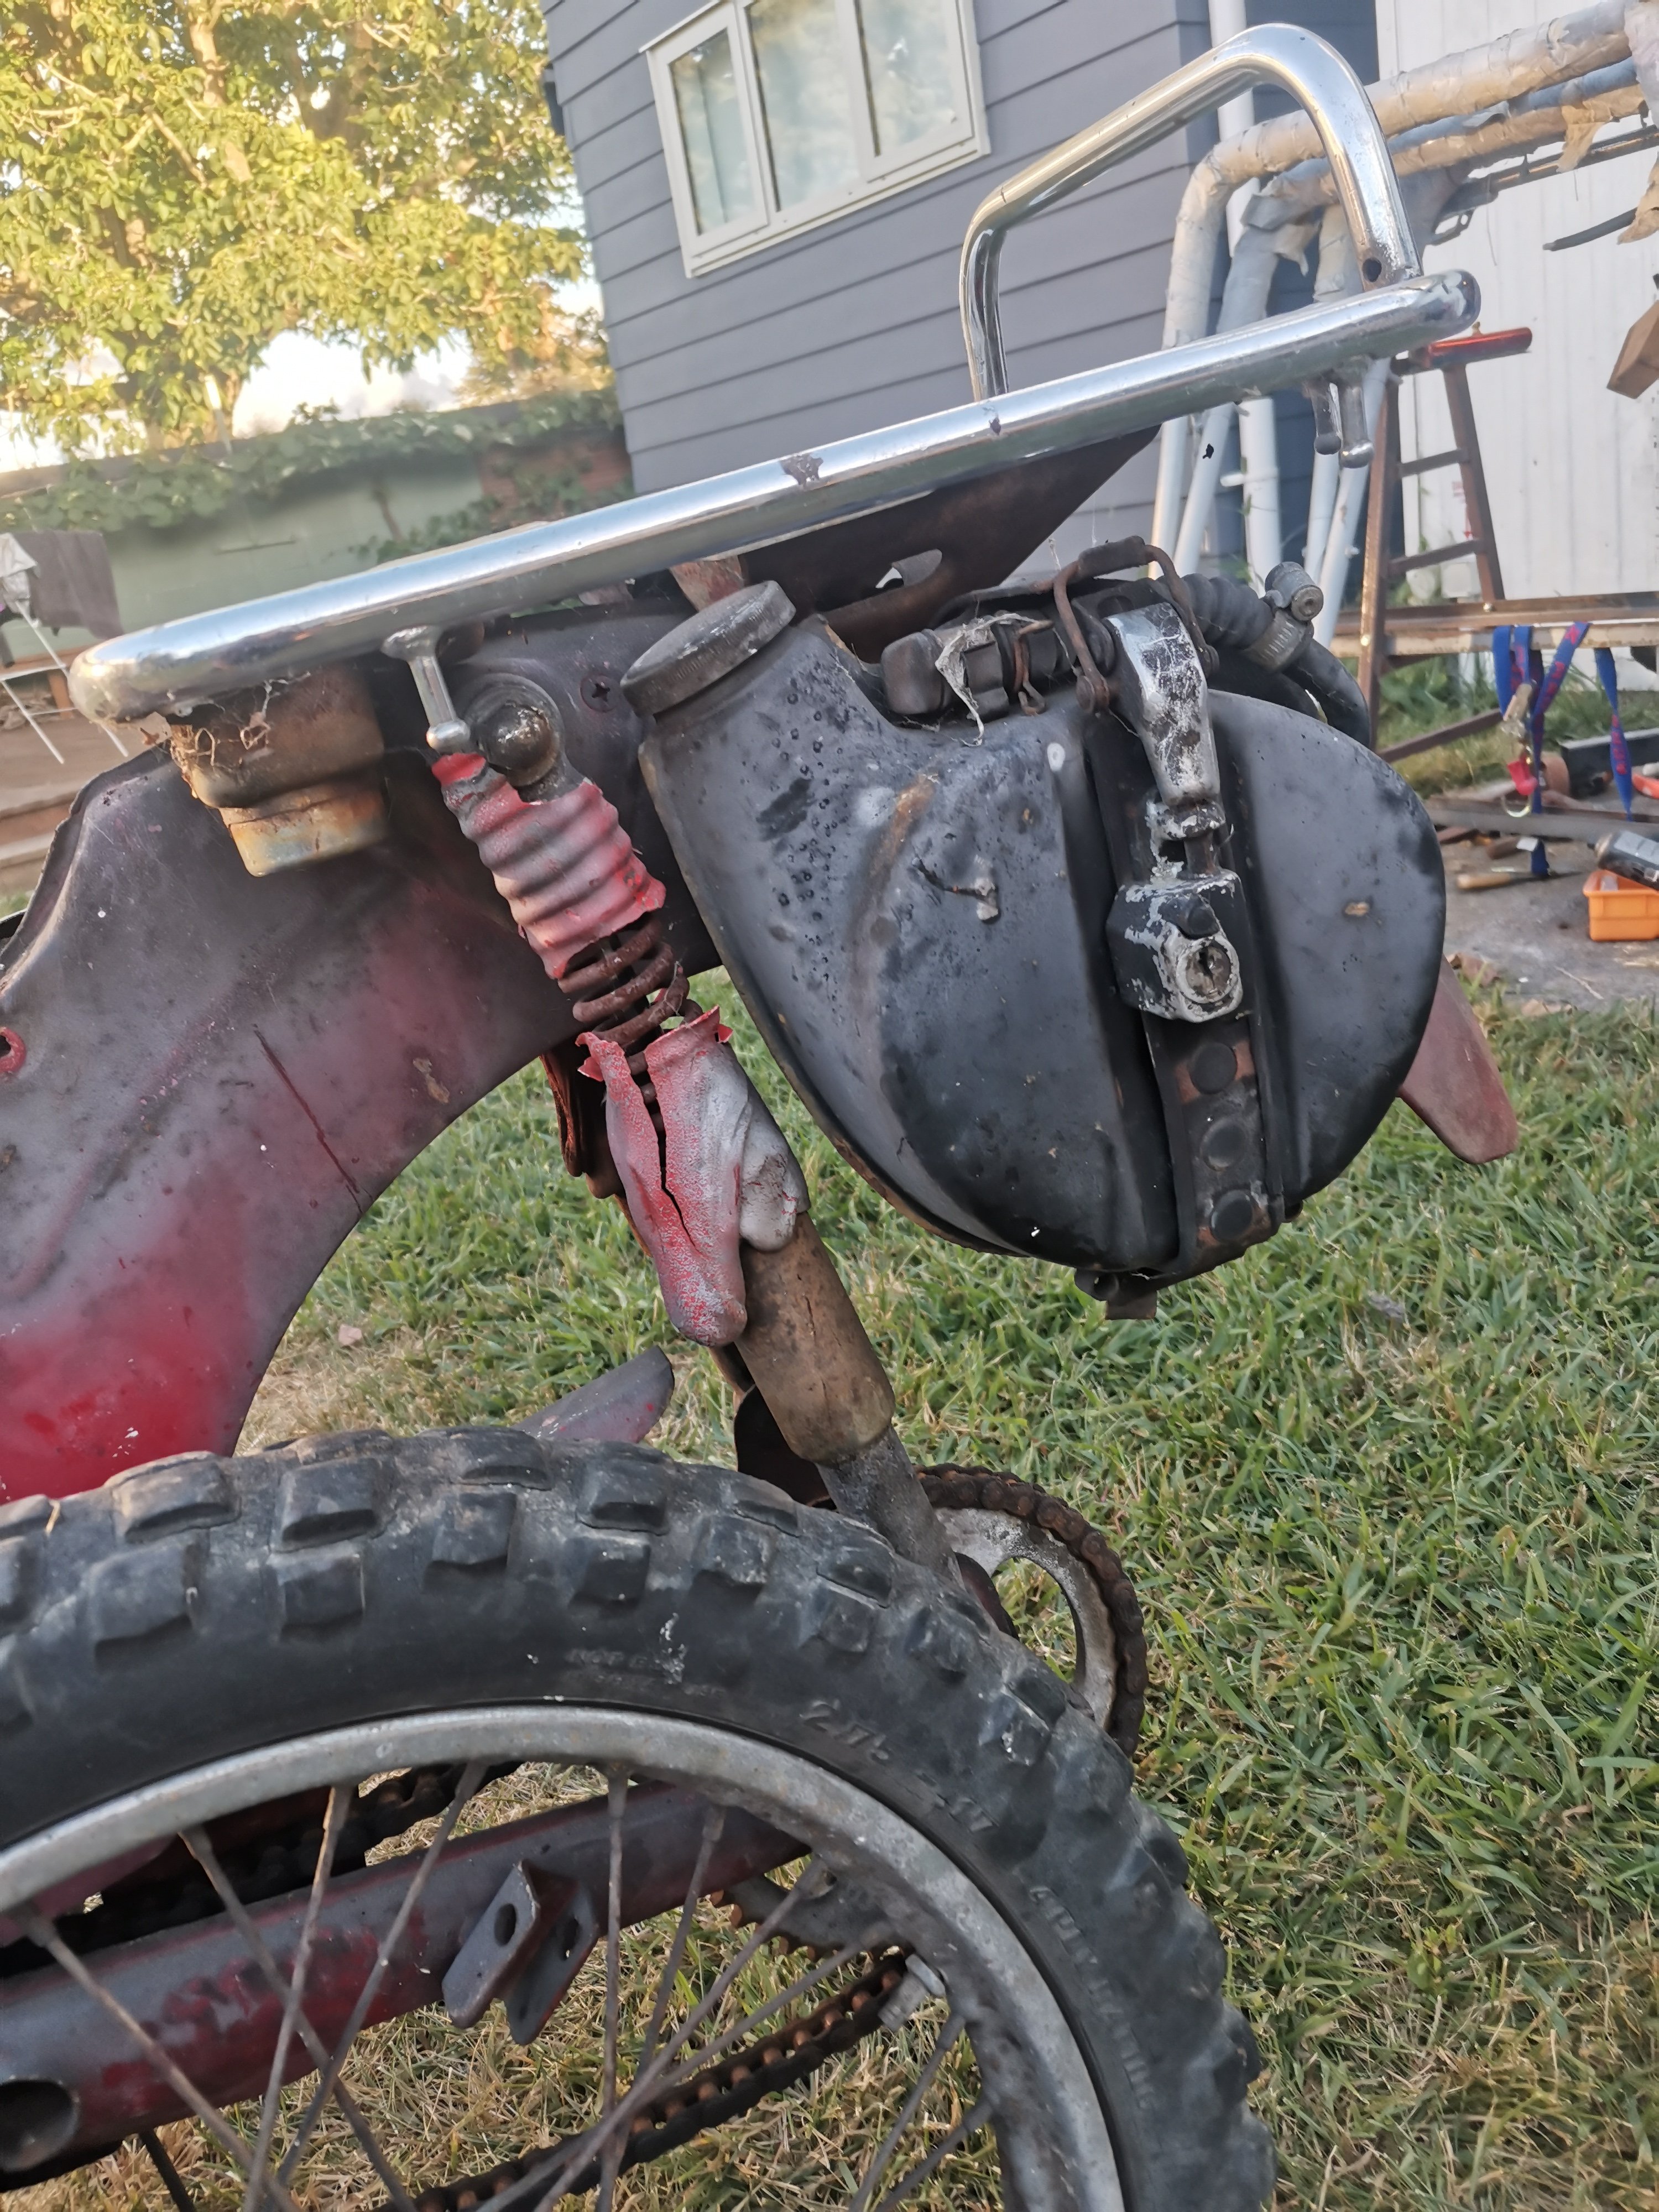
Luckily the aux tank and hose is still in good cond The shocks front and rear, well.... Do they actually have any fluid in them? I think the fronts did, as there's black smoo all down them.
2 points
-
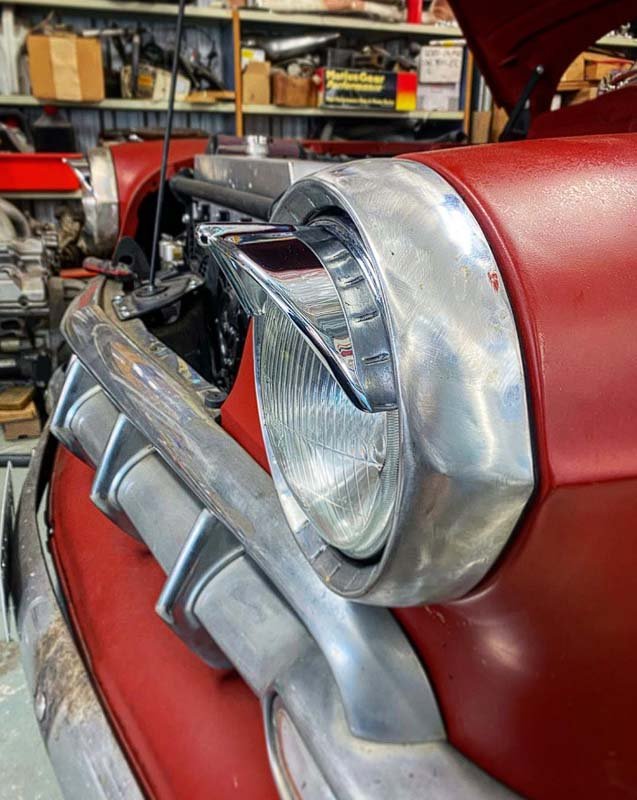
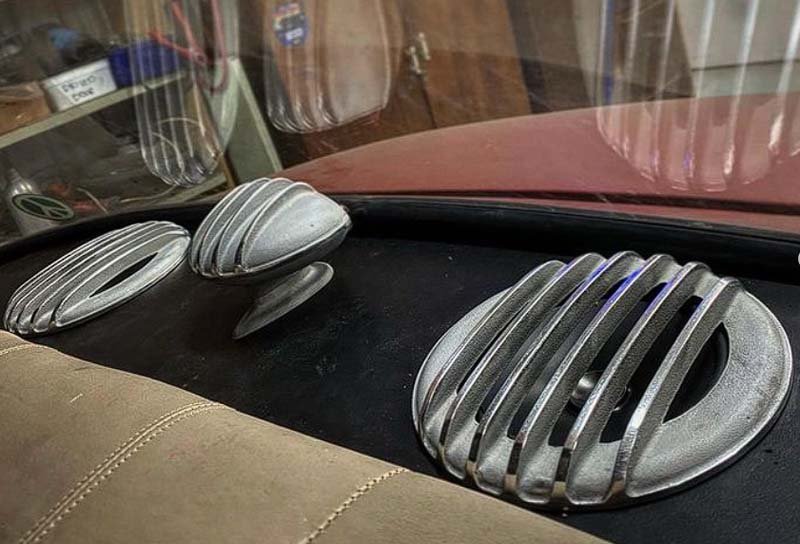
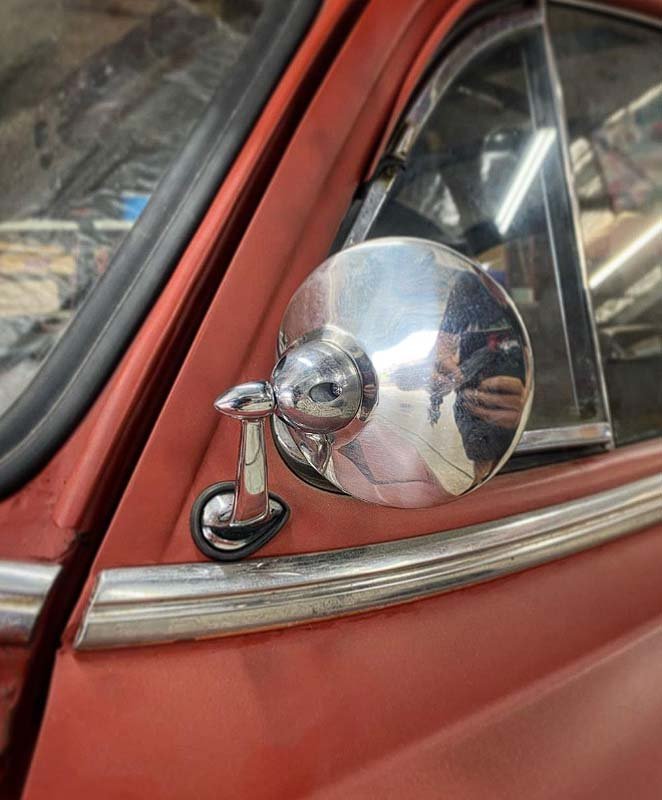
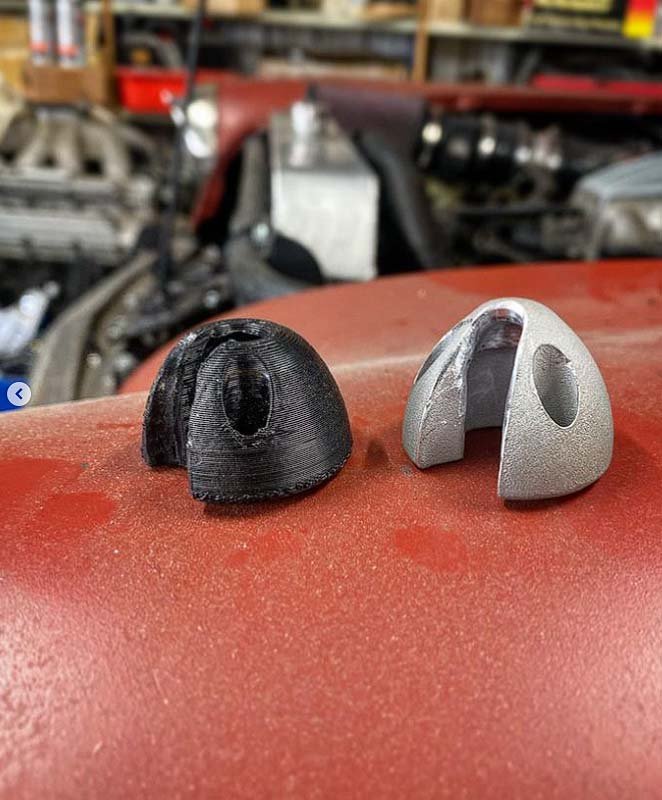
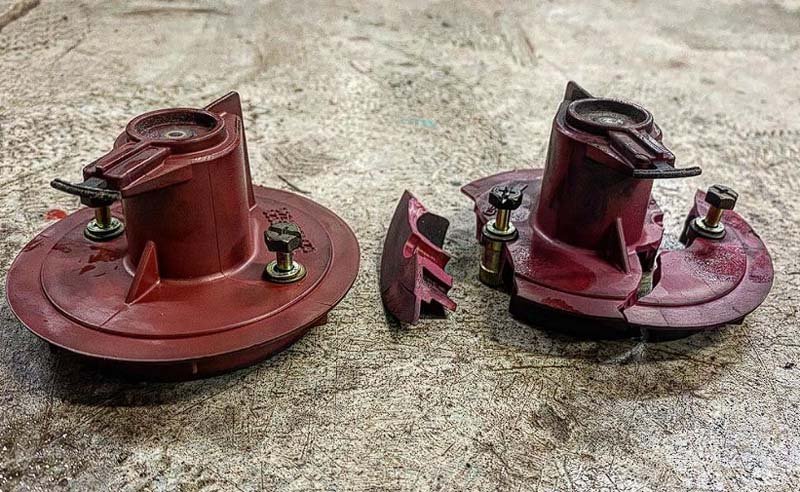
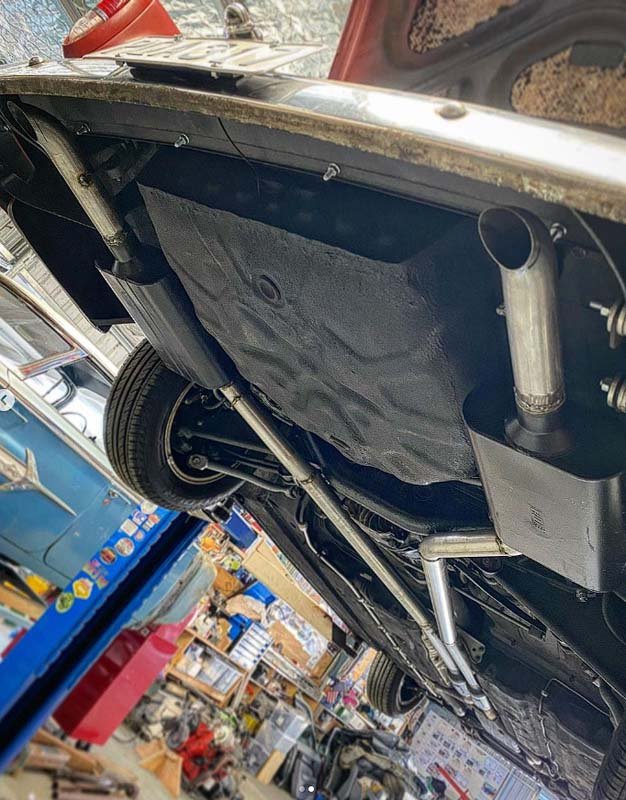
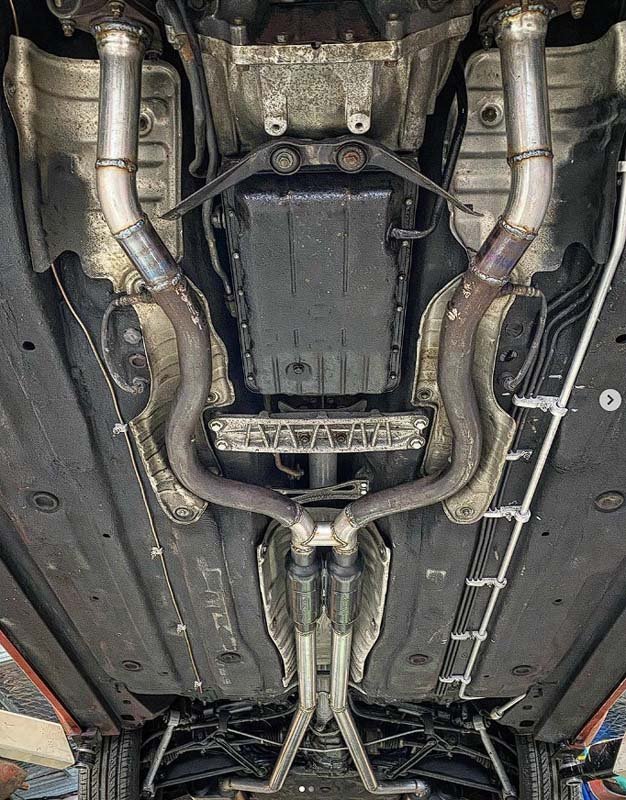
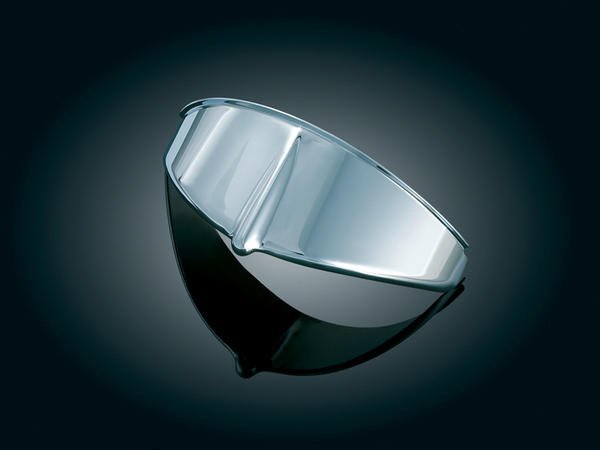
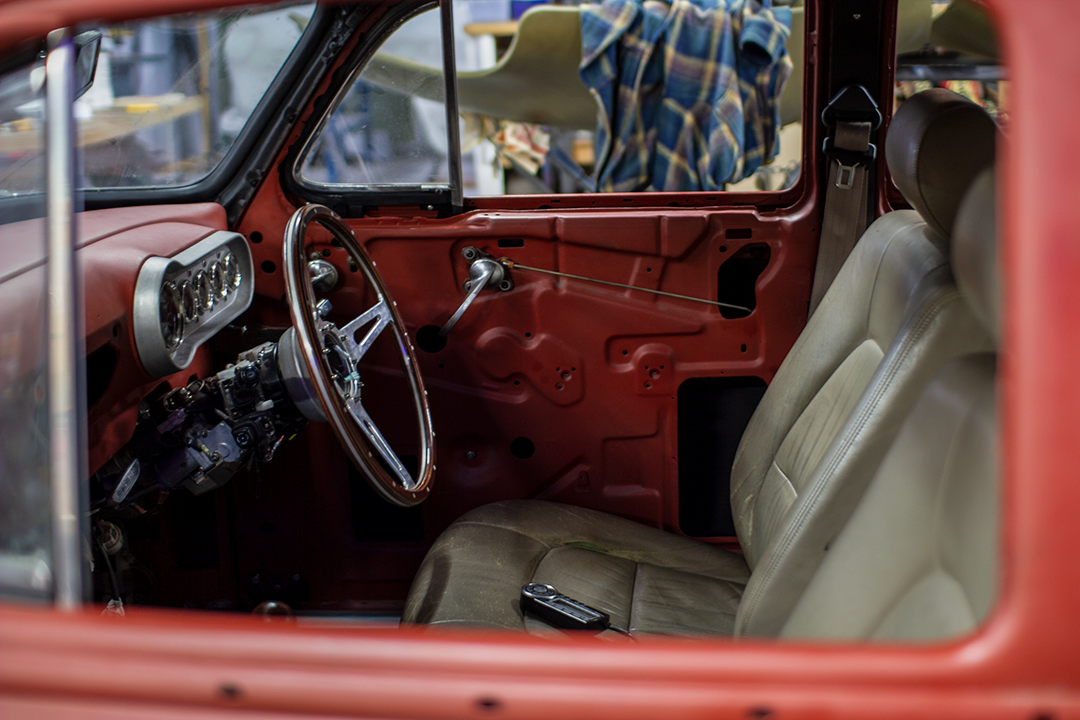
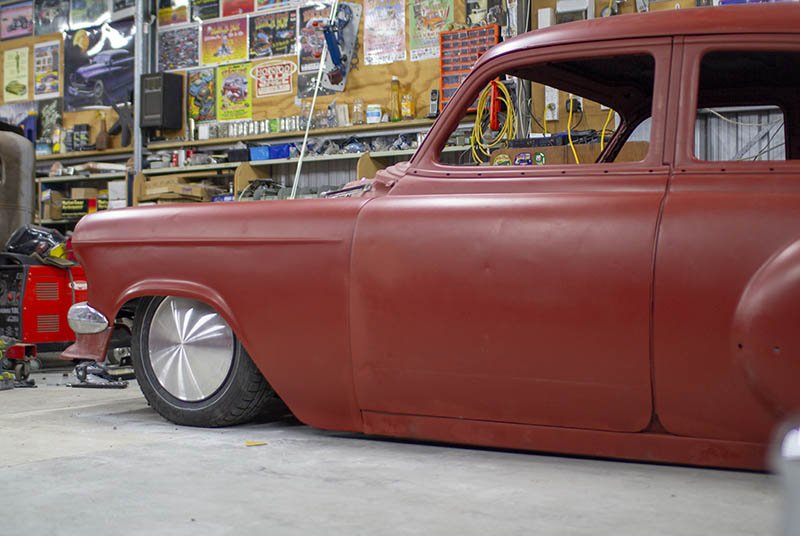
Few things have been happening over the last year. It now has side windows. So I needed a way to get in. These knobs are pulled up, spring loaded they trigger a switch to open the door. Hopefully eventually hooked into the lexus central locking. A pair of component speakers were fitted to the parcel shelf with a couple of our speaker covers next to the freshly polished high stop light. I Ordered a aluminium, laser 3d printed mirror spacer from pcbway to replace my PLA printed one. Polished up really nice. And the print was super accurate and clean. Had the urge to replace the coils, leads and distributors. So brought the whole lot in NGK from rockauto. Luckily i did as one distributor crumpled in my hands as I removed it. A new dual 2inch exhaust was also fitted. Most of it purchased from STA. So affordable. And sounds more like it should now. Also purchased some very very nice, but rather pricey kuryakyn Headlight visors. So much nicer than the cheap generic ones.
2 points
-
In January 2024 I suddenly needed somewhere to live in a hurry ... so I figured on building something small out of scraps of building materials I already had.. There's no power, water, sewer on the property, but 10 days ago we got most of the driveway in. I'm the kind of guy who thinks a fair bit before I act, so after some further thought most of the scrap timber/plumbing/etc. I had available got pushed to one side as they just weren't going to work. Queue more invoices for better timber (plus freight) I think this project will take until spring 2024 to be weathertight. Shipping delays and huge freight expenses will add to the timeframe and budget. For example I have $500 of under concrete insulation here at the port. The freight bill for that insulation alone was $1,200. The proposed dwelling will be single bedroom and about 60m2 I always start very well but never finish anything. Let's see what happens this time.1 point
-
So the next day I decided to do the Karewa island race on the new boat. There was approximately fuck all wind to start with. The only other 3 boats that had entered left us behind by the time we were rounding the Island. By the time we finished - somehow crossed the line in second place, only 8 mins behind first after 4 hours of sailing. Turns out I looked at the wrong course and missed out 1 leg so got a DNF. Live and learn.1 point
-
Couple weeks later, decided to get the old boat out again and do the round Rotoiti race as a good excuse to show it off and make sure everything still works. There was approximately fuck all wind. A few boats dropped out of the race, but 5 hours later - we finished 2nd over the line. Had been in the lead for quite a while but got pipped in the last mile of the race. I'd love to say perseverance pays off but it was a pretty painful day. It was VERY amusing how light and easy everything was to handle compared to the new boat. So after 5 hours trying to get every possible bit of speed out of the tiny amount of wind provided - I was keen to have a day off and relax.1 point
-
Haven't taken the quad out for a for long long time and have pretty much just used it to move the trailer around. Decided i am going to take it away for my upcoming bday so gave it a once over. Lh front wheel has been on the piss for ages, i assumed wonky balljoint and put it on the oneday list..... Balljoint was fine, a combination of flogged out lower hub and a driveflage/wheel bearing combo that don't actually contact each other was the real problem.1 point
-
Get some megasmoke too
1 point
-
What a brilliant watch, mine will of course be much wetter, crudely shored & poorly lit1 point
-
This guy exudes Erics dodgy gold mine1 point
-
Yeah absolutely, though I thought i'd try to find out for idle planning purposes without having to put it on blocks haha. Some barry on one of the narrow gauge pages reckons he has a final drive in pieces and will count the teeth for me, its just a single thread worm drive. Have been looking into 48v forklift motors, pretty cheap secondhand and they look similarly sized to the original motor.1 point
-
I just want to make sure I'm not signing up to get stabbed1 point
-
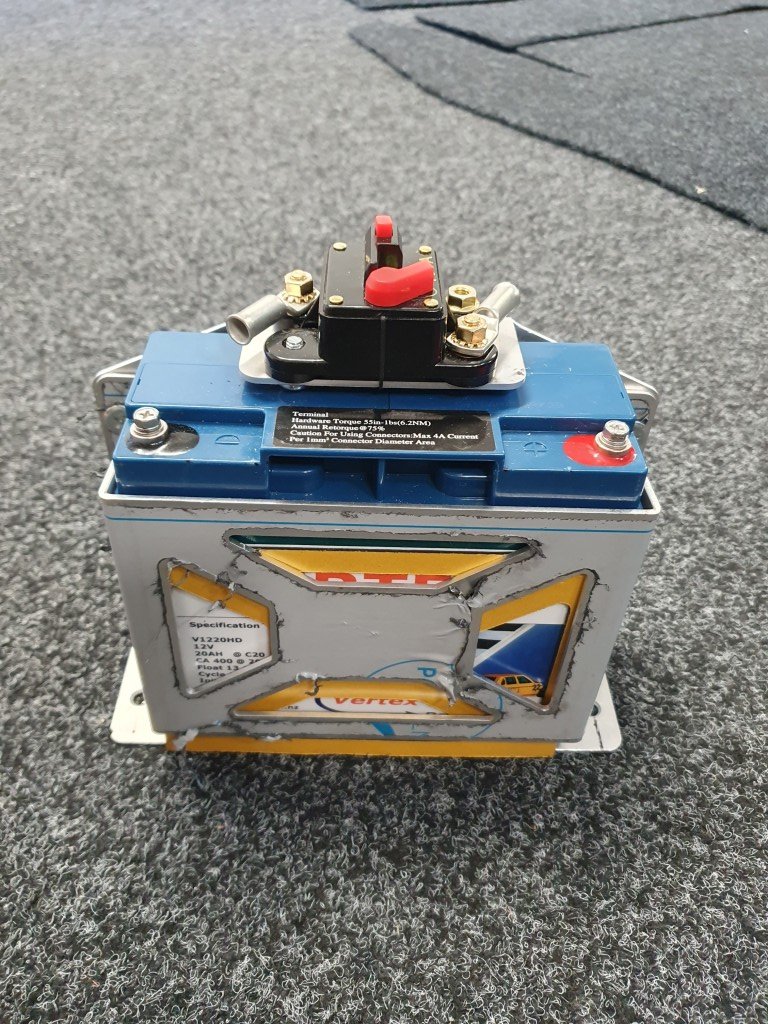
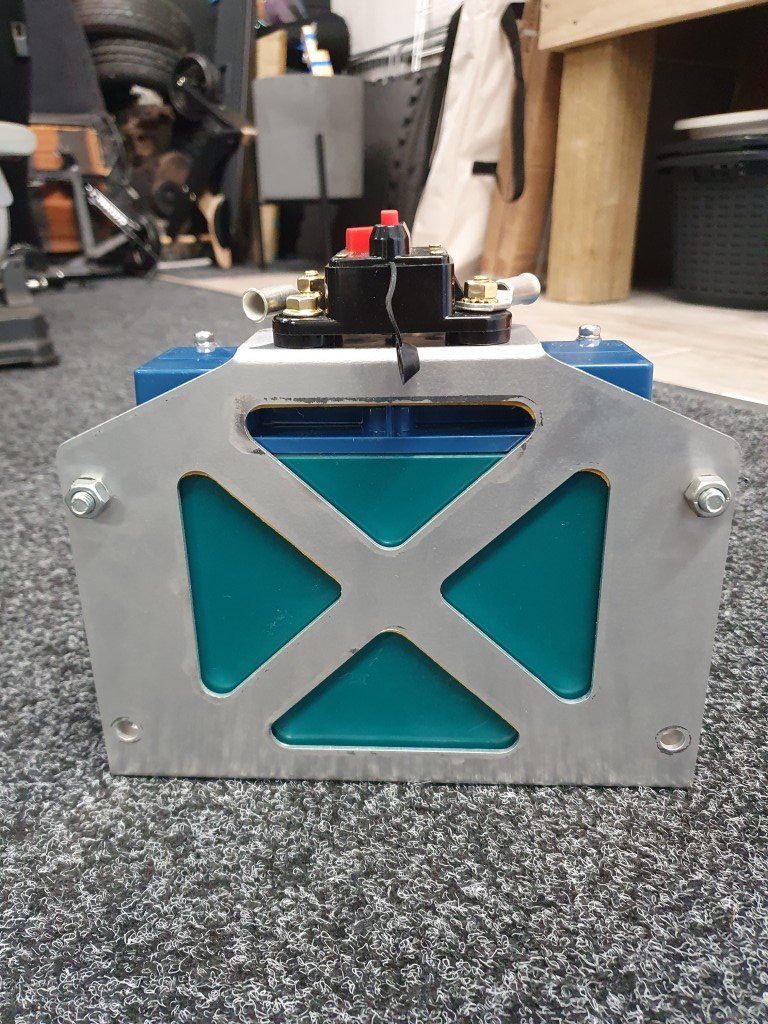
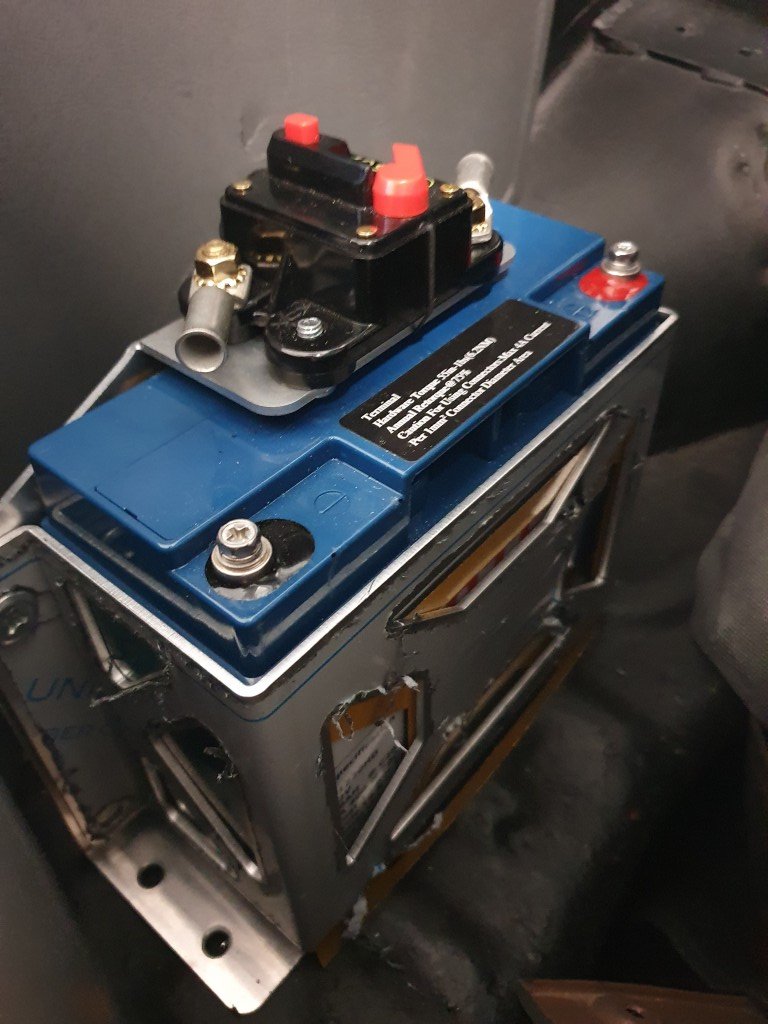
Battery box with breaker mount. Need better fixings for the battery mount but works for now. I managed to get the breaker JUST to fit on the top bracket, probably a couple of threads welded on would be best to hold it down. Currently the dome head fastener has a slight protrusion into the battery zone which I don't like. The bracket I got with the battery has been repurposed to mount the ECU. This one was a lucky find for cheap off marketplace. PC680 sized mounts WILL fit a Vertex battery easily. Note, there is a thick rubber gasket layer between the battery and battery bracket.
1 point
-
Oldschool Nats Chathams 2026. Entry Fee: Building materials carried on as hand luggage.1 point
-
So I started on the body. Did some CAD modeling, And then started hacking into 18mm ply, Then I took the old temporary seat and floor off, and made a new seat etc. I then started screwing everything together, And where it's at now, The back corners are meant to be rounded, but that's too hard for an amateur woodworker like myself. The floor and firewall will stay on the chassis, and the rest of the body will lift off. The bonnet and front mudguards will be the hardest part to do, but I have ideas, will find out soon if they will work. Oh and I decided to make it a BJ/FJ land cruiser (maybe it should be an EJ?) because the kids cousin has a Jeep already, and because I'm forcing them to like Toyotas, because not doing so would basically be child abuse. Regards, VG.1 point
-
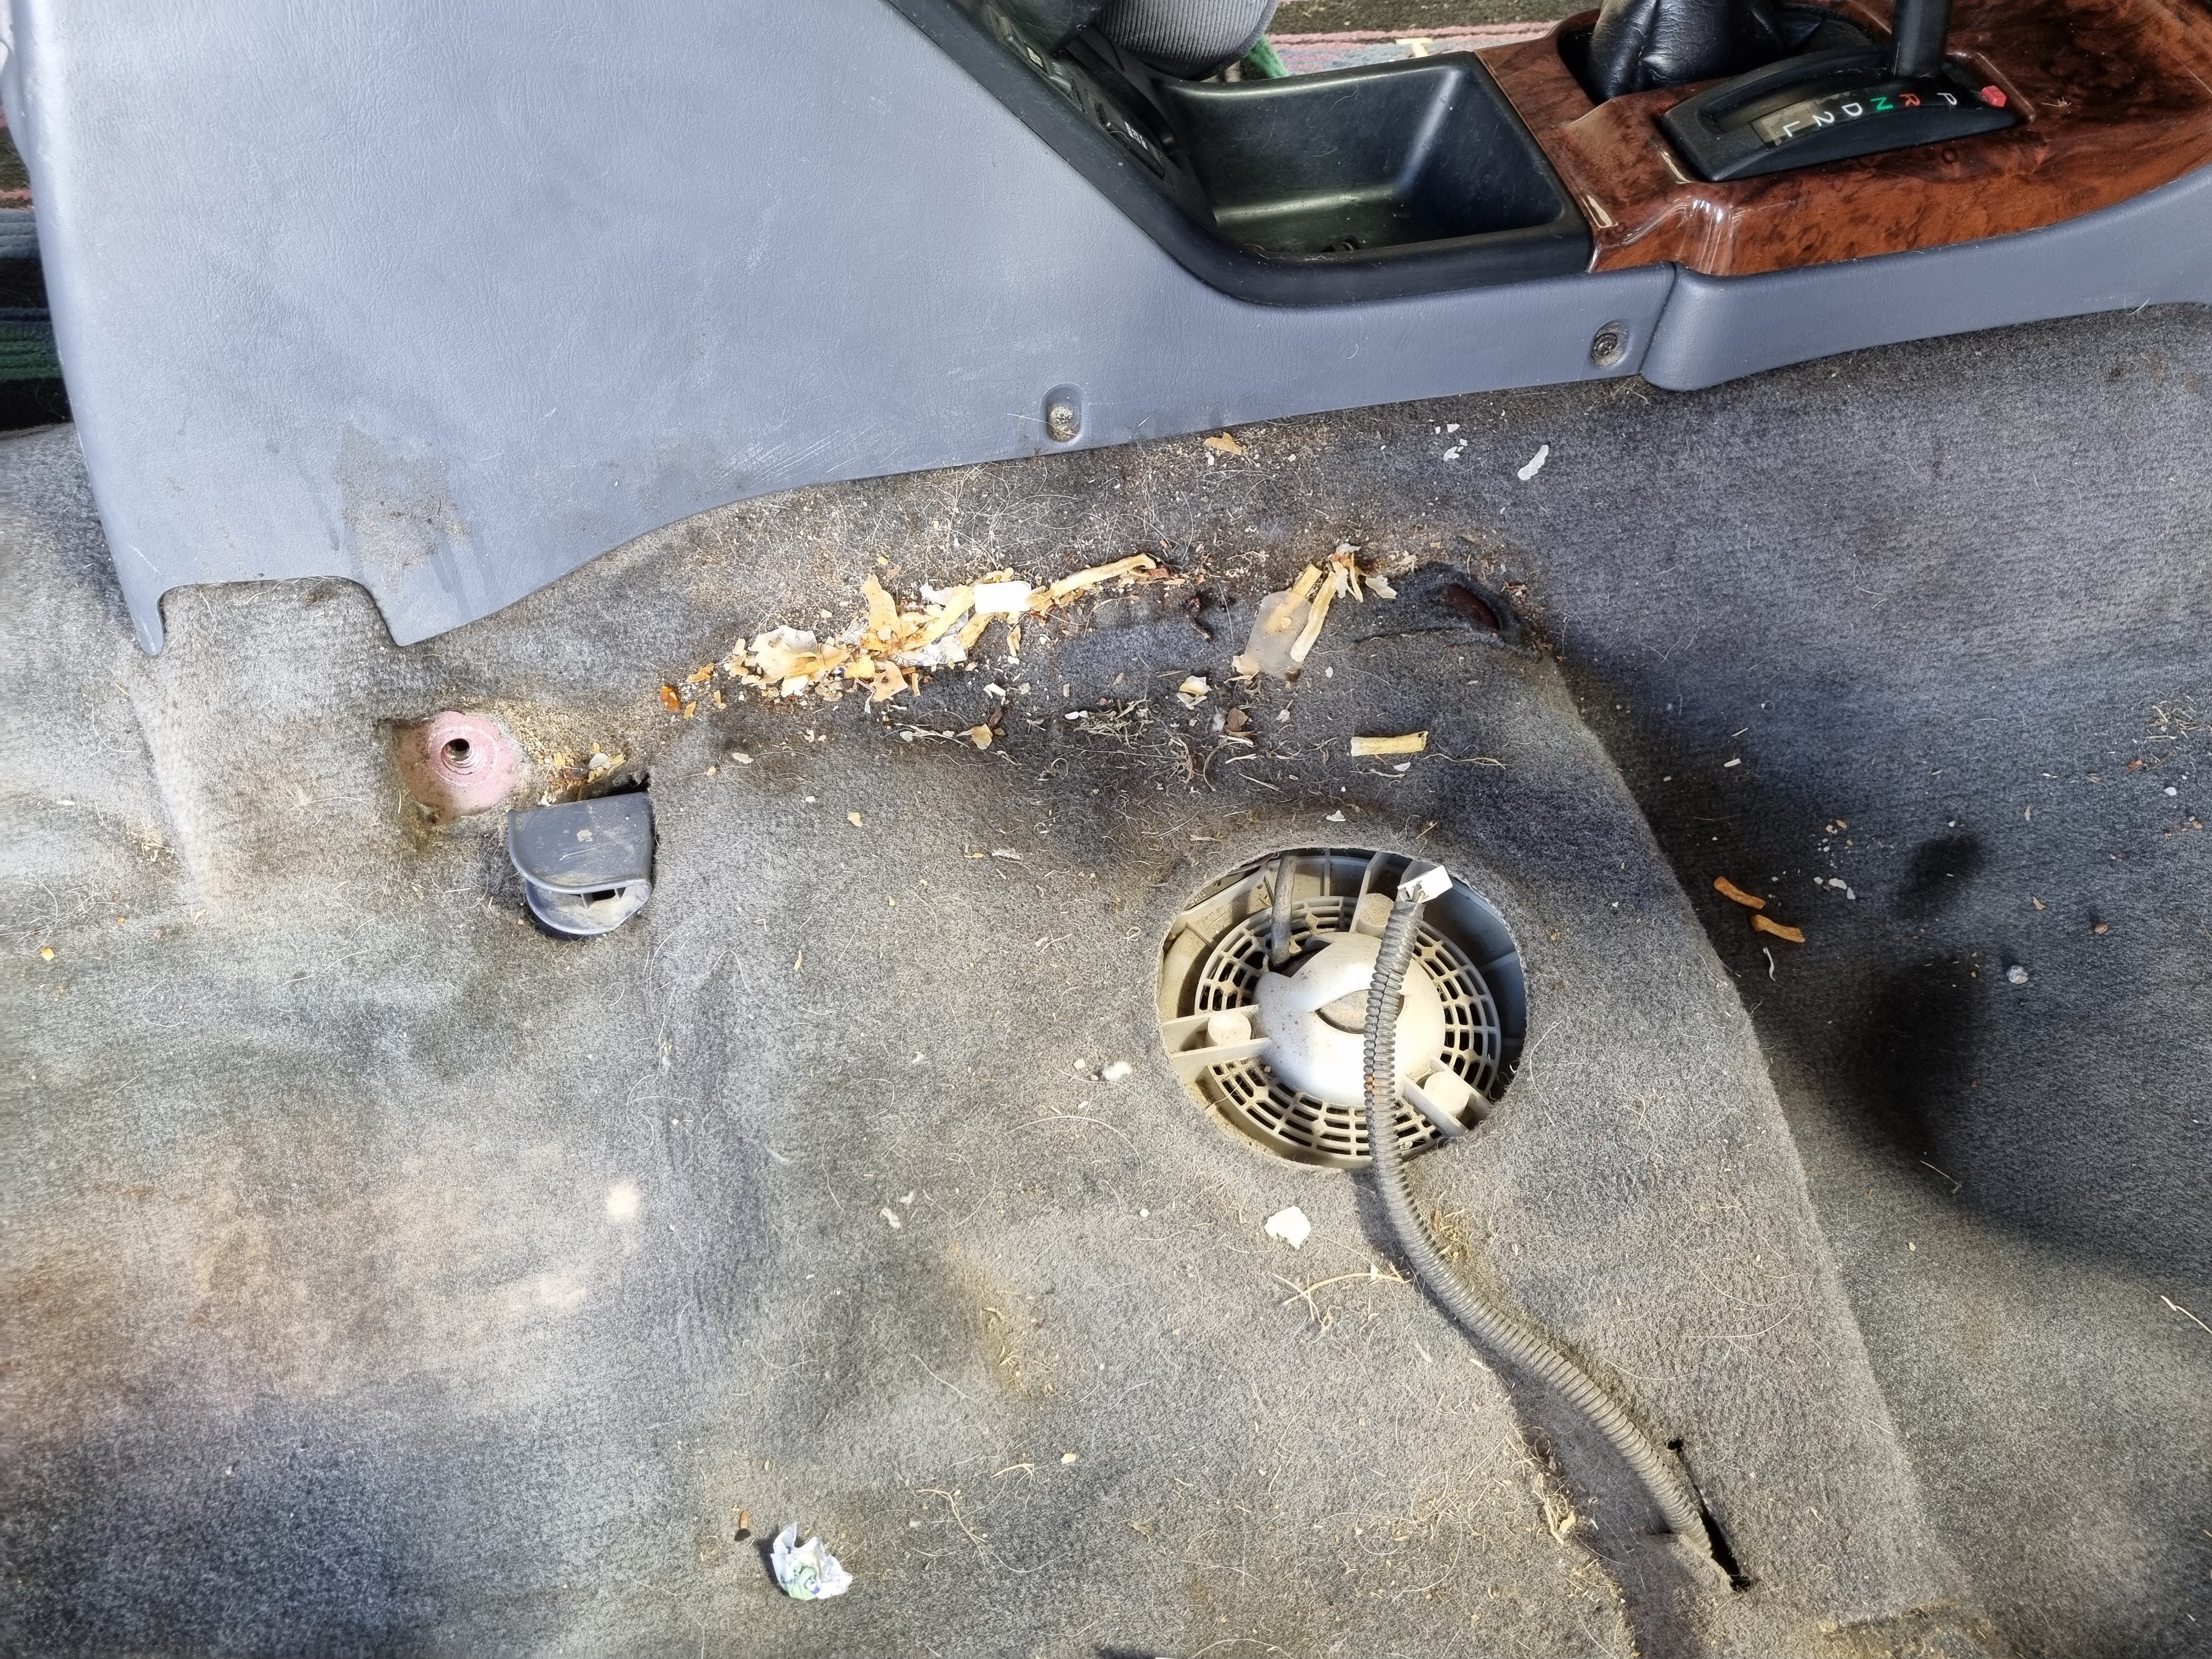
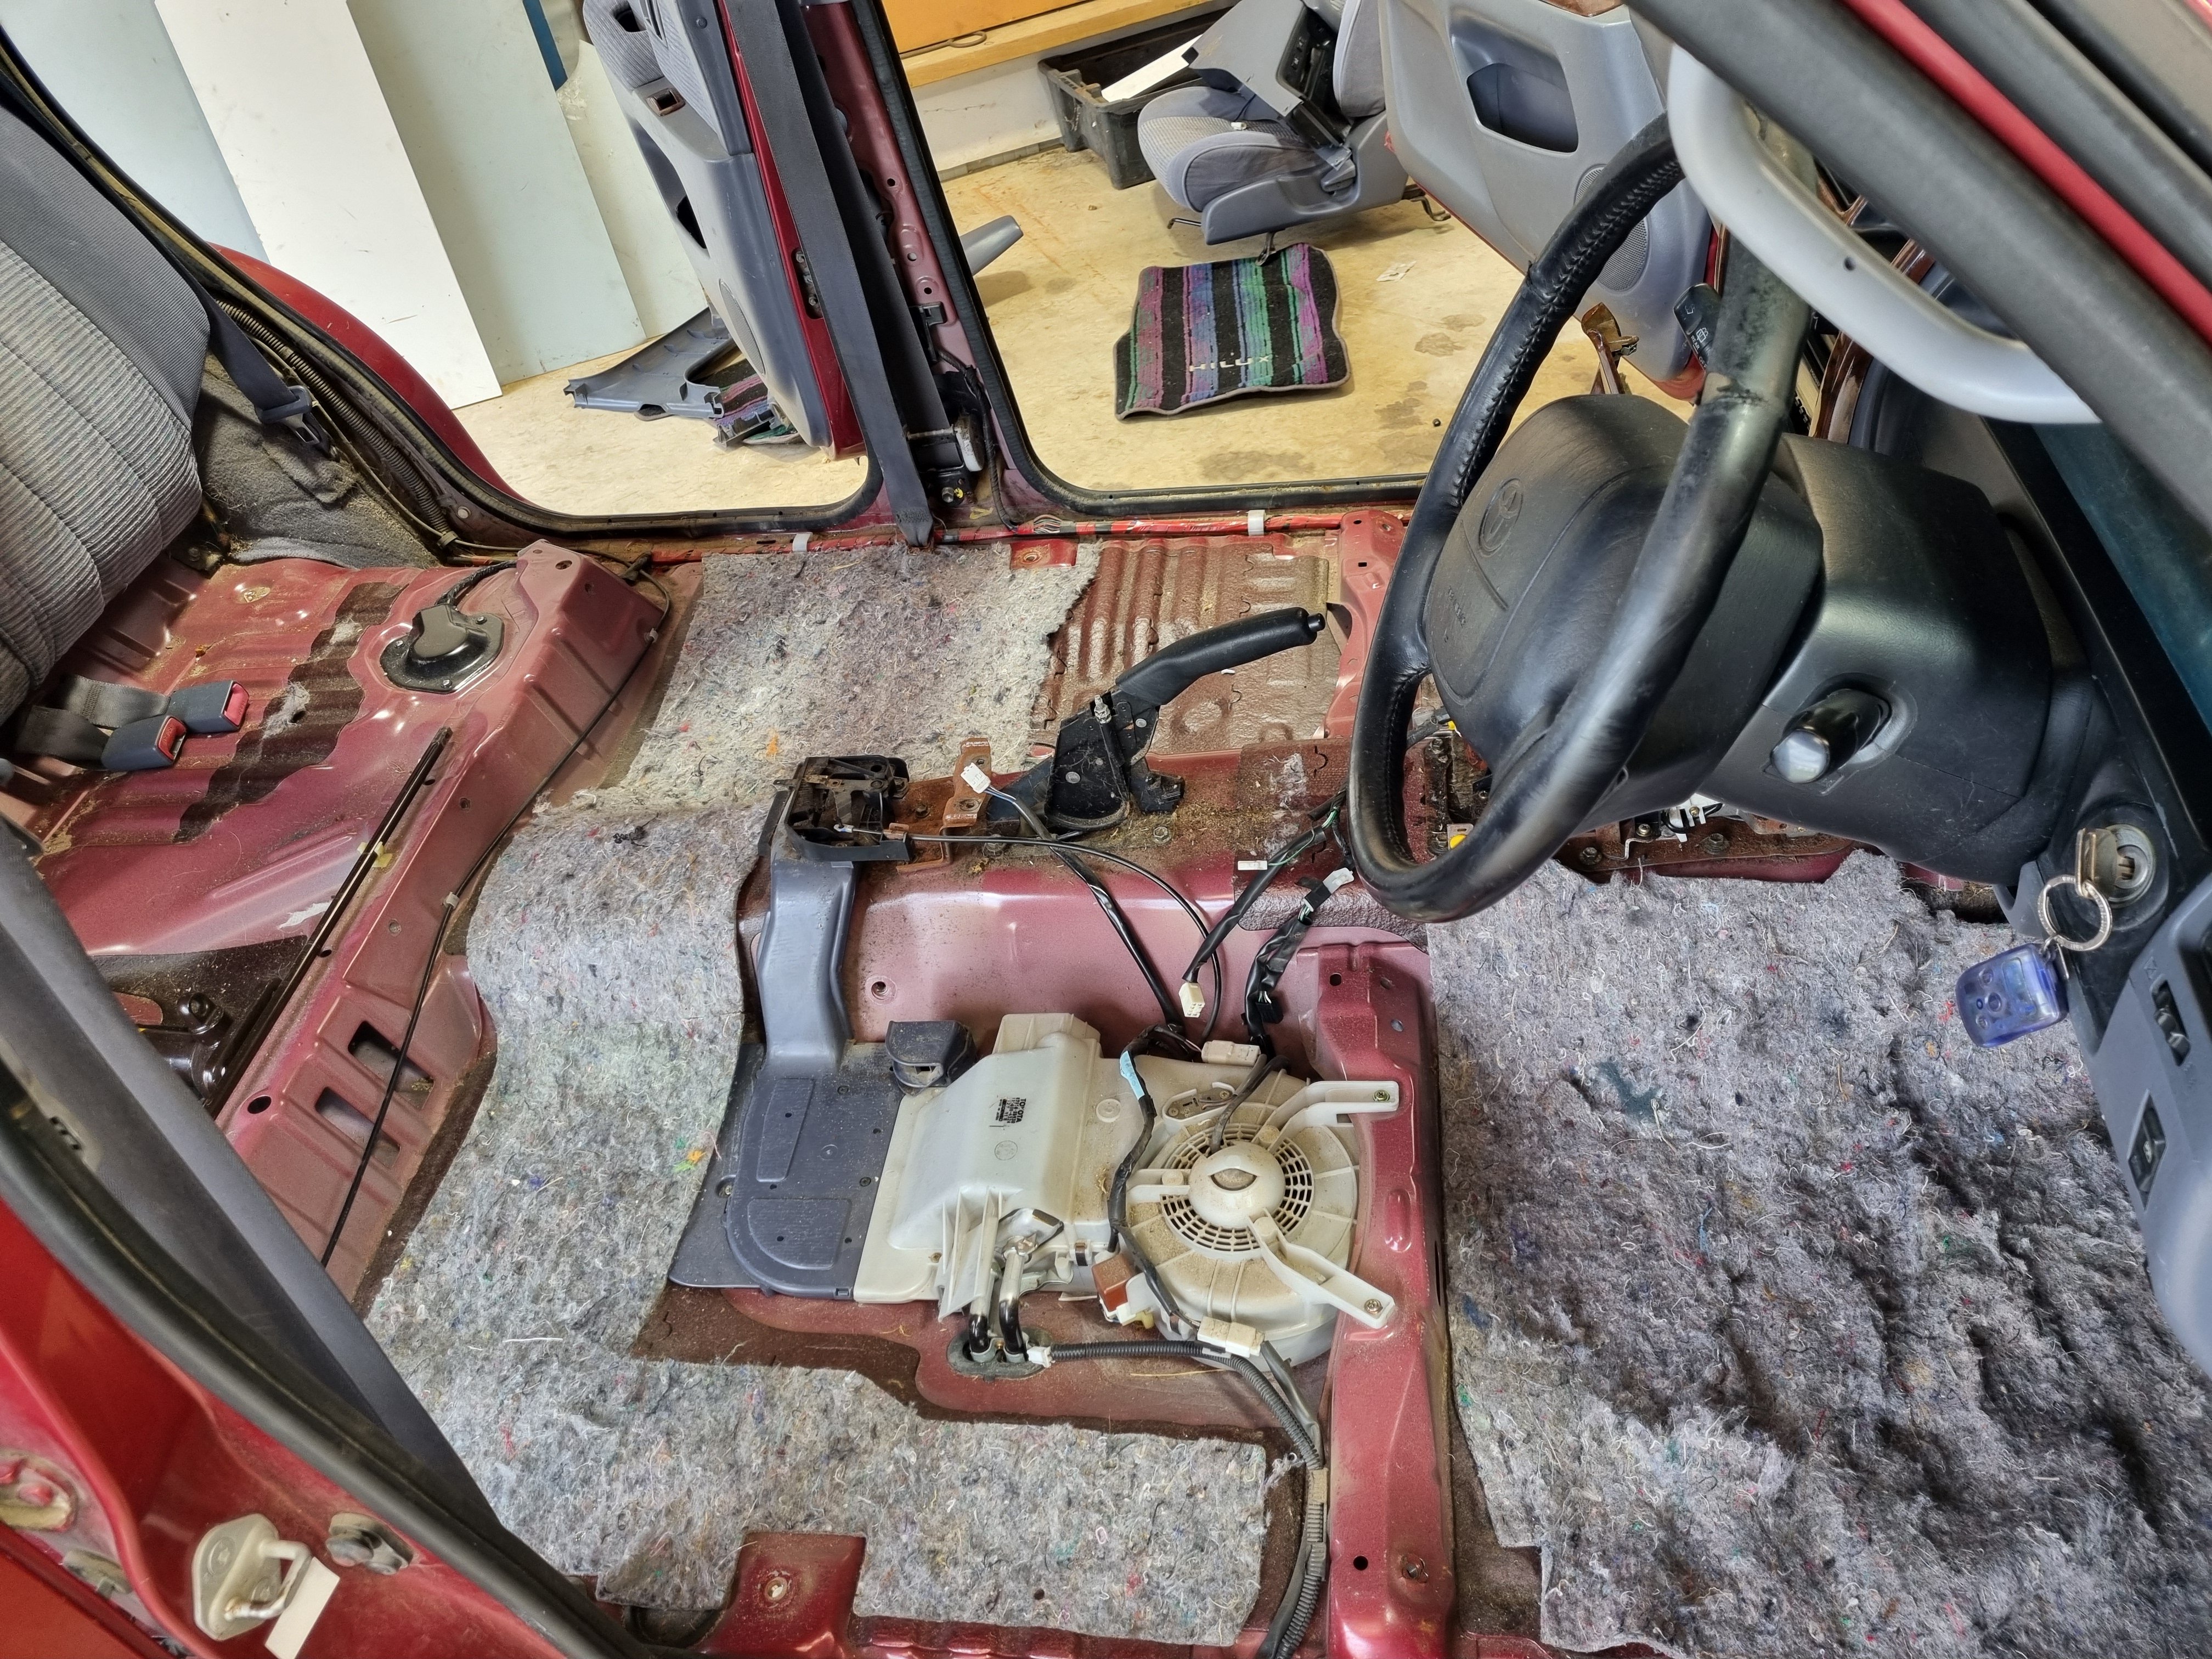
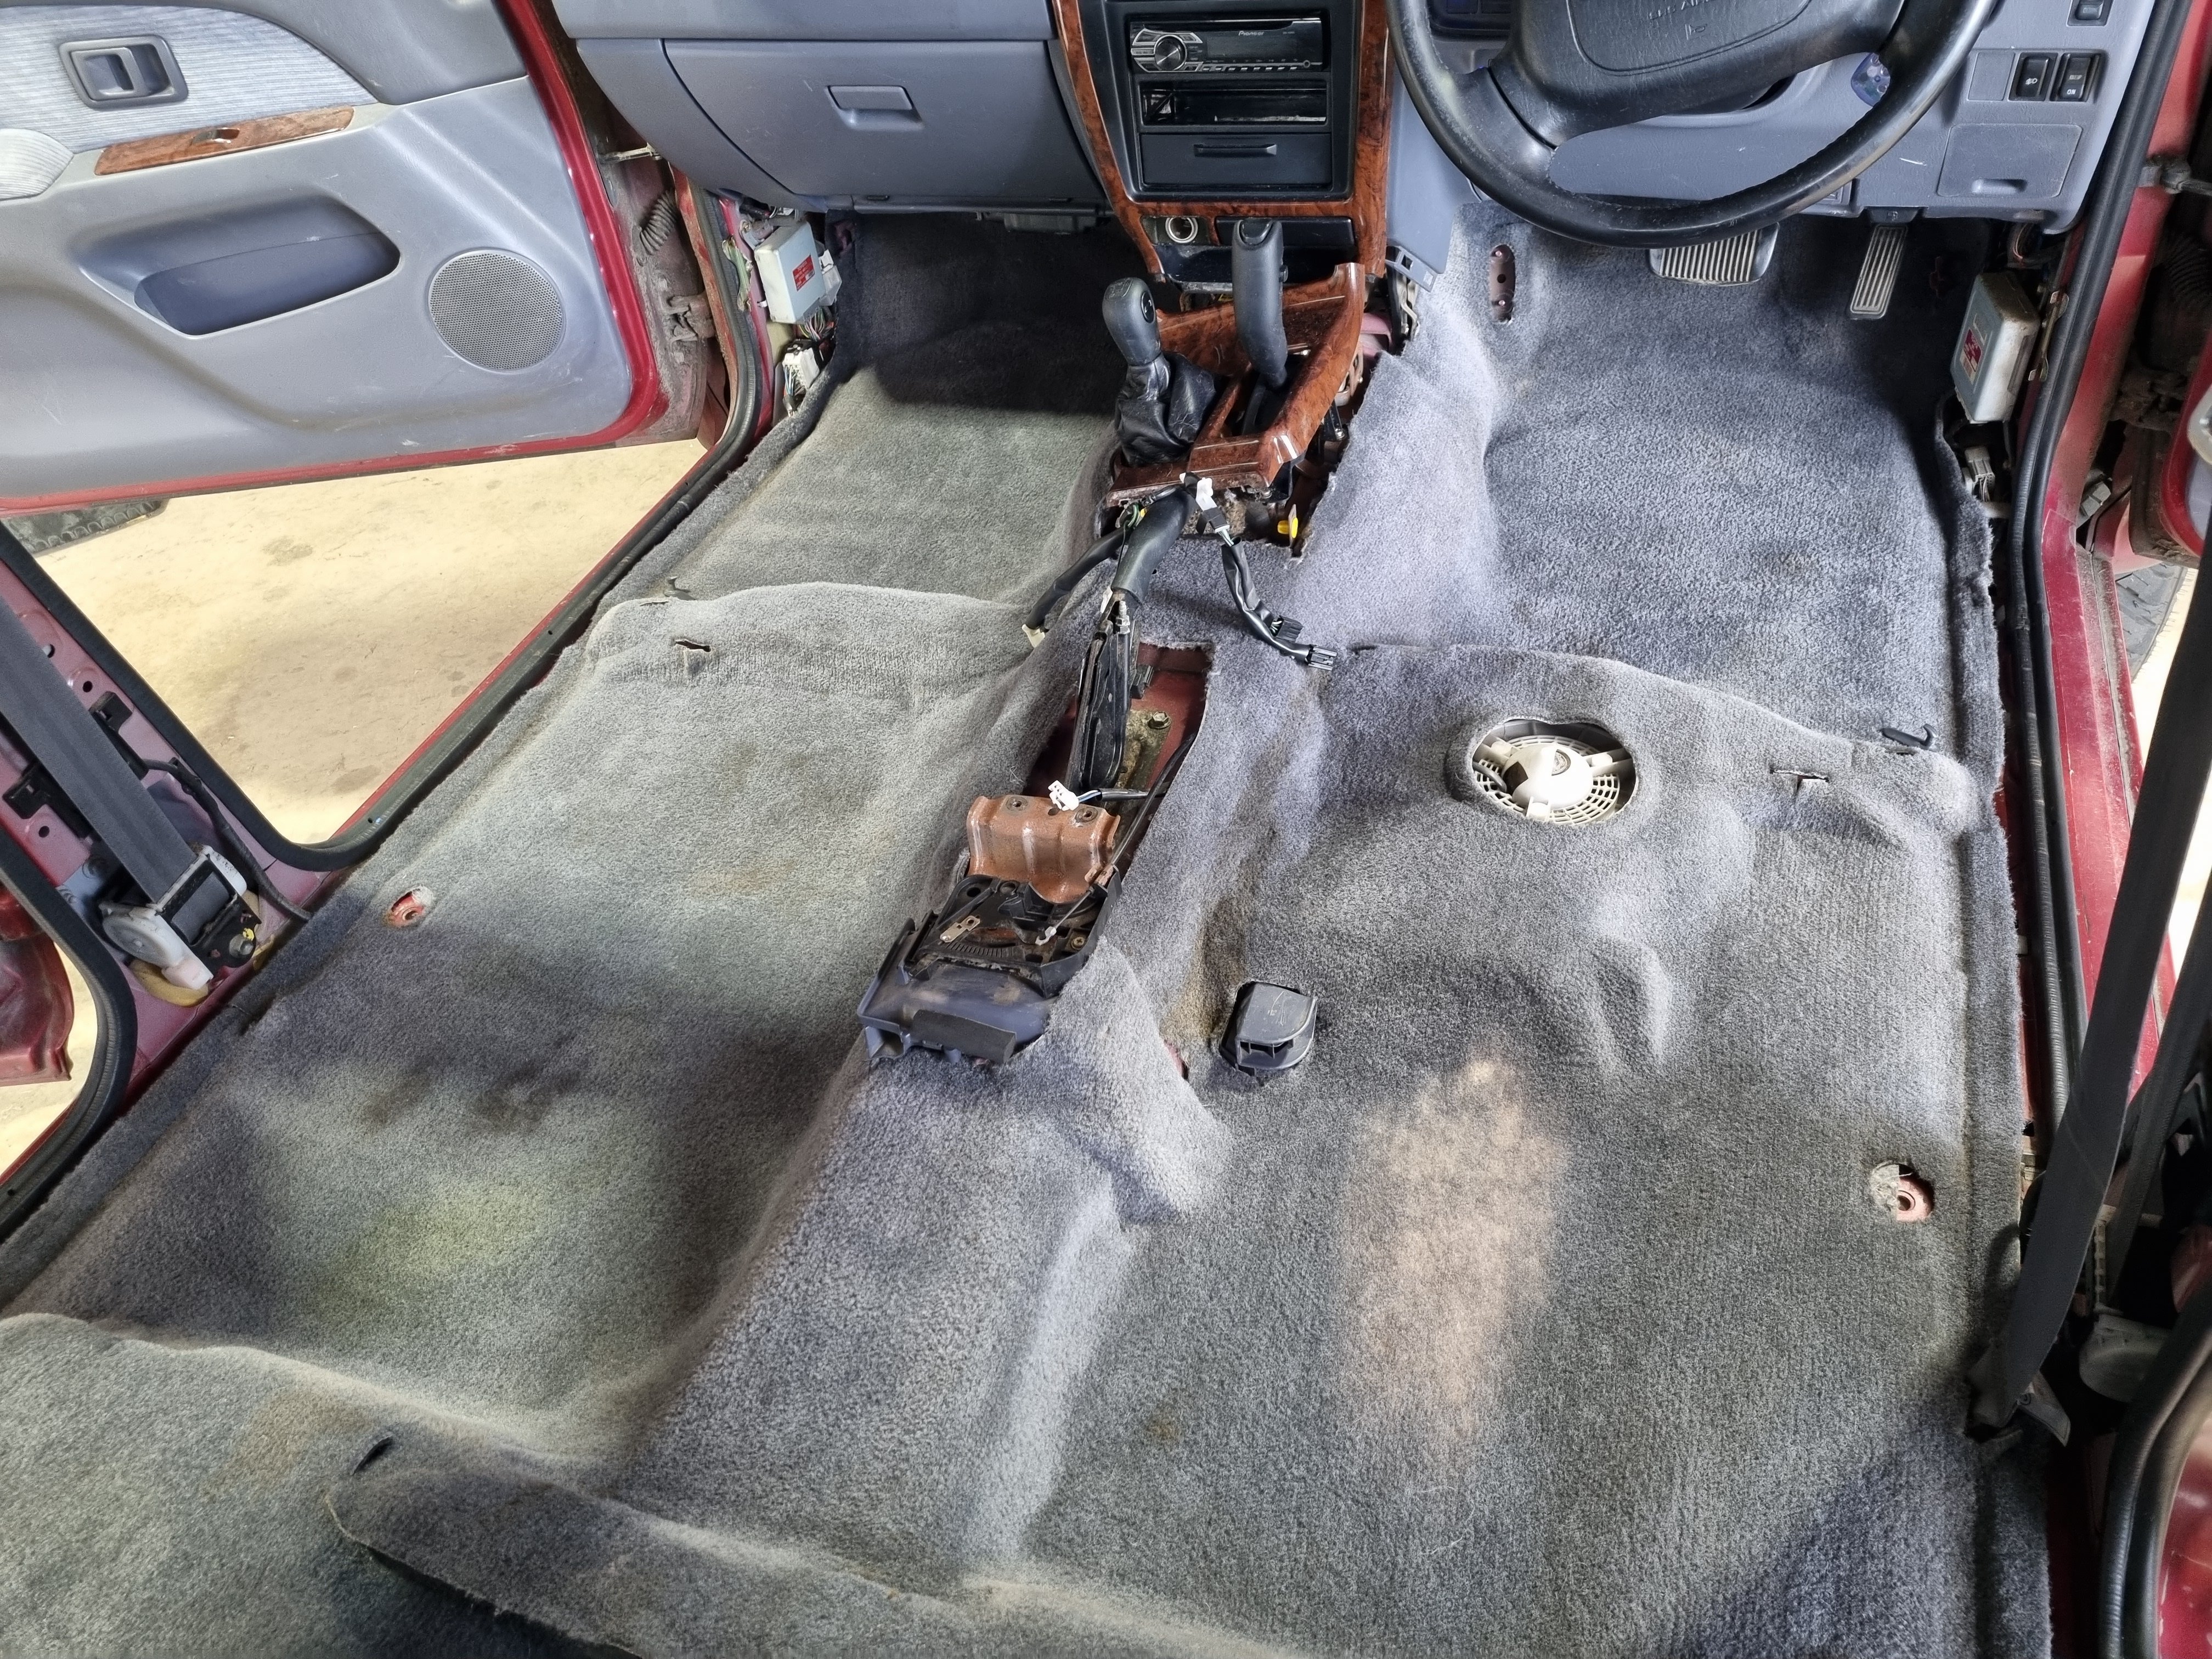
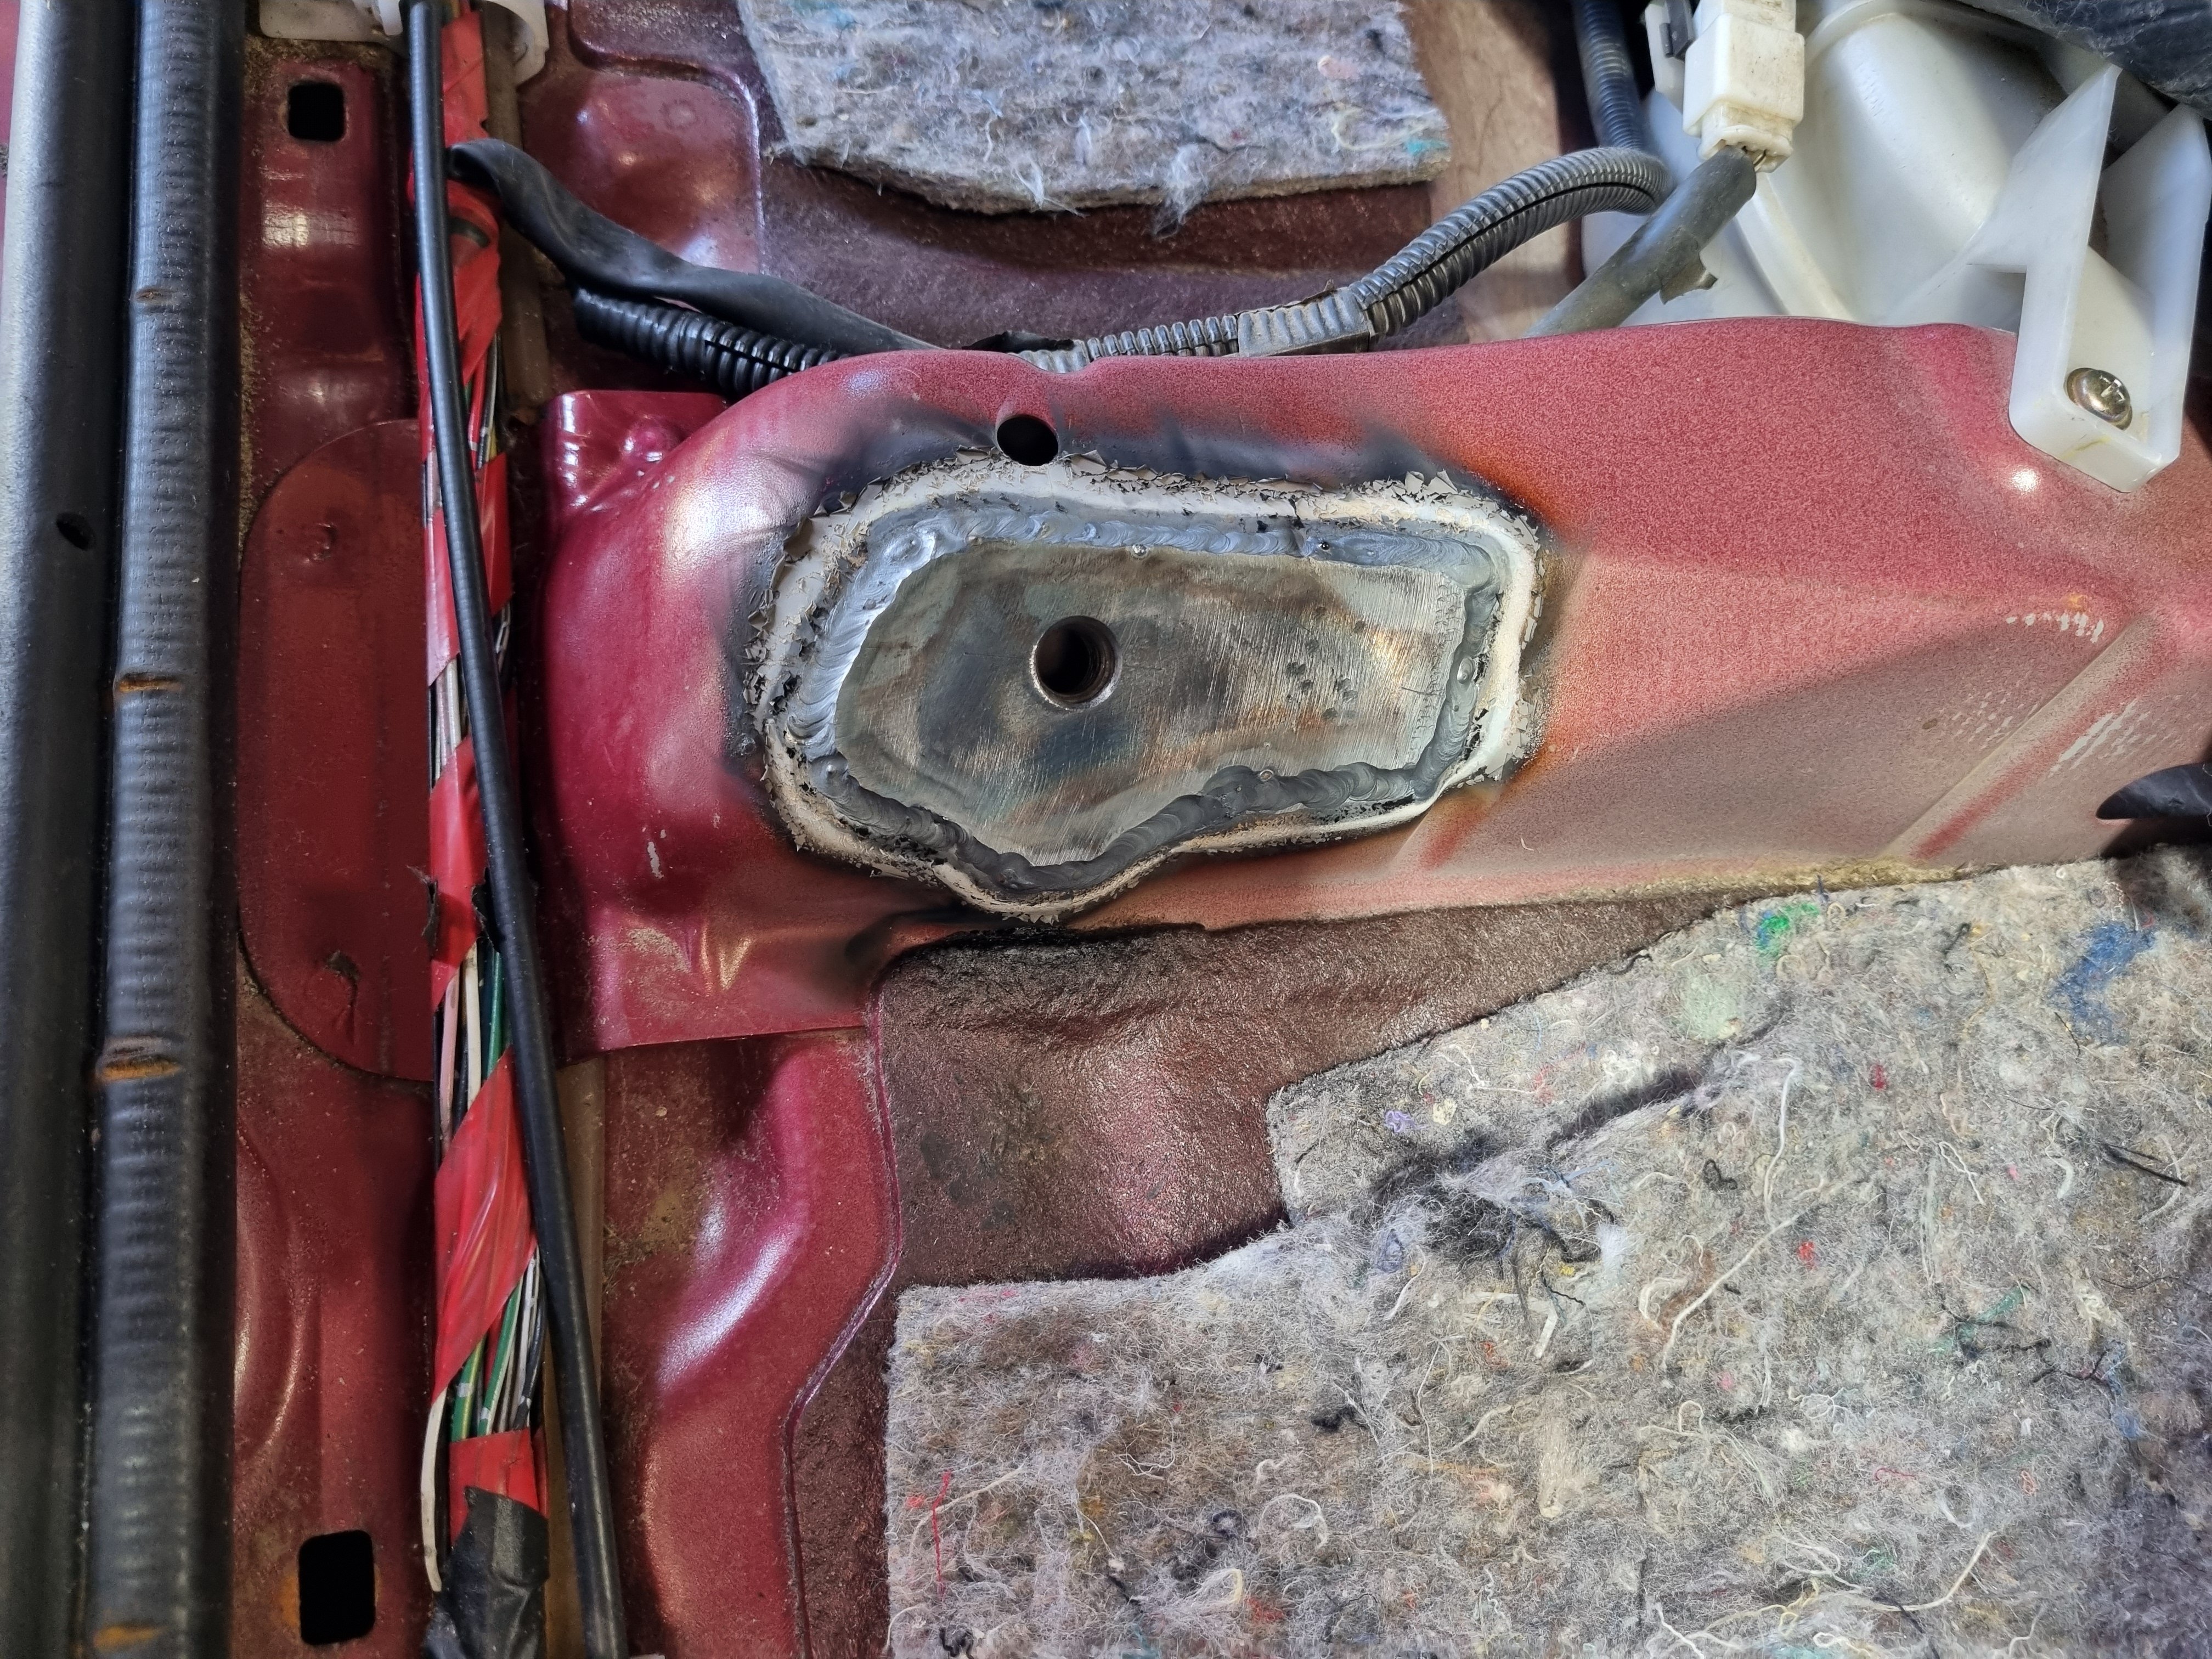
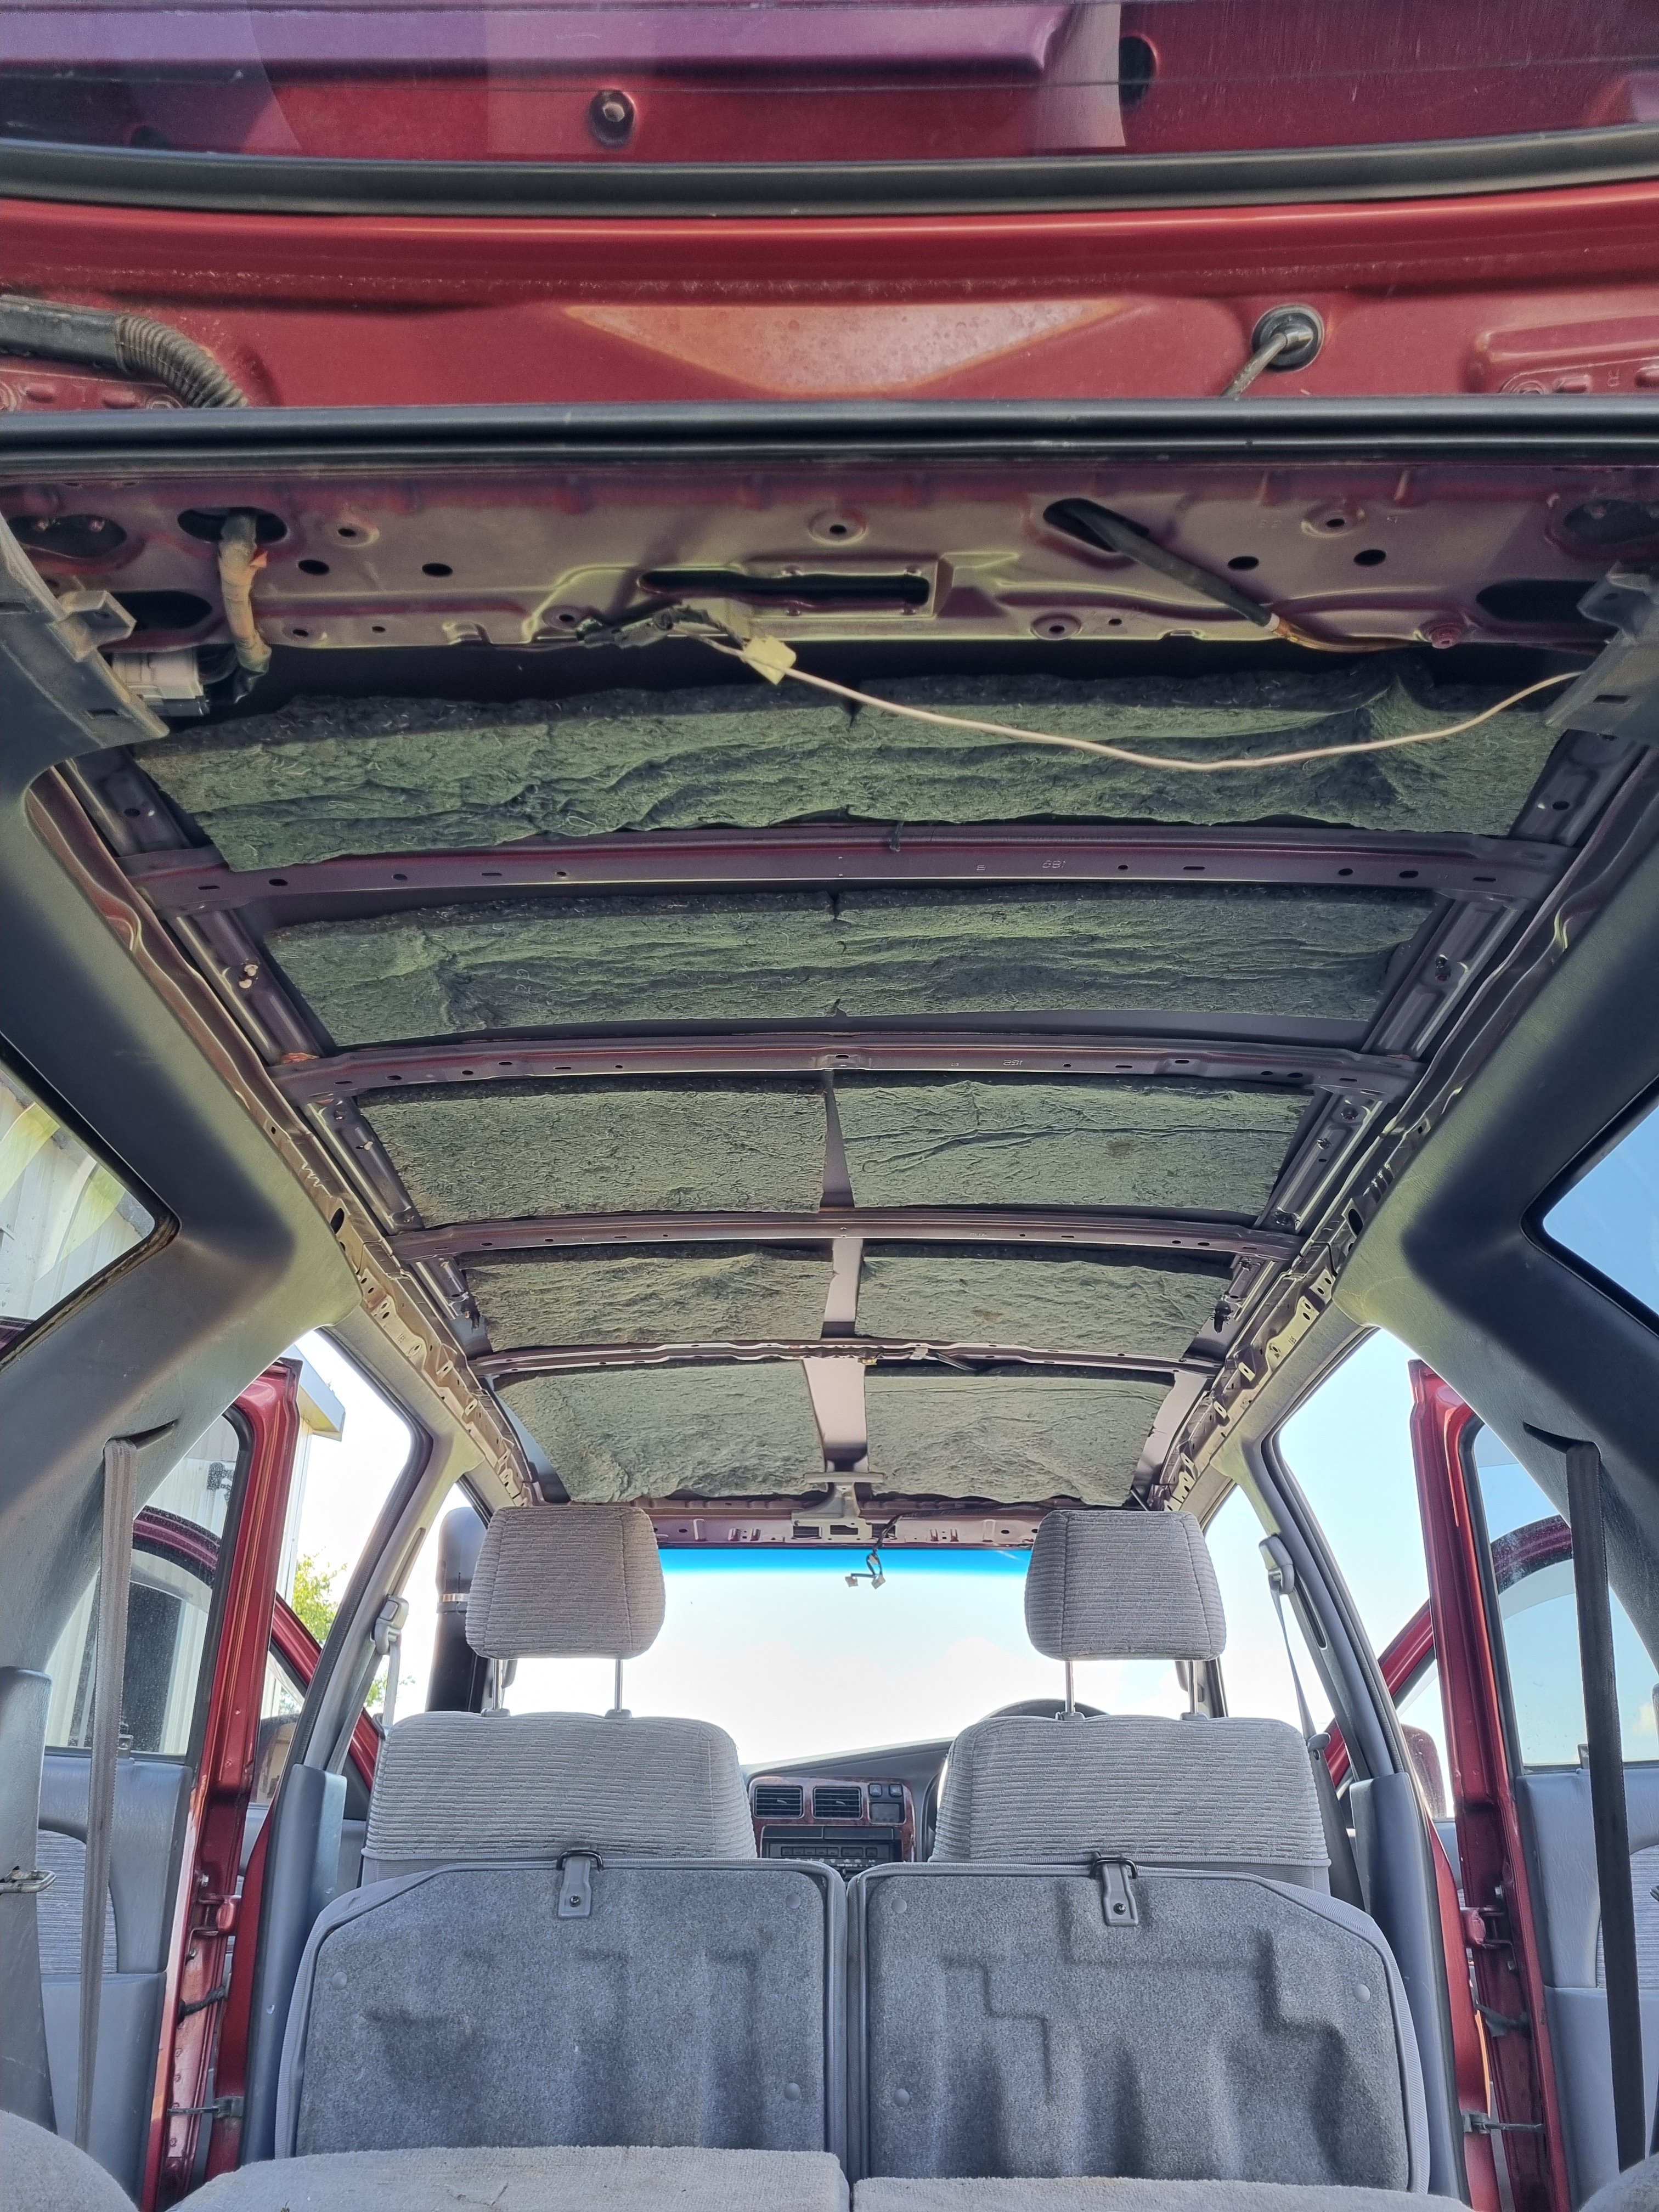
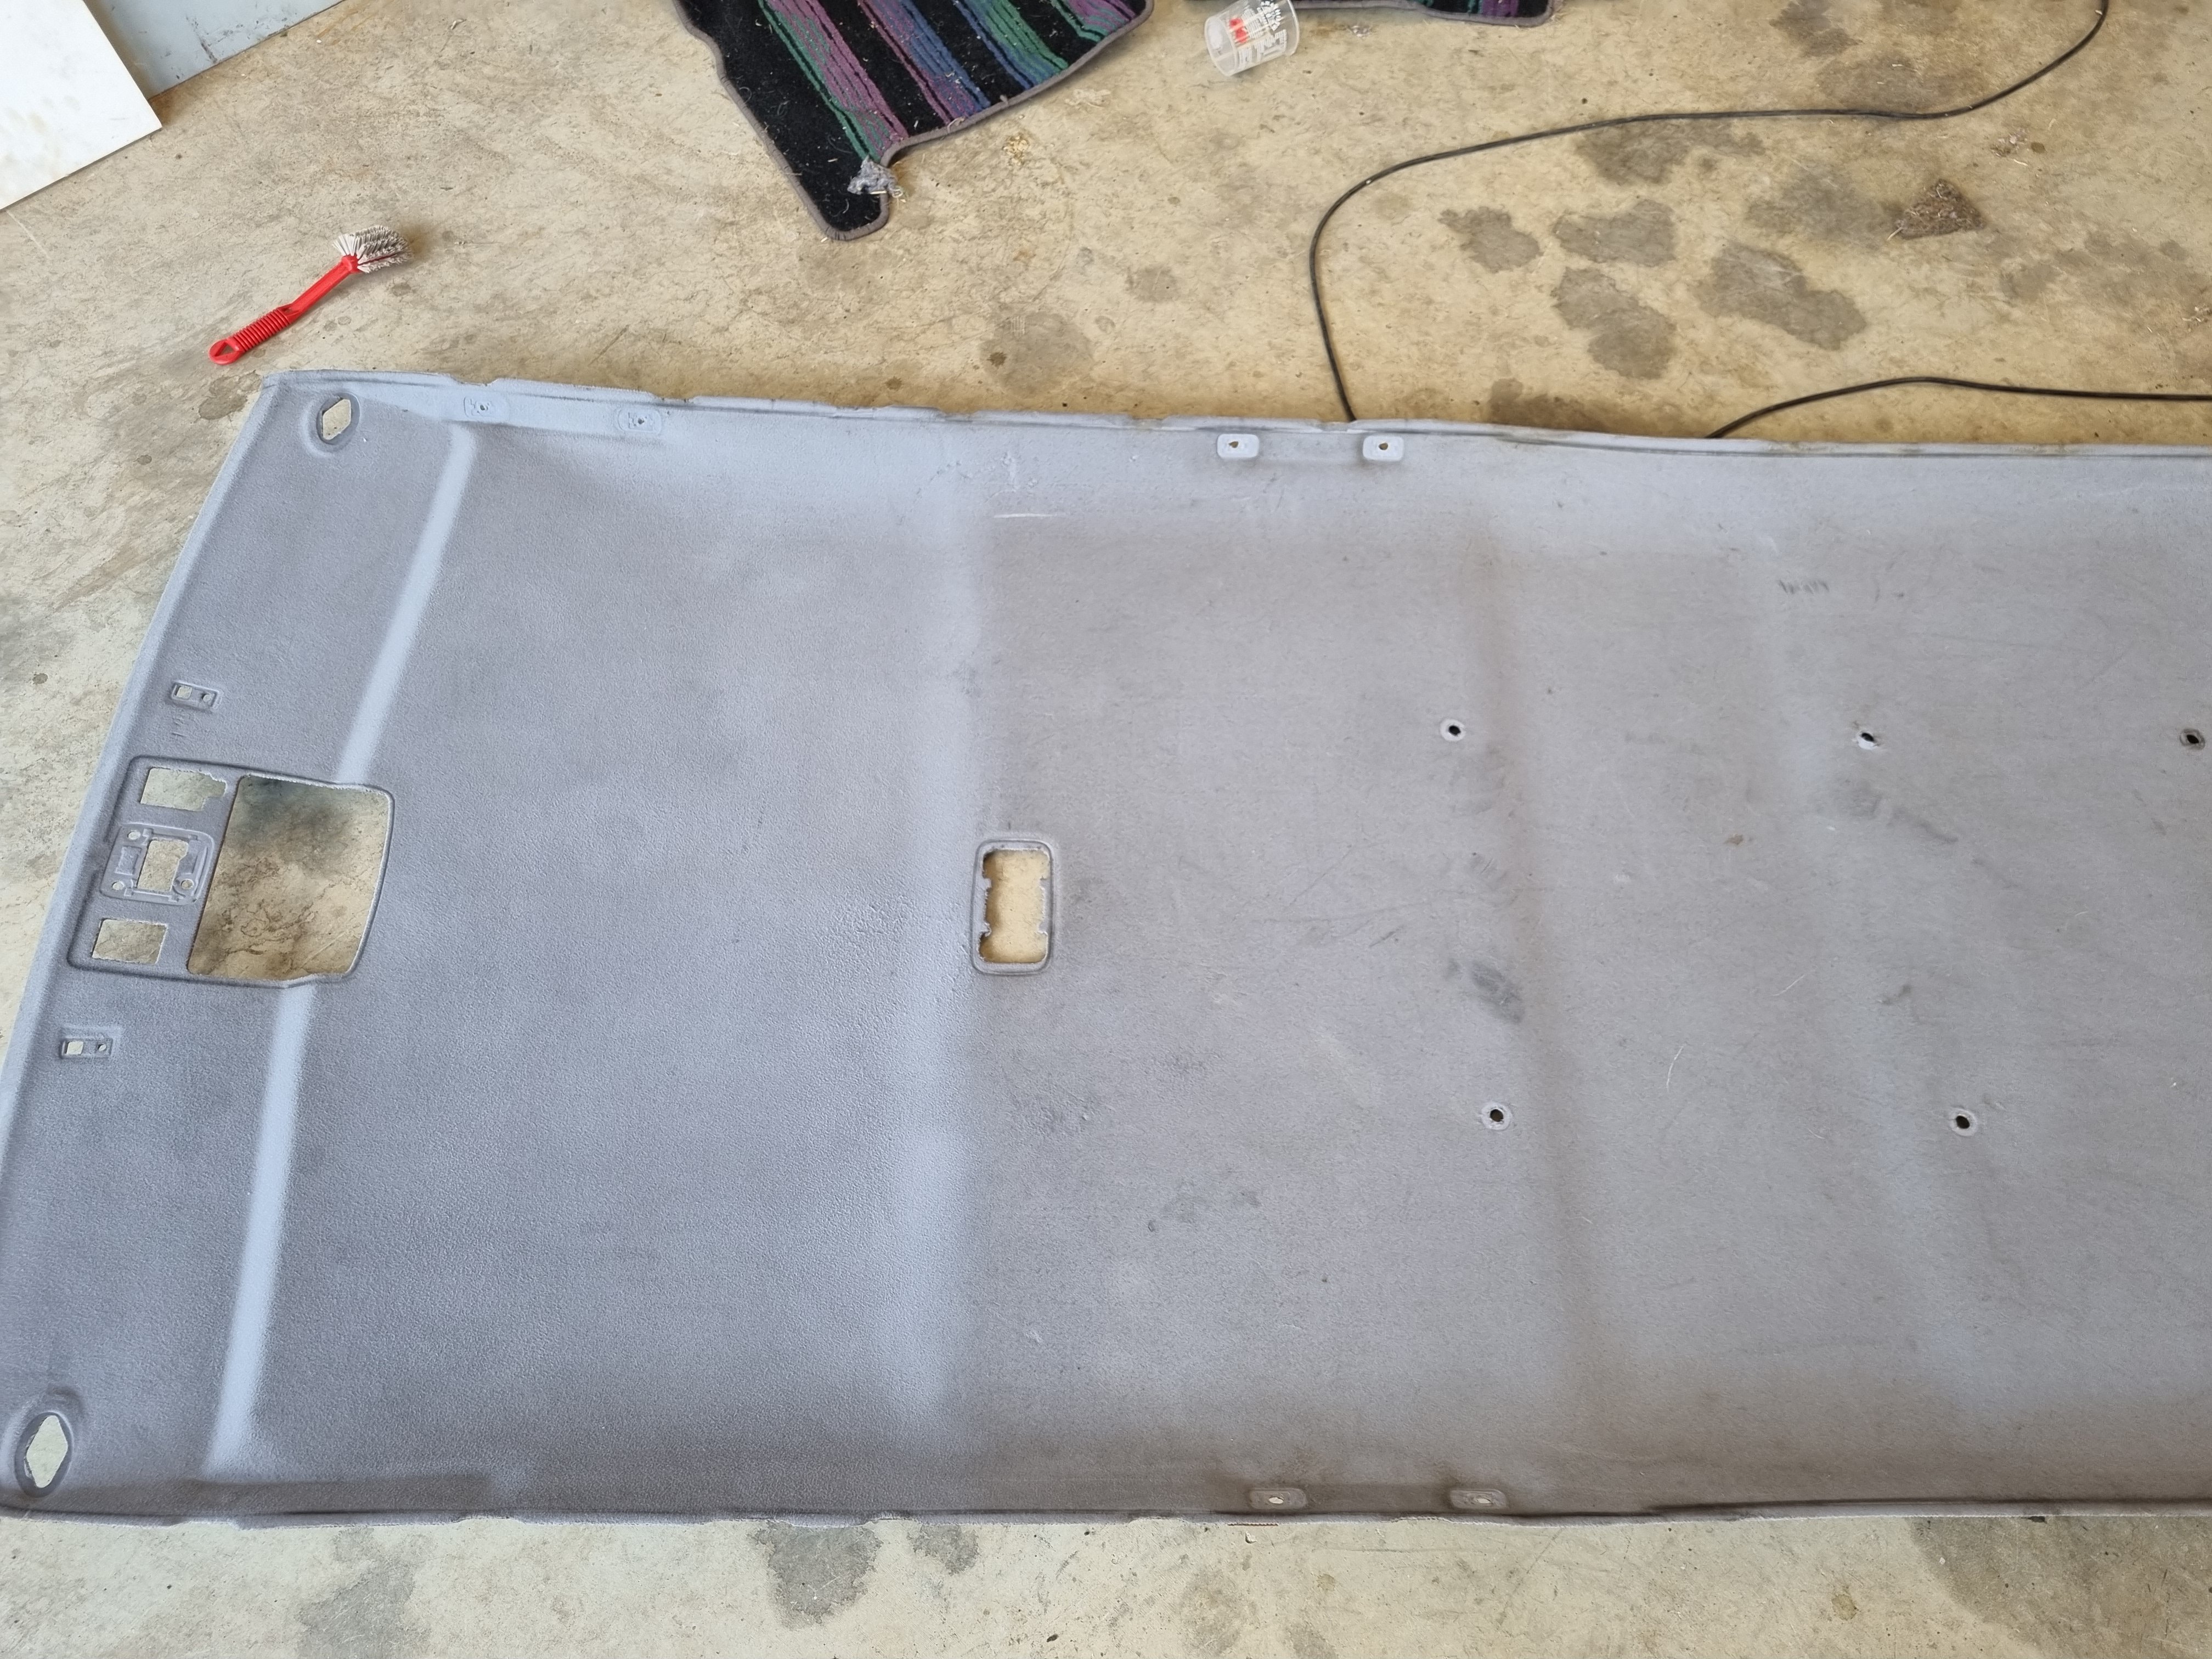
So, what am I going to do to it? First thing I did was clean it because it was fucking gross. Think used chewing gum in the door pockets, center console full of dried moldy coke, at least a full medium fries down the side of the seat and LOTS of dog fur. I took the whole interior out, including the headliner, and scrubbed it. The front seats are pretty bad and I'm trying to buy some others because they're so gross I don't think cleaning them will do much. One of the seat mount captive nuts was broken so I made up a plate with a nut and welded it in.
1 point
-
Have finally tried out all of our sails and actually getting better at making it go fast. Next weekend is a race to Mayor Island which I'm looking forward to. Have also modified the gas bottle locker so our aluminium bottle actually fits instead of just getting jammed in there at a jaunty angle. Anchored off Matakana island and cleaned the bottom of the boat on a nice calm day. Went out yesterday and came across this 66ft weapon with at least 18 people on board. Then my phone dings with this message from him. Its been genuinely nice meeting all of the other club members. I think sail boat people have some of the best stories of any group I've hung around with.1 point
-
So we have this dehumidifier my dad bought for his boat back in 2001 It sits in the cabin and runs all week to keep the dank away. And it does a good job. (Still doing the Wednesday night racing on this one) It's been dropped, smashed upside down falling from one side of the boat to the other, left on its side for days in the boot of the car... The plastic has turned yellow and the power cord has been replaced, but after 20 years of operating in a salt spray environment It still works. Today's project was to add a bracket to stop it rolling around while we're sailing. I've heard new ones last a couple years if you're lucky so this one must be protected.1 point
-
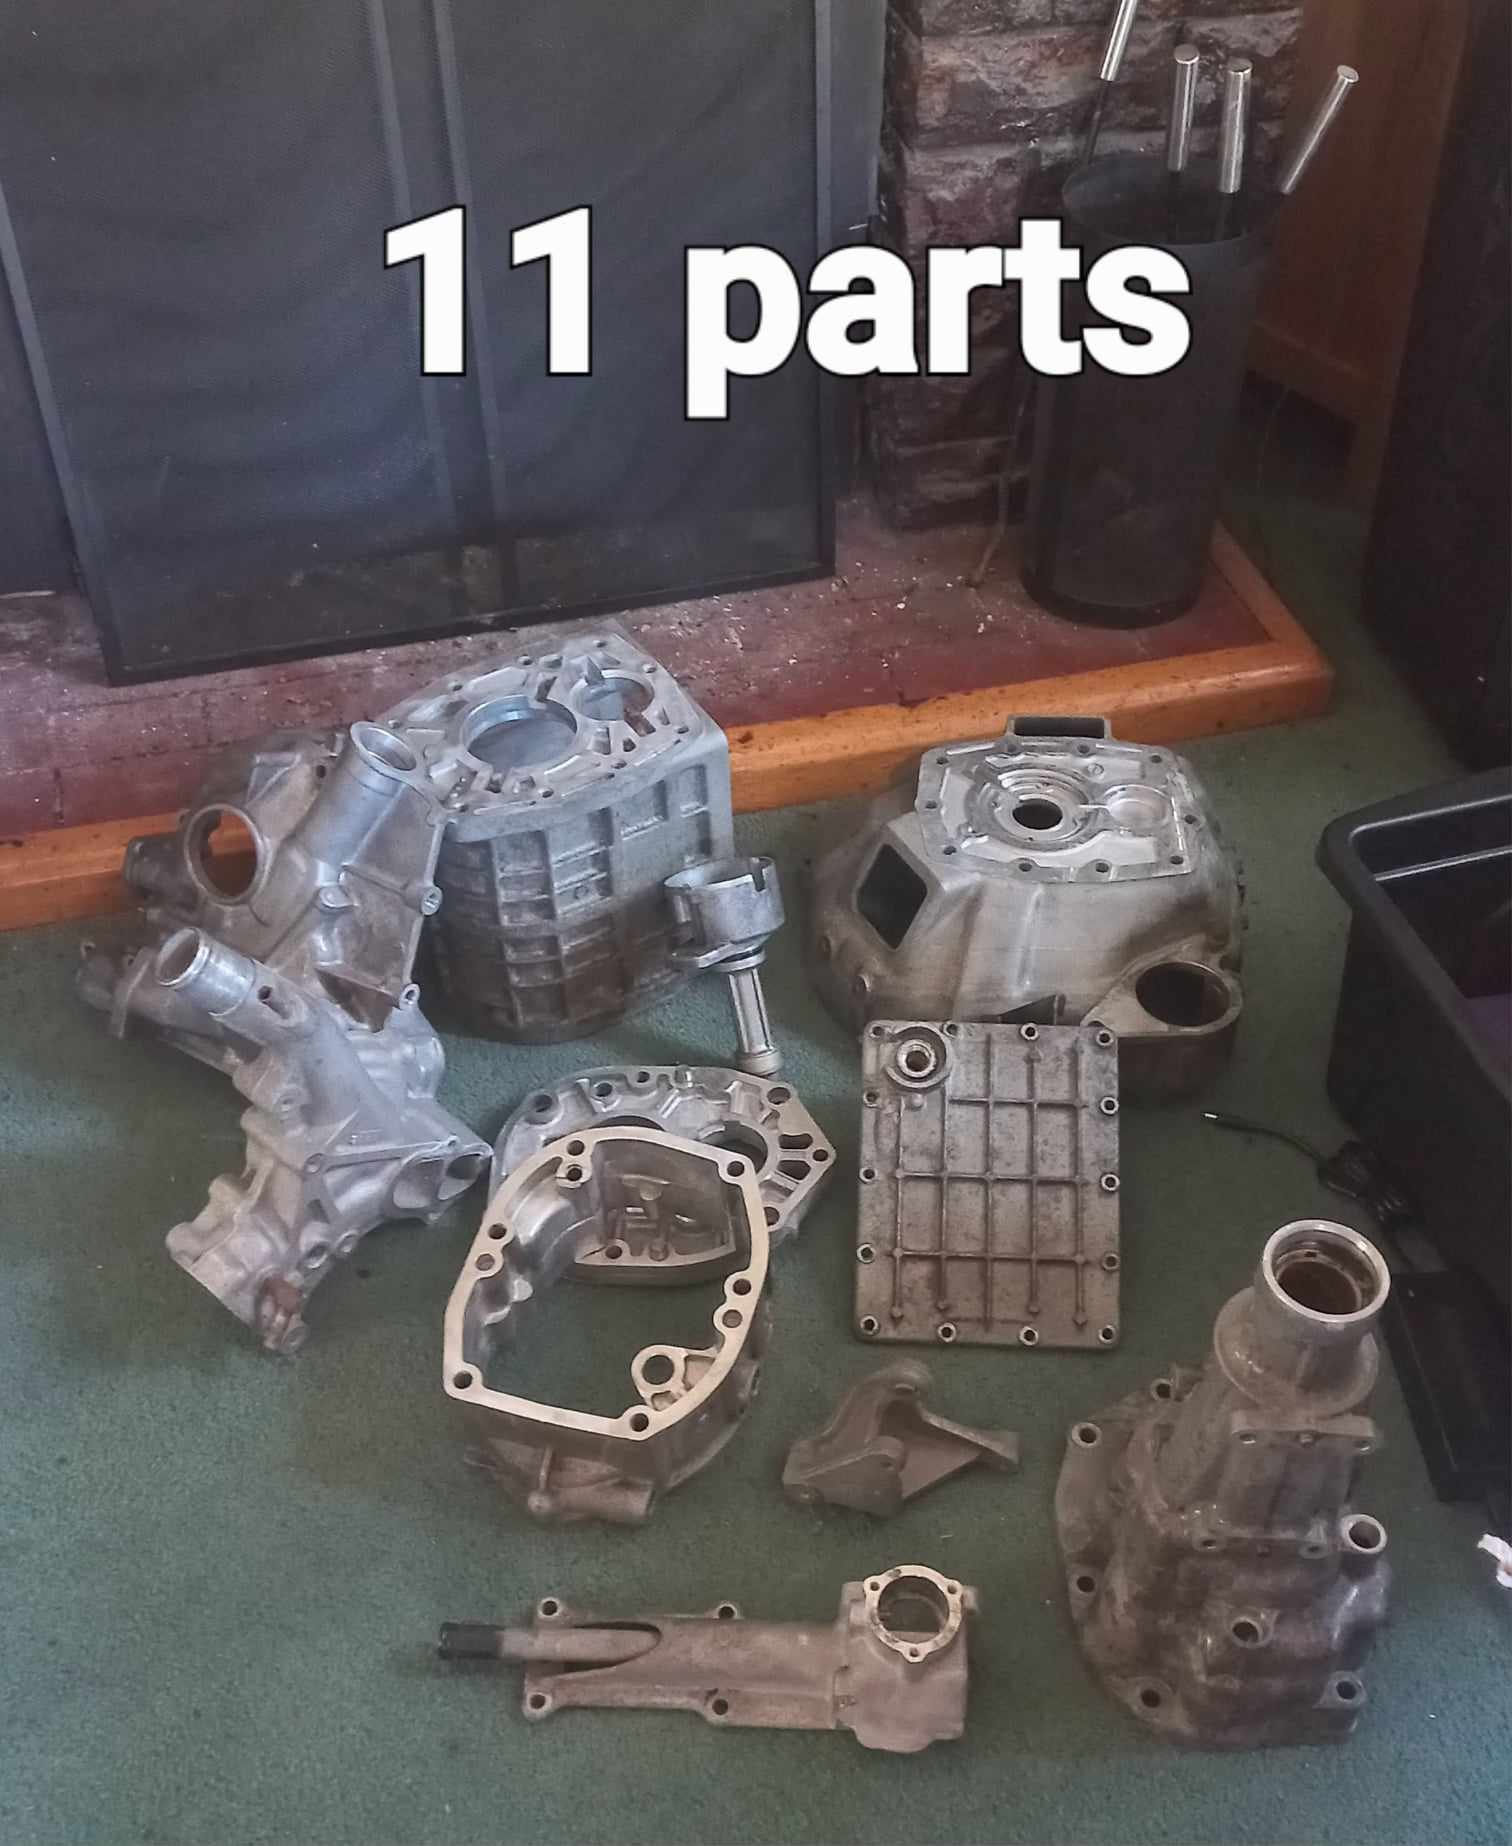
Page turn Slow progress just buying/ordering bits and scoping out future parts needed. FMIC kit very spendy and all seem to need deleting of my factory fog lights dammit. Picked up the 11 vapoured parts and dropped off 9 more. Few hours alone just pulling apart the inlet manifold and releasing the butterflies..all 5 of them. Gearbox bearing rebuilt kit arrived with emission blank plates and OMP housing blank bungs. Synchros are on order at Mazda..need 5th and reverse but replacing all 6 cos its open and never be opened again in my lifetime. To my eye they look satin silver painted...snazzy
1 point
-
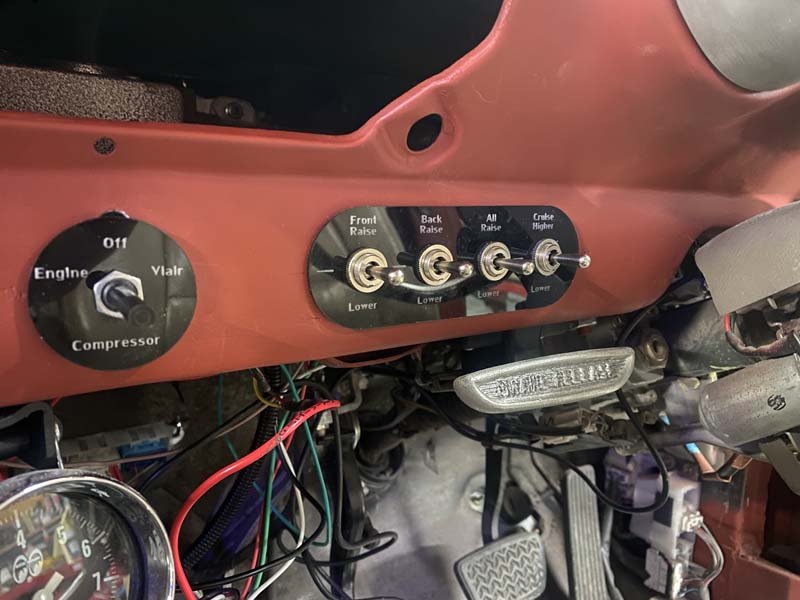
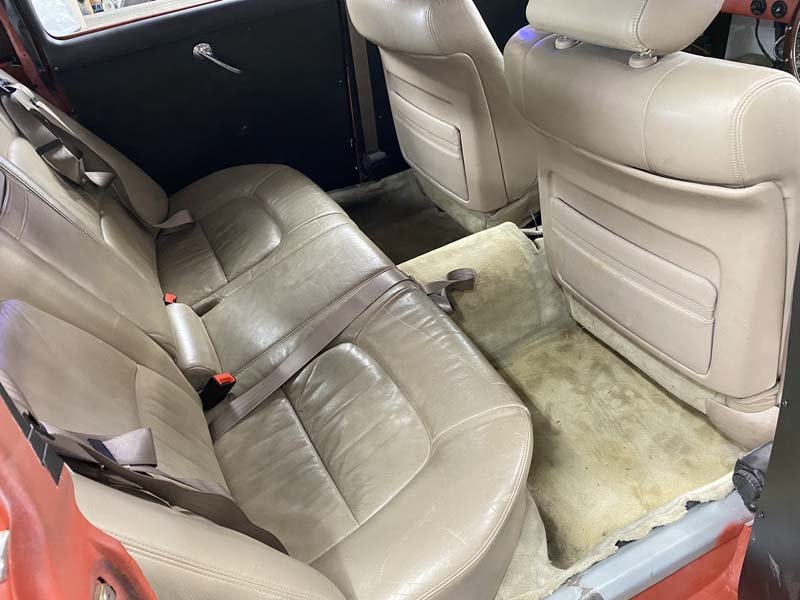
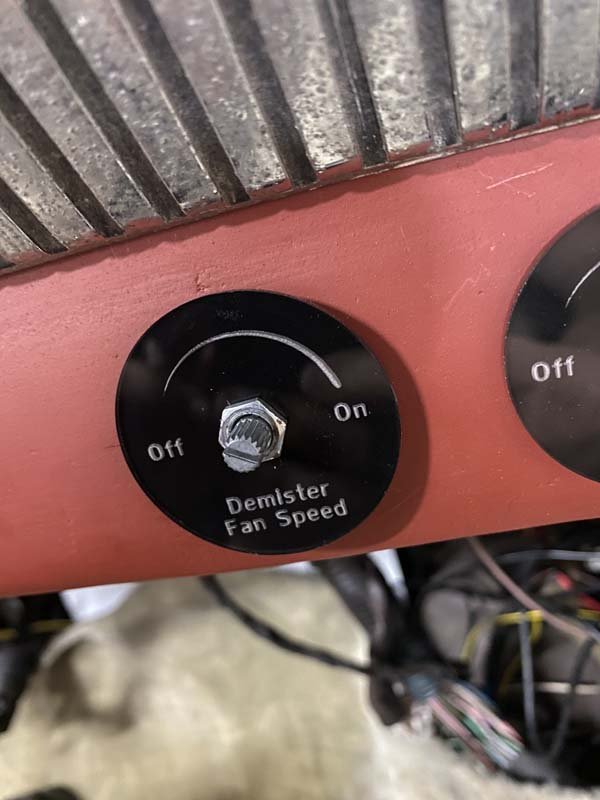
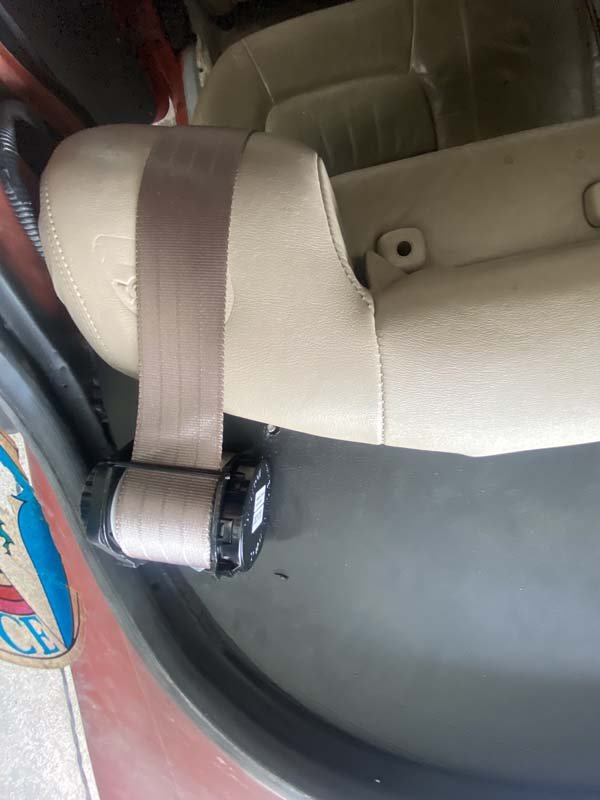
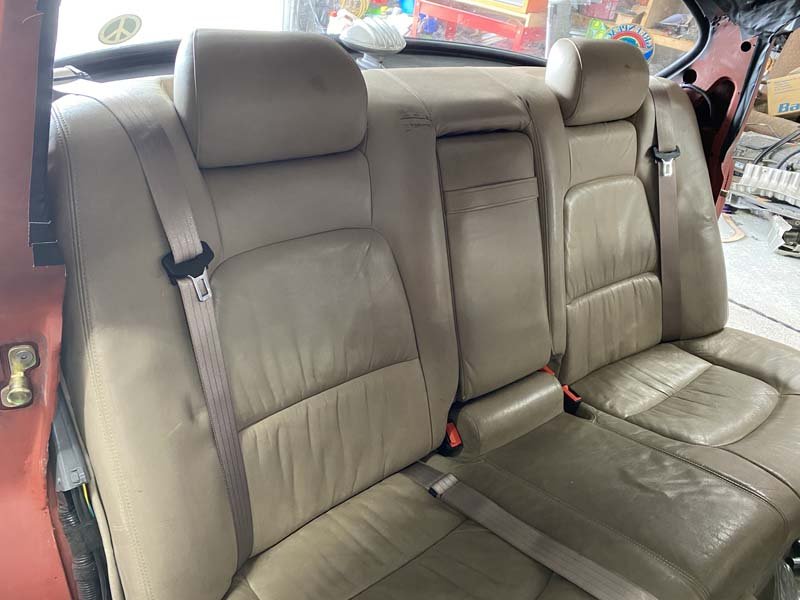
Has started the Certification and Compliance process. So far its needed: The front bearings replaced. A hose on the petrol filler overflow/drain, that I forgot. And the rear seatbelts changed out for retractable belts. (from fixed 3 point belts. Was told these wold be fine a year or two back, but things have changed) So started cutting up the rear seat to fit some Retractable belts in. worked well enough, The covers for the belts didn't fit however. Also cut up and temporarily fitted the factory carpet. made it feel a lot more cosy. Have also laser cut a few temporary switch panels for the demister and air suspension. Front replacement bearings should arrive from rockauto this week. And then it will be back for a recheck.
1 point
-
My Dad managed to find another transmission through the hotrod club. Slightly earlier A341 without the temperature sensor inside. and smaller connector. So swapped the loom over. Have all the gears including reverse now.
1 point
-
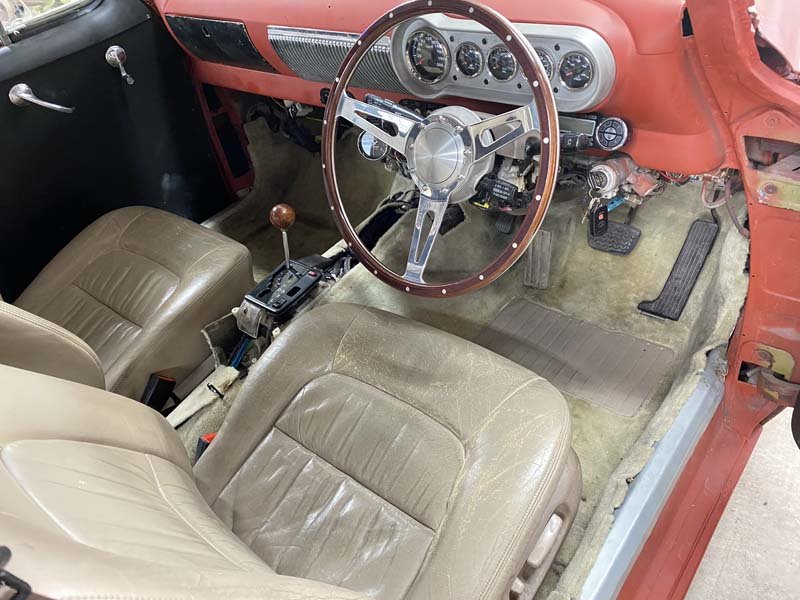
Made a Rigid PVC panel to go over the b pillar. And fitted the front seatbelts along with the front seats. Work well. Fired it up again. Still took a while of turning over. Then drove it off the hoist and out of the garage and around the driveway. The Transmission. Despite being opened up by a professional and checked over. Has no reverse. And neutral drives forward. So going to try find another new transmission again. As that seems to be the common fix to this particular problem. Front Air bag struts also don't have enough travel and their Air bag is too small. So that will be something else to purchase and rejig, hopefully successfully.
1 point
-
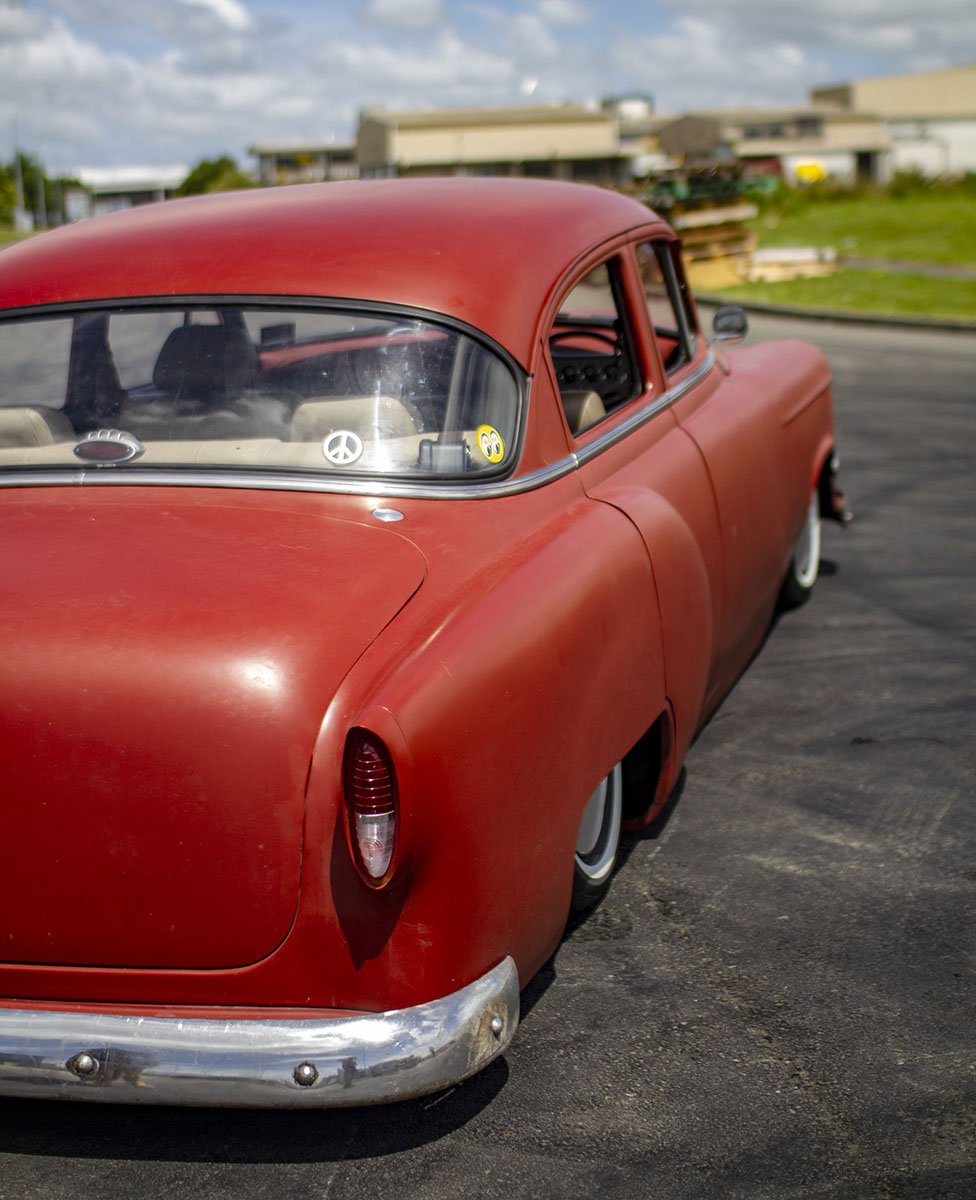
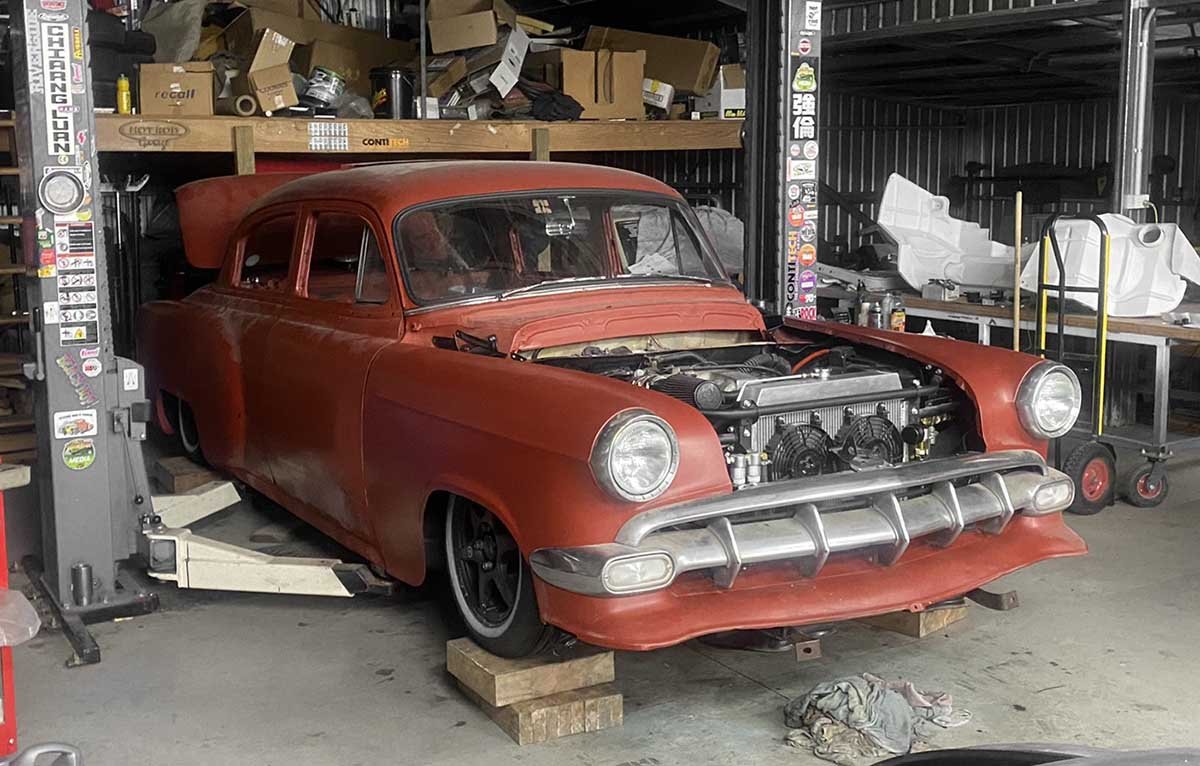
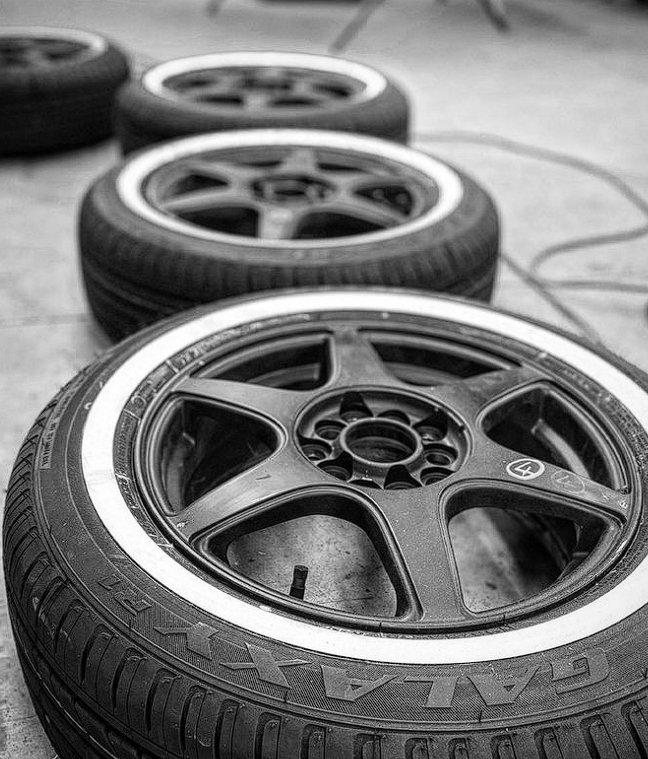
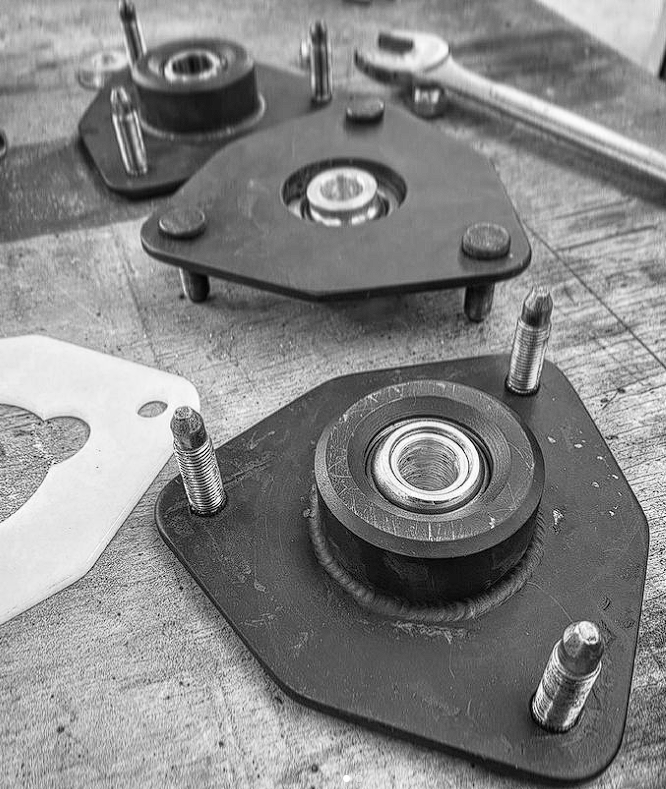
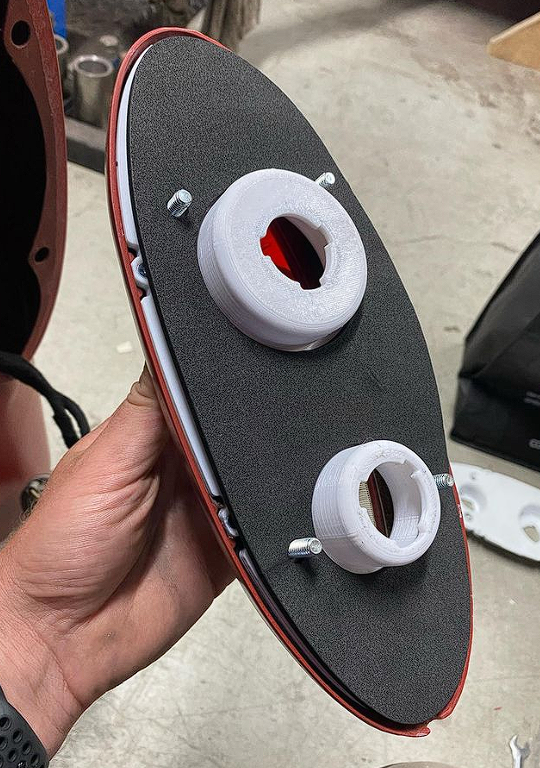
Over the past few months most things have been sorted. Here is the 3d printed lexus tail light adapters. The new strut tops with heavy duty bearings. And the new White wall tyres. Today, it started for the first time. Took quite a while. Lots of turning over. Then a large backfire out the k&n and she was away. And now seems to be idling nicely. Power steering is noisy and foaming. And hopefully bleeds up ok. Air conditioning compressor fills the air tank so fast. Easily 10x faster than the viar. Seatbelts. Seats. and some more fuel and air line clamps and it should be good for a drive.
1 point
-
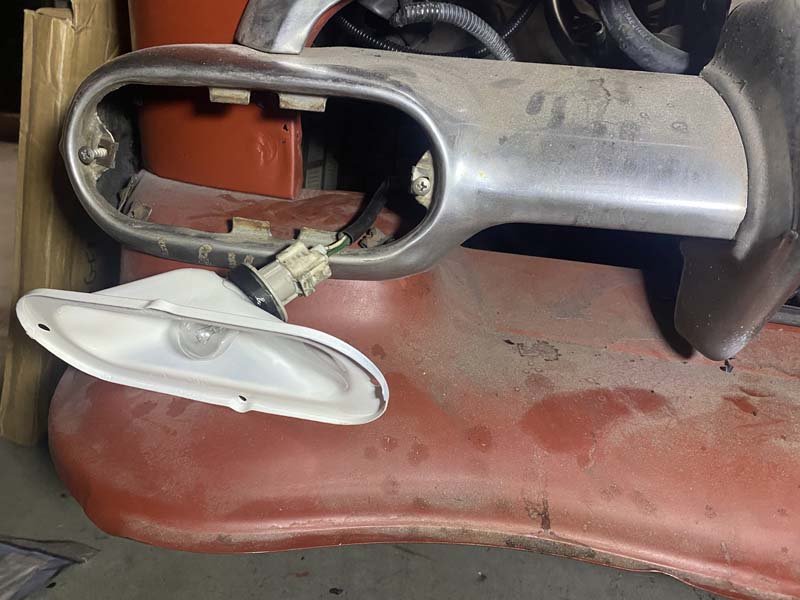
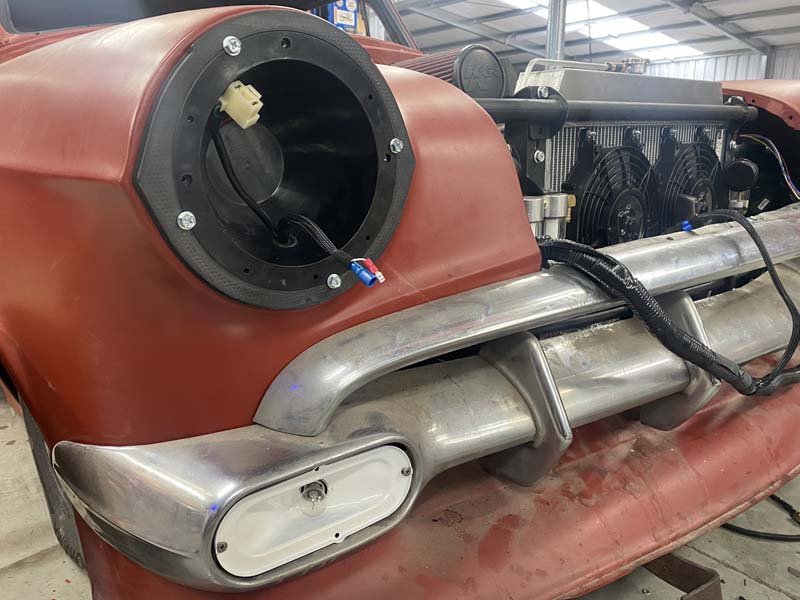
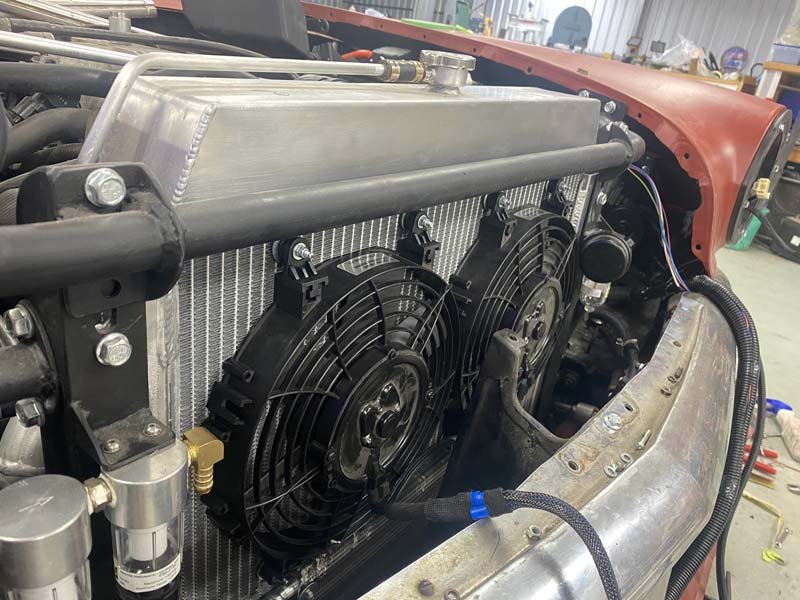
Sandblasted, and painted the Chevy factory park light enclosure. Drilled out the 50s bulb holder and epoxy glued the Lexus bulb holder with plug in. New Park Light lenses are on there way from America. Wired in the h4 plug and pilot light into the Narva 7inch buckets, with their new ABS 3d printed adapters. And just waiting on some pilot light bulbs to fully assemble. Have also Wired the Davis Craig fans into the Lexus loom. And mounted through the Radiator with m4 allthread.
1 point
-
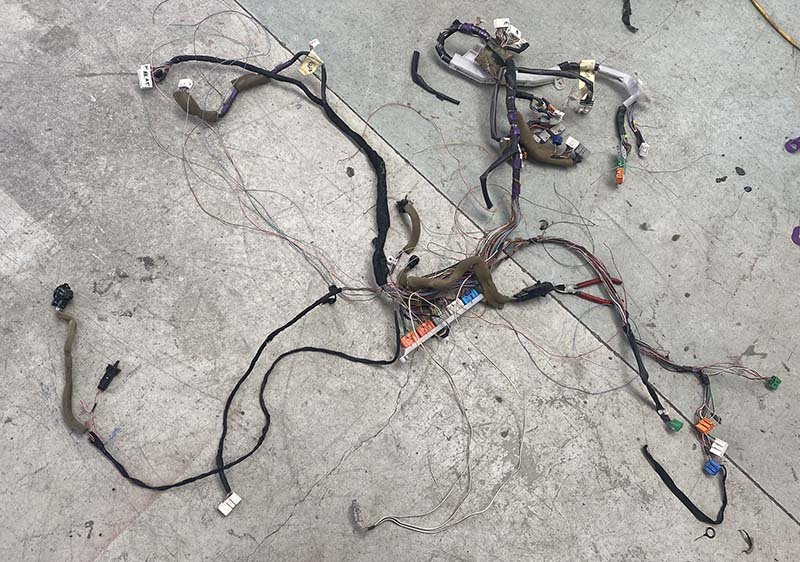
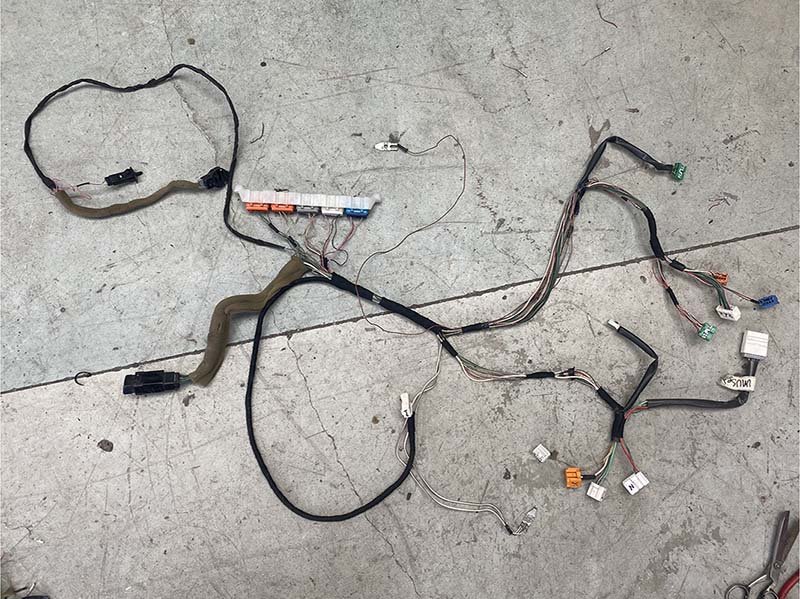
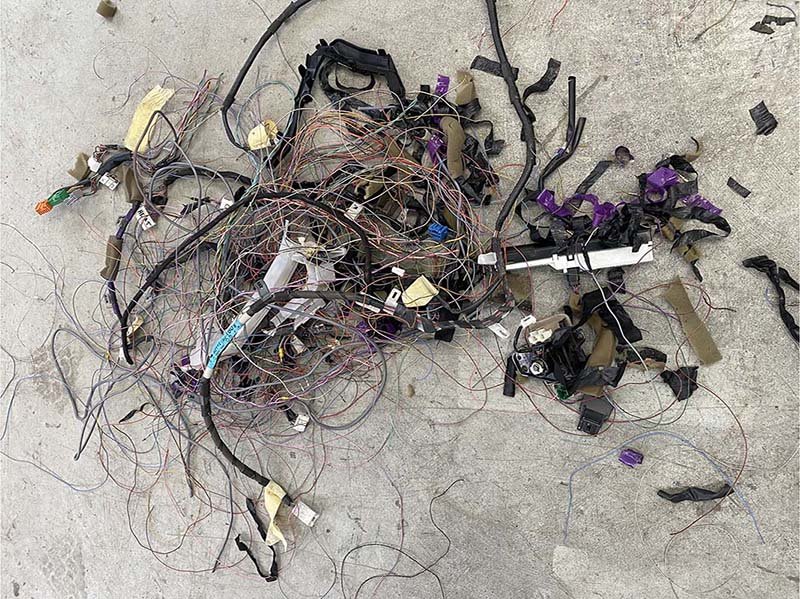
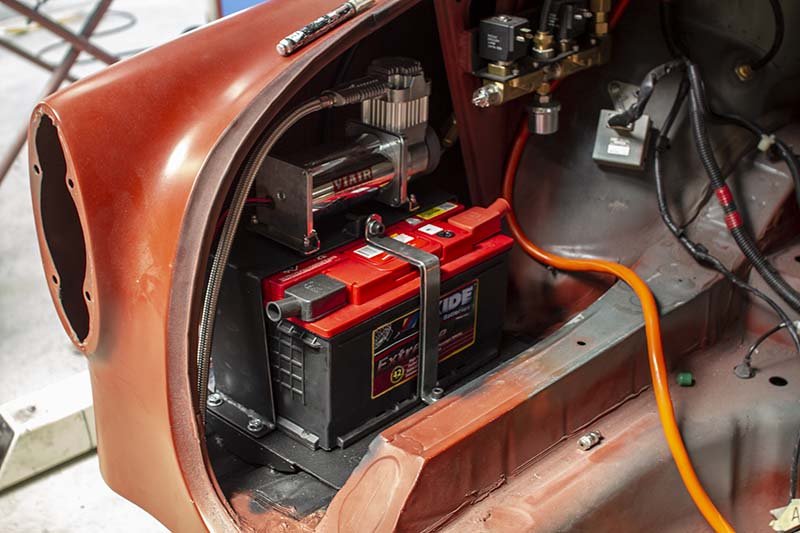
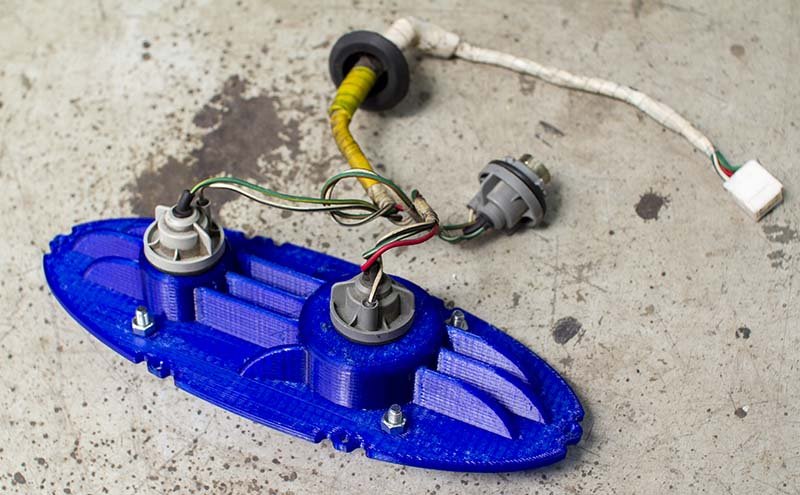
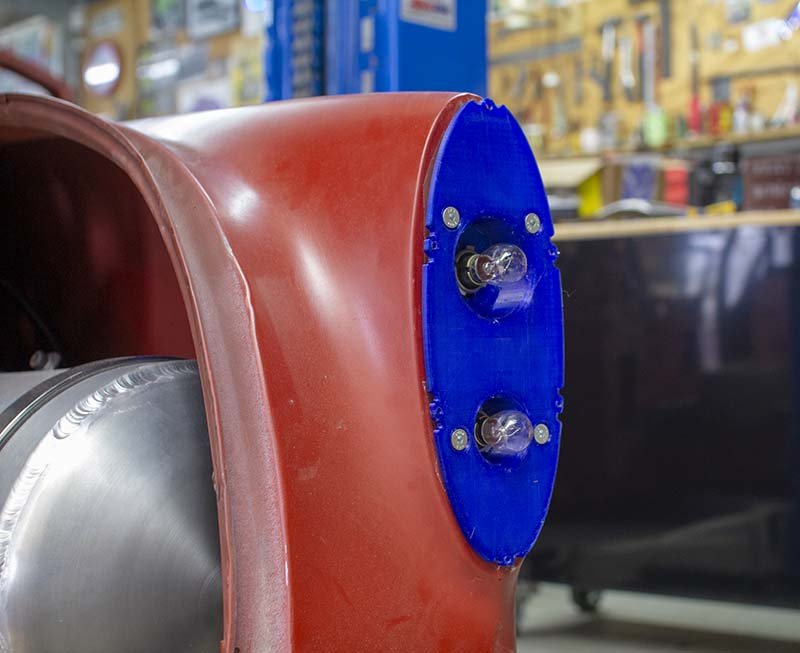
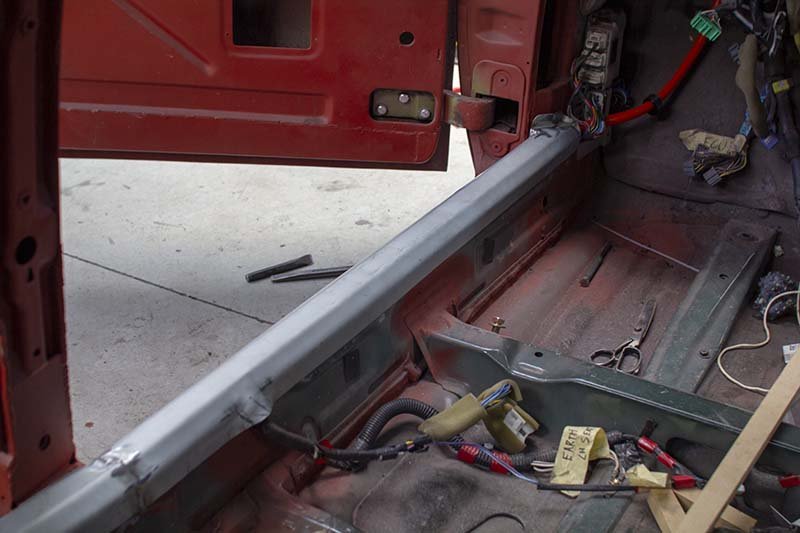
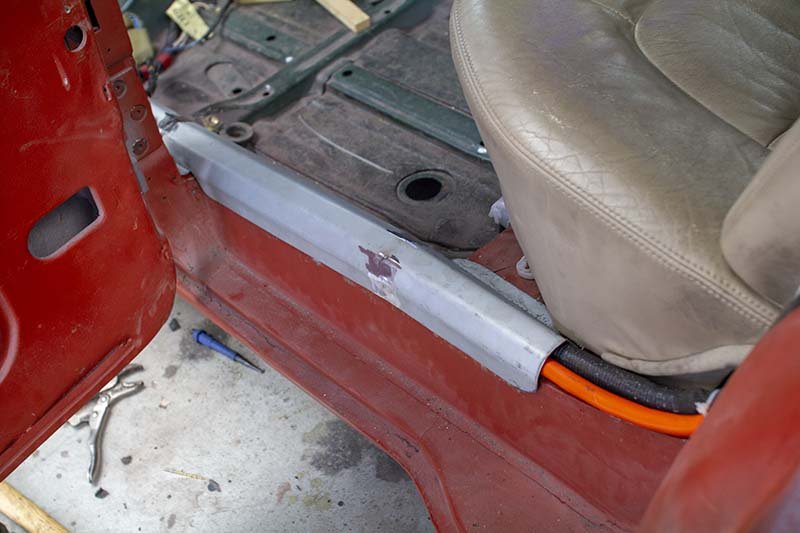
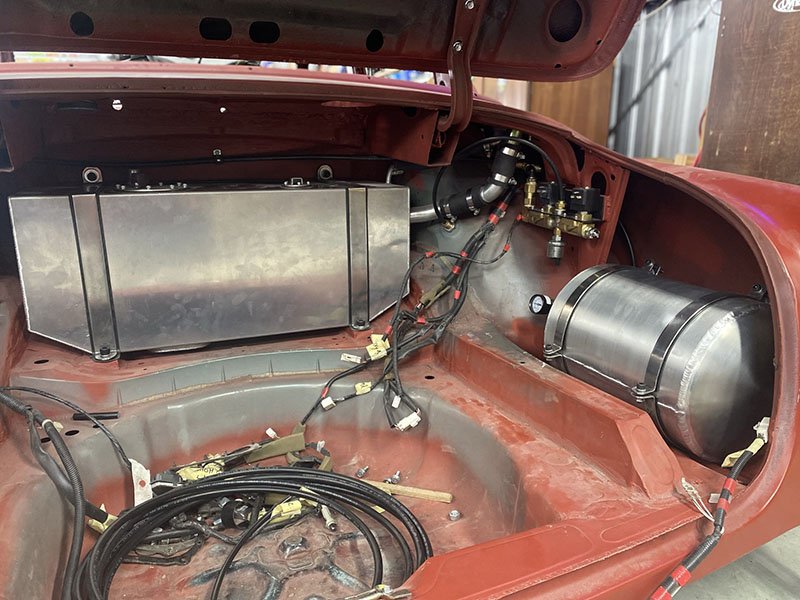
Been printing some tail light plates to adapt the lexus bulb holders to the 54 chevy tail light. This would be version 3 or 4. In PETG and handles the heat fine. Also Made some sheet metal caps to cover up the loom and main 50mm2 battery cable. Will be carpeted over eventually. Still need to extend it up a bit further beside the rear seat. Finally found the confidence to attack some of the many wire looms too. This one was stereo, air conditioning, trunk release, cd changer etc etc etc. This pic is from halfway through, with some stuff already removed. All done and wrapped up. (more was removed since this photo) What had been removed. In the trunk, i made a battery floor and shelf to hold the Viair compressor. Stainless strap down the front to hold the battery in. That matches the fuel and air tanks.
1 point
-
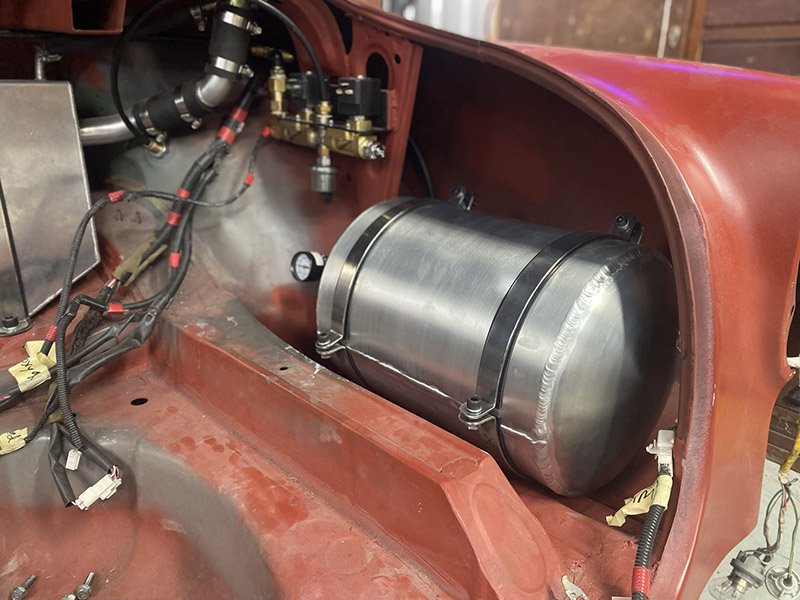
Air tank is in, with fittings connected and sealed. Wiring loom is pulled back through too.
1 point
-
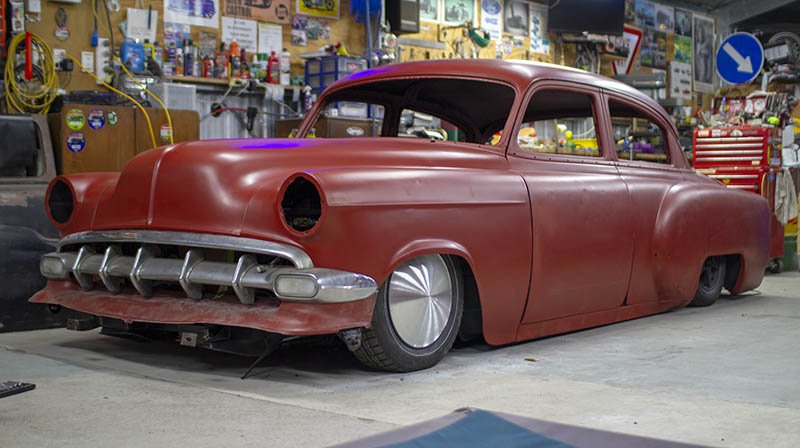
Fenders Painted and Fitted Up. Fitted up a moon disc to the alloy wheel too. And the Painted peaked bonnet.
1 point
-
I have been a busy boy these passed few weeks. Been trying to get her ready for the Toyota Festival in Cromwell. The plan originally was to use this engine and strap a nice big air compressor on it for some psh psh noises but the turbo won't be here in time so I have had to rip the engine out of the KE25, order some headers and some nice trumpets and drop that motor in instead.... in to the engineers this week, wire and tune next week. lets hope all goes well! Least I can retain my current cert with this setup so that's a positive F series diff with mounts to suit AE86, open diff however I will get an Altezza LSD down the line Finally rolling again. put my super deep dish rims on and gave her a wash. hasn't seen the sun for 6 months so well in need of a clean!! I bought some Vertex Bumpers (front, back) so thought I should probably do something with them. The front one went on with some chopping of the fiberglass and persuasive pushing it around Looks quite nice, but I thought. Na shit no, can't drive this thing around. Need to paint them asap On went the high fill primer and the lacquer paint (1:1 ratio with thinners, factory paint code colour) Mask and paint black Paint went on a bit thick than what I had hoped but I sort of like it because it makes the bumper still look 'plastic' in a way. I will still buff them, they'll should still come out quite nice Whilst the bumper was off I thought I should upgrade the fuel pump to a 255LPH walbro Hmmmmmmm, looks like japman in japan-land has already done something with the pump. Since it has no markings on it to say what it was I replaced it with my Walbro just to be safe Old -> New -> Bumper went on I didn't get photos of painting the front bumper but here it is looking much better Ripped the old motor out, ripped the new motor out of the KE25 and here she is Very happy with the look of the car. I need to make a bracket up to pull the pumper in a bit by the guards but that is a 5 minute job All I can say is.. please by nice to me engine and give me great things Discussion https://oldschool.co.nz/index.php?/topic/49929-pbaines-1985-ae86-corolla-levin/1 point


.thumb.jpeg.384ff72c8d2b0ee0d34a7bdedb55bdcf.jpeg)


This leaderboard is set to Auckland/GMT+12:00