
Leaderboard


Popular Content
Showing content with the highest reputation on 15/10/19 in all areas
-
Decided to try and get this thing riding a bit nicer, previous suspension setup was a little soft and hit the bump stops a bit too often, and with the extra weight of a 4age it would of been worse. Went with a set of Fortune Auto's coilovers all around, since I'll end up chucking an F series or similar diff in and I have the skills to strengthen the rear strut towers. Picked up another pair of struts, cut them down and and blasted them. Wound them all the way down and the front ended up a little higher and the back's a bit lower. Might try and get the front down a bit more, to at least were it was. Made a stainless distributor blanking cover. Bought a Flo's upper water outlet, as it looked to be the much simpler and tidier way of doing the cooling system. Needed a RWD waterpump (inc pulley), thermostat housing and a little bypass pipe to complete the setup. And of course with everything else, when you change one thing you have to change something else. The FWD alternator bracket fouled on the thermostat housing, so I got a RWD one from Japan. Borrowed some Flo's 4age to K series engine mounts and made up my own. Sitting in the hole. Had to space the engine mounts out by 8mm, possibly because of the Cusco mounts being thinner than factory ones? Dizzy relocation kit installed, had to cut a bit of a hole in the fire wall for some clearance. Stripped the interior, pulled out the dash, heater, seats, carpet and scrapped off some sound deadening around the gearbox tunnel. Cut a big ol' hole for the J160 to fit. Probably didn't need to cut so much out, but to make it easy to drop out and fit, some extra clearance was needed. Also wanted it to sit up above the sills and chassis rails. Made up a gearbox mount. Added two extra body mounts further back so that it spreads the load a bit. Has heaps of ground clearance as well. The J160 shifter needed moving forward as it lined up with the end of the handbrake. Cut up the original shifter housing and welded it on to some ali tube and 12mm plate. Spent hours on our little lathe turning up the adapter bits. Works mint, barely any flex and feels like it should. Moved it 200mm forward from the Altezza position, 50mm more than the SQ kit and 40mm back from where the factory Starlet one was.11 points
-
No it's not, but that's one way to come across as a bit of a dick.10 points
-
Suzuki GT-185 This is my Suzuki GT185. It has more pistons than my other bikes. This is the inside of my GT185 after I exploded it. This is the GT185 after I fixed it again.10 points
-
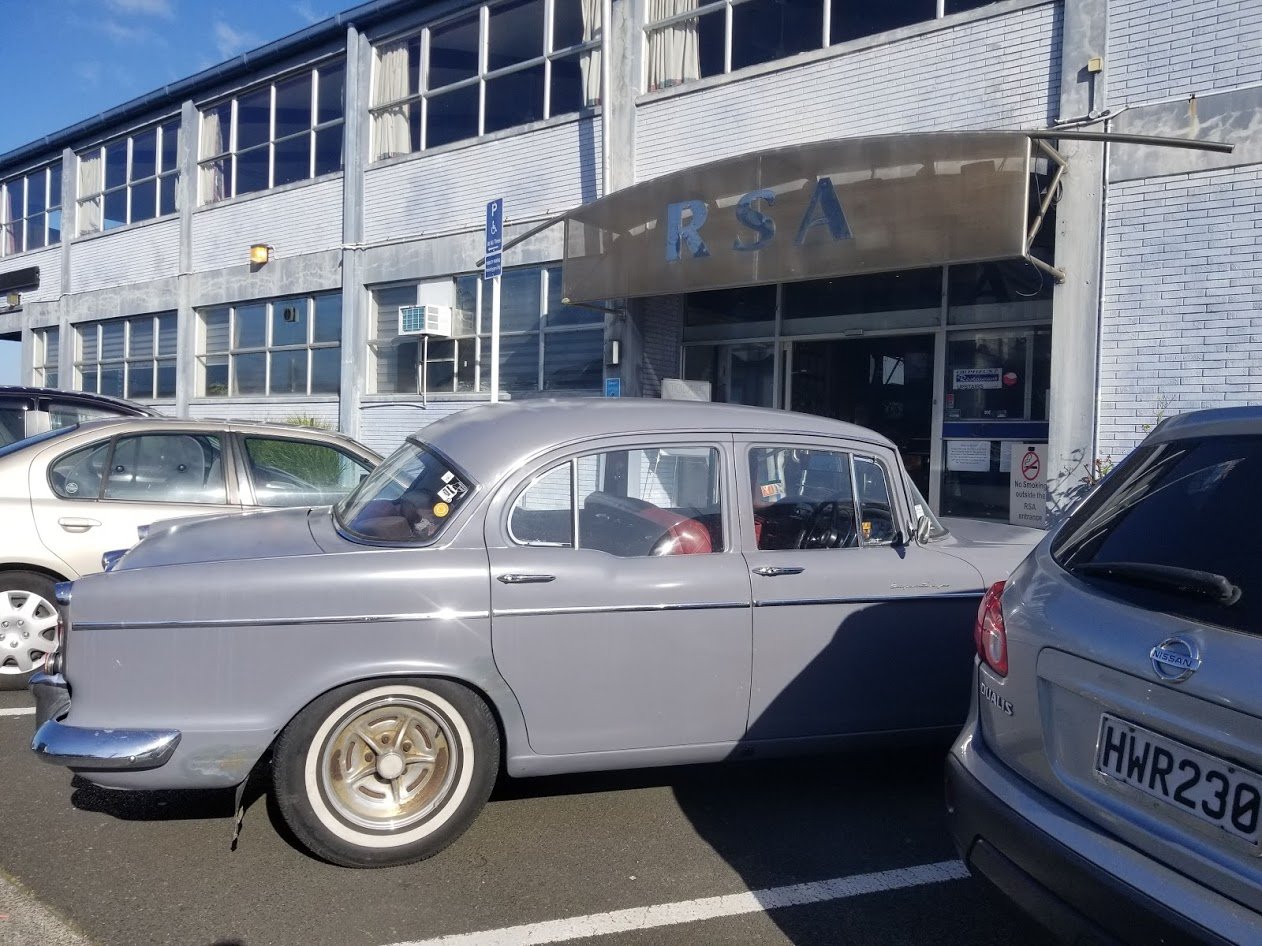
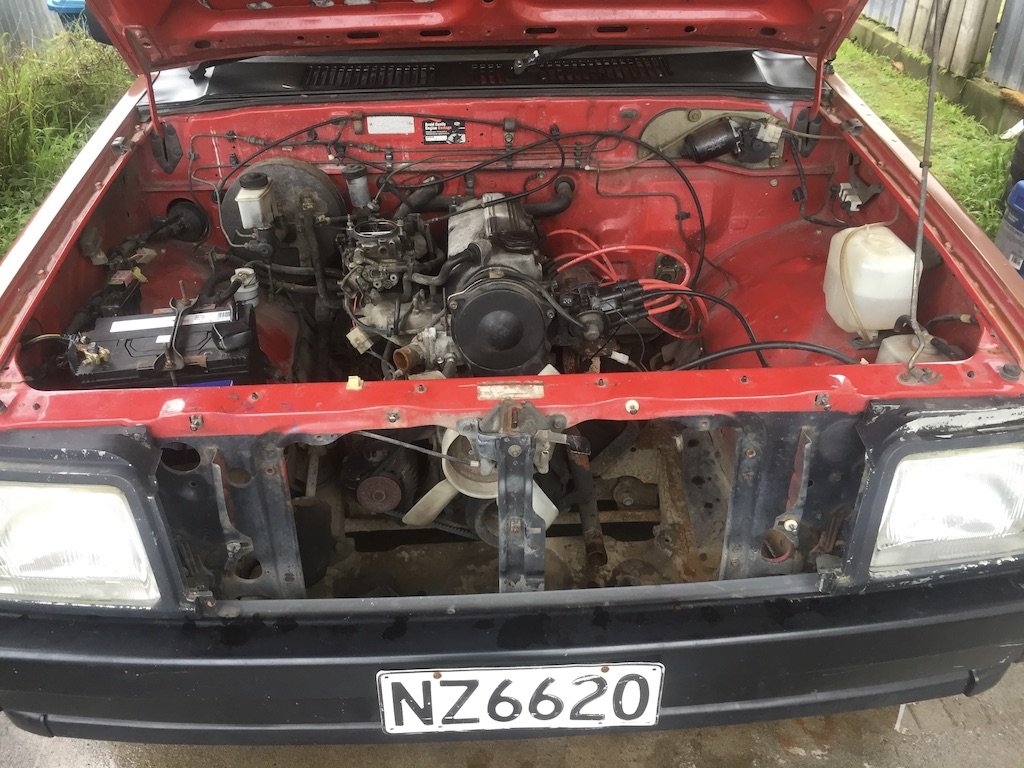
Still have a blockage somewhere in the fuel system but it is a intermittent thing. FFS. Anyway, got a WOF. Went to the Raza because Humber.
 9 points
 -
Thought I may as well start a thread on this raging beast, a friend of mine (may have been on here once) moved from hamilton to dunedin and abandoned it on my doorstep. He had had it sitting for quite a few years. Is a 1600 with twin strombergs & extractors - the motor has had some unspecified work done, apparently from a rally car. Body is in pretty decent condition, original paint is extremely worn and has surface rust for dayz, only welding required is in rear arches due to 3/4 inch coating of oil everywhere else. interior is 5/10, seats & dash have seen better days. lots of new suspension bushes in it which is nice. bodges required: weld rear arches where needed, sand & seal surface rust fill old badge, aerial holes etc muck around with ignition, it is totally pre-bodged and doesnt turn off with key until an electrical load is introduced i.e brake lights, horn (which to be fair is pretty funny) ideally obtain electronic ignition from chrysler. minimise ridiculous oil leaks put seats and dash cover on to cover wrecked originals wof treat with disdain as not proper leyland product. feel free to question my sanity on this thread, updates will be fairly slow as im only home a few days a fortnight!
7 points
-
Long time no update. Car ran super well over summer, minus a little incident where I struck some slippery stuff (oil?) on the way up the bombay hill heading to Auckland for a classic meet. Long story short, front of the car hit the barrier, was lucky it missed the wheel and didn't swing the back end into it! 100km on full lock doesn't feel too good. About a week later we were heading to Leadfoot fest so had to quickly turn a repair around and get it presentable again... Slide hammer and a few dollys helped with that.6 points
-
Honda Country Calendar Collection.mp3 These are my 4t farm spec bikes for rounding up nangs at the shed. 2 x CT-200 Auto AG with pull-start because getinbehindyamongrel. 1 x CT-125 conventional I don't really know why I have these, other than cheap. One came with a thistle grubber which hasn't yet been useful. Will probably offload but keen on some @UTERUS Thomson's track action first if there are thistles up there.6 points
-
A little more progress. The side covers look BOSS!! Just ordered a bunch of other new parts, still a lot to do, all small shit, its just progress trying to figure out exactly what I need to buy. Next step is @kicker dragging his welder around to finish welding all the bits of steel together.
5 points
-
SUZUKI A100 I saw this at Kumeu with an 'offers' sign on it but CBF at the time, so grabbed the guys number. Rang him a week later to find he had been dicked about and wanted rid of it so I went and grabbed it. Motor was seized so separated with big hammers, cleaned up barrel and throw a new piston at it. Bike has decided it likes to seize after long periods of WOT. Will throw a bigger main jet at it one day. Is fine around the suburbs.5 points
-
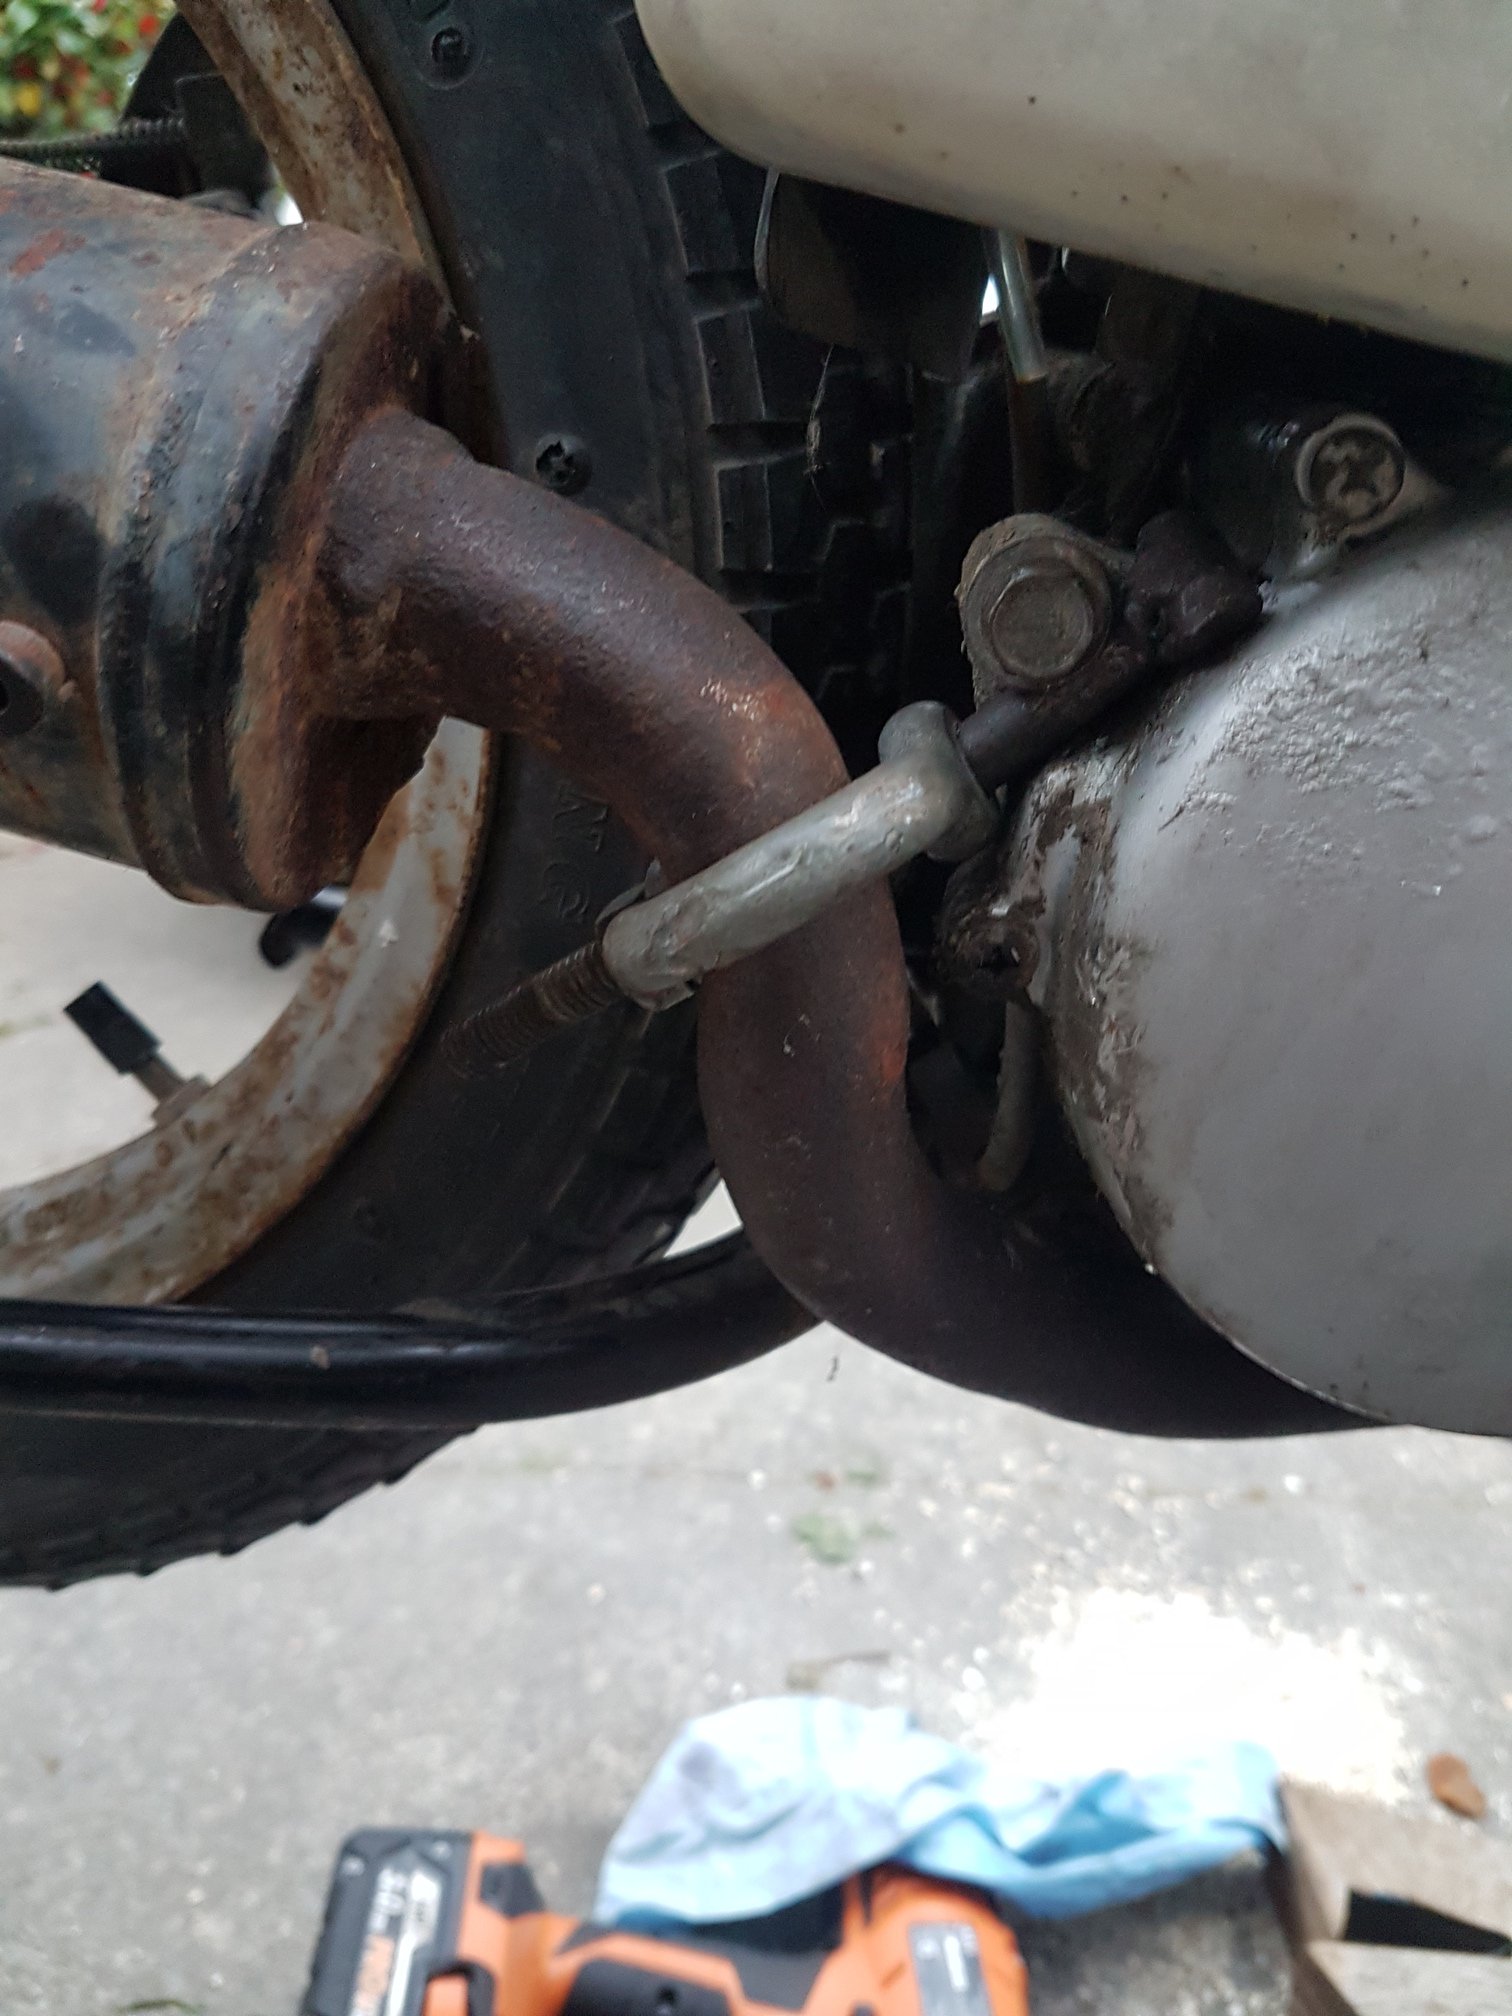
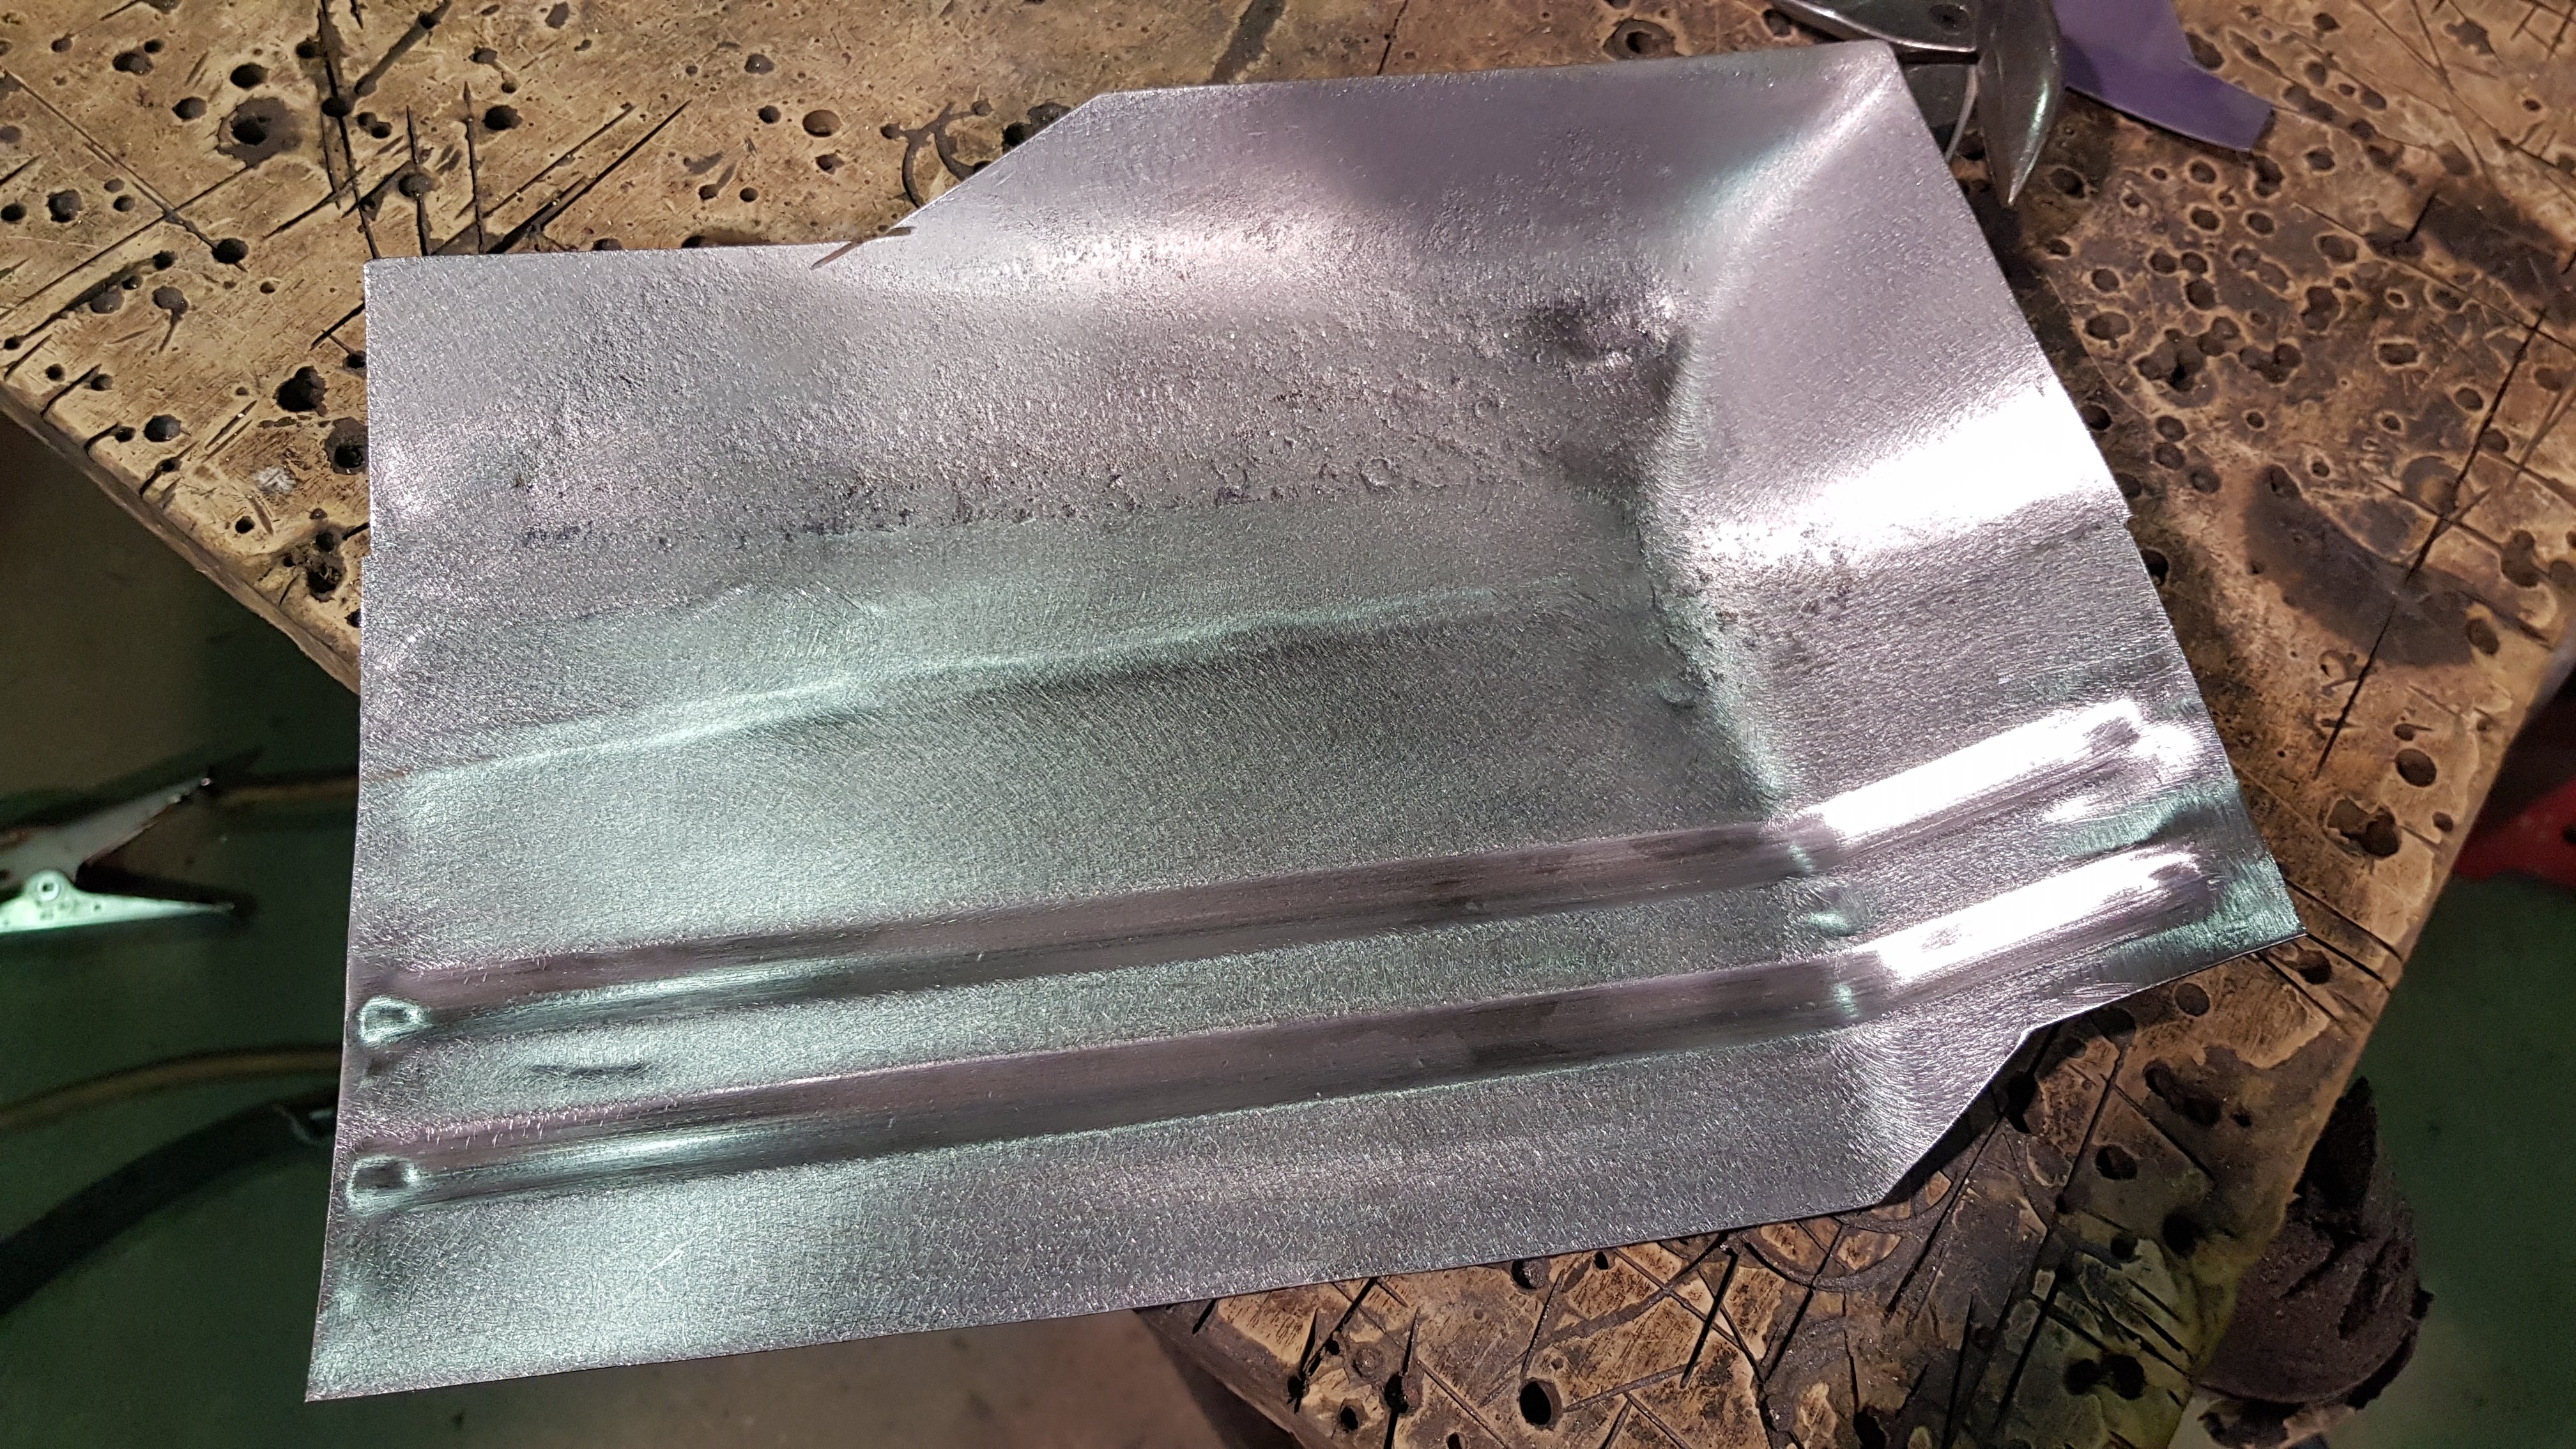
I have a Cigweld 135 also. Had been using sodastream co2 bottles as shielding gas, worked reasonably well. But this week I just picked up one of the Bunnings/Coregas ‘Mig gas’ bottles. Looking forward to not running out of gas so quickly! Seems to weld a little nicer too. Although I’ve only used it to make a mount for a motorcycle exhaust so far. Next step is to borrow some of the washing machine and teach myself to do panel rust repairs on the Austin.5 points
-
Small win... 99% sure I can do my chassis swap as a modified production LVV assessed and not as a scratch built.... A series2 on a later chassis is an example given in this sheet.... https://www.lvvta.org.nz/documents/infosheets/LVVTA_Info_02-2018_Modified_Production_&_Scratch-built_Low_Volume_Vehicle_Definitions.pdf That makes me happy.....3 points
-
Right - got more bikes, so updated thread to keep track. SUZUKI SEPIA Suzuki Sepia 2T. Was a sub hundy FB marketplace buy. Added go fast badges and Tongan flag. When it's not carving up the mean streets of Mangere, it's put to use collecting firewood.3 points
-
I couldn't sleep so I carried on with the switch wiring for the cub. Soldered new longer wires on most of the switches in order to avoid having joins midway down. Yes the housings need to be cleaned and polished but that'll happen later I just need to extend the brake switch wiring and thats the controls done. I've kept the brake switch wires separate in case it ever needs to be replaced3 points
-
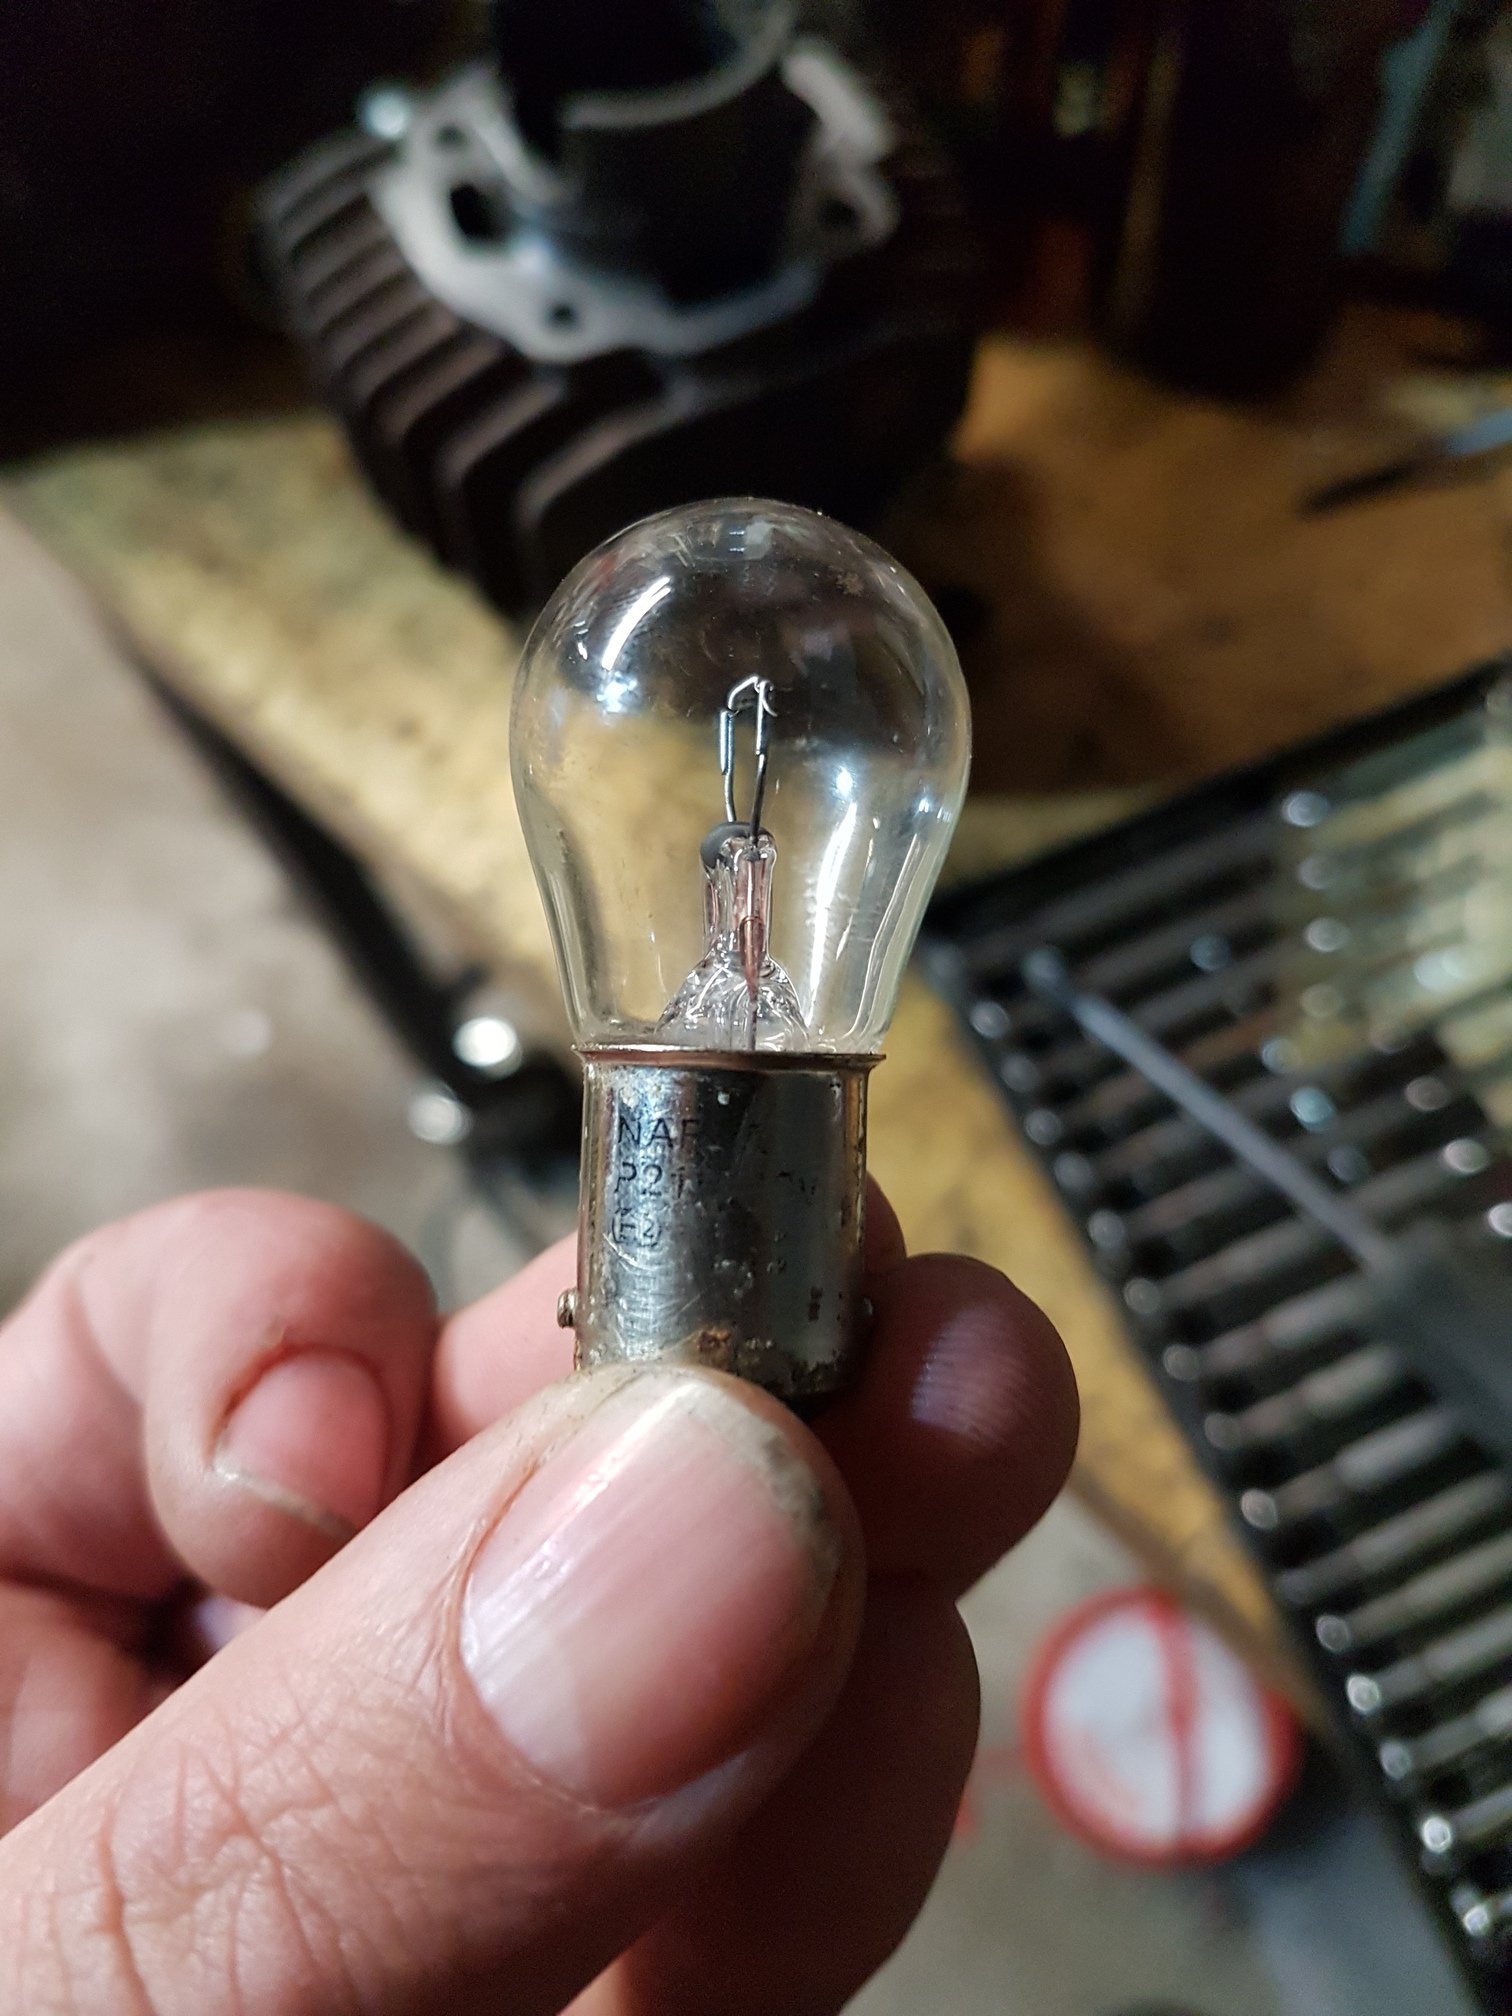
One thing did bug me though, with the headlight on there was no tail light only brake would illuminate. Got home today to check bulb and looks someone in the past has jammed a 21w/12v bulb in there. Which was a single filament and double contact bulb lol. Will get the correct 6v bulb and then everything should work properly haha.
3 points
-
Definitions of what is scratch built has changed last year https://lvvta.org.nz/documents/infosheets/LVVTA_Info_02-2018_Modified_Production_&_Scratch-built_Low_Volume_Vehicle_Definitions.pdf2 points
-
Taken the dive and have got a Cigweld 135 on order (store had ran out, but have ordered one in at the sale price for me). Next question, which may sound daft, where does one get sheet metal from? I see Mitre 10 and Bunnings have some, but seems very limited in gauge and material choice.2 points
-
Slowly ticking small jobs off the list. Got speakers in front and rear in the factory locations. Did an LED dash light swap. Which doesn’t make a lot of difference to the dash lights themselves. But the illumination is now clearer and has a whiter glow to it vs the amber glow normal bulbs have. Also got some steely rims sorted that seem to work for me at the moment. shes due for a wof. Couple little things I wanna sort while it’s up on the hoist. But it’s mostly up to the fun stuff now. Really wanna set of wiper louvres. But I haven’t seen any anywhere for years.
2 points
-
I hit a bit of a brick wall with progress because at some point I want to paint the engine bay and underside, and was trying to do things in a way which meant I could get that done, get the engine sorted and painted and in for good and then do things like make the exhaust afterwards Then I realised that was stupid and I was wasting time mucking around trying to figure out things with the engine on the stand, and whacked the motor and box back in . I need to get everything done then I'll take it apart for paint last Shifter mounted, i wanted it up high so it's not far from the steering wheel to the shifter, @RXFORD/matt from tin tricks helped me out again with that by folding up a shifter mount and putting some fancy holes in it And put the carb and hat on, the bonnet doesnt shut so I'll have to figure out what I'm going to do with that
2 points
-
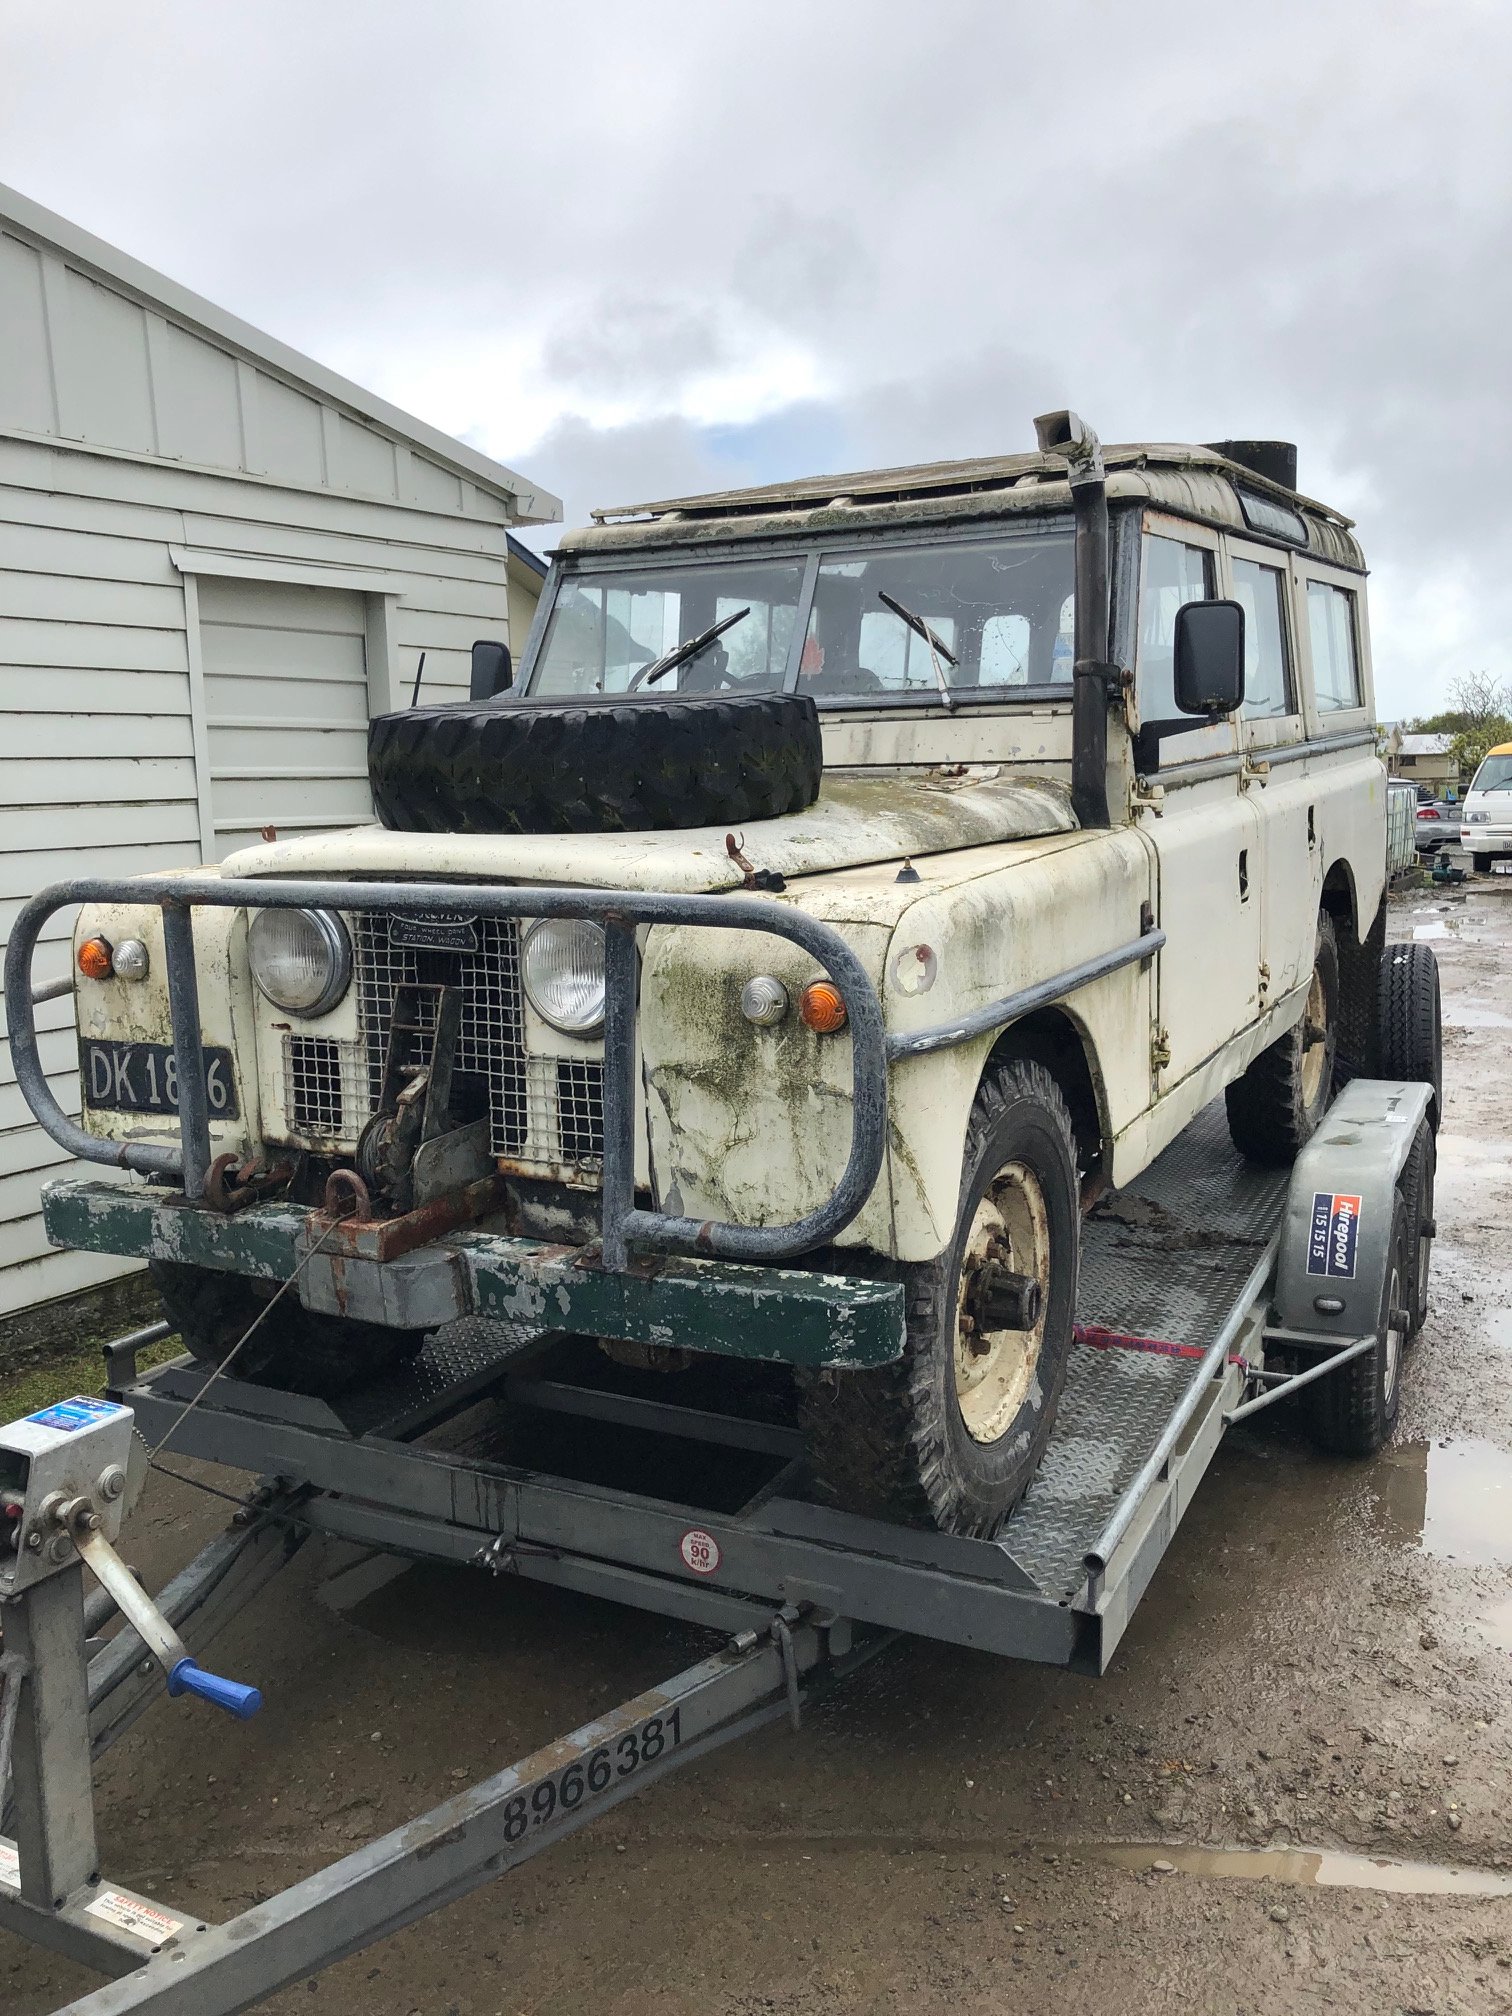
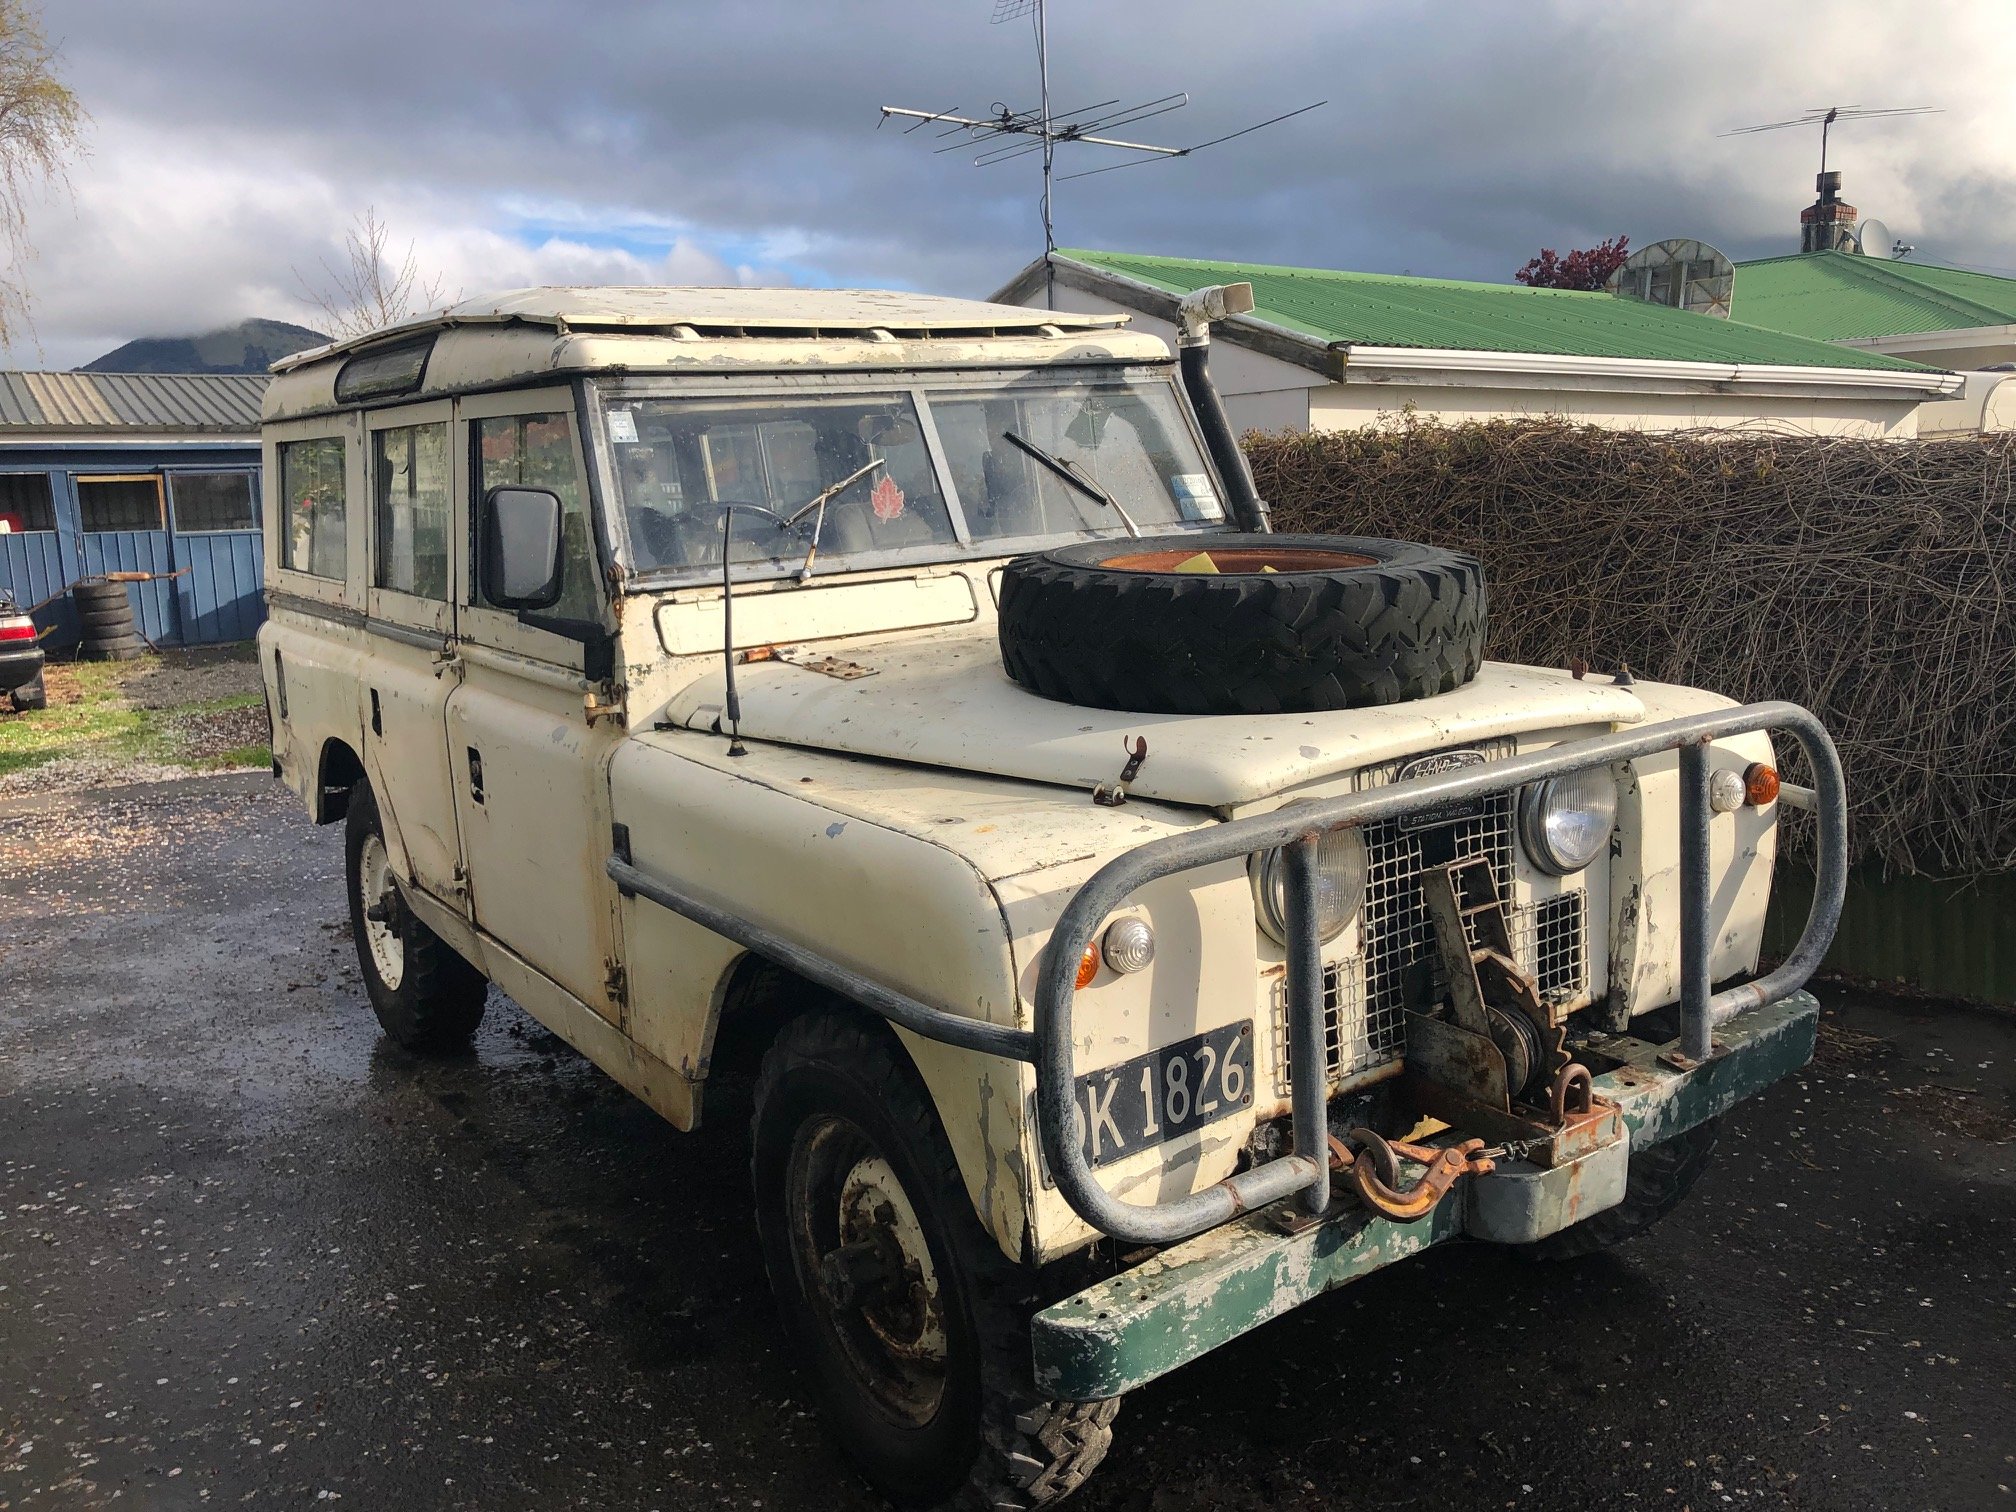
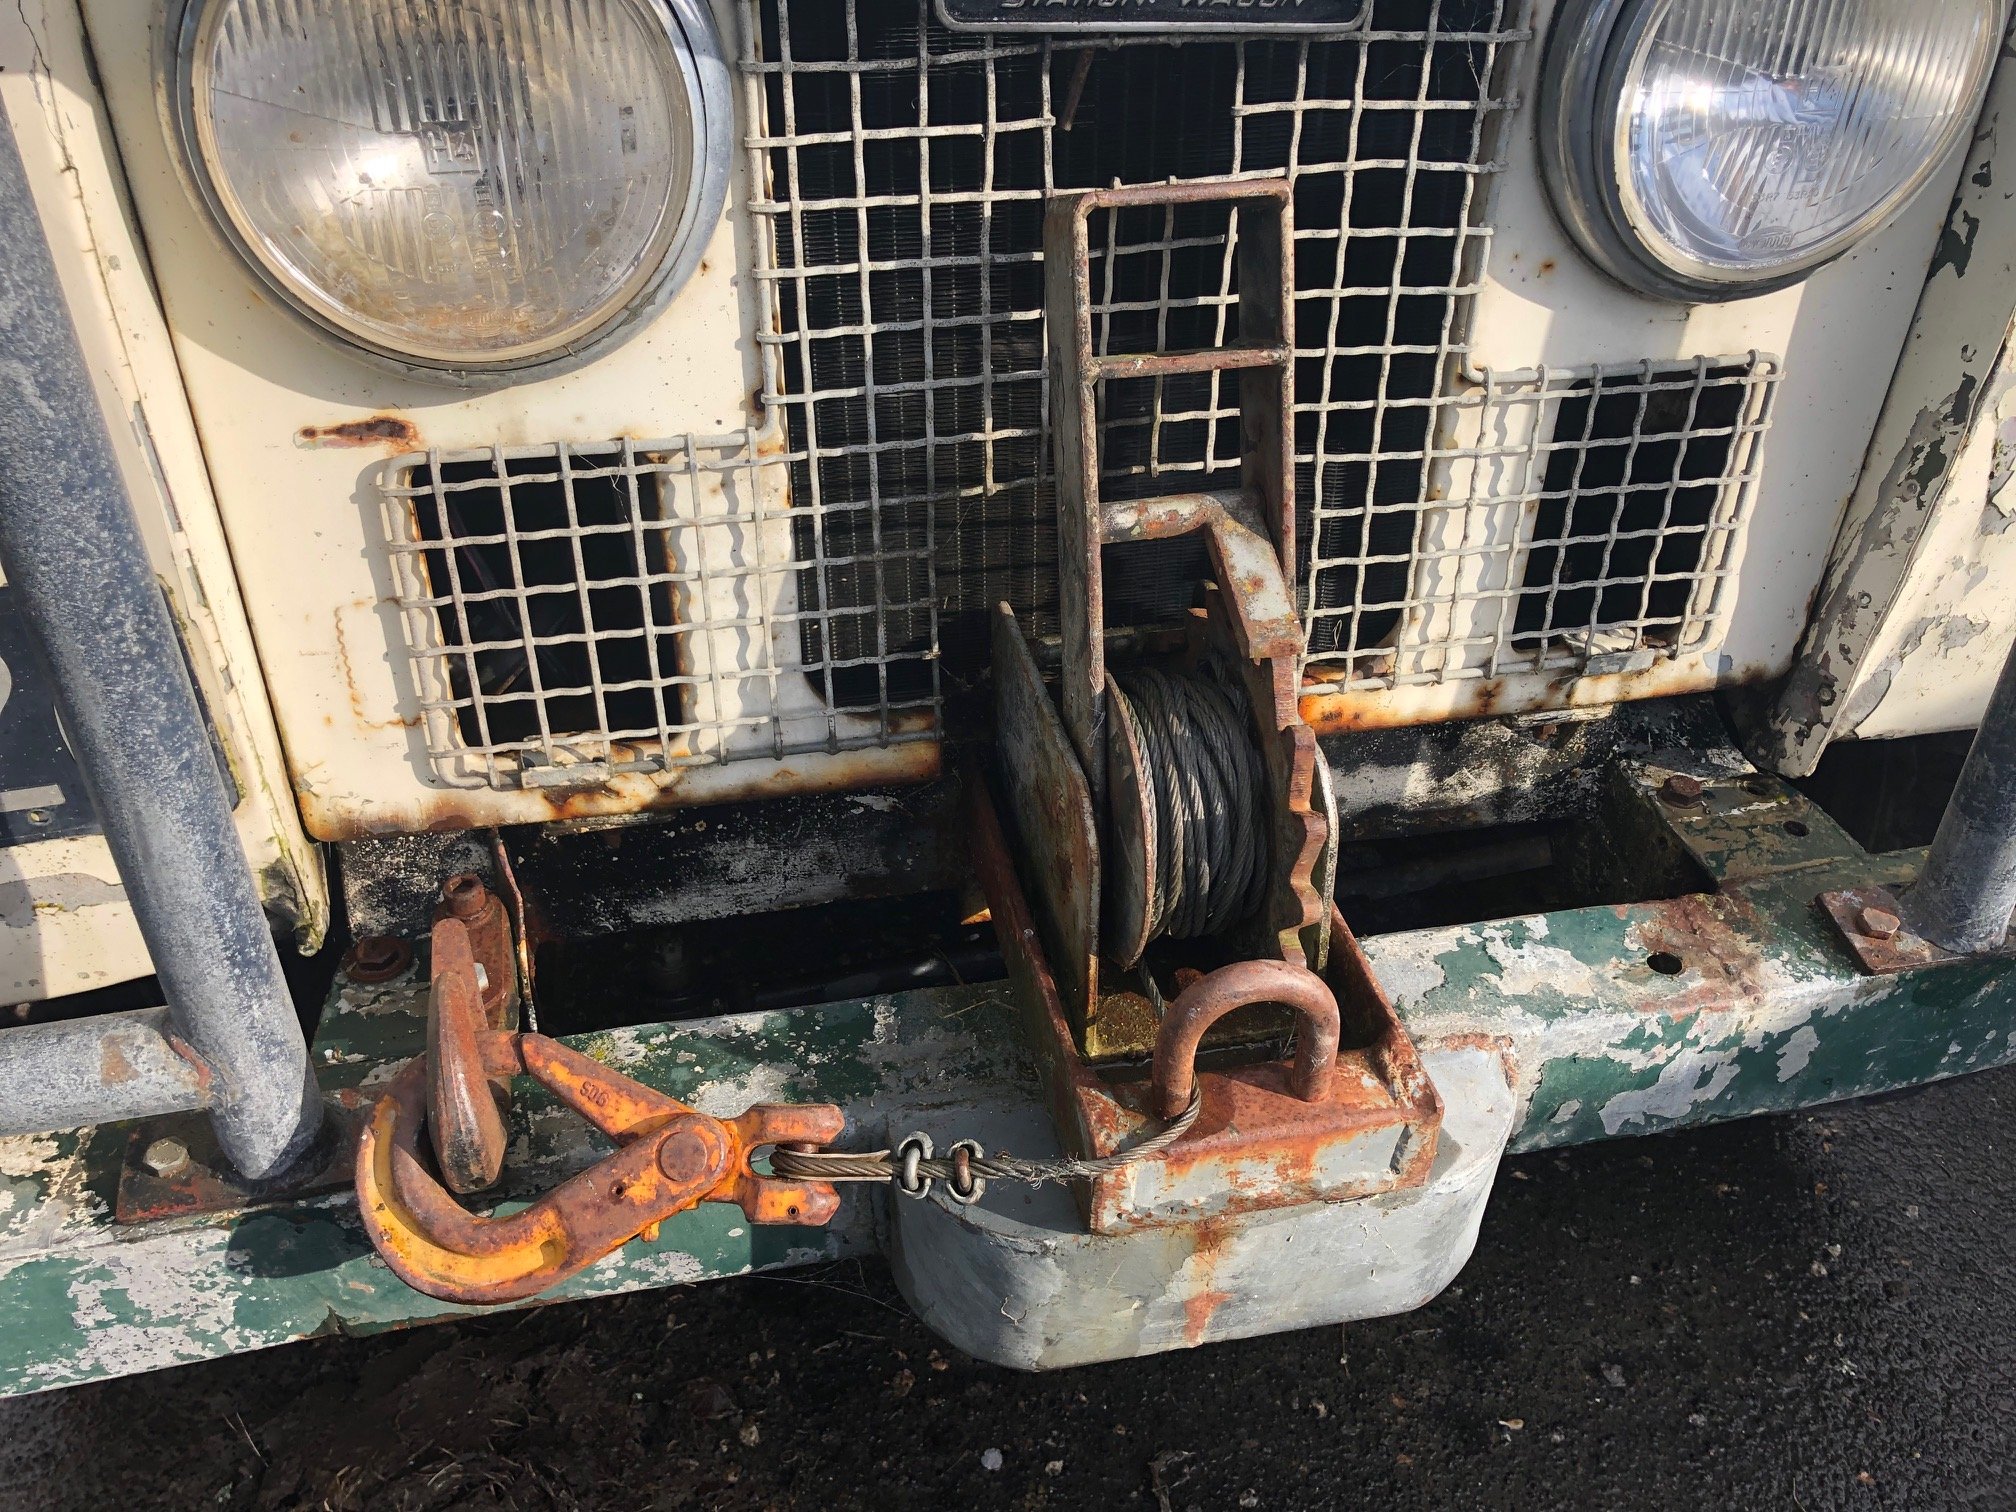
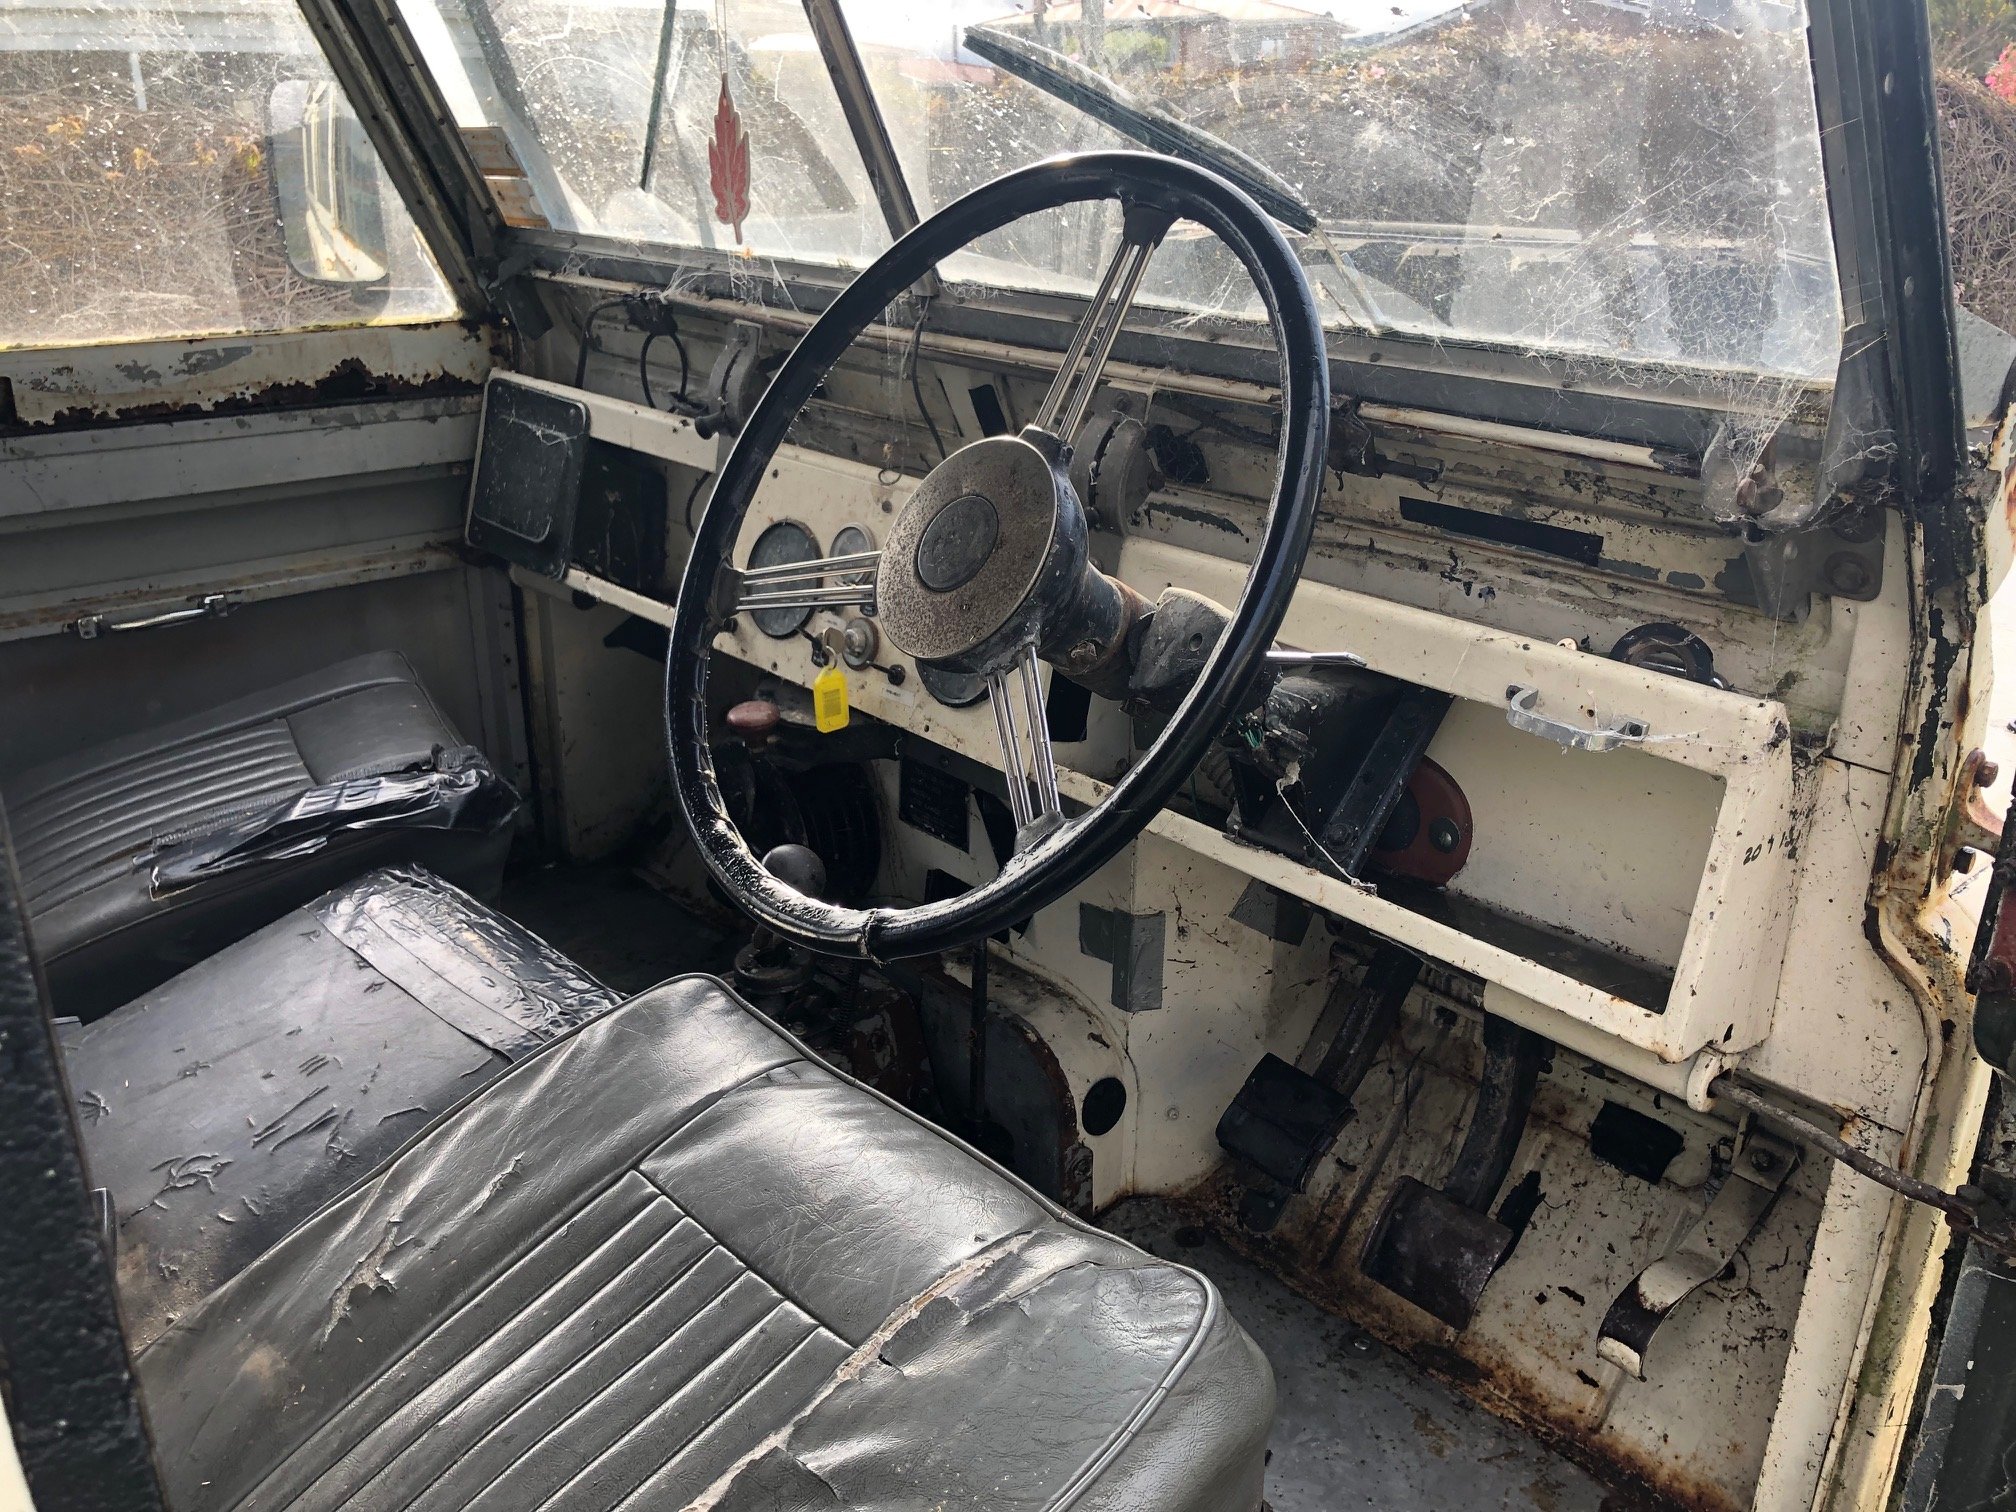
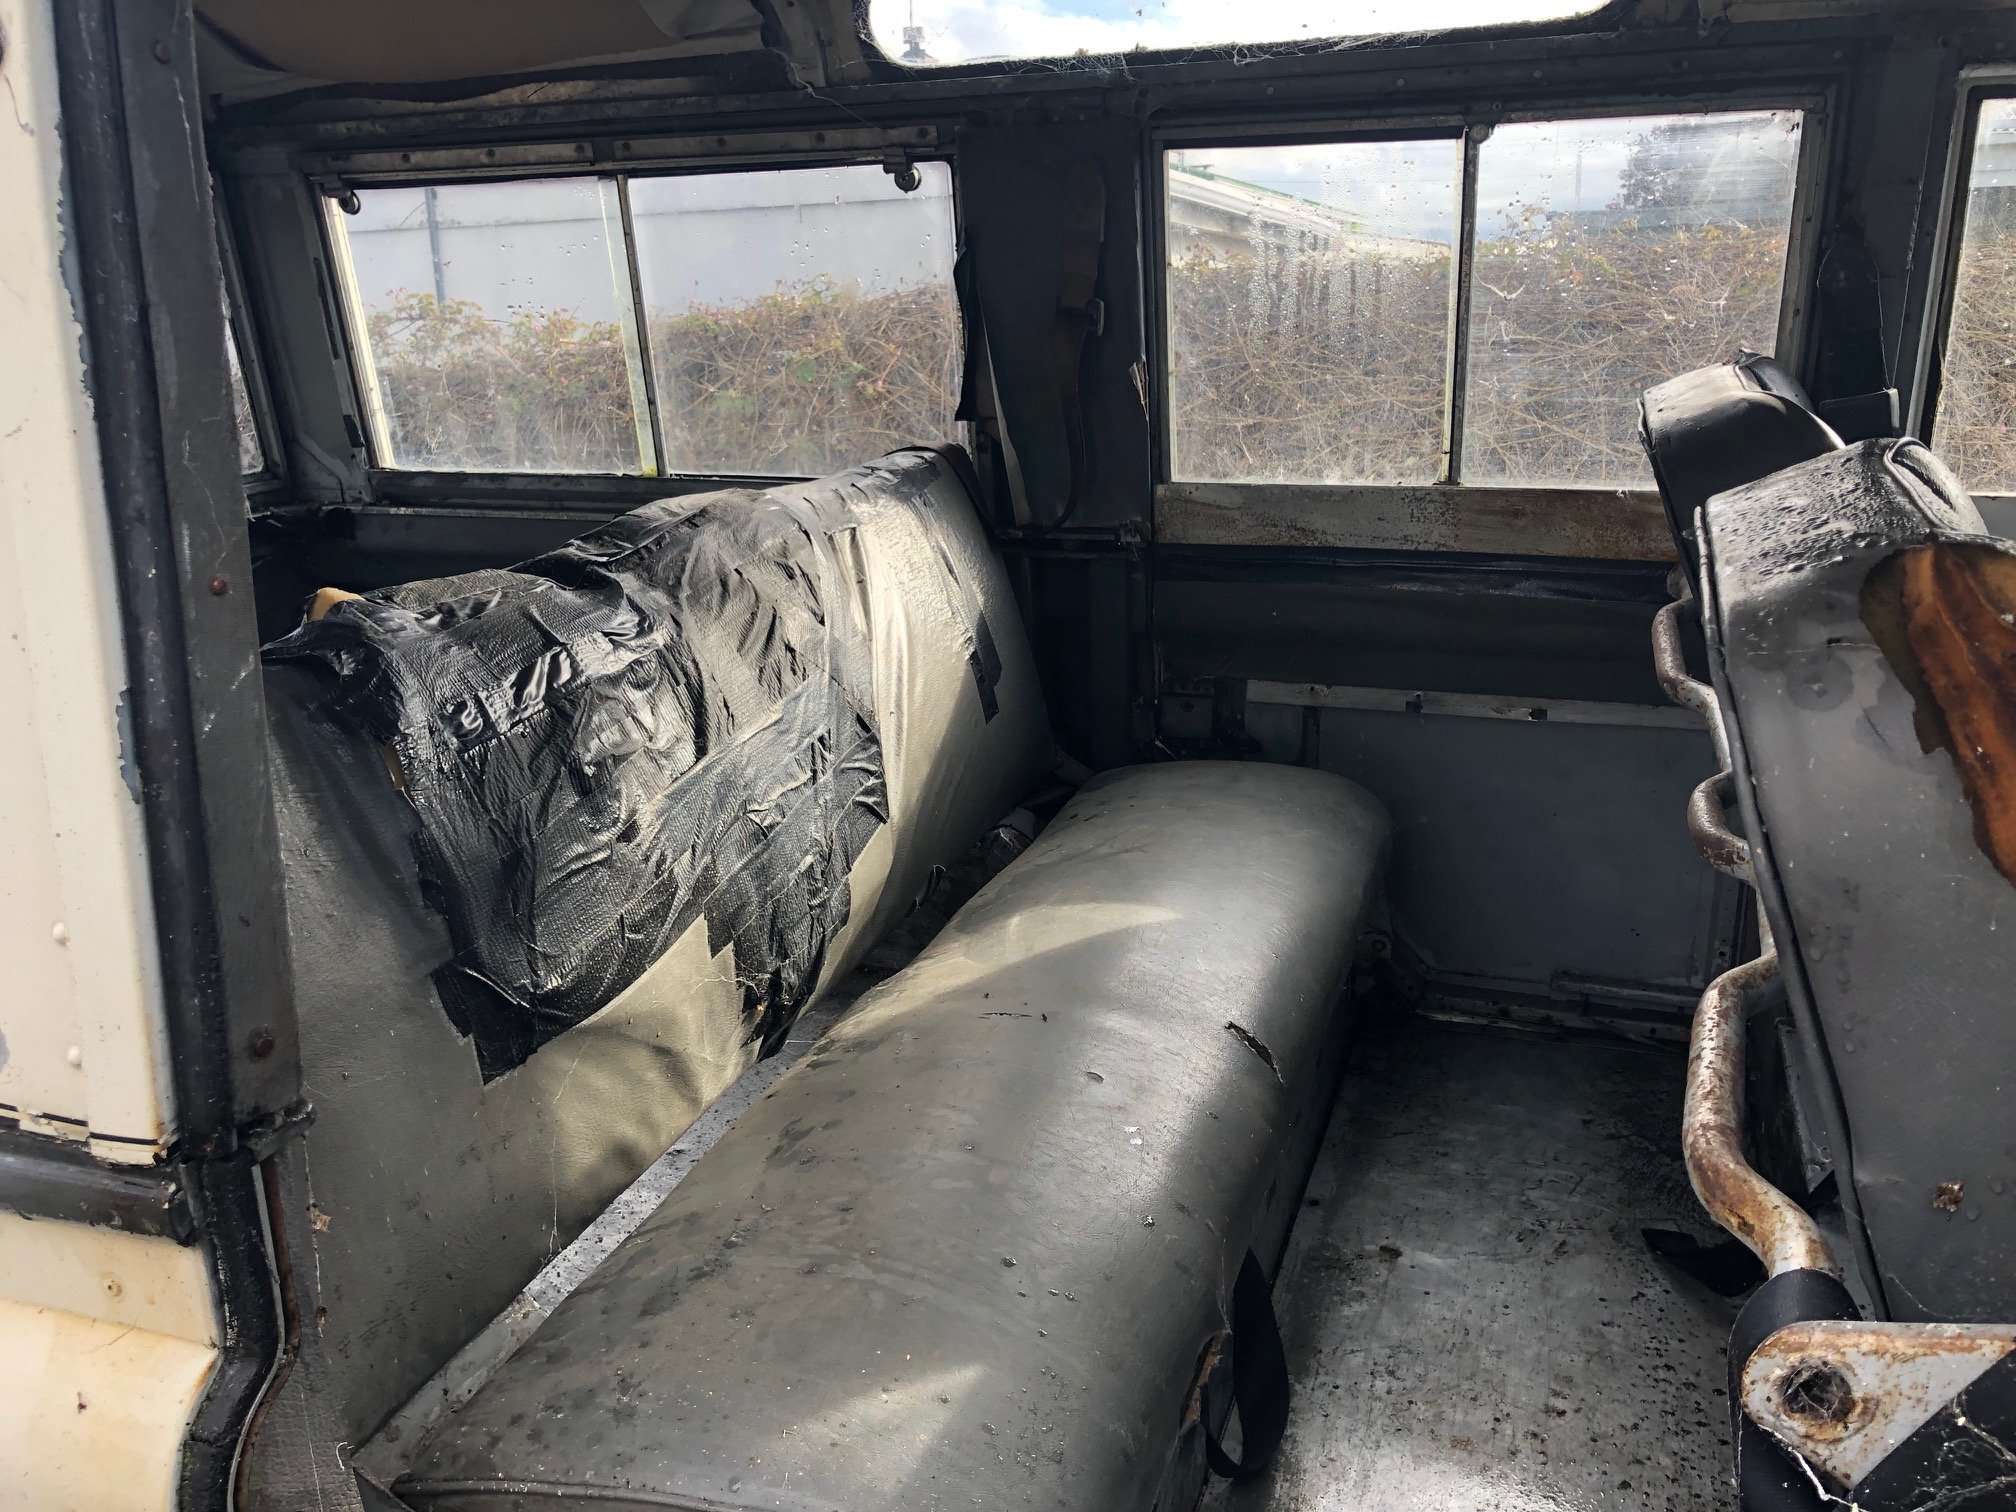
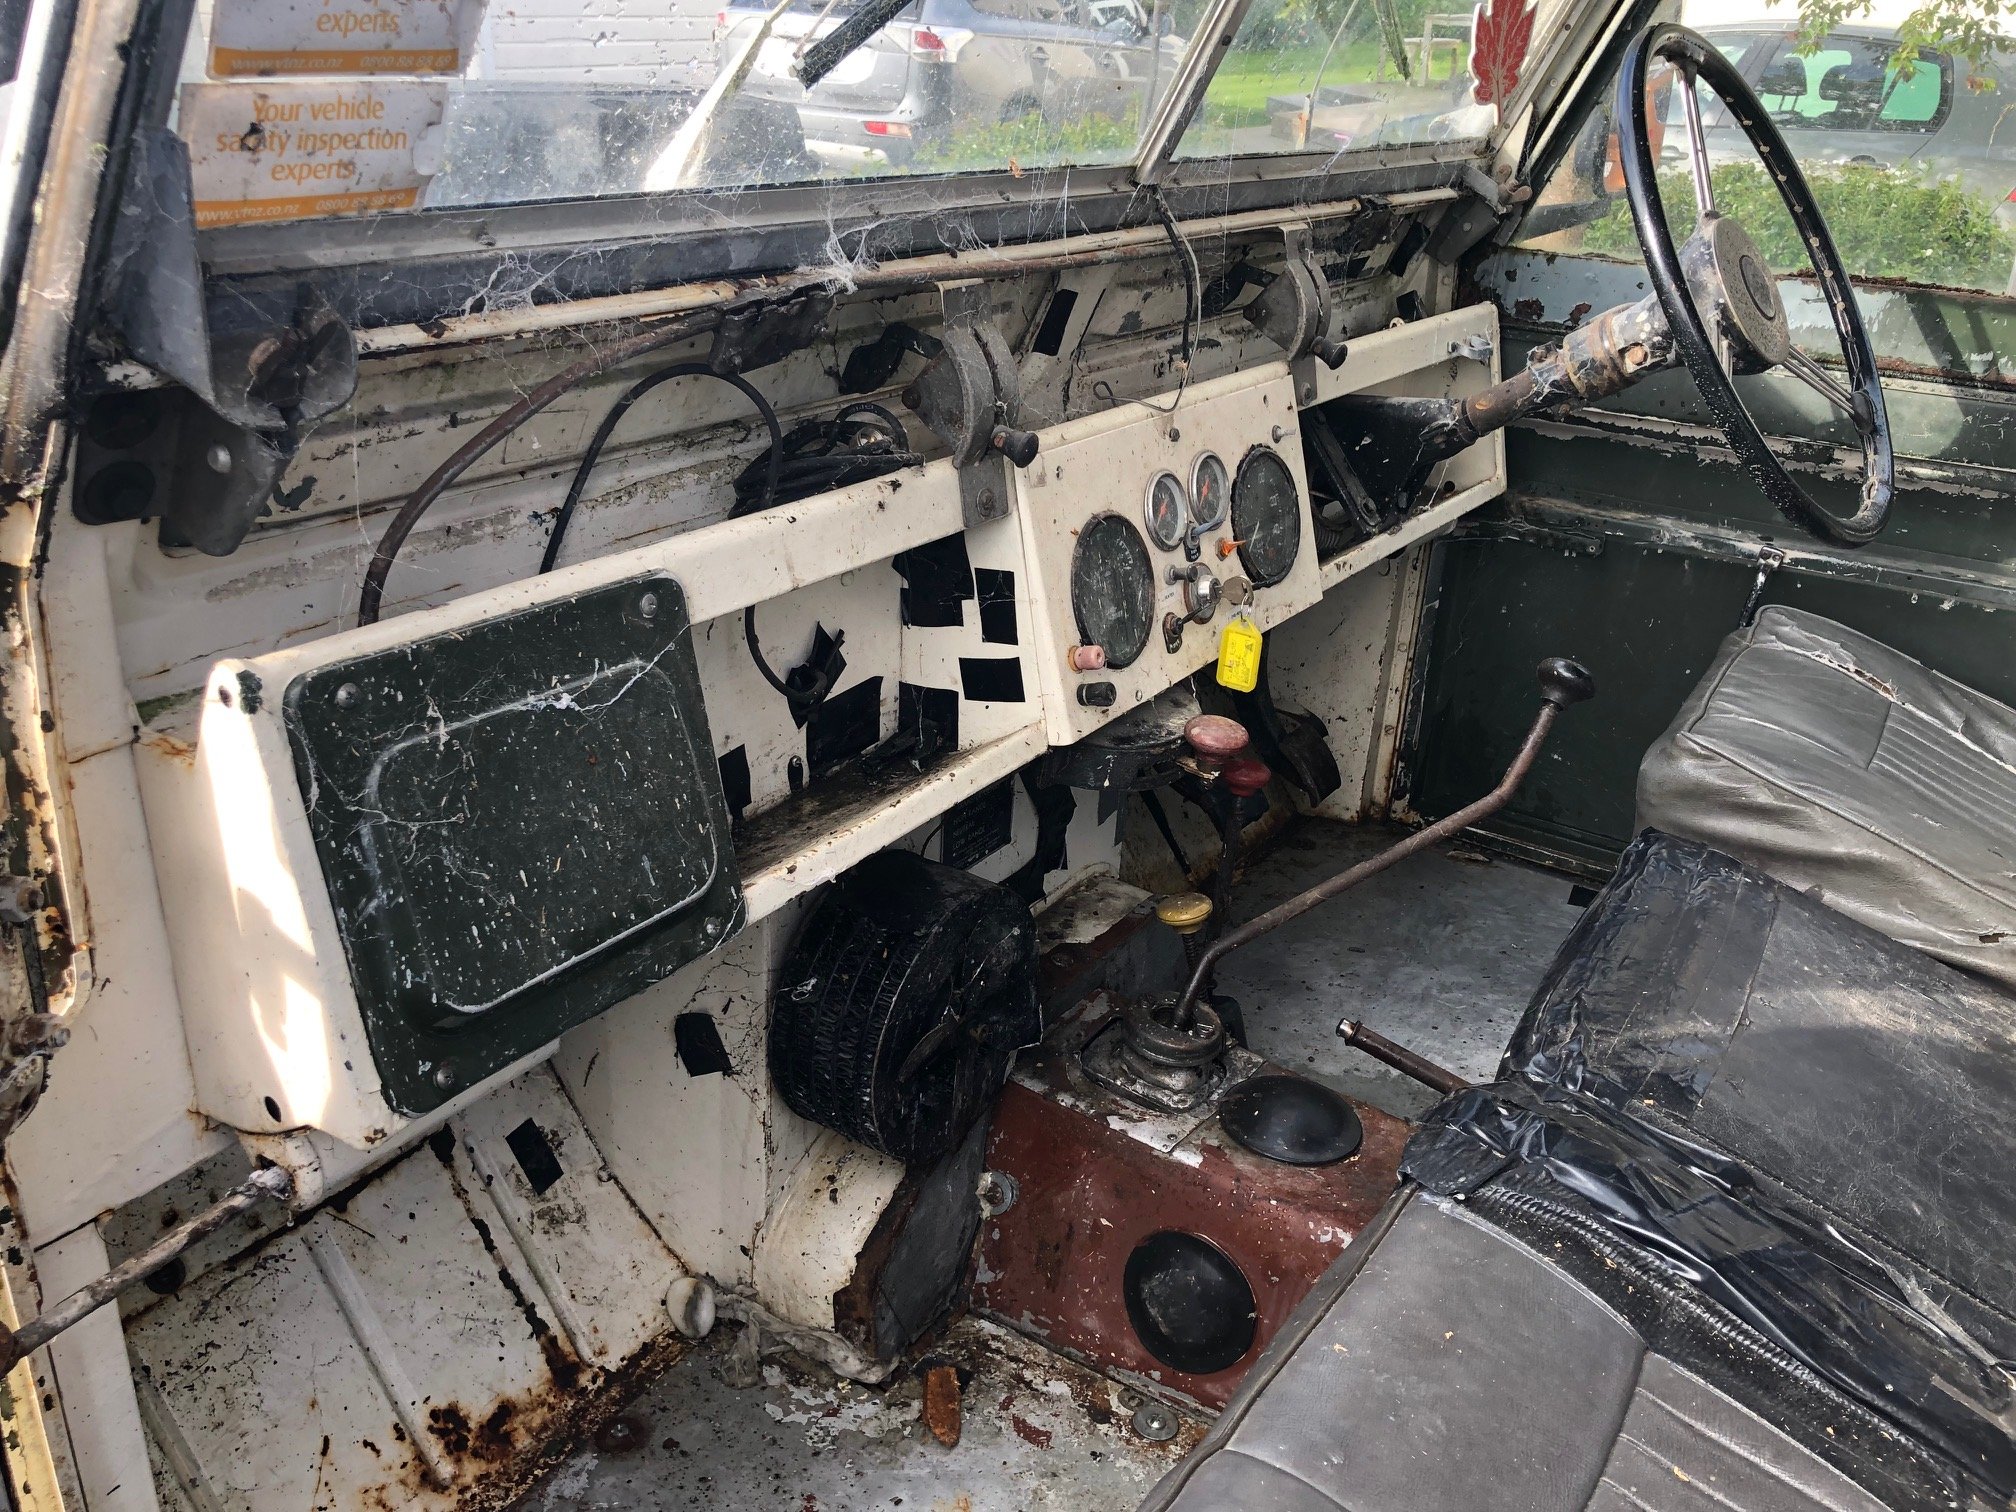
So I've been somewhat pining for my old canvas topped Land Rover since I sold it a few years back.... the prices on these have started to get silly so I've been thinking I need to get back in the game or loose it forever.... But this time I've been on the lookout for a different model to allows the whole family to join in the LR fun and have been somewhat dreaming of overland camping trips in Central with the kids. So something along these lines popped up on a FB page a few months back, messaged the guy, seemed like a good option but had no funds at the time, others were interested so said thanks and moved on. Now I came into $$ and messaged again a low and behold its still available and they want to move it on.... Quick trip up to Timaru to inspect and back a few weeks later (today to pick it up....) So what have I got...? Its a 1962 SIIa (383th of the export model off the line, so early in the run) 109 StationWagon. Its been modified a fair bit (on declaration papers from '92) to run a Nissan ED30 diesel (my old one had an ED33..) into a 5speed Nissan box which is somewhat mated to a LR transfer case. It also has the (very good) later axles from a Stage1 V8 (basically a Dana60) to give 3.9 gearing with freewheeling hubs. A keen eye will note that the nose has been pushed forward - it doesnt need to be to fit the ED30, I wonder if it had an earlier 6cyl conversion. Body is a little rough (as we will see) but is largely complete. Got it home and first thing was to give it a waterblast, the lichen has gone to town on the paint.... Has a 'very period' winch.... I've figure out that most of the gauges work, has a wee heater with an exposed fan (watch the fingers)
1 point
-
Come take one for a ride next time you're in the 09 m81 point
-
CT200 Auto-Ag?! What I would do for a tidy one of them as a daily. https://ag200blog.files.wordpress.com/2018/10/ct200.pdf
1 point
-
Depends what you want. Bits of old cars and washing machines etc can be used for hacking around, but you have to clean of the paint etc first. I've bought full sheets from Steel and Tube in the past, but you need something to cut them up. The zintec / electogalv coated steel stores better as it doesn't rust but again needs to be cleaned off before welding. https://steelandtube.co.nz/catalogues/steel-product-guide Last time I needed some I went to a sheet metal fabrication place and bought some smaller pieces (e.g. under 1m2) in different gauges. They were happy to help. You probably want 18g ~ 1.2mm for car panel work.1 point
-
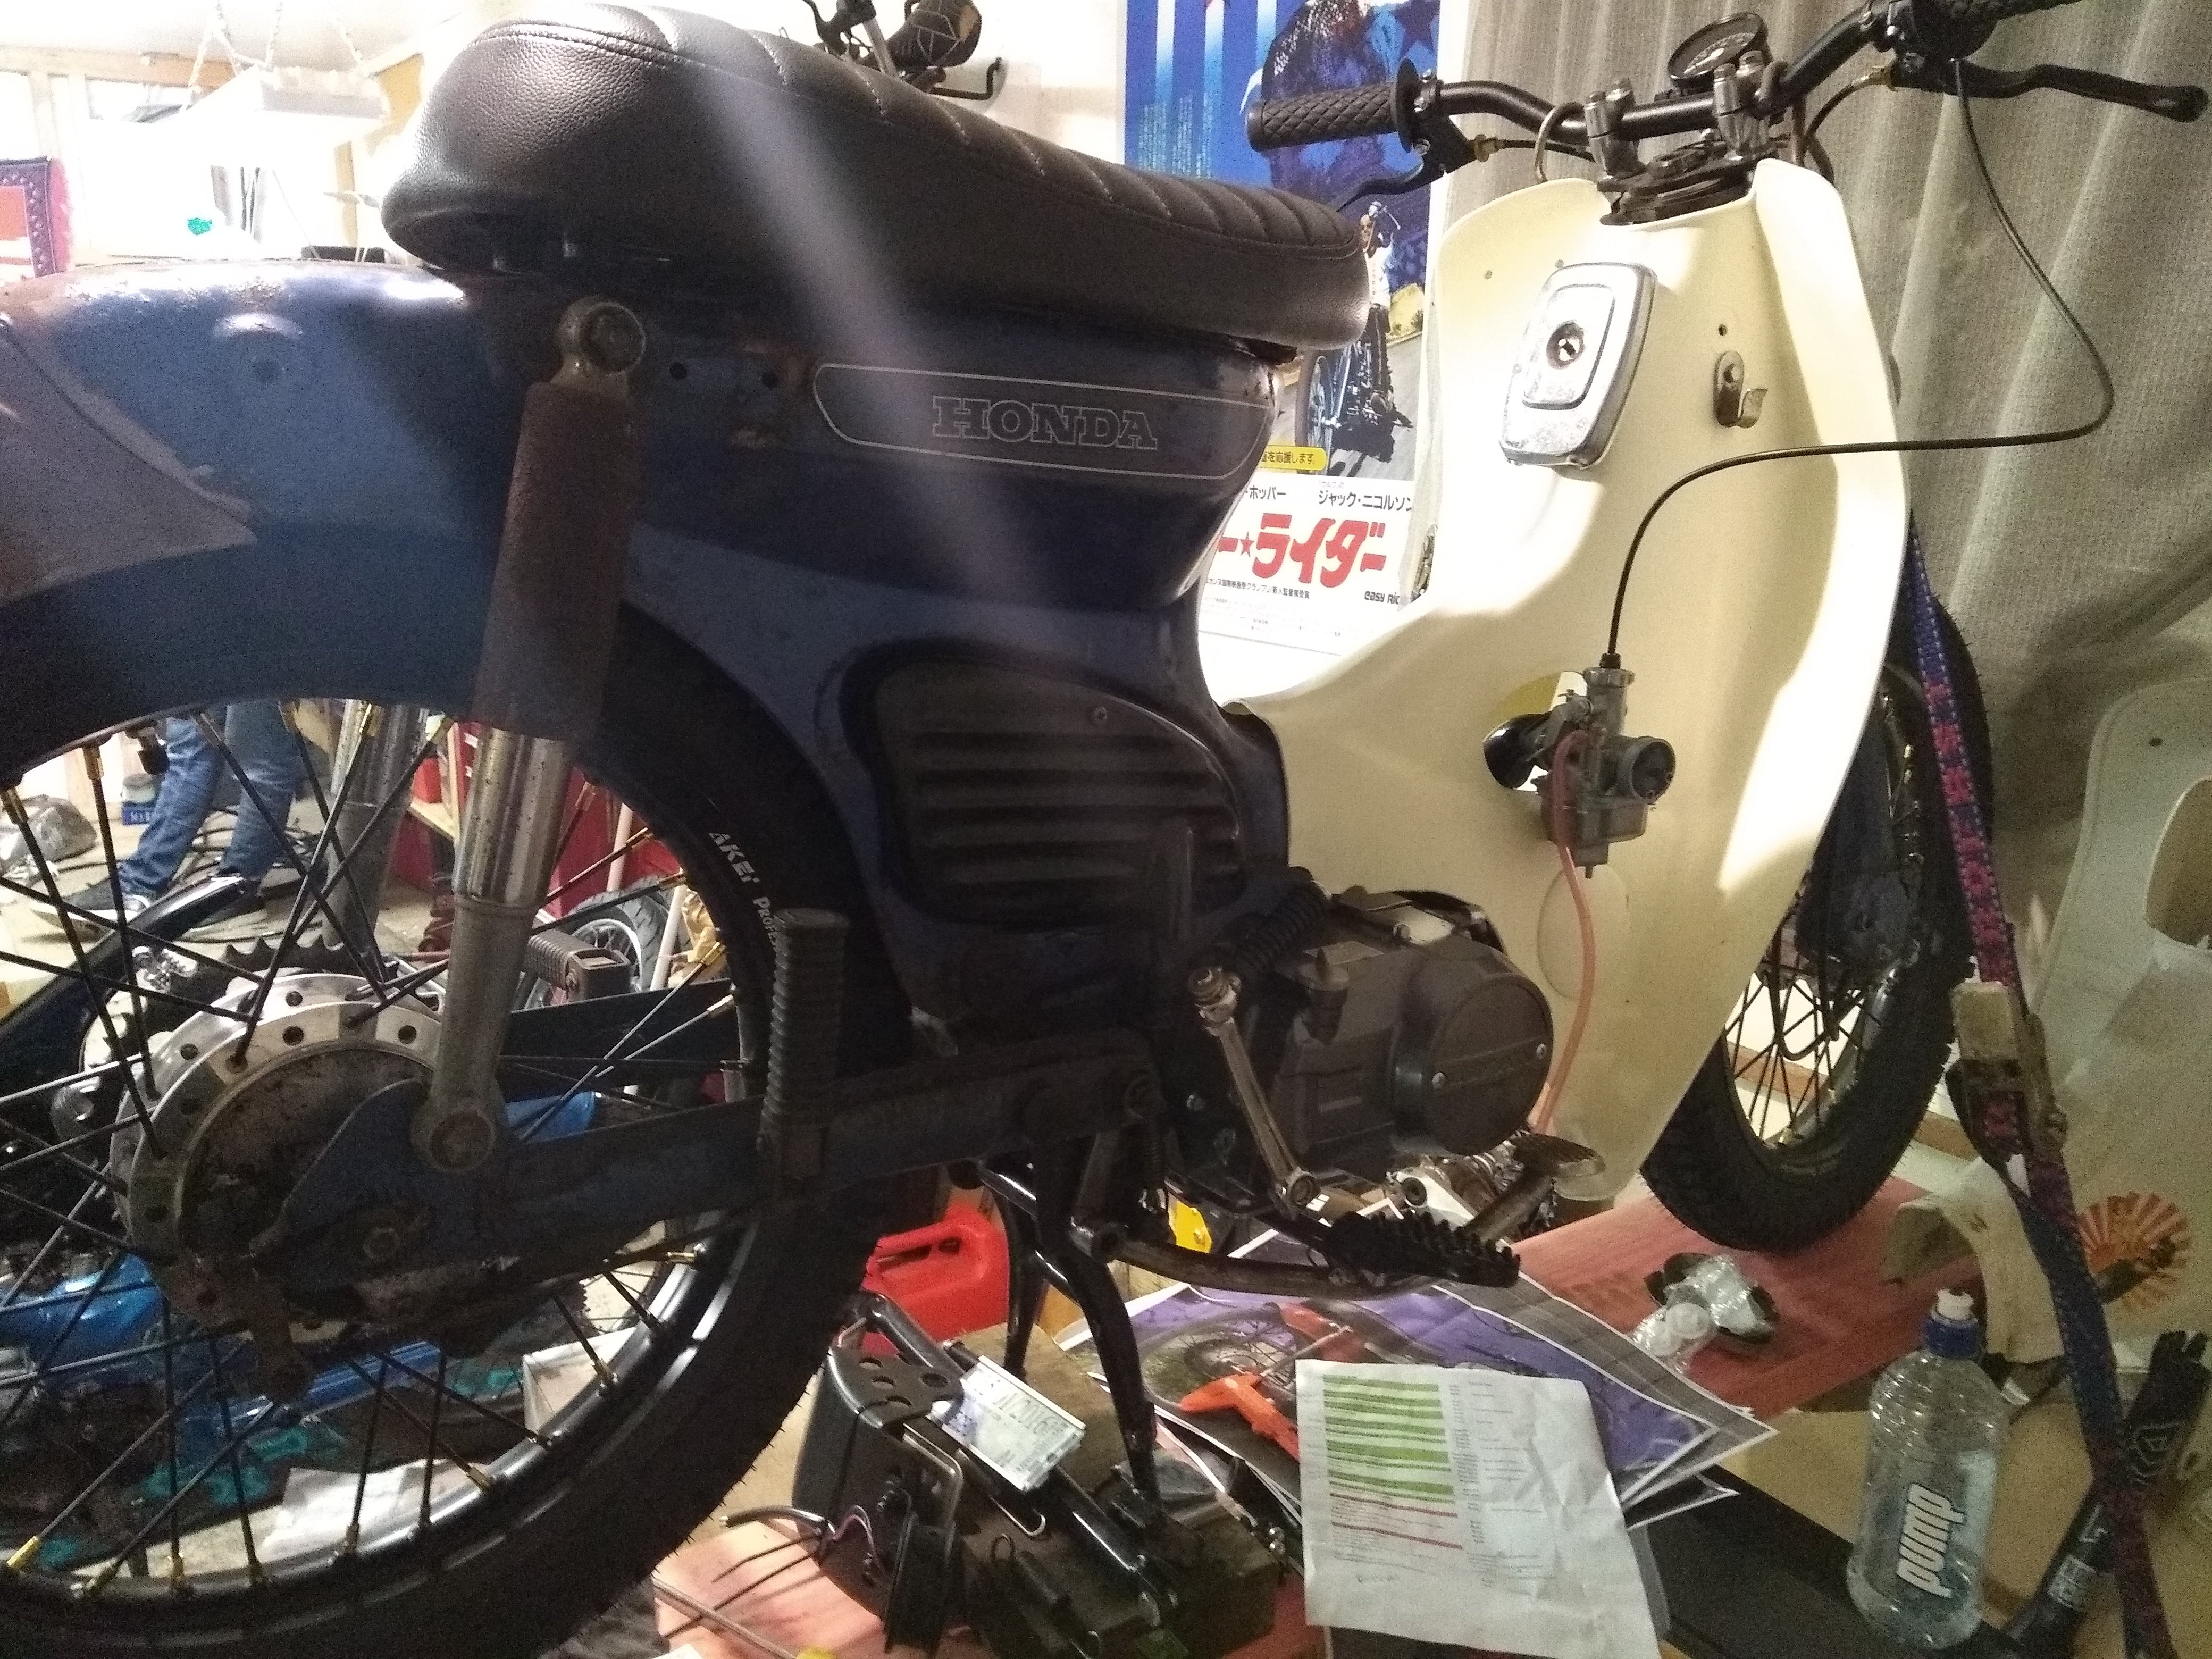
I've been working on this a bit lately and have it running pretty well! Took the exhaust off and went for a fang up the drive and went way better than before. Exhaust was suuuper clogged. Ended up snapping a bolt in the barrel as I was just going to put it back together.... Borrowed some left hand drill bits from work and ran my tap through the hole. The exhaust on the blue bike didn't feel as clogged so thought it was worth a try. Replaced exhaust flange gasket and started her up. Fuck yeah she goes good! As you can see the exhaust from the blue bike is a bit barry spec. Will sort that out at some stage but is doing the job just fine at the moment haha. Couple more vids with it running much better now.
1 point
-
won't the VN have a wiper relay to control the park and intermittent delay ? you may need one to get the electrickery to work ?1 point
-
Am still working on lowering it (too many projects), wont be that low so I can retain some ridability but will see what I can do. It developed a knocking sound from possibly the gear train today so hopefully nothing serious1 point
-
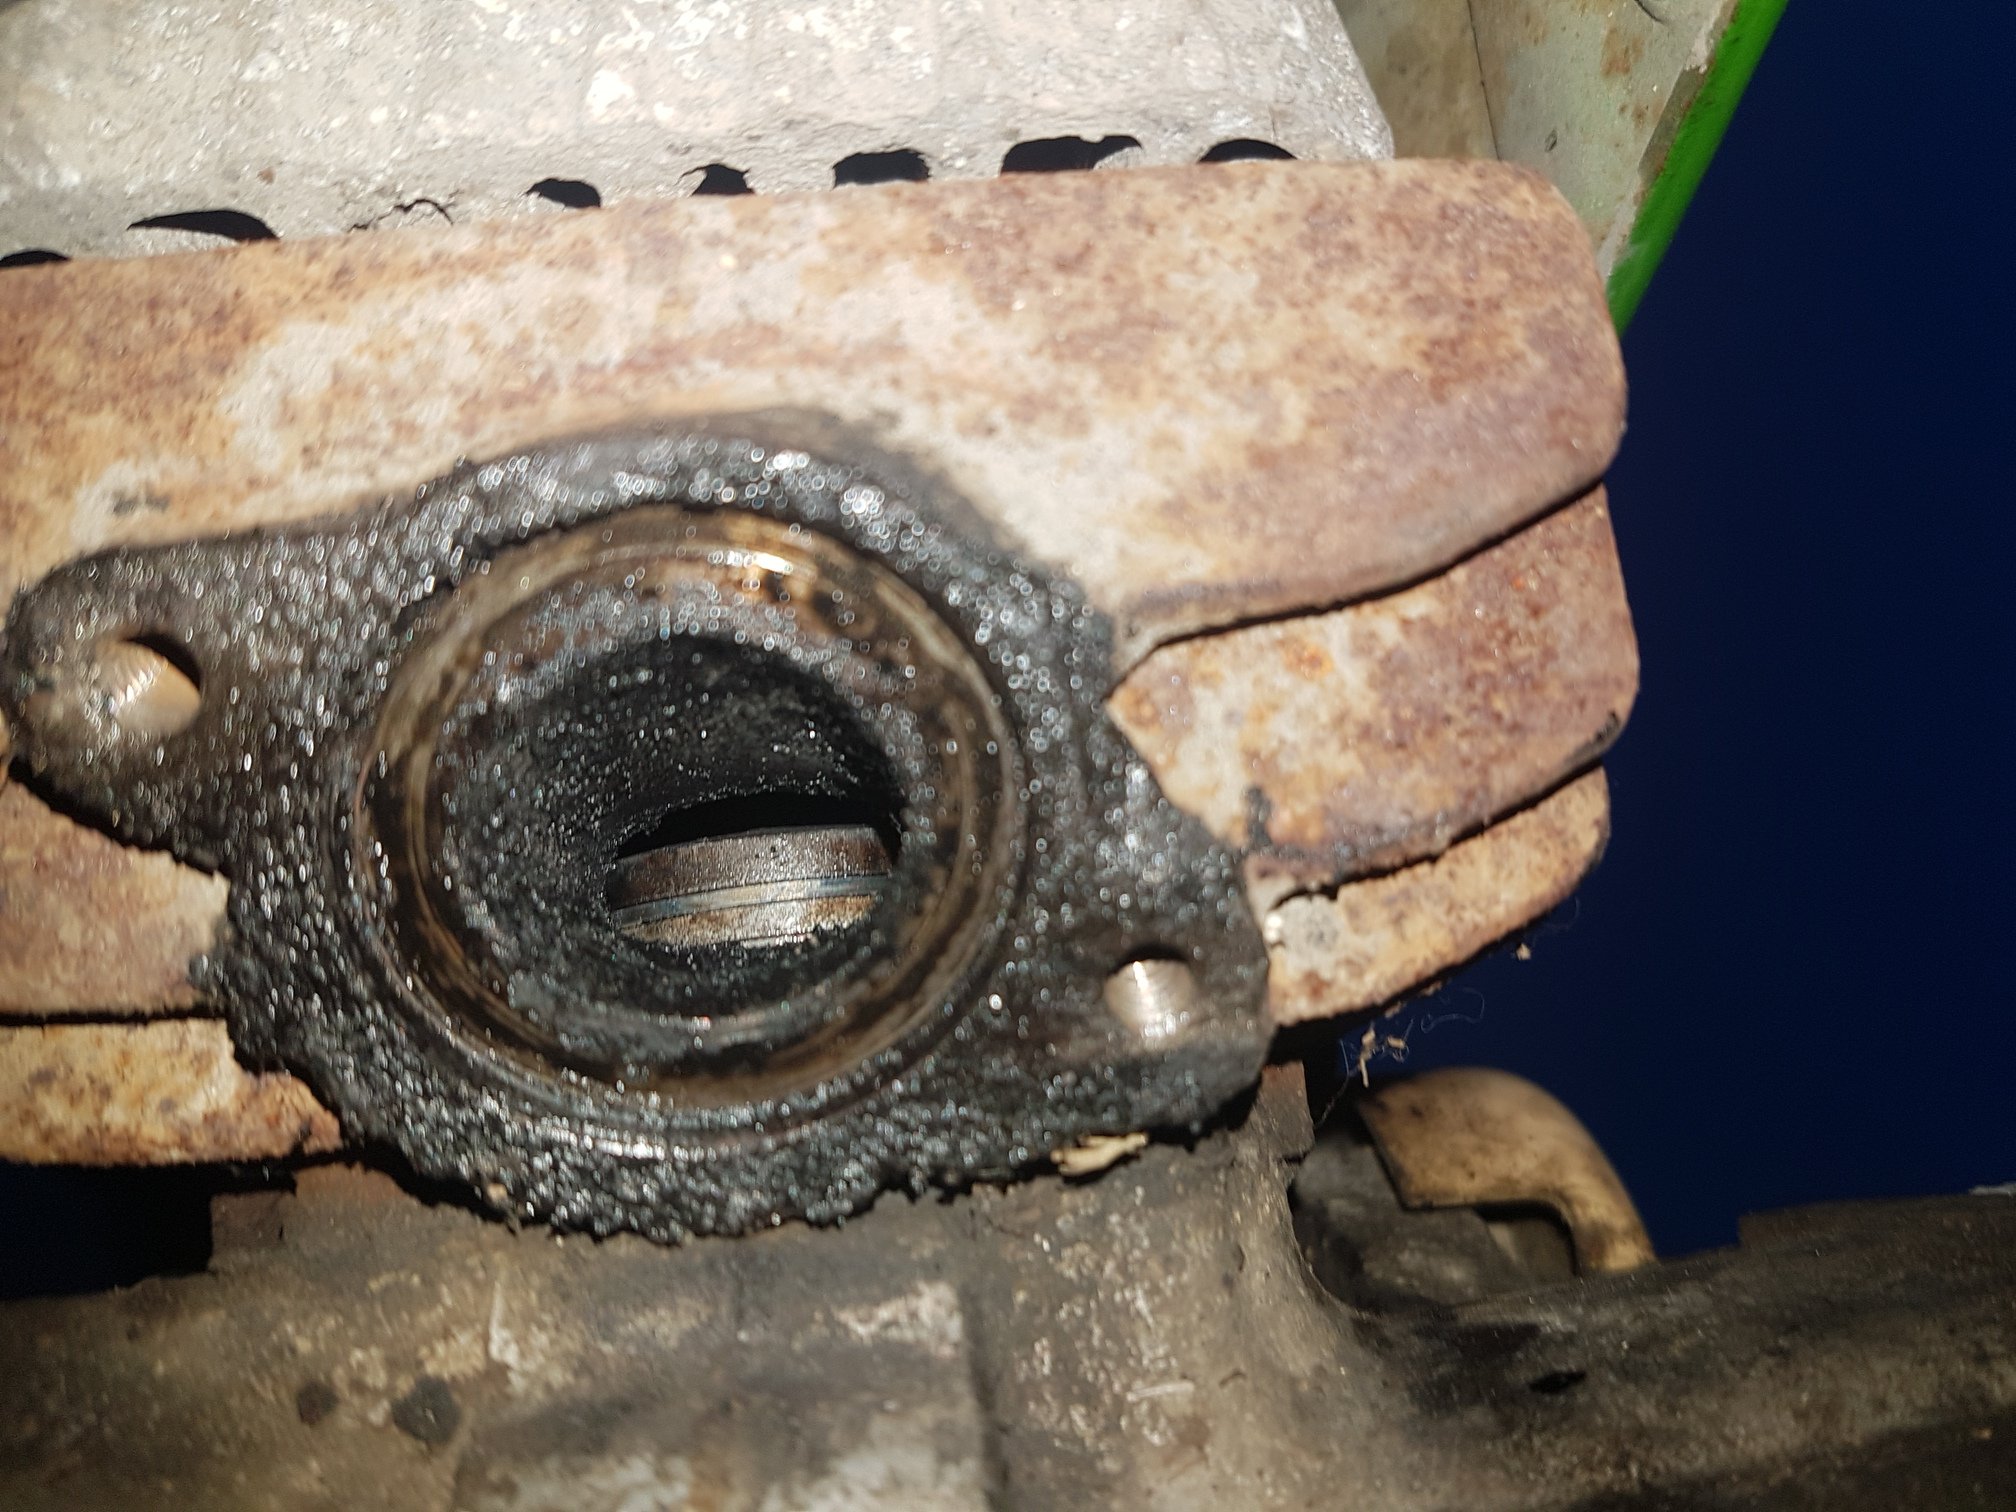
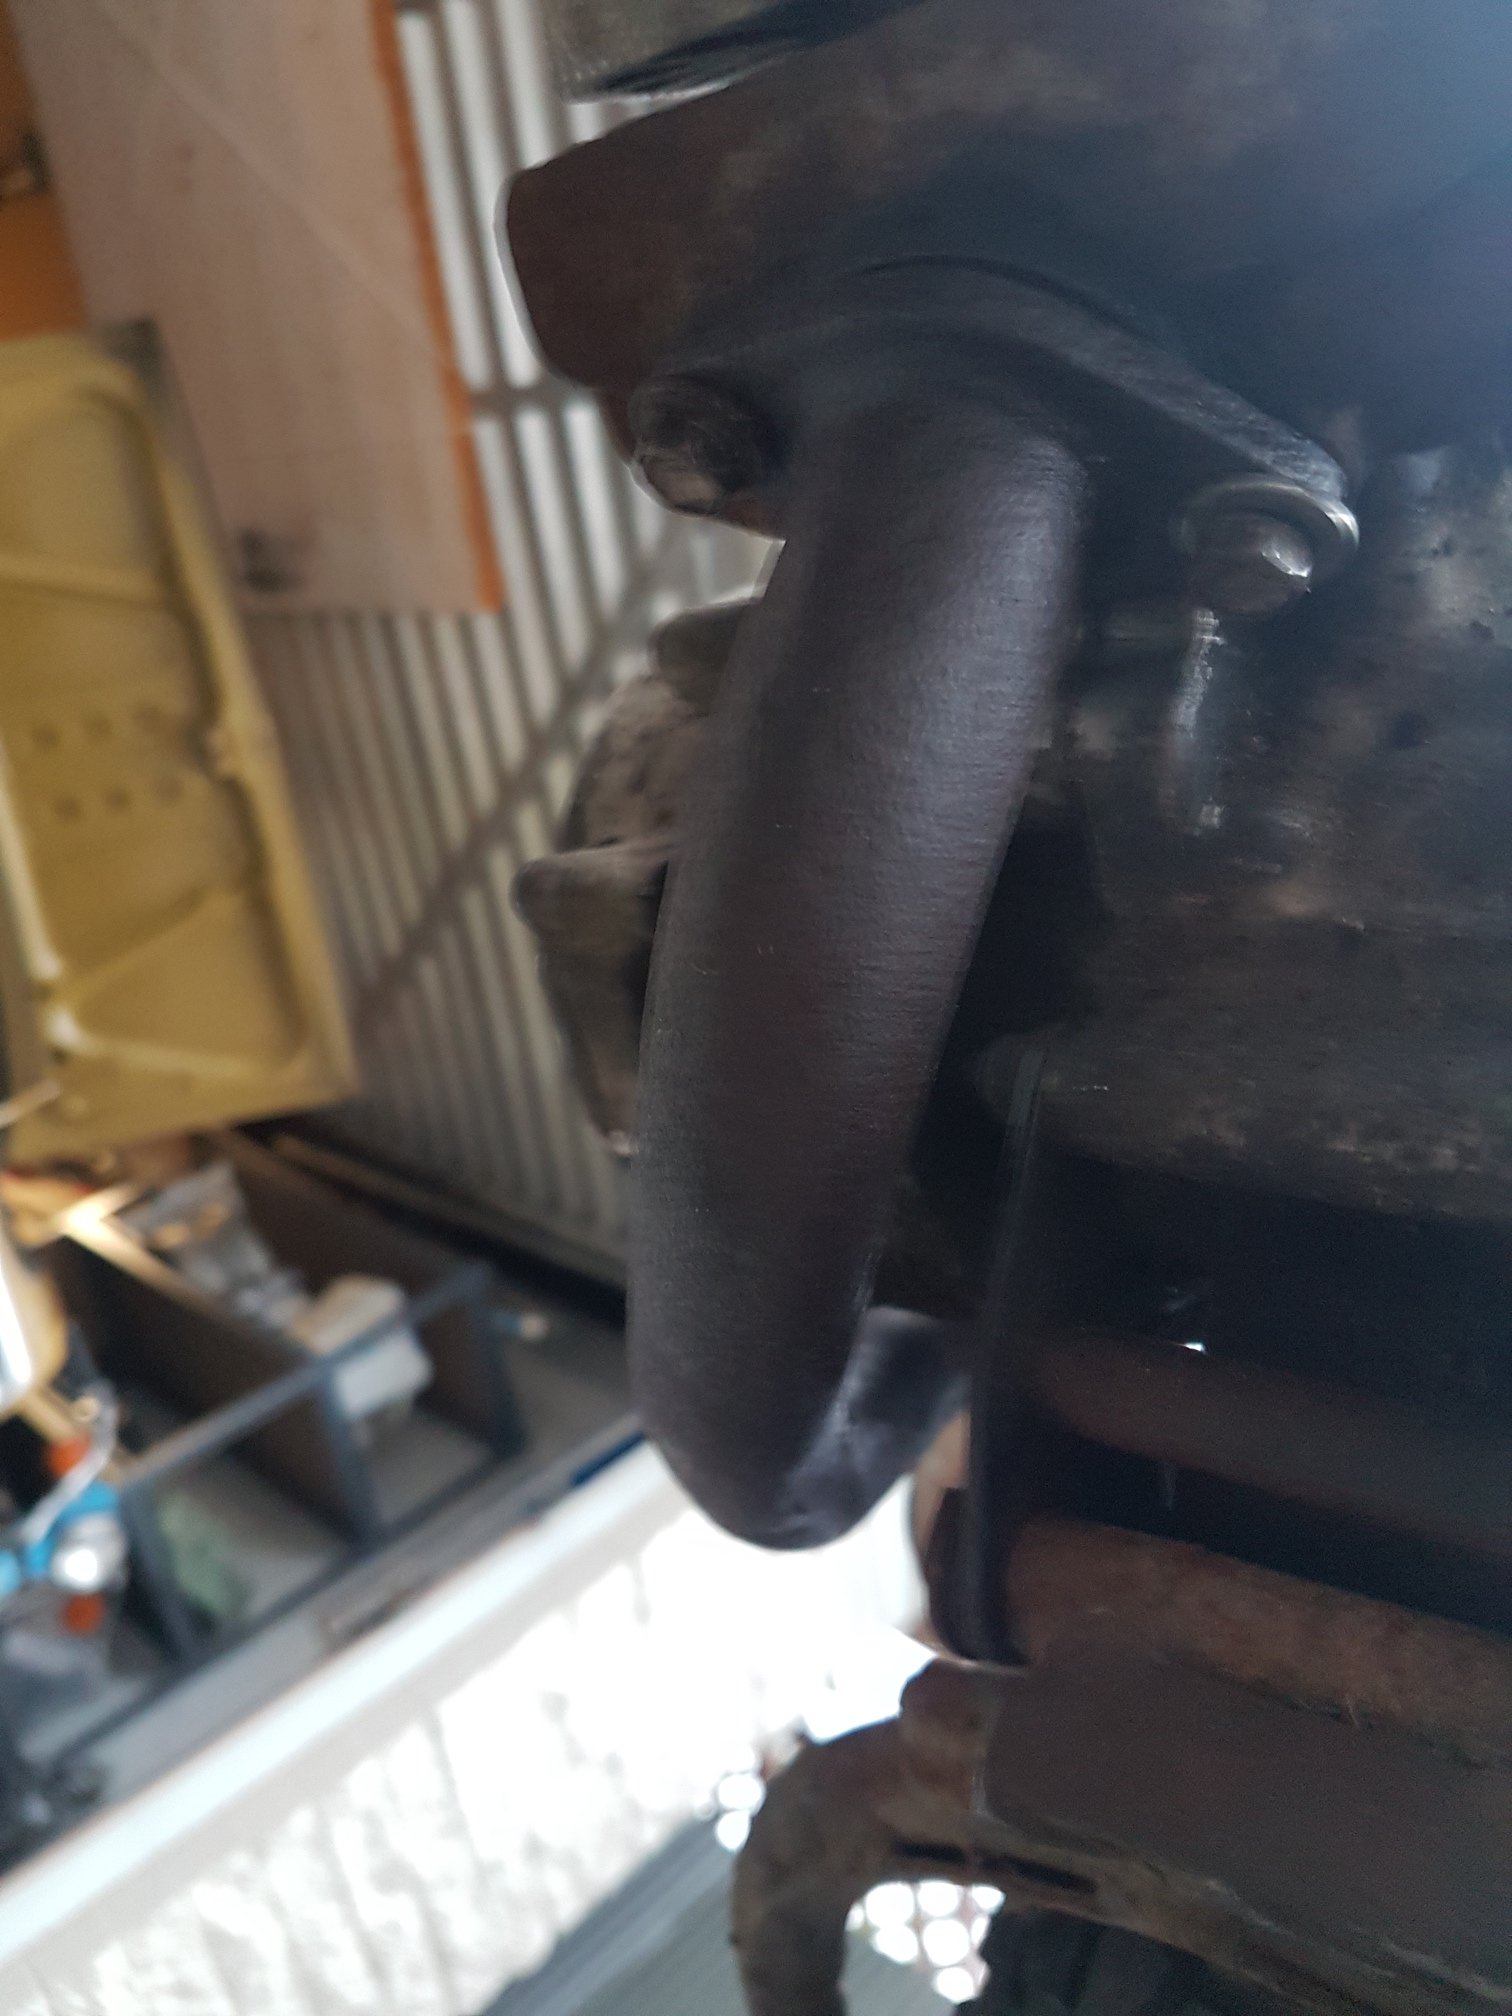
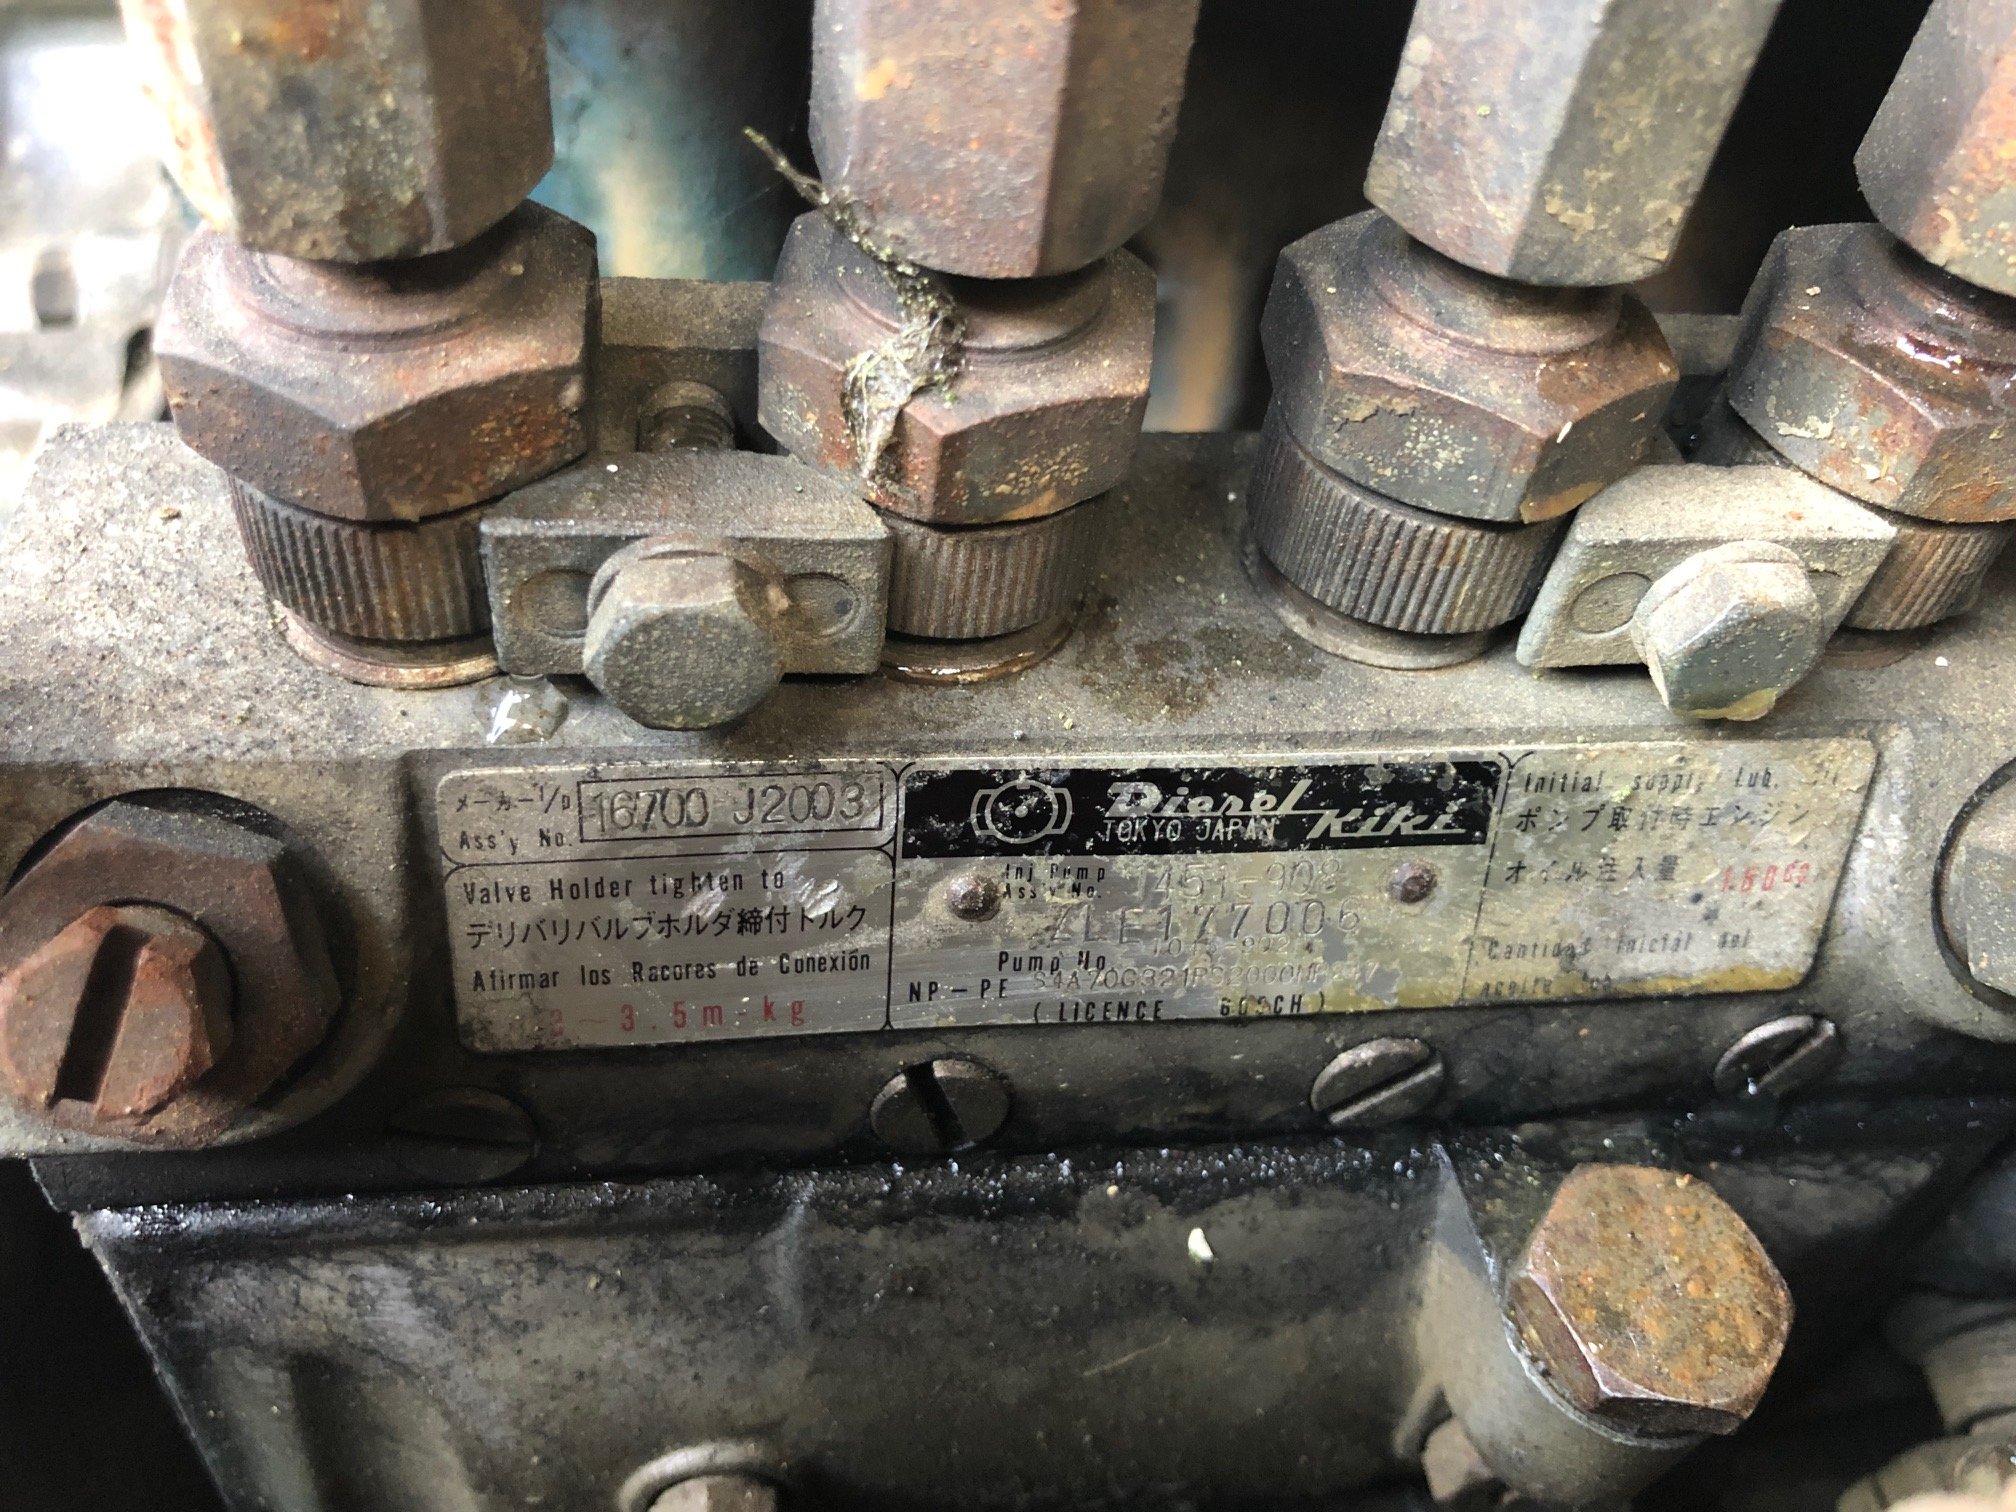
Who knows about injector pumps? A bit smokey when you put your foot down (but otherwise fine) makes me think there is something worn in here... So whats the plan....? Firstly, I cant touch it until my mini is done... Last WOF was in 2018 so somewhat thinking of just putting it through seeing if the list is managable and using it from there. But long term I want to pull the whole thing down a do a chassis swap to a late model hilux/navara etc and build it up from there. Will respray and refit as much interior as possible to make as comfortable as possible. Only thing which would prevent that is if I have to rego as a 'scratch build' and do a cert from there. Otherwise would either repower or rebuild the running gear and do a disc brake/power steering modification. Time will tell.... Discuss
1 point
-
@Kimjon Would this option work for you?
1 point
-
Another small job I wanted to take on whilst the car was in bits, was to check the valve clearances. I had no history of it being done, and its a fairly important thing to check on these engines, and not hard to do. Valve clearance is the small gap that must exist between the rocker arm and the top of the valve stem. This gap allows for expansion of the parts as they heat up (mainly the valve), so that there isn't either excessive space between the two (valve won't open as far or as long, and will make a loud tapping noise) or too little (valve may not close, and can result in a burnt valve). Some engines have the means to self adjust, usually via a hydraulic lifter (those things that make Mitsis go "tick tick tick"), but on these older engines (and even some modern engines, like Hondas) the clearances were a scheduled service item and needs to be checked and corrected. On this engine it's nice and easy to access with the intake piping out of the way. It's just a matter of removing the valve covers, of which mine were leaking anyway. It turns out that a few of the valve cover bolts weren't even finger tight, so no wonder the oil was getting through the gasket! With the covers off, you need to use a socket and ratchet to rotate the engine so that the crank timing mark lines up with TDC on the front pointer. If its correct, you should find that No 5 cylinder valves are "rocking" and this is when you measure No 1 cylinder clearances. "Rocking" is the term for when you watch the rockers on that cylinder and you will see the both are at the same height, but if you rock the crank one way, one rocker will push down slightly, and if you rock it the other way, the other rocker will push down. Ford Cologne engines are a little special, so the layout isn't quite what you expect. Take note of the layout of the intake and exhaust valves, they aren't always in the same order. The clearances should be as follows. These are done on a cold engine (about 20c ideally). The exhaust has a bigger clearance due to the additional heat the valve is subjected to. When checked with a feeler gauge, there should be a slight drag on the blade, but not too tight, or too loose. You kinda just do it by feel and get to know what it should feel like When one cylinder is done, check the list to see what rockers will be rocking next and turn the crank (in the direction of normal rotation) until those rockers rock, and check the clearances on the opposing cylinder in the list. Easy. If any of them need adjusting, there will be a screw on the opposite end of the rocker, that either needs to be loosened or tightened to open or close the gap. Most cars have a locking nut to stop it rotating, but the Cologne doesn't, so turning the screw will adjust it, and it self locks. Mine were very tight, so I used a six sided socket and rachet to turn them. A little goes a long way though, so sometimes even a slight tweak of the screw will be the difference between loose, and the right amount of drag. Five of six cylinders had valves that were too tight to get the blade into, and one cylinder was loose as a goose. I don't know what this means, hopefully it isn't a sign of valve recession due to a lack of lead, but time will tell. It could also just be bad adjustment from a previous mechanic....1 point
-
So Hannah and I took the Imp for a two day road trip. Part business and part holiday. On Friday we drove up to Lake Rotoiti, Nelson lakes national park. On the way we checked out some old classic cars a fella owns who wants me to do a load of bodywork on. The Imp drove really well. The sun was out and the music cranking (some ambient tunes from David Tipper since you ask). We had a good coffee and then a nice walk on tracks around the lake. That evening we drove through to my olds place in Blenheim. A nice day out. Here's some photos... Chilled out at my parents, a feed of fish and chips, wine. A grand way to finish a day. Following morning we set to head home. Filled the Imp up, did some maths and allowing for a very optimistic speedo we reckon on around 40 mpg. Not bad considering the gearing at 100kph. Headed home, sadly into rain as a cold front was moving up the Island. Drove long way via Picton and Queen Charlotte drive because narrow twisty roads and go kart car... Over the Rai Saddle, sitting with the flow of traffic. I give the car some stick to pass a motorhome up the saddle and then when cruising down the other side the wee car does that thing.... 'JOLT!' The car does a small but very noticeable stumble. Like a tiny rev limiter. For those that have tuned megasquirt, or maybe other EFI, it felt like when you click burn. "What was that?" Hannah asks. "Shit- I don't know but it felt like an ignition thing, not spluttering fuel thing" I reply. We both go quiet. I almost want to turn the music down and listen for any untoward mechanical sounds that might be there. But I don't. I'll play it cool. Don't worry. Don't get Hannah worried. It was probably just a... fuck. I don't know. I'll just say nothing, drive a little slower and whatever it was will be a memory soon. The silence is piercing. Now I notice every bloody vibration. I'm watching all the gauges like a jet pilot. All the time my mind is going through all possible scenarios. What could that have been. What if we breakdown? 3km pass. It seems ok. I start to relax. Only one big set of hills to go. I pass another rental car, most likely the scurge of the kiwi roads, a Nissan Tiida. I dont know because I'm still having a mini stress.. 'JOLT'. Here we go. This is happening. This time its for good. The car dies and I have to quickly think where I'm going to stop to fix it and quick before I slow too much and that silver blob I just passed drives up my bum. I spot a forestry road on the right, coast across to it (whilst trying to make it look like nothing is wrong so saving face for all classic drivers who get the "oh old cars are so unreliable...") I pull to a stop and the engine splutters to its last road driven rotation with a bang. Bugger. Remain calm. Reception on phone? Not a chance. Tool kit in boot comes out and we go through all the obvious things, concluding that it is indeed the ignition. Annoyingly it was the ignition module, of which I didnt have a spare. If it were points I'd have fixed it. Such is life. Luckily the rain had stopped and double lucky that across the road from the forestry road we parked on was a farm house. The kind farmers wife took us in, let us use her phone and fed us tea and biscuits. I called a mate out with his trailer. We have AA membership however its the basic cover that would have got us to a garage. I knew a Garage wasn't going to fix this and we'd still have to get home. Yeah nah. Stuff that. Mate turns up with his trailer and we have a choice as chilled out trip home. We fed him dinner and it was all good in the end. Big thanks to @Sanfiddy for rescuing us! Oldschool spec favours. I only took one photo of the day... So that was that. On Sunday I removed the dizzy and then the module. It fails the tests as predicted. Here's the troublesome module... Come Monday and at my local wreckers looking for a module. I dont want to spend $120 on a new one when I'm about to fit full engine management. No luck locally but we were in Nelson on Tuesday and I found one at a wreckers there, cheap too. Fitted it that night and brooooooommmmmm The replacement was a proper Hitachi module whereas the one that let its smoke out was a no brand cheap one. Even felt lighter if that means anything. I took the broke one apart and it looks like a little cityscape inside- heck it would scare a Barry used to the kettering system... I also managed to score a spare couple of dizzies, converted with accuspark. My bench looks like a bomb went off in a hitachi factory... I'll need to fix them up, check them out and then I could always have a spare setup in case. That is until I fill the Imp with boxes of electronics and then there's no chance Mr AA man can help me. It'll be like every modern car- useless when broke. In other news- this turned up from China the day we left for the lakes... Its a brand new Hitachi 306 clone, all for not much more then a full carb gasket set costs. I had ordered this before I had scored all the other Megasquirt bits. Anyway- I'm still looking forward to trying it out because my worn out carb is about as good as I can get it. The new one looks so shiny. I'll report back with my findings on how deep the quality goes...1 point
-
You could also consider running water wetter to help make the most of what you've got. We used that stuff on the jetpacks as heat was a problem and so was weight, so big engines and small cooling systems ect. Seemed to work well.1 point
-
Resurrection Session 1: Missing sparks in cylinder number 6. Diagnosis = bad lead. Researched and found that VL Commodore RB motors have the right length. Not perfect, but close enough. Found bargain. Purchased. Fitted. Next went for a drive to diagnose further problems. Broke down. Pulled fuel line off crab and noted no fuel coming through. Luckily a strong and powerful rescue car turned up to help with a Jerry can that was rigged direct to the carburetor to return home. This worked fine until the Jerry can ran out. Ran the last 200 metres on brake-kleen sprayed directly into the carb whilst perched on the guard. Diagnosed fuel blockage in tank and now dead electric pump. Cleaned out tank and gave it a paint. Will now try sourcing a new pump and nylon lines.1 point
-
Stripped most exterior stuff off, except for the doors. Have cut off the a-pillar rain gutters after ajg193's suggestion, cleaned up all the rust underneath and plug welded them back on. Found some spots of rust on the hatch after removing the window. Most of it is just surface rust. Got carried away and stripped all the paint off the exterior side. Previously someone has stripped it and gone over all the rust spots and ground them out. Which I wasn't too happy about, but it seemed to have stopped it rusting further. Has a little patch welded in on the lower right as well. This top bit, just below the water squirter had a few small holes. Cut it out and made a patch to weld in, after I cleaned up the rust inside and painting it. All welded and cleaned up. Picked up a new engine! 4AGE 20V Blacktop!!! And a J160 6 speed. It already has the SQ Engineering adapter plate. The clutch/pressure plate and starter is already set up ready to bolt the two together. Pulled out the old 4K. Empty and dirty engine bay. Gave it a steam clean, came up heaps better. Test fit of the J160, definitely going to need to pull out the grinder! Laser cut out a 12mm stainless exhaust flange. Planning on building some high-rise headers at some stage. Ordered some goodies from SQ Engineering. Bought some Cusco AE86 engine mounts. Also have an AE86 water pump set up and some other bits on the way.1 point
-
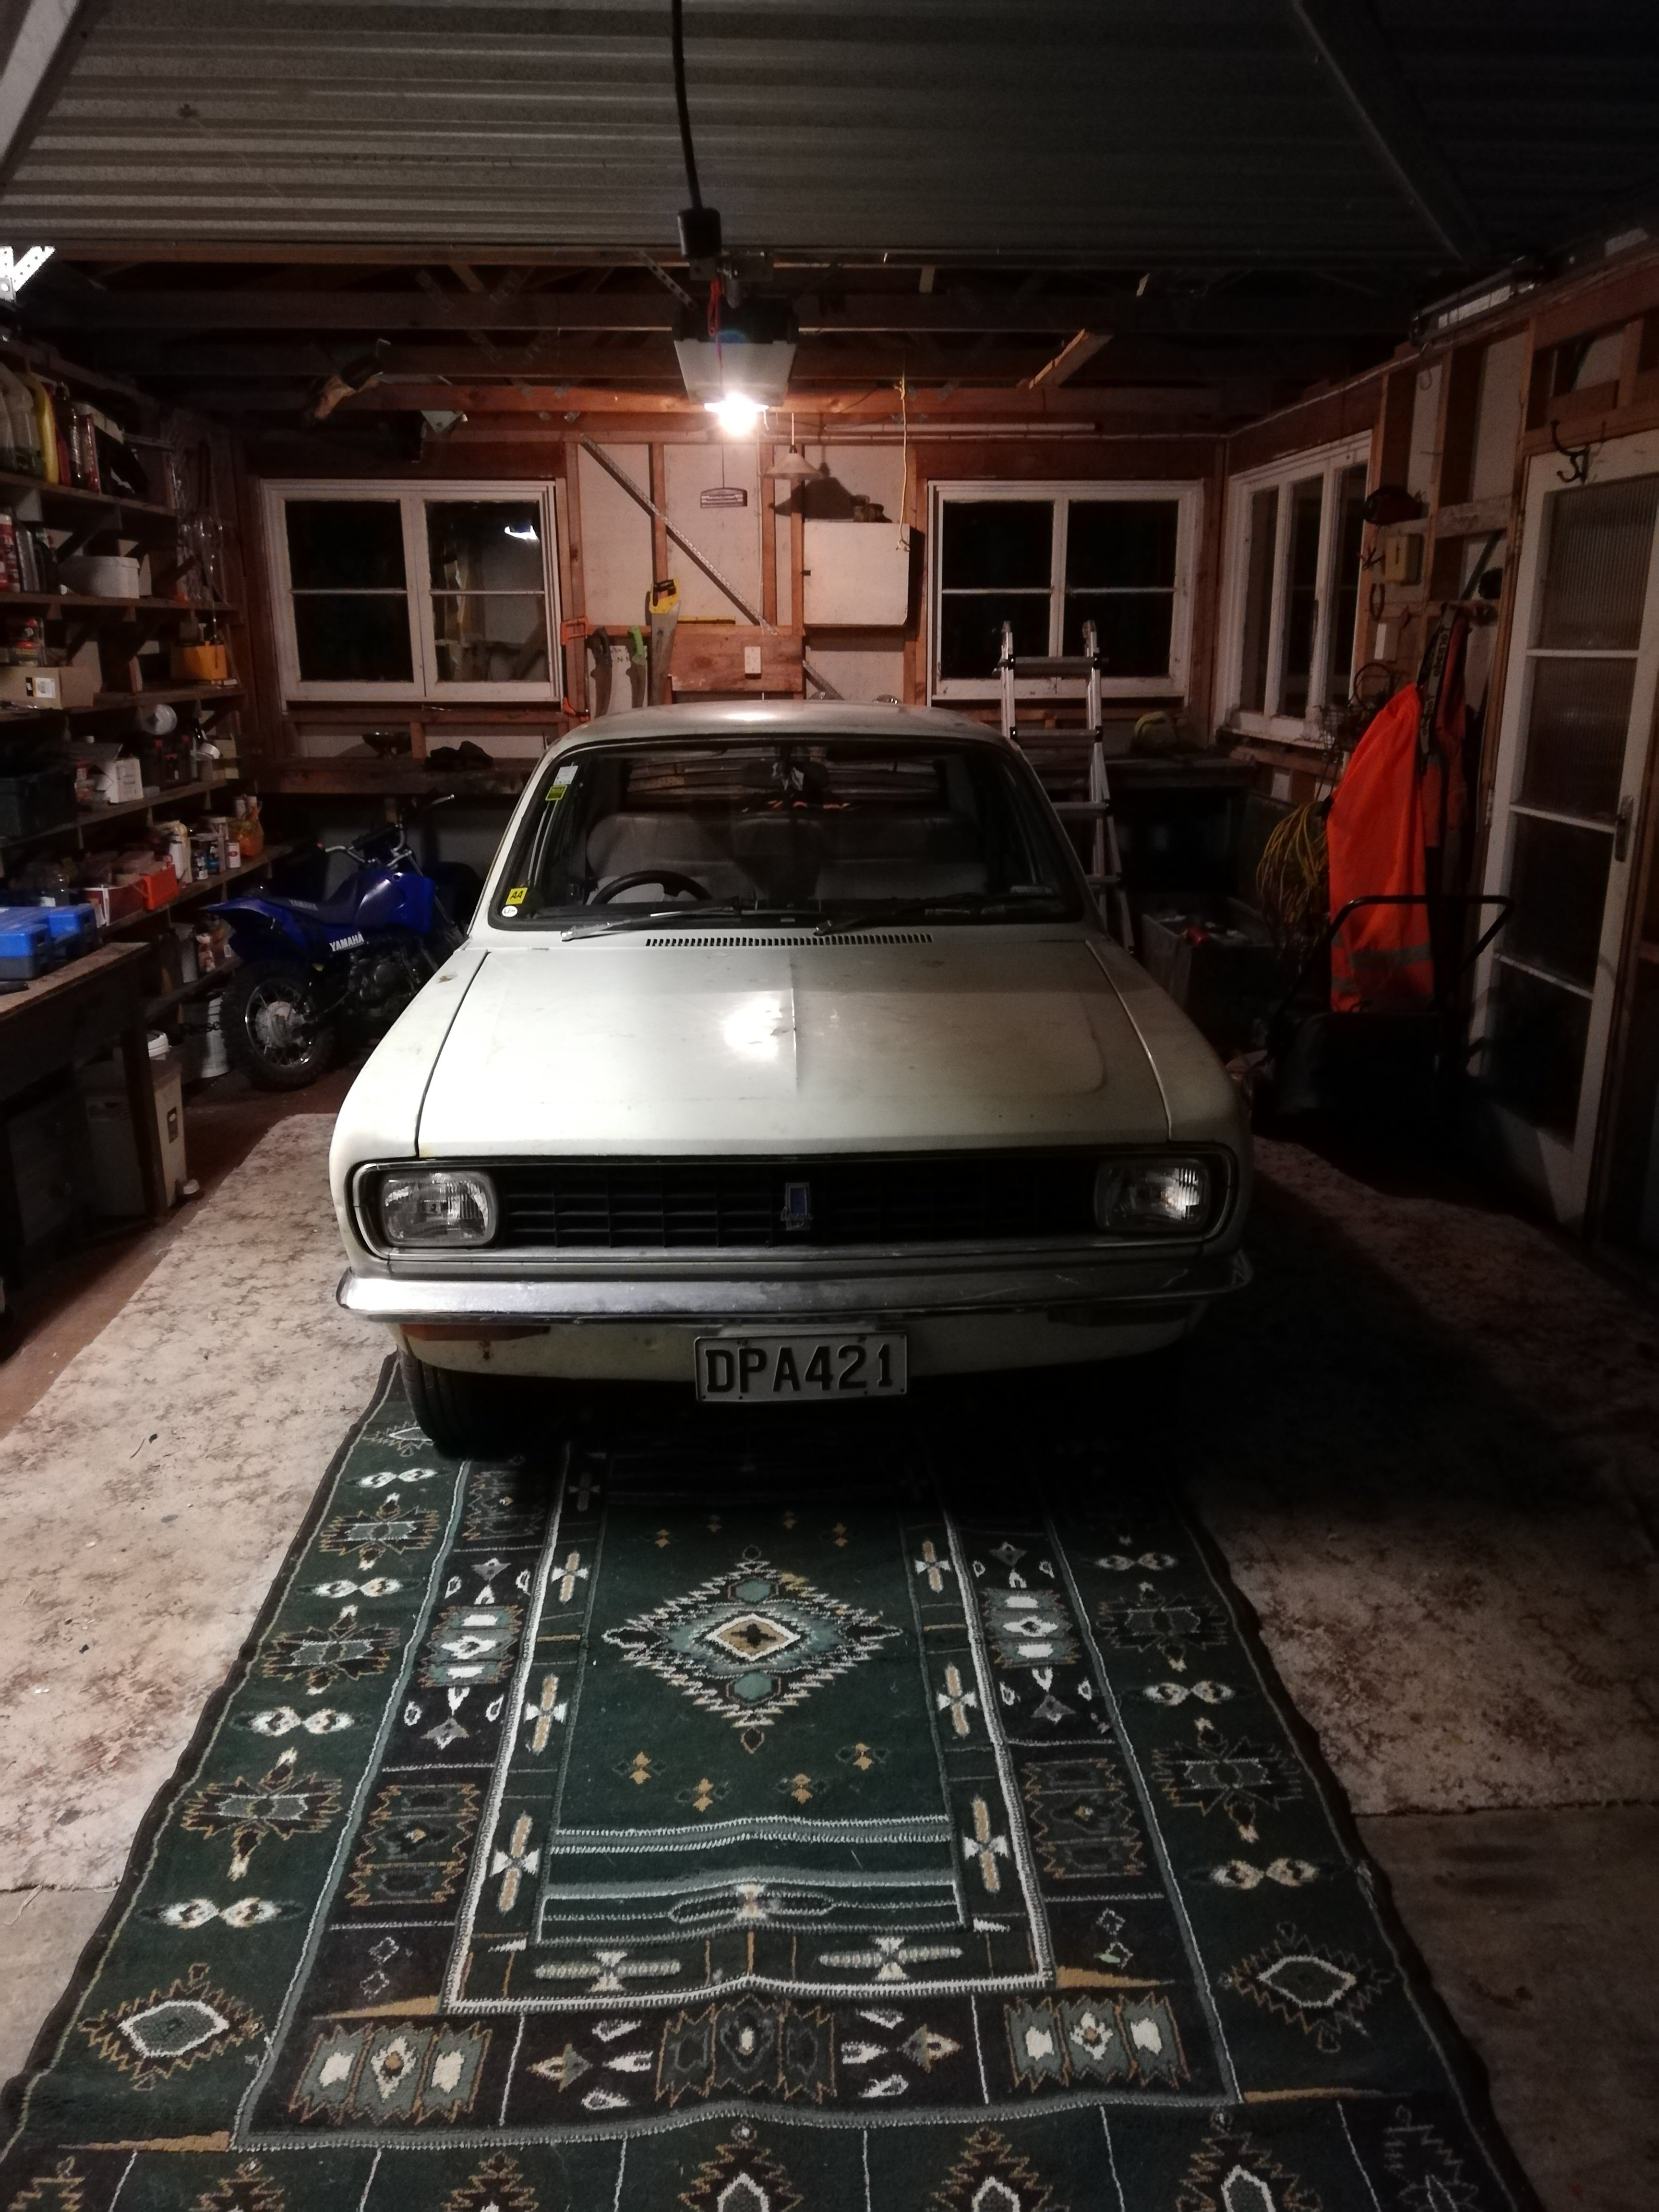
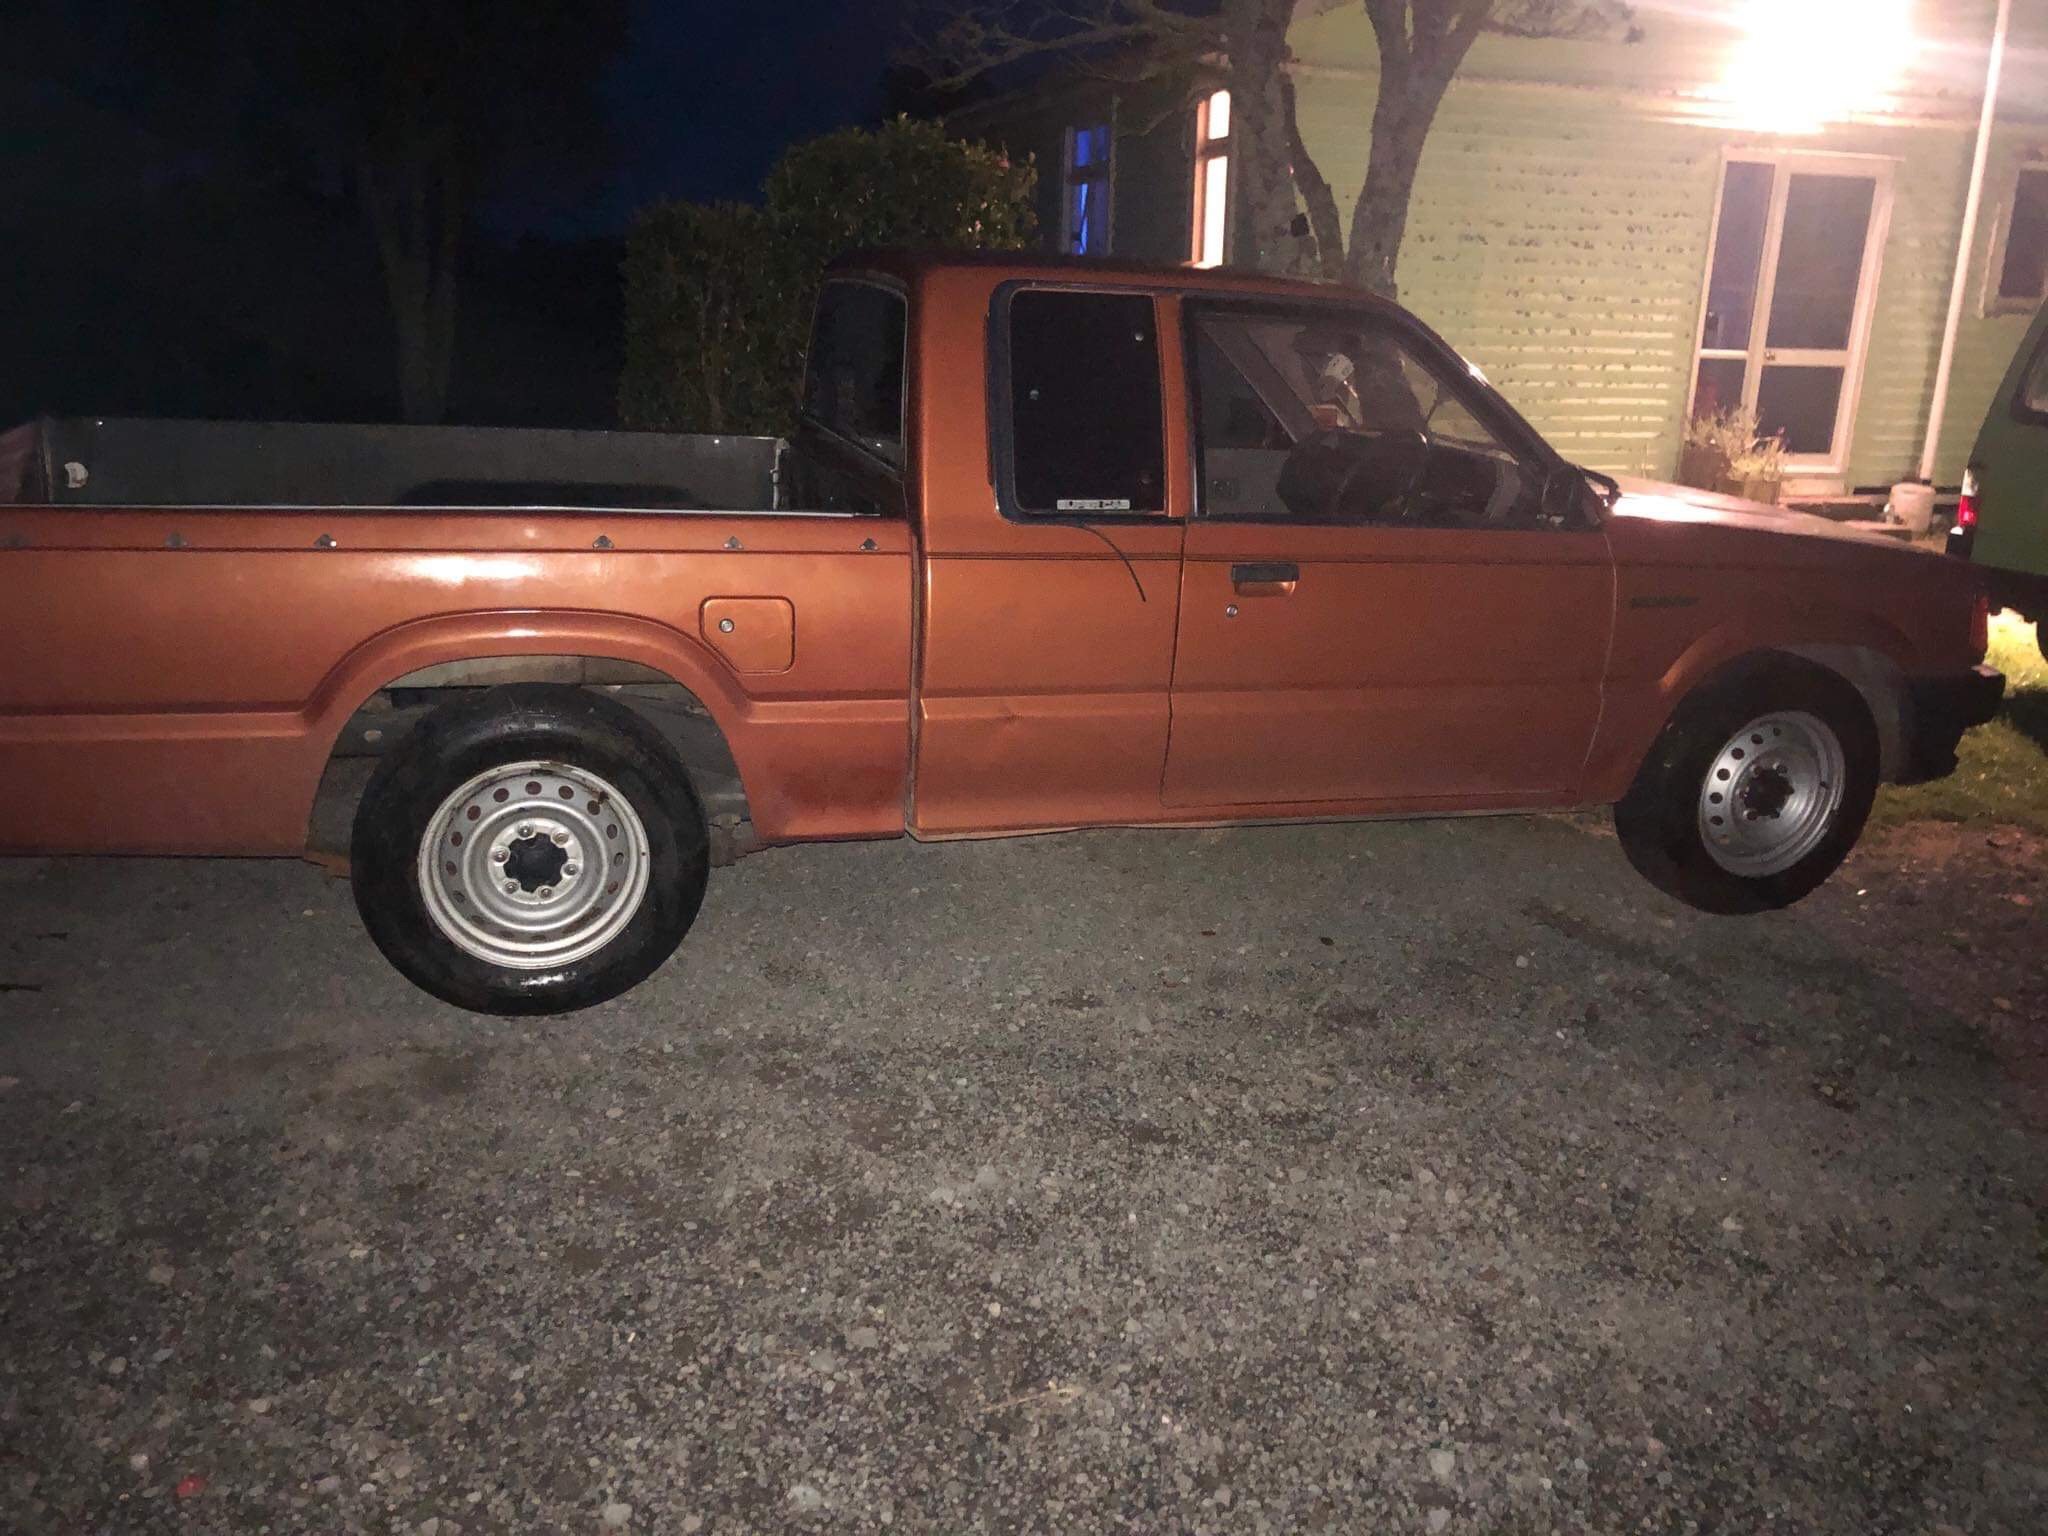
Used to be red. Because Red is faster. Pretty keen on swapping over to the Mazda front end, Saw the chrome Mazda grill on Tard me, and it seems to be just a bonnet swap to make the Mazda grill work. Will know more when I get the donor. And the bonnets have to come off anyway. Rained off work today. So was able to sus a few things. I currently don't have a car with a tow ball. So the first mission was sussing something that can tow a car trailer. And a car trailer. Luckily my brother to the rescue. Has a towbar on his Toyota work shitter. V6 3L Avalon. Not the ideal tow vehicle. But better than none. And booked a trailer with the boys at Tool Hire Taranaki for Tuesday arvo. (Gotta time in with my brother's shift work, my own work, and the owner of the donors work hours) Think I might prep and underbody seal the engine bay while the motor is out. Attempt to get another 30 years out of it. Not overly worried about looks. I quite like the idea of patina rust repairs going on because work ute. And if I do the engine bay now. I shouldn't have to touch it again. (famous last words)
1 point
-
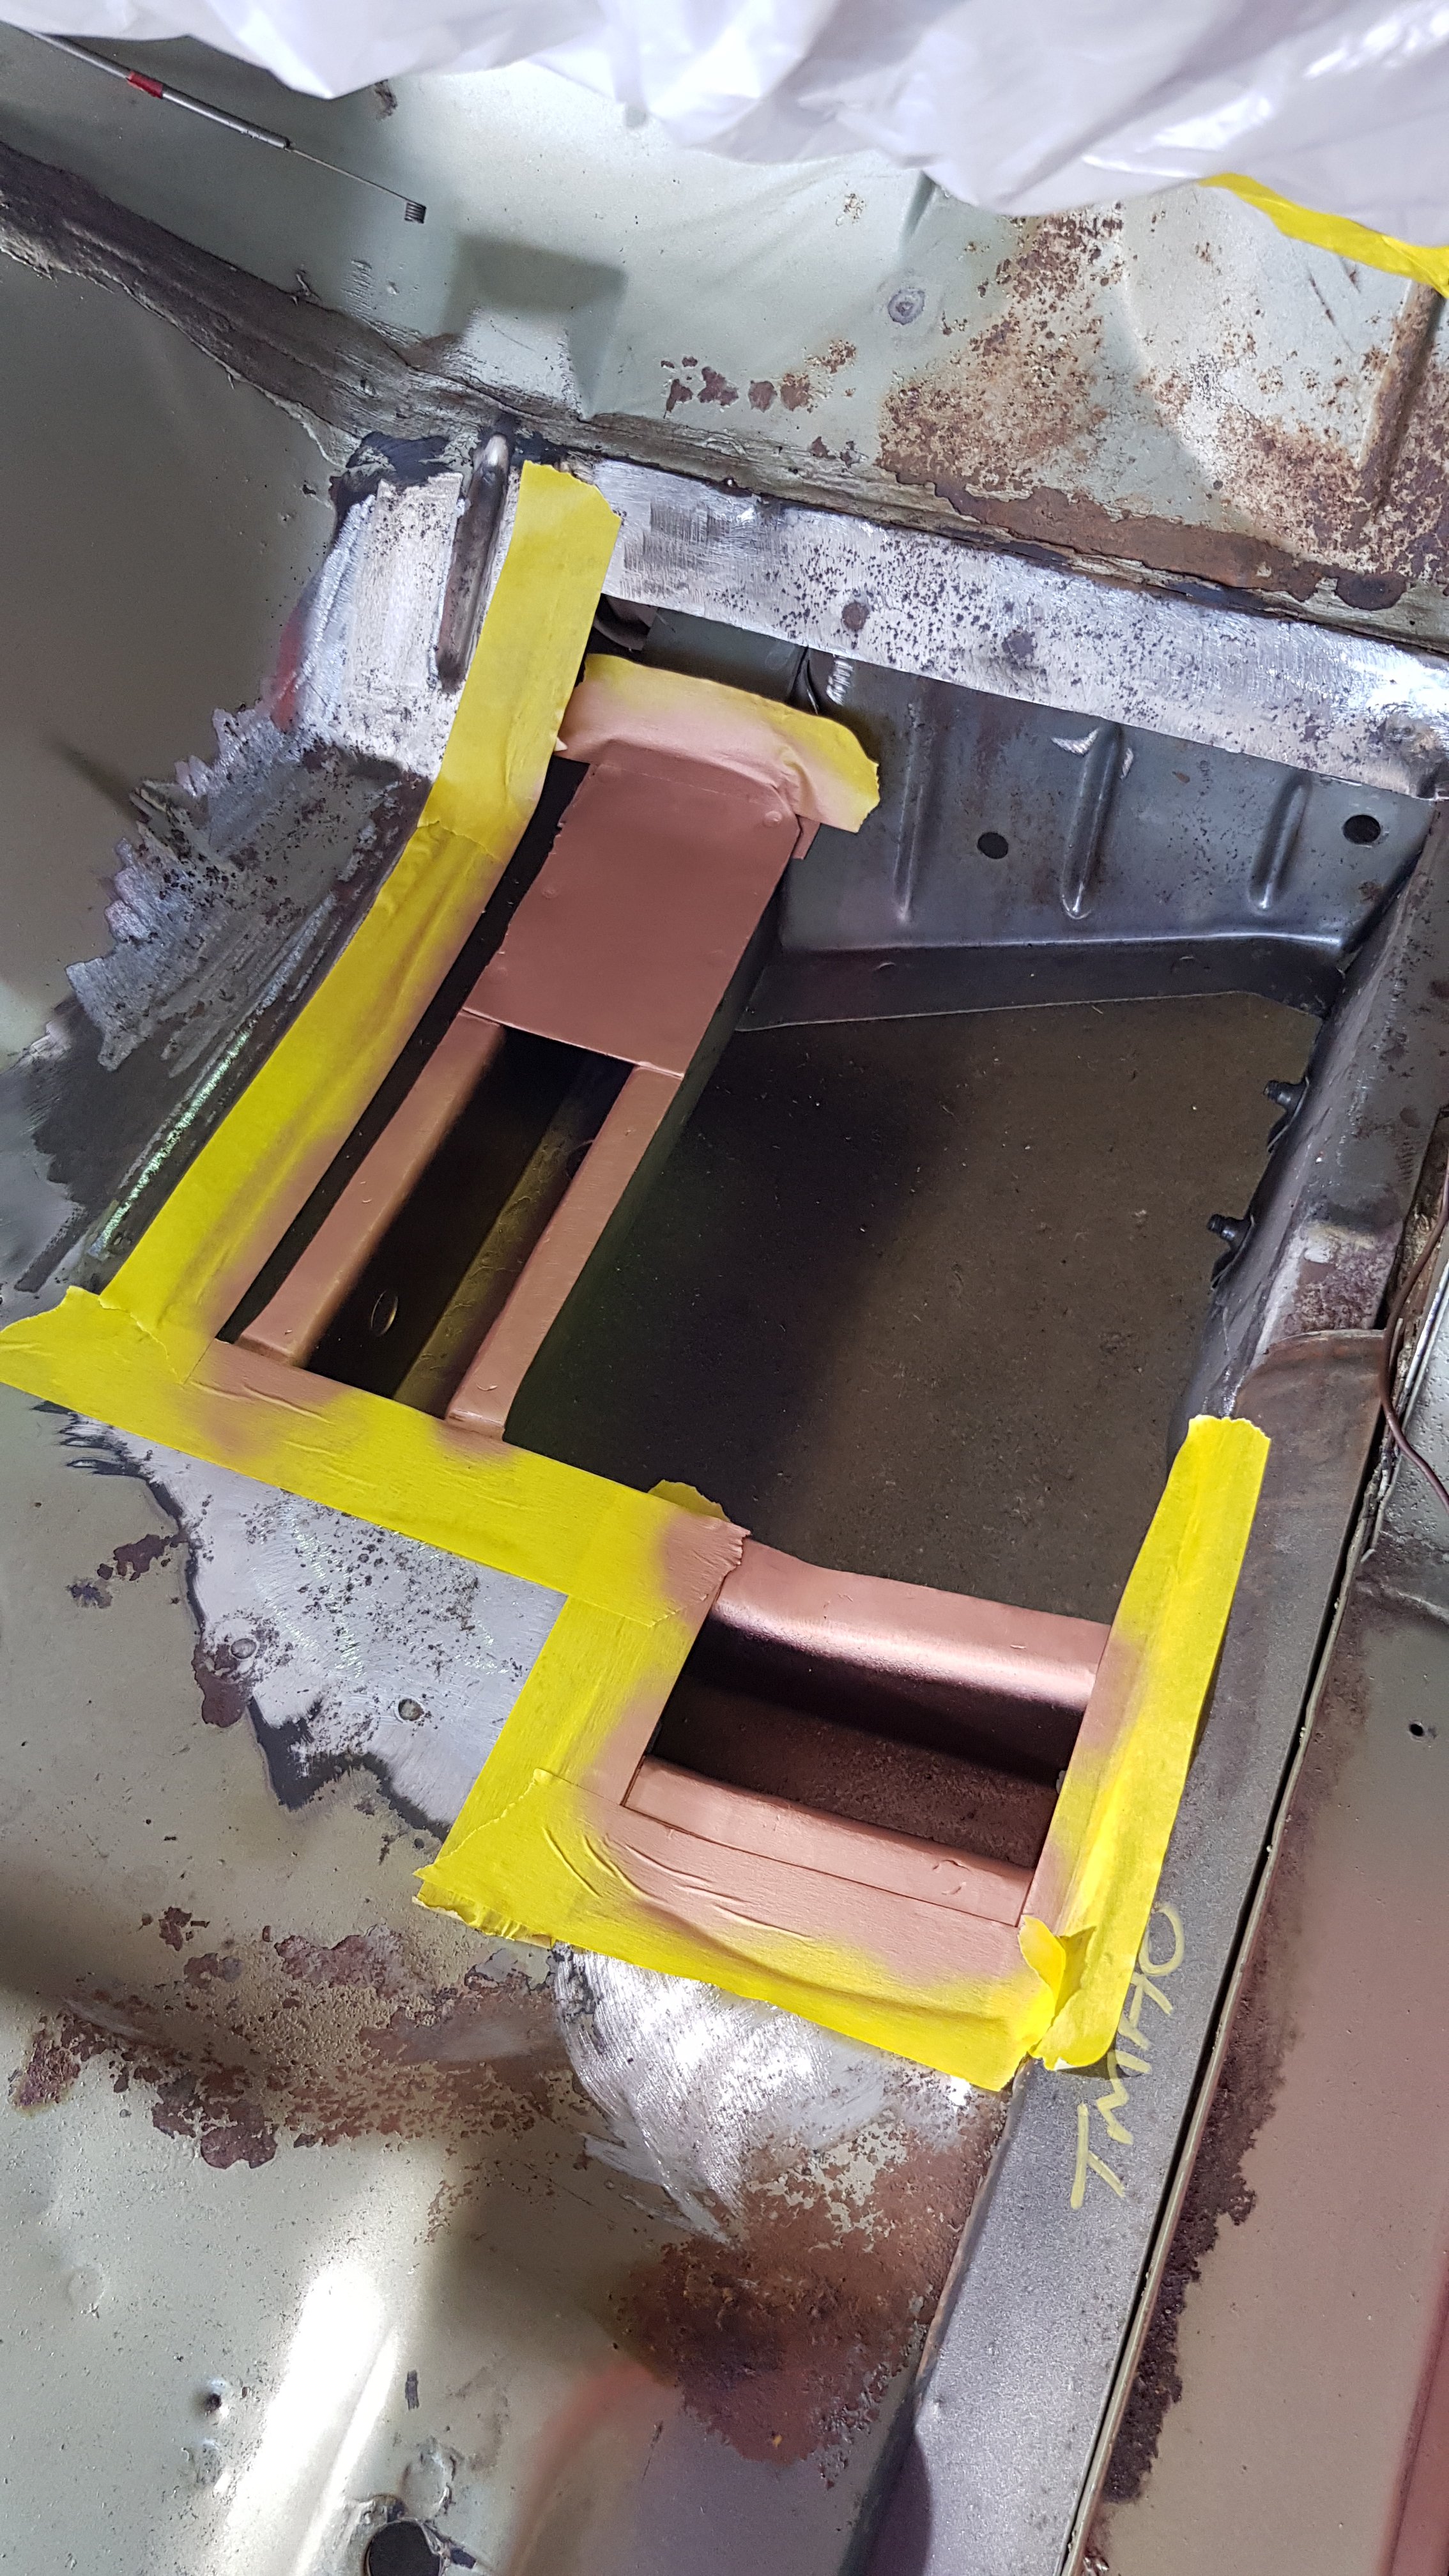
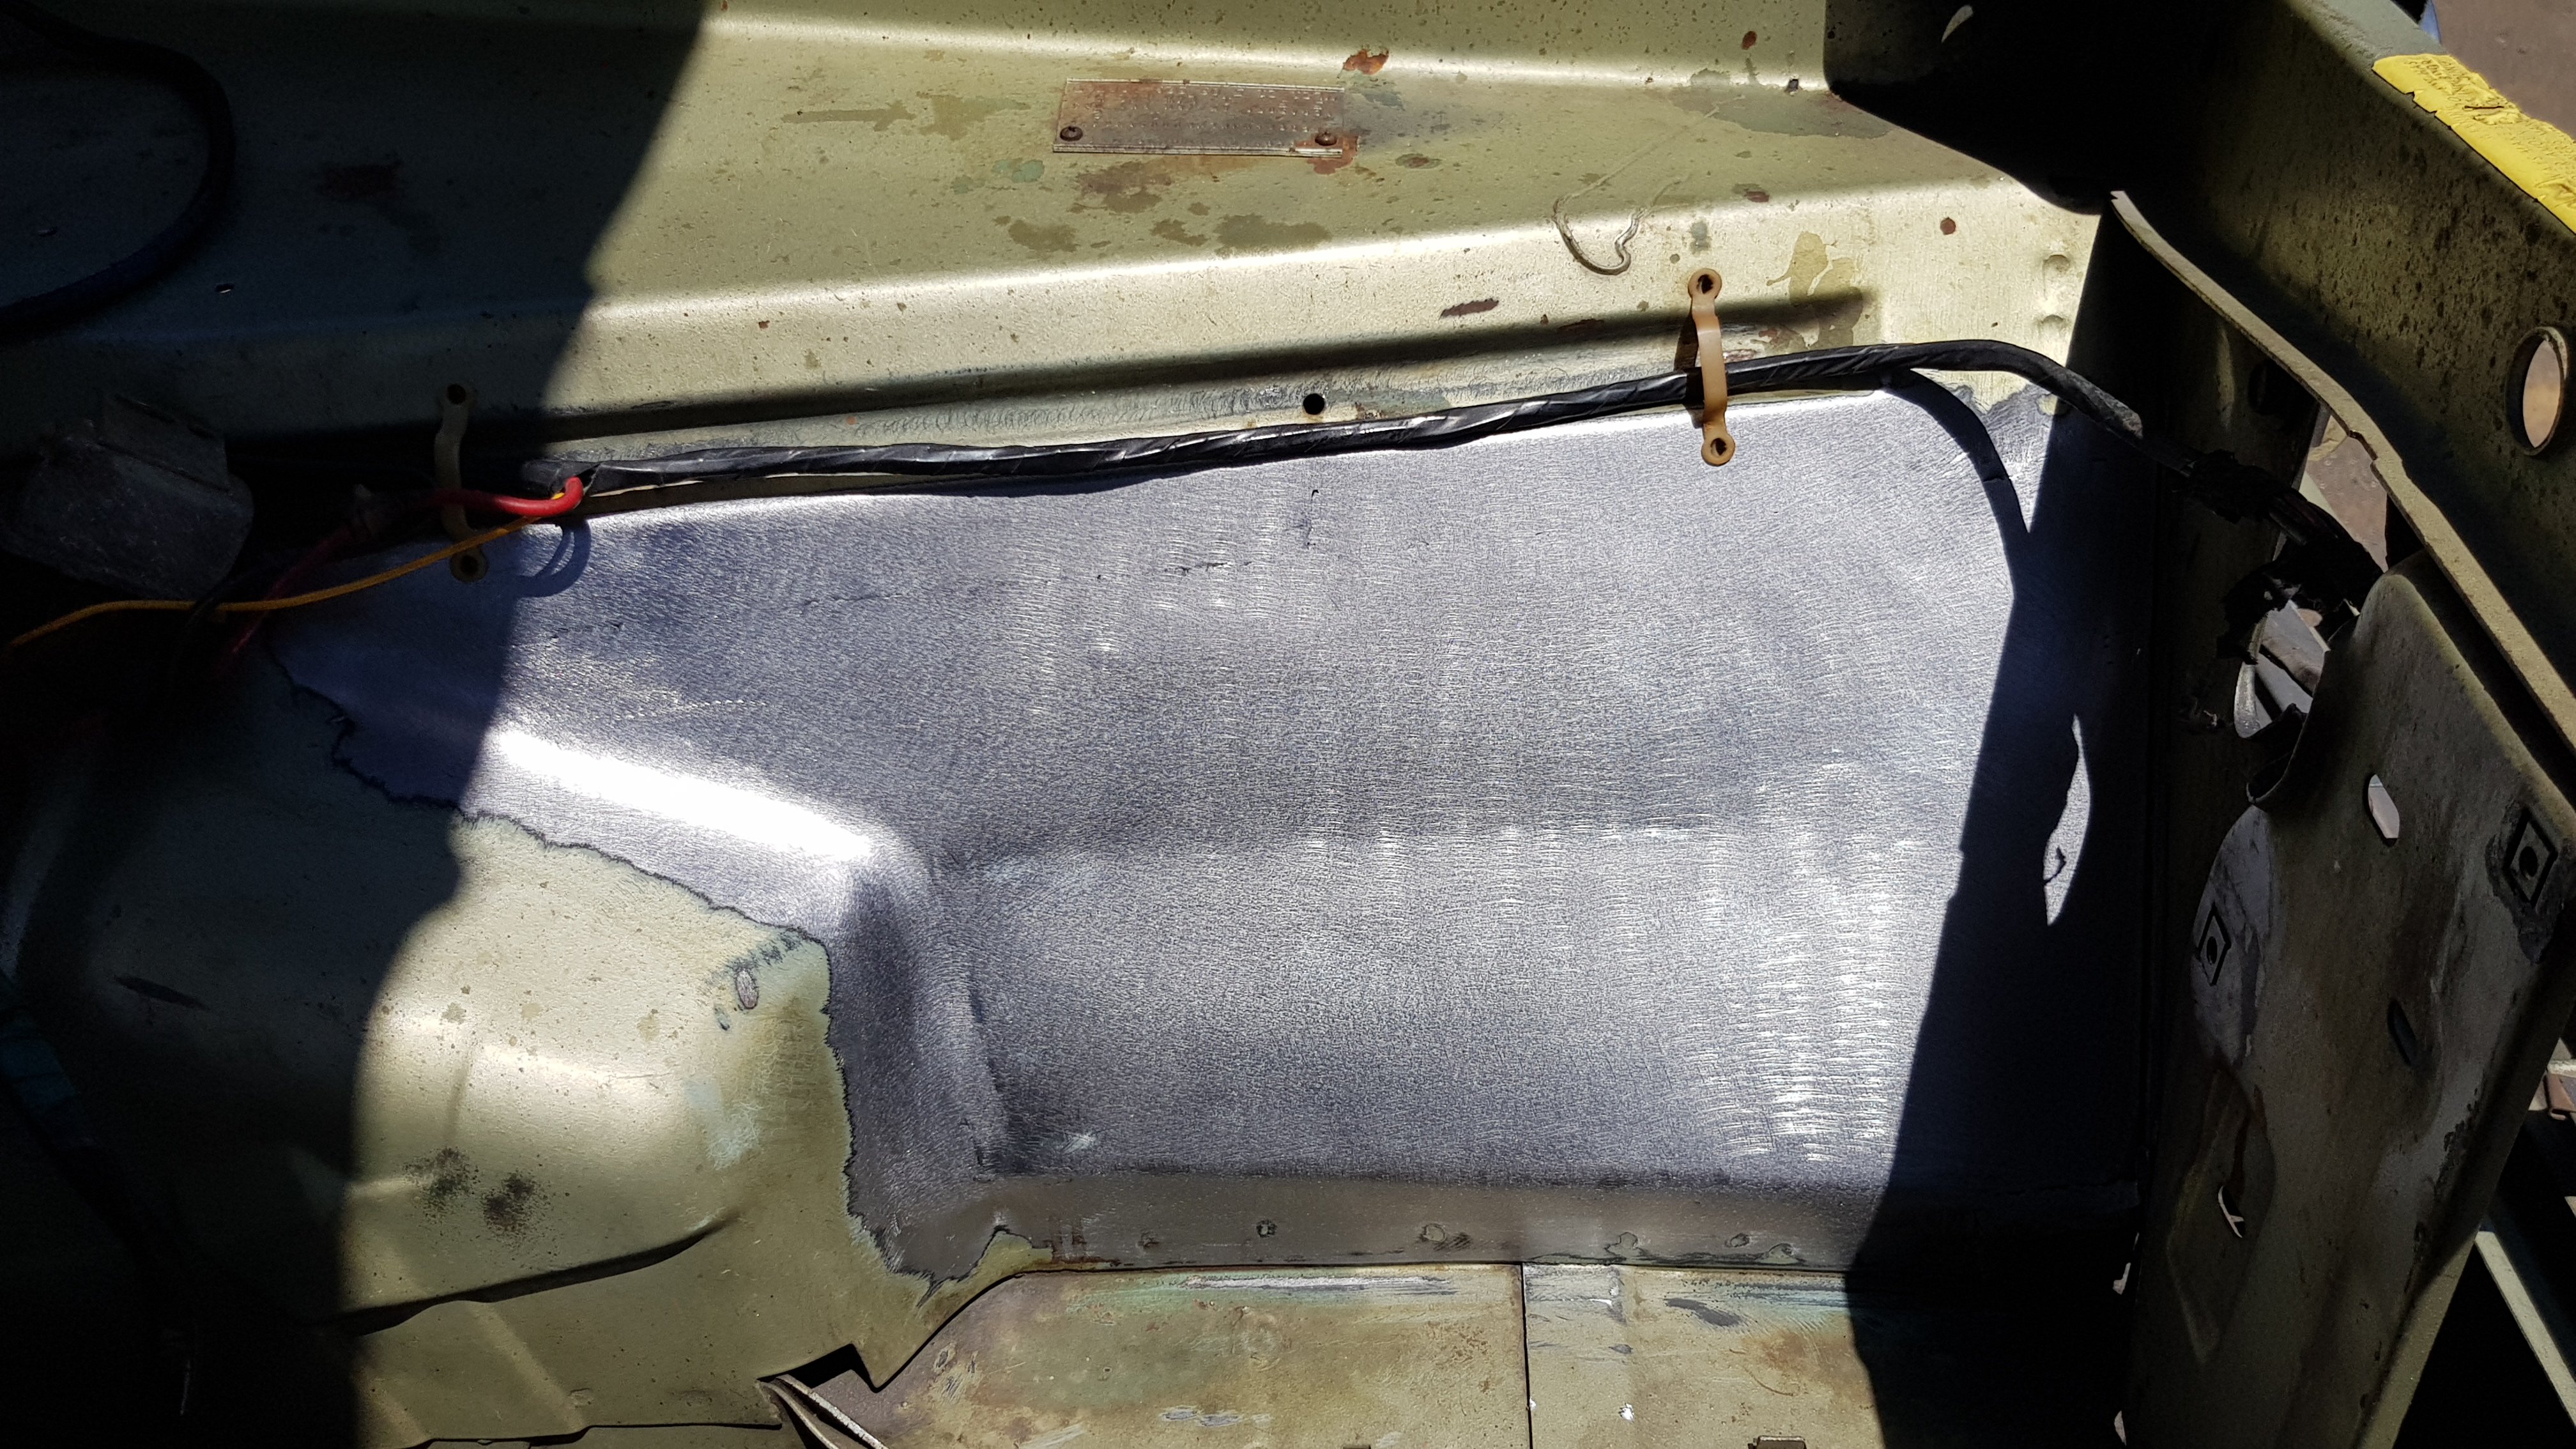
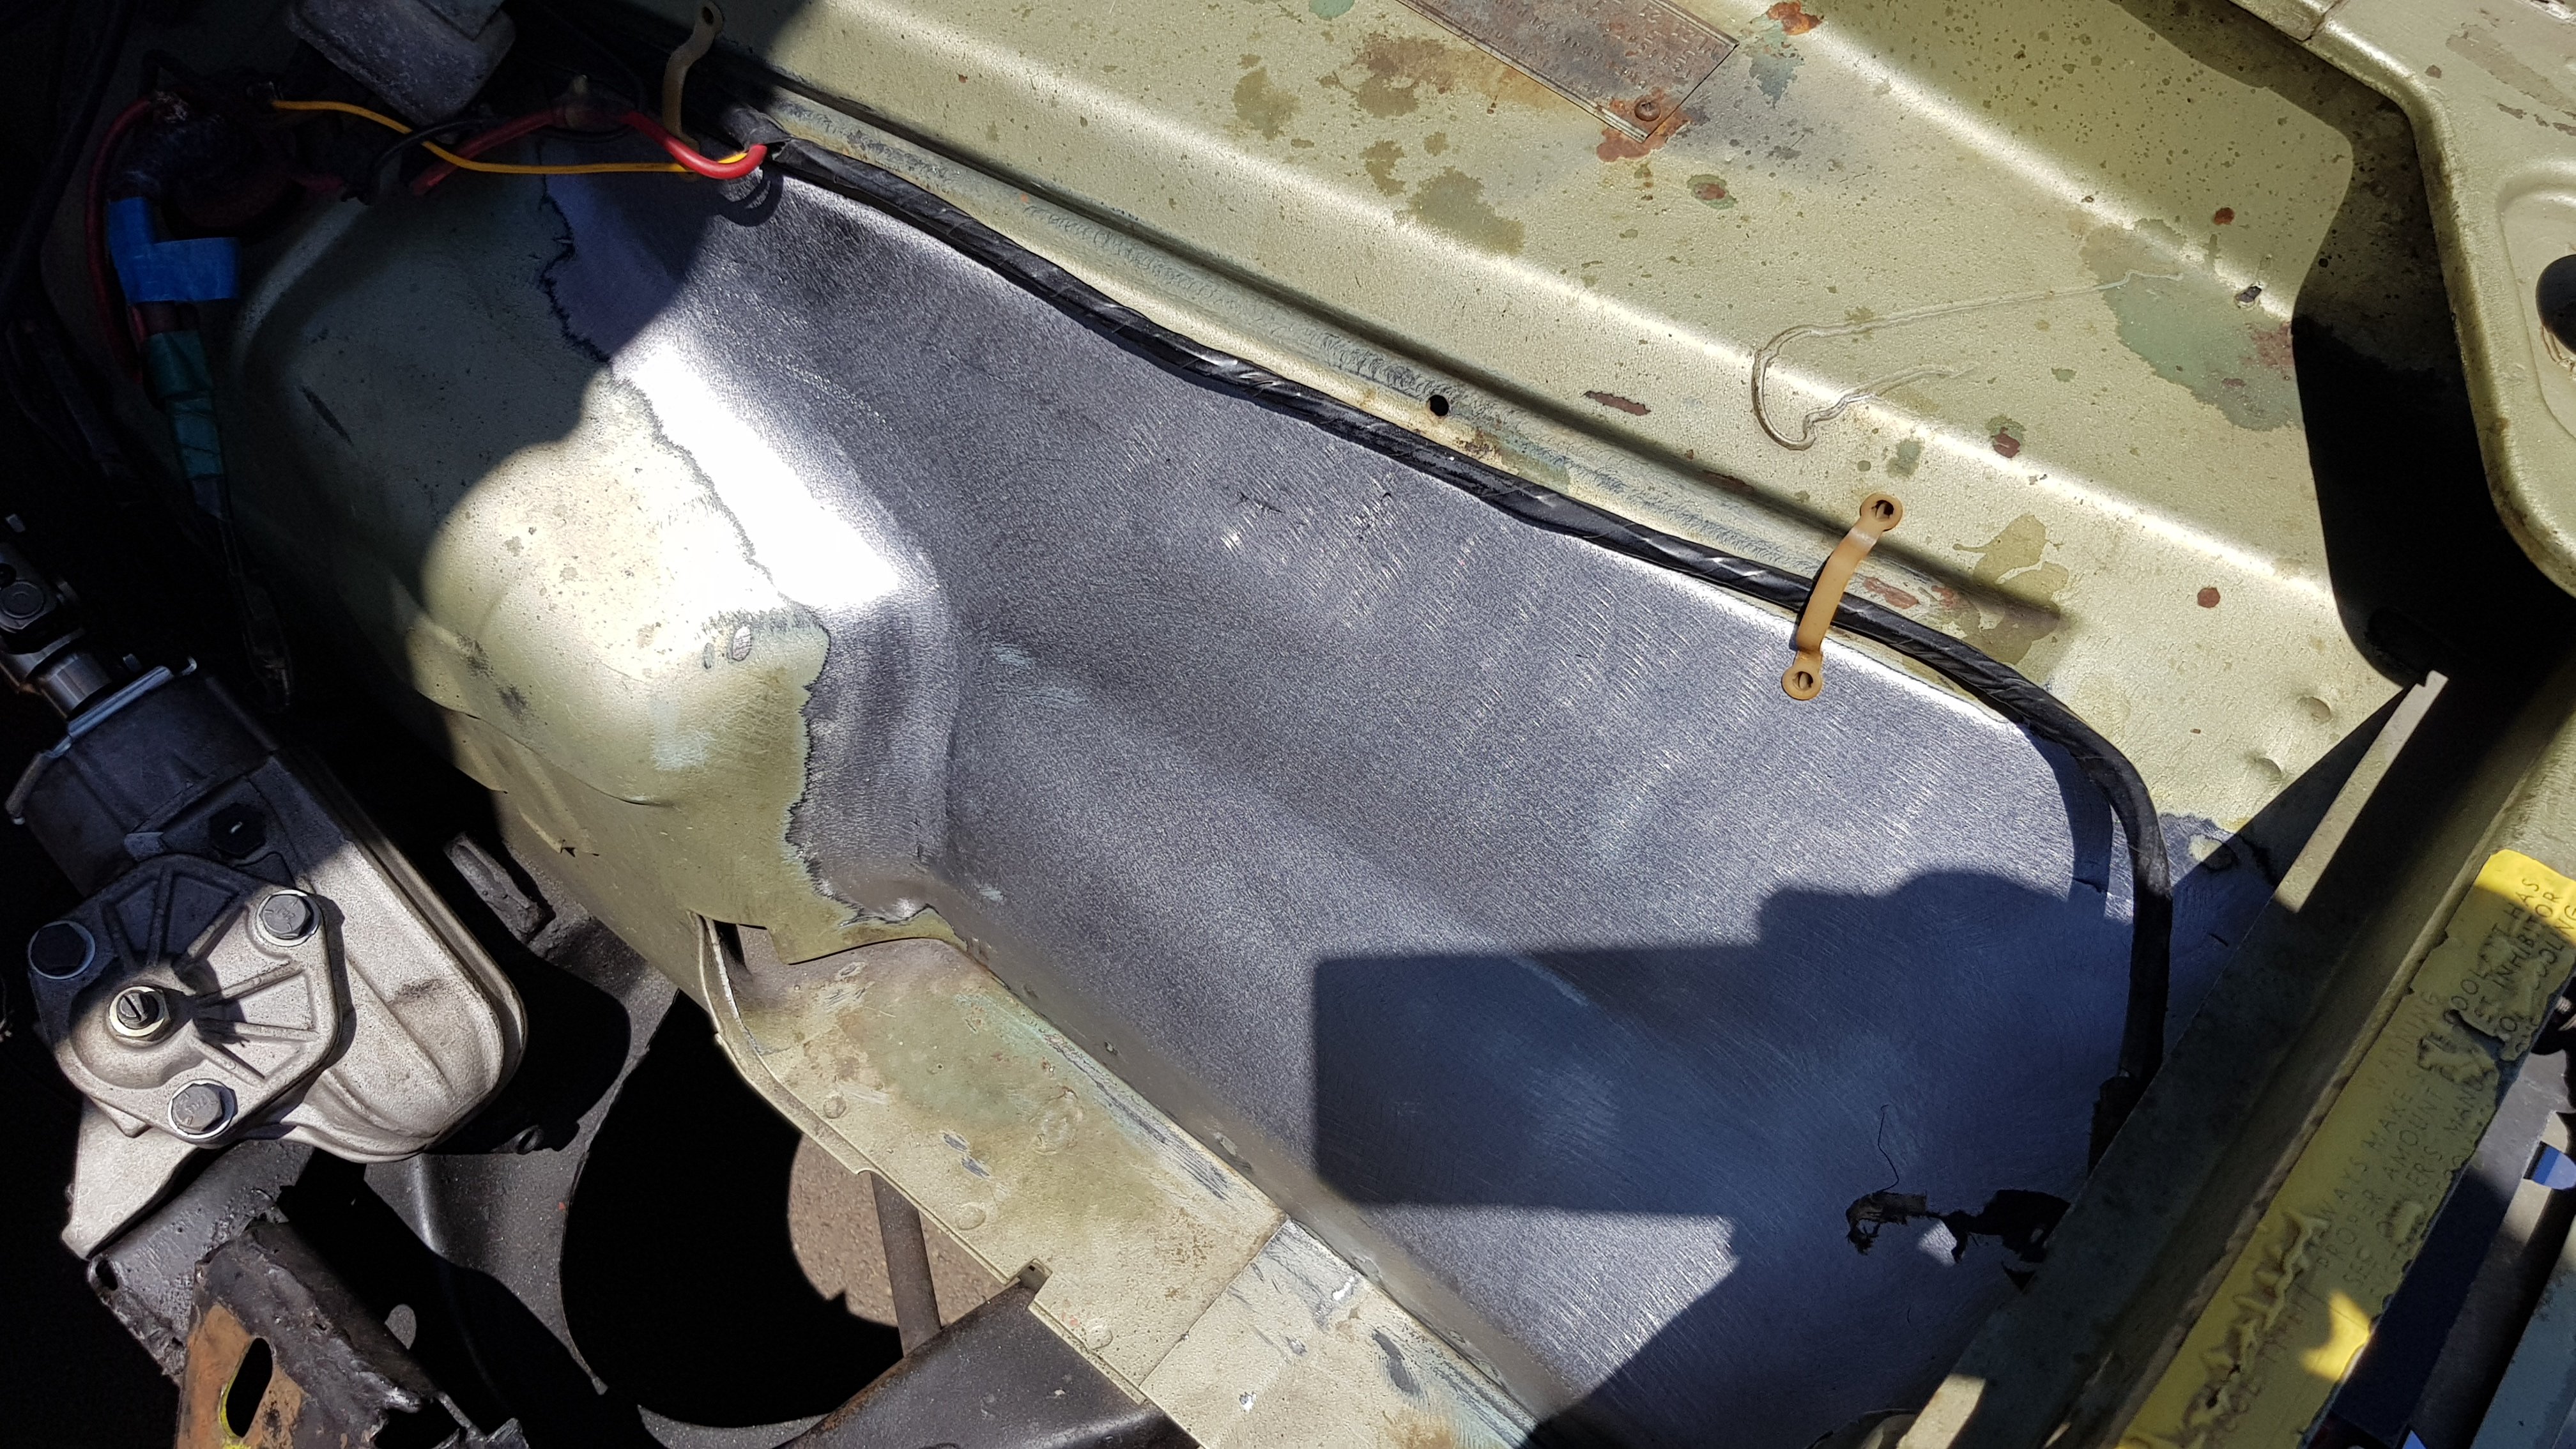
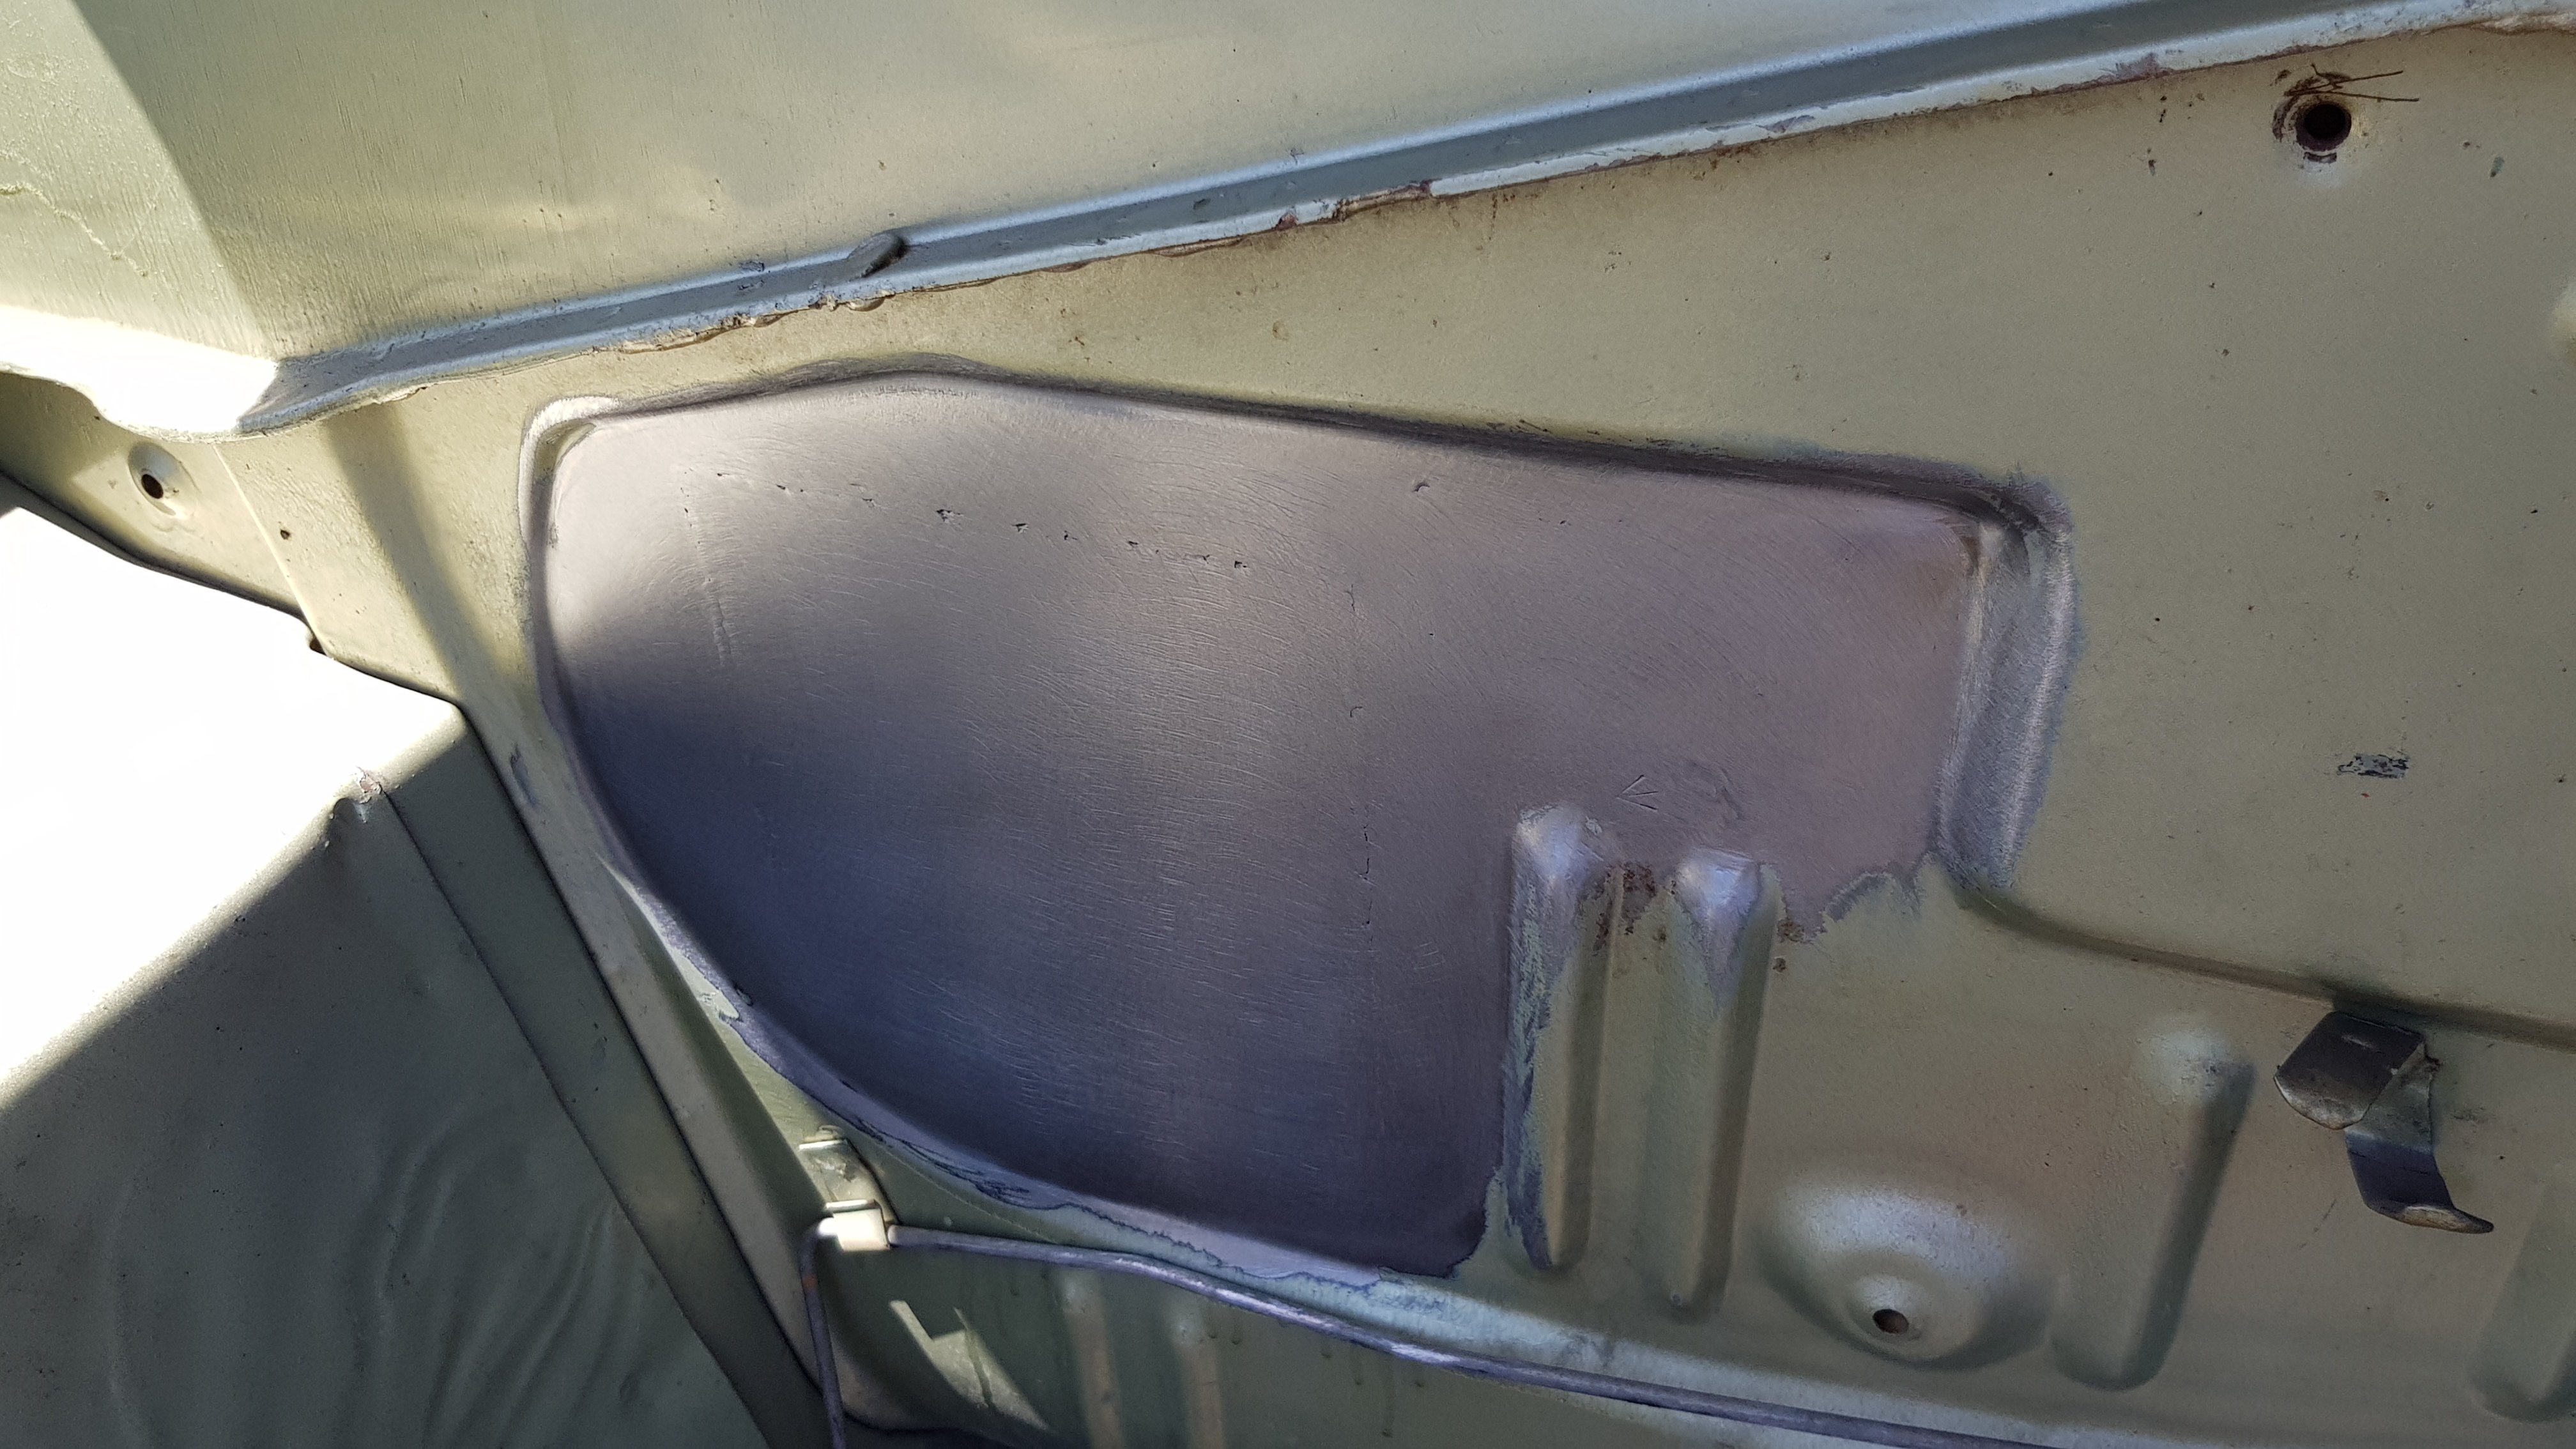
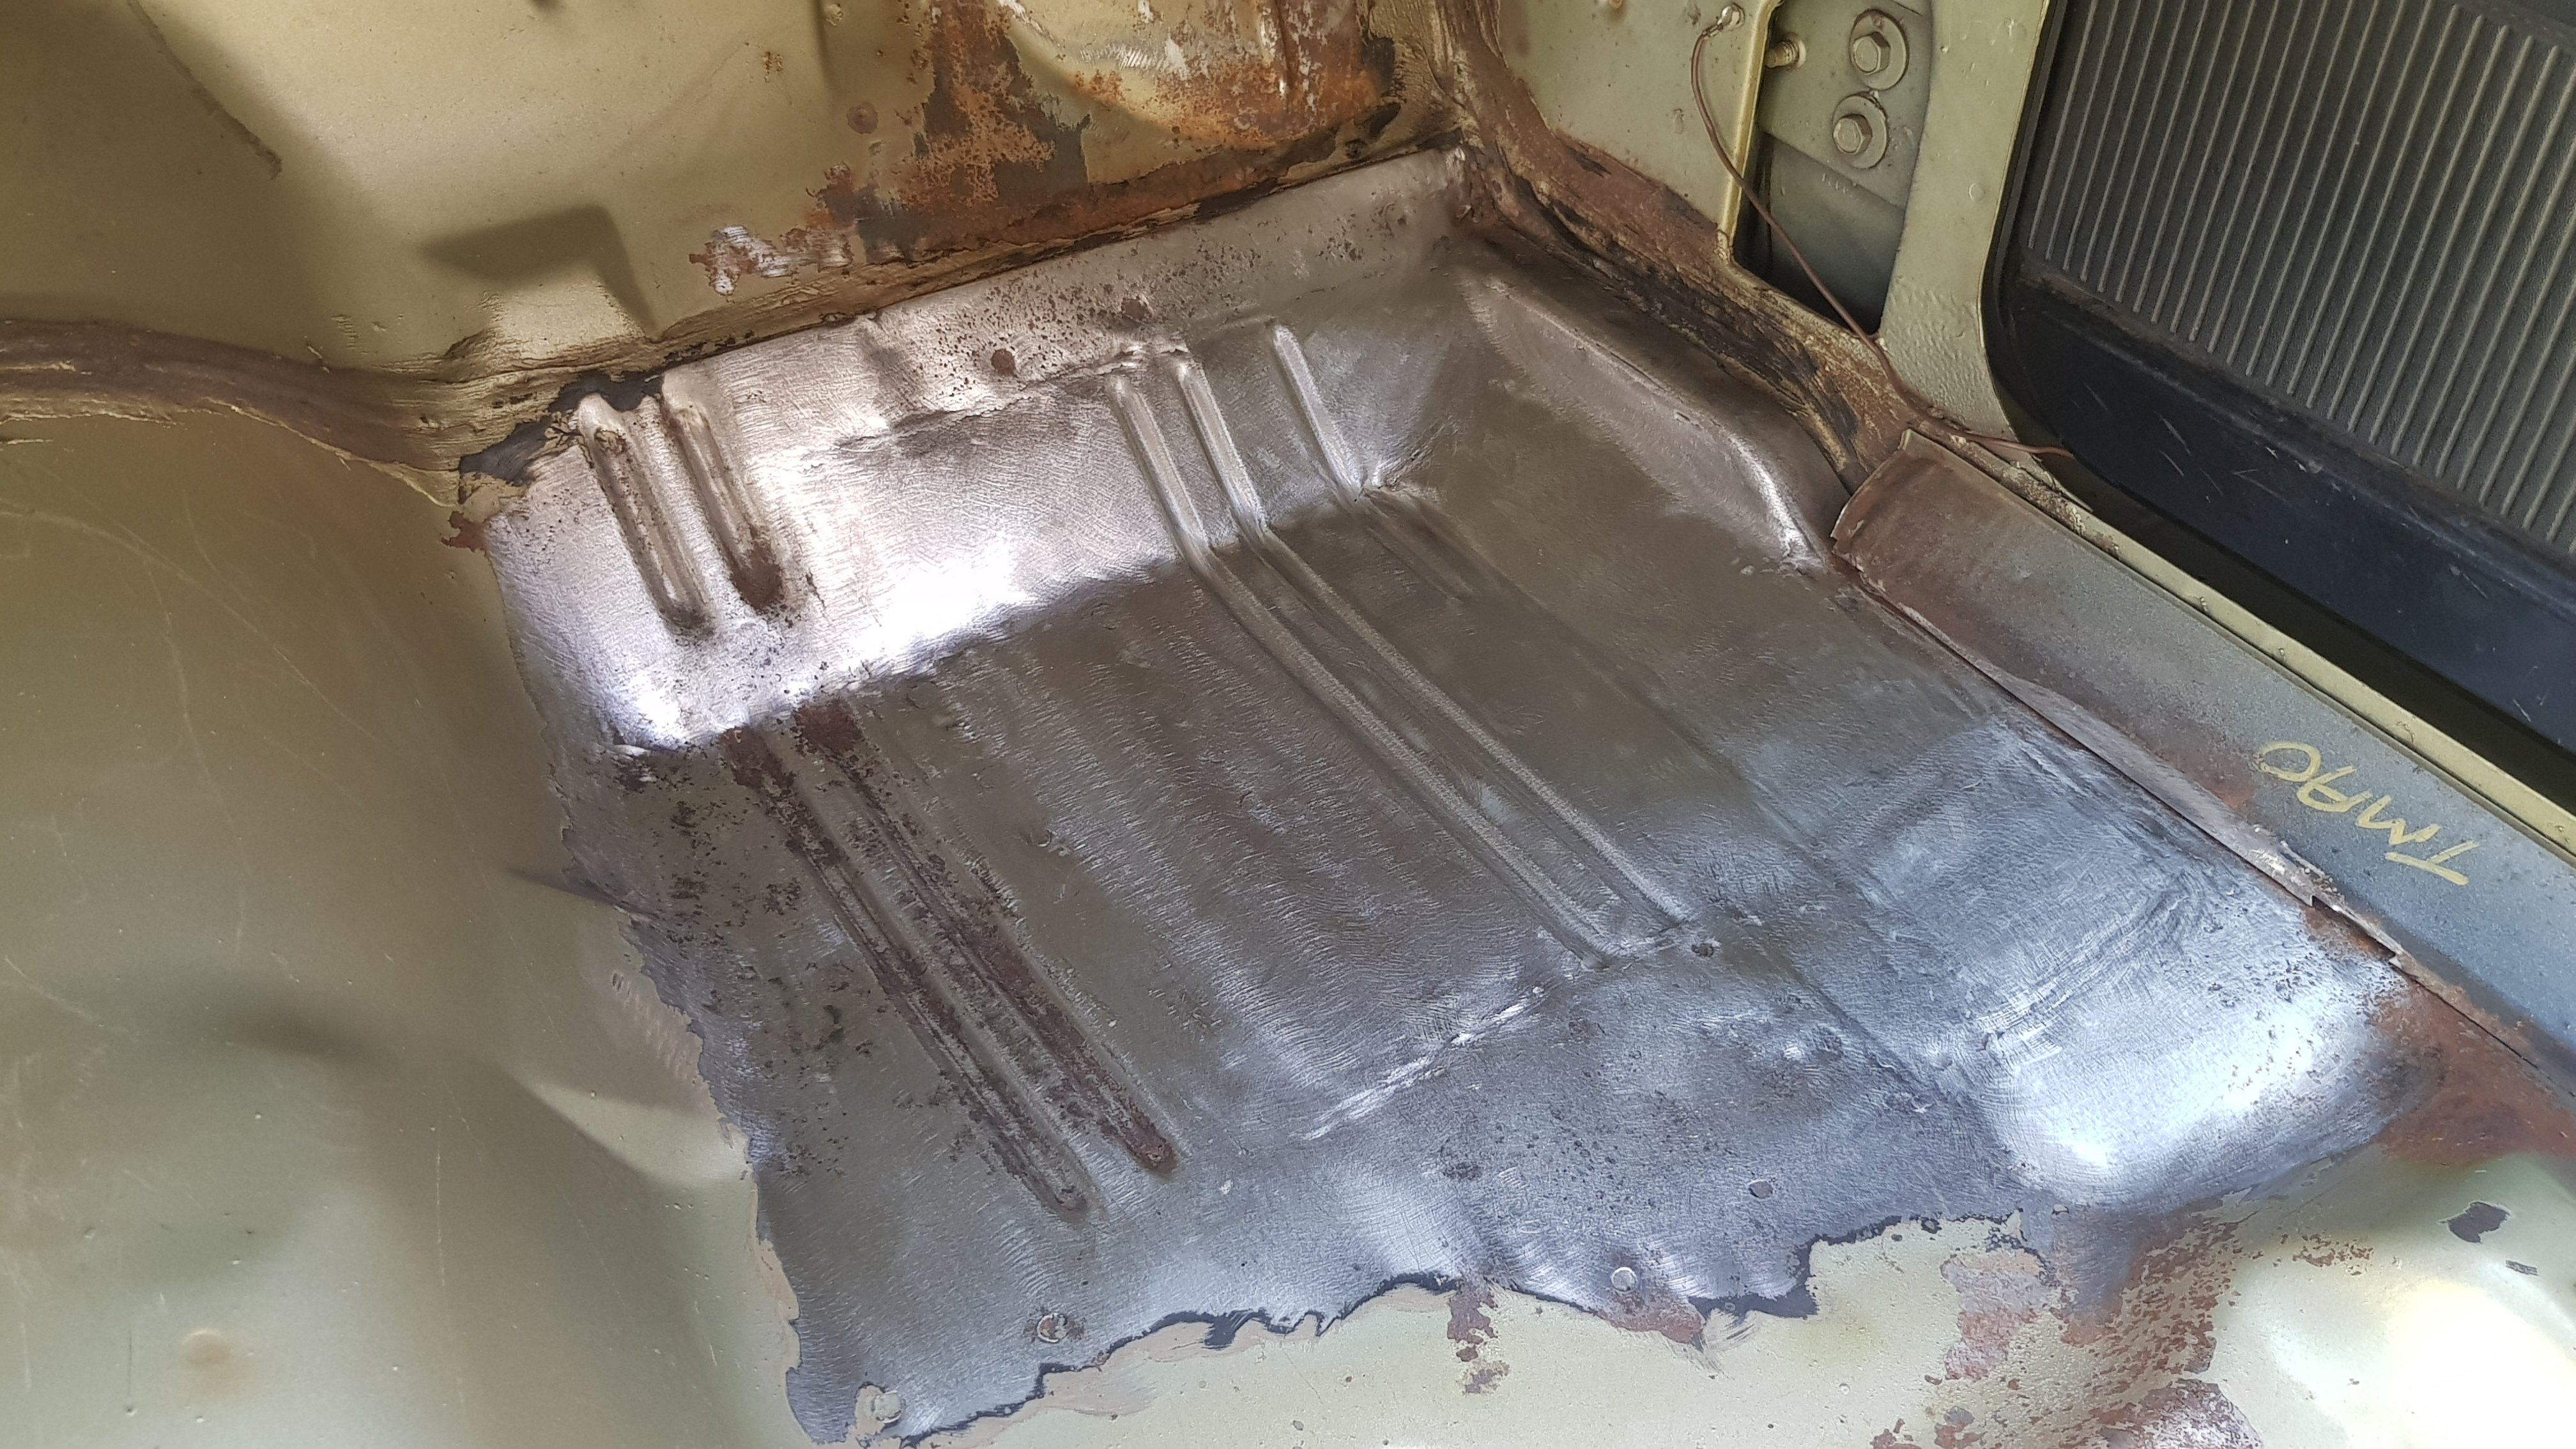
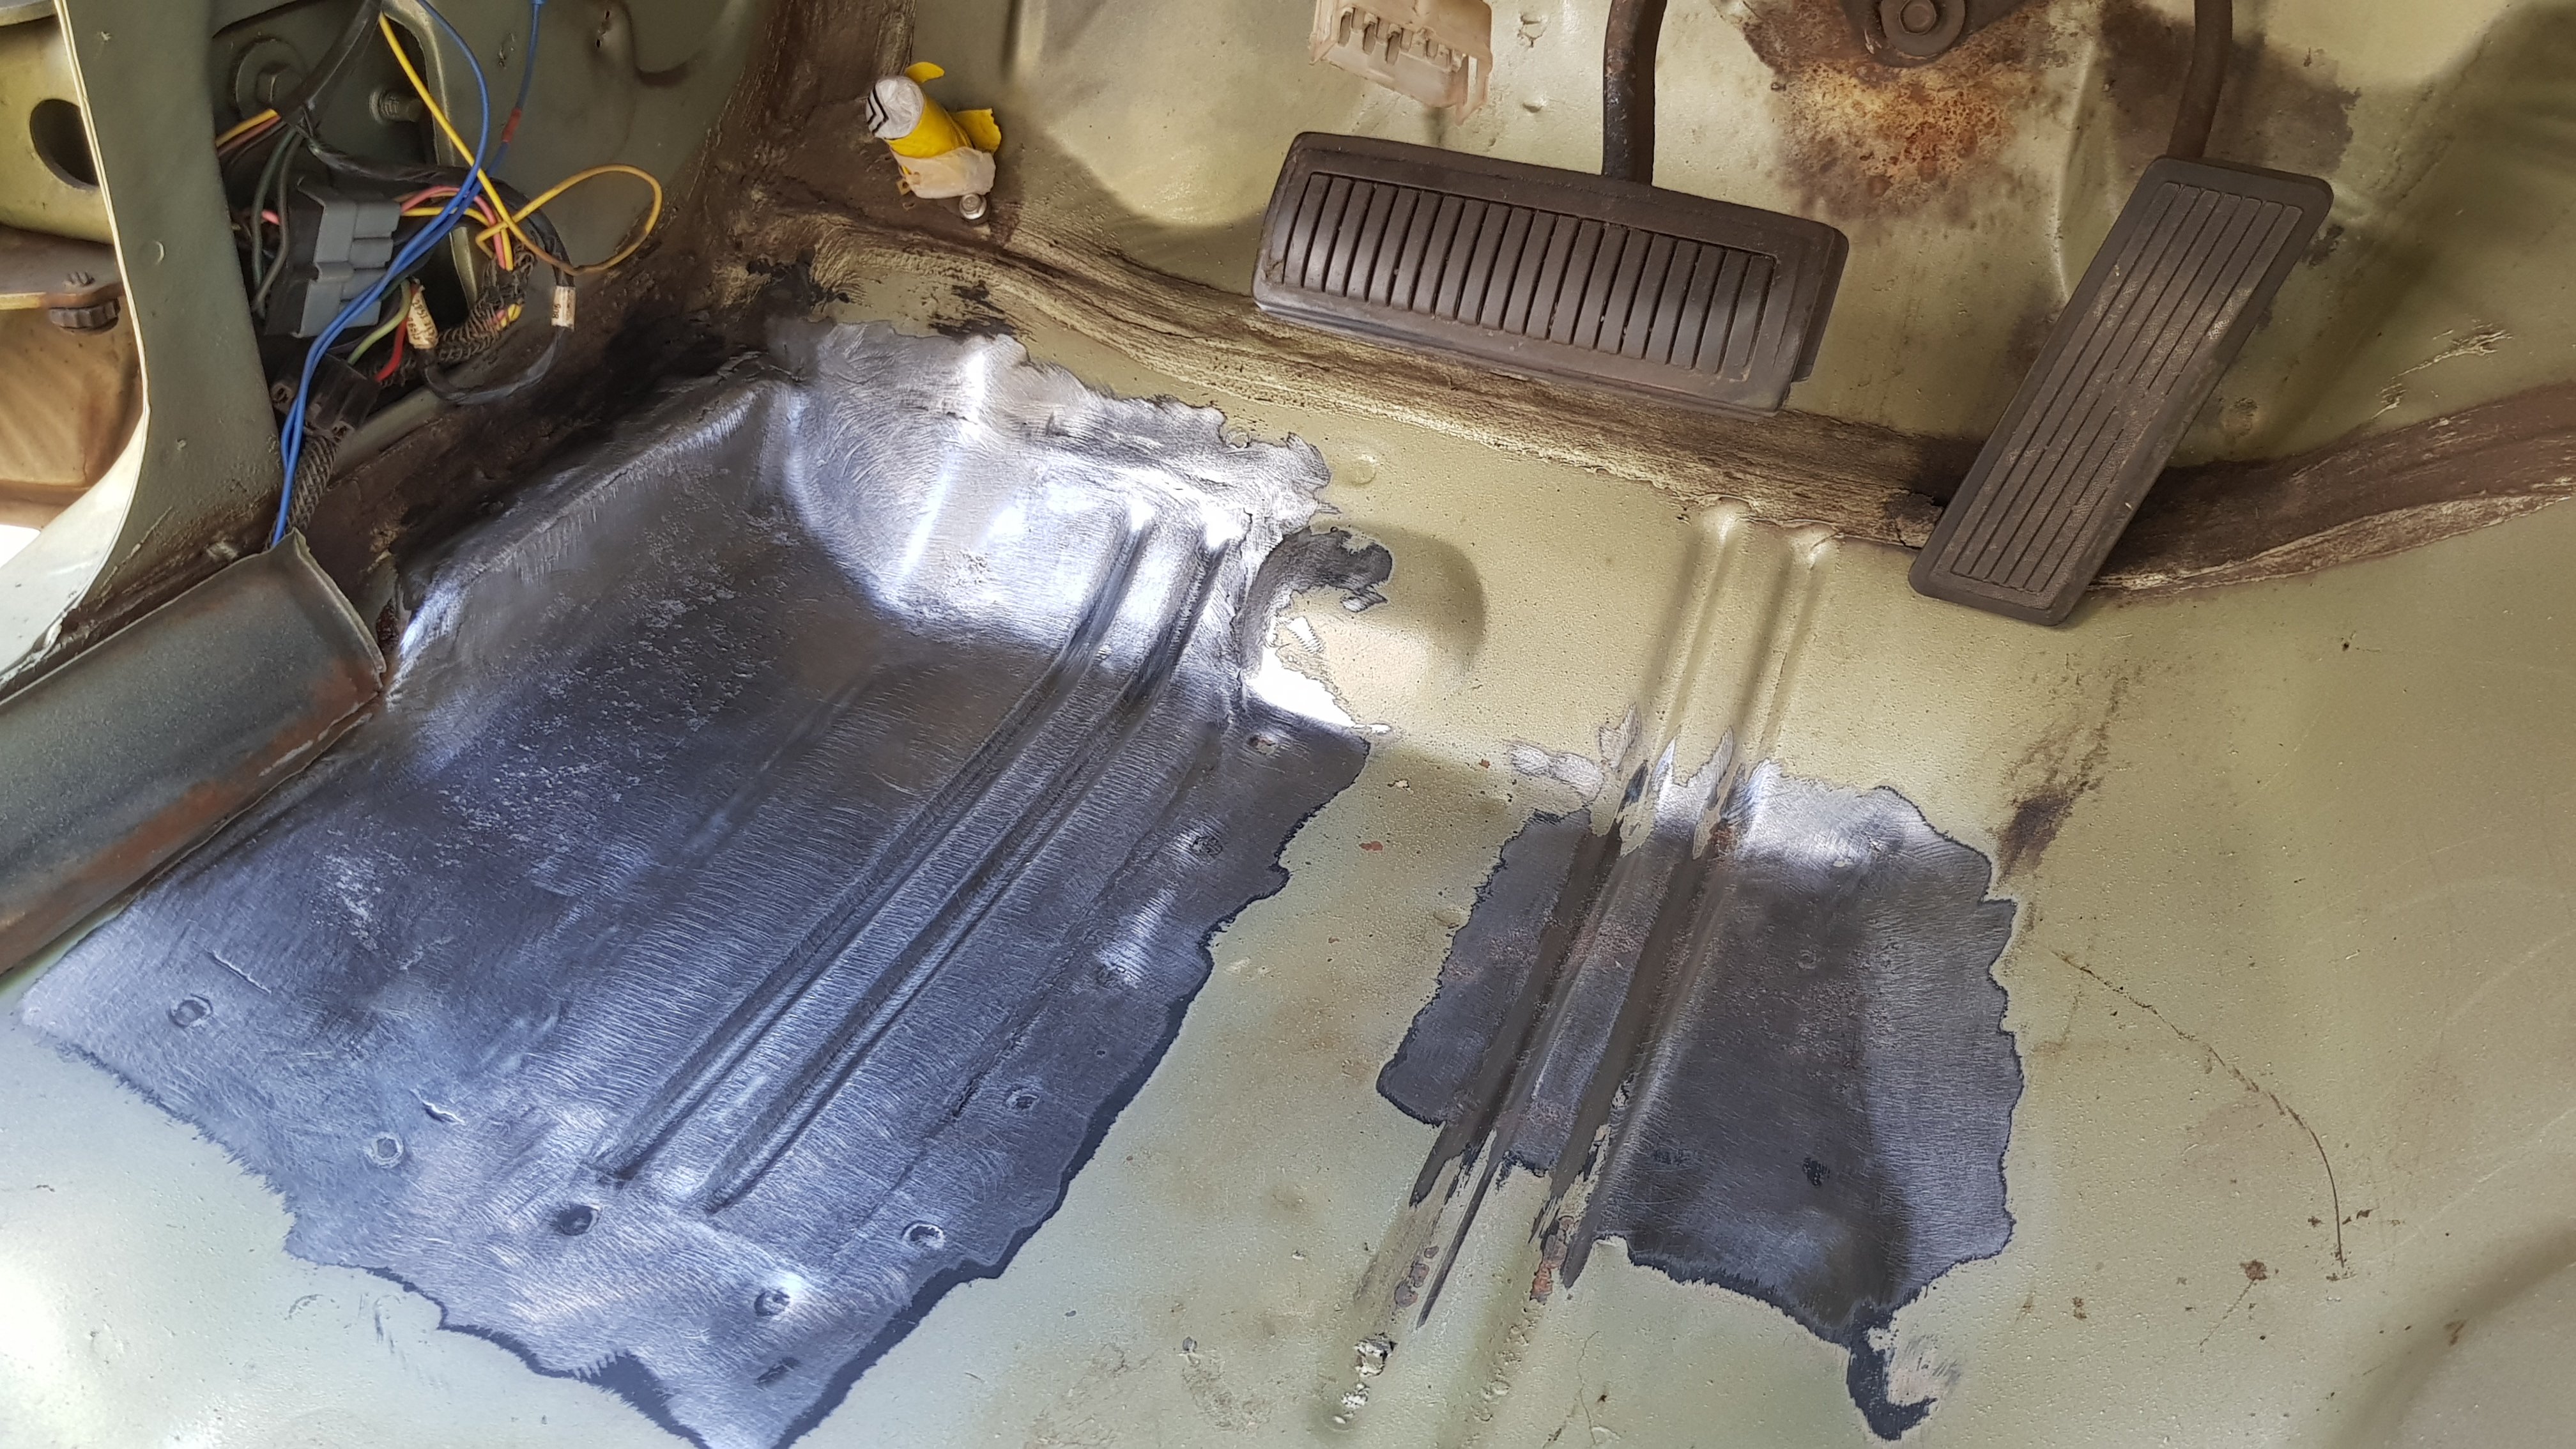
Matt sent me some better pics of when he was doing the floor and stuff
1 point
-
Cut off the h150 brackets to mount onto the h165. Will need to make sure I weld these on perfect! aiming for a non cert swap as the diffs are practically identical Yarns heeeeerre1 point
-
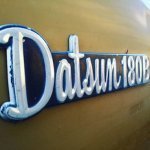
Been a while since an update, A14 has been running well. Finally got the jetting better, smoother to drive and more fuel efficient! Up'd the main jets and changed the emulsion tubes to improve the change between idle and main jet. Its still a little bit lean, but have spent far too much lately on trial and error with finding the jets. In November, my diff became seriously whiney. Ended up buying a 2nd hand head to put in, this seems to be working okay for now. Sourced a Datsun H165 ute diff 4.11 ratio, this needs some mods to fit but will be far stronger than the h150 thats in the car at the mo. Will be working on this throughout the year when I visit home during breaks from uni Took the car to Caffeine and Classics at Hampton Downs after xmas, also came to the Oldschool Drags at Meremere!1 point
-
Just saw this fulla guy North of Carterton at lunch time. Beeped at him with the effeminate horn on my shitty white corolla. /LING POST1 point
-
Ha, awesome. I've lived in Masterton for the past few years and have seen you driving about in this all the time. Sounds brilliant. Didn't know you had a build thread here. Good work with the a14 on Dell'ortos, I like. The homemade engine cradle is a nice bit of kit too, I'll remember that for future projects.1 point
-
RUST! Was just getting worse so I decided I should probably fix it. As you can see this panel has been painted quite a few times; Original brown, then yellow, blue, another coat of blue and then red haha So stripped it all back to bare metal. Did the valance as well, since that had some decent stone chips etc. Just two bits of rust to fix now; a hole under the wiper motor and a bit under the fuel flap. Not looking forward to trying to fix them.1 point
-
Installed some MRP RCAs and some rear superlow springs which made it higher, so now has even more rake than before haha. Will get them compressed once they have settled a bit. Got sick of the tires rubbing on the plastic inner guards, so pulled them off. Also rolled the guards and then undercoated everything to try and prevent rust. No longer rubs at all, so that only means it needs to go lower!1 point
-
Done some things to the engine bay. Polished up a rocker cover, painted a couple things, changed the air filter to a K&N one and made a strut brace out of stainless steel and aluminium round bar. I think next up is to make some heater lines out of stainless steel tube, as having a working heater is kind of nice.1 point
-
Since it seems like every other KP owner makes another improved set of adjustable coilovers, I thought I'd follow that tradition. Used some ae82 Corolla shock inserts this time, way shorter than the previous ones. Drilled off the brake hose mounts and dropped them 30mm lower as well, so the threaded sleeve could go lower. Picked up a pair of Recaro seats as well. So much nicer than the faded pink factory ones. Also so much better sitting lower. Need to do something to those belt buckles though! Coilovers can still be wound down 25mm (captive) or 35mm (non-captive) but was rubbing way too much. Back needs to come down an inch or so now.1 point
-
Couldn't find any front brake rotors the correct size, the smallest I could find was 226mm diameter ones whereas I needed 205mm ones. So we made a pattern and got some cast and then machined. Installed them today along with new pads and wheels bearings1 point
-
Did a little photoshoot1 point
-
Made some coilovers. Ended up getting MR2 inserts I think, they weren't really short enough and 5kg springs. I shortened the struts and TIG welded them up. Applied paint Test fitted and the springs were too hard, didn't go anywhere low enough unless I pulled out the keeper springs and wound the collars right down. De-sprung the rear to see how low it could go. Removed the bump stops as well Did some calculating and figured some 3kg springs would be better and shortened the insert shaft a bit. Bought some cheap evo camber plates and drew up some new top hats to get laser cut. Cut another coil off the rear springs and installed some shorted shocks, so this is how it sits now. Hopefully settles a bit lower. Bought another K50 shifter housing thanks to enzee. Shifts much smoother without the one that's been brazed and welded!1 point
-
Now has a K50 in it, so no longer sits at ~3600rpm at 100kmh Also bought some struts to start cutting up for more low!1 point
-
Put some 175/60/13 tires on. They make such a huge difference. Just needs lowering another couple of inches.1 point
-
Got tuning done, needs to go back soon to get the top end done, since we didn't want to rev it too high too soon. Any suggestions on what oil to run? I'm guessing some mineral oil with plenty of zinc?1 point
-
Here's a video with the straight pipe, needs a tune still. Will try and do a better one once the mufflers on.1 point


This leaderboard is set to Auckland/GMT+12:00