
Leaderboard


Popular Content
Showing content with the highest reputation on 05/13/17 in all areas
-
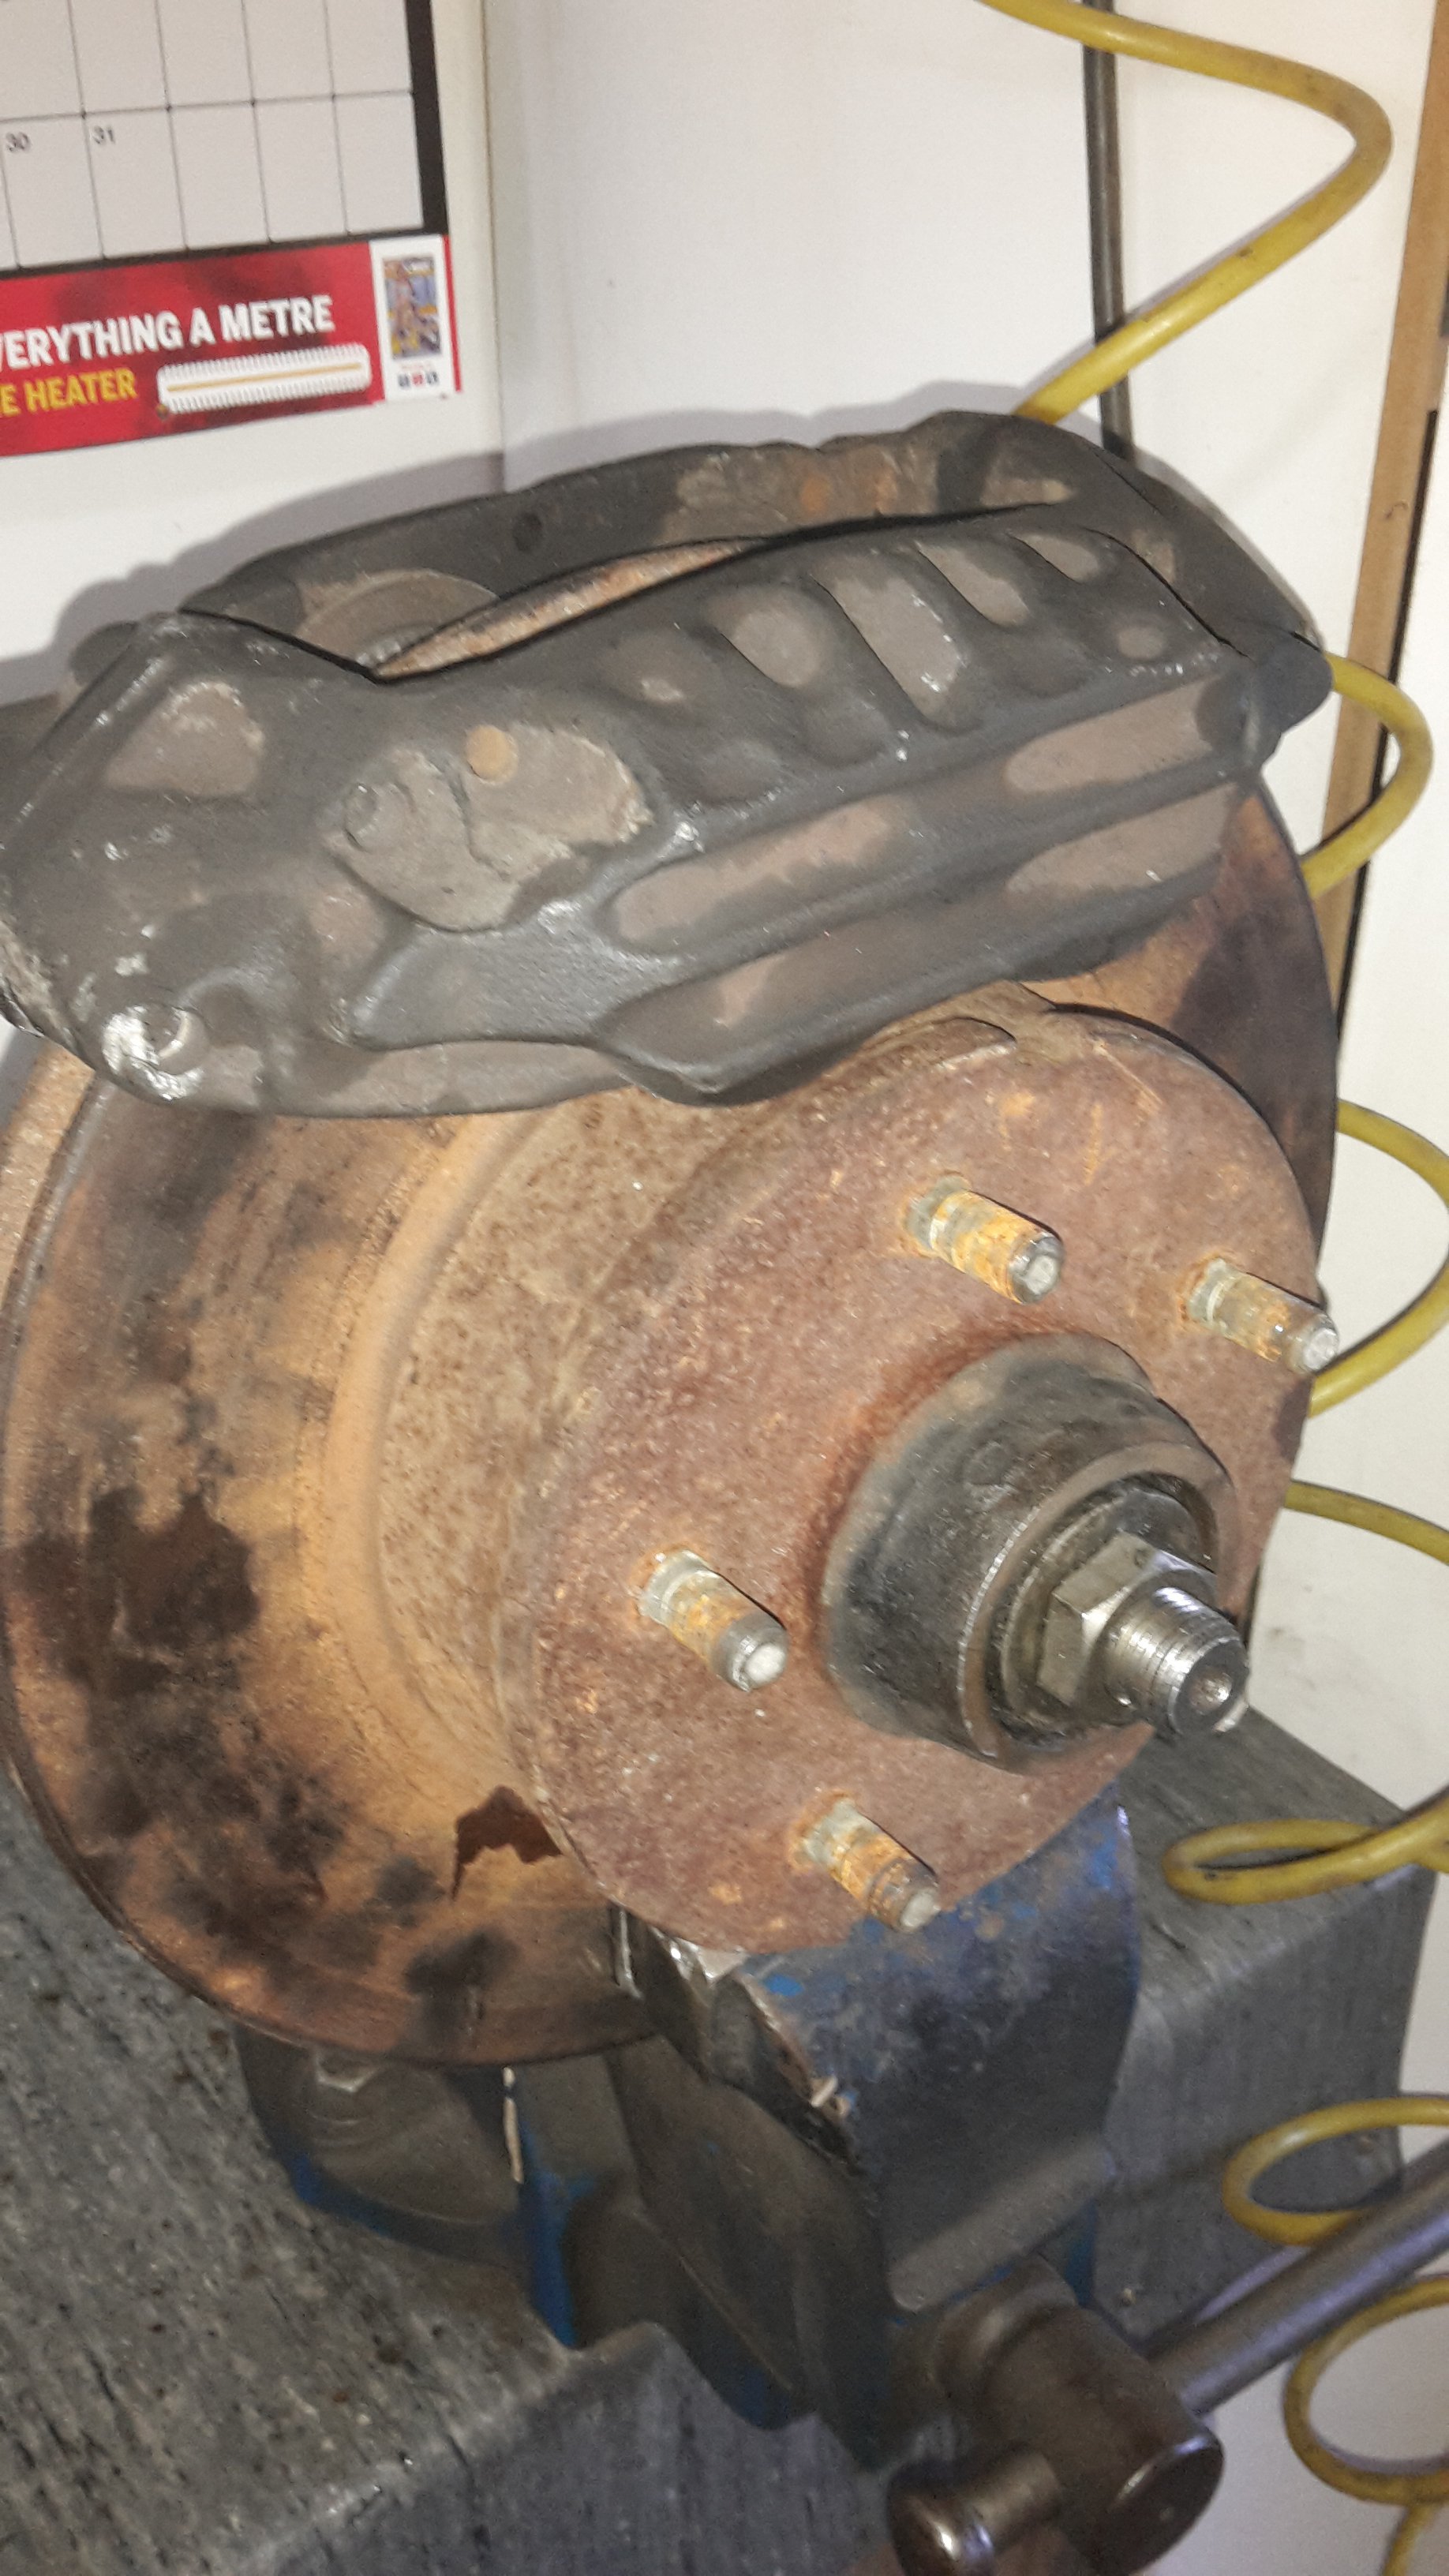
Safety cletus says drum brakes are dumb. Fortunately I had hoarded some spare disc spindles off a car I wrecked. I took a disc and spindle to zebra, because I'd heard that surf brakes are an easy upgrade and I figured there would be heaps of surfs there but there was none. I mucked around with some other things, found mazda axela disc and caliper would nearly bolt straight on, but having 4 pot calipers sounds better. went to pick a part in Avondale cause they were the only place that had a surf. There were some dudes pulling the front of the surf apart and had already removed the calipers so that was easy. I think my arms are a bit longer now after carrying a pair of cast iron calipers, disc, spindle, plus all my tools around. Anyway, I'd bought CL -CM discs cause they were thicker slightly, but the hat height is different. So I'll get some new VH-VJ discs, need to machine 3or 4 mm off the od, machine the disc slot in the caliper slightly, and they will bolt on, and fit inside the wheels. Yay
 8 points
 -
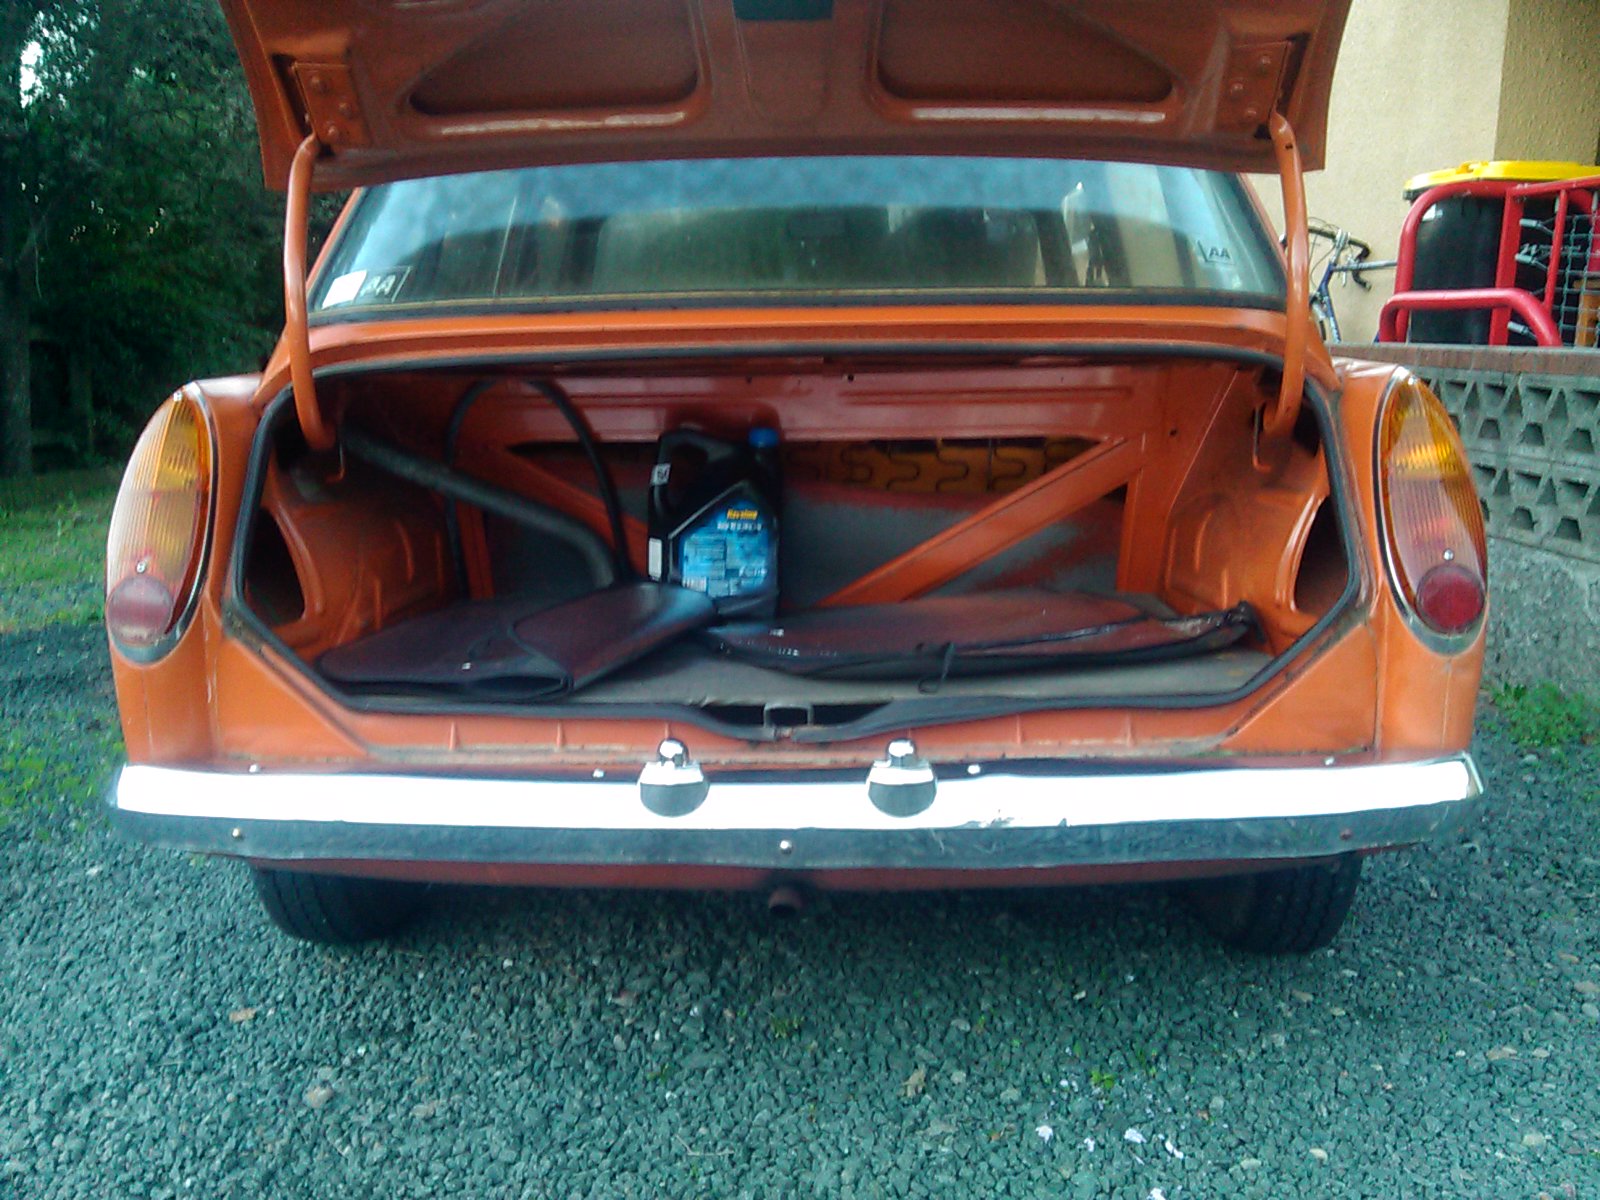
Folder showed up, one of those save barn special on trademe. Goes good for what it is. More again tomorrow6 points
-
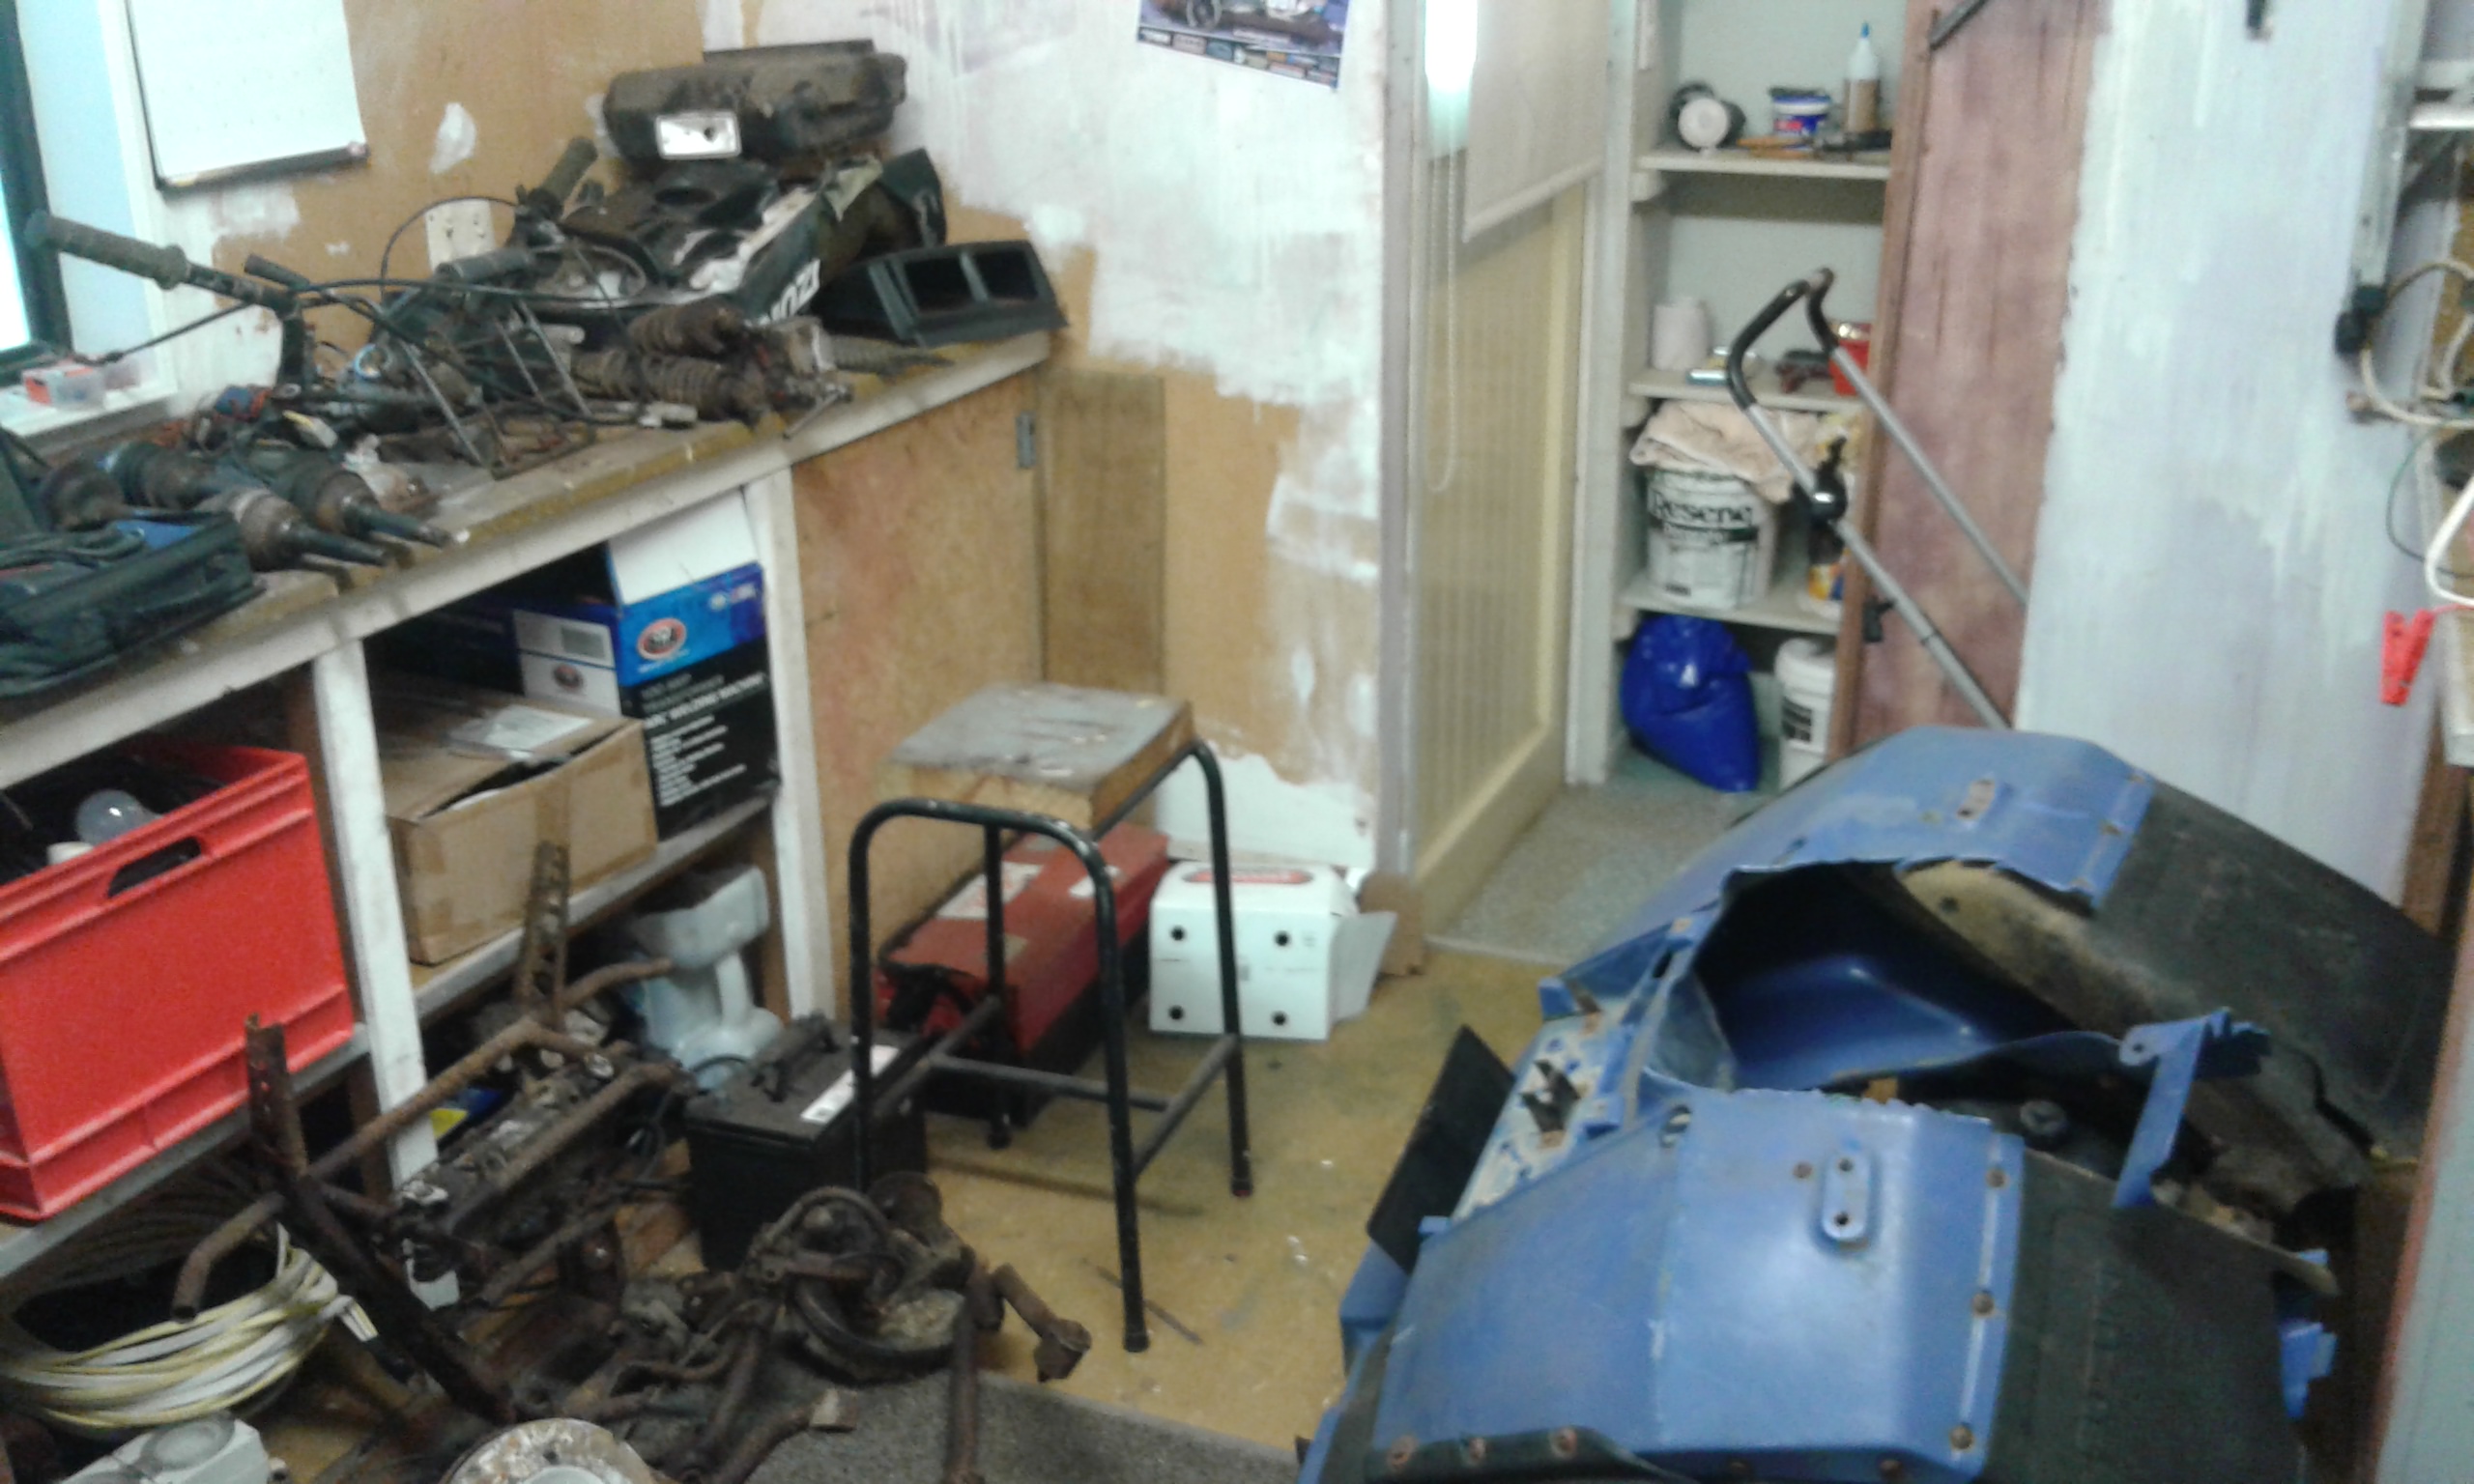
remember how I said I couldn't find a turbo timer? well I didn't look very hard... I chopped that out and it still wont turn off when you turn the ignition off so I'll have to keep looking. @yoeddynz has very generously loaned me a wiring diagram book so it'll make tracking down the fault easier I topped off the rad and ran moved it, it was running for all of 3 mins and its pressurizing the rad enough to spew out. Before I jump to conclusions I'll flush everything out and give it a bleed6 points
-
been fighting to keep carb clean decided to clean gas tank speaks for itself
4 points
-
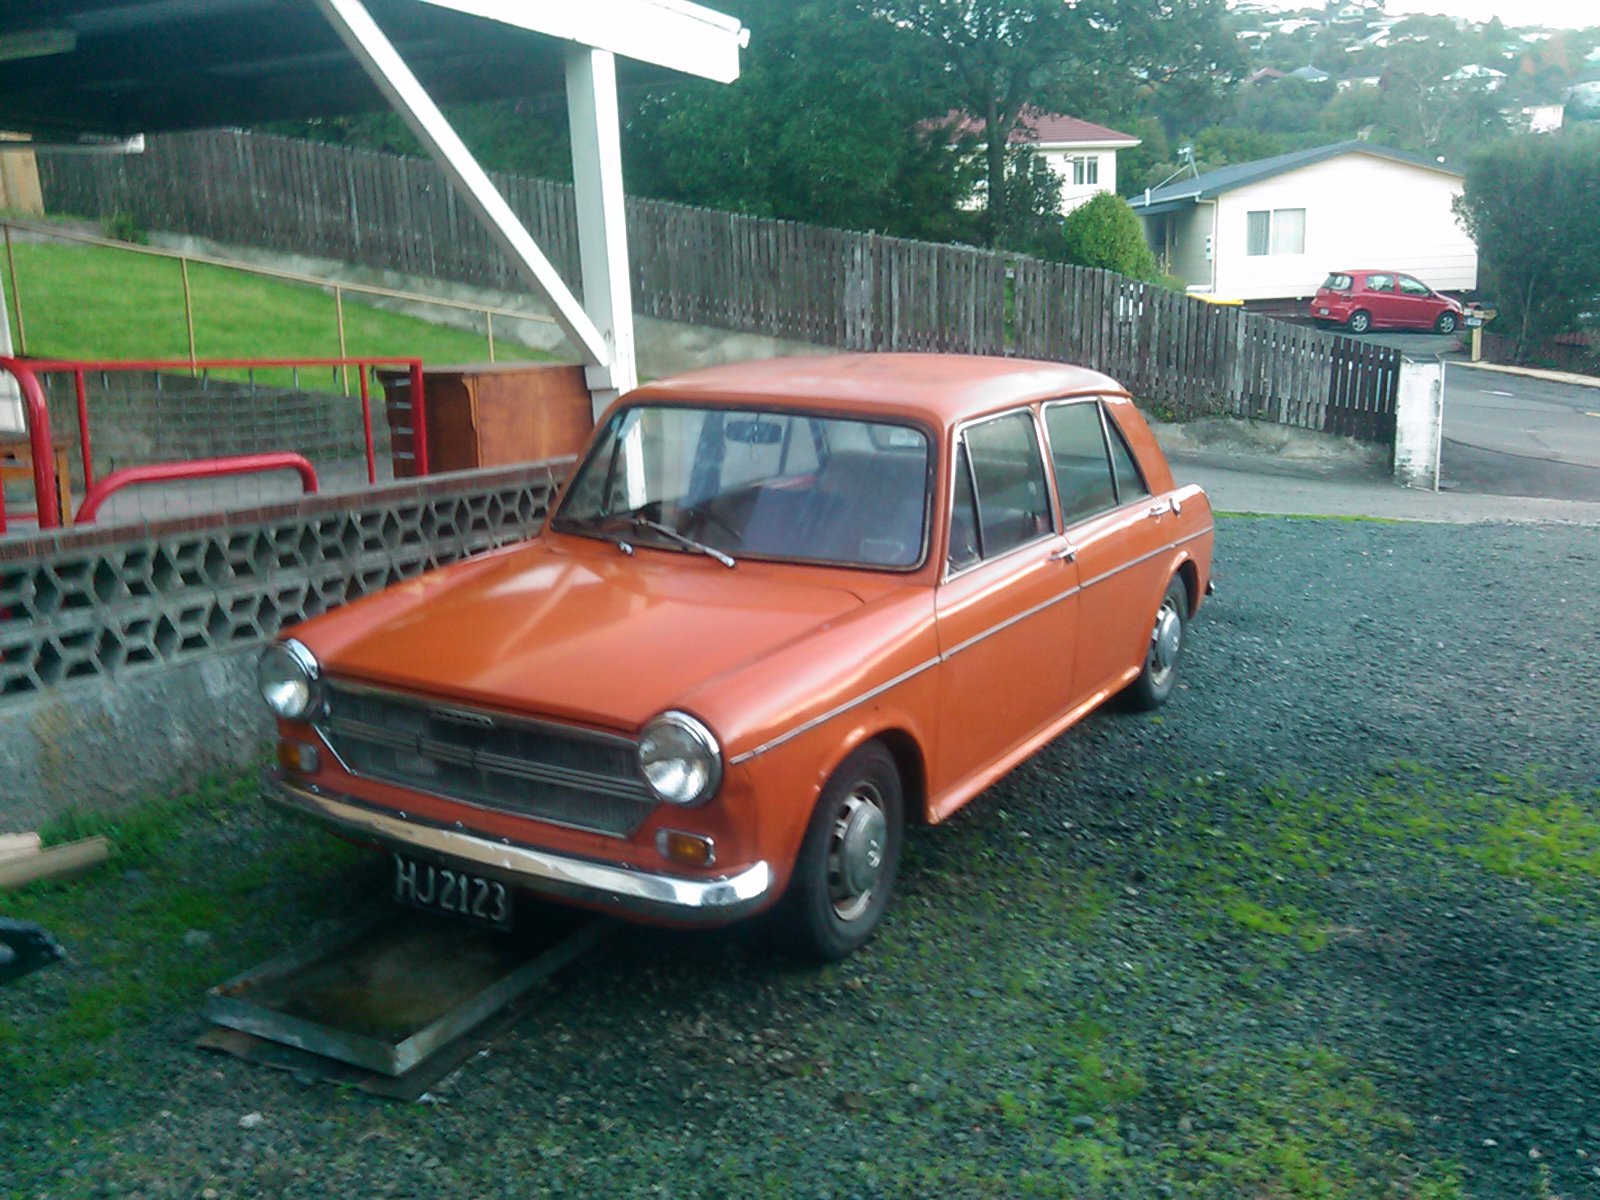
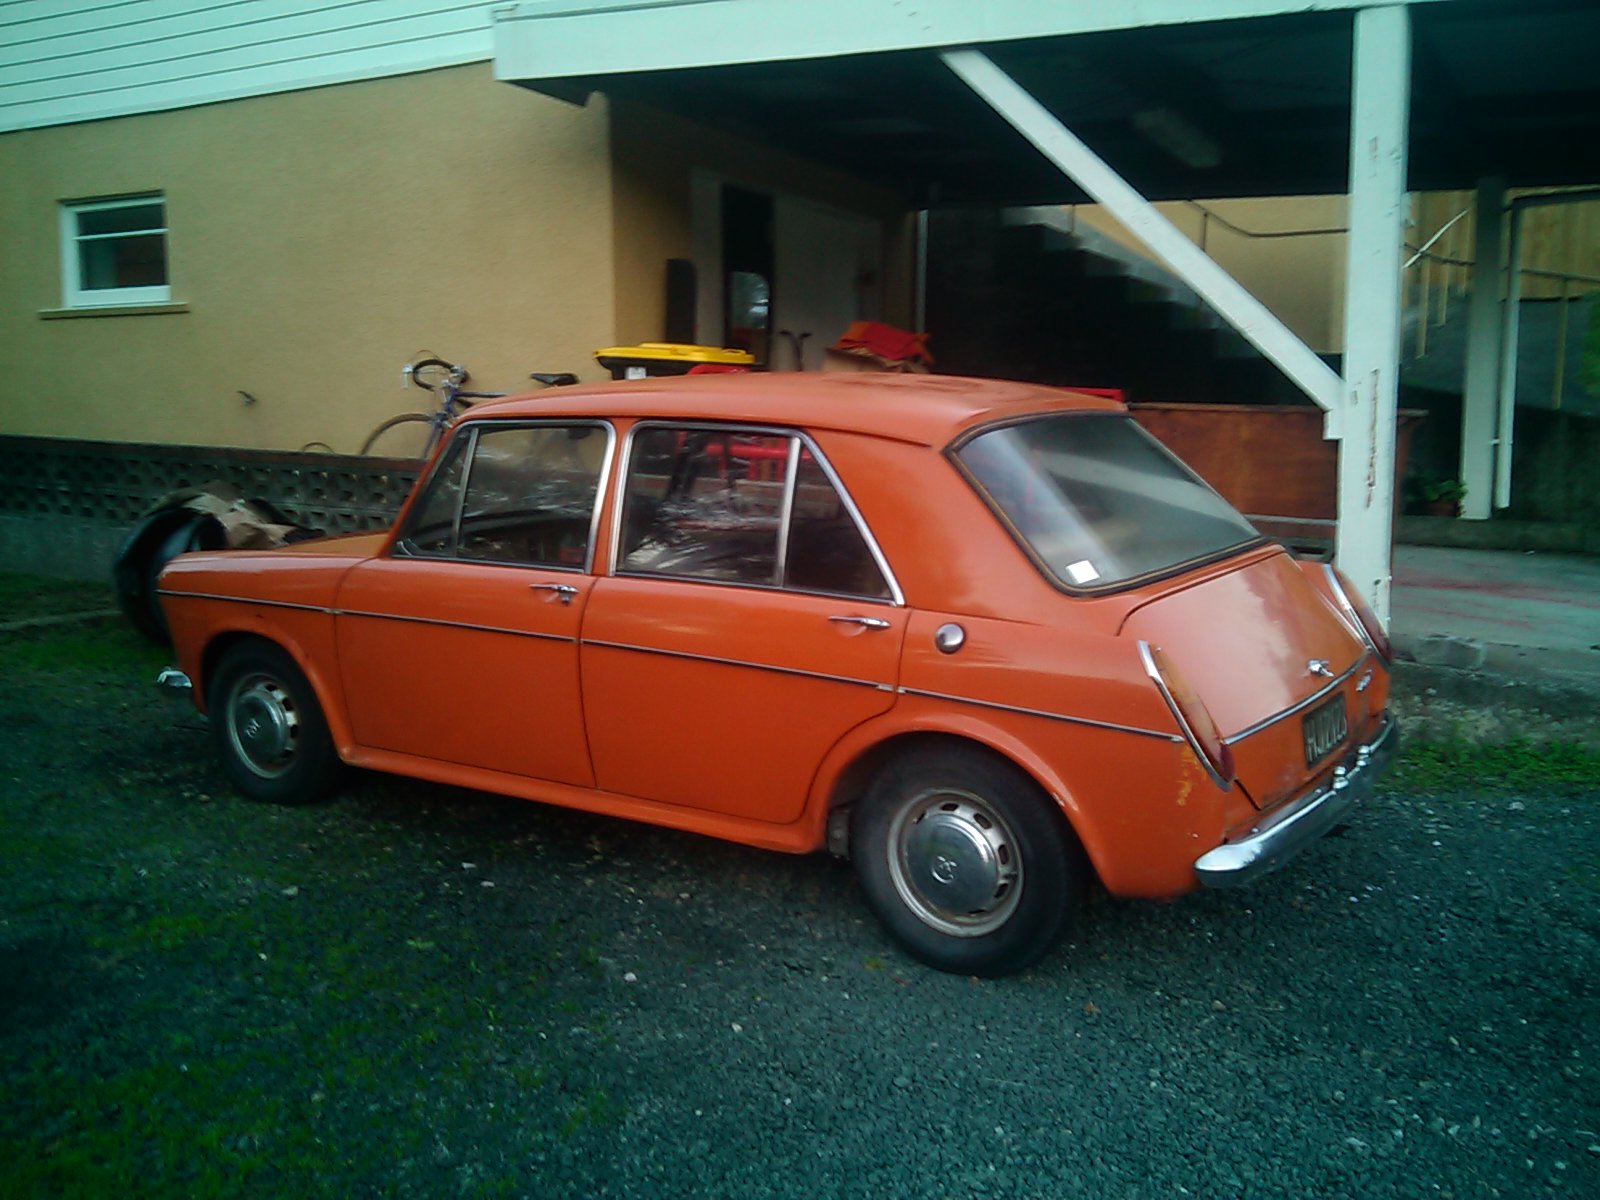
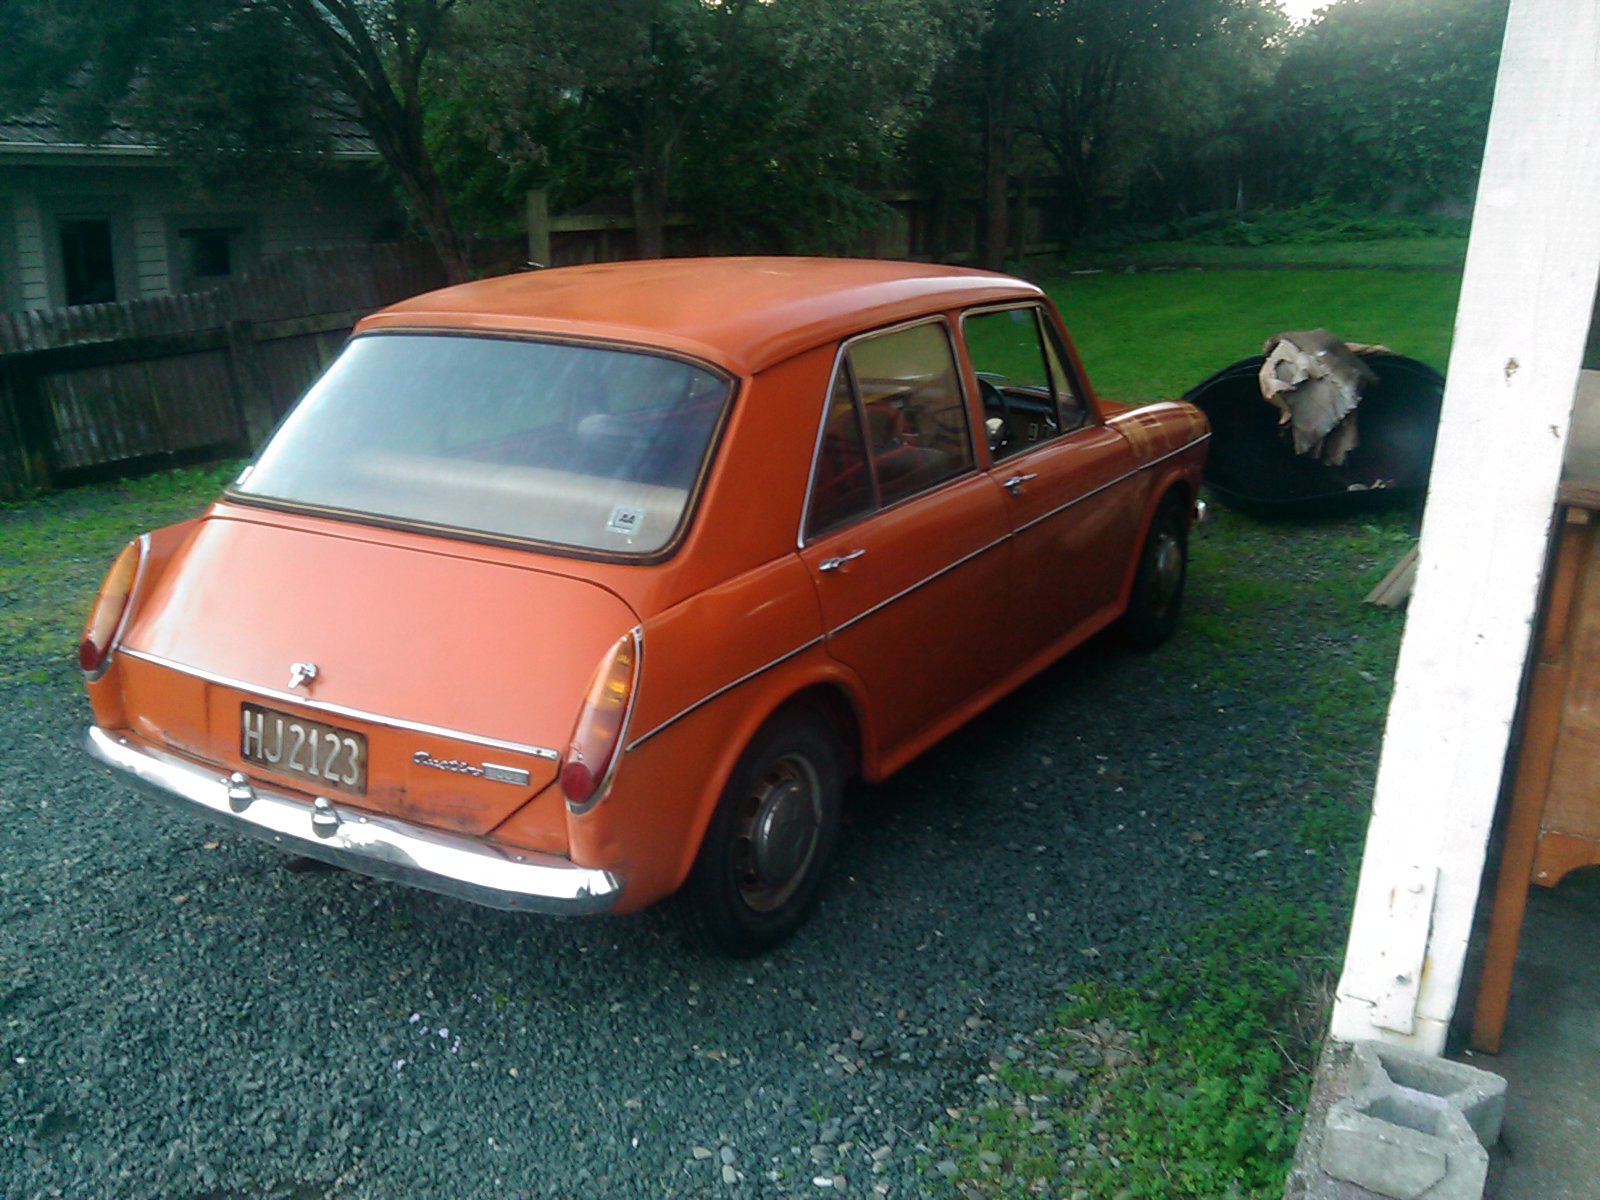
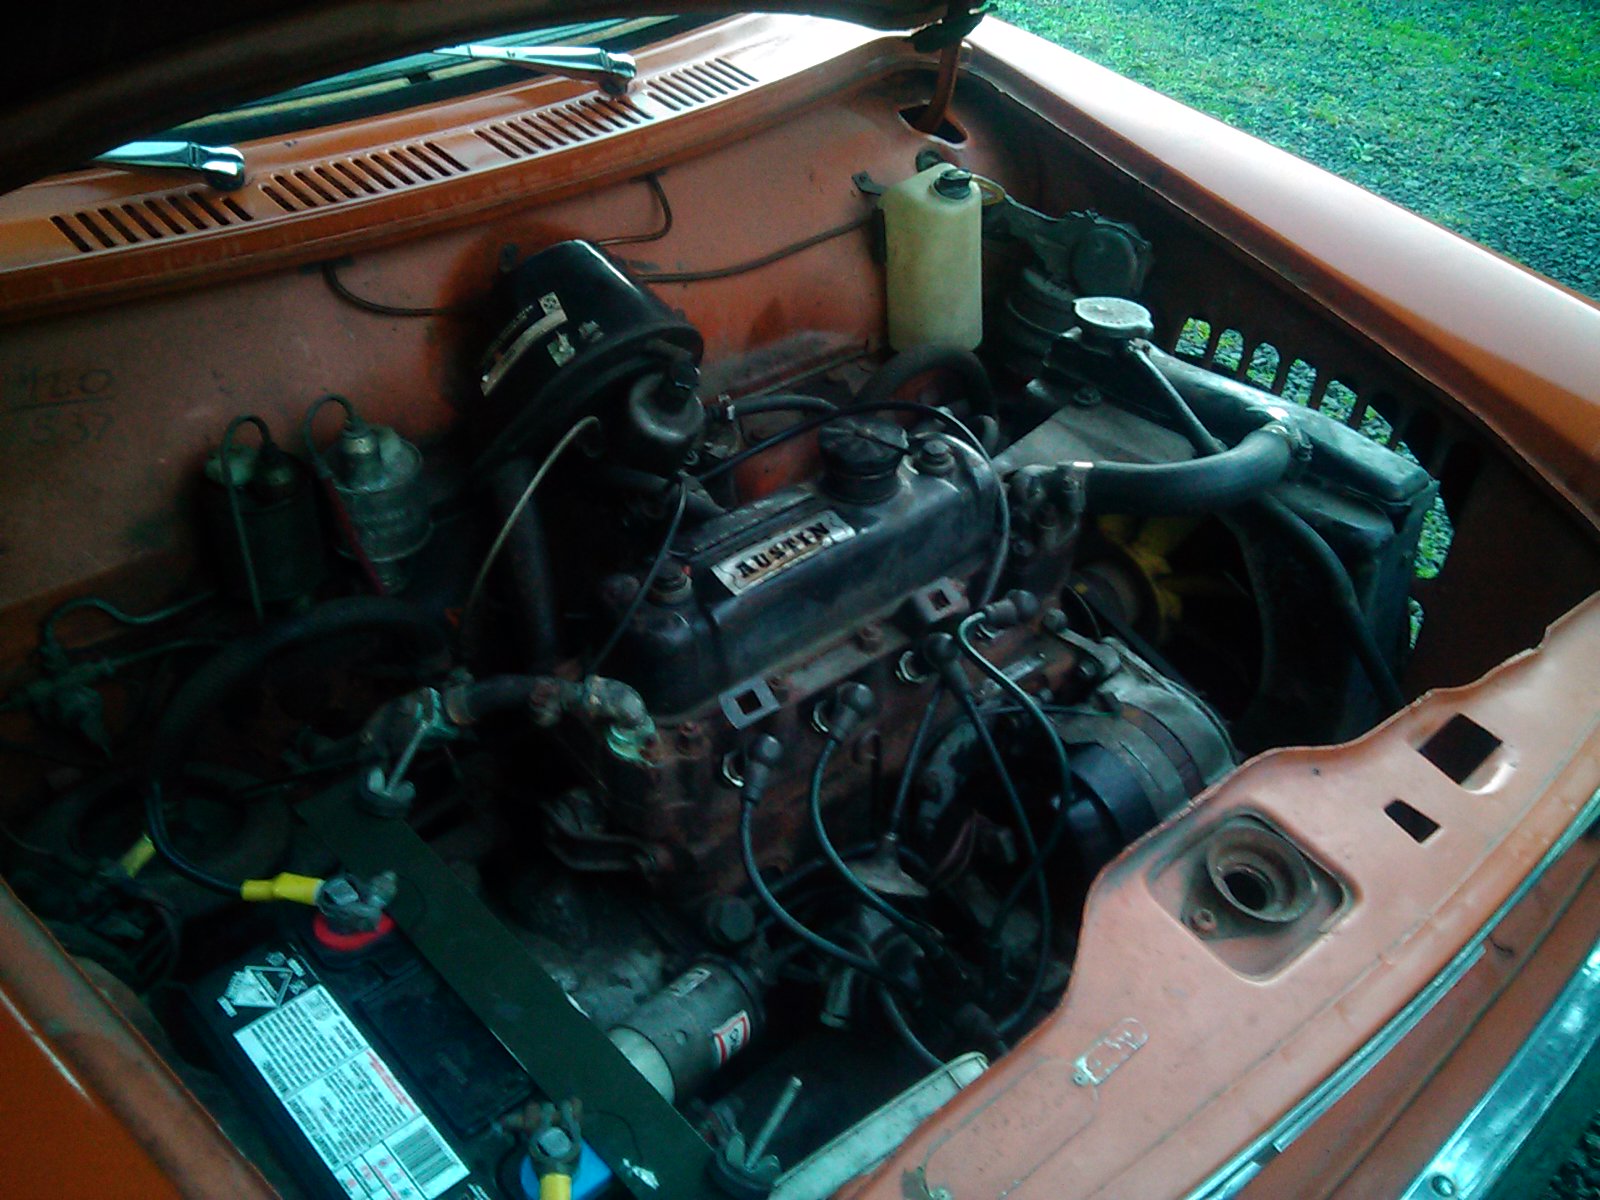
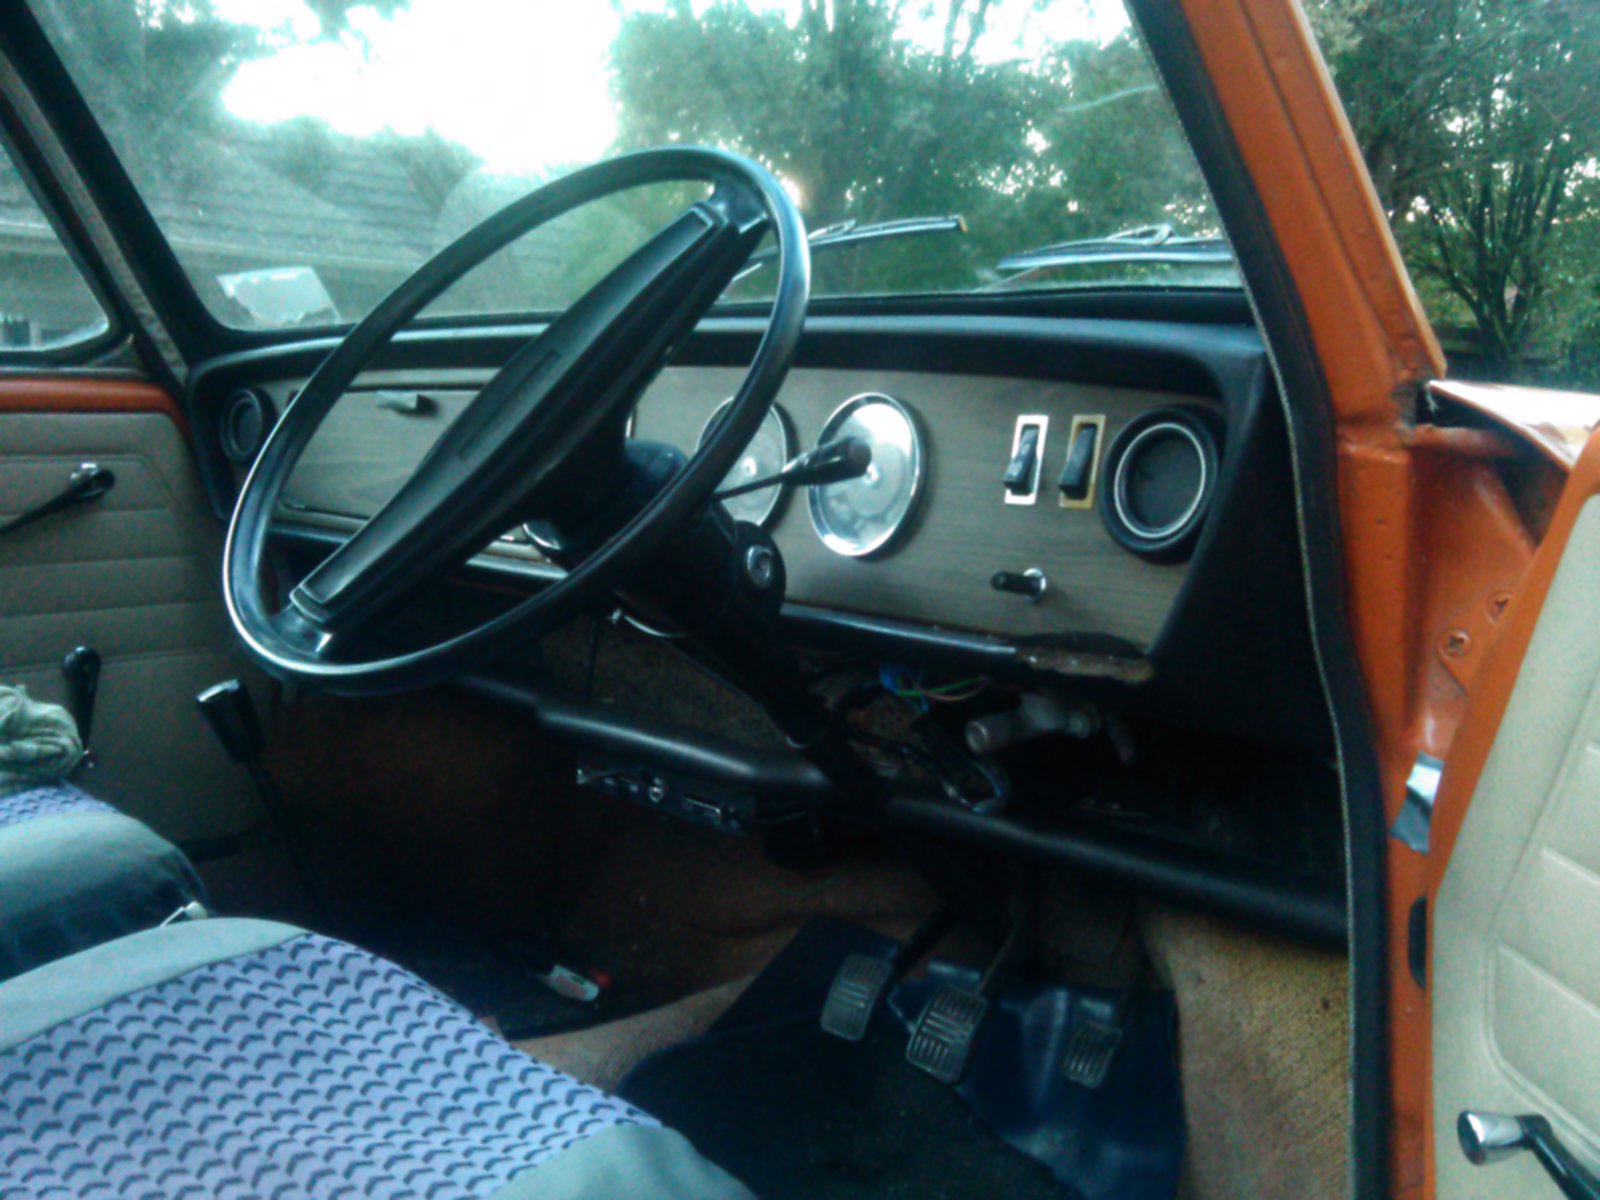
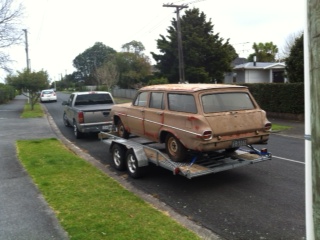
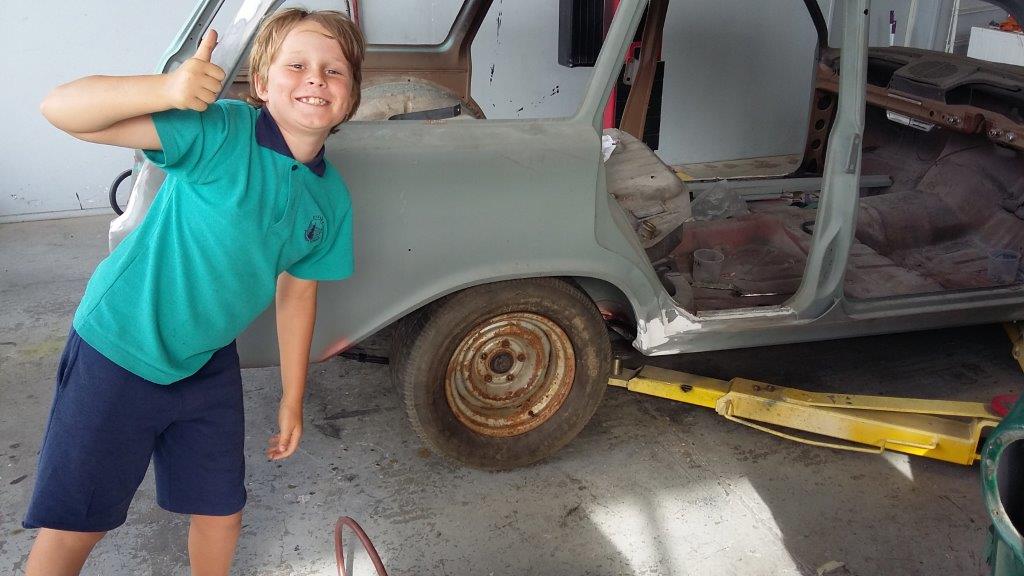
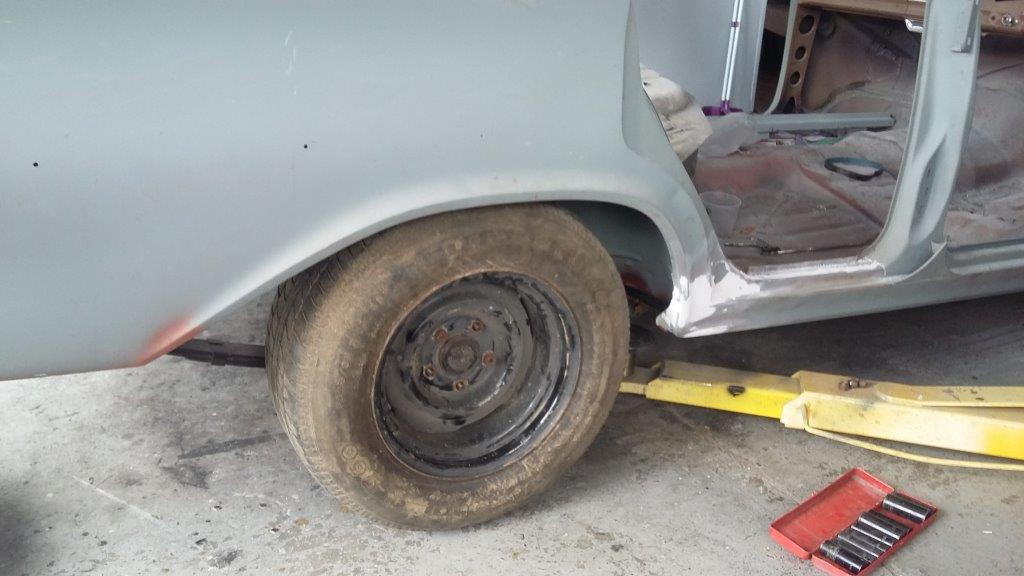
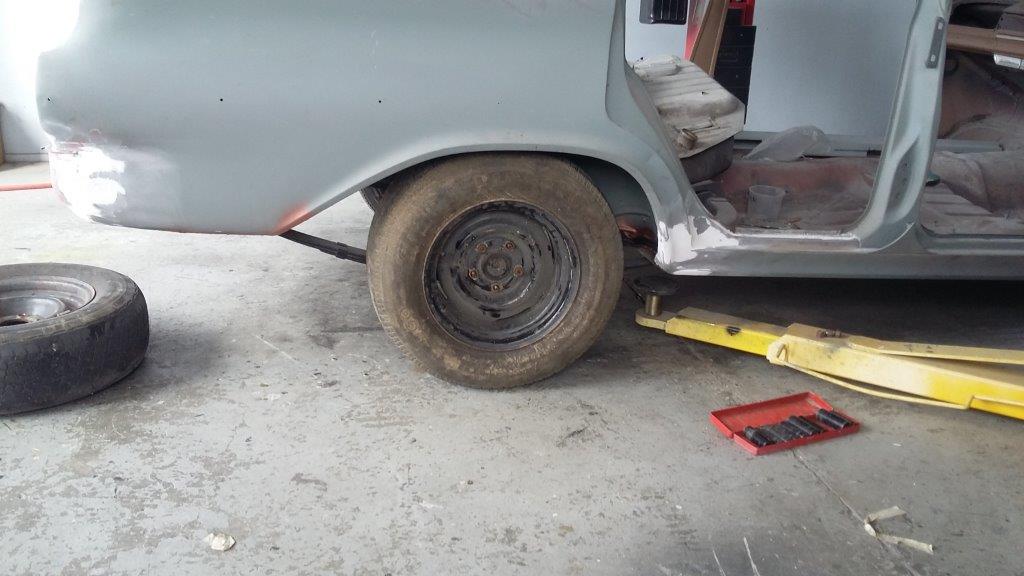
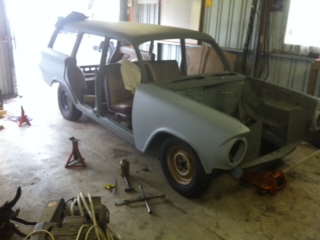
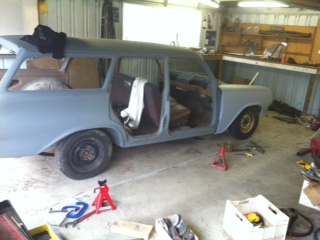
Best Friday ever. The rain must of washed some of the dust off. I was barrying away in the garage and missed a call from a random number, guessed what it was for and wandered out the front to find this I was quite amused at the existing damage on the paperwork Grabbed the battery and it fired right up like a champ! It won't idle no matter the temperature. I ran it for about 5 mins and moved it out the back. Good news is my rangi radiator o ring replacement rtv gasket paper works perfectly, it showed half on the temp gauge but was boiling a bit. It is missing the radiator fan and probably needs a drill port & rebuild good bleed and flush. Both hoses were hot so it has thermostat opening and flow through the rad. I'll measure up the rad and have a look through zebra for a electric fan that I can make fit. Hopefully It has a thermo switch somewhere I can re purpose/use to trigger a relay. A quick list of stuff i need to do off the top of my head - wheel nuts - diff mount/cv nuts/driveshaft bolts to diff input - put a flexi in the exhaust and figure out the leak - air filer and figure out the idle situation - fan/bleed coolant etc - paint/sort the surface rust so it doesn't get worse - re run fuel pump wiring - spanner check everything before a wof - check/get all lights working for wof check -fail a wof and do a skid whats probably going to happen is the van will turn up and i'll be like a kid with too many toys and wont know what to do first4 points
-
3 points
-
My c10 had boosted drums. they probably needed more adjusting but it could BARELY stop from 100k without fading in any reaosnable distance. Don't brakes convert rotational energy into heat energy? so if they are poor at dissipating the heat its a pretty shit system imo anyway discs are easier to work on and don't fade so for those two reasons alone its worth a swap imo2 points
-
Thicker than hydraulic fluid2 points
-
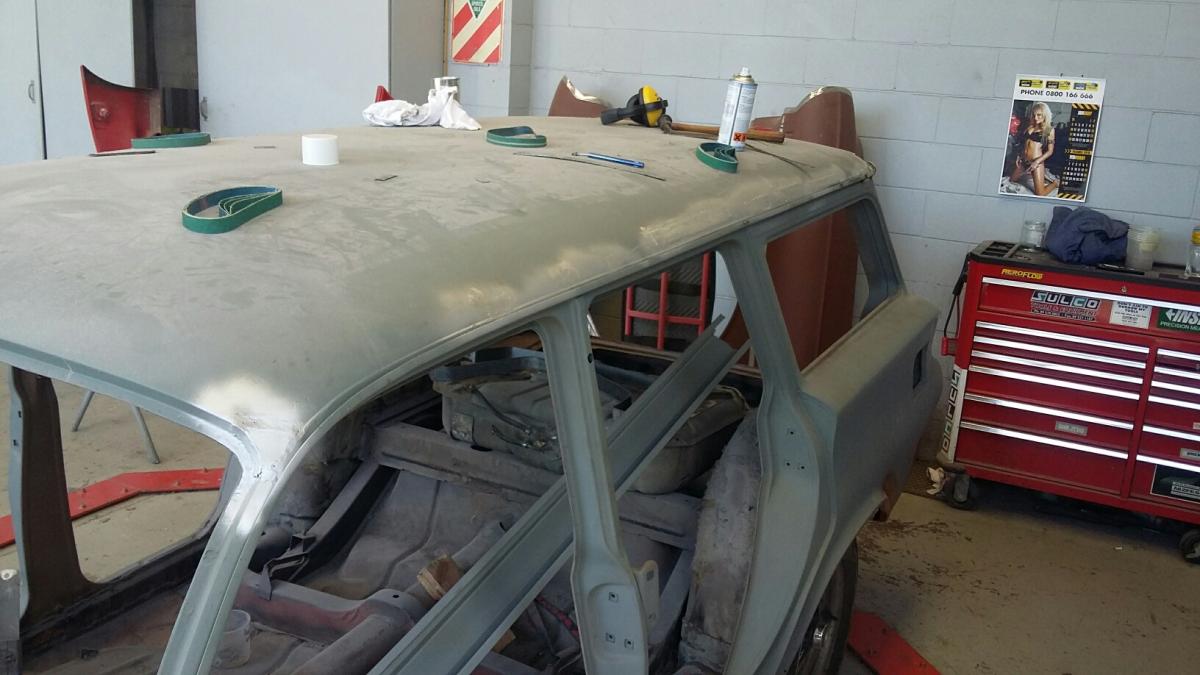
So today I got the spot weld drill bit and attacked the front cowl with it, after a bit of persuading with a coal chisel for the front and the side, and a pry bar to undo any of the spot welds on the inside of the car it all popped off pretty easy! I think it took about 2 hours to get this off. Some of the spot welds were hard to see externally so I had to pry up the edging with the coal chisel to see between the steel and figure where the spot would be. I will have to get this cleaned up also. Possibly even undo all of the spots for this as well. Will get this sand blasted I think As you can see, leaves etc have blocked up the drain holes so water has just sat in there and rusted it all up. I will have to cut this entire patch out, hoping to get a rust cut for this from OCA so will have to see how that goes. In fact I am probably going to be needing many rust cuts, however the problem is that all these KE30's suffer the exact same problems so finding good cuts may prove difficult!! Next I ripped the entire dash out, simple job. Next I will get some dry ice and get all of the sound deadening out and start on taking the paint off the doors. I will use paint stripper for this, just to see how I get on with that as strip discs aren't cheap when you are using one a day!! Hello daylight!! I did some more stripping of this side. I paint strip the rest Next time: Sound deadening removal Engine removal Door stripping Interior stripping Enginebay stripping European babes stripping (my girlfriend said this wasn't allowed ) Discussion: //oldschool.co.nz/index.php?/topic/56136-pbaines-1977-toyota-corolla-ke30/2 points
-
Hard to find placements for apprentices, but I could place at least 3 mechs currently!2 points
-
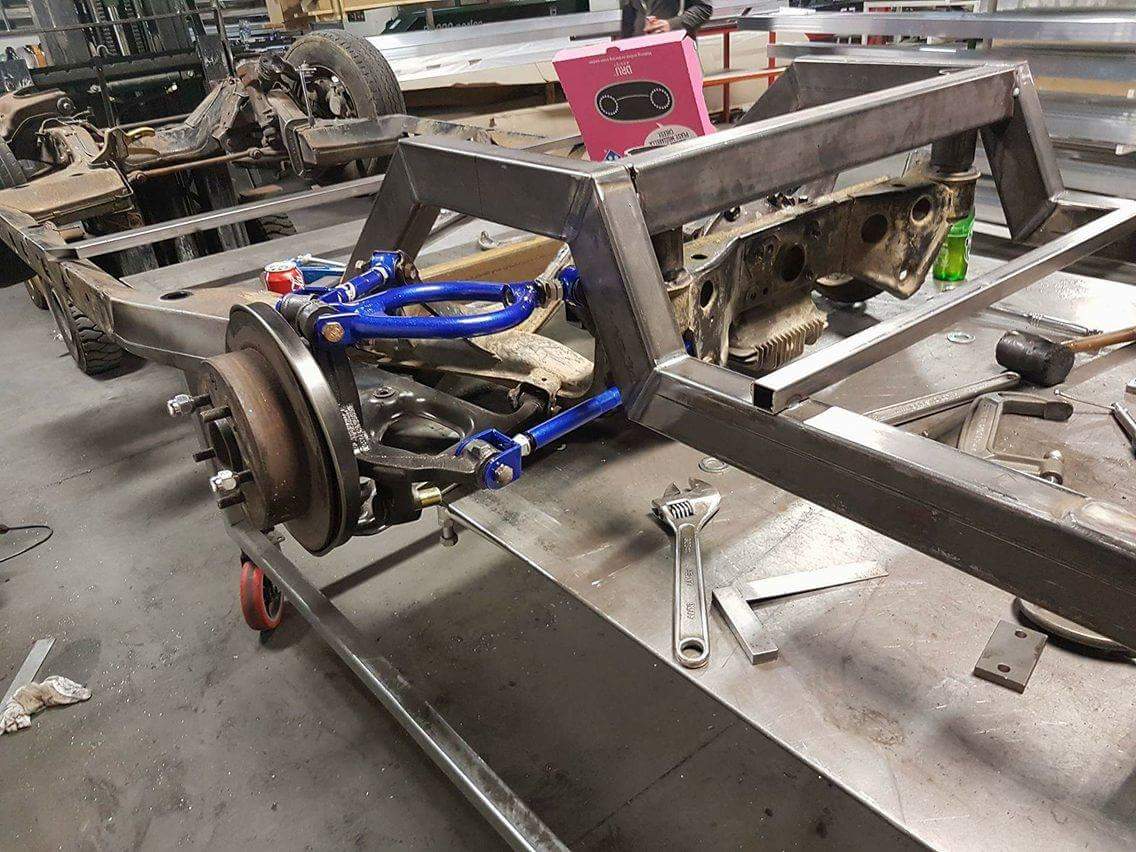
Clint came round today to have a look at the car. After much looking he said mainly happy. The only thing that I got wrong is the mounts for the traction bars are too low by 10mm. They will hit the ground if a back tire goes flat. Not major, a bit of cut, shut and paint to fix. The other things are a gusset on the rebate in the front chassis where space was made to fit the top A arm and a strong back on the engine mounting plates, all easy stuff. Plugging away with other bits, fuel tank is mounted, still have to figure out the filler, brake pedal support is on the pedal box, some more holes in the floor welded up, UJ fitted to the steering rack. The list of stuff to do has got shorter, must be time for a new list.2 points
-
Bring the jet bike for testing2 points
-
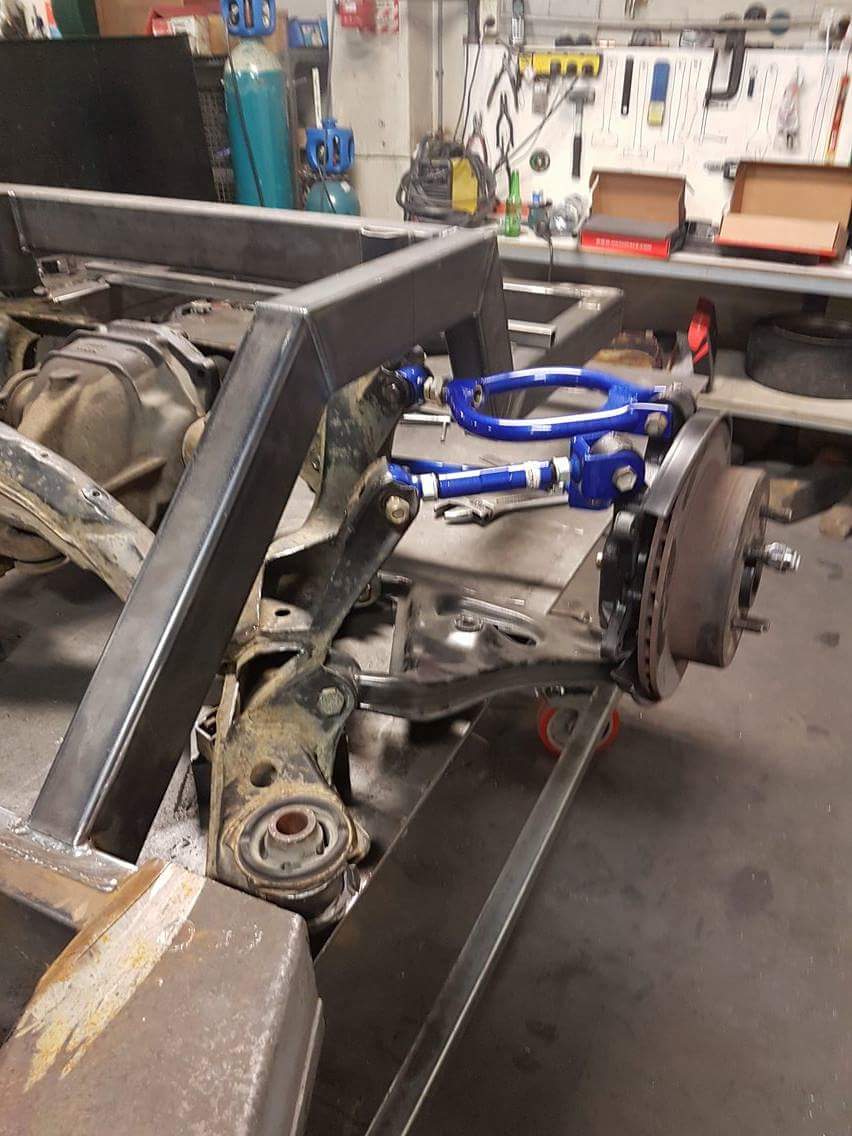
That rear didn't work out so well so off with it we go and on to the mark 2 . Sub frame half mounted and looking mint this time . Using all new adjustable arms just waiting on the lower arms to come . Subframe is . S13/r32 Nissan. R200 diff
2 points
-
So a few hours in we have found * plugs were worn - replaced then and the leads. * fuel pressure was low. Pump has 5volts to it. Smashed a battery in the back which sorted that. * it's now only flooding on the front rotor. Double checked injector wiring and it's ok. We will pull out and test the injectors. Update. Pulled the primary injectors out and one was wet. Tested them by blowing in and tapping them across the battery. Some were completely blocked and some had old fuel shit in them. Slammed two good ones in, cranked it and it tried to start killed power to the fuel pump and it started!2 points
-
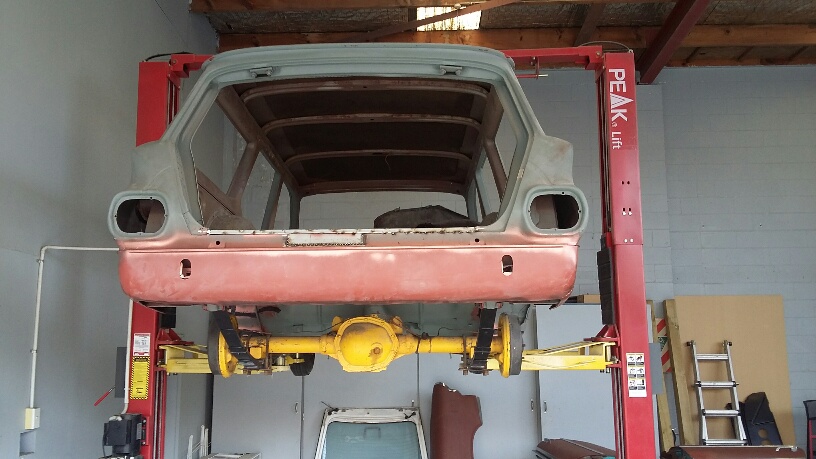
I bought this car as a rolling body the week my oldest son was born. The agreement with the wife was it could come home as soon as the bathroom was finished. Another son, house renovations and life got in the way and the car got ignored for about 6 years. I did occasionally think about the car and put a plan into place. I saw an article in Street Machine mag about a guy who put an LH Torana front end under an EK Holden. It didn't look too difficult and one turned up on trade me a couple of weeks later. That was the start of buying bits to fix the car and a good friend came over and we ripped into it. We found lots of good stuff, like the floor pans the were rotten and had sheets of steel pop riveted and braised in place. Thank you Holden for the built in rust traps of rubber flooring with sound deadening underneath to hold moisture and make rust. Amazingly the rest of the car and the usual rust spots are really good. The car has been off the road since 1989 and that is what saved it. Back to the plan. The LH Torana front is in the car, there is an injected 5Litre from a VT commodore sitting on my engine stand waiting for the HQ sump and pickup to be fitted. The engine has a 4 speed auto with it. I found a narrowed HZ ute diff that is under the car. The steering column is out of a LC Torana, its the column auto one. In my world the right place for the gear lever with a V8 and auto is the column, especially with a bench seat. Here is what I started with
1 point
-
Hey team, Have been frothing over small engine tracker style dirtbikes since a trip to Indo a while ago. I pretty much just wanted something 2 stroke with rego. This popped up on trademe and was just down the road so I went and got it! I then turned the backyard into a flat track figure 8 and gave it the hiding of its life. Then I started stripping it down to change it up a bit. Have stripped all the crap of it, rebuilt the forks and lowered them 3 inches, put an 18" front wheel on (was 21"), and sandblasted and painted a bunch of stuff. I chucked it together yesterday to go for a wee skiddie and it was super fun! Handles so much better being slammed with road tyres. It still feels like a moto bike though and is wicked for banging off curbs and grass skiddies! Have got a new headlight and indicators etc coming so hopefully will have it all together and warranted by the end of the year. Rad. Also if anyone is super into their 2 strokes and knows how to work them up properly please let me know! Am super keen to hot up an engine for it!1 point
-
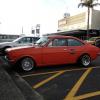
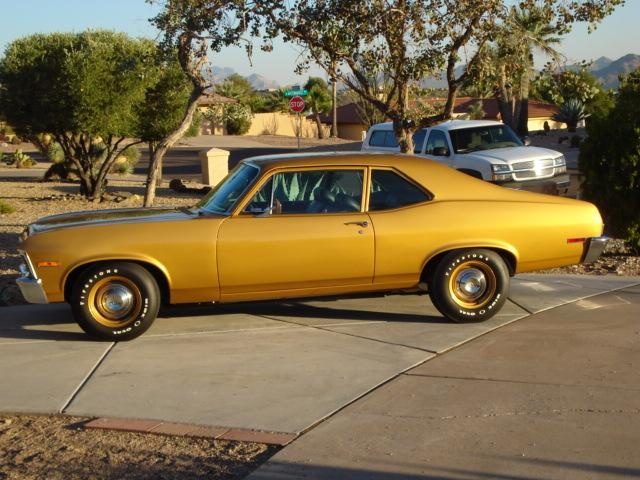
Uhh, well. two project, no worries. I bought this off trademe a few months back, original EVERYTHING which was super cool, even have the original registration card from 1977 from Toyota Otago. Was in a family for years and years and sold the guy I got it from who had it for a few years but didn't do much with it. Came with two new front guards (taiwan made) they fit up ok too which is a bonus. Plans. I will stick to them this time round! -Convert to OG black interior, not a fan of the tan personally. -Rebuild current 3K motor that's in it, or fire it up and see how it goes -Do panel and paint myself. Learn along the way. Shell is super straight, few rusty spots as all these KE30's do but that's ok. -Fit super cool accessories like Monsoons, and every piece of chrome available (Which will usually be from a Hi-Deluxe KE30) This picture is my inspiration, I am going to go with a similar deep blue also Anyway, here is the old bomb for now 20170220-2017-02-20 17.14.42 by phillipbaines, on Flickr A few weeks later, I had got some goodies over from Malaysia. Included, Monsoons, rear window quarter shades, door/outer window chrome edging, all the black interior panels, black U Channel moulds, 3-spoke steering wheel. Just need to buy some black carpet and wait for the dash to come over as well as the door cards Now it'll go sit back in its hole until I drag it out to take more tan yuckness out Discussion: //oldschool.co.nz/index.php?/topic/56136-pbaines-1977-toyota-corolla-ke30/1 point
-
I just top mine up with atf because that's what I have in an oil can.1 point
-
How would shitting in it help?1 point
-
LN106 calipers. you probably know this already but they take the same pads as R32 GTR so you can get some pretty good pads to fit those calipers. the bendix "OEM replacements" pads are beyond fucking shit so dont use them.1 point
-
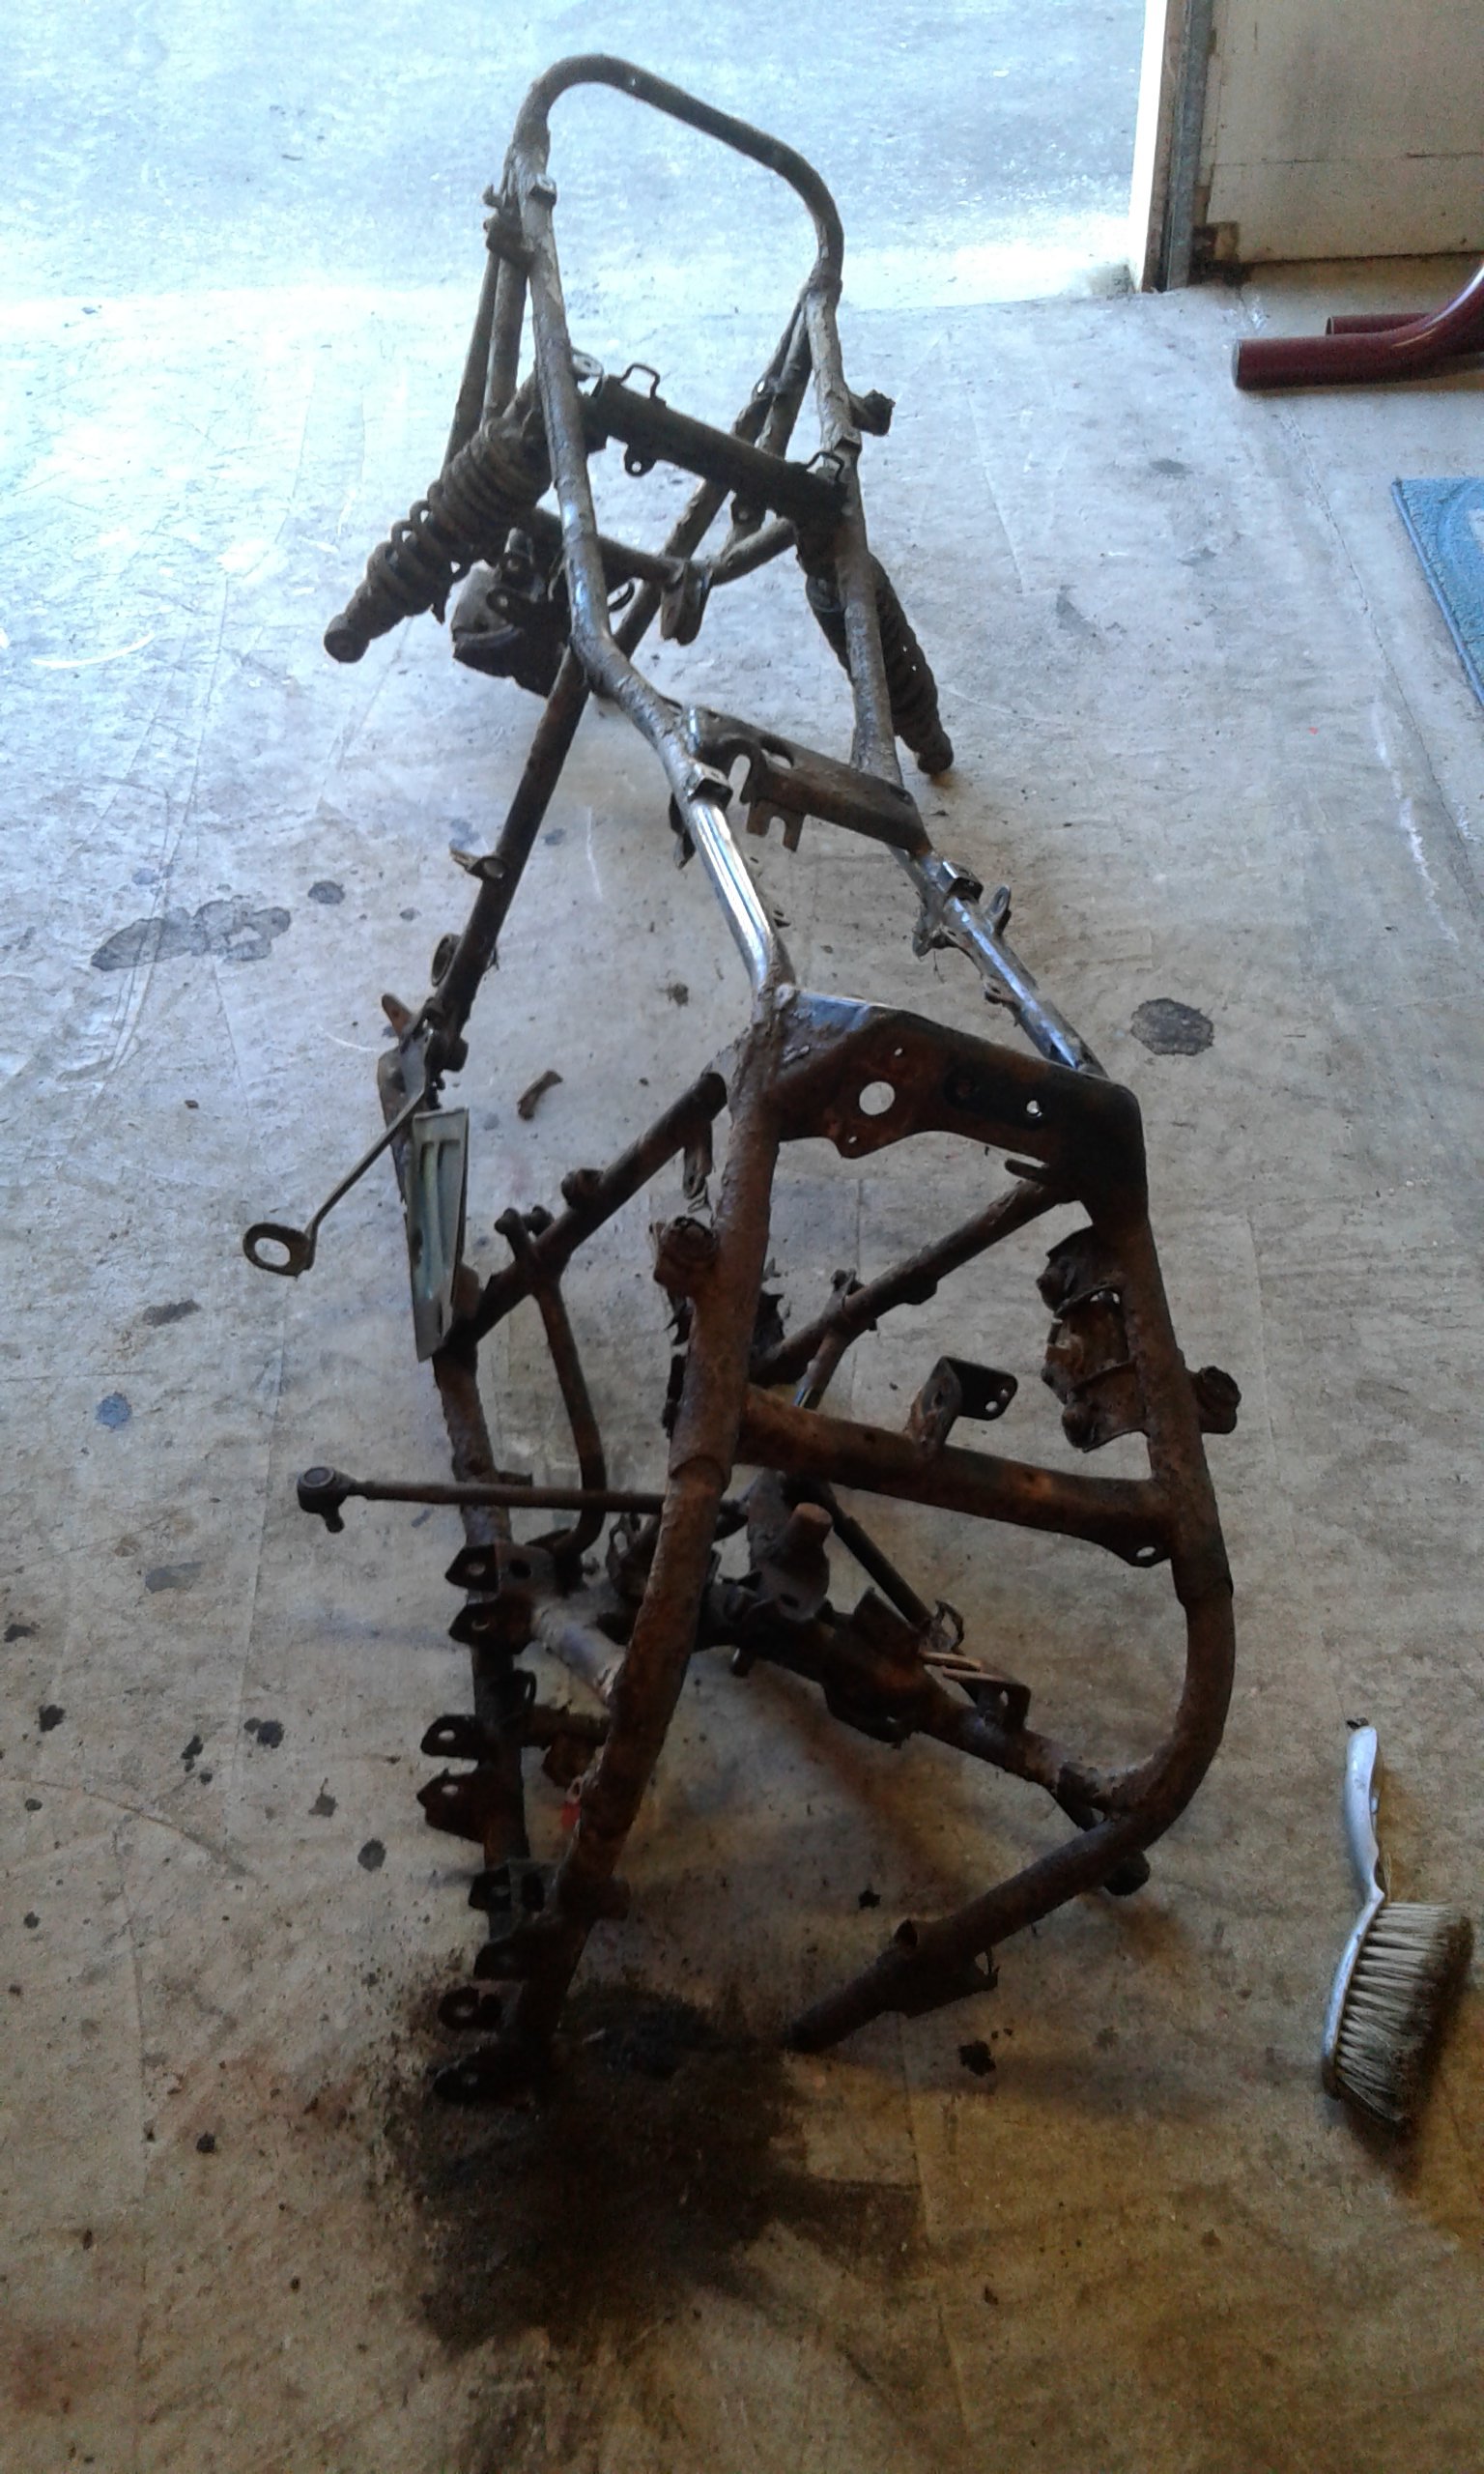
Right have stripped down "Rusty" just the rear shocks and the odd bit that might be needed.
1 point
-
I popped into adl and had some sharns picked up some rad flush, cooling system bandaid/radiator clogger and some exhaust cement Zebra mission was successful, after looking at nearly everything I found a electronic fan that's pretty close in size. It's even got a metal shroud do I can butcher it to fit the fc rad. It's twin speed even so I can get fancy later. For now I'll just switch high speed. Gave the rad a good hose out and threw some flush in it. I got it to idle by unplugging the idle valve. The fine bubbles calmed down a tad but the bigger surges I guess you'd call them stayed1 point
-
I've got both haha, I figured I'd have all the gay in one thread. Probably confusing but it keeps it together. Shuttle is staying single cam and is getting force fed because it's too much of a ball ache to do about series swap. The crx is because I was pining one, that had had most of the attention lately1 point
-
If we've been booted out of the venue no worries - We can just have the meet on the street in front of his house.1 point
-
Oh I can find you a job buddy. Whether you like it or not is a different story lol.1 point
-
Ah, the culprit to all of the roof woes!! I wondered what the knife marks were around the fuel cap, the roof use to have one of those vinyl covers on top of it. I haven't ever seen one of those come out good after 30 years. they all have a mountain of orange metal under them. I was about to start the front cowl but underneath it was a rusty river so it all has to come off. I drilled these welds out with a drill but have gone and bought a spot drill bit online as I guess it is good to do things properly! I shall resume with the cowl removal on Friday. As you can see, good I removed these. rusty as, and would hate to think how much is under other panels like this. I finished off some more of the body, overall quite happy with the rear end, a couple of dents but all very easy fixes and over it's very straight so that's a bonus. Duscussion: //oldschool.co.nz/index.php?/topic/56136-pbaines-1977-toyota-corolla-ke30/1 point
-
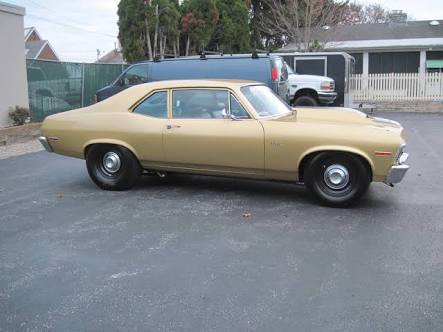
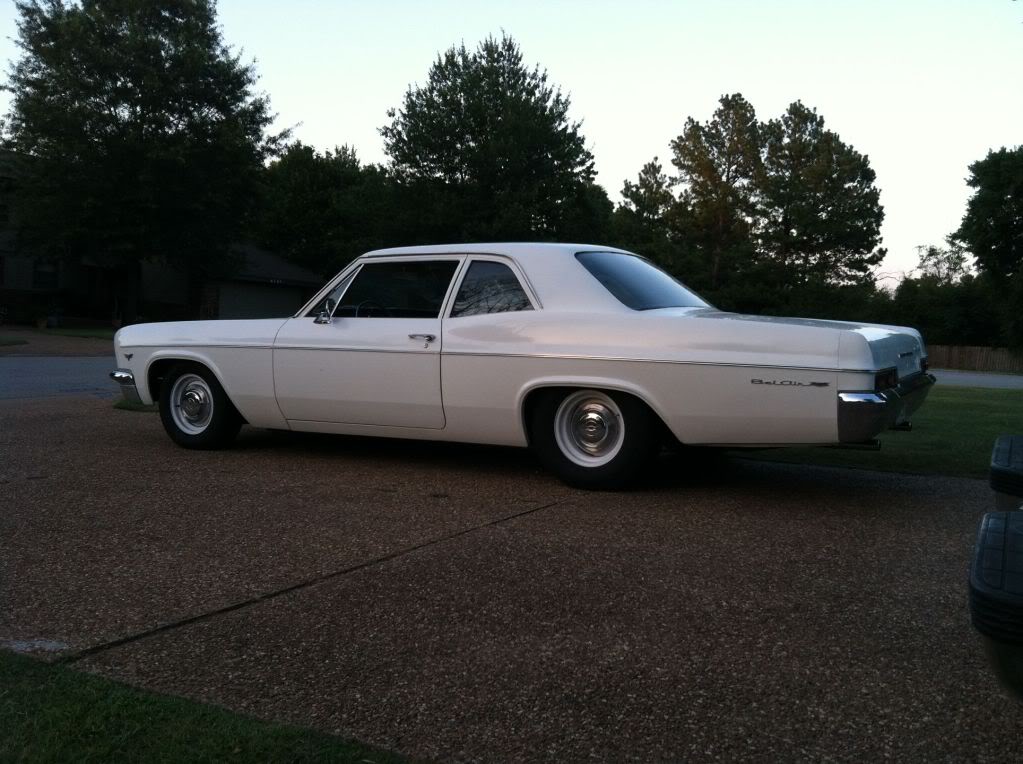
Aiming for something similar to these except not sure about hubcaps, probably get some push in caps spun up
1 point
-
Ordered some wheels, 2 turned up today. 15x8 for the rear, 15x6 for the front. Probably paint them either a pale gold, body colour, or cream/white
1 point
-
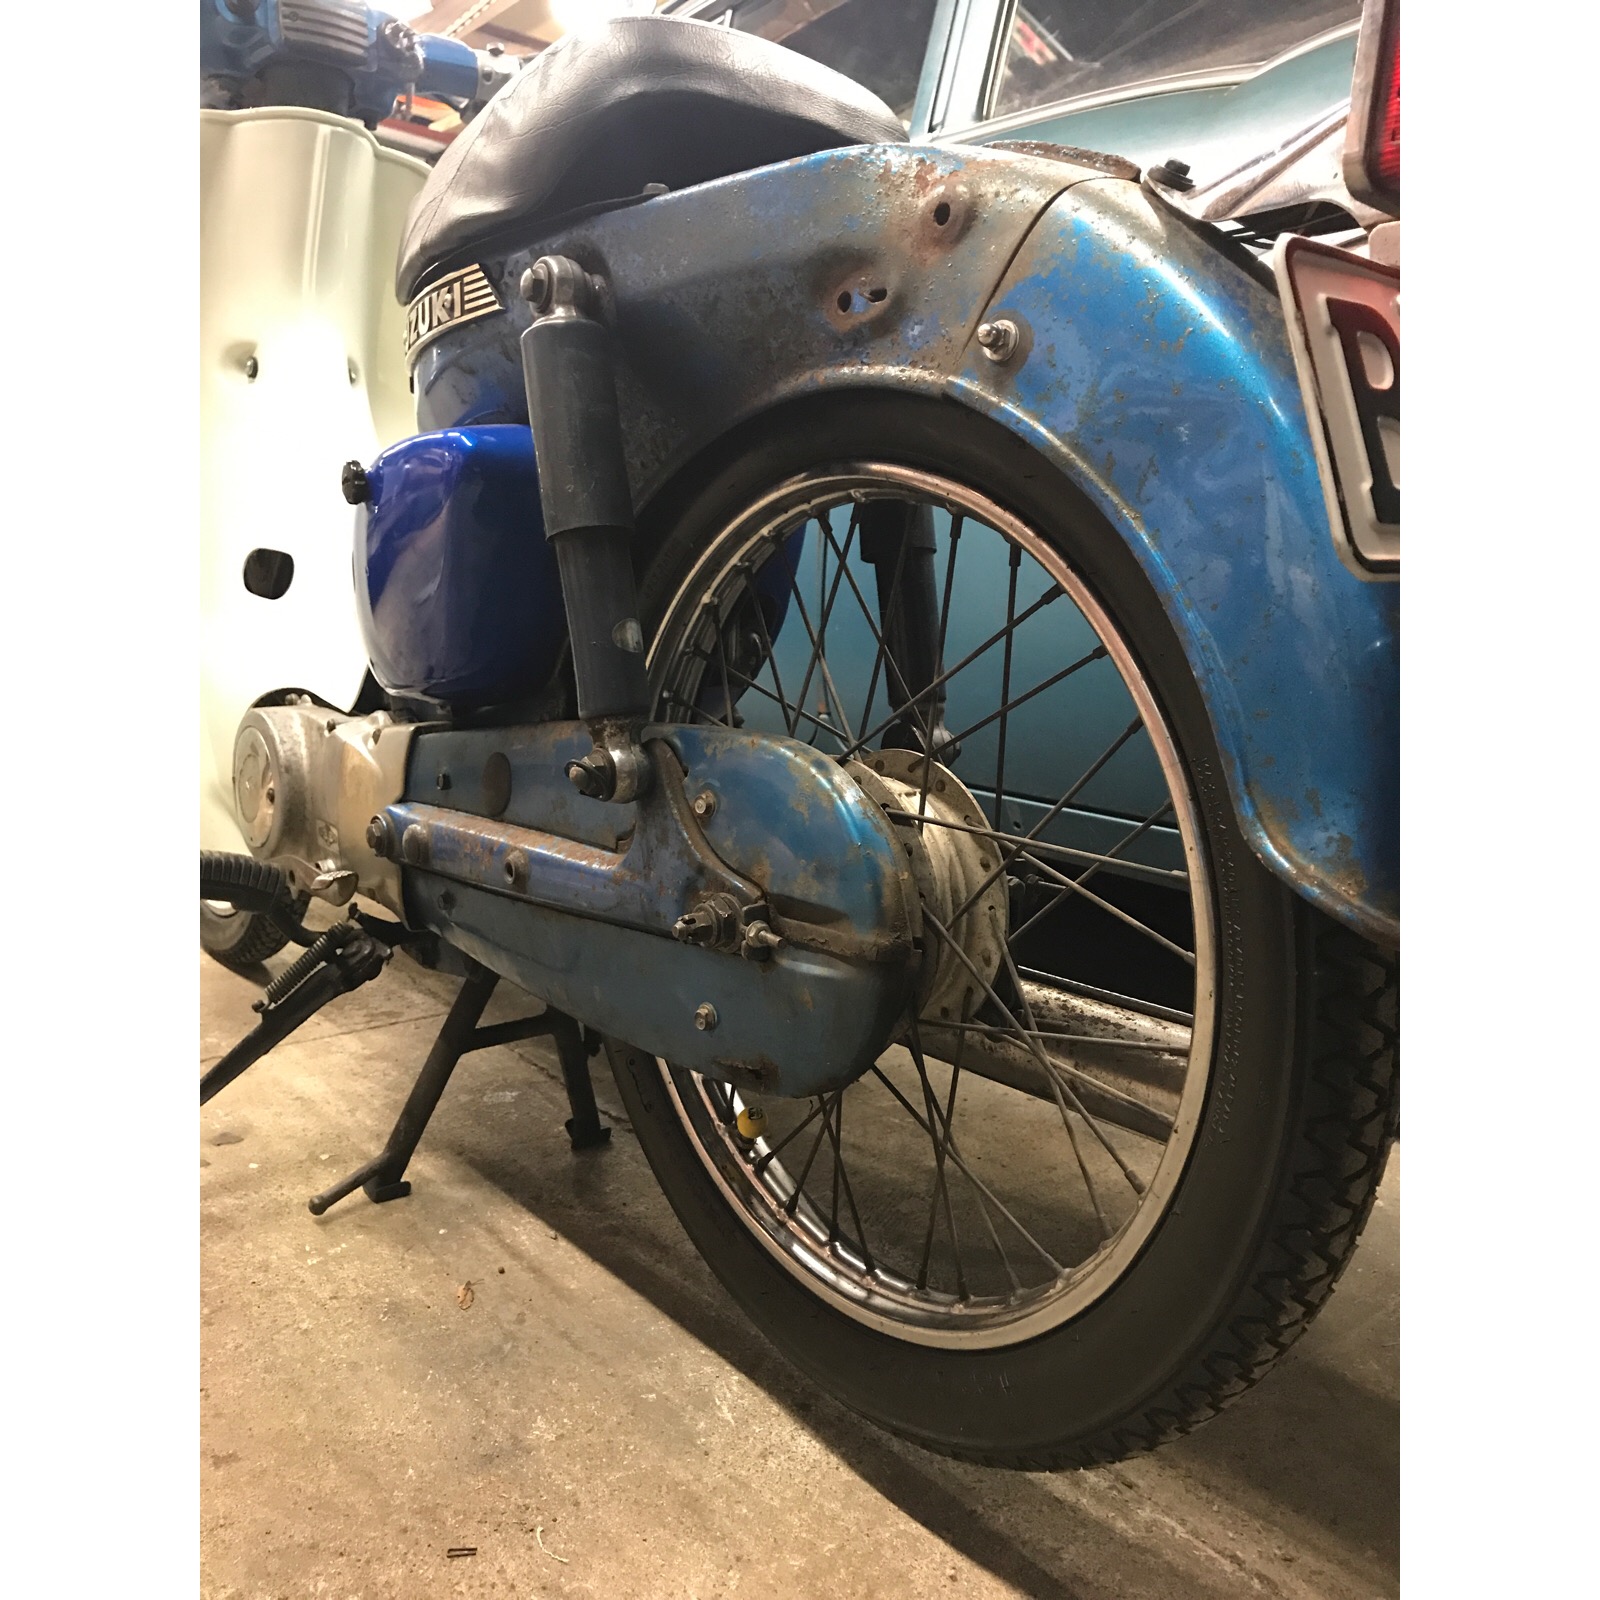
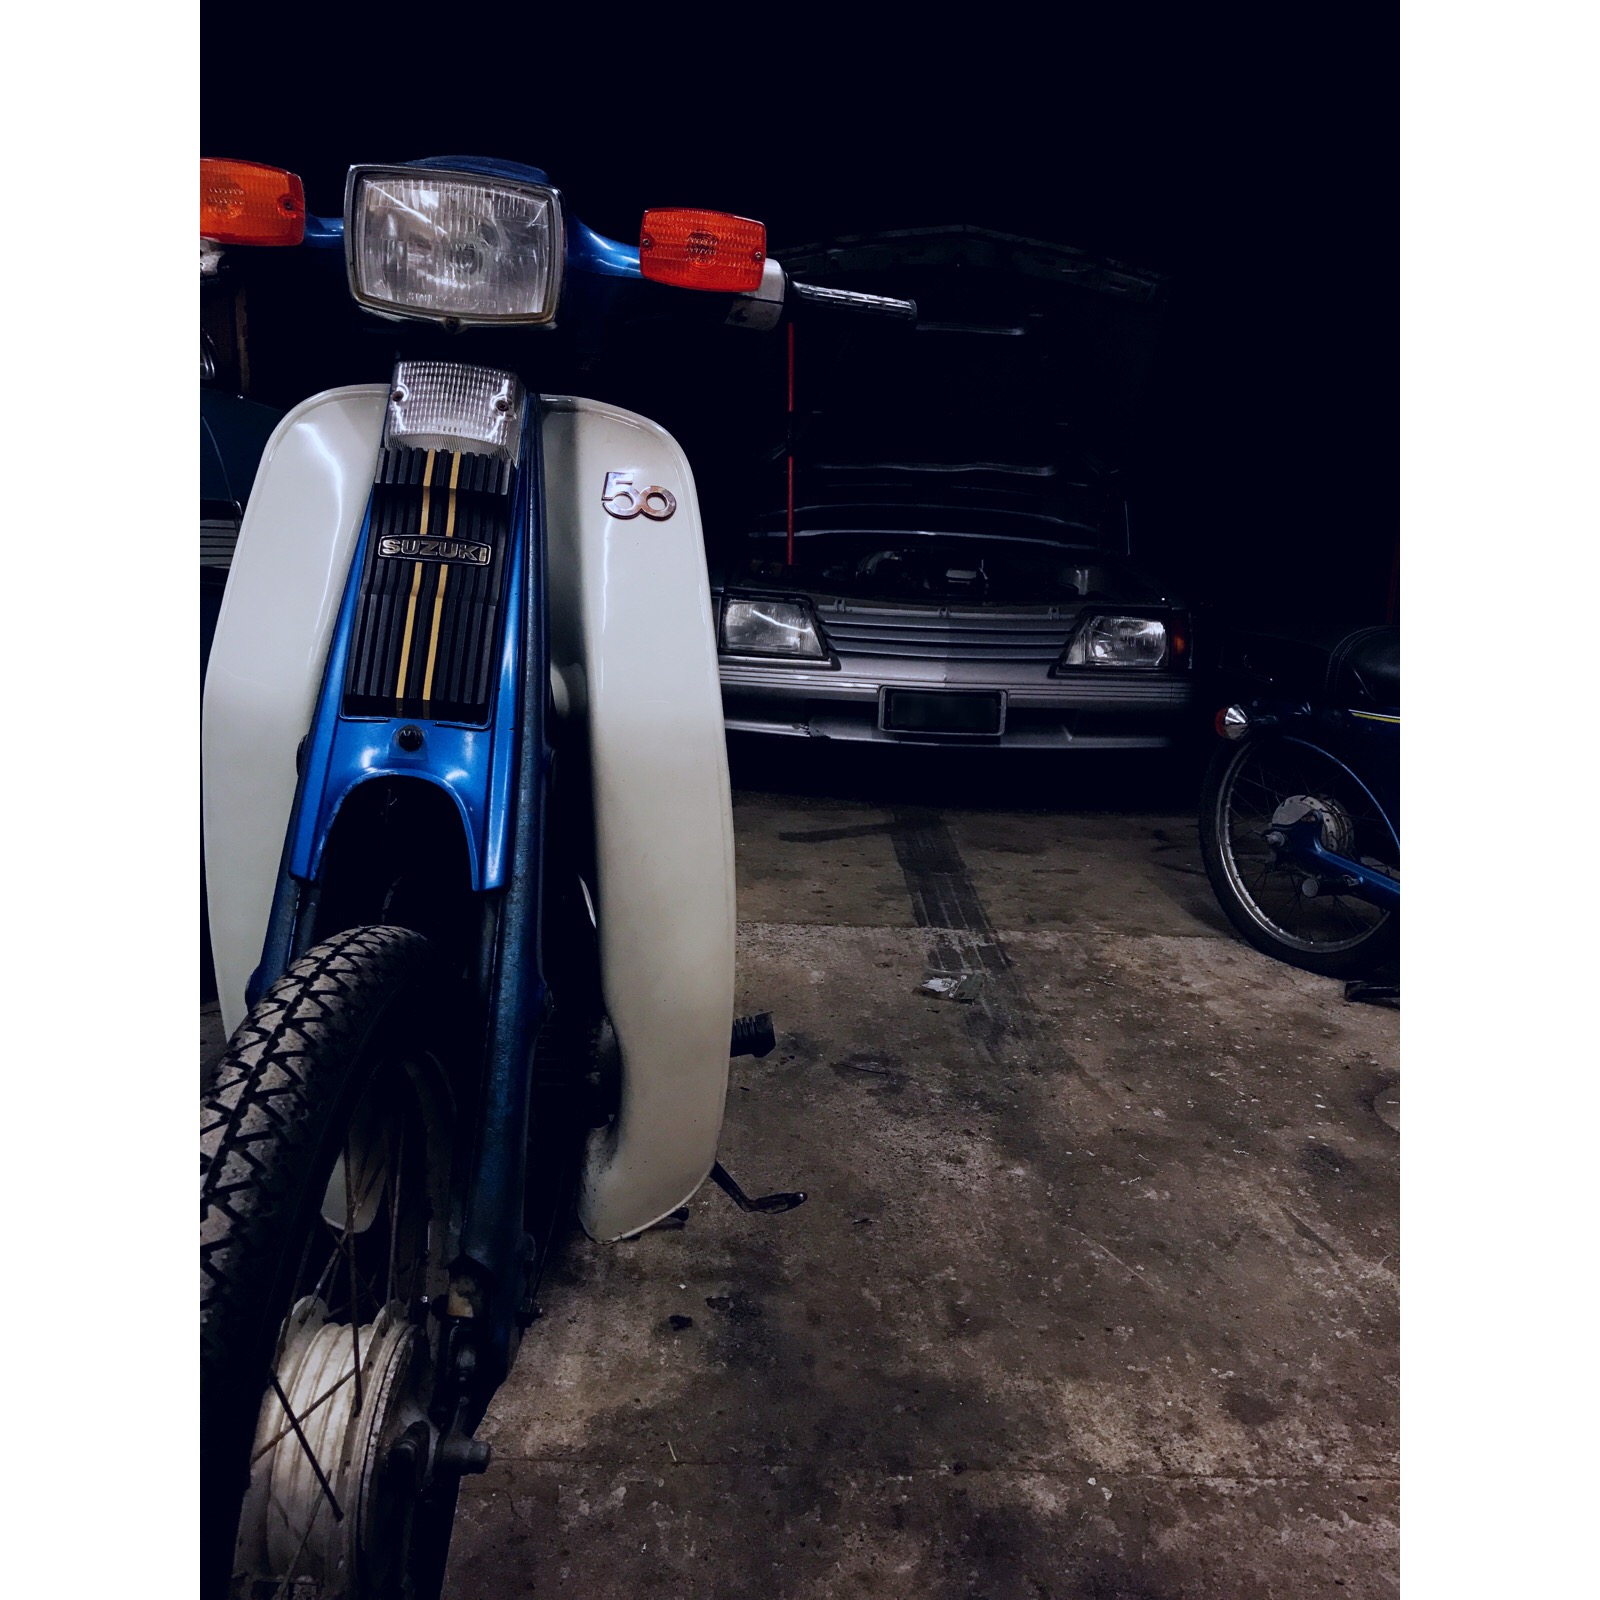
As as I said, I collected that twisted up FR solely for a few parts it had on it that I had been hunting for for a while and couldn't find. Tonight I started to strip that down for parts and fitted them to my good FR50, namely being the one bit I had been hunting for since day of purchase -a complete chain guard with upper and lower halves. As well as other rubber grommets and washers/spacers to places that they were missing from amongst the frame pine. Makes the bike look so much more complete. Stoked!! also, fitted the NOS FR50 leg guard badge I purchased from Suzuki Japan
1 point
-
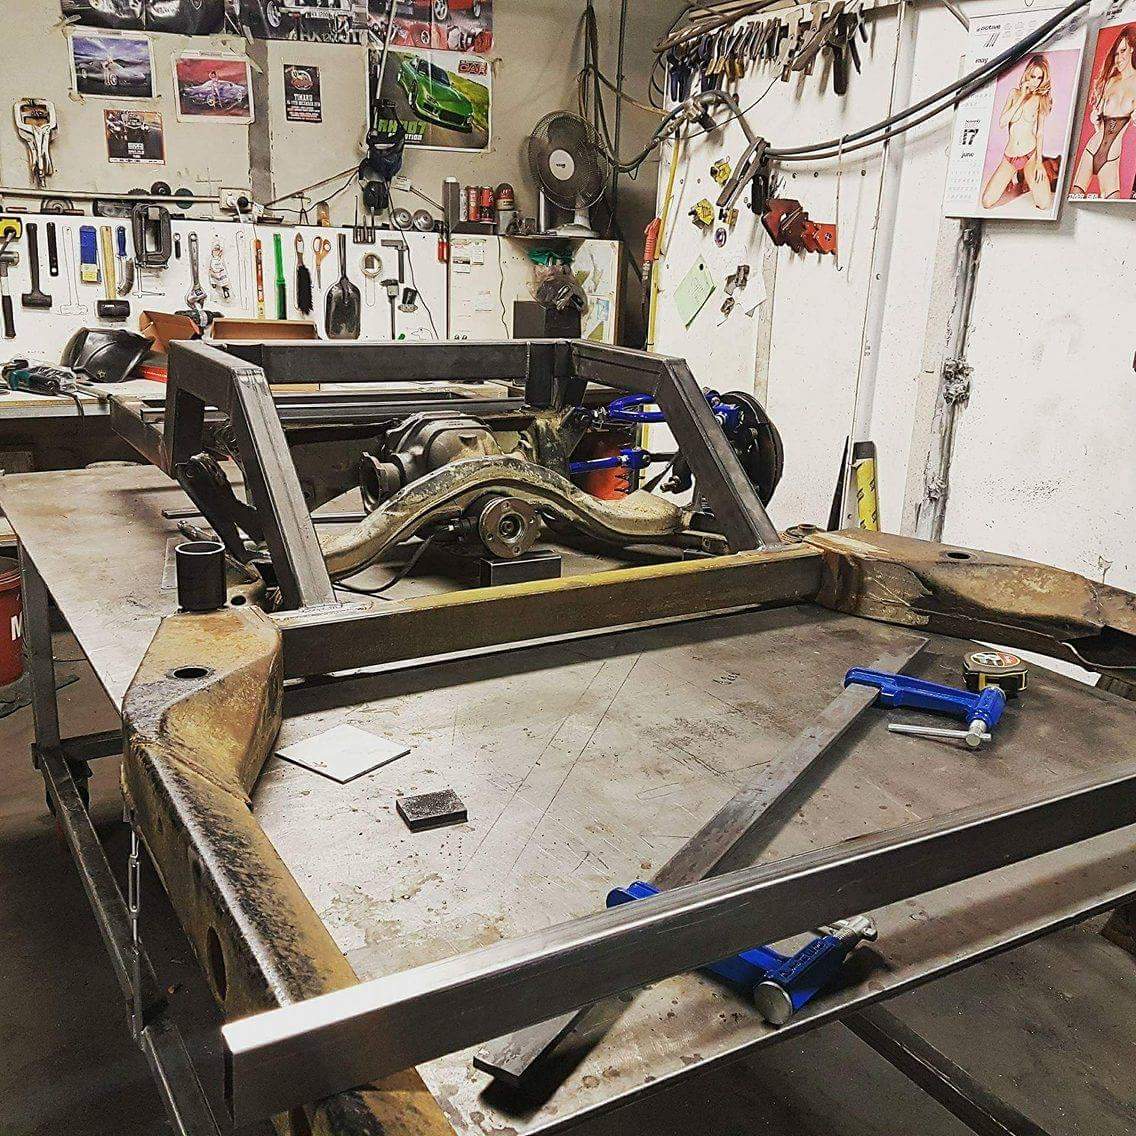
Now I need to buy a sheet metal folder to make these parts decent. I only have a vice and a chunk of railway iron to form shapes but this being structural, I need it to be proper.1 point
-
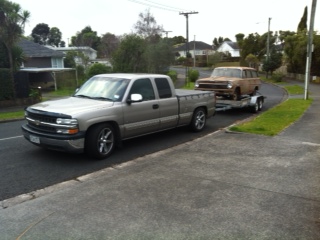
I filled out the online form for getting this collected from goat, they called last night saying they would collect it today. its a bit too soon as it still needs to be moved out of the shed and I still haven't paid them to pick it up. The tow truck driver is named barry which I thought was appropiate. I should hopefully get it late next week1 point
-
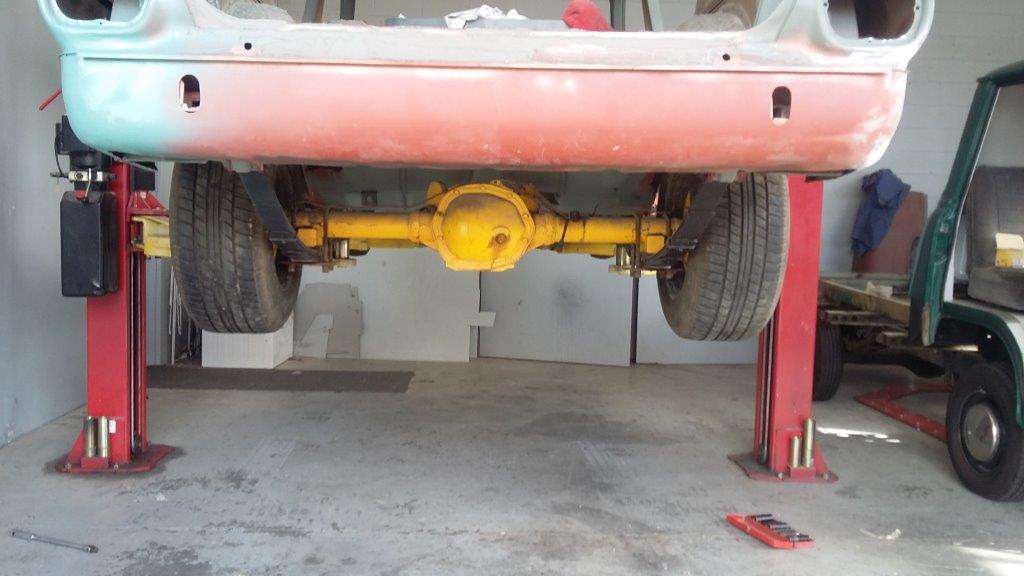
There were a couple of mx5s at zebra so I grabbed the cv bolts and the diff input bolts so hopefully they are similar enough to work on the fc so its less sketchy. I also have sorted a load of wheel nuts so there will be more than three holding the wheels on. Its a bit early but does anyone have a set of r32 gtst wheels for cheap? I've seen a couple on those wheels and like the look if them. This one on tardme looks pretty sweet imo1 point
-
I suck at photos. All going well this will be getting collected from its nice warm shed and be dropped off to me next week. I'll have to ask the landlord to put up another garage so I can work on my stuff at home1 point
-
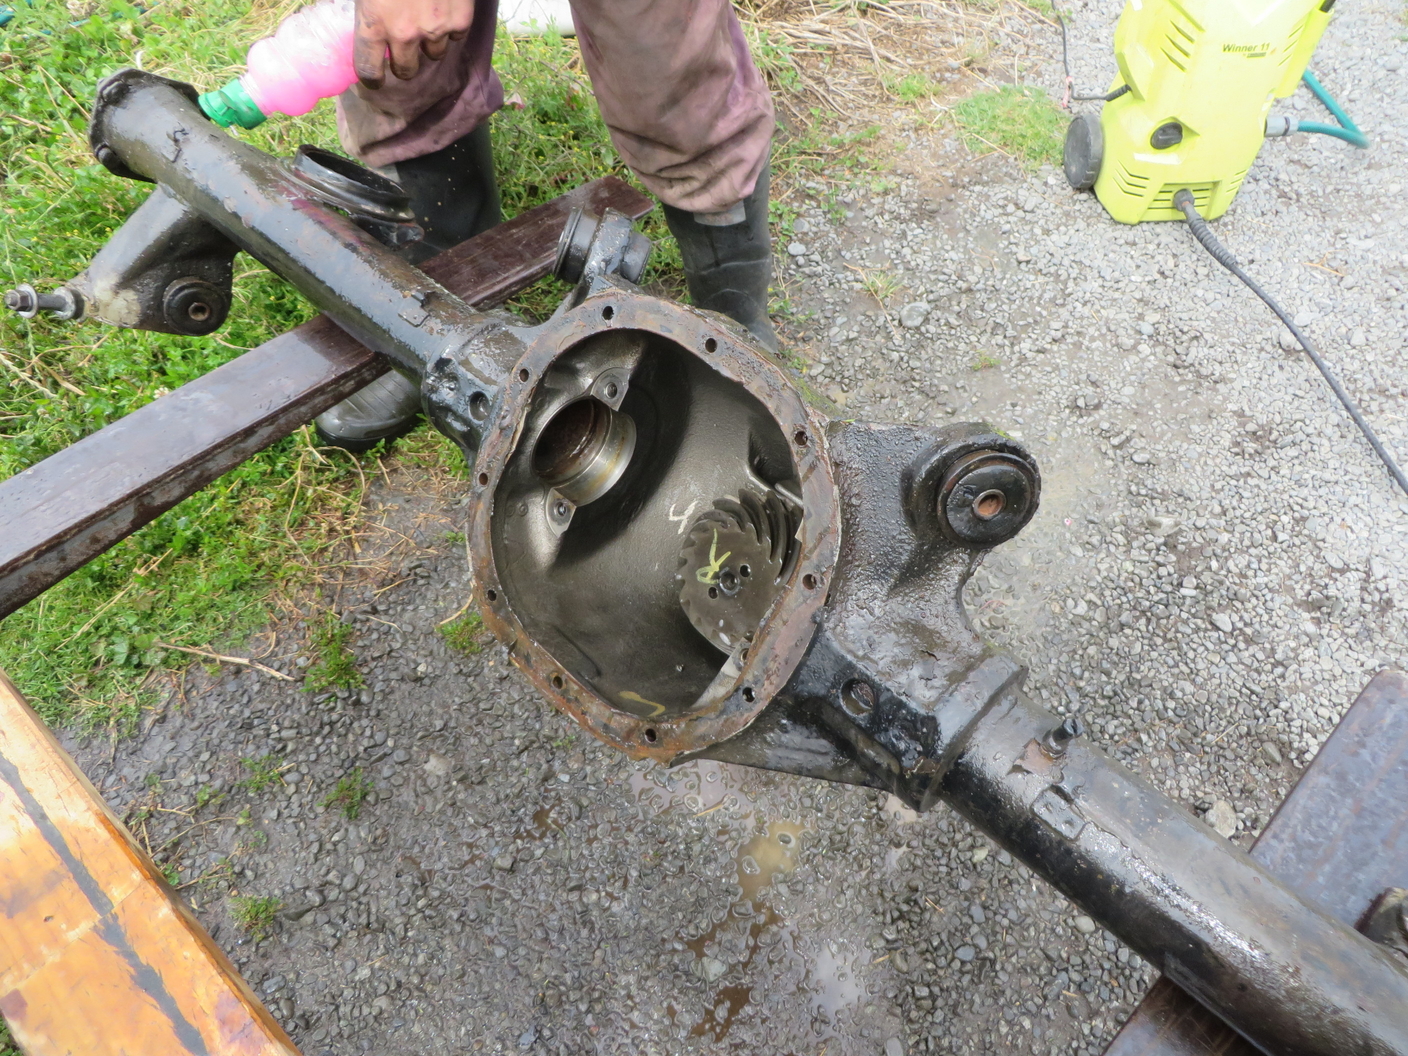
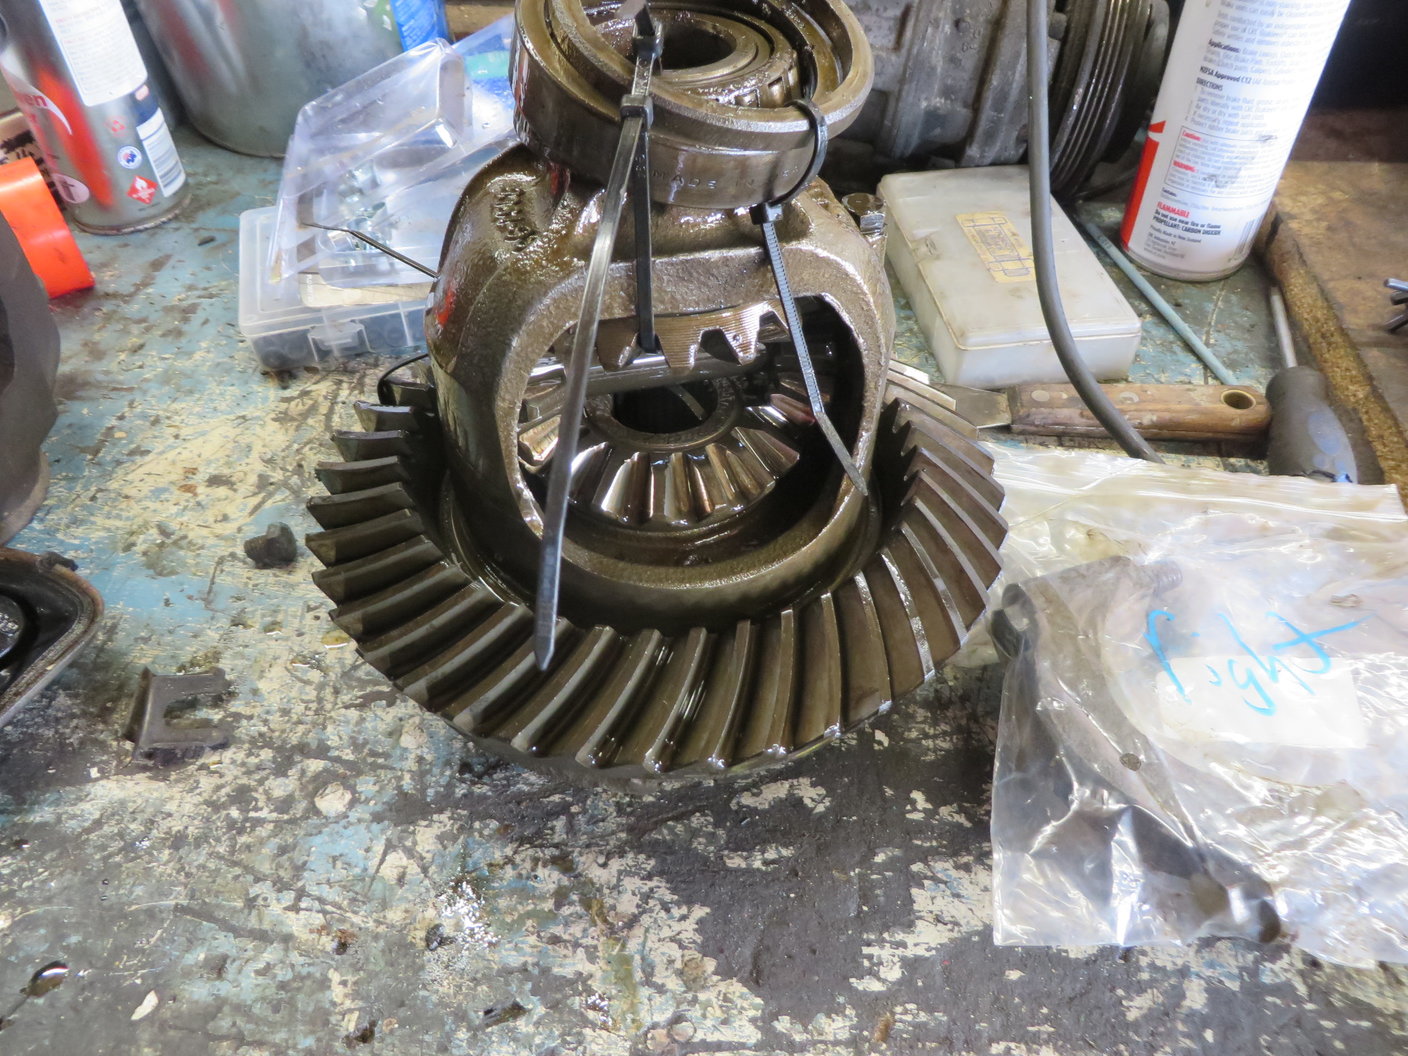
havnt posted and update in a while so here is some diff cleaning been a while so id better do an update. not really recent but yea cleaning diff
1 point
-
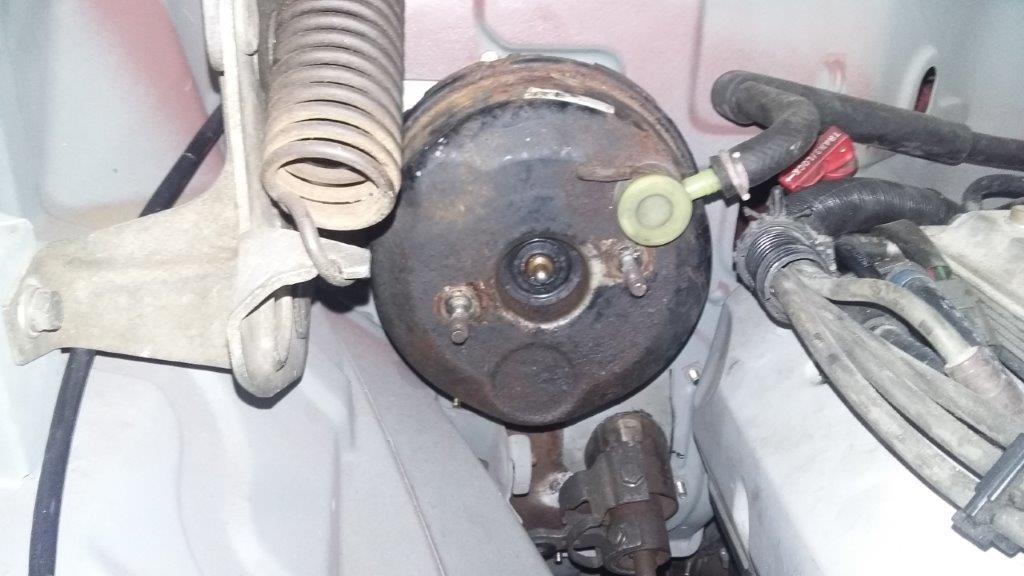
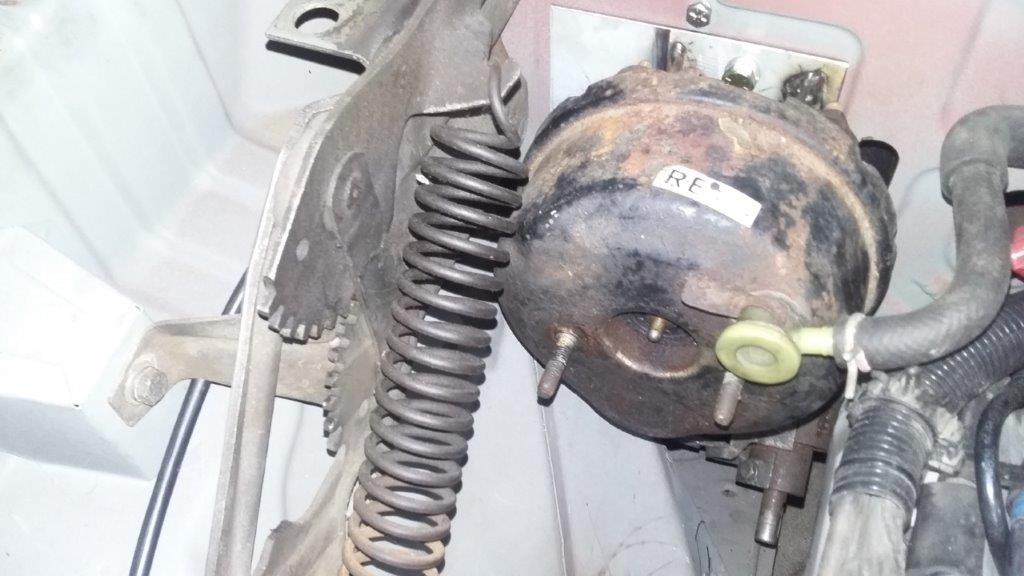
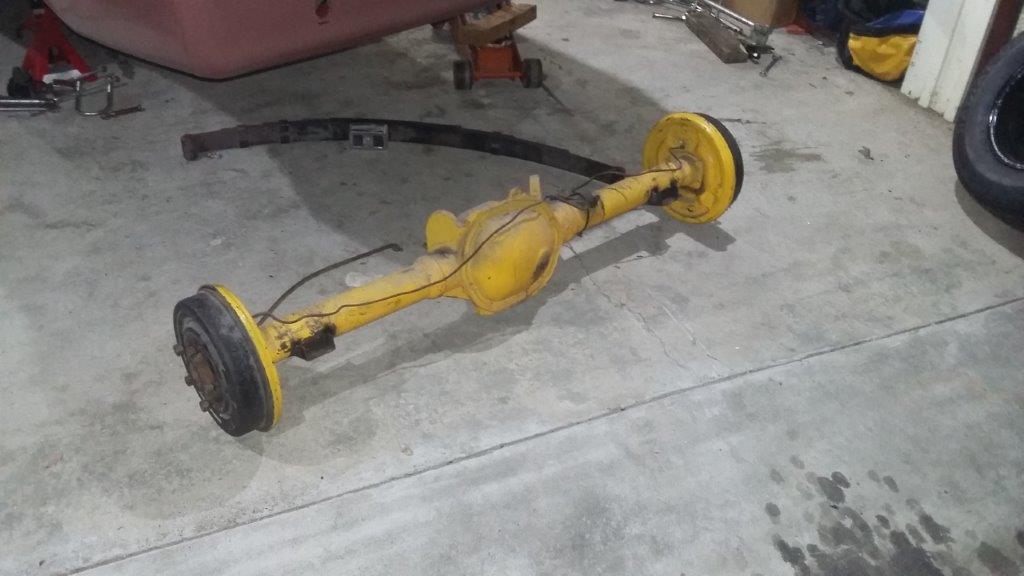
Some more photos Gemini Booster in place, note the not so deliberate mistake The mounting studs are not level. Bloody booster has to be rotated 18 degrees, yet another job that gets done twice. Here it is with the hinge down. During the shed raid Mr Vapour decided that he needed the VX commodore booster and master cylinder that I had got. I had the great plan of using an HQ PBR master. I thought they would be every where for not much money, not so. I'm going to have to go to Zebra parts to get another master cylinder, hopehully ther are still a couple of commodores there. Here is the diff with new mounts attached. Sorry Neal(threeonthetree), the yellow paint will be gone before this goes back under the car.
1 point
-
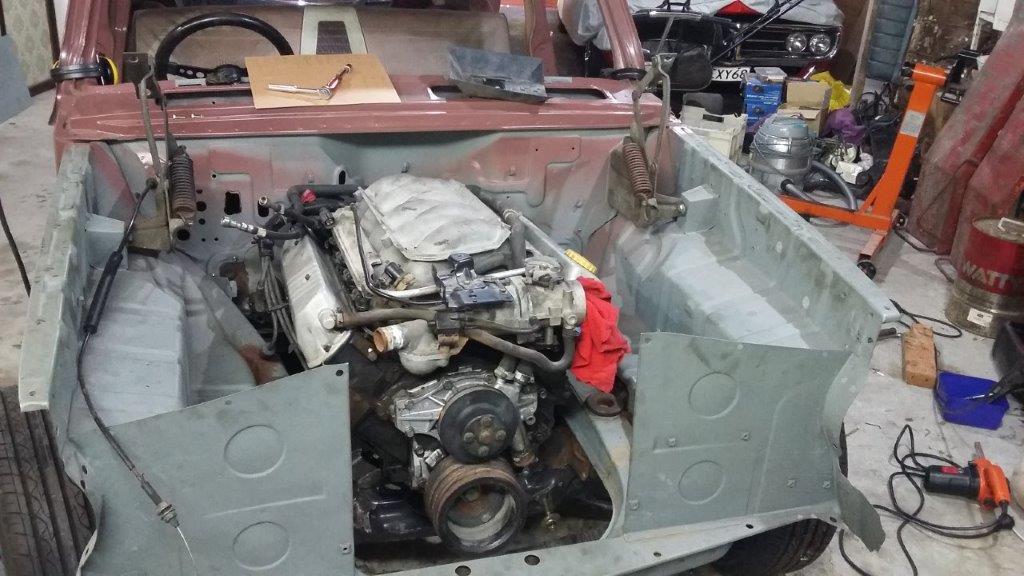
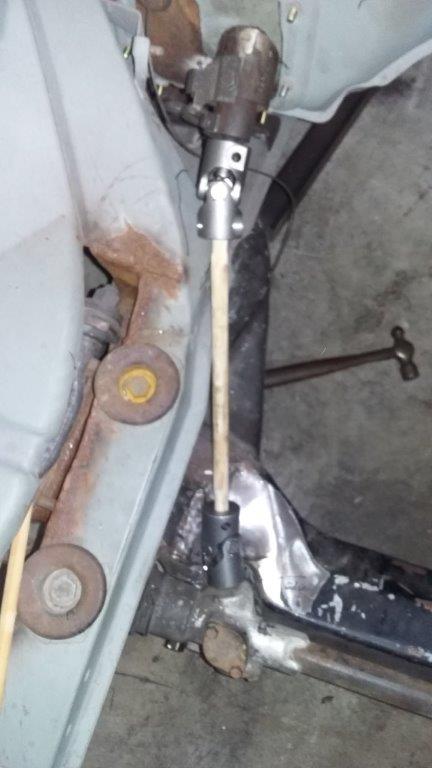
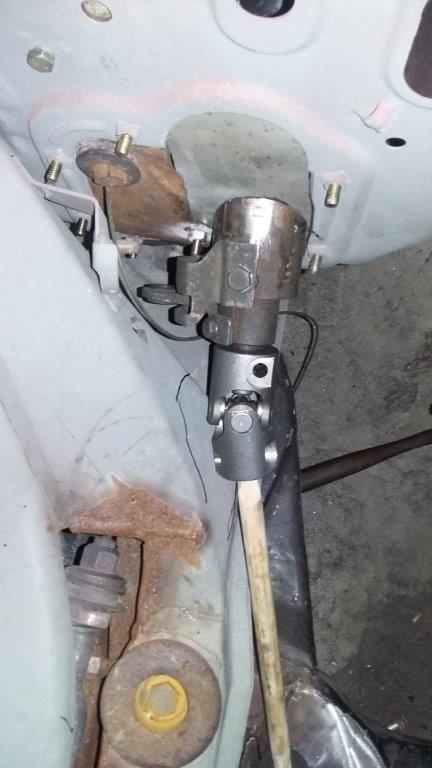
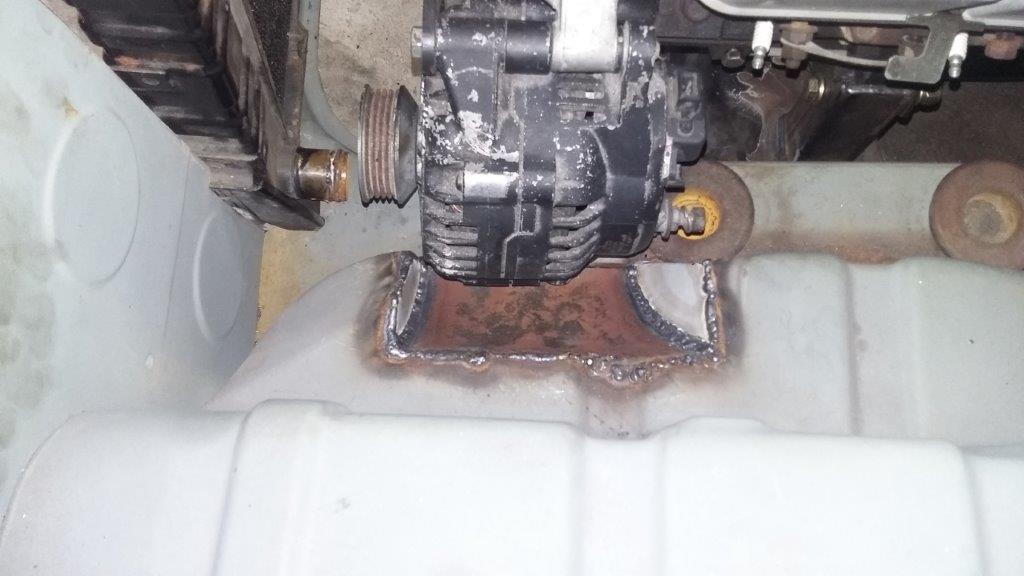
Here are some updates and photos The engine sitting in the engine bay, gives an idea of size of engine and lack of space. This photo gives a better idea, clearance of the inner guard to make space for the alternator A new gearbox mount, designed for a TH350 and just happens to bolt to a 4L60E with the right bolt holes for a HQ cross member. These two are of the steering . My nice piece of dowling intermediate shaft gives a good idea of how tight it all is. The right hand picture shows the bottom of the column and the shift arm. It all fits just. Still some clearance to be created at the time of photo.
1 point
-
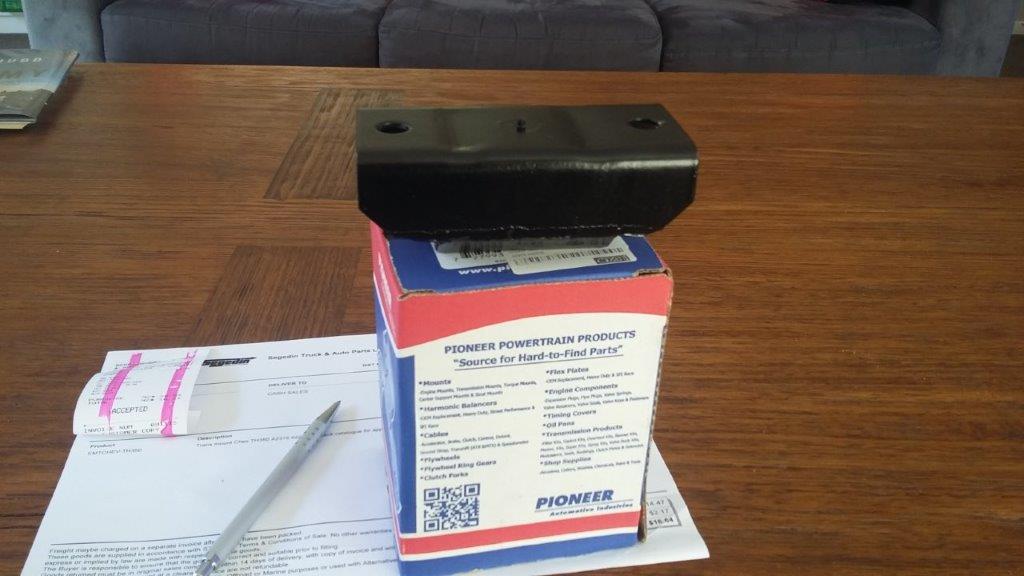
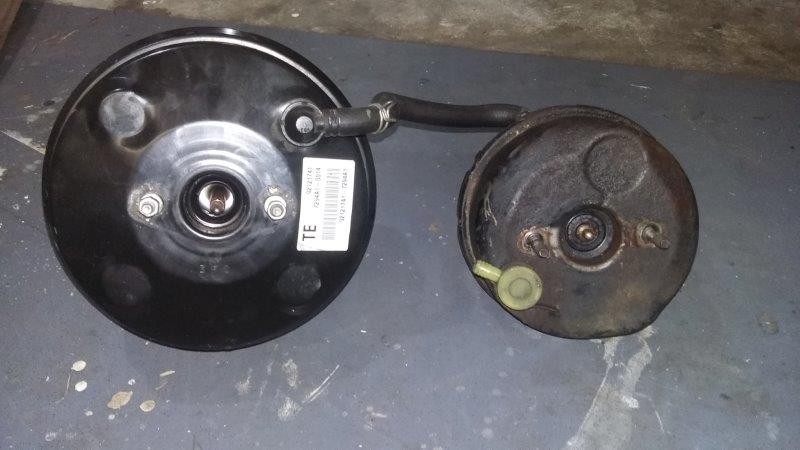
Here are the engine mounts. The strait up and down one is the passengers side which I made a couple of months ago. The funky one is to go around the steering universal. This is the second attempt as the first one didn't have a big enough dog leg. As usual second attempt took about a quarter of the time of the first one. A guy who I met recently did the finish welding with the 250 amp mig in his garage. Here is the size comparison of the VZ commodore booster and the gemini booster. I'll let you guess which is which. I'm going to use the original holes in the pedal so shouldn't need a massive amount of boost to get good brakes, the leverage is about 9:1 where the commodore was around 7:1. I am a little worried about how much travel on the pedal, have to wait and see once it's all together.
1 point
-
Over the Christmas break I had great plans of all the work that was going to get done............. The usual things like going away and getting side tracked into working in the garden, sorting out the pool and all the other crap that owning a house and having a family got in the way. Along with a fair bit of socialising, drinking and BBQing. However there was some garage time. Since the last update and being so proud of my bracket to mount the column, I found the last section of the crash pad that goes across the front of the dashboard. When it was fitted I found the column shift hit the crash pad. After a lot of swearing I figured that dropping the column 10 mm would give the necessary clearance. I persevered with the mount I had made for about 3 hours and then came up with a much better plan. A new mount that goes under the edge of the dash was made in about 1 hour. At the same time I realised that there is enough space to keep the original shifter arm on the right hand side of the column. The bottom mount has been made and everything fits. It is amazing how much time get consumed making things to fit. Kumeu was very good to me. I needed wiper arms and my mate who was with me found a pair in a box a guy had full of stuff for $2 per item. Out of the same box I got the plastic vents for the demister and a pair of OK door handles. Photos to follow.1 point
-
After some contemplation, consumption of alcoholic beverages and a bit of cogitation I thought there has been far to much pain and money gone into this car to give up now. The angle grinder came out and some cuts into the trans tunnel. Spread the top of the tunnel and dropped the engine back into the hole. The gearbox came up and the engine is sitting higher, sump above the cross member. This has created some space so exhausts look like they can fit down beside the block. I stuffed around for a good hour or so figuring out how to mount the steering column, I want to keep all the original breakaway intact for safety and certification. I had some 5mm flat bar and I think that will do. I'm still hopeful that the column shift will work. Amazing how having the car in the garage and having to walk past it a couple of times a day is motivating to get it done.1 point
-
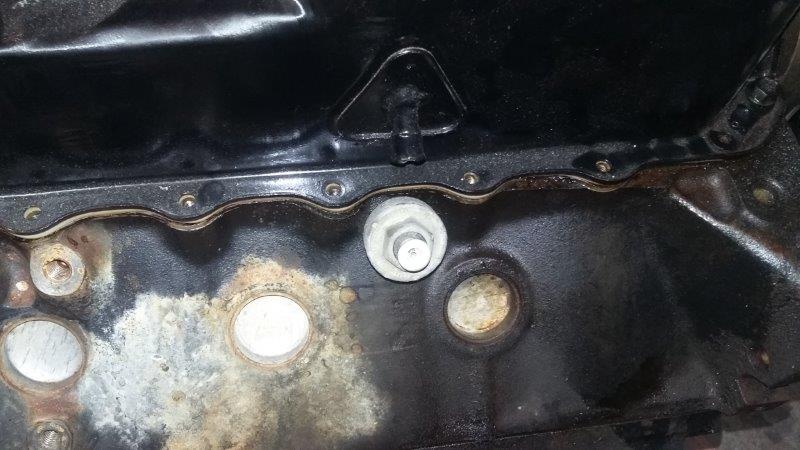
Now the car is home there is more motivation to go to the garage and pretend to work on it. I started on getting the brake booster mounted. Figure out about where is should be, there will be space if I take the spring off the hinge. The clutch pedal will become the brake pedal , I funky bend with the pad off the commodore pedal and all will be good. Before I got too carried away and started cutting more stuff up the motor really had to go into the hole. Off with the commodore sump. All looks nice and clean inside. On with the HQ pickup. Carefully bent to be 10mm off the bottom of the sump. Commodore sump on the left, HQ on the right. Nothing on this car is ever easy, The knock sensor can go on the other side of the motor, I just hope the wiring can be made to work. Other wise the dipstick has to move. Also went to bolt on the engine mounts, 6 nice new 3/8 UNC bolts with spring washers, all good fo rthe first 2 then the third acted like I stripped the thread. Some genius in Holden decided that the last hole is 7/16. I checked my spare HQ 308 and that is the same.
1 point
-
Quite likely, tag says it should be a 4.625:1, but I'm thinking it's likely got a 4.1 or something will count next time I've got it jacked up. Deff need an LSD, went to a mates place with a steep gravel driveway and really struggled to get up it lol Trust me I'm pissed!! If the guy who issued the WOF wasn't a mates dad I'd have laid a complaint with LTNZ about it!Not sure if he's being told to turn a blind eye by his boss (the cars are sold privately by the boss rather than through the business) or he just somehow managed to miss the balljoint etc... I know the guy who runs the main WOF centre here pretty well so got him to run it over there pit for me a few days back, other than a couple ball joints he reckons it would pass no problems so that gives me a bit of piece of mind at least. It's a good feeling, but also terrifying at the same time! Trust me that thought has come to mind a few times lately, but if I hadn't of sold you the Gloria I wouldn't have had the money to fix the Gloria or buy a van now lol.Backing off the accelerator pump linkage seems to have made a world of difference, haven't had a single backfire today AND it's managed to get 68k on less than 1/4 tank of gas it's only a little 40l tank too. Other thing of interest to me is how amazing the headlights are, best headlights I've ever had lol1 point
-
Here is photo of the 7 inch wheel with the 225 tire. My son likes it I came back from my trip away at Easter to find the car has magically changed colour Progress
1 point
-
I went down to the panel shop to try the new wheels. Too much back spacing. Bugger I like the overall look. And the rear view I did put on one of the 7 inch rims which looks like it will be OK. I'll one tire swapped over and bolt it up, fingers crossed. Anyone want to buy a pair of 8 inch wide HQ rims, they will fit under the back of a HQ-HZ.
1 point
-
A long overdue update. After many promises of the Holden will be next to be finished at the panel shop there has been big progress over the last couple of weeks. Trevor the owner of the shop has been doing most of the work and now 90% of the cutting and welding has been completed. Here is a couple of photos that really don't look that different from while ago. I guess the great thing is that when its finished I know that all the rust is gone and it will be fill with fish oil so it wont be coming back any time soon.
1 point
-
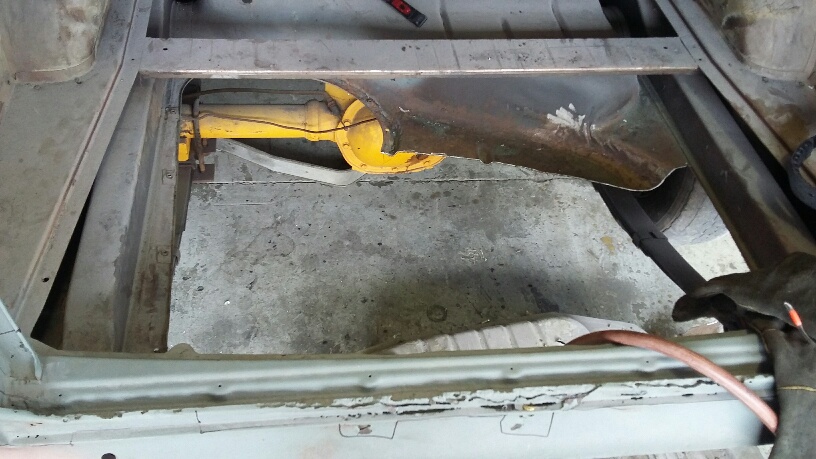
Here are the photos of progress Starting to cut the floor out Floor gone and tank in place New Floor in place. No more spare wheel, plenty of space for dual exhausts. Good to have the priorities right. Rear beaver panel on.
1 point
-
86 with a formula motor http://www.turbosport.co.uk/showthread.php?t=5450391 point
-
Just realised that there have been no updates for a while. The panel beater thought that it would be a couple of months and the body would be ready for paint. That would be the end of July....... It's getting close to the end of August and the car hasn't really changed since the photos above. I have made progress, HQ calipers have been rebuilt with new seals, hoses and pads. All (probably most) of the rubbers for windows etc arrived on friday, Cletus is booked in to have a look at the car for certification in October Best thing is there is still money in the bank so seat belts will get ordered this week, HQ 3 row radiator picked up and stuff like shocks bought. Goal is to have it ready for the Beach Hop next year.1 point
-
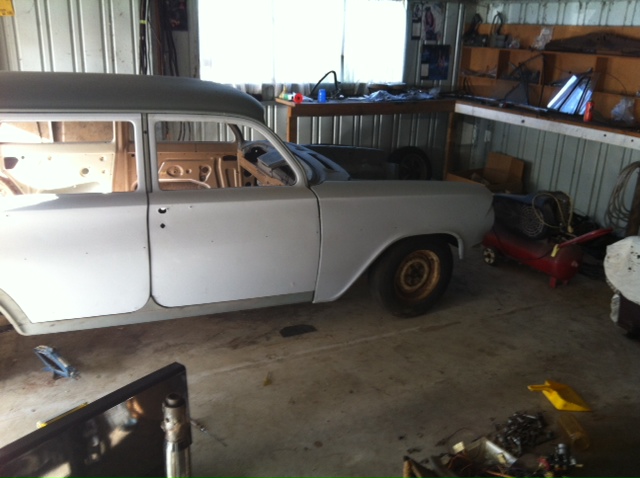
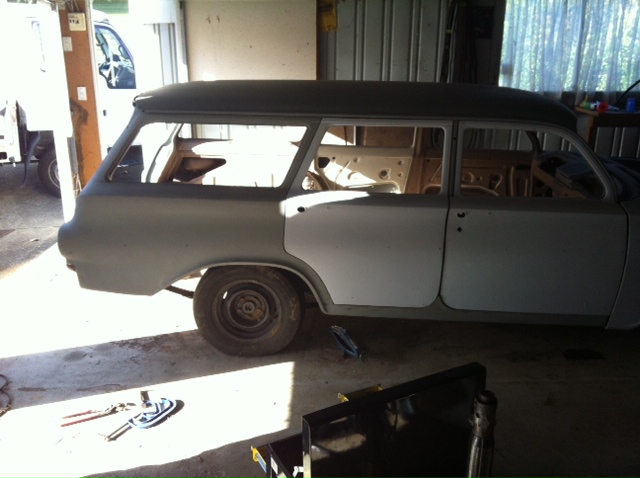
Today I played Hookey from work and got the car over to the panel shop. Managed to dodge the rain showers and only get a little bit of rain on it. My wife came and helped with the pushing around and winding the winch on the trailer. With the stress of the weather I forgot to take any photos. I will go down to the panel shop tomorrow if I get a chance and take a couple. Heres a couple of photos from the other day when I go the doors on and the threaded rod in to hold the front suspension up. It's got the 70's nose down thing going on big time.
1 point
-
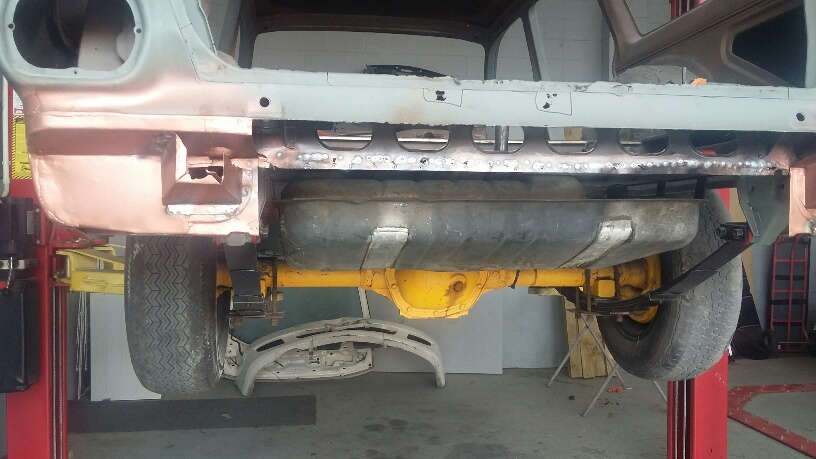
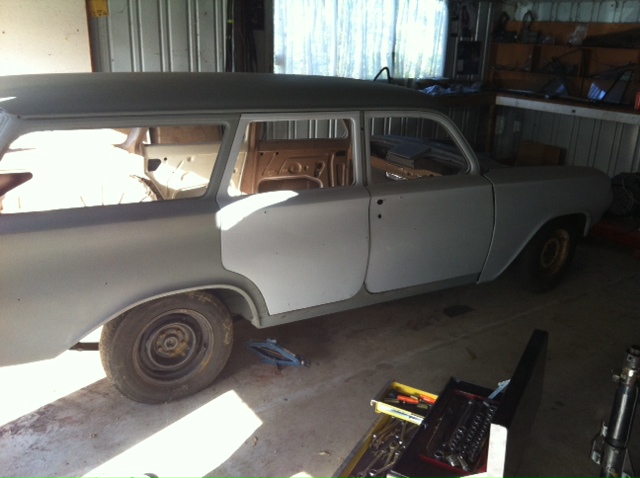
I'll jump now to where the car has got to. The body has been sand blasted. It would have been cool to have kept the original patina by it was rusting too much under the paint and the previous owner had got carried away with PA10 and a brush. The floor pans have been replaced, there is still some finishing to do, the trans tunnel might have to come out to get the 4L60E to fit. The Torana front is bolted in still with the Torana disks. The original 13 inch wheels are there to push it round on. It will get HQ disks and WB statesman callipers. The doors and guards have been panelled and primed. Next stop is the panel beaters, I have a new LHS sill to go on, the original is rotten and wavy. The new one was bent up by a crowd in Wellington and goes right through to the inner sill. I also have a new rear panel to go on. Like all EJ,EH Holden's the original was rotten, no paint from the factory. The factory cutout for the exhaust is gone to give me options for where the dual exhaust will exit. Here is the latest photo
1 point
-
Bosozuku pipes.1 point


.thumb.jpeg.e0a4bff61111e0c8c7396950fcc94da1.jpeg)


This leaderboard is set to Auckland/GMT+12:00