
Leaderboard


Popular Content
Showing content with the highest reputation on 02/26/20 in all areas
-
Made a start modifying the 4-link mounts. As you can see they originally hang quite a bit lower than the sill. New mount all welded up. Should be heaps strong enough! Cleaned up a bit. 17mm socket just fits through the channel to tighten/loosen the bolt. Might swap to Allen head screws, as the paint/underseal mightn't leave enough clearance. The lower arm is nice and level now. Next was to do the upper arm mounts. This is it all done coming through the floor under the rear seat. The seat just doesn't fit, but should be an easy fix by bending one of the wire spring things a little. Top arm angle looking much better. The arms should intersect pretty close to where I guessed the instant centre of the car will be. Just have the other side upper mount to finish off. Sent a bunch of stuff of to be zinc plated. Some didn't turn out as shiny as I'd liked, but not all of it's that visible and I think I'll get the engine and gearbox mounts powder coated any way.16 points
-
Some hump day inspiration
 9 points
 -
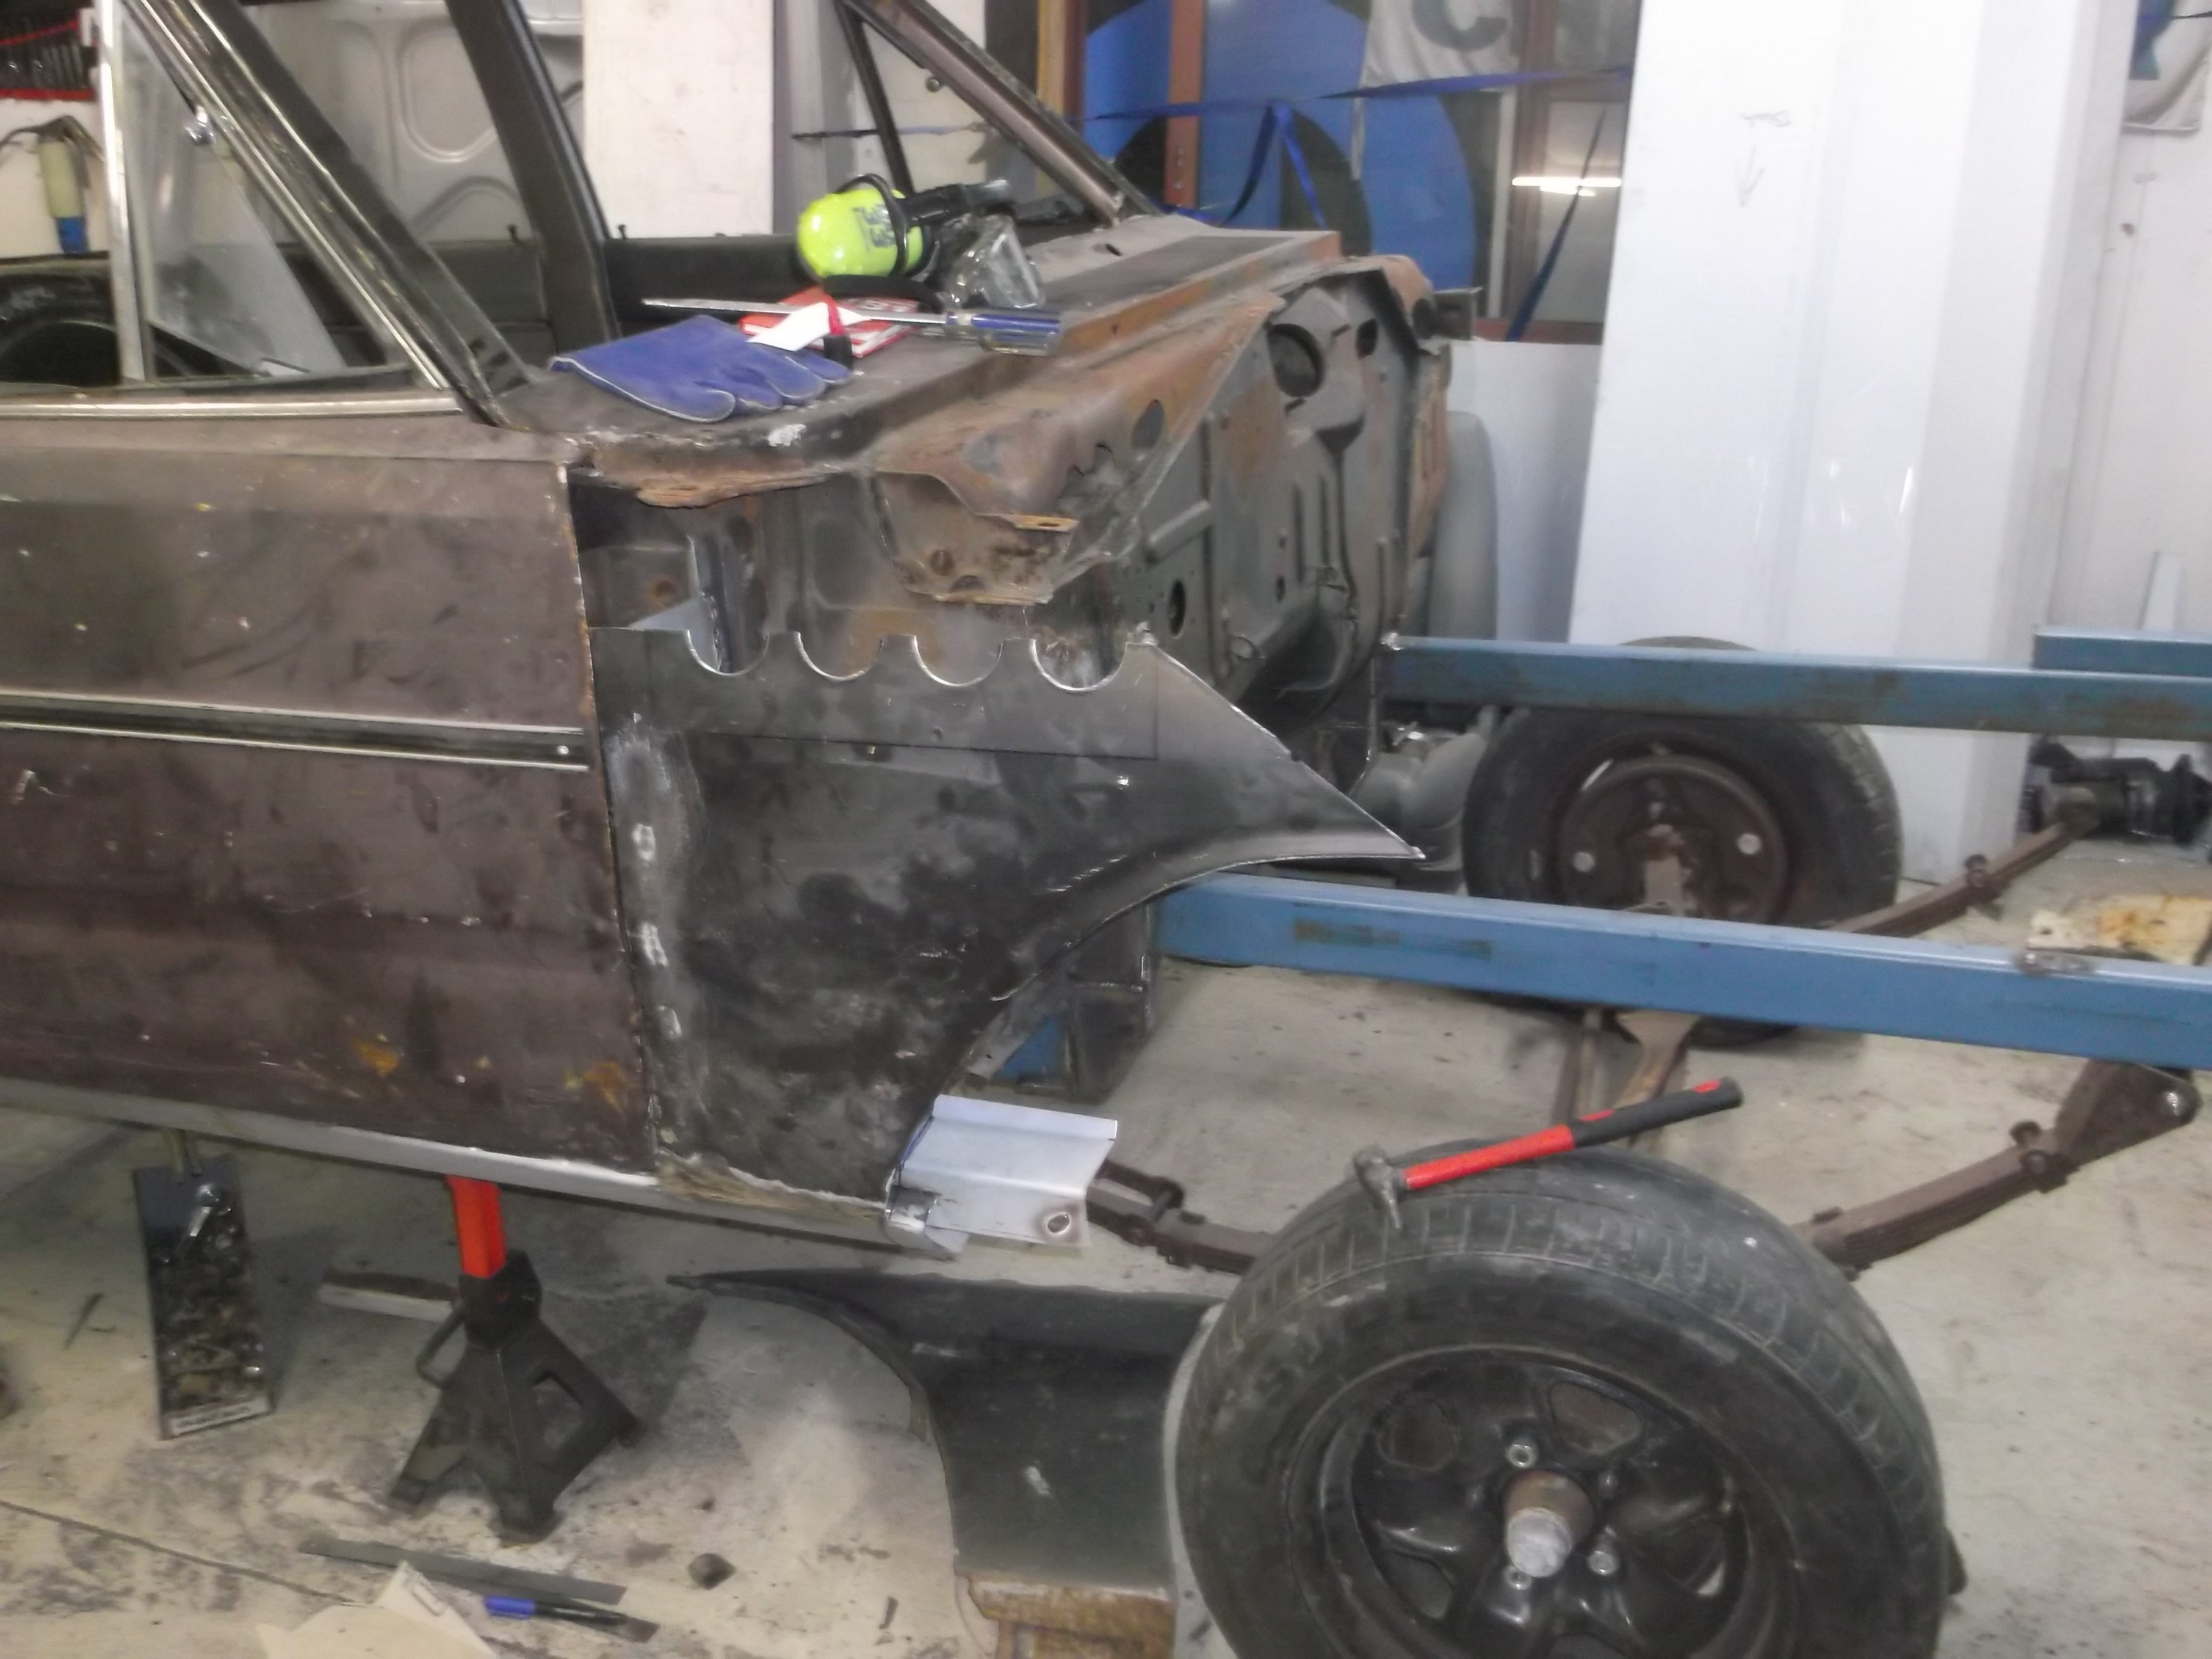
guards welded to bonnet
8 points
-
got some primer on
7 points
-
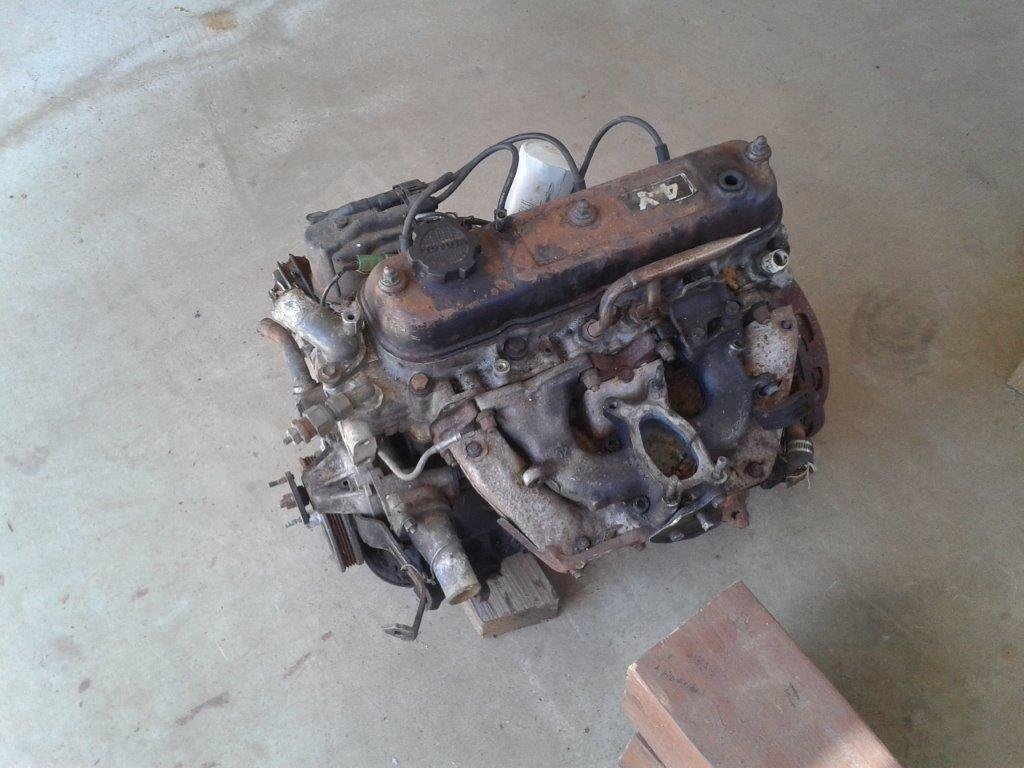
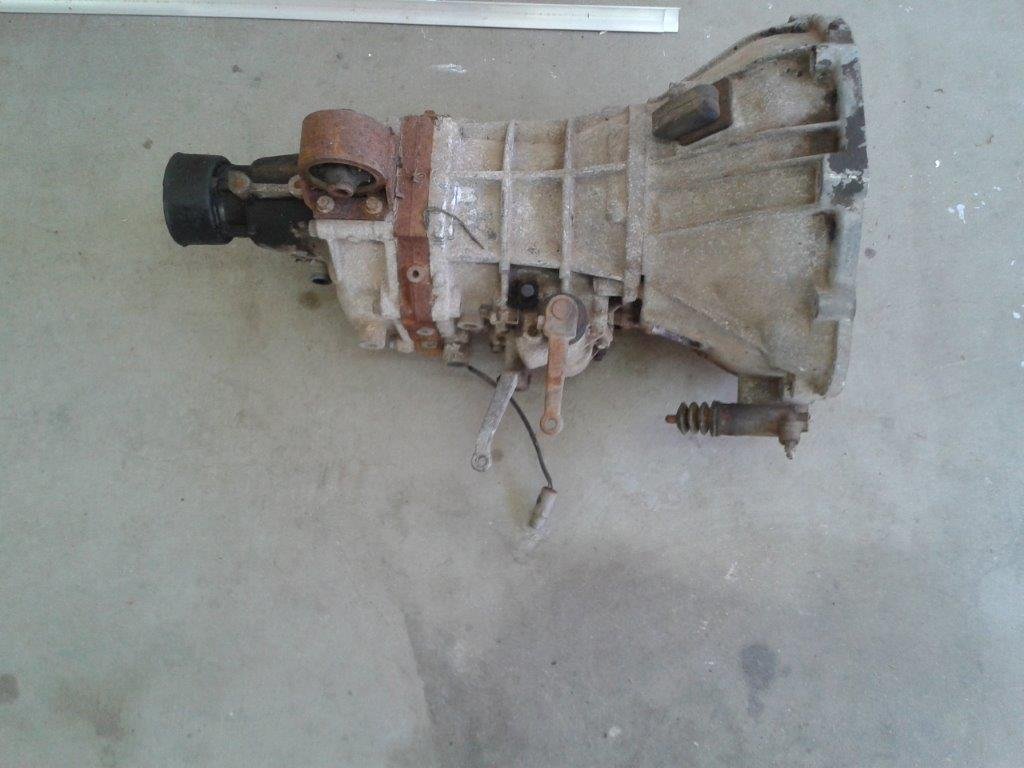
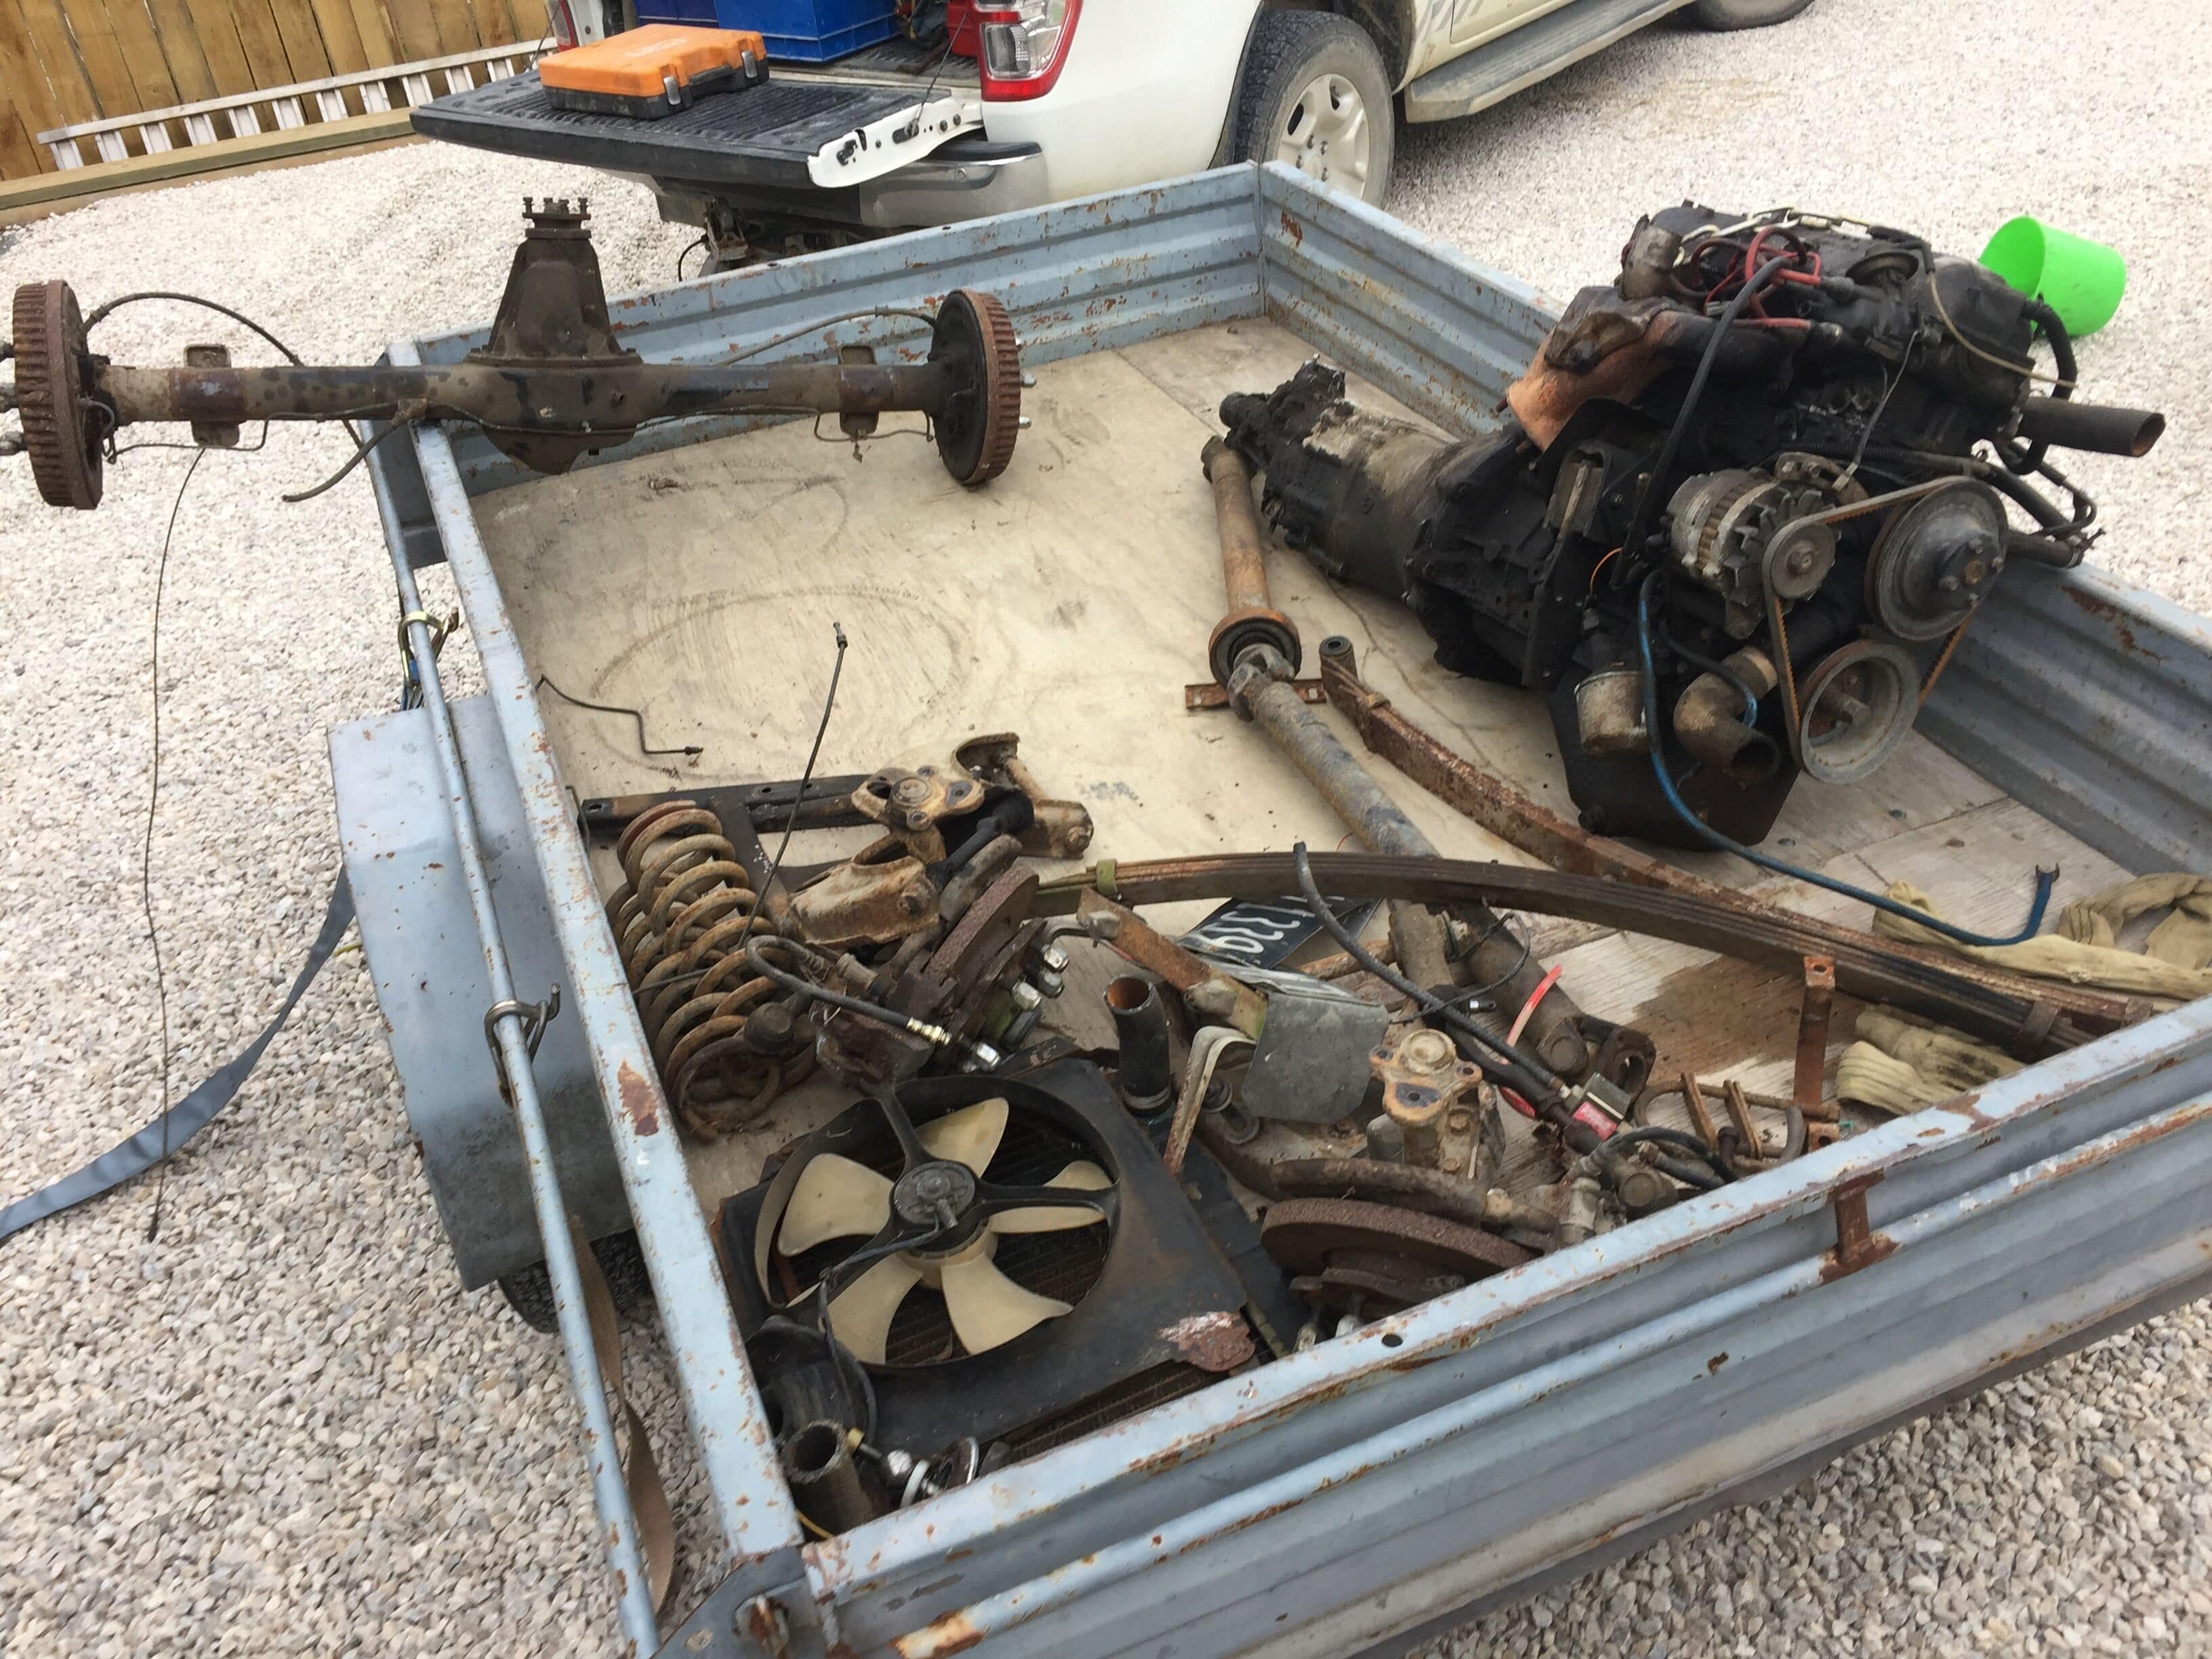
After morning smoko I thought I would crack into the next step of the "proof of concept" so I headed into the back garden to retrieve my mock-up 4Y motor out of the back of my second Toyota donor van. Loaded the motor onto my trusty wheel barrow and moved it under the back carport so that it is out of the weather. Grabbed the loose Toyota gearbox at the same time. First order of business was to take some measurements to see if the mighty 4Y will fit in the puny Thames engine box. Results of prelim measurements are as follows: Mighty 4Y - 510 mm wide at widest point. 670mm long from back of block to front of viscous fan. Thames - 505 mm wide at widest point. 654 mm long from back of block to front of fixed fan blades. So from the look of the width I should just be able to squeeze in the 4Y. From a length perspective I suspect that I may need to ditch the viscous fan on the 4Y if I'm going to retain the original Thames radiator. Nothing that an electric fan can't fix if this comes to pass. I still need to take some comparison measurements of the two gearboxes but I'll do that tomorrow.
6 points
-
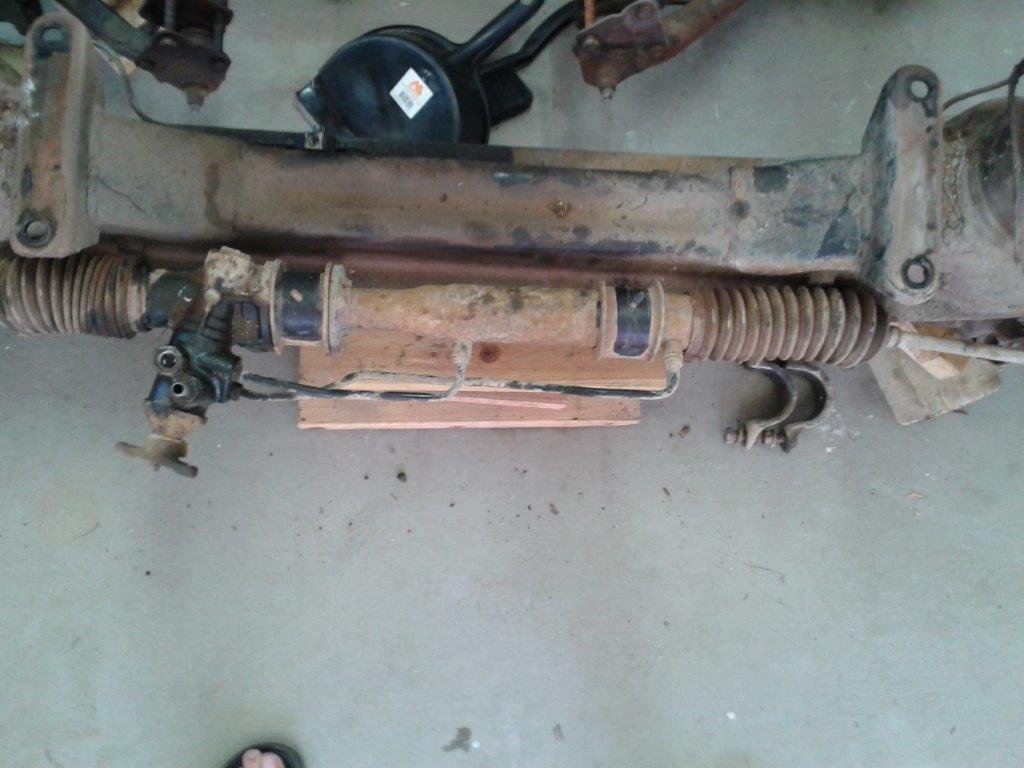
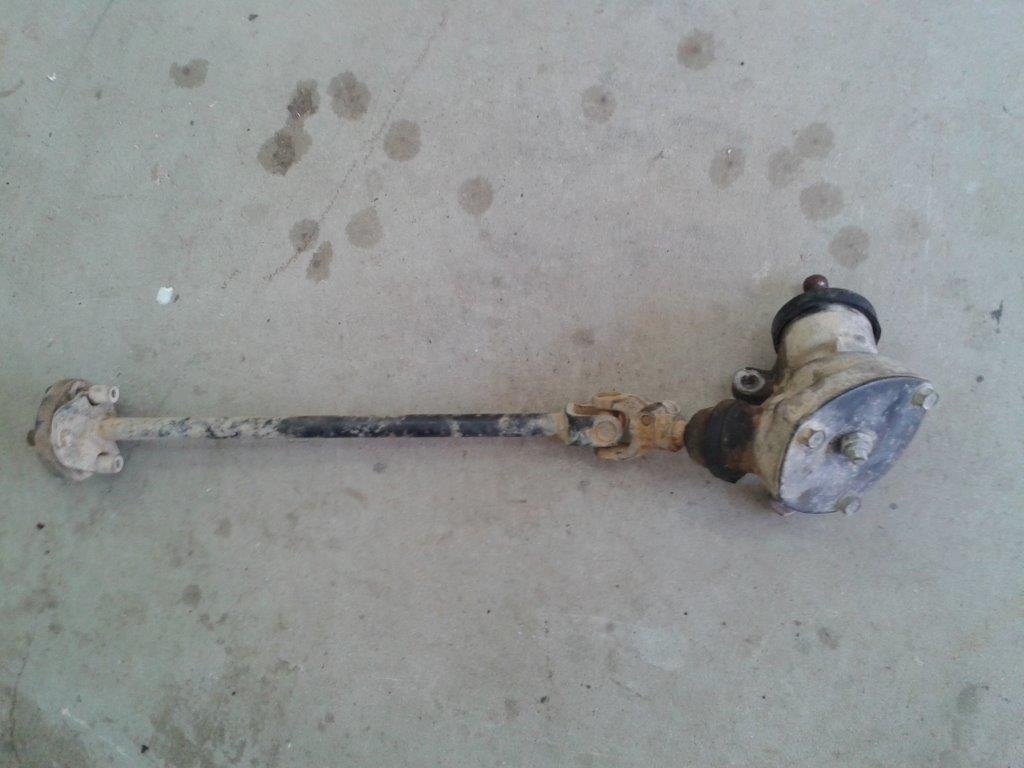
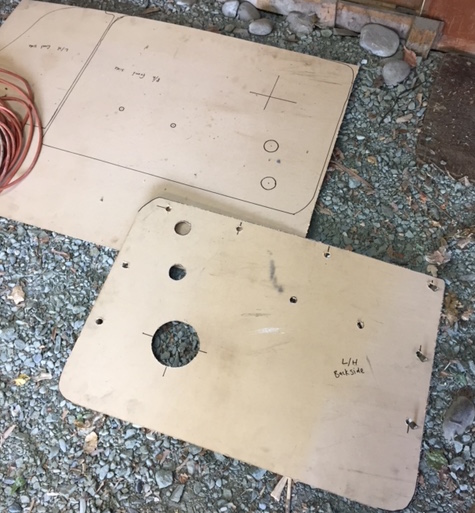
The sun was out again today and with the weatherman predicting a 90% chance of rain tomorrow I decided to continue stripping parts from my donor vans. Today's patient was the '96 Mitsubishi Express van. Before morning smoko I had managed to pull out the power steering rack and the angle box that links the steering column to the steering rack. I offered the rack end up to the Starwagon steering arm only to find that the newer Express has a larger diameter tie rod end. Luckily the smaller tie rod ends from the Starwagon have the same thread as the Express rack end so I quickly pulled the Starwagon tie rods and affixed them to the Express rack ends. Instant win. I'll need to cut the rack mounting lugs off the Express beam and glue them onto the Starwagon beam before I can bolt the rack on permanently, but I was able to mock up the rack and the pivot points on the Express rack align perfectly with the pivot points for the upper and lower arms on the Starwagon beam so that is another win. No bump steer for me. Next step is to see if the spline on the Express angle box will match the universal on the end of the Toyota HiAce steering column that I will be using, but I won't know that until I have pulled the steering column out of the HiAce. I don't want to use the Express steering column as it is fairly chunky and way more modern looking than the old 80's HiAce and since the column is pretty prominent in the Thames, I want to retain the older look if possible. Anyway a few pics to brighten up this dull post. Thanks for reading.
5 points
-
Here's the master cylinder rebuild: I won’t go into great depth of each step, as they are quite well covered by various workshop manuals (I referred to the Haynes manual, as well as the instruction from the rebuild kit for guidance). Here is the master cylinder in place in the car, of course to do the rebuild we need to remove it. To remove it, disconnect the brake lines from the master cylinder (I used some plastic bags and tape to cover the ends of the lines), but before doing so, remove as much brake fluid as possible from the reservoir (I used a syringe). To provide better access to the line in the middle of the master cylinder, I removed the power steering reservoir (only two bolts), that made life a lot easier. Then you remove two nuts attached to the brake booster and it should come away. Don’t forget to disconnect the brake fluid senor wiring. And here is the removed master cylinder and reservoir. Also, I thought I’d put a photo up of the kit box, just in case anyone is interested, also has the supplier’s details too. To remove the reservoir from the master cylinder, the holding pin needs to be removed (referring to the photo below, it’s in the bottom of the ‘V’ of the reservoir outlets). I found this extremely stiff and took quite a bit of effort from using a hammer to knock it out, you’ll also need a dowel or screw driver etc with which to tap it through the master cylinder casing and finally remove. My advice would be is take your time. The reservoir should then pull away with a bit of effort from the rubber grommets on the inlet ports (which in turn need to come out too). The next step is to remove the two pistons within the master cylinder, these are held in place by a pin that passes through a slot on the primary piston and through to the other side of the cylinder casing. The Haynes manual notes that a magnetic should be used, but the image shown isn’t very clear/easy to understand (well to me at least). To access the free end of the pin, you need a magnet that can fit into the inlet port, I did not have such a magnet (I tried a magnetic tipped screw driver, but this wasn’t strong enough). Not really wanting to get off my arse and buy a suitable magnet, I improvised, borrowing one of the magnets on the wardrobe door lock (the type that you screw into the top of the door and other in the door frame) and ‘attaching’ one of my socket drill bits to it. This worked nicely. With the pin removed, a gentle tap of the master cylinder on some wood and the pistons came out. Here is the disassembled master cylinder (note in this photo the piston locking pin is missing). As you can see, (an assumed) 33 years have taken their toll on the inlet rubbers. Here is what you receive within the rebuild kit, I used all the new parts, apart from the piston locking pin. The original one didn’t have the chambered edges and I preferred that. I inspected the bore of the master cylinder and couldn’t see or feel (as far as much fingers could reach) anything that jumped out at me as being suspect, so proceeded with the rebuild. Here the secondary piston is being installed, after the primary one. Care should be taken when placing the pistons into the cylinder, the instructions with the kit covered this well, stating that they should be slightly rotated combined with slight up and down movements (don’t want the spring to score the bore etc). Also of course, apply clean brake fluid to the pistons prior to installing them and also note the position of the slot on the primary piston, as to ensure that it lines up with the opening for the pin. And here is the master cylinder rebuilt, just awaiting for the reservoir to be installed. I don’t have a photo of the completed one with the reservoir in place, it must have slipped my mind, as at that point I really fancied a beer!5 points
-
i actually sold the rotary engine in November / December. It wasn't something i really wanted to do but i kinda suggested it to a dude and he was hella keen and paid what i was asking for it, so i sold it. the money went on a loan and put me in a better position. so she is kinda going into storage for a while and ill rebuild it with a 12a,13b injected engine but build the engine or i might buy new from mazda for a 13b and do it all correct this time instead of over 22 days. need to sort some things out and do it a lot more correct so i can drive it a lot more freely and on the road. i might buy another bug and just not put a rotary in it in the mean time. we will see. but we will see a rotary beetle again that is for sure.5 points
-
working on the flp front
3 points
-
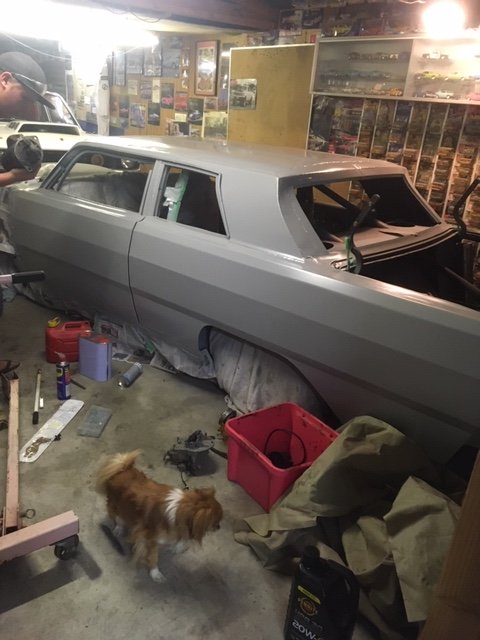
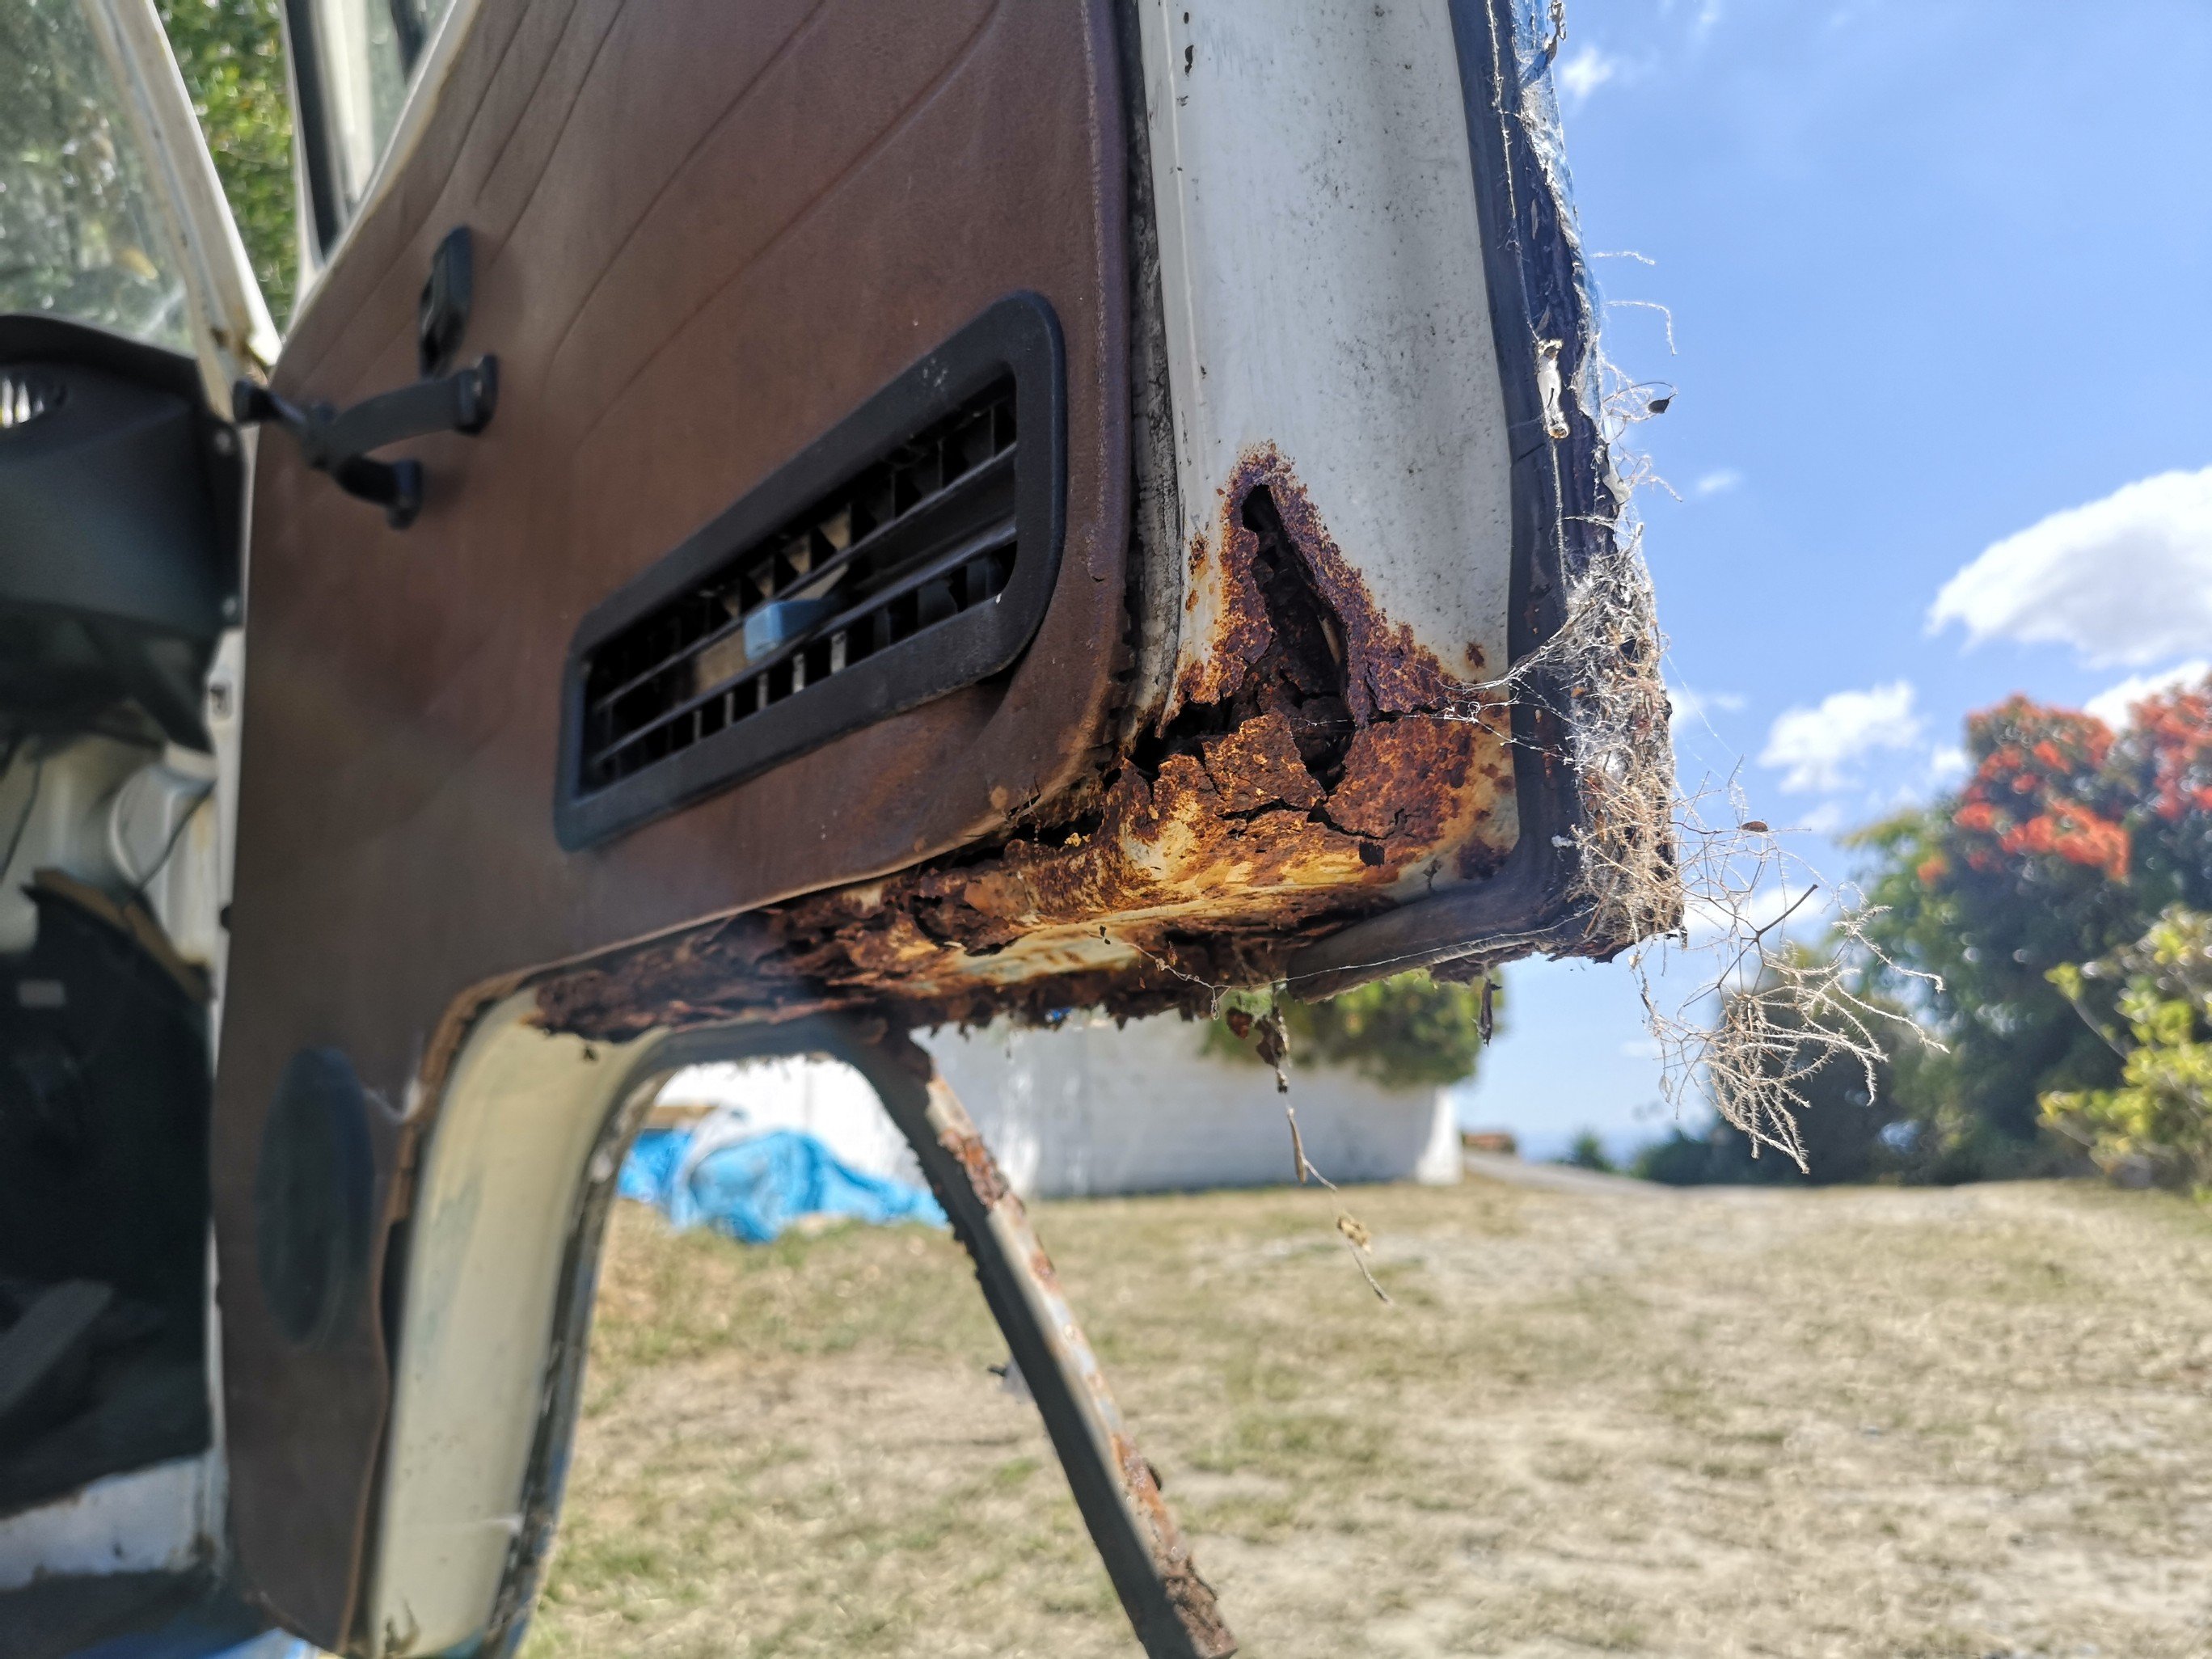
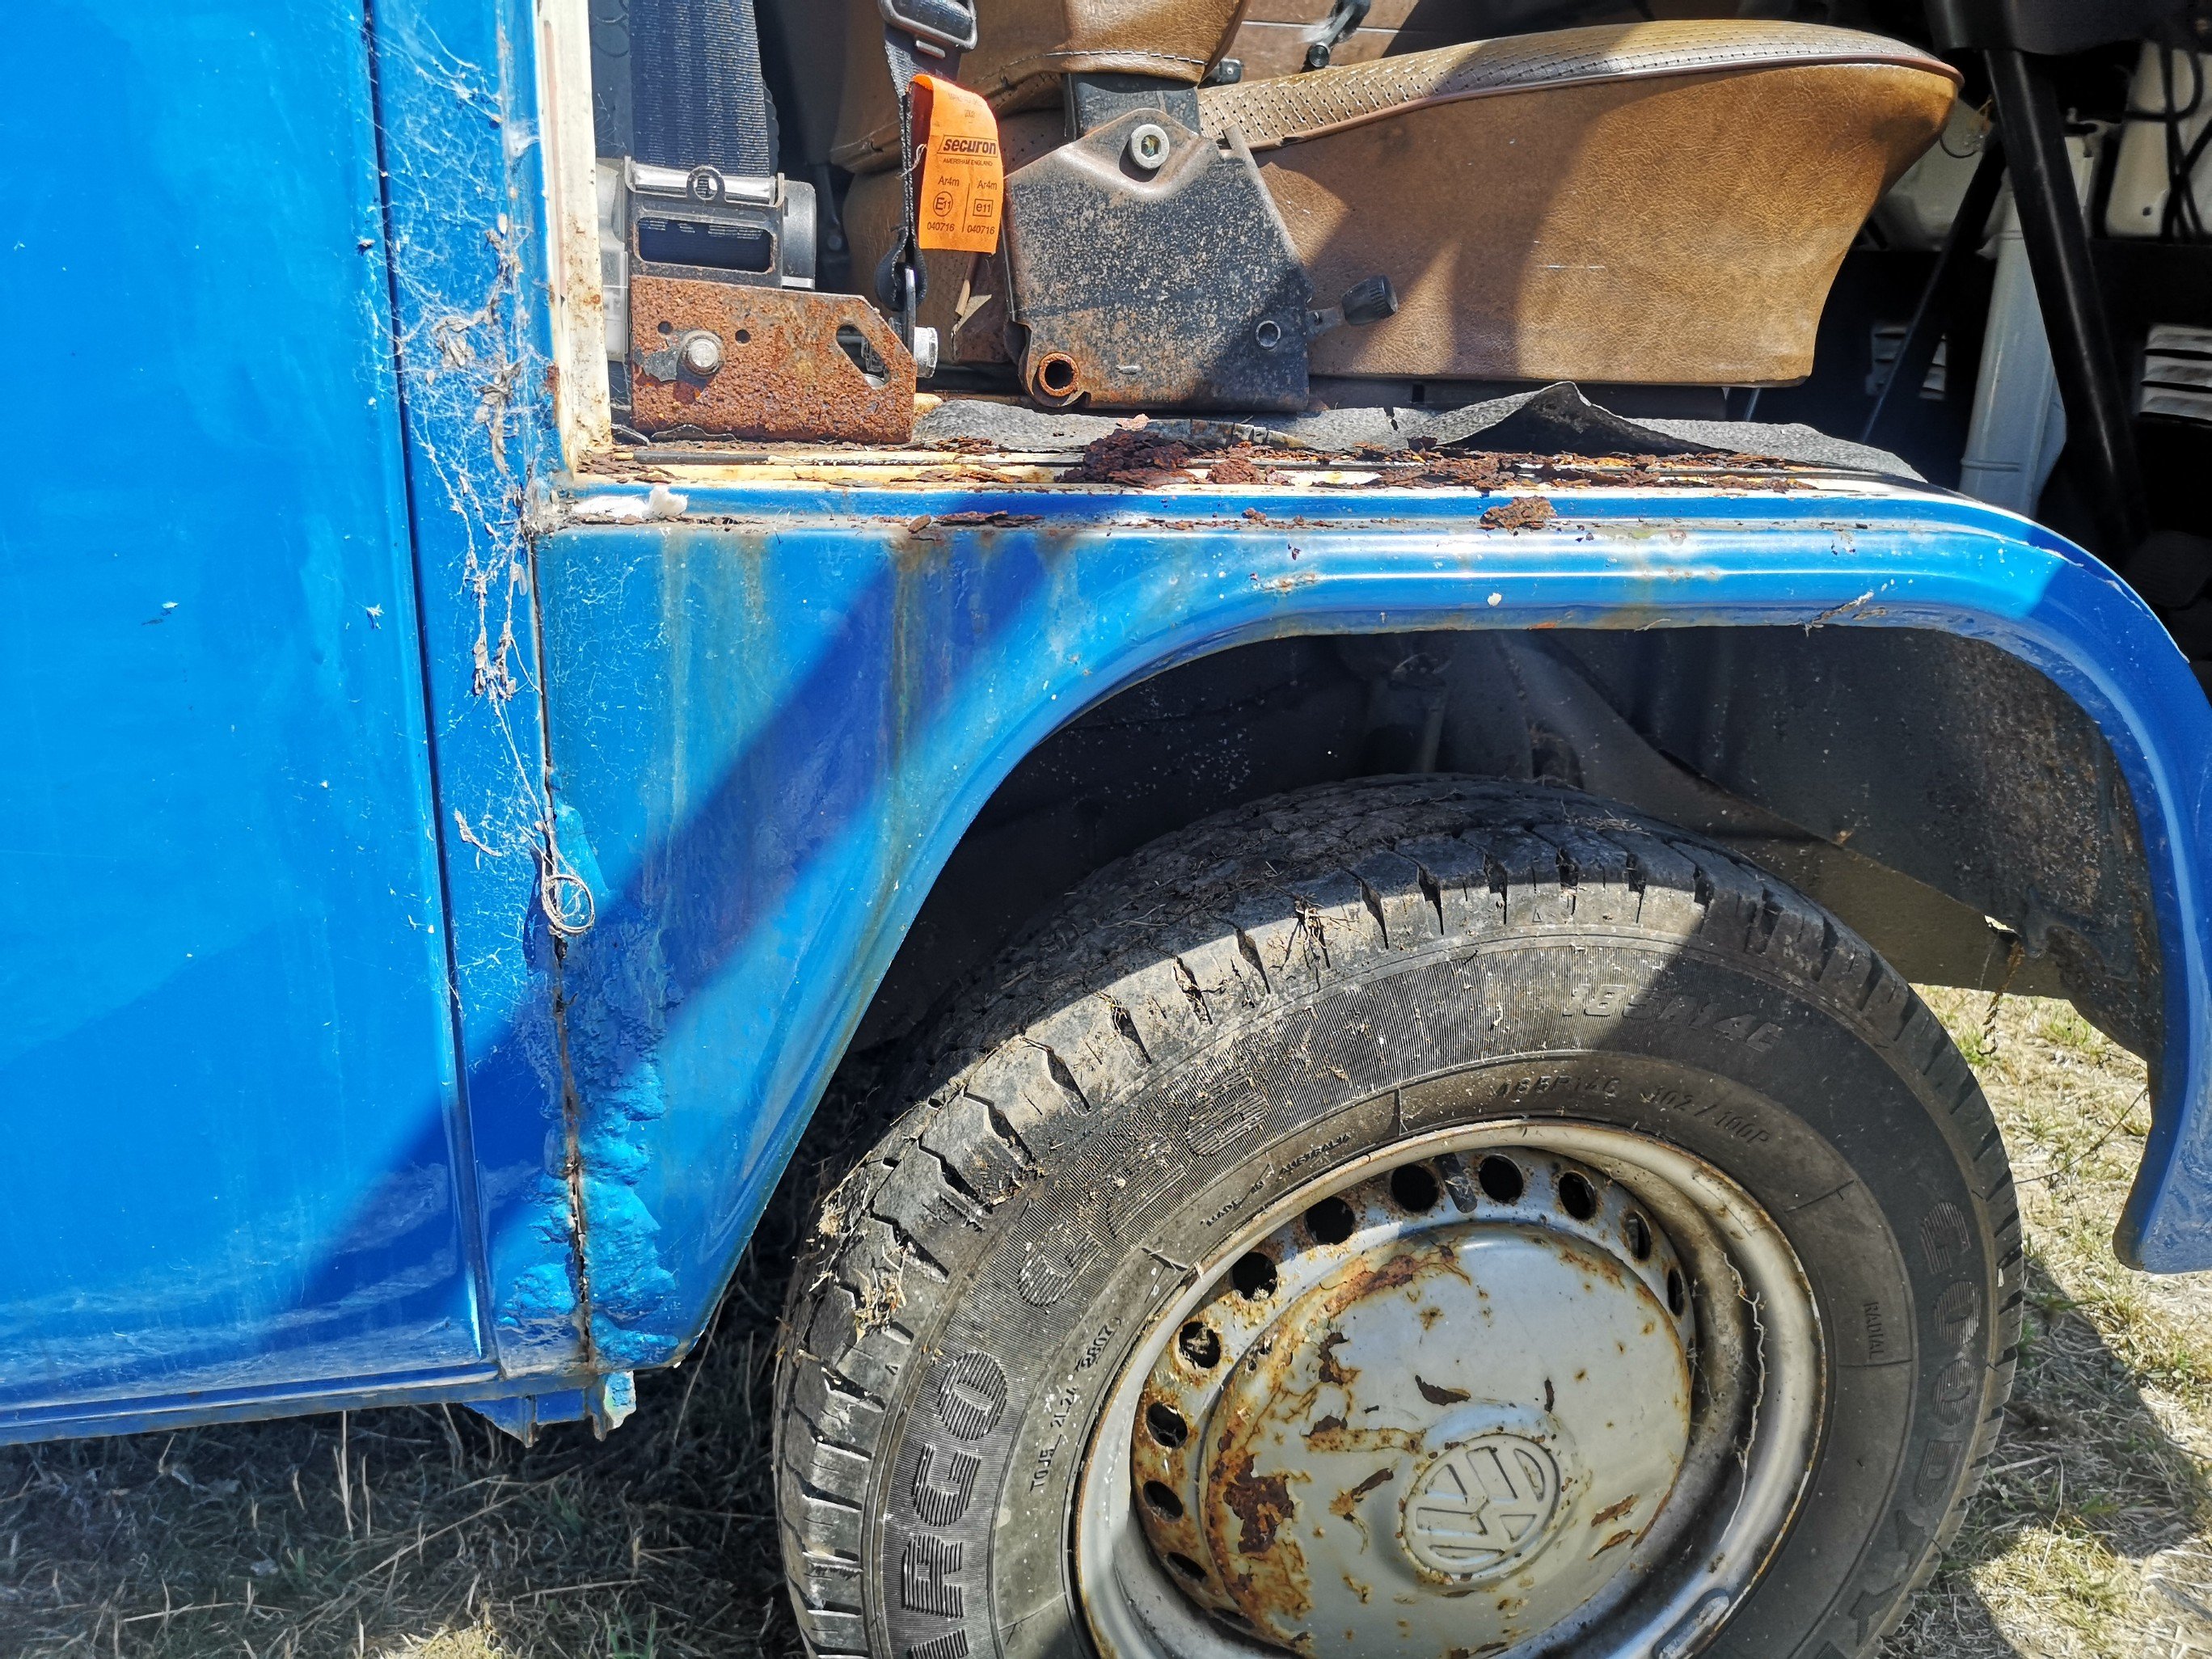
As you can see it needs a bit of work. As my dad passed last year and this was at one point his pride and joy we collectively pulled finger and decided to get on with its restoration in his memory..
3 points
-
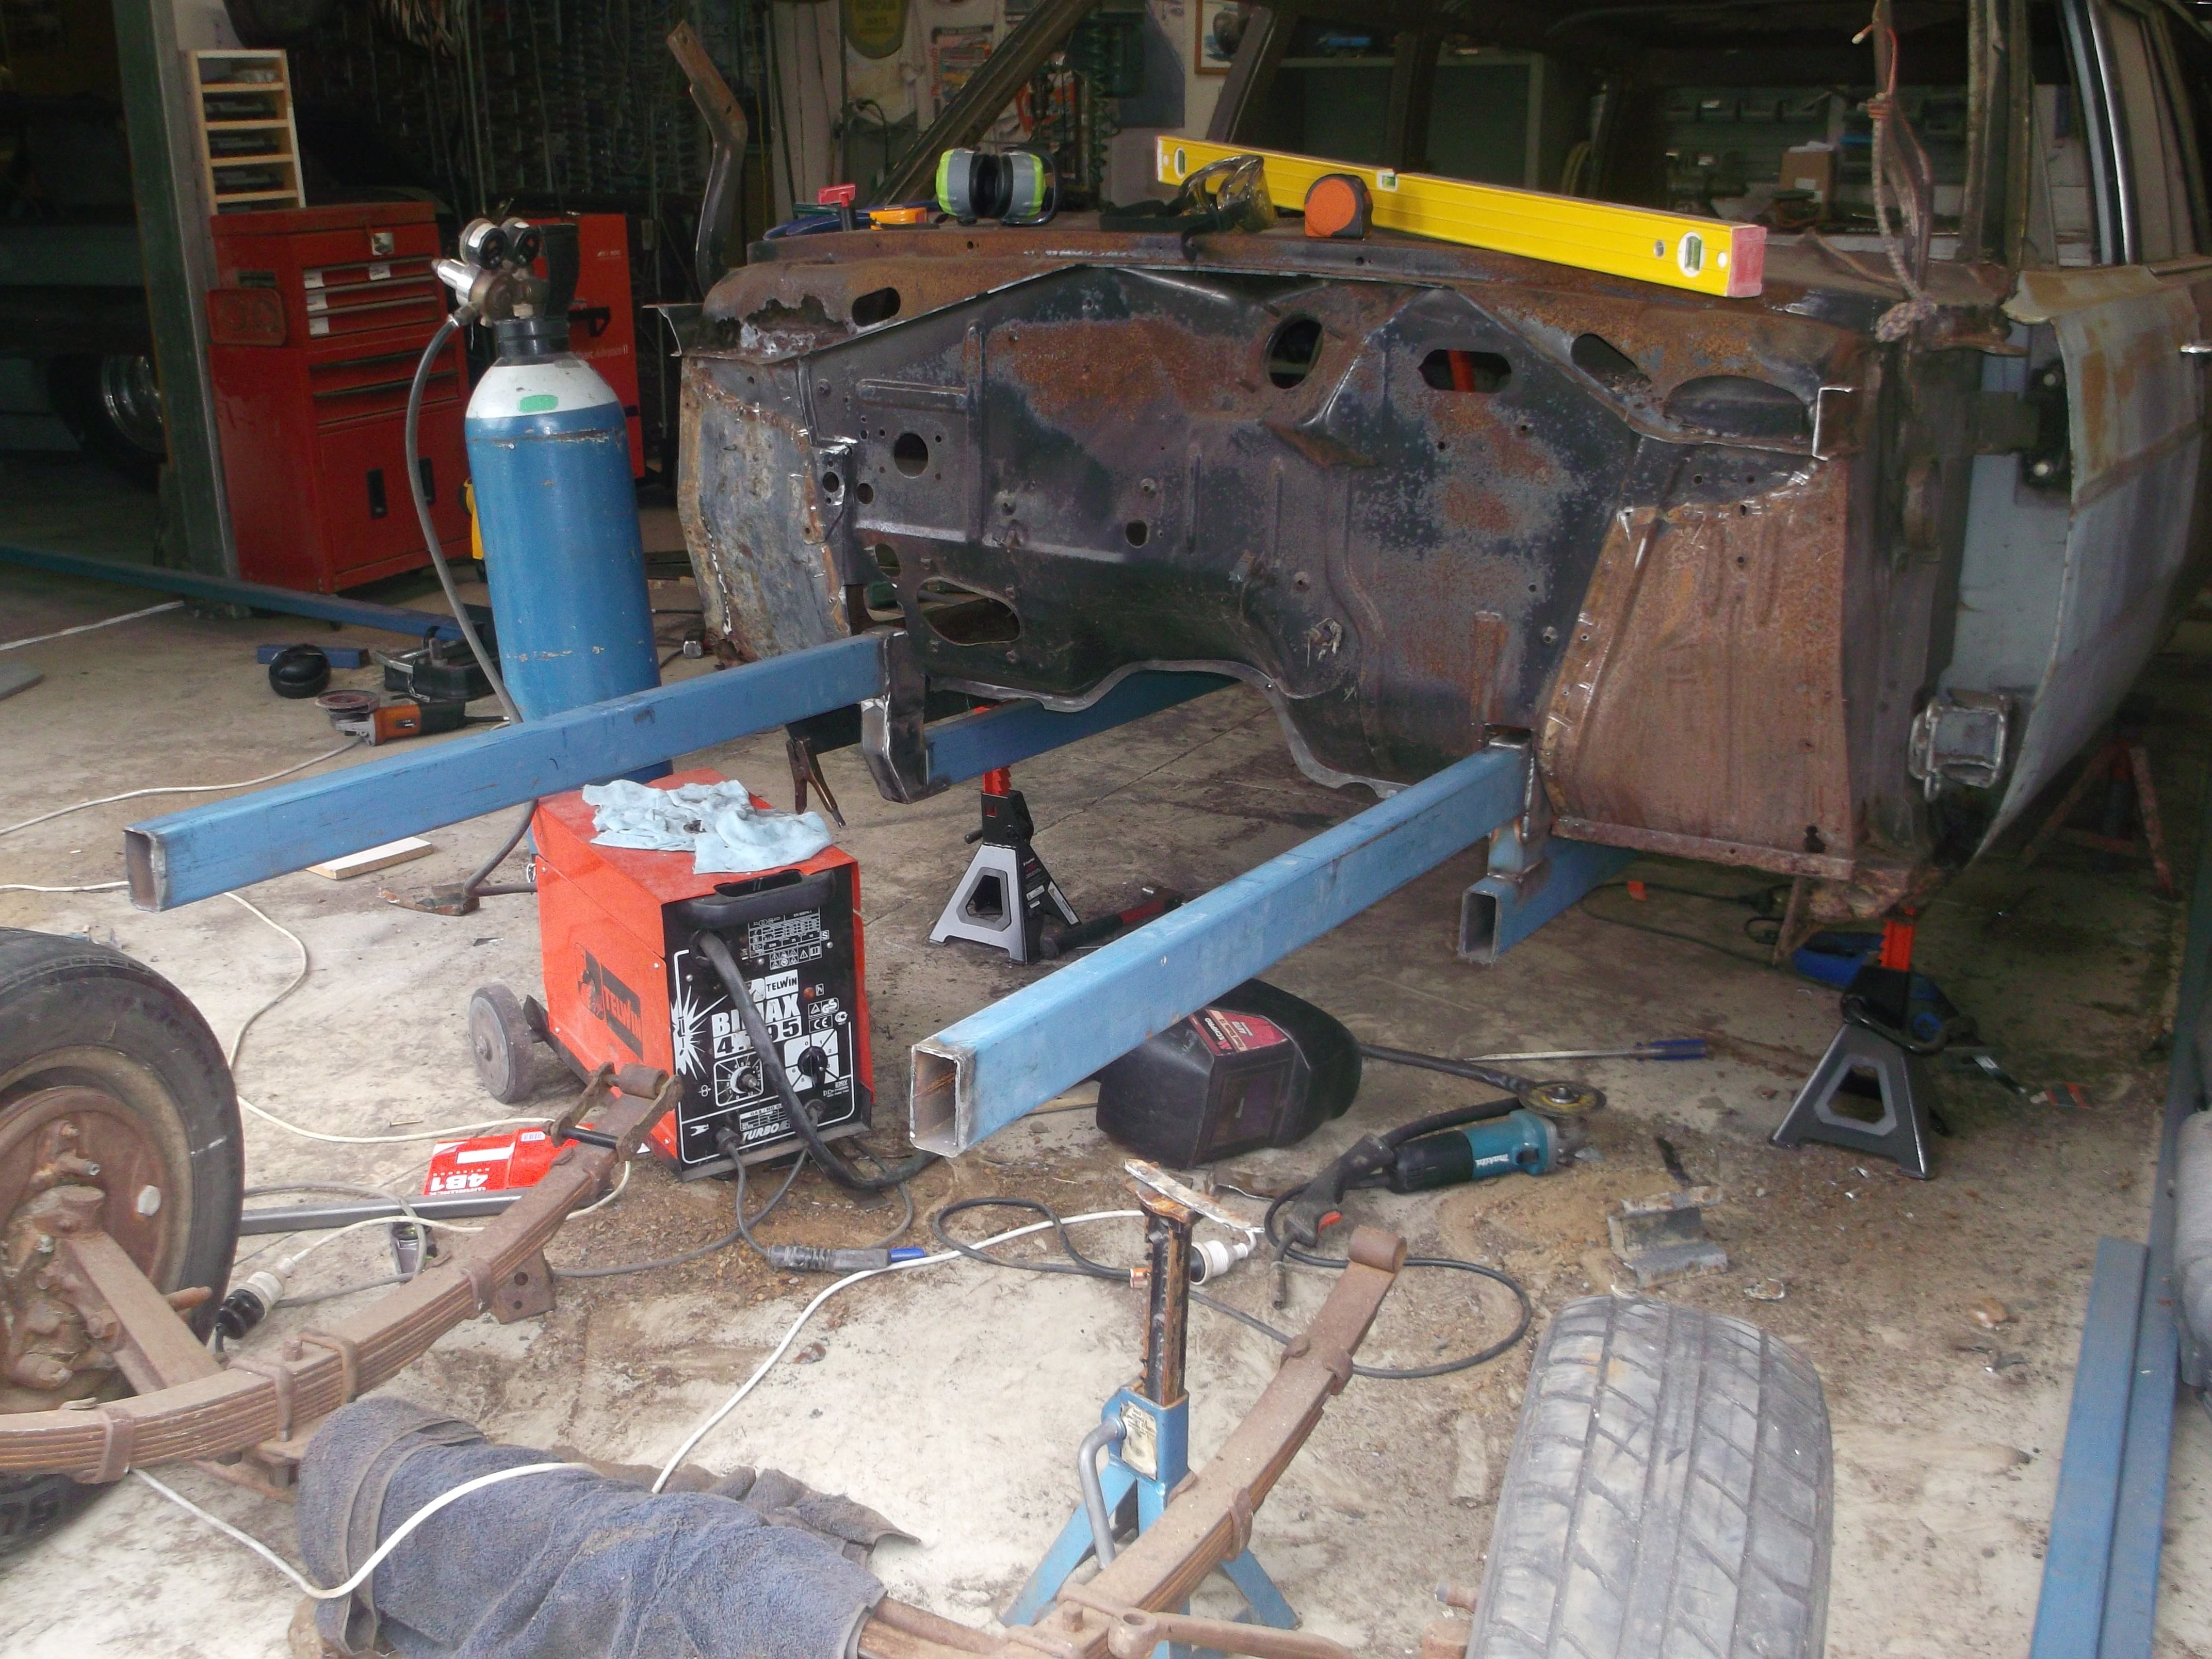
Fuck me it's been ages since I posted here, in that time I've had a few hoons in the Jag, but sadly she needs a bit of time off the road for some TLC. She failed a WOF around 10 months back on two items, play in the steering rack and soft brakes. There are some shims /spacers that apparently take up the slack in the steering rack, I installed those soon after the WOF failure, but haven't had a chance to test her on the road yet. The second one has proved more annoying, I have tried bleeding brakes several times, but no joy. The pedal has been going to the floor if I sit on it, this made me think it could be an issue with the master cylinder, so had a crack with a rebuild (will post pics), but again, no joy. Next plan is to check the flexible hoses and make sure it's not them (that said, I bet they old af and should just be replaced regardless). Also, while she is off the road, I will tackle some rust on her, namely around the front of the sills and around the rear windscreen. Have taken the plunge and have got myself a little 135amp mig welder and will have a punt.2 points
-
I took as much off the back of the flywheel as I felt comfortable doing, I didn't actually weigh it beforehand so I don't know how much I took off. I'm going to put a big chamfer on the front which I'll do after I've redrilled it. I probably could have just measured it manually but I put the cover in the mill and probed it, I thought like some of the Nissan covers it may have only fit one way but it turns out the holes are just on a 276mm PCD and 30 degrees between the holes, then 60 degrees between the three sets. I removed the dowels from the flywheel as well so when I get some time I'll chuck it in the mill and redrill it. The original pattern is on a 265mm PCD (I think).2 points
-
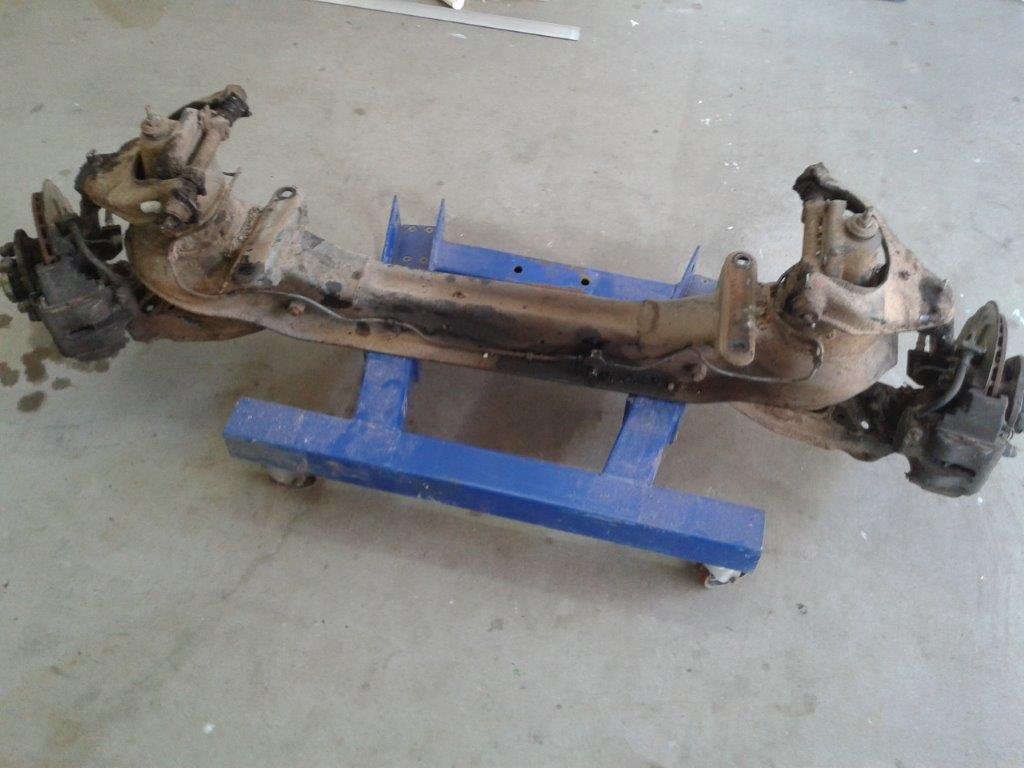
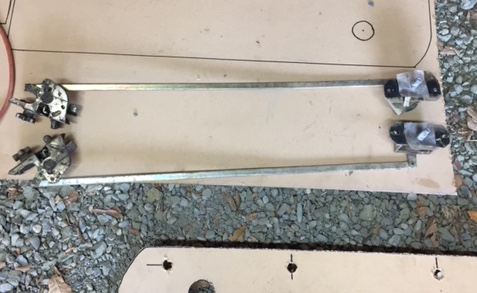
Original plan was to pull the steering out of the Thames today, but I woke up to a sunny day after three days of intermittent rain so figured I'd take the opportunity to remove the replacement front end from the mighty Mitsubishi Starwagon as its currently sitting out in the elements. Cranked up some Lynyrd Skynyrd at full pitch to get the blood flowing and in next to no time this happened :
2 points
-
#StainlessAnus custom spannies2 points
-
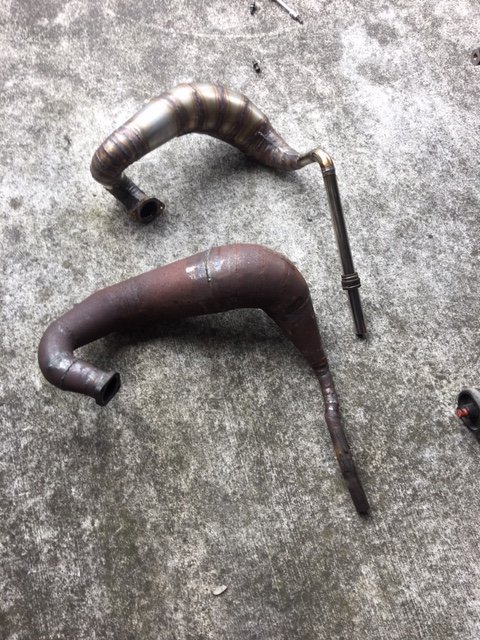
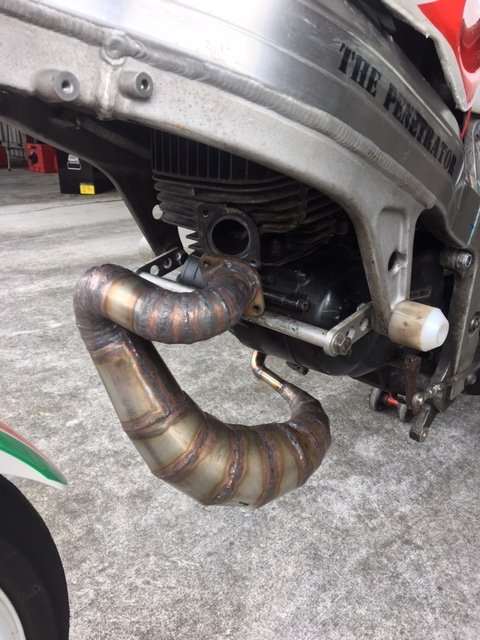
I got lucky enough to be able to spend a whole night in the shed on Friday. So I kept welding until the pipe was finished... It was a massive effort. Severely underestimated. It was race day on Sunday, so I took both pipes along to back-to-back test them. I knew vibration was still going to be a big issue so was gonna run each pipe in one session and then ride an FXR for the rest of the day. The new pipe was good, the power band is a little wider and smoother, from ~9000rpm to about 11,700rpm, and I can tell its got a wee bit more power because now I get it to top gear before the end of the straight. Unfortunately it only got about 3 laps into the test before I could hear it getting louder, and as I pulled into the pits it got VERY loud. The vibrations had made the bolts come loose in the past, so I had tie wired them (loctite and spring washers wasn't doing it). Being tie wired, rather than rattling out, they have vibrated and pulled and stripped all the threads out of the barrel Time to balance that crank! I'm happy that the pipe has made a gain though. Now I'm going to do some research about nozzles to increase the stinger size and deal with its length.
2 points
-
Welded up all the bumper holes, trim and badge holes.
2 points
-
got both new rails on today , next is to build a flip front
2 points
-
Umm... People say strange things? https://youtu.be/VXRBjEnpMwY https://youtu.be/-MEn4SMv-4s1 point
-
Something like that, he was building a Chevrolet stovebolt, someone I know had a 1930 ford motor that had been painted with that stuff and it was super clean inside, sludge couldn’t stick to it1 point
-
What if you use the t57 rods & 2 bearings in the same rod to make up width like people do when putting replaceable shells in babbitt fords? I think the trick with the model T was to use 2 MG bearings side by side in the big end.1 point
-
Literally never seen anyone use park lights as park lights tho1 point
-
oh i did this. sold the silly engine1 point
-
I'll just leave this here... Barry level 1000...1 point
-
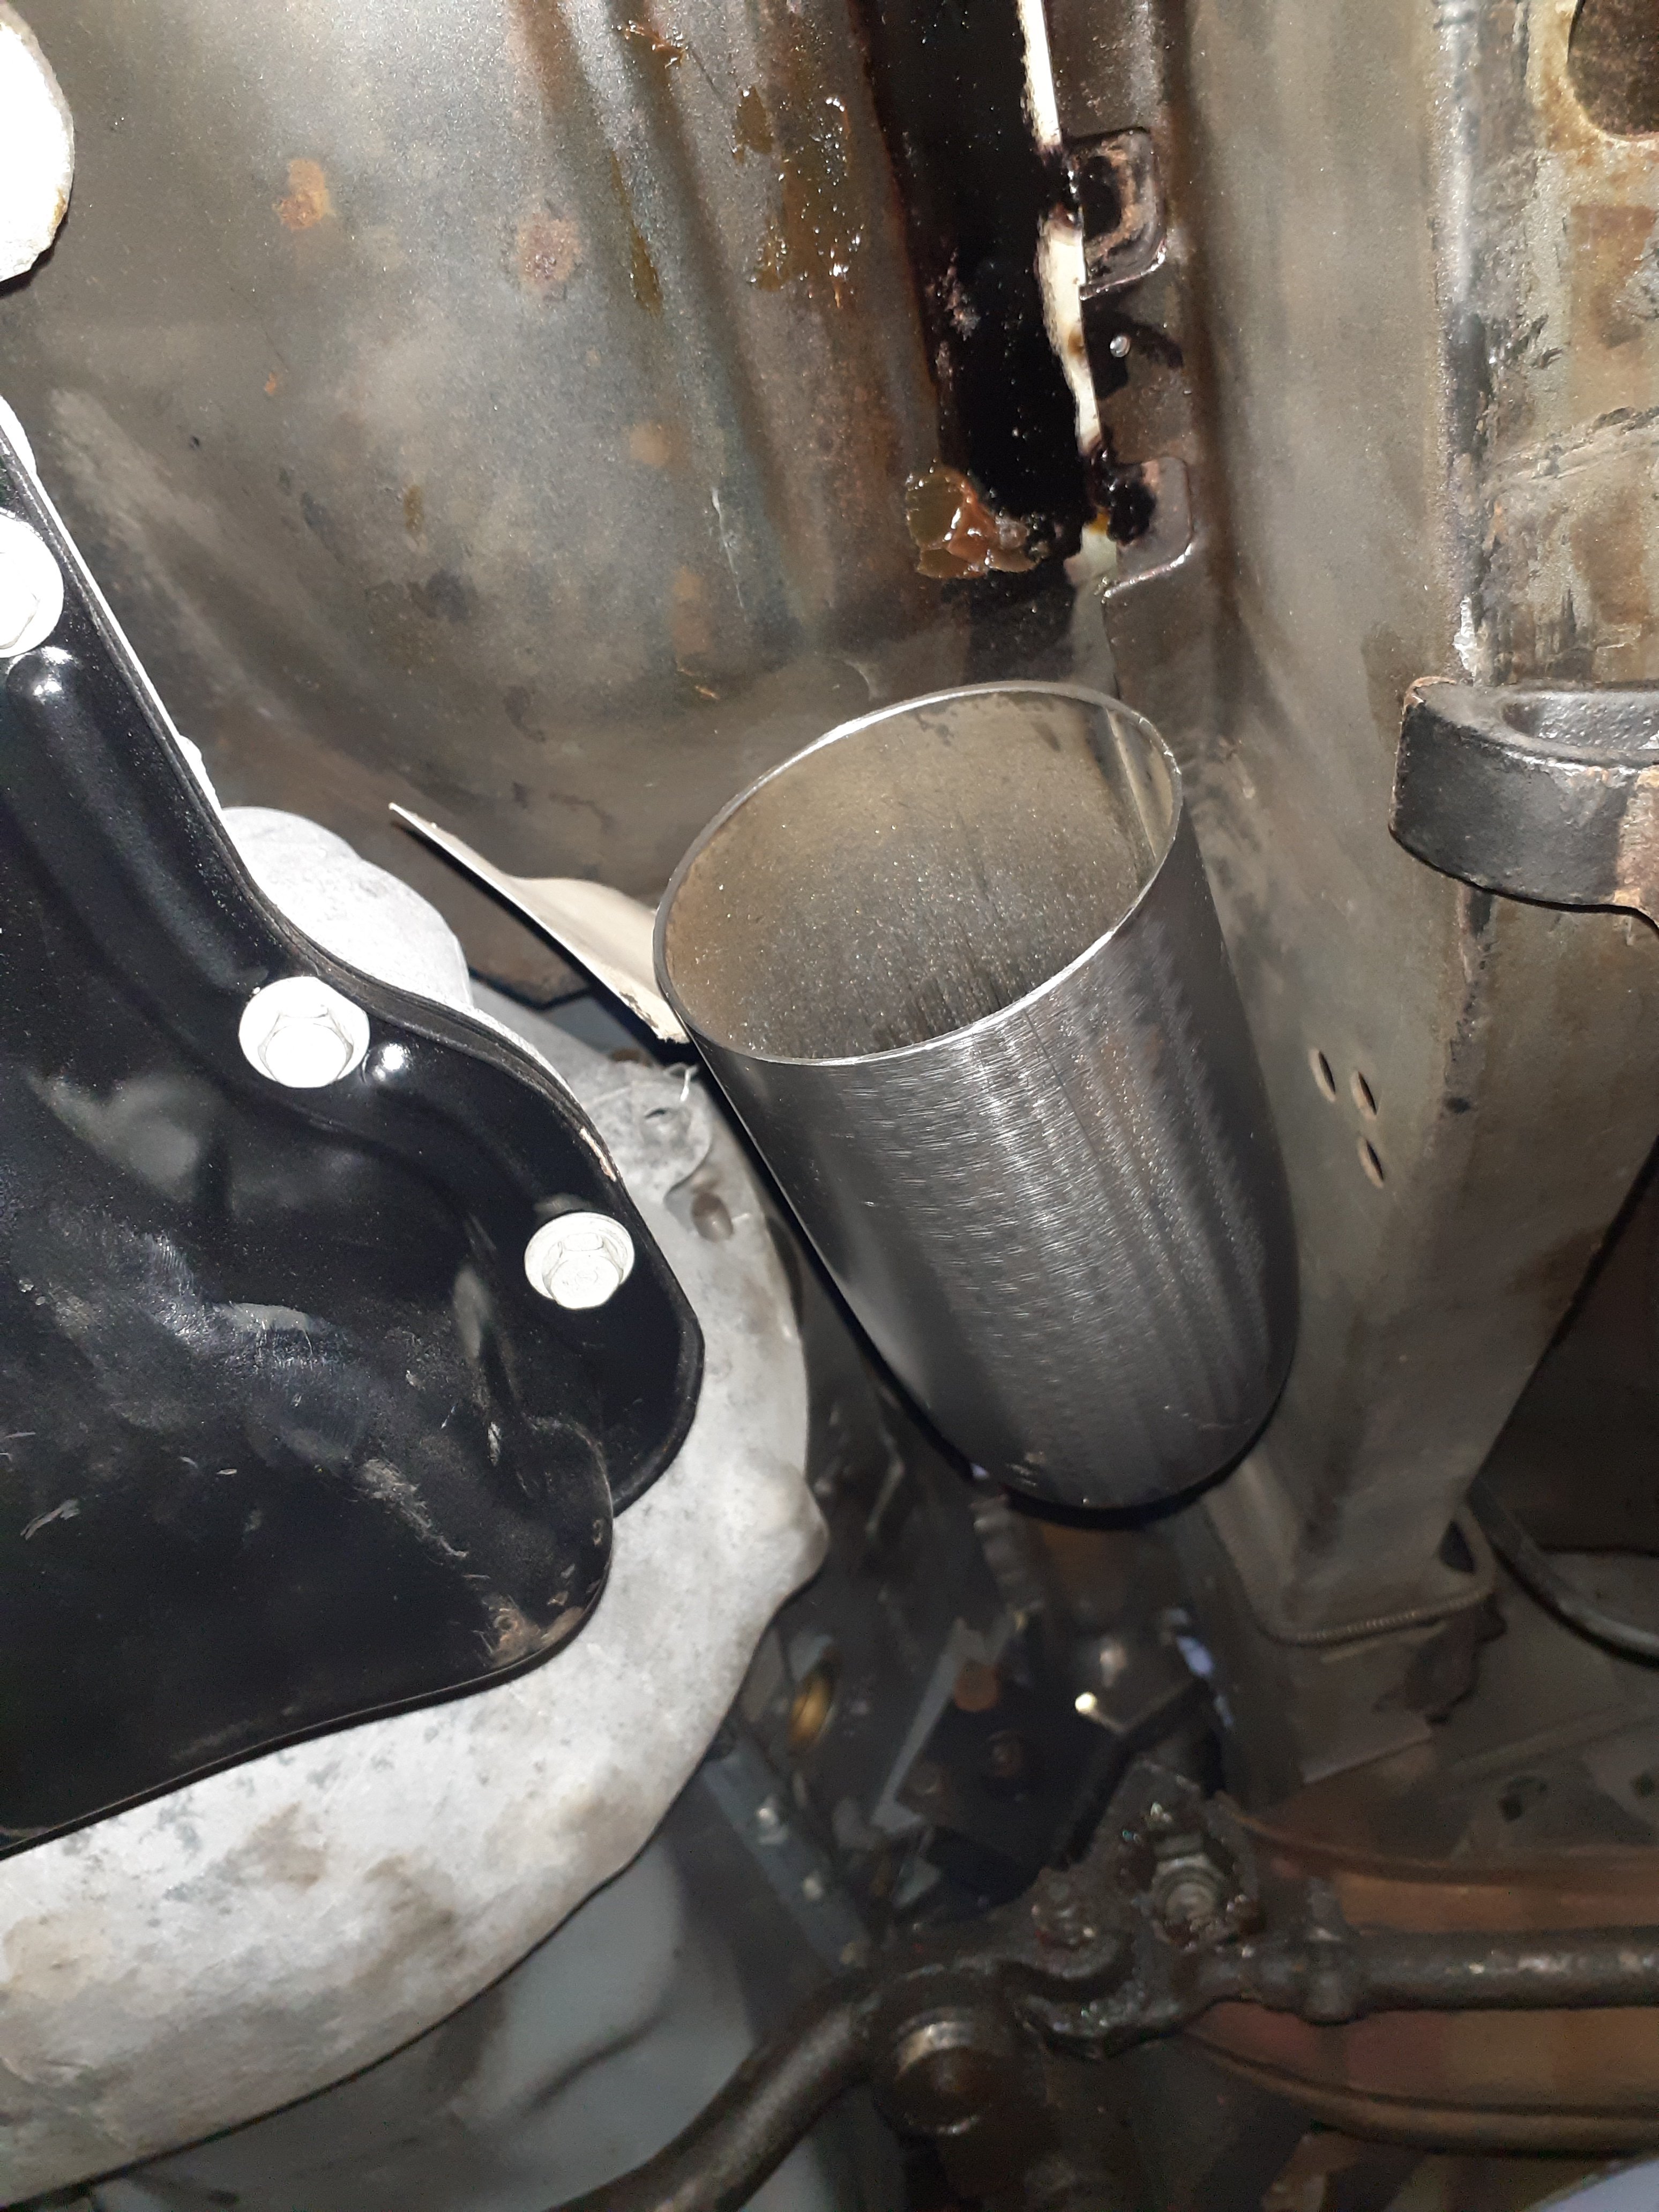
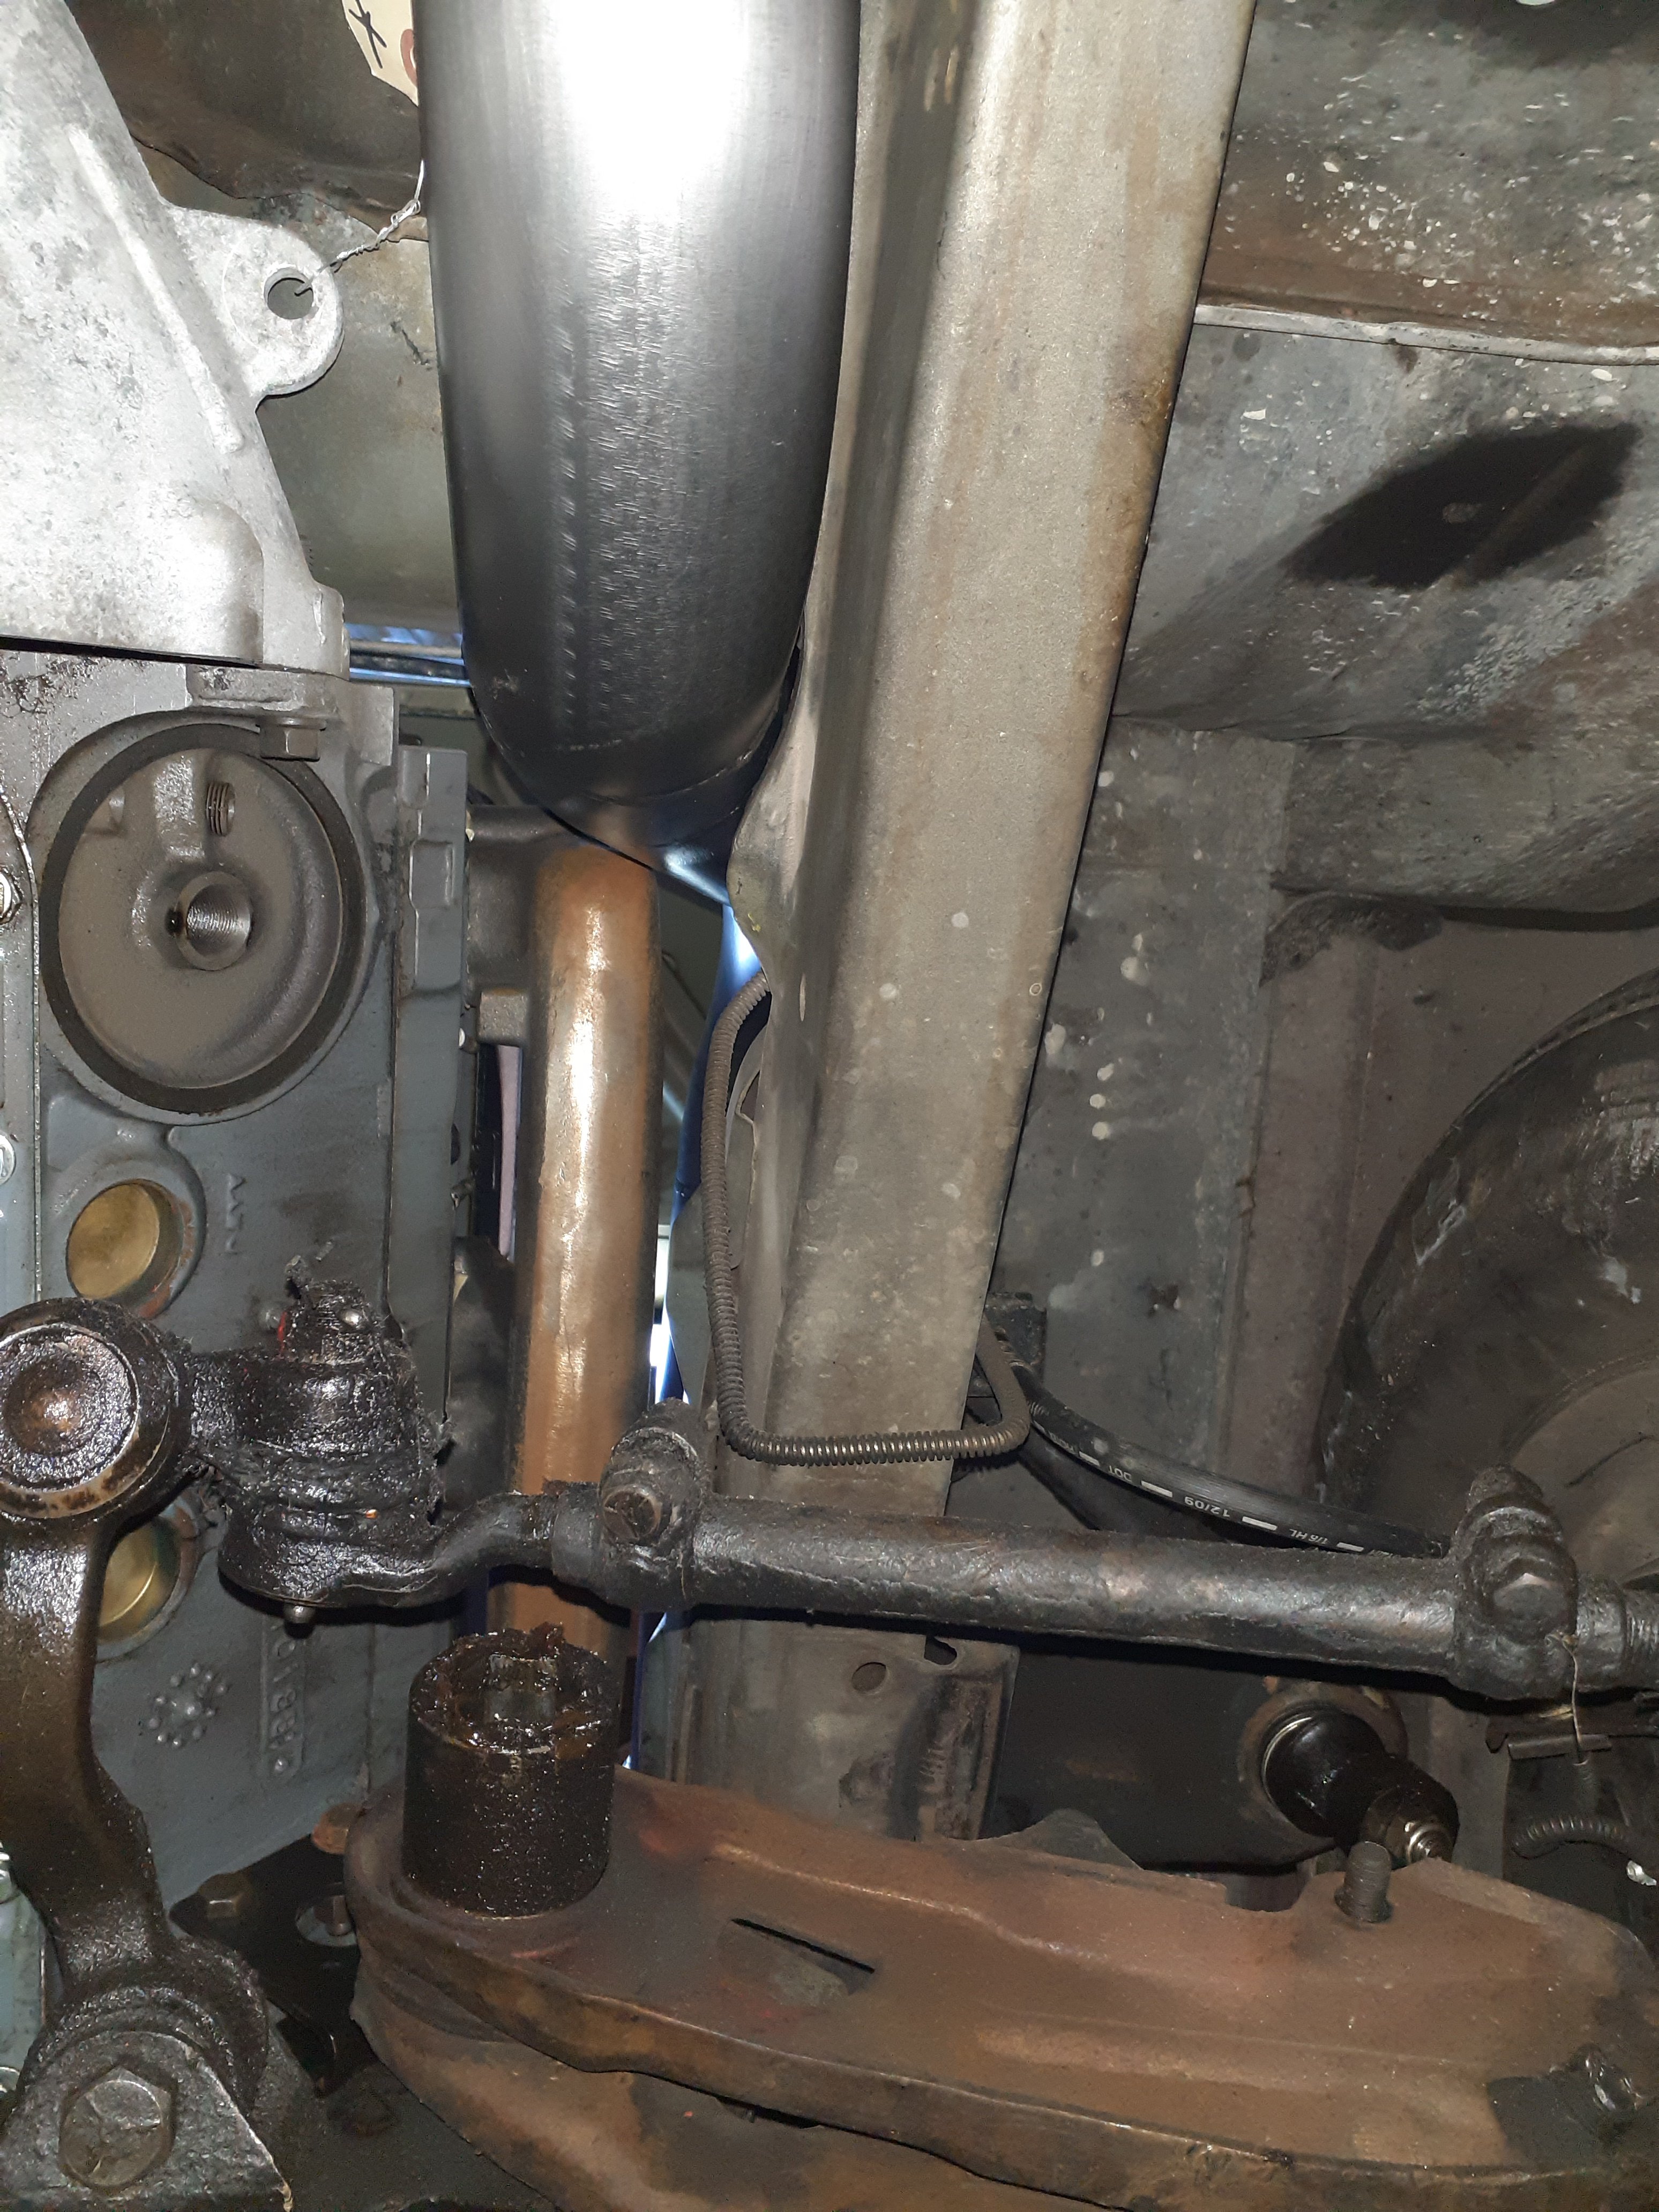
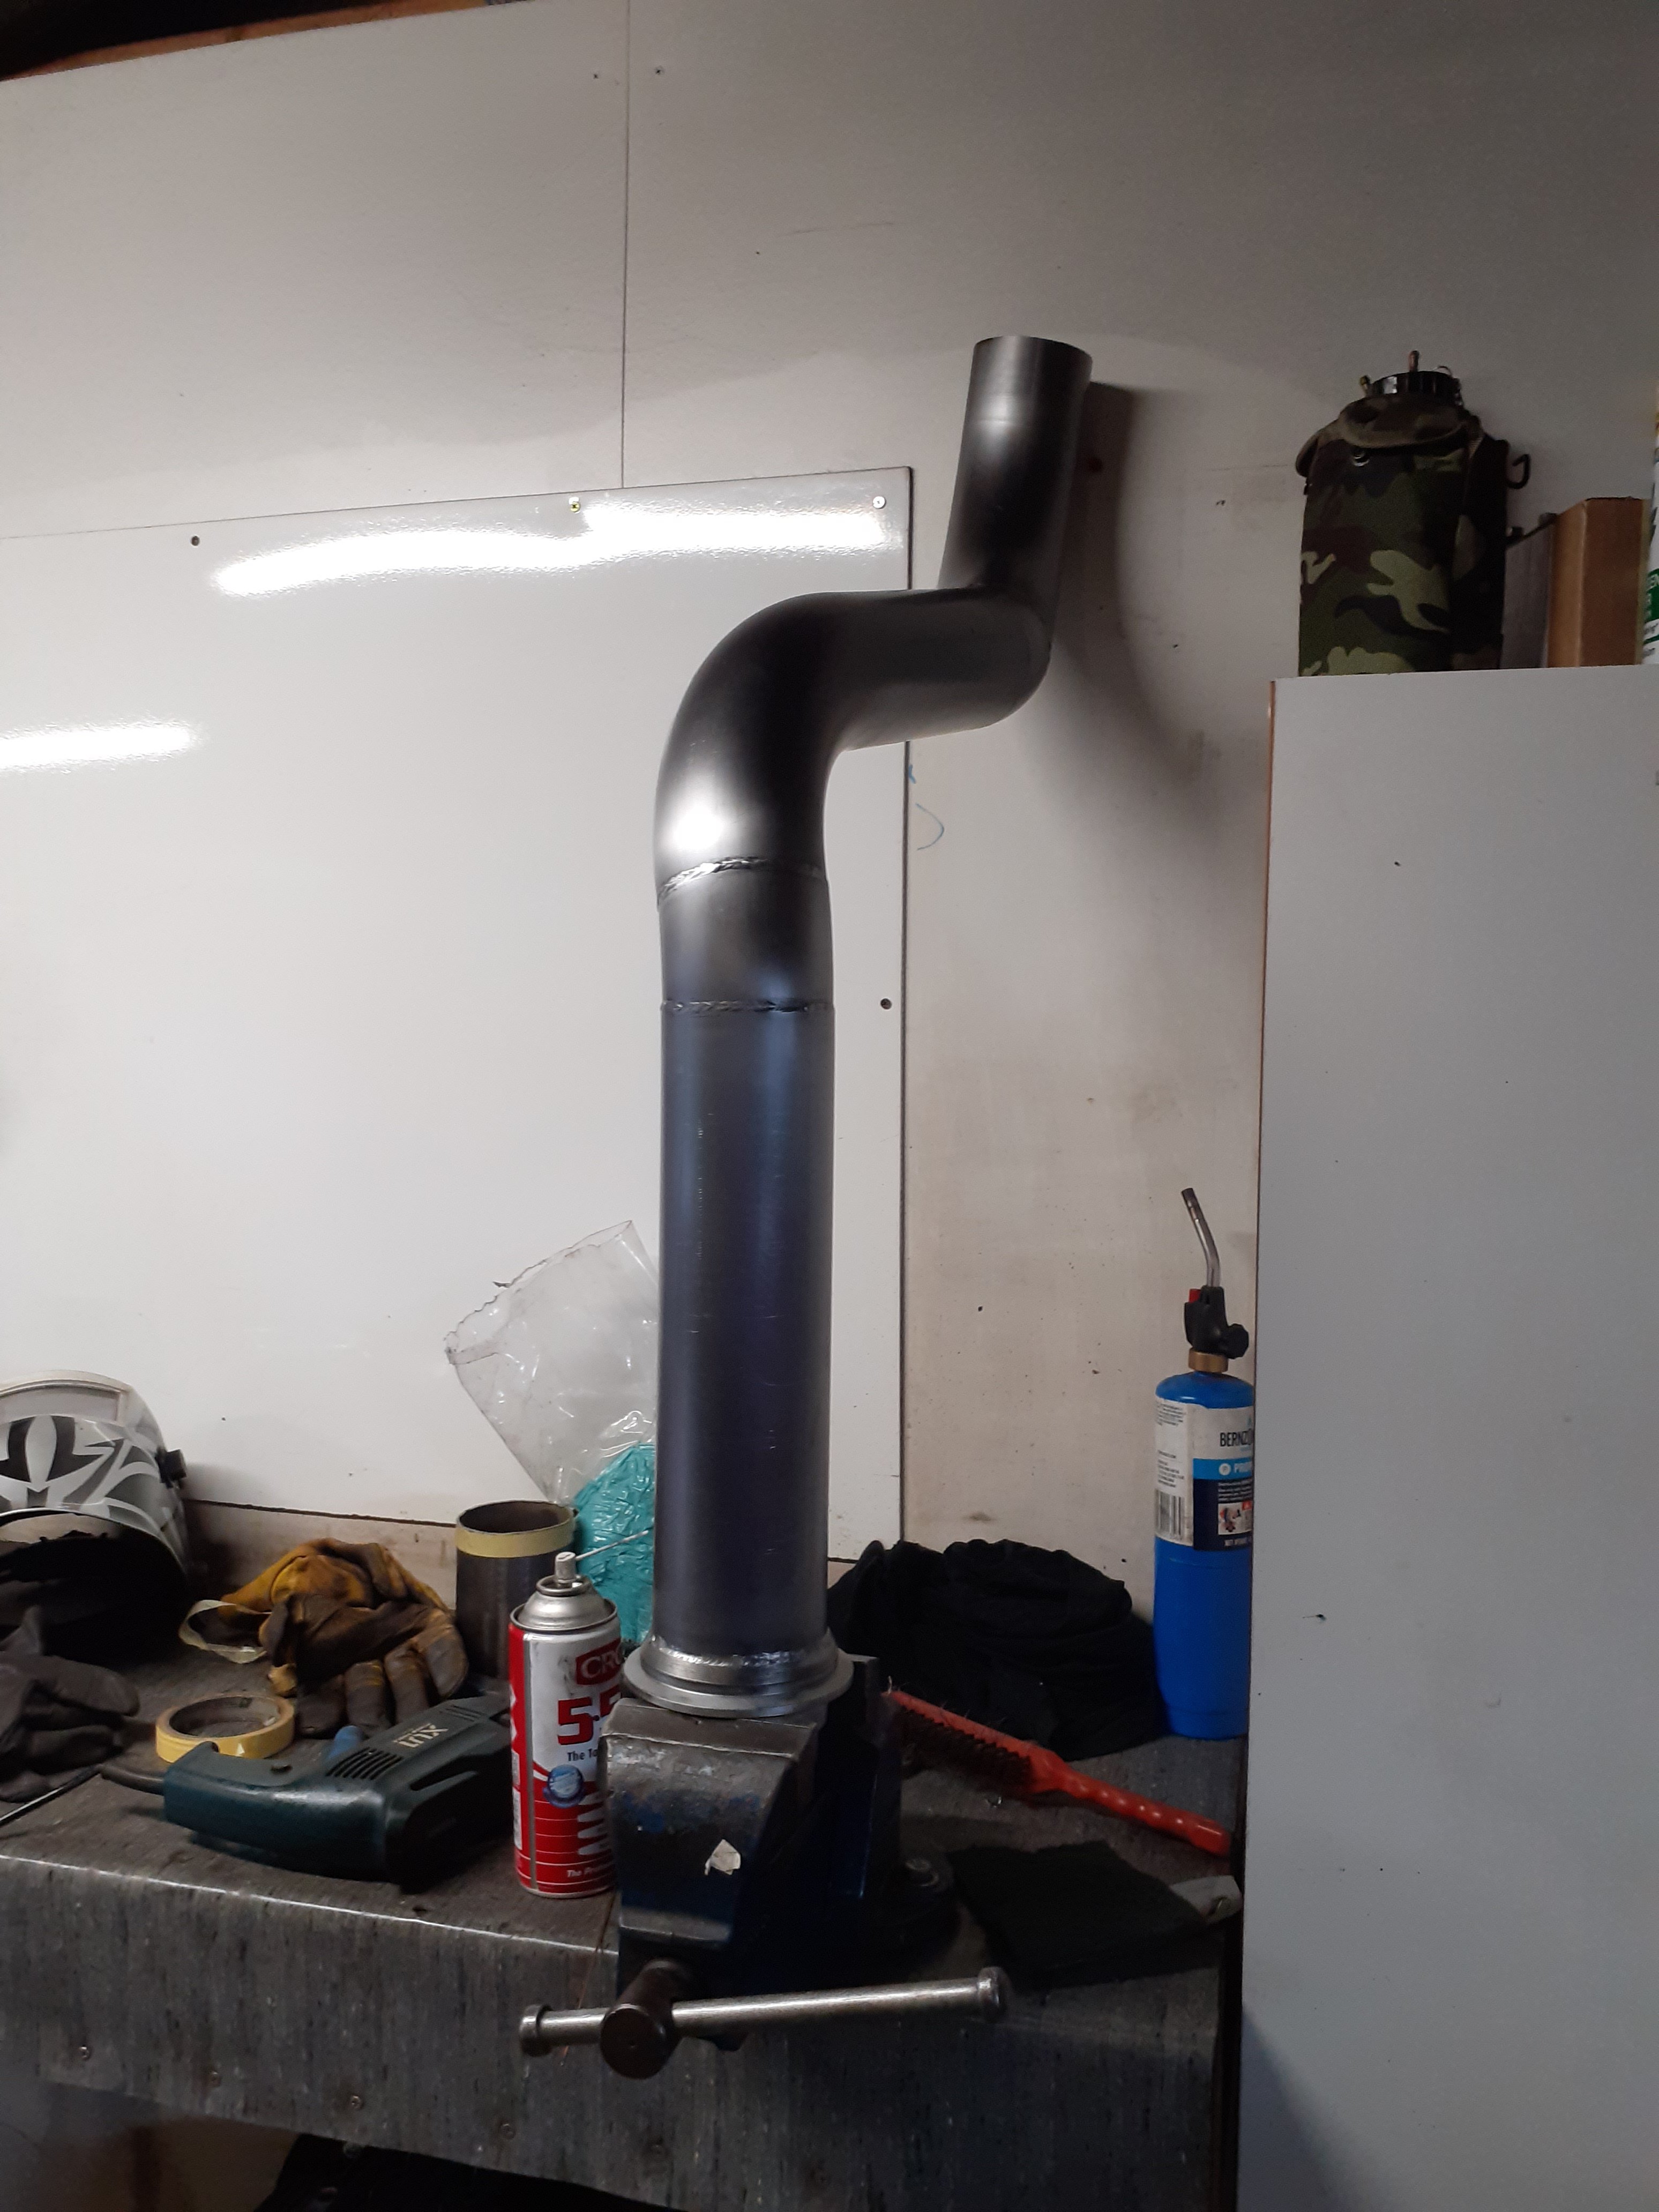
First part of the exhaust done. Now have to figure out what to do with the wastegate pipe Easiest would be plumb it straight into the pipe behind the turbo. When I did the last one I made a mistake blending it into the pipe at too shallow of an angle and it was very difficult to weld. It never cracked and it never had a flex joint between the gate and pipe...but it had a heap of weld in it Input on whether a flex joint is required would be appreciated if you have done it before Other option is run a separate pipe to down by the trans then into the main pipe but I'm a bit short of room
1 point
-
Cars finally back down on all fours. wheel tubs are all sealed in.
1 point
-
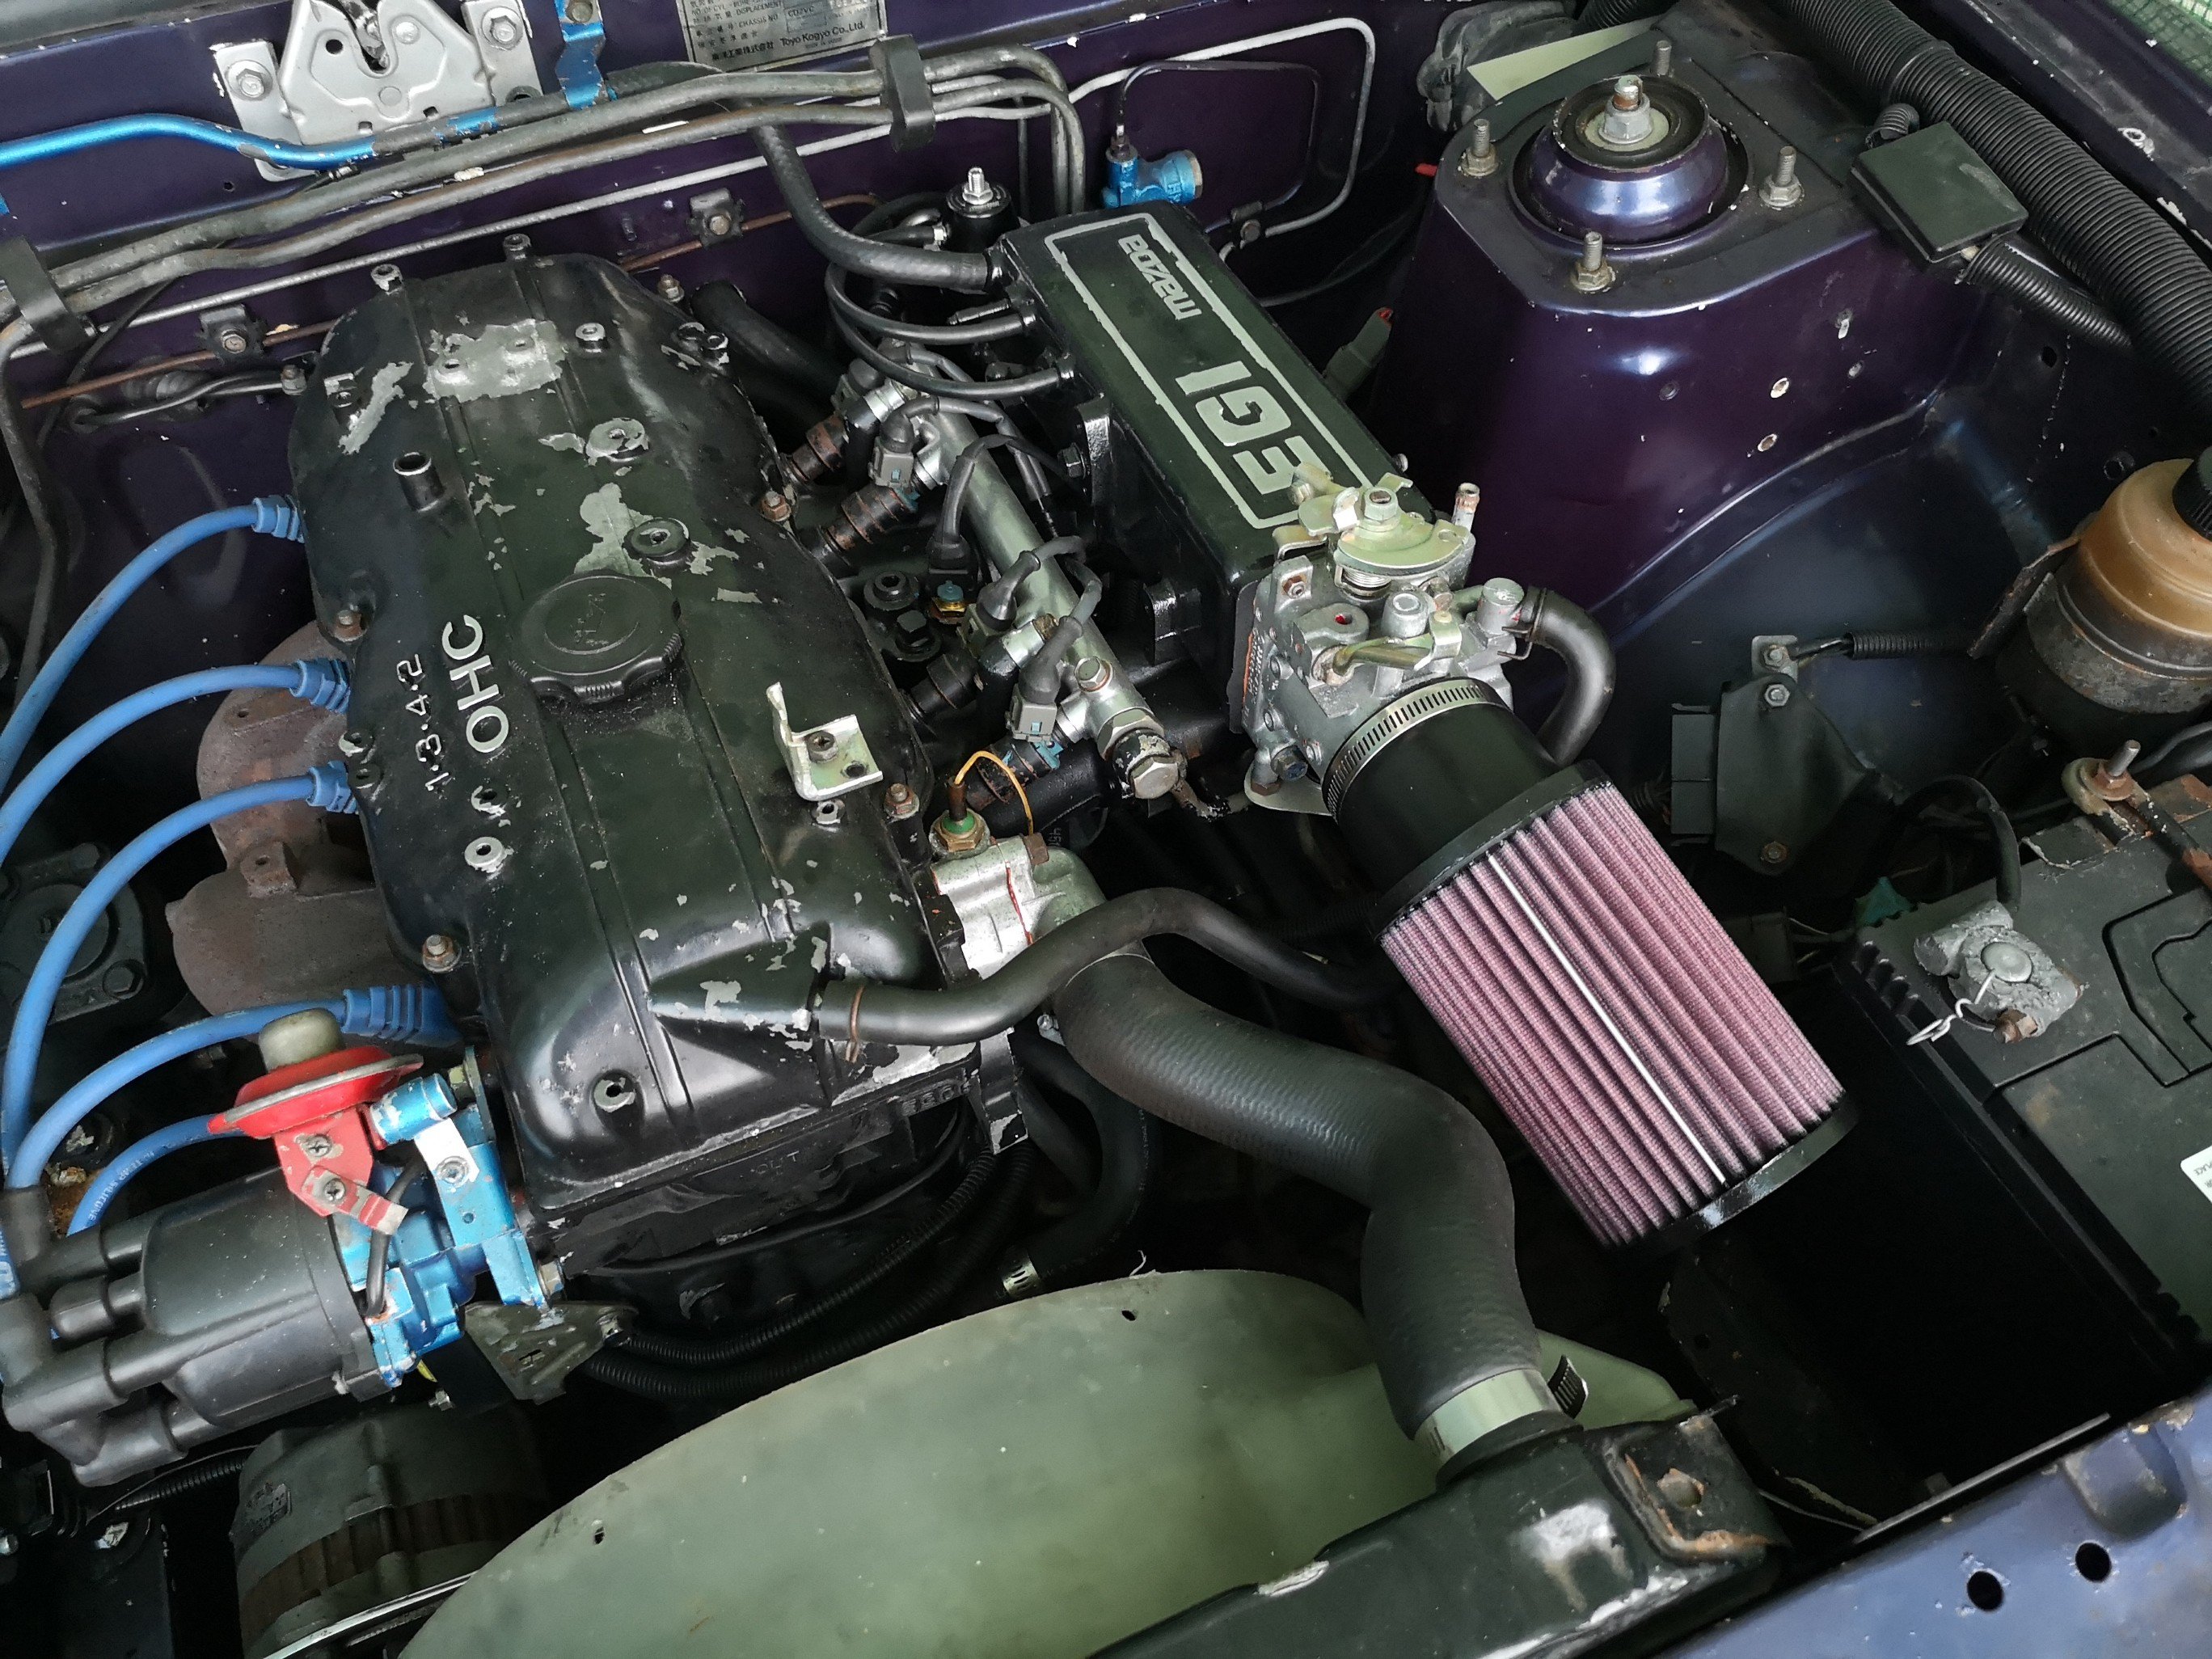
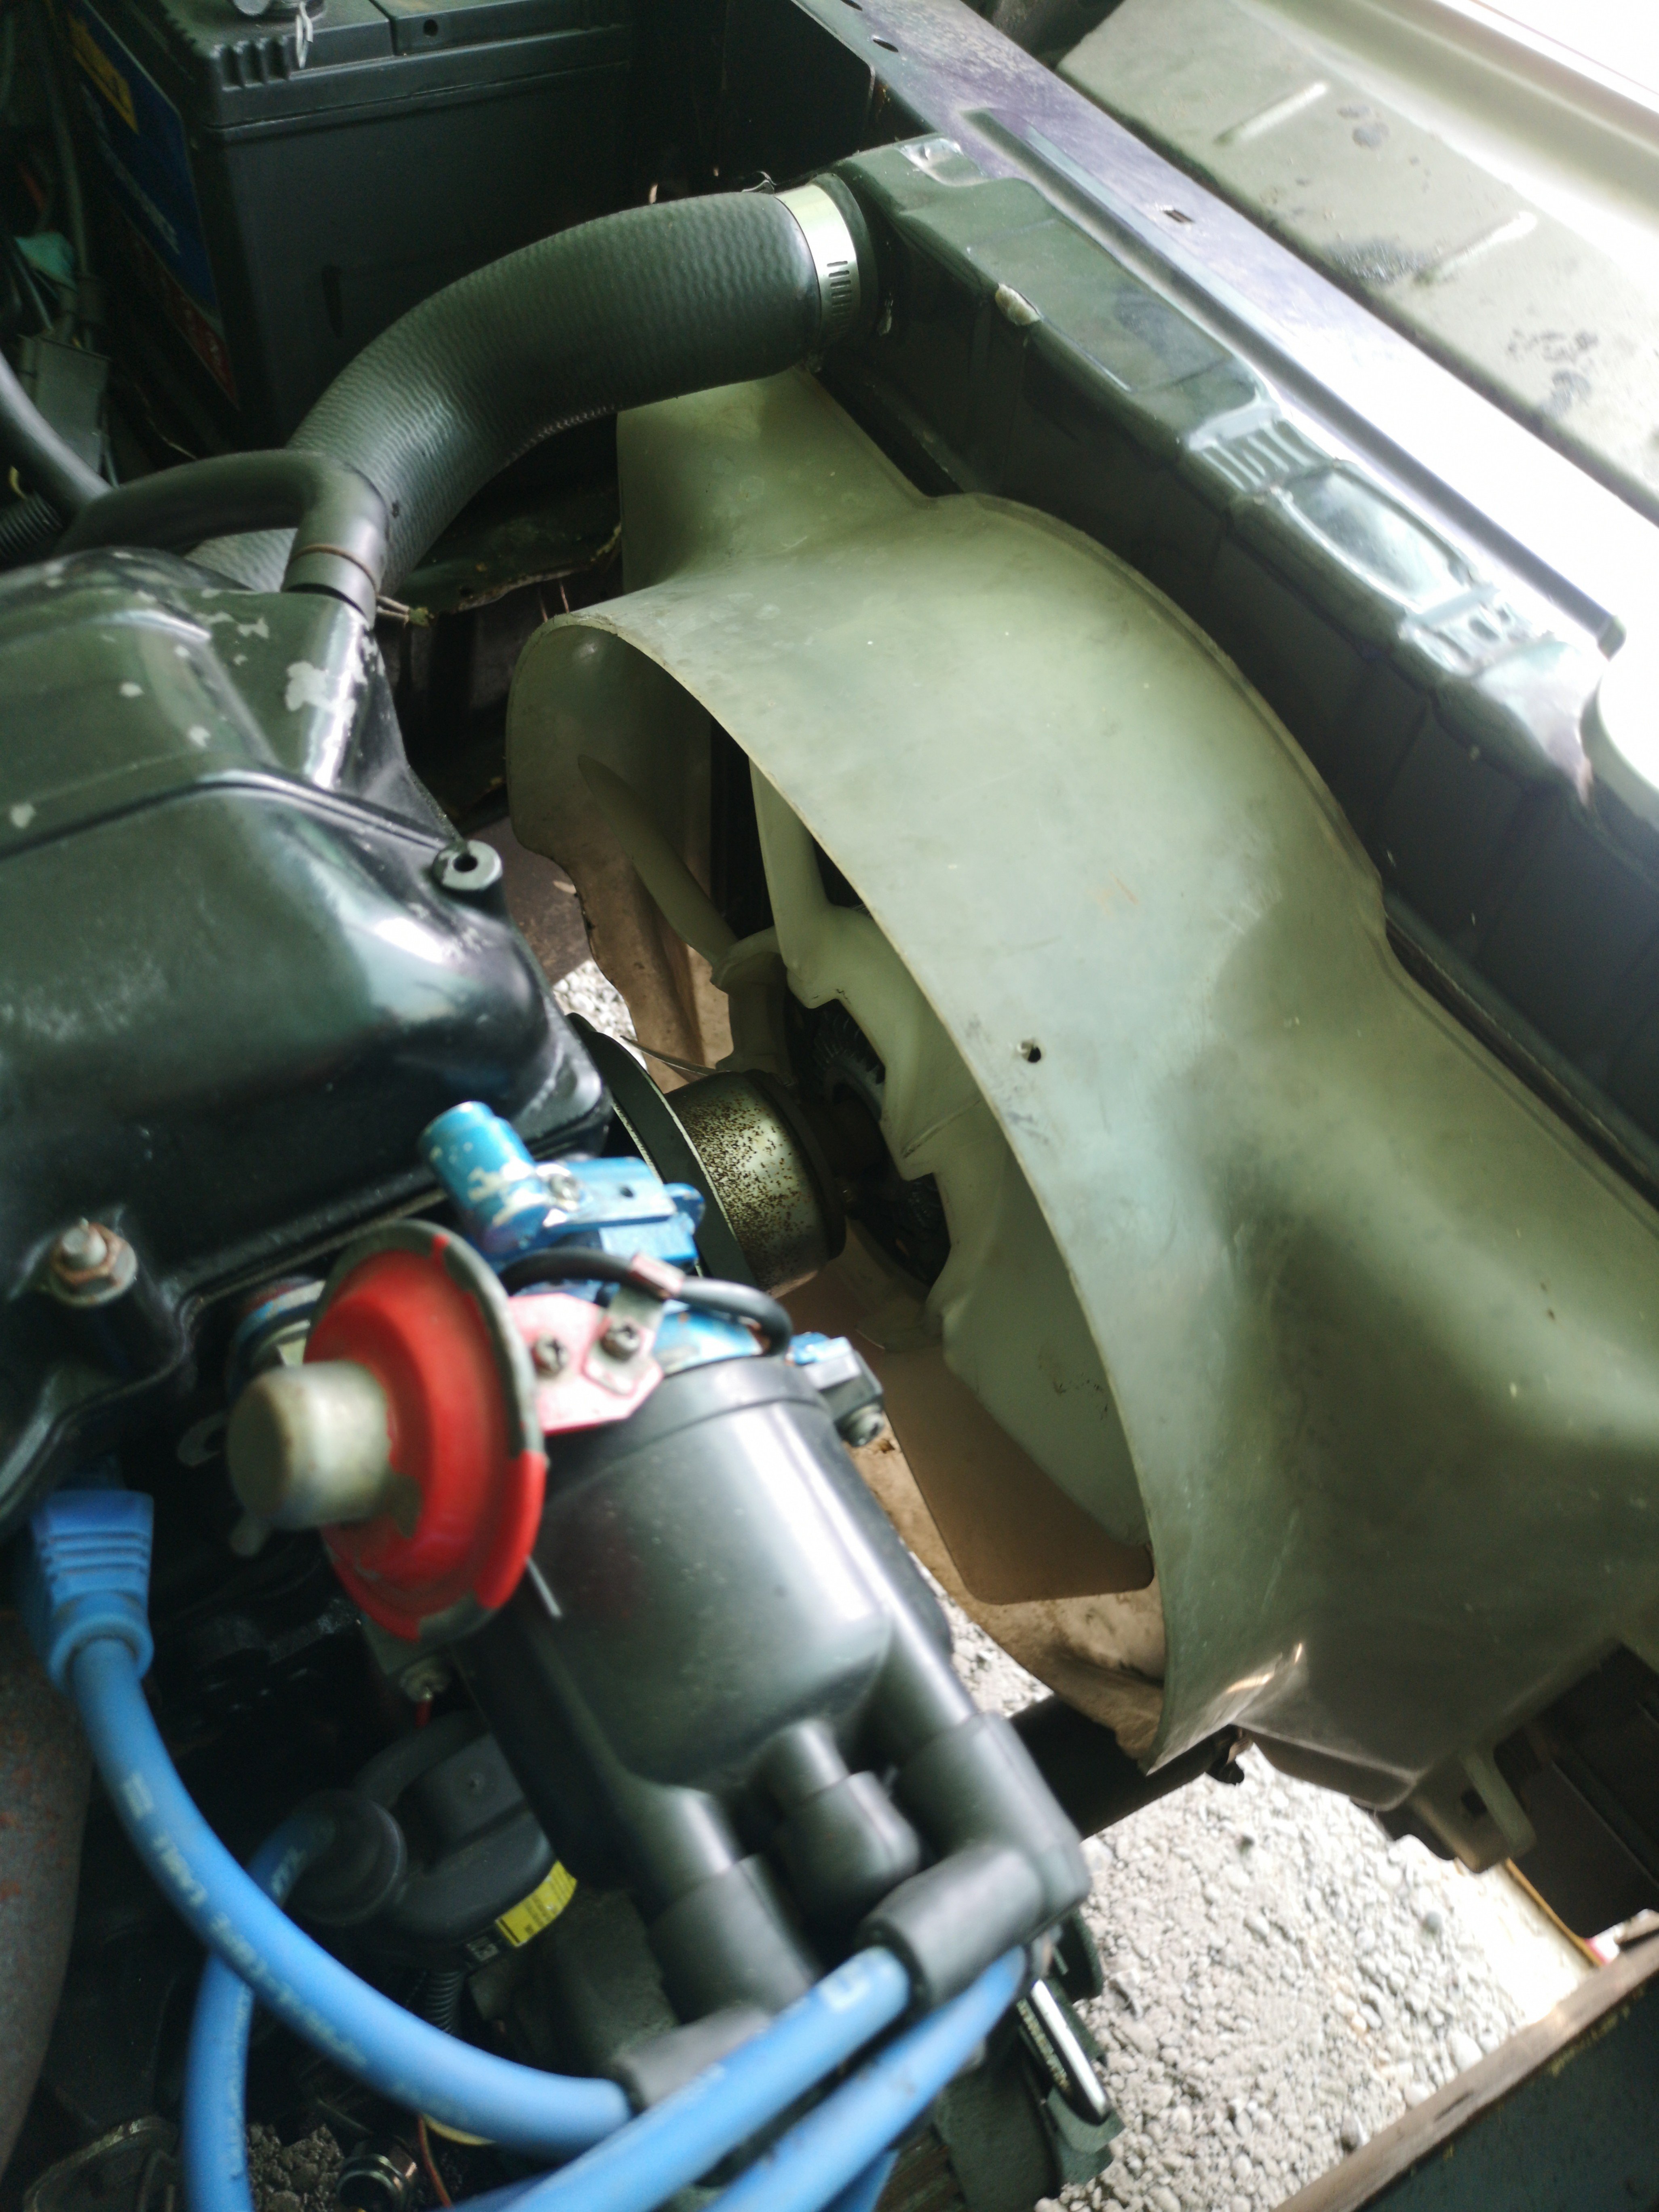
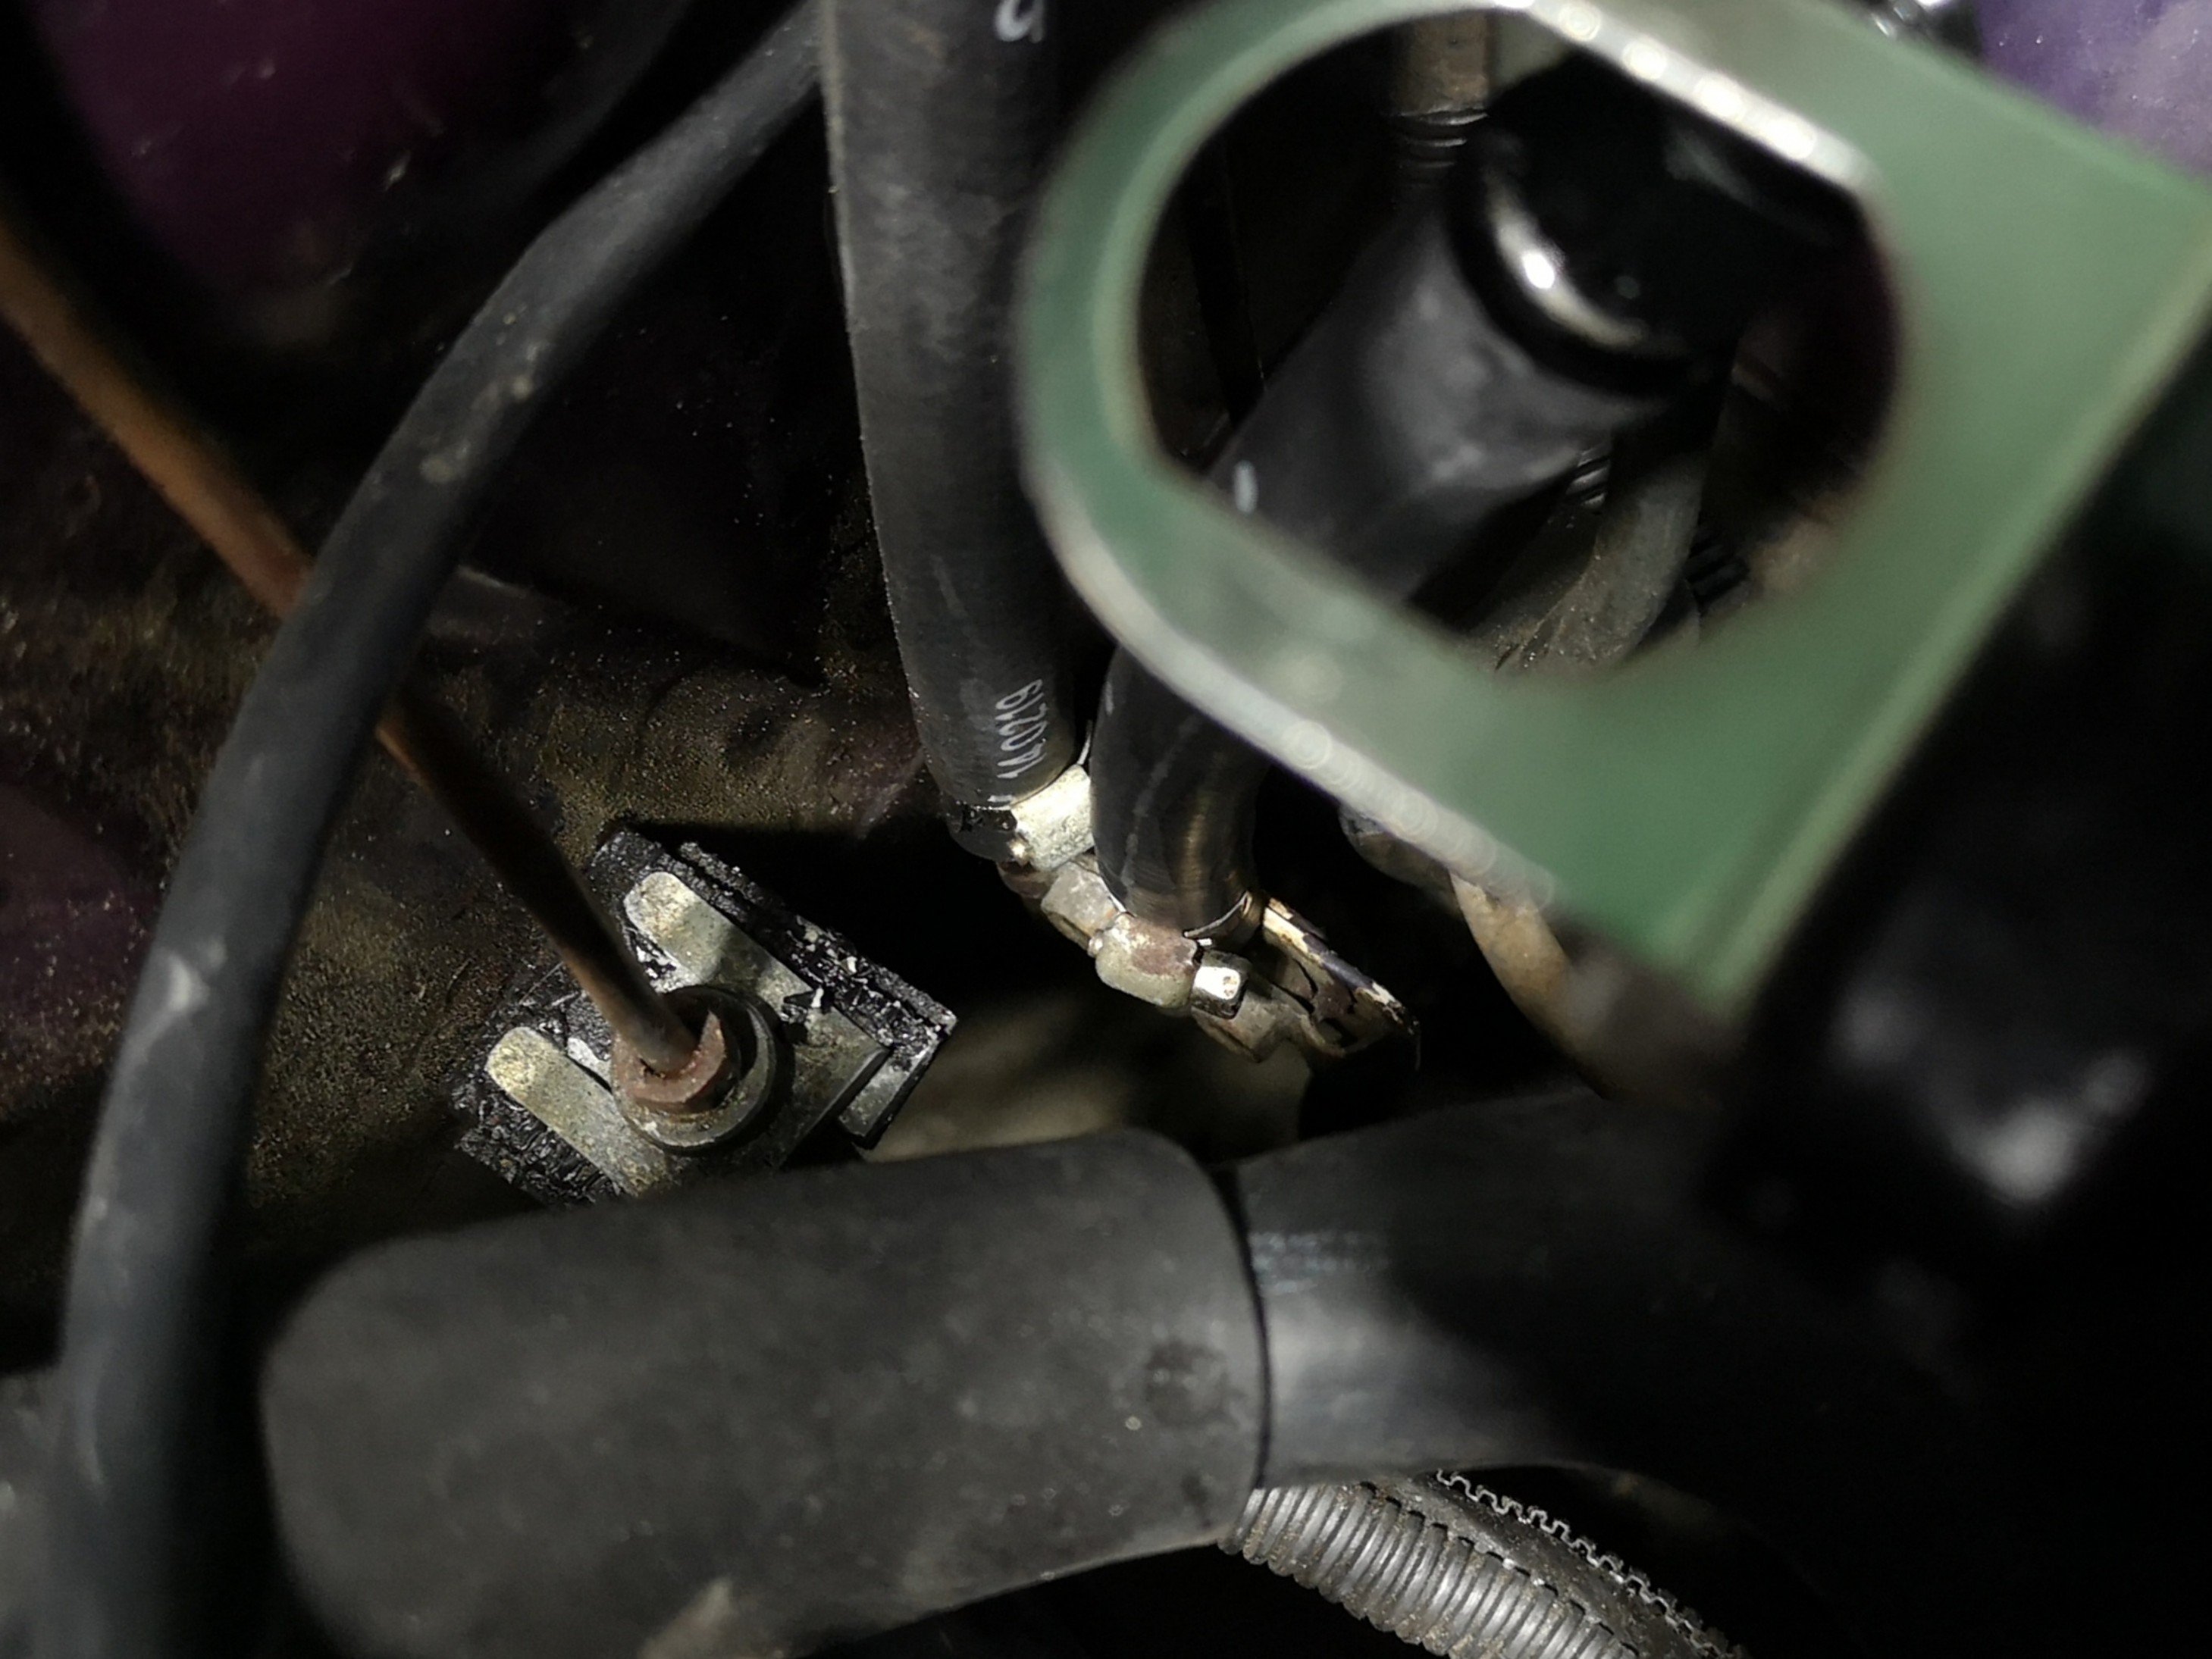
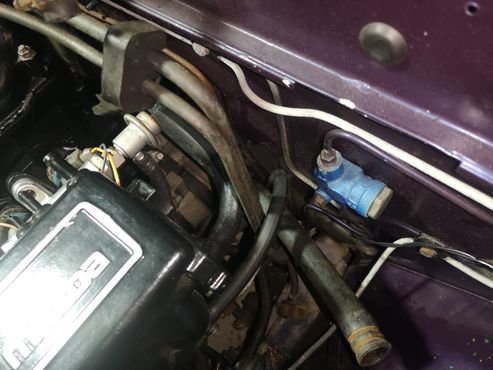
Fuck, totally just overheated it.. Was taking it out for a smash after just getting rid of a big flat spot off idle, was just cruising after the fact when I smelt a bit of hot oil. Having just done a skid (and giving it an oil and filter yesterday) didn't think to much of it. Gave it the boot out of a round about and it stumbled a bit.. bit odd. Got home it was really smelling and the tappets were noisy, smoking from the breather and the hoses were soft. Fucken blew a small bypass hose off the water pump, it was only held on with a wire clip and I never thought much of it since its been there for god knows how long.. Anyway put a new clamp on it and slowly dribbled water in while it was idling and the temps came back, noises also stopped.. Hope I haven't warped the head. Its o-ringed for boost so it shouldn't blow gasses, just oil and water.... Typical. Haven't had a lot of time to work on this, but have done a couple of minors.. Like extending the accel cable so it's in a nice wide curve. Don't get the vibration much now except for it'll randomly kind of buzz around 4-5k I think it's where it comes through the firewall and connects to the pedal somehow. Plumbed the fuel pump better, previously was just lots of hoses.. Then it wouldn't run... Ahhh, what now? Whoops.. Forgot about that bit. Bought a k&n filter so I don't suck some small dog in while I'm ironing out the bugs, By the way you can see the offending hose just under the thermostat housing above. Fixed the broken stud on the bonnet, not sure if I trust its strength.. I then trimmed and tapped the thread back on it.. Gonna take it in for a wof this week and if it passes I'll then stick the wideband on it and getting it running at its best. Reason being is I don't want to weld the bung on this exhaust only for it to be failed.. Might just get a no weld bung as eventually I'll bin this exhaust. Was gonna turbo it for nats but I decided without cert insurance is void so I'll do it when I get back.. Good times..
1 point
-
Touch wood I have had my K jet Volvo for 10 years over 200,000 kms and never had to even fuck with it once.1 point
-
new rims
1 point
-
chassis work
1 point
-
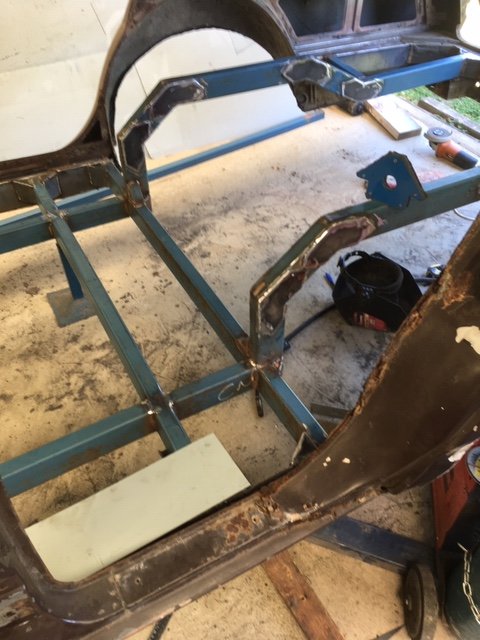
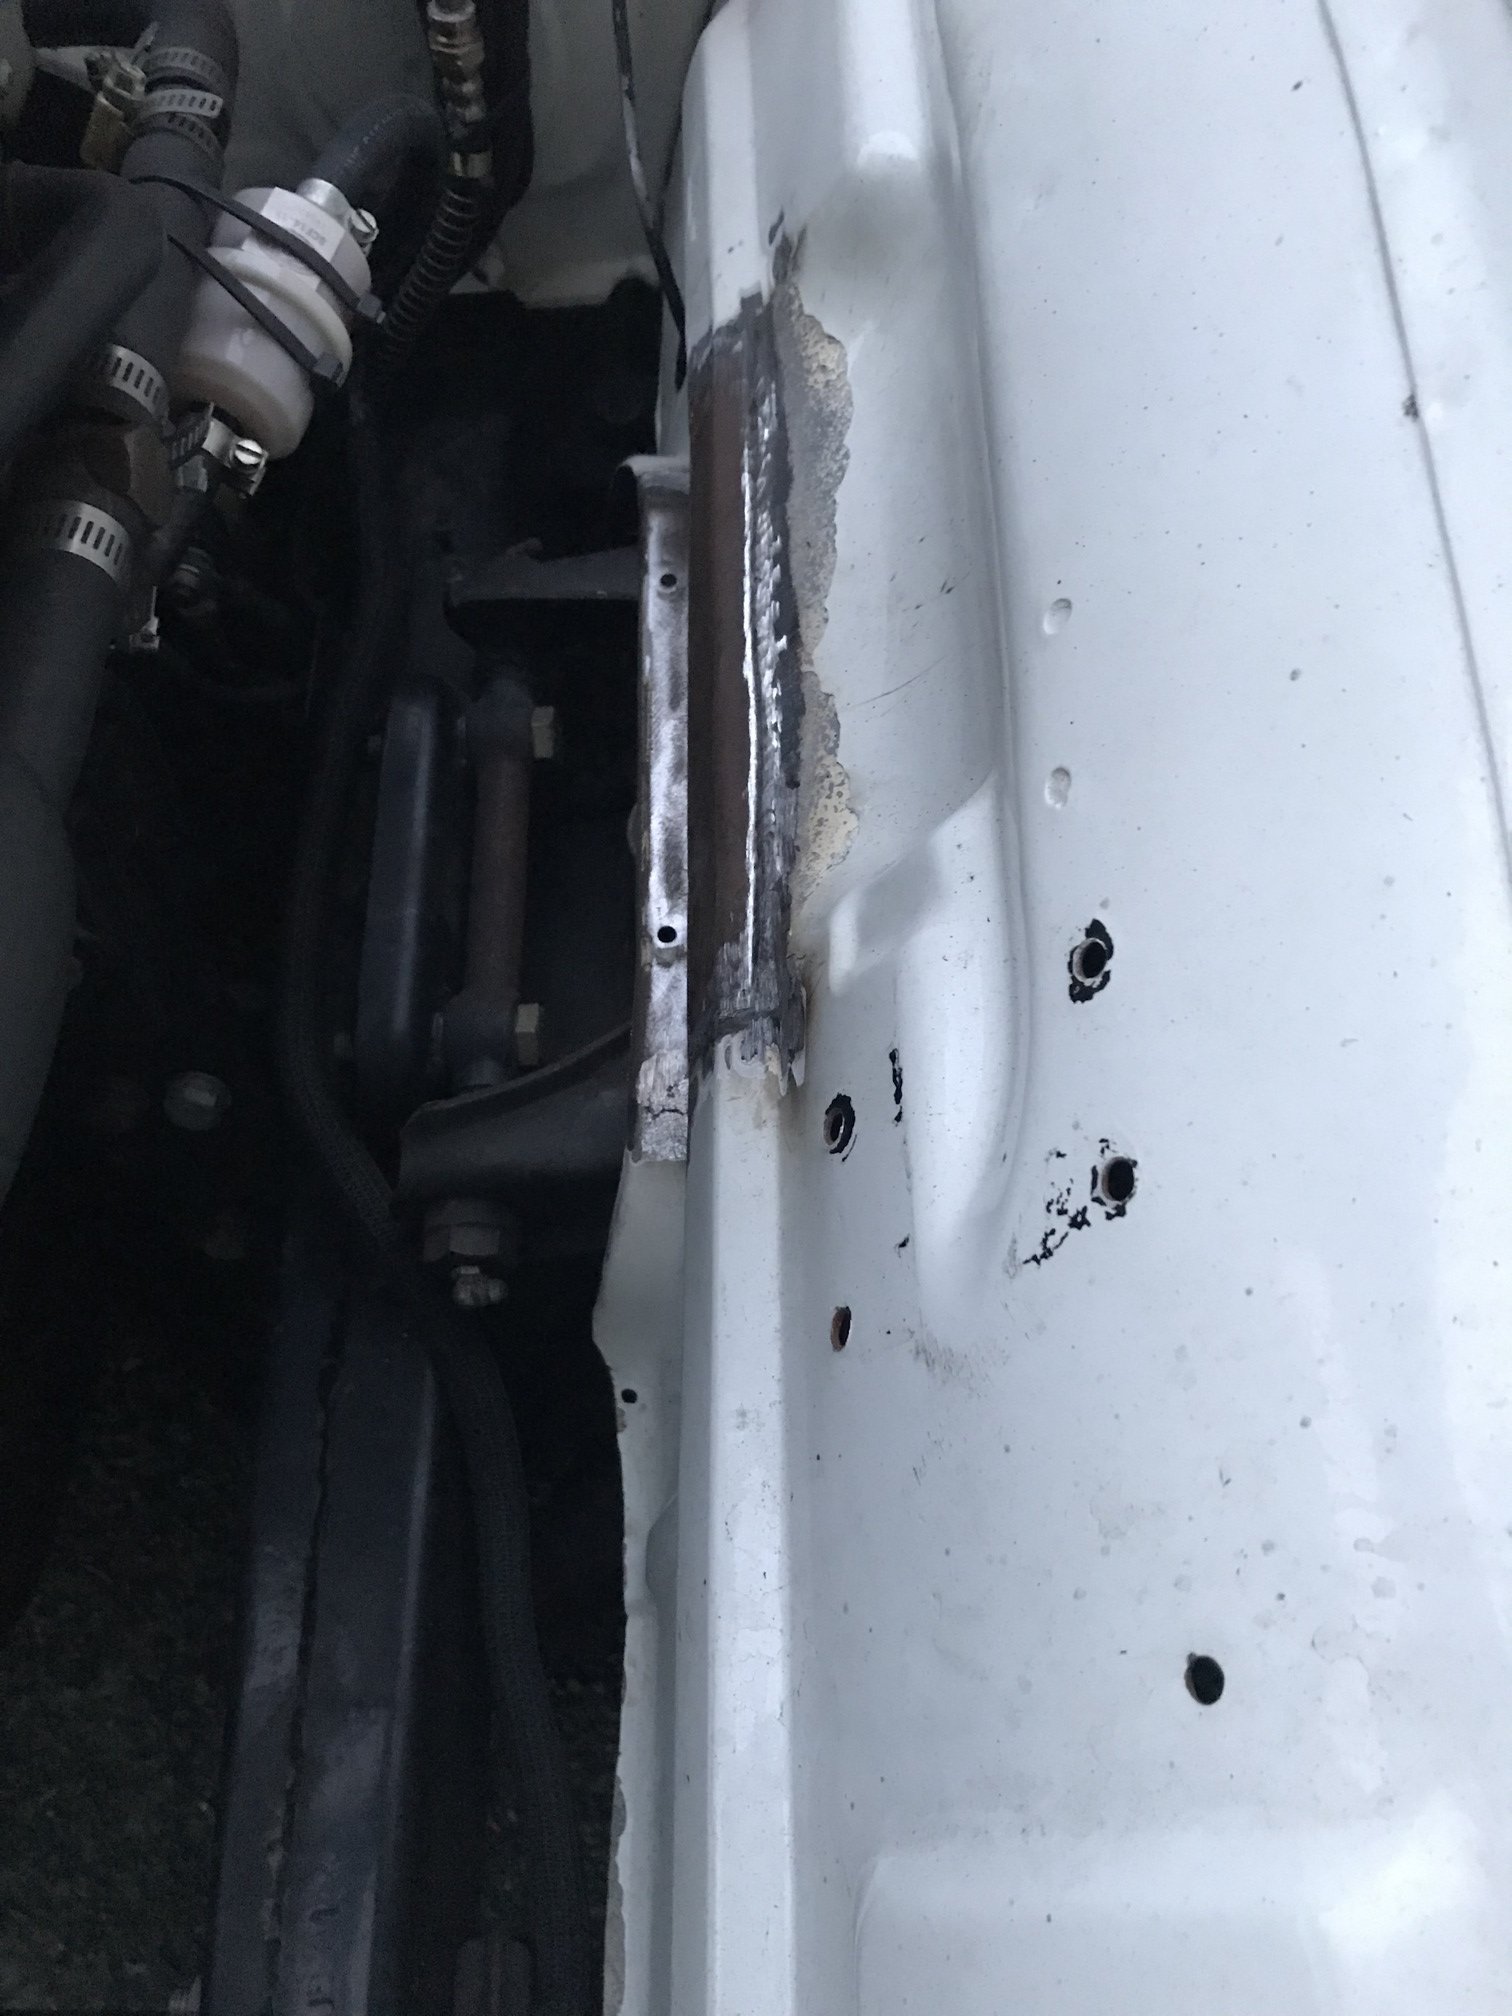
Filled about 50 holes in the engine and removed all the brackets I no longer need. Laser cutting a sheet of all the filler pieces made it way quicker and easier! Where the chassis rail kicks up at the firewall is a known place where cracks can form. There was already one about 8mm long on the passengers side. Made some gussets and welded them in. Found some previous repairs around the rear hatch on the body. I think they just ground out the rust spots here and then bogged it up. Cut out and welded new steel in there. Another one here, this time just a piece of steel brazed over the top of the rust holes. Fixed! As well as a few more bits around the seal. Picked up a pair off TA22 Celica fender mirrors from YAJ, that you can kinda see. I think they look good, but hard to tell when half the cars missing. Bought a Estima F series diff. Stripped in right down, cut off all the brackets and then noticed one of the housing tubes was very bent! One end was out by at least 10mm. Had a go at straightening it, wrapped some chain around the tube and some big u-channel, and then used a bottle jack and heat to push it out. Came out pretty good, close enough to then shorten it. Drew up a jig that held it all square and inline. Shortened it by 105mm a side, so it's the same dimensions drum to drum as the factory diff. Bought some MRP adjustable 4-link arms off @Cdarust Got a Altezza Torsen LSD head to swap in. Made some upper and lower brackets for the diff. Borrowed @oftensideways rotisserie. Going to raise the rear 4-link body mounts up. About 50mm higher for the lower mount, which should make the lower arm level and somewhere between 50-100mm higher on the top arm. The angles are currently far too much and I've gone this far so may as well, will be good to get rid of the lower body mounts as they're the lowest part of the car. It shouldn't effect the rear seat too much either.1 point
-
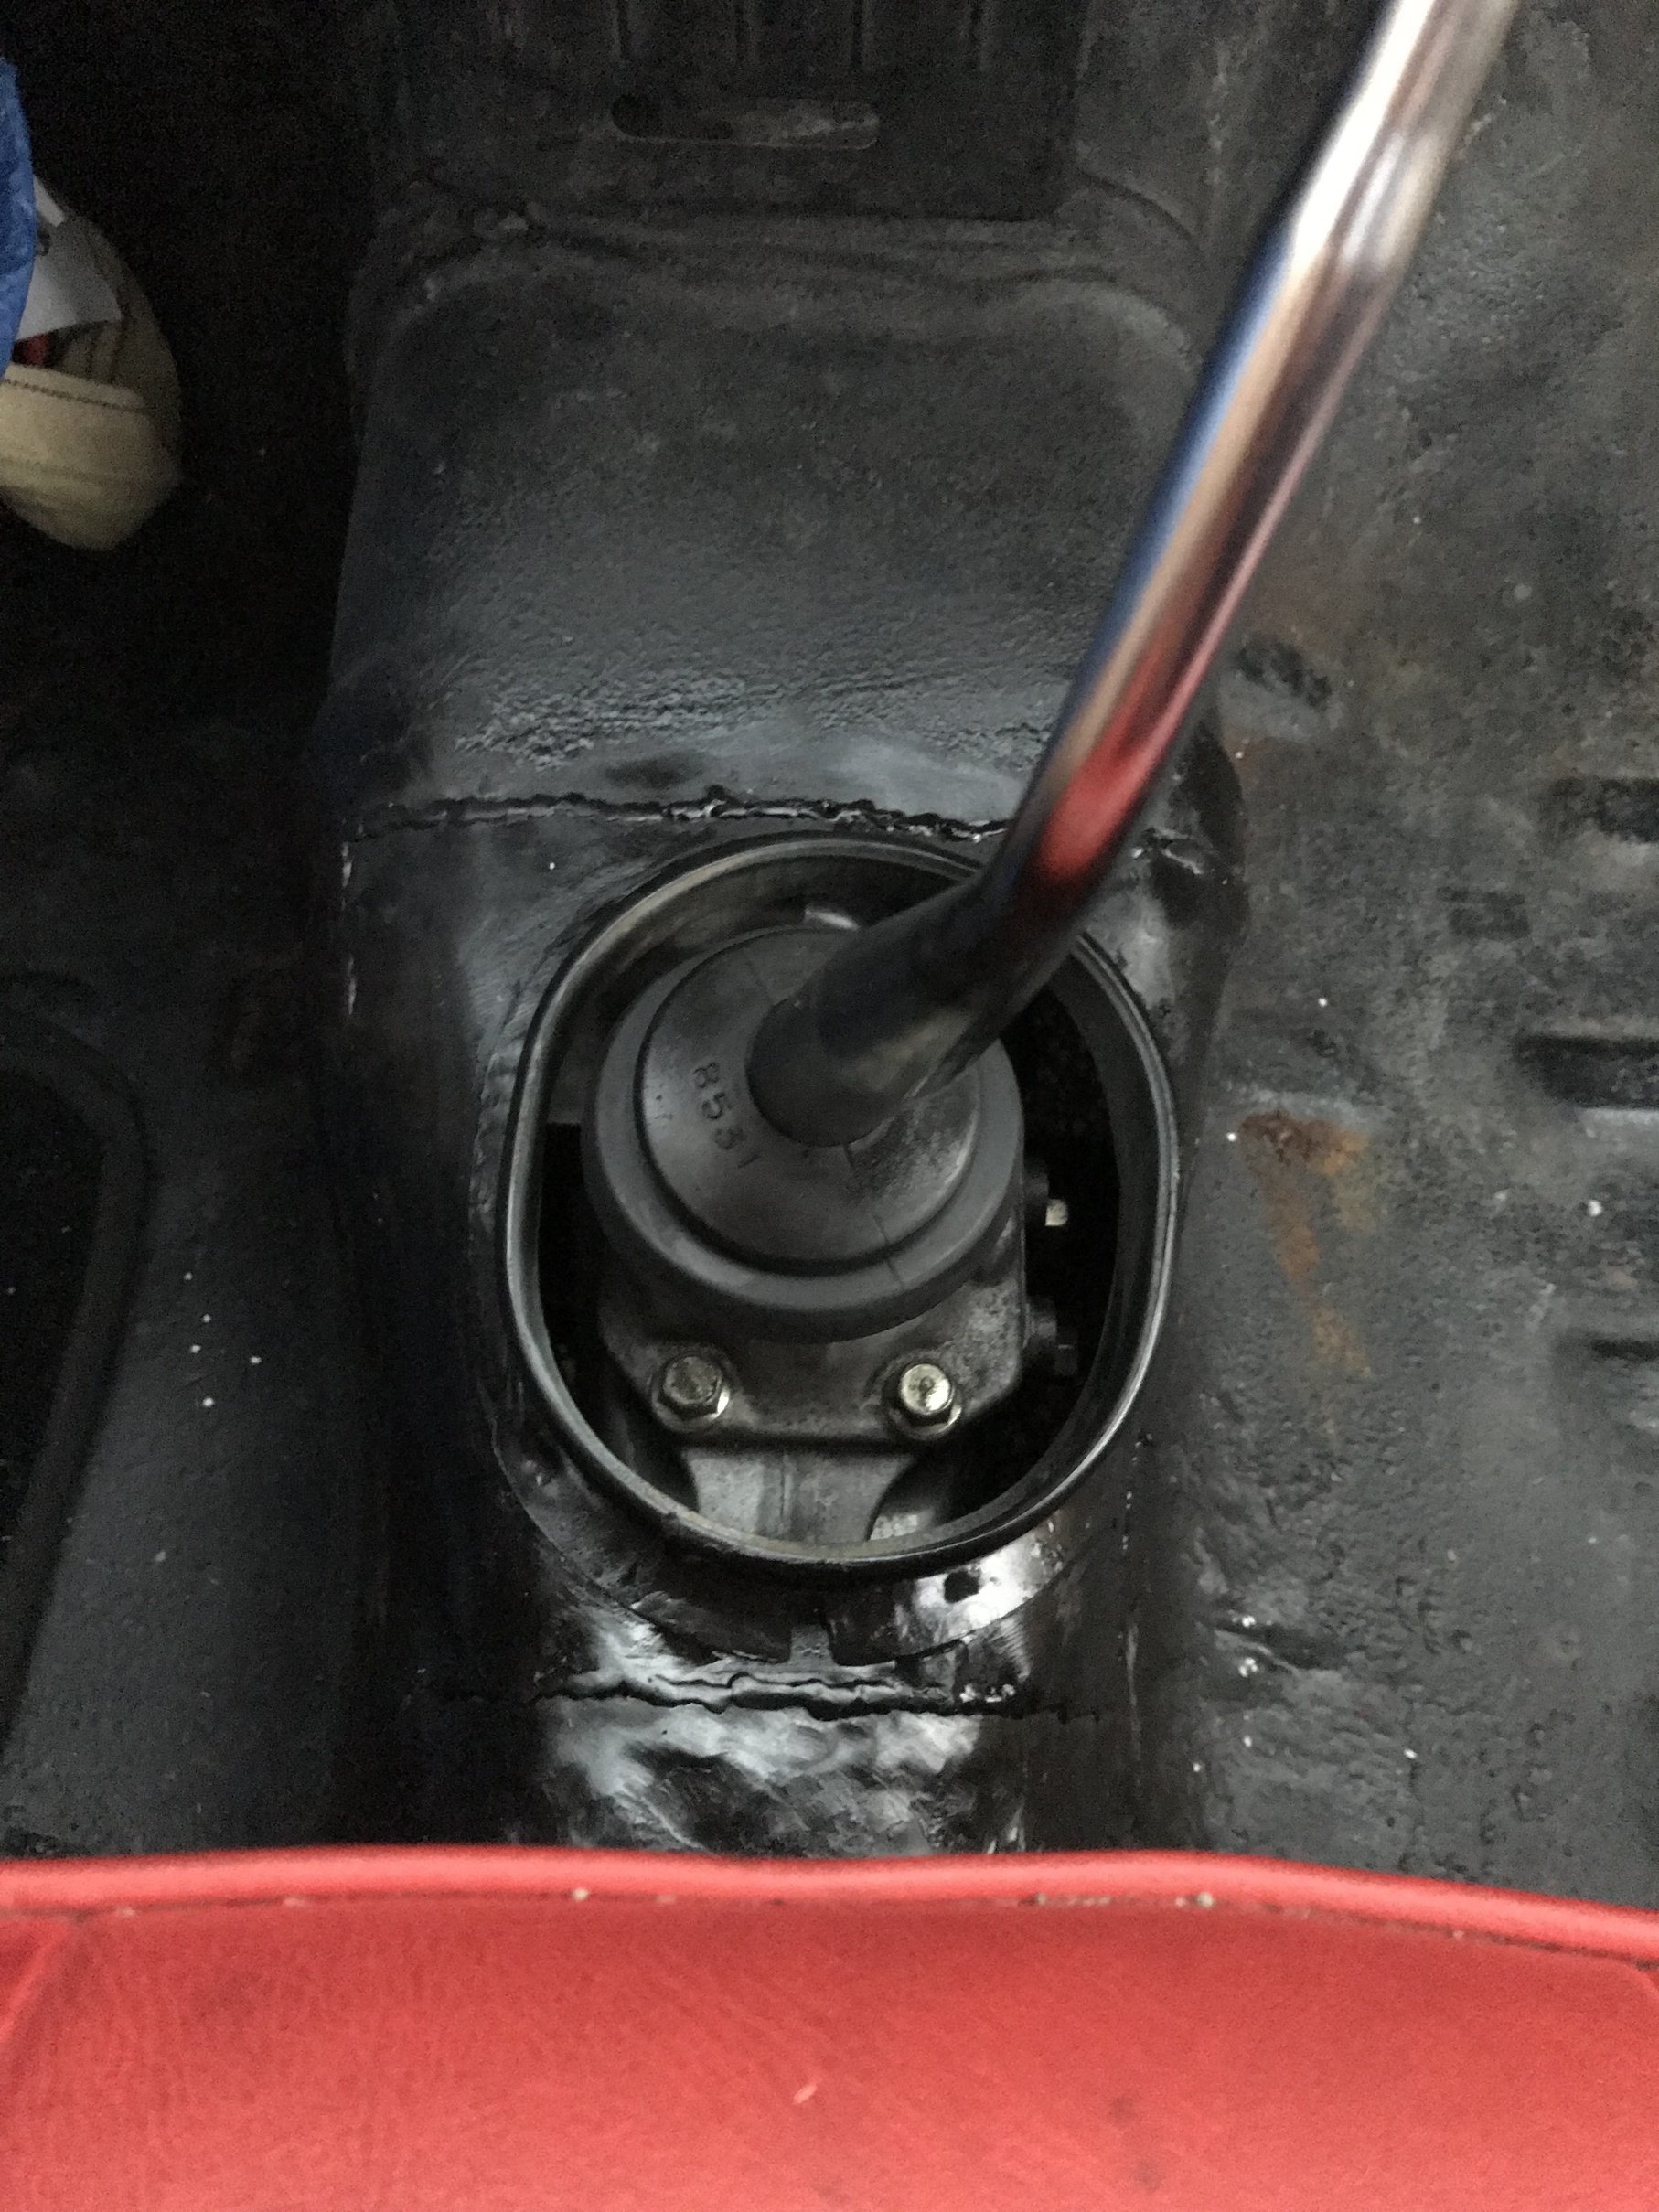
Over the Christmas break I dropped this old girl out to Alex @yoeddynz, really stoked with his work, he rectified the holes that had been cut in my inner guards, blanked the stereo hole that had been butchered and added the floor shift tunnel I had cut from the courier. It was a long drive out to the Abel Tasman ringing its guts out trying to do 100kph so next on the list is putting the courier diff nugget in, fingers crossed it should be a 3.3 or 3.5 so should make a huge difference from 4.8 hopefully. Also the gearbox is really noisey so will swap that out at the same time.
1 point
-
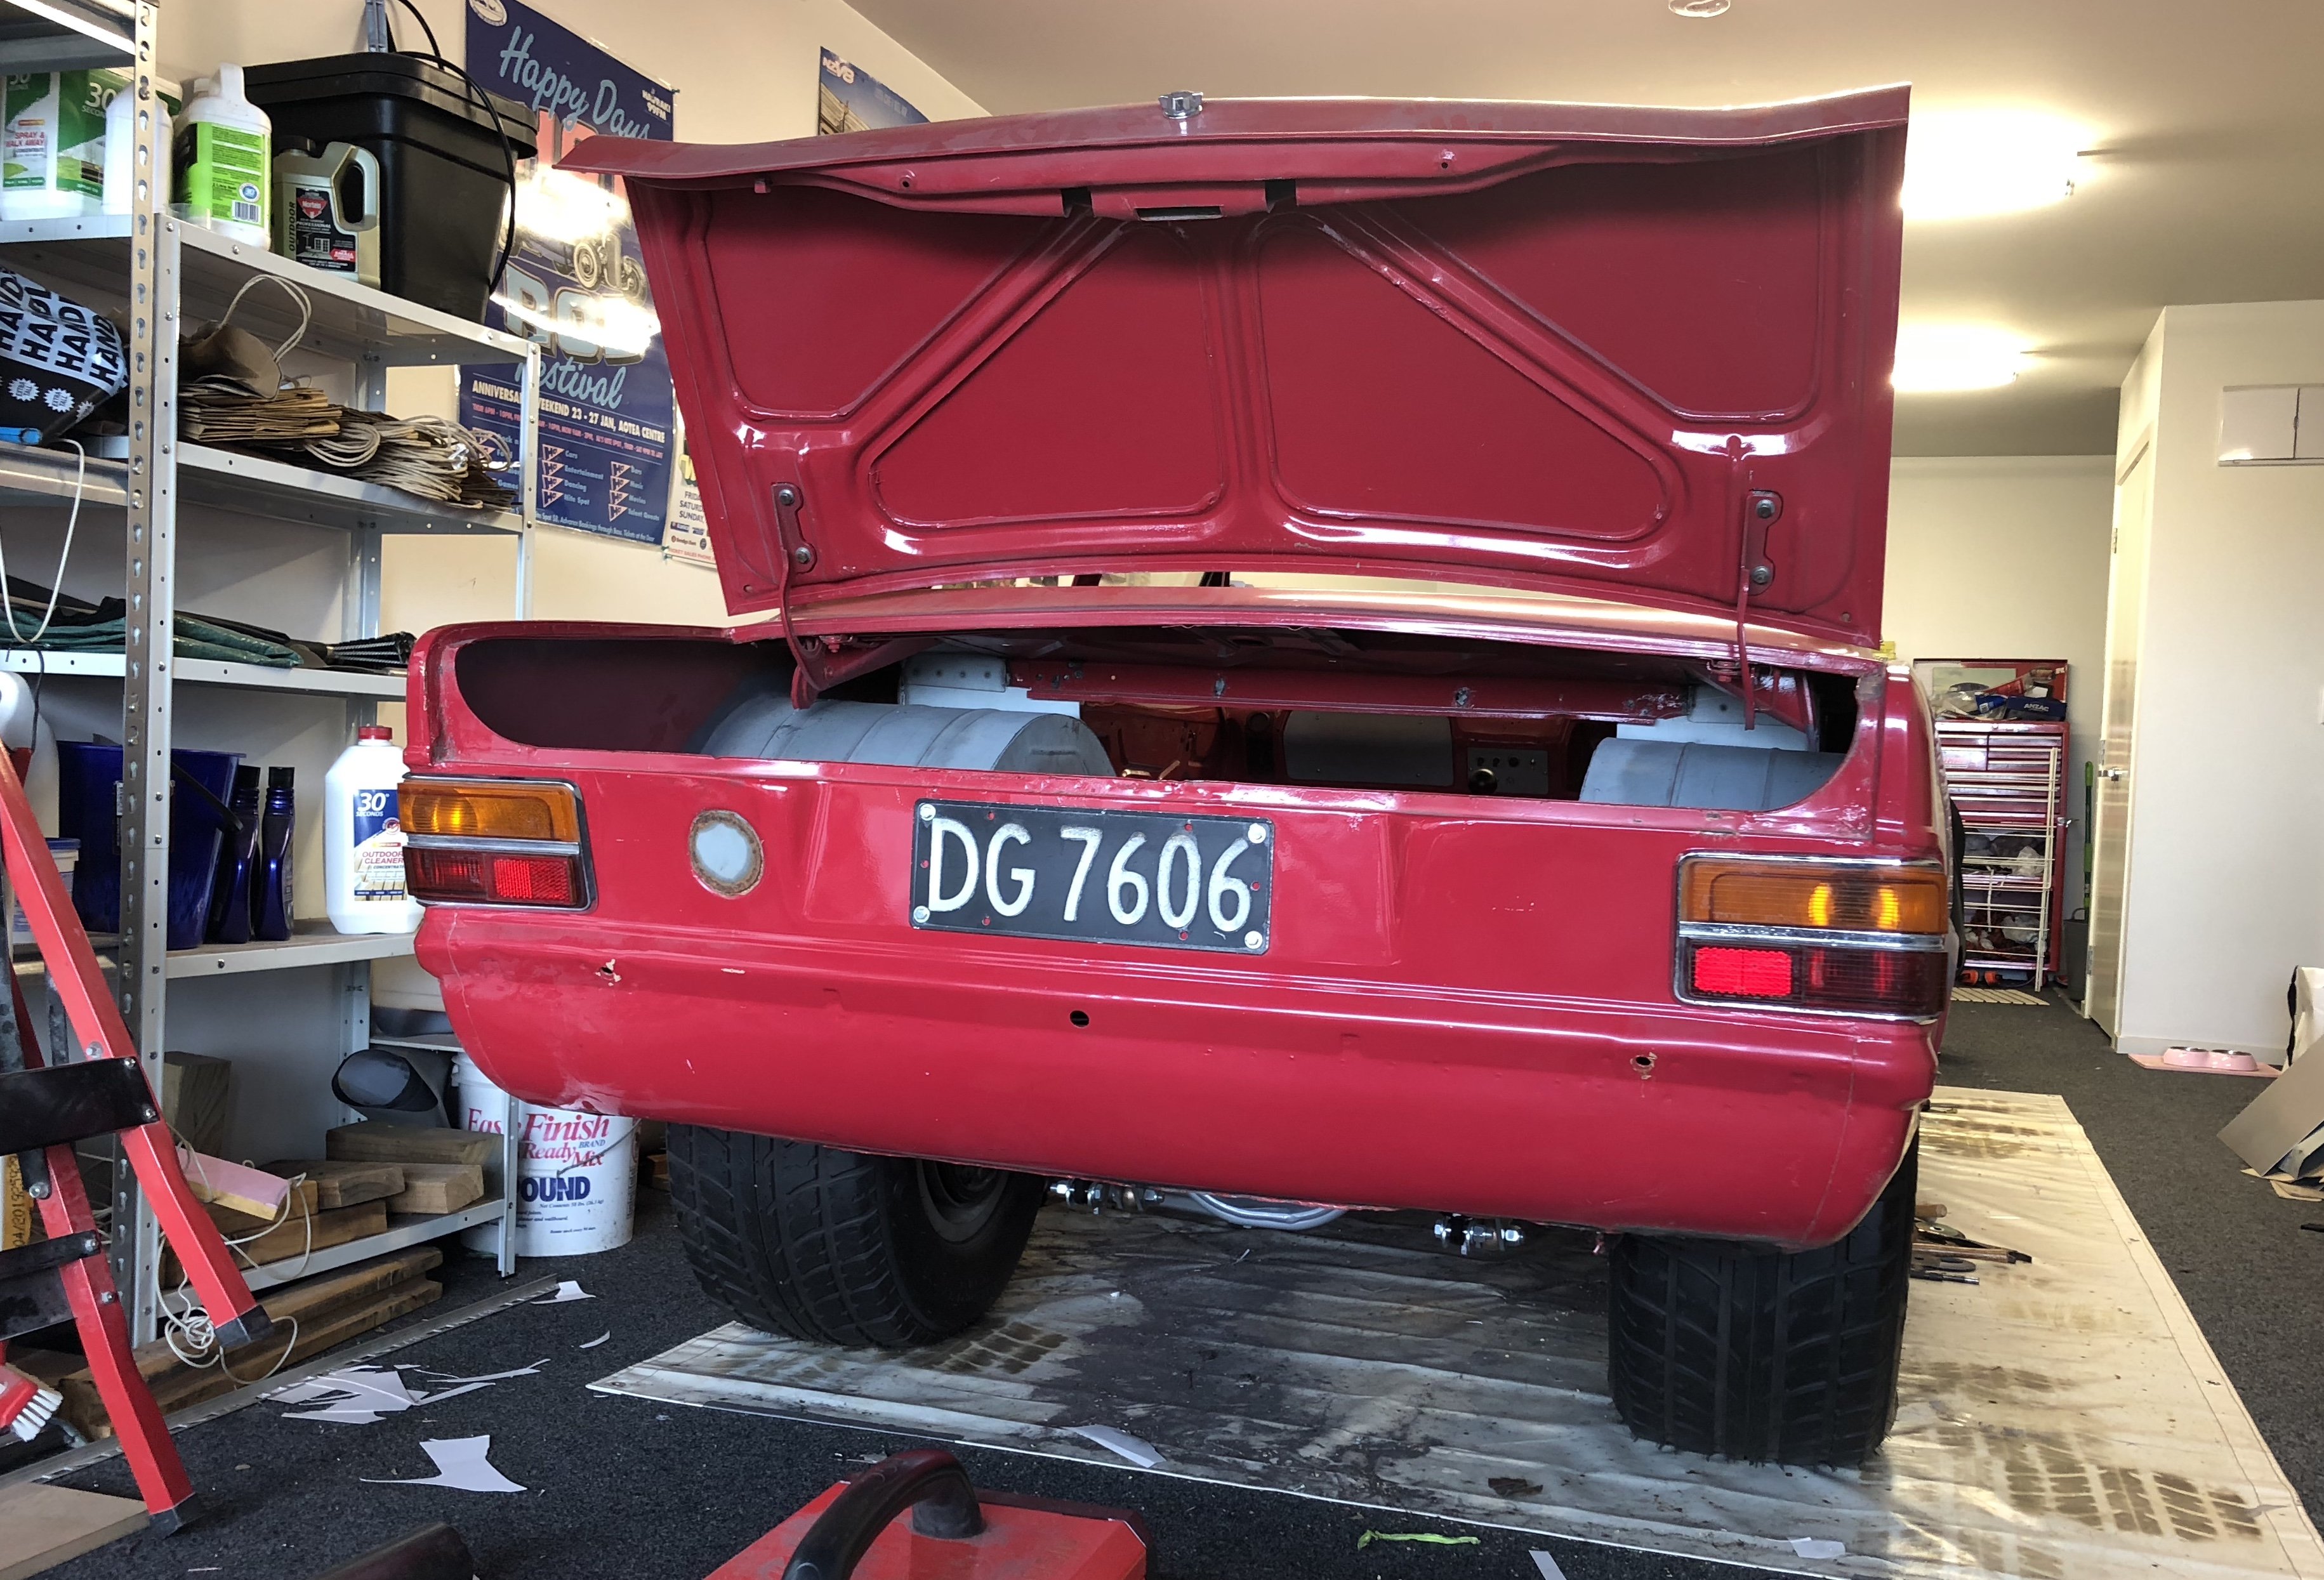
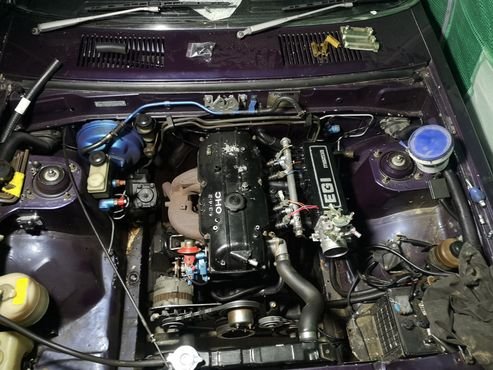
Got a little bit more adventurous yesterday and went for a longer drive out on the 80k zone so I could open her up a bit. Goes so much better, who would've thunk that efi and an 60mm Tb would make this sort of change. Finally found some info on this particular iteration of the f/ma, came out 82 the 1982 luce 2000 sg-s and not the cosmo like I previously thought, no wonder I couldn't find anything.. Was pretty healthy too really, considering they "upgraded" to the fe, 120hp/167nm vs the 12v fe 120/178. I was always of the opinion that it was a total boat anchor at only 90hp, I've done bit of work to them in the past and they've gone pretty good but efi is hands down the best modification, shits all over the 45dcoe I had on my 626.. Just don't remember it being this quick sans turbo.. Anyway like I said took for a spin, got it up to about 5500rpm a few times.. Once it hits about 4k you can really feel the vibration through the pedal compared to the carb, think it comes down to the way the linkage is orientated so at wot the cable is sitting at almost right angles to the linkage (kinda hard to explain without a pic) might need to adjust it round a bit. All went good till (luckily) I got home and it started running like a bag of dicks again, but this time an electrical miss, down a cylinder. Checked leads and they were definitely firing, pulled off an injector plug.. ahhh. 4 and 2 not pulsing so inj pinout #1 and sure enough when I wobbled the cable it came back. Ended up being some dry solder joints on the main plug, resoldered them and bob's. Also managed to get a viscous hub of an fe, was pretty loose so I topped it up with some silicon oil. They work a bit different from the Asian hubs on the toyotas as they unbolt and come apart in half whereas these don't come apart at all, instead the of a bimetallic coil they have a strip that when hot bows out releasing a little plunger type pin underneath which in turn somehow activates a valve inside. To top it up you have to get the oil through that little hole whilst letting air out (it was a cunt) works anyway and is much quieter than the fixed fan that was previously on there. Got a new oil pressure sender as well, the old one was leaking like a mofo.. No wonder the bottom half of the engine is covered in shit.. Ended up getting an aem wideband. Reviews said it was the best but more expensive than the innovate, trademe disagreed and someone had them for about 60 bucks less. I'll weld the bung on in the new year and get about tuning it a bit. Here's a great pic to prove I actually did something and didn't just want to talk shit, I forgot to take pics of everything else..
1 point
-
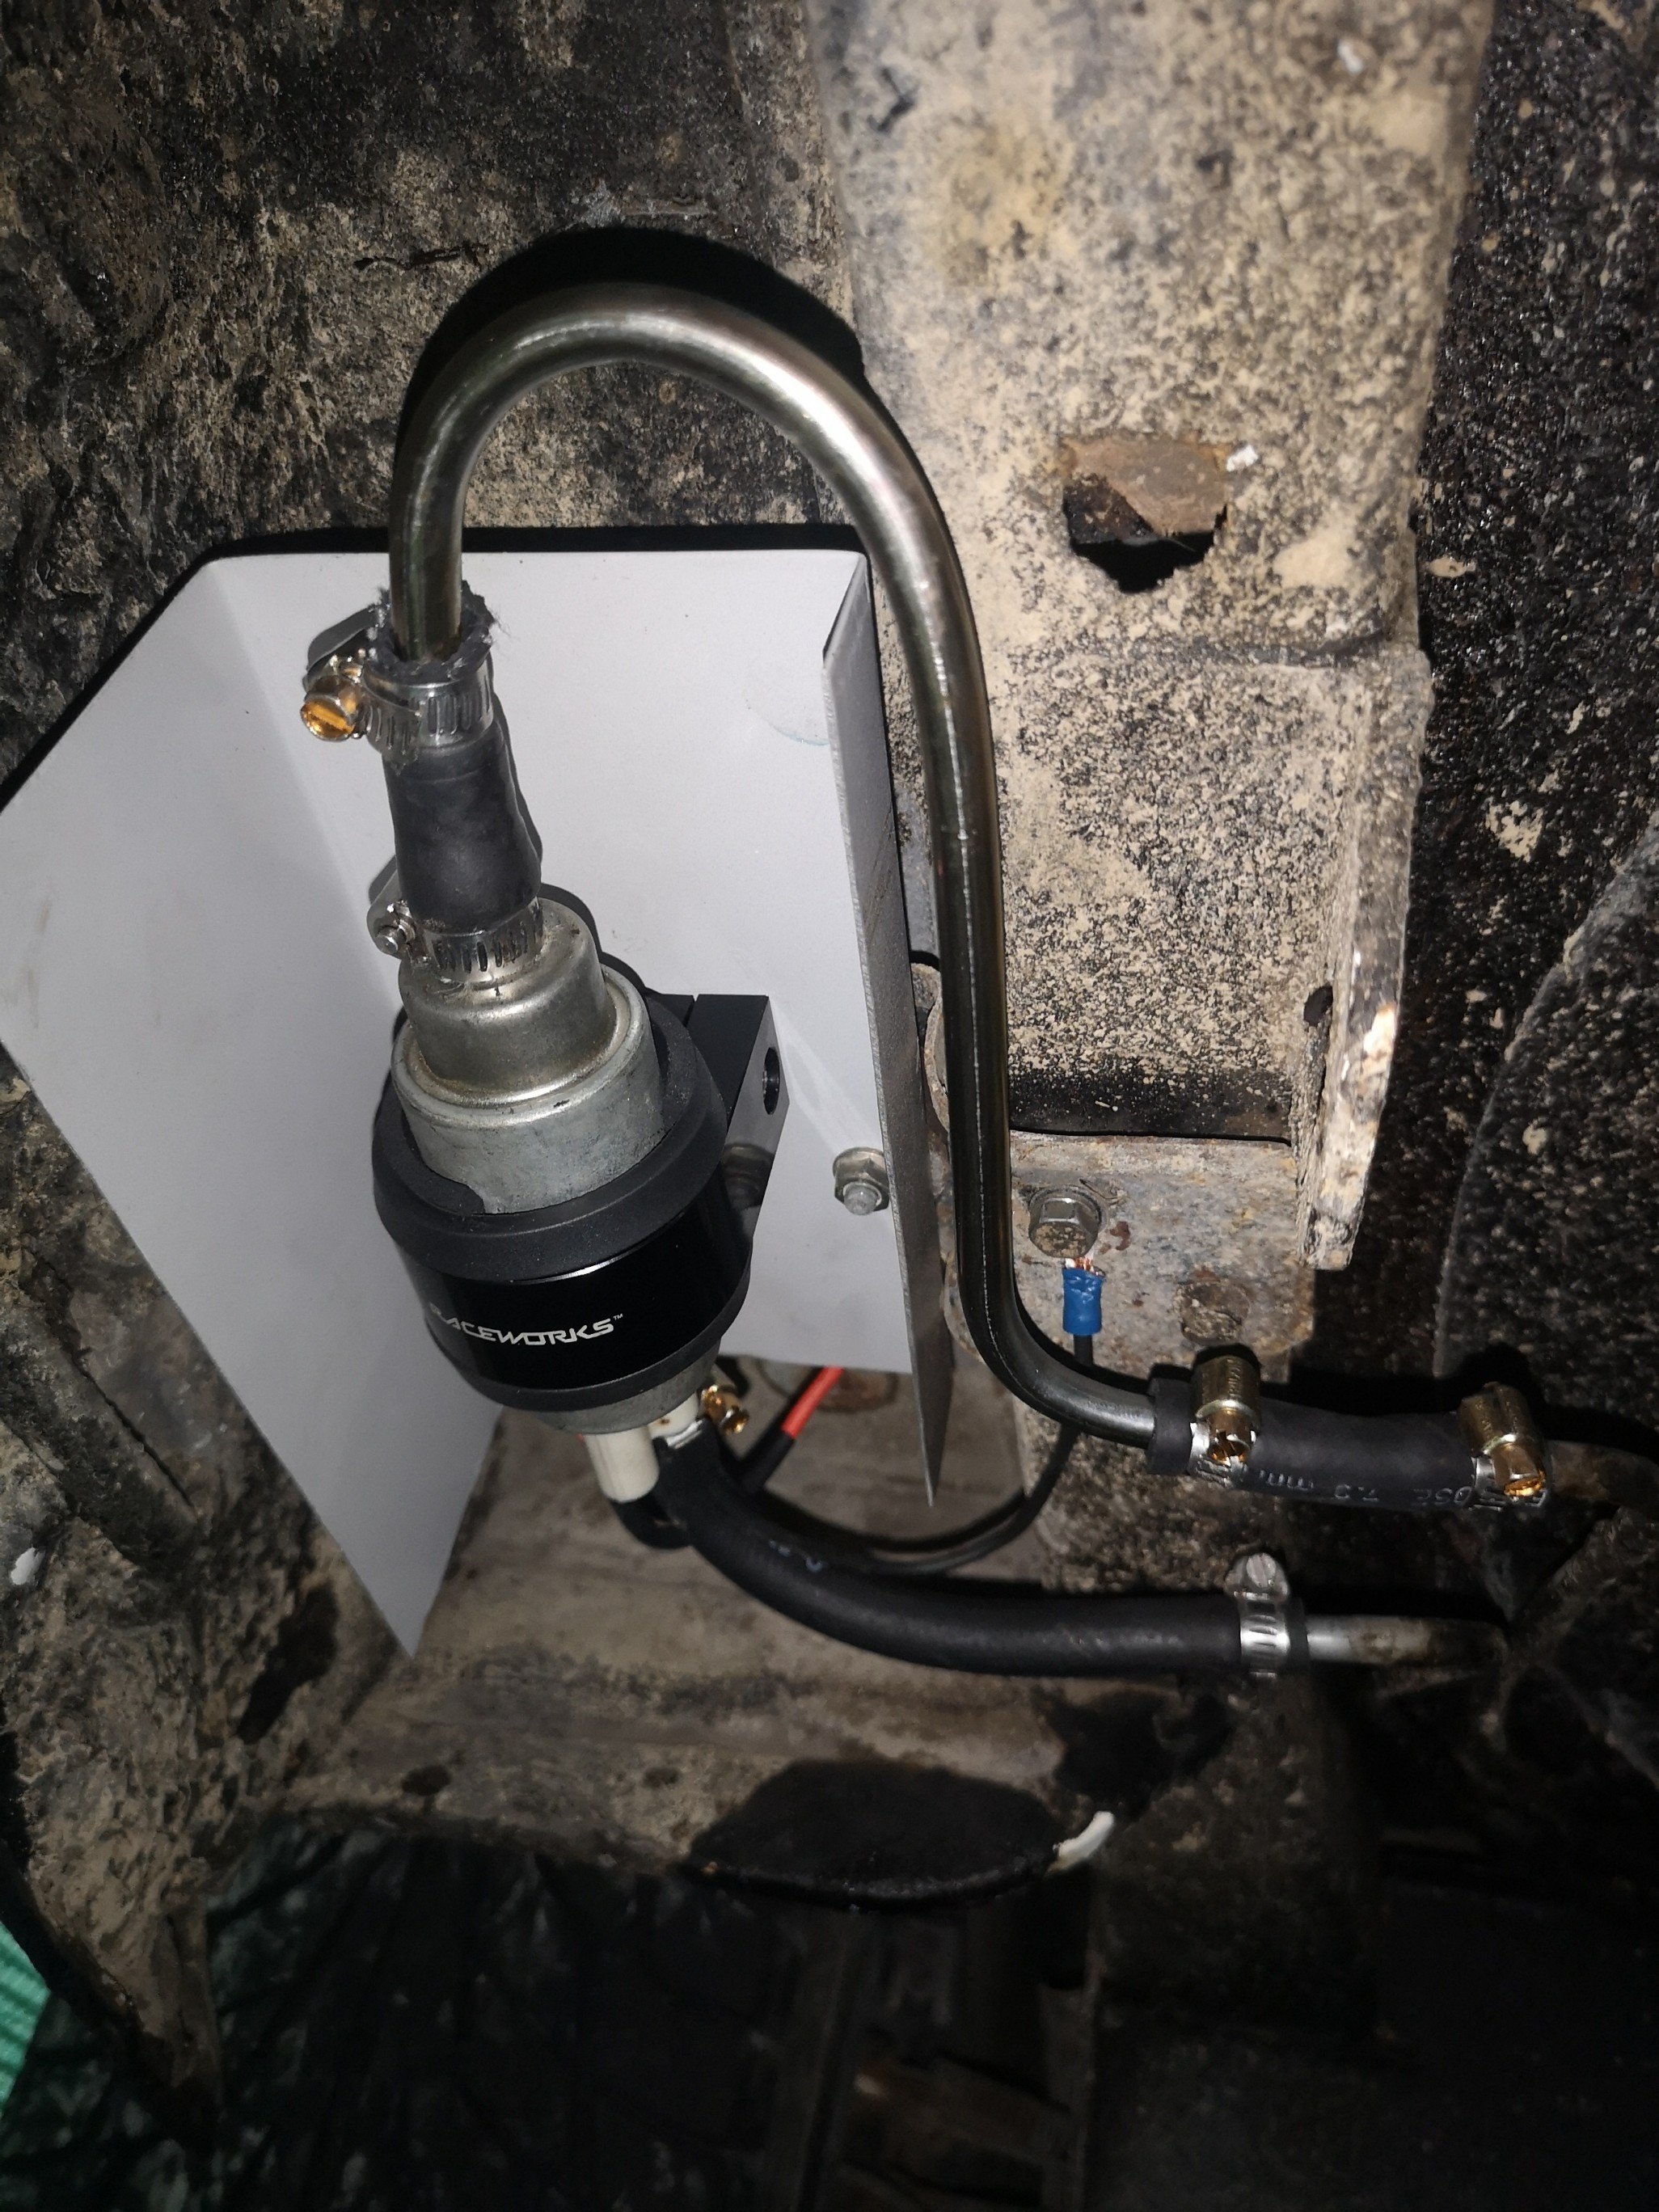
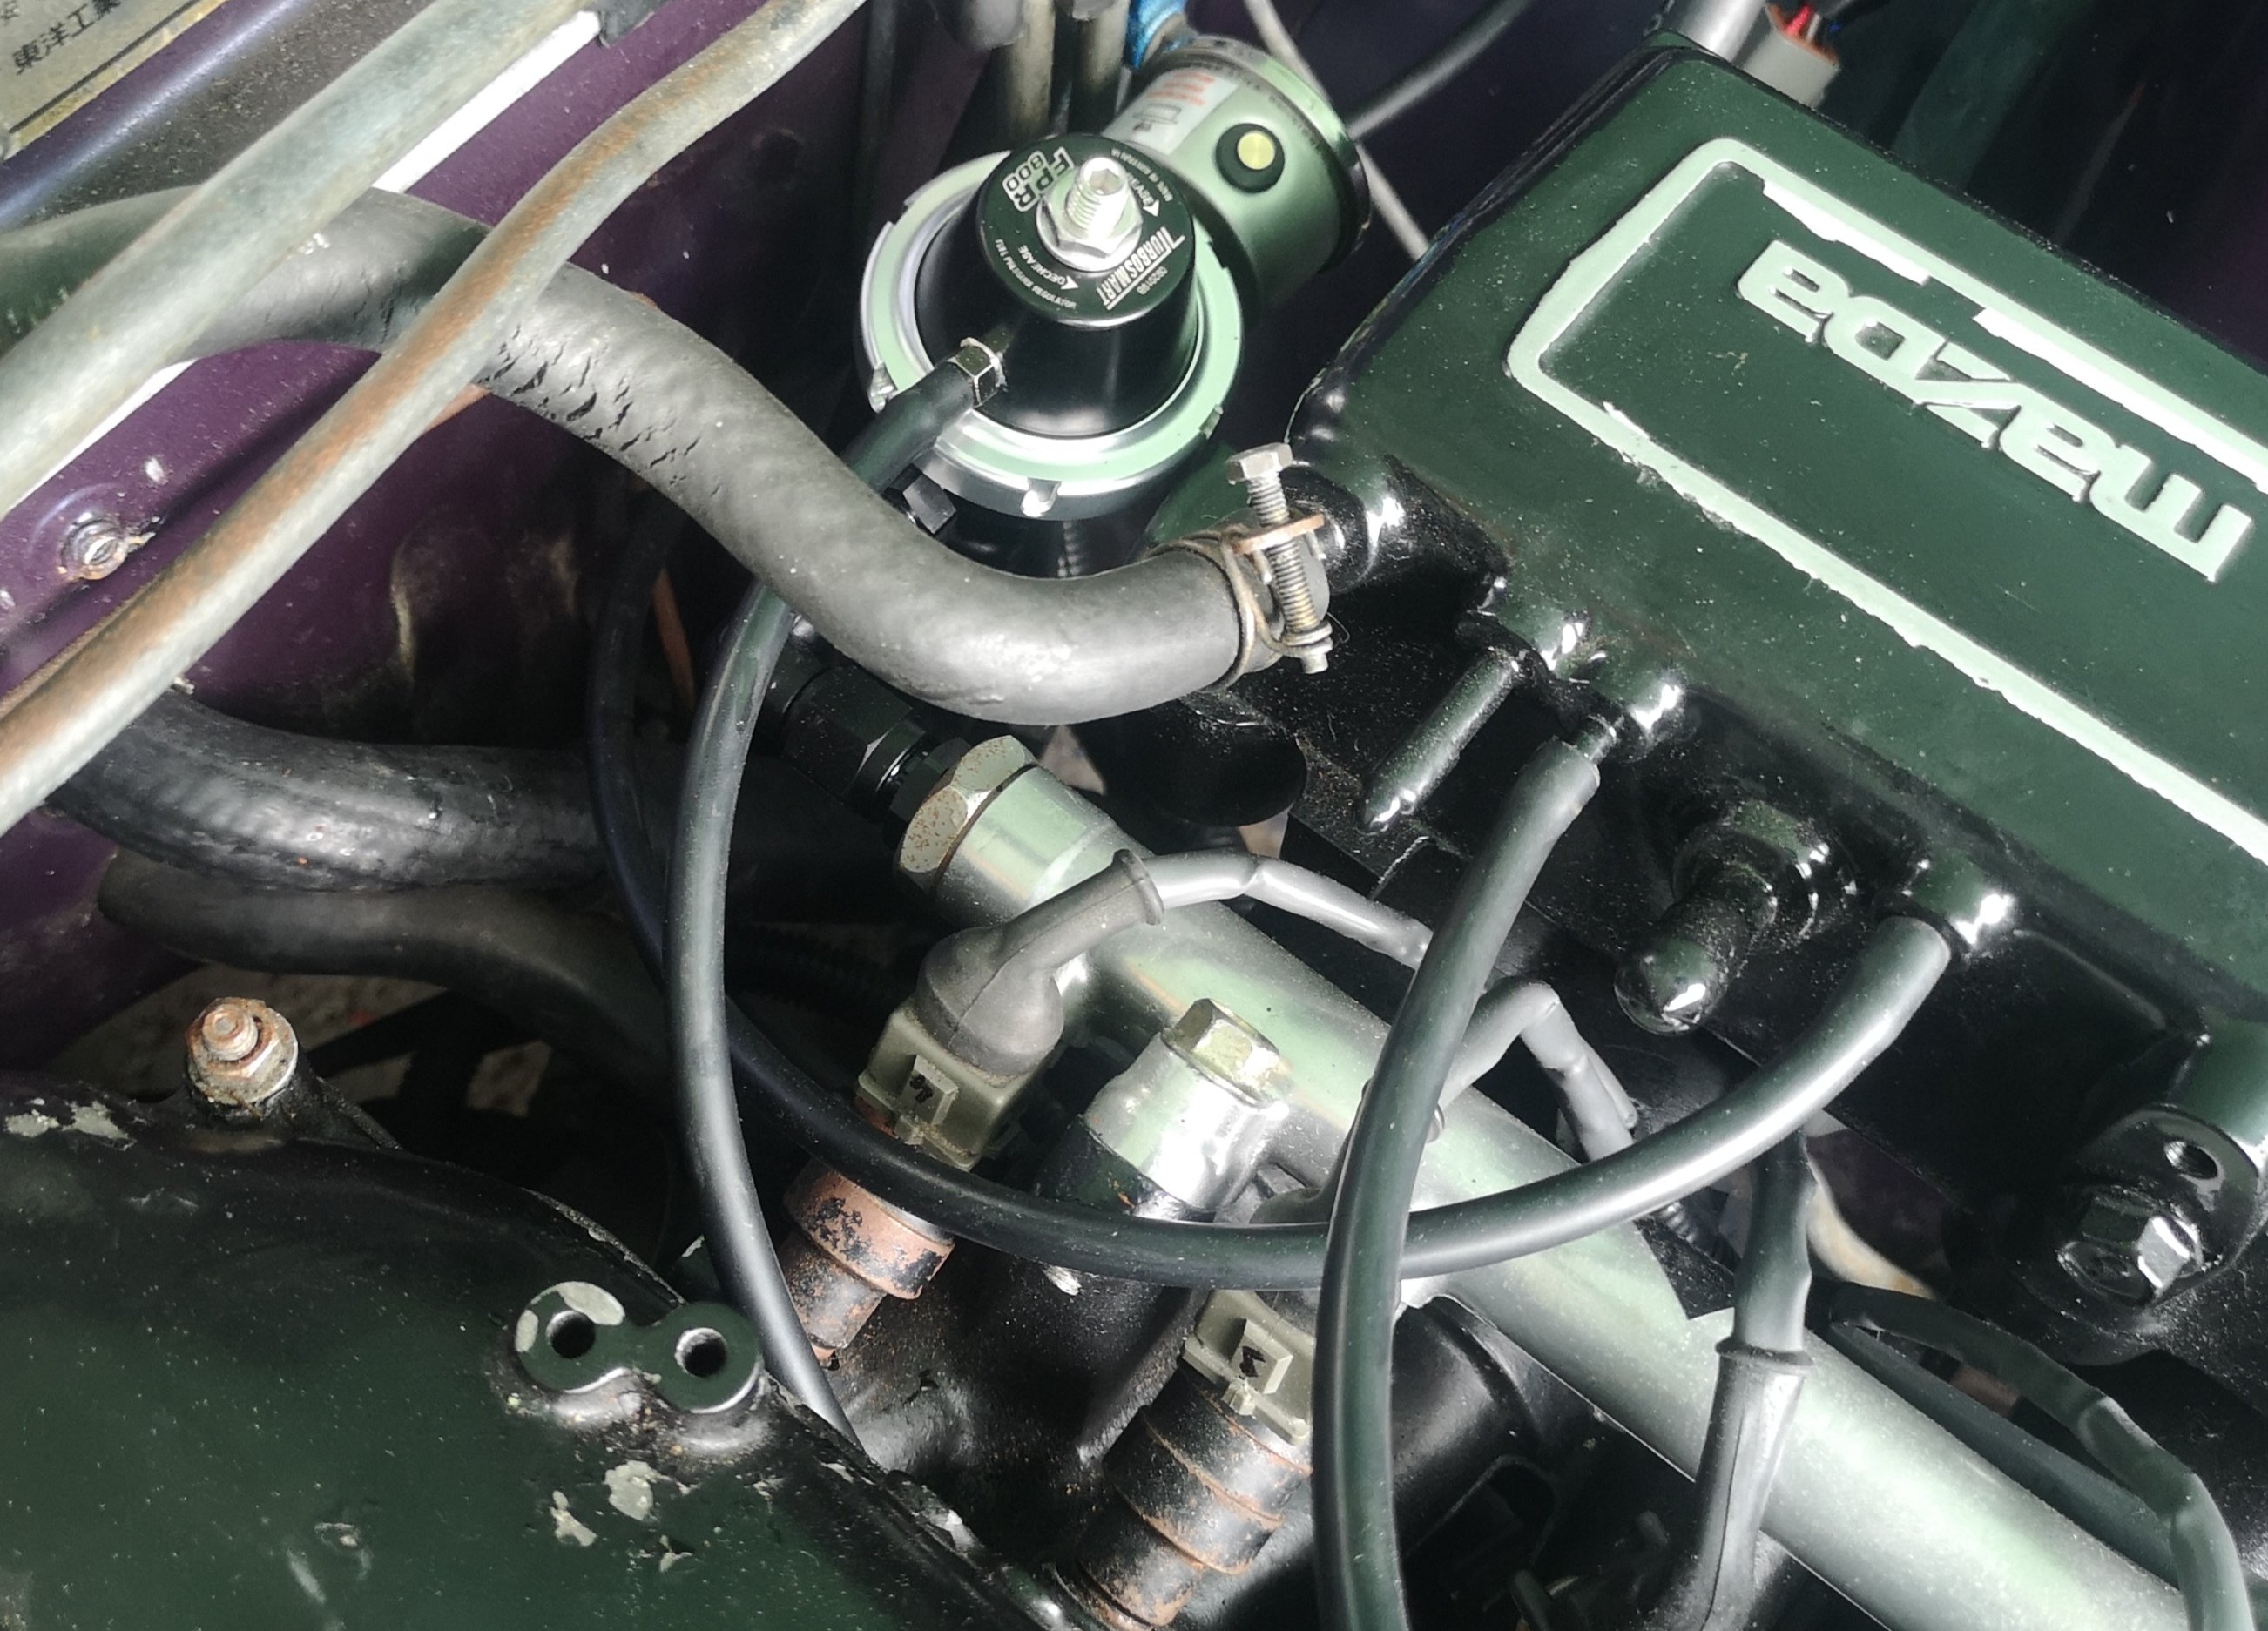
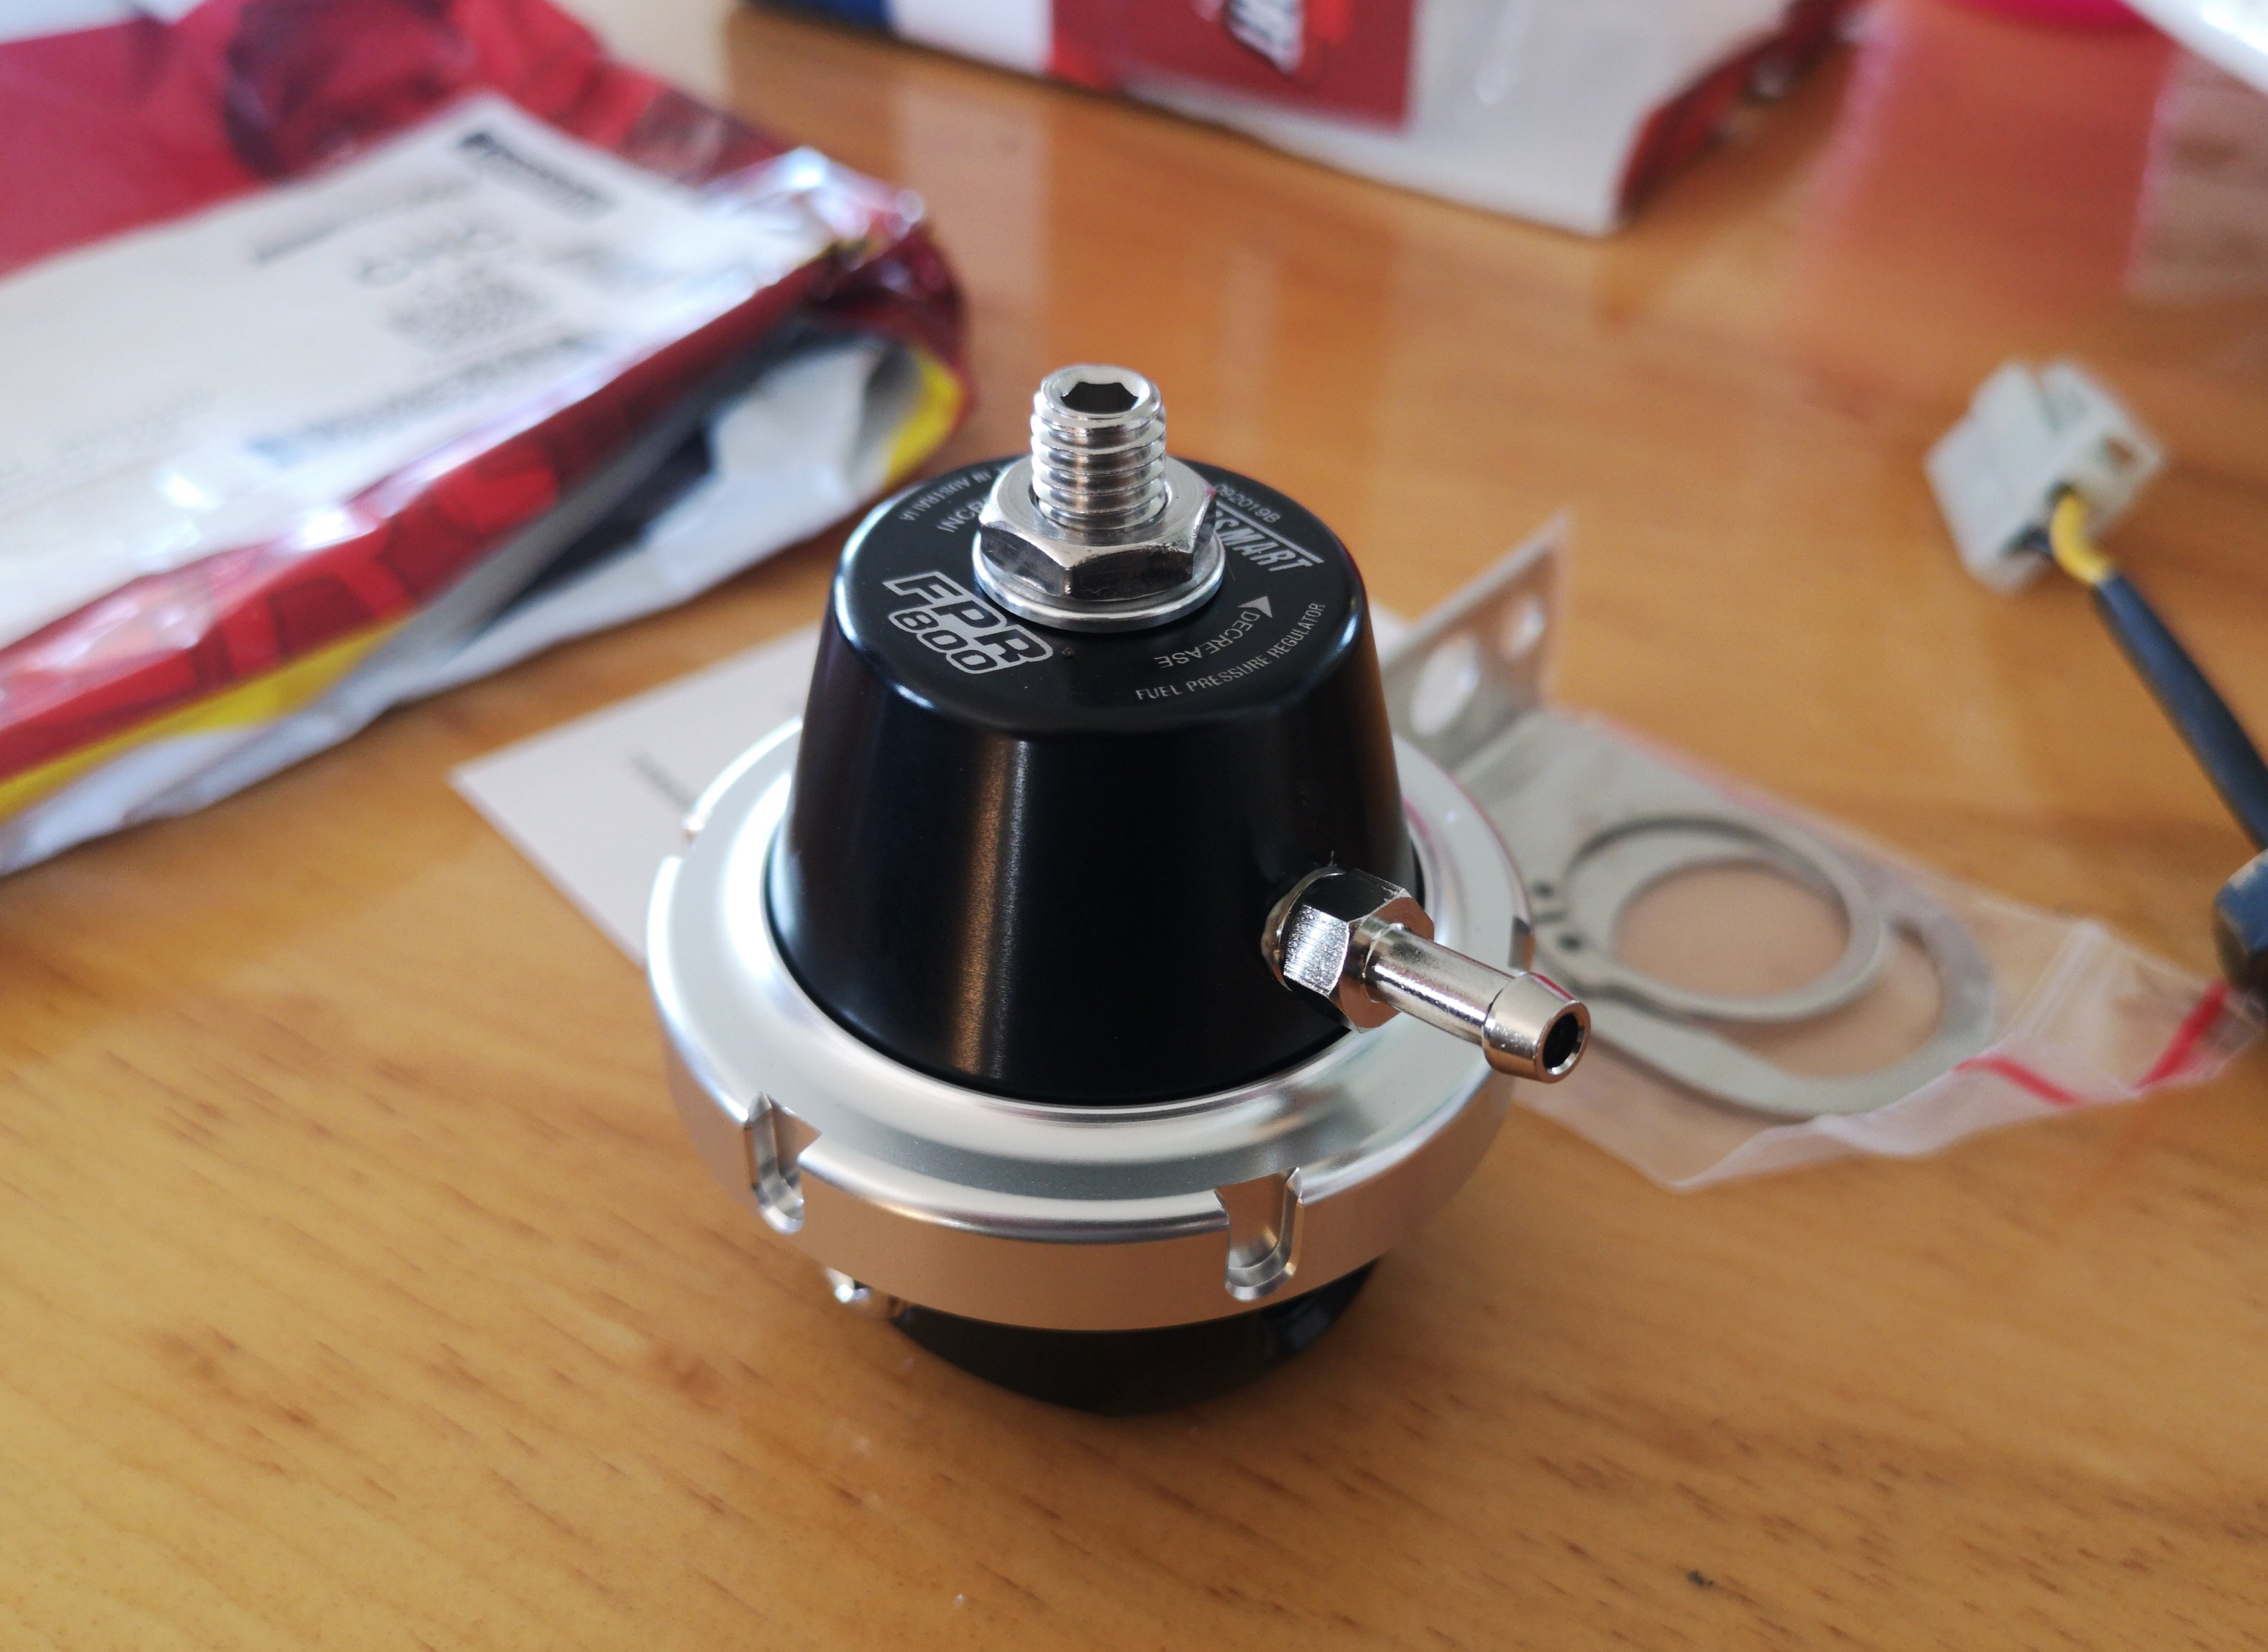
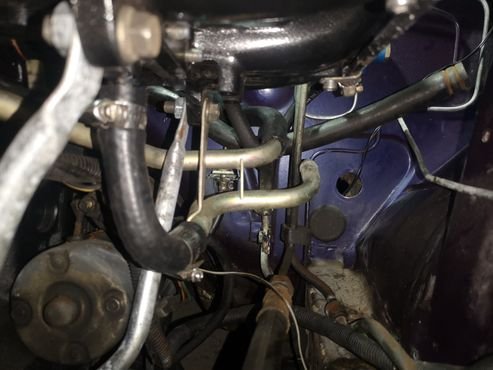
In other news, got a couple of other fittings to plumb up the fpr, Shows the proximity of the return line in relation to the fpr mount.. Worlds shortest bit of hose, And all together, also put a 45 degree barb on the outlet to bend the hose so when the engine rocks is not jamming straight up into the fpr.. Started her up after I put the tank back in tonight and its definitely seems better, not surging like it was before. Readjusted the pressure to 40psi at idle, so hopefully I can take her for a drive.. Really need to get an O2 sorted, maybe I need to get my hands on an innovate..
1 point
-
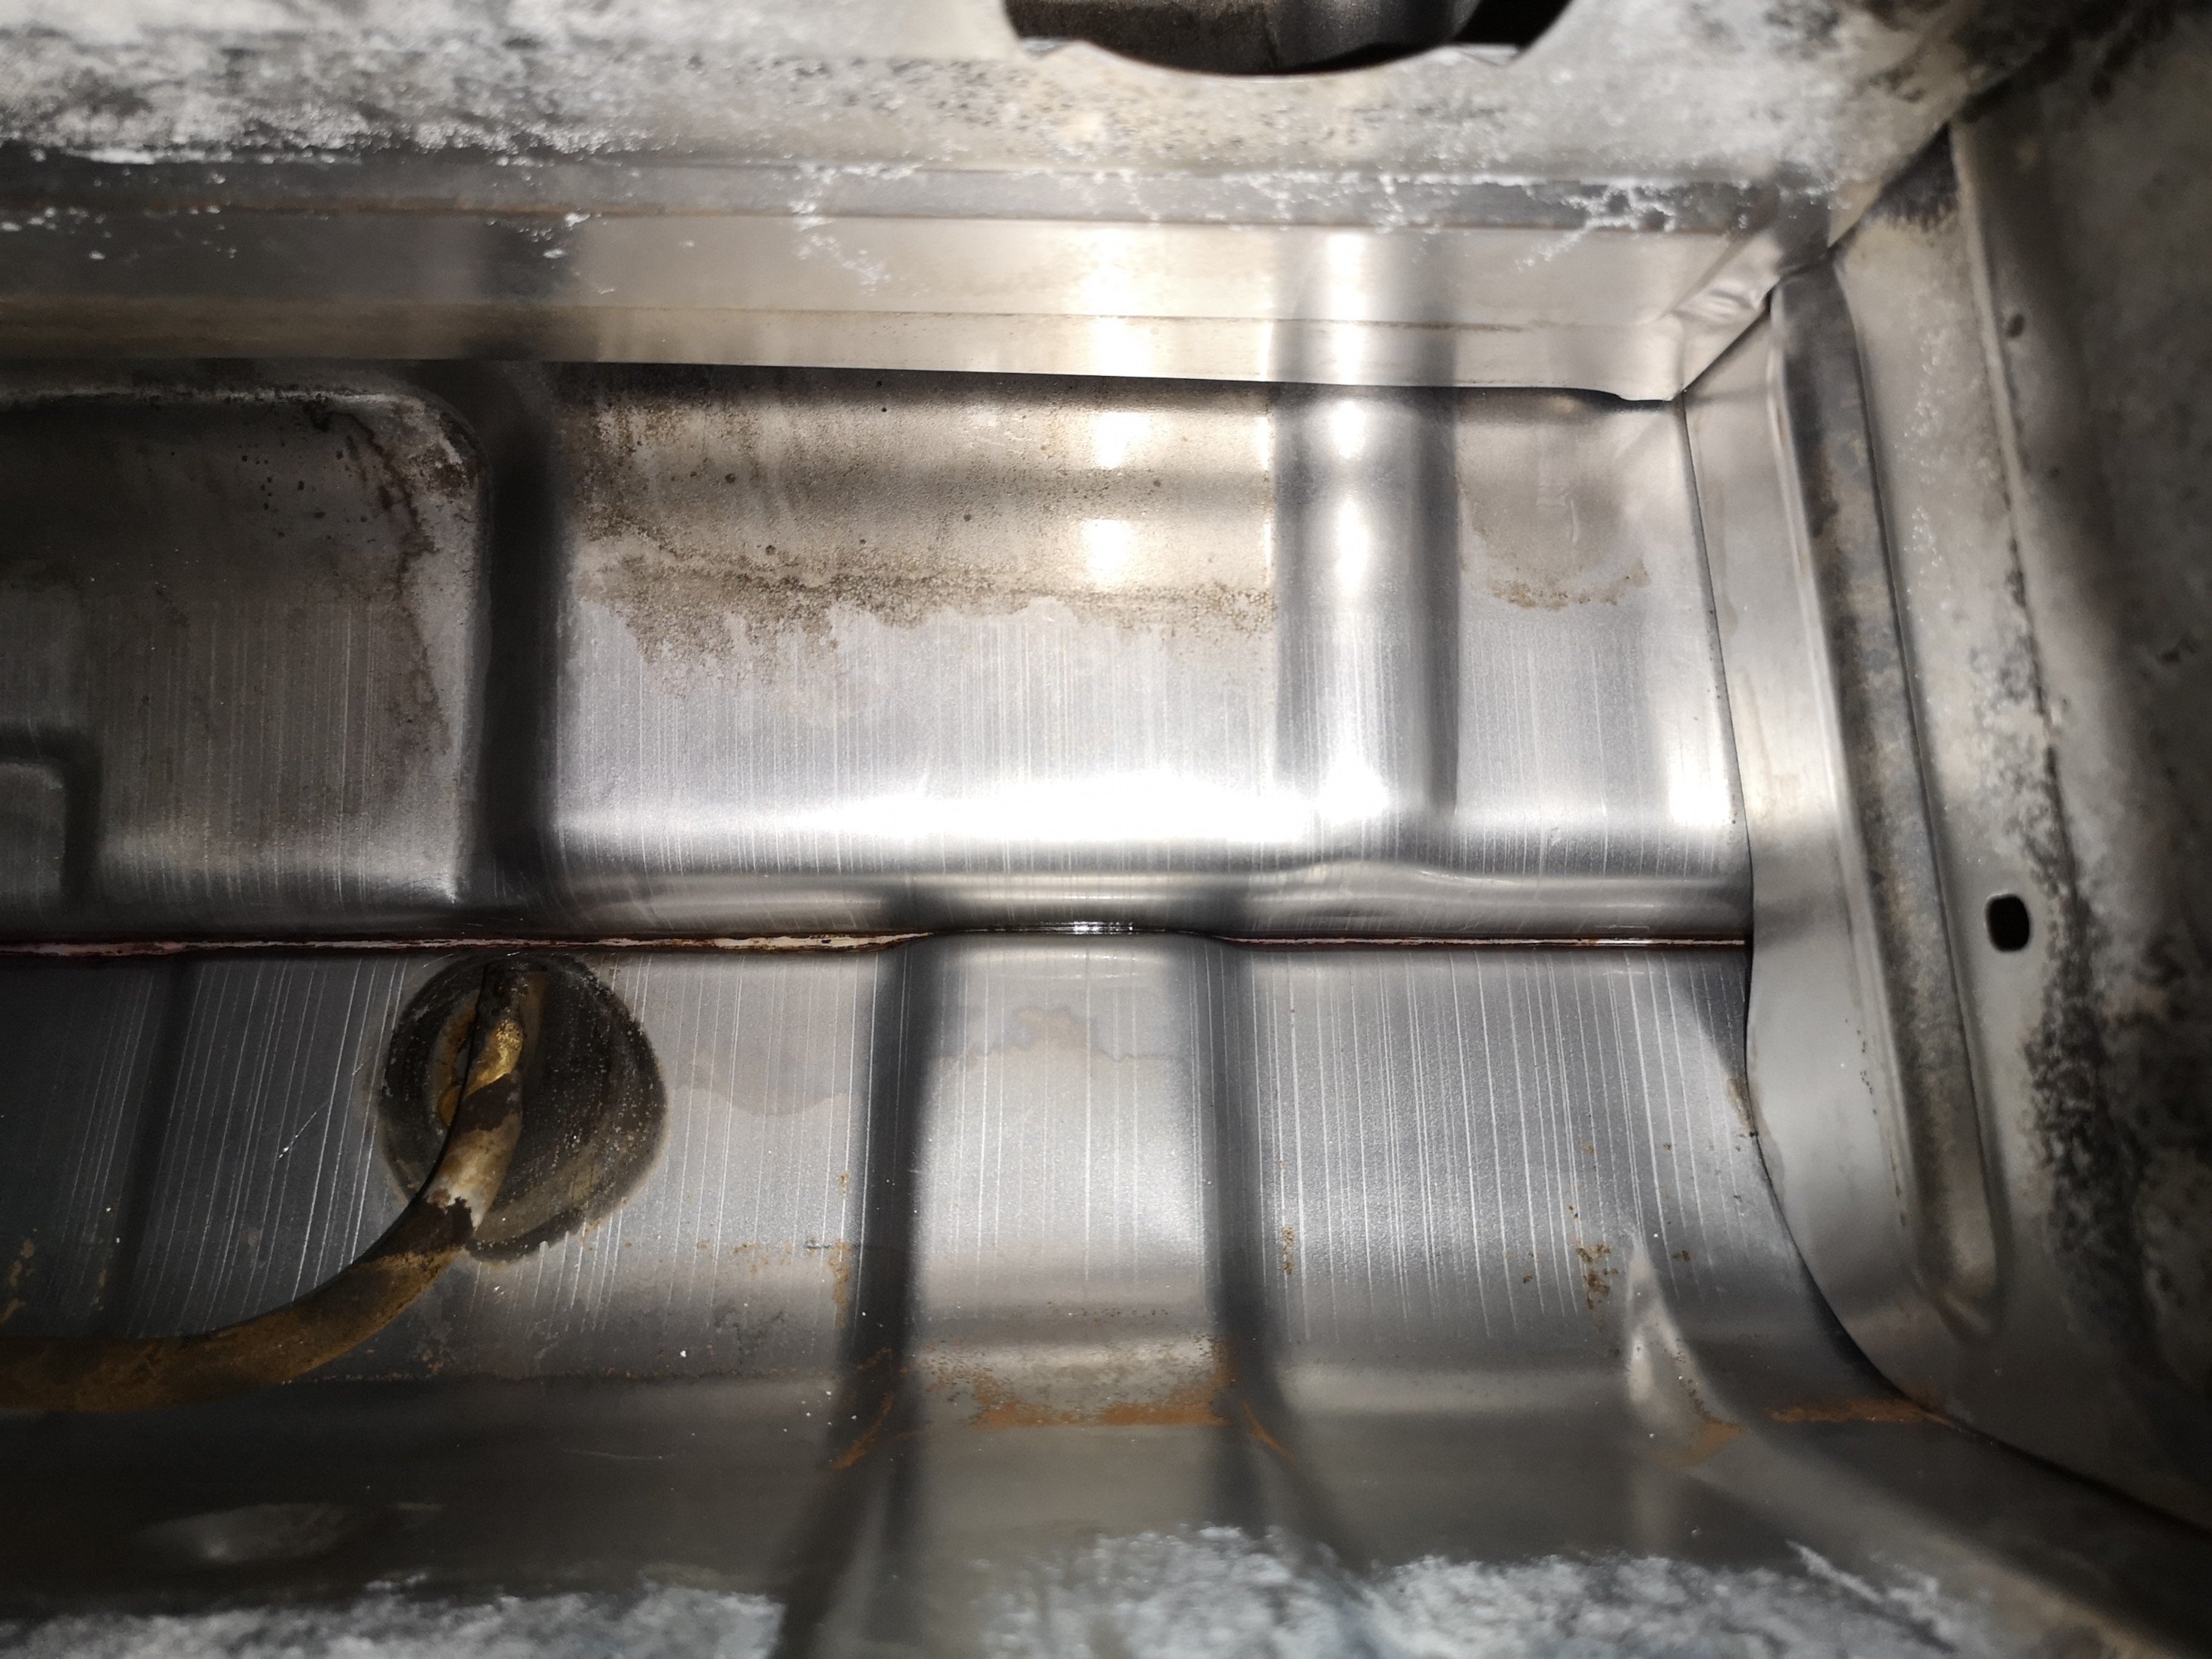
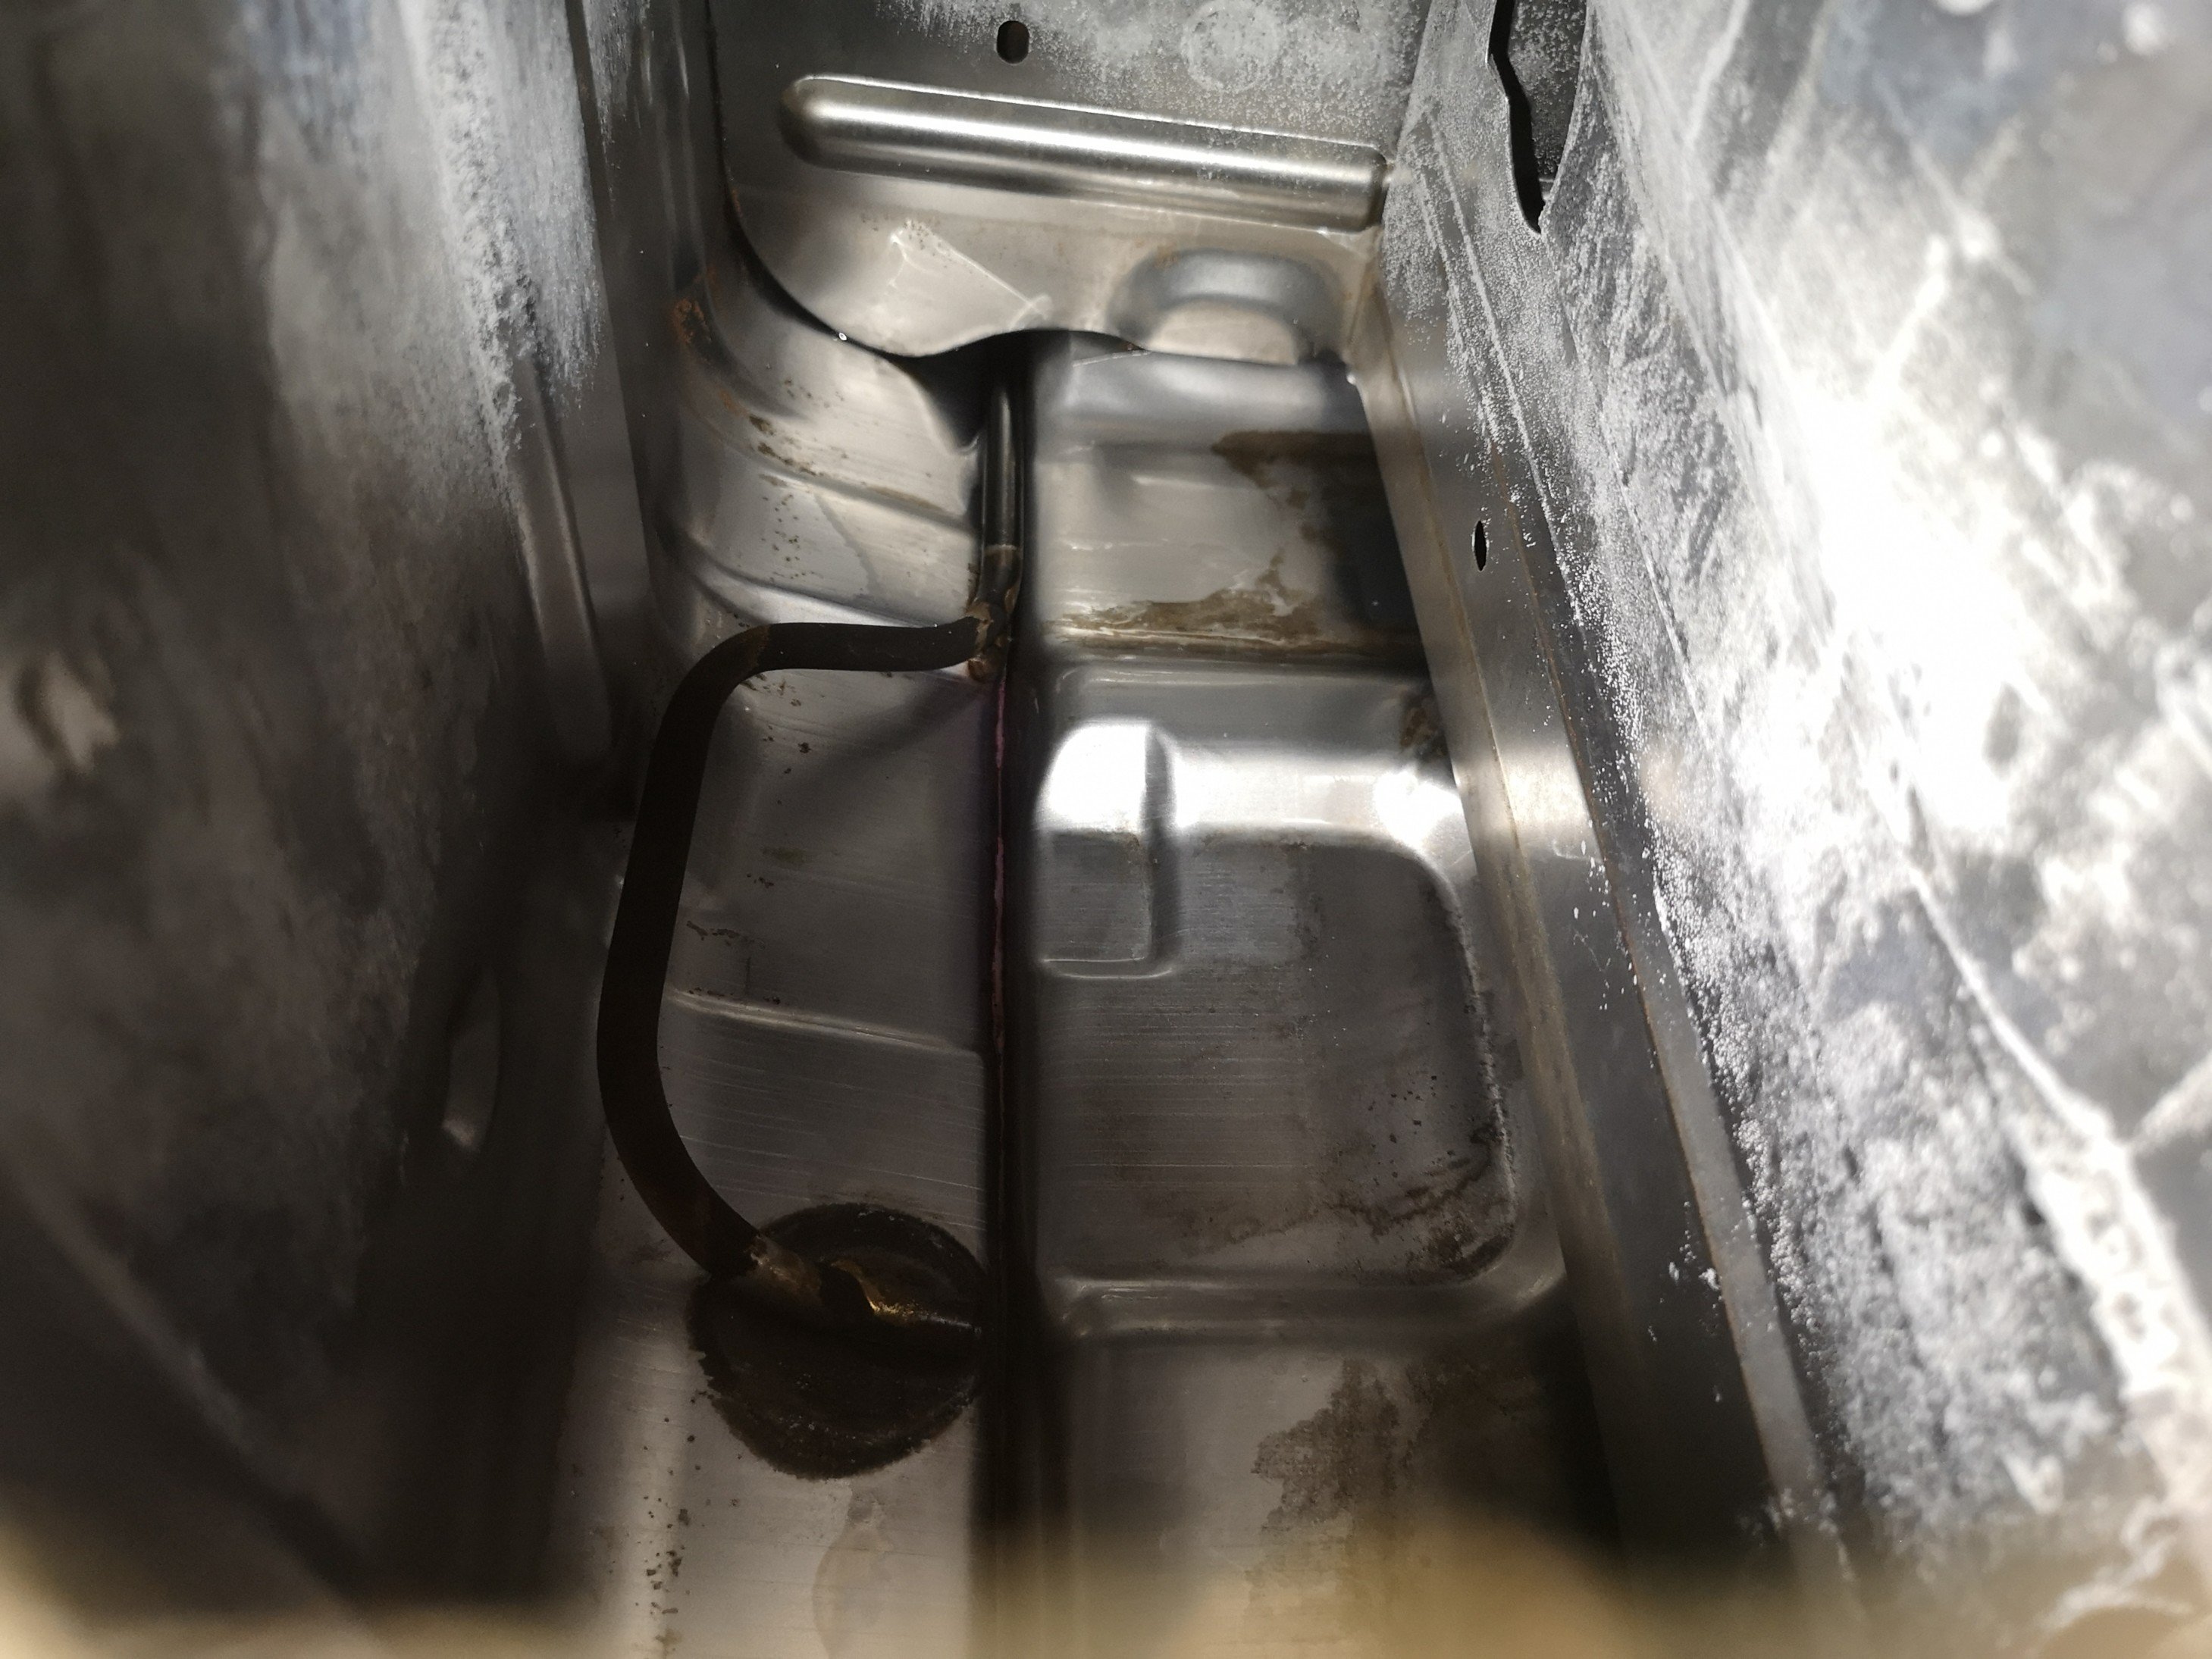
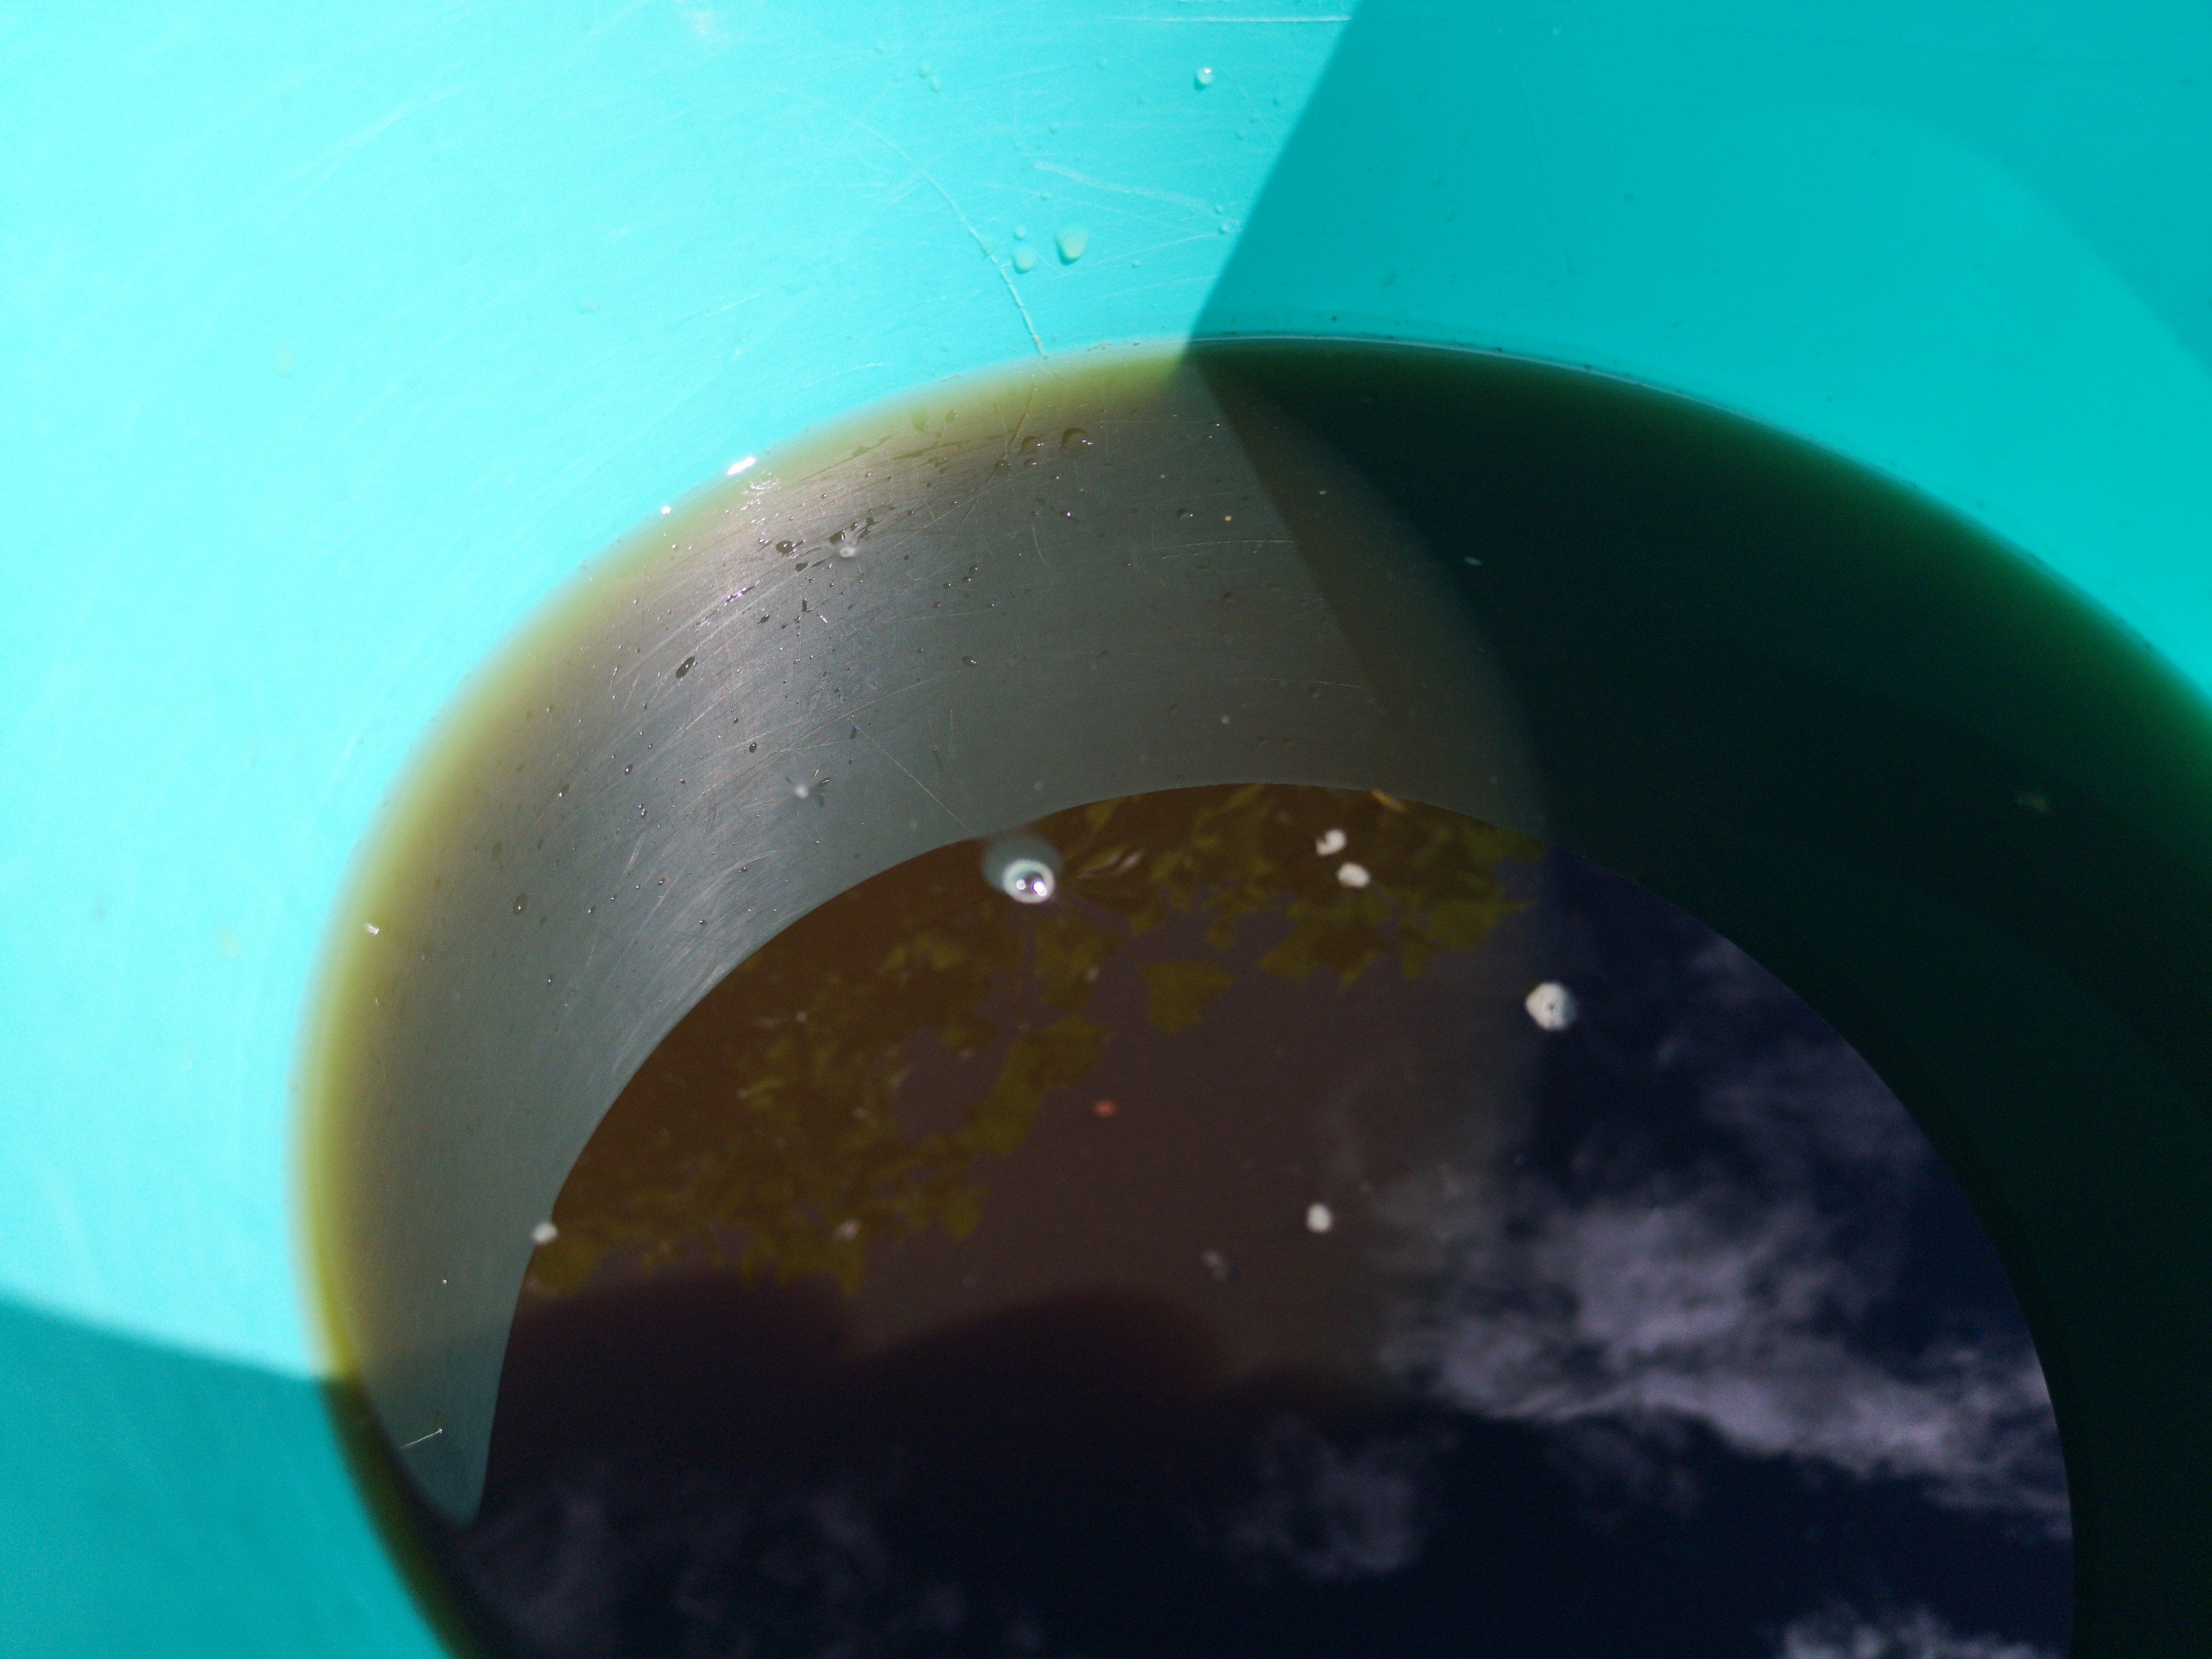
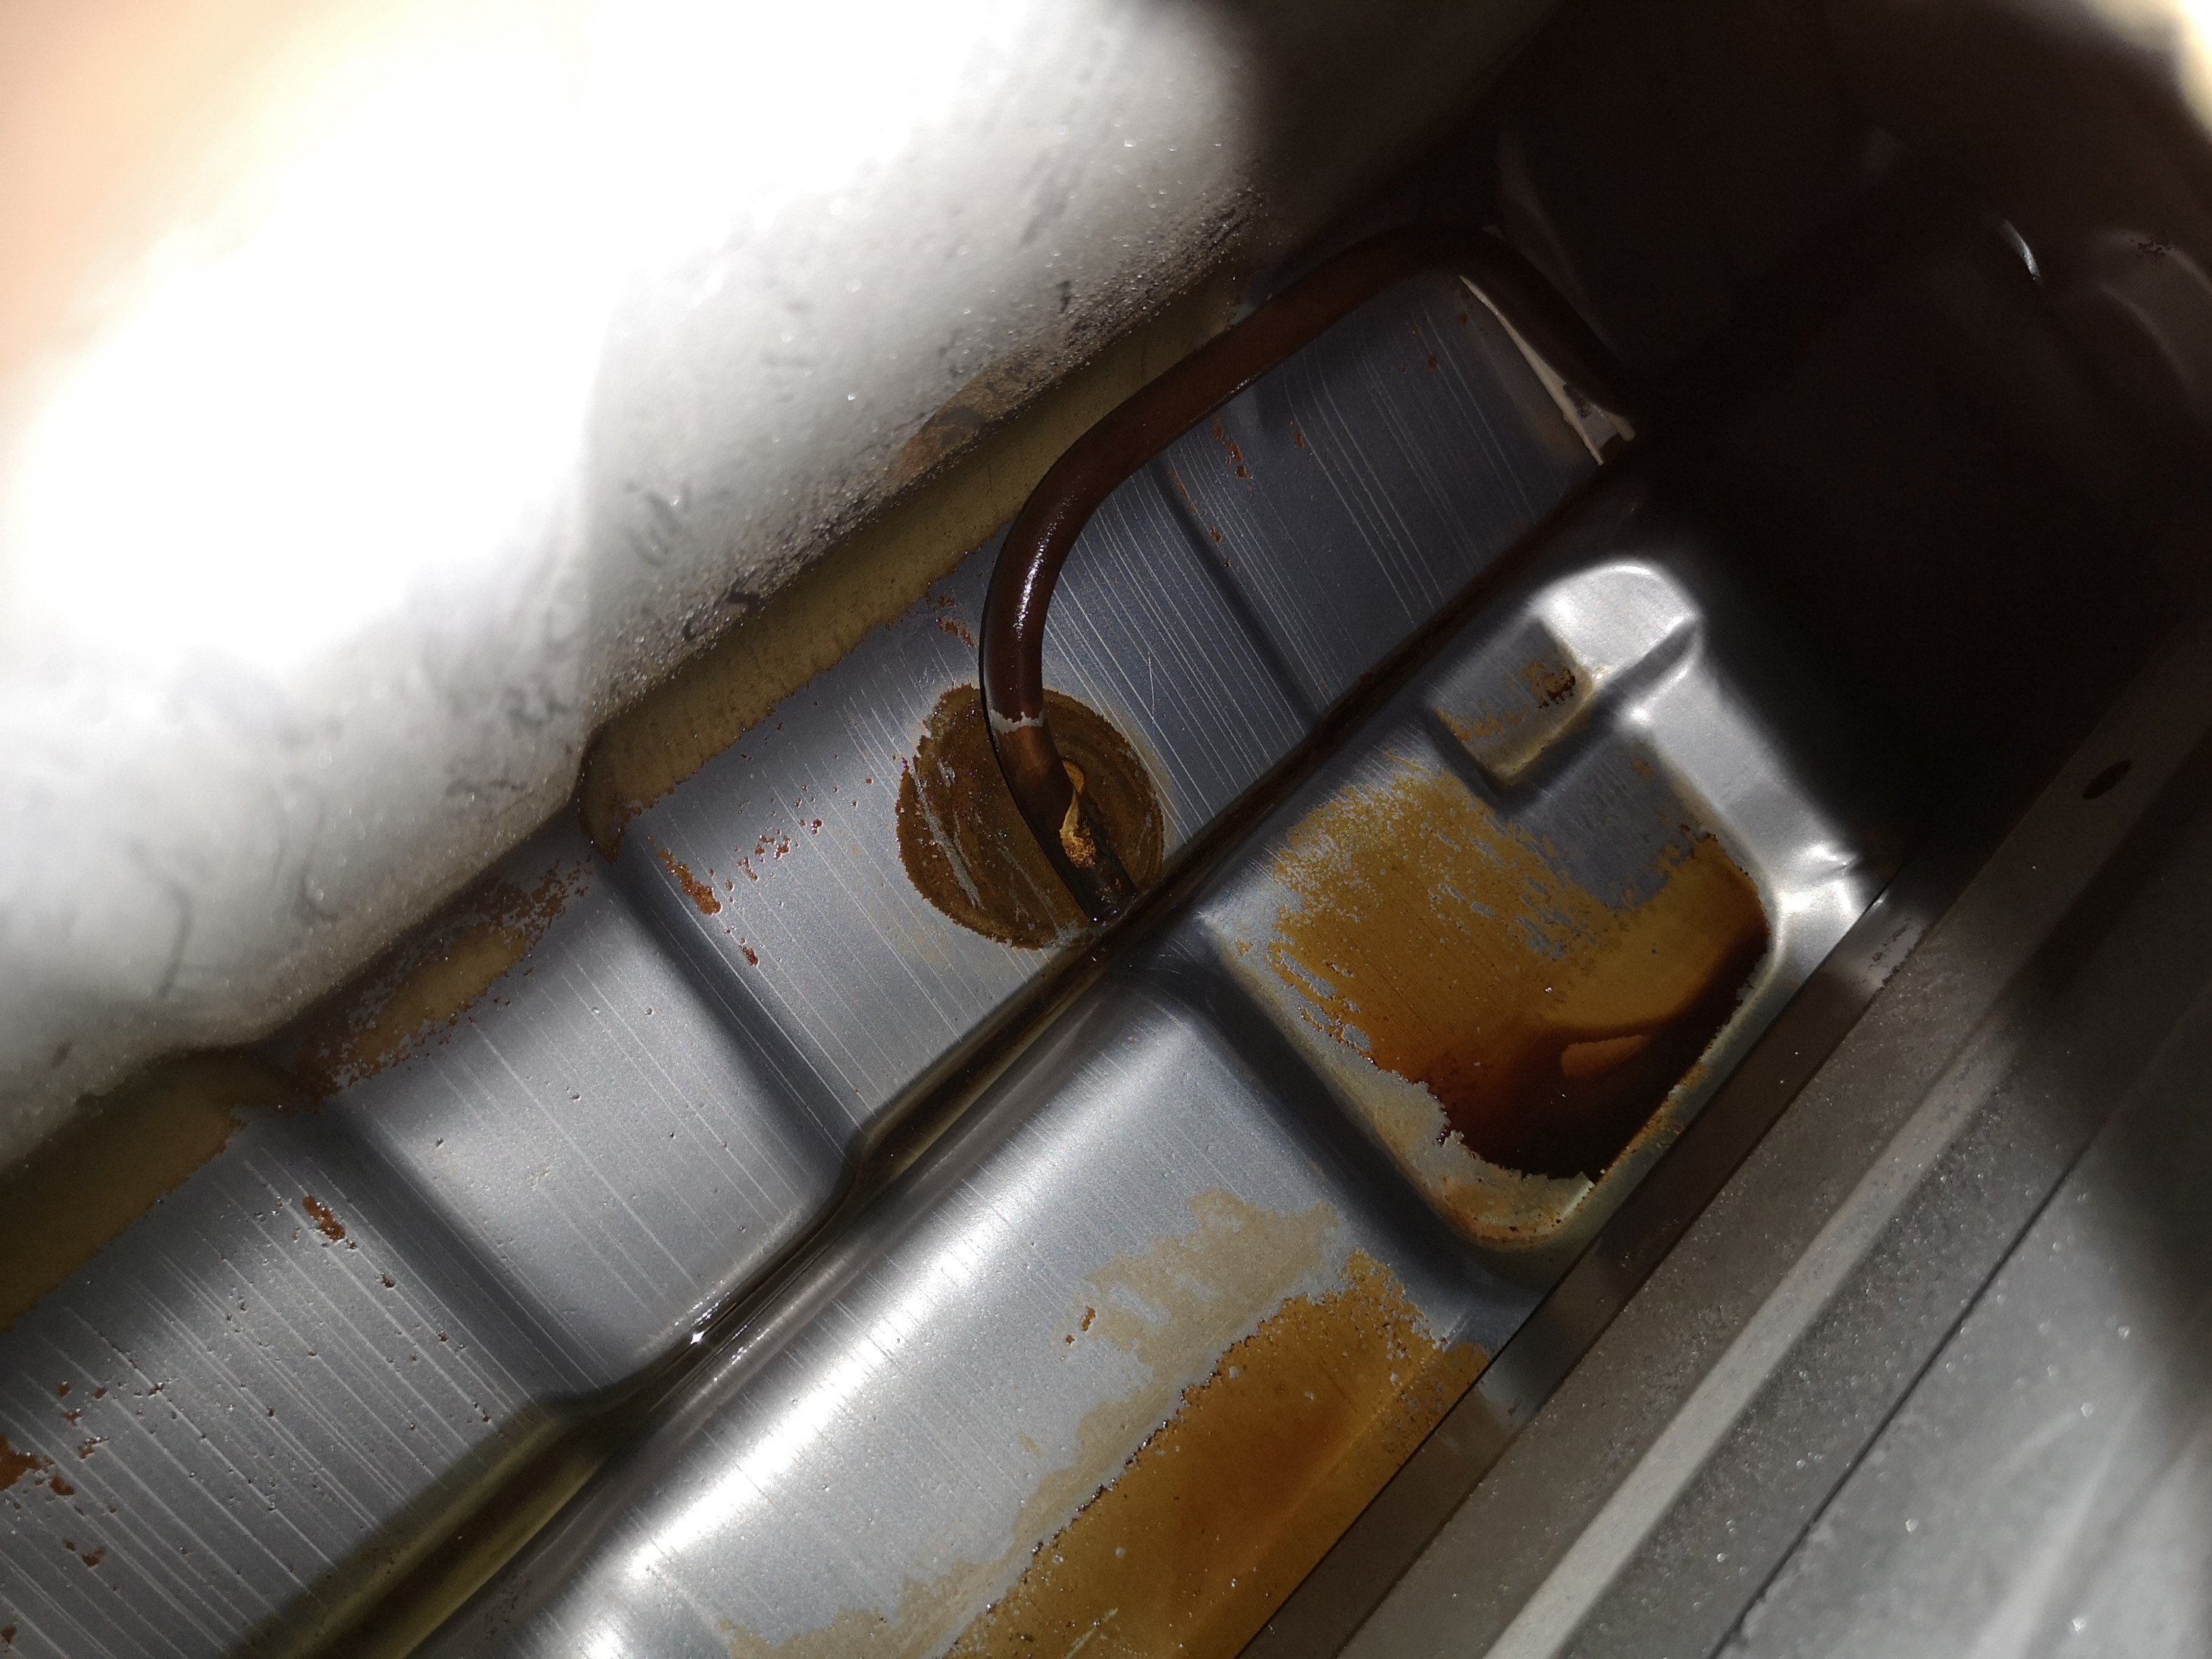
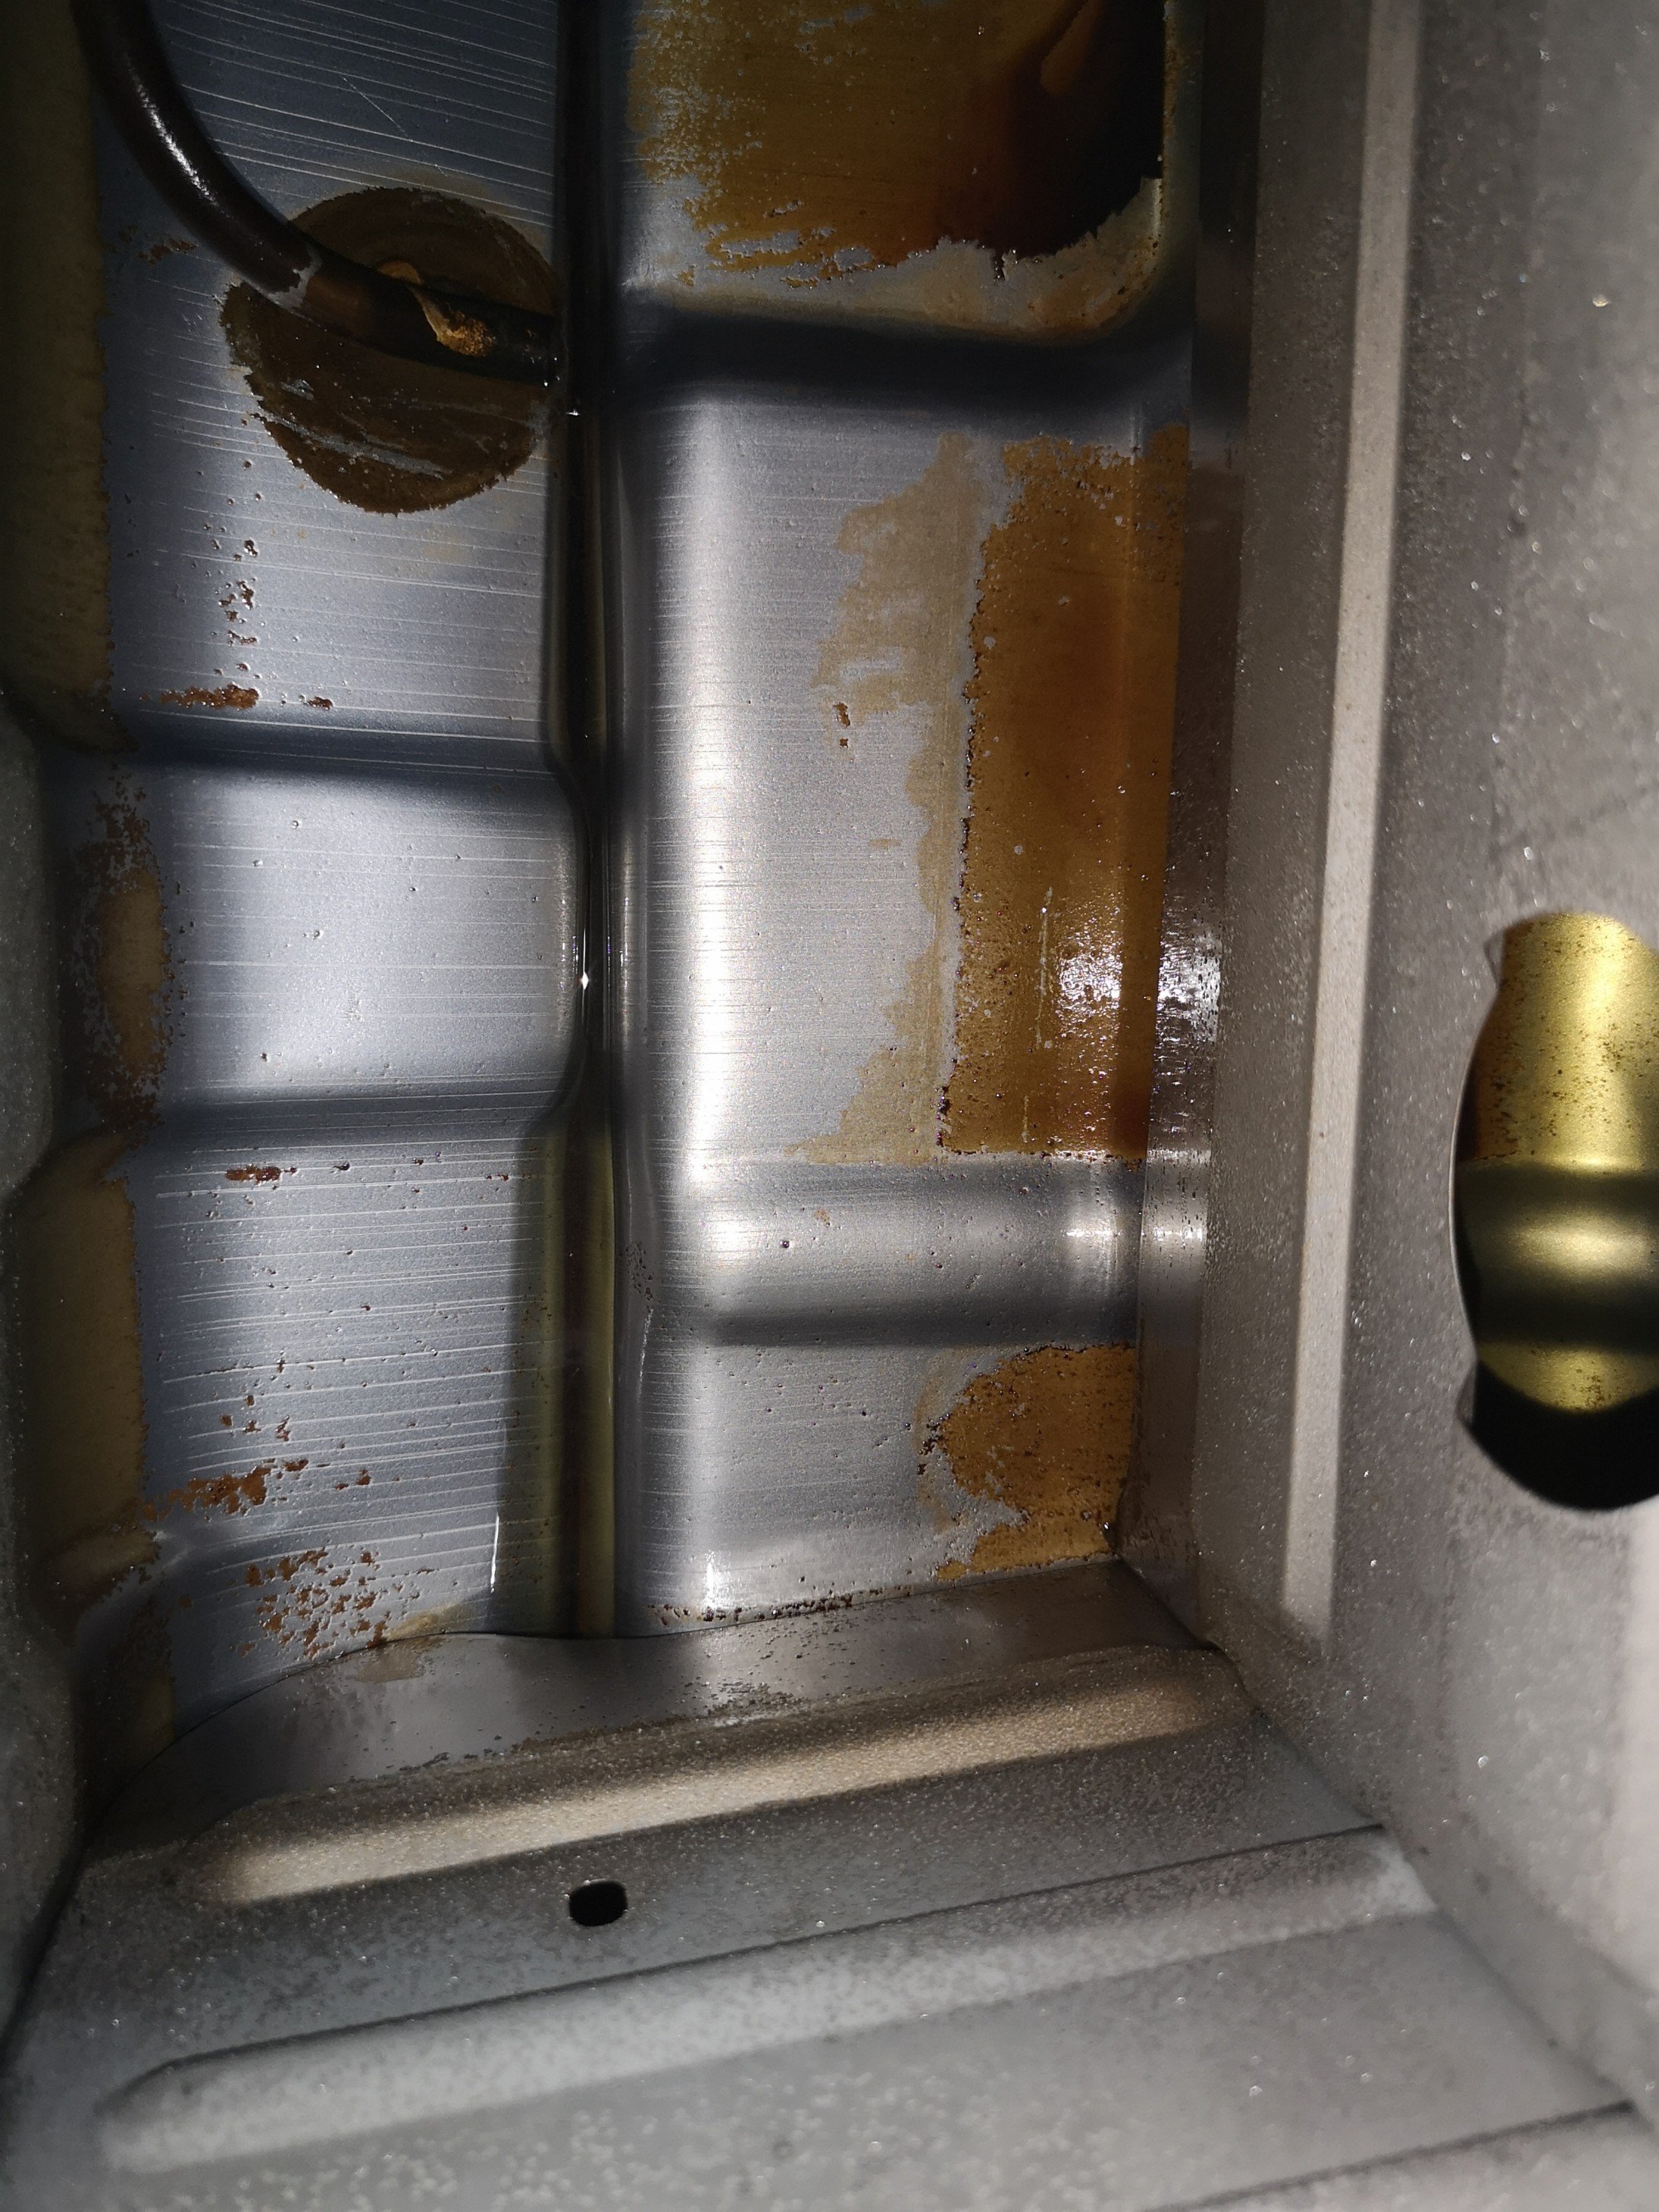
Nice and clean.. Gave it a rinse out with detergent and plenty of water, the half a litre of meths to get all the water out, let it sit in the sun for everything to evaporate while I had a beer.. Still a bit of the white oxide around but I'm not so worried about that, hopefully now I can have some trouble free motoring instead of stopping (sometimes every 5 km) to try and get rid of a blockage..
1 point
-
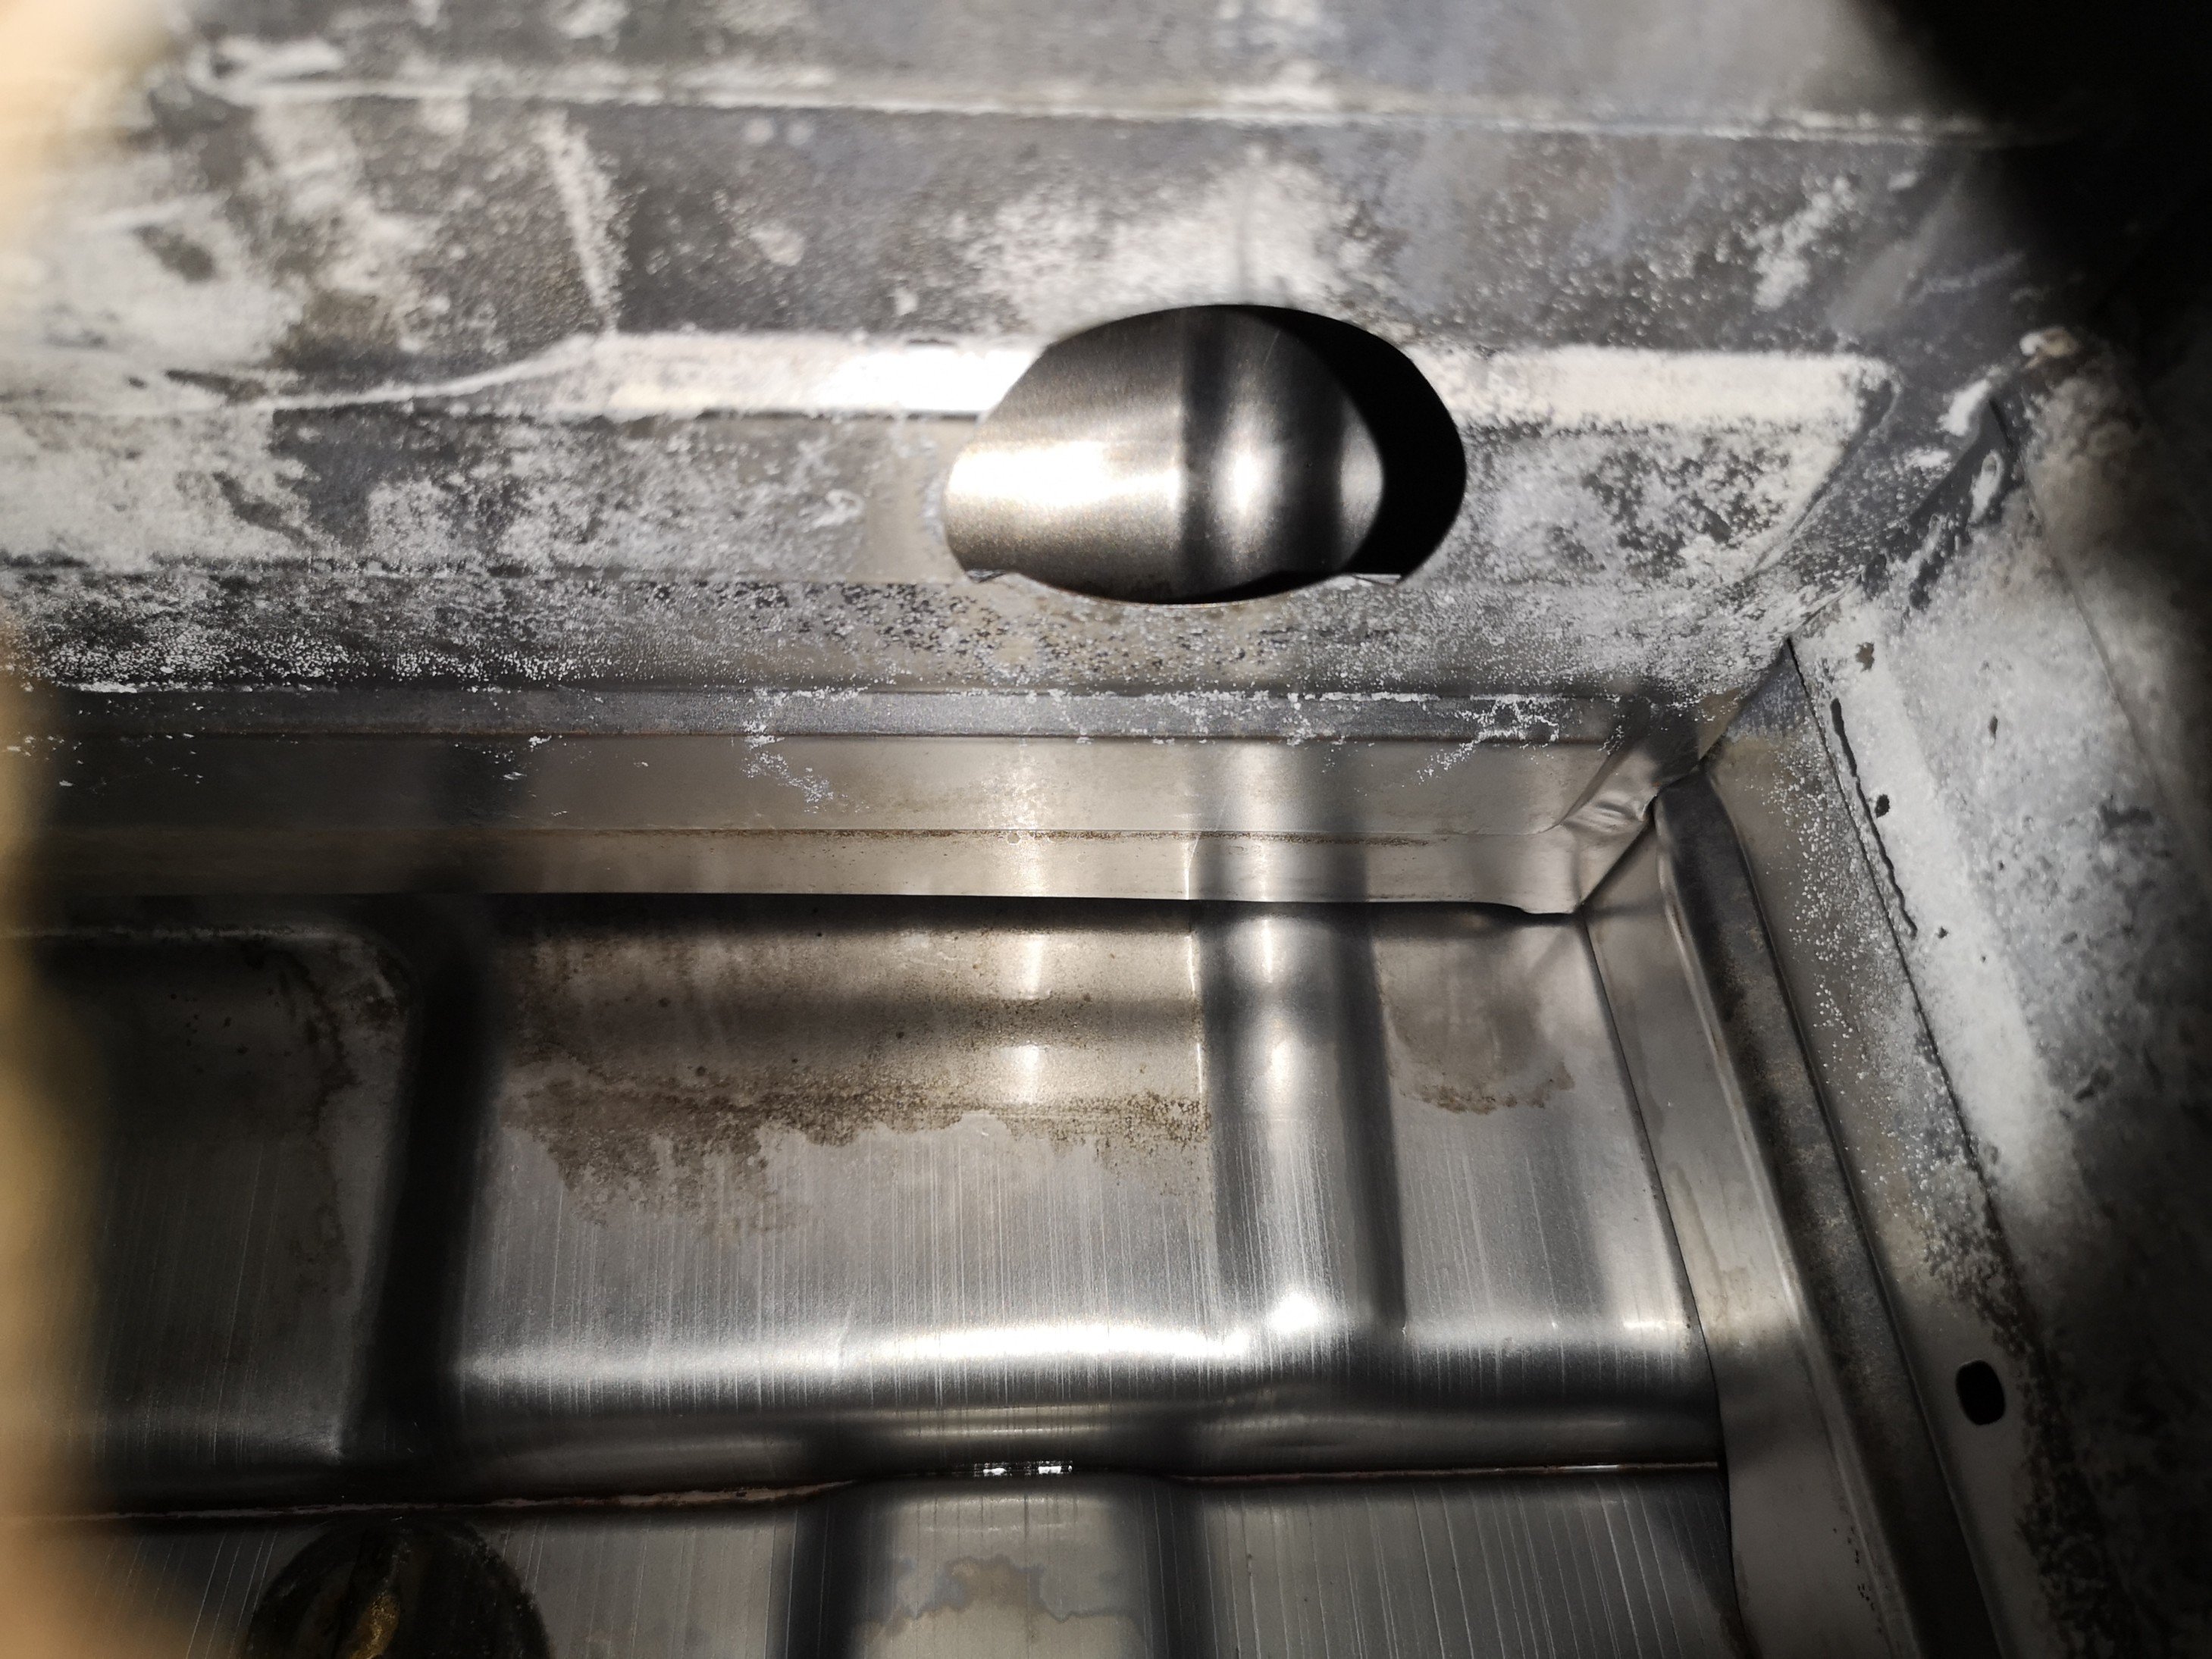
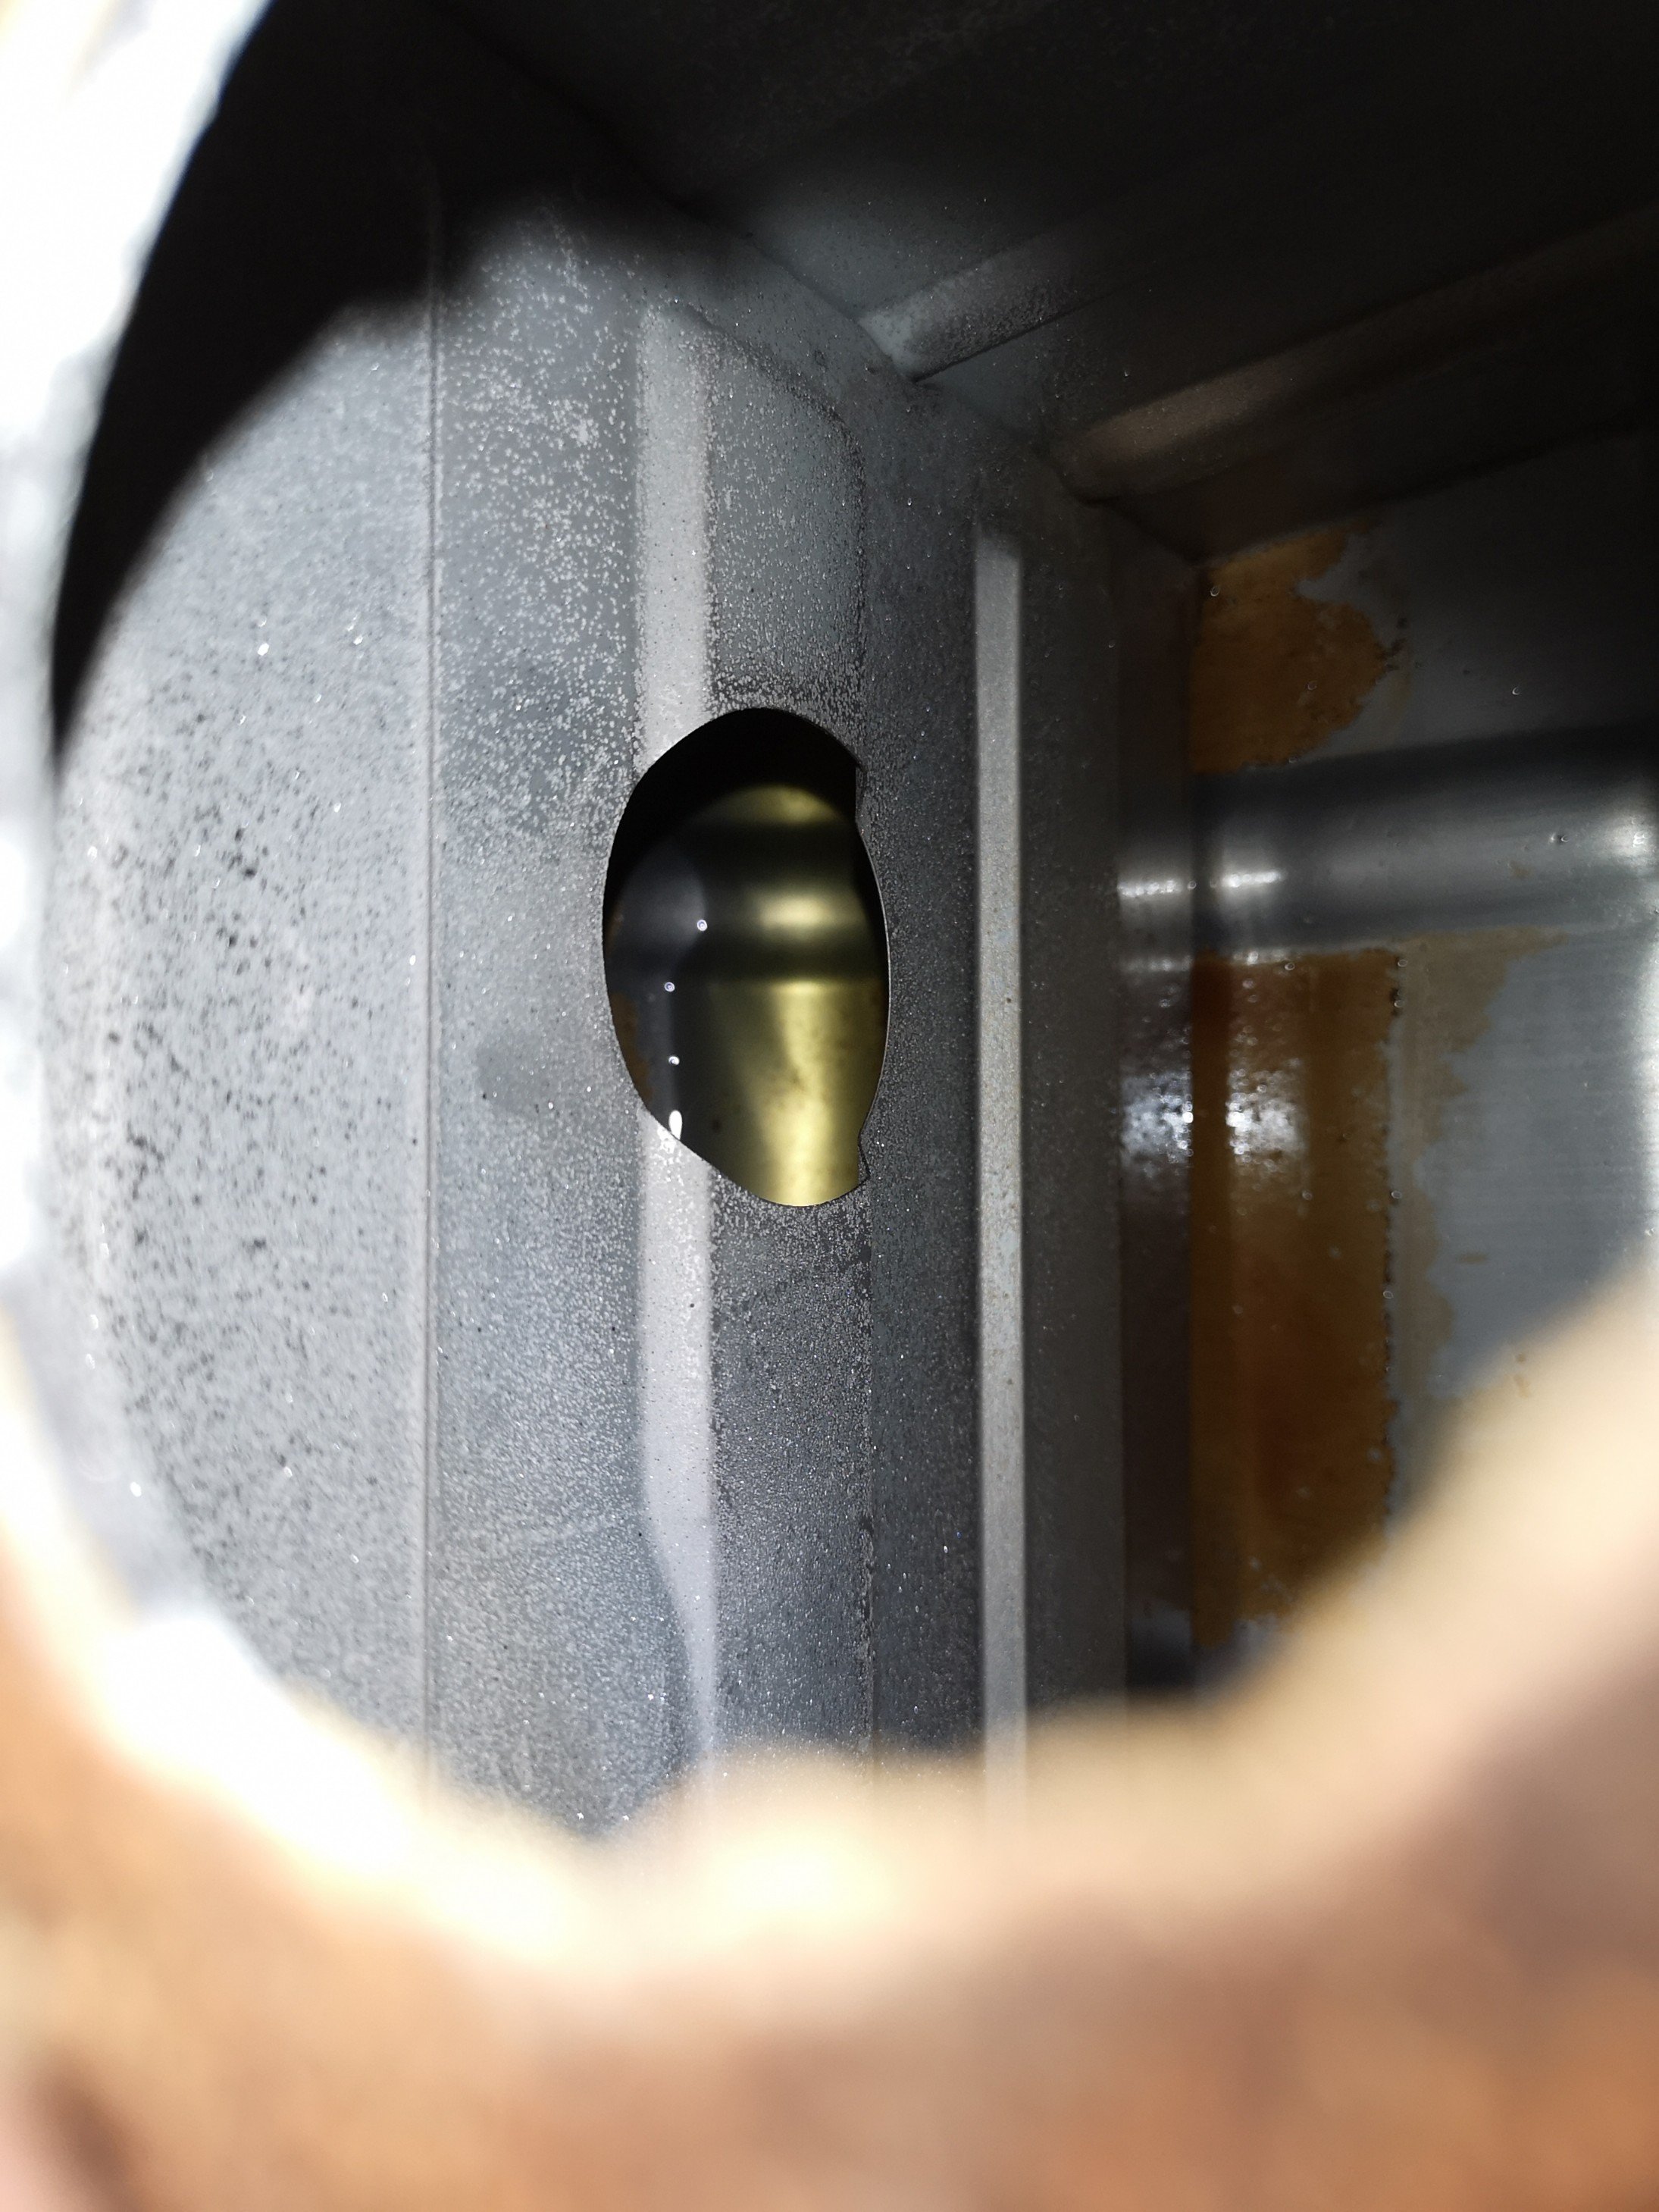
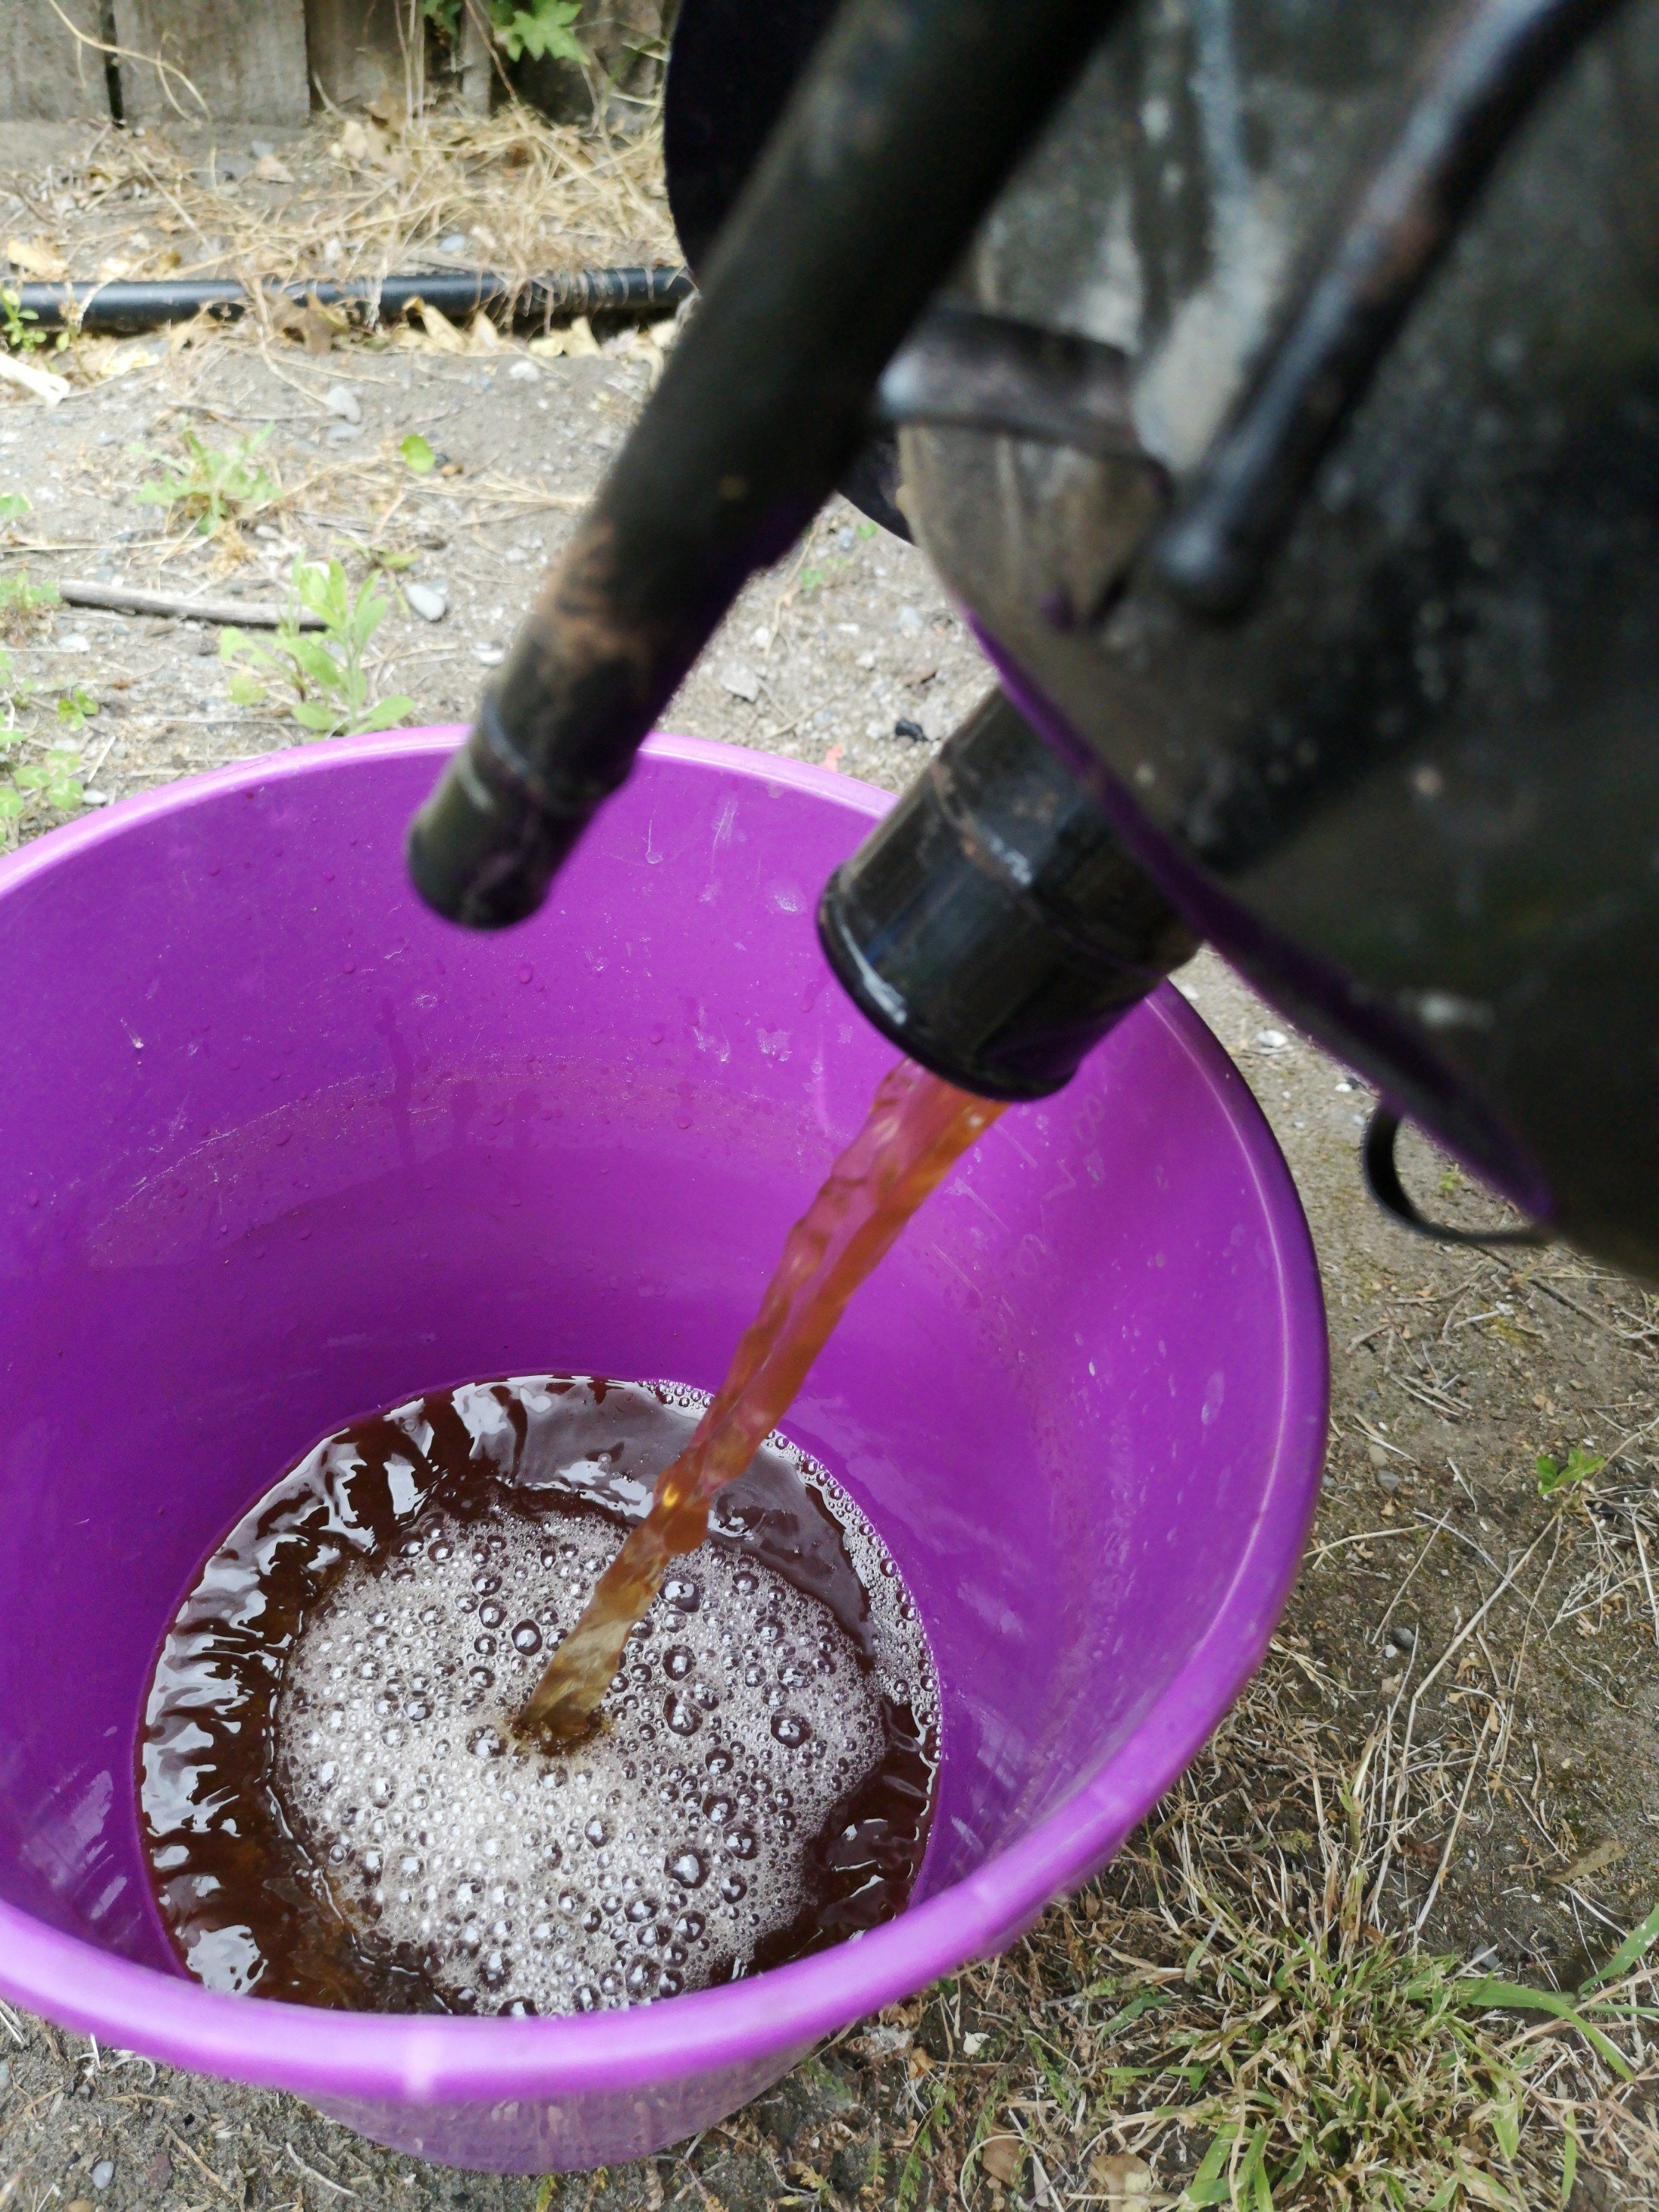
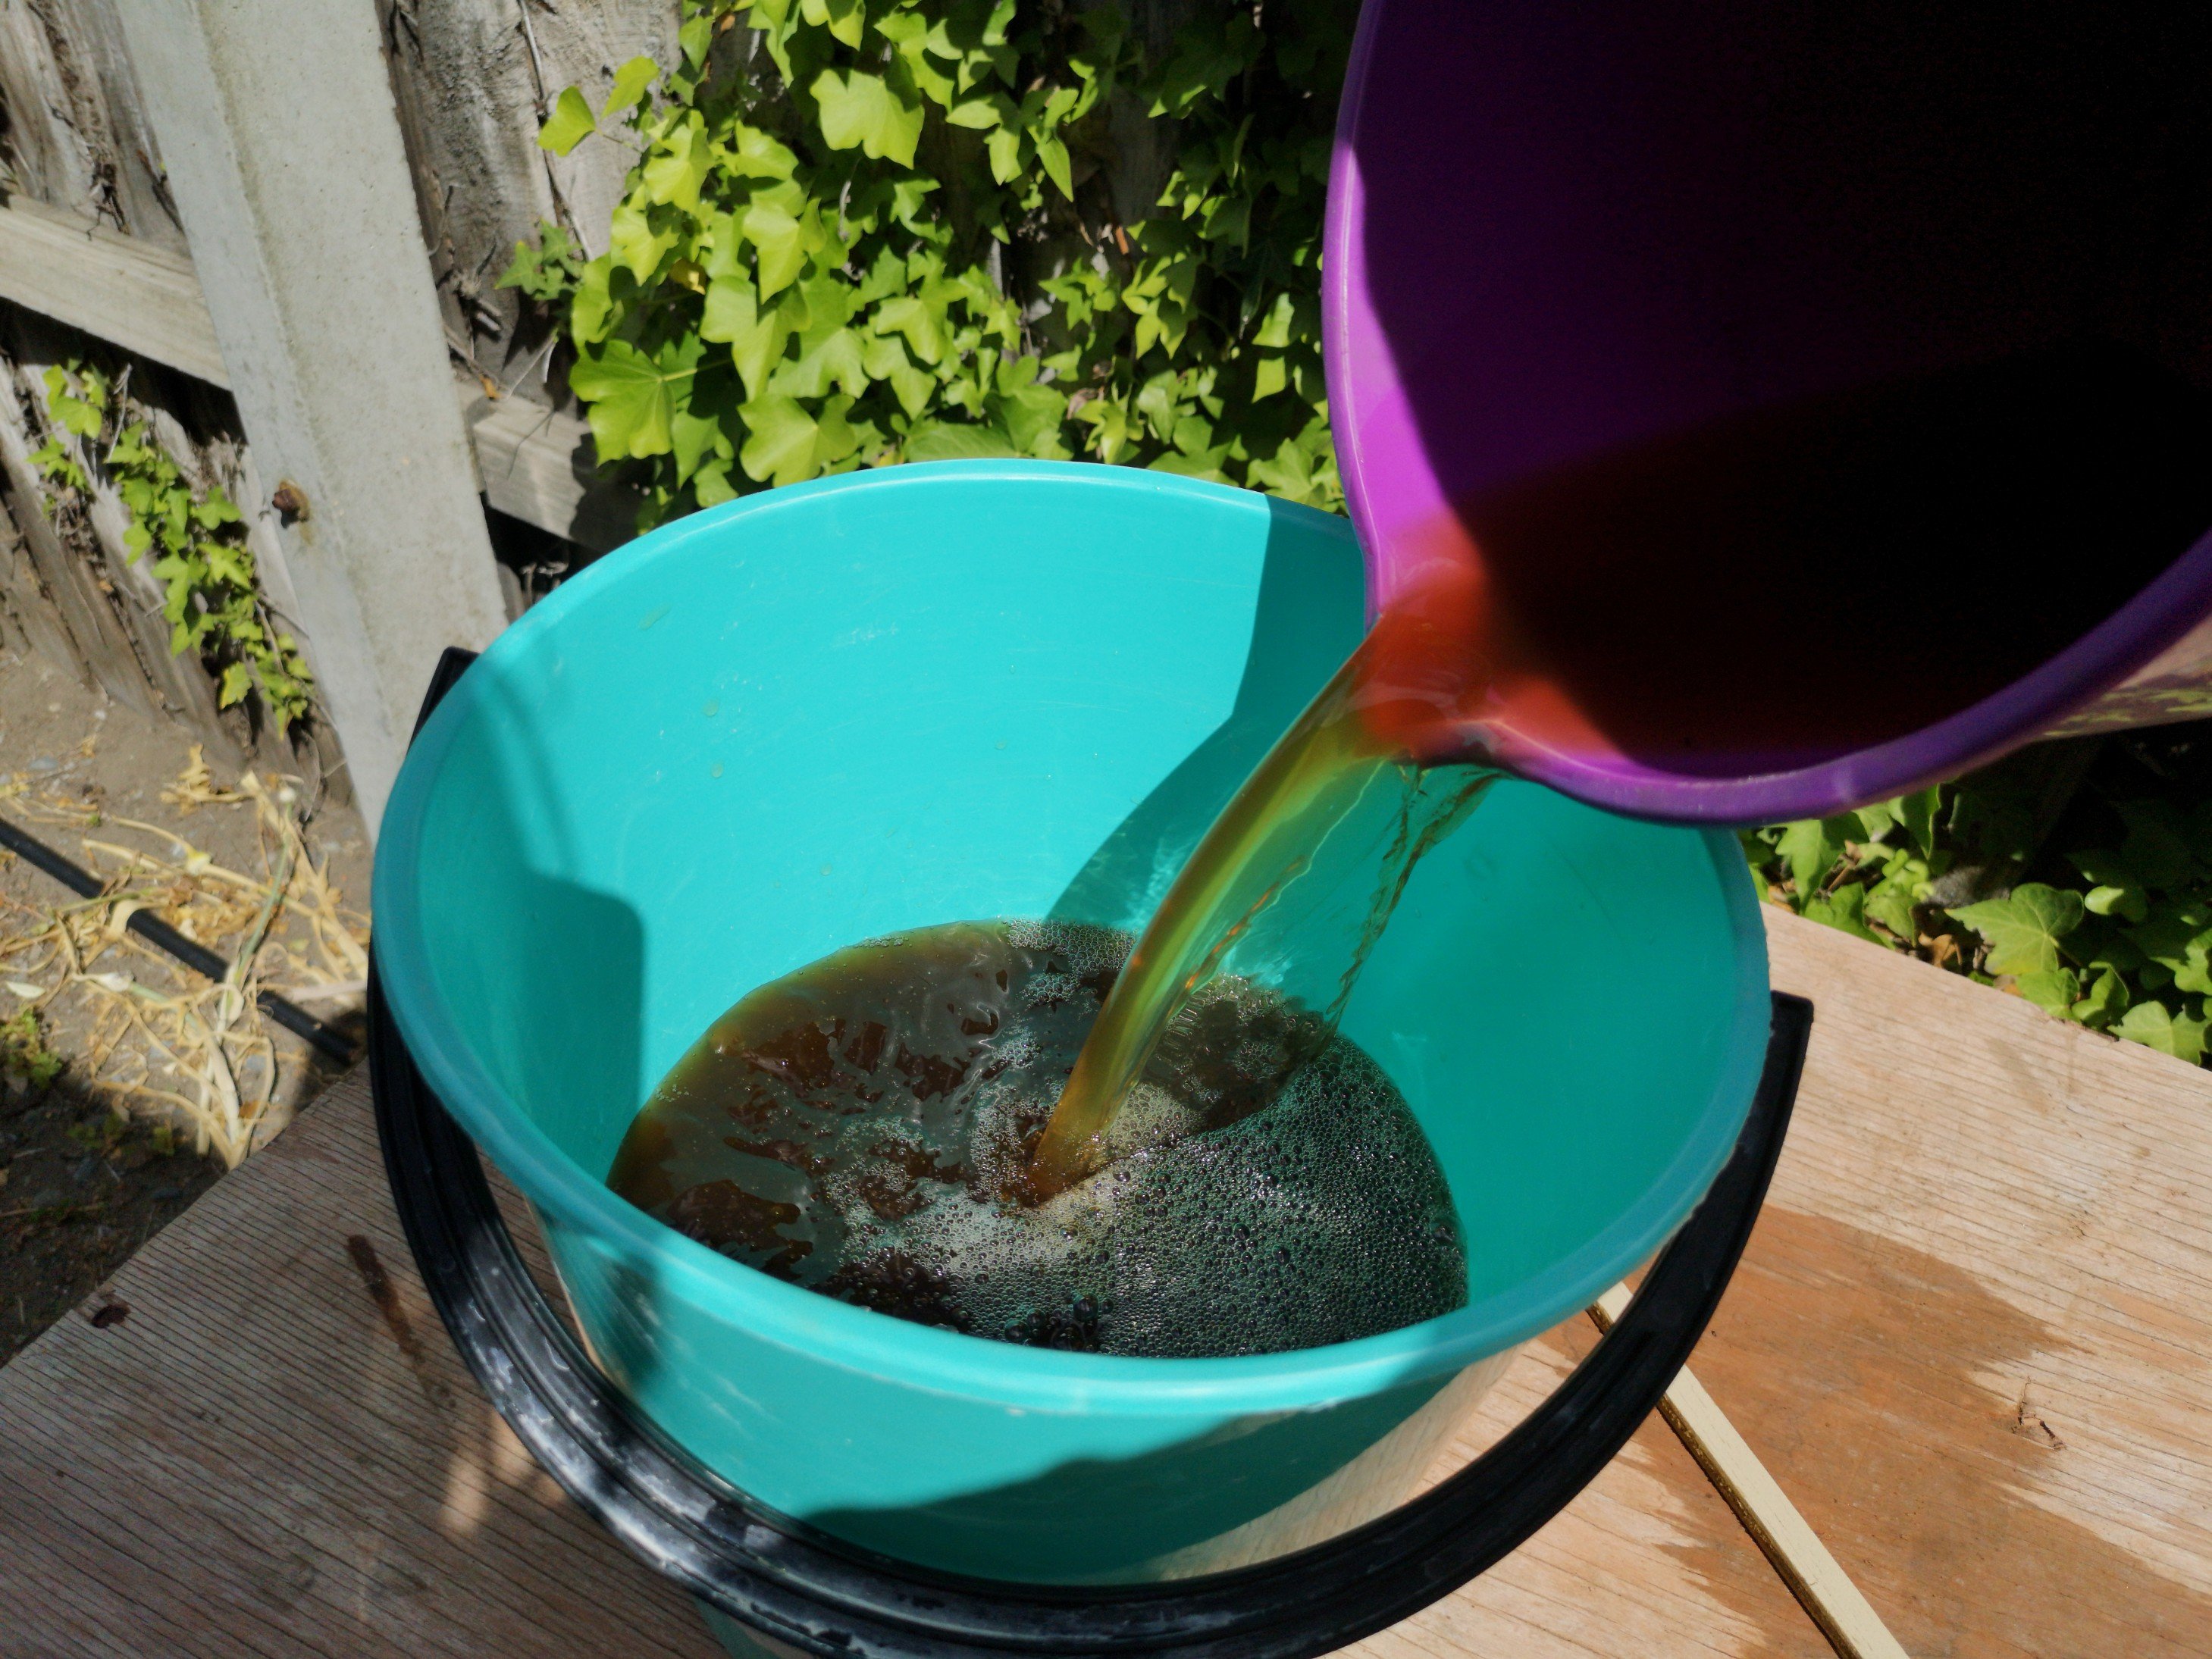
This shit has been the bane of my life for the last 5 years, clogging everything up. Read today online that the best way to get rid of varnish is with caustic soda, so off to miter 10 I went and bought 500g of sodium hydroxide. Put it in with 7 ish liters of water.. Neck minute.. Beer anyone? That was extremely satisfying. Why the fuck I didn't do this all those years ago I'll never know but the results speak for themselves.
1 point
-
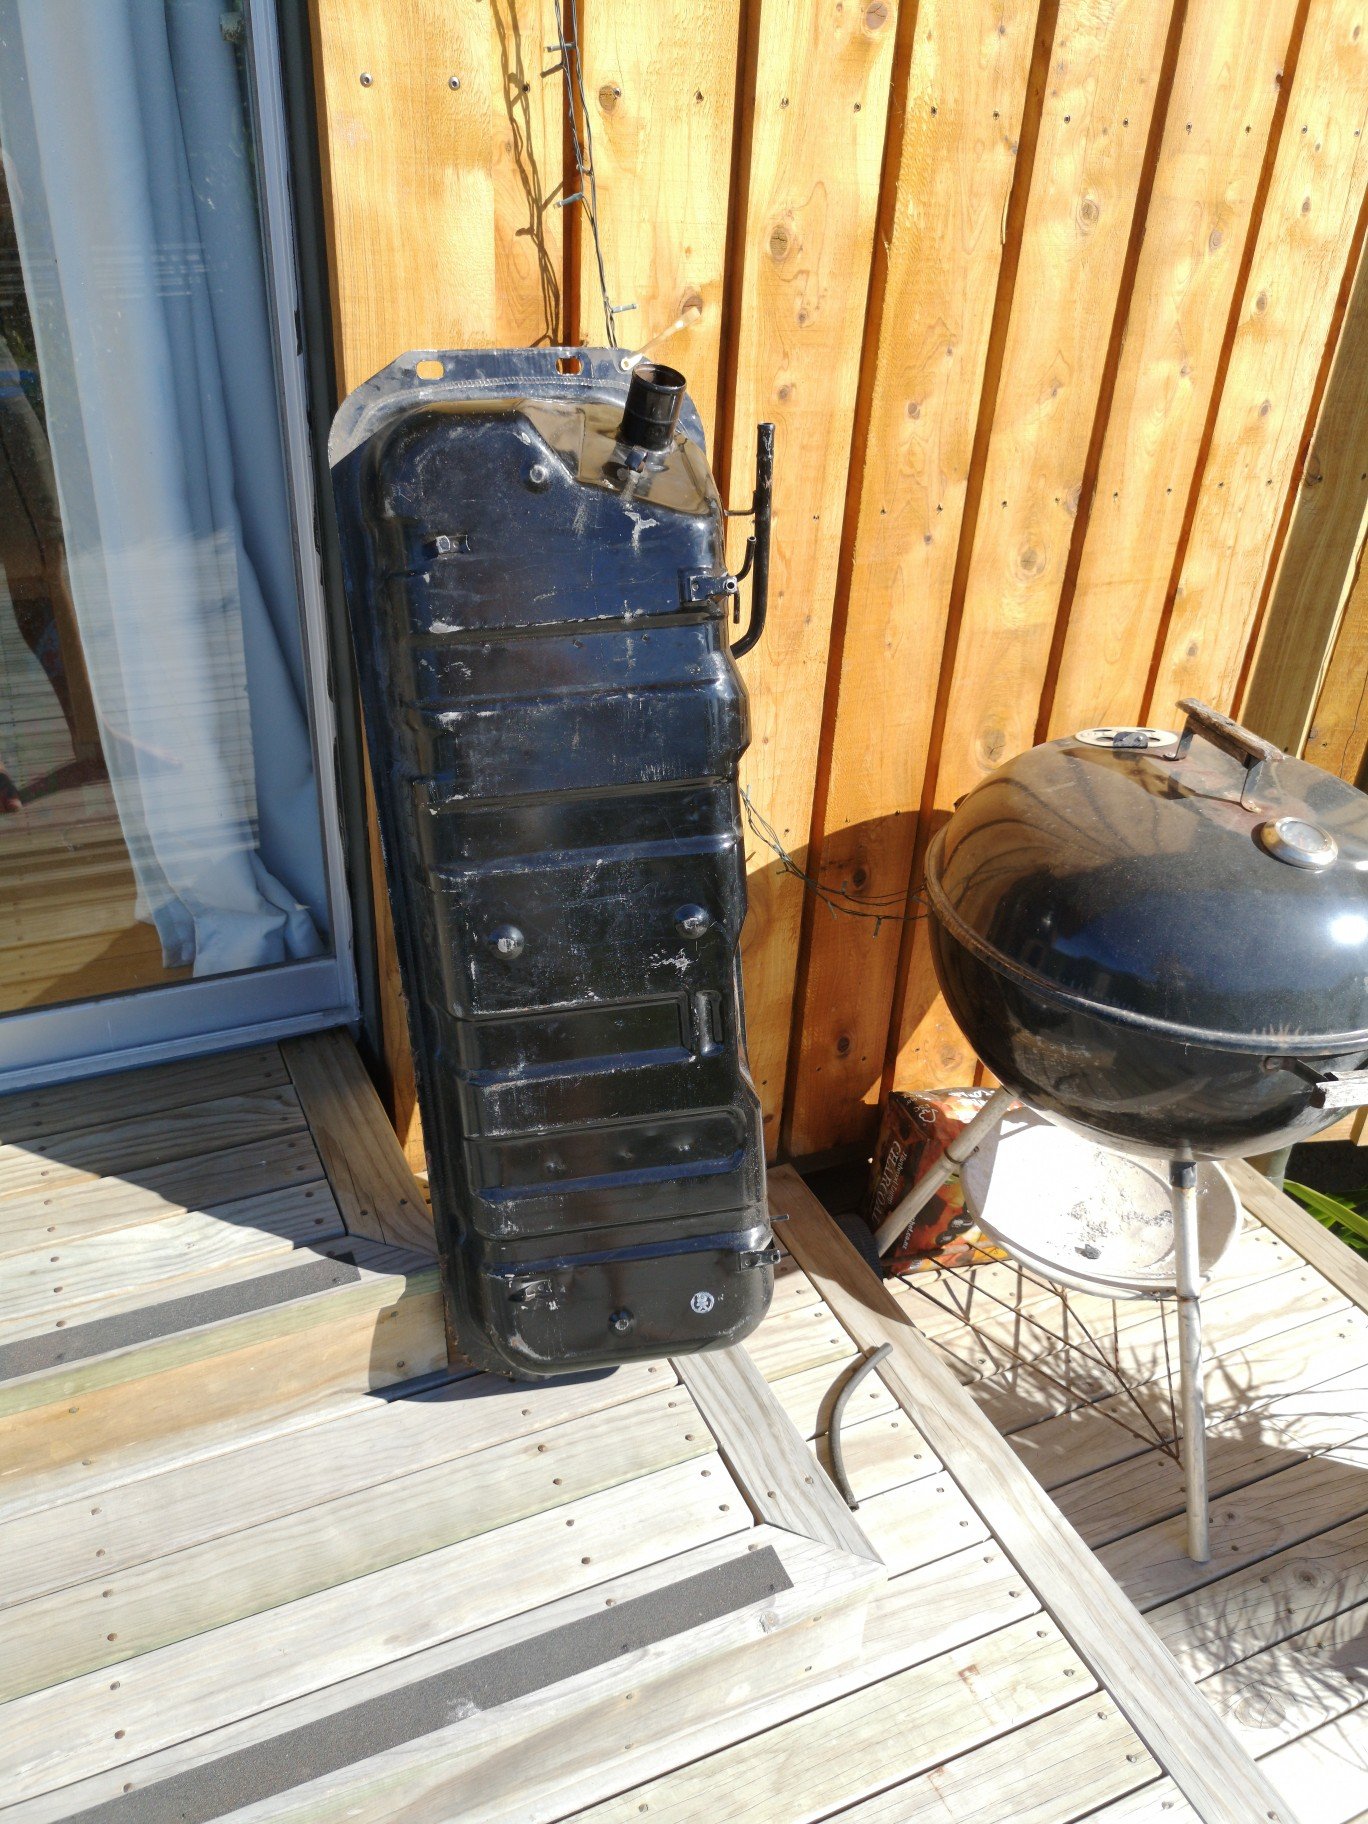
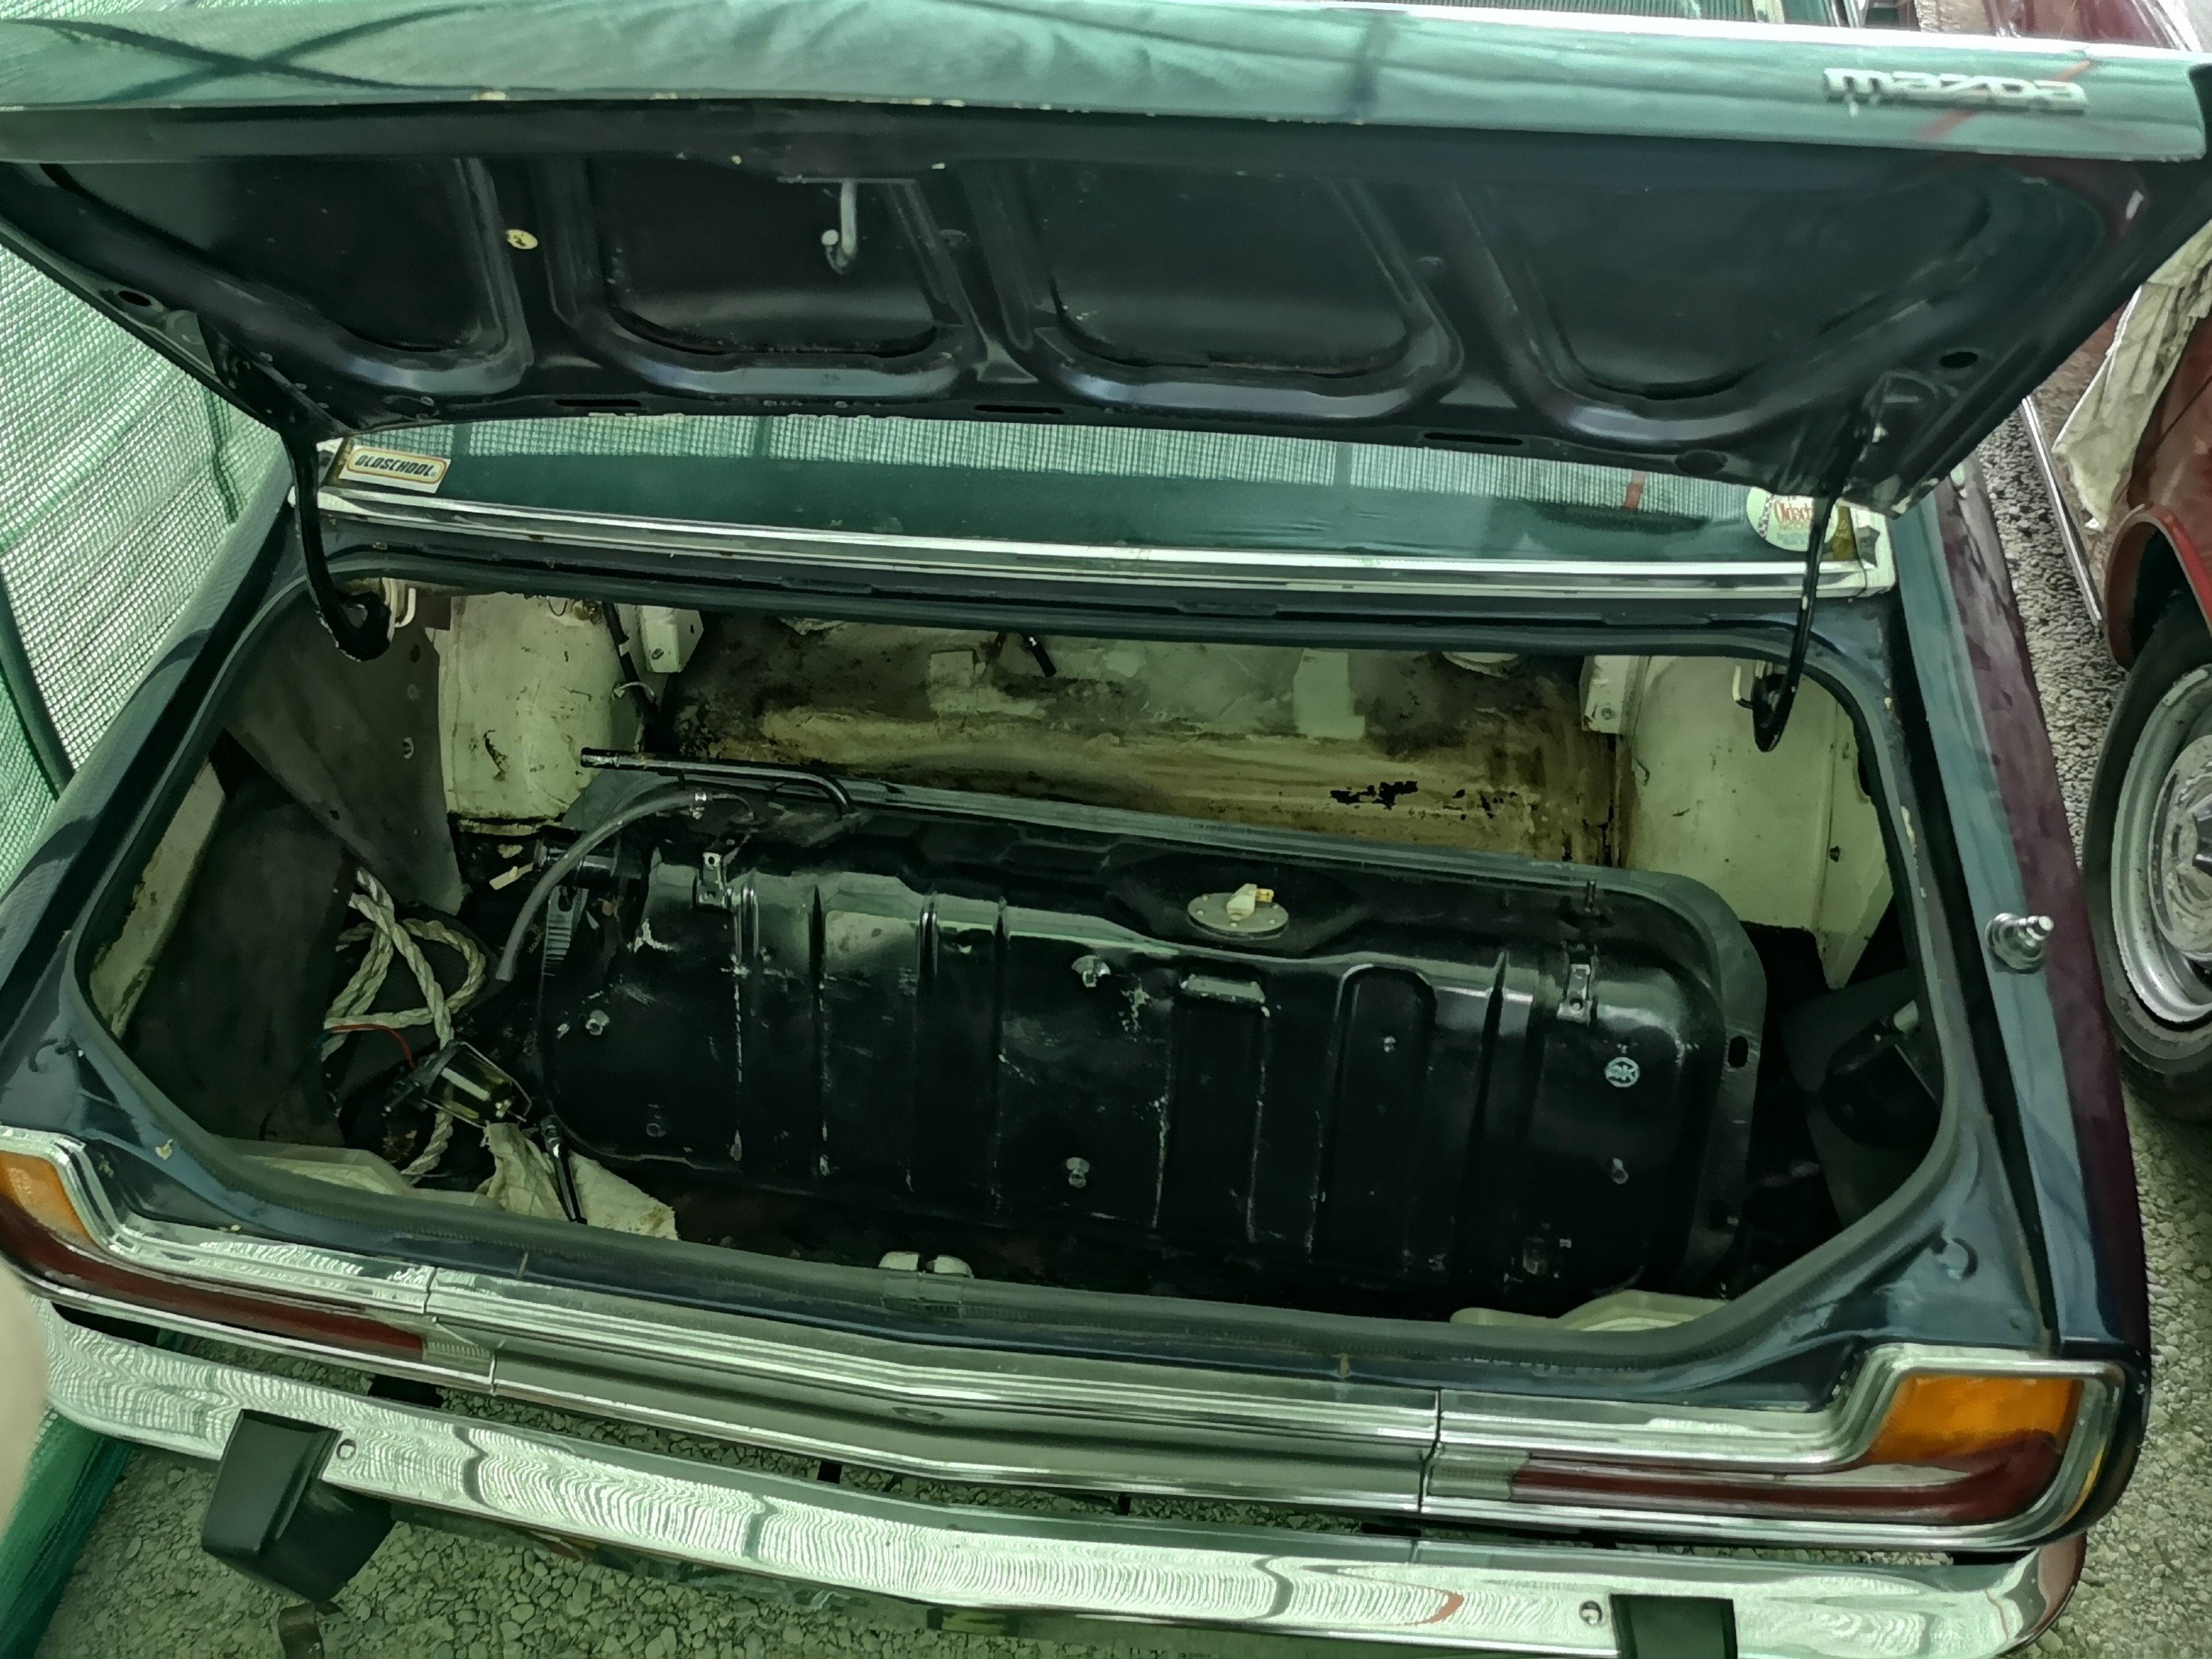
Had a total guts full of that gas tank, so pulled it out.. Prick.. Pulled out the sender which had a bit of white oxide on it, As did the tank, but more importantly.. Varnish..
1 point
-
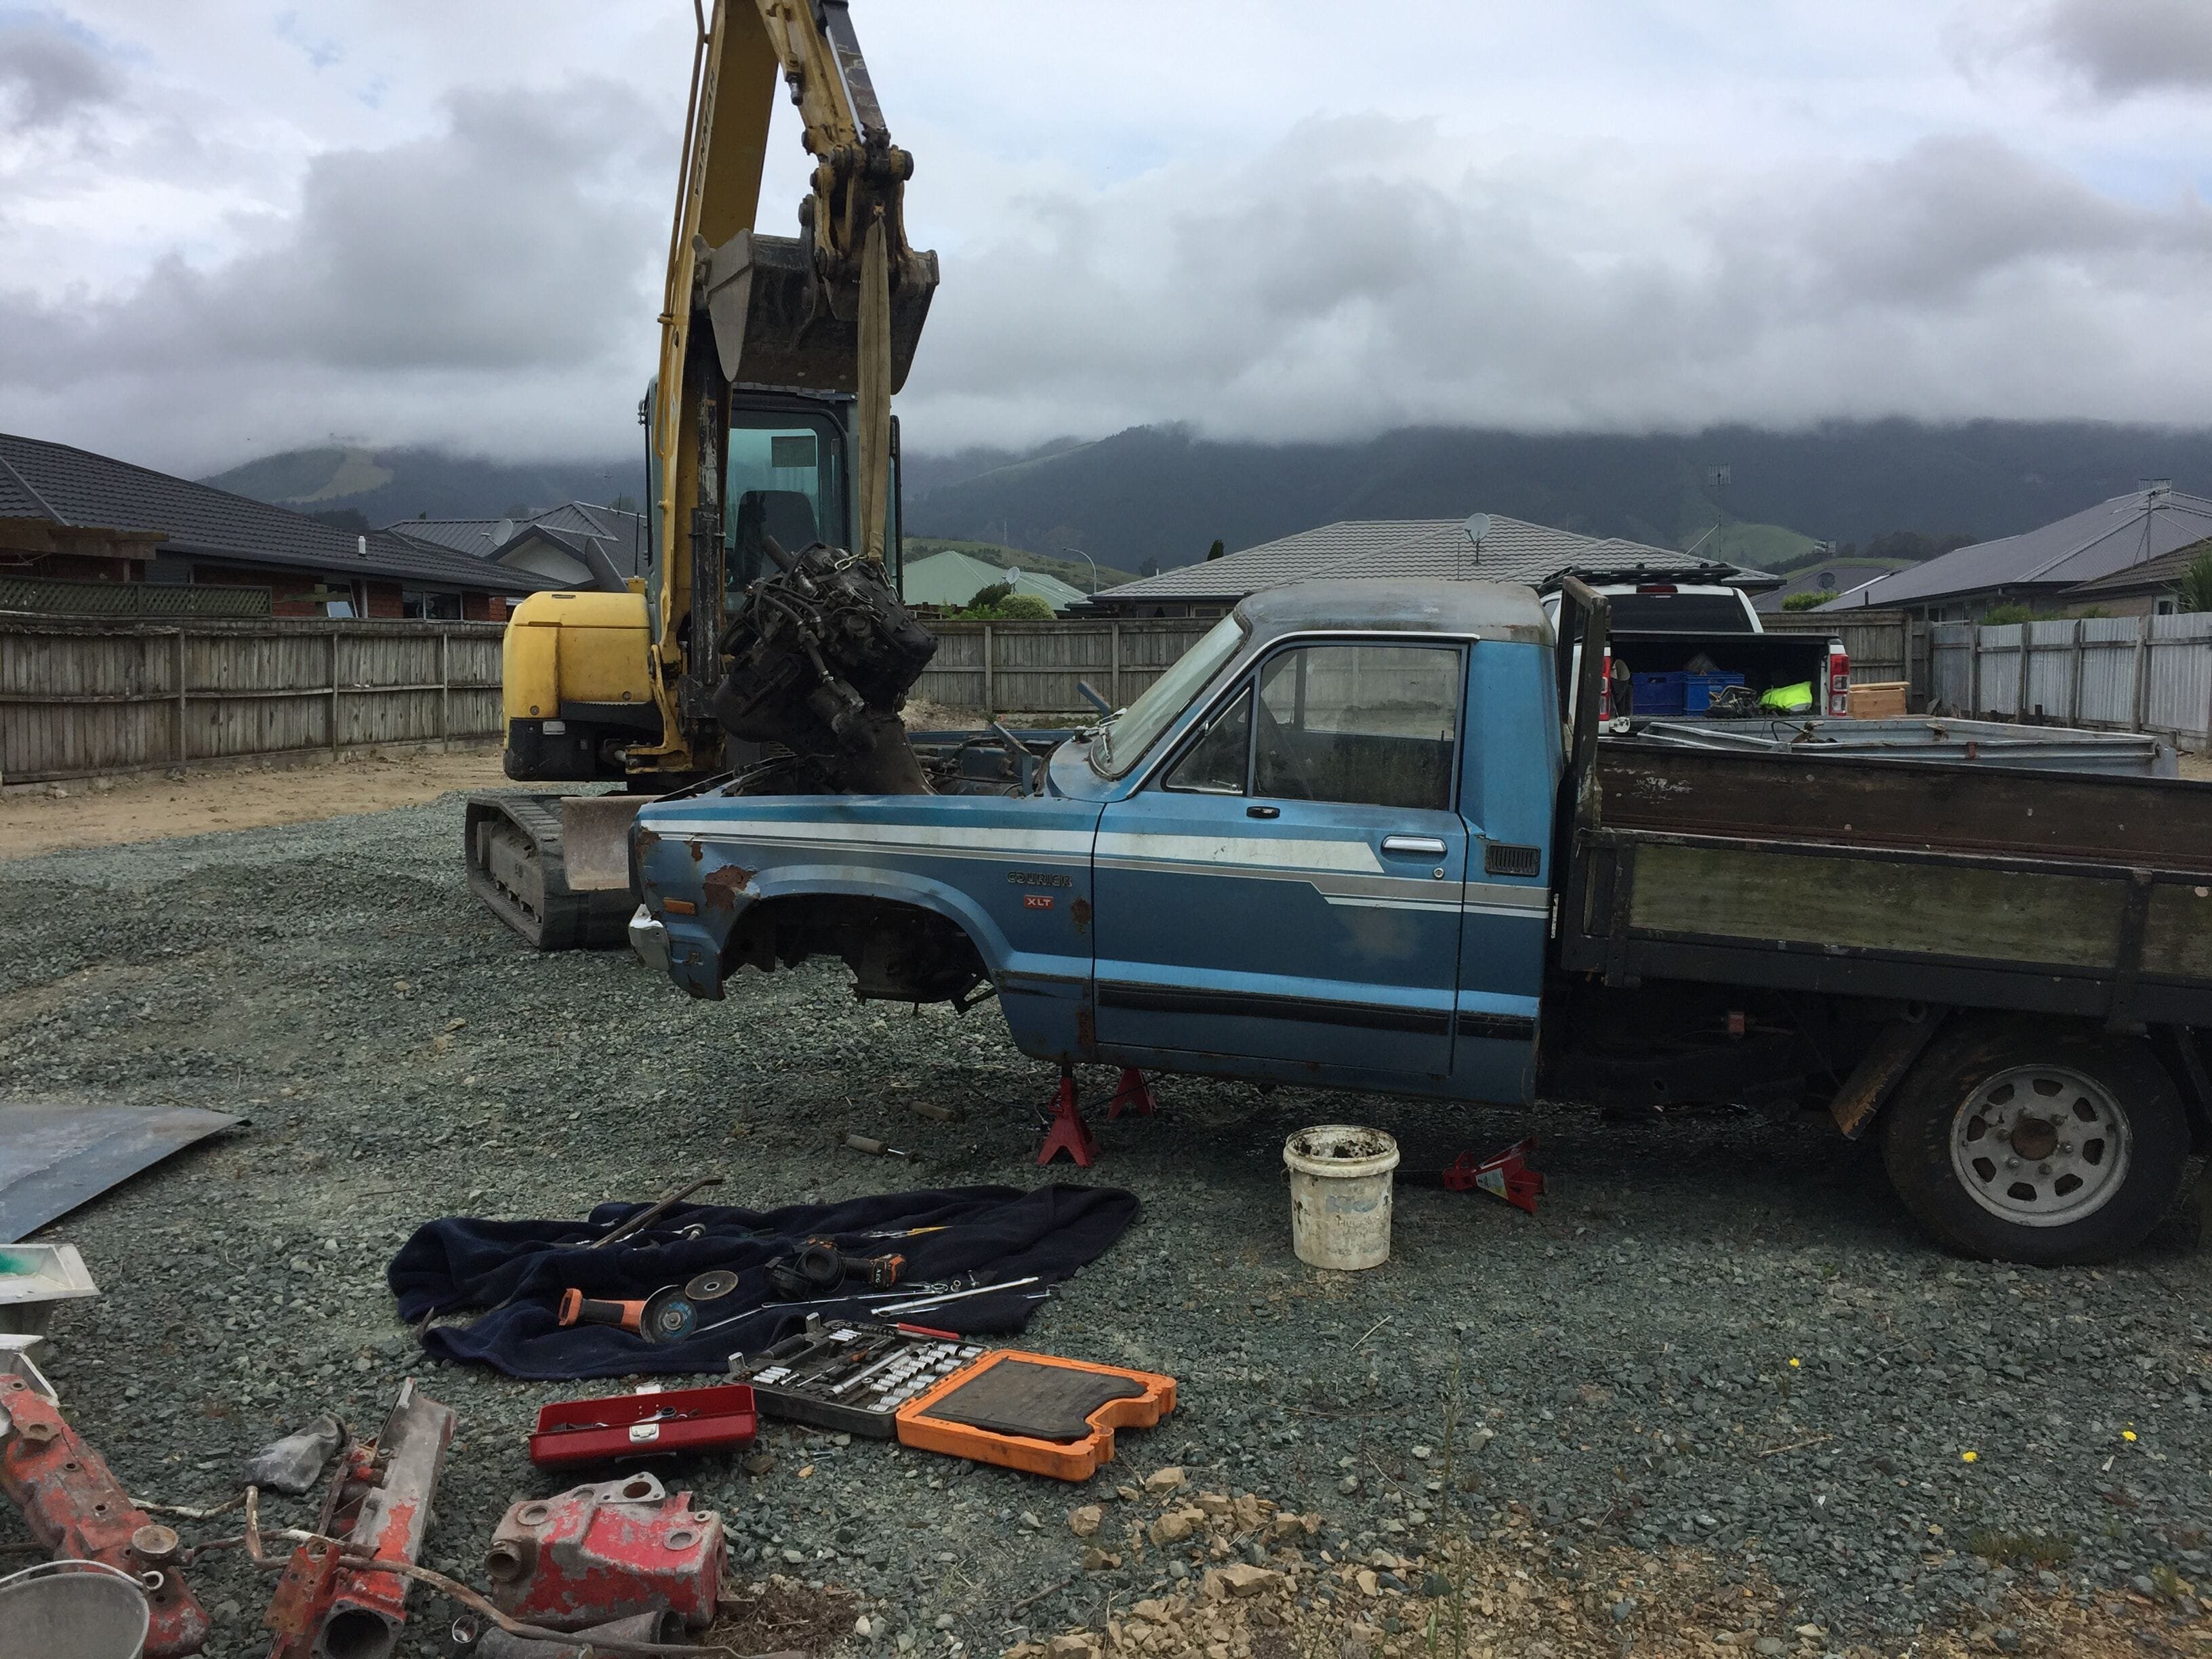
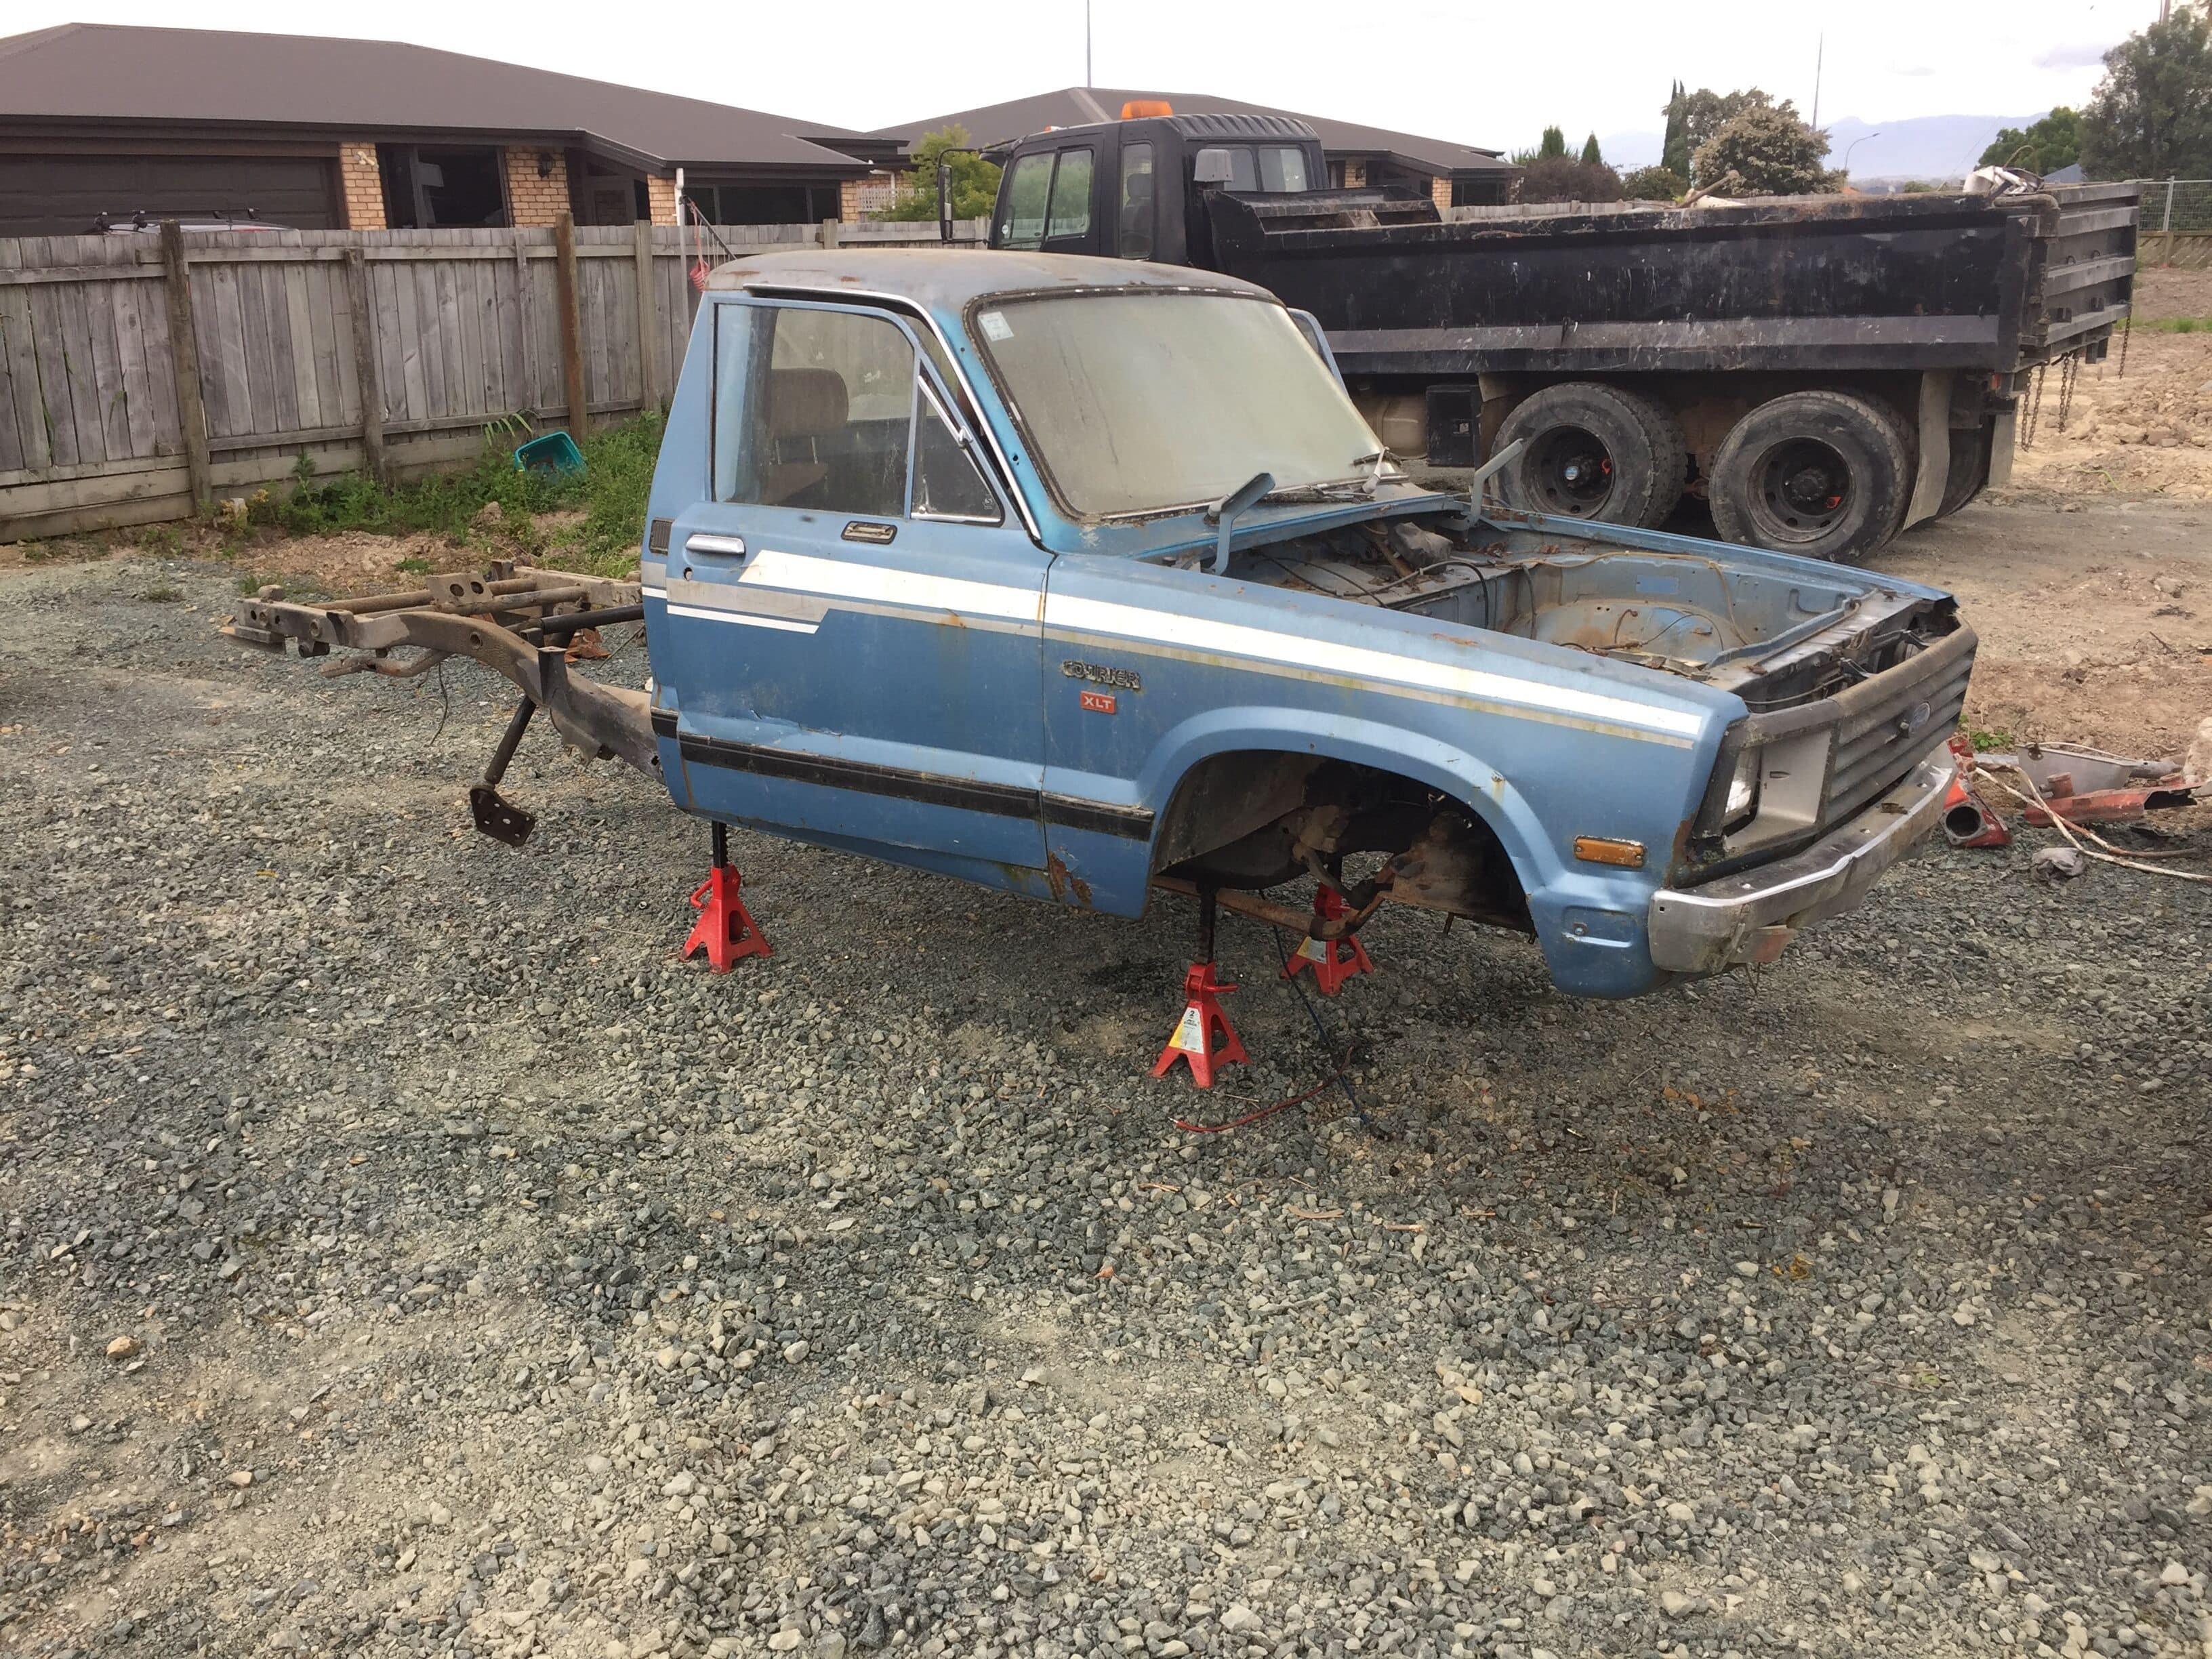
finally stripped out this courier, had a lot of things I needed on it so was pretty stoked. going to get some little welding jobs done on the floors to sort out some pin holes and patch where someone has butchered the radio hole in the dash and holes someone cut in the inner guards, then hopefully swap out the gearbox and driveshaft and try get rid of an annoying vibration it seems to get at approx 50-60kph.
1 point
-
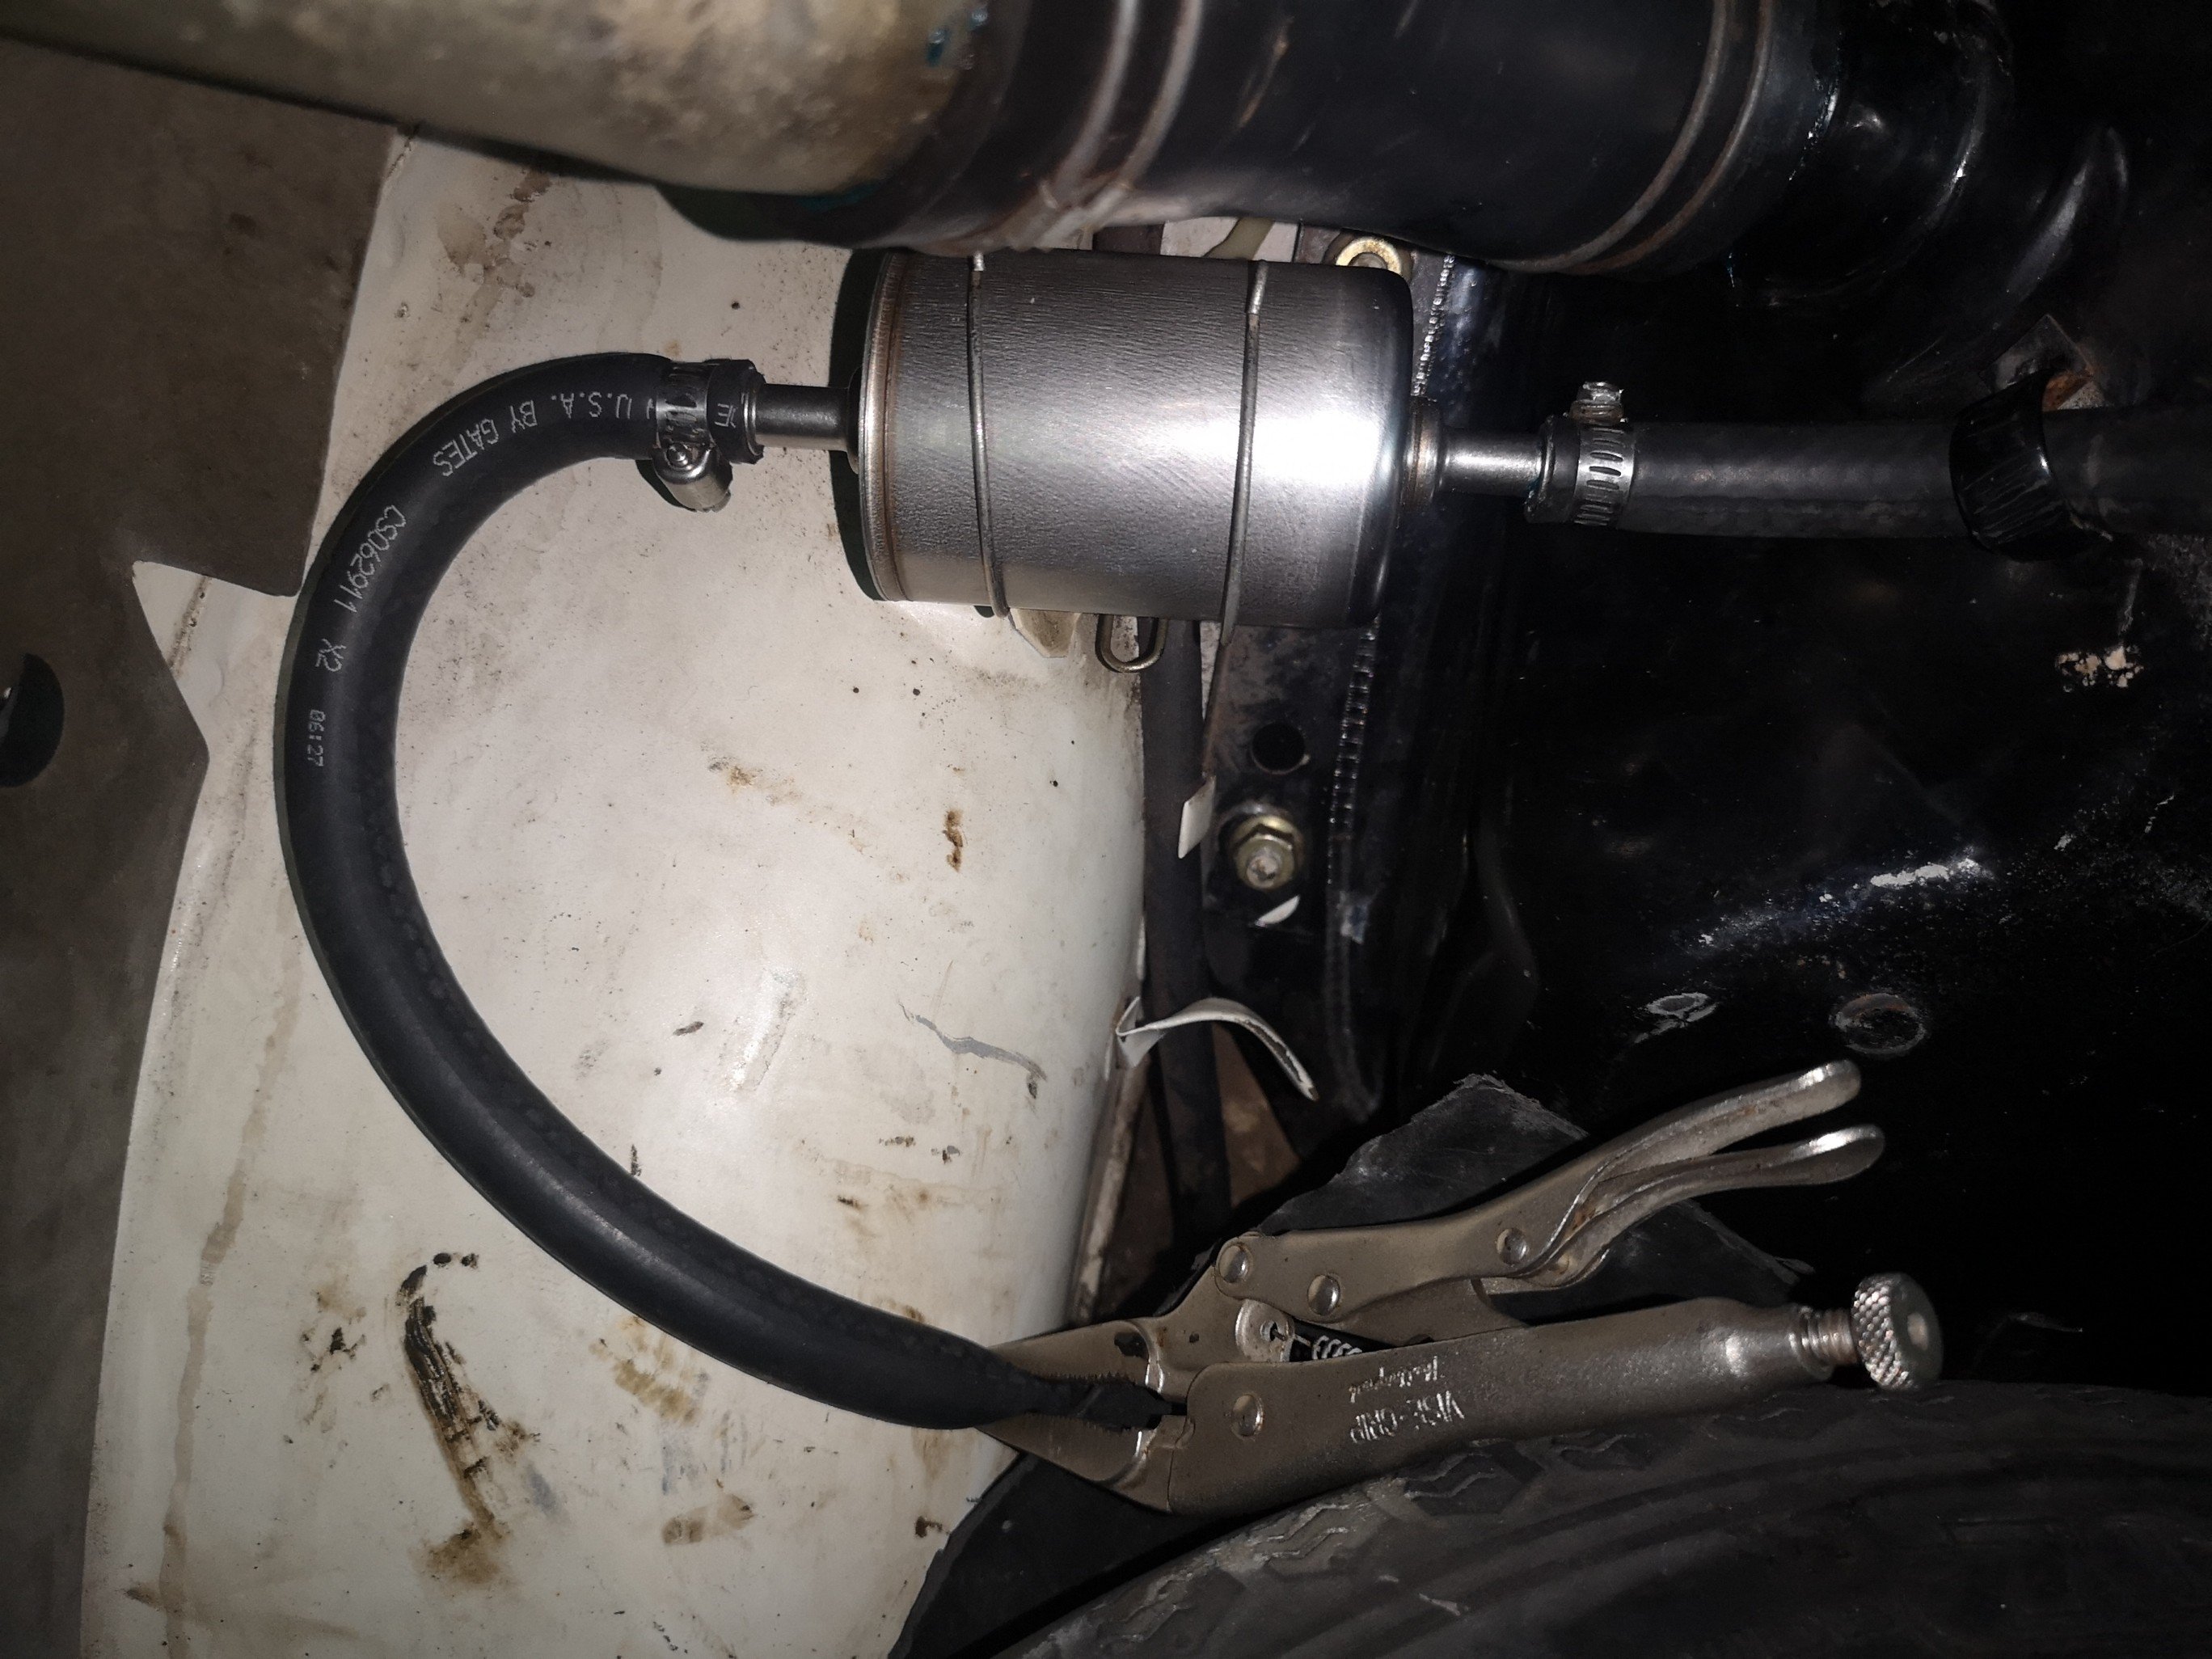
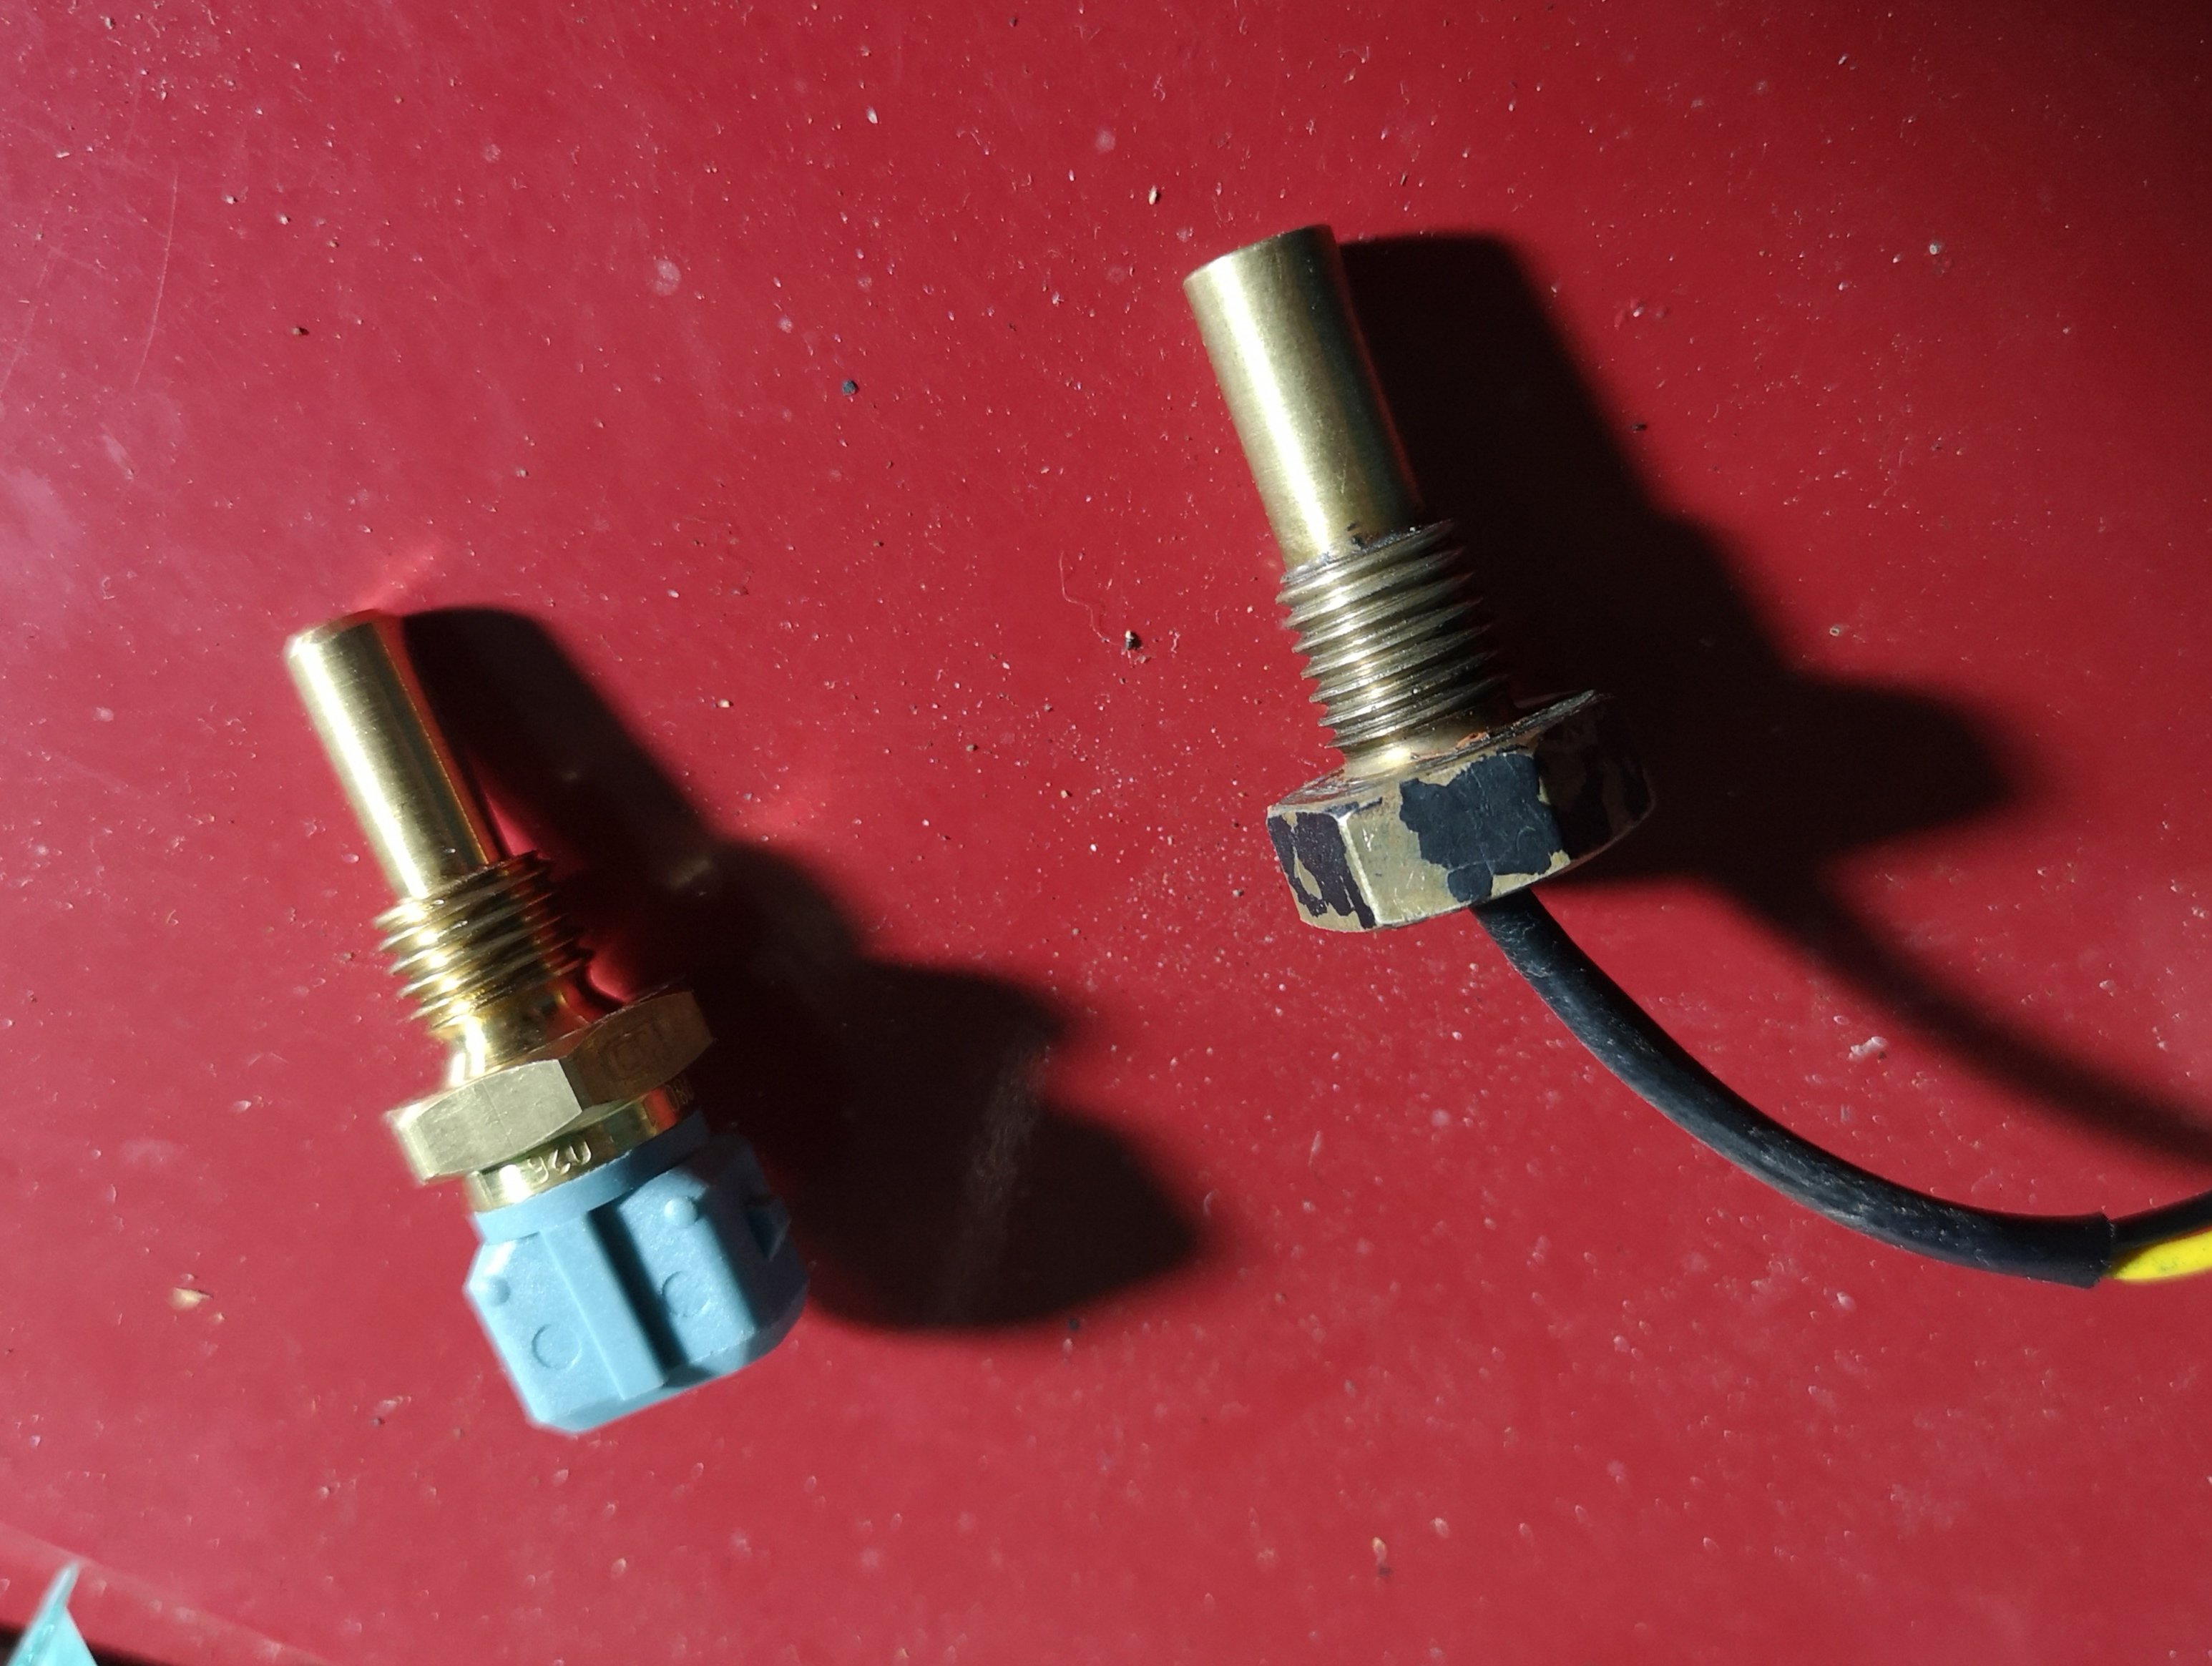
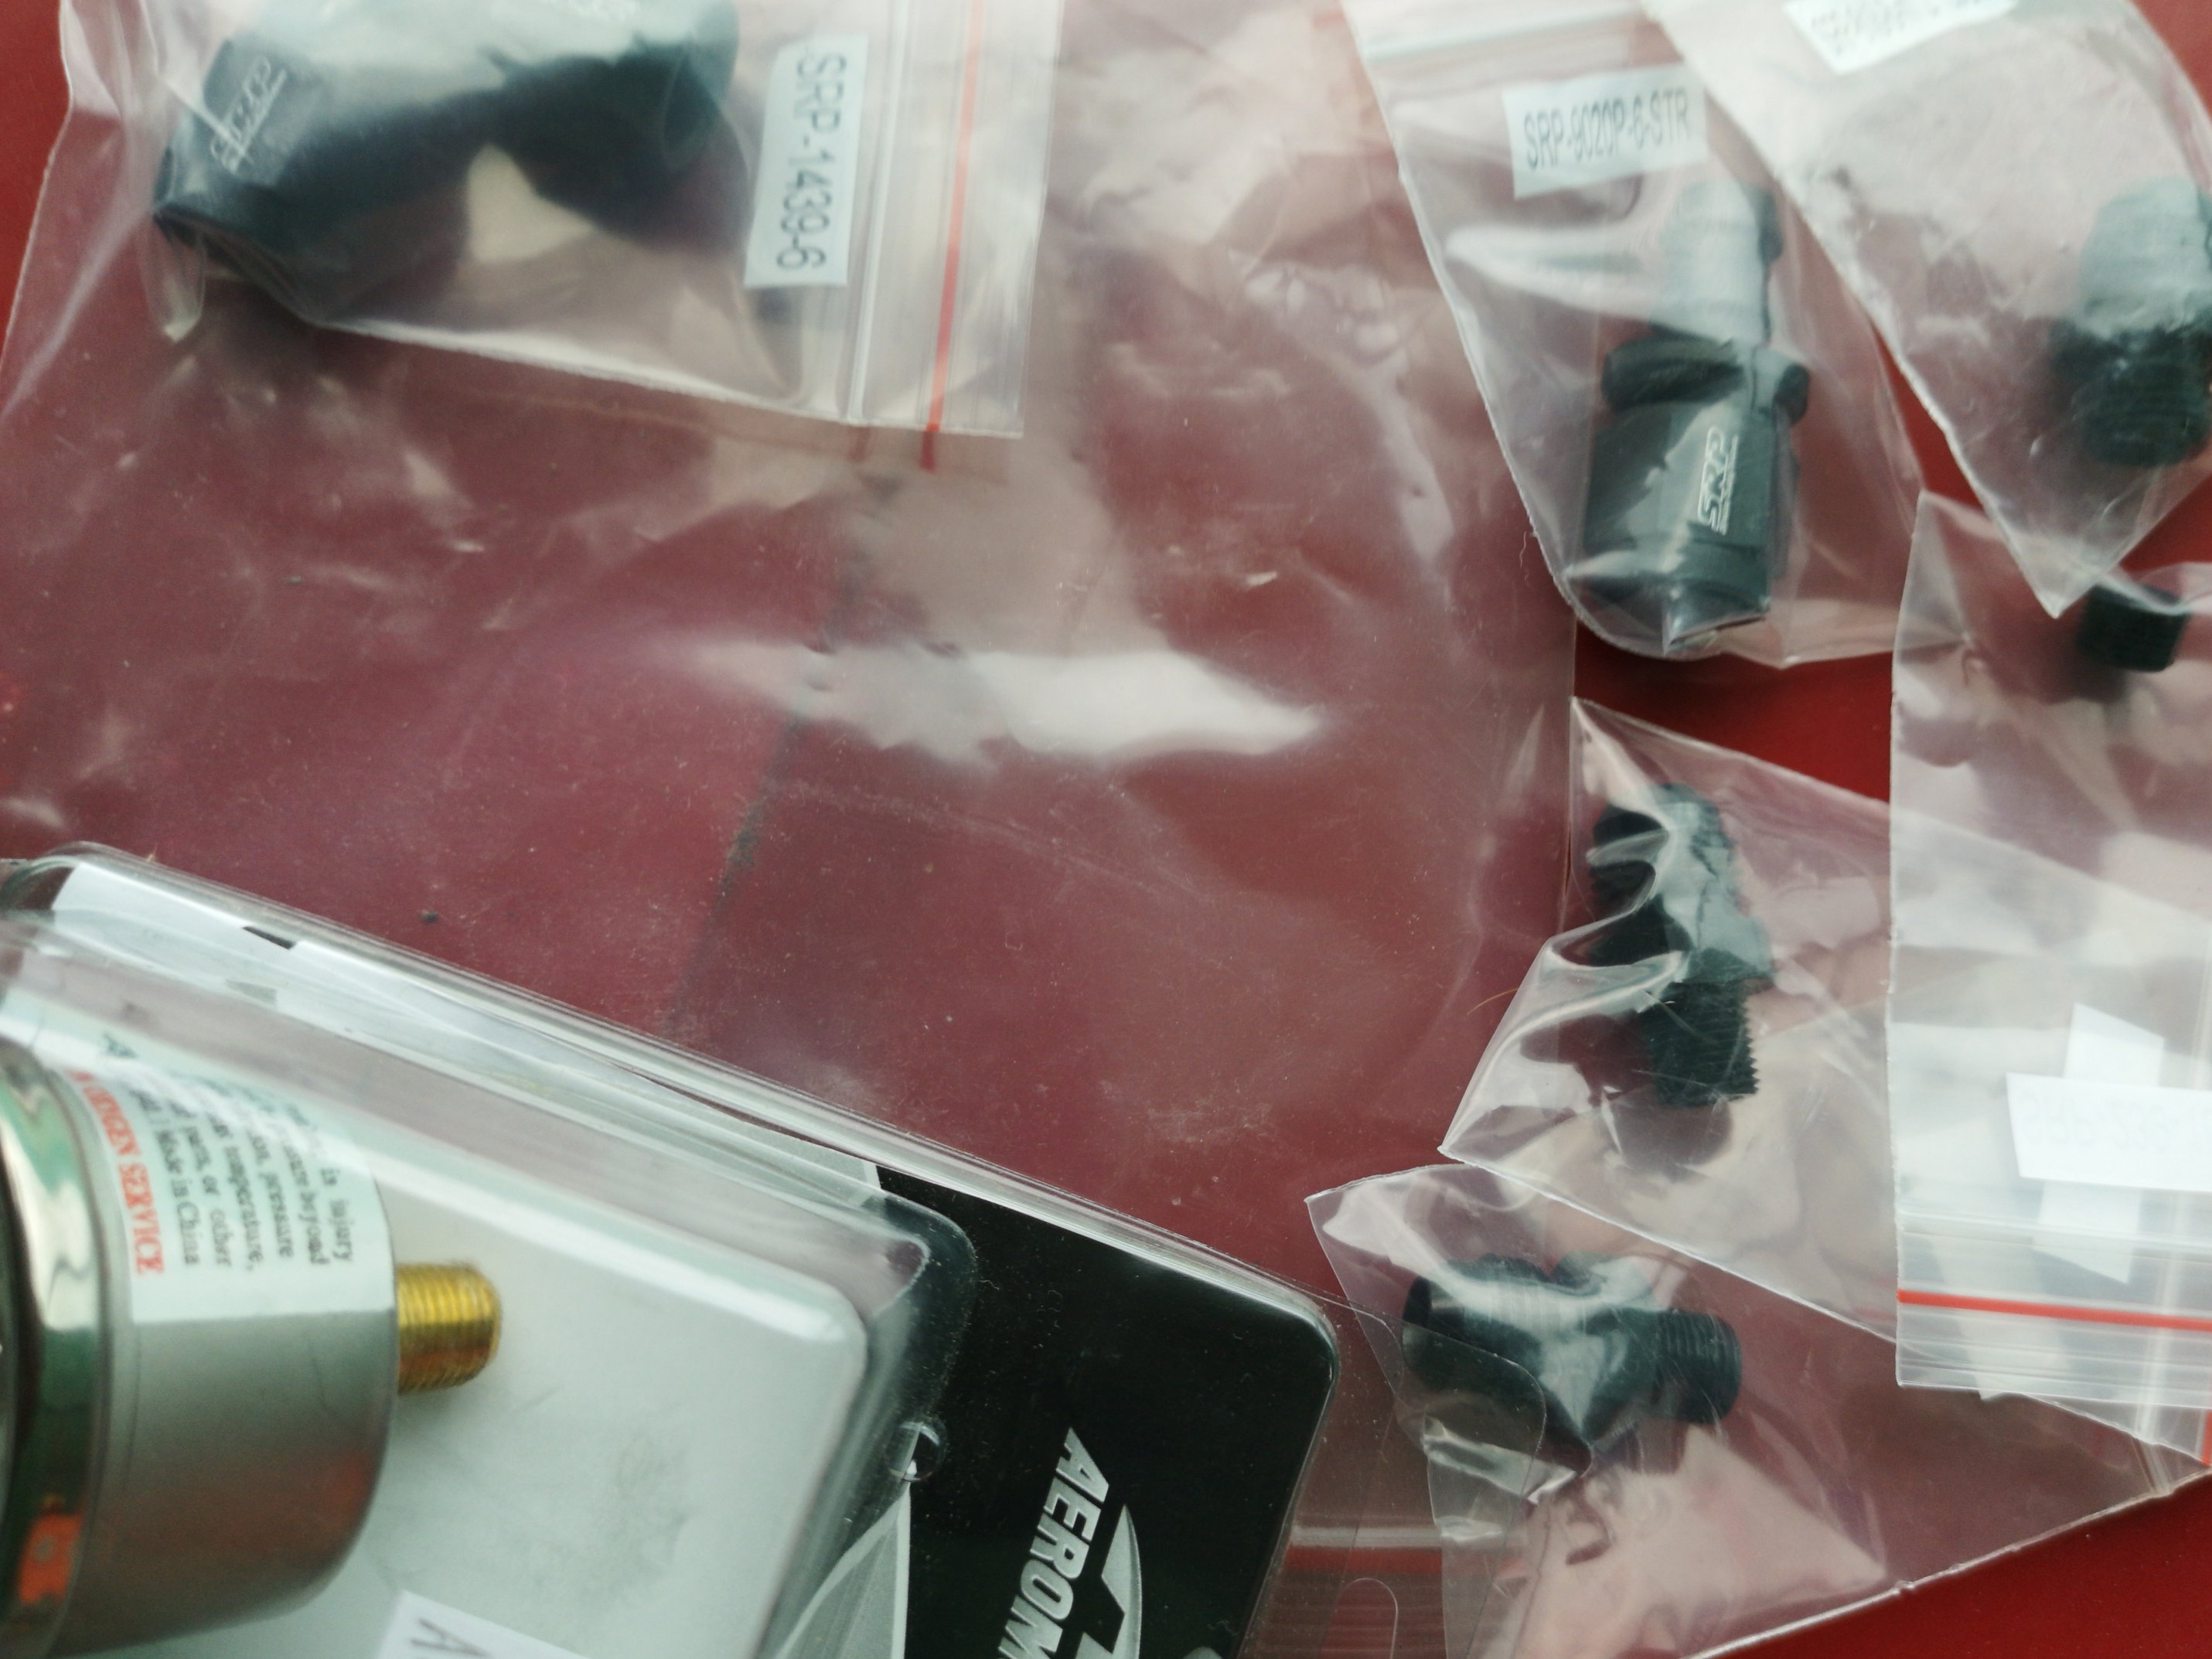
Also got the proper NTC sender.. The one I had was a PTC sender which was only used in the very early G1's which explains the problem.. This was set up for the first time in about 1997 on the cheapest link at the time which I assume was an lemv1. They switched to NTC after that.. Anyway, temp reads properly now. Got a new 40 amp relay but even that sticks on after I switch the ignition off although tapping this one solves the problem. Did try to get a 50 amp but repco/supercrap = shit selection. Might just go all out and get a 100 amp. Plumbed up the fpr last night, she's pretty tight in there so might have to reassess the plumbing as the outlet sits directly over the tank return line, which means a straight hose that puts pressure on the fittings /fpr mount when the engine rocks.. Doesn't hold pressure for very long so somethings amiss there.. Set it to run about 38psi, got no idea what they run at factory as I can't find any info at all on the egi MA.. Cunt Also managed to take her for her maiden drive today, Went really well.. Then didn't. Developed another fuel related issue with the pump somehow sucking air out of the tank, also now that the pumps cycling more fuel it's pulling more shit out of the tank. Went hard for about 100m then started missing/surging and eventually dying.. Typical. After sitting there trying to get the pump to prime I realised the vacuum line for the brakes was off and sucking a fair amount of air. Made fuck all difference once I reconnected it although I was able to limp home. Have one of those glass fuel bowls plumbed up just after the tank so I can see what's going on.. Looks like a fucking sodastream. All teething problems I guess but at least the pumps now not overheating..
1 point
-
Finally had a bit of time to work on this.. Fpr arrived in the mail, So bought some fittings to plumb it up, shit picture..
1 point
-
Huh.... someone gave me rusty carb's. At first i couldn't find any, now i have spares.1 point
-
Finally found a front disc brake set up and a few handy spares, hopefully strip it this week, fingers crossed the 5 speed is in good condition.
1 point
-
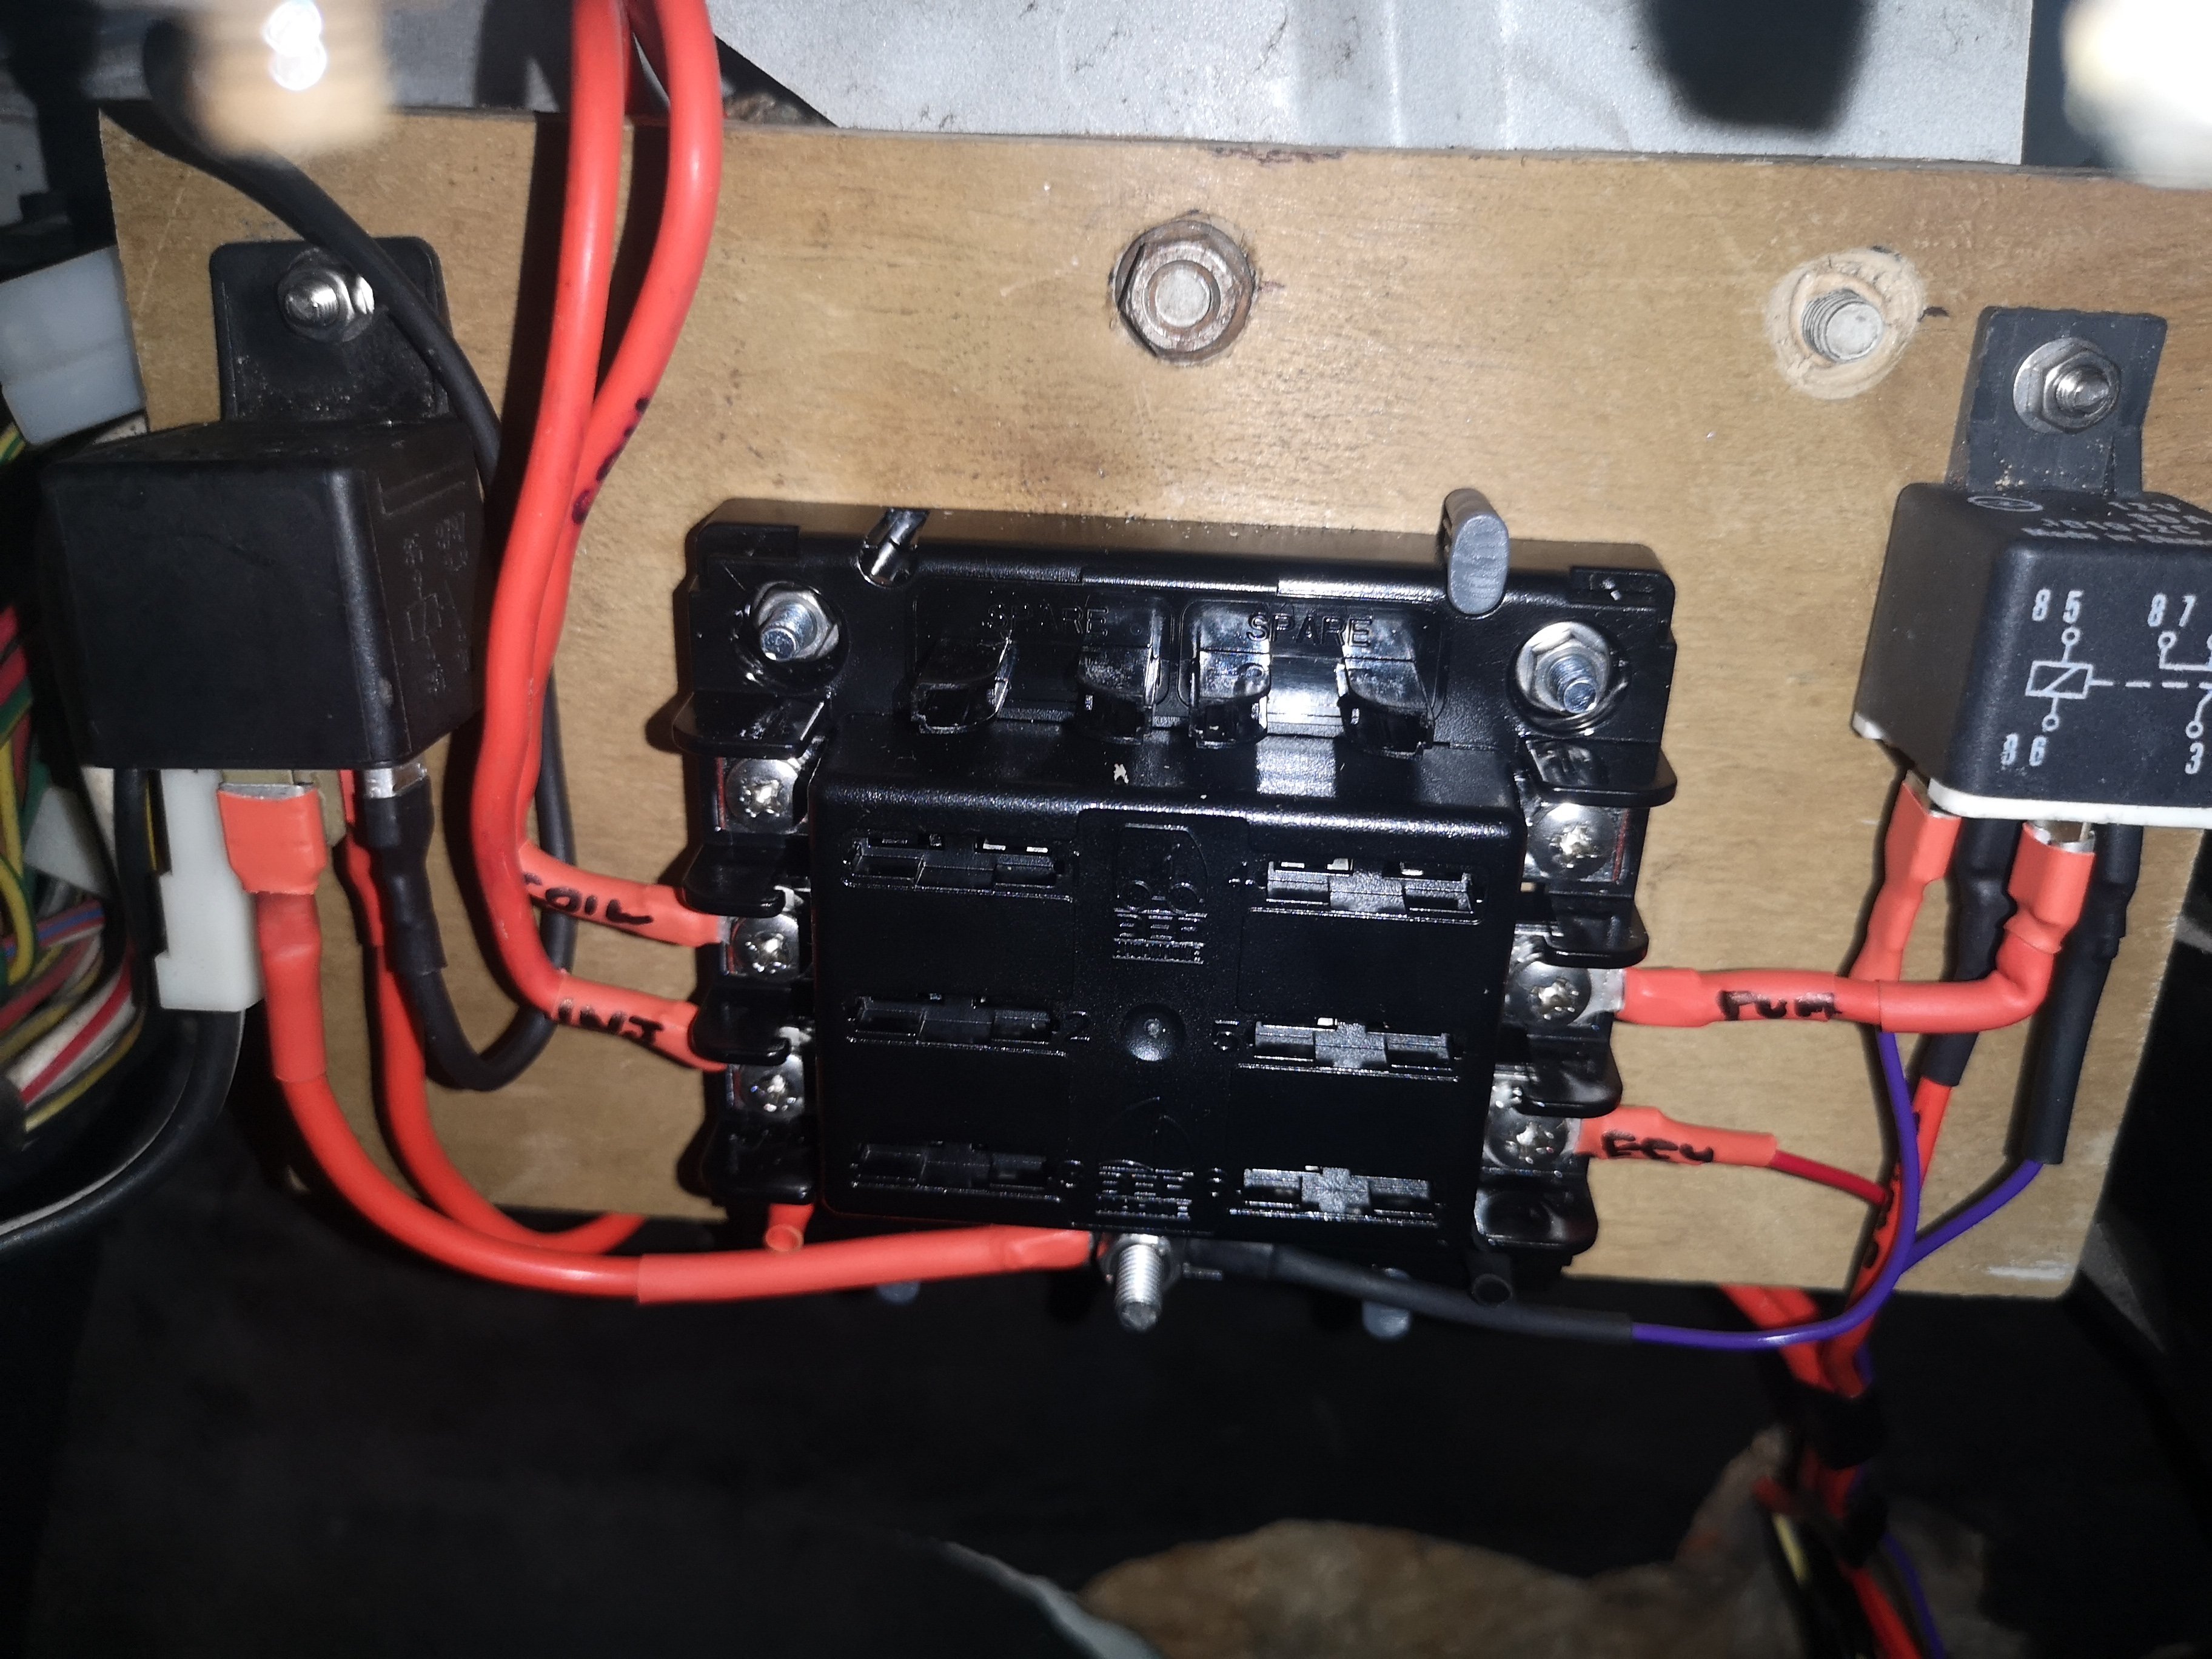
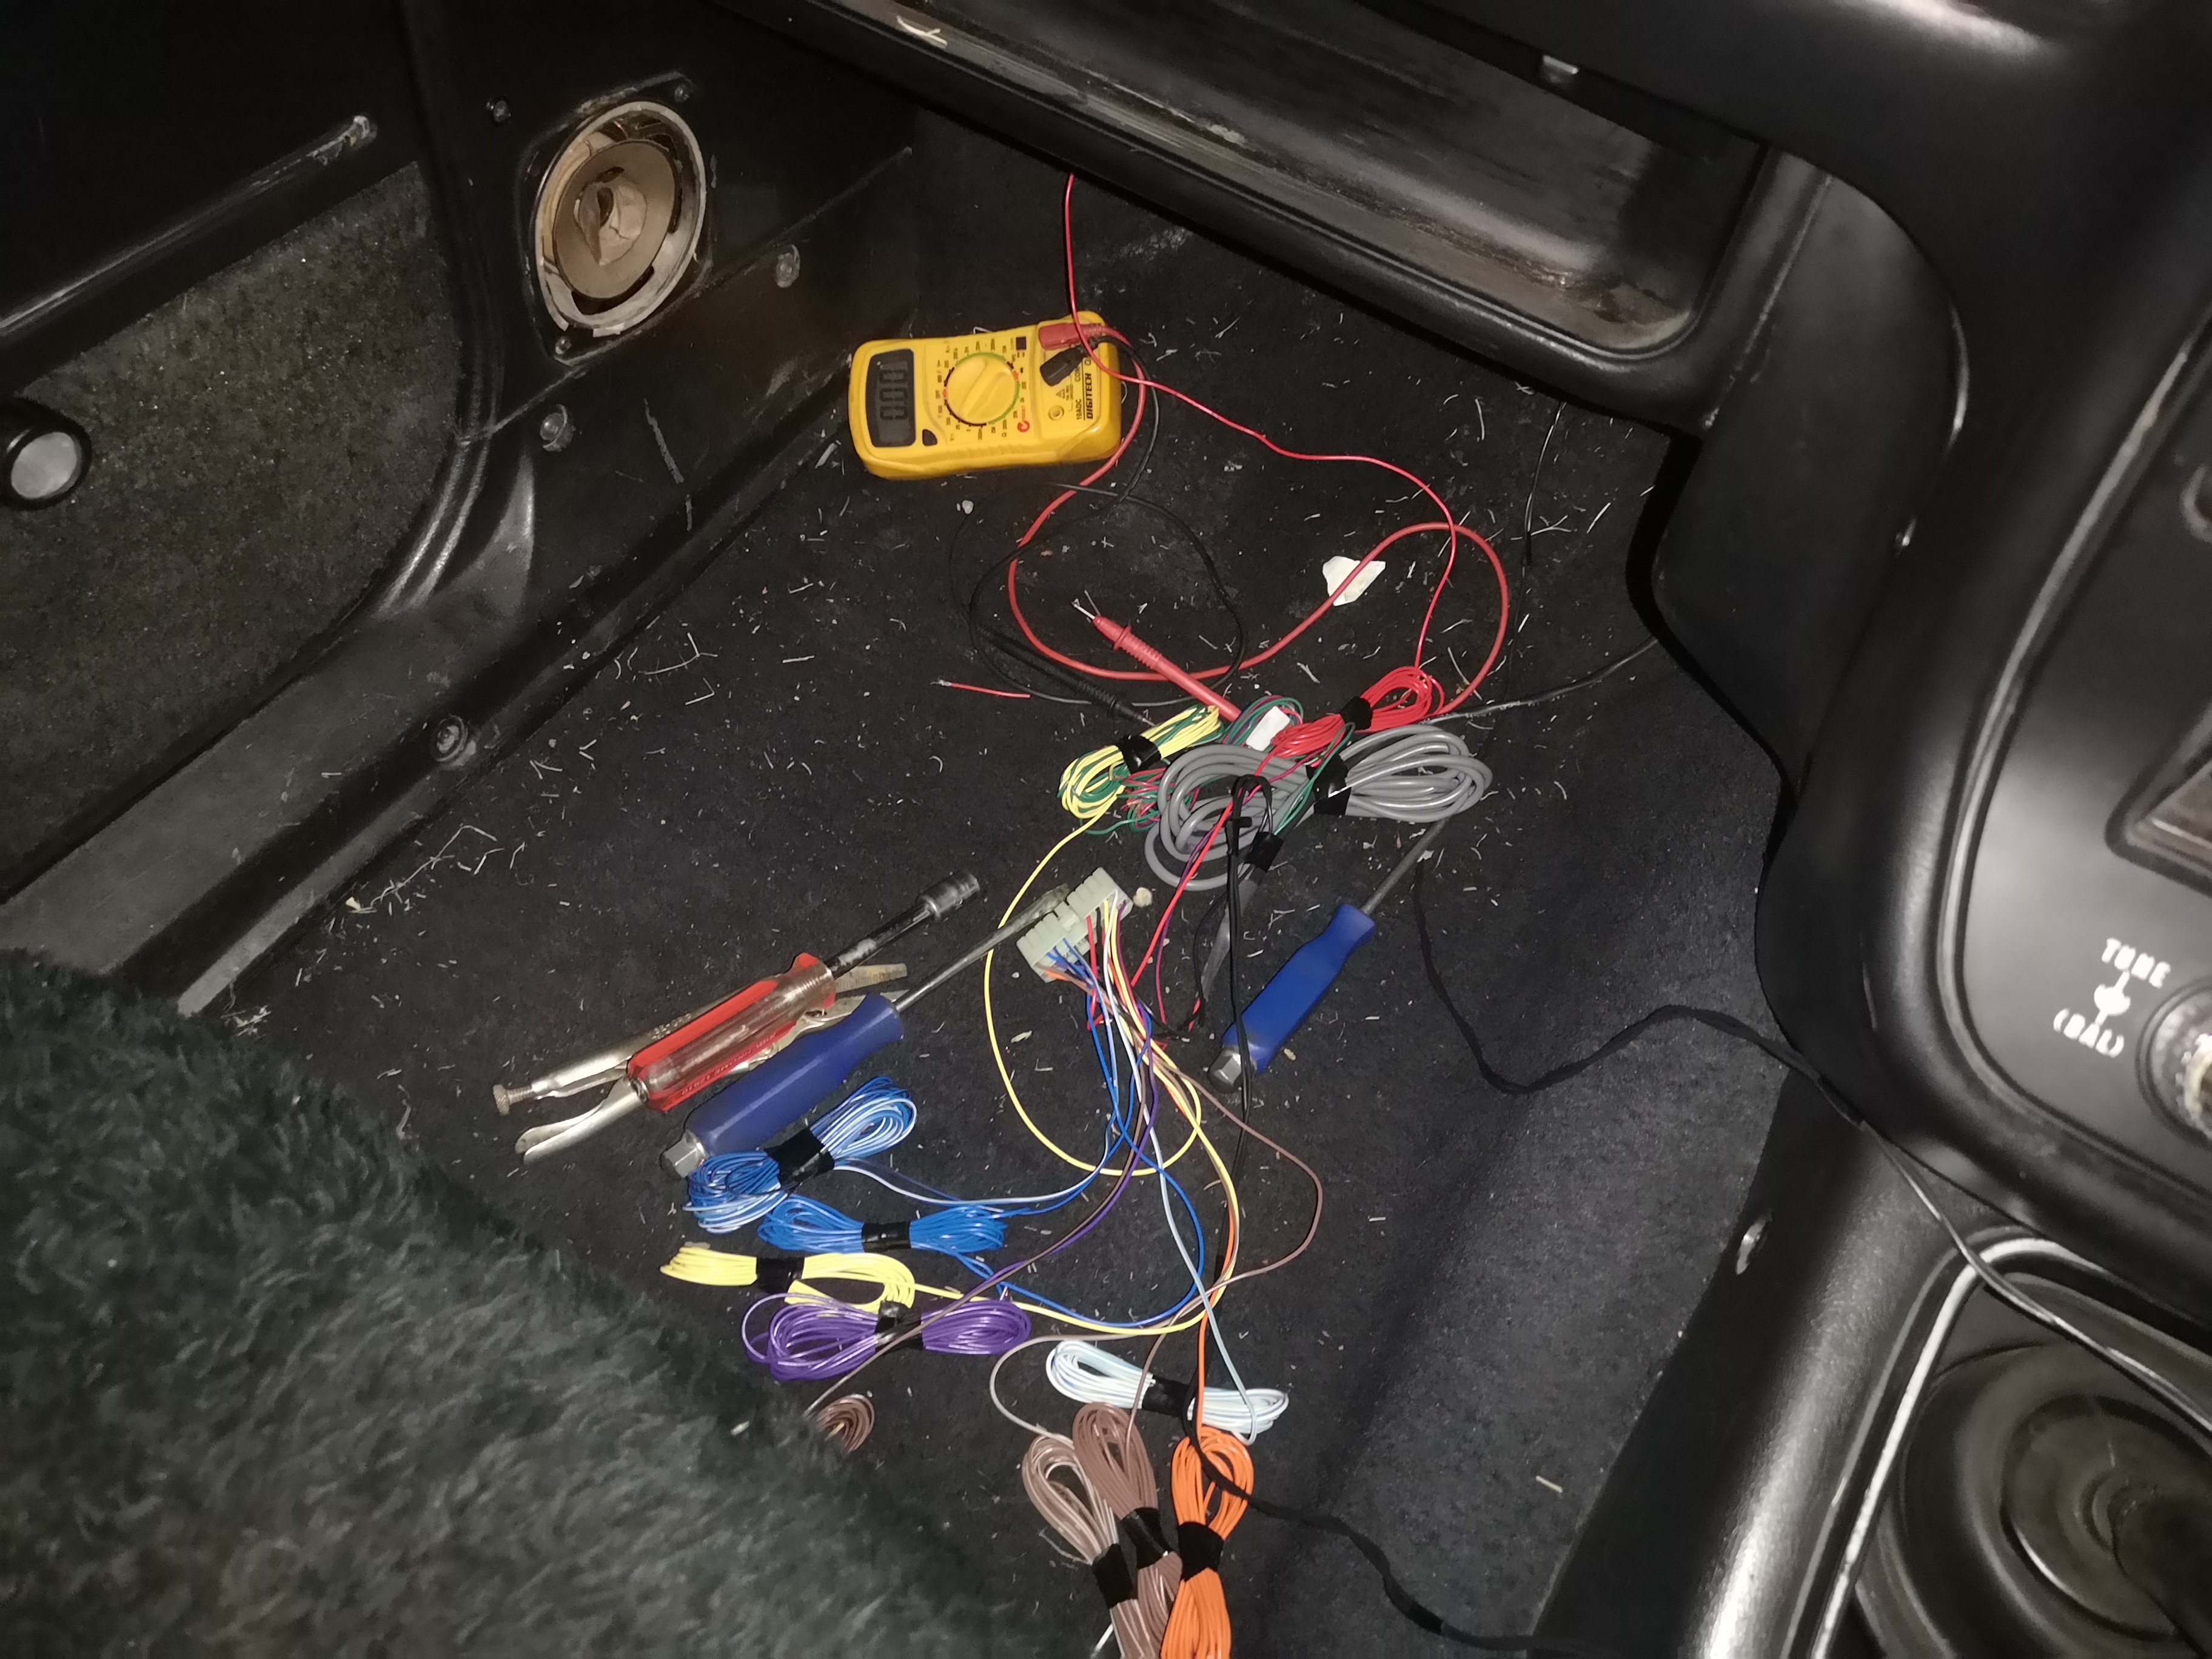
Bit more time today, mocked up fuses /relays on a piece of ply to make sure it all works, well get a better panel for them to sit on later (maybe) Put the fuses in and tested it tonight, fuel pump relay's doing its two second prime and the ecu is registering engine speed and injector duty.. Tomoz I'll install the pump and inlet plenum for the last time.. Battery is turning it over super quick, thought for a sec I'd taken out the plugs.. Pretty excited.. One step closer to you know what..
1 point
-
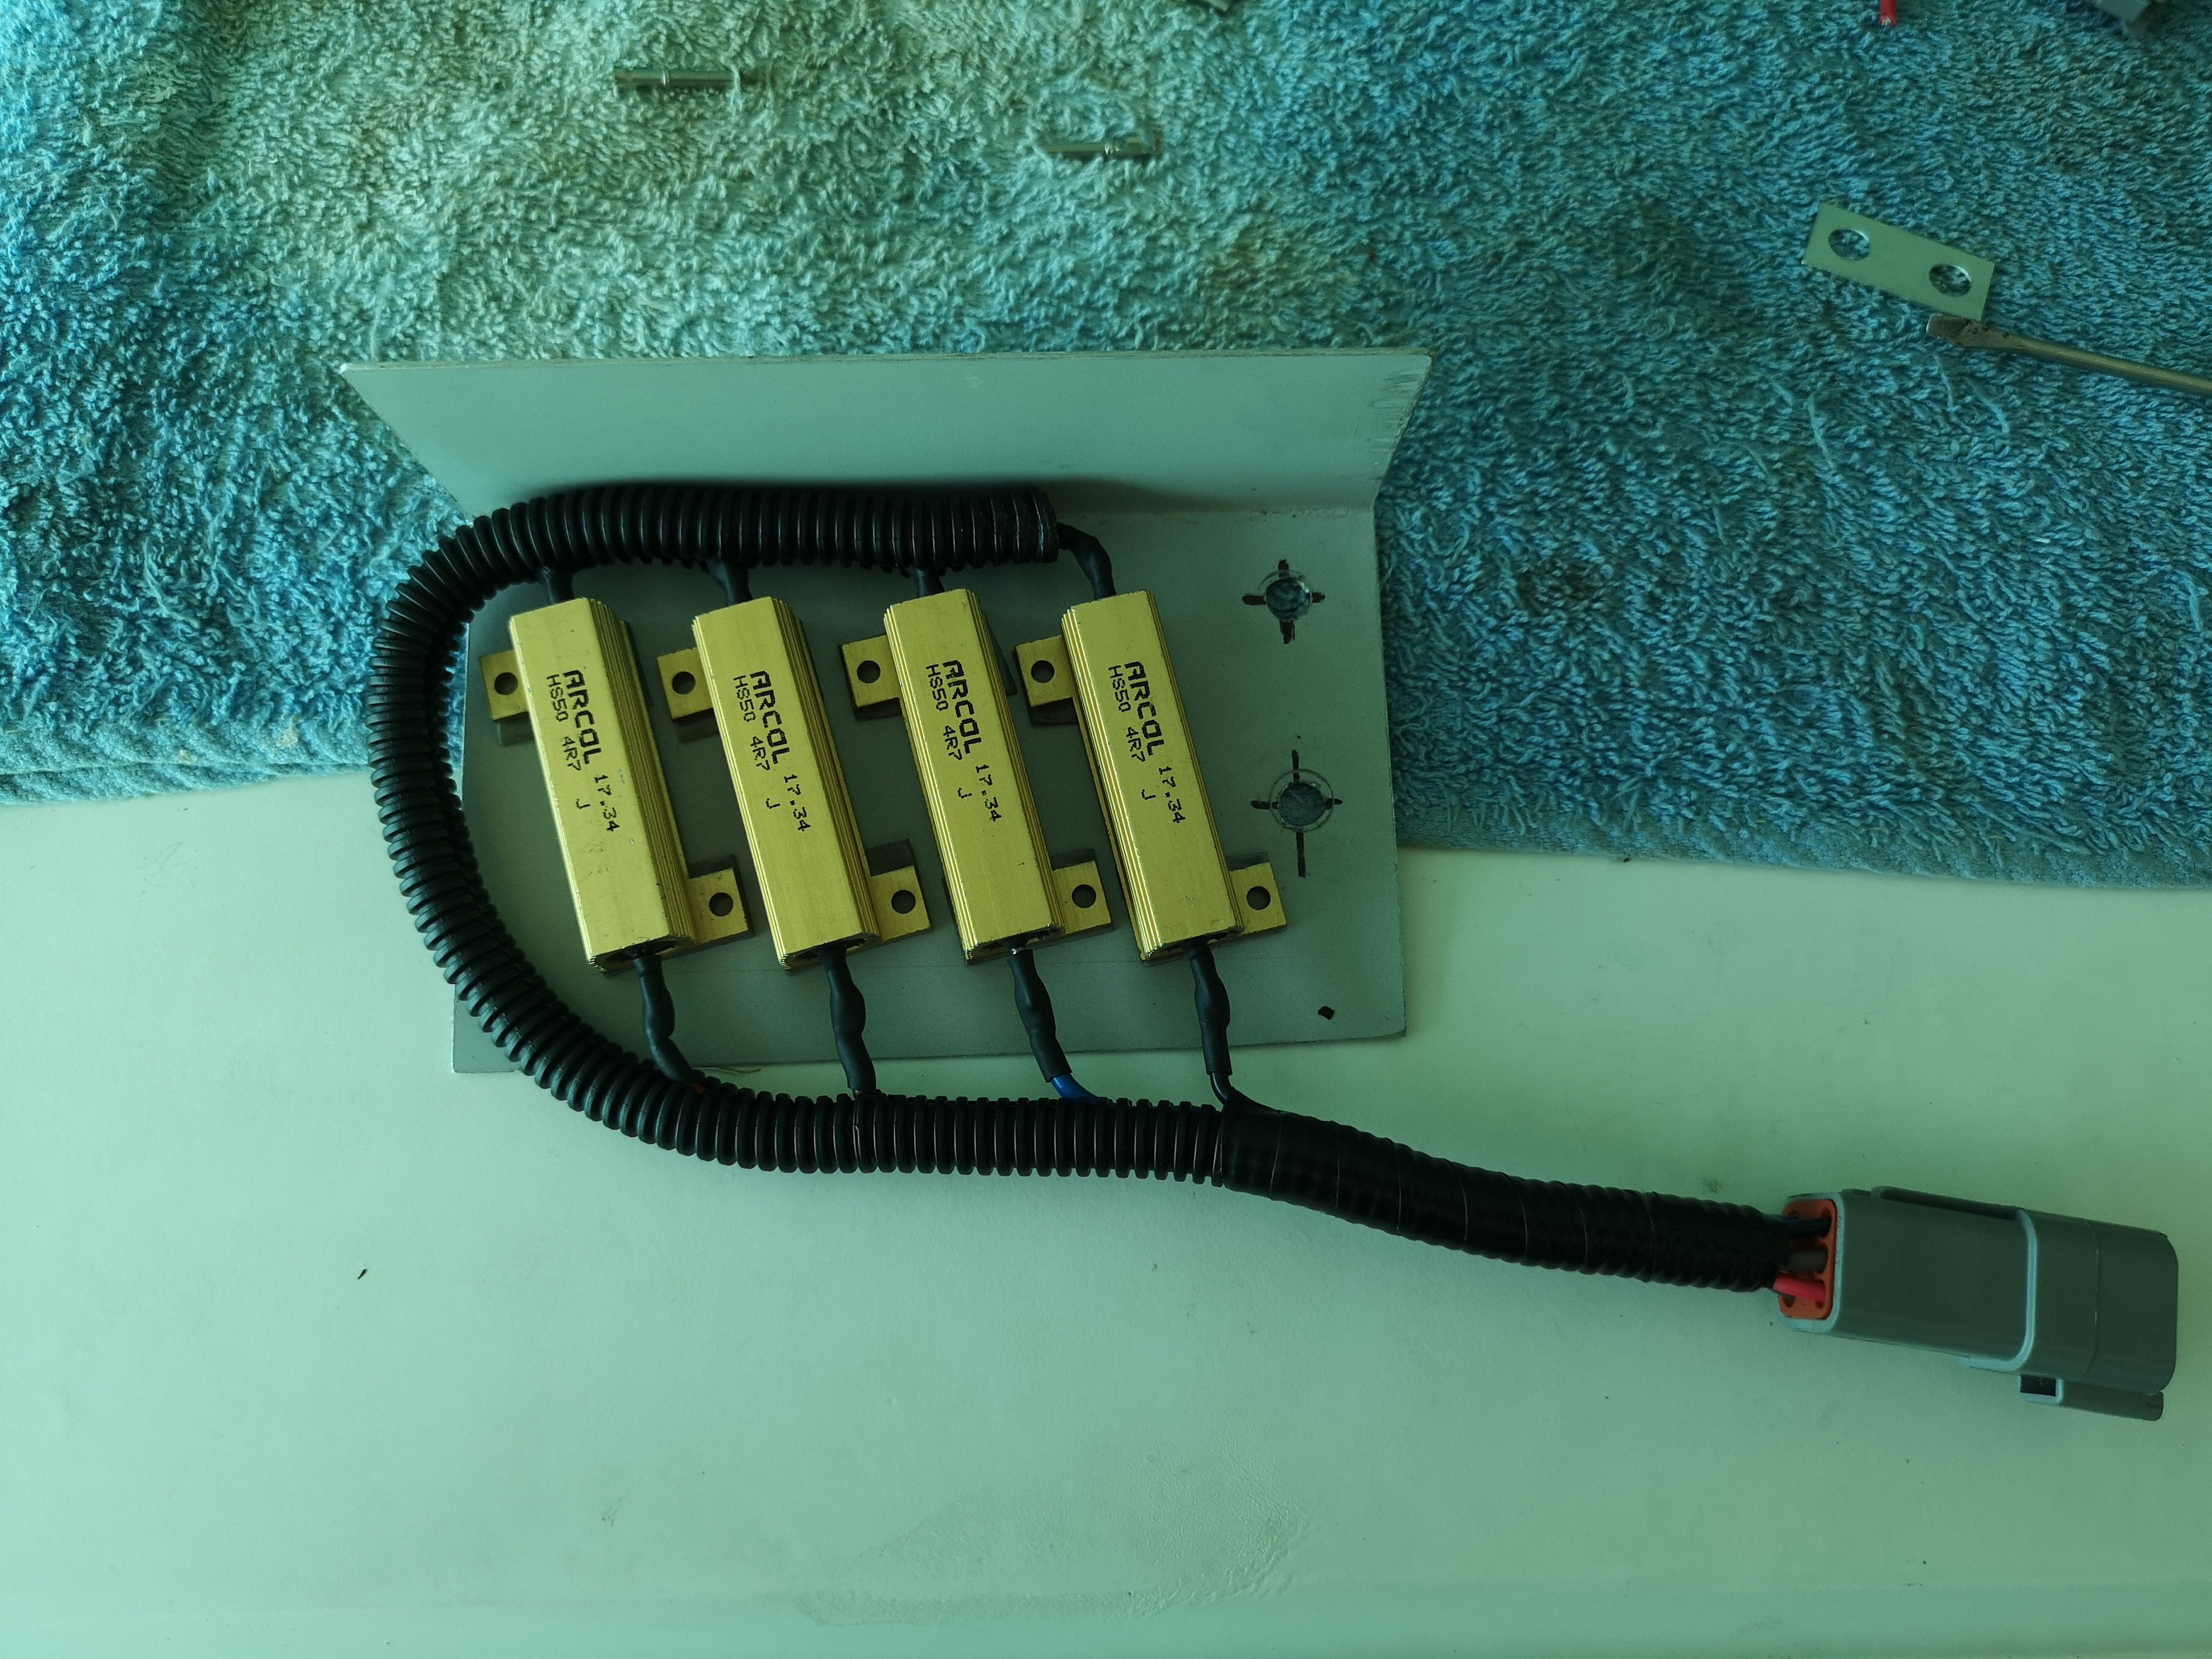
Had a chance to do some more on this since it's been raining.. Just got to wire up the fuses, relays, fuel pump then start it.. Hopefully. In hindsight I prob should have gone for high impendence injectors, for ease sake.. But set the resistors up..
1 point
-
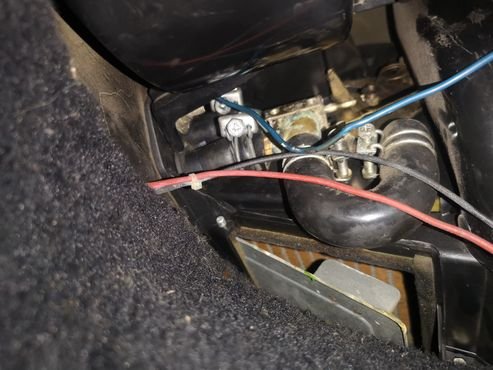
Spent a lot of time just trying to change one heater hose.. The top one, about an hour.. Not made for stonemason fingers.. Got there in the end tho, she's getting a bit cramped down the back.. The salt air out here really fucks things up as you can see on the tappet cover.. Just have to install and wire the fuel pump.. wire tps, injectors, fan and ignitor and it should run. Then... Snail time..
1 point
-
Spent some time on this yesterday in between family duties.. Went out to pick a part last sat and got the right plugs and a 4 wire O2 sensor but man, trying to find a tps that works in reverse for my throttle body was a mission. Spent about 40mins wandering round pulling off random tps till I finally got one off a mazda 626 but then even that had a slightly different spindle socket.. Should be able to mod it to fit with minimal effort.. Anyway.. Got the ecu powered up to have a look that its gonna work with my set up and it seems good to go.. Does anyone know how to do a factory reset on a g1 link?
1 point
-
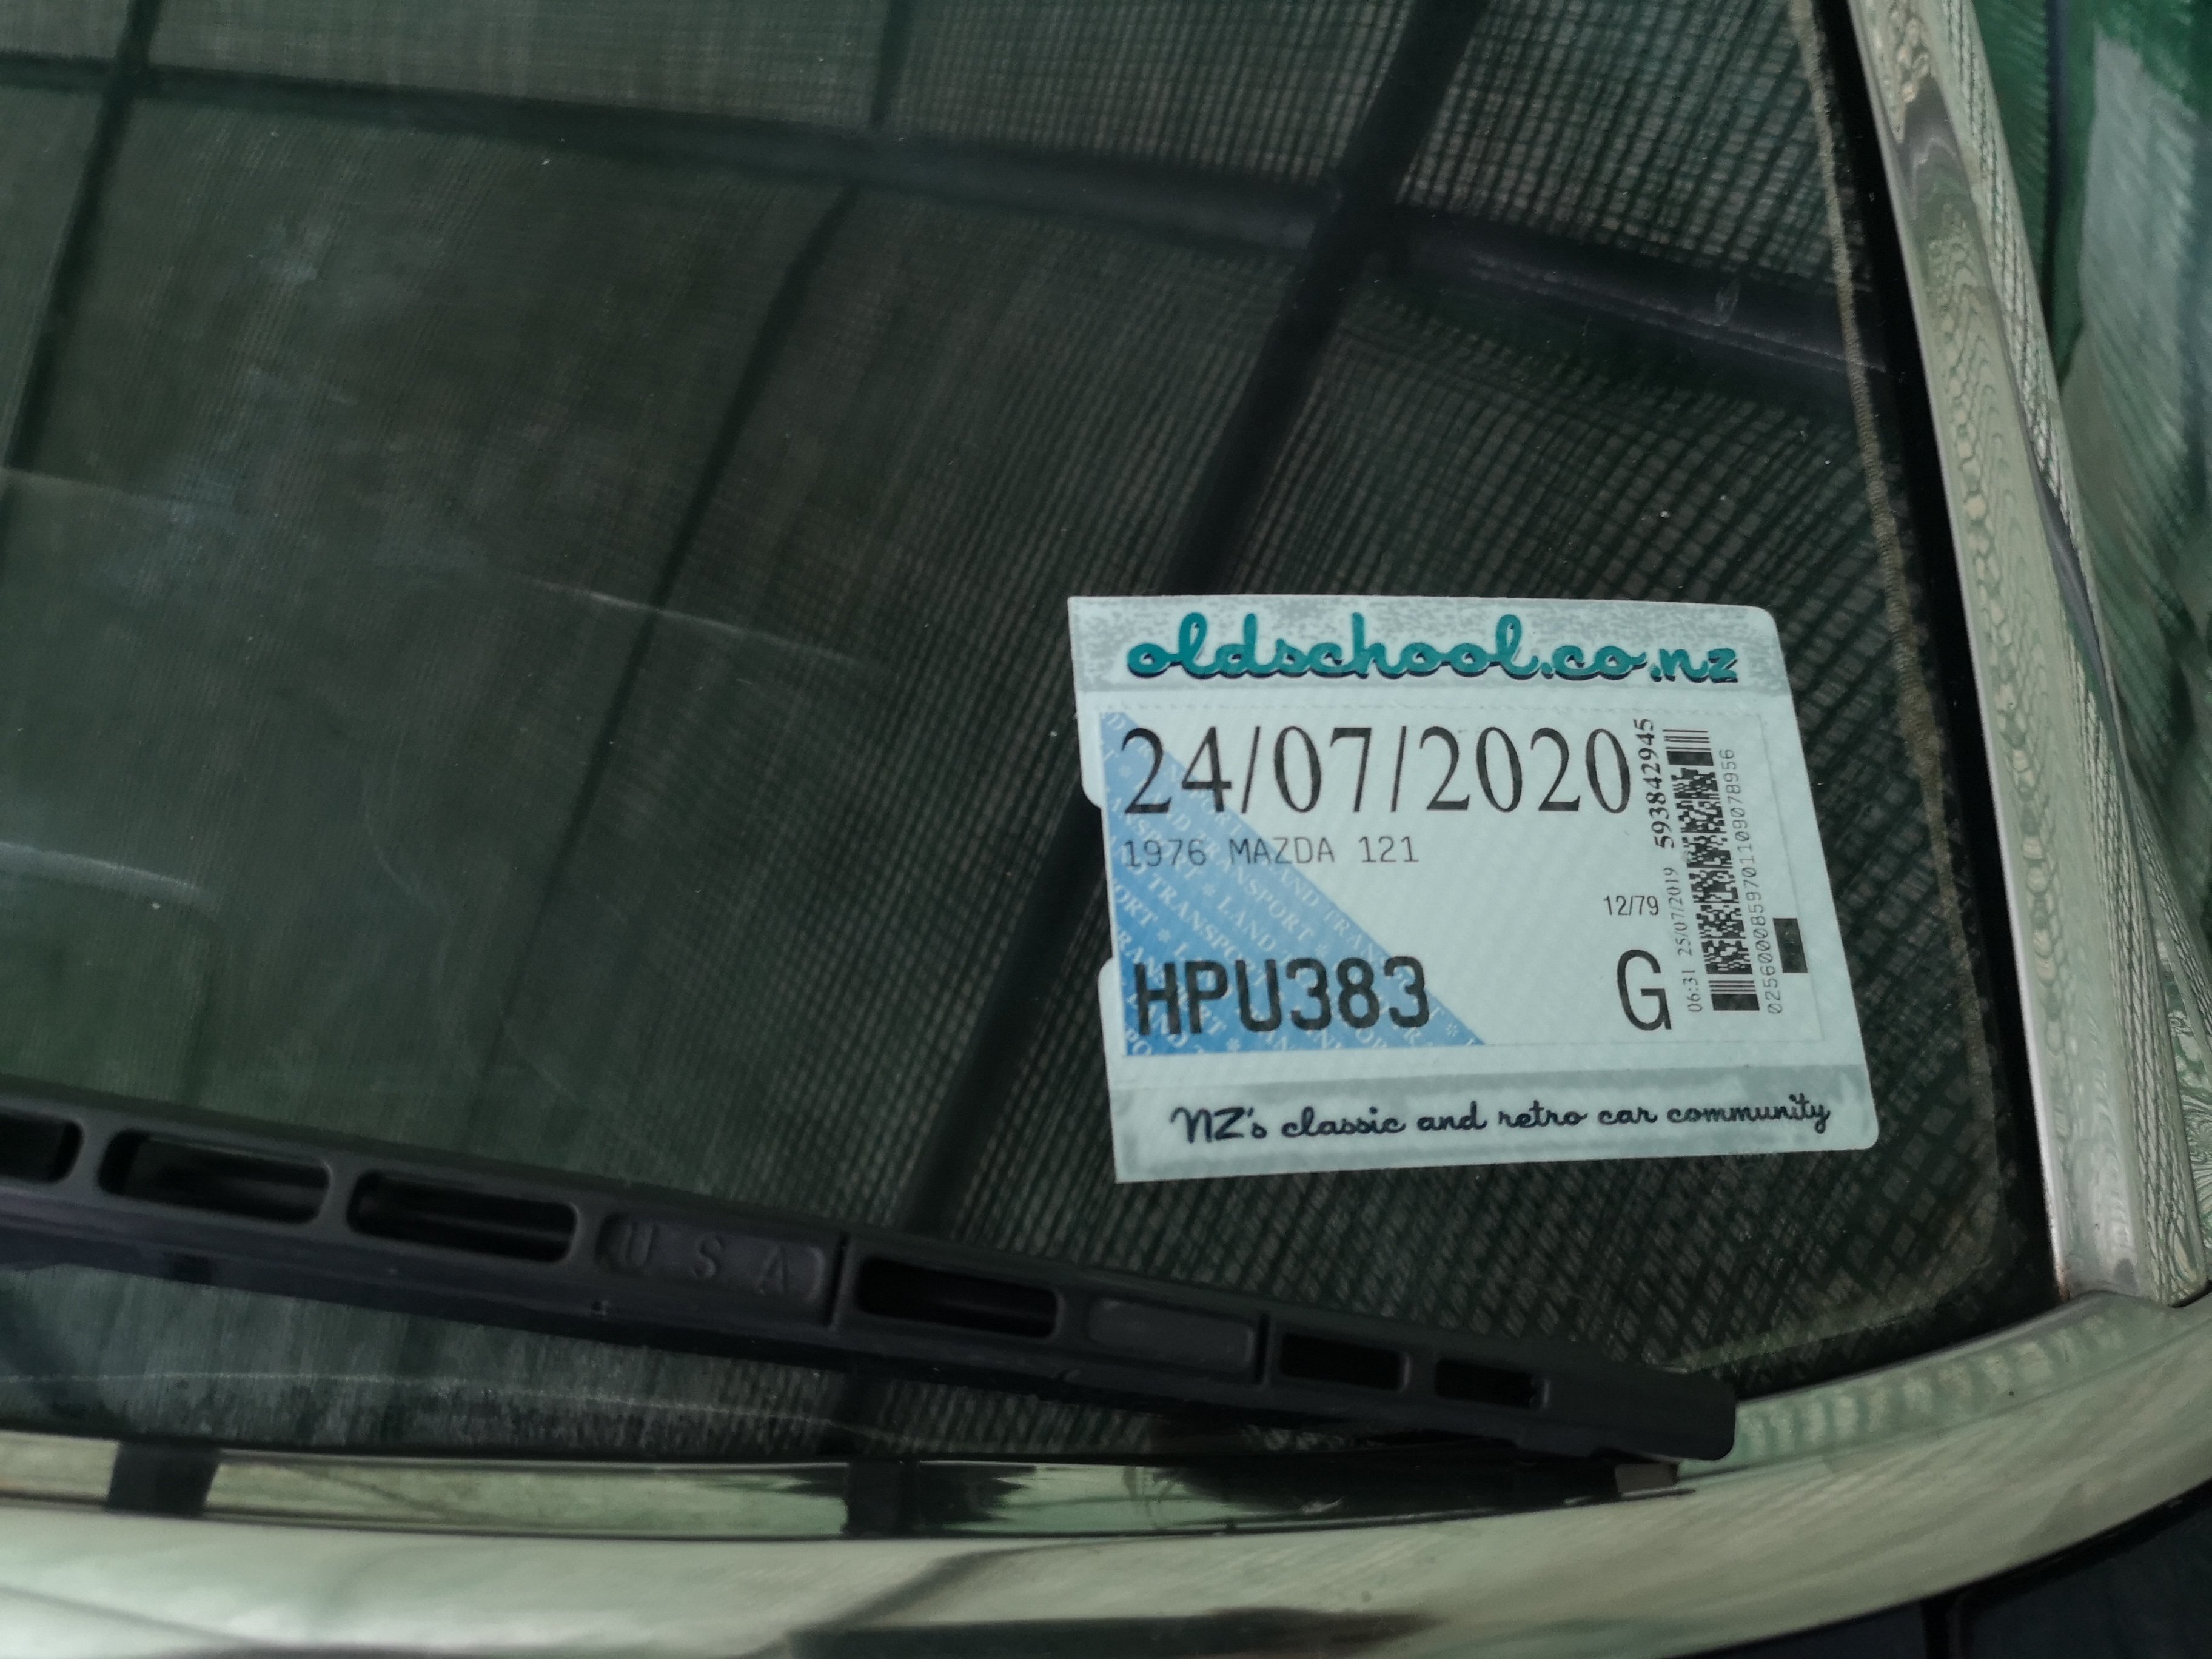
Another year, another wof and year's reg.. Ready for her annual road trip all the way to hamner and back..
1 point
-
Long time no update.. Not a lot has happened since "16, been to nats banks peninsula, won the grasskhana and didn't miss a beat the whole trip (not that it was a long way) failed a warrant before hand on no horn which took me a while to figure out, turns out there was no earth strap on the rubber coupler to steering box.. Fuck knows how the horn had been going otherwise, And also the hand brake cable on these is mounted via two of these rubber bobbin mounts, they are in fact one of the things I thought would fail the re-vin on but somehow they made it all the way through 6 wofs.. *edit, also failed on the rear muffler which @RUNAMUCK kindly donated.. Multiple hanmeats, the last of which ended up with a fair distance on a potholed gravel road up the back of Hanmer in the snow and rain, the one bonus of the potholes is that my heater fan randomly started working which was terrific as every time it rains the car fogs up like a bitch.. Problem solved. That was 8 months ago..... Decided I should really give her a clean for the next wof.. My little girl was dead keen and came around the corner holding a trade spec scrubbing brush and a wire brush gagging to help, I let her do the wheels, sans wire brush of course.. In the end I did the wheels while she spayed them and me with the hose.. Came up ok, As per the story of my life nothing else on the turbo/injection front has continued because of a lack of working space and the house.. all good tho I guess, she purrs along and is out of the shit brotown weather so I'll just keep driving her as is for now..1 point
-
dragged it out of storage got a wof and some rego, and a well needed clean
1 point
-
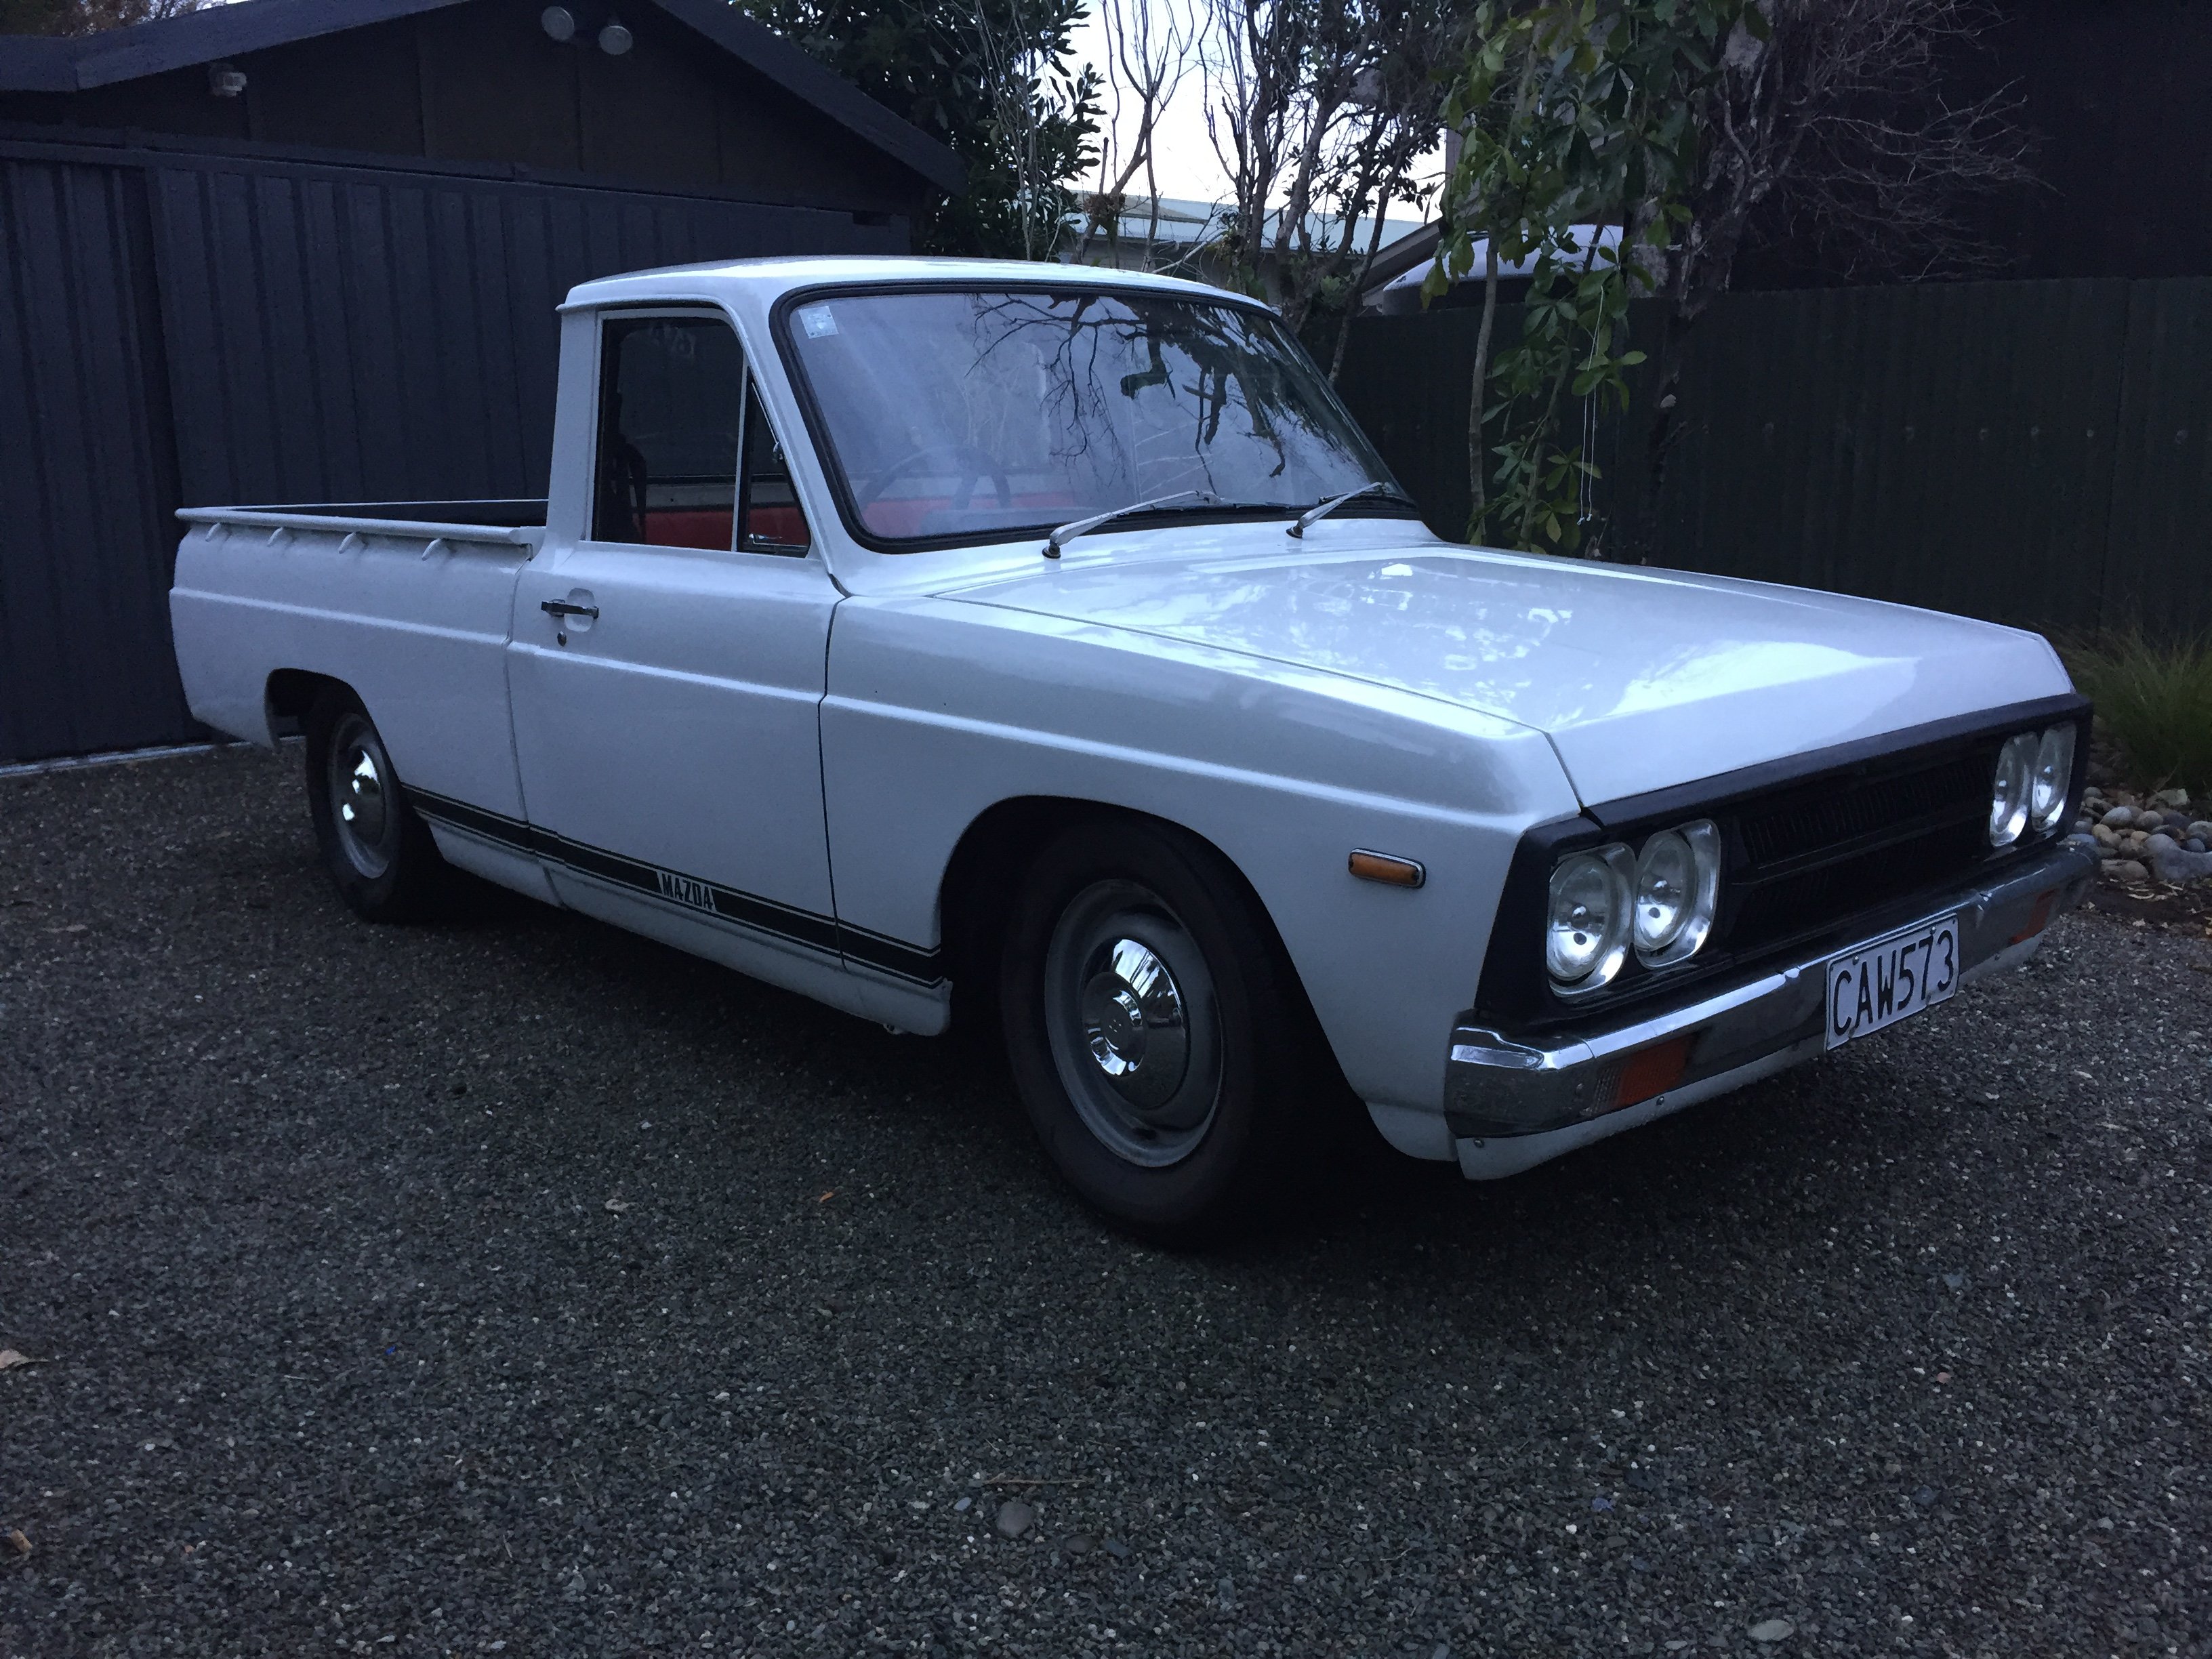
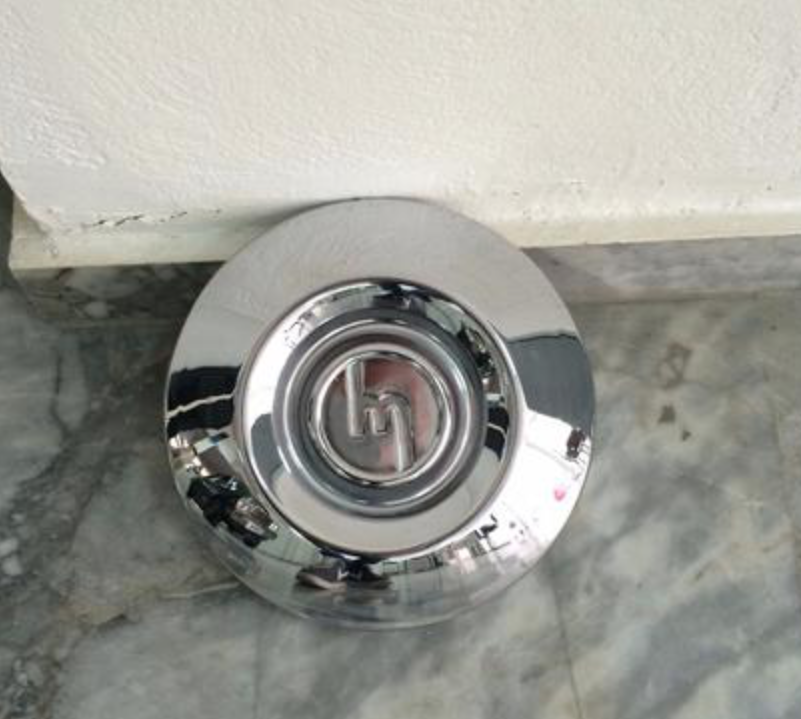
Well its been awhile since parked this up. going home for Christmas, looking forward to dragging this out and finishing off some of the odd jobs left to do on it. also managed to find a full set of NOS mazda chrome hubcaps have been keeping an eye out for a set of these for such a long time pretty stoked to have found some. hoping to tidy up the interior when get back, re-cover the door cards and dash and maybe clean or paint the hood lining or replace it. also want to weld up the hole someone cut to put a head unit in the dash and then put the original stereo blank back in.
1 point
-
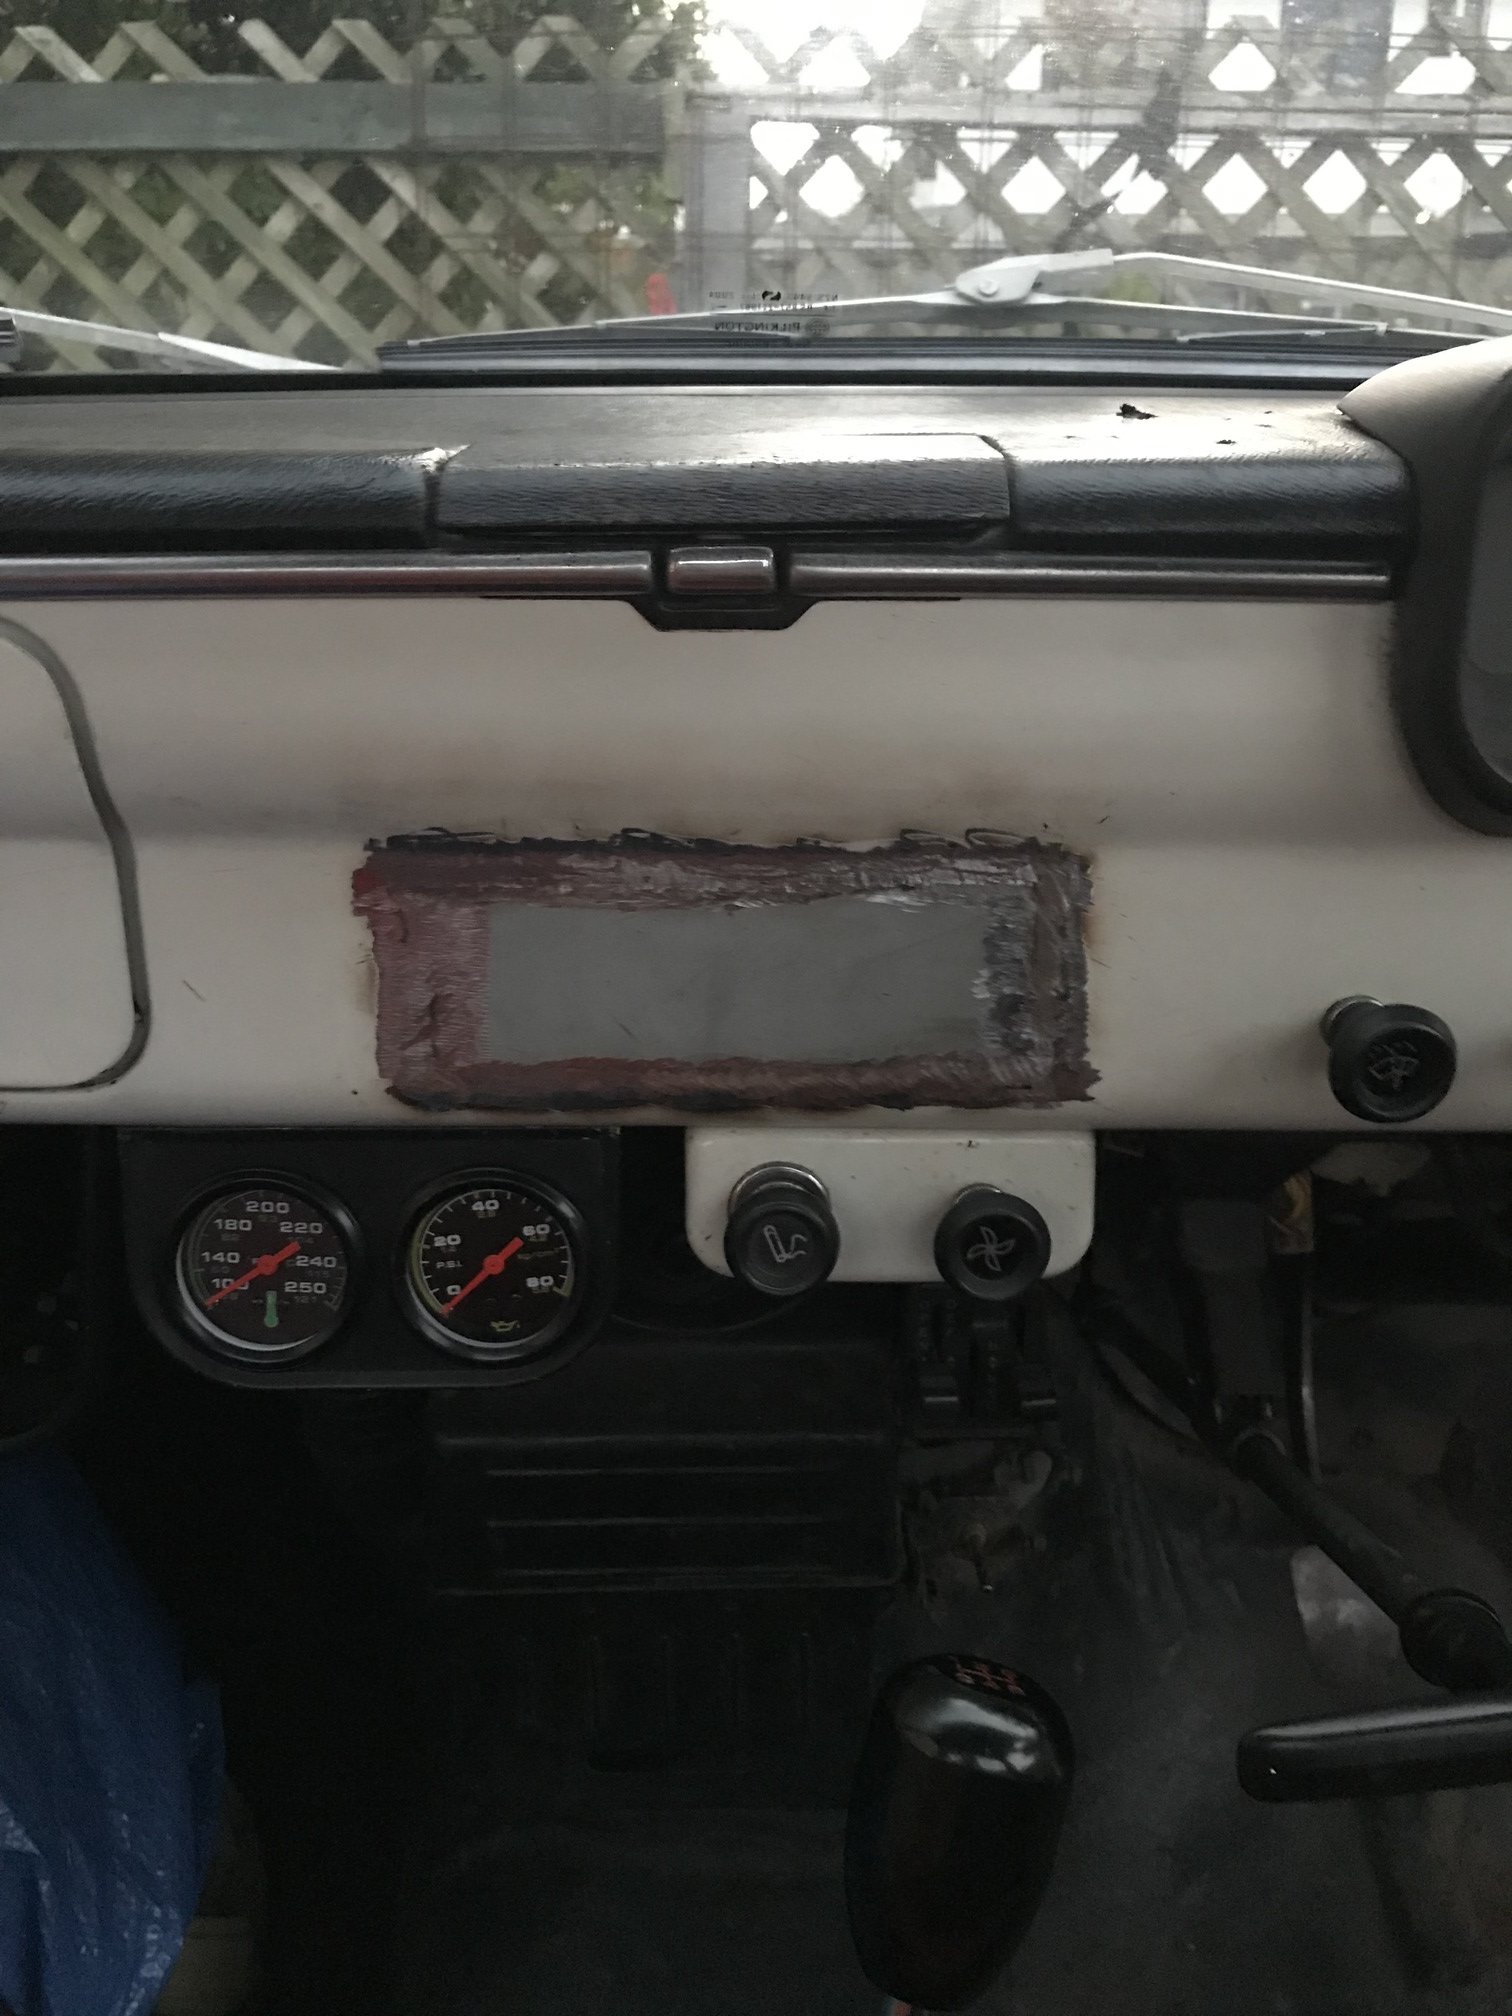
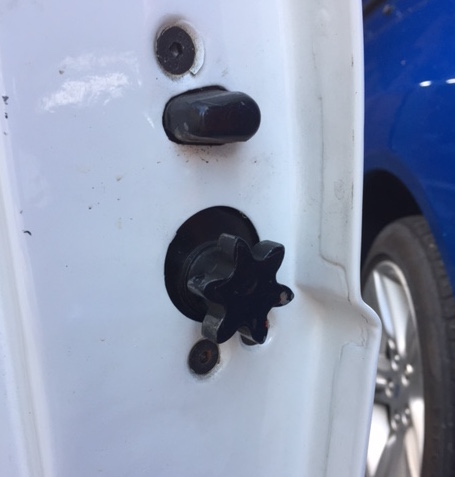
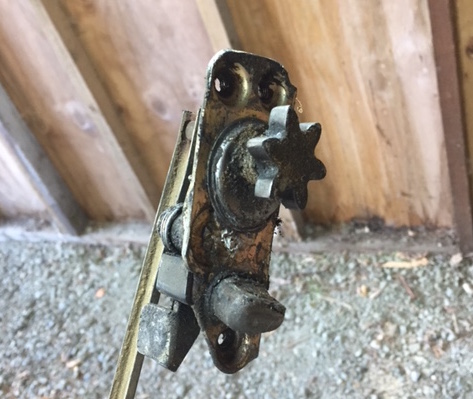
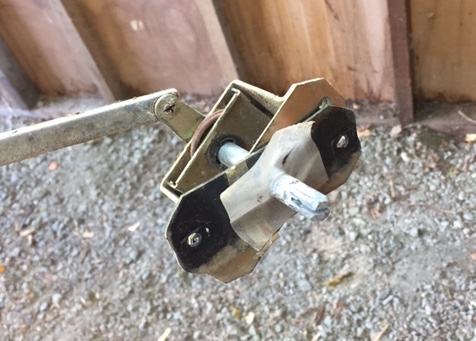
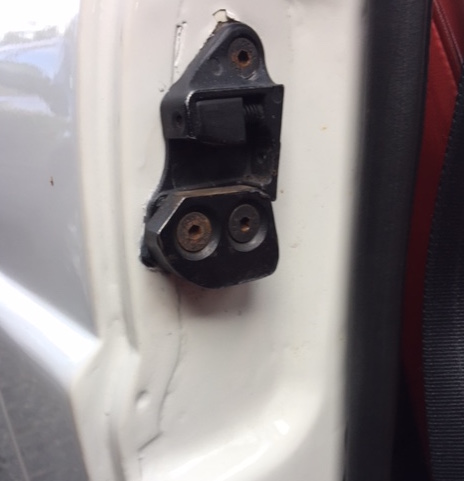
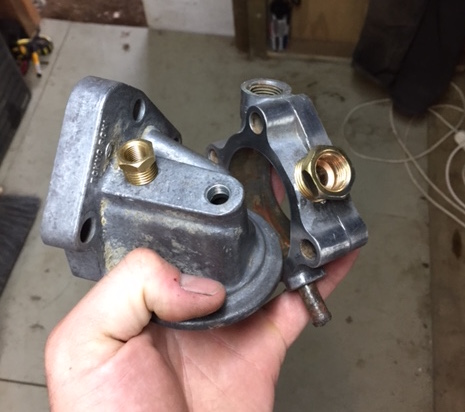
been trying to do a few little jobs on this after driving it for a few weeks, these bloody door latches are shit and slogged out with lots of play up and down and side to side so you have to dam near slam them to get it to latch, so i have dragged out my spare doors and pulled the units out of them and i was pretty stoked to find the passenger side is tight as and the drivers has minimal so might chuck them in and hopefully can adjust them up nicely now the rubbers are starting to find their shape. also I made a cradle for the stereo and mounted it under the glove box, just need to run the wiring for the speakers and finish making the new door cards to mount the speakers and get them recovered hopefully in a similar red to the seat and then get the new kick panels cover in black. have mounted twin gauges under the dash for extra piece of mind on oil pressure and water temp, i wanted to keep the dash oil light and water temp so dragged out spare thermostat housing and oil filter housing and have had them drilled to fit the new gauge fittings leaving the original sensors in place, when i dump the water to put some antifreeze in and dump the oil now the engines done a few kilometres ill swap the housings over. really need to get the new steering column bush in, I'm getting sick of the rattle!
1 point


This leaderboard is set to Auckland/GMT+12:00