
Leaderboard


Popular Content
Showing content with the highest reputation on 07/09/19 in all areas
-
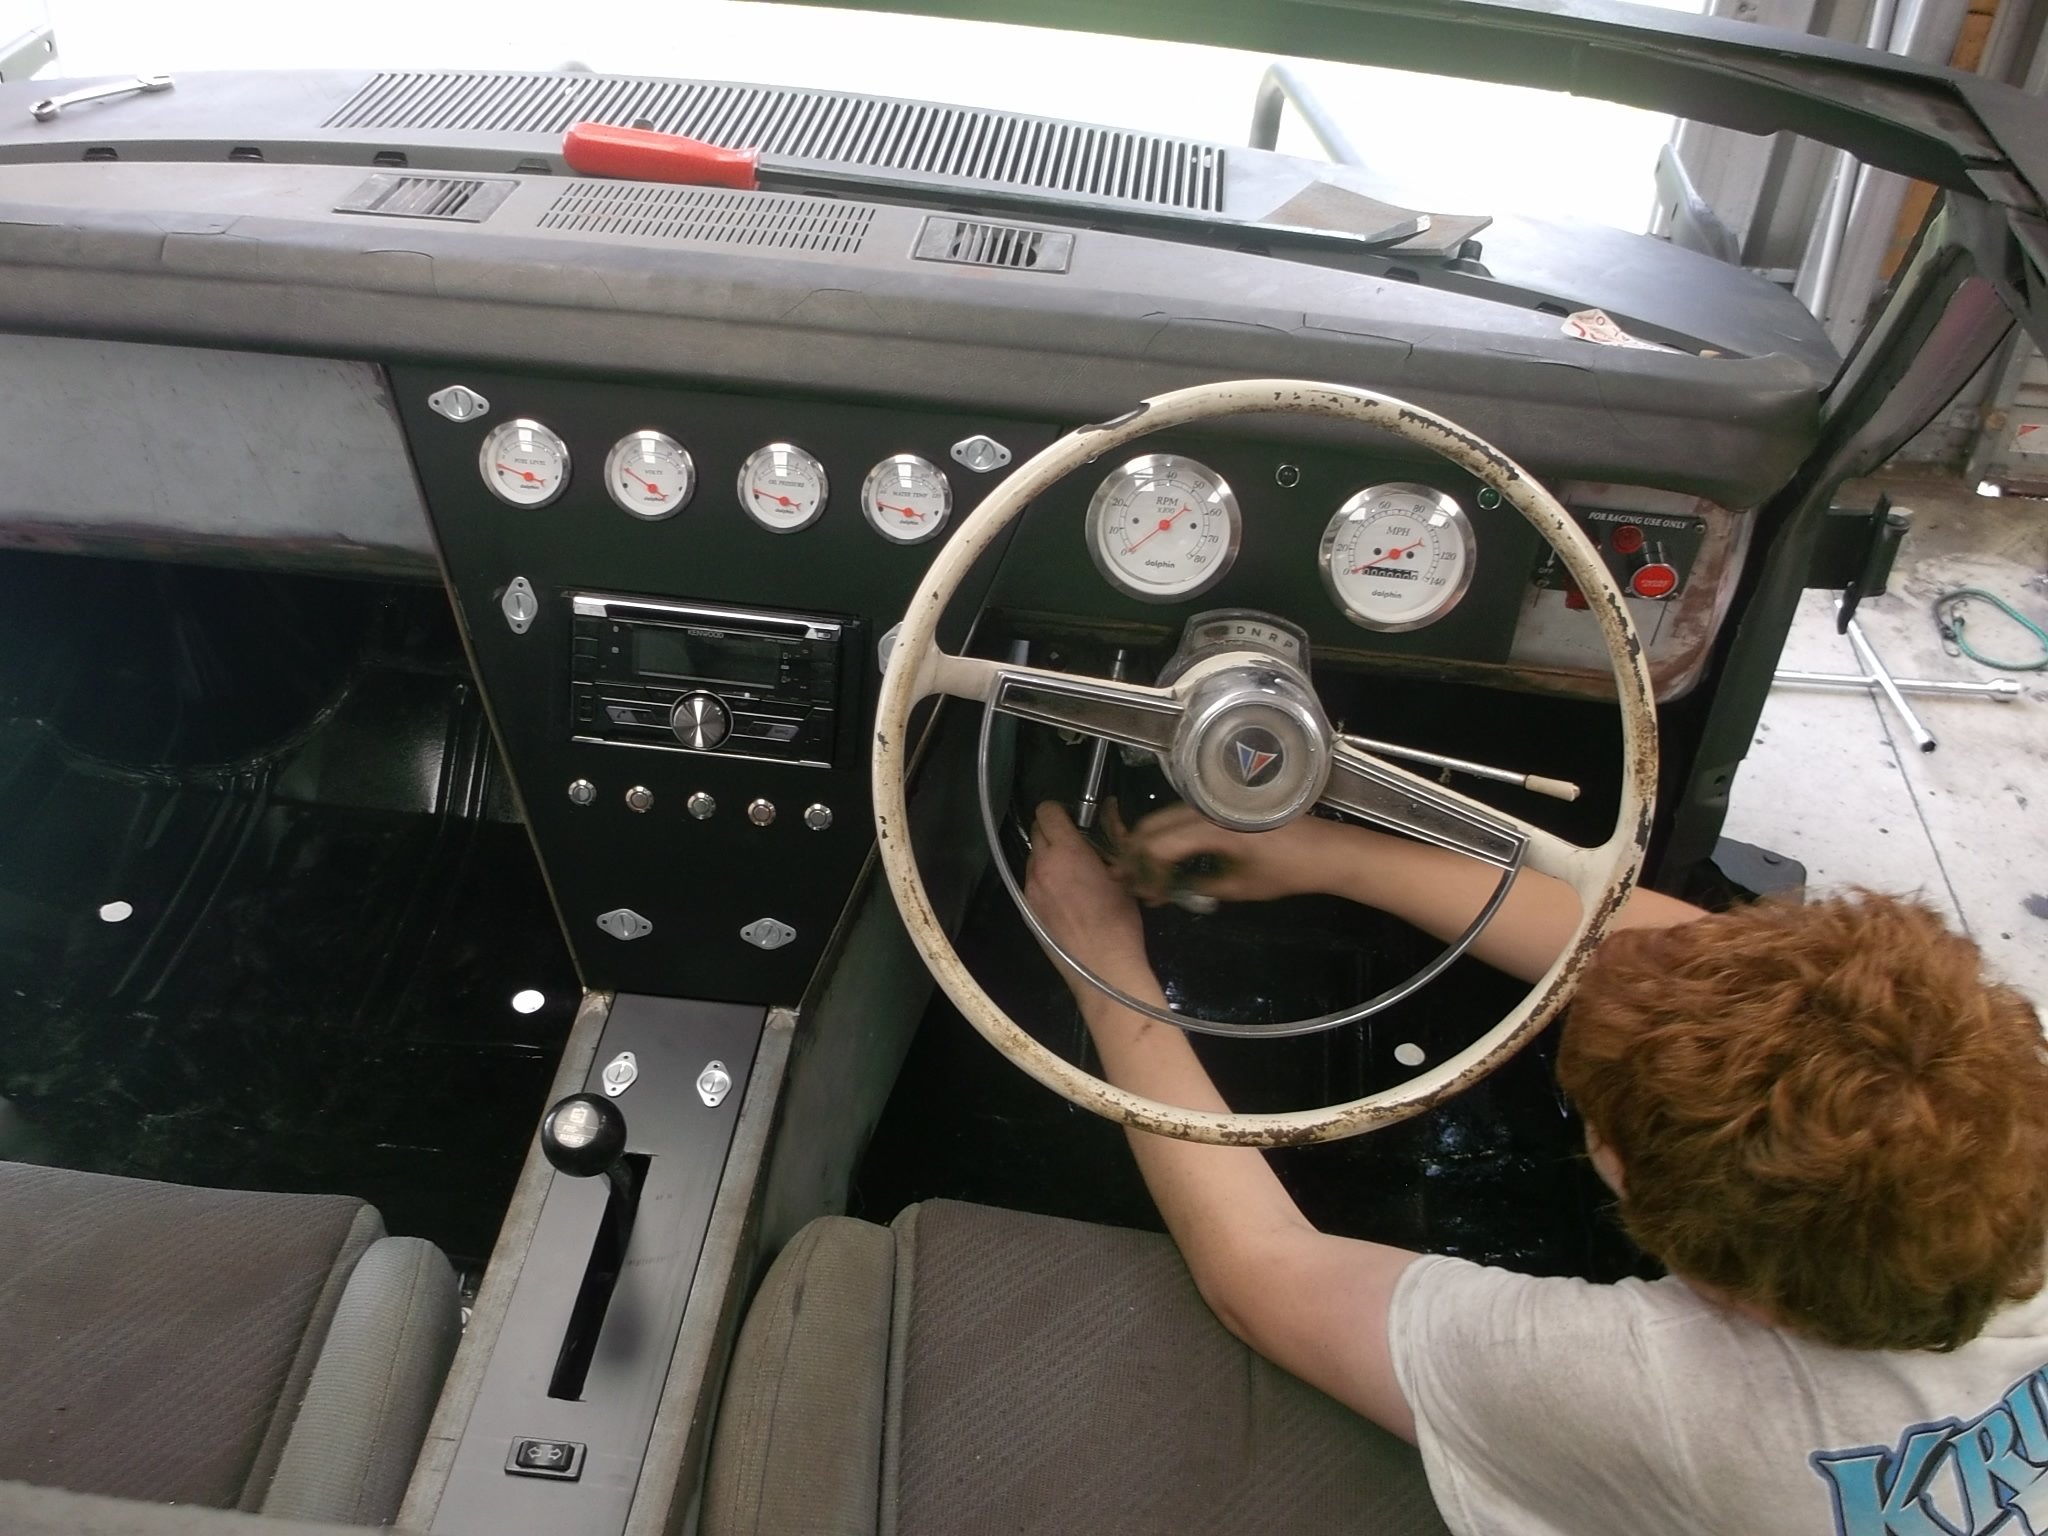
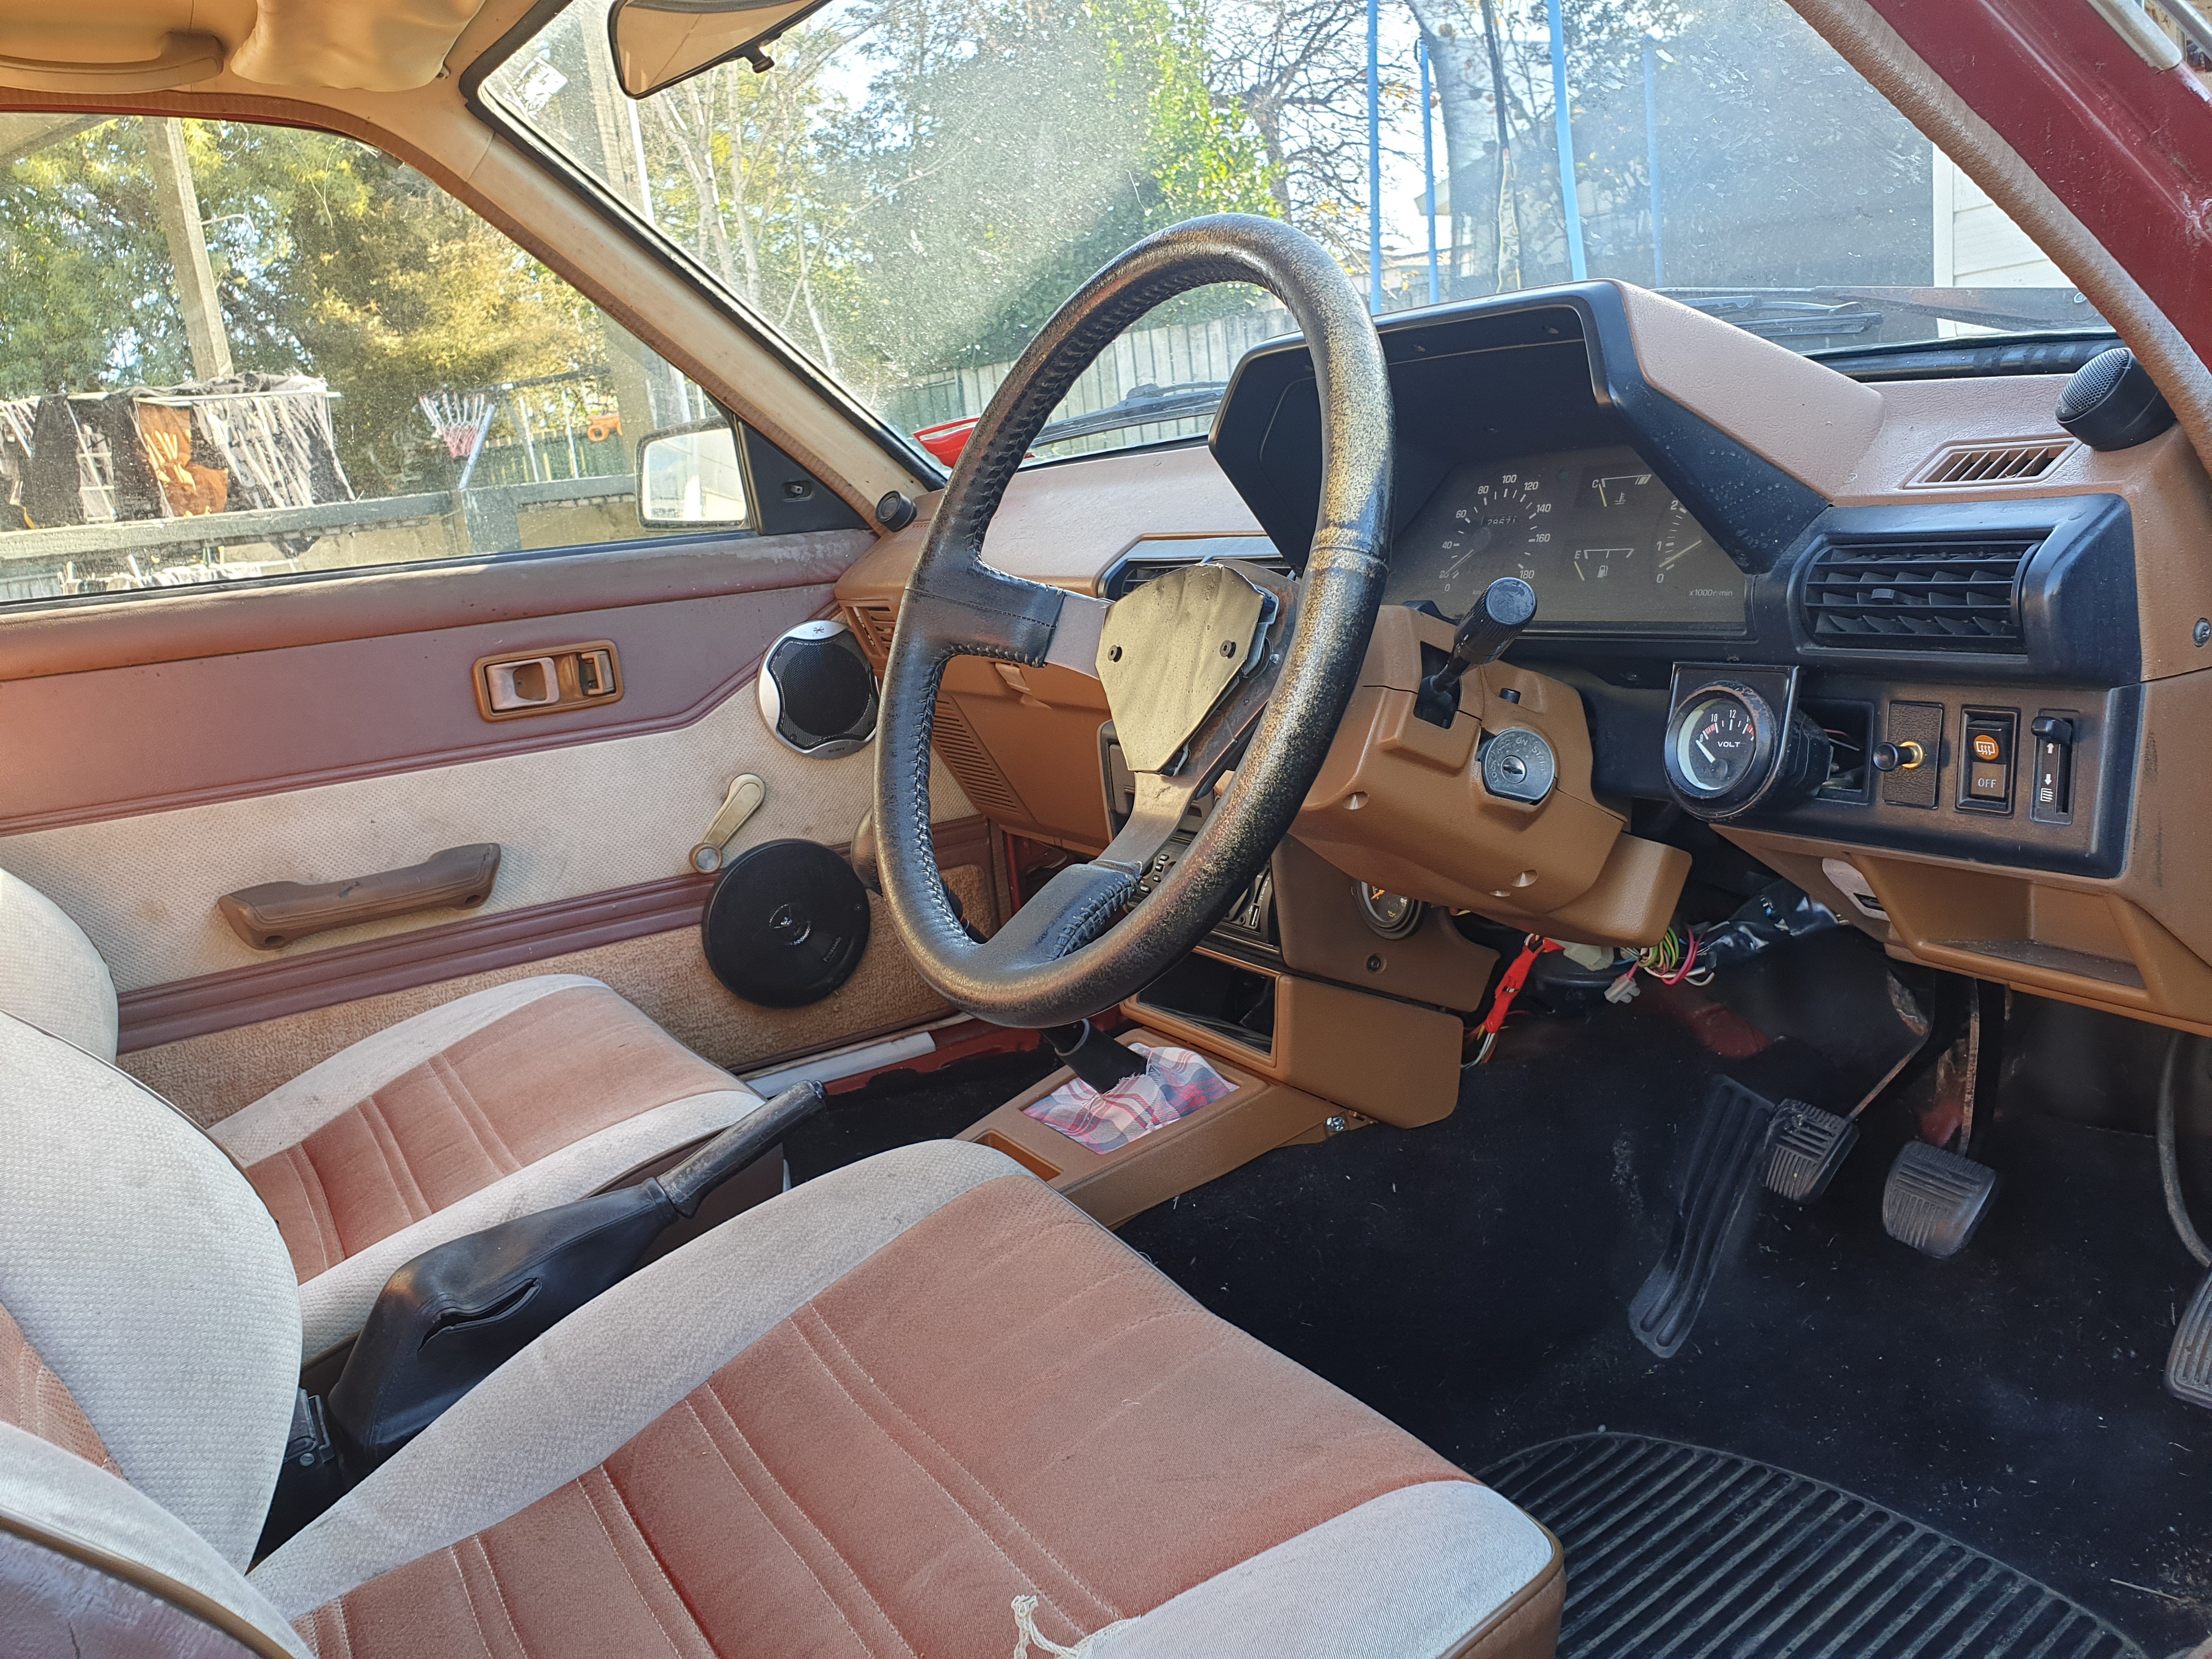
better shot of the dash. rear parcel self remade to fit around cage .383 painted
 12 points
 -
Drove it to work. It did not blow headgasket
11 points
-
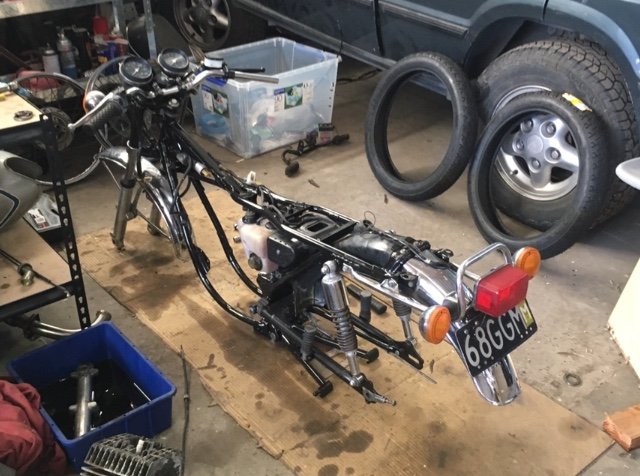
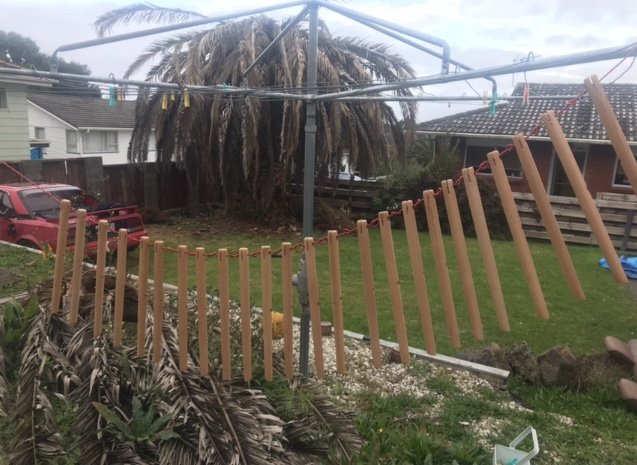
A couple of years back I bought a YSR50 with a TS185 engine transplant, half complete, from an estate garage sale; it may be the best value purchase of my life. I haven't touched it, never got it running. After reading about the upcoming Urewera Undertaking, I knew it was time. The factory YSR frame is only rated for 65kgs and I weigh more than that... I'm also looking at a horsepower increase of something like 240%... and I should probably make some kind of concession for the gravel. So there's a bit to be done. Step one, amalgamate the looms and achieve stable idle voltage. Step B, celebratory burnout. Watch this space.
9 points
-
Day two. No asplode
8 points
-
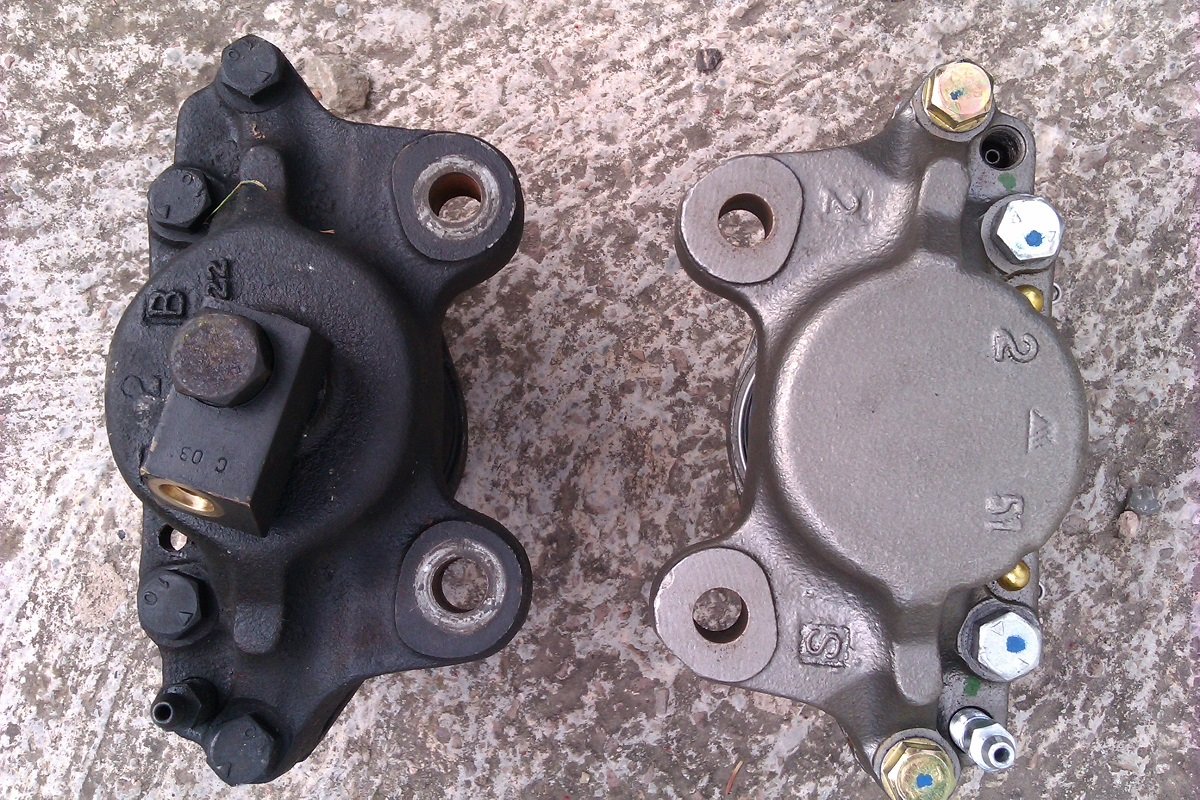
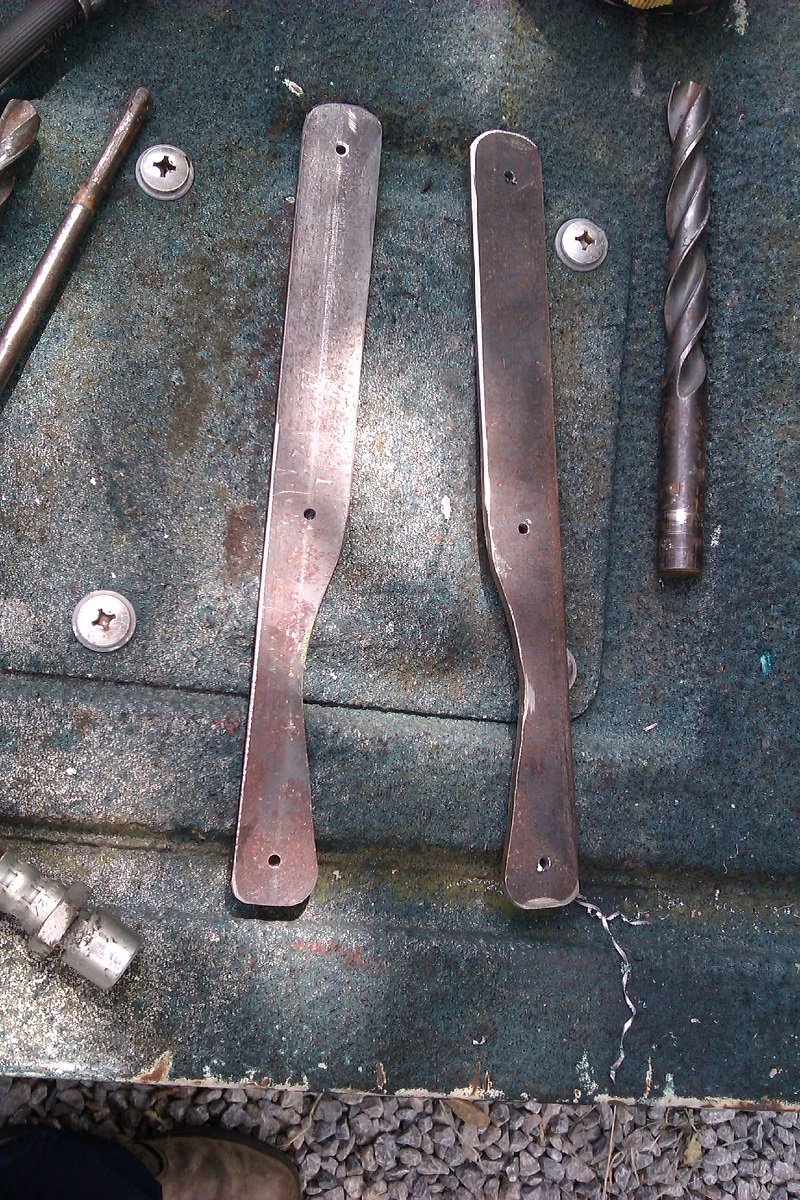
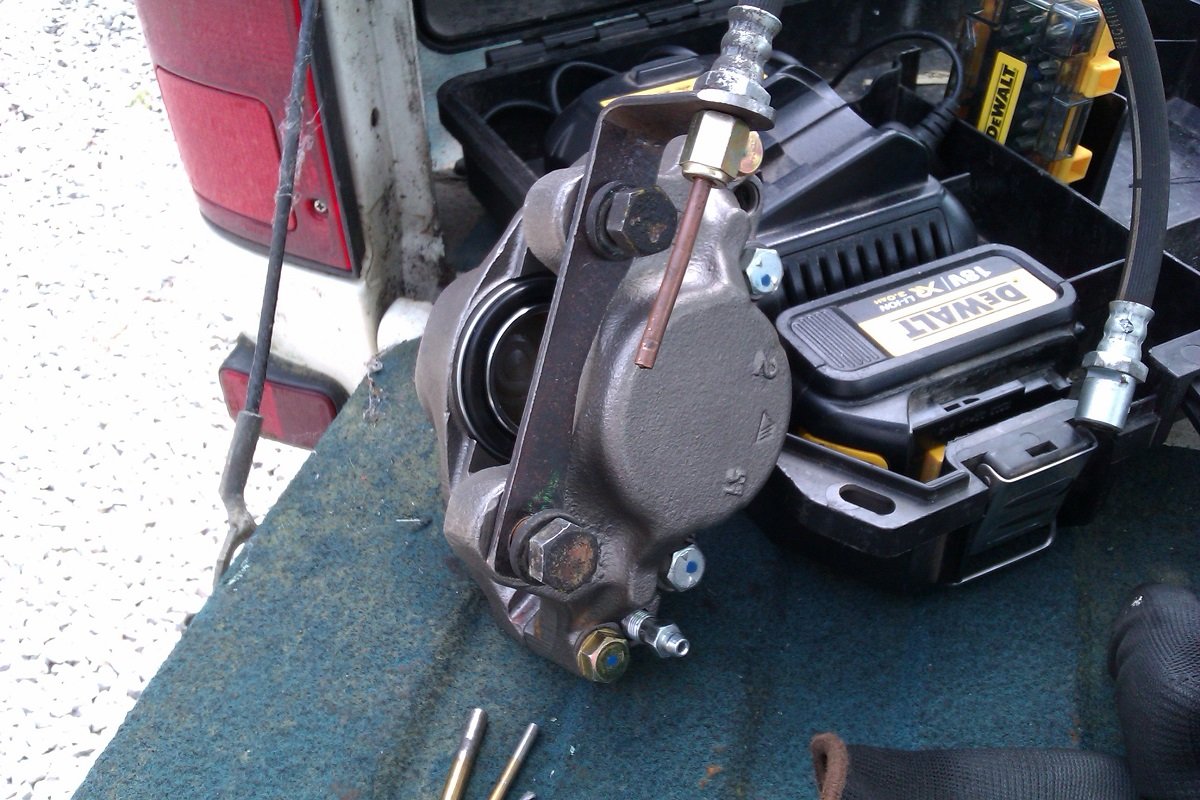
Monday afternoon shenanigans As mentioned the new calipers differ where the pipe goes in. Aftrer a bit of thinking I decided to stick with the standard flexi hoses but extend then using hard lines. This means I have to put a small taper into the end of the flexi hose and make upsome brackets to support the join. Given my usual level of bodgery, I'm quite glad how it looks so far. Pics... Same/not the same A bit of 3mm off-cut I had kicking around. Cut and cleaned up. Trimmed to clear the calipers. This was plan "A" on the length, I cut them back to clear the bumpstop mount. Measuring up for the hard lines. Finished off with a coat of "Sump disaster" red, hopefully the curse won't follow it... Making up the pipes later so hopefully all back together by the end of tomorrow. Woo-Hoo
8 points
-
Bike prep is going good. Might take it for a test ride this weekend And by ride I mean sit on it and make nang noises
6 points
-
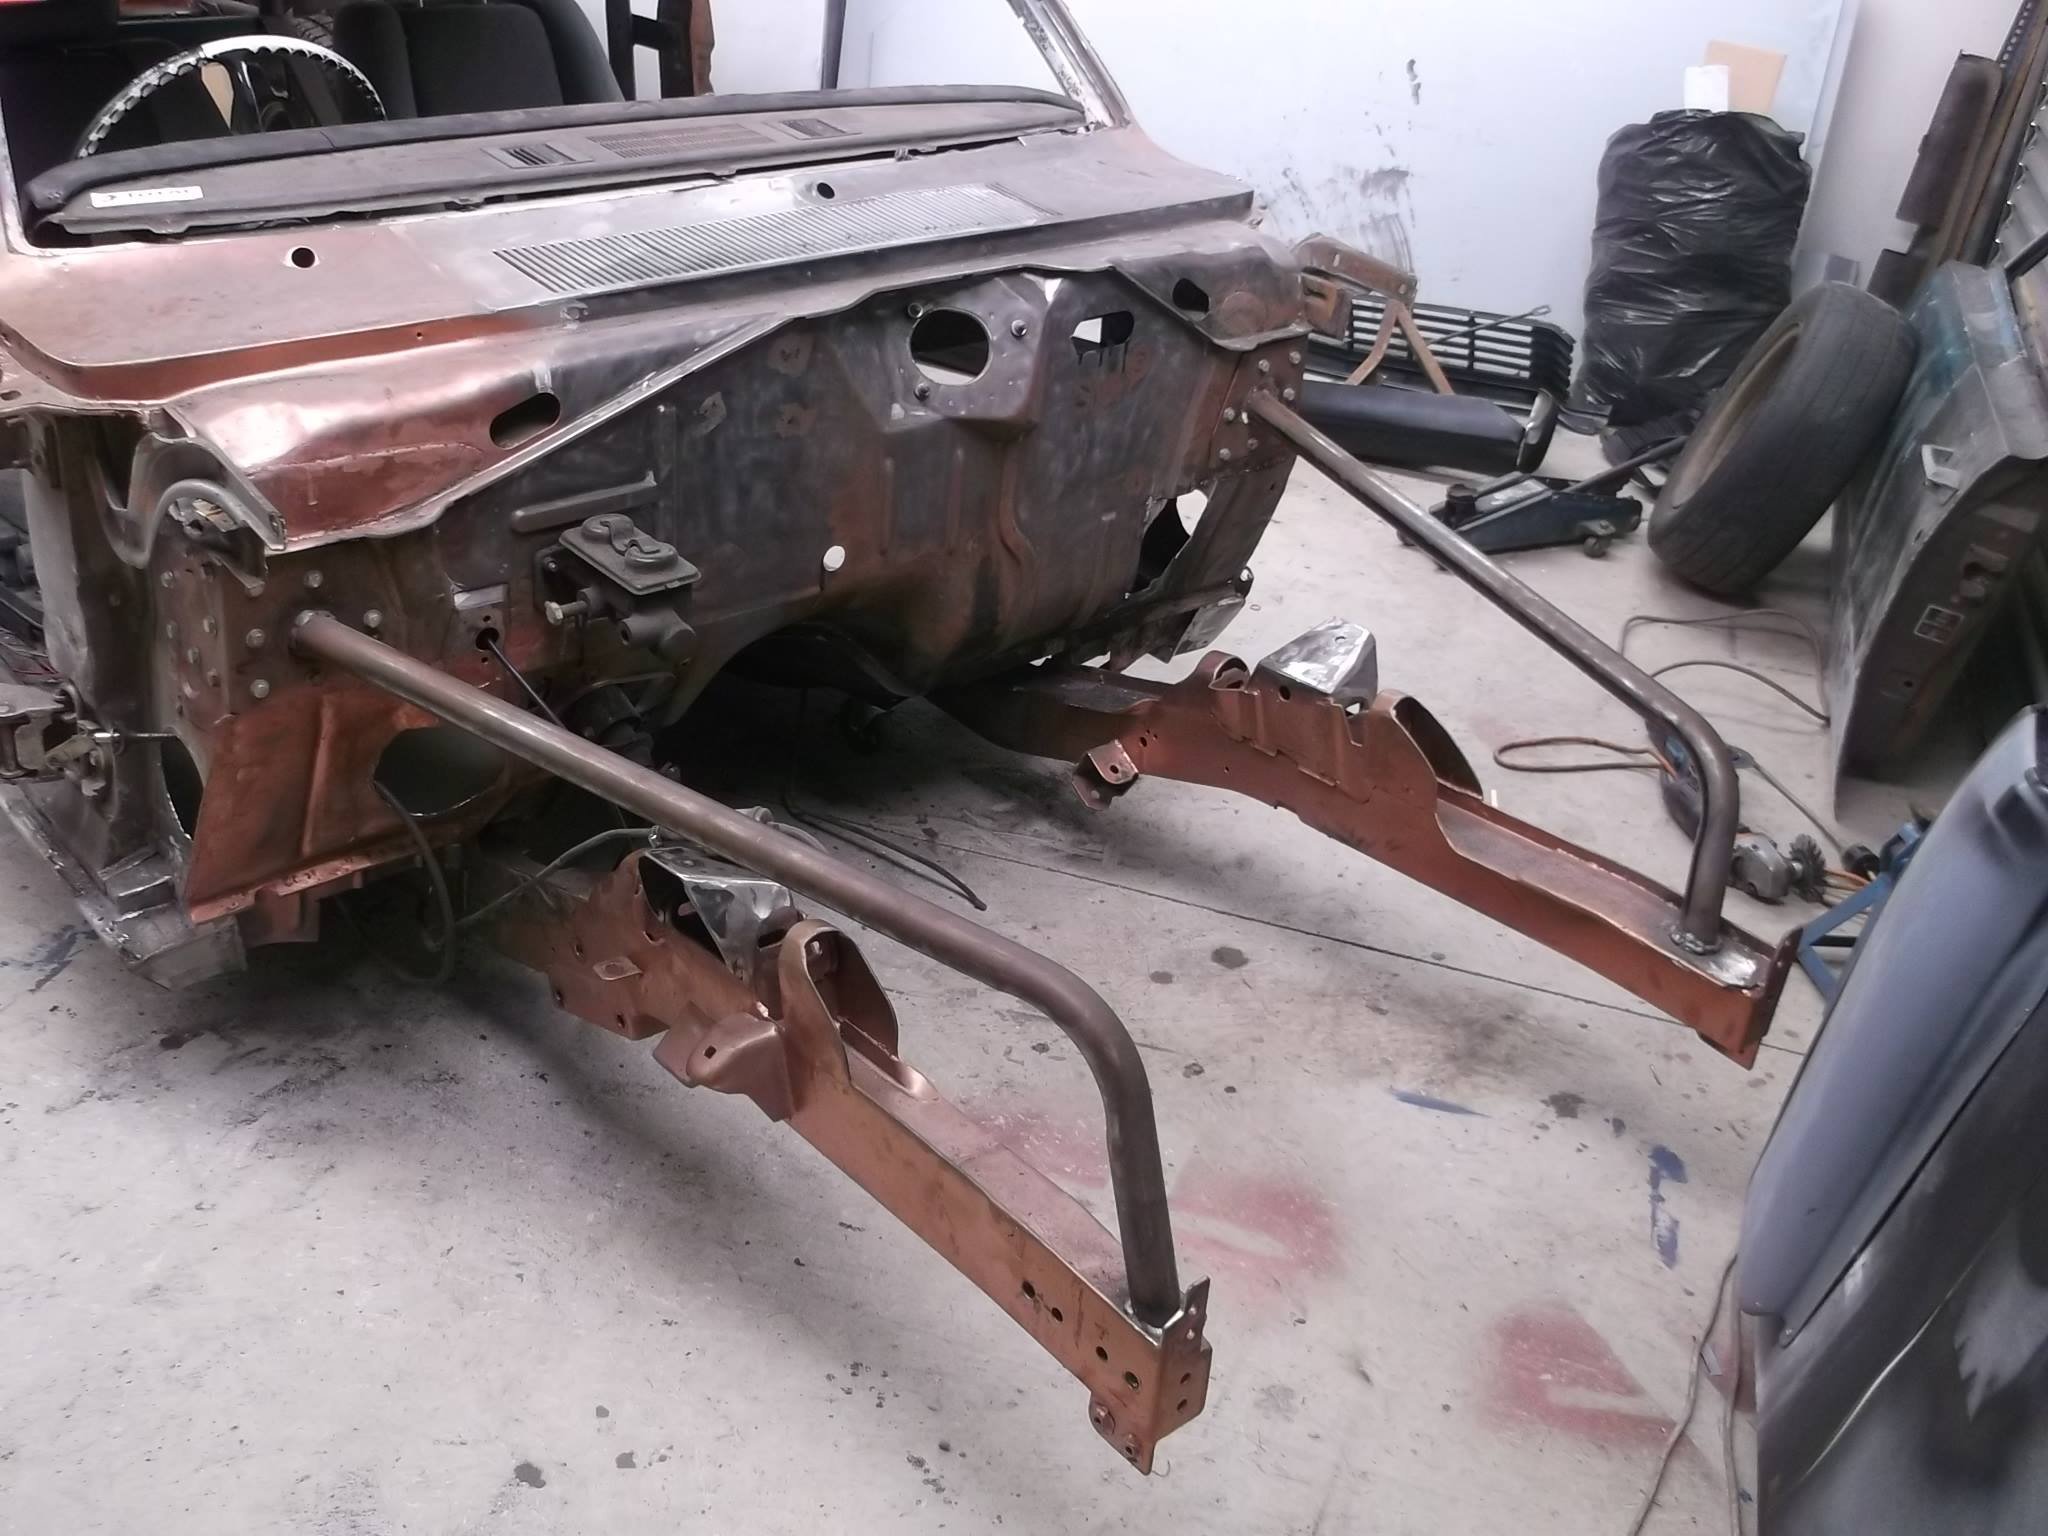
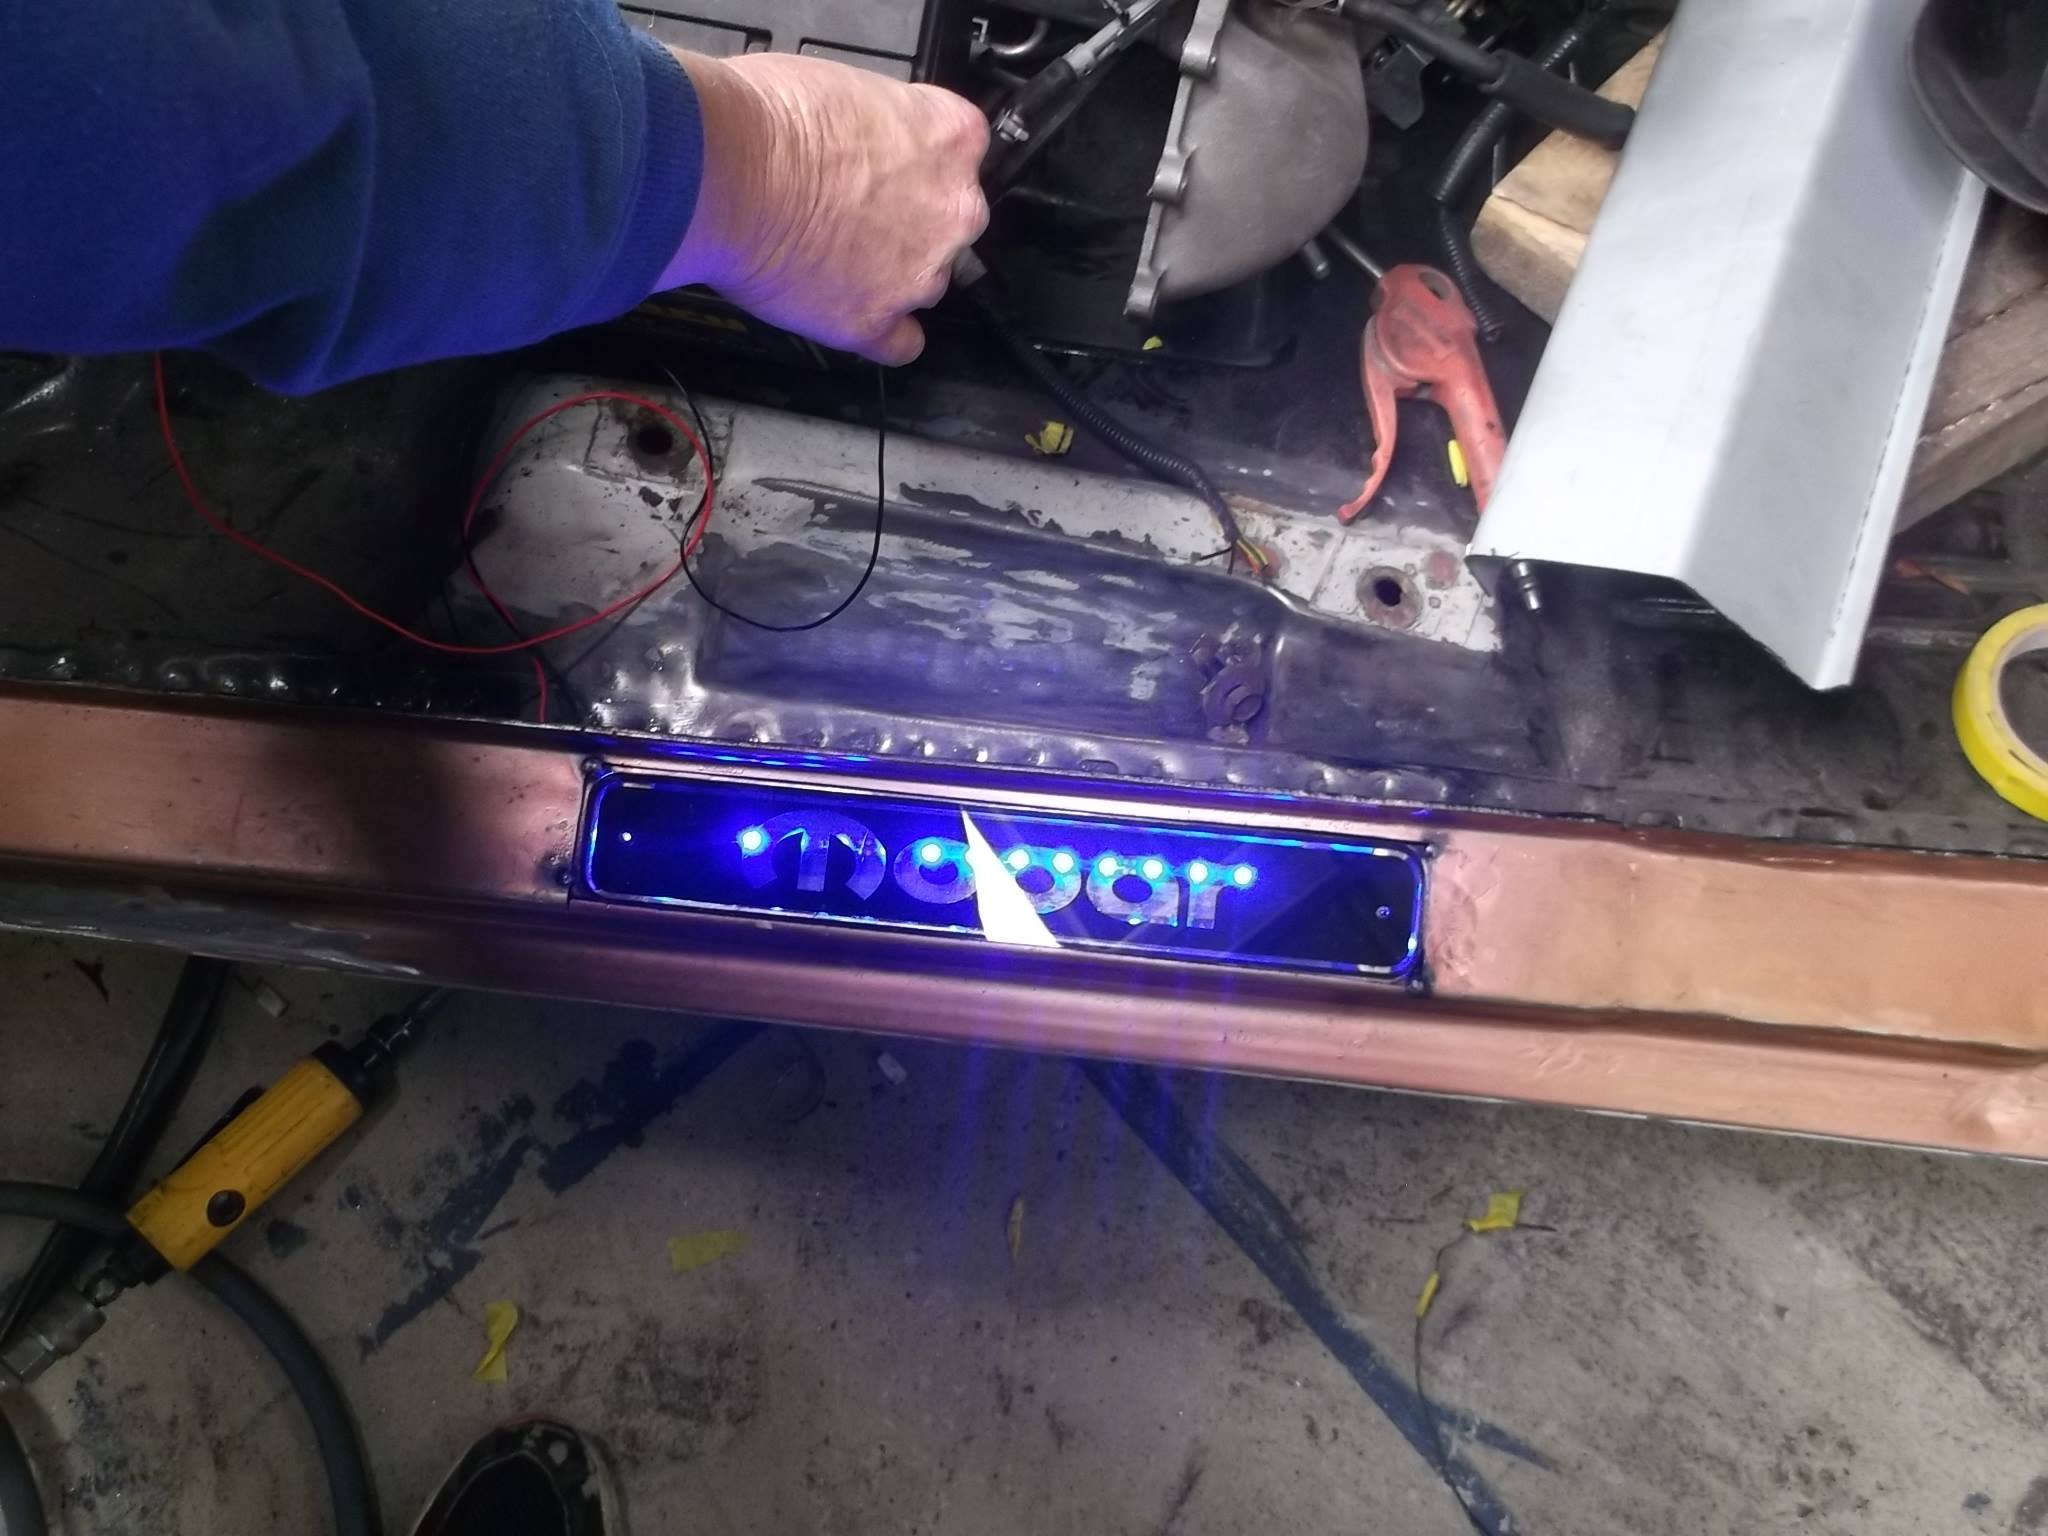
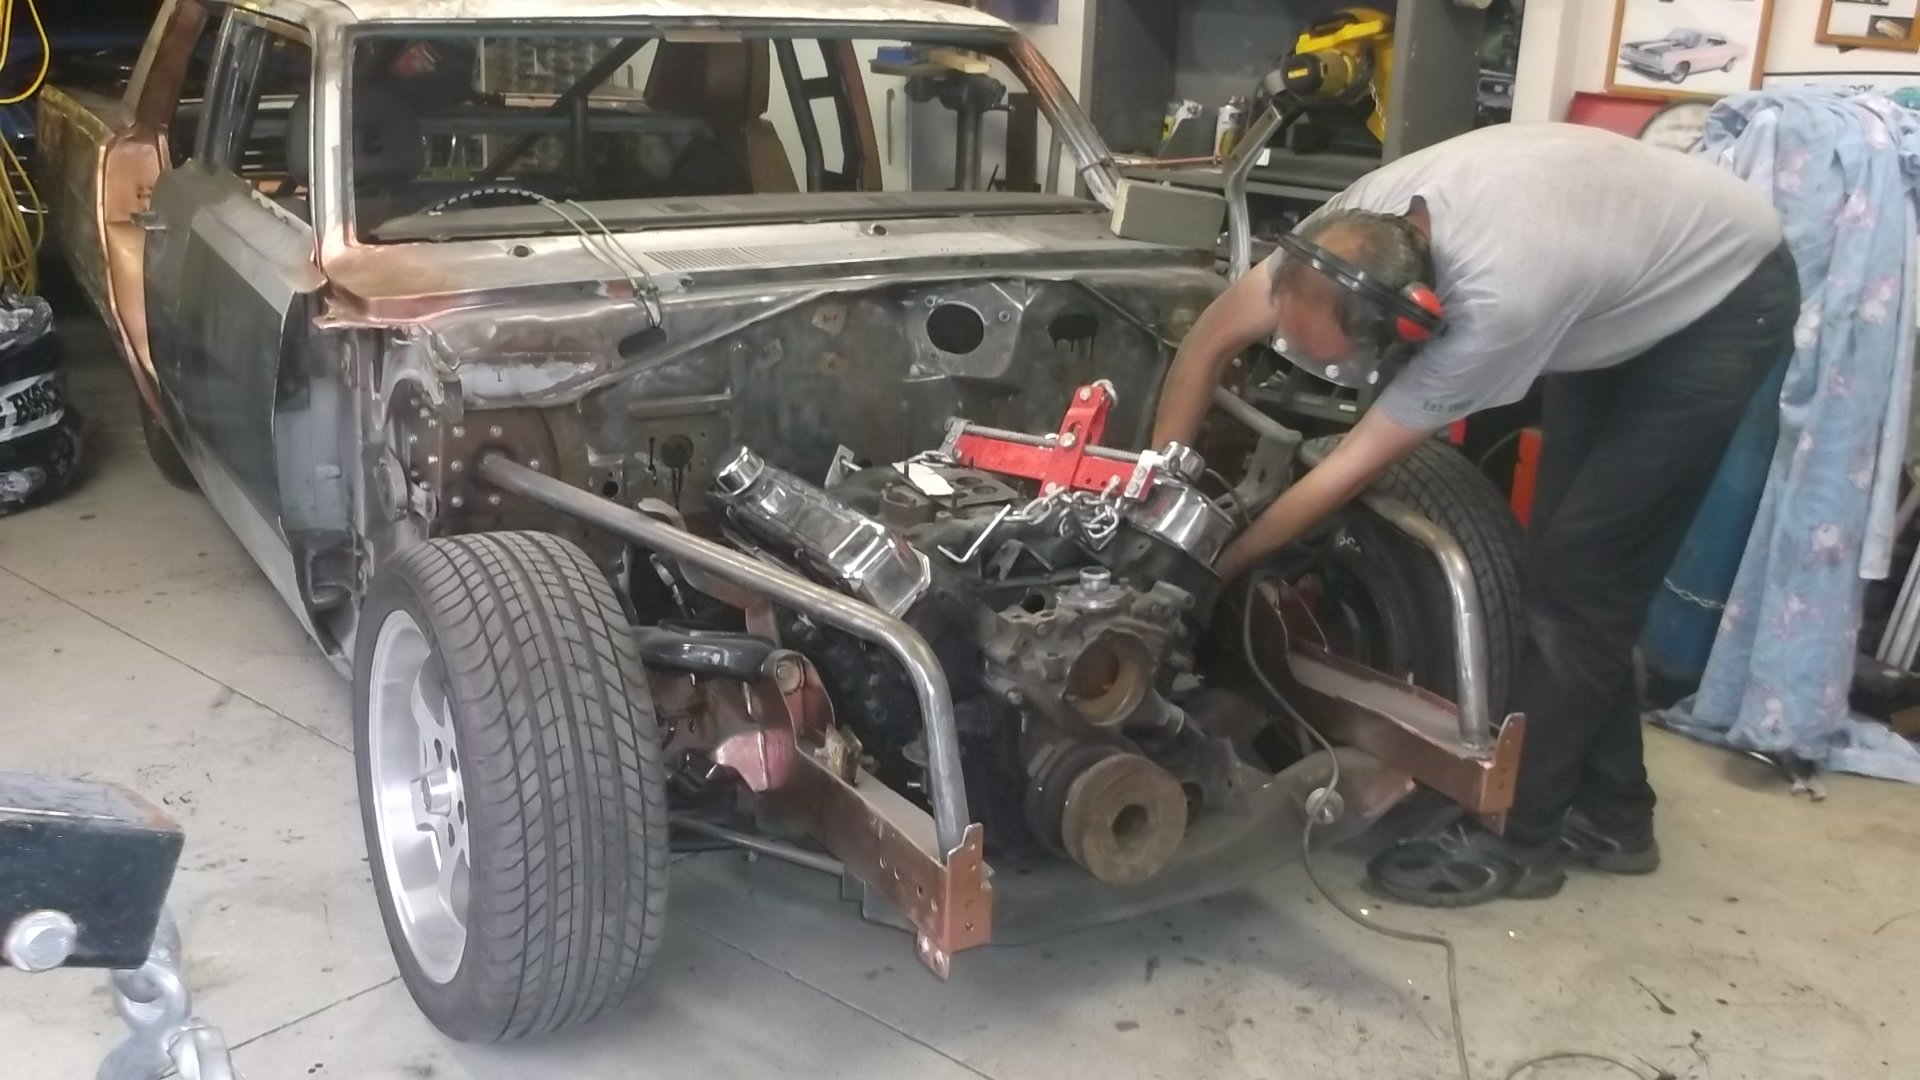
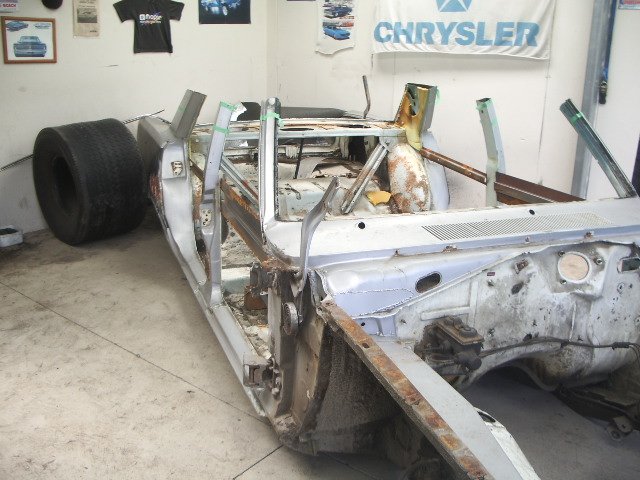
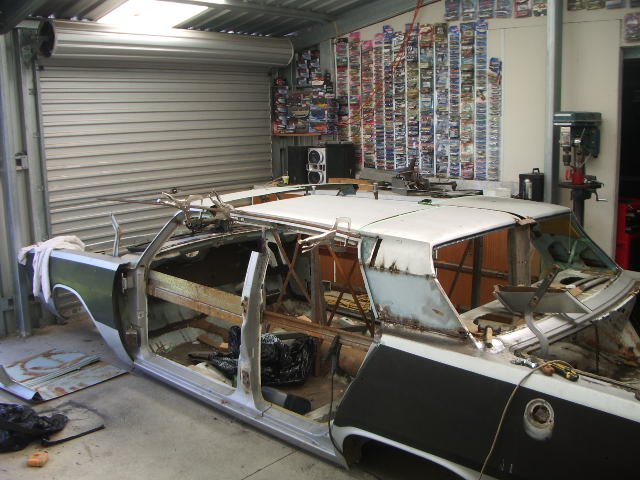
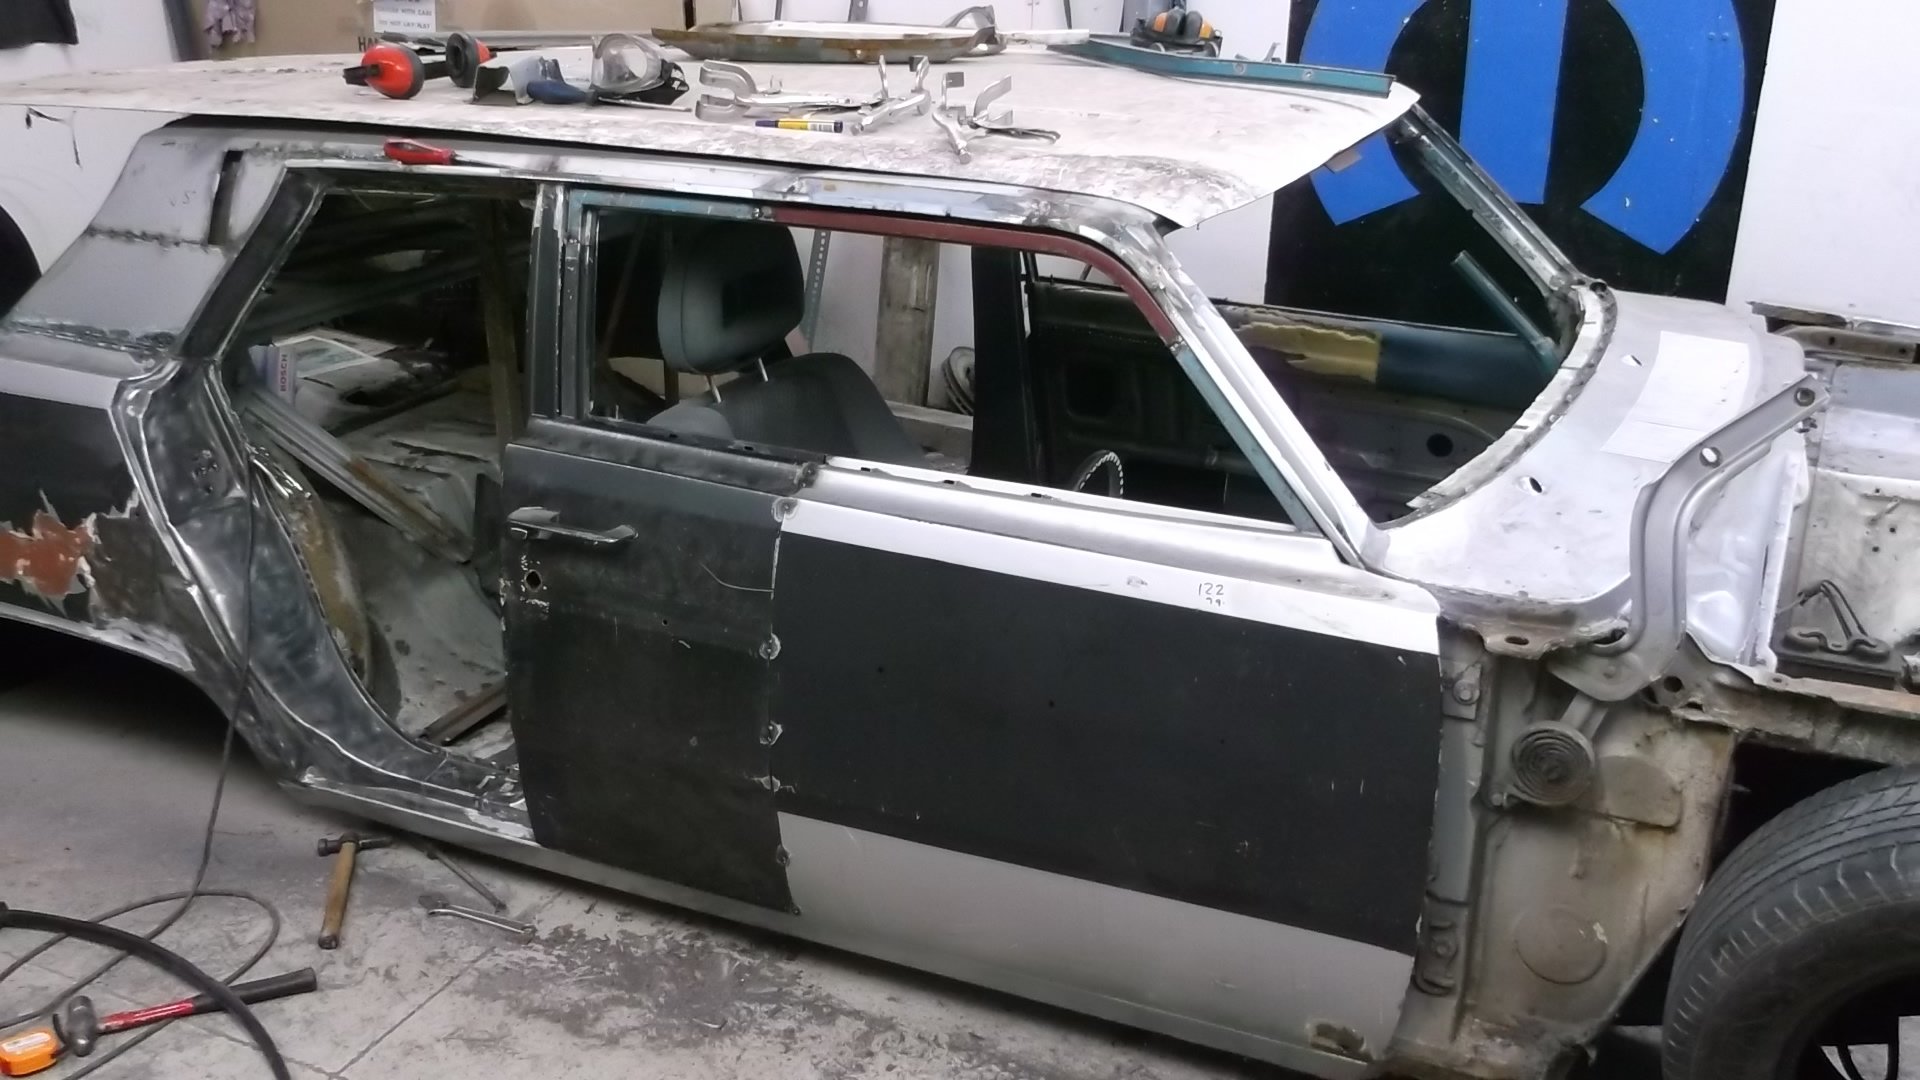
early on i cut all the inner guards and front panel off ,makes it real easy to fit motor in and out , front panel bolts on now . put some lights in the stills so when you open the doors the mopar lights up . the front panel with the colour the car will be ,and all chrome blacked out
6 points
-
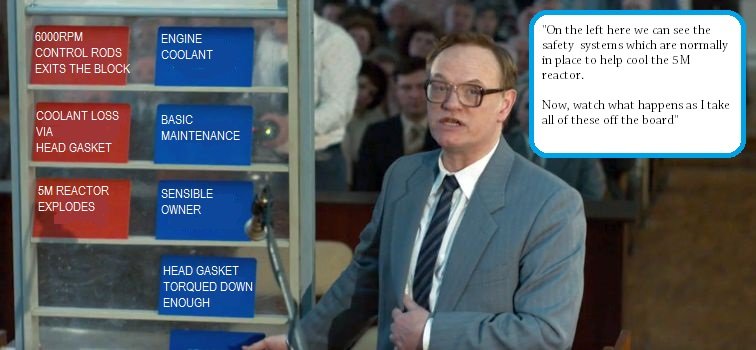
"What does the meter say?" "95 degrees Sir" "Not great; not terrible." "Sir... thats as far as the needle goes on the dash" "The digidash can read higher. Go get the one from yahoo auctions"6 points
-
"At the Toyota meet in Geneva you told us that it was user negligence that caused the failure." "The Toyota Warranty department pressured me to lie" *crowd gasps* "Although the users were highly irresponsible, ultimately the cause of failure was the graphite material on the tip of the gasket. When the waterpump speed falls below 500rpm, as per their test, any increase in con rod speed with blow the graphite into the exhaust and an unstoppable thermal reaction begins." "So turning the heater on would not help cool the engine, as per protocol?" "It would turn the heater core coolant straight into an explosive gas further destroying the gasket" *crowd gasps* "Order! Order! Please continue. Why was it designed this way?" "Same as everything else on a 5M-E! To save money! Every other company use higher torque on the bolts and a multi layer steel gasket!" *crowd gasps*6 points
-
10/10 series and production. Any series that can convey nuclear engineering & more principally physics to the public and get people engaged is doing well. The associated podcasts for each episode are a great listen if you haven't already, link below if you want it! Podcast Ep 1 But uhh yes, back to regular programming. I found a useful post by an MS112 owning minkara user who I follow. He 'ported' an MS110 digital dash into his MS112 and reckoned it wasn't hard. No confirmation re: plugs but I assume they aren't the same. If it's anything like my old GX81, plugs will be different (and I'm expecting them to be). No word on fuel senders tho, on my X8 they were different so it could be so in this case.. How good does it look with added green LEDs for that Cherenkov-esque glow hahah5 points
-
Such a great series! Errrr Chernobyl that is. Not M series5 points
-
"You didn't see coolant on the driveway because it's not there!" "Perhaps you saw water from the AC?" This could go on forever. Parallels between nuclear reactors and M series are too good lmao Side note, I'll be sure to pour sand and boron on my M when it blows up5 points
-
I made this just for this thread. Some Highly enriched original content.. enjoy5 points
-
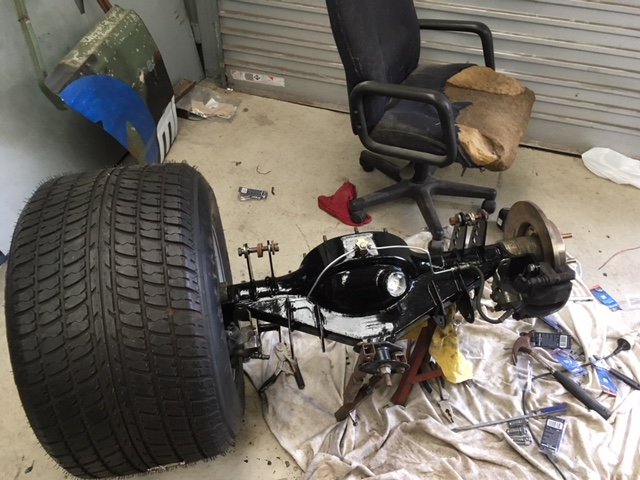
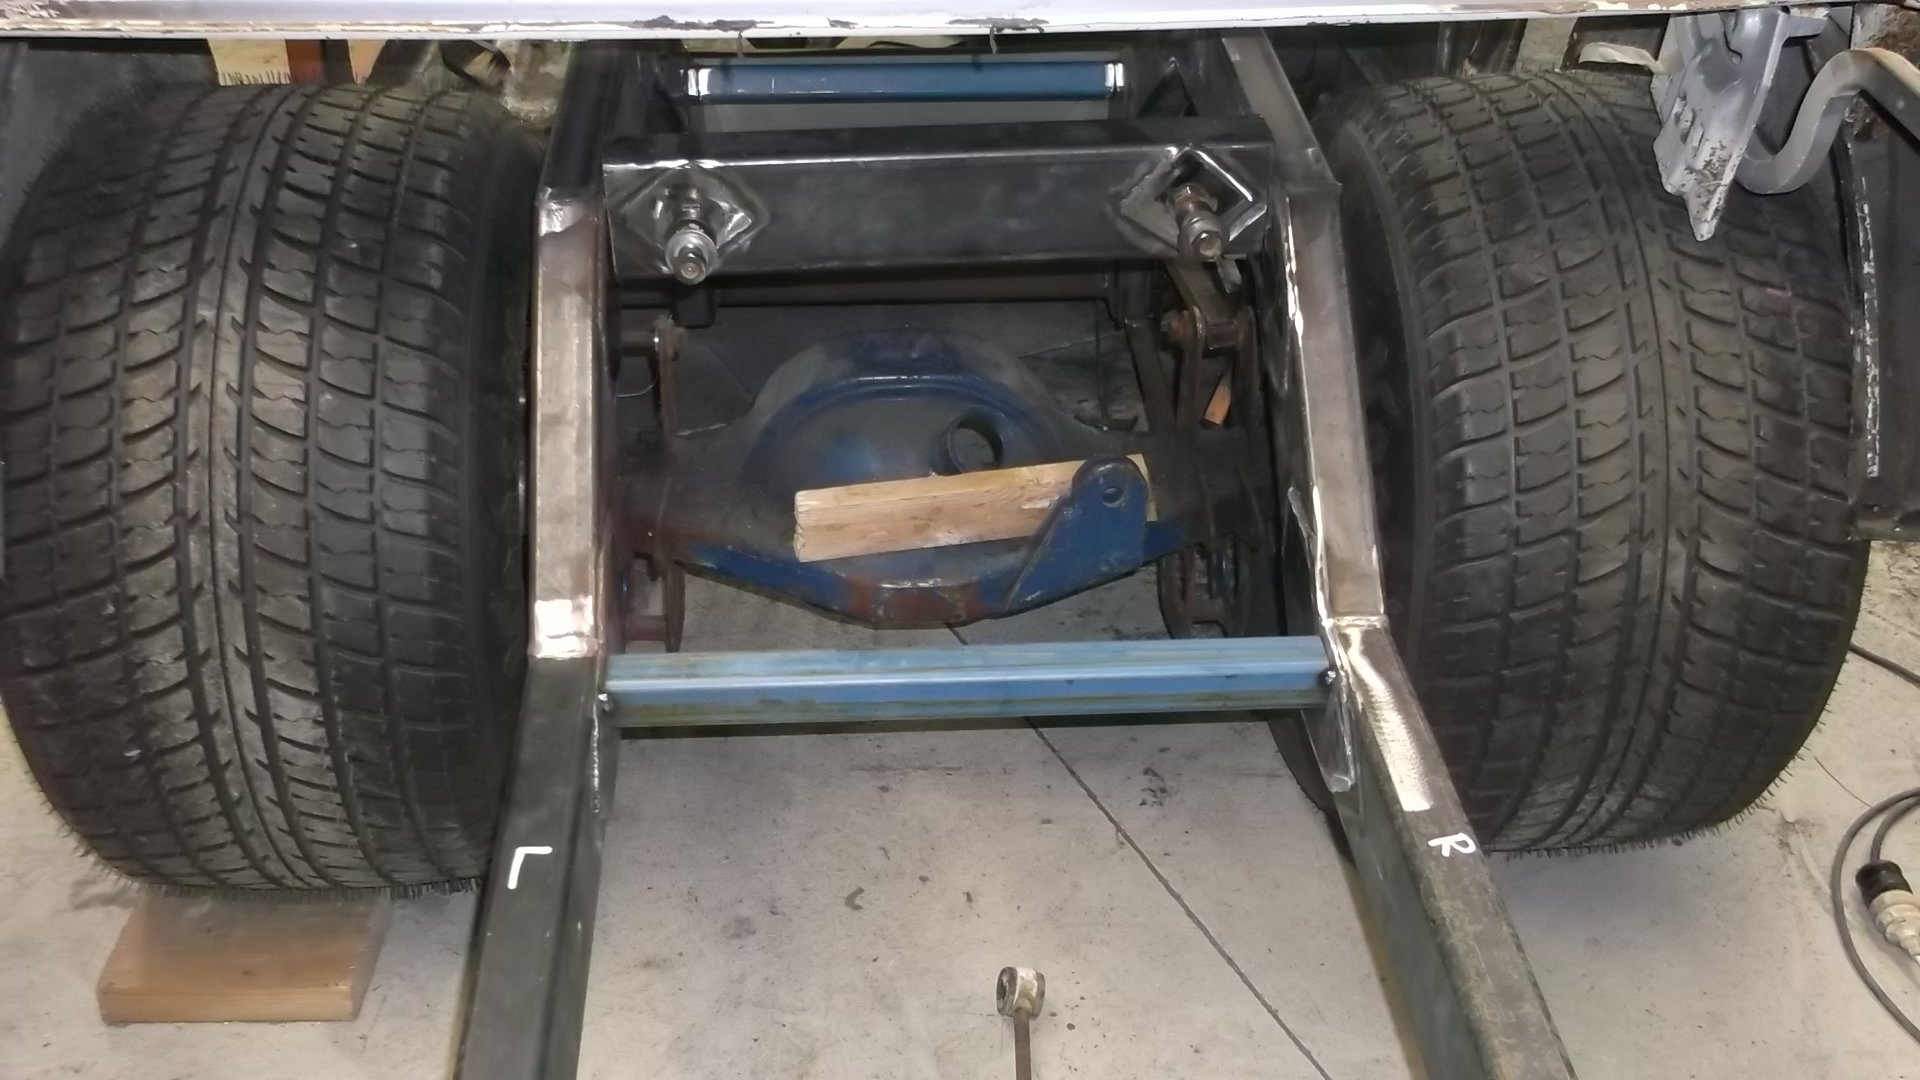
diff and rear wheels,and rool bar and rear legs in
5 points
-
vip rear window .out getting some sun.covers for gas sturts for boot
4 points
-
4 points
-
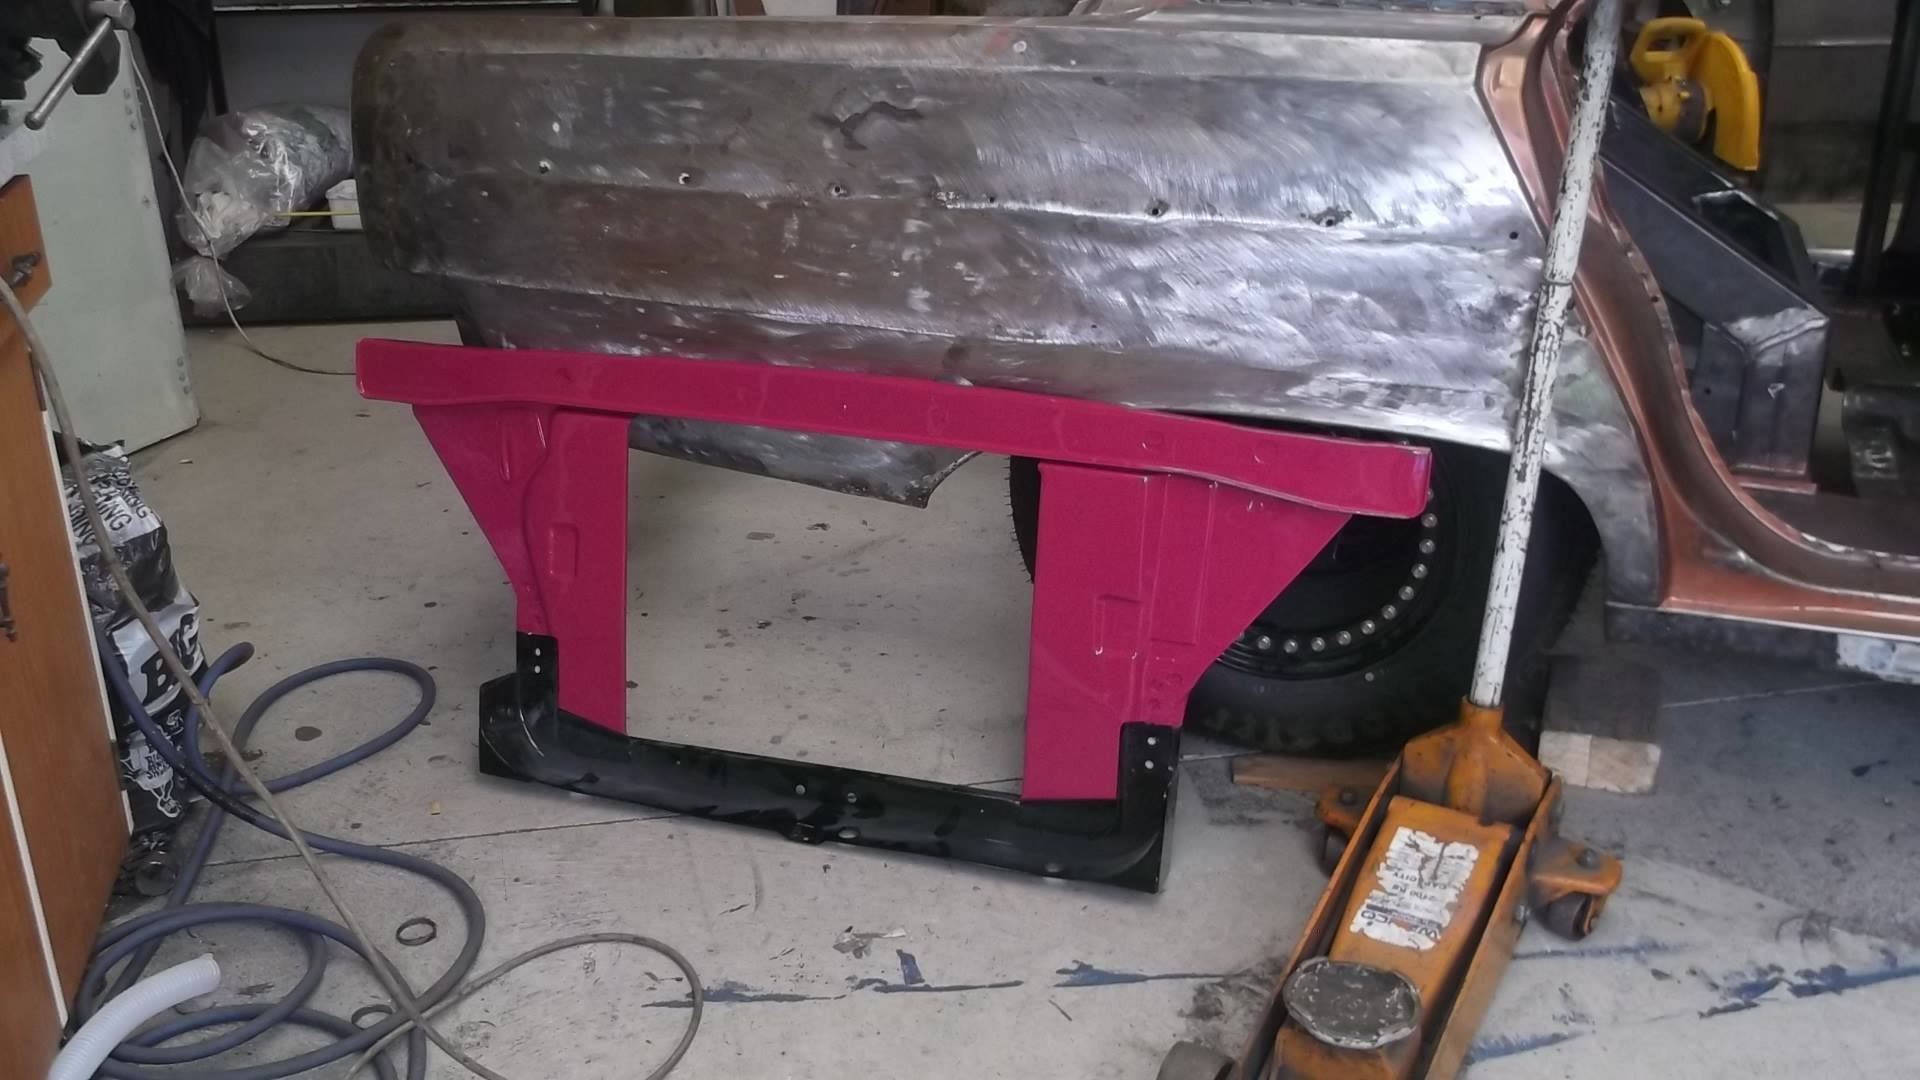
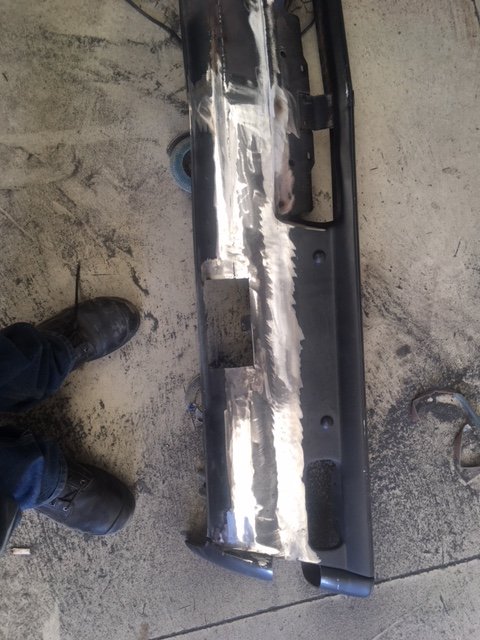
just doing the doors and rear guards at the moment new skins on doors and rear guards and new sills had them made deeper so car looks lower to the ground ,also cut the rear bumper and added two inchs into it
4 points
-
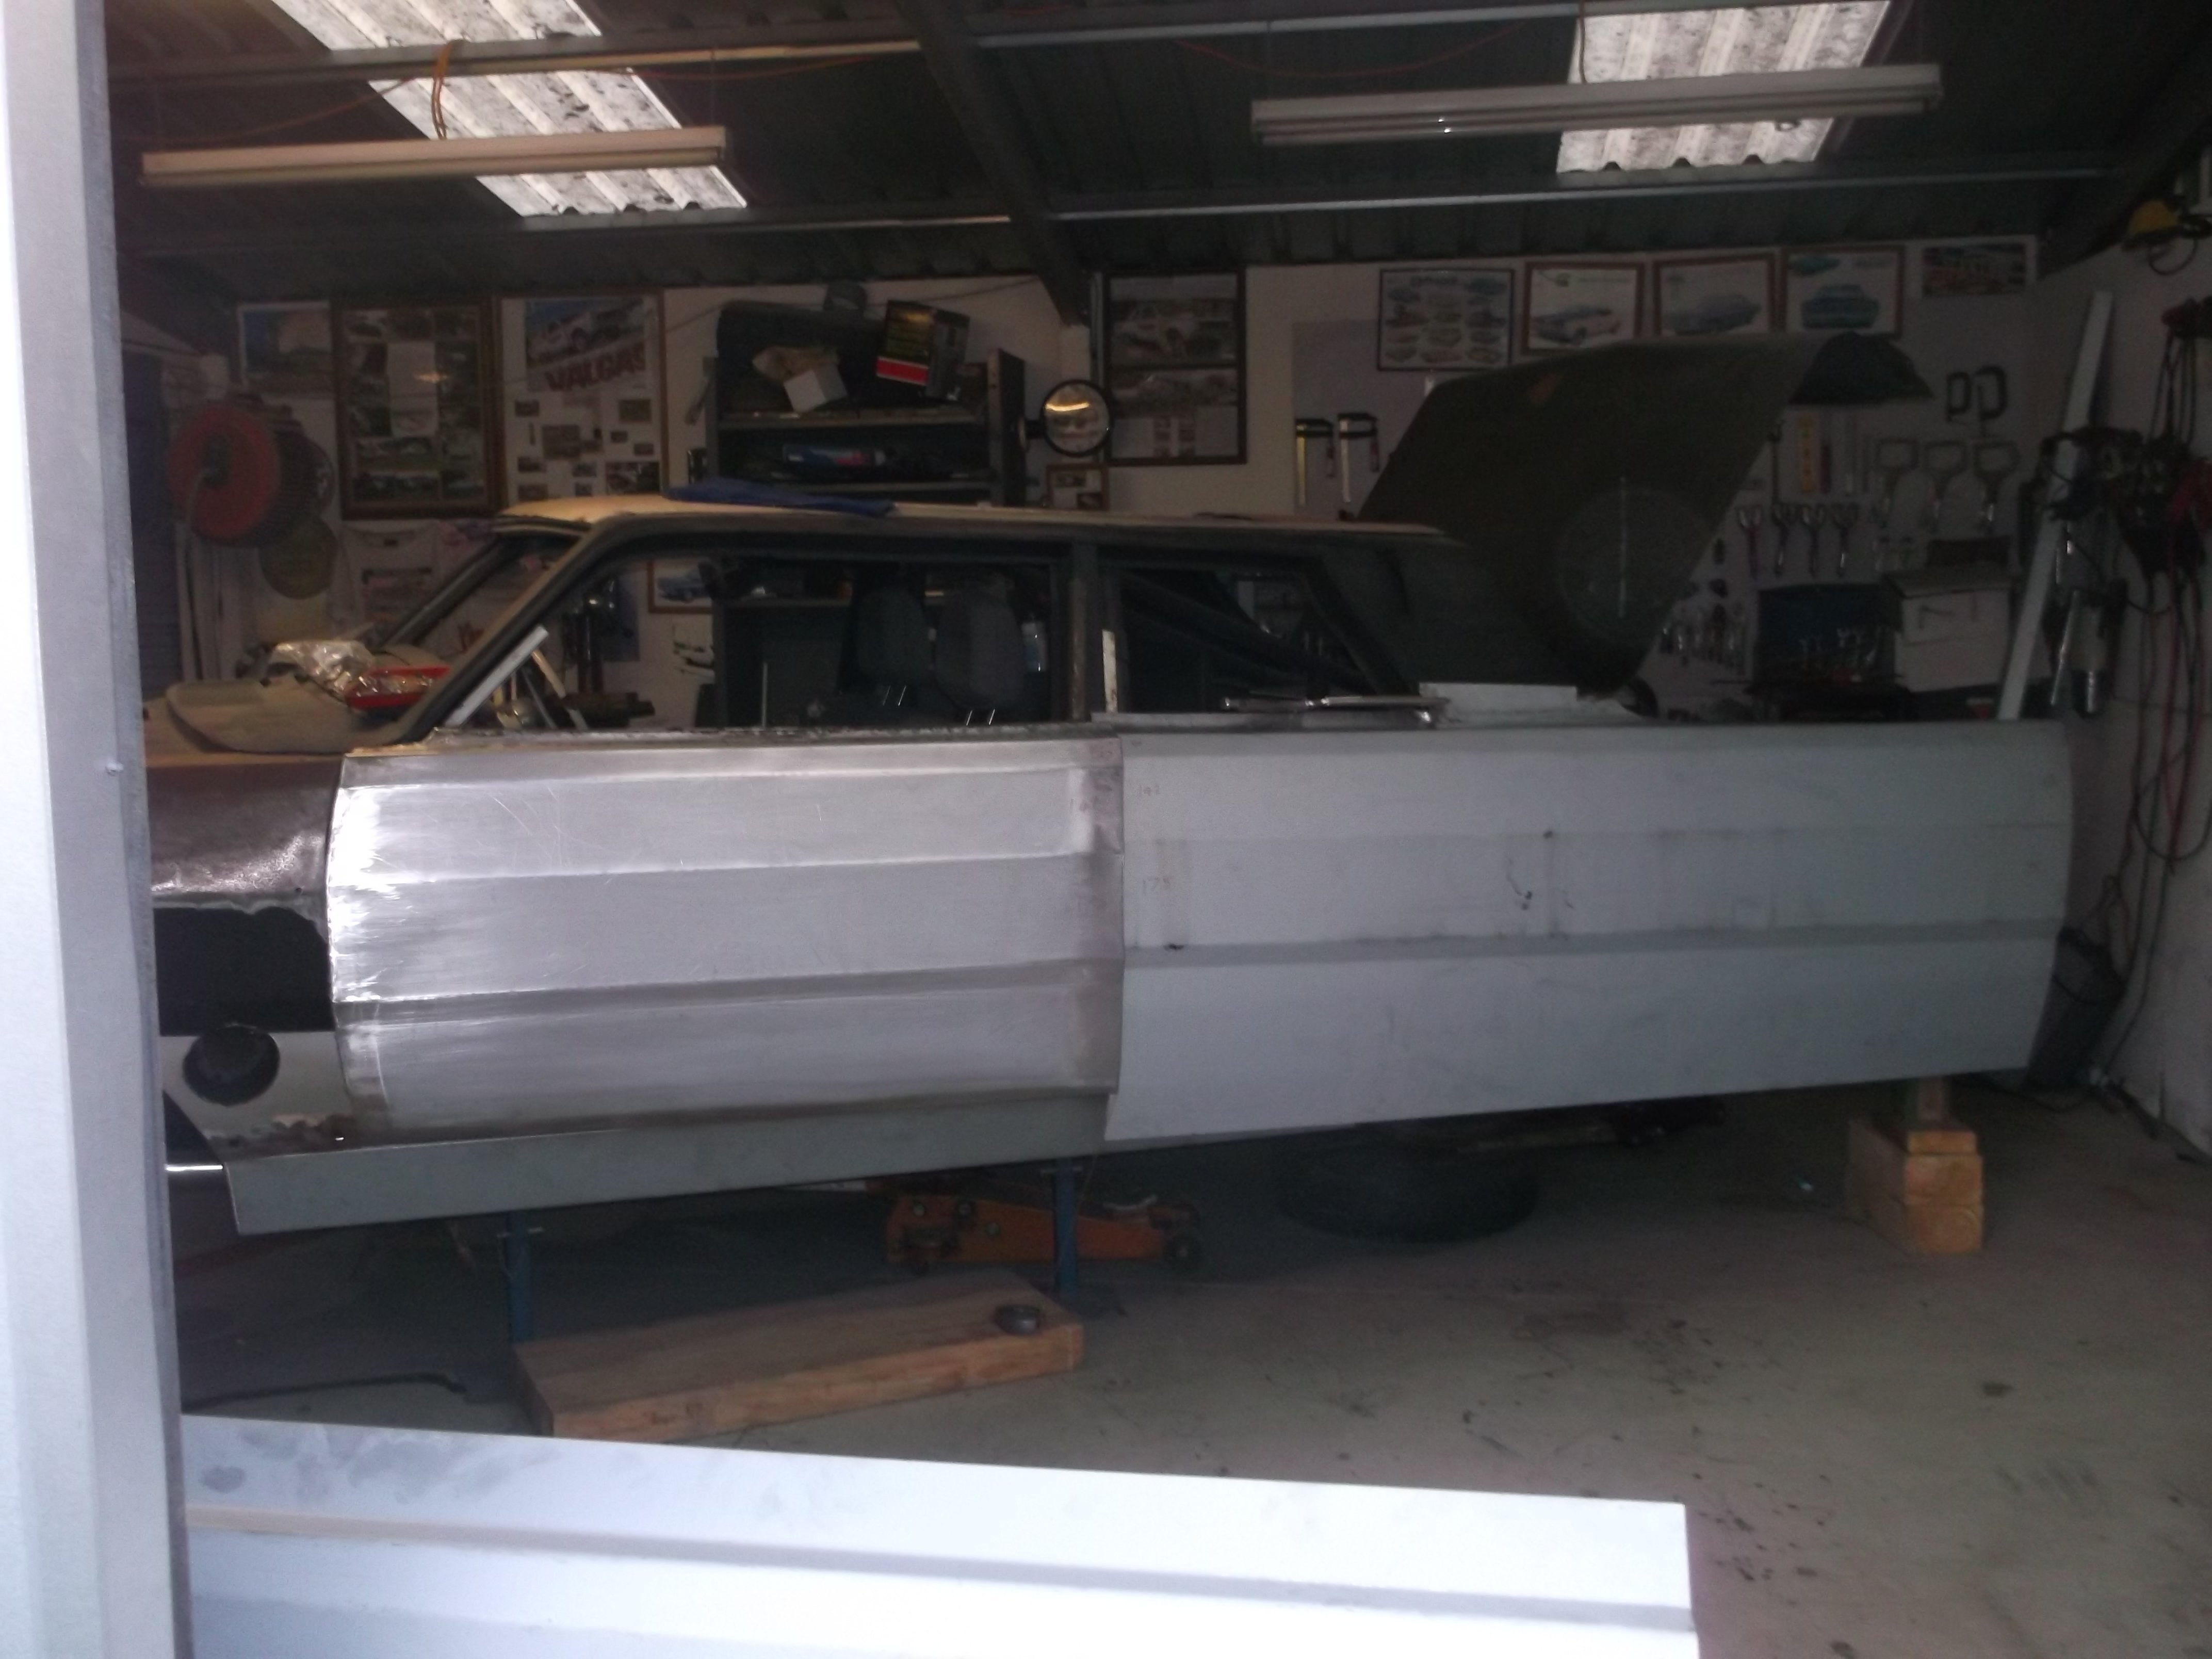
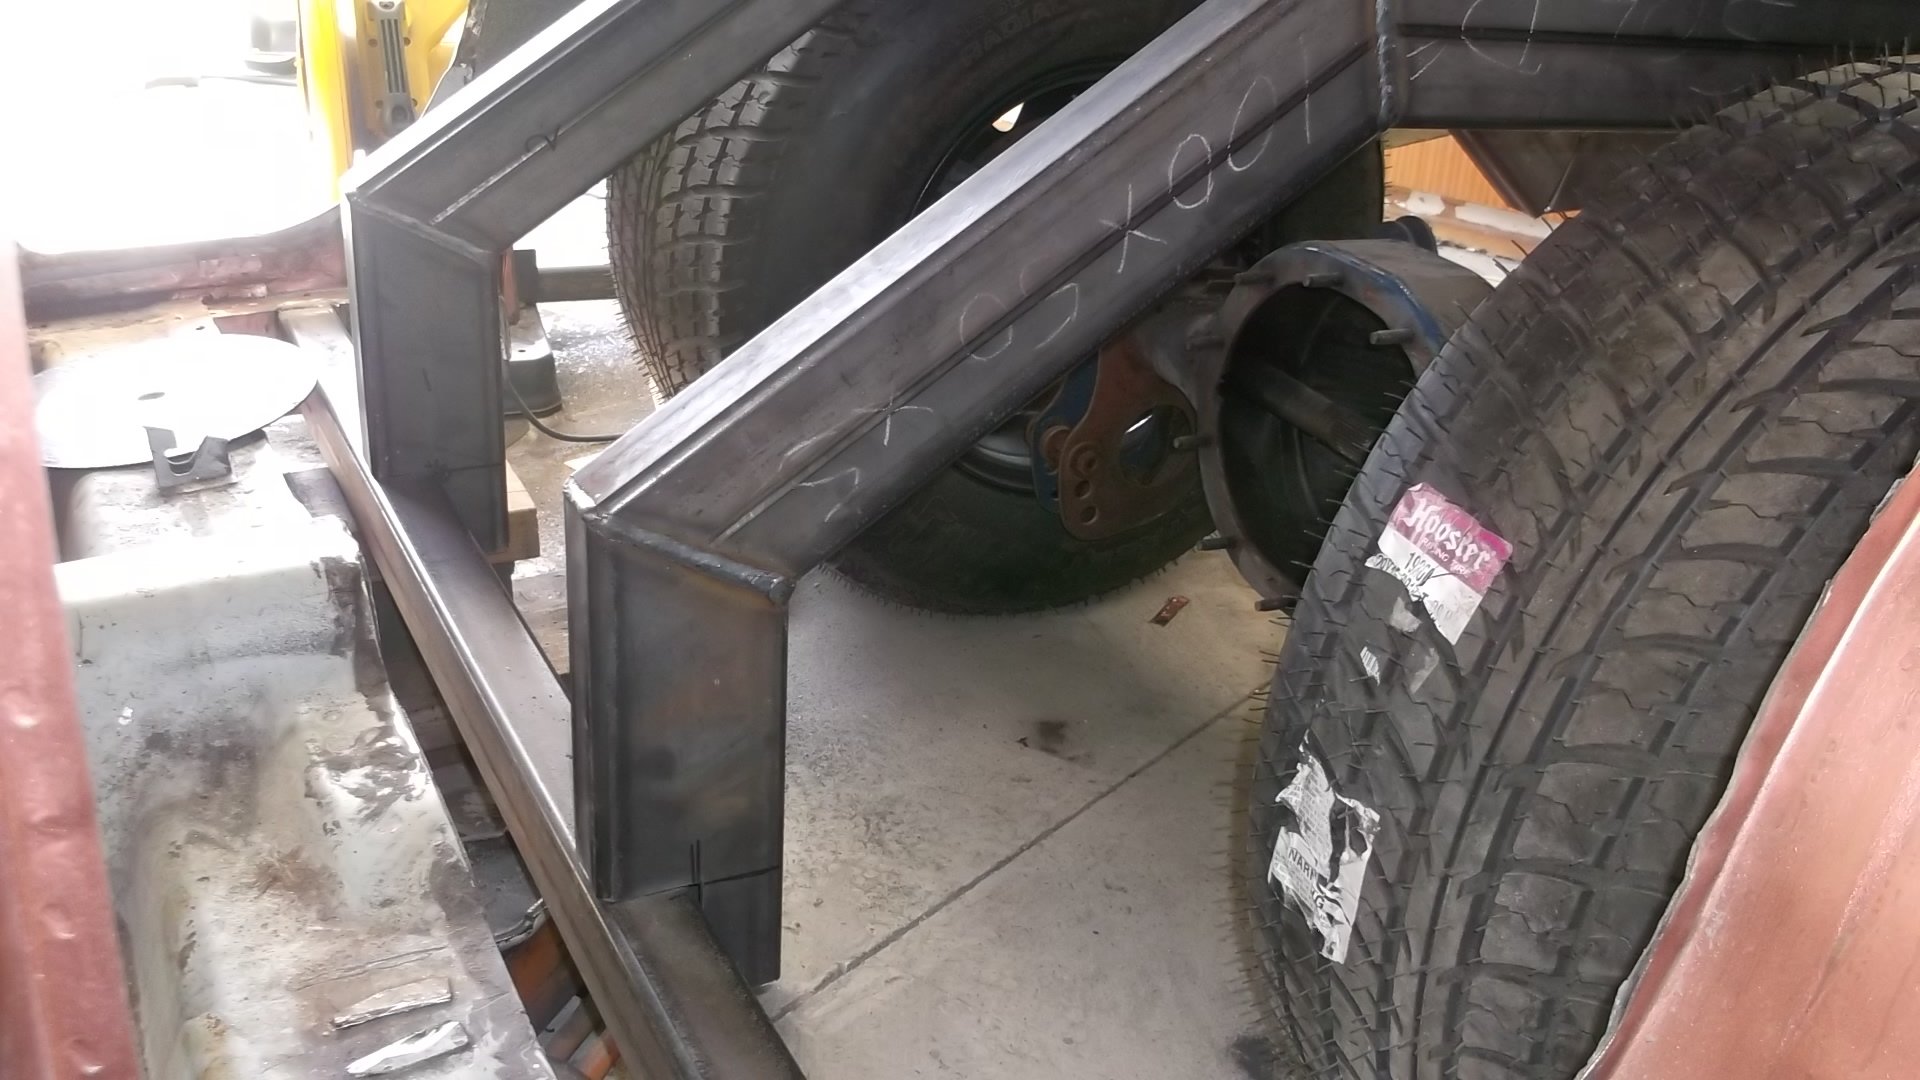
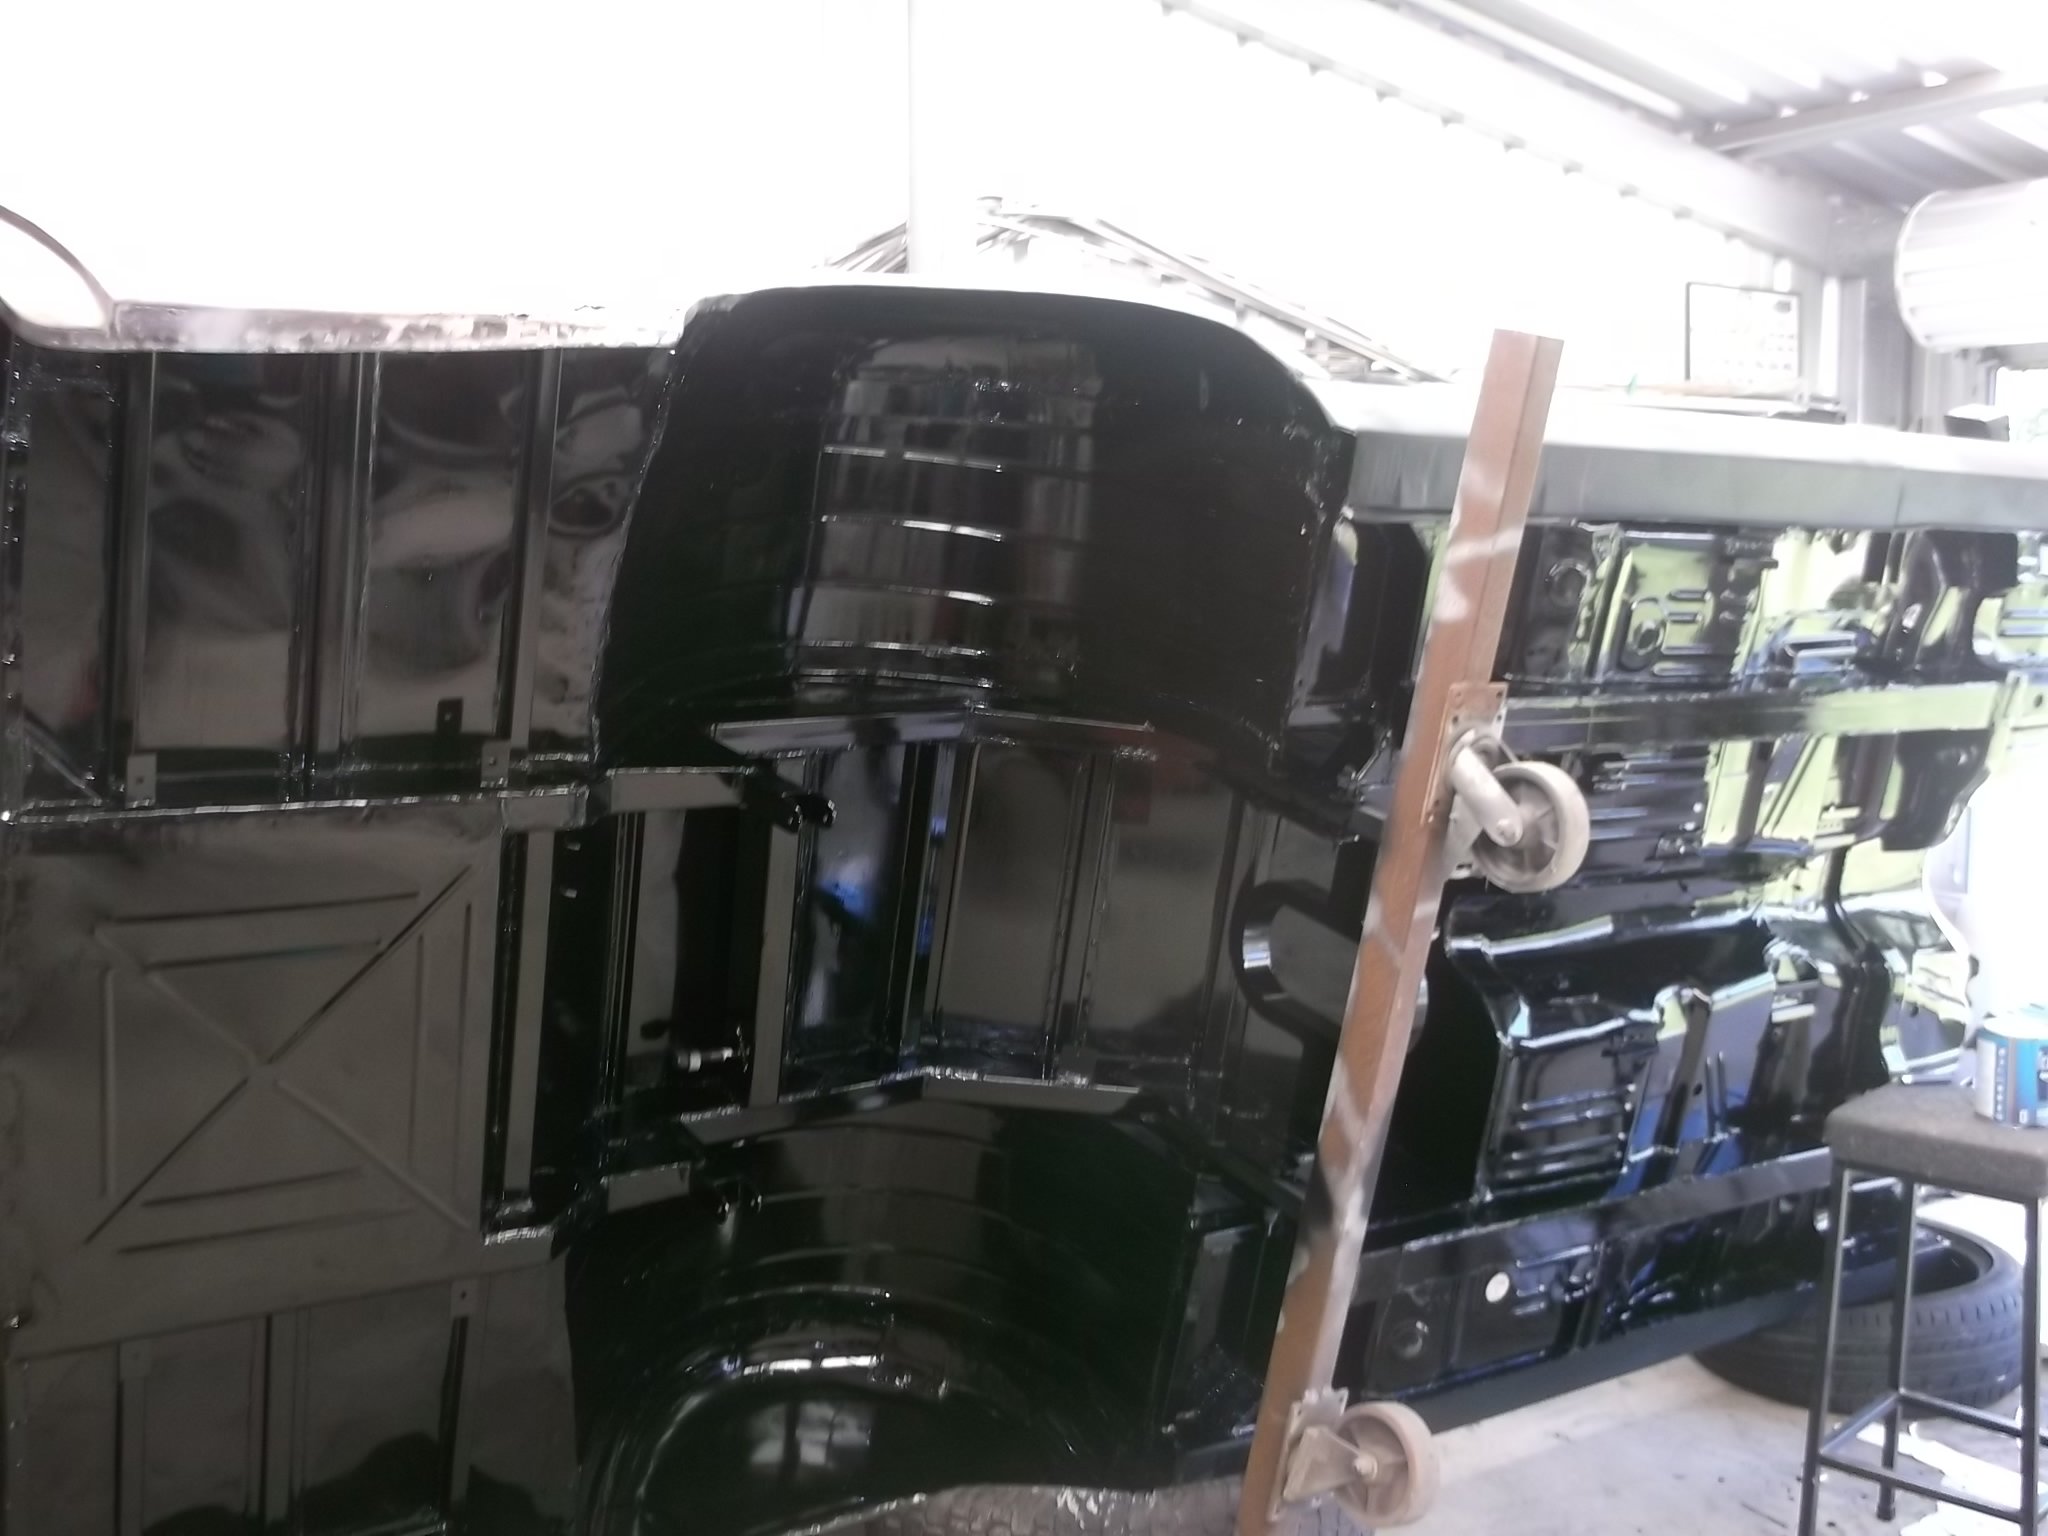
its also half chassised with 15 by 15 under it and a 383 big block
4 points
-
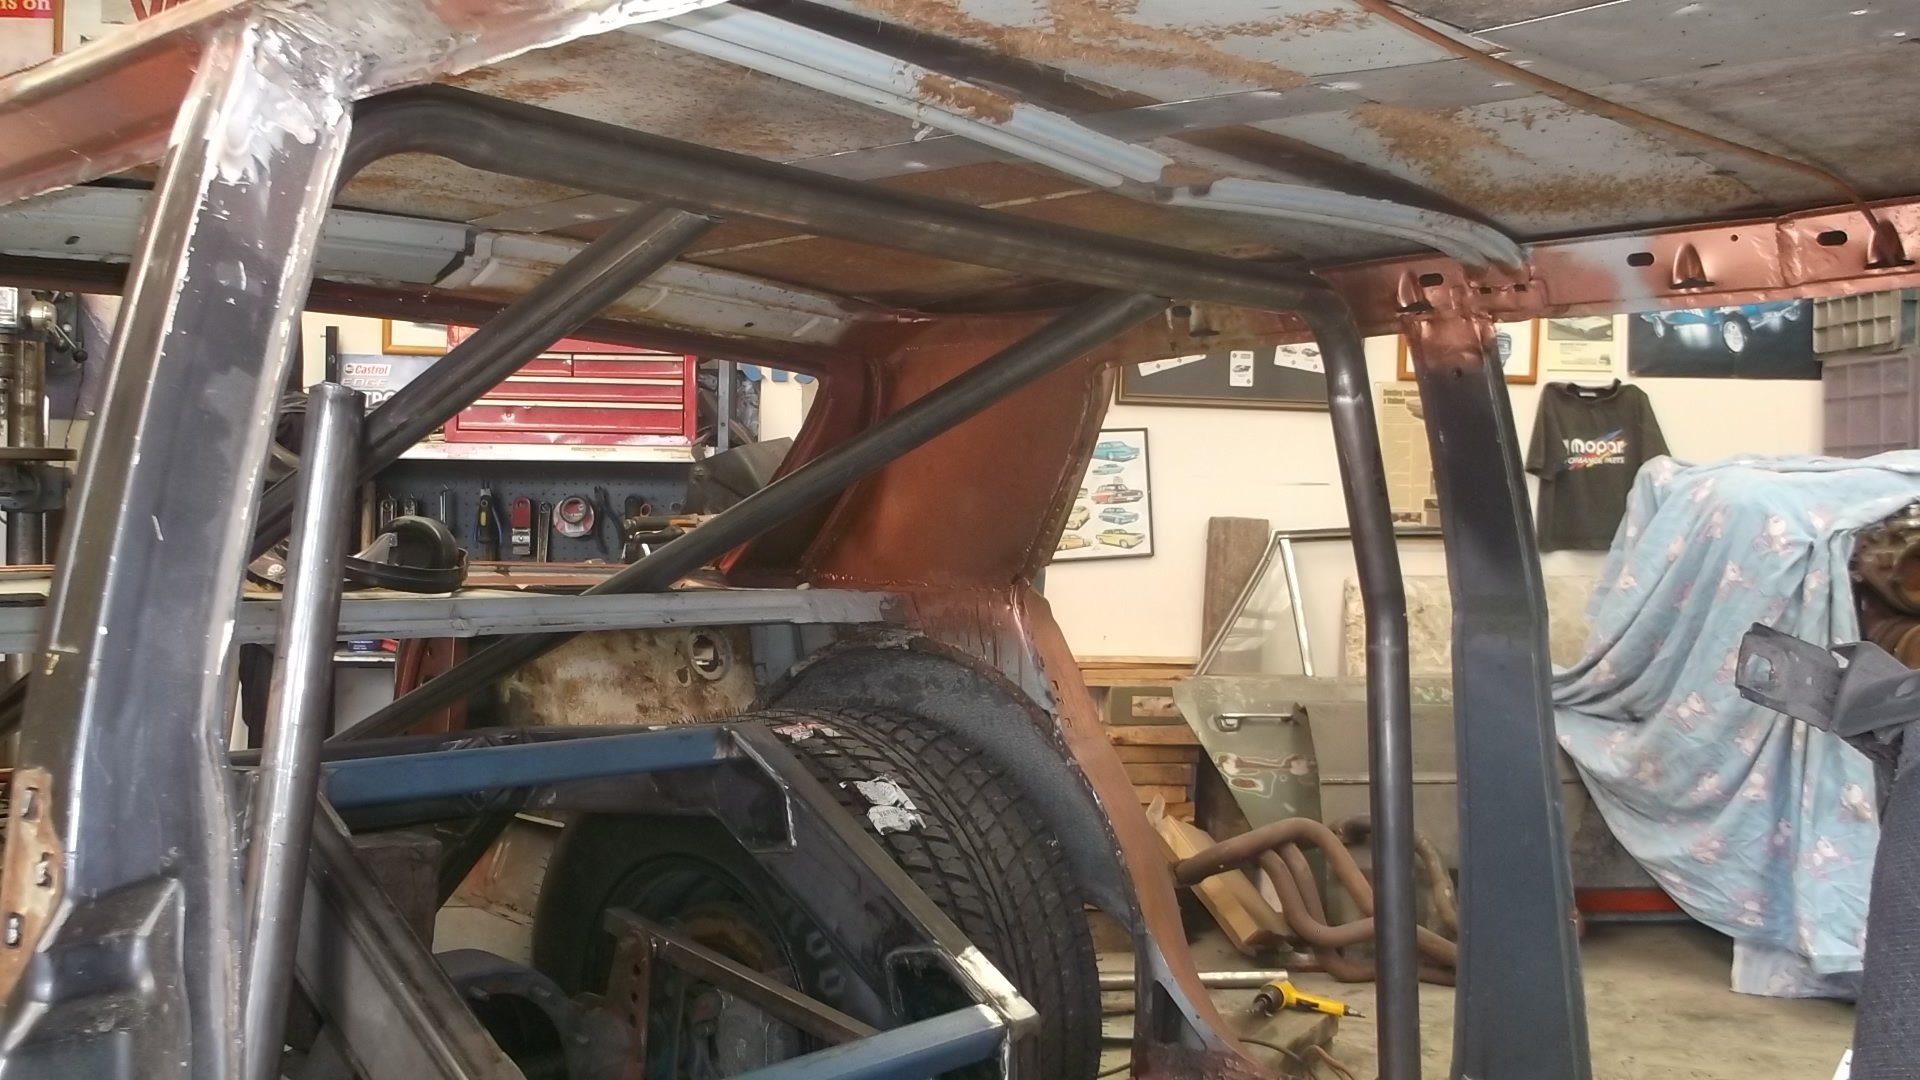
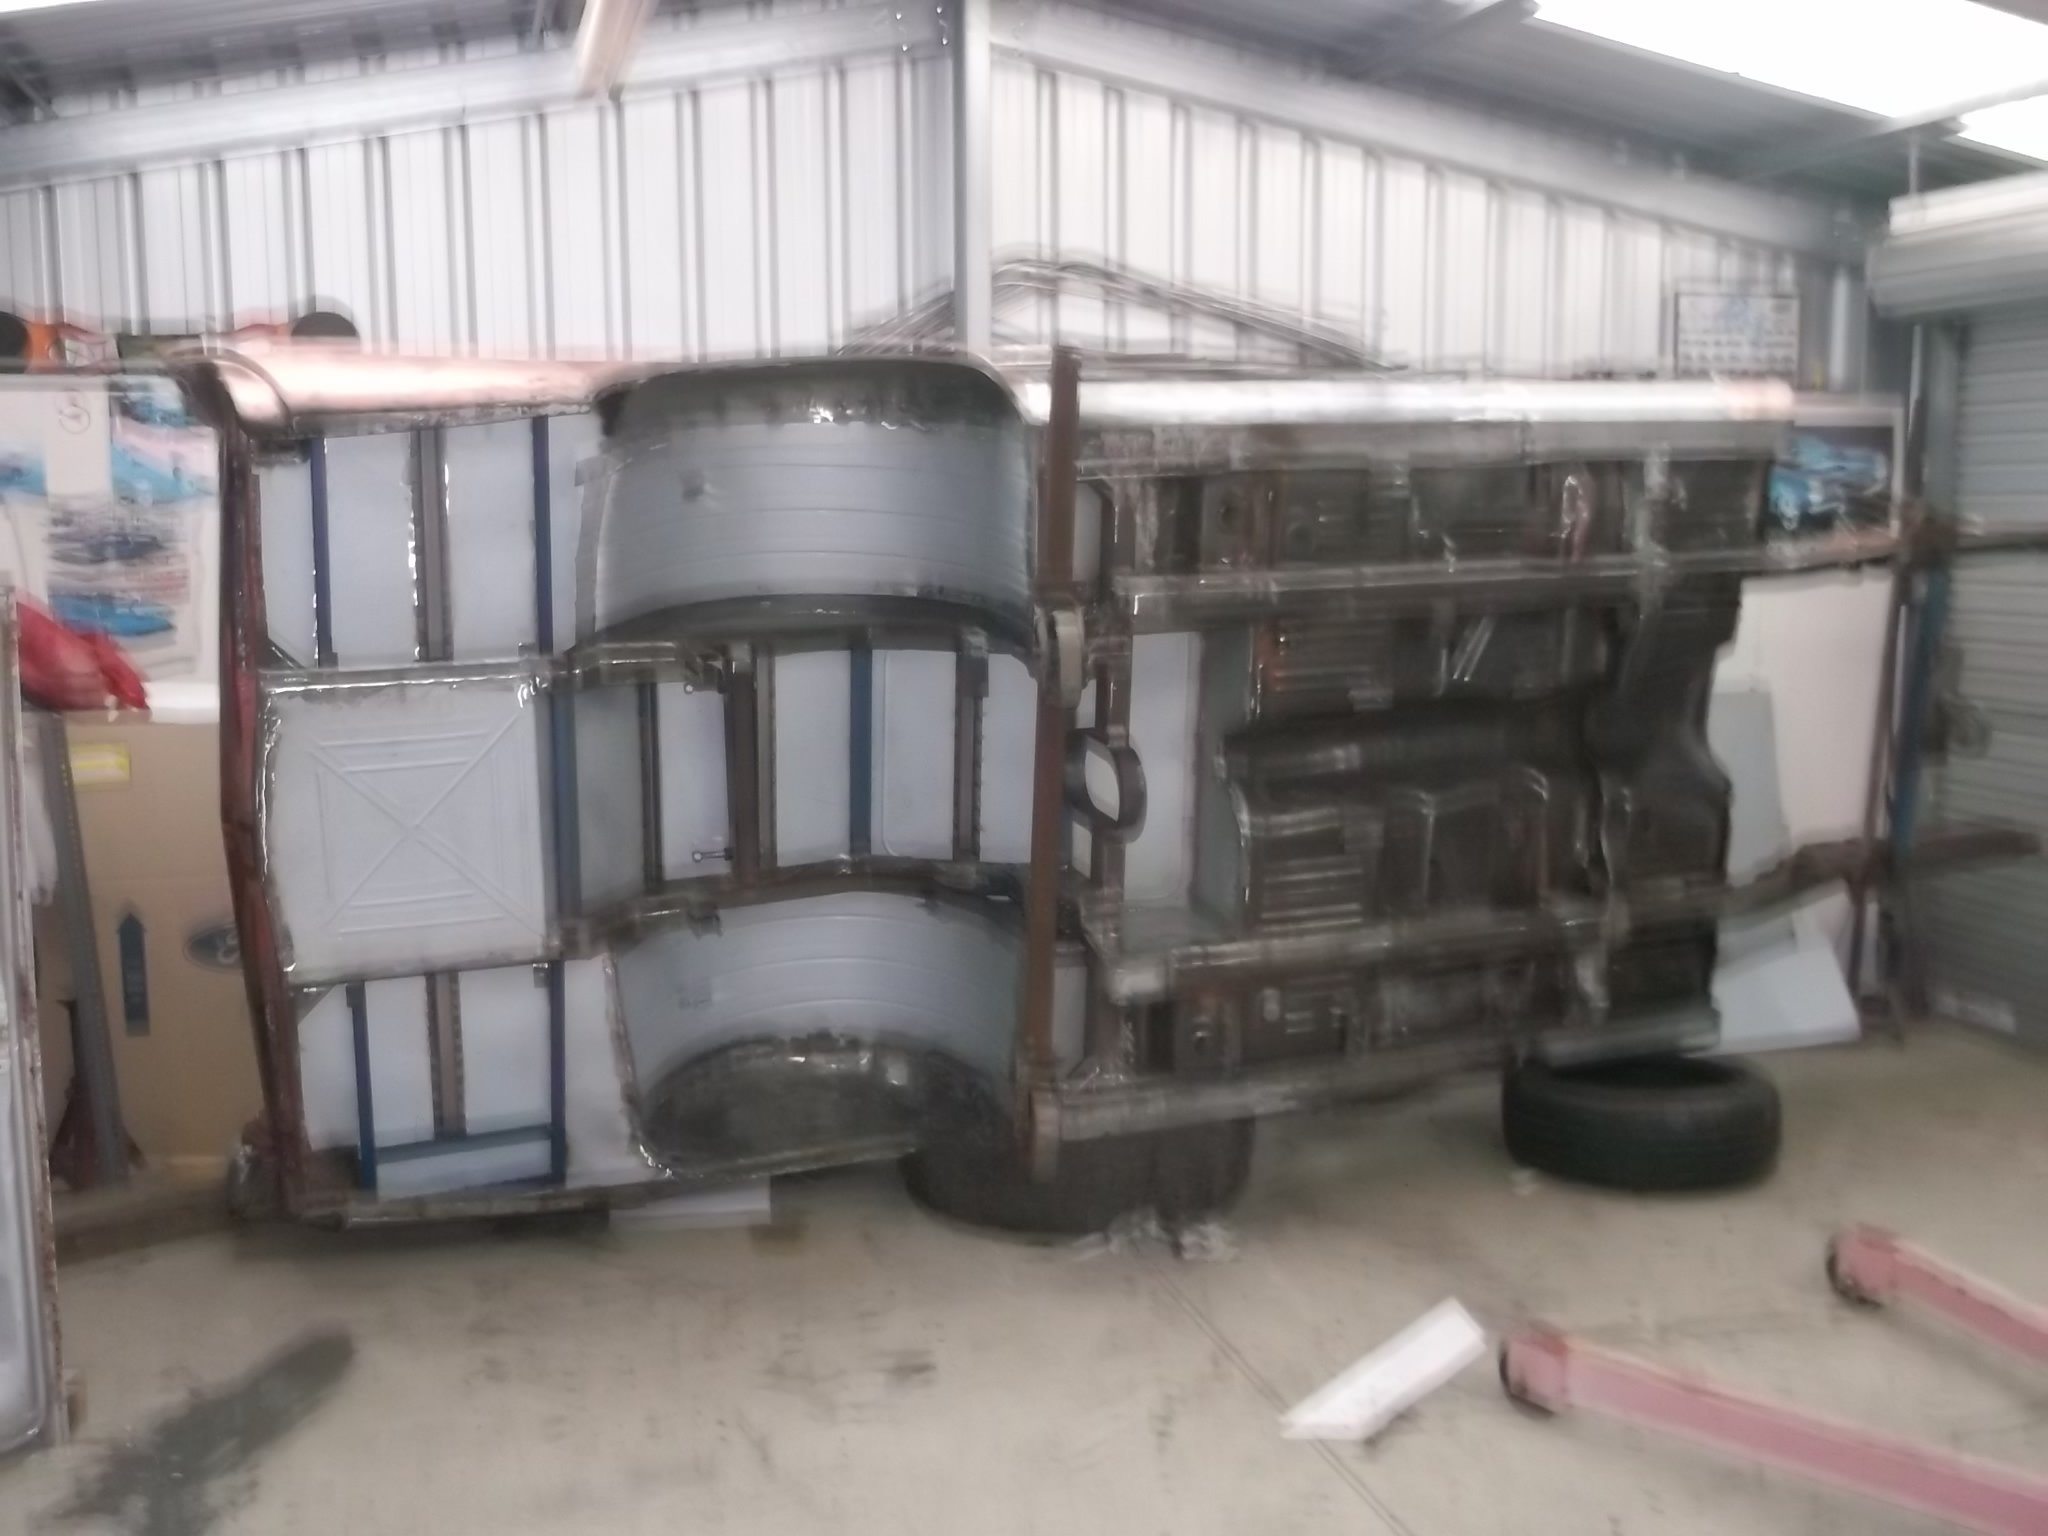
hi all con here thought i would share afew pics of my car ,its a 68 ve valiant . been working on it for five years .4 inch roof chop
3 points
-
Interestingly the original panel was a whopping 200 grams and the cf panel is 65g so percentage wise there is some benefit.. No-one wants to see my pos Honda, its not really a project, more of just use it for events and make stuff for it when I am bored. Back to cf... Where do I buy a decent (cheap) vacuum pump? I'd like to do a dash next and then maybe front guards. Has anyone tried a sandbag or similar to back up a single sided mould to prevent lift away?3 points
-
This thread could VERY easily derail and become full of highly radioactive puns.. YOU DIDN'T SEE COOLANT ON THE DRIVEWAY, YOU DIDN'T3 points
-
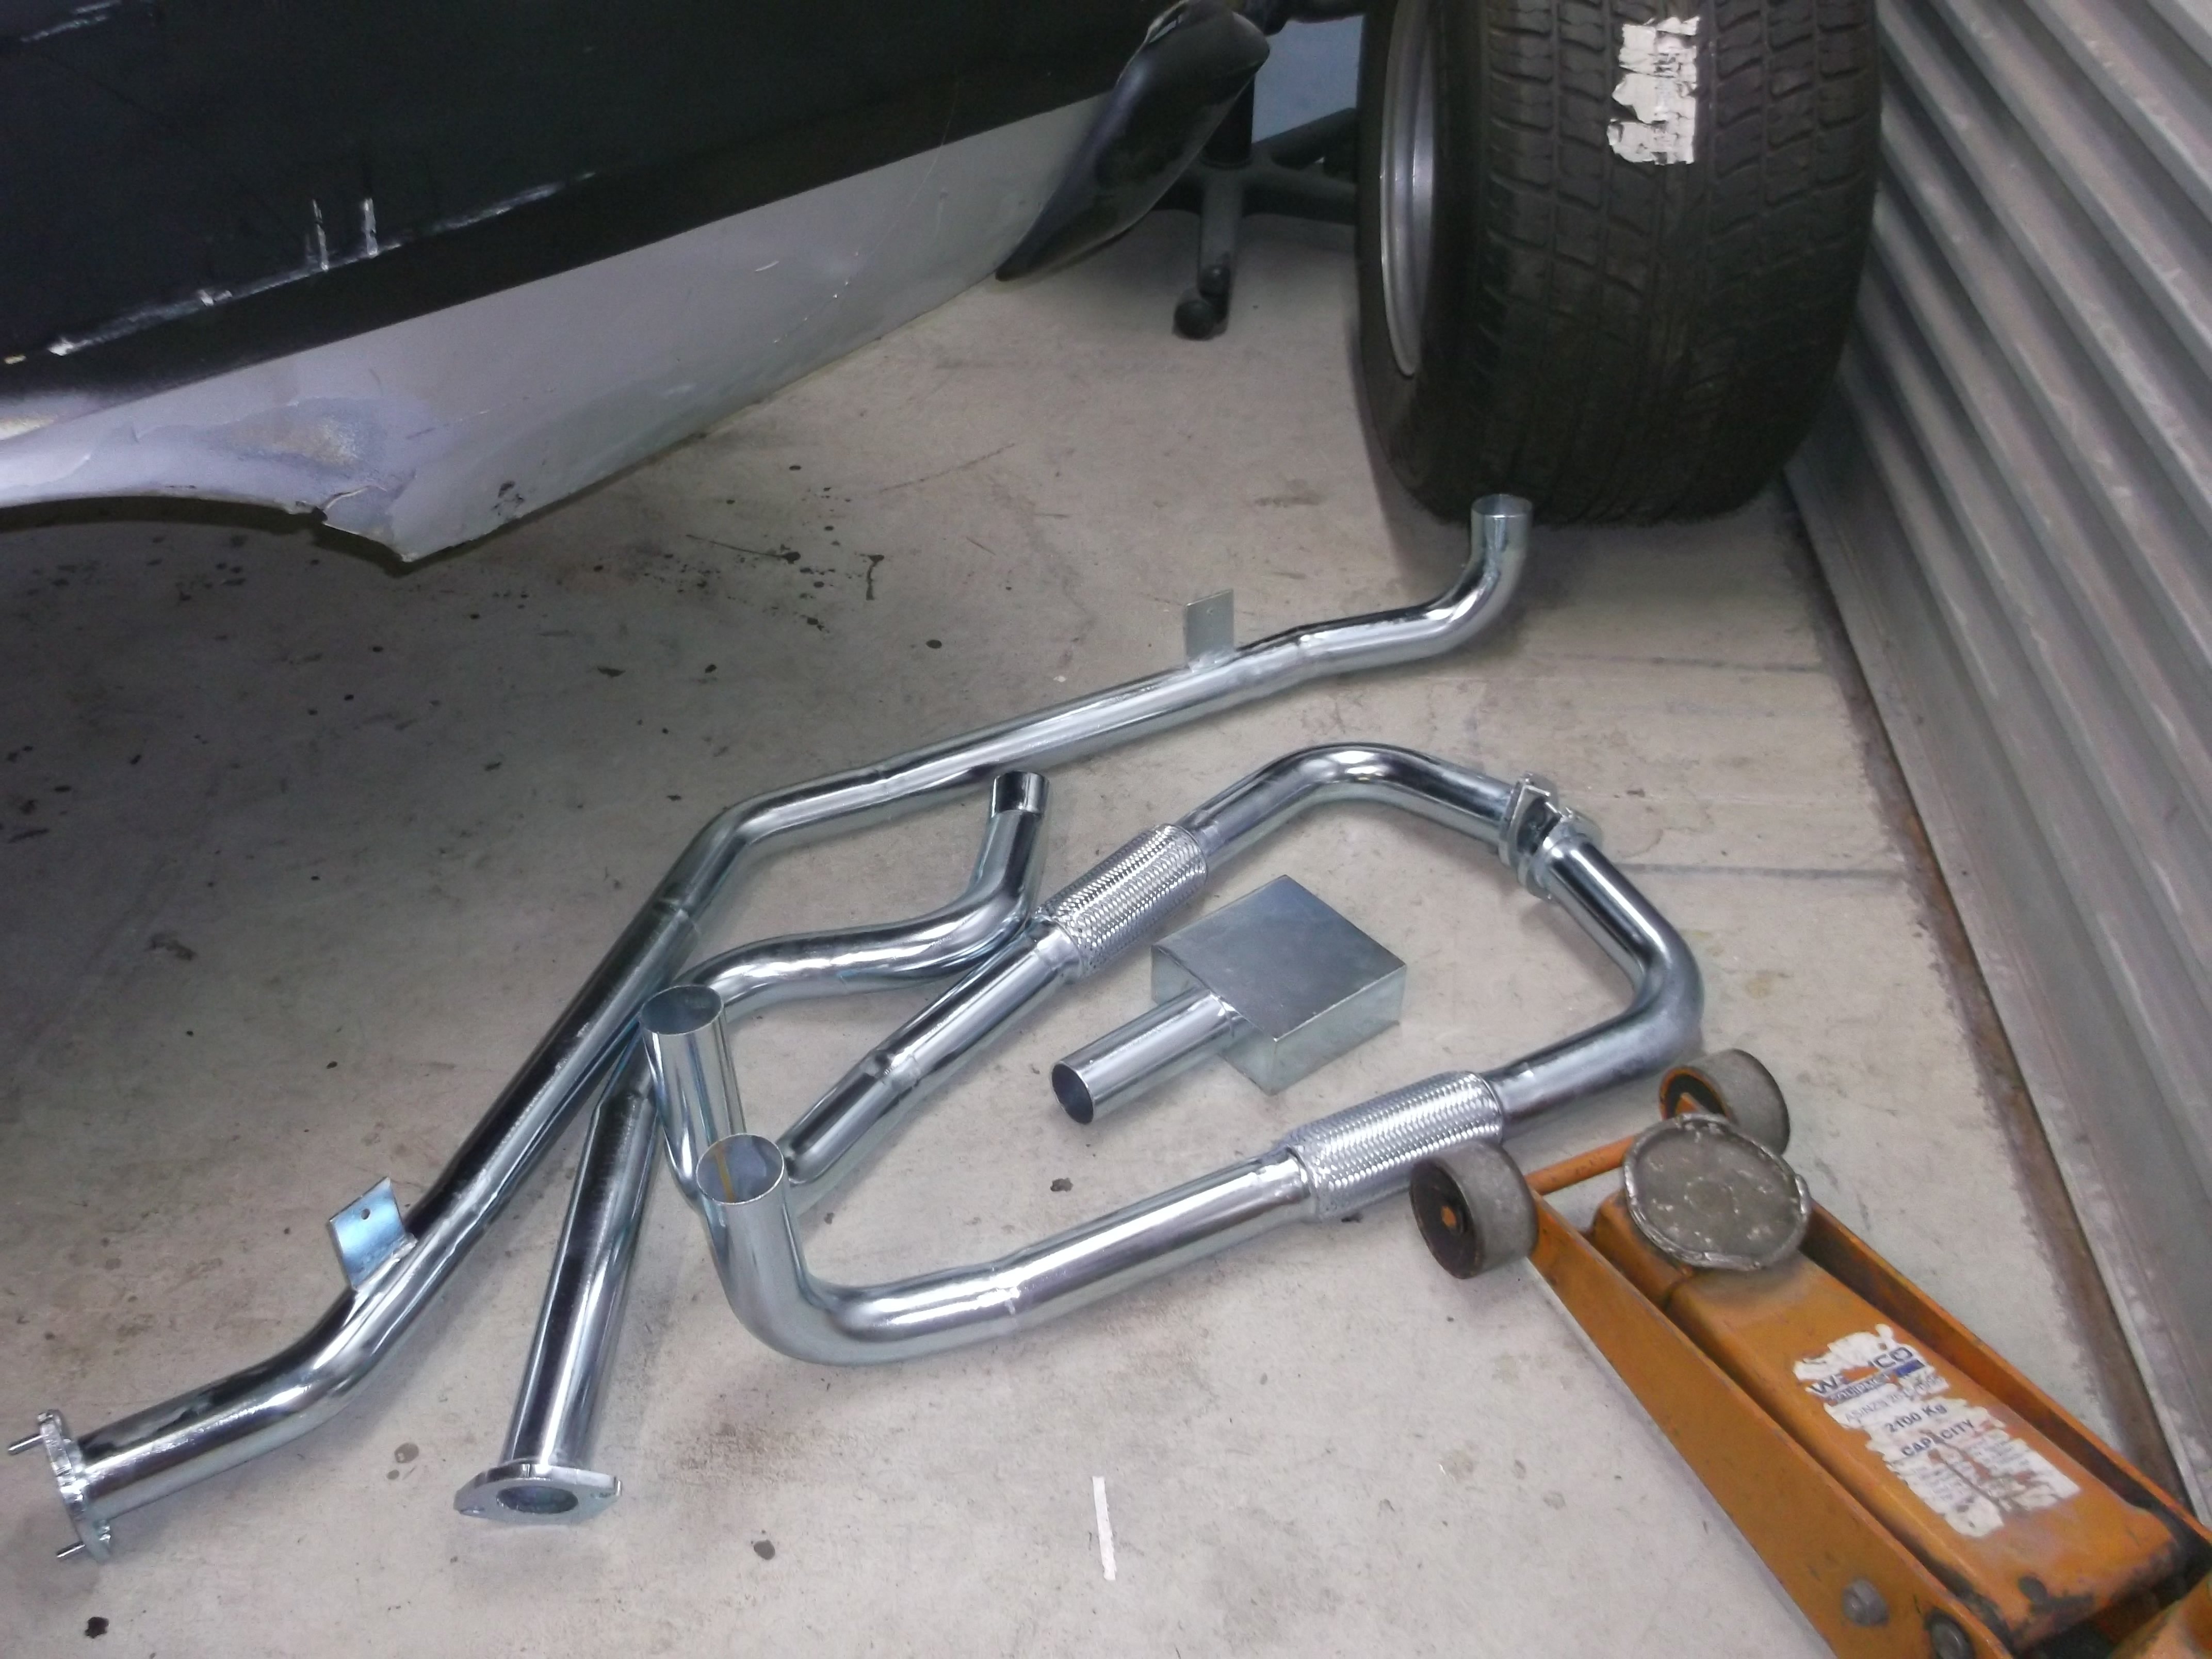
So plan is - twin 45mm (or 1 3/4") for most of the length, which matches the existing twin pipe from the manifold to the Y that is a muffler shop replacement that i will keep a very small part of, - into a single 57mm (or 2 1/4") pipe to match the existing rear muffler, that i cribbed from bits from the Croma Turbo i wrecked This was way more expensive than i thought, especially as a bought a nice new welder to do it with. Even my man-math was struggling. After watching some youtube and doing some actual math i started with making the new Y section from which everything else will be built from. and went forwards from there. The Y is right at the back of the floor pan and actually has a kick up towards the diff. Shiny stuff to the ex croma over the diff section And painted with some BBQ paint Pretty flash for a driveway job! Ended up using only the first 50cm or so of the old secondaries but turned out nice in the end. Shit is tight getting in and out. This is the new front section against the old part, the new Y joint ends adjacent to the white bit on old pipe so ive extended the primaries by like 2 meters. Unfortunately didnt take any photos of the whole thing as the rear half was installed so i could ensure the front half lined up Buttoned it all up just before dark and its surprisingly quiet, probably because i was used to the old blowing exhaust, but has a proper FIat rasp at around 2000 rpm or stabbing the throttle and seems to free rev a wee bit better. Tightening it all up properly means it now has no leaks, but it rattles on the cross member, i want to put a support off the gear box and I remembered that i forgot to weld in a O2 sensor bug so another couple evenings tweaking and upside down welding before a road test and butt dyno.3 points
-
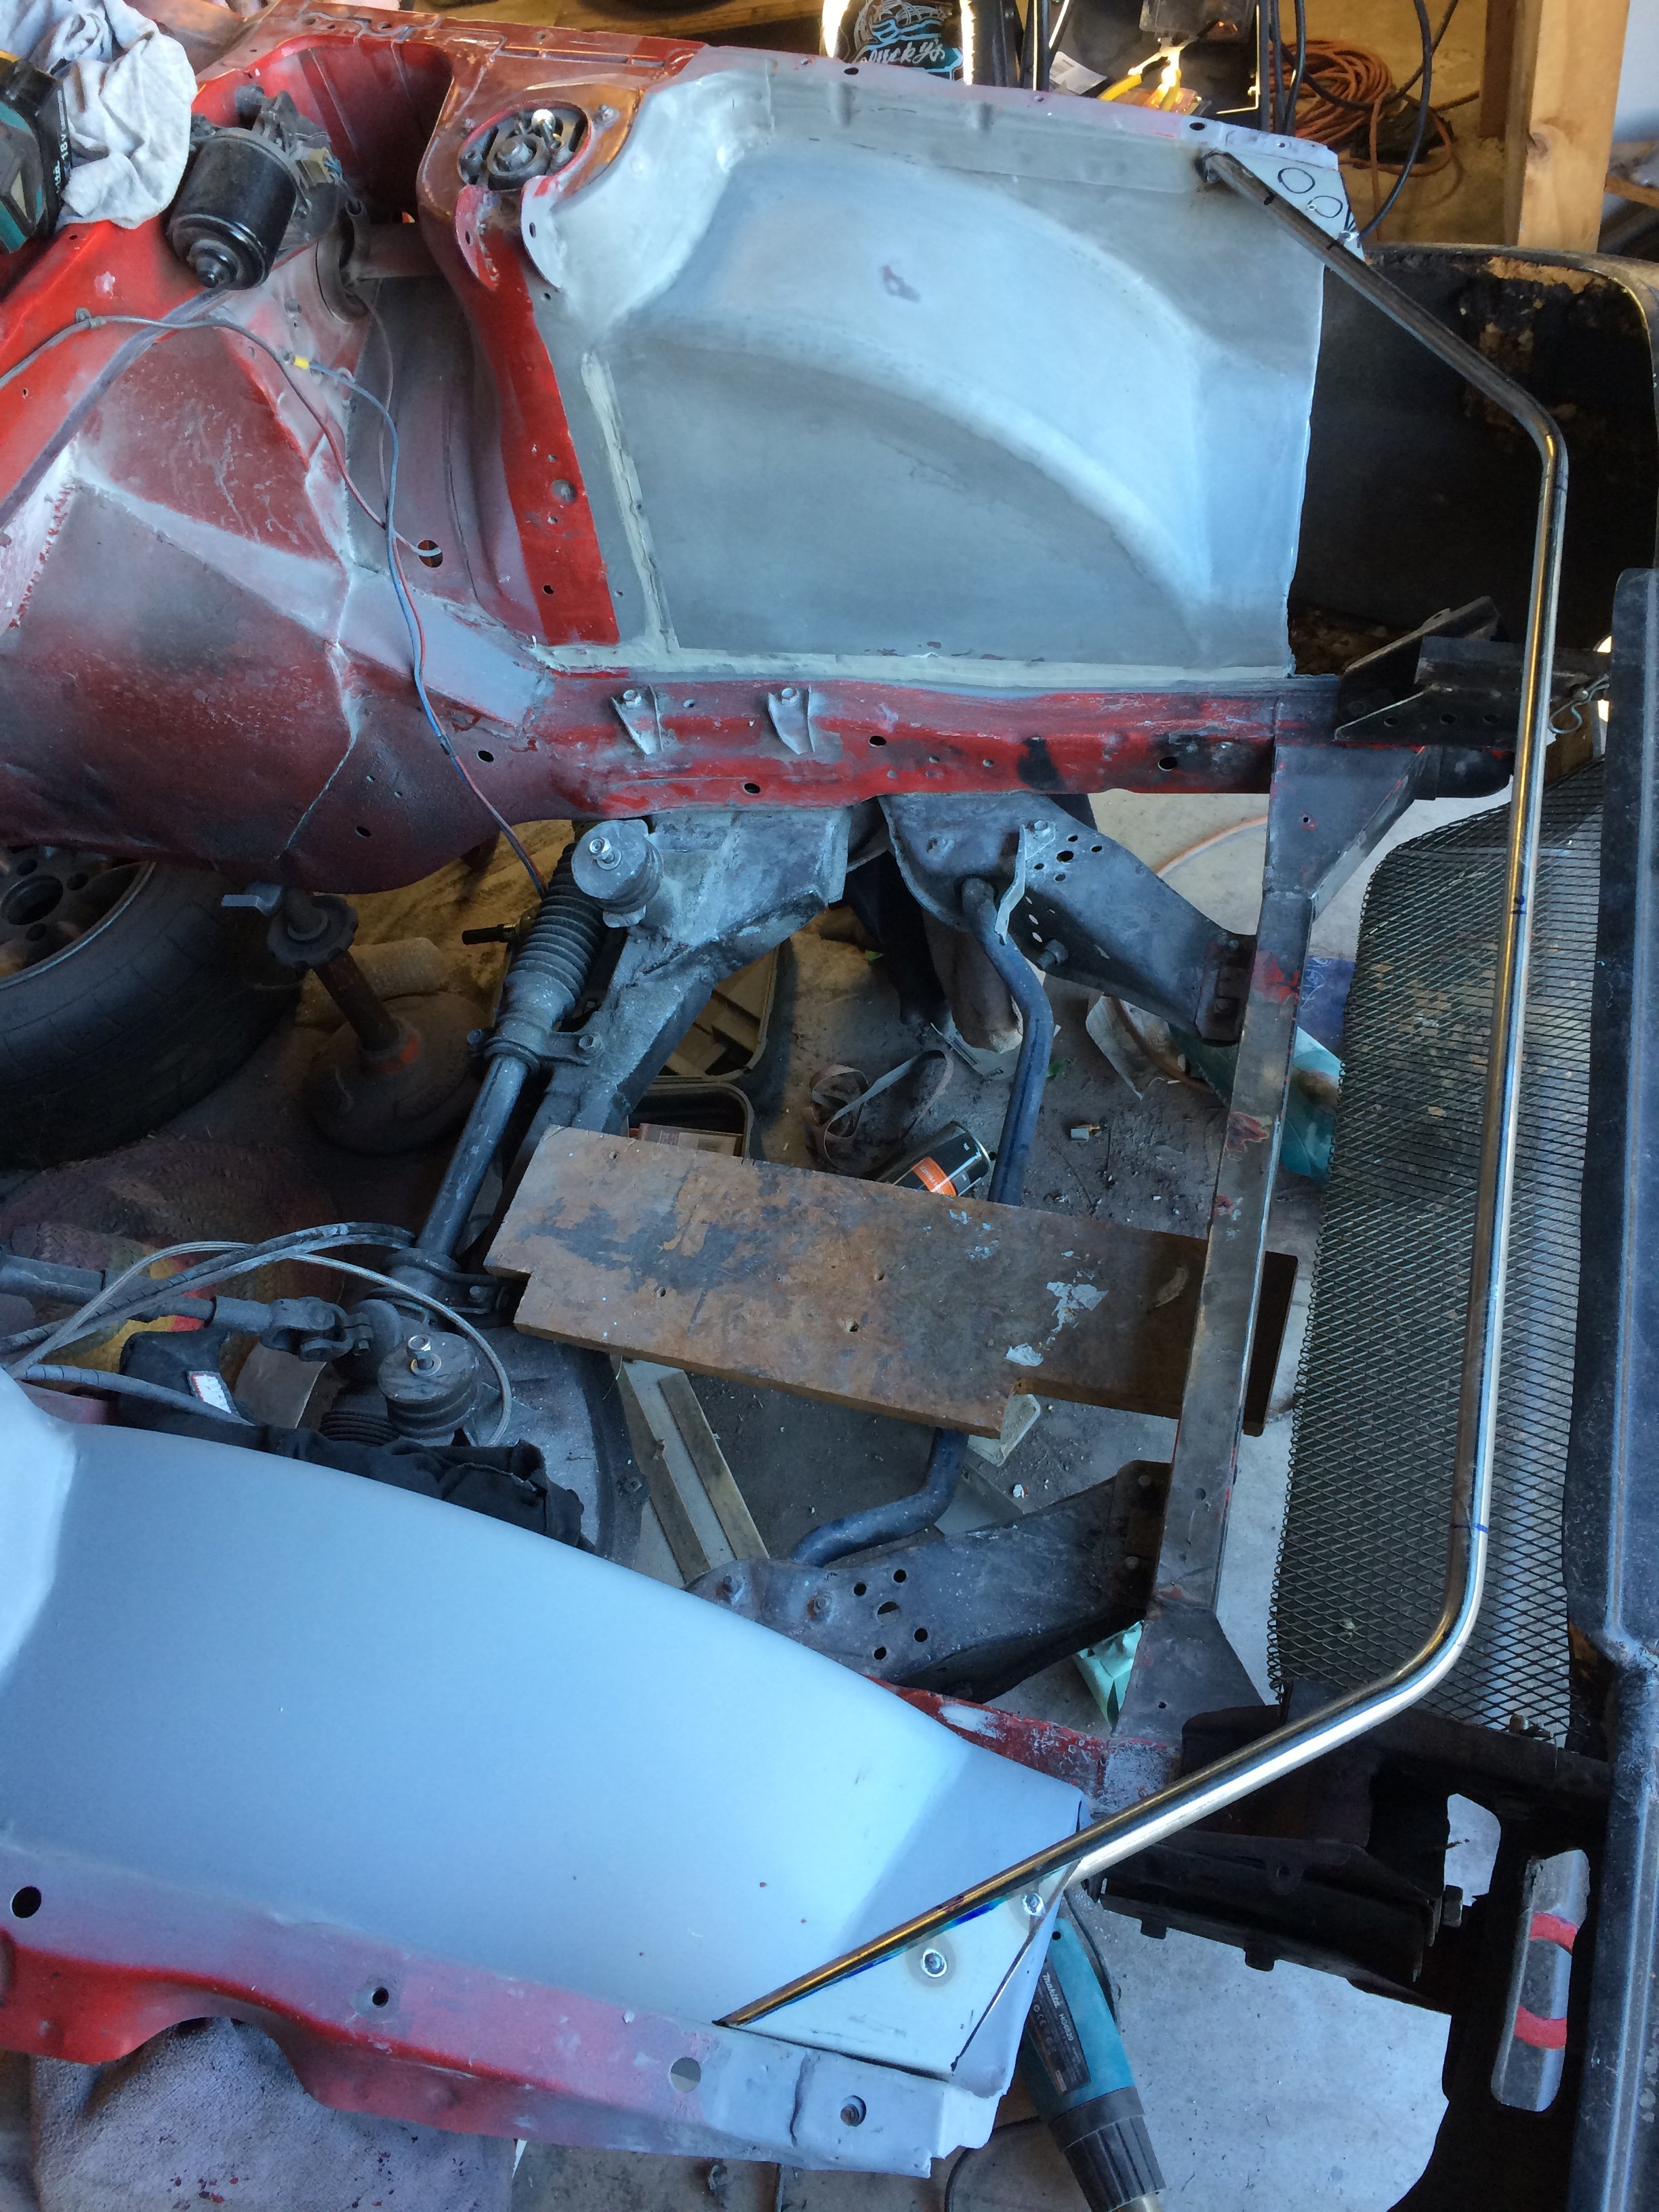
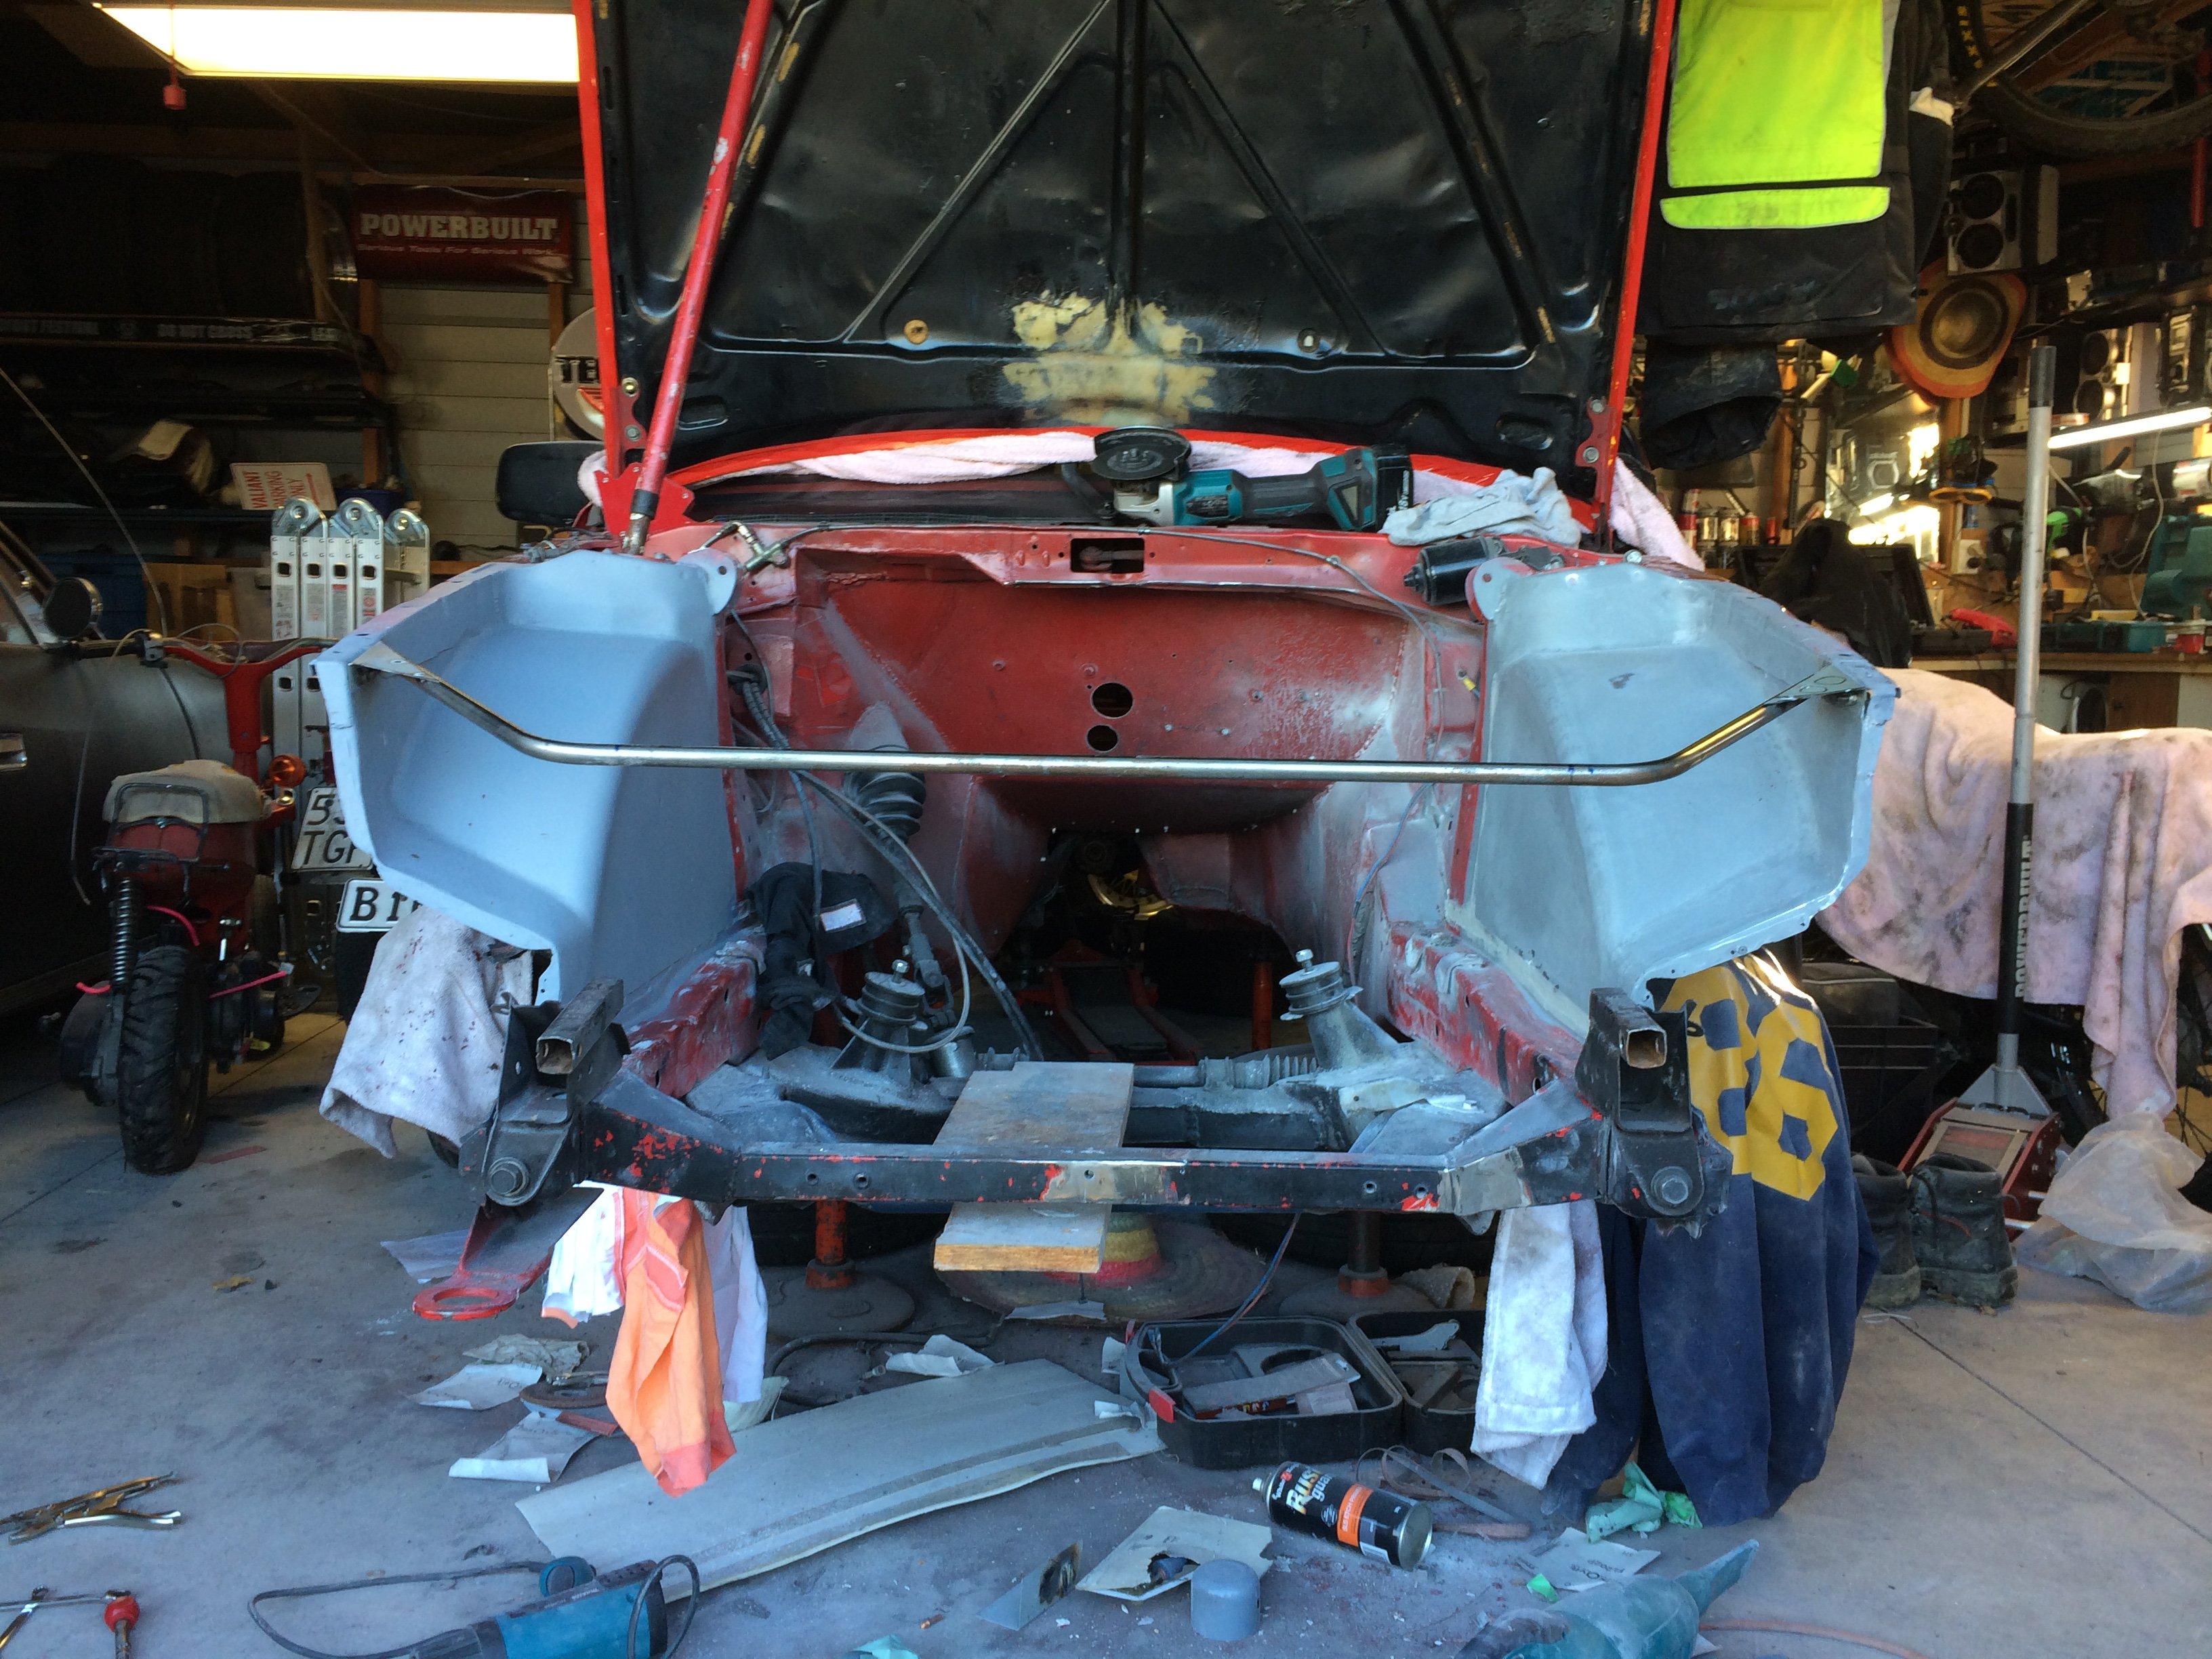
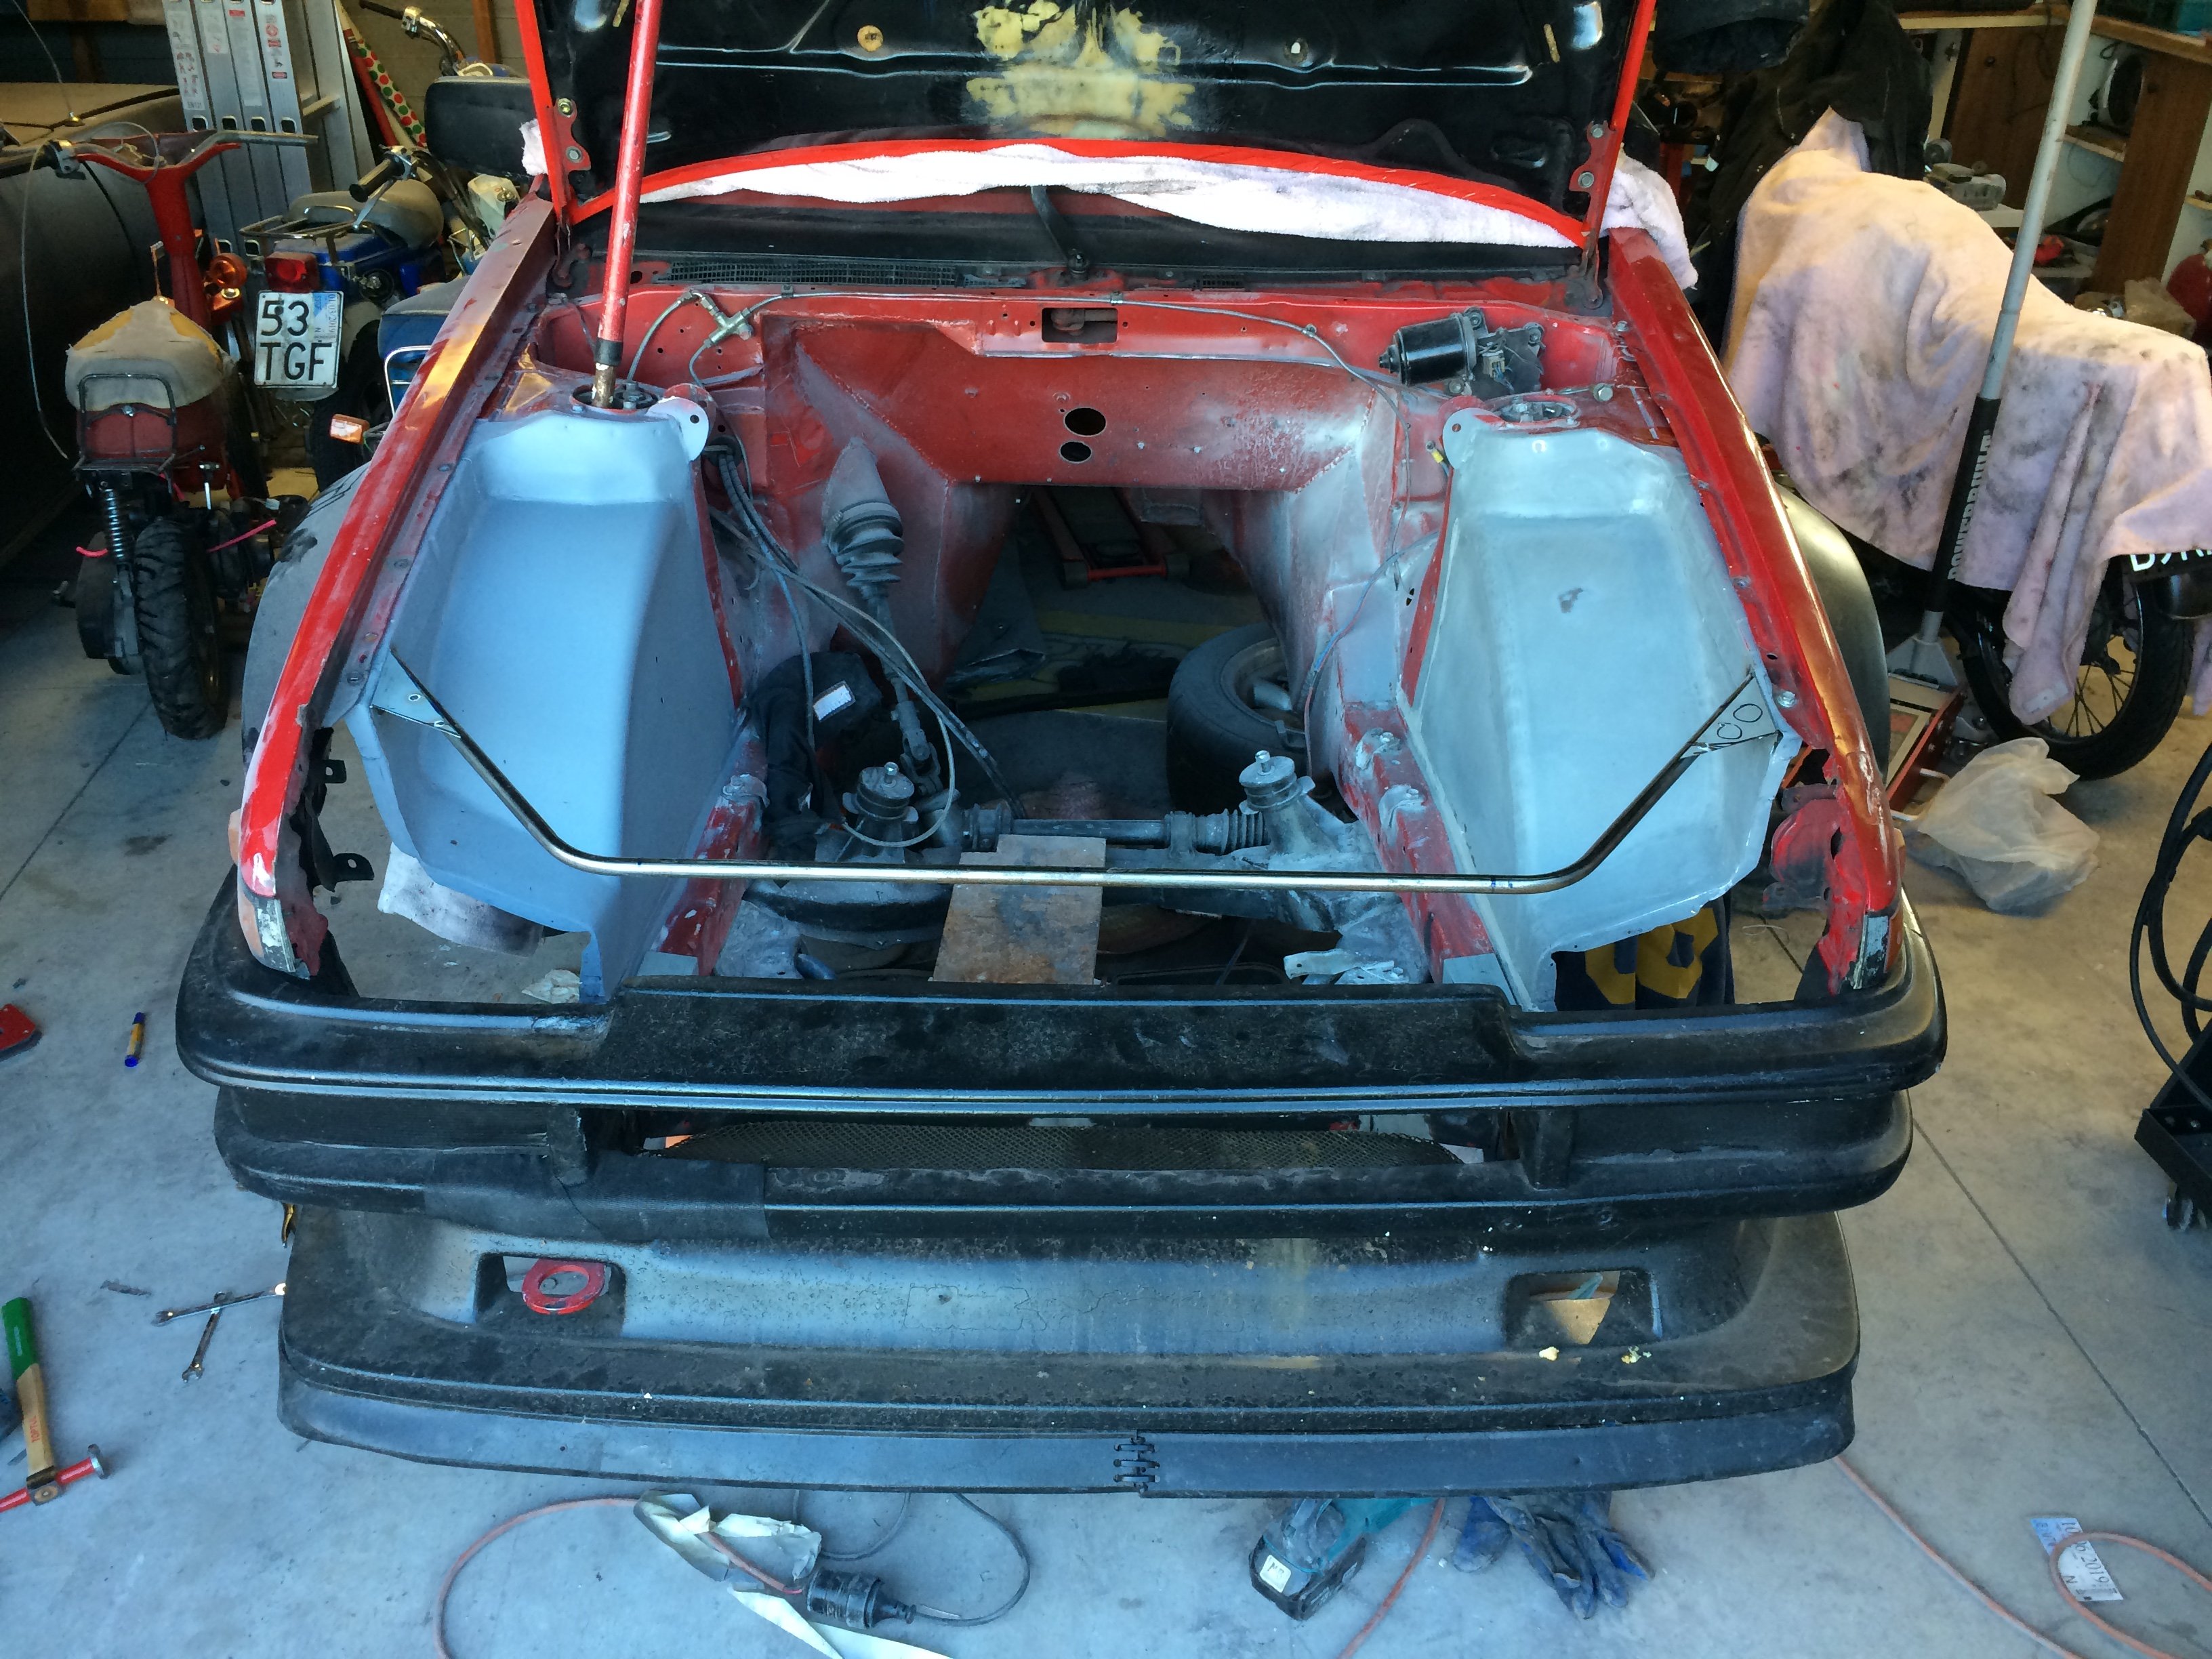
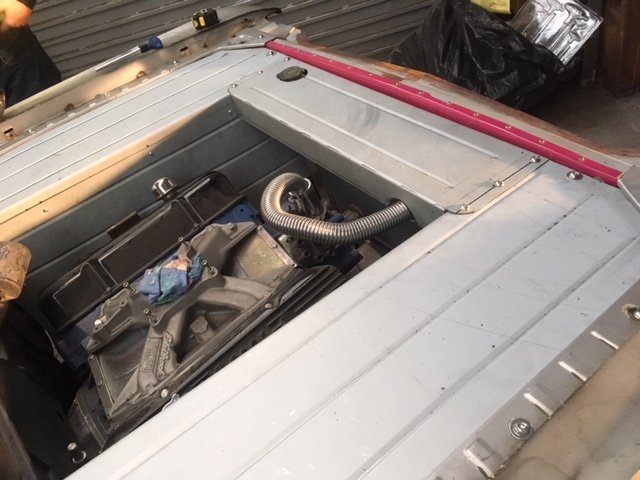
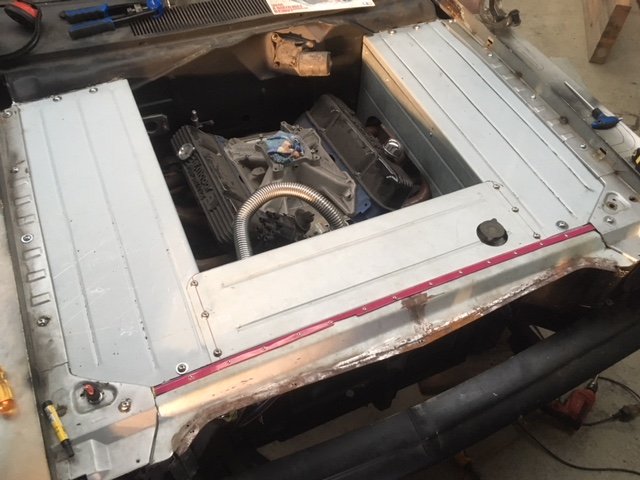
I’ve made good progress on the right hand tub now. Got most of the finishing and a coat of primer onto it. Then @Rhyscar came around with his tube bender and we started on the new radiator support: This bolts in place on the sides and will have a couple of vertical stays for the radiator and ducting mounts. Popped the guards and bumper back on for a visual inspection: And the new radiator will mount like this: With ducting to take the flow out the bonnet. Woohoo! Now back to body work in the engine bay.
3 points
-
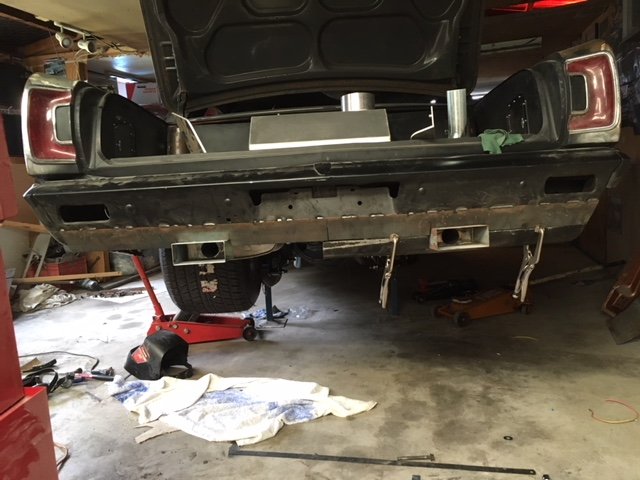
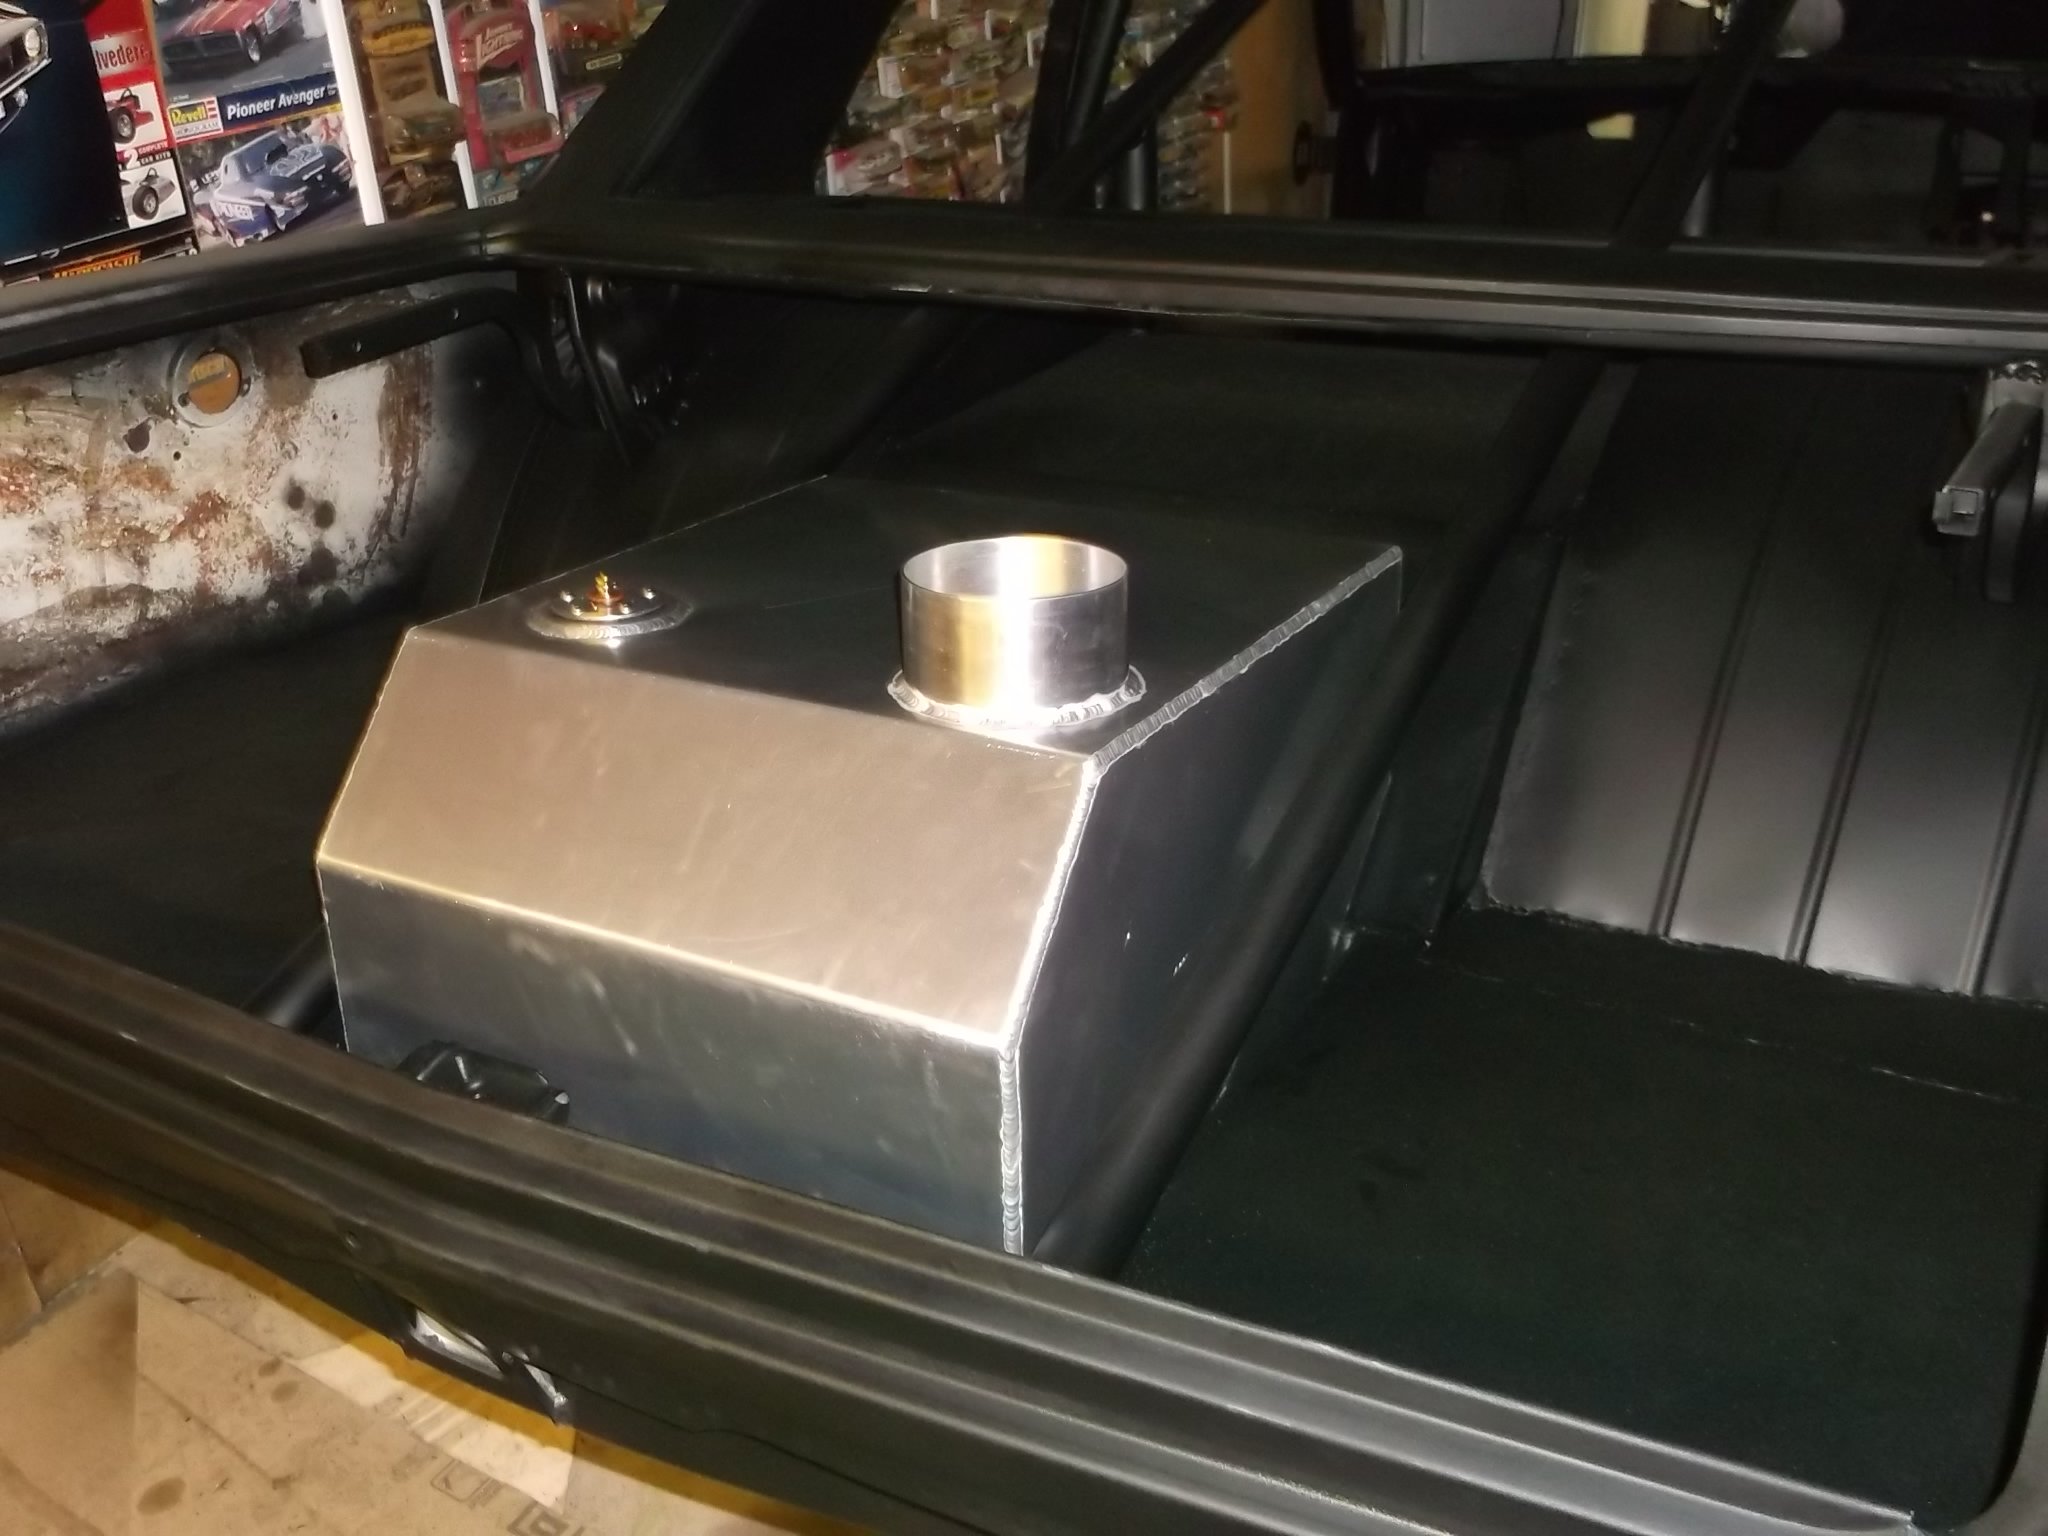
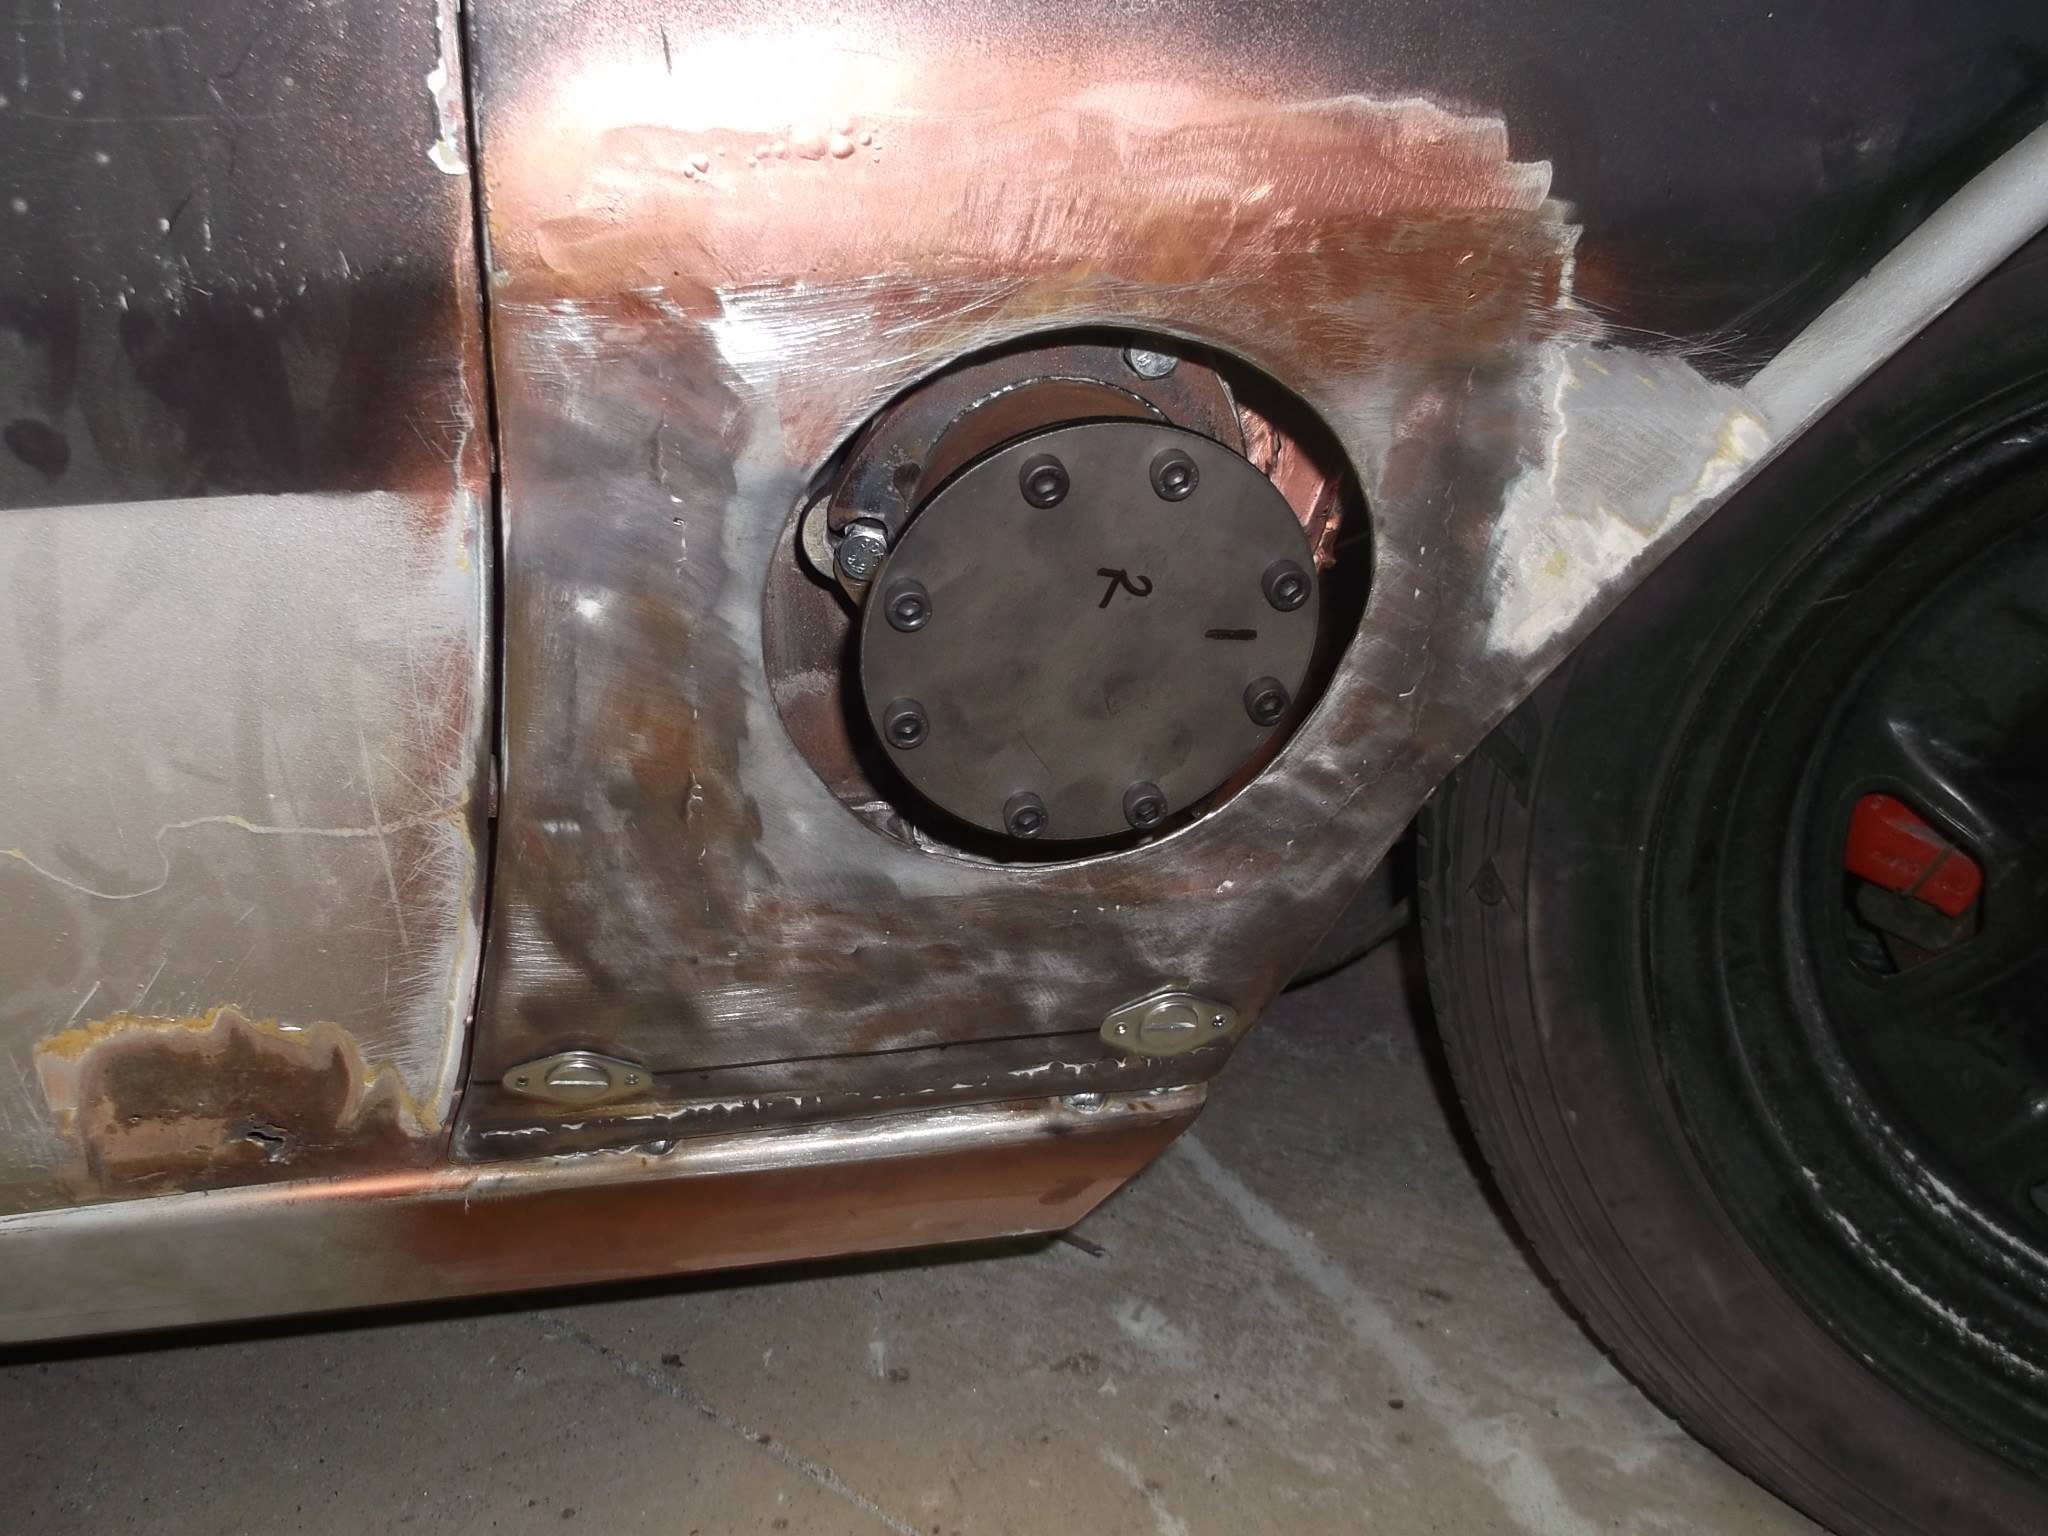
been doing the new inner guards the last few weeks,boots all lined with new tank as ell
3 points
-
the headers go though the fire wall and out though the a pillar .with electric cutouts in behind the front guard , and a t section going to the rest of the exhaust
3 points
-
under side is all done full chassis connectors .
3 points
-
its had the b pillars moved back and made into a two door .dash has been changed too
3 points
-
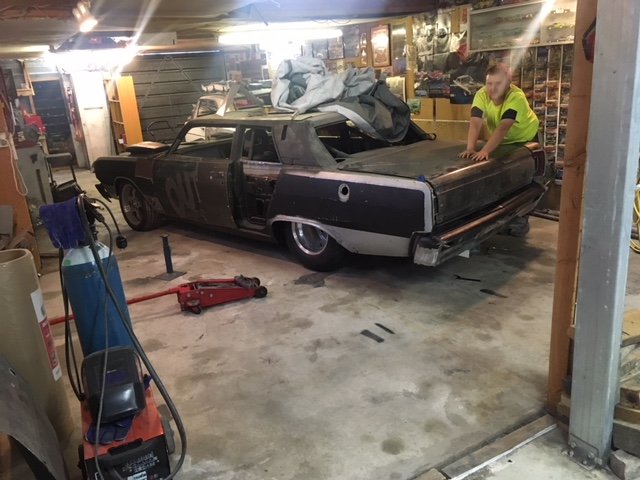
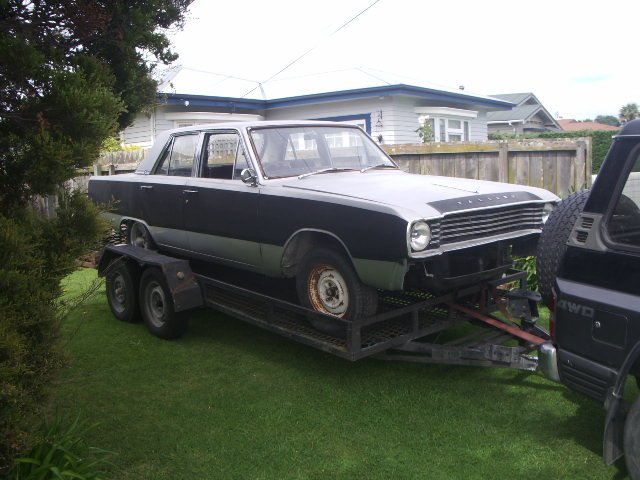
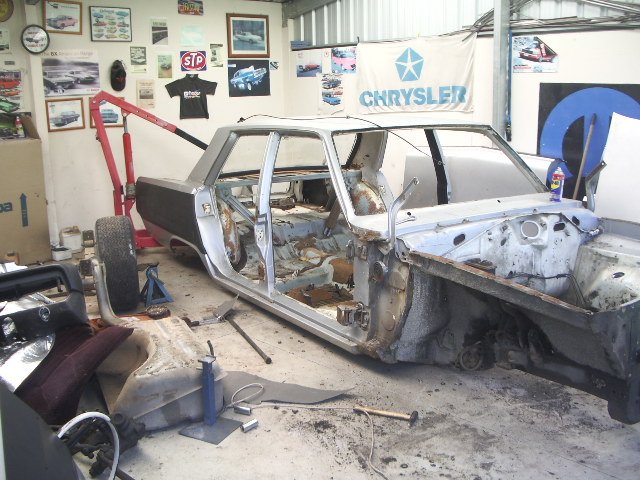
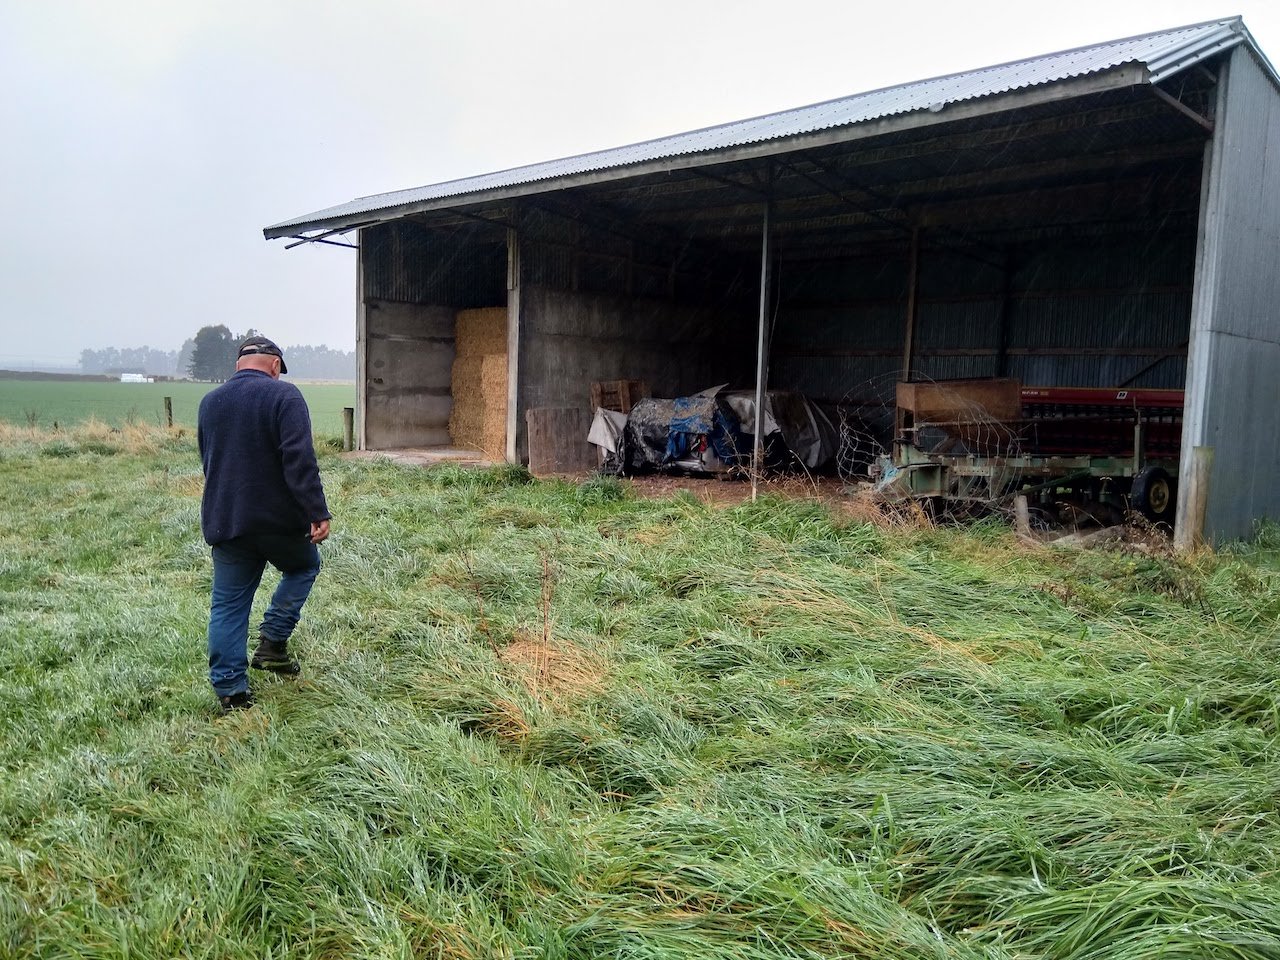
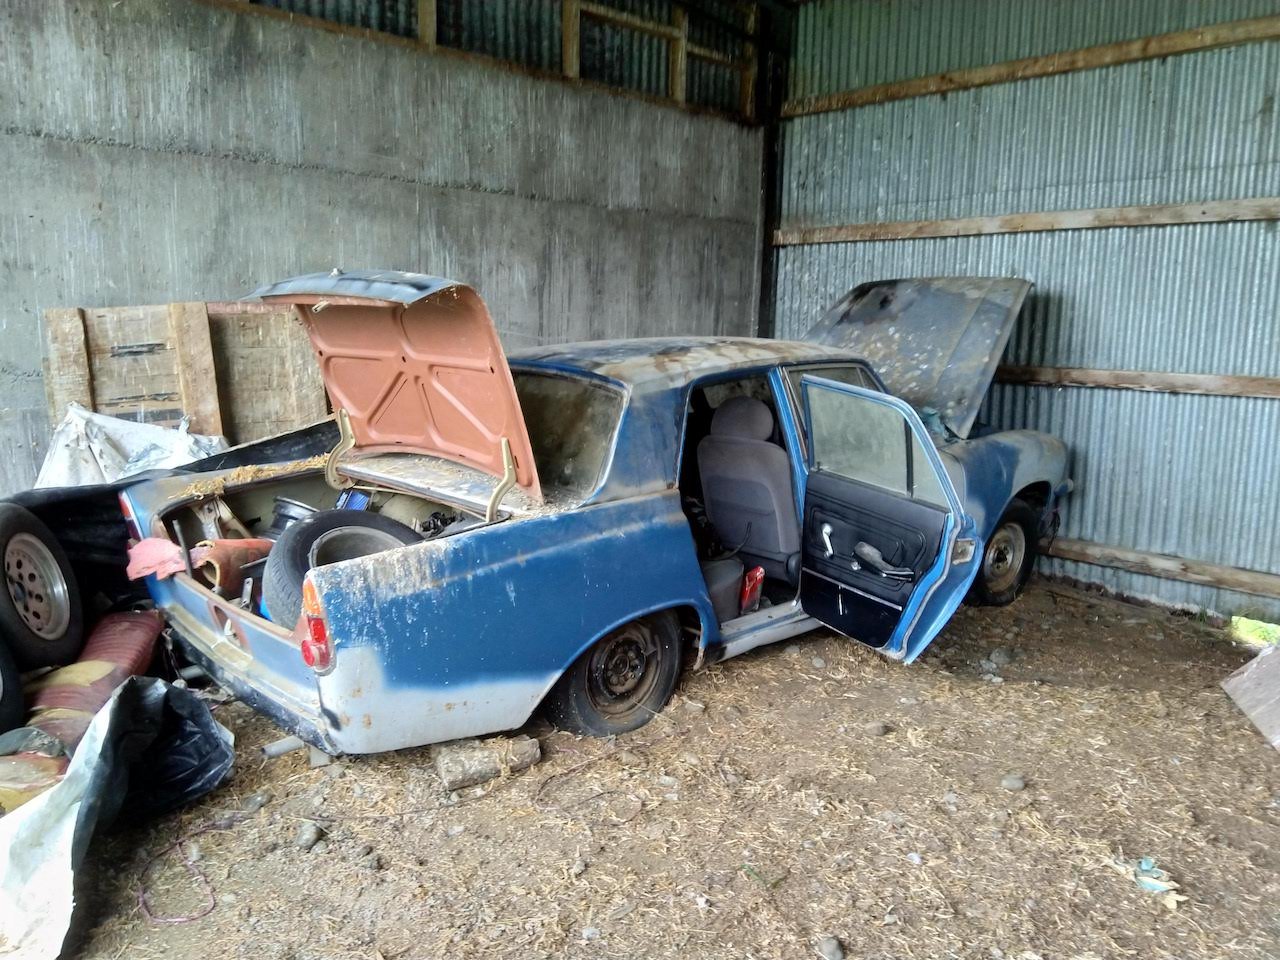
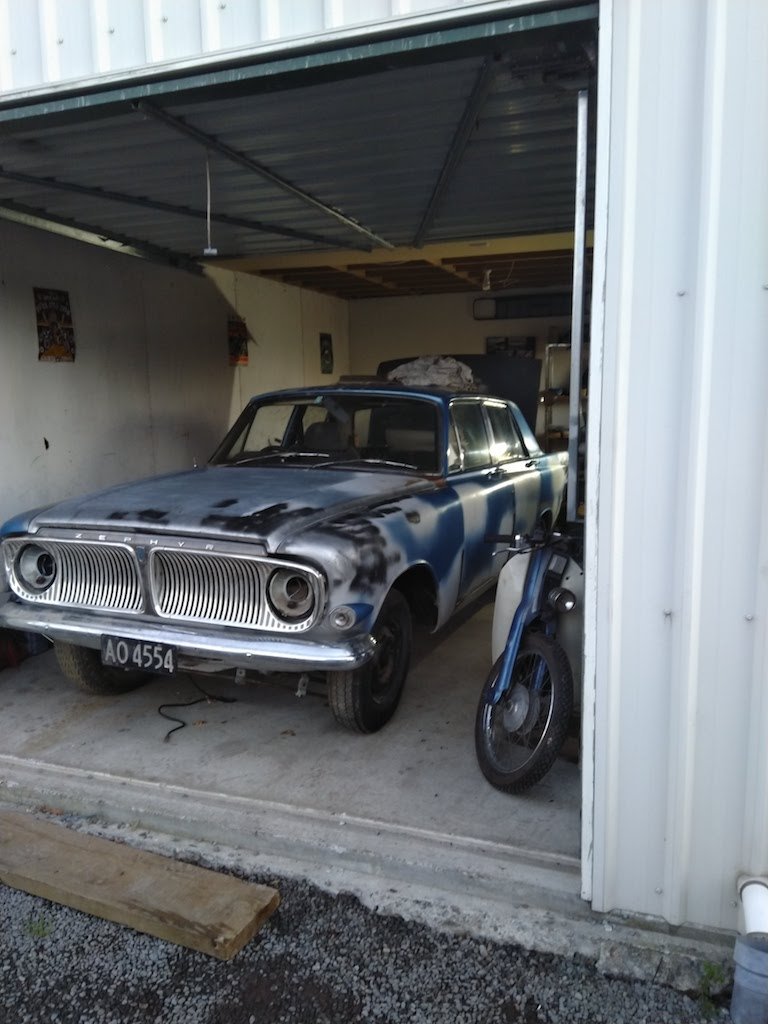
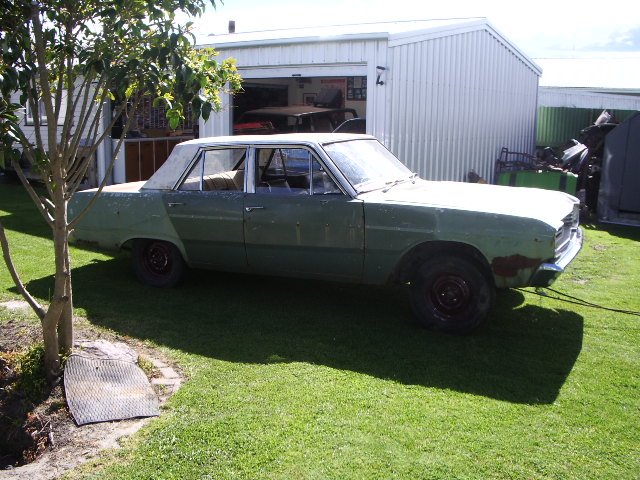
Found myself a new project. Car was last on the road in 1993, then the registration went dead but the rego is still in the system. Previous owner bought the car around '98 with plans of putting a 302 into it. A few years later he took the car to a panelbeater to get some rust fixed and bodywork done. The bill came back a lot more then expected so the car got mothballed to a hay shed. A mk4 zodiac came up a few years later that had already had a certified V8 conversion so he snapped that up and the mk3 stayed in the shed. The car only had minor rust (guards, doors, boot etc) to begin with, there was no damage to the chassis or sills. A bit of minor rust has come back since then, but a sweet barn find. The car was in Methven and had a heap of spares with it. It was pretty heavy towing back. It came with the engine pulled apart and a heap of heads, manifolds and bits. The guy that sold it to me knows someone with a mk2 motor that ran when pulled out, so I will snap that up. Long term plans for it once revinned will be some slam, wide steels and eventually an engine swap to a V8 or a barra. Am I best to get a repair certifier to come and look at it so I can get the rust signed off before I strip it back and paint? I'm thinking that might be easier while everything is pulled apart rather than taking through revin in primer, then pulling everything back apart to paint. Any ideas on how hard this would be and cost? Discuss here:
2 points
-
.2 points
-
The terminology sure does get confusing, but a GT40R is a 'high performance' coil that is designed to work with an external ballast resistor. That means the coil gets all of the available voltage when the starter is being cranked, but once the starter stops being spun the voltage to the coil returns to whatever the external ballast resistor delivers the coil (I thought it was 6v but I've never looked it up so your 9v will probably be correct). I also thought (as SR2 wrote) that the GT40 had an internal ballast resistance, but I have no idea how that works. A high performance coil like a GT40n isn't any advantage to a normal engine, but it won't hurt much either. The worst case is that it'll feed 'too much' high current to the ignition system and wear out ignition system components (points, capacitor, spark plugs) a little faster than a 'standard' coil. I ran a GT40, a GT40T, and a couple of other coils on my Mk1 Cortina race car ... and never noticed a lick of difference TBH.2 points
-
Ideal bike-TS with some sorta 2T big block shoehorned into it(Work in progress) Backup bike-PW80 with lift kit and some additions for road worthiness Backup MKII-The ever reliable mudbug RookieDave mode- WR"49"cc2 points
-
Been slack on the starlet side of the shed. Abit of love today however.. So ba falcon carpet + knife + kp starlet =this haha I mean its not perfect but aloooot better. Also took for a quick drive think alternator is on its way out. One thing off the list another on hahah
2 points
-
Yeah mate super stoked with how it’s turned out. it is super dark though so I’d definitely recommend picking up a pot of clear and mixing it for the added coats. And get 3-4 bottles of turps straight jap black super thick for the first coat then sand it to get the grain. then clear and jap black mixes to get it to where you want is the go. heres some photos of it with the chairs I’ve just finish staining, still needs a finishing coat, witch will be clear thats thinned down a lot so it self levels and releases bubbles easy
2 points
-
made my own headers and full exhaust .
2 points
-
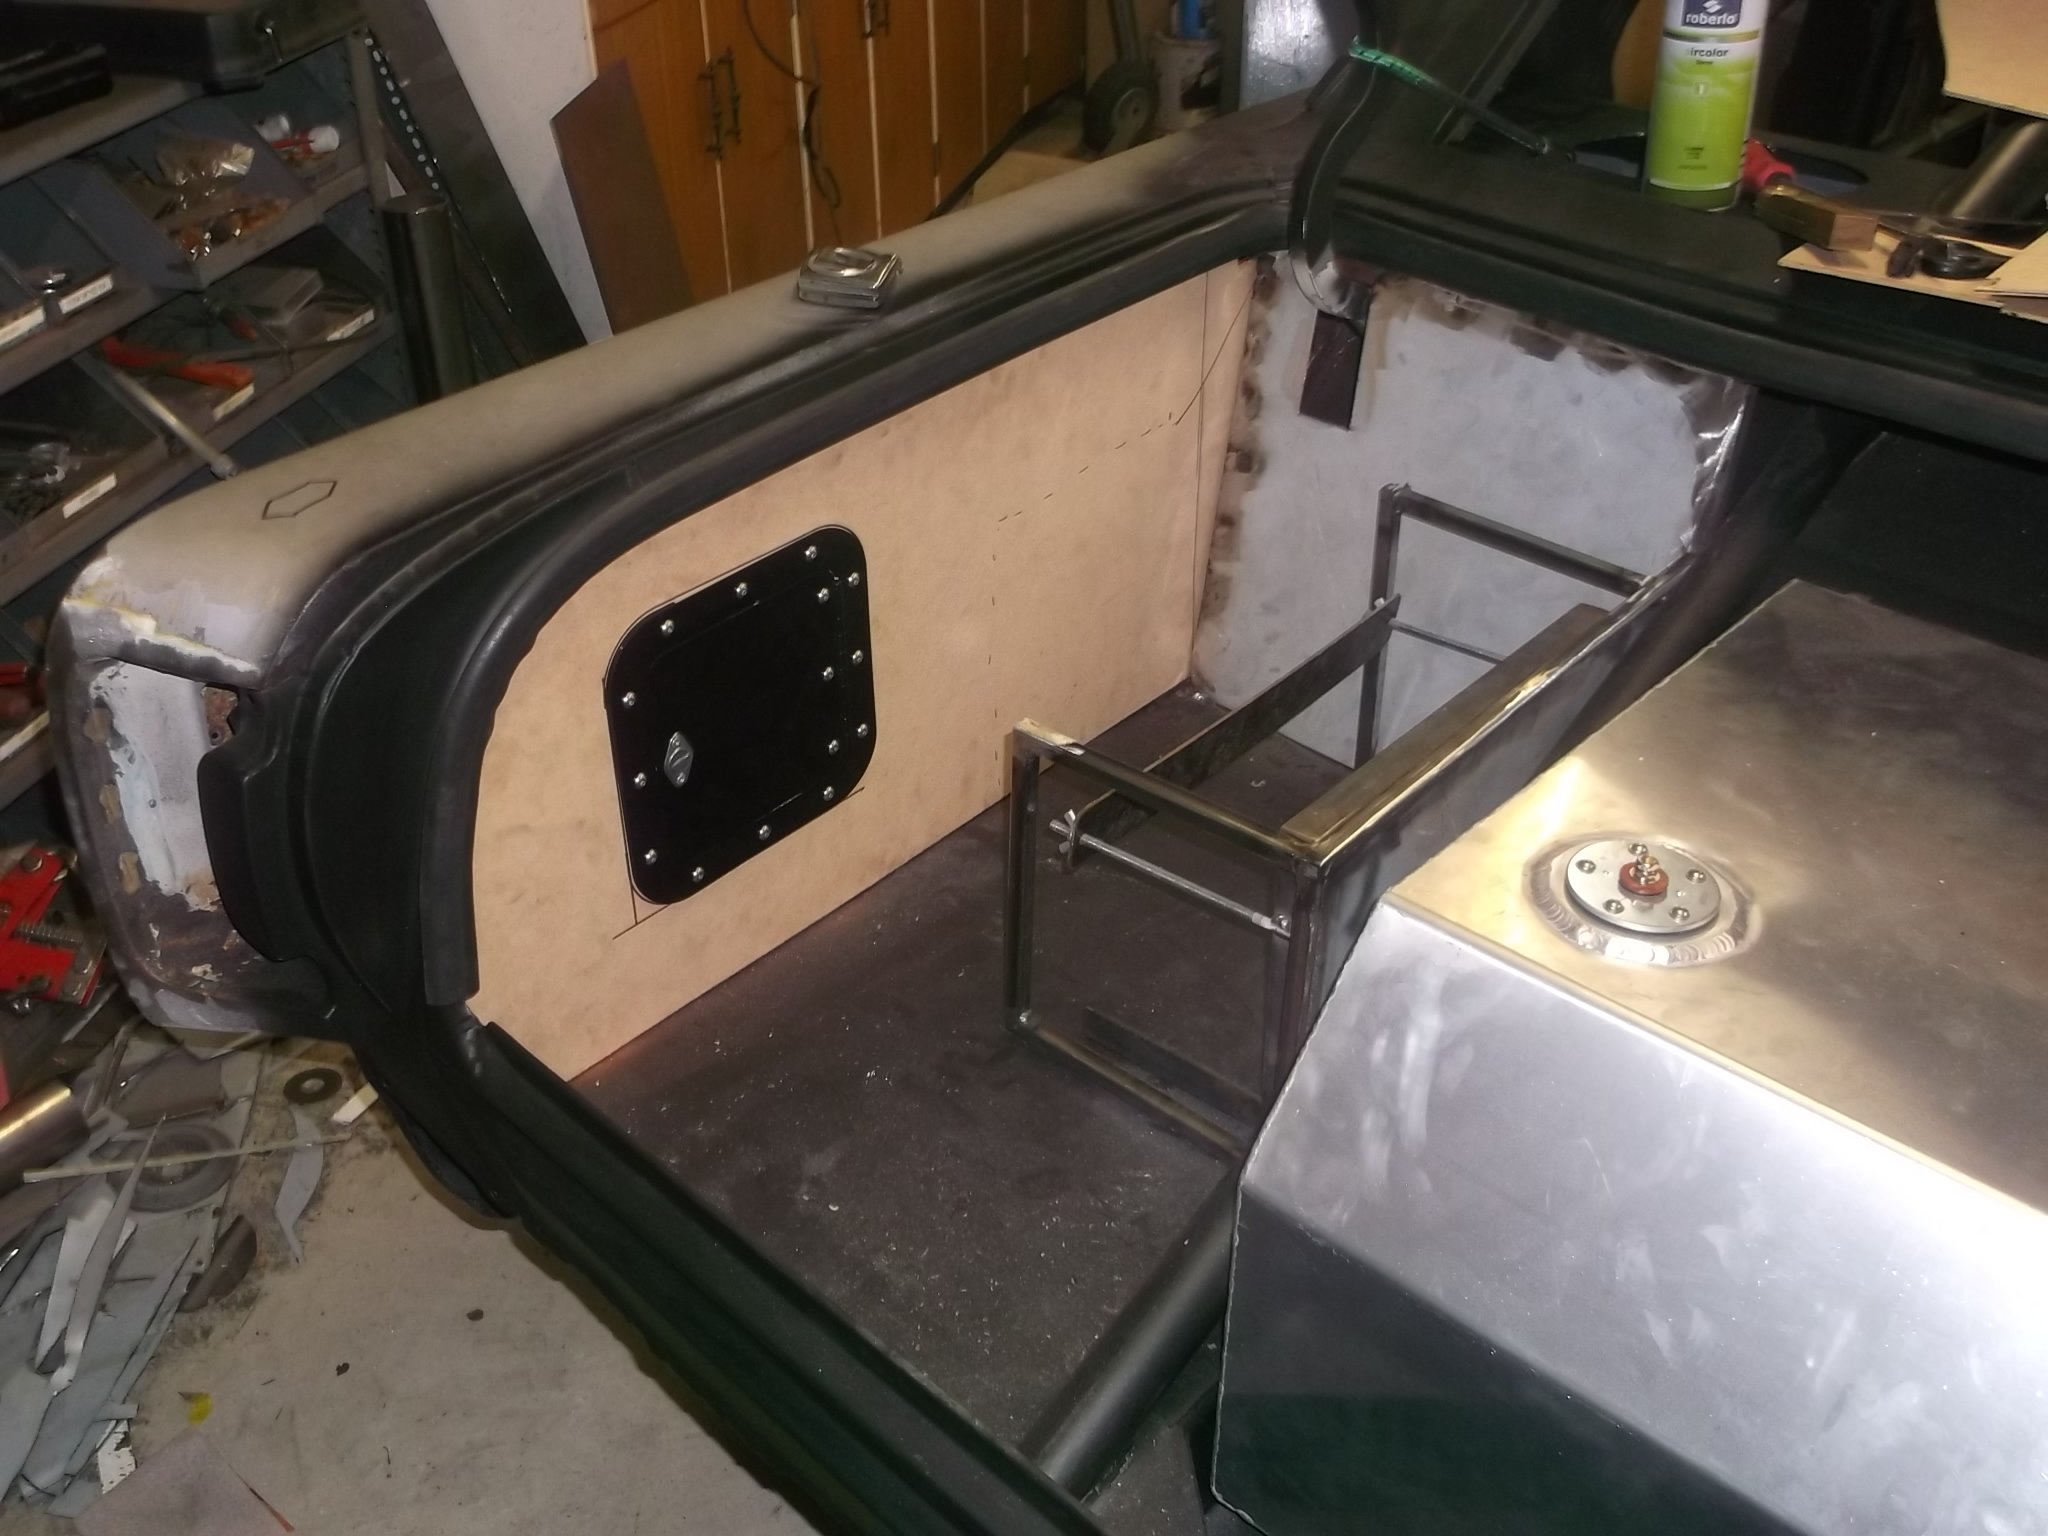
Fuel tank access panel. Not perfect but will do the job. Think of the grams saved!
2 points
-
2019-06-19_01-30-25 by sheepers, on Flickr 2019-06-19_12-40-53 by sheepers, on Flickr 2019-06-19_12-40-43 by sheepers, on Flickr2 points
-
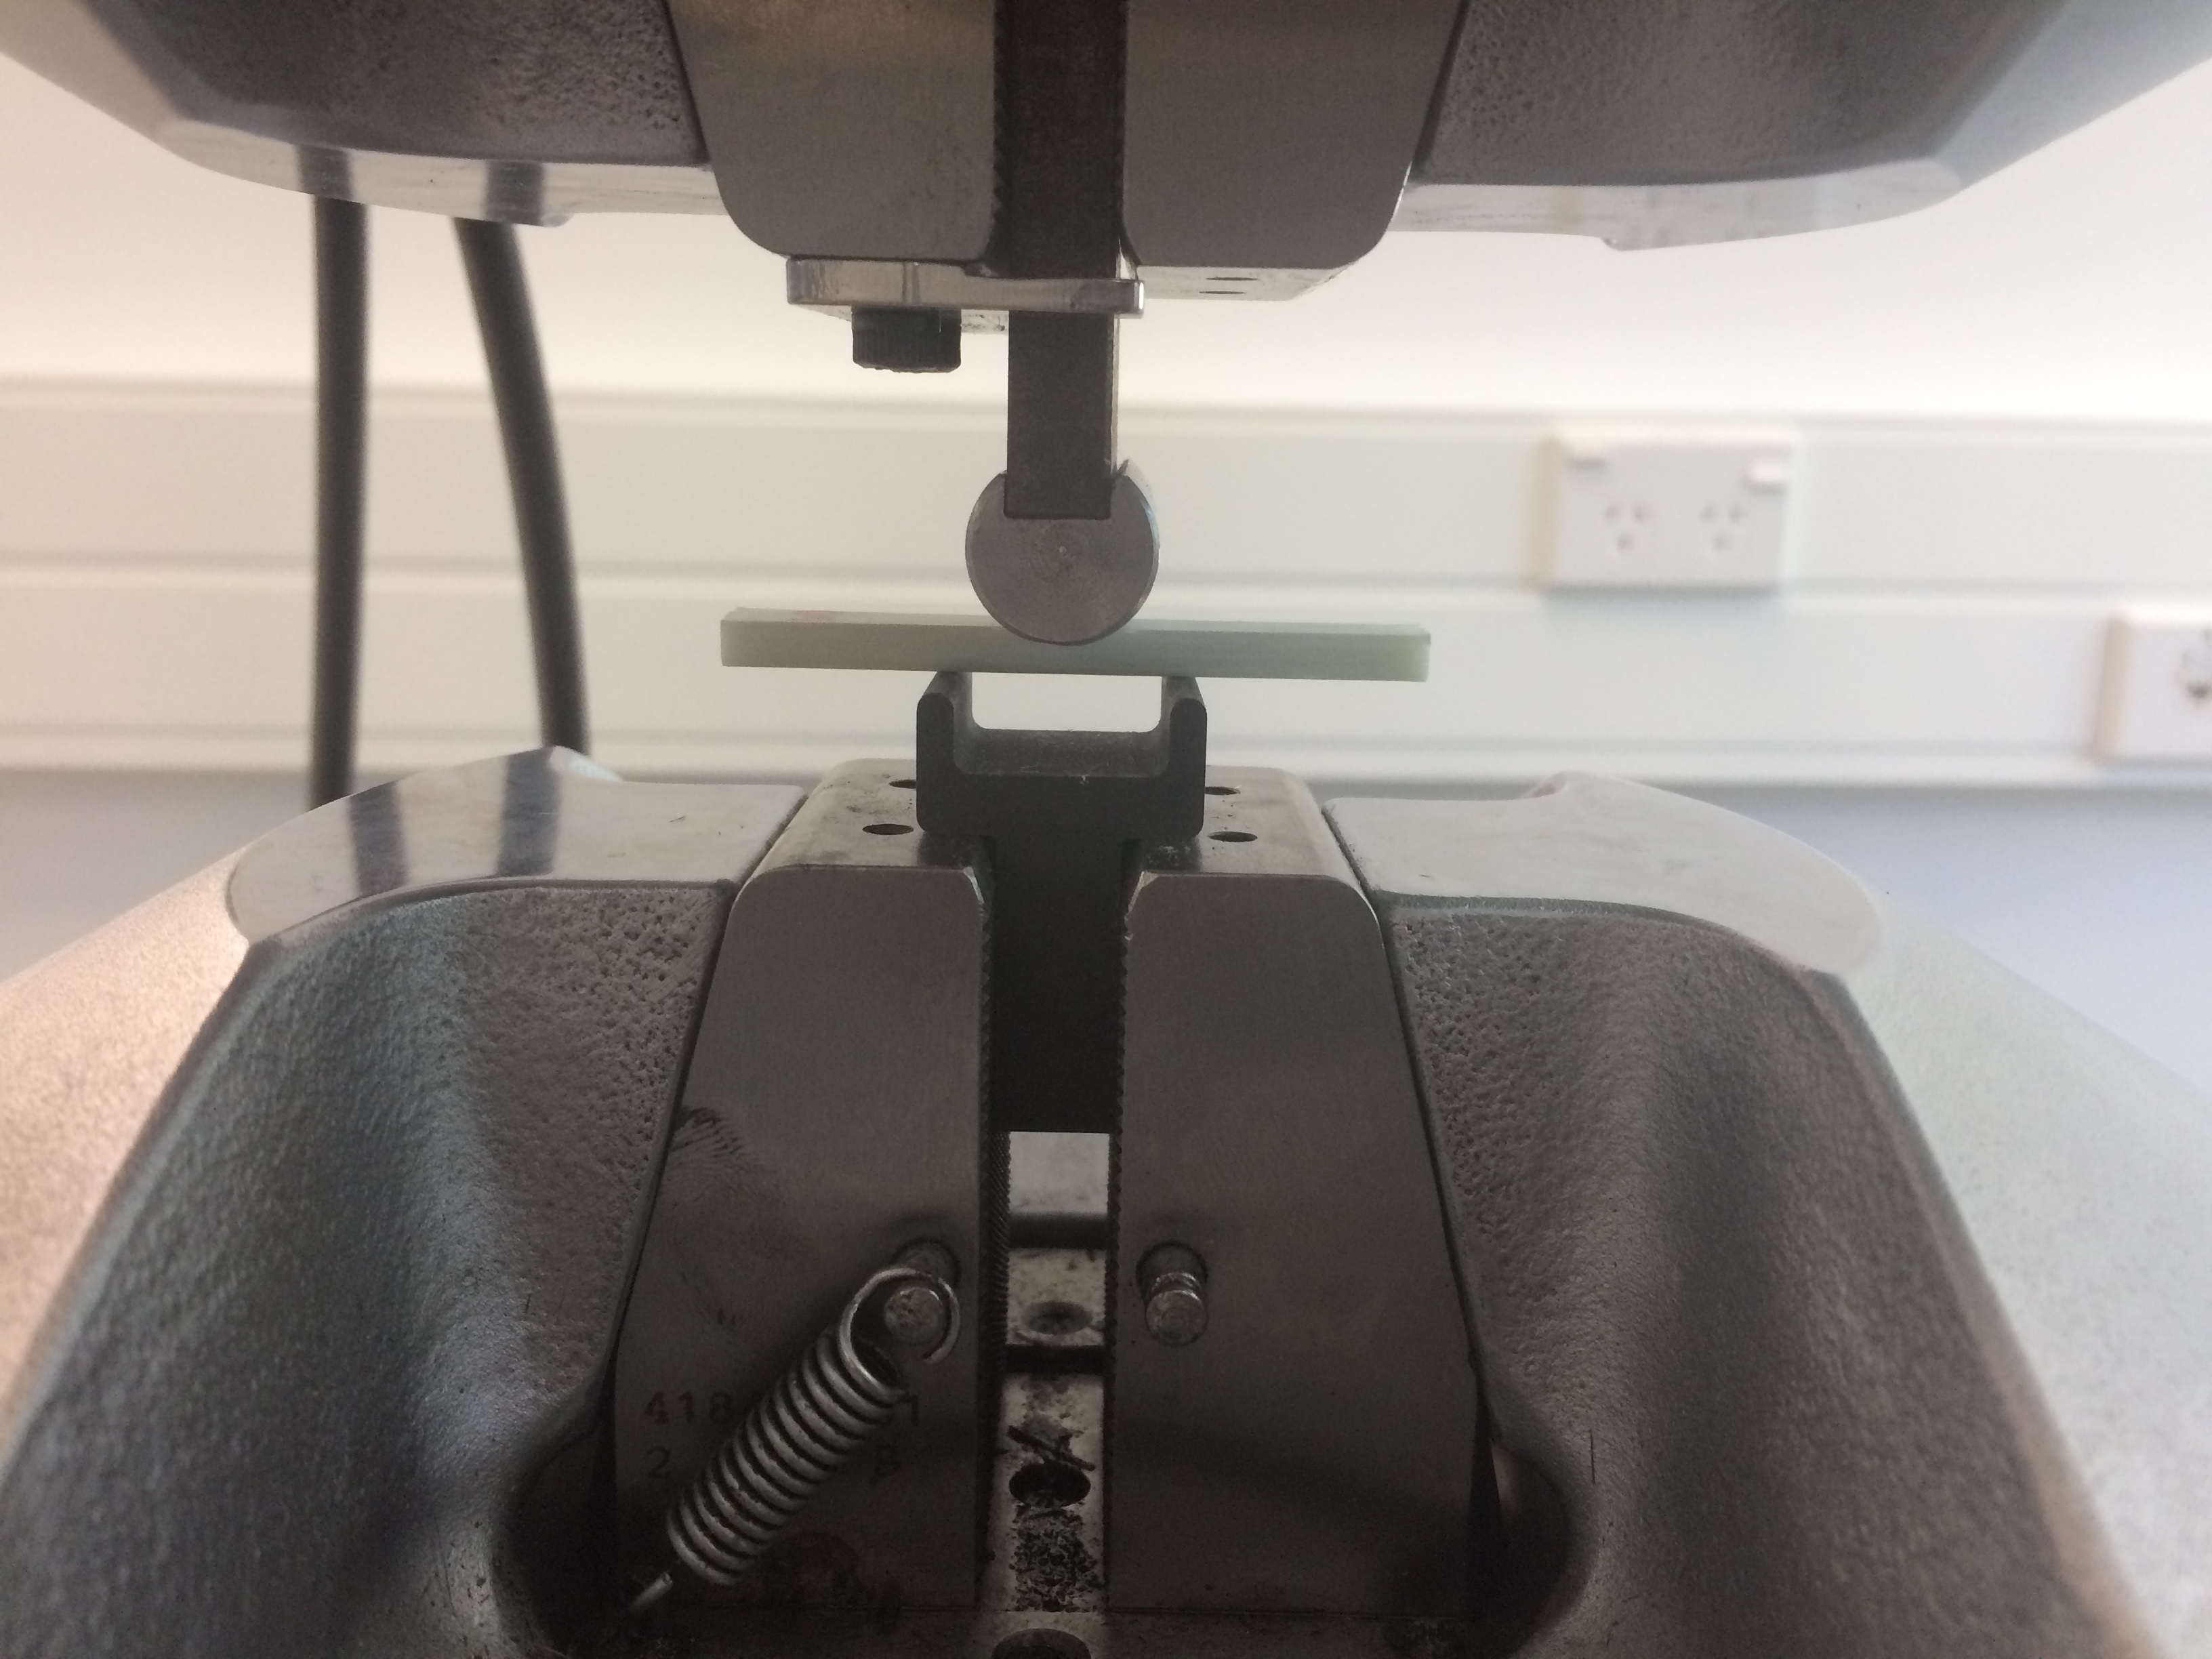
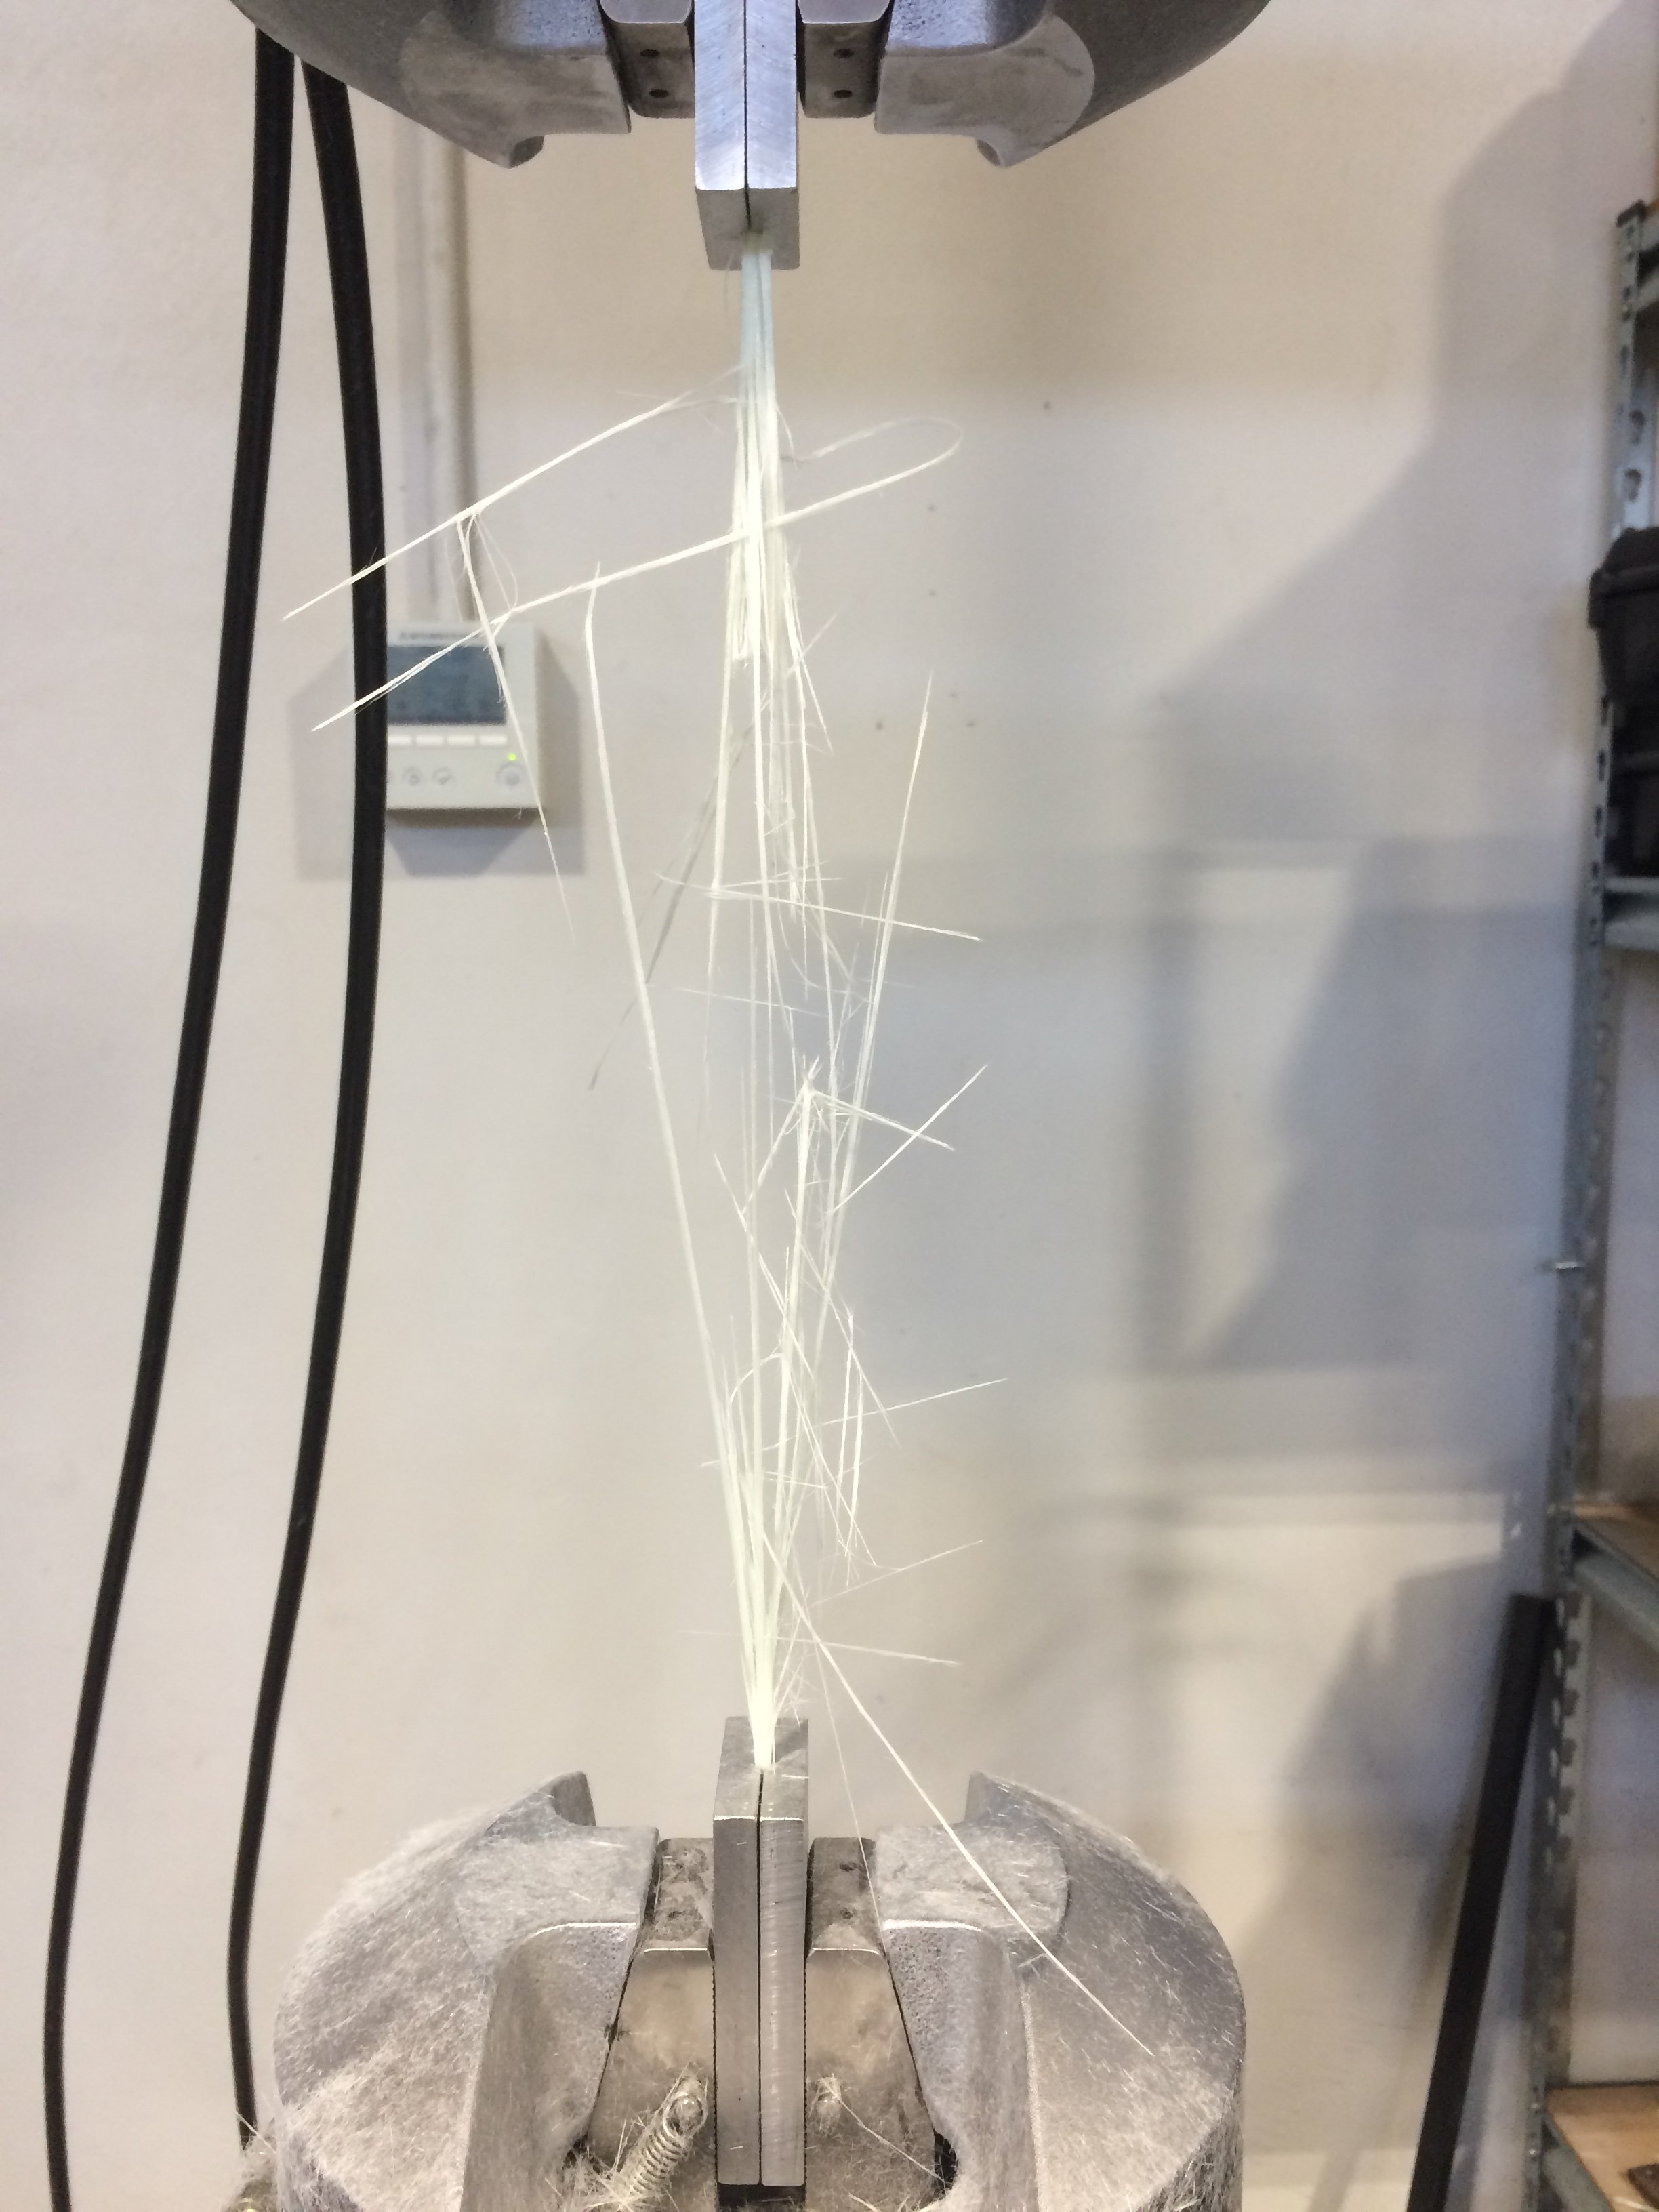
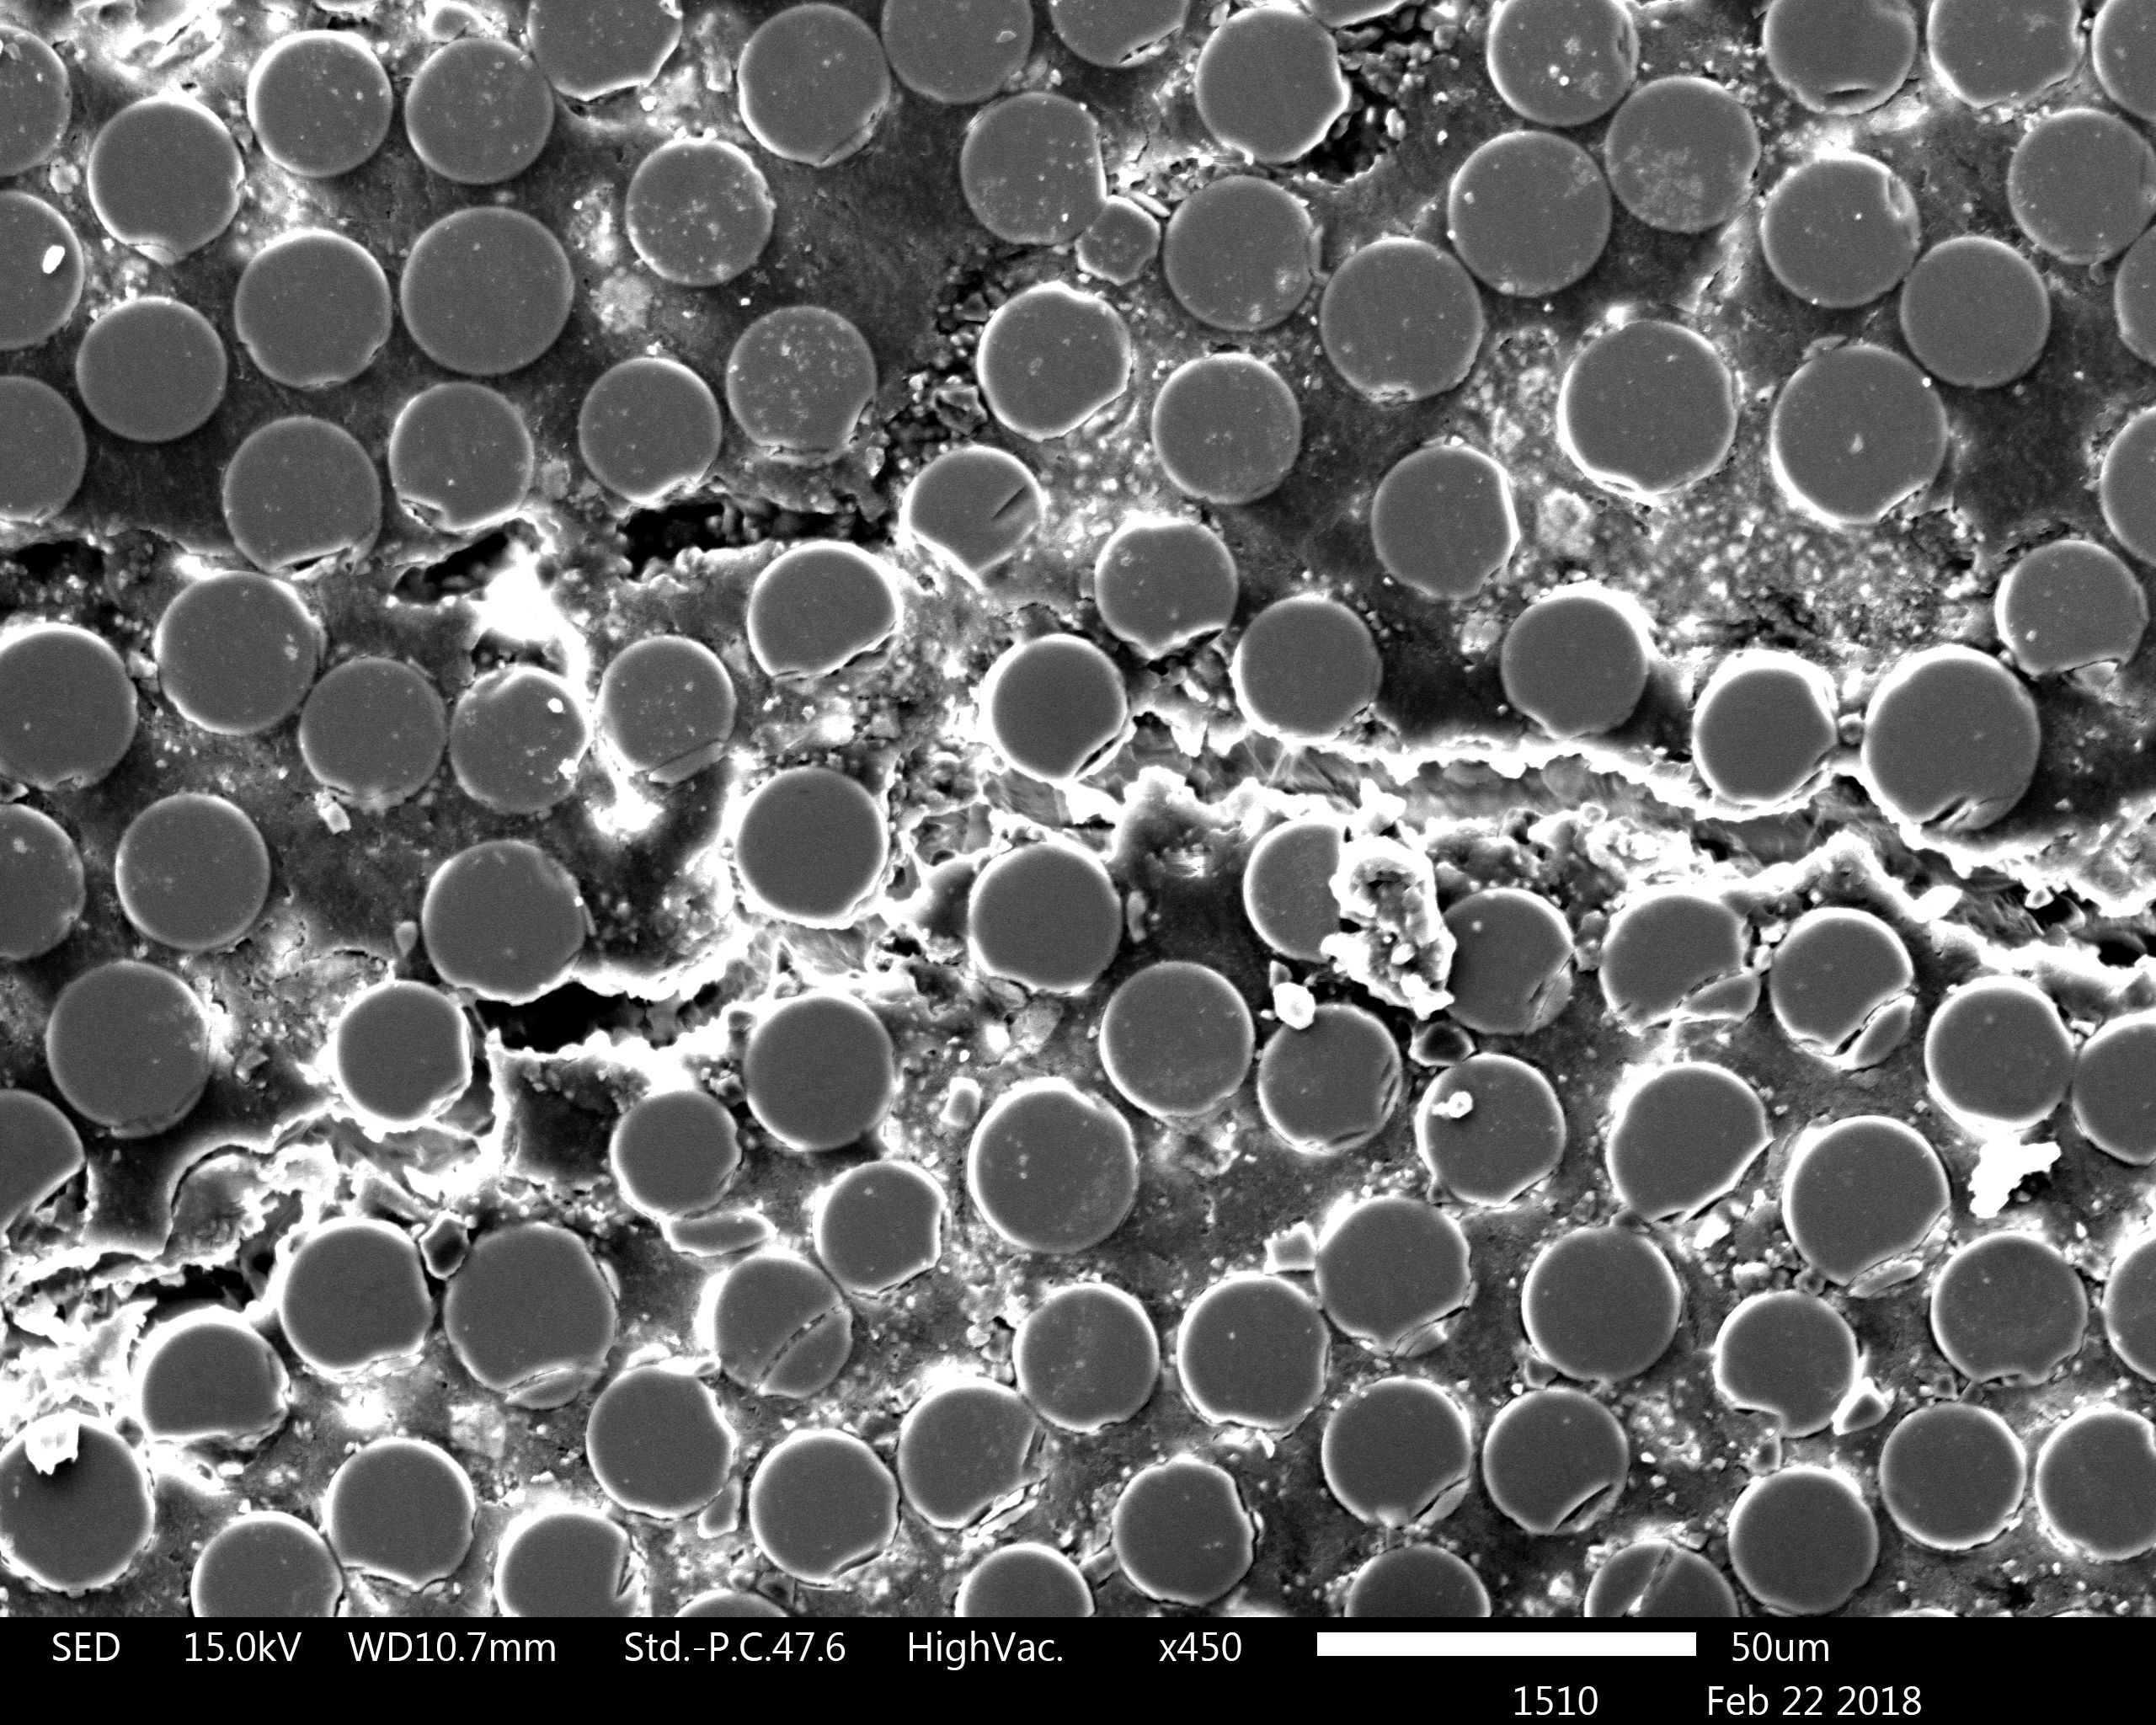
Yep the round things are individual glass fibers. While granule bits are calcium carbonate powder. The sample is an 11x4 mm rectangle section bar which was tested under short beam loading conditions as in the image below: The top loading nose pushes down until a total displacement of 2 mm and the force and displacement are recorded. The following graph contains the data from 10 such tests The graph can be split into three distinct sections, linear response (up to about 0.6 mm), initial damage (between 0.6 mm and about 1 mm) and damage growth (after 1 mm). By taking a sample where the test was stopped at the end of each section and cutting it through where the central load is applied and then mounting it in acrylic and polishing it and then putting it through the electron microscope you can get some idea of what damage occurs at what point and what is causing the damage. I've been exploring the effects of filler types and sizes on the mechanical and processing properties in pultruded products, these tests allow for reasonably quick and reliable comparisons between different recipes to determine what works best (or is the best balance between cheap and high quality, or ease of manufacture and quality etc). The glass fibers are about 1/5th the diameter of the average human hair. Here's a tensile test outcome (3.2 mm diameter rod, failure load about 1.1 tonnes):
2 points
-
mmkay pops in -as ya do says hi to sr2 [Simon you have email re inverter] **Waves at unca Jake** Okily Dokily on the old Mark 3 Go Tina...the ballast wire was about a foot or so long with the standard old round bullet connectors and was a thick GREY wire. Recall has it possibly under the bonnet catch radiator support upper panel area... pic of wire (with ends reterminated here) https://thumbsnap.com/1q1cINlX End of the day running a ballast resistor with a bypass is actually a tad better for starting. However if you decide to go that way a standard issue common garden 3k/4k toyota earlier mitsis etc as here https://www.repco.co.nz/en/brands/oex/oex-oex-ballast-resistor-acx1955/p/A1195390 Can simply be mounted and wired direct from the ignition feed to the ballast coil-as to the ballast bypass giving more available power on cranking/starting well as simple as a diode fitted in to a wire connected to the starter solenoid feed and connected direct to the coil... Hope This Helps Edits to add **newbie**.....Yeah Right.............(Passes round Tuis......-As Ya Do...) Reason for edit Older Experienced Time Served Qualified Mechanic **Newbie**1 point
-
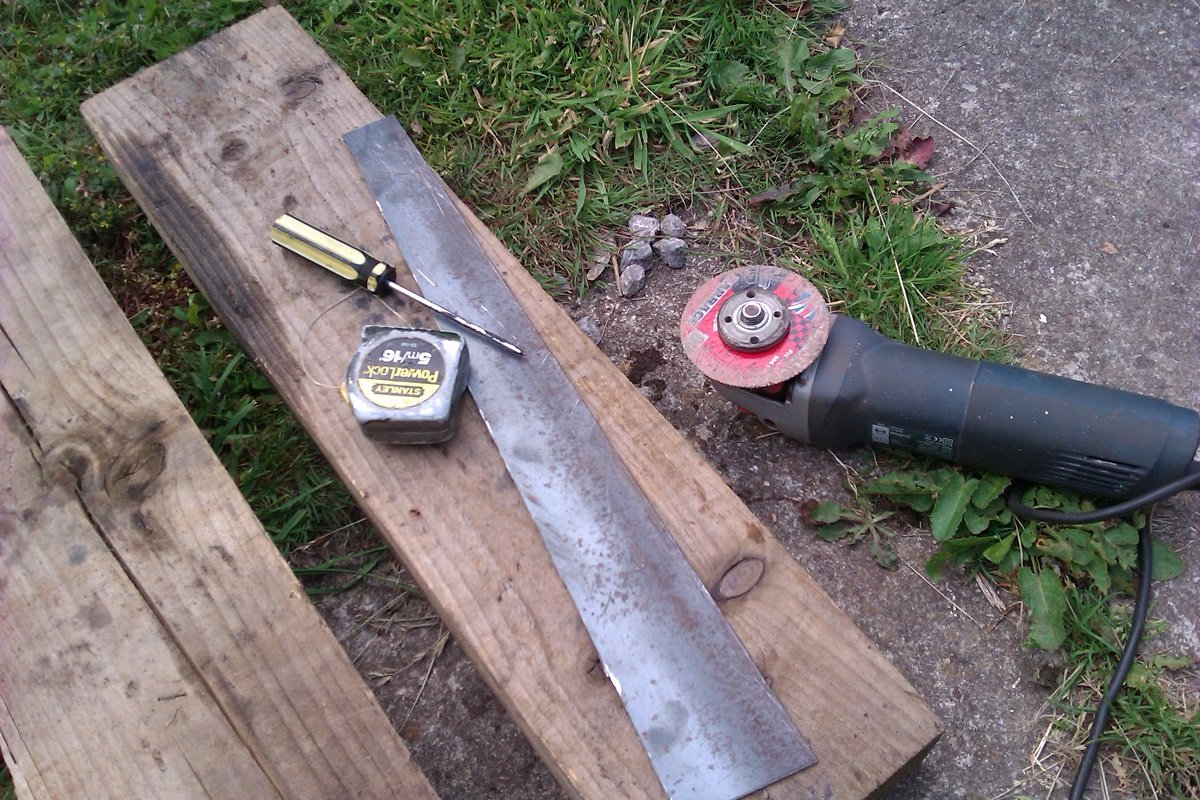
Just logged into Oldschool for the first time in years and searched Capri, and came across this post. Awesome build JR. My orange Capri hasn't seen any attention in 7 years since having kids as well haha! So i know the feeling. Just in case the leather strap issue isn't resolved you can order them minispares.com or any other Mini parts uppliers. They are used on Mini bonnets a lot and will be the perfect size.1 point
-
Fuck yeah, another zed..was beginning to feel lonely.1 point
-
Not great; not terrible
1 point
-
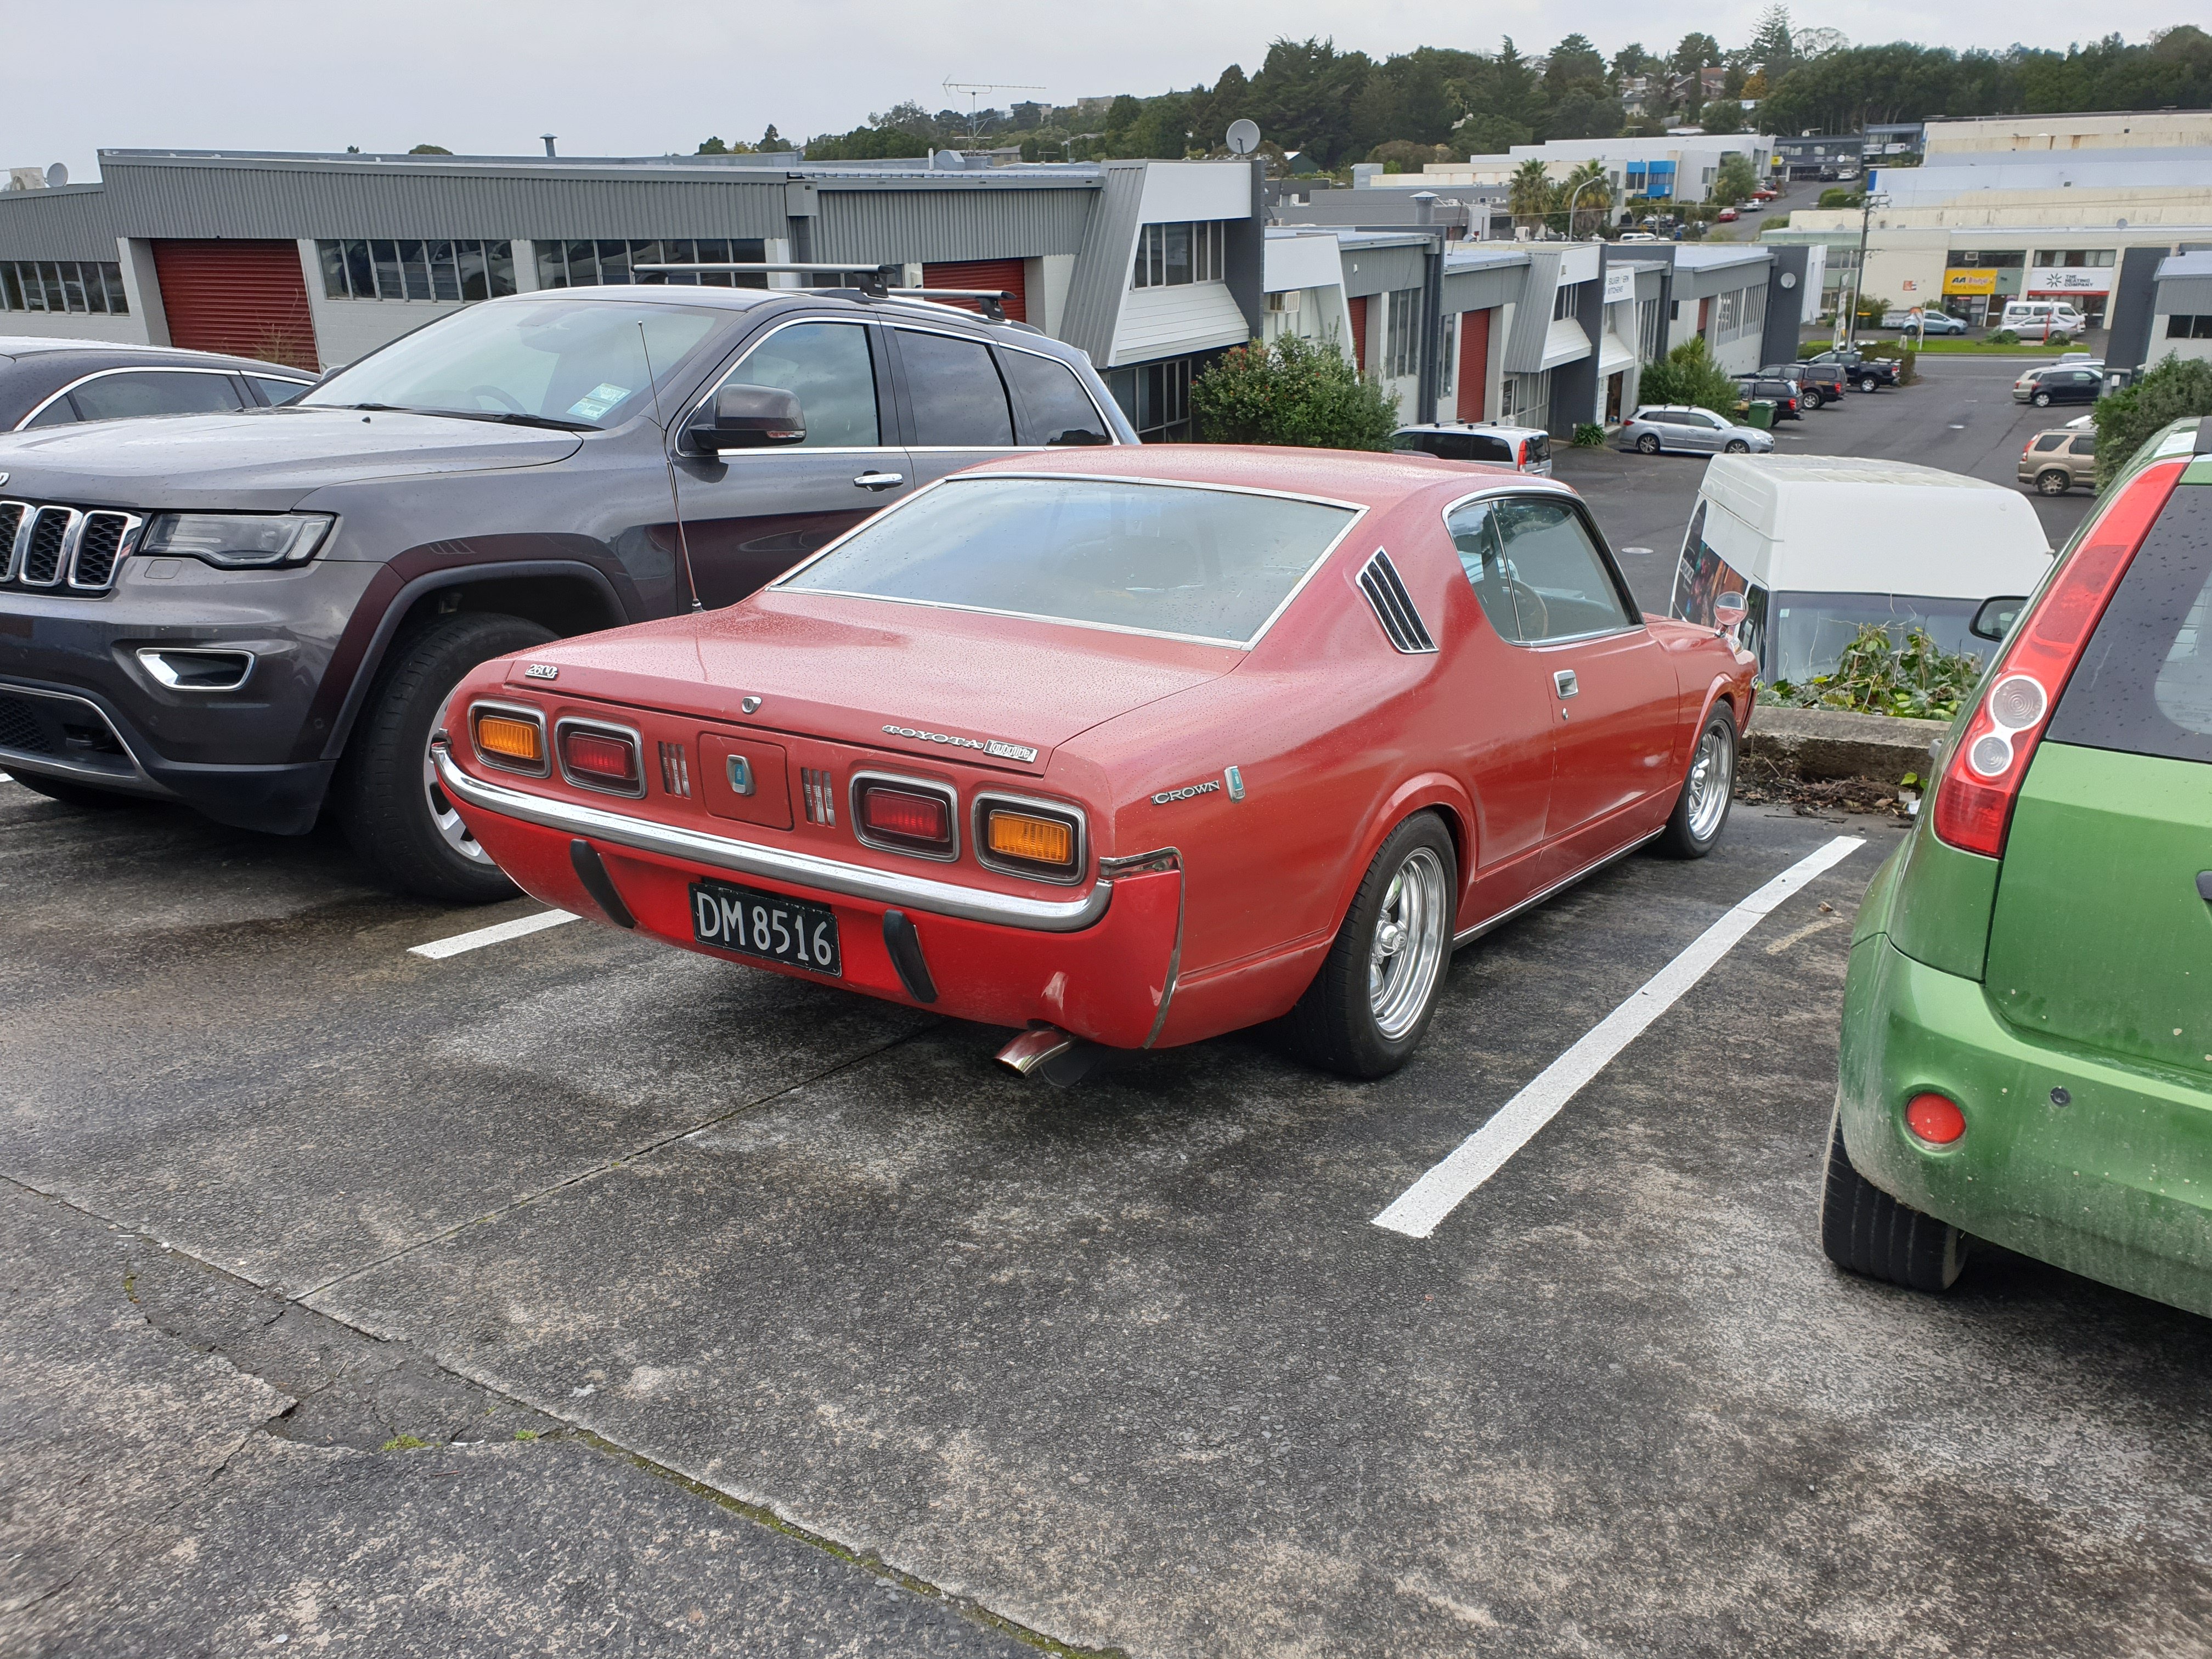
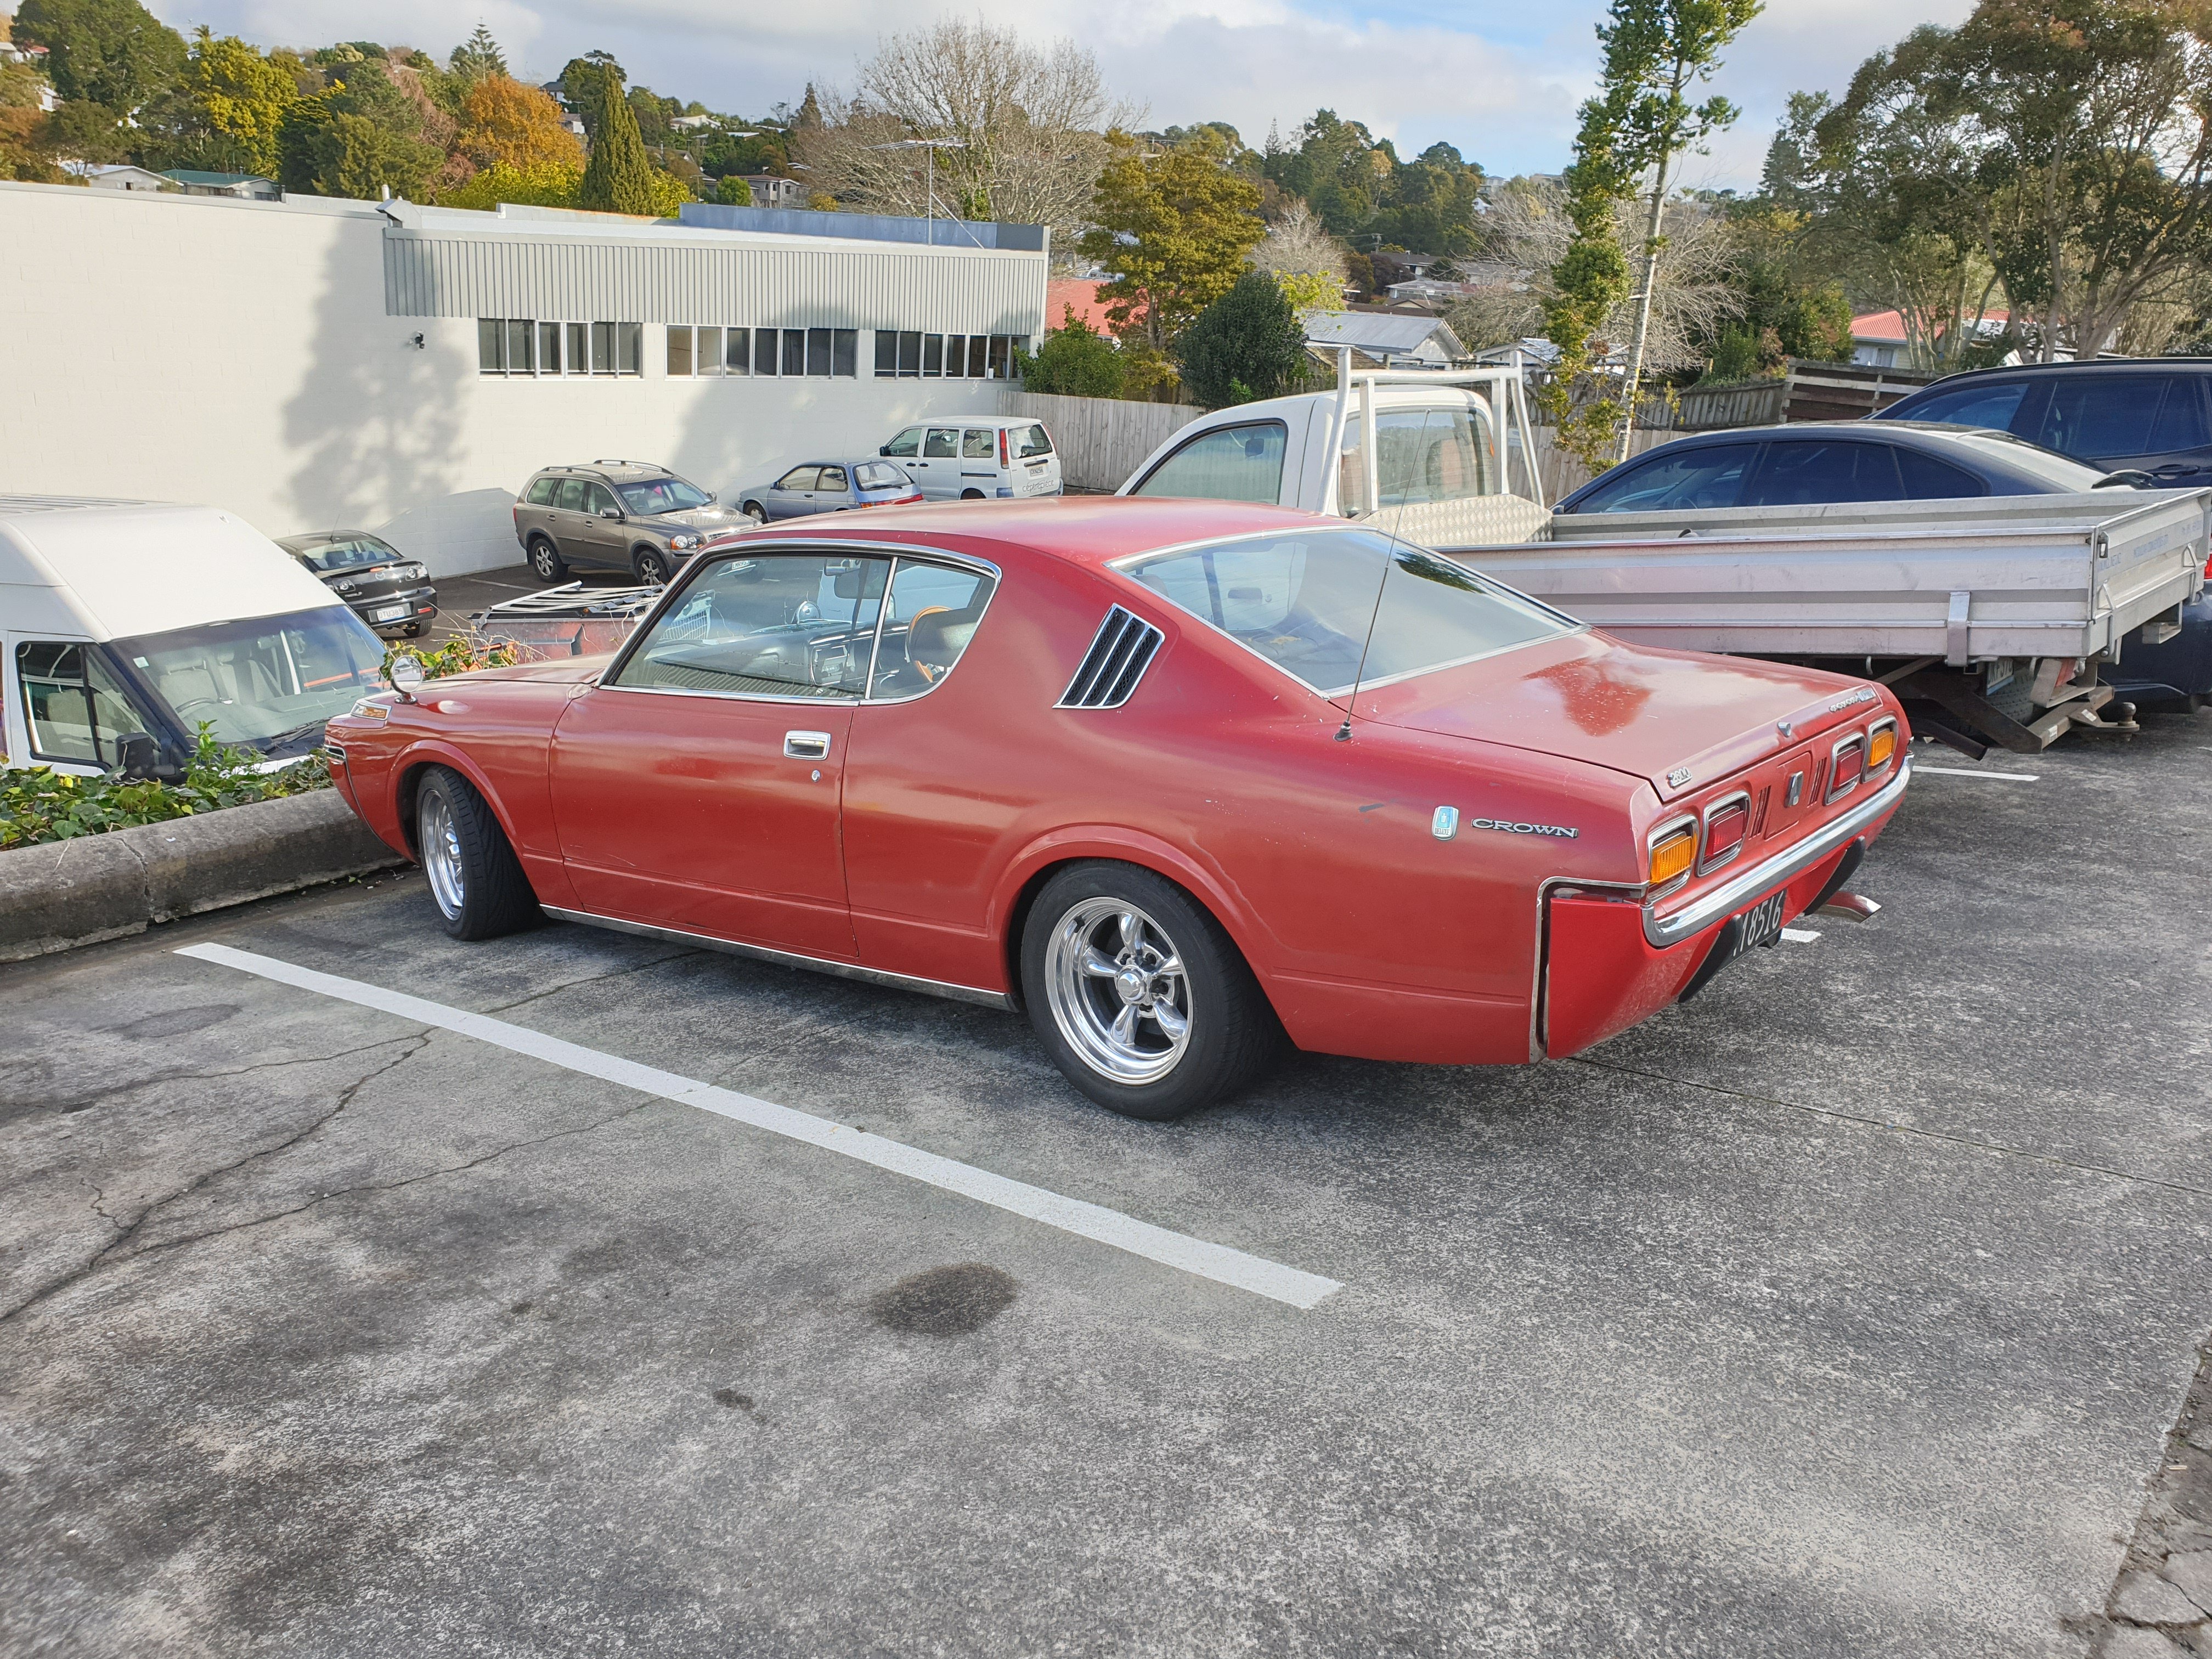
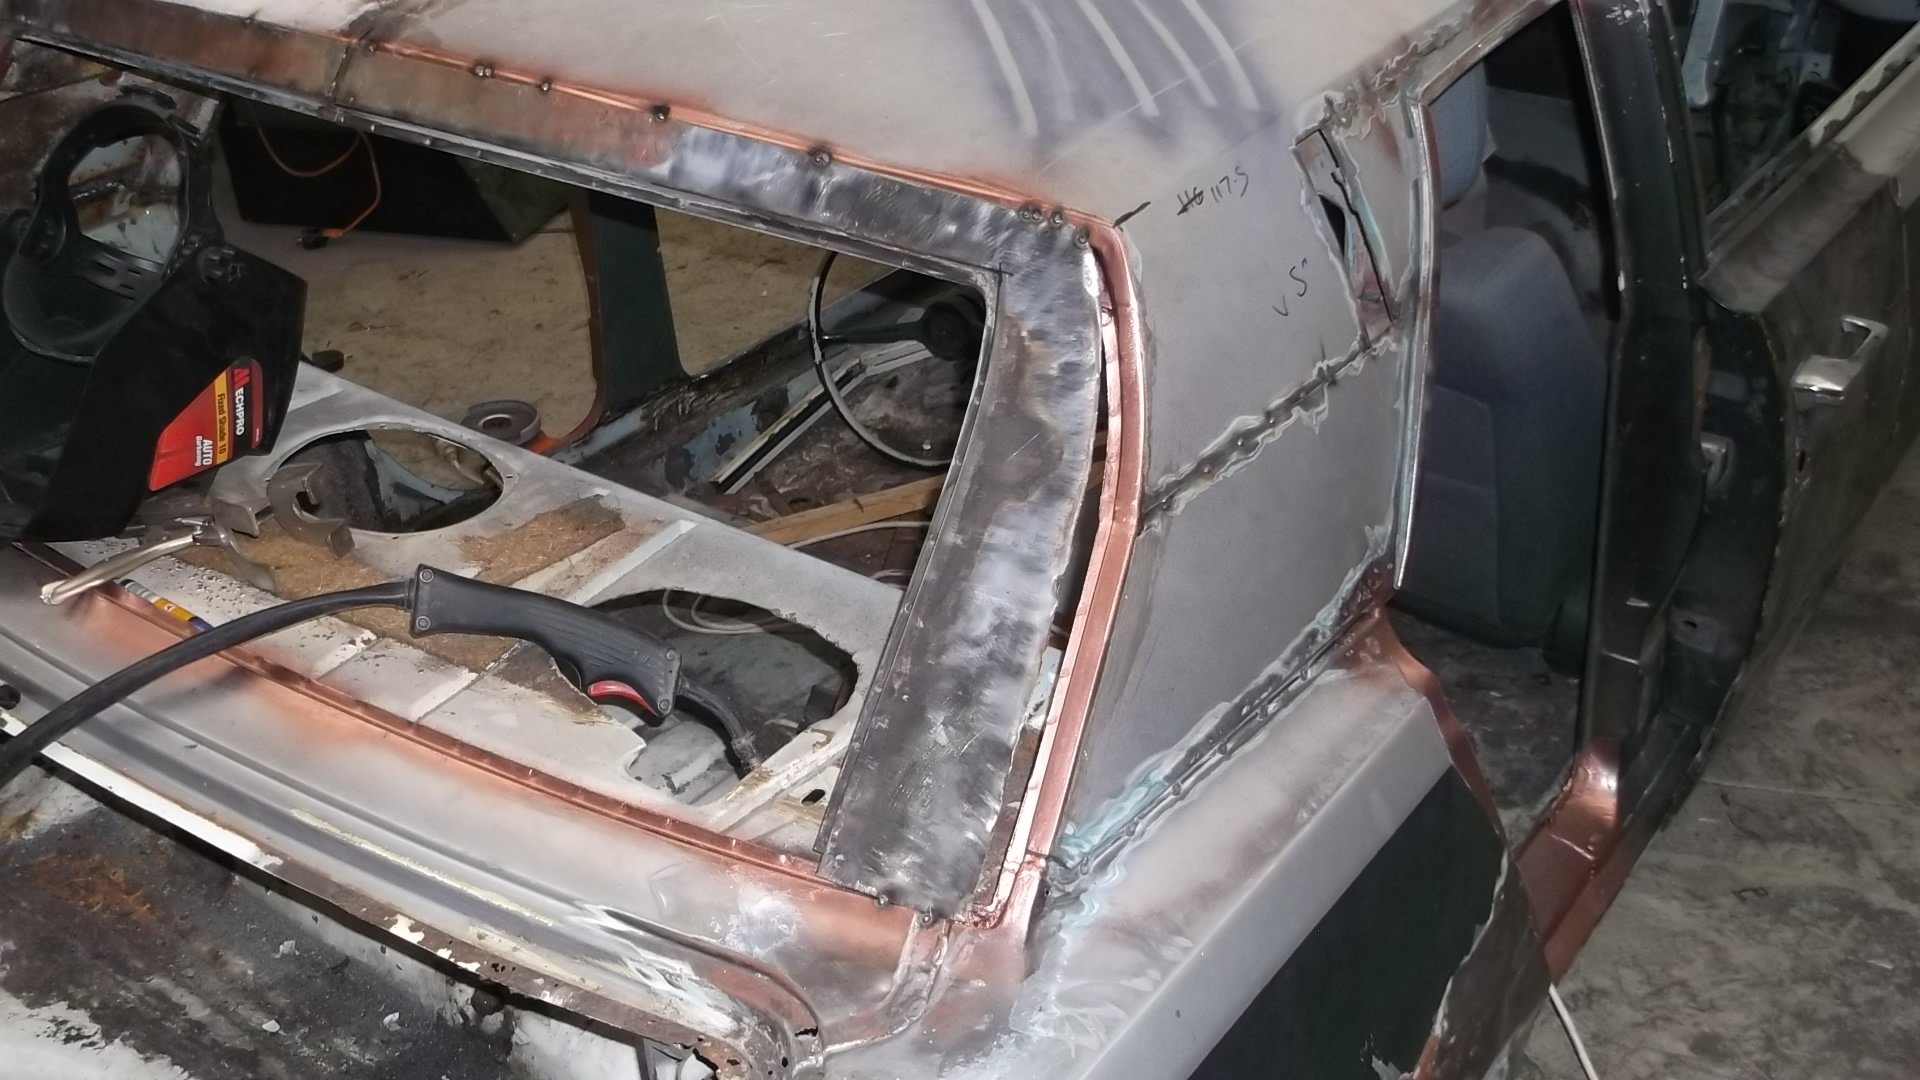
So as promised.. A follow up post to show some initial investigation into the car. On the way back up to Auckland from Nelson, I began to think about ALL the places this thing would be rusting that I couldn't see. Like many, I prod around window seals, crevices and all sorts of places I should probably ignore on the car... But alas, I found some quite soon. Having had a X81 MARK II Hardtop, I know that window seals provide a prominent area for water accumulation and subsequently allow rust to develop. Makes sense, so I knew the Crown had the potential for rust here. From the pics, you can see there is a little rust but regardless, it needs to be attended to. I pulled all trims off gently, broke nothing and got it down to a ready-to-repair state. A+. I cleaned the area up and this is how it sits now. Its both sides from inspection and I've yet to do the other. I've got a good panel beater who's essentially told me to bring it to him when I'm ready... sweet. I do need to find a pair of front door rubber rails which screw to the body. The ones on the car are so long gone (pic attached). Any leads on a pair of these NZ-side would be appreciated, YAJ/croooober/Mbok etc are dry. I kept going and removed the lower screen trim to reveal.... NO rust north of some surface rust. Yay, I'll take that for now. The car failed a WOF on front wheel bearings and rotors being pitted. I tackled the wheel bearings that day as I grabbed a pair from Repco. When I took the hub apart, the hub bolts were on finger tight, so I'm not sure if the bearings were properly stuffed or it failed on a loose hub bolt, whatever though. I need to grab new brake rotors too as these are far too thin to skim apparently. I was going to leave putting the new bearings in until after I get the new brakes. I take it the hub and rotor can be separated from one another? I haven't encountered a setup such as this before. Some cleaning up of trims happened after all of this. The door rubber was brought back to life and all ready to go back on.. I'll autosol when it comes time, I assume thats a good way to bring these back to 100% But yeah, that's it for now. I may keep up with the minuscule updates, I may not. Until my JZXs sell, it will be quiet sailing.. After that, I've got plenty of plans for it which I'll be able to bankroll.1 point
-
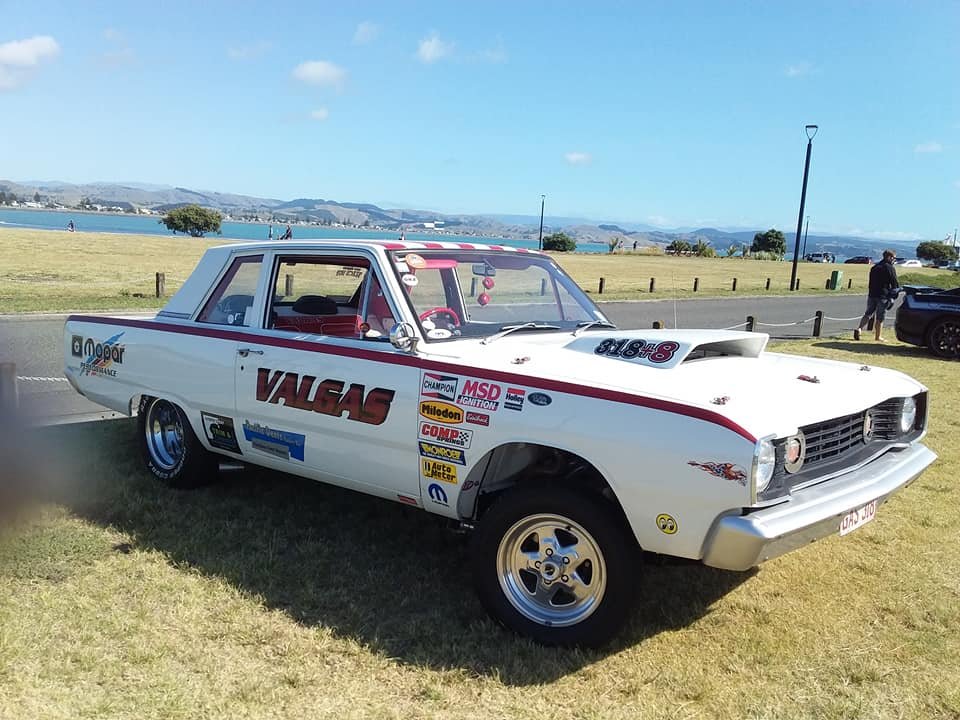
thanks i like to find a rusty wreck it make something cool out of it more fun that way . heres a pic of the gasser before and after
1 point
-
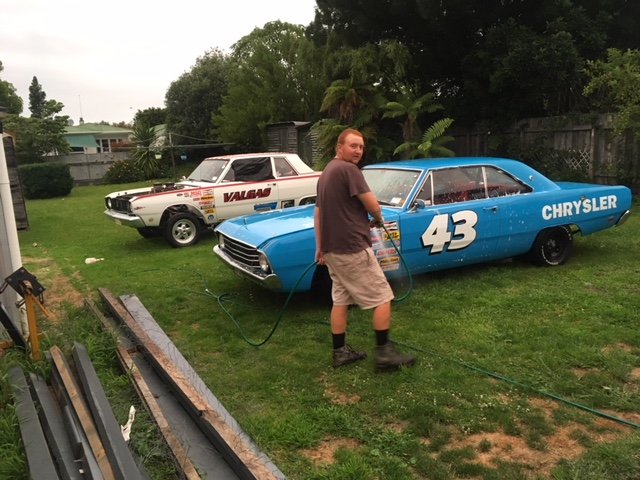
yes still have gasser and coupe
1 point
-
Can someone from the 3D printing thread please whip up a few sets of hotwire's, turbo's and tridon's? Cheers.1 point
-
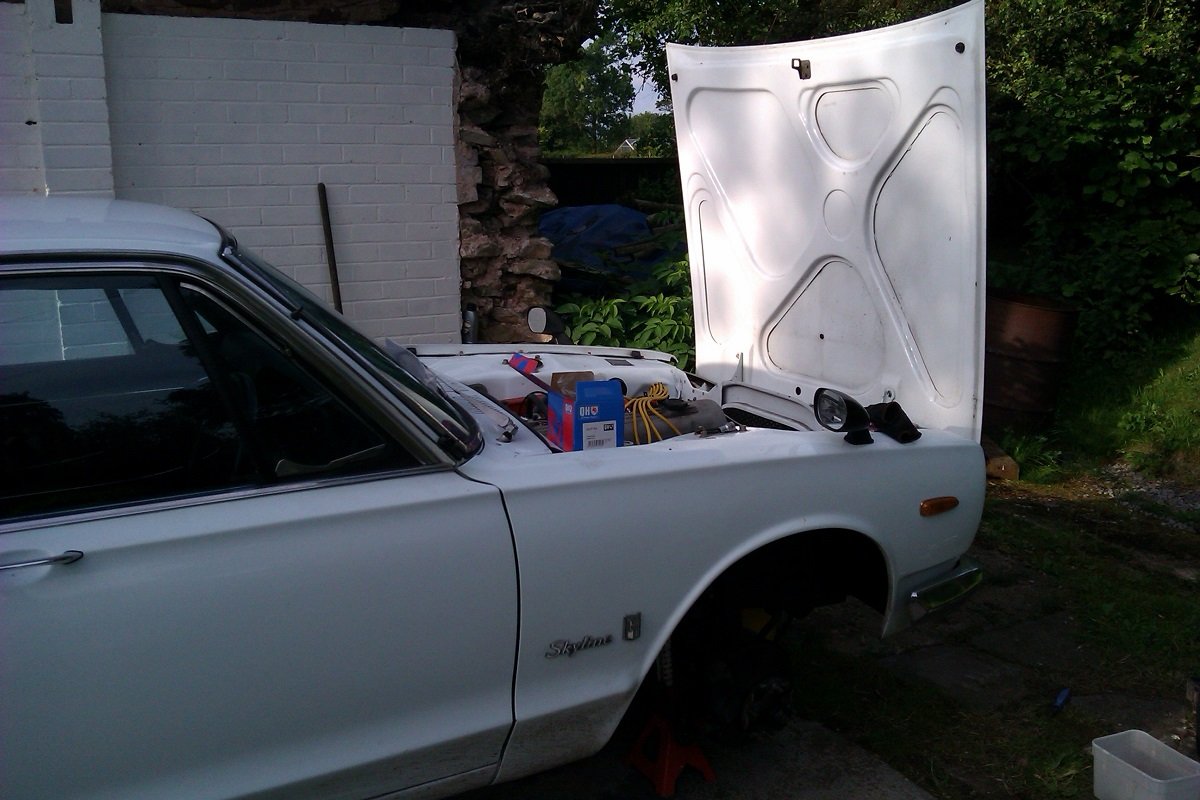
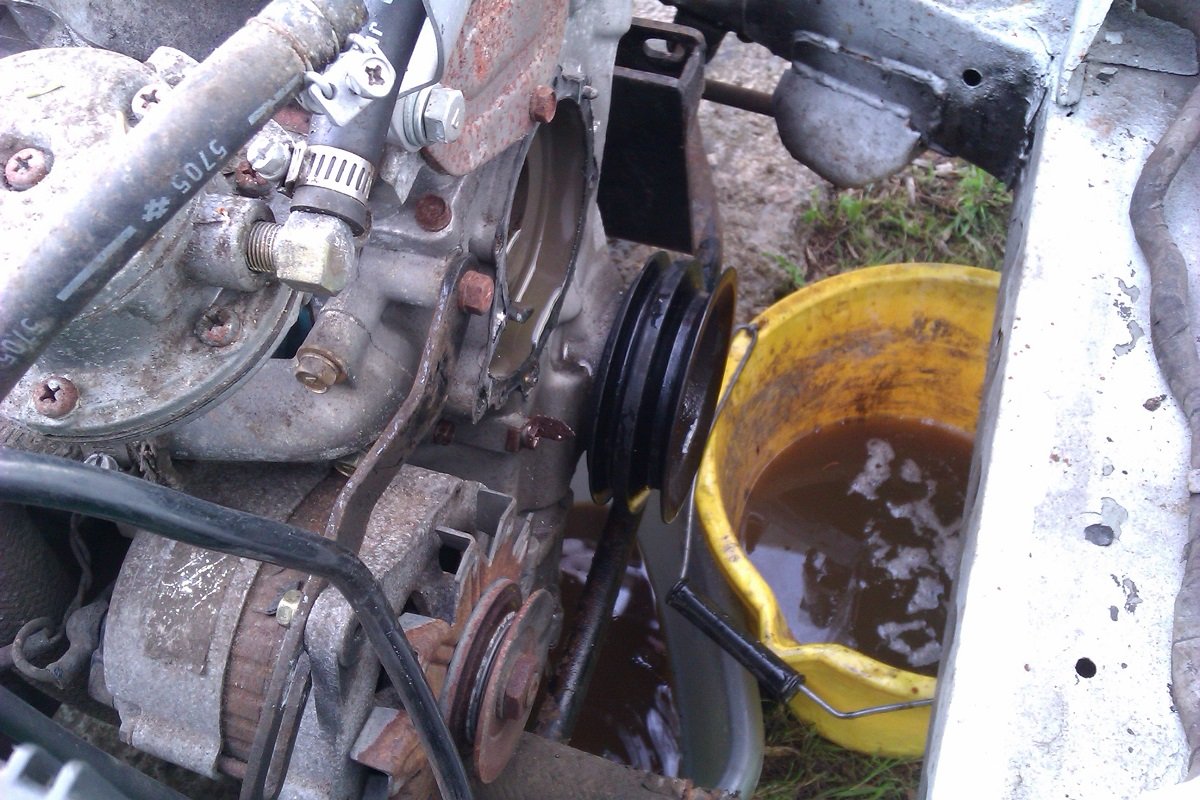
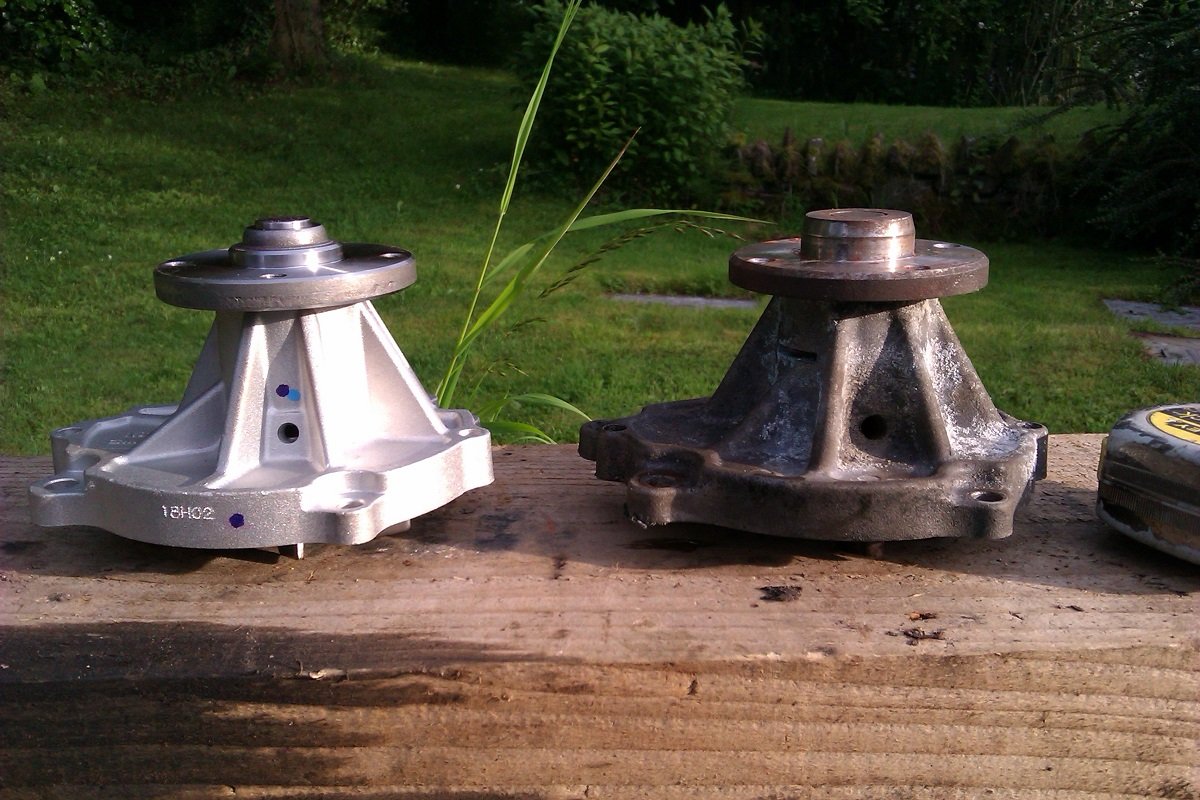
I was going to spend all day on the old crate today but didn't get on it till 6. Stupid Saturdays. Having decided not to go the Pro Stock/ Street Freak route, (see random picture thread, page 4283) I thought I'd better mend the thing. Calipers fit but the originals had the fitting in the middle of the body so the the flexies aren't long enough. By chance, Hilux chassis to rear axle hoses are 60mm longer so I may get away with that. Anyway, bailed on the brakes and pulled the water pump off. In true Japanese style, all the bolts came out fine and everything seems the same on the new pump. Came in at 7.30 in time for chips and beer. No Skylining tomorrow, taking the daggs to the beach. Want to do more Skylining TBH. PS.... Any of you GC's know what the valve gaps are for a '72 L20 ? Gonna go with 240Z specs unless I get told otherwise. /pics
1 point
-
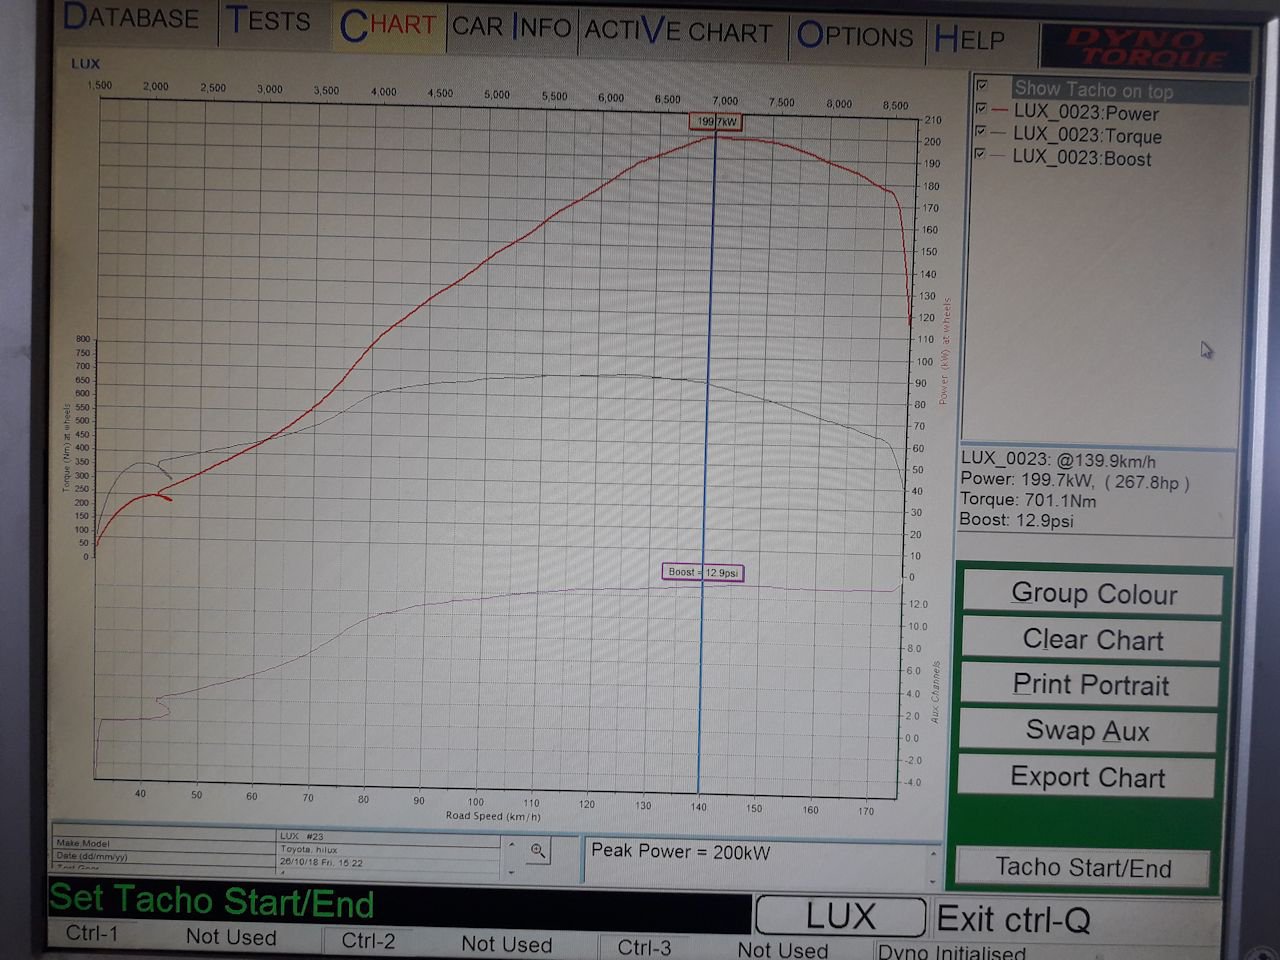
Sorted a few little issues, and played with ignition timing. Looking better now. 200kw on only 13psi
1 point
-
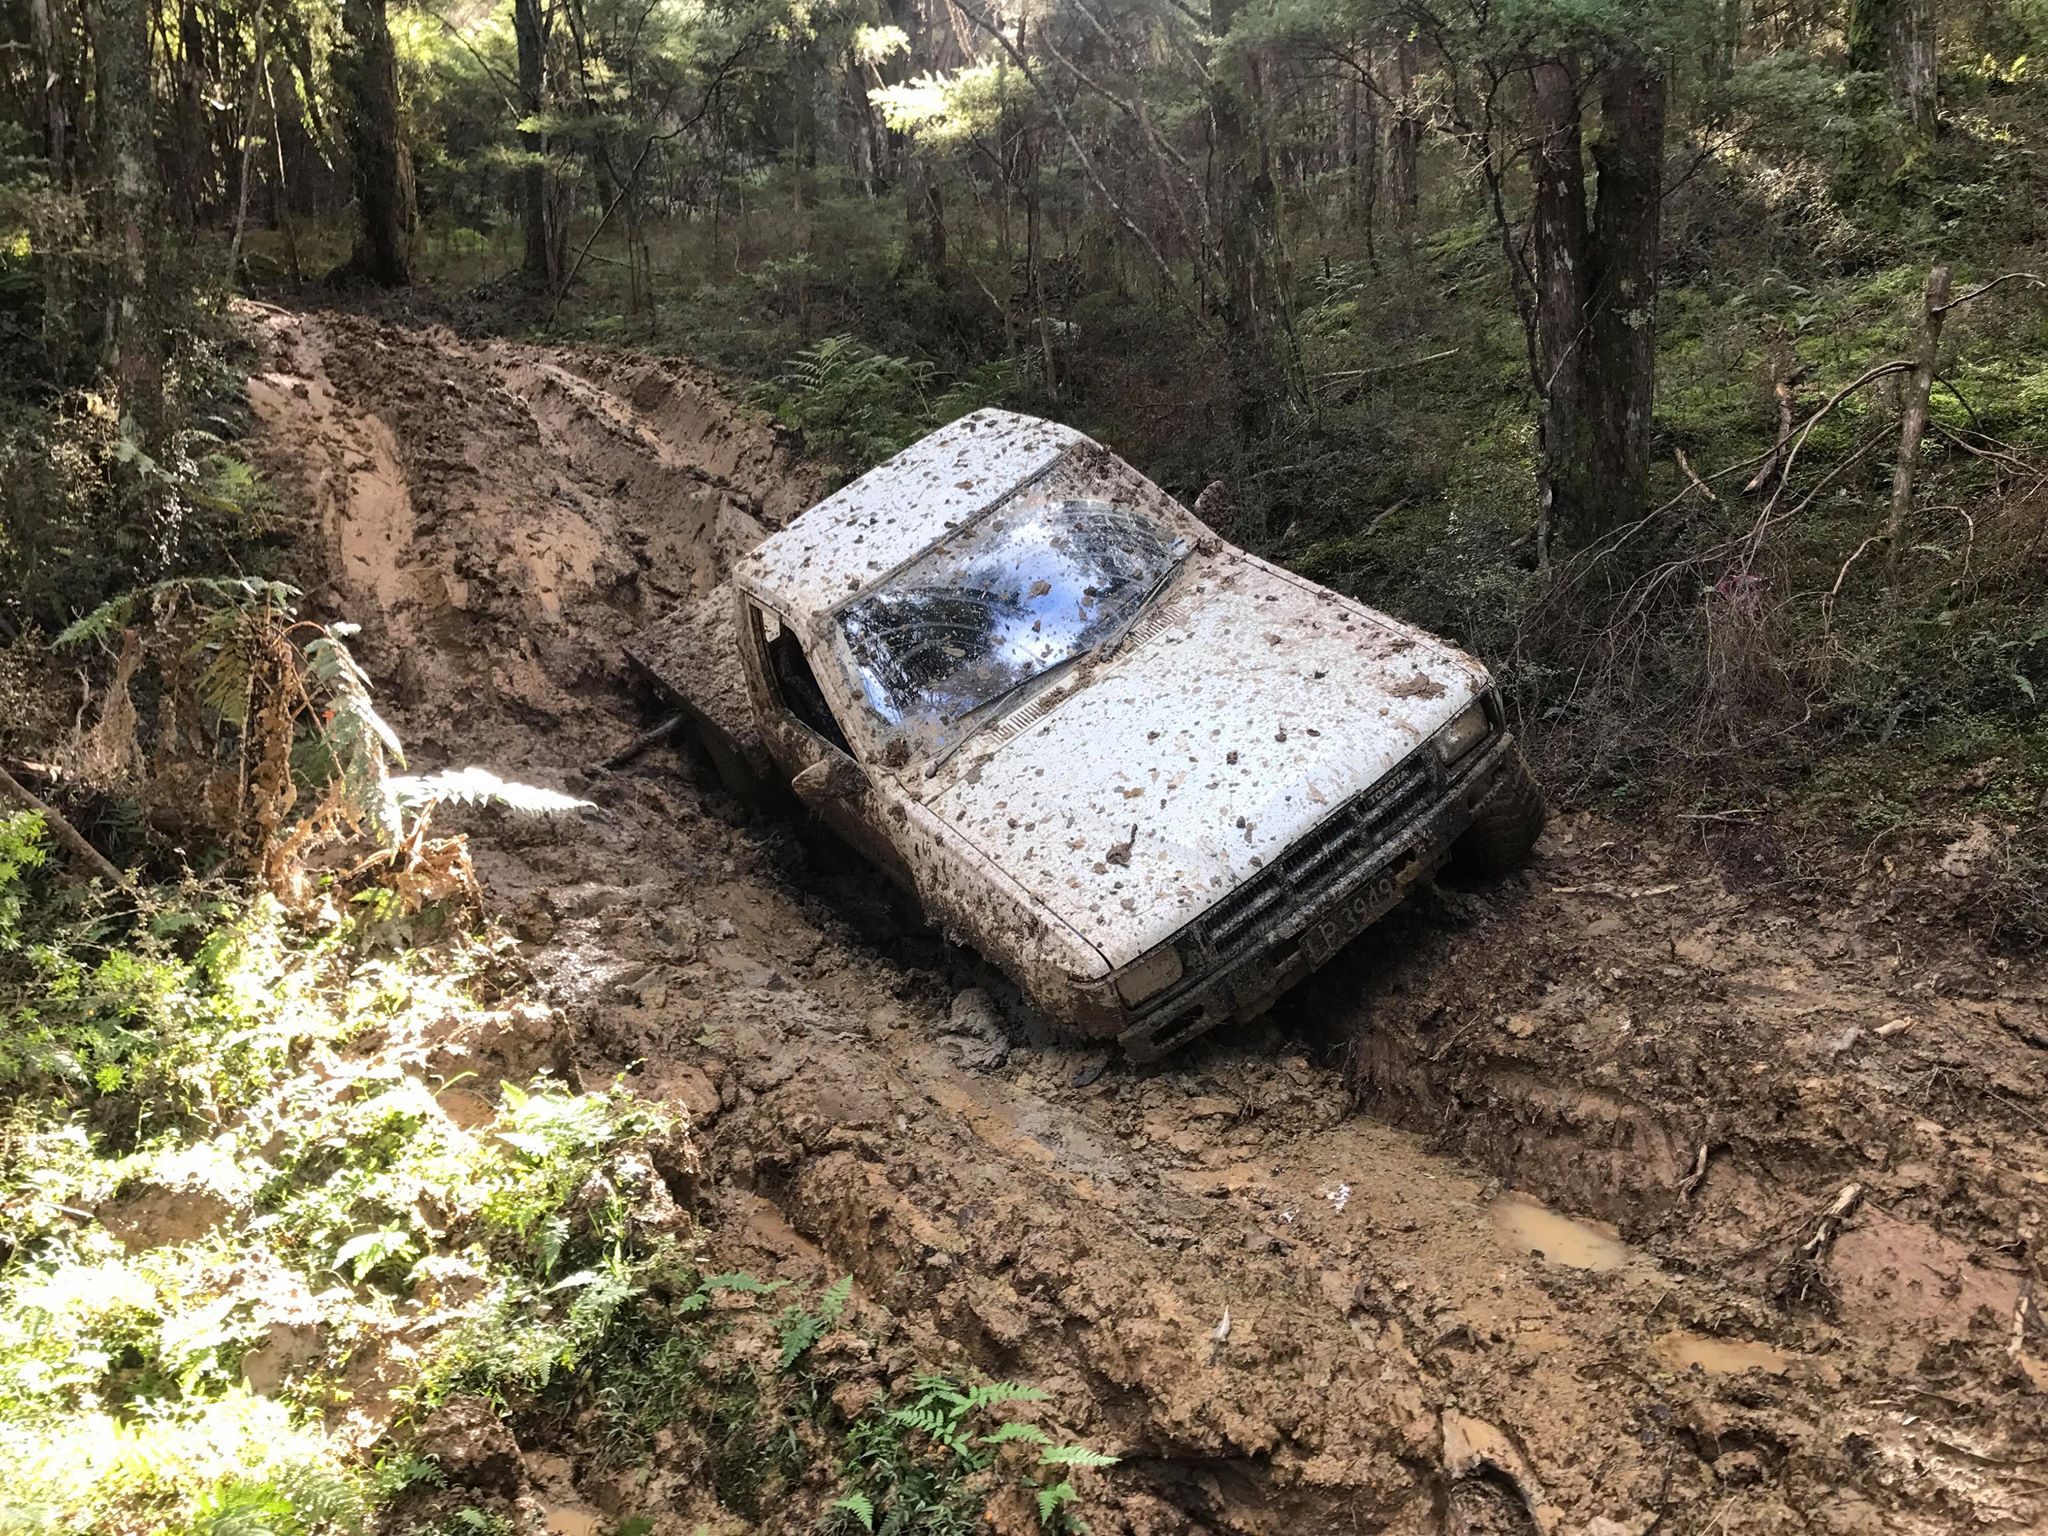
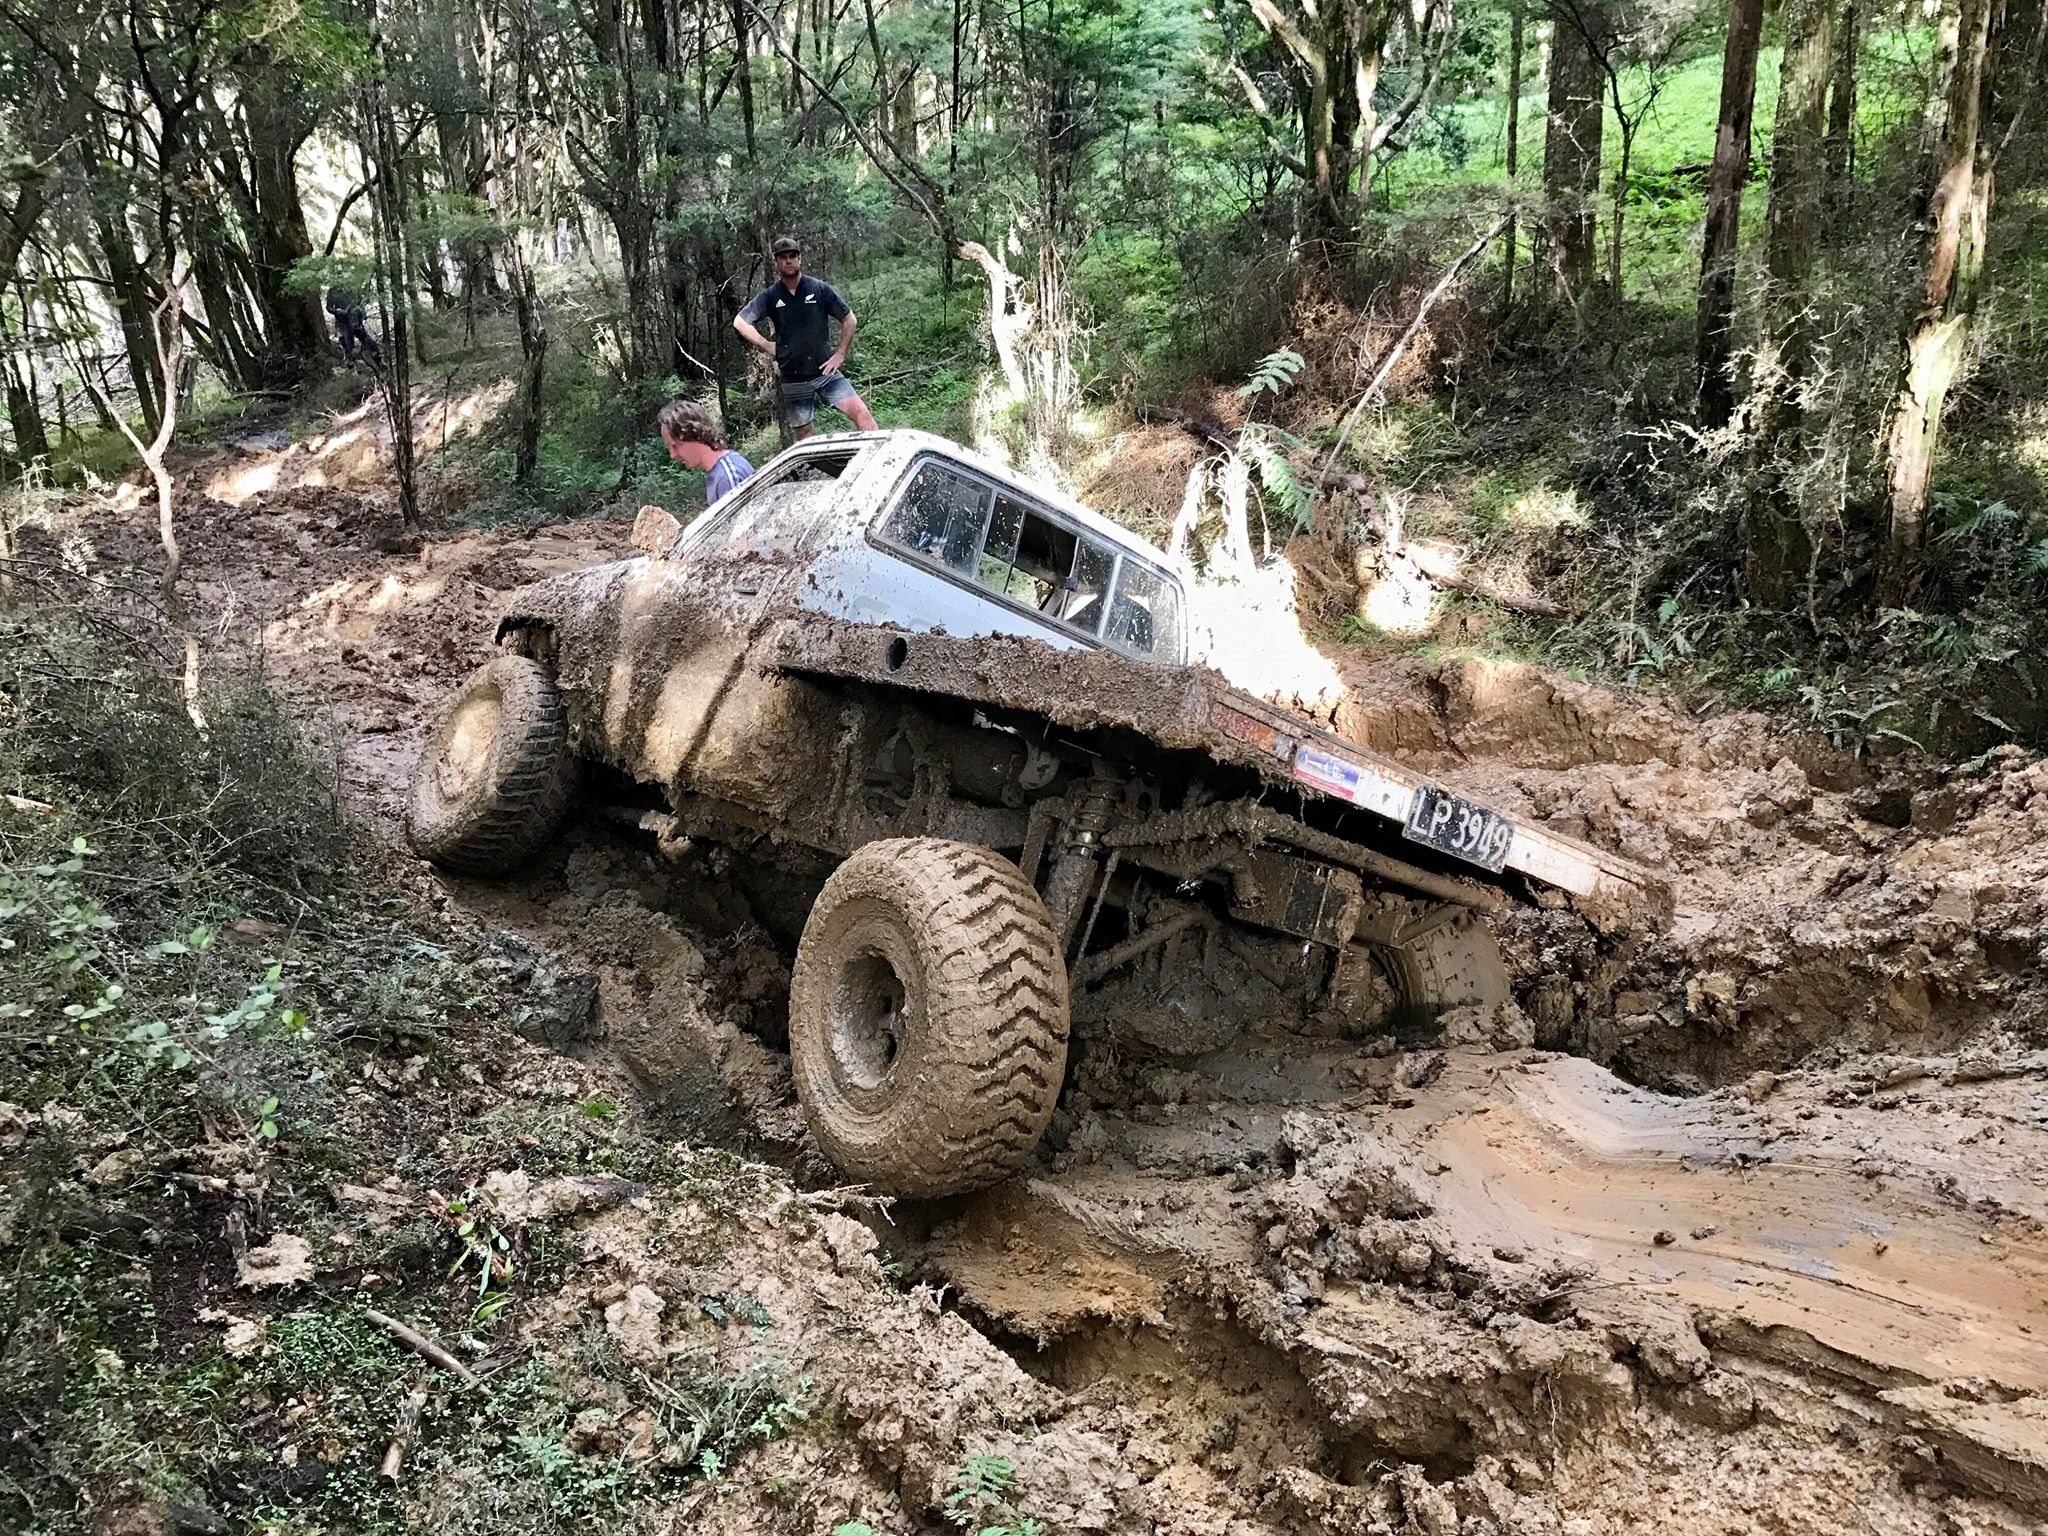
I don't always get stuck....
1 point
-
This image was taken just after peak load was achieved on a sample. Looks like it is really falling apart at this point, you can see a bit of debonding and cracking on almost every fiber interface. It's interesting to see how quite a few of the fibers themselves are cracked, I'm not sure if this is due to the polishing operation or the loading process. All of the samples were polished at the same time using the same method so I would assume that if it was a polishing issue it would be present in more of the images. It looks like this is a fairly filler-rich region of the product, which could explain the extent of the damage as the filler particles are probably acting as crack initiation sites. The glass content is relatively uniform at this location, this could also explain the different failure mode. I think this sample withstood close to 3.3 kN before failure while the other two failed closer to 3 kN.
1 point


.JPG.f282f429e4cde48a5d1084b35a6a8461.JPG)


This leaderboard is set to Auckland/GMT+12:00