
Leaderboard


.thumb.jpeg.384ff72c8d2b0ee0d34a7bdedb55bdcf.jpeg)

Popular Content
Showing content with the highest reputation on 03/05/24 in all areas
-
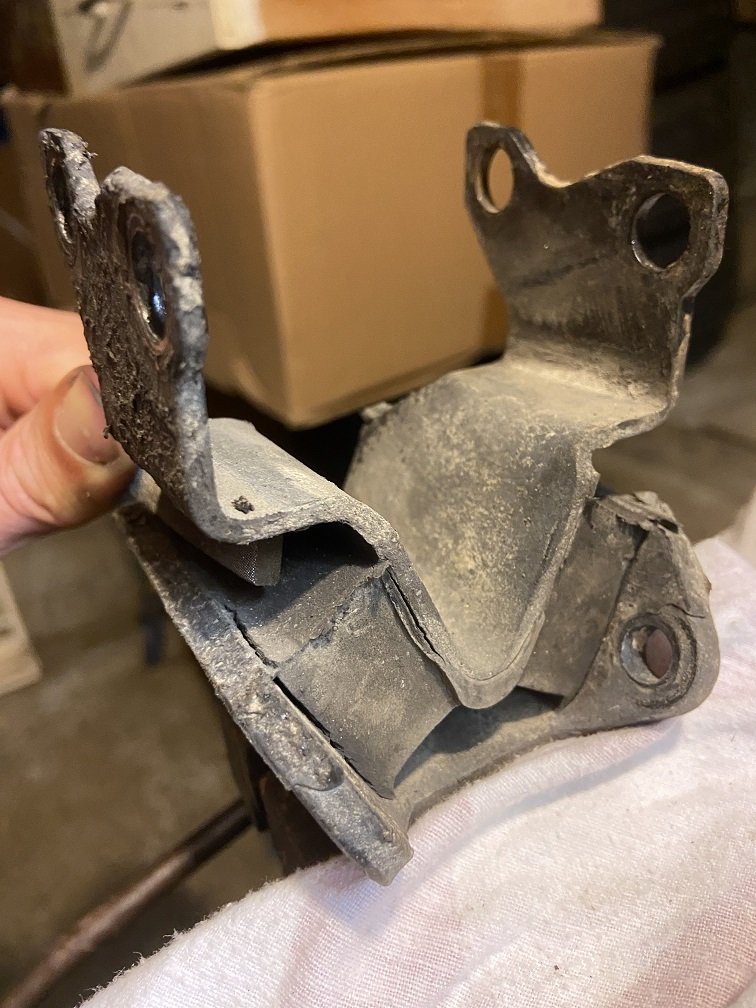
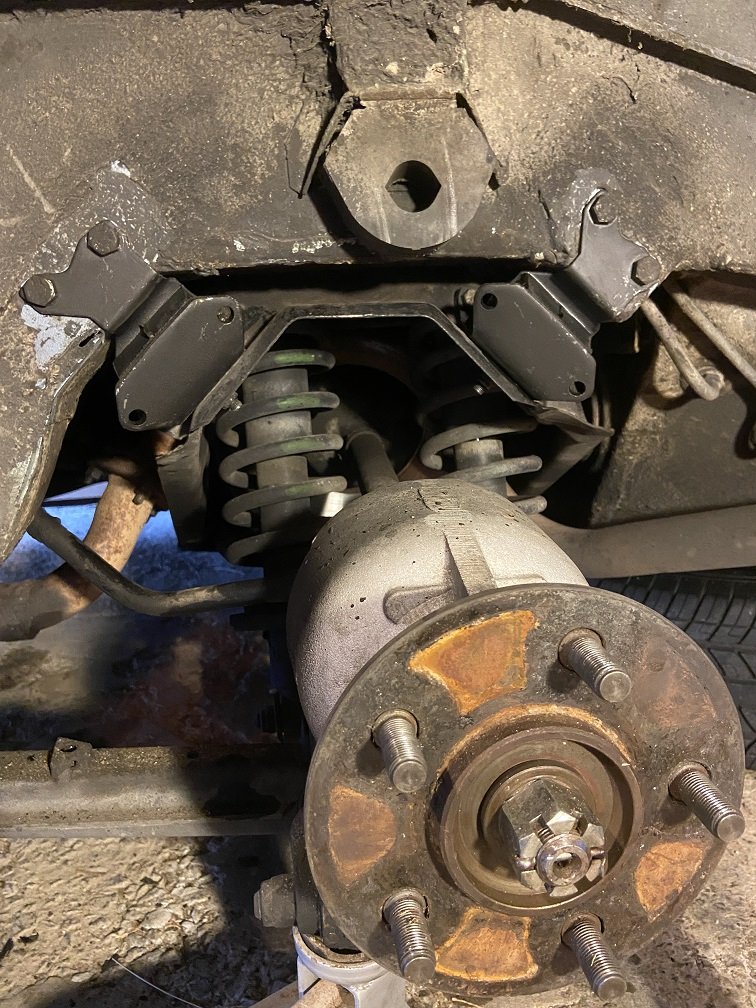
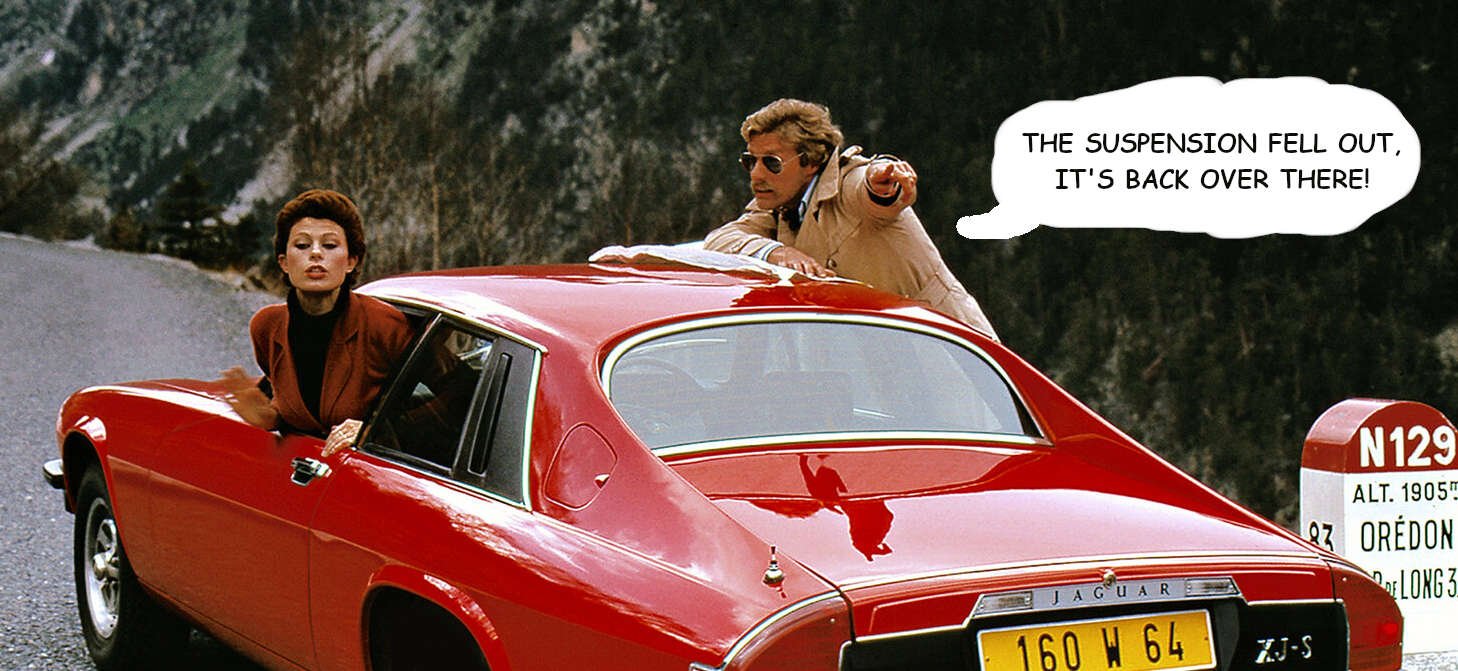
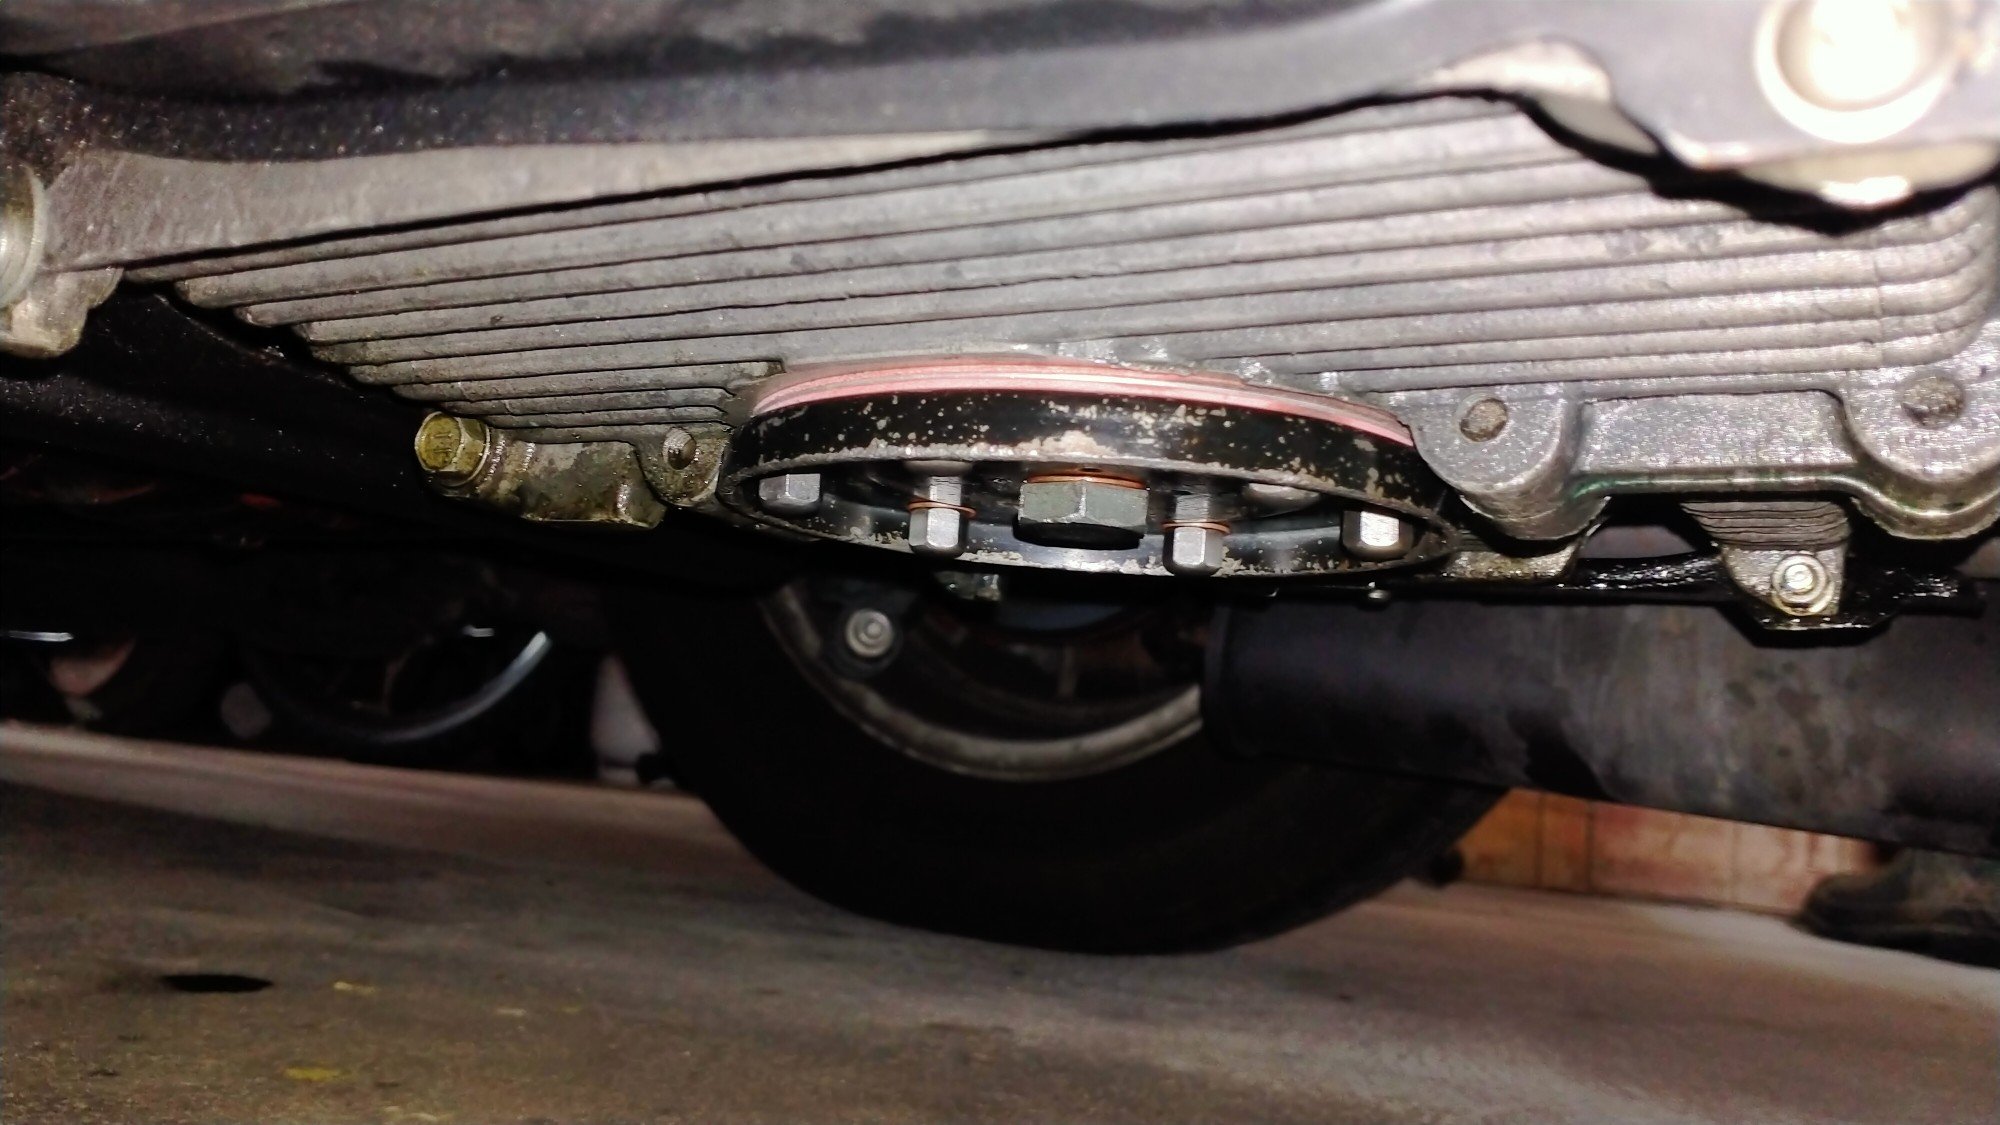
Boring update: I finally changed the rear subframe mounts. Here's the one I had been most concerned about. I had expected to find it in worse shape once it was off the car. Hardly worth worrying about really. This rubber-to-metal bond is the only thing that seems to keep the IRS assembly attached to the car. There is a radius arm connected near each rear hub which twists the whole IRS assembly in its mounts as the car leans in the corners, creating a passive rear wheel steering drunken snake effect. Wikipedia says this "...may result in significantly improved handling". May? Anyway, the mounts can fail from age or too many burnouts, and then you definitely won't have significantly improved handling. In this shot, the two subframe mounts have been removed: You can see the IRS cage thing, the tricky double shocks and springs, the light reflecting off the inboard rear brake disc, the skinny anti-roll bar terminating at the base of the RH spring (not present on all XJSs).... You can also see that I managed to change the mounts without disconnecting anything such as the exhaust, brake lines, roll bar, driveshaft, radius arm etc. I did one side of the car at a time, using a jack and an axle stand. New mounts fitted (this is on the opposite side of the car, to mess with your head): Now that these mounts are done, I'm not gonna be THAT guy:
 17 points
 -
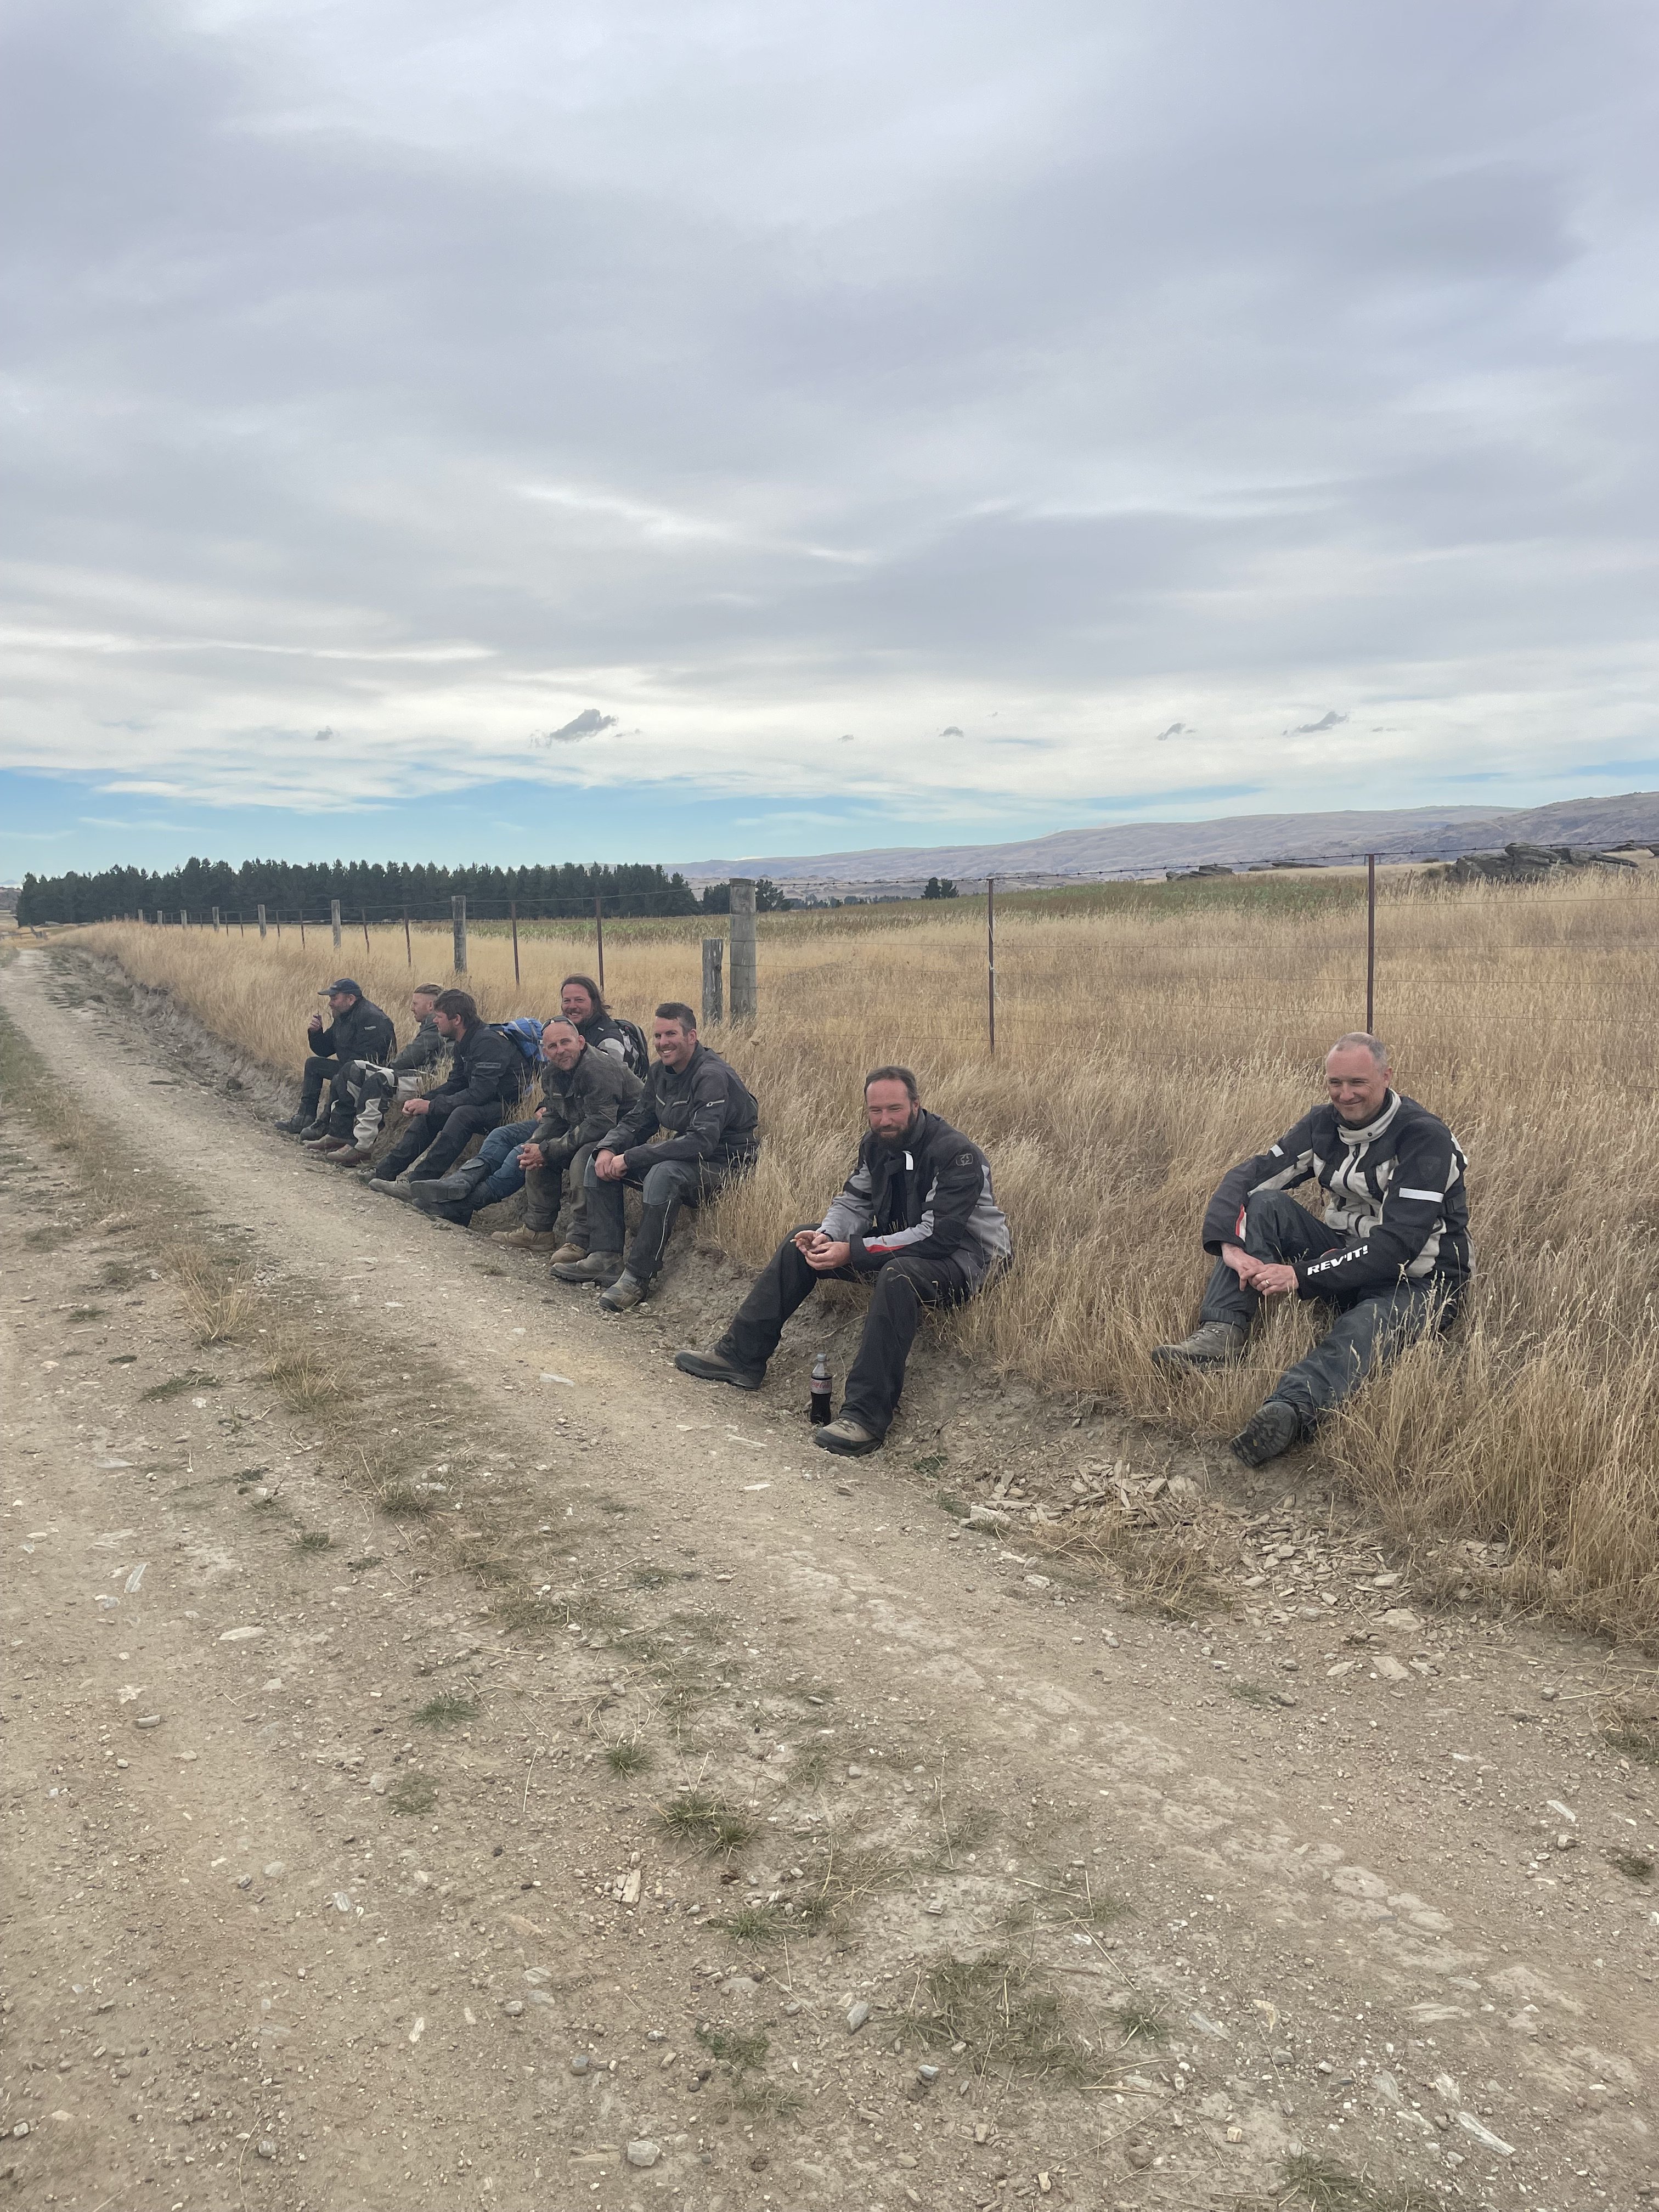
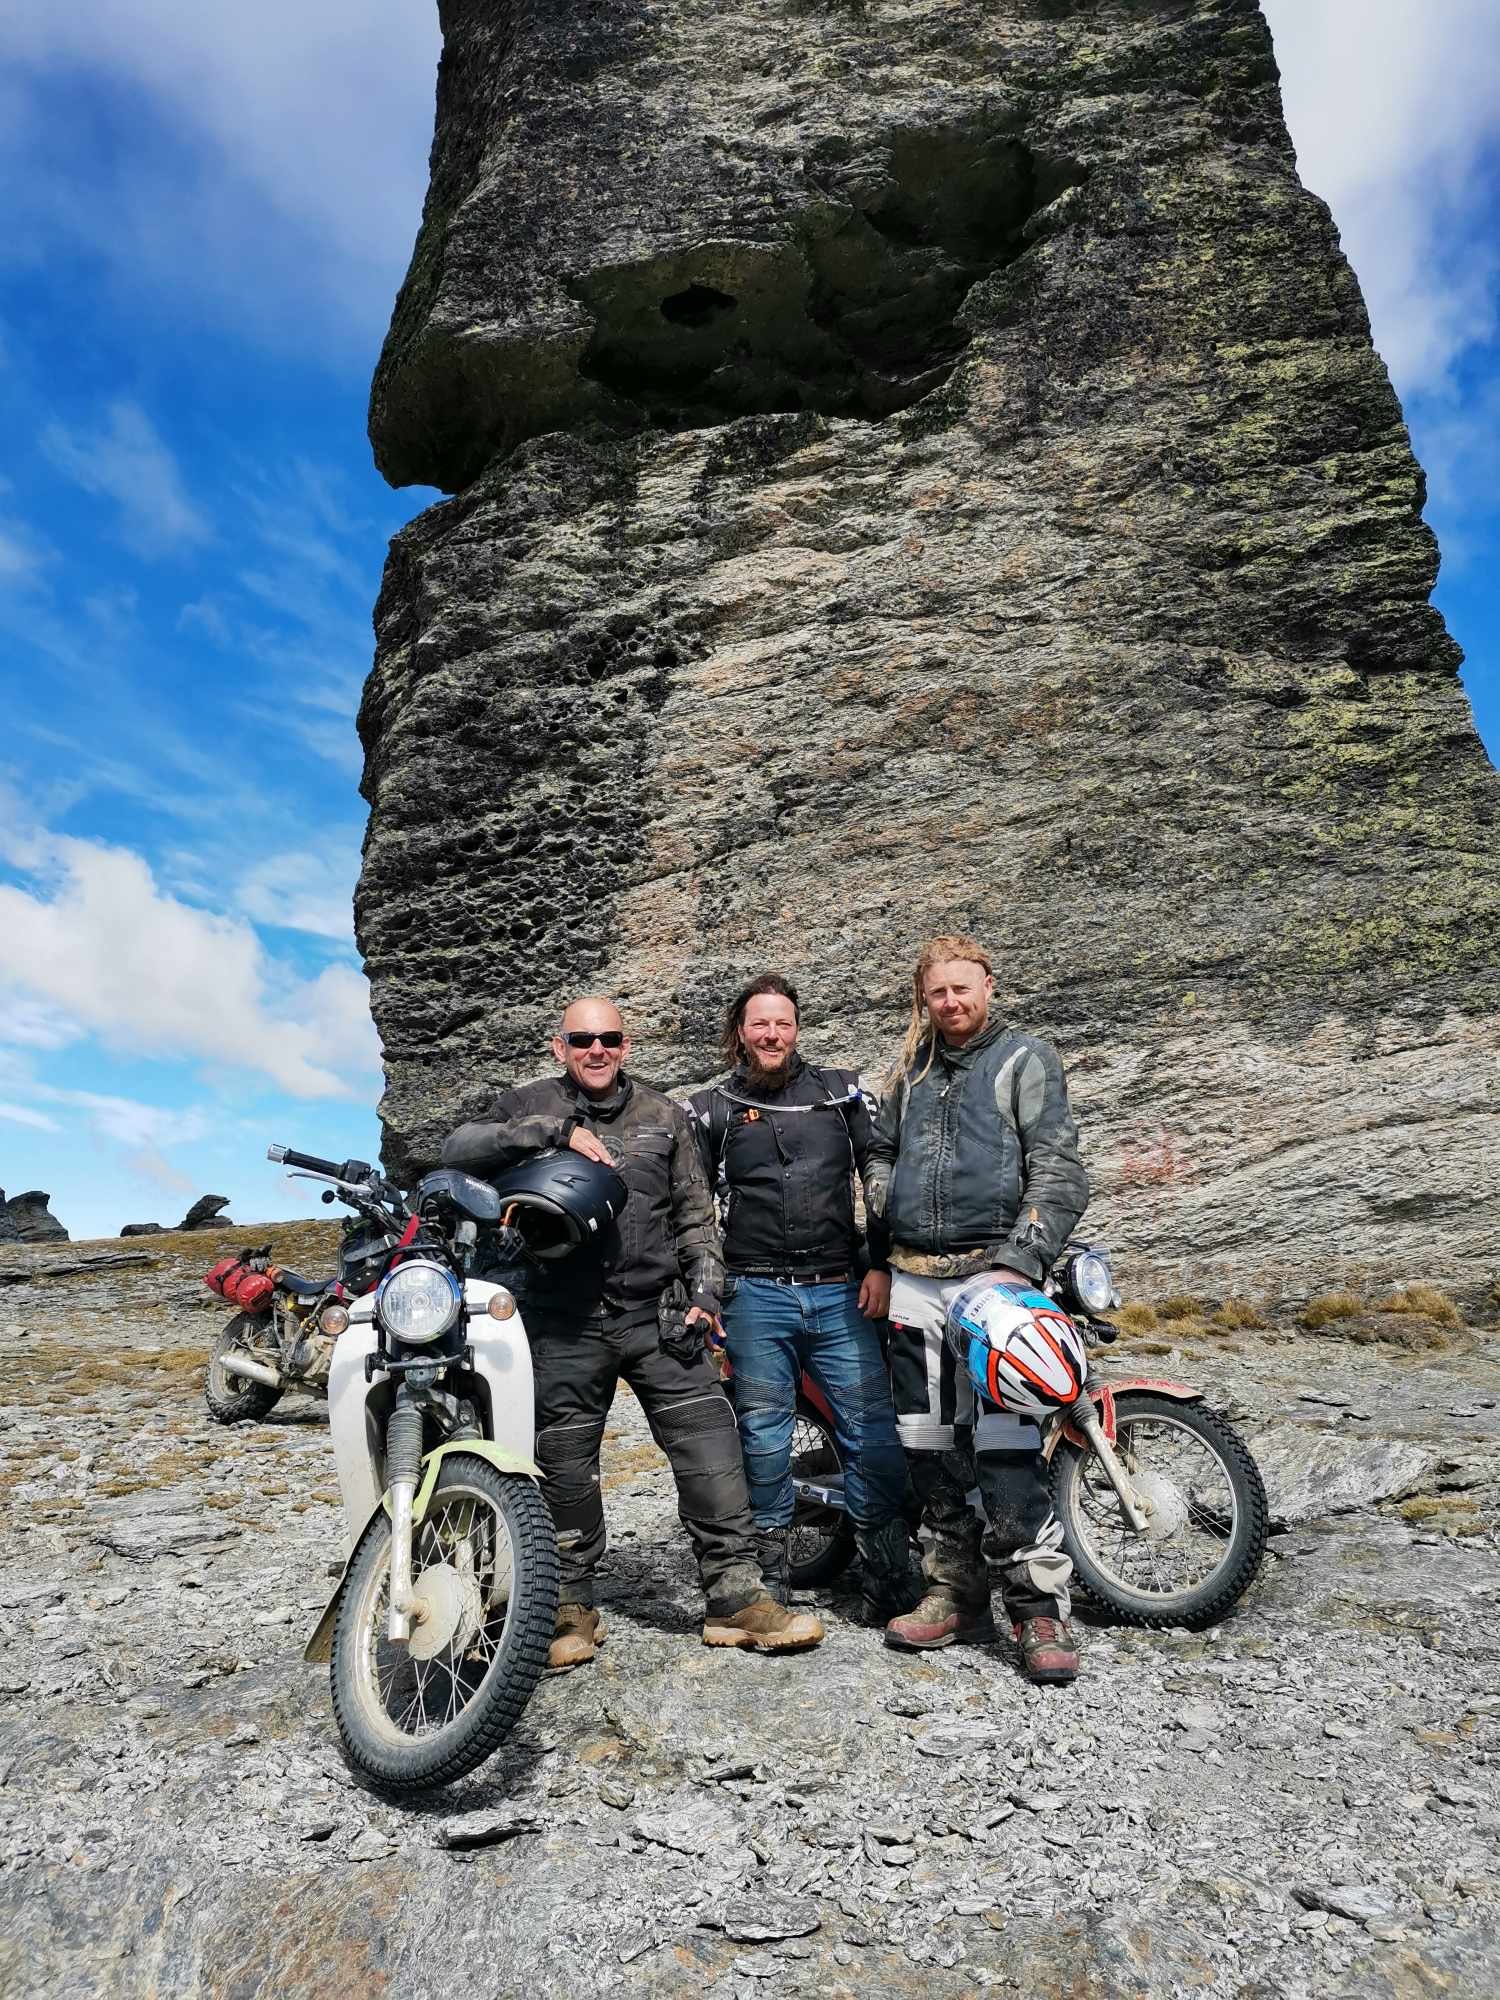
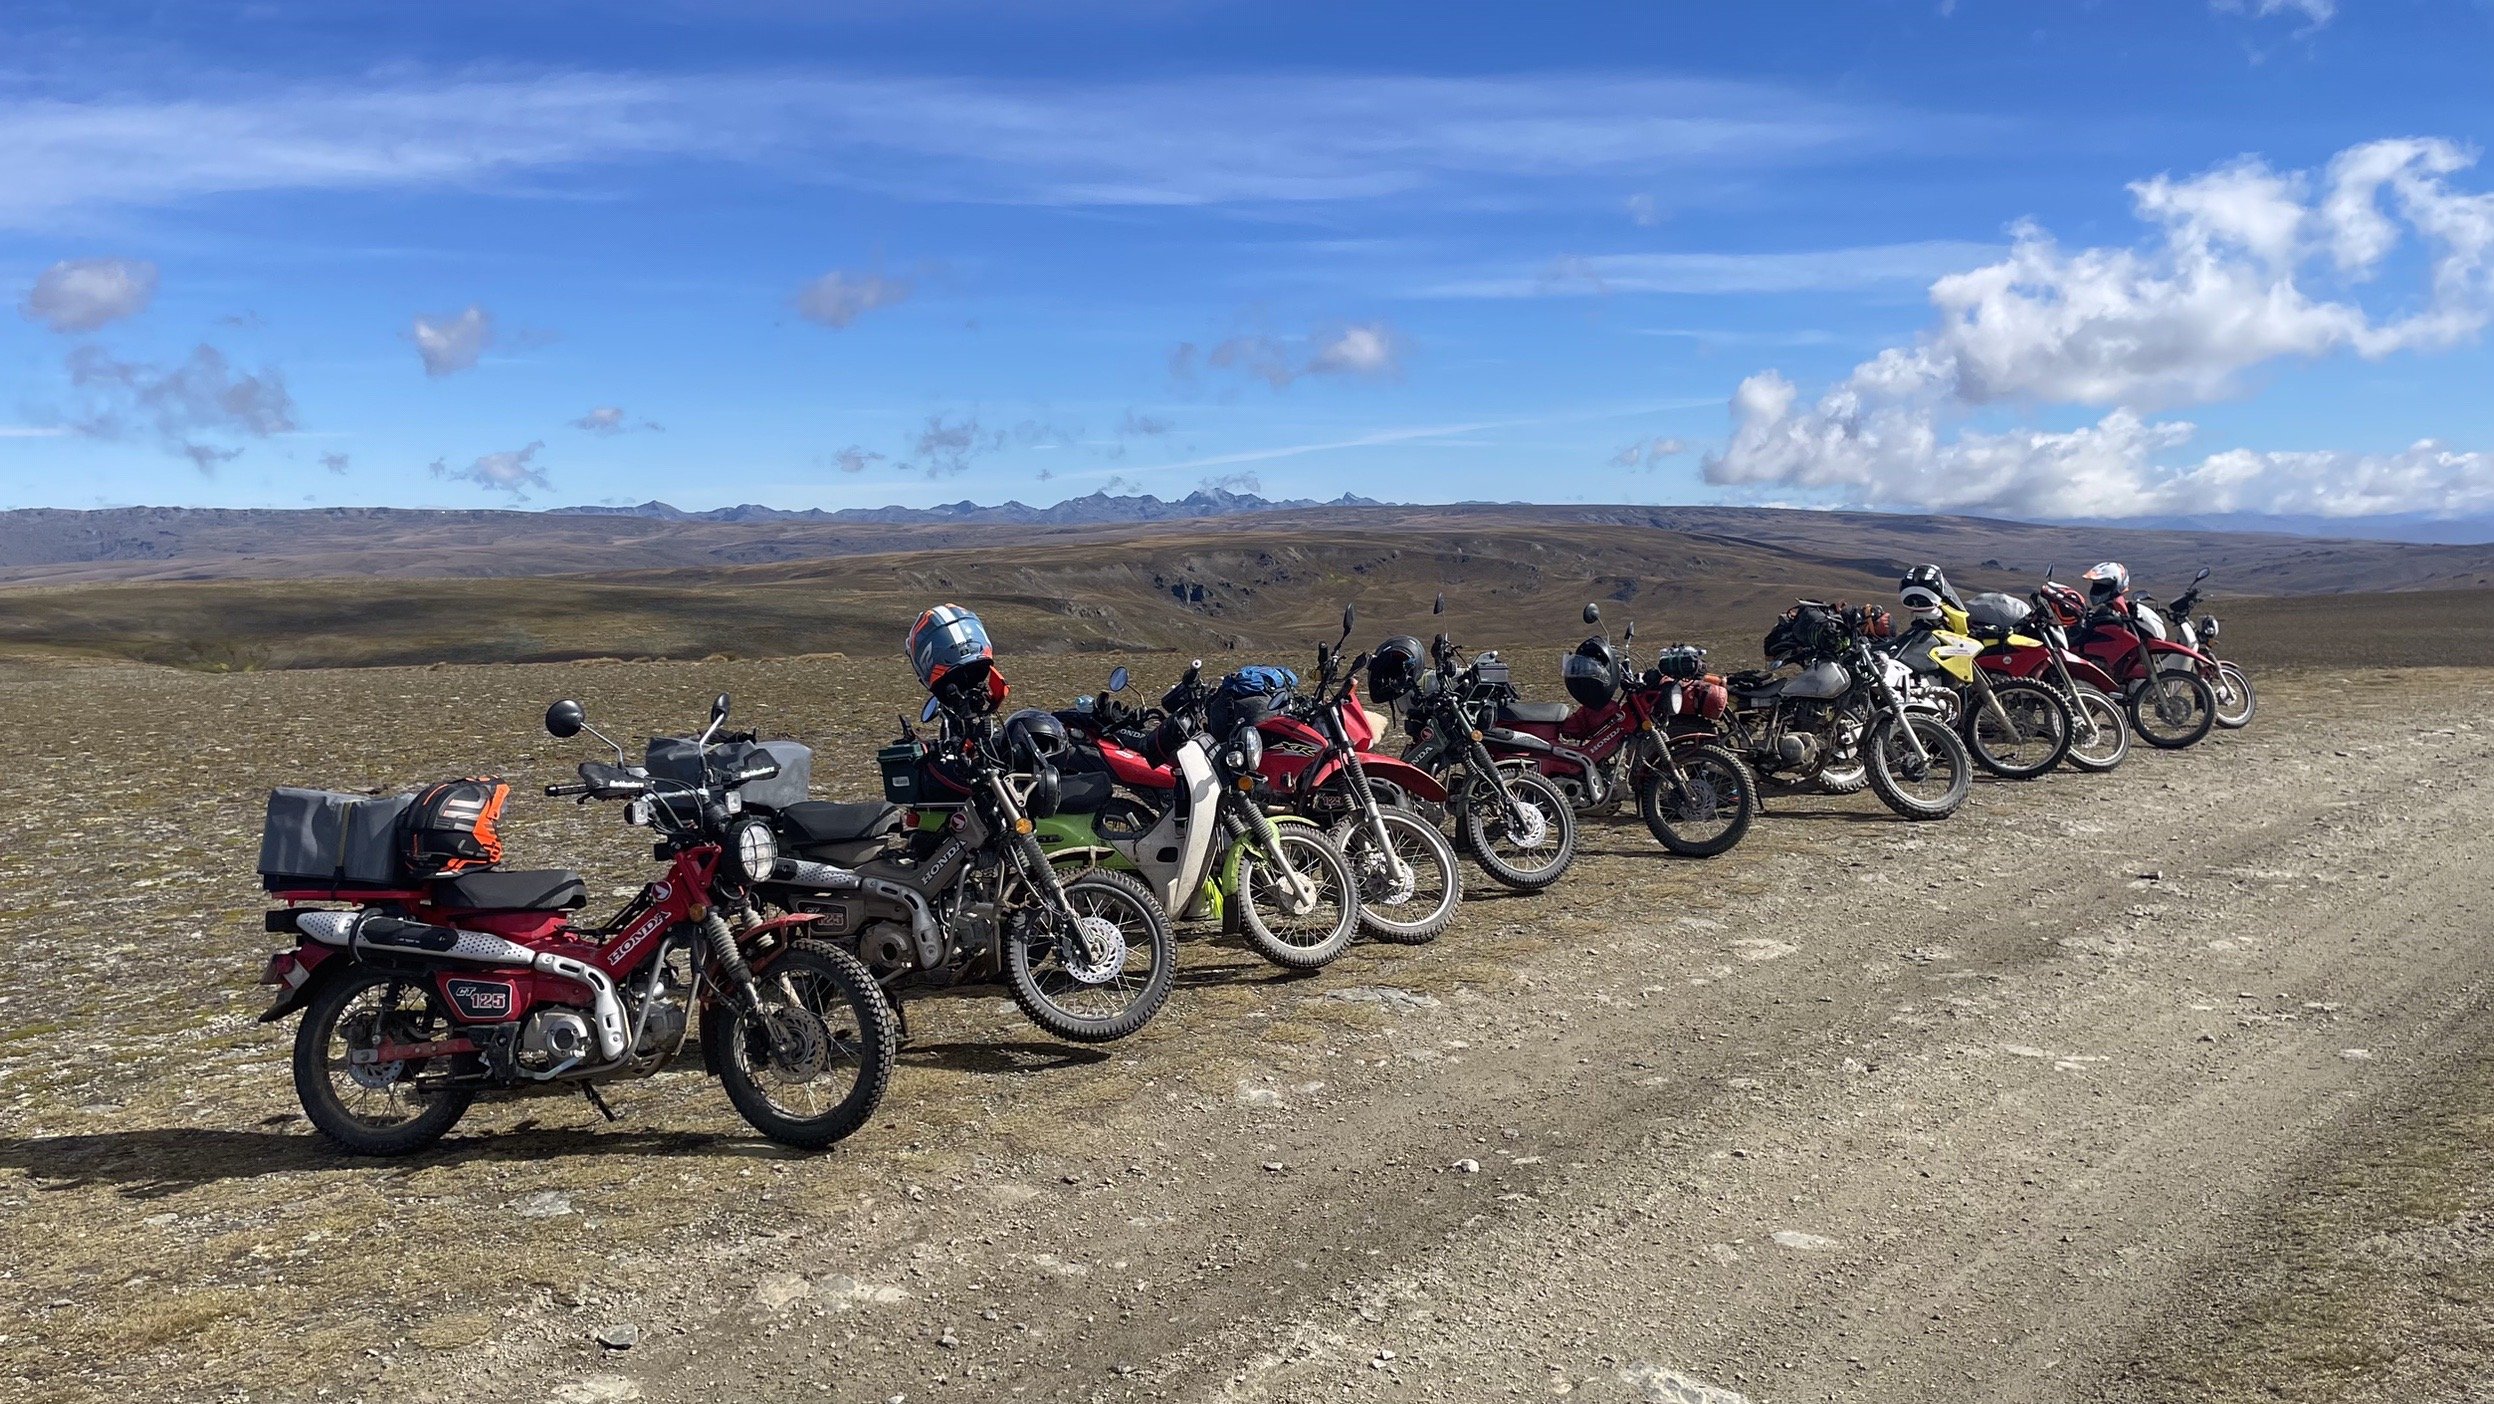
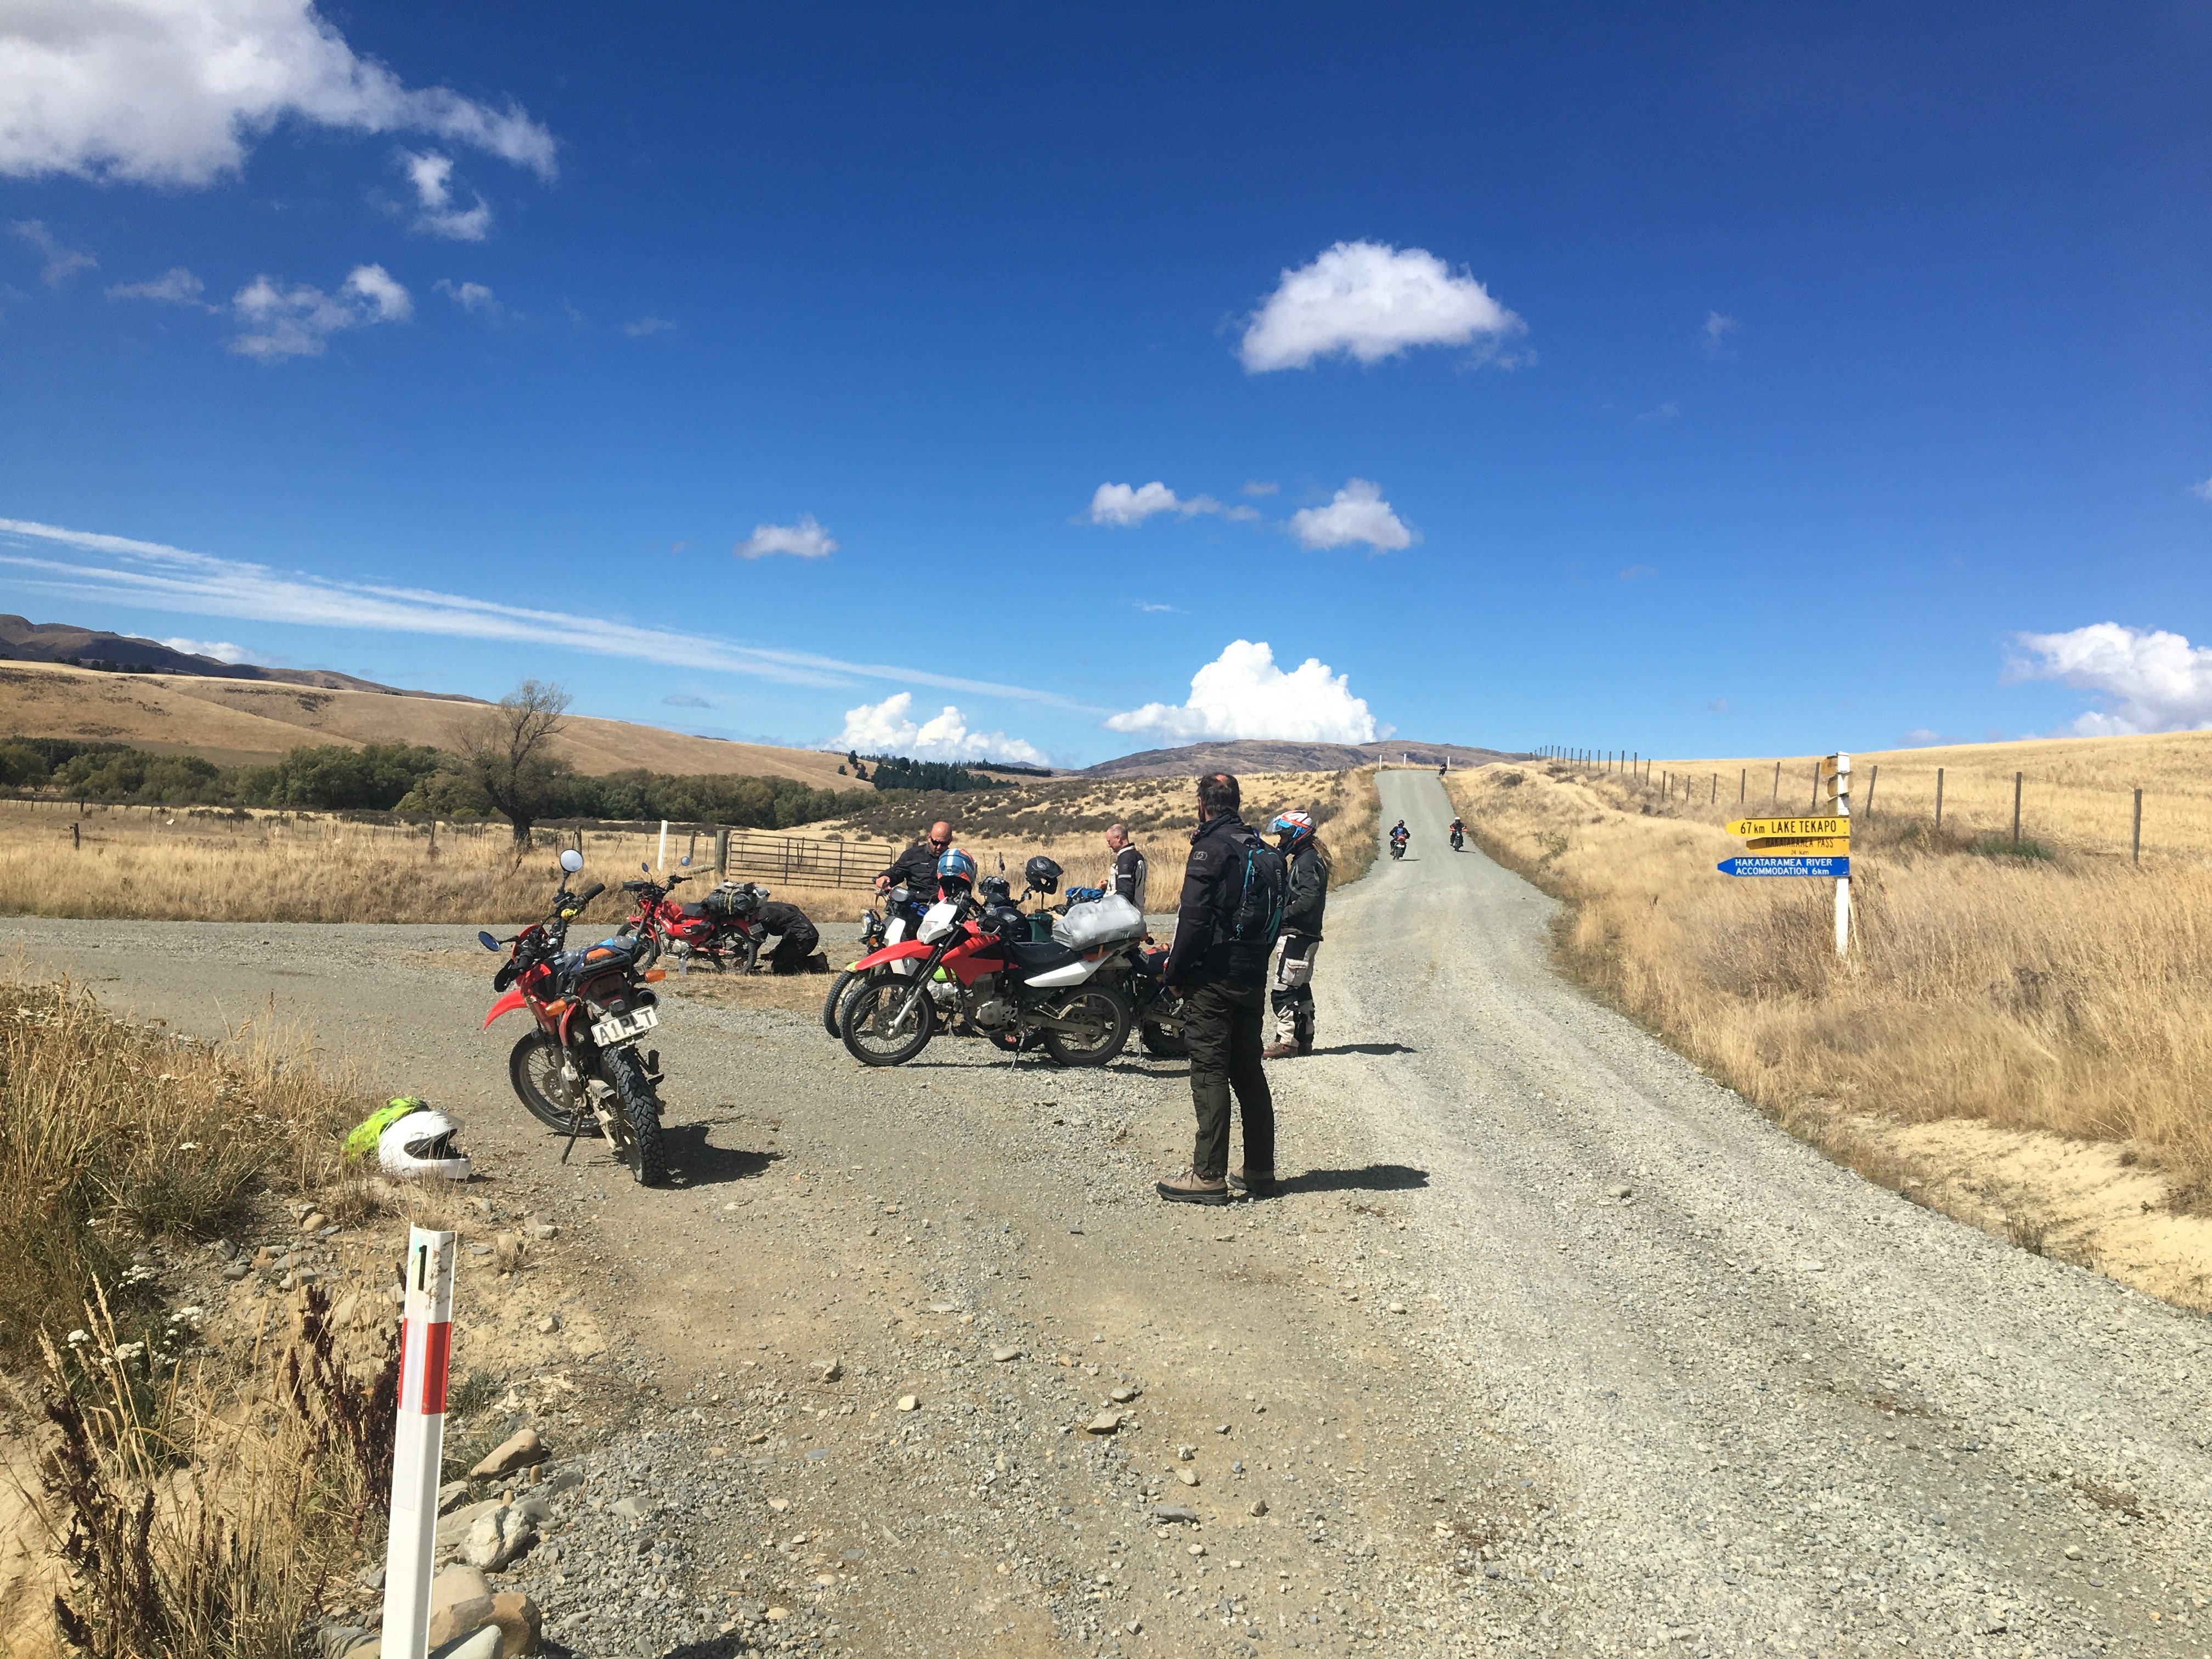
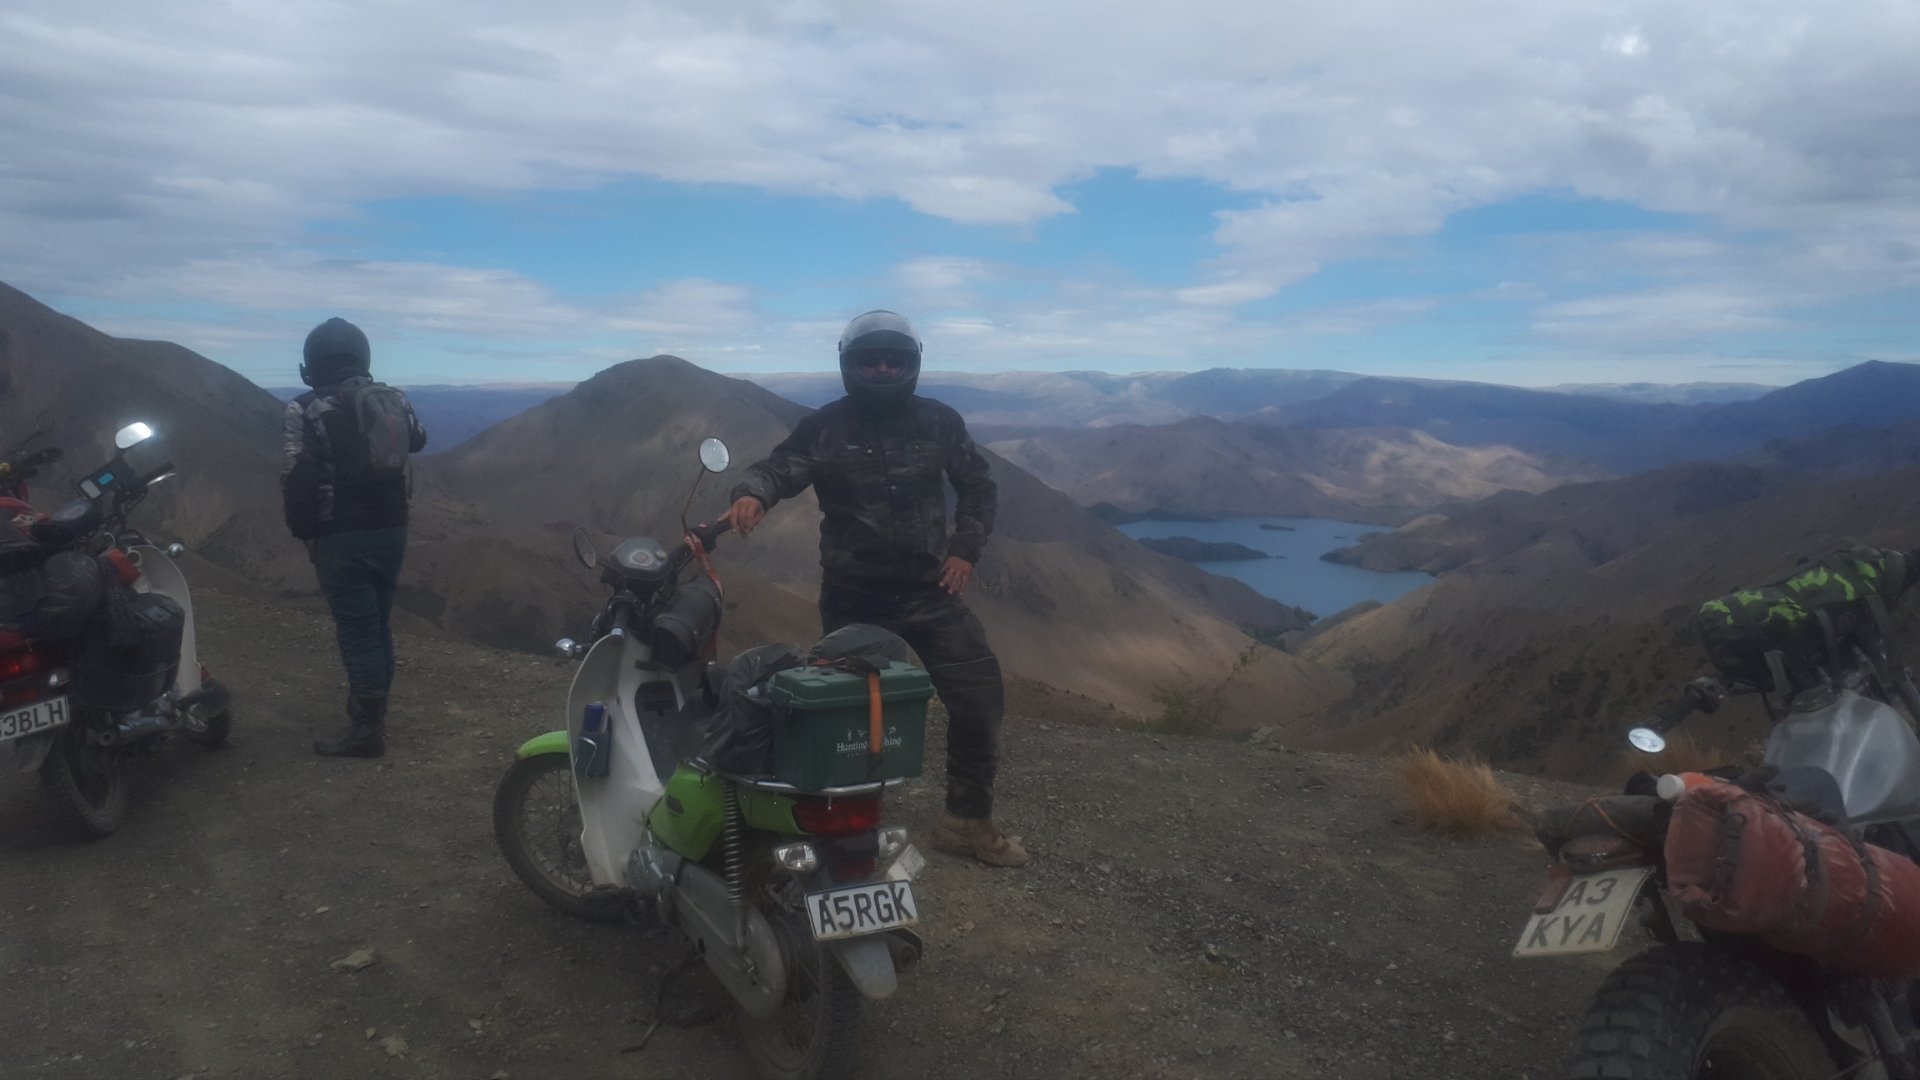
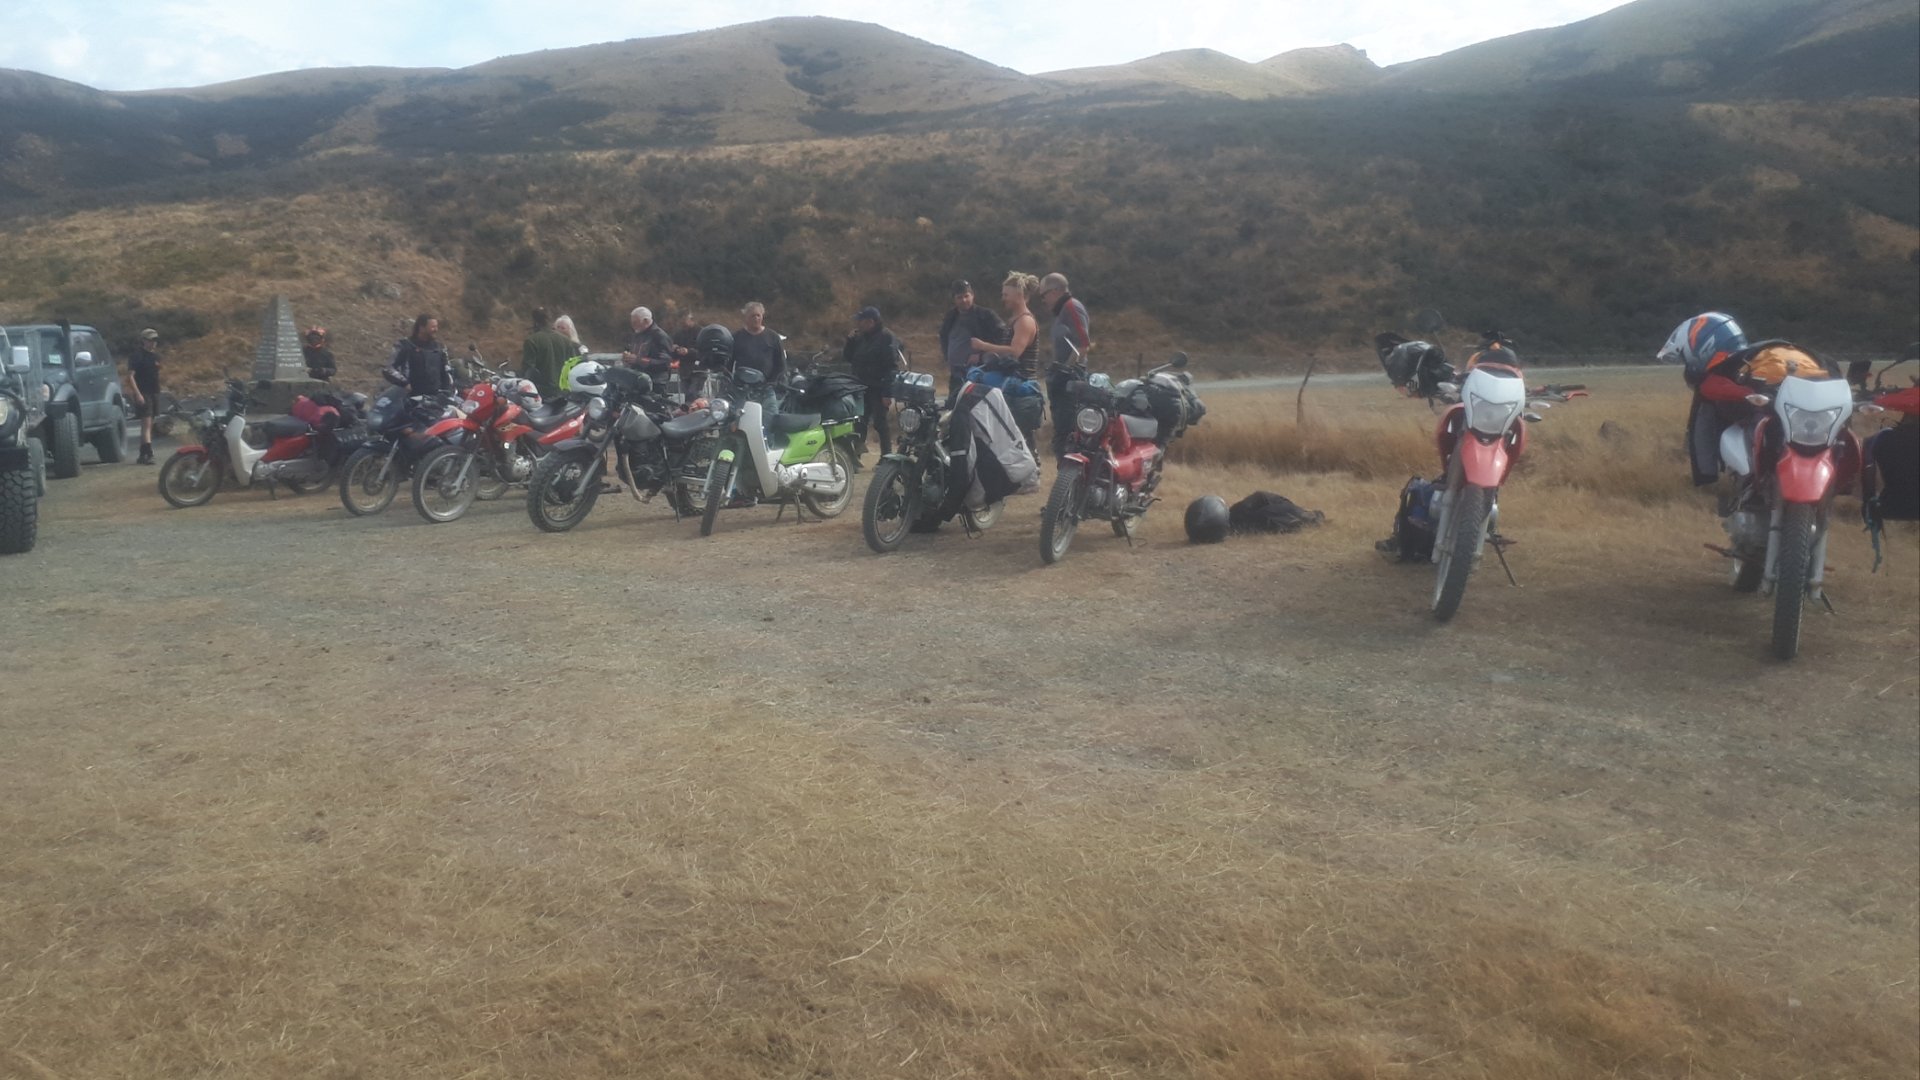
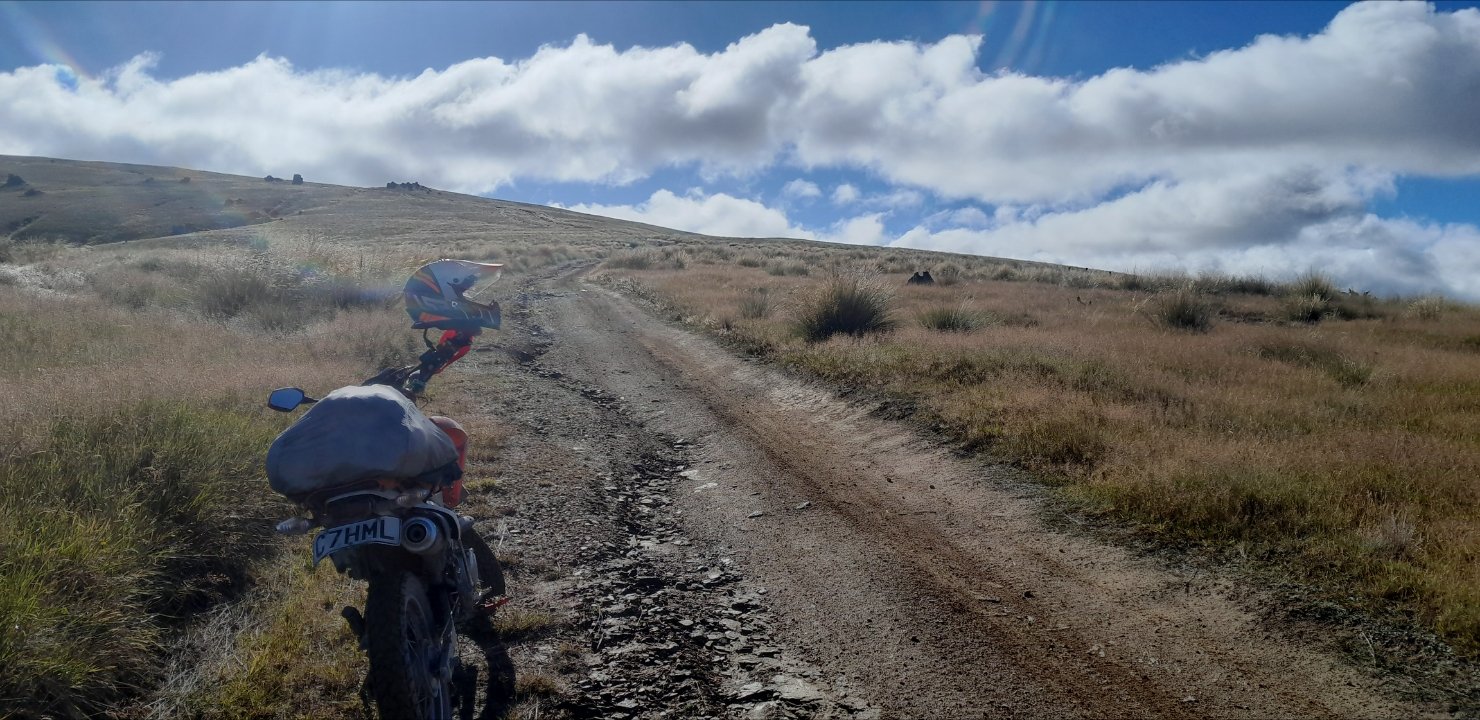
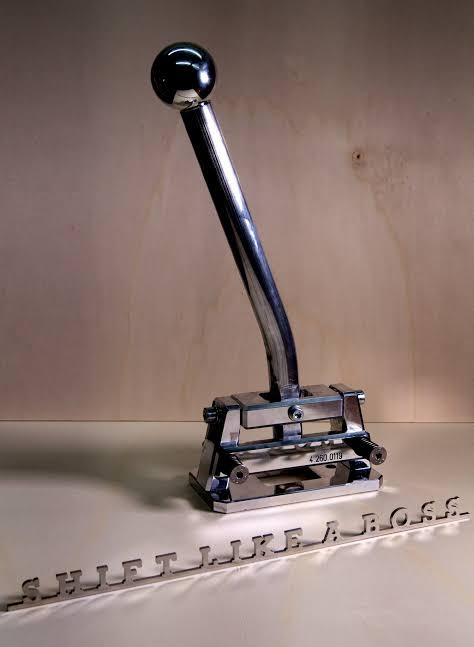
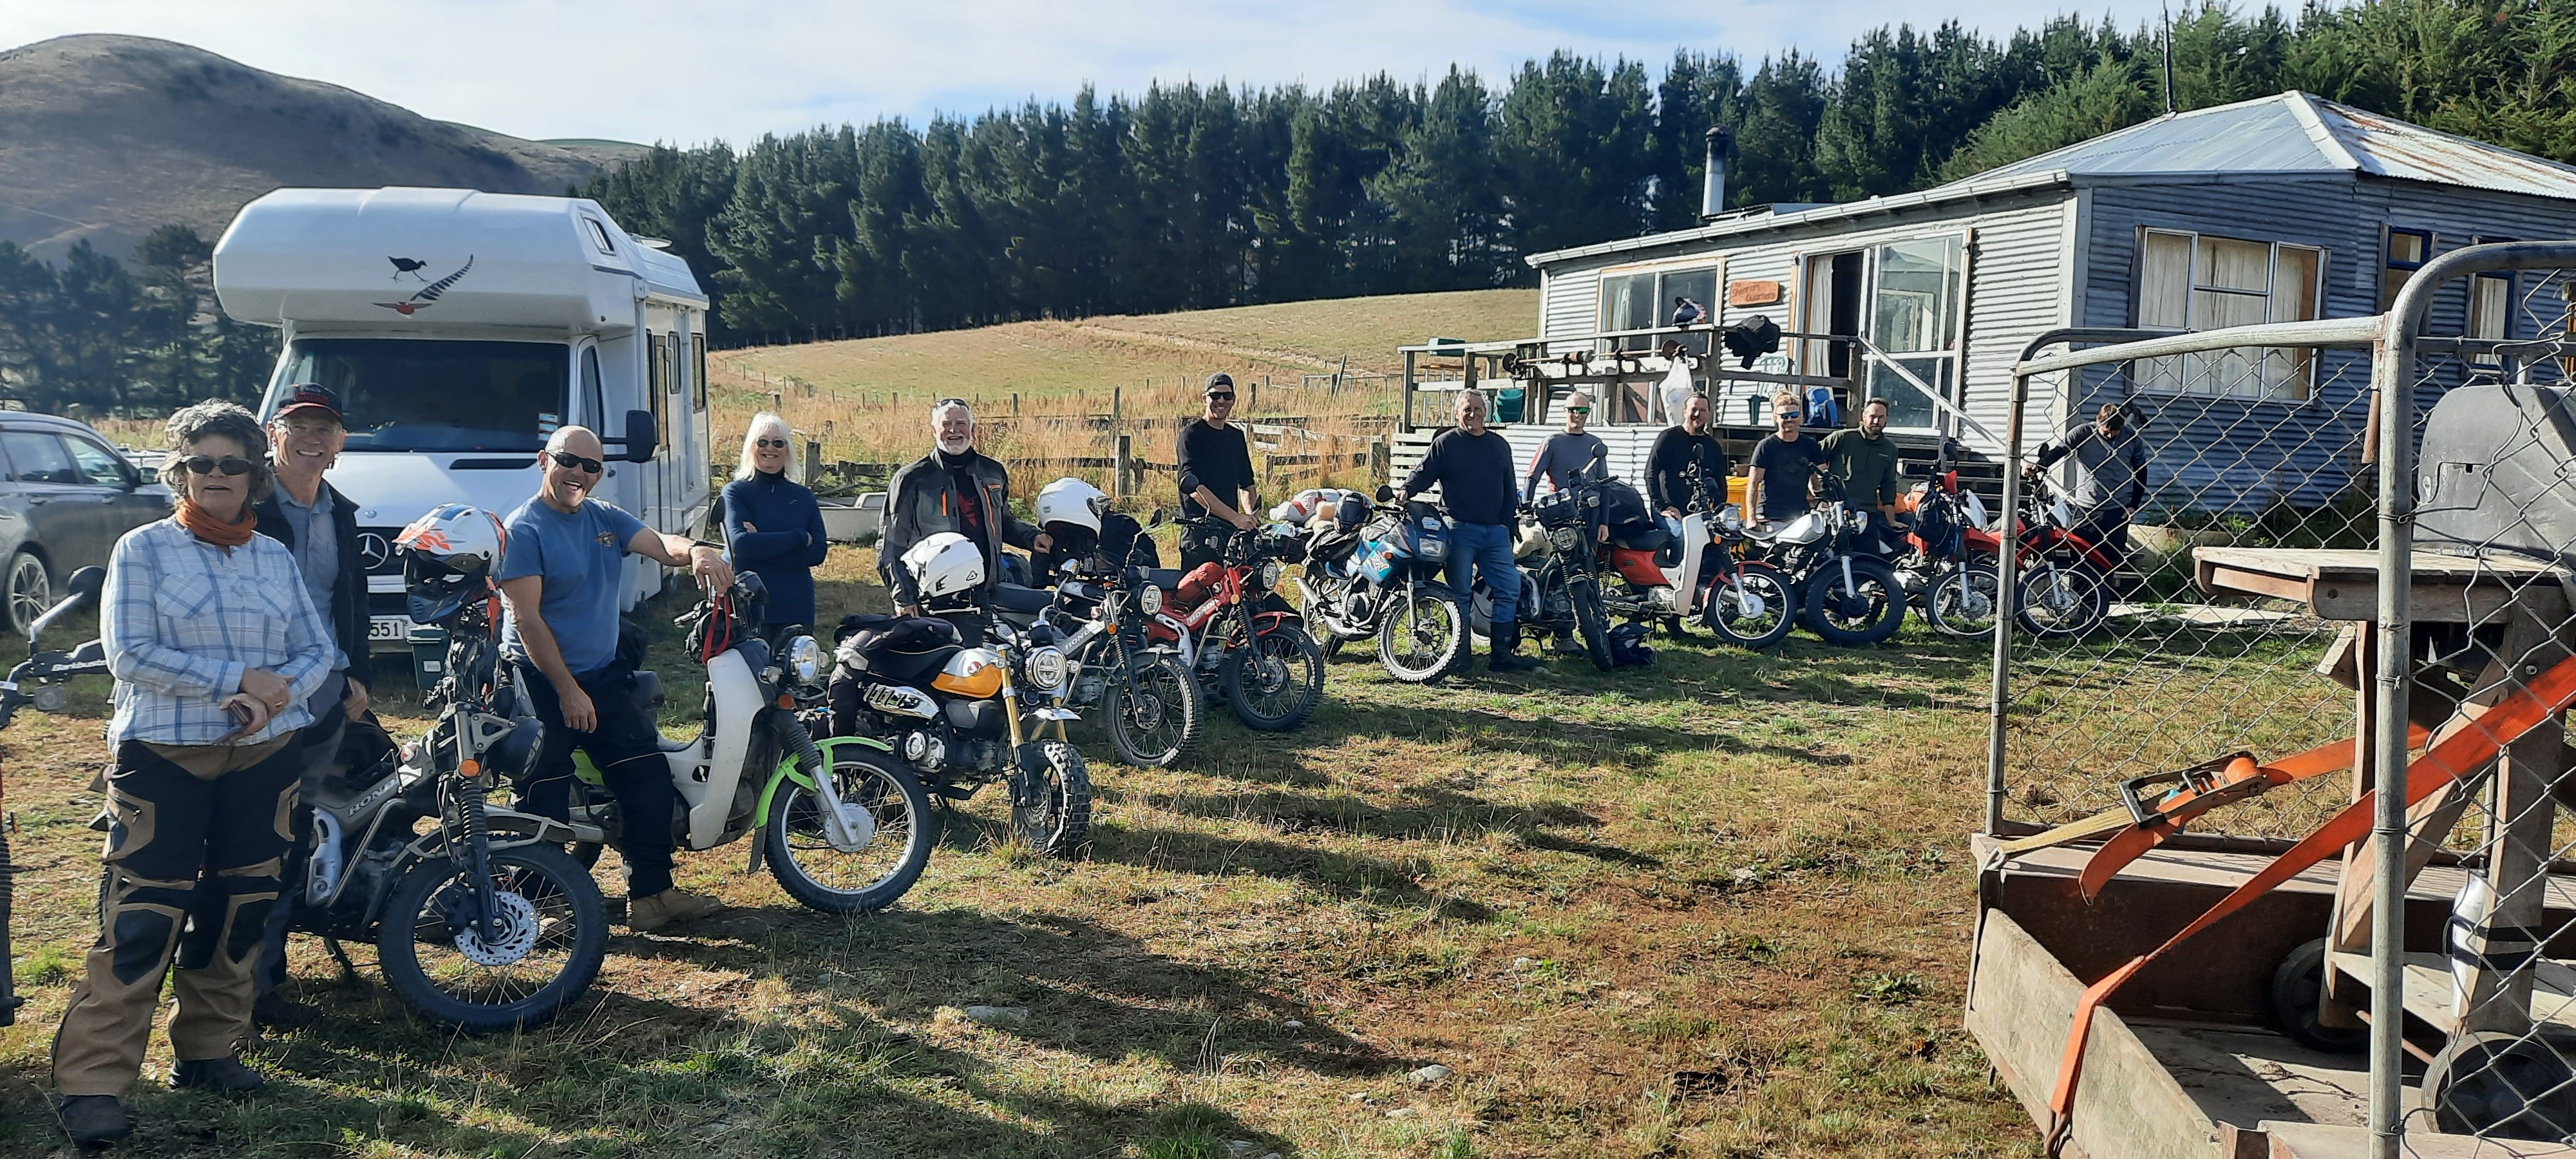
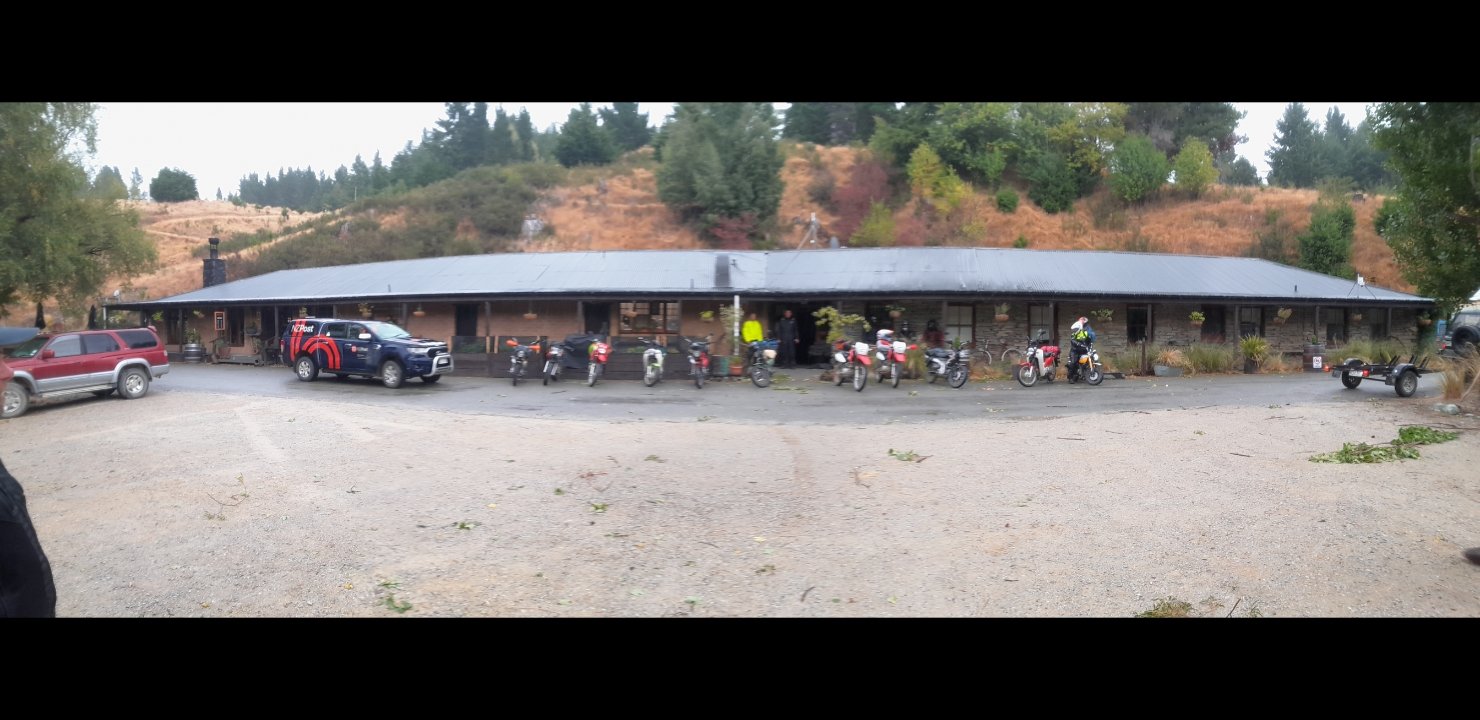
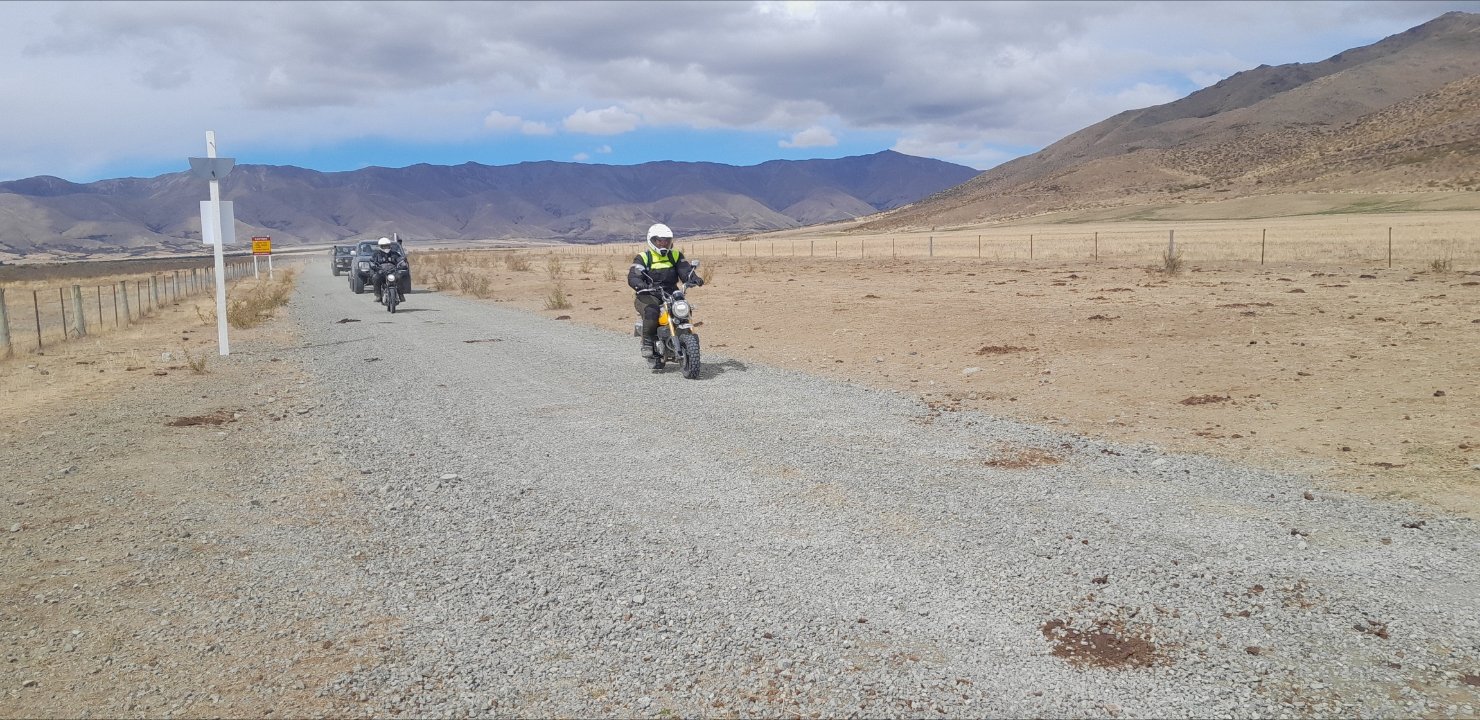
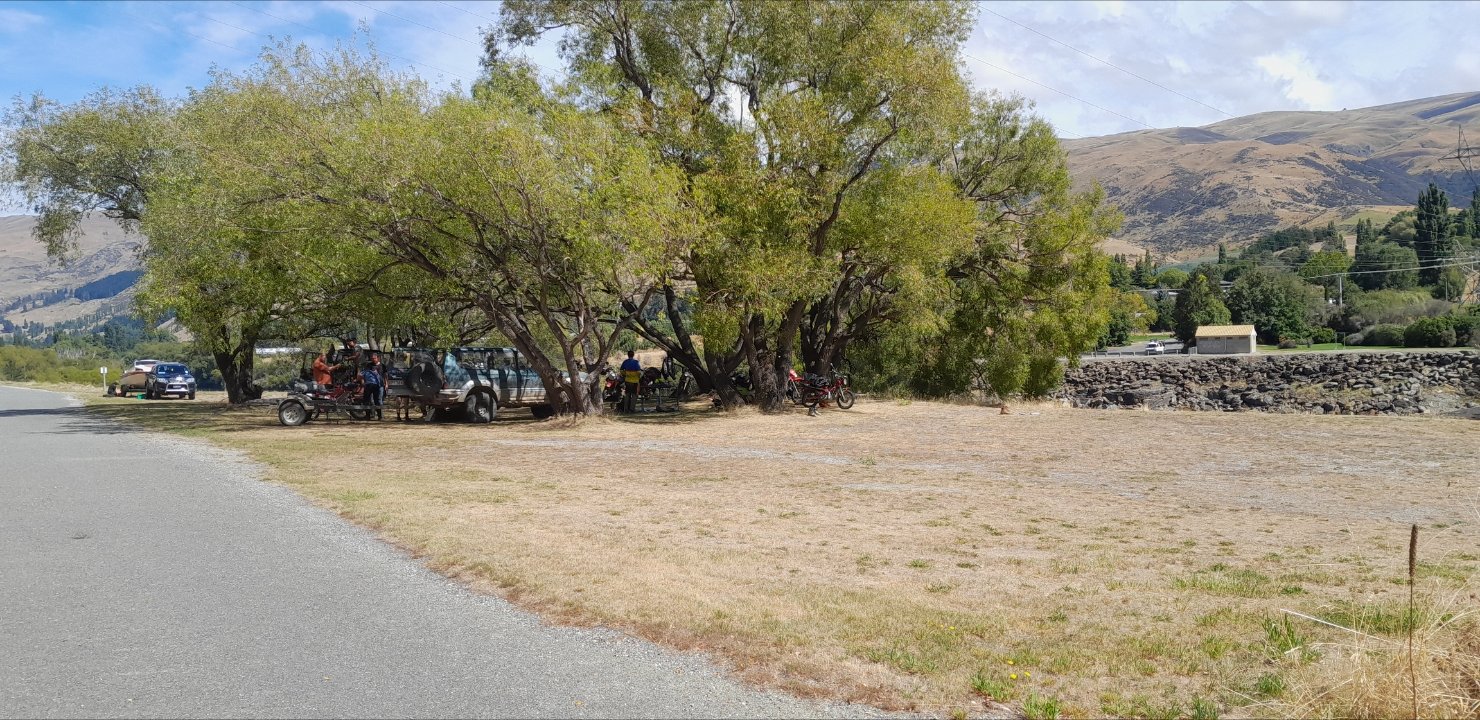
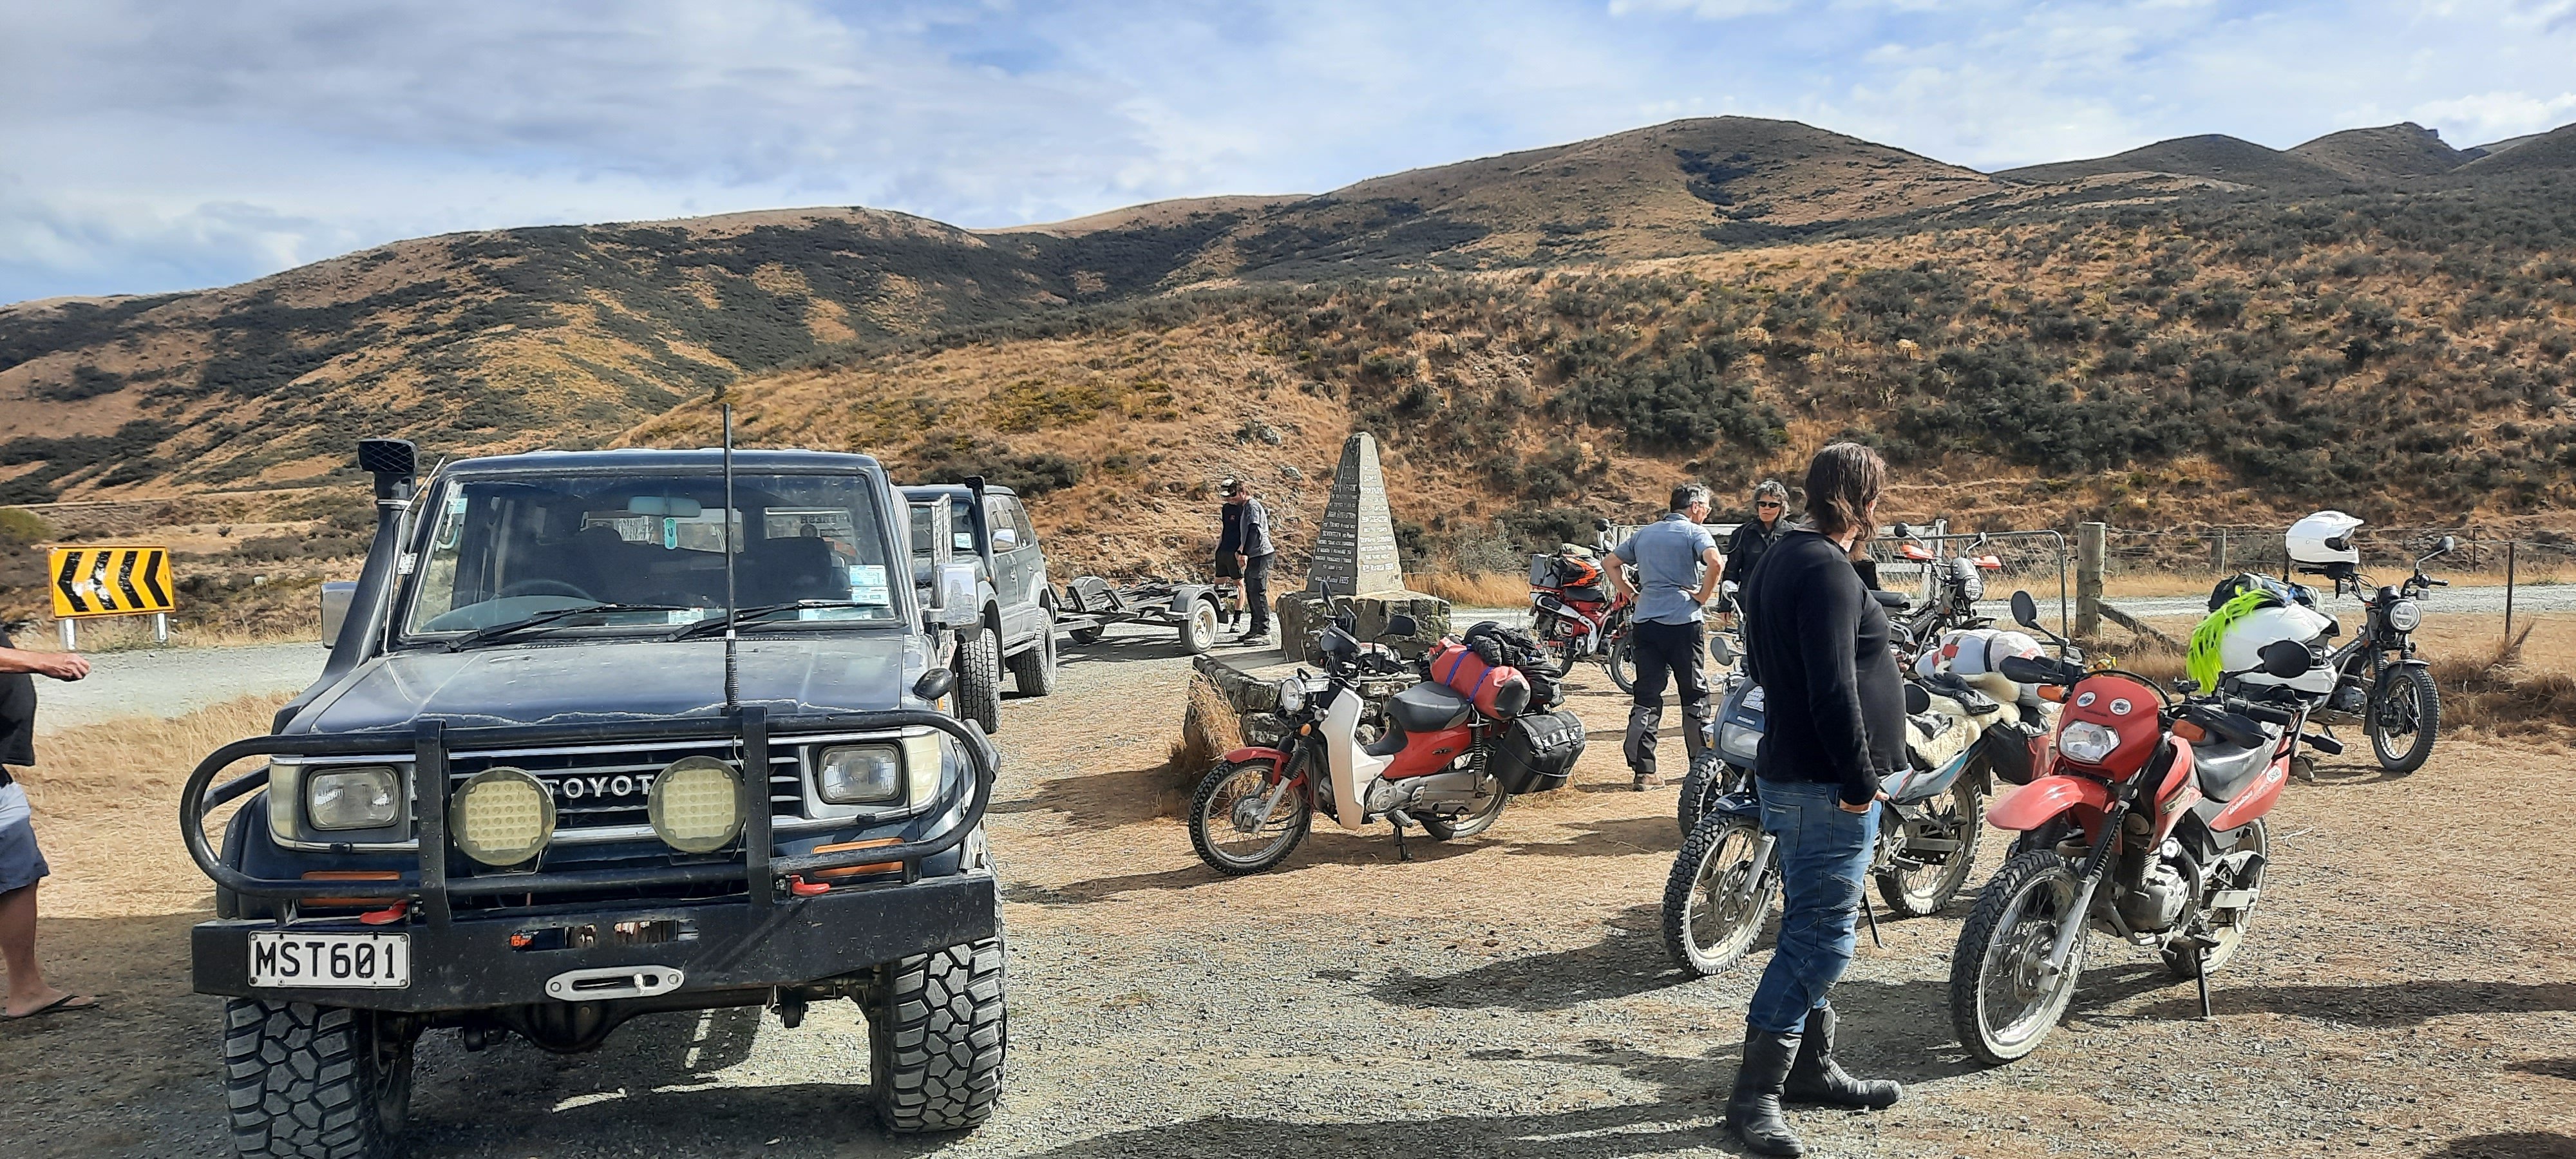
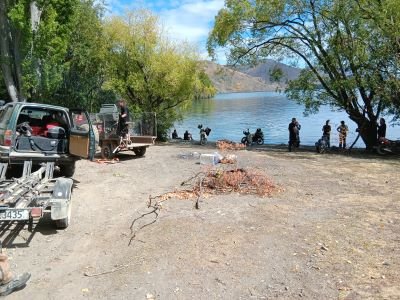
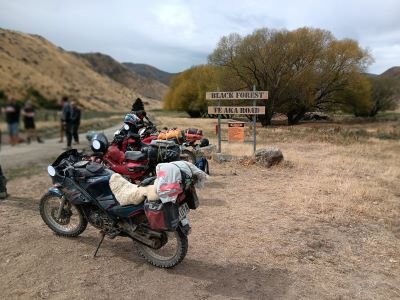
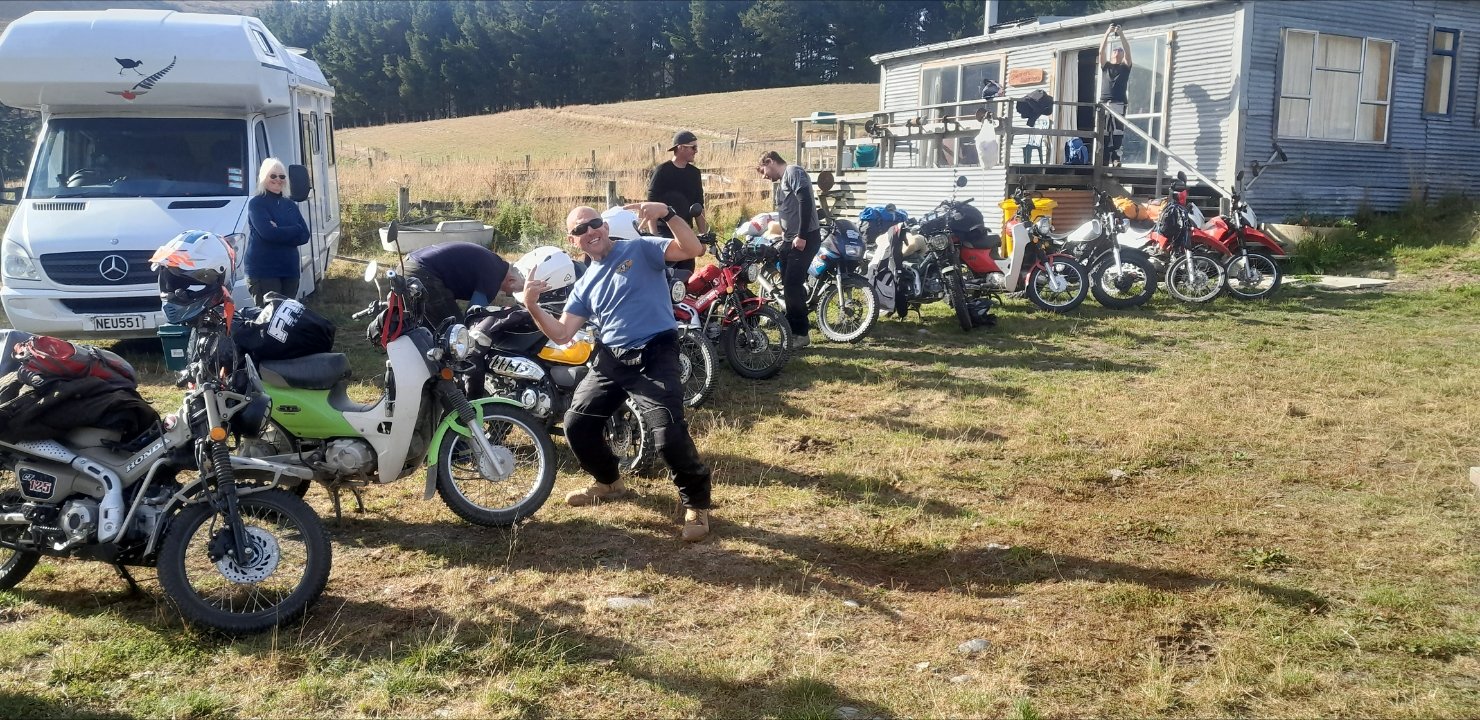
Thanks for an amazing 4 days, from a couple of newbies. Highlights included daily cooked lunch with refreshing double brown beverages, banter, pubs with food and beer, shit talk, incredible scenery across the south of this island, banter, jokes and too many laughs to even begin to count. Small bikes rule. A memorable line-up
10 points
-
7 points
-
And another
7 points
-
Welcome to Roman Dave's guide to drawing a circle on a screen when you are mathematically smooth brained Surely drawing a circle has to be one of the most common and easy things, so there would be heaps of libraries for it? Yeah there are, but they all use radians which makes absolutely no sense to me. So instead of figuring out why radians are good I'm going to brute force my way through the problem by not understanding anything. My LED screen has a resolution of 128x64. So If I want to draw some circles on it, or having a sweeping needle on a gauge that is circular, or, whatever. The answer is something to do with Cosine or whatever calculation right? YEAH PROBABLY. Instead you can draw a circle in Mspaint that is 64 pixels tall, then count all of the pixels around the perimeter. So thats the maximum possible number of visible divisions that my circle can have. Works out to be something like 3.something degrees per division. So I make a lookup table with 45 values in it (2 degree increments) then draw a quarter of a circle in fusion 360 and measure the X and Y coordinates as I rotate the line in 2 degree increments. It turns out that the X axis values are the same as the Y axis values, just starting from the other end. So I can have a lookup table with only 45 values in it to describe any point in the circle's X and Y coordinates to 2 degrees accuracy" (Flipping X or Y values depending on which quarter of the circle it needs to be) //X value = circleLUT [degrees/2] //Y value = circleLUT [46-degrees/2] int circleLUT[46] = {0,17,35,52,70,87,104,121,138,155,171,187,203,219,235,250,264,280,293,308,321,334,347,360,372,383,394,405,415,424,433,442,449,457,463,469,476,481,485,489,492,495,497,499,499,500};5 points
-
5 points
-
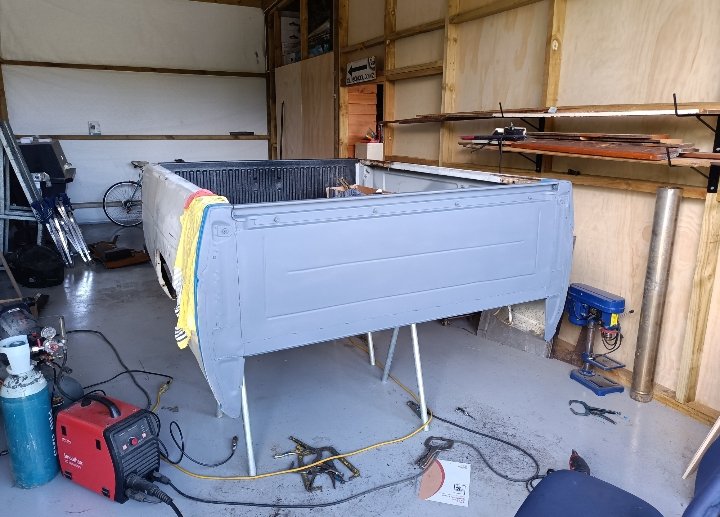
Springs off to the shop. Can't scratch the new paint just yet..
5 points
-
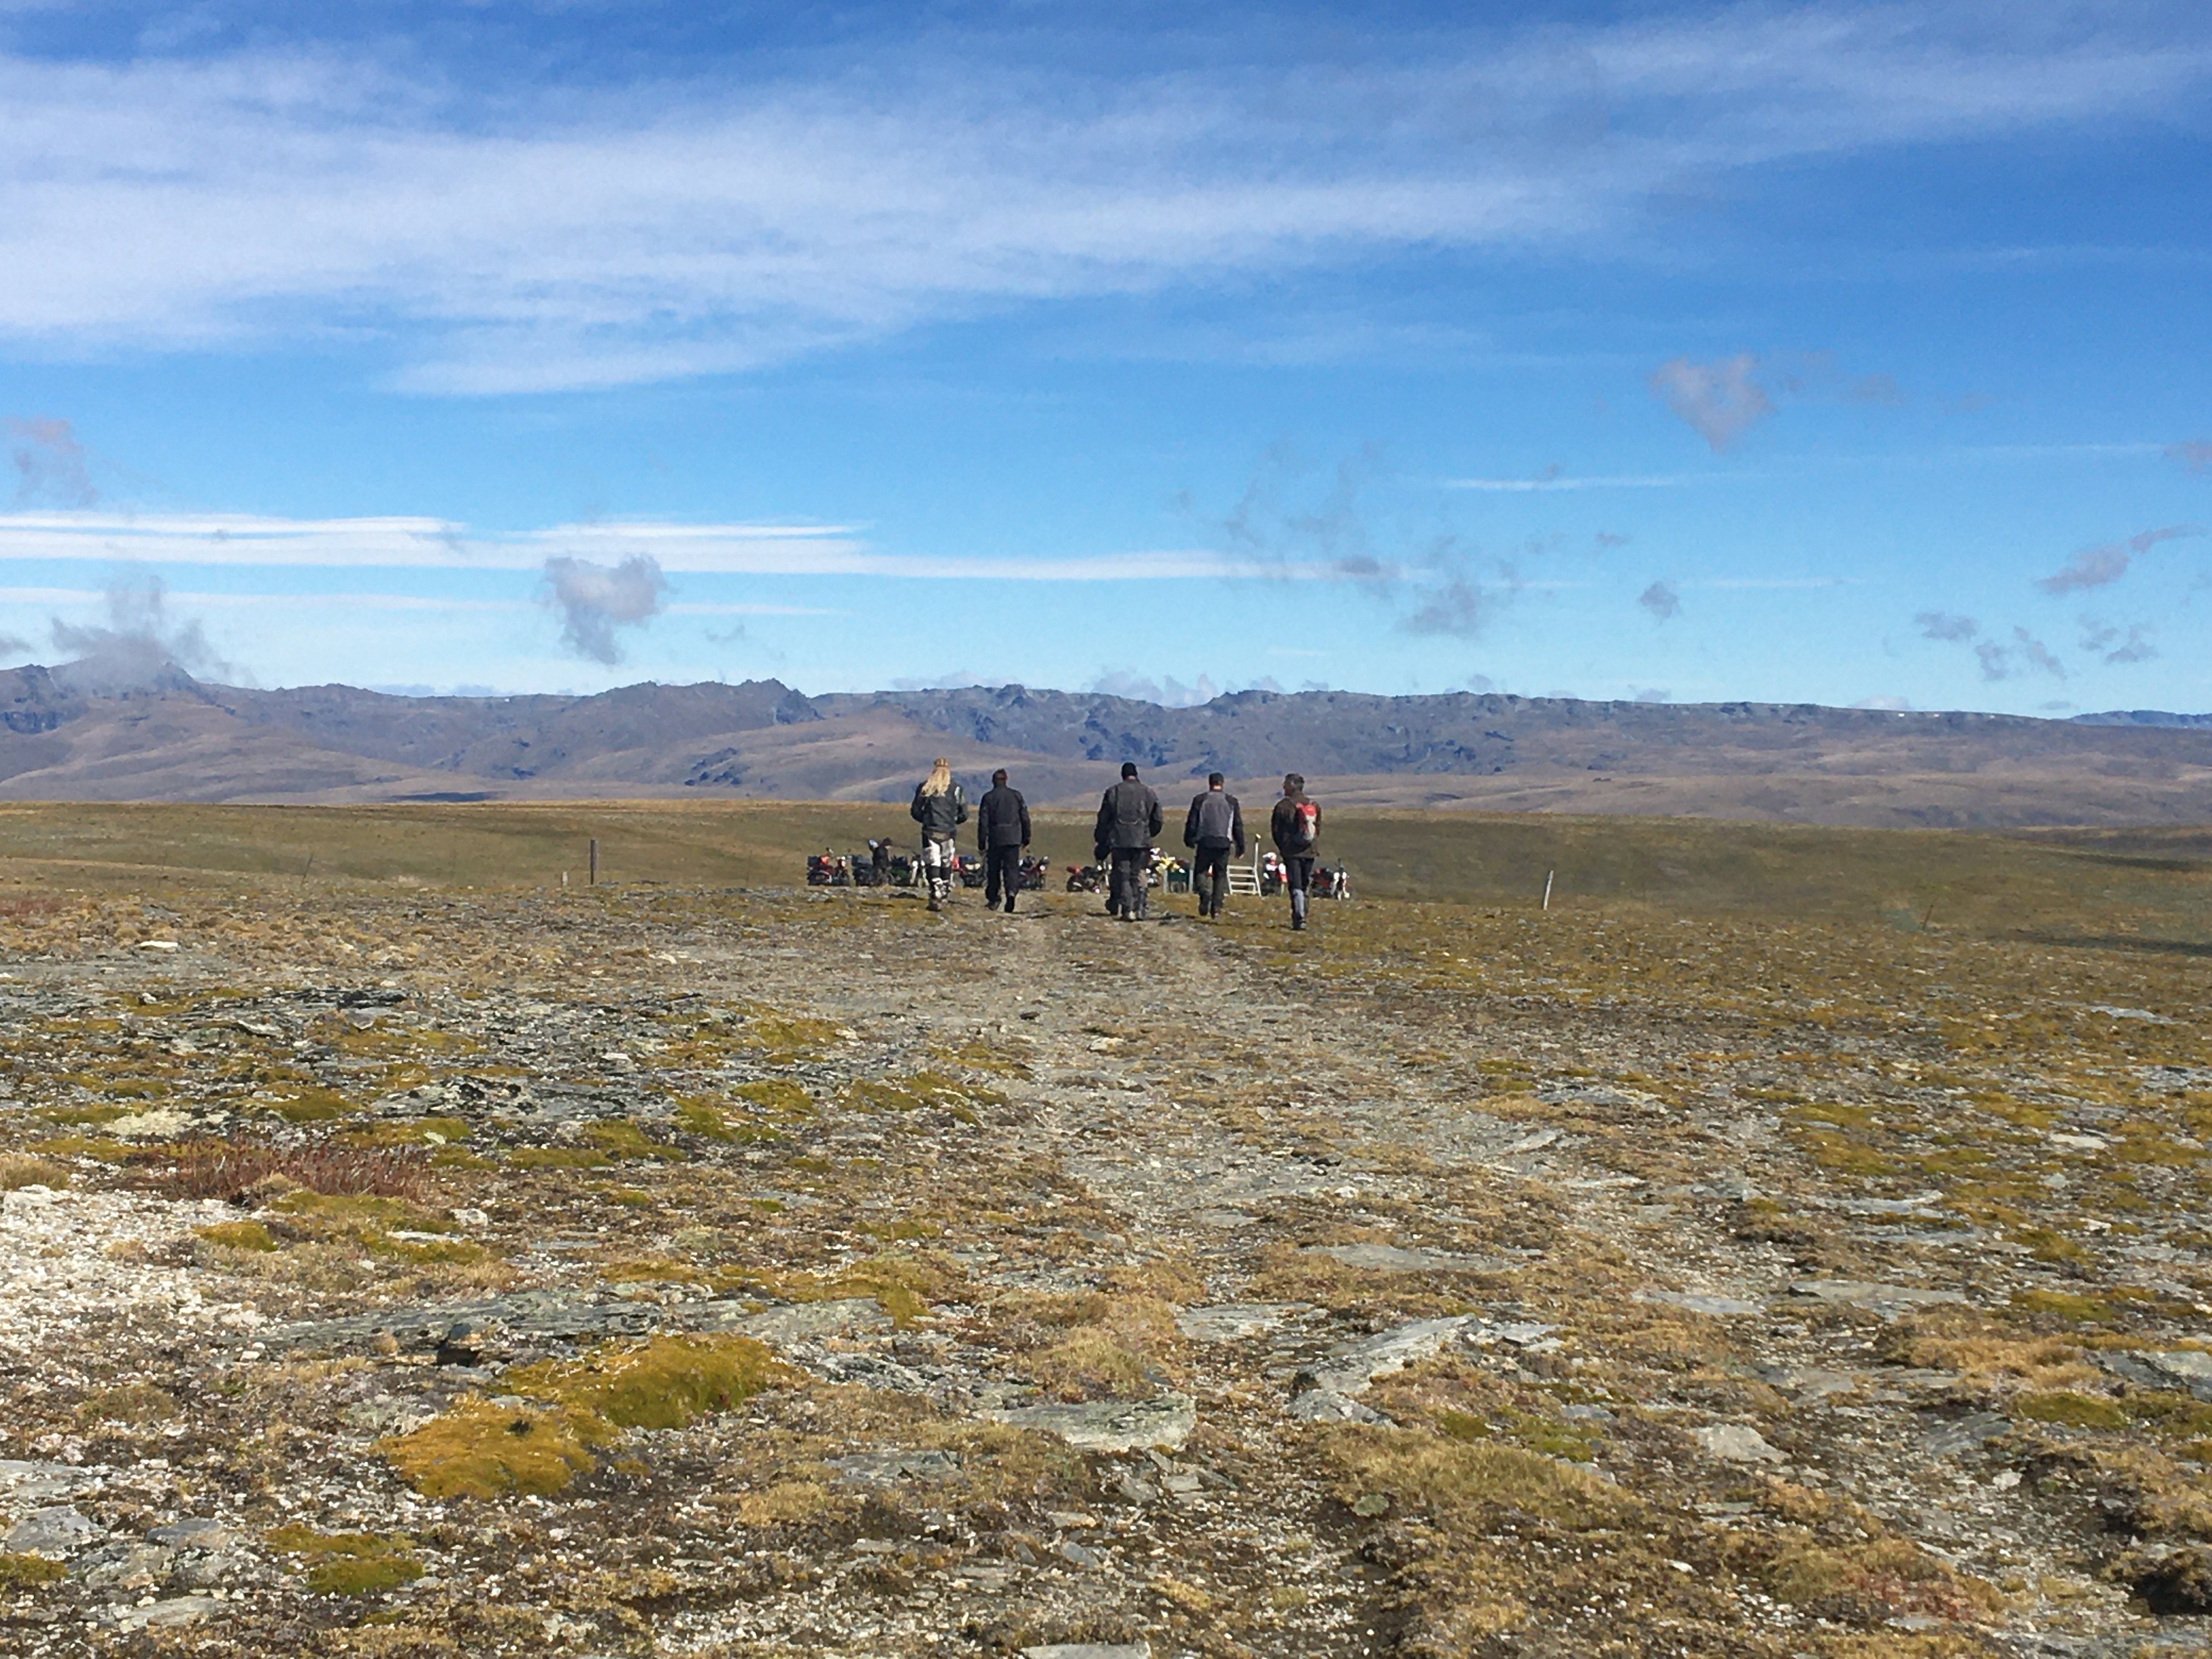
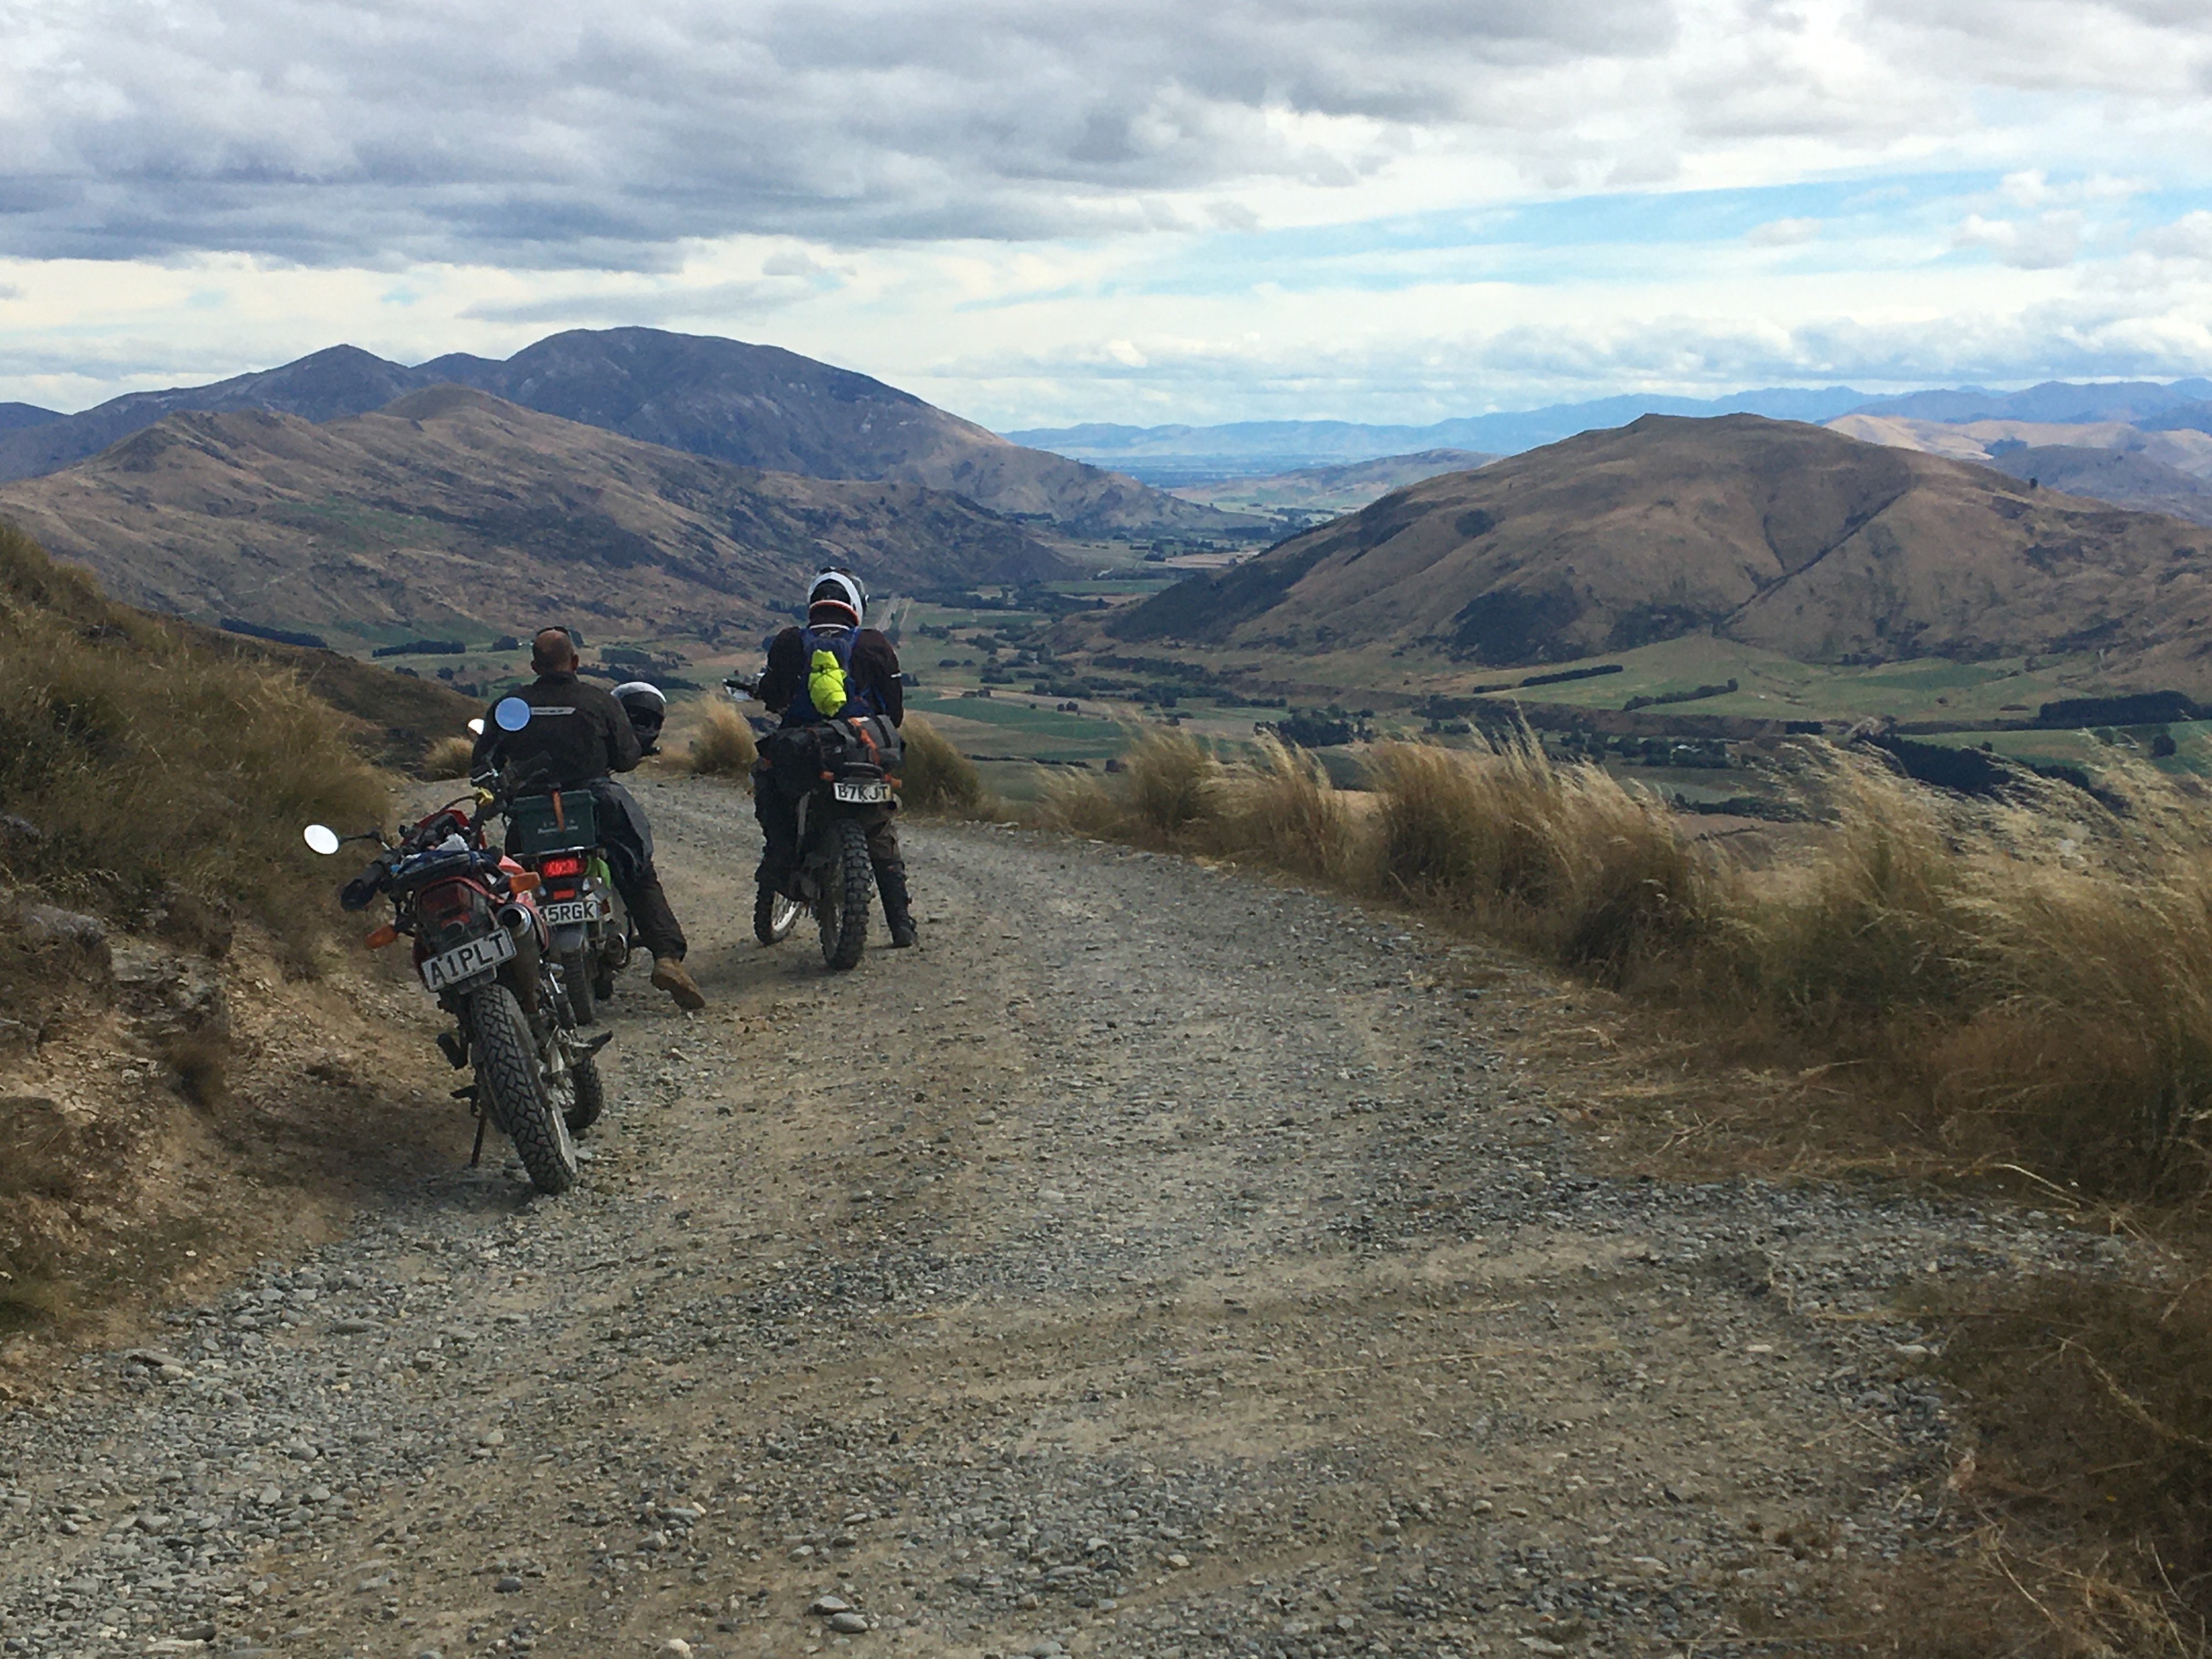
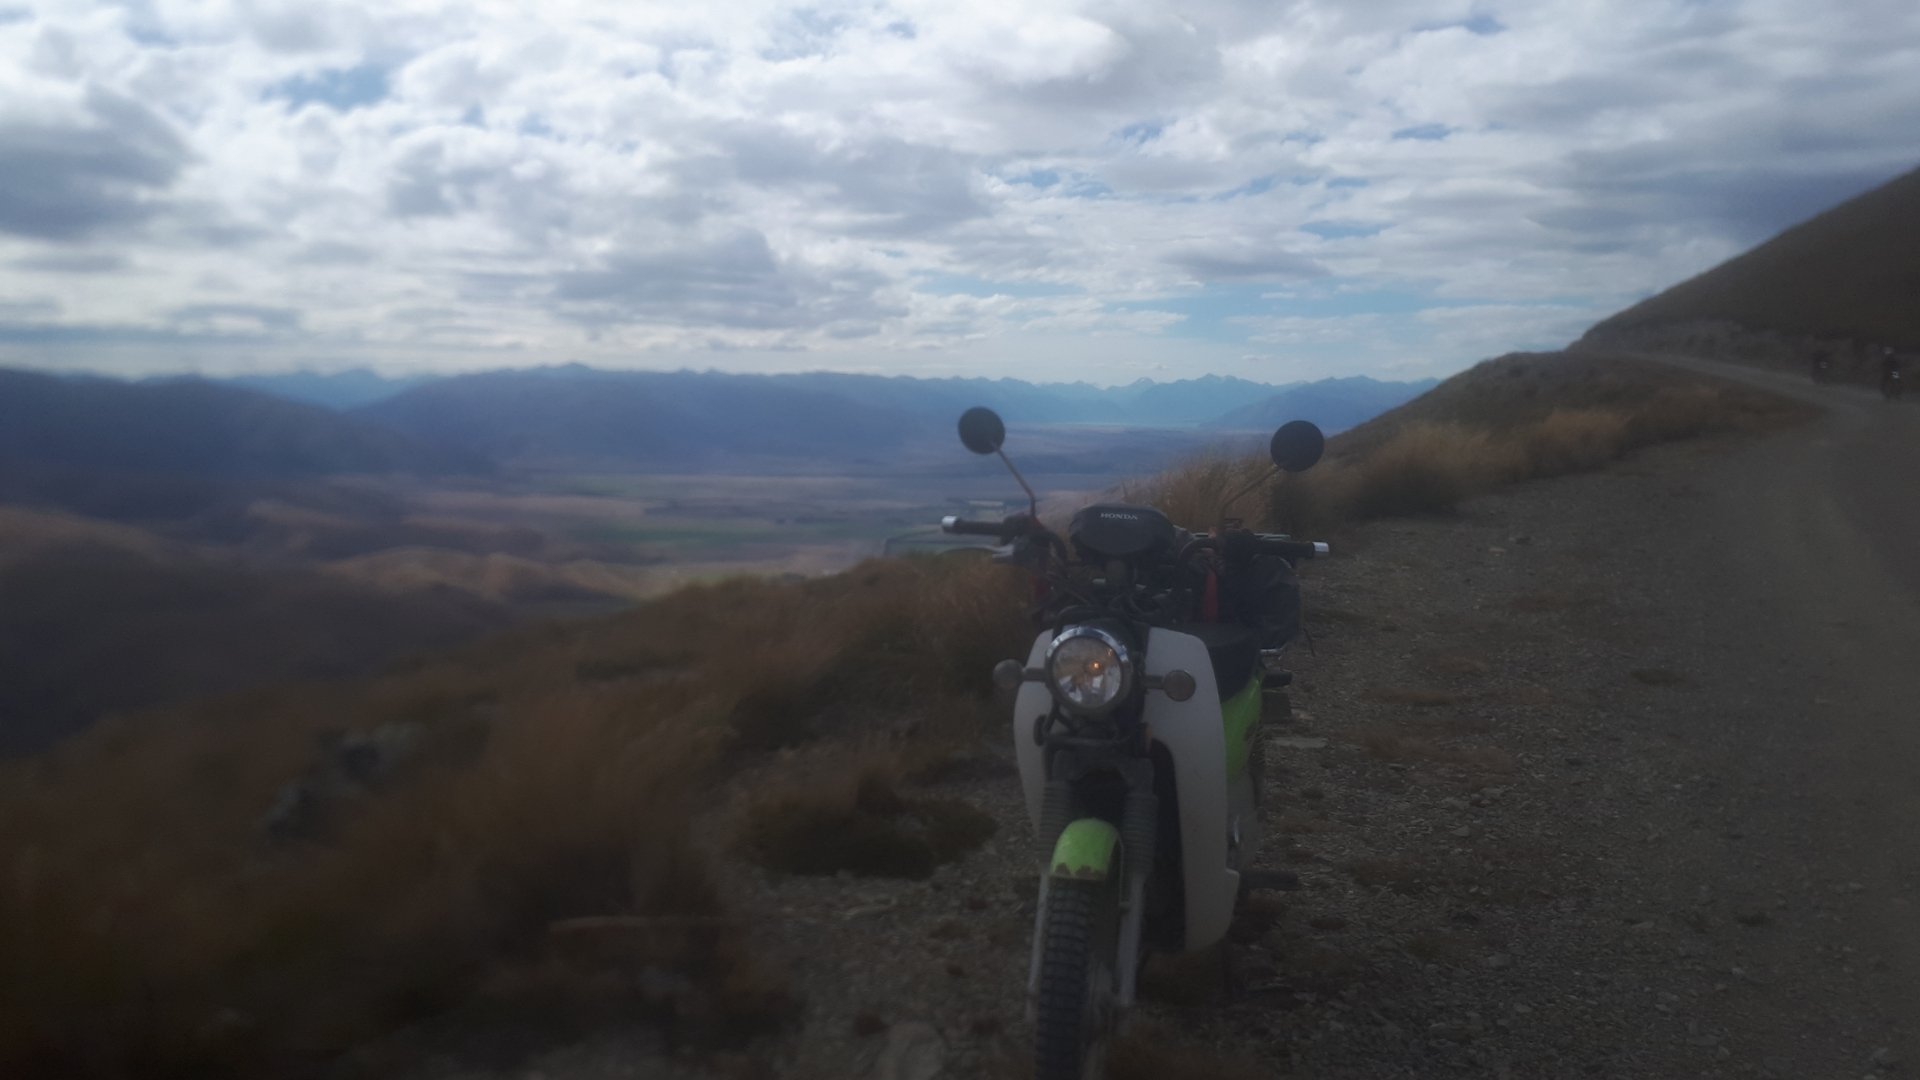
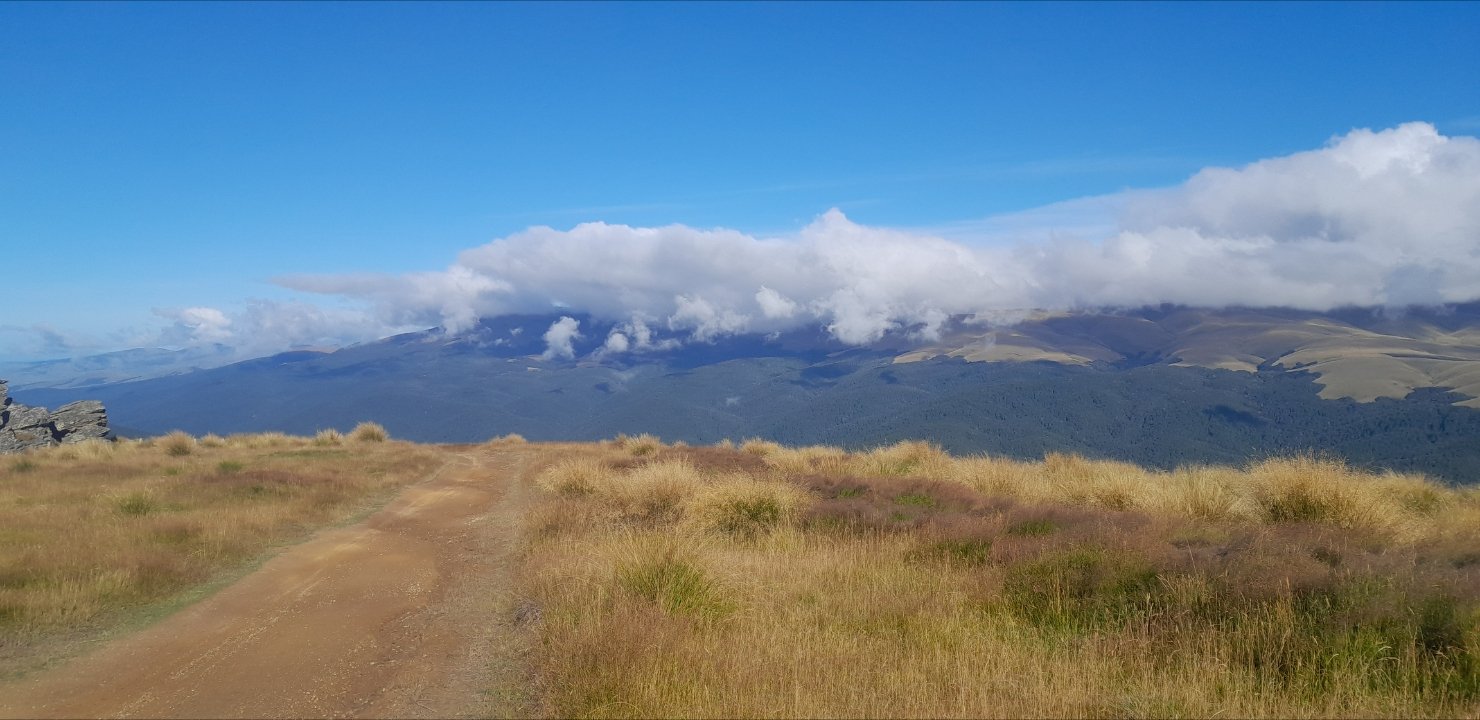
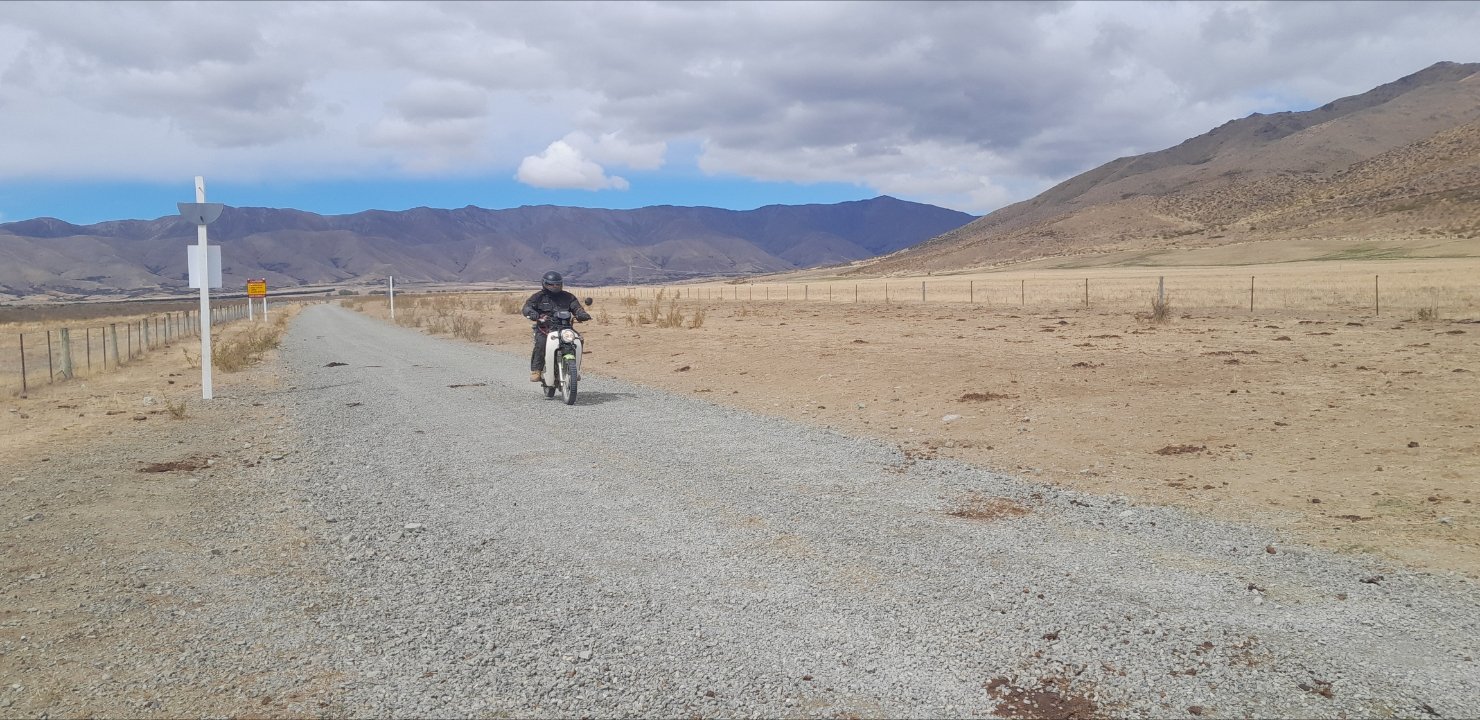
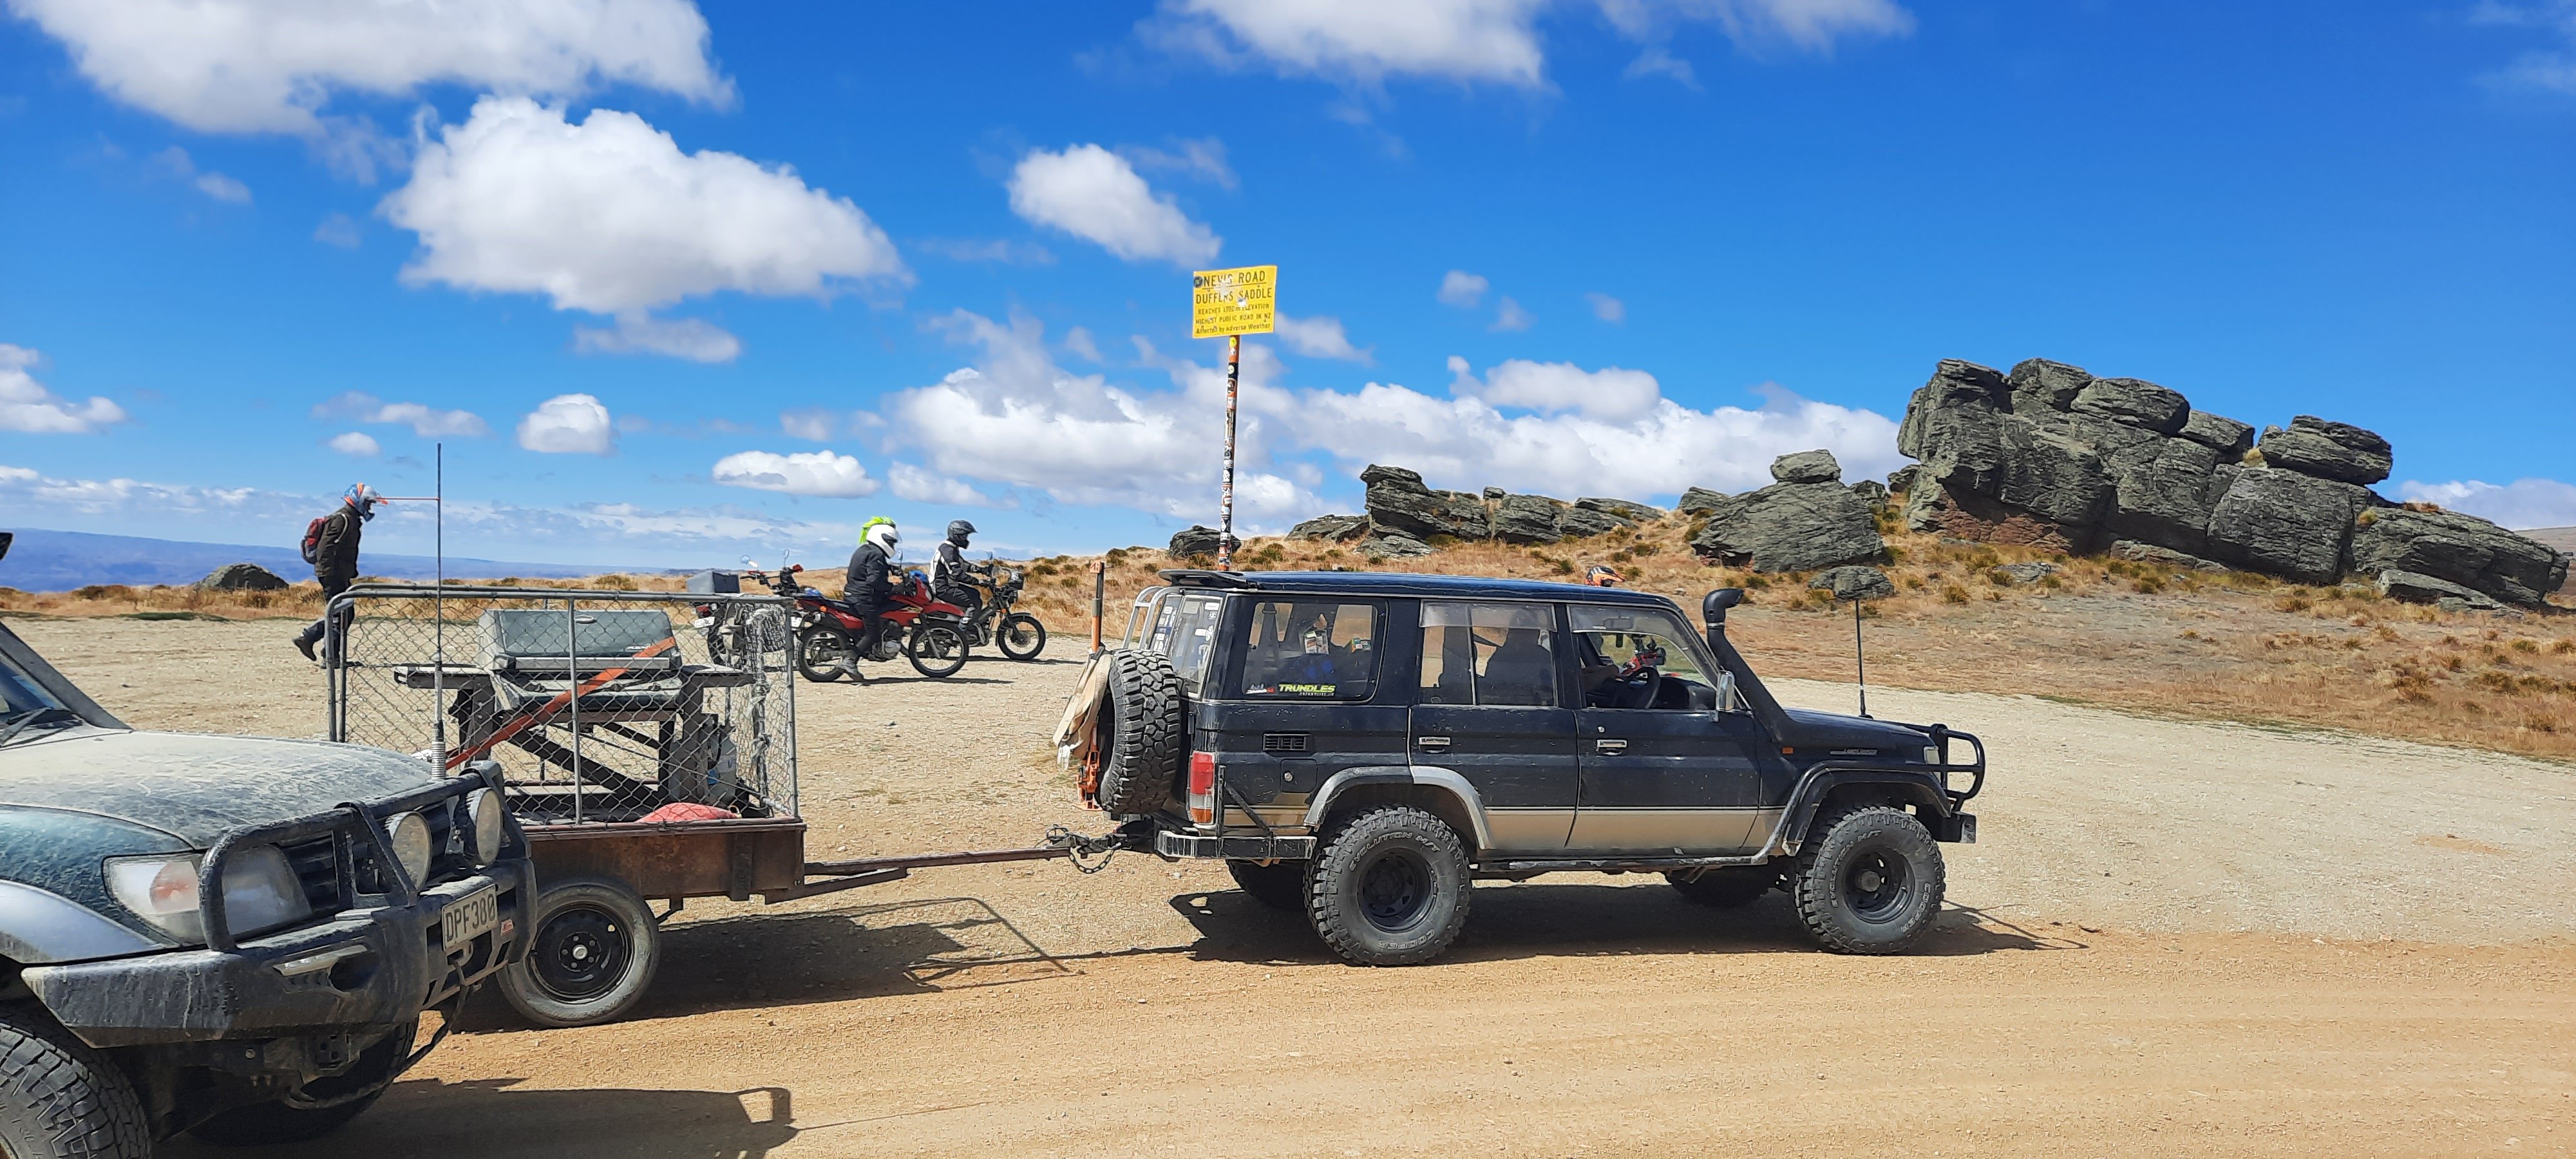
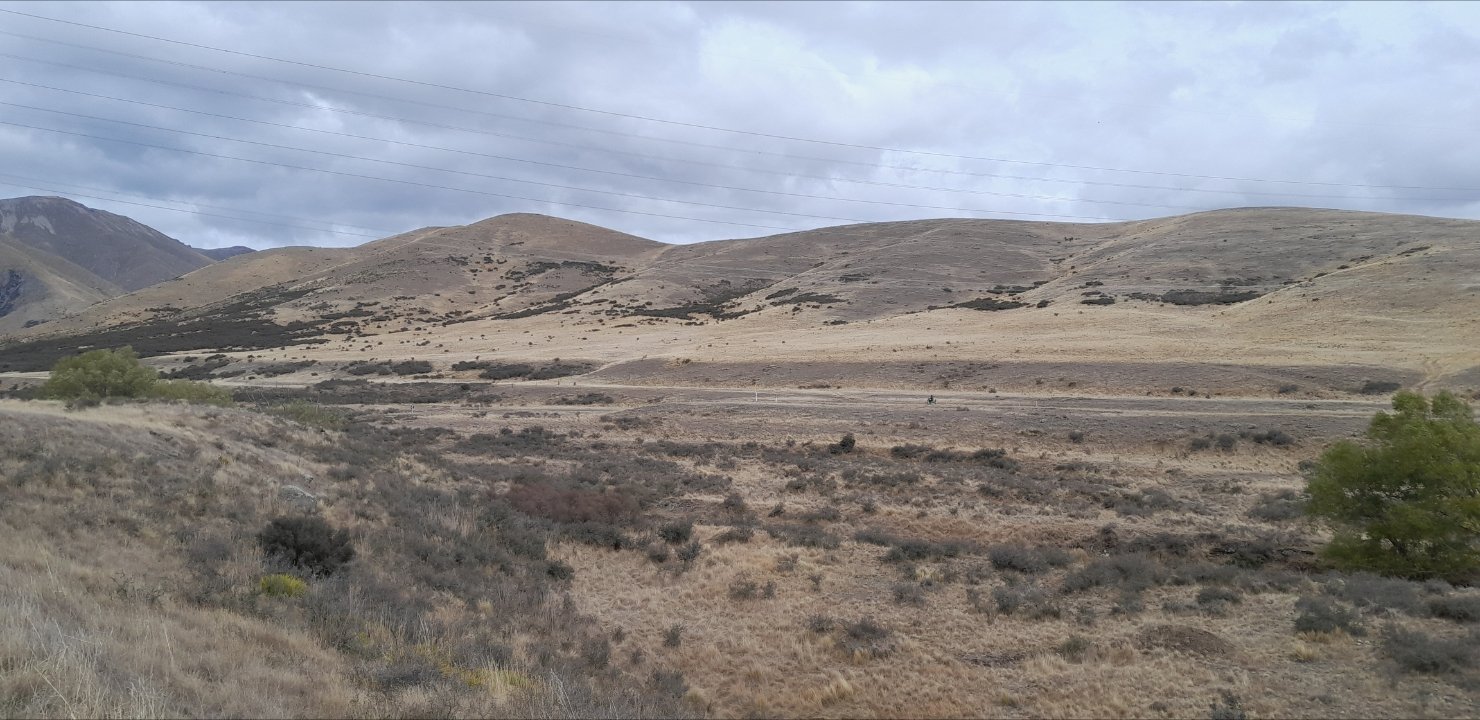
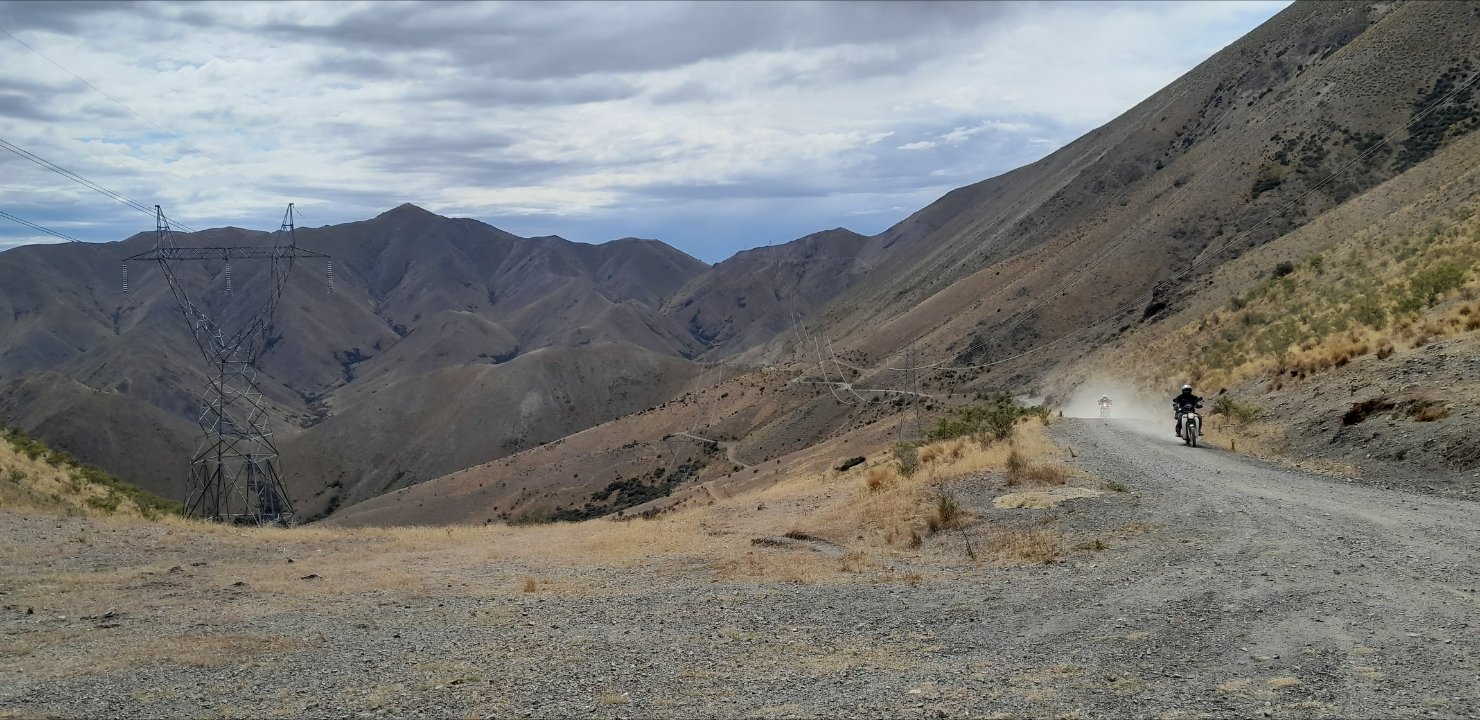
Going up the hill going down the hill
5 points
-
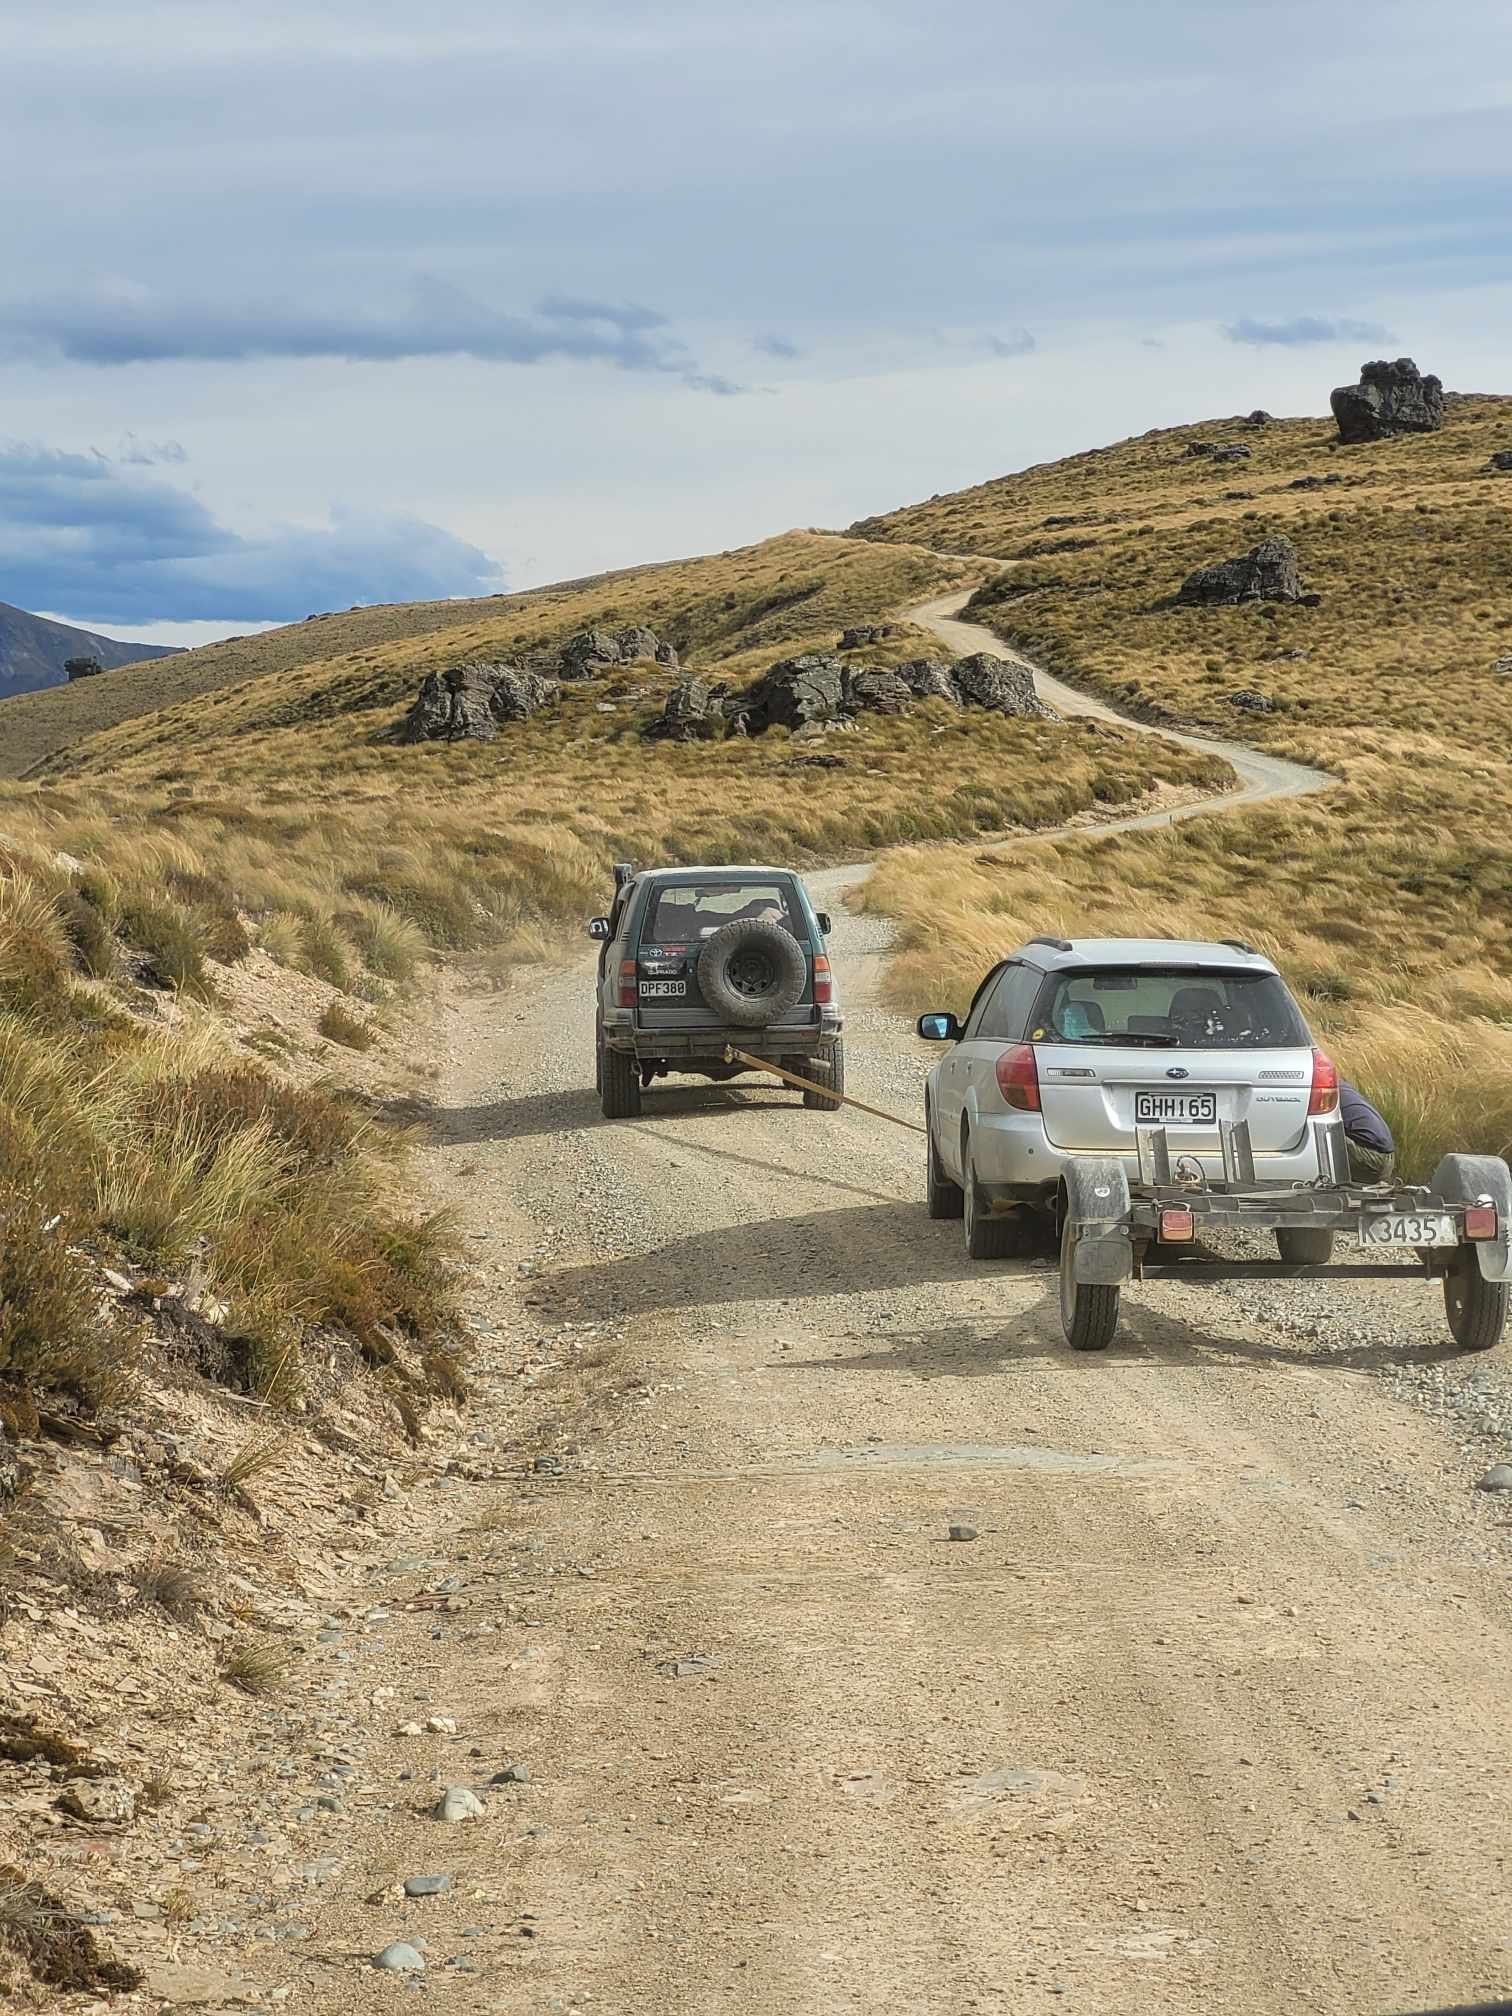
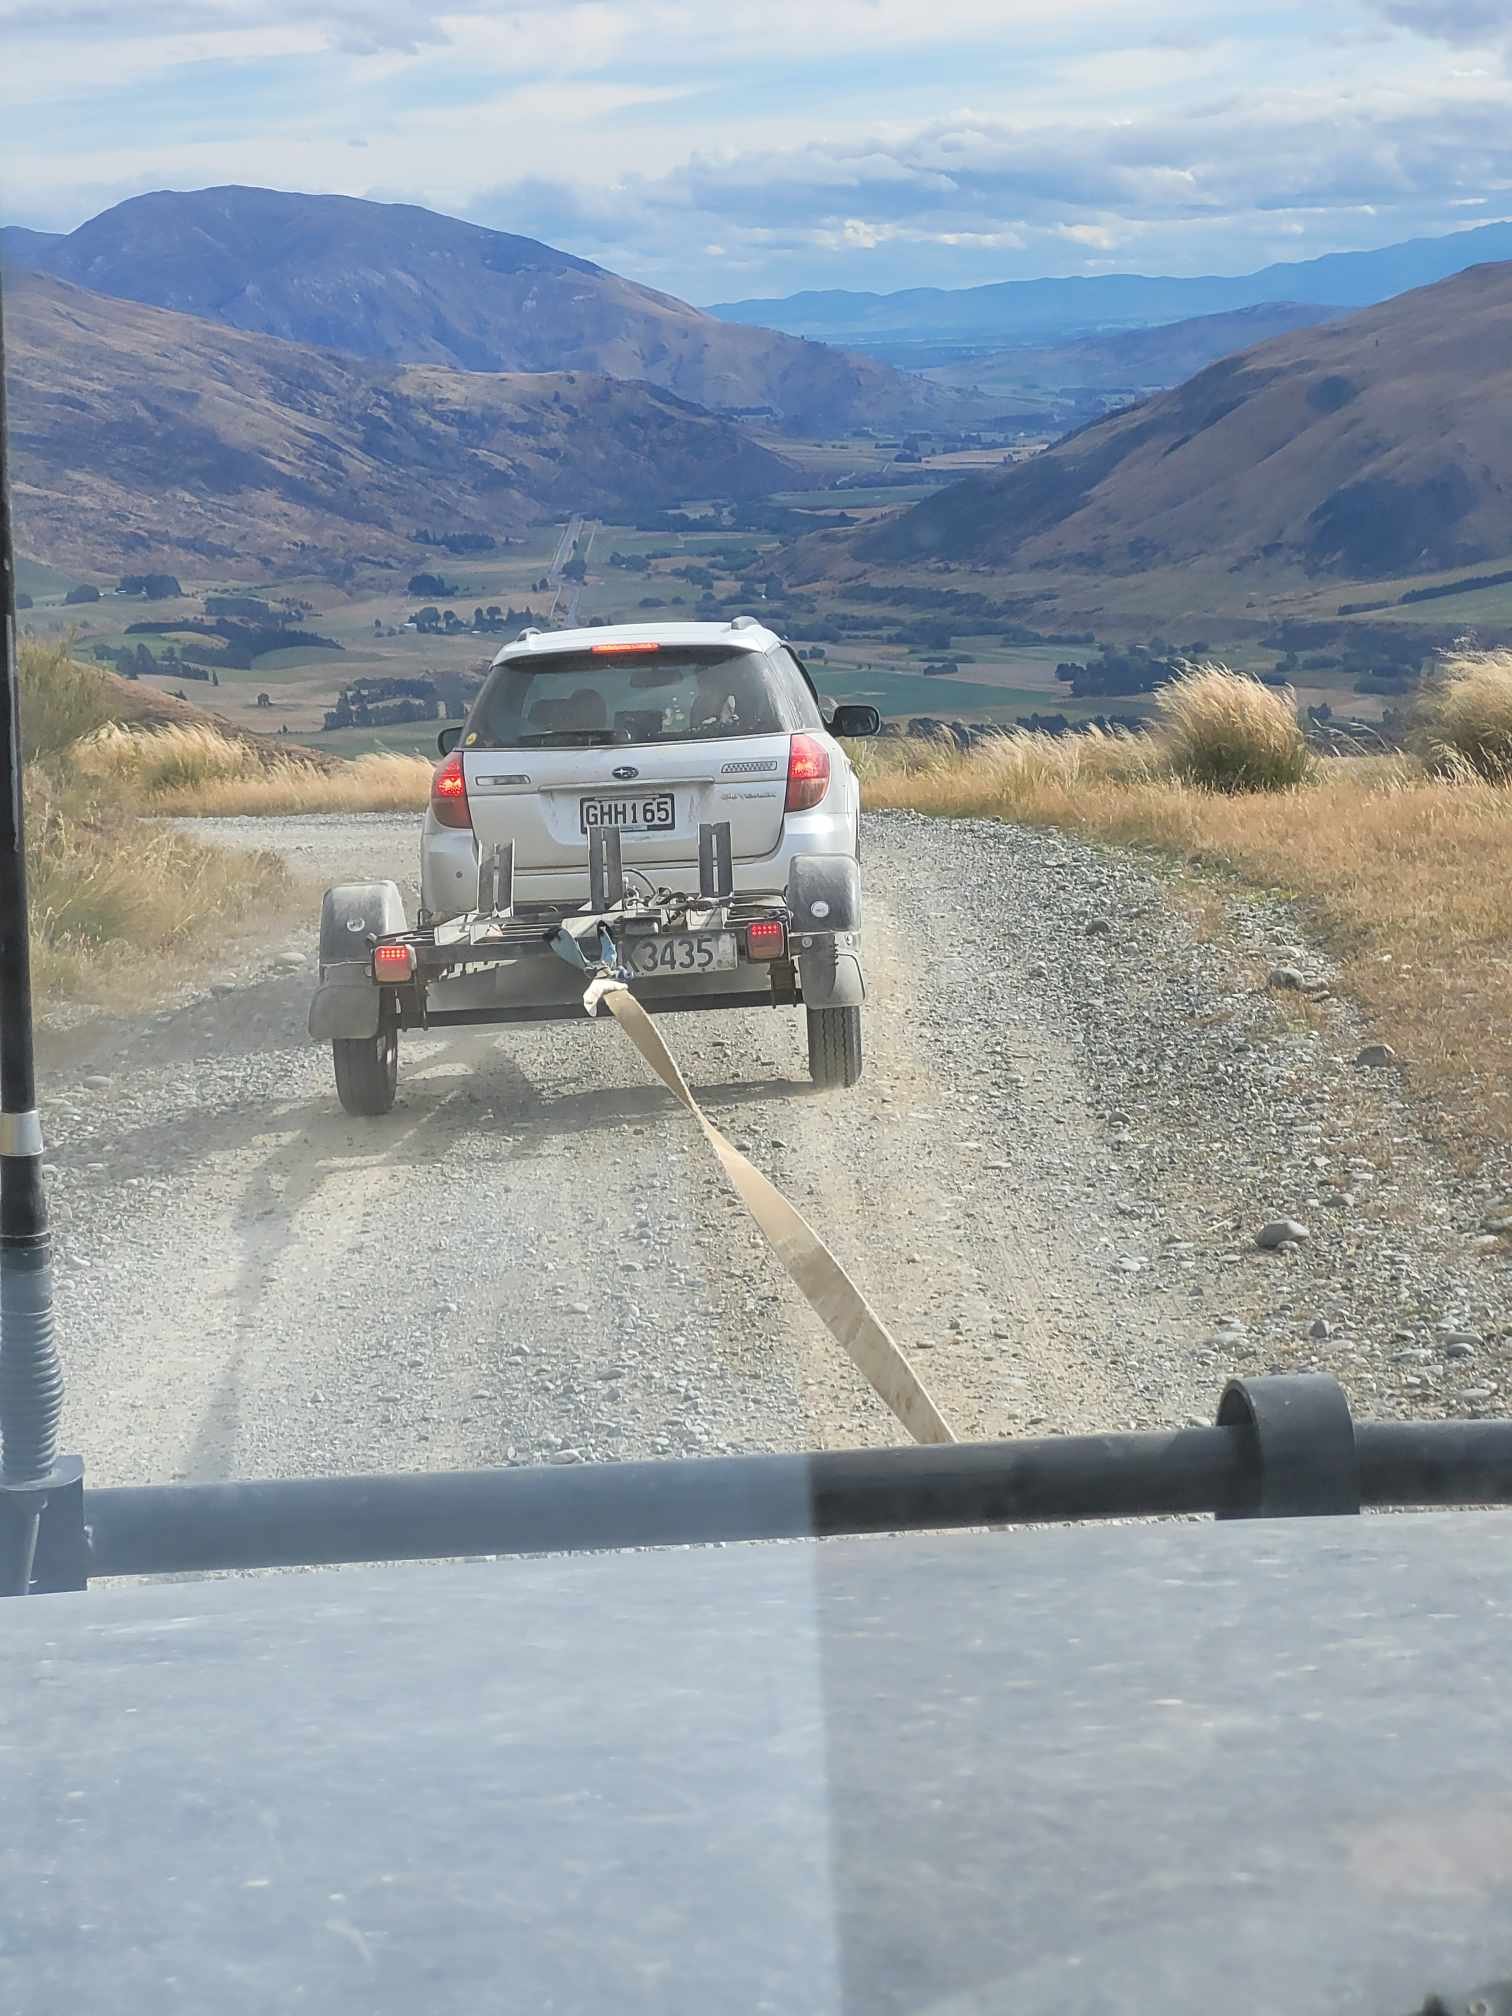
holy birthday cake batman, that was epic. gutted i couldnt get my shit together for the full hog, but even 2 days was enough to fizz the bung real hard. massive thanks to the support crew, Mof and his great organisation and leadership skills, and all the riders for being absolute GCs. was such an awesome crew good yarns good vibes. will post some pics up soon. was trying to take as many as i could but was too busy cheesing, a go pro is a must next year. Highlights in no particular order: Bart and the two hole turkey roast machine, see you round like a jaffa, using a subaru outback as a sledge reverse towing down the nevis hill, double browns in picturesque locations, jugs of speights, roadside gourmet bb grillers, Pet Shop Boys at 11pm at piano flat campsite, old man range rock steps, large phallic shaped rock on windy hill, damside snags. Basically you just suck if you didnt go5 points
-
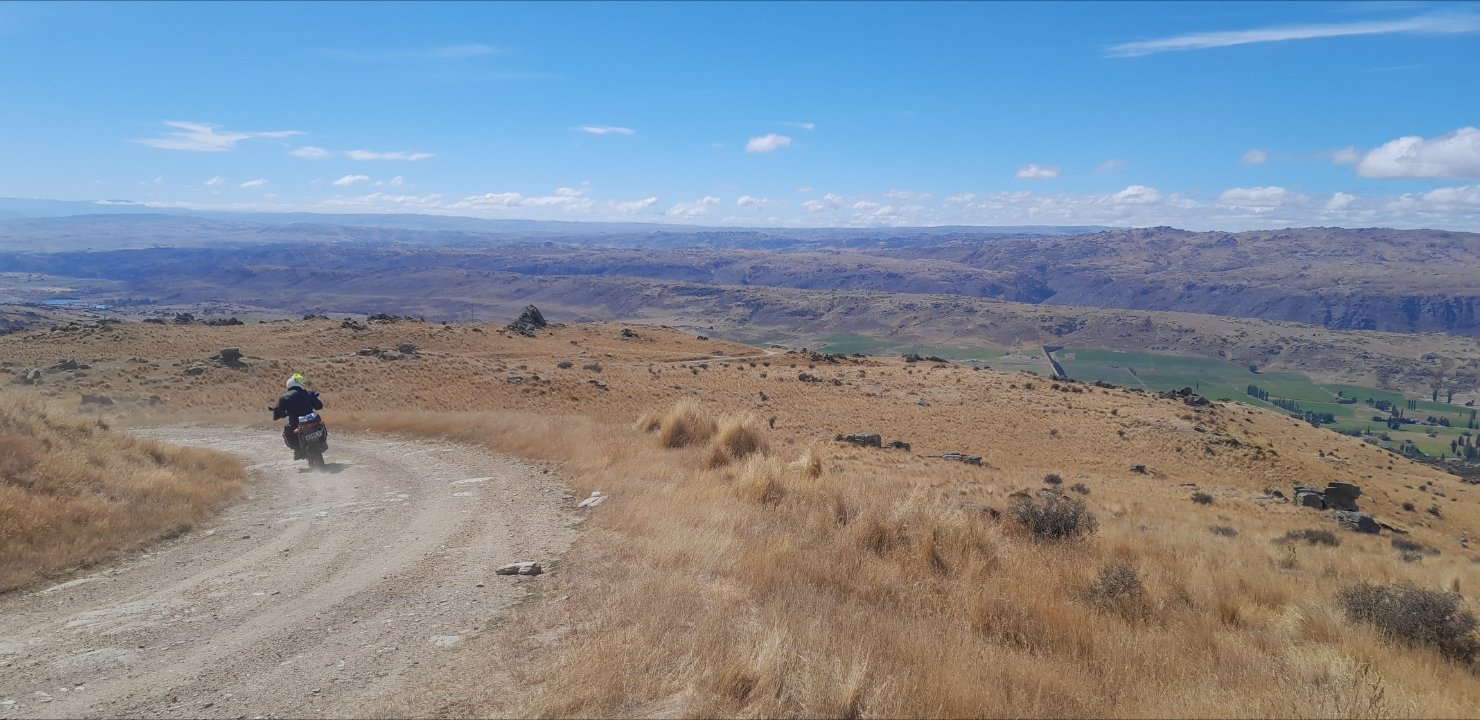
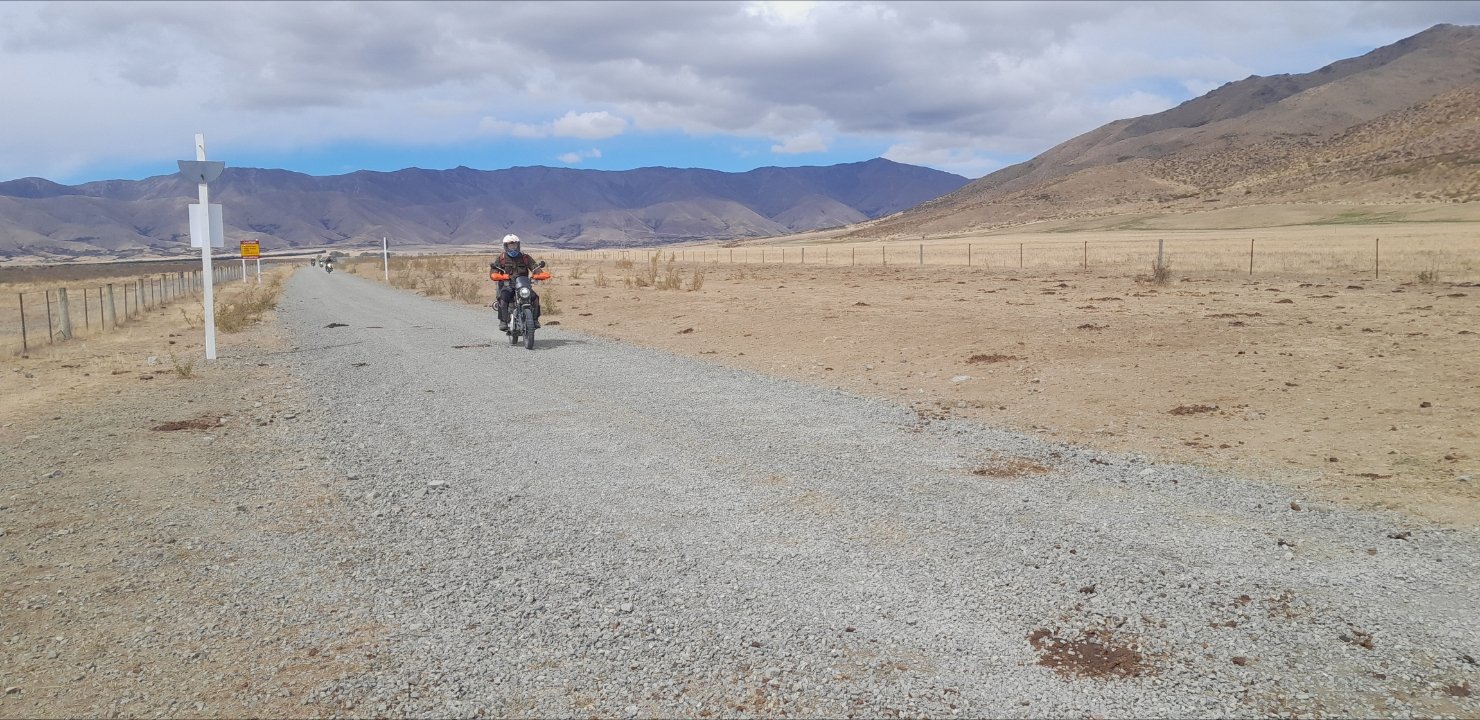
that bike is a fucking trooper. I stuggle to comprehend how it hasnt cried uncle yet given the abuse its withstood, and the insanely brutal trails its been up and down. Even managed to touch the rev limiter in topgear coming down into Garston. #hondasupercubsdoingincrediblethings4 points
-
4 points
-
4 points
-
I got fuck all photos. But heres a few iof the ones i did get.
4 points
-
The big fruit with the big fruit Nevis crossing on the Yamaha Big Wang 200 Somewhere on the Nevis, having a few man coffees and mystery meat tubes End of Nevis. Support wagon still a while away saving a Subaru Outback that took a drink in a bog Maggot sack set up in exact dogging GPS coordinates4 points
-
I've been chipping away a fair bit lately. I managed to find some radiator suport panels. This was my first time doing any sort of panel work, after a fair bit of tweeking I managed to get them good enough to where I was happy. I also filled in the 2 big holes in the engine bay. Years ago I hacked off the washer bottle mount to make room, luckily I kept the remains of it. I made new ends for it to replace the bits I hacked away. Replaced the battery tray. I did a test fit of the engine to sort a few things out. The main things were the gearbox cross member and where to fit a clutch master cylinder and sorting the exhaust. Not a hell of a lot of room, but it worked out OK. The wee fella helped modify a toyota gearbox cross member. I've just finished painting the engine bay today. It's not going to win any awards, but I'm happy enough with it. I'll start the final reassembly now. I sorted out the flywheel/clutch issue too. The guys who did the engine work (Kennally Cams) did some magic to the fly wheel and machined it to accept shouldered bolts to locate the pressure plate as it's being torqued down. Hopefully this week I'll get the engine in for the last time.4 points
-
4 points
-
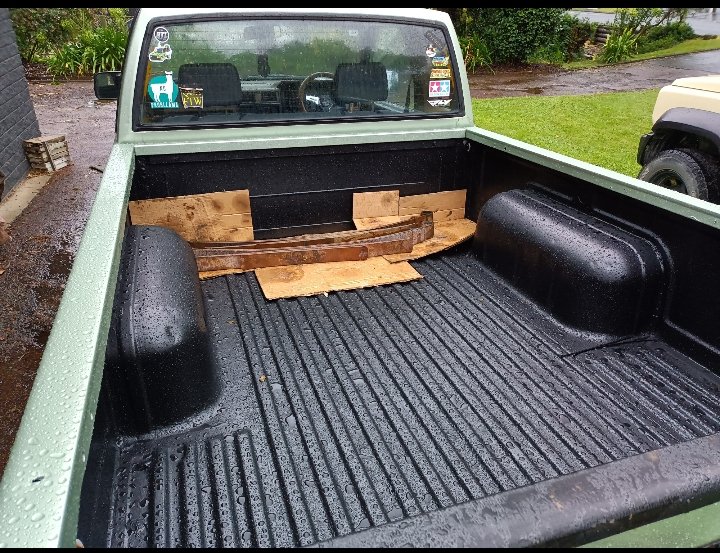
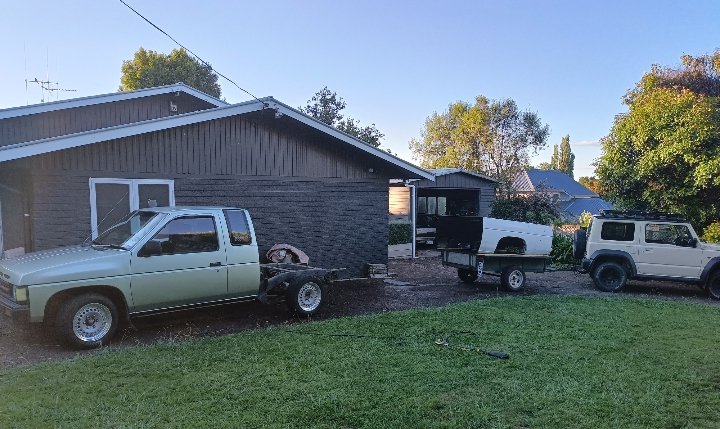
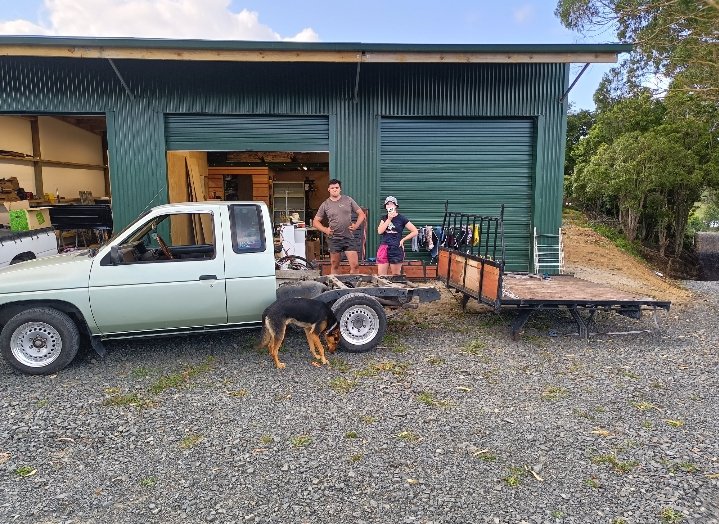
Back home in Porirua. I picked up another set of wheels that are looking pretty schmick. Recaro seats are also in after drilling one hole in each of the factory Toyota runners. Exhaust fell off on the way to Shannon but easily fixed with tie wire.
4 points
-
3 points
-
3 points
-
I've thought about making one of these for the bug. Bug-tech. As always, enjoy your work man.
3 points
-
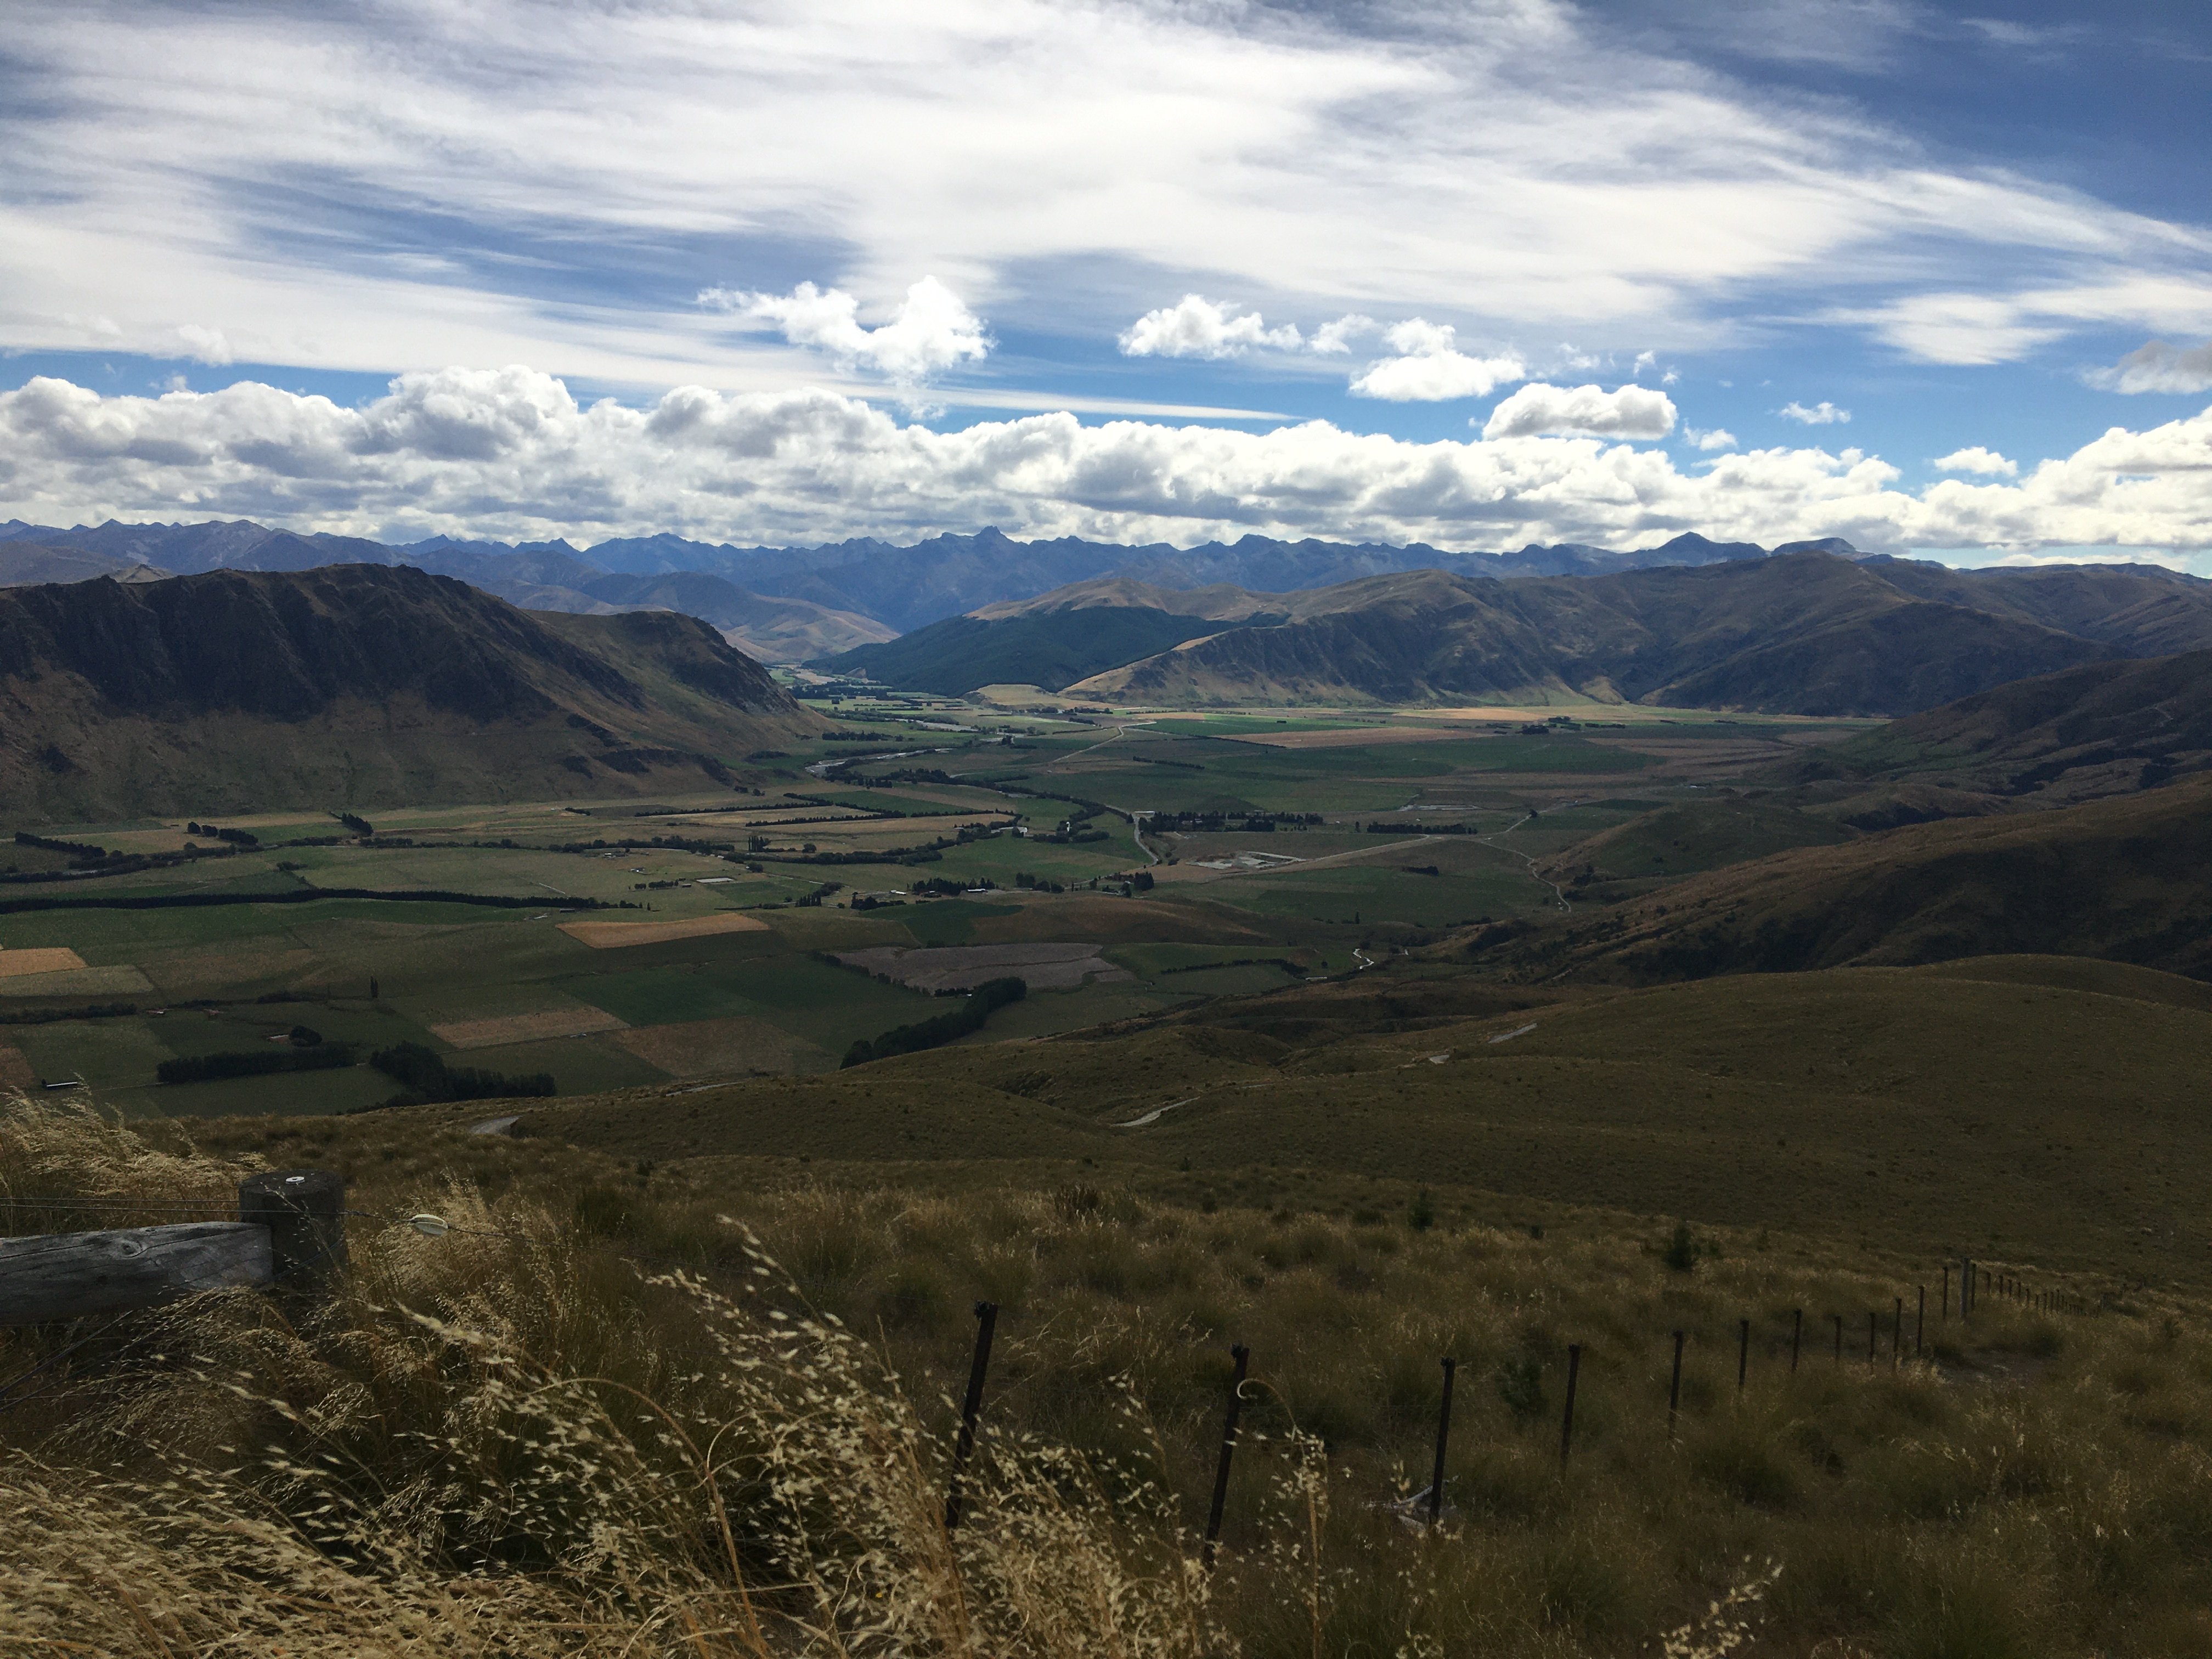
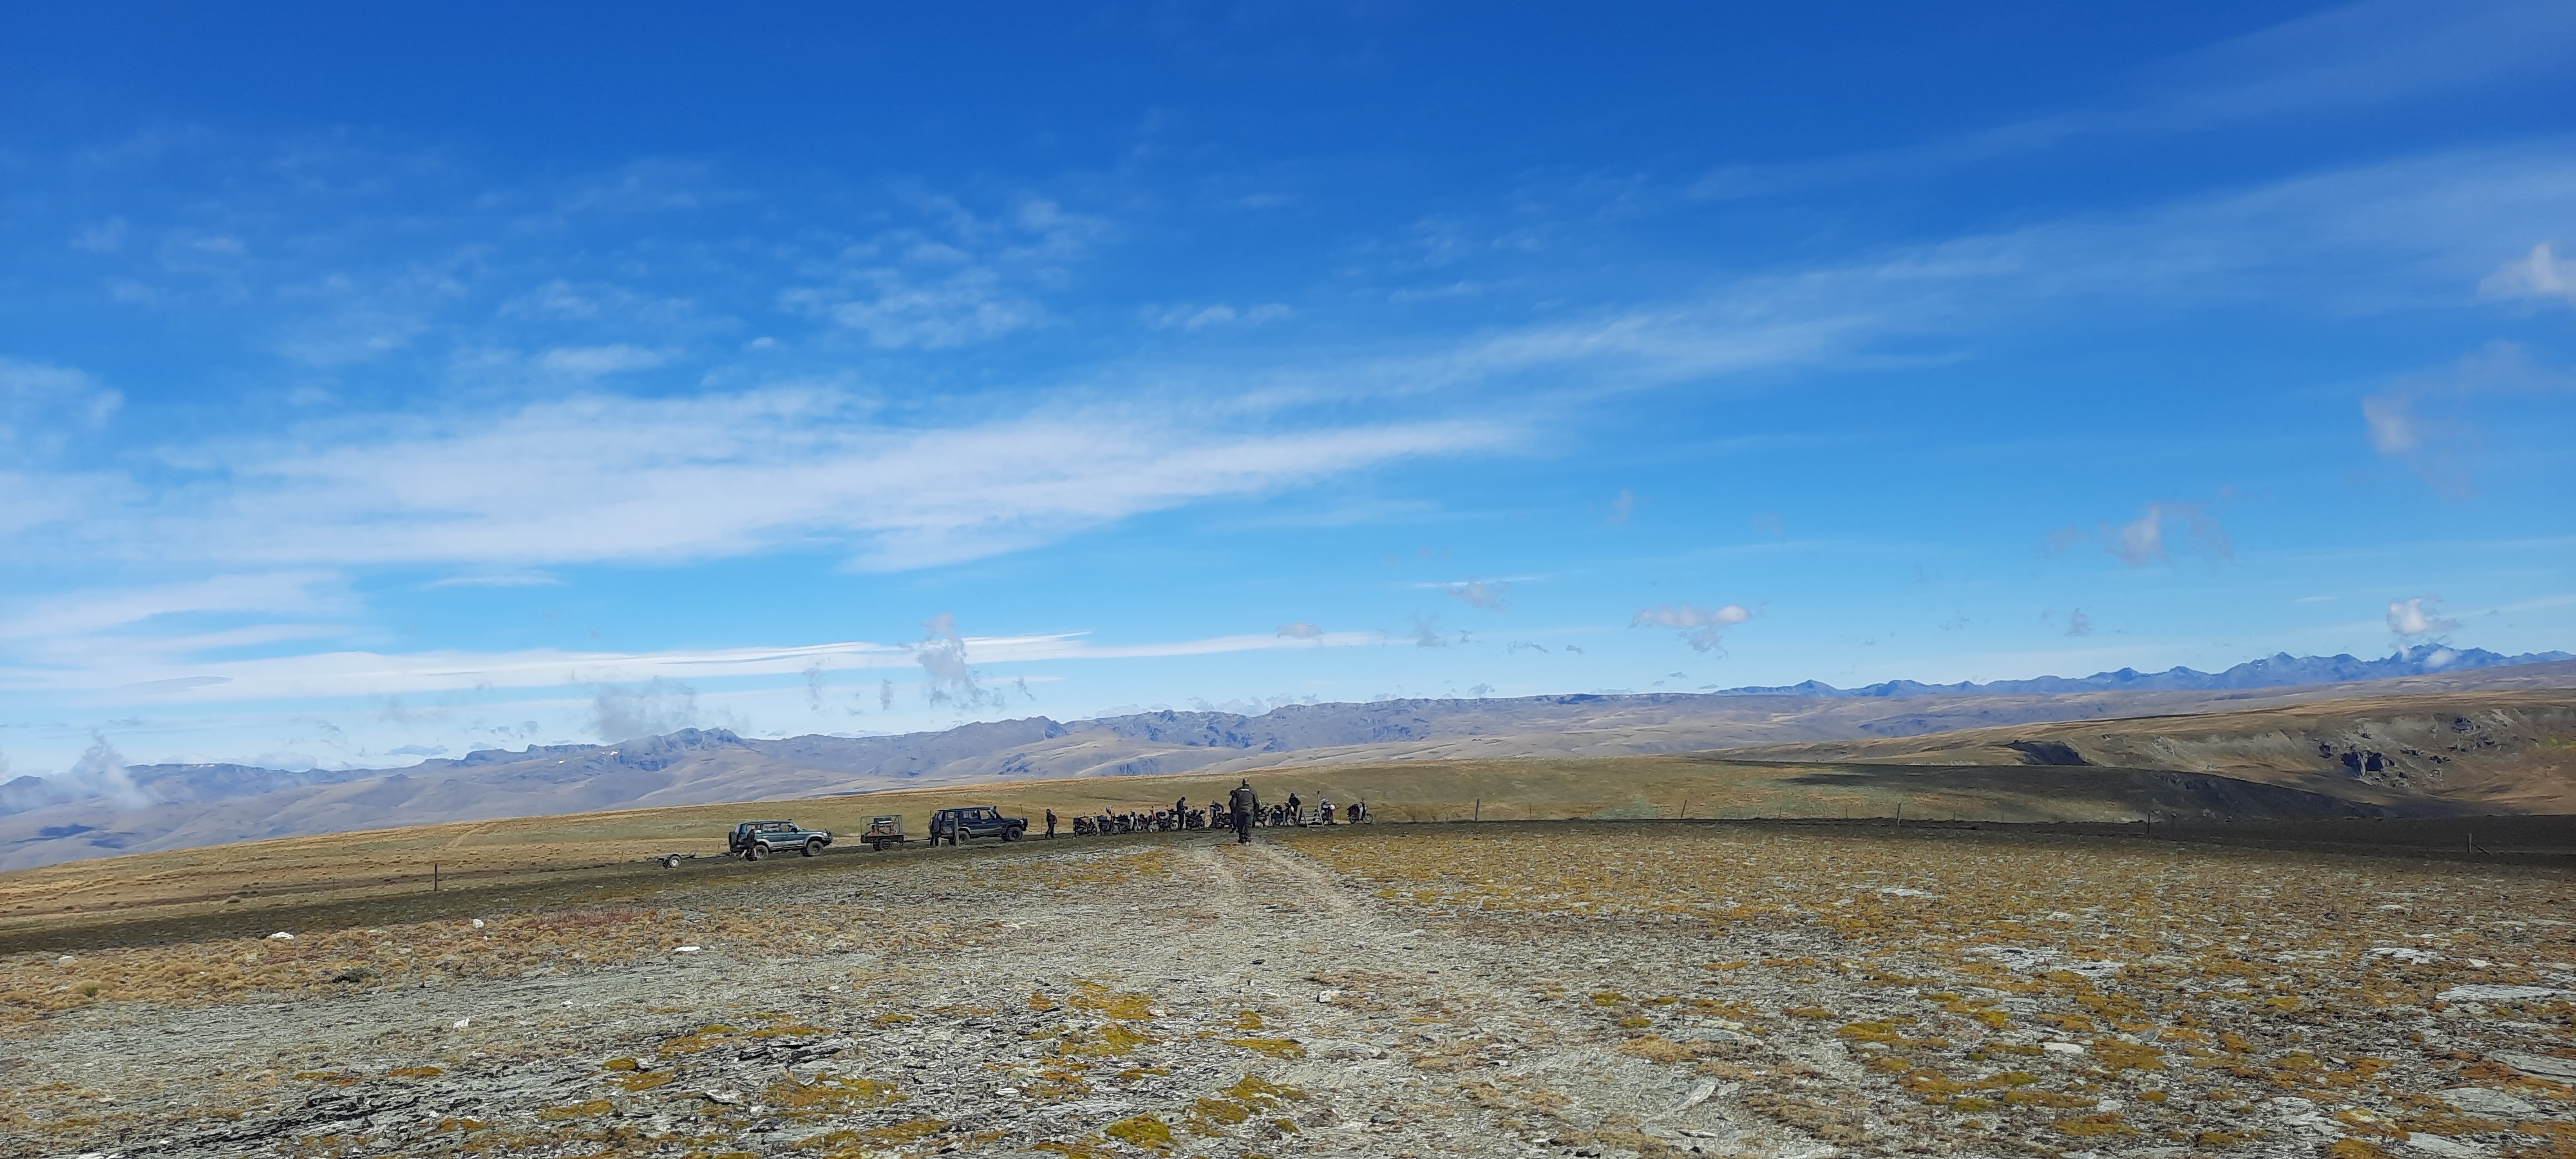
top of the Old Man Range. sent from Airbus A320 Carmichael at Anaheim 1!!! Watch him through the dragons back!!! Look out James Stewart on the Geico Powersports NBC110 makes a move on the inside! He might go for the triple here!! also fuck yeah. get a load of this big ass johnson of a rock Crew at the top of the old man. So much cheese.3 points
-
3 points
-
3 points
-
3 points
-
3 points
-
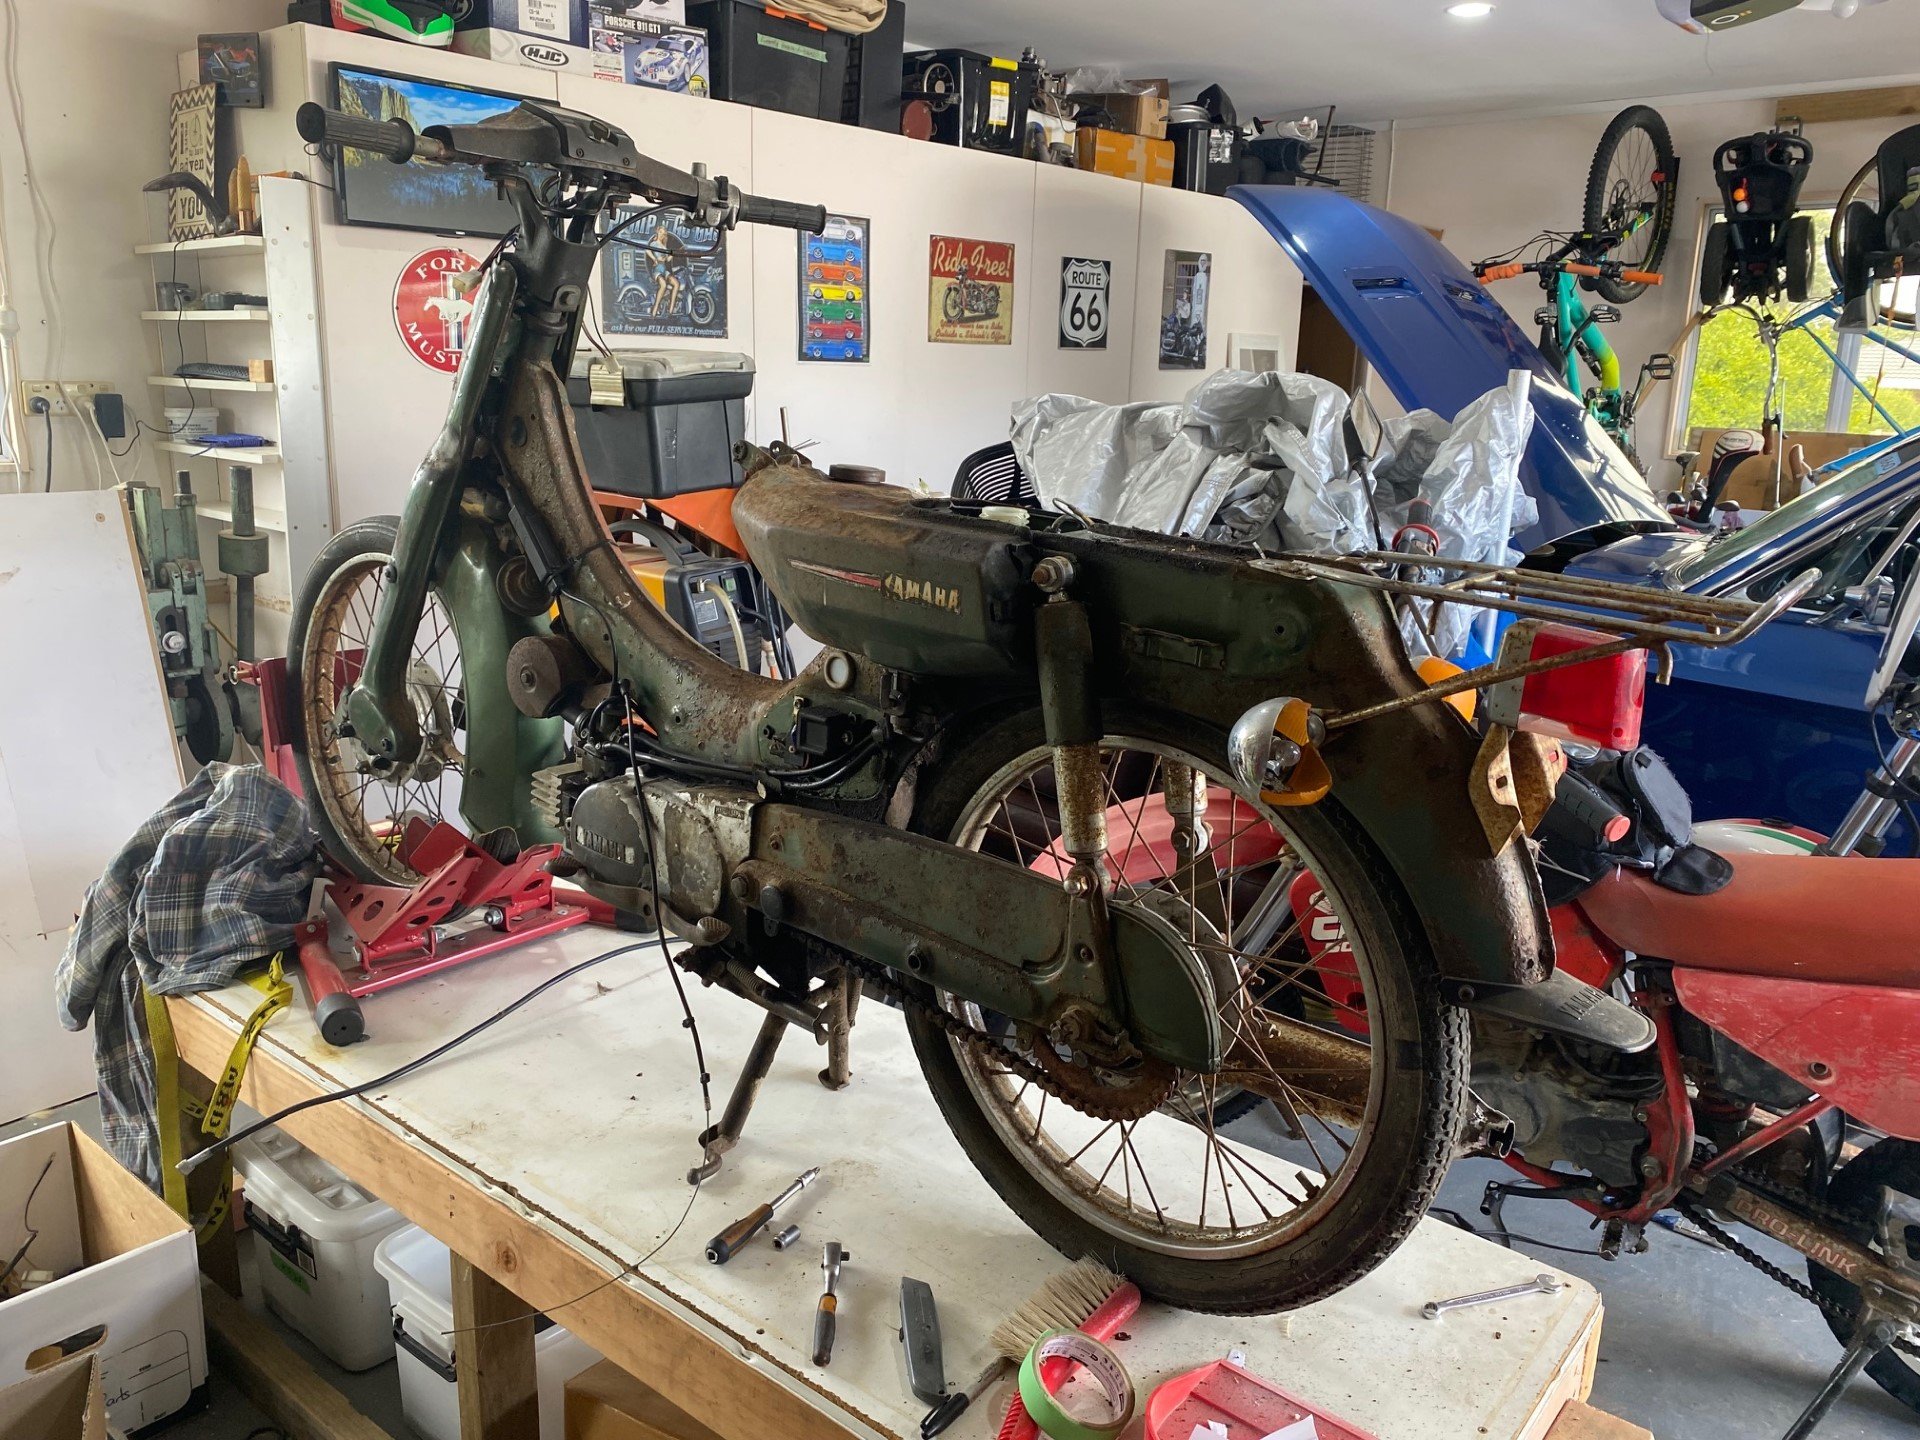
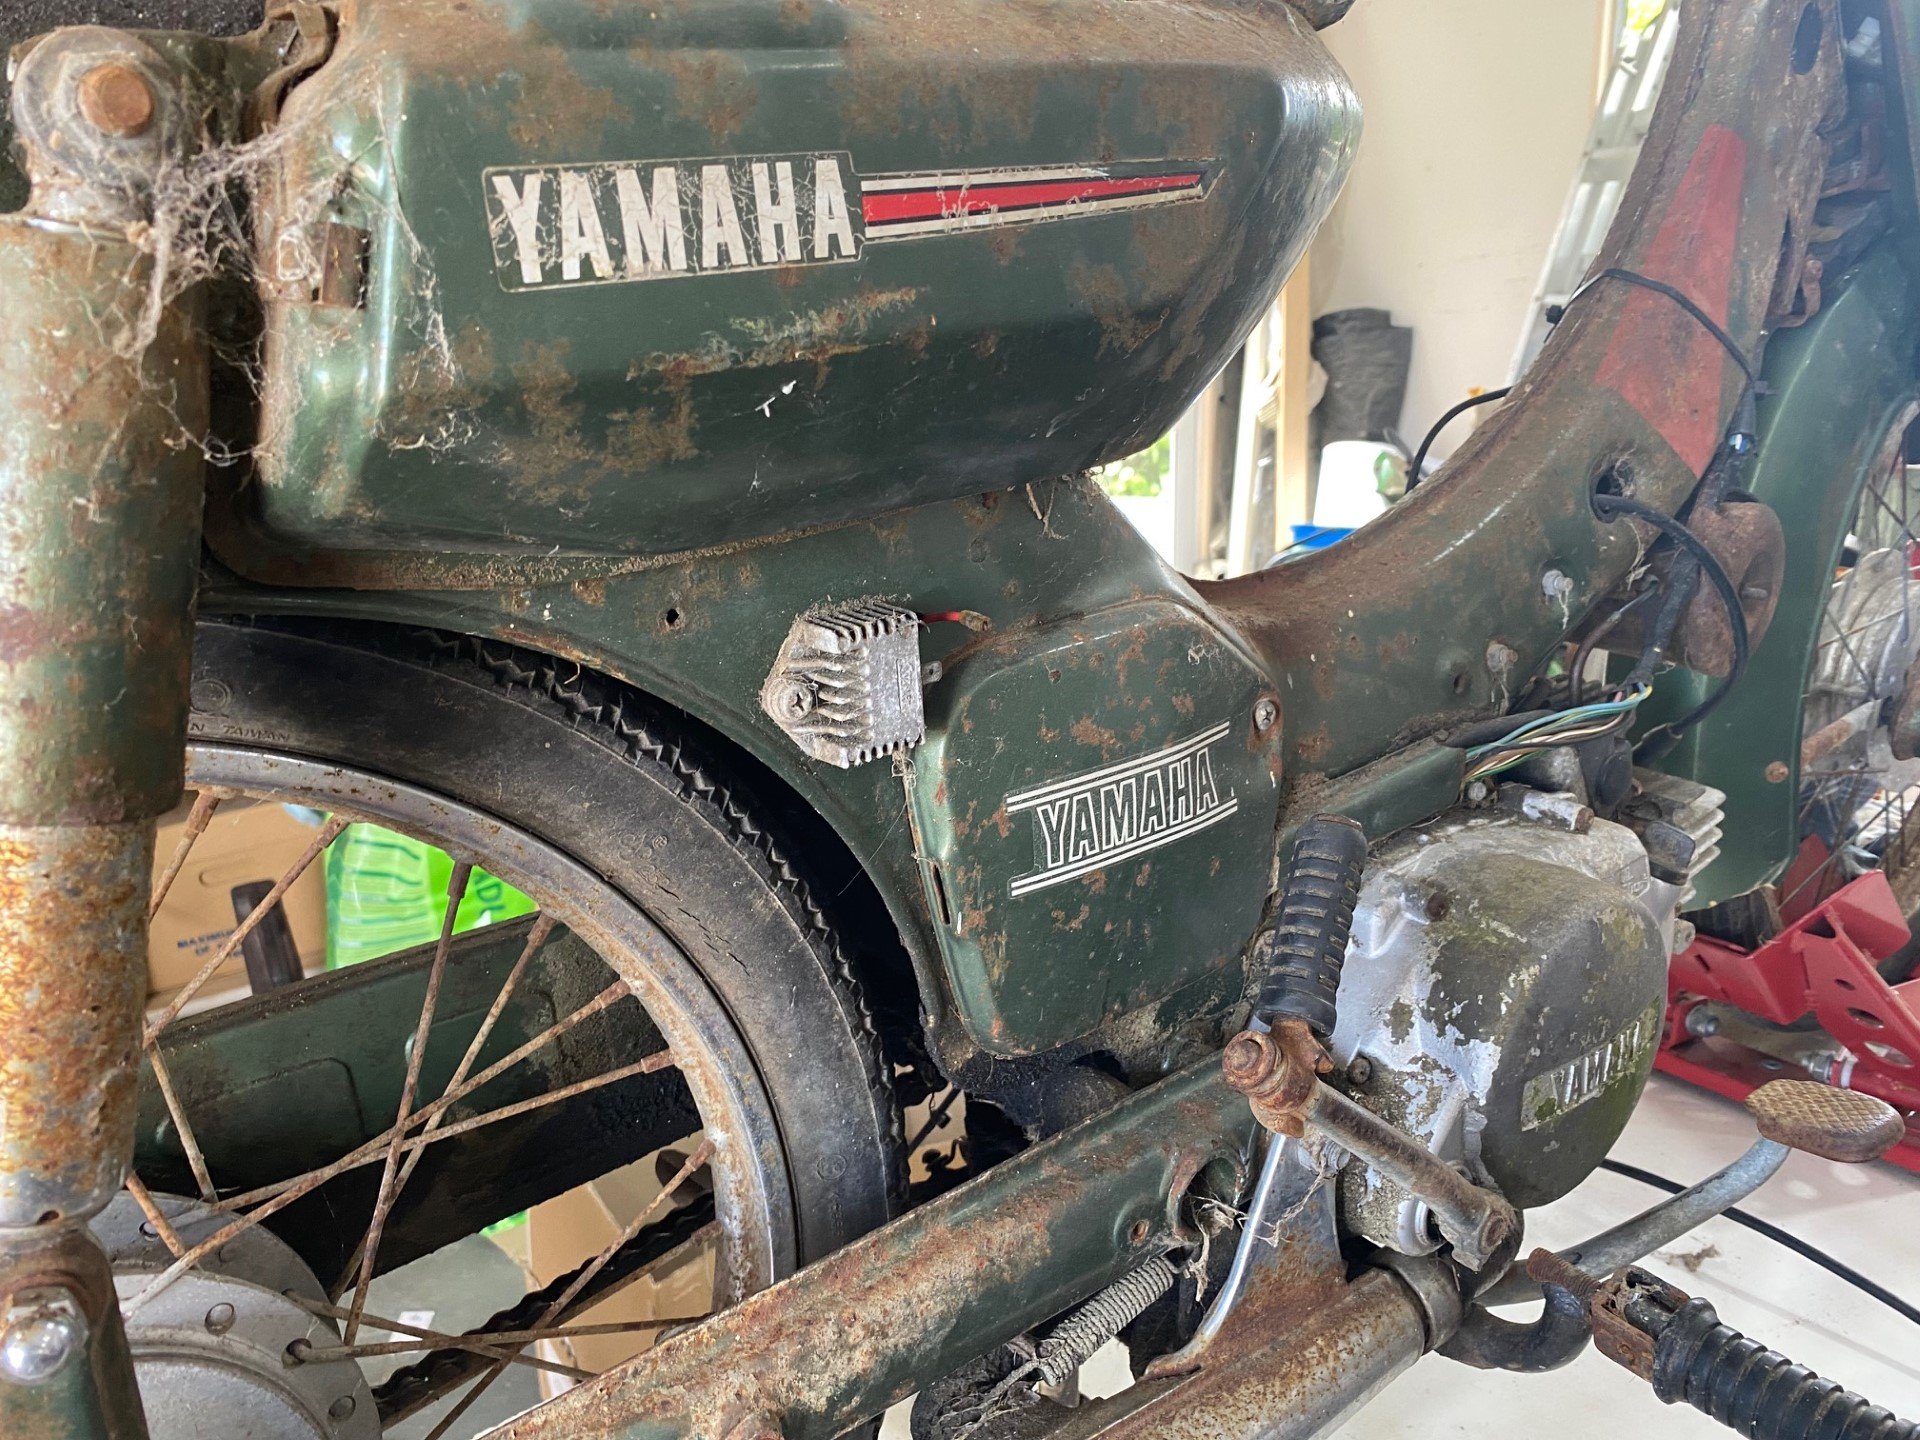
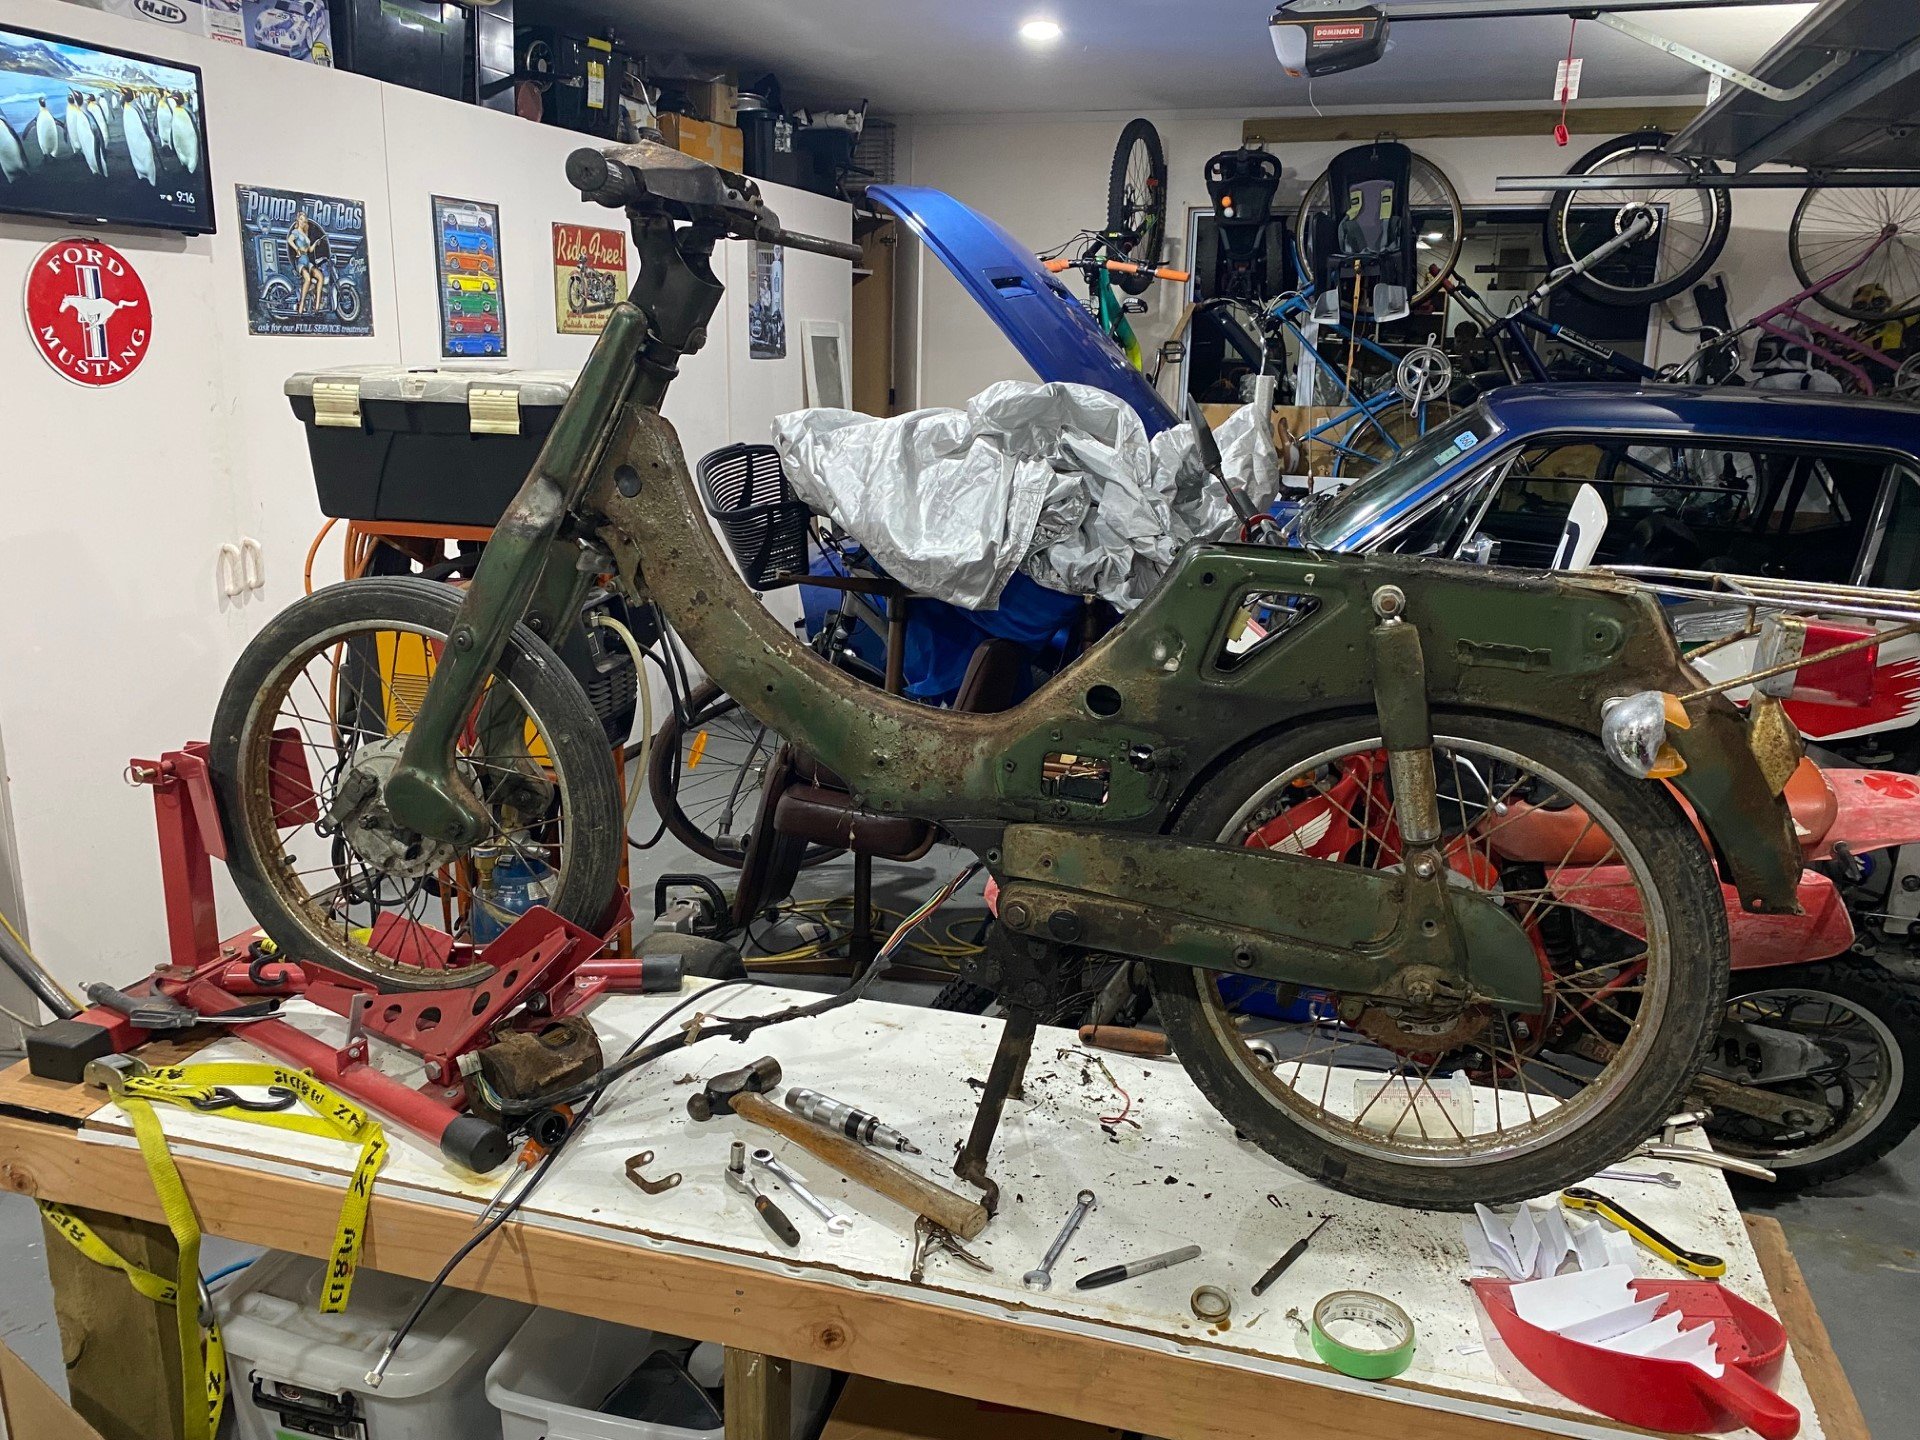
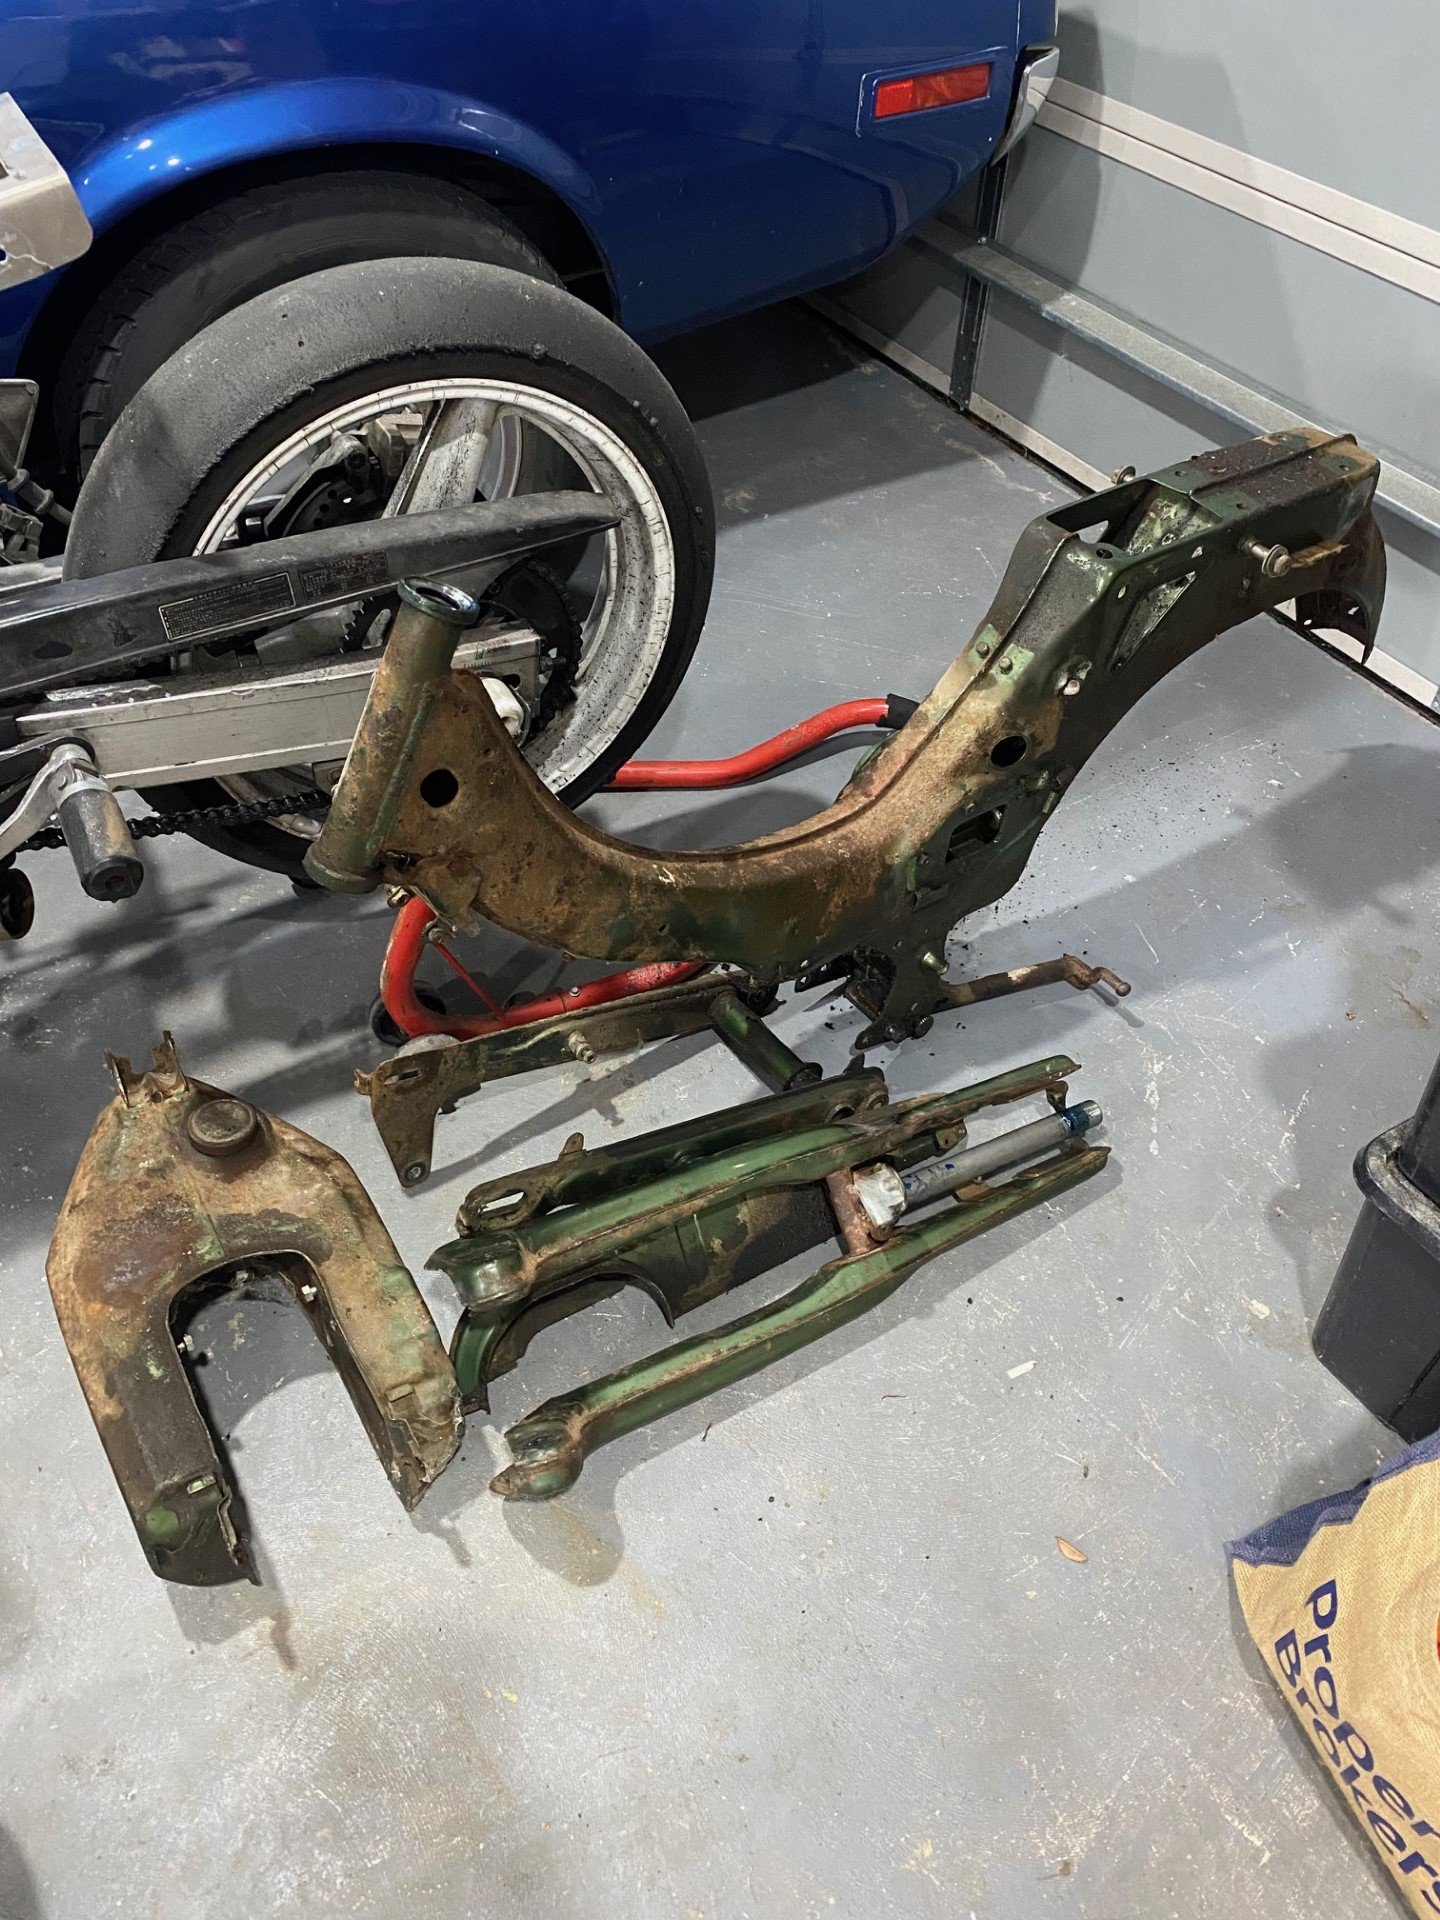
This weekend in pictures: Been stranded at home with the whole family sick, so went to the barn to get something to work on. Unable to decide between finishing my ST90 or starting on the V50, I decided whichever was going to be easier to collect was the weekends project. Its now all stripped down ready to start blast & paint, and I'm about to order the missing bits from Japan. Stoked to finally be working on a Yamaha!
3 points
-
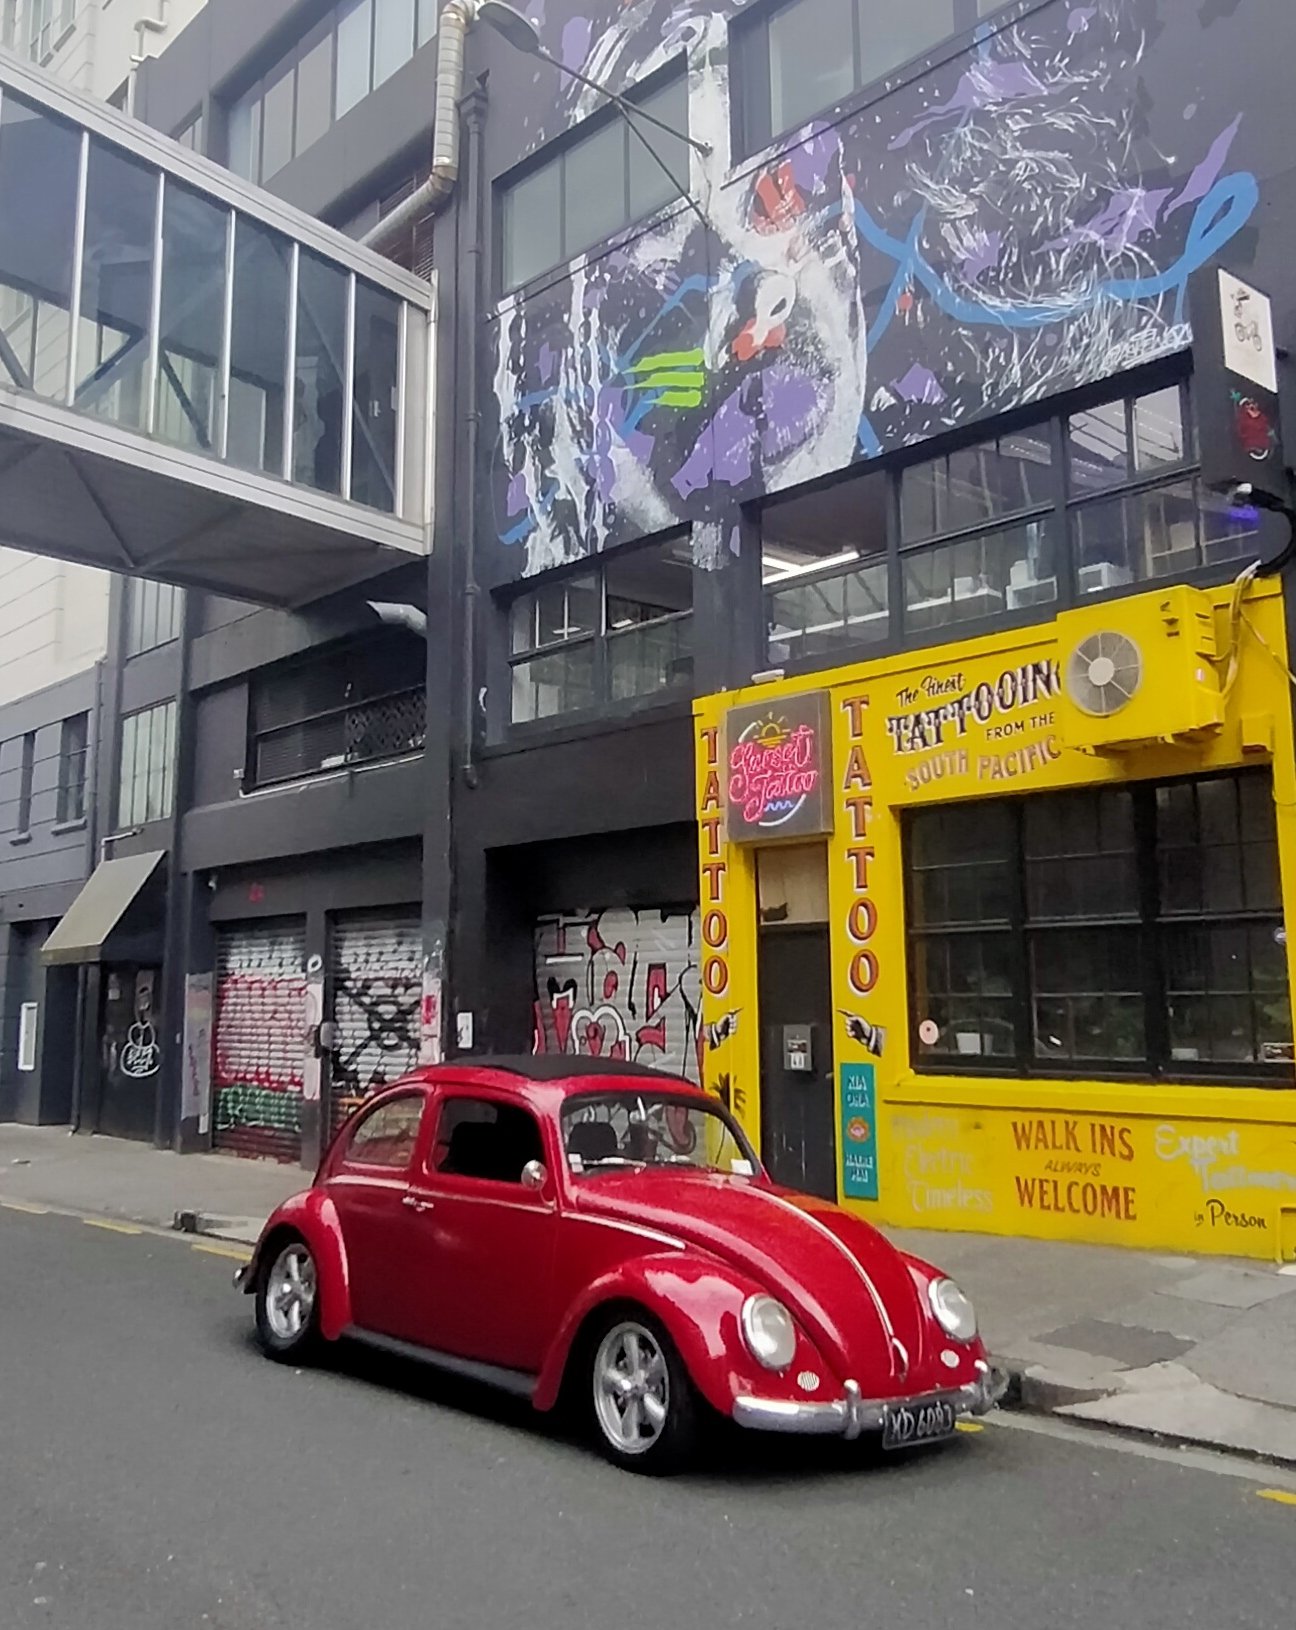
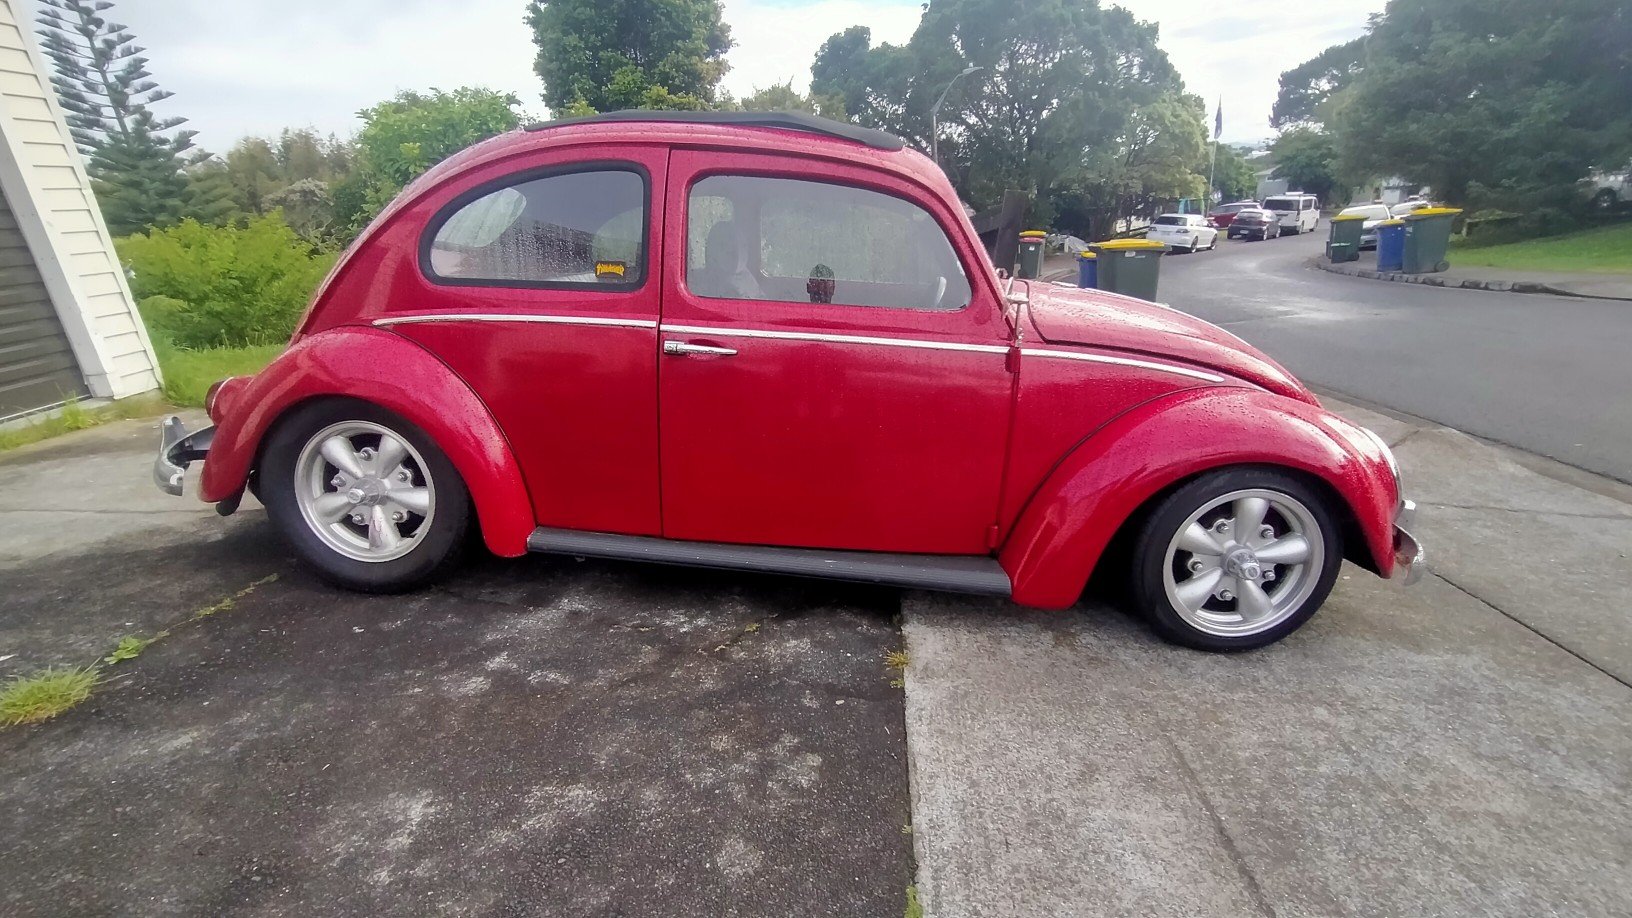
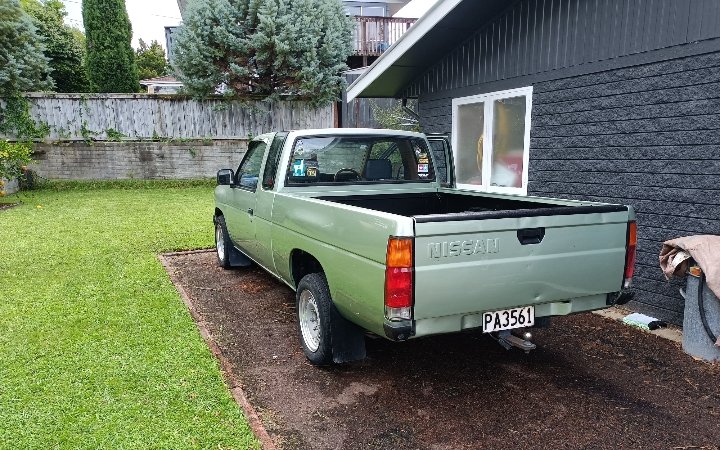
Always looks better after a wash. And from my favourite angle. Finally got around to changing the oil, really should have been done sooner, there was so much crap in the sump, all that lifter paste. VW's don't really have a sump, or a filter, just a sump plate with a tea strainer around the pick up. Ignore the big square sump in the picture, that's aftermarket and my car is probably to low for such things All was going well until I went to reinstall the tea strainer plate arrangement. The gaskets in the oil change kit have recently gotten at least three times thicker, so now the six little studs are getting very short. Only had just enough engagement, one but had to go sans crush washer. Have continued tuning the carbs, @sluggy suggested cranking the accelerator pumps, so I've been doing a little at a time, everytime it's gets a little better and nicer to drive, idle is very low but very smooth and doesn't stall, just seems weird not having it shake the car at the lights. Mrs even commented on it.
3 points
-
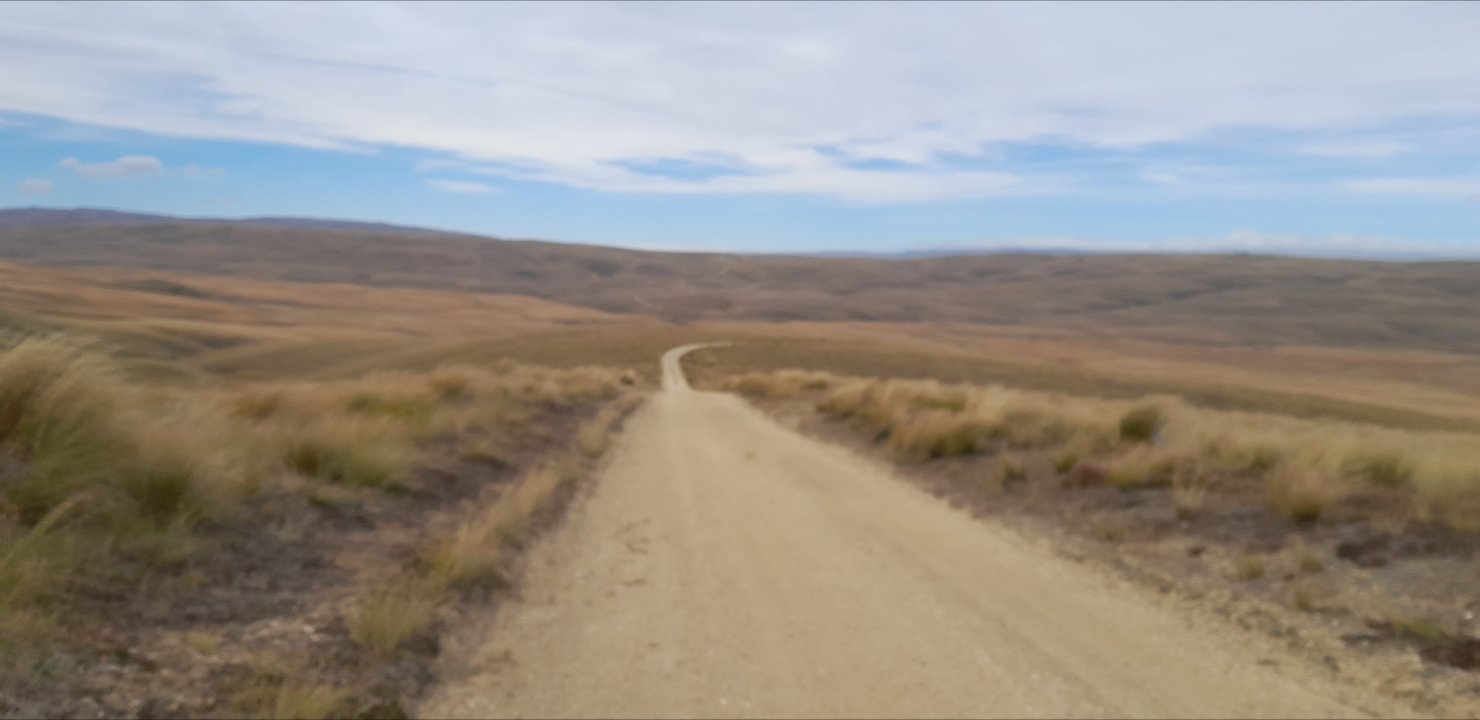
A bit of dust on the camera
3 points
-
Some stuff happened
3 points
-
If I can't figure out how to narrow the track out back I'd happily cobble some flares together to look like this using scumbag holden adventra parts. Only need 15mm to get tread under car 25mm to cover rim. 275's are slightly stretched on these 10" rims a 315/30 would fit with flares
2 points
-
Had a chat to the local ac guys and they can't just re crimp the end of the hose. Need to replace the flexi hose and new crimps on both ends as the hose is a different size apparently. Bit more than I wanted to spend but atleast I know it'll be done properly and shouldn't leak. The sticker shock gave me a bit of encouragement to attempt the rest of the lines I must not be the only honda sicko wanting to reinstate aircon into their ef. Everything had been taken from the ef civic at zebra, I grabbed some lines off a ek civic as they are longer and looked like they'd be usable Among the lines I grabbed when I was at pick a part (fucking cunts for cutting them to degass them) the daihatsu lines had a nice block for the service port and pressure switch. I cut the lines off and drilled them out so I could fit my lines in and make it less difficult to braze them Took a few attempts One side leaked with the 0.5 psi my lungs could generate. Re braze that and the other side leaked so redid that too. Doesn't appear to be any more leaks now A bonus of using the ek lines is they match the receiver drier I already have 'in stock' that I got for the orthia. I don't like the pressure switch sitting on that block by the strut tower. I'll swap the blank off the receiver drier and install it on the receiver drier so it's nicely tucked away2 points
-
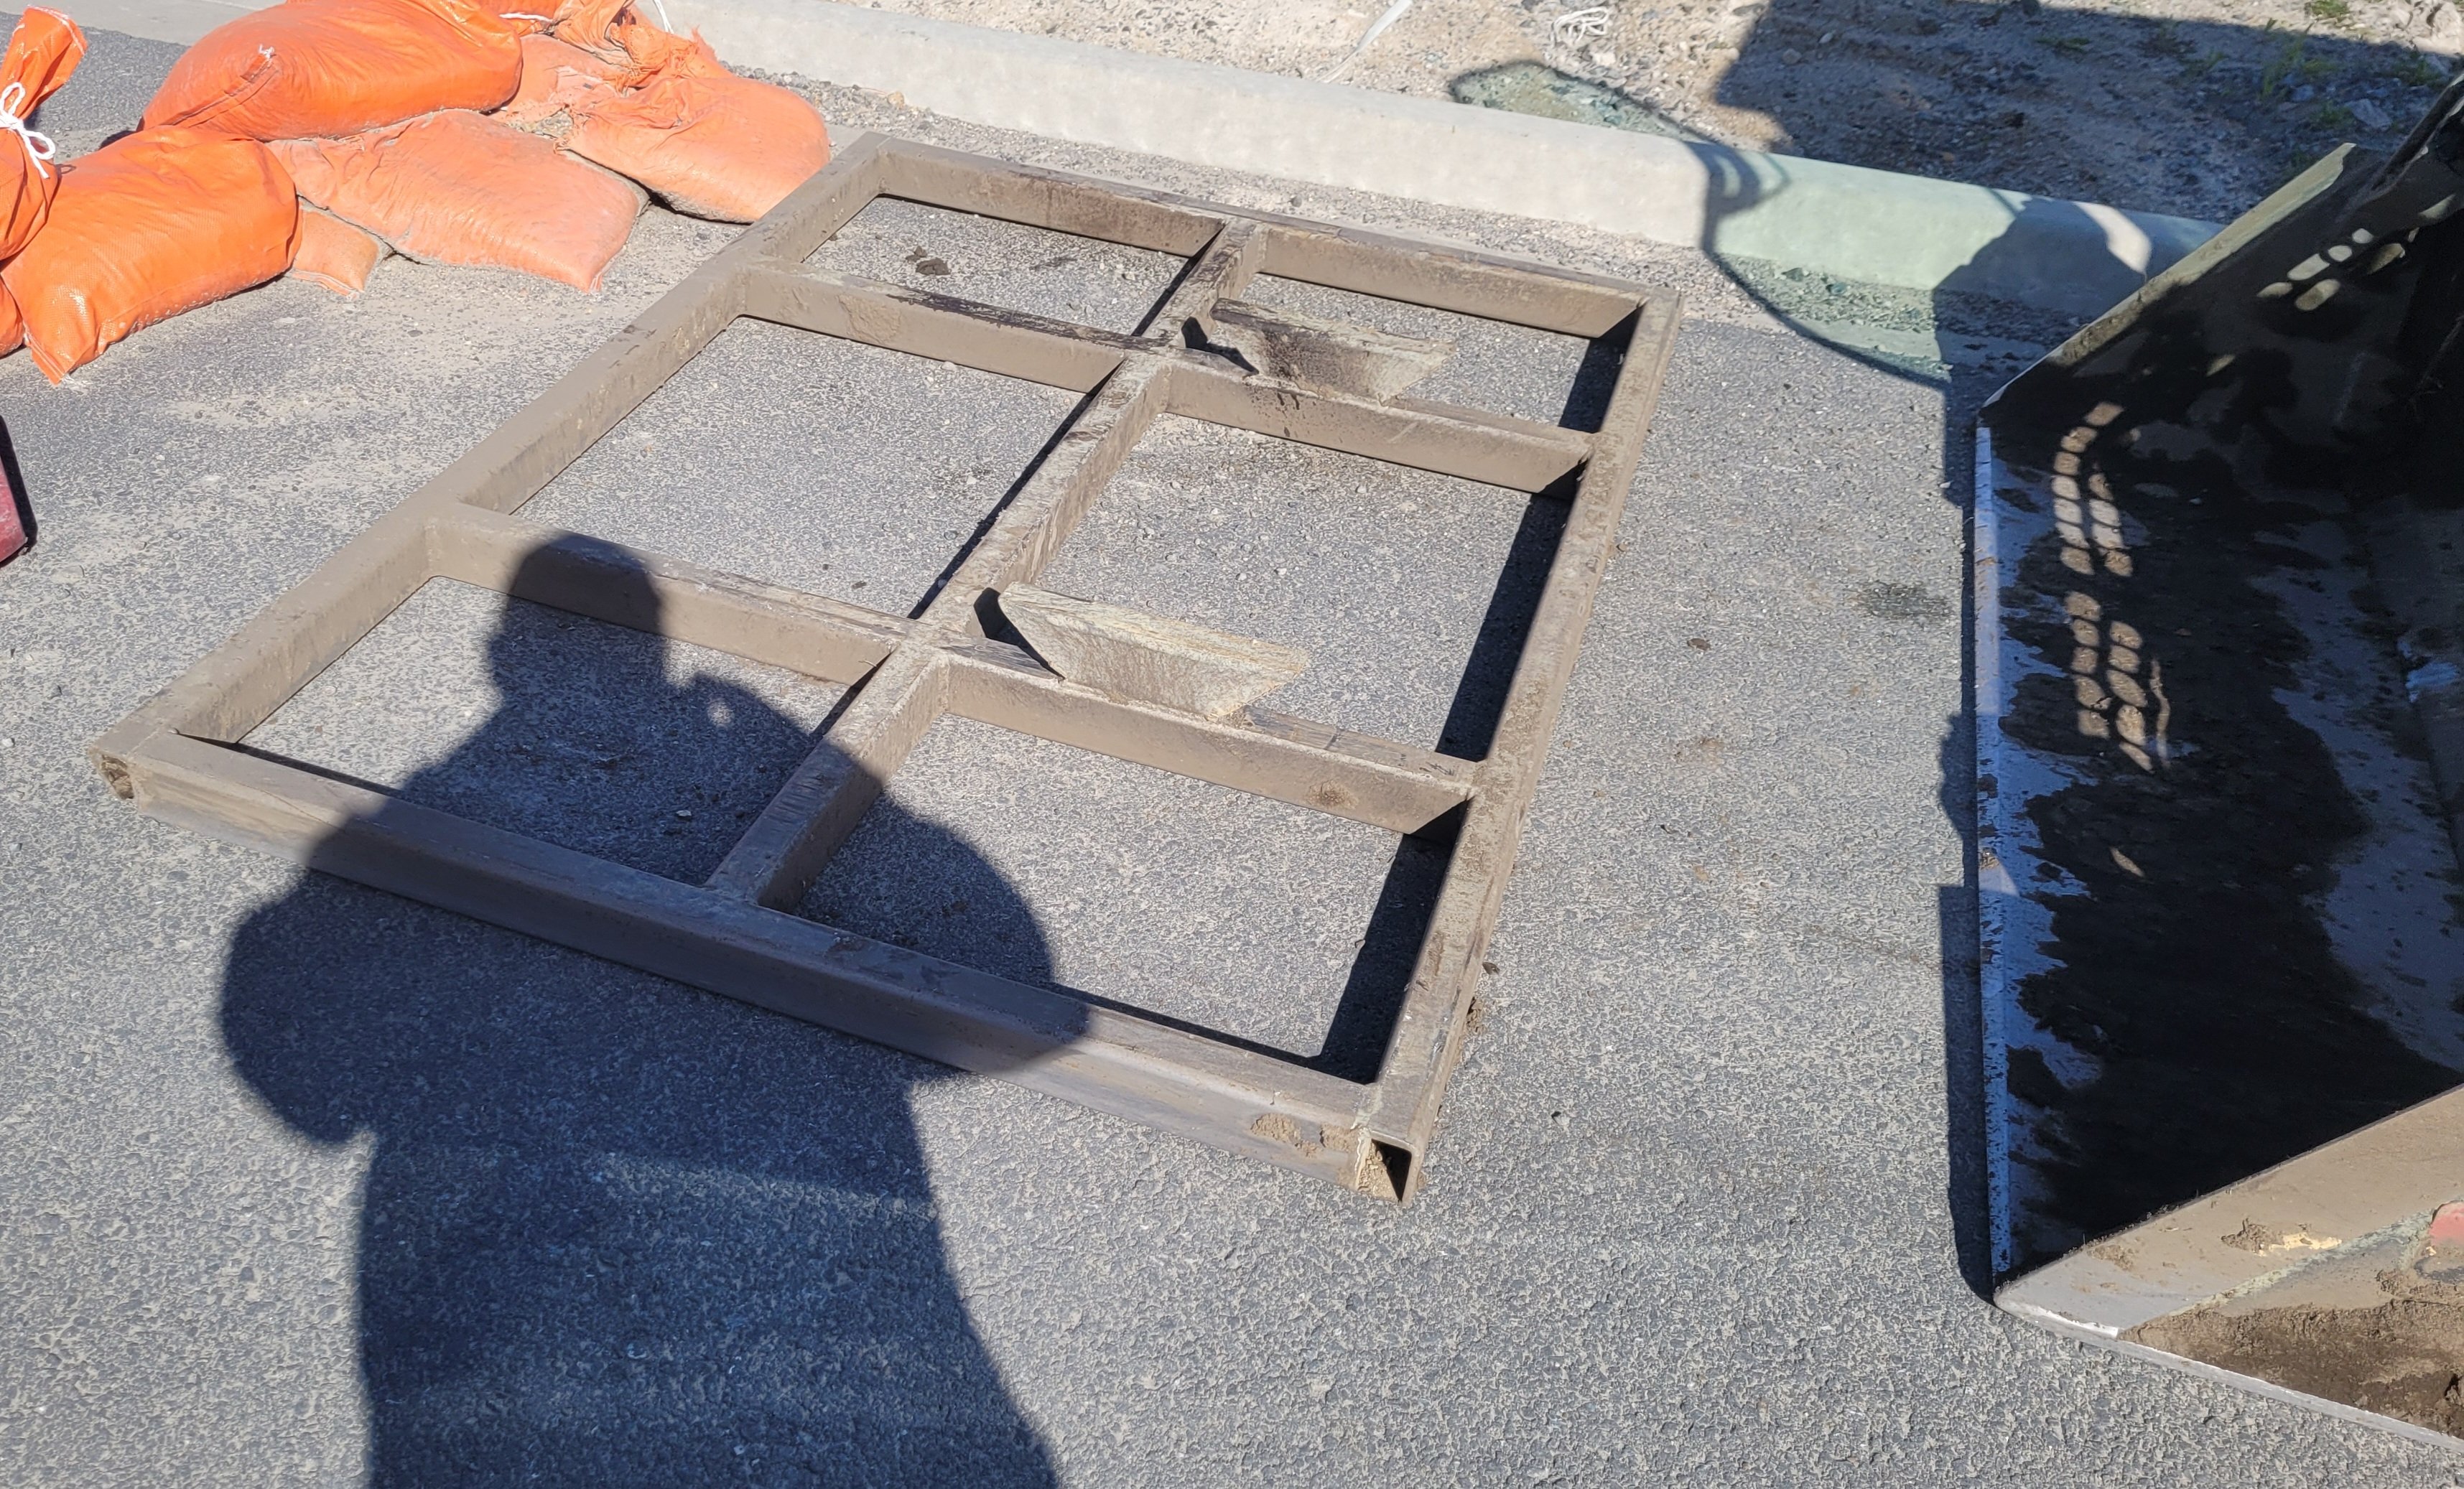
That looks like a 4in 1 bucket on the job. I'd recommend whipping up one of these. Leveling bar you just grab with the bucket.
2 points
-
Oh that's neat. @dmulally could for one in his imp with its bugbox2 points
-
Thanks @Lord Gruntfuttock I don't drive it as much as I use to, but it's just a VW, the corolla of its day and should be used. Future plans include, renew sound system, some kind of headlining which means some work on the sunroof mechanism, new running boards, and I just lost one of my wee hubcap things off my mags. Also a narrow beam, drop spindles and disc brakes would be nice!2 points
-
The photos you did take look like they suck balls, but the unfortunately for me everyone else photos look amazing and looks like it was an epic trip. Well done all of you!2 points
-
Pretty damn jealous lads ! Looks likr a fucking ripper of a good time ! Well done organisation crew !2 points
-
I'll need to get the aircon condenser at least roughly in place with a idea on where the hoses need to go so I can figure out where the turbo and its plumbing can go. I'll most likely need to figure out some shrouds for the radiator etc and the intercooler. Never had an issue with the current radiator with its pusher fan but that is stock power levels and without an intercooler and ac condenser in front. I'll also need to figure out what size fan will fit on the back of the radiator. Depending on where the intercooler ends up sitting I might see if I can get a small fan for one side of it which we can control via ecu if temps get too high I spent a few hours looking through a Air Con catalogue looking at different sized condensers etc. Basically nothing OEM will fit nicely. I have found and ordered a universal 12"x16" condenser which should mount onto the front of my radiator nicely. Will see if I can pop to zebra tomorrow and with a bit of luck the Civic there will have a un butchered high side line from the evaporator to the receiver drier so I won't have to fuck around with brazing a bunch of hoses together I'll leave this link here so I can find it again later (all the fitting sizes etc - http://www.gpdtechtips.com/techtip136.html2 points
-
2 points
-
2 points
-
2 points
-
Moist morning mildew madness. piano flat was turbo lush. it begins!!!! me oh my i have enjoyed that yes boy Waiting for sumpson after he took a lie down wrestling the NBC through the ruts Adrian pickin the cleanest line through the worst bog2 points
-
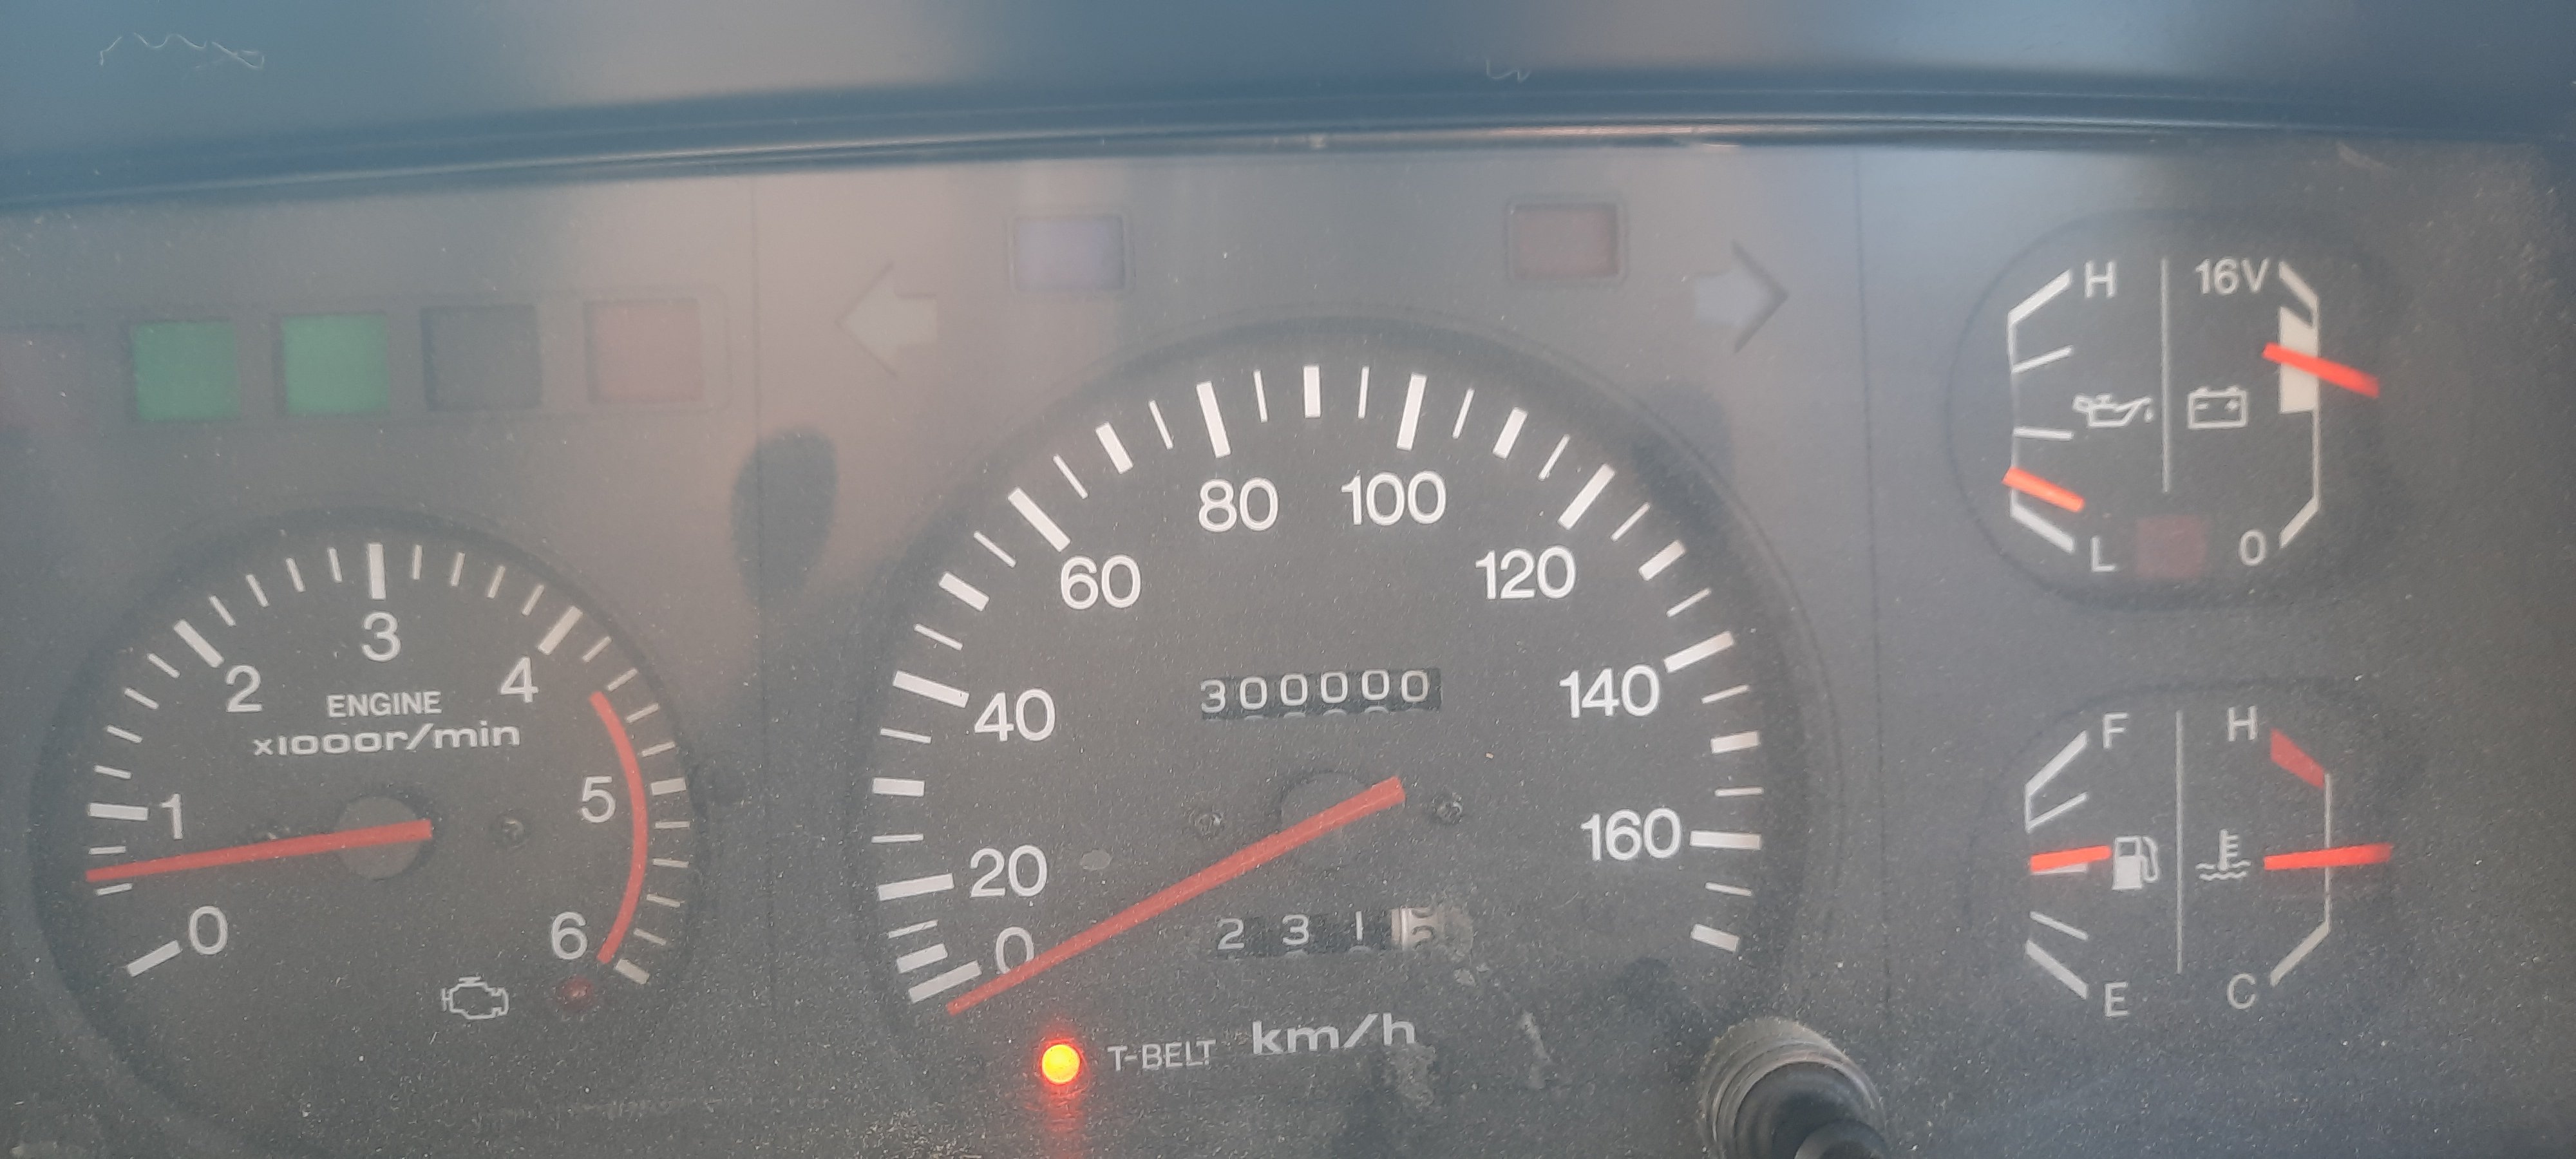
Also got past a mile stone just before the haka
2 points
-
2 points
-
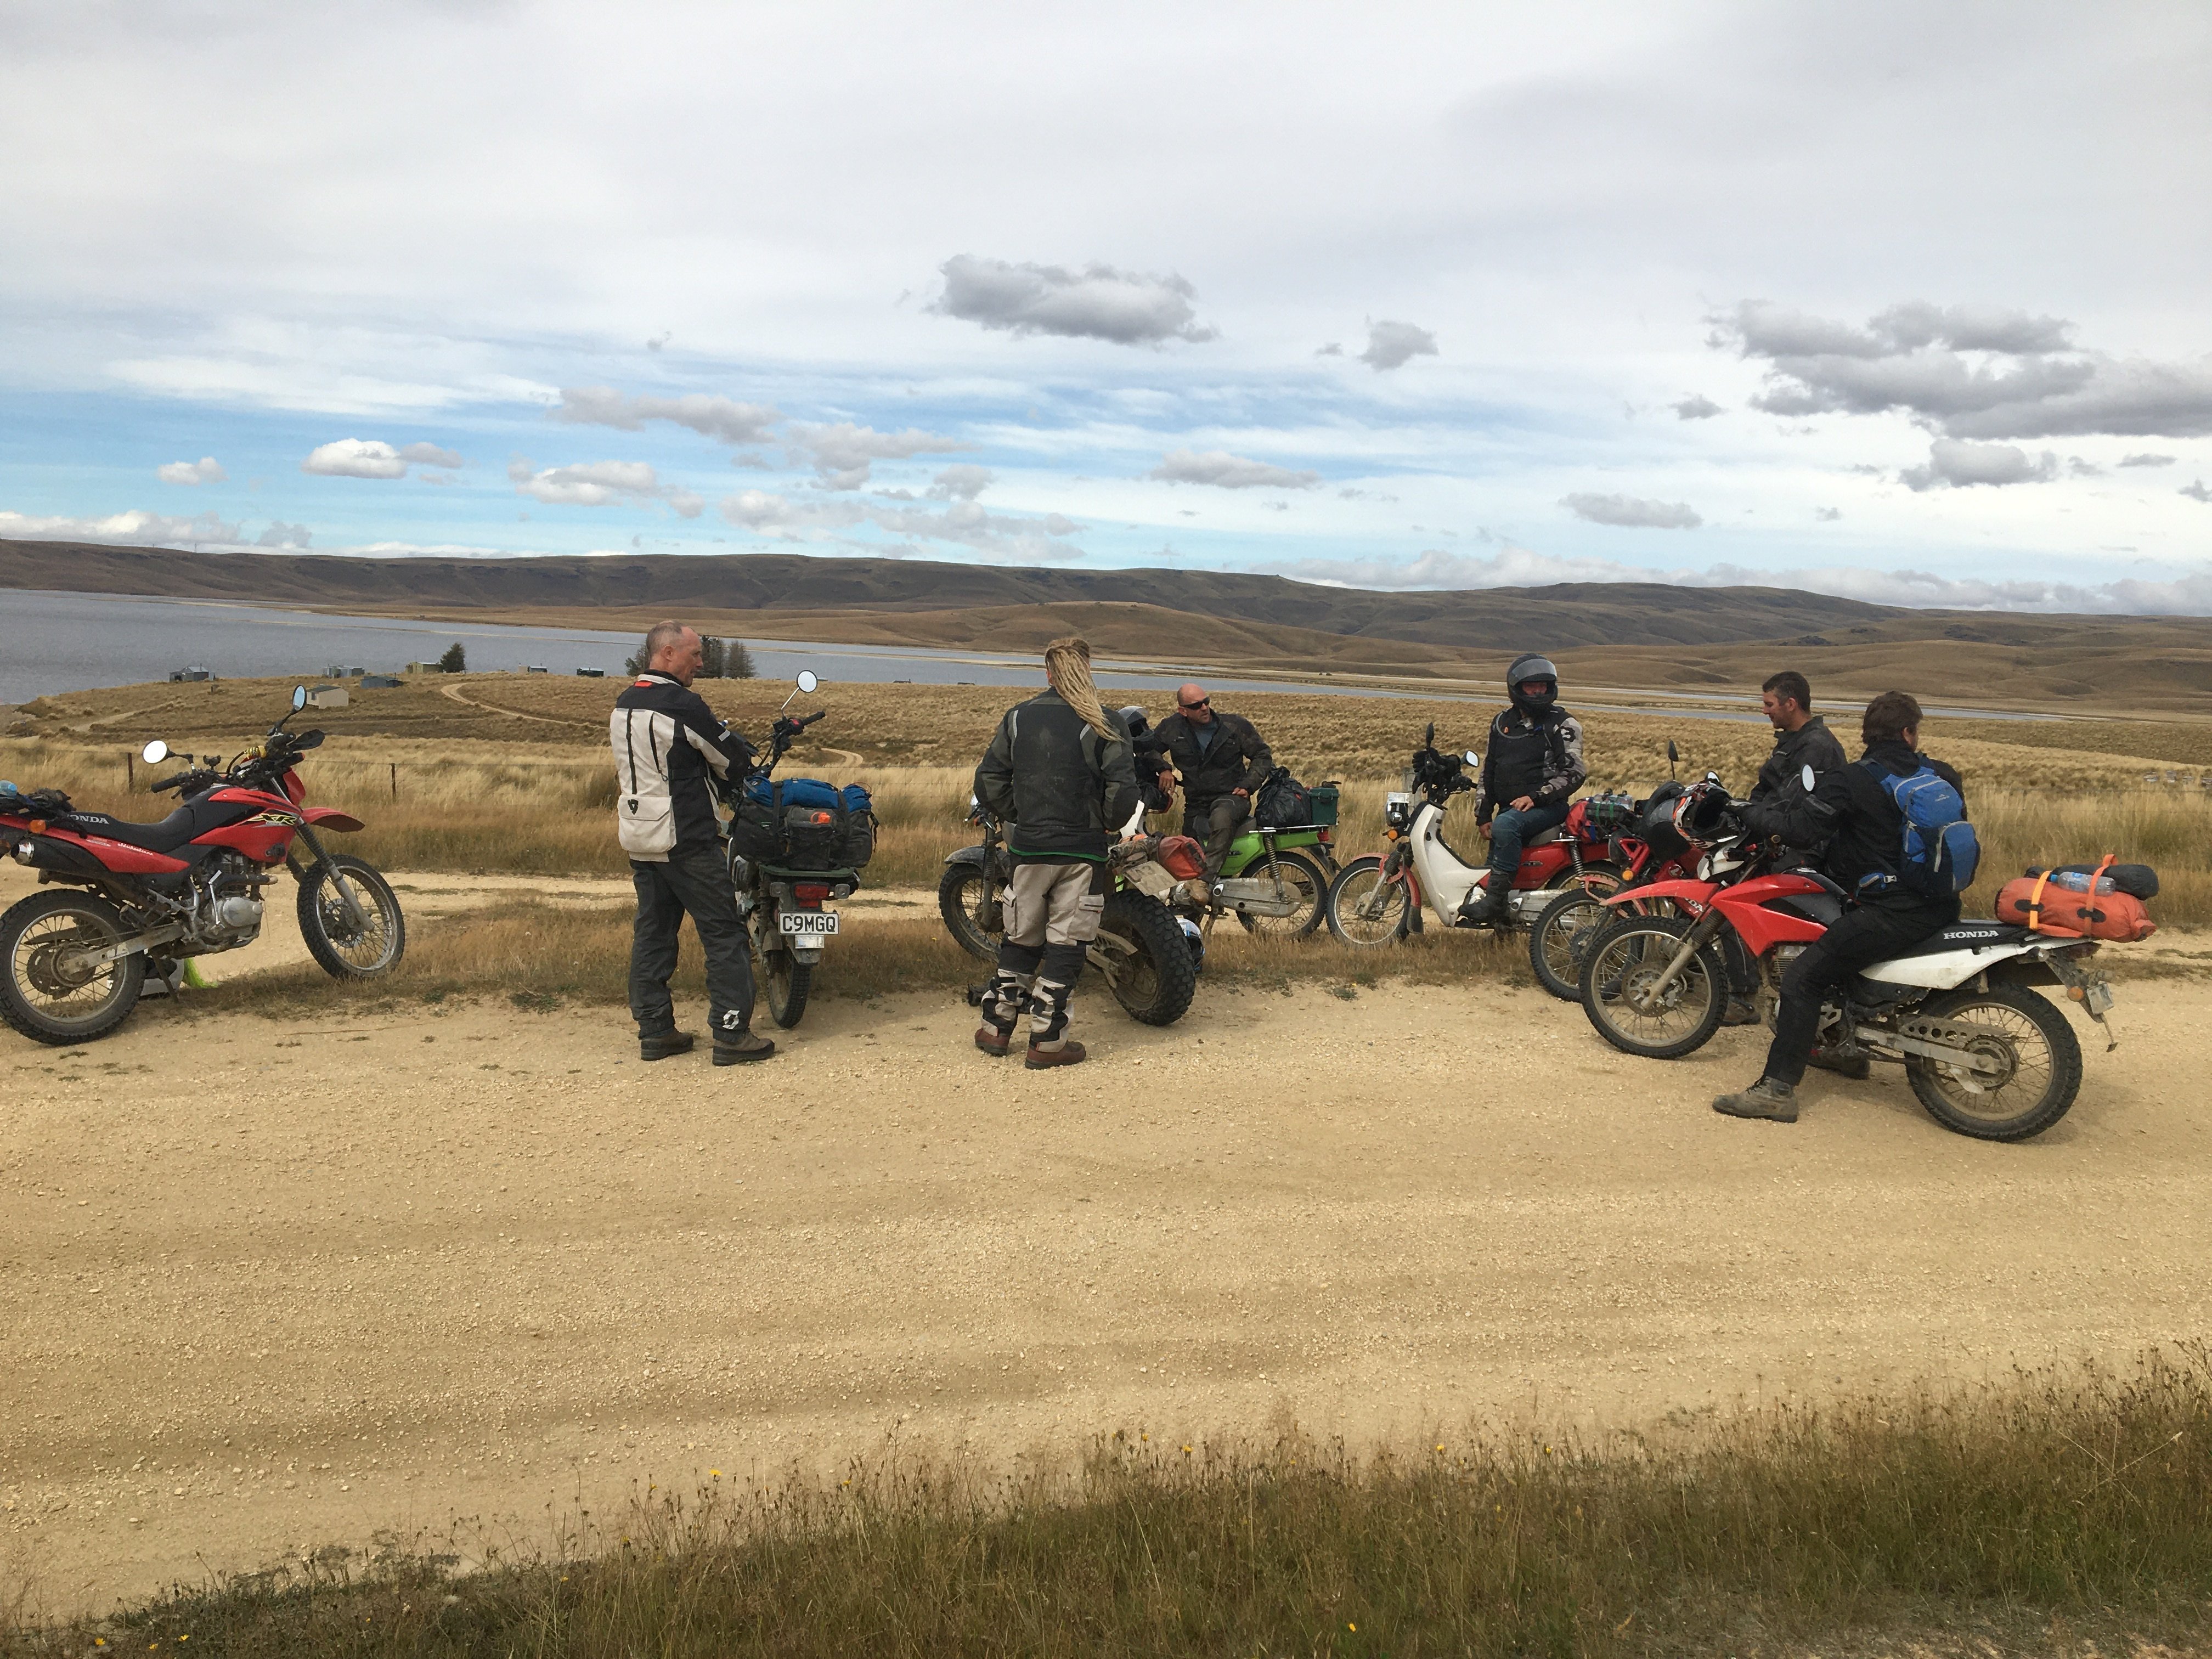
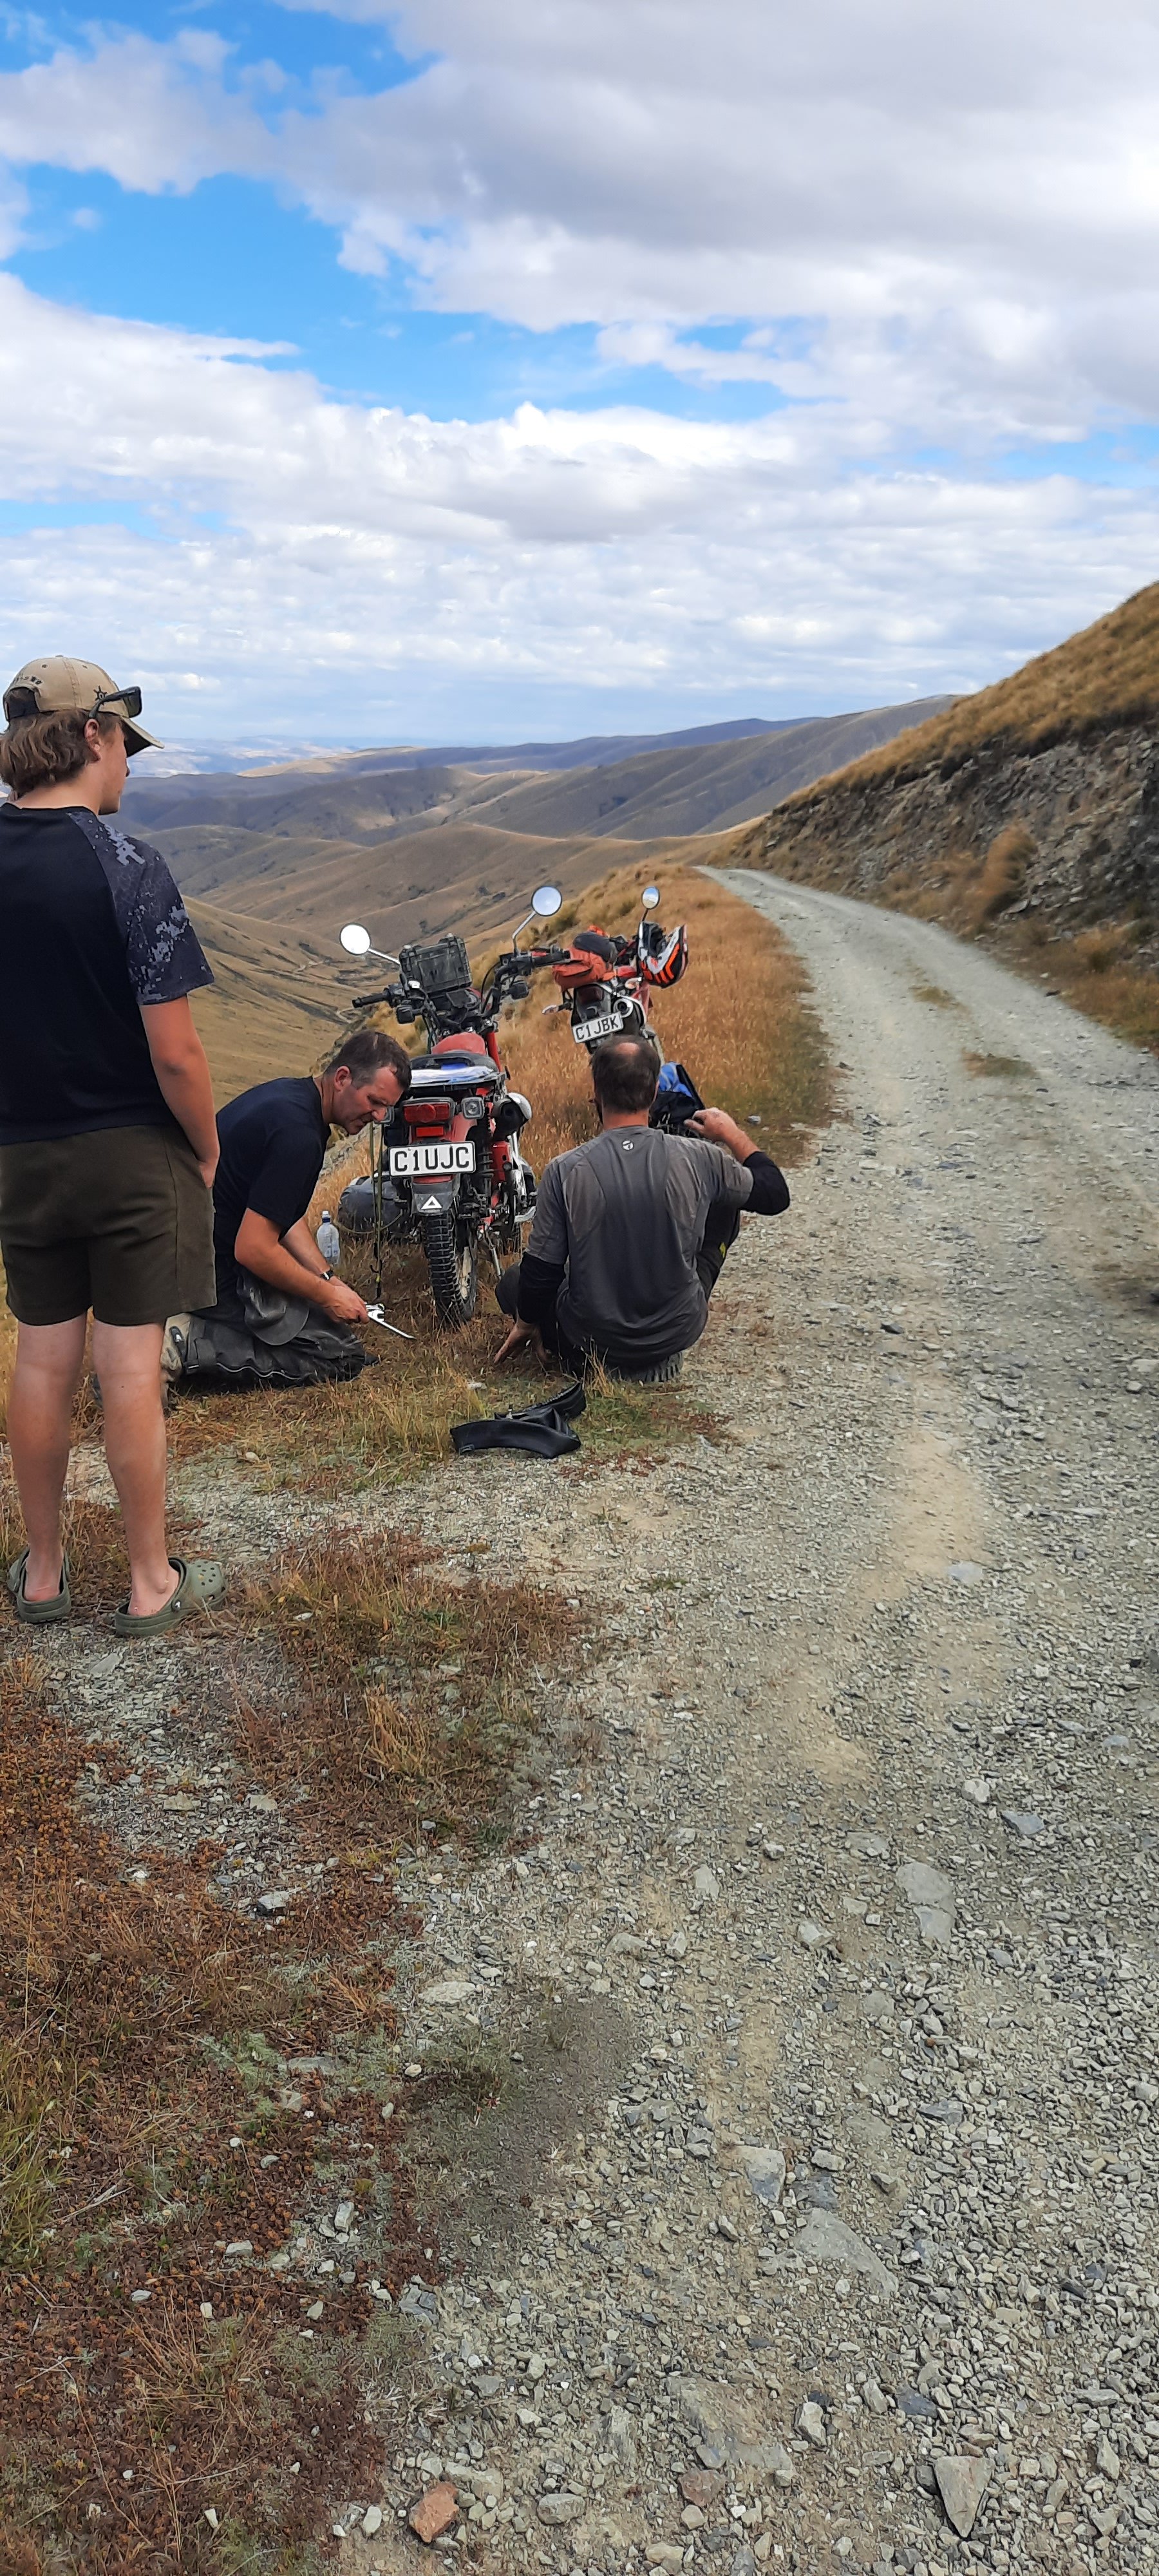
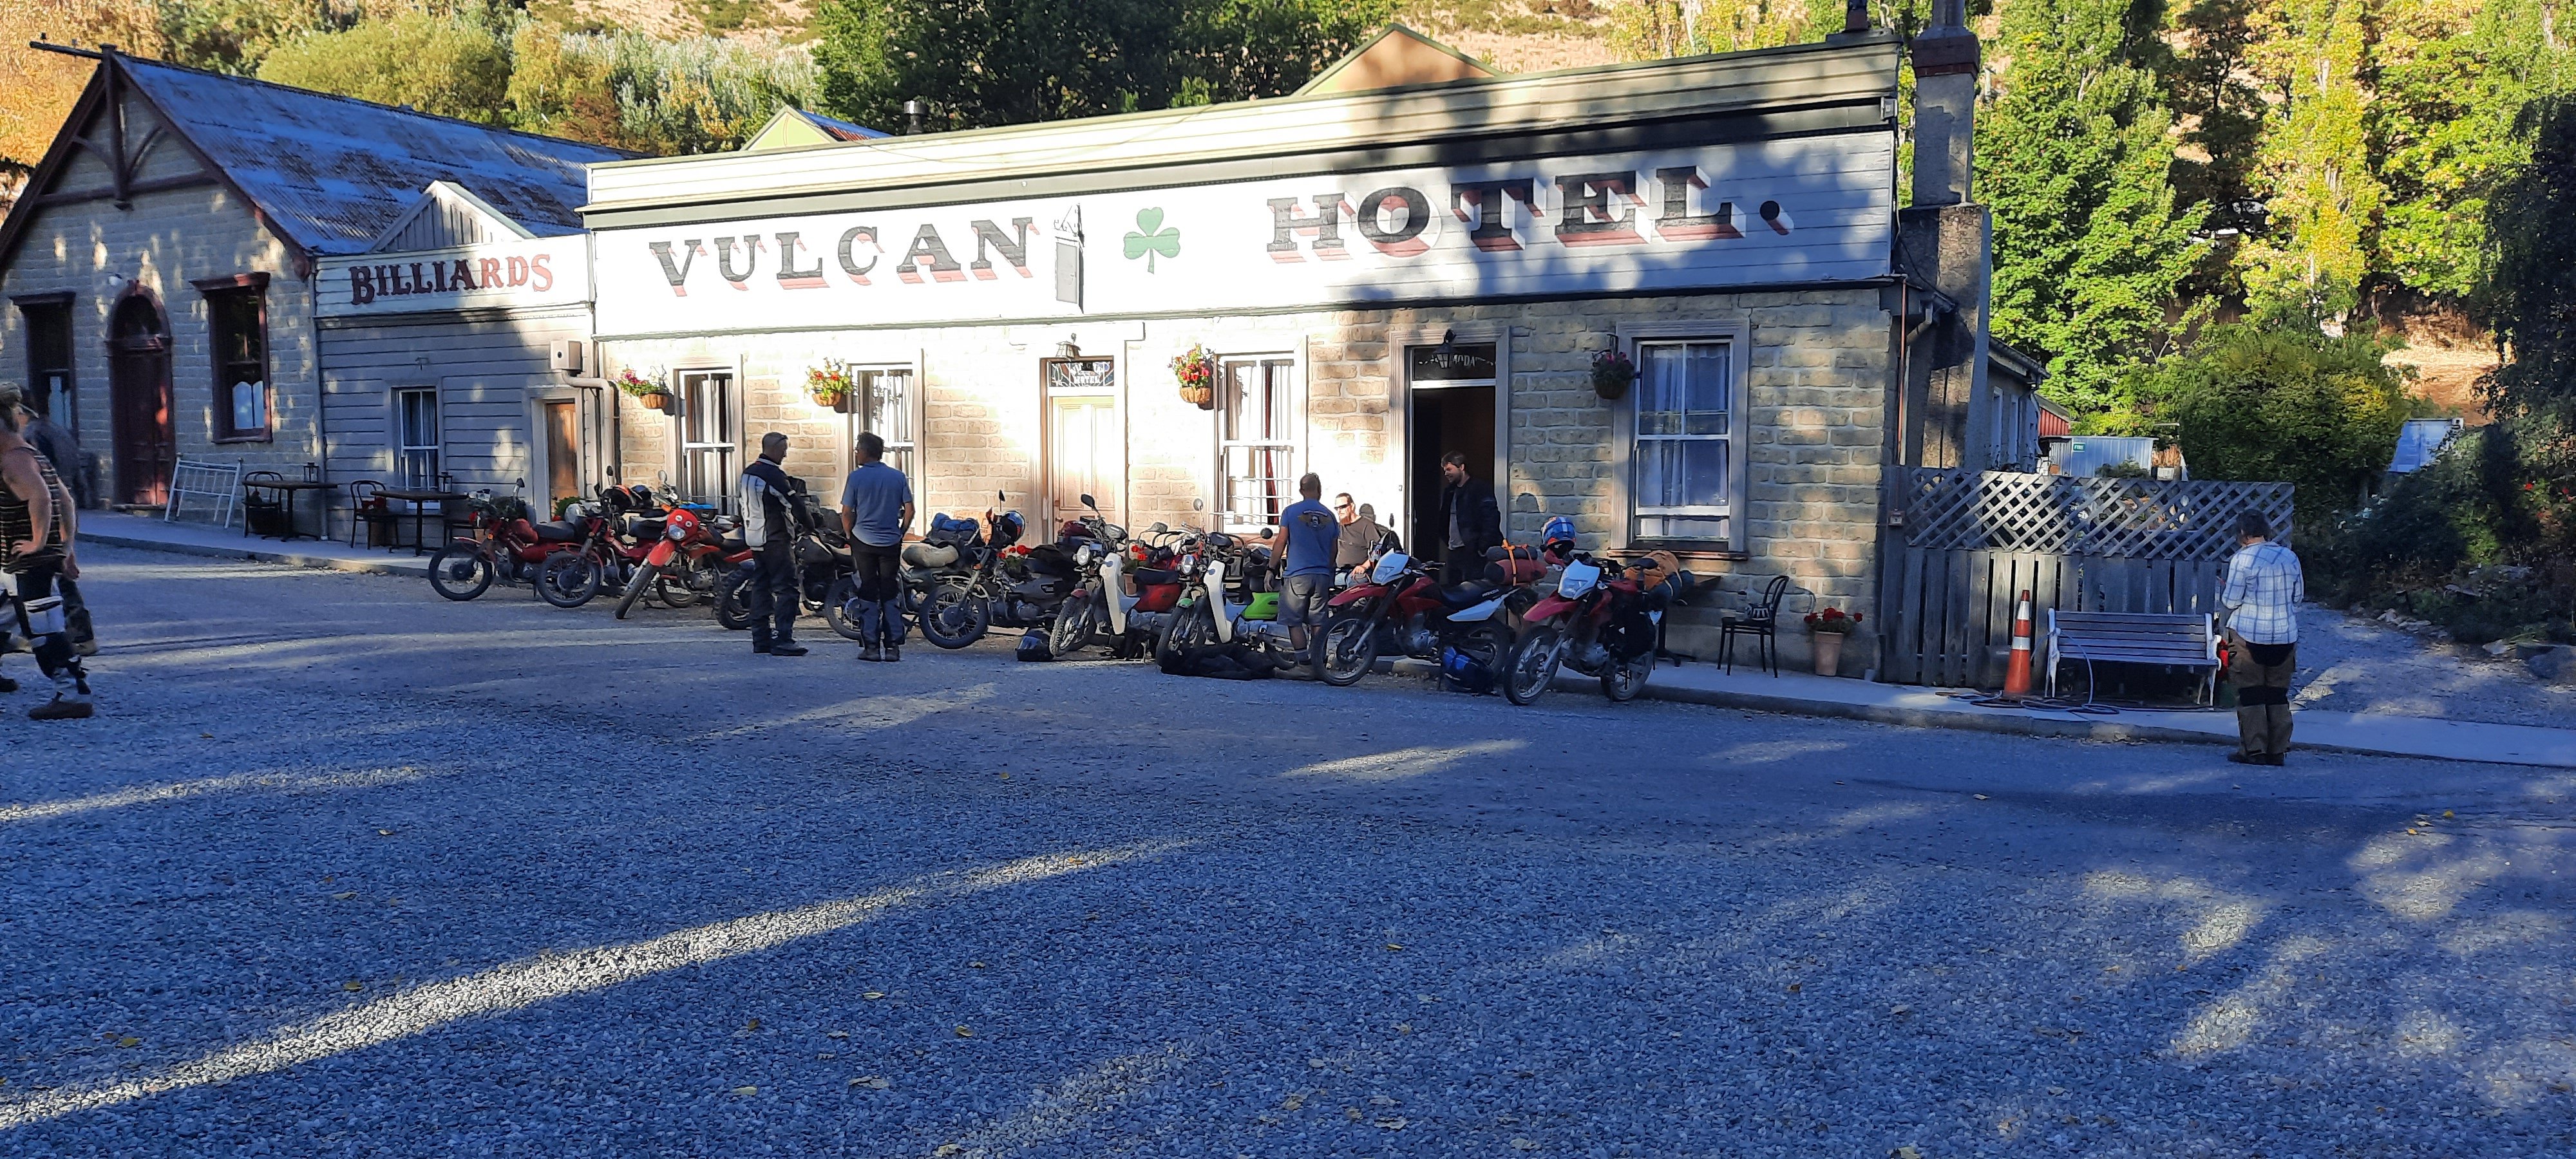
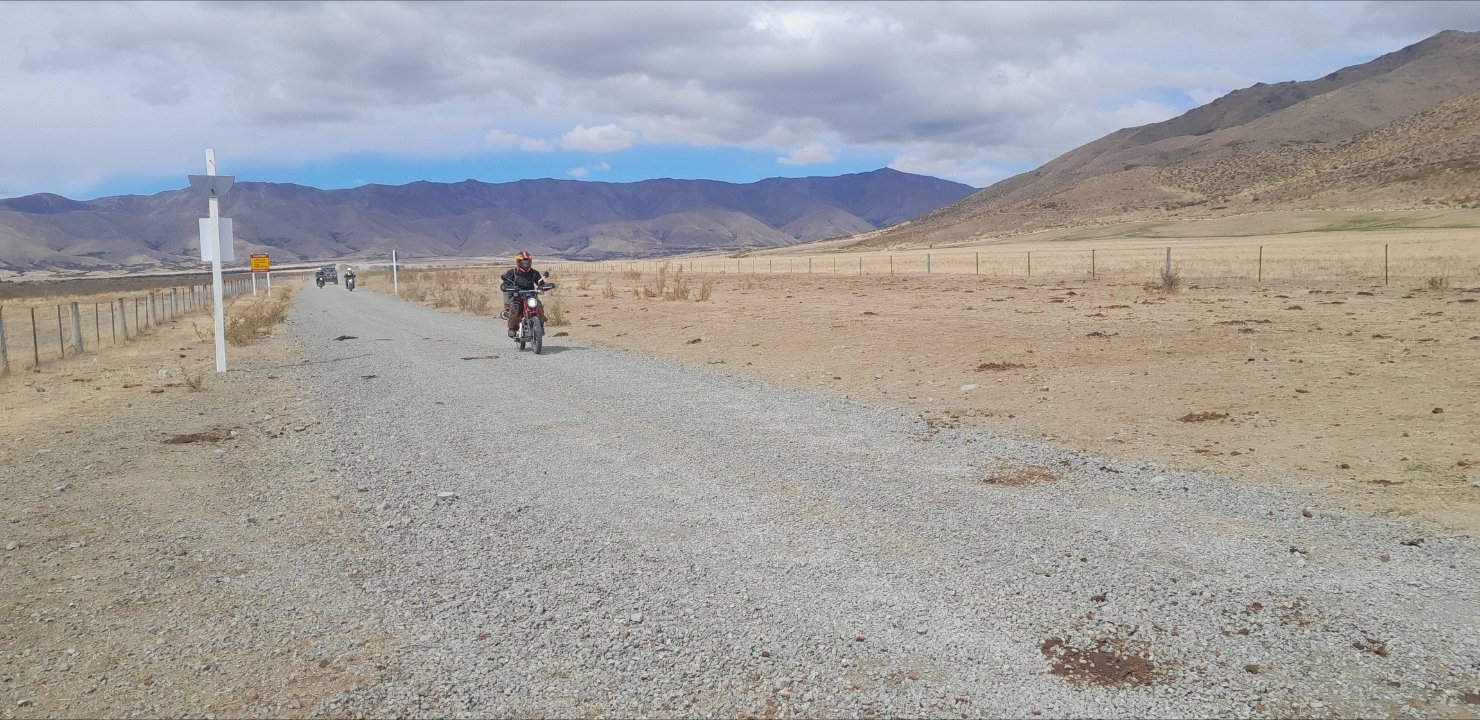
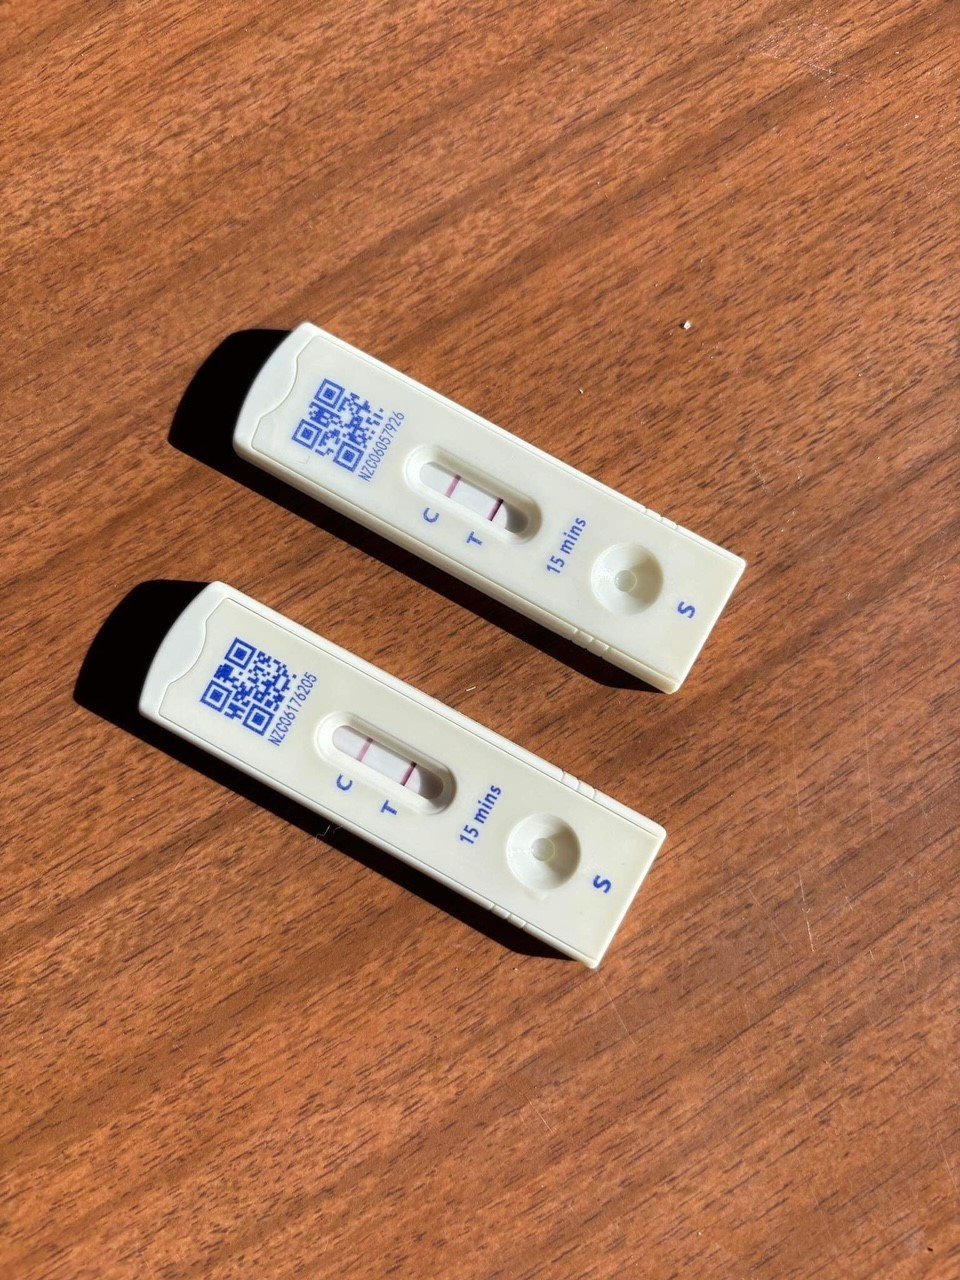
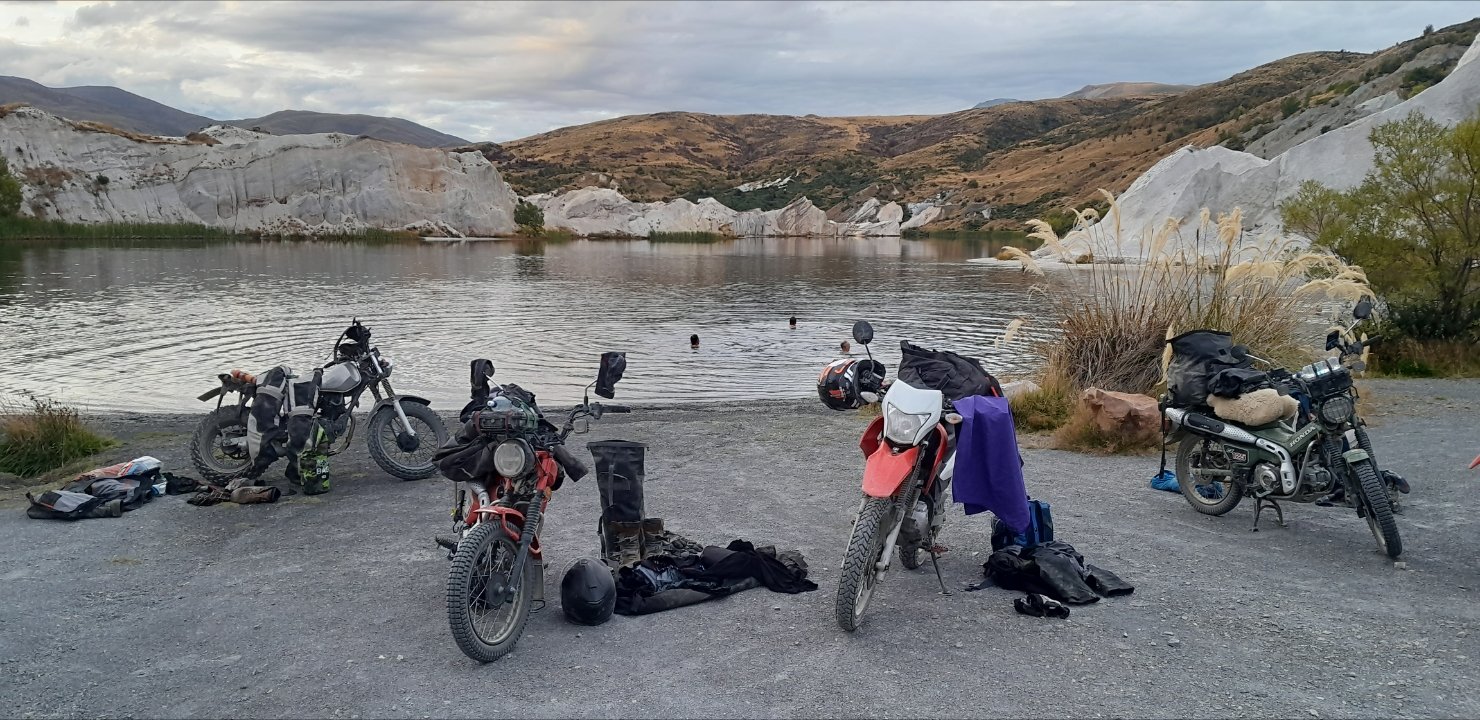
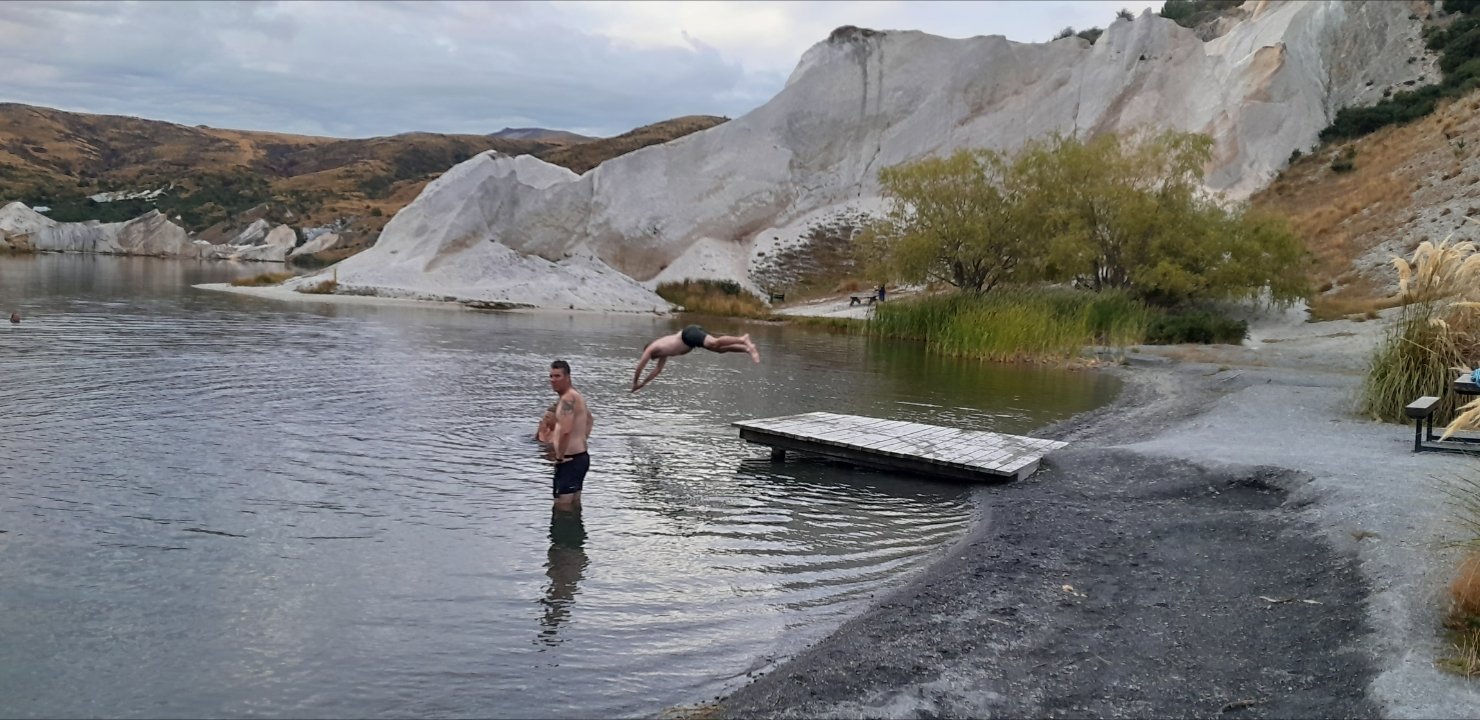
Fuck, this ride has been epic! Bbqs, beers, and small bikes. Plus pub feeds. Nothing short of a pleasure to have @TimShadboltfan27 joing us for part of the journey. Also quite delightful to get to see @Truenotchfor a beer and a sharn at the riversdale pub last night. Thus far the weather has co-operated. And we've had nobody injured/very low boke attrition rate. (Besides @holdenman cable, @NZChaddy has suffered two snakebite flatties. I wish this ride could never end.......2 points
-
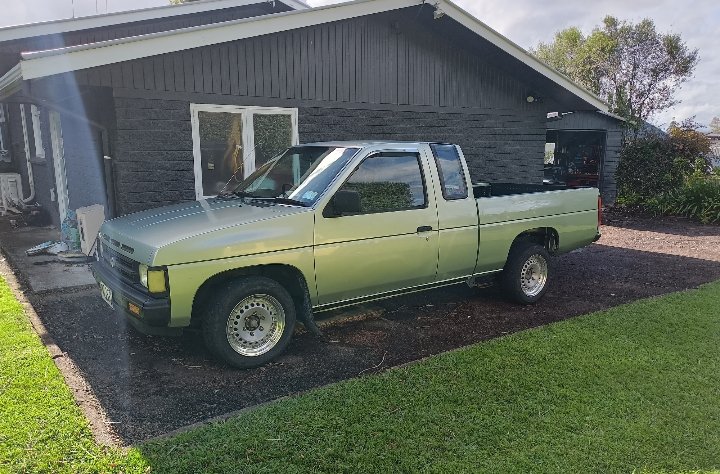
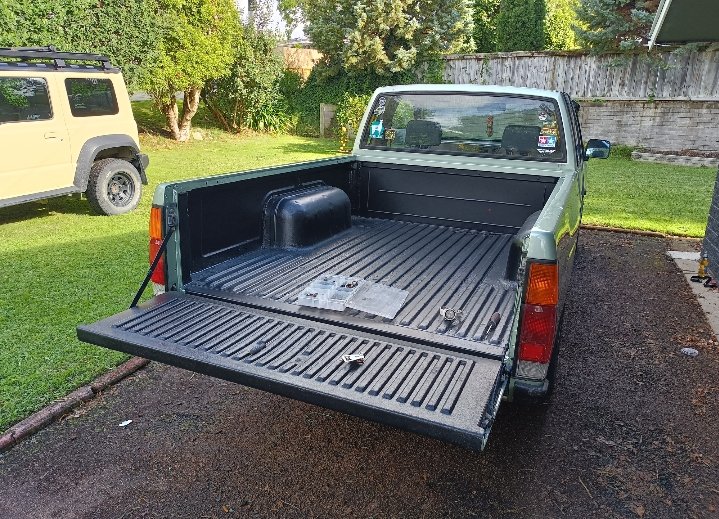
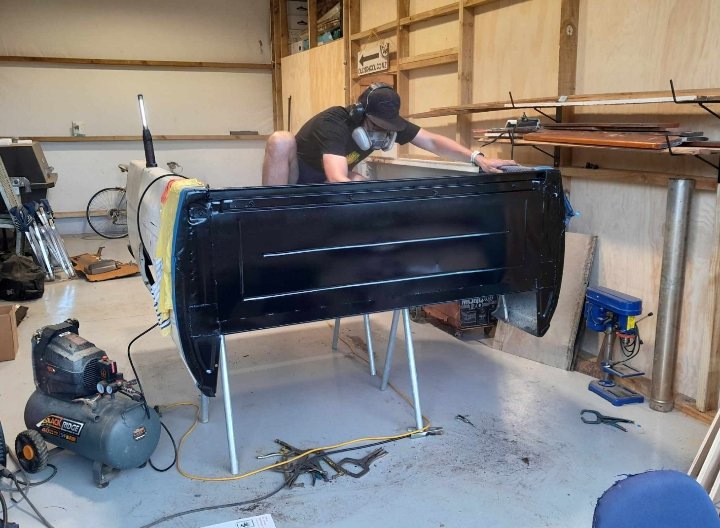
Chuffed how it came out. It's not a show car paint job by any means but it's what I wanted. Still has some dents and dings as I wasn't paying for a full panel job haha. Needs lowering ASAP, have a spare set of leaves I need to do reset.
2 points
-
Damn I am pissed off. My new clutch cable went tight after about 20kms so only used it to stop and take off then checked it at the lunch stop and was going to take it off but found that when I pulled the cable to get it out of the handle the inner protection pulled out the end, no more clutch so made the call to return to Farlie and go home at least I got to enjoy 1 part of the ride. Have Fun.
2 points
-
I glooped the two halves together, bolted them up, bolted the tailhousing on and let it set. Following morning it was bolted onto the engine, unsurprisingly a bit heftier with all the gubbins placed back within the box. Its about 9kg heavier than the standard imp box. I then started to fit the first part of the gearshift linkage. The first of those snazzy universal joints, handily available in a diameter to suit the shifter shaft on the Subaru box. I just needed to add a small locating hole for the grub screw... Universal in place.. Engine and box were then bolted back into the car. This bit is so quick and easy when using the 'engine stand 2000'. It takes about 10 mins and I'm getting quicker. It'll be slower when there's shift linkage to undo and driveshafts to slip out of the way. But at least the main heavy awkward part is actually easy. That lot in place I took some pics. Its neat to be able to look out from the one of the lounge room windows down onto the workshop floor and see this... With that lot in place I was able to suss out the angles I could get away with, as shallow as possible and allowing for the handbrake mechanism. I had this old imp gearstick assembly that @dmulally kindly posted over to me. Some previous owner of the car he got it from liked painting things. Everything. Multiple times... I scraped all the layers off, took it apart and cleaned off the dirty old grease. Discovered it had been cobbled together from two old shifter bases. It was originally a very early Imp unit when the very first cars had an automatic choke, which often proved problematic. Hillman then changed the cars over to a manual choke with a nifty little lever in front of the shifter. This mount had been added to the early base. Which means they must have chopped up a later baseplate to get the choke mount. Why they didn't just fit the entire newer base plate I don't know. But what I had in front of me was a frankenstein of base plates with barry spec welding and fixes, but also including a not too badly made bronze bush on the lever where there is normally a (wornout) plastic bush. I had a couple of shift rods to choose from. I chose the least worn. Moving back to the gearbox end I machined up some shaft ends from stainless bar to suit the universal joints. I had some stainless tube and welded the ends in place on the first shaft that runs from the gearbox universal down to the tunnel. Now I needed a sturdy, slippery support to mount in place of the second universal joint. This will not only take back and forth movement on the shaft but also a bit of thrust loading created by the angle on the connecting shaft. I had already bought a lump of slippery hard engineering plastic with this application in mind when I had ordered the plastic for the flywheel thrust bearing a while back. It was bright yellow. Luckily not seen under the car as it would clash with the blue paint. I put a hole in it and machined the outside down. Which also created a pile of pretty swarf.. Then reamed it out to 1" Still a bit tight so out with the adjustable reamers.. until it was just right... Then made a stainless cradle .. The cradle got some wings welded in place and I dug the rivnut tool out.. Mount now bolted in place in the tunnel I had to chop the last tube to the right length, weld on the end and bolt the universal in place.. The front end below the shifter was was standard imp stuff and this is where problems popped up to throw a medium sized spanner in my workings. The side to side gearstick movement across the gate was minimal. Ridiculously so. Like about 1". Or 25mm in new money. Yet the fore and aft movement was about right. But quite stiff. I was contemplating why this was so and what I could do to remedy this when I also noted that 1st gear was where 3rd was and 3rd was where 1st was. Poos. Four years ago when I had compared the Subaru gearshift pattern at the box to the imp unit I thought they were exactly the same. But I had not accounted for the reverse rotation taking place under the imp gearstick. Also I never really thought much about how little of rotation the Subaru box needed on its shifter shaft to shift the internal selector across the 3 rods. Its a tiny amount, like 3 degrees say. Whereas the Imp box has a shorter internal selector and requires more rotation at the shaft. Hence the Imps gearstick knob only moves a teeny bit when coupled to the Subaru box. But the Subaru box has a standard/similar amount of rod movement within (ie 1-2 and 3-4th) which was going to make things trickier to fix. Simple linkage/leverage multiplications that is easier to see than explain. Sorry if your brain hurts. I had to hurt my brain a little bit to suss out a solution but there was only a little bit of smoke. The reason the scooby box is different becomes obvious when you see the scooby shifter setup. Which luckily I can show you because last week thanks to @Leone I was put onto a local fella to me who happens to have many old Leones and Brats kicking about his property and he had a spare leone front wheel drive box that I wanted (always handy just in case...) His property is amazing!!! Long 4wd only driveway up to a ridgetop house with stunning views out over Tasman Bay. Old leones just kicking about... Luckily we have our trusty old 4wd Hiace and that became the days gearbox transporter... Box on bench. Look at that shifter mechanism... The shifter rod attached to the gearstick only rotates a tiny amount when the stick is moved sideways across the gate. But the rod moves 10mm in each direction when shifting for and aft. Simple. Robust. Very Subaru. I can't copy it though because I have turned my box 180 degrees. No matter where I put my pivot point (below or above) I'll have one of the planes working backwards. So I decided to build a new shifter base setup. The most important thing was to reverse the rotation so the gearstick pattern is correct. The imp pivot point needed raising to allow the offset shaft end to be rotated to above rather than below the centre line, so reversing the across gate movement. I would add the ability to adjust both rotation and lineal movement. Started with a new pivot cup because I was not happy with the worn and Barried pressed steel item.. I dug out a large lump of steel bar... Chopped out a square and cleaned it up in the mill.. Big drill = big hole.. Rough machined out a cup shape. Cut a form in cardboard to suit the brass ball and used a die grinder bit to finish the shape... Grinding paste time... Slots for pivot pin.. Lightened the lump down.. Built the shaft up with weld and machined it down so I could add a lower pivot point. Milled some steel like so.. Welded a boss on.. New socket for shift lever ball end... Cut out Barrys previous workmanship... Machined up some spacers and a base plate.. Welded up a little tower (my stainless and steel tig welding is definitely improving, helped muchly by realising that not being able to see what I'm doing does not help much and finally admitting to my age and buying some reading glasses....) Welded tower to base.. Now all together please... Bolted together. You can spot the adjustable rotation, which the spacers allow for, along with adjustable pivot point. In place... Yay- it works! The shift pattern is correct and the action is much smoother. The spring loaded indents on the internal gearbox shift rods are quite stiff, which I noted was the same on the other box with its stock shifter. Its a bit baulky to push past the synchro baulk rings into gear but I think will feel better when the gears are actually rotating. There's certainly no slop in the system and it feels very mechanical - not rubbery. I now note how much flex there is around the shifter base in the imps tunnel (granted a very rusty shell..) Its something I might just try to stiffen up on my blue Imp when fitting this lot in. Phew. That was a little mini engineering mission I was not expecting but that's this project in general2 points
-
2 points
-
2 points
-
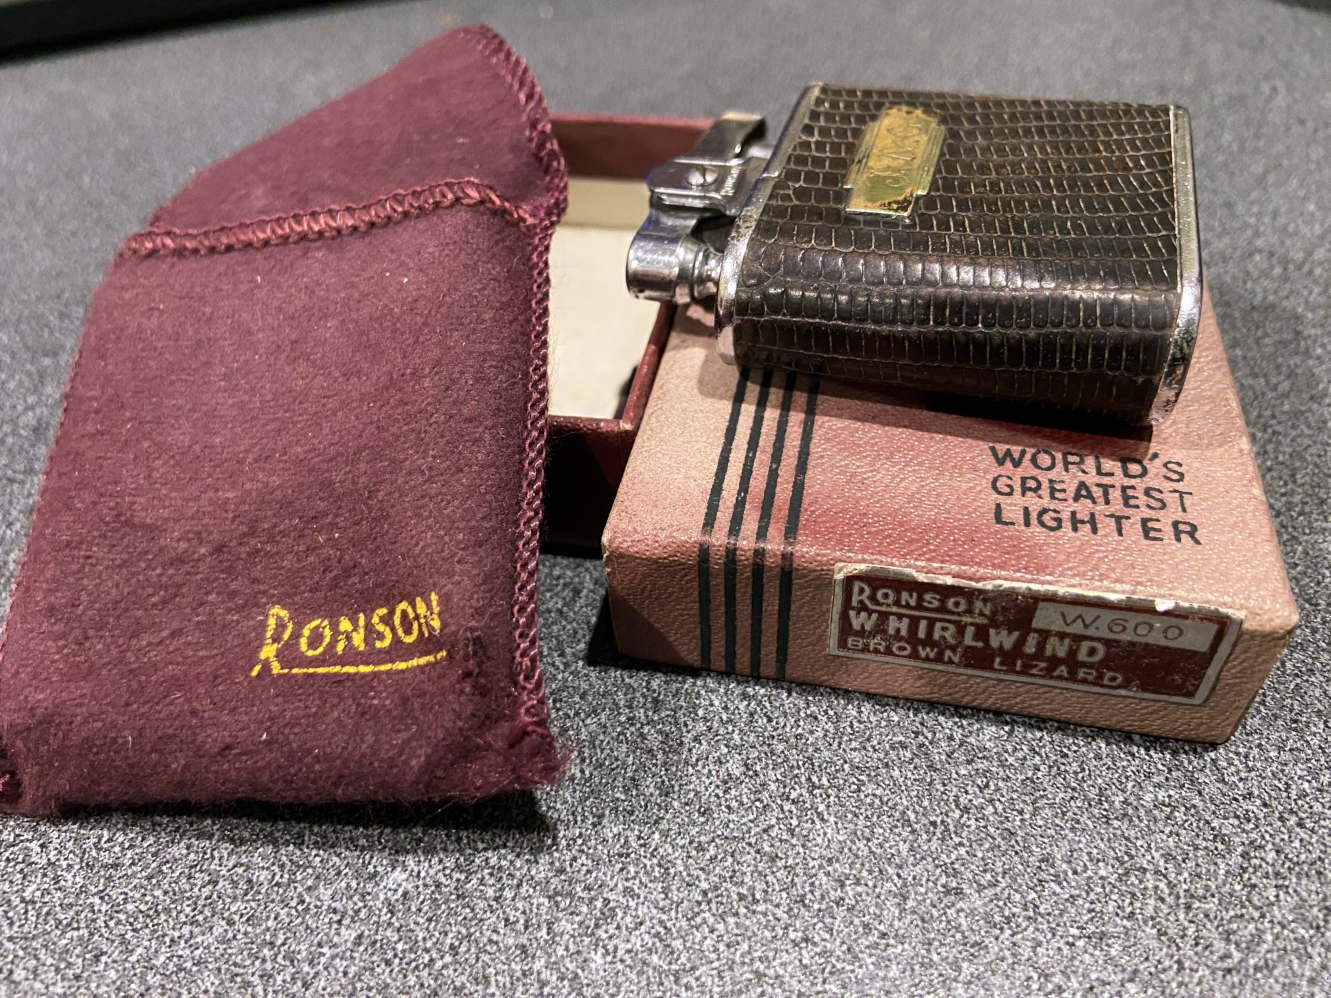
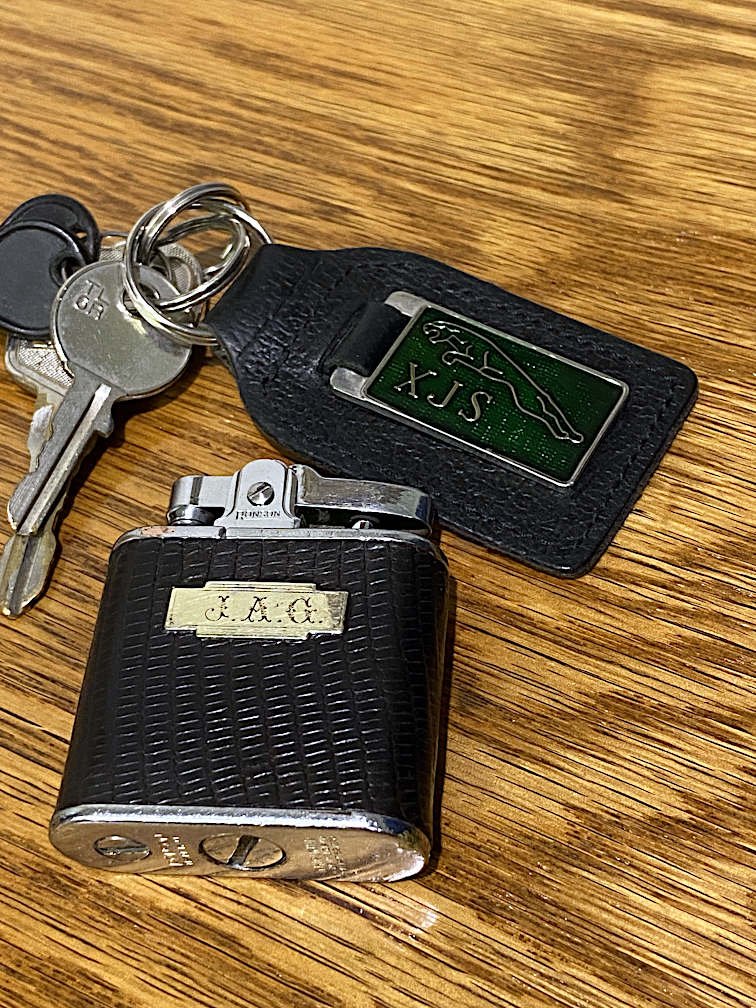
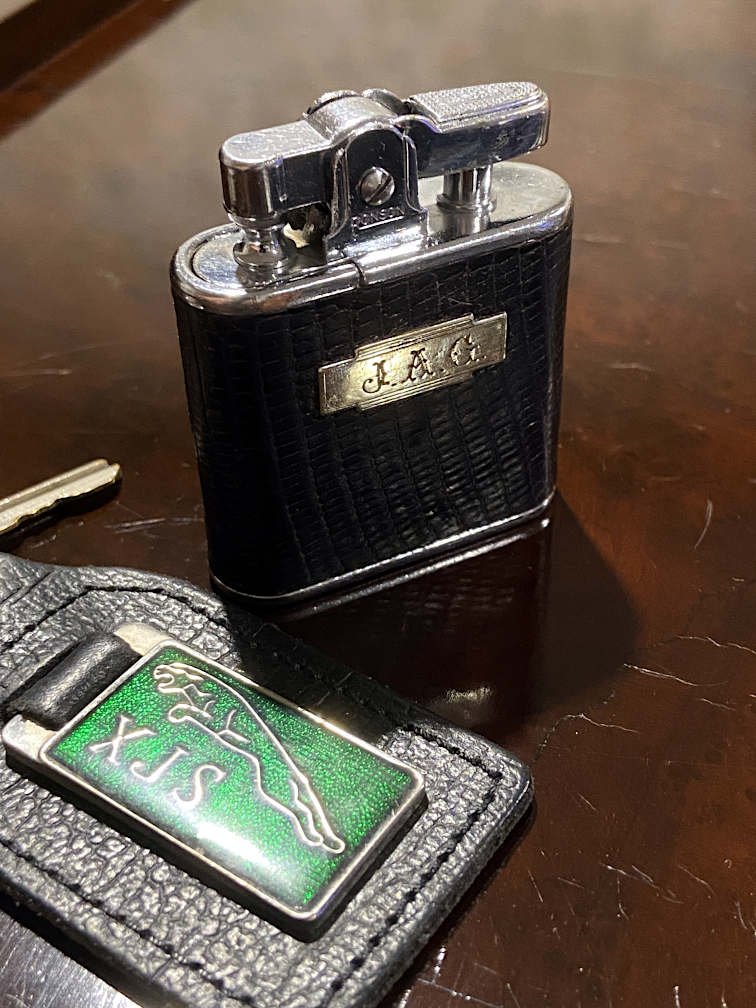
Check out my latest Jag-cessory: It's someone's scody old lighter, covered in 'brown lizard' and tobacco stains. But wait, when you clean it up, what does the engraving say.... Yep, it was once owned by Mister J.A.G. How good will that look next to my keys on the bar of the local TAB.
2 points


.thumb.jpeg.e0a4bff61111e0c8c7396950fcc94da1.jpeg)


.jpeg.3d2734e1be46c4b230b2cafddc6c95e6.jpeg)


This leaderboard is set to Auckland/GMT+12:00