
Leaderboard


Popular Content
Showing content with the highest reputation on 04/15/22 in all areas
-
Tune went alright. Definitely blew the budget. And the muffler...about 200 meters down the road from webers specs into my 30km journey on the motorway back across the Harbour Bridge. It definitely has a decent pull to it but is horrible to drive due to the engine touching the seat, the obvious noise and the poorly set up linkage. It also isn't idling by itself after that backfire, the idle is so low that the oil pressure safety switch kicks fuelpump on and off. Hopefully it's just a small adjustment needed. I've got about 4 weeks to sort driveshaft hoop, legal size tyre for the rear wheels that corrects speedo, big hammer the seat cover, new muffler and definitely hone the suspension. There's a definite temptation to track down the rest of the floor shift shit tbh.
 12 points
 -
Refer to page one, said I wanted to get a proper wheel for it.. Well I couldn’t believe it when one popped up in my daily trademe favourites! $500, buy now! I’d have liked to spend less (as always) but they are a bit skint second hand and are usually rooted. The aftermarket ones are over a grand and buyers have said they weren’t too happy with the quality. This presents perfectly for a used/driver car! Glad to tick this off. The factory wheel was all green, cracked and pretty ugly so a no-brainer to skip putting work into it. I’m a sucker for a skinny, big factory wheel. I got the passengers door under control and in primer, ended up putting the other hinge pin kit in it since it was off the car..it was pretty good but now it’s better and the metal-on-metal factor didn’t sit well with me. Broke 2 hinge bolts but managed to get the captive plate out of the door and into the vice..drilled out just undersize and picked the old threads out. Mate finally dropped my caulking gun back so I’ve seam sealed the engine bay. For a change I’ve opted for quick and thick production line style. I usually go overboard, mask and smooth everything and finish with thinners so you don’t end up seeing any sealant. I kinda dig being able to see it on this car. I’m leaving the character wrinkles in the bulkhead and things too.. it’s not a show car and I’ve had to remove and replace so much car; it’s cool to preserve Dodges slap-happyness where I can Made the filler for the front spoiler too..only 280mm wider than a Datsun sunny..lol Offered the rear bumper up for the first time, brought some new bolts, trimmed some of the rear valence for bracket clearance and it fit. I’ll bugger round and see if I can get it to sit tighter than factory.7 points
-
Oh hi. Swapped injector pump over with the 'good' one. Ran like a bag of dick's so assume it needs timing properly, or the pump is no longer healthy. It's been gathering dust and generally feeling sorry for itself ever since then. Went to get a new battery today but forgot shit is closed in Easter. Will probably just shut the shed for another 6 months
5 points
-
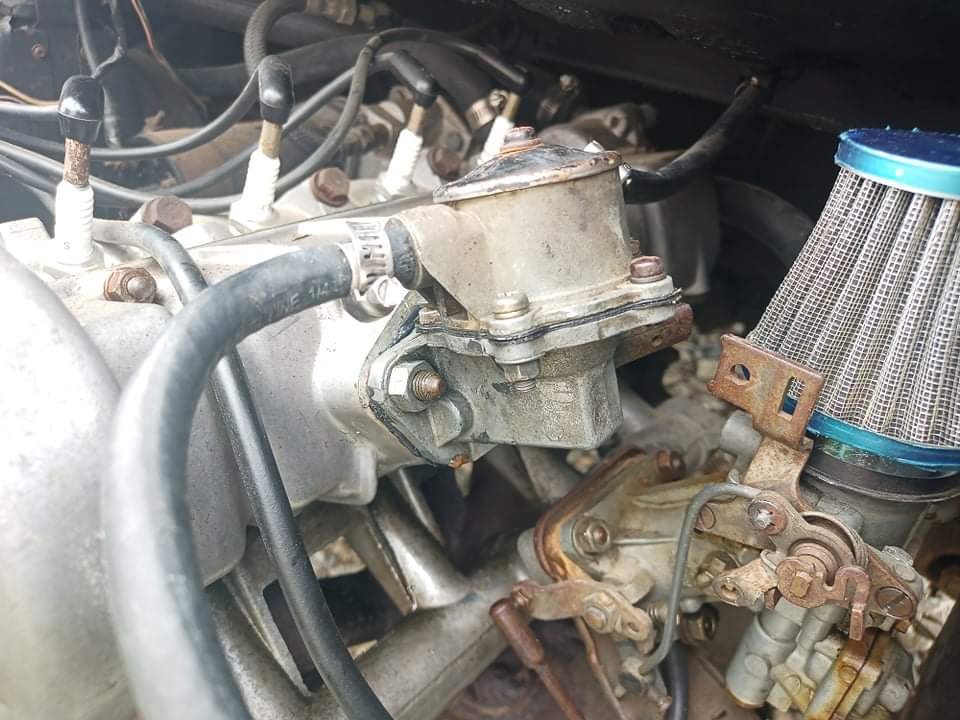
Near Picture less update.... its alive again was indeed some gunk in the carb that had bypassed the filter ultra ultra fine sediment. Will fit post and pre filters so it has a fighting chance of not seeing dirt In carb. Suspension has settled, for reference look where the muffler used to sit compared to now. It's so much nicer to ride and get on and off.
3 points
-
@felixx Just had a look, yeah it's in the shed, buried behind bikes. The leveller isn't though, think that's with the rally car, out of town. Happy for him to borrow it if he sorts transport. I'm in Otatara if you want to let him know, PM for contact deets...2 points
-
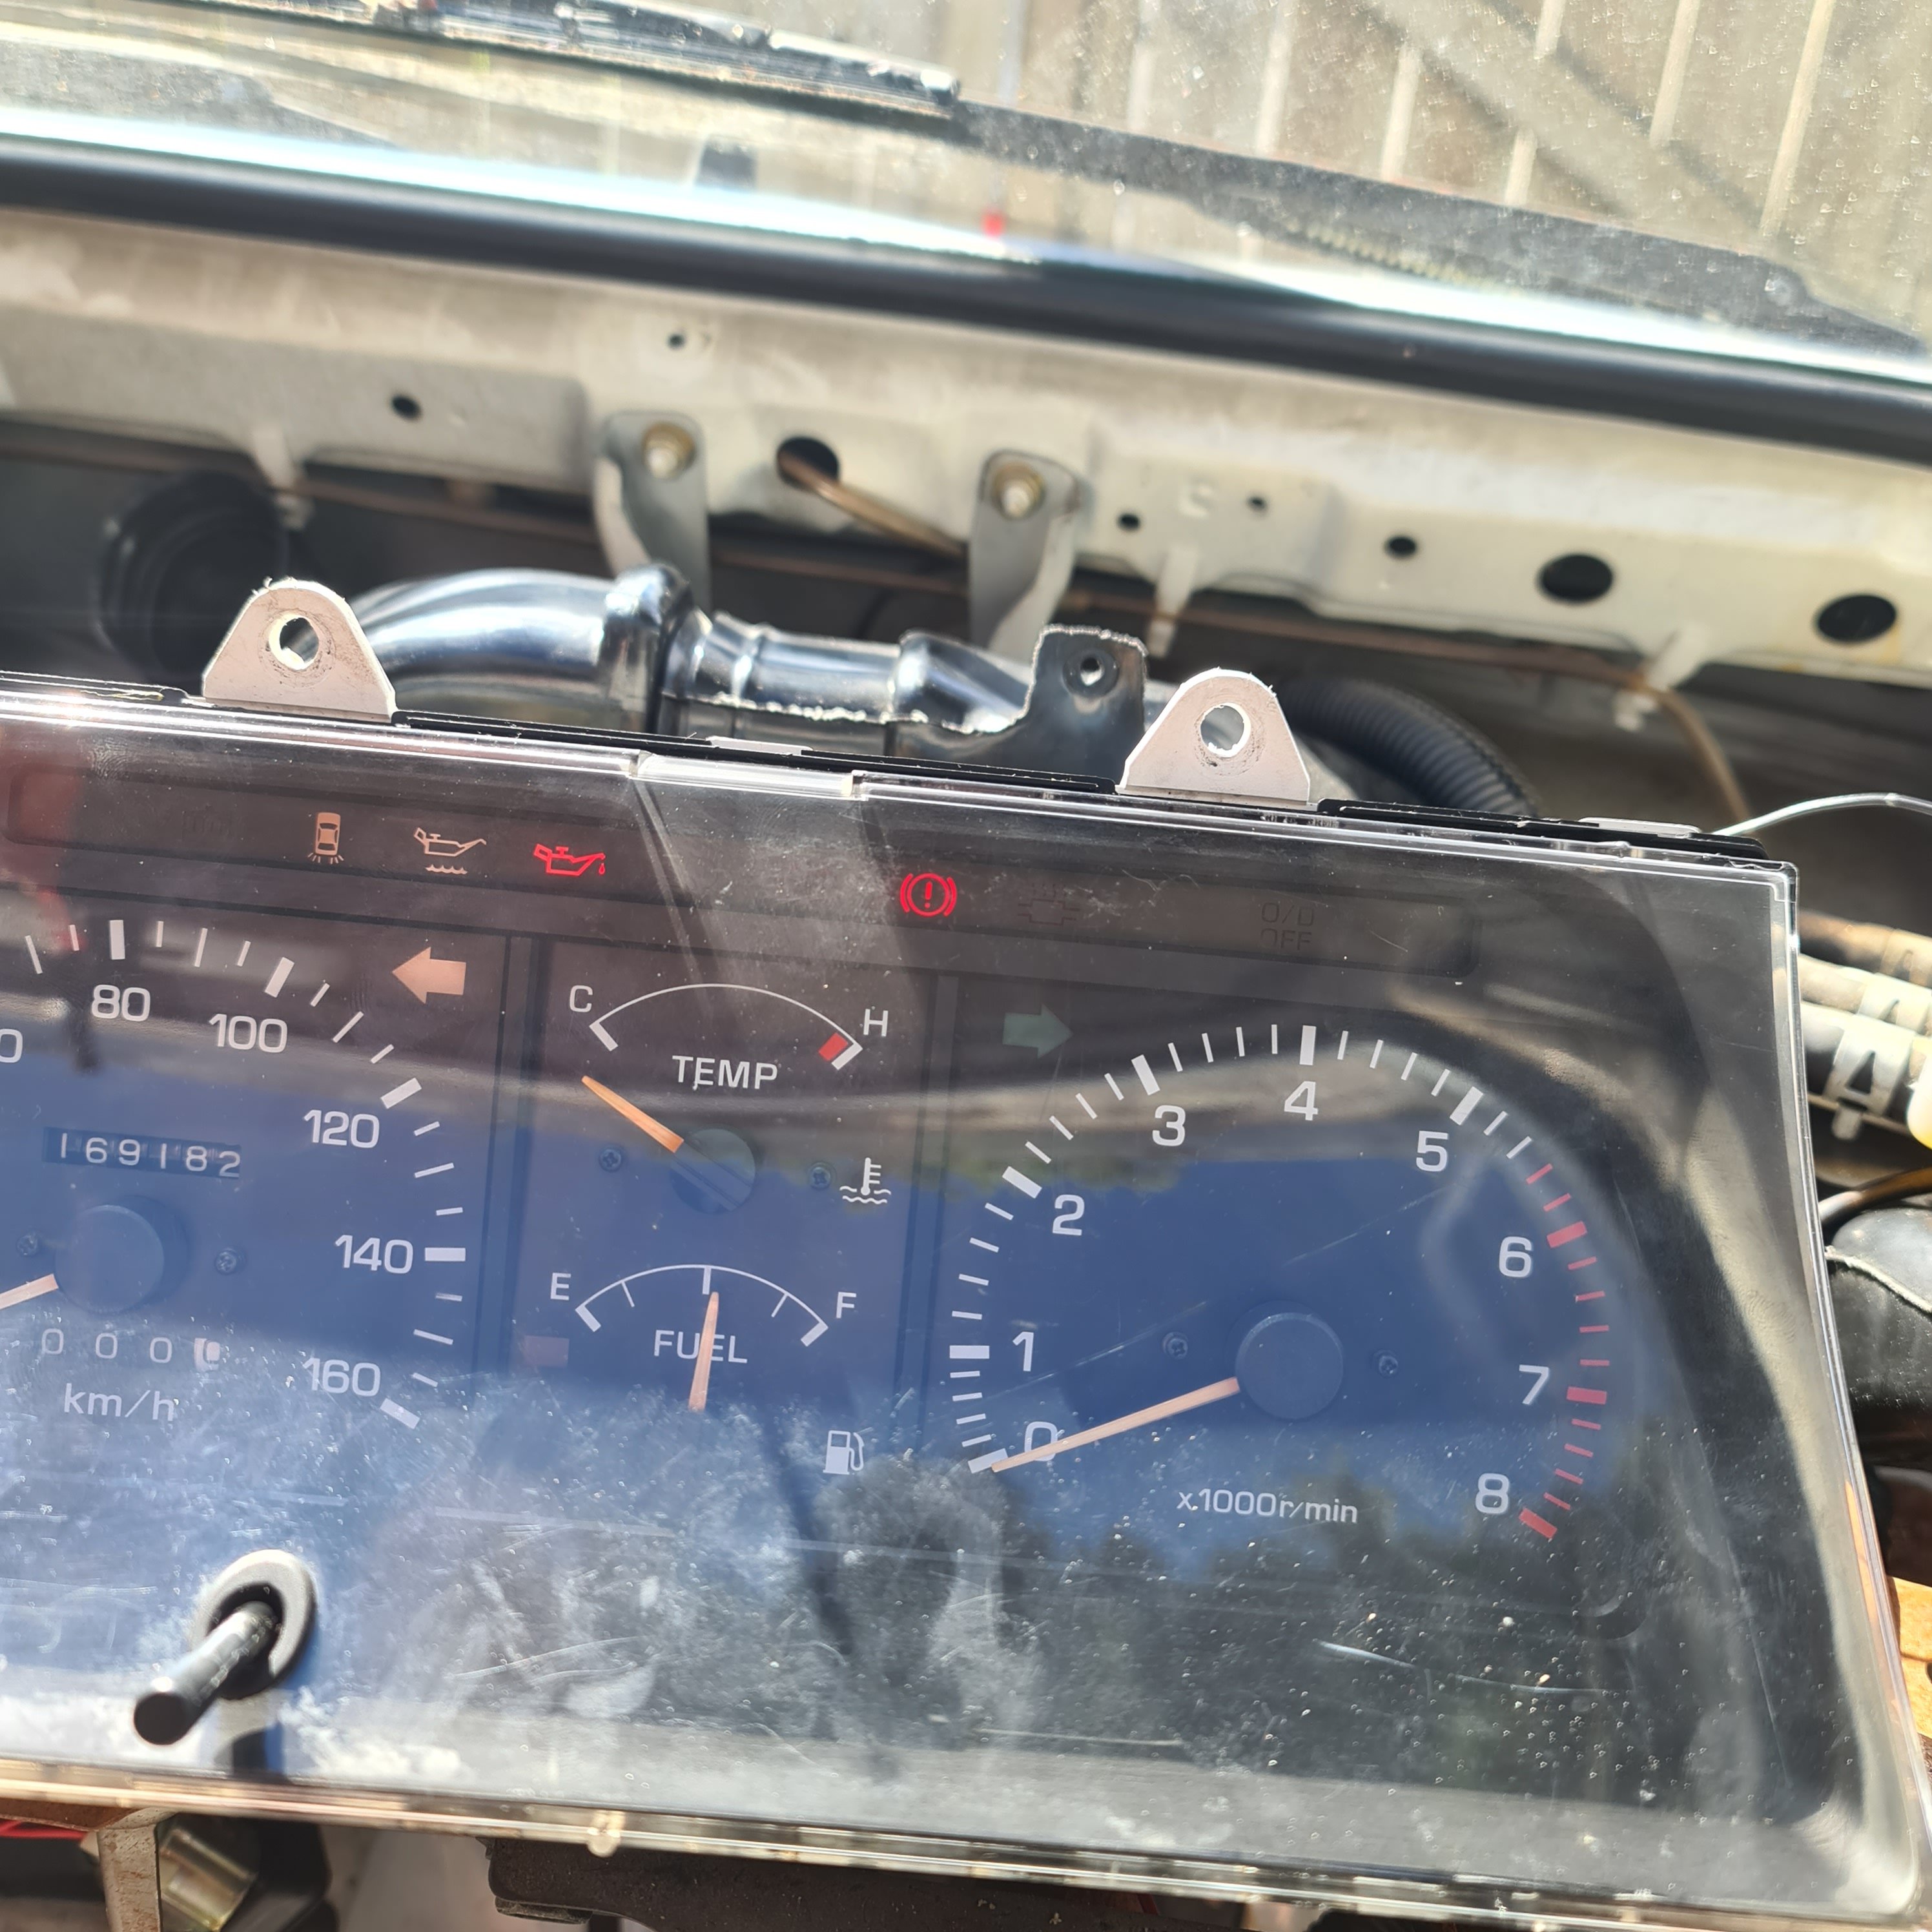
Not too many more than the car has hah, I'll just swap the fuel/temp side over and keep the speedo and tach from my original cluster2 points
-
Unfortunately I only have an endless chain and a beam in my shed no engine hoist. @Lord Gruntfuttockmight have one he just had his Fairmont engine in and out.2 points
-
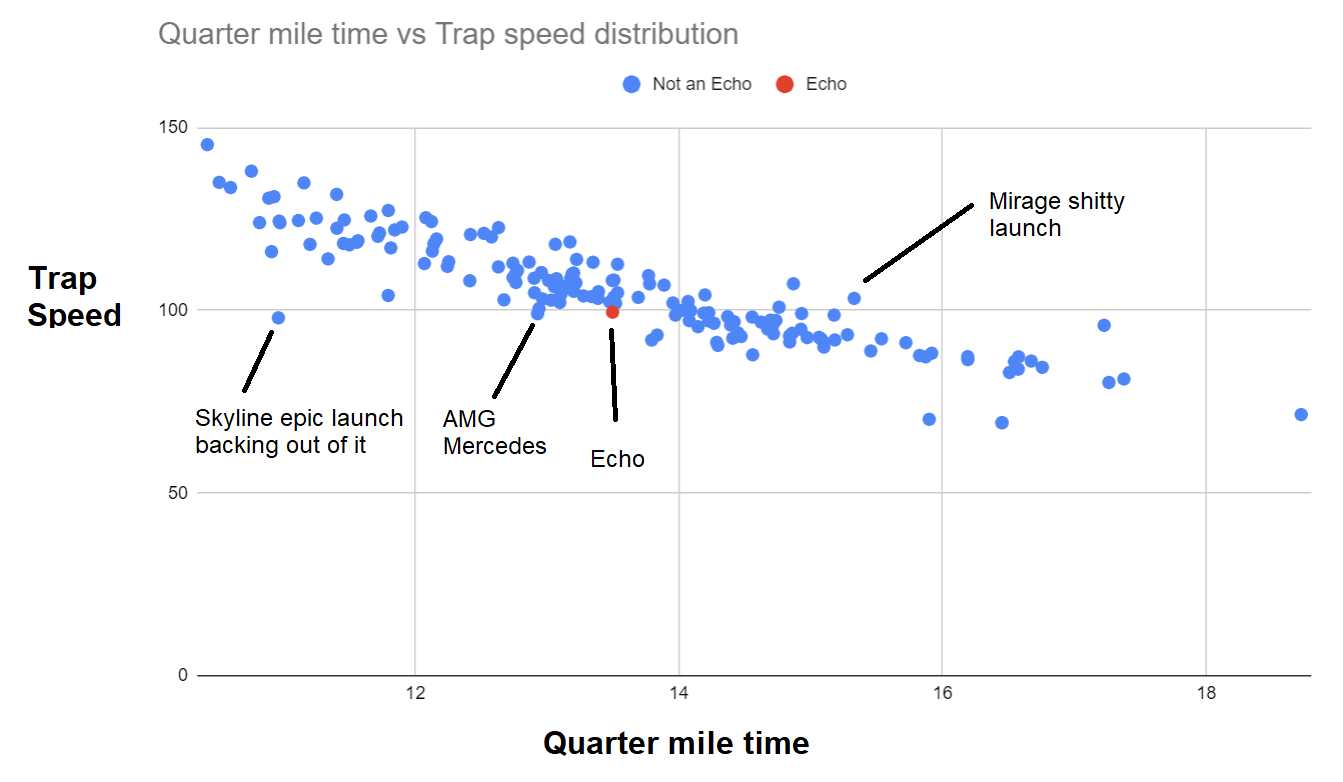
With a margin of error of +- 500 pages Speaking of barrying, The full results from nightspeed came out. So although I got eliminated in the first round by some poor tactical judgement (lining up against the fast wagon straight away) I was third fastest in class so that's cool. There were 163 cars in total, and my car is the median haha. There were 81 cars faster than mine, and 81 slower. Looking at Trap speeds vs quarter mile times and you can see what's needed to achieve a particular quarter mile time. My trap speed is very low for the time that I'm doing, compared to other cars doing the same time. Which suggests I'm getting off the line quite well and I'm likely pretty close to max potential. The only car faster than mine that did a sub 100mph Trap speed was an A45 AMG Mercedes, which ran a 12.927. Must have had an epic launch! Or maybe hit the brakes early. But no 60ft data included so not sure. However you can see that there are cars hovering just under/over the 100mph mark which are doing way slower quarter mile times. So they'd have heaps more potential with better suspension/tyres rather than more power. The slowest car with a 100+ mph trap speed was a Mirage that ran 103mph over the line, but ran a 15.3 Must have had a really horrible launch! It's got the trap speed to easily do a low 13 or a high 12 instead. EDIT: I just noticed the other sub 100mph dot. This is funny, you're not allowed to run quicker than 11.0 at Nightspeed without getting in trouble. This was a GTR skyline that ran a 10.961, with a trap speed of 97mph hahaha. So obviously absolutely hauling arse off the line, then probably hitting the picks half way down the track to avoid doing faster than an 11.
2 points
-
Car was tuned today made 176kw on about 6.5/7psi2 points
-
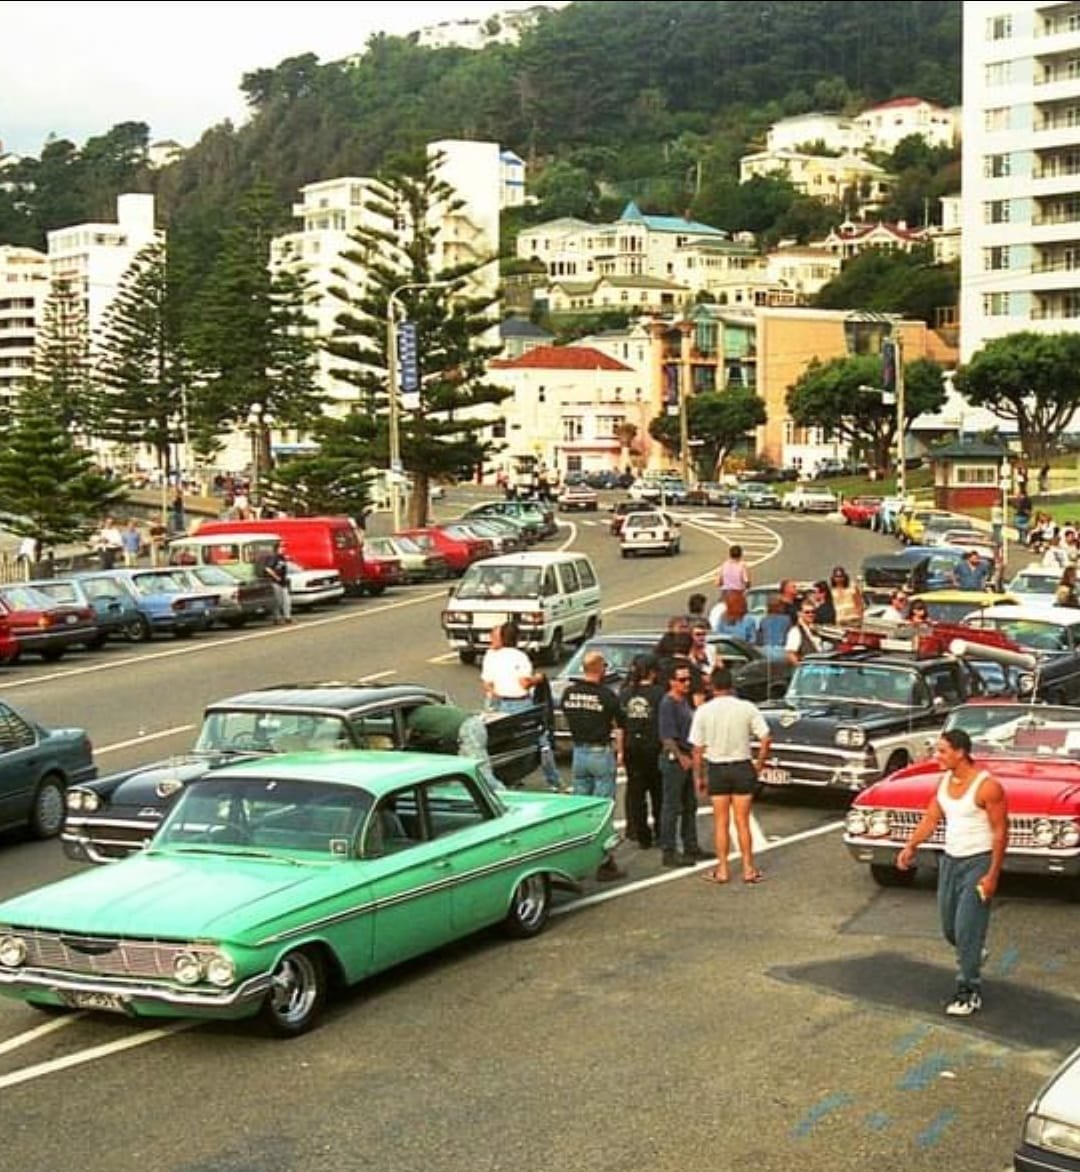
I had this thing running and warmed up until thermostat opened and tried my best to bleed air out of the system. Carbs definitely need tuning so it's booked in to get taken to weber specs to sort it out. They advised against running the engine at all until they've rejetted carbs. I've also booked in for driveshaft hoop to be made the following week and a certification check for early may. Hoping it all pans out Enjoy this photo from facebook i found a while back on the NZ car relates scenes 1950s-1980s page
2 points
-
Don’t worry, Haven’t been resting.. we’ve now got the front guards, drivers door, valence and scuttle/engine bay bogged and first coat of 2K epoxy primer. Engine bay rubbed back ready for some paint.. I will go dark grey and terminate it along the guard edge and the seam across the firewall.. so it’s a neutral colour with whatever outer schemes I do down the line and I won’t have to tear everything out and hand sand it again which is aids. But not as aids as black enginebays. Other door torn off because it needs a good skim and it’s less back-breaking sanding flat as opposed to vertical.. always like to leave the car together as much as possible but I really hate this stage so anything to ease the dreadfulness will prevail. Bonnet rubber bump/rest kit arrived too (4 wee wedges that locate into edge of guards) old ones literally shattered, lol Interior guy sounds keen to get started next month nobody cares for bodywork photos so here’s a parting shot as I walked away for the evening. Chairs2 points
-
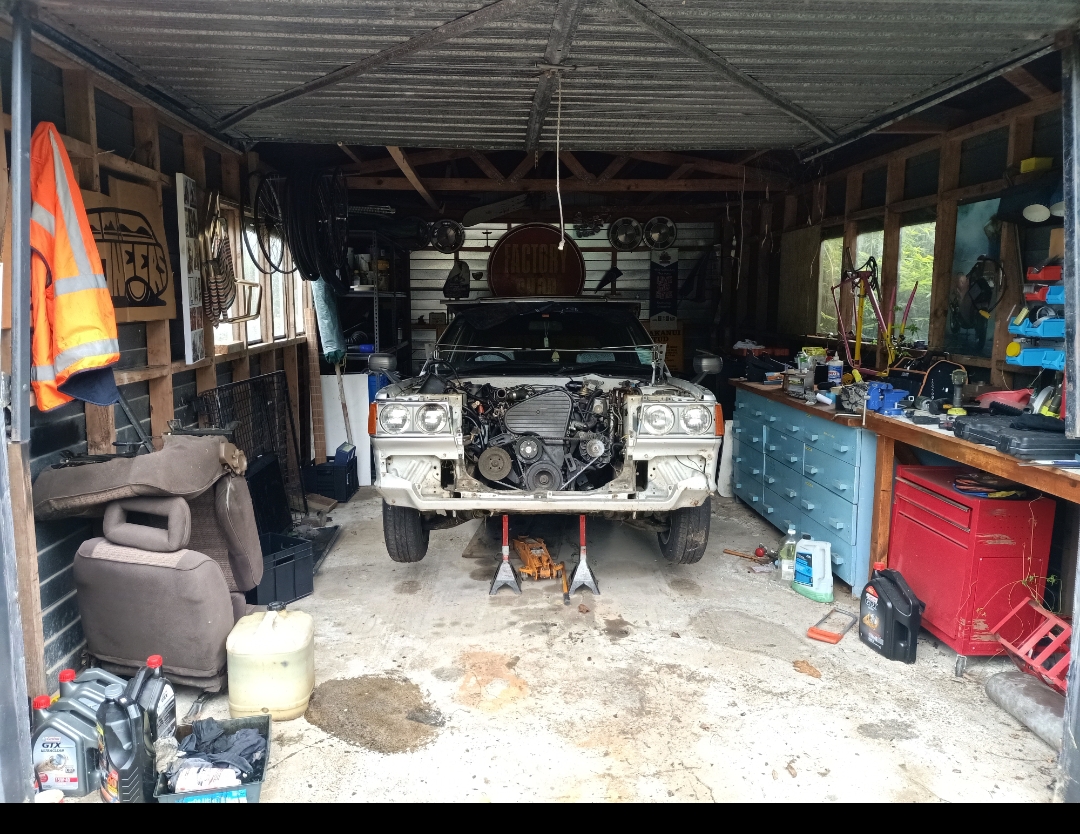
Today might be the day. Once the battery is charged
2 points
-
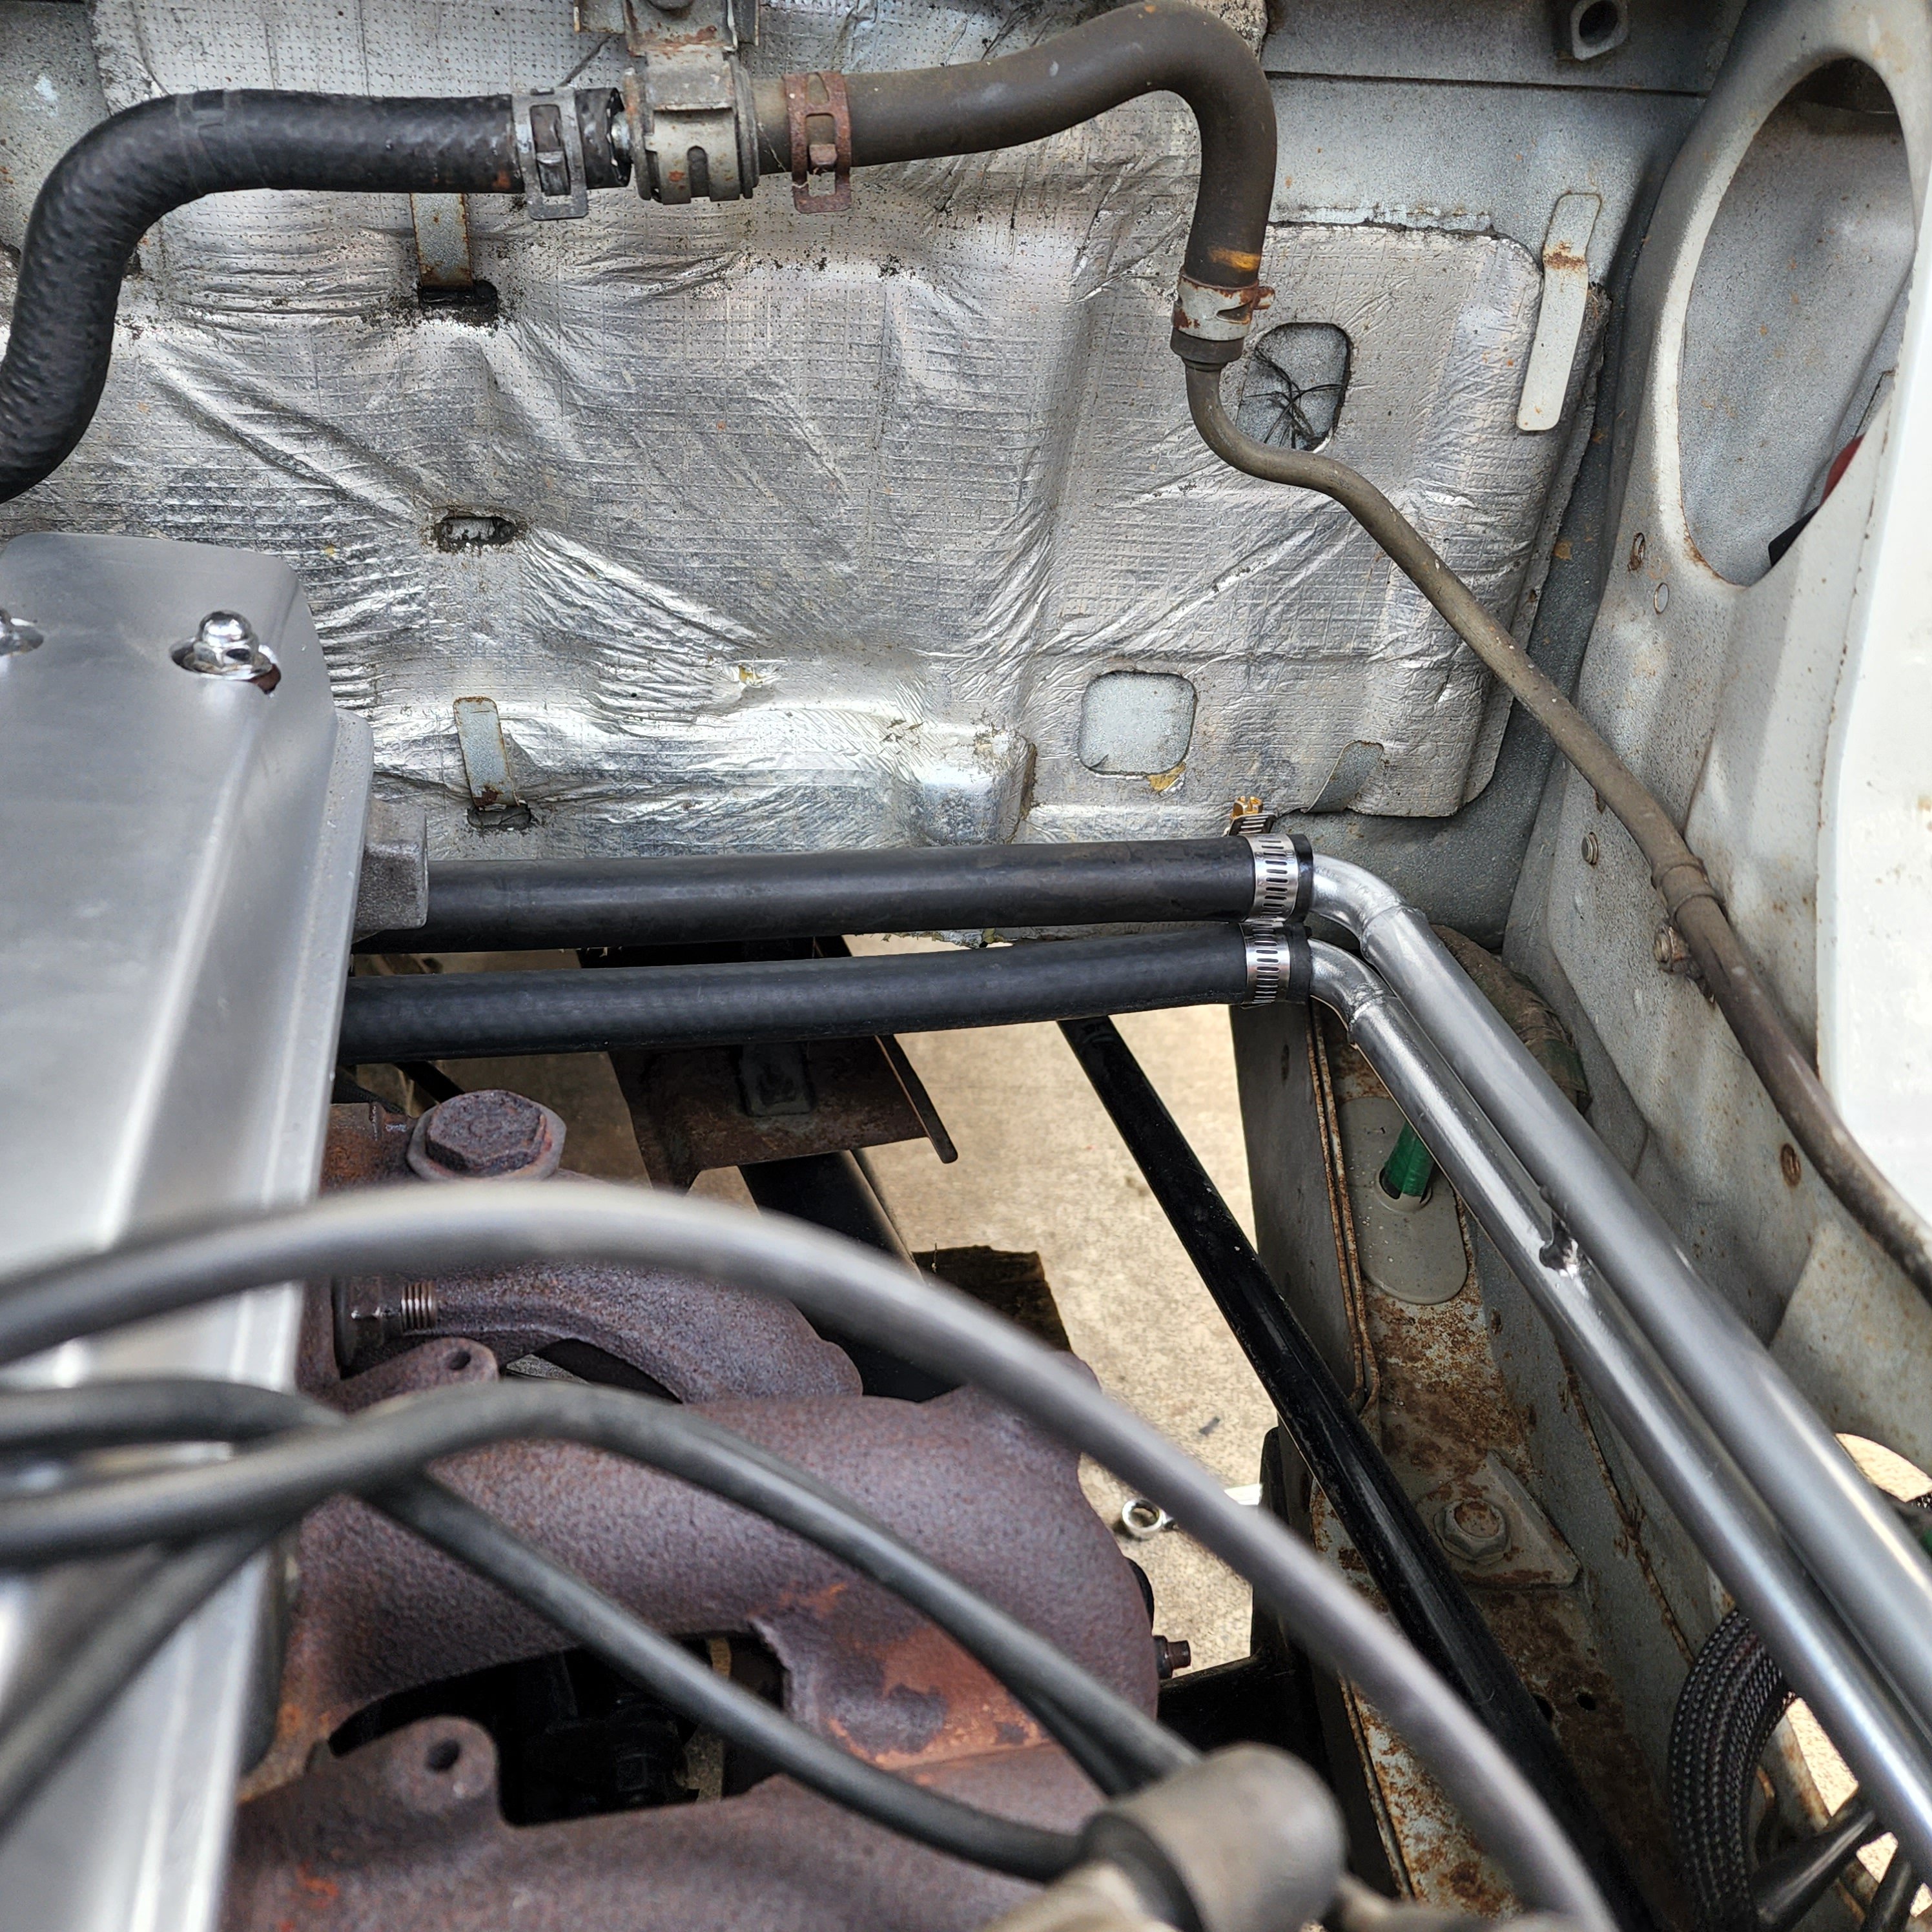
Some Gucci pipe work.
2 points
-
Glad that’s sealed up! Can see the lumpy nature of the RH side now2 points
-
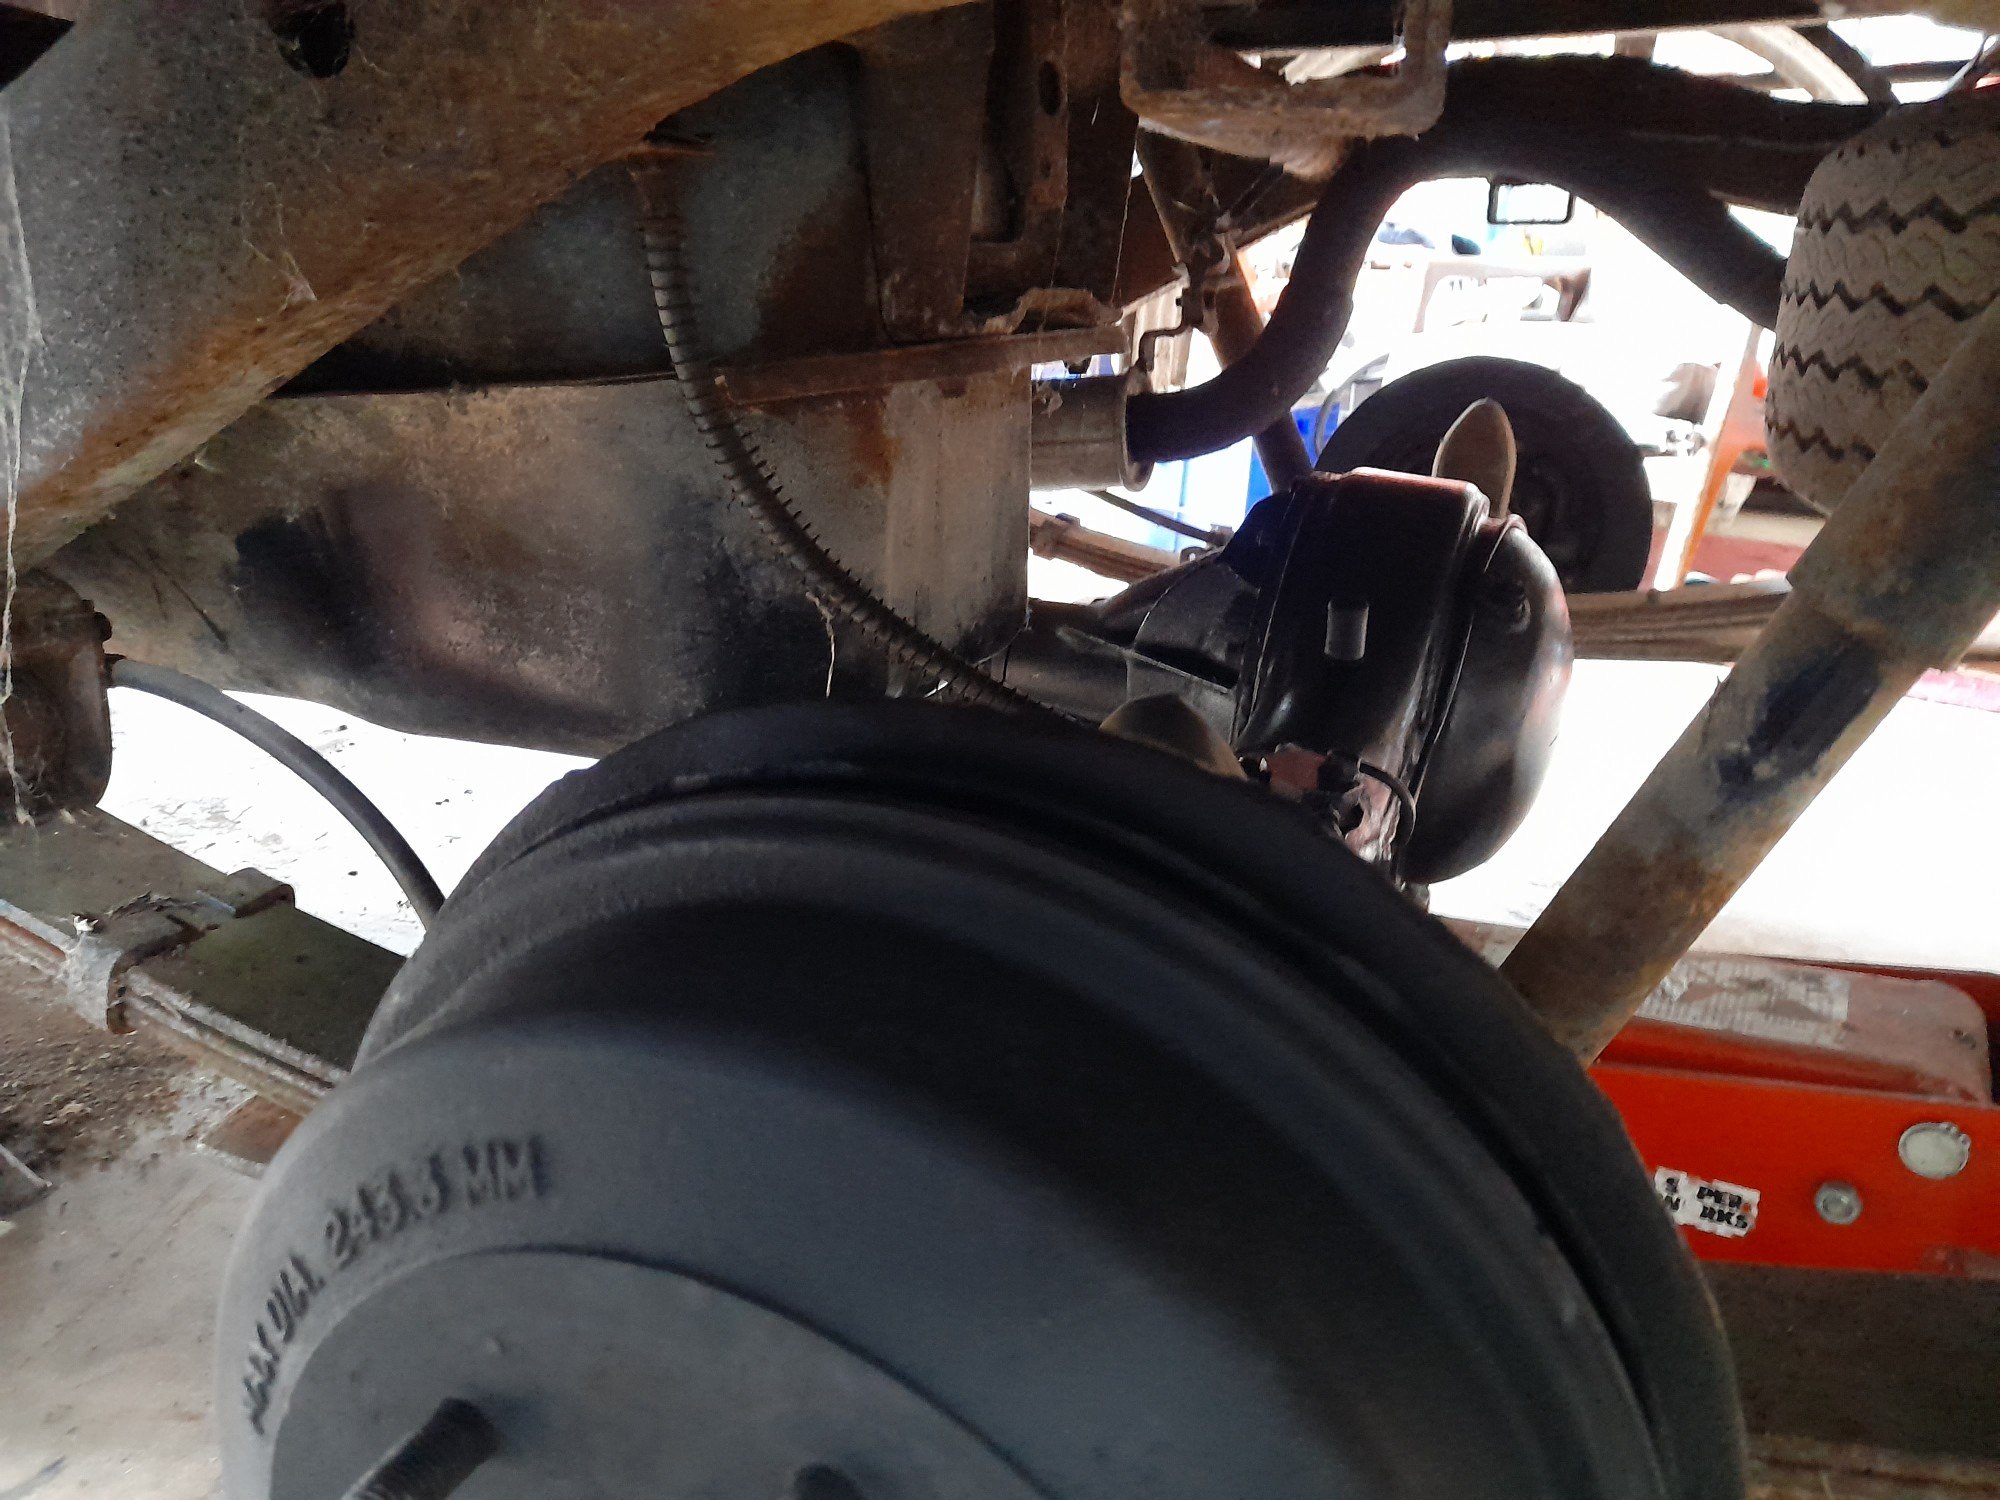
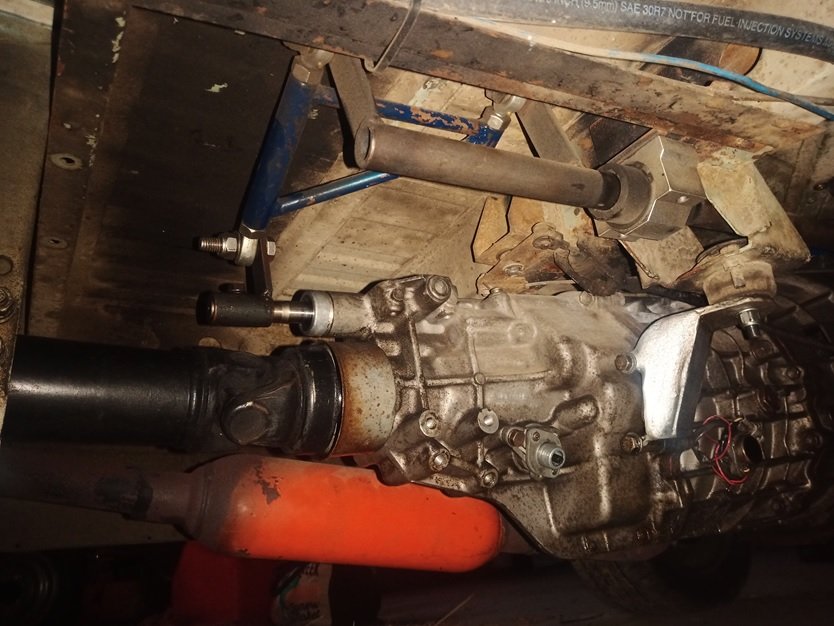
Got the diff and driveshaft fitted up, new brakes and back on the ground. Made mk1 bracket to mount fuel pump and wired up nicely with relay and hidden trigger feed as an immobiliser. Have a few days off this week coming so hope to get it plumbed up and testdrive it by the time i go back to work.
1 point
-
Stumbled across this thinking it would be a Hick brazing scrap metal together. Involves 3d printed parts sound science and he even builds an app to monitor air fuel ratio. Good watch.1 point
-
Recommend these guys if you need a tank/tanks https://www.kiwitanks.co.nz/caravan-water-tanks And these guys for bits and pieces https://www.rvworldstore.co.nz/1 point
-
For sure! The new ones have a 19mm hex head on them so my plan is to use the battery driver I have to do them up Haha no progress on wheels yet but thats not far away. I've got a new set of hubs sitting at work ready to test fit onto the existing stub axles. I'm 50% expecting to have to muck around finding the right bearings but I'm hoping this will work. If it does then 4x114 is the new pattern so some good 14's can be fitted. I've got commercial tires lined up that are only 9mm taller than the 13's on there now. Once its all confirmed its going to work I'll be shopping for a pair of something old and rad.1 point
-
Collected a manual cluster tonight1 point
-
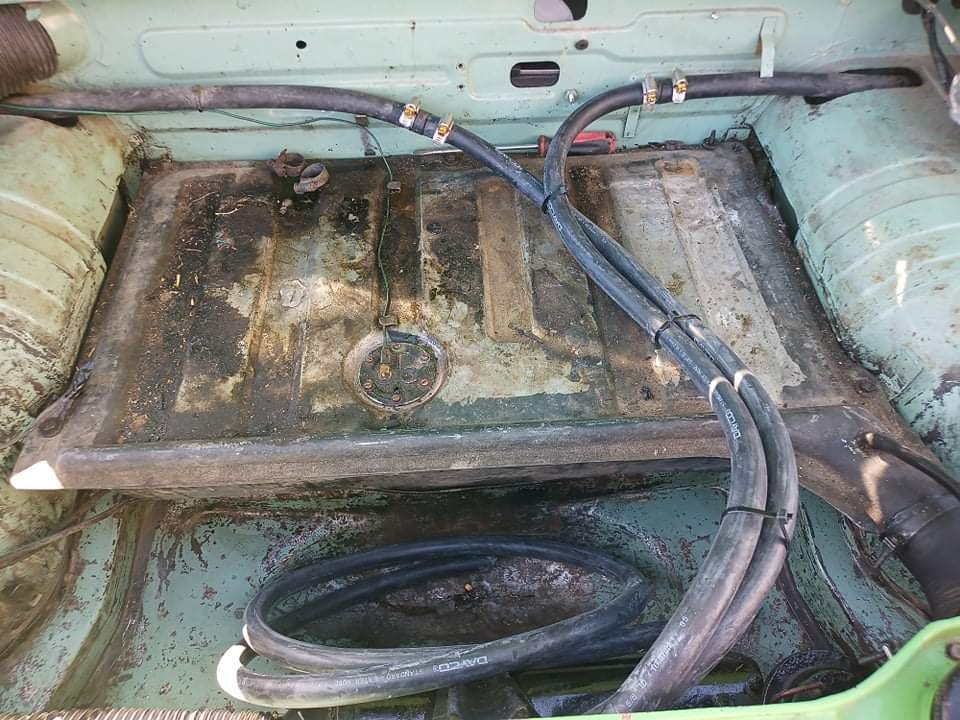
More progress. With help from my trusty friends Mr Grinder, Mr Plasma and Mr Big Fucking Hammer, the offending rusty sections are no longer. It wasn't very hard to do, just drilled out some rivets thru the floor into the cross member, then chopped the thing out. Also had to zip off the levellers and chop back on one of the chassis rails that was a bit poked. Grabbed some new steel and wizzed some black hammerite on it where it contacts the floor, then metal poo sticked it in place. So a little bit of finishing work and that's the rust gone from the back thankfully. I'm grabbing some new levellers today, and will whip up some brackets so they bolt on this time incase I do something dumb like driving off with one down and they need to be replaced again. Ive also figured out the weird water tank thing is infact 240v hot water so once the welding is done will whip the cover off and check it out while repainting the chassis. I want to convert from the manual foot pump for the water to a 12v one that I have and will be replacing all the lines etc too. Im guessing the tank is filled up with spiders and gunk so will have to give that a good flush out and sanitize.1 point
-
Its not to bad - have got some boost by gear set up so it doesn't get everything until 3rd - then it just like a gigantic rubber band Cheers - managed to nut out all the issues with the Link in the end Now for that 13 and to resist the temptation to add some e85 and more boost1 point
-
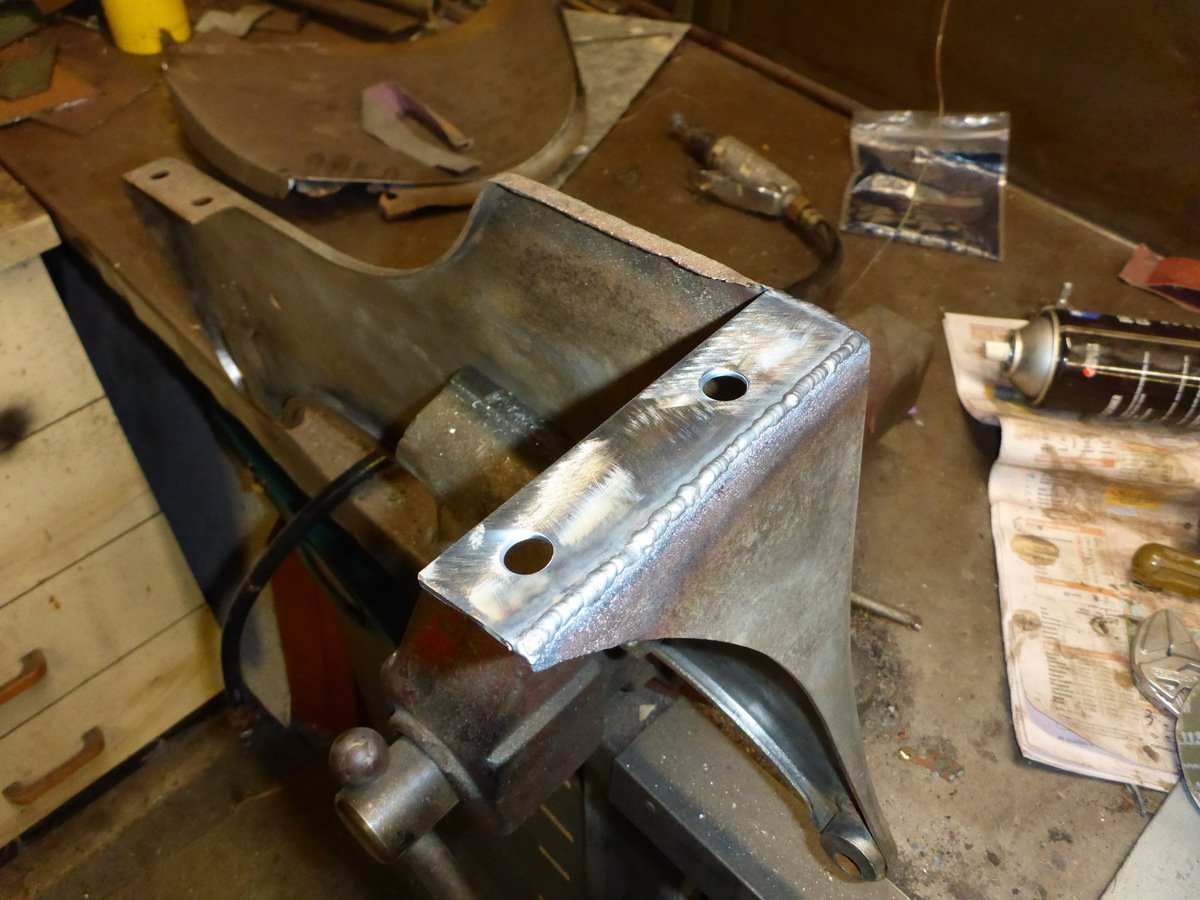
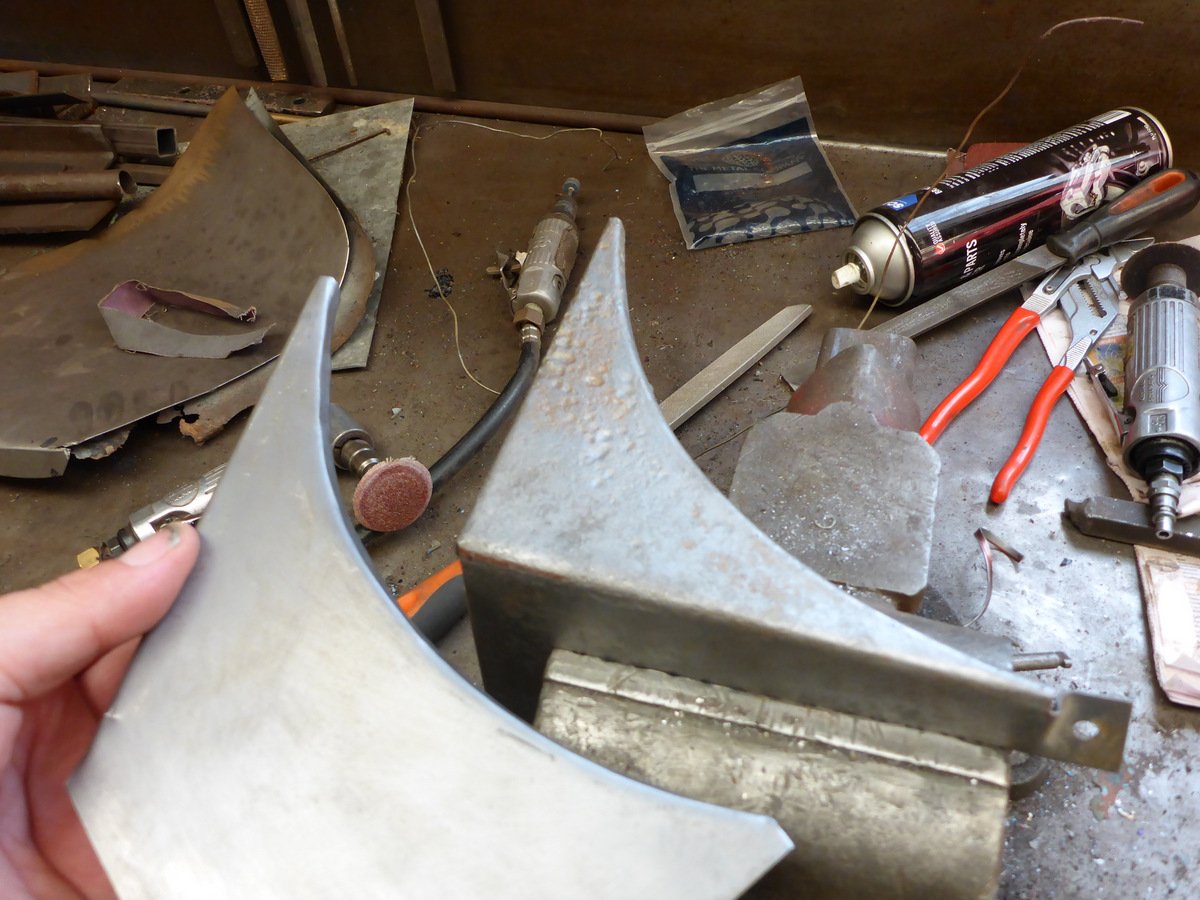
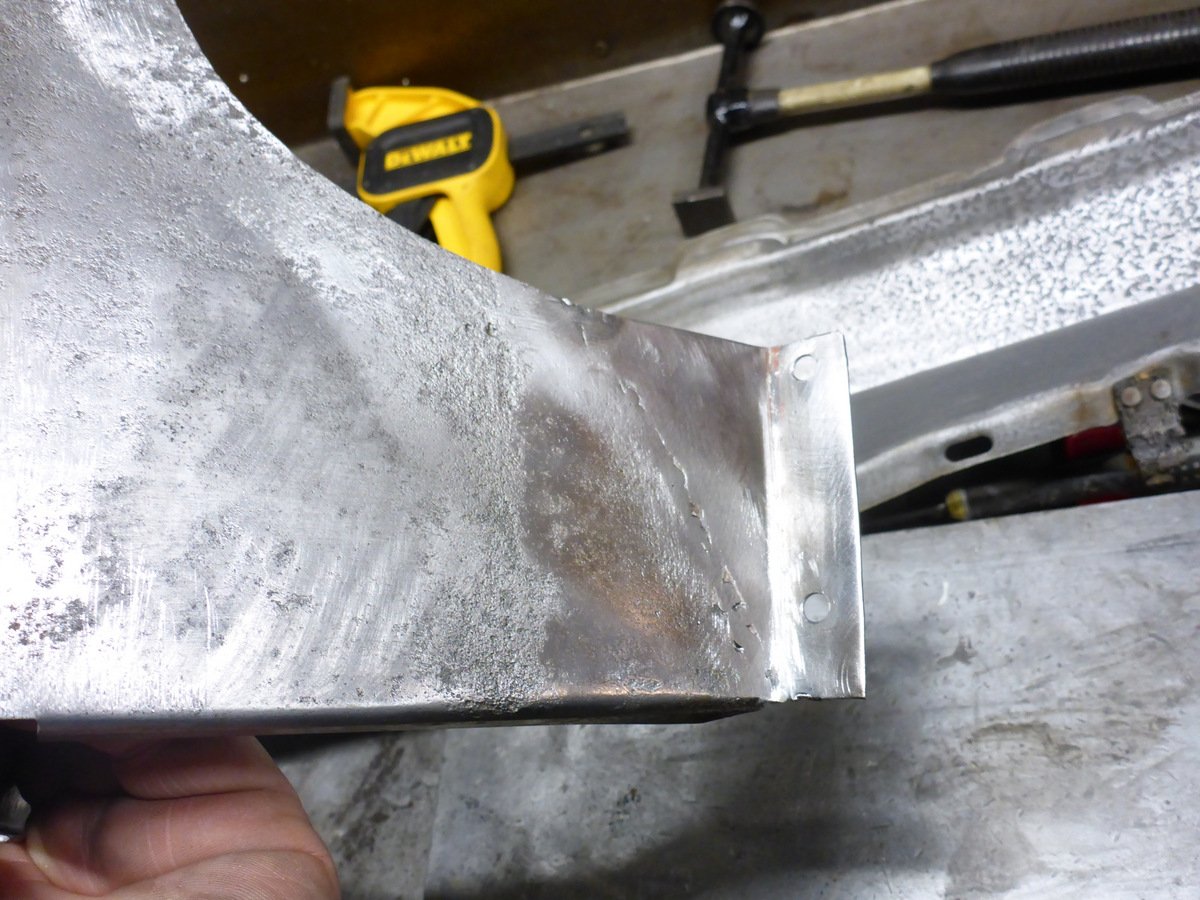
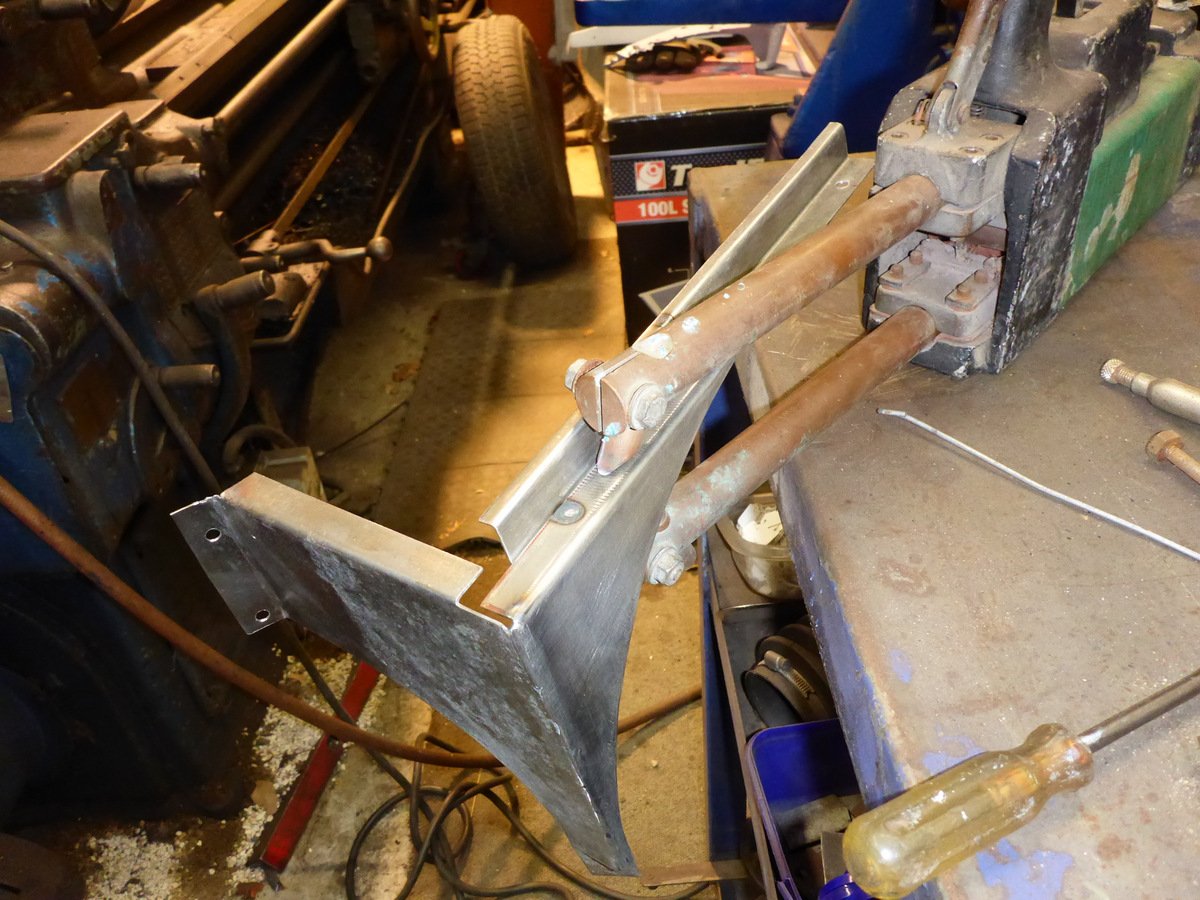
Have been fixing the necessary cleaned up pieces before priming. This is the side support for the back seat, one footing was quite rusty so stuck on a new one. This piece supports the seat back when it's folded down, attaches to the inner guard. Folded up a new extension piece And made a new top as it was pretty pitted. This part is visible inside the car I think. Trimmed and glued on. Still practicing my tig welding. Also a new foot piece on this. And spot-welded back together. Had to put some different arms on the welder to get clearance. Much easier than plug welding with the mig though. And cleaned up the remaining pieces for some durepox tomorrow.
1 point
-
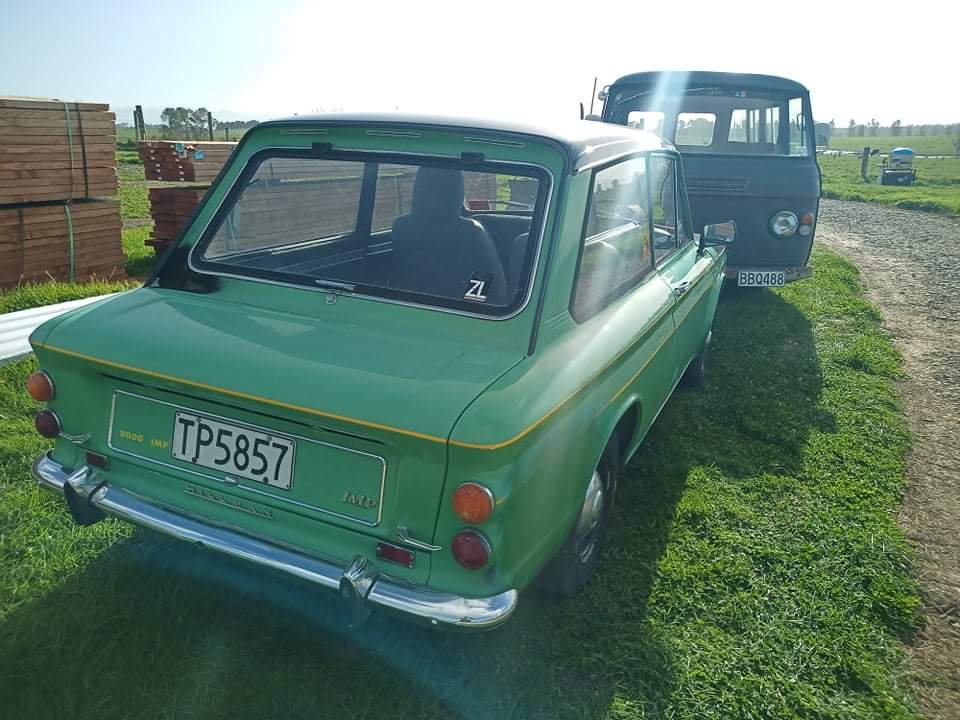
So woke up this morning and it indeed needed an overnight burp. It took around half a litre to top up and good to go. What a difference it makes. It can now easily sit on 60mph without stinking of burning oil and smoking on cool down. Fixing the oil leak helped too. I'm genuinely shocked at what a difference it makes. Random pic of it with it's bigger brother outside the new shed I need to build for it.
1 point
-
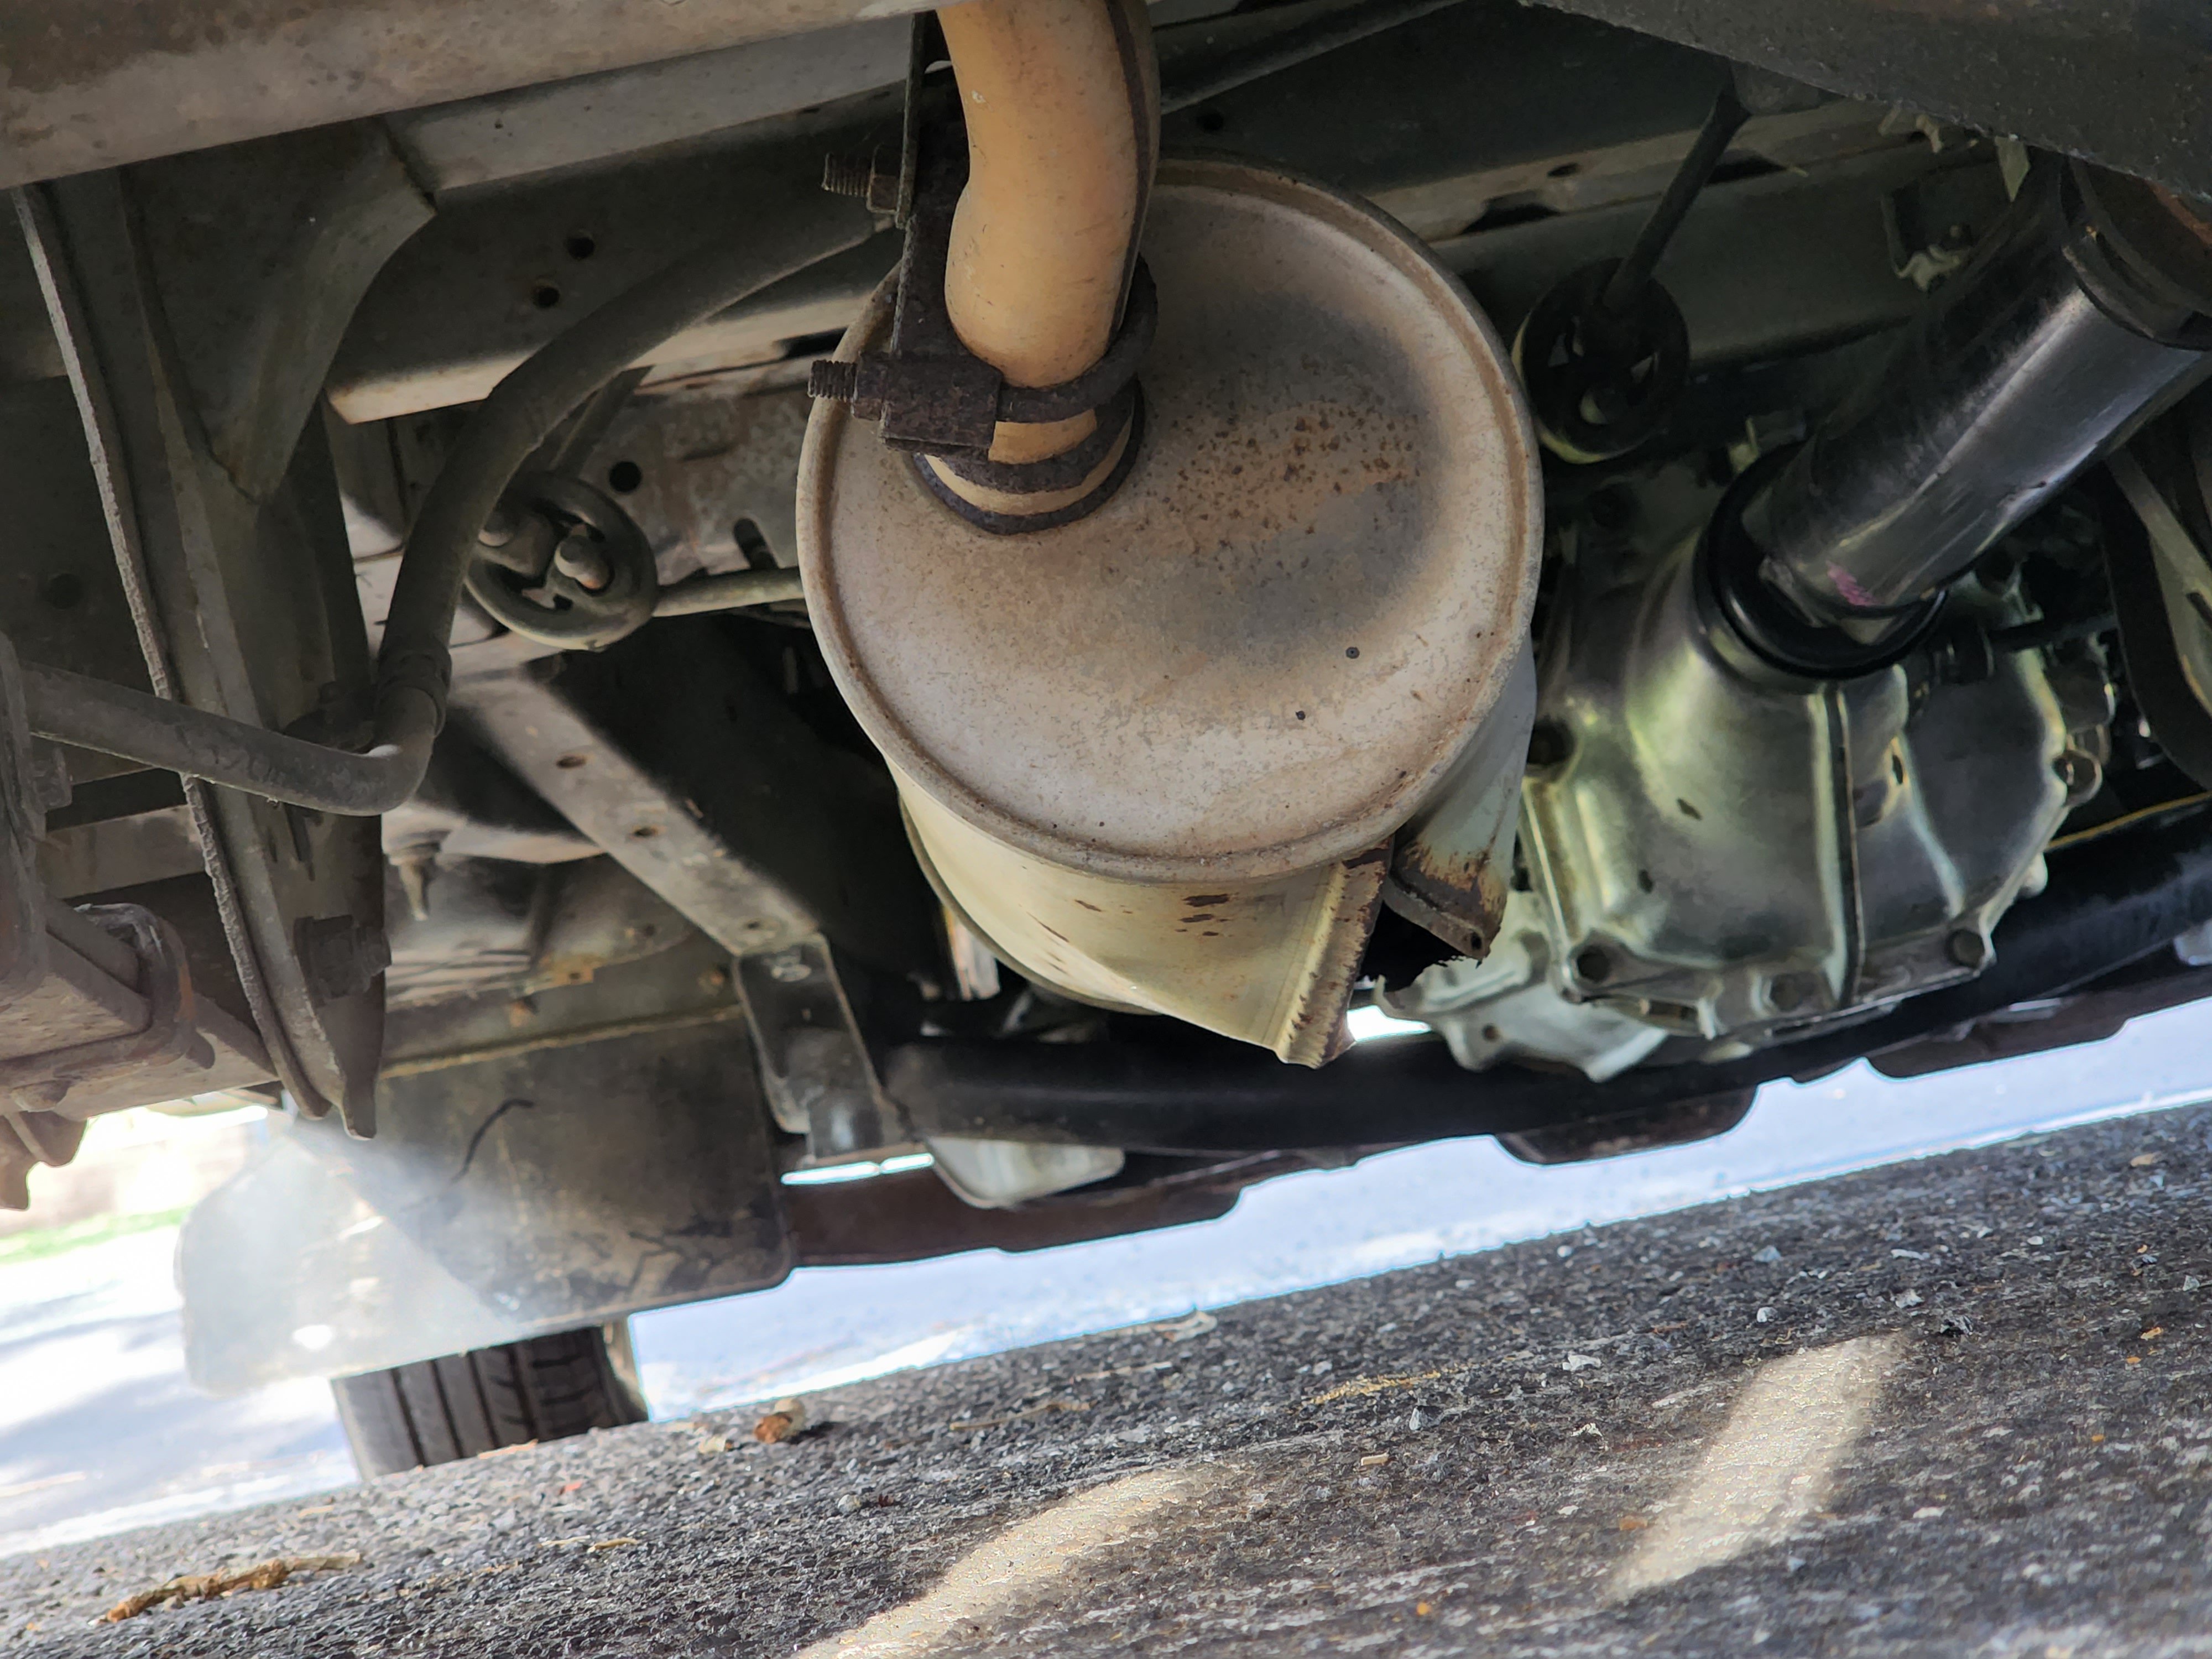
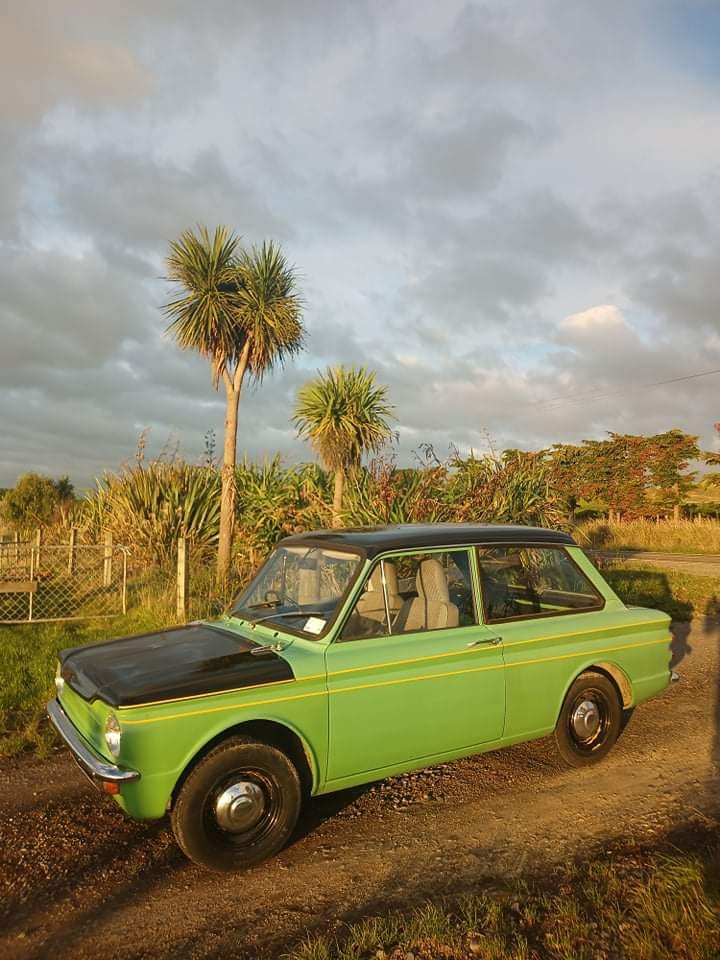
Hmmmm so I took it out for some takeaway. The hoses heading forward used to be joined together and were too hot to touch where it snaked past your leg (oooh errr Vicar!) Now the one going into the aux rad is warm to hot but not scalding like before. The one going back to the engine is cold. Even the outlet pipe is cold to the touch. So either it is cooling better than I ever imagined or there is a blockage in the core or something. I have parked it on a ramp to work any air bubbles back to the radiator overnight.1 point
-
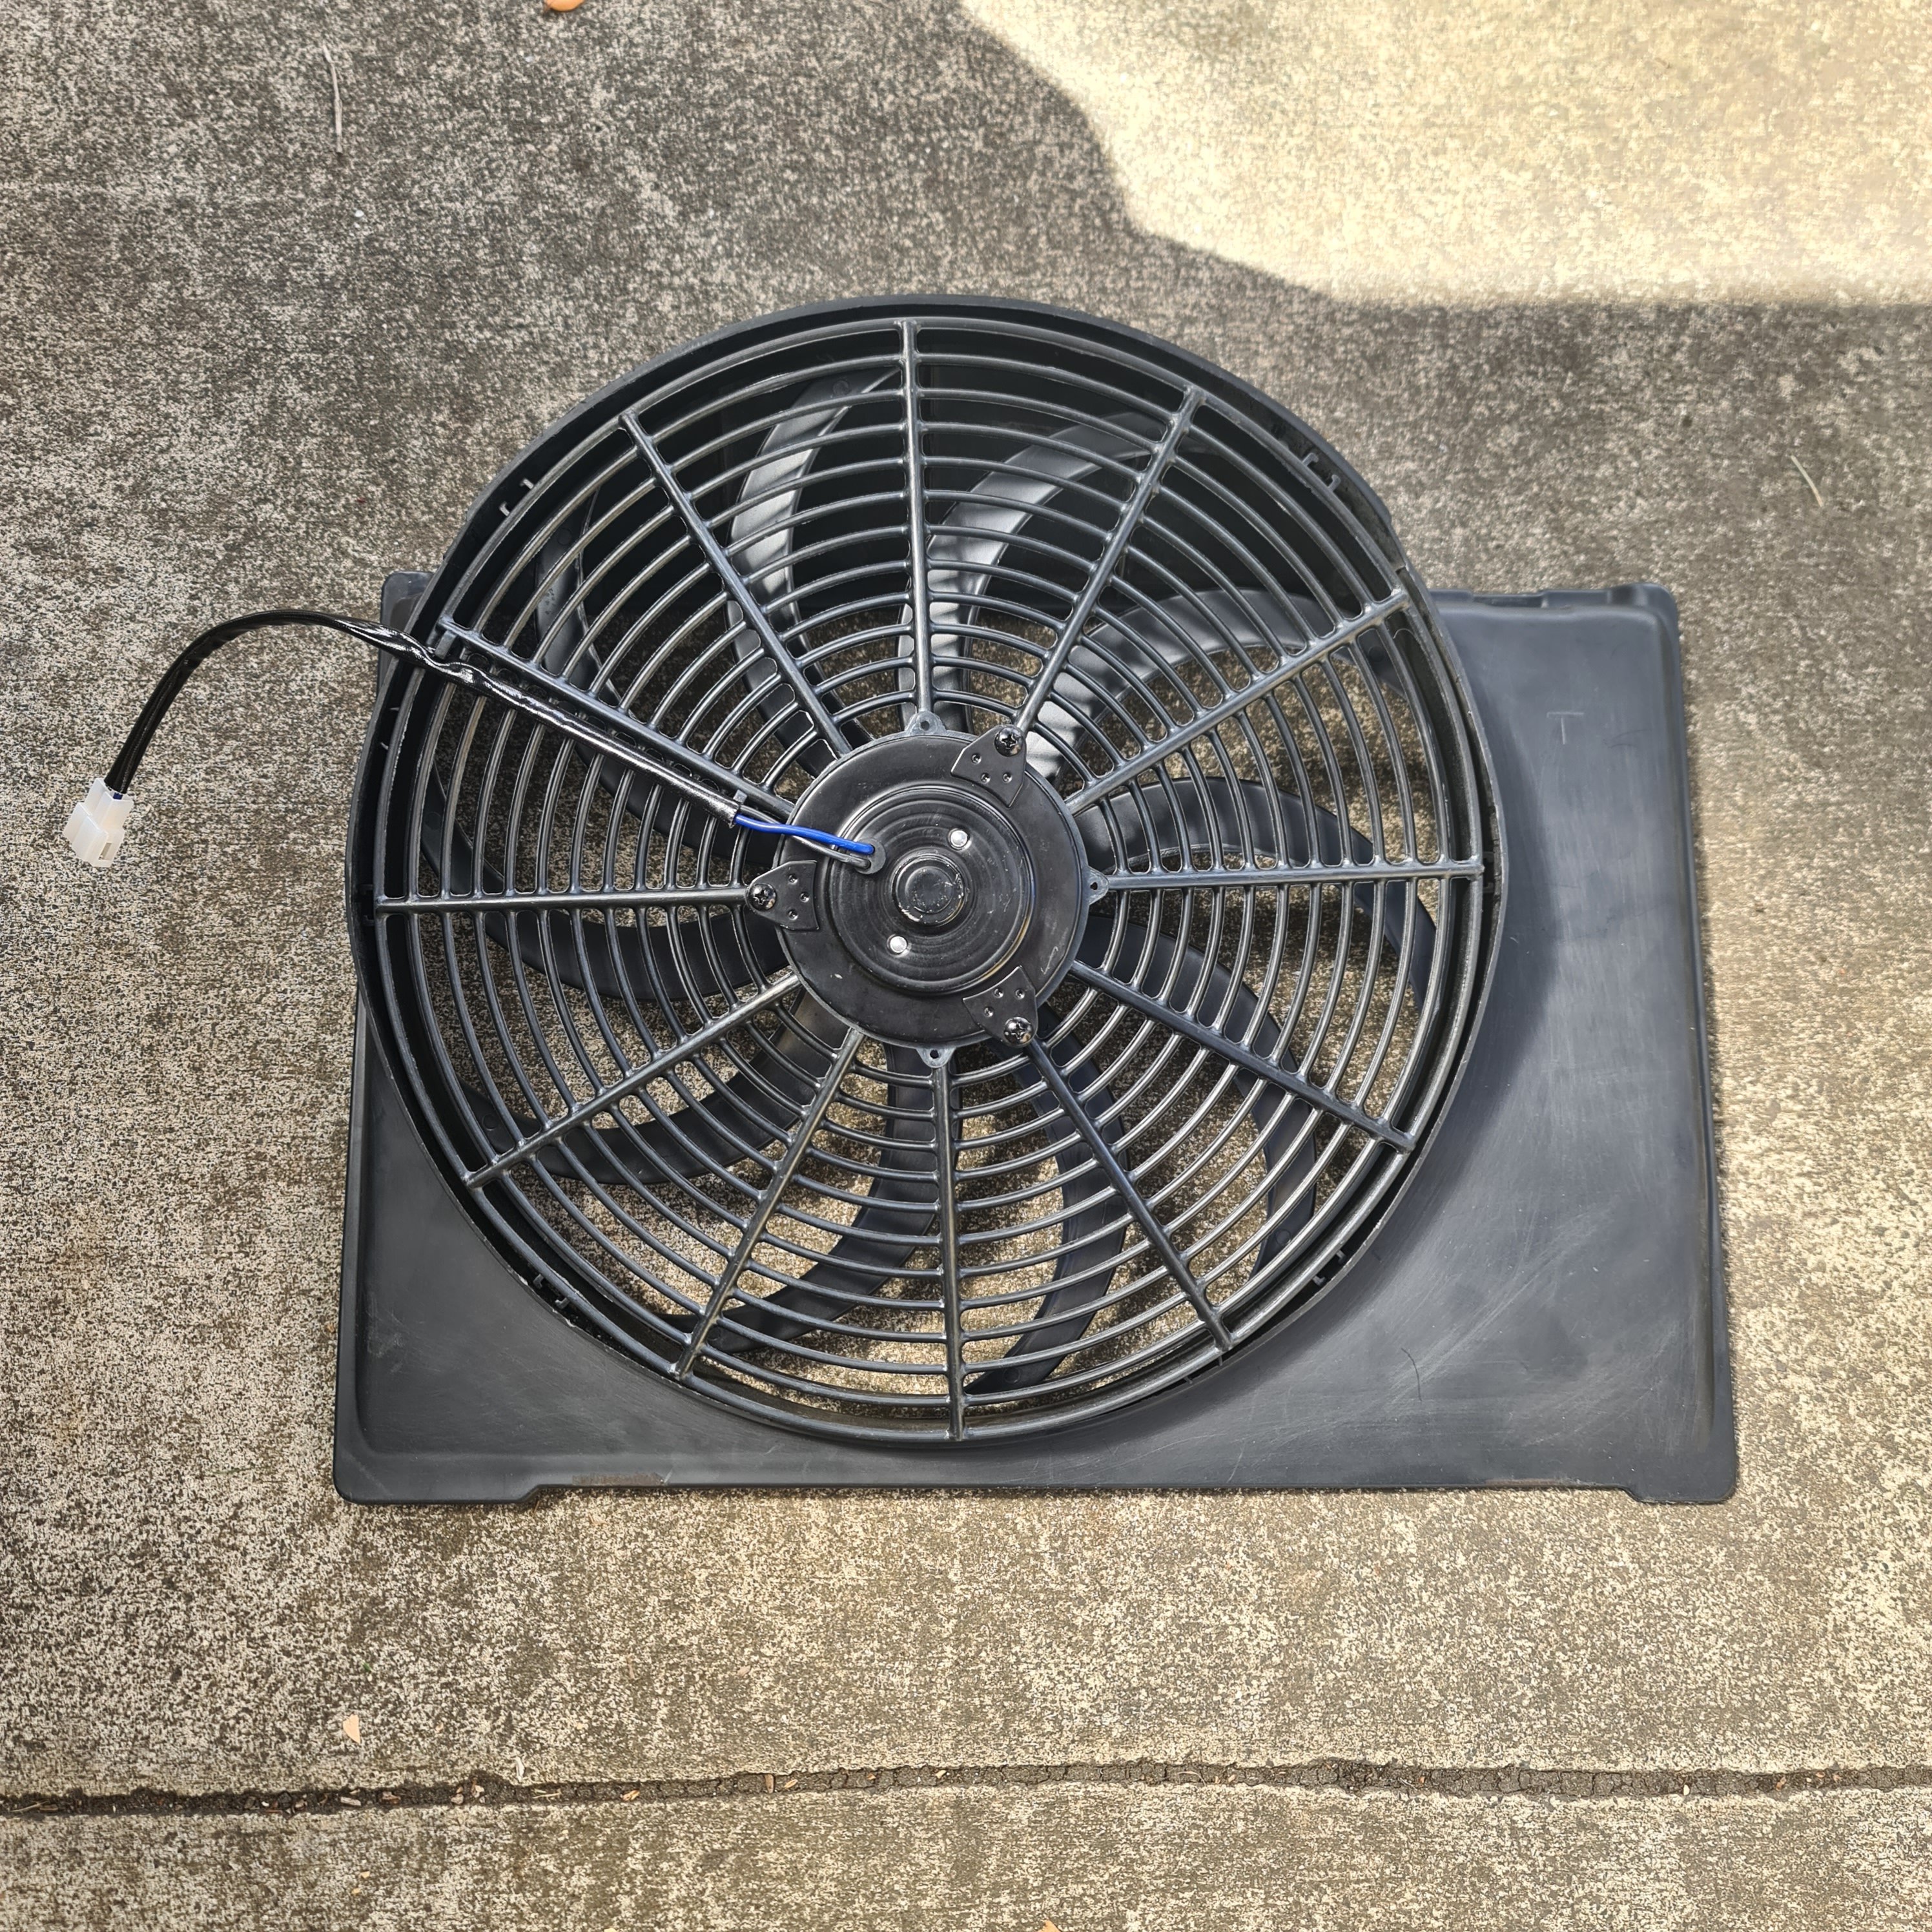
I was too lazy to wire in the temp gauge first and with a warm weekend coming up I wanted to keep things cool. So I plumbed in the aux cooler and moved the plate low and to the right to not block the cooler and direct air in. Should be good for another 1.3 horsepower.
1 point
-
Naturally the spare pump was missing bits so I made one pump from two. It all runs now. In the meantime a deal is being struck for a new engine which should make it a little more fun when this one finally dies.
1 point
-
I also fitted the Torana heater core and it looks like a good fit. I had to relocate the horn as well as do a bit of massaging with the grinder and hammer for it to fit. I don't have hose clamps so what I might do is wire up the temp gauge for the sat night chippy run and see where it sits then hook up the aux radiator and have a look see.
1 point
-
That's a shame. At least it did it before you spent hours removing it and installing it in the other car.1 point
-
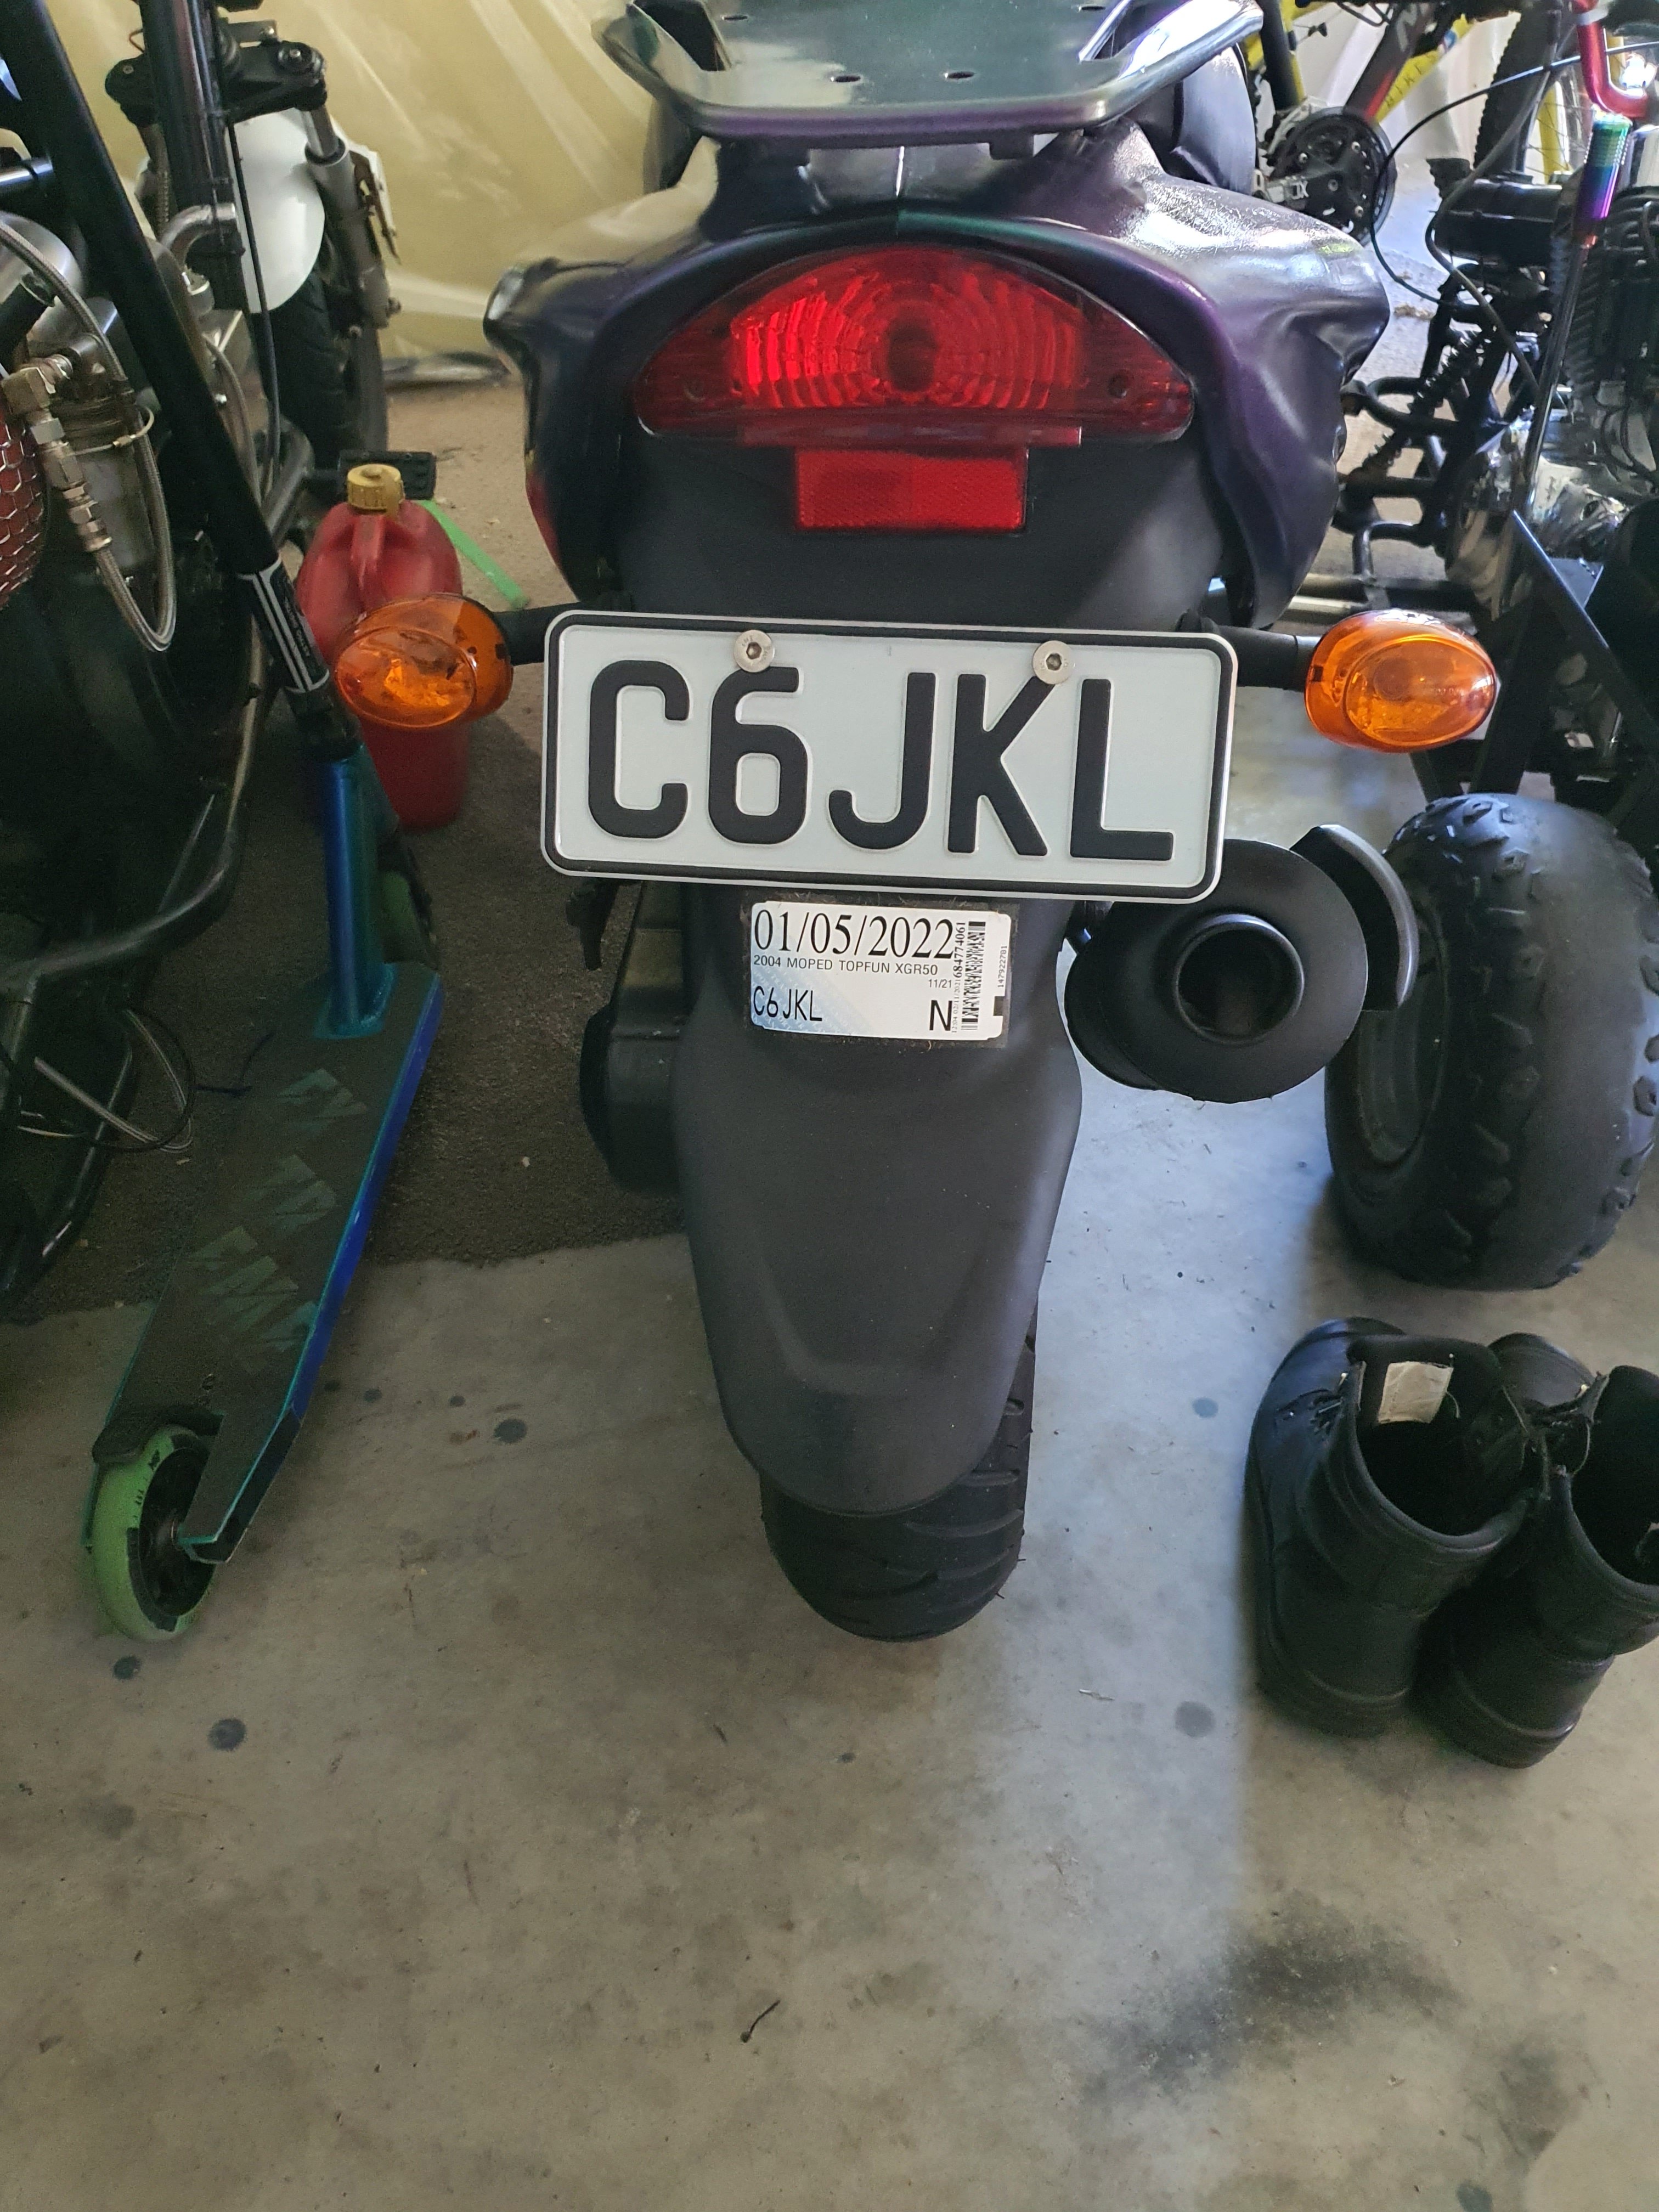
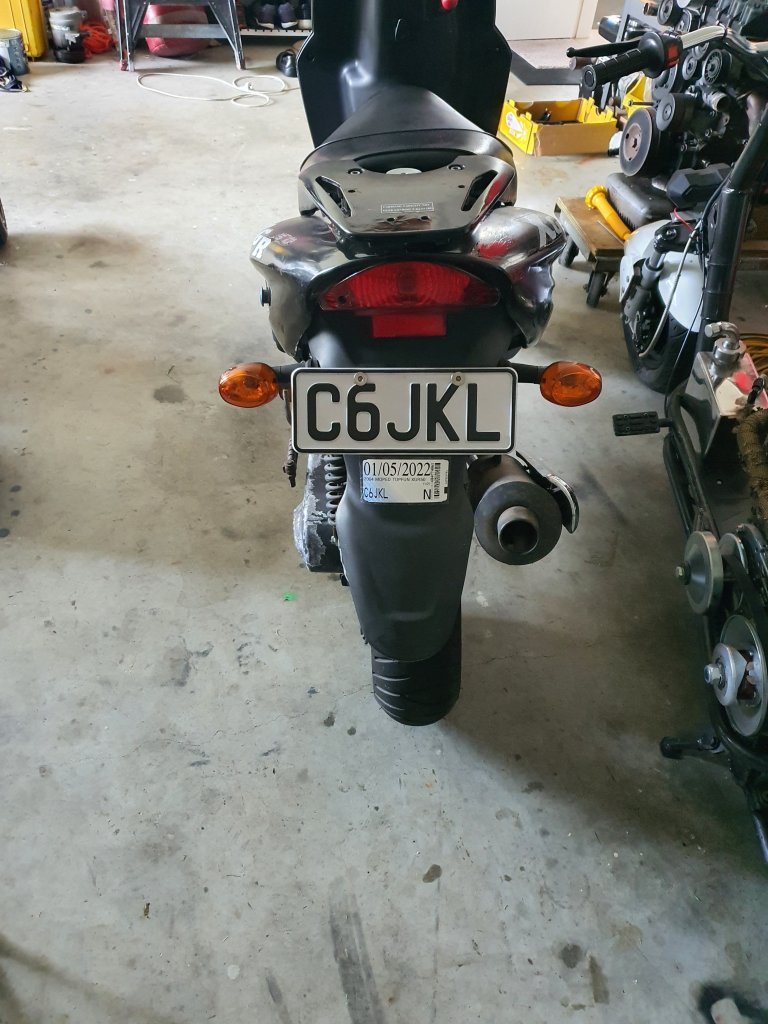
Ripped into it this morning job done before 10am Selected shock from my small hoard of Chinese manufactured motor parts chopped the fork off old shock and welded to base of a quad shock. Fitted test rode as expected is mint no longer wobbly when pushing through corners. Got home and shortened 20mm out of side stand so I dont have worry about it falling over. Tried lowering front.... to much work at this stage still happy though.
1 point
-
Took it for a good 30 min run for Sat night takeaway. Sadly the oil leak onto the exhaust is still prevalent. Might have to give the engine a full scrub and test drive before whacking it up on the hoist.
1 point
-
2.5m of heater hose and 10 clamps later
1 point
-
1 point
-
Over the last couple of weeks I managed to get a second hand coupling off a mate and swapped that on just so it can be moved. Also fitted new lights which were surprisingly cheap at $50 for all four. Ended up running the gauntlet and driving it across town to work where it will sit so I can work on it. It seemed to tow fine so I think the duratorques are still good even after sitting since 2008. Will eventually get new hubs, wheels and brakes. In the mean time I gave it a quick waterblast clean up. Here's before: During and after: There's heaps of hard to remove gunk still to go and I'm thinking of hitting it with some wet and forget or something and let it sit for a week or two then hot wash scrub it to get the rest off. Its come up pretty good regardless. Couldn't resist the urge so gave a bit of the blue a quick cut back to see what its going to come up like, and was pleasantly surprised at the result for such a quick hit. With some decent effort it should come up pretty well! Will caramel wheel off all the graphics and replace them as we have a vinyl cutter which will probably be as far as I go with the thing. Next is ordering the brakes etc and hitting the chassis with the wire wheel to see what its like.1 point
-
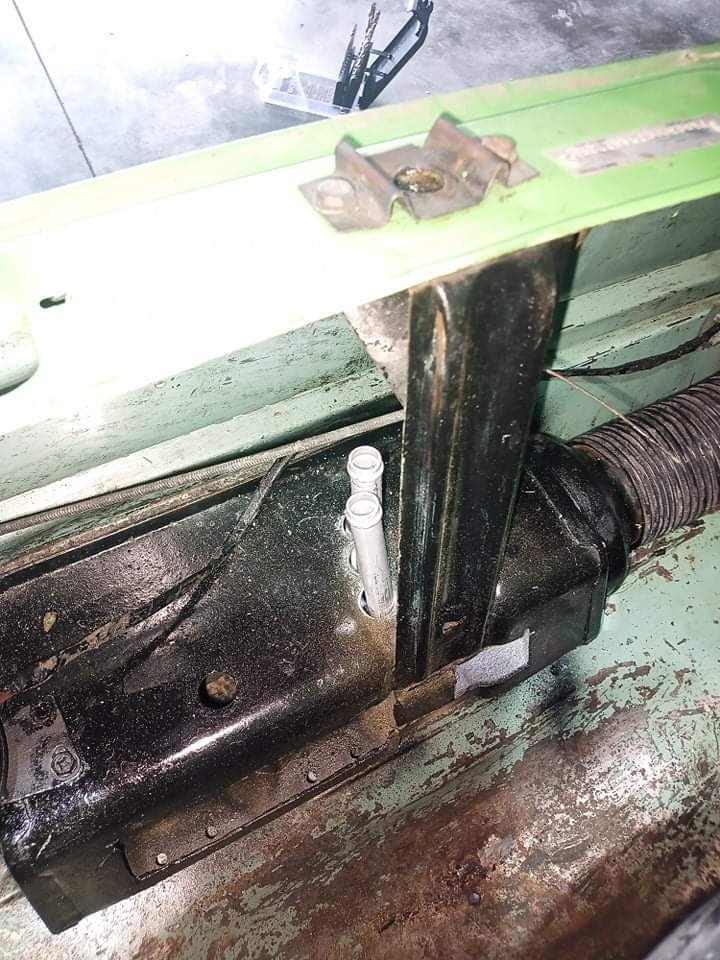
I did clean and clear the wipers and they still look tits. Boring update, but you never know who it might help. there’s no swage in my door and it relies on the crown for strength. I noticed when opening and closing doors to align them that the skin flexes way more than you’d like. Today I saw these on another forum and though it was brilliant and easy. 20 minutes later slam some epoxy glue on them & bolt them back up and they will stick to the inside of skin and spread the load..no silly cracked paint/undesirable distortion!1 point
-
Blast’n’bits Vapour blasted my wipers, photos don’t quite do justice but they are like new..the satin finish means I’d never be able to clean them up nicely without polishing but vape to the rescue again, it’s just a magic process. There some finger prints I need to clean then I’ll clear them1 point
-
The neighborhood kids were screaming so I made some of my own happy noises with the grinder and flap wheel. It's not vtec officer.... Figured out which were the intake and exhaust stem seals and chucked the new ones in/on It occurs to me thst I probably should have lapped the valved in before doing that but I'll give them shit loads of oil and it'll be fine1 point
-
Free bit of Weekend spent hanging/ aligning the doors, guards, valence and bumper for good. Pretty OK! Sorry the pics are shit, was in a rush. I’ve had this B310 panel-steel chin spoiler for years and finally bit the bullet and decided to run it. I could have gone Camaro style and had it inset, but the ends made problems when it came to mounting. We made the call to chop it, and the ends practically fit the sweep of the valence after all! just used a random number plate to fill the gap (lol) but it works well so I’ll make a bracket. Not finished but you get the idea. I took the 20 degree angle of the indicator to set the spook angle. And the tyres flipped and lathered in tyre shite to help lift the new-tyre scum and release agent Then, started blocking and bogging. Fucking Joy1 point
-
Just dragged it home from woolf mufflers. He's done a tidy job of the sharp bends to get by the k frame and just hooked into the 5k muffler to get me going for now. Trying to actually drive it im having some issues with gear selection and a clutch sounding noise. I just recieved the workshop manual which shows me where to set the colum lever so will try that and see how i get on with selecting 1st. Feels like im trying to launch in 3rd and cant find reverse. Hoping i havent kooked release bearing size or anything.
1 point
-
I'm a huge fan
1 point
-
Welded a couple of pinholes and cleico holes we missed, welded a patch in the drivers door..the rust had got in between the frame and skin and swollen outwards.1 point
-
Picked up paint & supplies today too.1 point
-
Since my back is already screaming, might as well do some more. I knew this side wouldn’t take long as all the shit paint flicked off and left nice primer layers exposed1 point
-
one side down! lots of bog on the door, most of it wasn’t necessary..worked in my favour as I could plow into it and took off that shit EnameI at the same time but I smeared it around every other panel. ironed out a few lumps especially around the handle.1 point
-
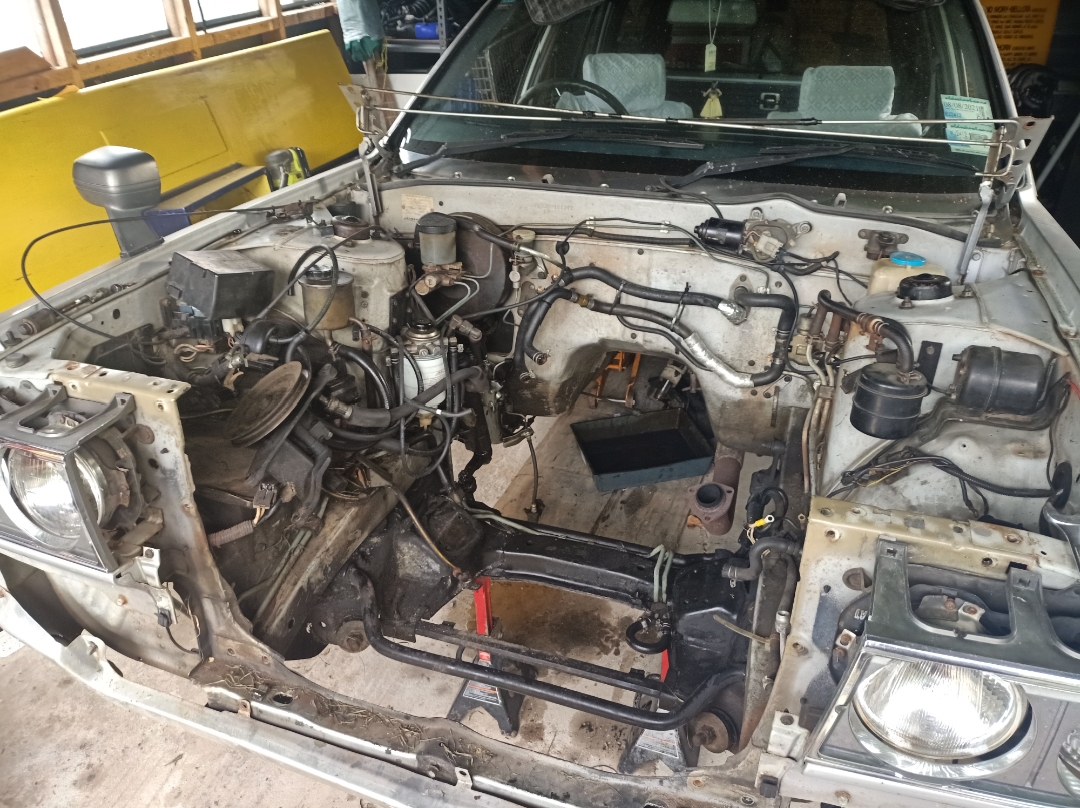
There weren't issues with the oil pressure and handbrake light I just hadn't hooked them up. there is a problem with the charge light but it's related to my alternator wiring I think (still need to delete the 5k voltage regulator also) as there is a loud humming from reg when key on. Need to sort this and finalize the fuel pump and electric fan override switches that are already wired in then I can put one of the dashboards back in. Coolant pipes and exhaust are the only remaining jobs that come to mind.
1 point
-
Marketplace comes through with the goods again, brand new 15x8s for a steal. I was planning on running steels or something more mongrel up front but couldn’t pass these up! Couple of tiny rust spots but what bloody Cragars don’t!1 point
-
Here is how the linkages work. Three rose joints and 7 gears including reverse. The speedo sender below is just taunting me at this point.
1 point
-
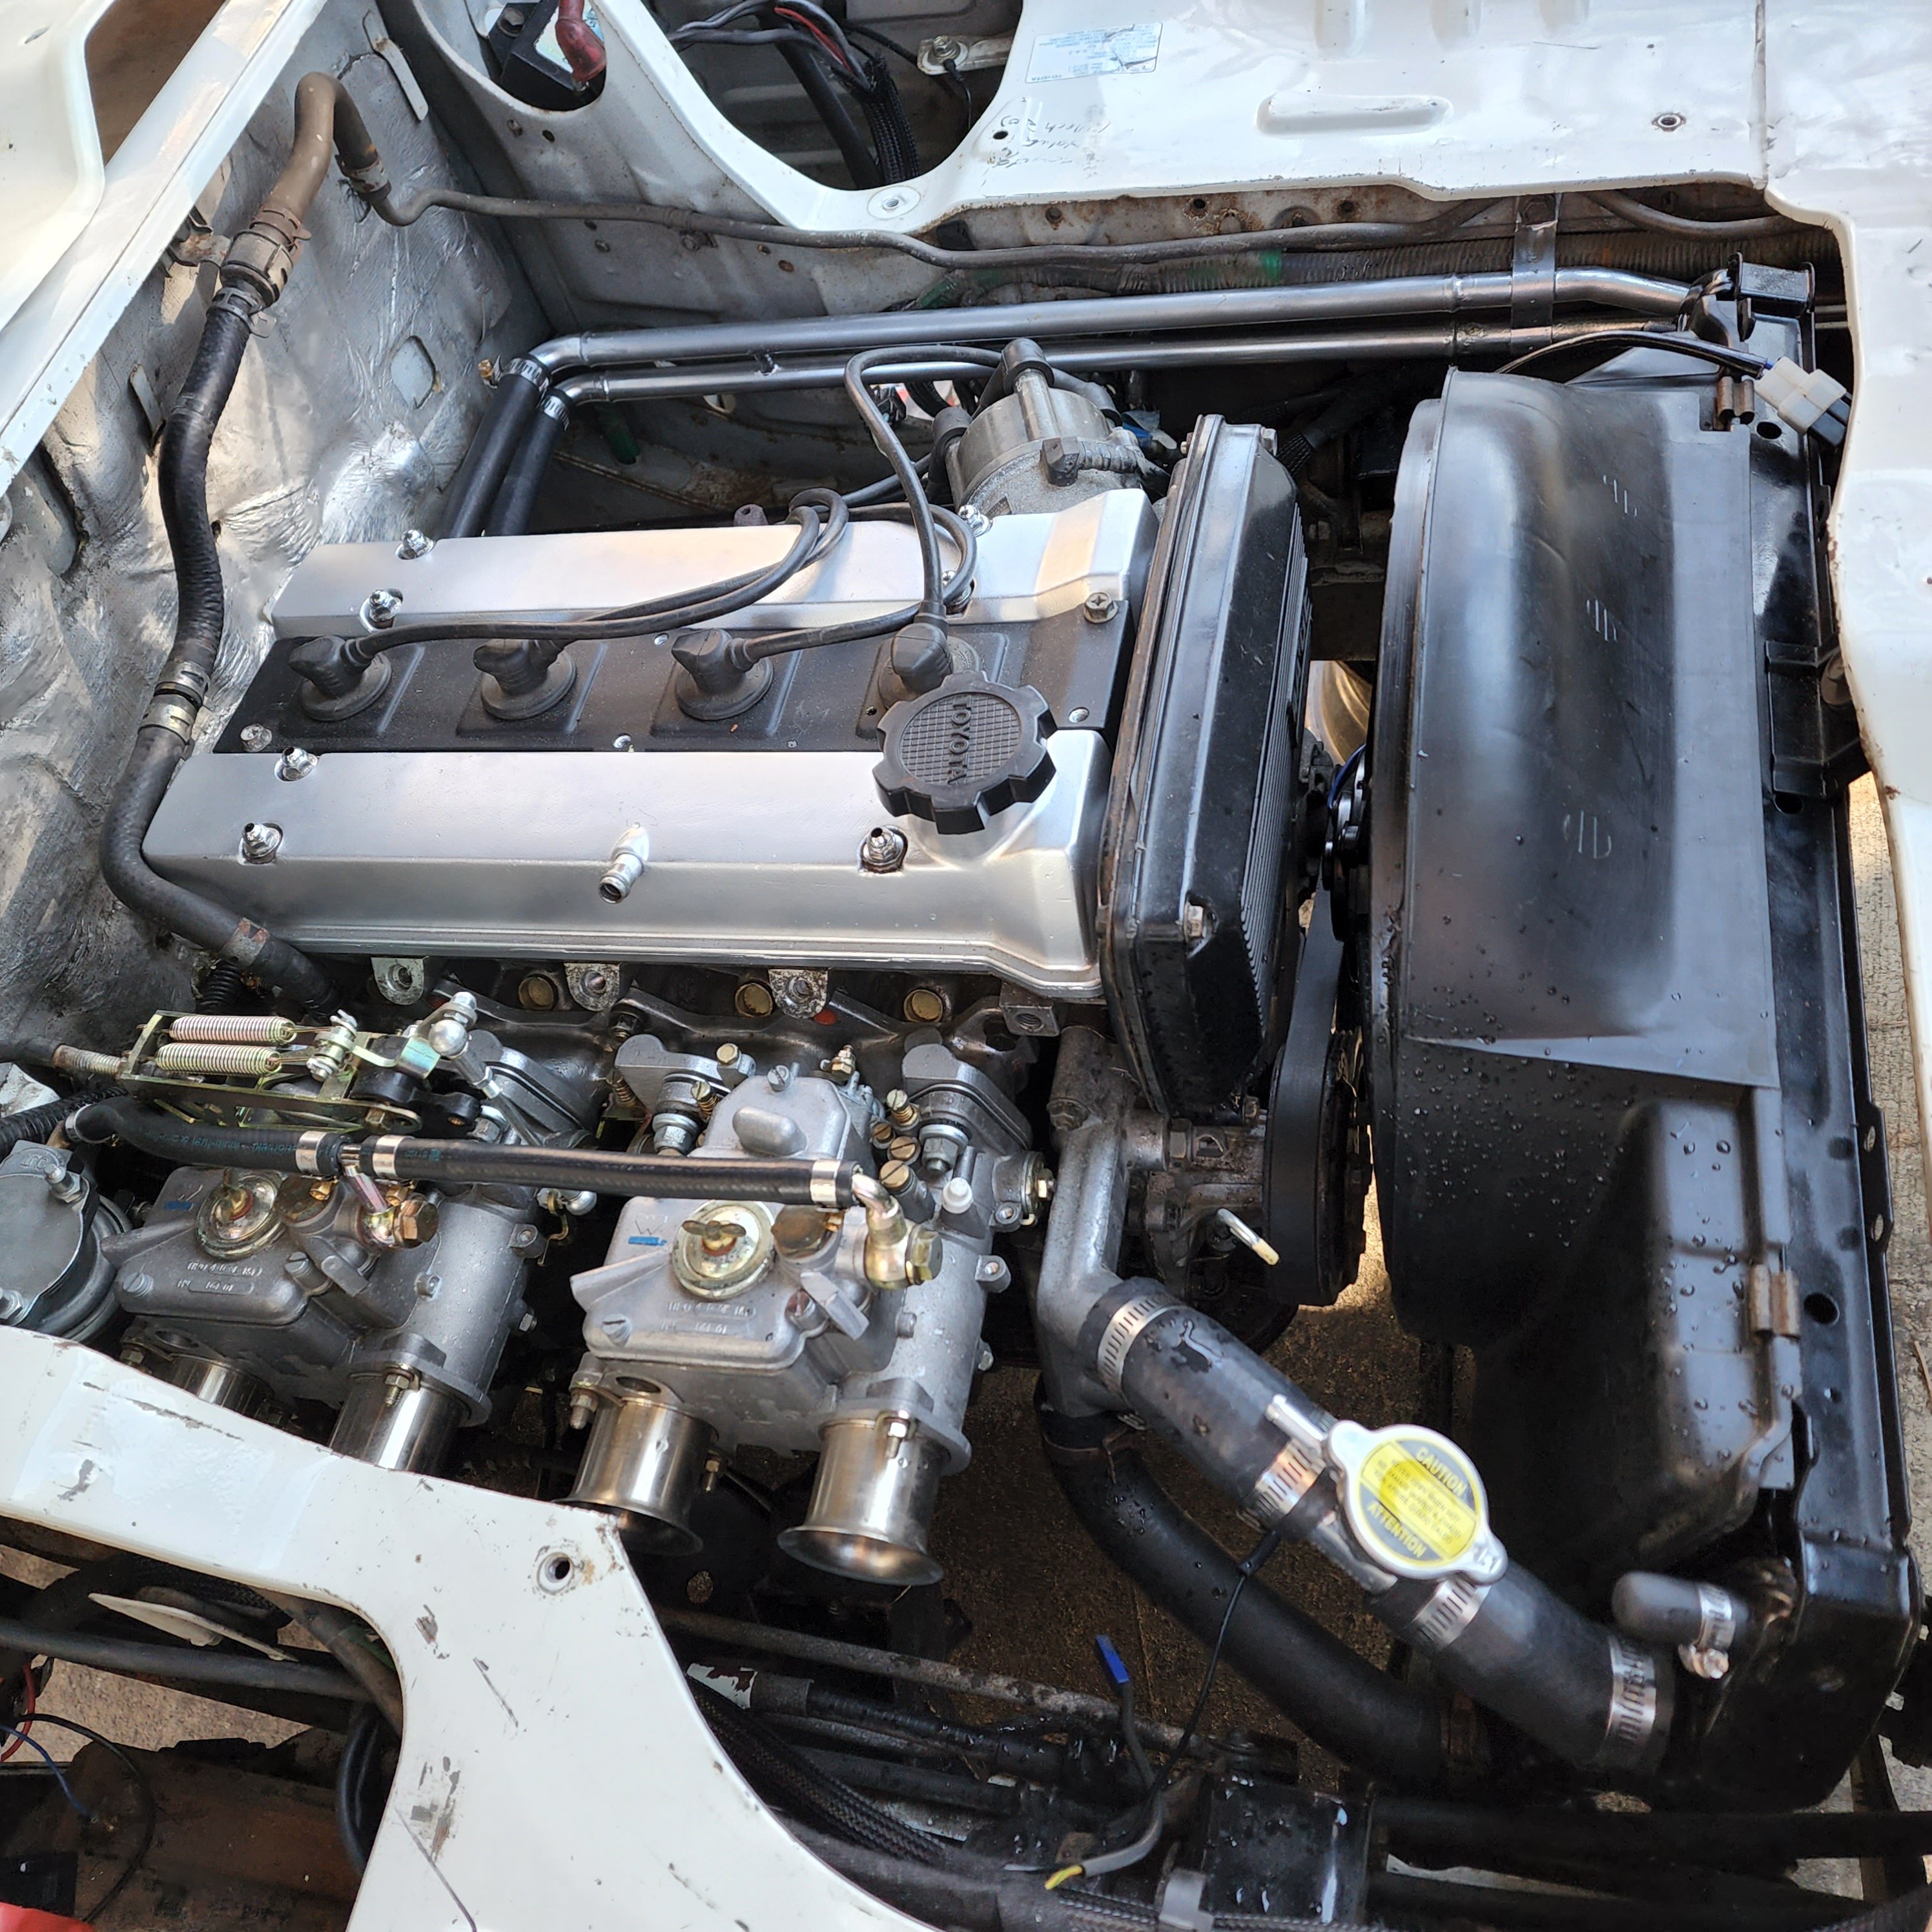
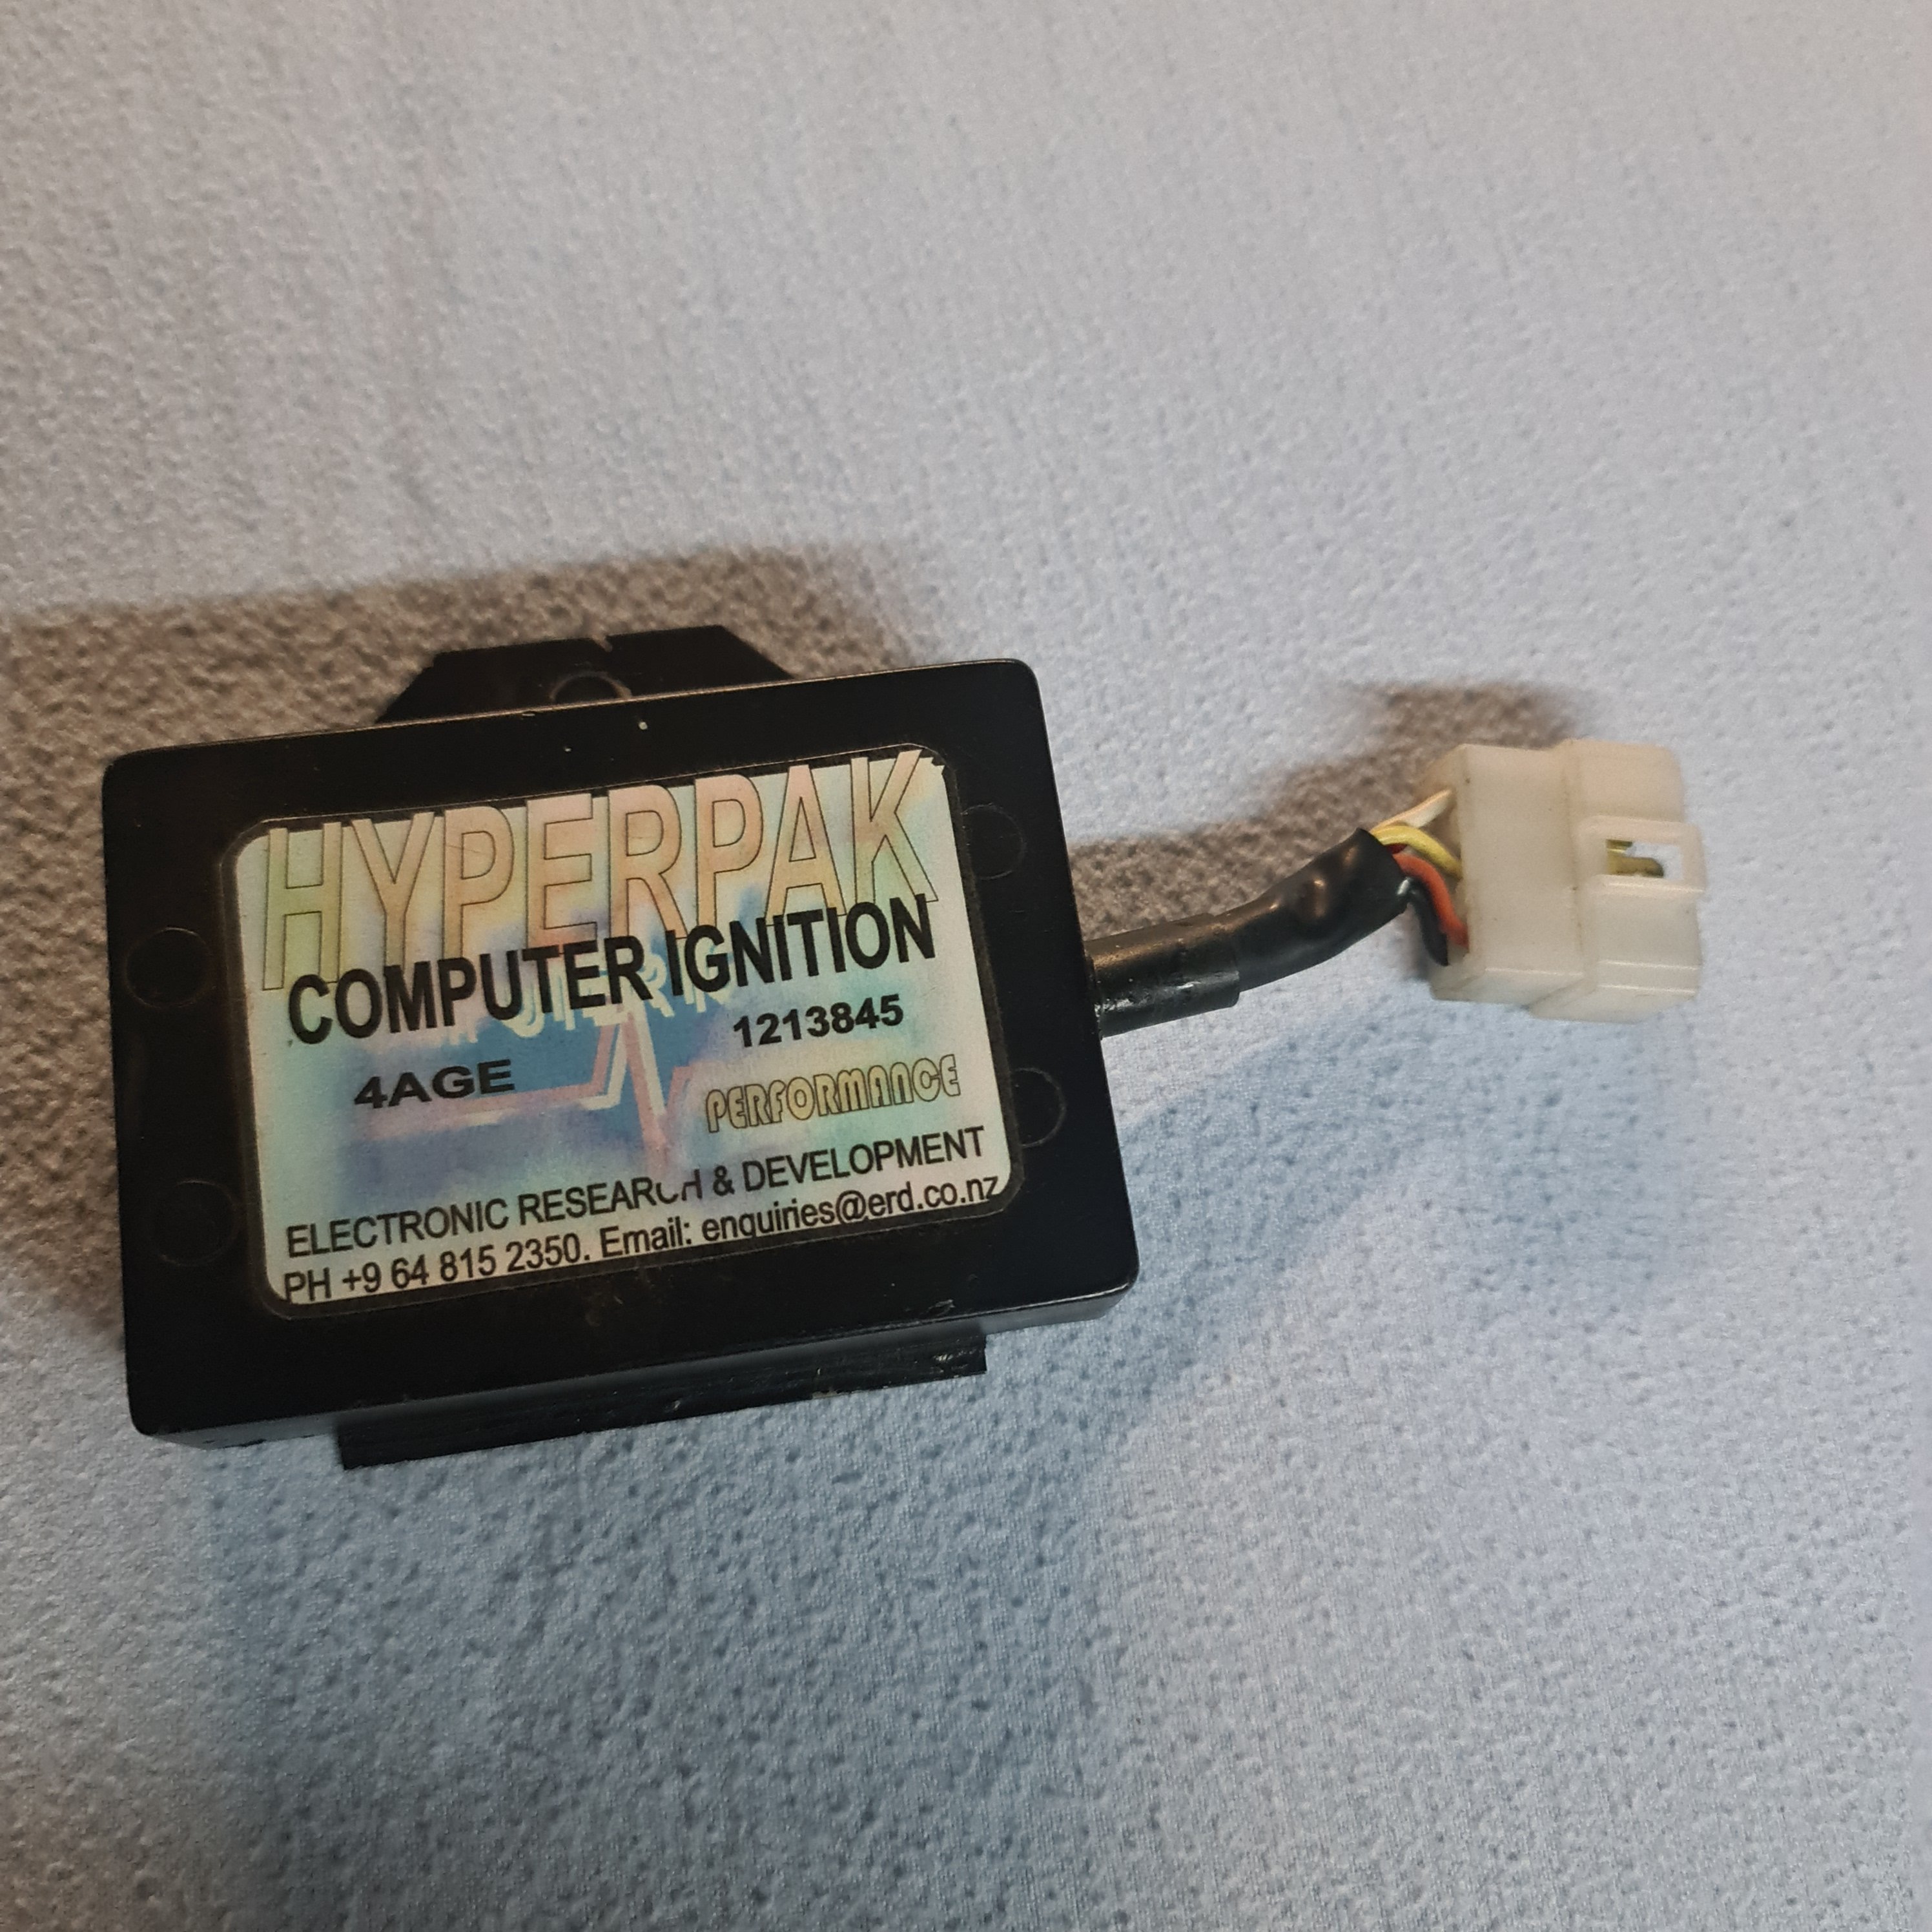
Received a used hyperpak in the mail today to control spark with the original 4age dizzy meaning I don't need to run ecu or the massive harness that comes with it
1 point
-
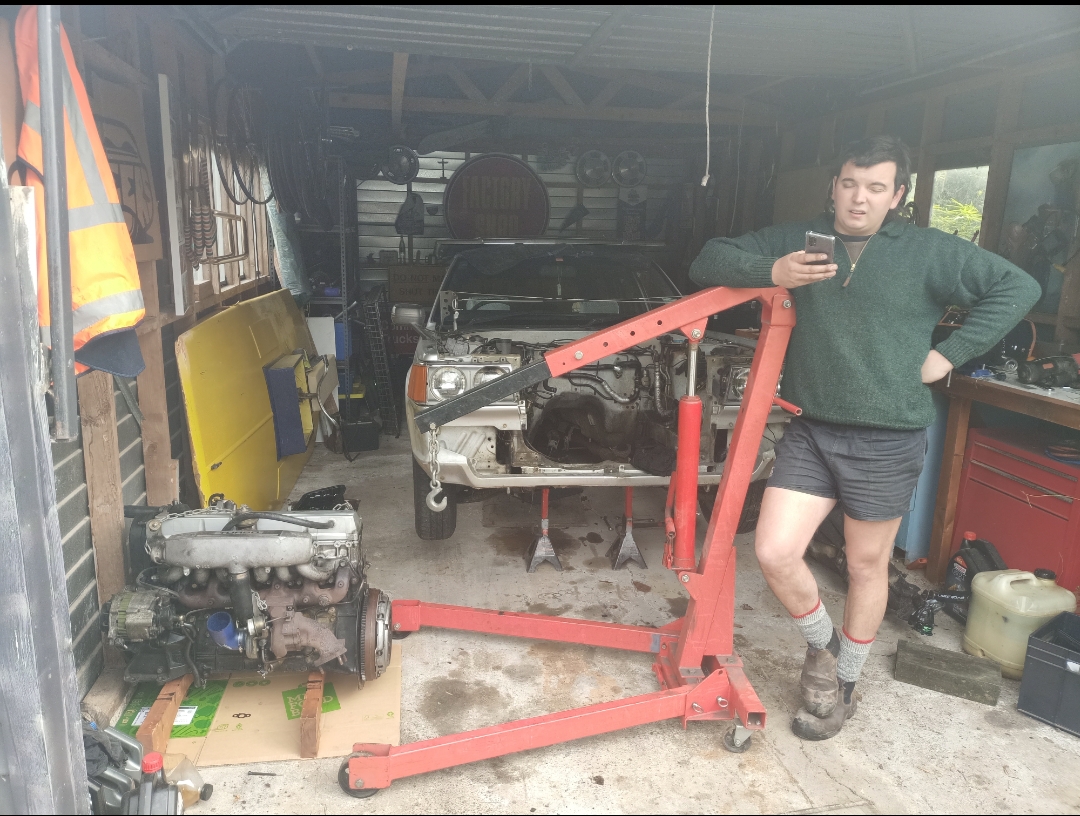
And big thanks to young @Geophy for his help. That engine crane won't hold itself up mate
1 point
-
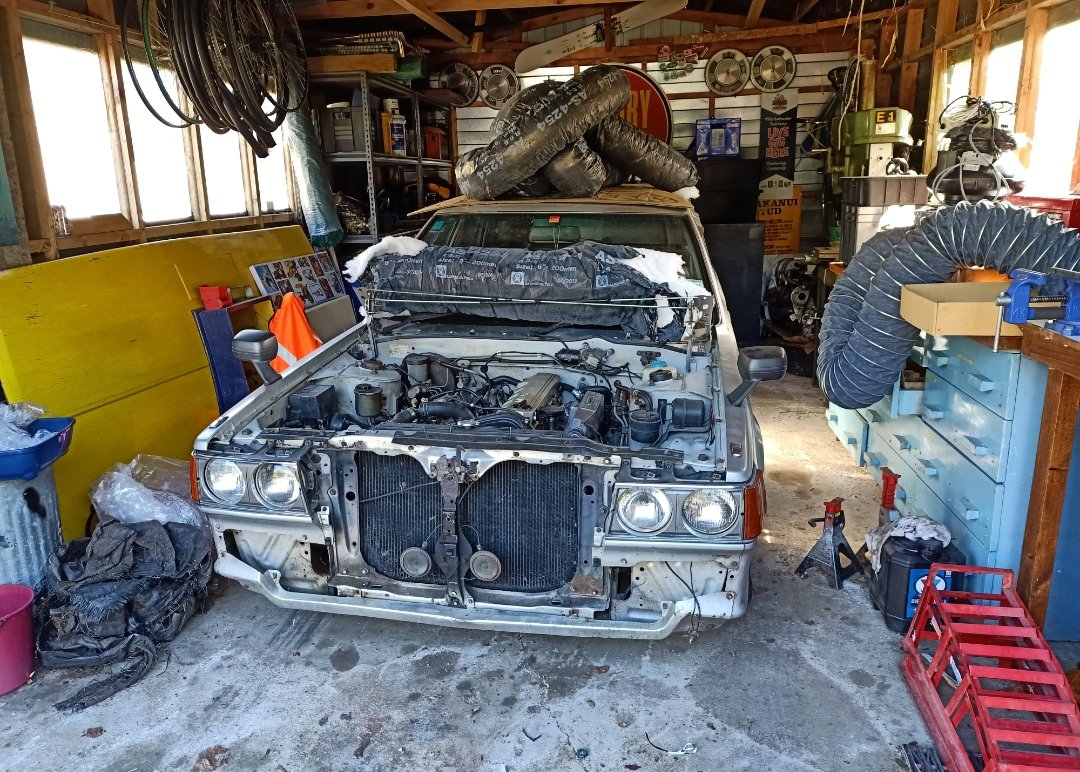
Did a thing. Pulled the engine and gearbox out. Need to swap a few things over and then hopefully drop new motor on next weekend. Everything needs a bloody good clean as it's all yucky.
1 point
-
Well well well. Not long after getting a wof as per previous post, I was an idiot and did a few too many grass skids on and something let go in the engine. Unfortunately this knock knock who's there wasn't a joke this time. So I did nothing for a few months pretending it would fix itself, which it didn't. Then eventually tracked down another rd28t engine pulled (a runner pulled to make way for an rb30det) so snapped that up. Since then have been slowly pulling the car apart ready to pull the engine out and drop the other one in.
1 point


This leaderboard is set to Auckland/GMT+12:00