
Leaderboard


Popular Content
Showing content with the highest reputation on 21/08/16 in all areas
-
Lame update time... Started off with trying to put the w55 tail section onto the w58 box. That didn't work because the shifter didn't line up in the hole and the bearings were wrong (not that big a deal but the aforementioned problem was the main one). So I put the 58 tail section back onto the w58 box and thought I could put the w55 selector shaft into the w58, nope has a way fatter bottom section which grabs the forks so wouldn't fit into the 58 as you can see below: So spoke to Brendon at Convert who had only had it once before, and easiest way is to drill and tap the w58 selector lower down at the same height as the w55 (thanks to Chris/EURON8 & Strange's drillpress) then put the w55 selector bush onto the shaft and mash it all back together. So the mishmash gearbox ended up looking like this: As before, both plates of the twinplate were fucked, also had to buy a new floater plate, fingers for the pressure plate and the flywheel got a skim. Also discovered when I sent the stuff back to MRP for skim and parts that it had an 800hp spring in the pressure plate. This has been replaced with something more in my realm of power now so it shouldn't be a leg press to use the clutch now... Nearly all back together now, gearbox in, driveshaft etc etc. Changed out all the fluids again and also changed rear main, rear gearbox and diff snout seals while it was all apart. Need to fap around with the slave cylinder as it has been mounted at a strange angle both vertically and horizontally and not pushing straight on the fork. Got sidetracked today and my need to bling things took over so gave things a bit of a polish up to look fresh again Thats all for now, might get to drive it again this week!11 points
-
Spent the last few days sorting out grot, Shane found a full bottle of good rust convertor, so I put that to good use once all the ugly was cut out. This looked like a lot of awkward shaped holes to fill in, so fuck it, it can be all one patch... Then there were a few pin holes in a seam down the sides. This had been helpfully filled with bog and painted over, so it could become much worse without anyone knowing. How hard is it to put a bit of steel back in? This bit took 10 minutes max including cleanup... And a few little bits of ugly that I uncovered and rust killed. The bits around the lights will need welding, but that will be it I reckon... I have many hundreds of dollars of paint sitting in the workshop now. I just need to give the roof a wee cleanup before getting into the paint. Here you can just see the aluminium frames that I made for the windows.9 points
-
yea, so it goes really well now. 14 pounds equates to about fuck all rpm so its interesting to drive. its got a LOT of pull from basically idle and it makes boost almost instantly. the joys of a small turbo i suppose. now to do some more Ks in it and see if anything wants to have a melt down. it would be nice if this is the end of things shitting themselves.6 points
-
Righteo, today had a bit of motivation to do a couple mroe things on the truc, went for a drive to get coffee and ended up swinging past supercheap to pick up a couple things: Dash bulbs,Ciggy lighter/usb thing and also a windscreen washer motor. Ended up with a different model of ciggy combo as the narva one was just going to be too big to fit in the little draw. so grabbed a smaller (and half the price) supercheap item. and a washer bottle kit ( was $7 more then just the motor and came with a bottle, motor,hose, nozzles etc.) I also decided to mount the mirrors/mirror. \ I then moved onto the washer bottle, had to drill a couple more hole to fit, but they hide behind the new bottle and i got use reuse the old screws so thats cool. Took a bit of faffing about as i was getting confused with what wires did what, turns out the washer motor is actually mechnical and runs on a camm with ramped teeth. what a shit setup, so i over rode that and wired in the washer motor to give full noise electrical pump power, not some weird shitty spit spit spit carryon the mech one does. Then i routed the wires into the loom and tidied everything up. Working After this I decided that while not important , may aswell install the ciggy lighter because the dash was apart,i had a new part and it was easy. So i went about finding a feed, luck would have it that the fuseboard had a spare fused acc pin , yay! it also had a spare ground so made things super easy to wire up legit. i was going to epoxy it down but found it came with some sweet 3m sticky pads that hold it in place just fine. so now i have power in the cab. yay! Not the prettiest but it will work well. And all hidden away5 points
-
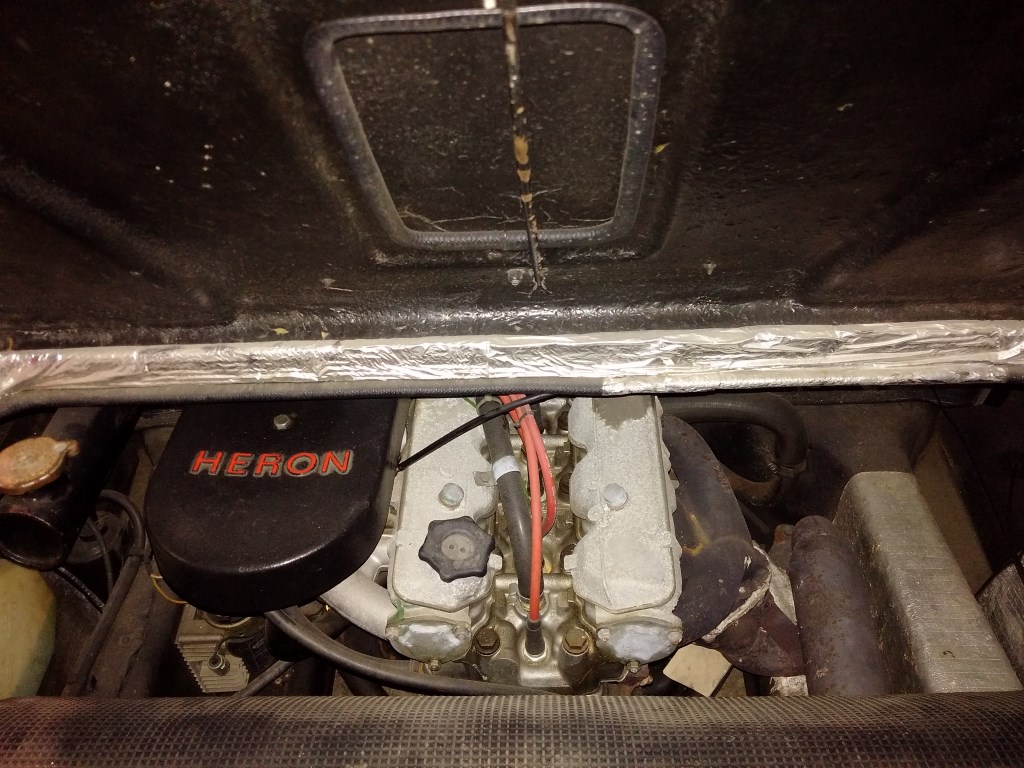
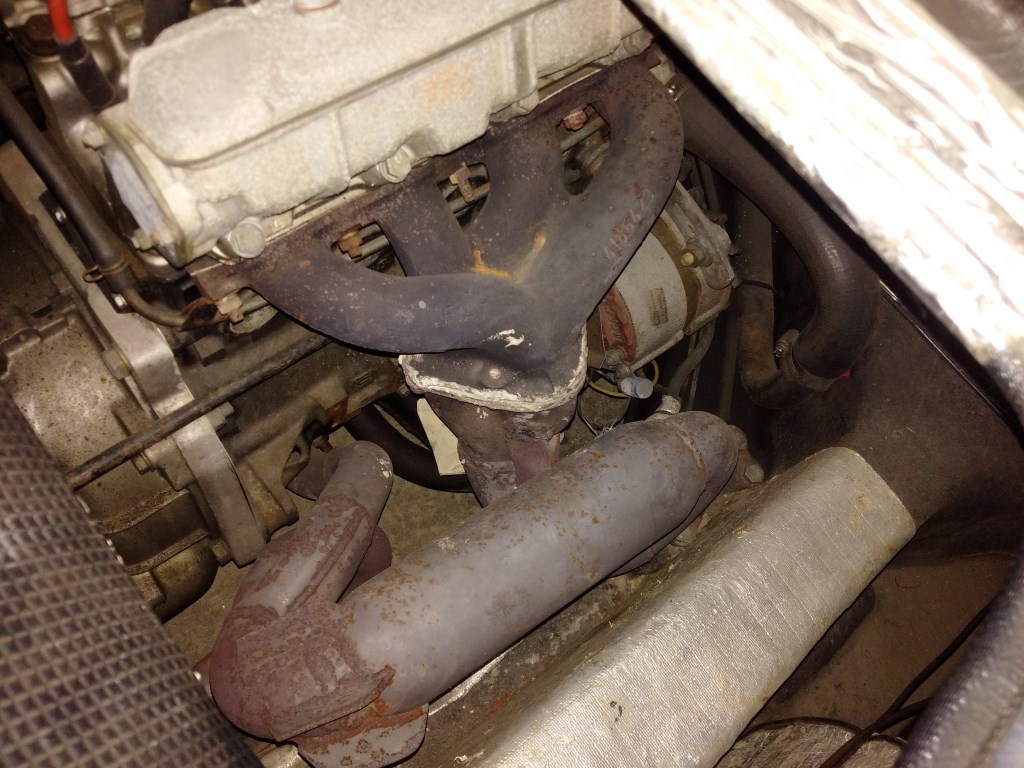
It kindof looks like I am running out of time to get the bus ready for Hanmer, so I thought I had better get the backup plan well and truly sorted. I have not really been driving the Humber as the exhaust manifold poo didnt work out too well, probably cos I ran the car before it cured properly. I knew I had fucked up somewhere cos the exhaust was leaking worse than it had before. I was also a wee bit marginal on the Mighty Car Mods style surface cleanup that I had done on the manifolds, so decided to man up and get it right. I pulled a spare manifold out of the pile, this had an unusual bit of tin wrapped around it which turned out to be covering a pretty substantial crack - so that one got binned. Fortunately I have a rather large pile of spares and simply dragged out another one. This one I managed to attach to my little mill drill and proceeded to machine all the mating faces; Saturday morning I spent installing this along with copious amounts more poo. I then left it overnight to cure. I have been driving it around today and it feels well and truly sorted. It will need a warrant this week, so I will try and get it in tomorrow just so I have a wee bit of time to sort out any fuckery that might arise...5 points
-
Don't be a plank mike. Clearly to much time in oz has rubbed off on you. Next you will be all about candy paint and bone colored interiors.4 points
-
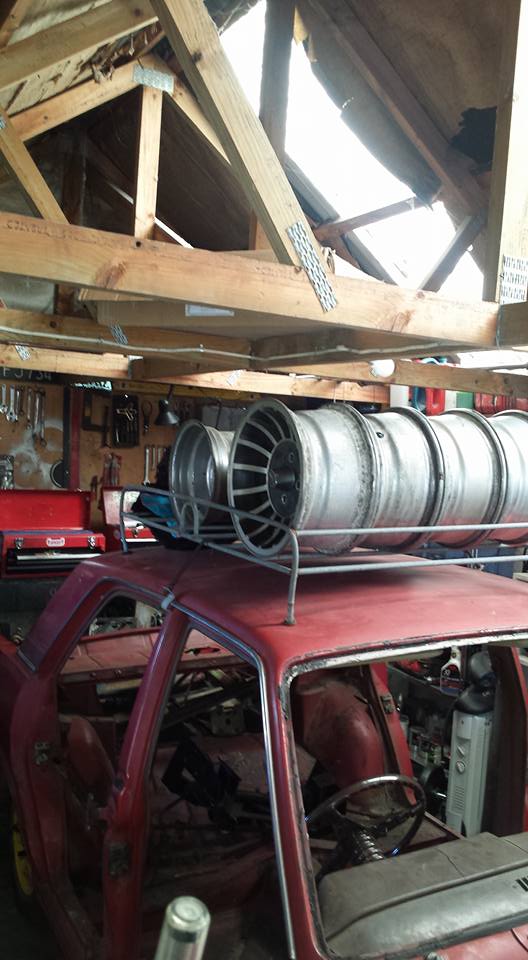
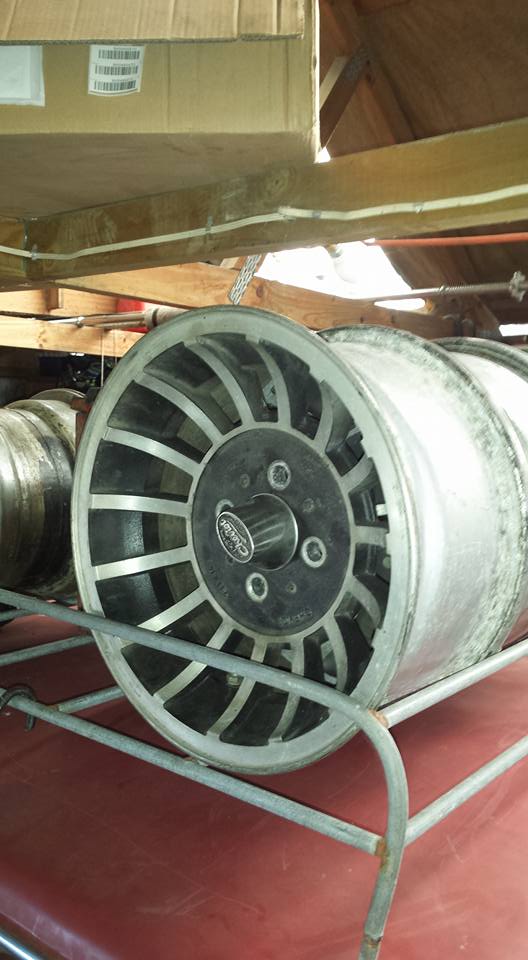
just a quick one. rims of the future ....turbos.. 14x7 so they clear the rear discs nicly thanks to the man that kindly sold them to me.........you know who you are.
 4 points
 -
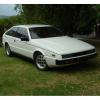
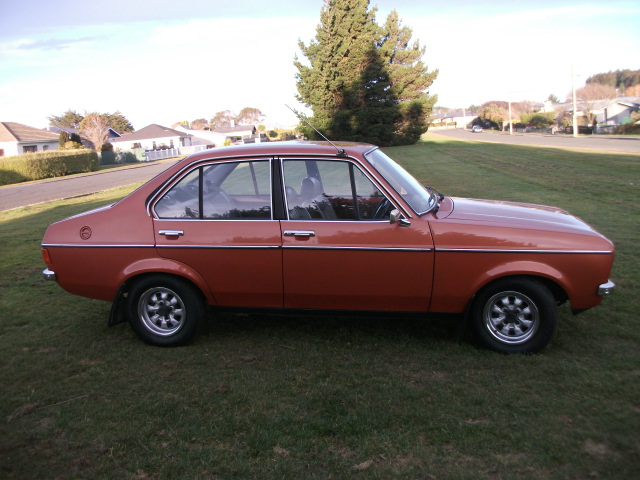
I got this off a workmate recently after it had been parked up since 2003 when he went overseas. it has sat in a dry shed the whole time so is still in really good condition. The previous owner wanted to get it back on the road one day so has kept the rego on hold for all these years. but unfortunately lost the garage space recently due to his nanna going into a retirement home. its a jap import 81 lancer 1800se 5 speed. imported in 1989. she's all original with no mods. unless you count the pimpin pine centre console lid as a mod.3 points
-
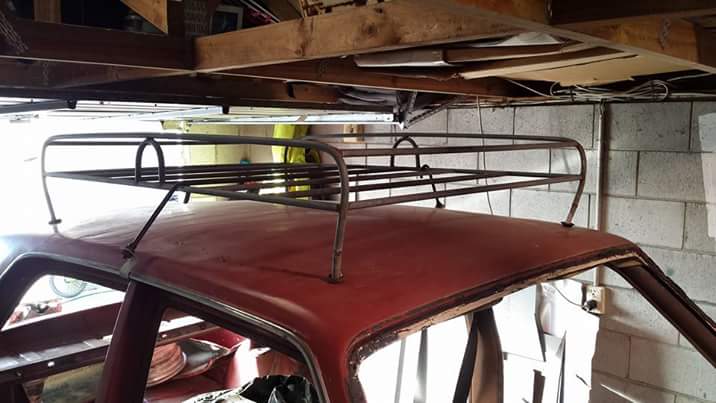
Got the roof paint finally finished this weekend. mrs a found this cool lace in an op shop a while ago, and ive wanted to use it on the car since Unfortunately the spray glue i used to stick the lace down was a bit too 'repositionable' and it didnt turn out as crisp or consistent as i would have liked. Lucky i have a massive roof rack to partly hide it! I swapped a visor with j.e.d. a while ago or a mustard one that it his HQ perect, but it was gloss black I so painted the upper side to match the of white roof, but the underside has a secret special glare reducing coating. Needs some trimming and a bracket before i can fit it (and a windscreen!). The boy and I put the doors on today as well as a few of the very many trims, and Ive just picked up the boxes of trims and random bits from the lockup, at least some of which that i have partially cleaned up to start mixing and matching with bits off the parts car. As you can they do look a bit 'bolted on' but hopefully the colour and shine will even out a bit more when I get around to waxing/polishing the doors and wet sand & buff the paint (you can see a few spots of putty on a couple of the bigger runs!) Car was runnning very rough, idling on 5 and missing etc, but I ixed it with on eor a combination of a - actual new spark plugs instead of carboned up 125 hand me downs, - the 'new' dizzy cap from the dizzy I got from Horopito and - some new spark plug leads - tighten alt belt - also tightened/changed a couple of hose clamps and stuff and shes seems to be running sweet as a nut again so hopefully leaks a bit less now too.3 points
-
Since it seems like every other KP owner makes another improved set of adjustable coilovers, I thought I'd follow that tradition. Used some ae82 Corolla shock inserts this time, way shorter than the previous ones. Drilled off the brake hose mounts and dropped them 30mm lower as well, so the threaded sleeve could go lower. Picked up a pair of Recaro seats as well. So much nicer than the faded pink factory ones. Also so much better sitting lower. Need to do something to those belt buckles though! Coilovers can still be wound down 25mm (captive) or 35mm (non-captive) but was rubbing way too much. Back needs to come down an inch or so now.3 points
-
Have been taking this for runs in the country every now and then. Fiddling with the tune each time and am slowly getting improvements. Was having a Miss above 3500rpm, seems that it was leaning out as another flat turn on the carb has improved that and given me 500more. So I can probably richen it up another for max performance. I made the mistake of then checking top speed against a GPS. How disappointing. It's cruising at a bit over 50mph on the gauge but GPS says top speed of 76 kph Chasing that 60mph dream3 points
-
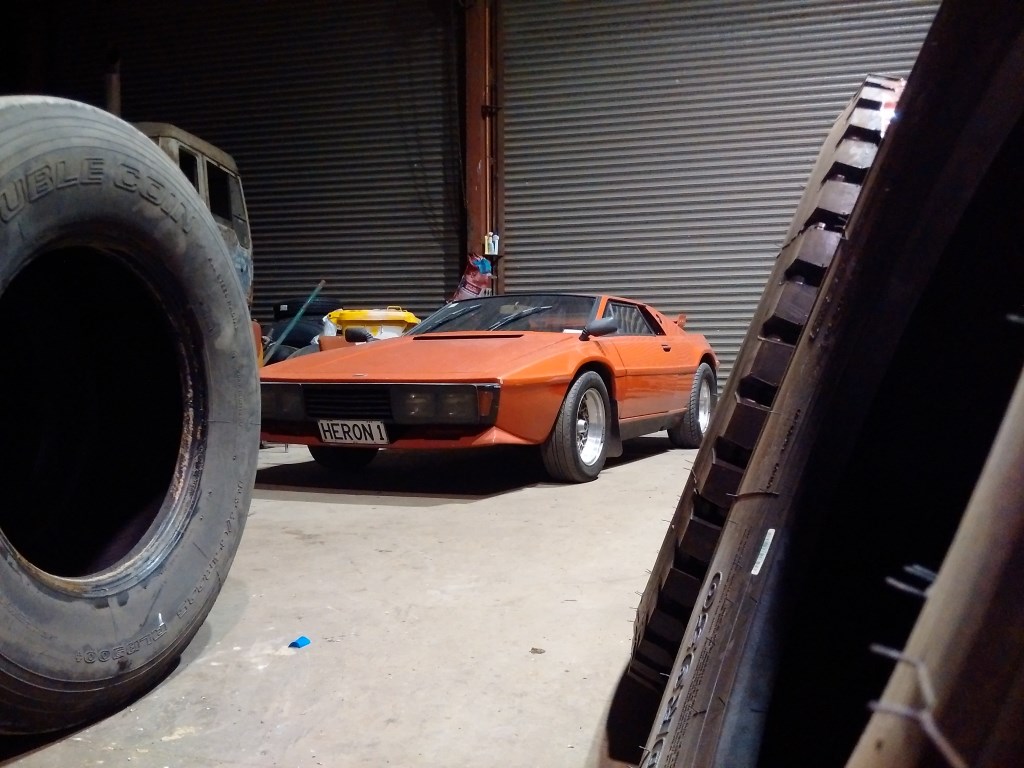
I'm unsure if I have the room in my shed for this?? JUST JOKES HAHAHAHaH!!!!3 points
-
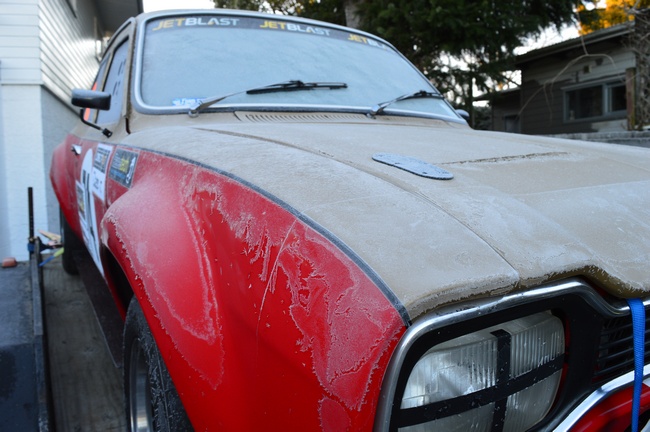
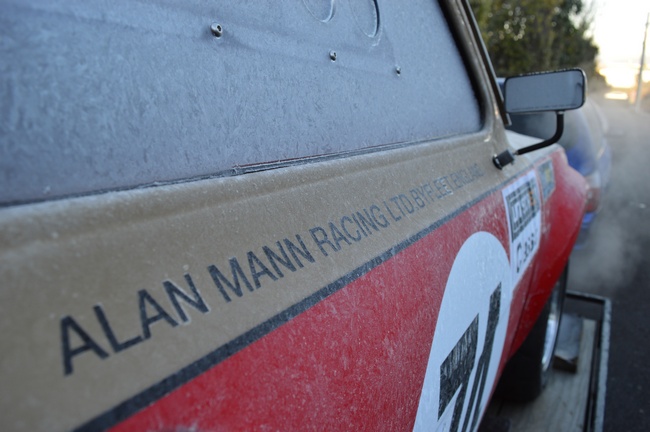
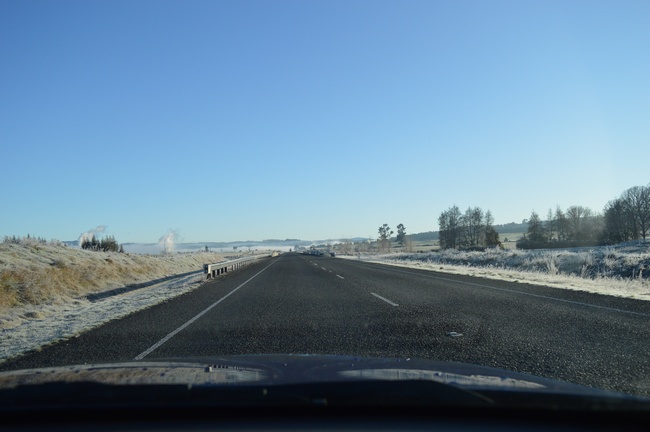
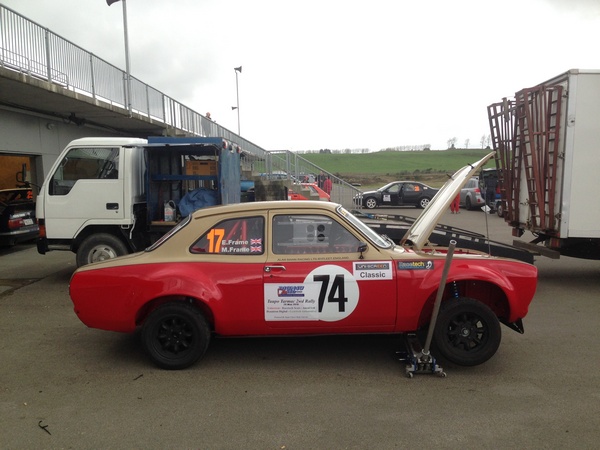
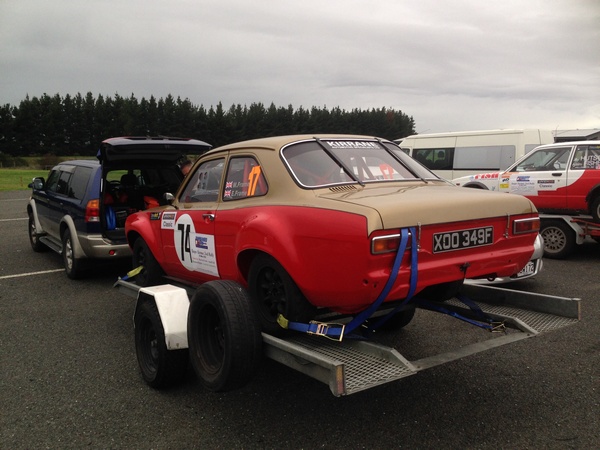
Cold Start down in Taupo ! On route to the Bruce McLaren Motorsport Park All stickered up for Stage 1
3 points
-
I didn't really need another car. I was pretty set to pass on owning it due to already having a moderate to large fleet of broken down shitters, impending surgery and another child being due in the coming months. With sitting for so long. it needed a bit of recommissioning work. due to not having alot of time at the moment due to some of the above things I was going to throw it under a tarp and forget about it for a few months. Dan (DPNS) - a mega GC was not overly keen on this happening. Since his project is currently on hold decided that he would take the lancer and get it running. this was relatively uneventful. the hardest part of it being that the fuel tank was blocked. I took it to the radiator shop to have it steam cleaned. Turned out it had rusted out inside and blocked the outlet from sitting with fuel in it for so long. It took a wee bit of messaging and calling people to find a tank. i eventually found one through a friend of a friend of a friend Dan installed it then drove it around to mine. next up I need to do a full oil/coolant etc service, replace the super crunchy rad hoses and attempt a wof.3 points
-
had first test drive this weekend. went fine, no issues except a bit of hesitation when getting on the gas. can jandel your way through it so no worries there. had an oil leak where the line to the oil pressure gauge got a pin hole so just disconnected that for now. had to fix a few exhaust leaks where i welded the flanges on, was expected though. heres a video. looks fine on a phone, was facebook messaged to me so looked a little crap after that now youtube has made it look like it was filmed in the early 90s. oh well.2 points
-
Bonus photos!
2 points
-
This gunna look so swish behind my C10!2 points
-
This is my recently acquired KP60. Its has a 2K and 4 speed, will probably give her an upgrade soon. Only mod it has is some cobra lowering springs, other than that it's all fairly standard. Need to get a new windscreen rubber in there asap, since it's leaking. Short term plan is to tidy her up a bit more - paint bumpers, grill and wheels etc. Are the bumpers and grill/headlight surrounds meant to be black or dark grey? Not sure what paint to use. Might be pretty slow progress. One day.... //oldschool.co.nz/index.php?/topic/48889-matts-81-kp60-starlet-discussion/1 point
-
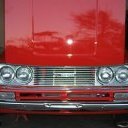
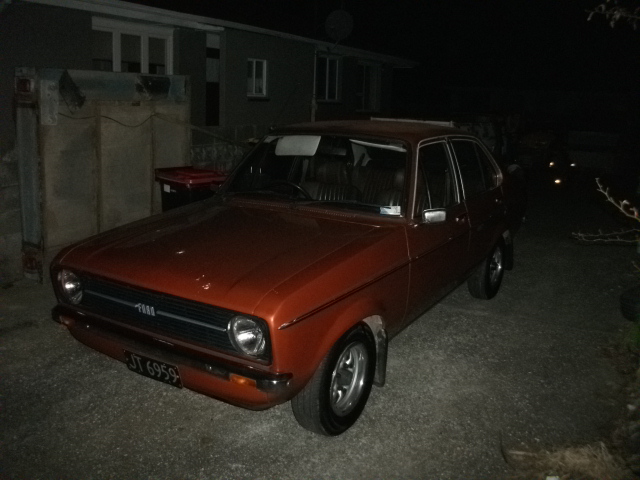
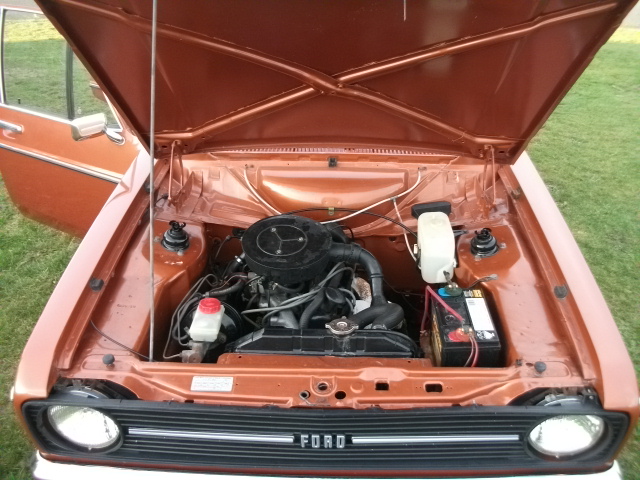
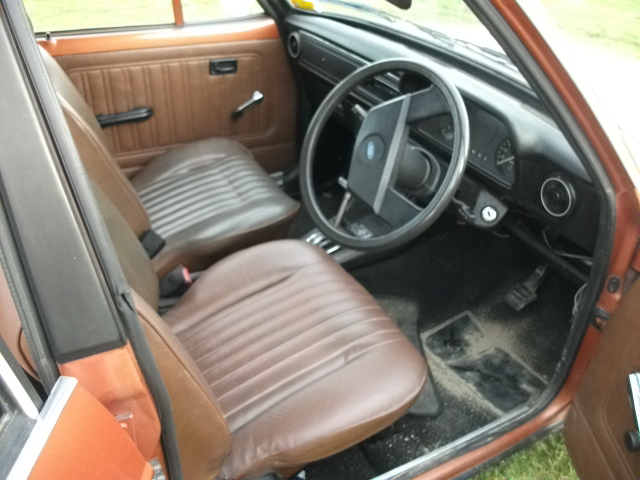
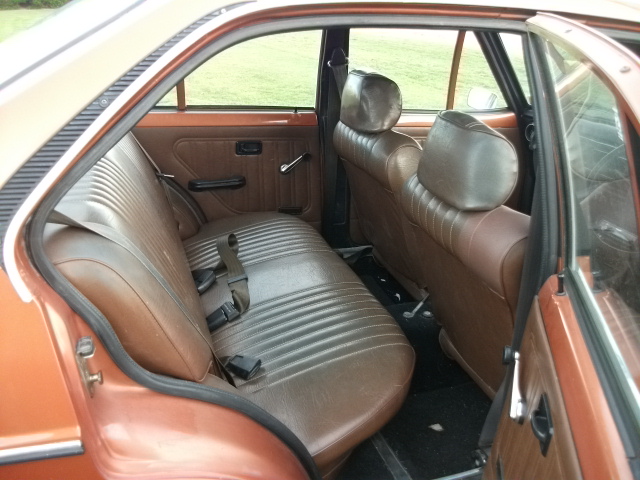
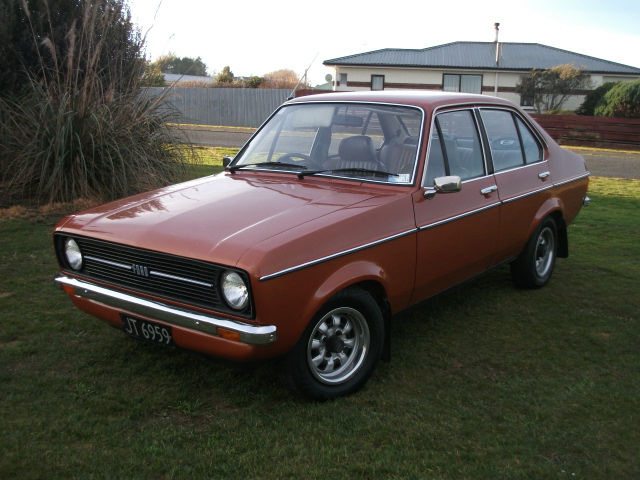
Here it is, latest addition-owned it a week, the most money i've EVER spent buying a car. Why? cos i'm an idiot & was looking for something old school & tidy that didn't need rebuilt......... & the avenger's getting tattier AND I STILL CAN'T FIND THE BLOODY CRANK WE NEED FOR IT'S NEW MOTOR!!!!!!! Crap picture, take more tomorrow- the others are too big to upload. Anyway, it's the budget model- 1300 automatic, it's straight outside & really tidy inside, now the tyres have been pumped up it's a little less pathetic to steer. That about covers the good bits (cept the auto bit) The work that needs doing; sort engine over heating had a new w.o.f when i got it - tail lights dont work! service the autobox- oils black & sluggish gear changes surely theres more power in there somewhere, it'll crack 100kph JUST!!!!. can't see it handling a club run in the country yet looks like exhaust needs a bit of sorting too Theres no plans to modify it much at all ( unless i can't live with the slushbox then i'll get a manual for it). Theres been some talk of engine swops, but the avenger's gunna supply the horsepower fix & handling wise it's the better car of the 2
1 point
-
so i haven't updated this for ages because i'm lazy and photo bucket is a dick and life is busy and stuff that doesn't mean i haven't been doing anything!!! although to be honest i haven't been doing a lot either got the trans to the point where if it wouldn't go into reverse i could turn it off, then back on again and it would be magically fixed. no fucking idea how that works. Had an electrical failure just as i rolled in the garage one night, the night before dyno day of course when it was due to go on the rollers and i had already paid and the crown was out of action to take its place if it did fail. so i called my mate Aaron and he came round with testing equipment and we fucking searched everything to see why the hell the alternator wasn't charging. at all. spent almost 4 hours on it before realising that the dash had shit connections and put some contact cleaner on them and all of a sudden everything works again, hooray!!! so took it along to the dyno day with high hopes of 180 ish hp, nope, it only had 118.5. it did however sound AMAZING!!! but fuck, thats shit. so i pulled a bunch of stuff off the engine, basically all the stuff that i can check myself/replace before i take it in somewhere to get it fixed, if this doesn't injectors off and cleaned, computer out and Aaron replaced all the capacitors and shit that could fail because 90's toyota computer, i still need to replace plugs and leads but am super broke right now so they're on hold. checked compression. everything is good. so put it back together and took it for a few drives since and its still got detonation, and power seems about the same. will replace plugs next time i've got a spare $80, then its time to take it to the experts. or maybe i just need to hook up a check engine light and see what codes its throwing, but thats getting well outside my field of expertise but for some reason the auto/reverse problem is gone. well, its to early to know for sure but i've taken it for 6 short runs to various places and all without a single fail. which is a record, so i'm counting it as a win. cheers Matt1 point
-
As mentioned in my last post, I don't have much time to work on the car anymore; so basically I'm trying to say my updates won't be as large as they were. Probably a good thing looking back at the length of my first page. Before the engine blew I had taken the car for a WOF, it was all fine except for needing new tires. Rather then buy new tires I thought I'd try to find some nice looking aftermarket wheels with tires. So just yesterday I picked up a set of ATS Type 5's off Dave from oldschool. They do need a bit of restoring but I already knew this since Dave had told me and sent accurate pics. Thank you Dave. I also finally bought a new clutch master cylinder so was able to install the third pedal. Finally the manual conversion is complete (still transmission/engine needs to go in but chassis conversion is done). In order to install the clutch master/clutch pedal, some holes needed to be drilled. Thankfully Toyota had already marked out the position for these, I can't imagine how hard it would have been to accurately mark them out in such a location (without removing dash). In this pic I have started the holes, in order to get the center one to the right size I had to hand file using a half circle file (no large enough drill bit). New master: Finally three pedals: I forgot to take pictures but I did use some rust prevention spray on the bare metal exposed by drilling the holes for the clutch.1 point
-
These things have been growing on me lately. There's a super clean one that gets around Perth: And a mates got one that's sort of for sale, and the late model version with IRS and 22RE, could be fun for khana stuff. But I always buy sedans and I want a coupe!!!1 point
-
Random snaps of the toy
1 point
-
Too many doors, not enough panel van for my tastes lol. At least being auto it's got the big tunnel, driveshaft and gearbox cross member for bolting a type9 behind an angry Kent 1600!1 point
-
Best way IMO is go get Vin assigned to car, proceed with cert etc, then get the actual re reg inspection done after cert is done. Get heaps of people get all panicky and shitty cause they are running out of the 28 days you get for re reg inspection recheck, it's not easy to get it all done in that time if it needs repairs and a cert check then repairs for that as well, and get a cert plate in time1 point
-
probably fine to be honest I would just not mention it, and if it gets pulled up on it, then deal with it then.1 point
-
cert time would be when you have to get that done, so if it already has a cert, nope1 point
-
Getting closer to on road status now. Since last update I have made a new exhaust, fixed all the remaining rust in the inner wheel arch and sealed all that up. New starter solenoid. Still need to get some crimps and connections to rewire a few things that are twist and tapped to just get it going but that will be taking place Saturday. Also got a spare engine to have a play on as have never pulled one down. Got a stand for it also just need to attach it at some point. Pictures Exhaust looking nice and new. Ignore the muffler, hasn't been replaced. Fixed a big hole here and was difficult as a few areas meet here. A lot of little patches on the inside then welded a big patch over and sealed it all up. Engine all ready to go. Hopefully a driving video this weekend if it stays sunny and the car actually works. //oldschool.co.nz/index.php?/topic/36619-daves-prince-b200/ Discussion thread here if you want to have a yarn.1 point
-
So have done a bit of work on this old girl. Have replaced all the rear suspension bushes, the rear shocks and am just working on the rear brakes replacing the wheel cylinders and fitting a brake shoe self adjusting kit, no pictures of that as its boring stuff. Don't worry though I do have some pictures. Shakotom kindly loaned me a couple of Hundy spokes so I could gauge what size I wanted as you can get them in real OG 13x7 which will be too small in my opinion. You can also get them in 14's but they are only 6" wide so I'm thinking they maybe too skinny. Or they do them in a 15x8, which is what these are. The 15's seem to be the logical choice, they still have that huge guard/small rim look, but I cam still run a reasonable width tyre, but I think the 14's may look better/more traditional, Oh and here's a rough paintshop job that I did to give me inspiration Chur1 point
-
Paint, yay! high build primer. Then the blue. Colour contrast looks good. What's better than eating a mandarin? Need to wait for the paint to dry for a couple of days then i will mask if off and spray it an off white to match how i got it, but just the roof panel not to the bottom of the window line, thusly:1 point
-
Fucking boom. Added 20hp by fitting a roof rack
1 point
-
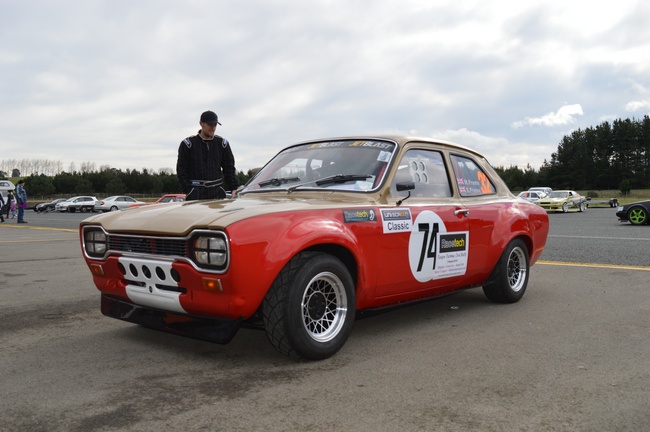
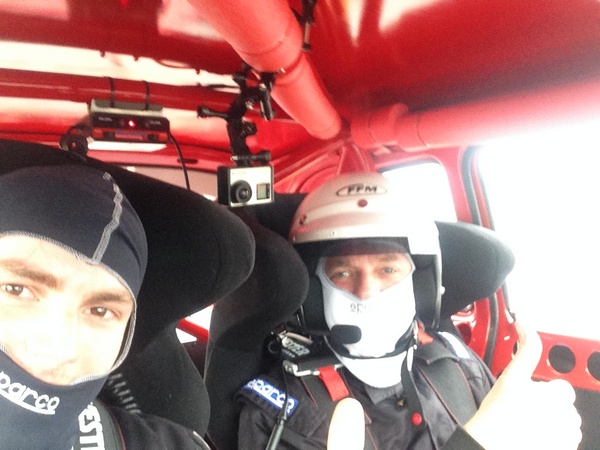
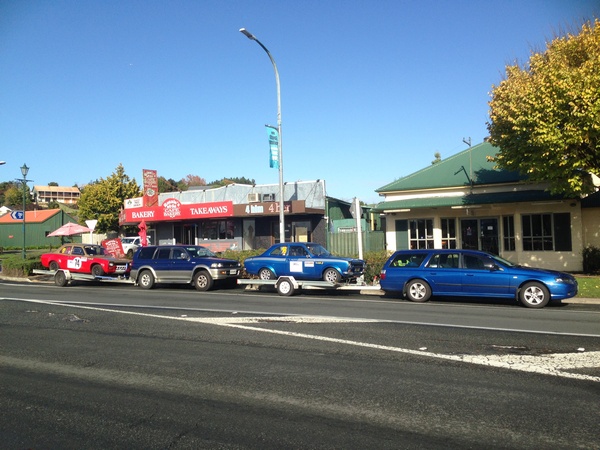
Stage 1 Stage 2 Service Time Stage 3 Stage 4 Post Race selfie Back on the trailer home bound
1 point
-
Just be that 1st drive when I back out of the garage straight into the wife's car.1 point
-
Here's a video with the straight pipe, needs a tune still. Will try and do a better one once the mufflers on.1 point
-
Everything is nearly done now. Just need to make the exhaust, sort out the breather/pcv valve and tidy up the wiring, as it's a mess. Made some overly complicated throttle linkage. This is since the Weber's throttle rotates the opposite way to the factory carby, also clearance issues and because the cable travels way more than what the carby rotates (would result in very touchy accelerator pedal with hardly any travel) if that makes sense. Anyway this works mint and uses the full pedal travel. Filled it up with oil and coolant tonight and started it. Started up first try after fuel had gotten through. Ran really nice! Was quite loud with only the headers on haha. Will try get a video tomorrow.1 point
-
Here's a list of the things that have been done: Got the flywheel back and it is about 6.5kg I think Also painted the grill and headlight surrounds again, this time satin black, which looks much better! Clocked to 88888 today1 point
-
So the 4K is all reassembled thanks to Hartley's! Not 100% sure on the specs yet, but I believe it is bored out to 1400cc, new pistons, bigger cam, ported, skimmed head, valve springs, lightened flywheel, electronic distributor. Weber carby has been rebuilt, have also acquired a Primera radiator, MSD coil, new muffler and Ramflo filter. Basically just waiting for the Rush automotive headers to be made then it can go in! So excited for some power!! Need to tidy up that yuck fuel pump and dizzy vacuum advance(?) somehow.1 point
-
New clutch is in and is now much better to drive. Also bought a new clutch cable because the old one wasn't the best and had stripped the adjustable circlip part of it. Installed some new carpet from autodec, could do with some more work to get it fitting nicer. Made up an adapter plate and modded the intake manifold to suit the weber carby. Had an attempt to make the inside all smooth which worked well, just need to get further in.1 point
-
Painted the wheels this weekend. Used paint stripper to remove the original paint, didn't work for the clearcoat on the lips though. The rear lips came up pretty good with a sand and polish. Would come up better if I could remove the bolts but they're stuck. Bought a Weber 28/36 too.1 point
-
Parts arrived from Toyota awhile ago. Engine is at Hartley's getting some work done to it. Second pair of starsharks hasn't arrived yet, hopefully this coming week. Gave it a polish today, came out pretty good. Also repainted the bumper end caps and fender mirrors satin black since they look average in gloss. Doing that I discovered one of the front end caps is actually a rear one, so is slightly different. So if anyone has a good r/h front bumper end cap they don't want, i'll take it.1 point
-
Not much of an update, but gave these a bead blast and they came up pretty good. Will just leave them with this finish, as I really can't be bothered trying to polish them. Will be too hard to get an even polish all over.1 point
-
Started to pull apart the 4K the past week. Looks to be in pretty good condition. Ordered some parts and a gasket set from Mark at Toyota, should be here soon from Japan. Need to get some bearings and piston rings at some point too. Gave the block and pulleys a coat of black engine enamel to tidy them up a bit. Started to polish the cylinder head cover and timing chain cover. They look a bit nicer, but will give them a bead blast at work and then another polish to get them looking better. Might take the head and camshaft to an engine builder this week and see if they can do some porting and give the cam a grind.1 point
-
Picked up a pair of SSR Star Sharks in Taupo thanks to kp_james for bringing them. They're 13x6's with I think +11 offset. Gave them a polish and they came up quite nice. I have another pair on there way from Japan, which should hopefully arrive soon. Will the current 175/70 tyres look alright on them? Or would it be better with some lower profile ones? Got a 4K from James as well. I am keen to rebuild it and get a bit more power out of it, but I don't really know where to start, so any suggestions on what to do? //oldschool.co.nz/index.php?/topic/48889-matts-81-kp60-starlet-discussion/1 point
-
Got the new window rubber in. No more wet floor! Bought some semi-sealed beam headlights from Olds Cool Autos and some H4 bulbs. Sooo much better and brighter. That's about all really. New wheels should be here next month, can't wait!1 point
-
Not a very exciting update, but we pulled out the front windscreen. So happy there is no rust. Also gave the top bit off the dash a paint since it was quite faded.1 point
-
Decided to just paint the bumpers with the gloss paint and see how they come out. It seems to look alright. So it can stay like that. Fender mirrors make it look so much better too.1 point
-
Pulled off the bumpers and grill today and sanded them back. Decided to try the paint out first on the grill and headlight surrounds. Turns out the paint shop gave me gloss instead of the satin/matte black I asked for. Doesn't look too bad in gloss, better than before. I'll probably grab some matte or satin black to paint the bumpers though, mightn't look right in gloss. Also got a boss kit and pulled the Nardi steering wheel off the racecar to go on this for now, since I am driving this more often. Some fender mirrors and a new front windscreen rubber also arrived. Will get more pics tomorrow.1 point


This leaderboard is set to Auckland/GMT+12:00