
Leaderboard


Popular Content
Showing content with the highest reputation on 03/10/23 in all areas
-
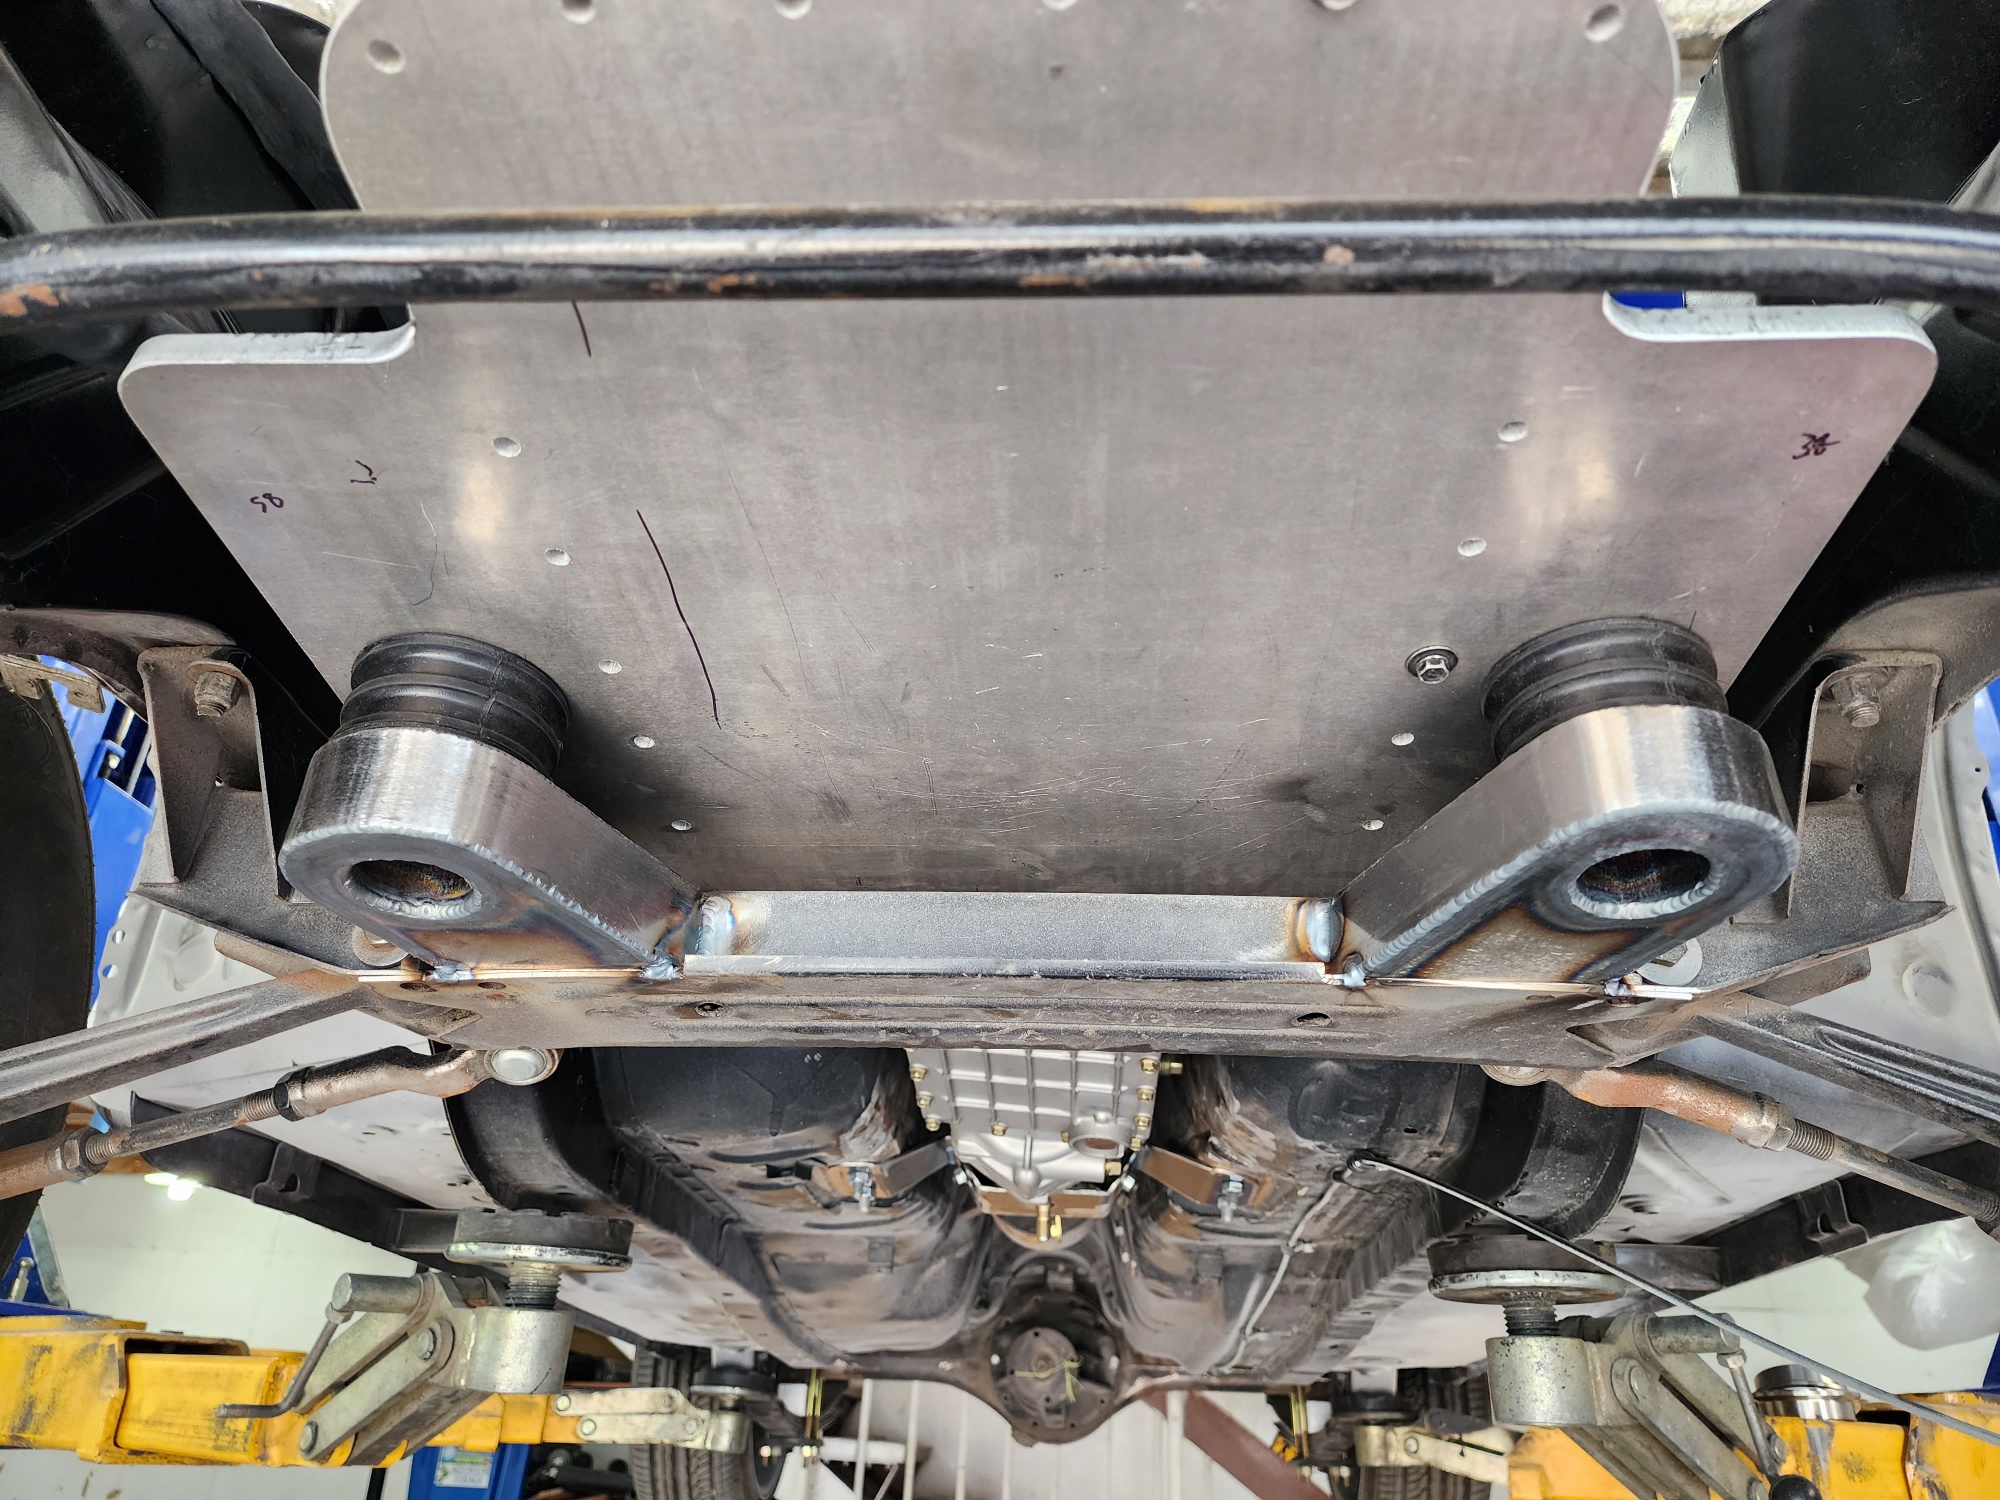
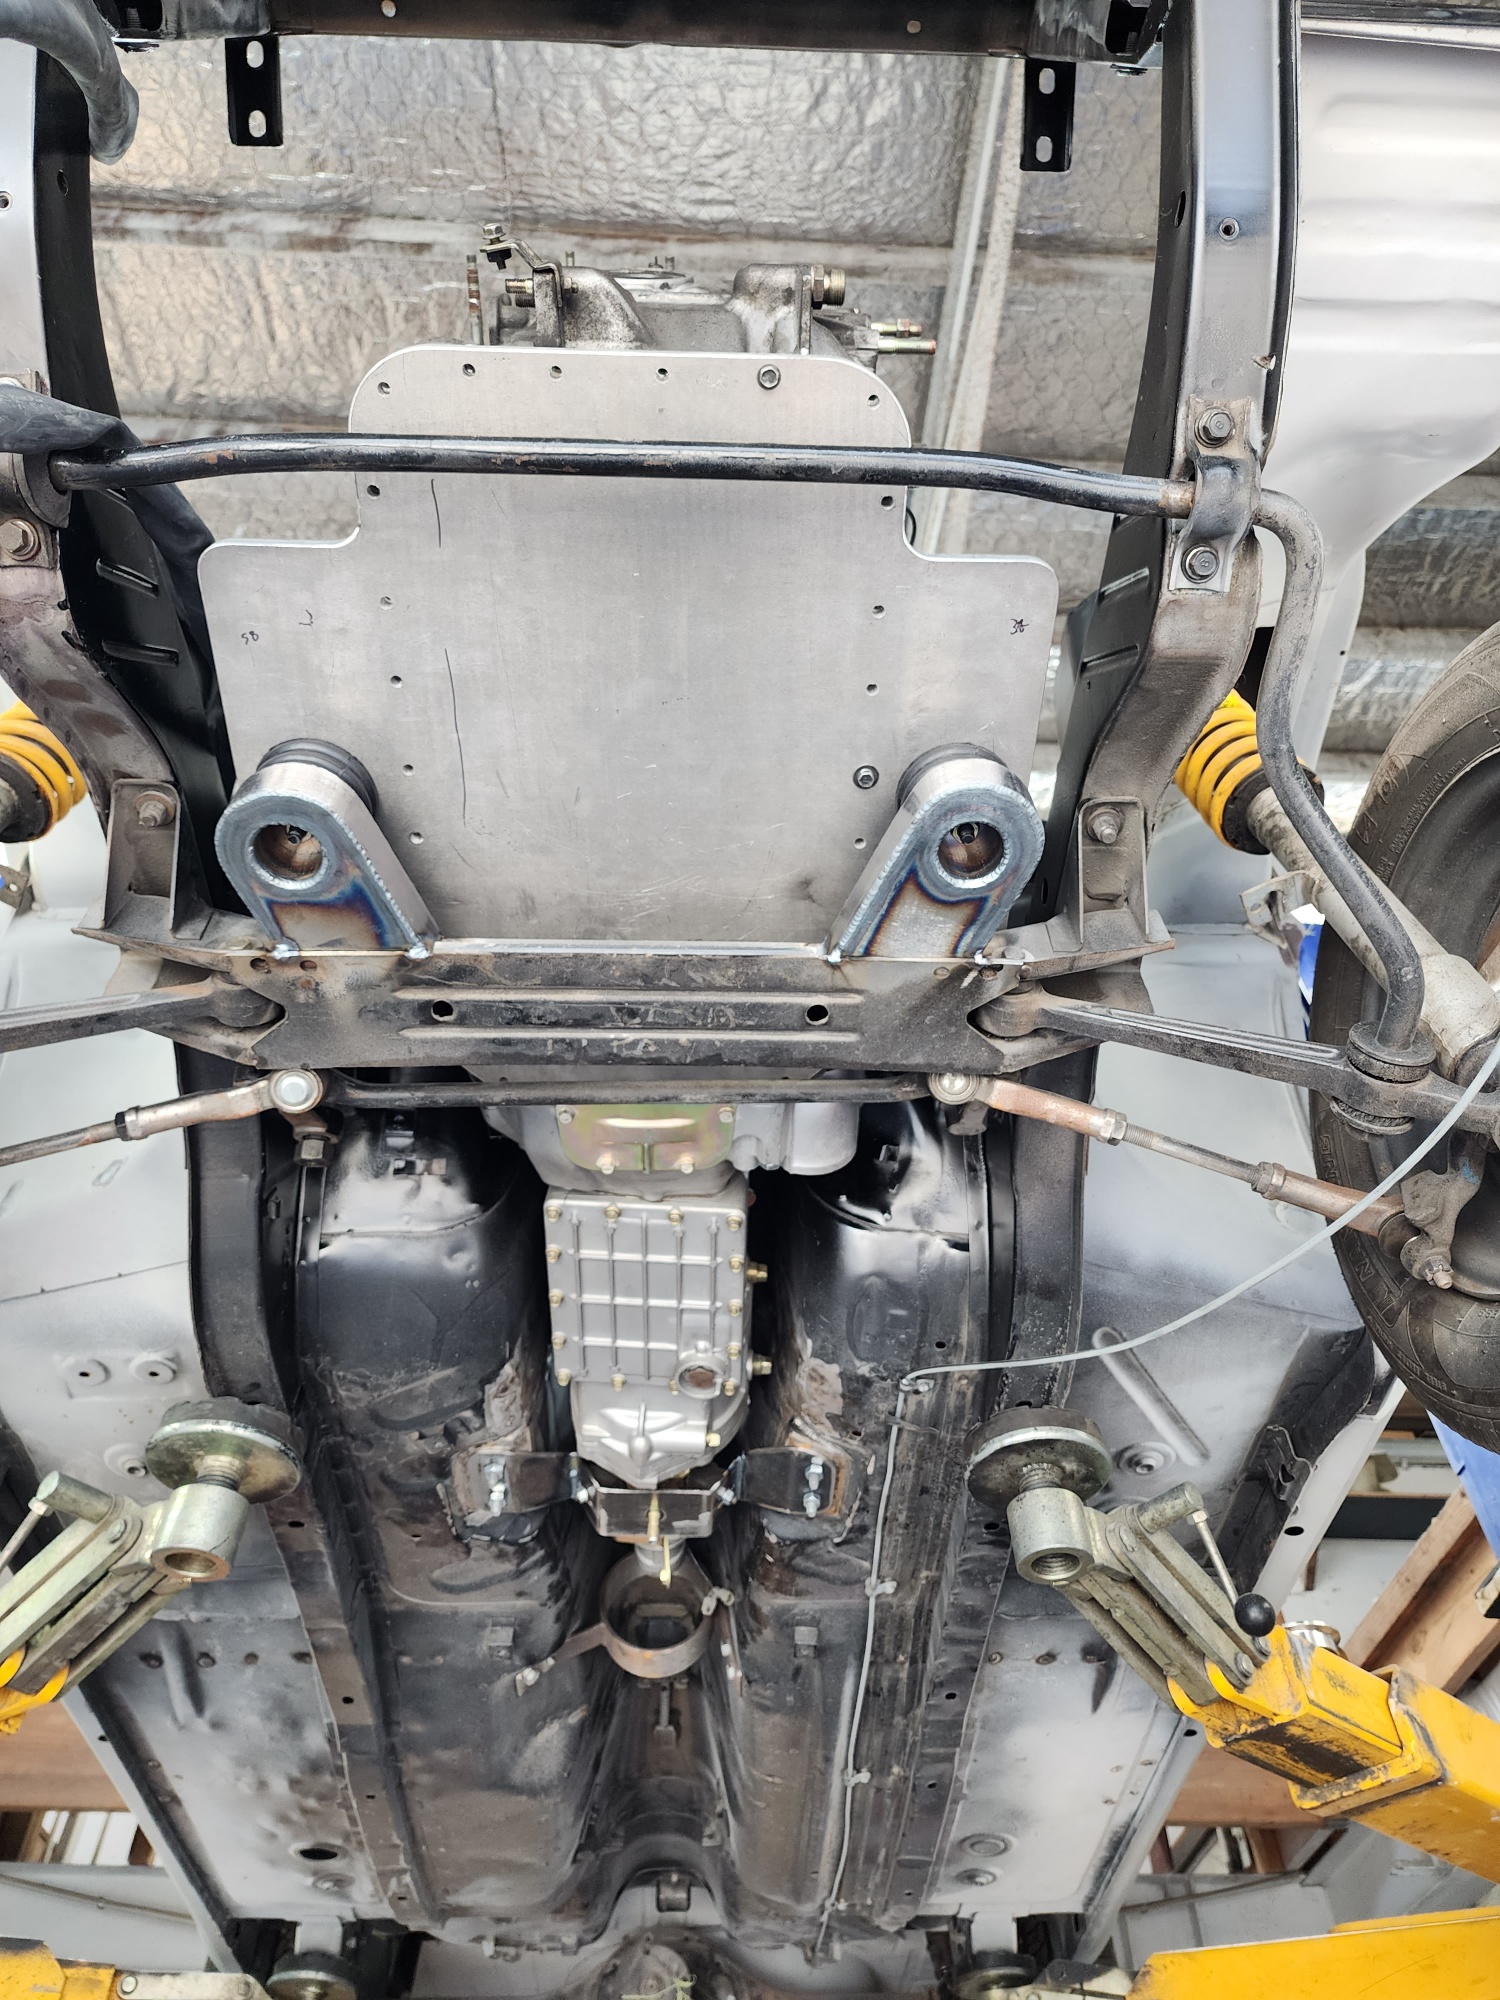
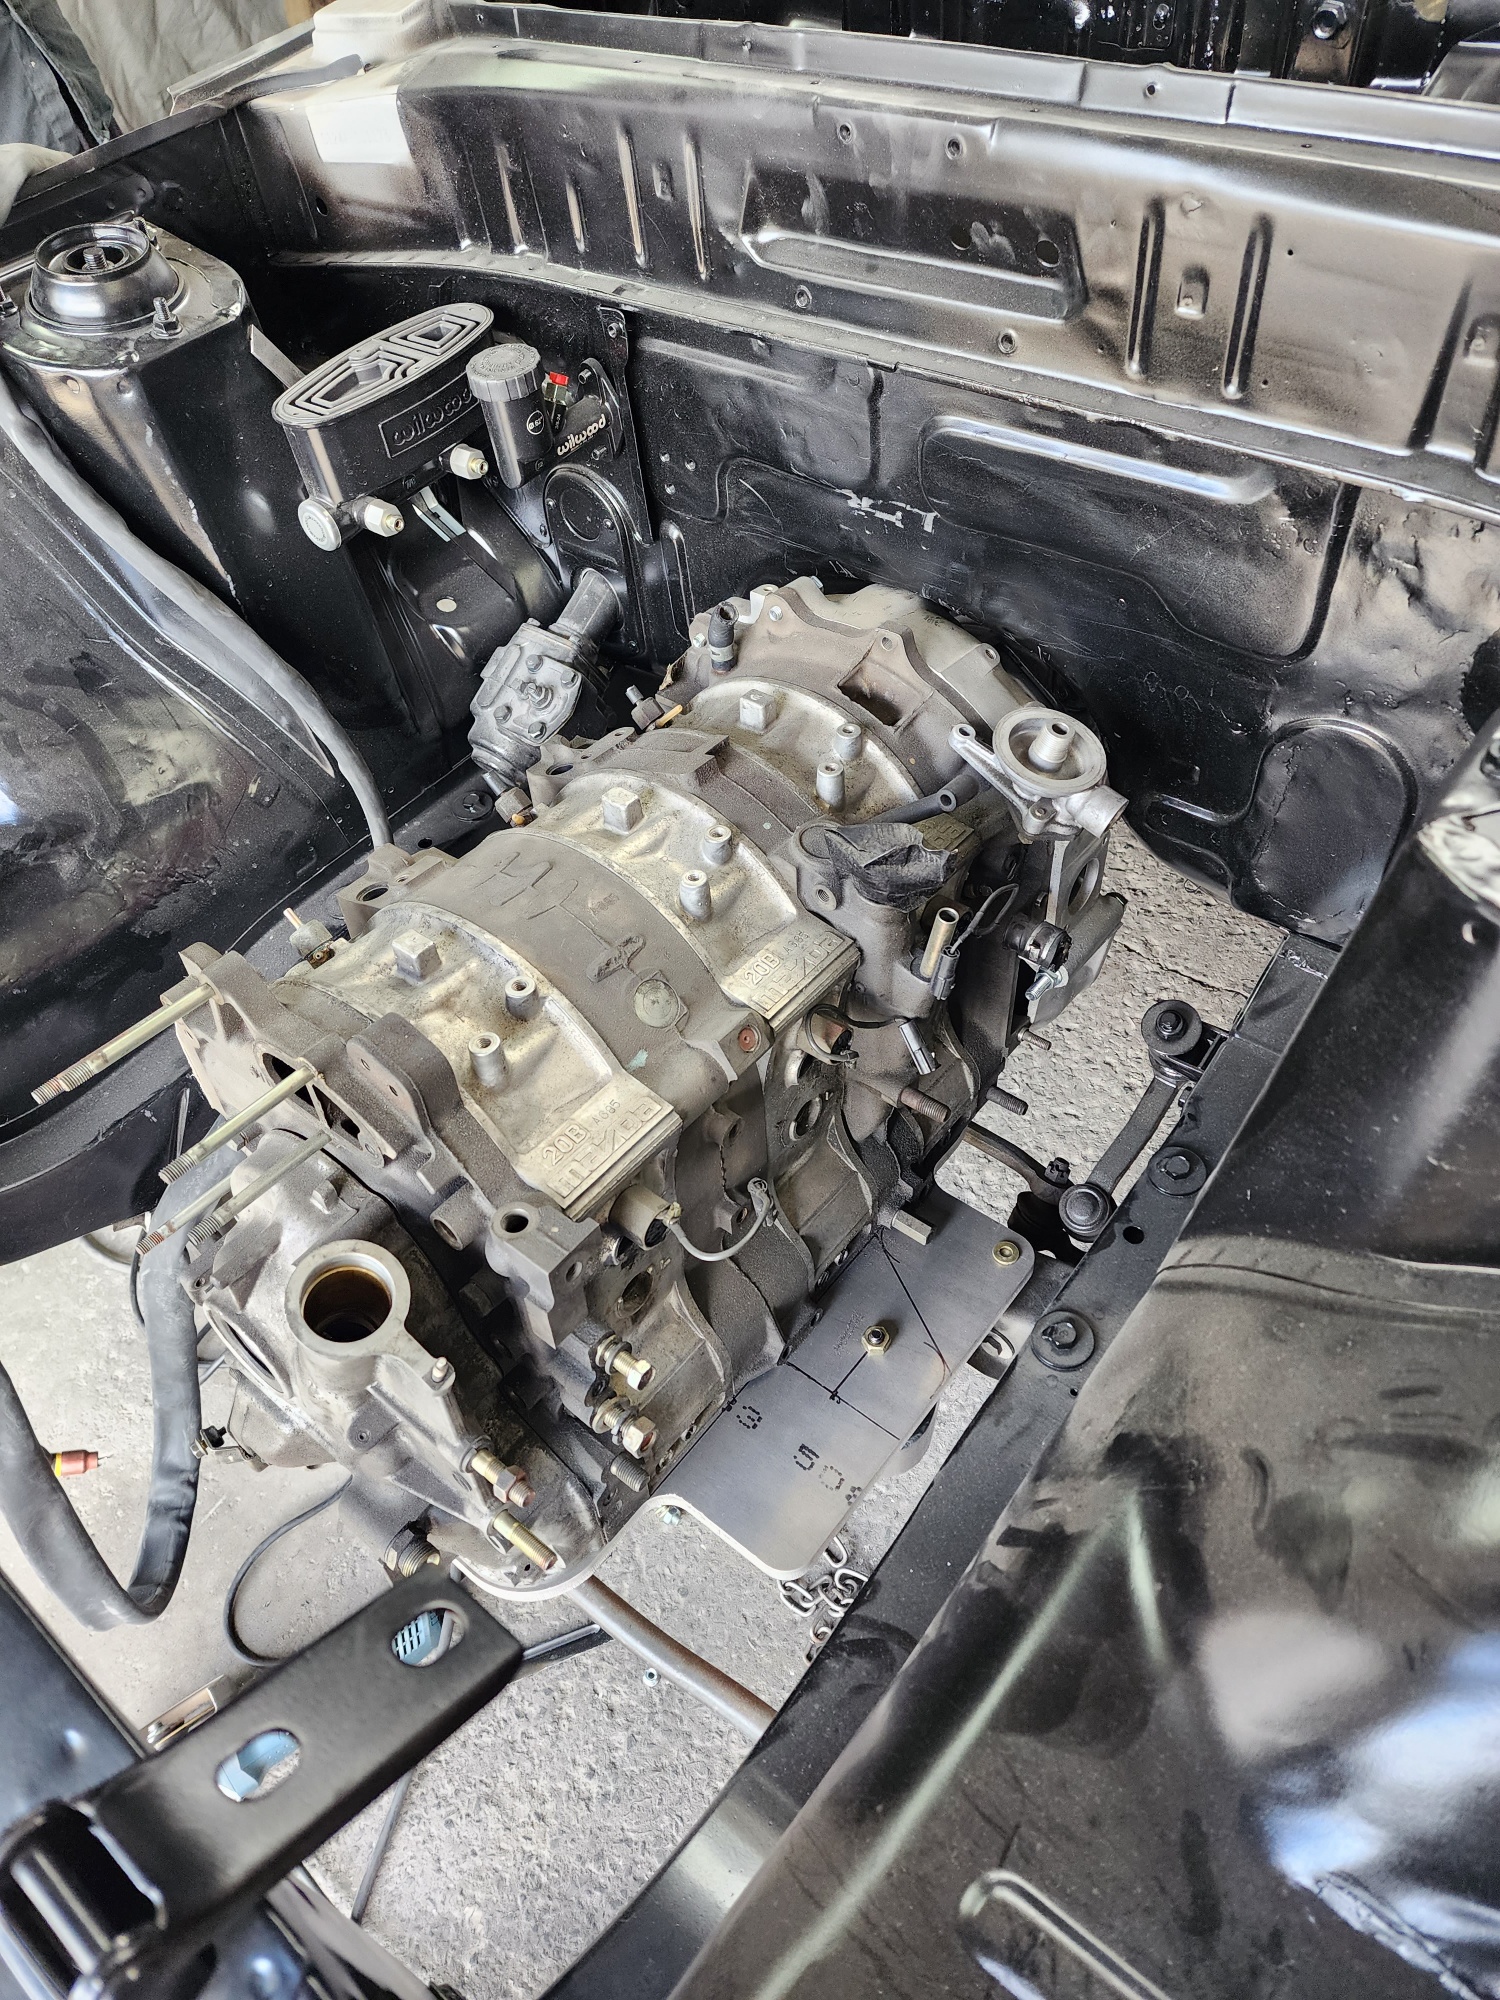
Wee while no update. Things have slowly been ticking away in the background. Car has sat at fabricators for a while parts have been collected and he finished existing workload. Plan is for him to do the following: -Custom sump/engine mount & gearbox mount -Custom radiator (Tucked under rad support panel) with PWR core and Oil cooler to suit -Full stainless headers/exhaust -Catch cans/overflow bottles -Battery box for in the boot Hes made a start in the last few weeks and its coming along nicely! Motors mounted in the hole and fits nicely. Going to go to steel bellhousing for my S5 FC box which will give me a little more tunnel clearance and mean i don't have to try jam a scatter blanket or shield in if im wanting to run the drags once its done. Will also be converting to hydraulic release bearing to remove the clutch fork and slave again for tunnel clearance. Can get away without cutting firewall or tunnel doing all of the above which im stoked about as didnt want to cut up. Hopefully next month or so will be done here and on to the next stage.
 19 points
 -
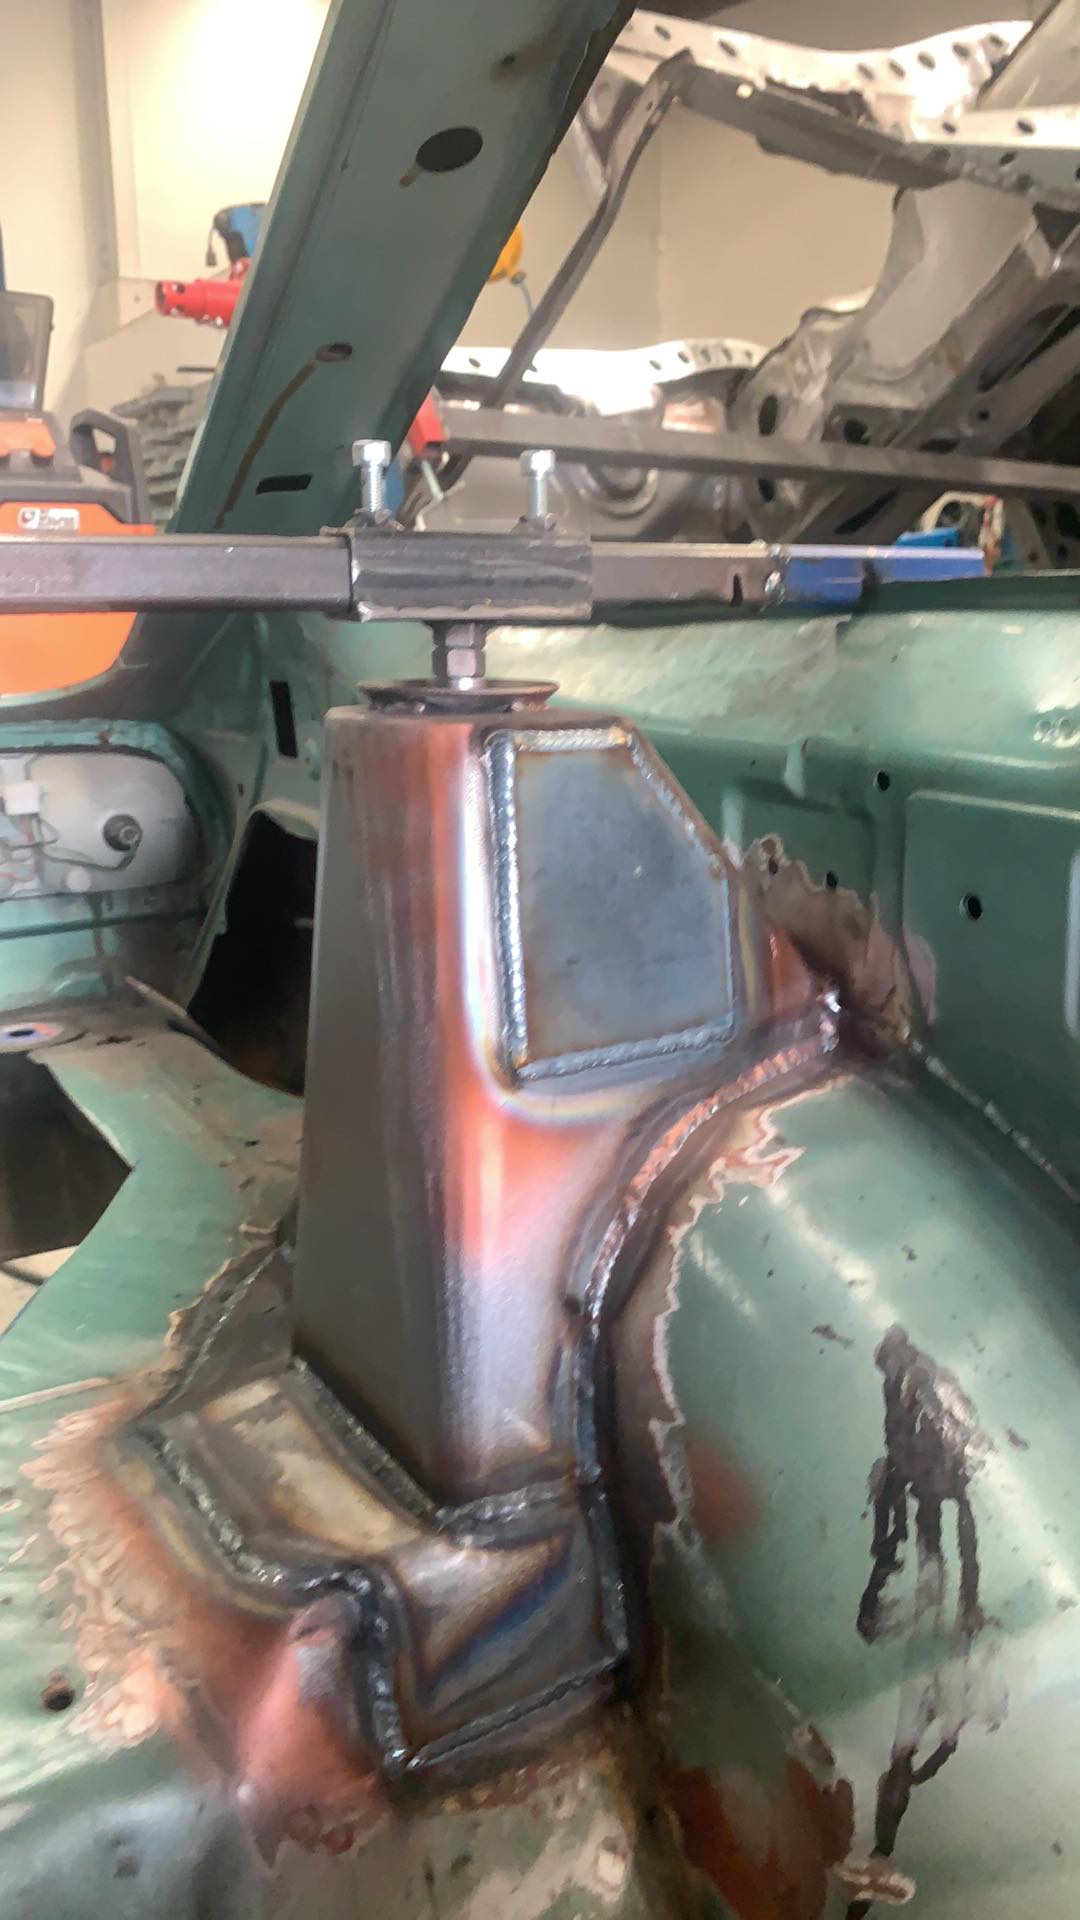
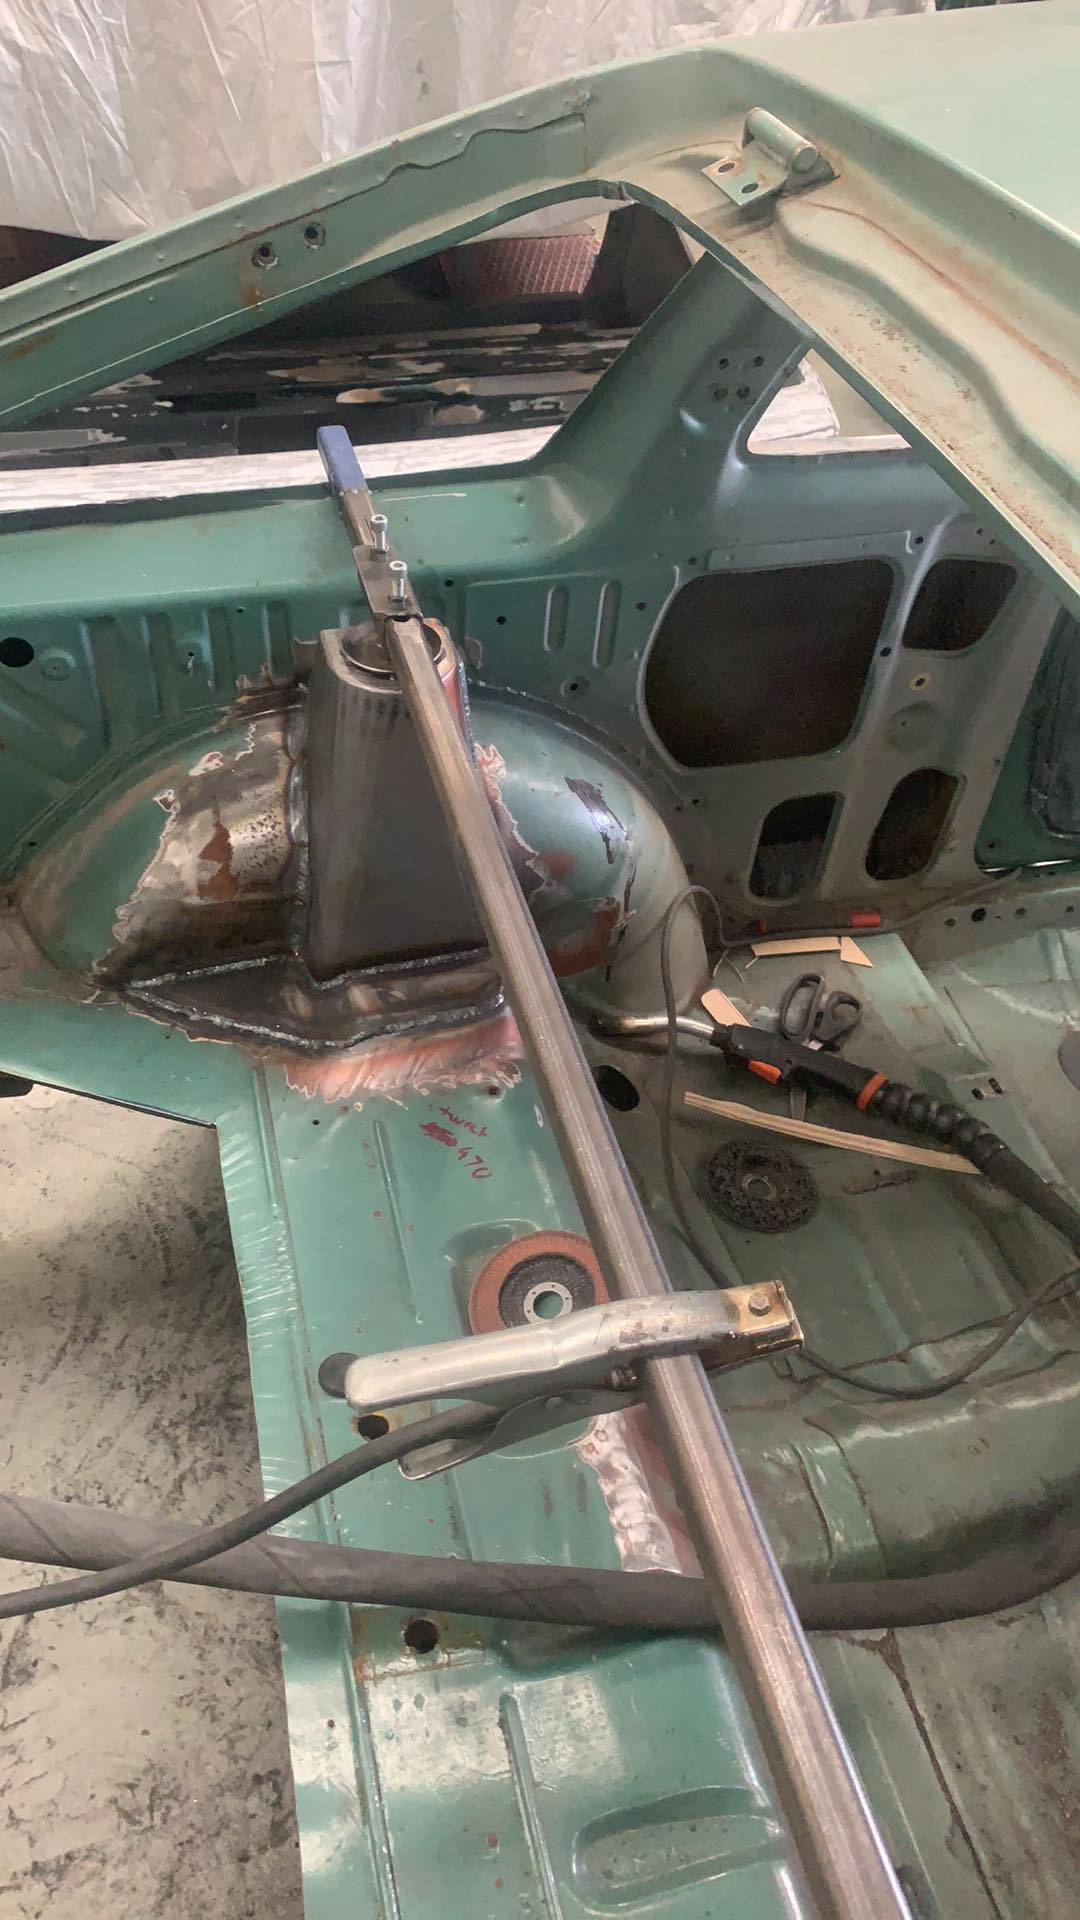
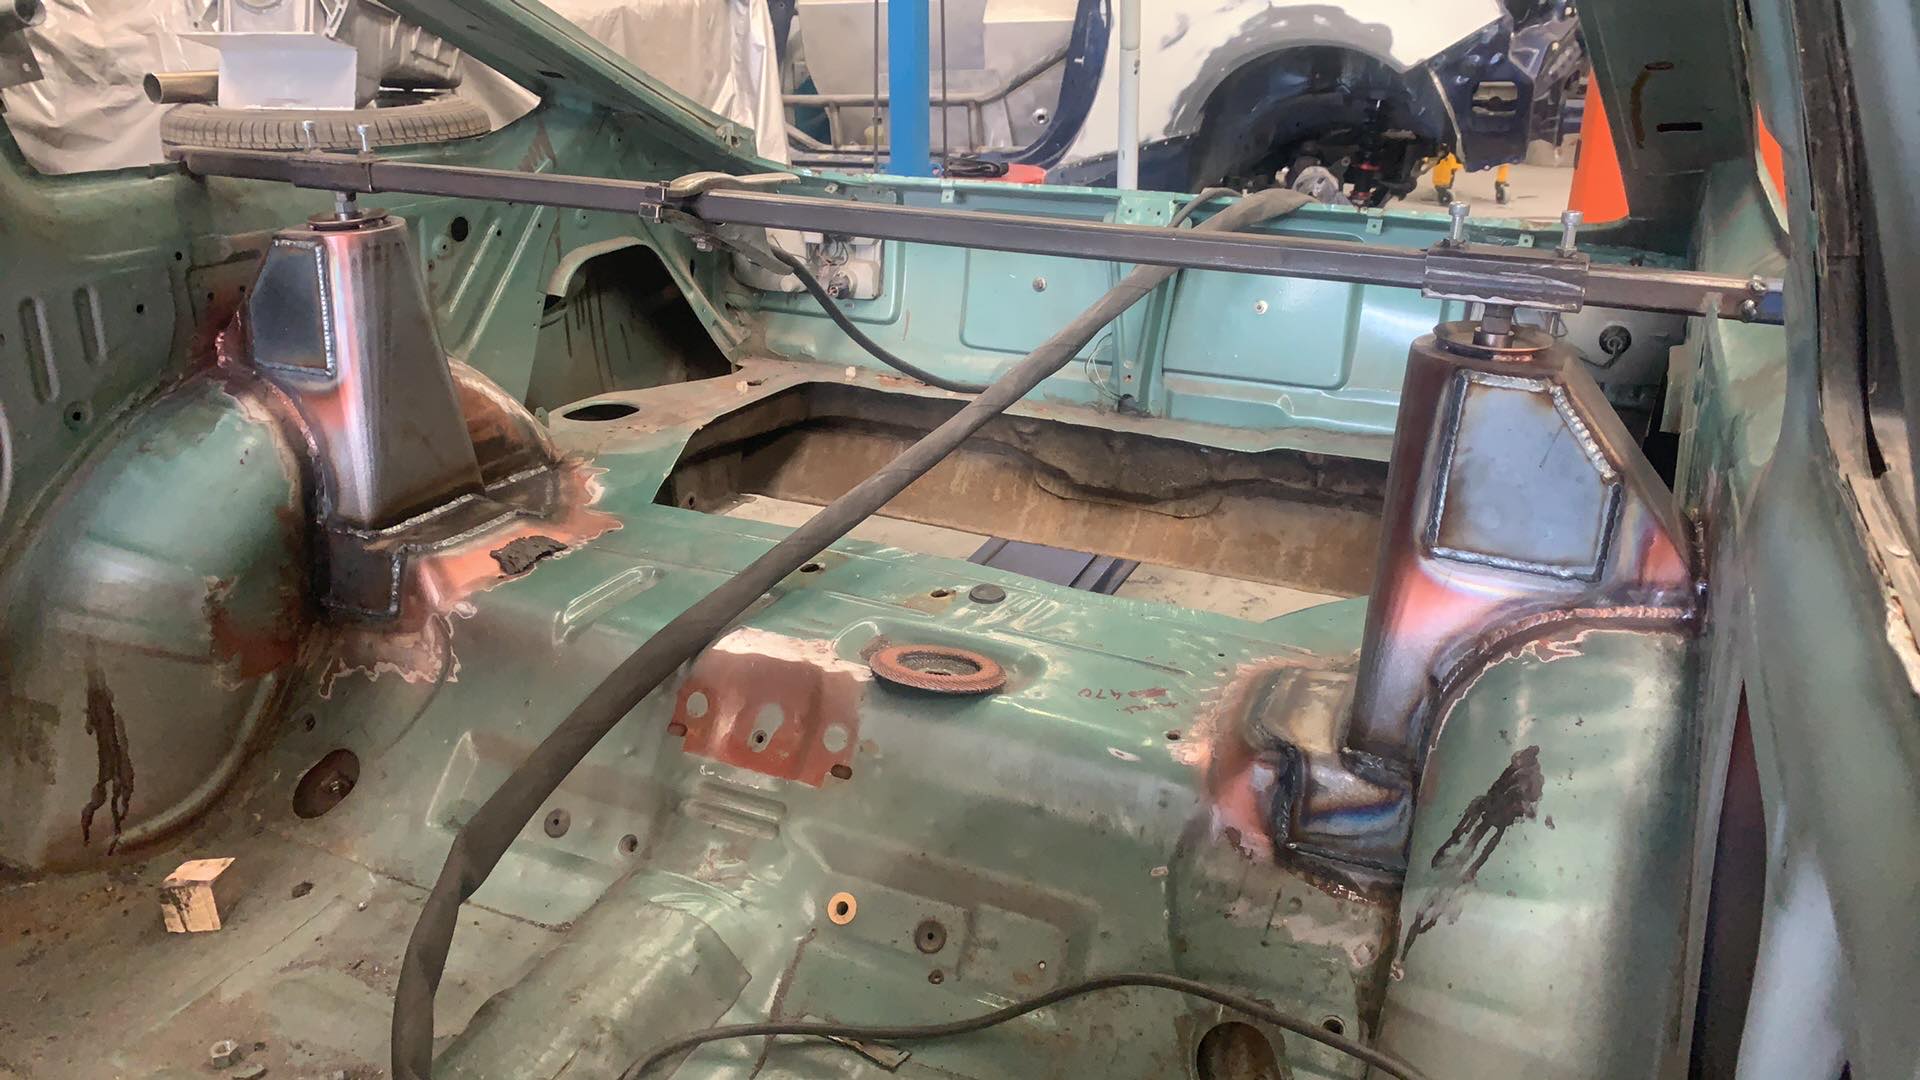
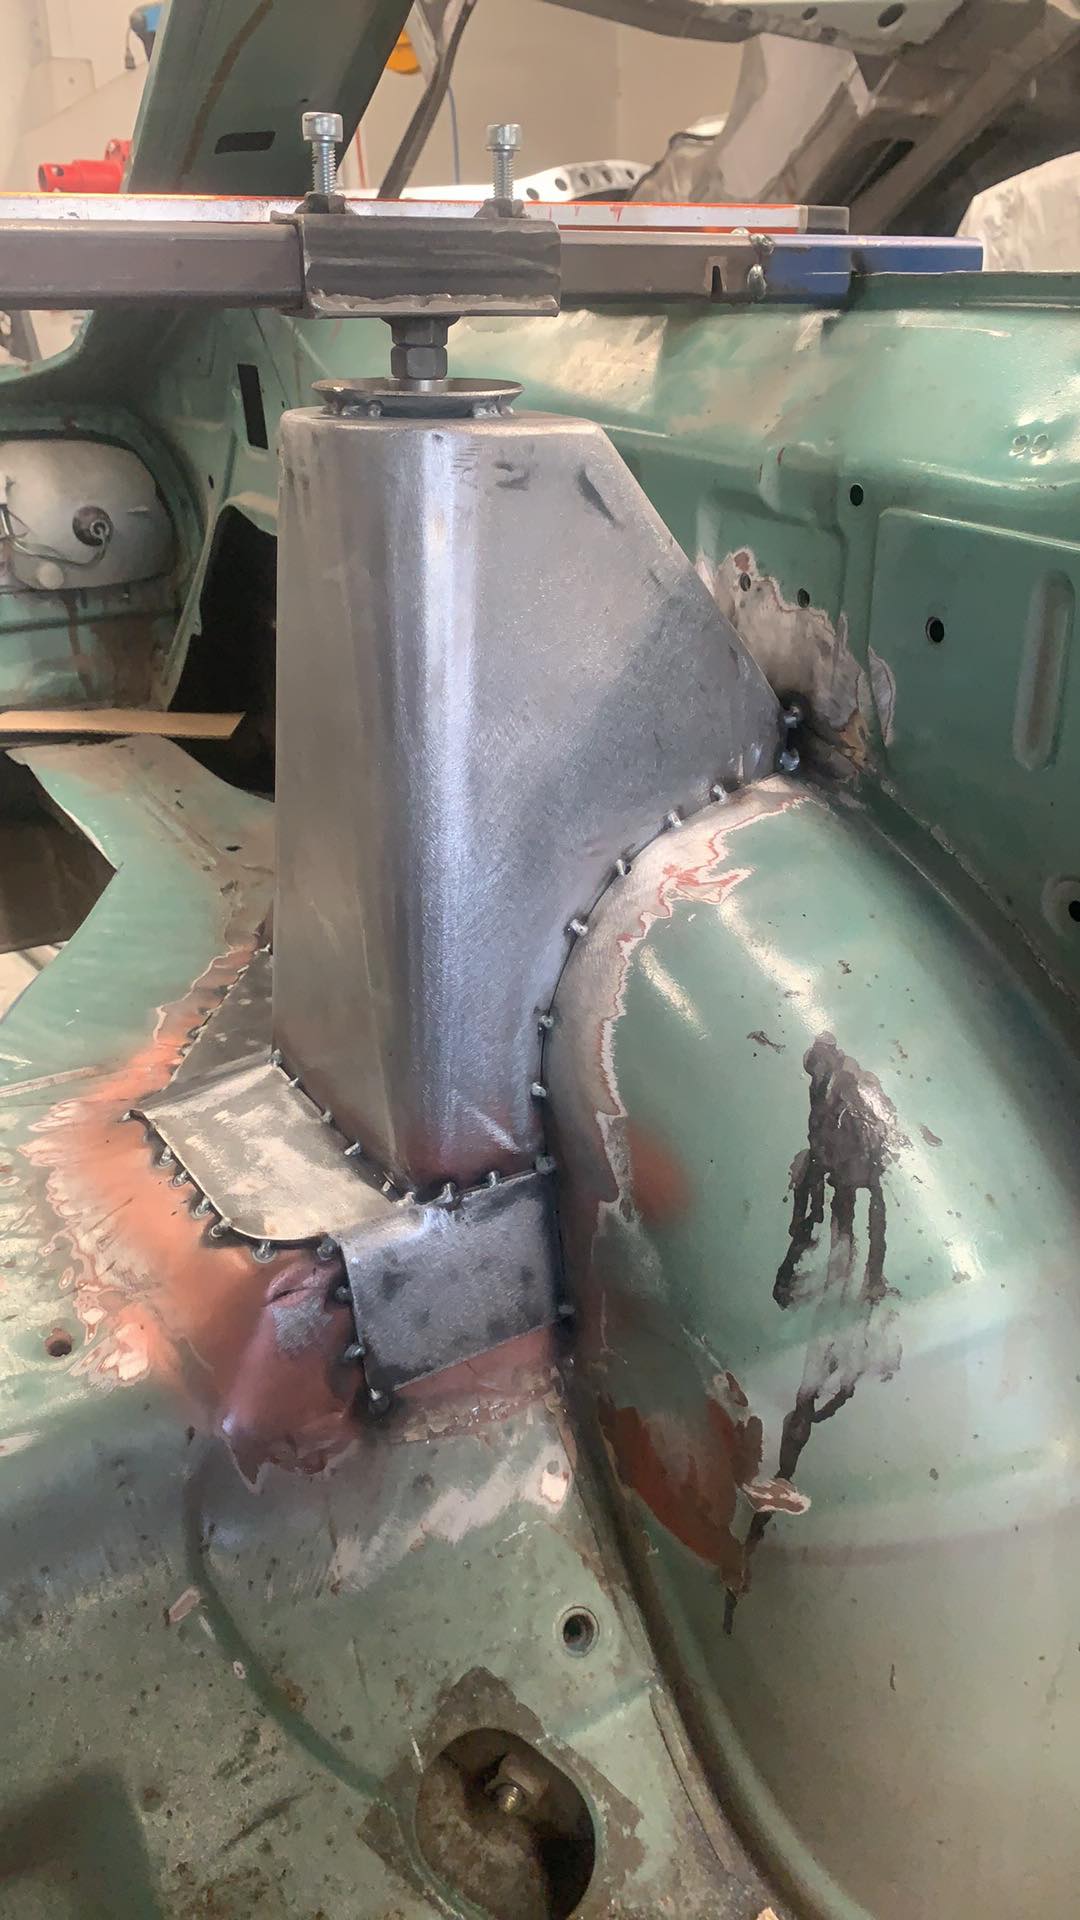
Turrets all welded in now, looking great.
14 points
-
10 points
-
Here's the remix.10 points
-
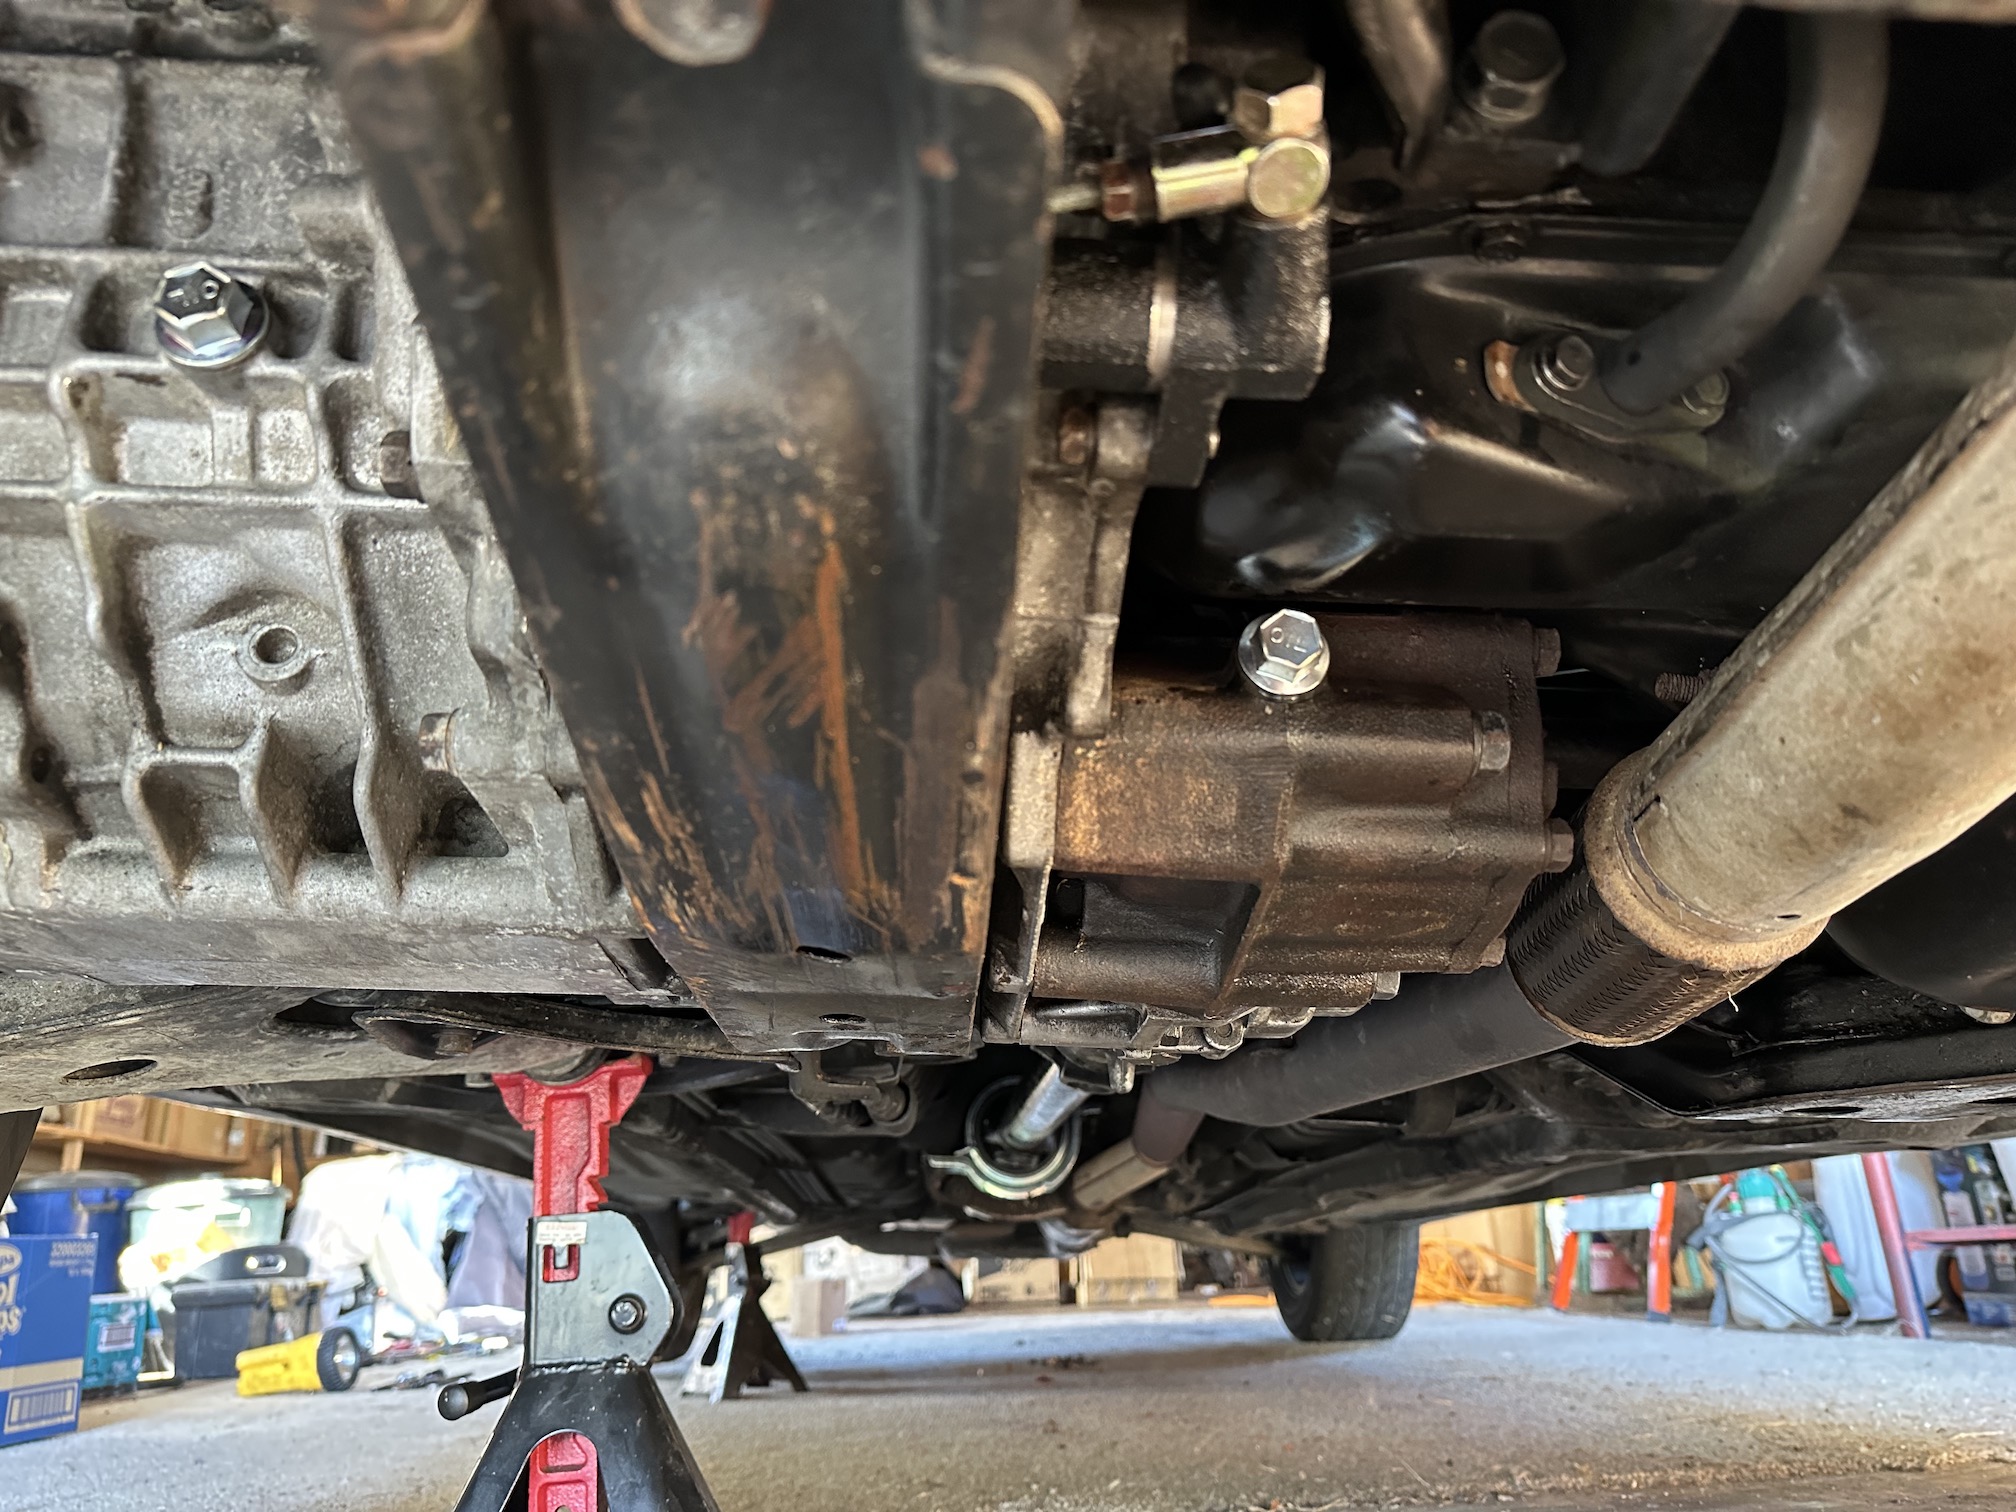
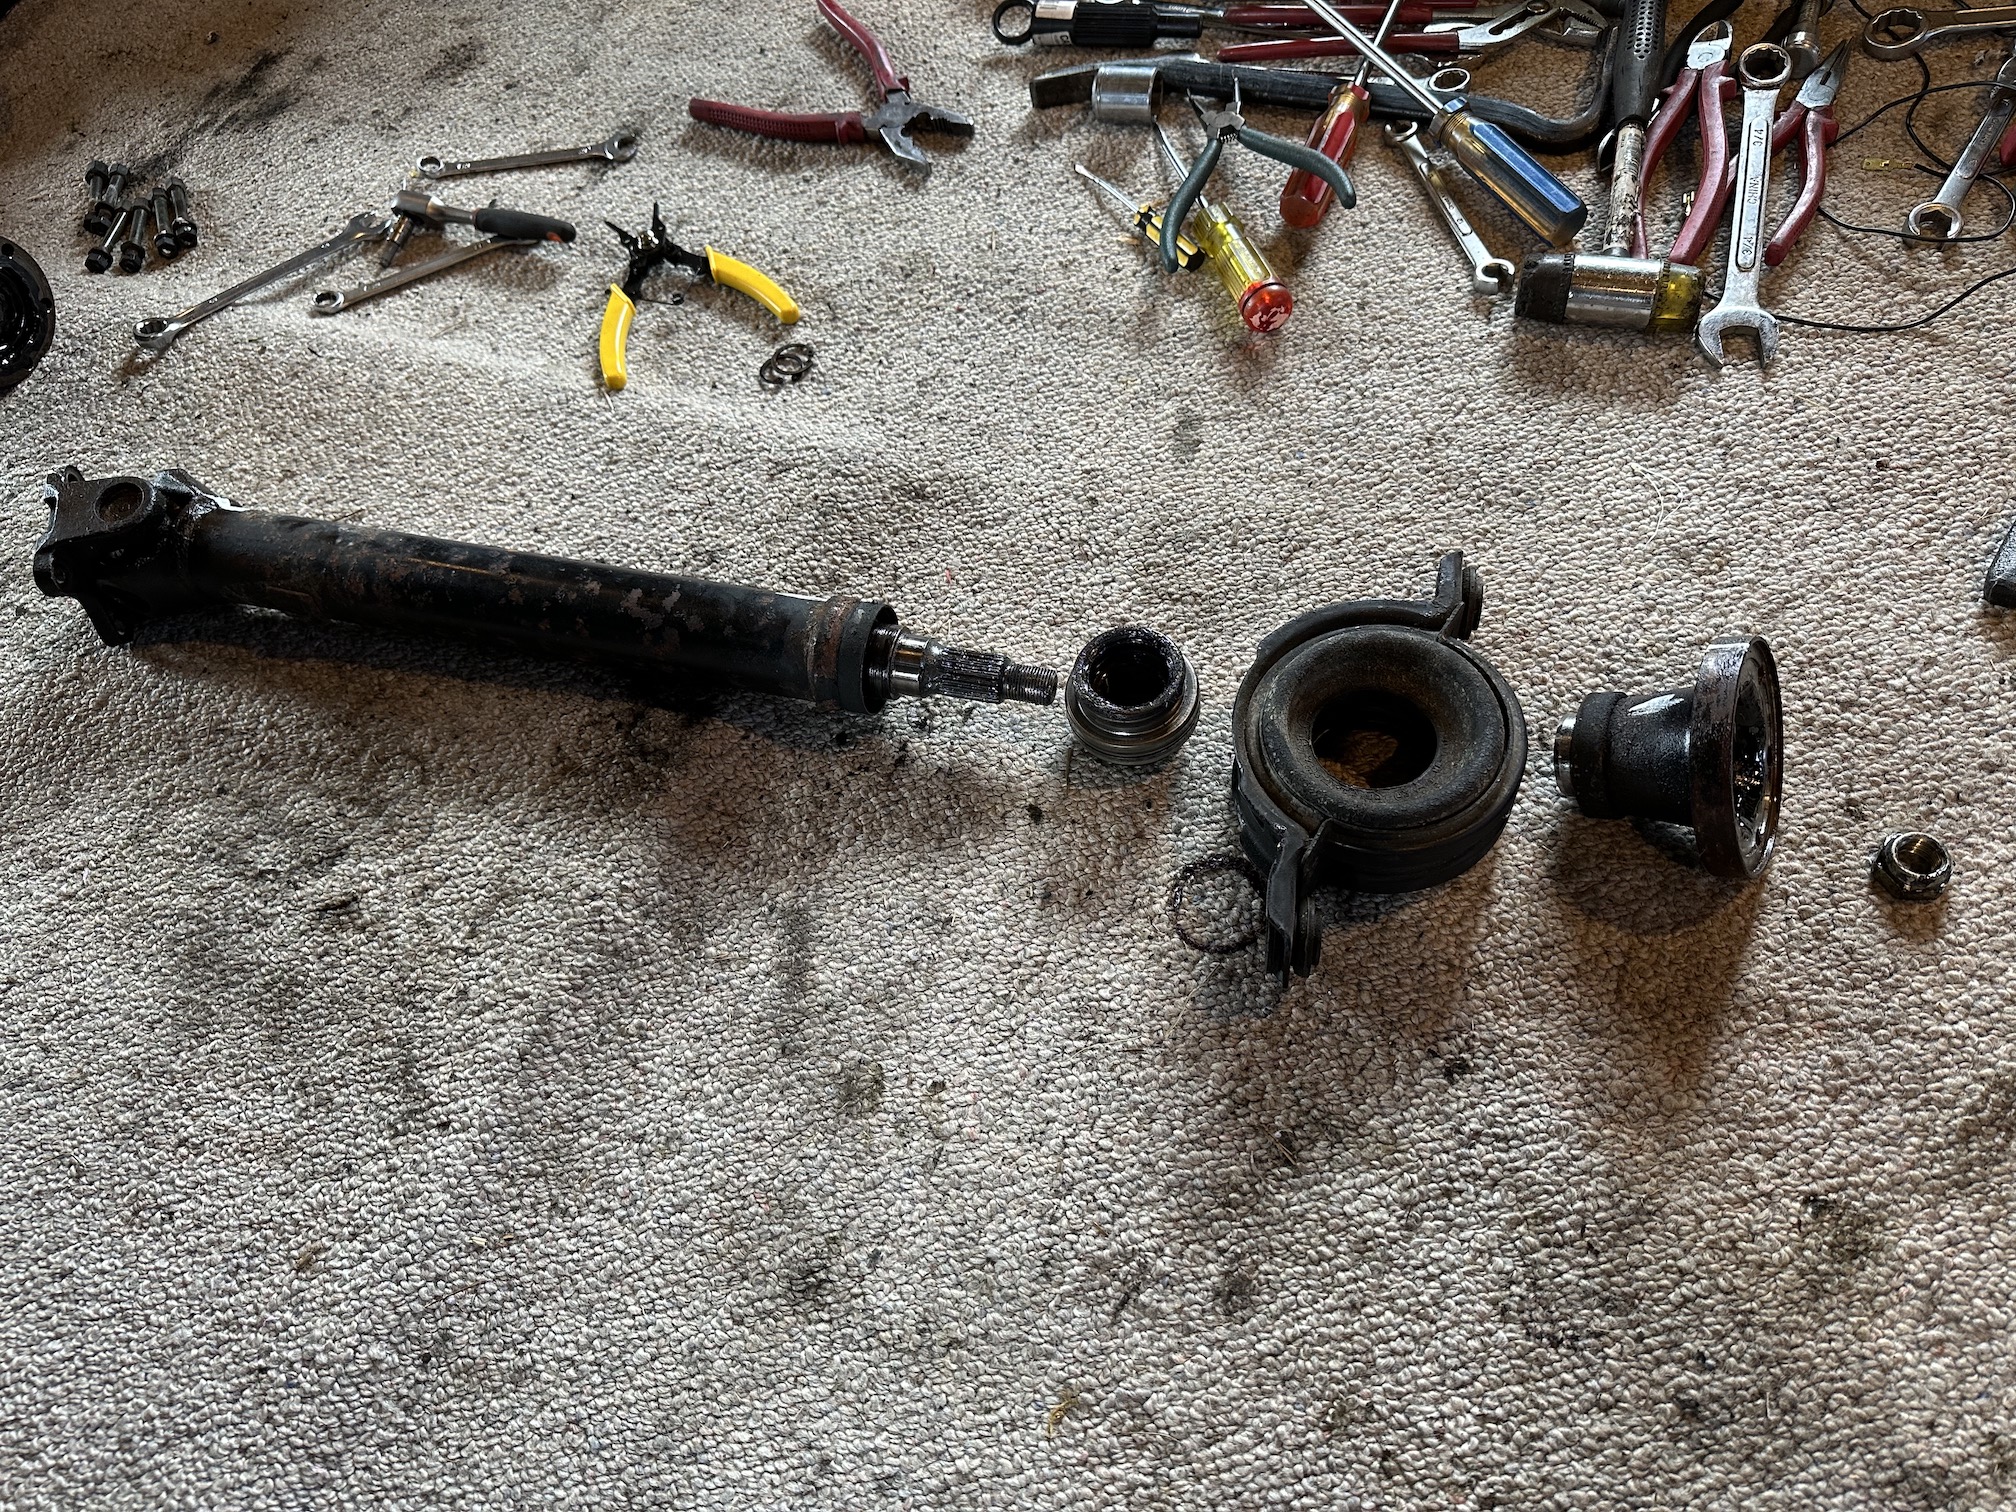
Found in my stash some new driveshaft bolts/washers/nuts and gearbox/transfer case oil fill bolts I must have ordered new years ago and forgot about Driveshaft back in with new hardware installed - shame no one will see my handy work. Can see the abovementioned new clutch slave sans 10mm spanner And.... the noise is still there. I have a spare transfer case think I will swap it in and see if it makes a difference. The original transfer case had a leak which there was a recall out to fix the leak (which comes from the driveshaft yoke rather than the transfer case itself). The recall applied to Japan and the US but of course not used imports into NZ. I got a 'recall kit' some years ago which included the yoke, first uni joint and tailshaft seal and swapped them on which sorted the leak but am thinking maybe damage was done if it got a bit too low in oil.
7 points
-
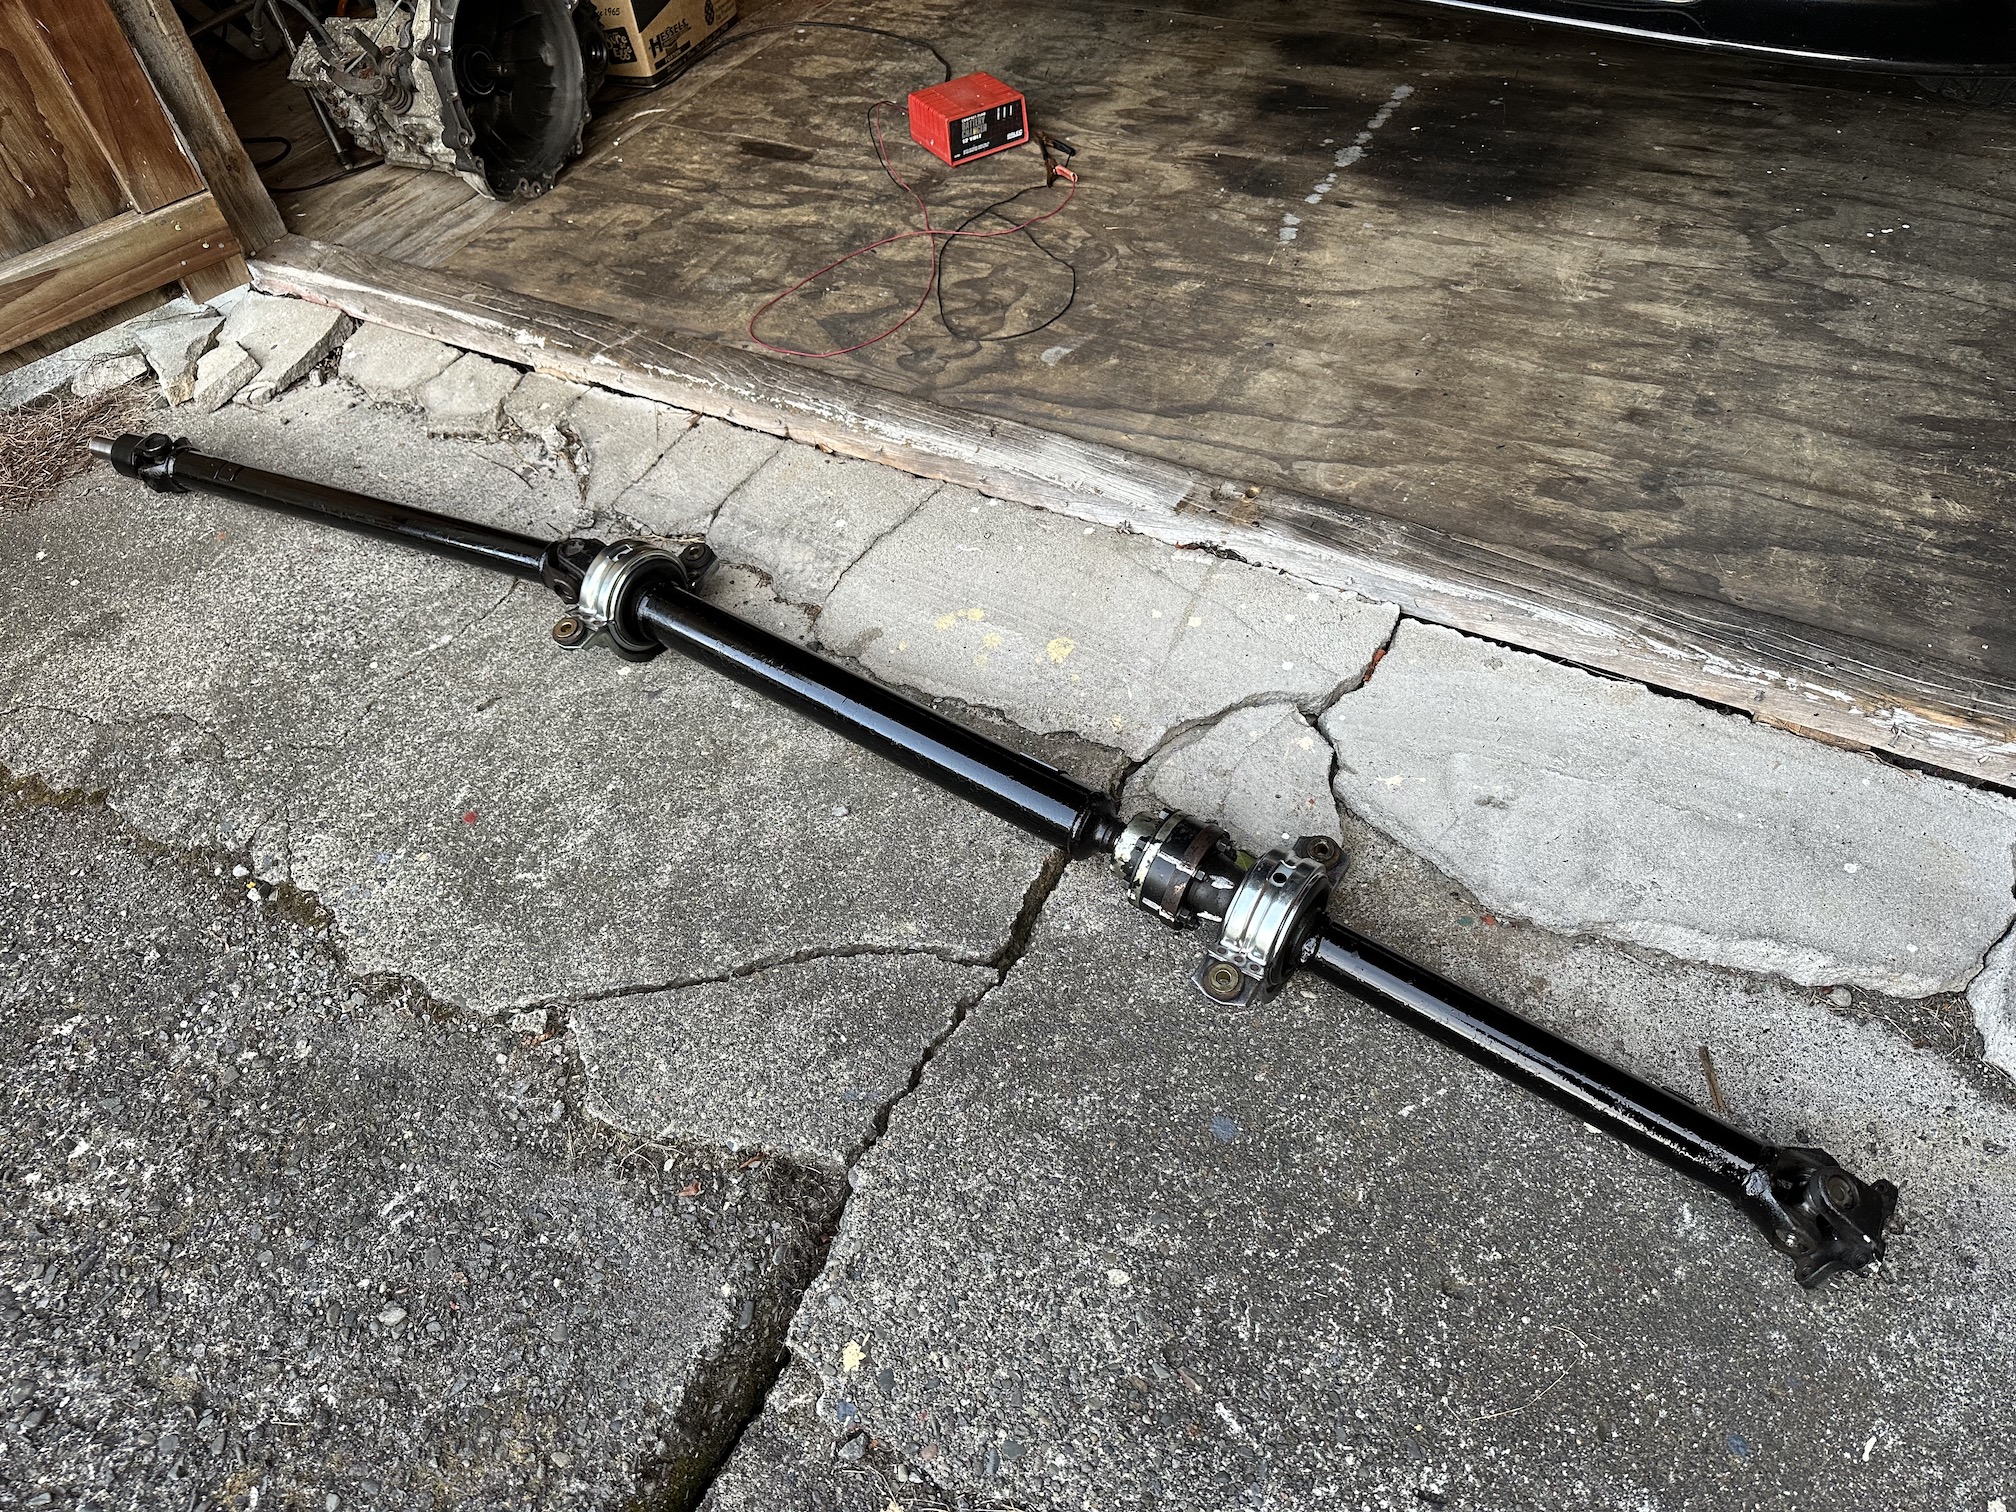
Married the pieces all back together And gave it a lick of rustkill paint as the original paint was flaking off and starting to surface rust up pretty bad so wanted to keep that at bay. Just waiting on the paint to dry before I refit and find out if it made any difference or not.
7 points
-
Late night engine swap mission with assistance from @ThePog
6 points
-
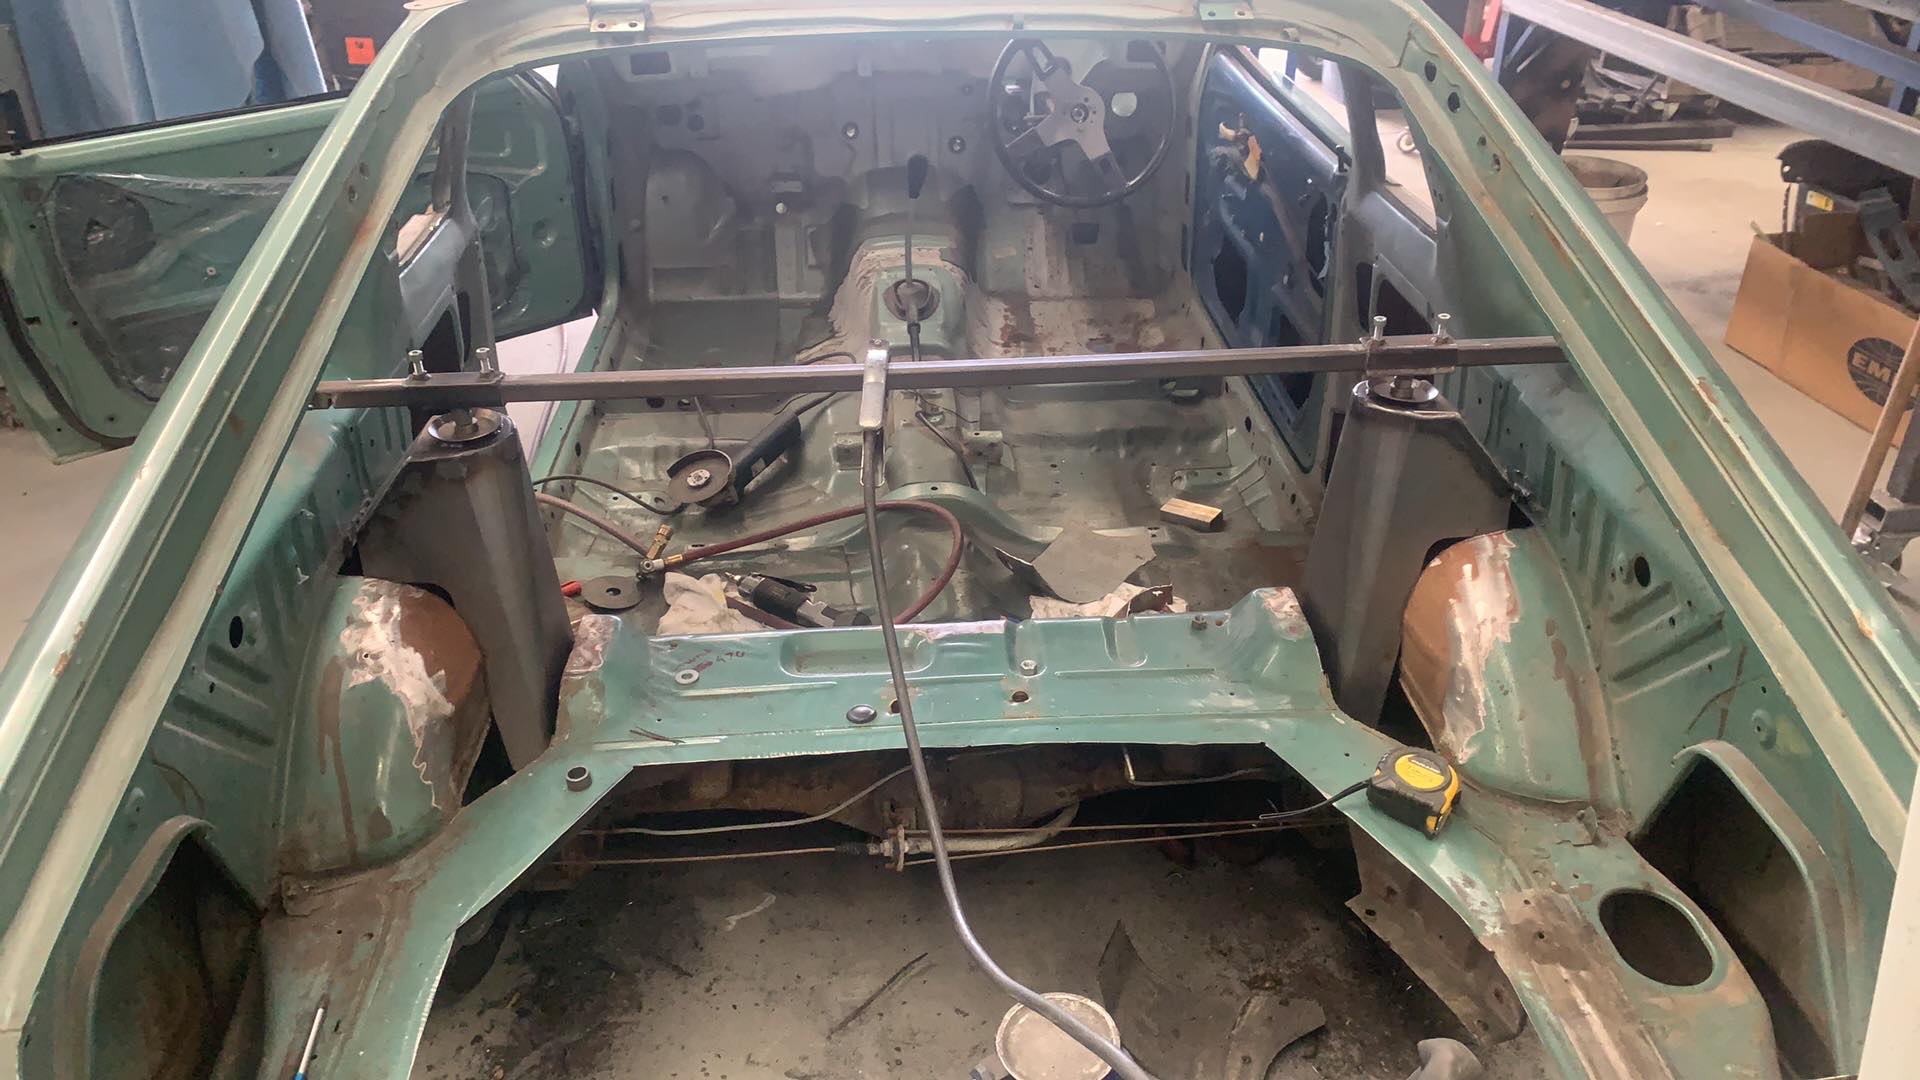
First up, turrets. Using some Group 4 Escort ones, though Nick has had to do quite a bit of work to get them to fit due to my required belly scraping ride height.
6 points
-
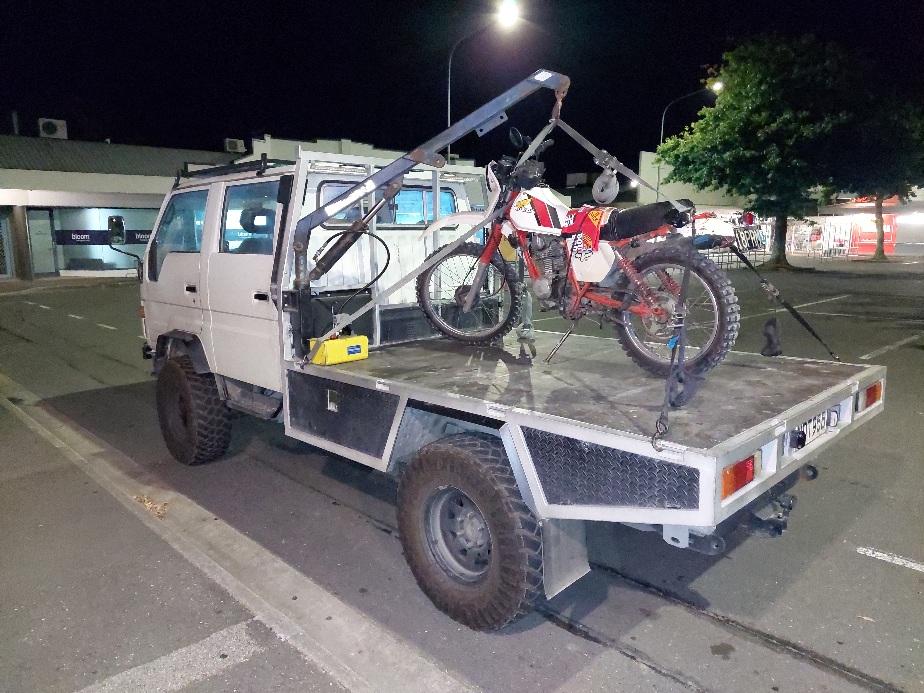
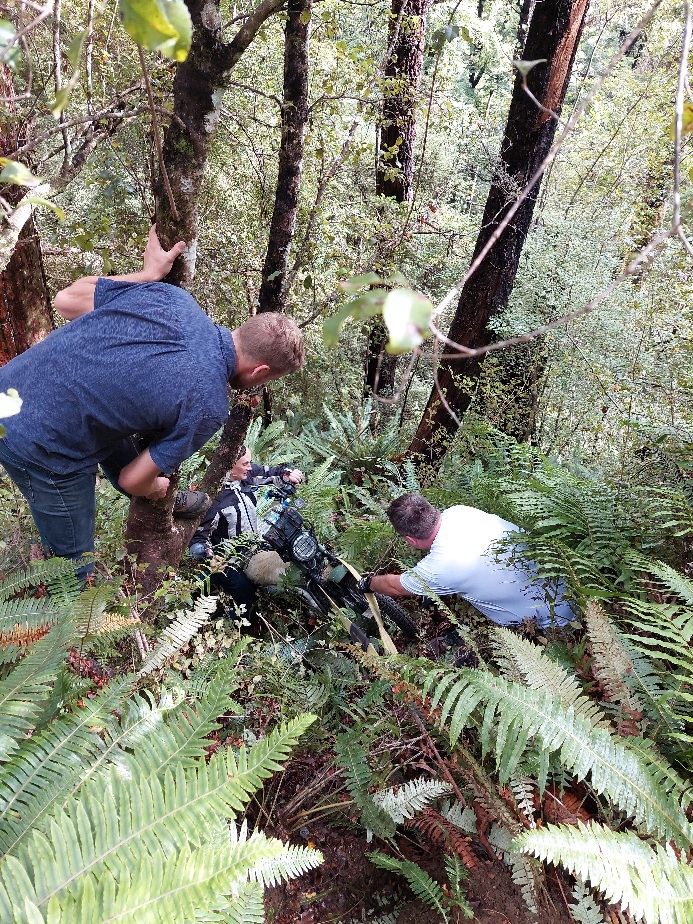
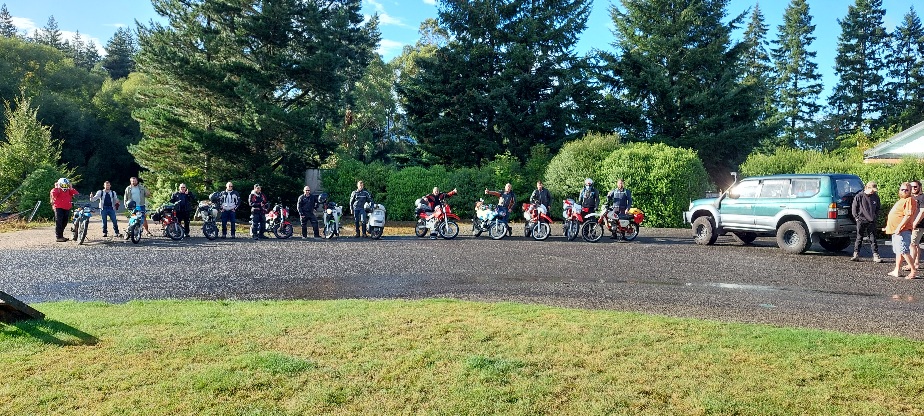
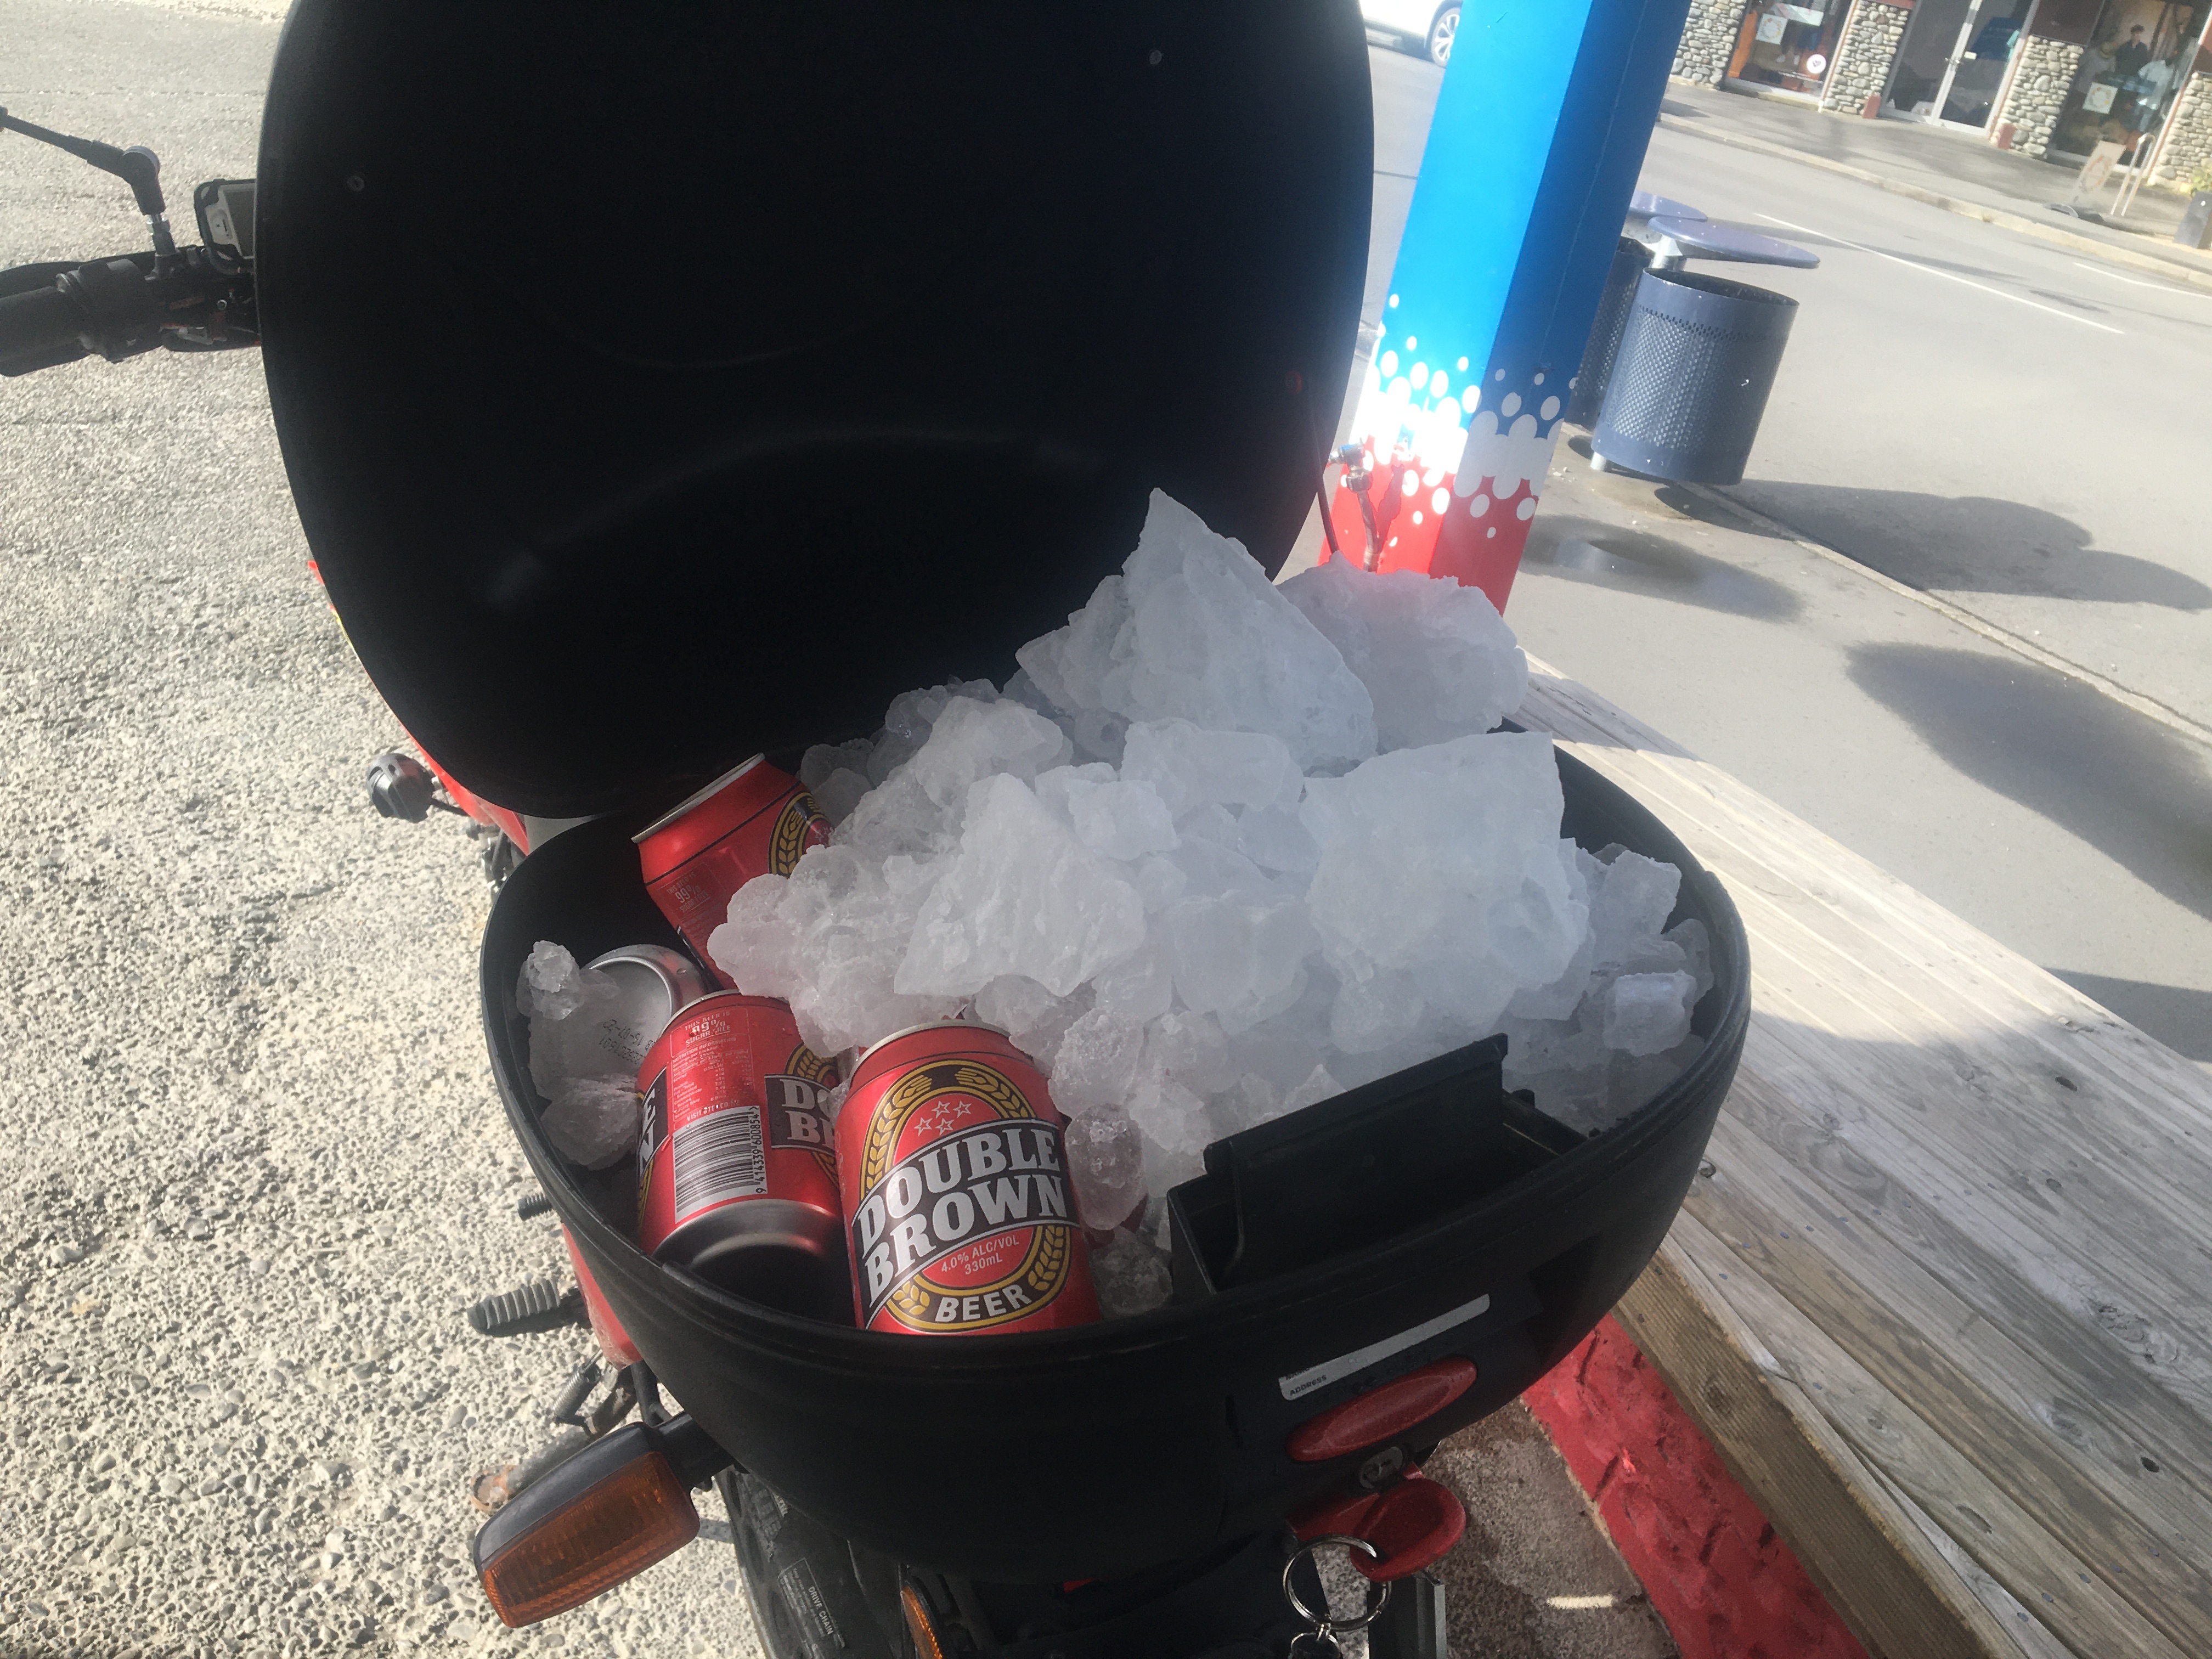
Today was mechanical carnage. Two bikes engines have expired, a handful more have lost power. One off road excursion (all ok). Has been a long day, and about to get longer for me...
5 points
-
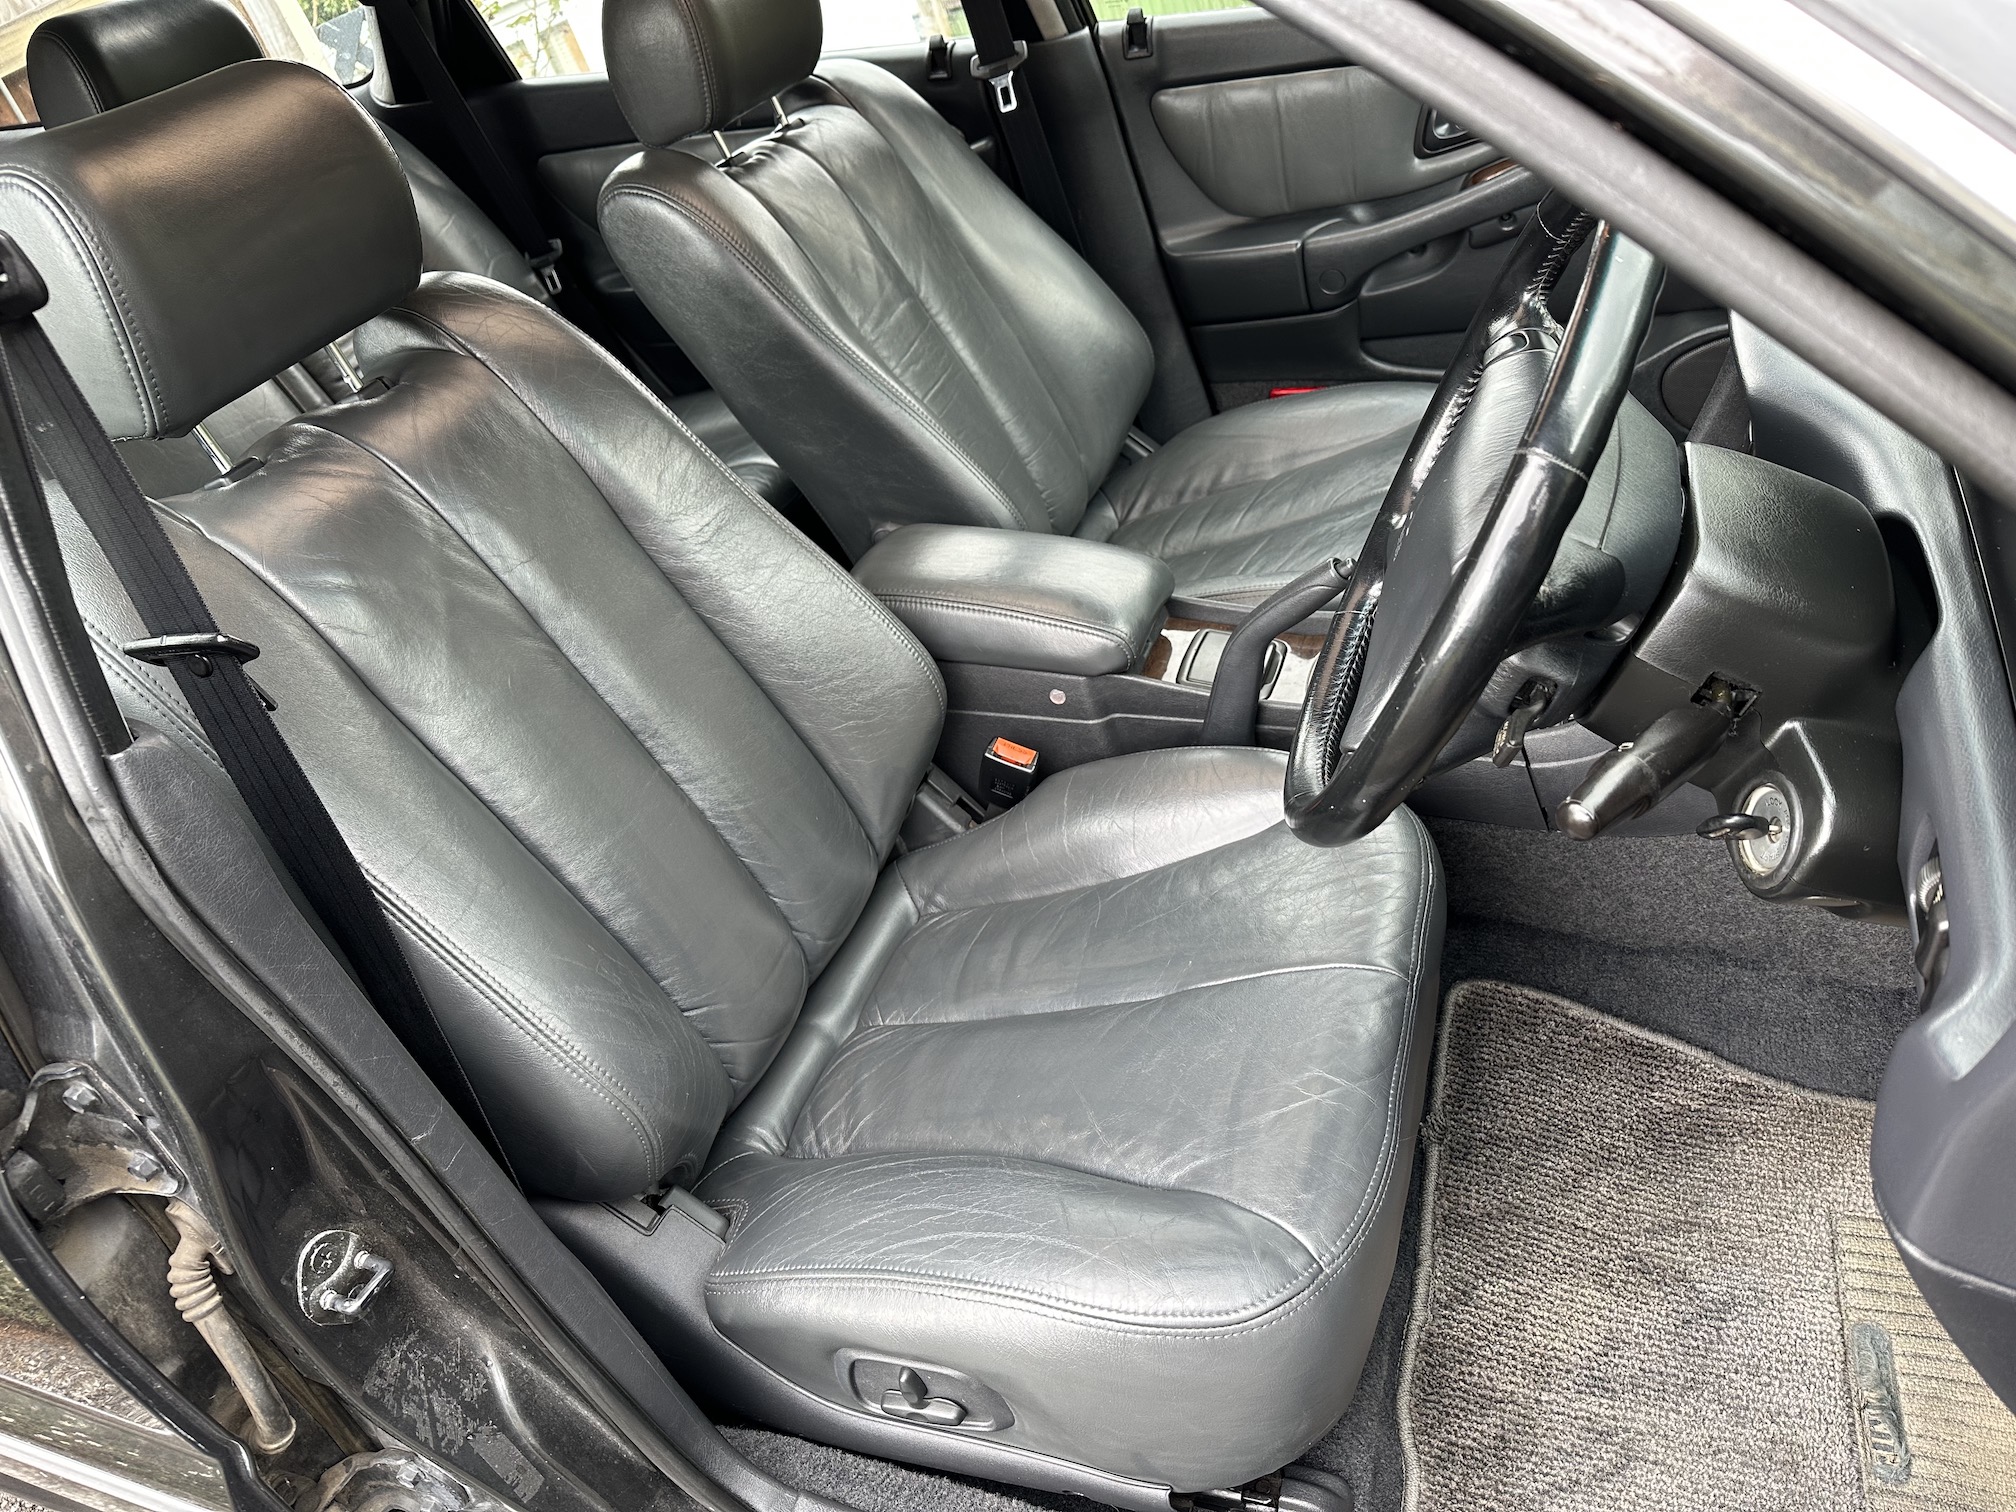
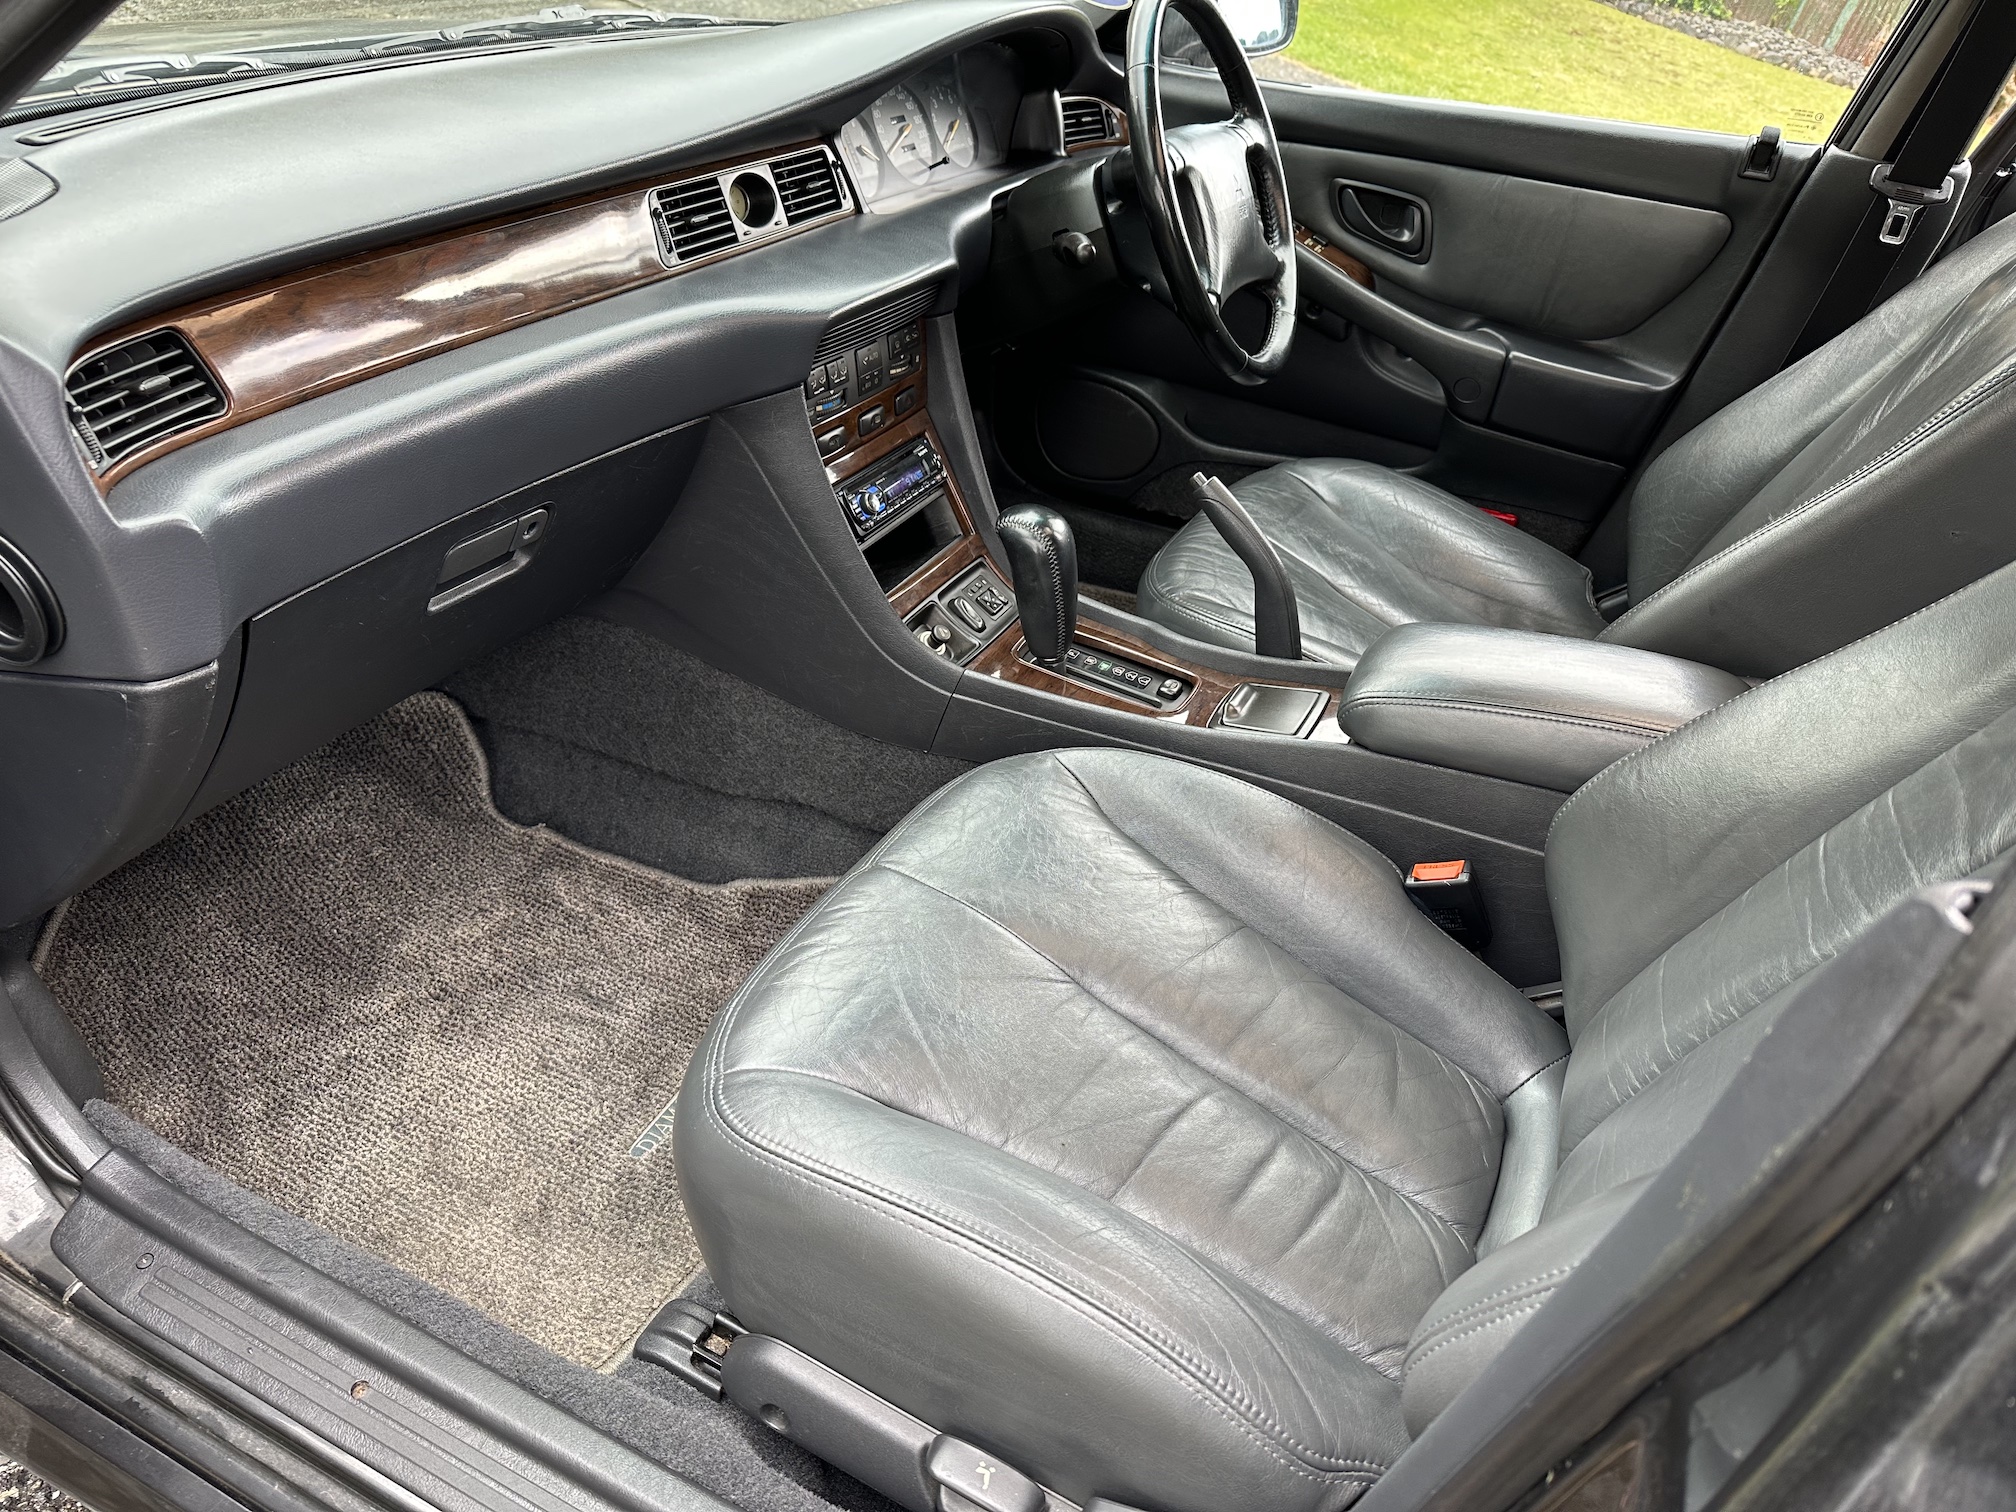
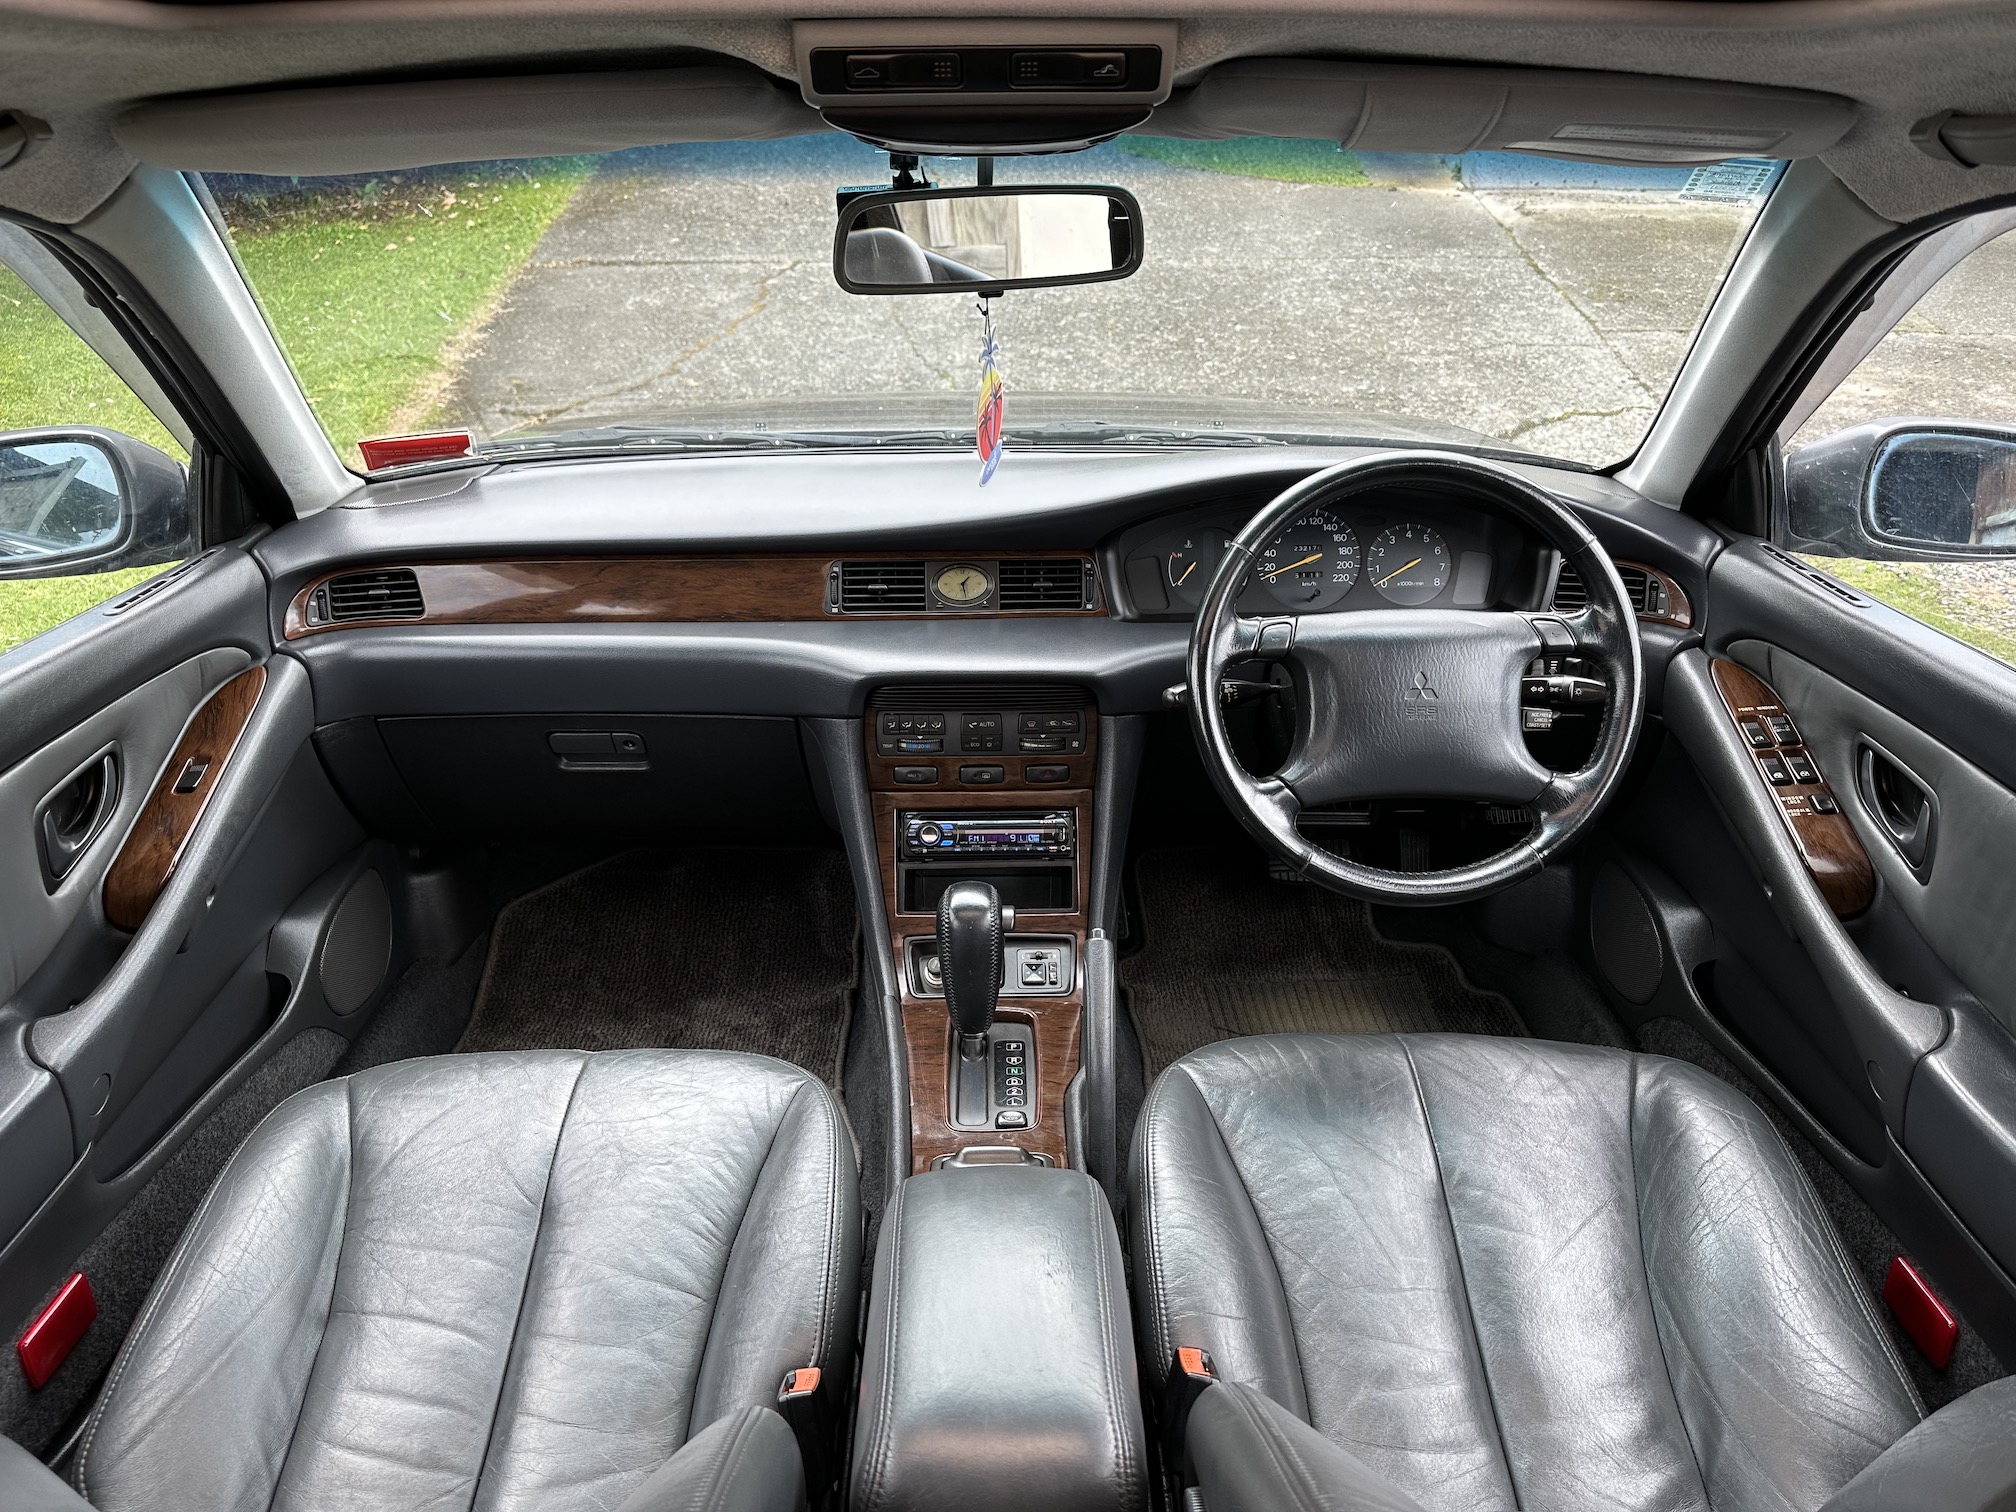
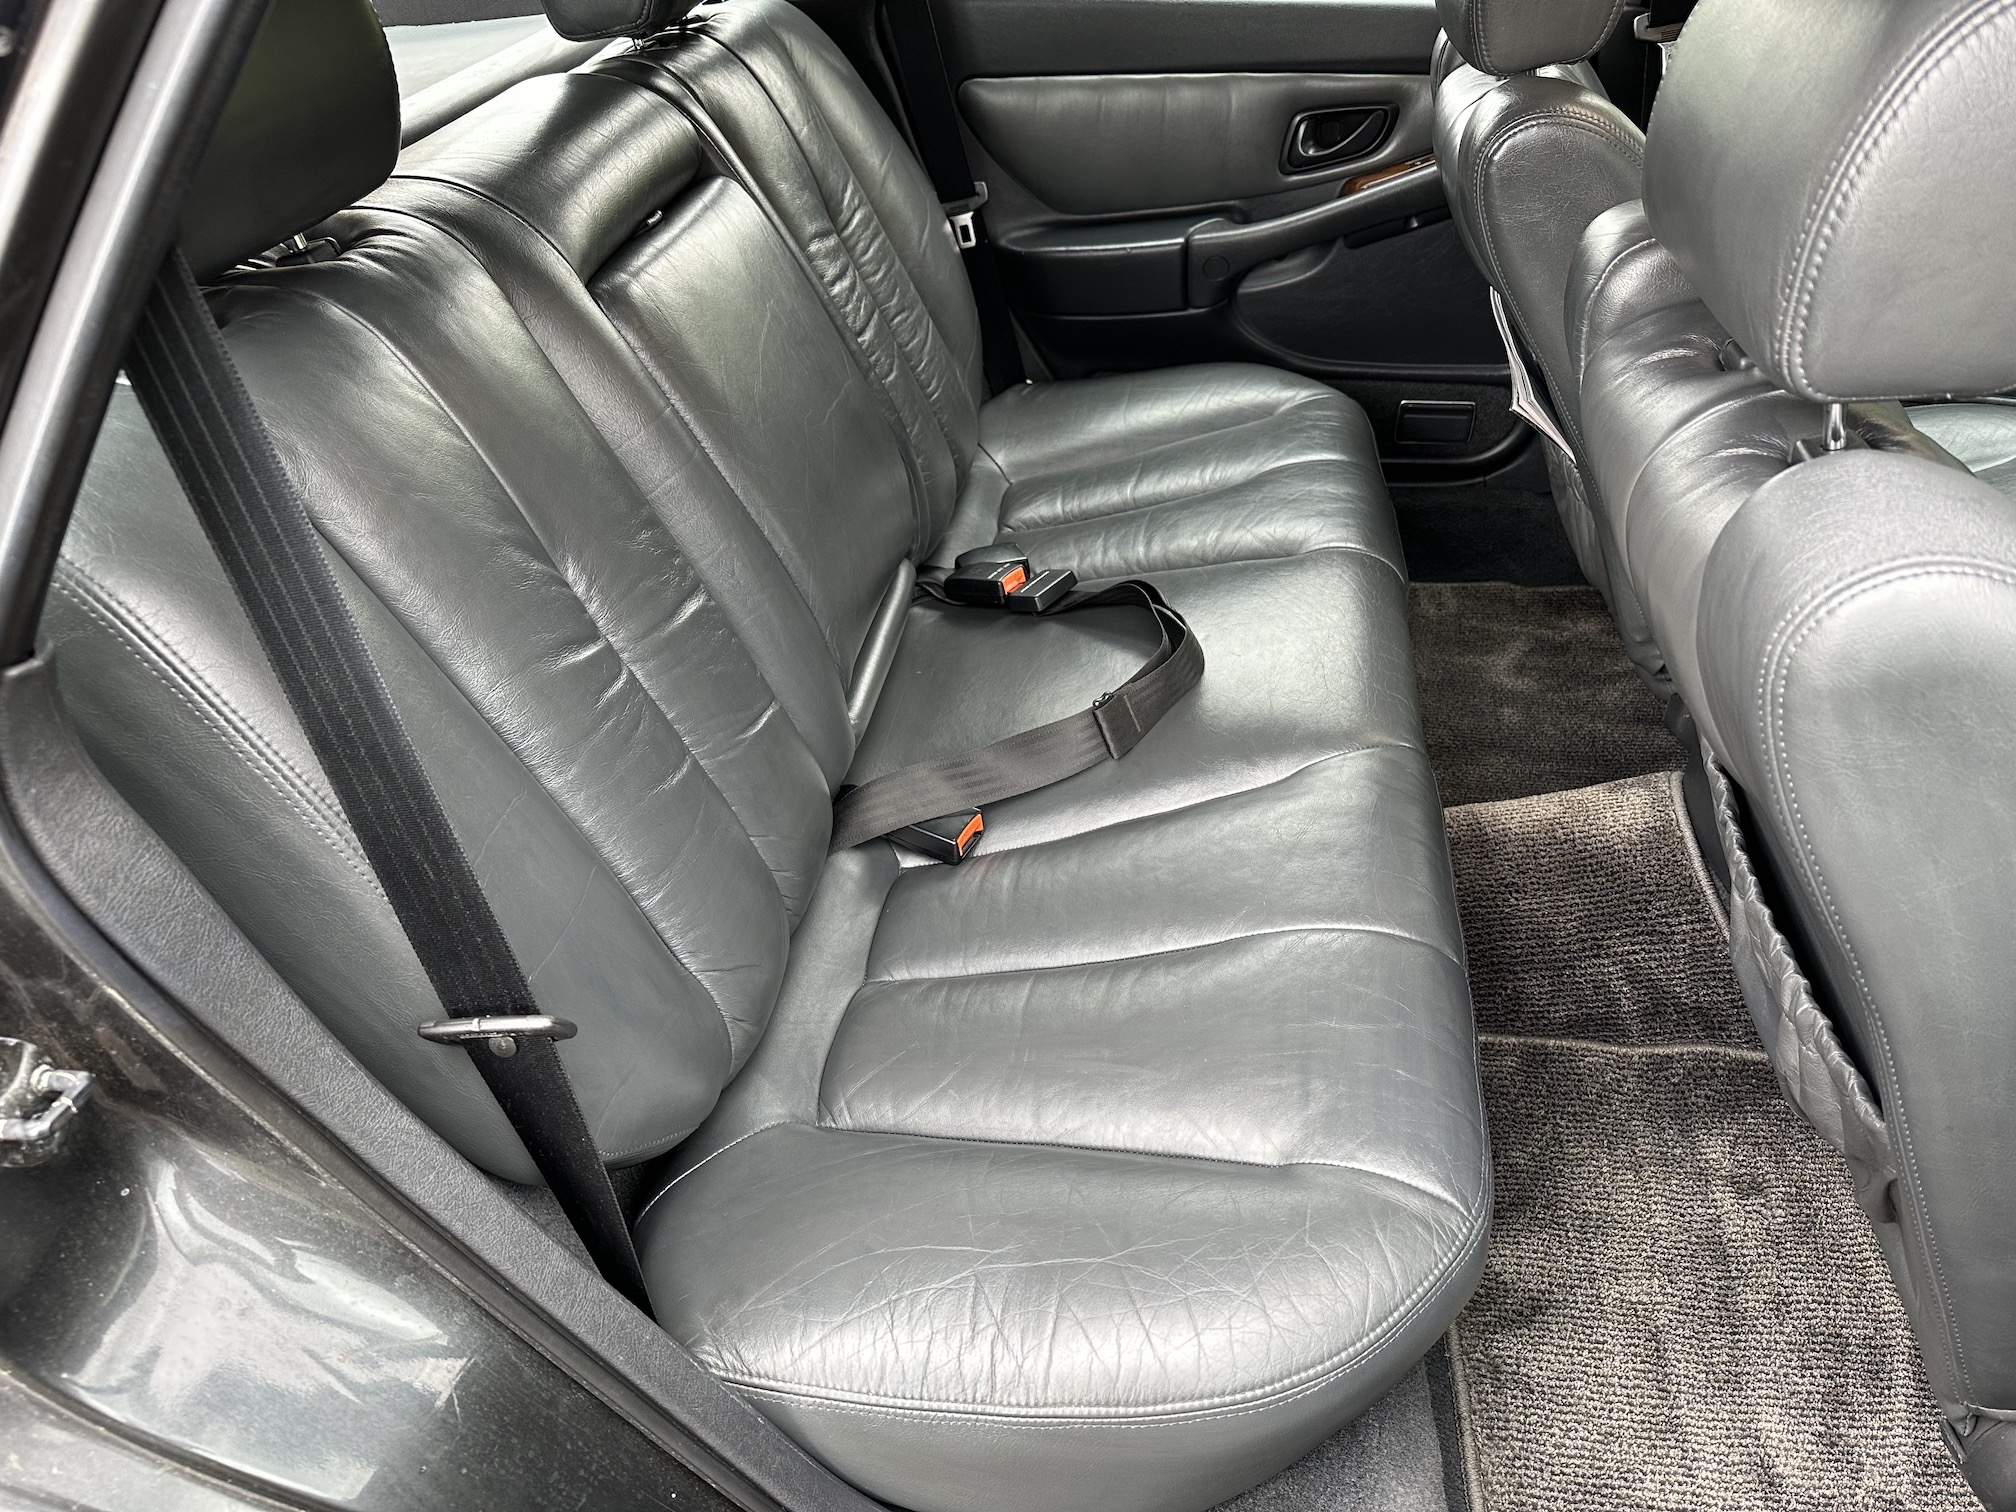
Now all back together after everything was out, I also applied some leather colouring balm to the seats and door trims and they came up better than before, can hardly tell there is 230+k kms worth of wear on the interior.
5 points
-
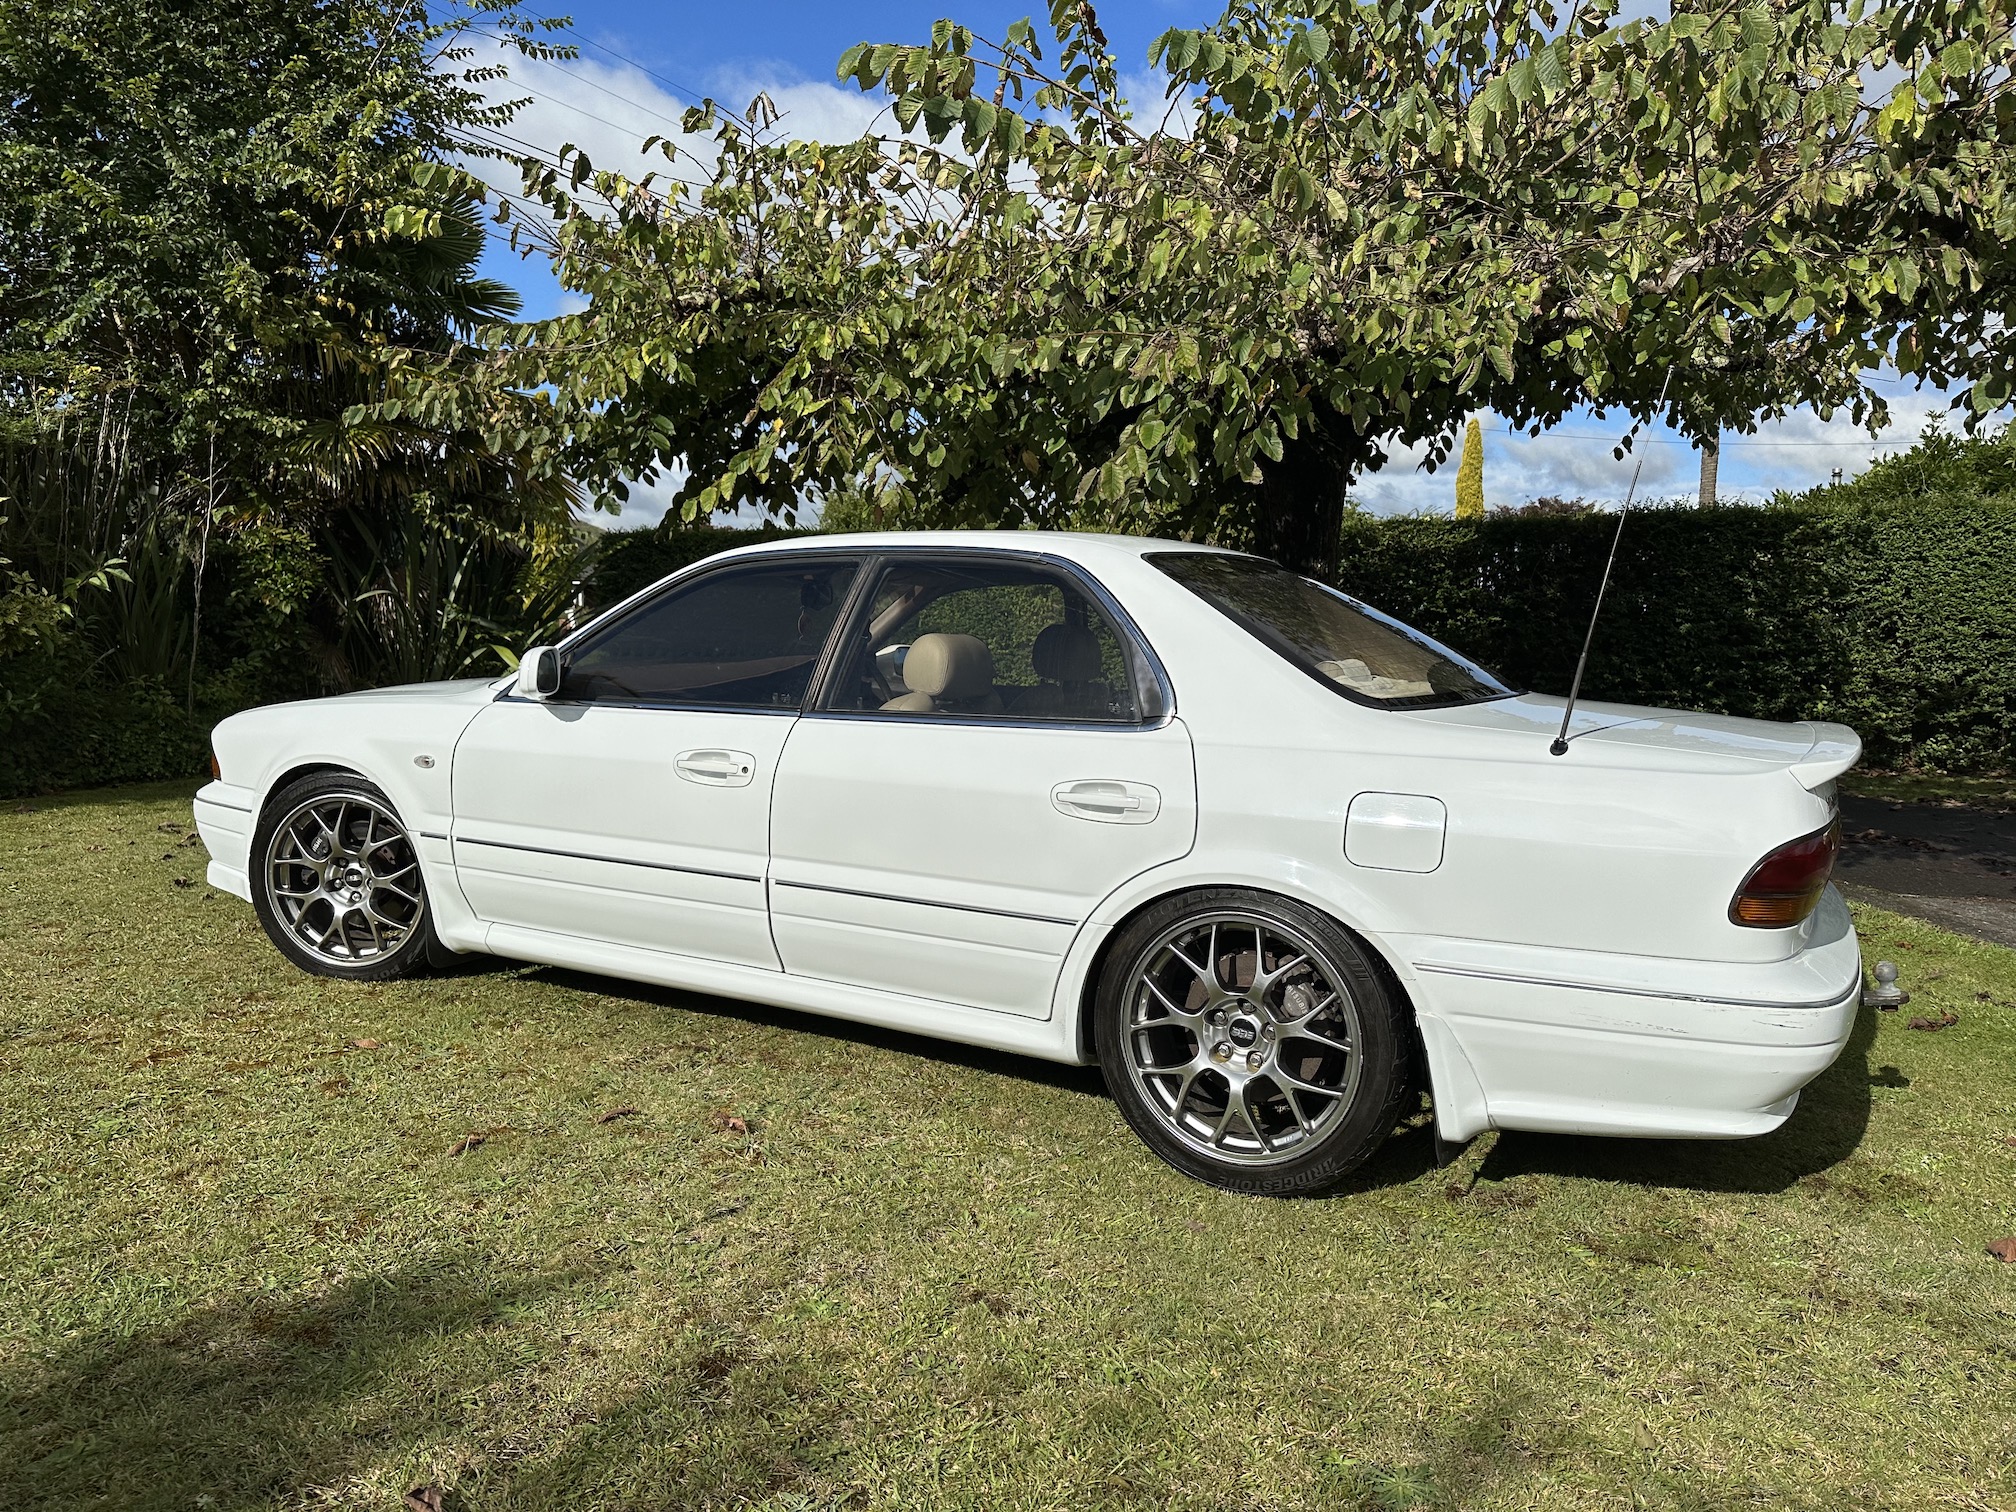
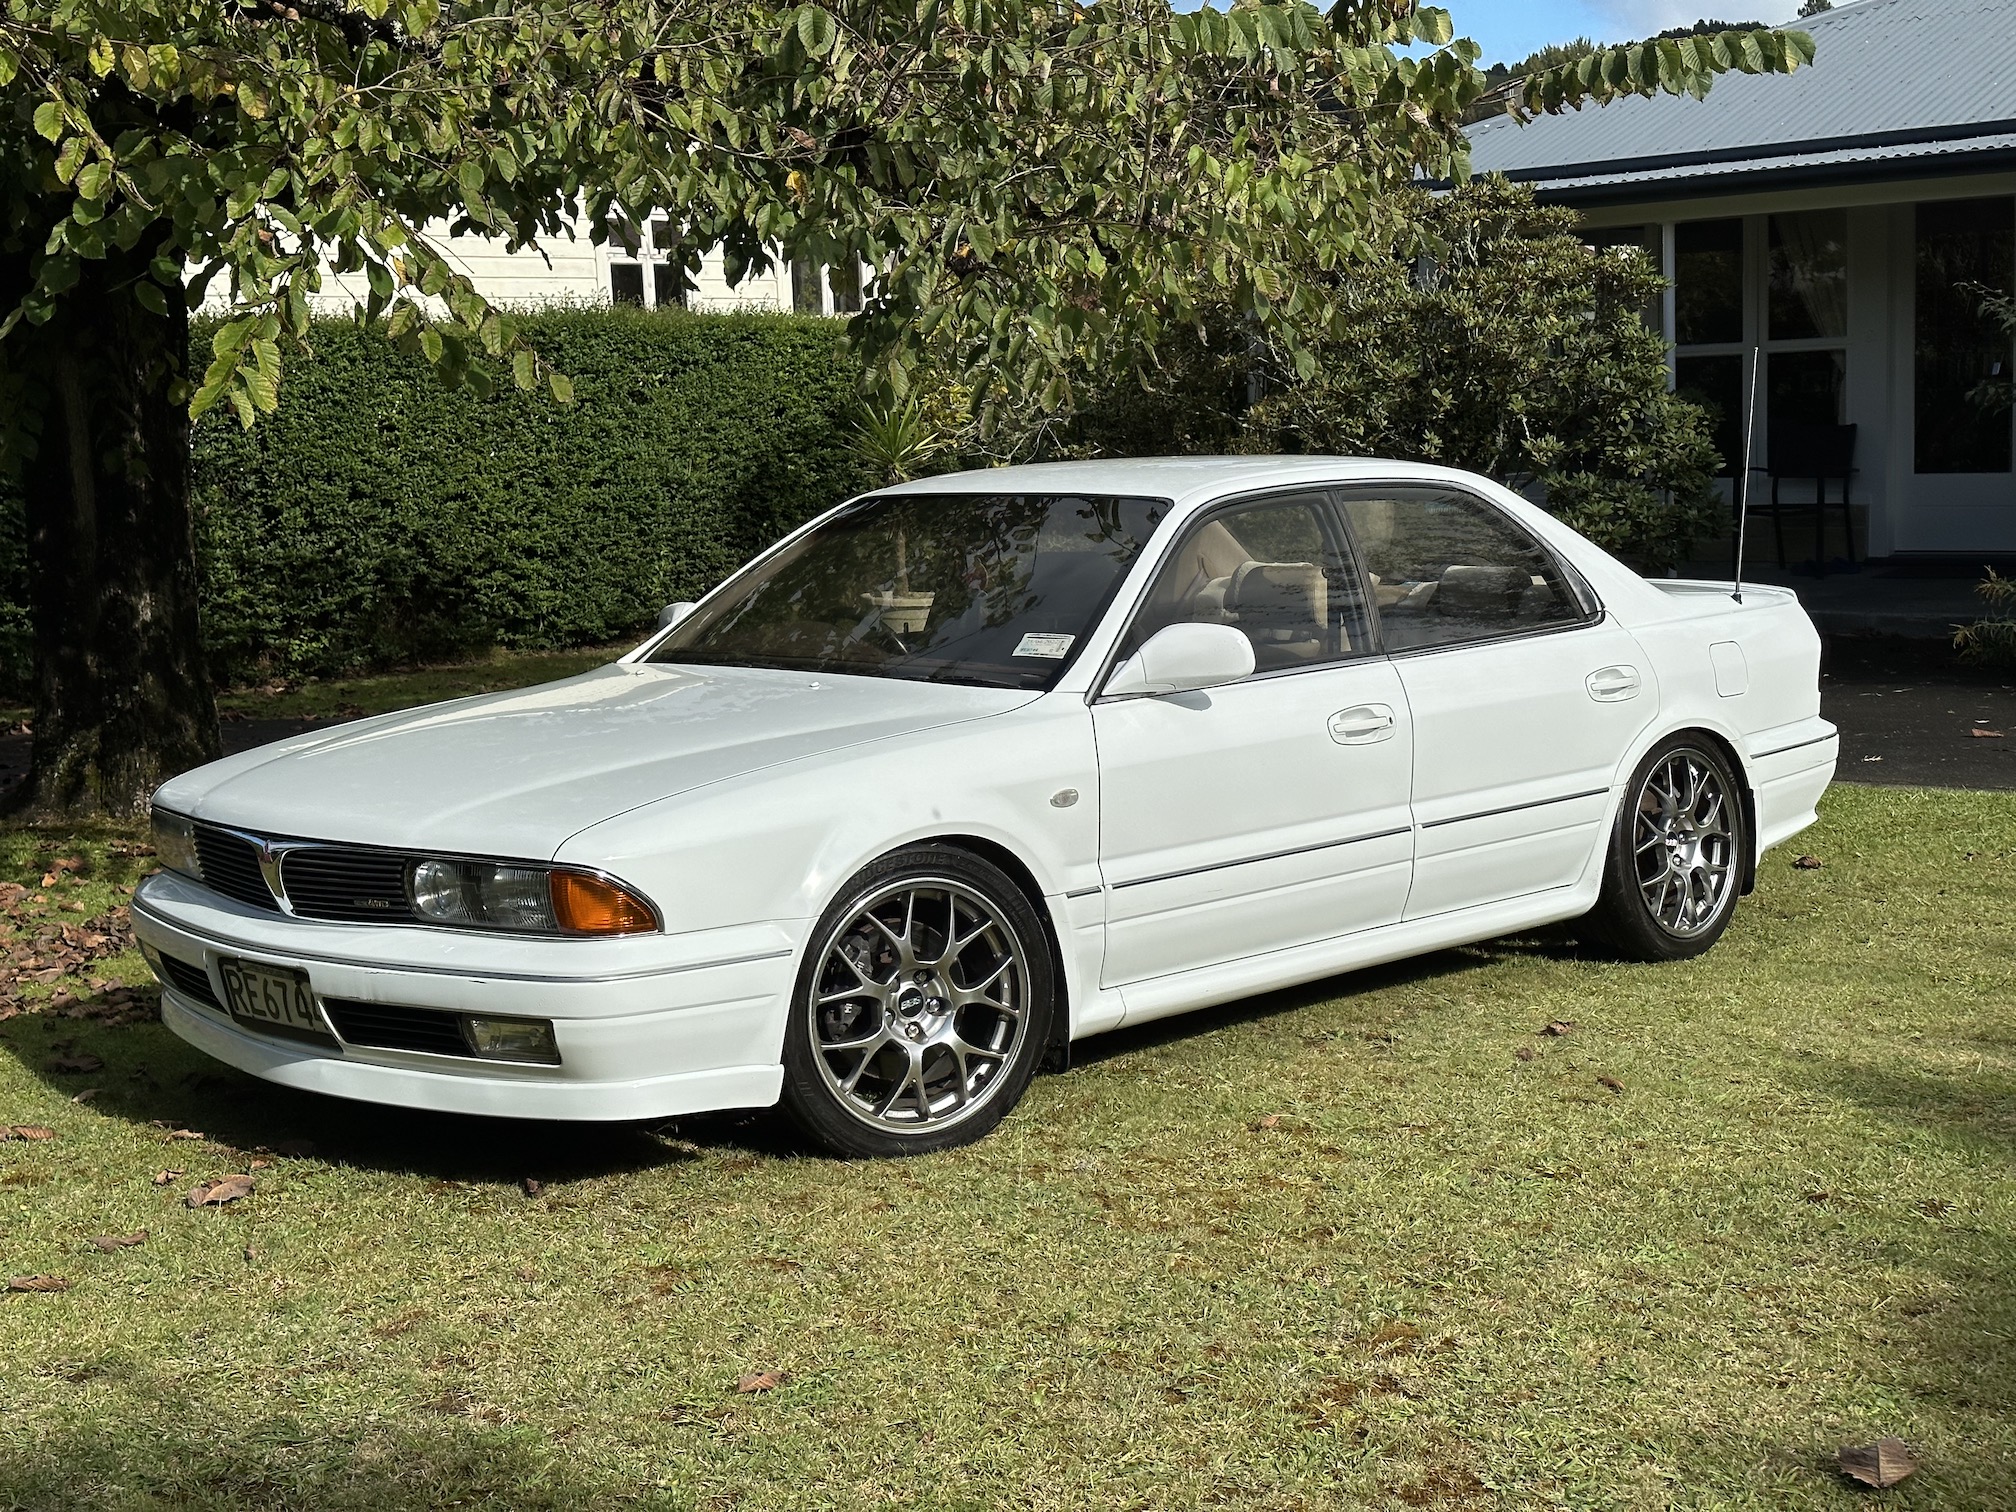
didn't get around to posting up pics last time but did end up swapping on the rear GTO 2 pots, can see them peeking out behind the BBSs here. Gave it a bit of a scrub up too
5 points
-
Off to MFS for some goodies!
5 points
-
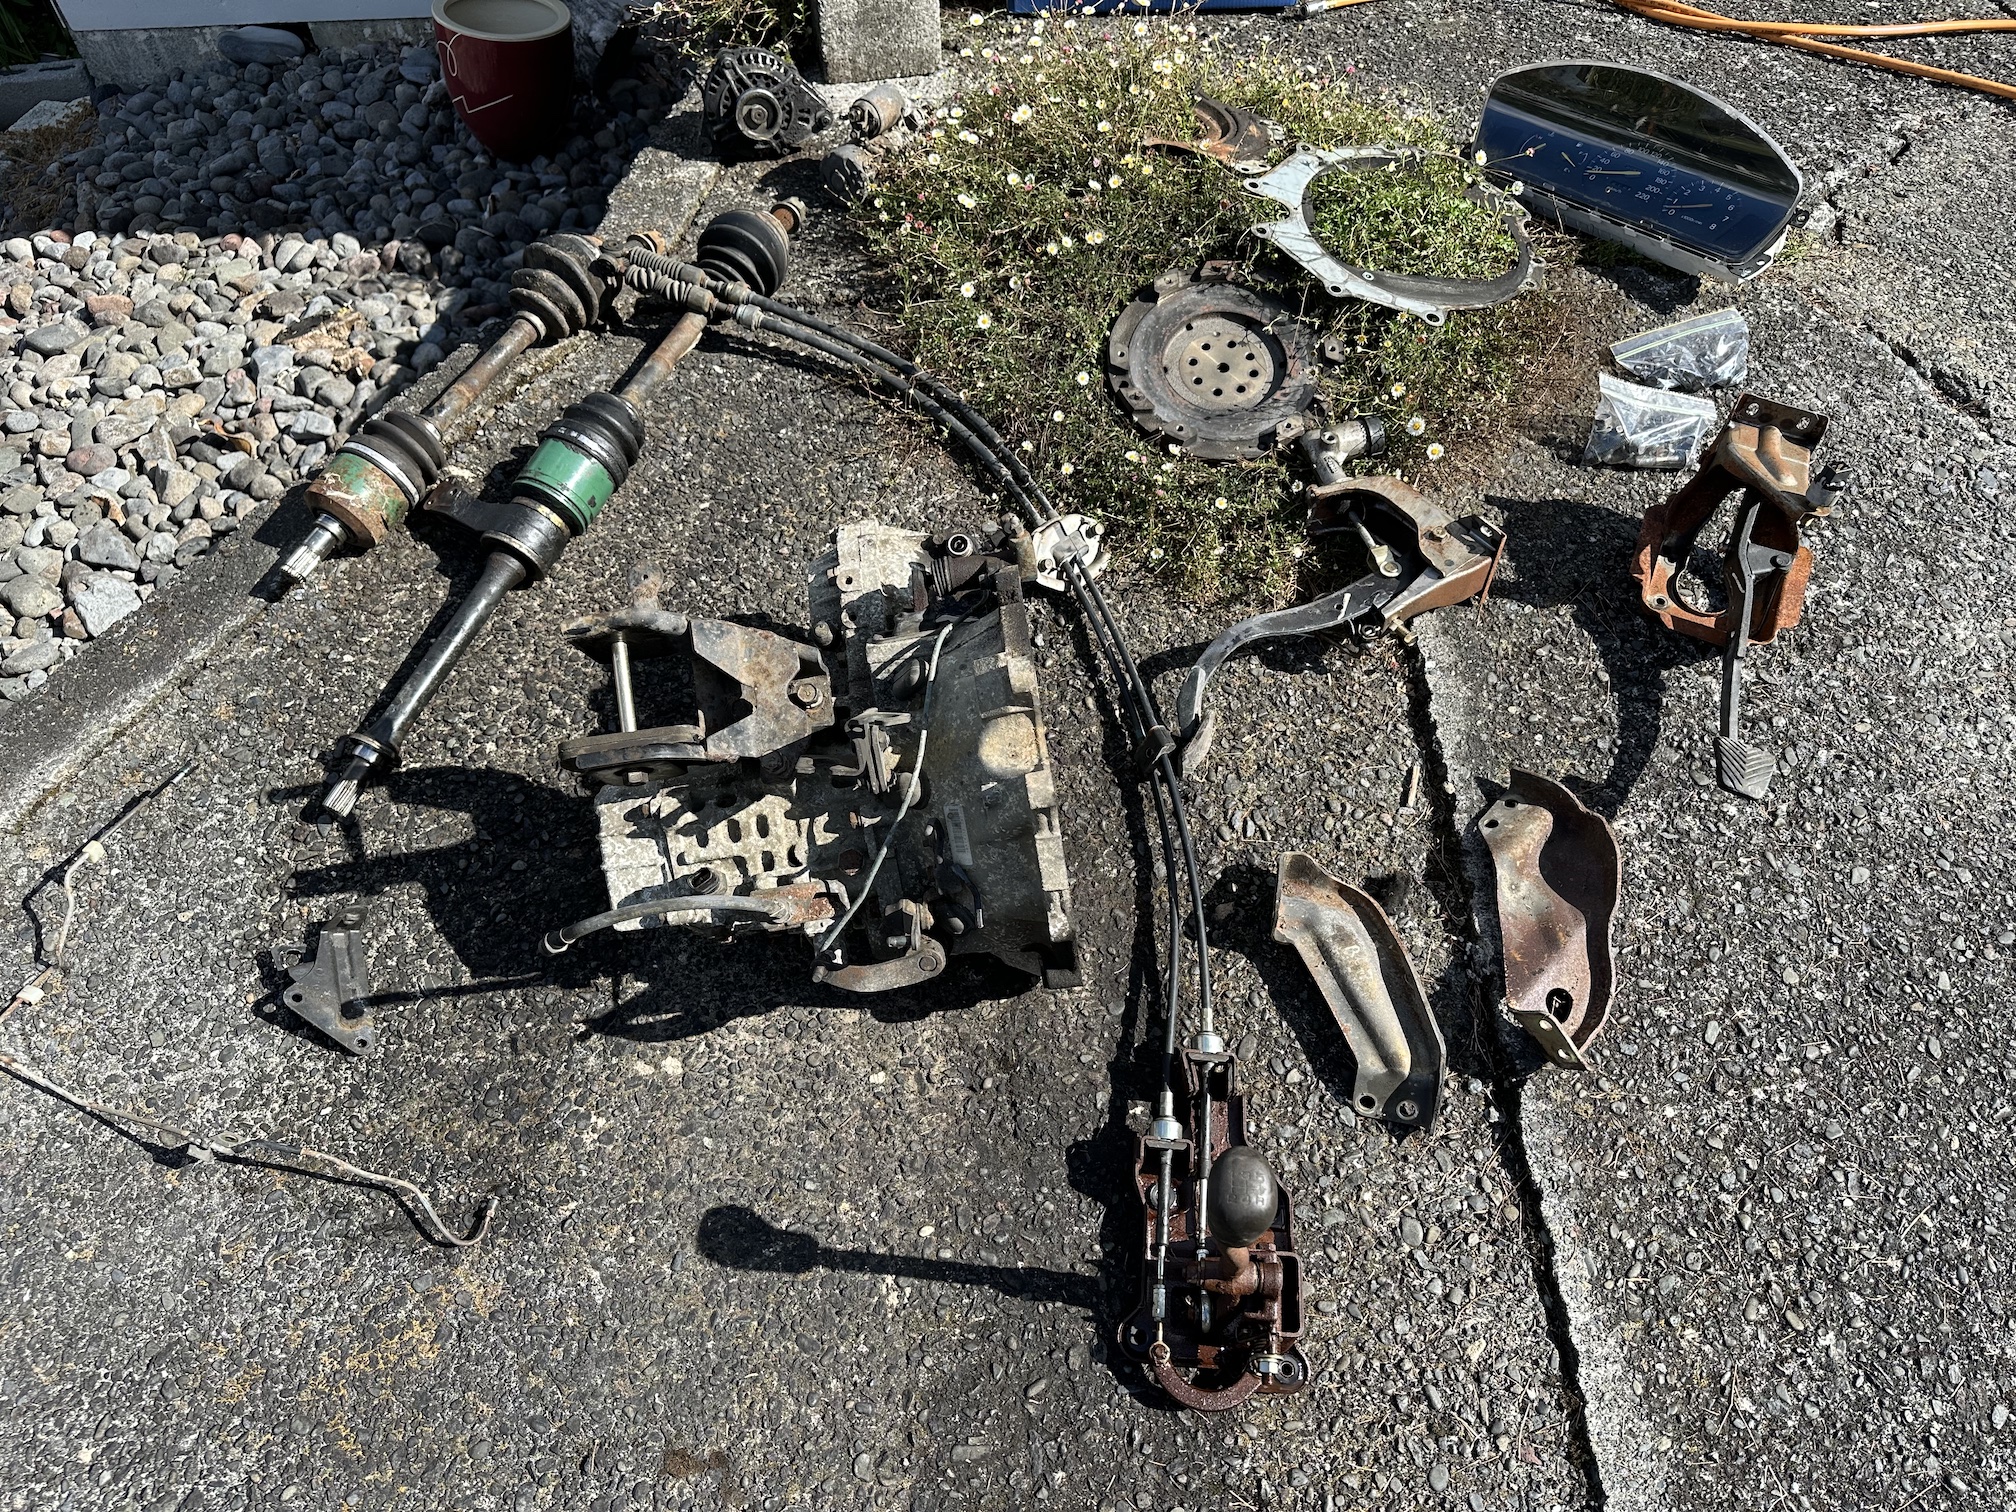
surprisingly good haha, any stench must have dissipated by the time I got to it. Once done it smelt like carpet shampoo until I spilled some gear oil in the boot and now it smells like gear oil haha. The source of the gear oil was the almost complete manual conversion parts gathered from @MaxPower the GC last weekend, who knows when I'll get around to doing this though.
4 points
-
4 points
-
4 points
-
Got them home ready to reassemble Can see the originals had sagged and rubber perished, not that I heard or felt any thumping while accelerating, though there was a bit of noise and vibrations on deaccel but think that's the rear diff More grease in the lobro joint (didn't bother replacing this or even the boot because it seemed in good nick still)
4 points
-
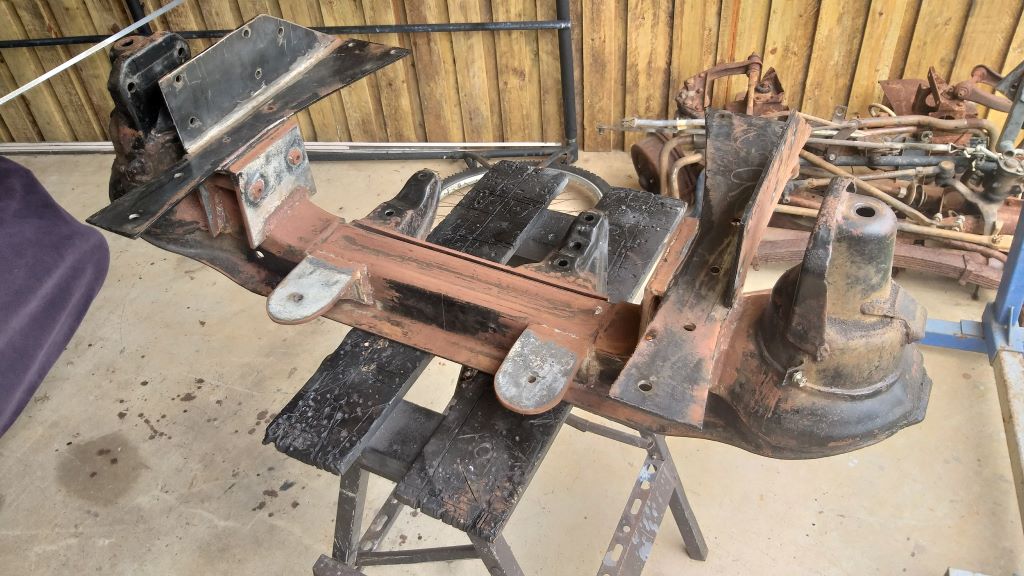
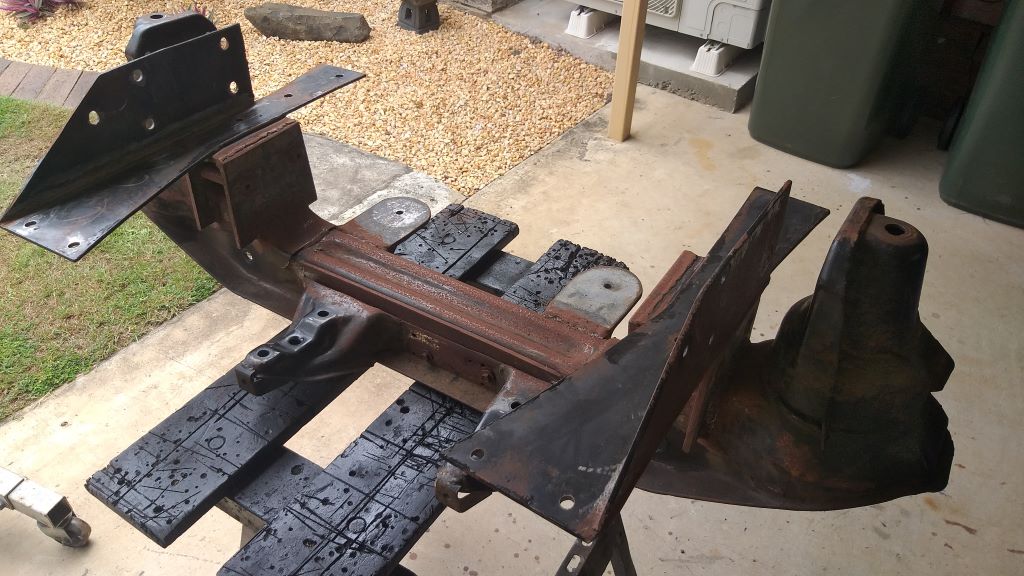
In other news I've triple checked all of my front suspension measurements, so it's time to fully weld the new mounts. Stripped it down to the bare beam yesterday and I'll give it a quick fizz today.
3 points
-
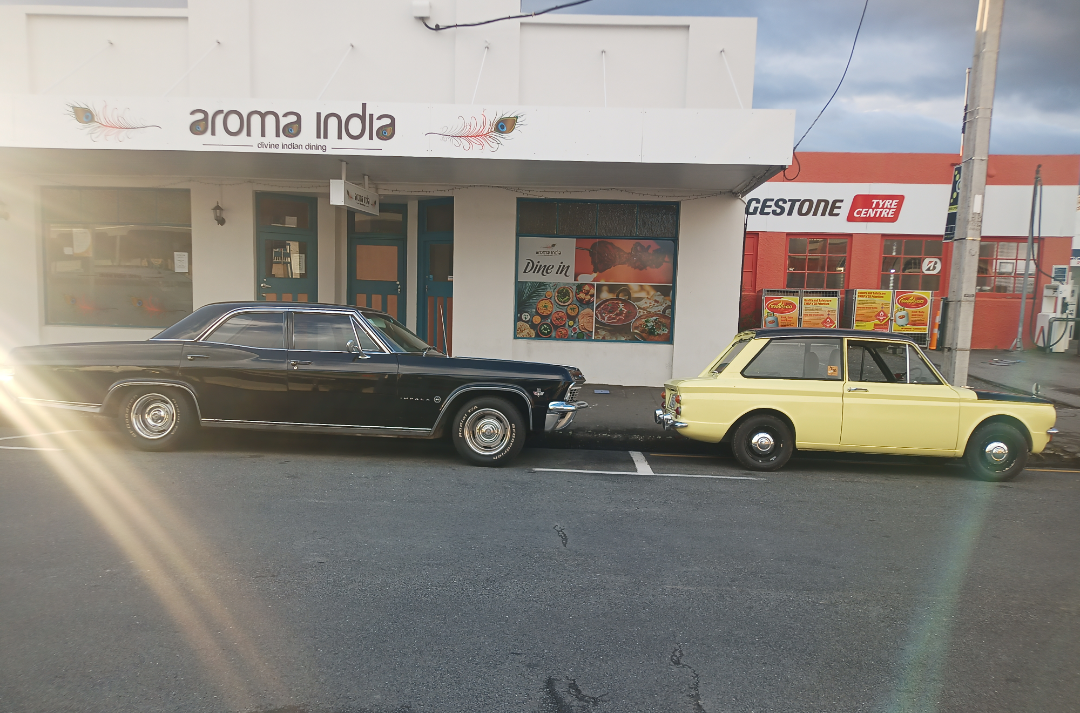
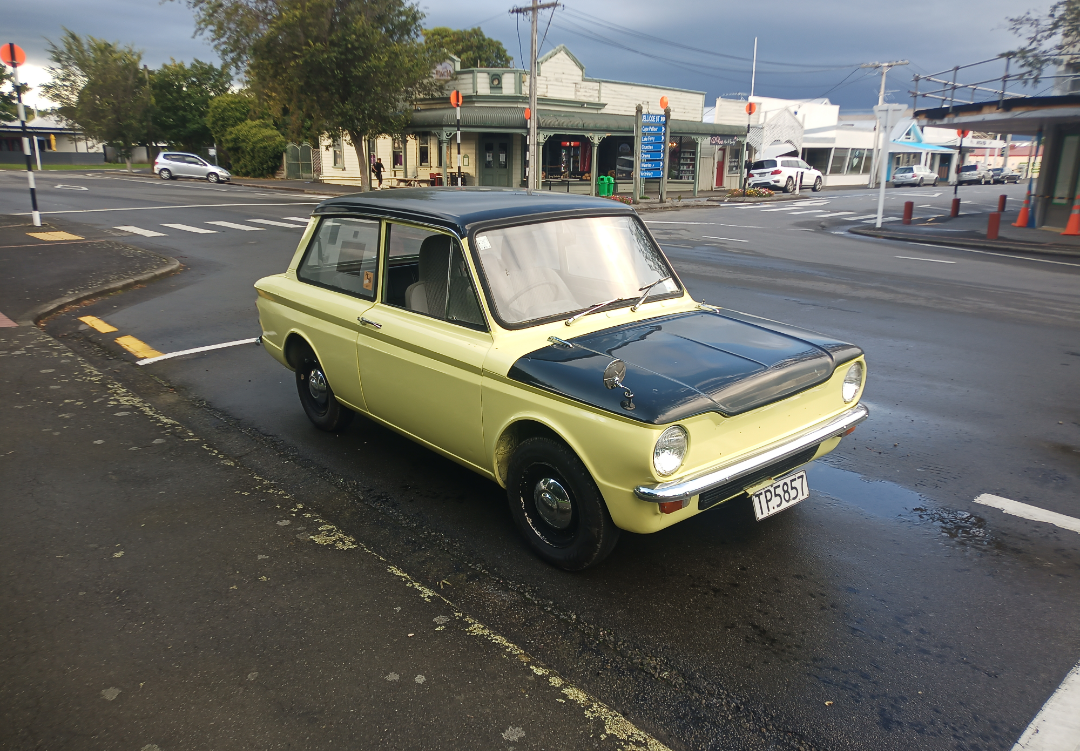
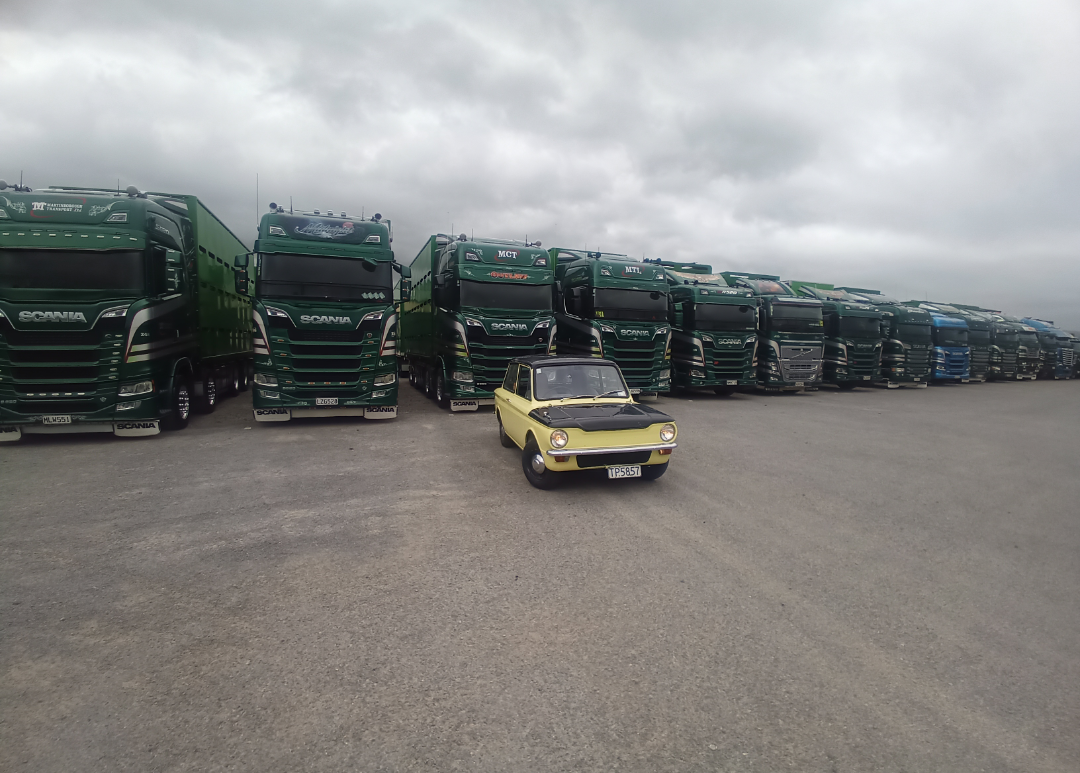
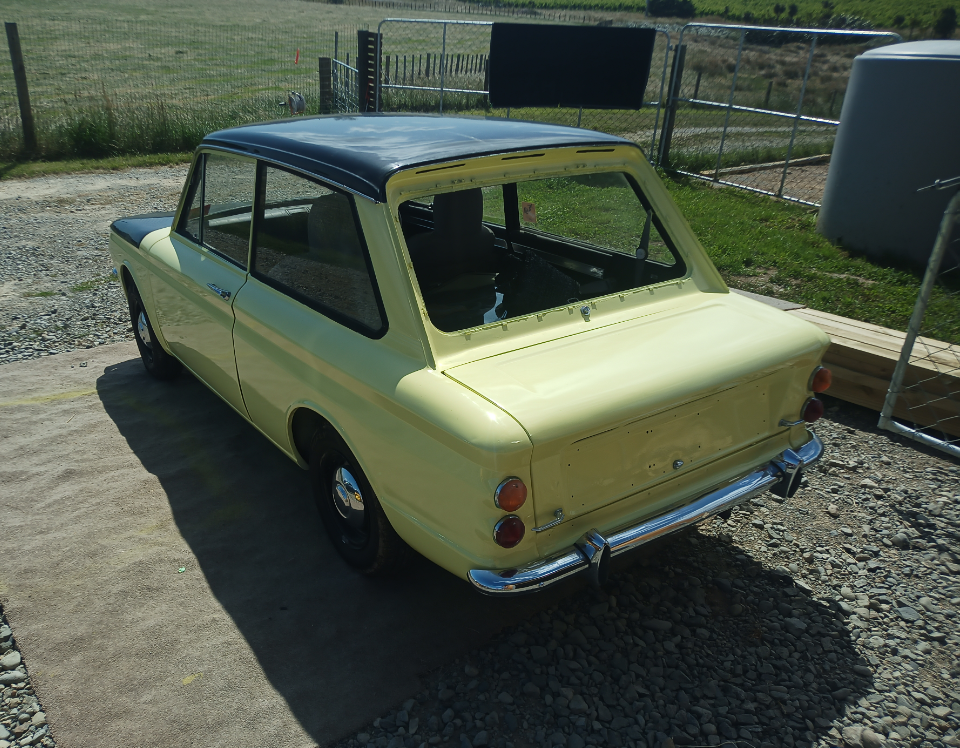
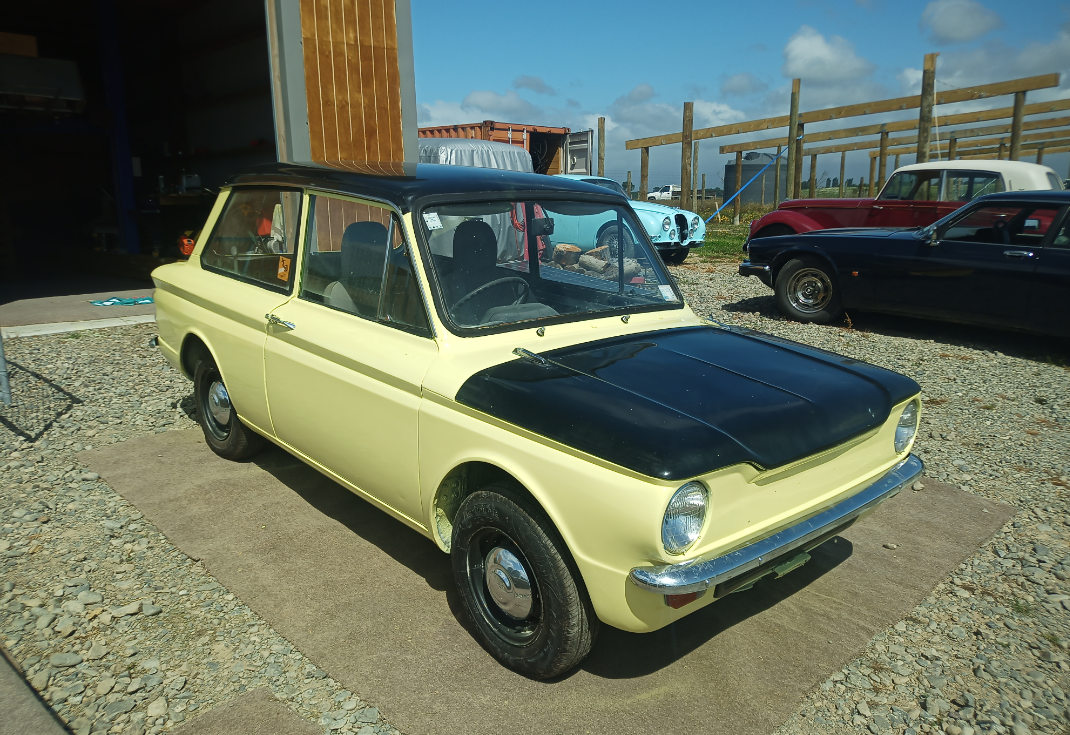
I fired up the Imp this morning to go and get some bread from the shops. As per usual I was hit on by a couple of boomers and the Imp performed flawlessly. I did notice that the WOF is due next month and I don't think I could be bothered renewing it. I know it will pass but I simply don't drive it enough. Time to put this thread on hold for a while whilst I clear out some more pressing projects. I already have a new motorbike engine for it (VTX1300 V-twin Honda) but frankly it works perfectly fine as it is. I always thought I'd blow the engine but in the thousand or so miles I have put on it over the last year it really hasn't skipped a beat on the road. The fuel economy is criminally good. Anyway, please enjoy a couple of pics before it goes for a long sleep and thanks for stopping by.3 points
-
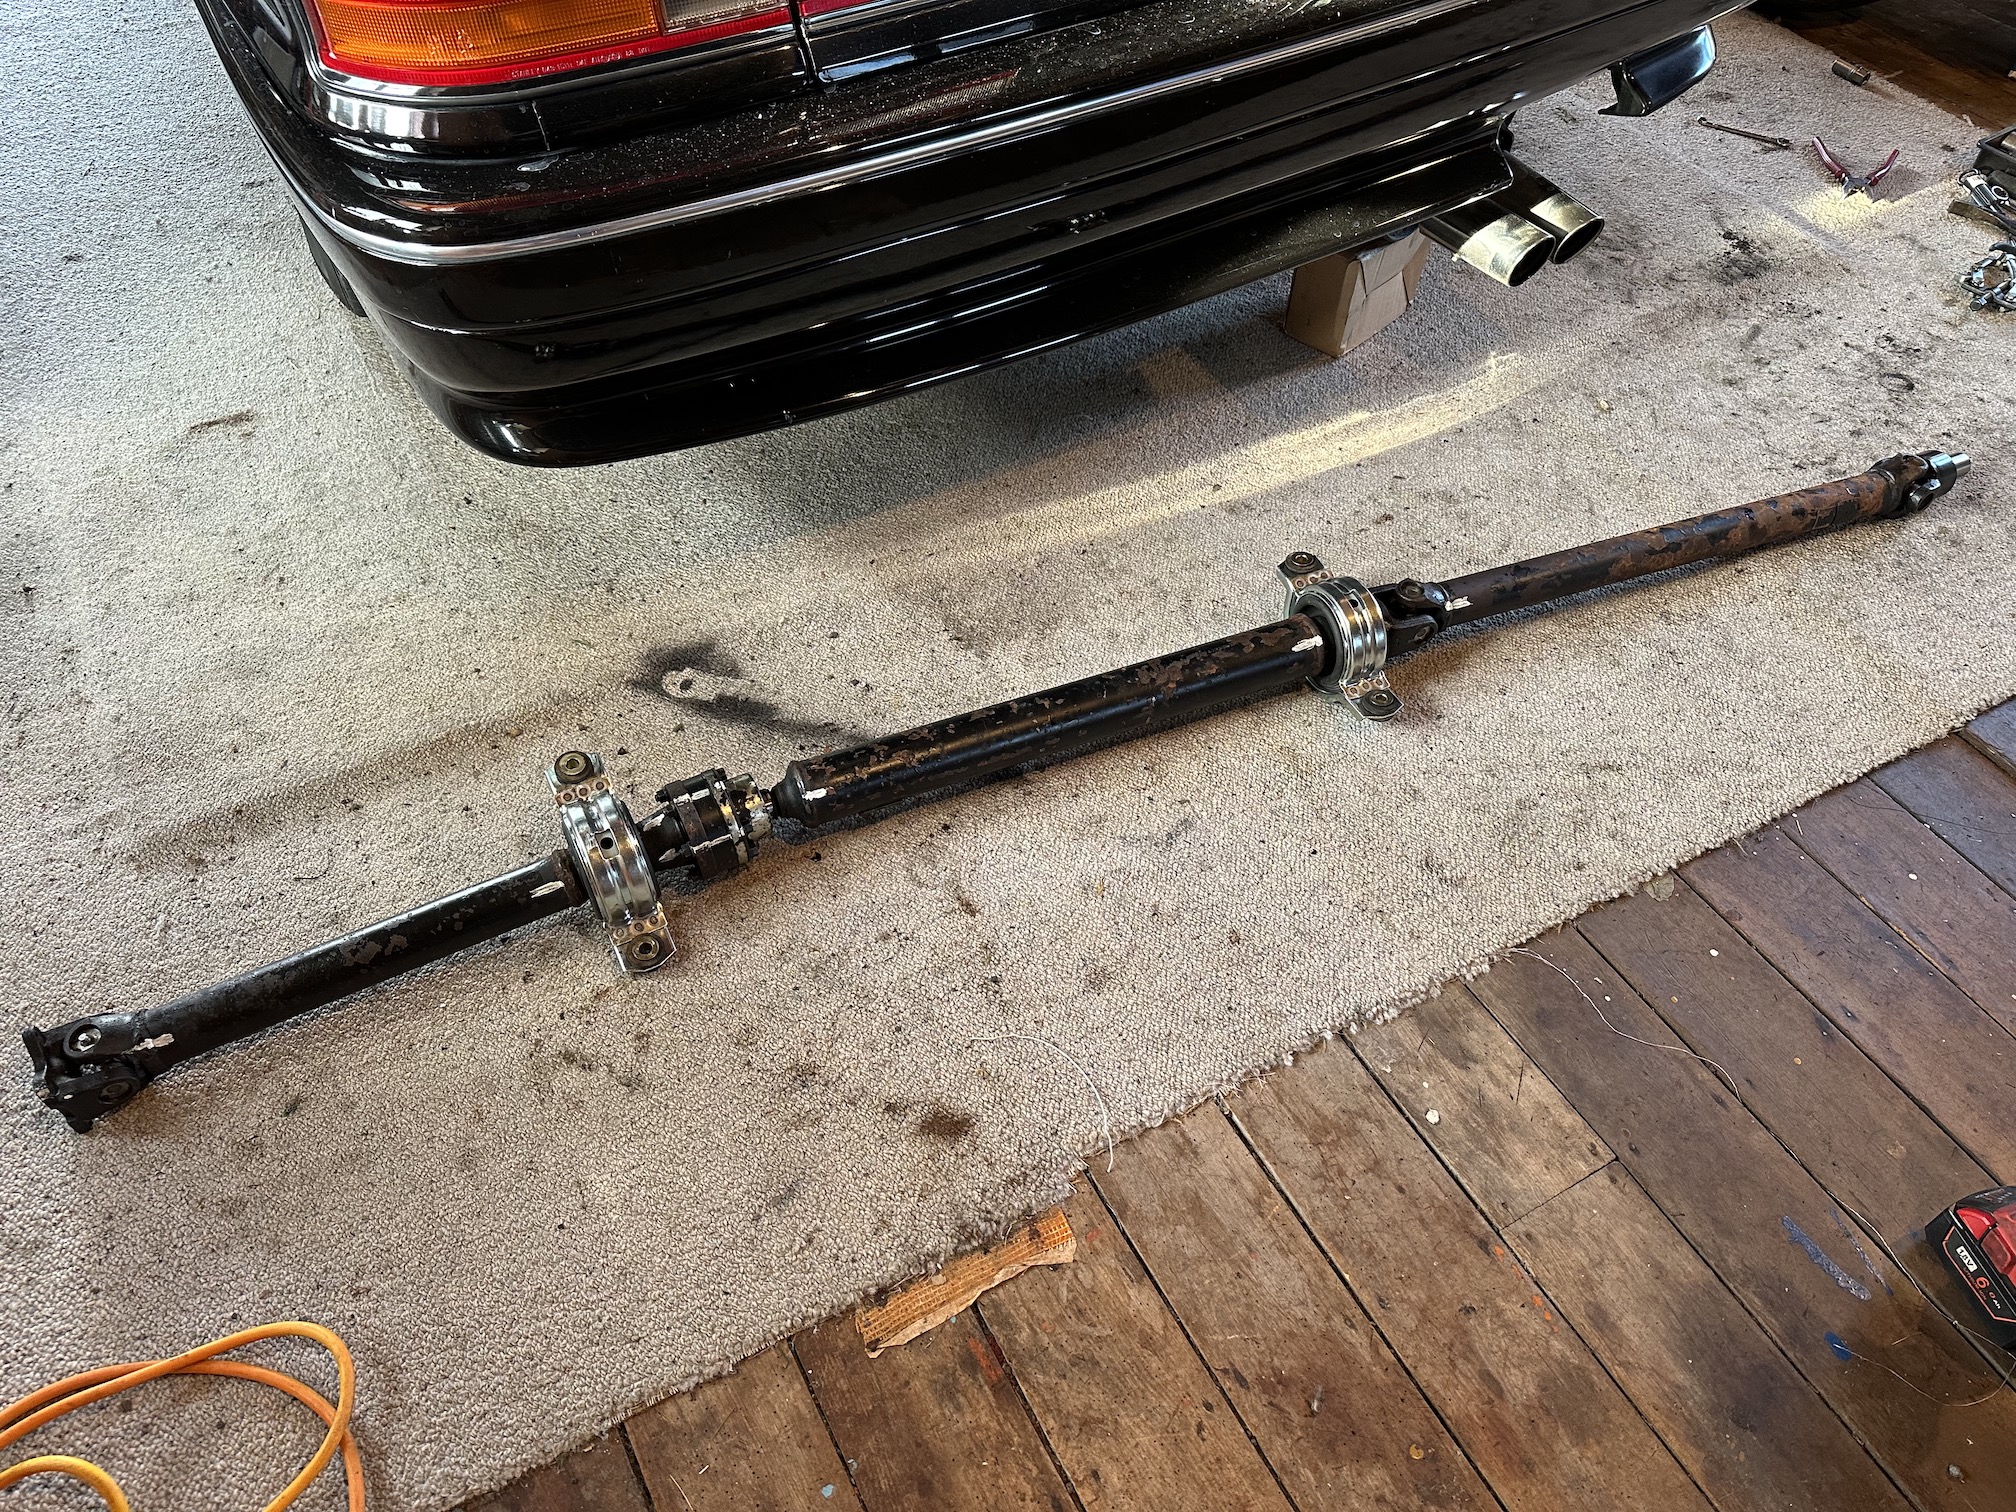
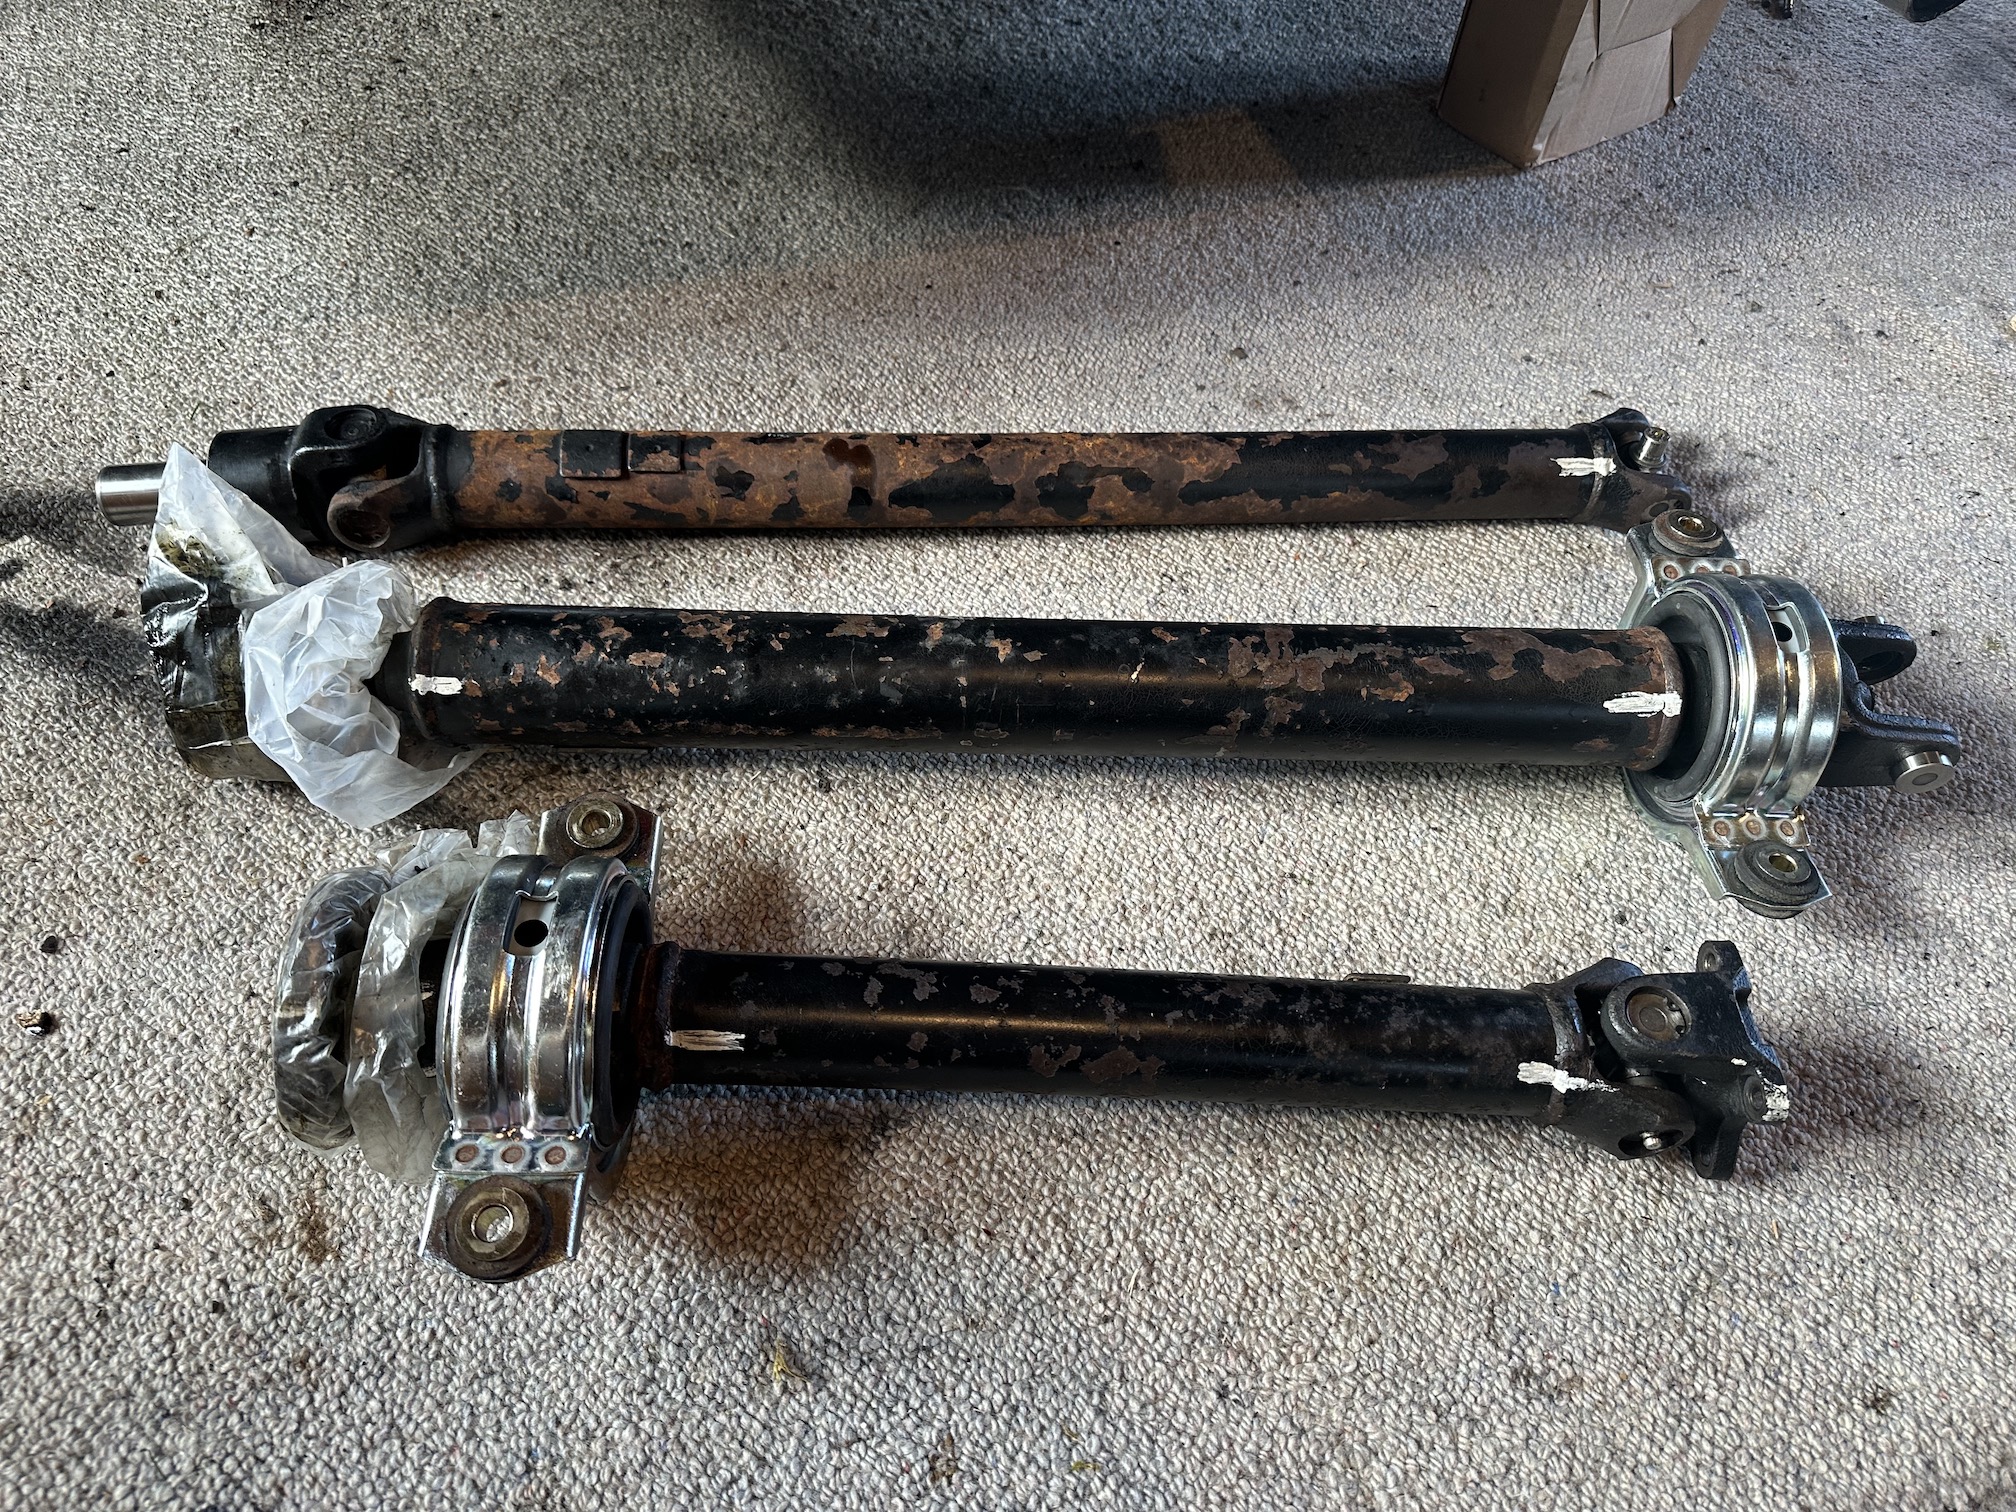
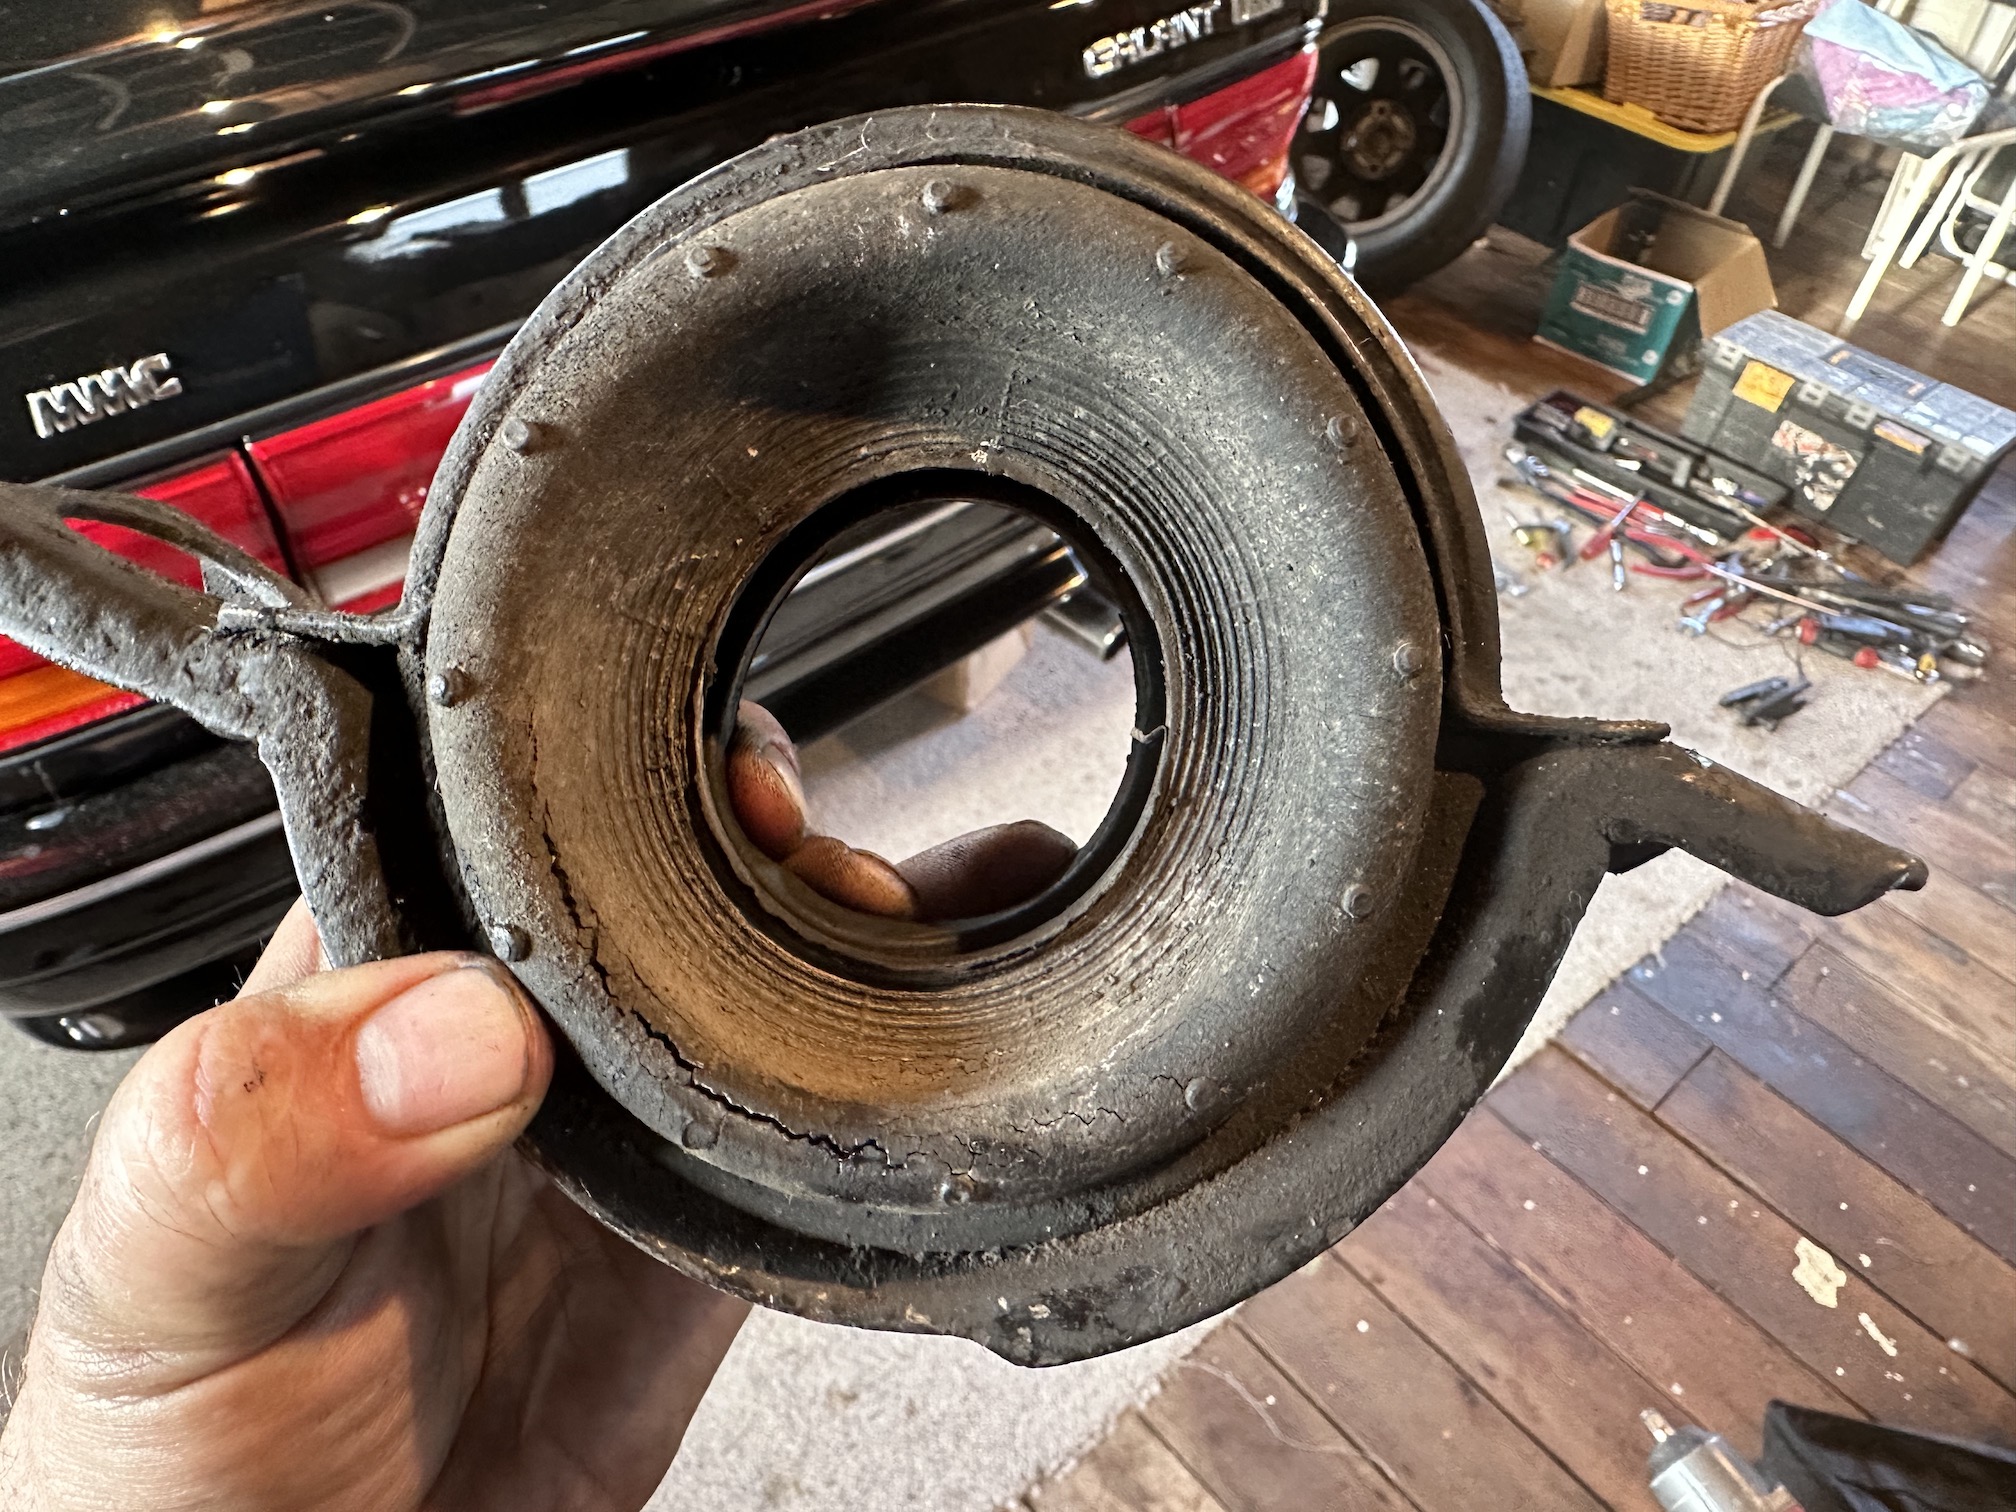
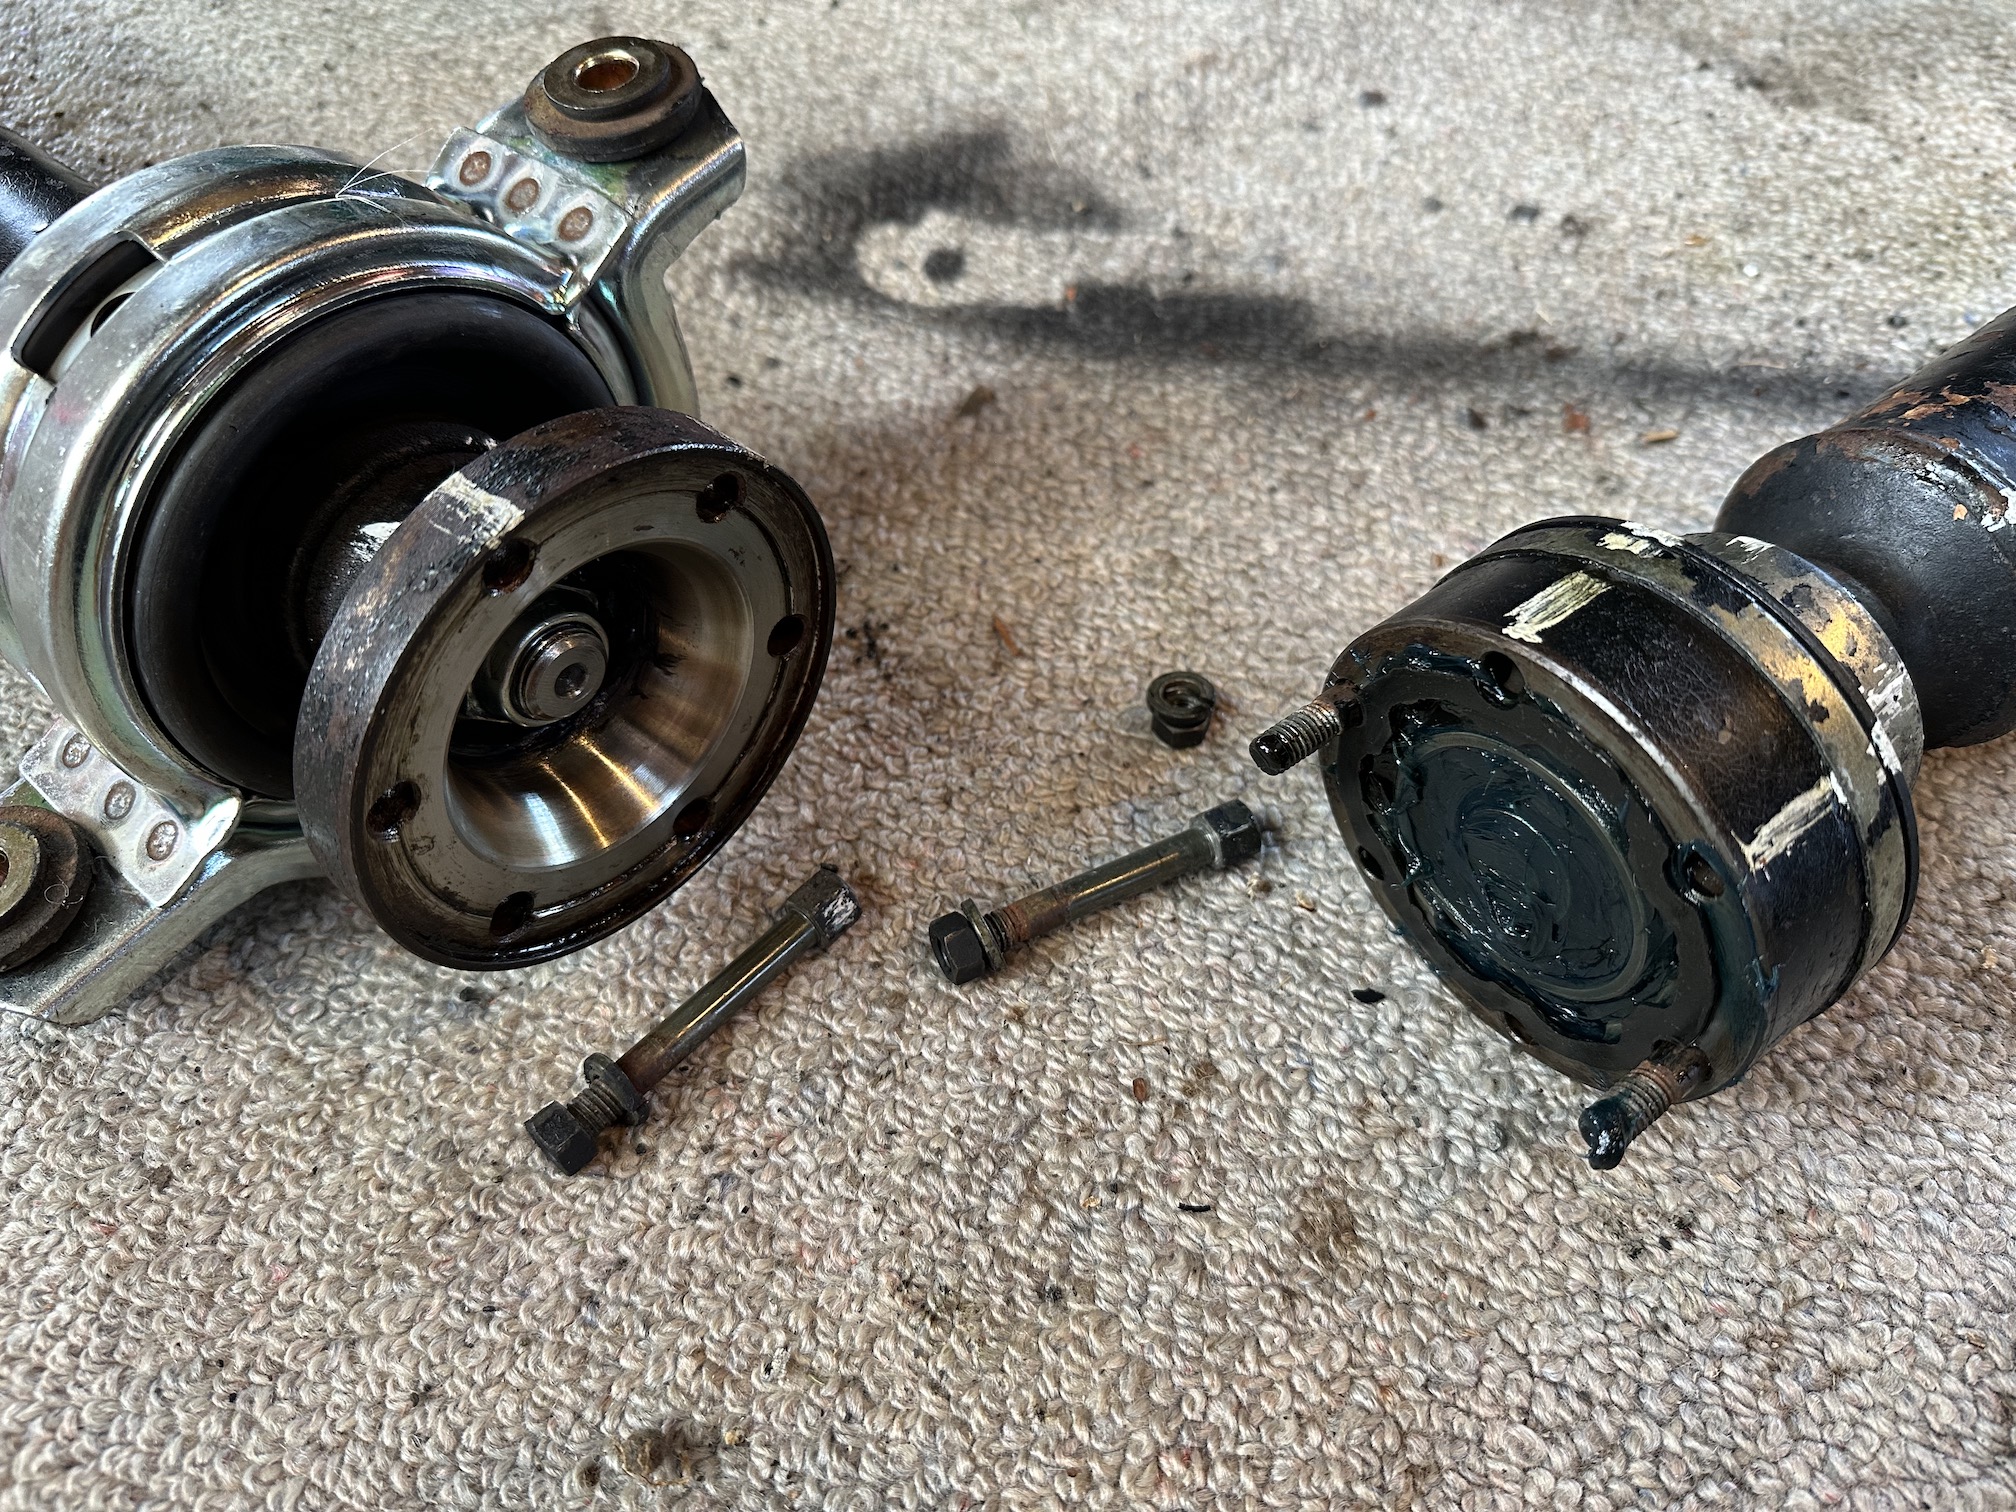
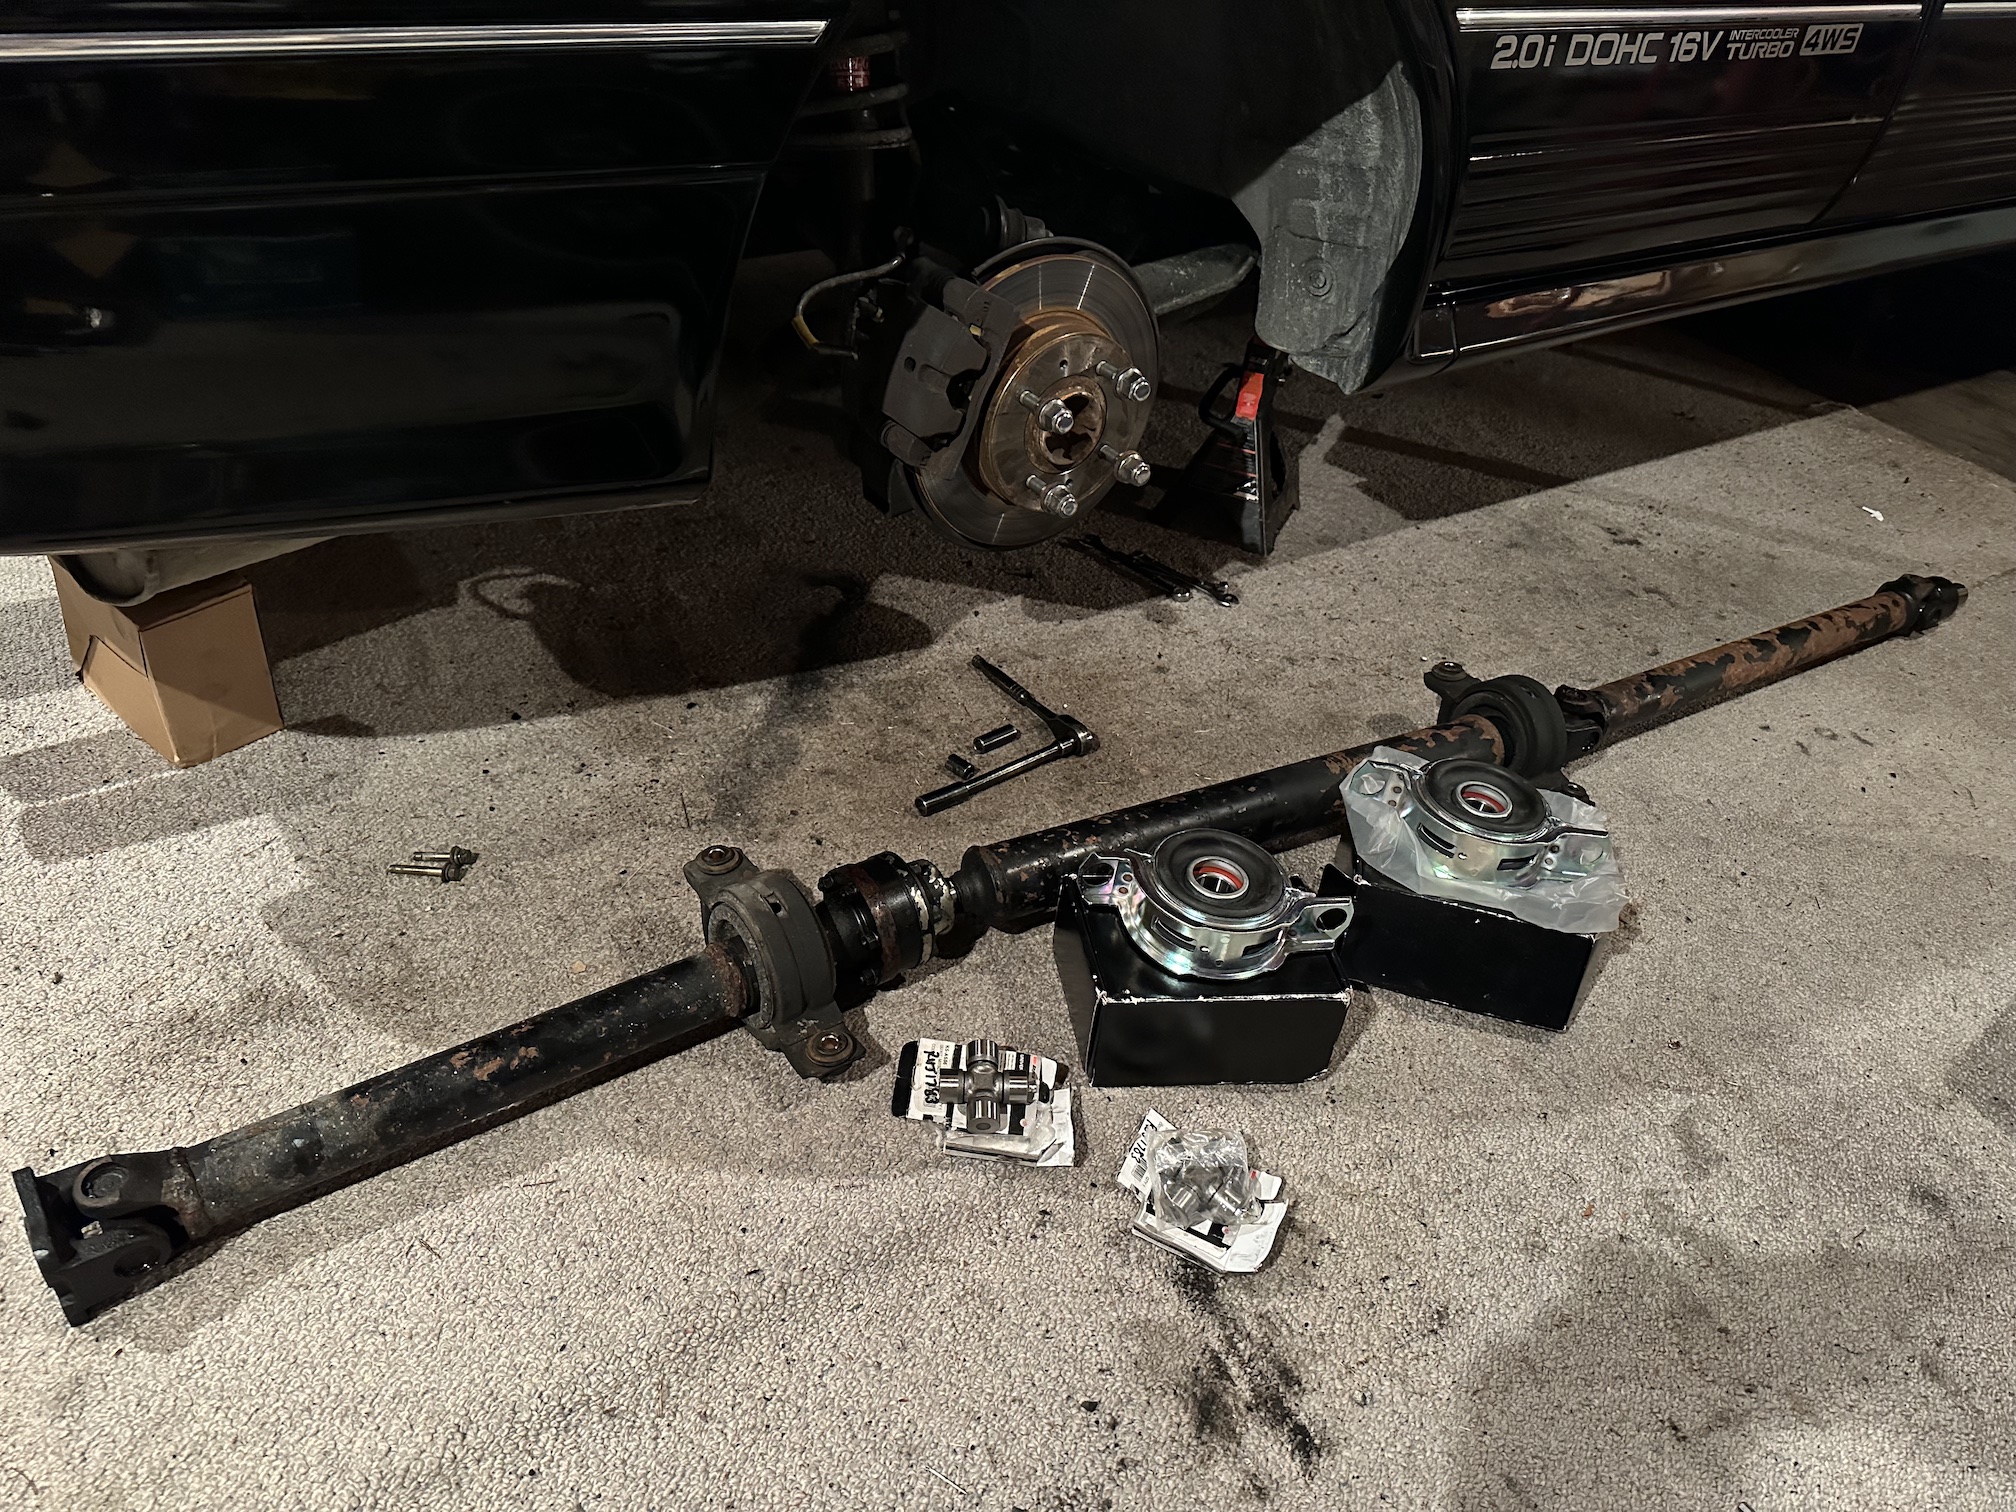
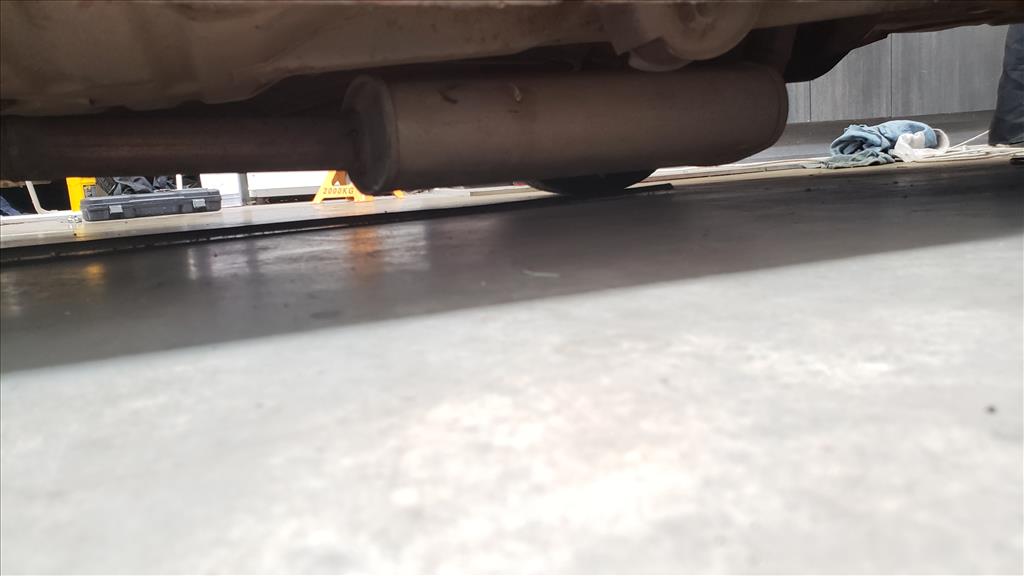
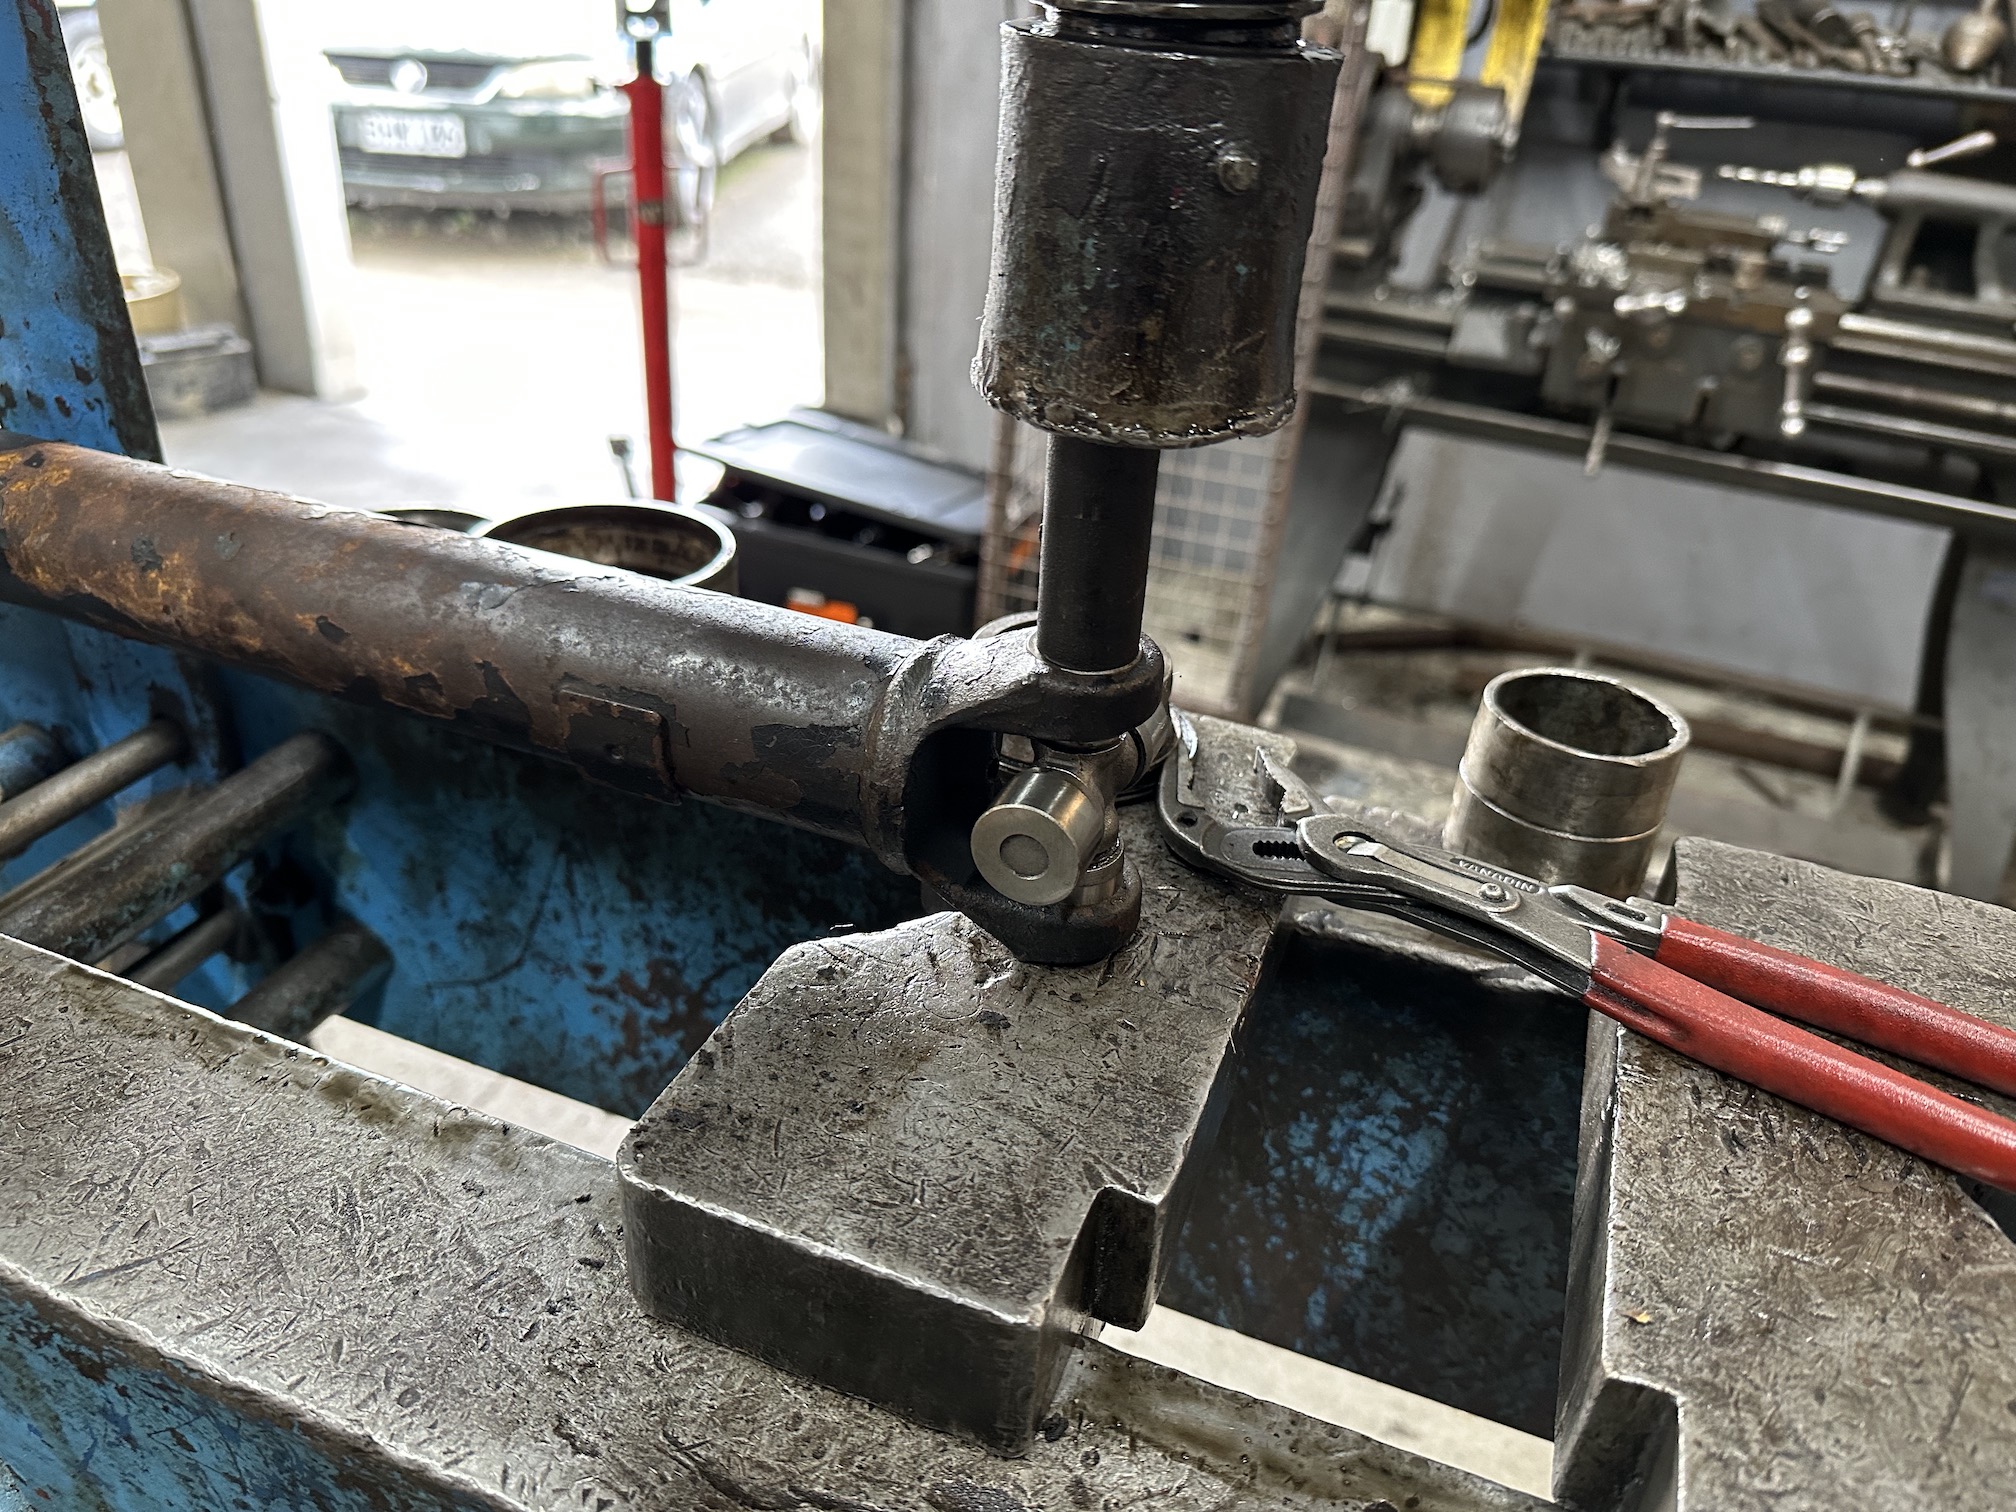
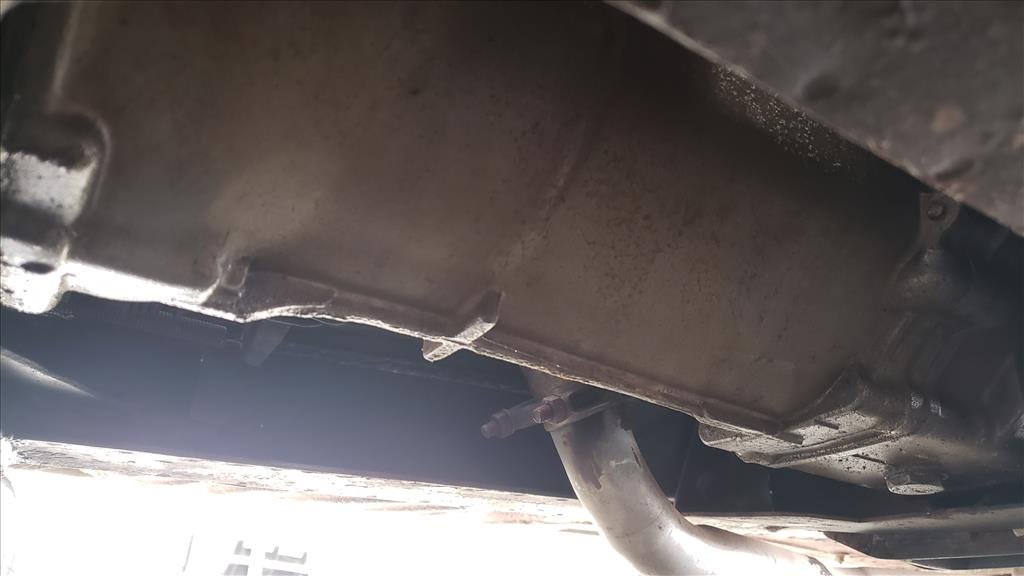
After driving this thing the ~1200km to nats and back it went largely without issues, blew off an intercooler hose while four up passing a car which was mildly inconvenient, and I stupidly left a 10mm spanner on the clutch slave bleed screw which made it all the way from Taumarunui to Marahau - cheers to @Cullen for spotting that cause I wouldn't have for a while, prob not until I was back haha. Just some maintenance updates really - swapped out the clutch slave yet again because it seems the previous one I fitted ~5 years ago was wrong all along (thanks Rockauto) and that was what was causing my shifting issues as the clutch wasn't fully disengaging. The bleeder screw on the correct unit is in a much more difficult spot to access so no more accidentally leaving a 10mm spanner hanging off it again. I've also had some new driveshaft hanger bearings and uni joints that I got off trademe yonks ago for like $50 that I've been meaning to get around to swapping out. There is a noise in the drivetrain somewhere which has been driving me crazy for the entire time I've had the car, it is hard to pinpoint where it is coming from but it sounds like metal on metal scraping and can generally hear it above 50km/h especially when the windows are down, to me it sounds like it's coming from the left hand side but mostly because the noise reflects back off things like houses and parked cars which are typically closer to the left side. Figured I may as well start with rebuilding the driveshaft and then work my way through process of elimination rebuilding or renewing things along the way. I know it's not the wheel bearings or ABS sensors because they checked out fine when I did the brakes, reckon it has to be a driveshaft bearing, front driveshaft hanger bearing, transfer case, rear diff or gearbox. Pulled the original shaft out and got the new parts ready Mark the sections so it remains balanced and joints in sync
3 points
-
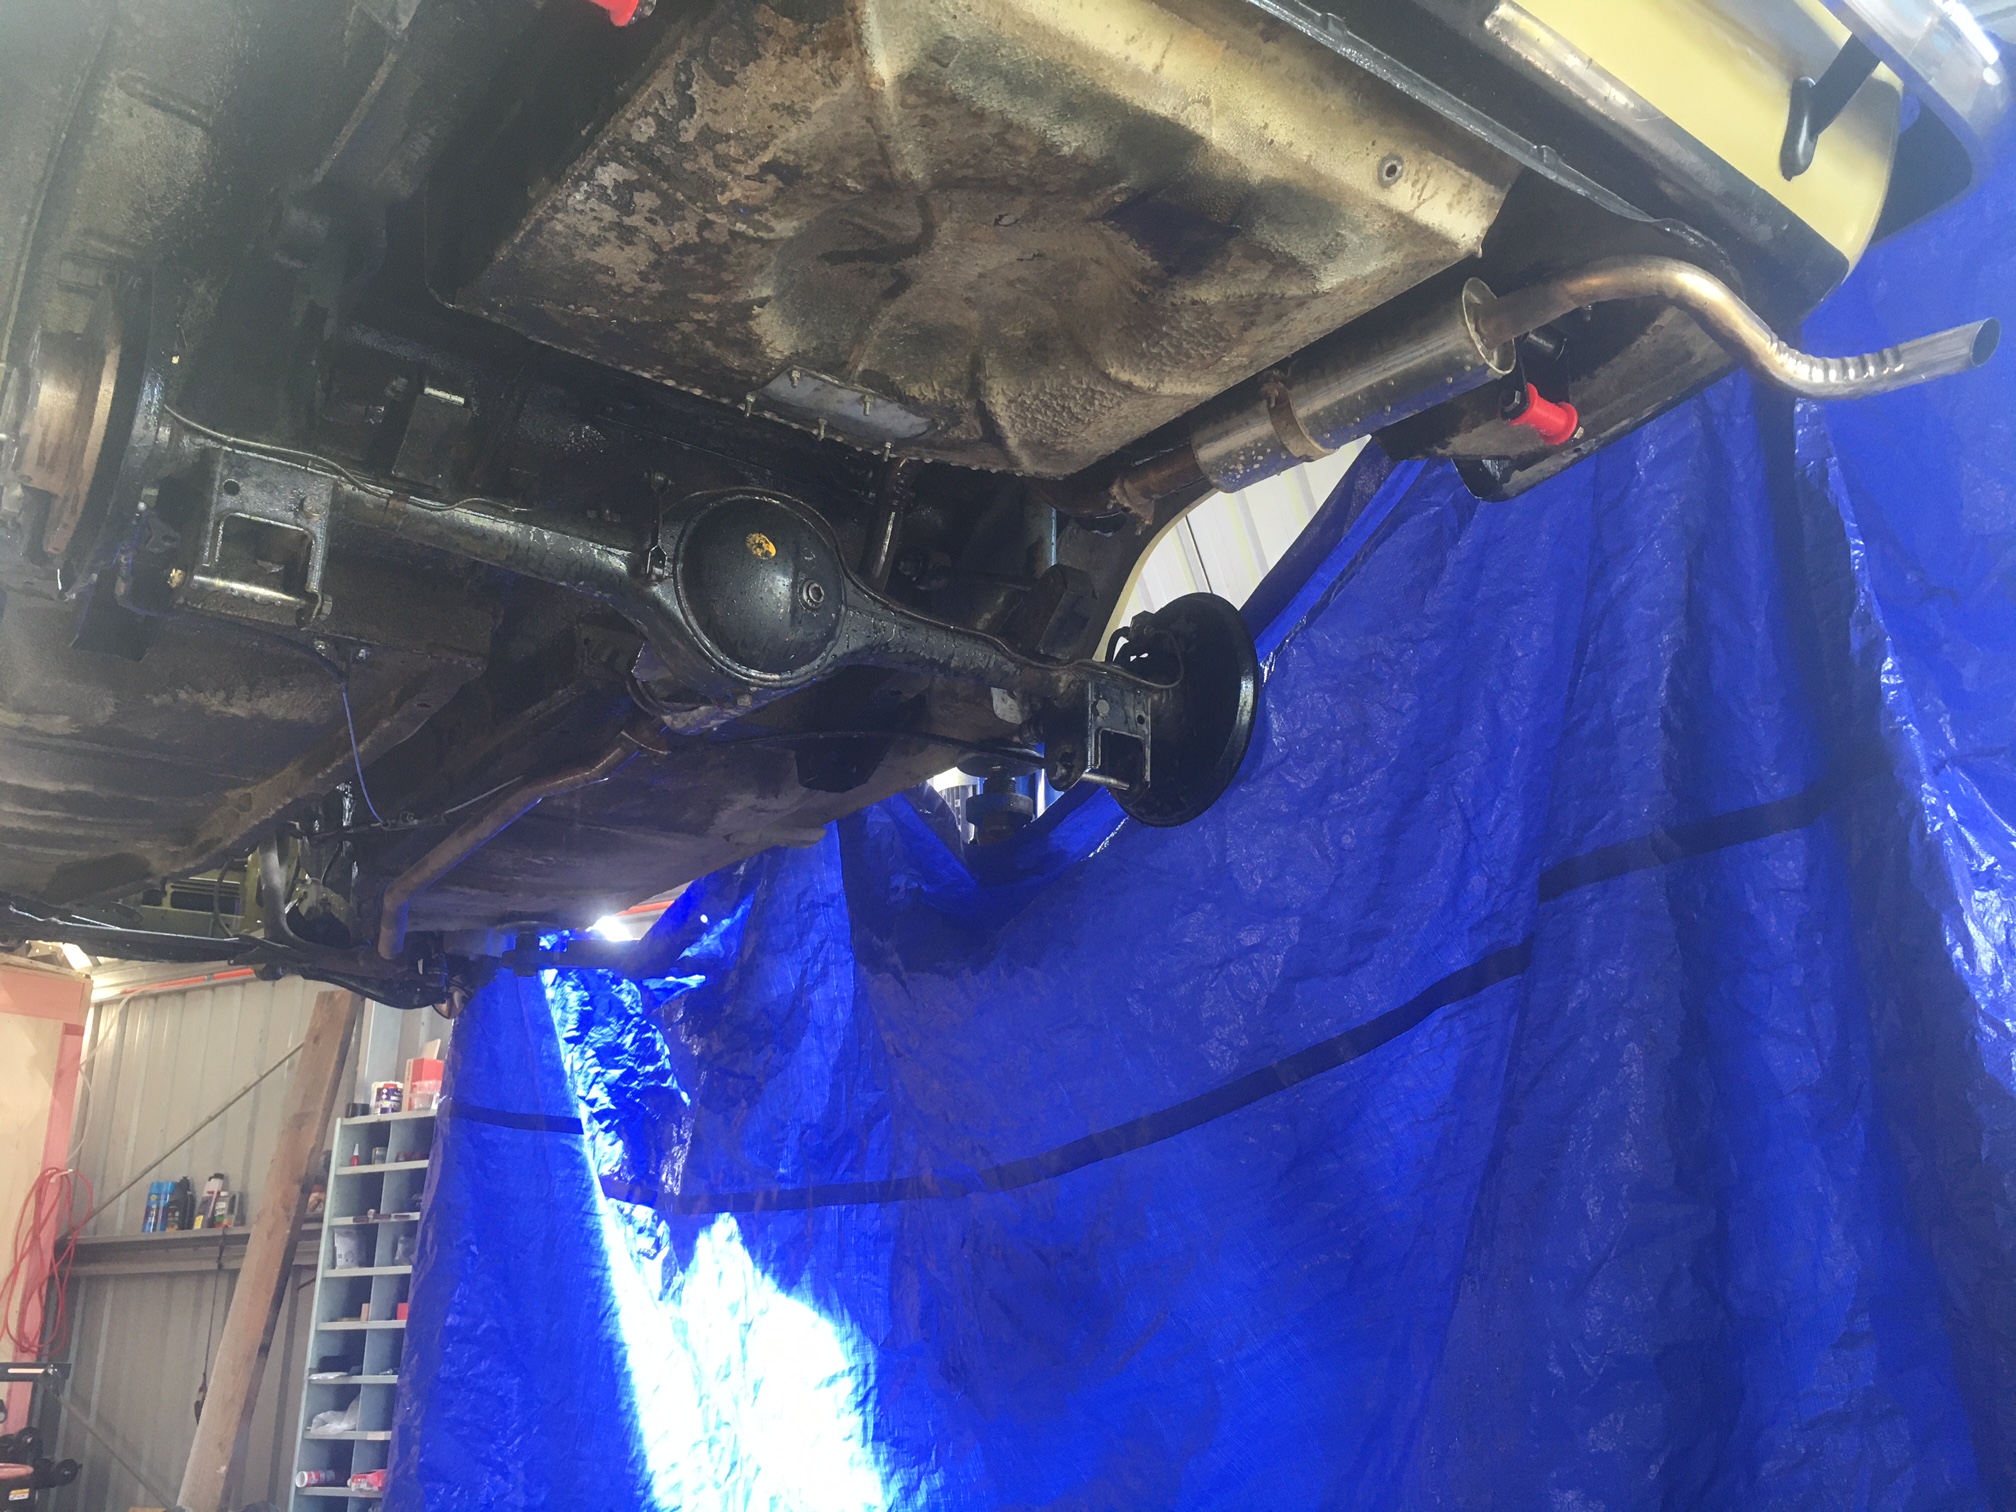
While it’s up in the air, I thought “why not give the underside a clean?” Because it would be a horrible job of course! So I did it anyway. The whole underside has a layer of gravel road dust on it for some reason. Now it does not. Btw, waterblasting inside the shed doesn’t make as big a mess as you think as long as you’re careful with your aim and you squeegie excess water out the door before it can flow under your workbench/tools/other treasure.
3 points
-
I was thinking a limited run of handcarved woodprints. Limited by how bored i got after printing 3 of them3 points
-
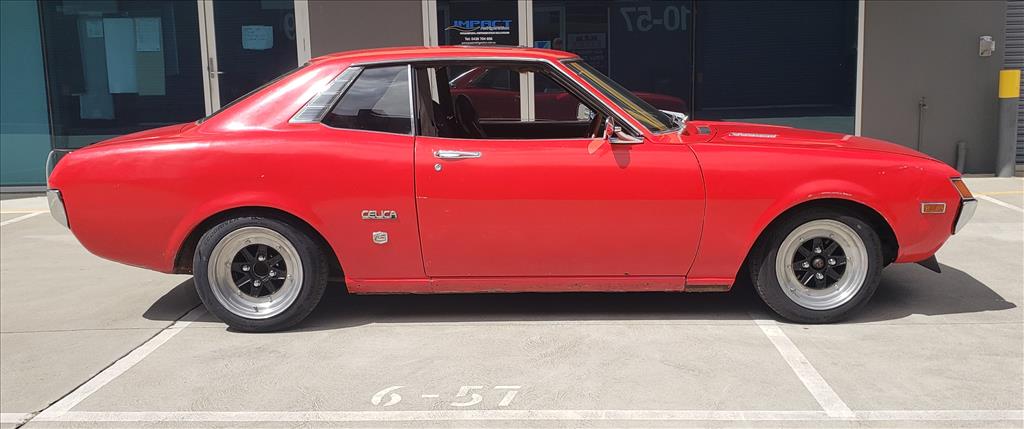
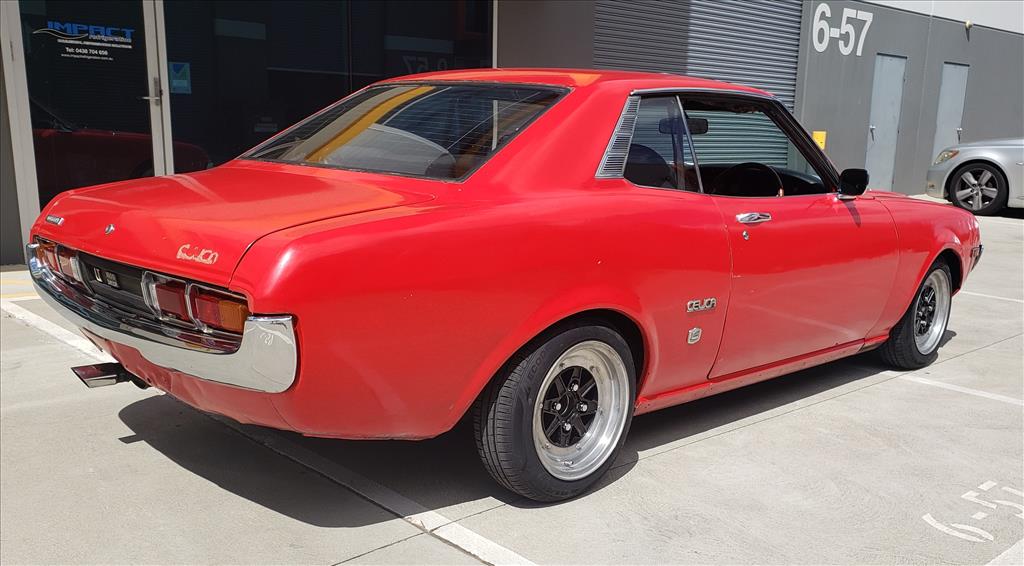
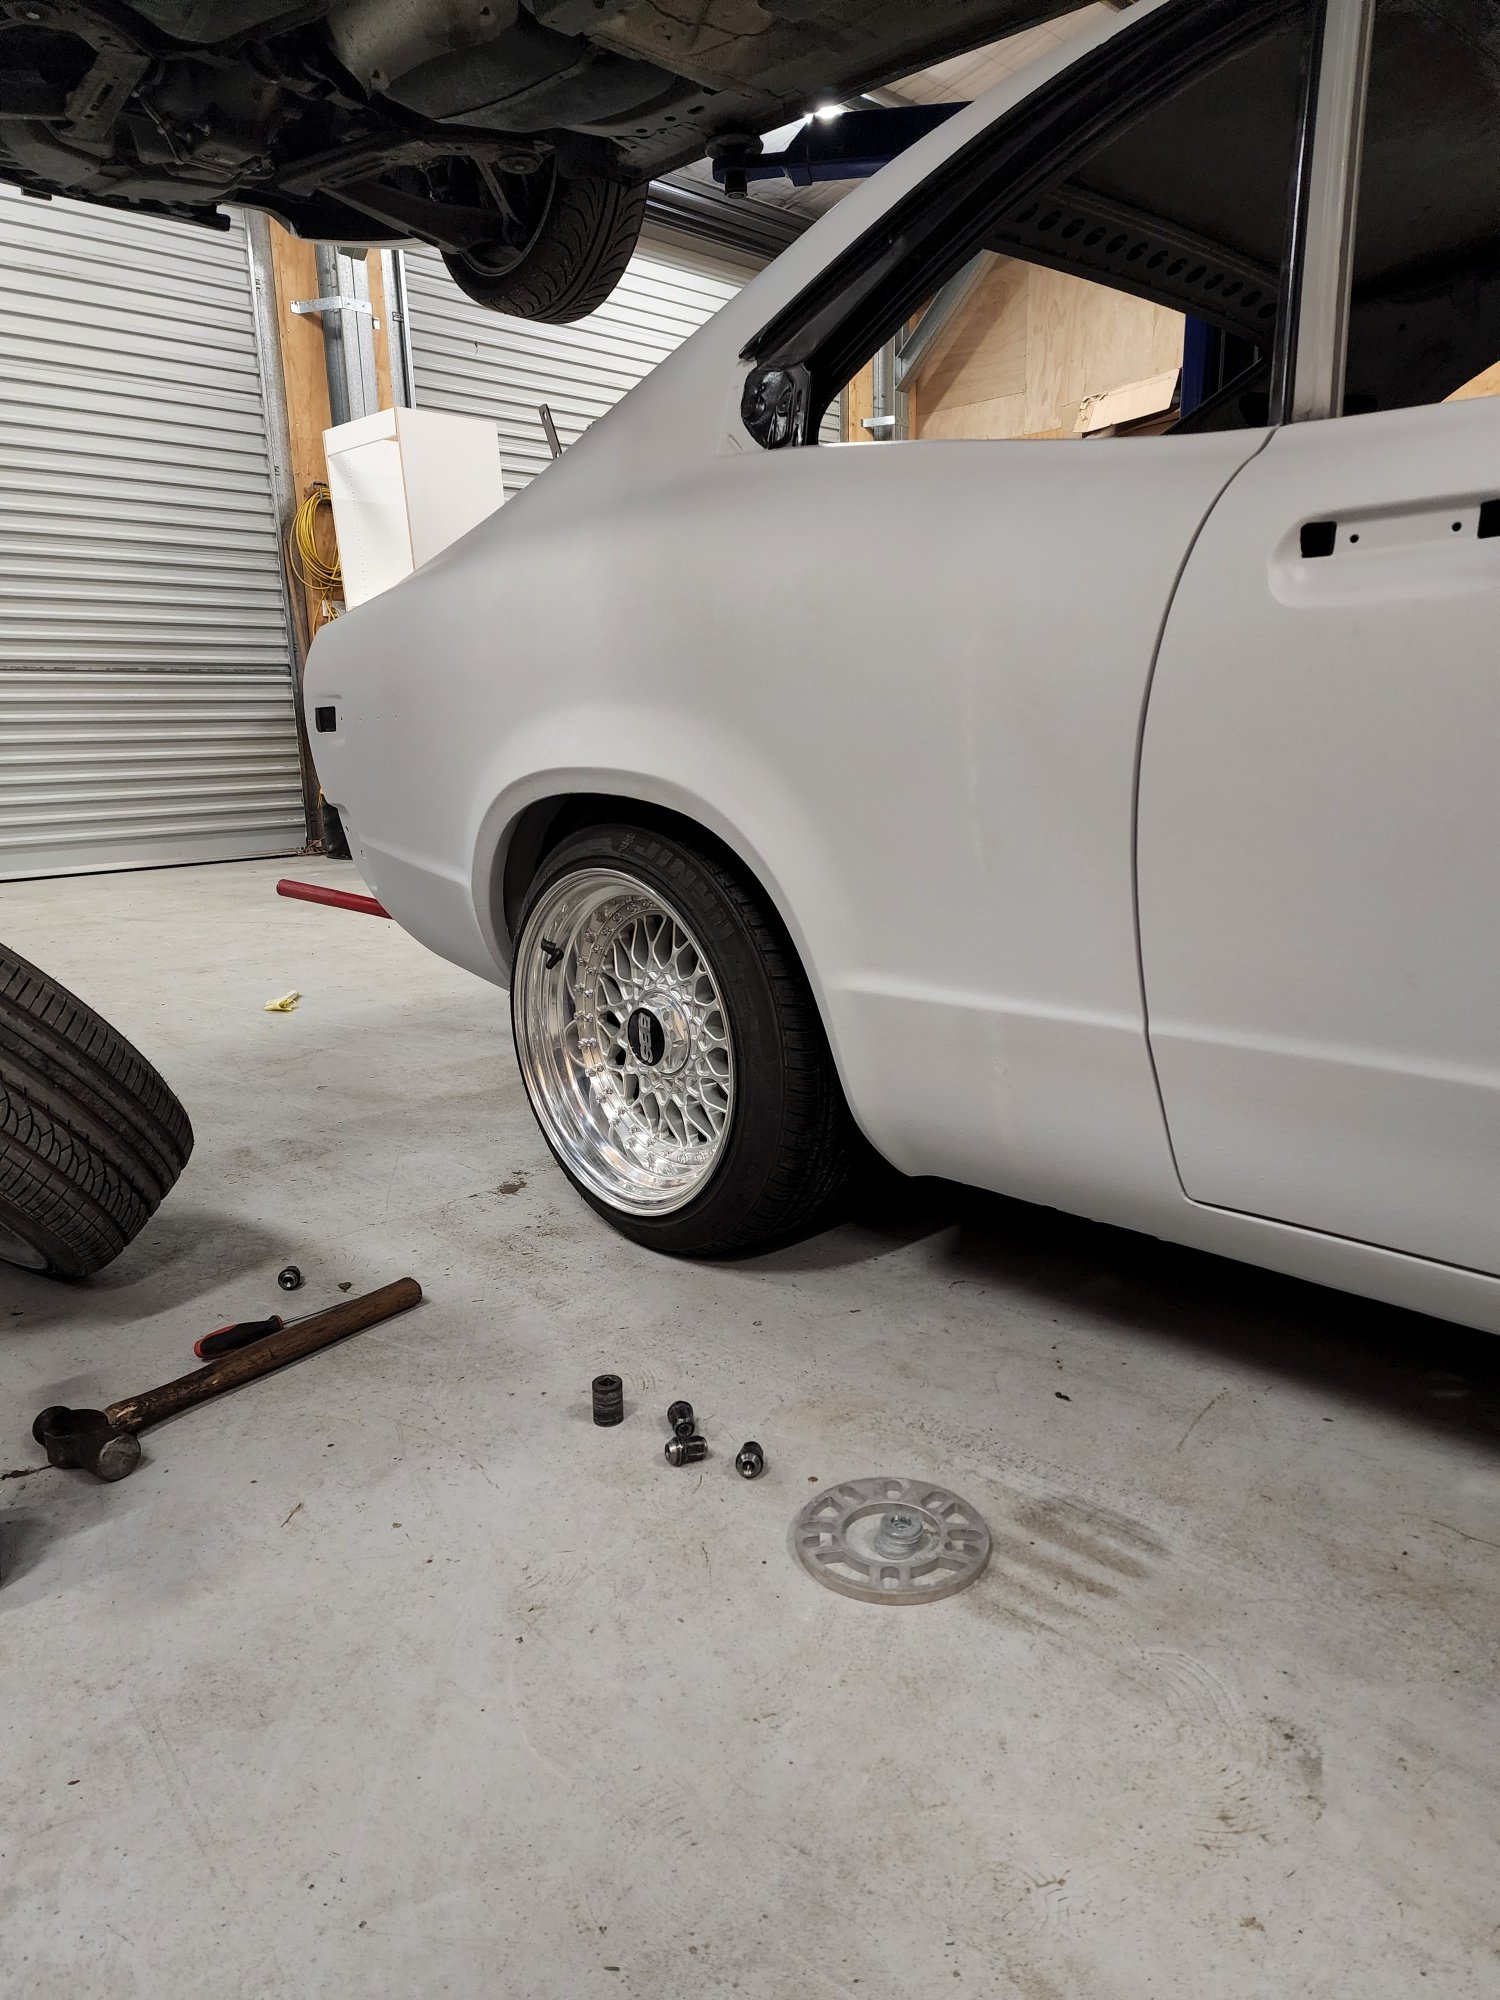
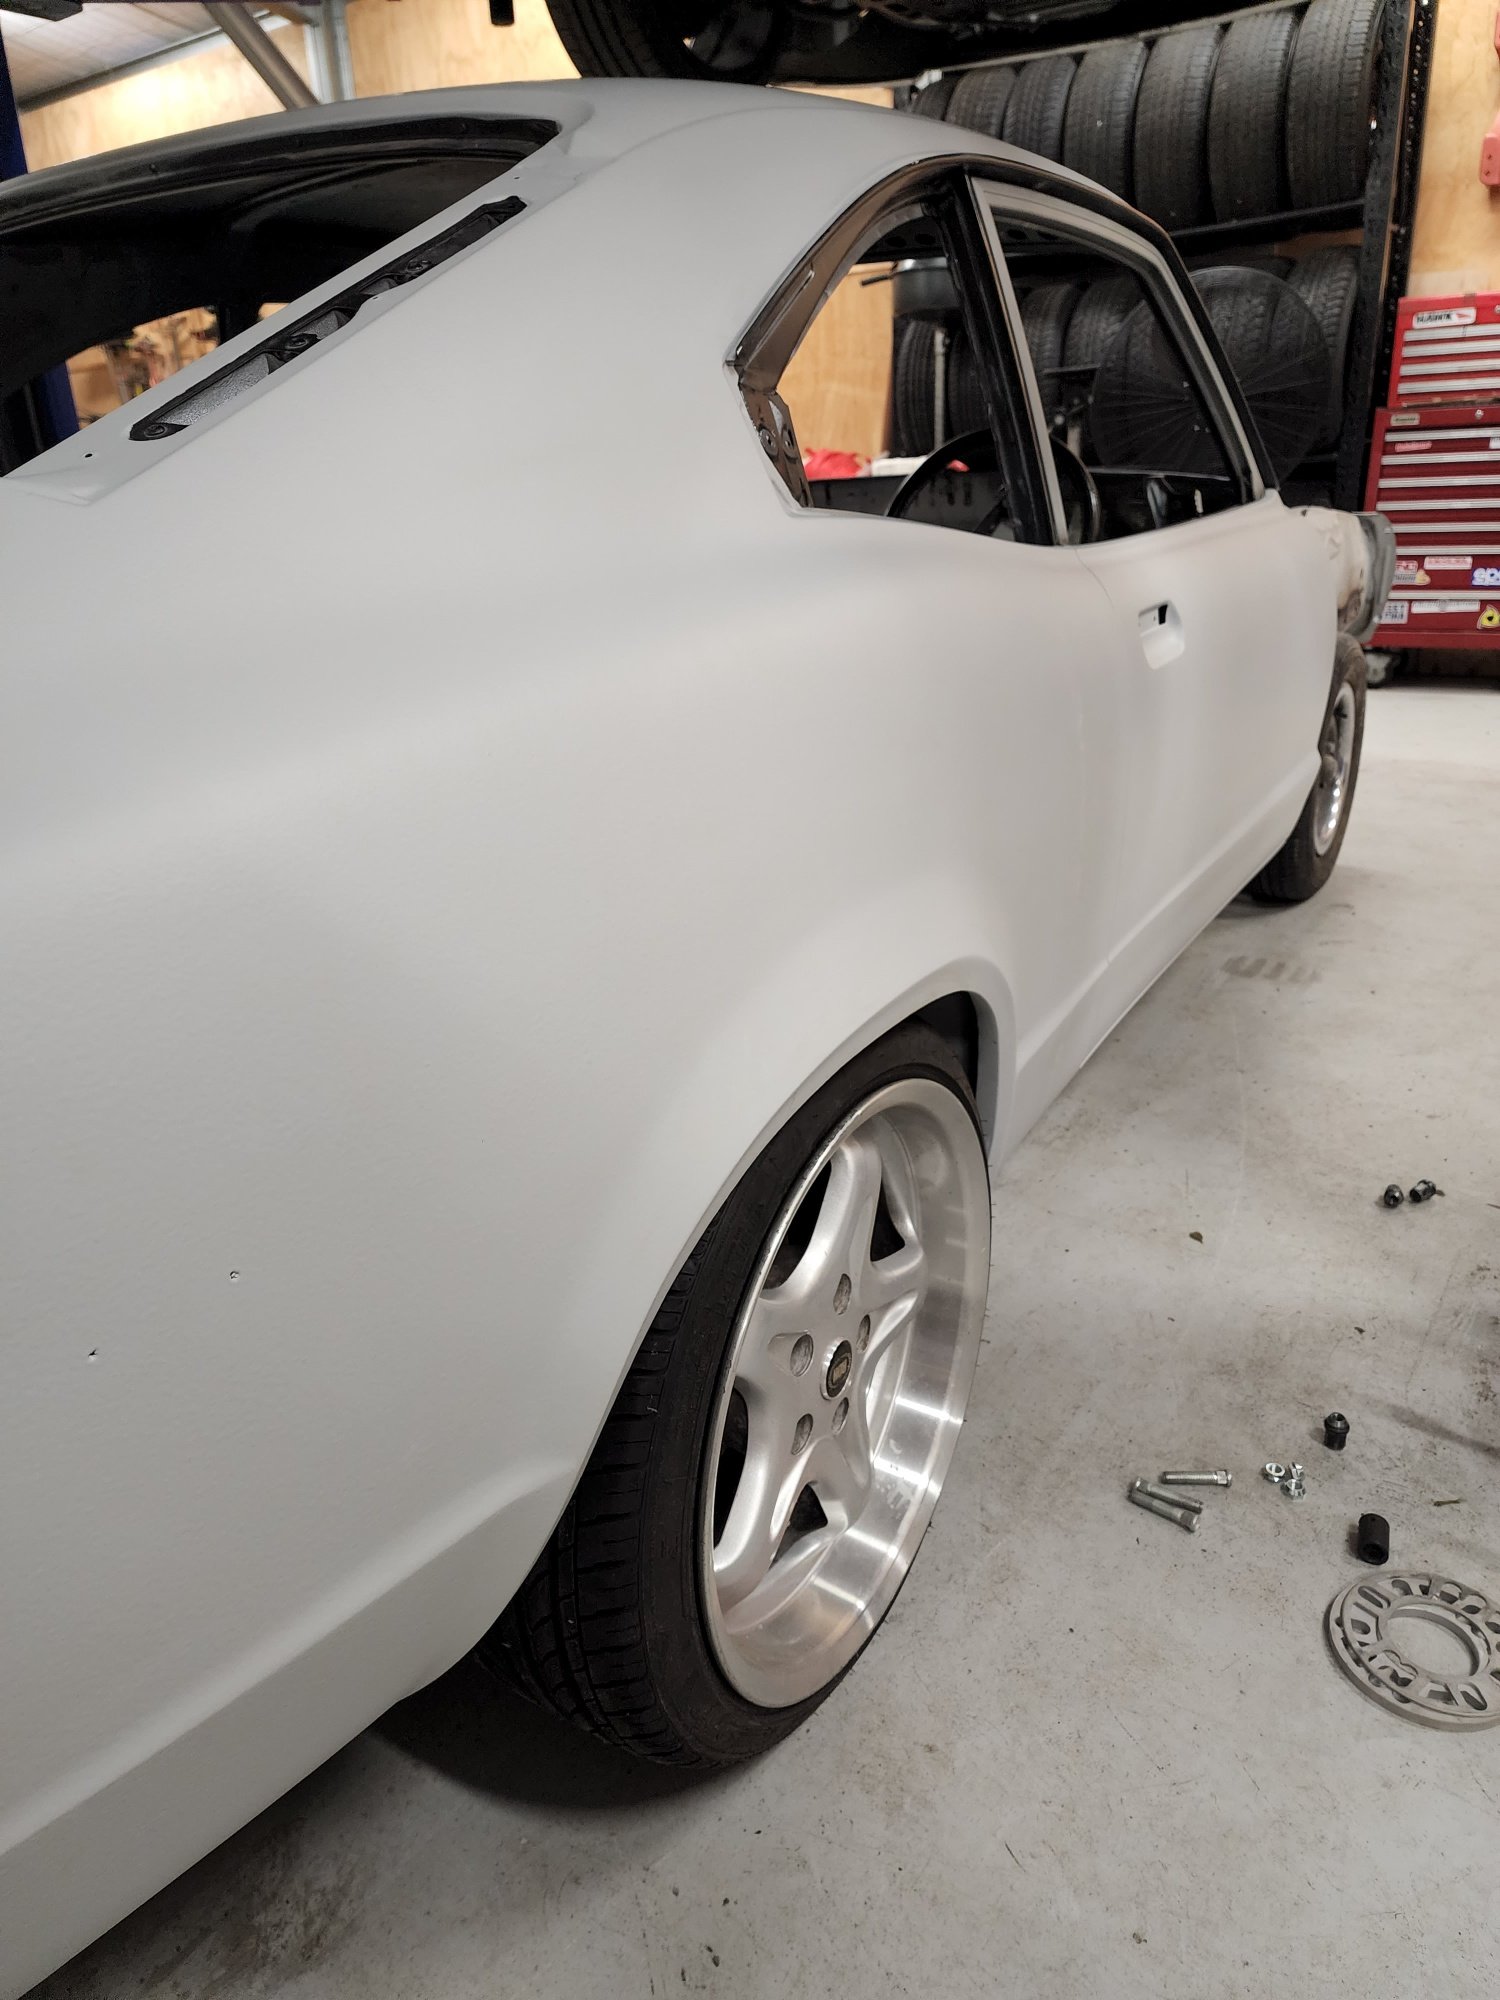
Had a pretty good week "finalising" the Celica for the time being. After doing a bit of screwdriver tuning it runs happy enough and I did a full brake bleed using a stack of new fluid but now about 95% of the existing brake problems are resolved. The rest of the slightly strange braking may be down to worn out bushes or simply alignment. I'd ordered some 25mm spacers that also arrived but sadly the front studs seem to protrude too far out and the wheels do not have cutouts in the back. I didn't want to cut the factory studs down so will probably just try to find larger spacers as it needs it anyway. In the meantime it's just got 10mm slip ons up front and the 25mm bolt ons in rear. It doesn't look super duper low but now this is annoying, future Alex problem. Overall, happy with the direction things are heading.
3 points
-
Yes! For those playing along at home, We have two dead bikes, one rode off a particularly gnarly track. (Down about 5m) I hit a massive patch of wet clay, dropped my bike, and snapped the end off my brake lever. (Just the tip/that's what she said) Holy fuck it was a long day!!! Left hanmer before 9am, and reached our accommodation after 730pm. The good news is, tomorrow is a similarly massive day. (Albeit not as challanging terrain)2 points
-
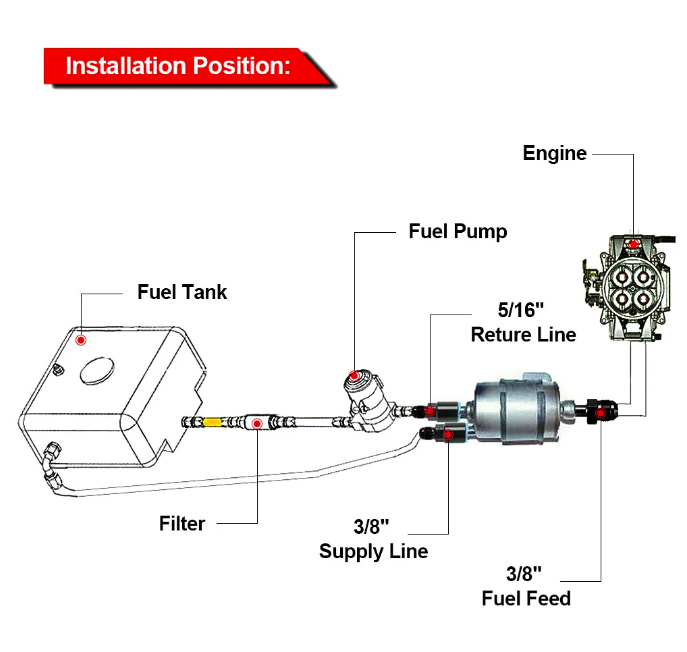
I've bought a Corvette fuel filter, someone mentioned somewhere ages ago that it has an internal FPR, and runs at 60psi. So its an easy way to make a "returnless" setup when there's no provision for an FPR on the rail. After the filter I can just tee off the fuel lines from there to each bank. Will keep the quick release fittings on the fuel rails and make up some AN-6 lines to them. I will need to reroute my fuel hard line a bit though, as I'll have exhaust pretty close to it now. I bought some of the cheap/common dual H bridge boards (L298n) to run the e-throttle motors, but reading further people say that these are quite inefficient (so run hot, and have a big voltage drop to the motors) So might not be as snappy on throttle response as I'd like. However, they're here so I can at least put together a prototype of sorts. Doing some further digging around and people reccomend the mosfet based ones instead, my ECU uses a mosfet based setup. So got these. BTS7960 43A H-bridge Will wire everything up to my ECU and then start writing some code. I will hopefully get everything that the e-throttle module needs into a single CAN frame, maybe two. Then run it on its own canbus network with nothing else on it. Will run the widebands and dash on the other canbus line. Other stuff on to-do list currently: slot flywheel holes This is with Dad, hopefully finished on CNC machine this weekend. Then will bolt it up and take a look at bellhousing situation once I can center the gearbox on the spigot bearing. Sump Pretty close! This version would be good to go, except for that I'd prefer the pan to be a little further back from the swaybar. Will get there. Starter motor This is going to be interesting. As although the 3S flywheel works with the gearbox and crank okay once the PCD is embiggened. The ring gear diameter is a little smaller than the 4GR one. So this means the Mark X starter motor in its normal position wont work. Then the 3S starter position wont work either, because it's normally tucked in on the side of the block up high. But now there's a vee in the way. So I still might need to look at rear mounting a starter. Lots of problems to figure out. Sort of getting there but also feeling like I've hit a bunch of roadblocks at the moment.
2 points
-
Oi updates and pics plz bitches.2 points
-
Only 13 years later Andy!2 points
-
Got her out, yeah. It was actually welded in! They’re a funny wee thing with two little pimples on the flange/head. I’m guessing the factory probably used some kind of electric welding process to melt the pimples. Combination of hammer and chisel got it done.2 points
-
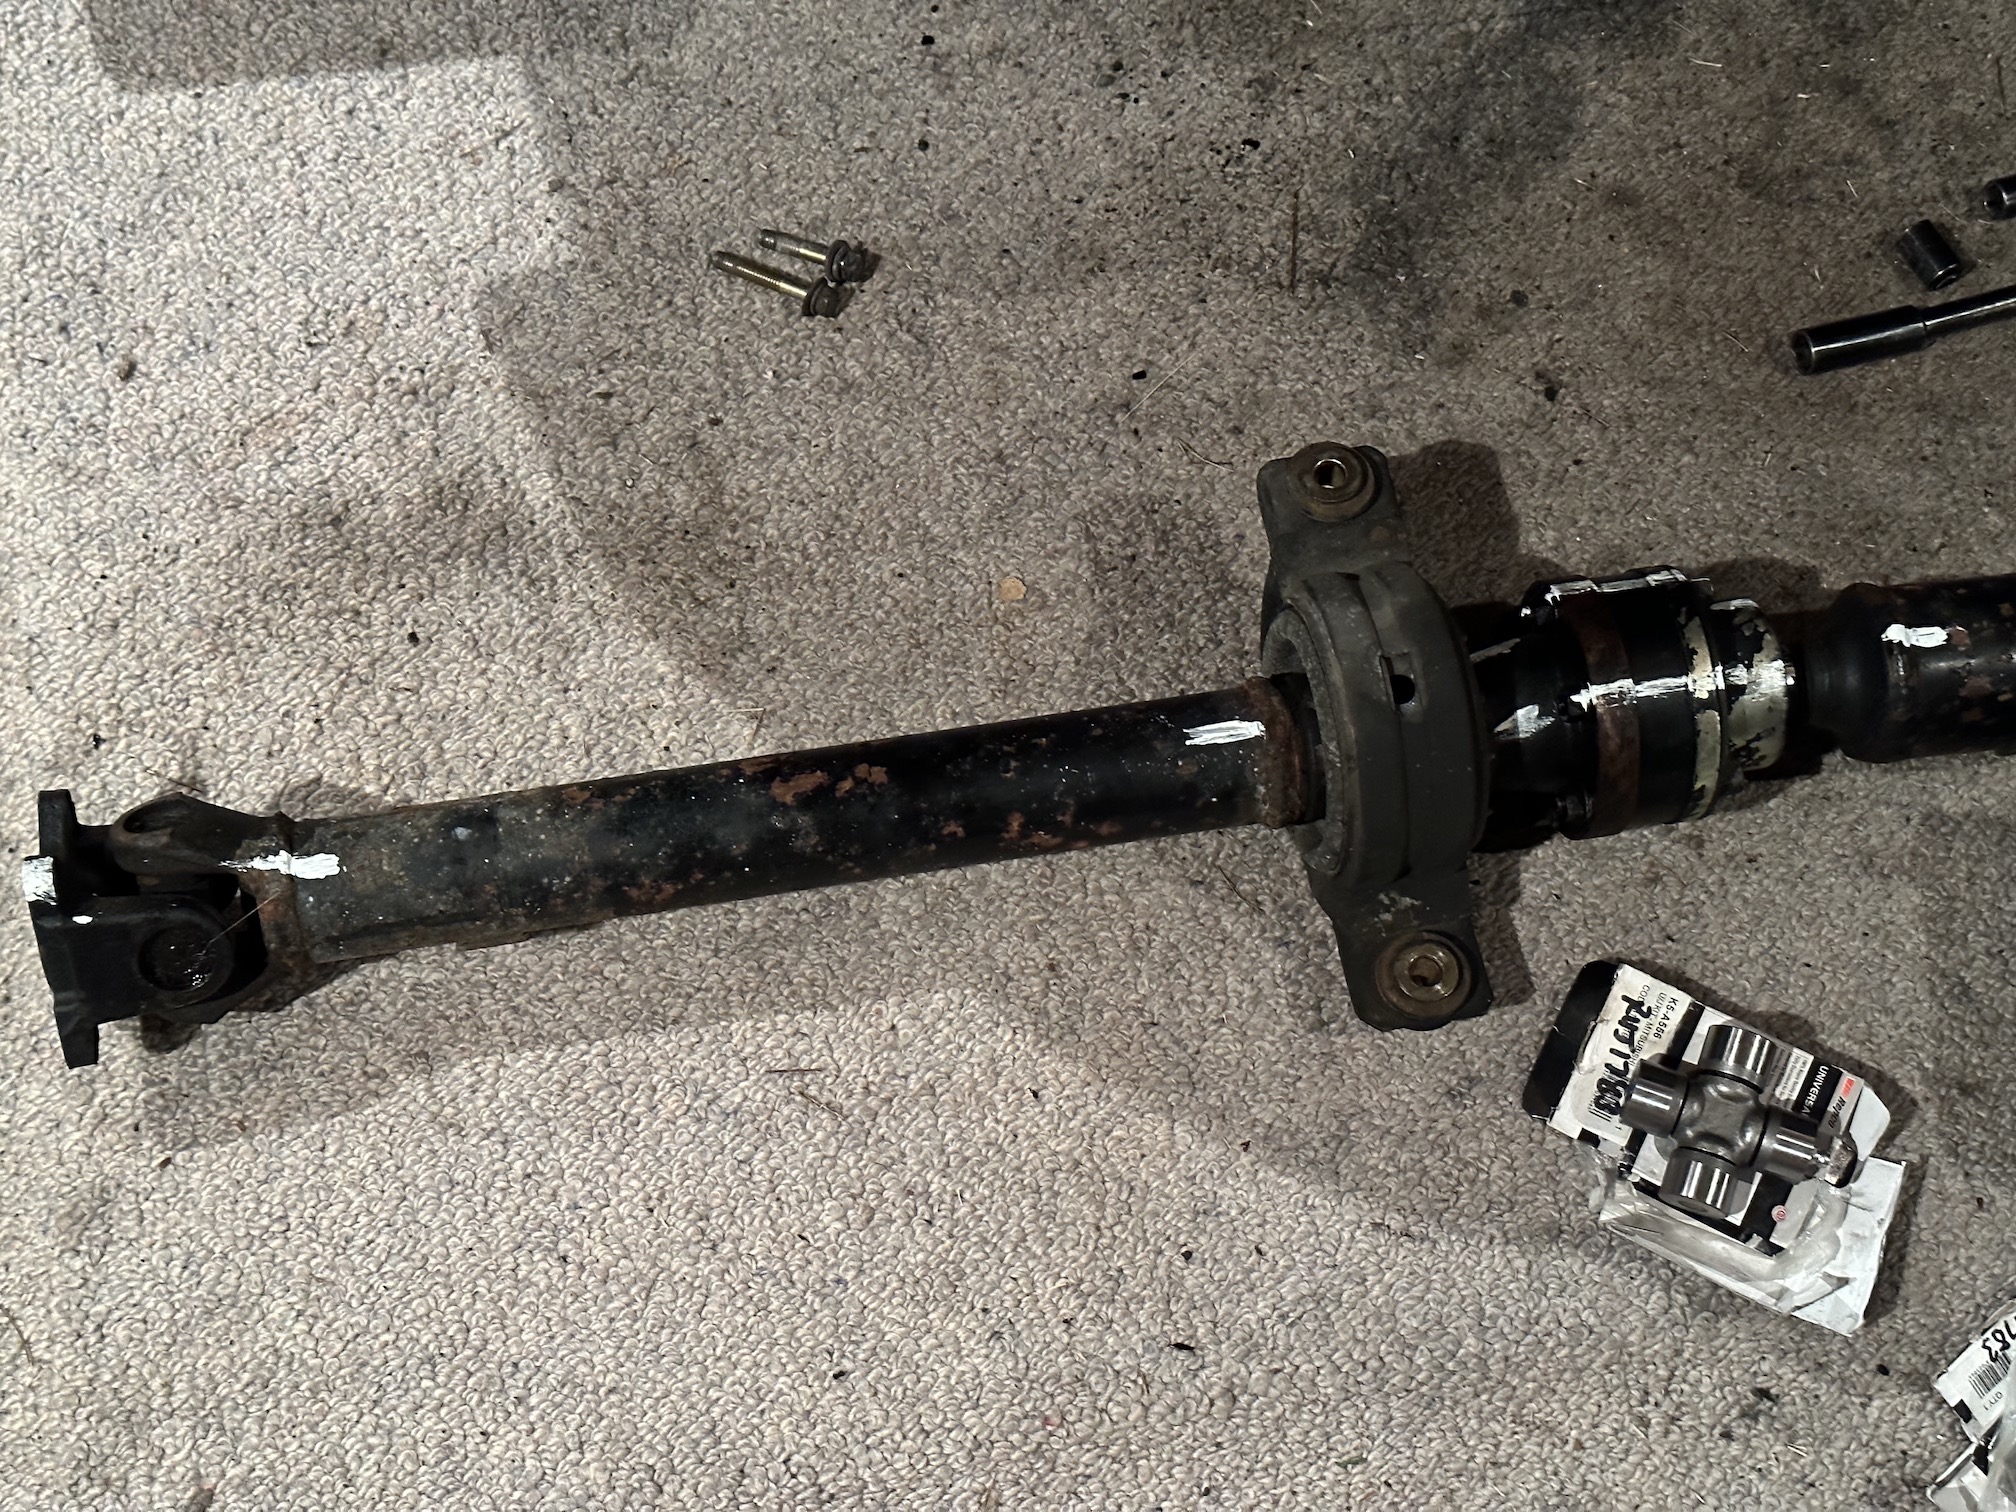
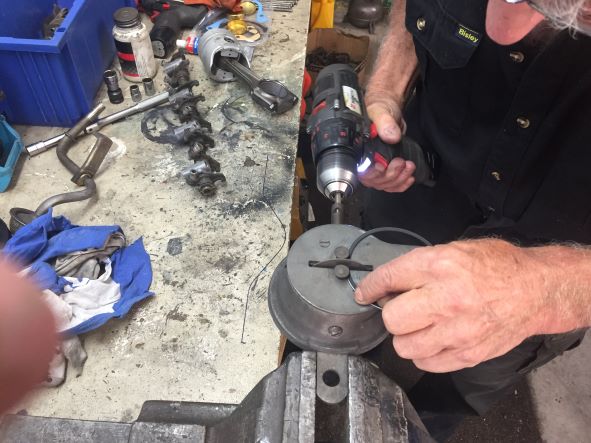
Rear section was the first to be split, was easy enough to undo the nut and pull the flange and old hanger bearing off. I struggled at home with a vice and g-clamp for ages trying to press out the old uni joints and then had enough and took the lot down to my local workshop, thankfully my mate there is a GC and let me press them out myself
2 points
-
I'm sure we had one of these back in the 90s. Does all the vacuumed up crap go through the fan then into the bag? Our family one sounded like an orchestra of children playing the recorder being fed into a wood chipper. It got replaced by a nice quiet Dyson that sounds like a F-86 at takeoff thrust2 points
-
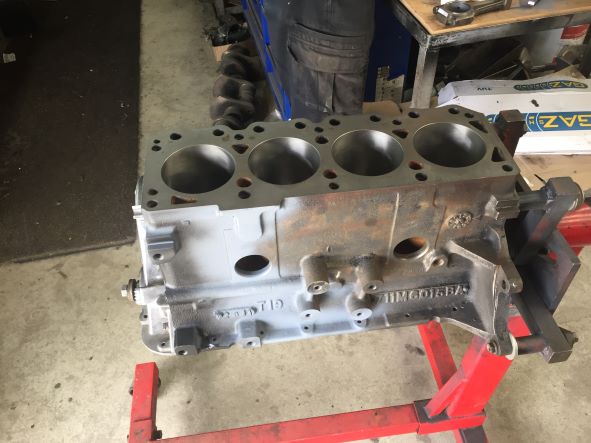
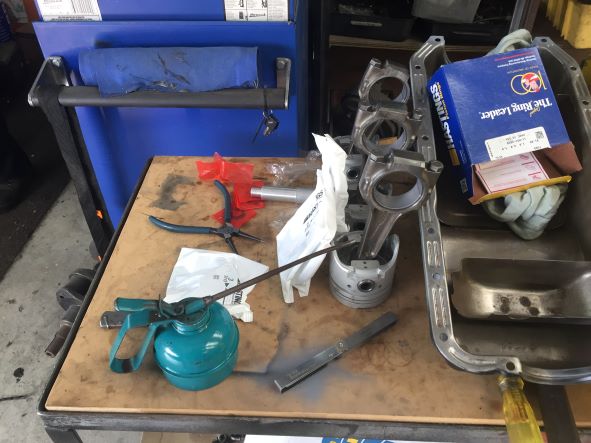
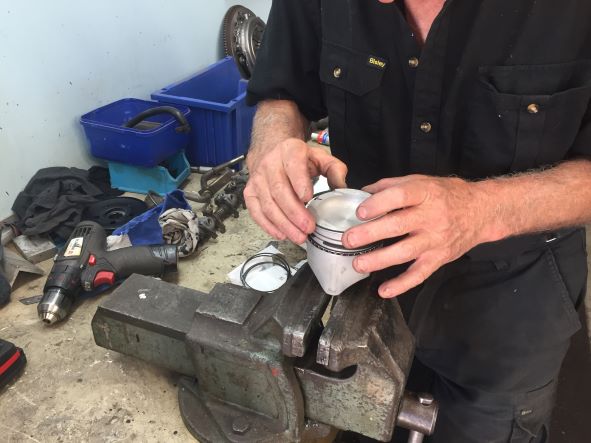
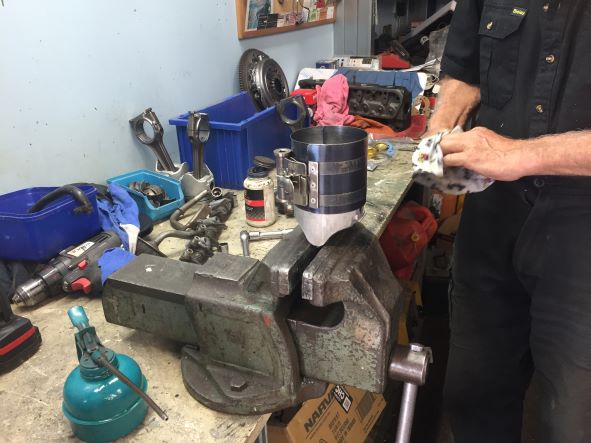
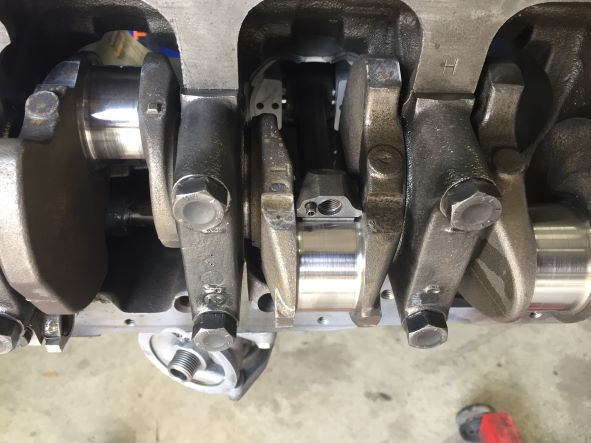
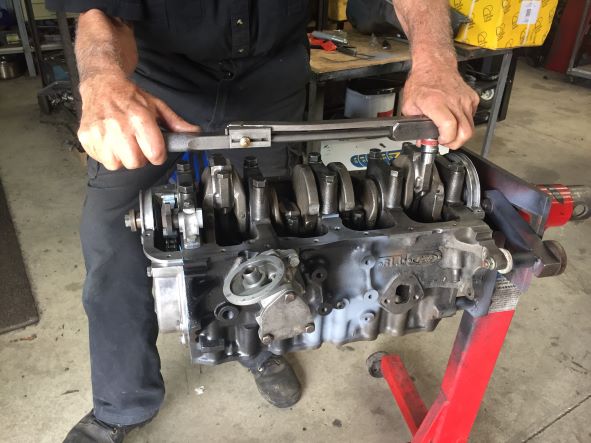
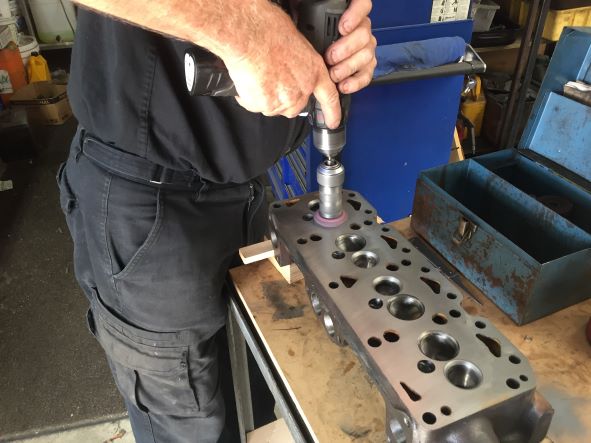
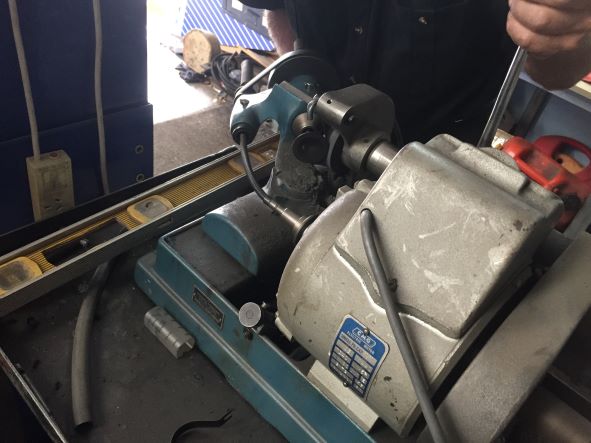
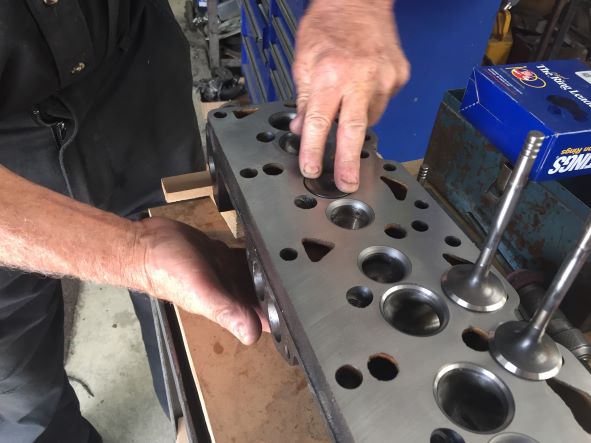
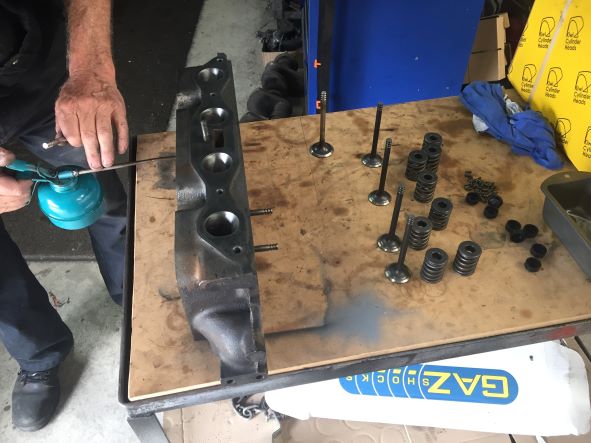
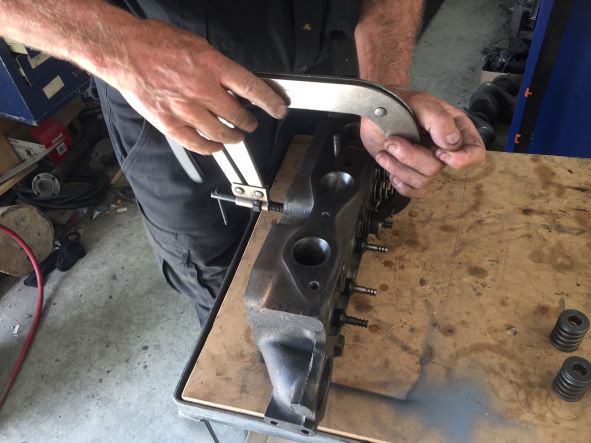
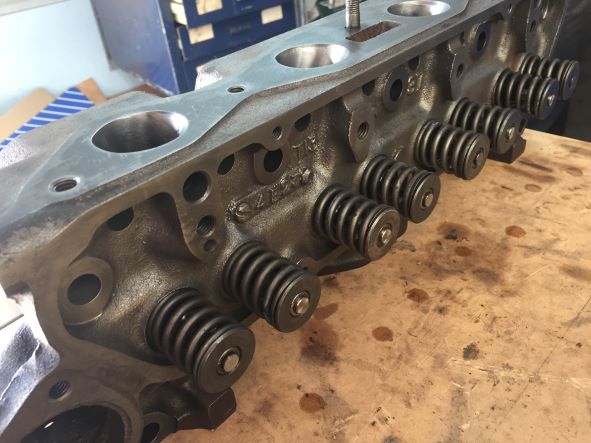
Have been getting some work done on the motor that came in parts with the car when I bought it. Block has been bored out 40" and planed. Crankshaft just needed polishing and put back in with new bearings and seals. Next put in cam followers which have had a surface grind. The cam has had a light sports grind and put back in. With all timing marks lined up new timing chain is fitted along with new tensioner. Timing cover and oil seal fitted. Looking good Next we fitted bearing shells to conrods and caps. Followed by fitting new pistons to conrod. Then we gapped the rings and fitted to pistons. Next pistons inserted into block and and caps put on, all with plenty of oil. Torque down all bolts and we are done. Next onto the head which has been planed and had new hardened valve seat put in. We then ground valve seat and valves ( needed 4 new exhurst valves) and checked fit. All good so fit stem oil seal, springs and collets. Head has been ported so just have to match to intake manifold. Oil pump has been refurbished but need to get a new water pump, petrol pump and distributor. Also need a set of head bolts which ar hard to find in NZ. Good to be putting things back together. Should be a nice motor when finnished Project Discussion https://oldschool.co.nz/index.php?/topic/84912-petes-mk2-escort-1600-sports/
2 points
-
also you'll be pleased to know i went down a rabbit hole on engines last night, spotted a contender for someone to tap potential, for a nondescript v8 the 1urfse (lexus ls460) looks like it has potential to apply similar 1nz/4gr logic too assuming those things can translate, geometry is a bit more 2GR so not as rev happy with heavier pistons at 94mm, but 11.8:1 CR, D4S, RR of 1.771 point
-
It's just a number I pulled out of my ass to show a comparison of engine rpm at that piston speed. That was somewhere around max rpm for each of those types of motor. As it seems a more meaningful comparison than the other way around (comparing piston speed at a fixed rpm) And yes I see I labelled it wrong, should be FPM.1 point
-
i still cant get over how glorious this thing sounded at full nang1 point
-
HAHAHA This car is the gift that keeps on giving (Go to 11:20 if it doesnt automatically)1 point
-
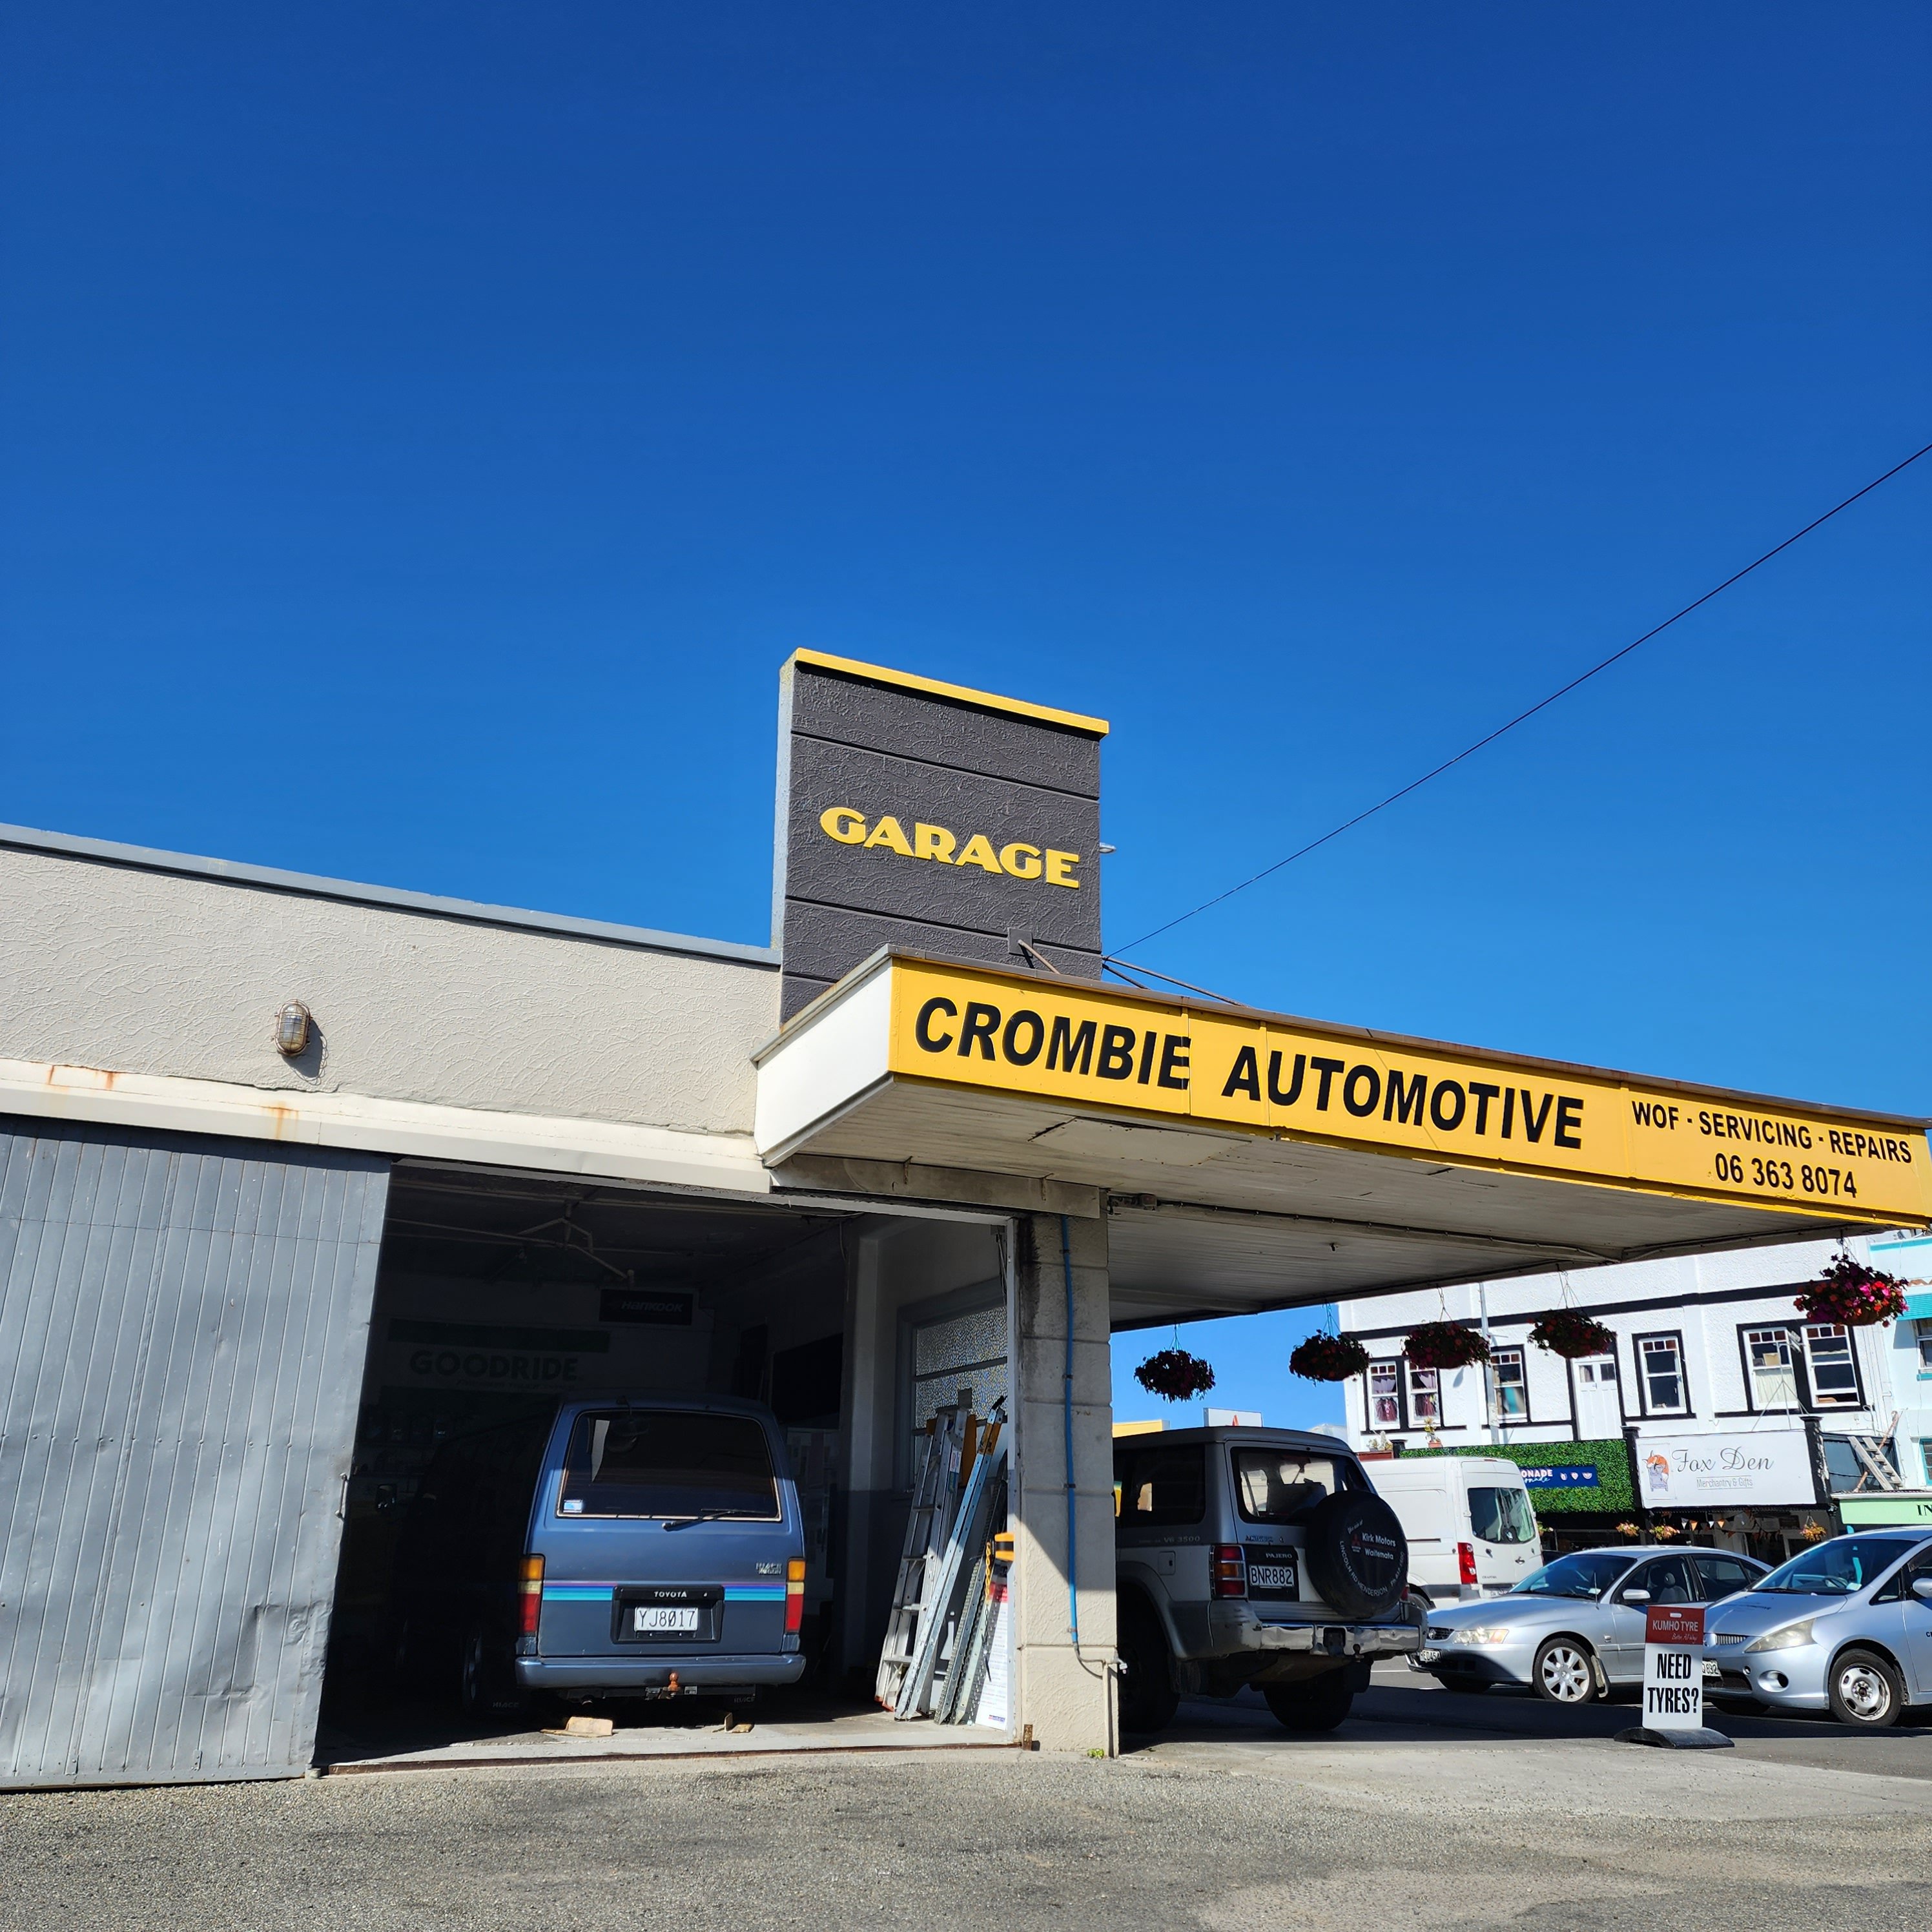
I thought it best to check water and oil since I was halfway. The rpm gauge doesn't work at all and the temp gauge usually doesn't but occasionally pops up usually at a 3rd or one bar under halfway. I needed to put about a litre of water in the radiator and also noticed some of the overflow seal was missing. Topped it up and saw water leaking from somewhere on the ground. Took it to these fellows to have a look they popped it over the pits, put a new cap on and couldn't see any more water leaking. They mentioned it has a new looking headgasket, radiator and alternator and various steering links also. Cruised back to my accommodation and had a look underneath. Another leak. This was from lower hose join to hardline. Took it back and put it on hoist, they reckon the hose clamp was loose. Filled it up again. No leaks.
1 point
-
Ahh look at that luxuriously spacious 90 degree Vee! 60 deg vee makes life a bit more tricky for the intake. But, it also gives better room for the exhausts which is sorely needed. Win some lose some. It would be nice to be able to cross the runners across the vee like that V8. But that only works if your throttles are spaced apart at least as far as the ports. Where as my throttles are closer together than the ports. The other pair of throttles turned up today, as well as the H bridge controllers. Looks like I'll have way more room than expected if I want to make them more vertical or push them closer together. I'm desperately trying to avoid raising the motor any more, so the sump situation is taking a fair bit of trial and error. However I've got a setup that now clears the front pulley, the pan nearly fits okay (will push it back a bit further from the swaybar) Then still dipstick hole and oil filter to figure out.
1 point
-
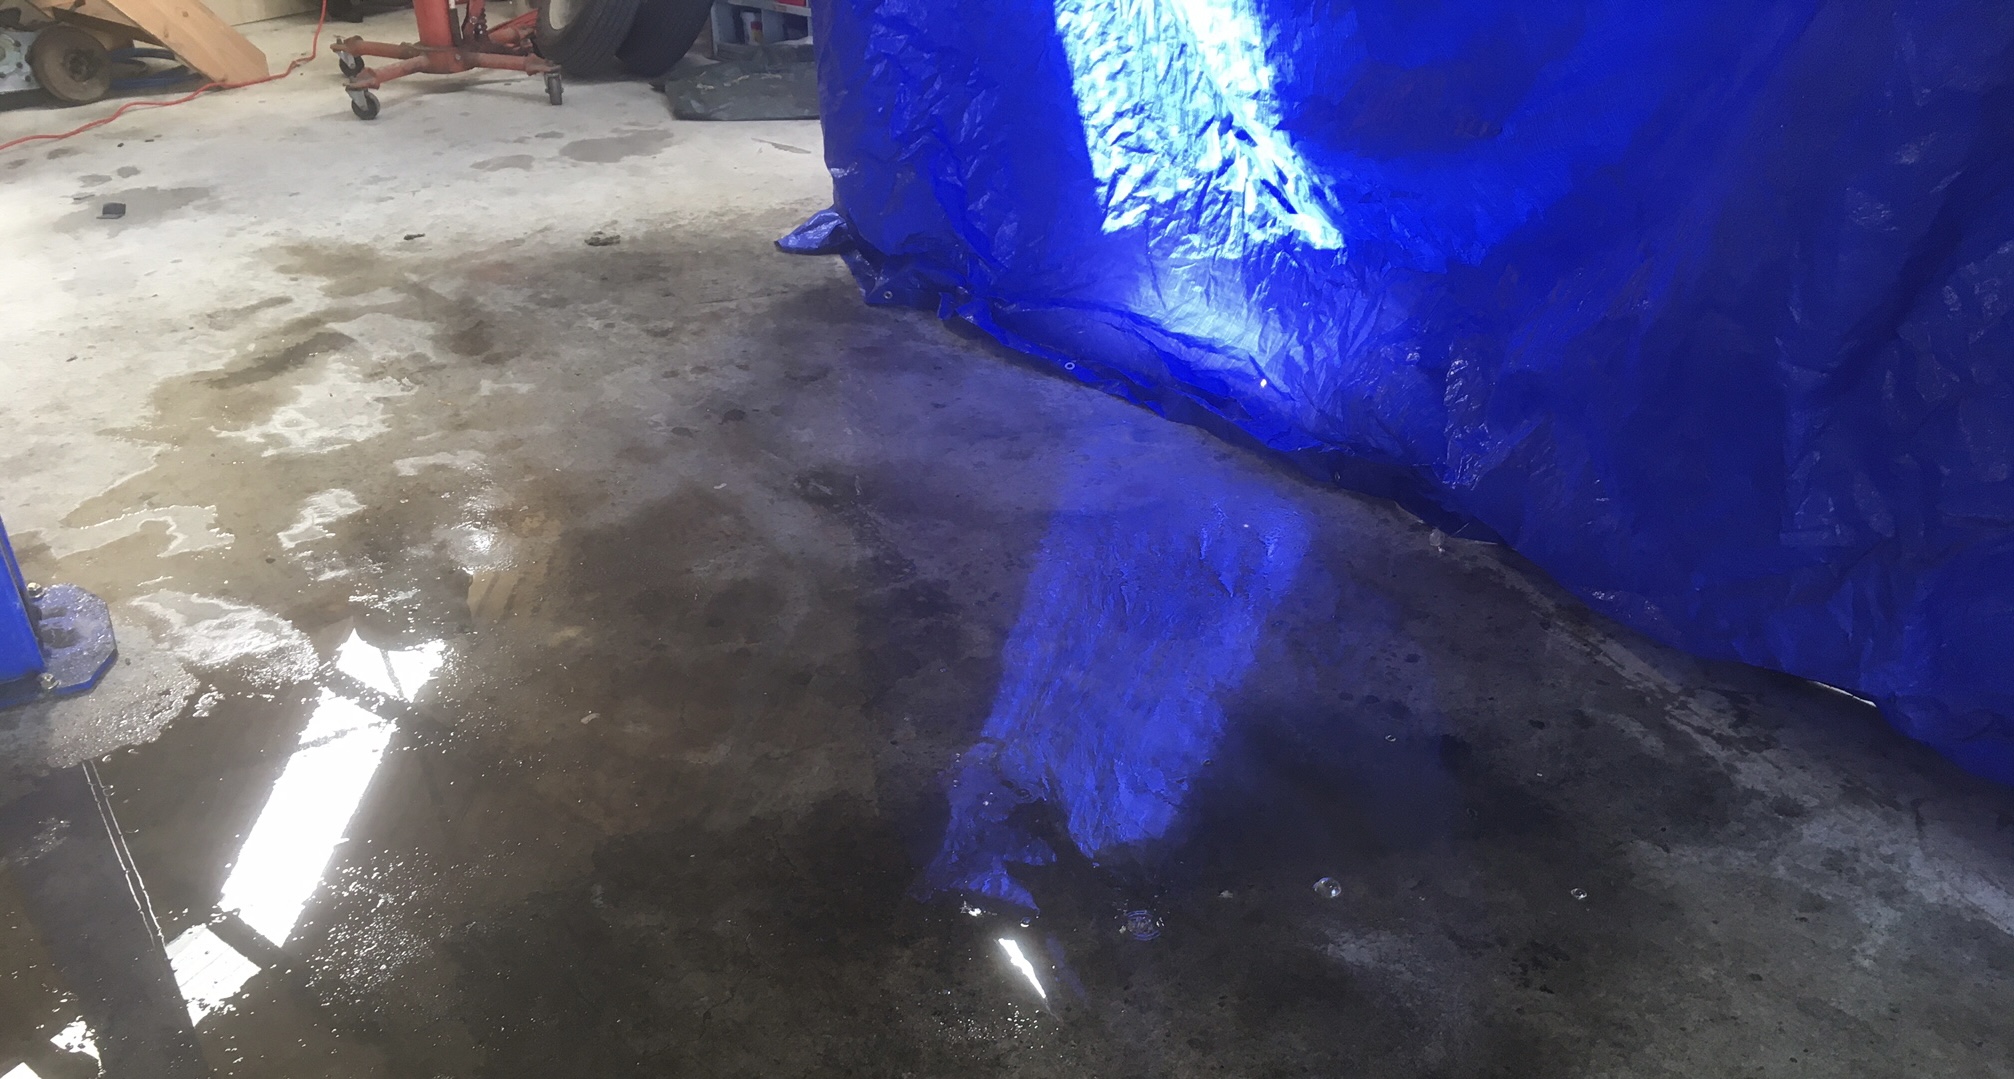
After. Sucked up all the gravel no sweat.
1 point
-
Yeah drop it in man see whats up, I would guess as you said the steering is probably right in the way. You find out fast when you plonk it in the bay and then its either easy or you make heaps of excuses how you can make it work and take 1 million years and $$. Anyway ling posts but make it sound like one of these Mondeo V6 things please.1 point
-
Been doing the Wednesday night races on another boat in Tauranga. It's keeping me motivated to get mine done. The Wednesday night stuff is a bit more aggressive than the weekend ones I'm used to. Straight into the race after work, no time for messing about. Luckily the crew are excellent people who don't take it too seriously.... But still managing 2nd in our division of 16 others. Finally decided on a name and made the official change. Since the jet boat was "Good Enough" this one shall be "Nice Try" which reflects all of the work done by the last guy and the quality of my repairs.1 point
-
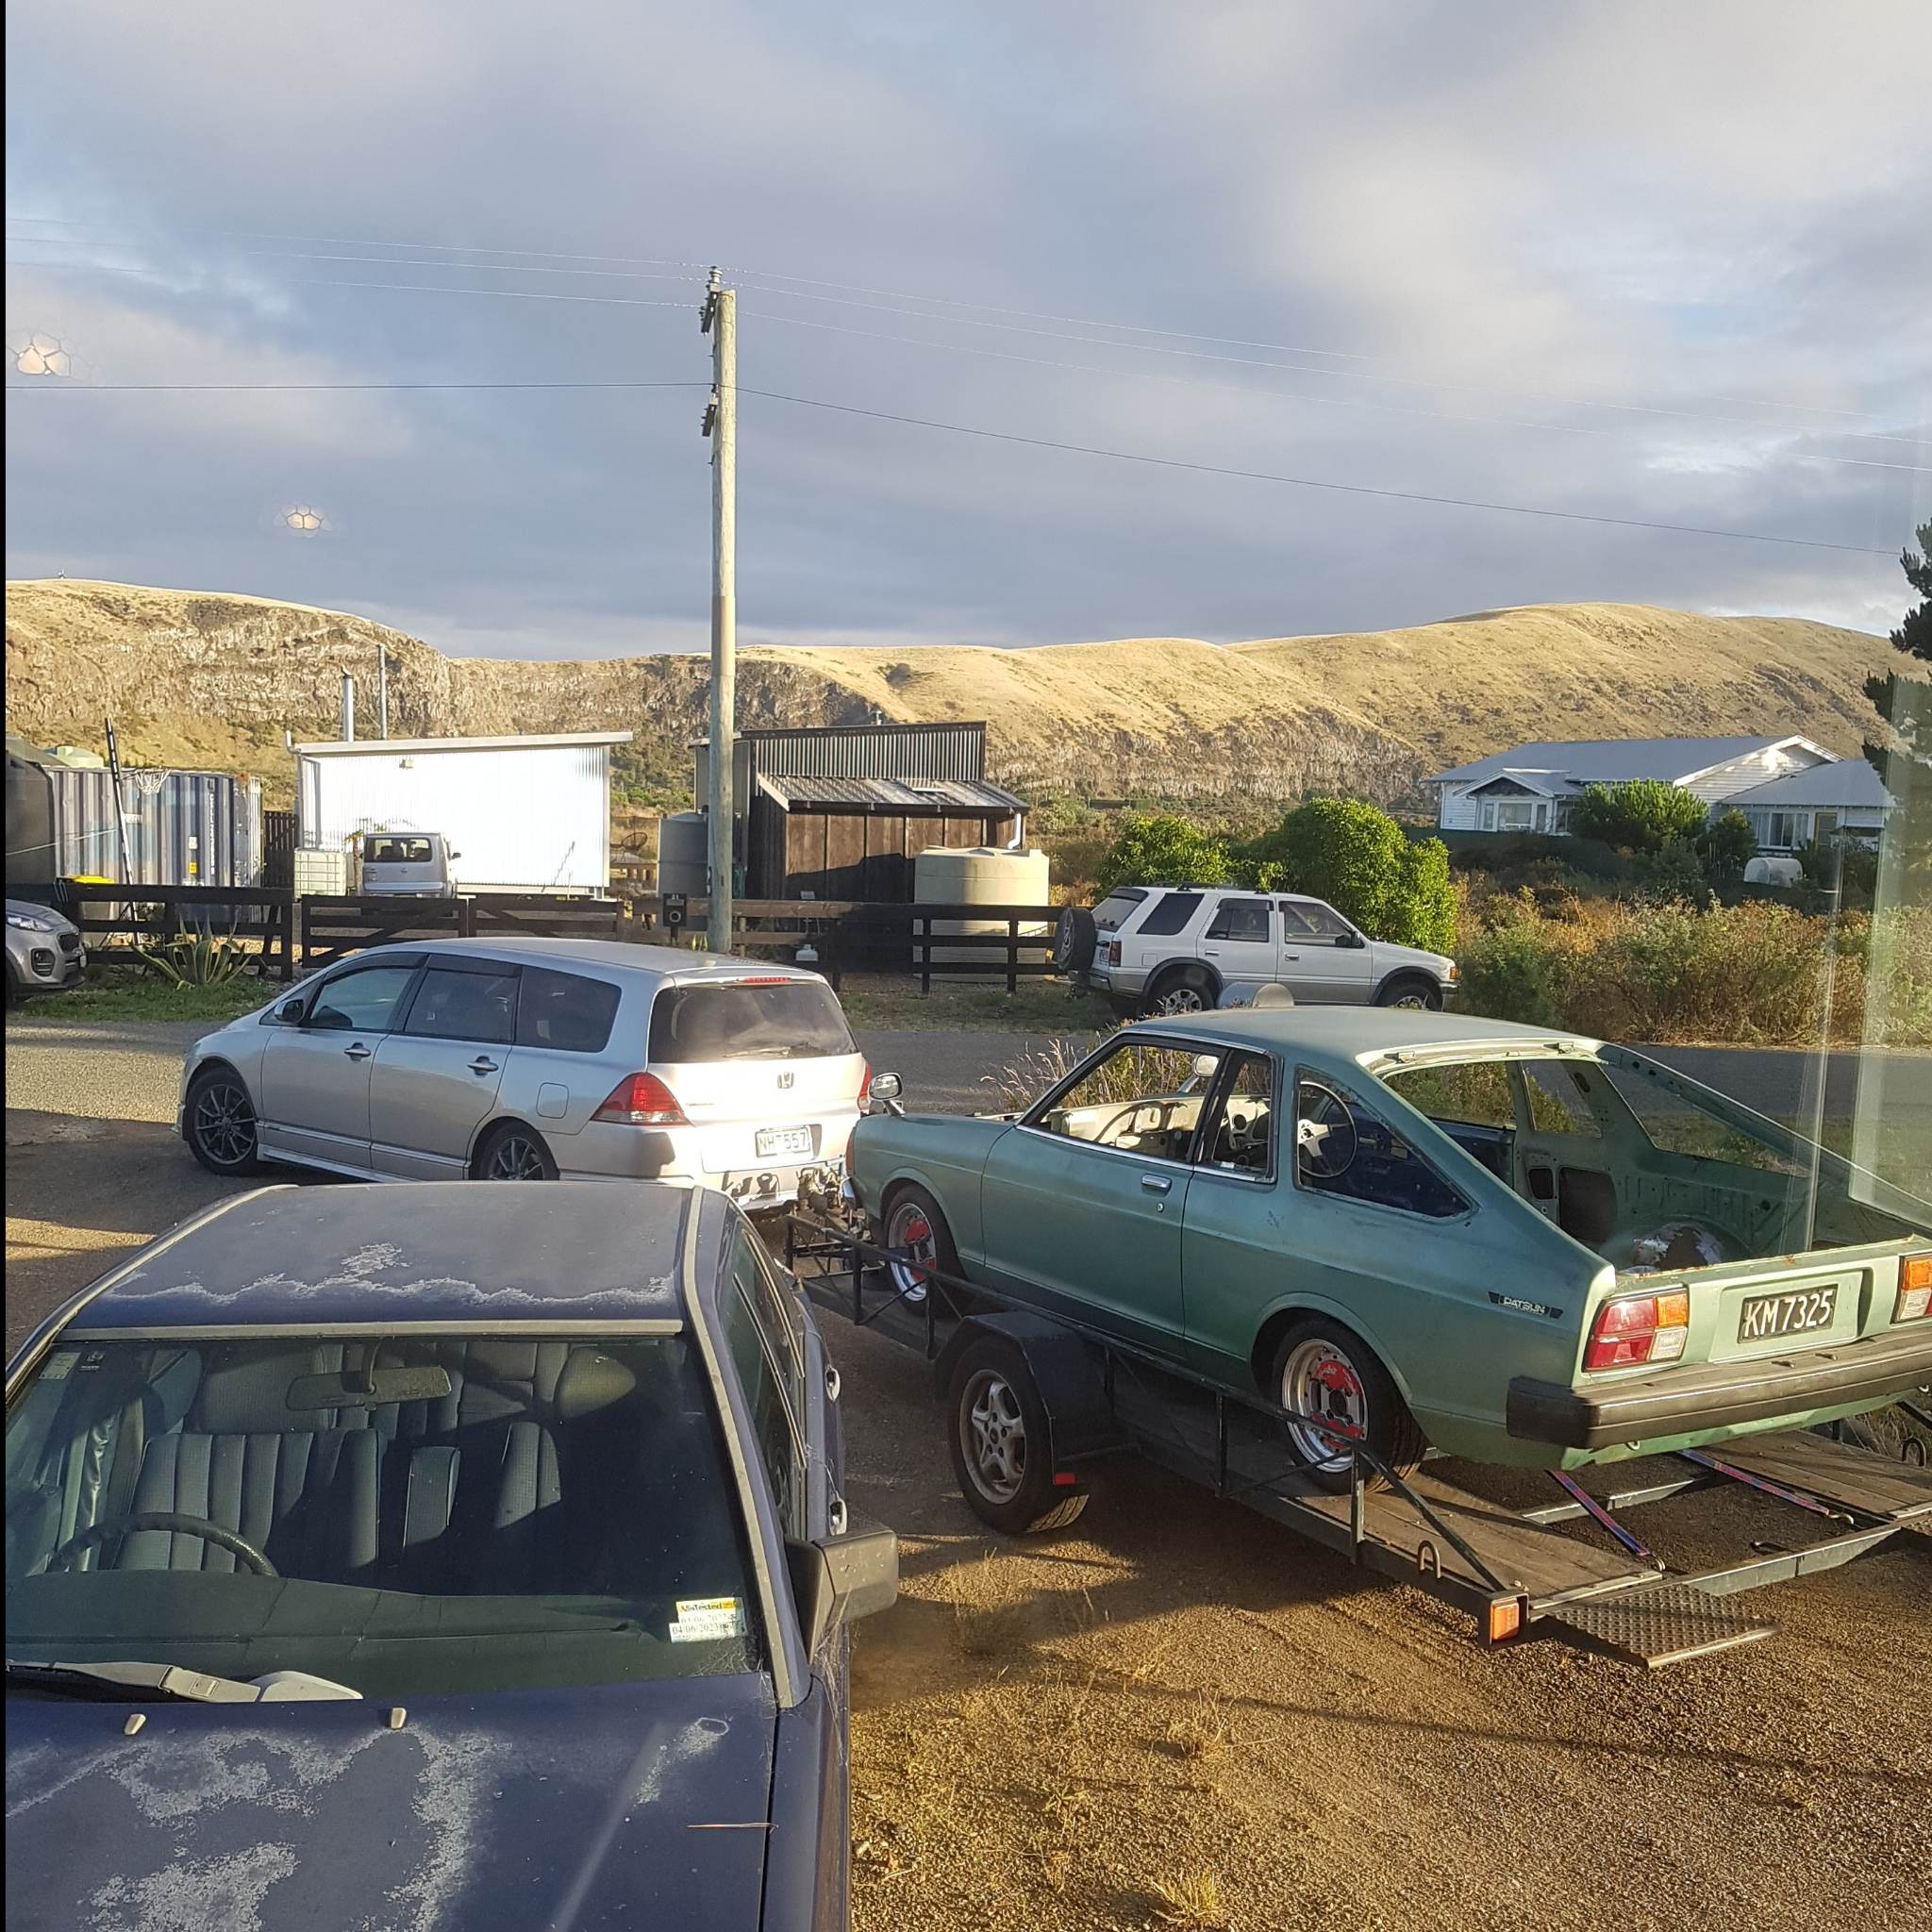
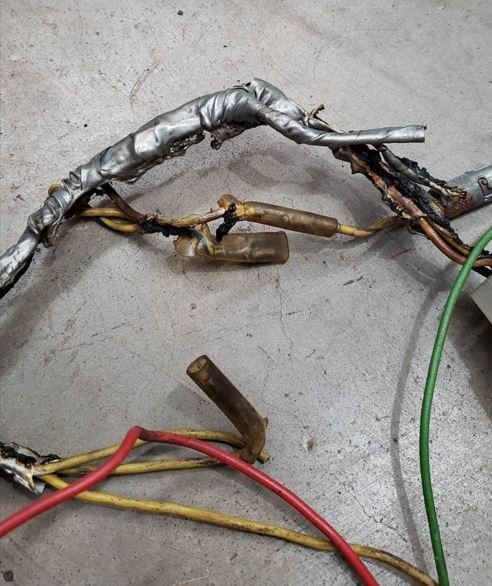
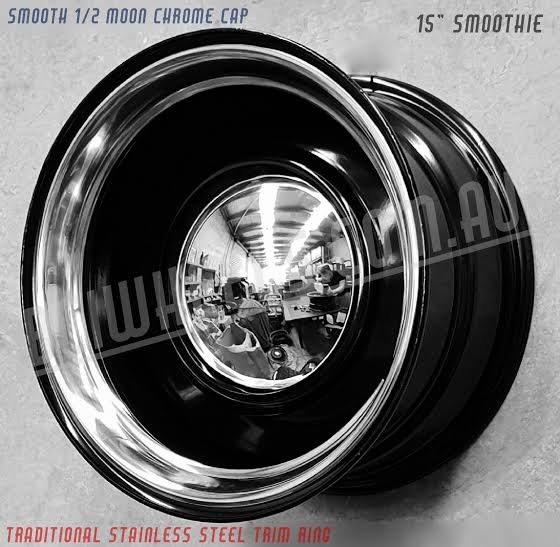
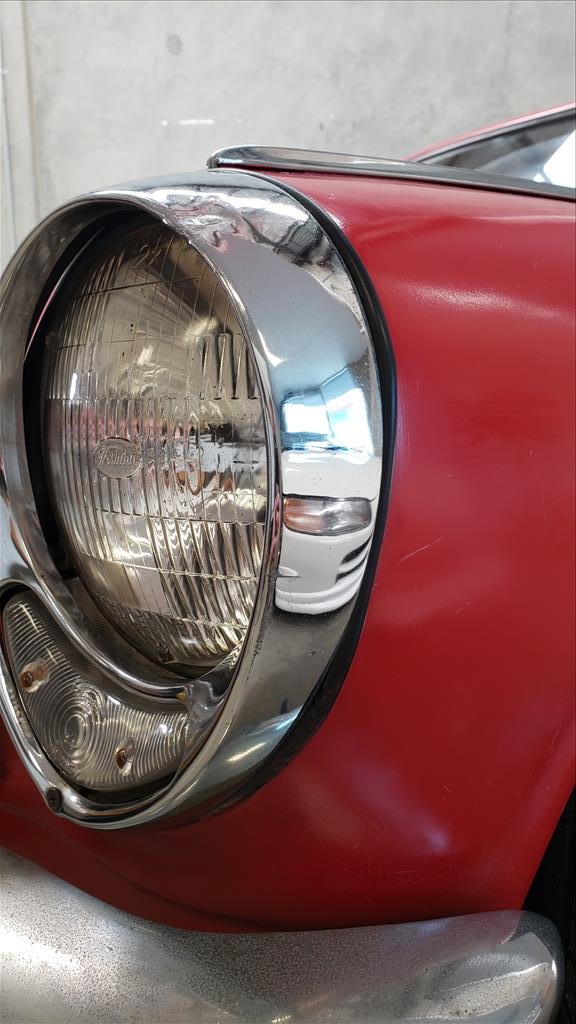
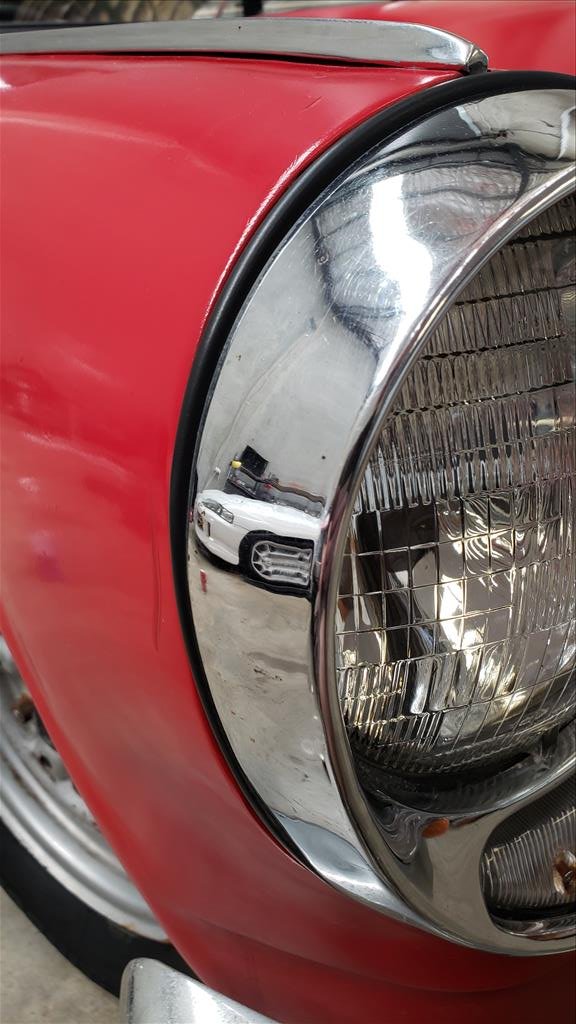
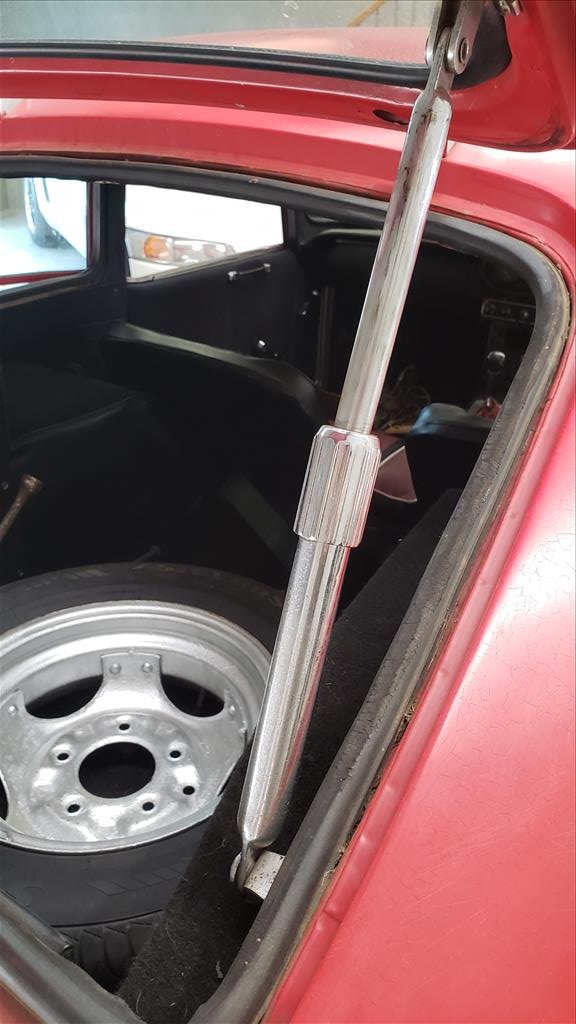
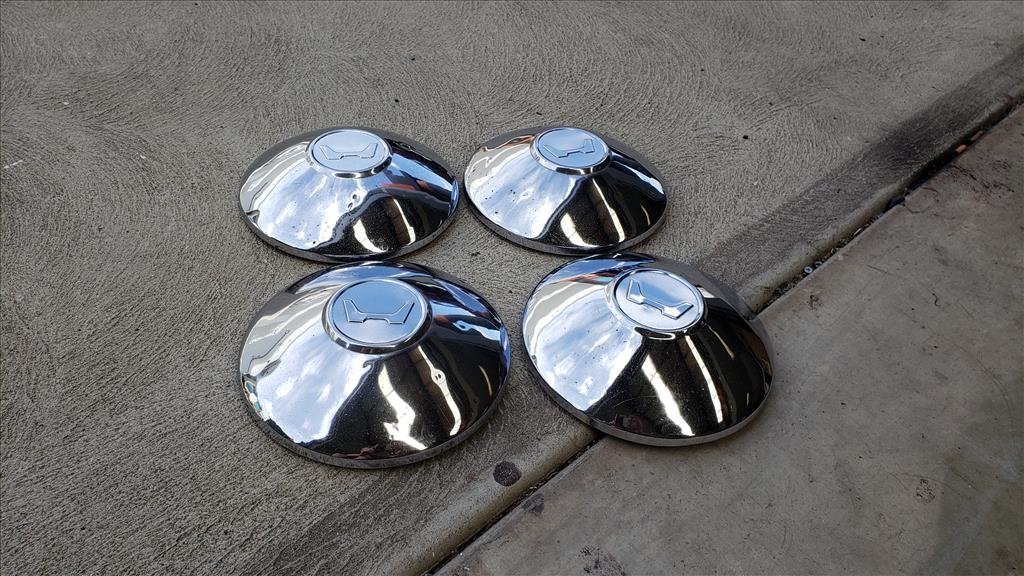
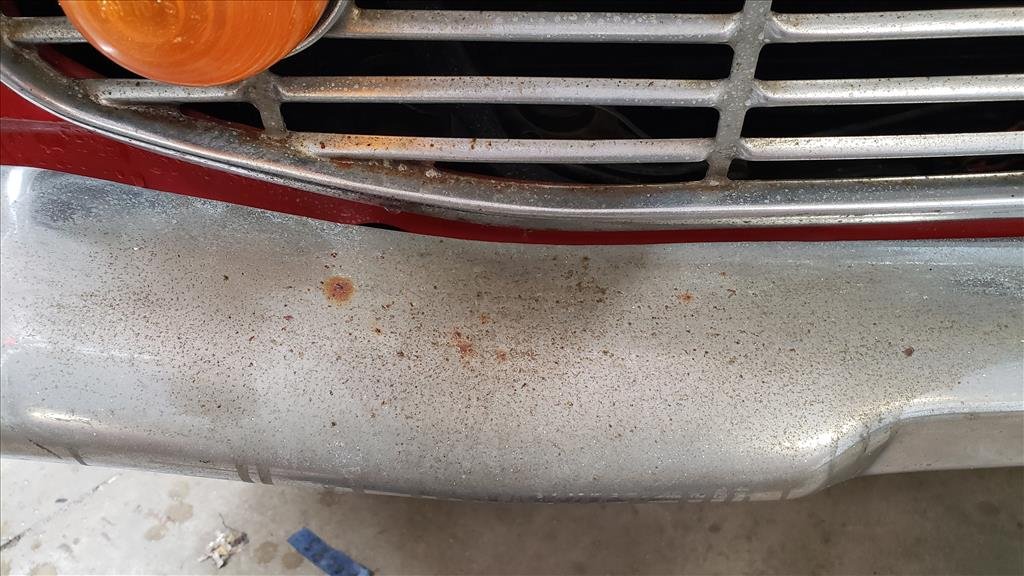
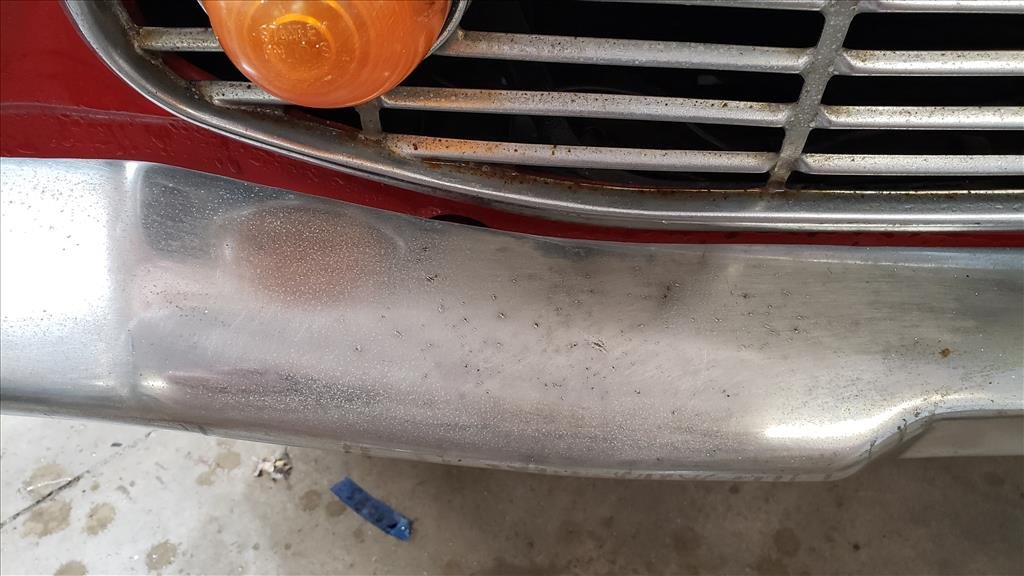
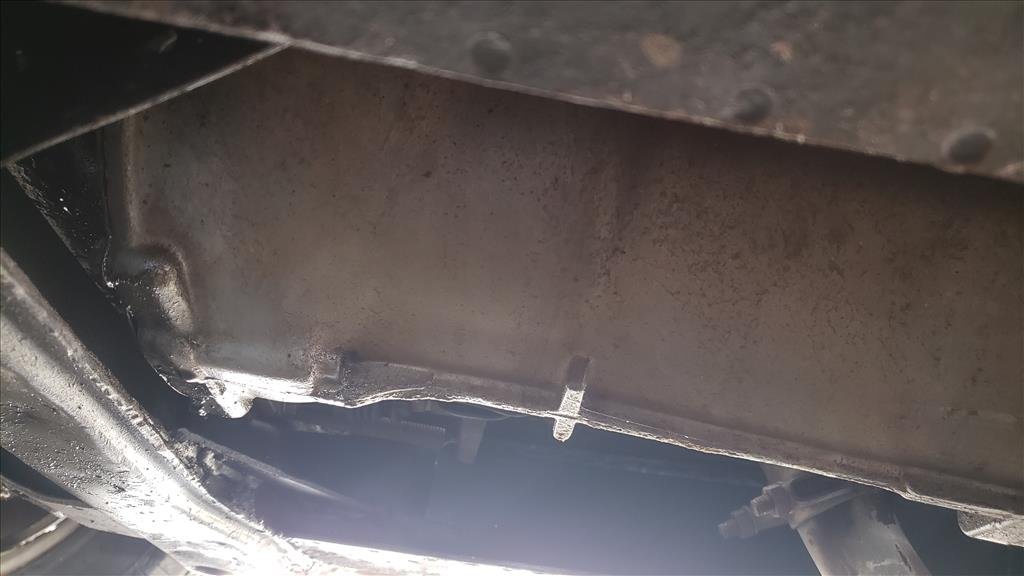
Went up to the shop again over the weekend to basically see what I'm working with and give the car a clean as I don't think it'd really been washed for years. Not sure if it made much difference but the glass is a bit nicer to look out of at least and the interior is free of dog hair now. I did a little bit of polishing as well to make the wheel caps a bit more shiny and then did the headlight surrounds too which turned out ok. I can make semi-shiny things more shiny but can't make cloudy things shiny. Probably that just comes down to patience/not having the tools to do it. I'm contemplating investing in a DA polisher but not 100% sold on that yet. I did however use the old Barry tinfoil trick to remove the rust spots from the front bumper so at least that doesn't stand out quite as much. Might hit up old mate car detailer next door to see if he can have a go on the bumpers. None of the gauges work in the car (except an aftermarket oil pressure gauge) and the box of spares included wiring for said gauges which were clearly melted and on fire so that's fun. Reading up on it I think it may be due to the ampere gauge needing an alternator in a certain range and it probably is outside that range with the different motor. Hopefully I can get the fuel level at least back working without too much trouble and probably the temperature somehow but in the long run I will probably just cut another dash panel out and put aftermarket gauges in. Old Mazda nerds, is this just OEM 70sish Mazda RWD gearbox? Can you tell with the world's worst photos? Not really relevant to anything I guess but just curious if it's been a full engine/transmission out of the one car and into another as a set or not. I've also decided to paint the wheels with my favourite Rustoleum black then get some chrome trims for the edges. That should look a bit better than crusted out how they currently are, like this but without the full smoothieness. This should tide me over until Watanabes. Also totally random is these rear struts. These days the struts just have gas in to push the window/boot up but these (presumably have some kind of gas still) actually lock in when you turn that bit in the middle so they can't come down which is neat.
1 point
-
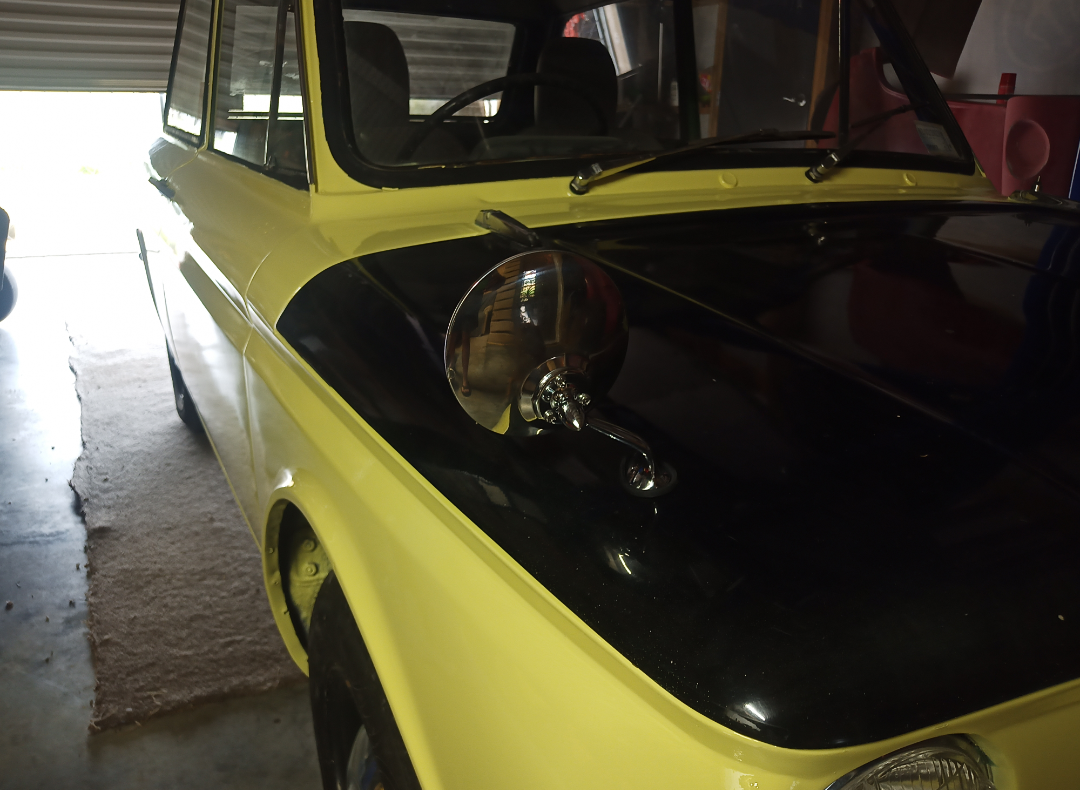
A side mirror on the door means you're looking over your shoulder every time you see who is tailgating you this time. Took the opportunity to drill a hole in the bonnet for an easier glance behind me. Only problem in an Imp is that everybody looks like a truck running you down!
1 point
-
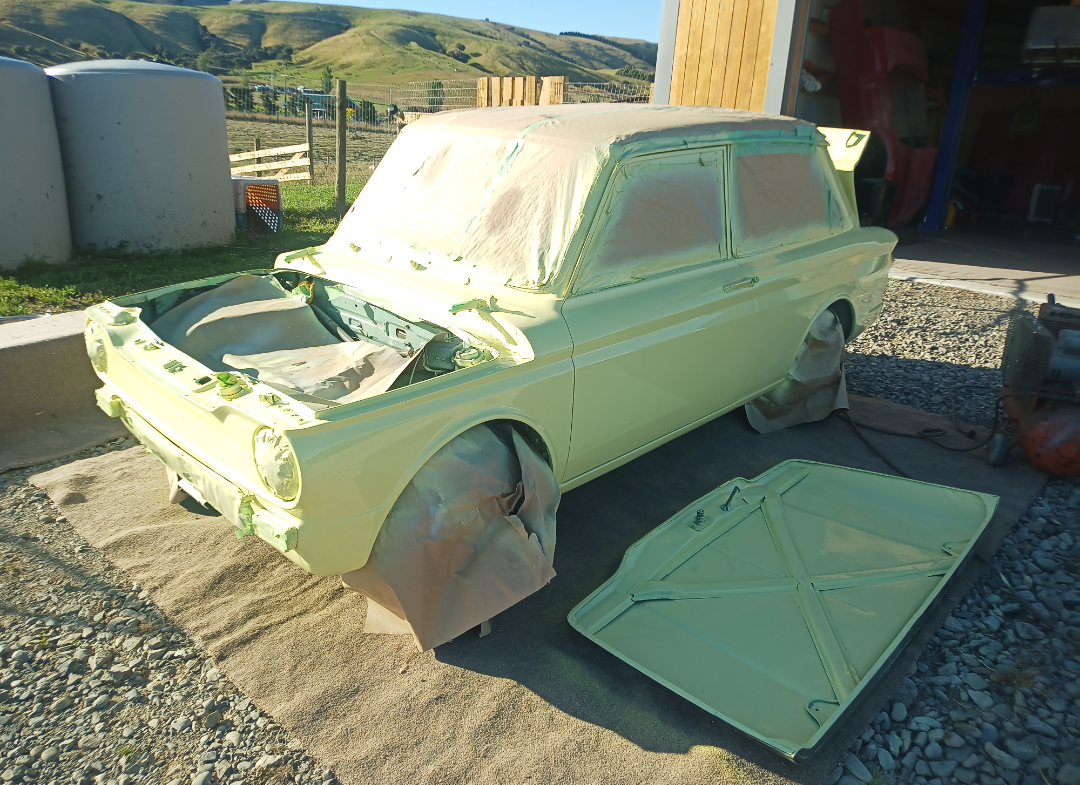
Still have to put some chrome on and the rear window rubber. Then it will be me and a paint brush for a couple of weeks getting inside sorted. I should probably order a carpet kit whilst I'm at it.
1 point
-
Slapped some colour on it this morning. How I paint is I do a very light coat and go a little heavier over anywhere that has rubbed through the primer. Then one full wet coat. Then walk away briskly to clean the gun for a few hours so I don't get tempted to "fix" mistakes.
1 point
-
Test fit some wheels last night now we have rolled the rear guards nicely and iv got the car home for a couple of weeks, The BBS RS is a 15X9 with a 195 45 r15 on it, but you cant get any decent tyres in that size in a 45 profile so going to grab a couple of 50 profiles to test fit, cause theres heaps of semis and other good options in 50 profile. But happy how it sits. Will run a 15x8 on the front which i know fits with the 45 profile, just need to get back the front guards and i can test fit it with a 50 profile. The 15s cant get legal without a stupid size tyre so will need some rims to get it legal on, Have 3 sets of ROH Z's in different stud patterns and width haha. I need spacers in the rear to get it sitting right so grabbed some 5 stud 8.5" wide deep dish ZS, They fit perfect on the back with a 20mm 4x114.3 to 5x114.3 adaptor and a 215/40 R17 tyre which is a legal easy to find option, tried to find 215 35 profile but not really any decent options in this size. The front needs a 20mm spacer to sit right and clear the strut so picked up some 5 stud 7.5" ZS which will do the trick for the front. Will get them all polished like my 4 stud set iv had done already. Got a few jobs to chip away at over the next couple of weeks before it goes to fab.
1 point
-
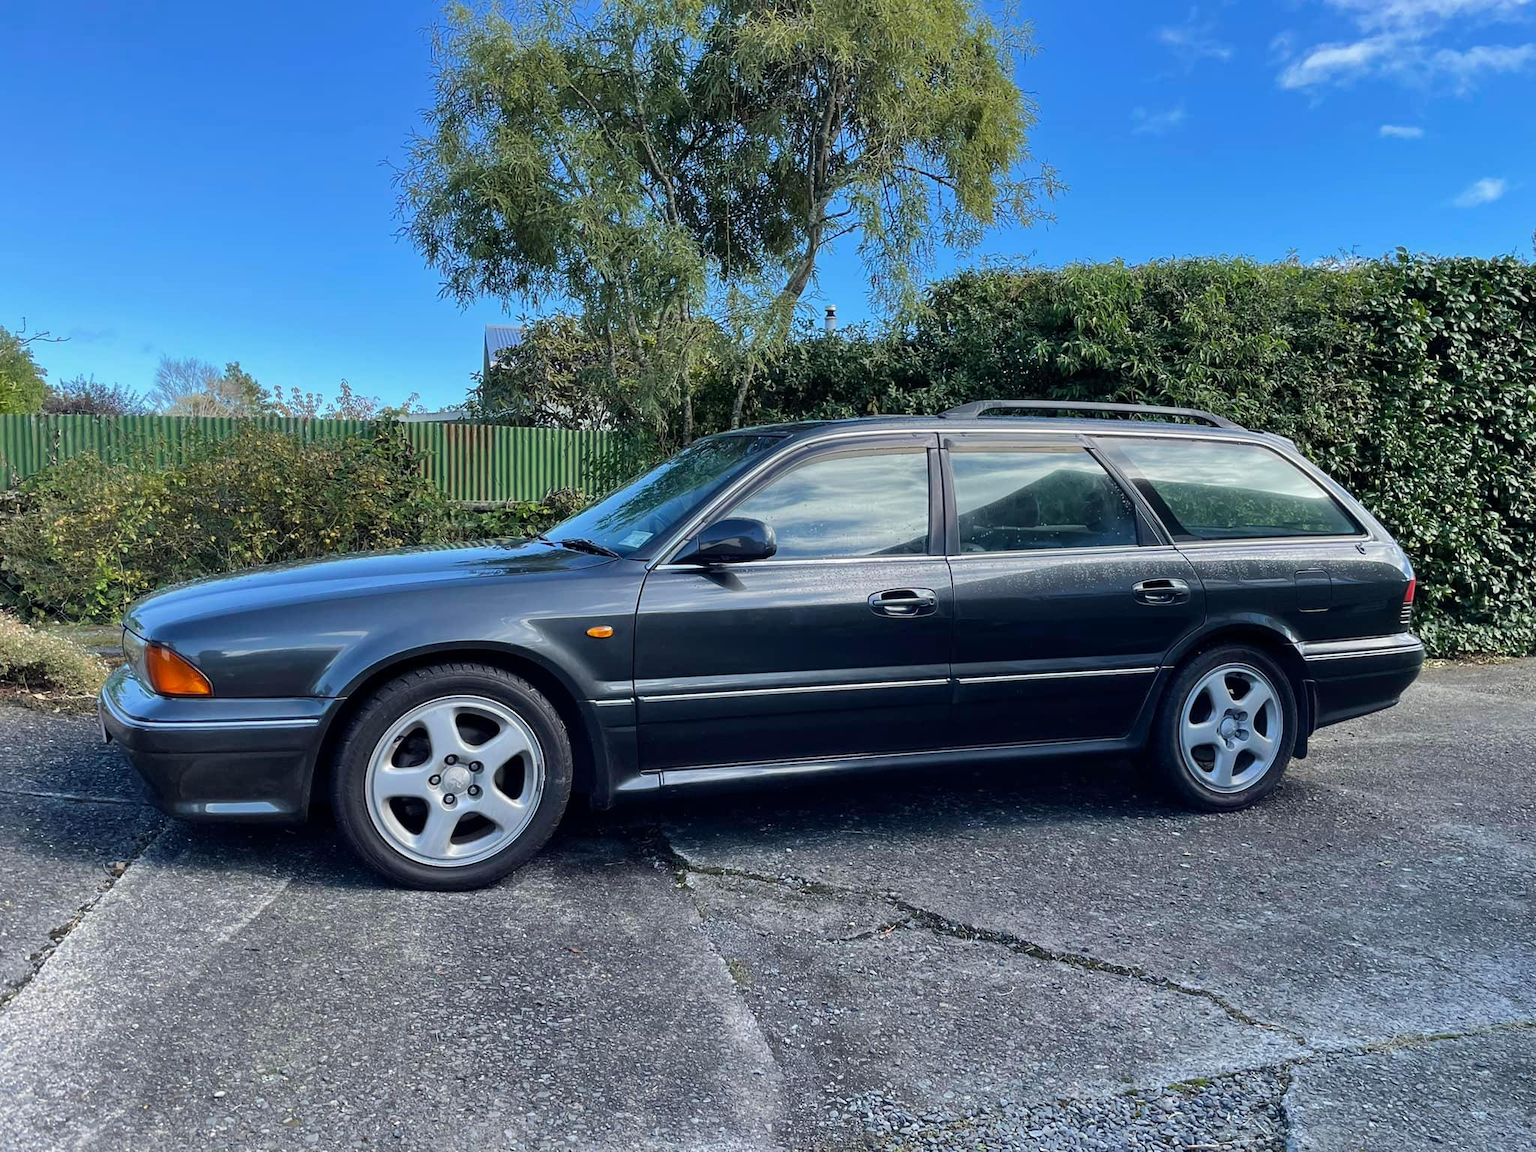
As for the wagon I lowered it a smidge, chucked on the GTO 17s that used to be on the sedan, and fitted some paint matched sideskirts (yet to paint and fit the lower door cladding, think it looks fine without them for now)
1 point
-
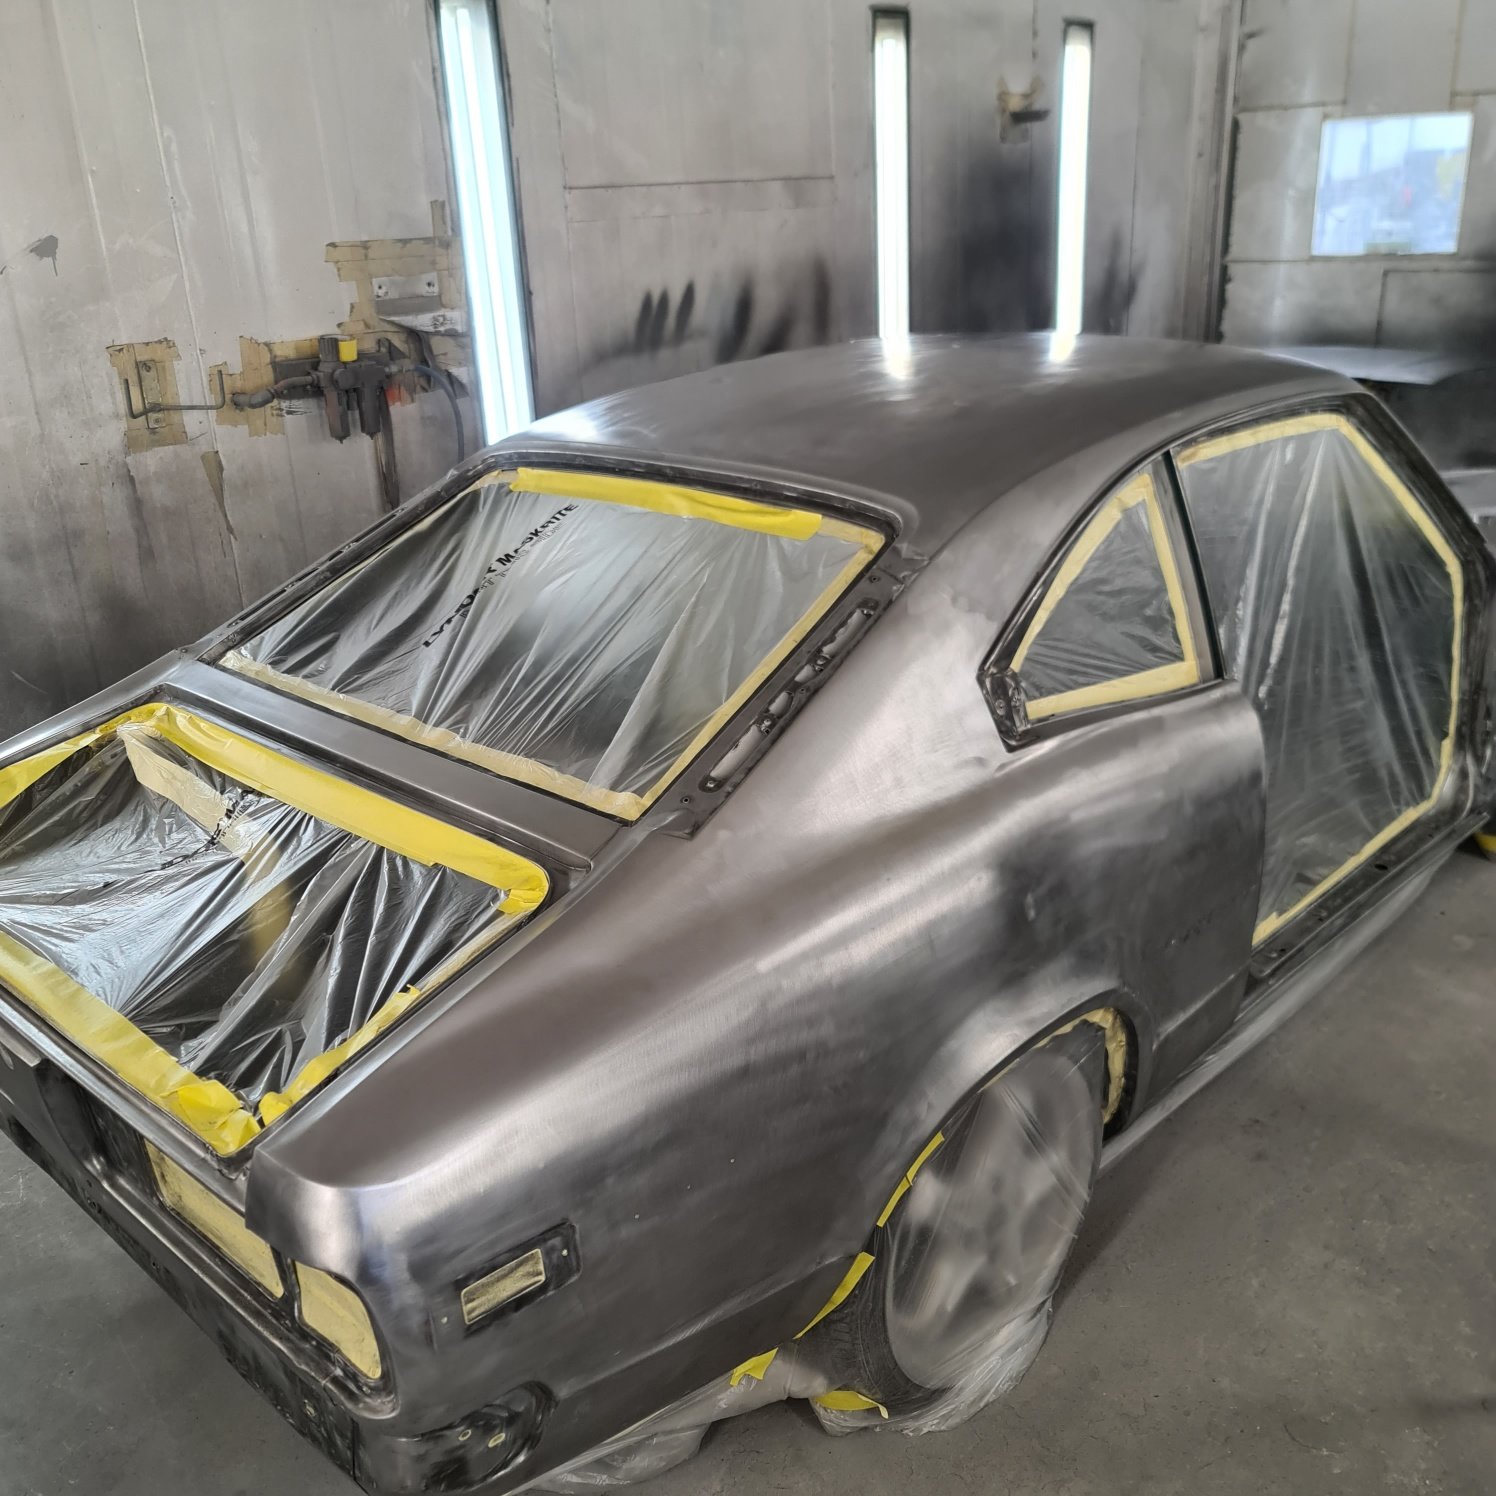
Well things have been all go to end 2021 on this. The couple of weeks before xmas the painter baremetalled the shell and last of the panels. Bolt on panels have been epoxied and all the steel work done. Xmas eve we put the shell in the booth and cleaned it up and blew some epoxy over it. Stoked there is only a couple of minor repairs required to the steel work, on the whole its a very good shell.
1 point
-
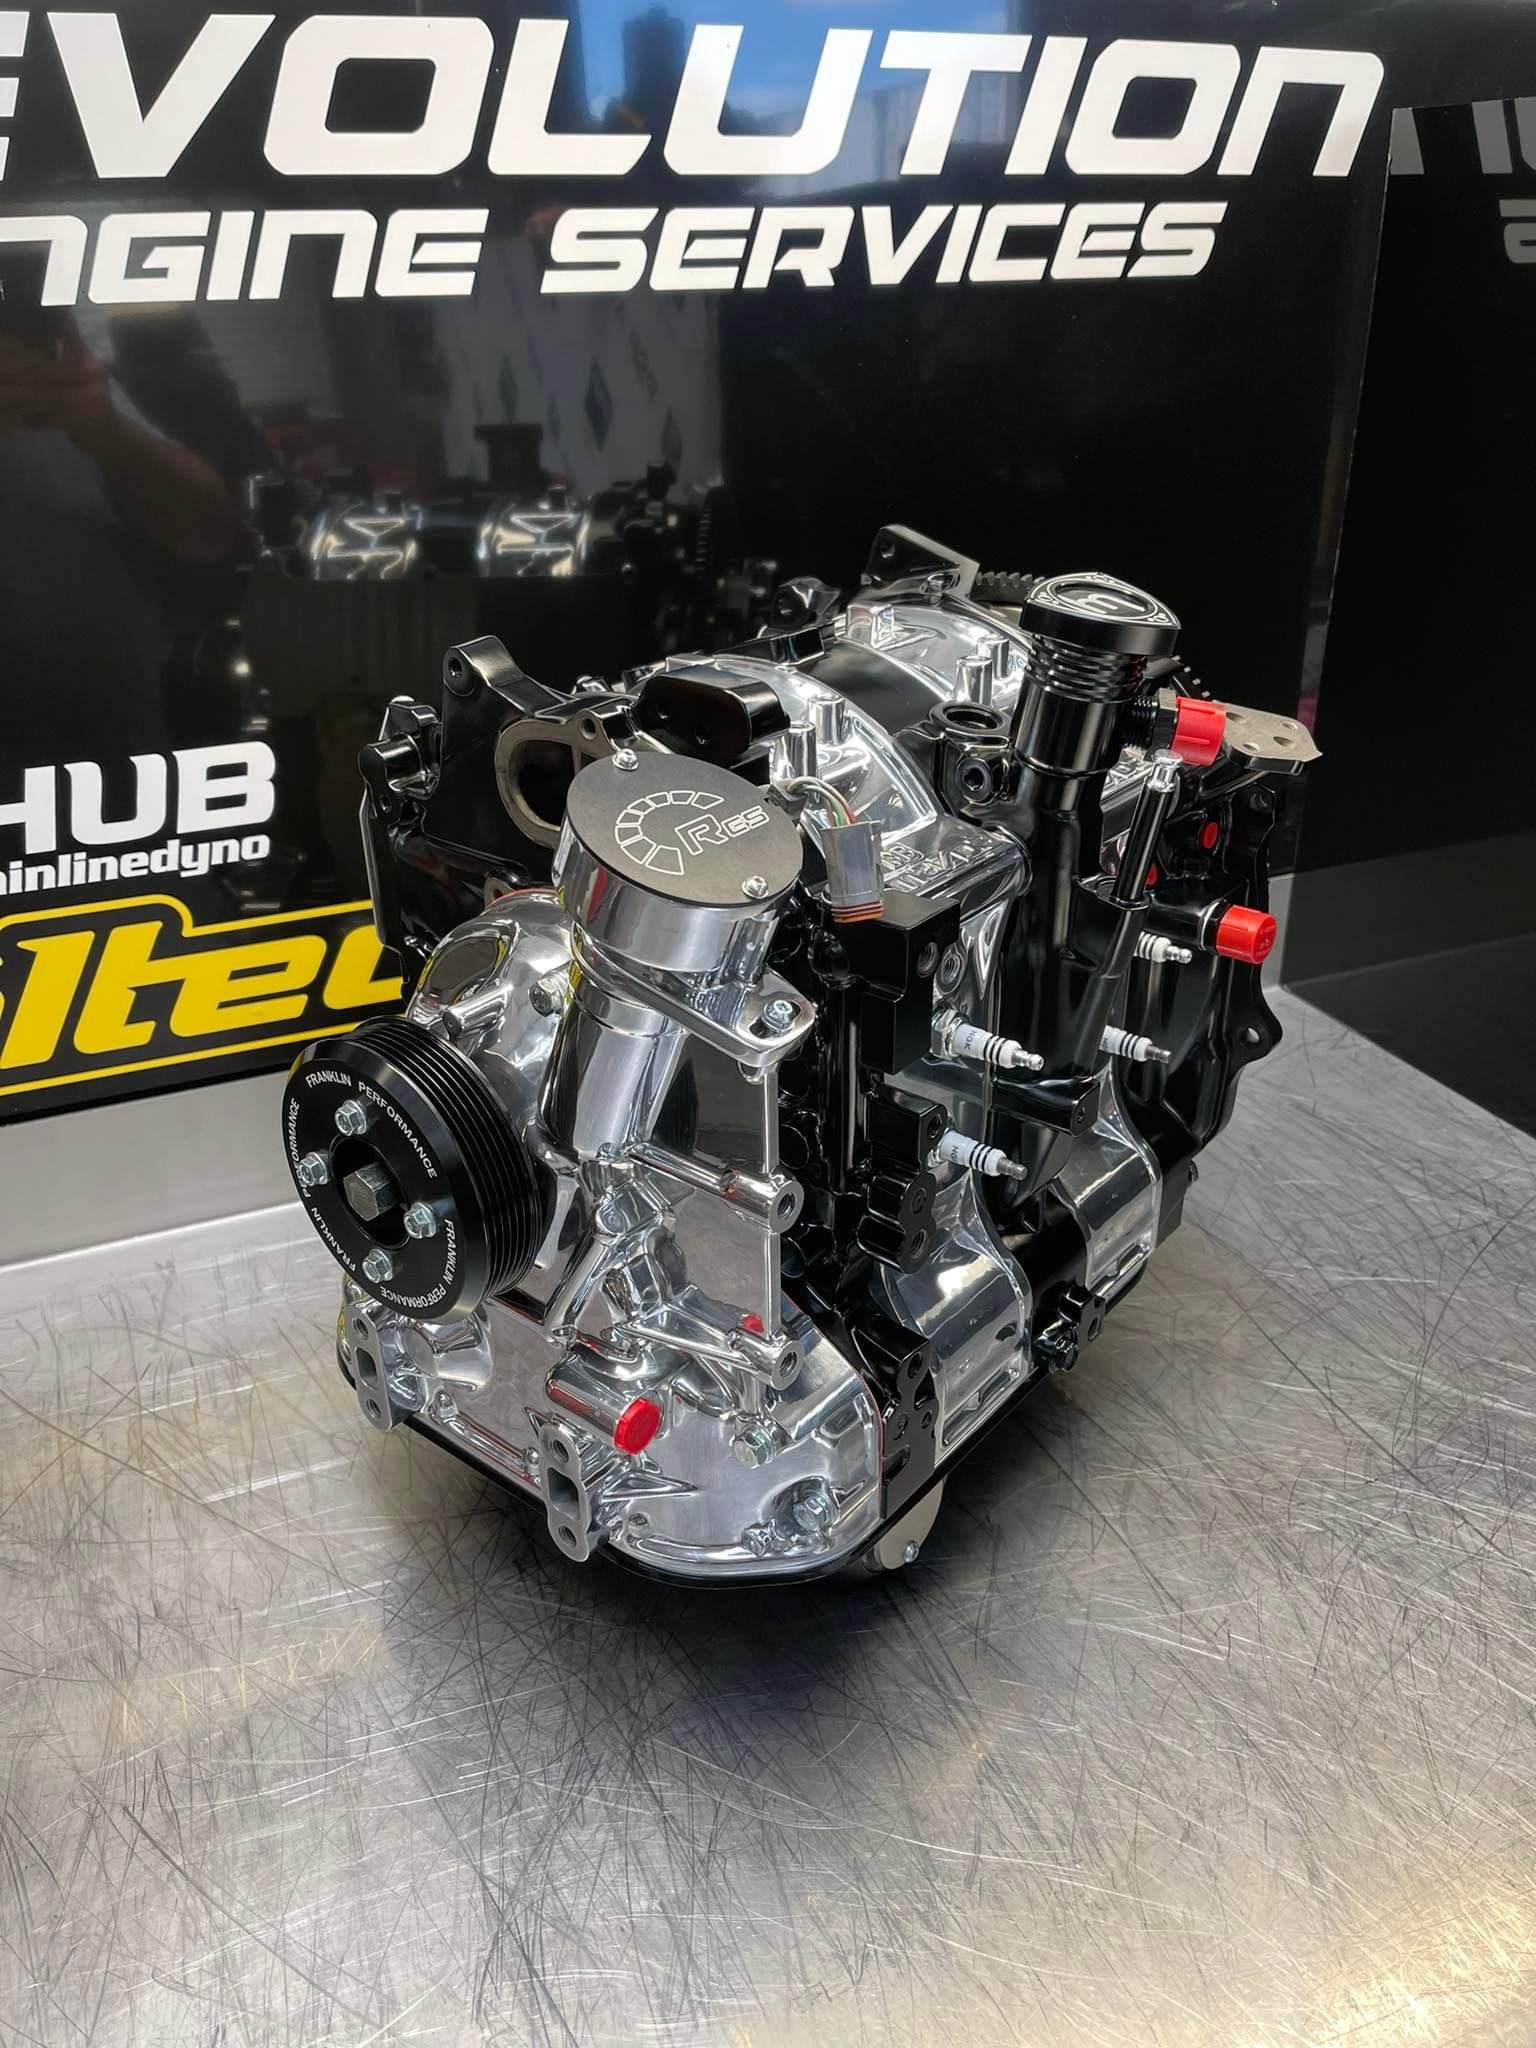
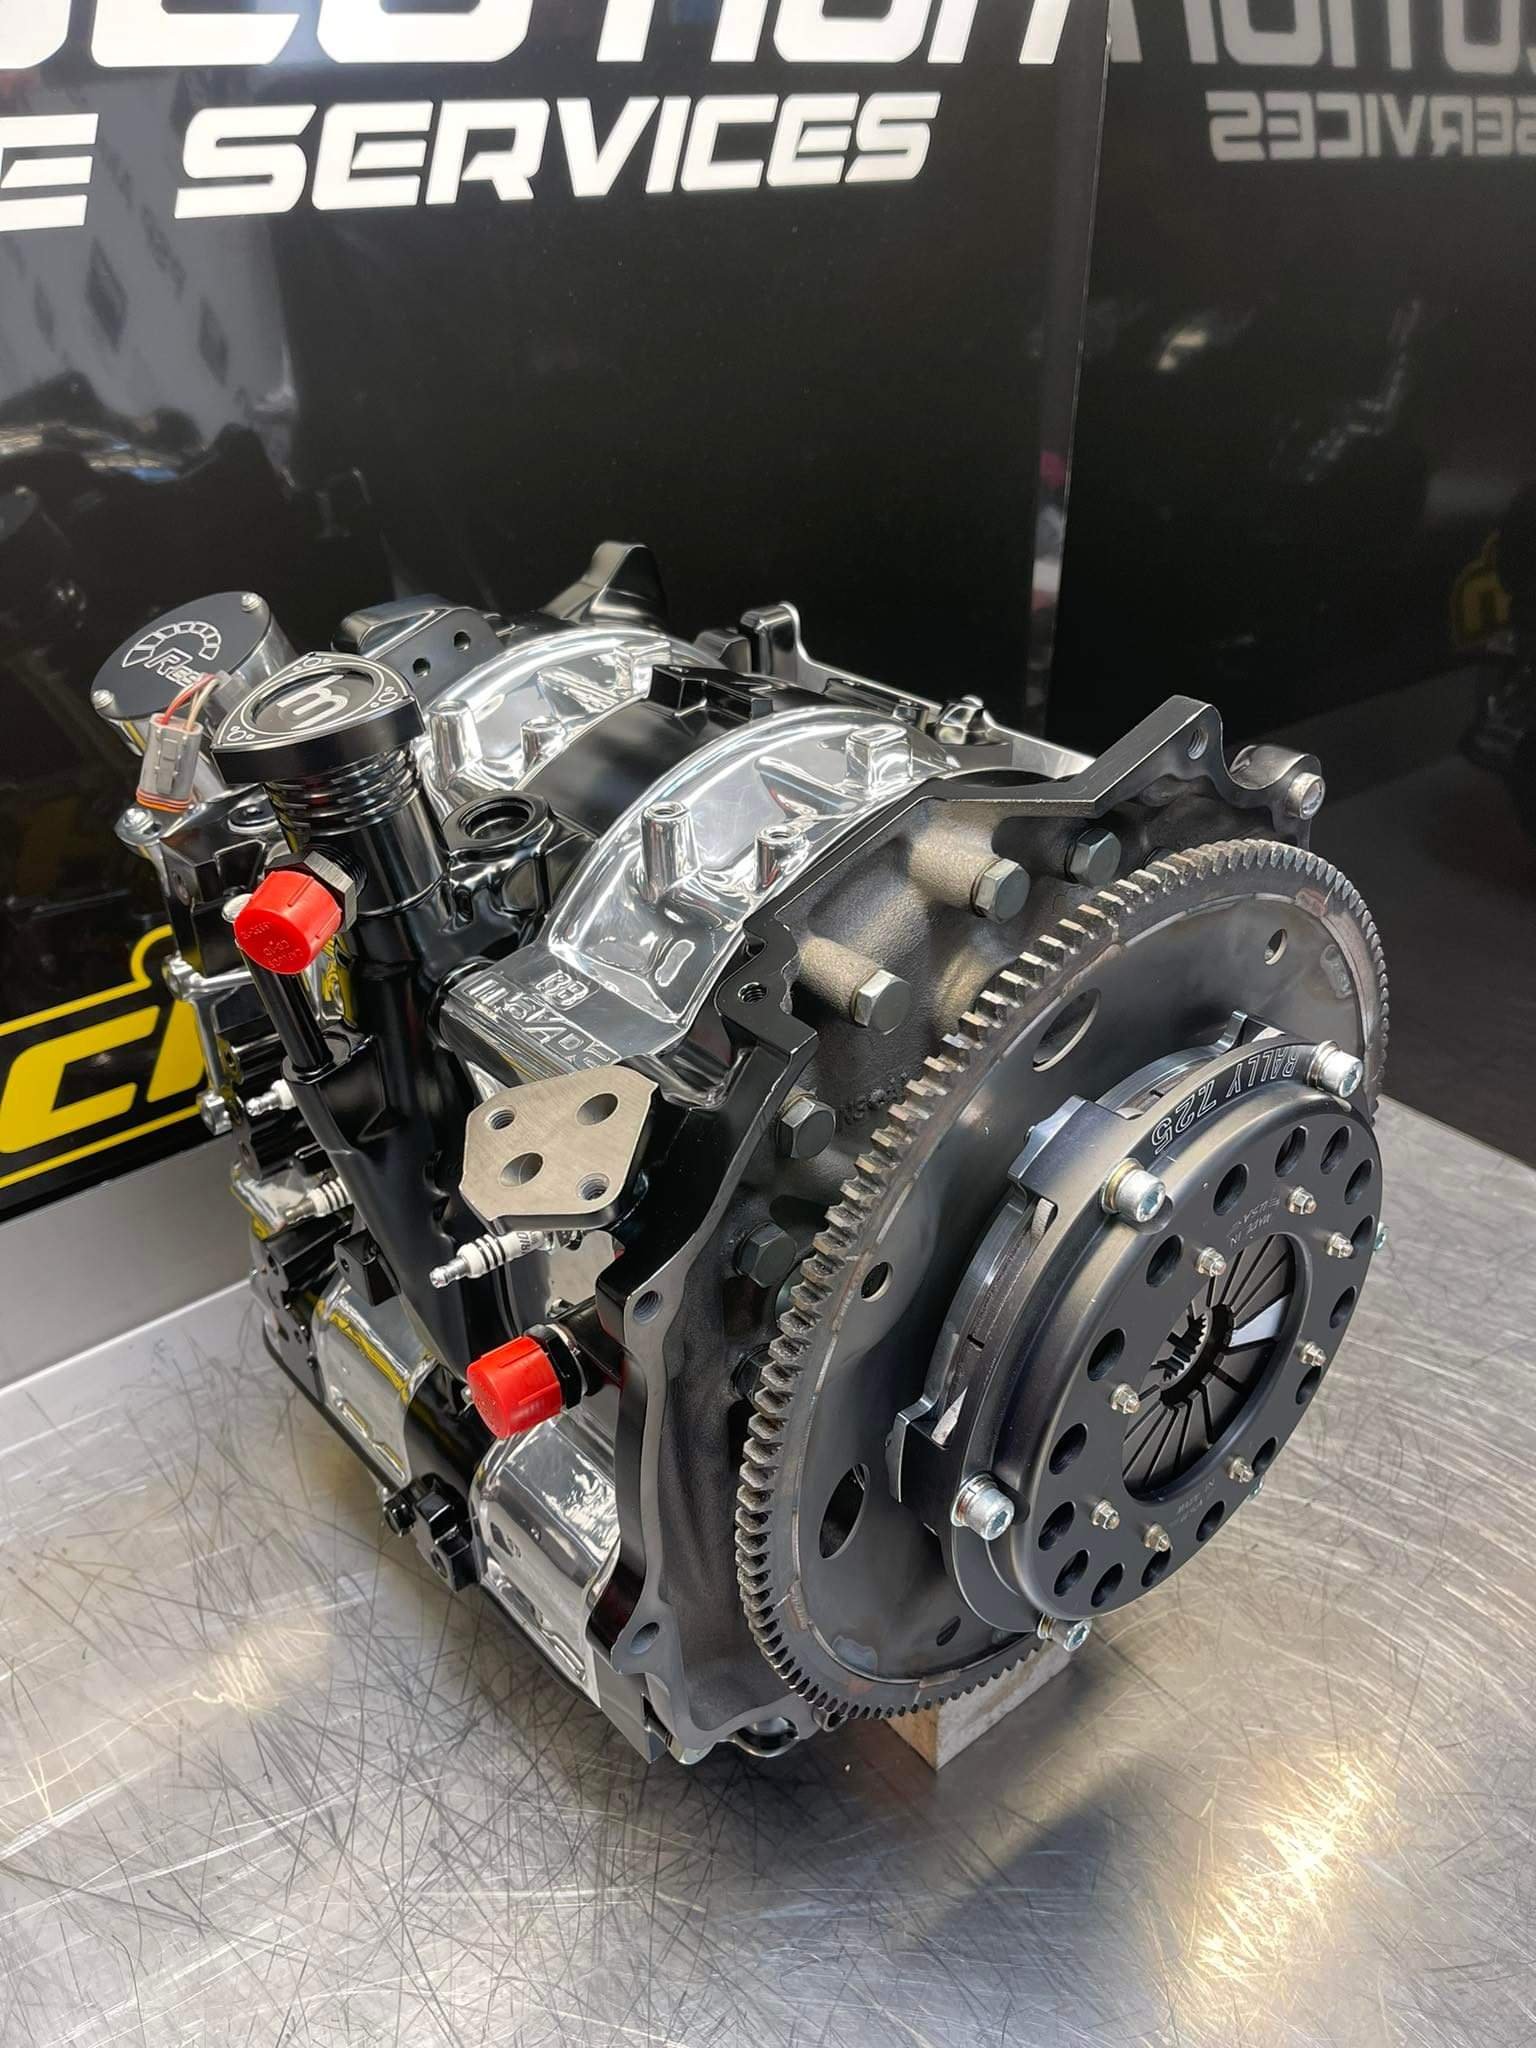
All happening this week. Got sent some pics last night from Mark at Revolution Engine Services of the new block all together. 13B PP all brand new bits, franklin engineering bolt on's, polishing by Toby Gollop and plates smoothed and painted by Tony. Pick it up this week, another big piece ticked off. Body is basically baremetalled now and we are throwing some epoxy on the shell on Friday this week then she will be all go in the new year into the filler etc. All starting to come together nicely!
1 point


.jpg.743100b25efa65c0d53c2244a4b4fd07.jpg)


.jpg.a12c03a26a295944c07eef4c45bfbd80.jpg)


This leaderboard is set to Auckland/GMT+12:00