
Leaderboard


Popular Content
Showing content with the highest reputation on 09/18/21 in all areas
-
SOLD6 points
-
4 points
-
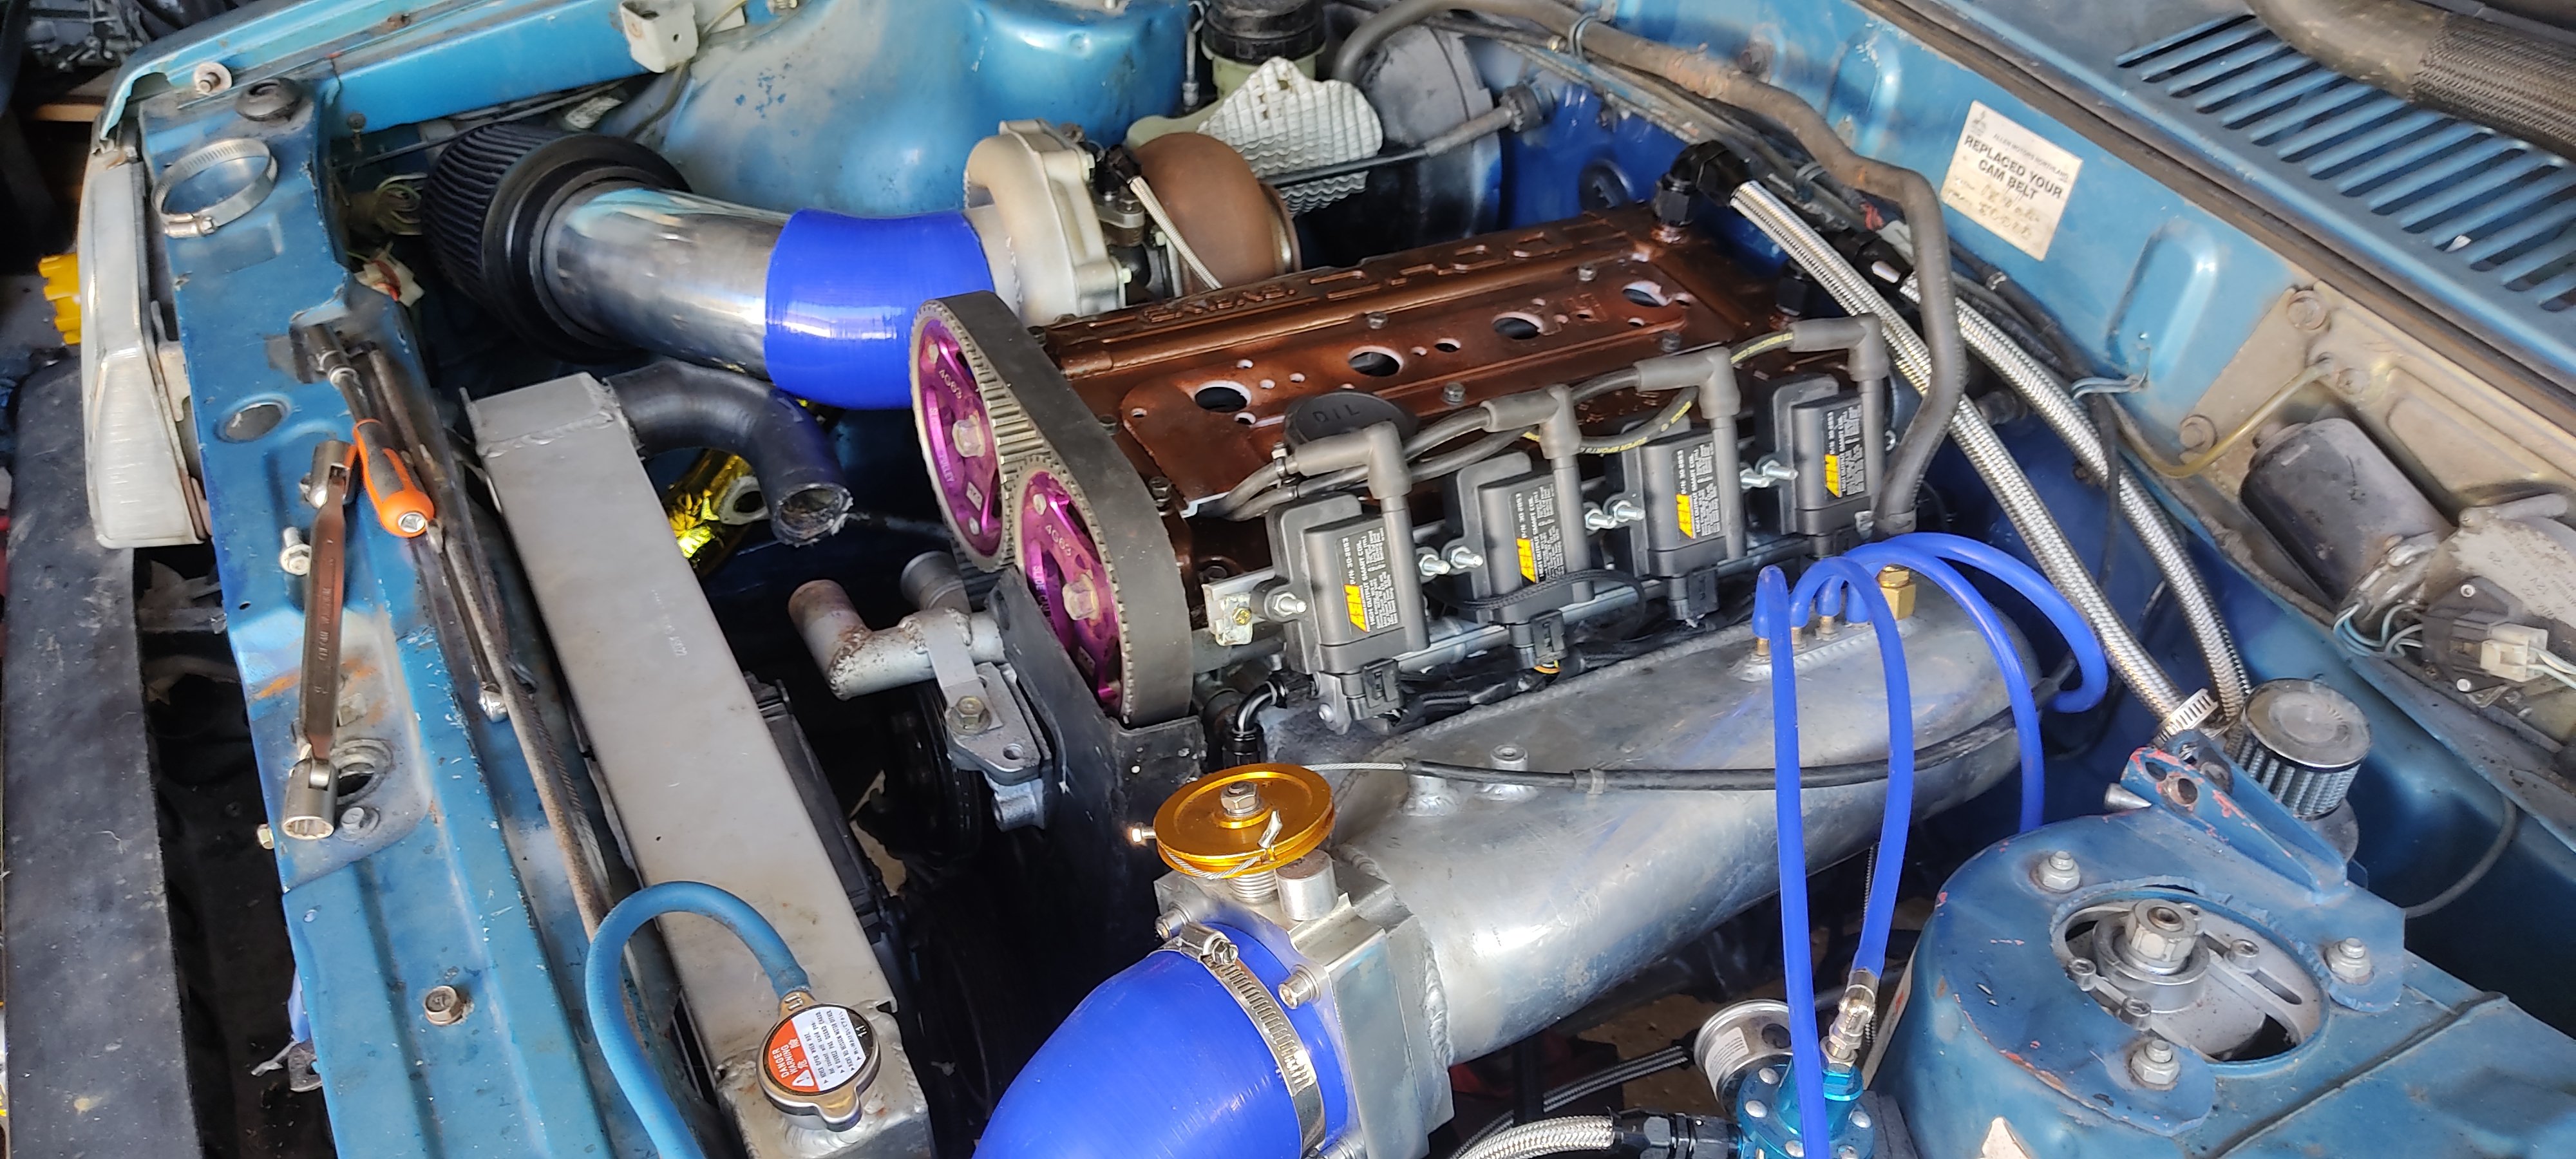
My cars coming together I need to get a cam cover and air filter
 4 points
 -
Made some L brackets and wired them up
3 points
-
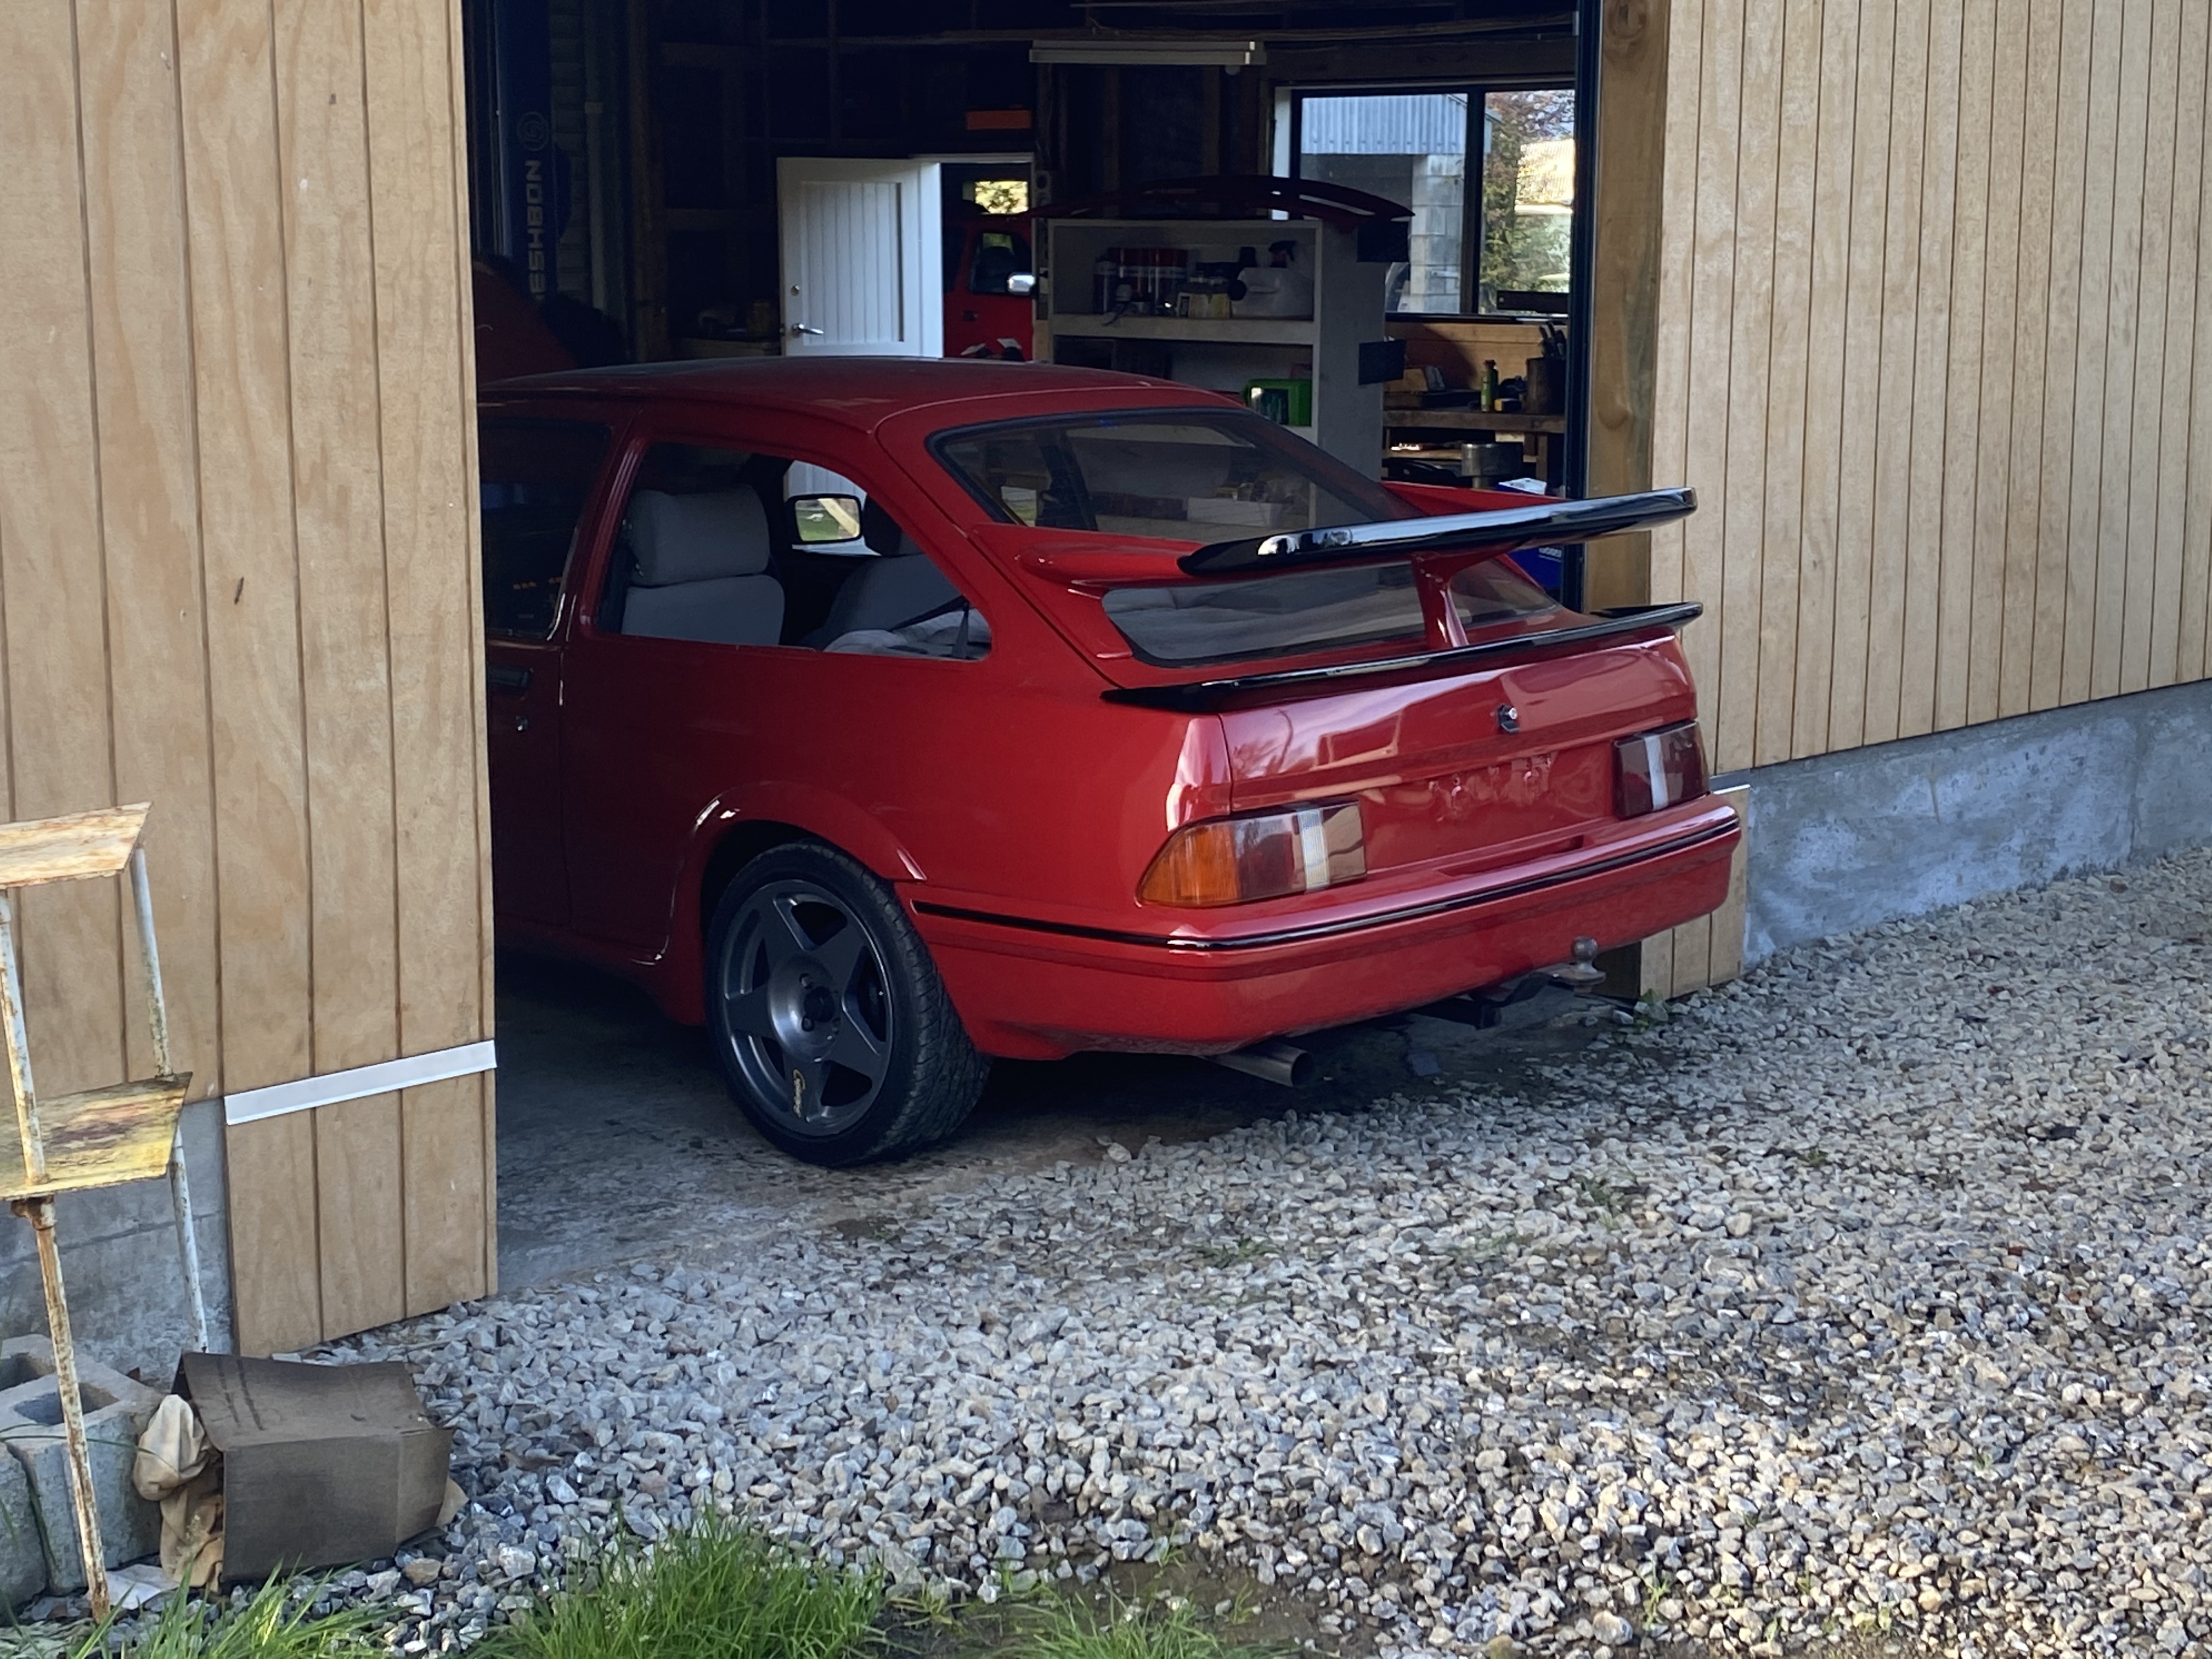
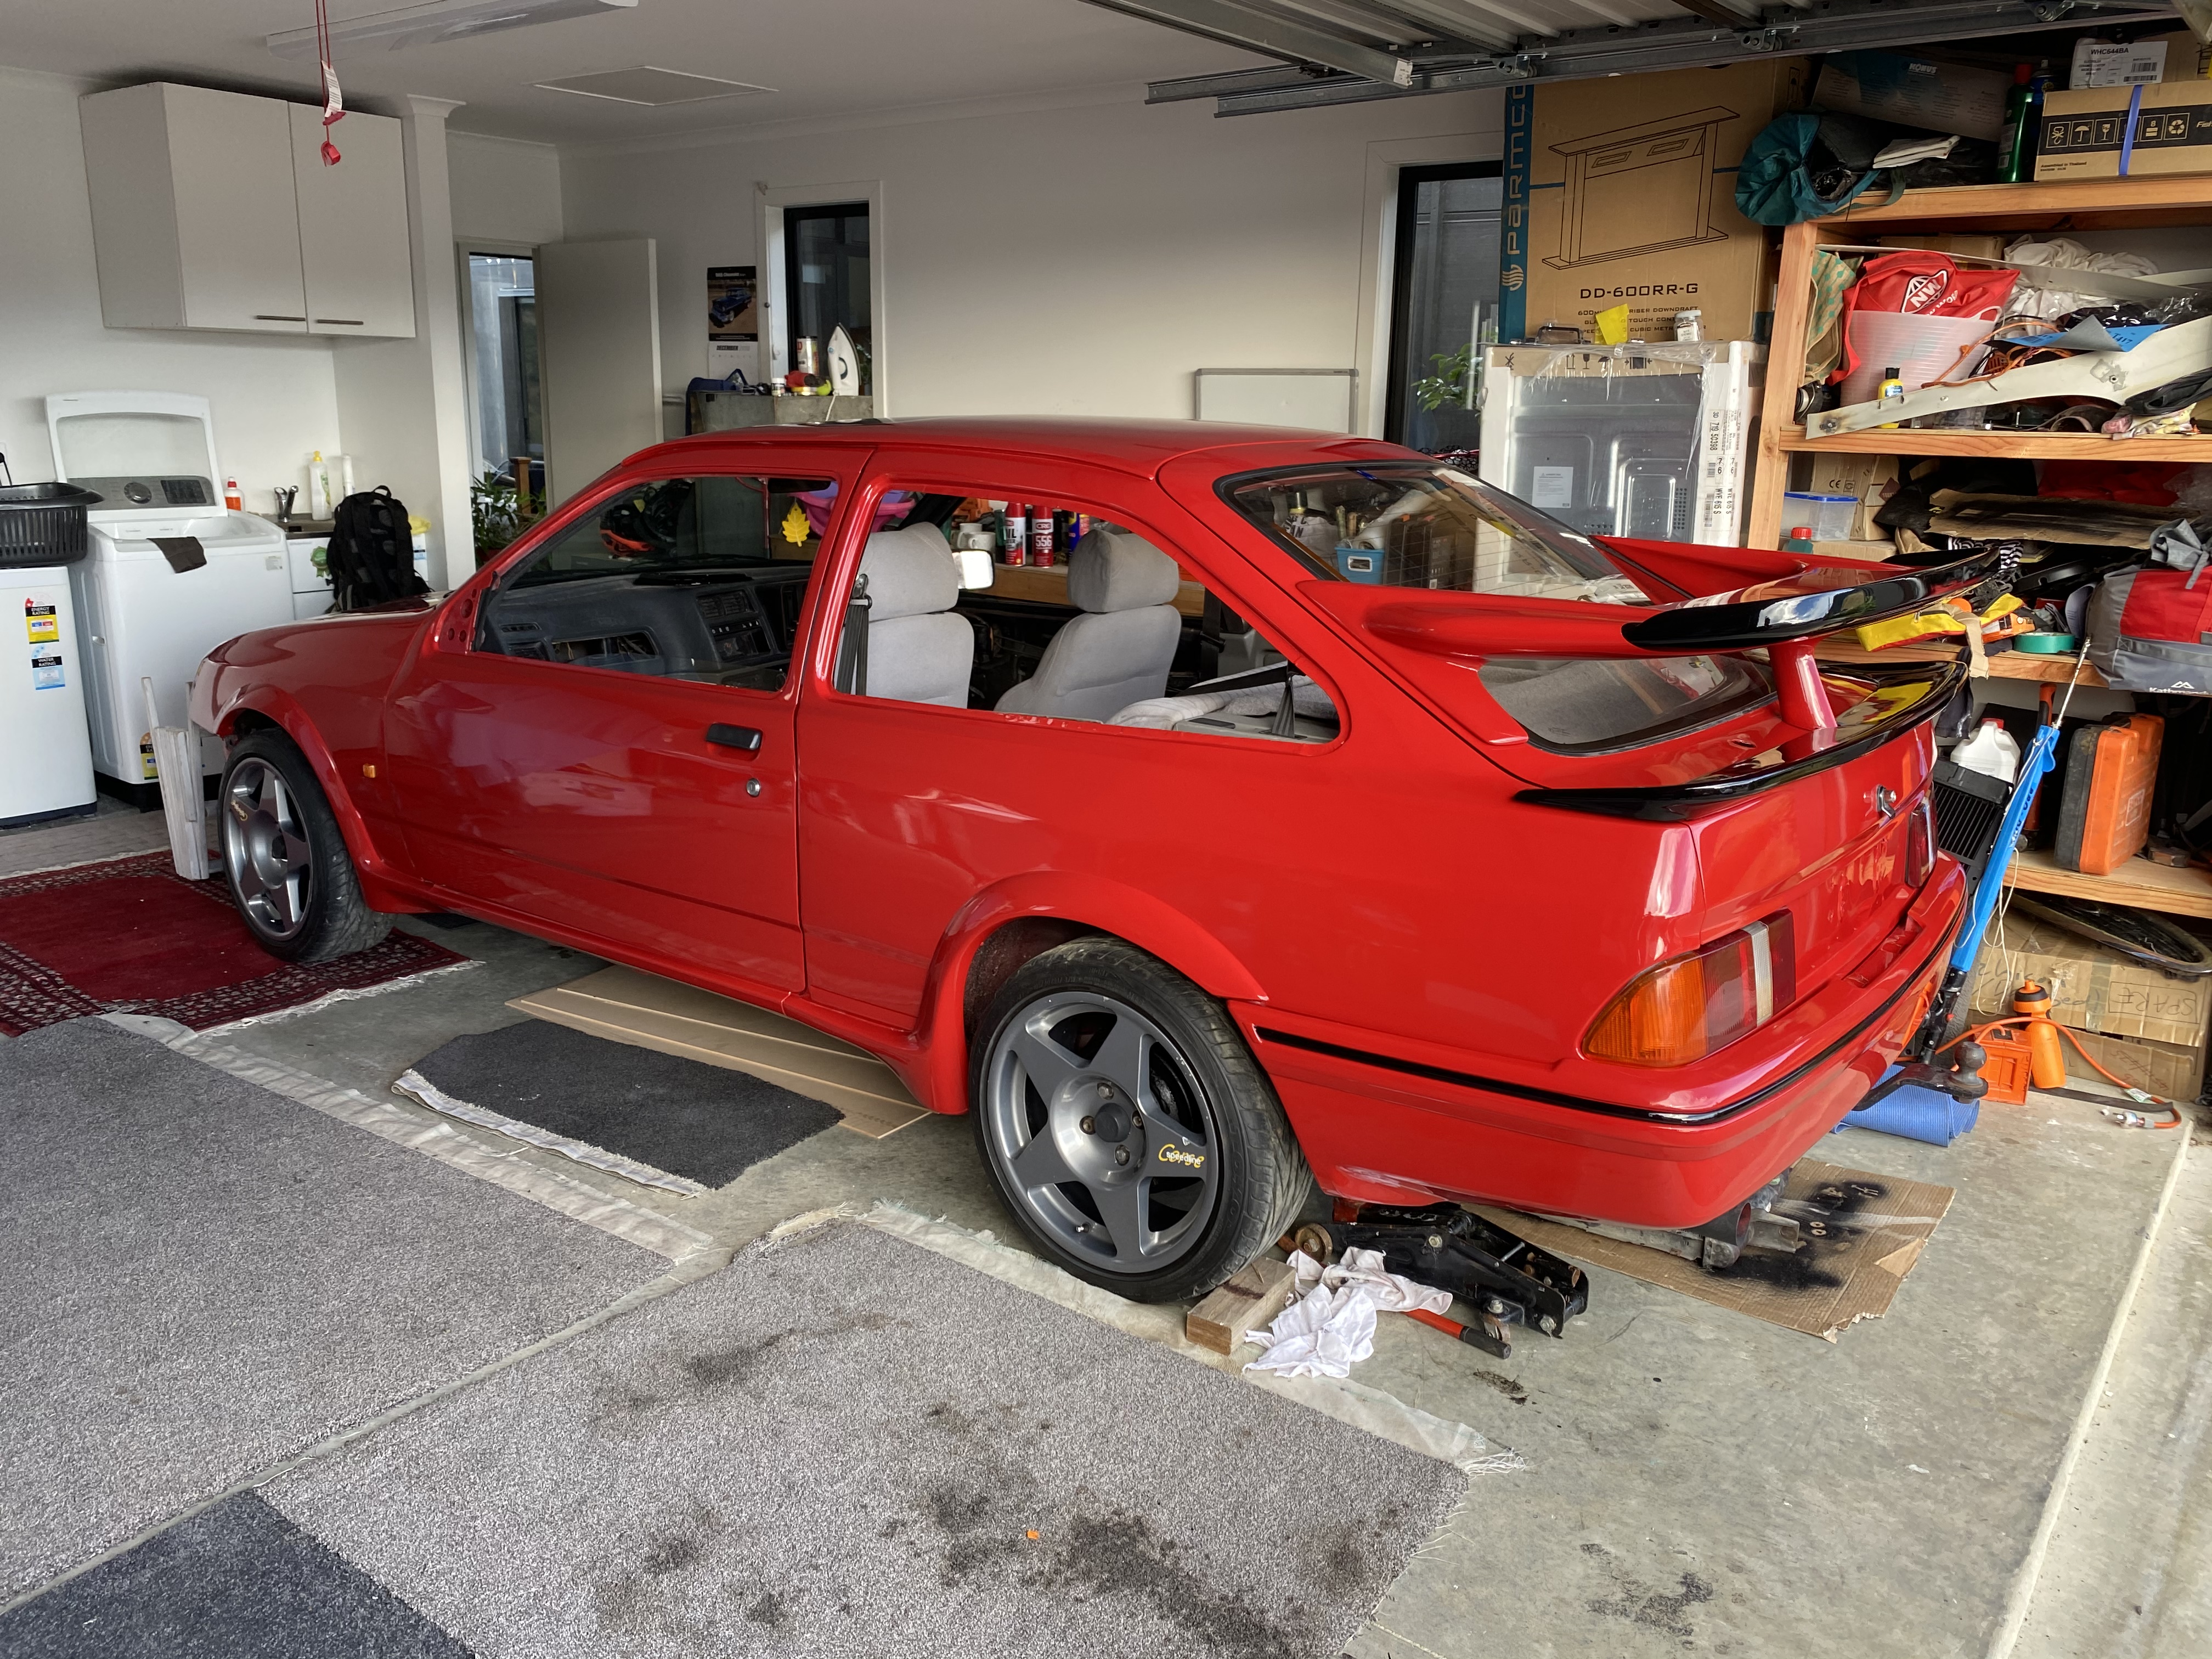
Fuck yes- after something like 9 1/2 years its finally got some colour on it, just a home job in the garage, but it's not seen so thought I'd just hit it. Majorly stoked
3 points
-
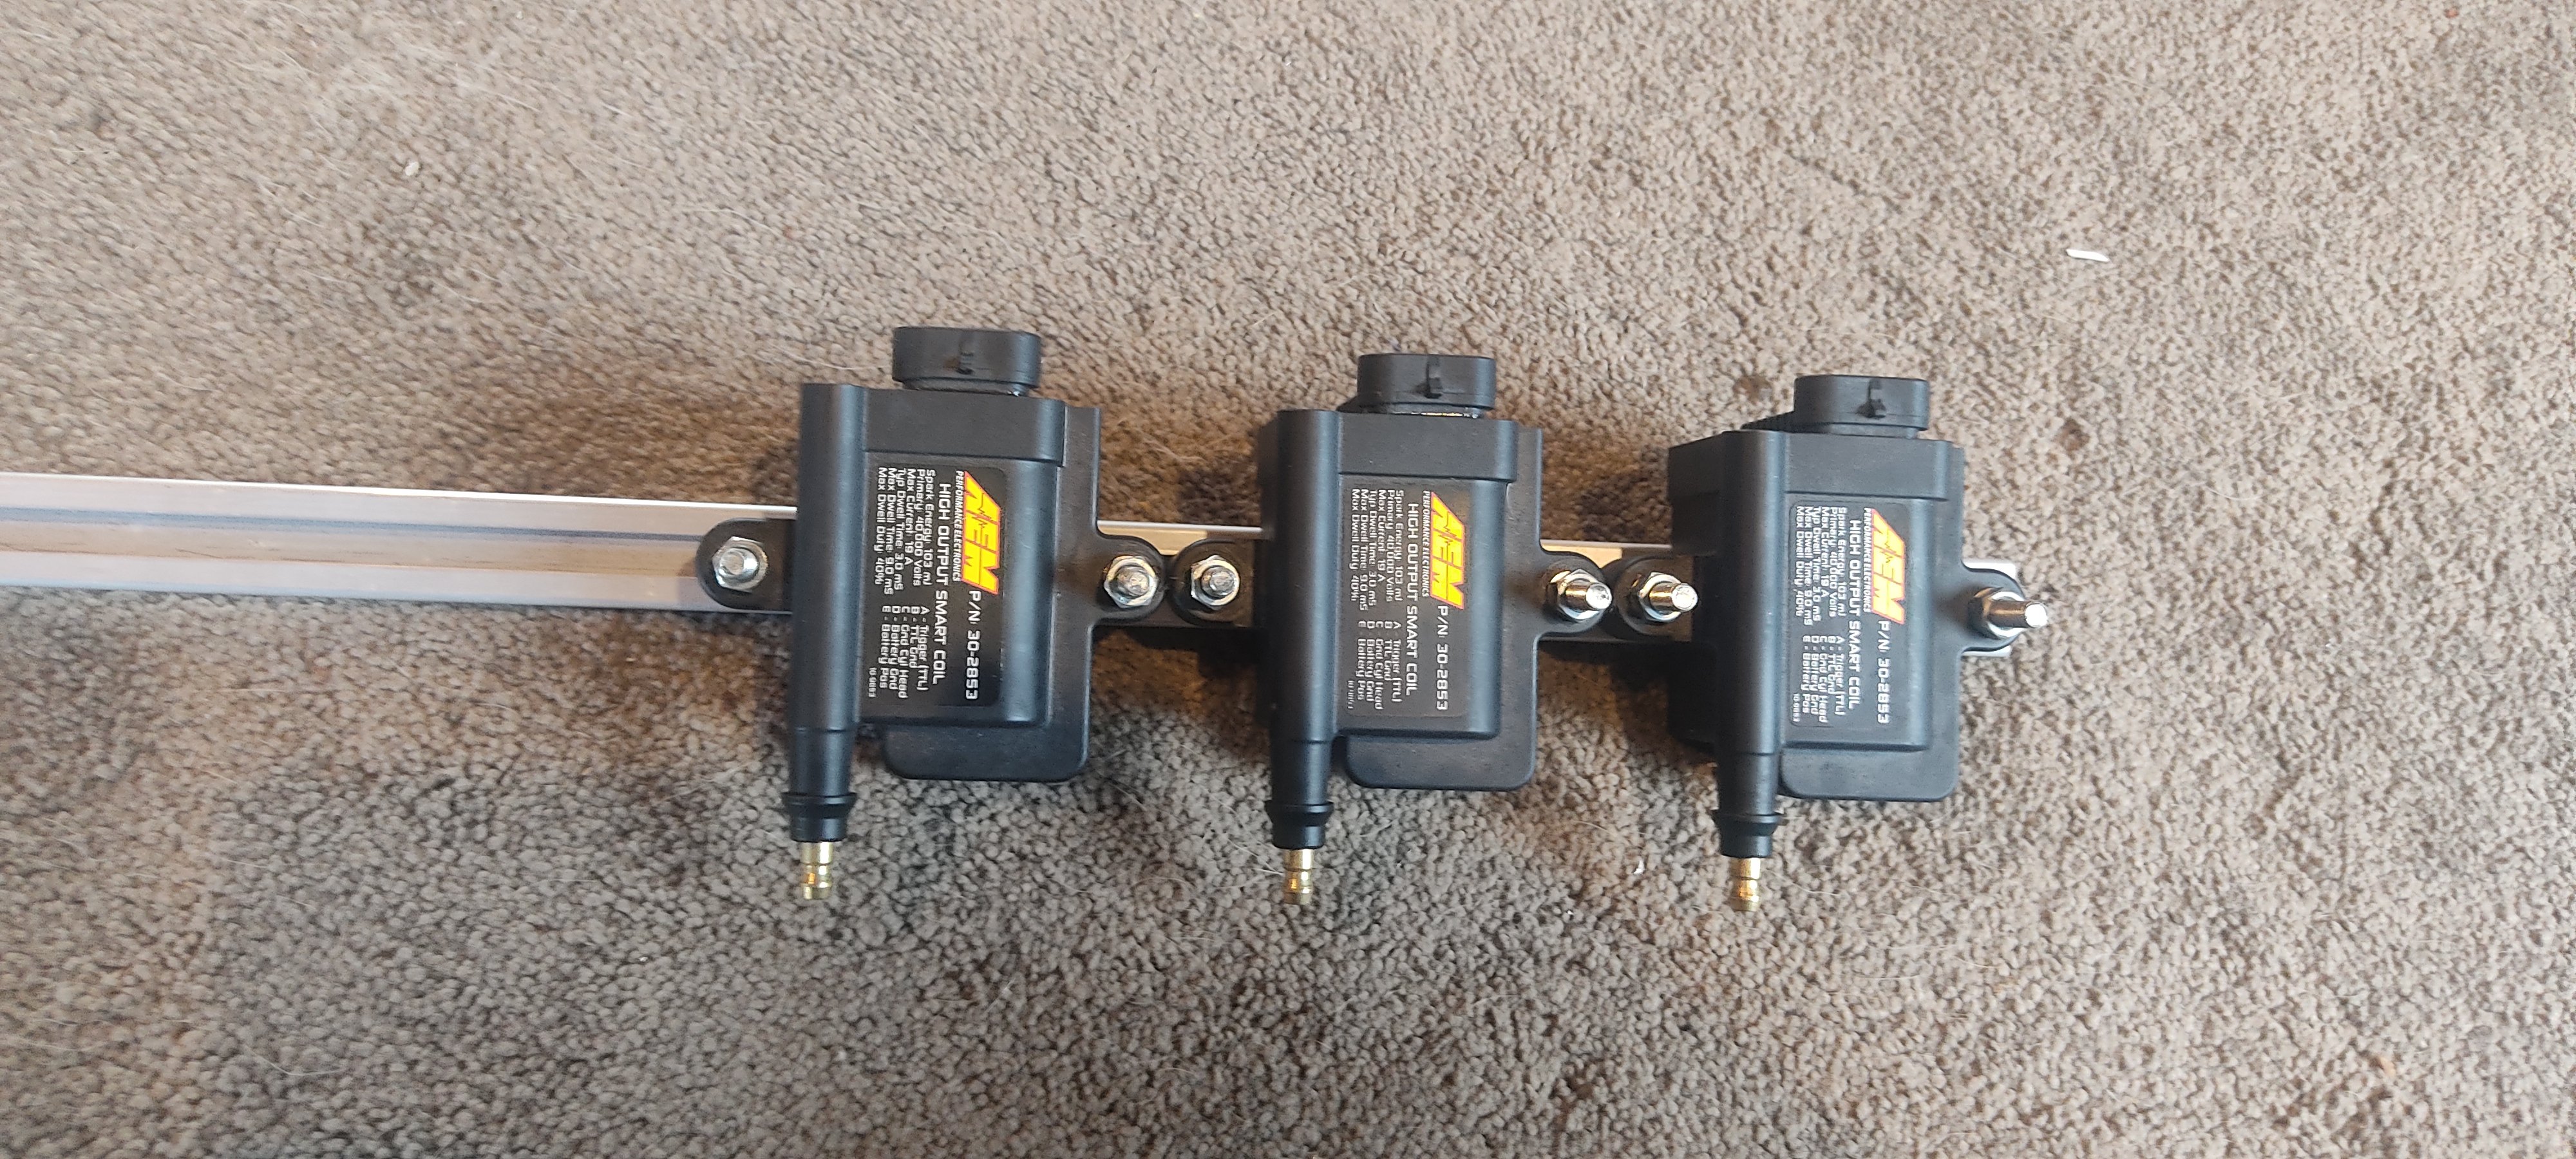
Mount some coils on a ally rack I found on a job site
2 points
-
Ahhh man, big success today! I got the car together enough to go for a run up the road. There are some big holes in the firewall currently from aircon stuff. So it's open to the engine bay. And when you go full throttle the intake noise in the cabin is so friggen loud that I think I need ear plugs. All of the loom and sensors are working well, new intake manifold with flipped throttles worked out perfect with SCP10 cable. LSD is doing LSD things! No single wheel peels anymore! The new gearbox is a little notchy into 2nd gear but its much much better than the other one. It's all a big relief, gearbox issues are/were main thing I was afraid would go wrong at this stage. Also not a peep out of the alternator! no more squeals. Hallelujah. I took it to the weigh bridge again. 830kg with half a tank of gas. Happy with that! Still on the heavy ROH wheels. So it's looking good to getting somewhere near my 820kg target for drags etc once I've swapped wheels. Swapping drivers seat for a bucket seat would probably be next easy win for some weight savings. Maybe eat a few less pies? Nah. Lots of small jobs to finish off but pretty relieved to have no major issues at this stage.2 points
-
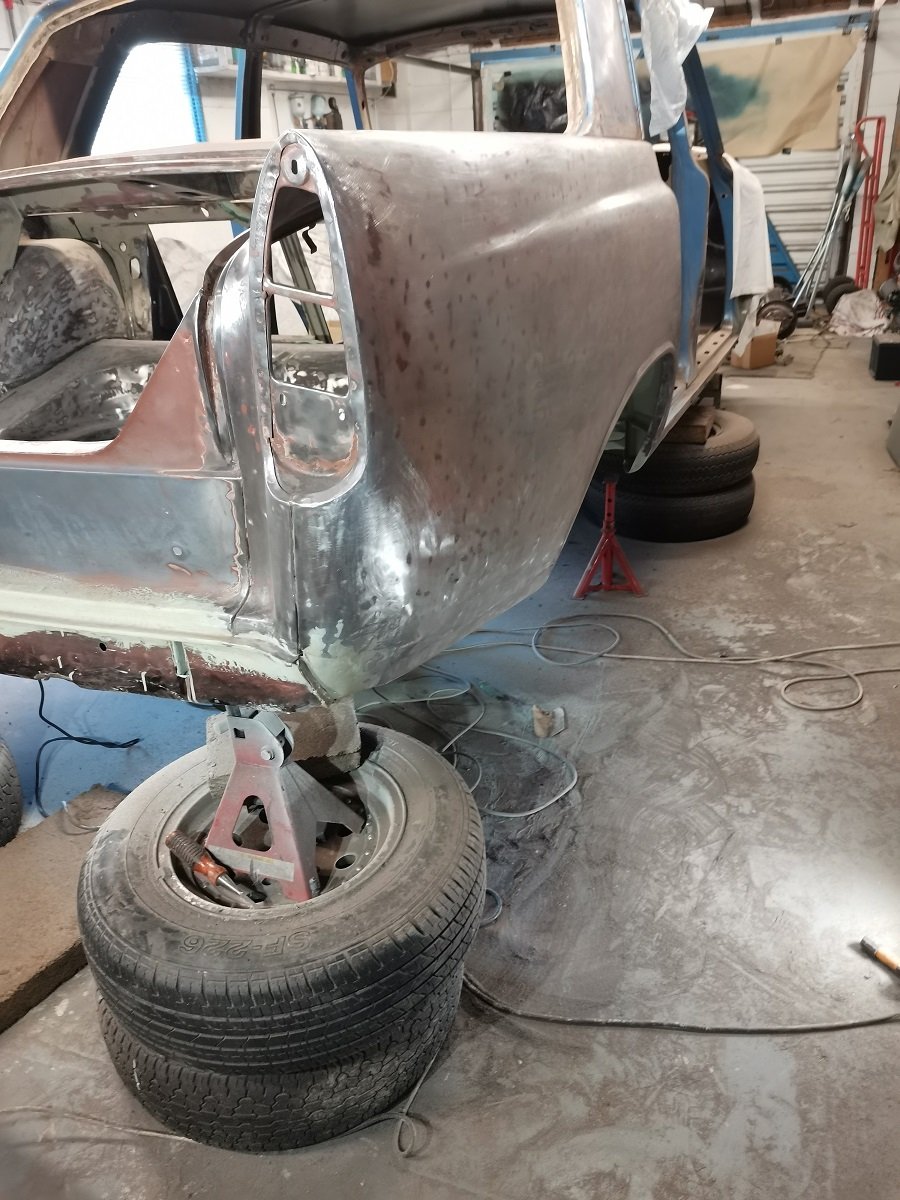
So I did some more things, and continued my trend of not being mindful, and thus not taking a sufficient number of photos. But I did take some. First I made a plate to cover the mangled snorkel hole and make it prettier: I then tidied up the hole that was on the guard: Then welded it on and forgot to get a photo of the finished product. As you can see in the above photo I have cut off the old flare style around the arch for something a lot simpler, which is on and I also forgot to get a photo of. So I have ground back all those welds. The guards need a few more patches put in where old badges used to be (done some but not all), then some general panelbeating. Next mission was to get the body off to make exhaust stuff easier, make engine stuff easier, and also get it tidied up/finish welded etc and hopefully off for blasting in the nearish future. Make sure it is ready to get some paint when the warmer weather turns up. Getting the body off was a lot easier in the old shed as I had a hoist, but no 3 phase in the new shed meant it stayed at my parents place. One day I will install a single phase hoist, but that's a future expense that I can't justify/afford at the moment. So I got the chain block out, got some heavy angle from work, some chain and shackles and whipped up a lifting rig that can pick up on the pinch seams just behind the top of the A pillars, which is plenty strong for just the cab. However, the strop made it hang too low so I couldn't get enough height out of it. So I did a sketch and asked Bill at work to whip me up a chain block mount, which eventuated in this: Which meant I could mount it higher up and and straight to the beam. Used some hose clamps to attach a piece of dowel to the handle so i could operate it without having to lean over the body on a ladder. Body came off: If the parts turn up (some v-bands and a few 45 degree bends, the exhaust will finish being tacked together this weekend. Will do what I can on the body, but I get the feeling my argoshield is gonna run out if I get too into it, it's a bit low haha. Depending how keen he is and what the weather is like, I may get the old man to give me a hand with some engine work too (sump swapped, new water pump and timing kit etc).2 points
-
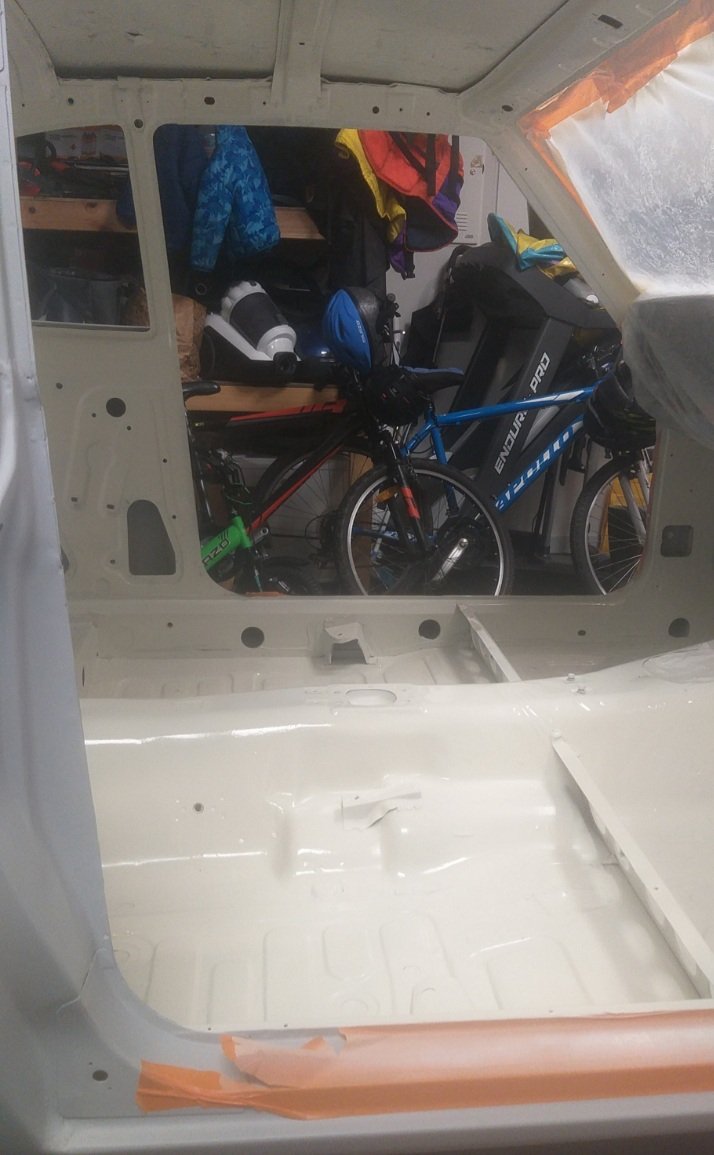
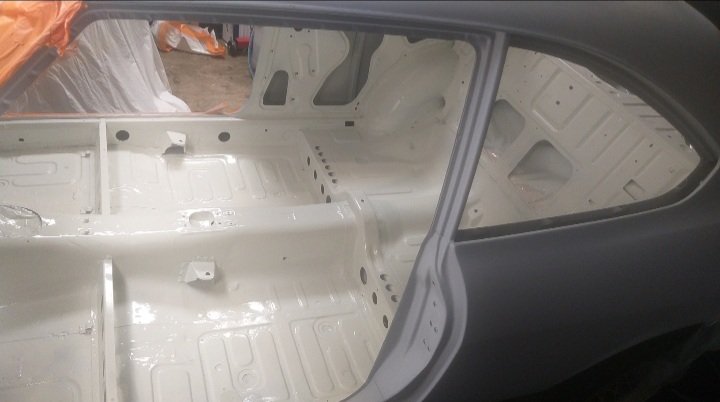
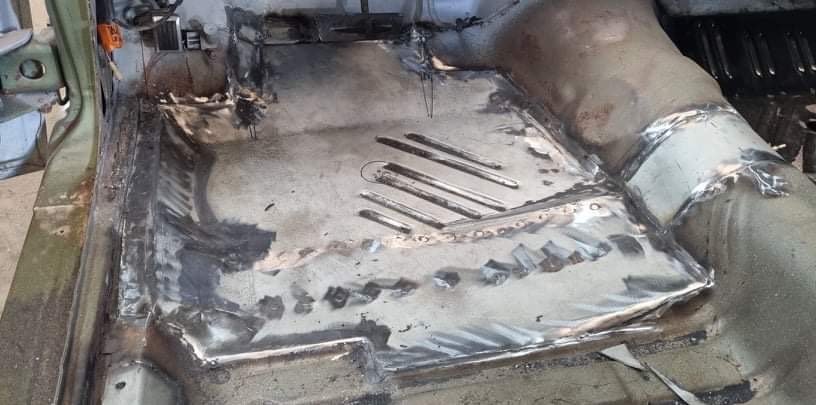
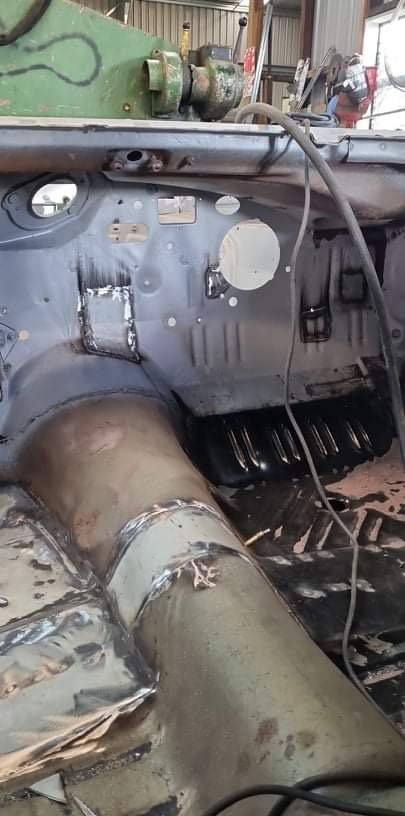
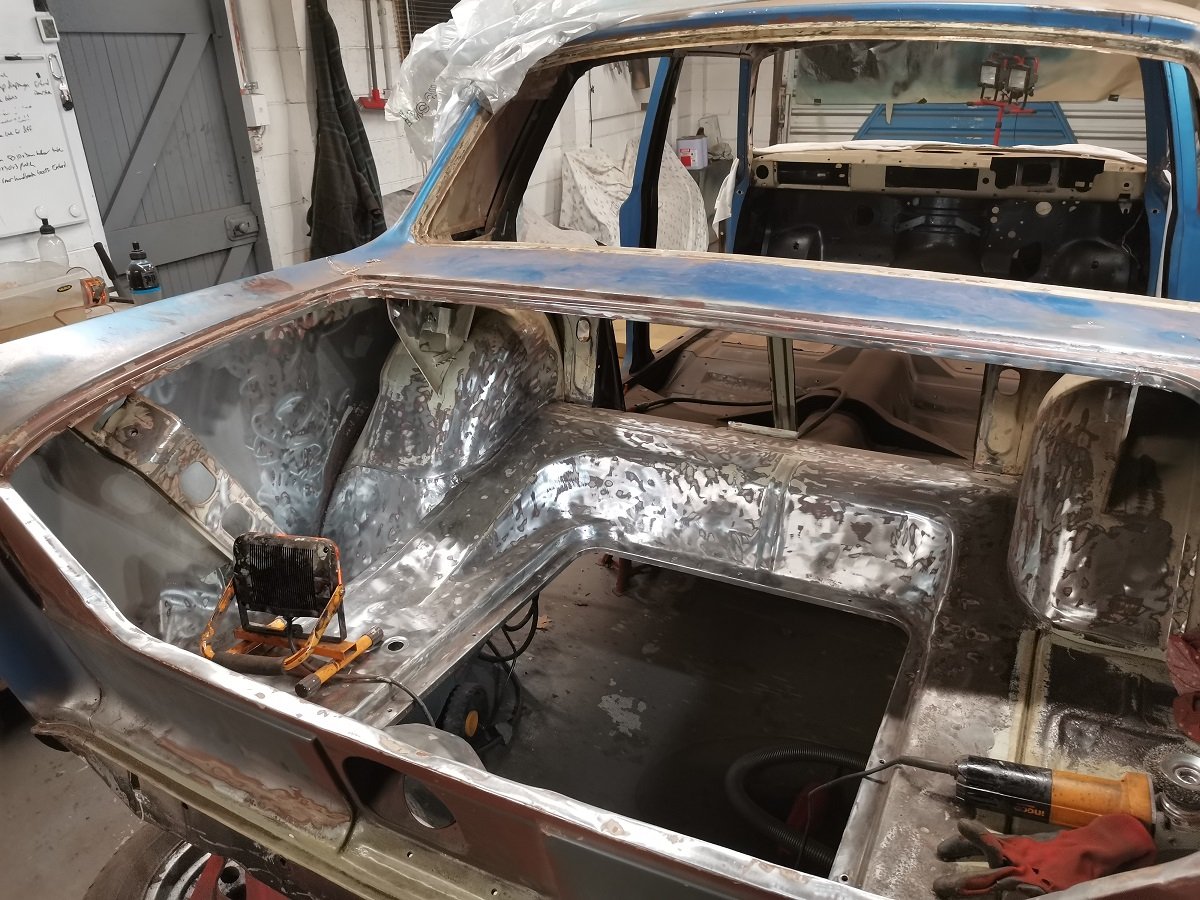
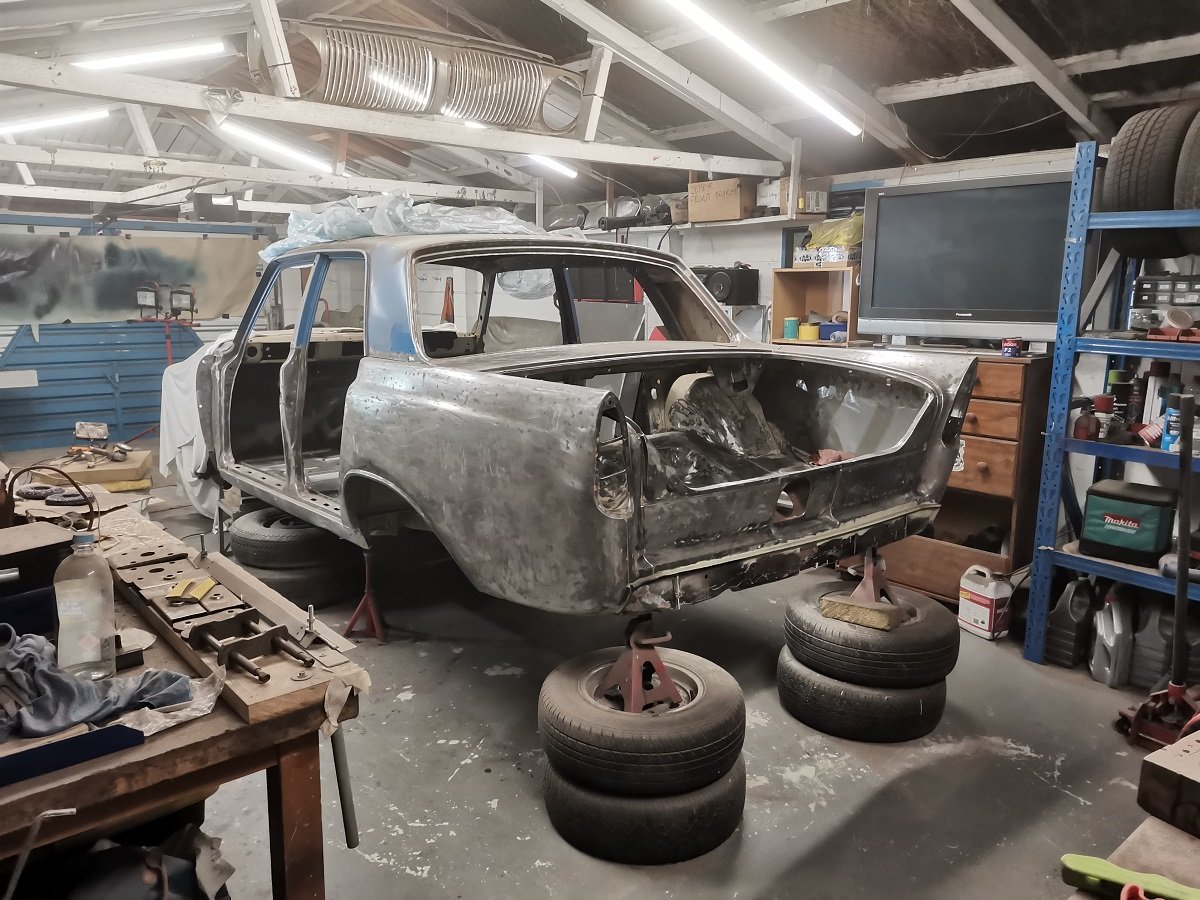
Just in from alexandra.. drivers floor pan, tunnel section and more firewall patches.. By my calculations, that’s all the main fucking holes filled, we have a god damn shell again!! Still some hours of checking it over, finishing spot welds and the usual completion stuff then we wait for the repair certifier to give us an inspection appointment
2 points
-
Starter motor time. I had bought a Subaru leone 1.8 starter from the fella I'd got the gearboxes and 1.8 ring gear from. Made sense to use all the same bits. Only thing I'd have to do was move the mounting face for the starter forwards towards the engine to suit the new ring gear position on my home made flywheel... Easy as I thought and I had it all planned out. I shall start at dawn! However that's not what happened once I got a friendly query from a fella about the starter motor turning the engine the wrong way. Oh yeah. Bugger. Of course it will do that. Yay. So after a few ideas and suggestions from various folk I had a few options. My first option was to mount the Subaru starter on the front of the bellhousing adaptor, facing backwards. Essentially turn it 180 degrees and it would spin the Honda engine in the required anti-clockwise direction I needed. But would it fit? Yes it does... It wouldn't be too tricky to mount and on extension the pinion almost lined up perfectly with the ring gear. It sat down in place quite low too. So this solution was a strong contender. But it had a couple of weaknesses that meant it went to the back burner. One: the ring gear would need turning around so the leads shaped into the teeth faced the pinion. Turning it round and having the pinion strike it from the opposite side then meant that the step I had machined into the flywheel would have been on the wrong side and the gear could potentially work off over time. I was reluctant about the idea I could add a few welds, as some folk will do, because it adds stress risers, could affect the balance. I really didn't want to muck about with the ring gear. Two: having a fairly large ugly starter motor plonked right there on the top of the motor was something I never had in my minds pictures of how I wanted the engine bay to look. It would be right where I might want some linkages for the itbs, possibly a centrally mounted plenum between the itbs and there was also going to be some water pipes around that area too. So back to the other options- the main one being to look for a suitable Honda starter that's mounted from the gearbox side or a starter from any standard clockwise rotating engine that mounts from the front. The pinion had to have the same pitch and ideally the same tooth count. I did some research and it seemed that all the Japanese cars of this era all shared the same pinion pitch and were all around the 9 or 10 teeth. This was handy indeed. Off to the wreckers then... I went through the various shelves of starters, starting with Honda and found a possible candidate within a couple of minutes. Feeling pretty satisfied with my find I still double checked the other shelves just in case there was something even better but eventually I was spotted skipping out of the door happy with my Honda Civic/accord starter. Back home I looked at my booty. Subaru one is on the left... They were so close but not close enough. The Honda item has a smaller diameter 'locating spigot' that centralises it in the hole on the mounting face of the bell housing. This was a better turnout than it being bigger than the hole though! I would machine the hole in the plate to suit the new starter, which I was going to have to do for the original plan using the Subaru one anyway. The holes for the starter mounting bolts, that go through the bell housing into the engine, were 5mm closer at about 115mm and they were also offset to one side, not in line with the starters centreline. This was handy though because I could then have separate bolts holding the bell housing and room to turn the Honda starter about its axis, having the solenoid positioned in the least obstructive way. A plan was forming in my head. I took some measurements, did some scribbles and it all looked like it should work ok... I had already bought a hefty bit of 12mm plate for the Subaru starter repositioning and luckily it was still going to work with the new starter. I swapped the 4 jaw chuck onto the lathe and set it up. Drilled a big hole... Bored the hole out to suit the Honda starter spigot... Marked and drilled holes to suit... Recessed and spot faced one of the holes for the bellhousing to the engine bolts that just happened to slightly clash with a bit of the starter casting. So I now had a plate that the starter fitted neatly into, with not a hint of slop. The bolt holes lined up perfectly with the bellhousing bolt holes so lining the starter up the correct distance out from the ring gear. Now I need to move the face of this plate closer to the engine... So I cut a big lump of alloy from the bellhousing with a grinder and a hacksaw... This allowed me to move the plate closer and let the pinion fully engage with the ring gear... I tested the fit of the starter... The height was good but I wanted it to be perfectly parallel to the face of the flywheel so I really had to mill it. Luckily I was just able to squeeze the gearbox into a position on the mill that allowed me to face it perfectly... I must have some pretty honed hacksaw skills because I only needed to skim off about .75mm to get it flat. Sweet. Now I bolted the plate in place, then the starter and tested it... Oh I forgot to mention that once I had decided I was going to use a starter mounted in the original position I popped a hole through the adaptor plate in line with the starter pinion. This was to allow me to check the pinion mesh... I was super happy with the mesh so I marked the excess on the plate to be trimmed off and gave it a hair cut in the bandsaw... I also milled out the back of the plate where it just clashed with the rivets and pressings on the outer edge clutch pressure plate. Bolted it back in and welded it up, taking lots of care to avoid any chance of movement or warping. It went well.. Added some little filler plates to tie it in neatly and gave it a tickle with a flap disc... Bolted the starter back in, stood back and admired it all, really happy that one of the trickier jobs had been completed and that the starter was sitting in there very neatly and tucked away nicely, no higher than the top of the bellhousing... Next step was to make a cover for the 'front' of the engine, adding a connecting link between the oil filter outlet and the main oil way into the engine, a filling point for the sump, a dipstick and allocations for engine mounts to suit a cross member. Still lots of work to do but I'm getting closer...2 points
-
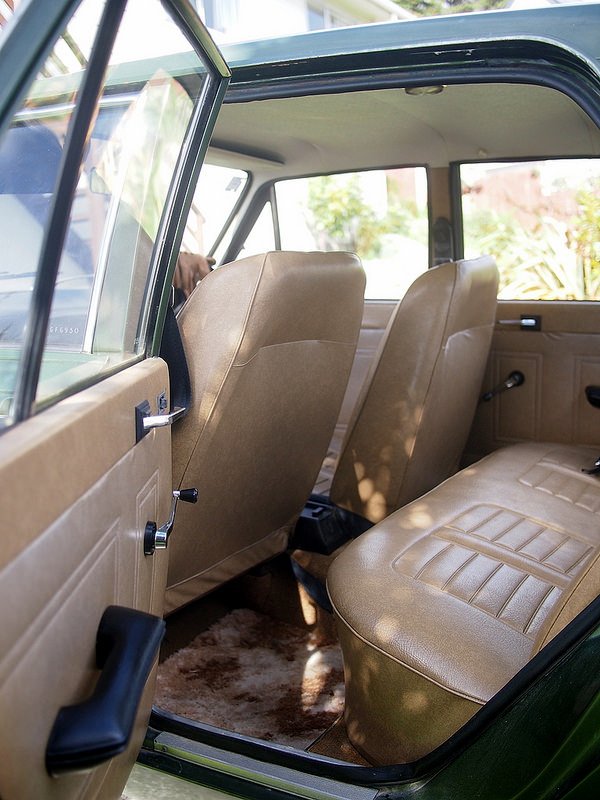
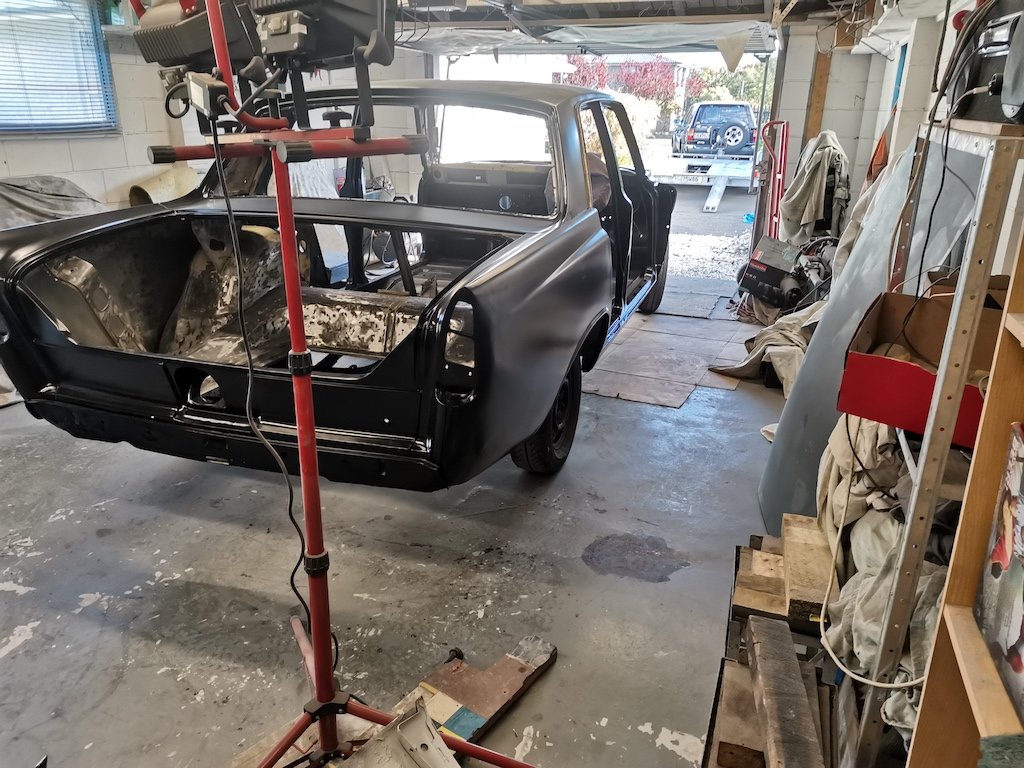
But who doesn’t like an nice rear end
2 points
-
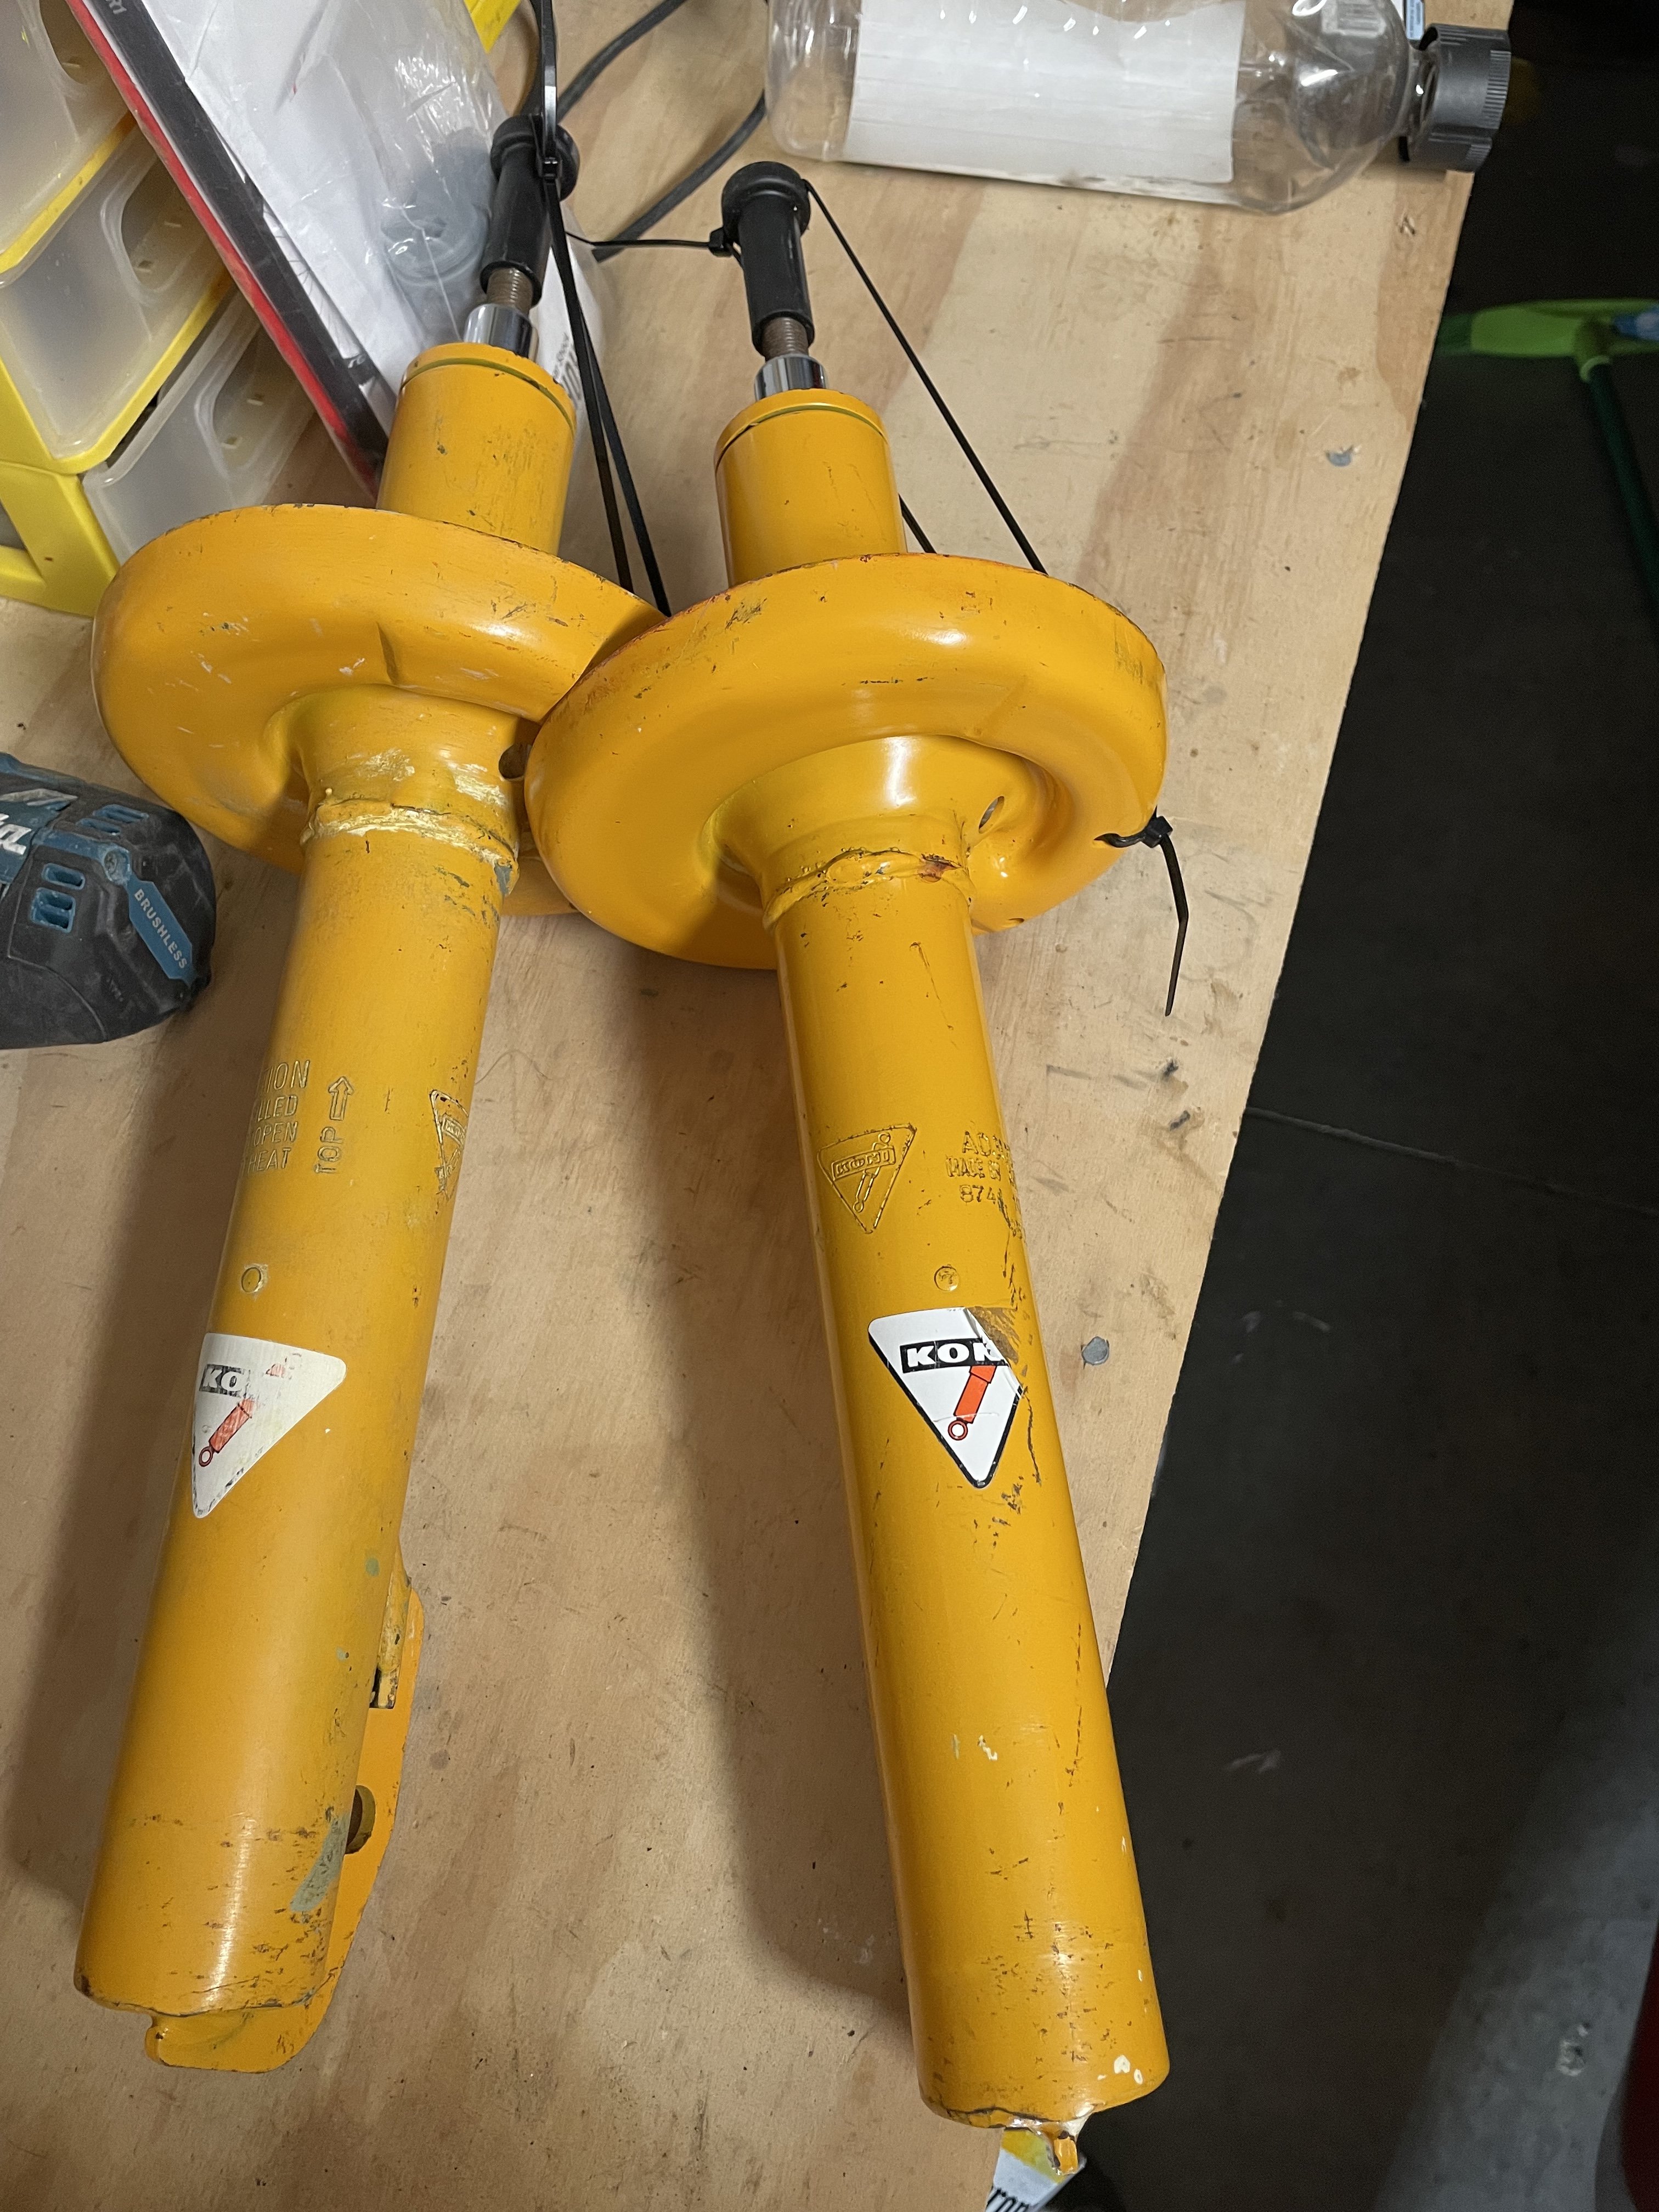
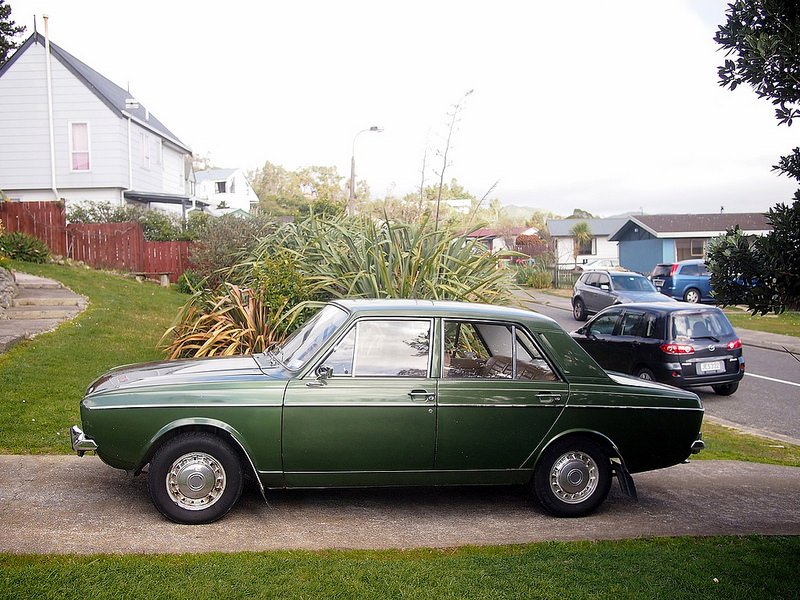
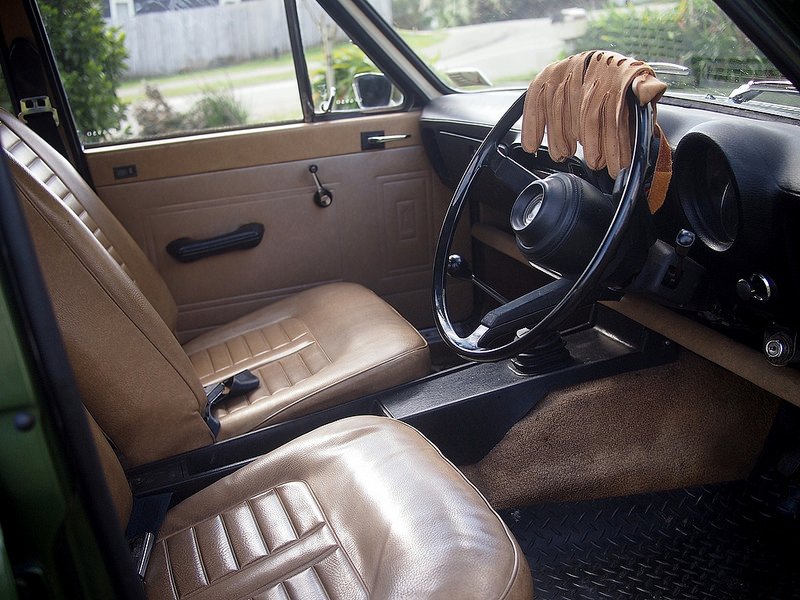
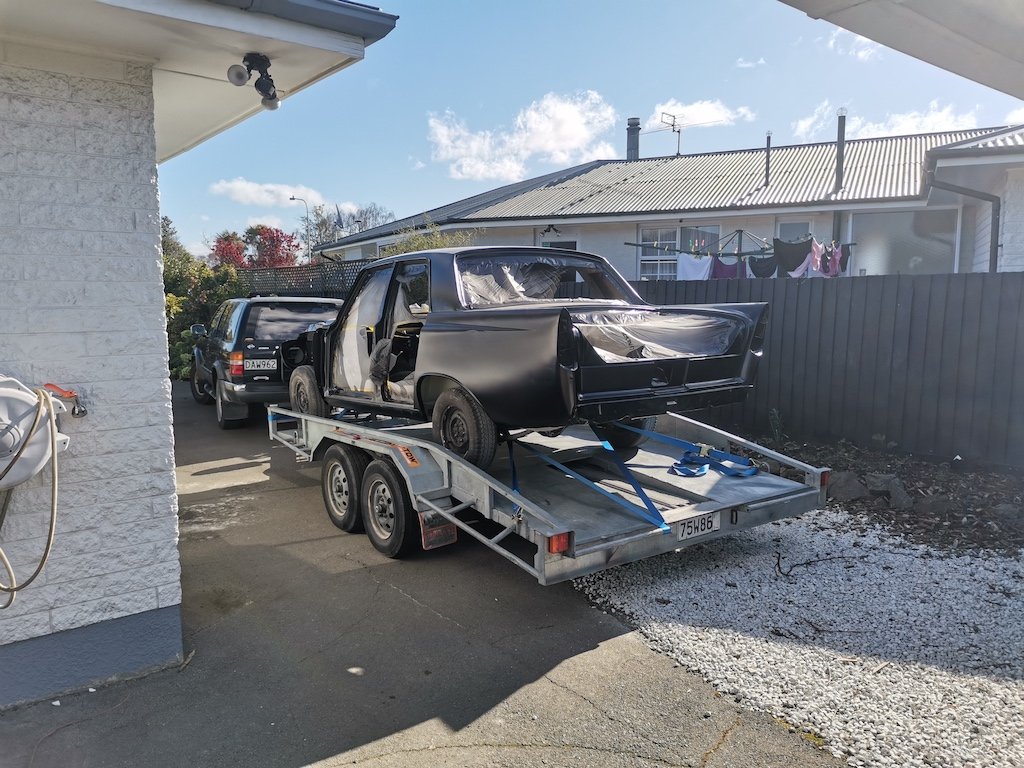
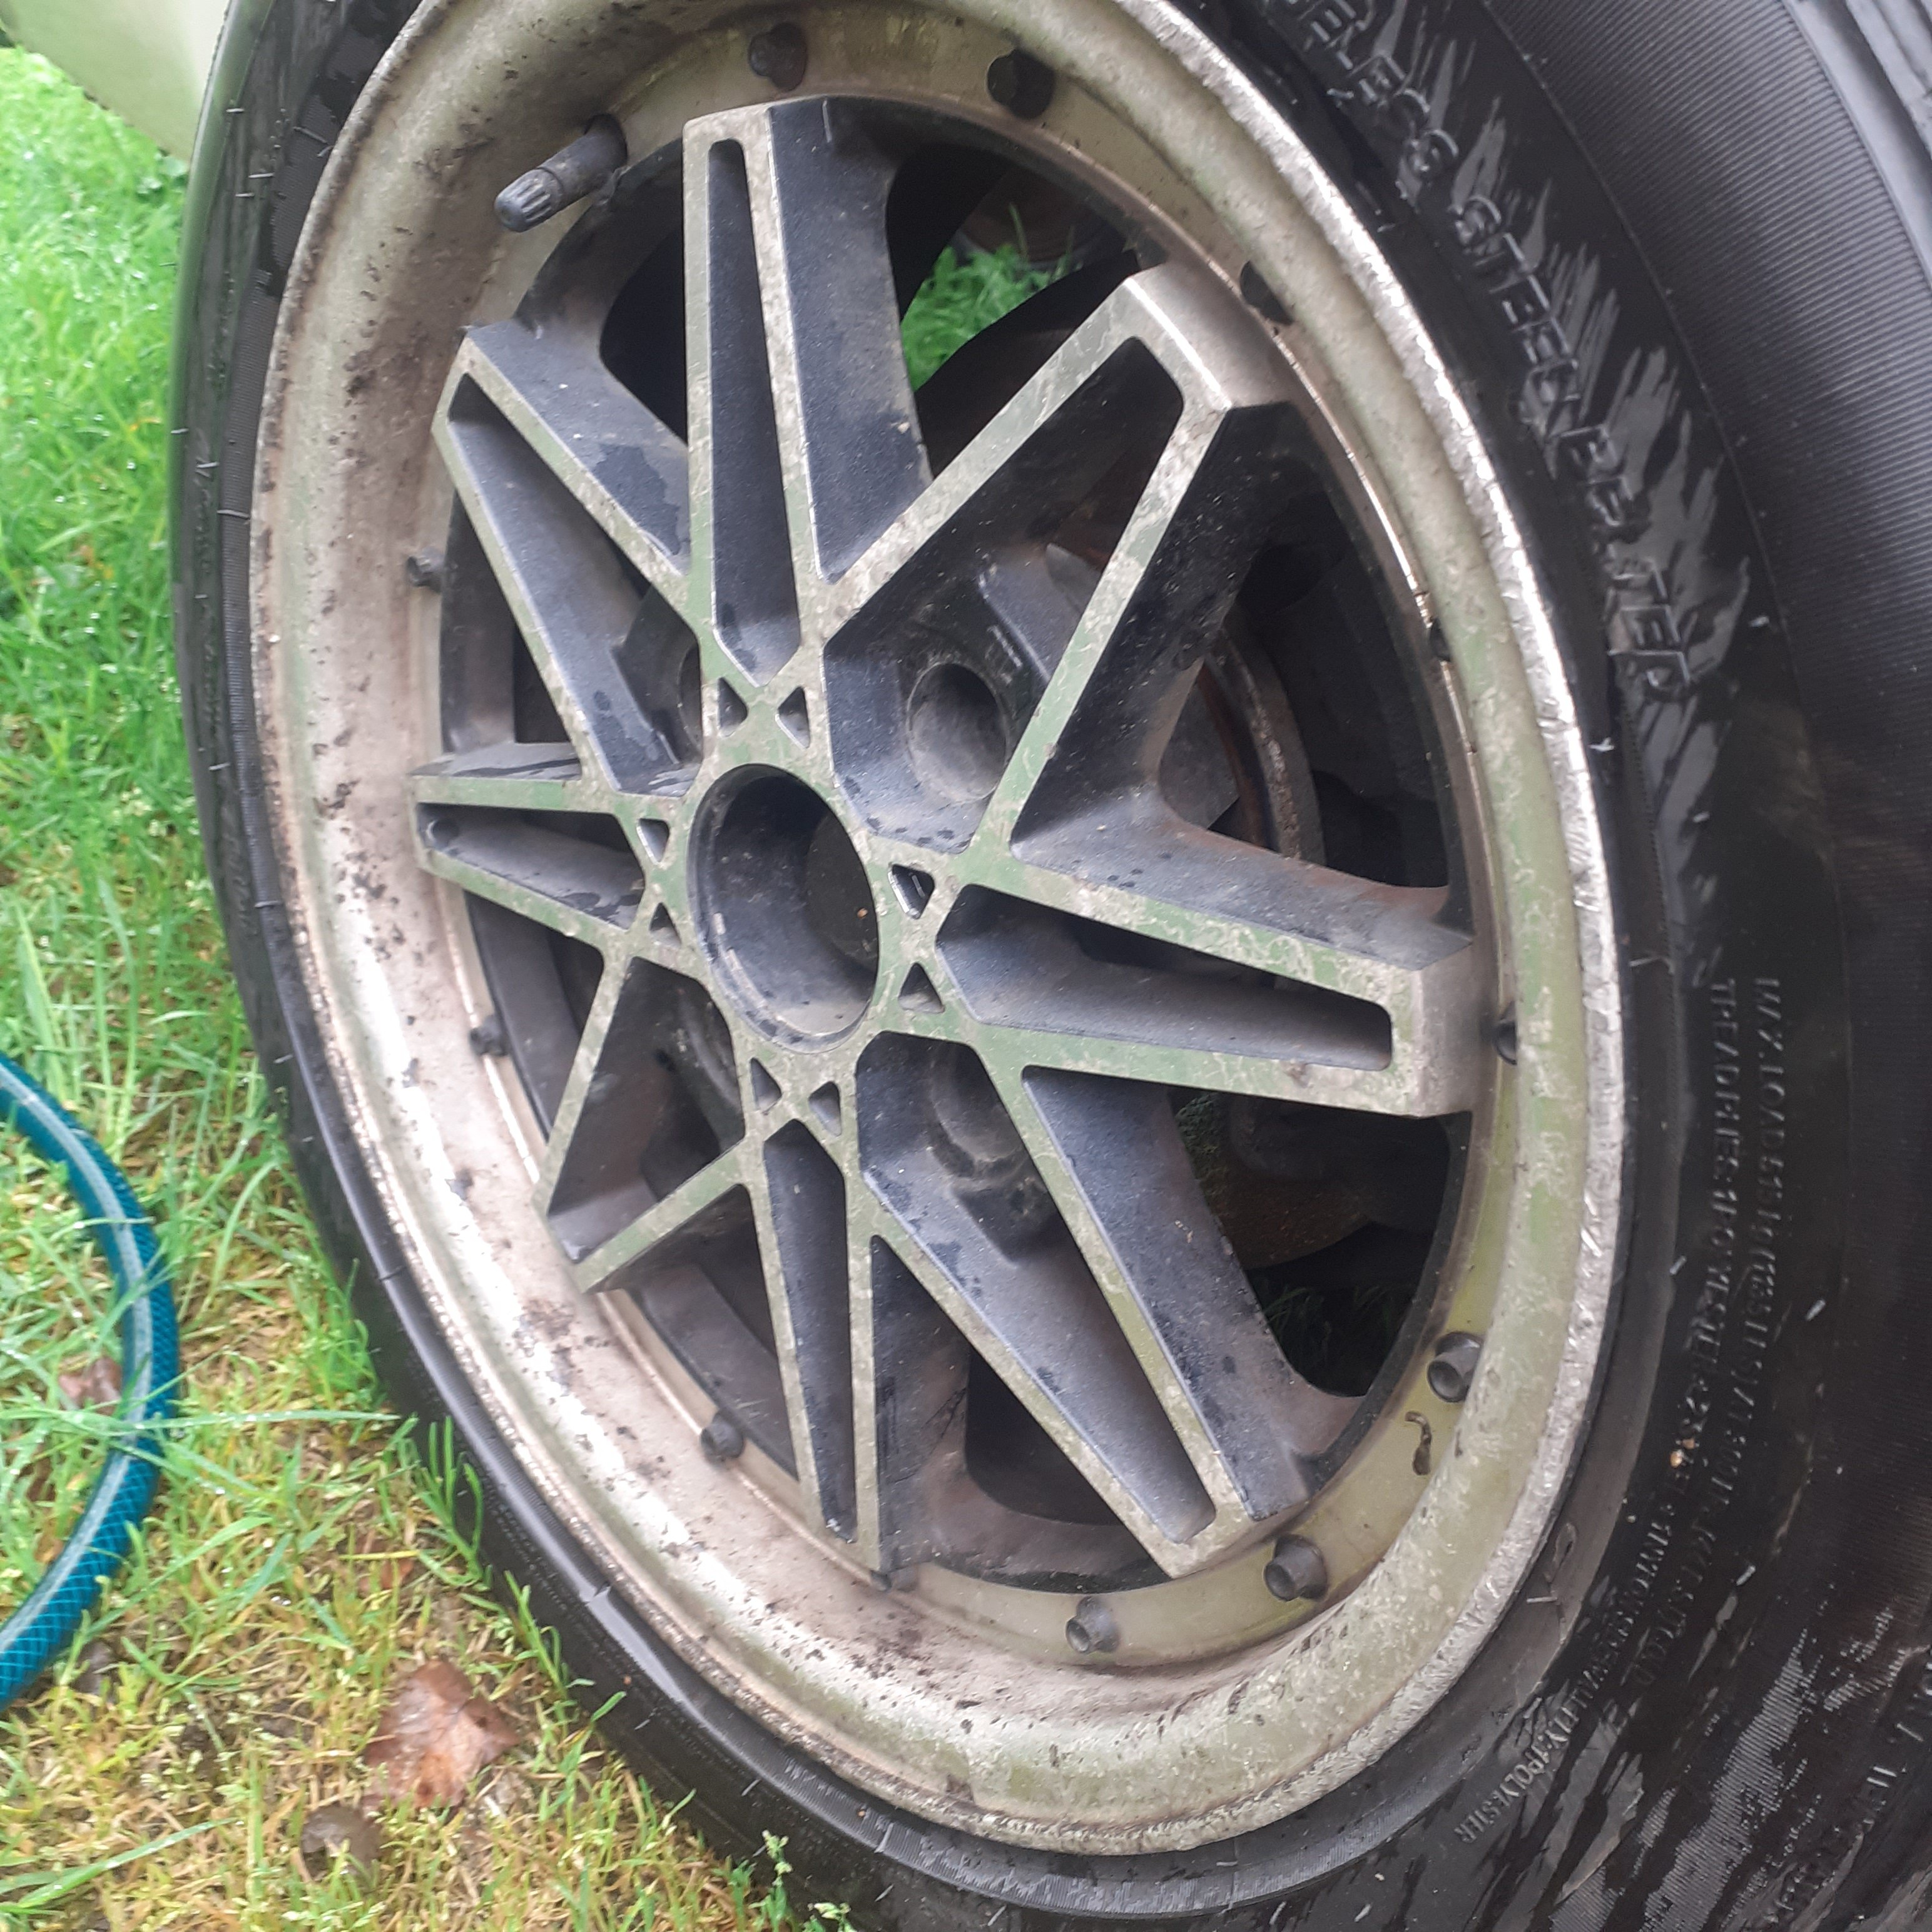
So a while ago( back in April) @M Night Shamalayan chucked up a for sale post for this delightful 72 Hunter.. turns out its a Super, with high back reclining seats and lots of chrome trim. I had a 69 Hunter as my first car, which I promptly rolled into a ditch 3 months later.. Ive wanted another pretty much ever since.. dont ask why cos I have no idea So as soon as I saw this post I jumped at it, with the car being in Wellington, Me living in Auckland, and potentially moving to Invercargill, I asked Luke if he could "hold on to it for a few weeks".. "sure" he said... well shit, I bought a house down south and we had a move in date... It just happened to happen the week before Hanmeet.. so the plan was made to do a mega mission of driving my ute and trailer down, fly back, drive my falcon and trailer down, then flying to Wellington, catch a bus, a train then walk up to his place to pick up a car ive never seen in person and then drive it to the ferry within 1hour... made it without breaking down, must be a record for me in a Hunter.. Got into picton and drove to Blenheim to take it for a wof... I was parked up at some park adjusting the front wheel bearings at 4am, as you do. go through the VTNZ check with a few things... headlight low beam was blown.. balls... cant find anything off the shelf... so I carried on to Hanmer... car drove bloody well.. EVERY time I stopped there was some Barry coming up to me with a story about a Hunter, was getting a bit much when I was filling up with fuel to look out the window and some random sitting behind the wheel pining over their youth... Got to Hanmer, met some OS GC's, good weekend... then the big mission of driving to Invercargill via Wanaka to check out another project.. Car ran so good, but blew a flange gasket which pumped fumes into the cabin.. that sucked.. Got into Wanaka and found it sprung a leak of the slippery stuff...fuck it, carry on son! Made it to Invers and in total she had lost 500ml of the Iraqi gold. List of shit to do for a wof: Headlight - find one from somewhere Rebuild the calipers - large brake inbalance and the remote booster has been removed Apparently there needs some steering box adjustment, although they dont have any adjuster..may have to play round with shims etc... Shit I want to do: Fit the escort rostyles Fit twin carbs Definitely replace all 4 shocks that are FAAAAARKED! when you go around corners the mudflaps drag on the ground, check pics for body roll travel, its lots Weld on a seat adjuster lever so the drivers seat can recline again Paint - maybe? Hope to get it wof'd asap and go for a hoon legally.. So massive thanks to @M Night Shamalayan and his mrs for putting up with the car for so long..
1 point
-
Auditors sound like building inspectors.1 point
-
1 point
-
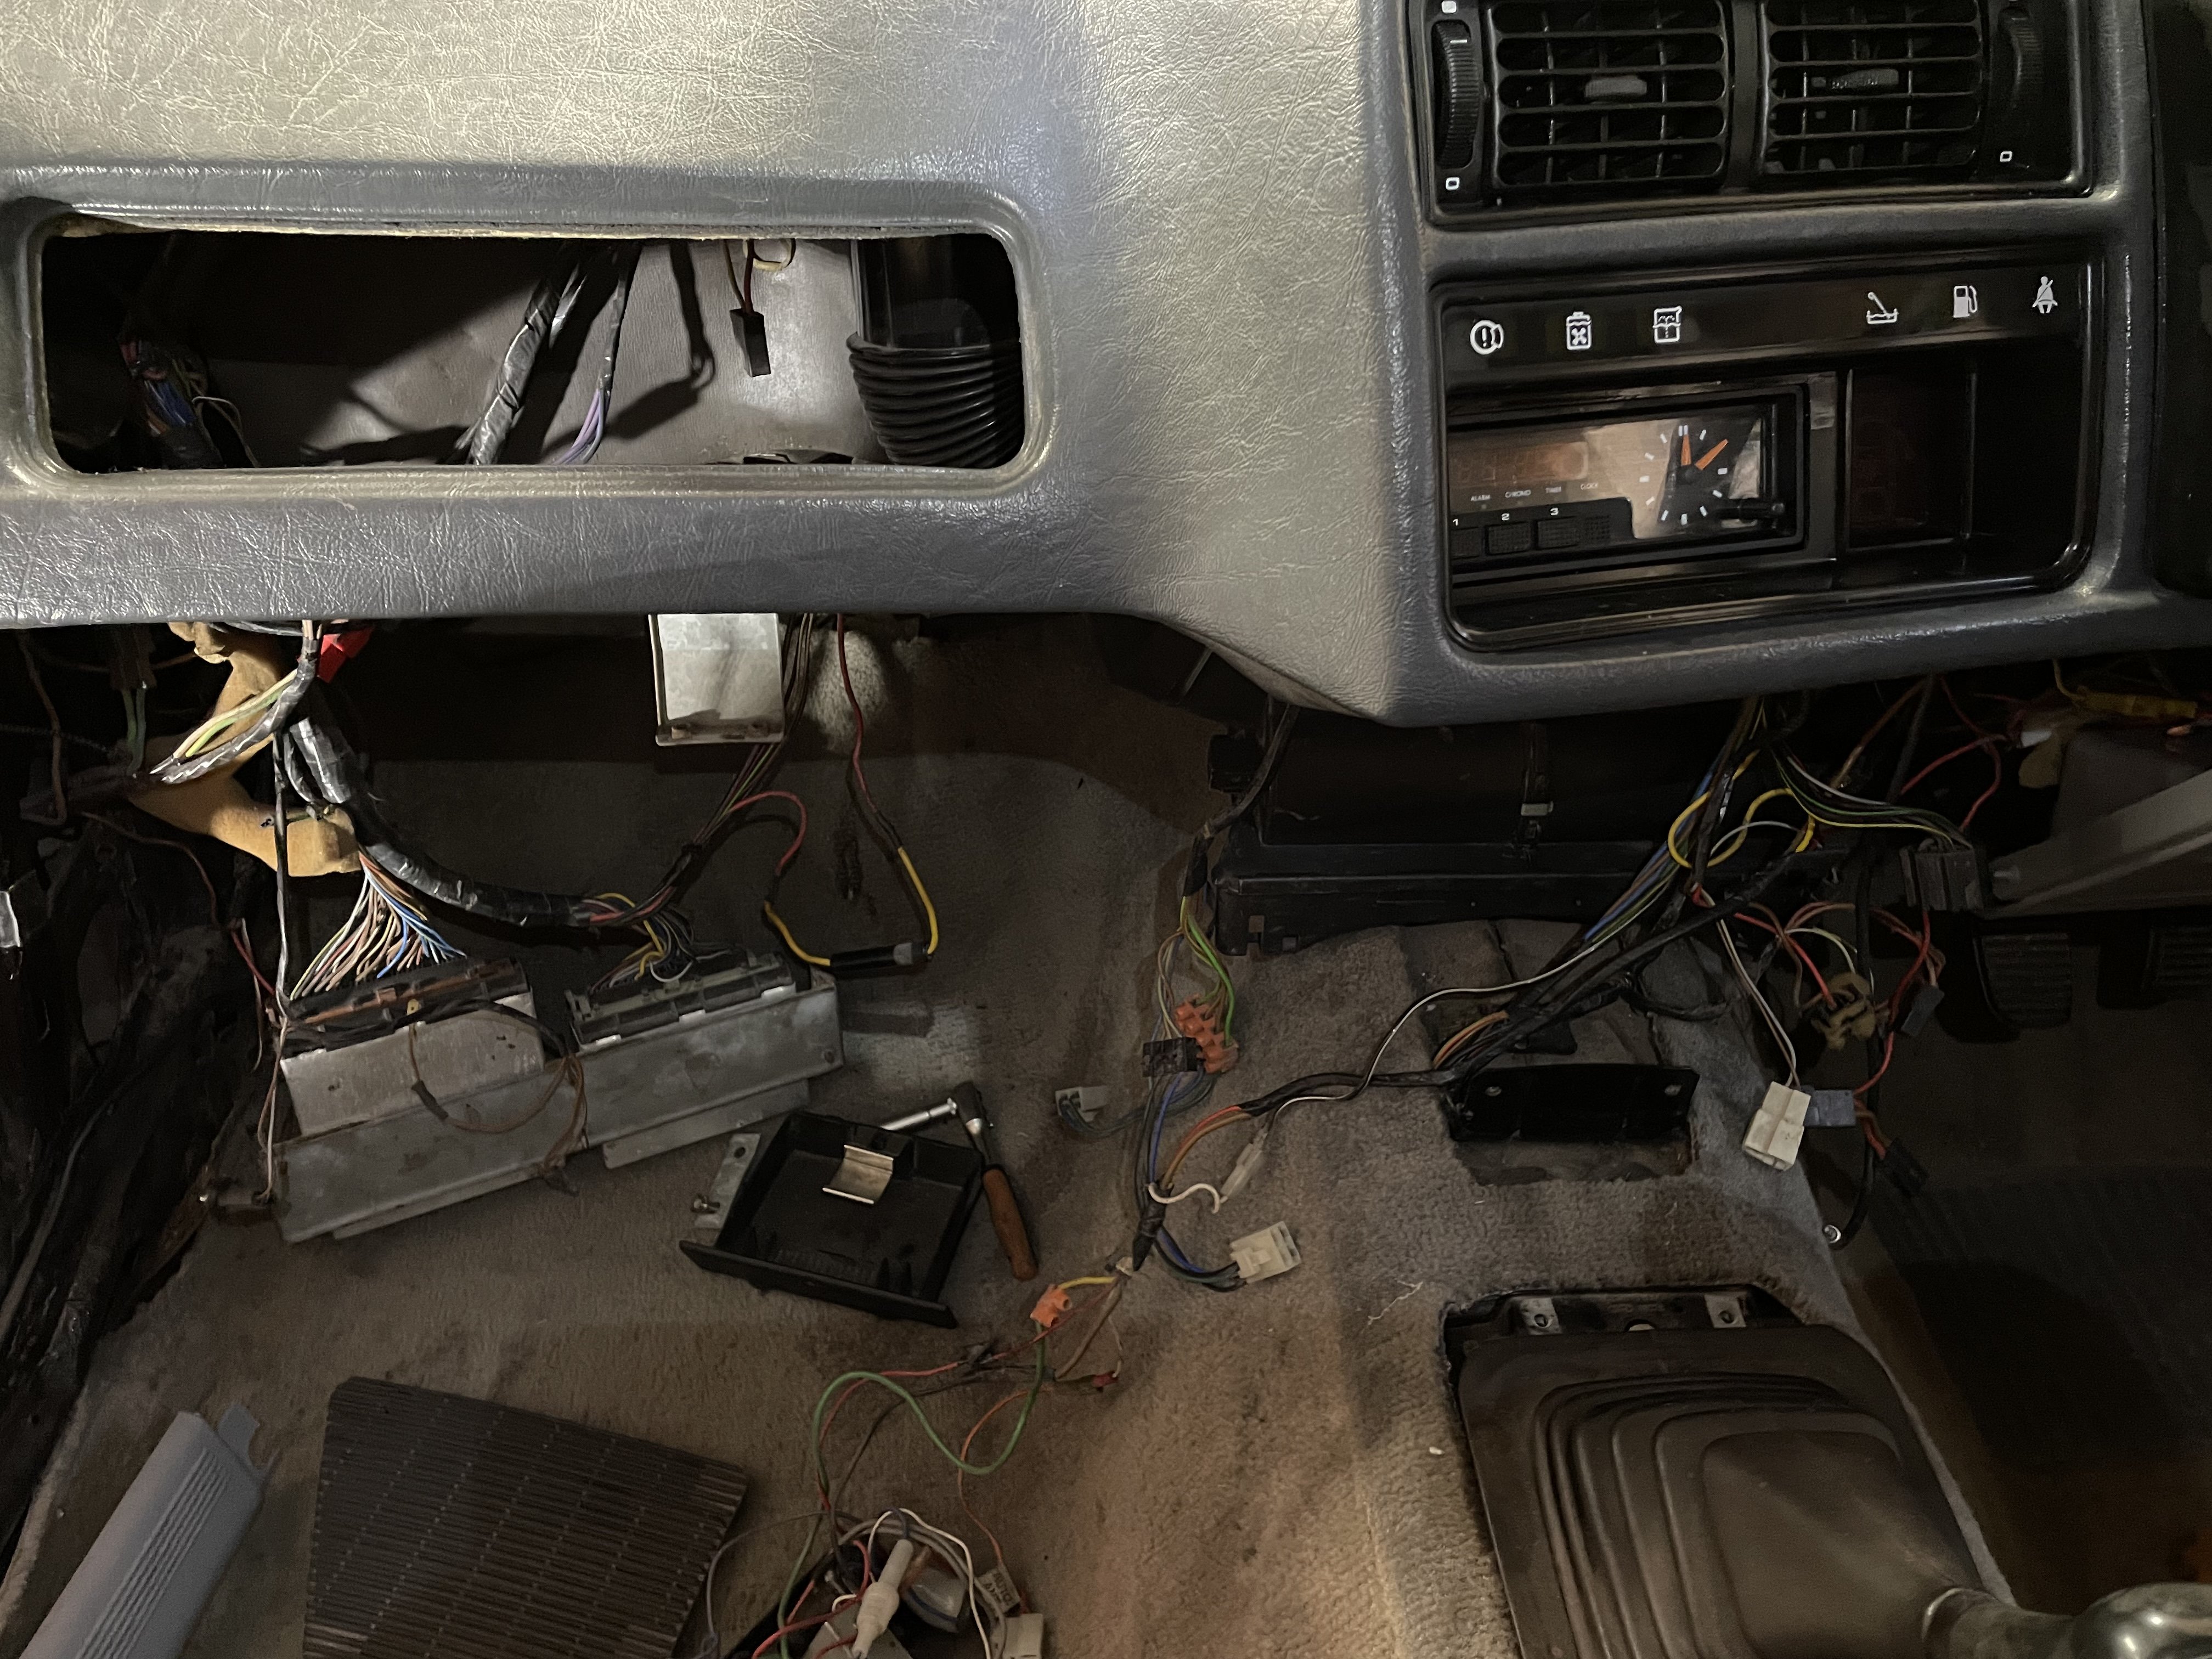
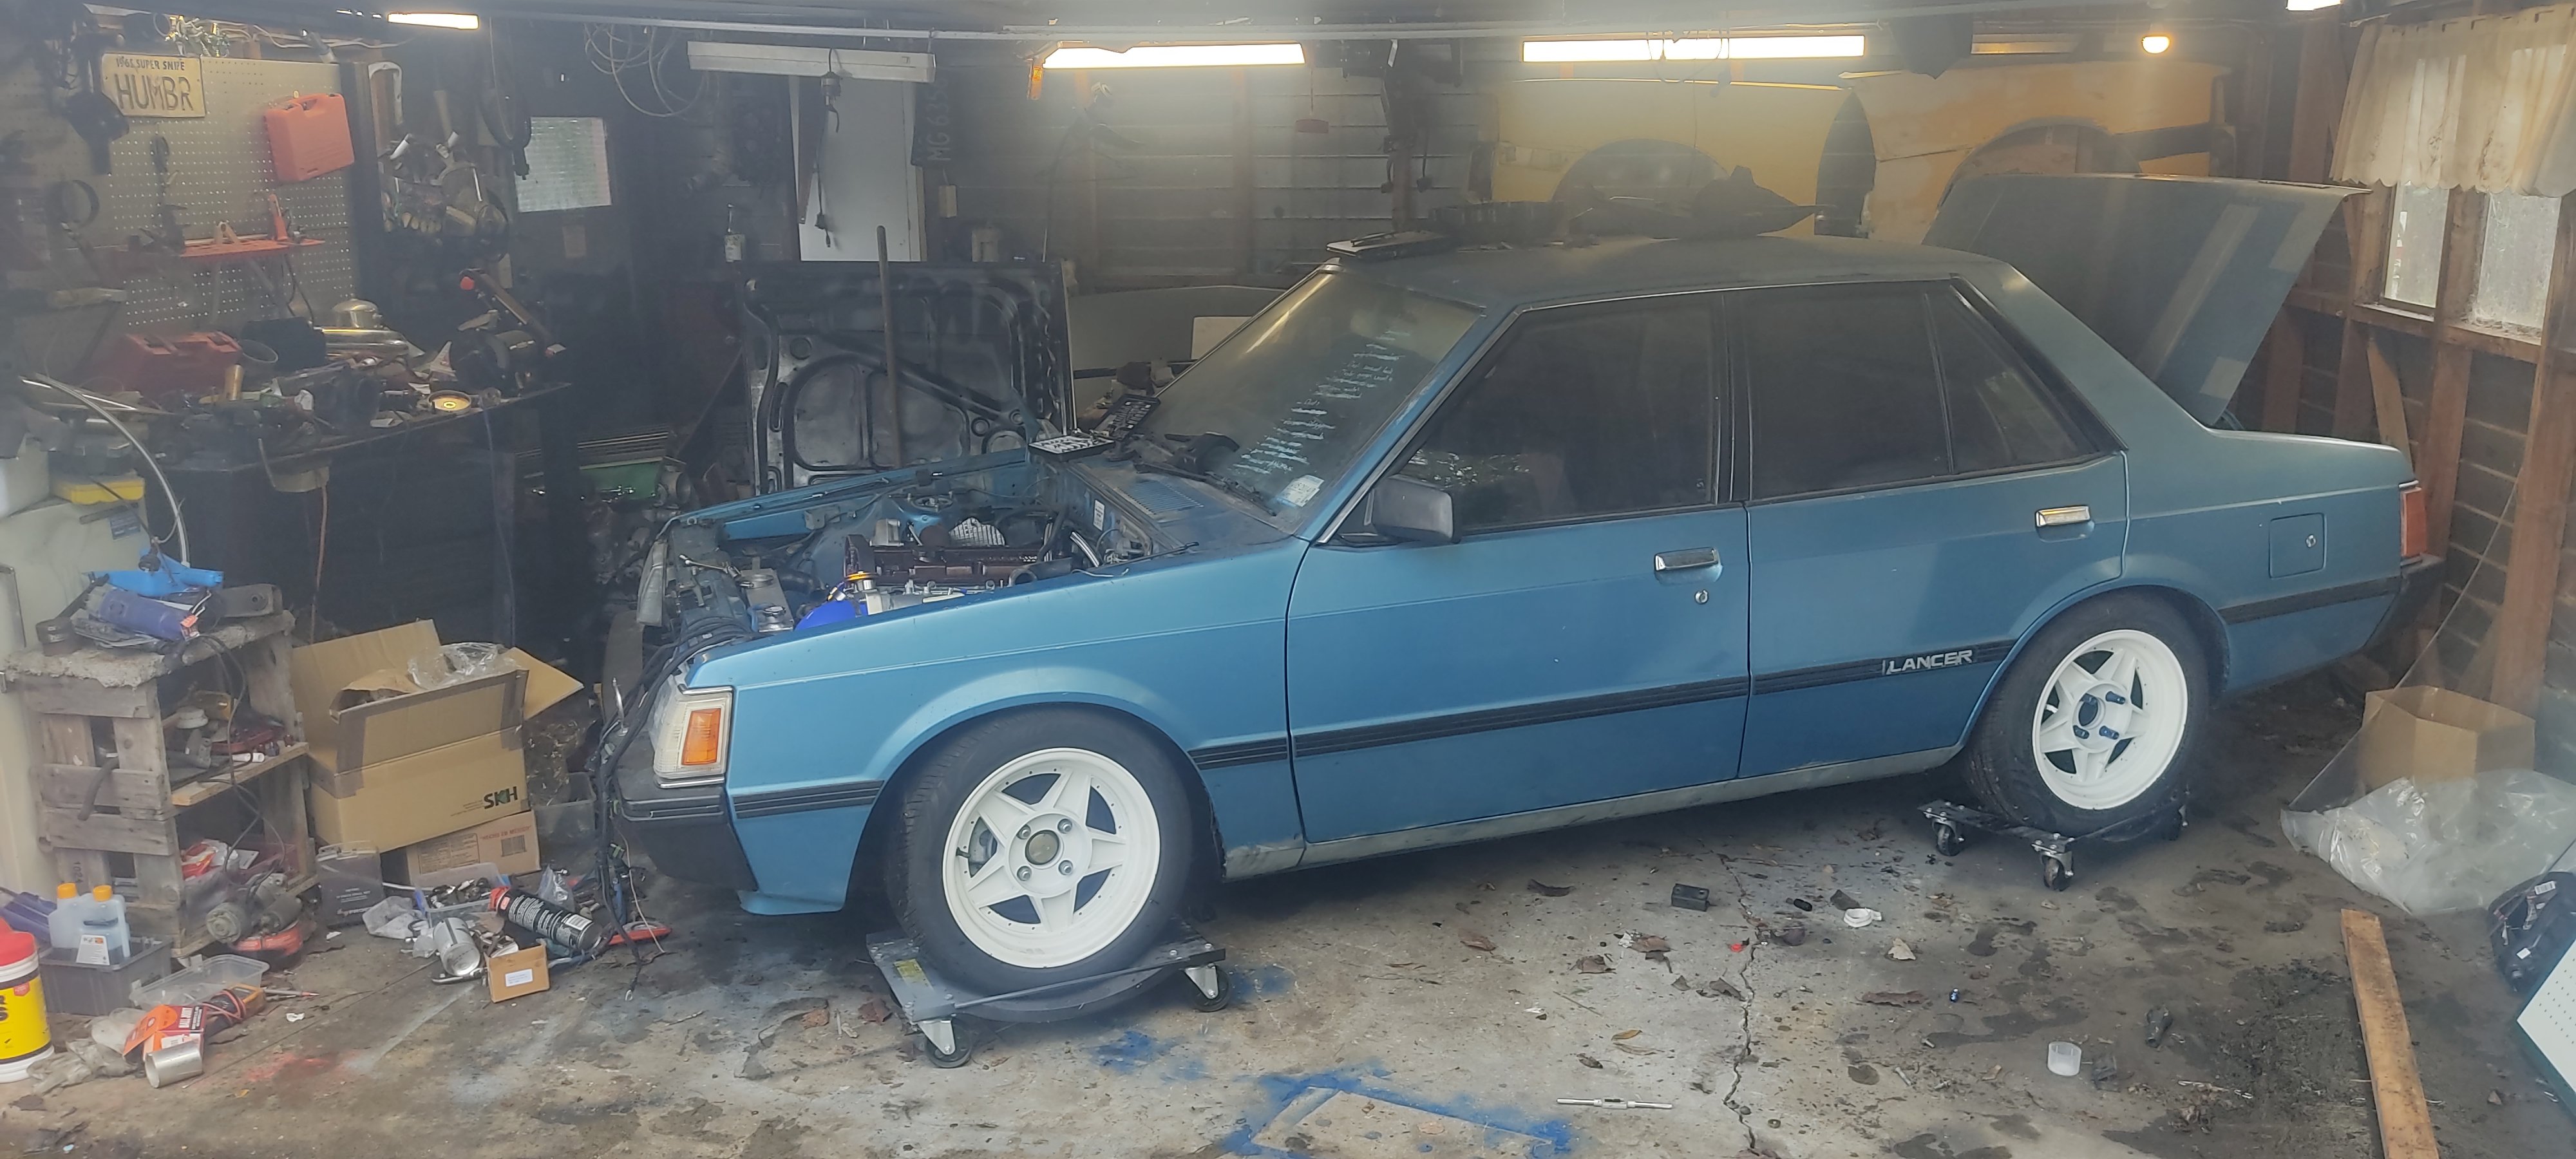
Well it’s been a couple of months I’ve been chasing some wiring gremlins currently have the bottom of dash all pulled out ,I had the car running during lock down and found I couldn’t turn it off , I could turn ignition off and pull key out and it would still run which is not good . i still haven’t found the problem but I think it has something to do with the burnt out blinker stem which is connected to the hazard lights which continually go all the time now even when key is out …so on the lookout for mk1 Sierra blinker unit. I’ve put small bits and pieces back on like left wing mirror guard blinker light foot panels , rear wiper motor and electric aerial etc nothing exciting, but still things adding to get it on the road again. ive taken advantage of COVID and got the car registered with out having a WOF …. Thanks Jacinda
1 point
-
Done my self a mischief when rotating my car knocked a bunch of shit over
1 point
-
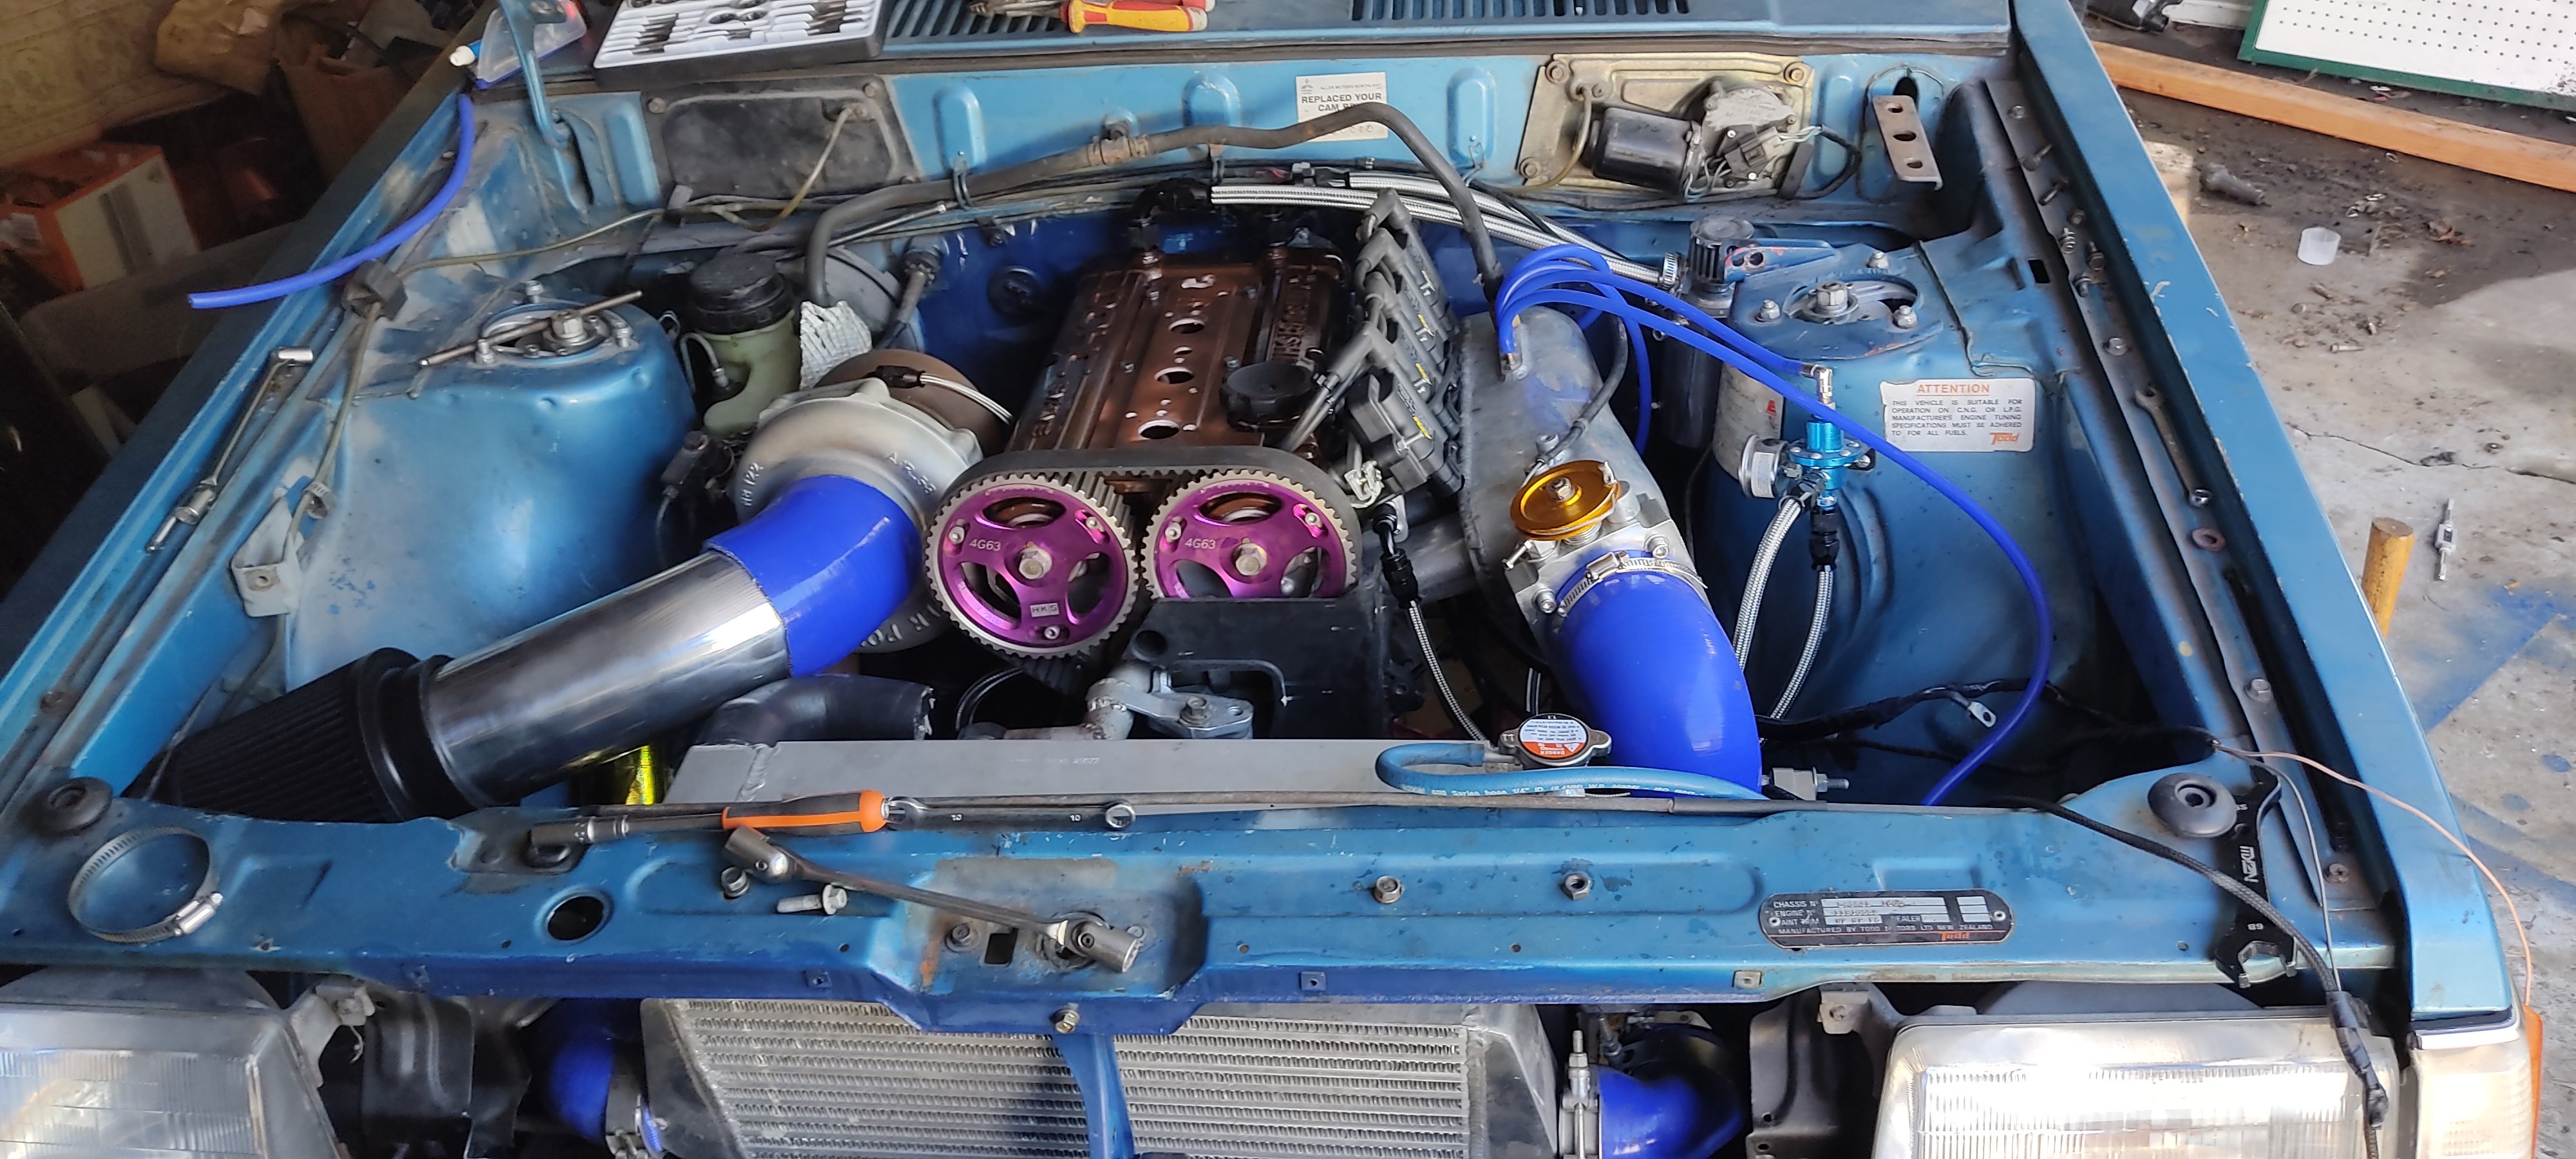
Reset the timing again today. Got my auto sparky to "essentially" make up a starter cable. Now the starter is 100% wired up off the stock hunter setup.. So can still start it from the engine bay haha. Only have the dizzy power wire to connect up, and the alternator wires. Then lengthen the tach wire. Currently waiting on bits to arrive: Plugs Gaskets Exhaust components Driveshaft hoop I'm really stoked that she runs now.. Relit the fire to get it done1 point
-
Twas pretty rowdy with open headers1 point
-
Sooooo good! The brat is real!1 point
-
Enjoyed the video. "Fidddle fiddle Braaaaappbraaaaaaaaaaaaap brapp bra... Fist pump!" Seems like the brap was shaking the camera1 point
-
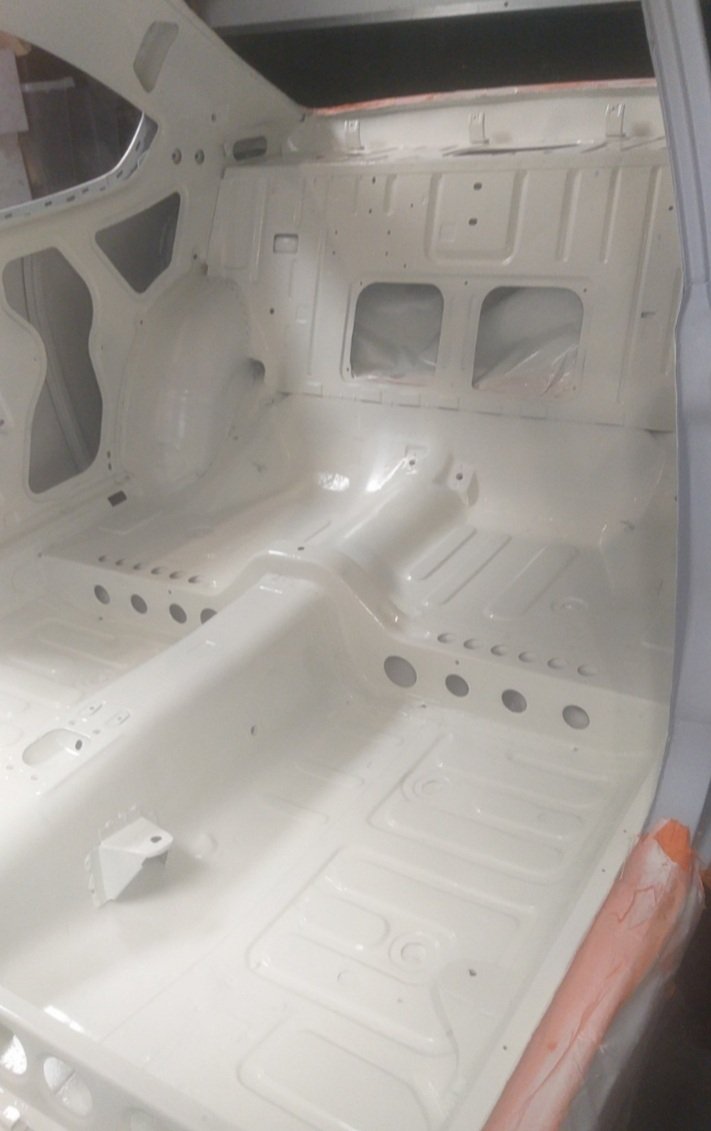
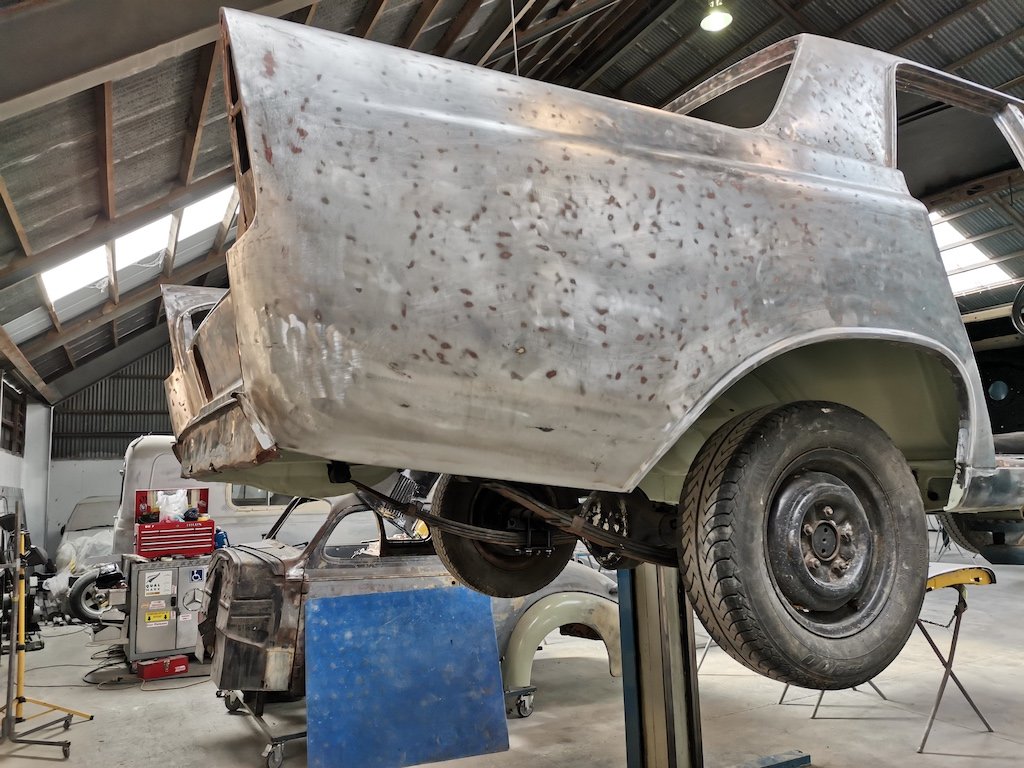
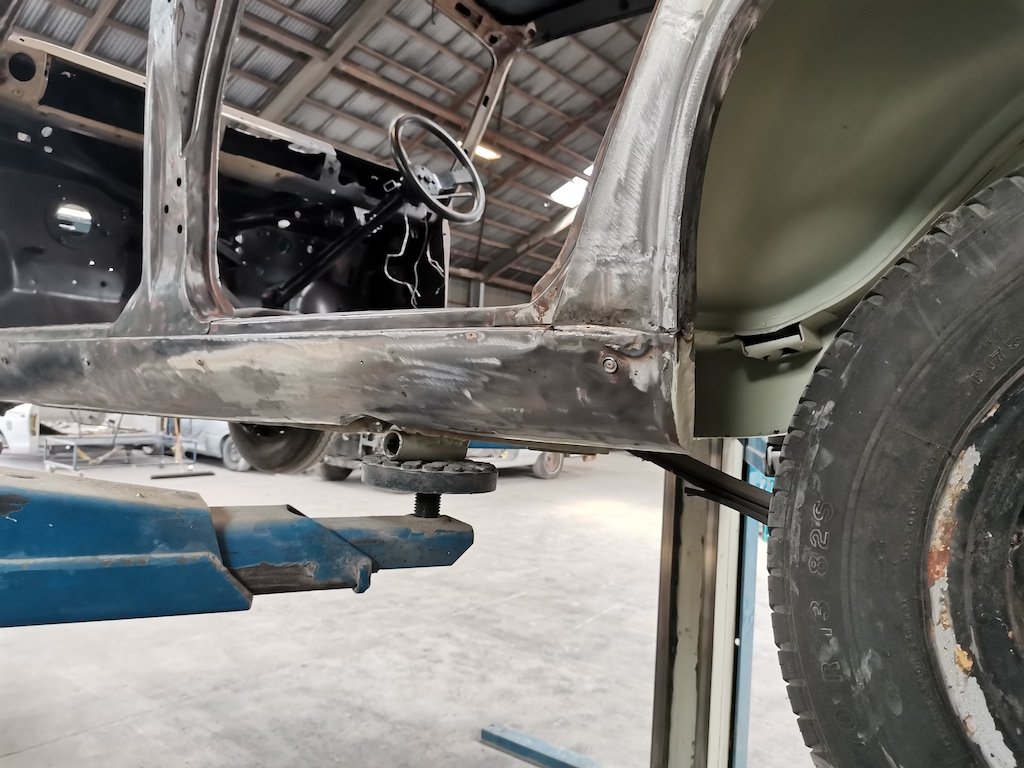
Panelbeating all sorted, signed off by the repair certifier. Really happy with the work that Delray did, would highly recommend. I got them to give it a sand and coat of epoxy primer too. Now just need to sort the boot and a few wee bits that need a light skim of bog. So much better than what was there previously.
1 point
-
Better than this...
1 point
-
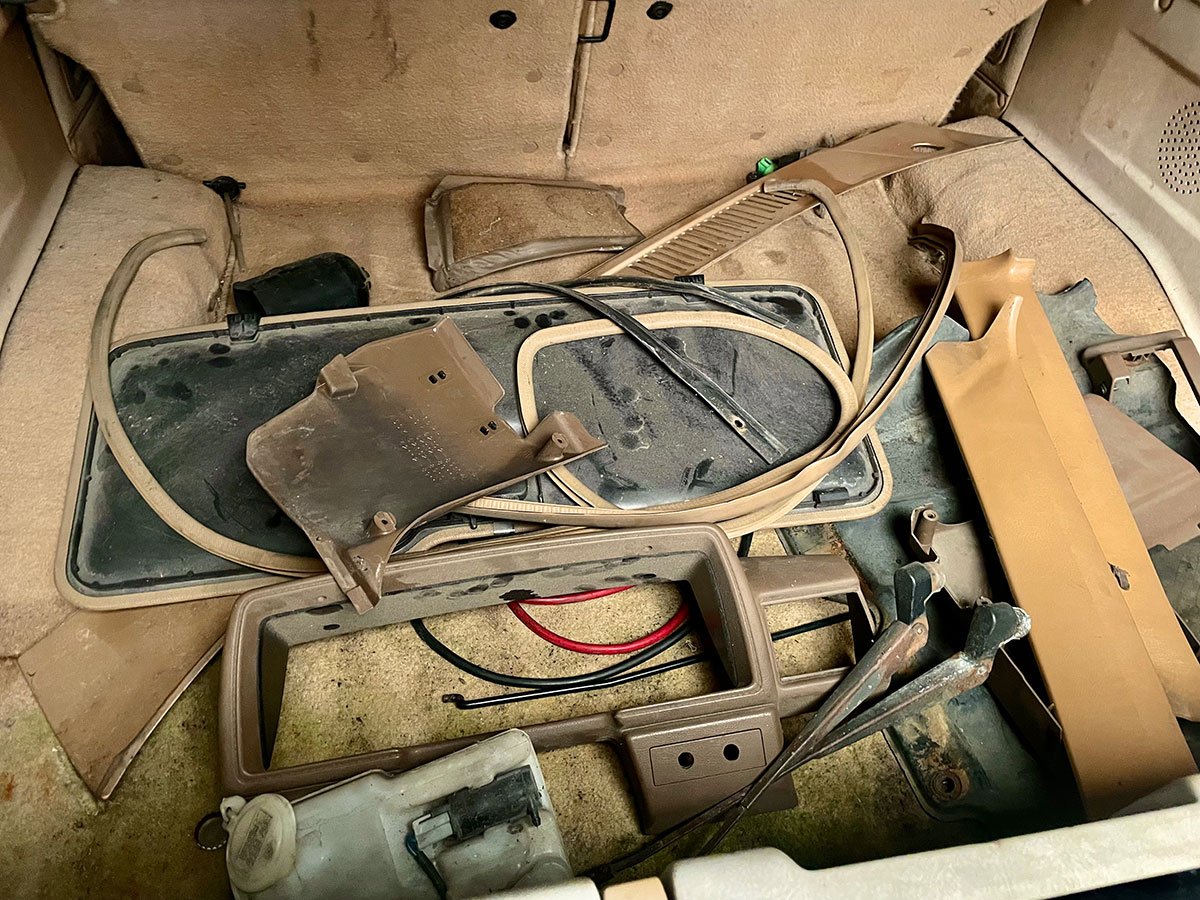
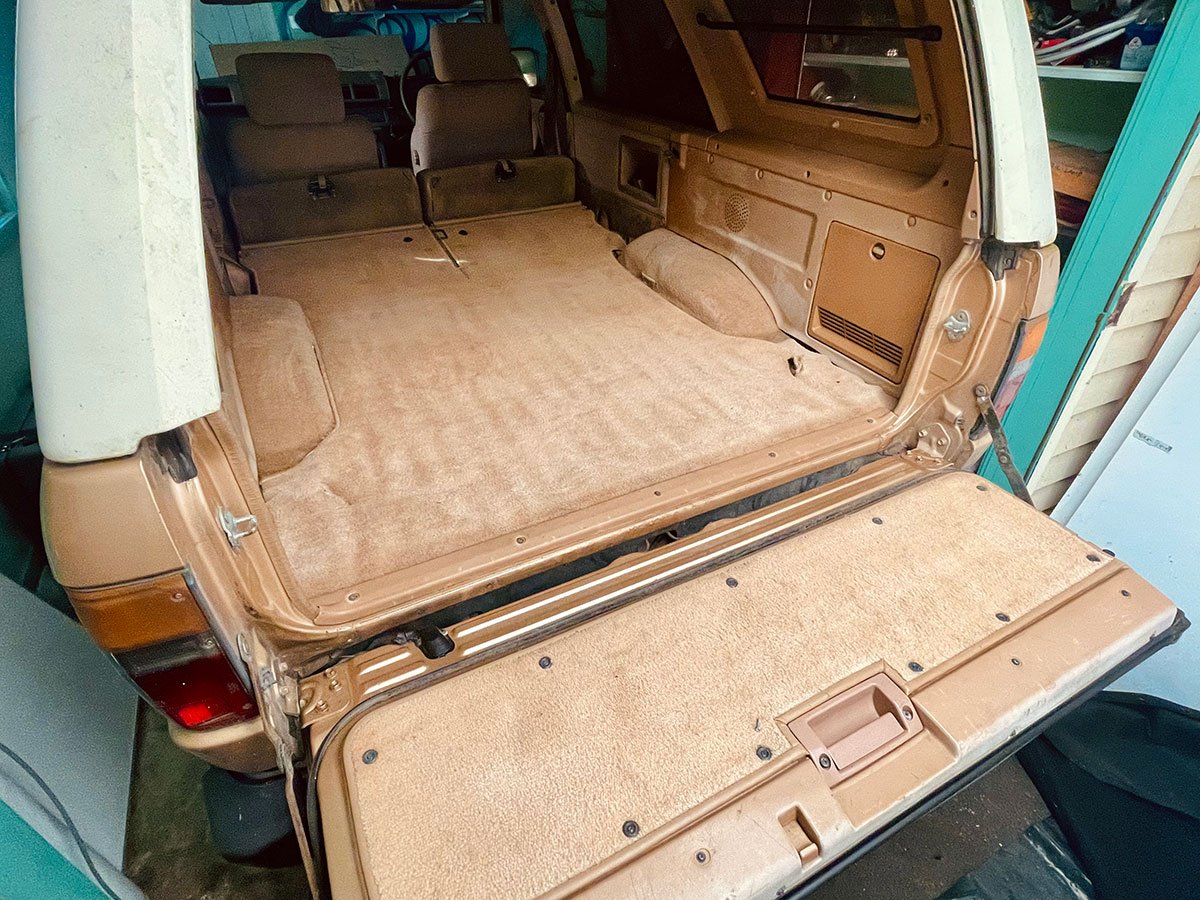
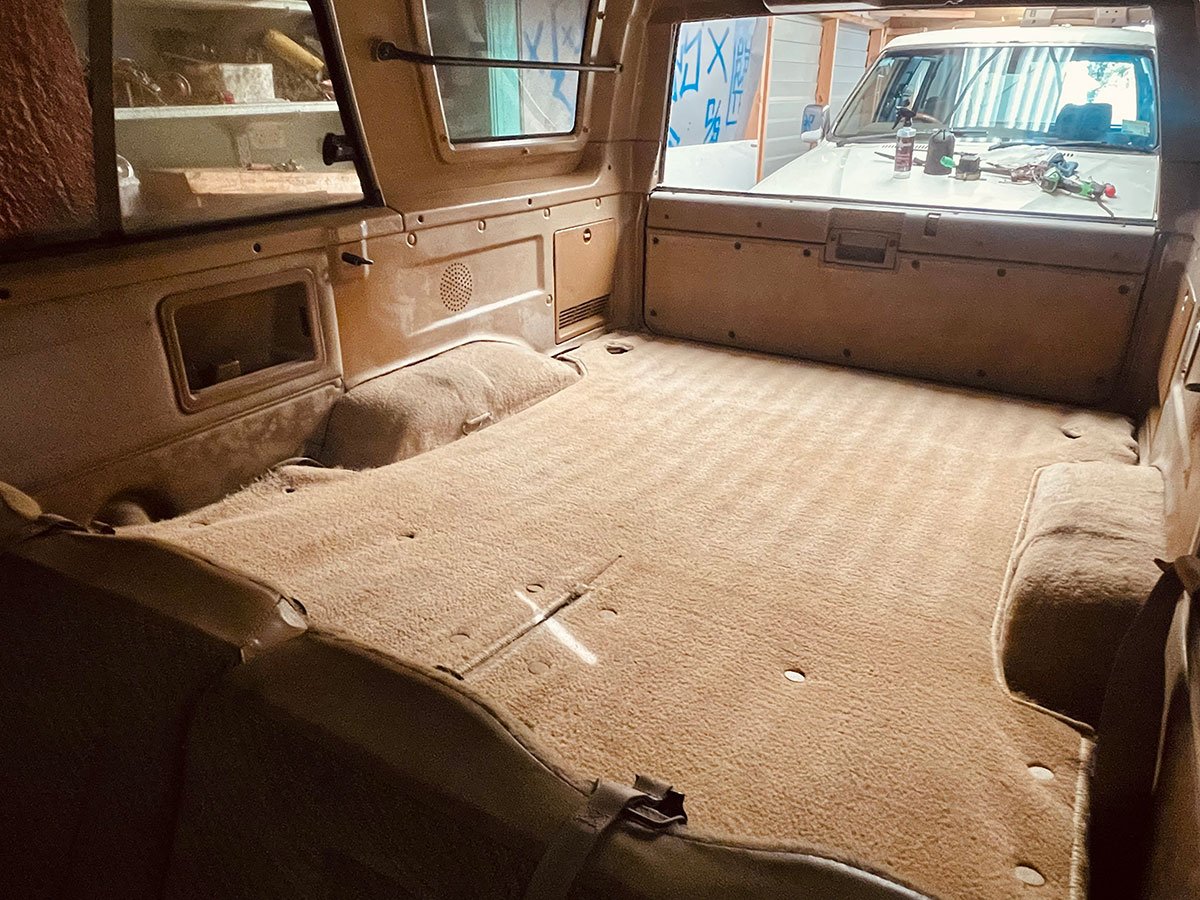
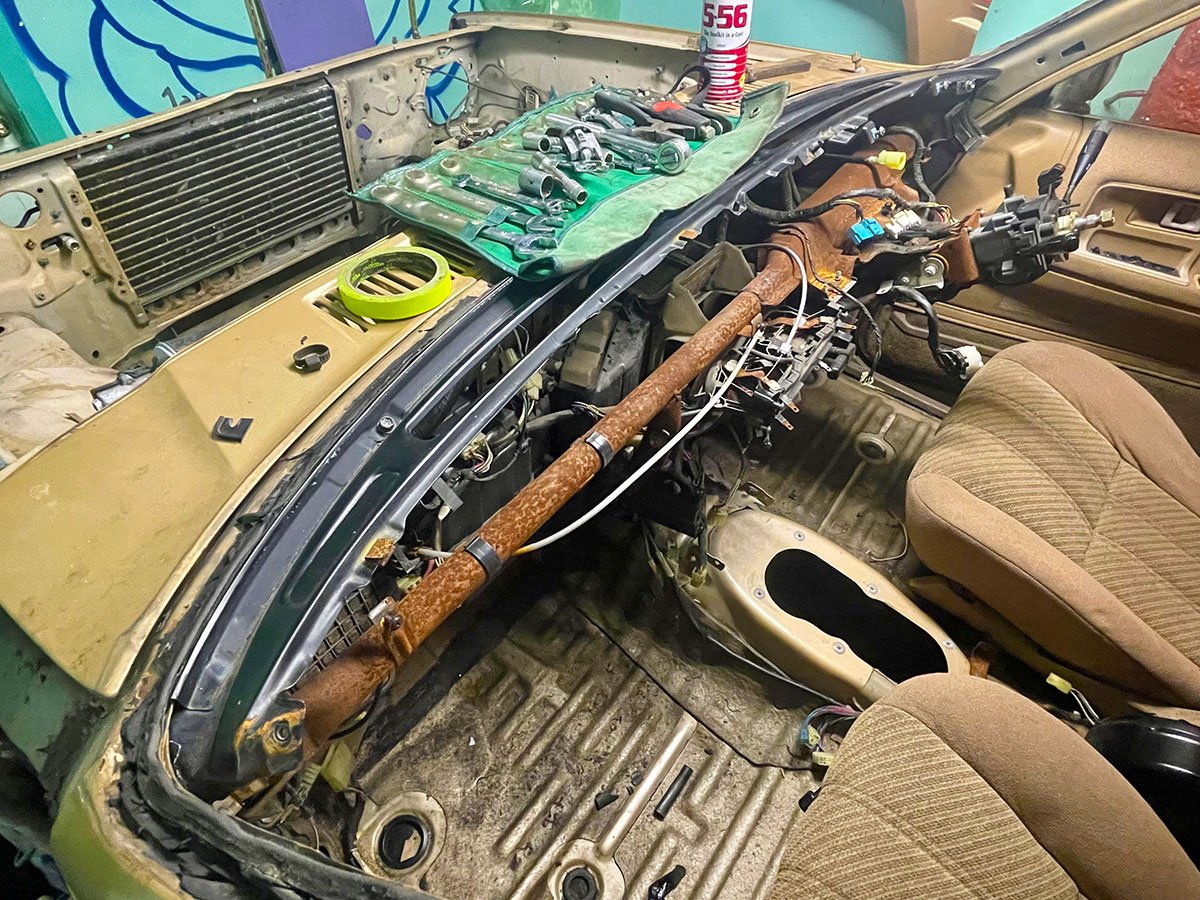
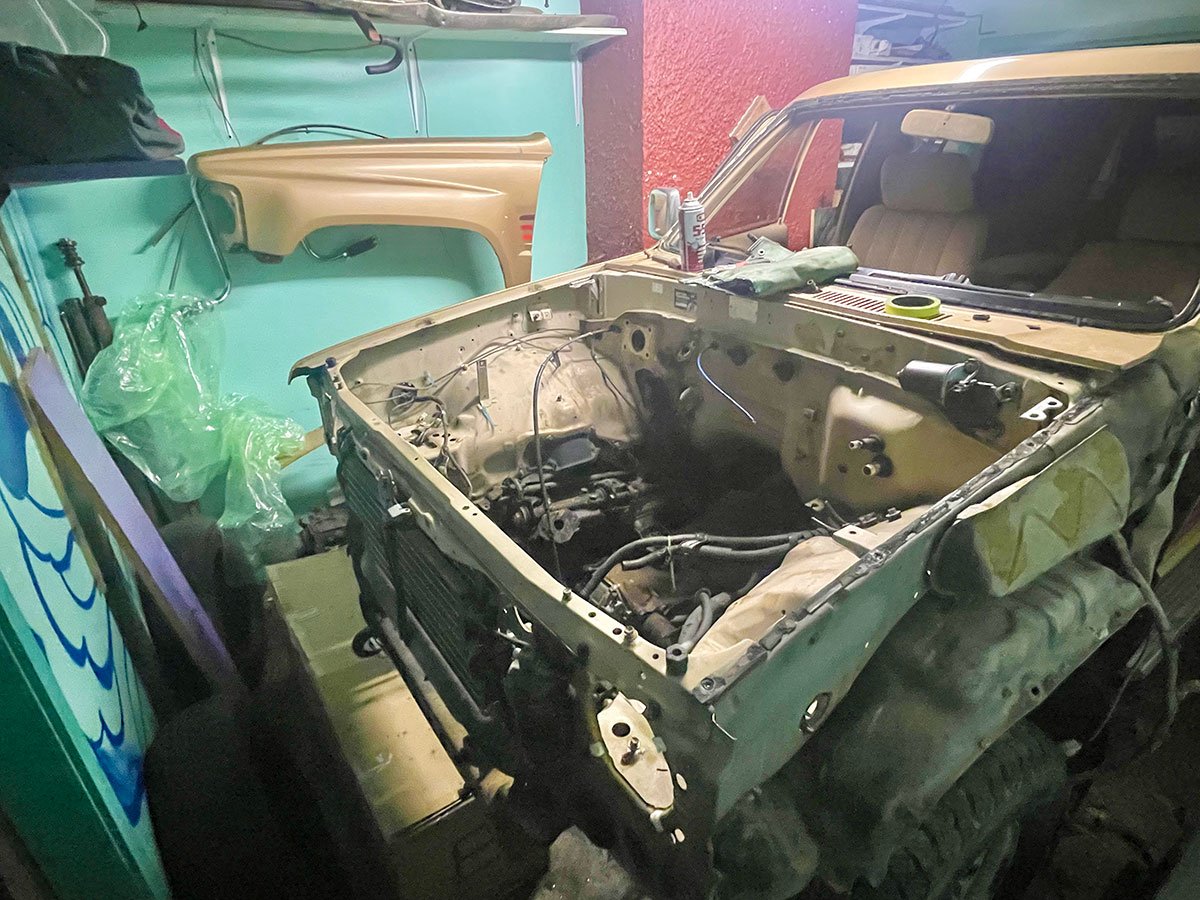
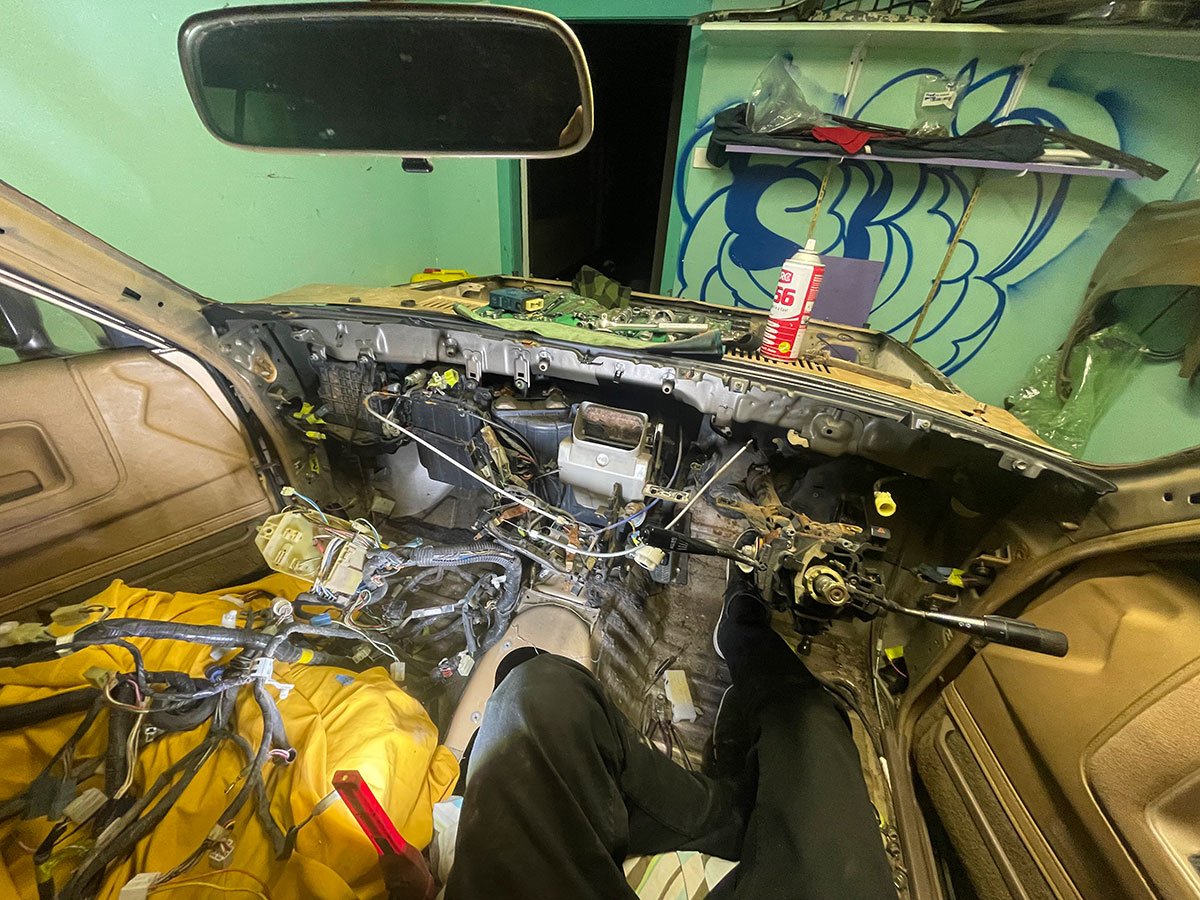
I had a good think about the best way forward with the newly acquired truck and settled on a body swap for a few reasons. Based on that I realised there's a lot of crap to swap over. So, made some pretty good progress through lockdown... Started clearing out the interior of junk and removing the rear carpets to clean. I wish I got a before pic but you can kinda see the state of it was in in the first pic, they came out mint! Also started removing all the unnecessary things from the engine bay and interior. All the diesel parts and looms. Never done anything like before, pretty daunting. Once everything was out it wasn't actually to bad. The last pic is where I sat back and asked myself what the f*%k have I got myself into? haha
1 point
-
I'm just going to put this here1 point
-
Your lawn is the perfect place1 point
-
Hey Cletus you should move down south I heard the last cert guy in Southland/Otago is giving up so the closest cert place will be Timaru. I am sure you will only get a few more muppits haha1 point
-
Protip Ensure that your vehicle is up to wof standards before taking it in for a wof1 point
-
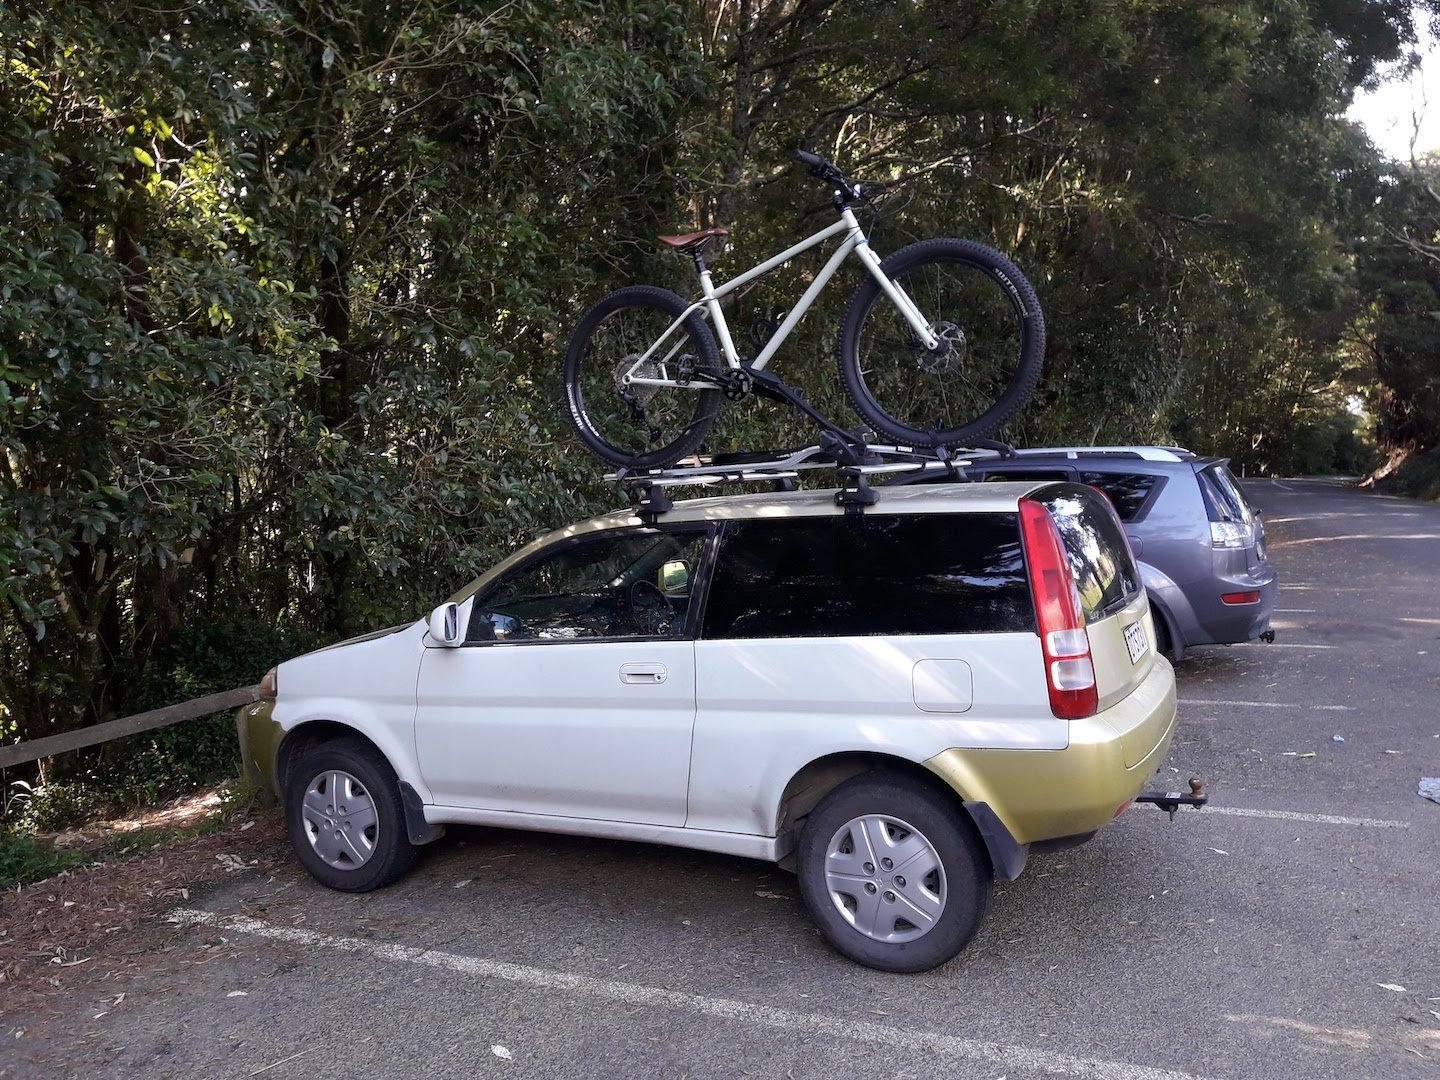
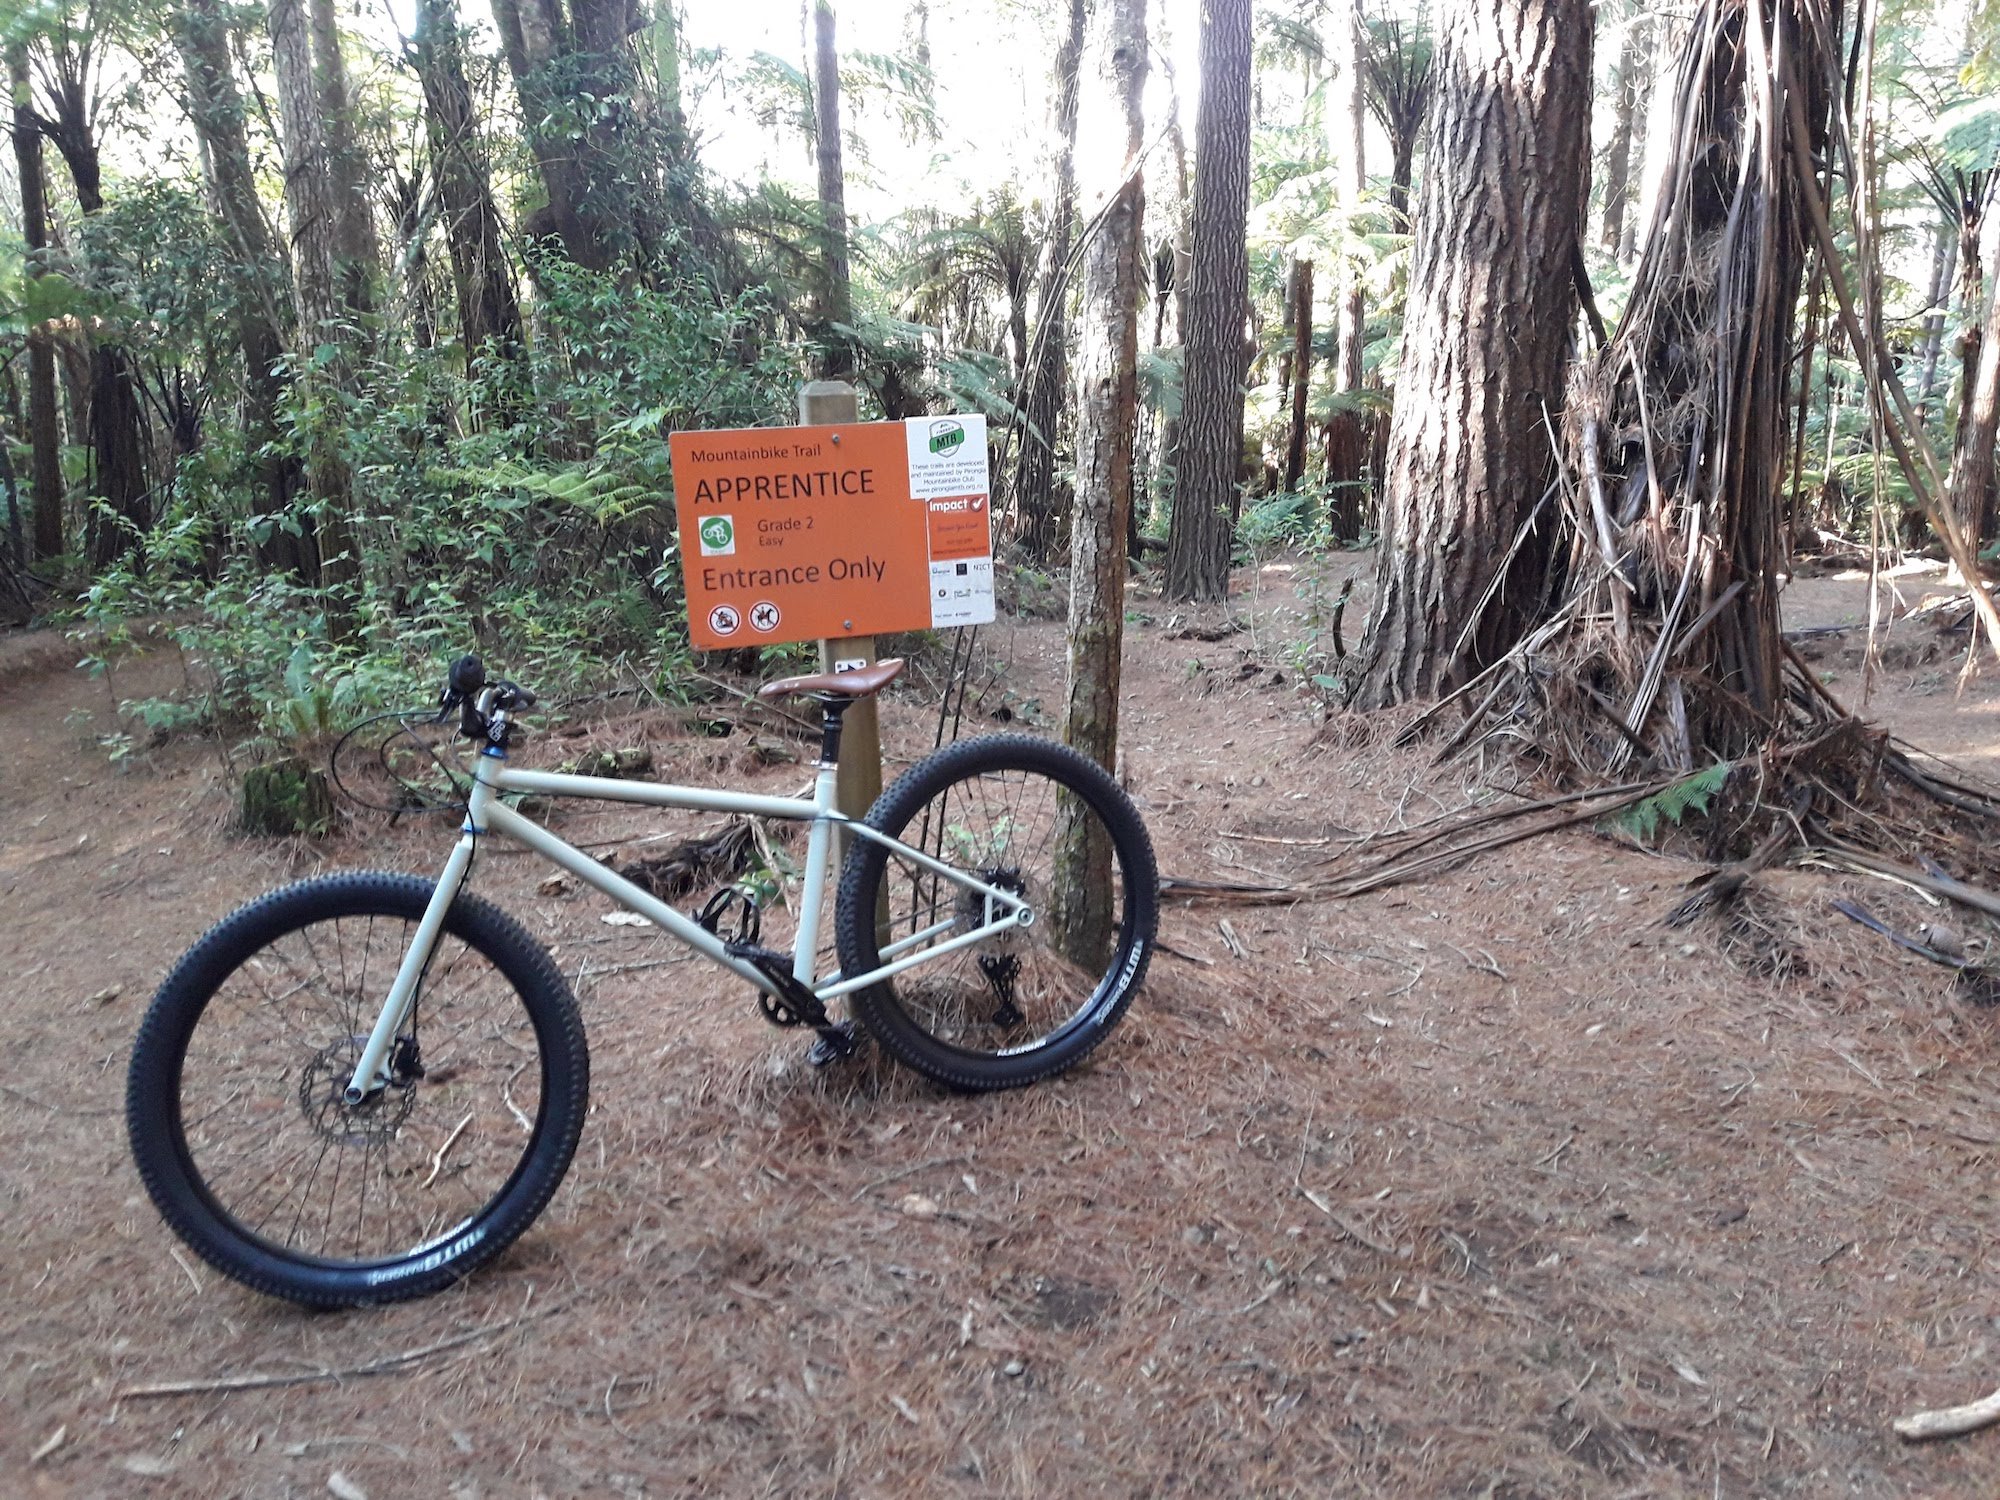
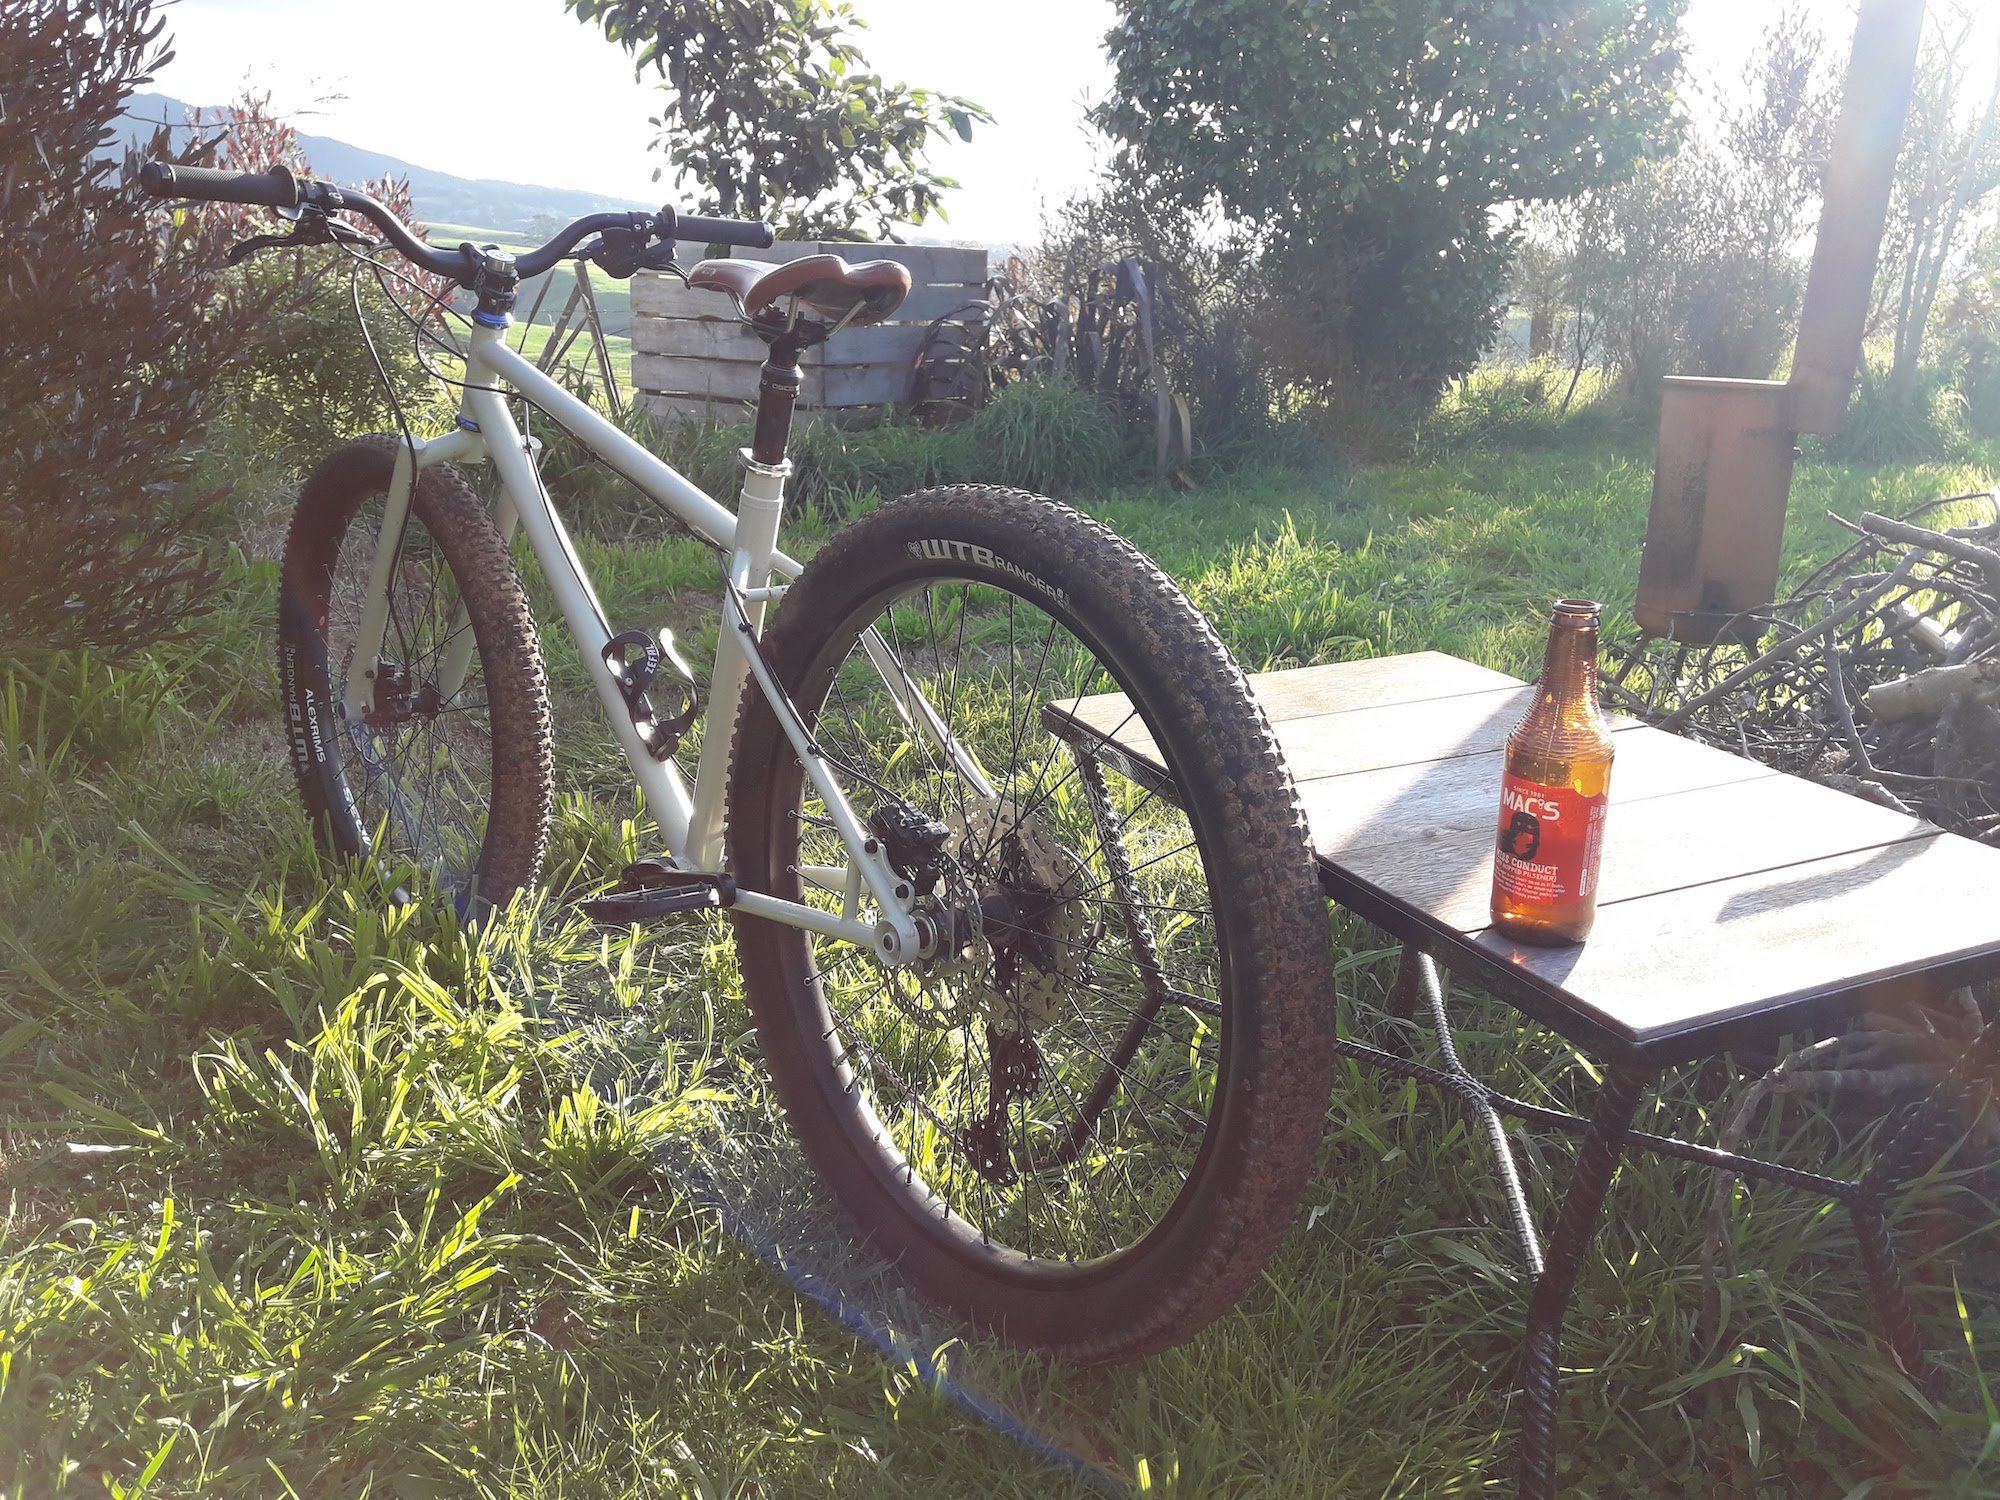
So I chucked the bike on the roof of the trusty ol' honda (with matching primer!) and took off to the local mtb trails (for yarns about the crappy honda click below) I figured I would start on something pretty chill to get the feel for things so I went on Apprentice, a nice grade 2 that gently winds down the mountain. The first thing I notice is that the brakes are terrible, underpowered and needing bedding in so I had to adjust my braking distances to suit. But after I got used to that and started flowing I found that the bike handles fantastically! it loves to dart into the corner but doesn't feel skittish. I think this is a product of a long wheelbase for a rigid bike (1195mm) giving it stability but the 65mm offset fork reducing the mechanical trail. As a point of reference I figured out that my full suspension 29er trail bike has just under 100mm of mechanical trail, but the Pi bike has about 89mm. It feels a little odd in a carpark test but on trail it just works. I did have some misgivings about the long chain stays, wondering if they were going to be an issue/make the ride boring. Turns out its not a problem, they do make it harder to wheelie and I can't manual it (I can manual my full sus bike but haven't really managed it on other bikes for some reason. I think a bit more practice is needed). But when you get it up on a wheelie, it wants to stay there and I think it would be the same with manuals. On trail I think it it probably not so much of a is it better or worse having long/short stays but a personal preference. It isn't what makes the ride thats for sure, it just feels like you have a bit less leverage over the rear wheel if you are chucking the rear end into a slippery berm. After taking it down Apprentice for a shakedown run I climbed back up and took a brave pill and went down the jump trail to see if I was going to have a catastrophic failure of the fork. The bike jumps nicely, I didn't clear as many jumps as I usually do as I wanted to be conservative with my speed in the event of a breakage, but casing a jump is usually harder on the landing than clearing so you could say it was a torture test. Some of the rutted out sections were fairly horrific on the rigid, but all in all it was awesome, and I am not writing this from a hospital be with a severe concussion. In terms of climbing, it climbs as well as the next bike, the 2.8" tyres are nice on the bumpy track up Pirongia. I would probably go a degree or 2 steeper on the seat tube angle next time around, because then I could get away with a slightly longer reach/front centre with the same distance from saddle to handlebars. Anyways After this I went home for a beersie in the sun. I am absolutely stoked on how well this bike rides. I made some odd design choices cause I don't see the point in making something that could just be bought off the shelf and I am really glad to see that they all came together to make a great ride. Oh, and I measured the wheelbase again after the ride, it was the same. Woo, no bent forks!
1 point
-
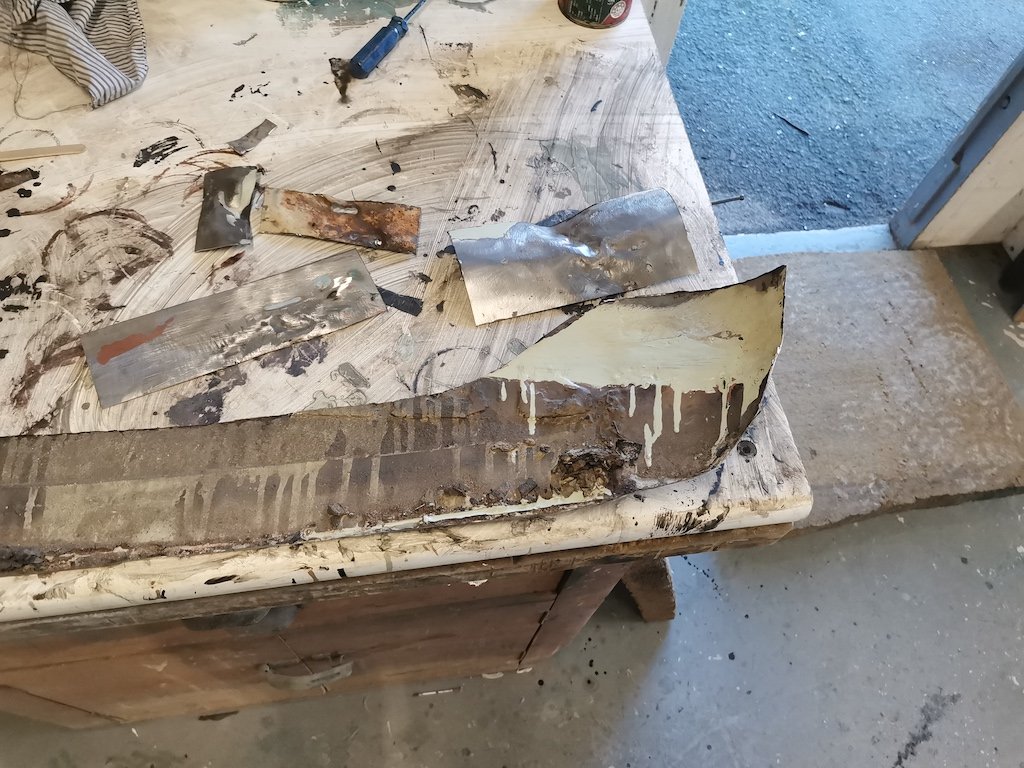
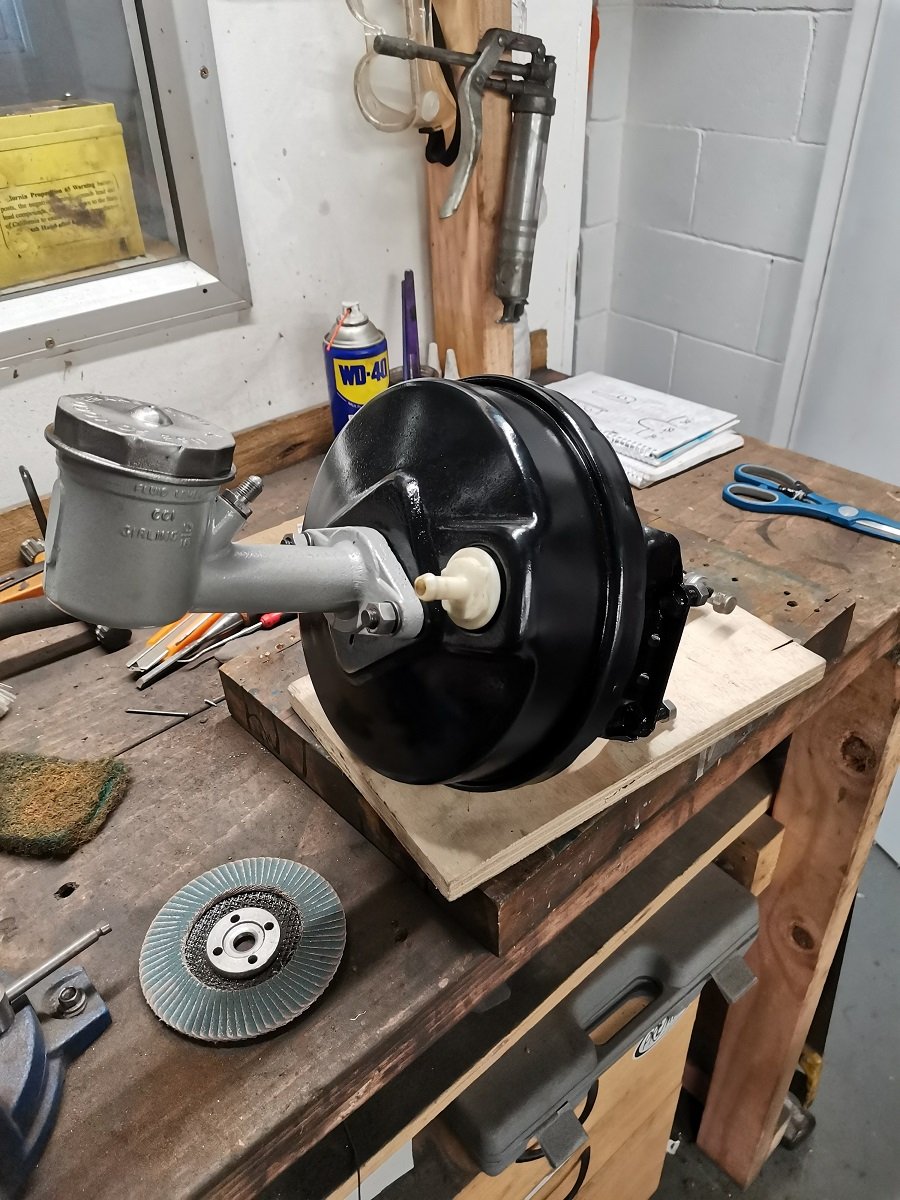
Got a container of bolts, nuts and brackets vapour blasted and zinc plated. Really happy with the result, certainly beats manually cleaning them with a wire brush and painting. Got the brake MC rebuilt by Undercar. Been busy with the strip disc removing all the paint from the boot and body. Found a few less than ideal repairs, covered with lots of bog. Considered just bogging it back up, but decided it would always annoy me if I did so going to get it fixed by a panelbeater. Will get the crushed sills fixed properly at the same time.
1 point
-
So been working on small bits and pieces like putting front door cards in ,put drivers side mirror on .haven’t put passengers one on because family will hit it when walking past in the garage. trailered it to a mates place cause he’s got a hoist managed to fit new brake discs and went through whole brake system bleed them up and they seem fine now also took fuel tank out and cleaned out inside of tank blew out fuel lines and put new fuel pump in and new filters . cut rear muffler off as it was rusted replaced with a straight bit of pipe . put new water pump in and new radiator, took out power steering as was leaking drop off to get reconditioned. Put back in with new tie rod ends and have no photos of any of it sorry ..........1 point
-
1 point


.jpg.66f68340f29fbba58f93e44e6fb8b523.jpg)
.jpg.2f09ceb7db4a613954858574ba45a29a.jpg)
This leaderboard is set to Auckland/GMT+12:00