All Activity
- Past hour
-
if only it was cheaper I think it would probably be a better option than a built ish 4l60e https://www.trademe.co.nz/a/motors/car-parts-accessories/holden/gear-boxes/listing/4692520263
-
Unlikely. Ld anything will never get a speeding ticket
-
I was once a passenger in a Humber 80 with the speedo needle past the fuel gauge. Anybody's guess how (in)accurate it was but it felt stupidly fast.
-
Related sharn, my mum had a Morrie when I was a kid, I remember the speedo needle was all over the place , including off the end of the speedo often down one particular hill, and even as a kid I remember thinking 'that's a lot of rpm mum'
- Today
-
It's possible I suppose that it was modded when NZ changed from mph to kph limits on the road in the 76/77 or so. In the old Holden there were a couple of stickers on the speedo to mark the main limits, but those have worn off now. We are only the second owners of the Morrie and it's pretty original.
-

New Plymouth pick a part. Help to collect a part needed?
kp60nick replied to kp60nick's topic in Lower North Island Region
Awesome thanks mate! -

Tech Spam thread - because 1/4" BSP gets 5 hand spans to the jiggawatt
VitesseEFI replied to Roman's topic in Tech Talk
Doesn’t mean the face (with the Tpm marking) left the factory with the same mech it has now….. Vitesse has a misleading number on the face (which is original) as the workings are from a Dolly 1850 to match the previous gearbox and diff. As it turns out, the speedo gearing was absolutely identical on the Toyota W58 - which was unusually serendipitous! The gods clearly remembered though as the MX5 box speedo gearing is VERY different from GT6 (reads 40% low), so I really ought to do something about that…. -
.thumb.jpeg.e0a4bff61111e0c8c7396950fcc94da1.jpeg)
!!!!!!Hanmeet 2024 23rd-25th August - Entry Form is up now!!!!
JustHarry replied to JustHarry's topic in South Island Region
With Joe x2 and pete . And a couple more in the pipeline we are pretty much there -
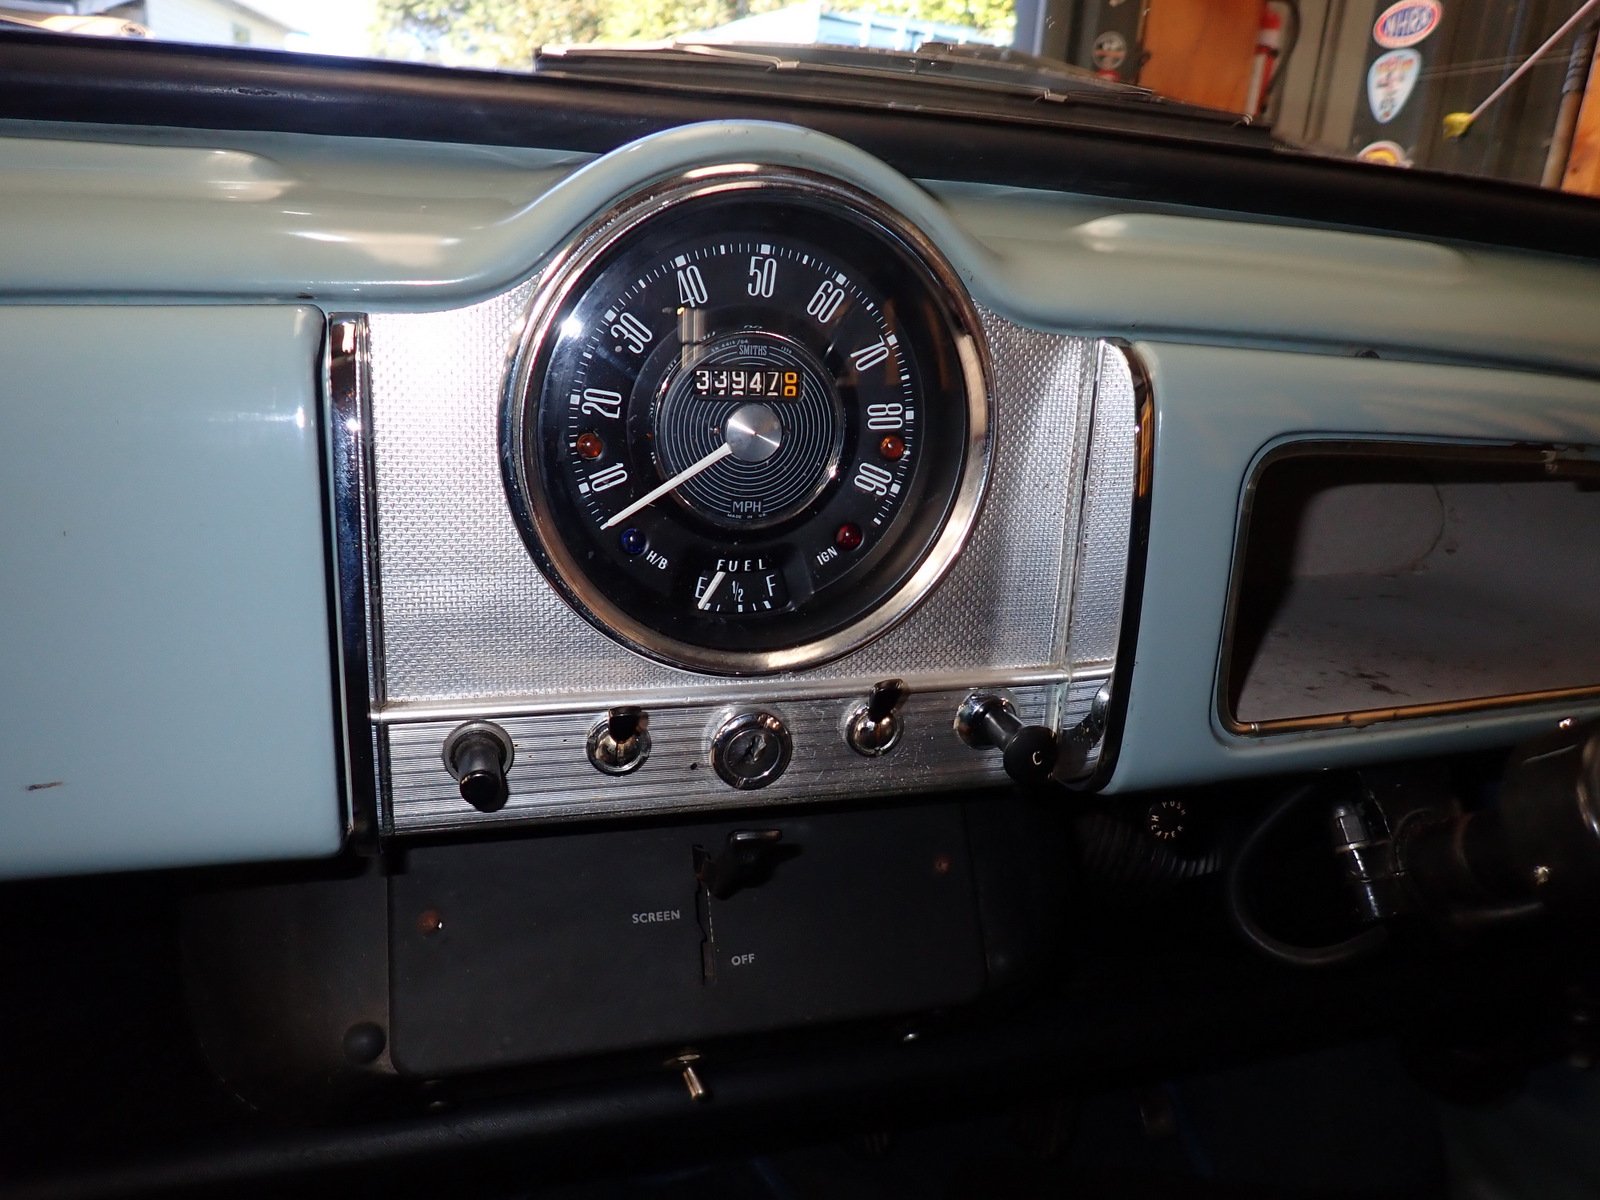
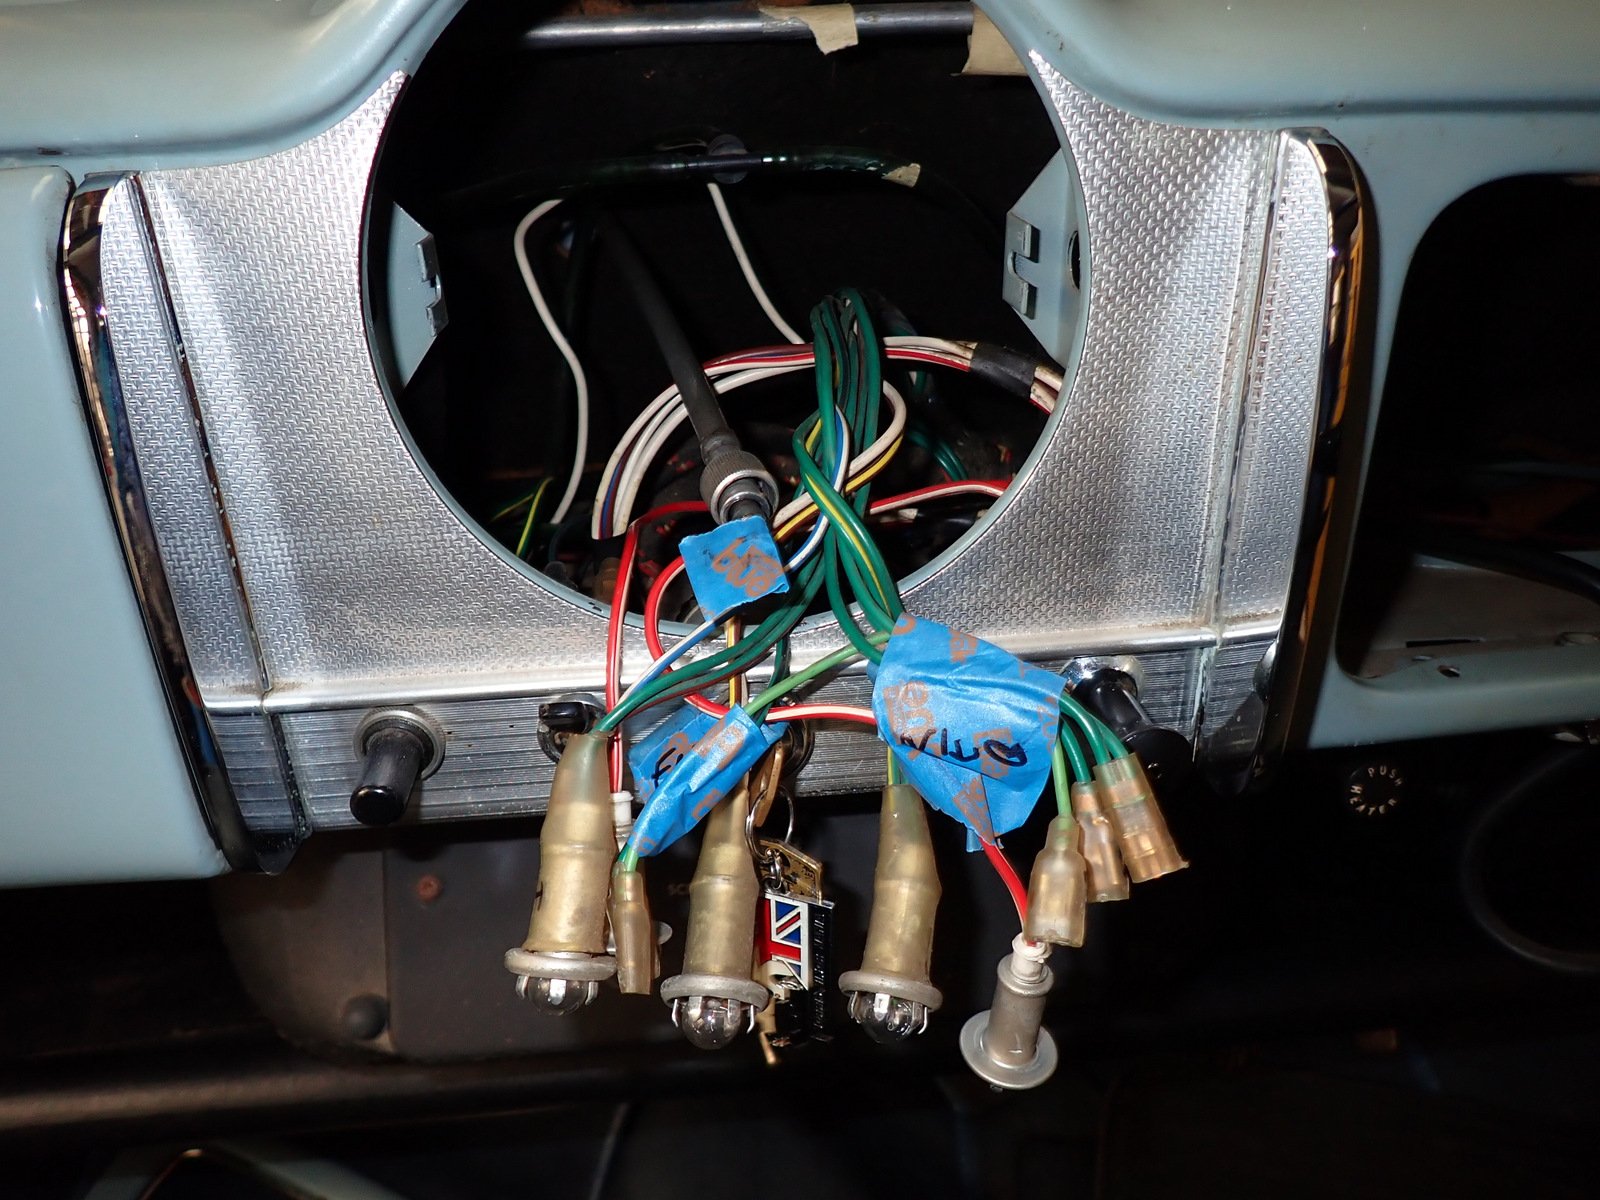
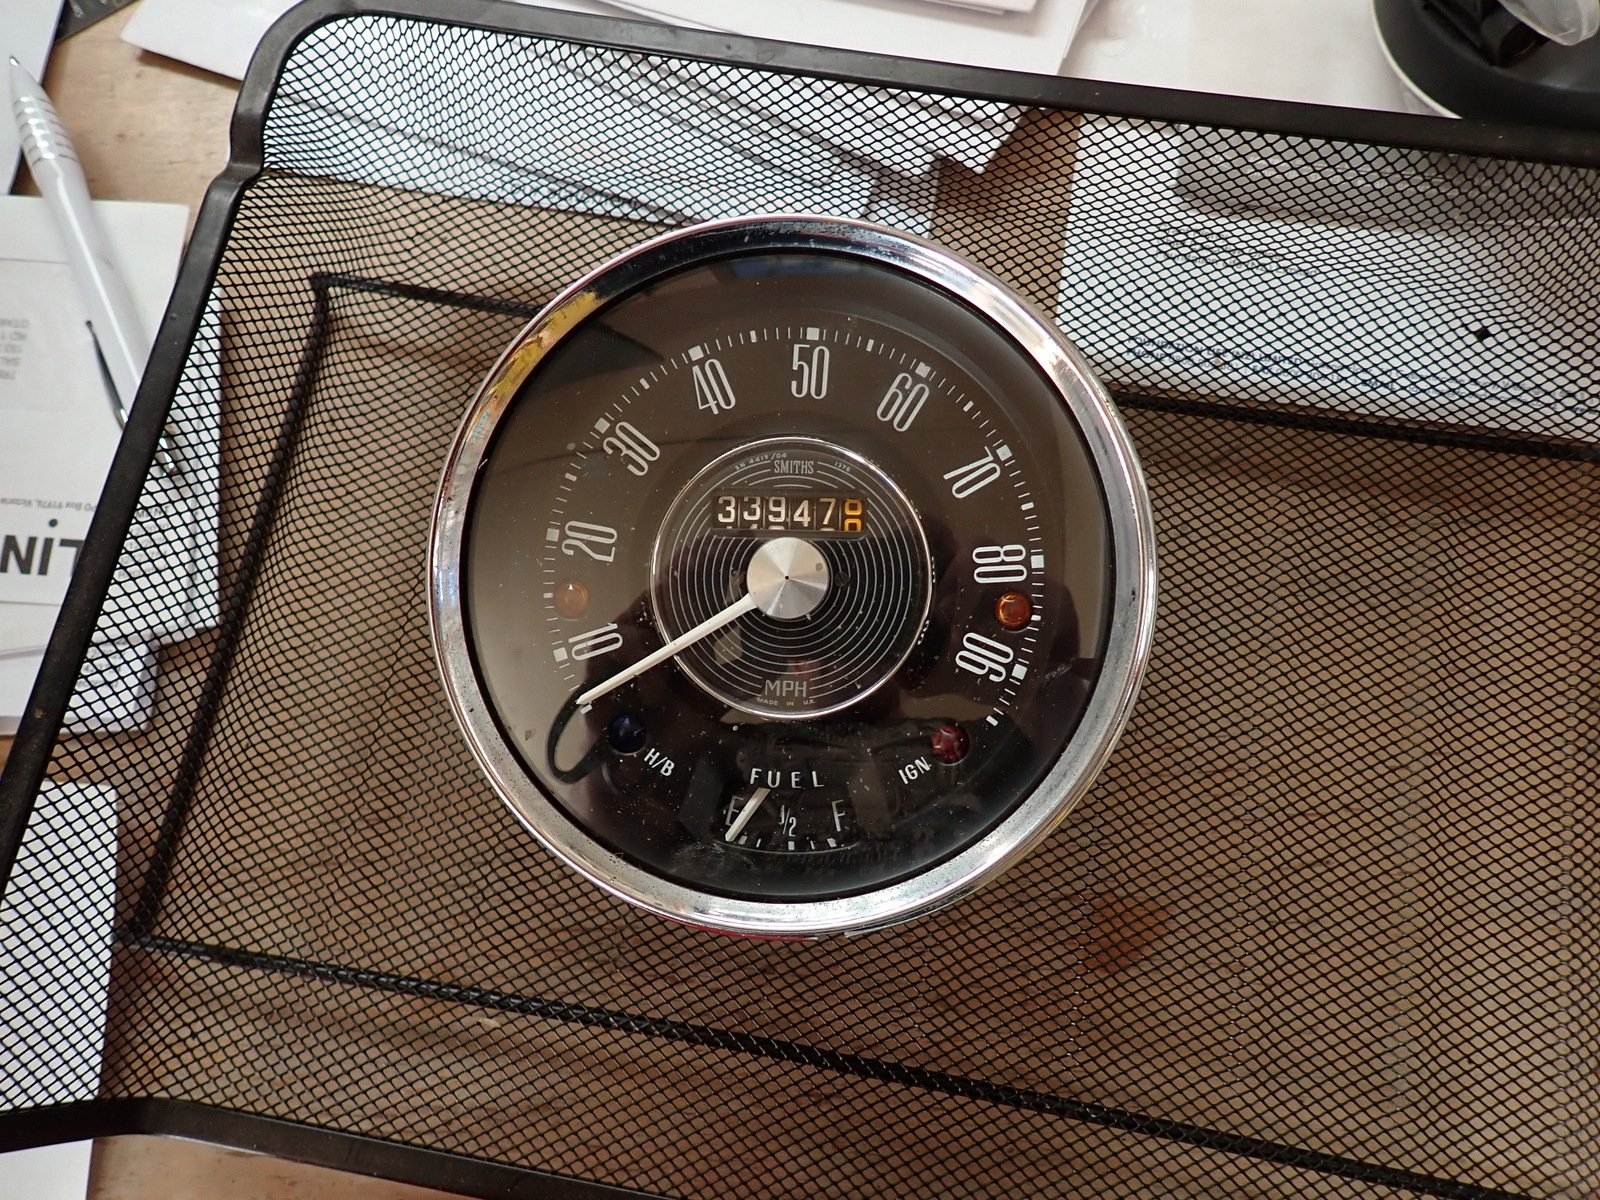
Morris is still here so I'm doing a few little fix-ups before trying to sell it again. WOF man mentioned the speedo accuracy last time (it's been awful for many years) and since it's due for a WOF again I thought I better get it sorted. So distinguished! The mechanic recommended Auto Instrument Services in New Plymouth so I gave them a call. The instructions were to pull the gauge and tape a 'flag' onto the cable drive, then count the turns over a measured 50m distance. So it came out without too much bother. Worked out as 44 turns for 50m, so 1416 per mile, speedo spec is 1376 turns per mile. It's way less accurate in practice though, about 45% out. So I packed it up and sent it out

-

!!!!!!Hanmeet 2024 23rd-25th August - Entry Form is up now!!!!
MightyJoe replied to JustHarry's topic in South Island Region
I've just sent off 2 forms and paid. Might bring 2 cars, probably won't. Edit again, I am retarded and tired today. A truly shit combination -
Good news is that the head looks okay, valve guides look okay, exhaust valves look untouched. Just intake valves got pretty tweaked! There's a few tiny marks on the pistons but nothing to worry about. Because I have stiff valve springs, and the valves were held about half way down because of the bends. It was an interesting experience banging the collets out. I may have fired a few into orbit. So need to get some of those when I go to pickapart to get new valves etc. I was also cursing at the fact that I need to take the sump off, in order to get the front cover off to reset the timing. If I need to take the upper sump pan off, it's an engine out job which I dont really have any space to do. I managed to get the cover mostly off by only removing the lower bowl, and undoing the cover bolts from underneath - but then it seemed stuck so I resigned to the fact that I'd have to take the sump fully off. Then I remembered that the oil pickup tube is attached to the oil pump, which is on the front cover - Which was what was jamming it. Ha. So when I undo that, hopefully the cover comes off no problem. In other news, I saw a video from Papadakis racing where they fully made a turbo manifold from 3d printed inconel. It looked absolutely friggen amazing. So I thought for interests sake, I wonder if there's anywhere that 3d prints metal that could give me a price online by just uploading an STL file. So I drew a collector with no particular science to it, just to get a shape to get a ballpark figure. Expecting zillions. Much to my surprise, one of the places could do it for $250NZD from 316L stainless. Which seems absolutely incredible! The prices for getting aluminium printed seemed completely sane as well. For some smaller or more complex objects, this might be a no brainer. So at some point I think I will get one made and see how it looks. Then order a 2nd one for the other side if it's any good. But I'll do some more investigation on what makes a good collector shape first. This will be by far the cheapest and easiest option, and potentially the best shape too. I'm excited about it. It will be cool to be able to make some organic shapes without being constrained by working just with a constant pipe diameter. Might be a month or three down the track though. But thats what I'm fizzing over a the moment.
- 80 replies
-
- 24
-

-

-

!!!!!!Hanmeet 2024 23rd-25th August - Entry Form is up now!!!!
smokin'joe replied to JustHarry's topic in South Island Region
how are required numbers looking ? know it months away, but 'locking it in' is a major tick in the box ? -
Feel free to enlighten me with ideas or where to get parts etc Project thread
-
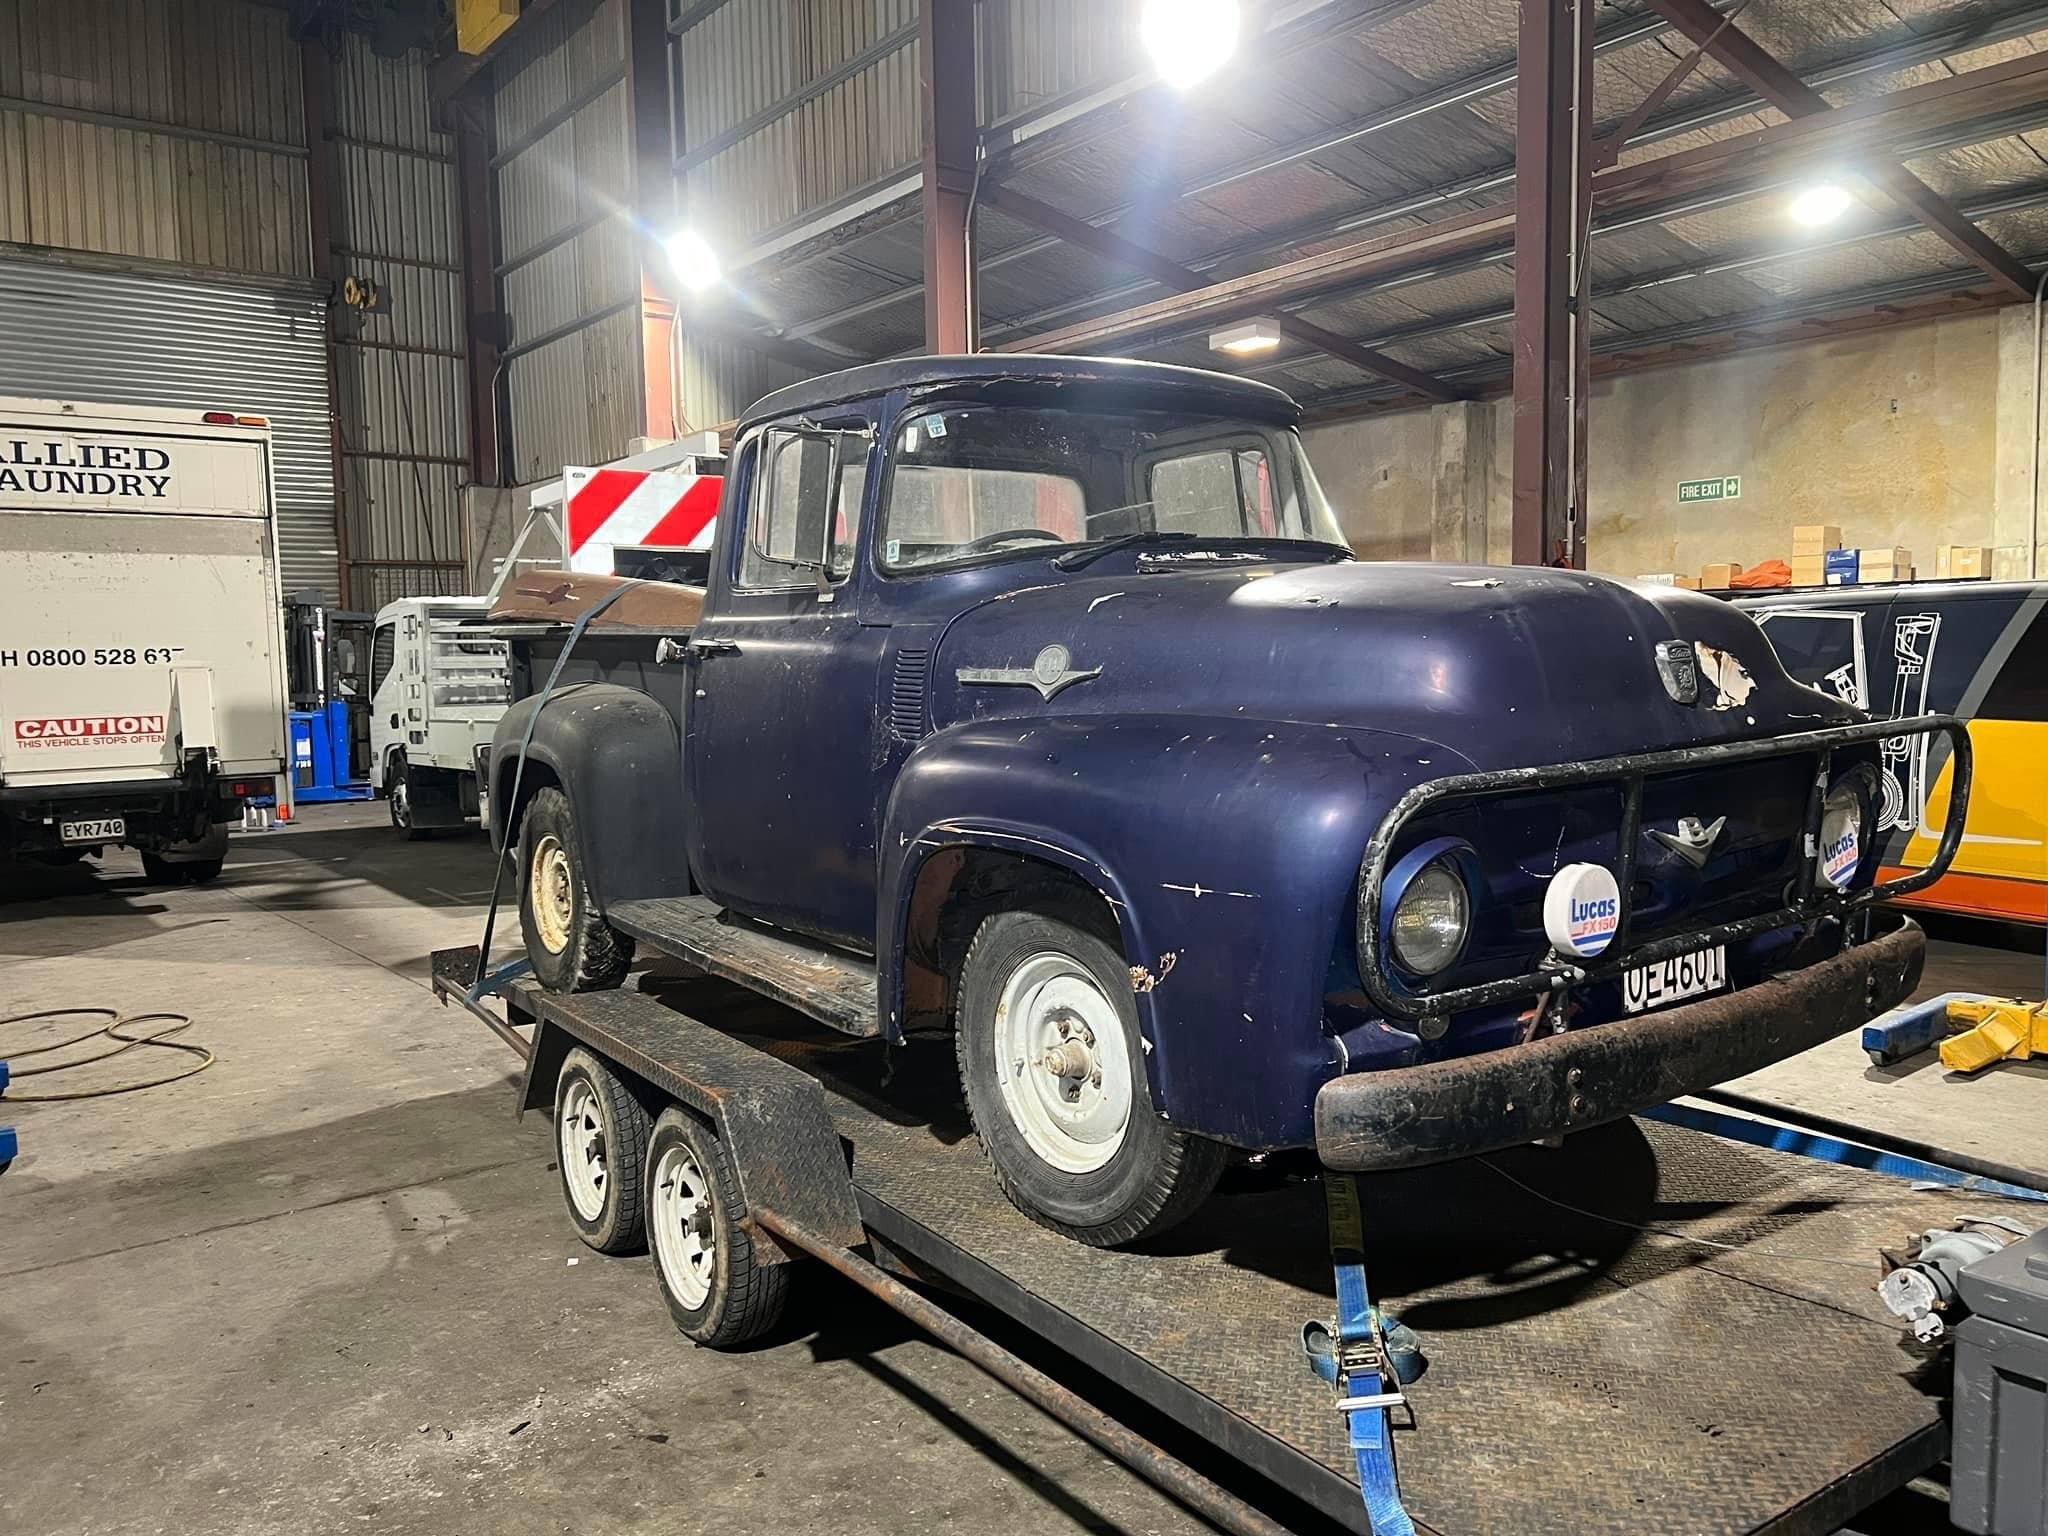
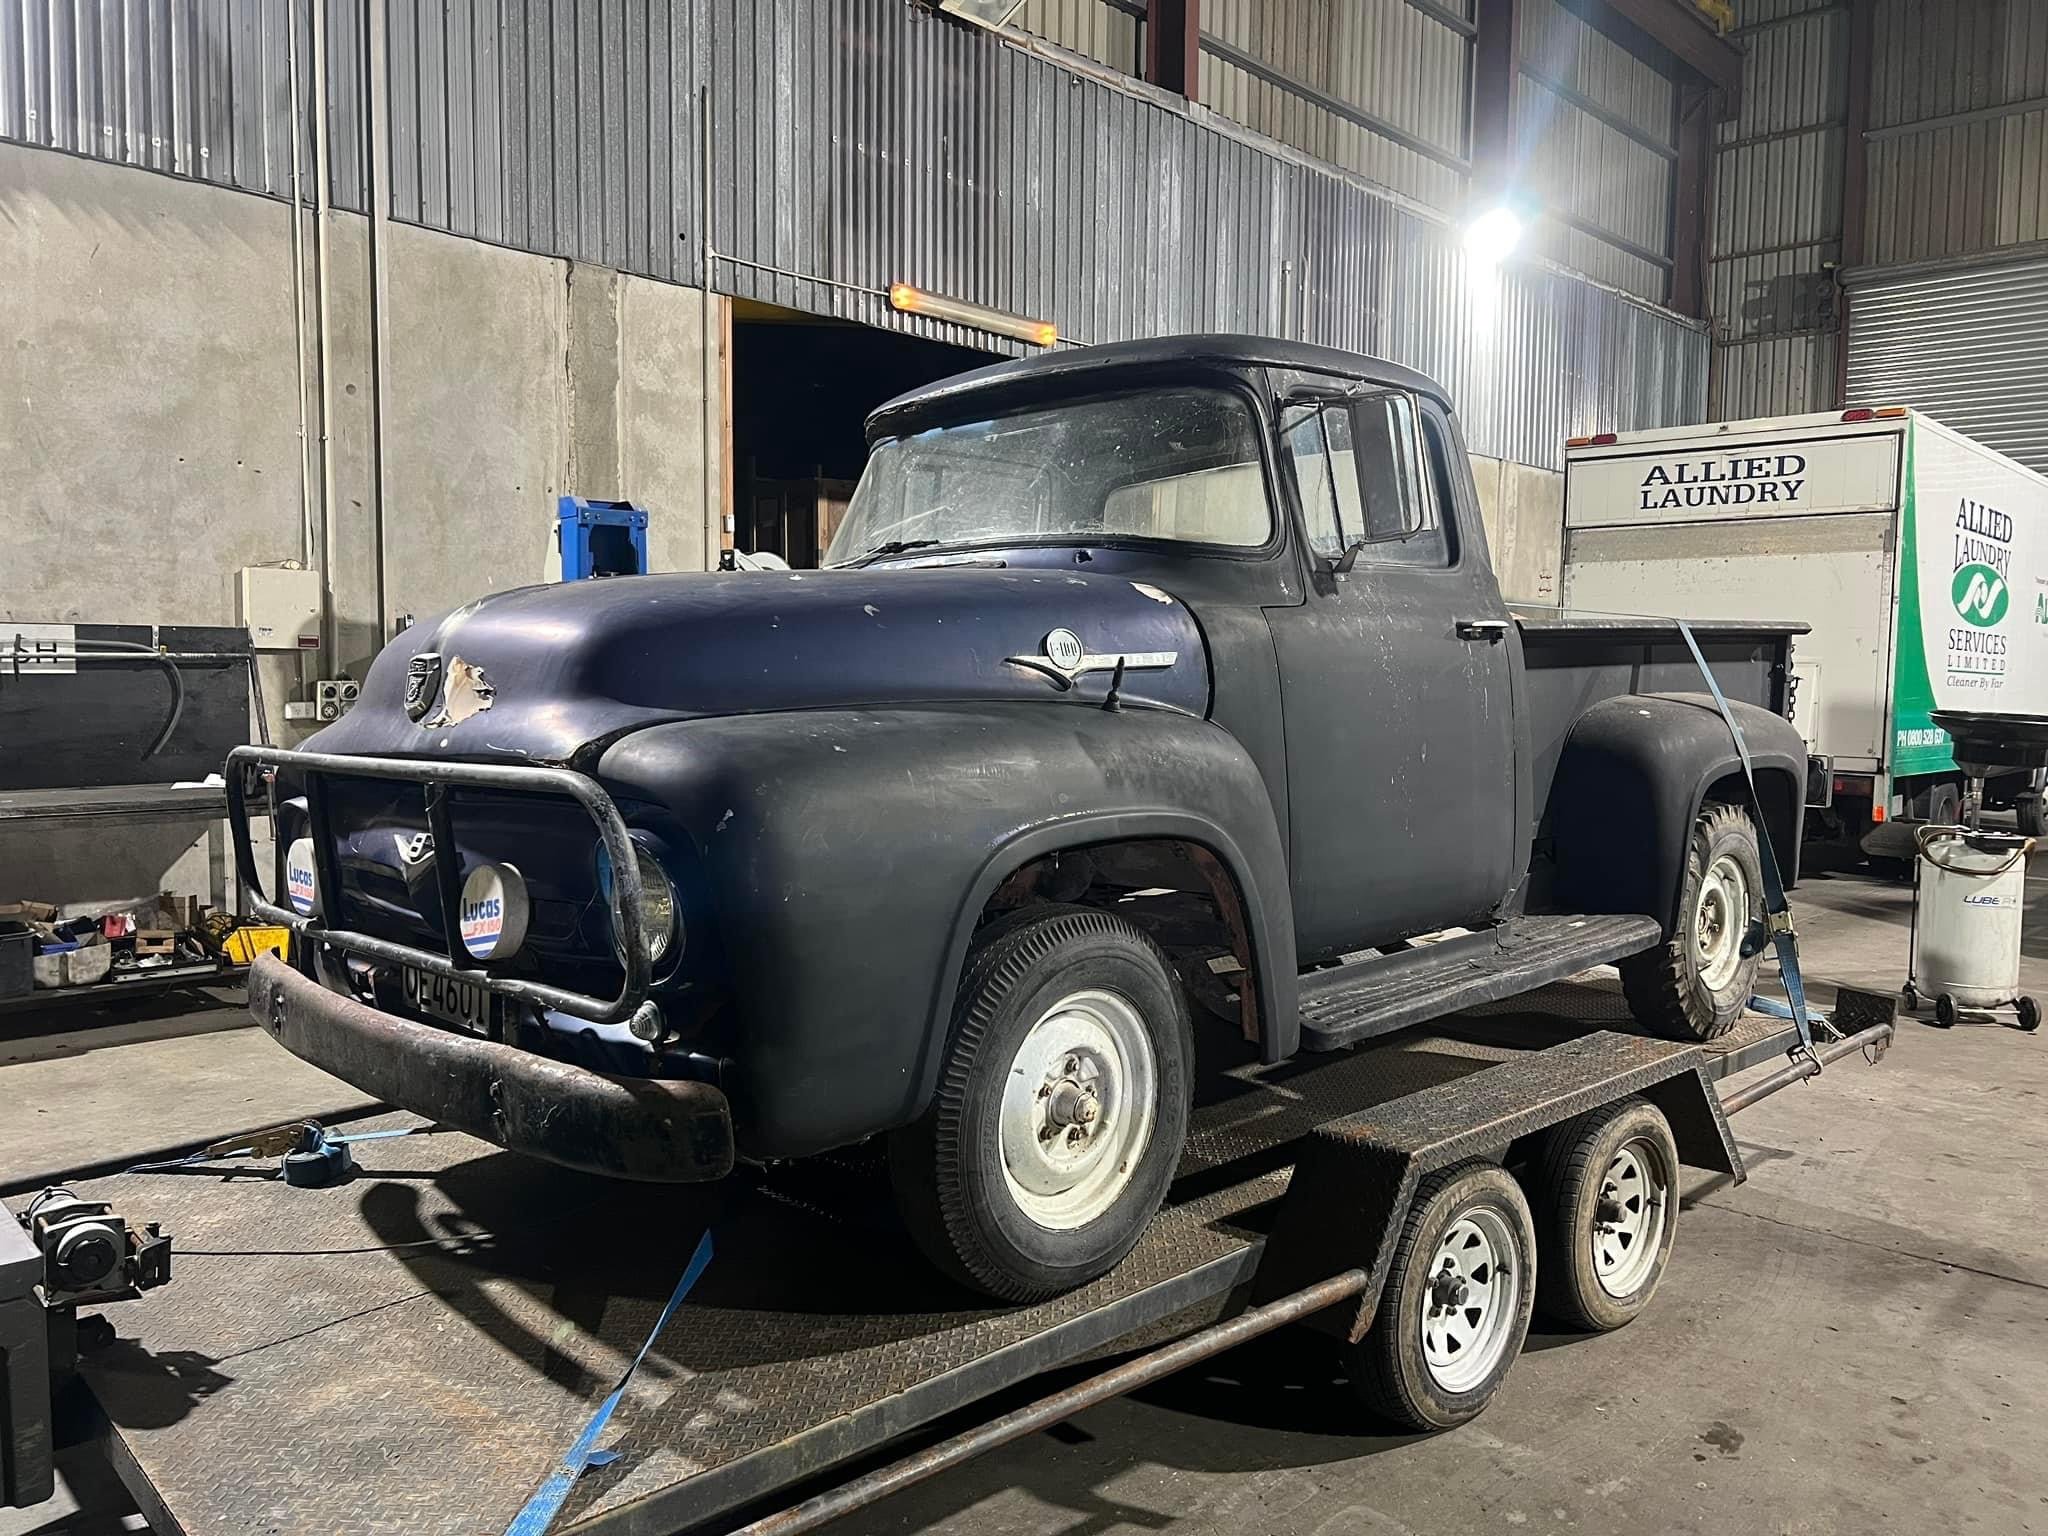
Long time since I’ve done anything Oldschool related, the Suzuki is tucked in the corner of the shed, so though I’d buy another project. So here is my 1956 Ford F100. My first V8 of my own. Plans are to tidy it up, get it re reg’d and putt around the country. It does need a lot of work, rust everywhere , no brakes amongst other things. It still retains its v8 y block, I believe it’s either a 256ci or 272ci power plant, matched with a 4 speed floor shift manual, and it’s rhd. Discussion thread
-

!!!!!!Hanmeet 2024 23rd-25th August - Entry Form is up now!!!!
Valiant replied to JustHarry's topic in South Island Region
This weekend. -
Goldilocks and CRC works a treat. And fitted up the only OS.ng approved adv tyre Need to rinse and repeat on the back. To many things to remove for tonight though. That'll do pig, that'll do.
-
.
-
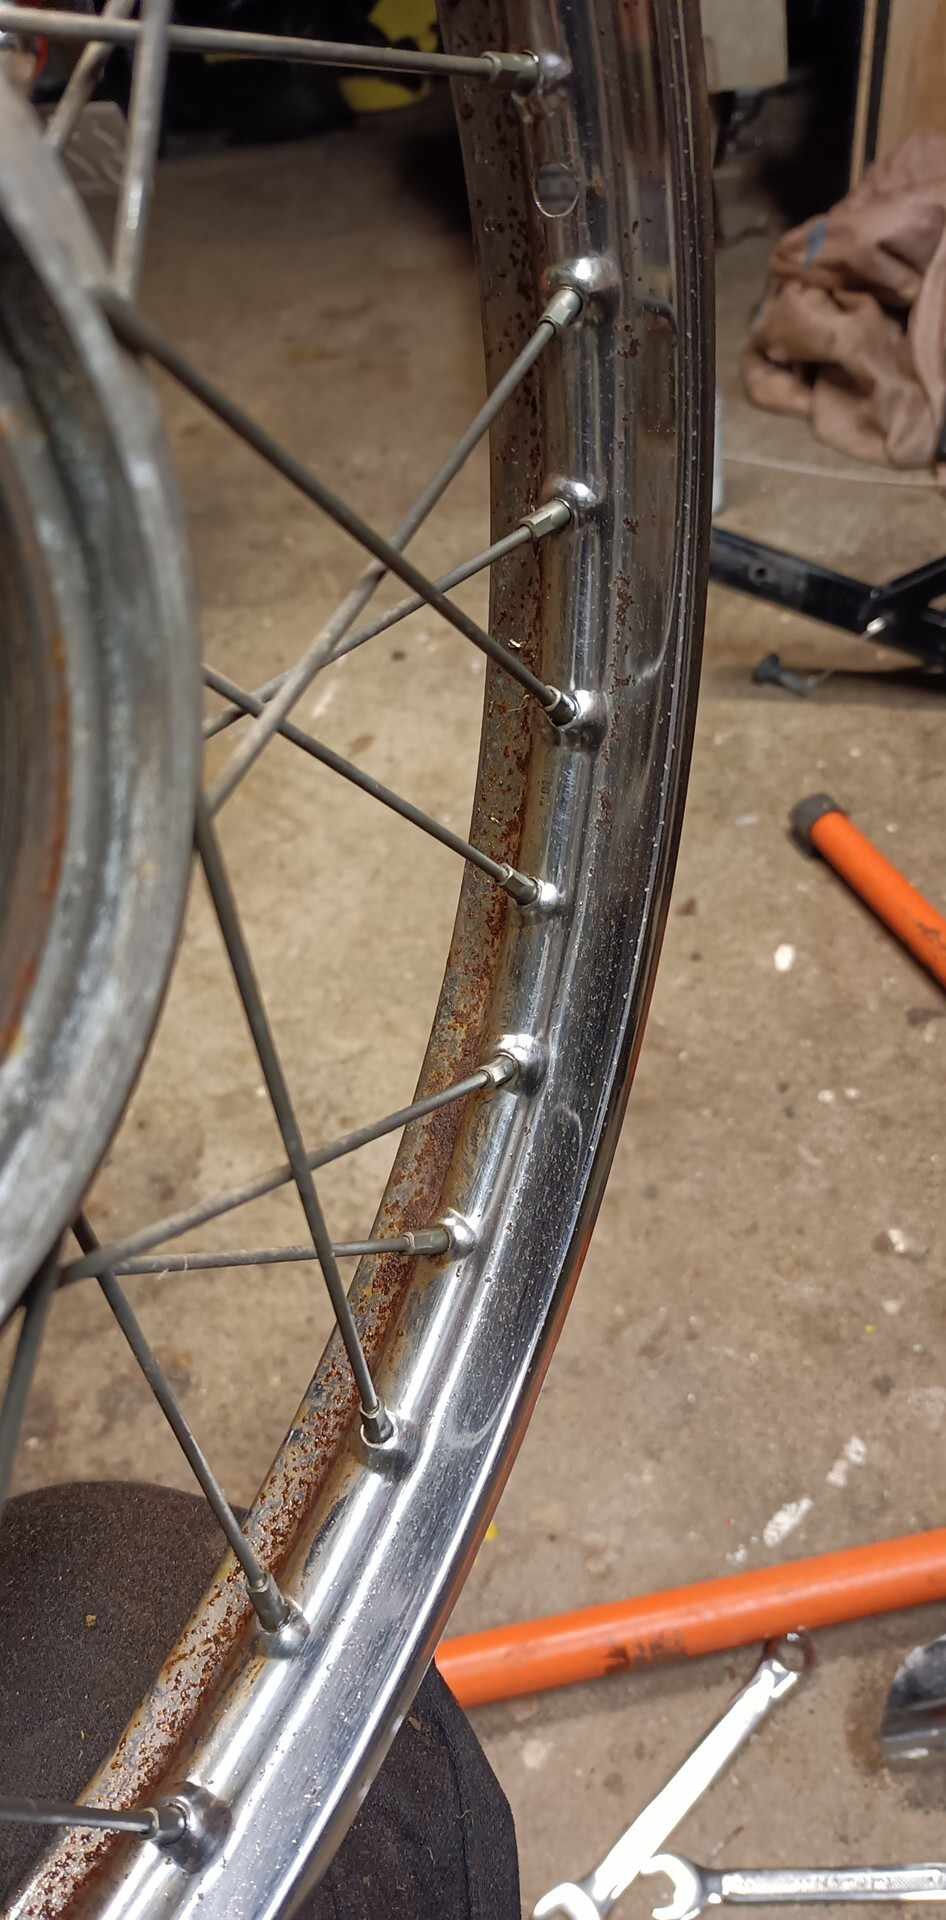
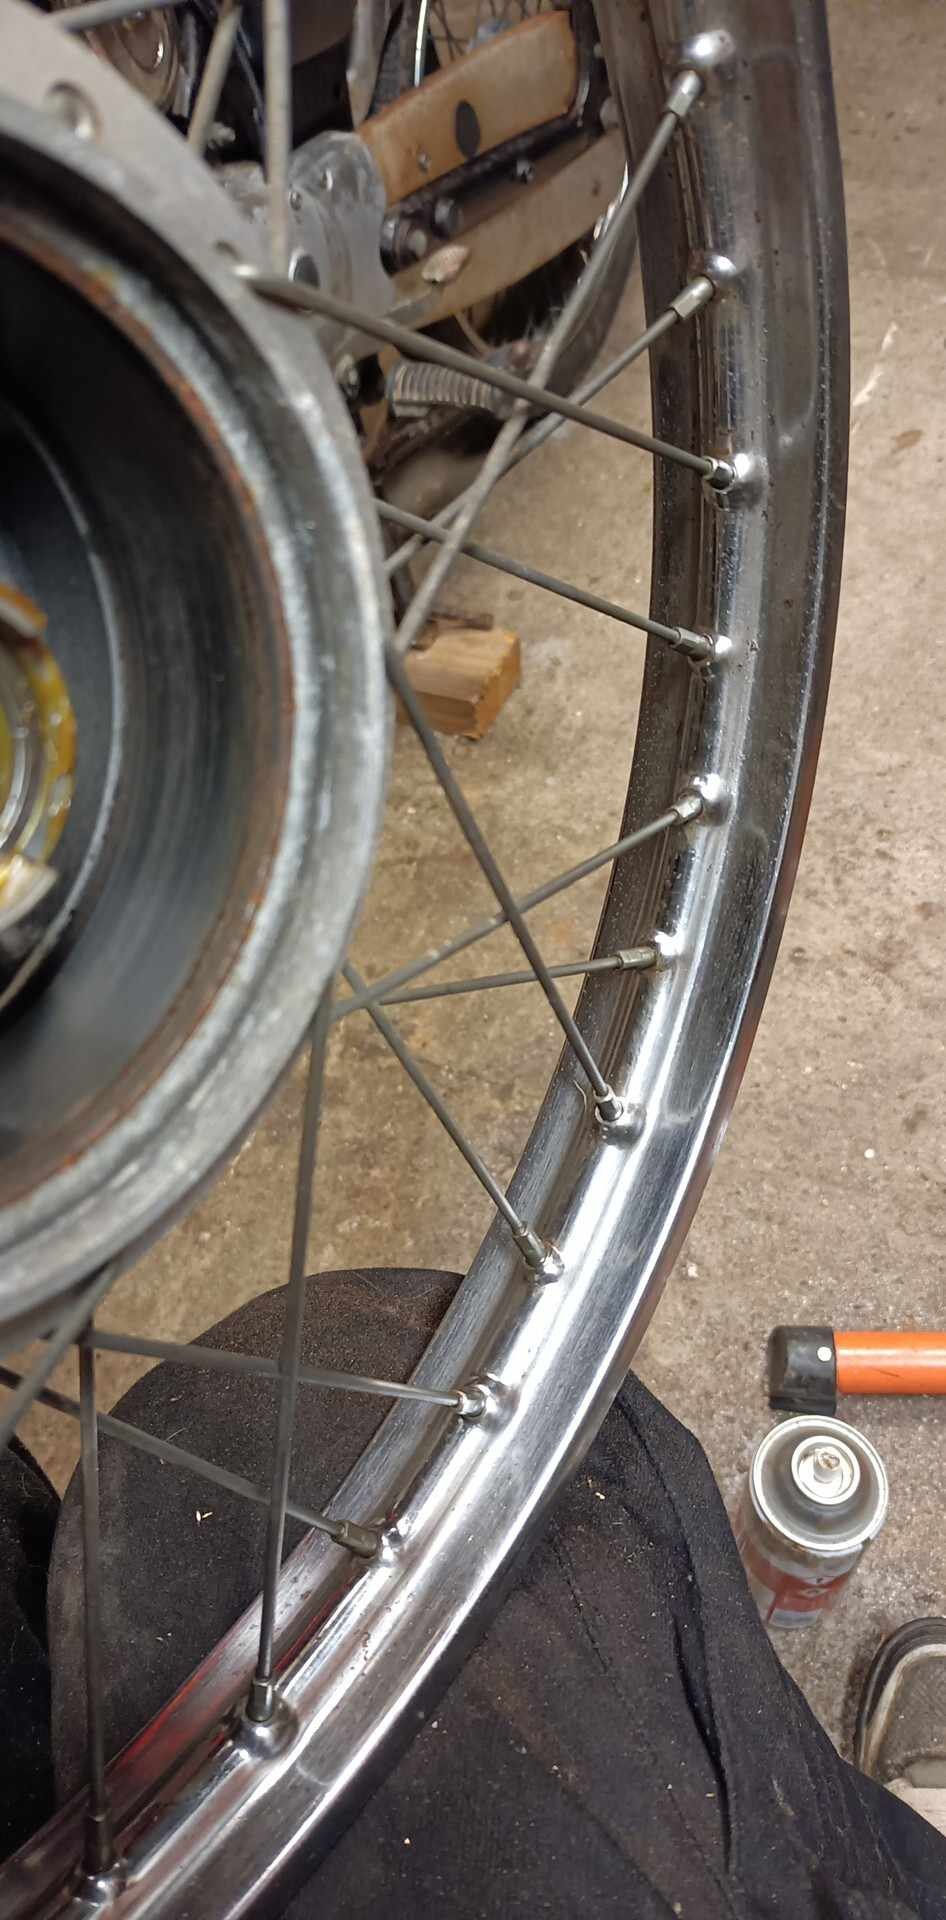
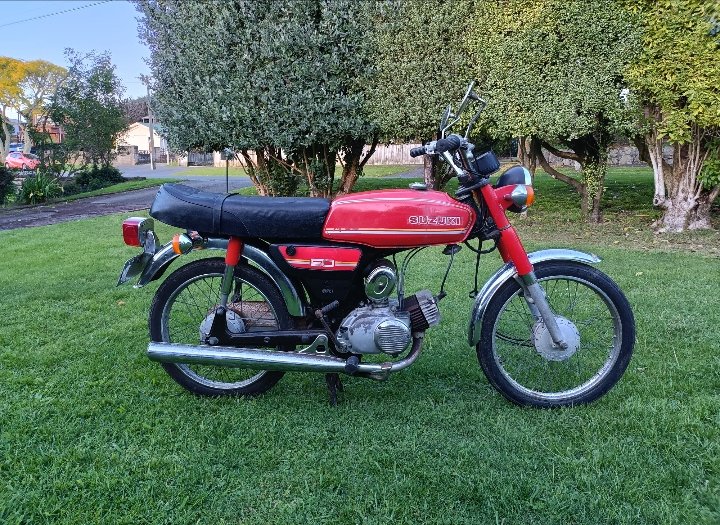
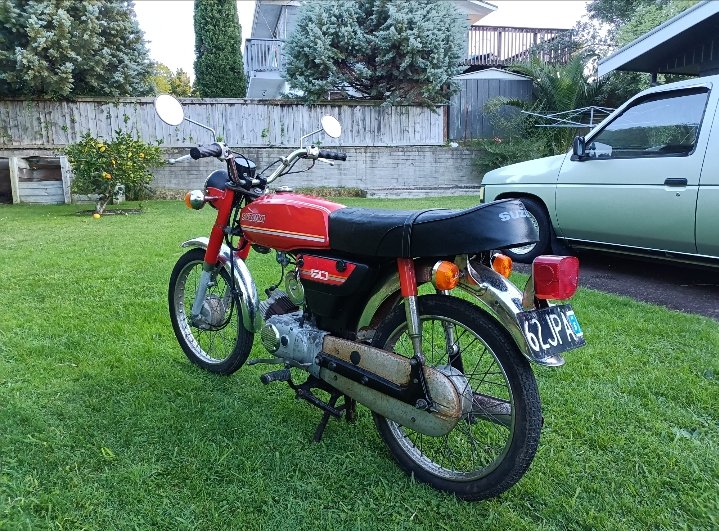
Next on the list is tyres as the front one is full of cracks. I've got some 2.5-17 golden boys/sr241 in stock so will throw those on. Factory size is 2.25 but looks like space won't be an issue. Clean up the rims at the same time as they are a bit scody. Also just picked up a high pipe from a AC50. I like the look better than the factory A50 low pipe. Needs a good clean up and looks like I'll need a different side cover to fit so will see how that goes/make something to suit. AC50 pipe is like this Then re-rego and start riding the shit out of it really.
-
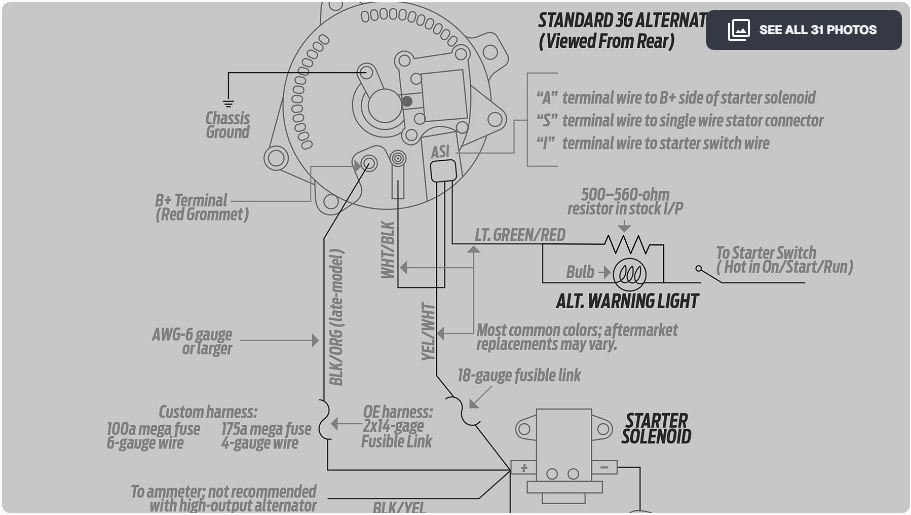
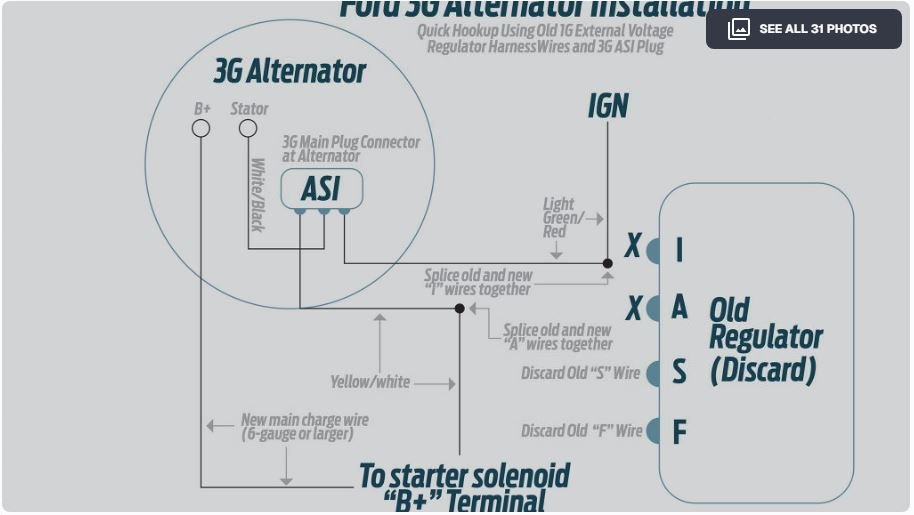
So slight change of plans. I don't have a warning light. I was right about the green and red wire but it goes to the ignition switch. sometimes this has a warning light in line but mine does not. The diagram below is from Motortrend for wiring a Ford 3G alternator but it is basically the same. It seems I can still wire it up without the bulb but I've got to work out how exactly. I may just 1 wire it and connect the rest later.
-
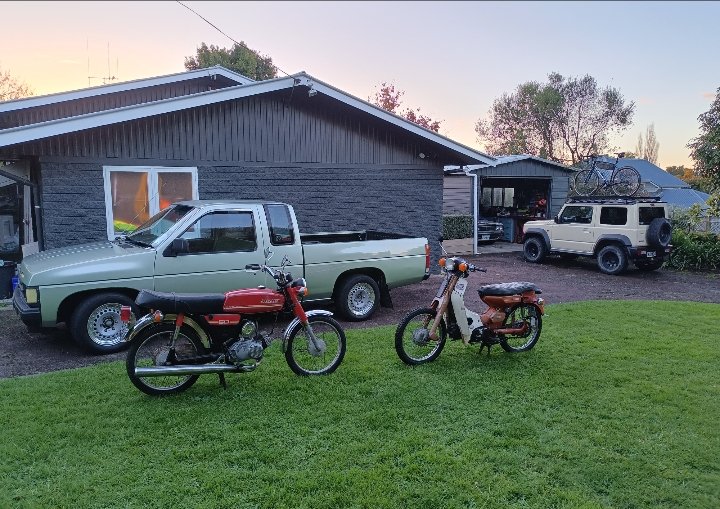
Spent some time going through the wiring and checking connections etc to try sort the light situation. For some reason the last thing I checked was bulbs....both blown. Swapped those out and all is well. So ignored the cracked sidewalls and hit the streets for a test ride. She's a beauty all right, 50mph pinned and will sit at 45mph happy as on the flat. Can't ask for much more from the old girl, I'm happy as.
-

New Plymouth pick a part. Help to collect a part needed?
fletch replied to kp60nick's topic in Lower North Island Region
I'll try and swing by tomorrow on my way past -
Guess we wont be seeing you then
-

MACKAZ's '22 Steel Buick ratrod, "Jailbait"
MACKAZ replied to MACKAZ's topic in Projects and Build Ups
Thread dredge. I’m in the process of emptying our storage unit. We missed the property boom so our intentions of selling up have been shelved. Soooo drag all my shit home over next few weeks….- 121 replies
-
- 4
-
-
- wtf have i got myself into
- madness
- (and 1 more)
-
Gratuitous photo. To do list: Leaky weld on muffler Right rear wheel bearing protesting loudly Weeping heater core Left rear tyre touching the inner wheel tub on hard left turns One tappy tappet needs shimming Oil pressure switch weeping Build a good 5 speed from the two I have in stock and butcher modify the tunnel to fit it Rewire main beams with a relay fit electric radiator fan fit retractable front seatbelts, and fit rear seatbelts Otherwise, it starts and runs very well and I’m having fun.
- 127 replies
-
- 12
-